DIY Tank Dress from a Tank Top and 2 Rectangles [Beginner-Friendly Sewing Project + Free Pattern]
DIY Tank Dress
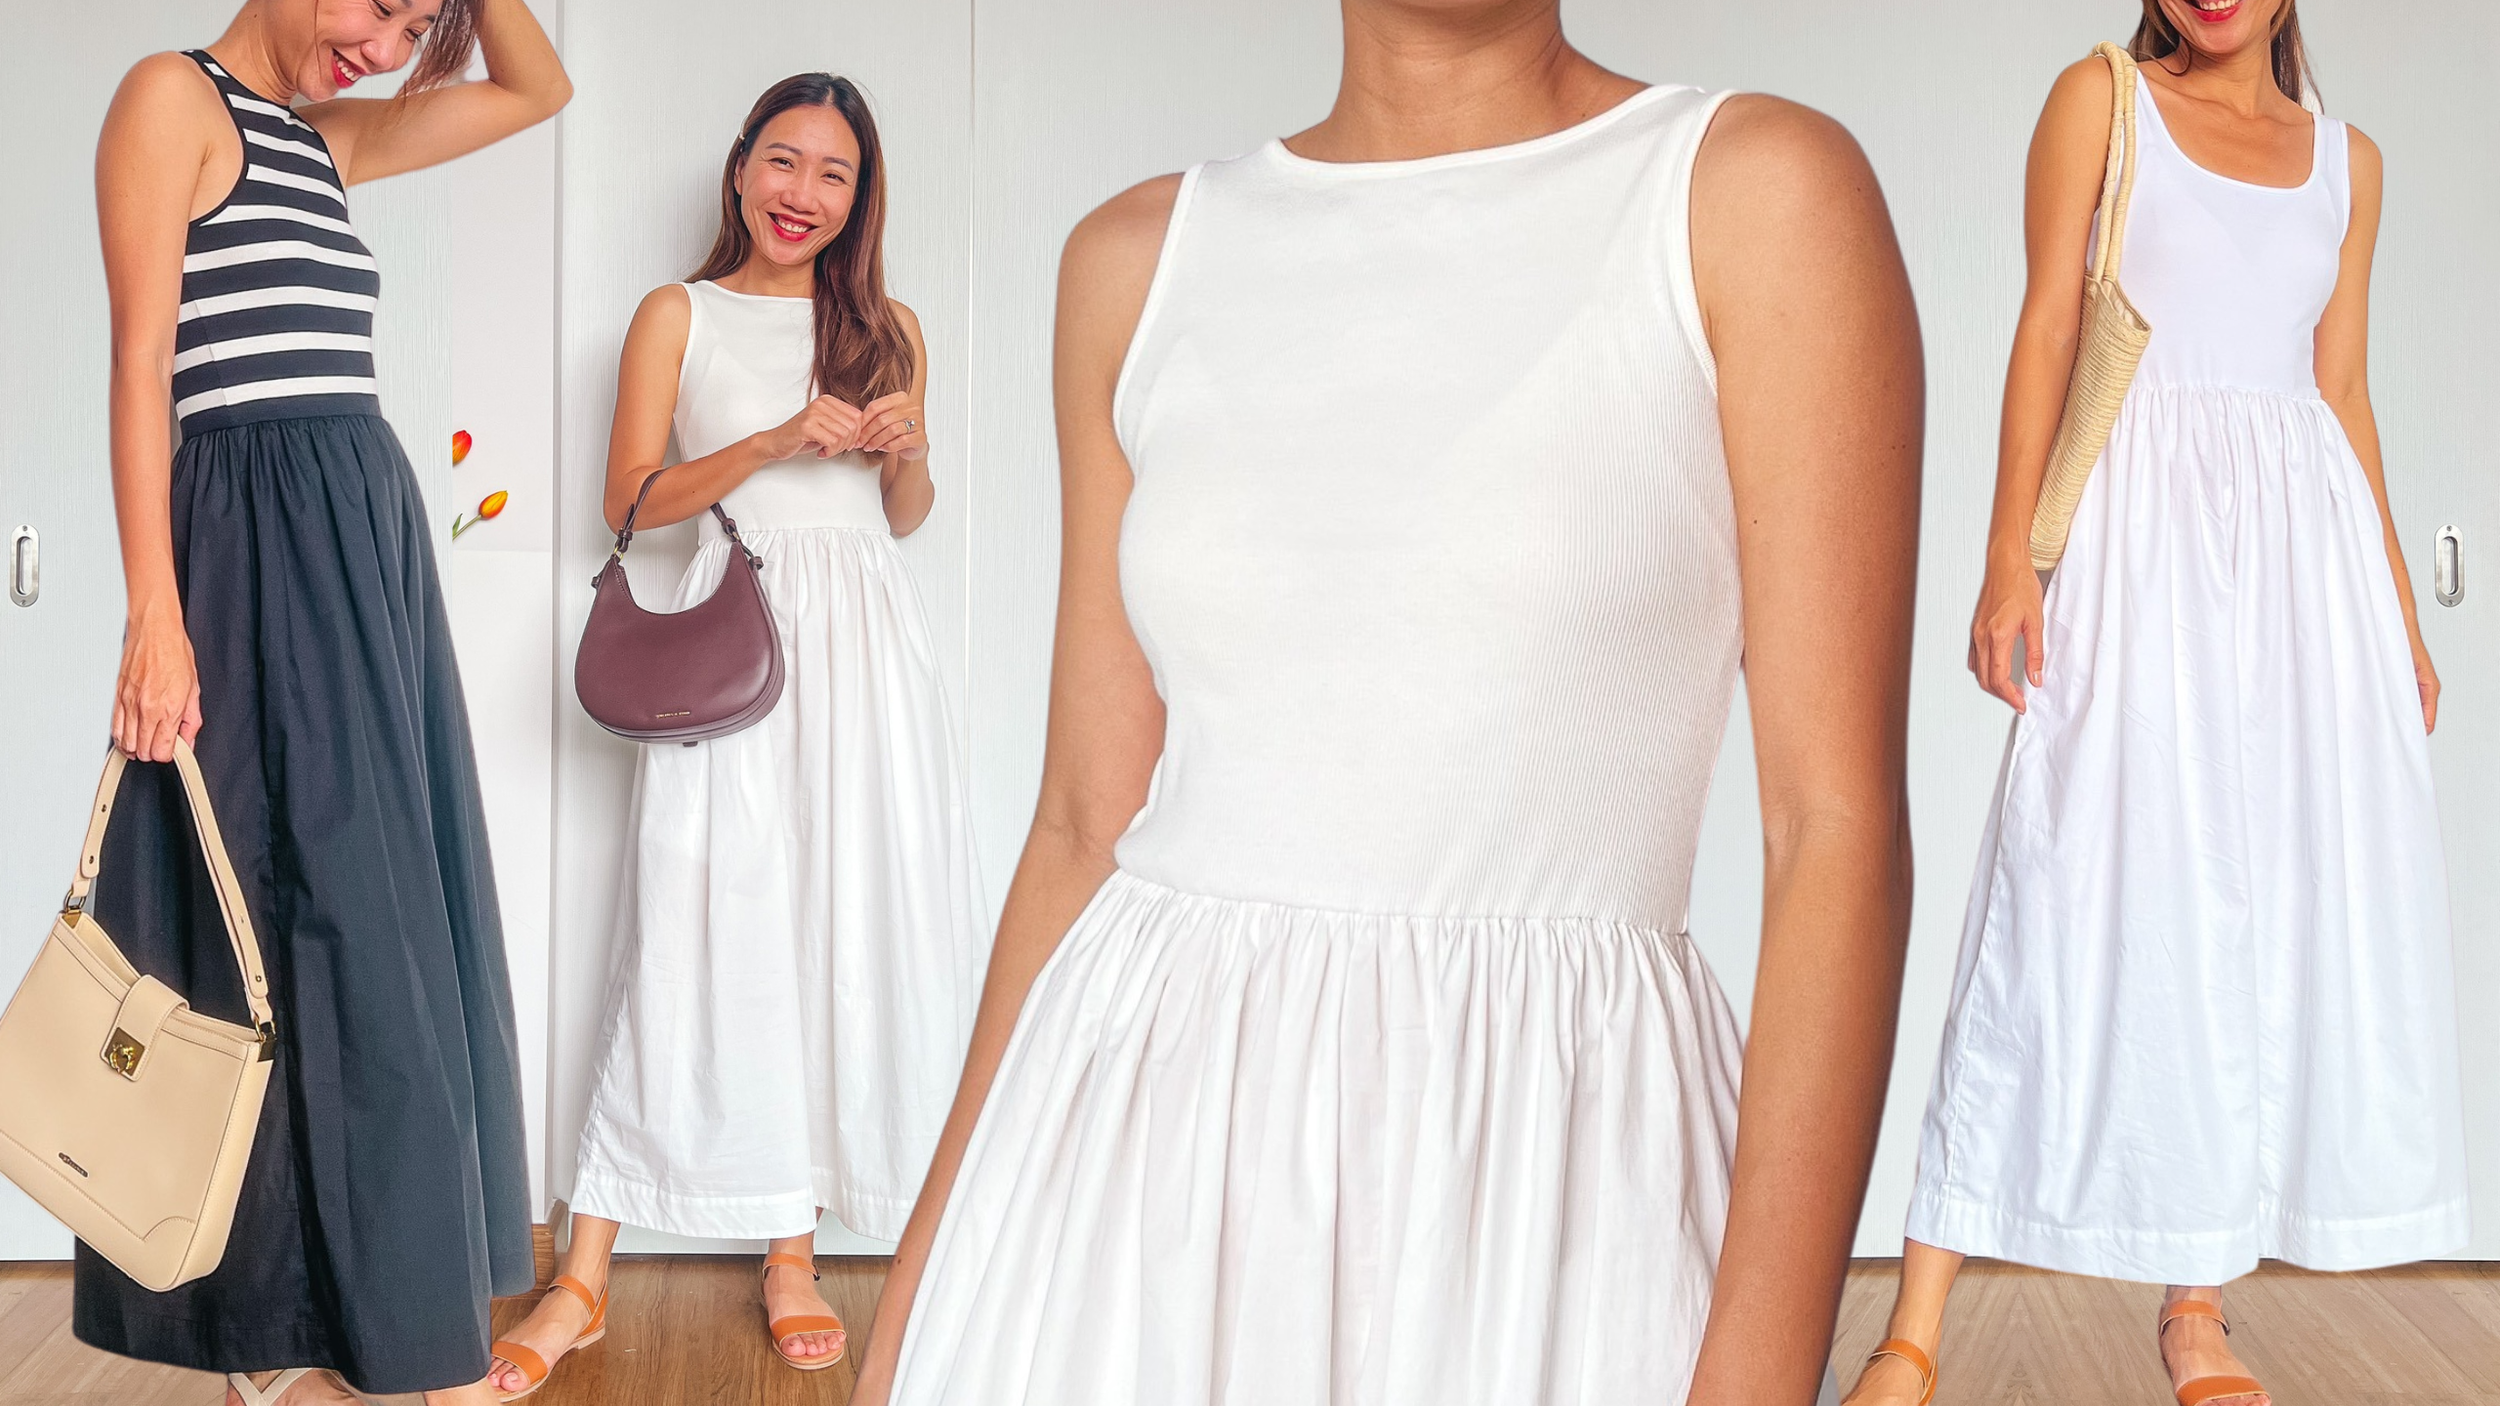
In today's tutorial, I'm going to share with you how I made a Tank dress. This dress is a combination between a tank top and a cotton dress that I made out of 2 rectangles.
That's why it's a super easy and beginner friendly sewing project that you can finish just in a day.
WHAT YOU’LL NEED
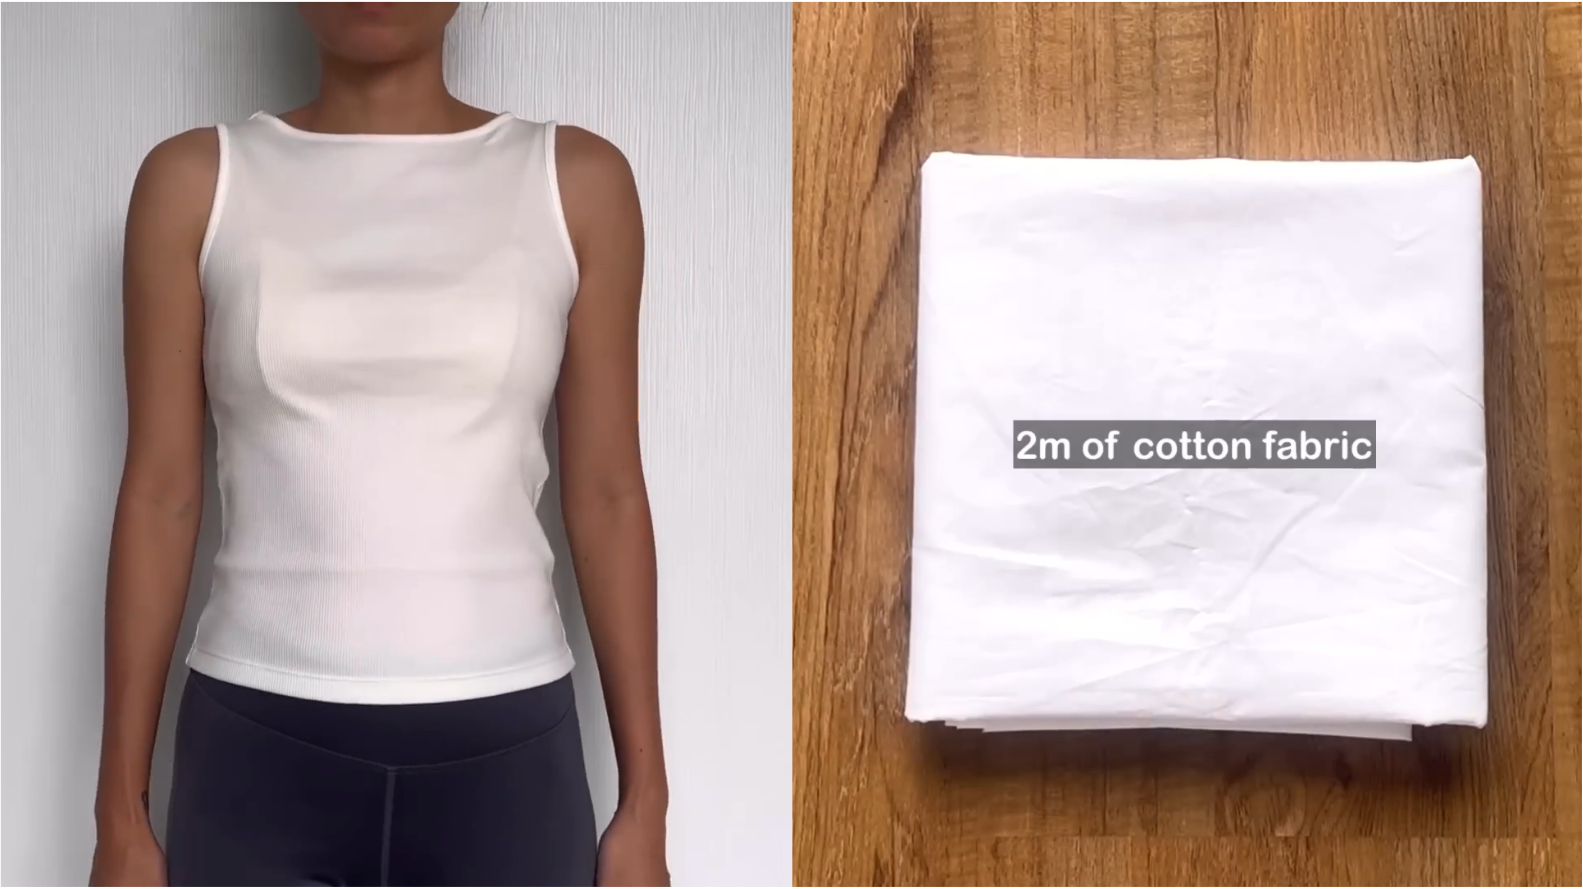
Tank top with stretching fabric
2m of cotton fabric
Pattern paper
Sewing machine
Thread
Pencil
Pins
Scissors
Ruler
SEWING THE DRESS
THE TOP PART
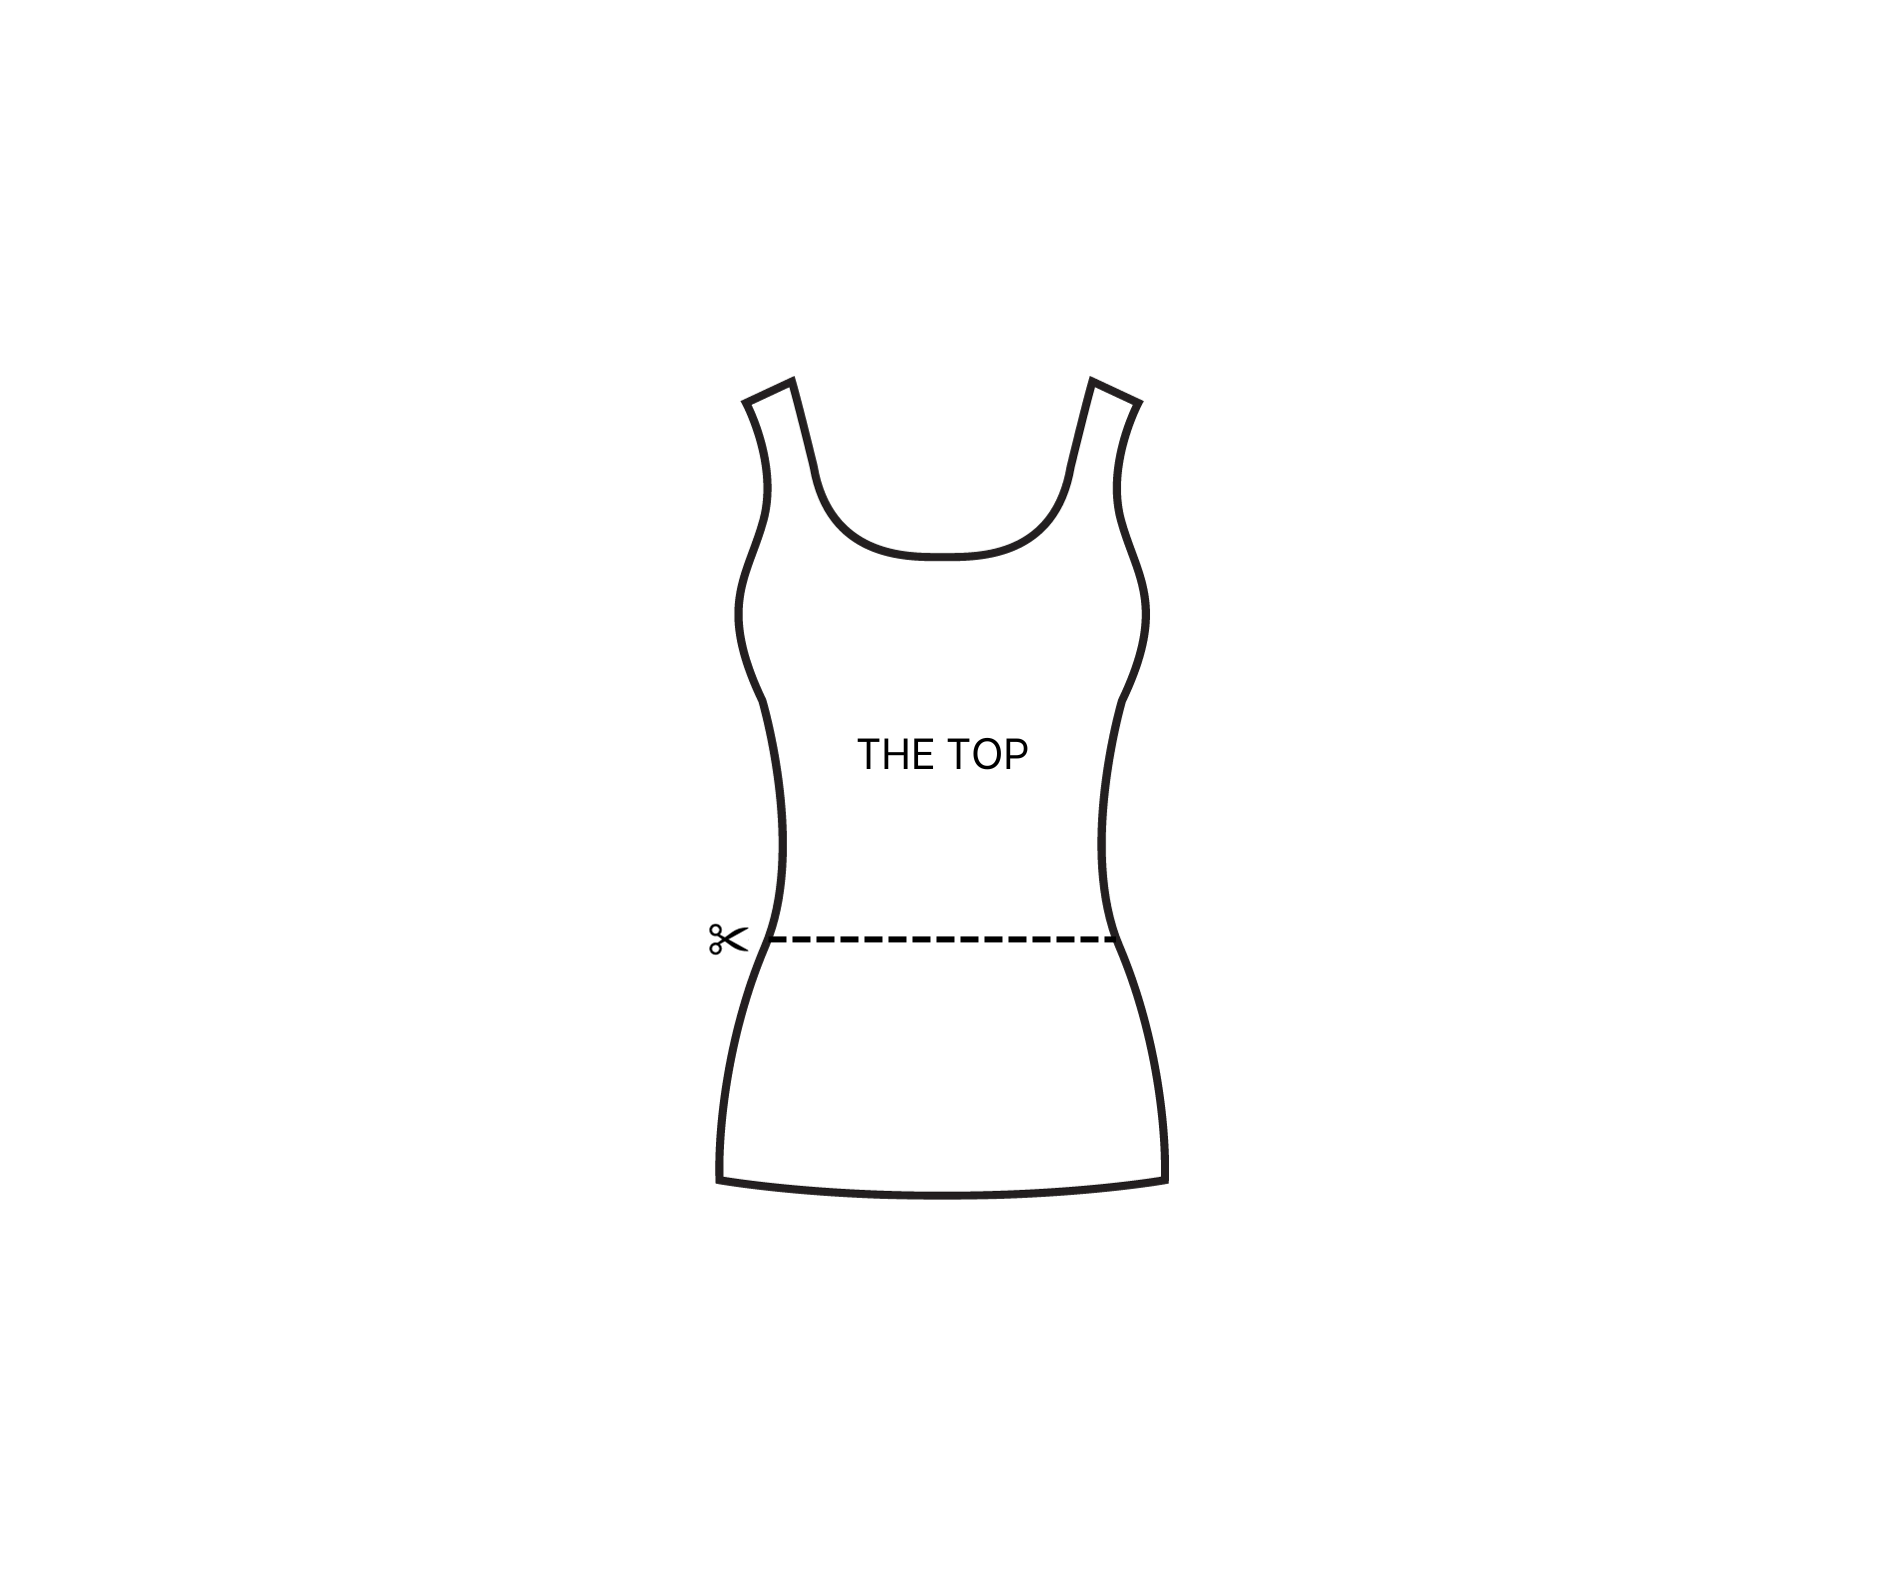
The top part
Start by wearing the tank top and measuring the length you want for the top part of the dress (Example: Measure from the shoulder down to about 3cm above your belly button).
Mark the edges on the fabric.
Draw a horizontal line connecting the marked edges and cut along the line.
THE SKIRT PART
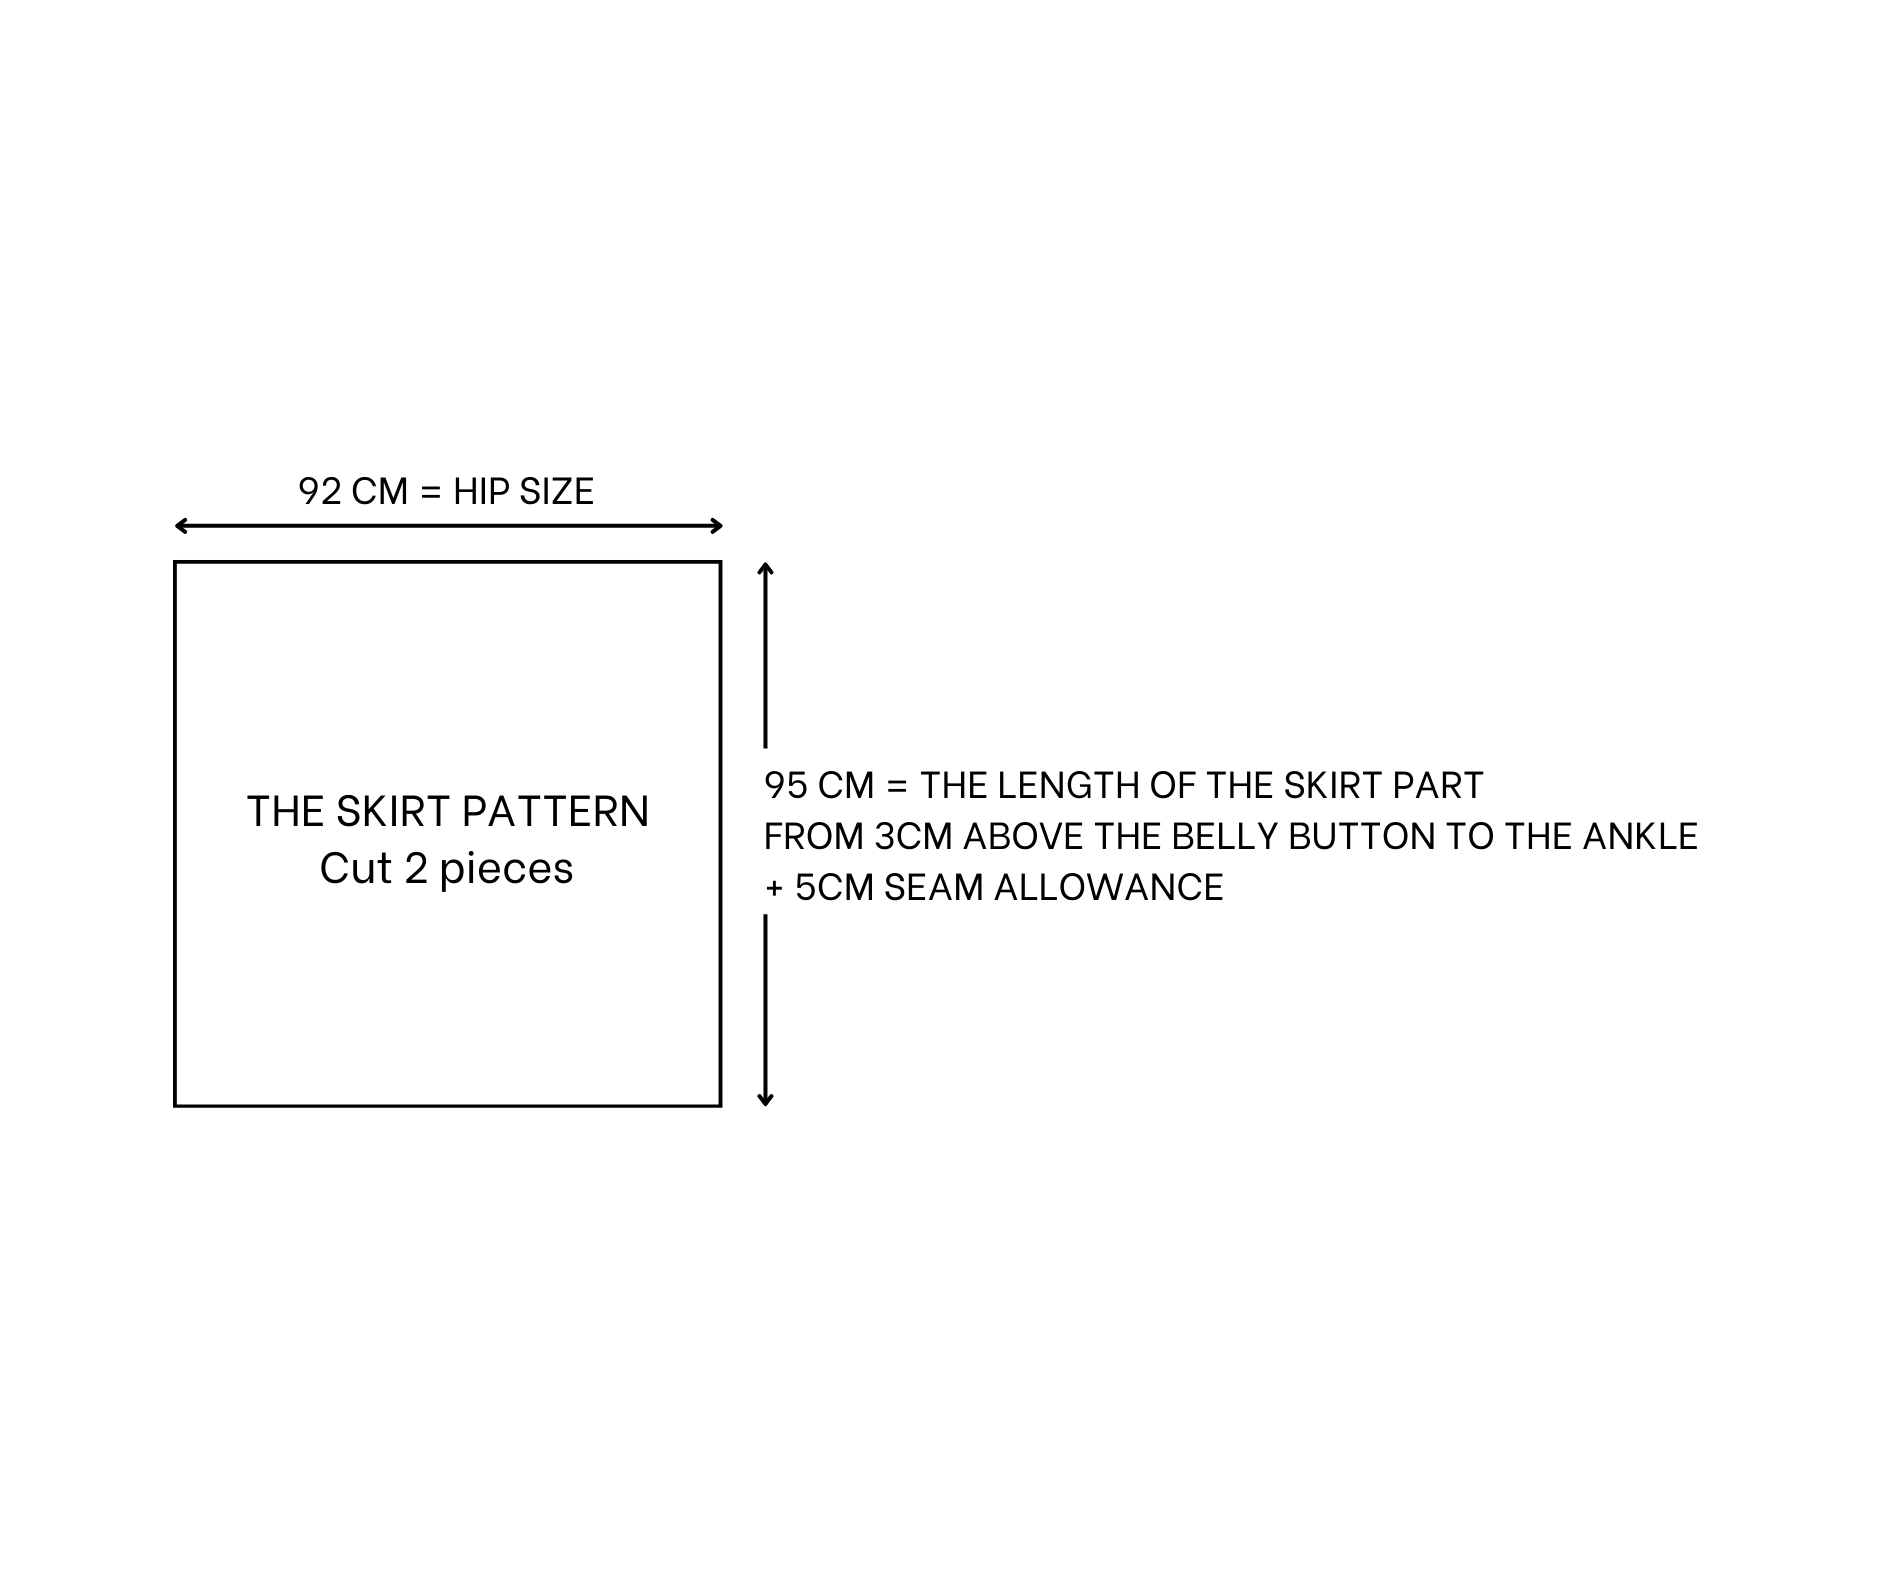
The skirt pattern
THE SKIRT PATTERN
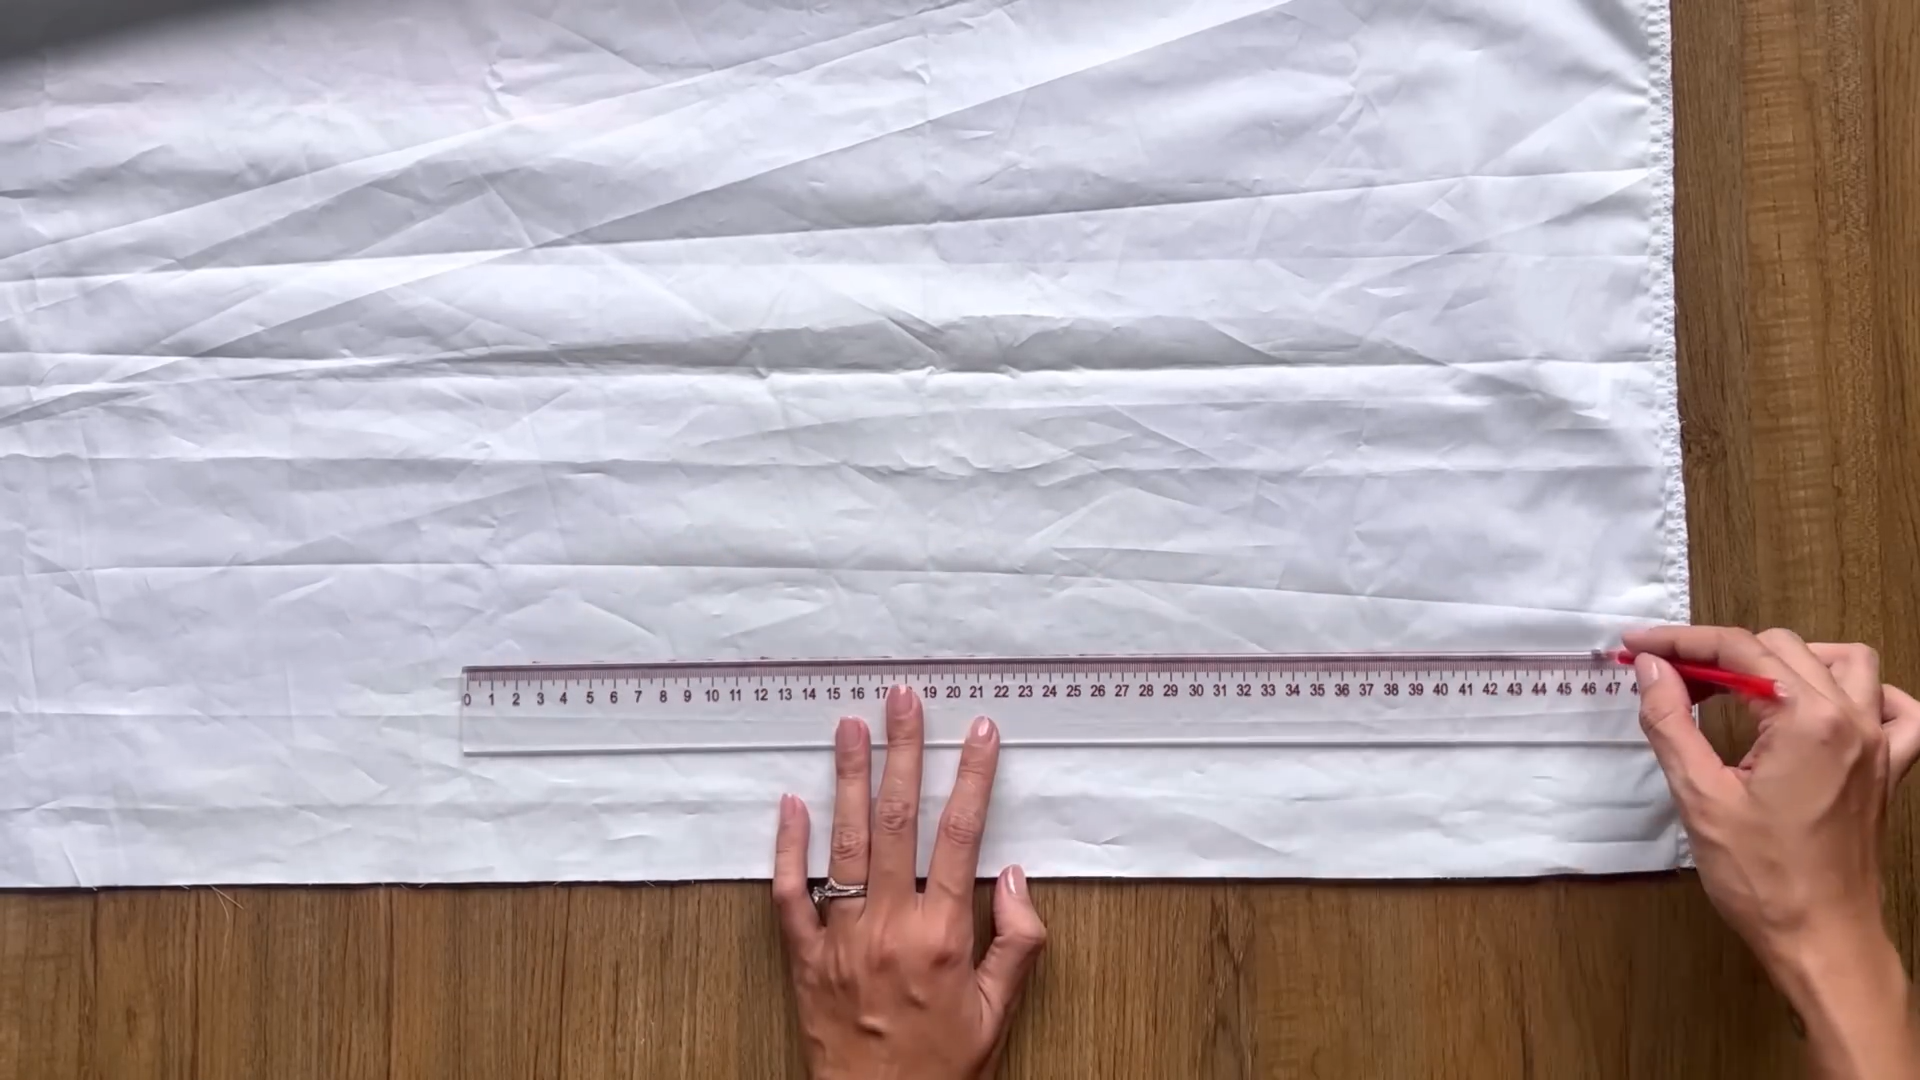
Measure the width of the rectangle based on your hip size. You can make it bigger if you want the skirt more perfect.
Measure the length of the skirt. Measure from 3cm above your belly button to your ankle, adding 5cm for seam allowance.
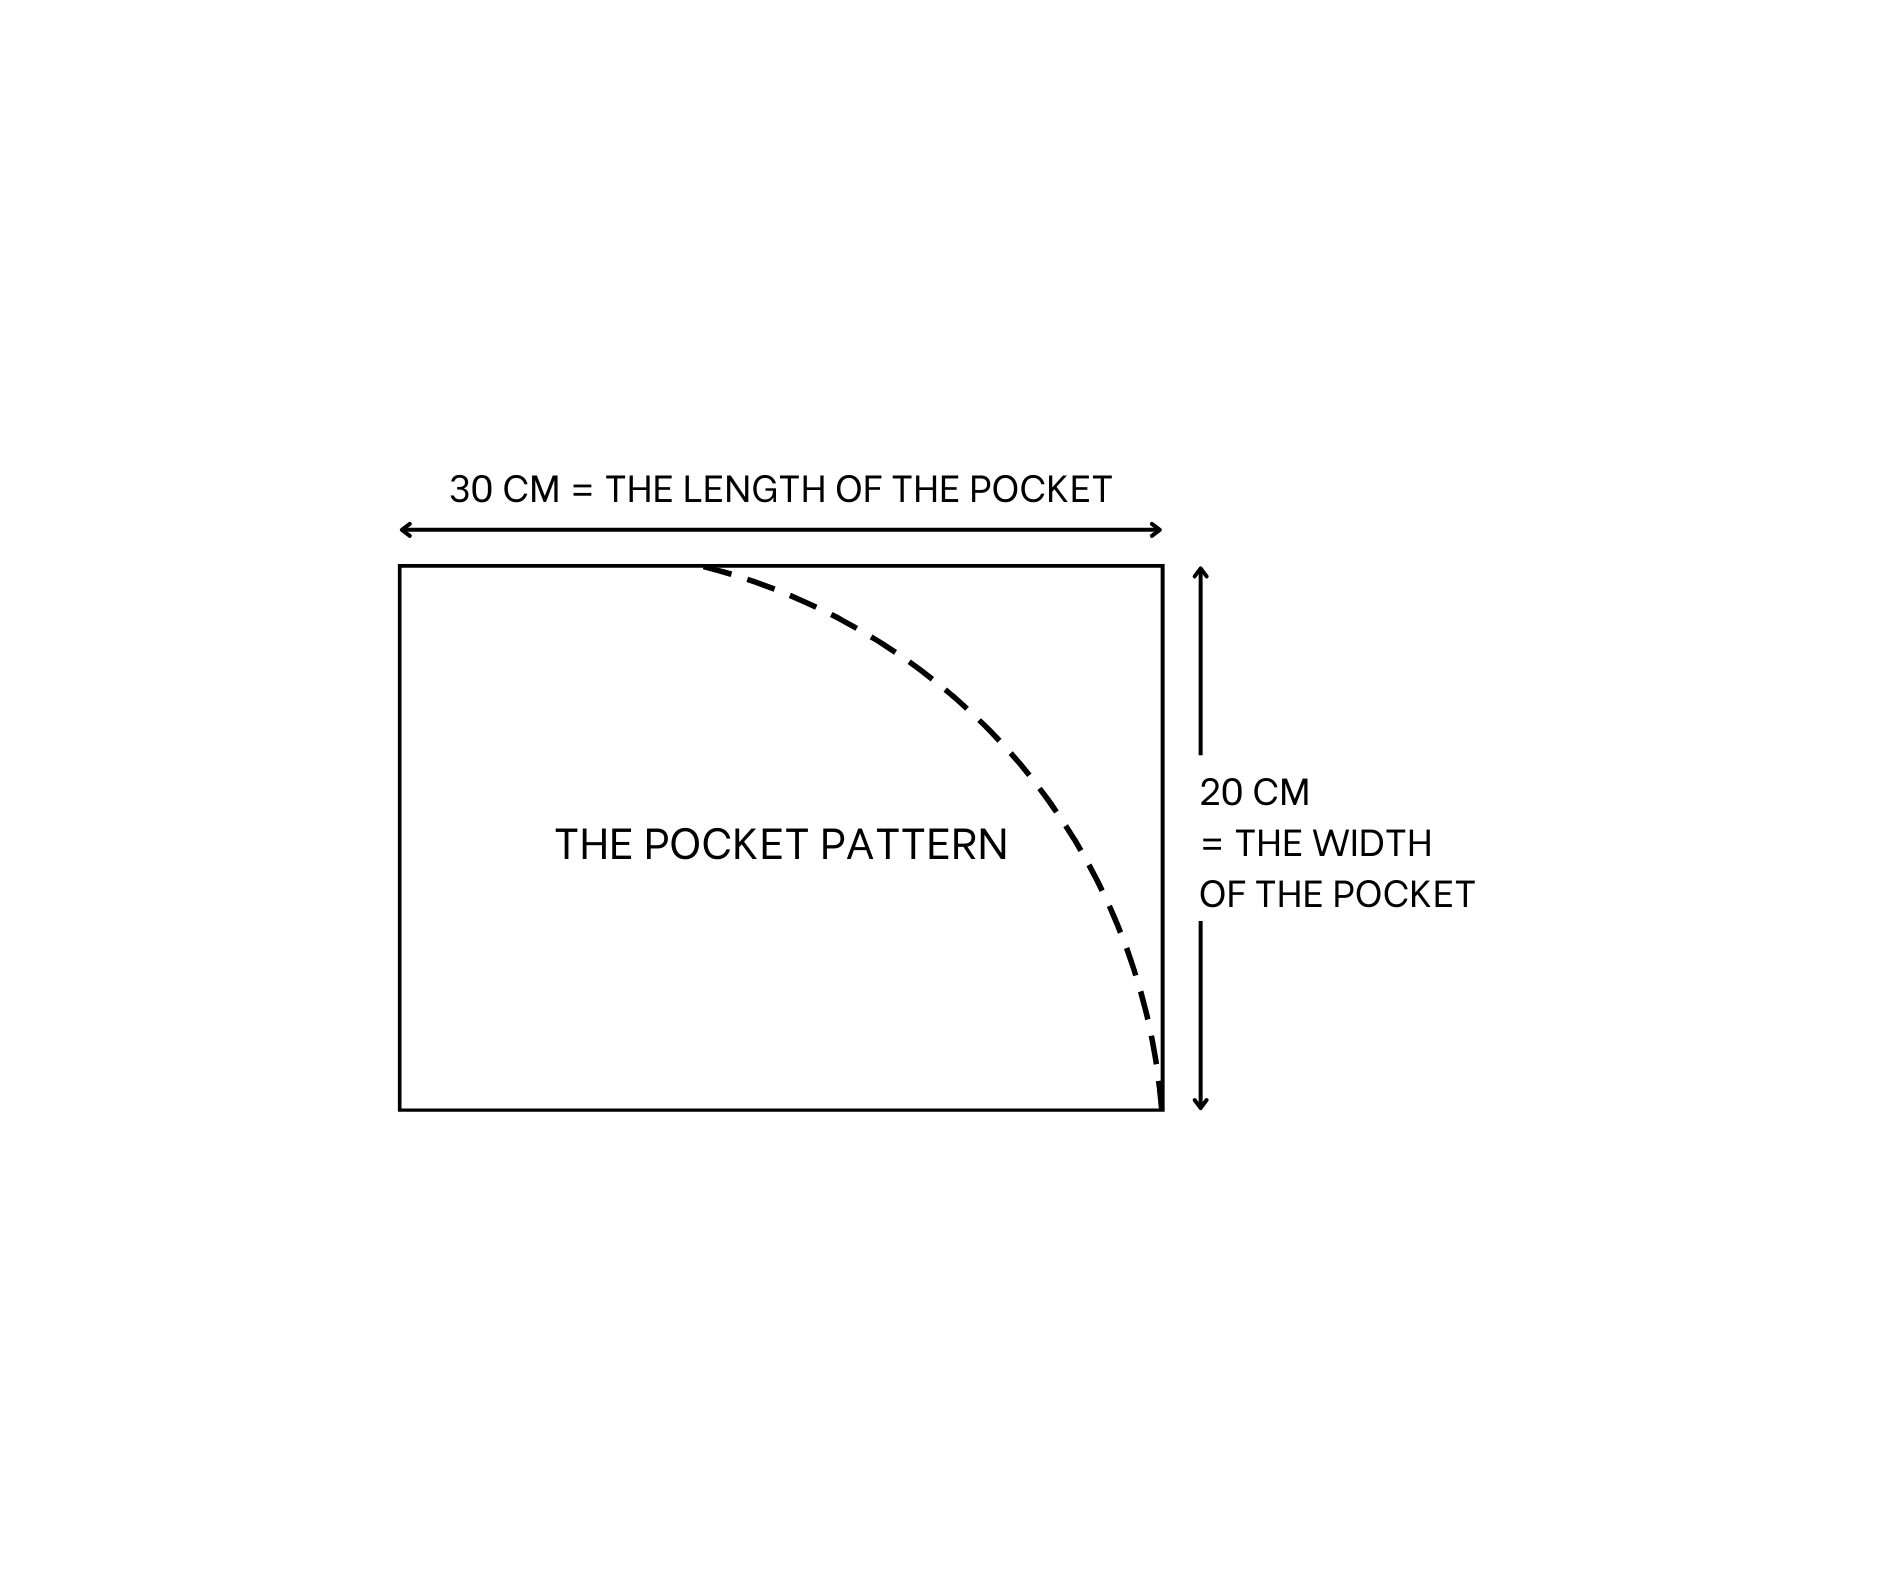
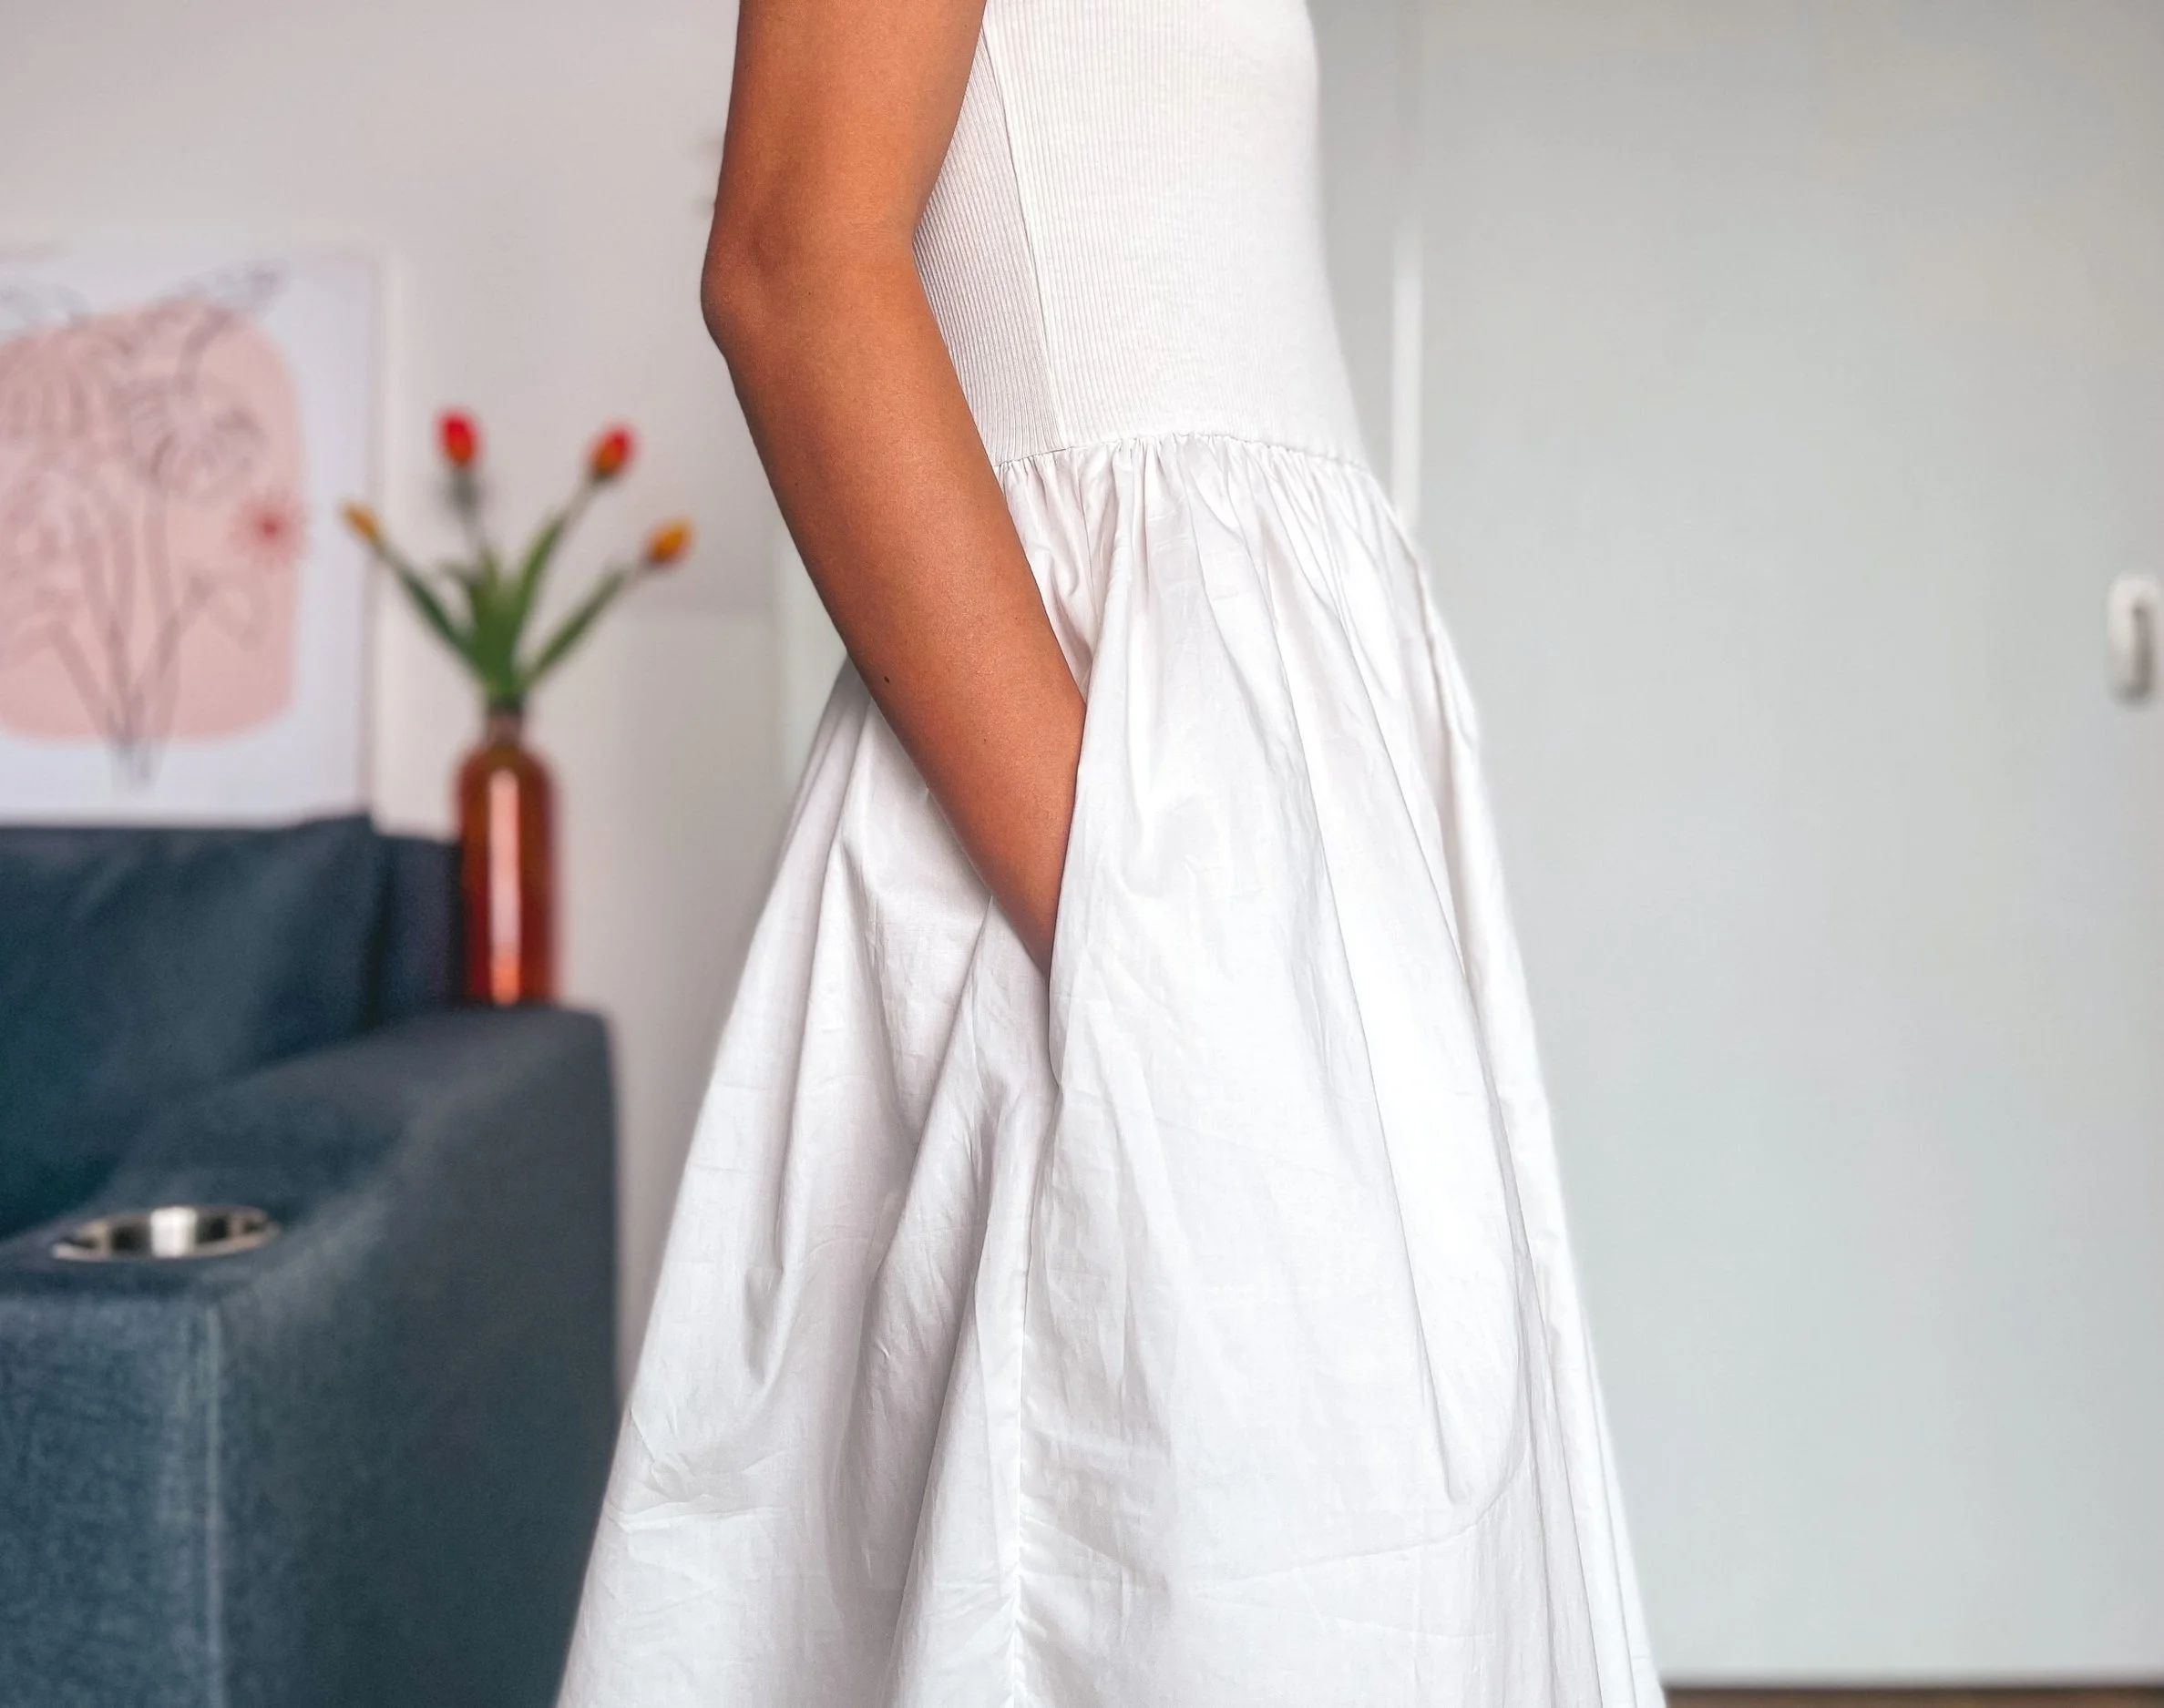
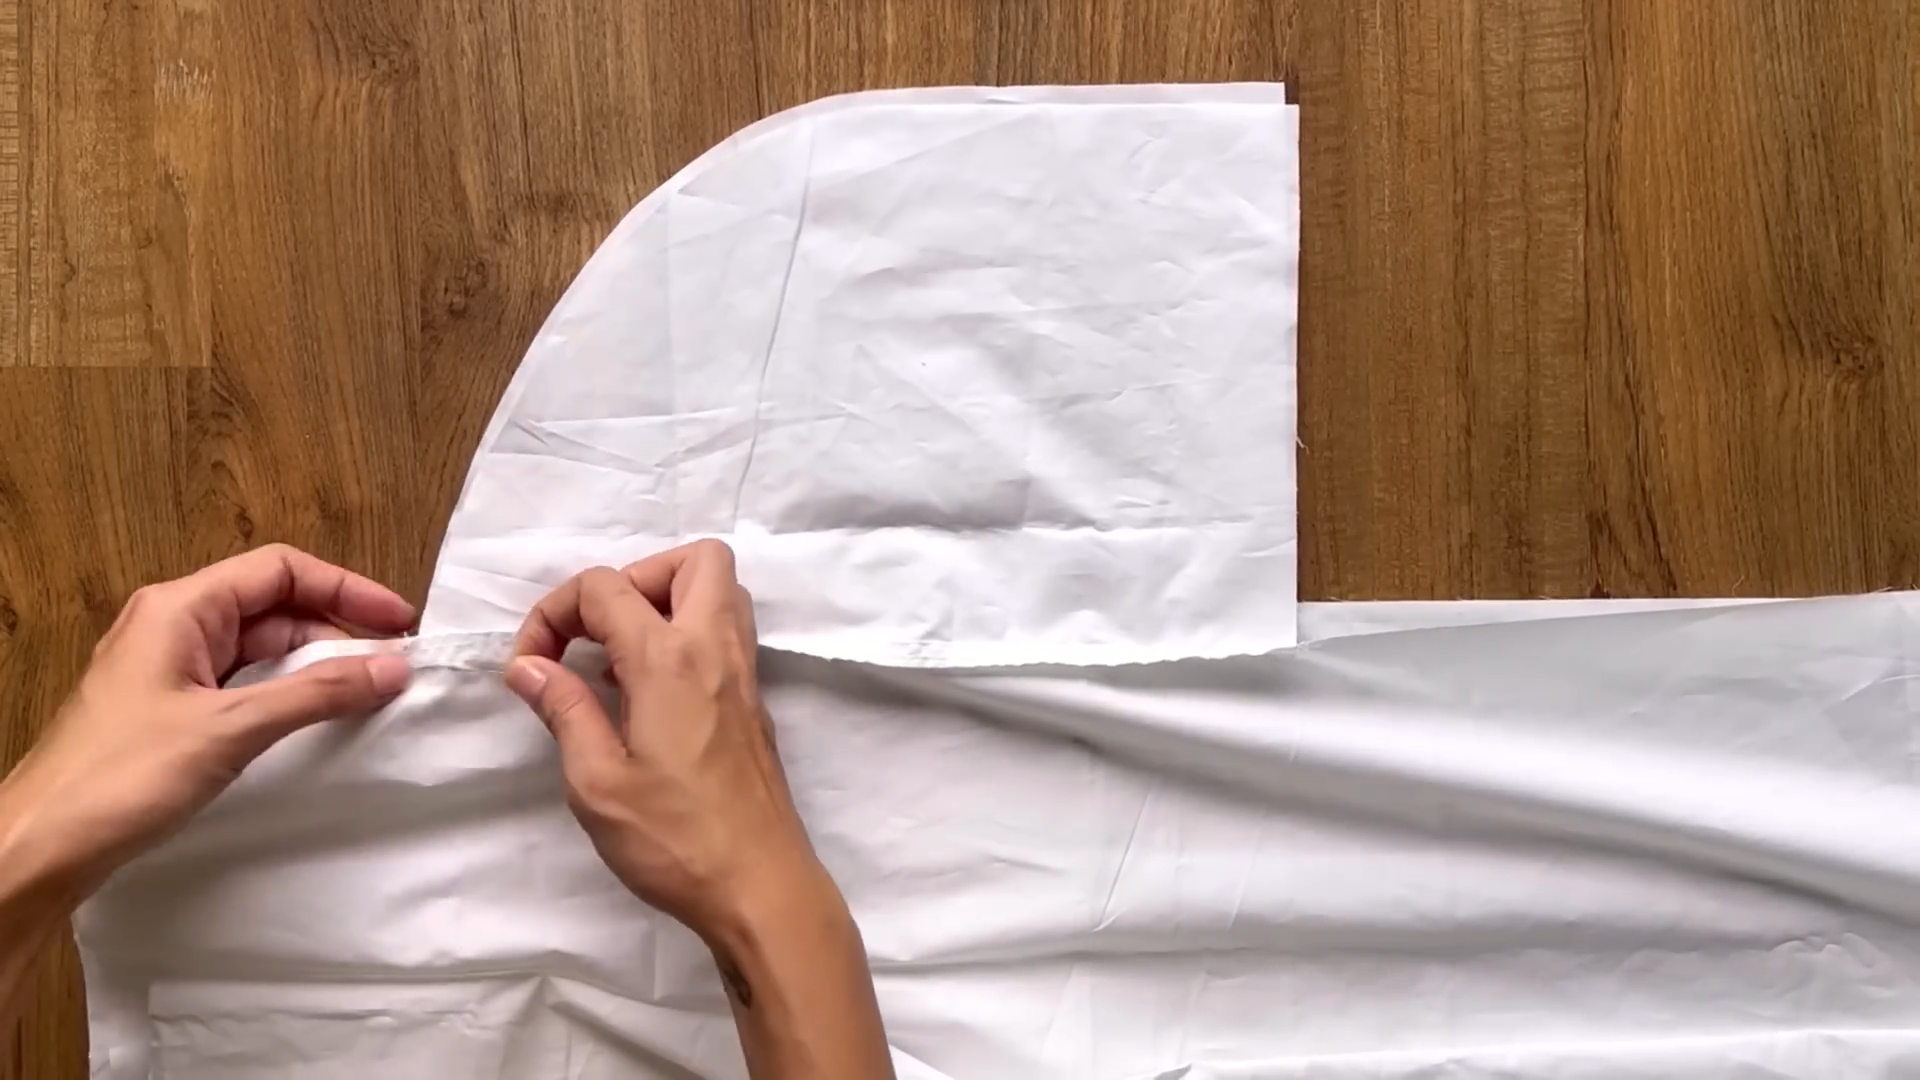
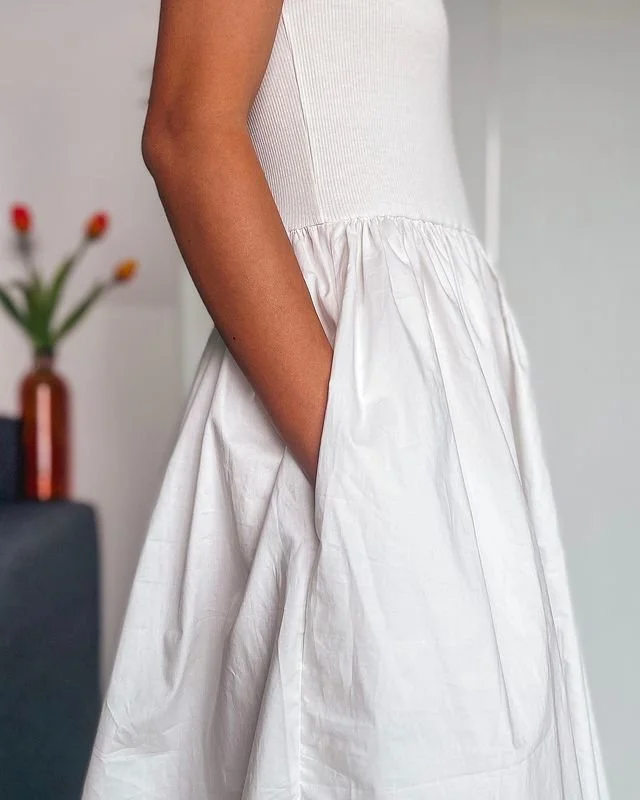
The pocket pattern
THE POCKET PATTERN
Customize the measurements according to your preferences. Feel free to change the length and width as needed.
Start at the top of the lane line, marking down 10cm for the side pocket position.
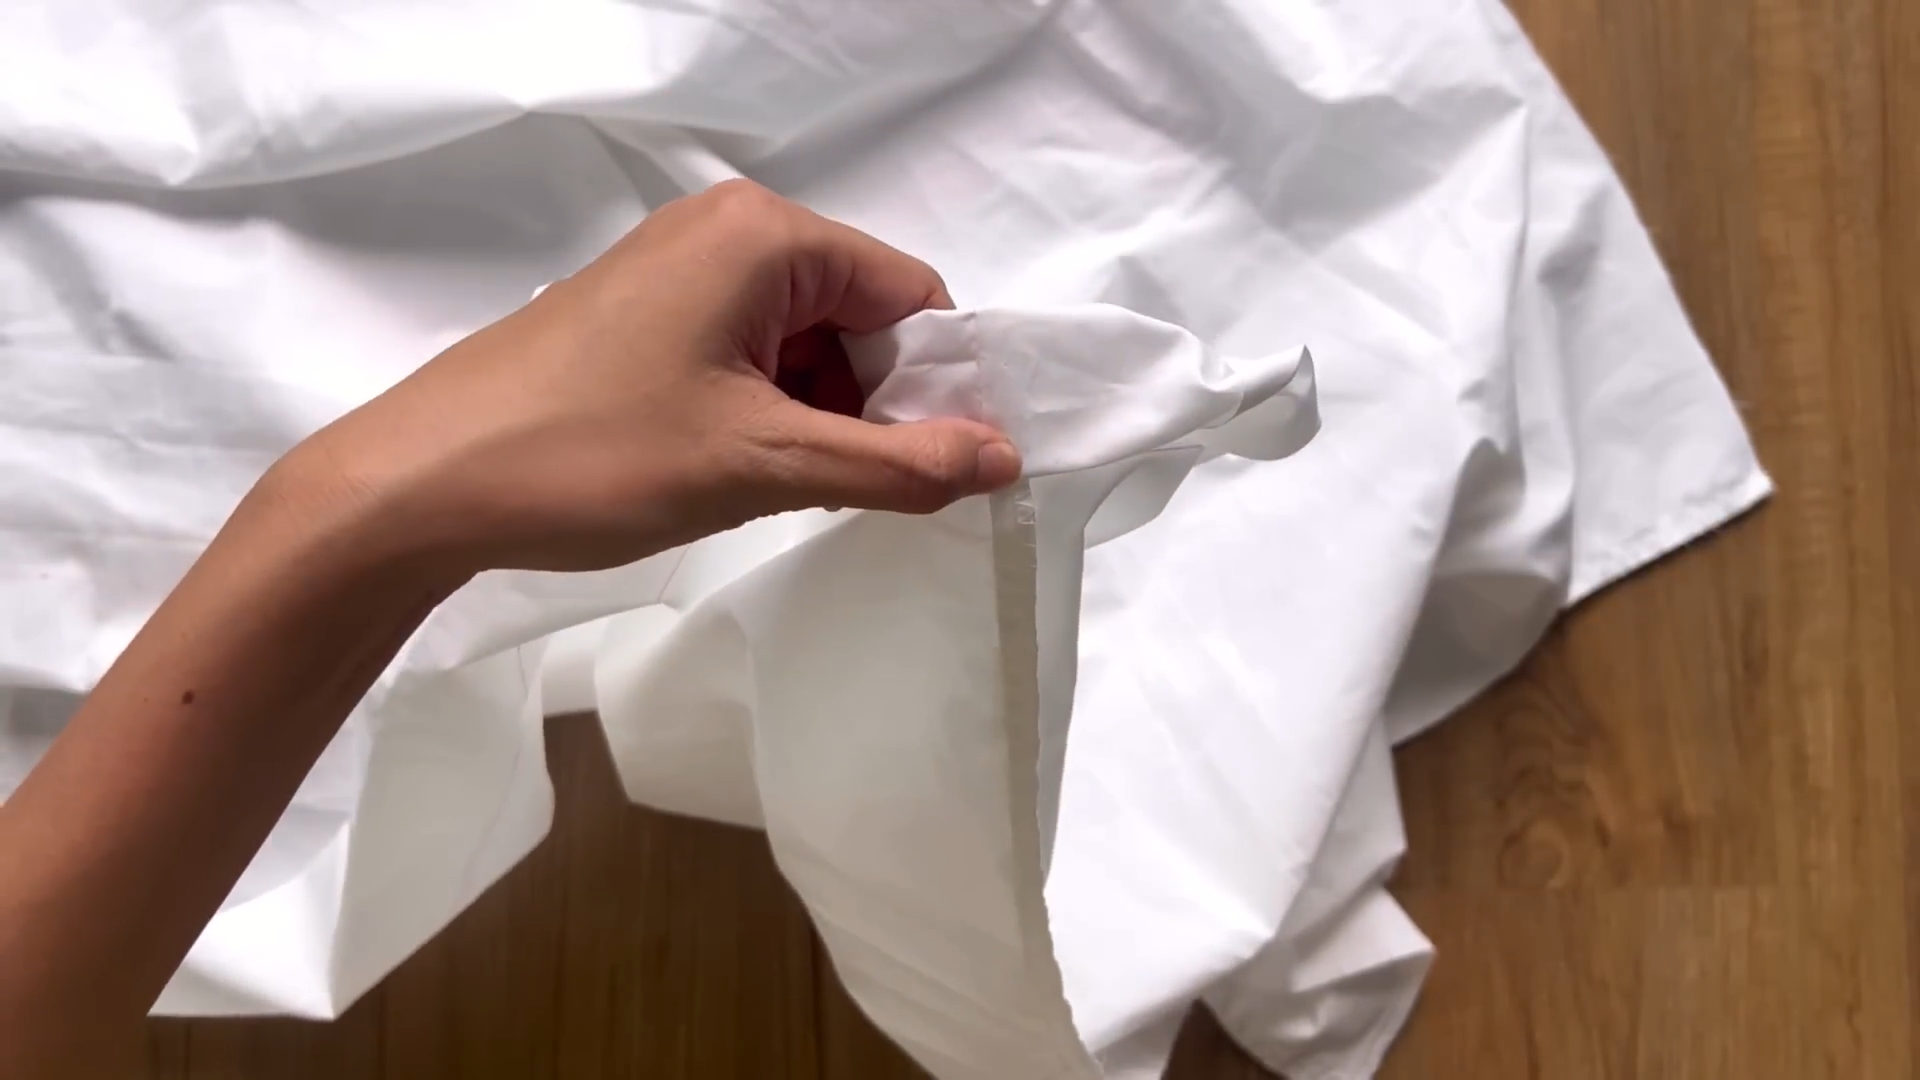
Connect the two skirt pieces at the pocket side.
Make sure the right side of the pocket fabric faces each other in the skirt piece.
Then sew them together.
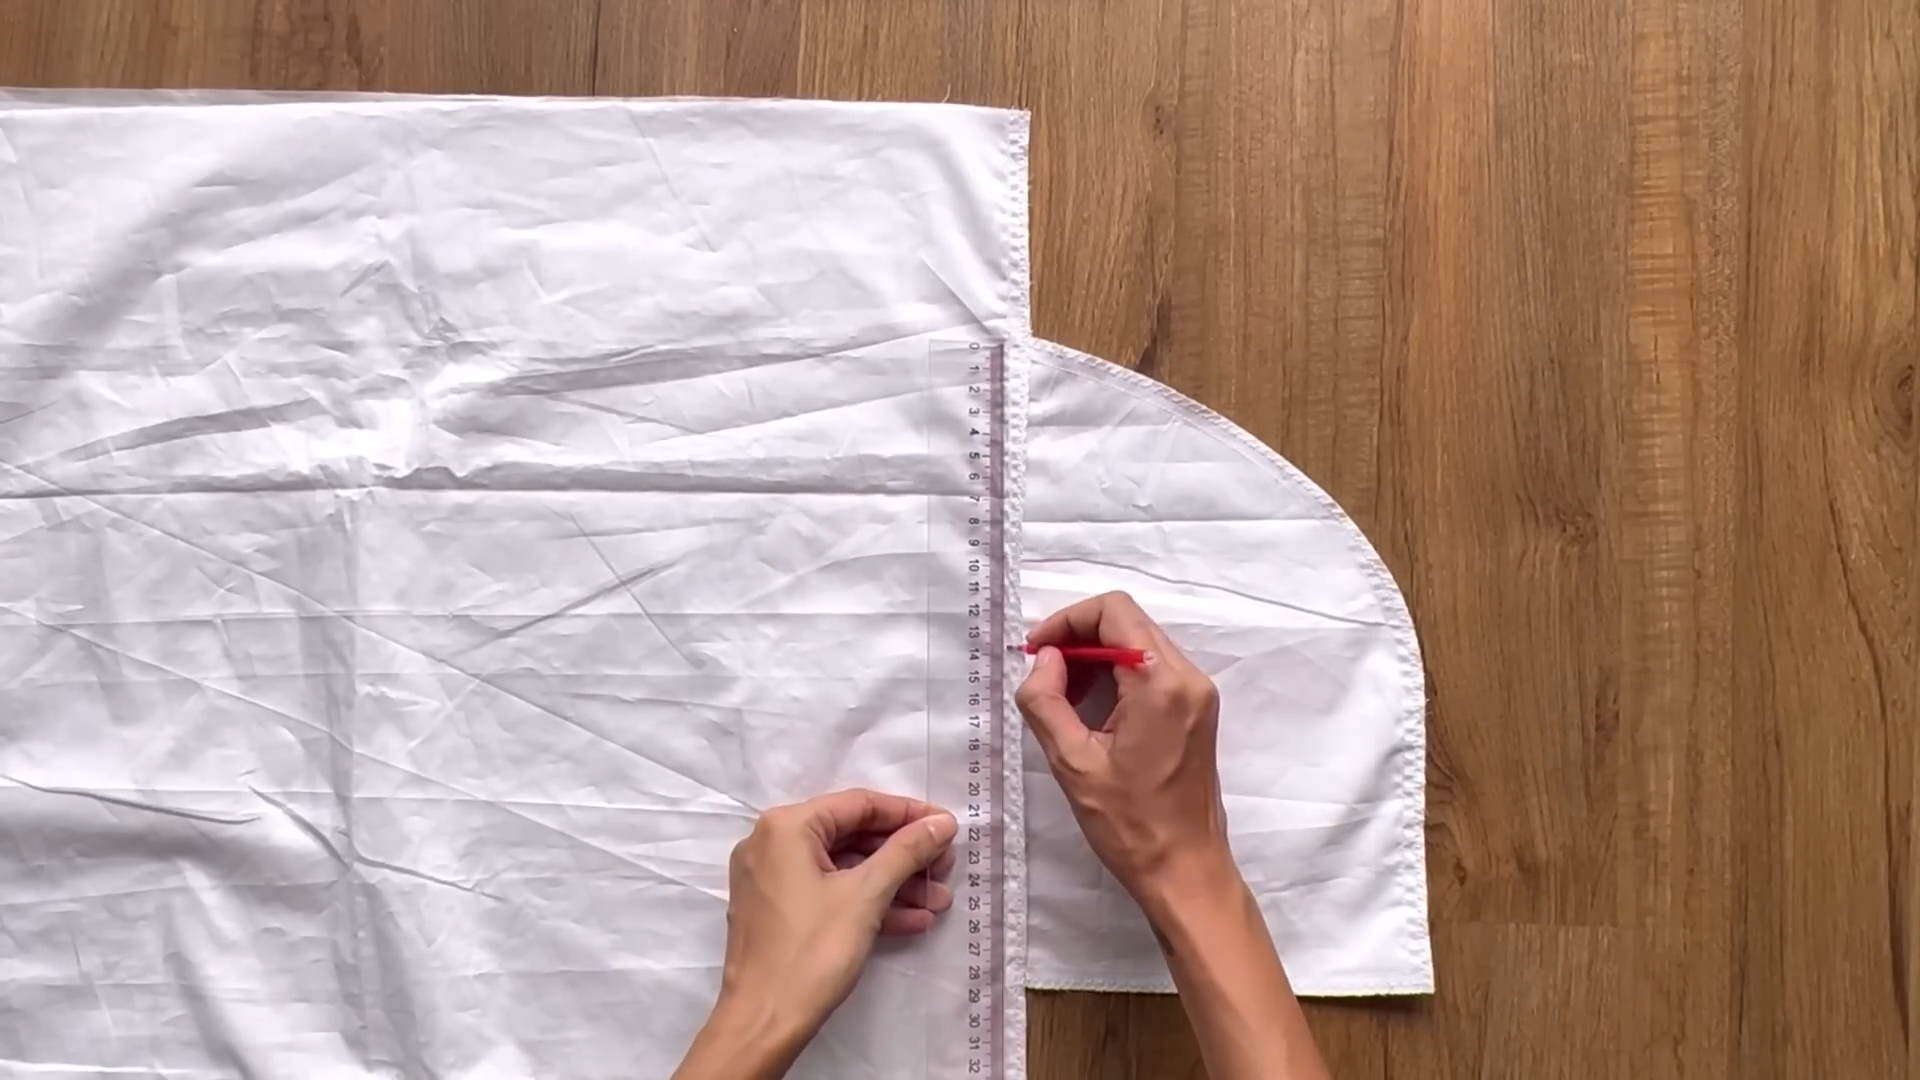
From the top of the pocket, marking down 13cm, which is the width of the open area of the pocket. Then sew the remaining sections together to form a dip for the pocket.
At the end of the skirt, draw a horizontal line at 9cm (3.5 inches) above the ending line.
Fold the edge in by 1cm (⅖ inch) then fold it over the first seam to make the second seam. Then sew to finish the end of the skirt.
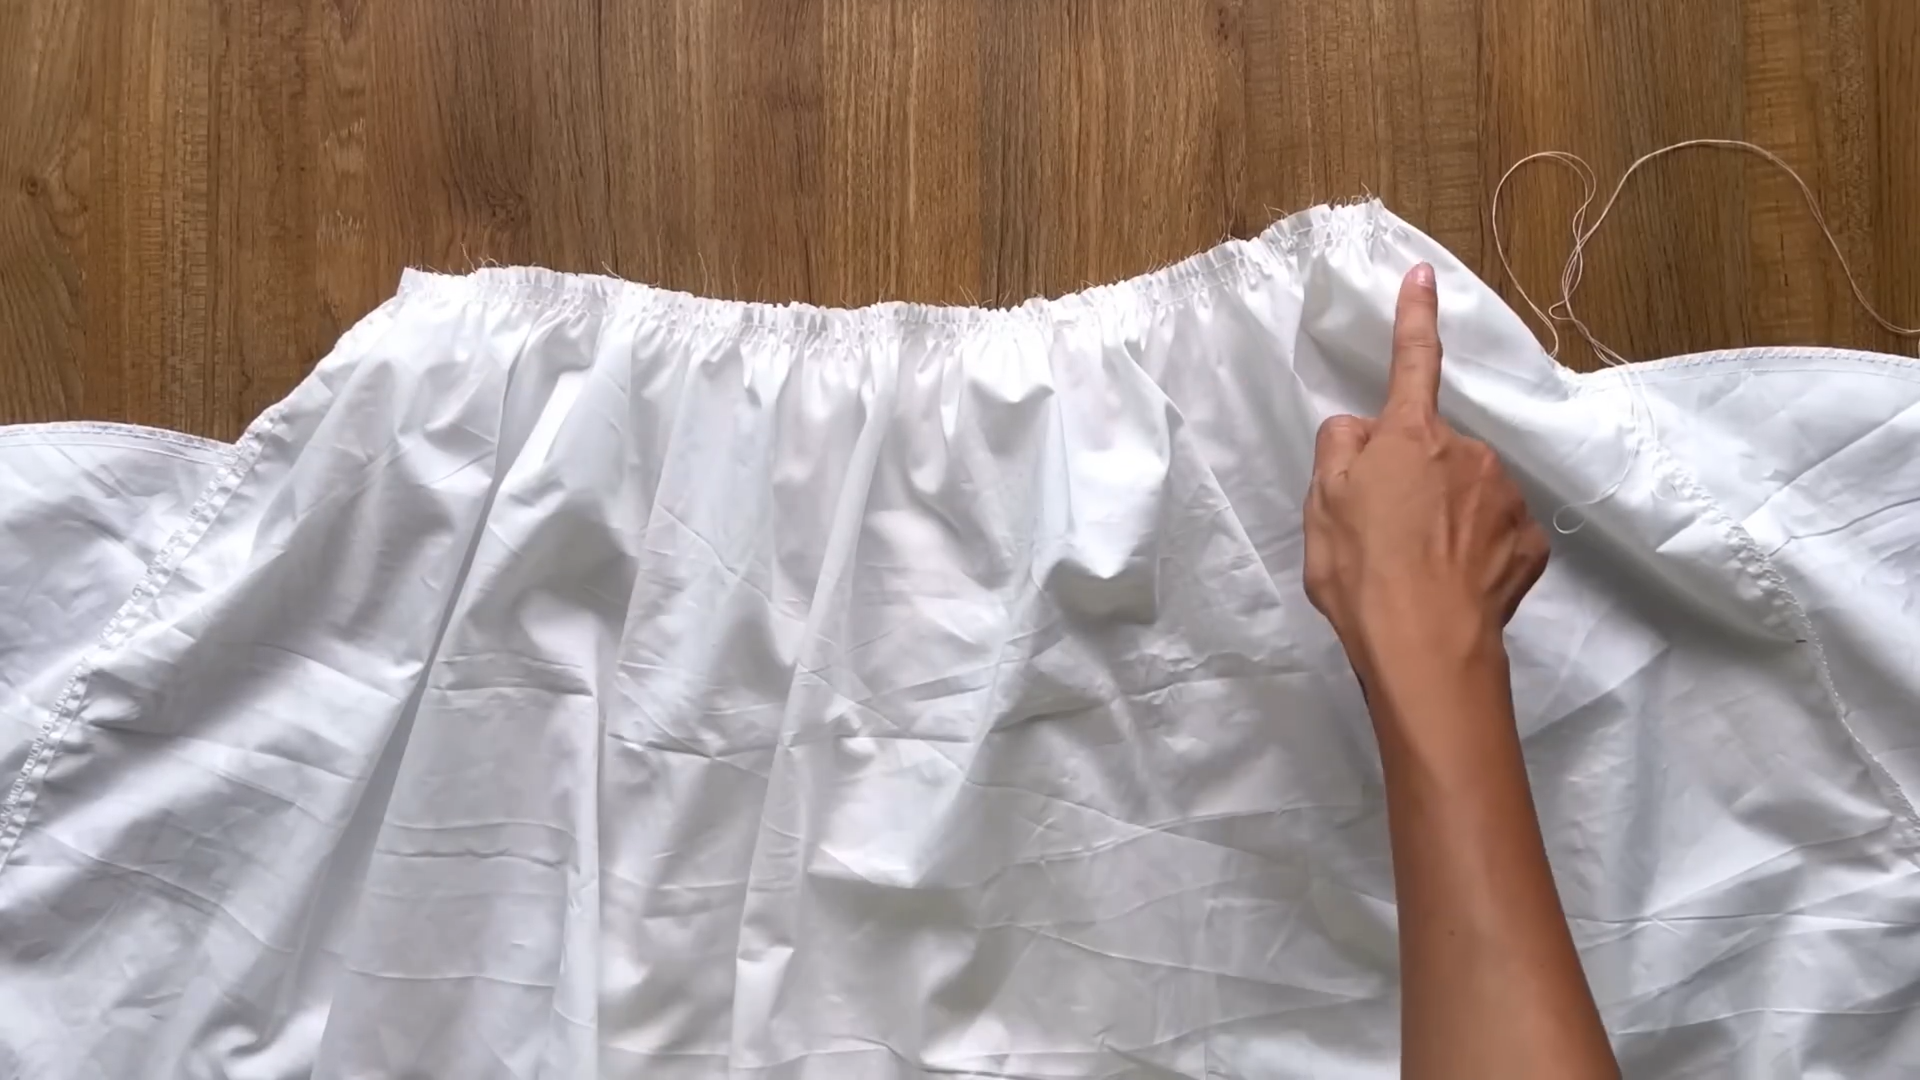
At the top of the skirt, make 2 loose seams. Then, measure the width for the gathered fabric.
Make sure it's wide enough to fit around the hips comfortably, with an extra 10cm or more for a better fit when wearing the dress later on
CONNECT THE TOP AND THE SKIRT TOGETHER
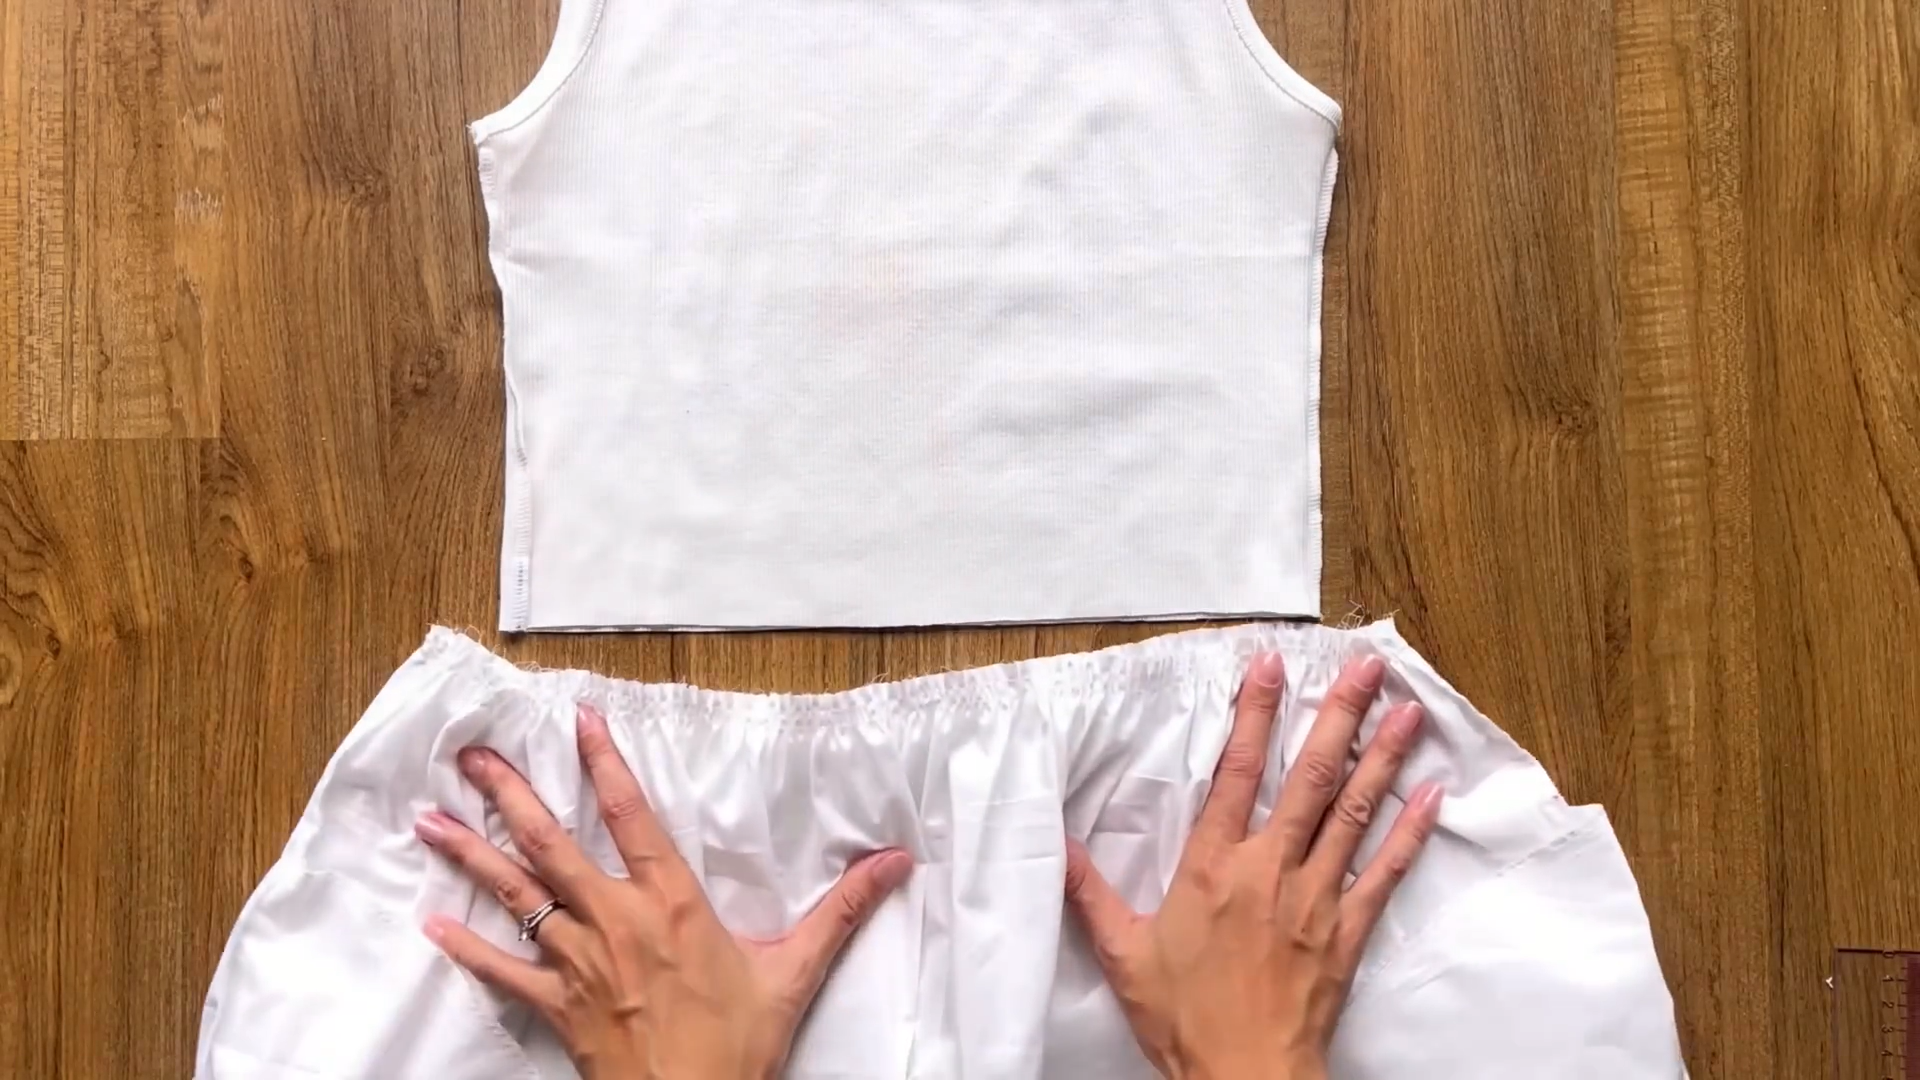
Connect two side of the skirt part to two side of the top part. Then connect the middle of the skirt part to the middle of the top part.
After that straight the top part to be the same with the skirt part when sewing.
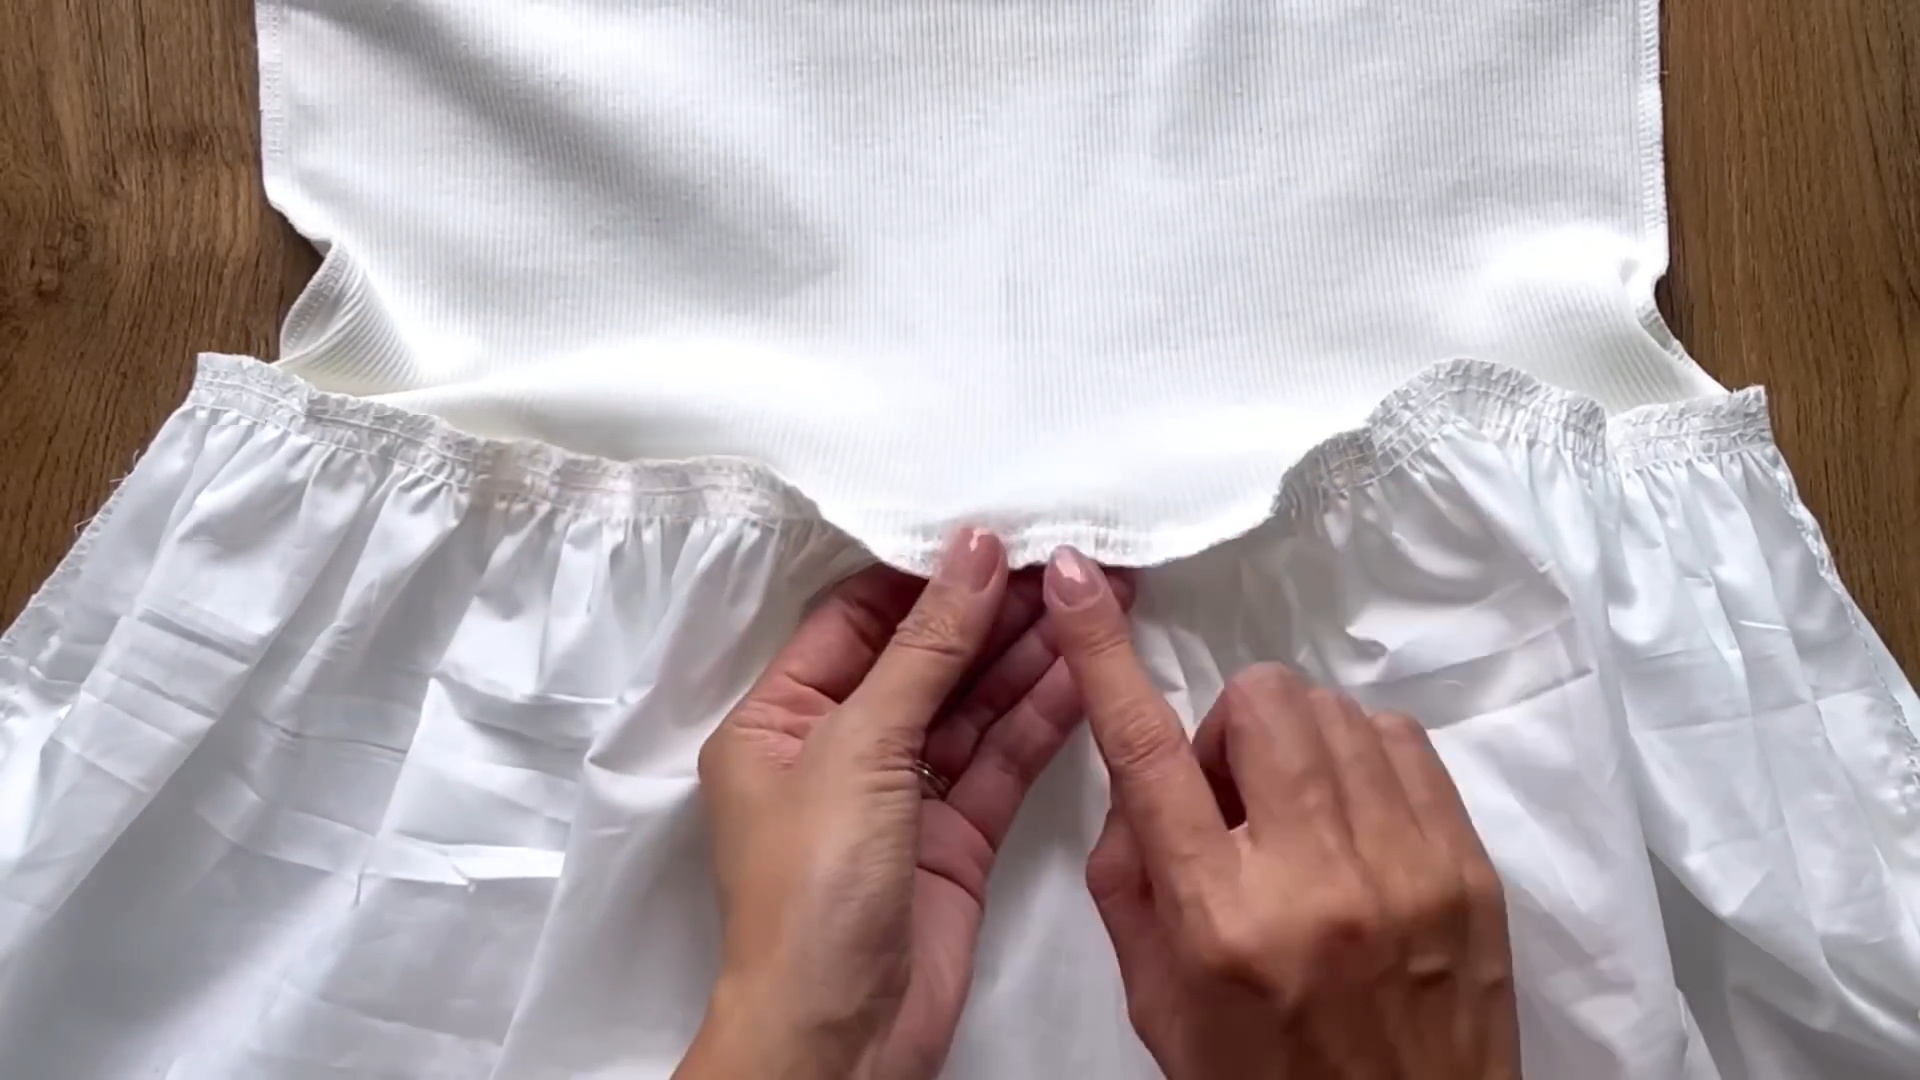
Once sewn, use a circular or a zigzag stitching to finish the edge of the fabric to get them on together.
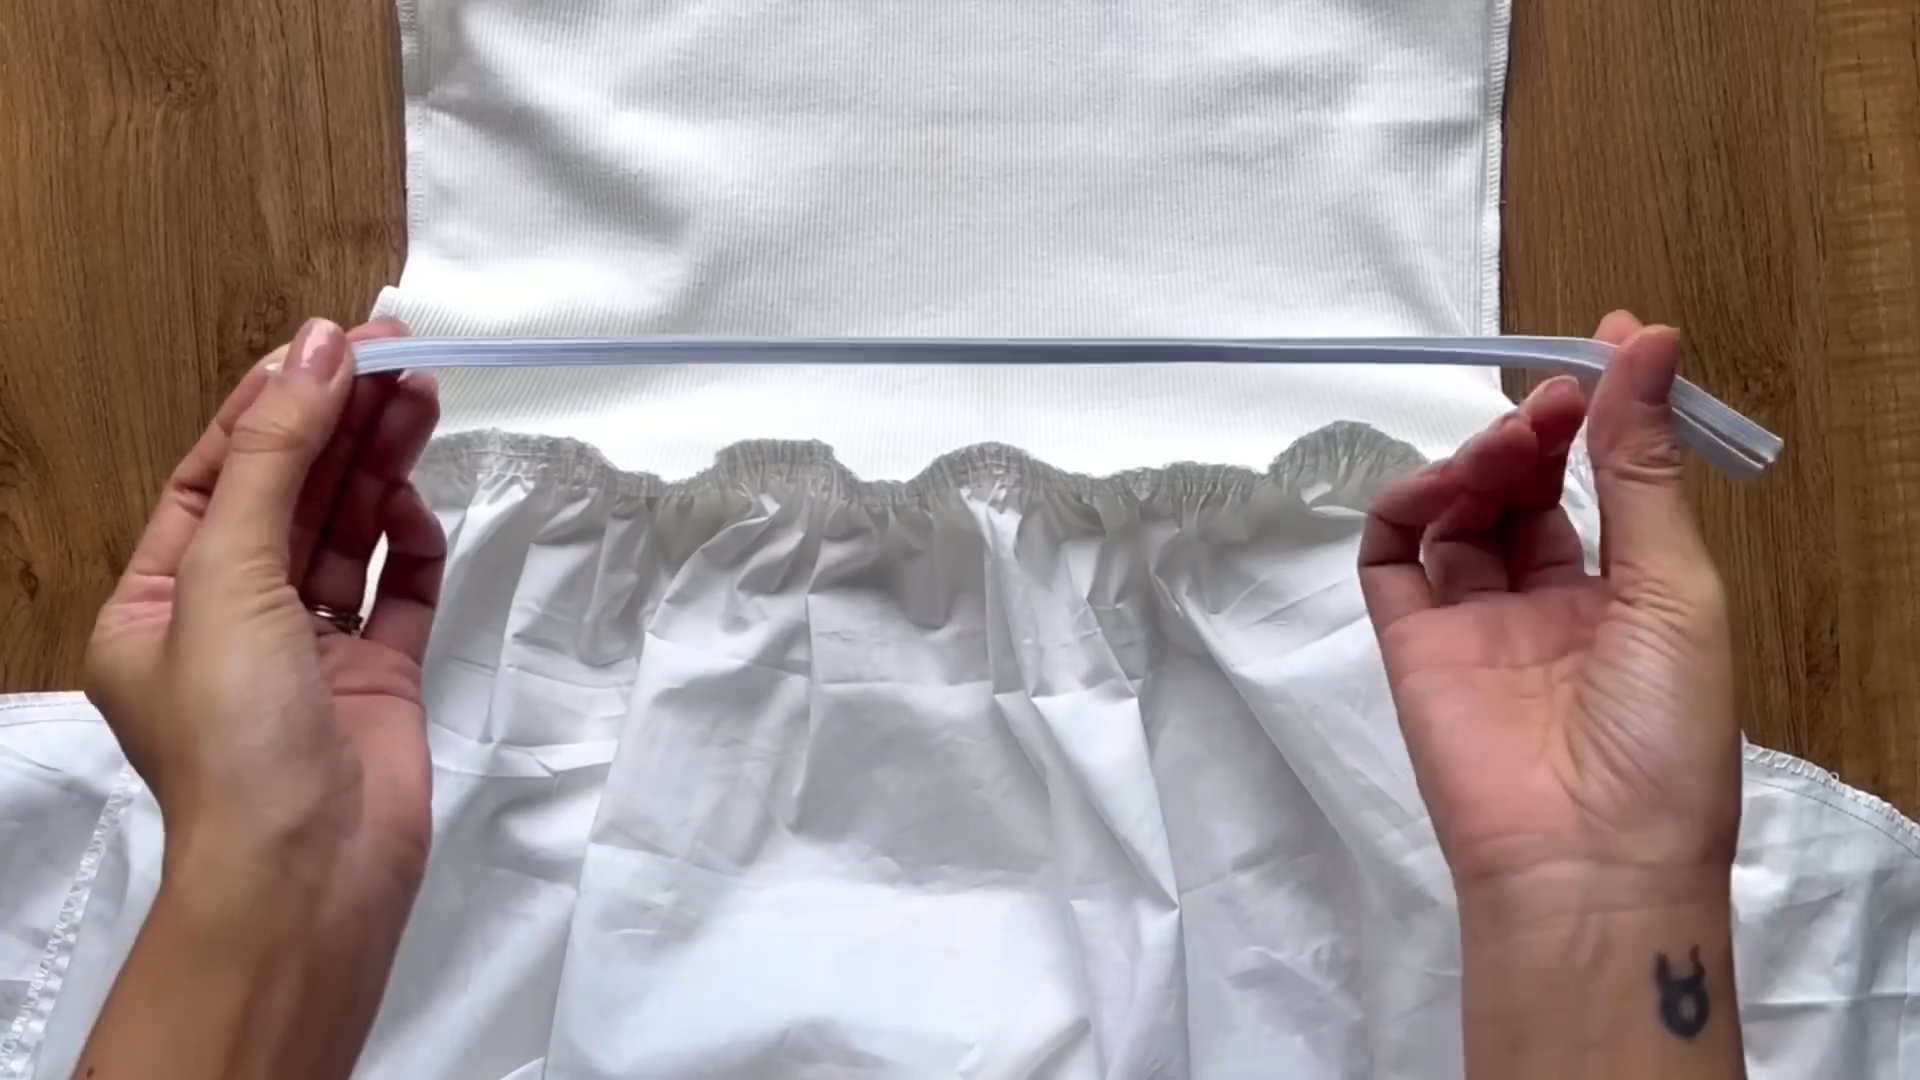
Cut a long elastic band with a width of half a centimeter and a length of 64cm (25 inches).
Make sure that the elastic is 2cm shorter than your waist measurement, as this will make the waist thick to your waist better.
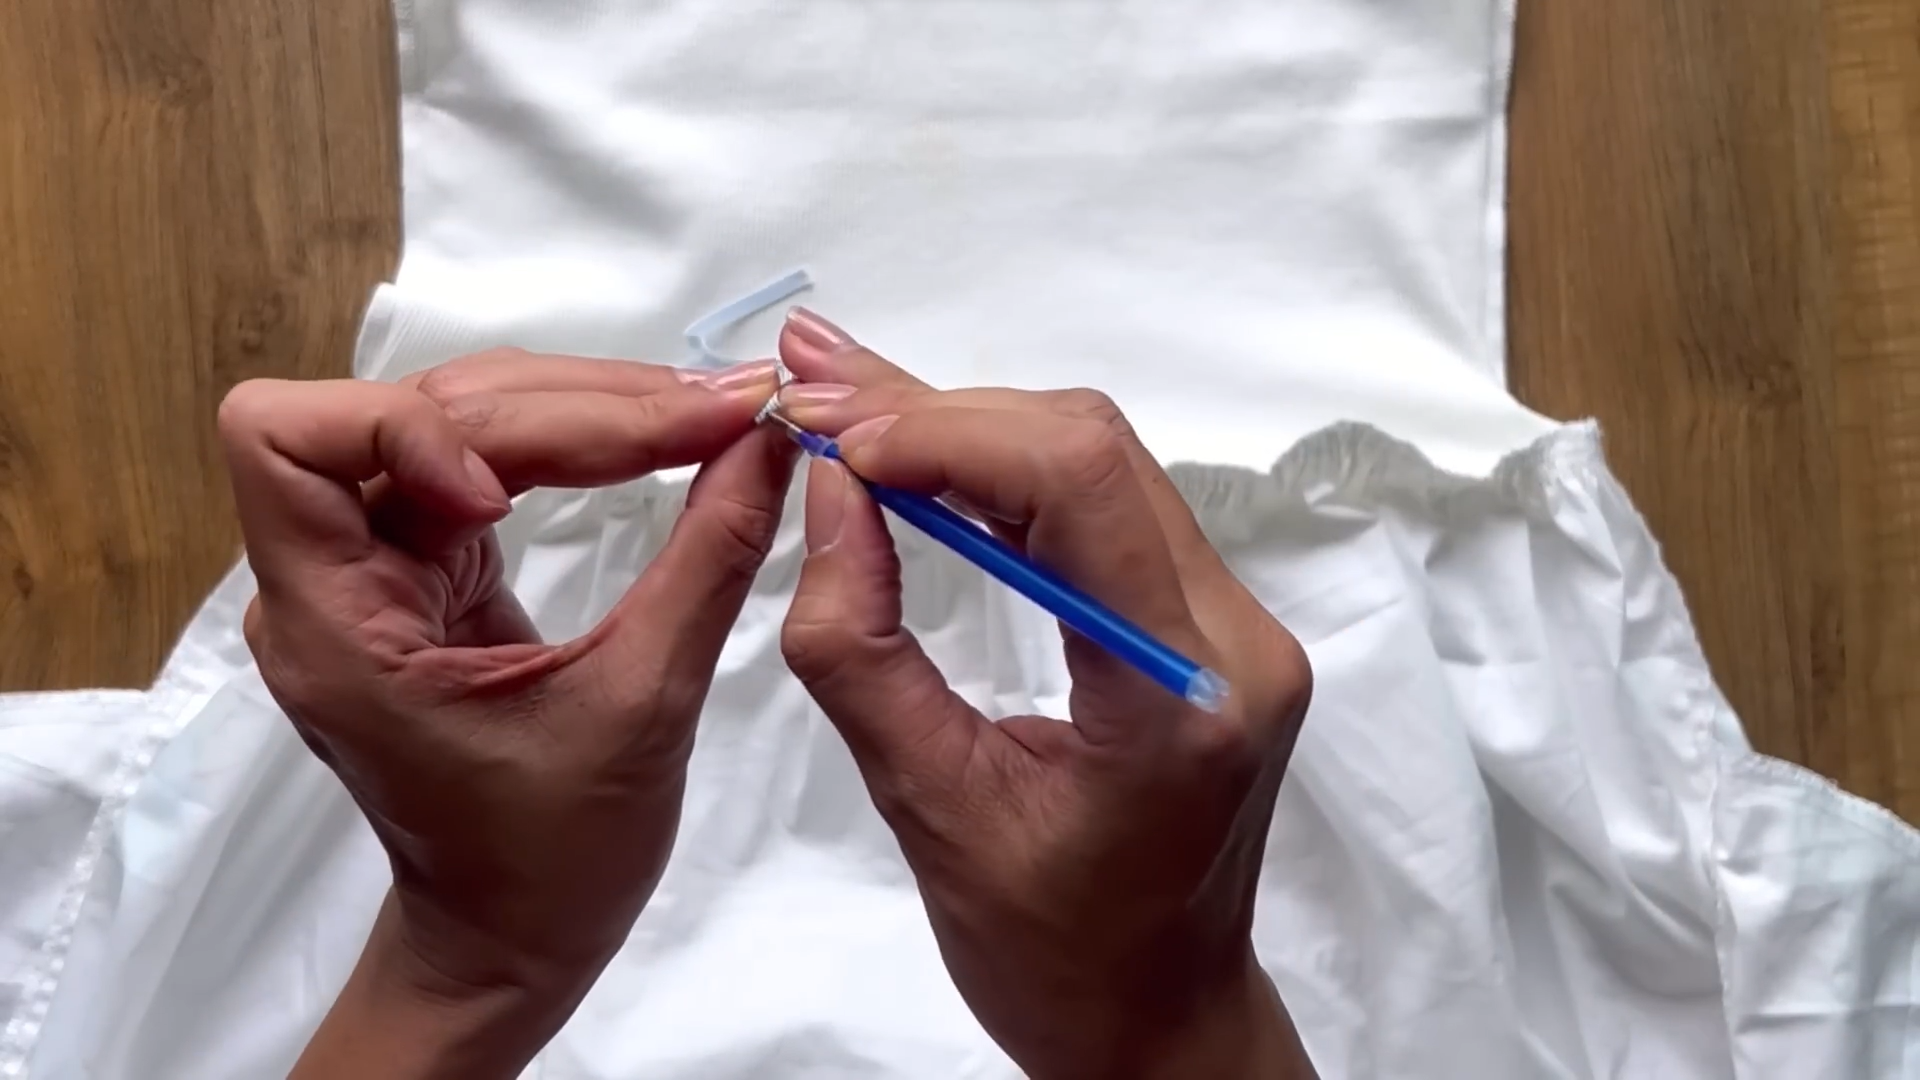
Mark the position for the elastic band. This ensures that the elastic band connects equally to the waistline.
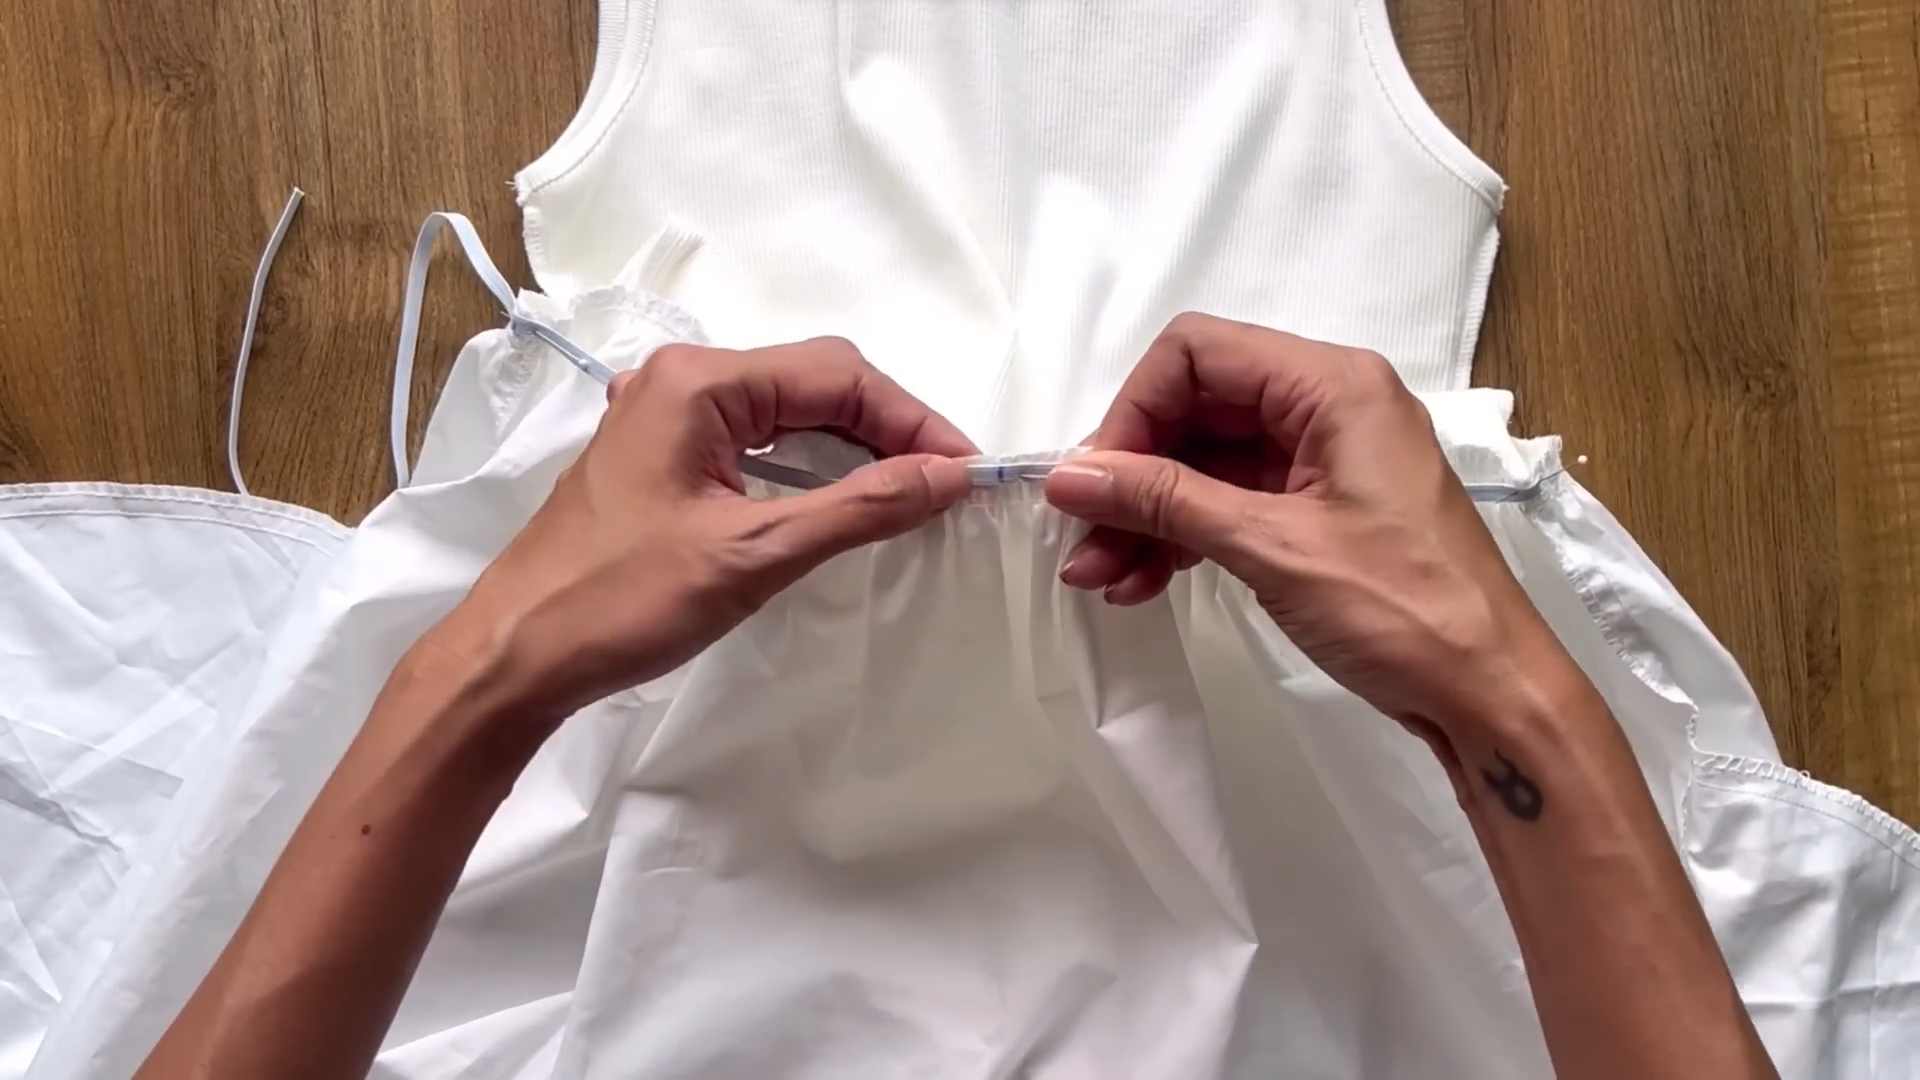
Attach the elastic band to the waistline and secure it with zigzag stitching.
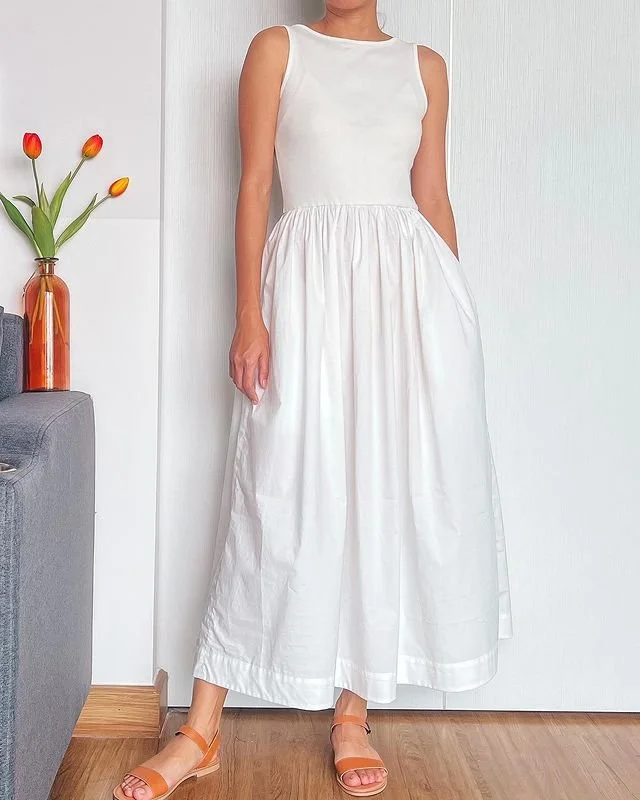
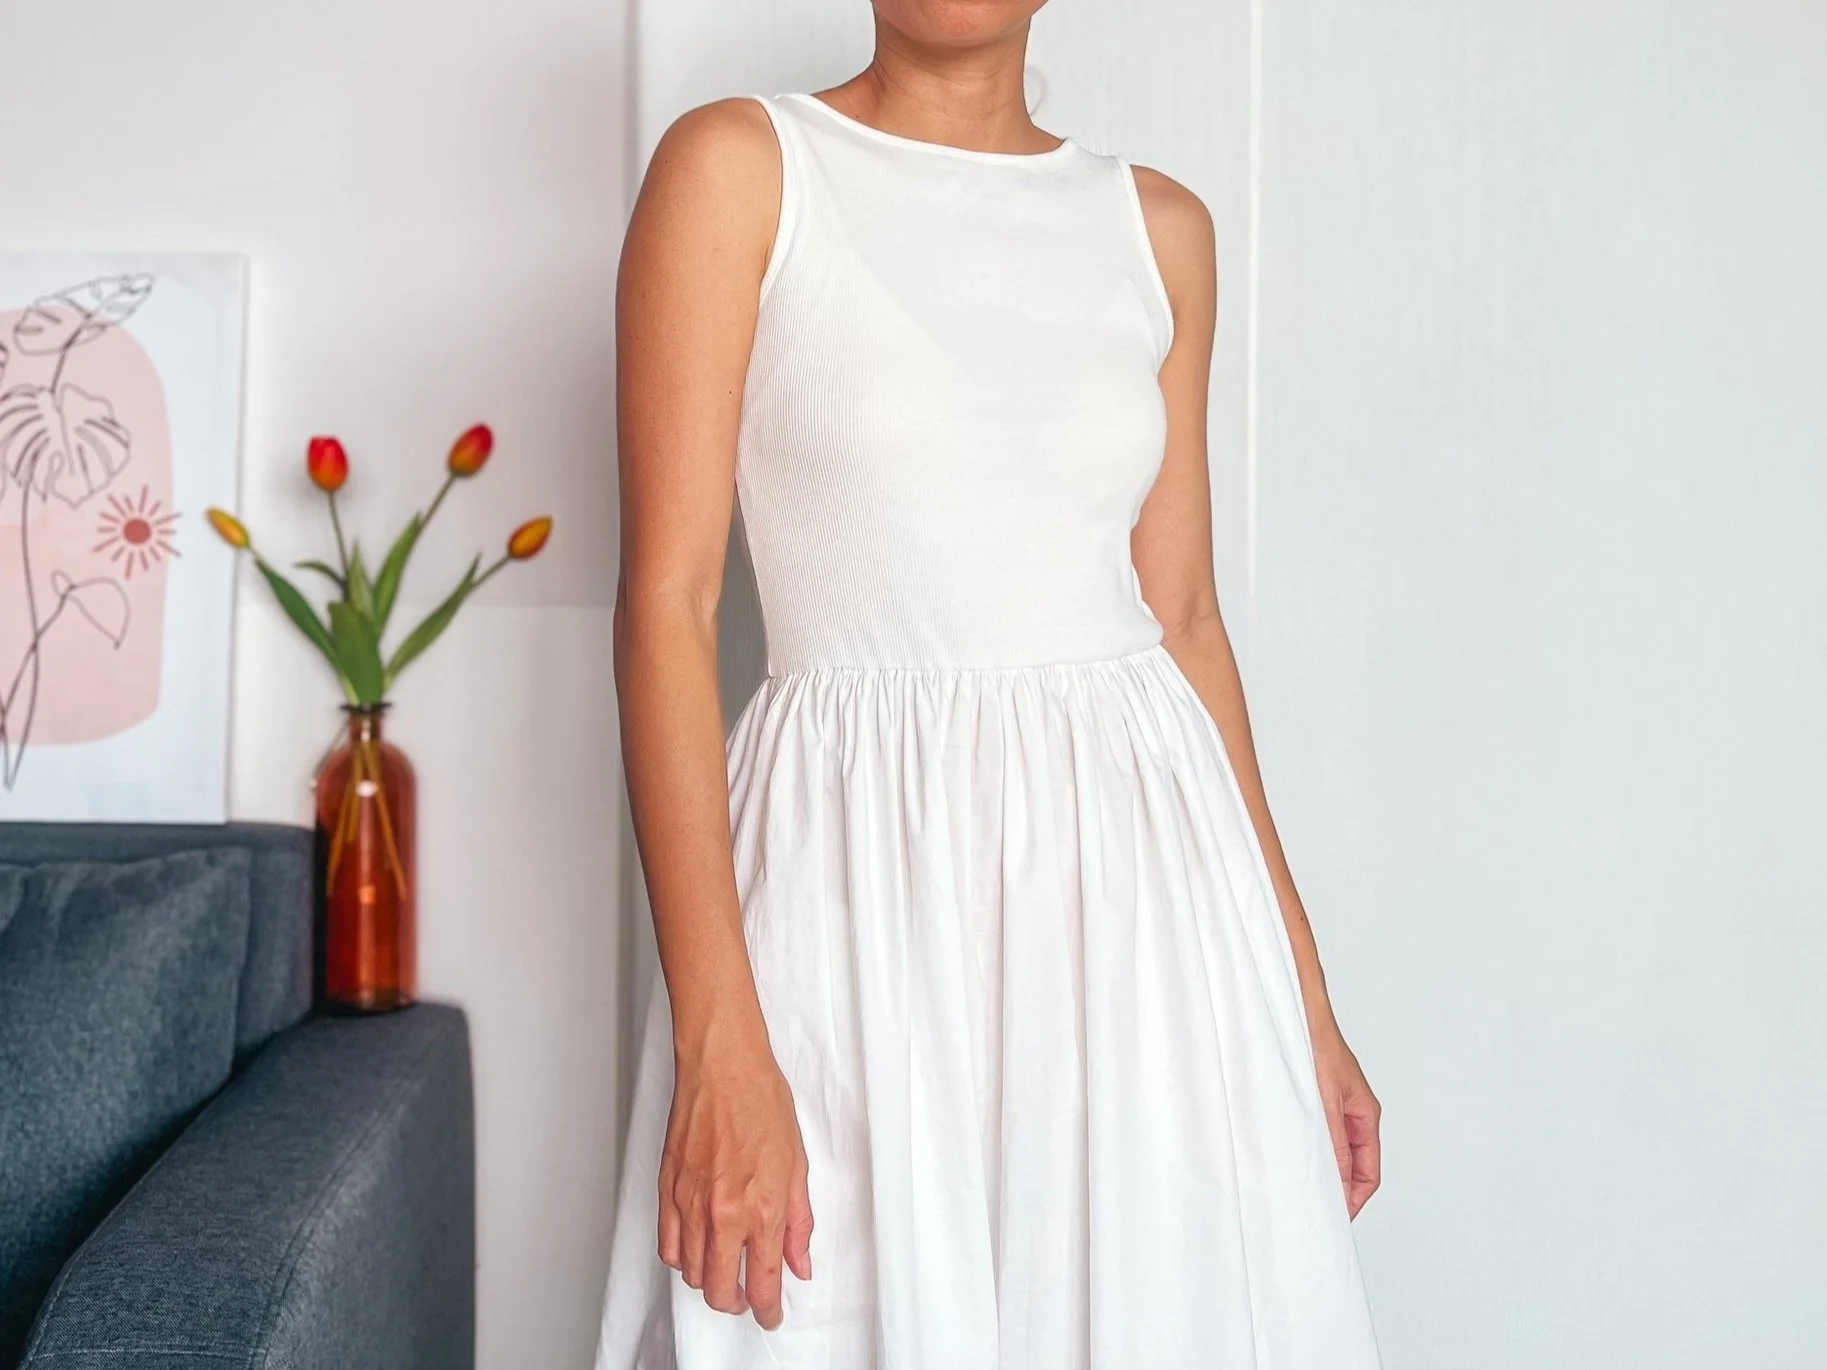
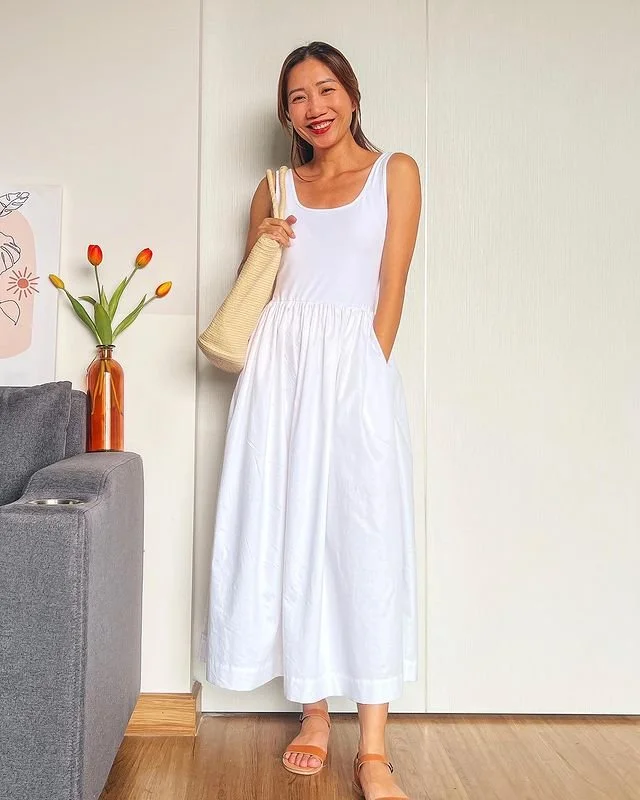
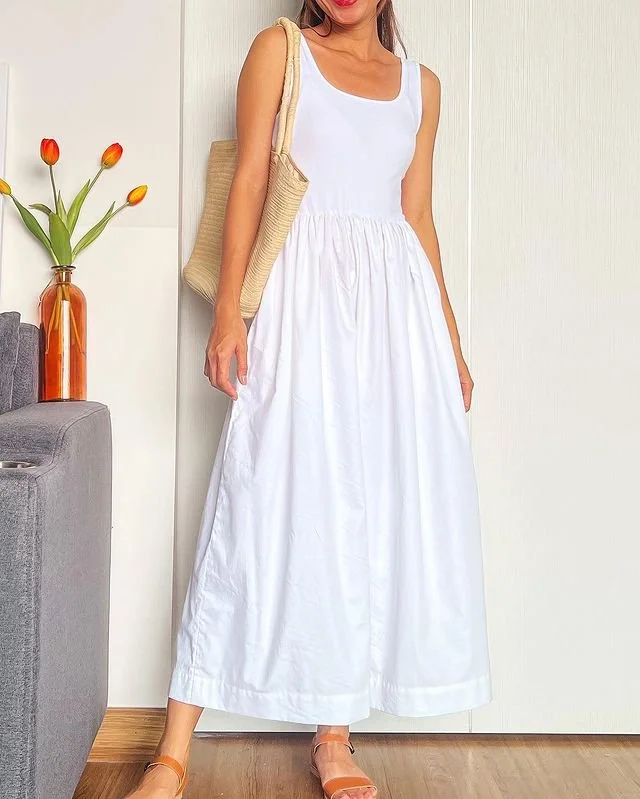
Here's how my dress turned out—it's comfy and has a girly vibe.
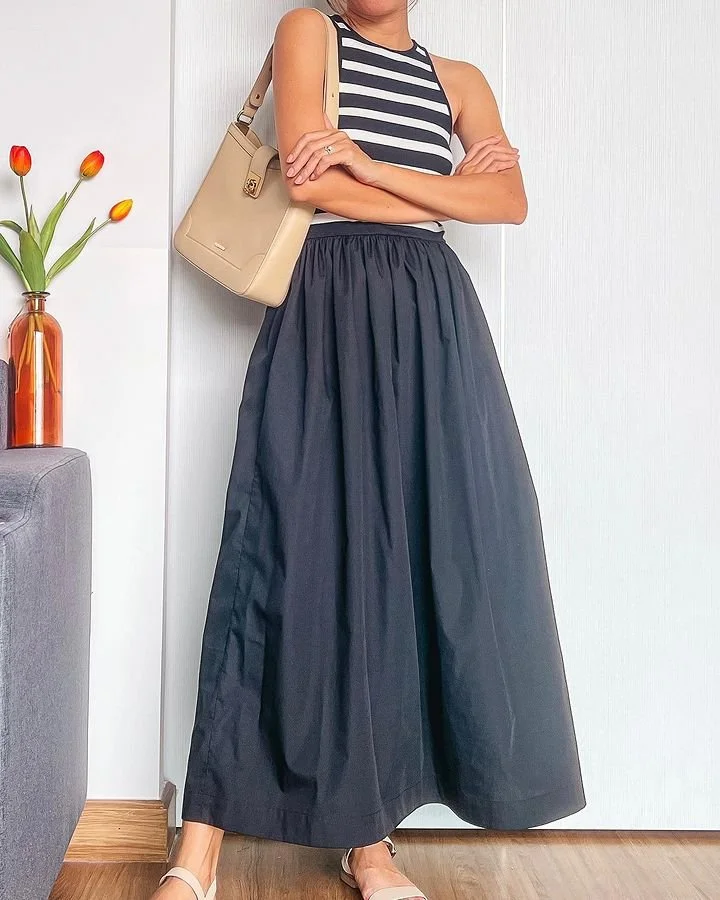
Depending on your tank top choice, you can create different styles.
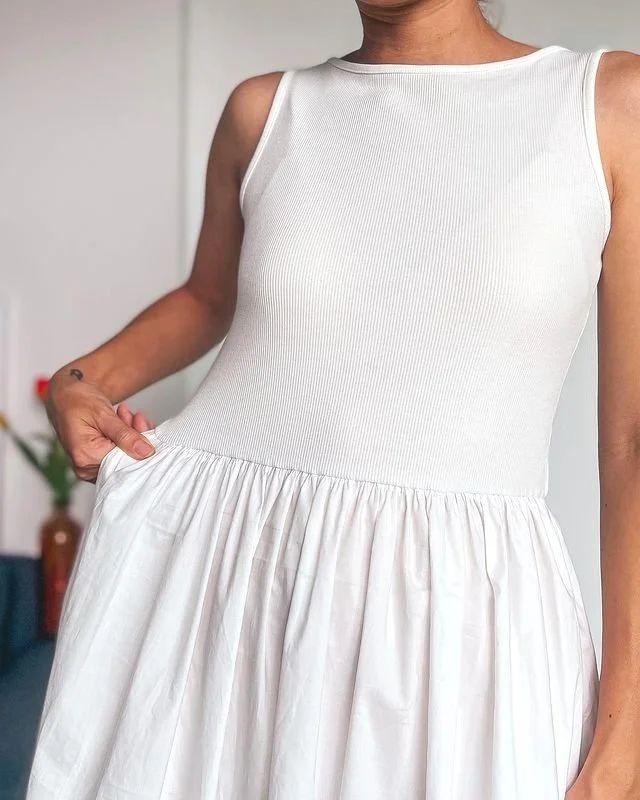
I love this DIY so much that I make two more dresses in different styles using the same method.

Hope you all like it and give it a try soon. See you next week!