2 Trendy Coats in 1 DIY | I made a Reversible coat from 2 blankets (cost me $15)
2 Trendy Coats in 1 DIY | I made a Reversible coat from 2 blankets (cost me $15)
Welcome or welcome back to my channel. My name is Jess and I love doing DIY, making clothes in a "simply but pretty" way.
Today's tutorial, I'm going to share with you how I made a reversible coat from 2 blankets that cost me only $15. And it's the inspiration from 2 trendy coats that you're seeing every where this season.
I hope you like it and try it out. So let’s get started!
WHAT YOU’LL NEED
02 blankets with the size is 1.5mx1.8m
Pattern paper
Sewing machine
Pins
Scissors
Ruler
Long stick
MAKING THE PATTERNS
Here’s the pattern for the project. To get a clear understanding of all the measurements needed for the pattern, watch the video from 0:41 to 4:29.
Remember, you can adjust these measurements to fit your own dimensions!
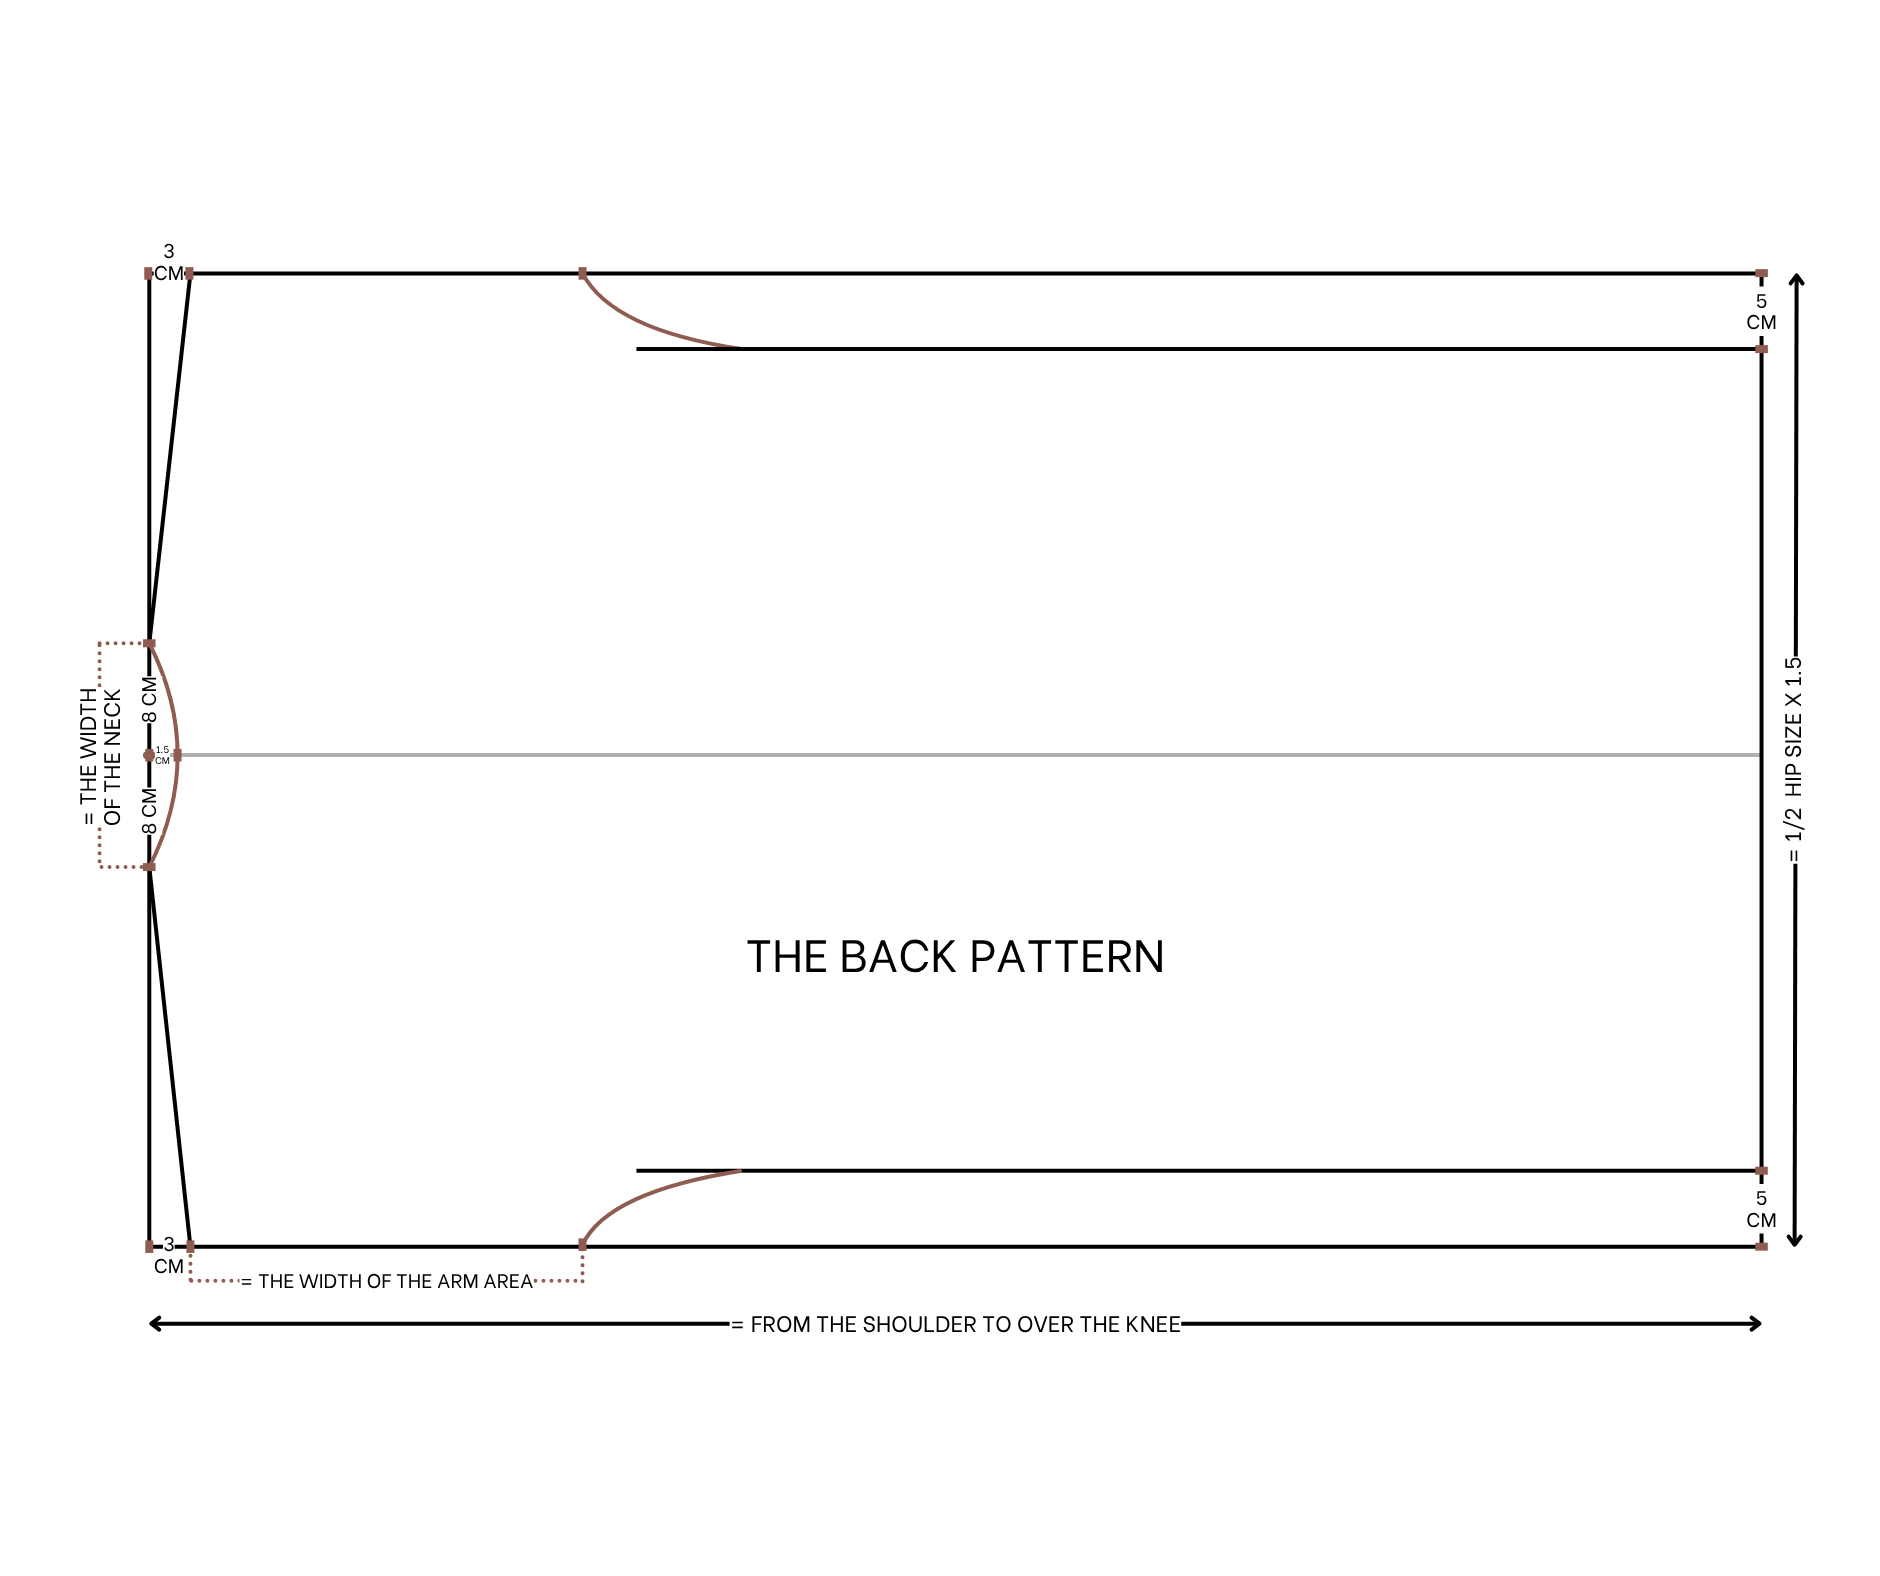
THE BACK PATTERN
Start by cutting a large rectangle with 69 cm width (1.5 times half of your hip size) and 110 cm length (the length from the shoulder to over the knee, or the length you want for the coat).
At the width line, mark at the middle.
From this mark, mark at 8 cm on two sides, so the width of the neck coat will be 16 cm.
At the length line, mark at 3 cm, then connect that dart mark to the mark at the neck. This will be the shoulder line.
From the end of the shoulder line, mark at 28 cm on the length line. It is the width of the arm coat.
Don't make it too small because you need to have a comfortable space for this coat.
Now, draw a line at 5 cm inside of the length line, then draw a curved line from the end of the arm to connect to this line.
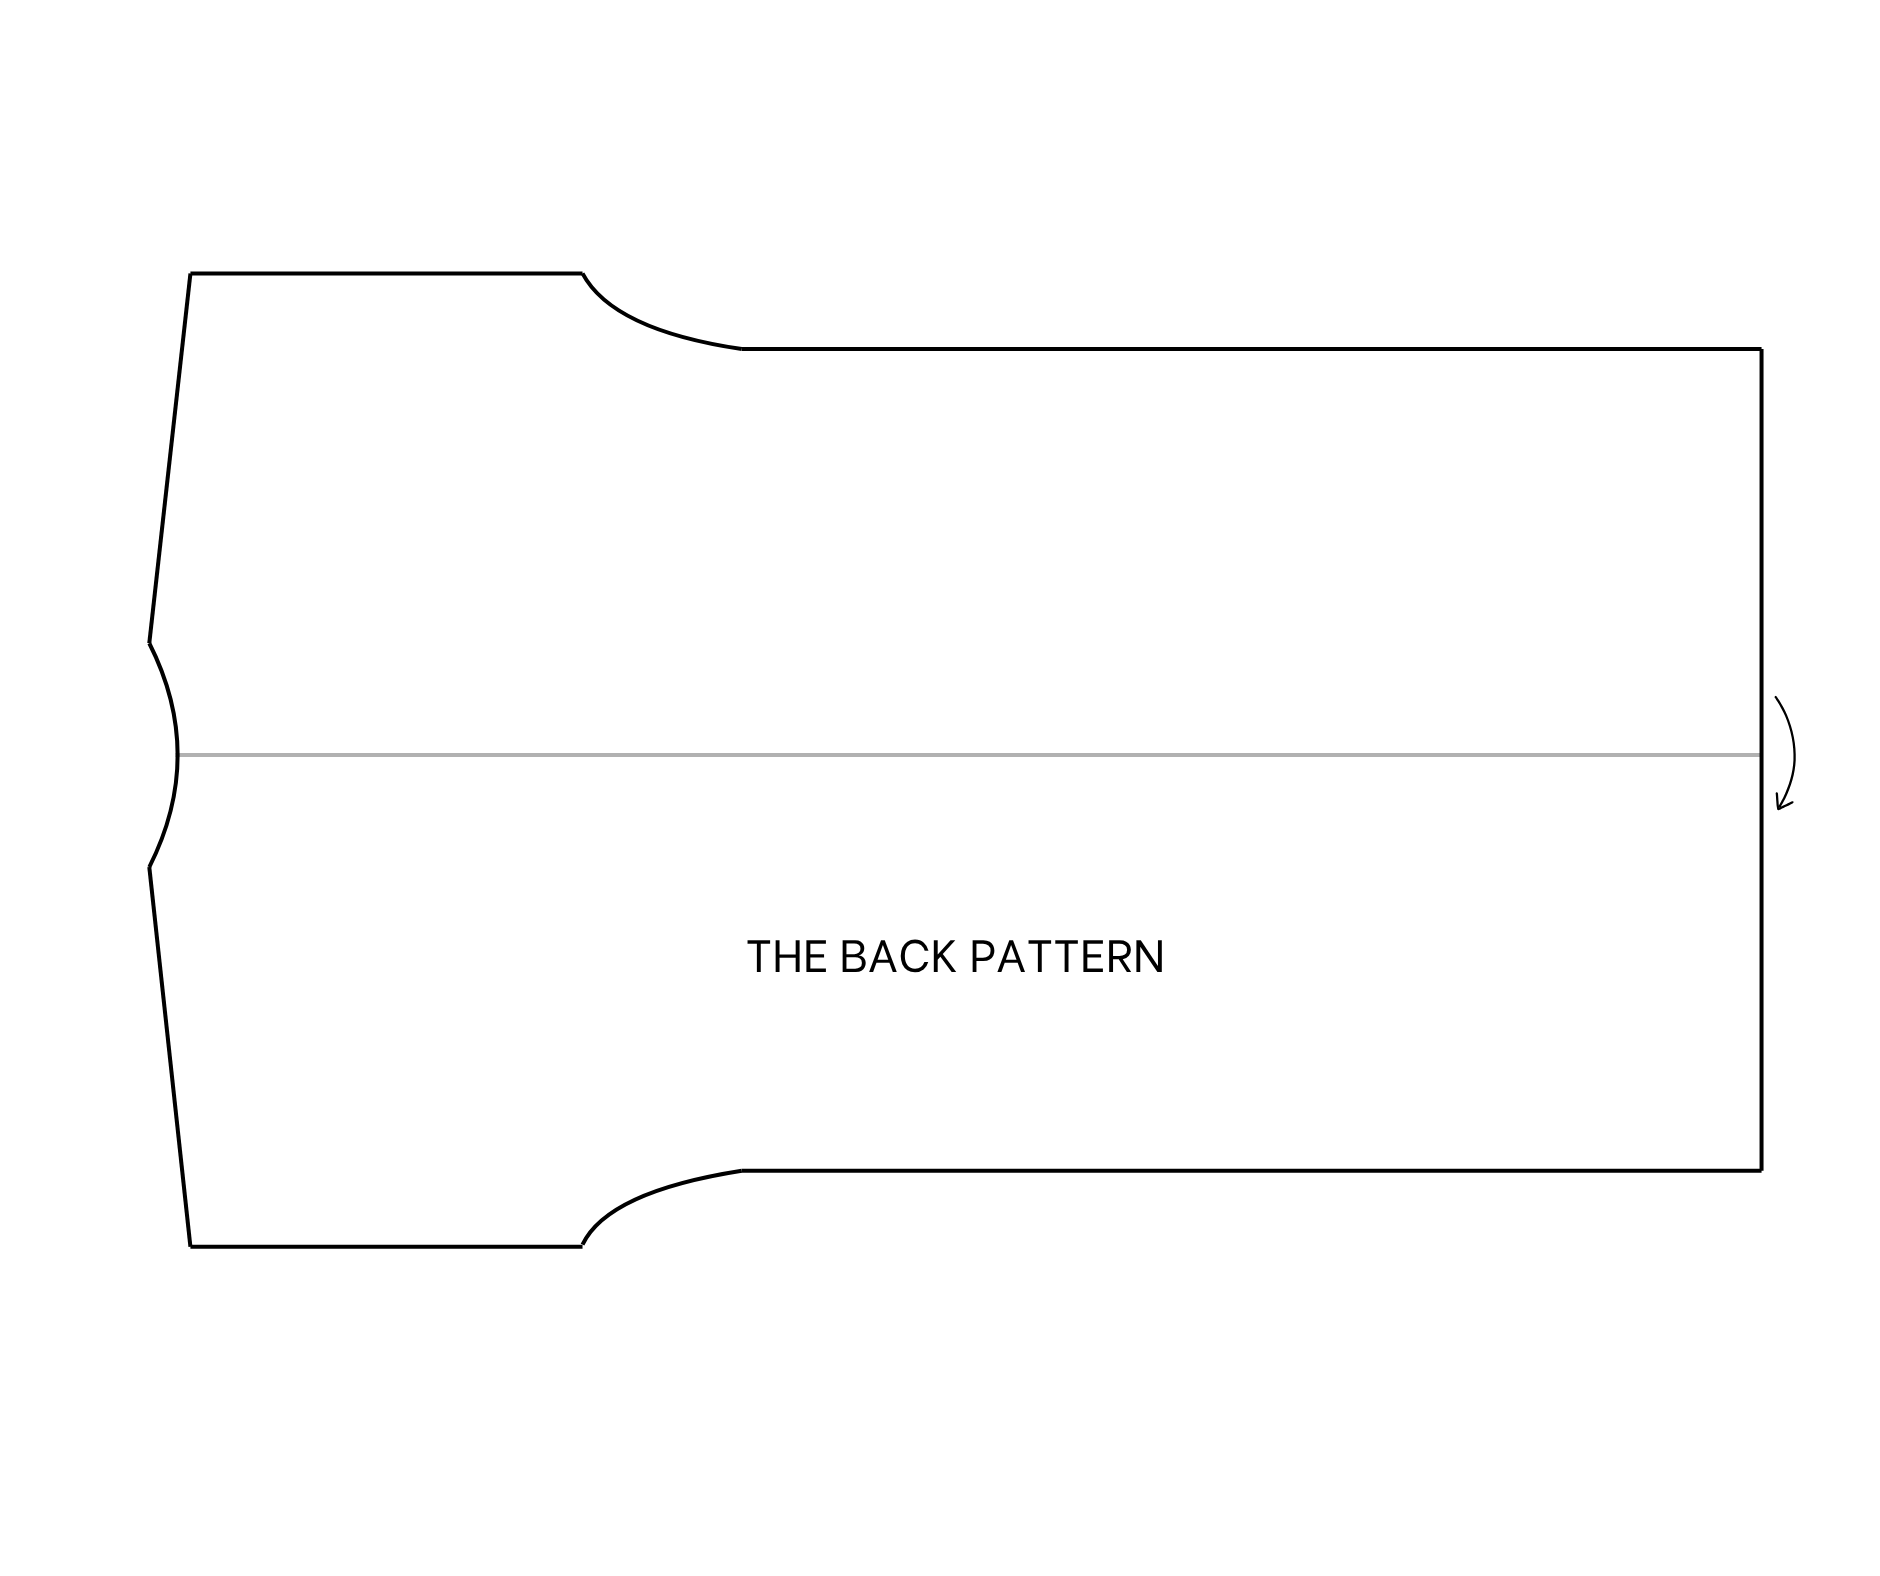
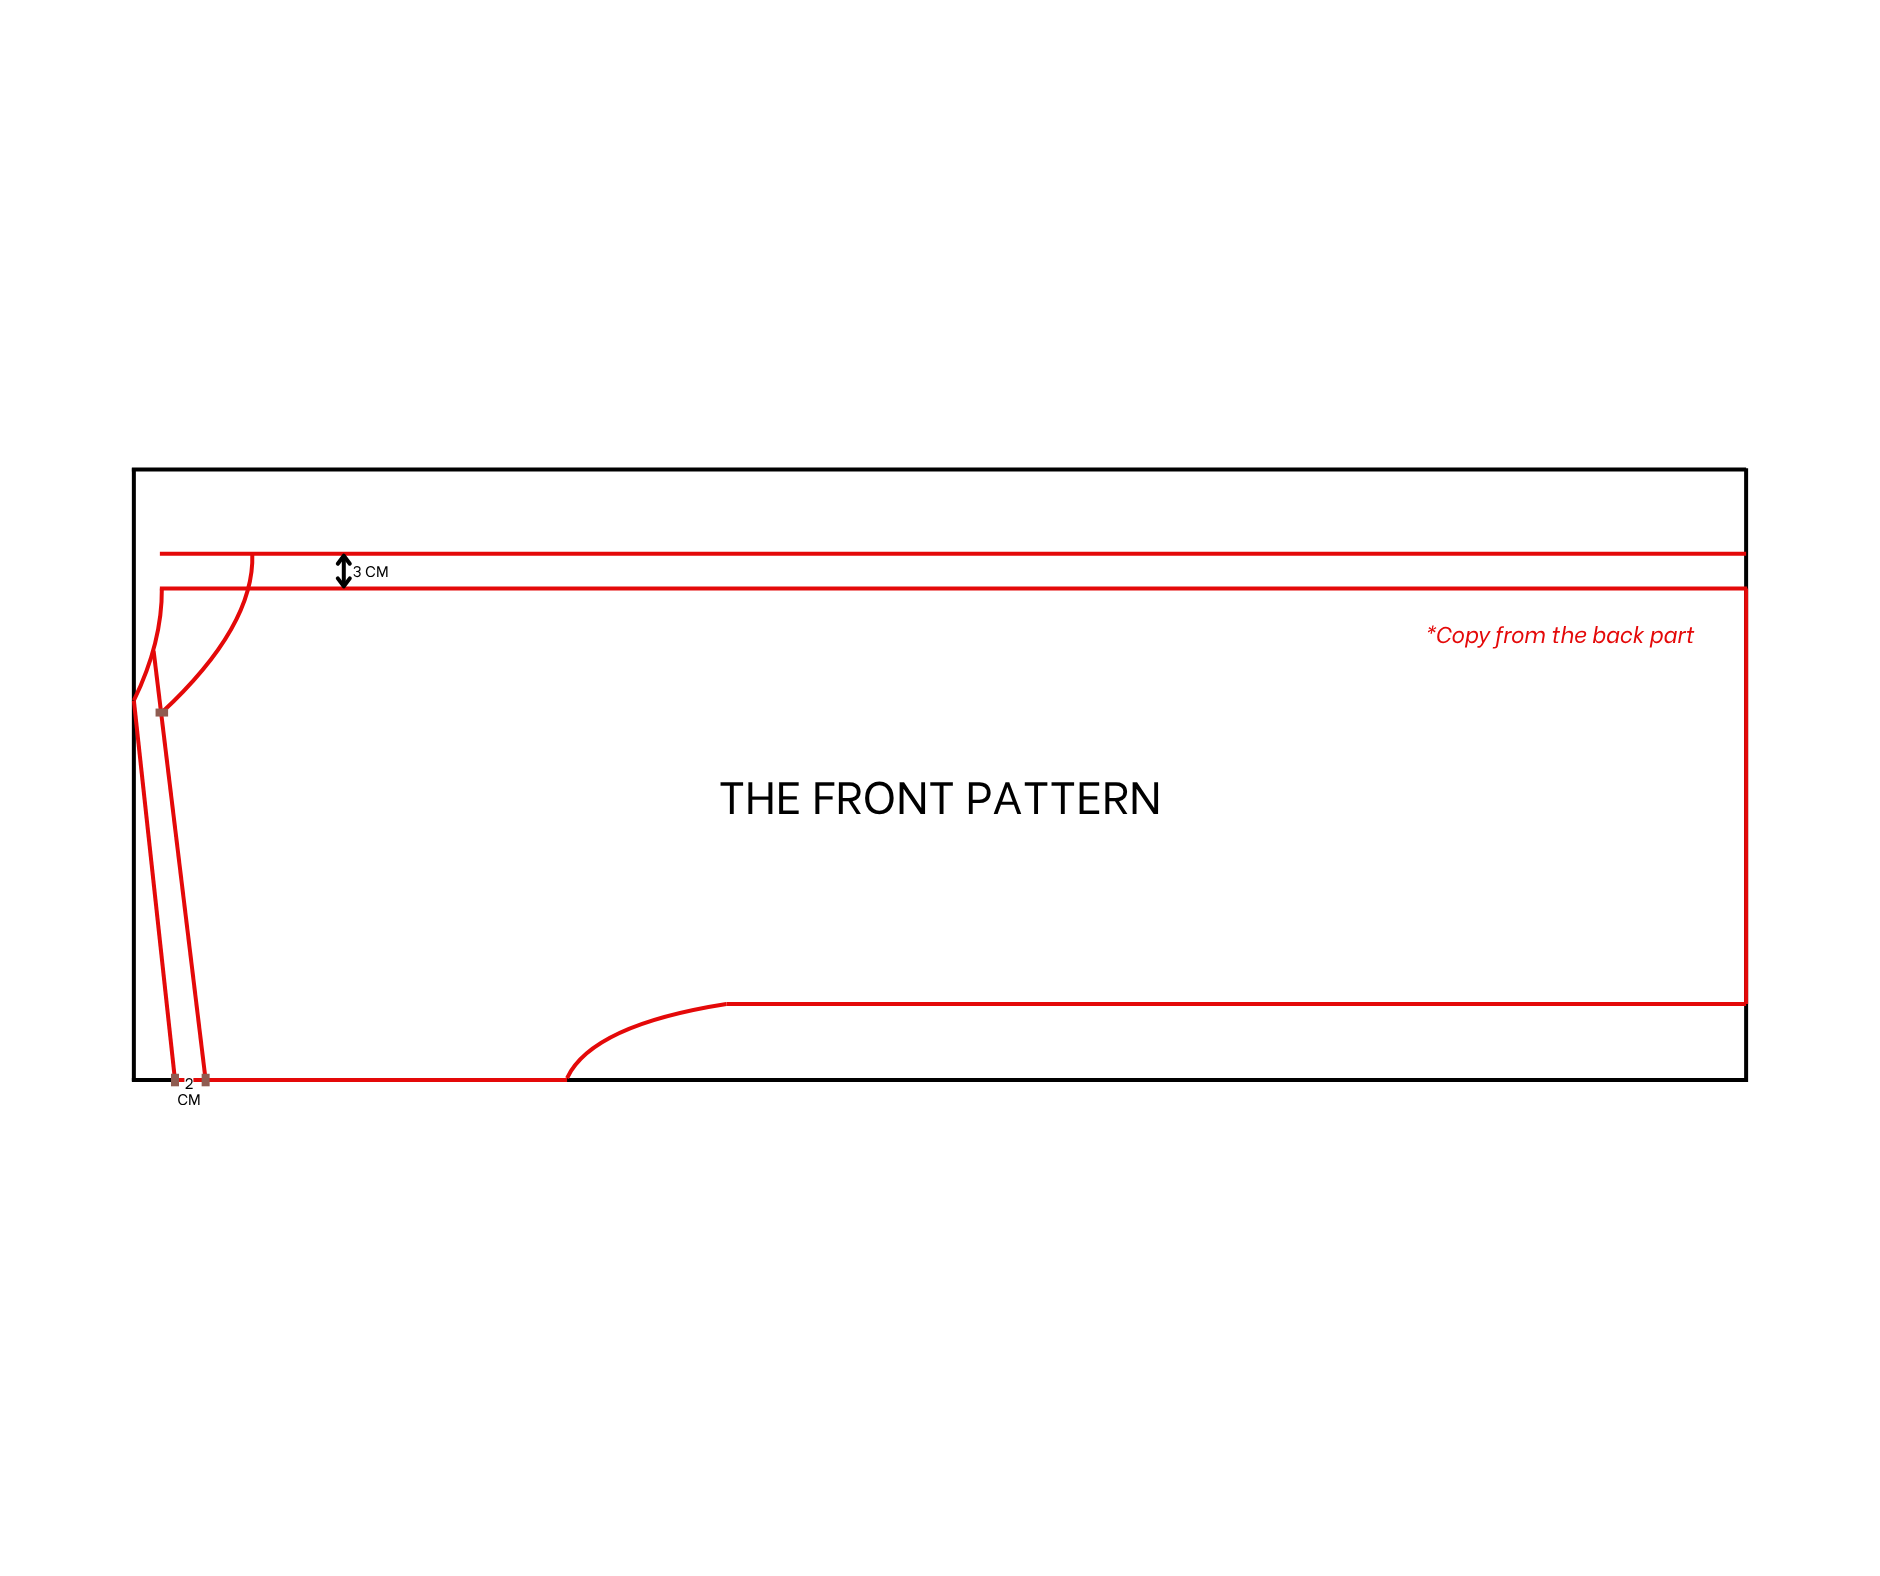
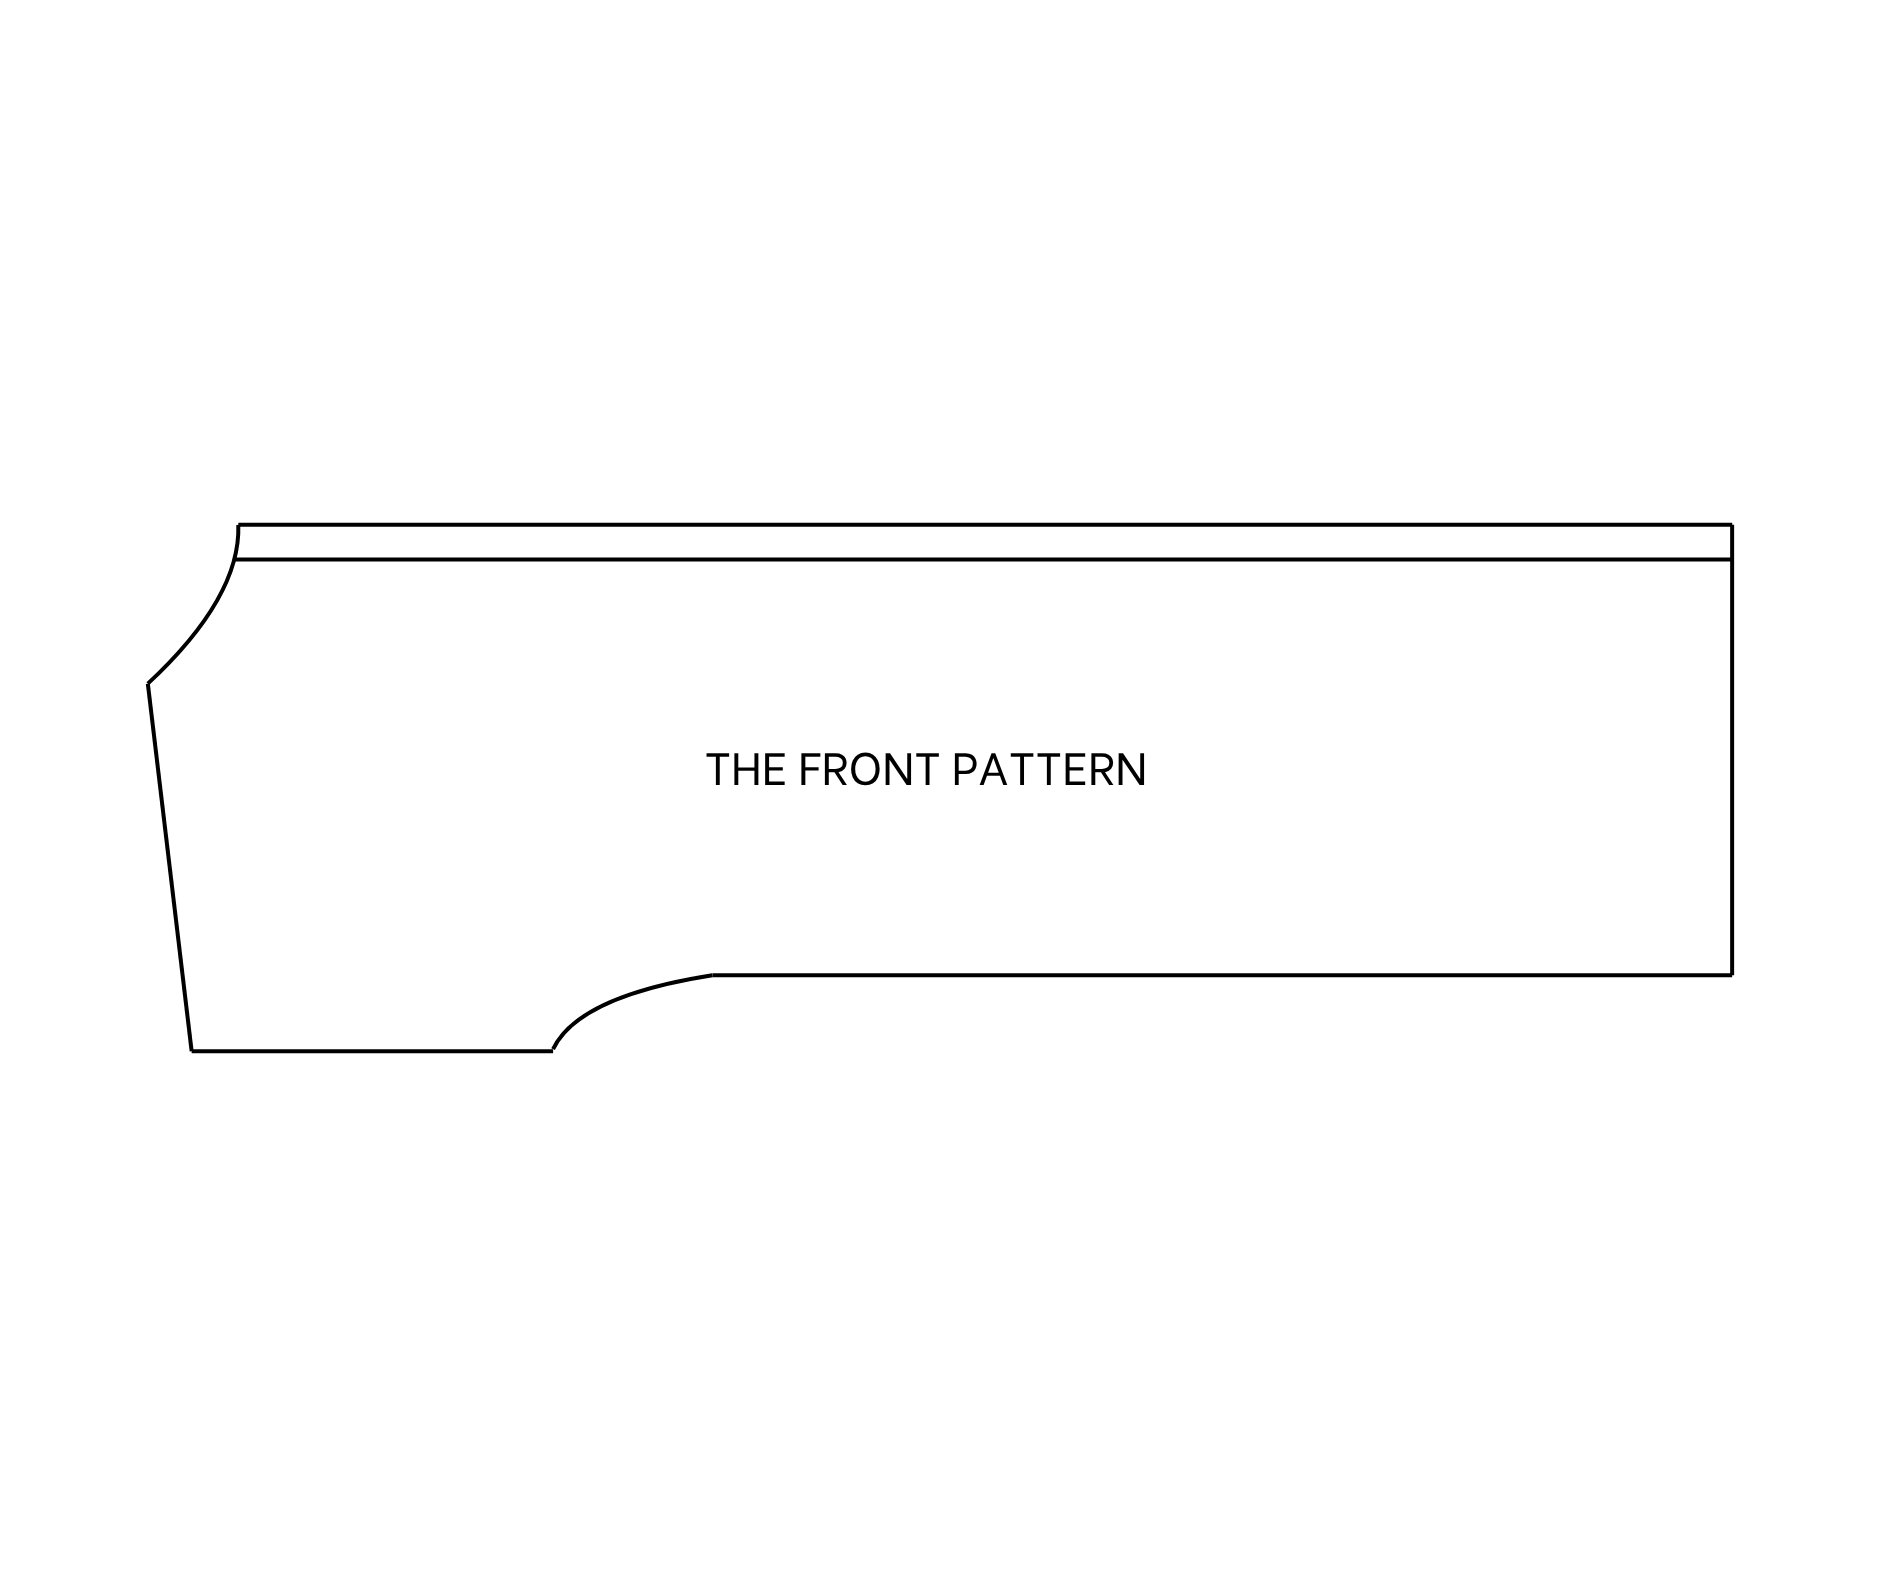
THE FRONT PATTERN
At the neck area, also draw a curved line as well.
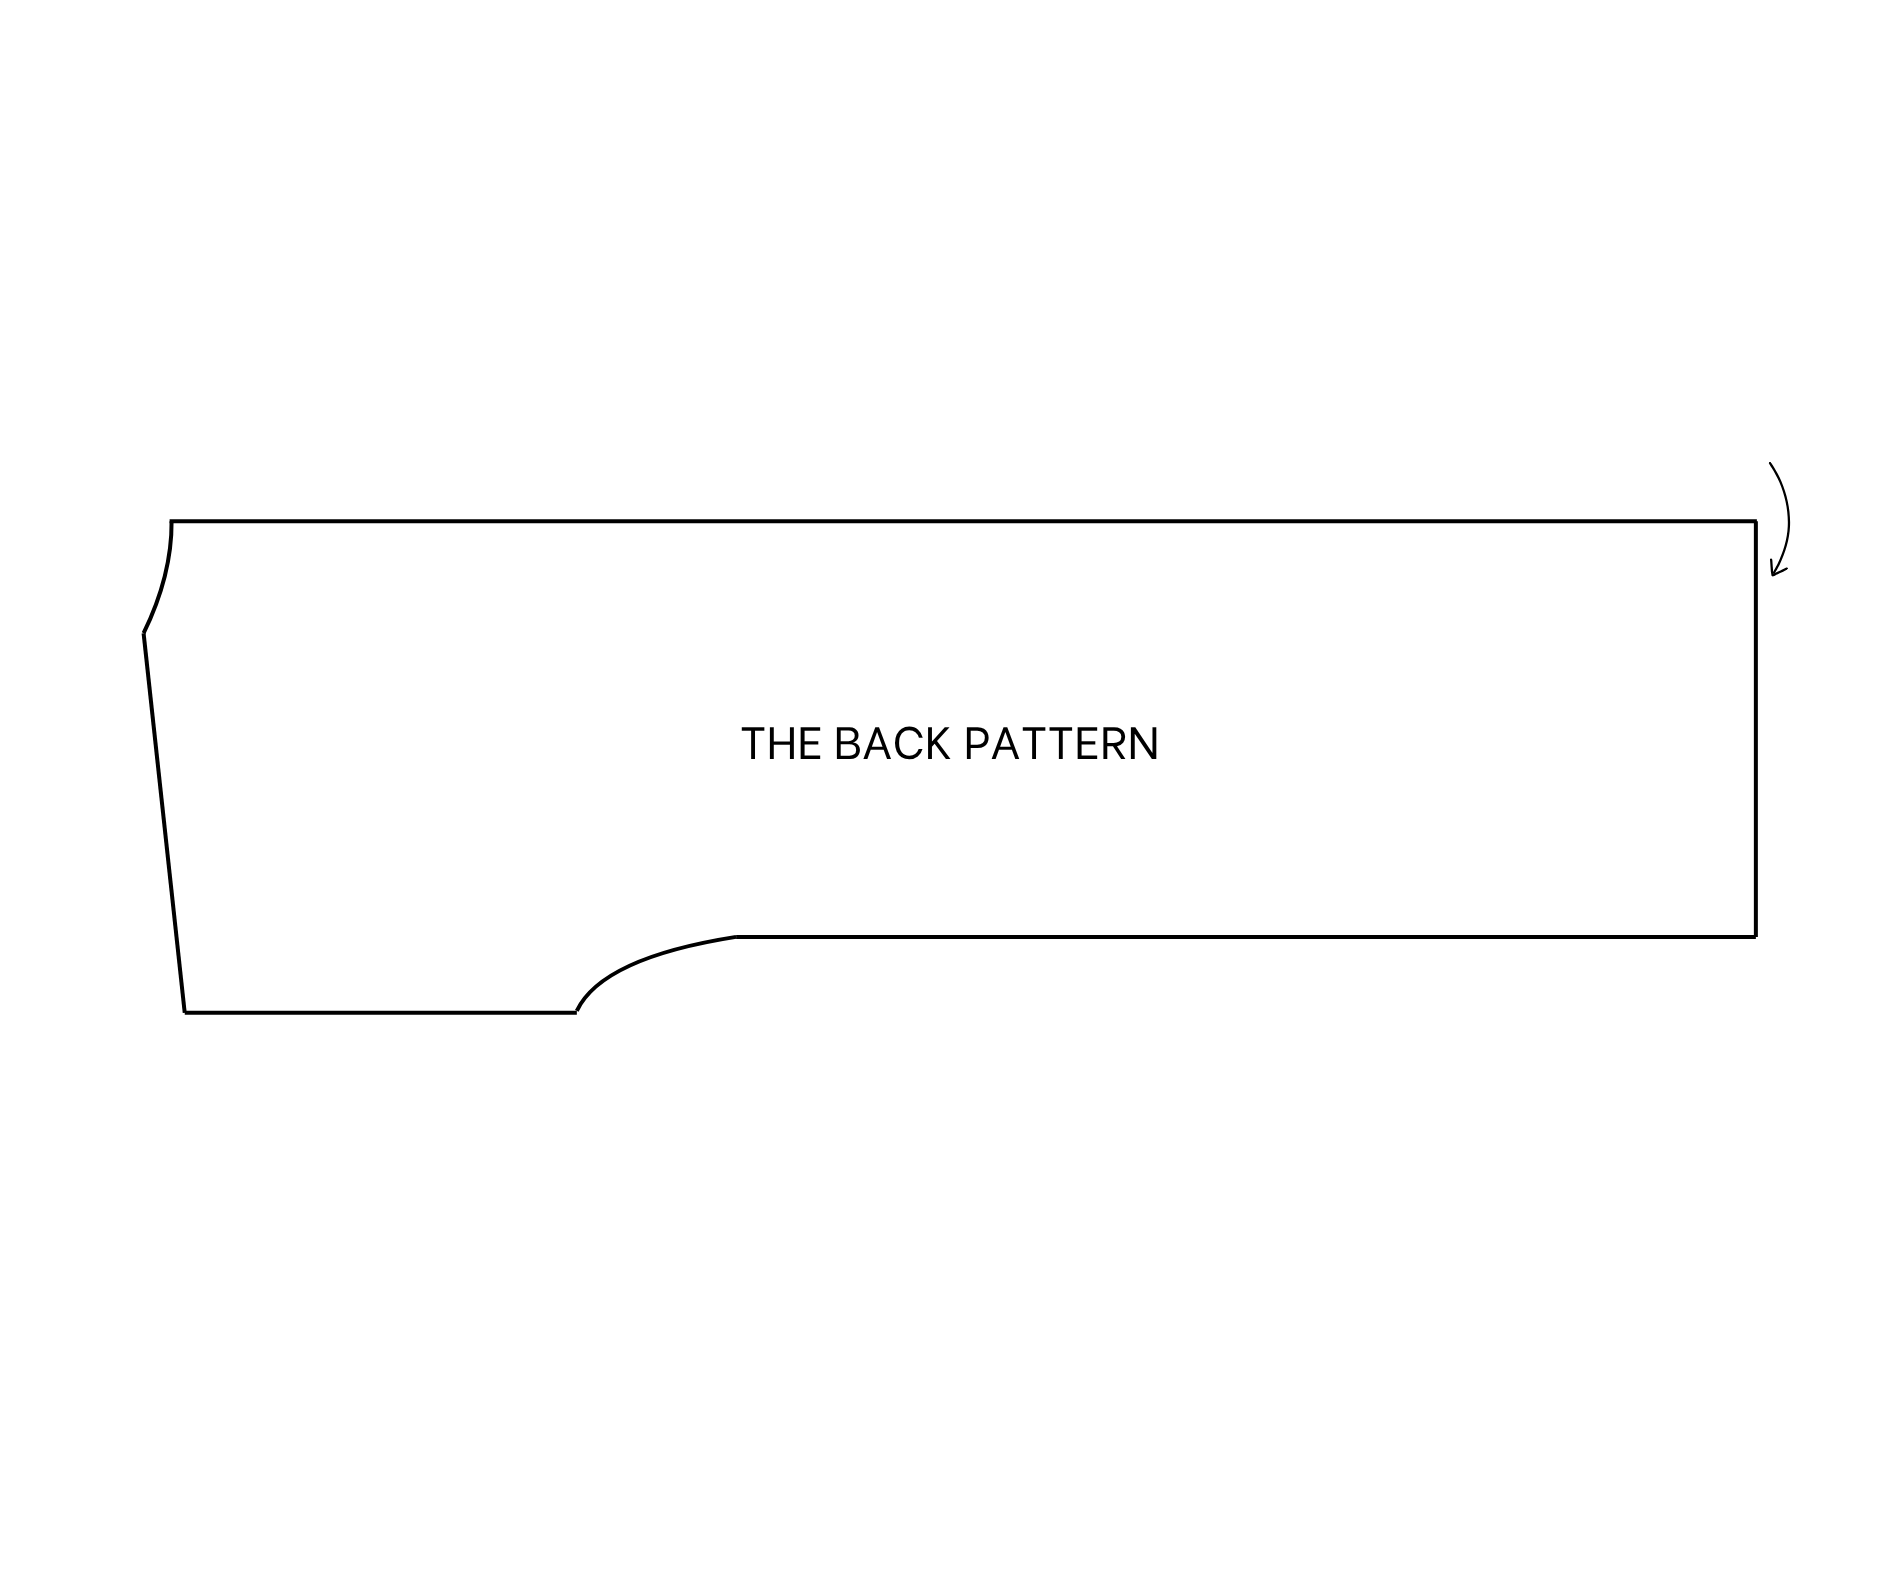
Fold the back pattern in half first, then apply it to another paper and draw. The front pattern of the coat will be ready.
However, the front will be shorter than the back 2 cm at the shoulder, so draw another shoulder line at 2 cm under the current line.
Make sure the new shoulder line will have the same width as the old one.
From one side of the front pattern, draw a new side line at 3 cm outside of the current one. It will be the button area later.
For the neck of the front pattern, mark at 8 cm down from the top, then draw a curved line to connect to the side line.
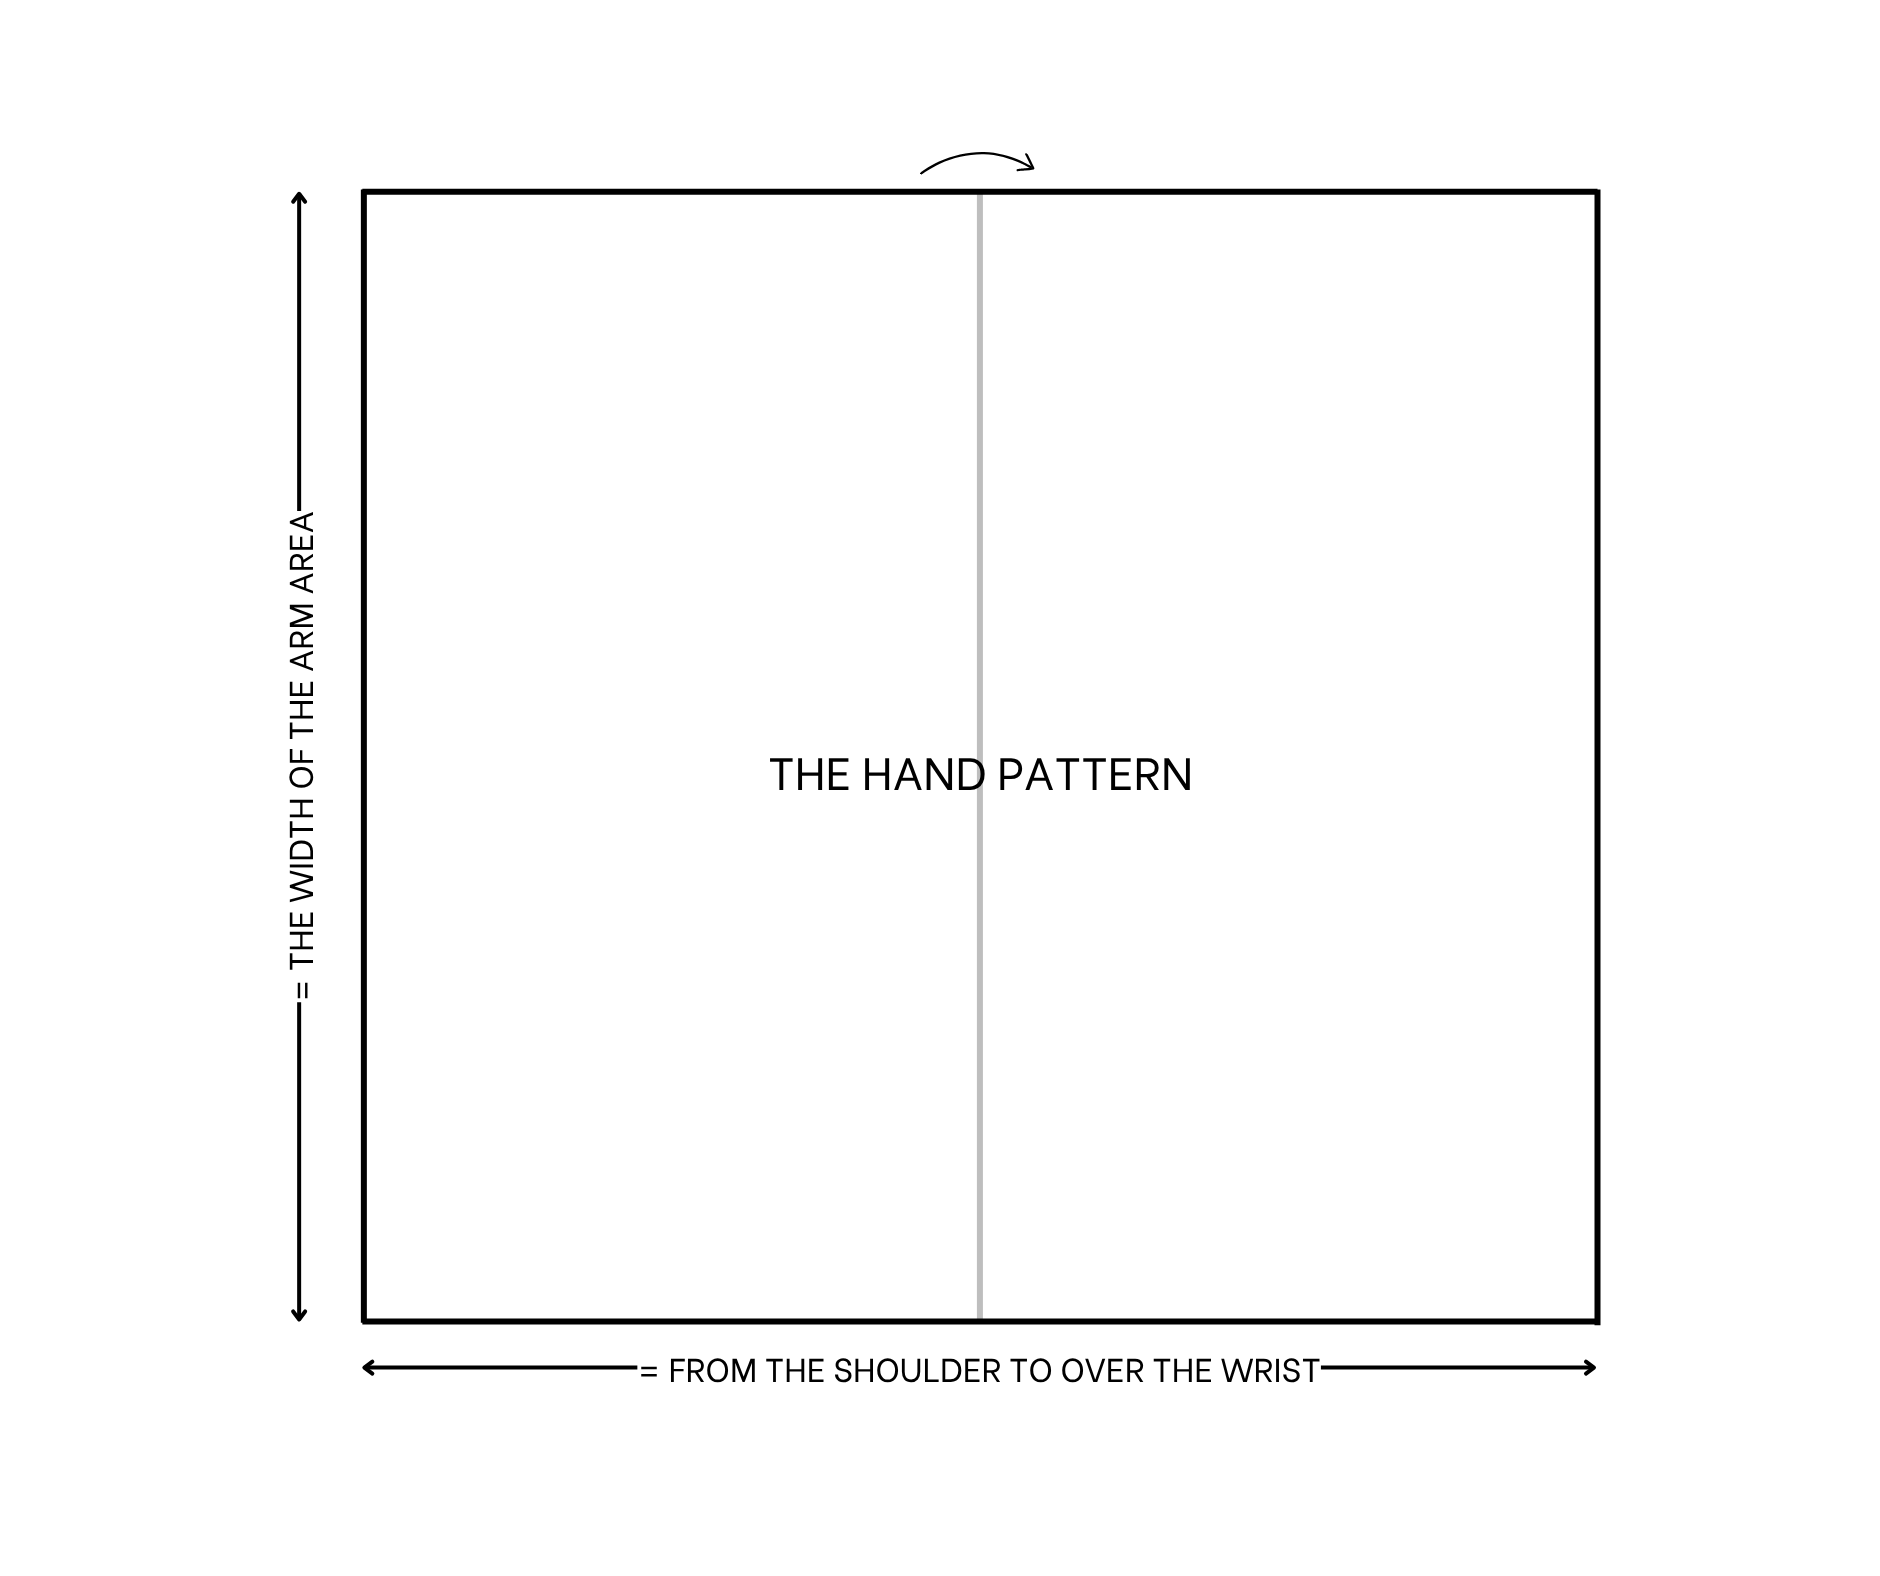
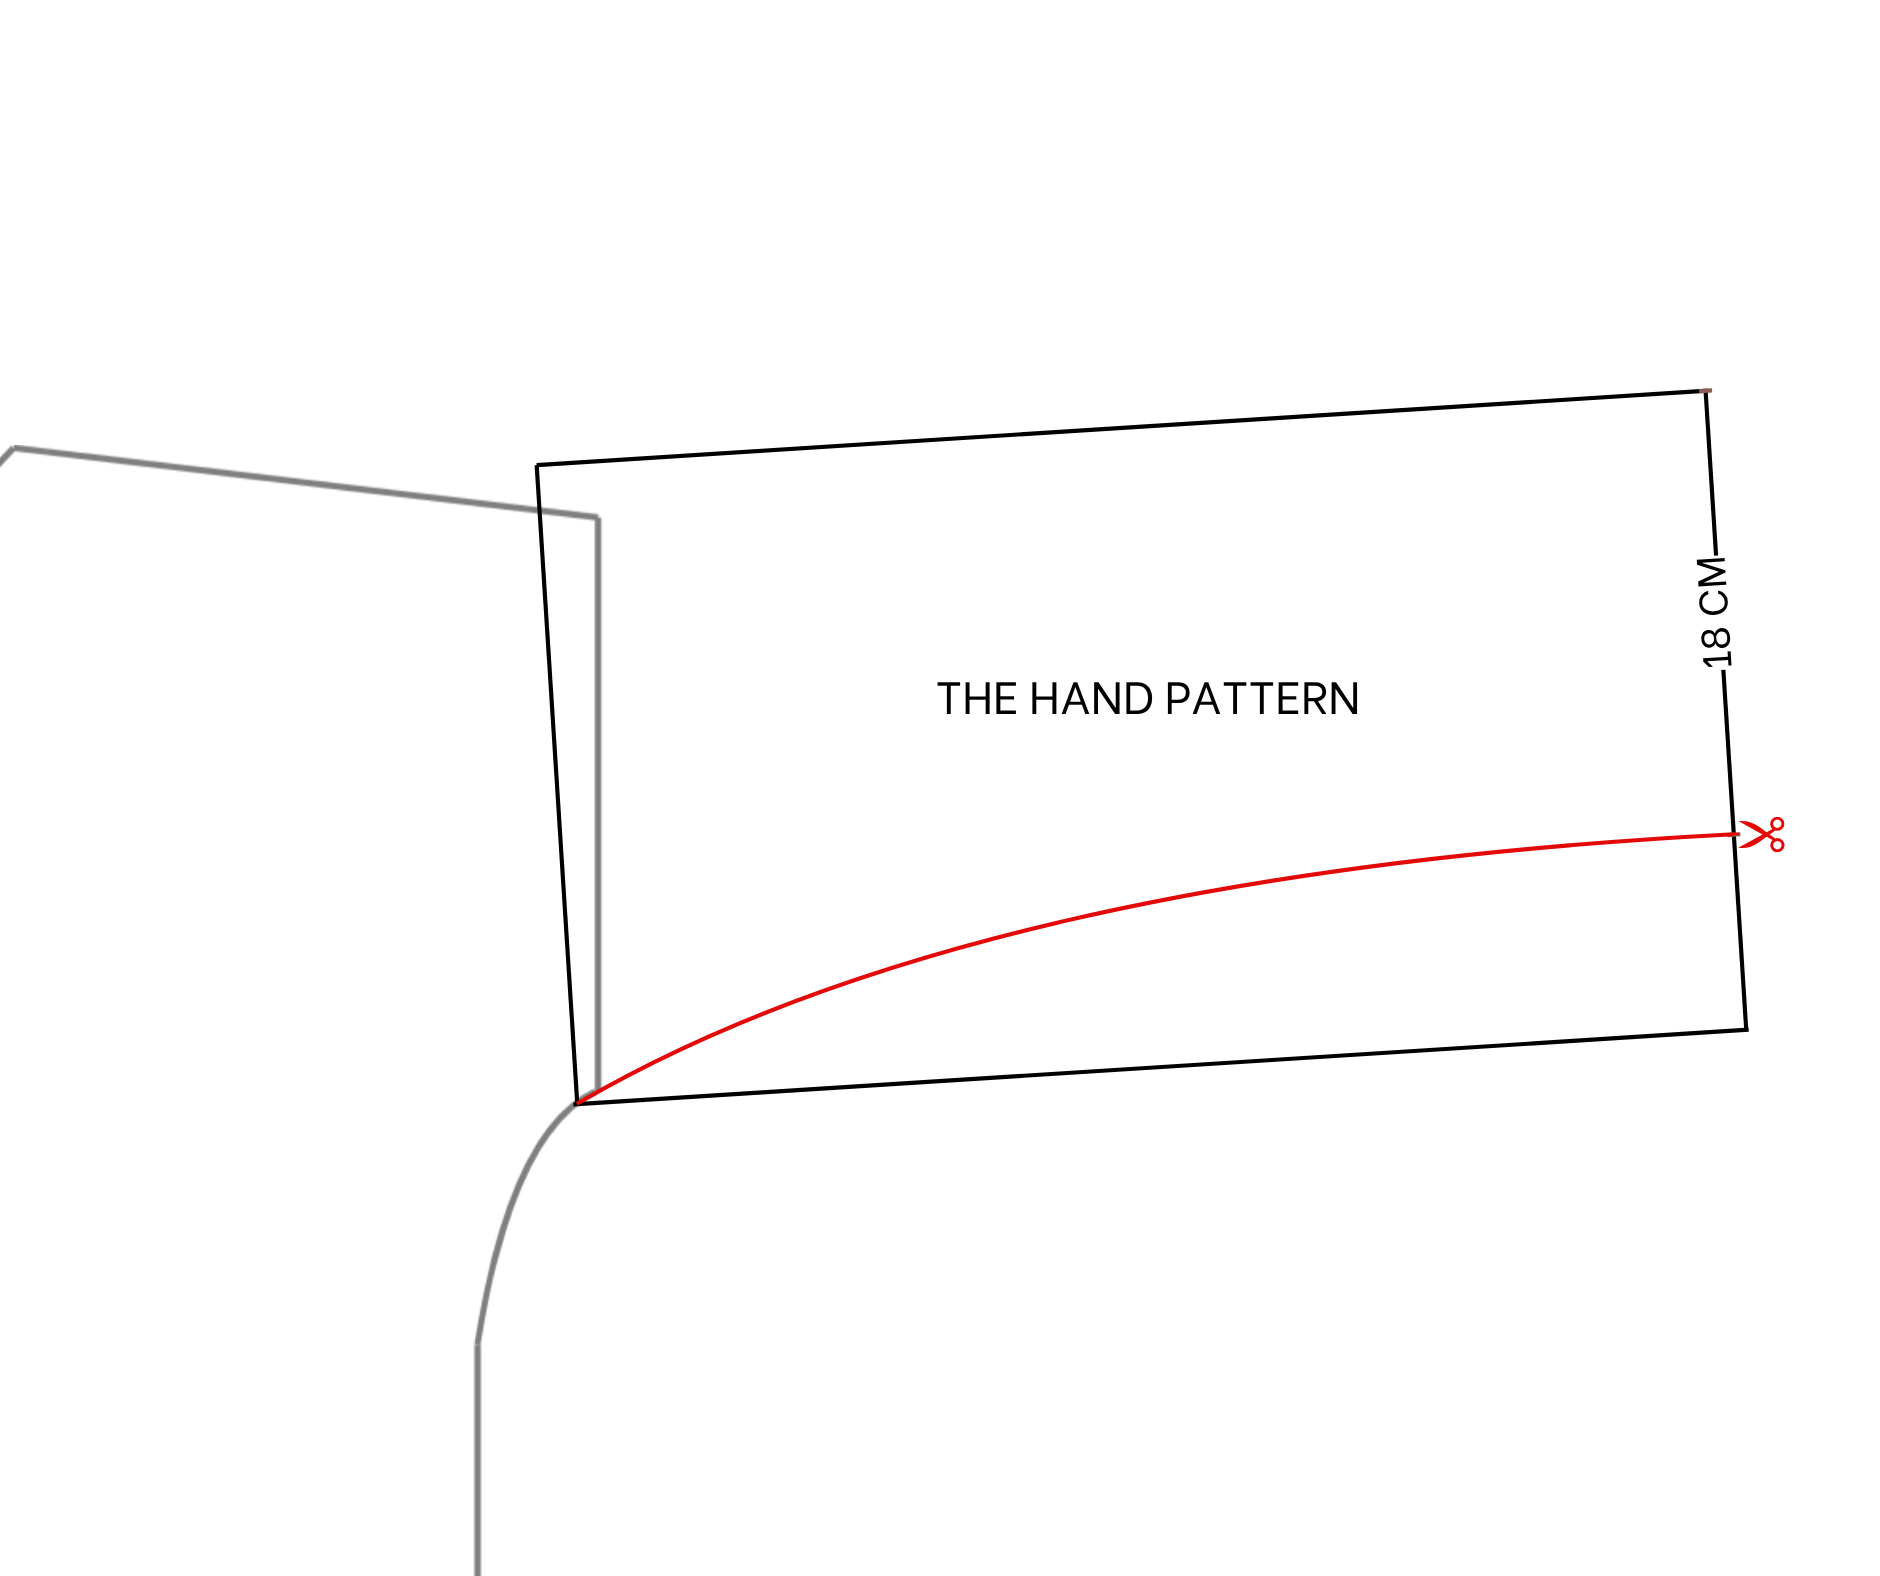
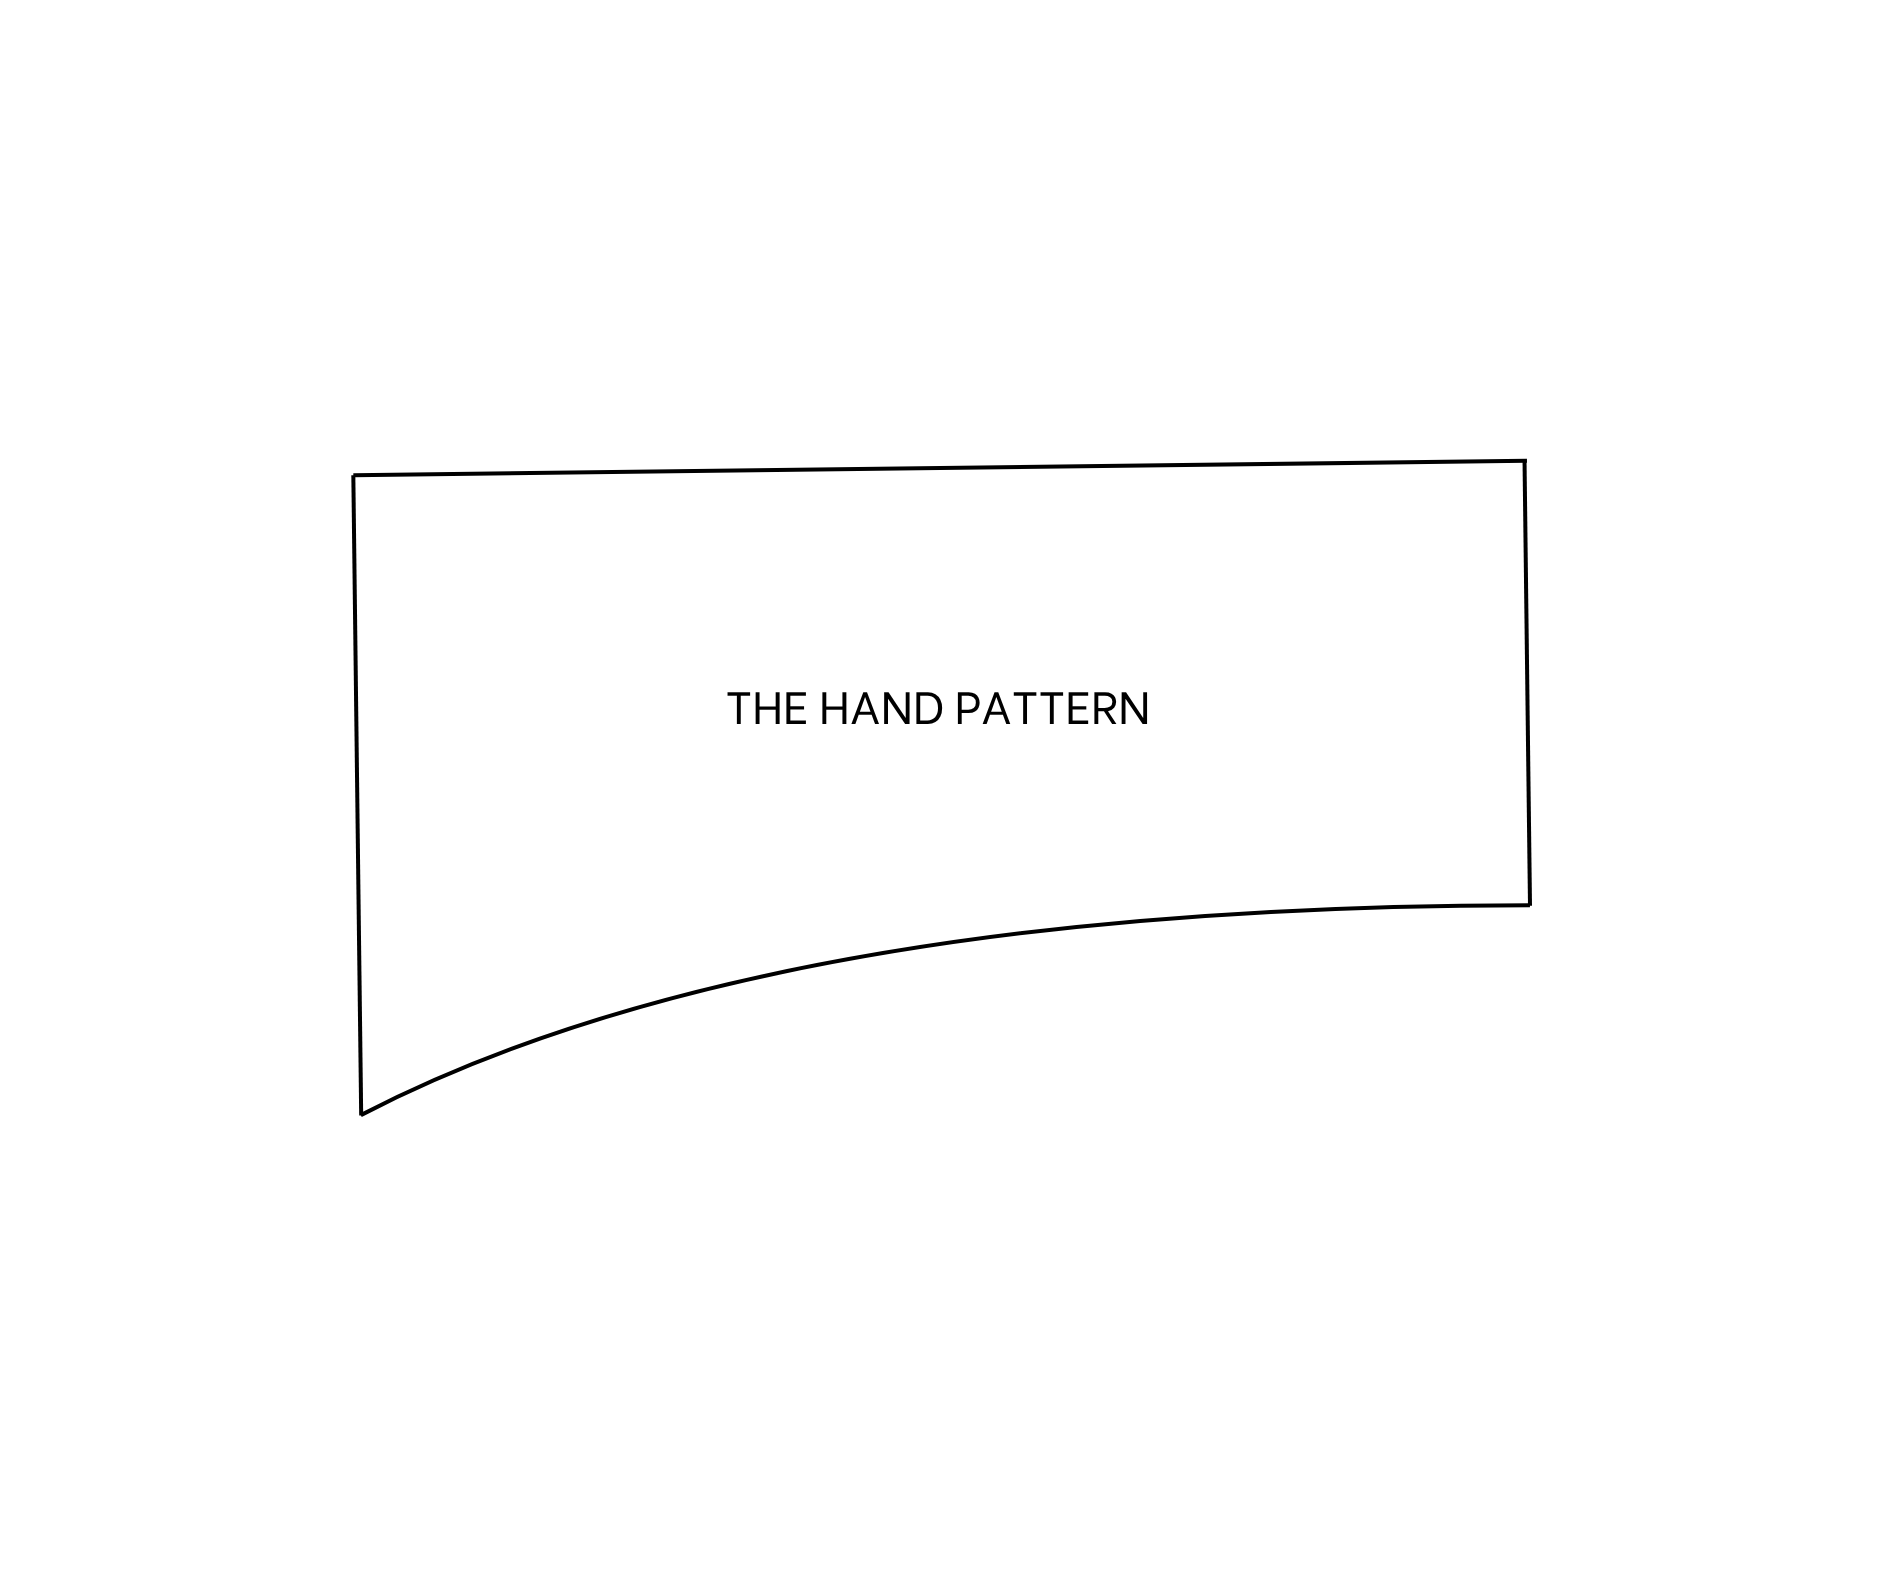
THE HAND PATTERN
Connect the front and the back pattern together at the arm area.
Remember to put them over each other at 1 cm. It is the seam allowance for sewing later.
Then, check the width of the arm from the front to the back pattern. This will be the width of the hand pattern, and it's 52 cm.
So, cut a rectangle with 52 cm width and 50 cm length, which is the length from your shoulder to over the wrist.
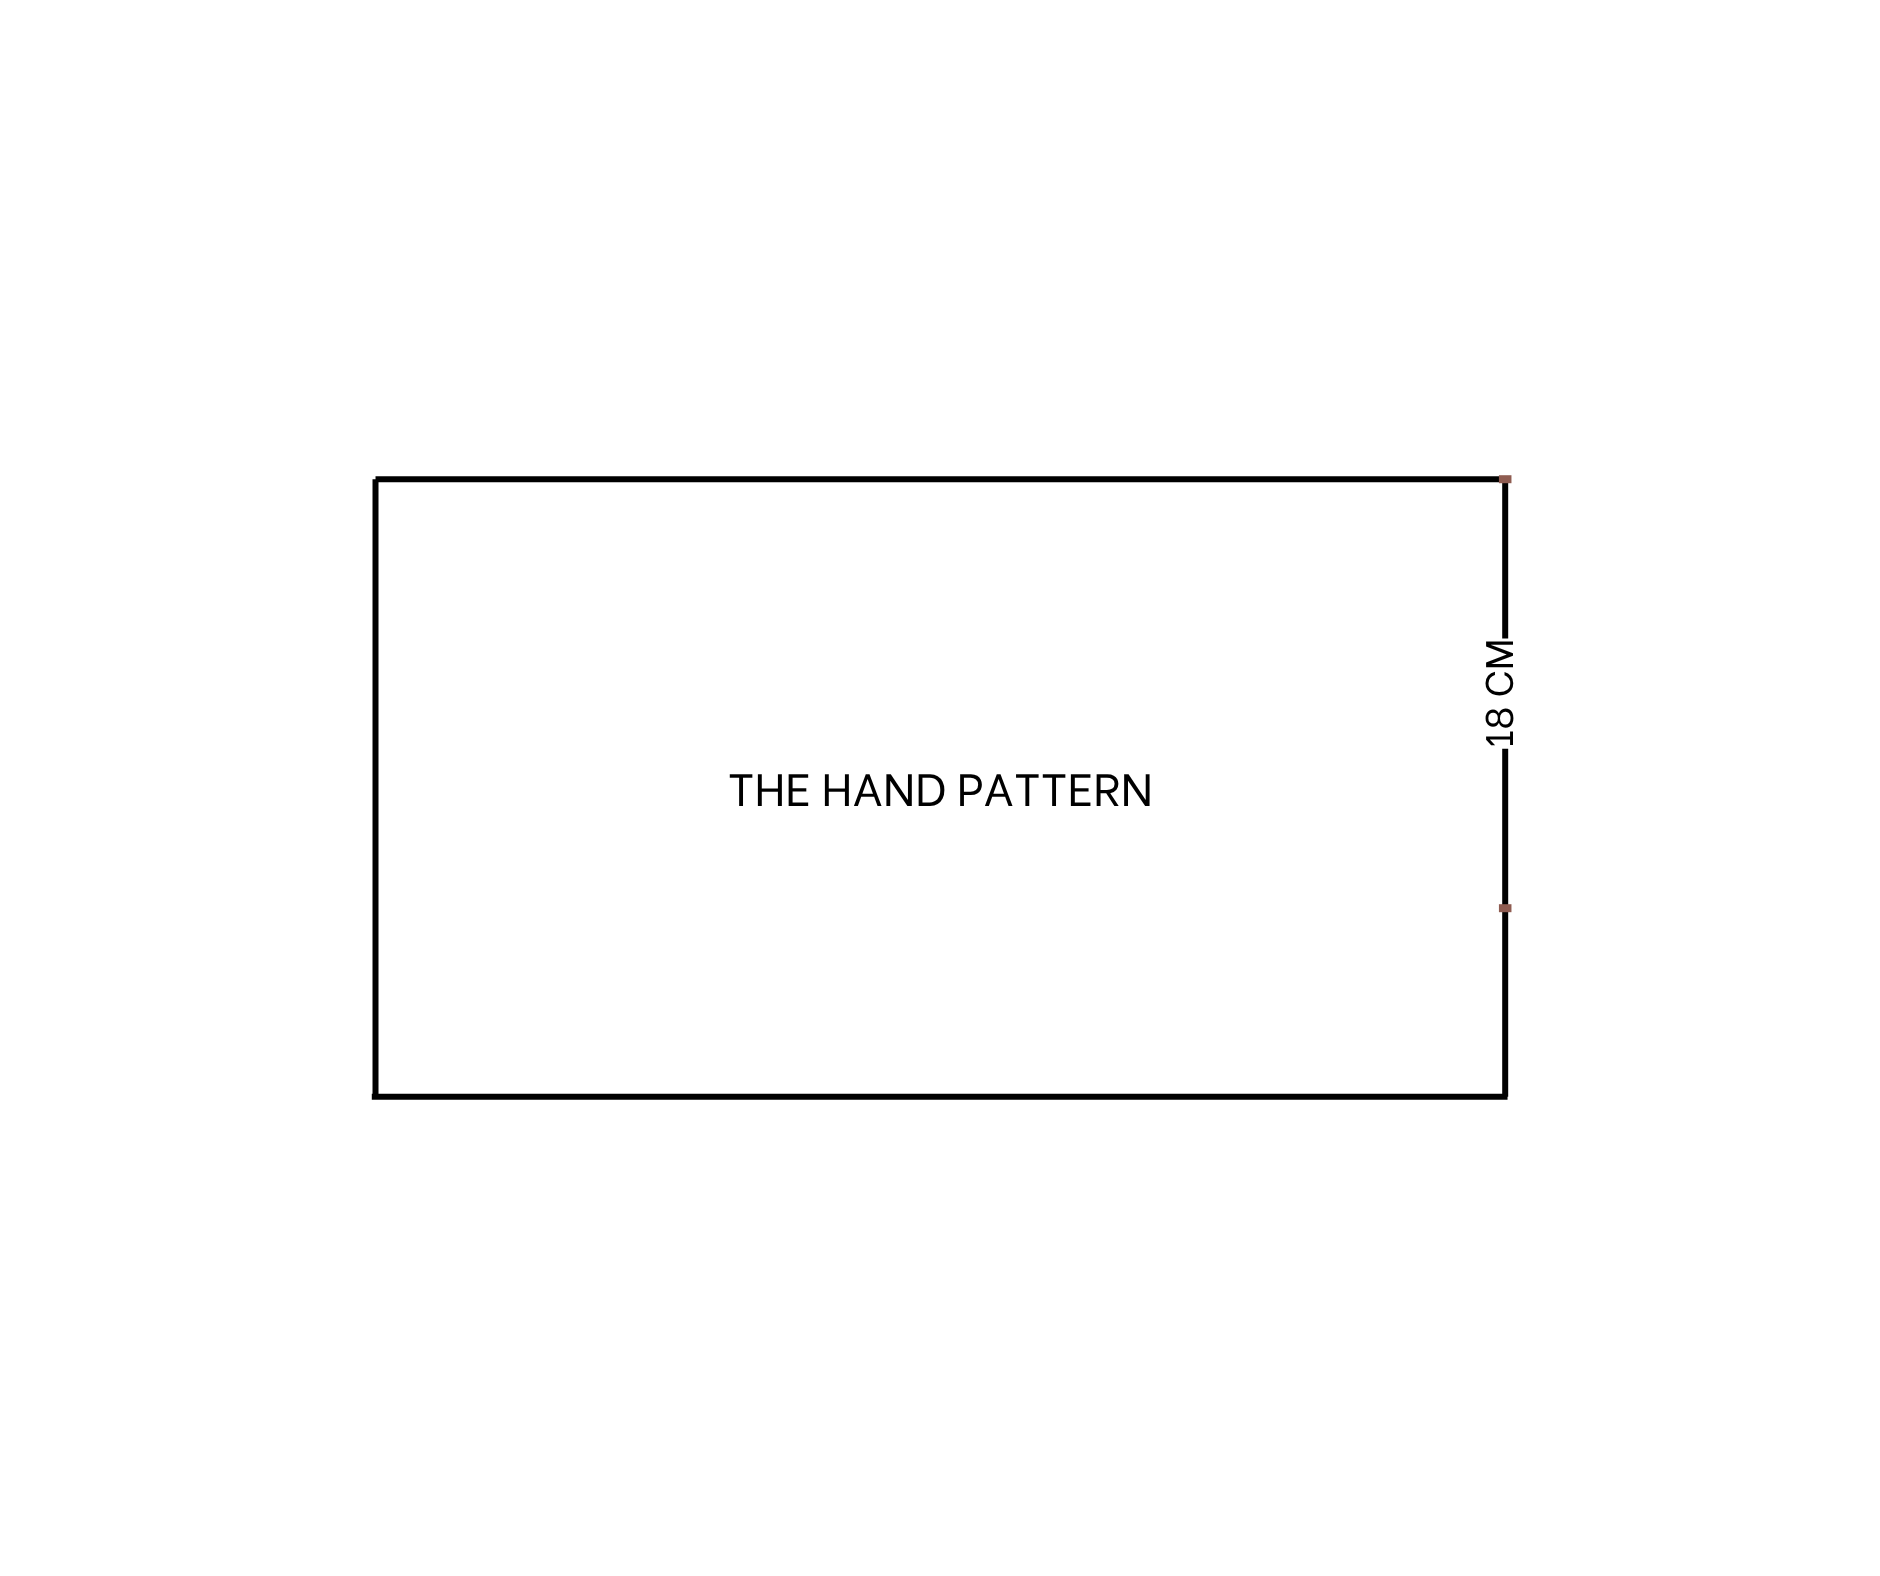
Fold this rectangle in half after that.
At one side, mark at 18 cm, so the width at the wrist of the coat will be 36 cm.
After that, connect this pattern to the front of the back pattern at the arm area, then draw a curved line from the end of the other side to the mark just made.
This will be the hand pattern of the coat after cutting.
SEWING THE COAT
THE TOP PART
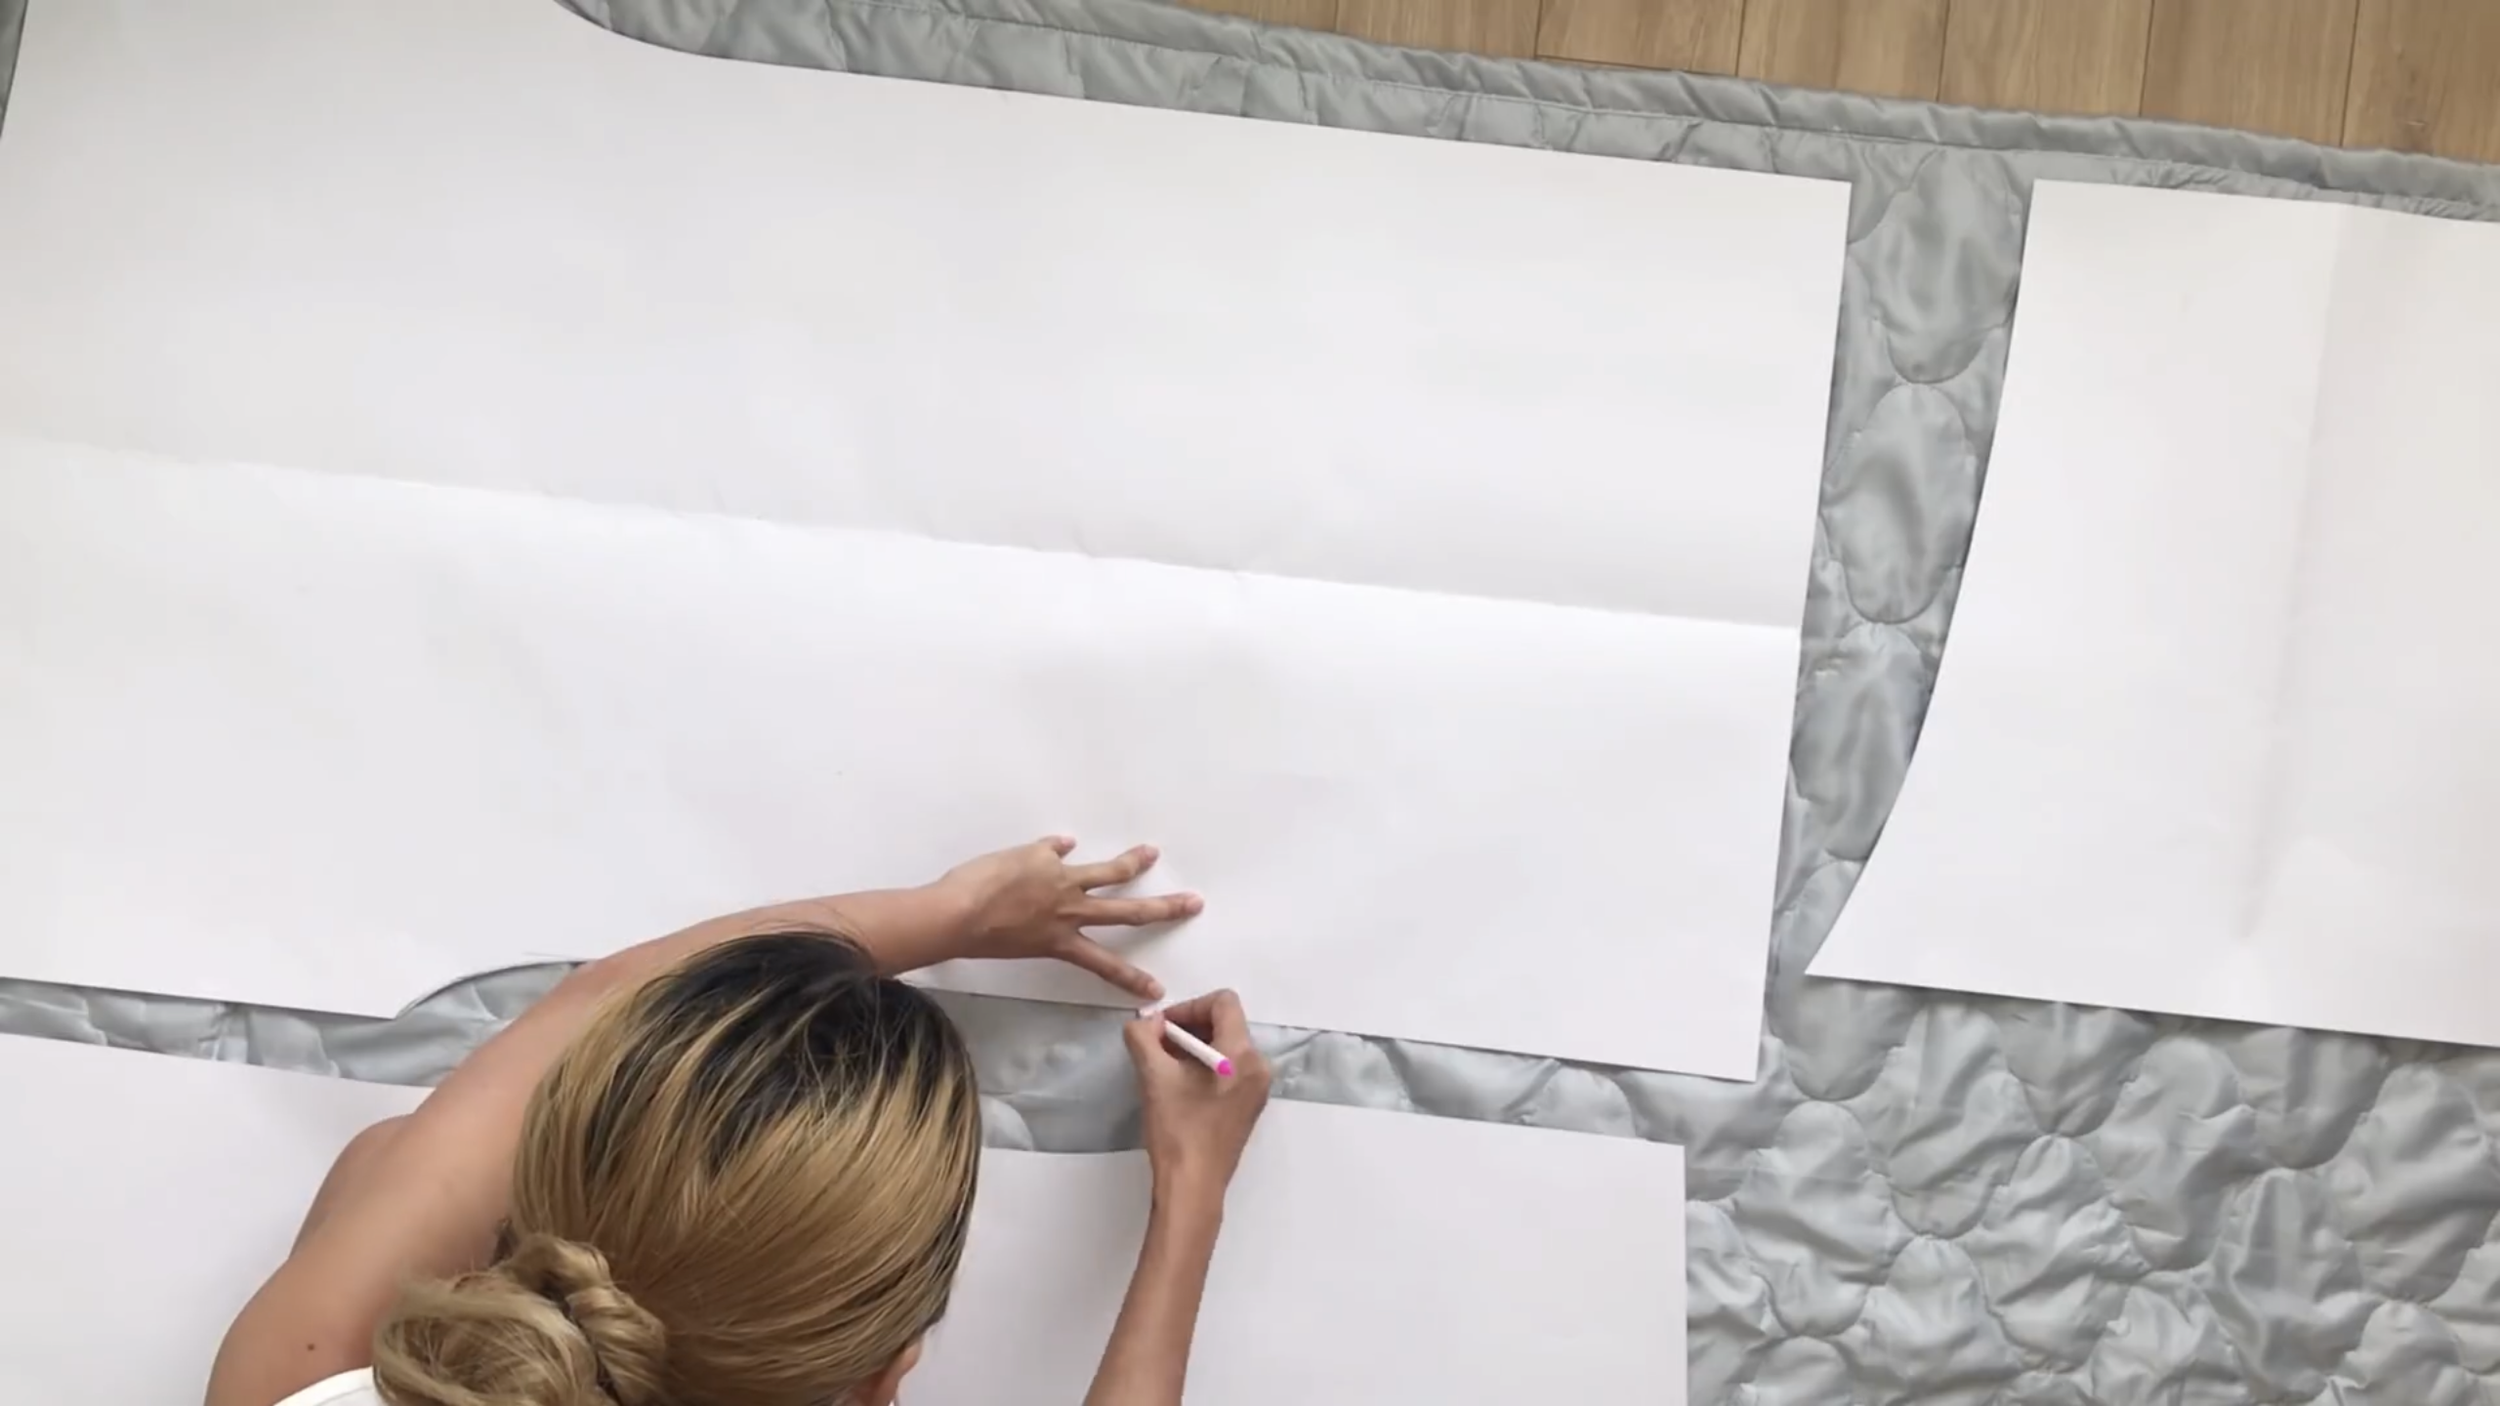
Now, apply the patterns on the blankets and draw.
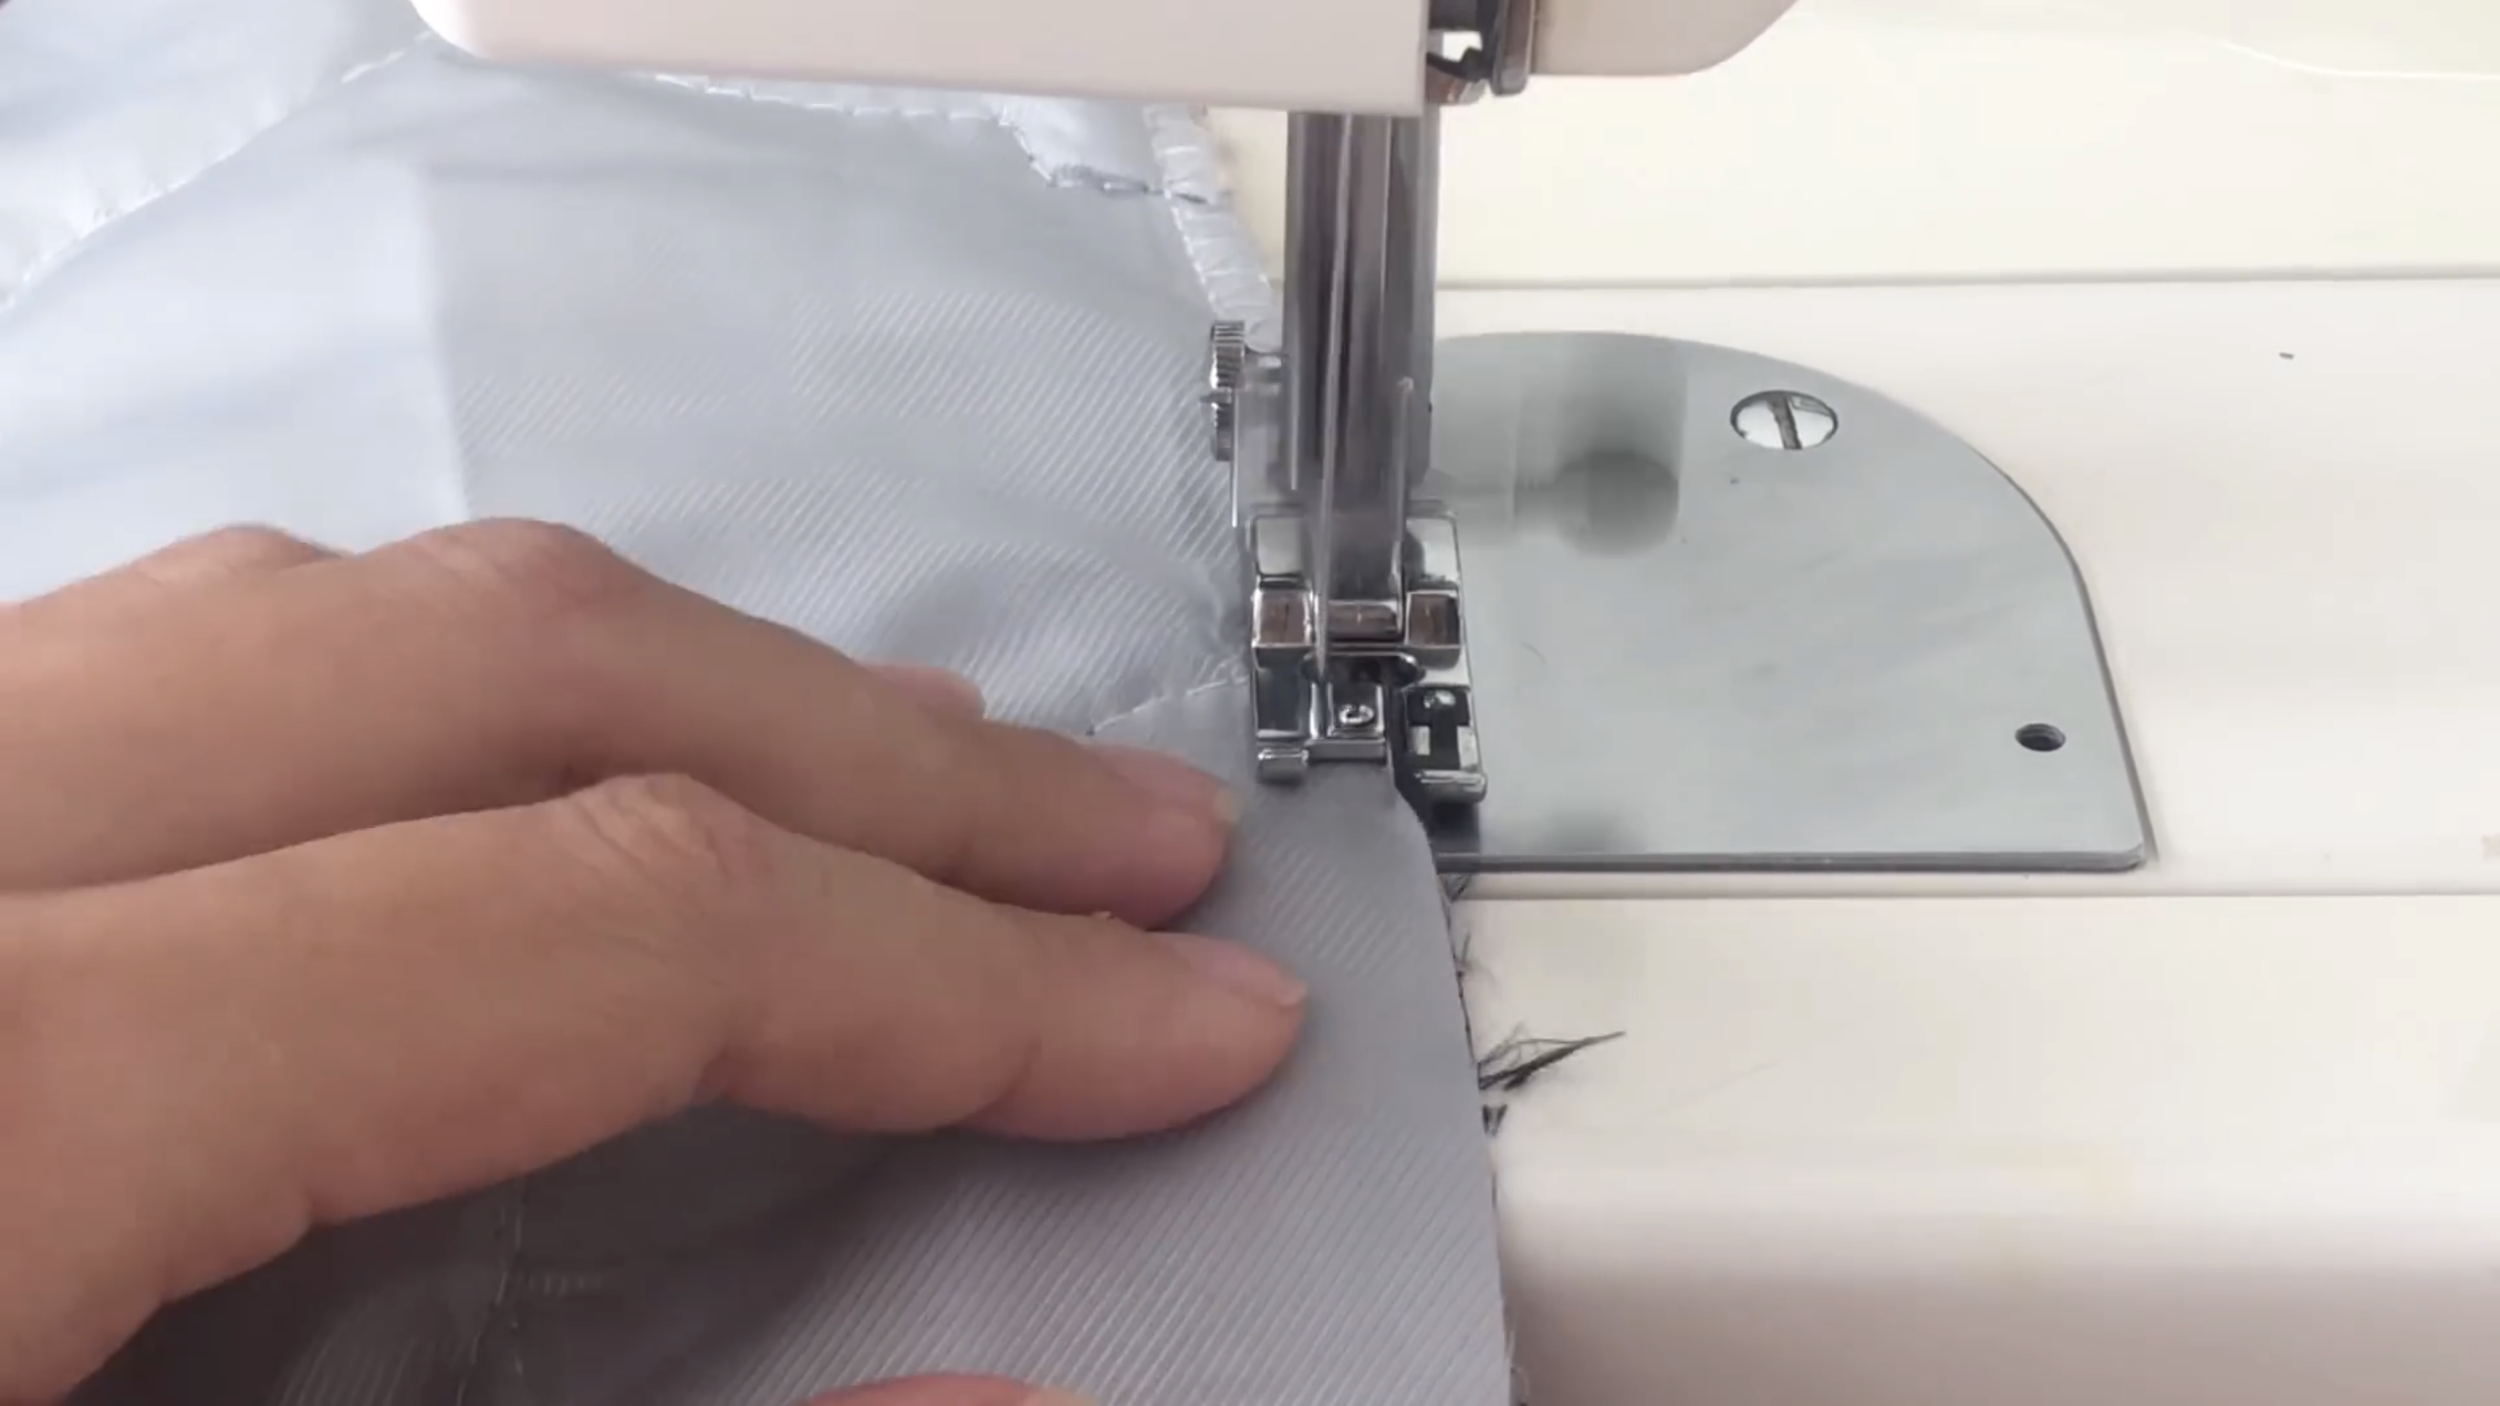
After cutting, overlock them to protect the fabric by using zigzag stitching and an overlocking presser foot.
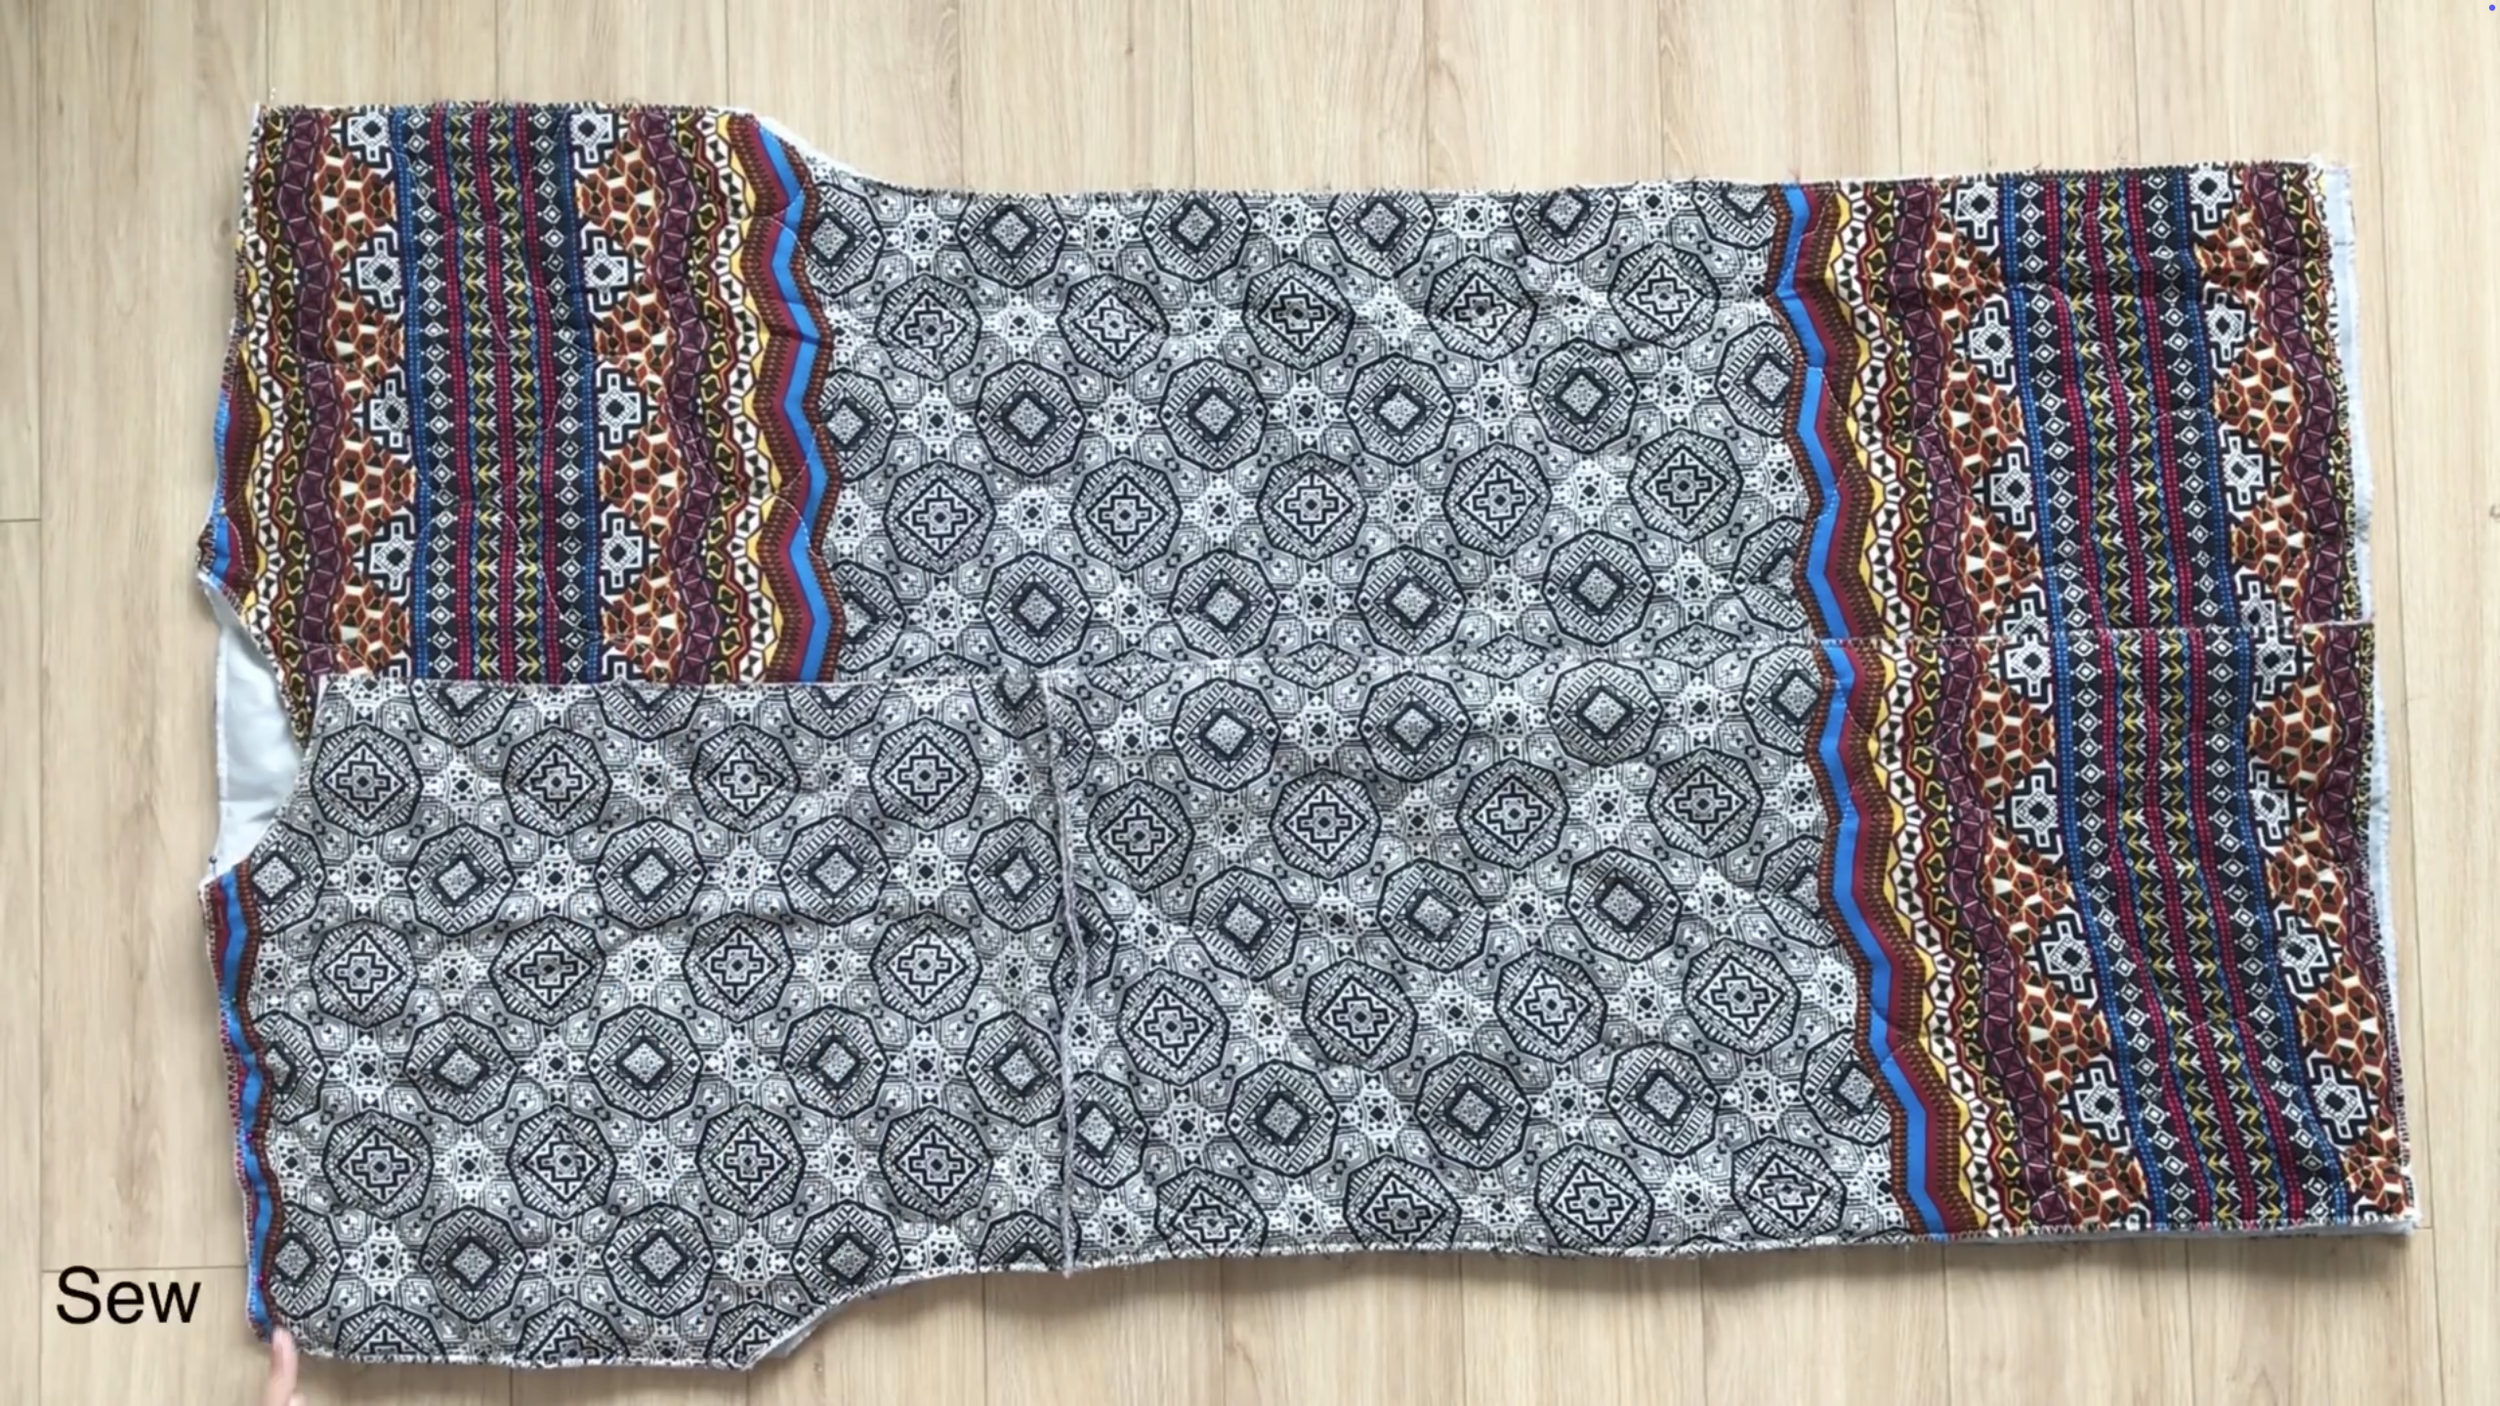
Now, connect the back and the front part together at the shoulder, then sew.
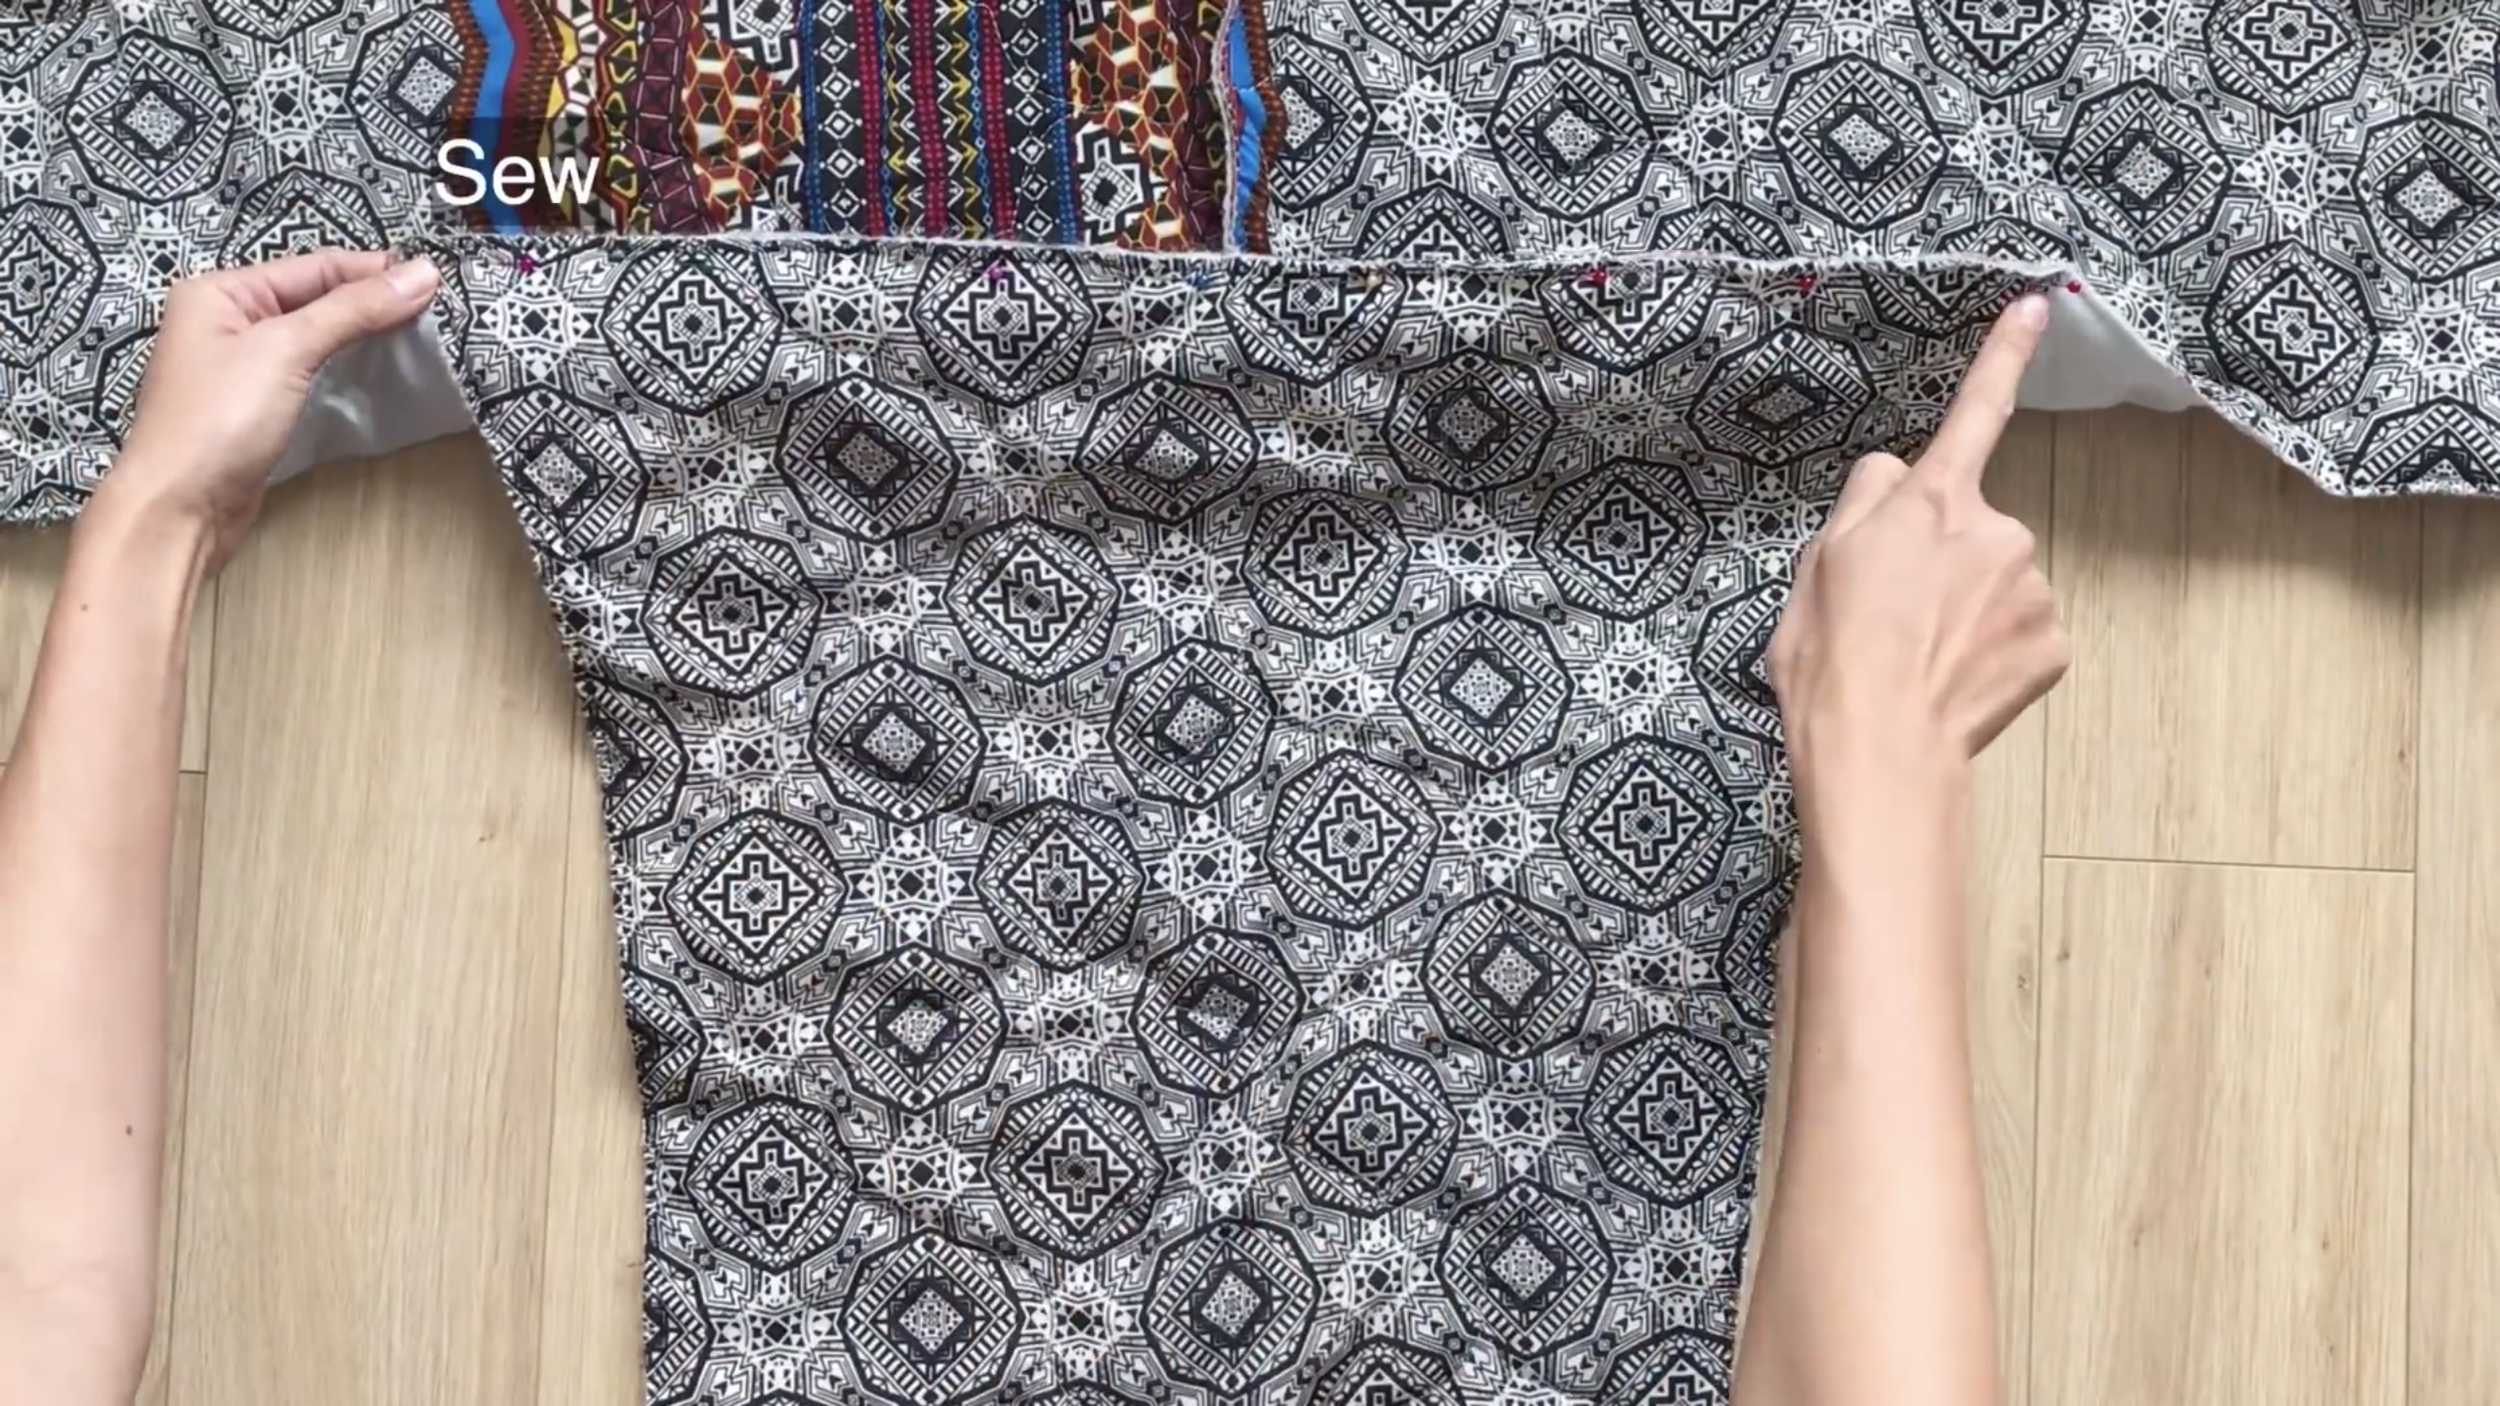
The next step is connecting the hand part to the main body of the coat at the arm area.
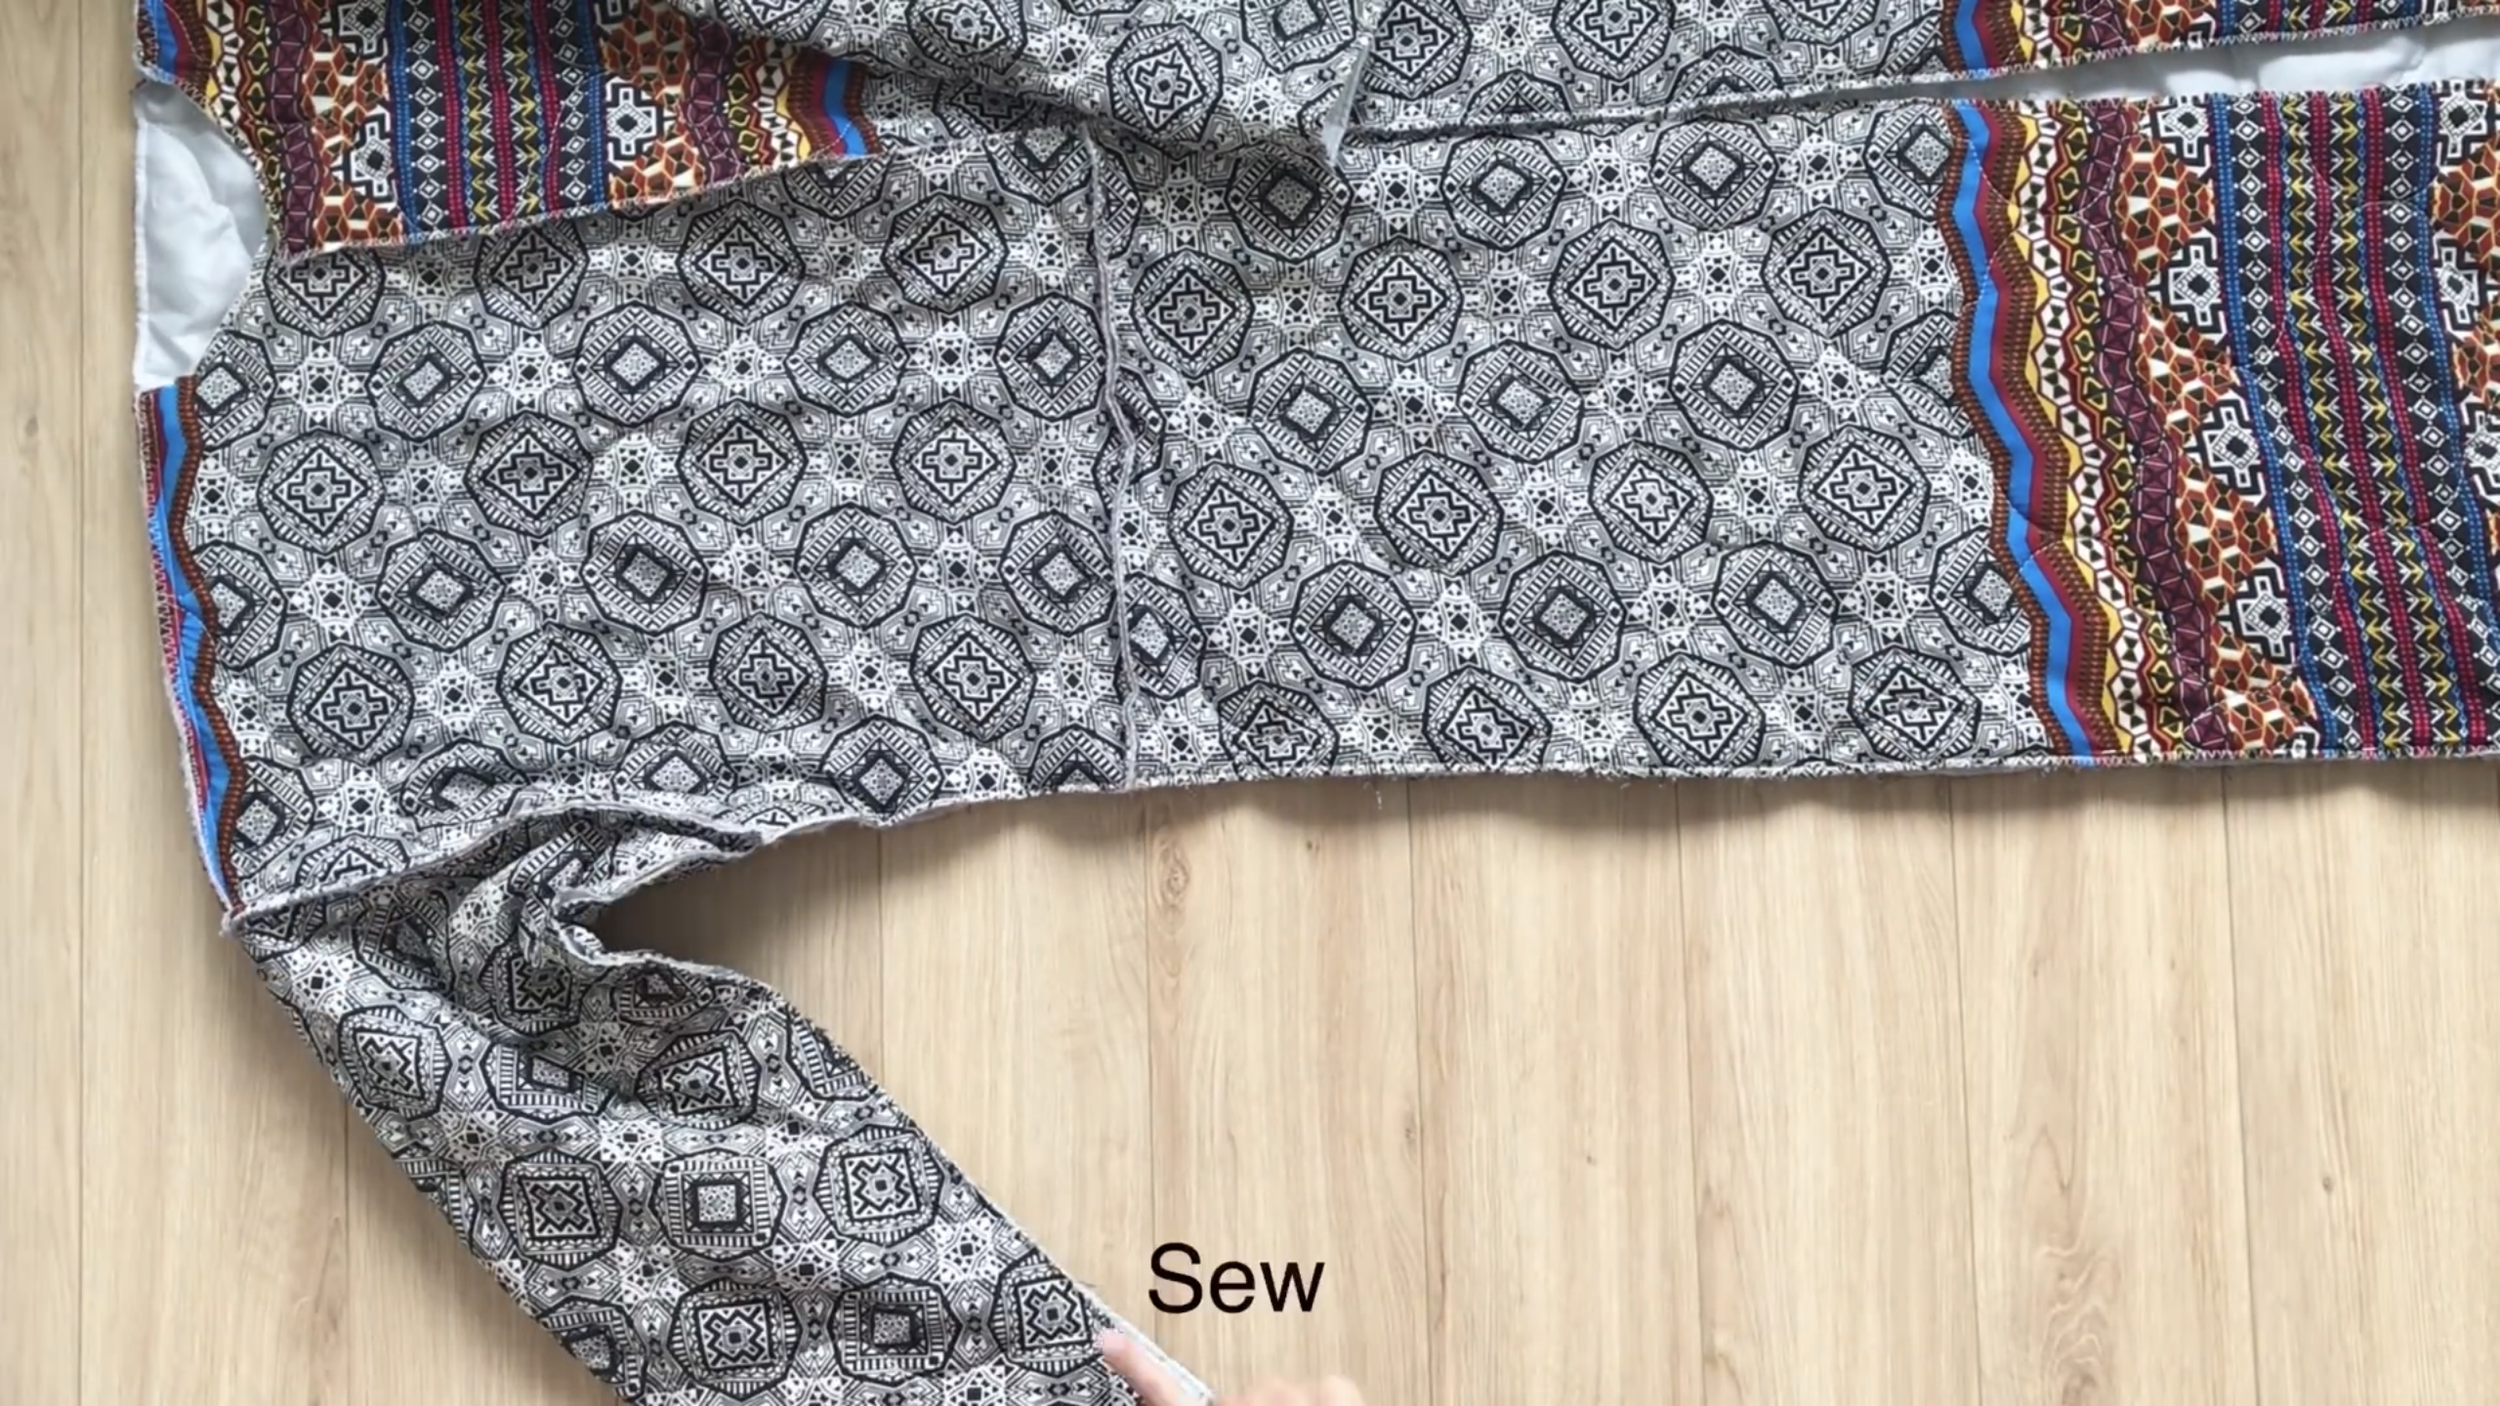
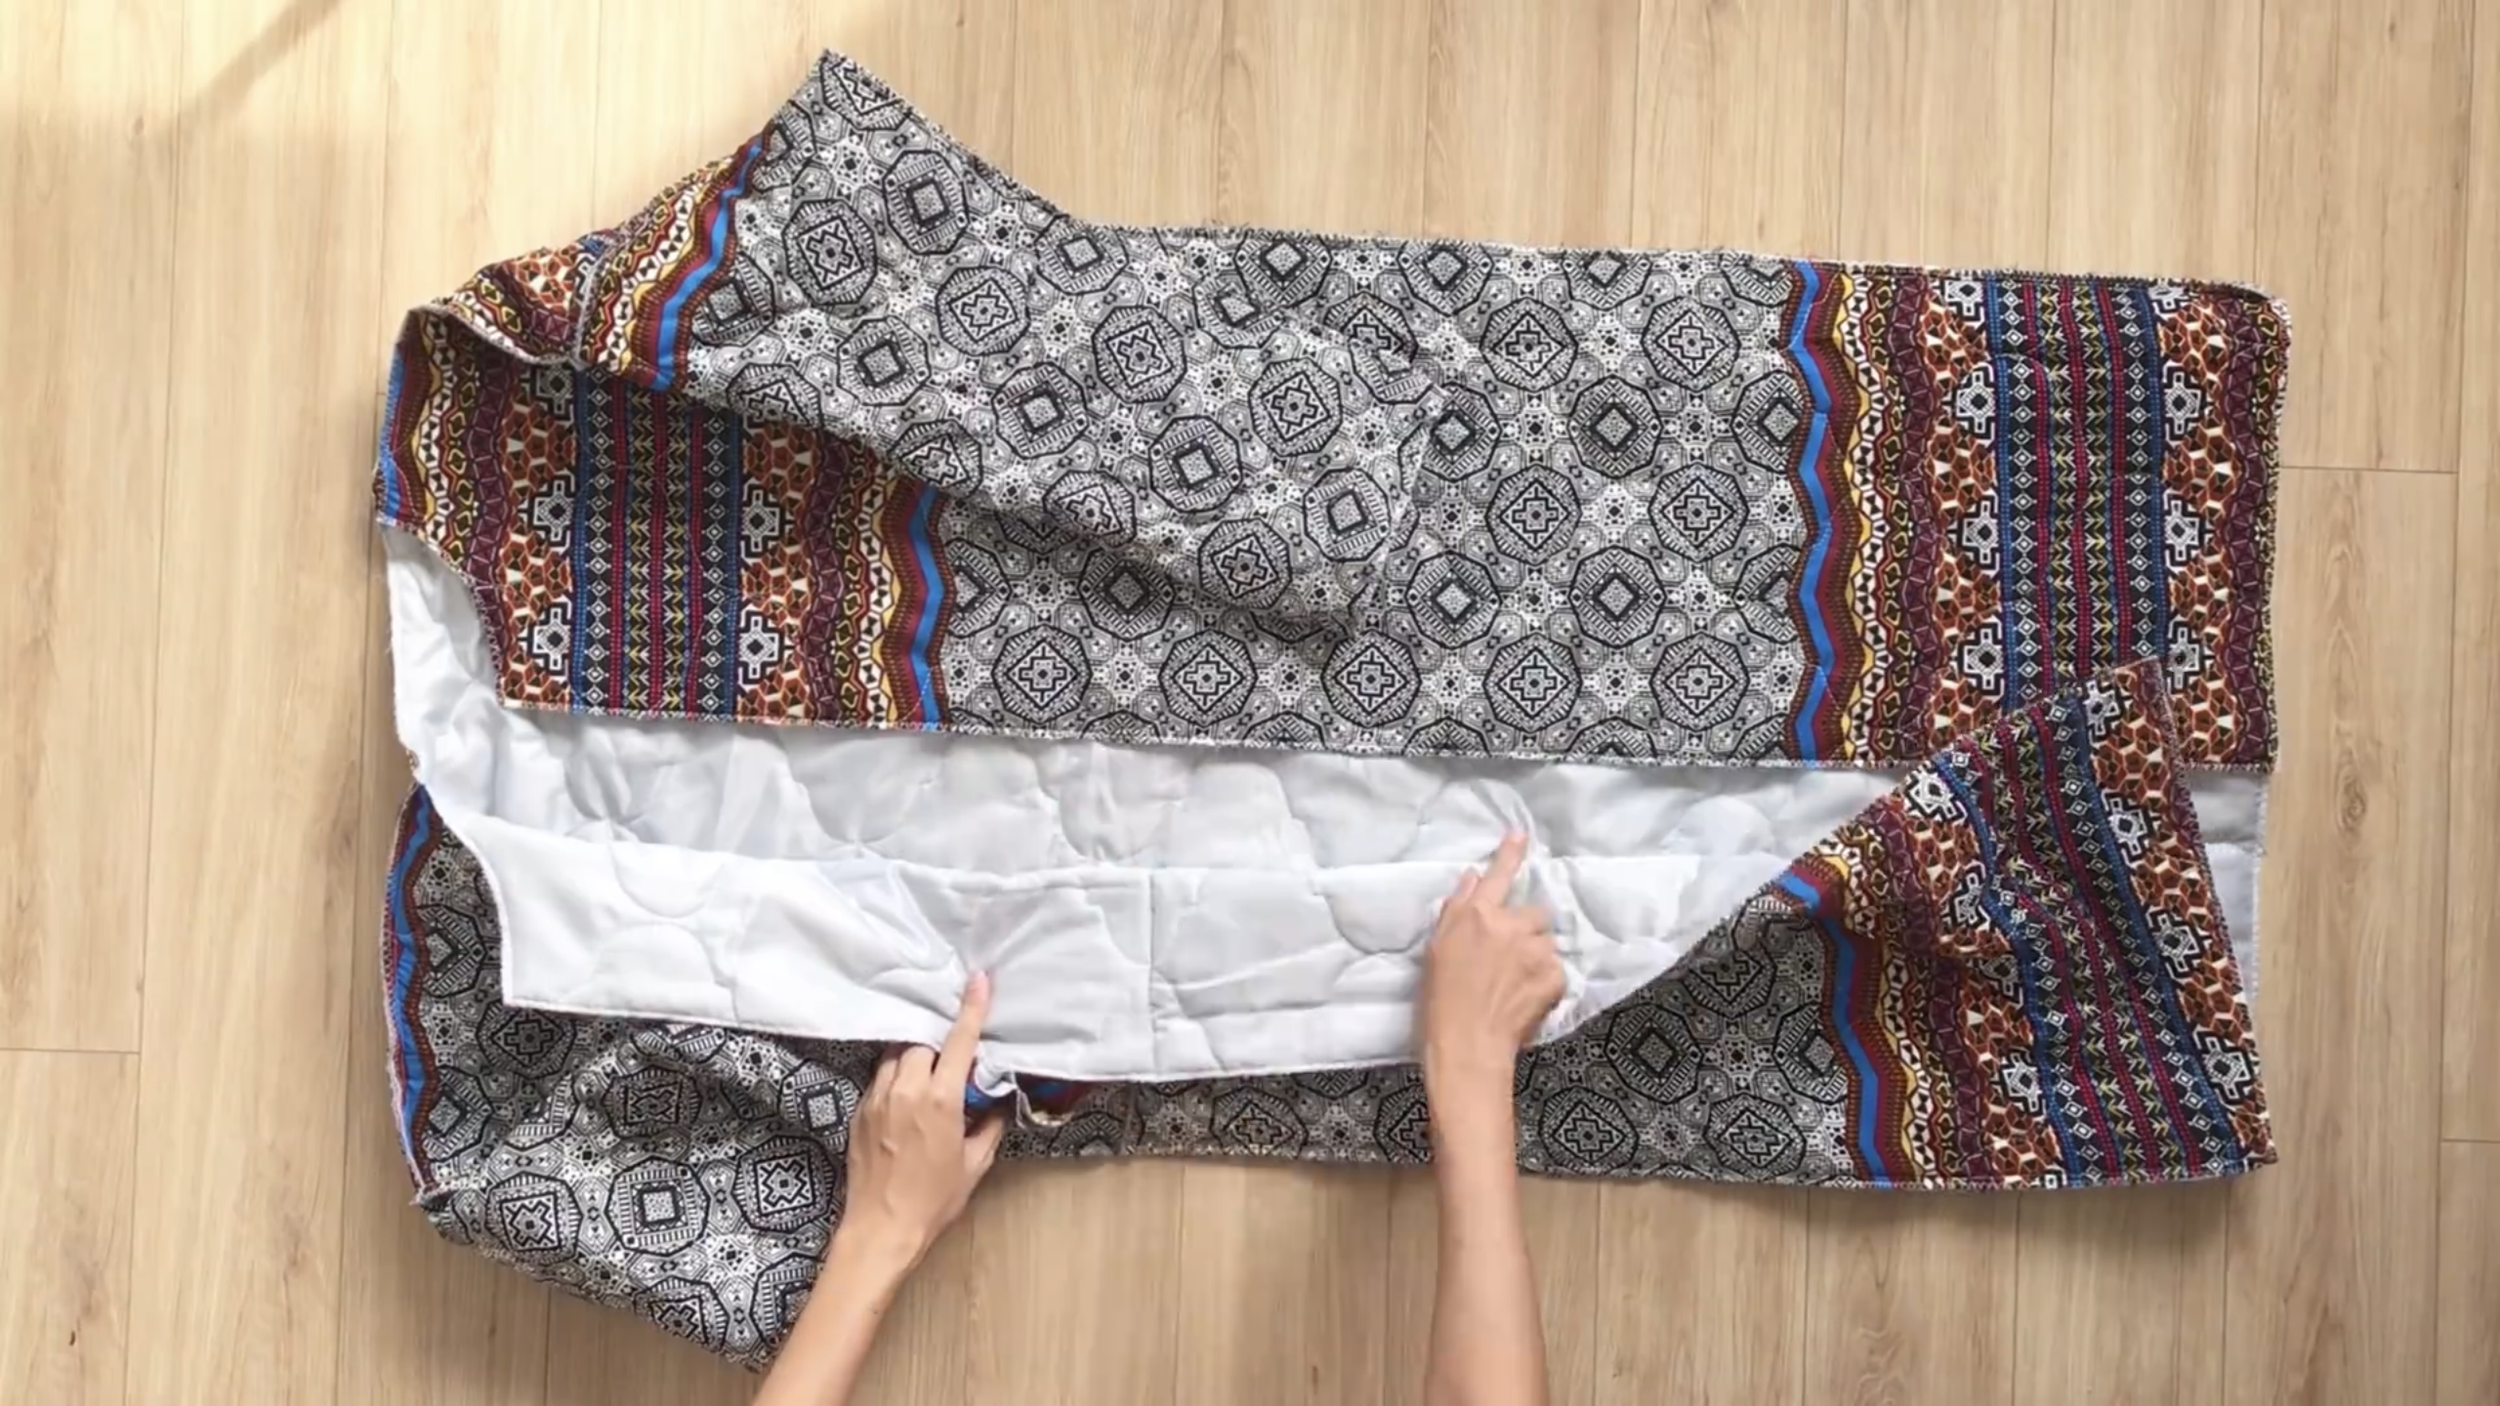
After sewing, connect two sides of the hand and two sides of the coat together, then sew. This is for the first side of the coat.
Do the same for the other blanket to have another side of the coat.
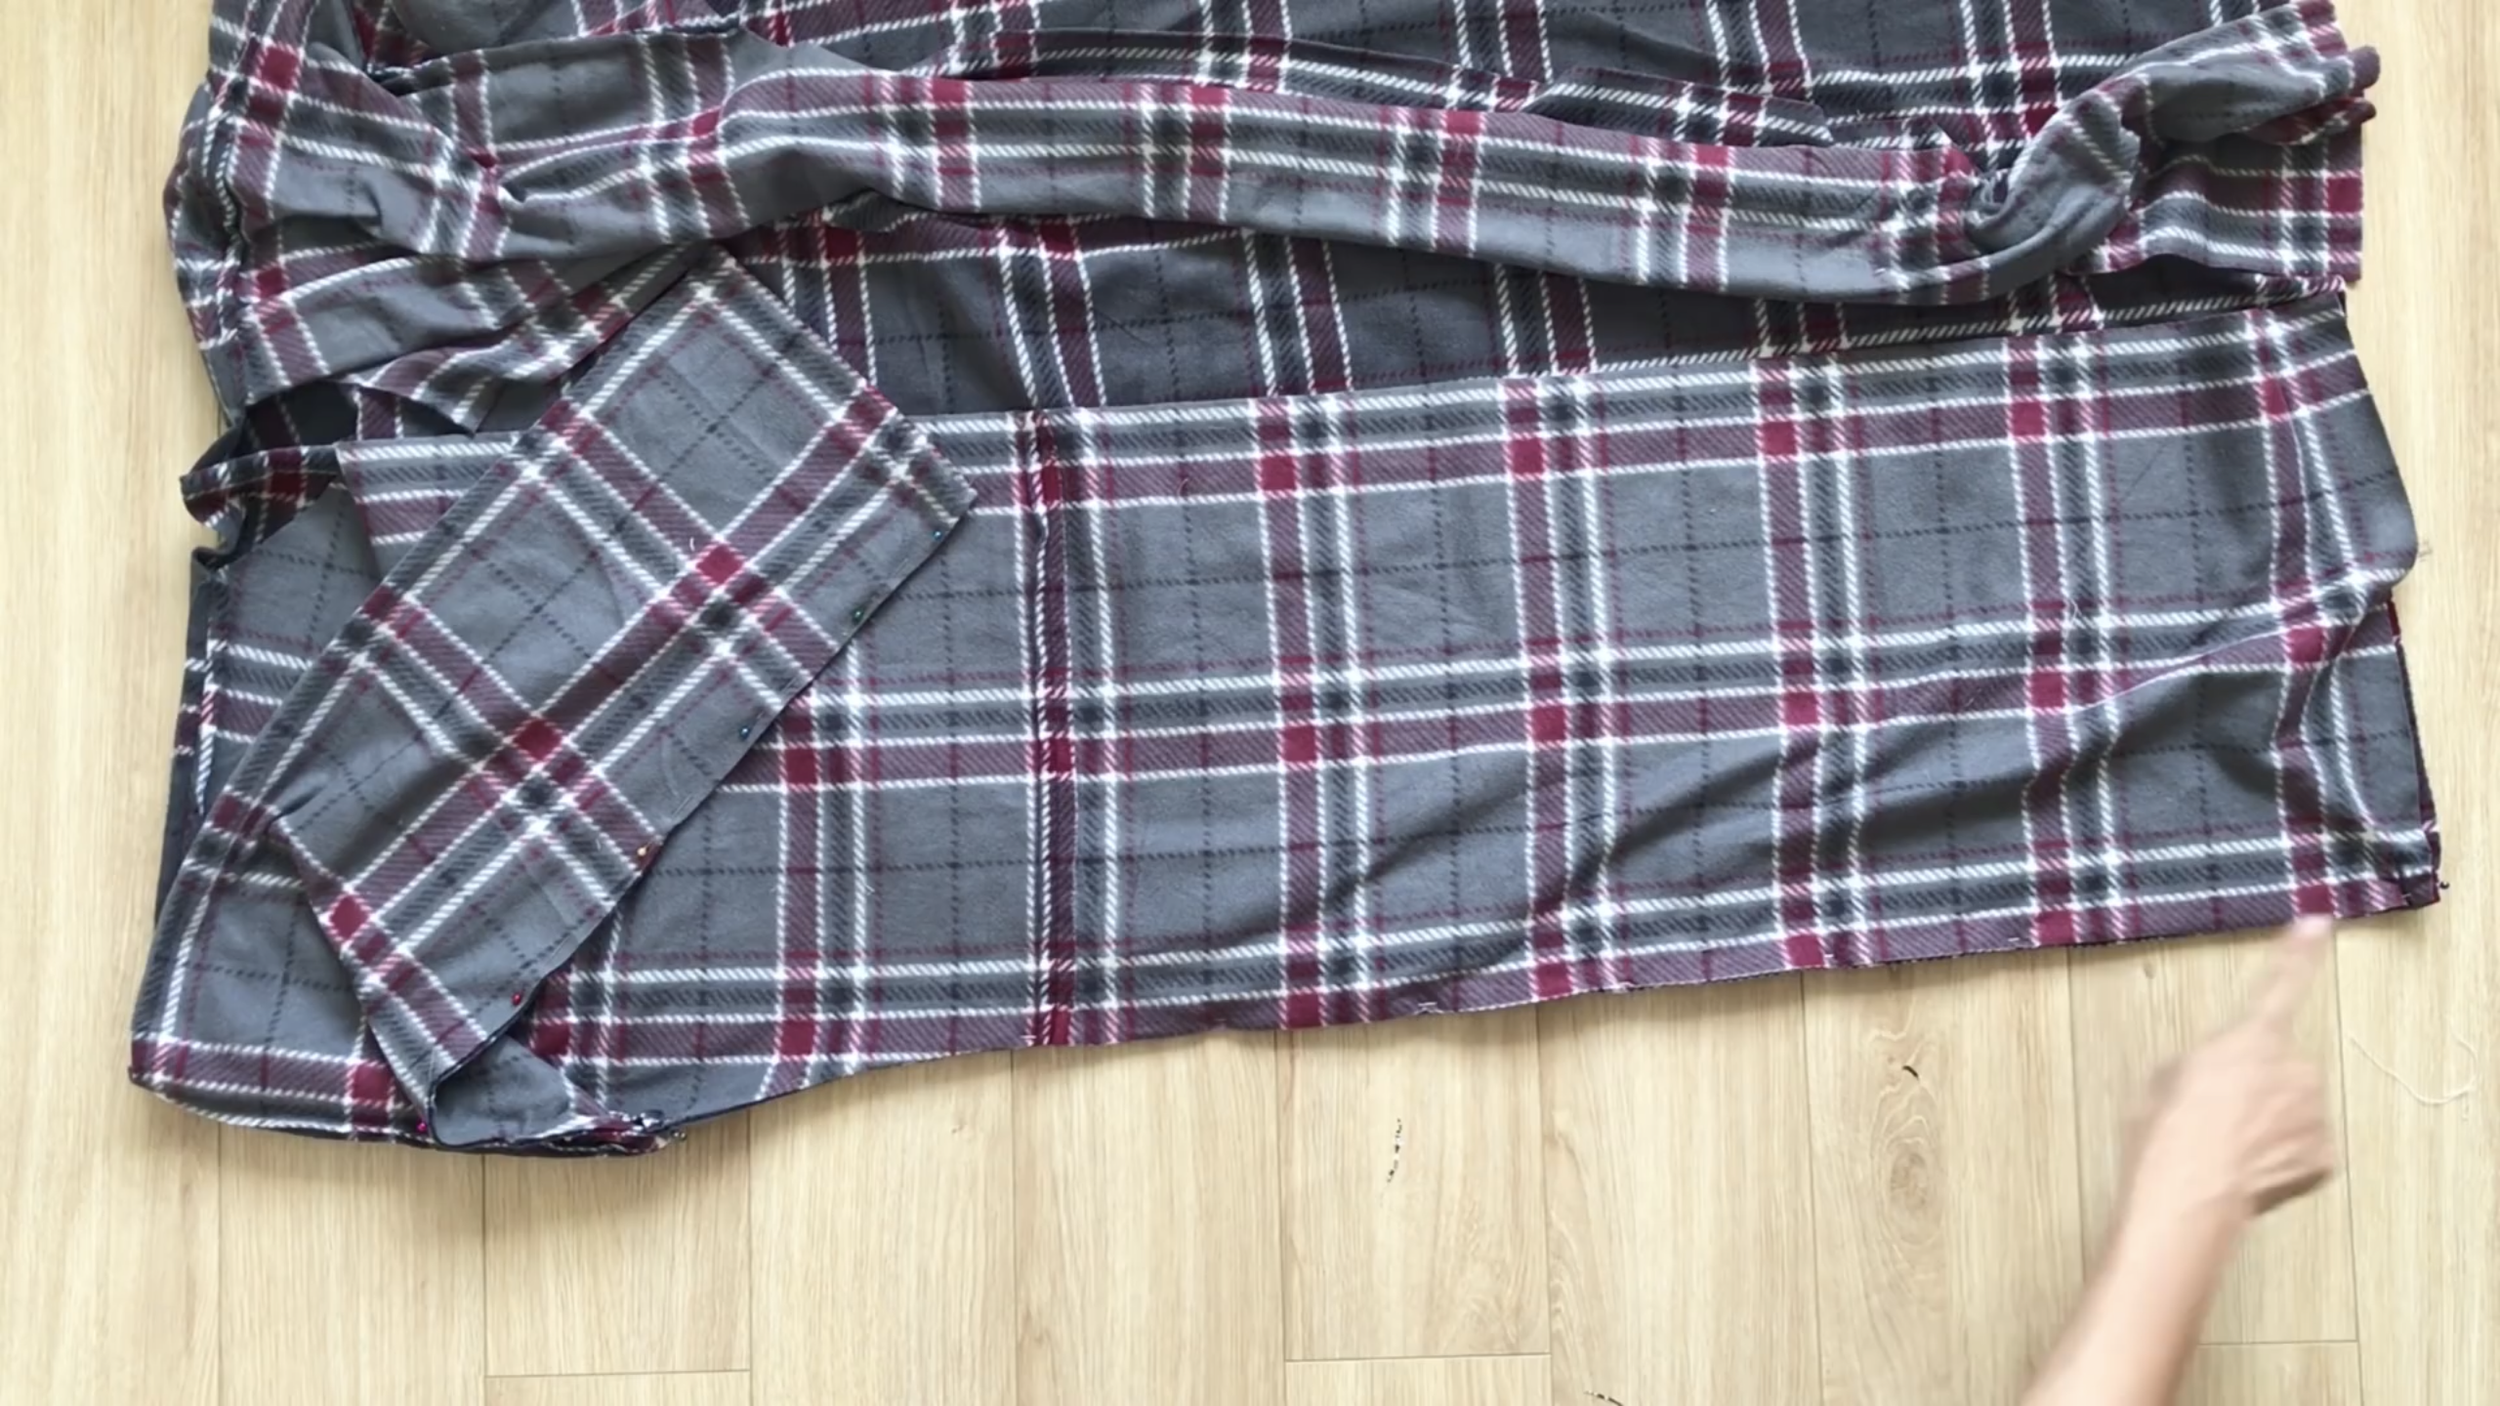
After having two sides of the coat, put the right face of two coats together, then connect them together at the button area and the neck area.
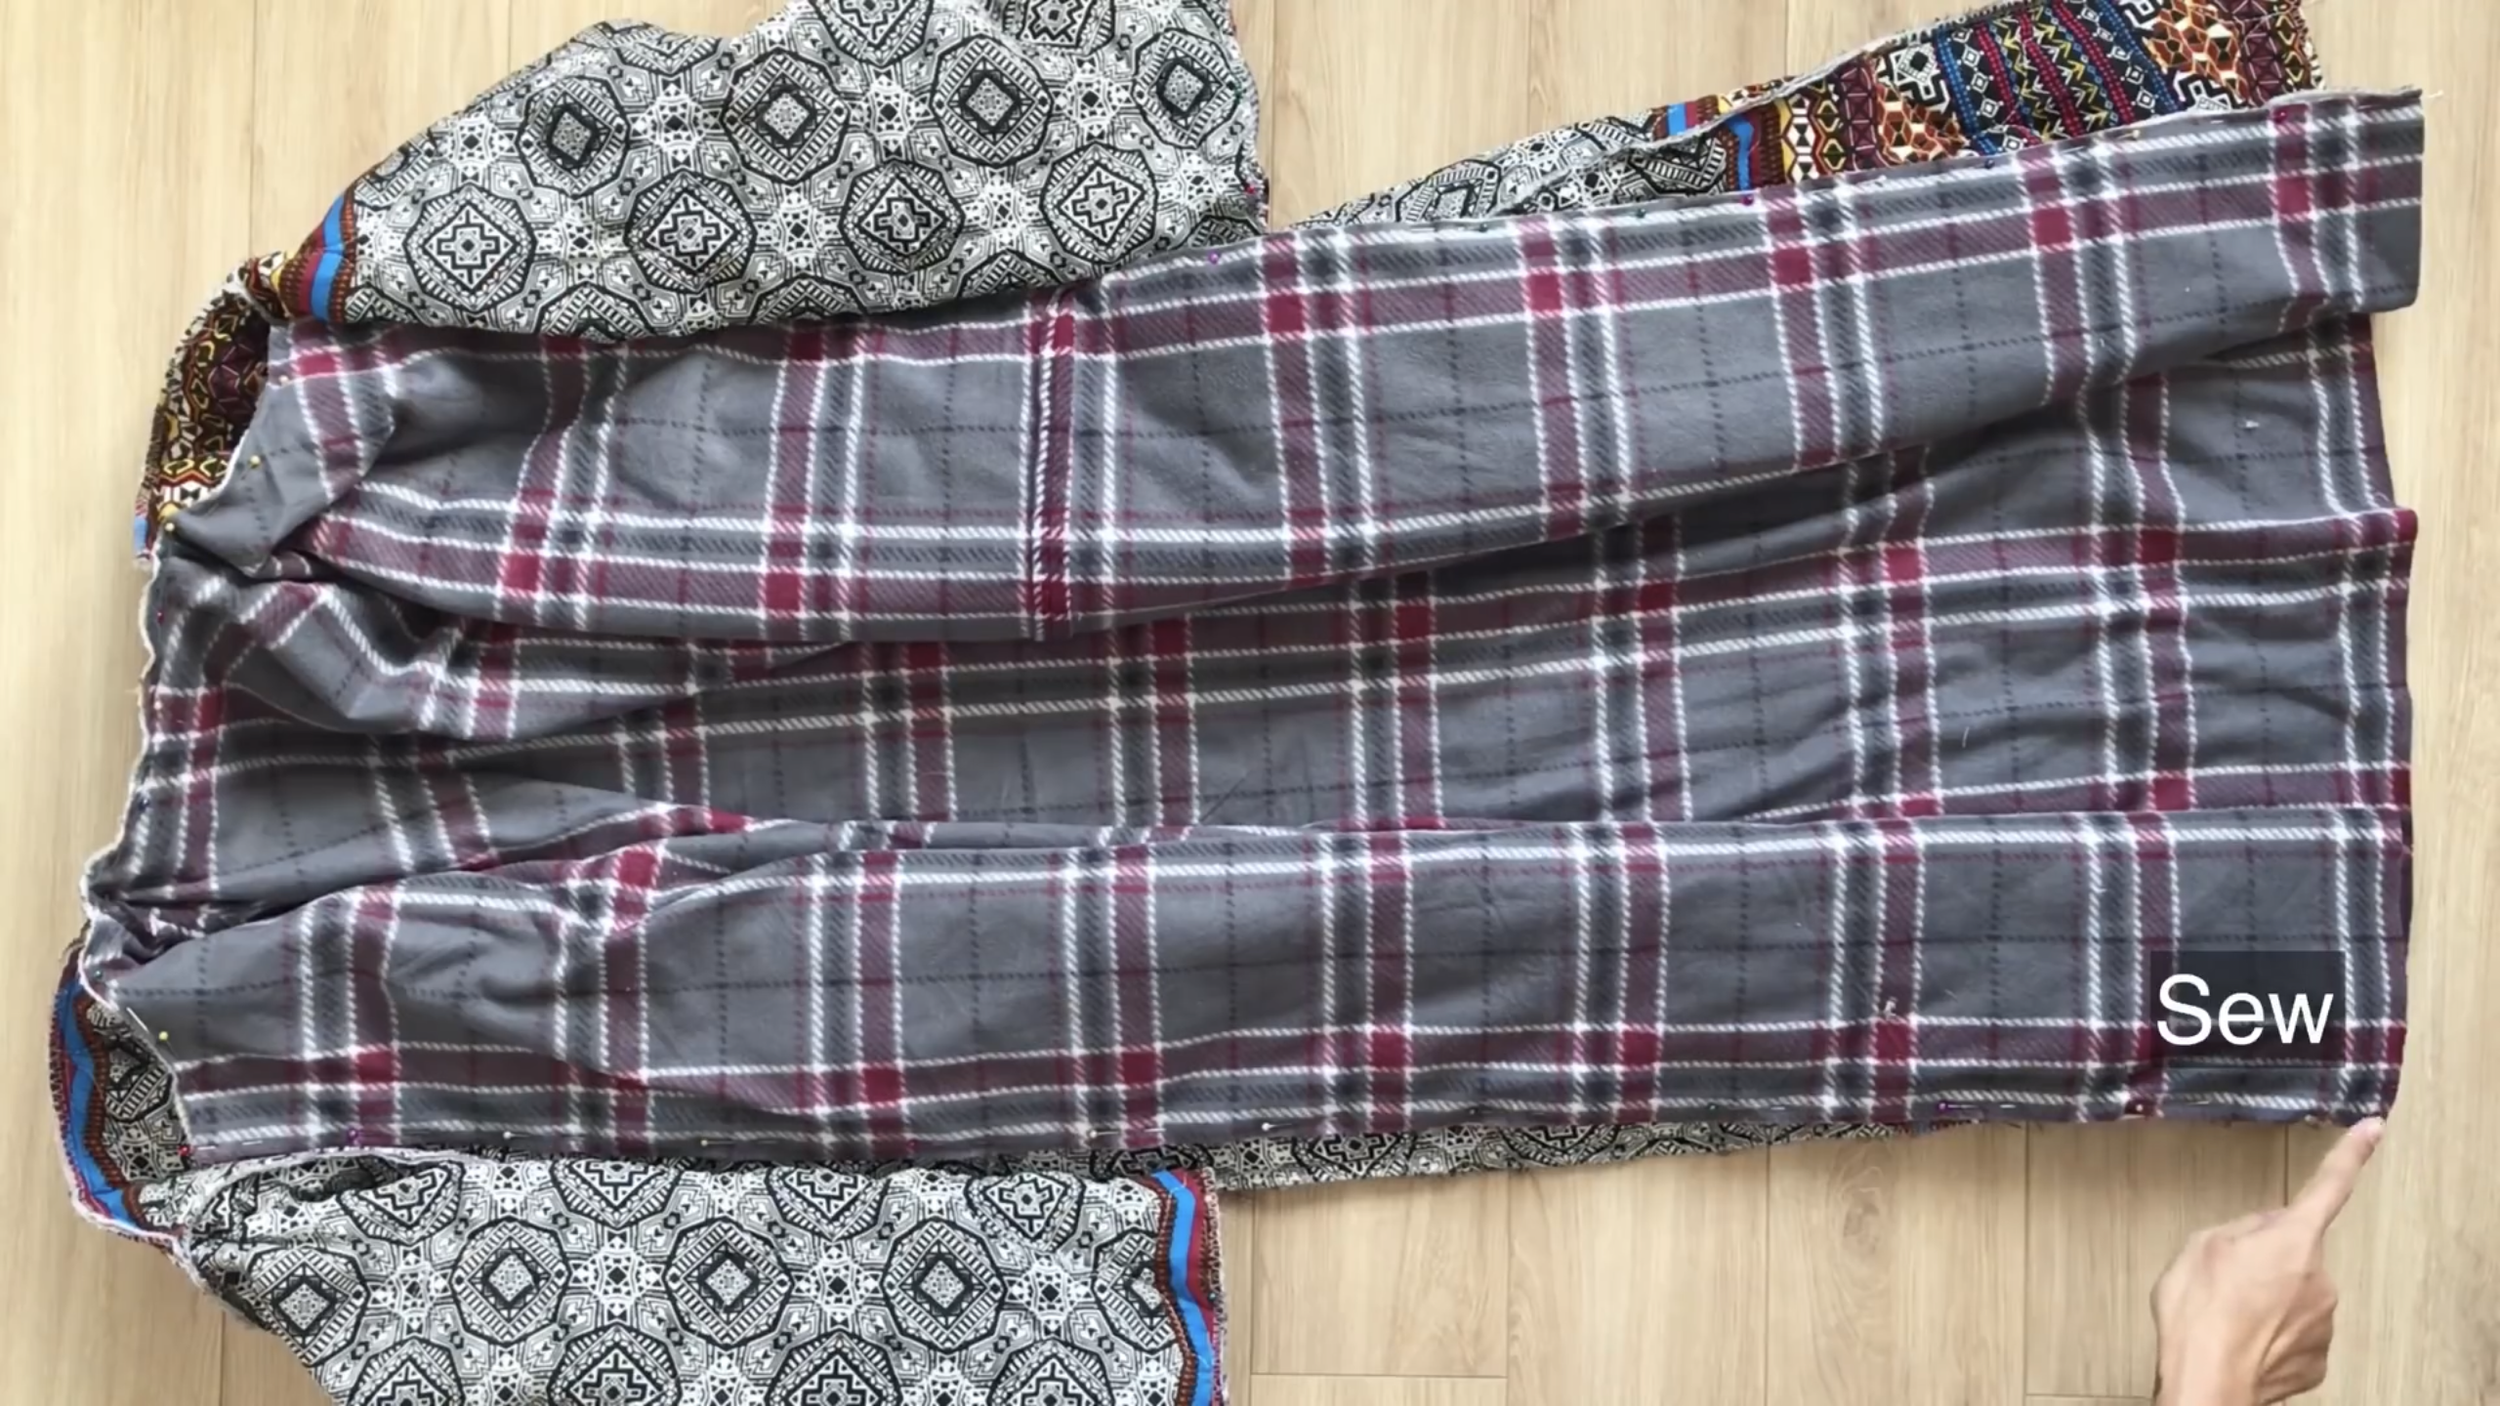
Then, sew.
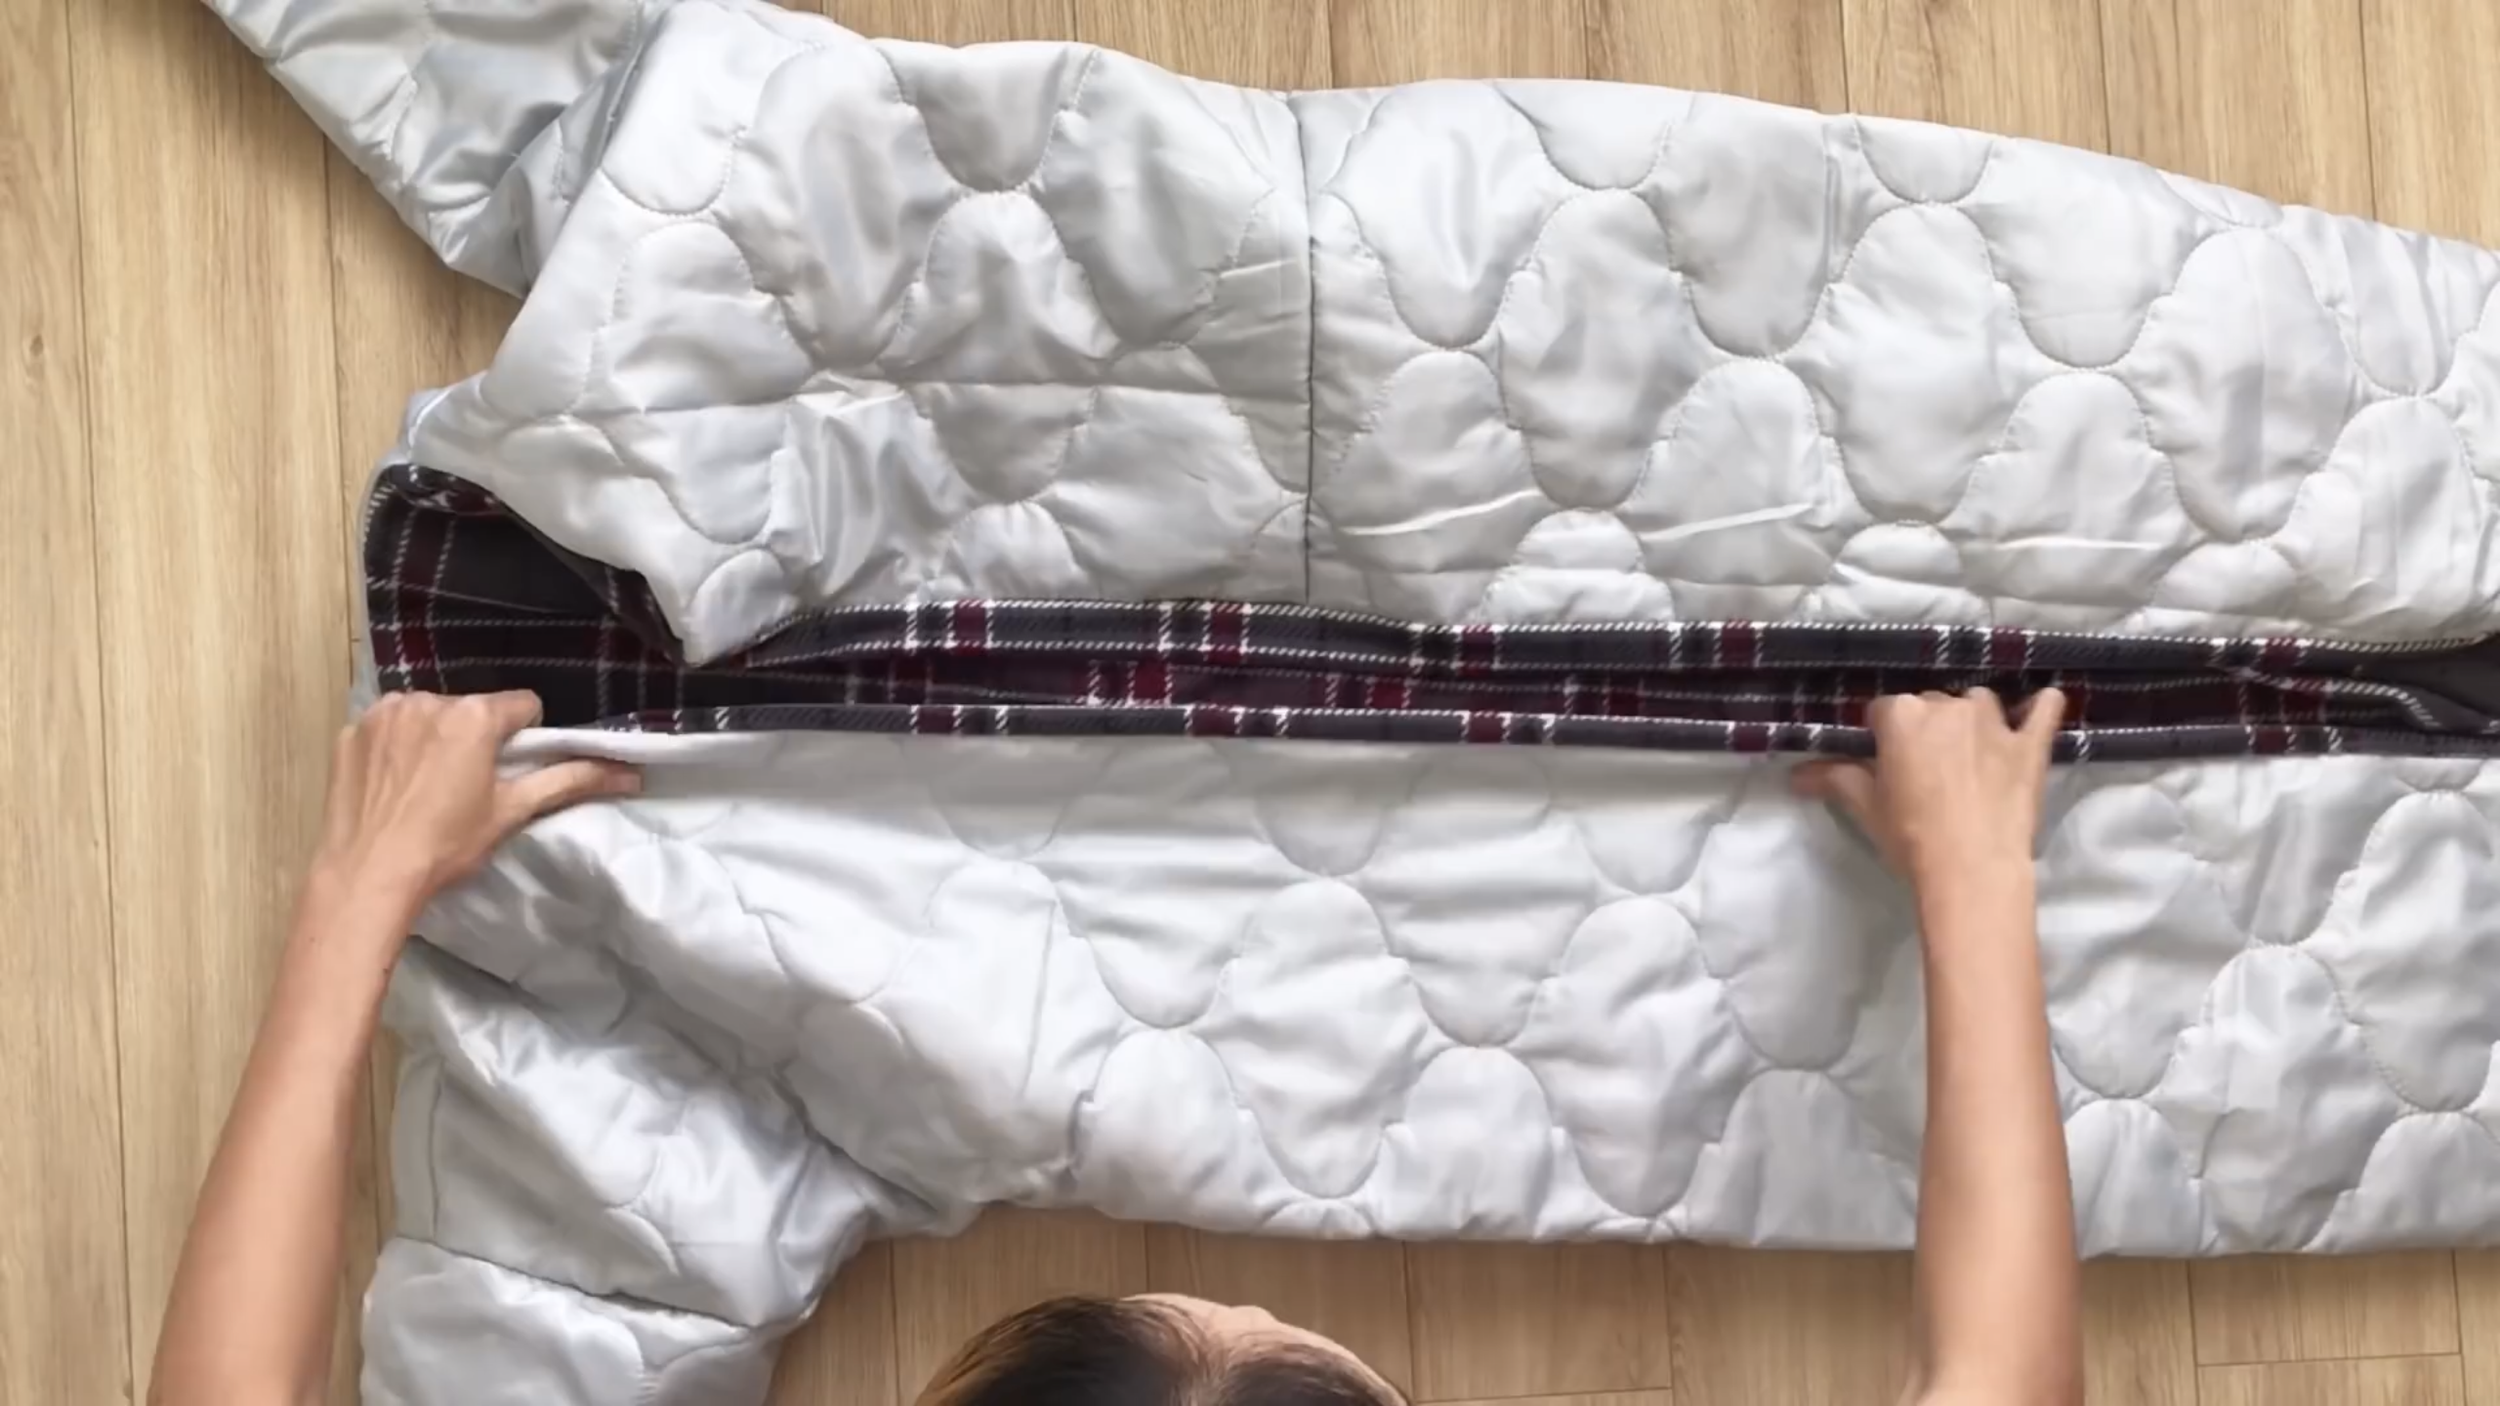
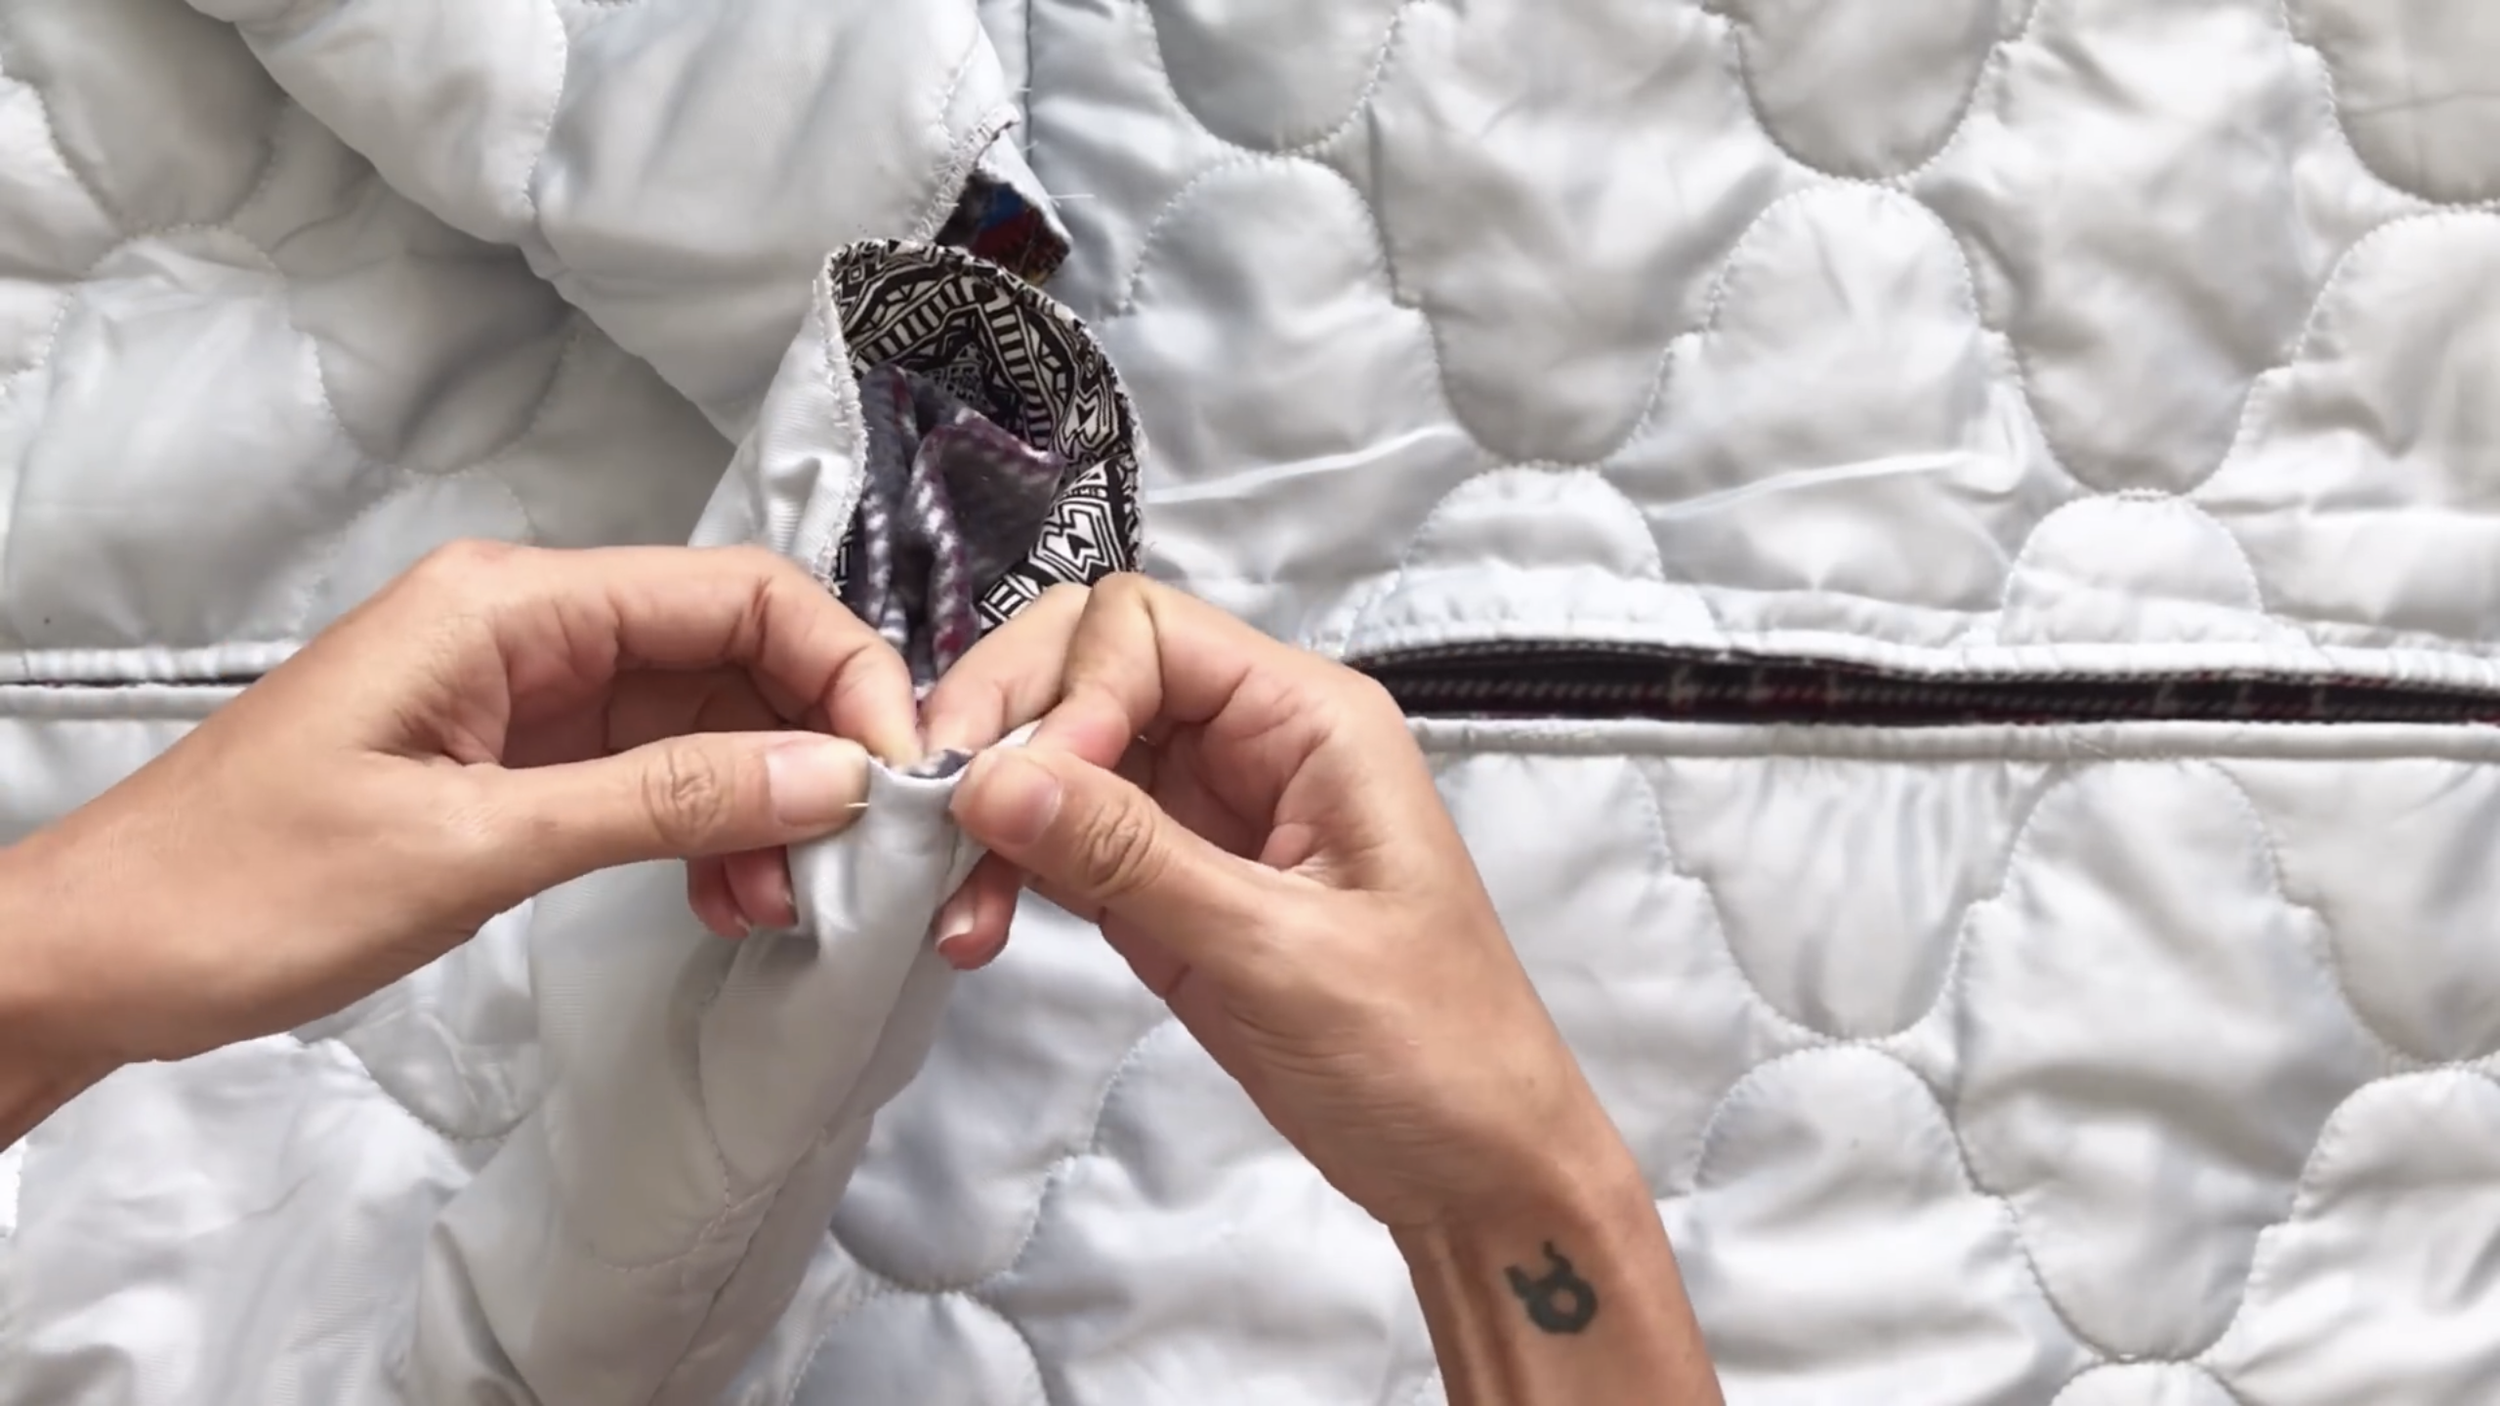
After sewing, turn the coat over to hide the sewing seam inside.
Then, make another seam at the button area and the neck to hold two sides of the coat together.
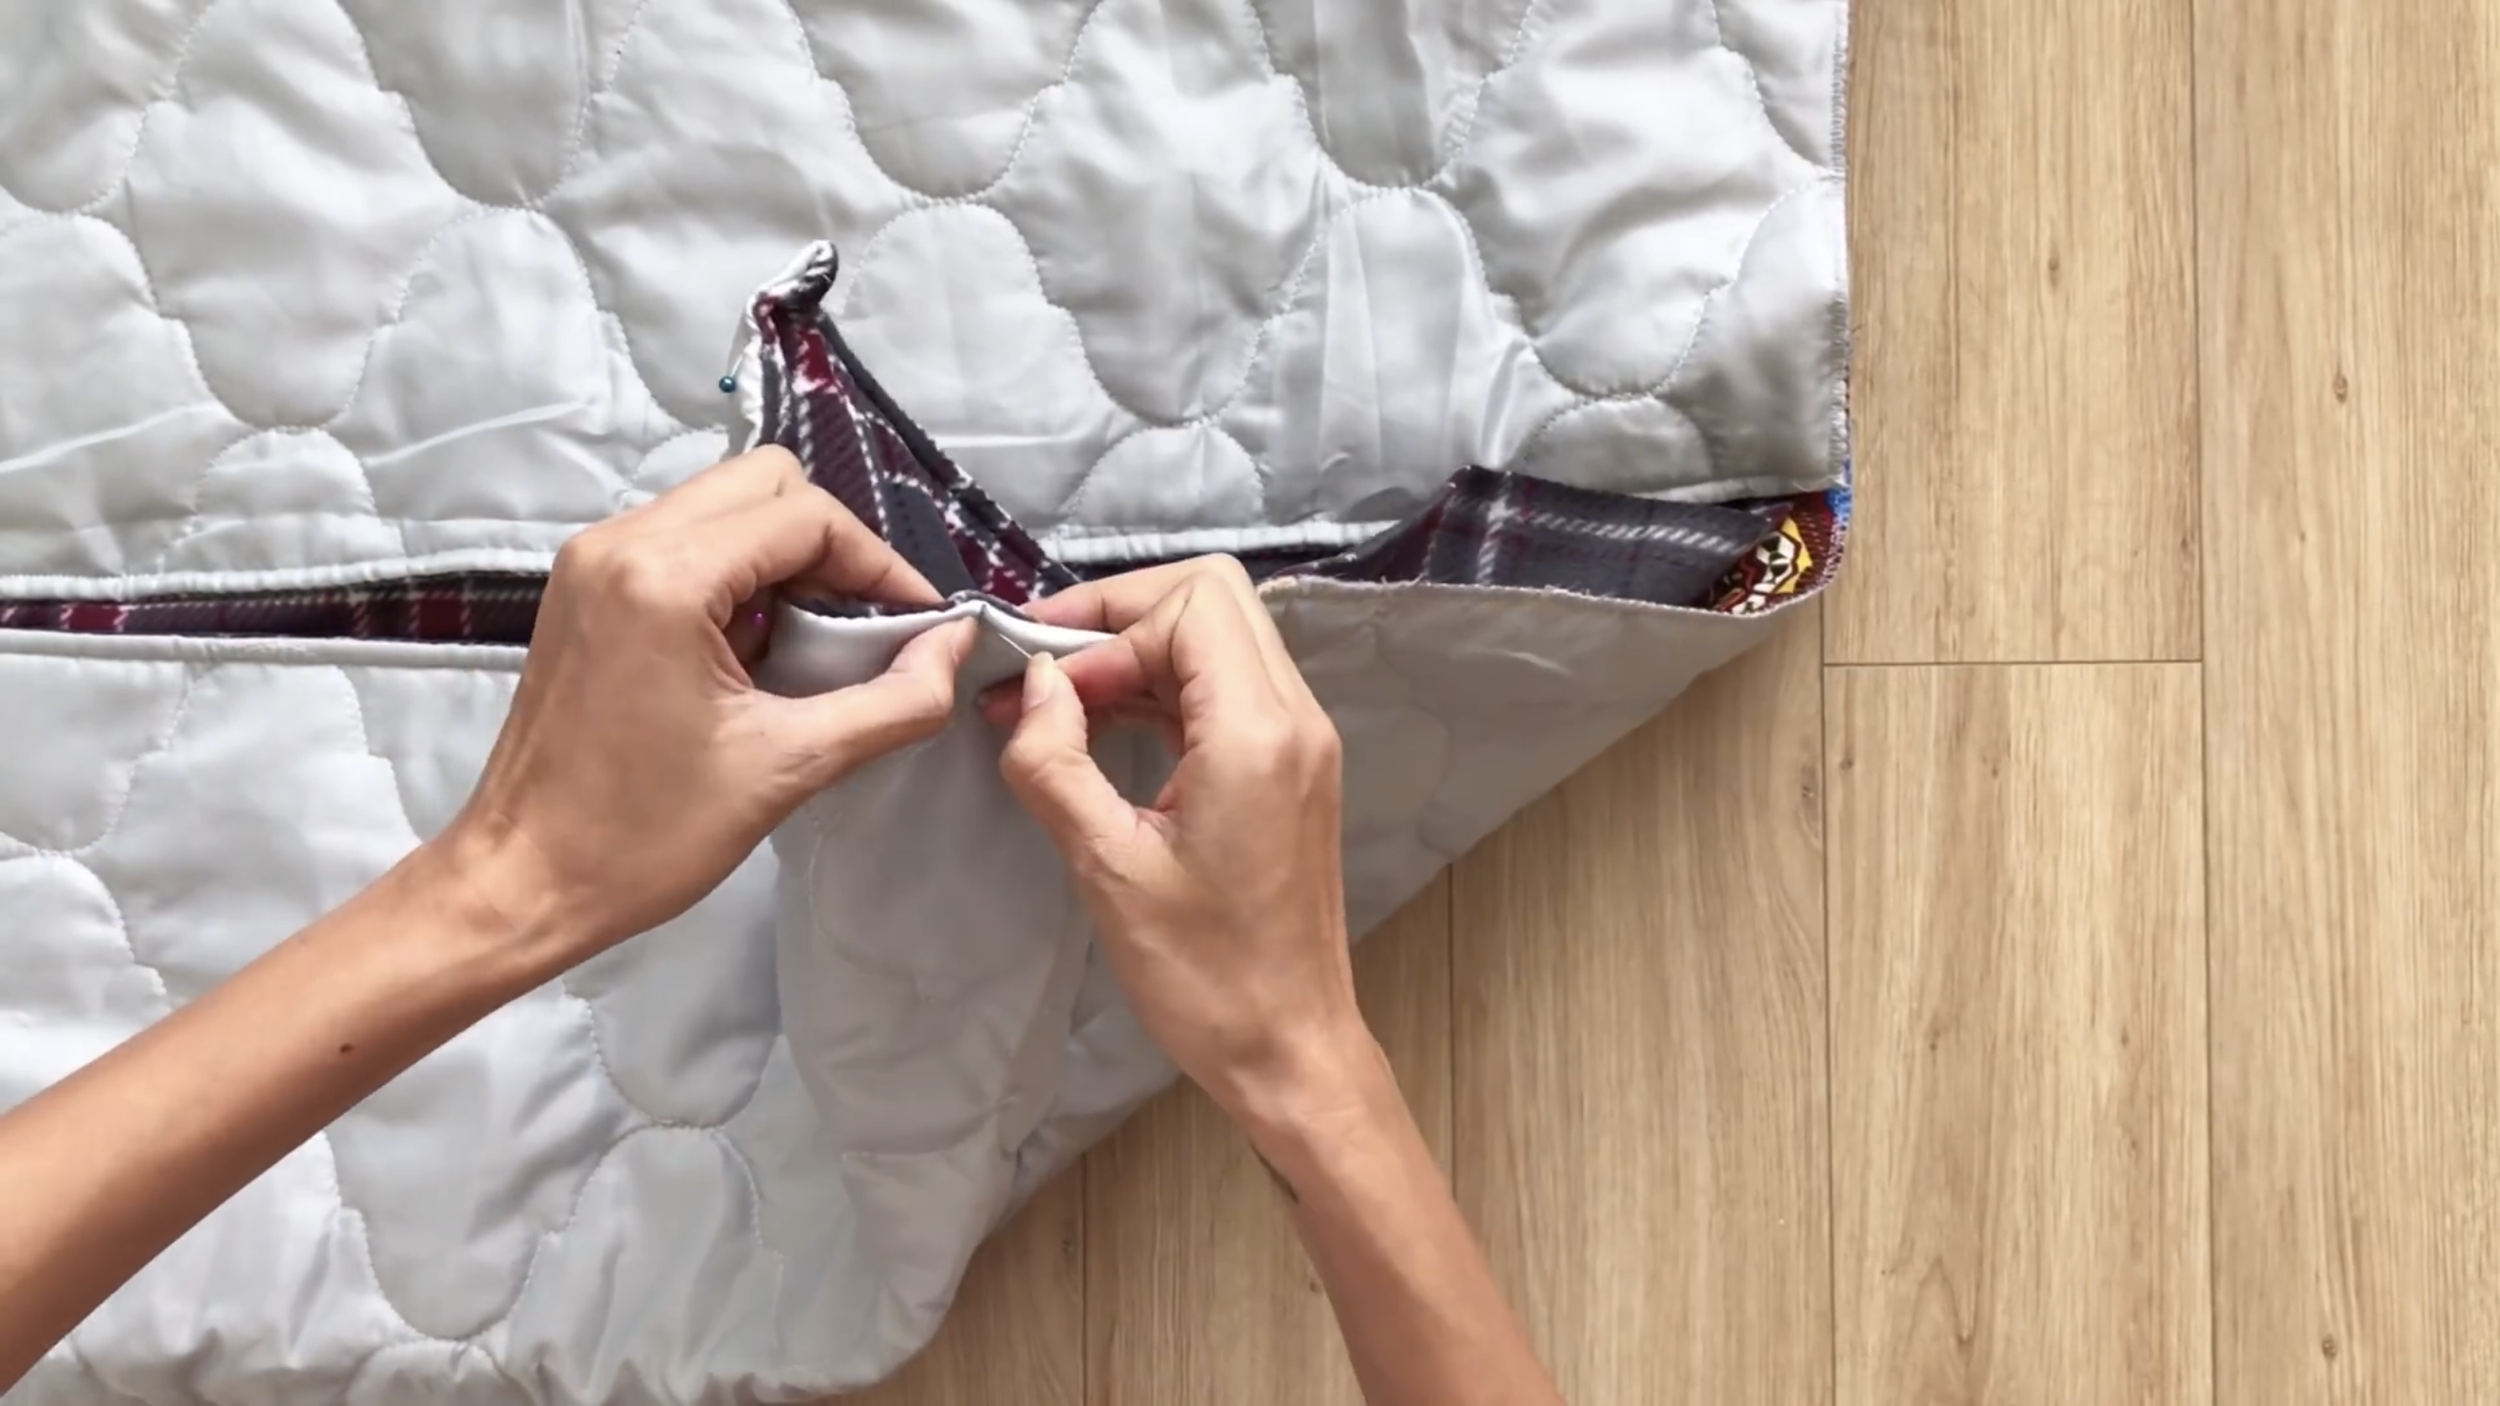
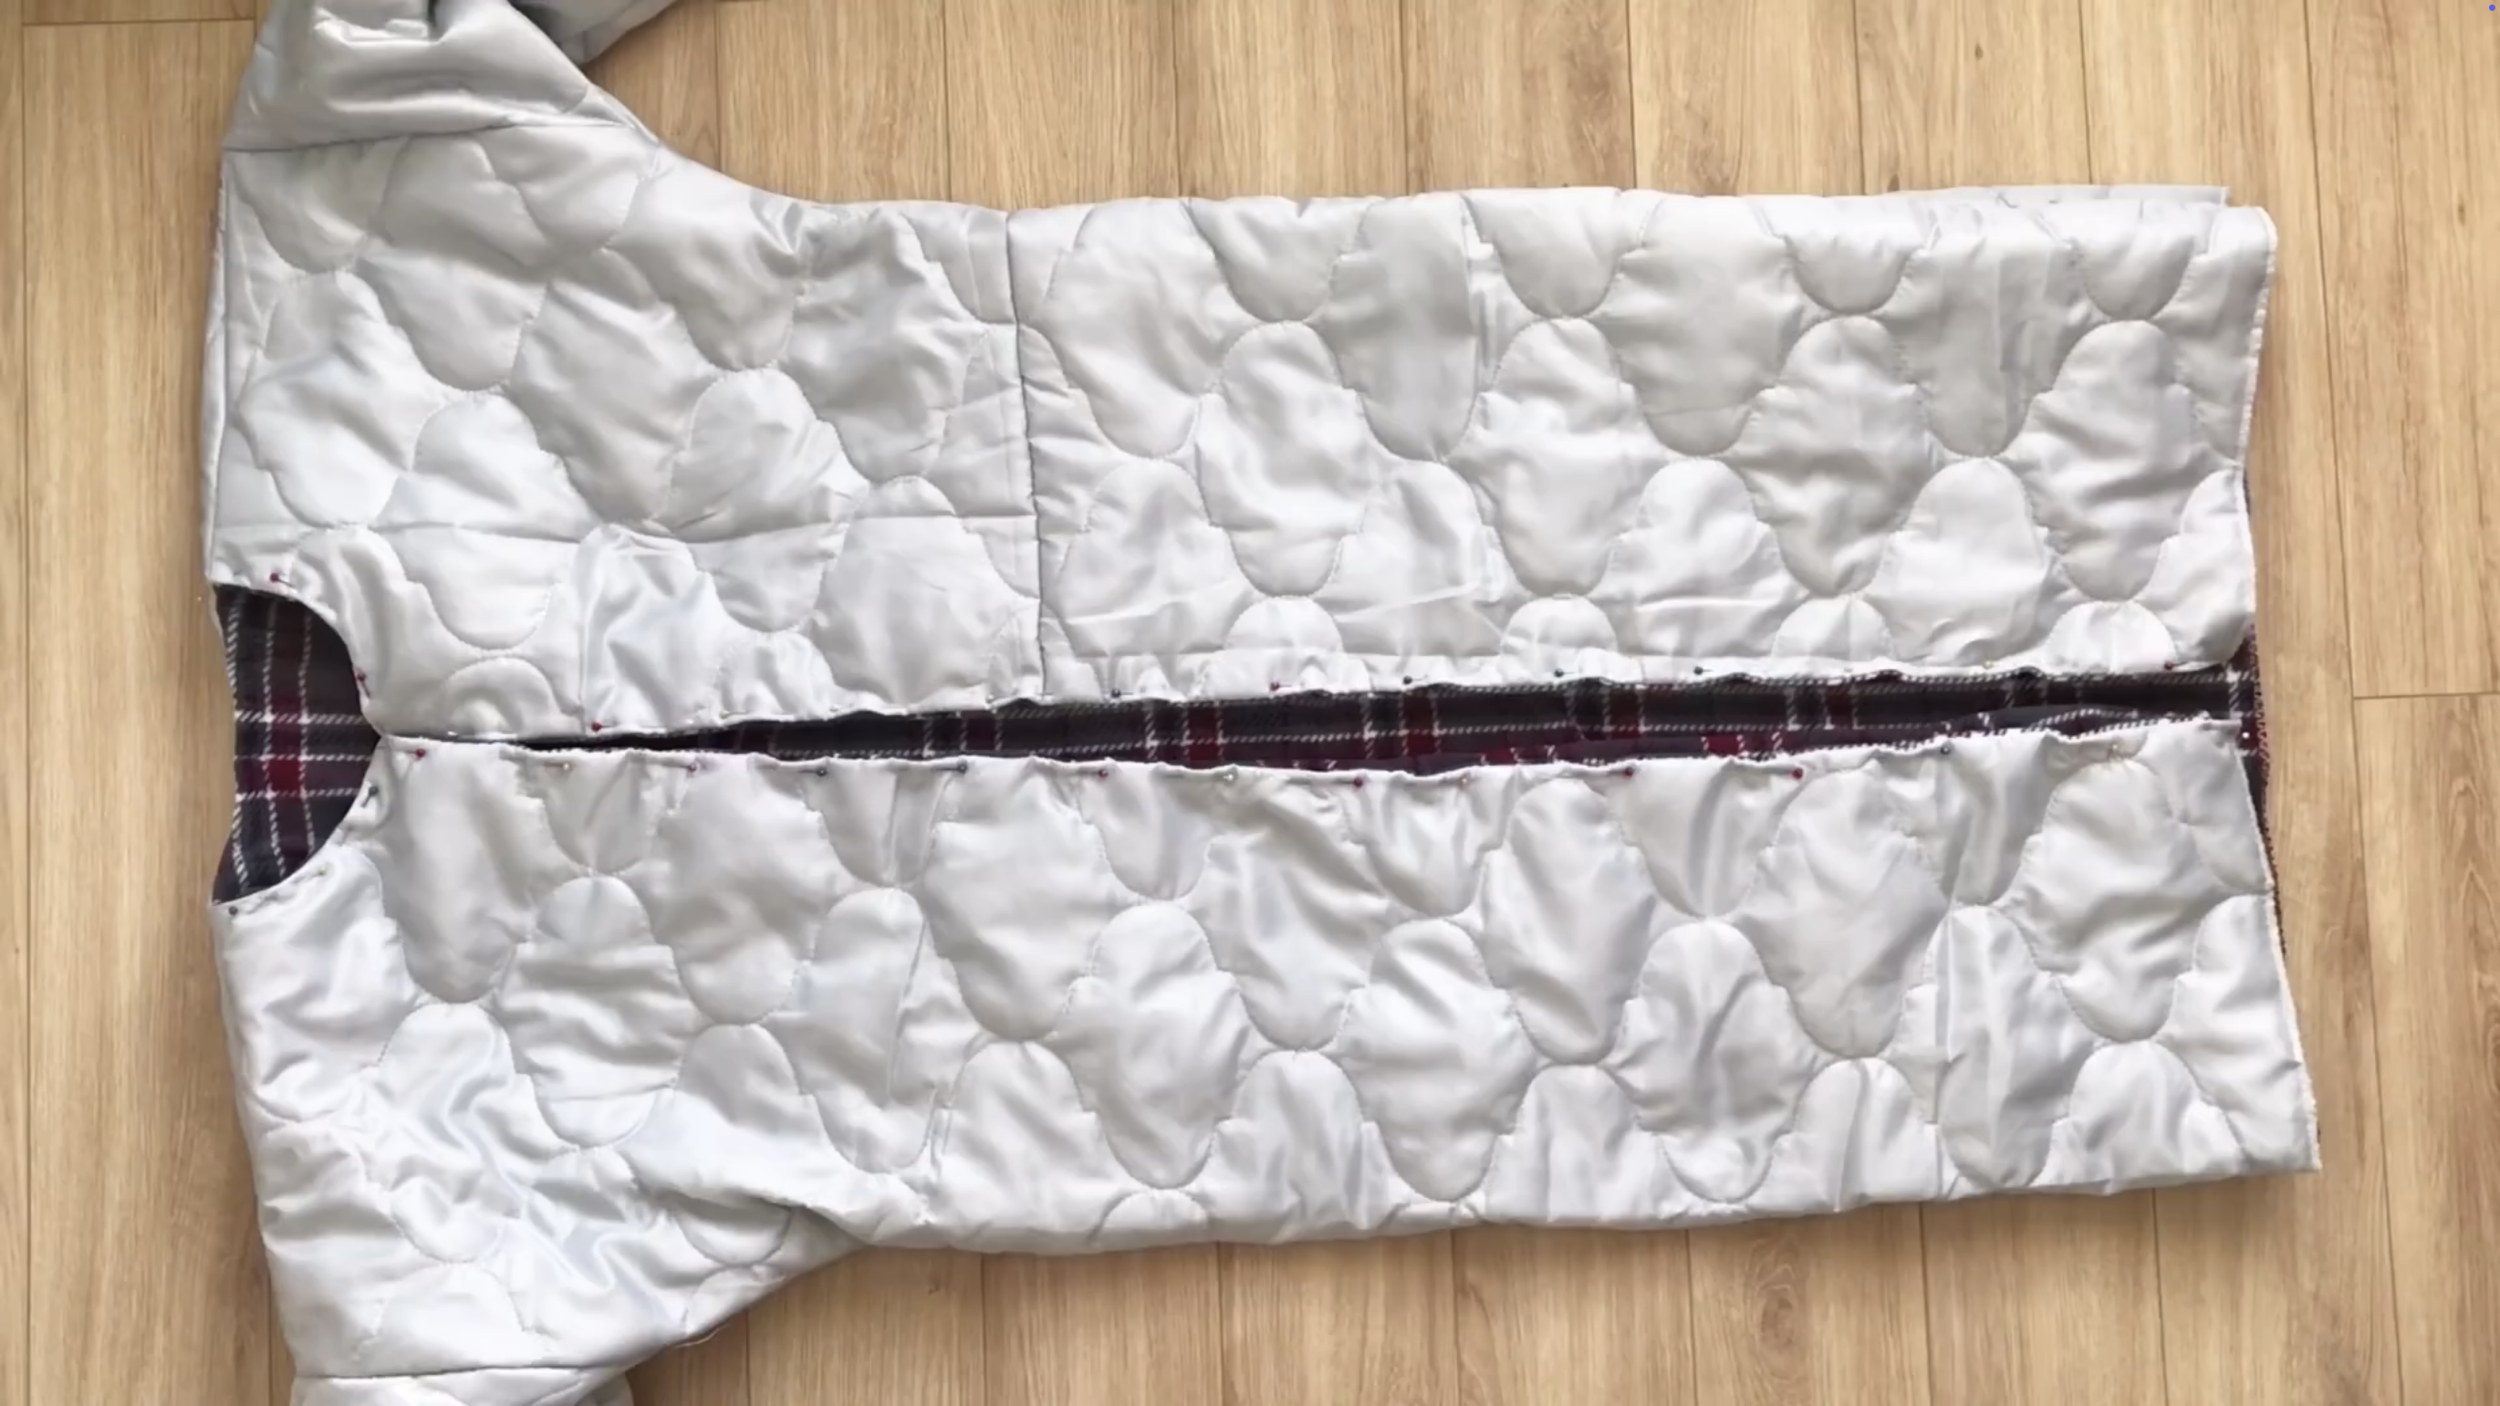
The next step is finishing the end of the coat and the end at two hands.
Fold two sides of the coat inside to hide the end first, then sew to finish it.

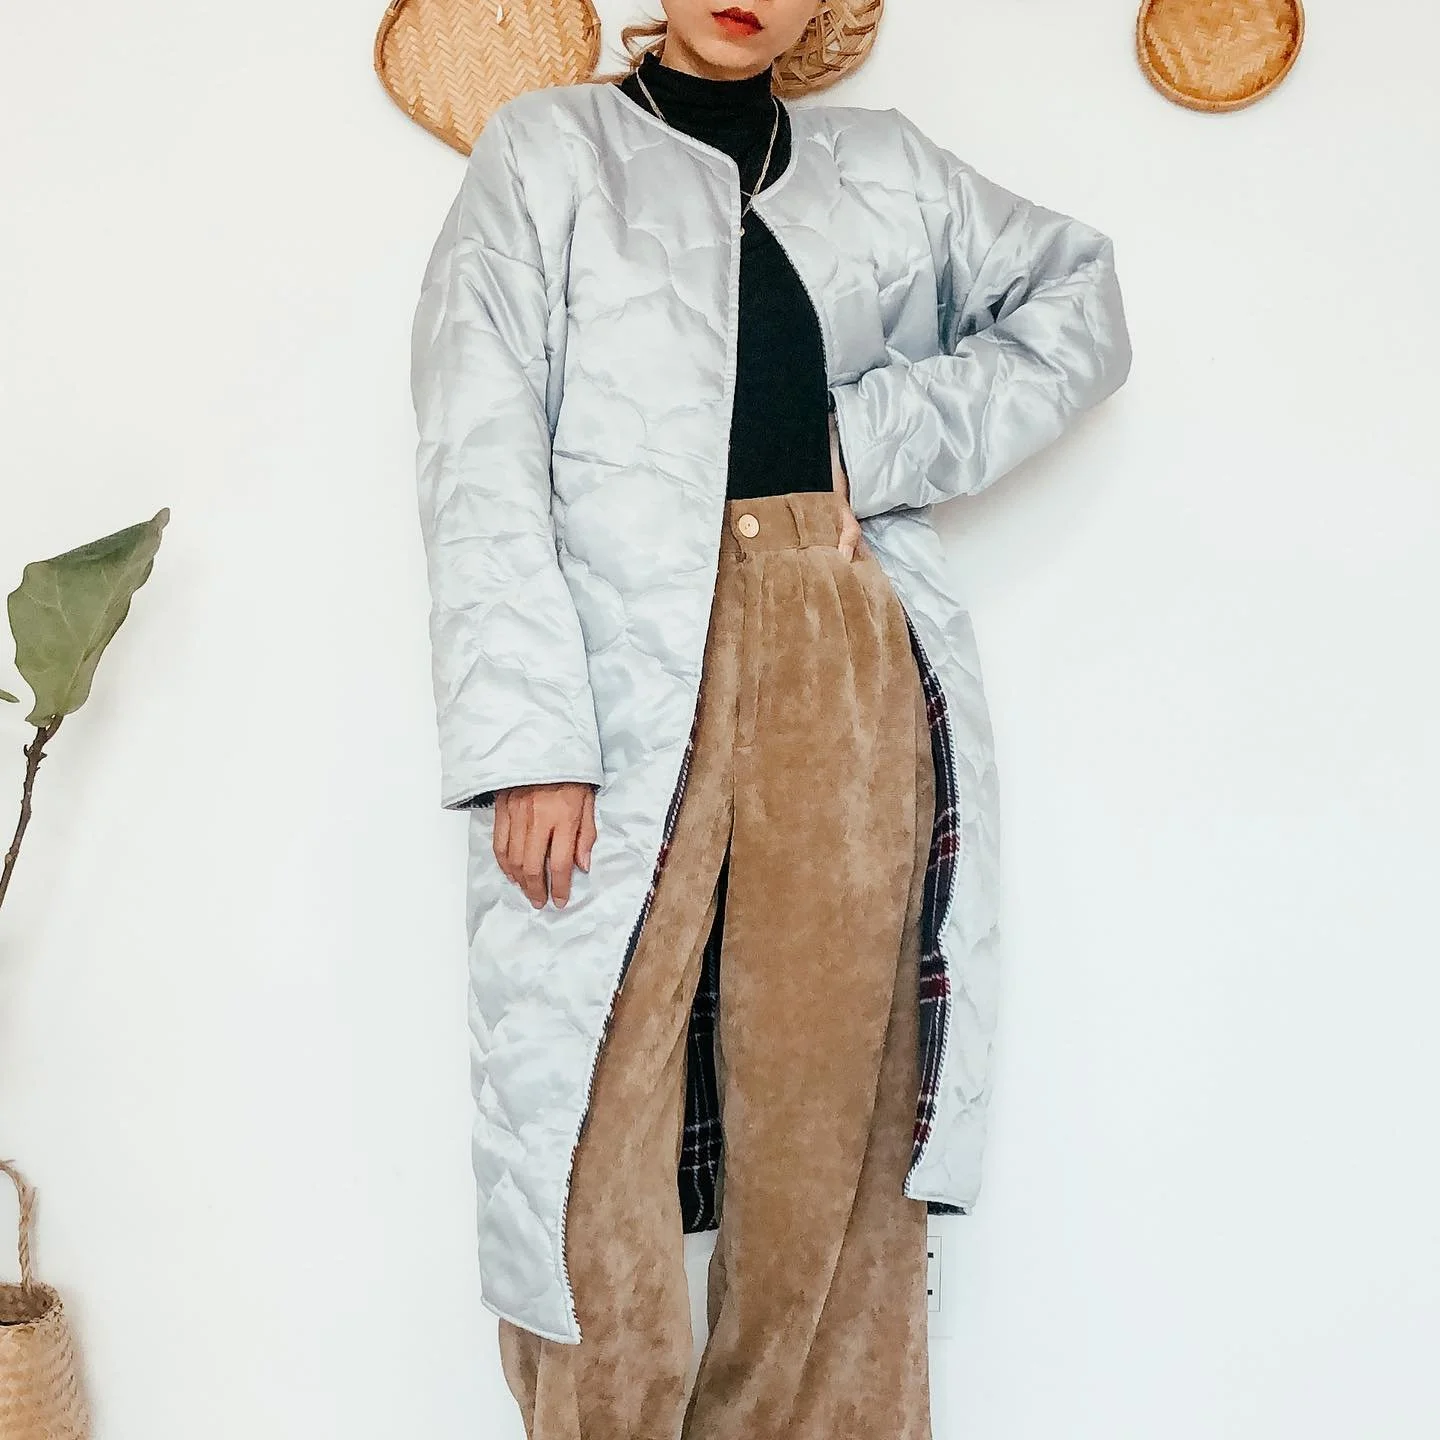
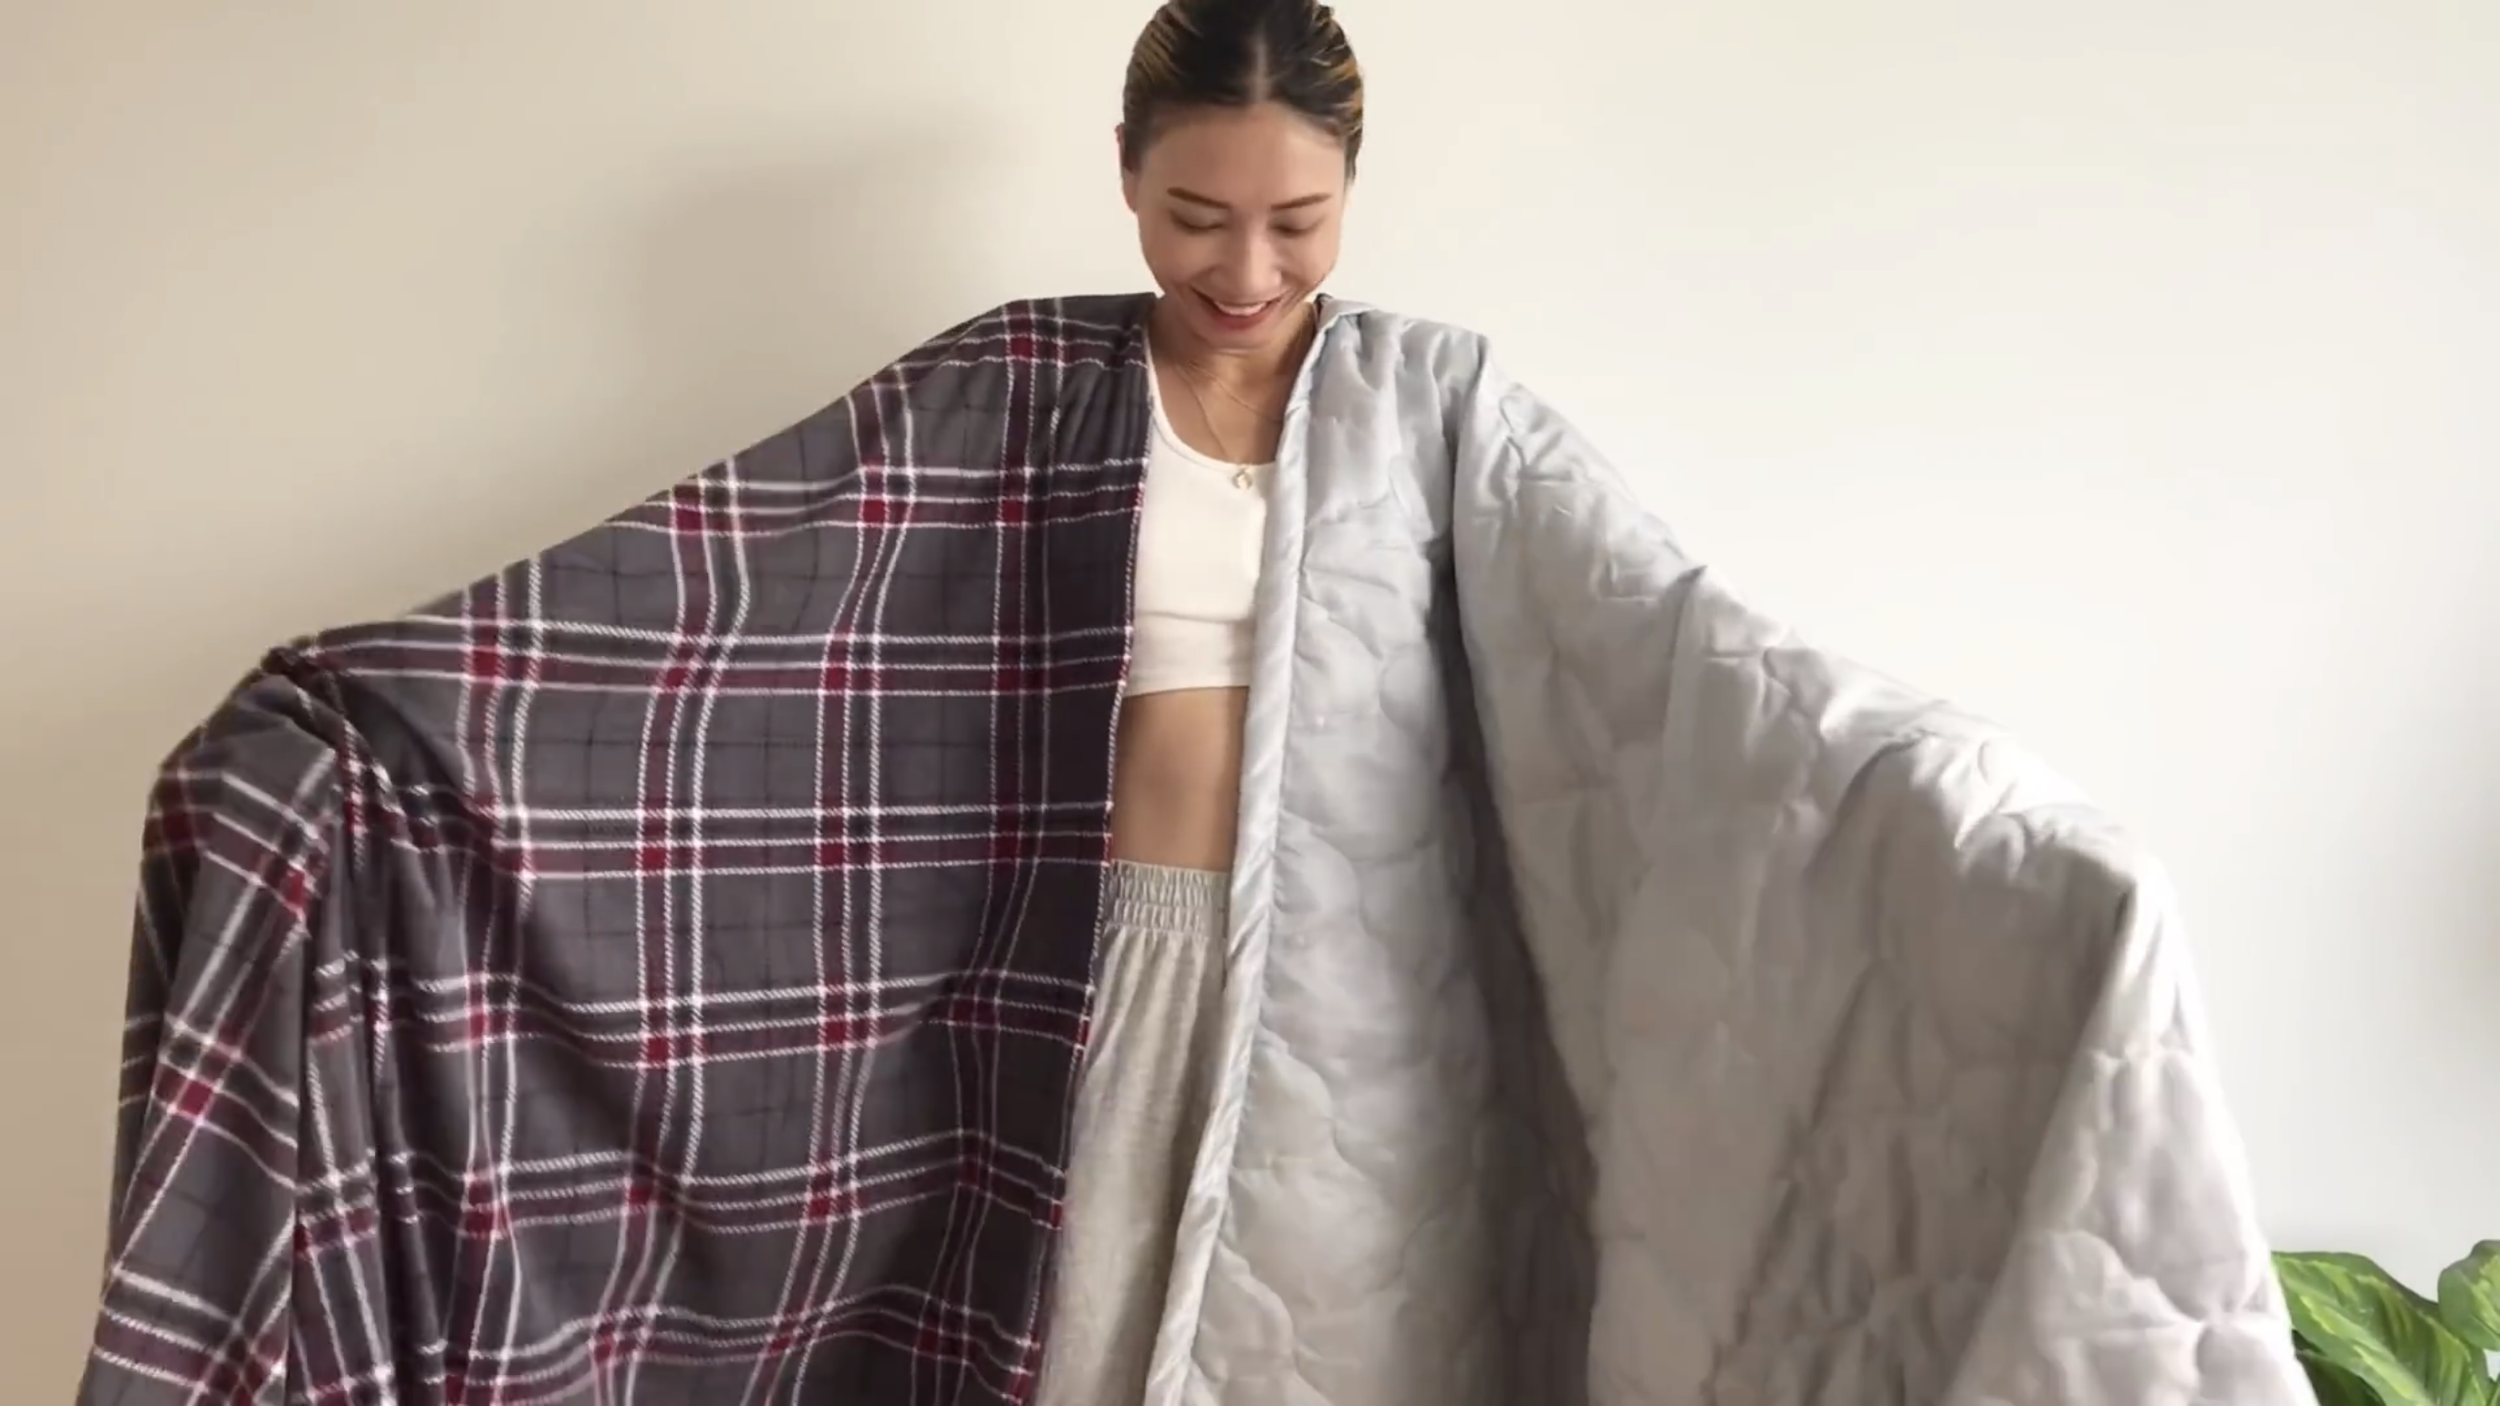
And I finished this DIY! Here’s my final result.
It’s such a great way to have two trendy coats in one. You can easily switch styles just by turning it over.
I hope you found my step-by-step guide helpful and inspiring.
If you’re interested in making your own, give it a try and let me know how it goes!
Until then, happy sewing!