DIY BRIDESMAID ROBE - Preparing my Bridesmaid proposal set | My prefect wedding series - Ep 1

DIY BRIDESMAID ROBE - Preparing my Bridesmaid proposal set | My prefect wedding series - Ep 1
I'm getting married!!!!
As a perfectionist, I want to prepare everything for my wedding. And as a sewing lover, I always want to make things for people I love. That's why I made this Bath robe/Kimono dress for my Bridesmaids. This dress is a part of my Bridesmaid proposal set that I will send to my girls who will be a very important parts of my big day.
So I hope you can get come inspiration out of it. Let’s get started!
WHAT YOU’LL NEED
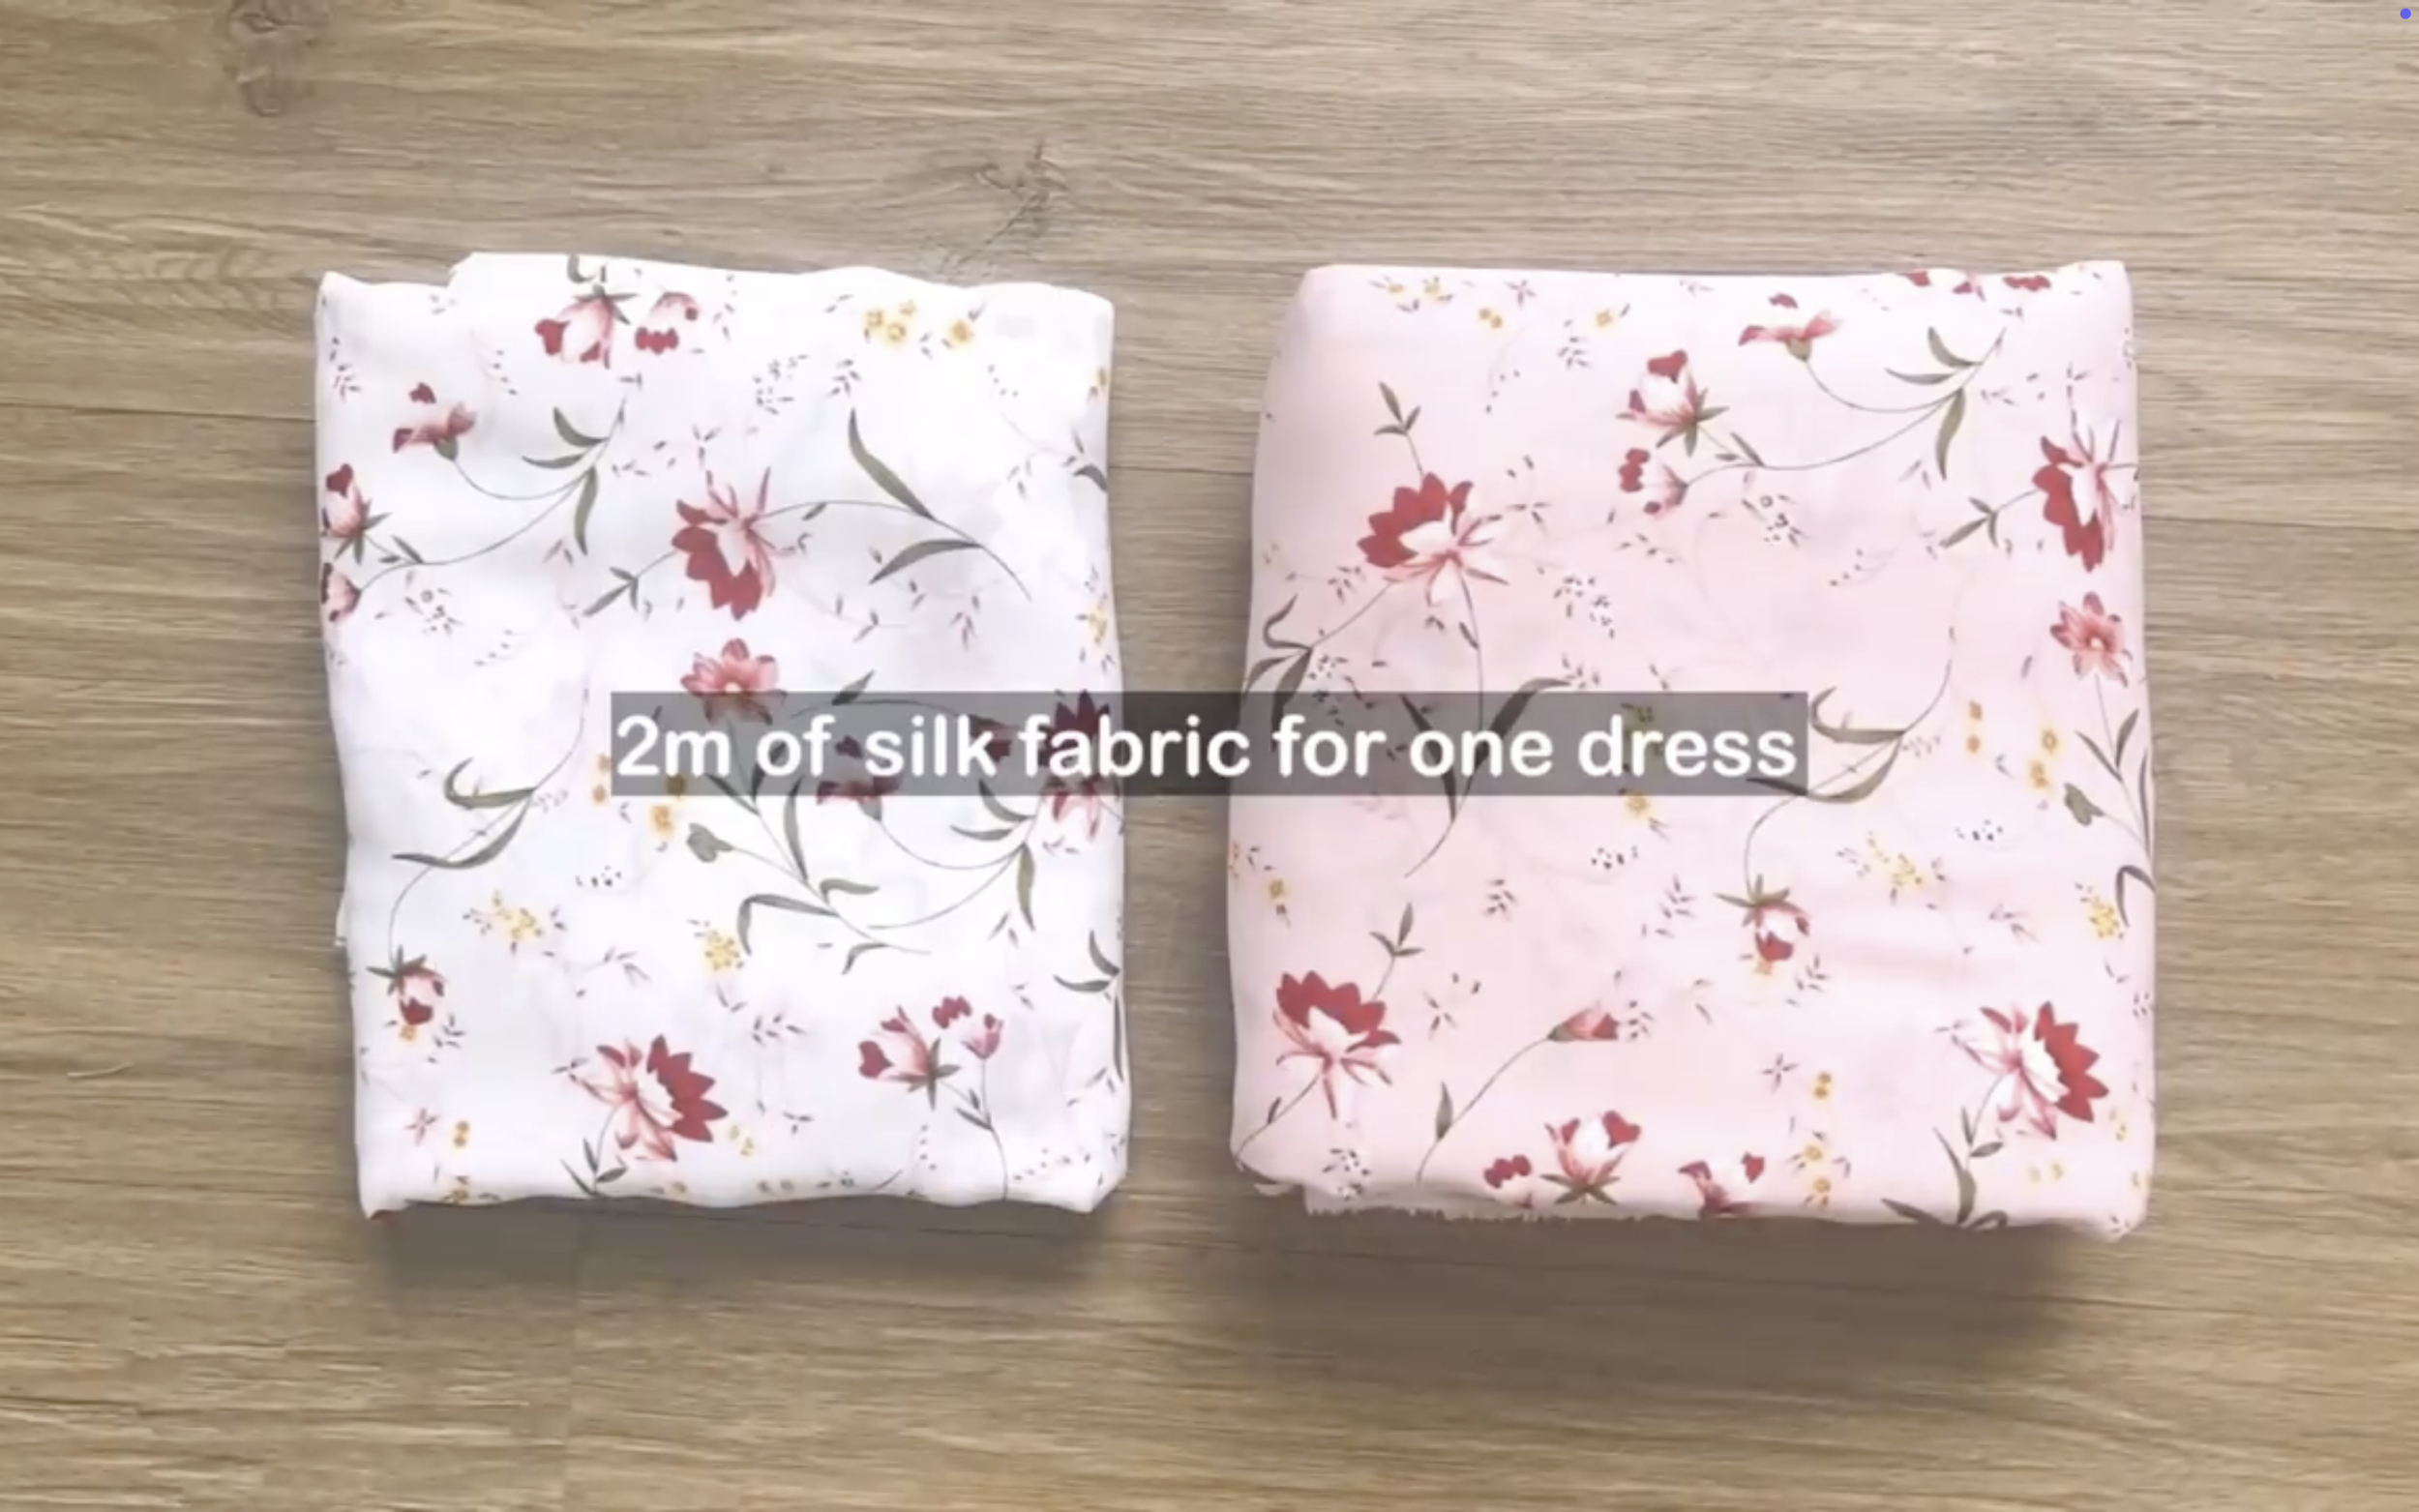
2m of silk fabric for one dress
Pattern paper
Sewing machine
Pins
Scissors
Ruler
Long stick
Zipper
Buttons
MAKING THE PATTERNS
Here’s the pattern for the project. To get a clear understanding of all the measurements needed for the pattern, watch the video from 0:58 to 4:20.
Remember, you can adjust these measurements to fit your own dimensions!

THE BACK PATTERN
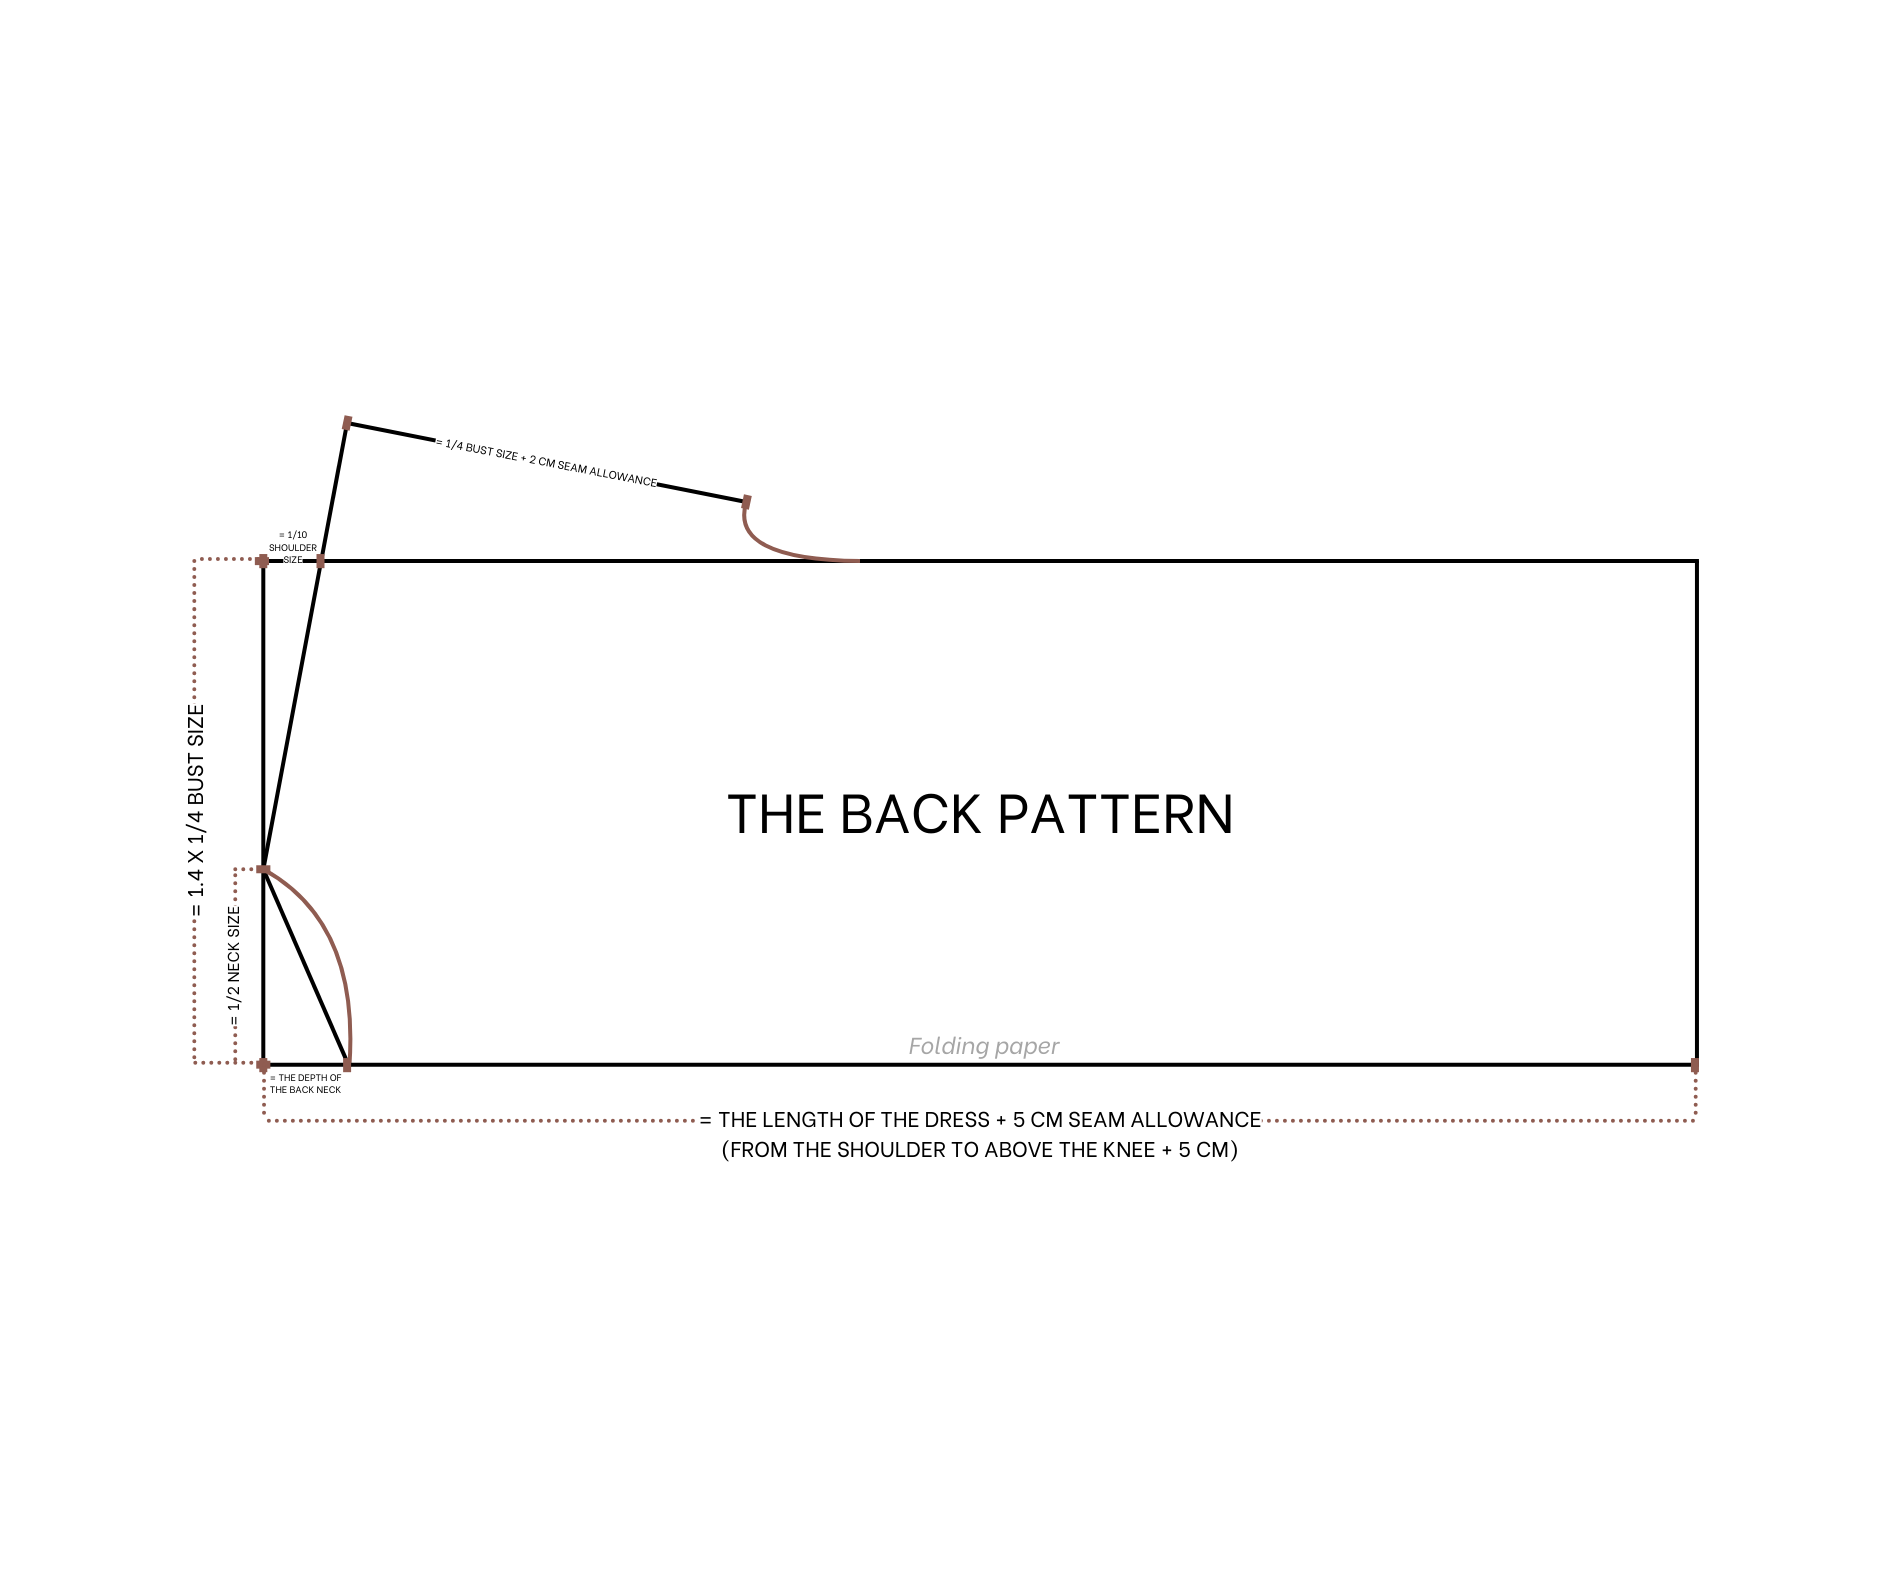
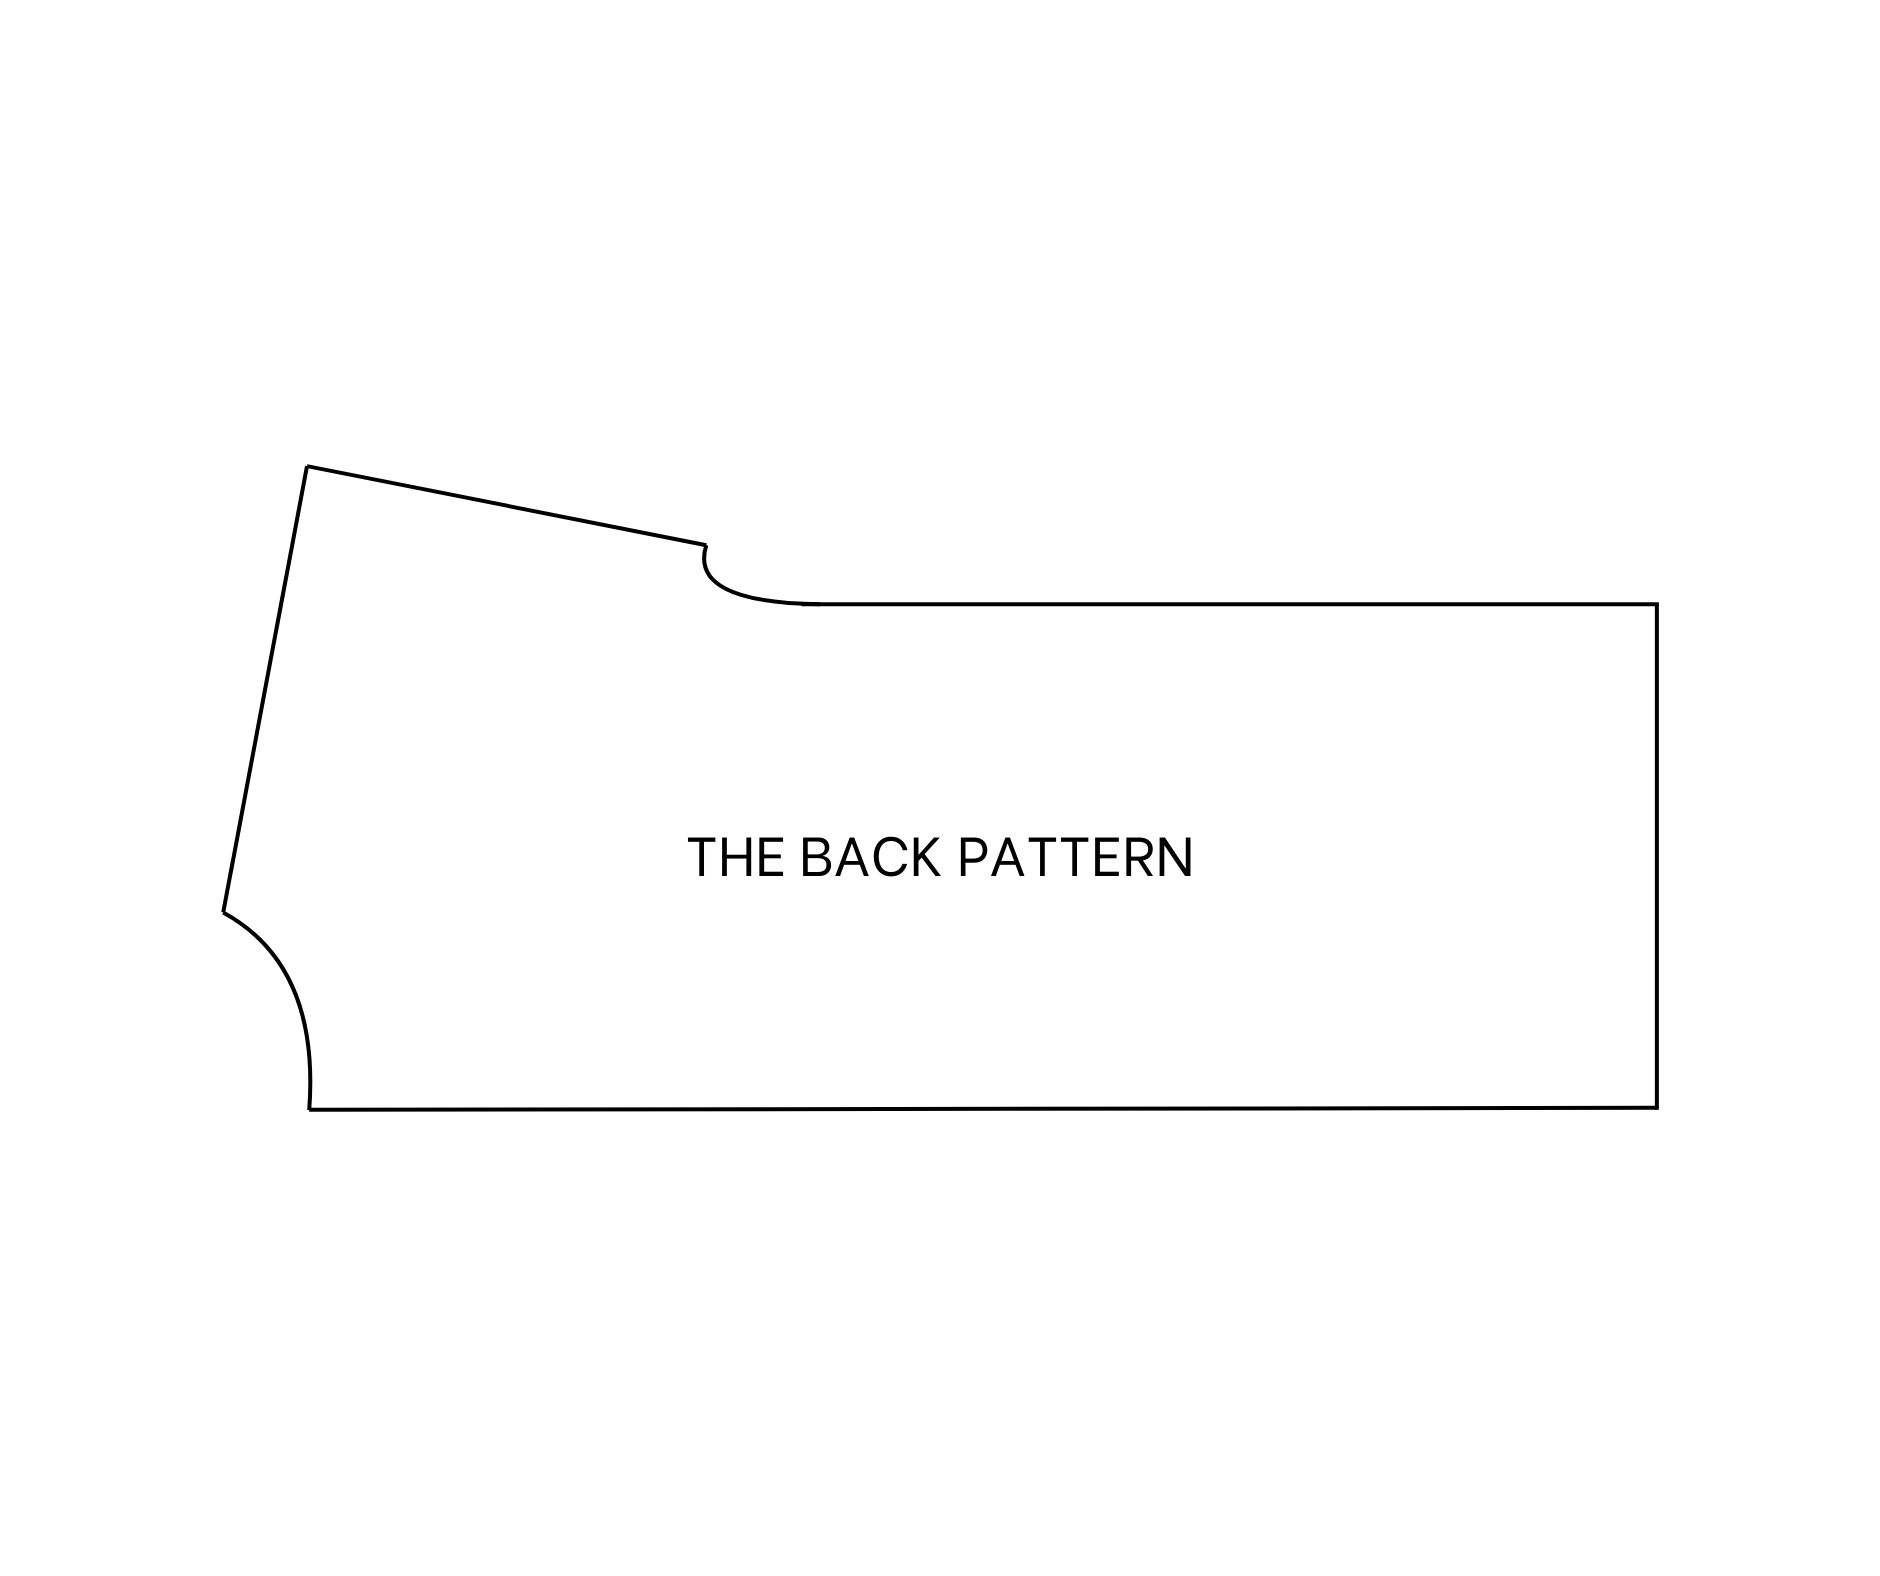
To make the back pattern, draw a rectangle with 85 cm length, which is the length of the dress from the shoulder to above the knee plus 5 cm for seam allowance, and 28 cm width, which is 1.4 times a quarter of the bust size.
Make sure one of the length lines is the folding line of the paper.
From one end of the width line on the folding line, mark up 11 cm, which is half the neck size of the dress.
Also, make another mark at 5 cm on the folding line, representing the depth of the back neck.
Connect these two marks together and draw a curved line to complete the neckline for the back of the dress.
At the other end of the width line, mark 3.4 cm on the length line next to it, which is 1/10 of the shoulder size.
Connect this mark to one end of the neckline on the width line marked earlier to form the shoulder line of the dress.
Using this shoulder line, draw a perpendicular line of 22 cm, which is a quarter of the bust size plus 2 cm for seam allowance. This line also represents half the sleeve width. Ensure this line extends outside the length line of the rectangle.
From the end of this line, draw a slightly curved line connecting it to the length line to complete the sideline of the dress.
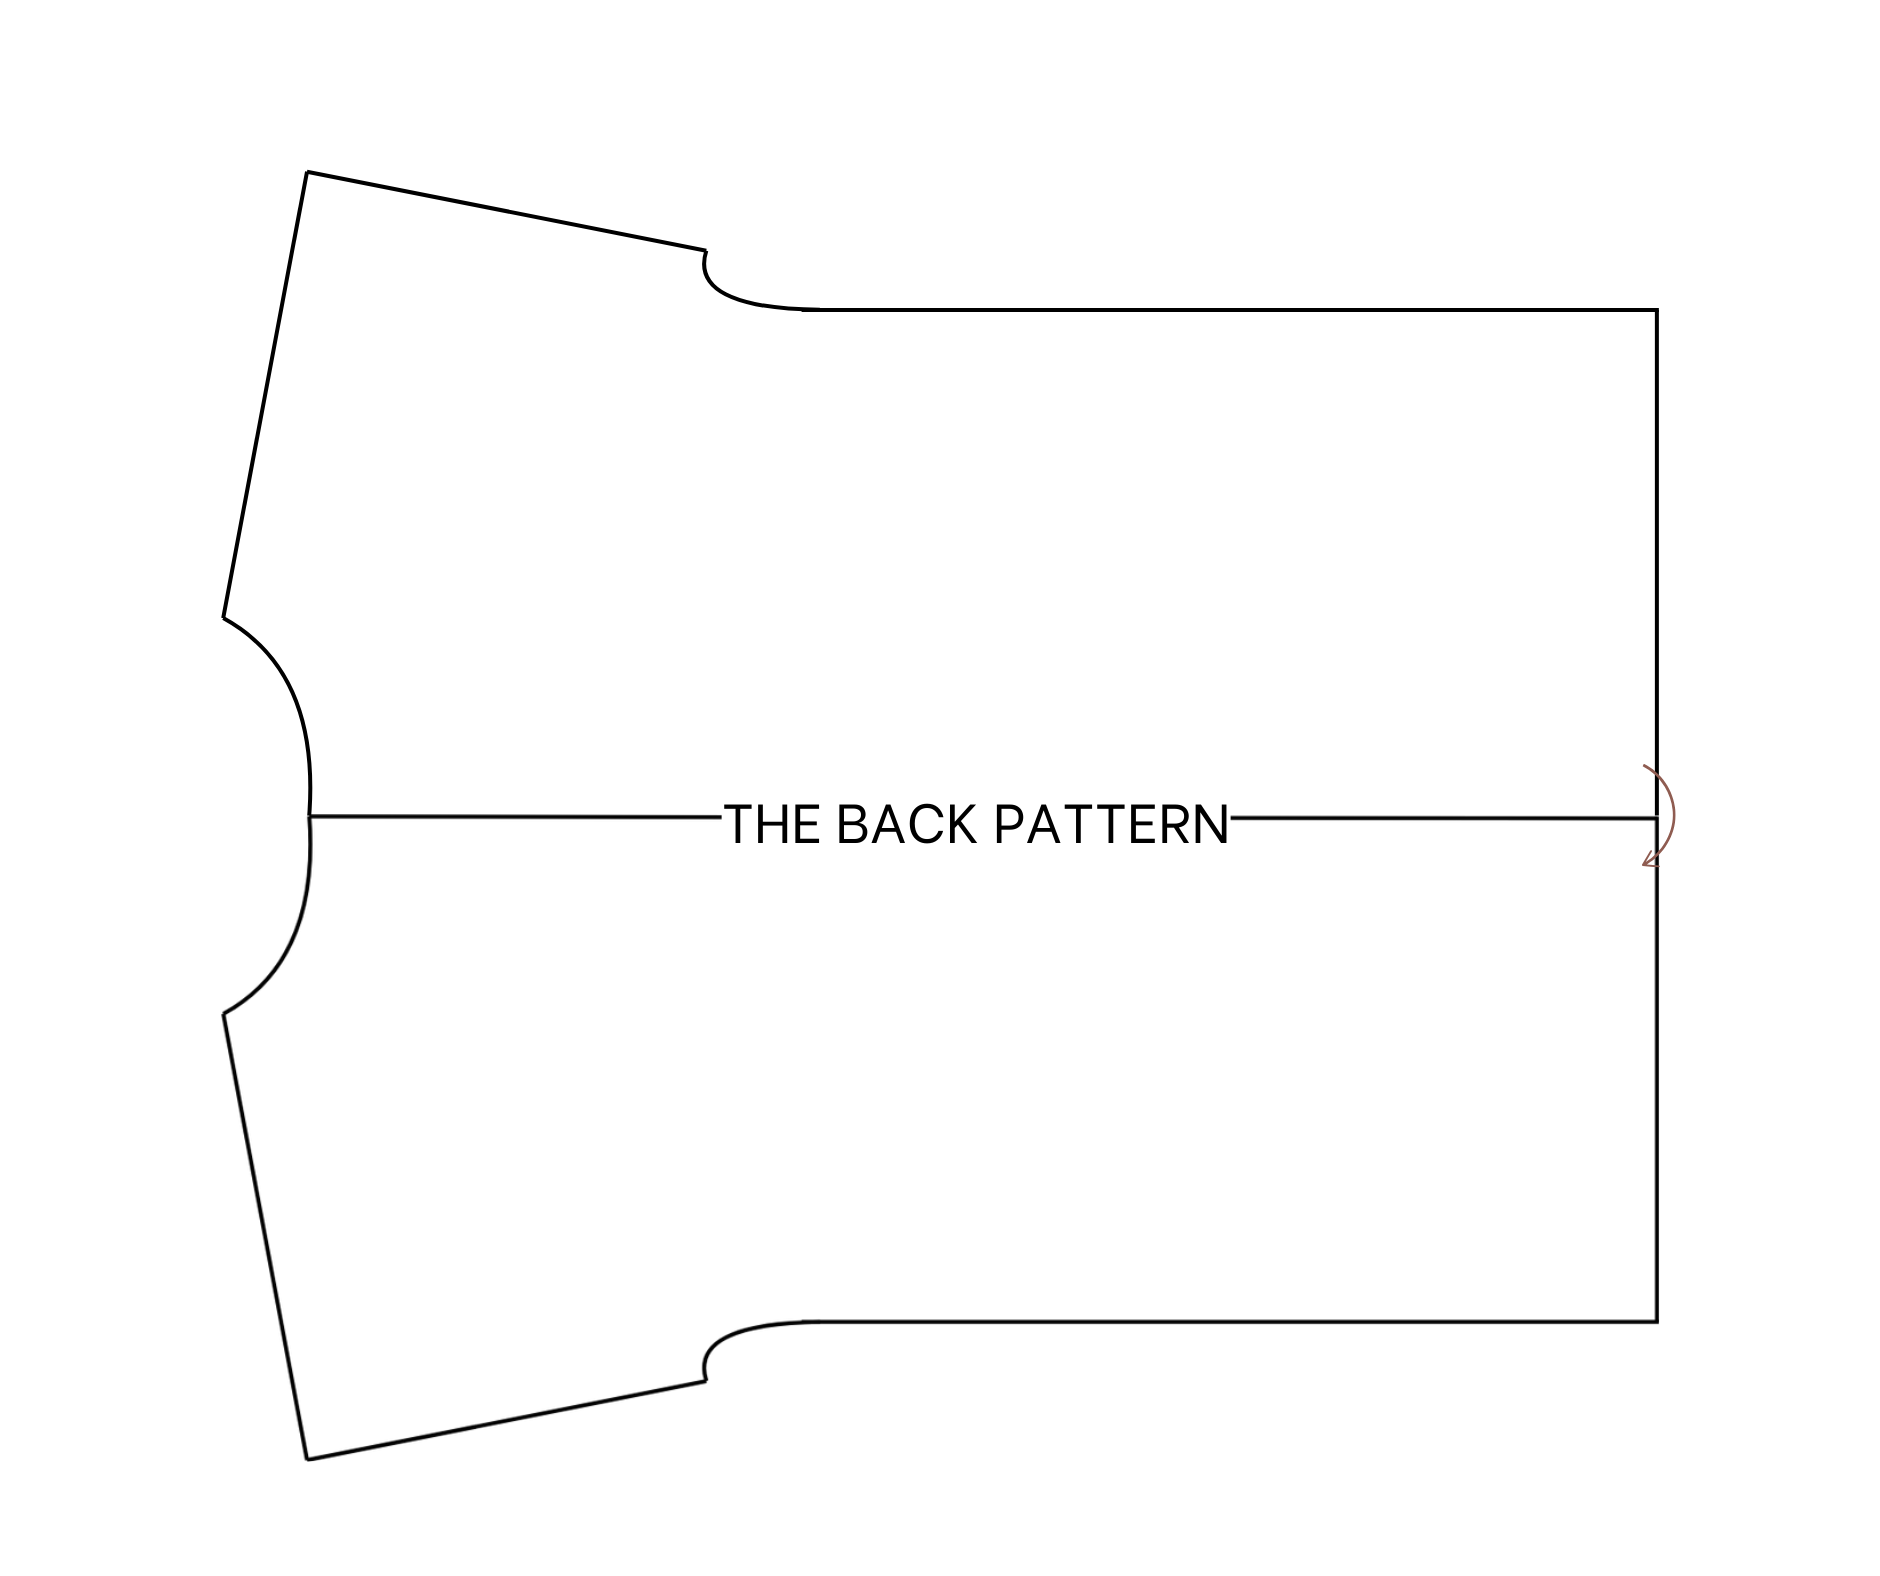
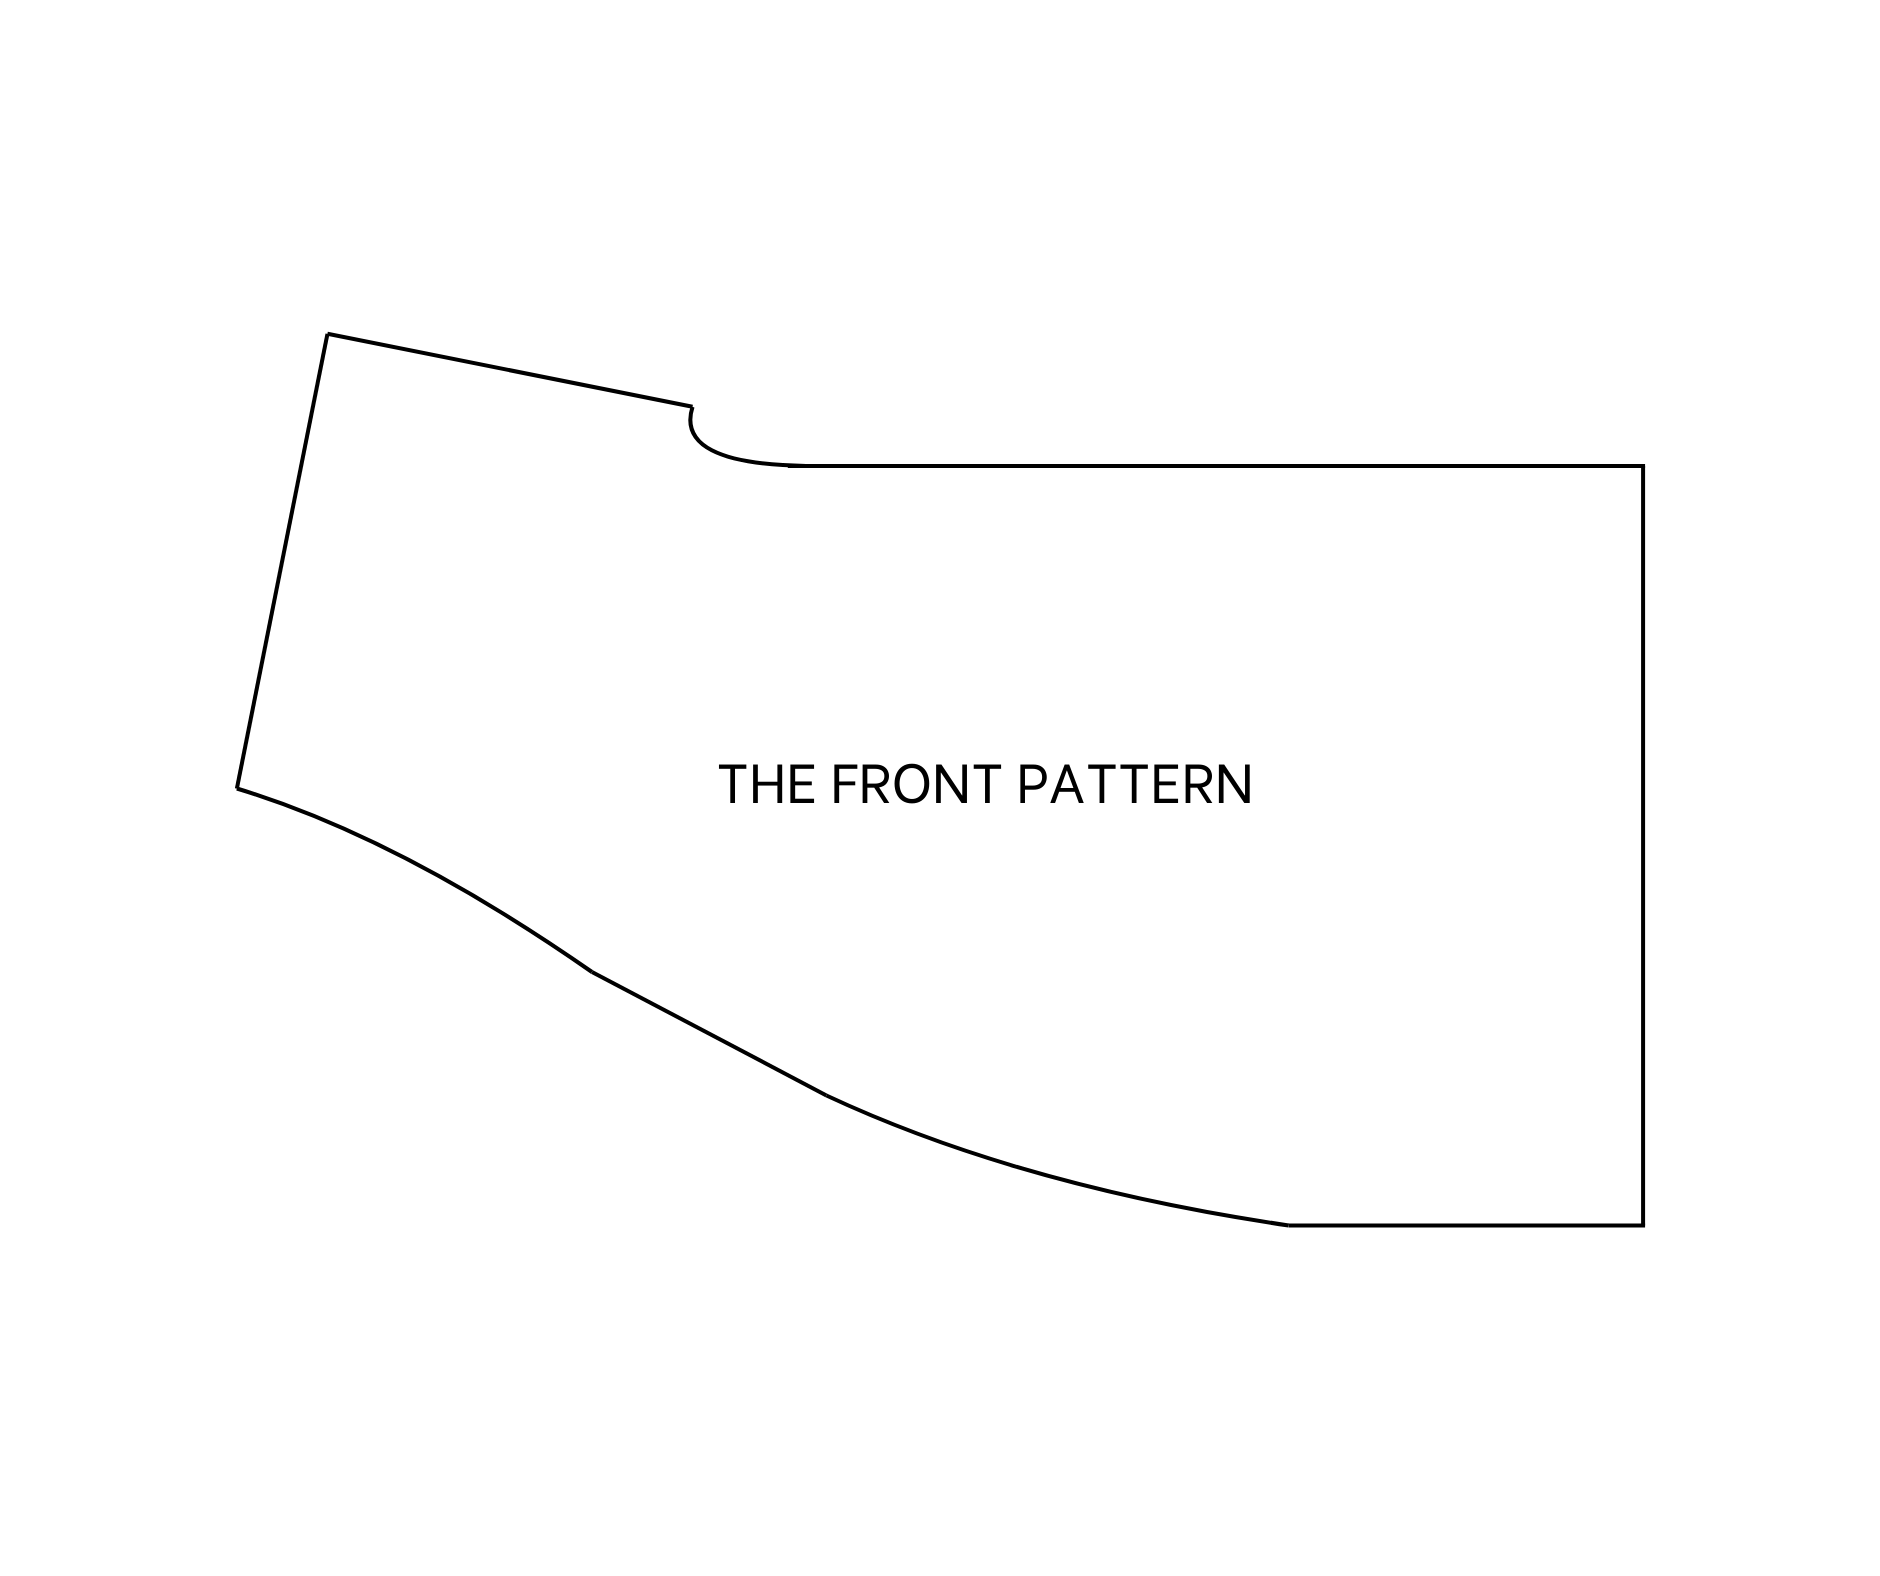
THE FRONT PATTERN
To create the front pattern, start from the back pattern.
From the middle of the back pattern, draw a horizontal line across one-half of the back pattern.
From the middle of the neckline on the back pattern, mark 16 cm on the folding line, which is 1/5 of the bust size. This mark represents the depth of the neck for the front of the dress.
Connect this mark to the other end of the neckline on the shoulder line.
Use a curved line to connect this neckline mark to the horizontal line drawn earlier.
Lower the shoulder line by 2 cm for the front part of the dress and draw a slightly curved line from the shoulder line to the neckline of the front part.

THE SLEEVE PATTERN
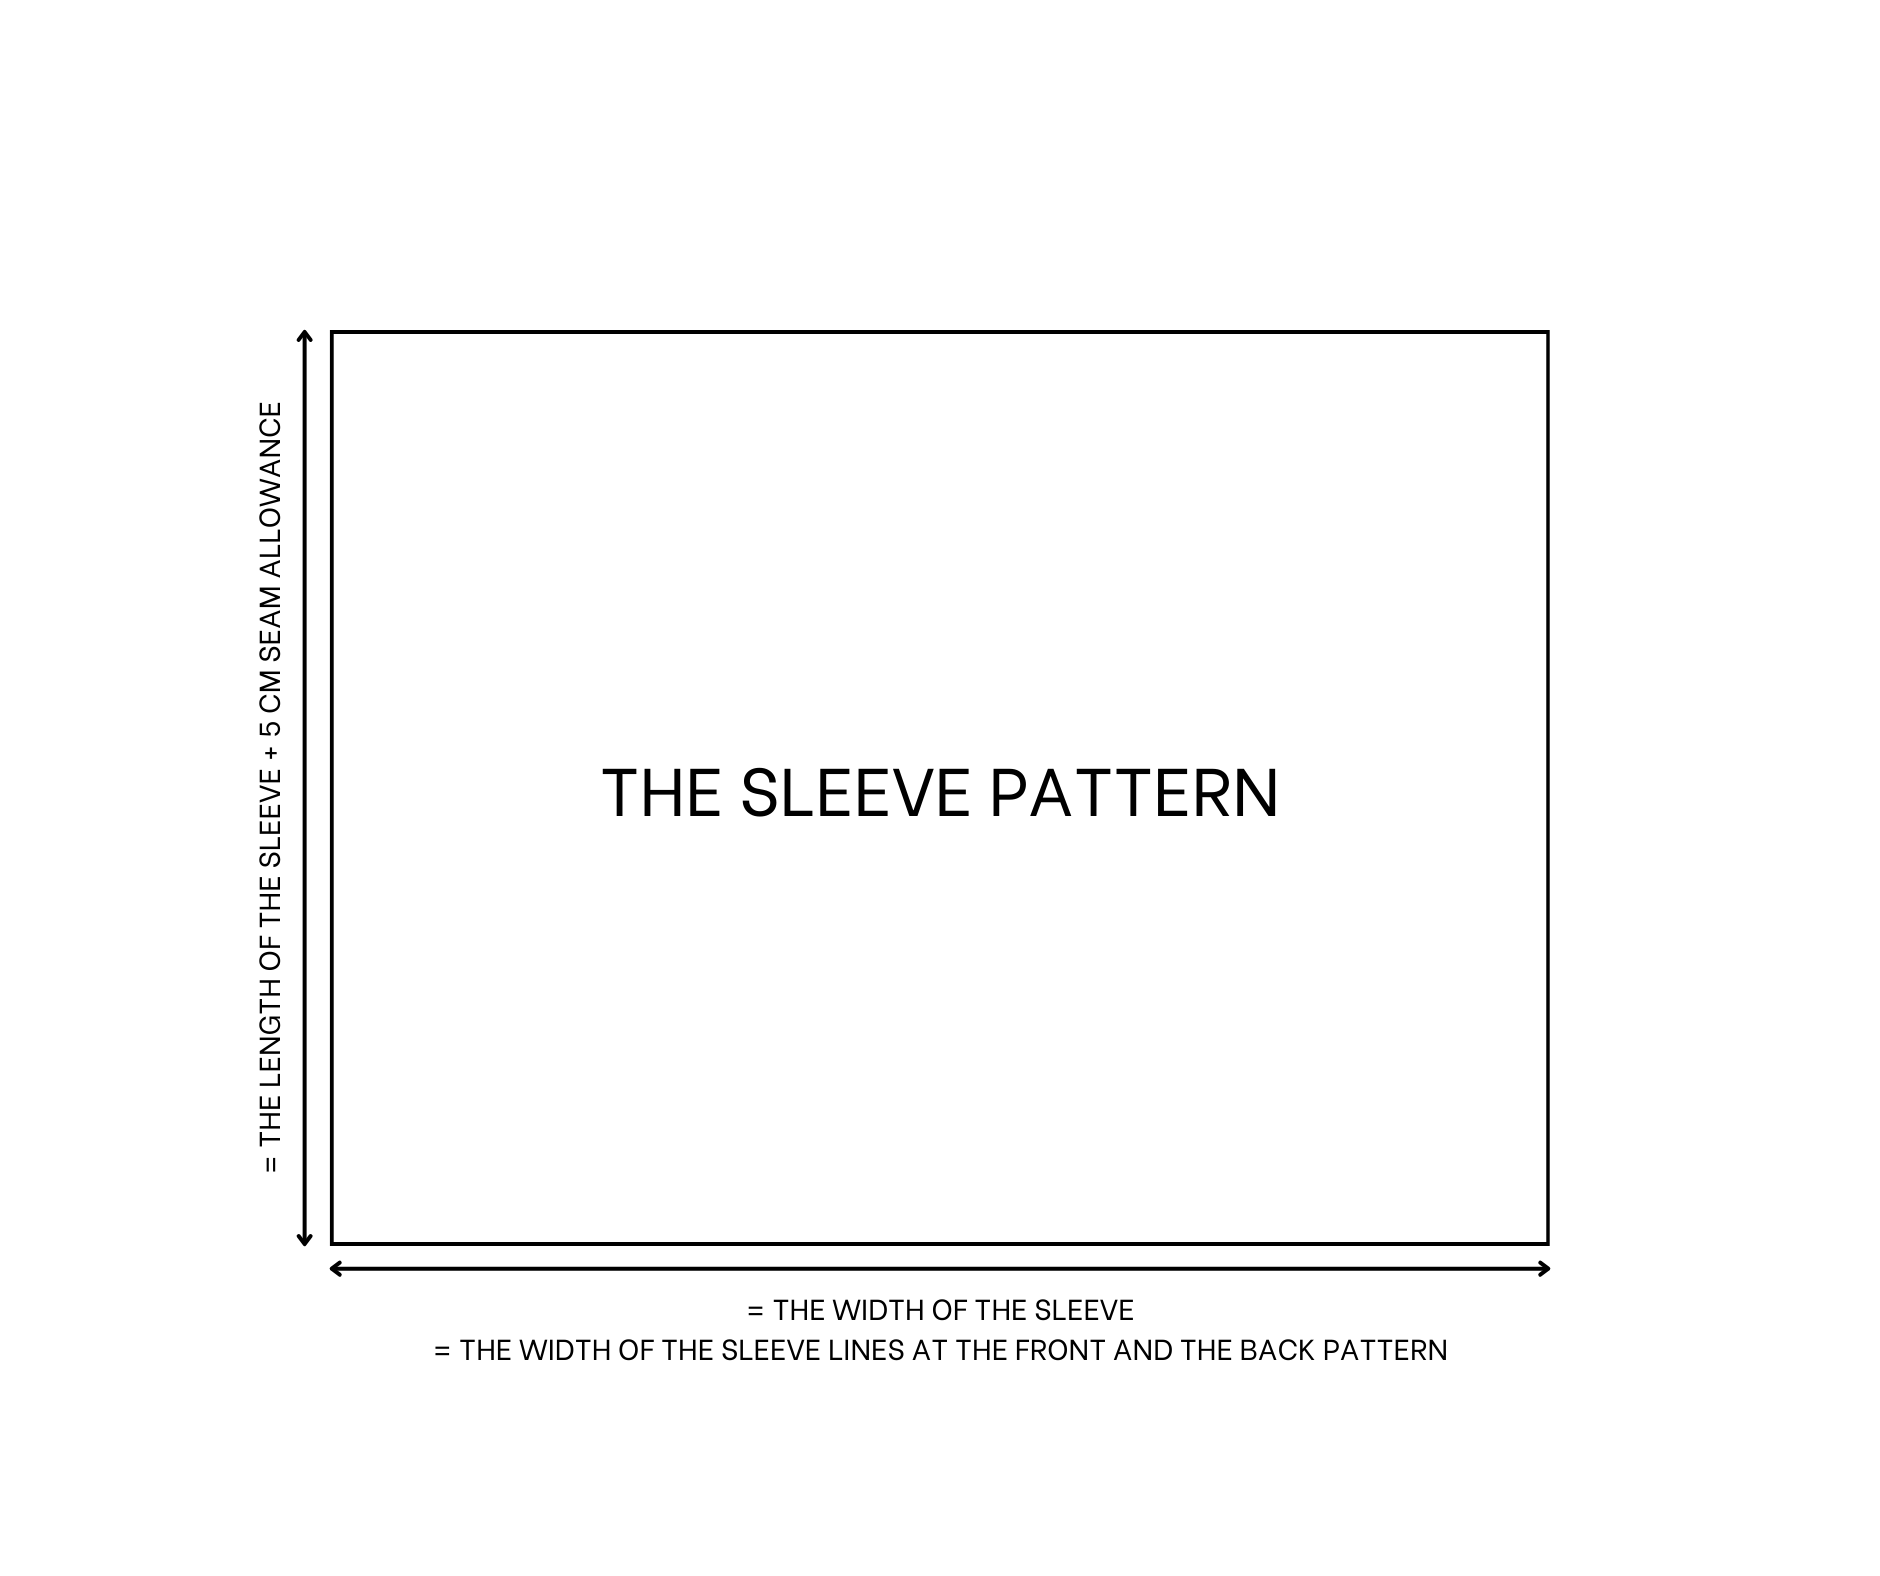
For the sleeve pattern, cut a rectangle with 30 cm length, which is the length from the shoulder to the elbow plus 5 cm for seam allowance, and 40 cm width, which is the width of the sleeve.
Make sure the sleeve pattern matches the sleeve line of the front and back dress patterns so they can be connected later.
SEWING THE SET
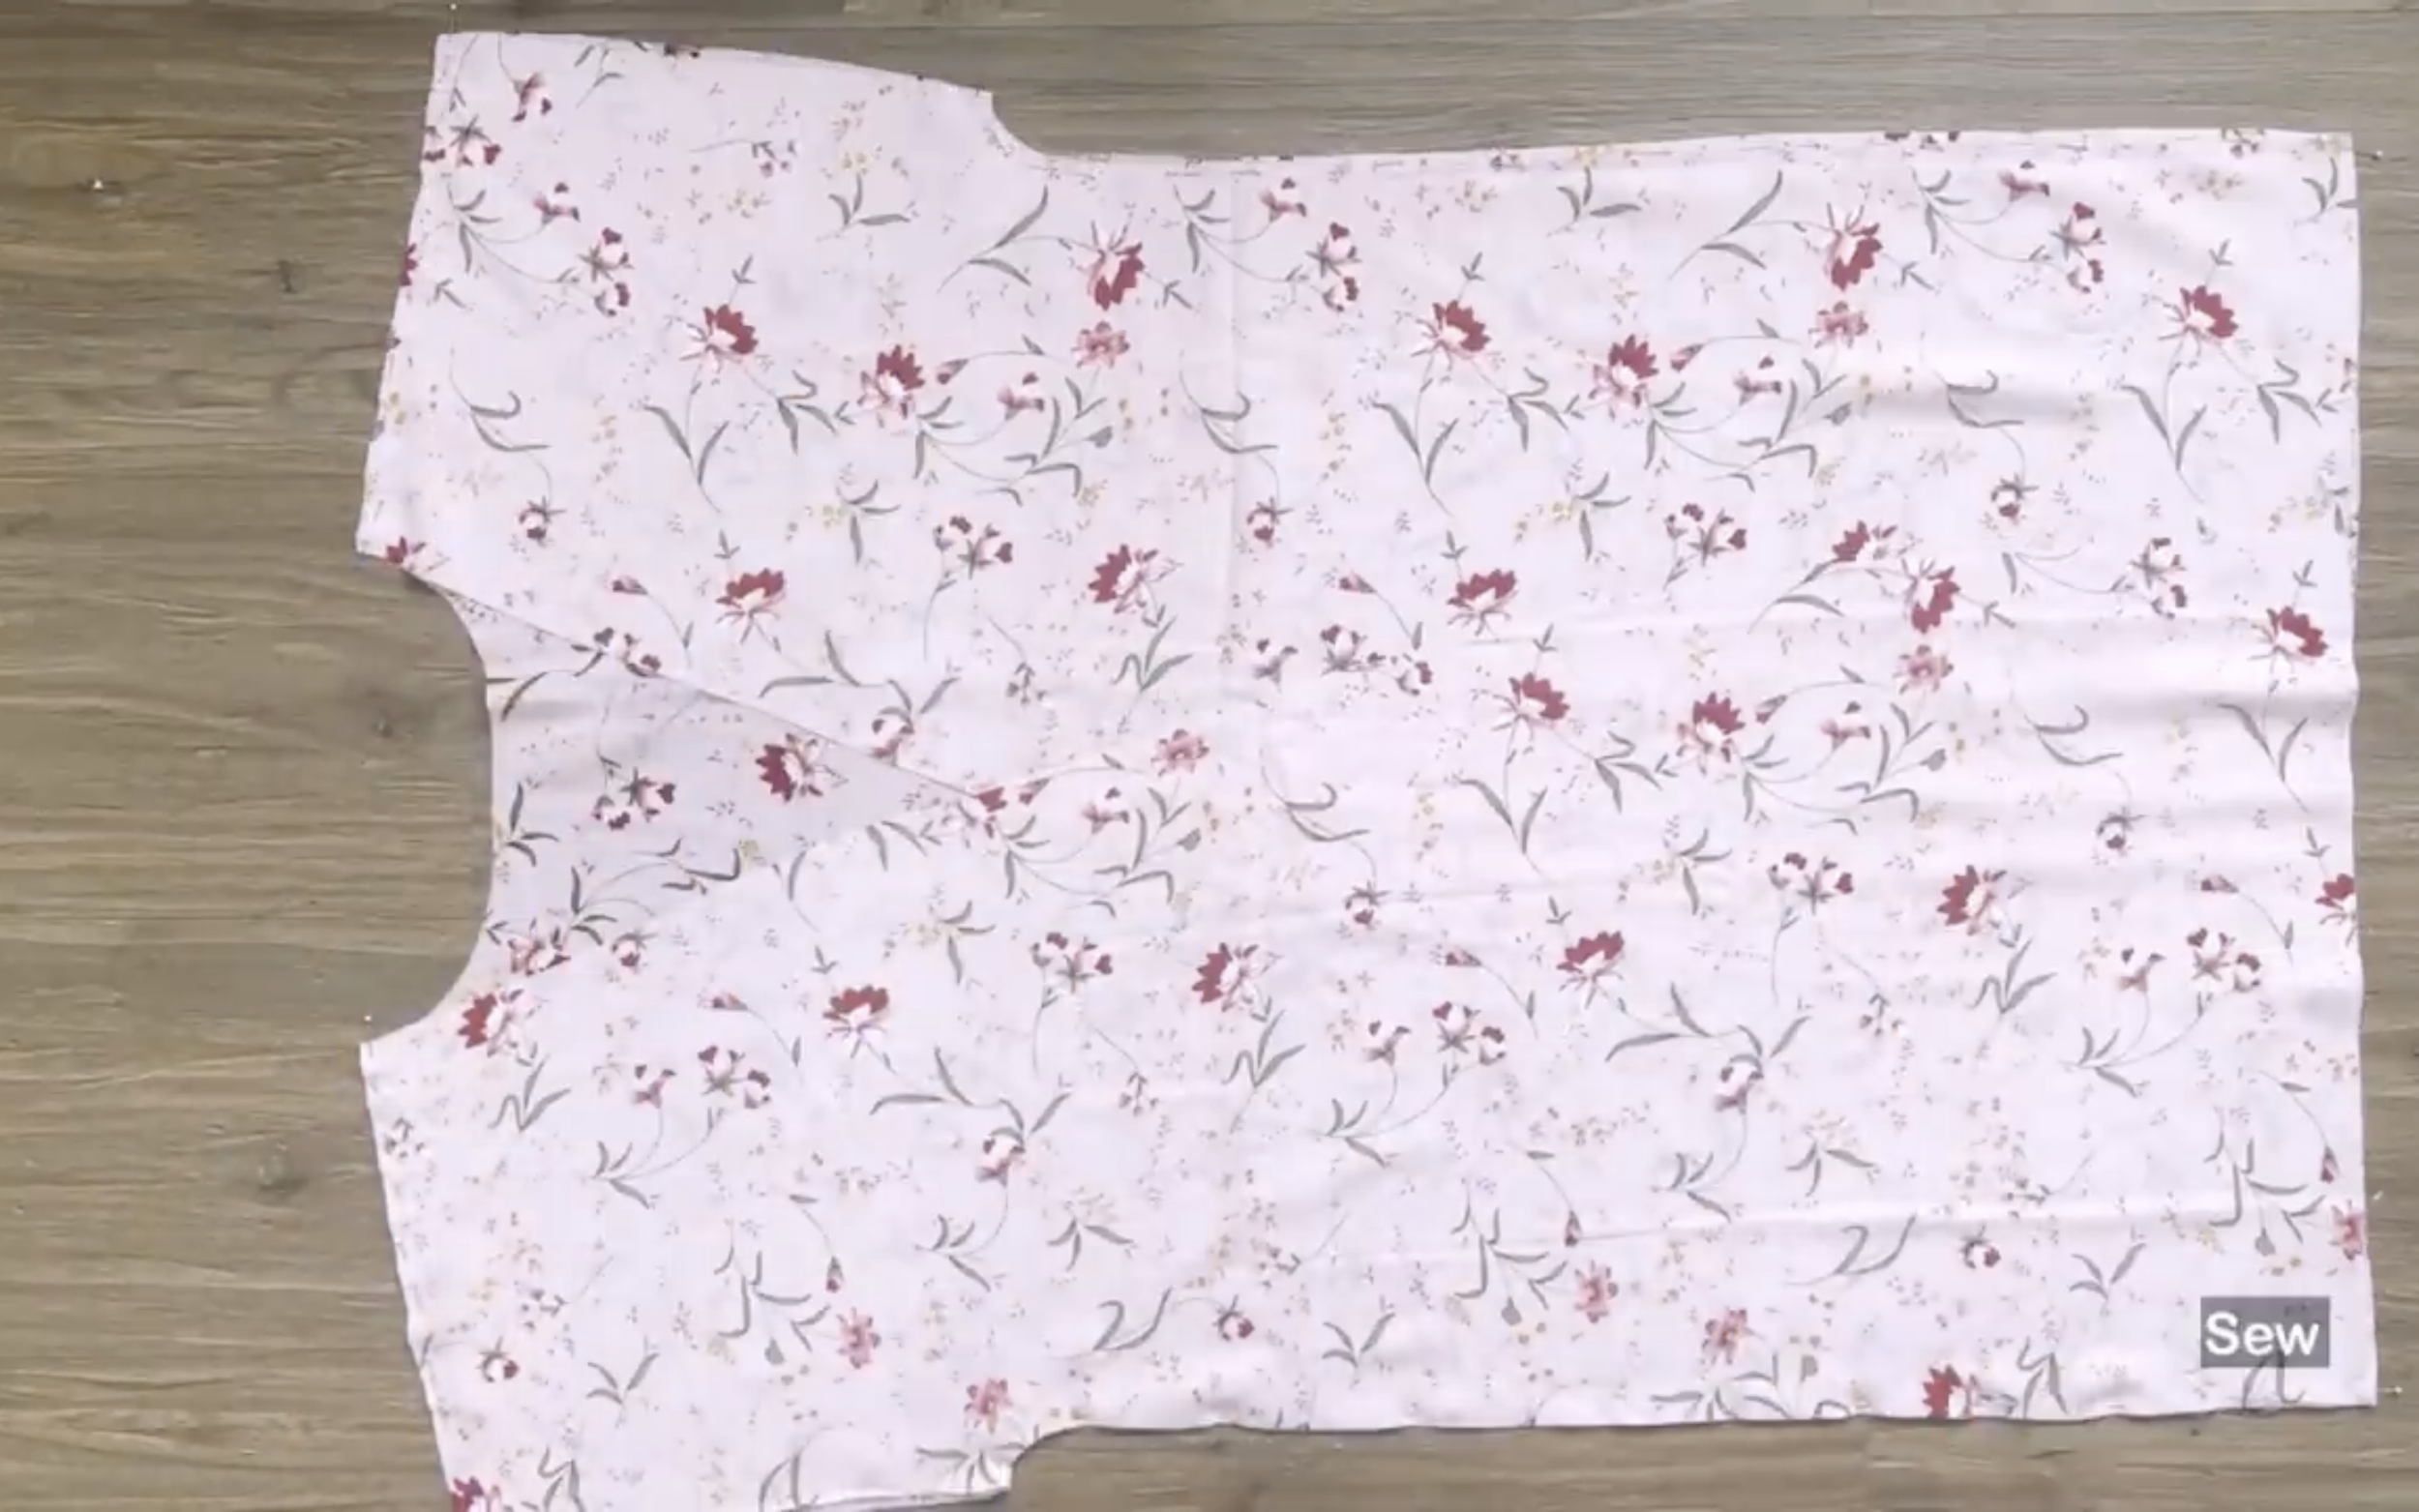
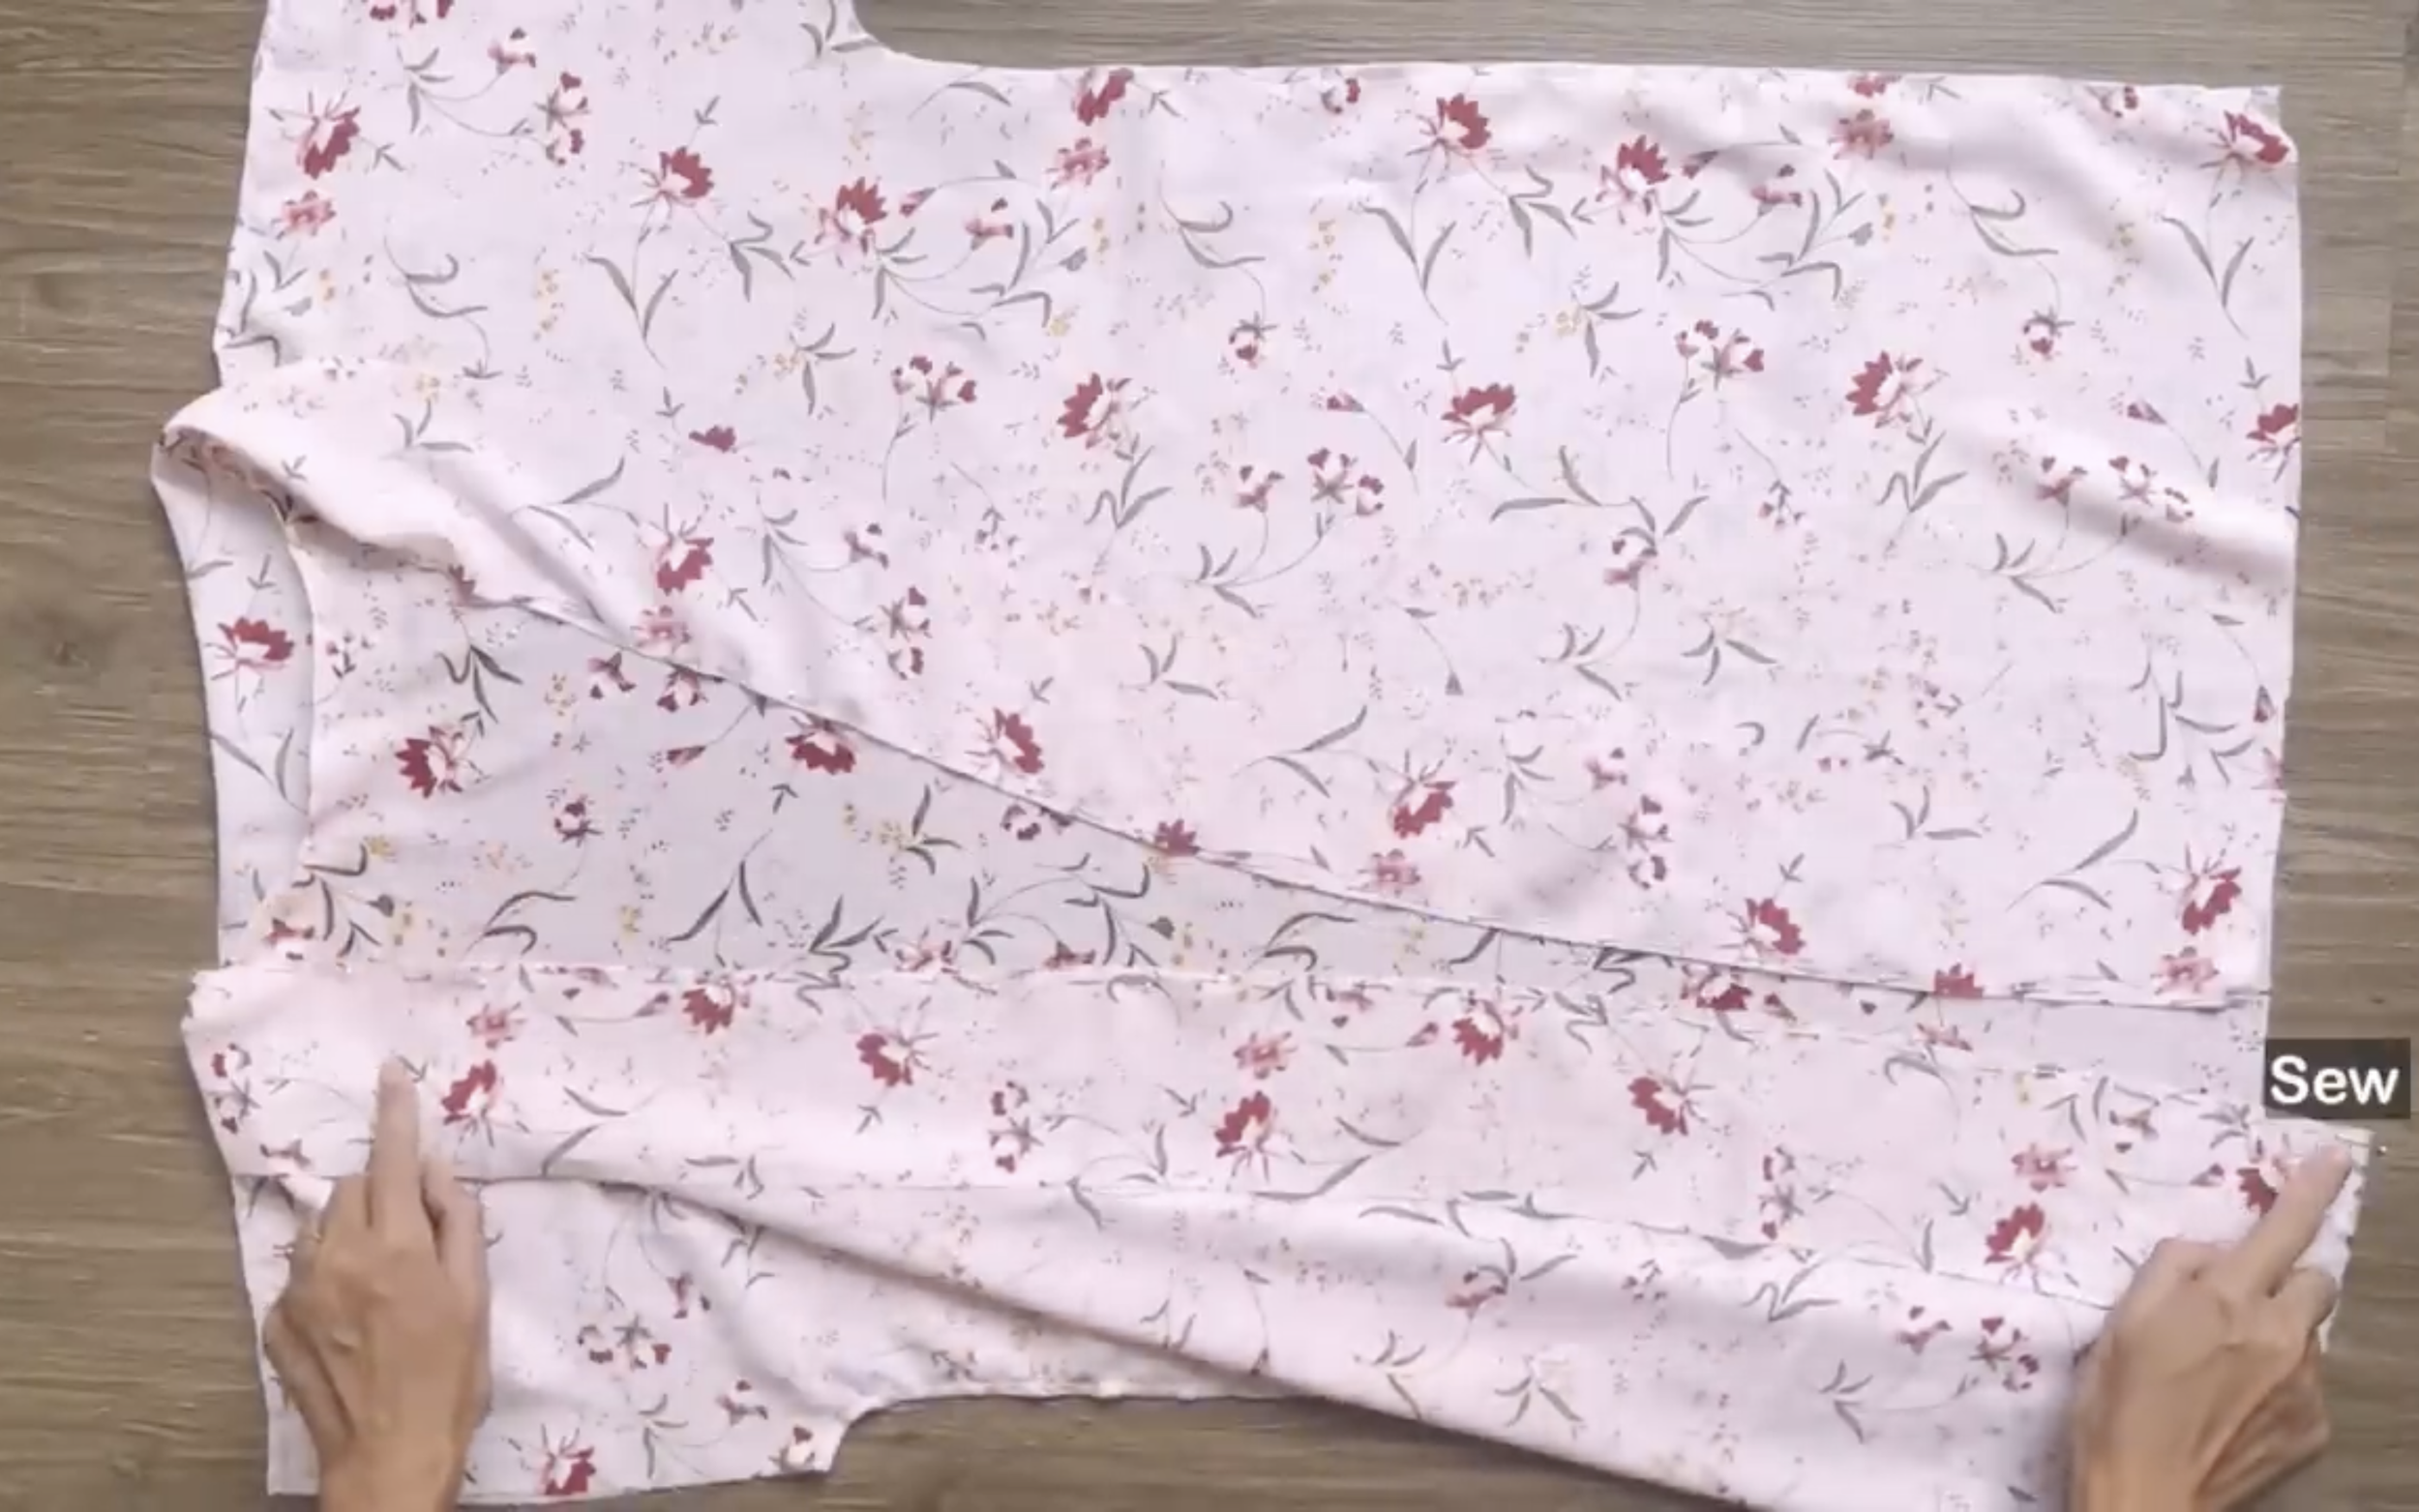
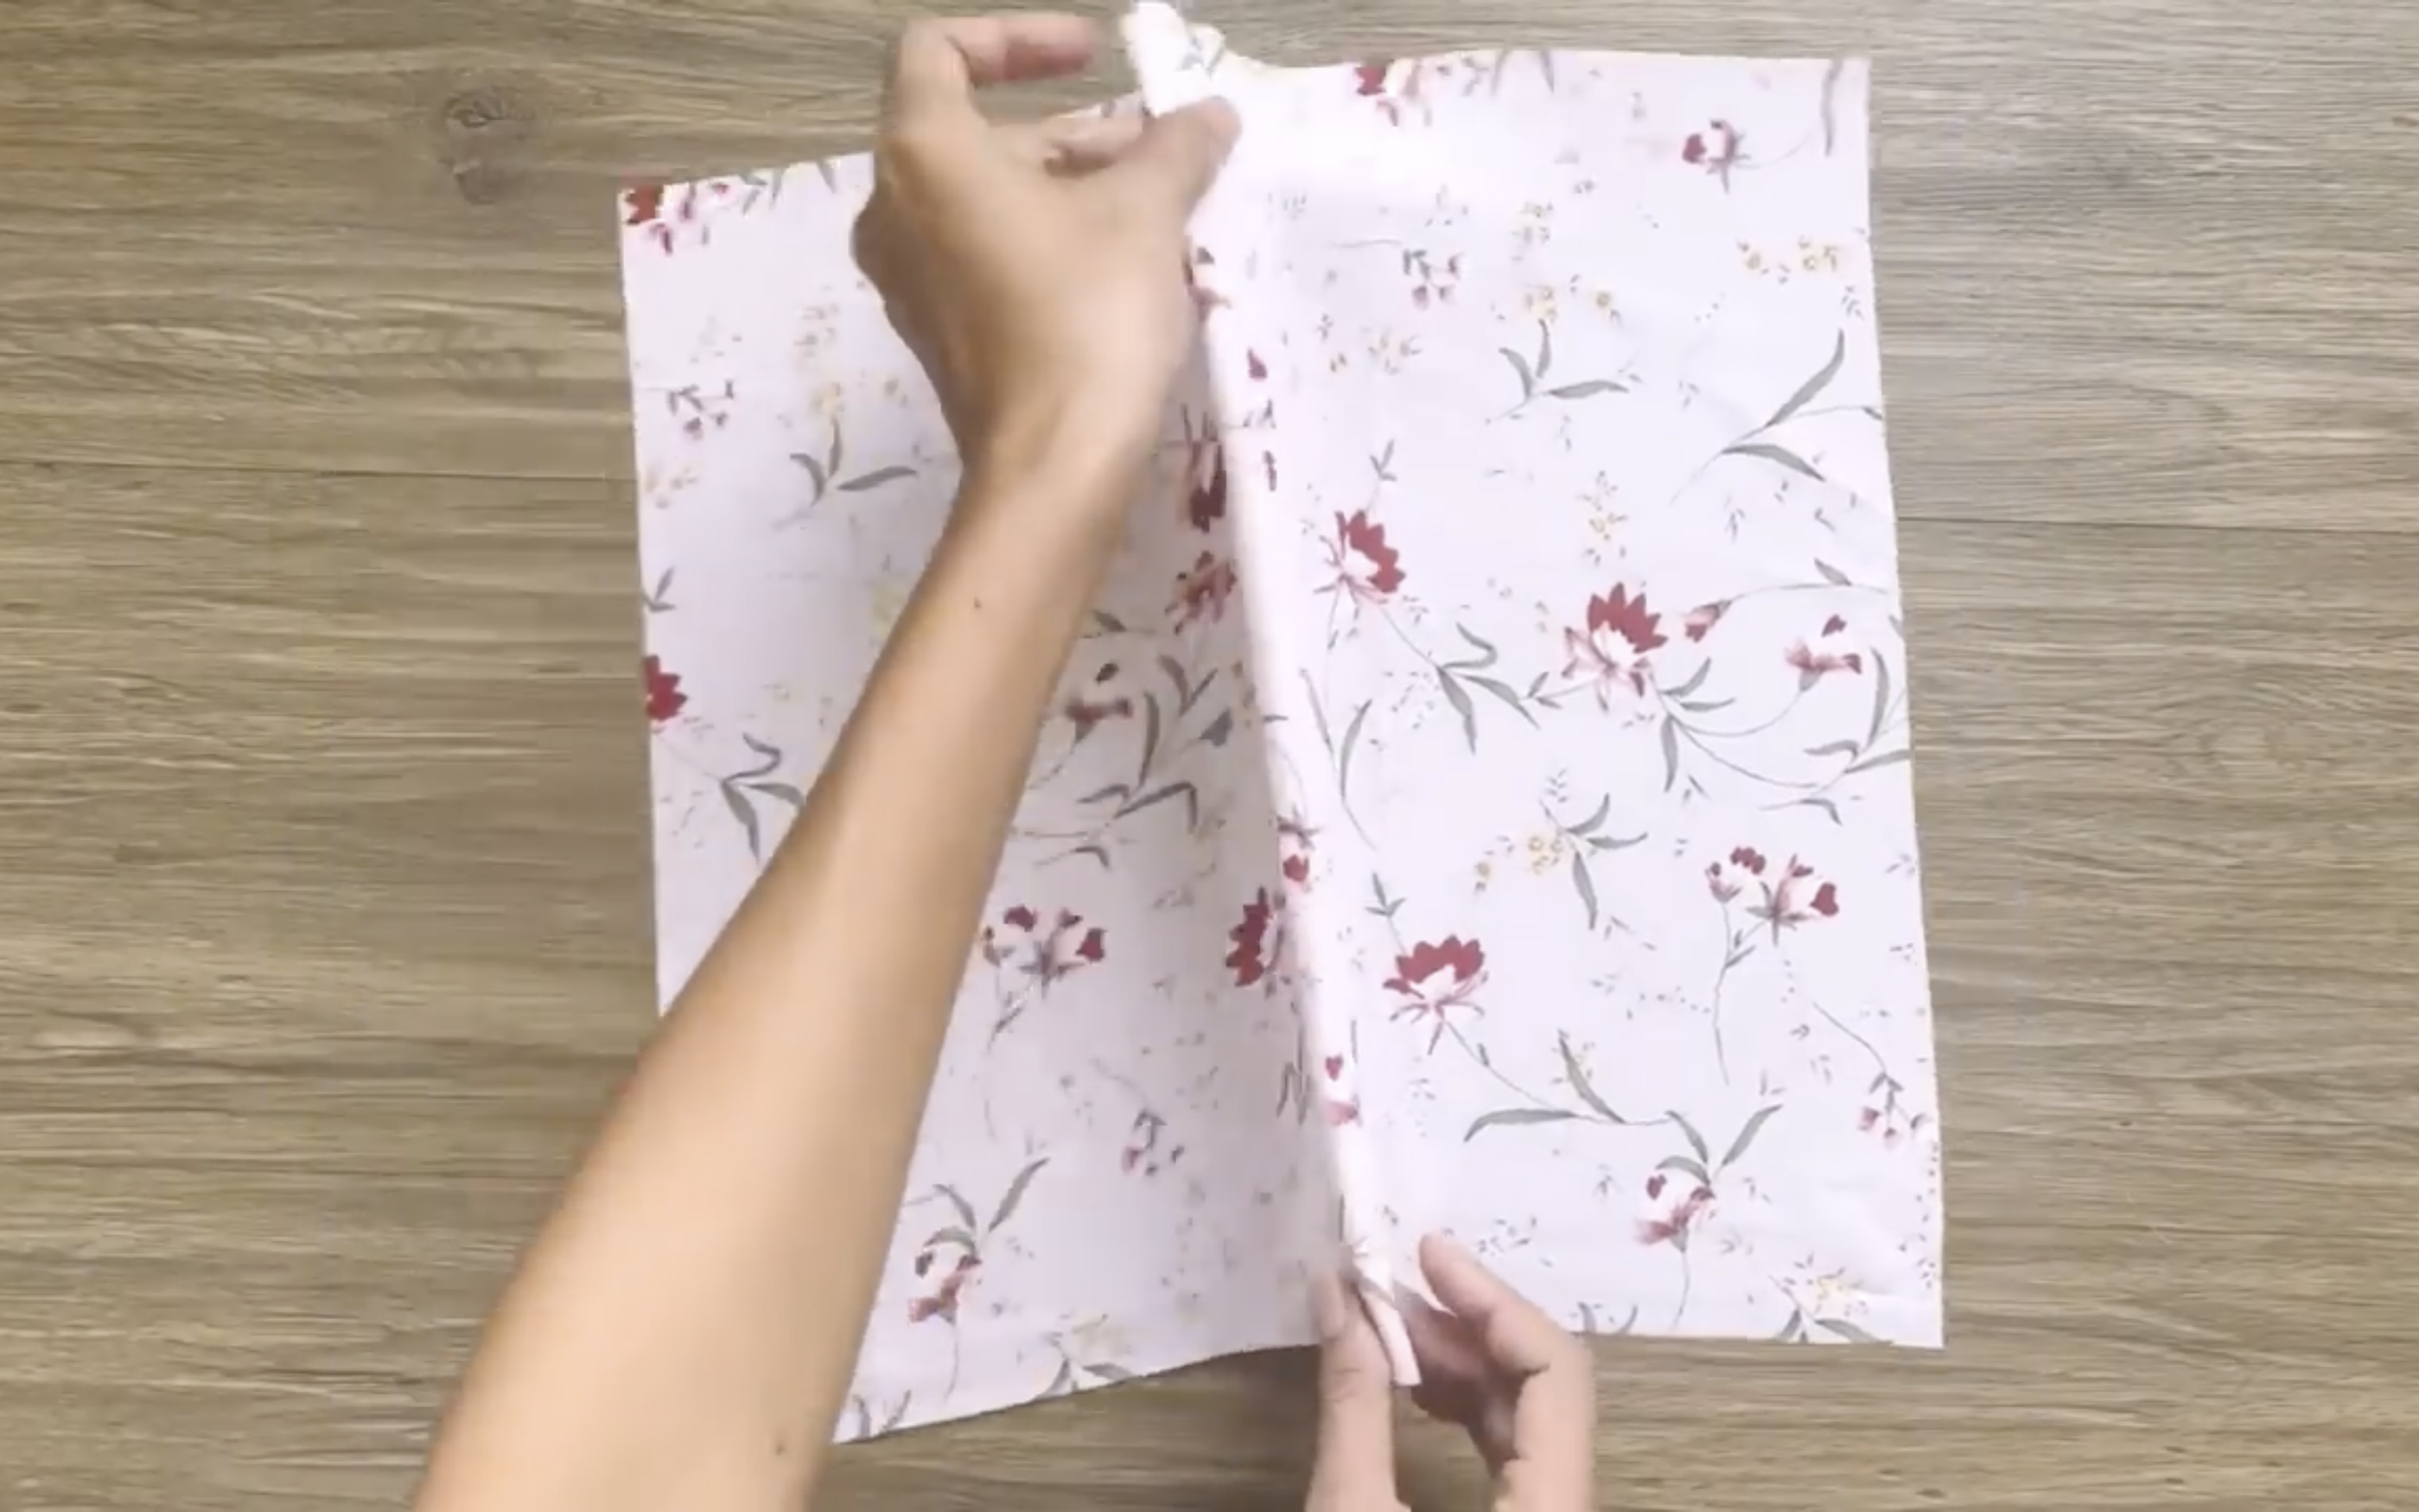
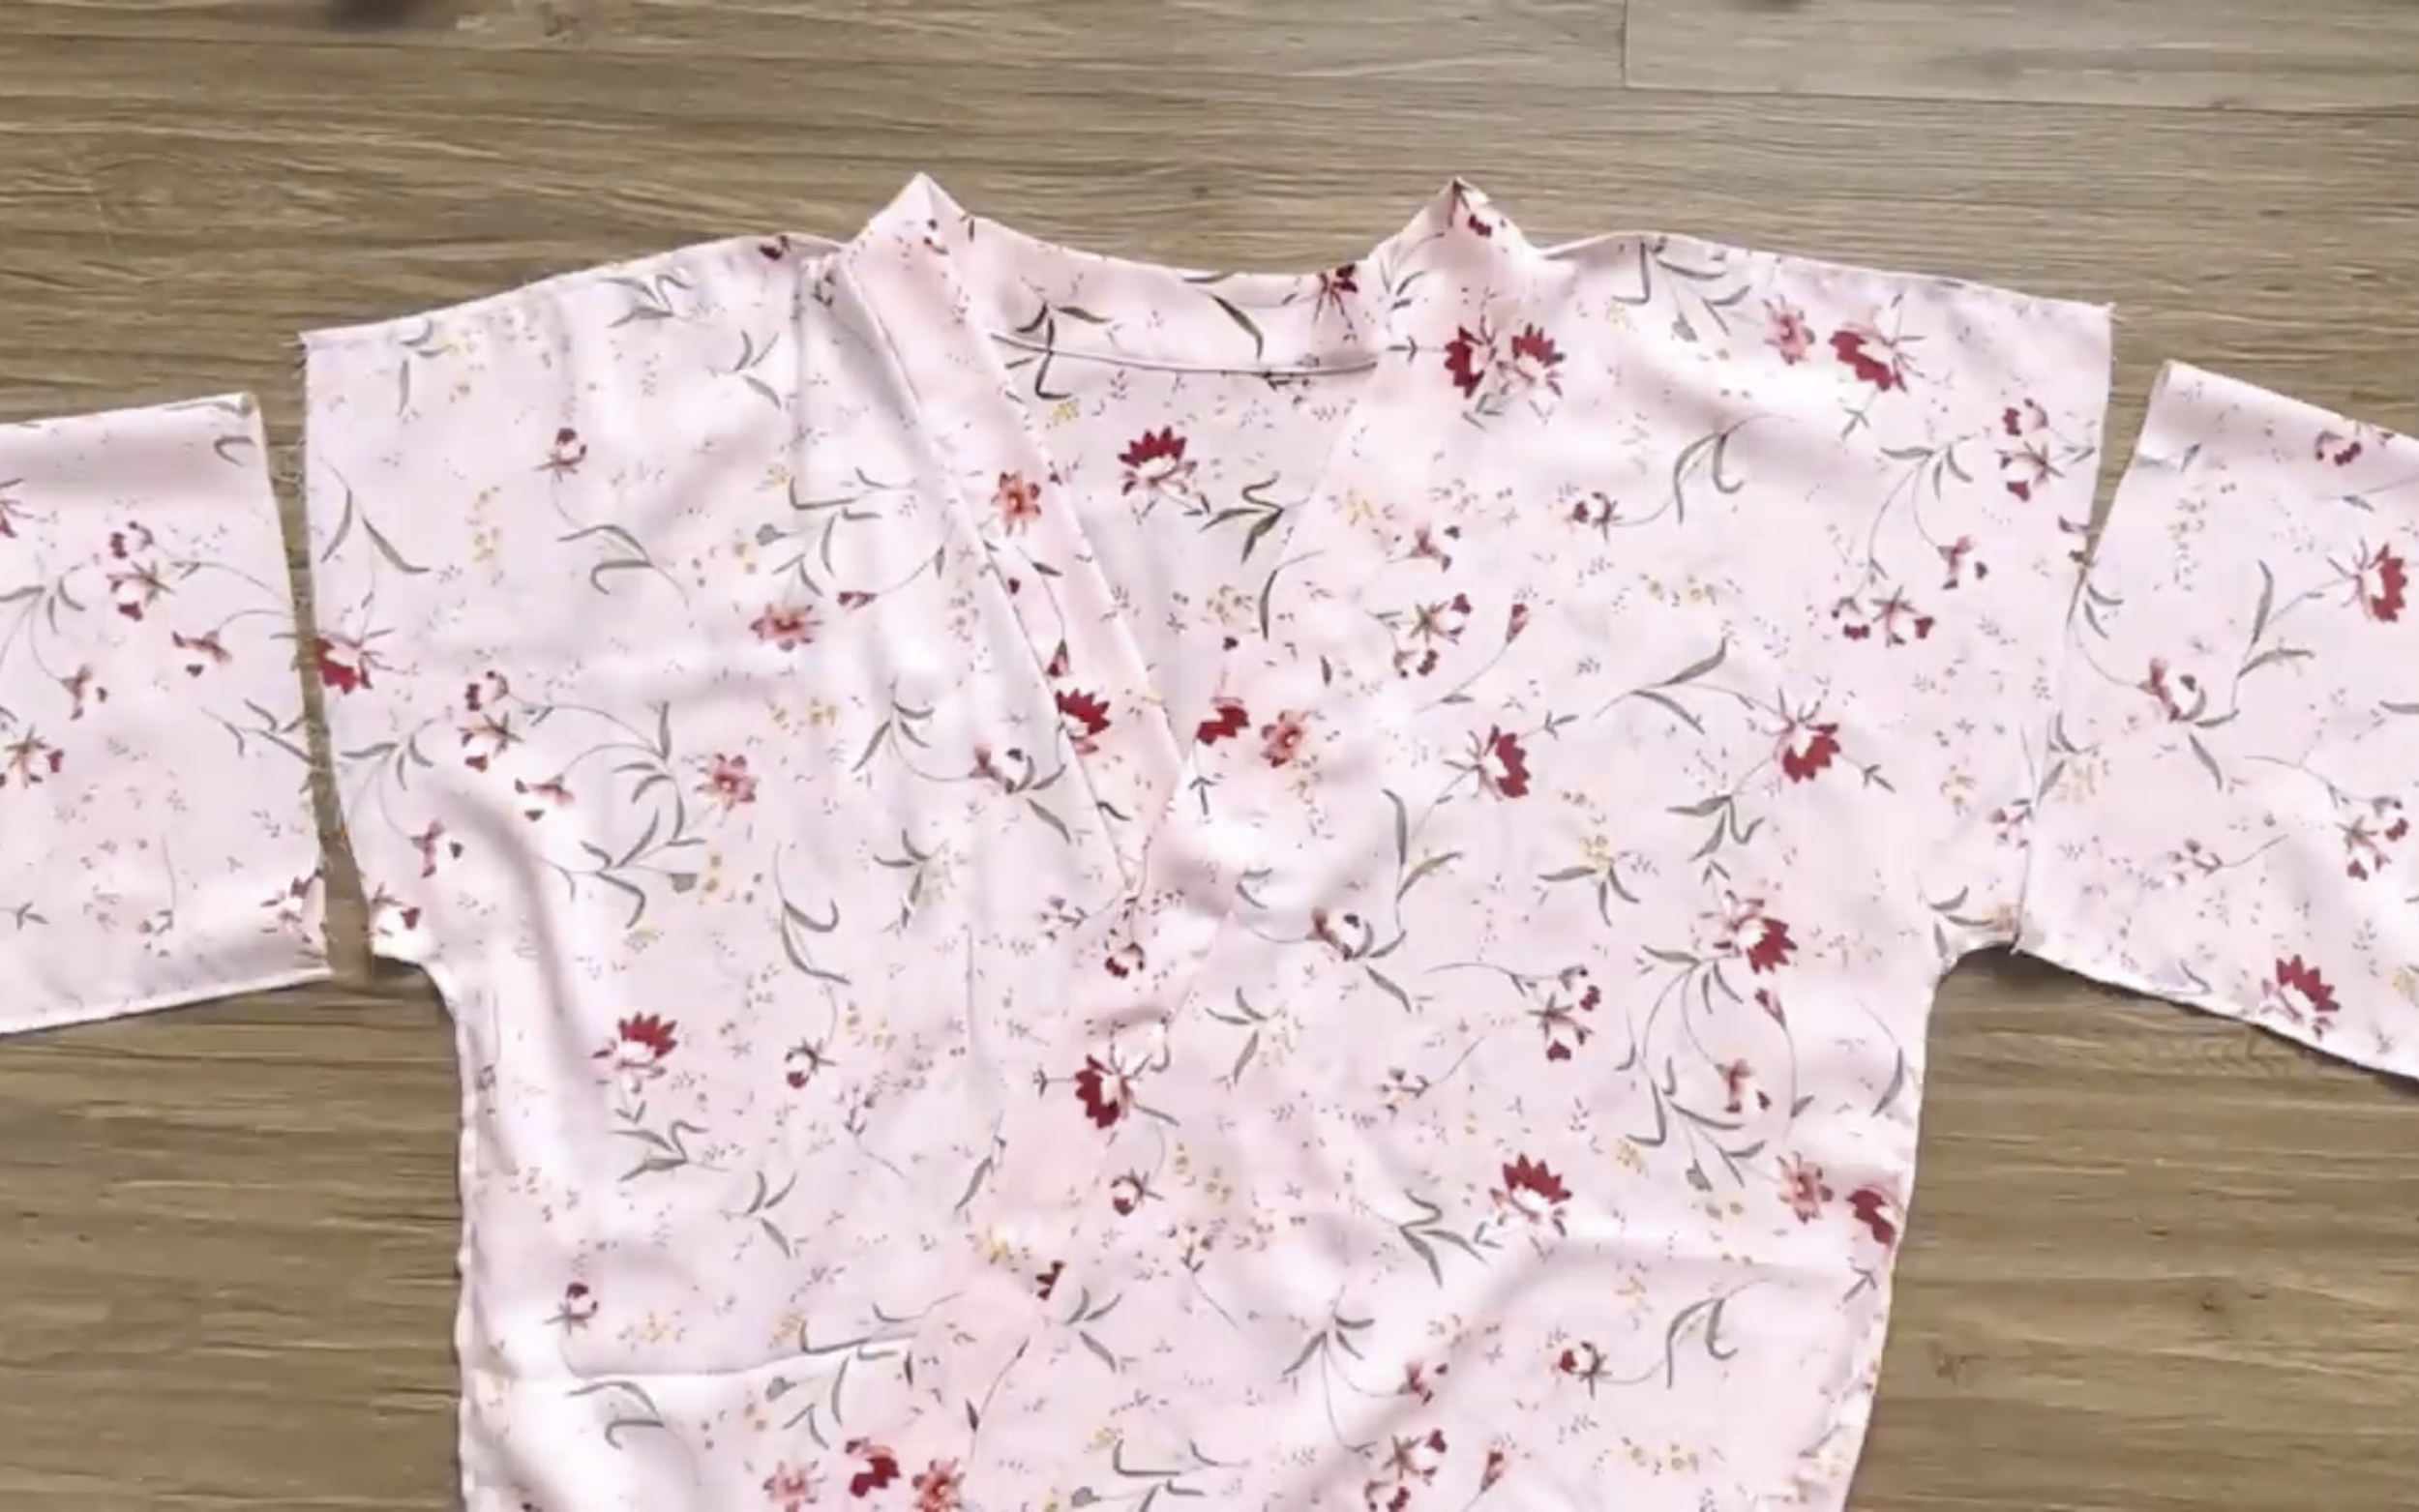
After cutting one piece of the back pattern and two pieces of the front pattern, connect them together at the shoulder and two sides.
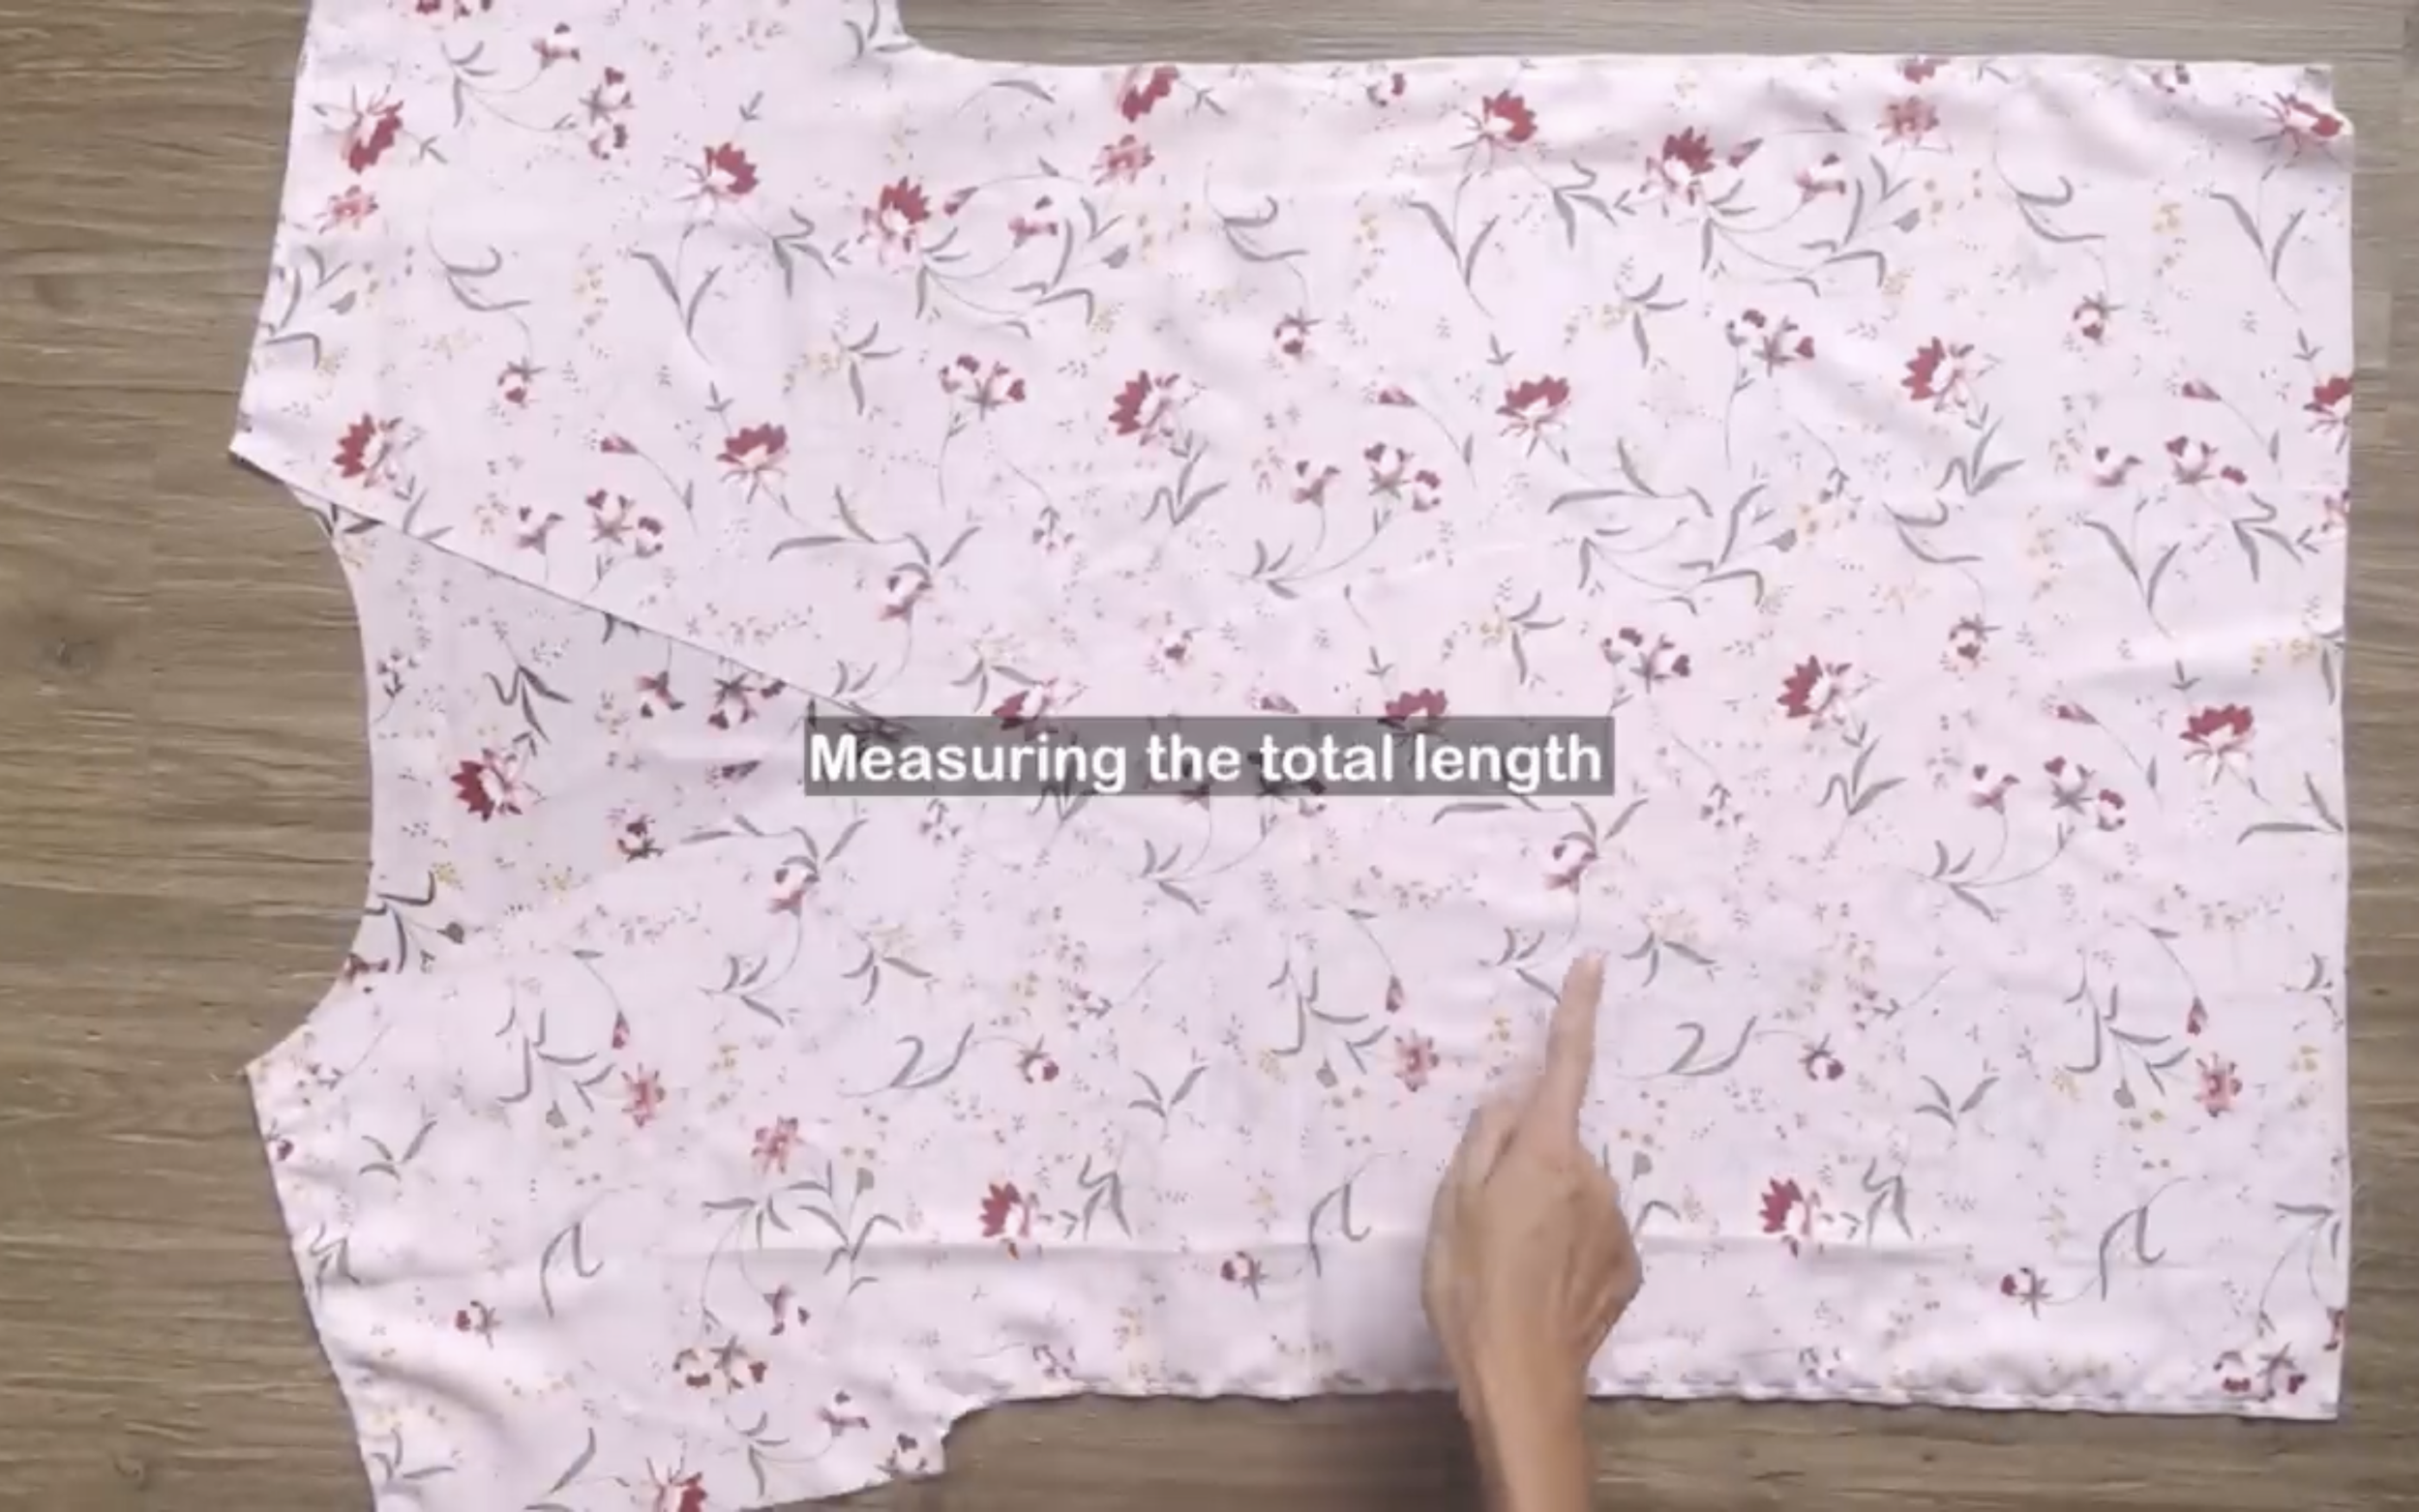
After sewing, measure the total length of the dress from the neck to the two front pieces first.
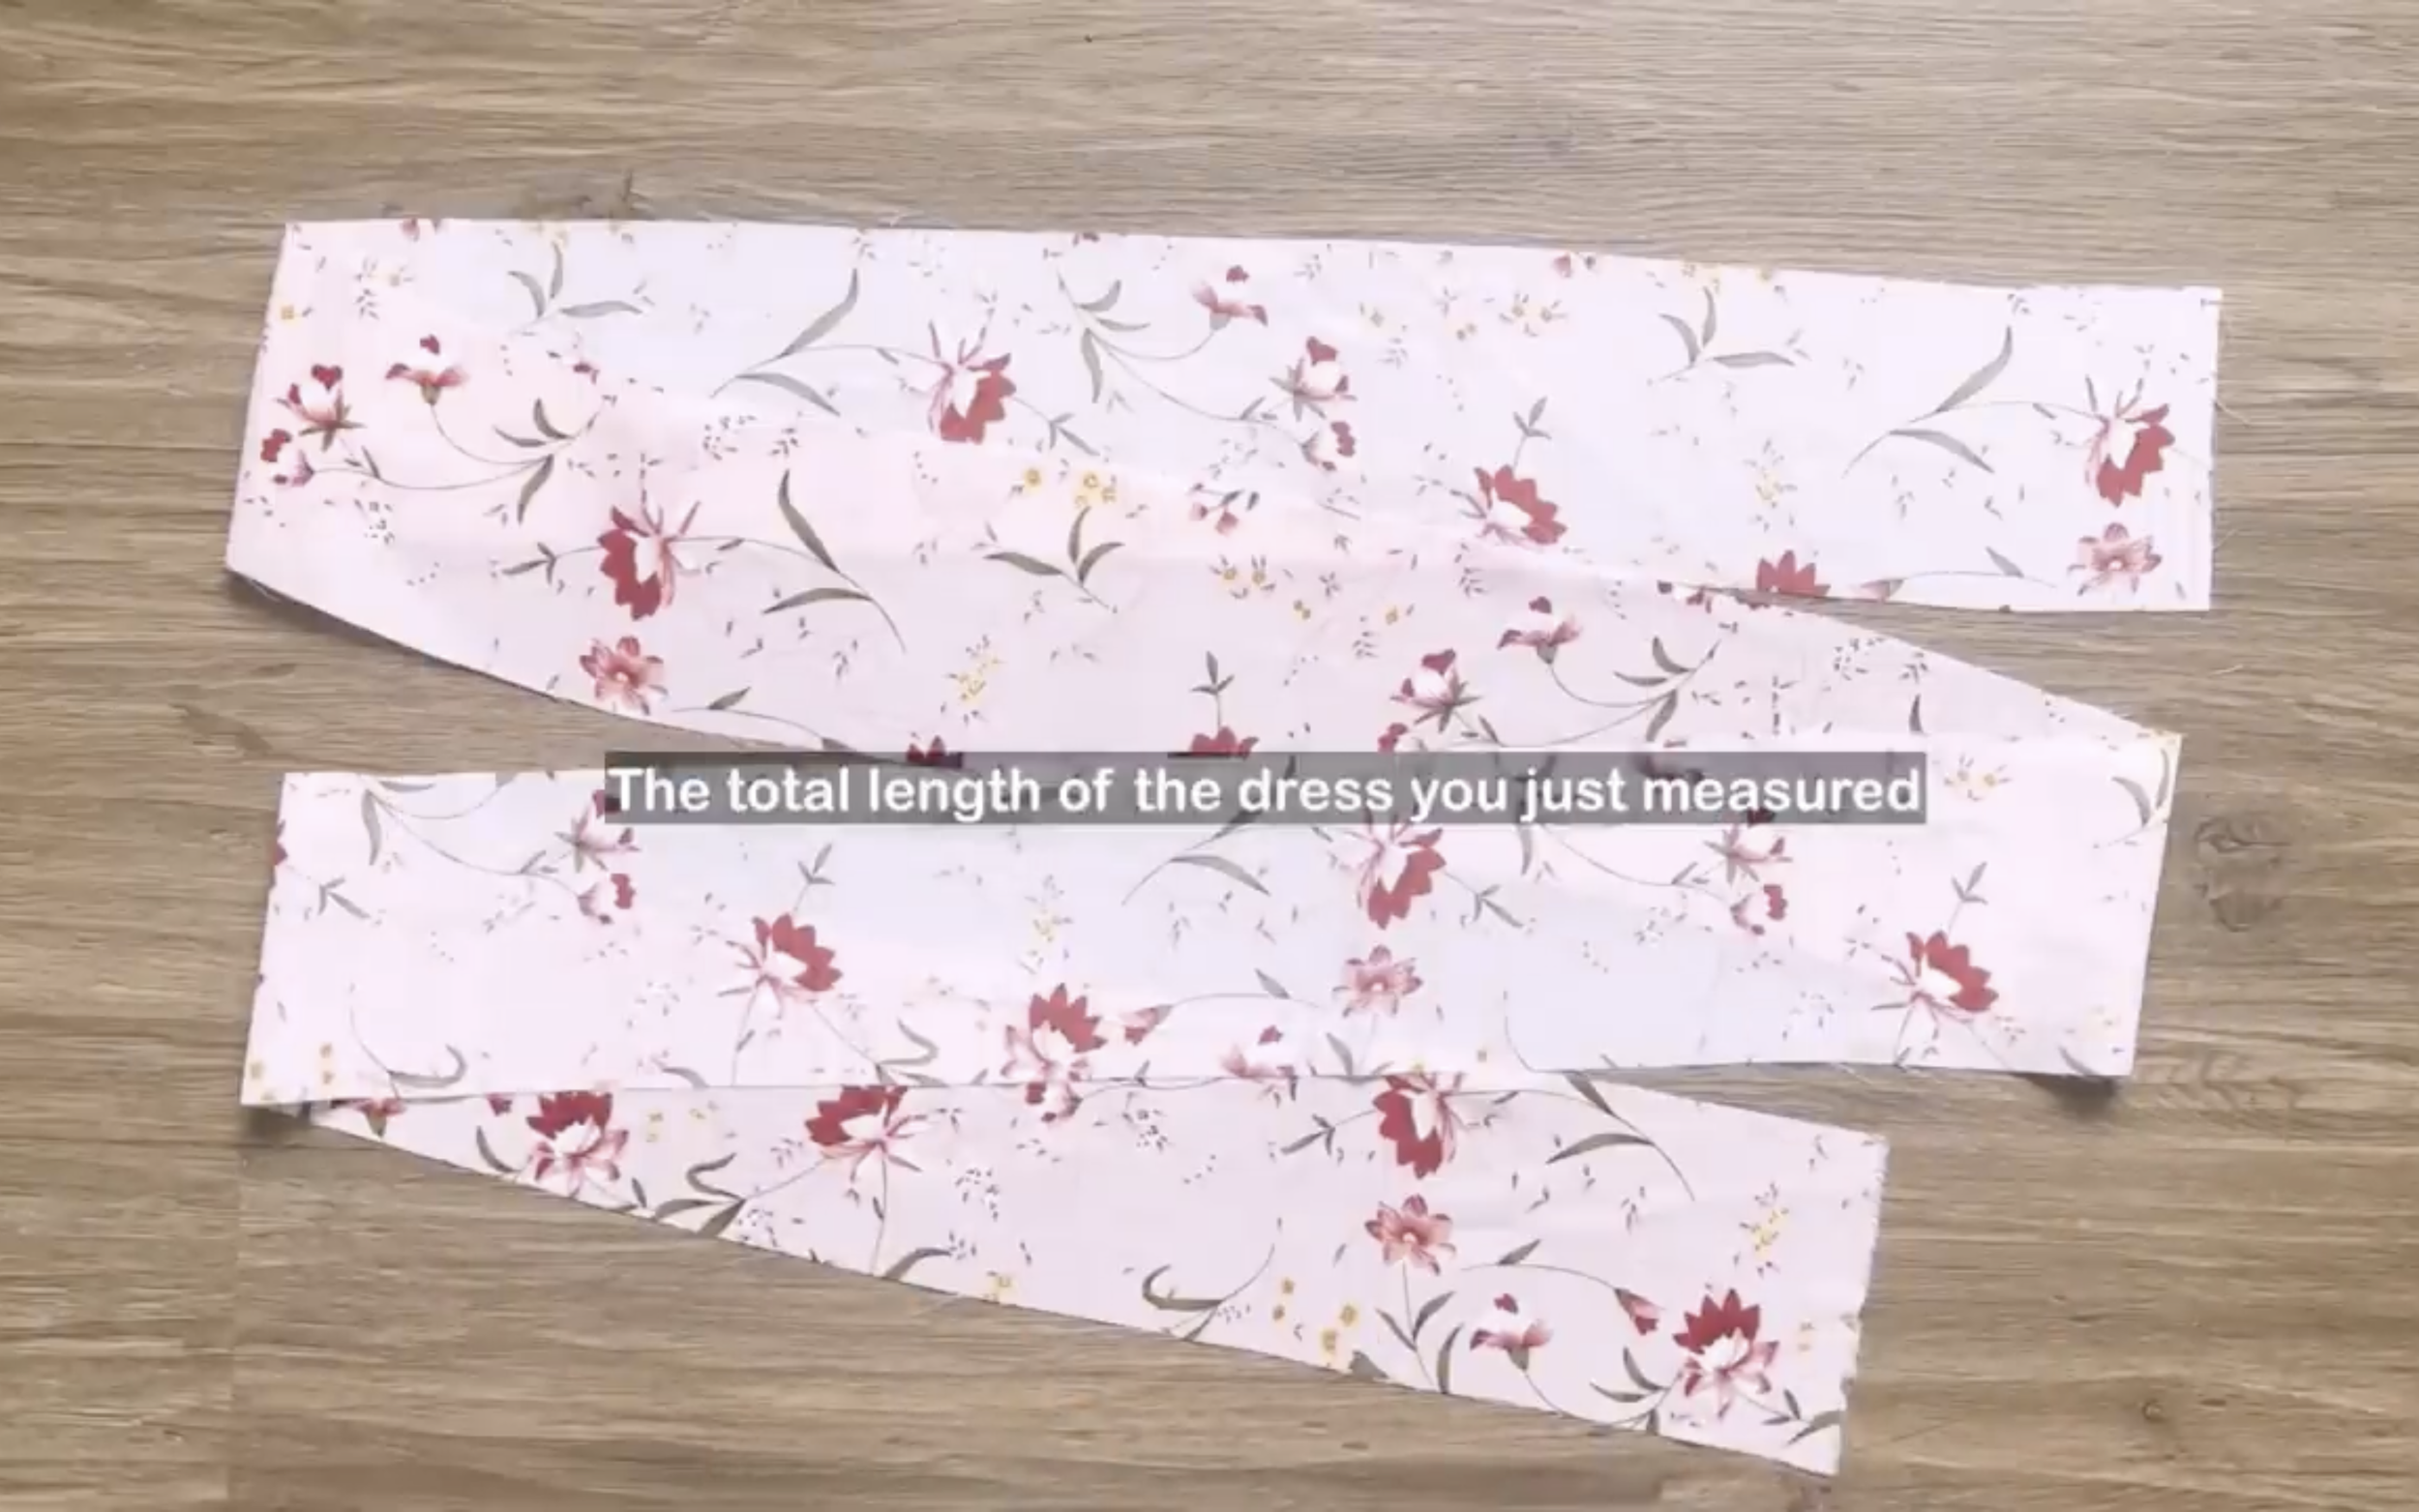
Then cut a long fabric strip with the same length and 10 cm width, which is twice the width of the hem that is desired plus 2 cm for seam allowance.
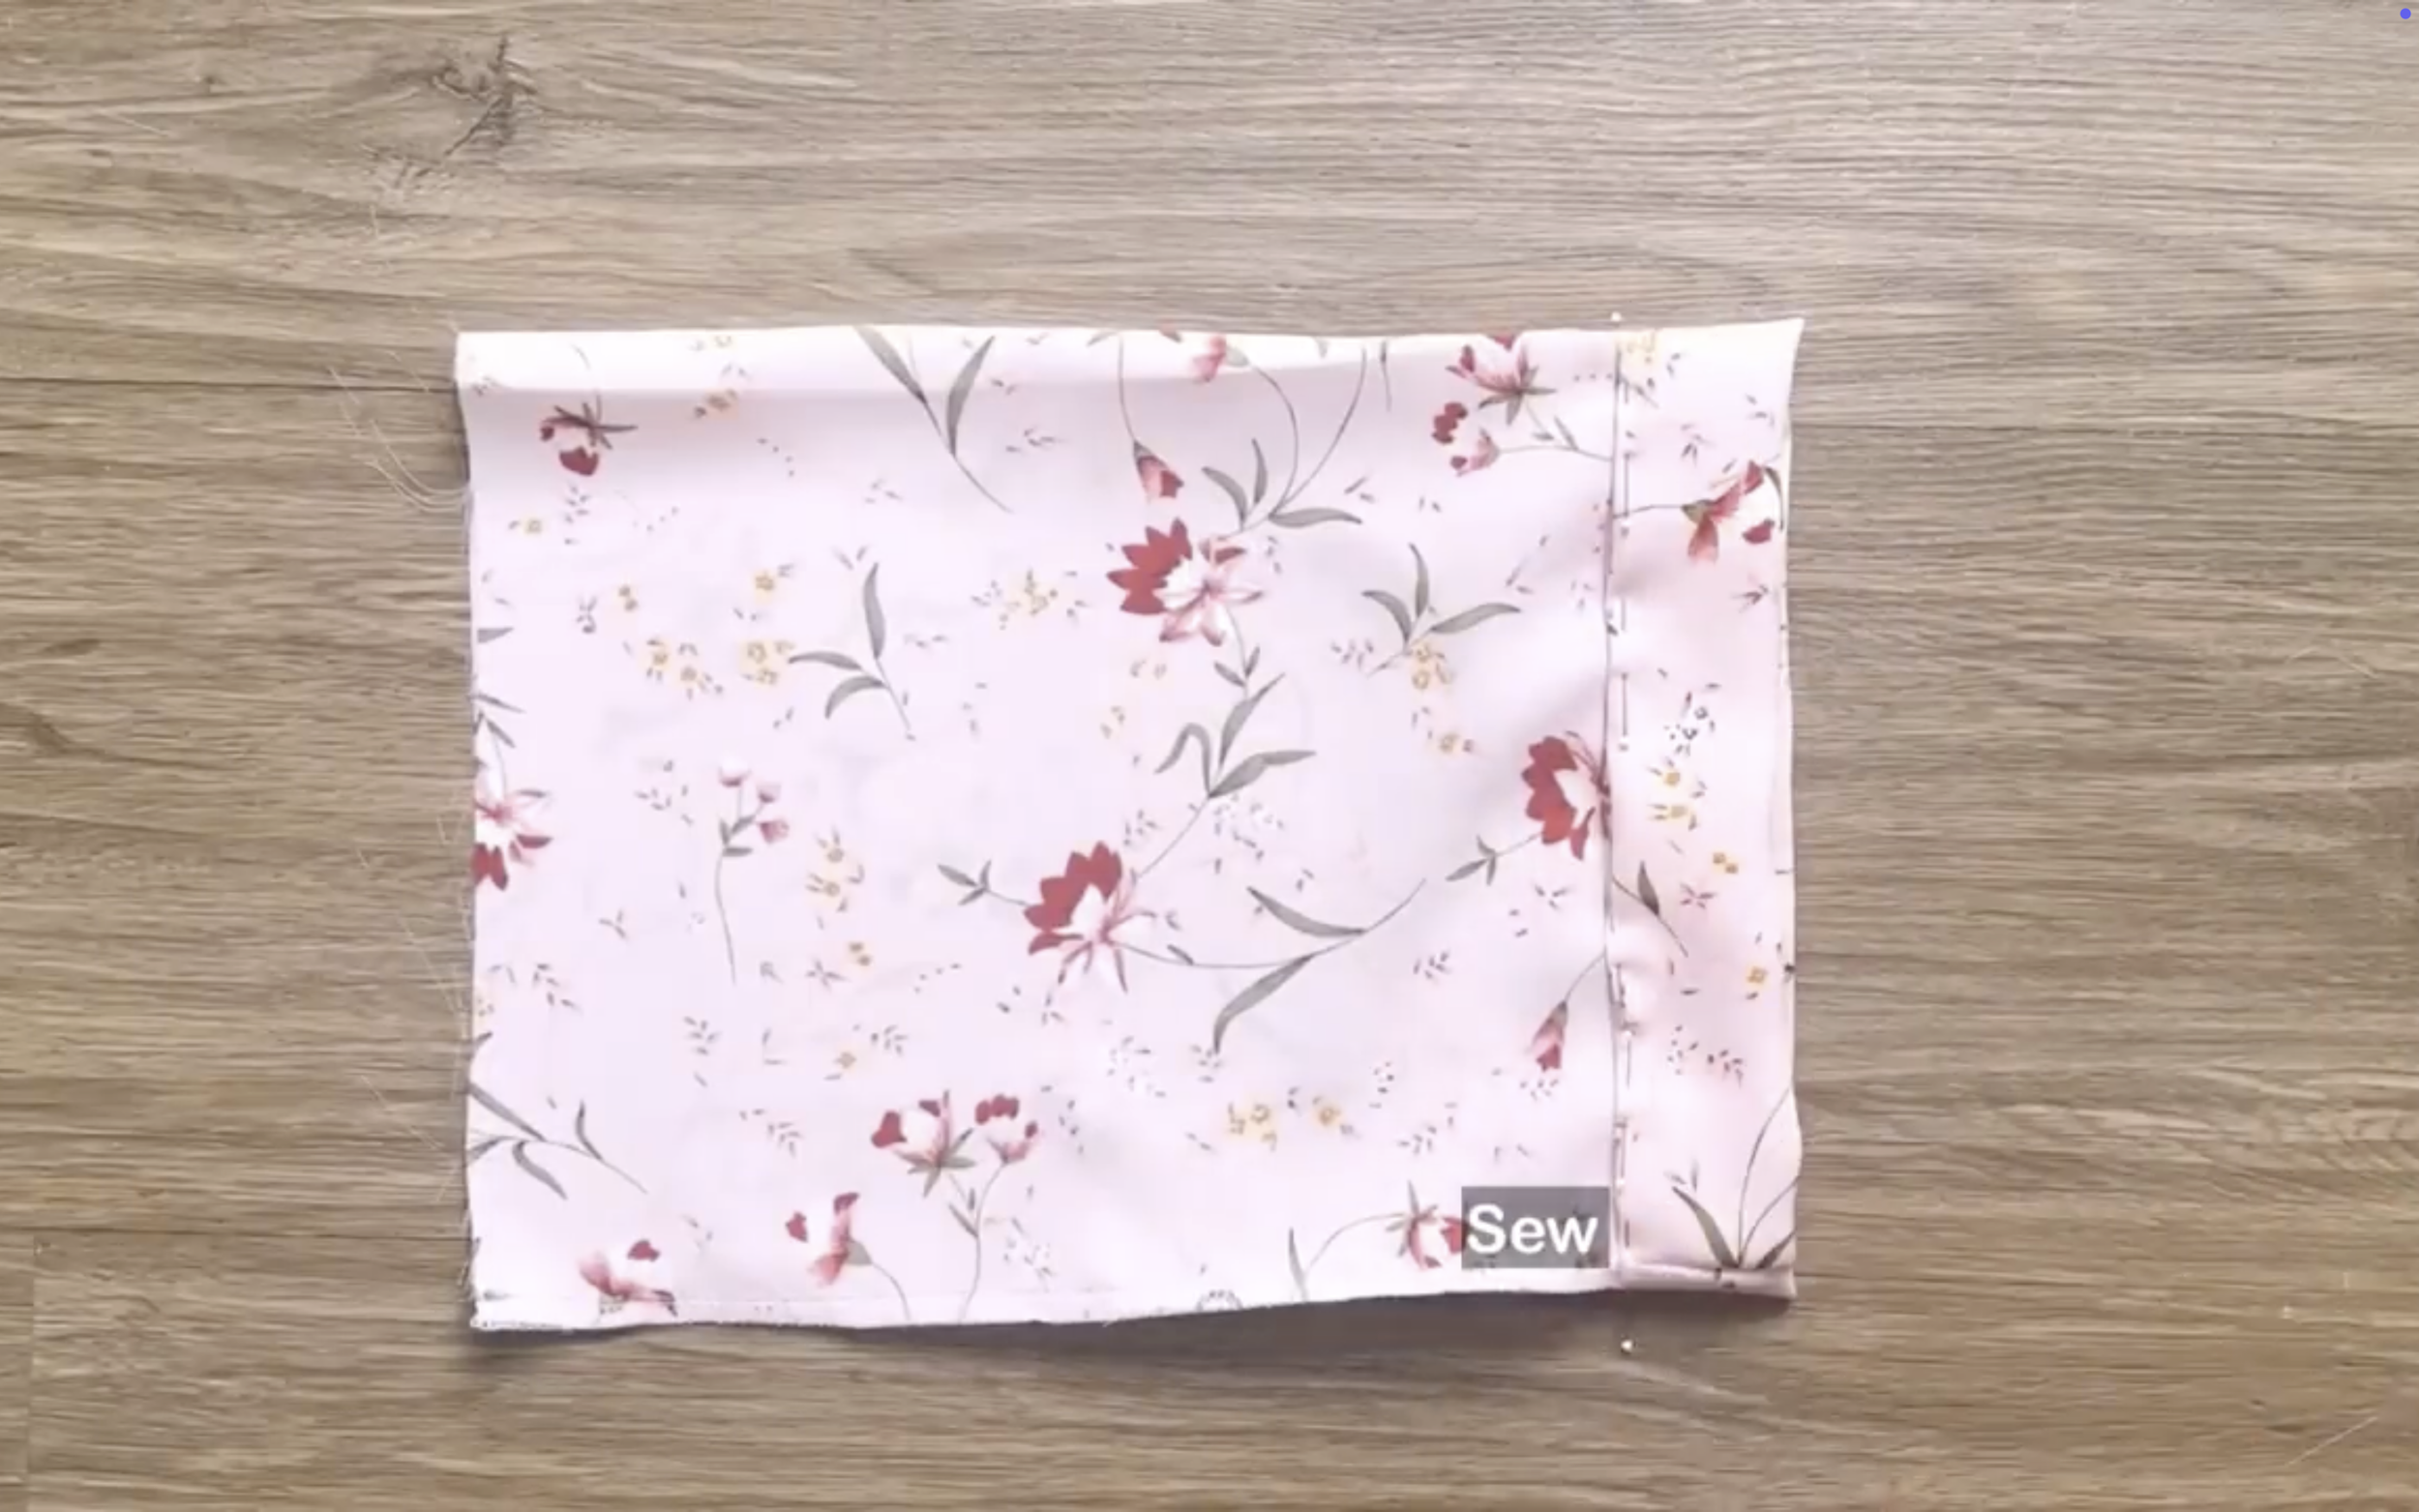
Connect one side of the fabric strip to the dress and sew it.
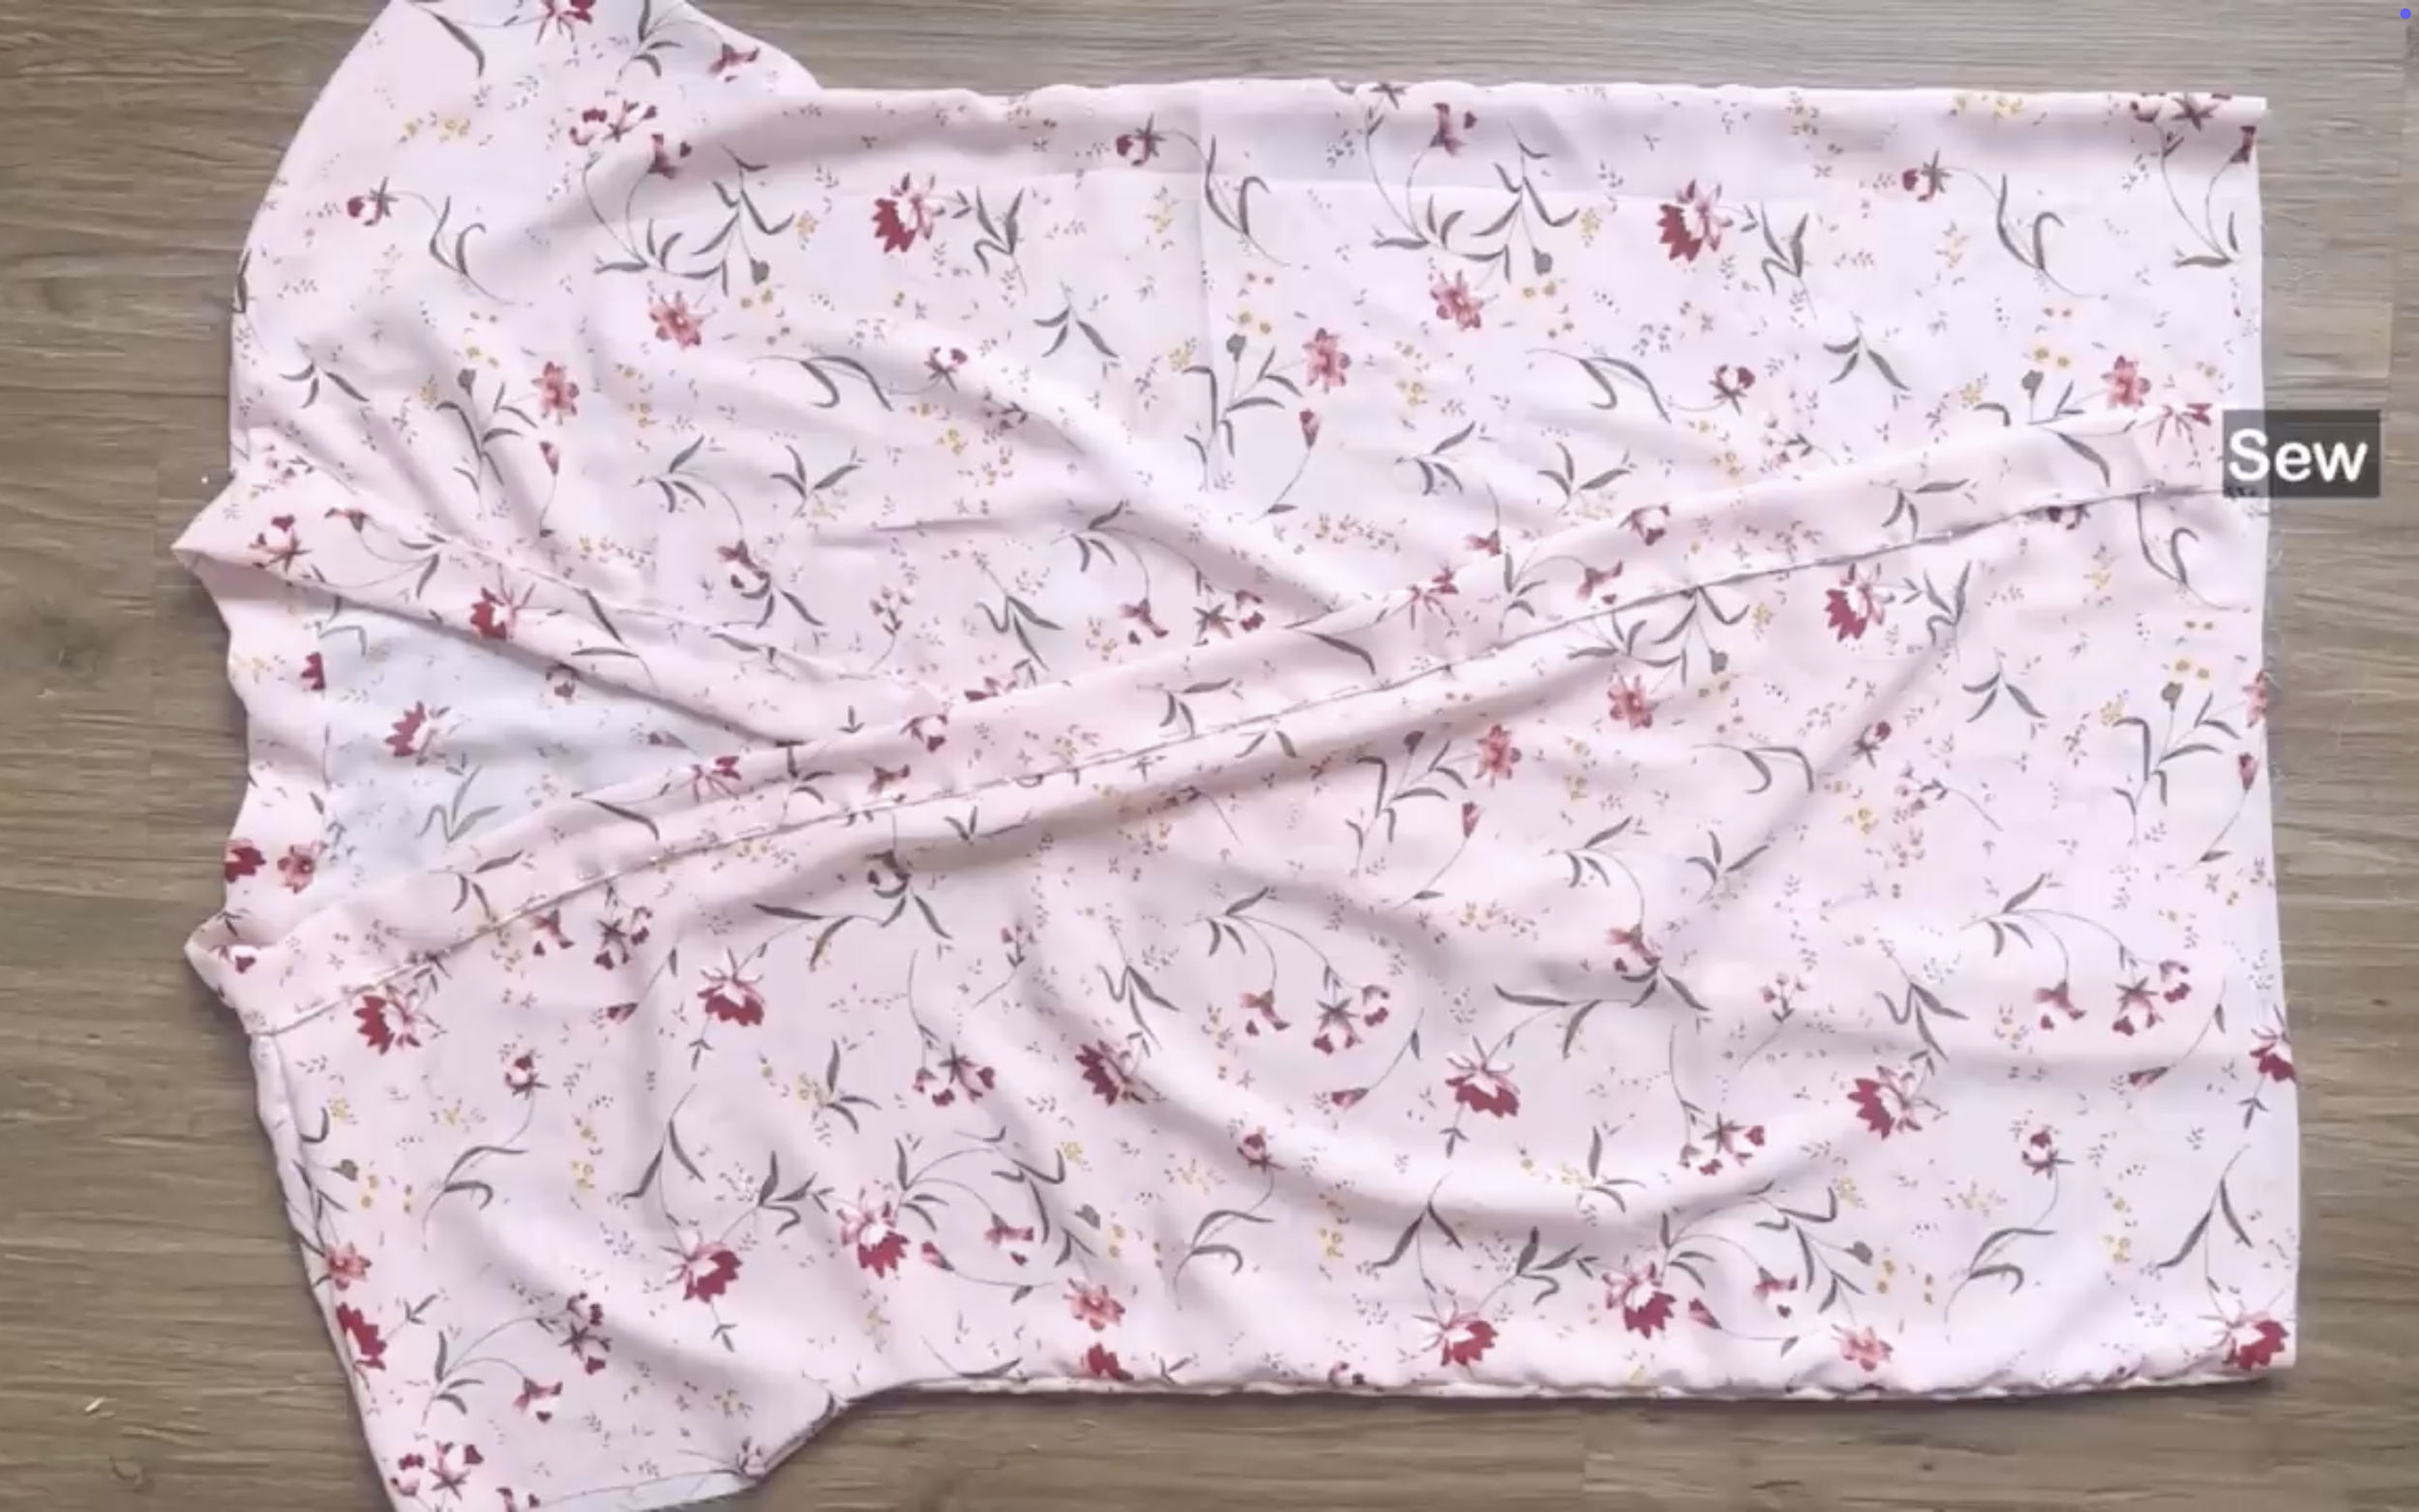
After that, fold the other side of the fabric strip inside around 1 cm first, then keep folding it over the first seam and make the second seam.
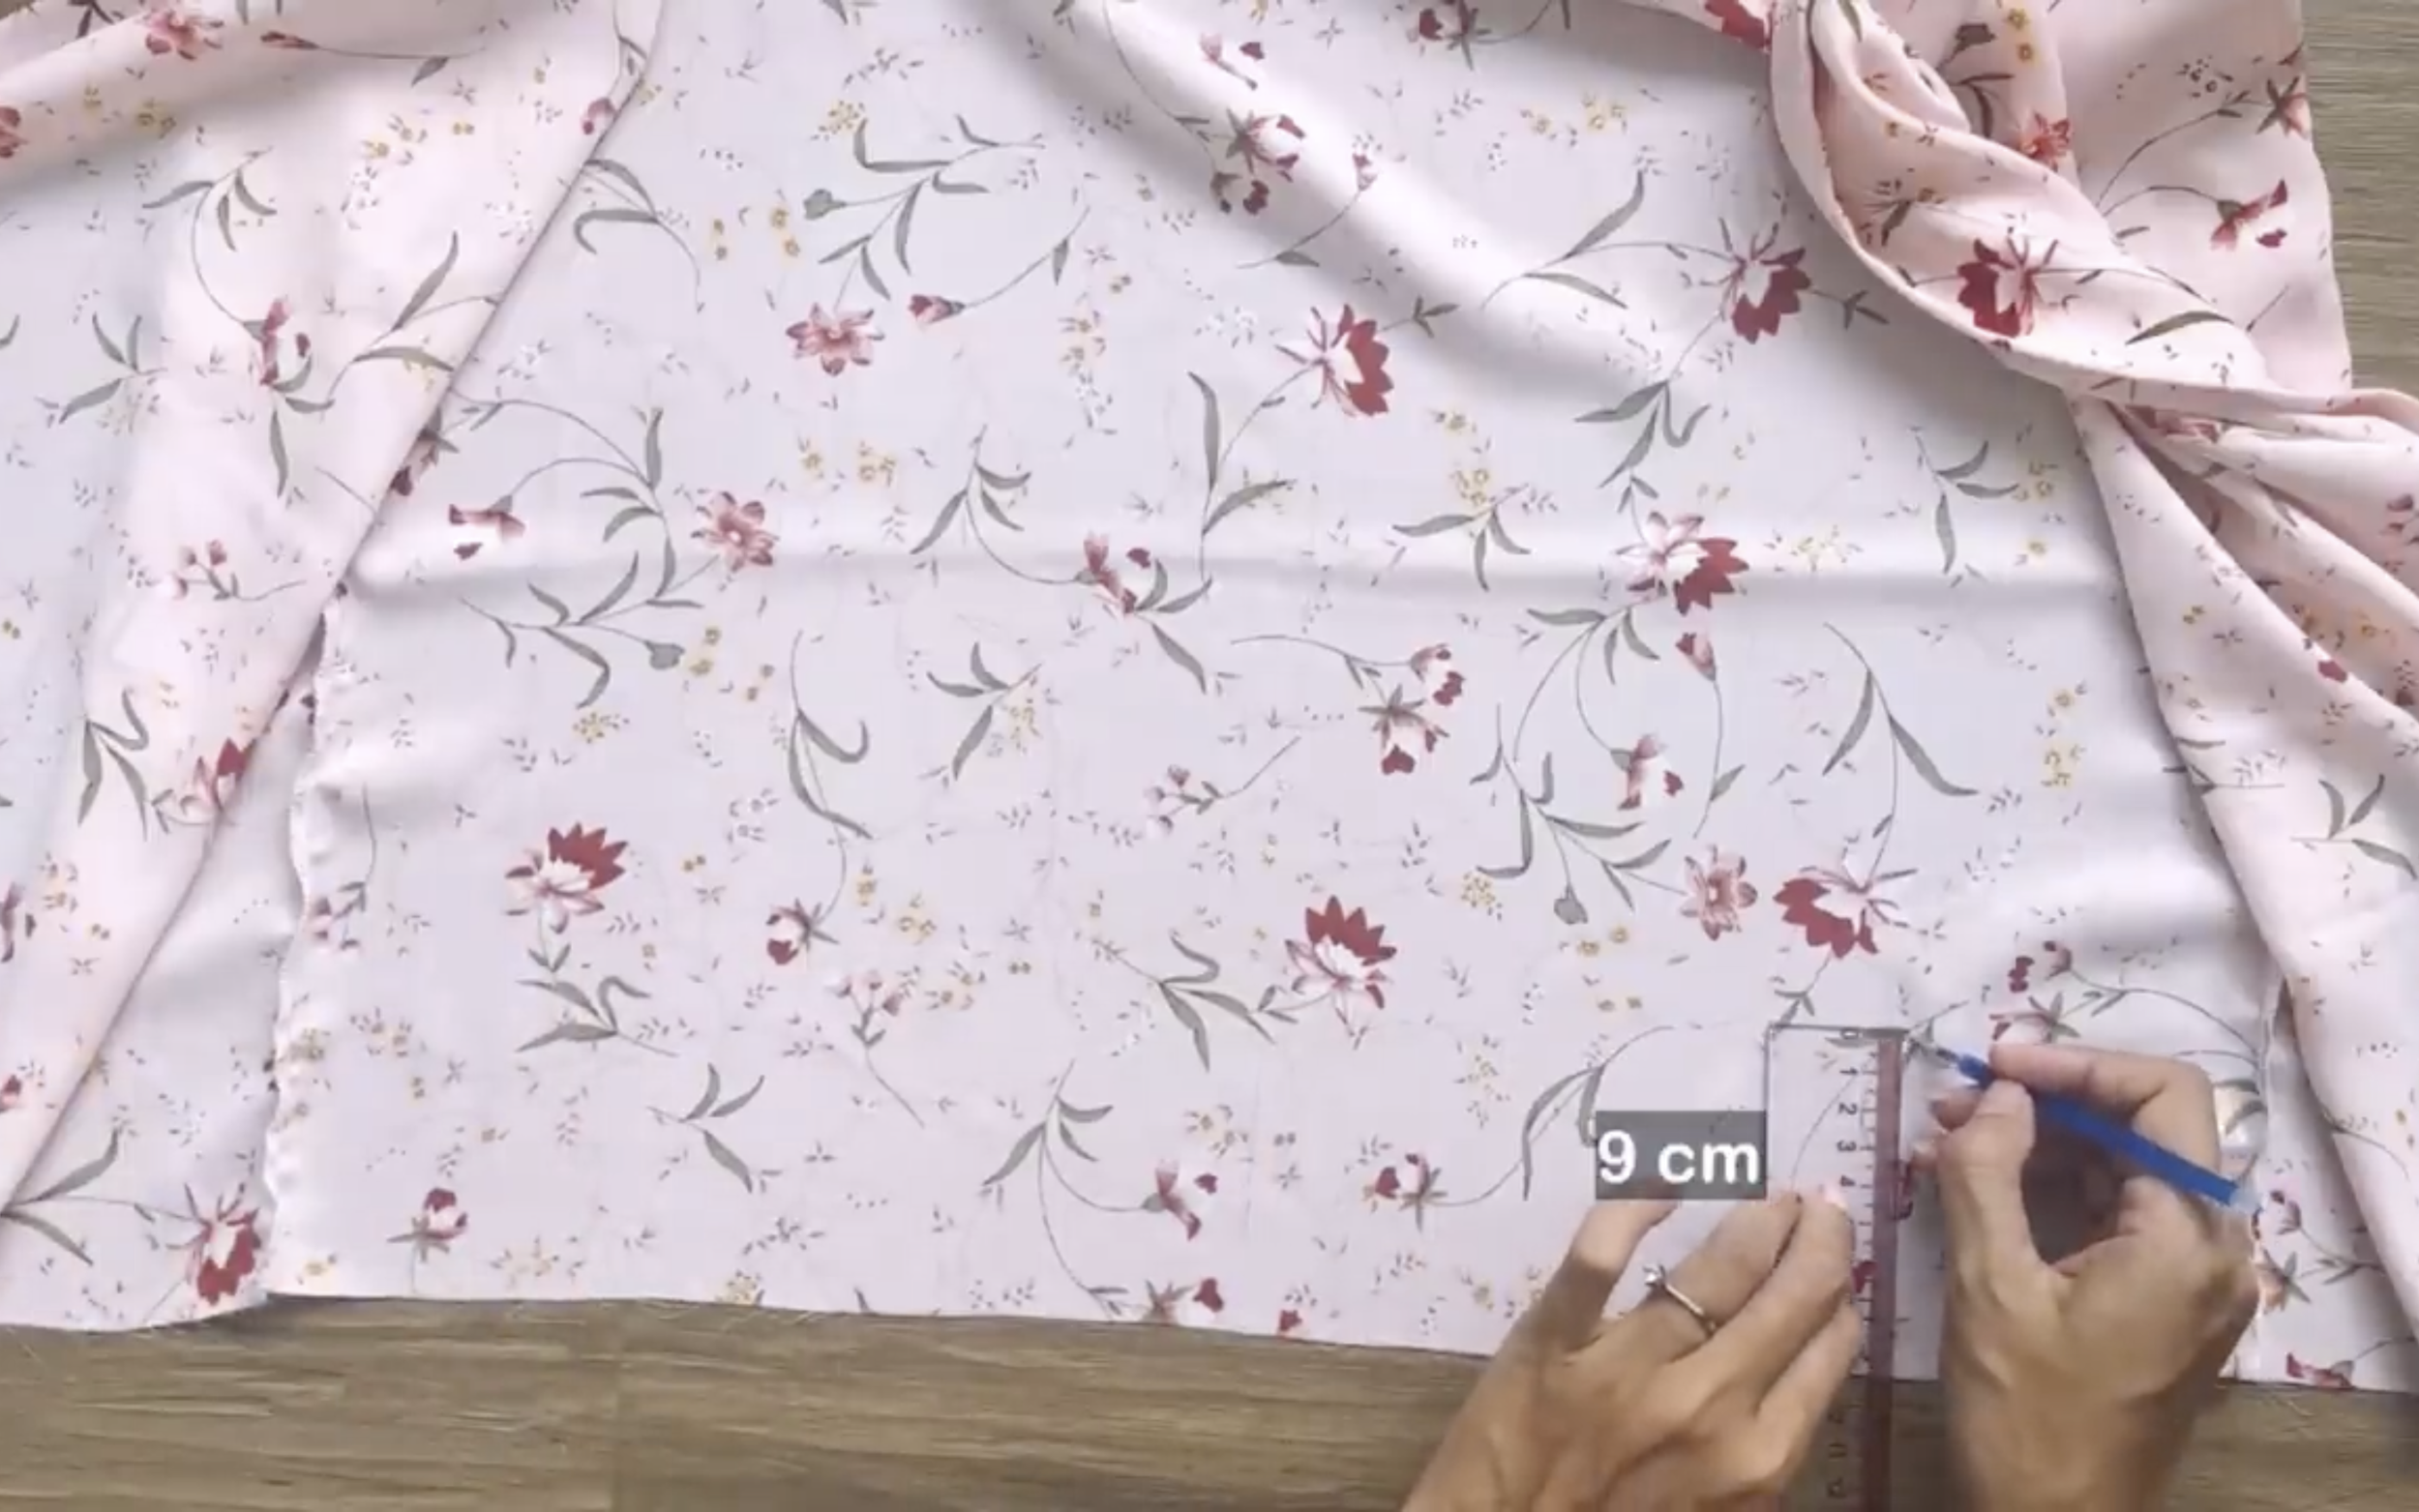
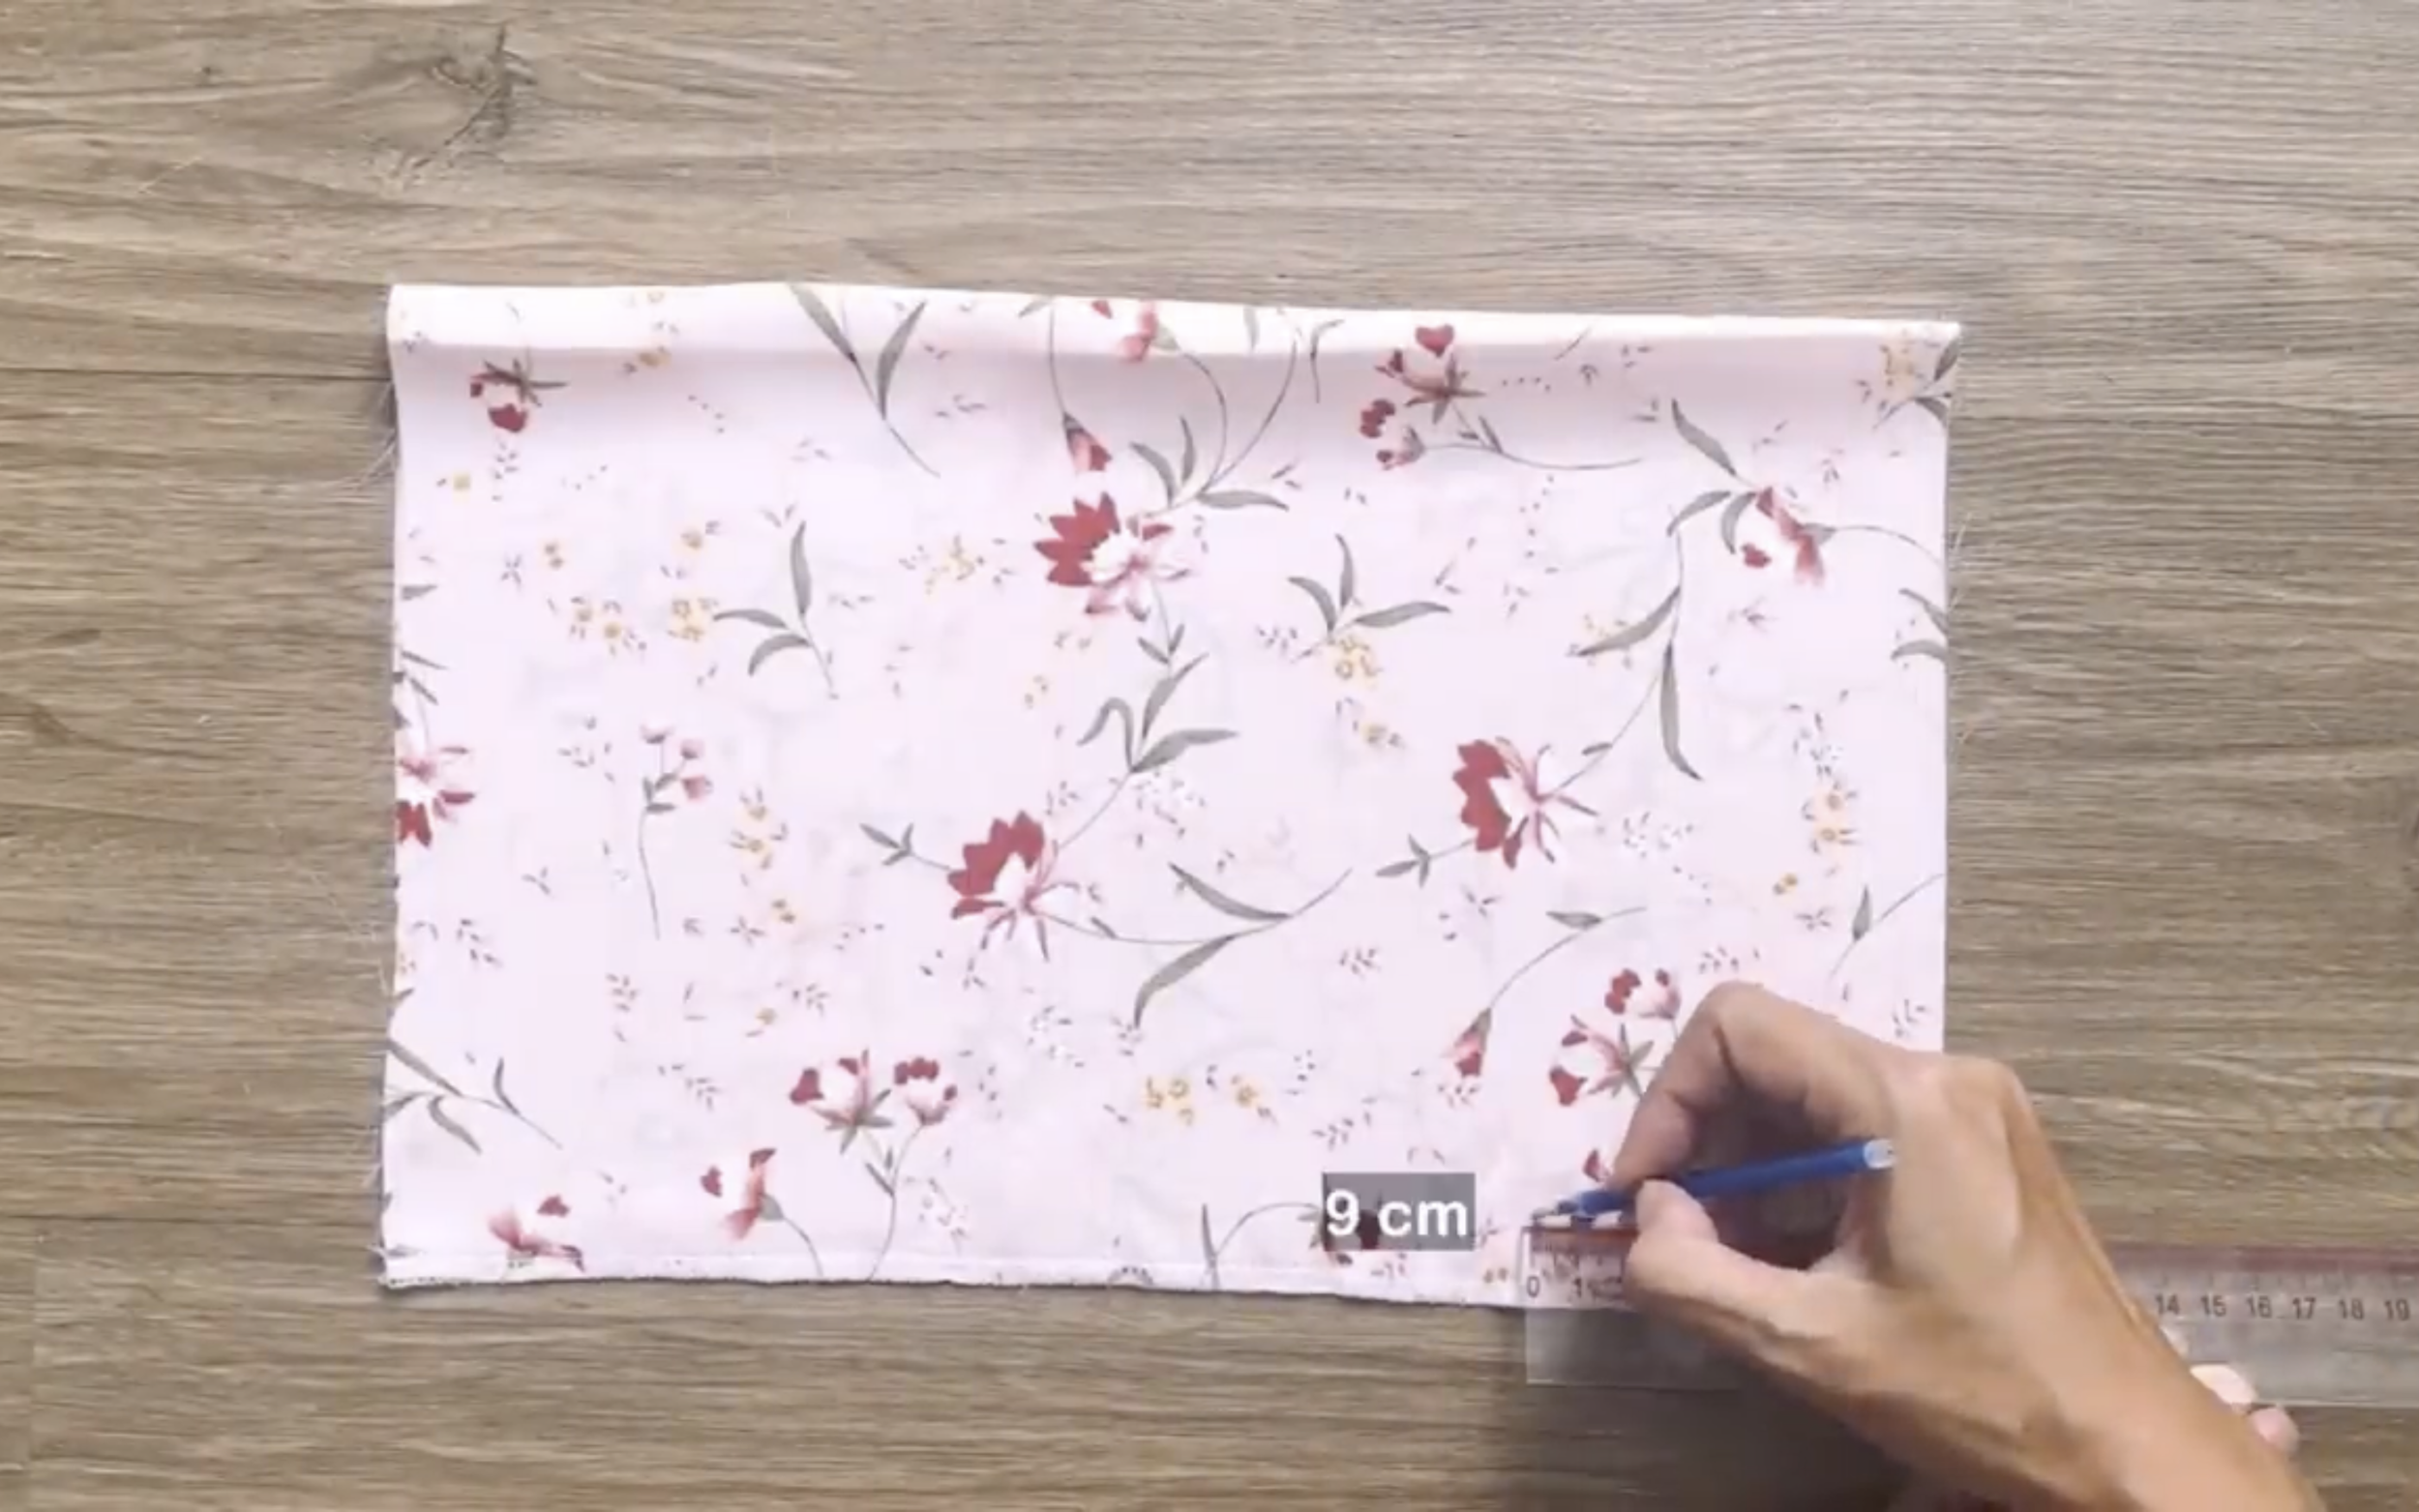
At the end of the dress, draw a line 9 cm above the ending line.
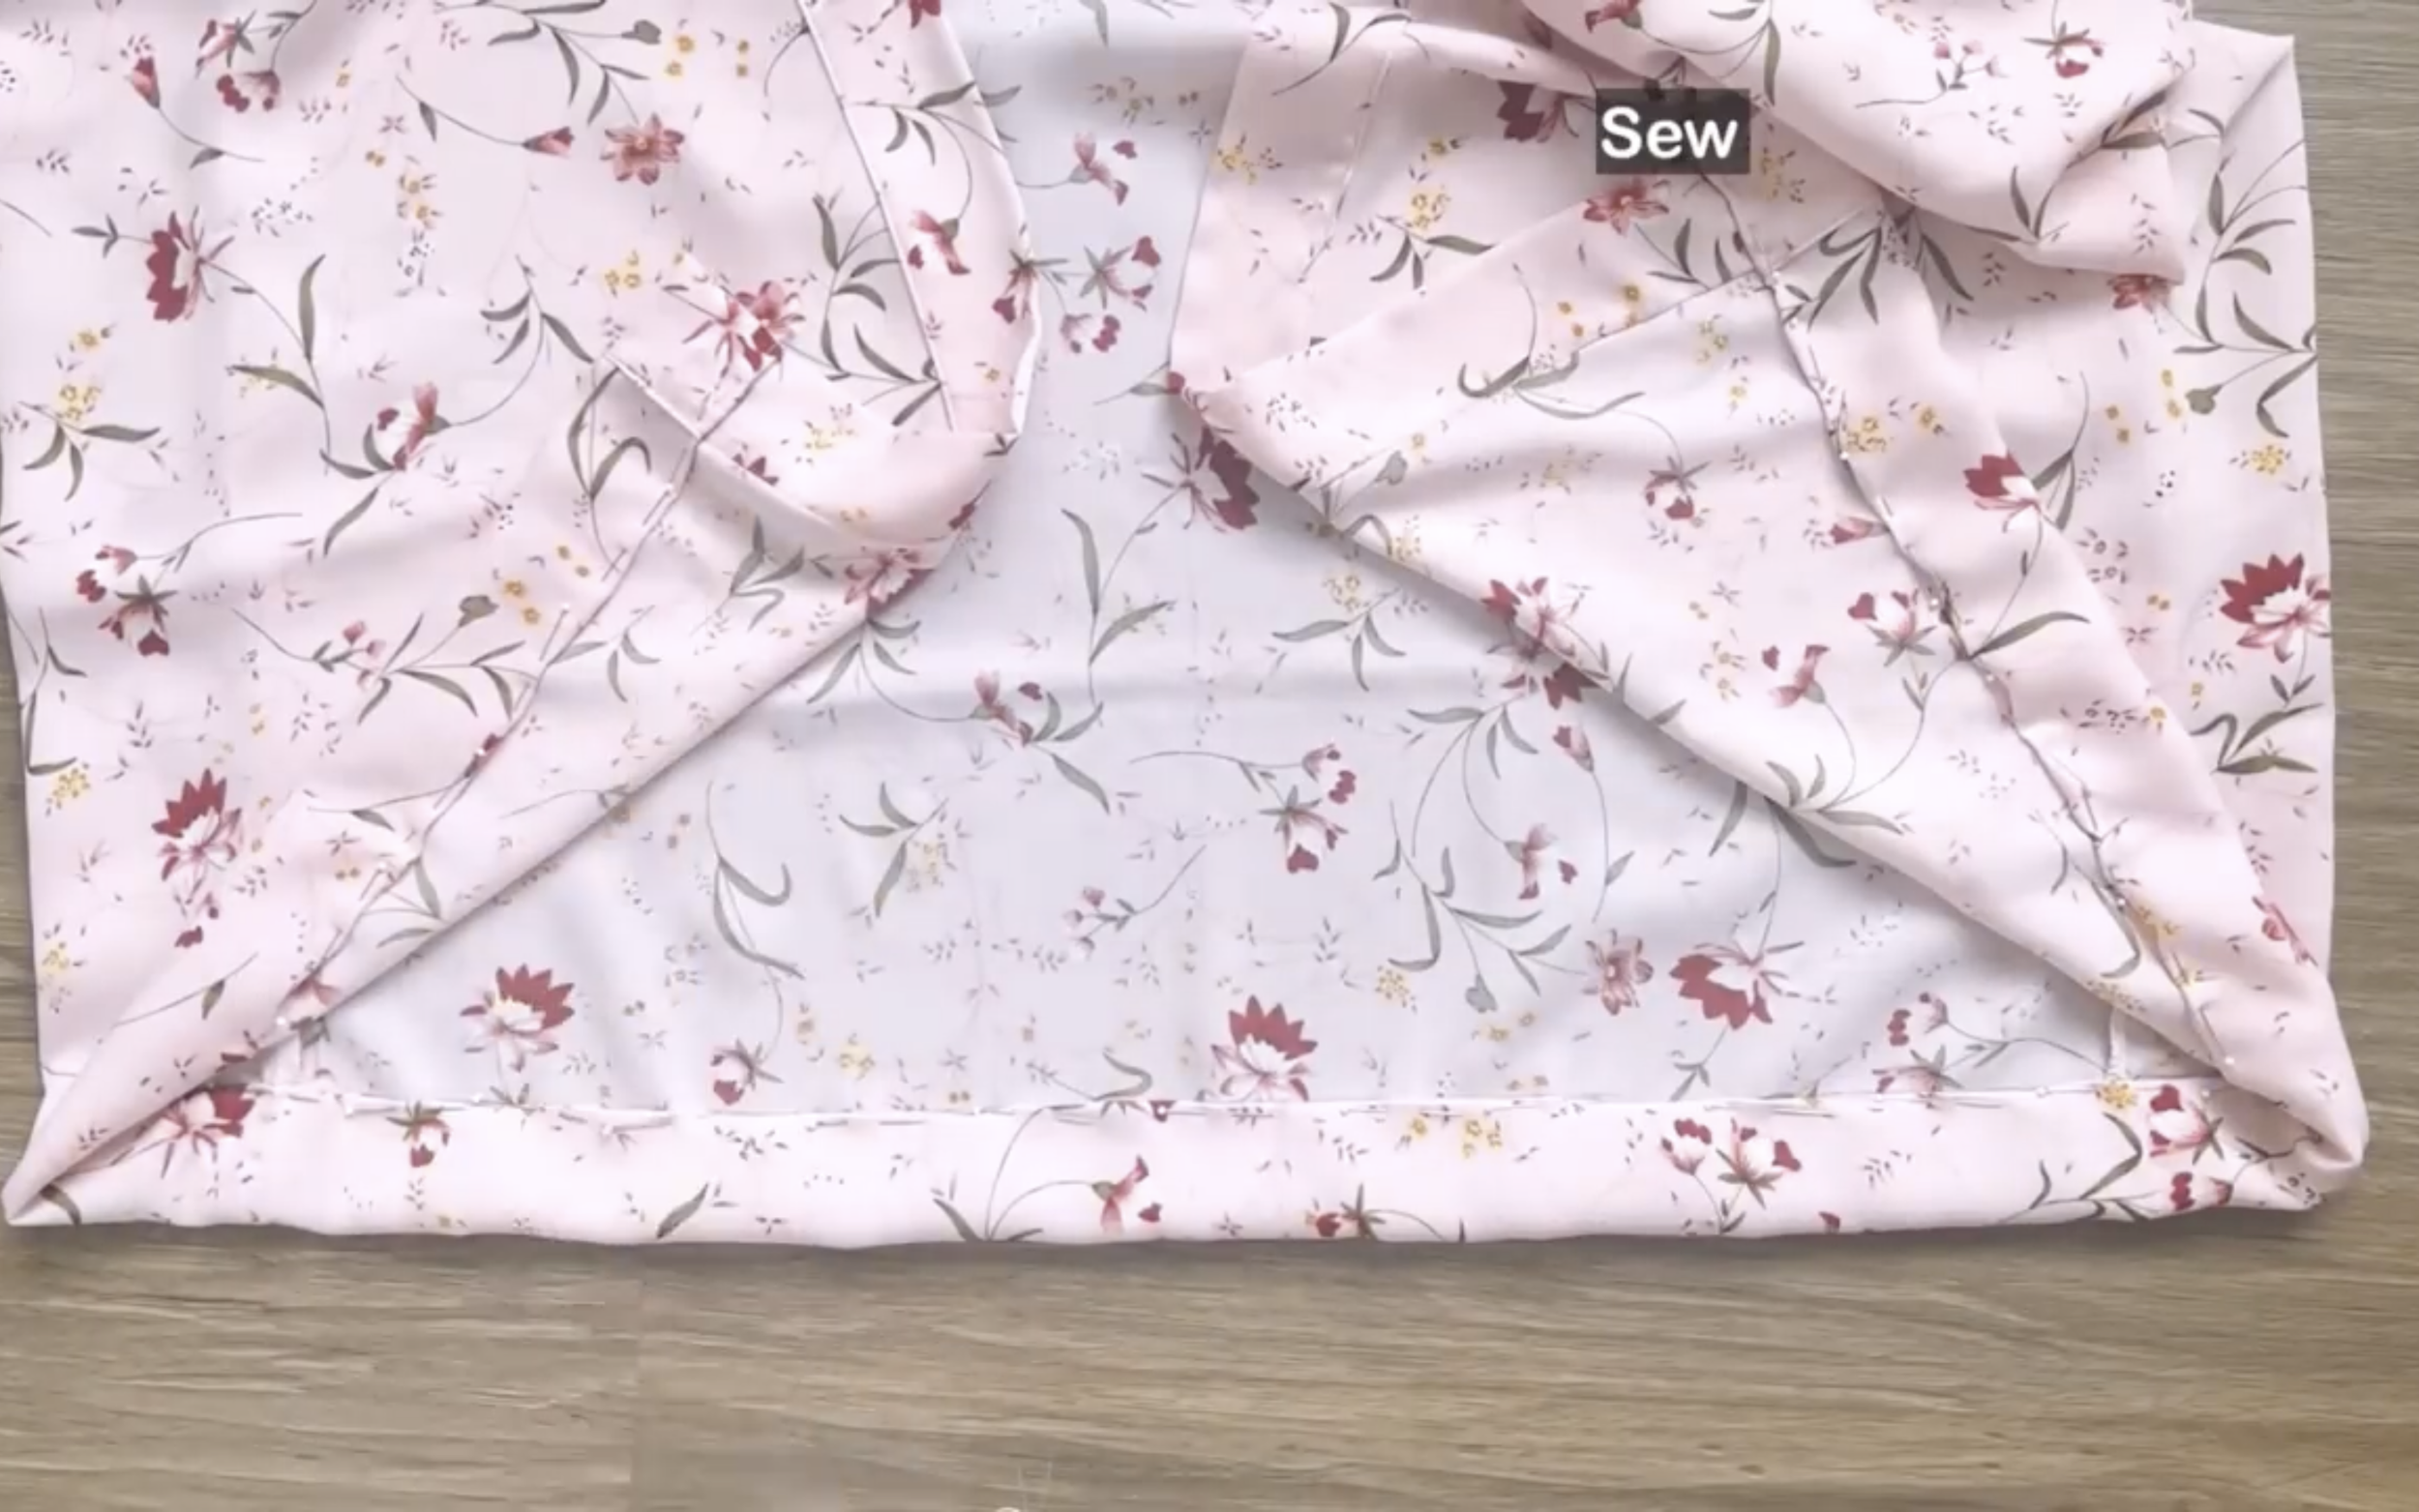
Fold the end fabric inside around 1 cm first, then keep folding it to the line just drawn before and sew to finish the end of the dress.
Moving to the sleeve, after cutting, fold the sleeve by the width line first.

Then connect the two length lines together and sew.
From the end of the sleeve, draw a line 9 cm above the ending line.
Fold the end fabric inside around 1 cm first, then keep folding it again to the line just drawn before and sew to finish the end of the sleeve.
Now, connect the sleeves to the main body of the dress at the sleeve line and sew.
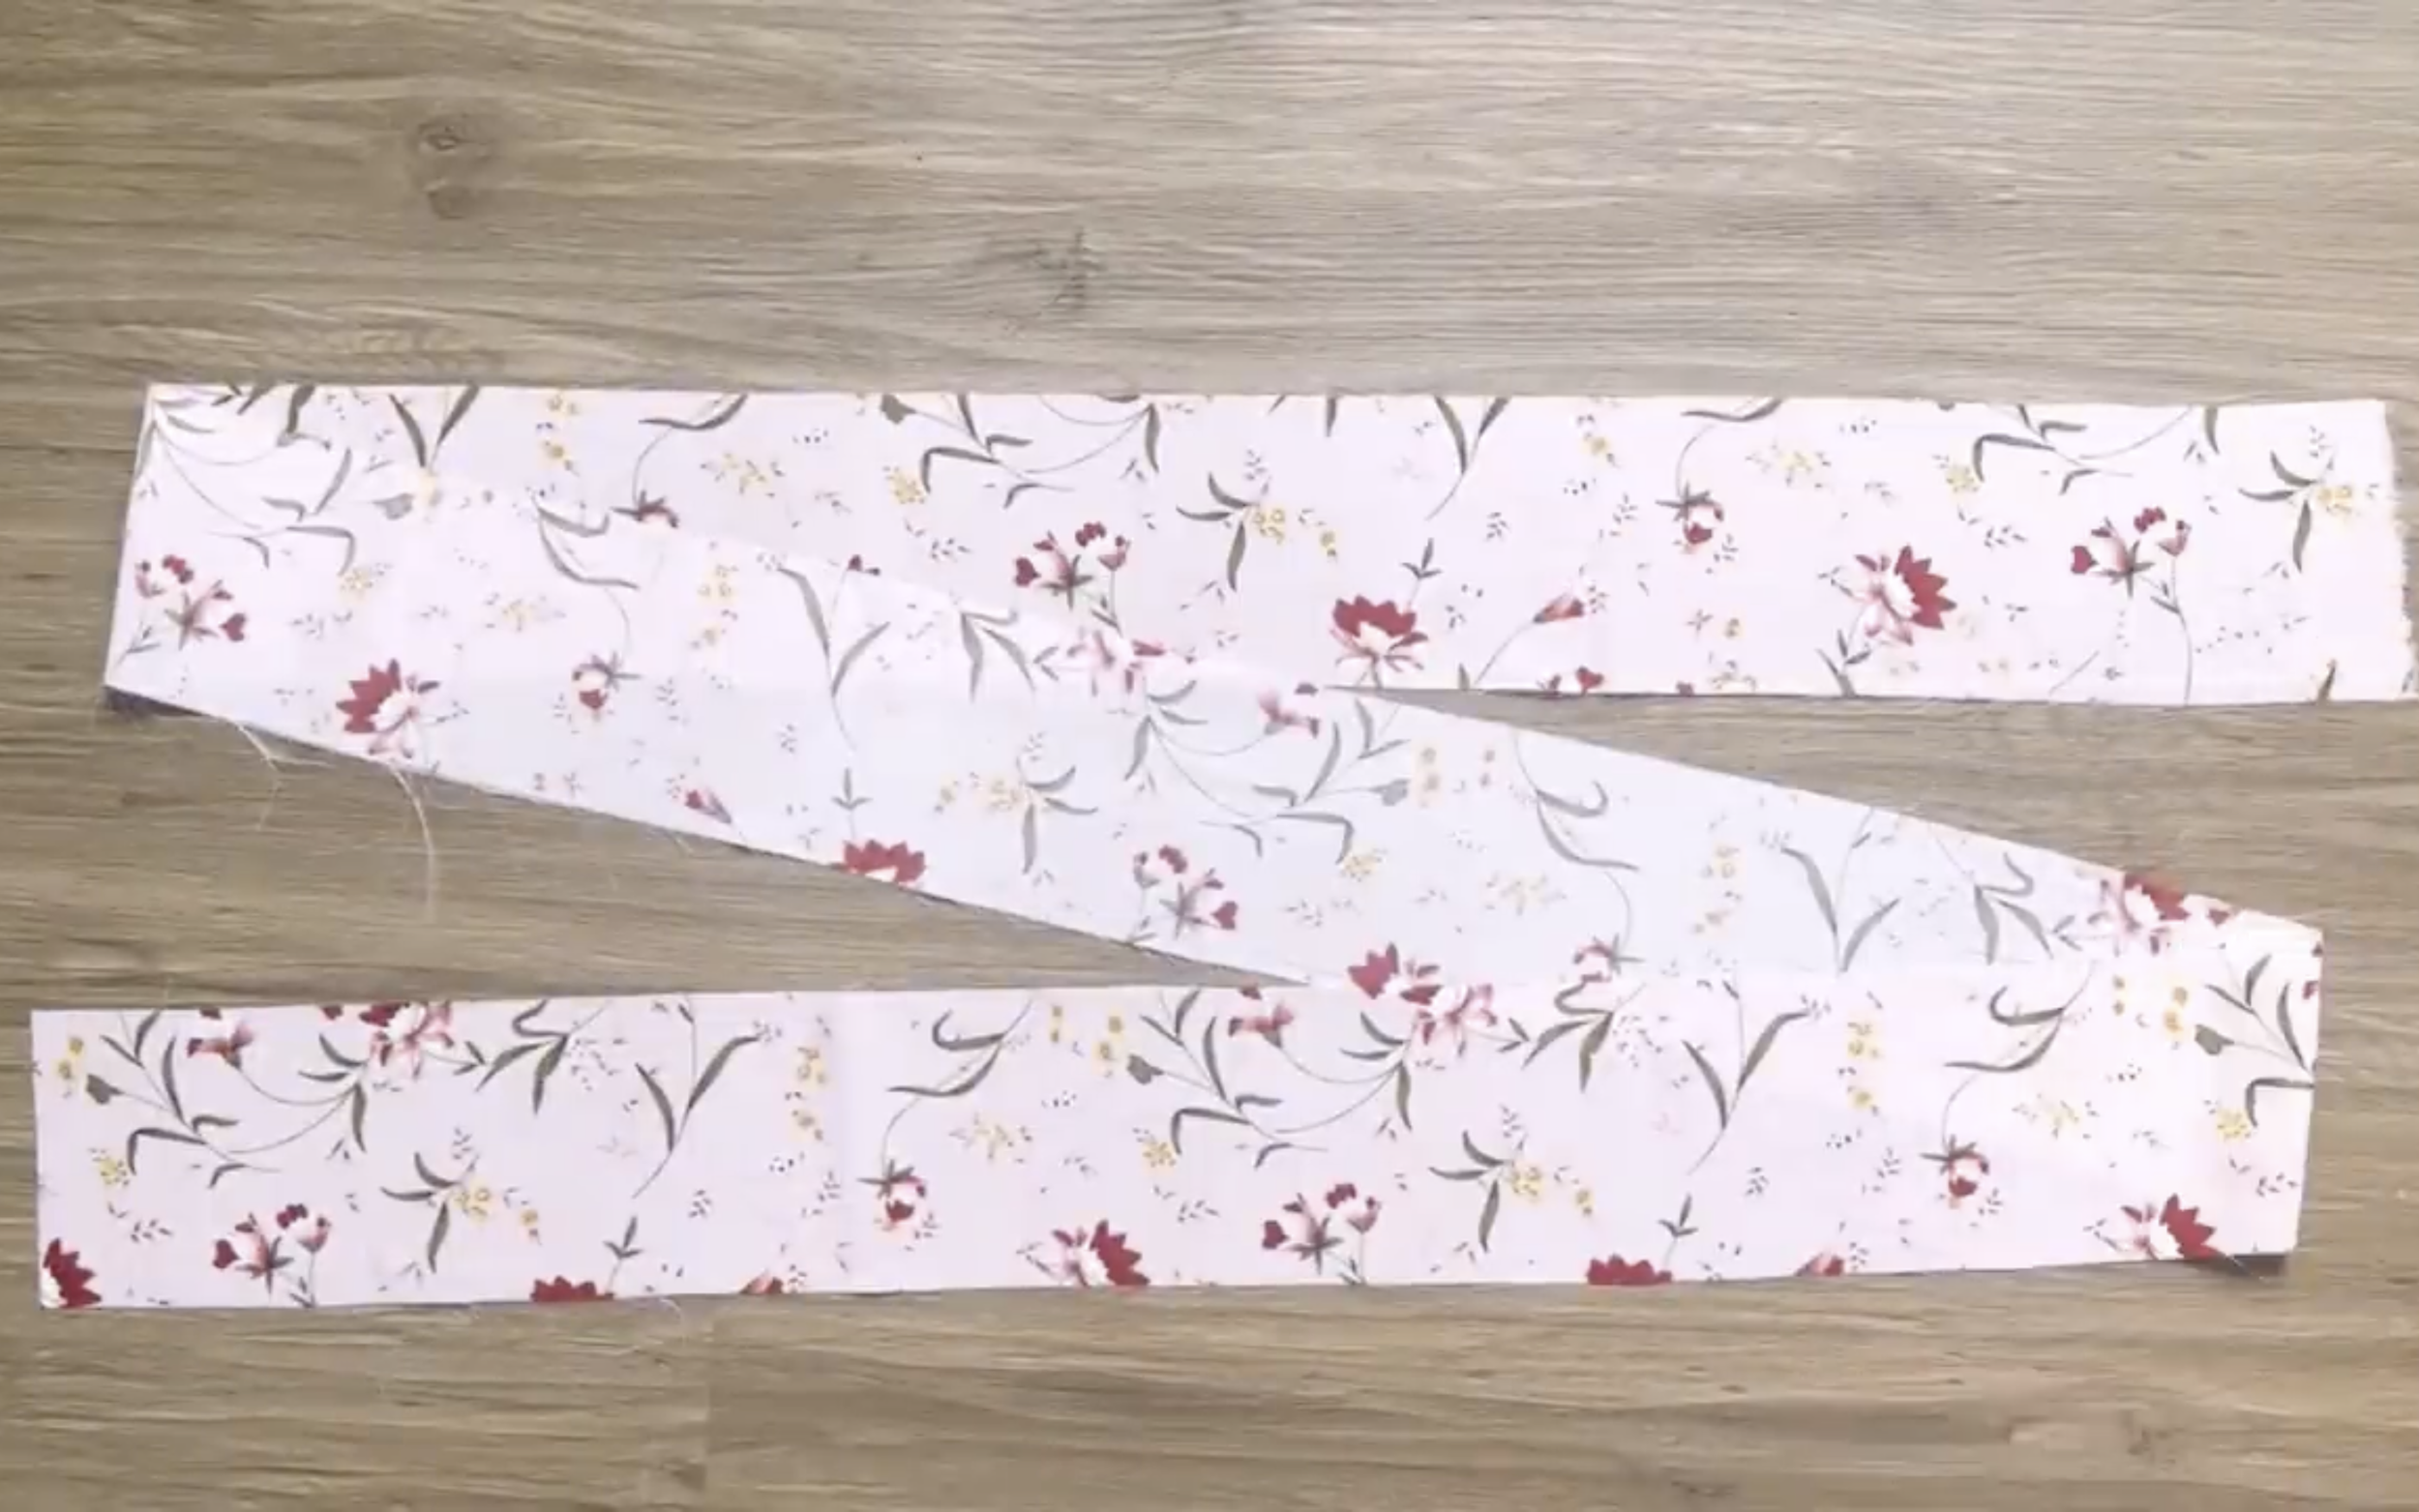
The last step is making the band for the dress. Cut a long fabric strip with 10 cm width, which is twice the width of the band that is desired plus 2 cm for seam allowance, and around 130 cm length, which is the length of the band that is wanted.
Connect the two length lines of the fabric together and sew from two sides to the middle of the band.
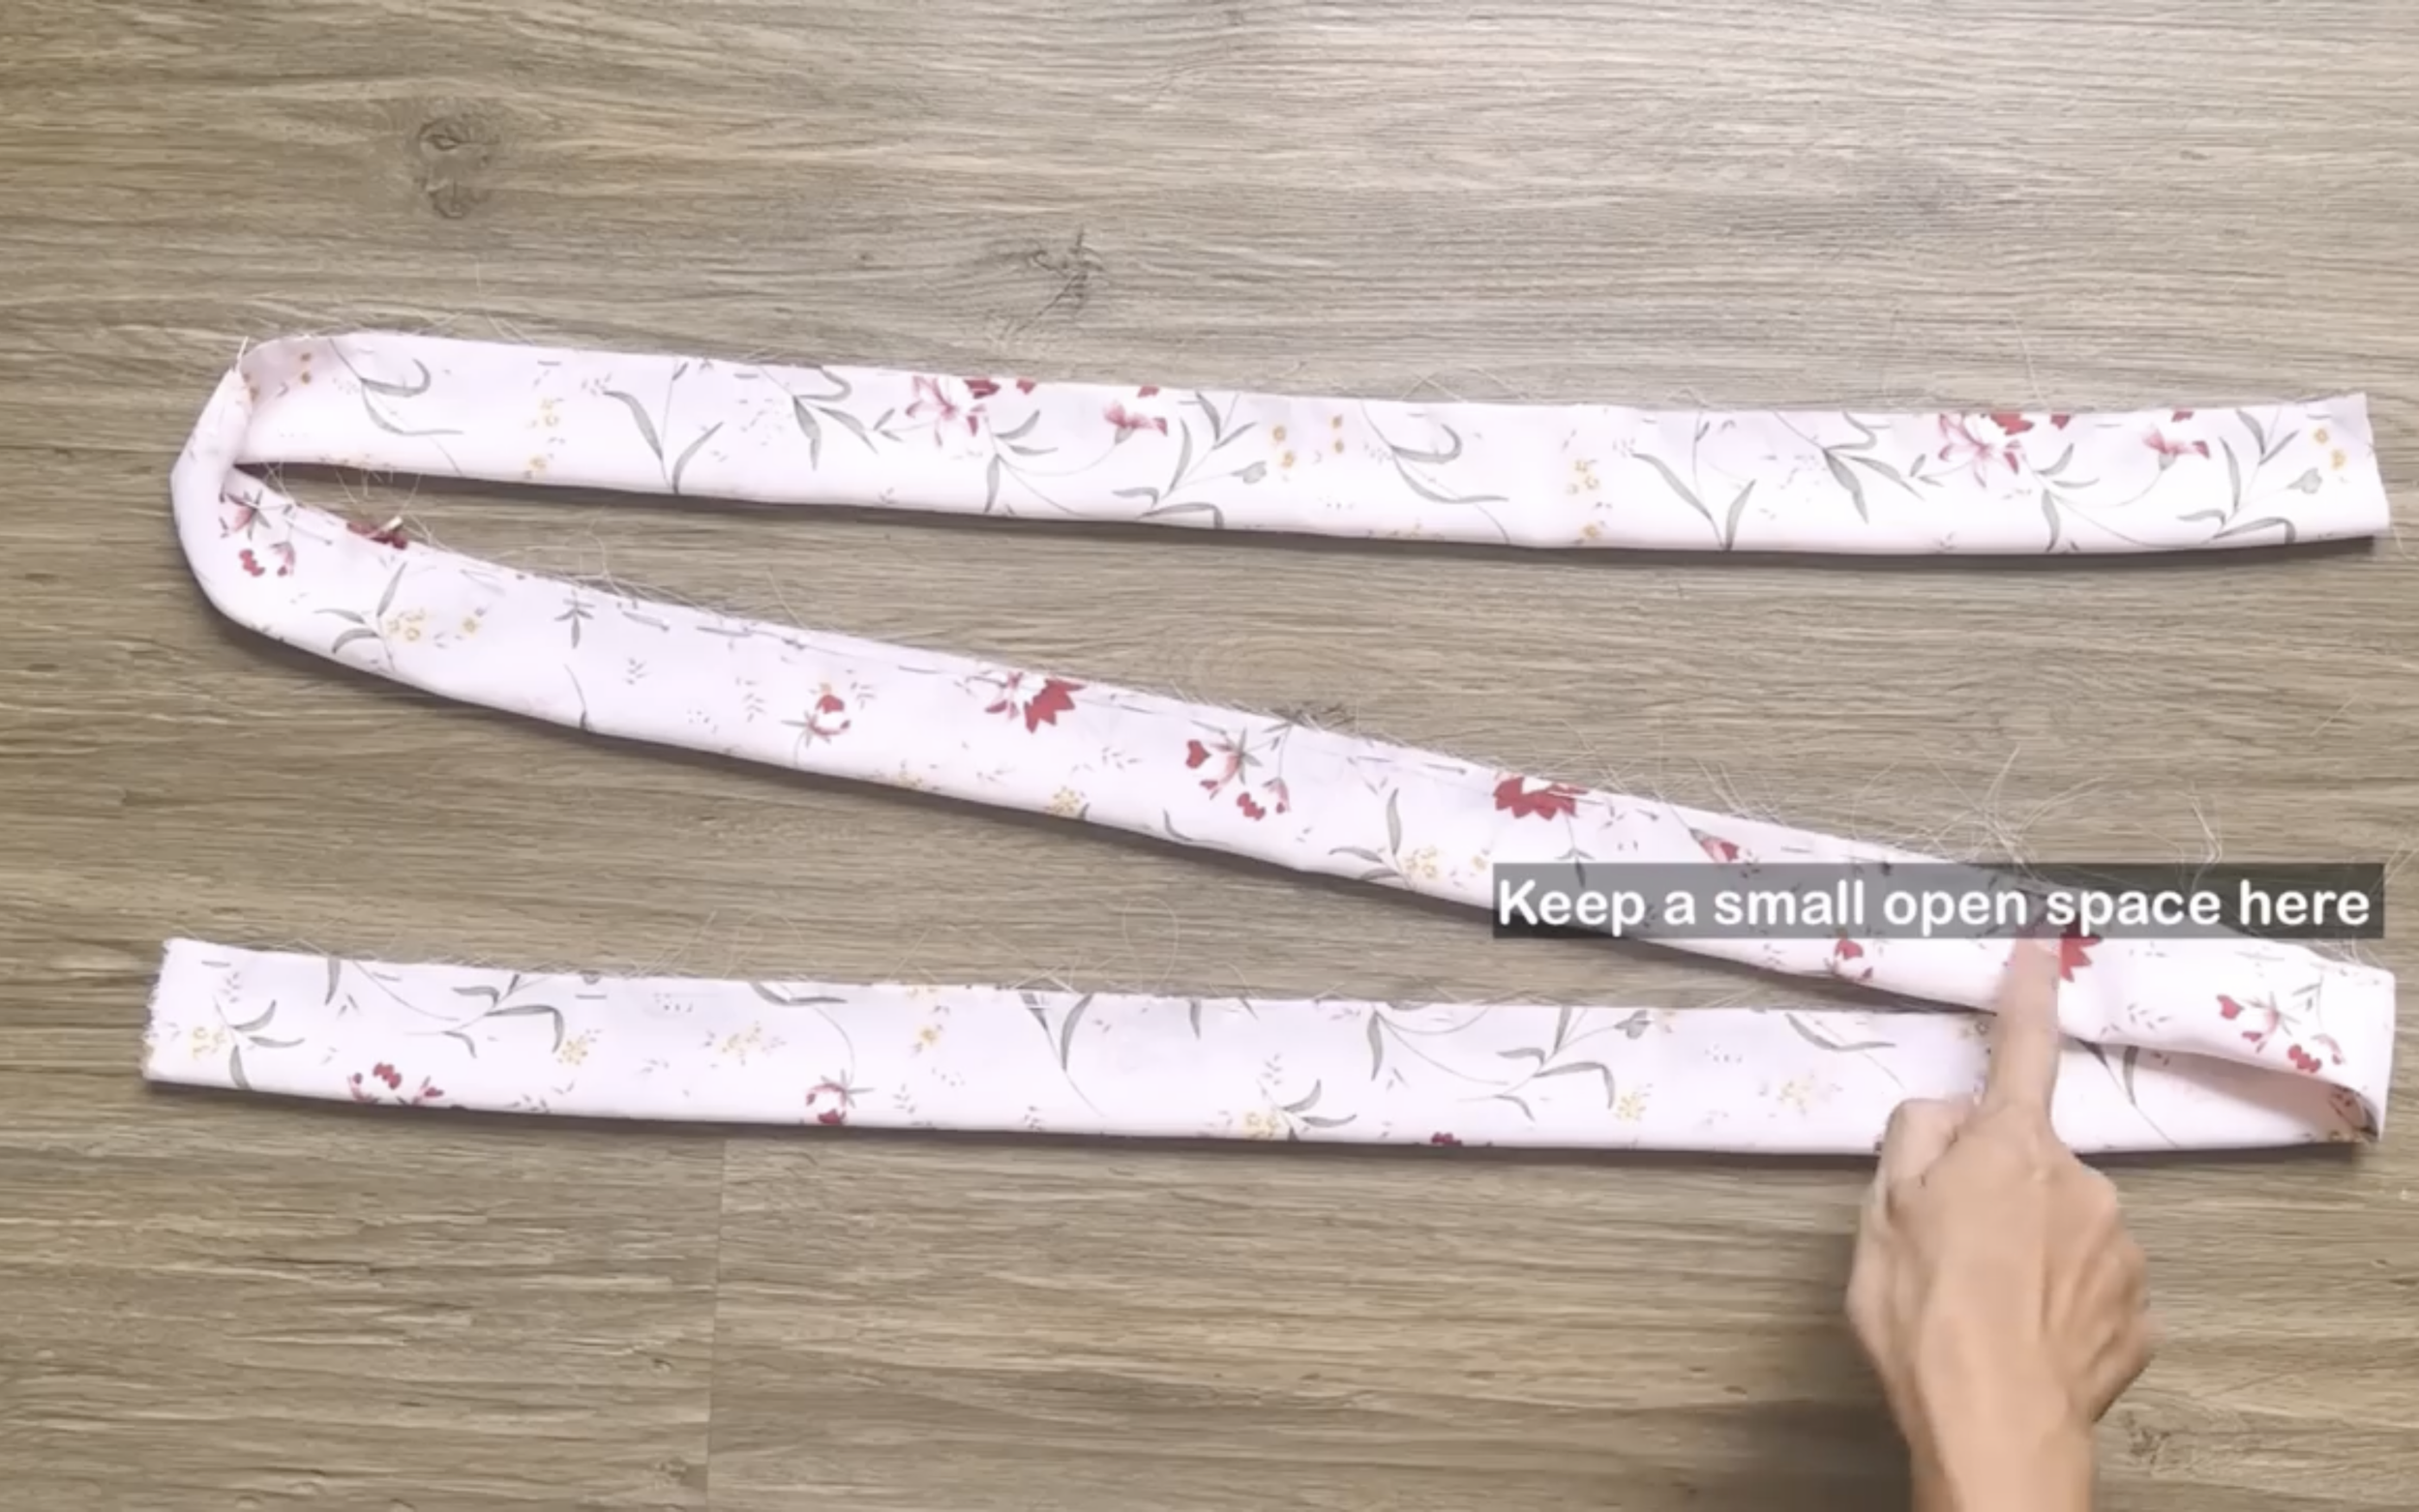
Make sure to leave a small unsewn space in the middle to turn the band right side out later.
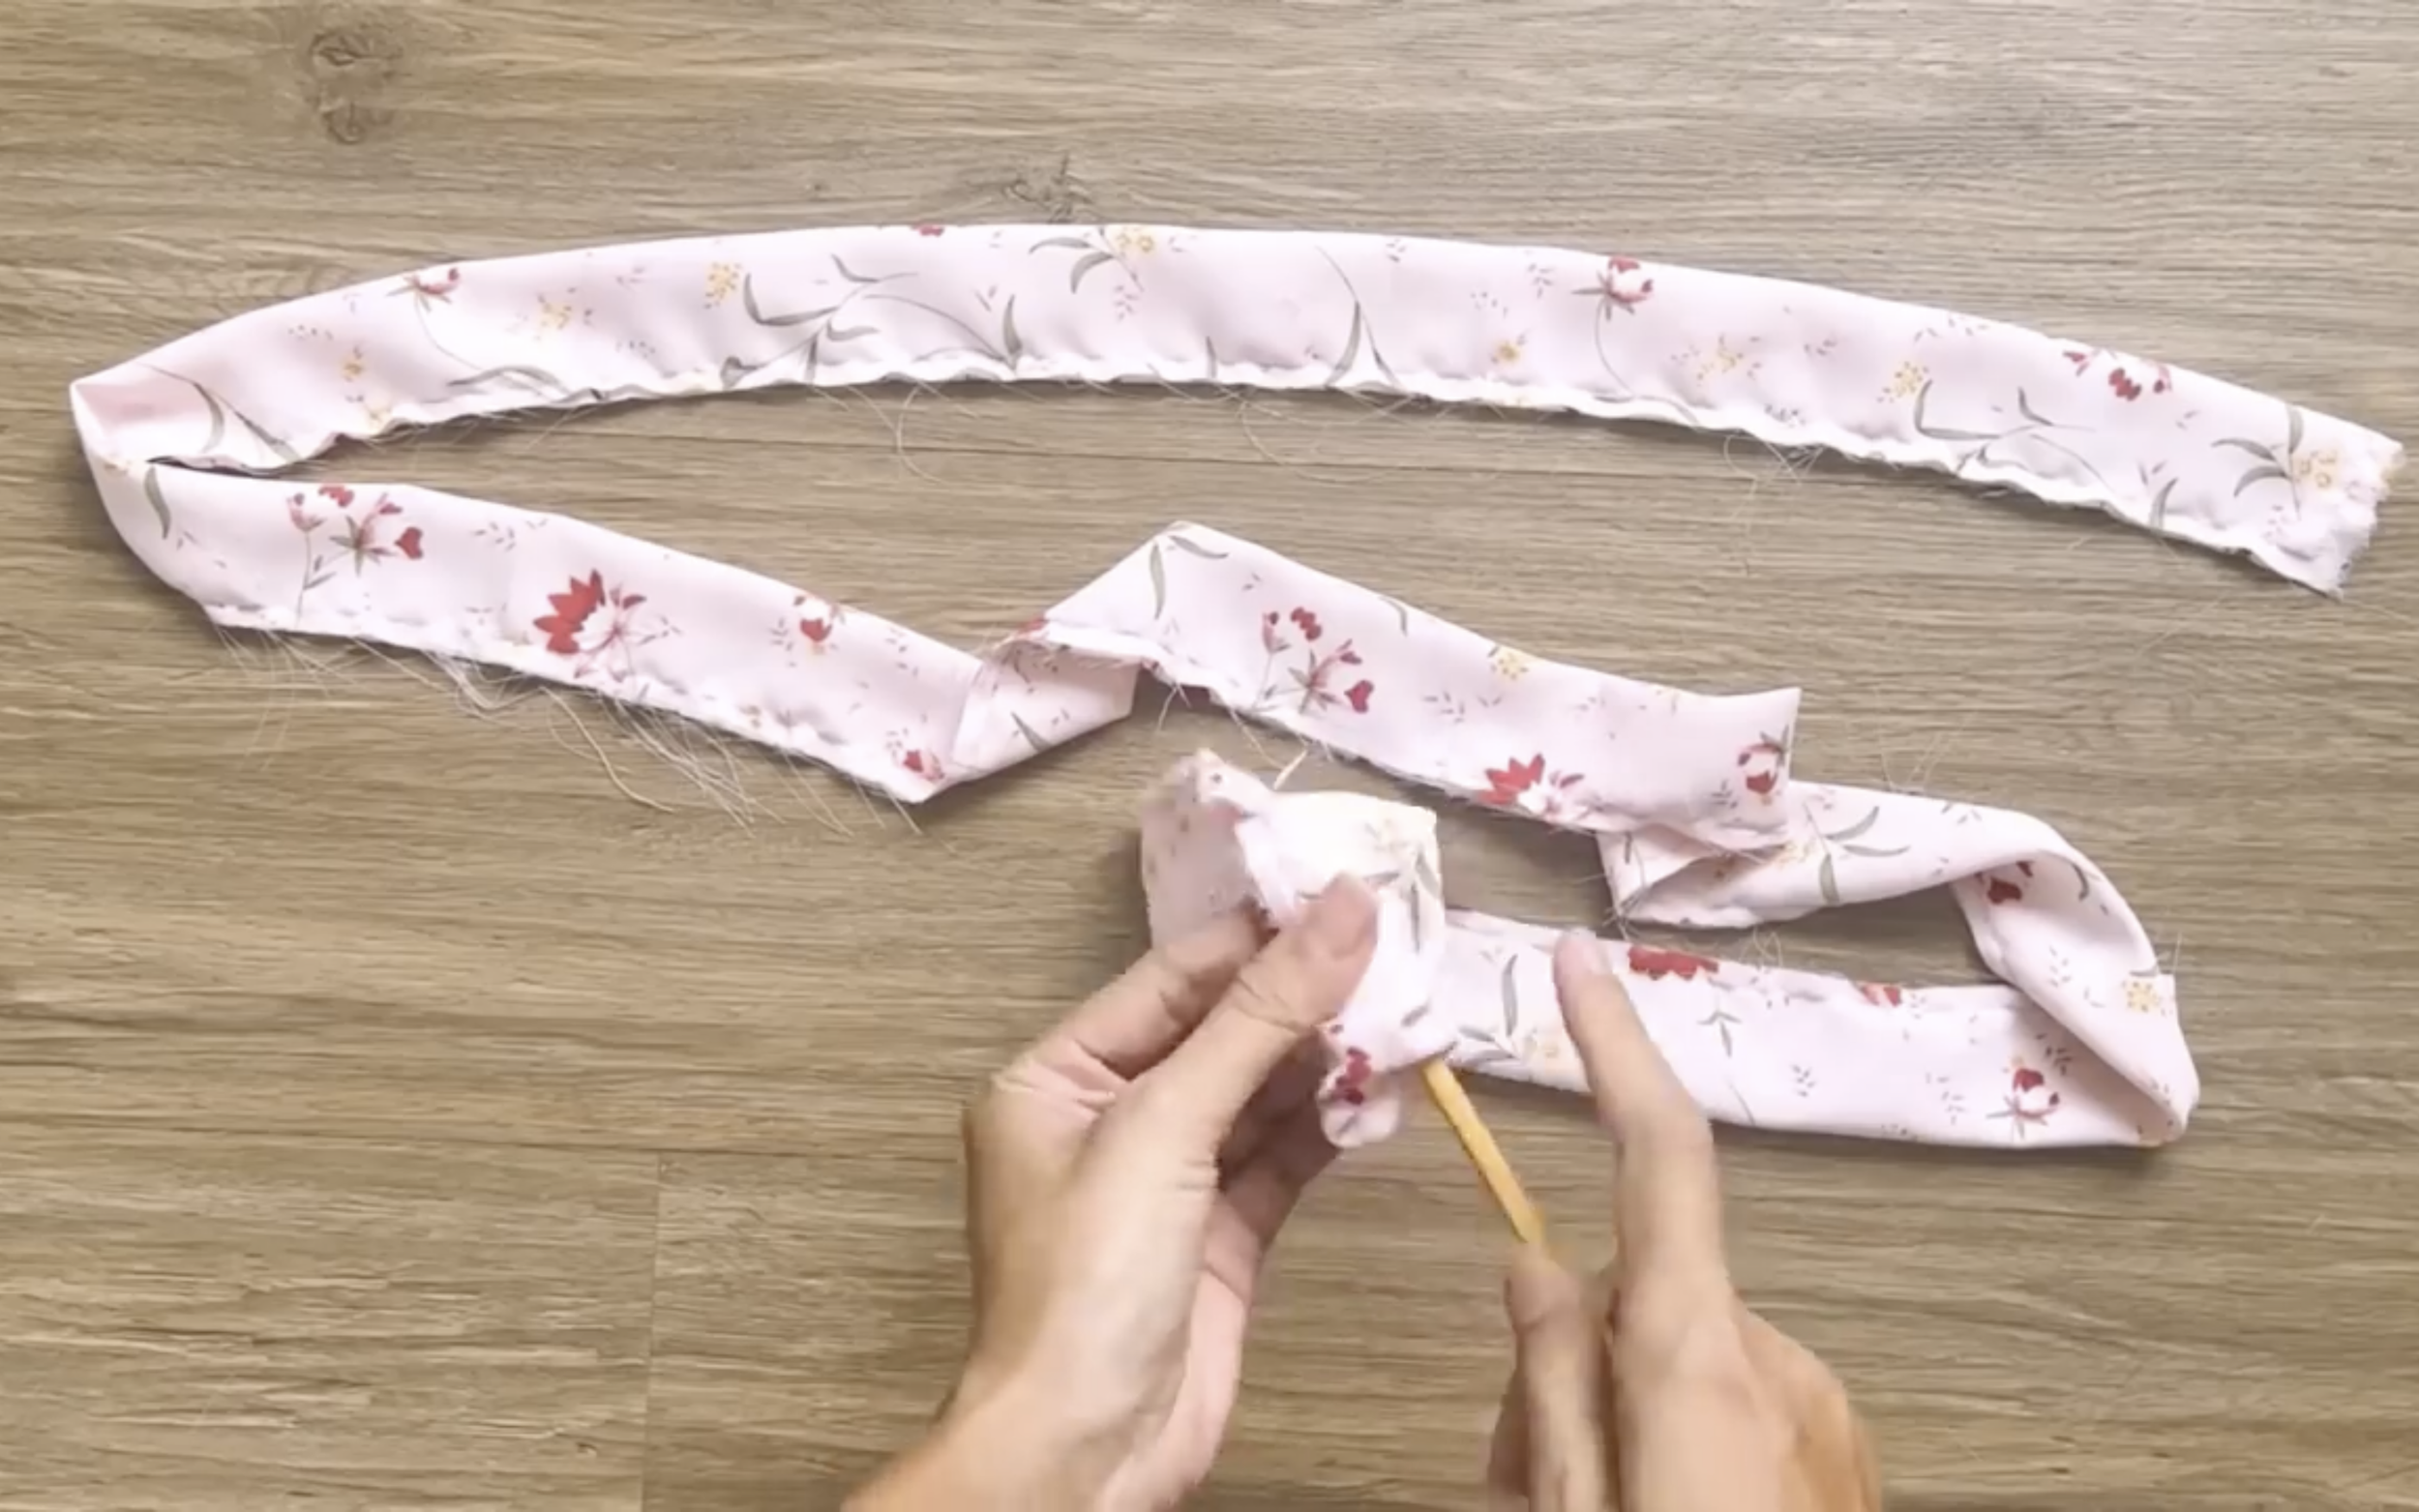
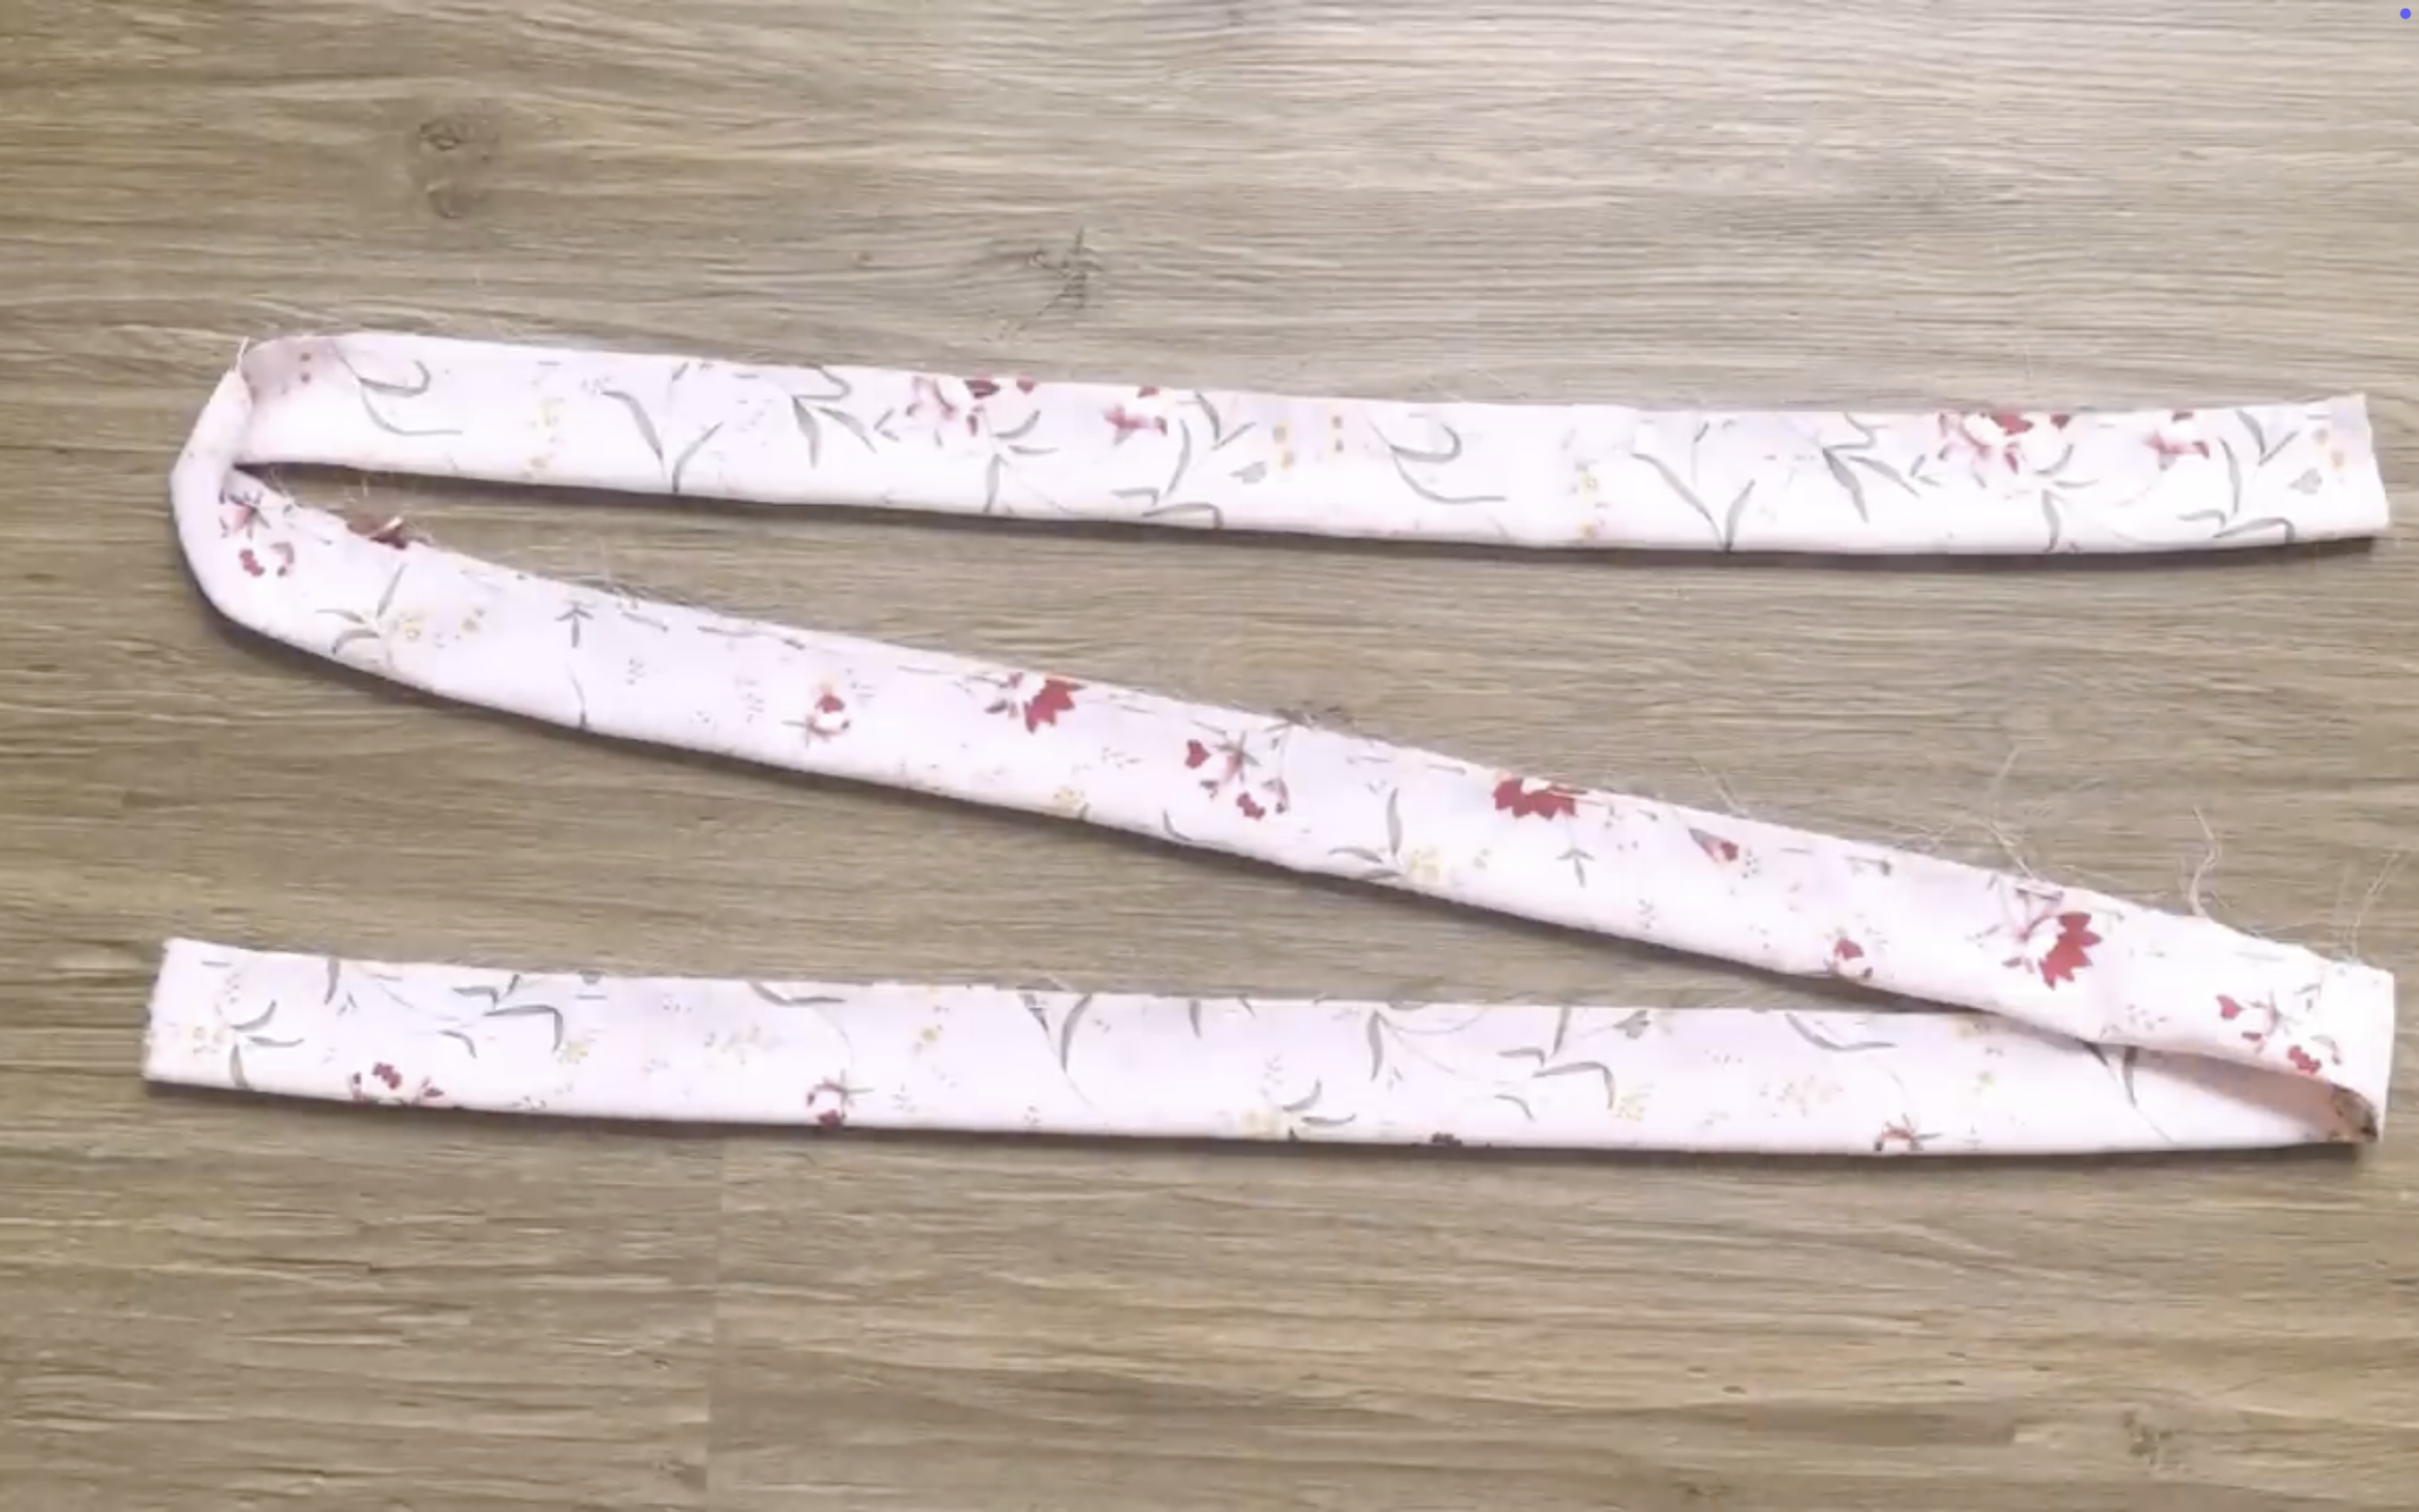
Use a long stick to turn the band right side out.
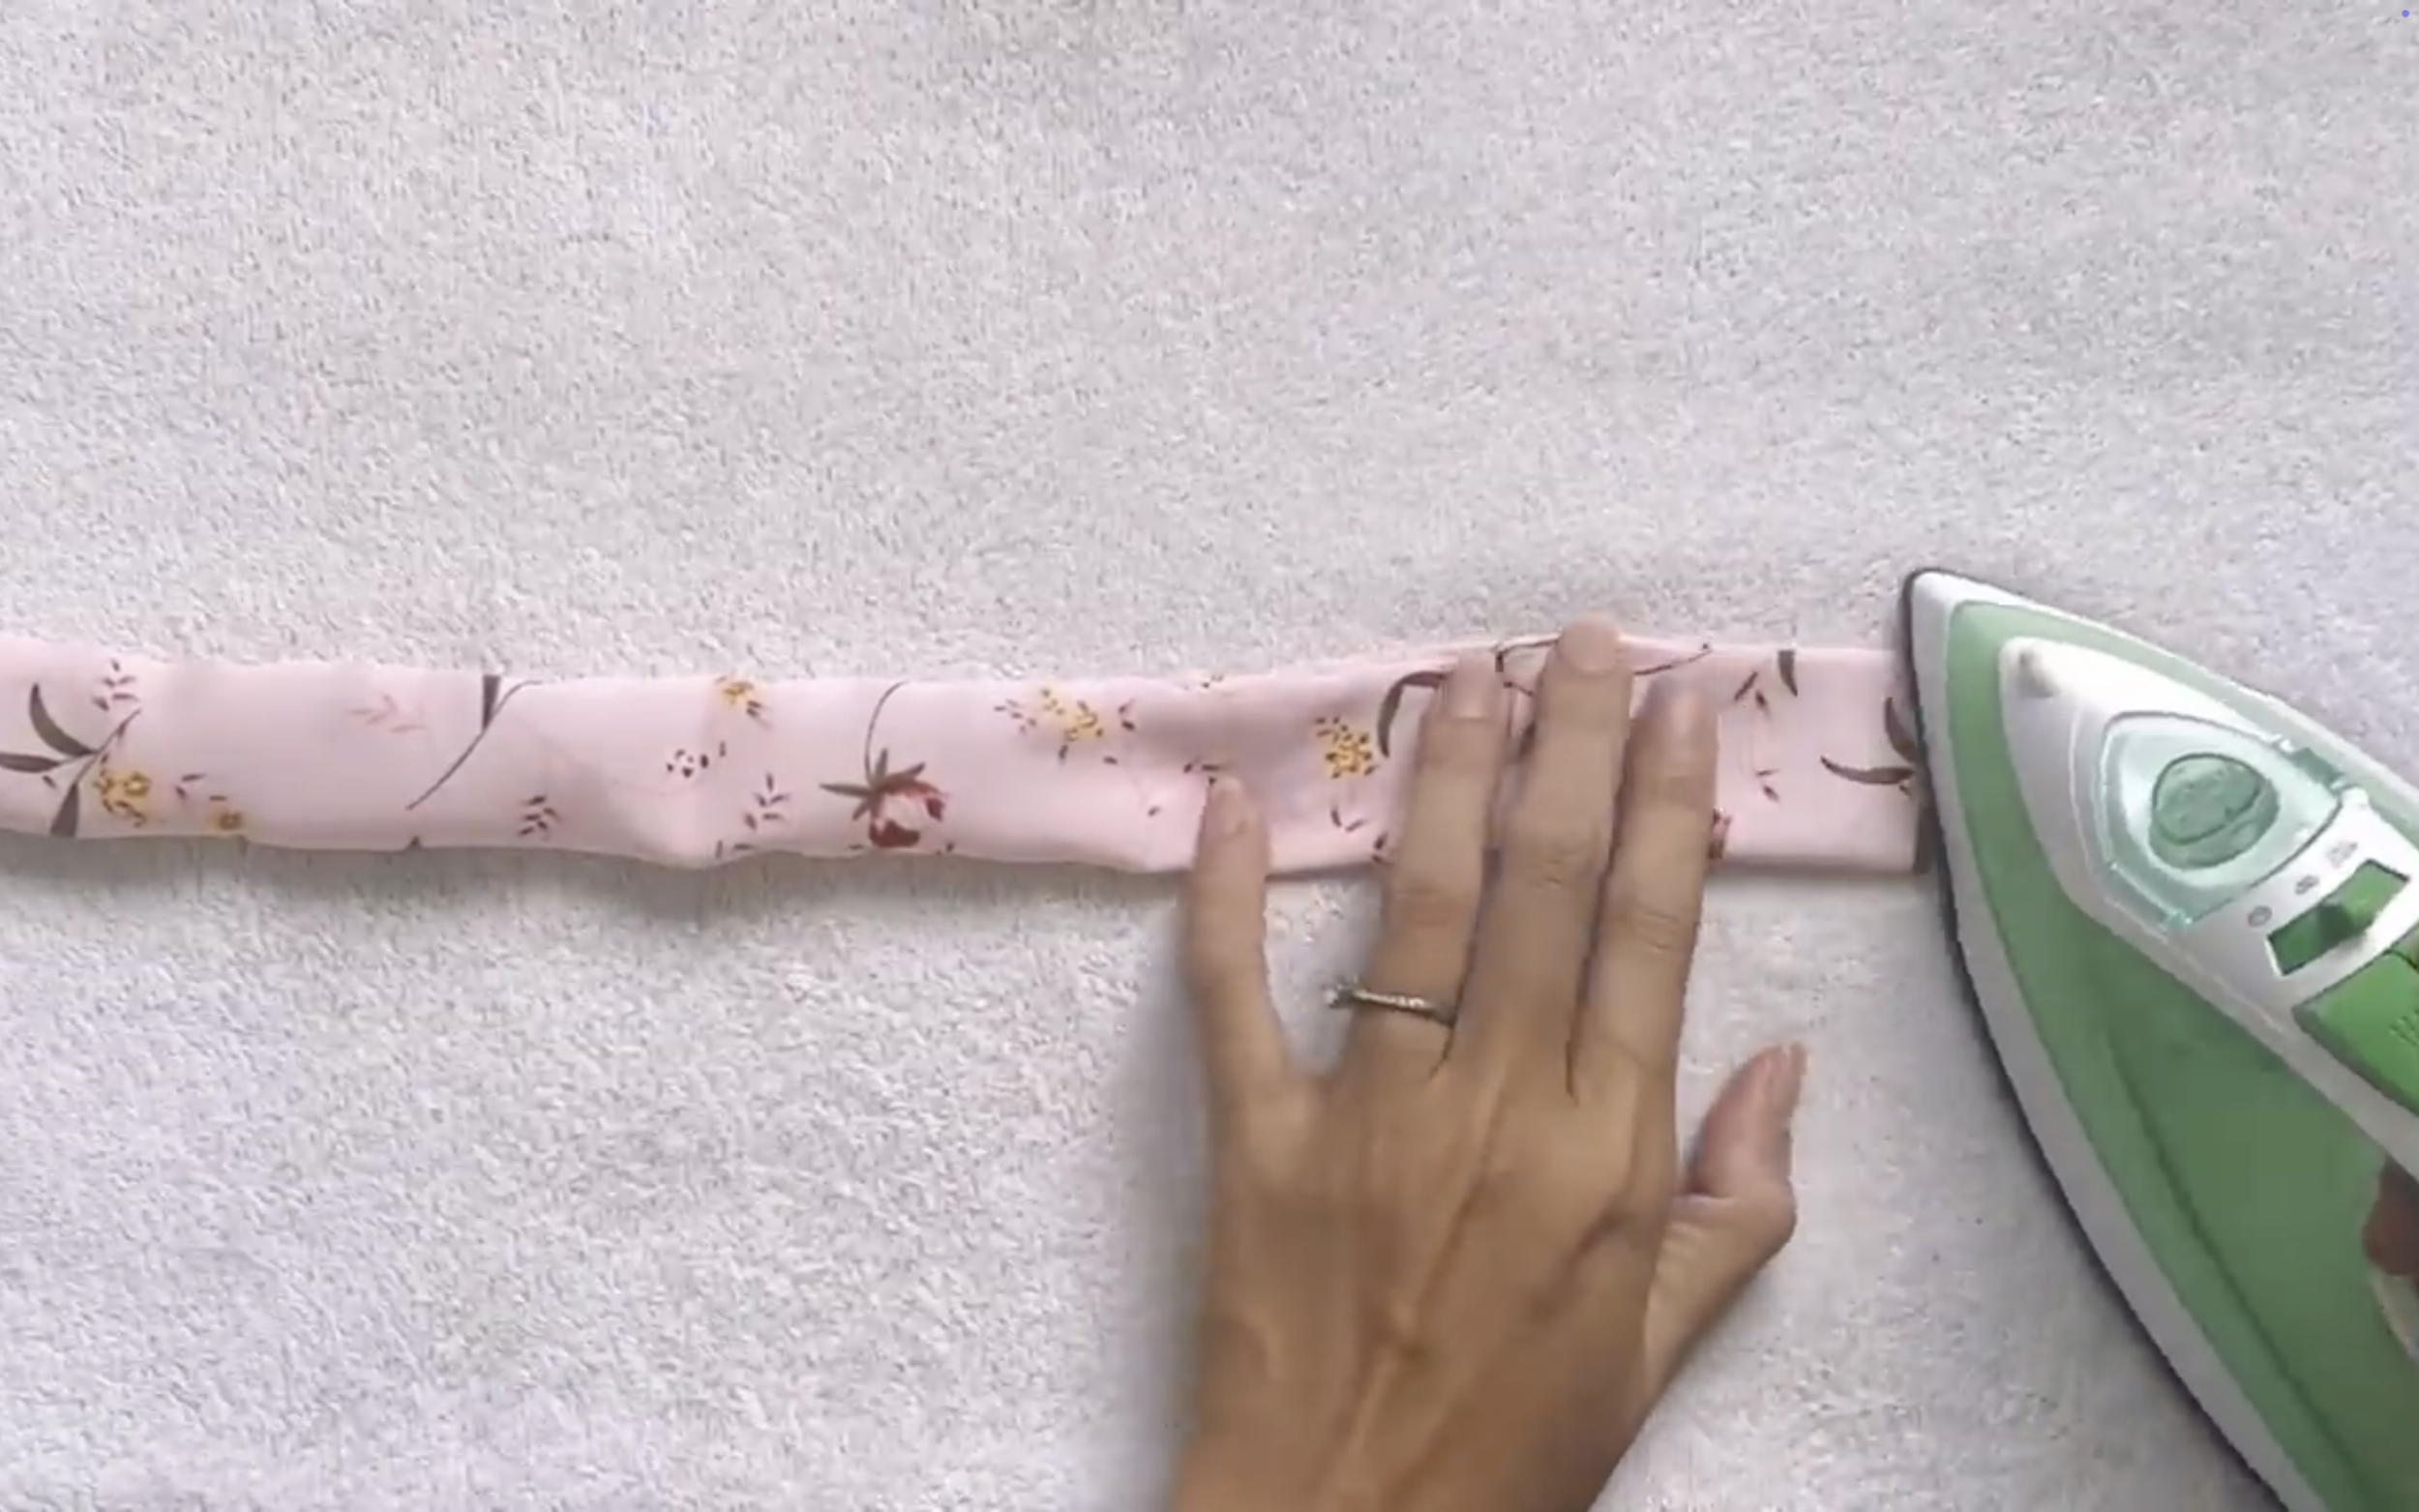
Then iron it to make it look nicer.

DIY BRIDESMAID ROBE - Preparing my Bridesmaid proposal set | My prefect wedding series - Ep 1
And that’s a wrap for this DIY!
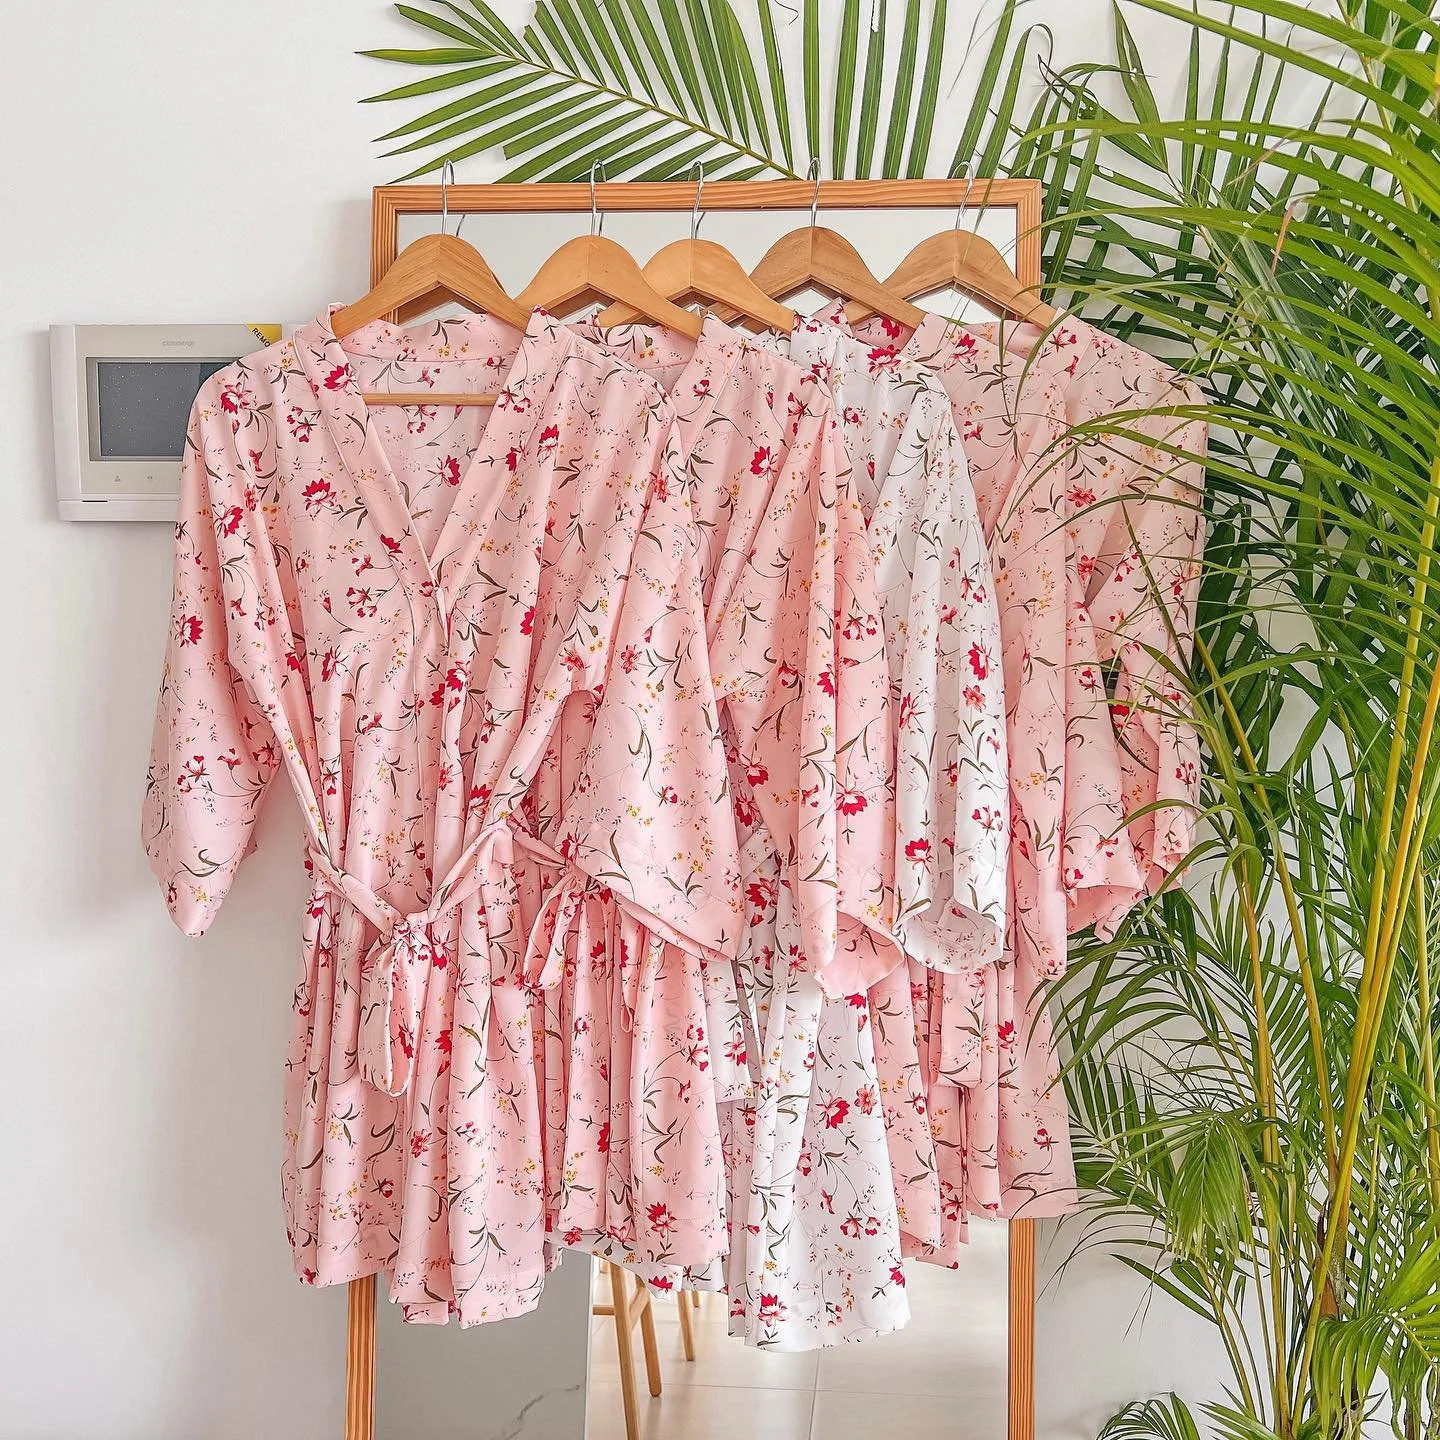
Here’s the final result—a dress made for me and my girls to complete my primary proposal set. I paired it with a lipstick, a small bottle of our favorite drink, and a heartfelt proposal card.

We had such a wonderful time that day. Hope you enjoy this DIY and give it a try.
If you’re interested in making your own, give it a try and let me know how it goes!
Until then, happy sewing!