DIY Denim patchwork jumpsuit from Men's jeans - Jeans transformation idea

DIY Denim patchwork jumpsuit from Men's jeans - Jeans transformation idea

Welcome or welcome back to my channel. My name's Jess and I love doing DIY, making clothes in the simply but pretty way.
In today's tutorial, I'm going to share with you how I made a denim patchwork jumpsuit from 2 men's jeans. This is a great way to refashion your old jeans that you don't wear anymore. But they're still in the good conditions. And especially if you love the vintage style with the full body jumpsuit like this one.
So I hope you like it and try it out. Let’s get started!
WHAT YOU’LL NEED
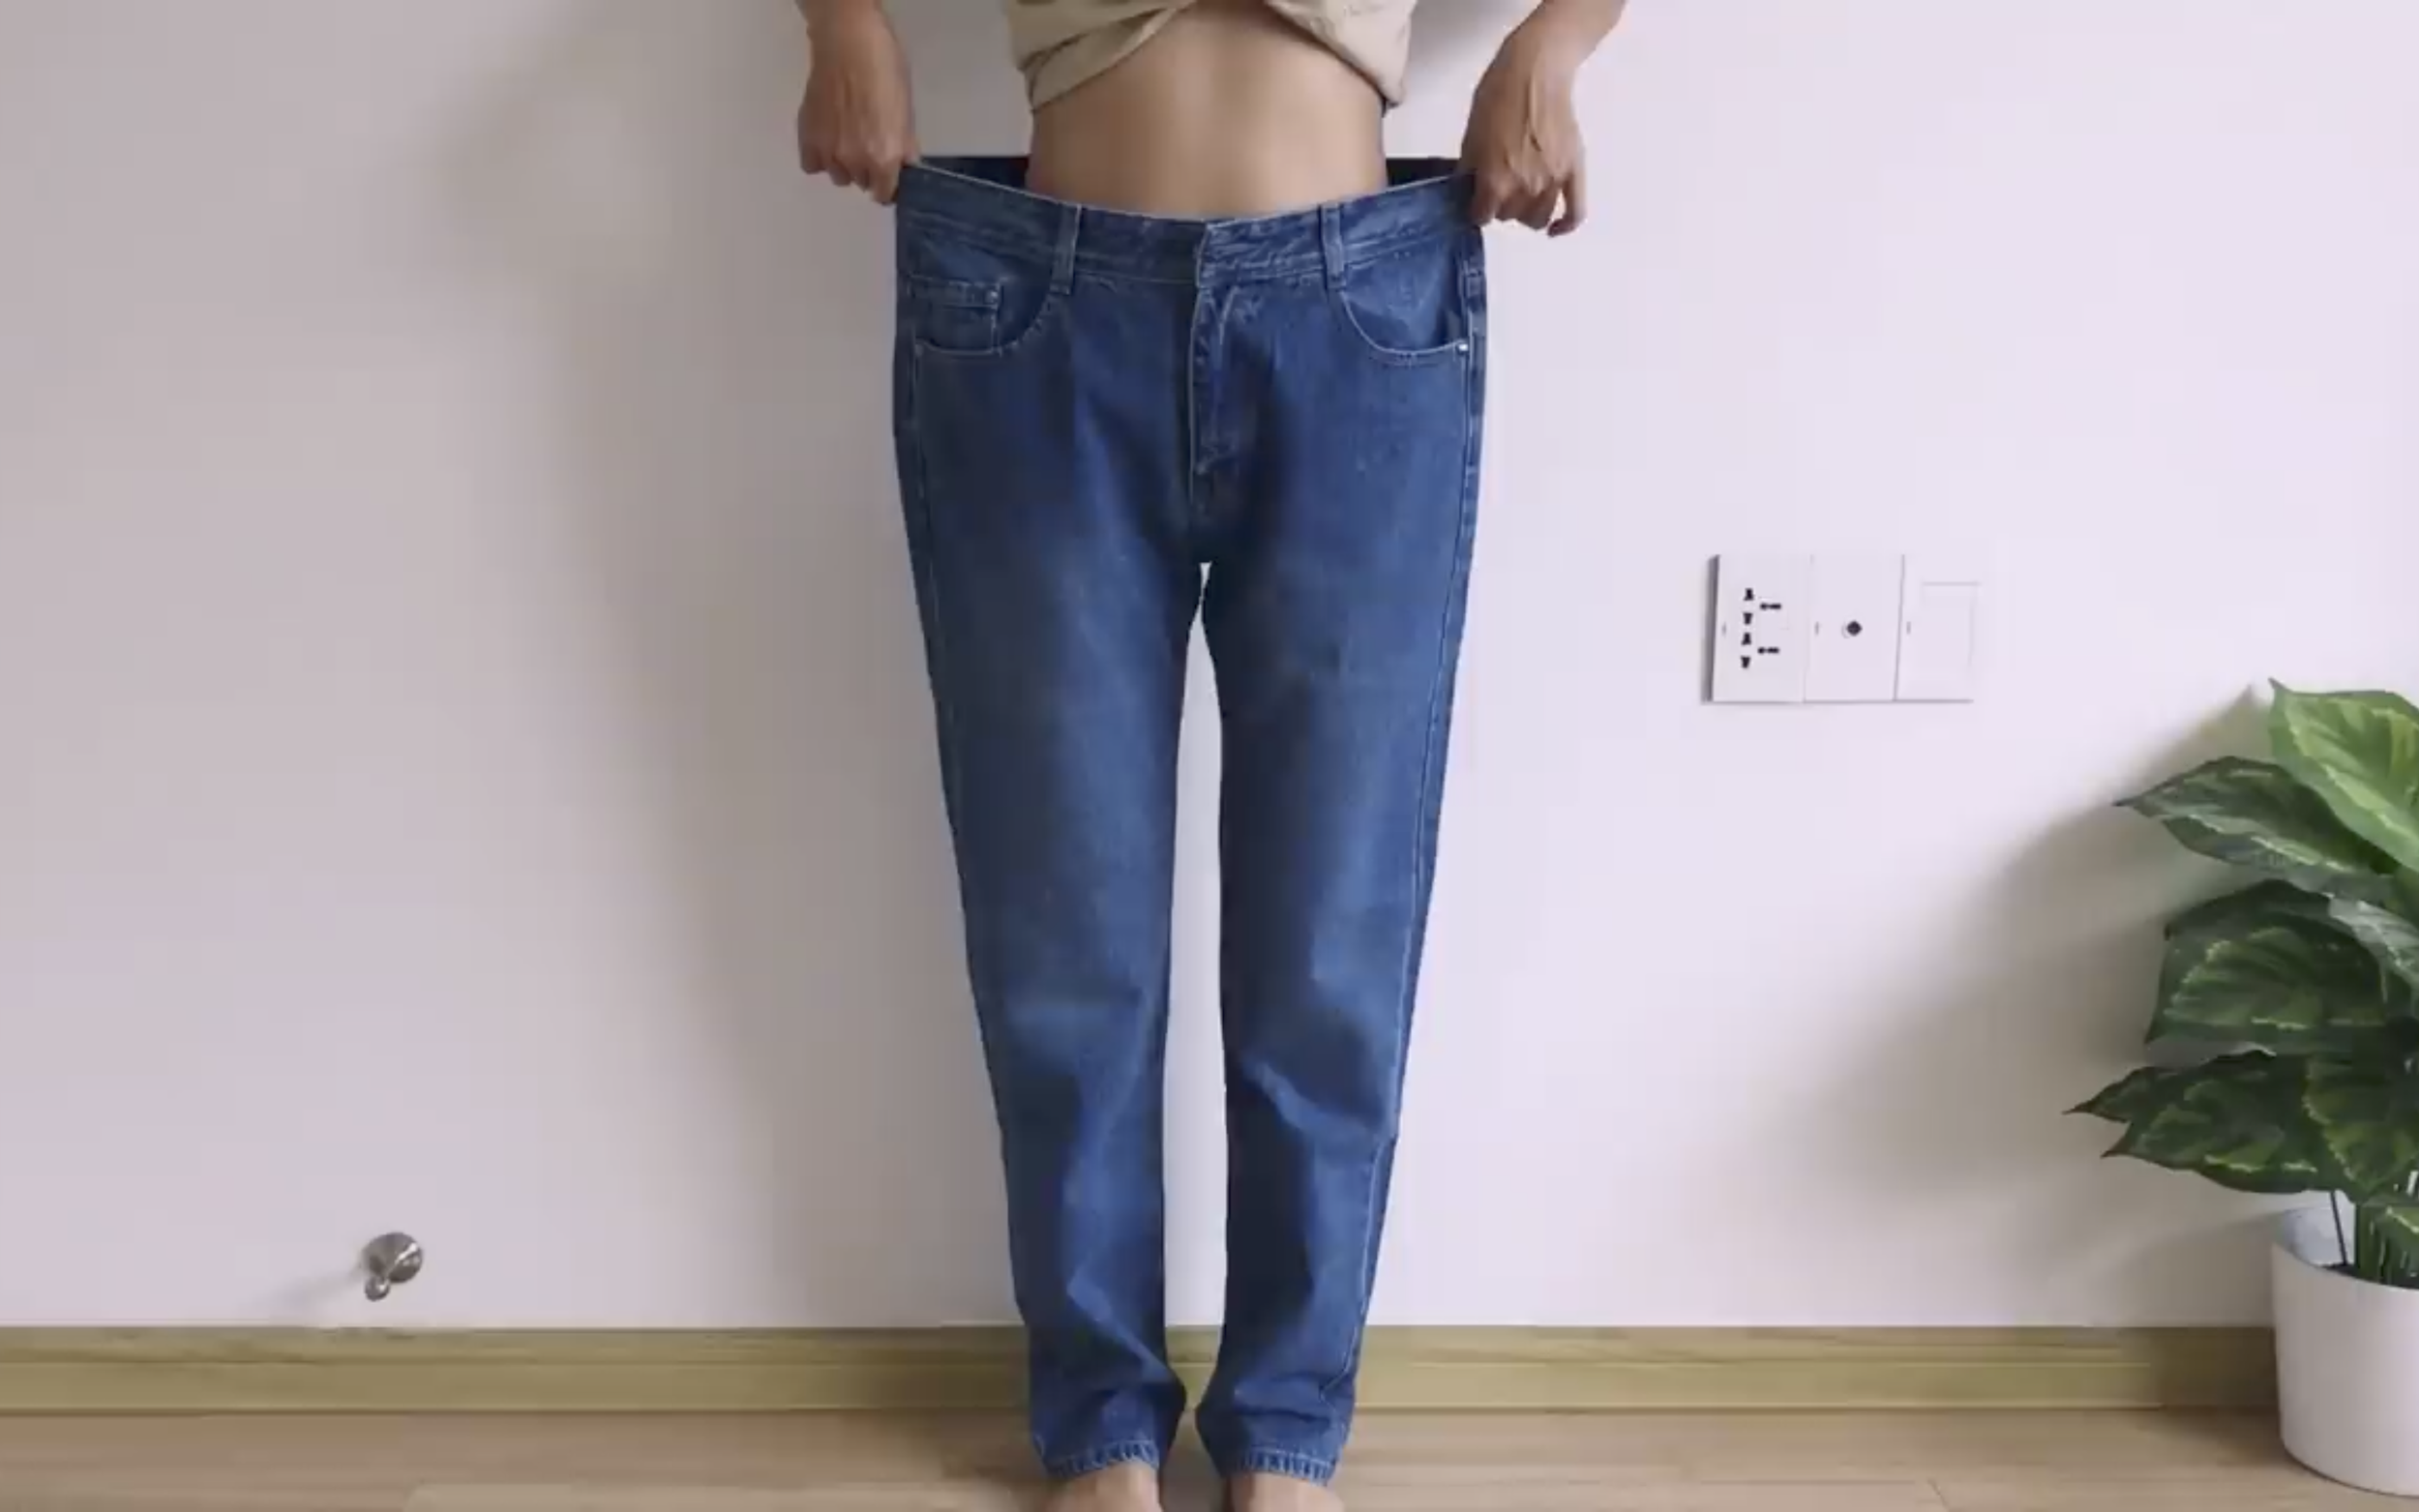
2 Men's jeans in size 34
Sewing machine
Pins
Scissors
Ruler
Long stick
Zipper
Buttons
SEWING THE JUMPSUIT
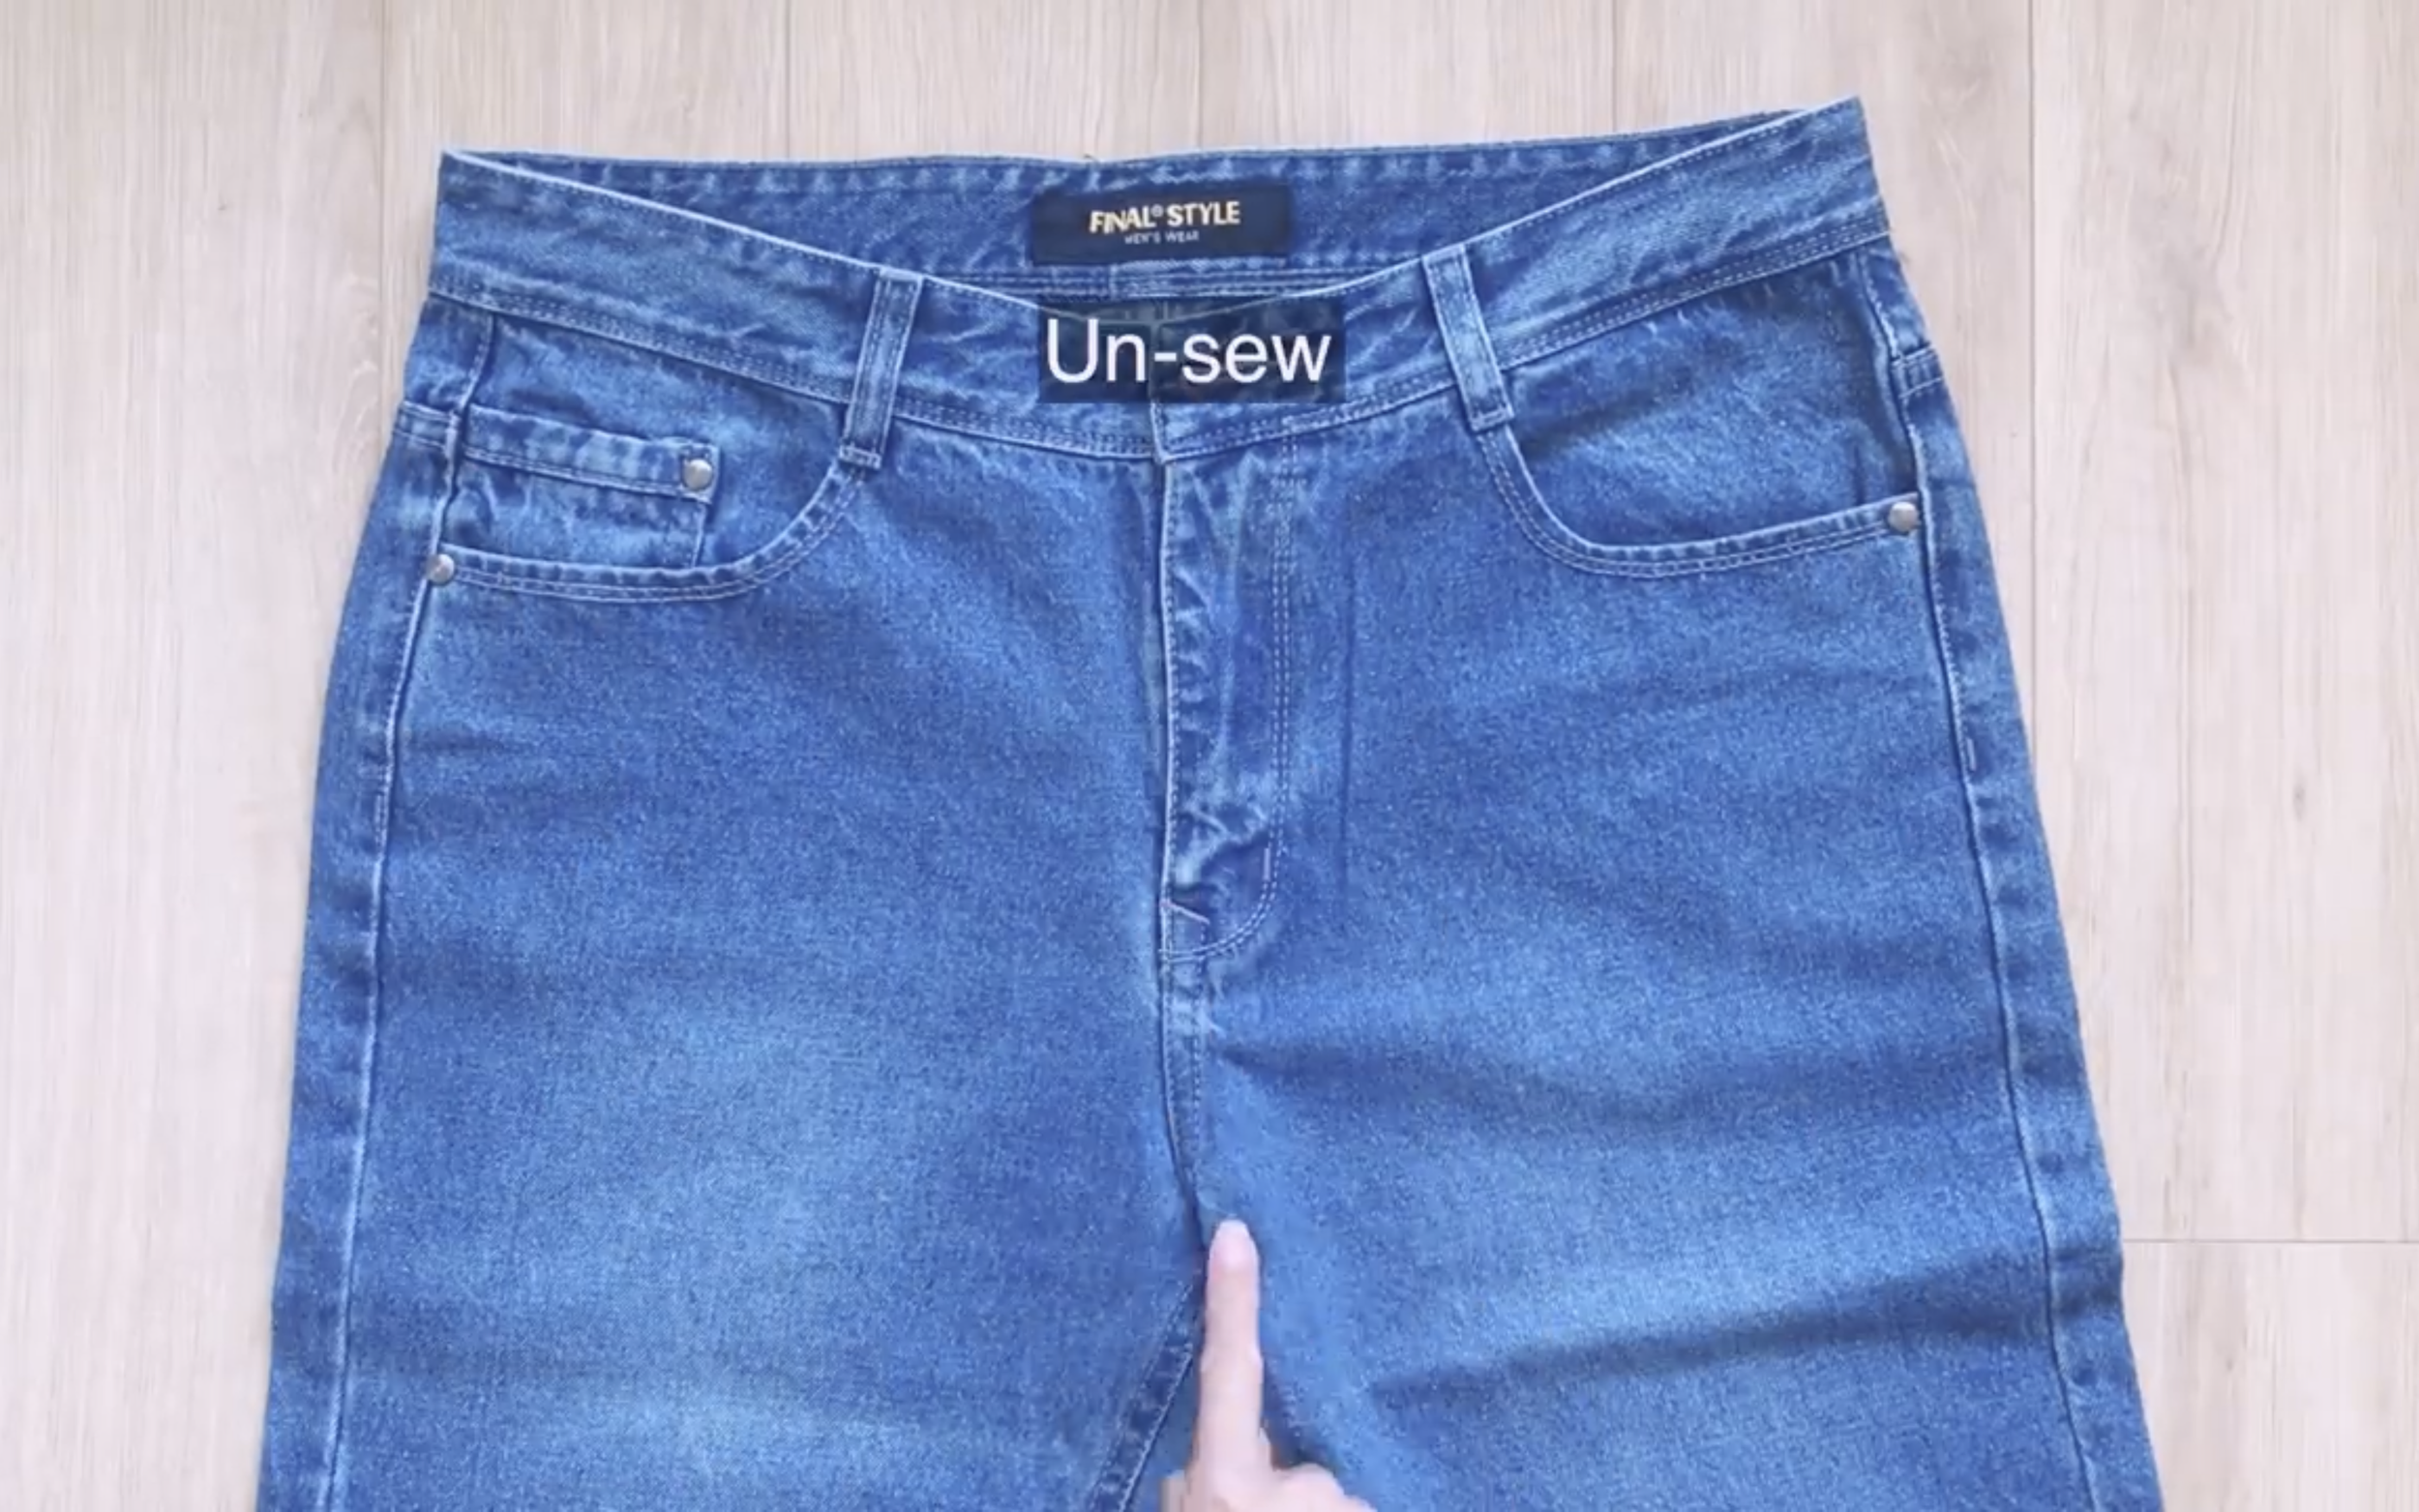
The first step is unsewing the seam at the crotch line and the waistband of the jeans.
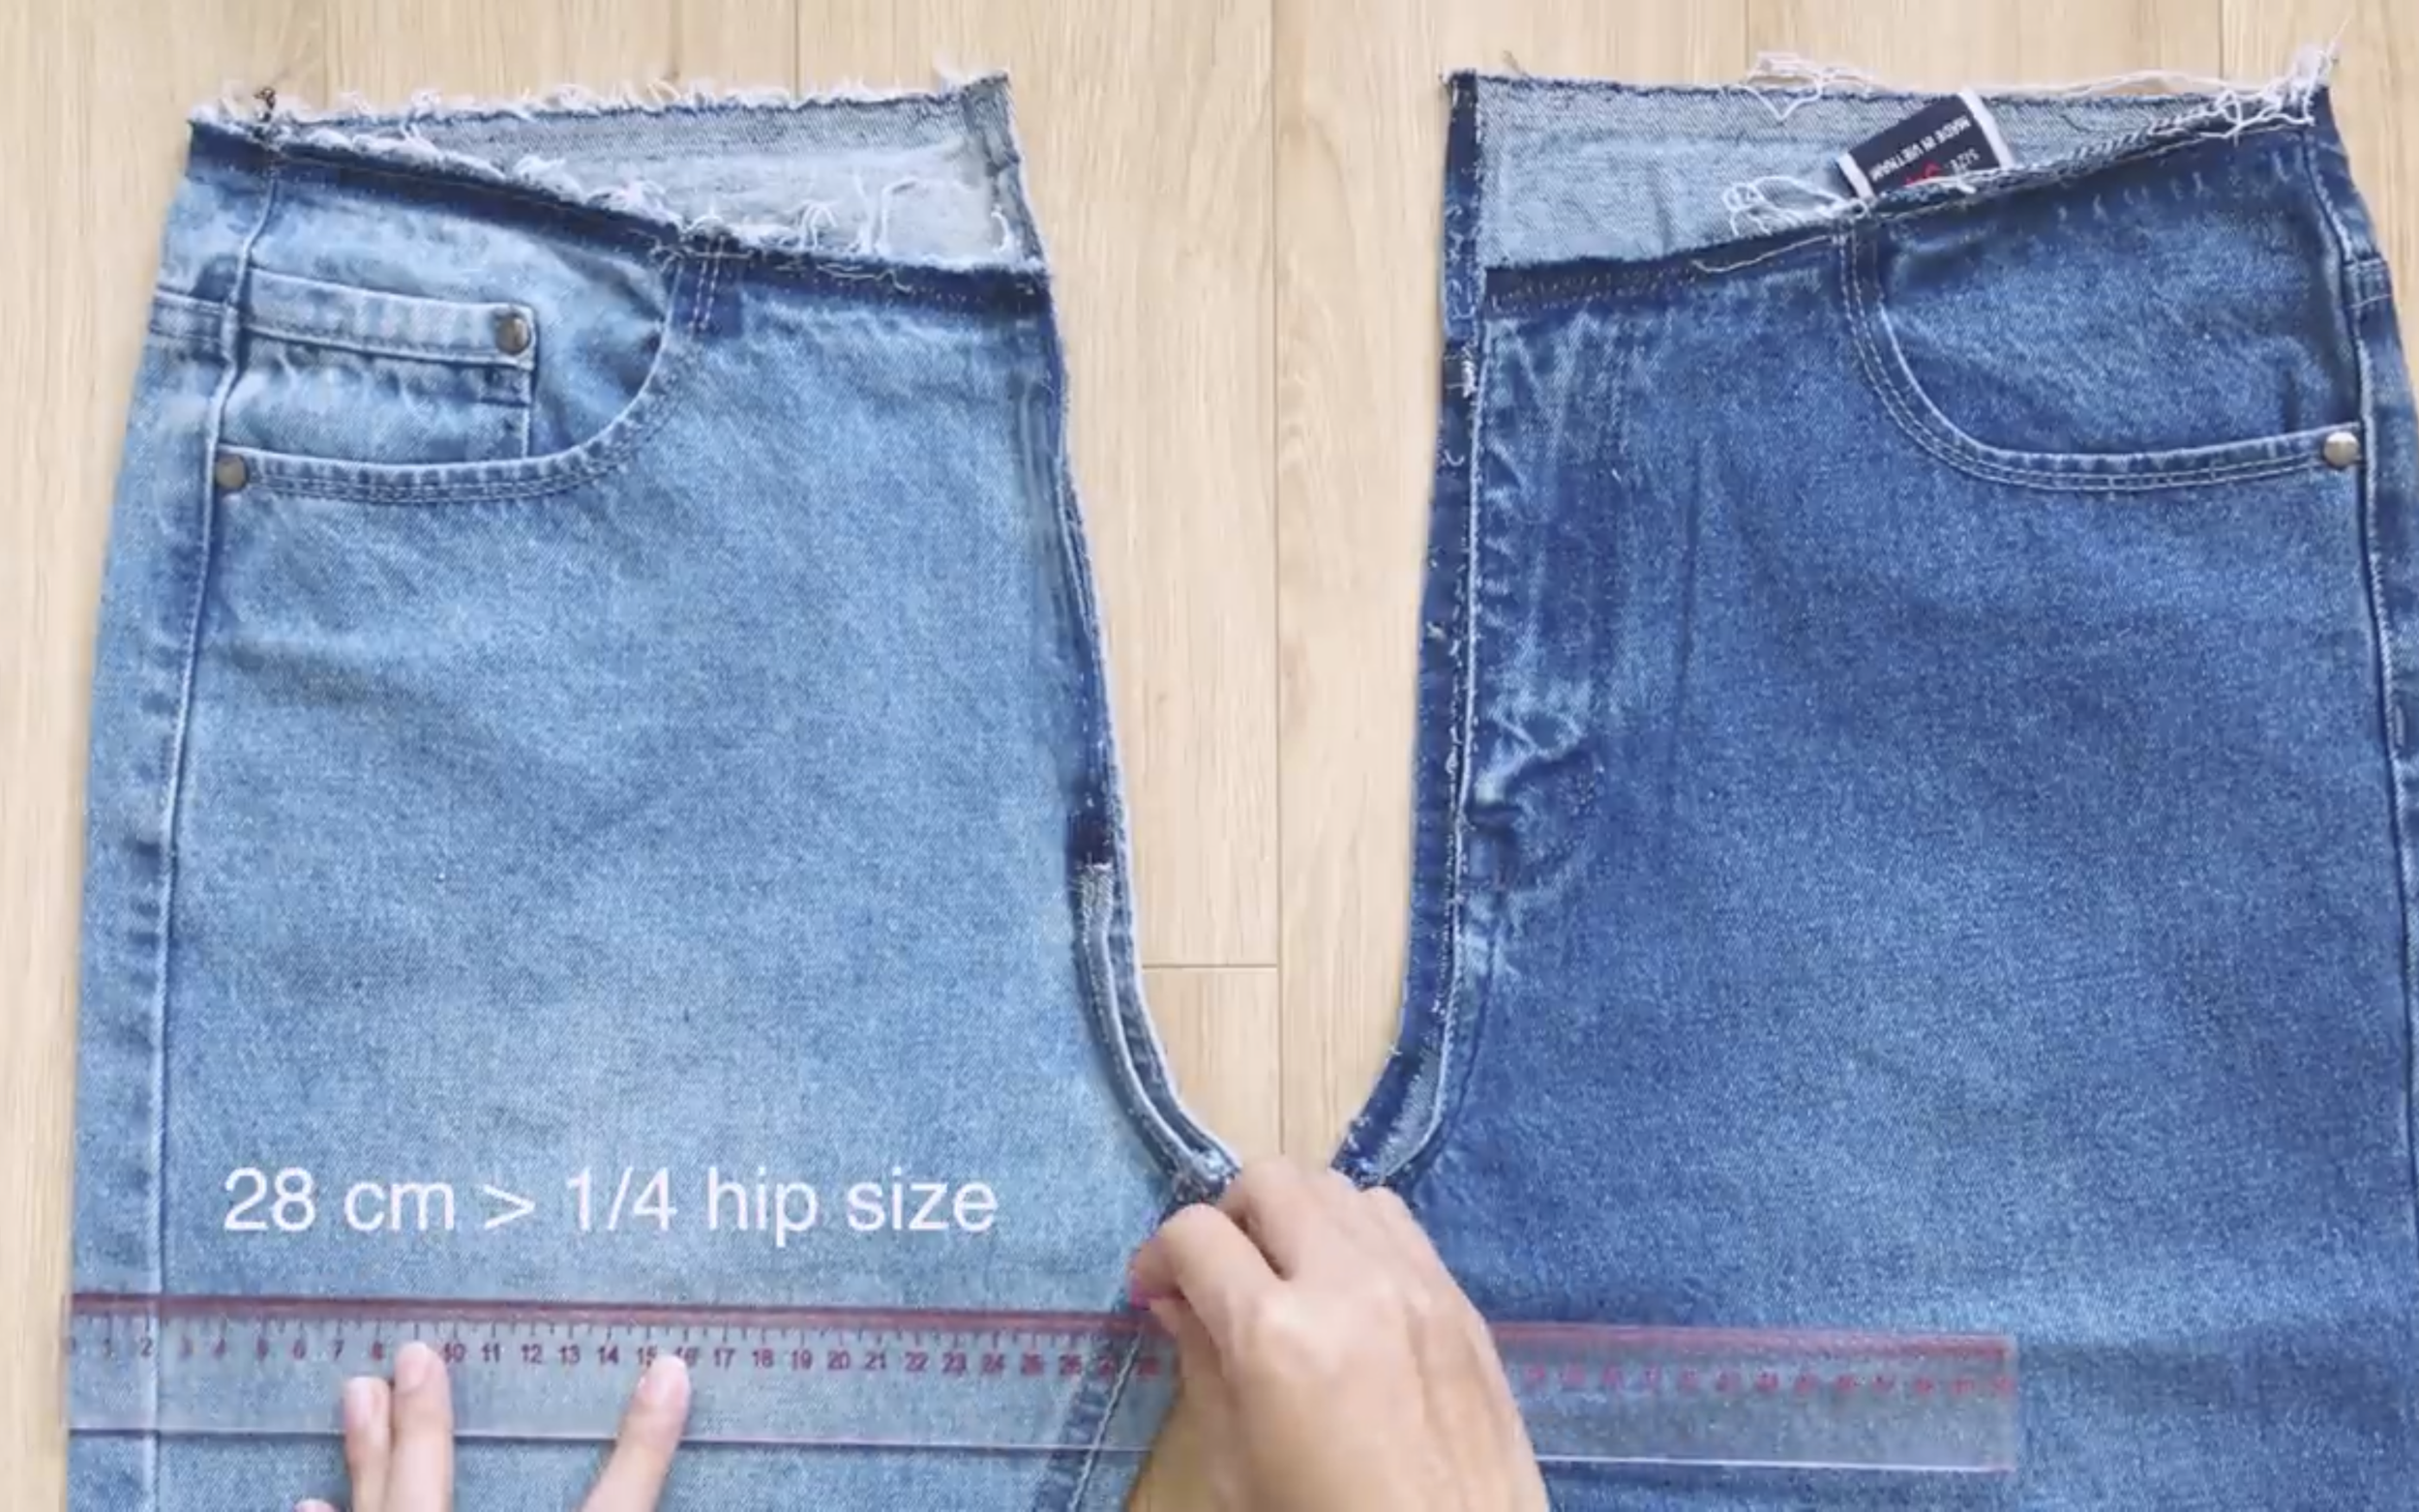
After that, making the waist of the jeans higher by moving down the end of the crotch line a little bit.
Make sure the width of the leg jeans at the end of the crotch line is bigger than a quarter of the hip size.
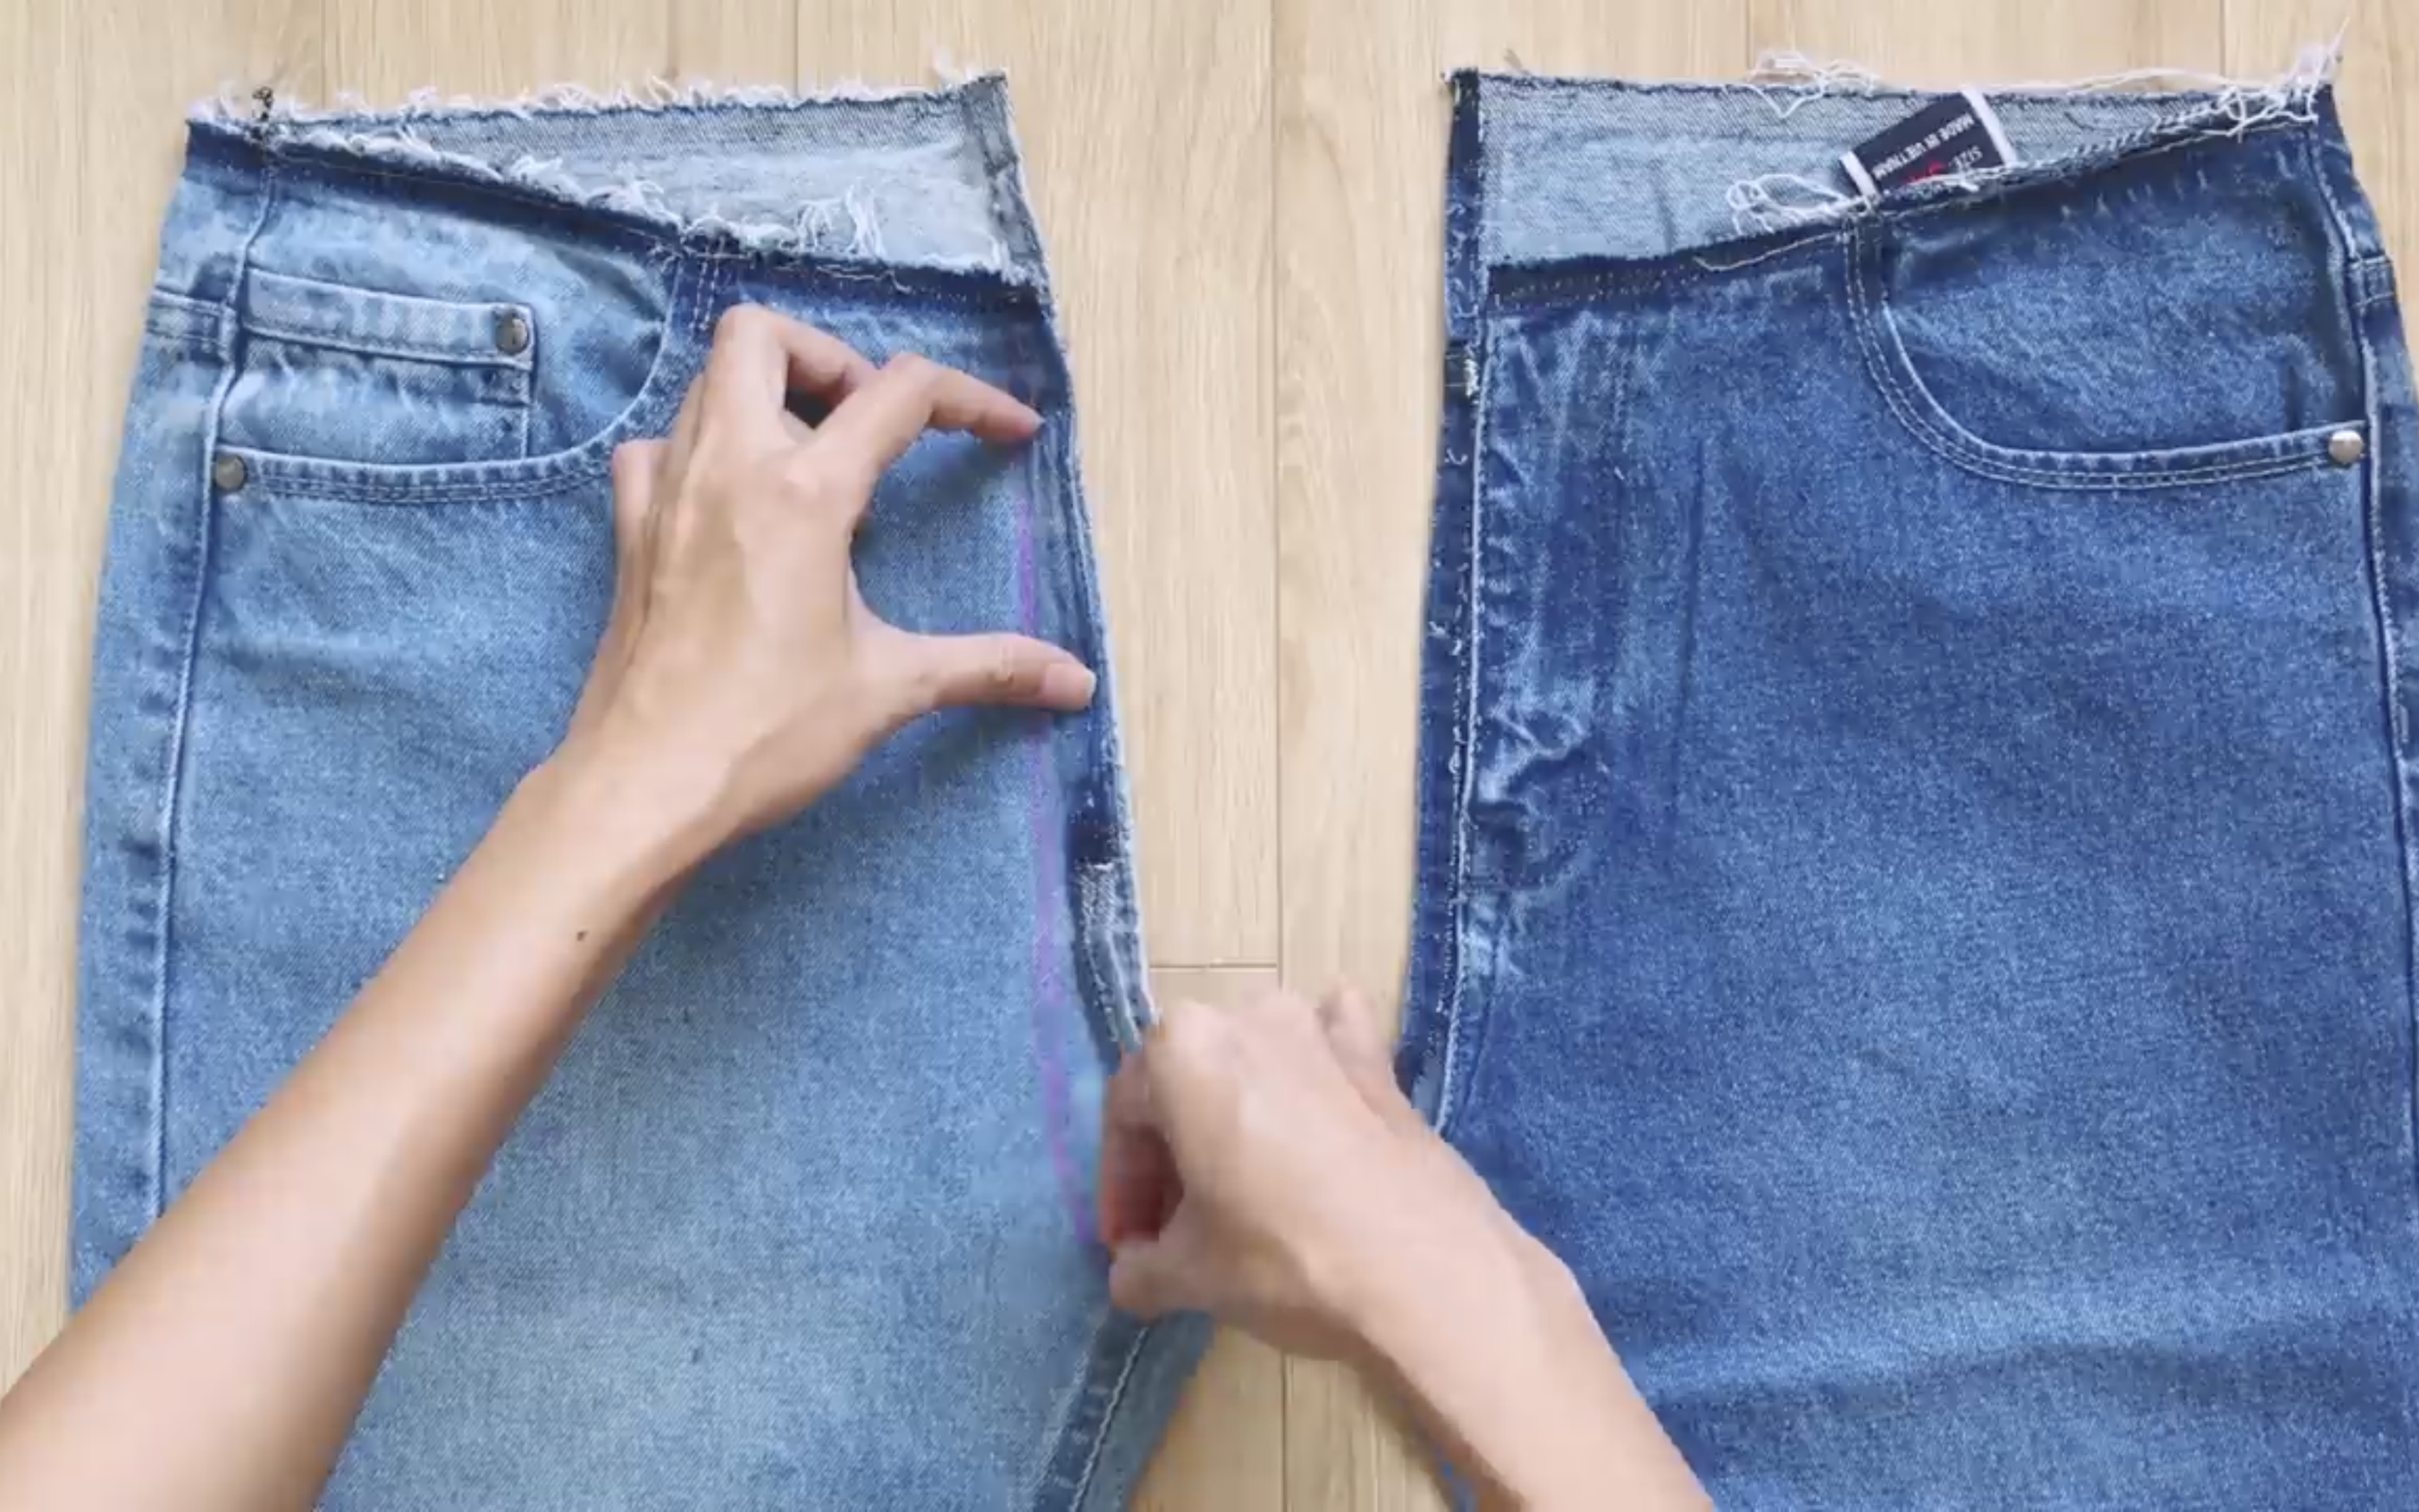
Then, drawing a new crotch line.
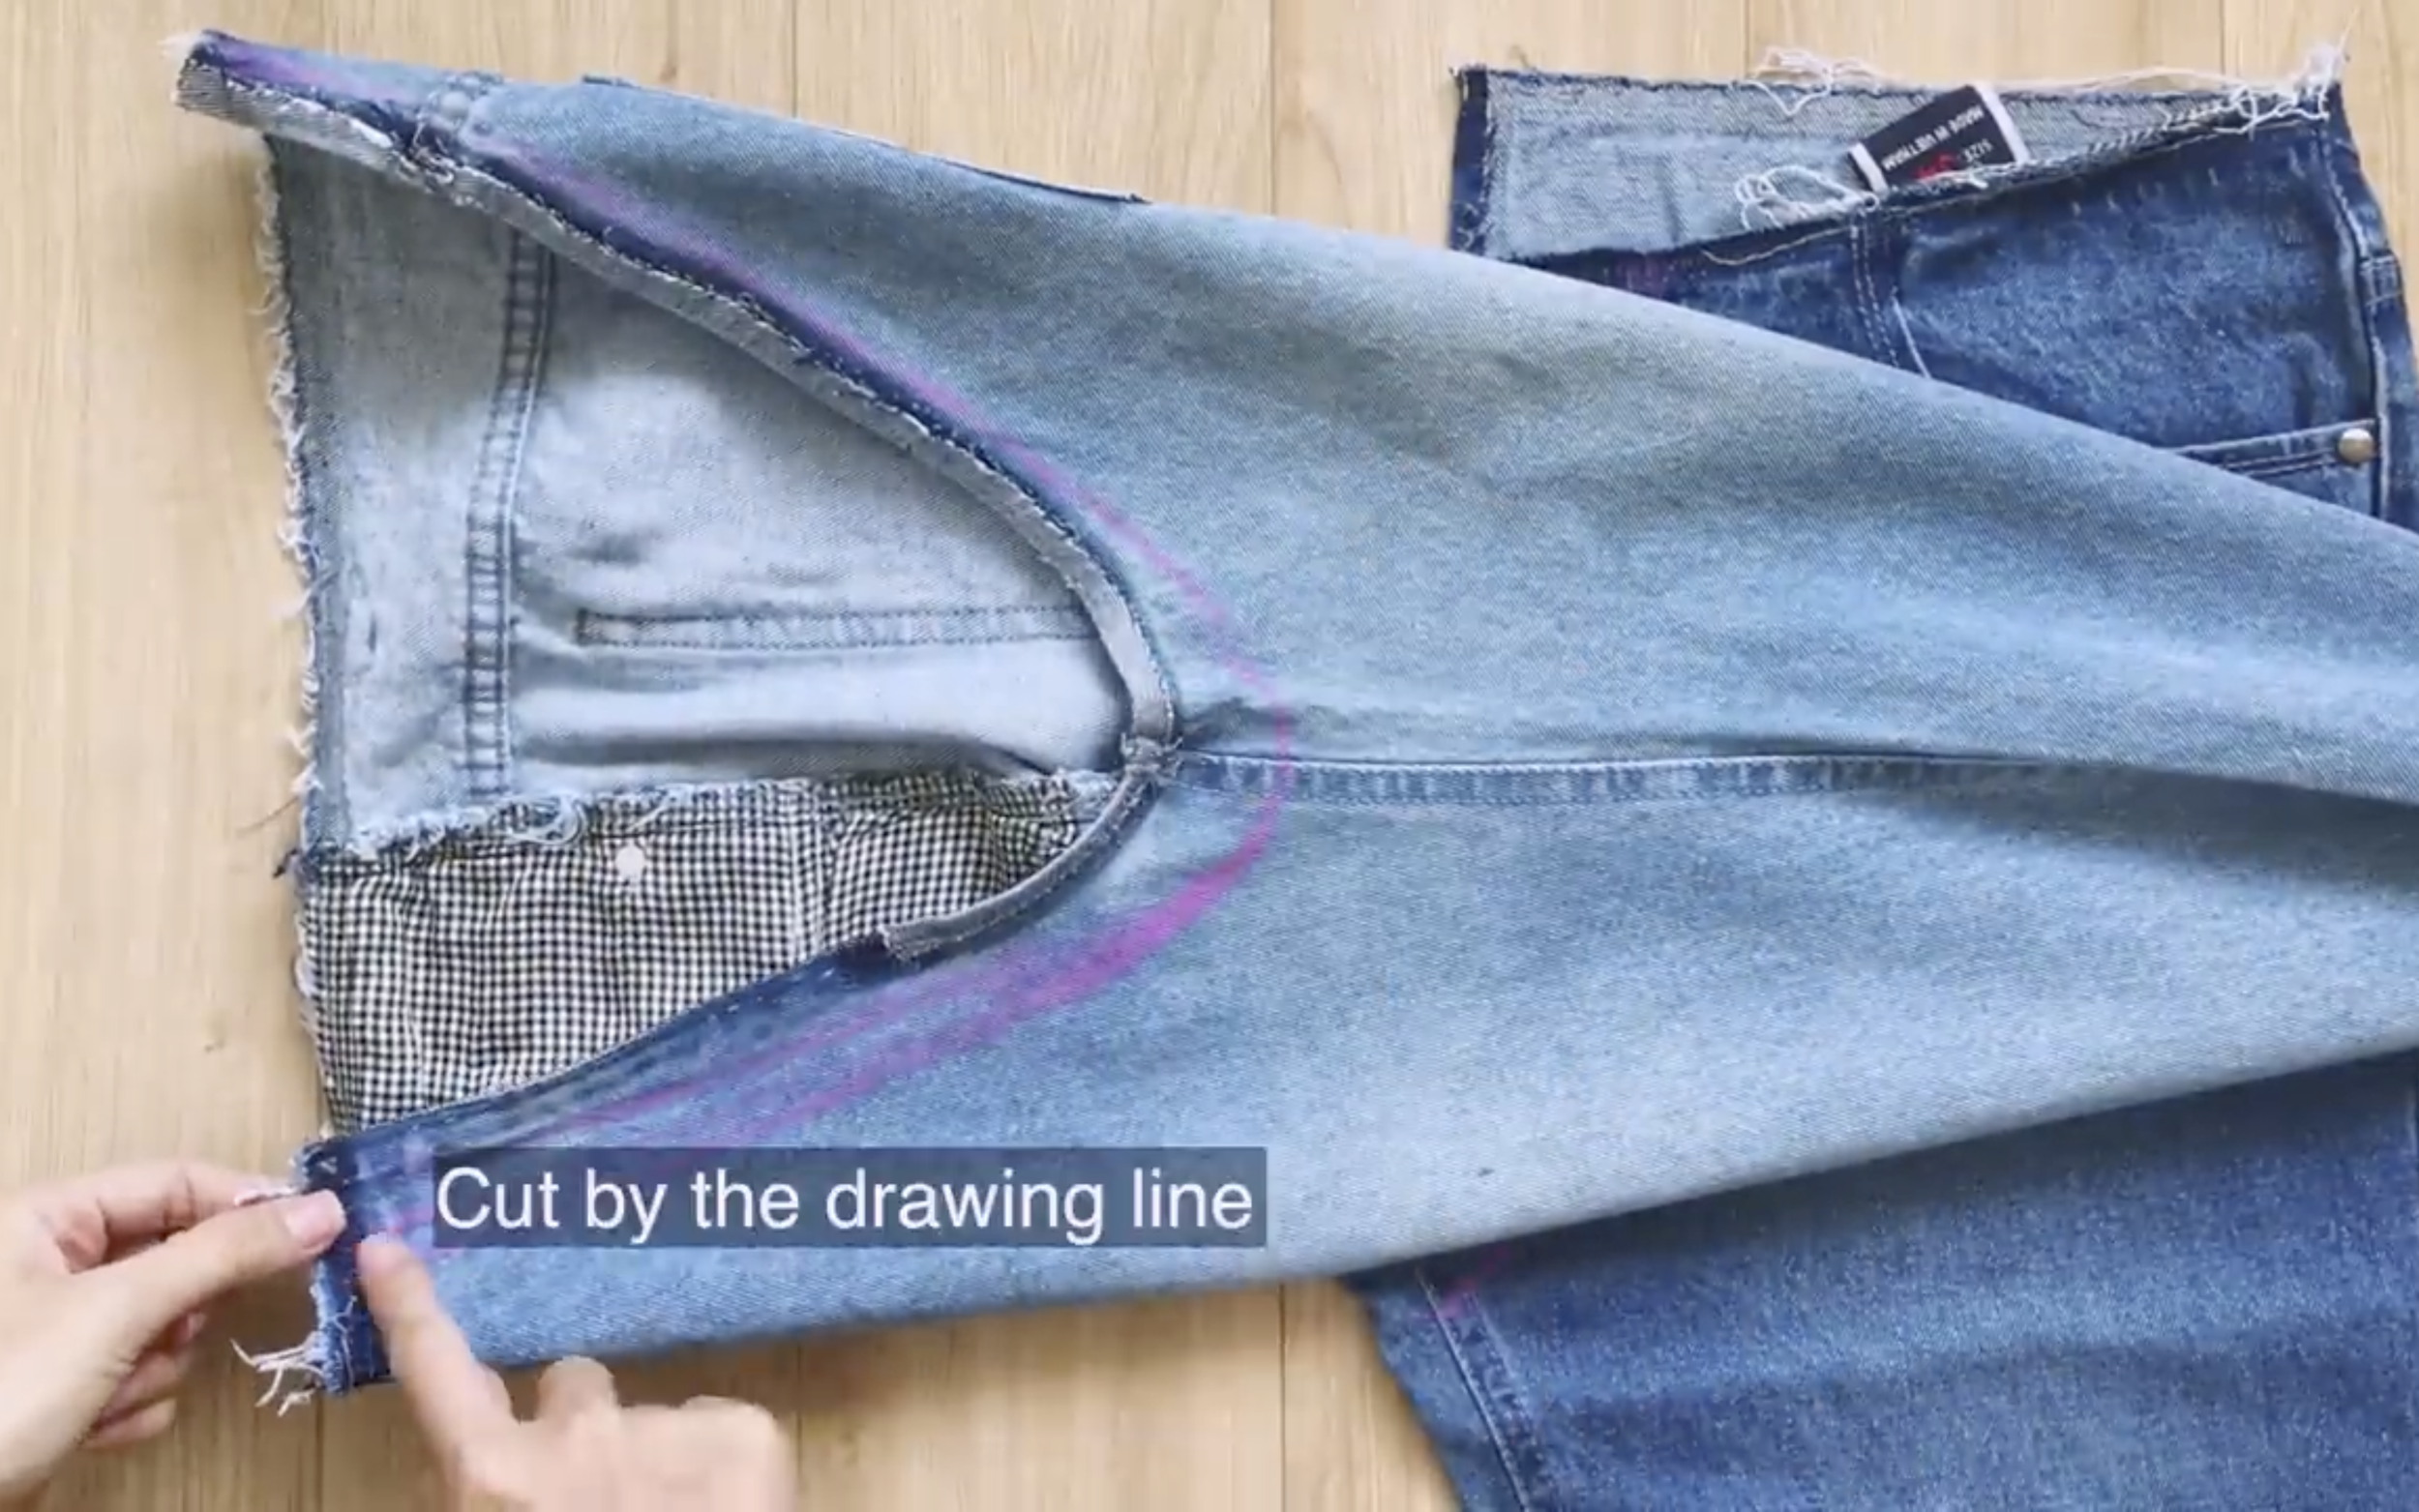
If the jeans used are already high-waisted, this step is not necessary.
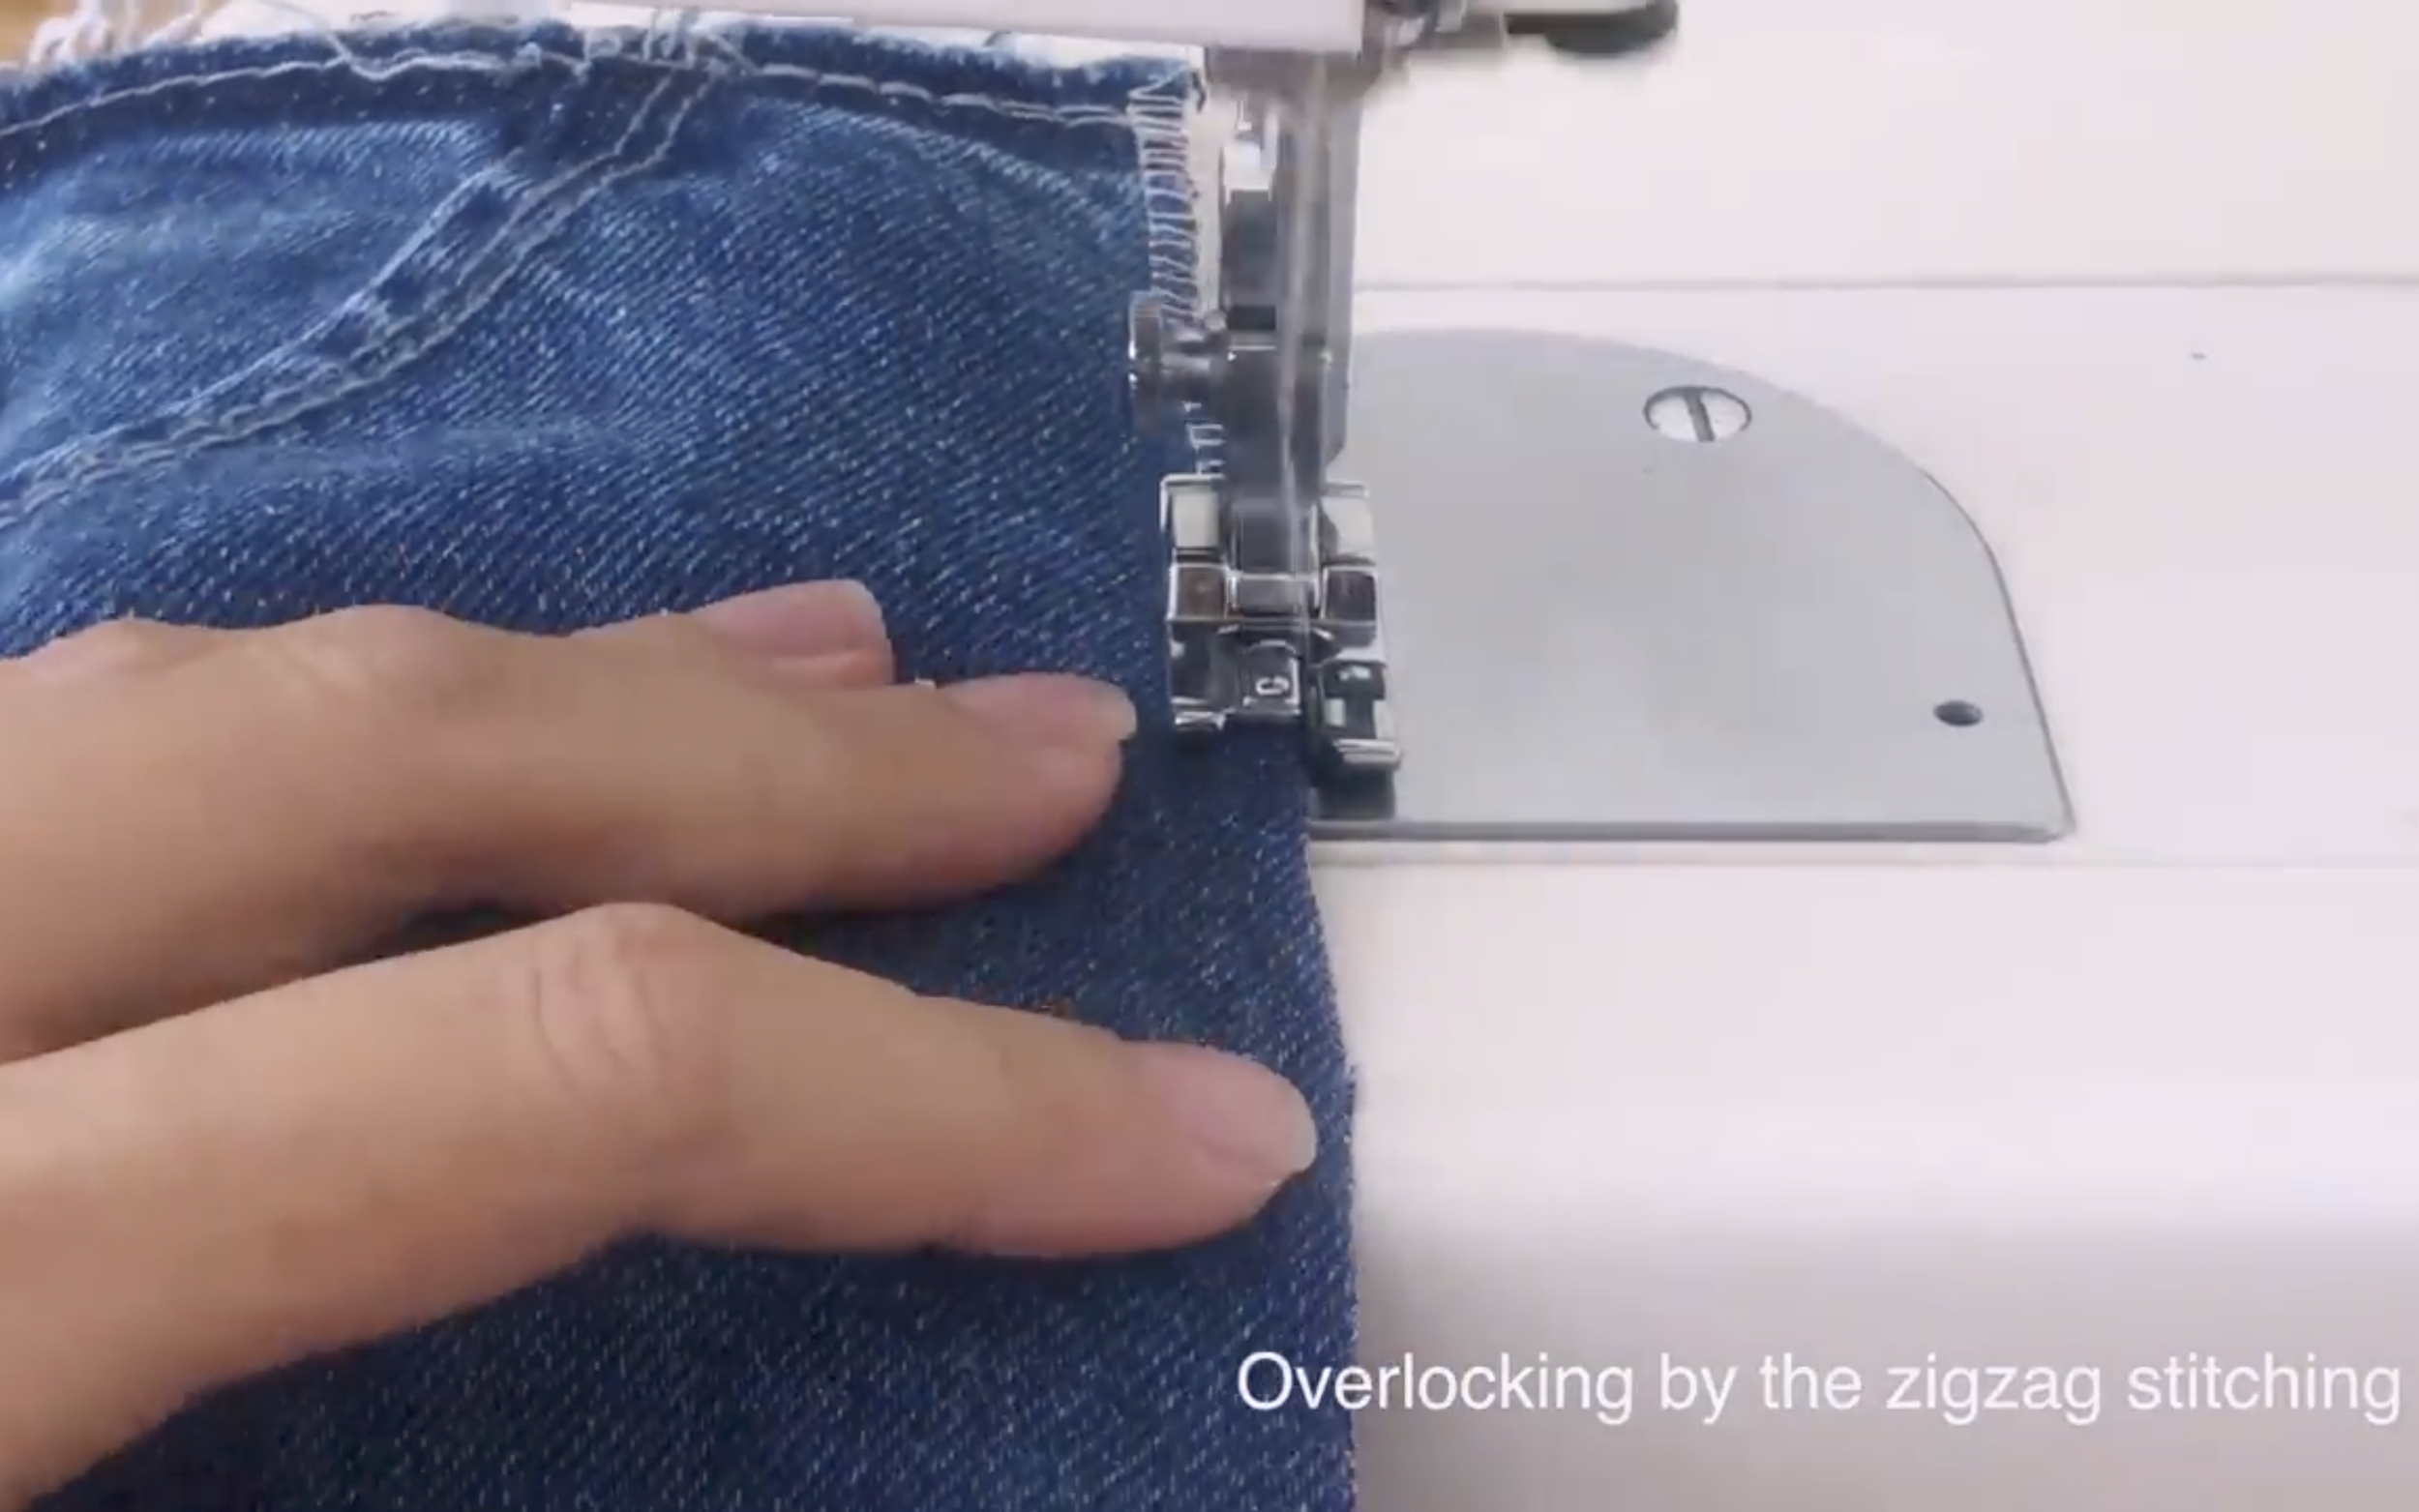
After cutting, don't forget to overlock to protect the new cutting lines.
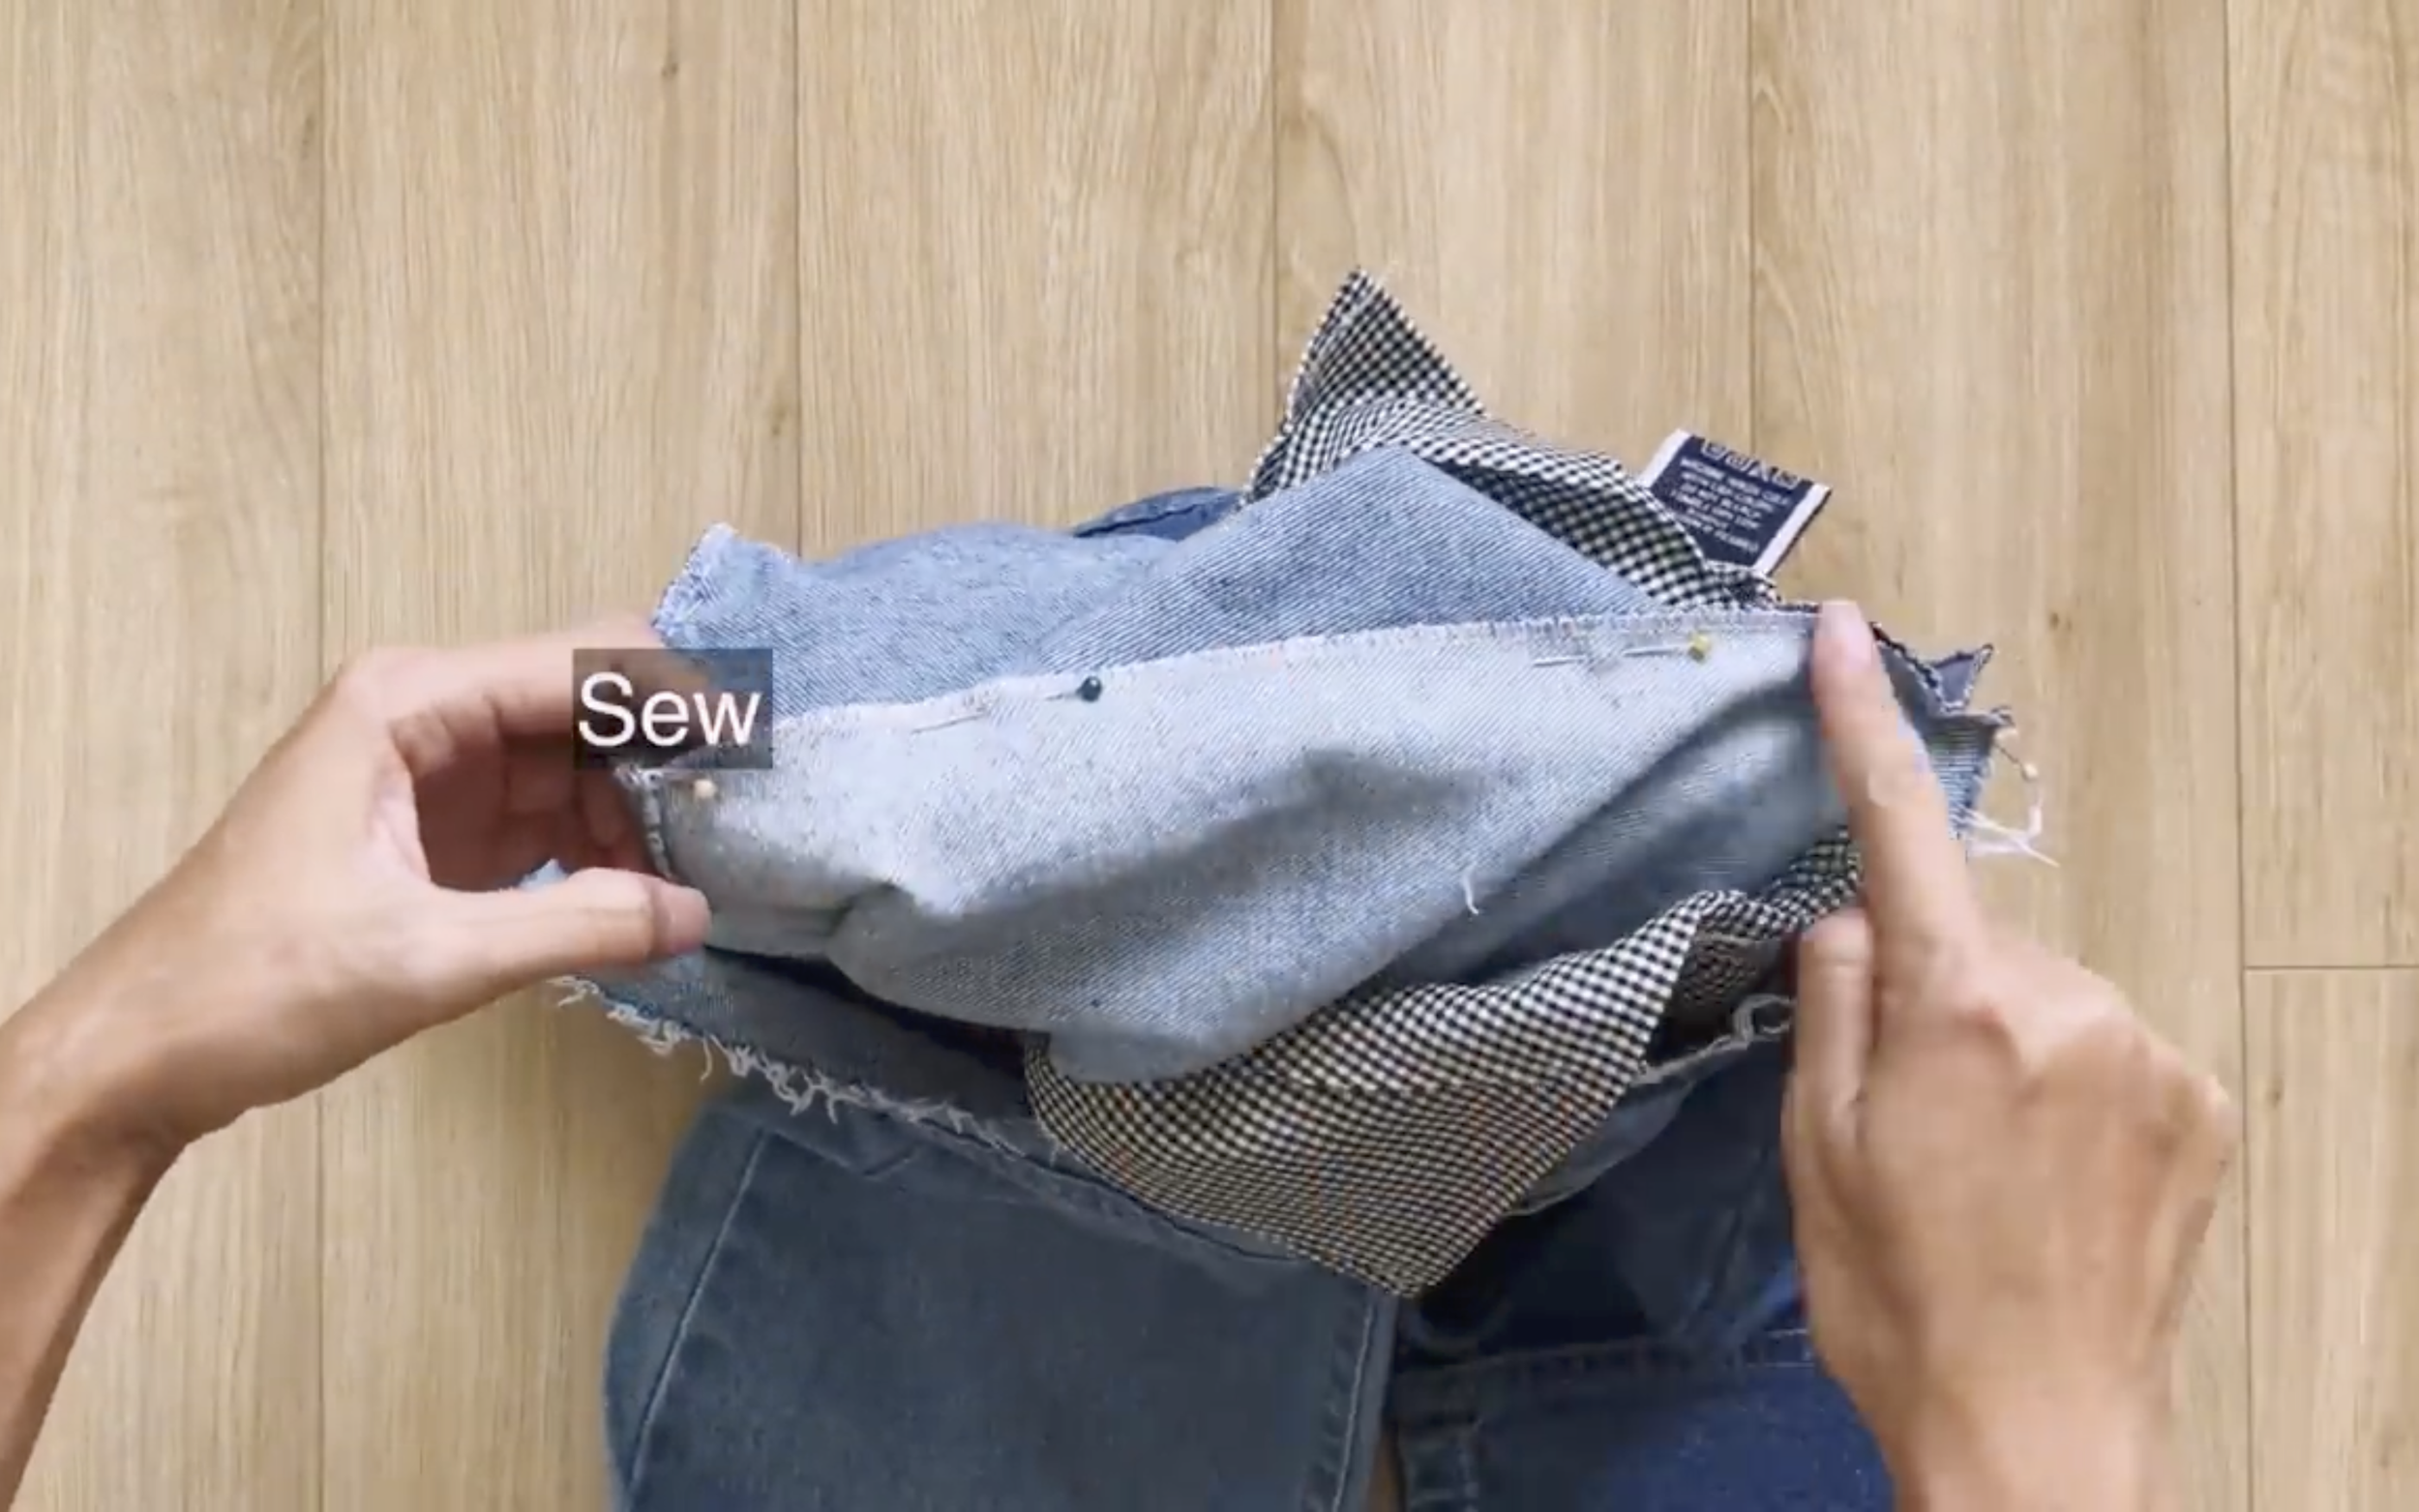
Now, connecting the two legs of the pants together at the crotch line, then sewing.
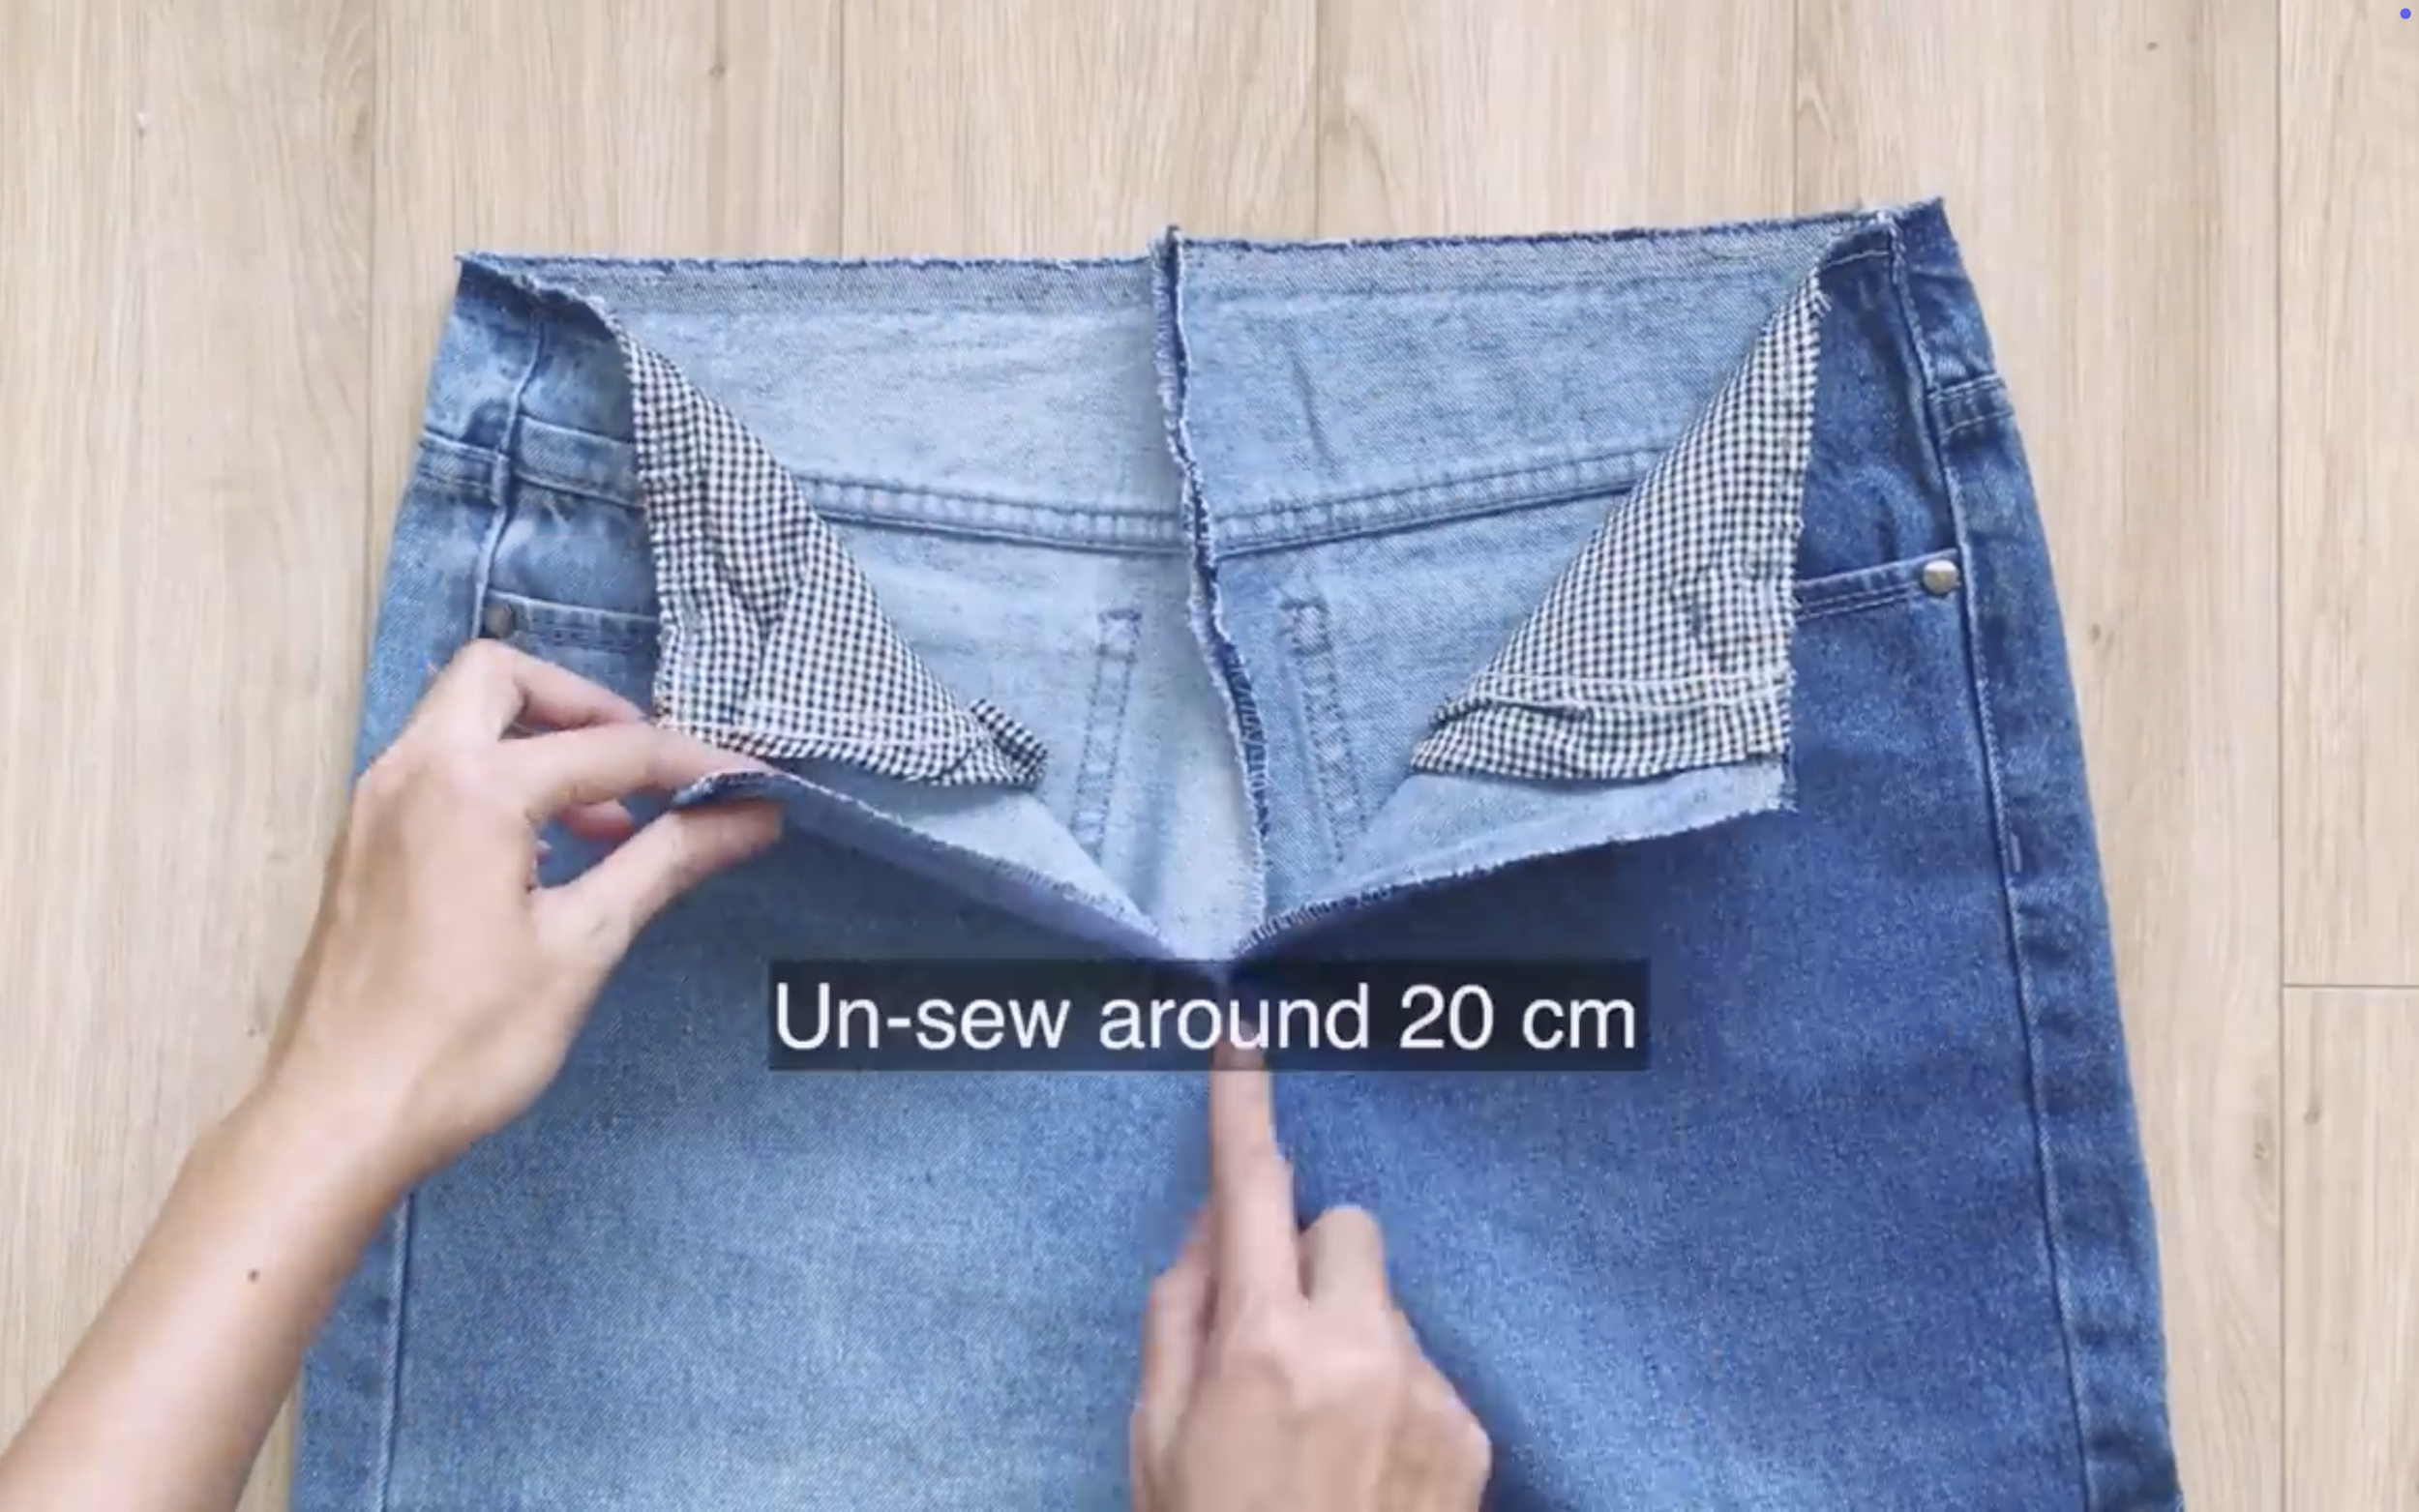
Keep around 20 cm unsewn at the front of the crotch line for the zipper later.
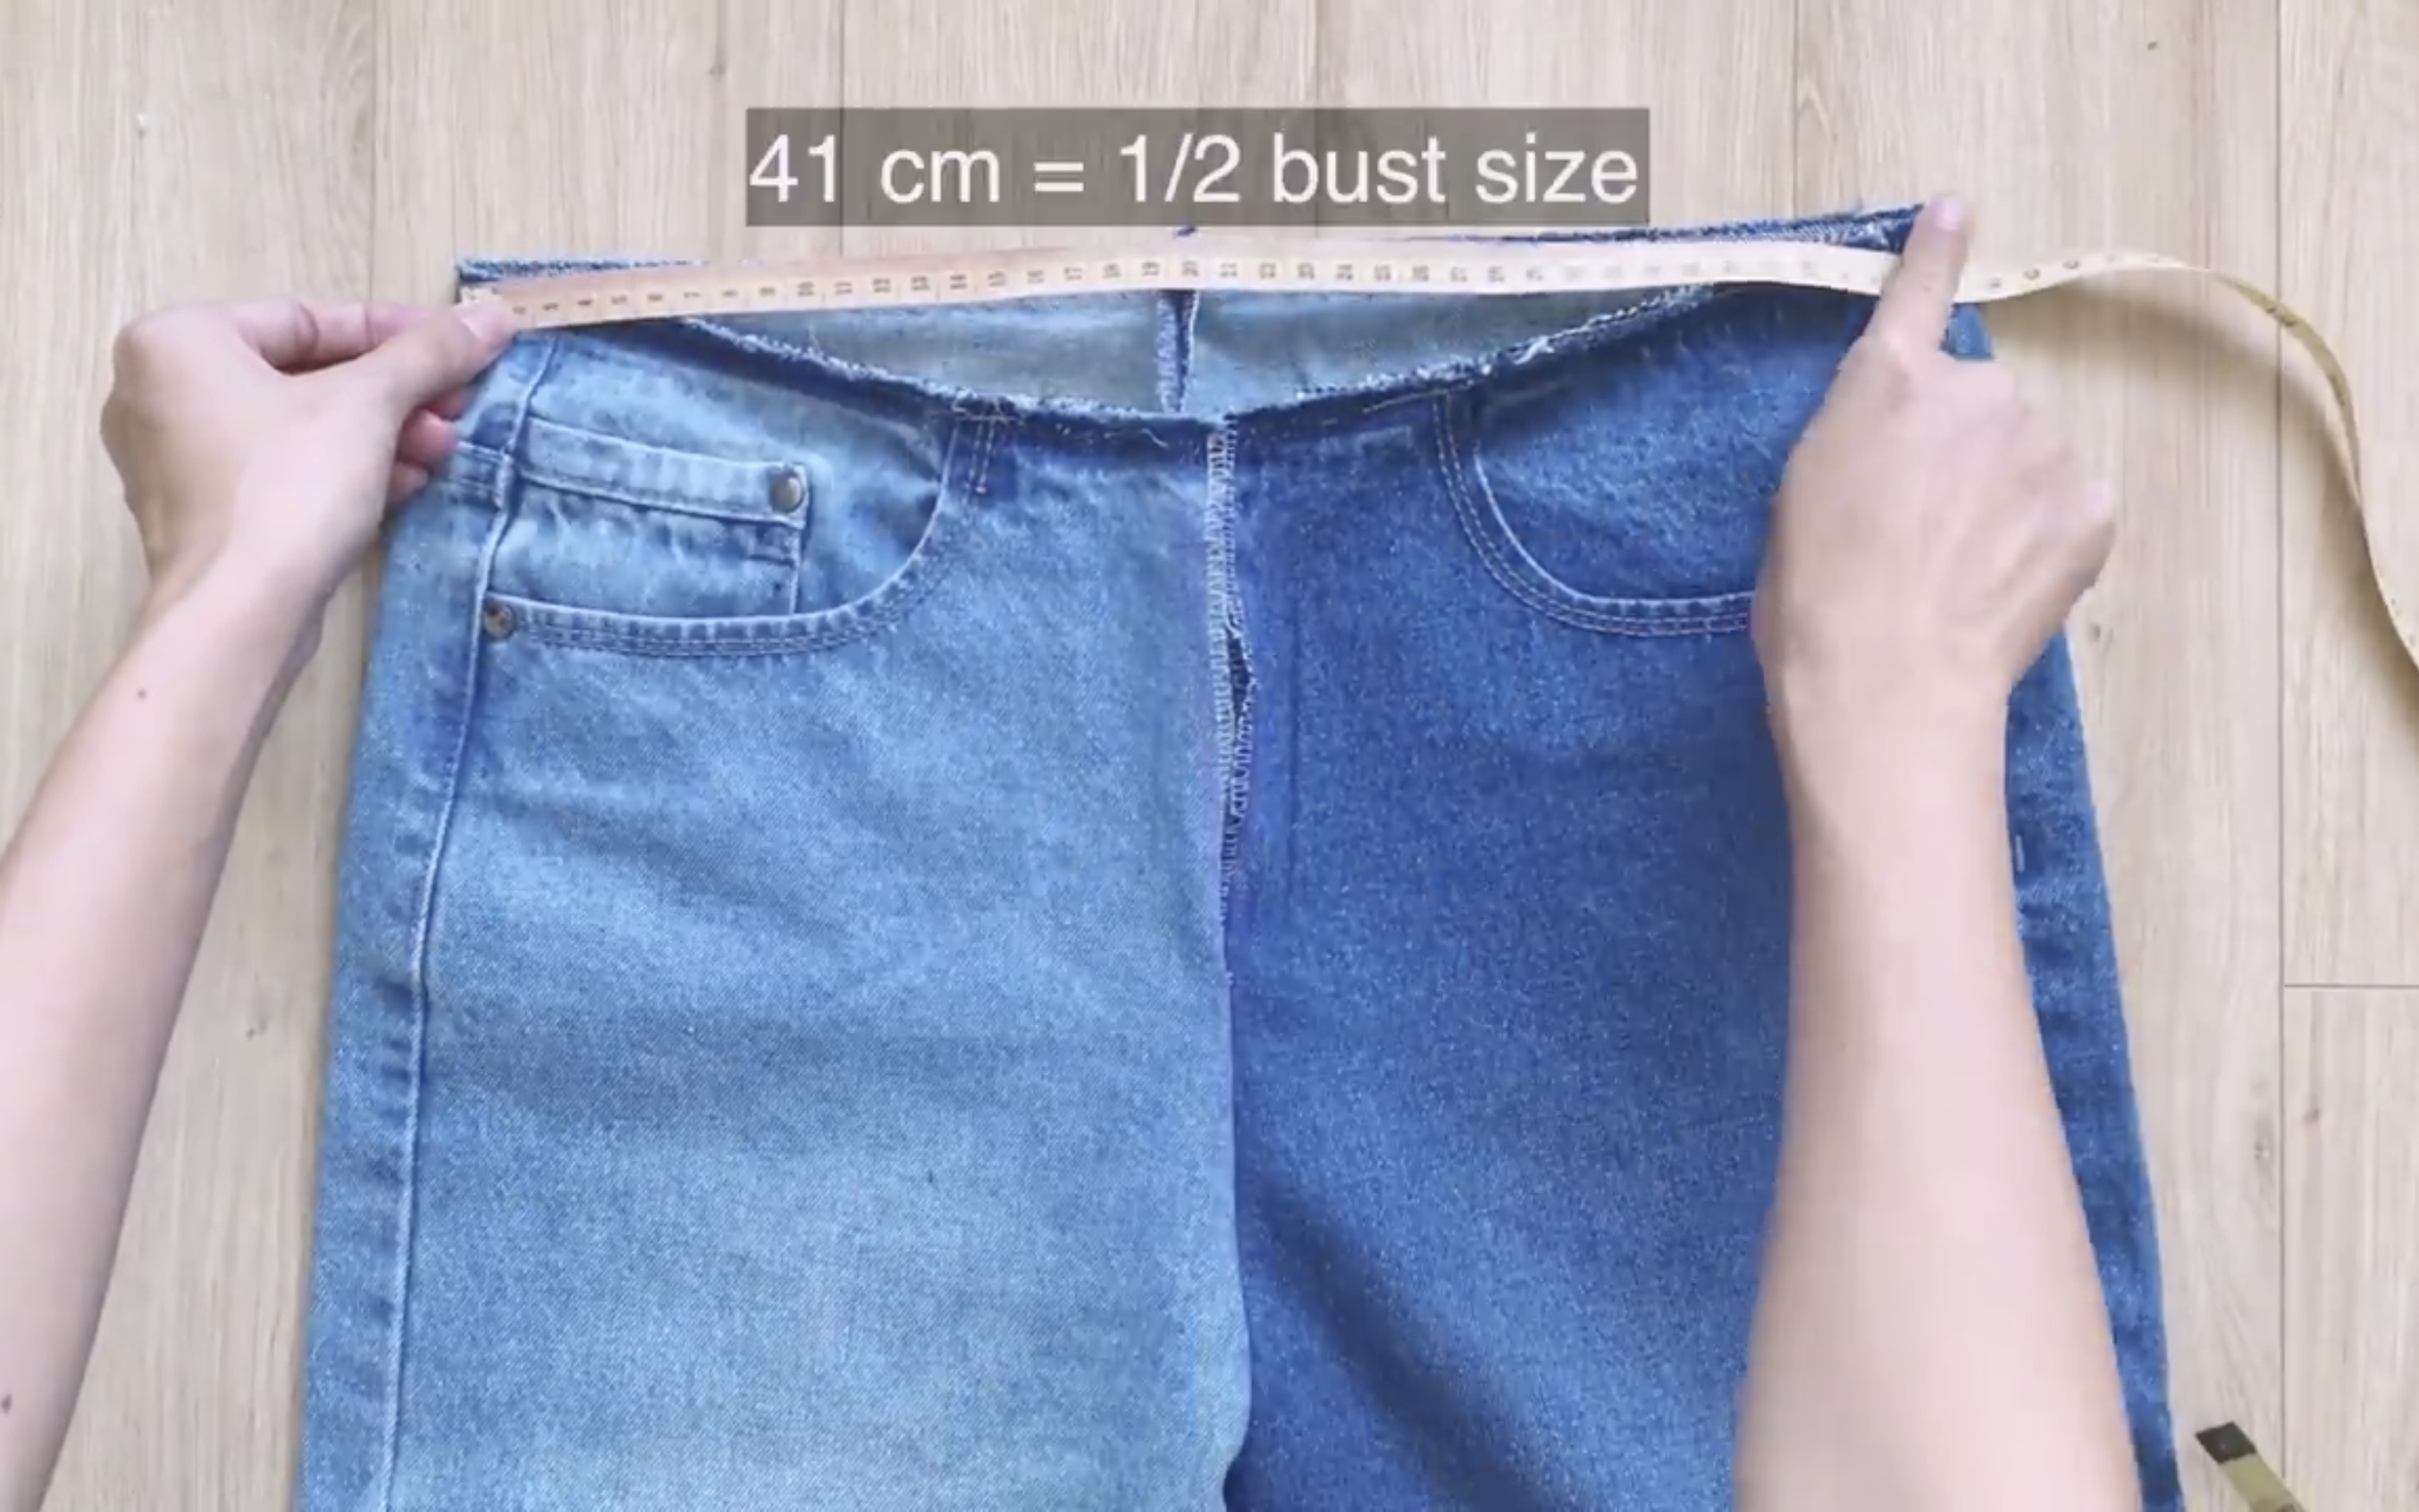
Check the waist of the jeans to make sure it matches the bust size.
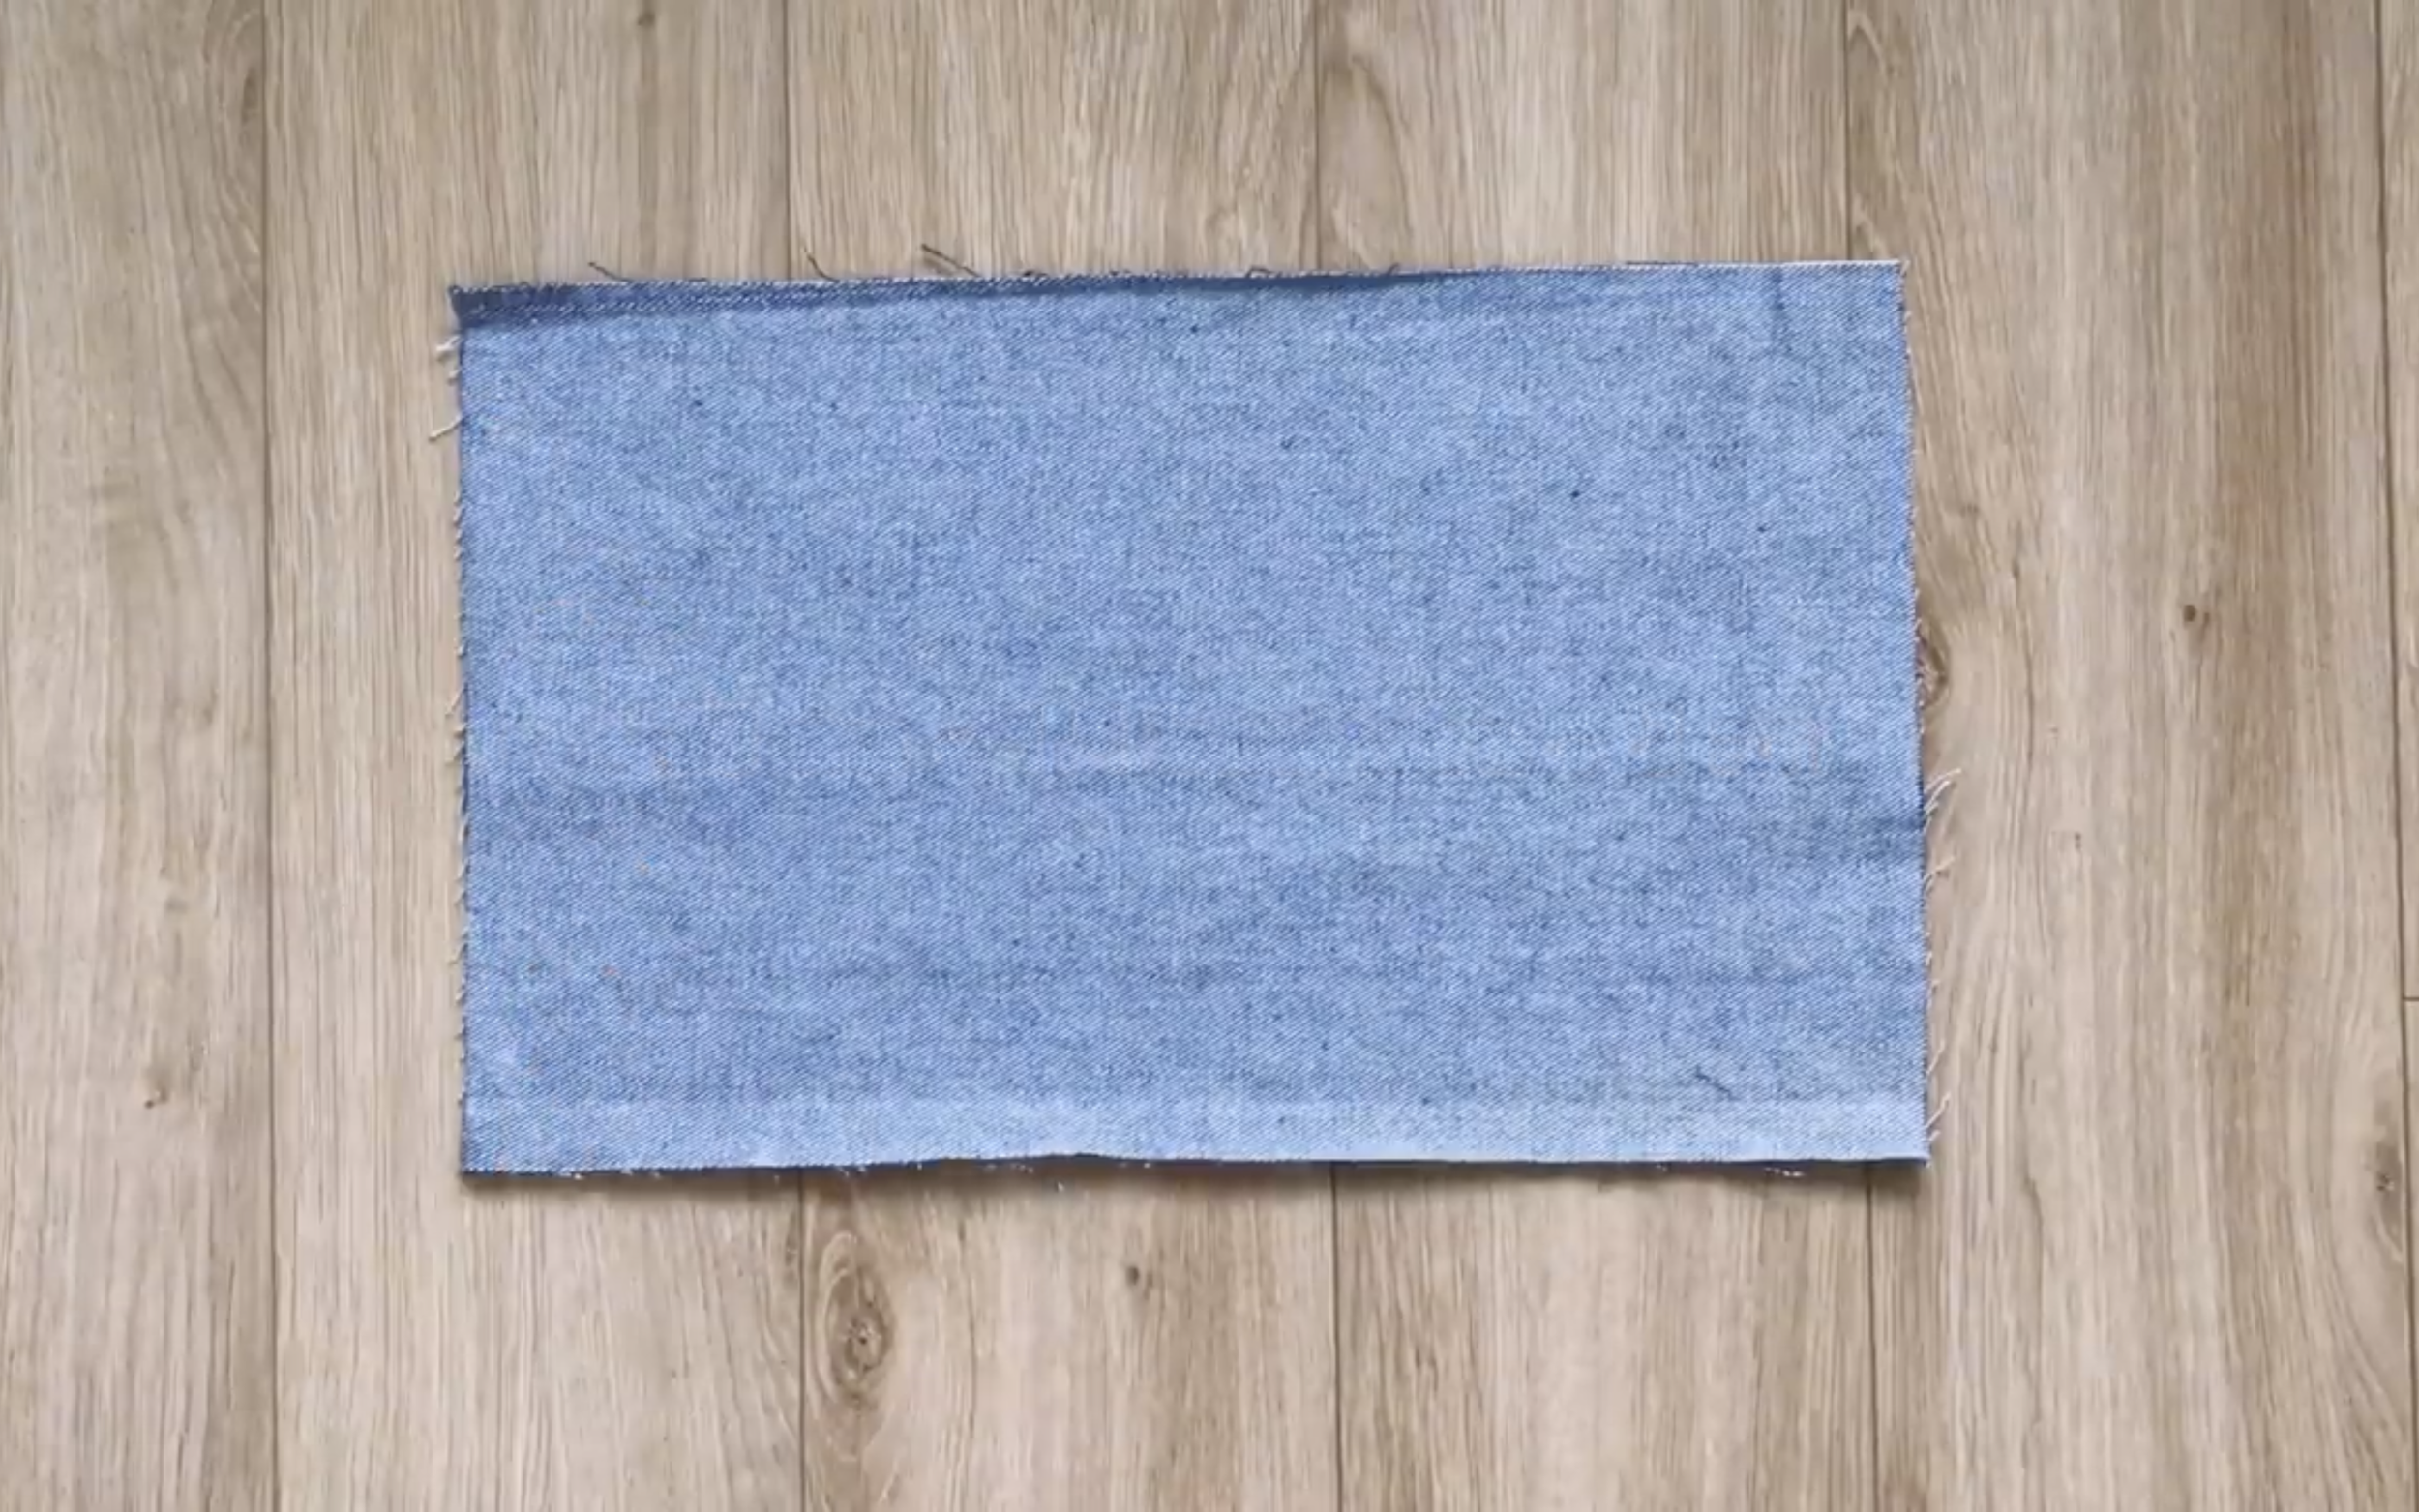
To make the front bodice of the jumpsuit, cut two rectangles with a 23 cm width (a quarter of the bust size plus 2 cm) and a 35 cm length (the length from the upper breast to the belly button plus 5 cm).
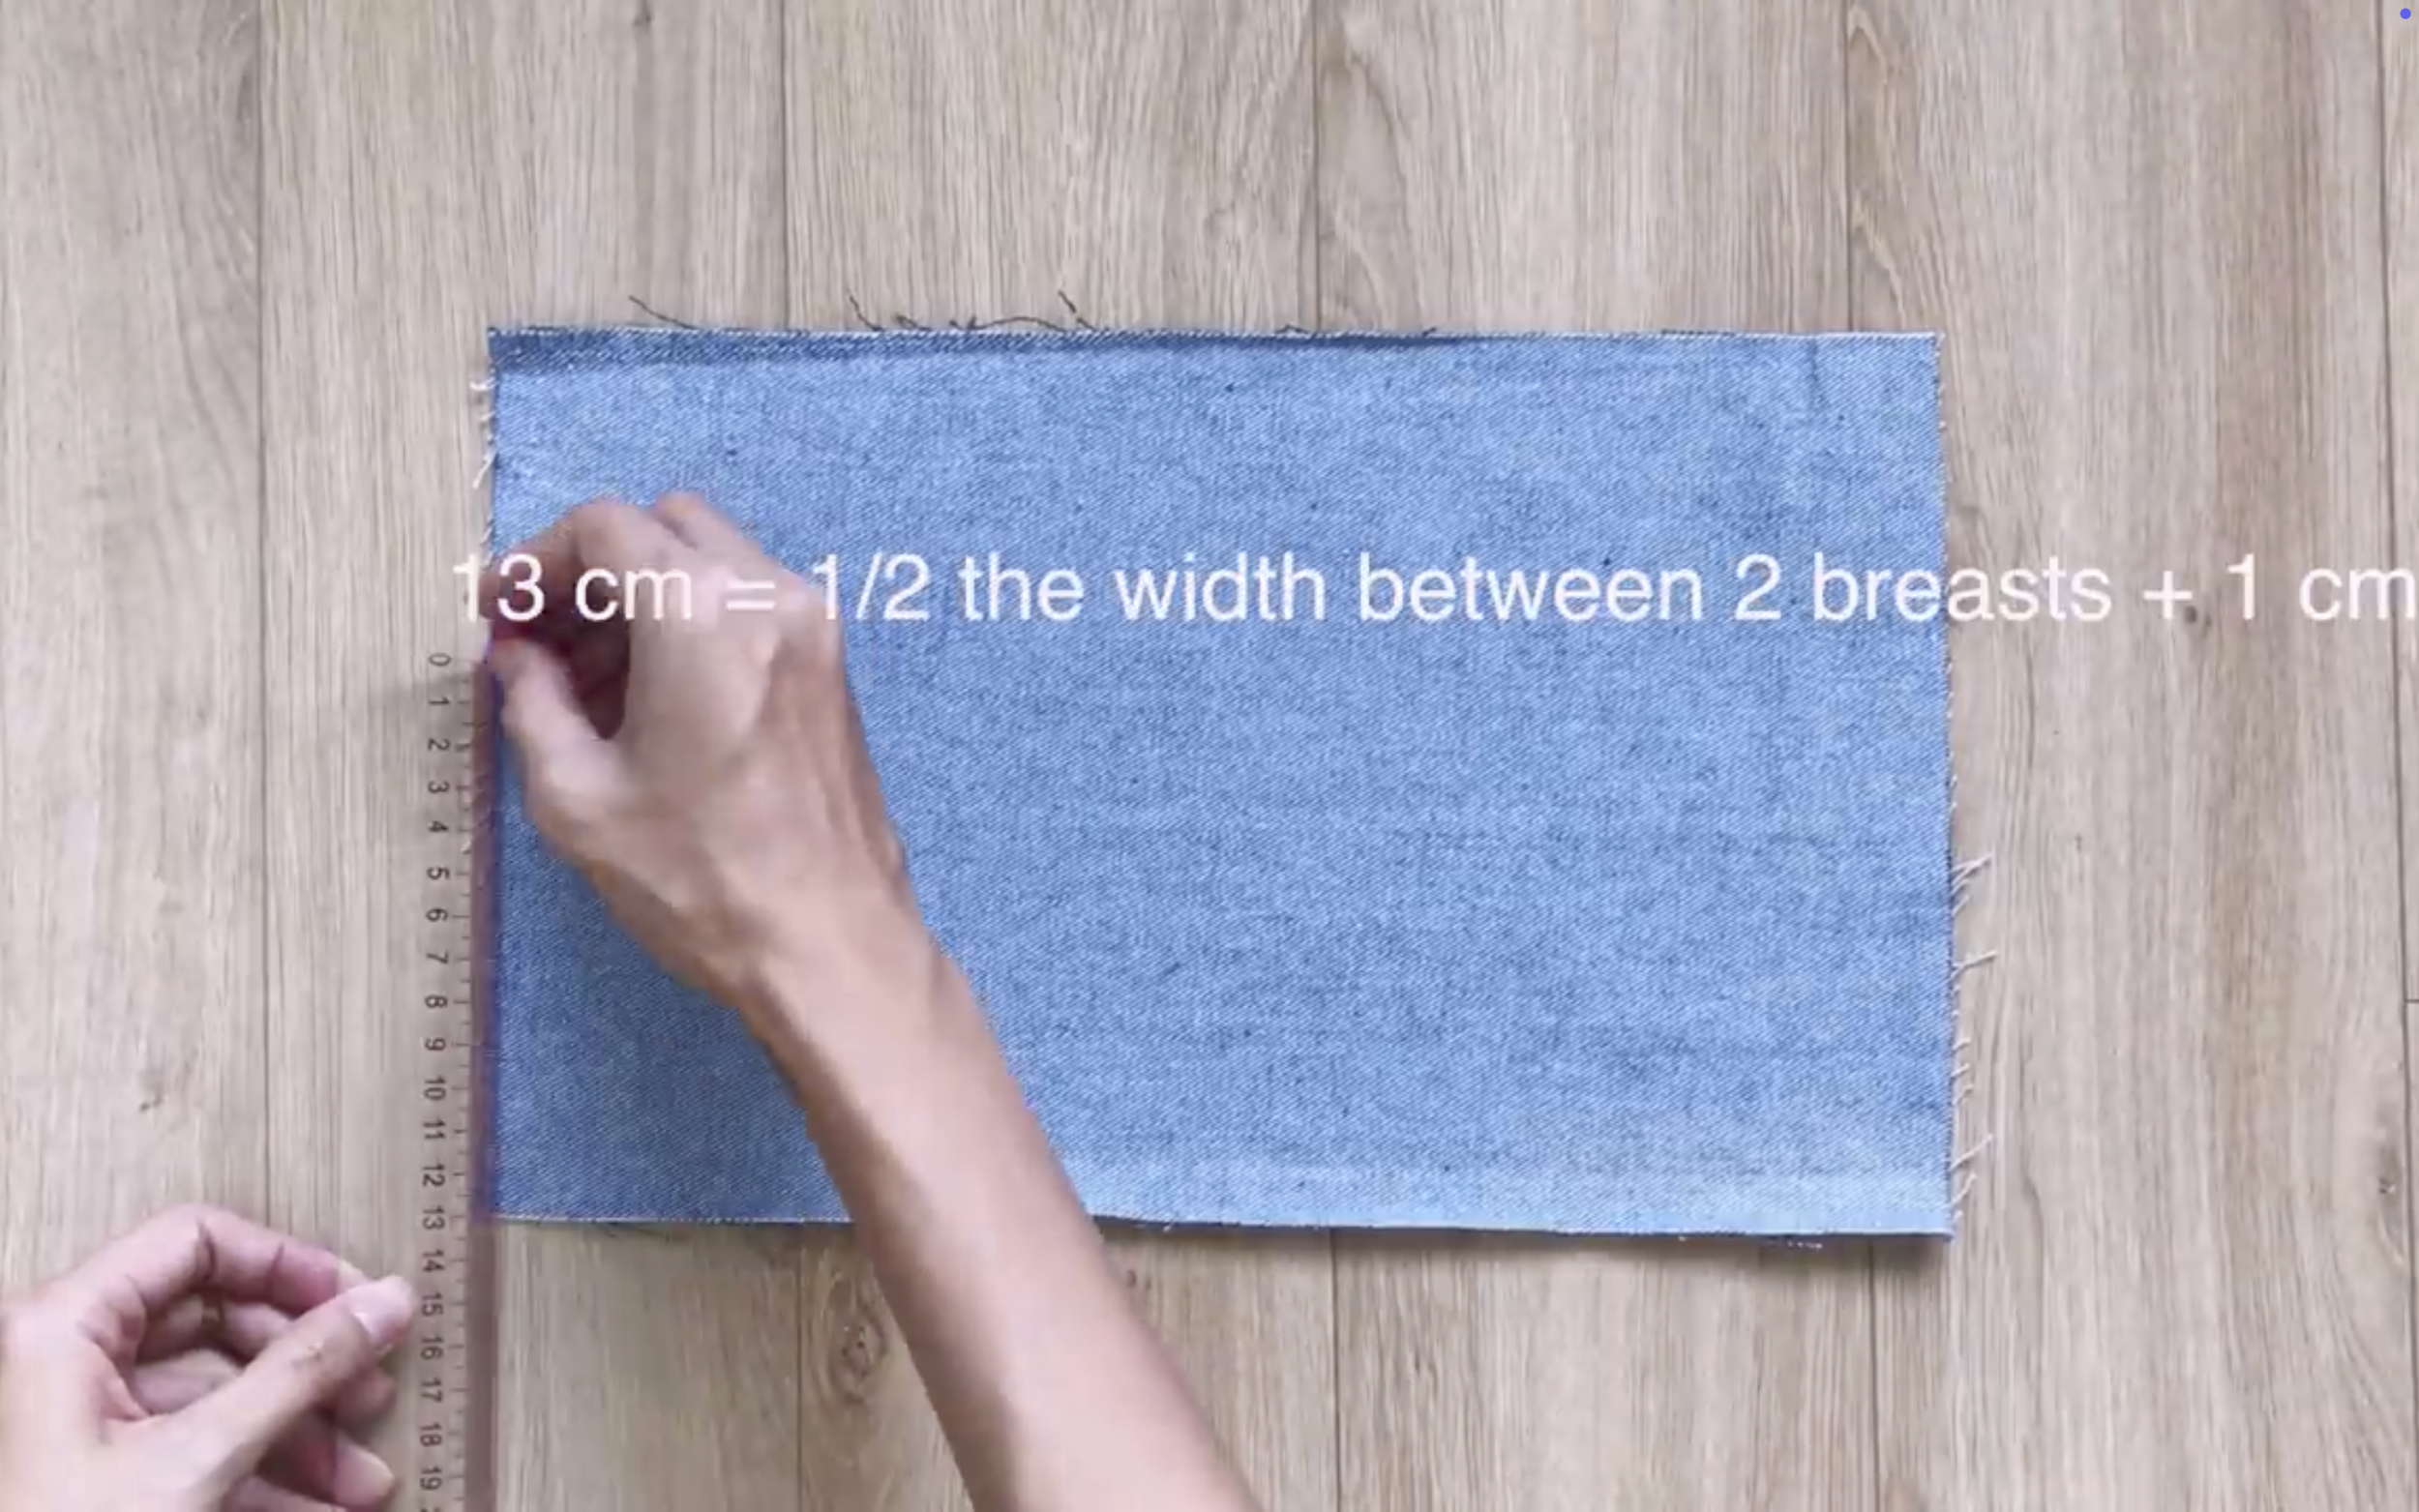
On the width line, mark at 13 cm (half of the width between two breasts plus 1 cm).
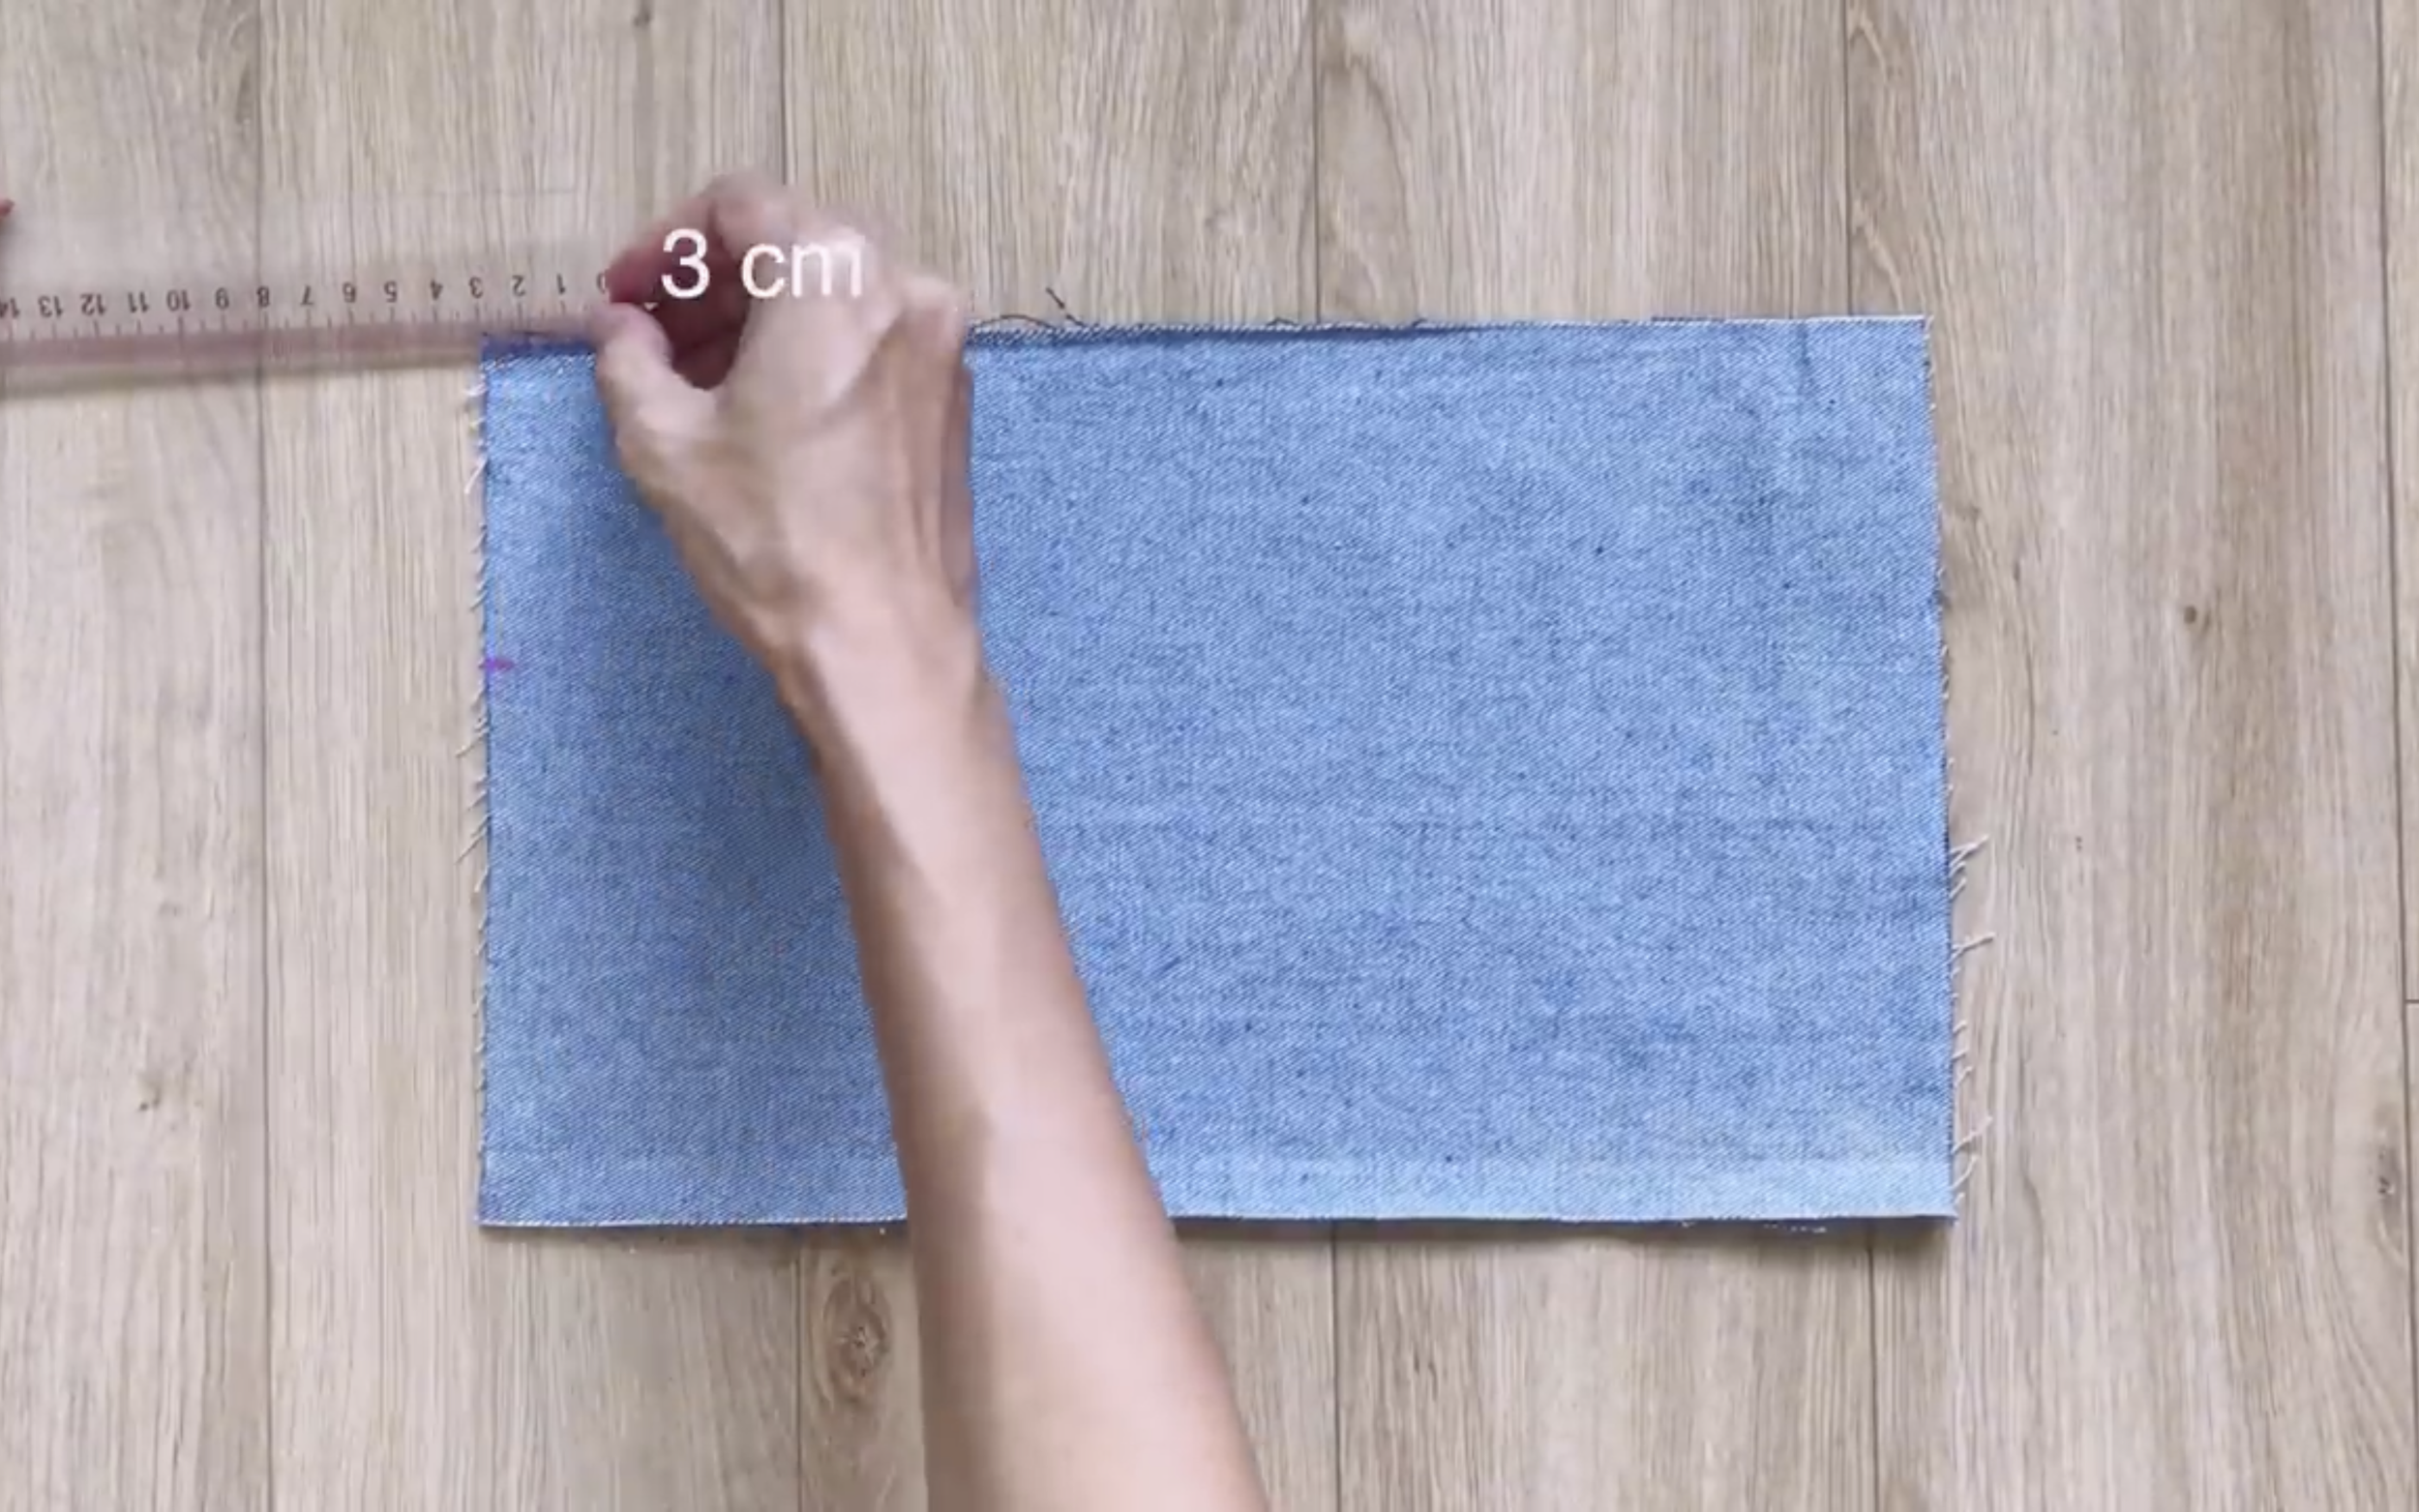
On one length line, mark at 3 cm.
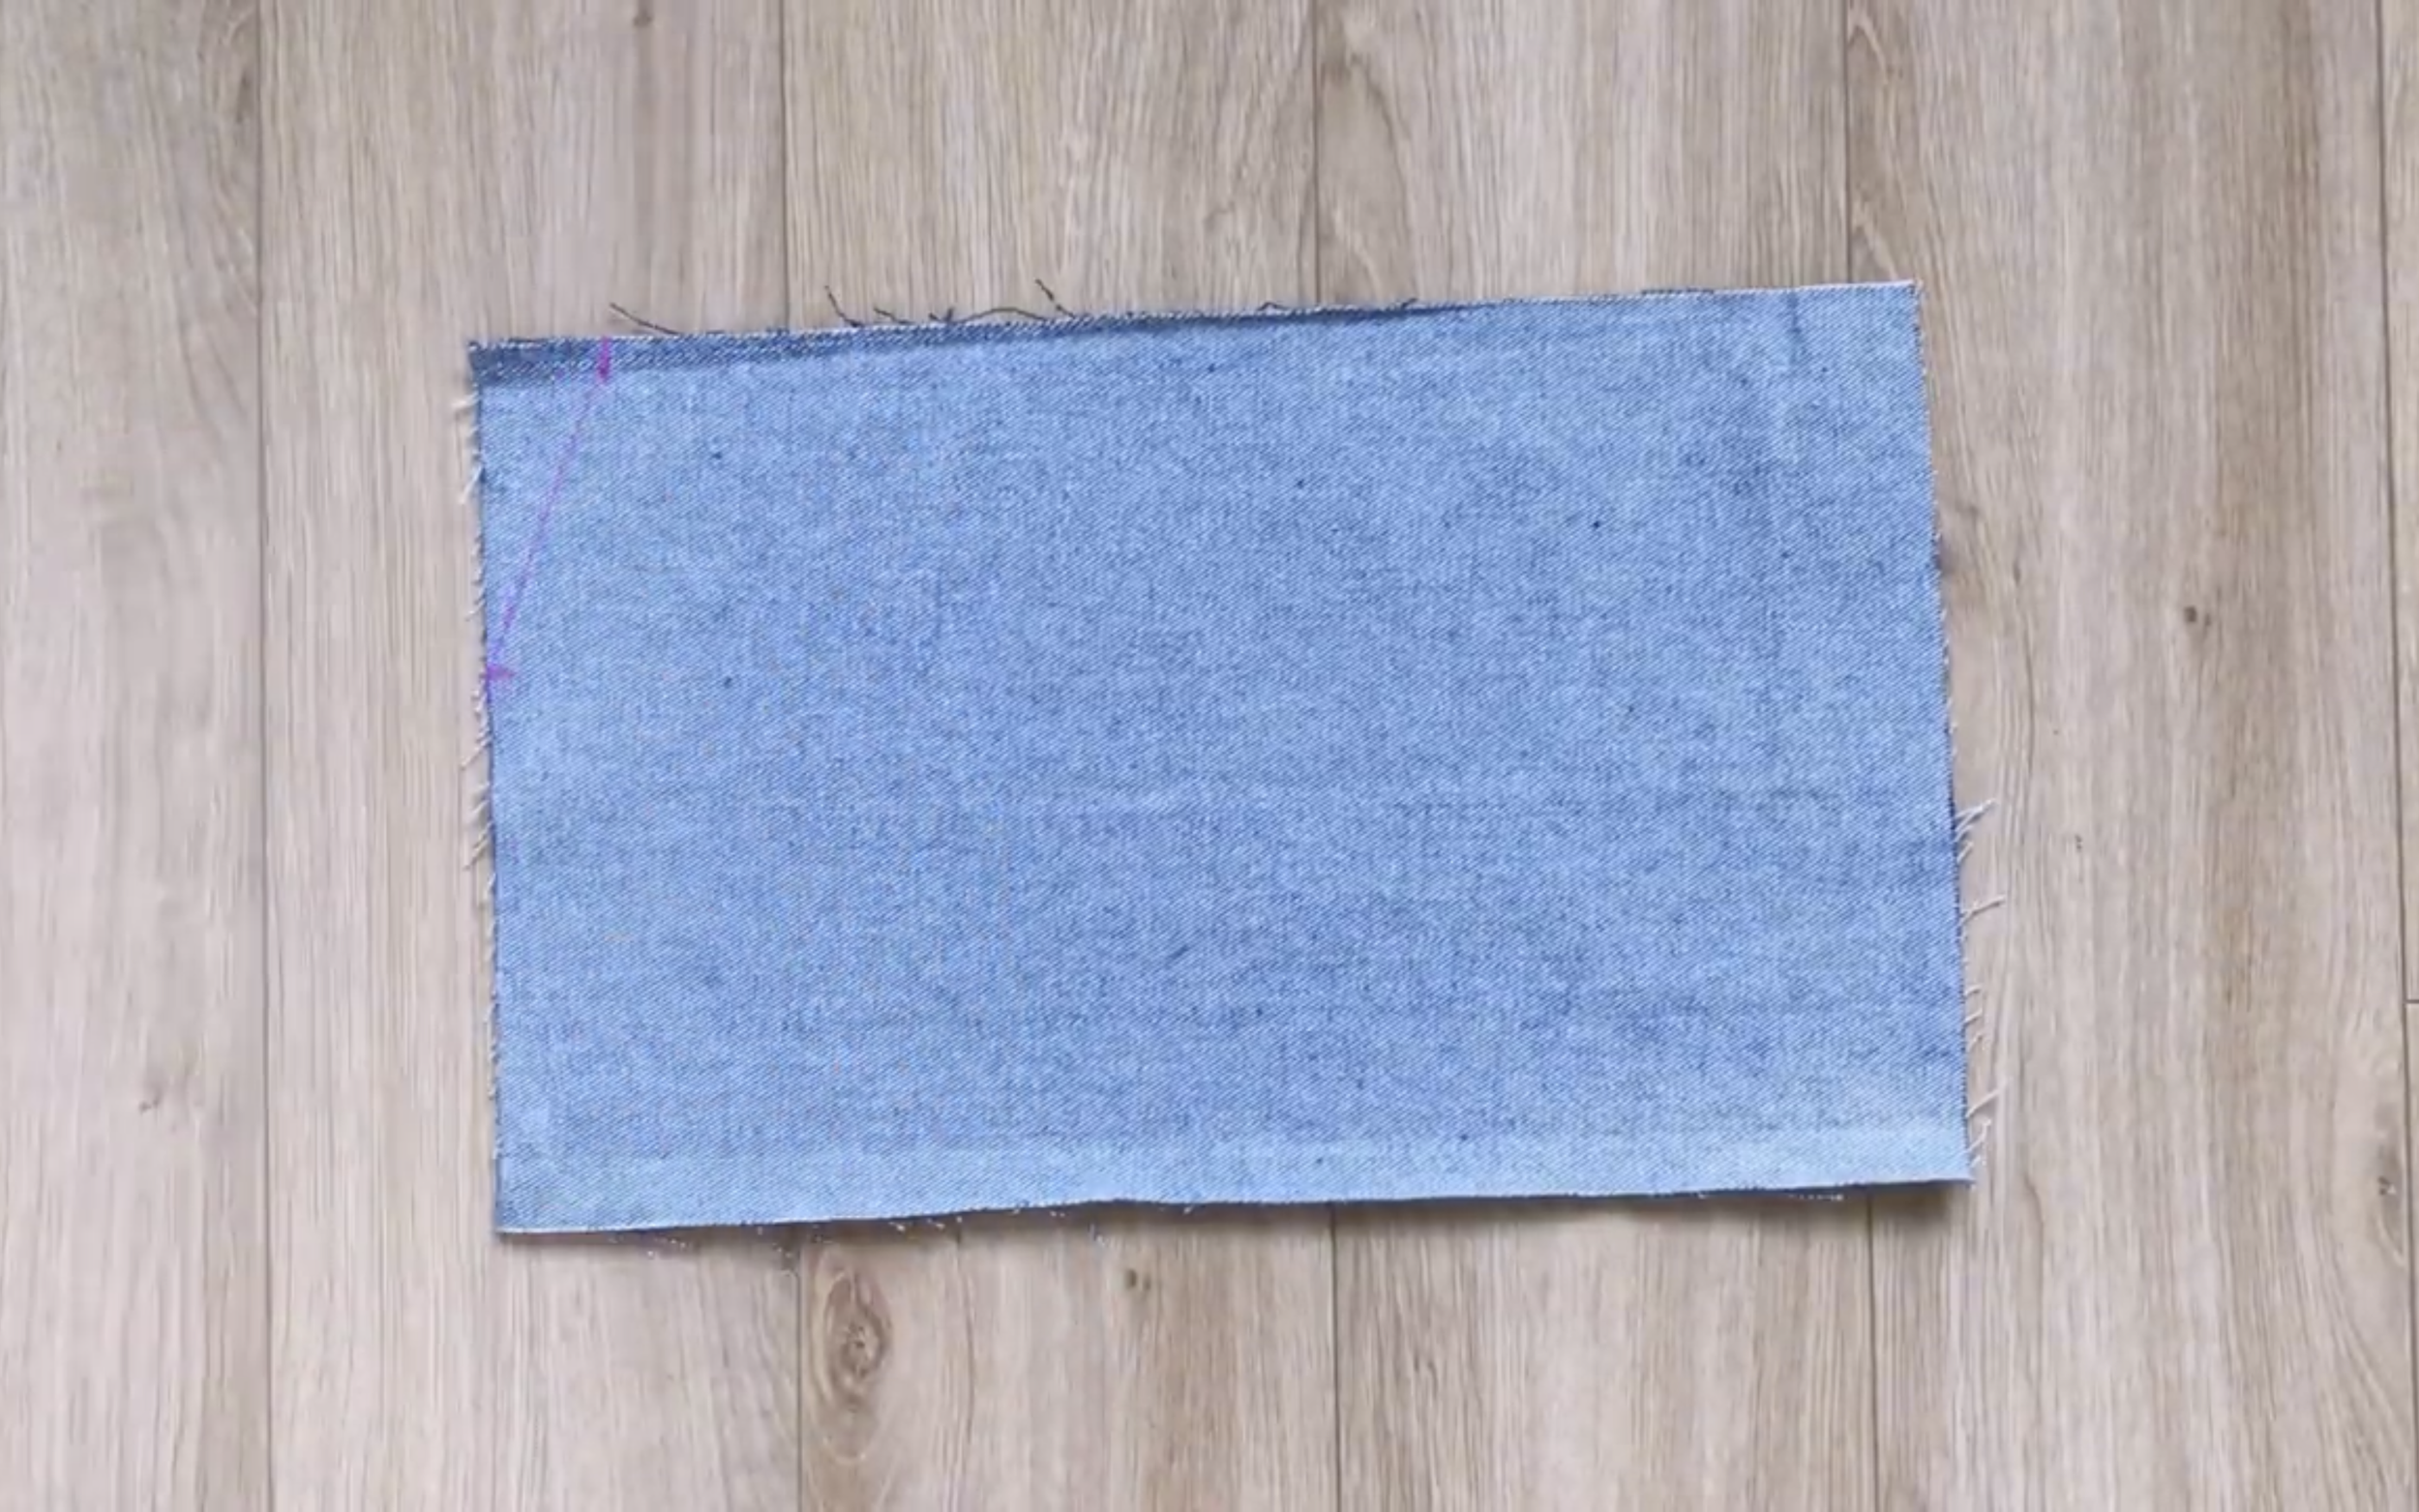
Then connect the two marks together—this will be the armpit area of the top of the jumpsuit.
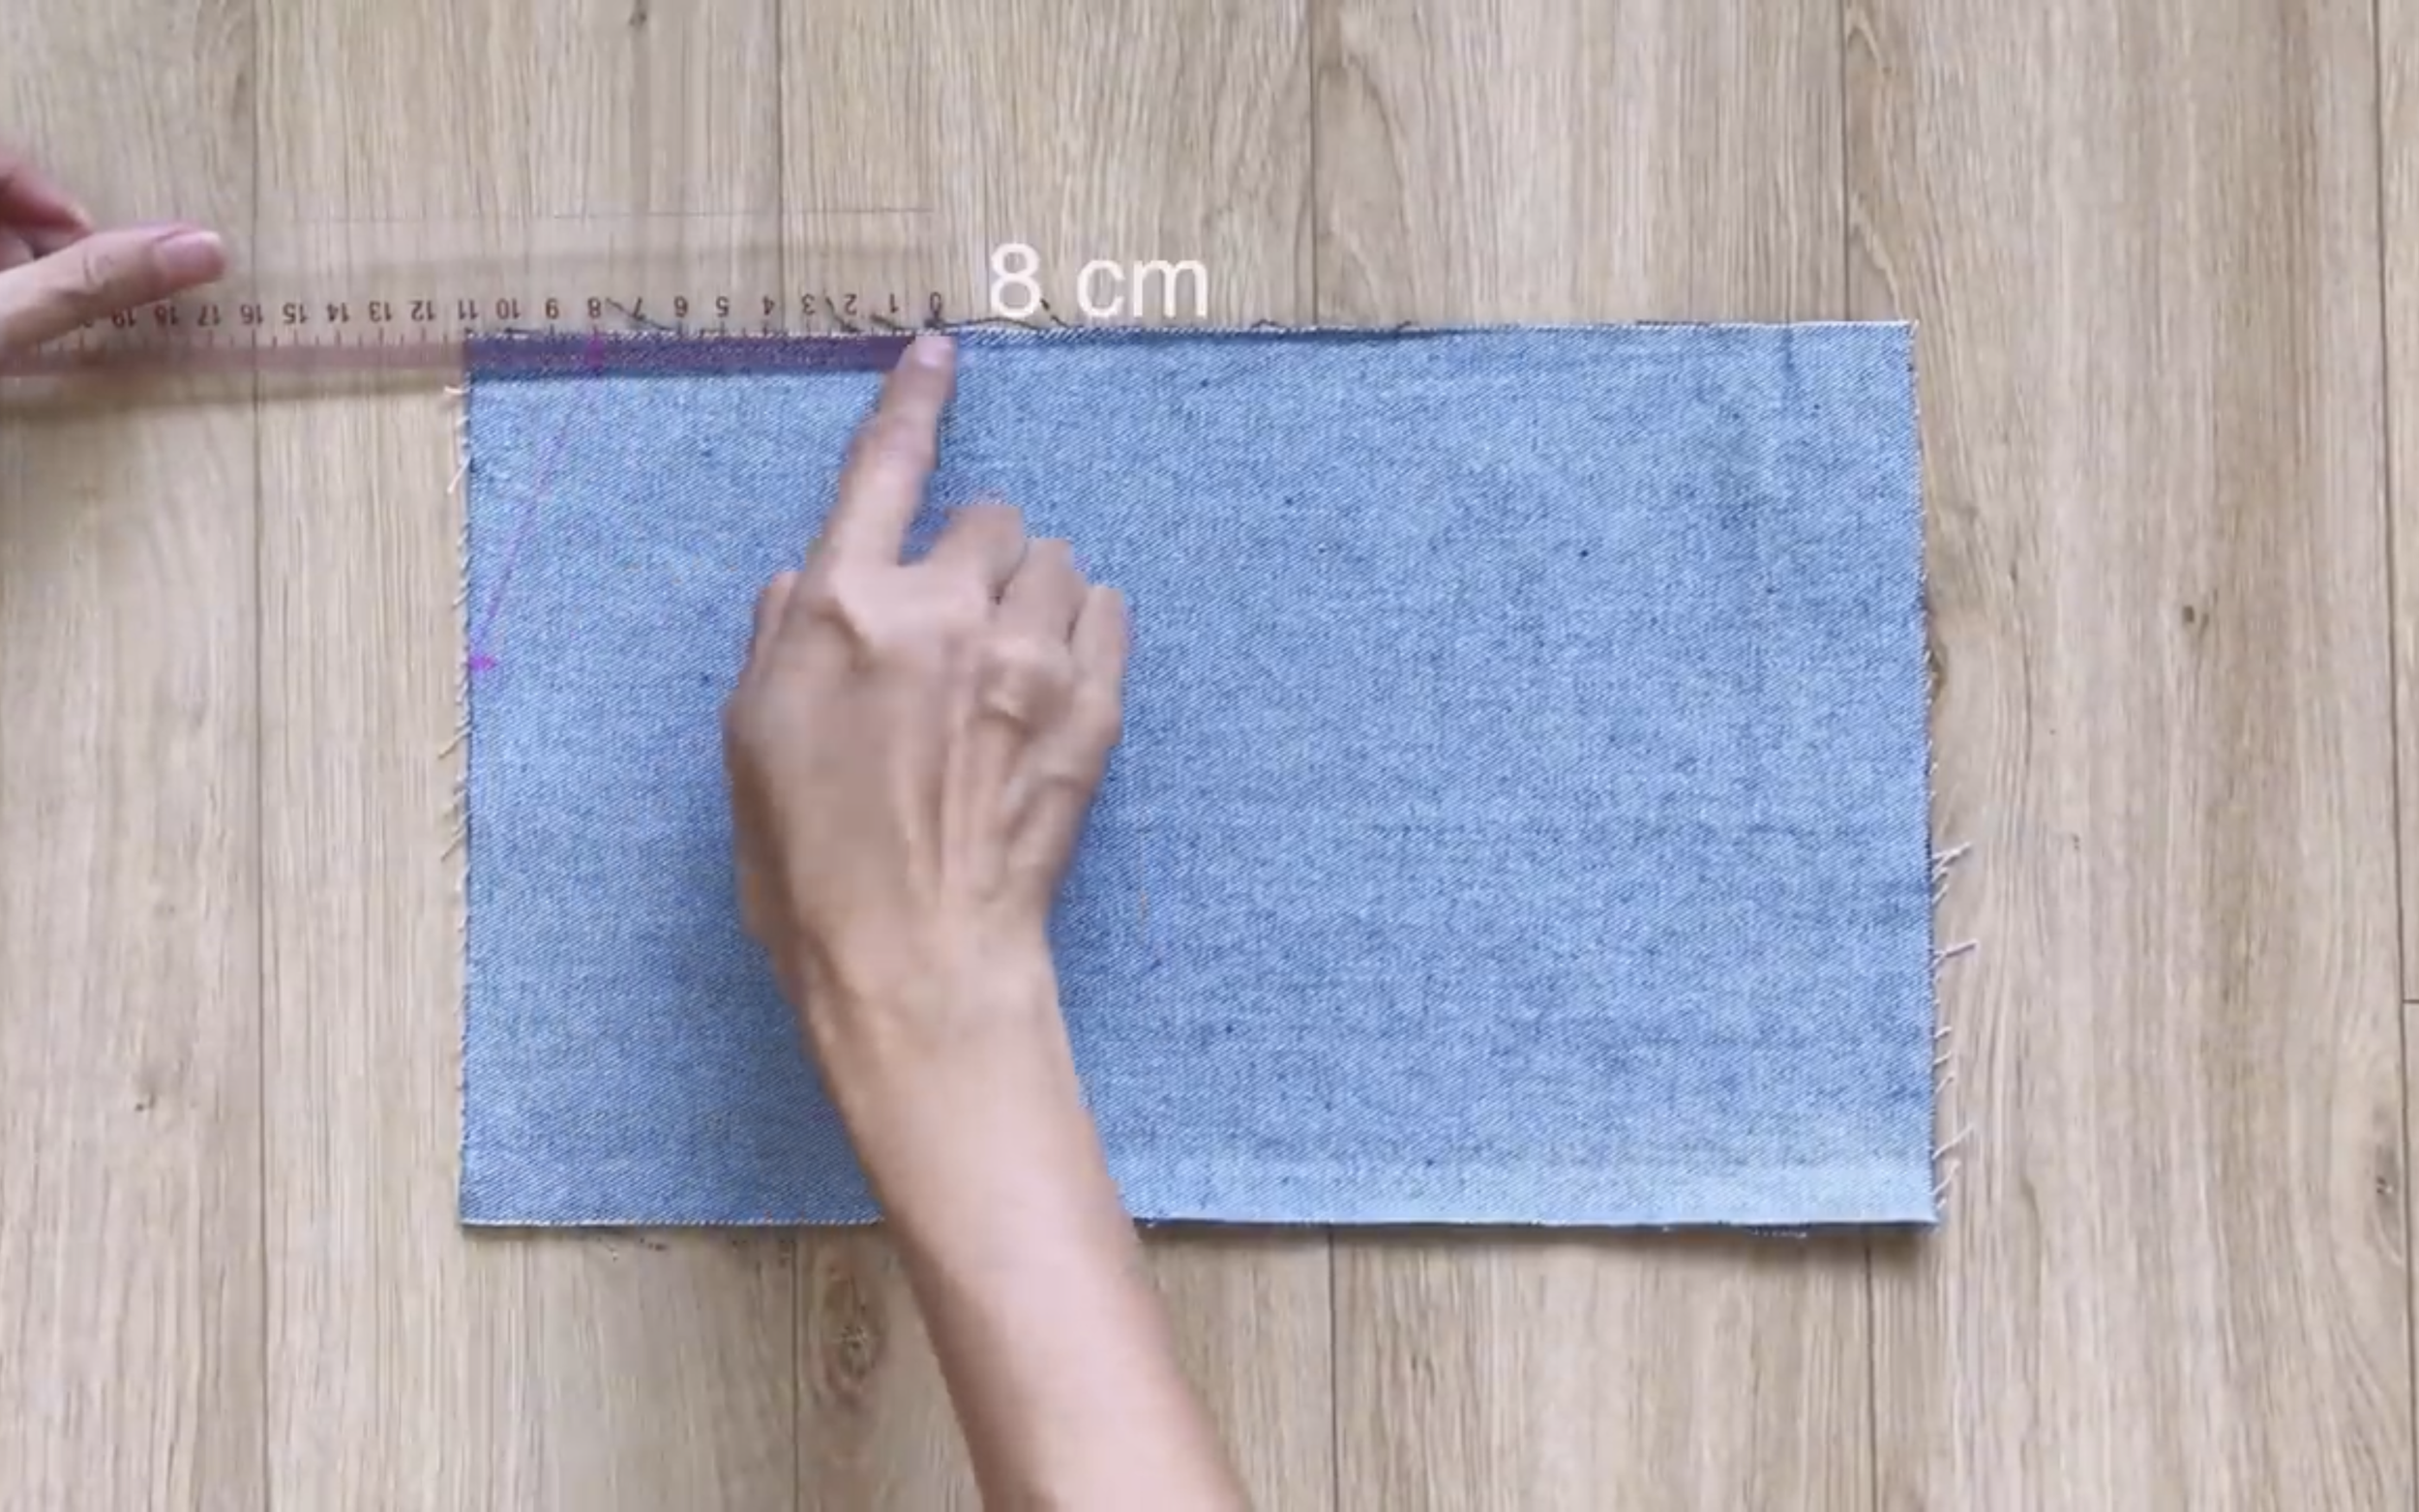
From the mark on the length line, make another mark at 8 cm.
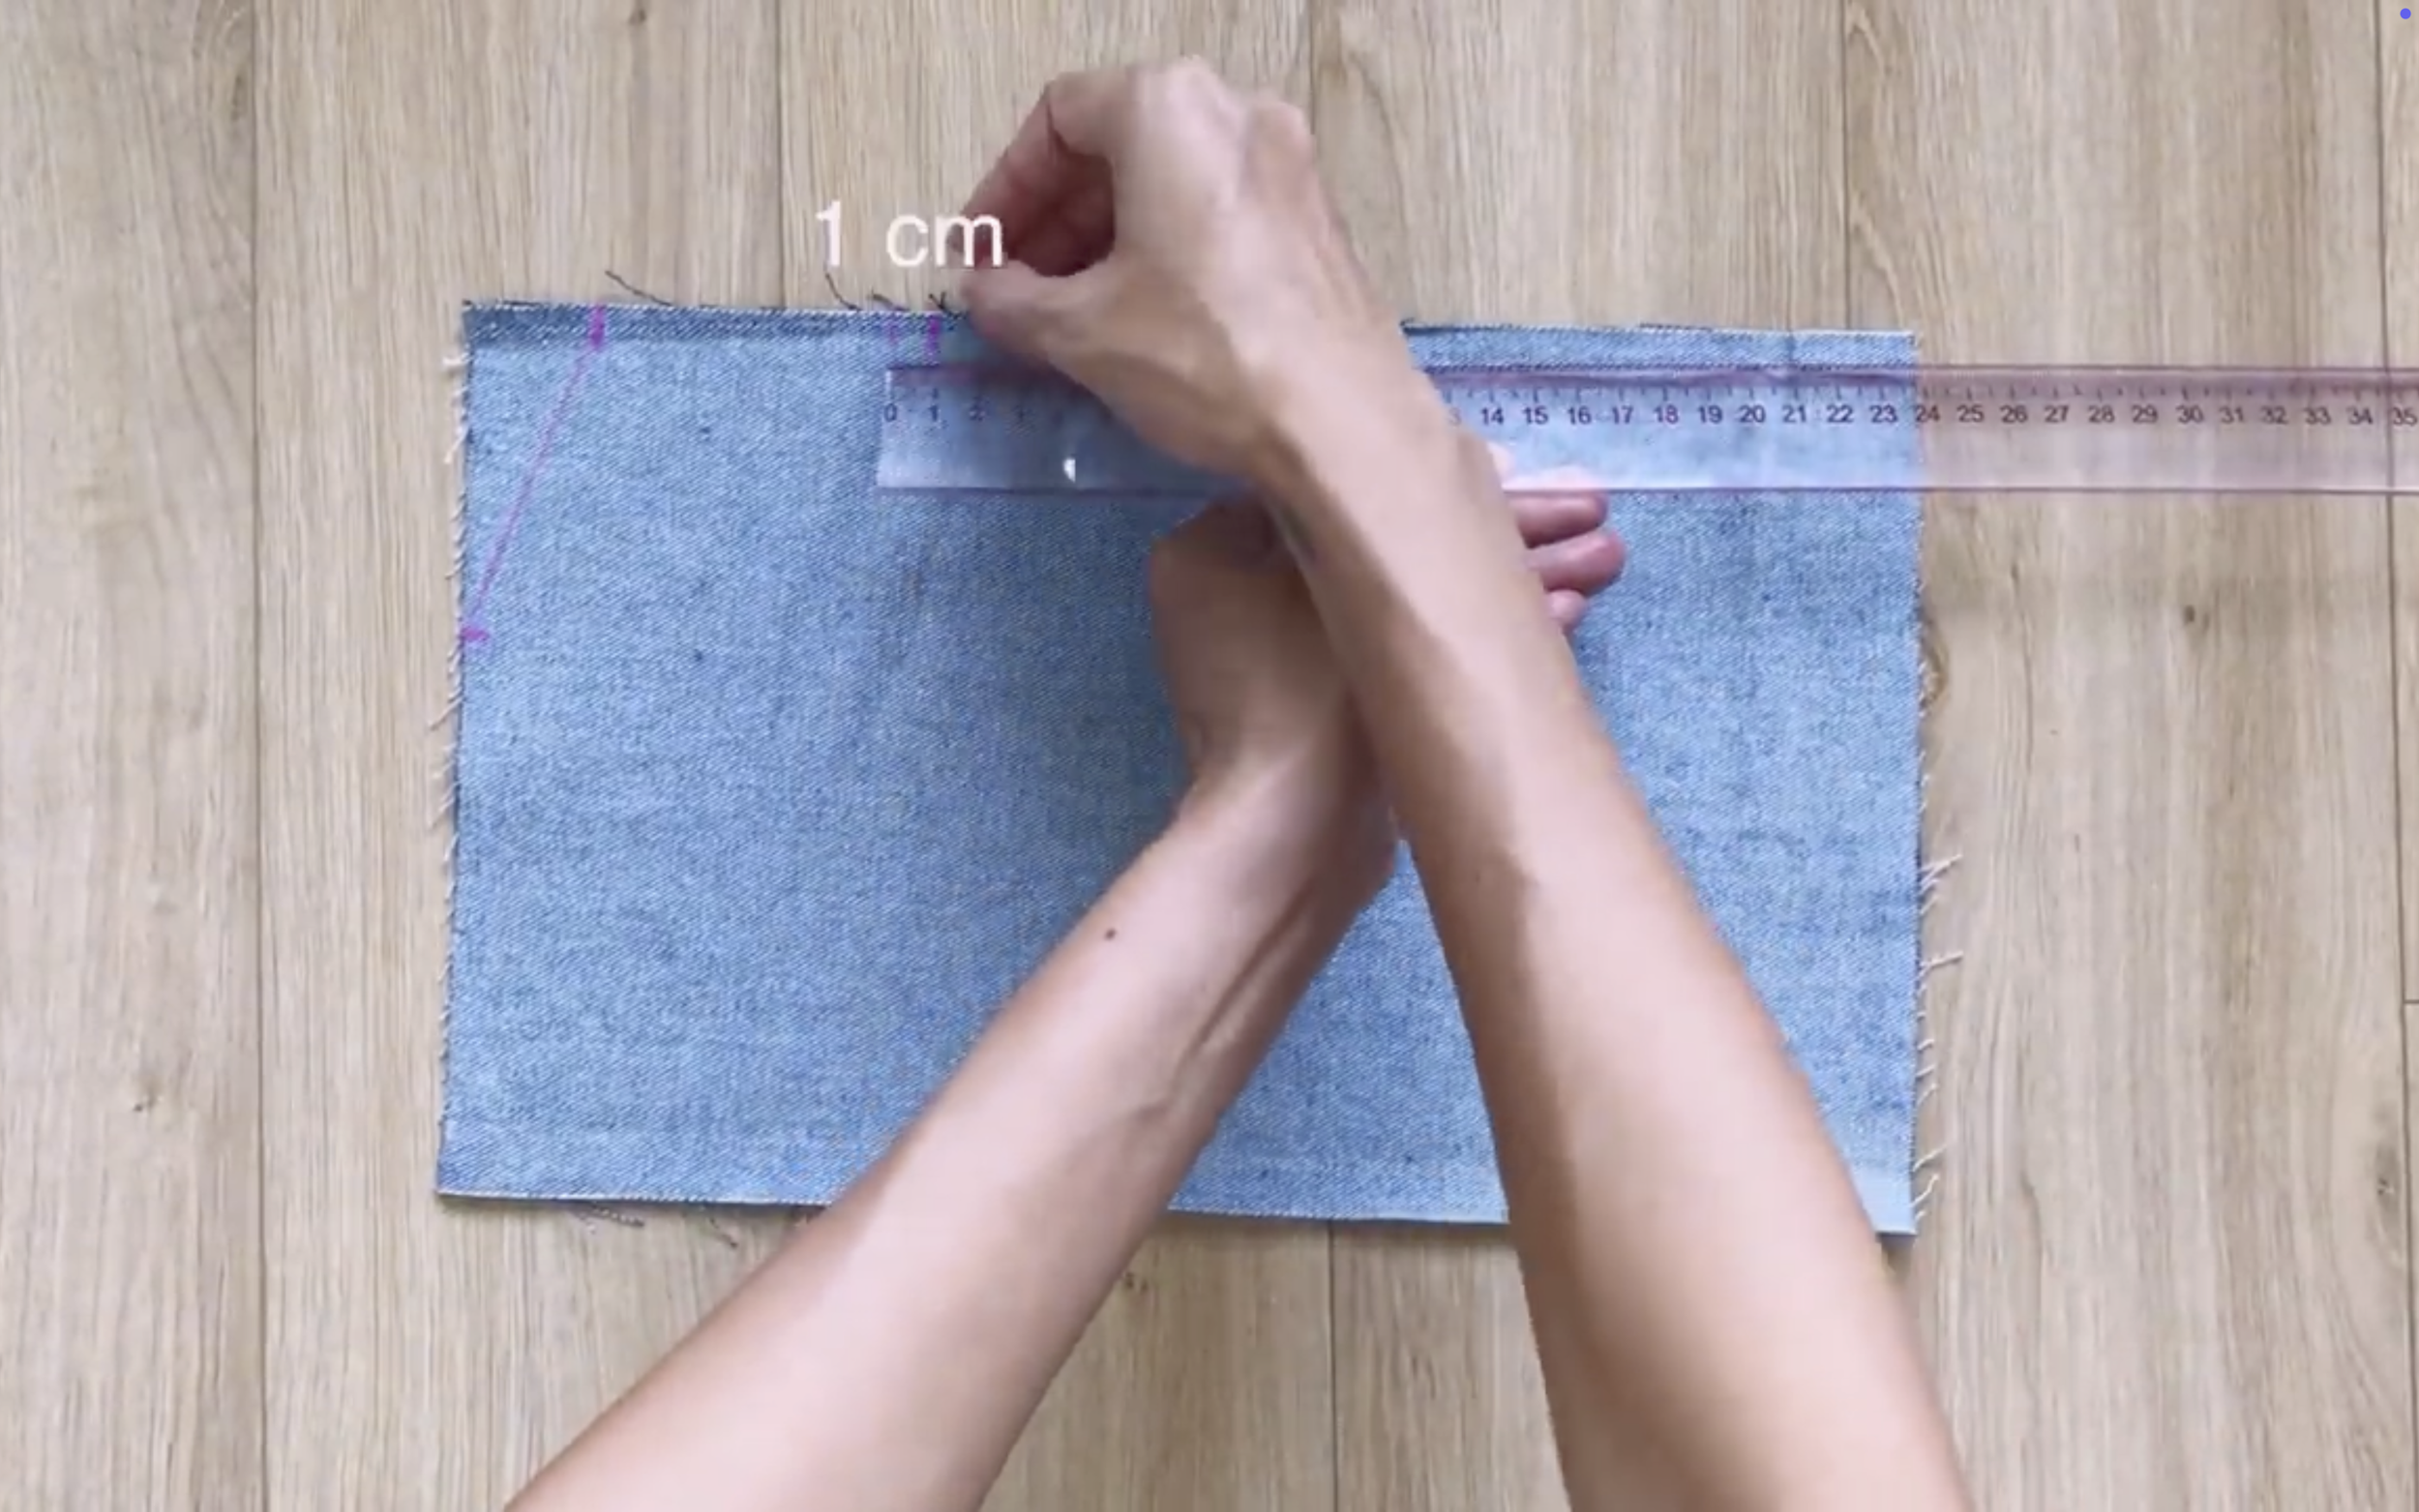
Then make two other marks on either side of this mark, 1 cm away from each other.
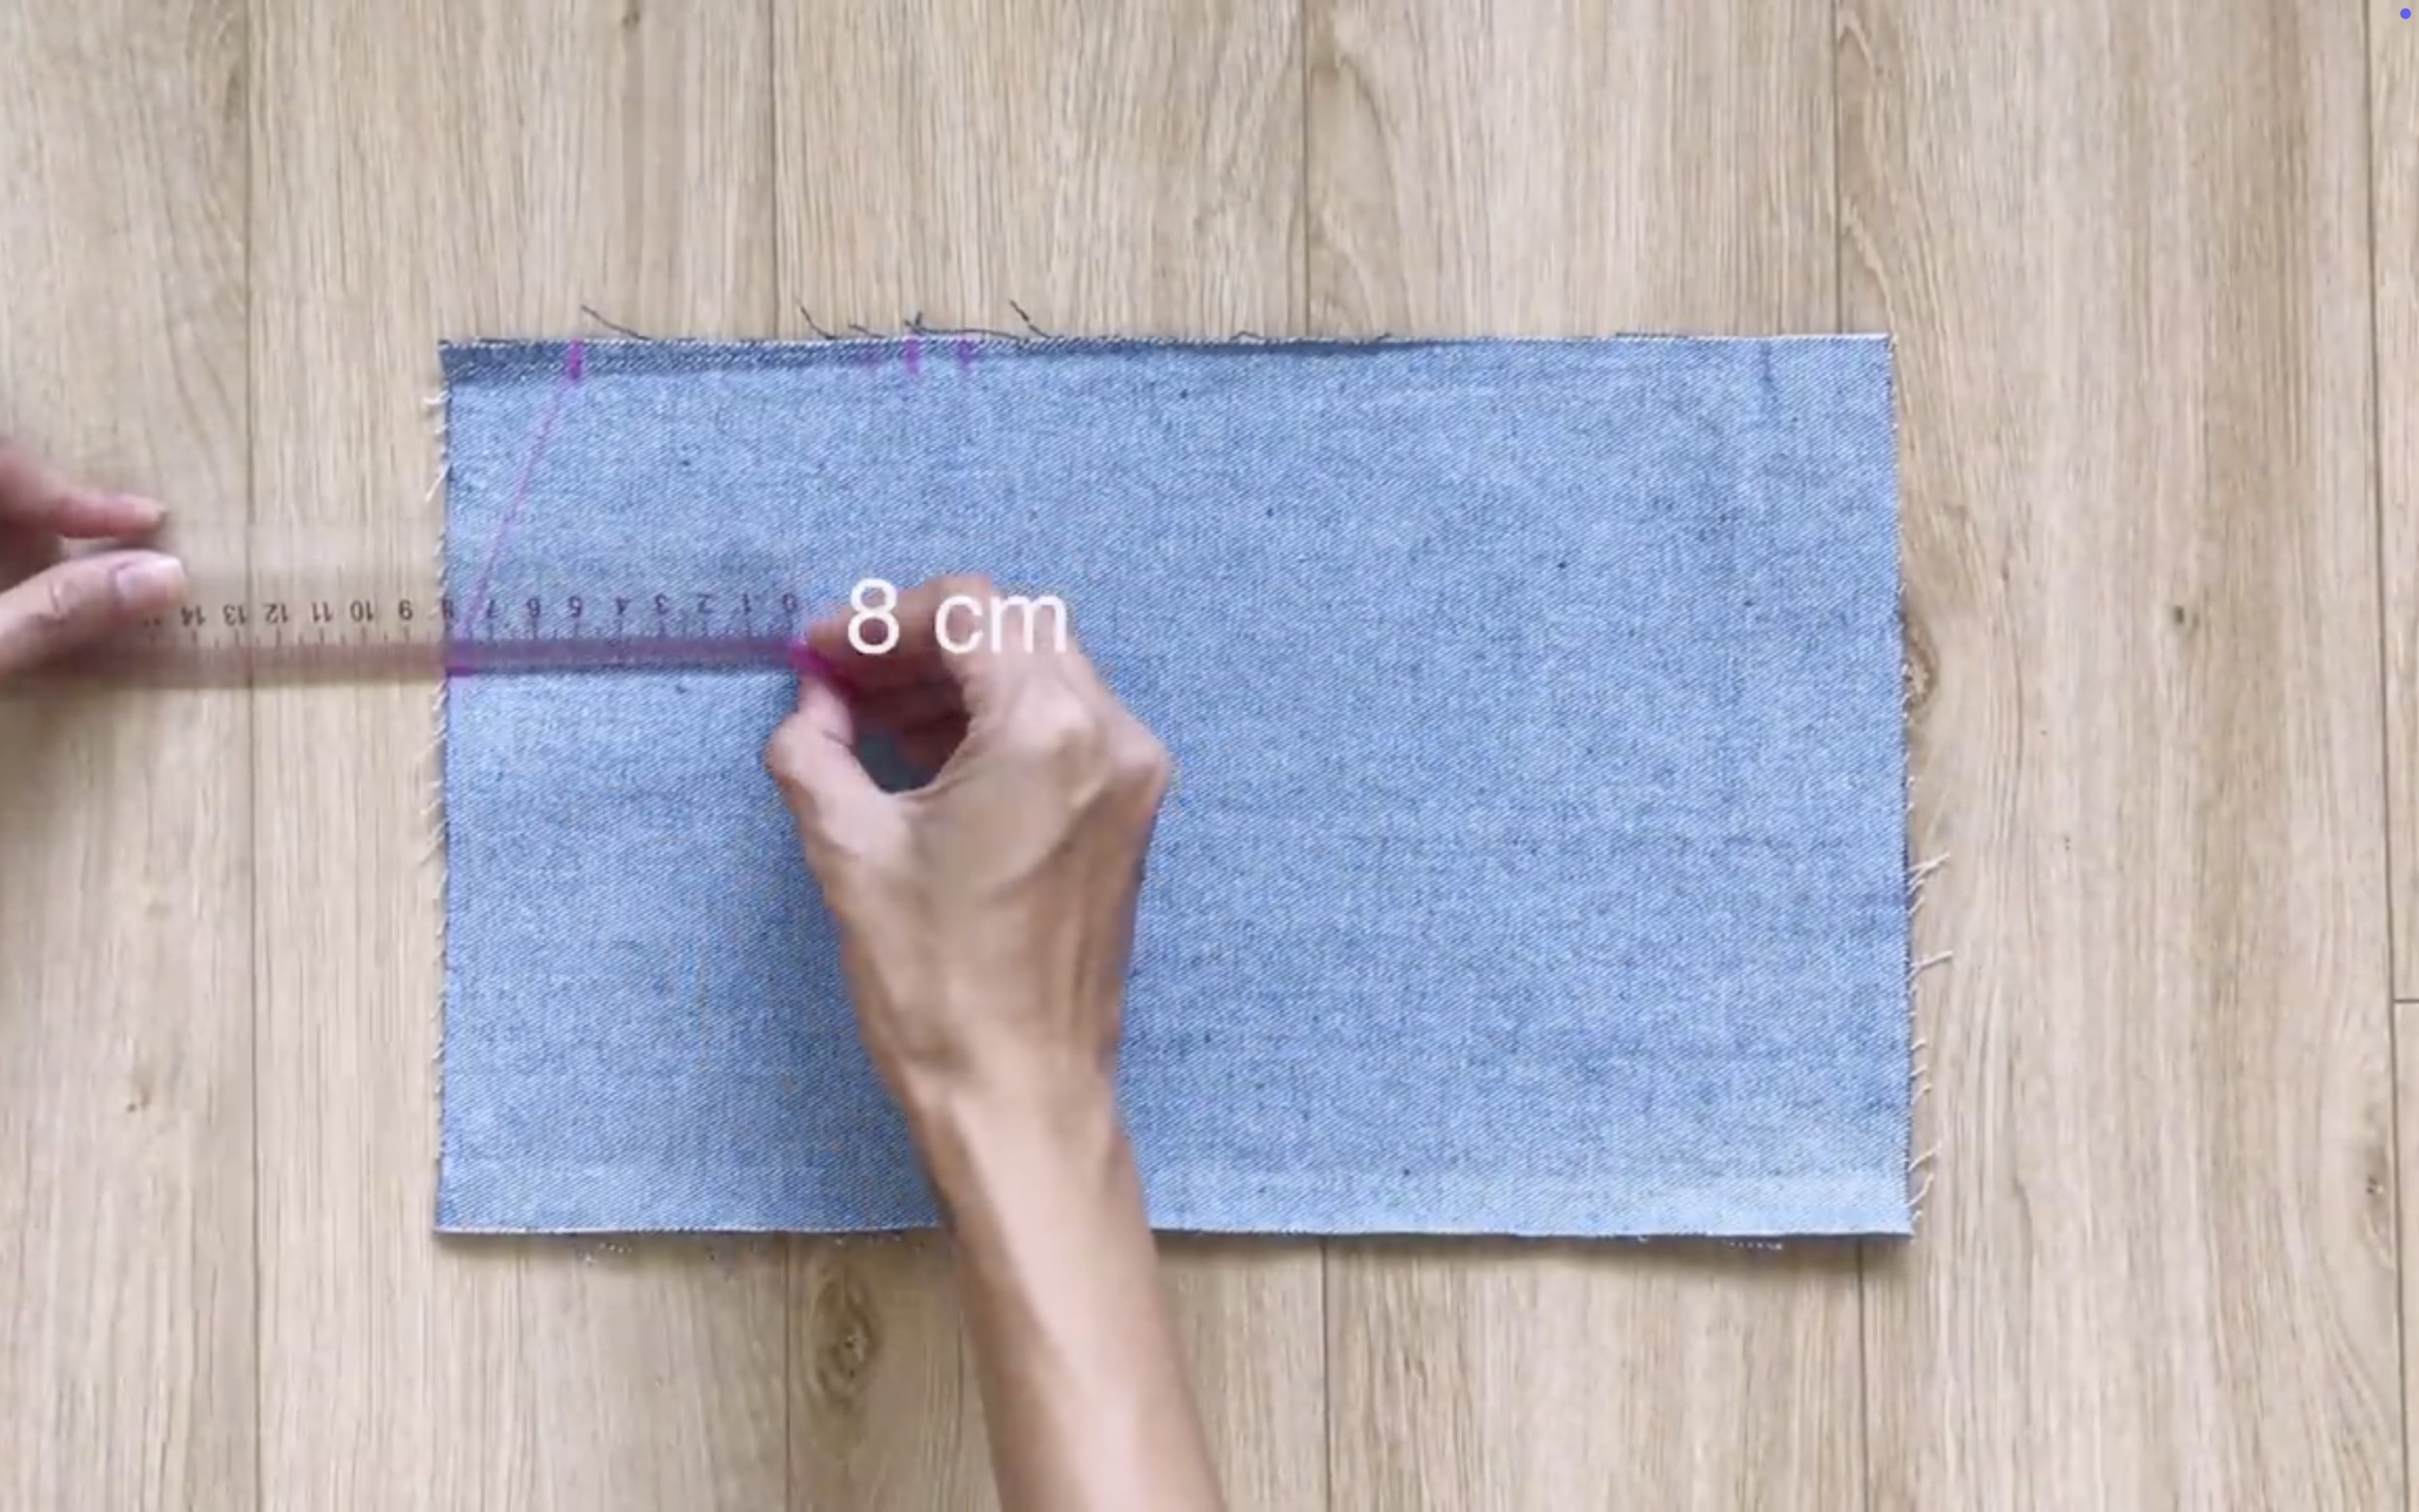
From the mark on the width line, make a mark 8 cm inside.
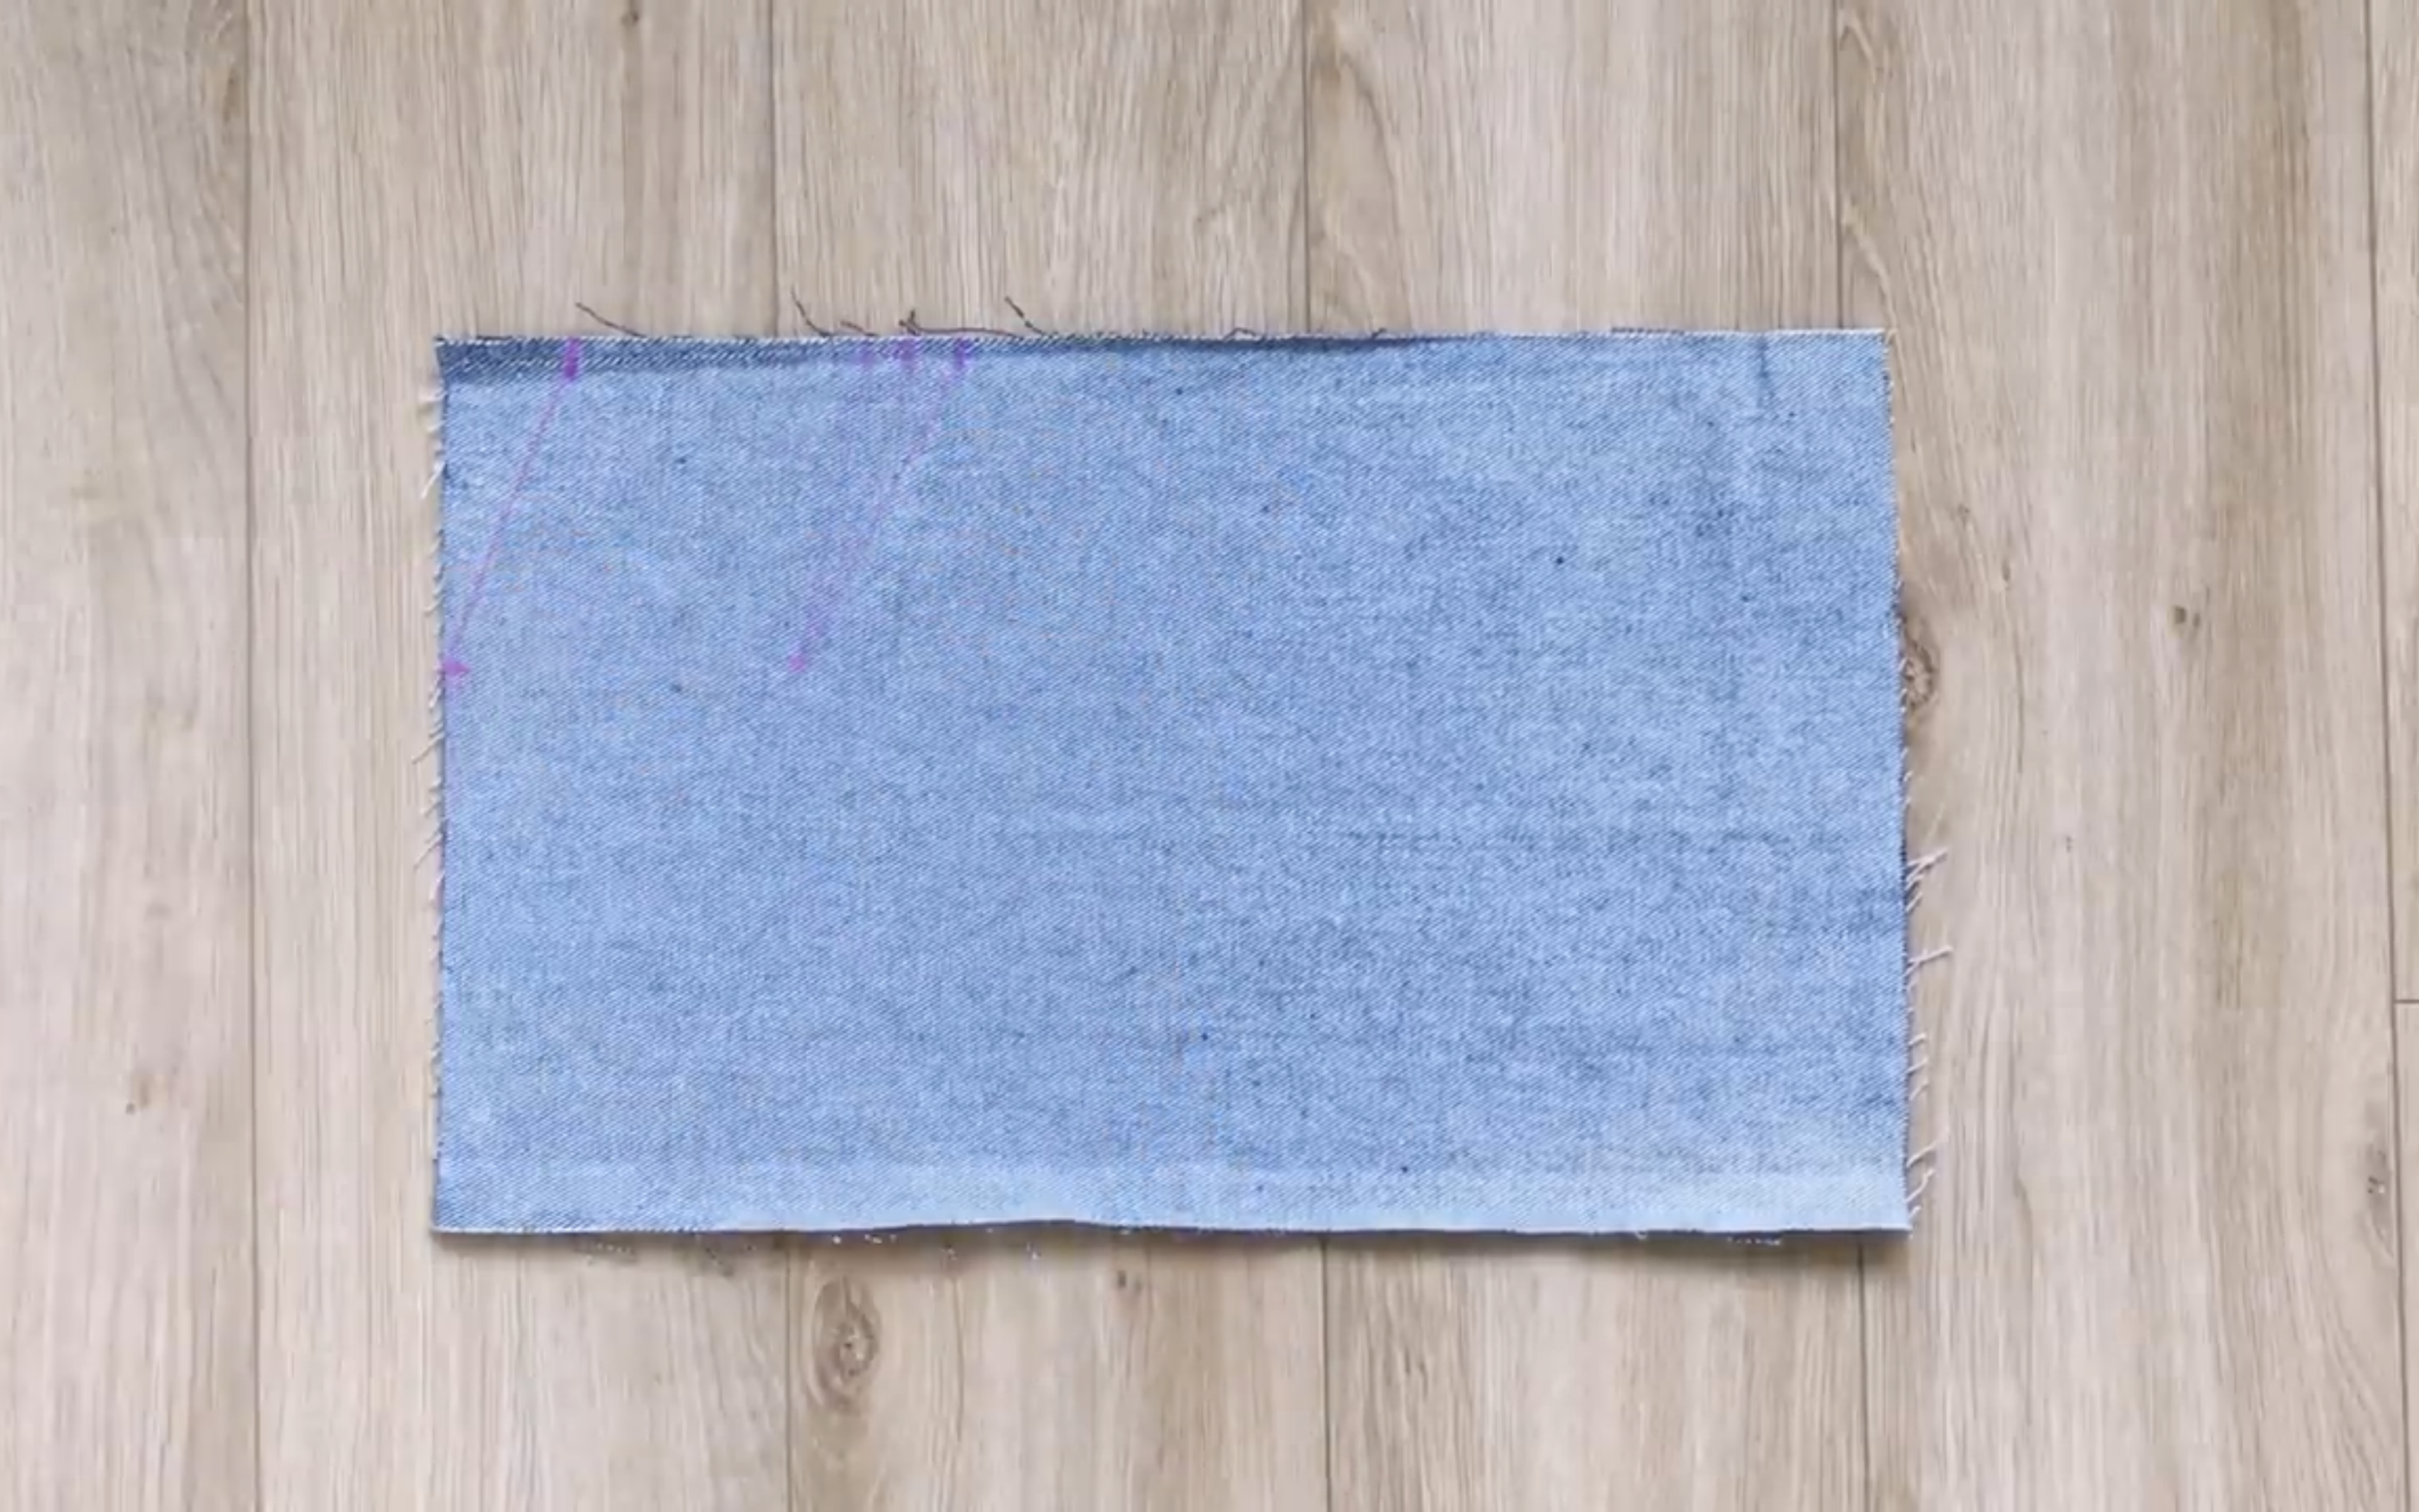
Then connect the three marks on the length line to this mark—this will be the bust dart of the top bodice.
If a larger bust size is needed, the bust dart should be bigger.
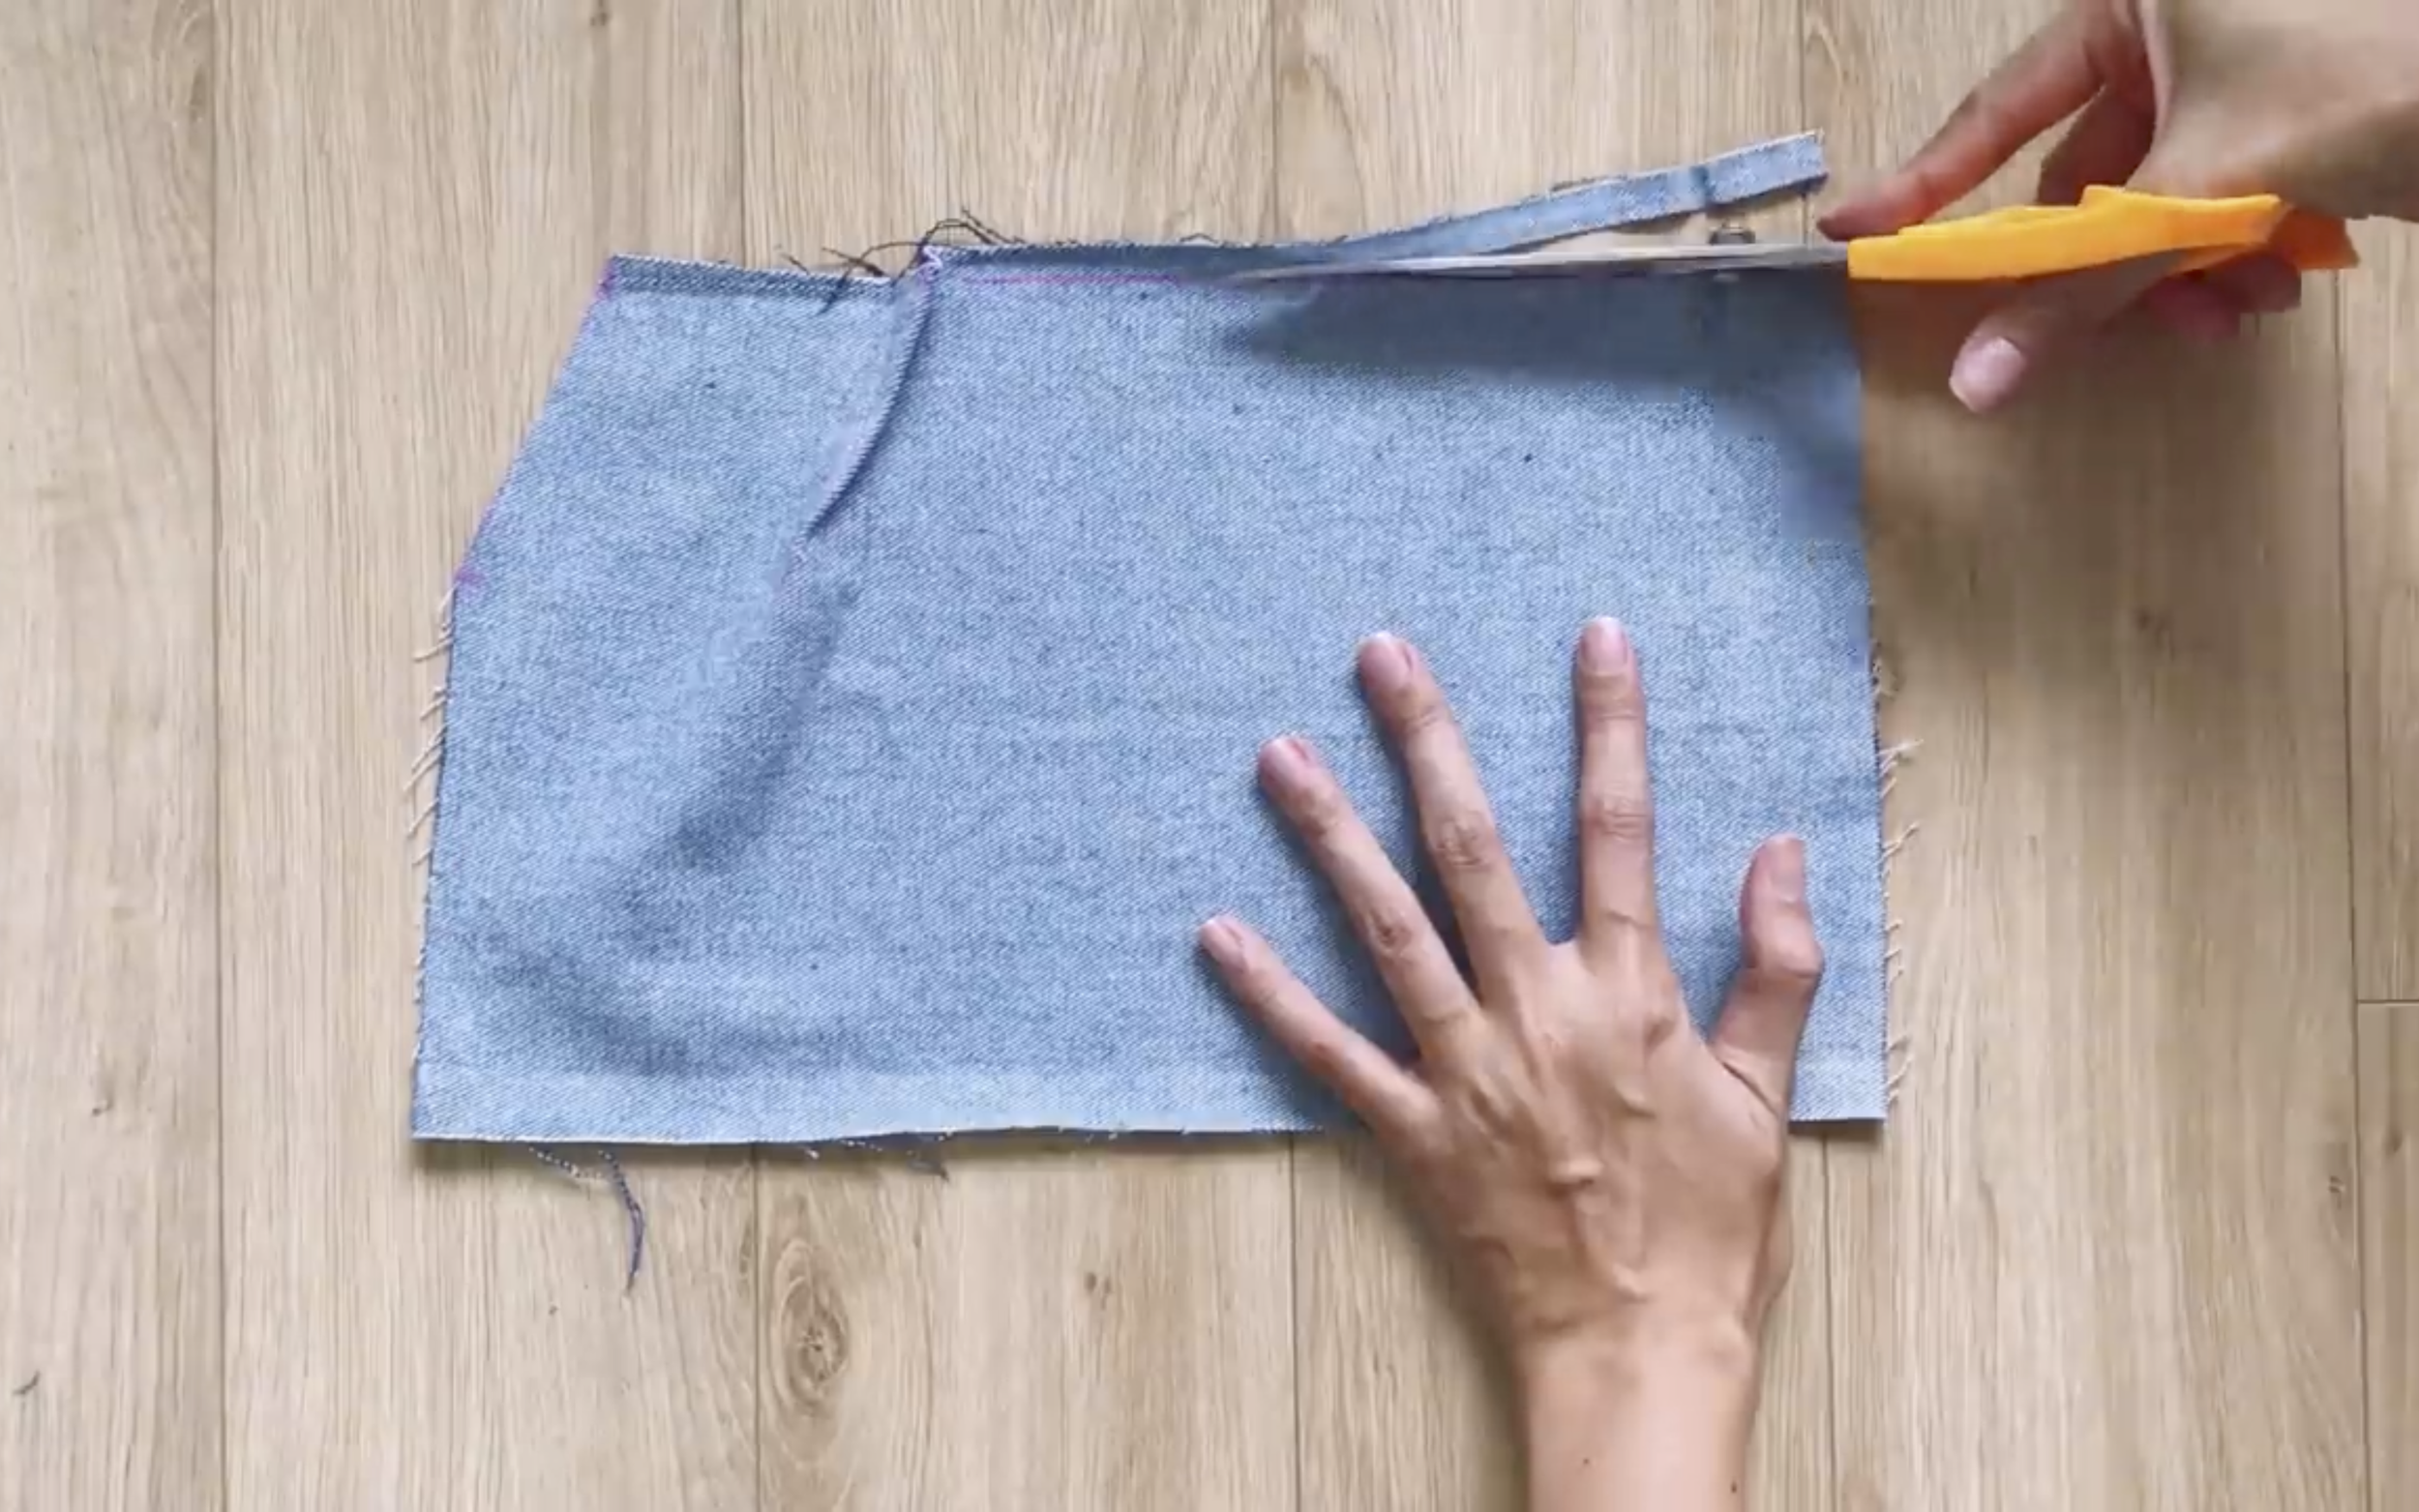
After sewing, redraw the length line and cut accordingly.
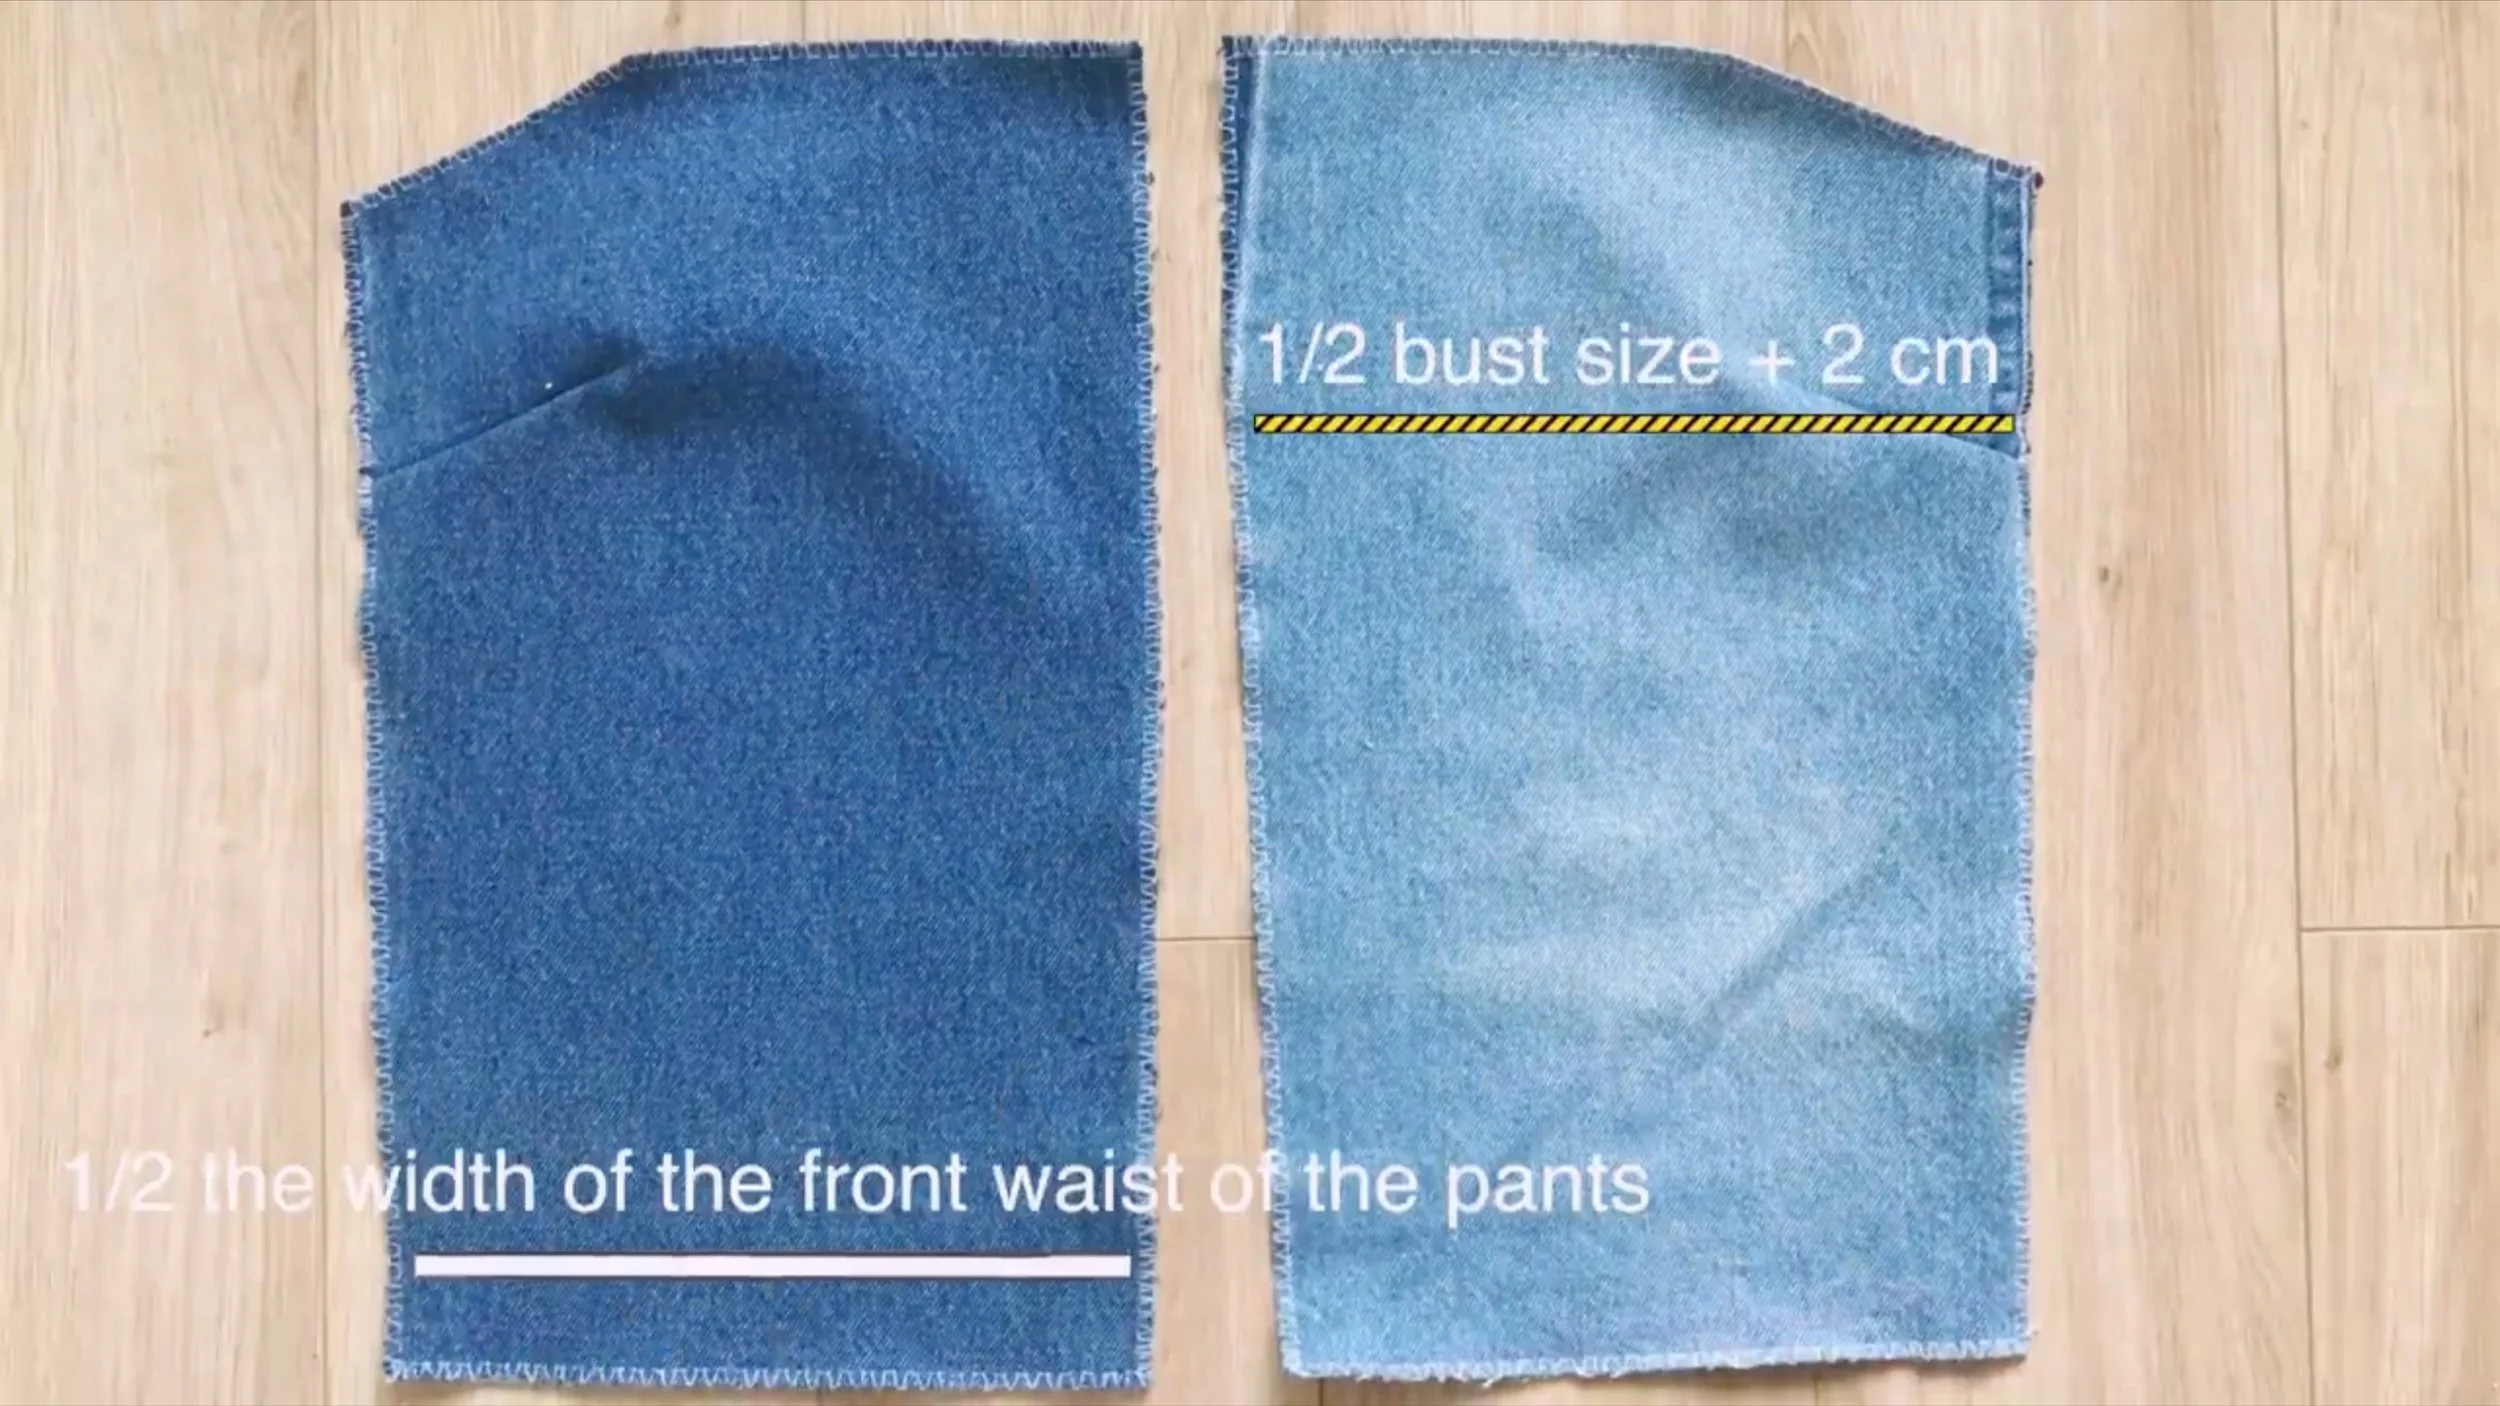
And here is the front bodice of the jumpsuit.
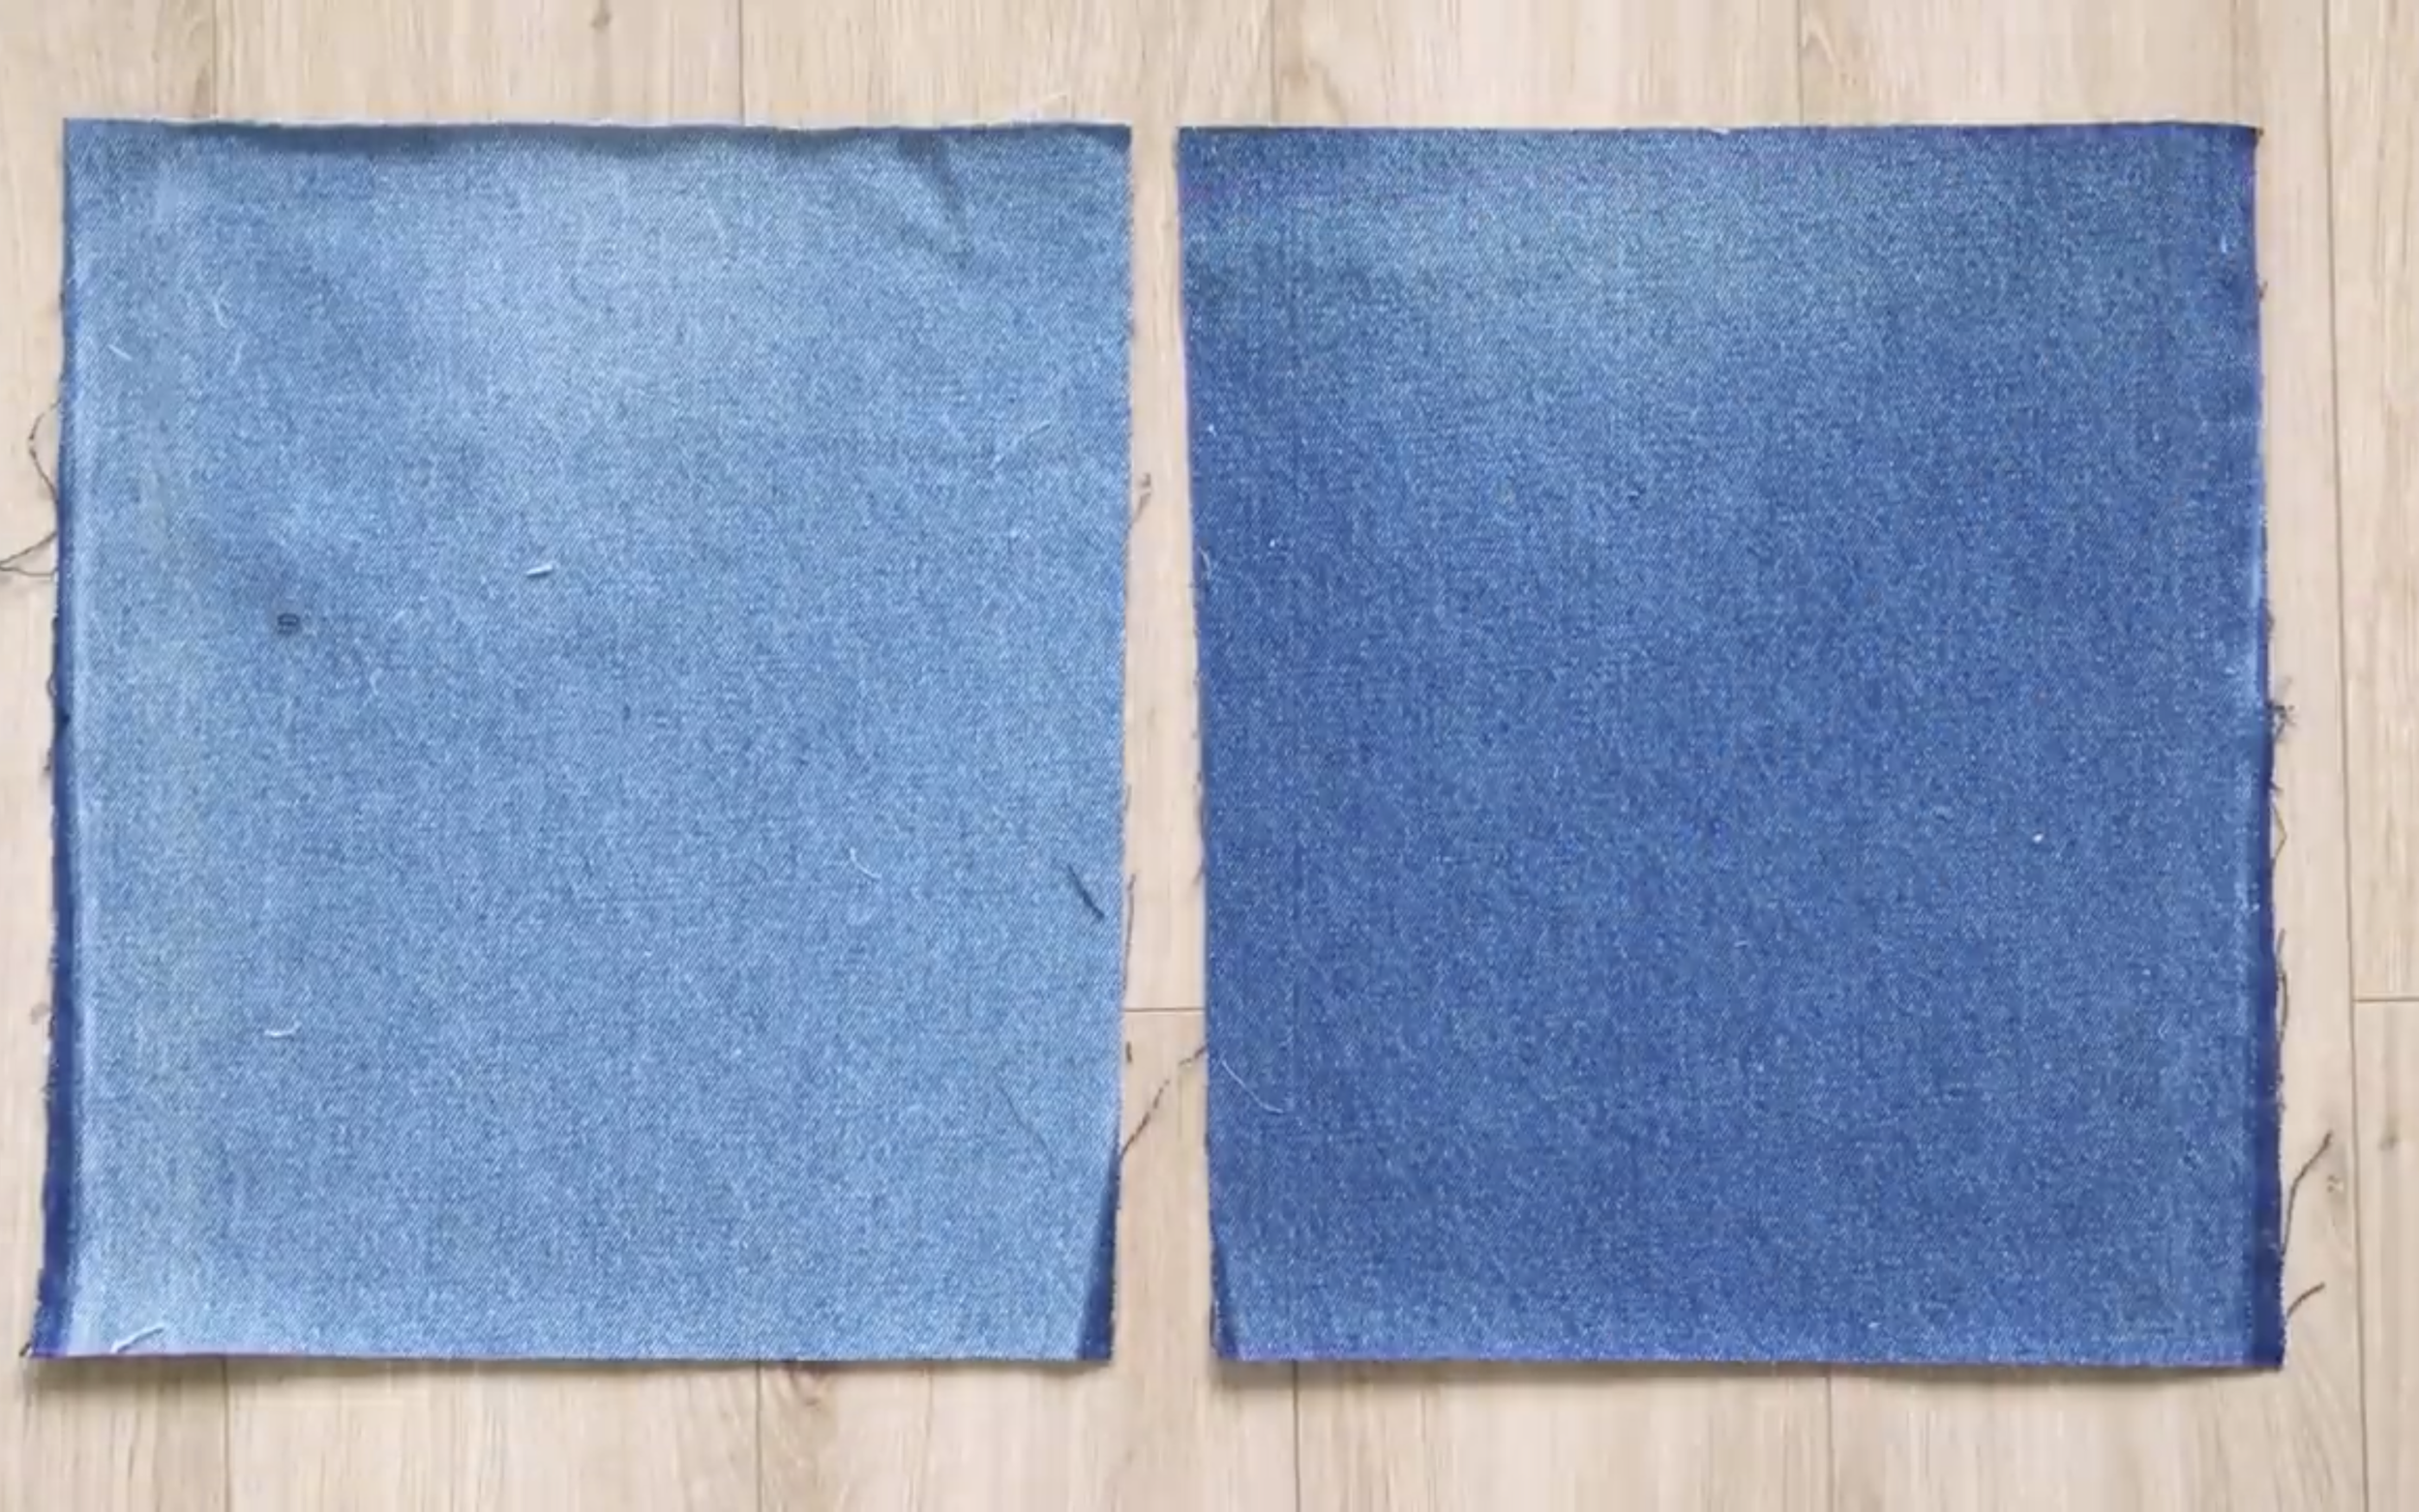
To make the back bodice, cut two rectangles with the same width as the front and a 32 cm length, which is 3 cm shorter than the front.
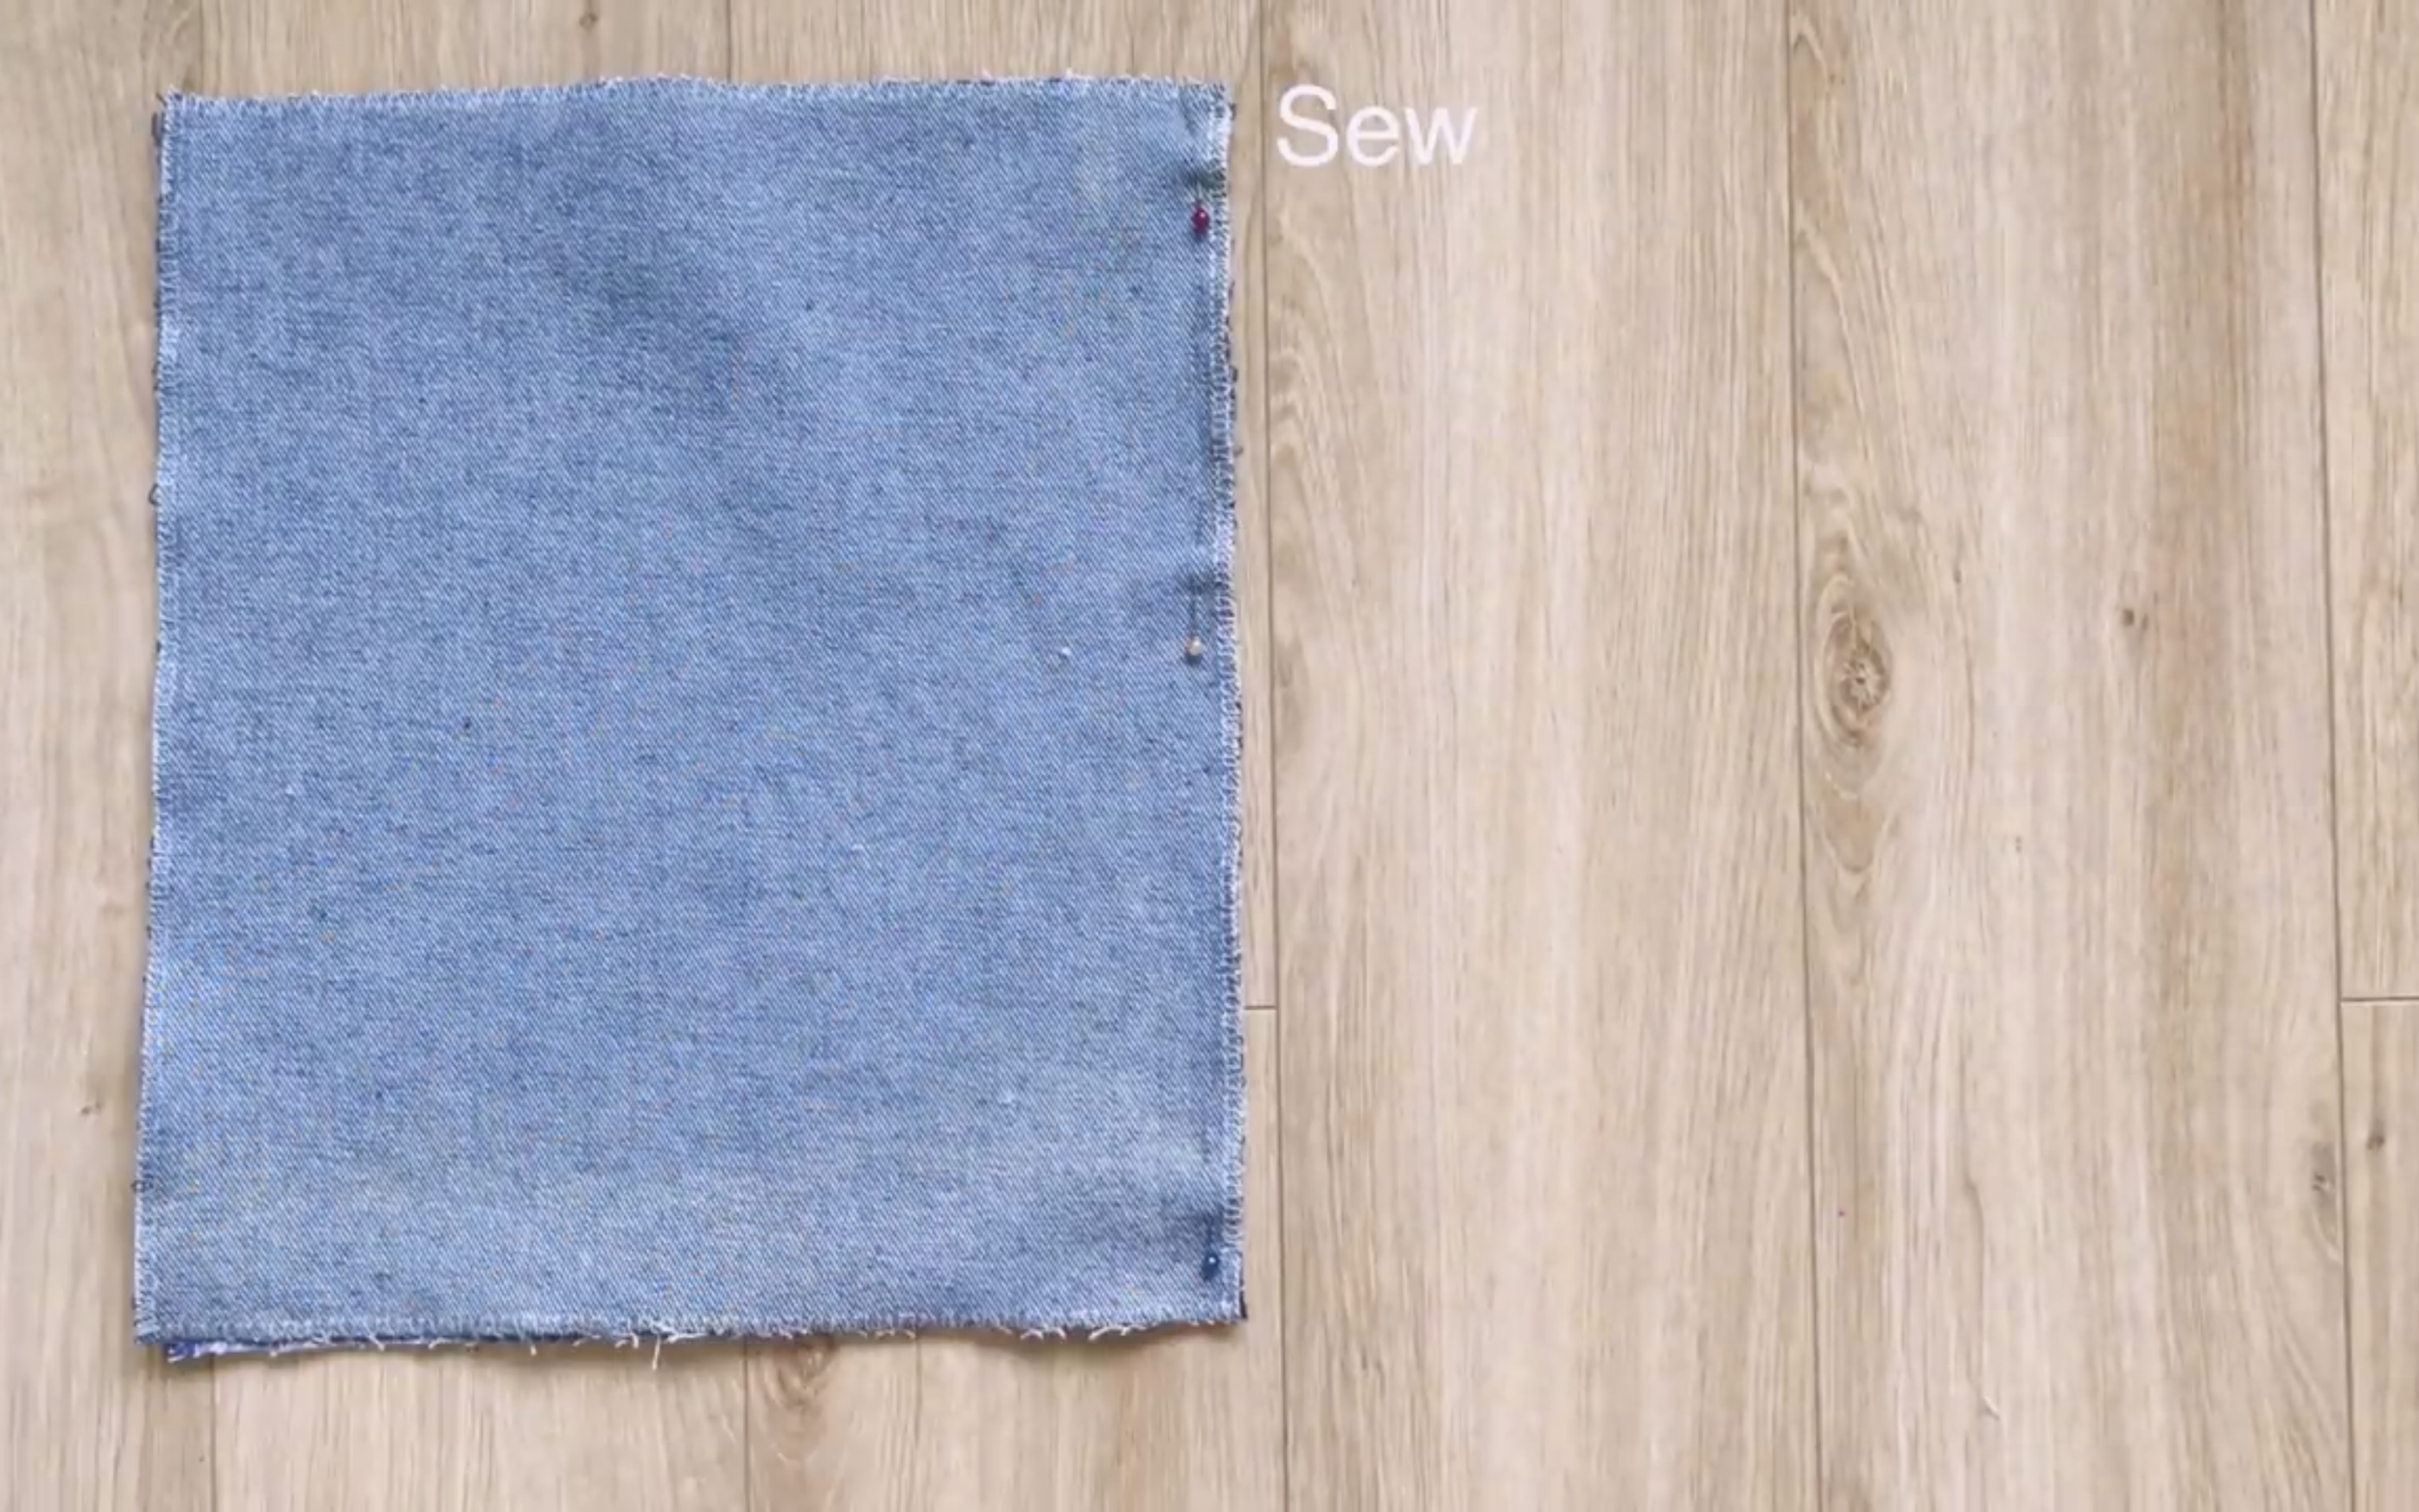
Connect the two back bodice pieces together at the waistline first.
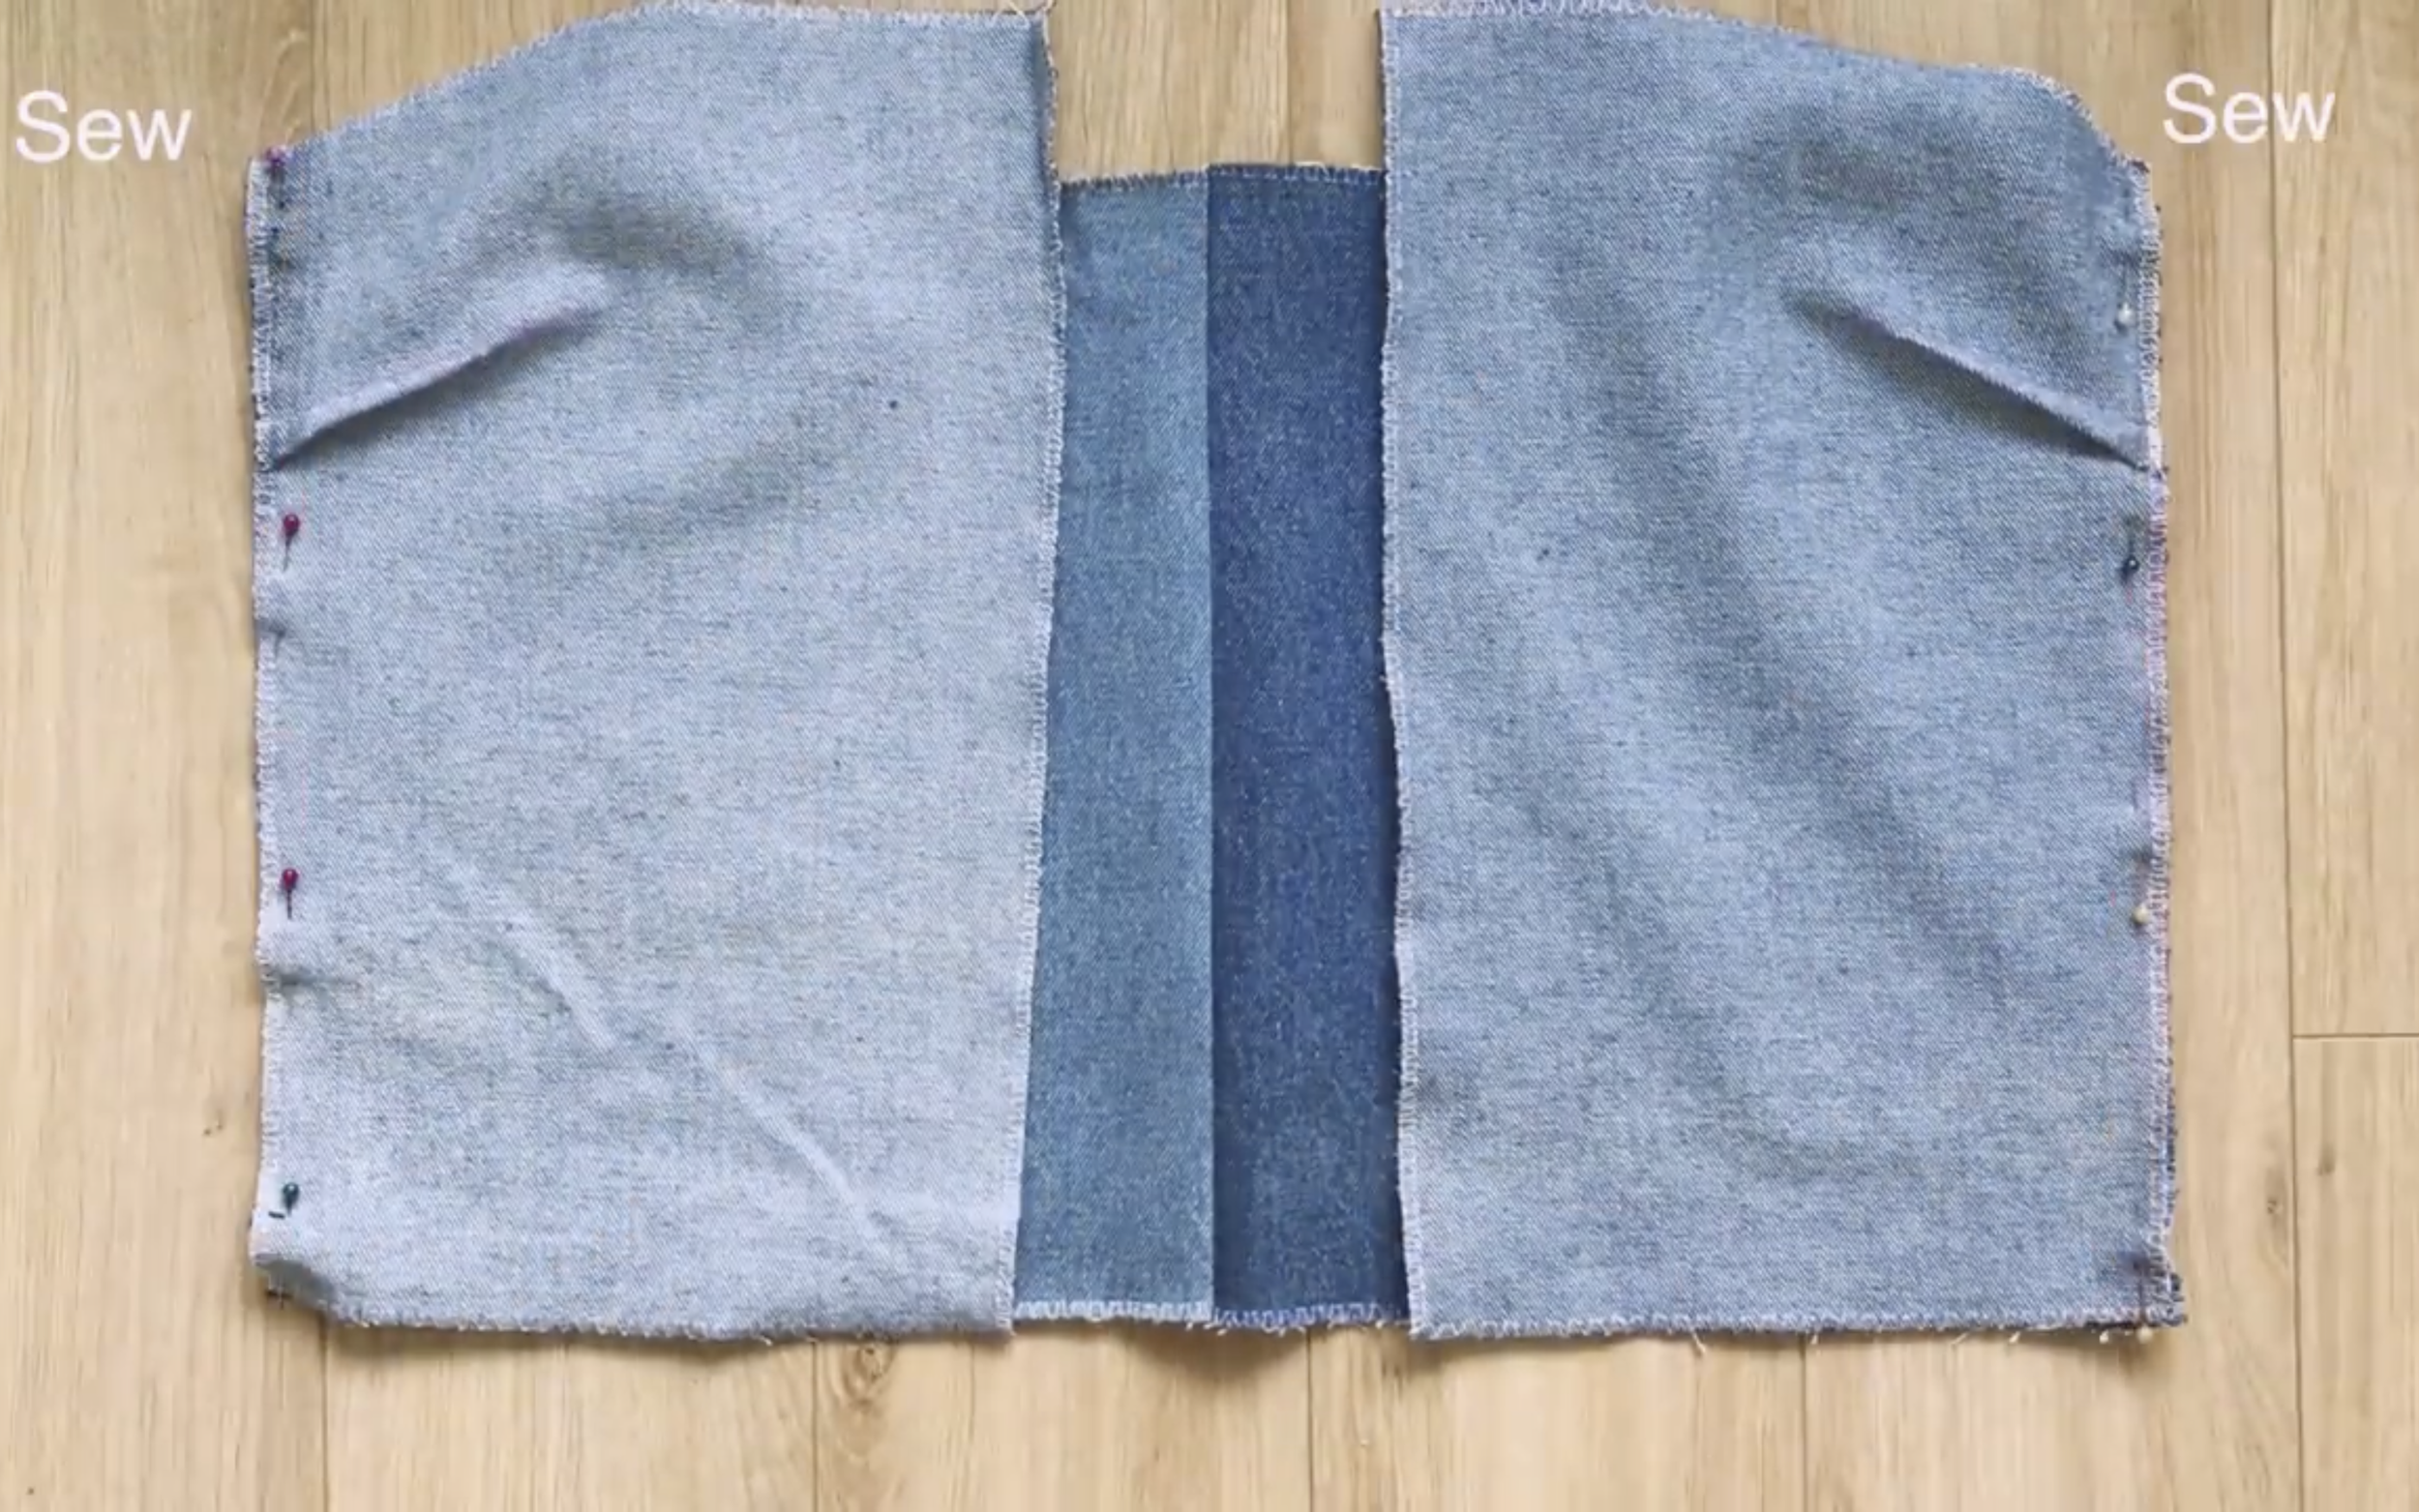
Then connect the two front bodice pieces later at the side seams.
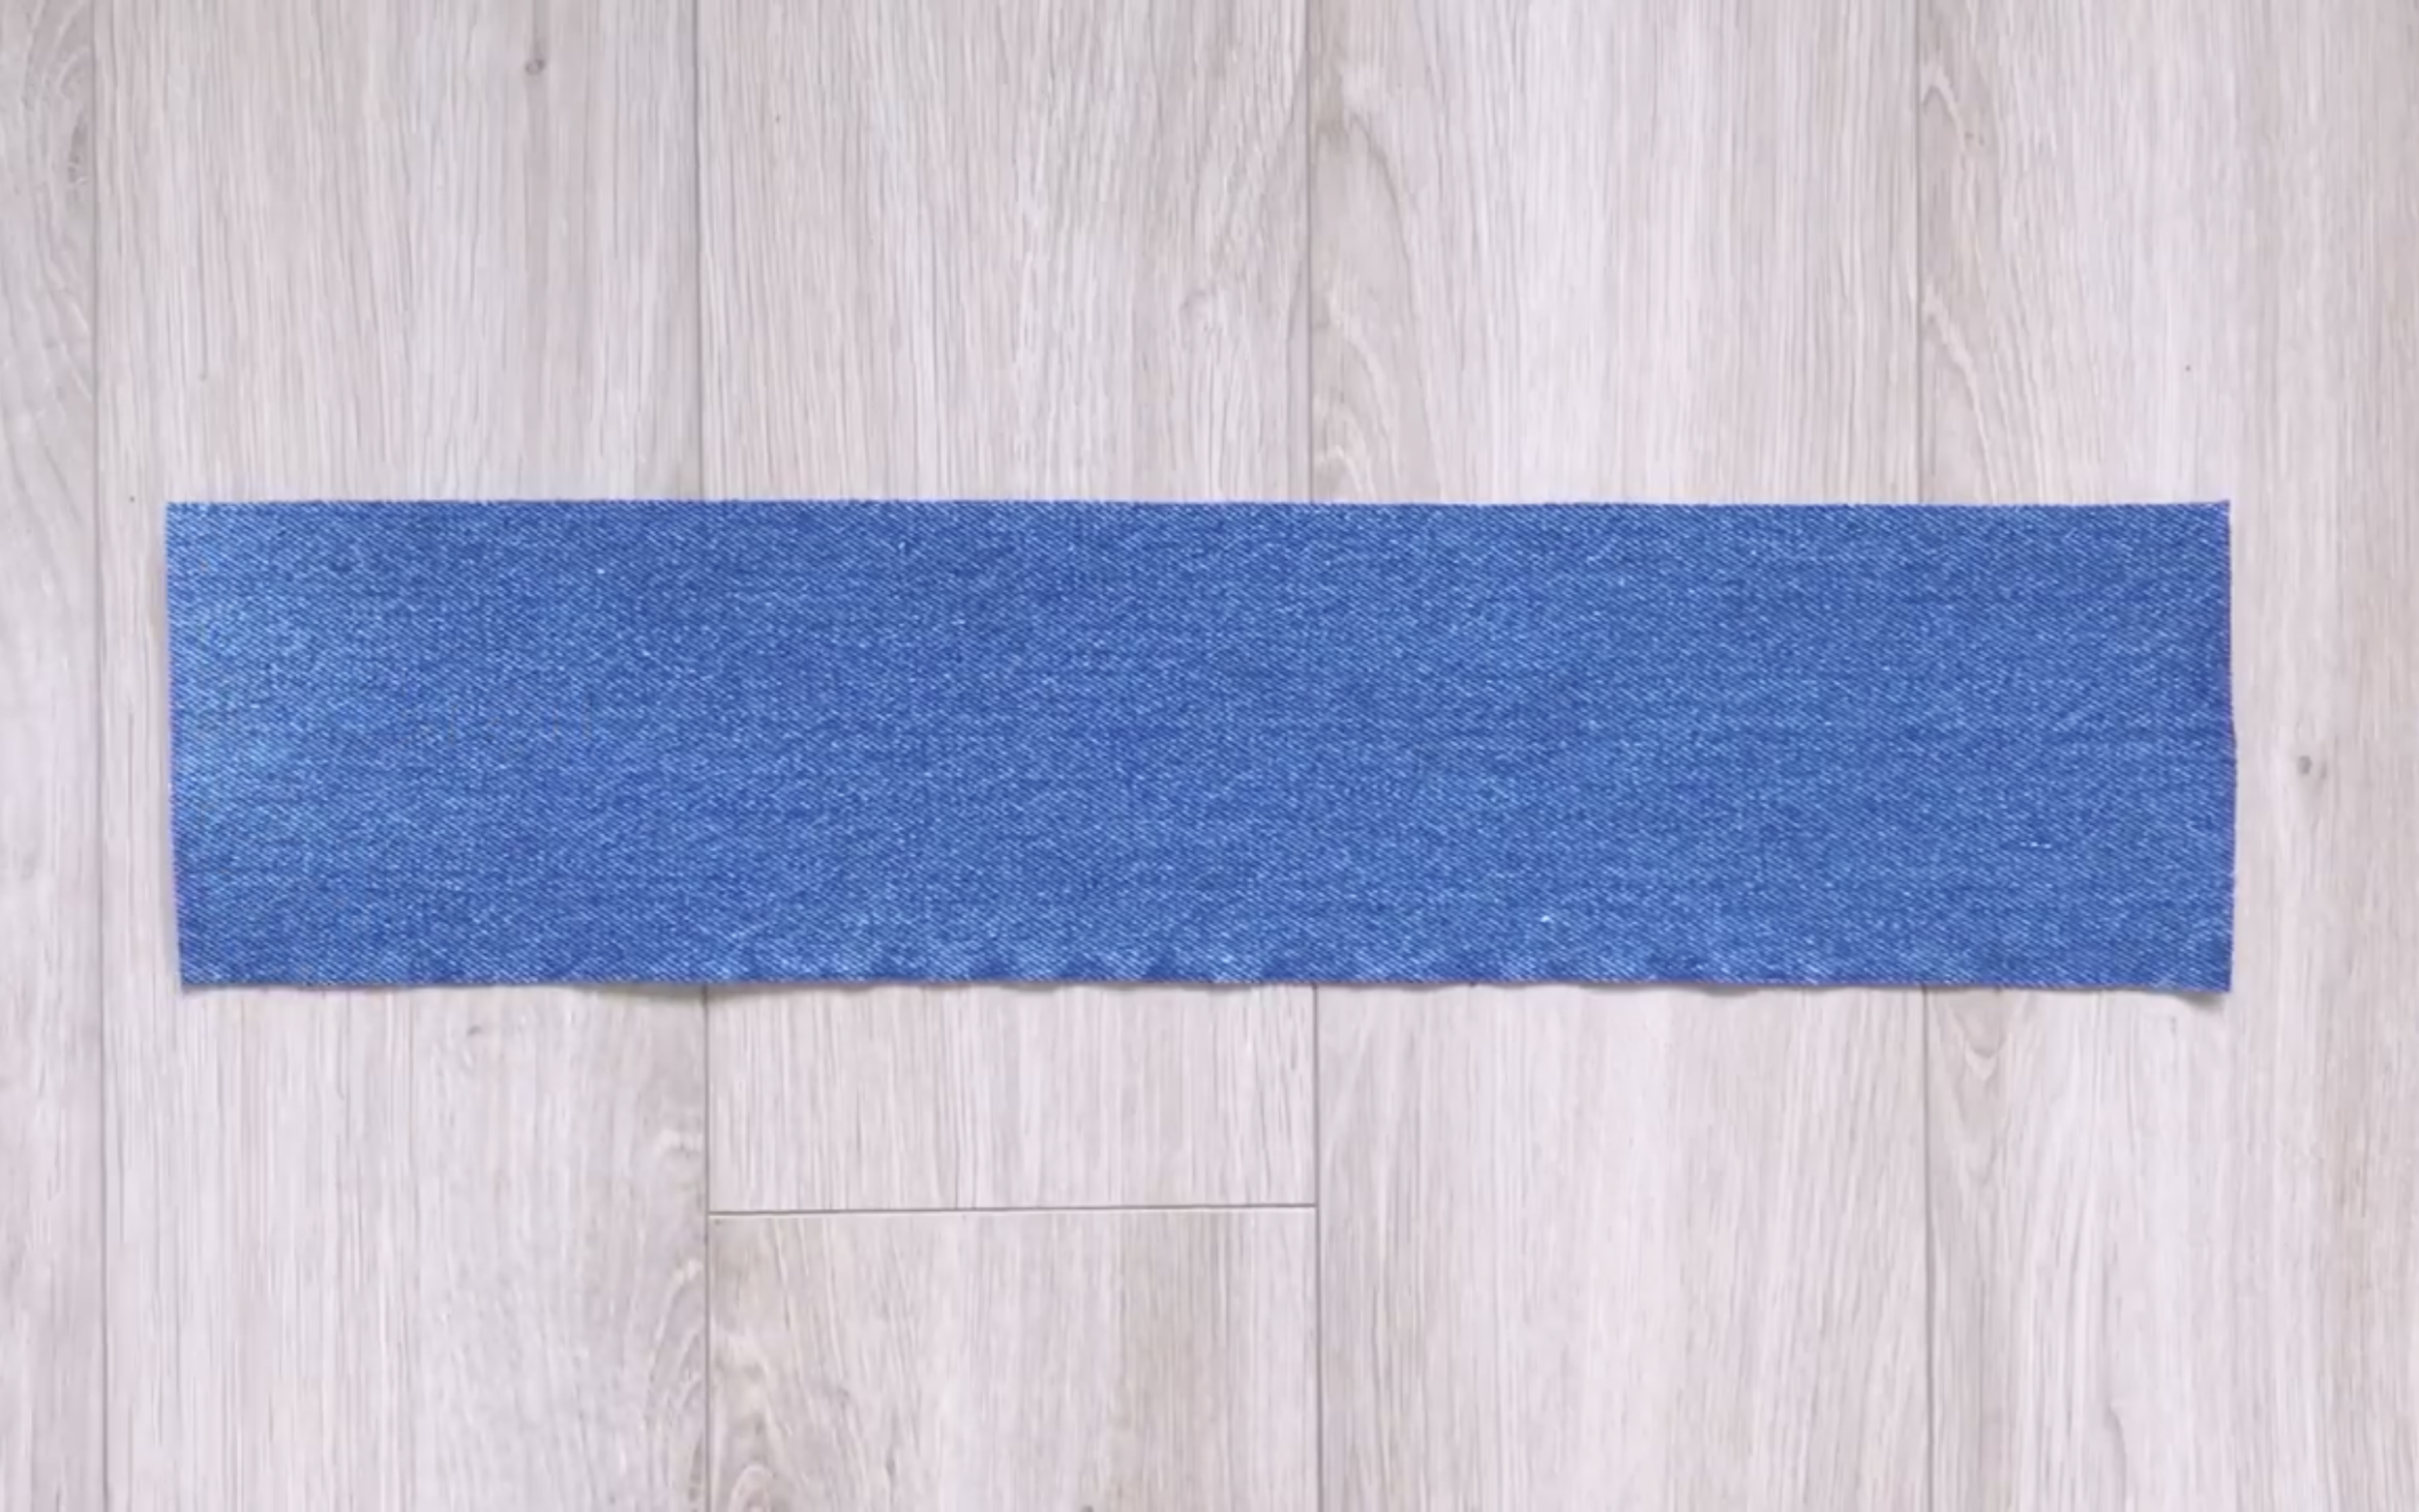
Cut two rectangles with an 8 cm width and around 24 cm length to make the shoulder straps for the jumpsuit.
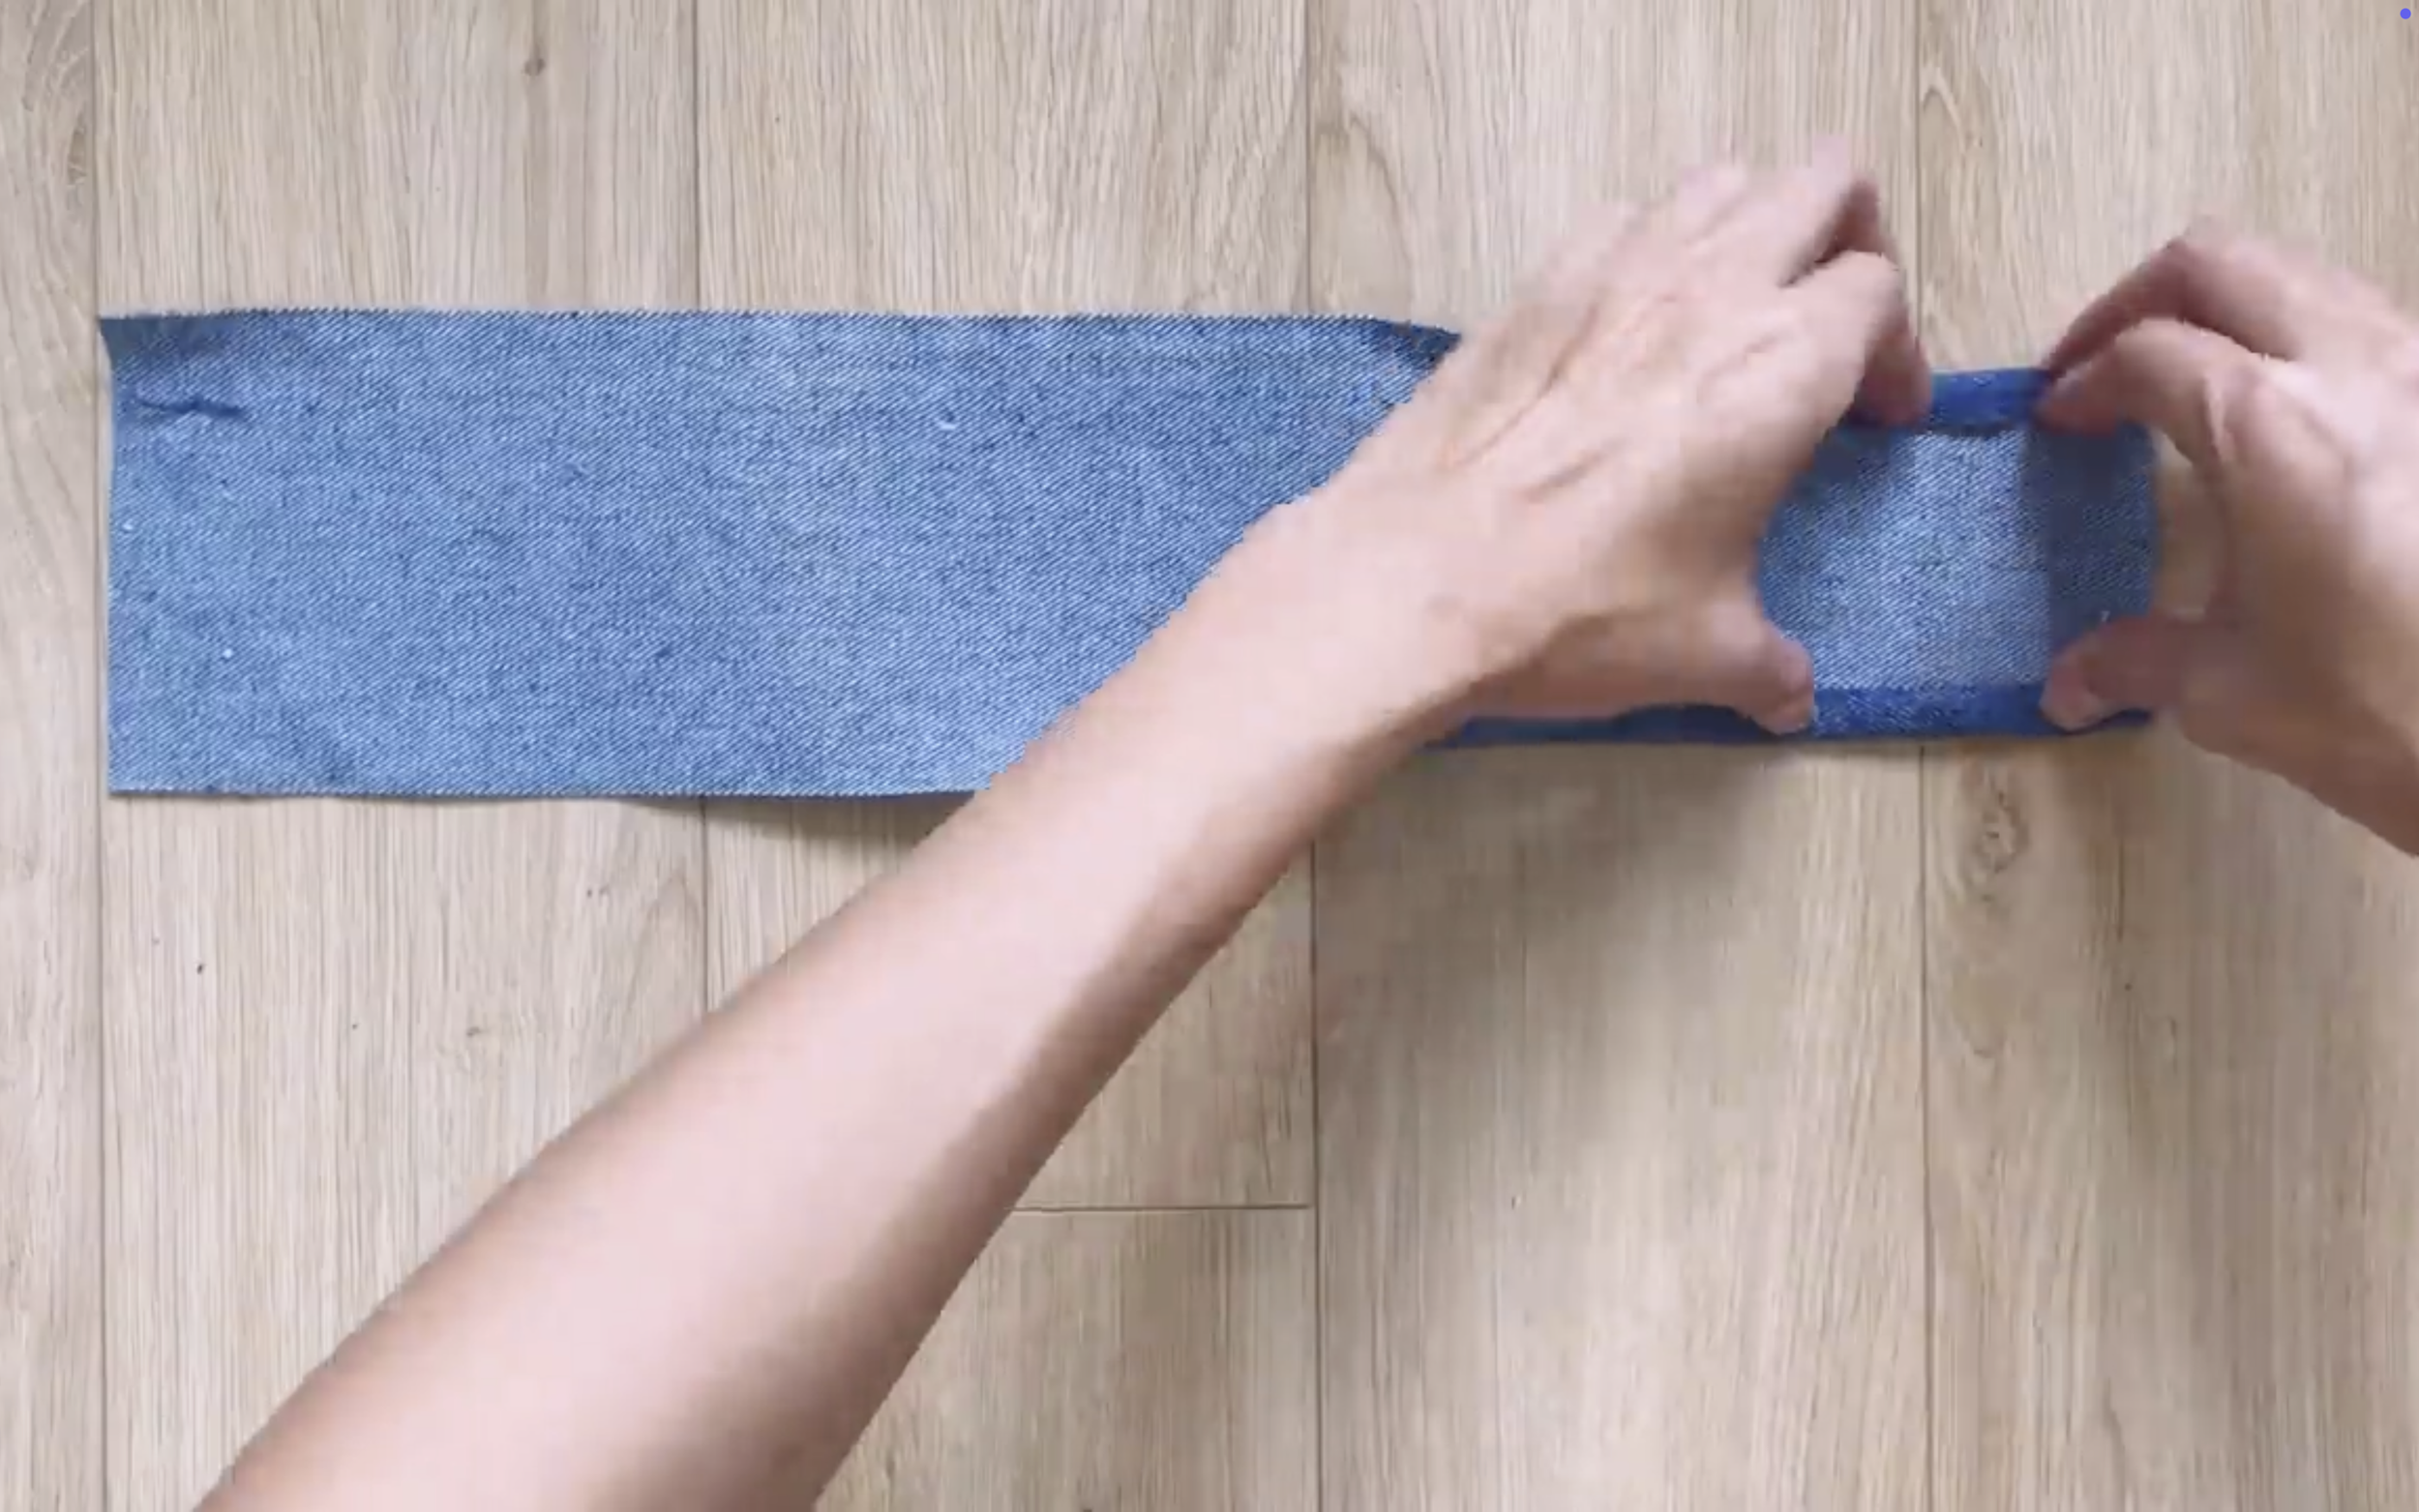
Fold both ends of the length line inside around 1 cm first.
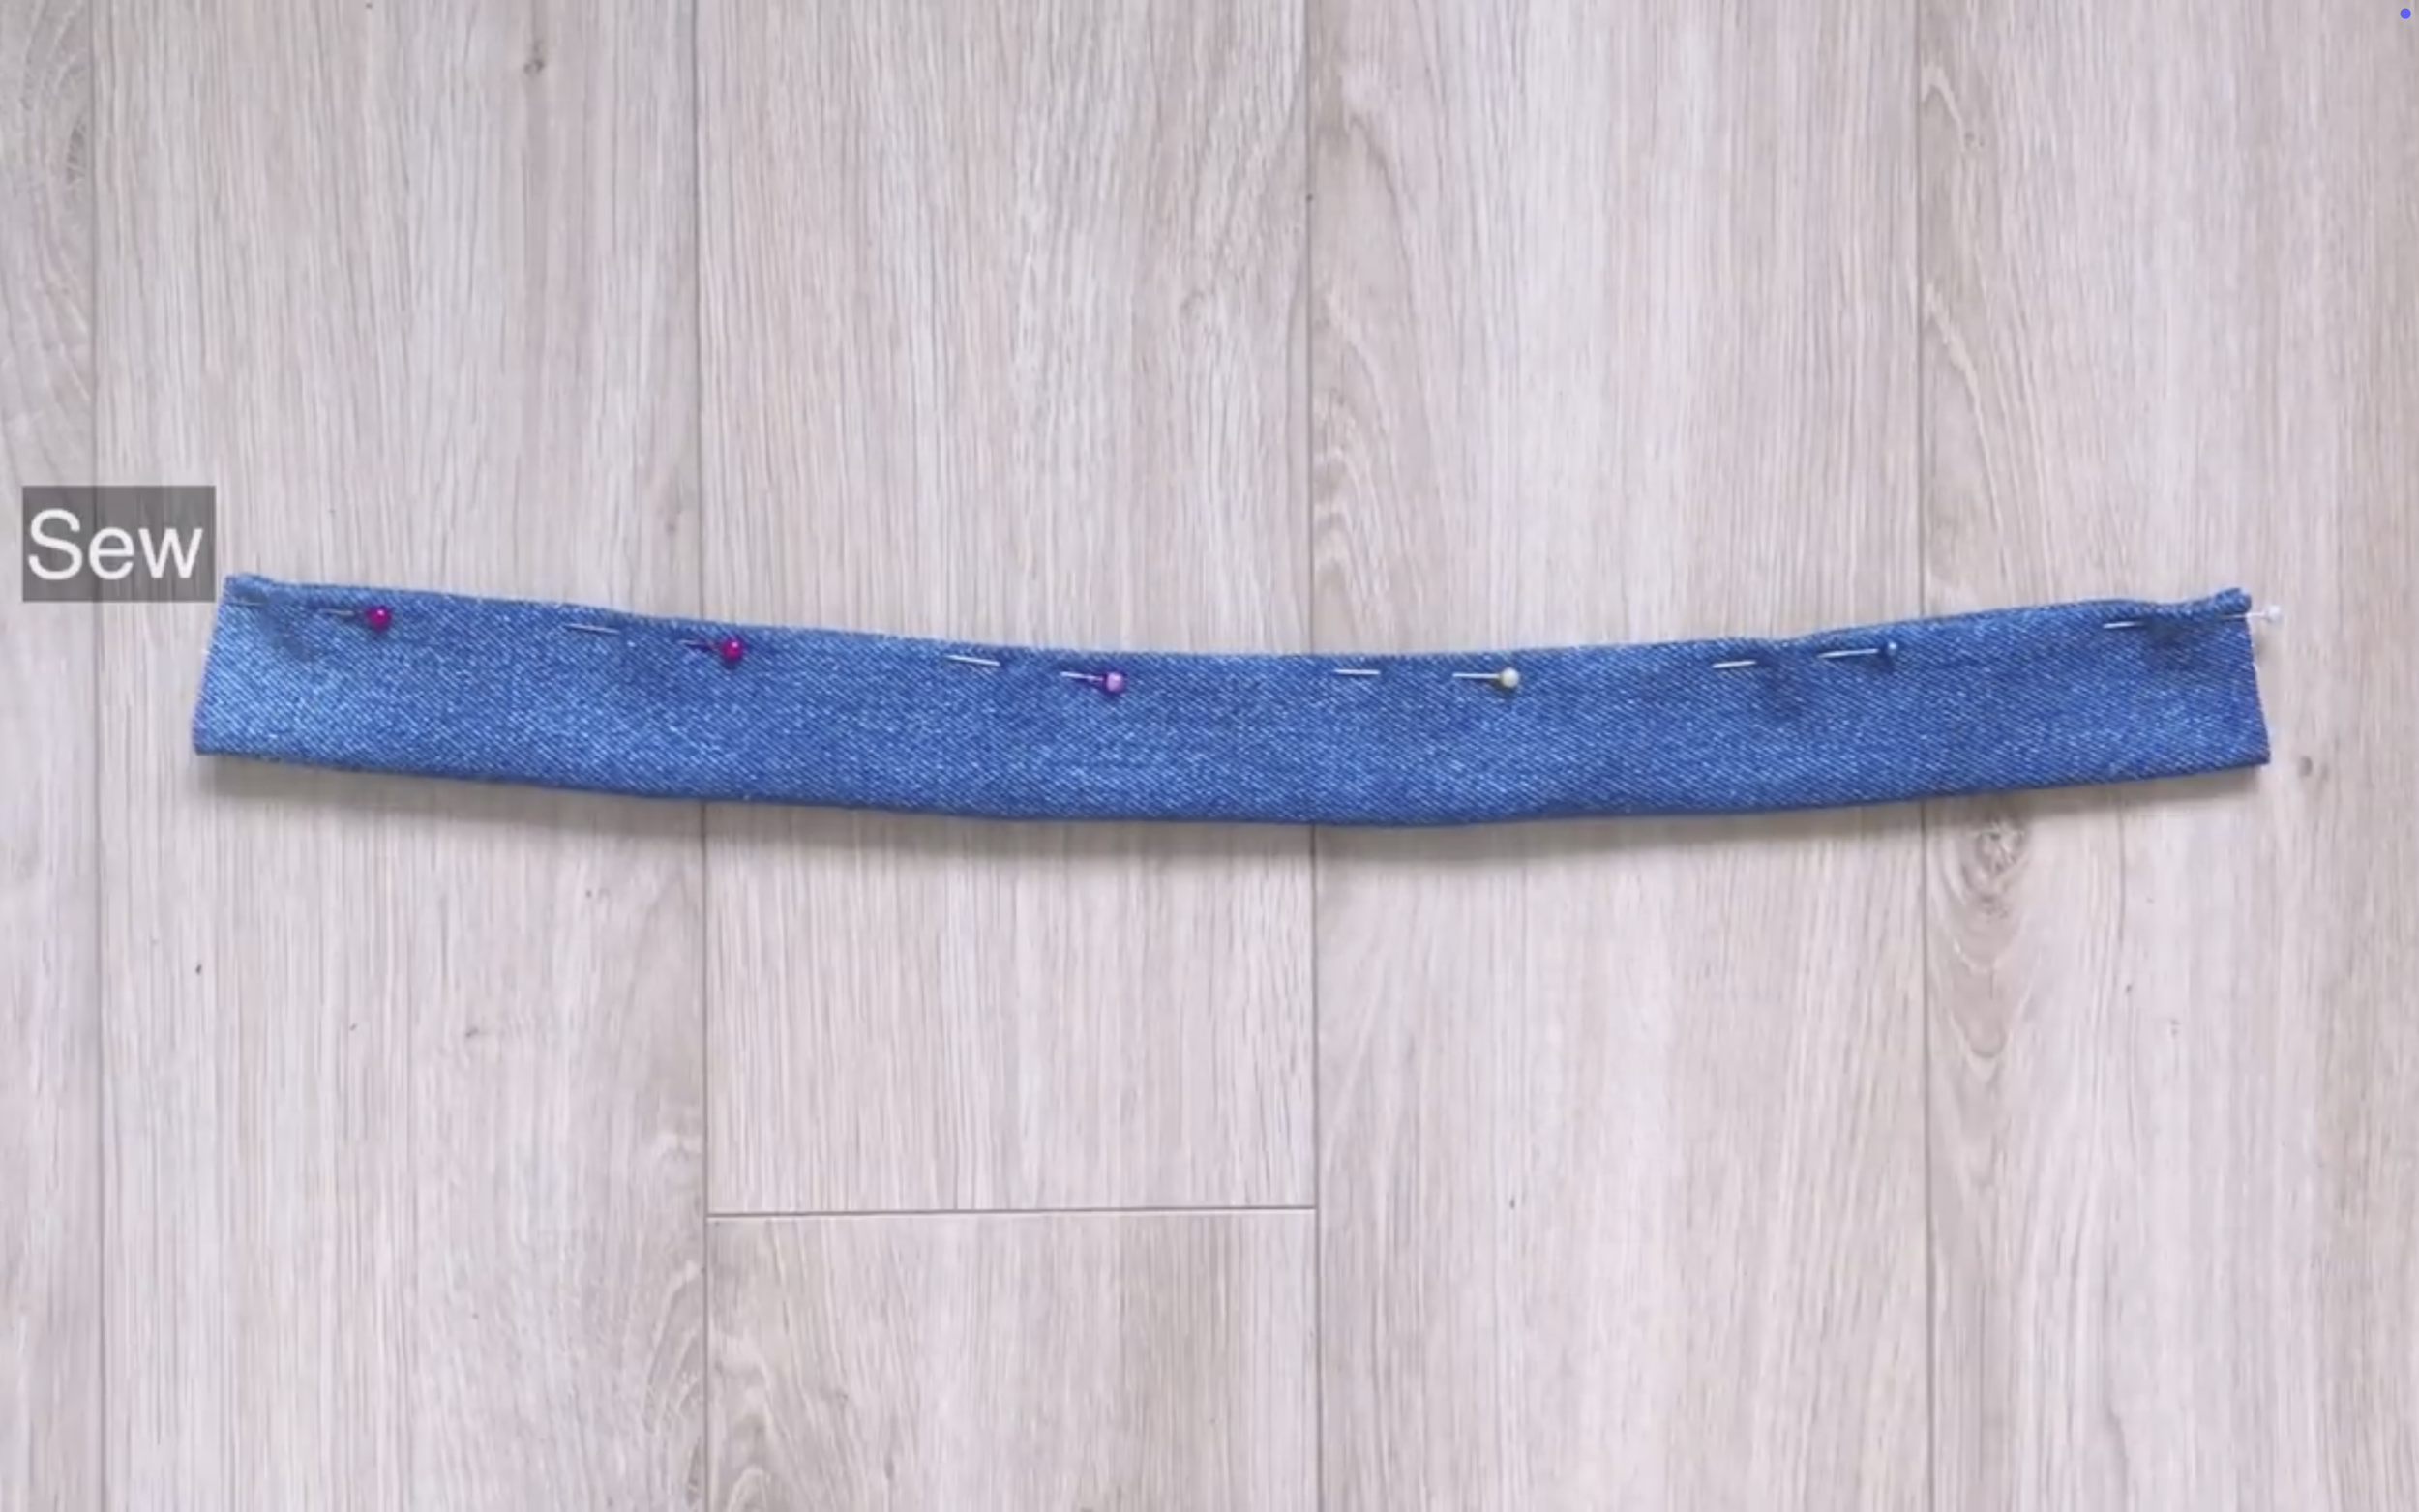
Then fold them together and sew.
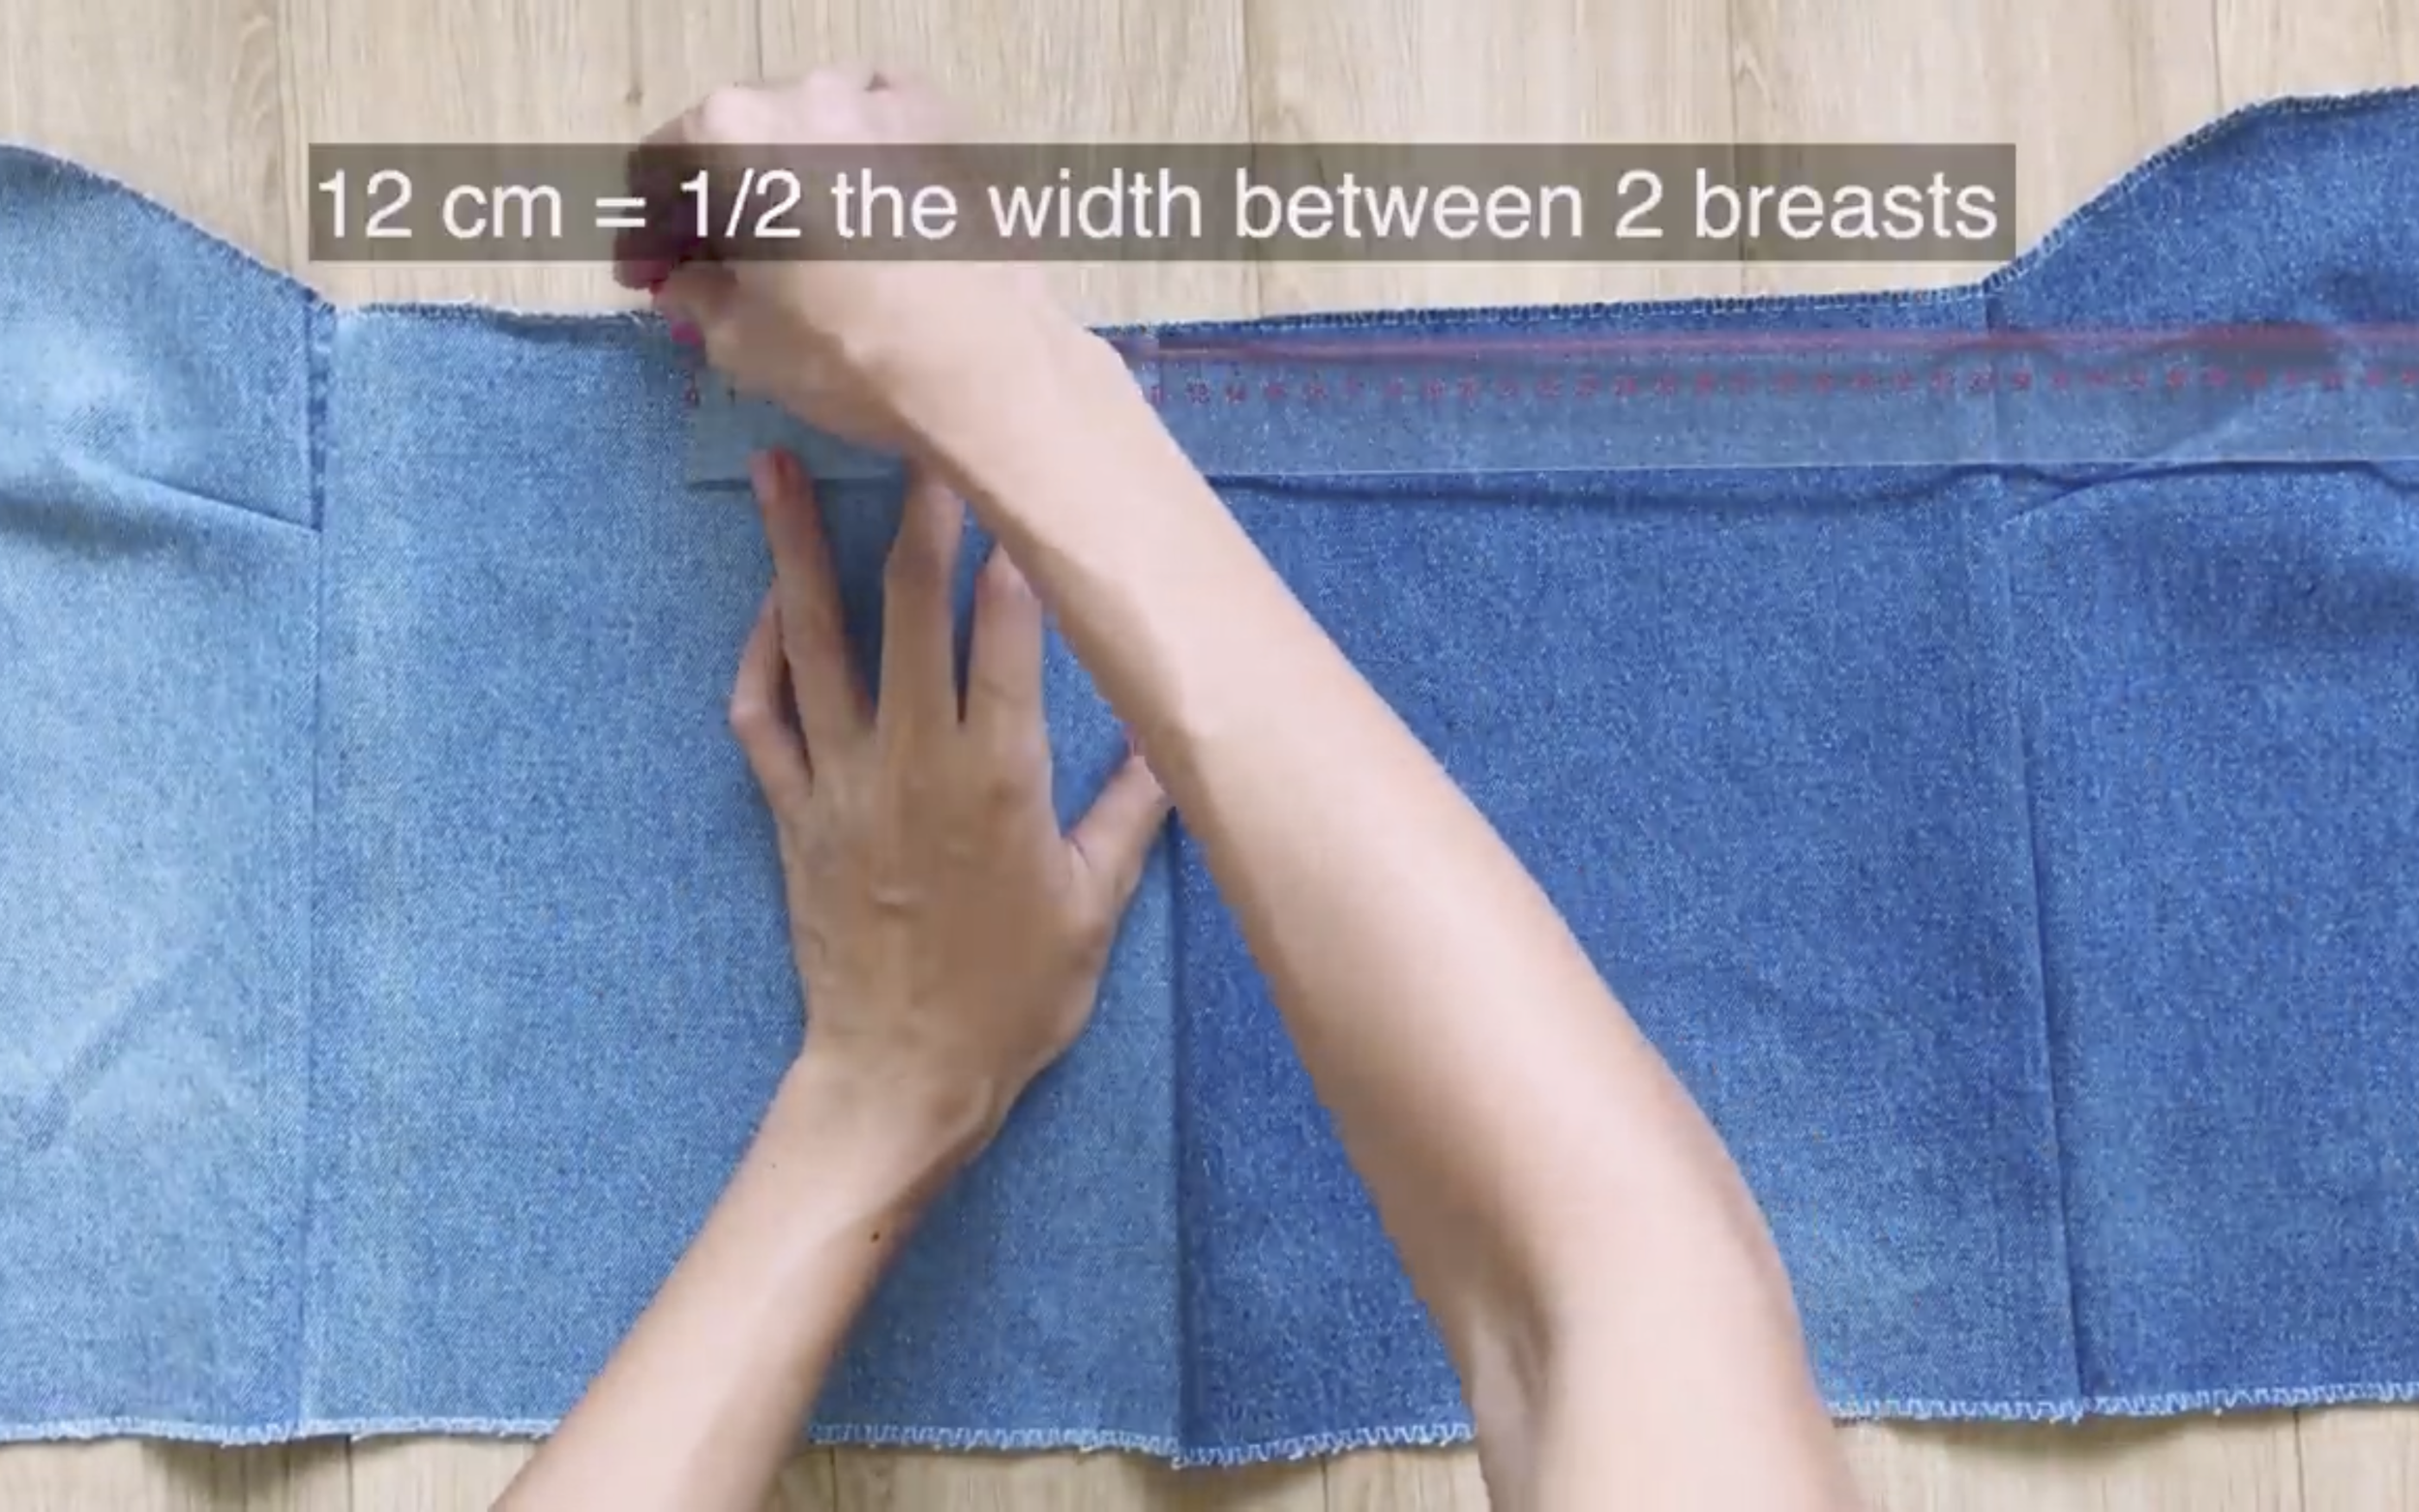
At the middle of the top of the back bodice, mark at 12 cm on both sides so the width between the marks is 24 cm, which matches the width between the two breasts.
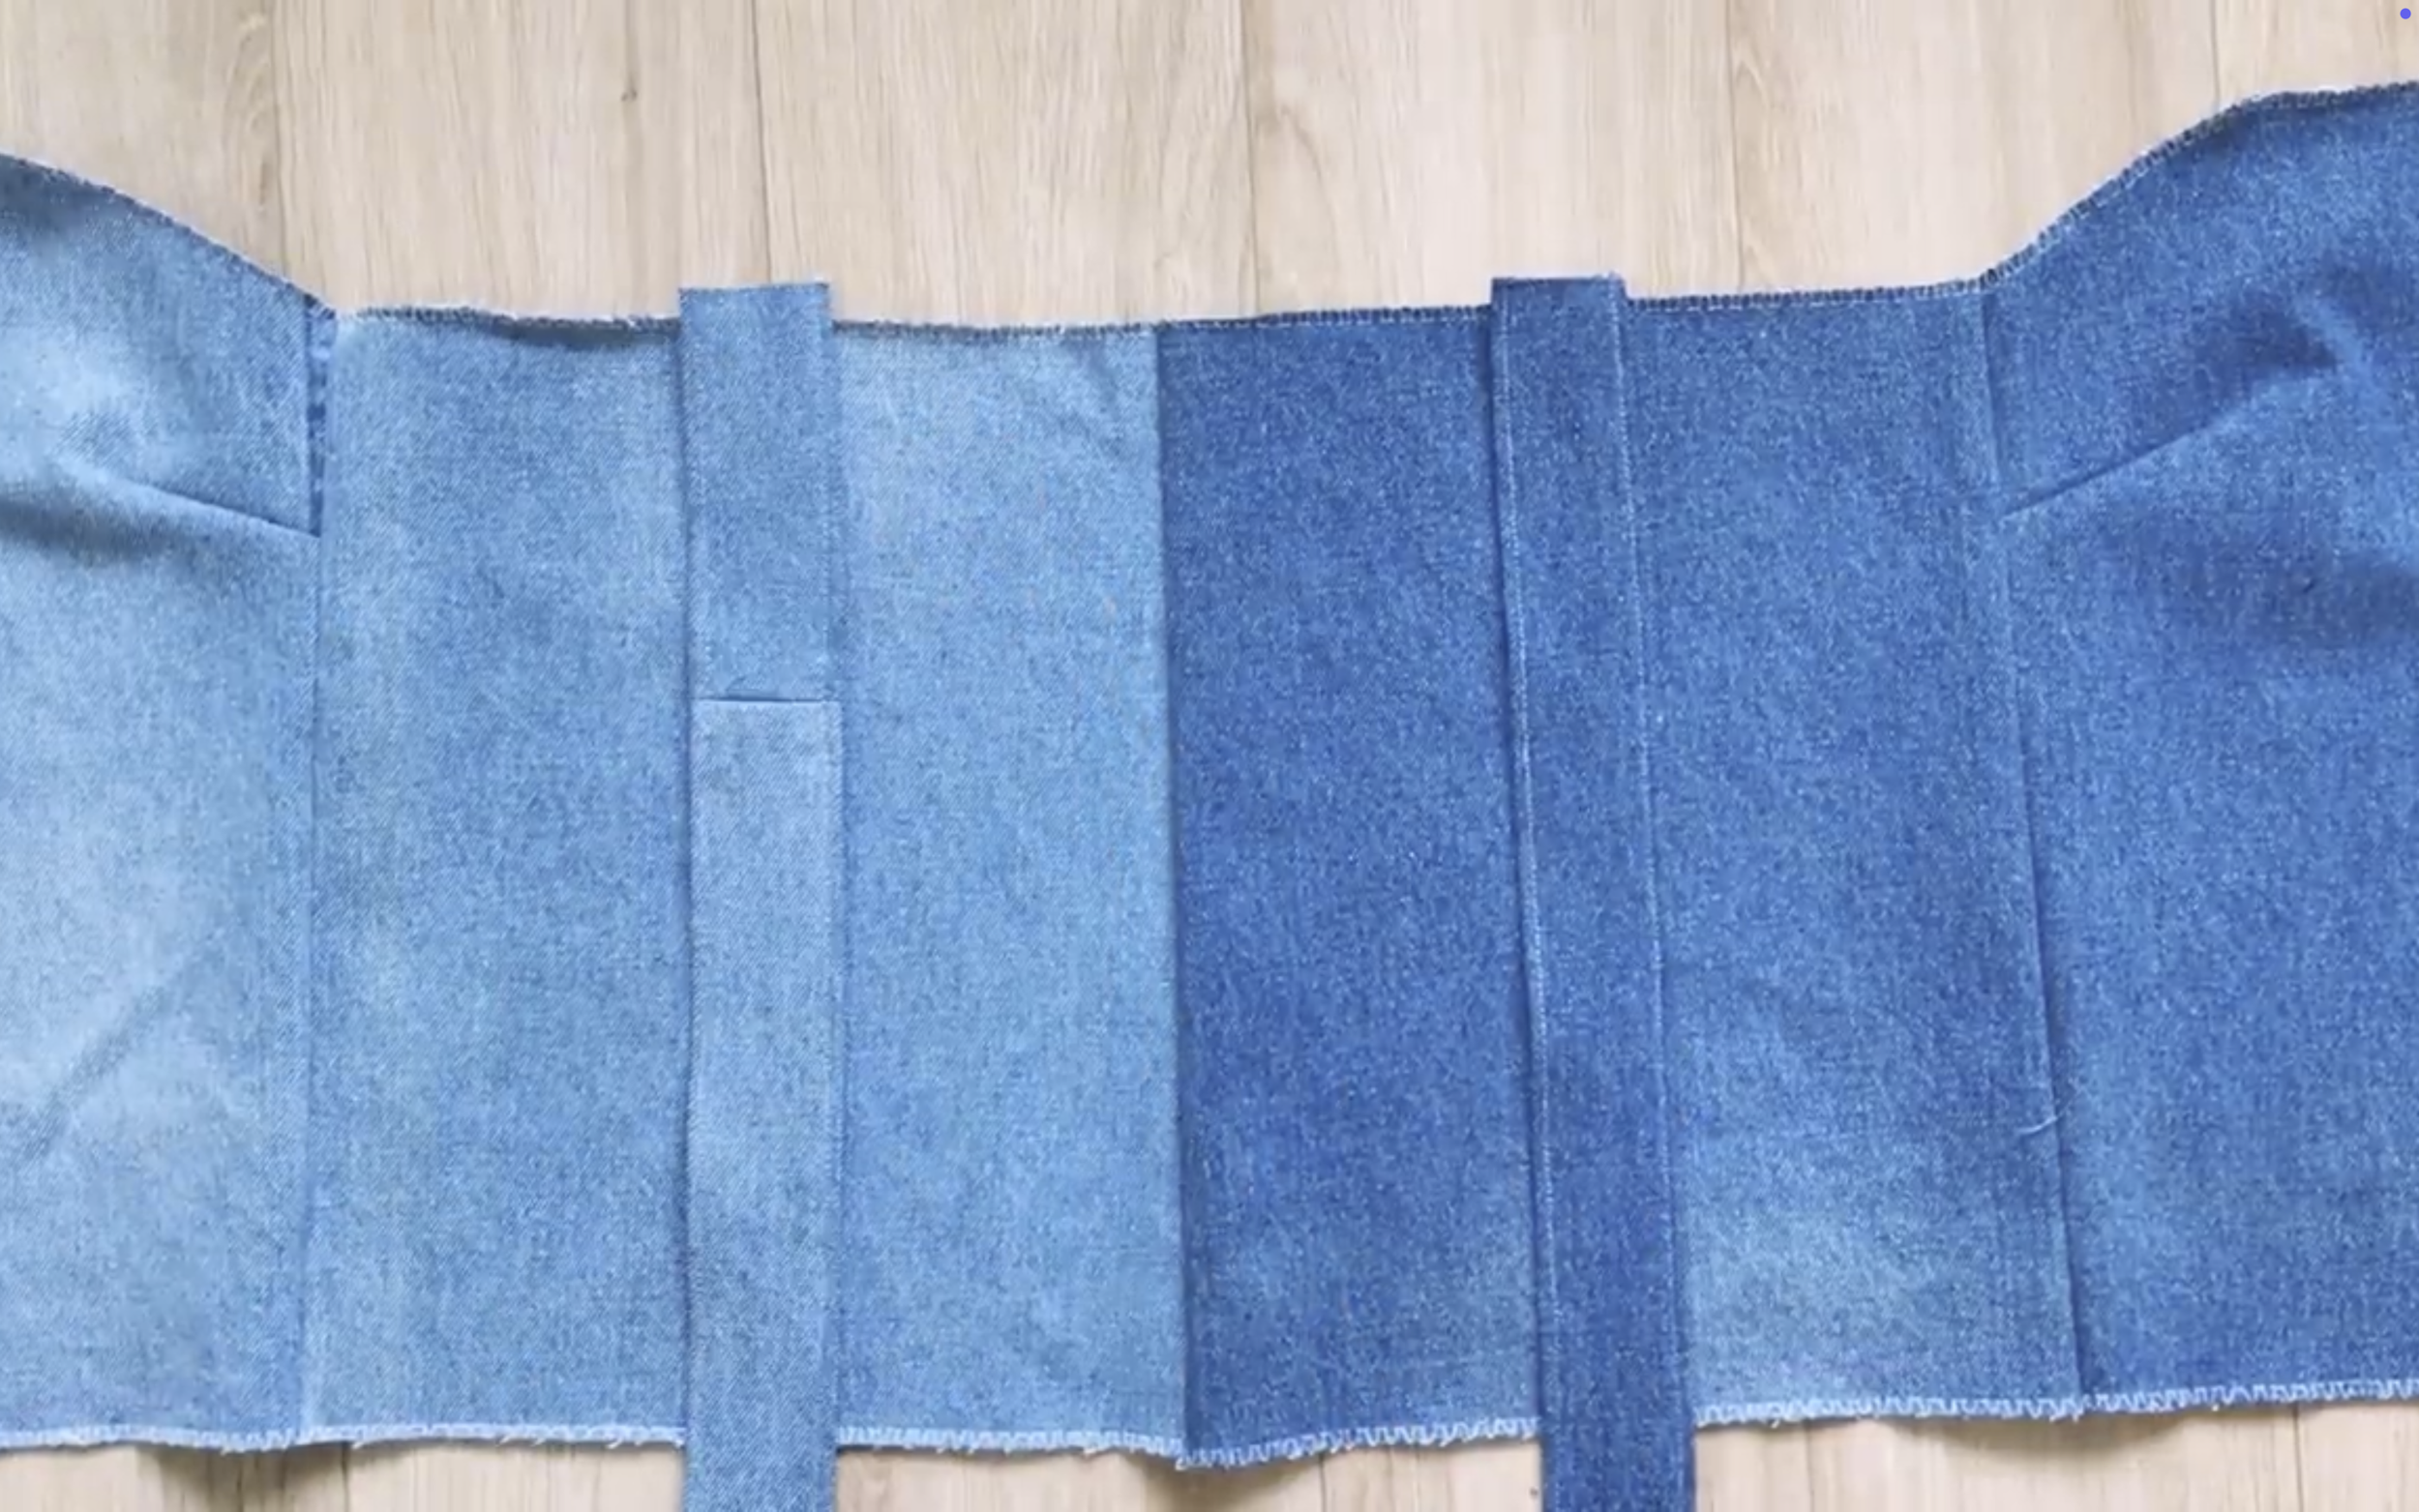
Place the shoulder straps at these marks first.
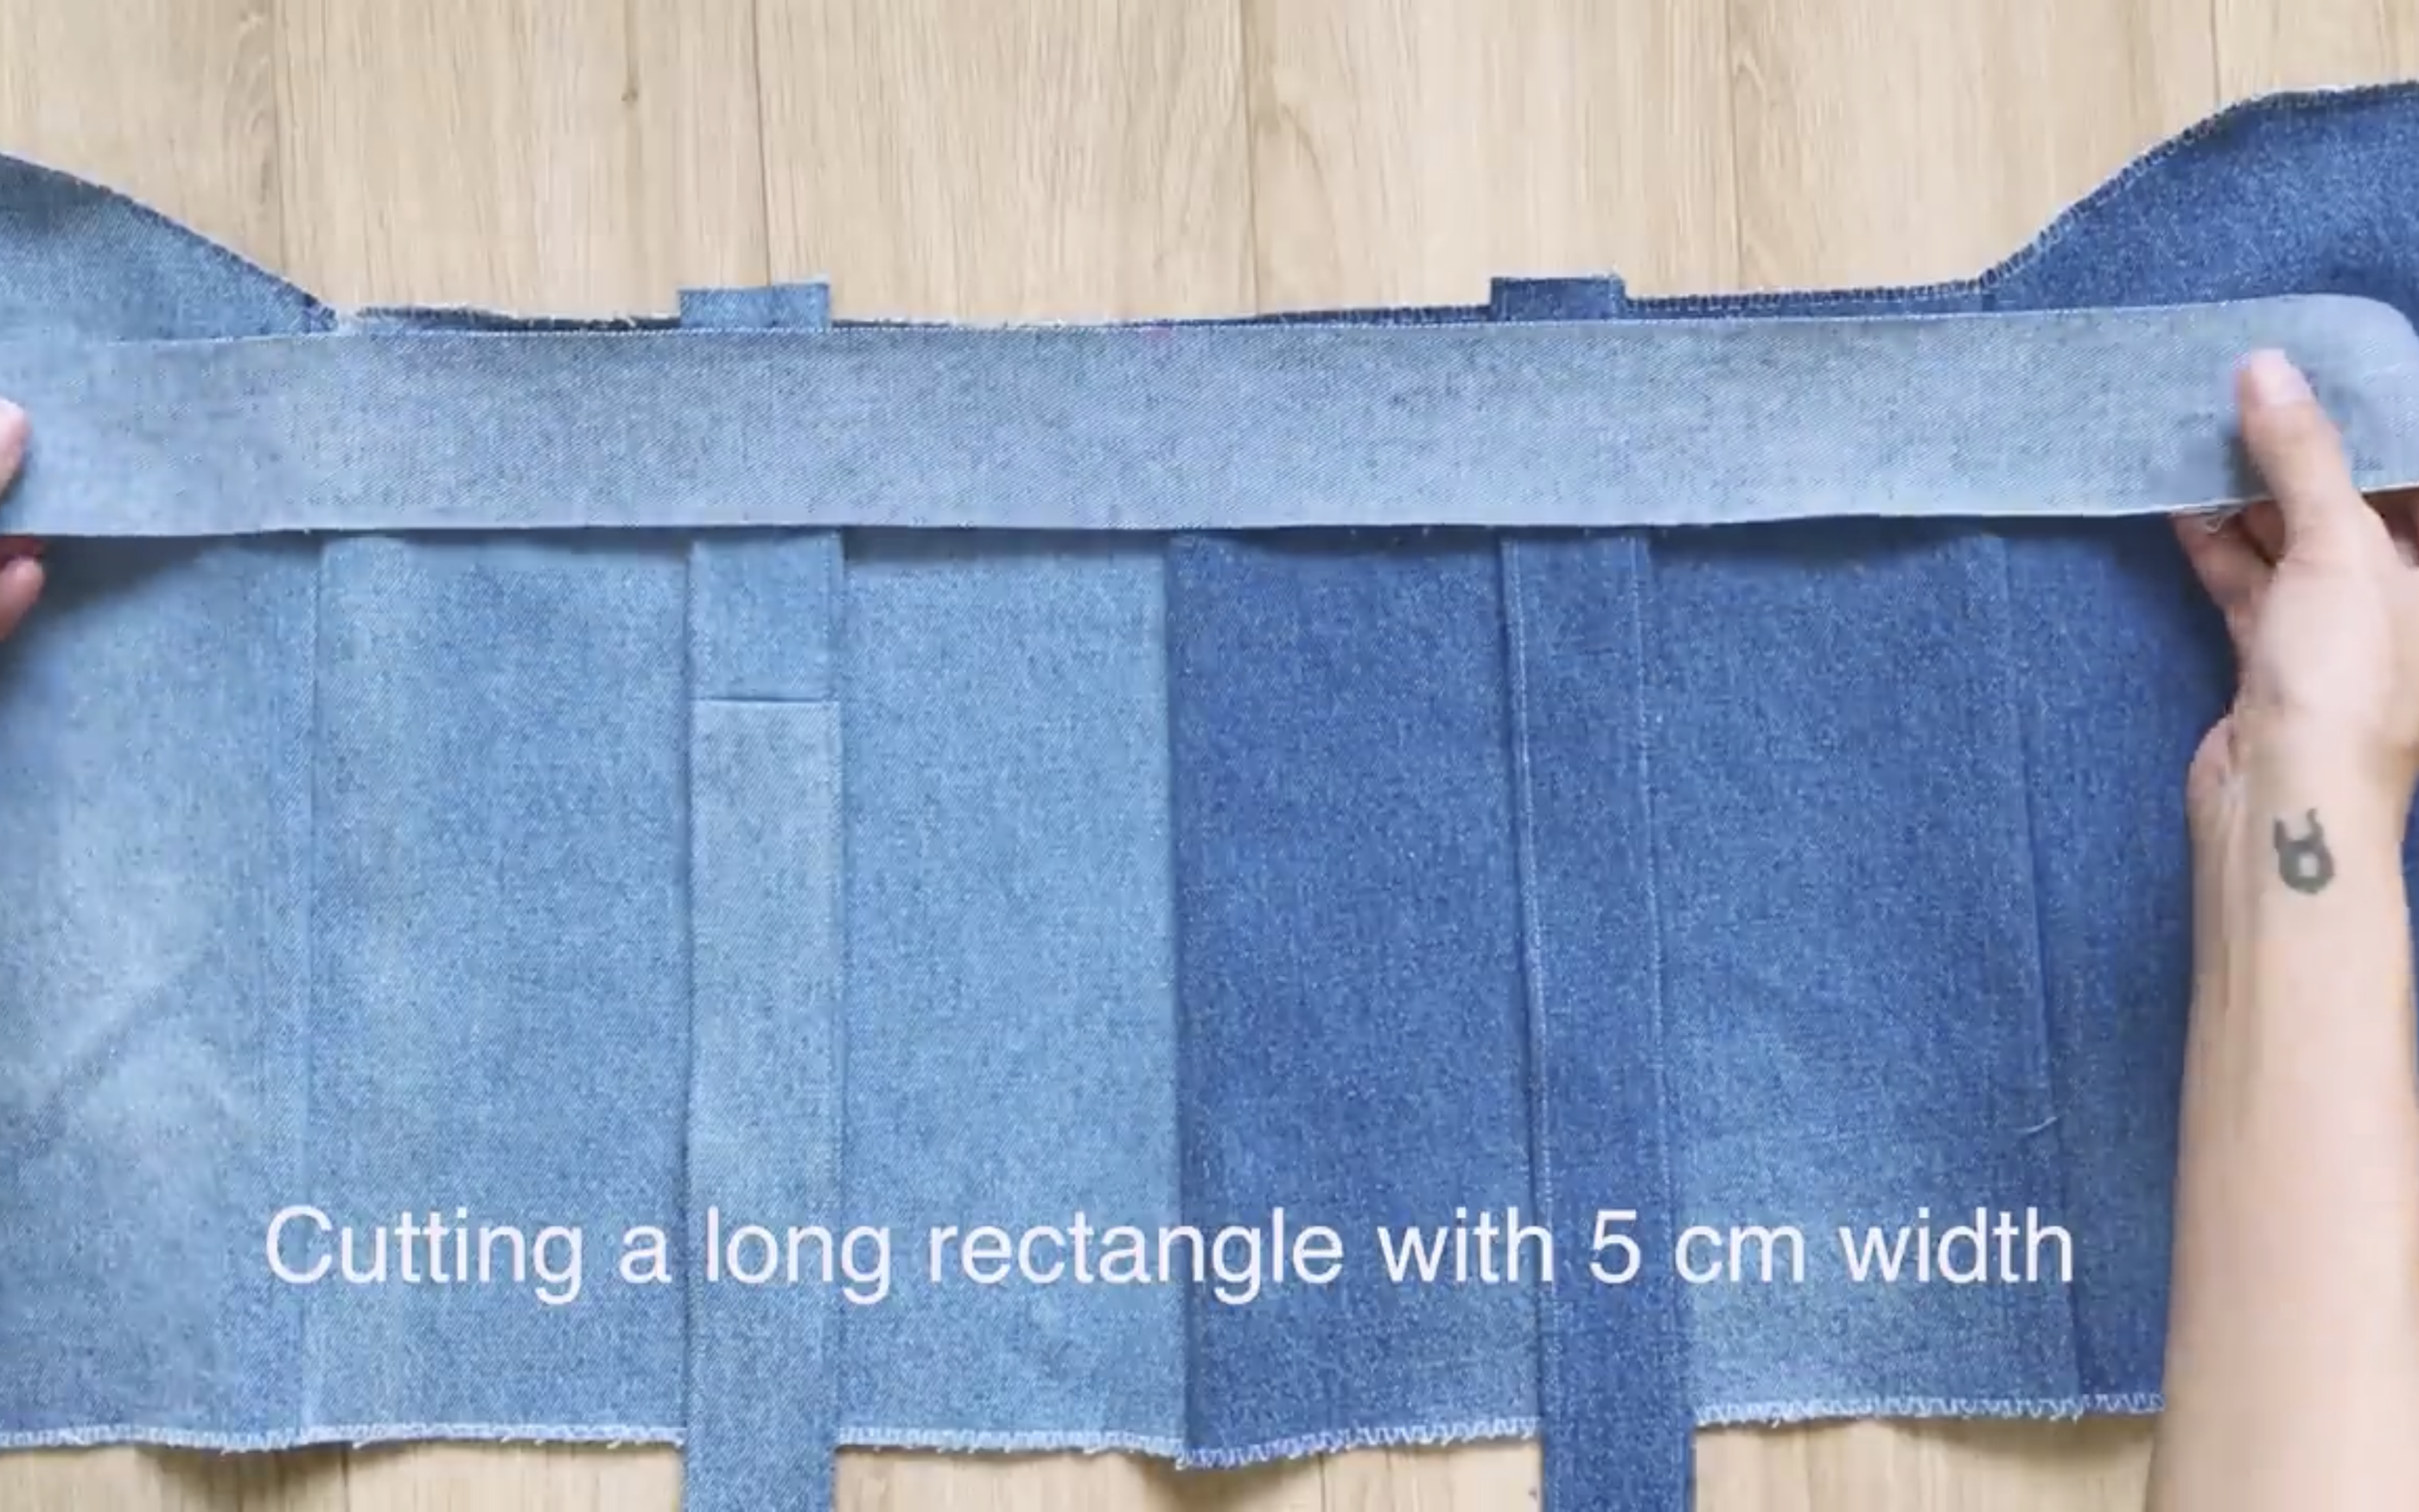
Then use a long rectangle with a 5 cm width to cover them before sewing.
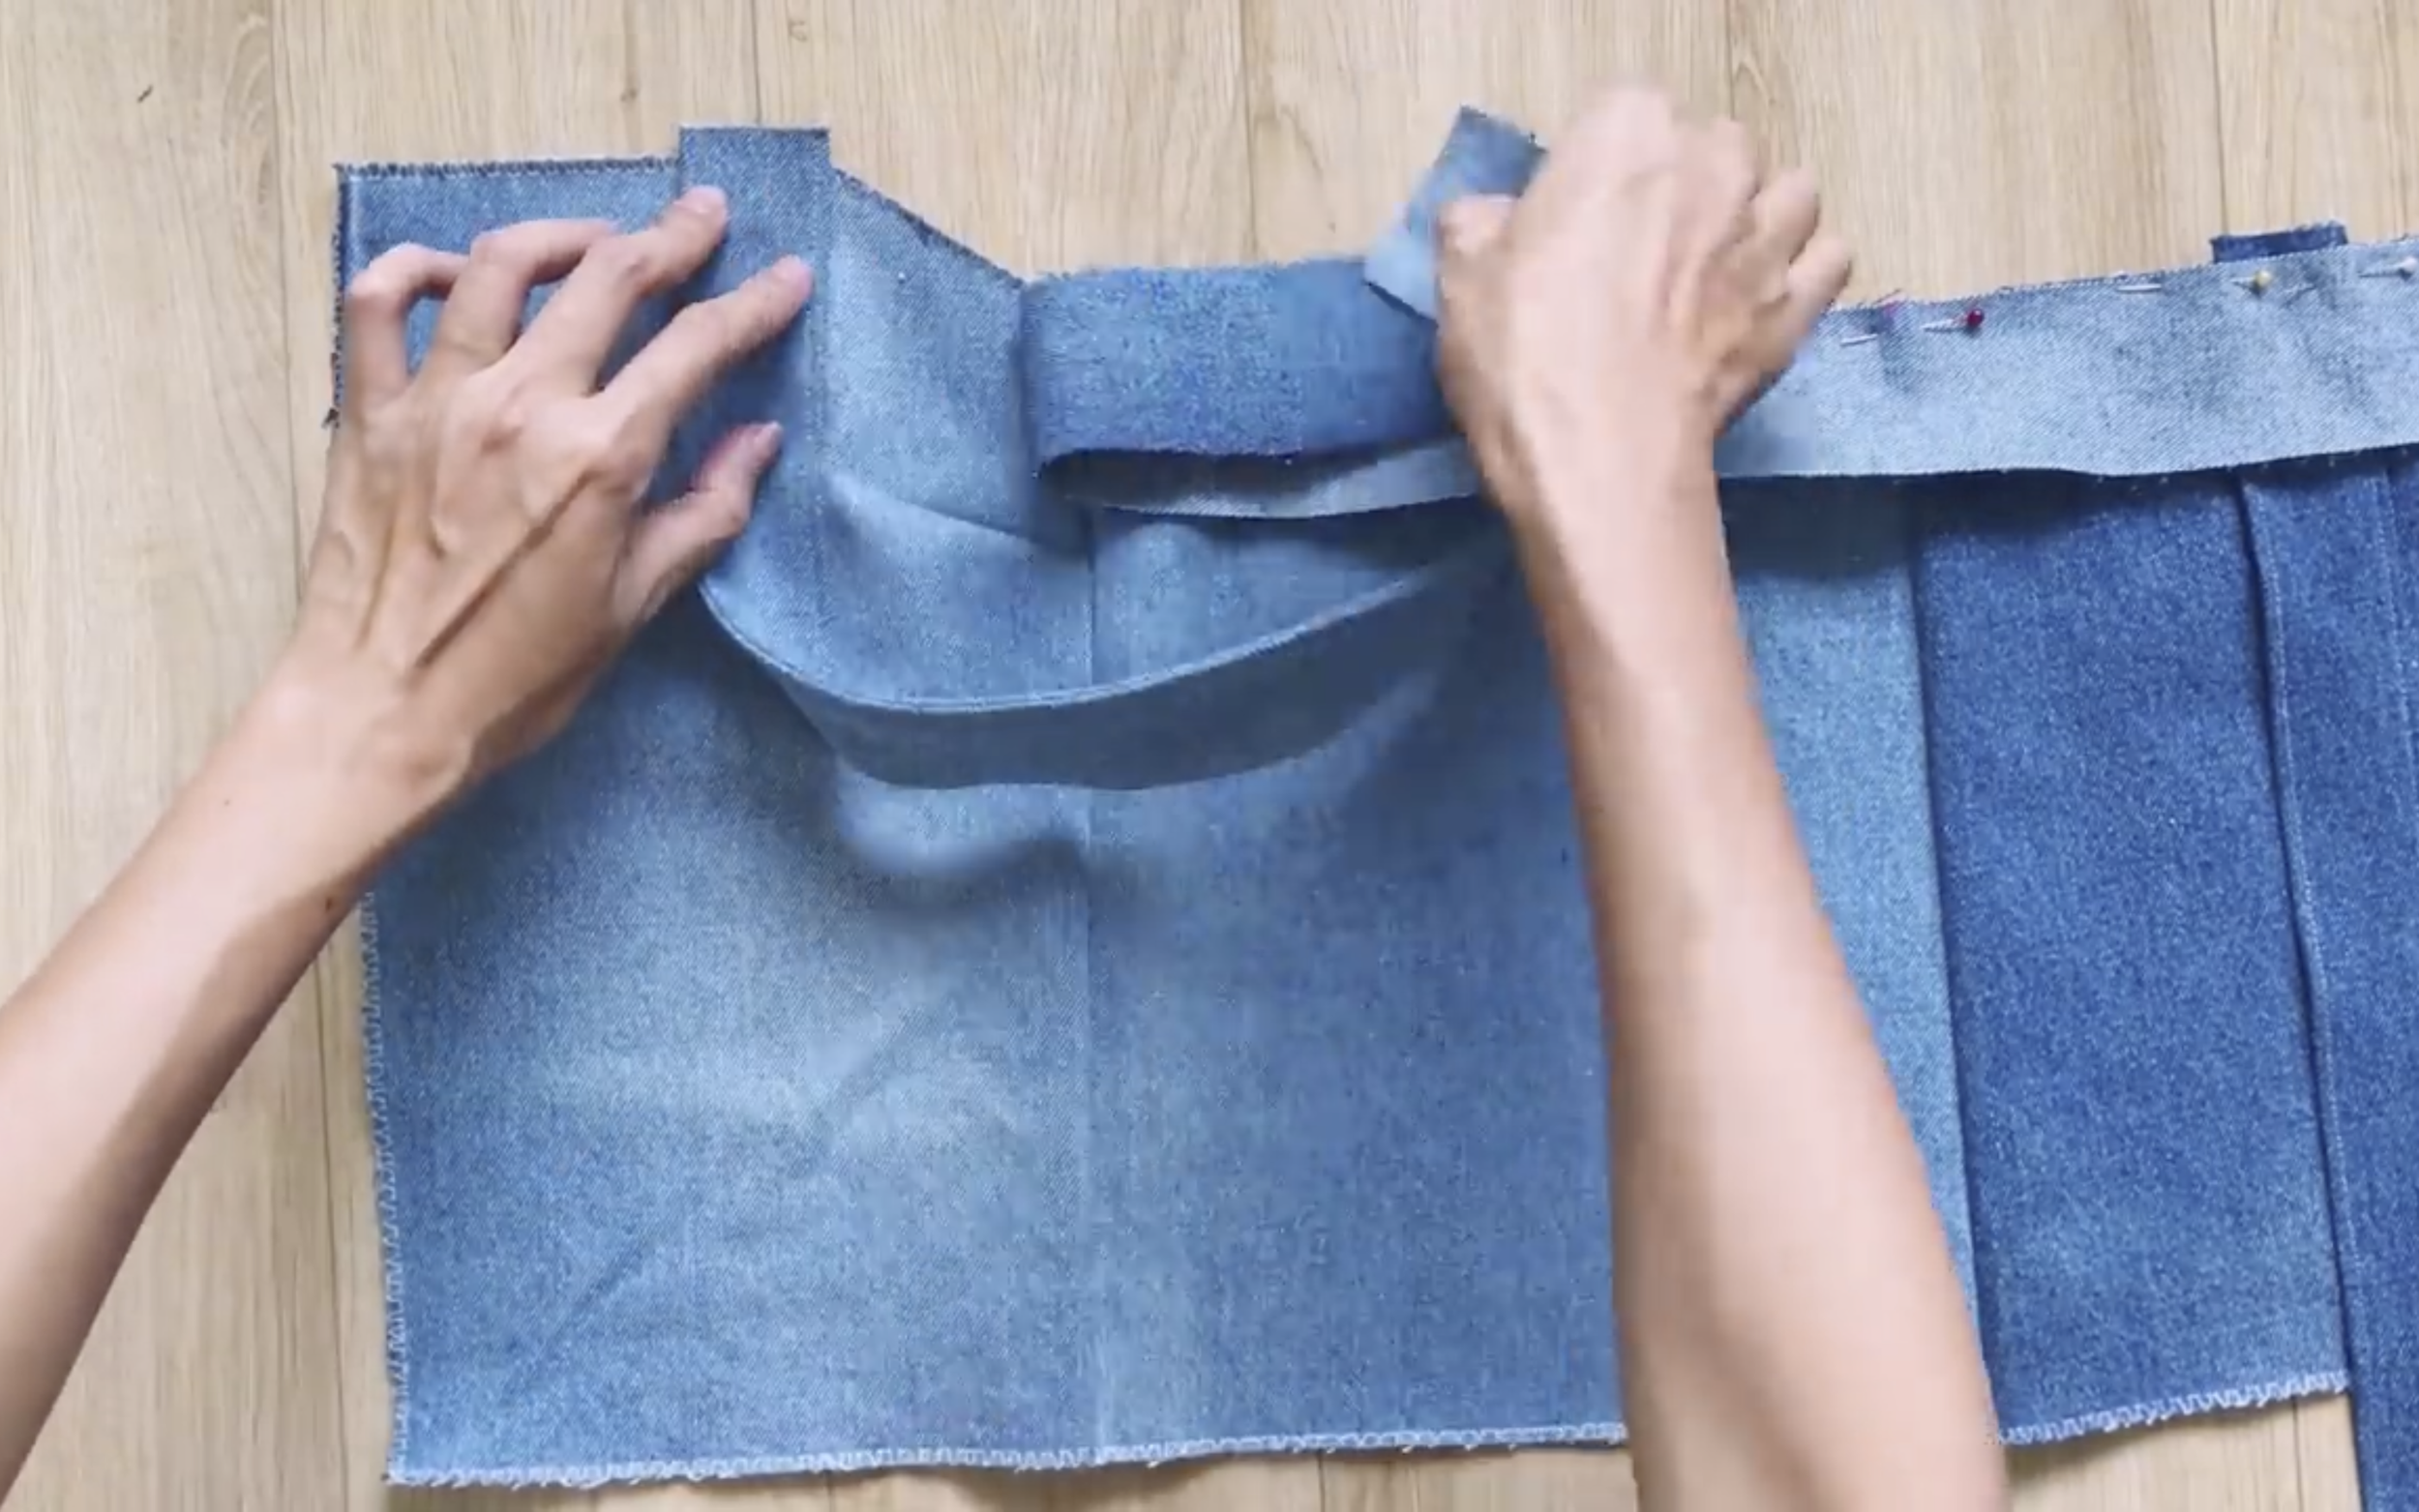
When attaching to the front bodice, place the other end of the shoulder strap at the top of the armpit area.
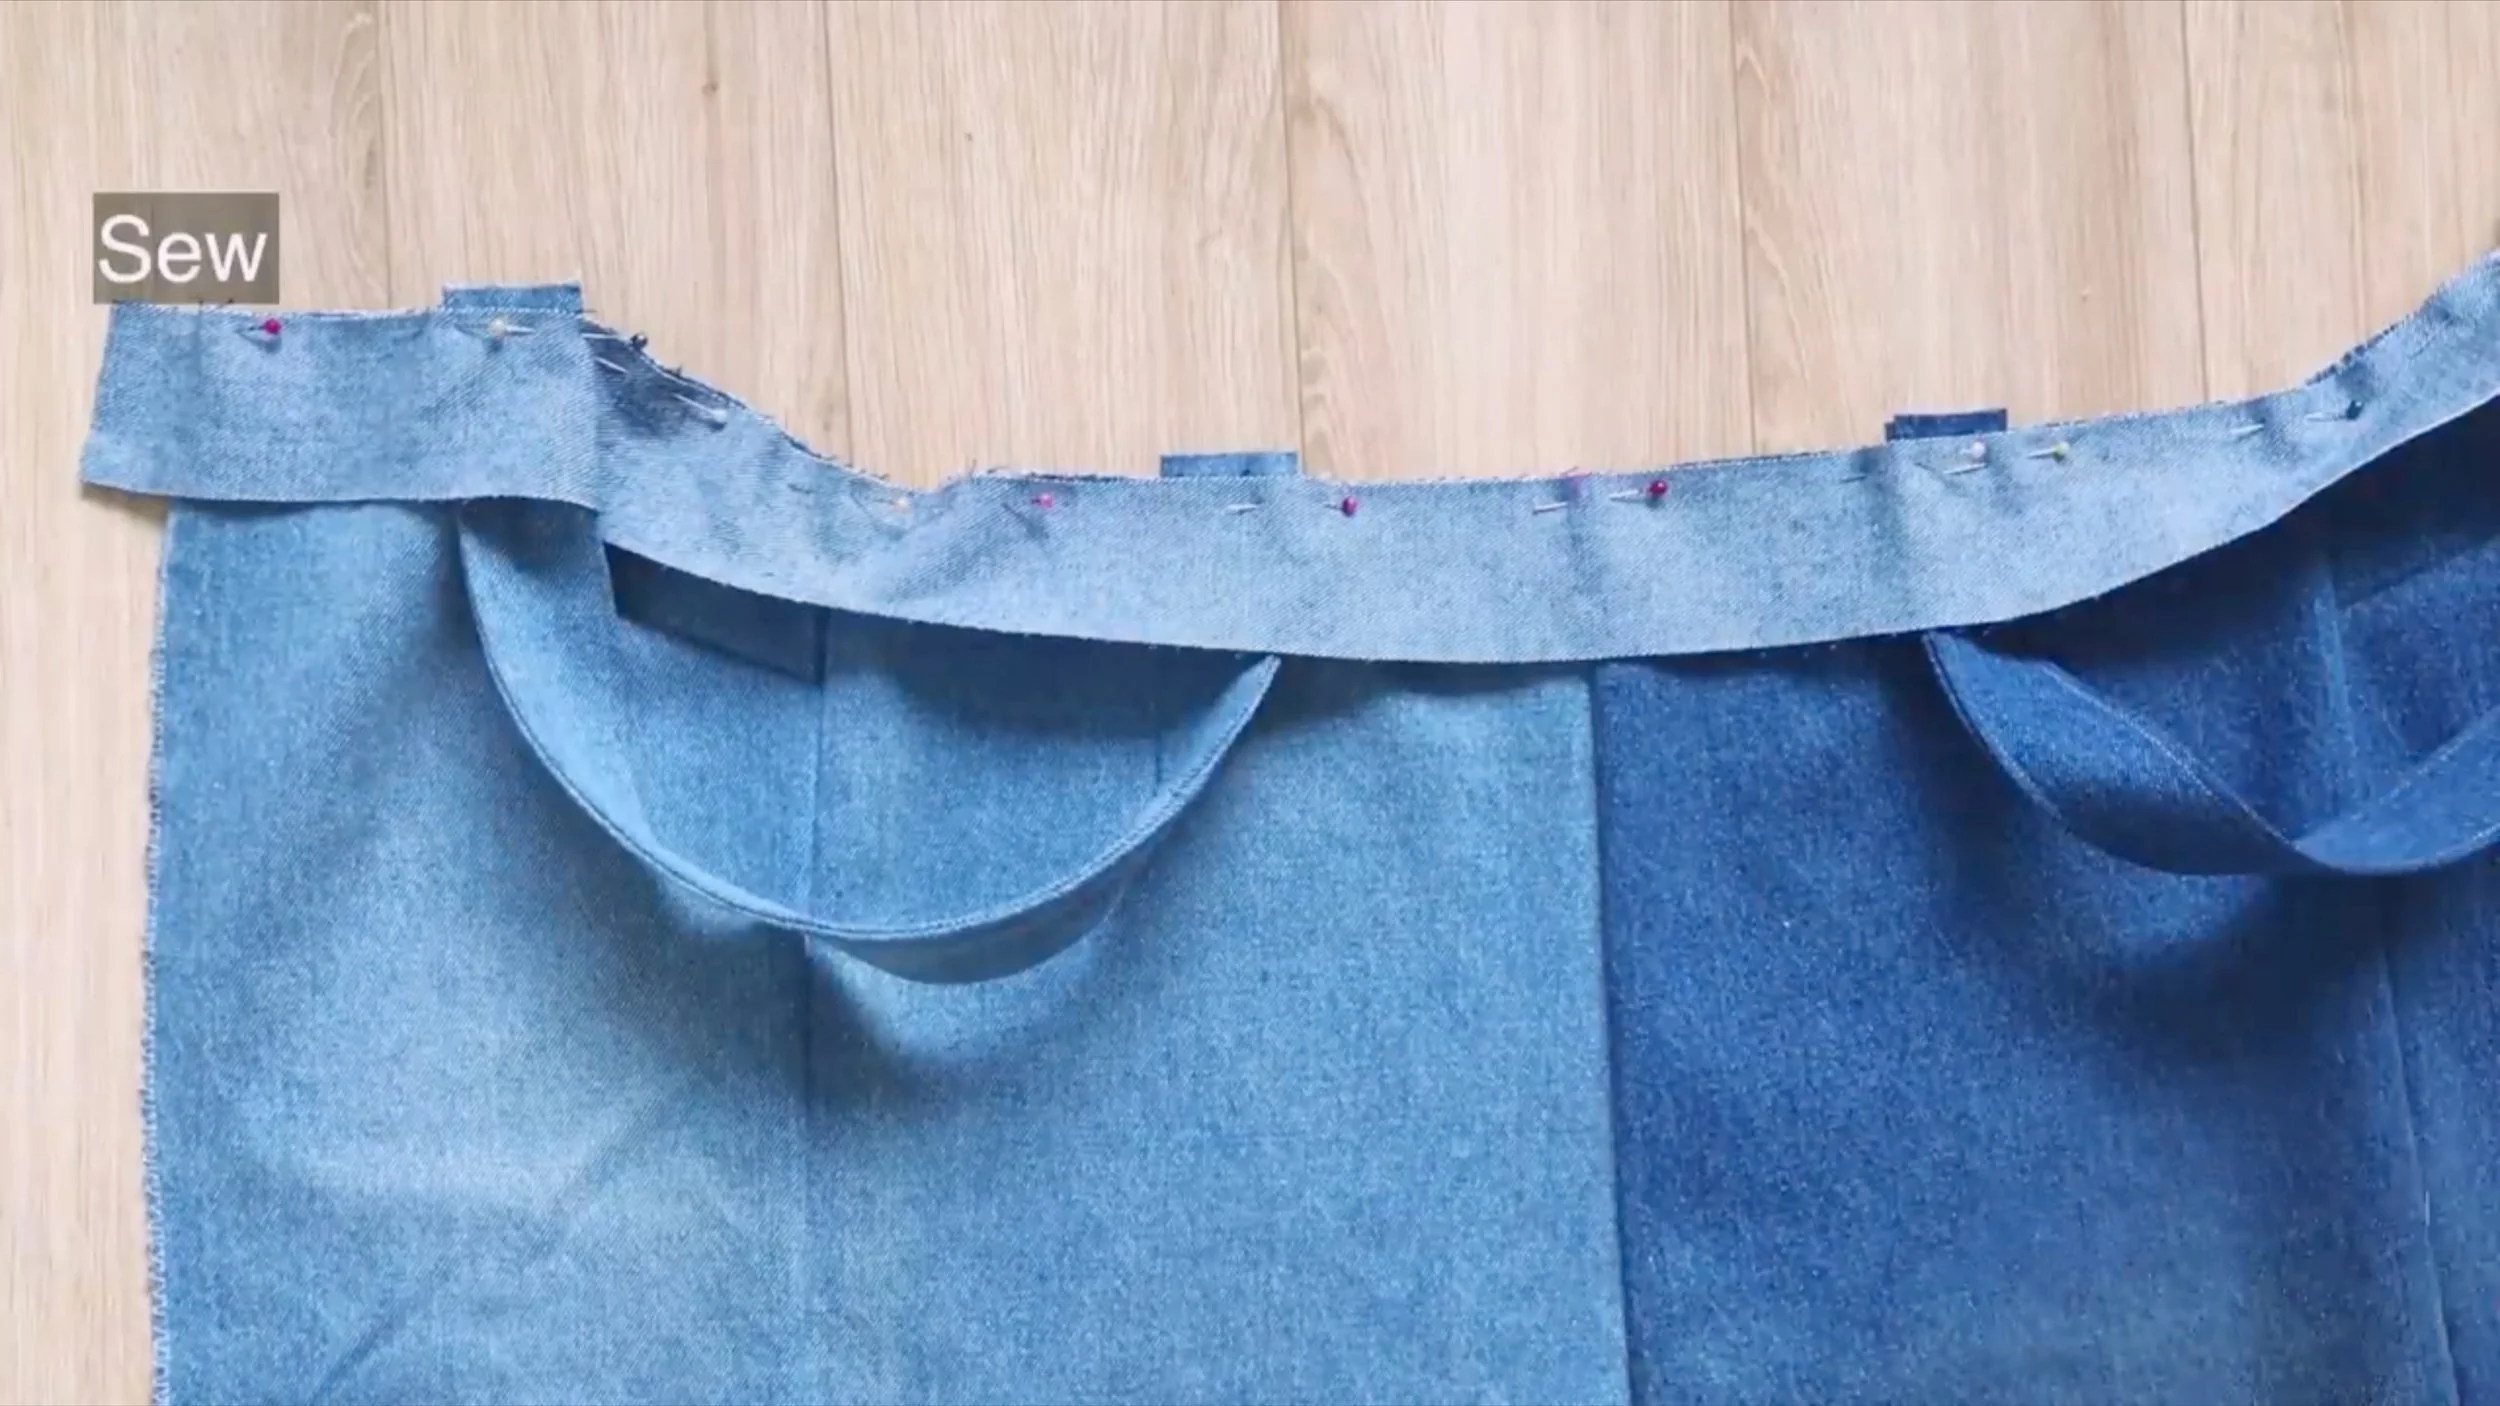
Then sew to connect them together.
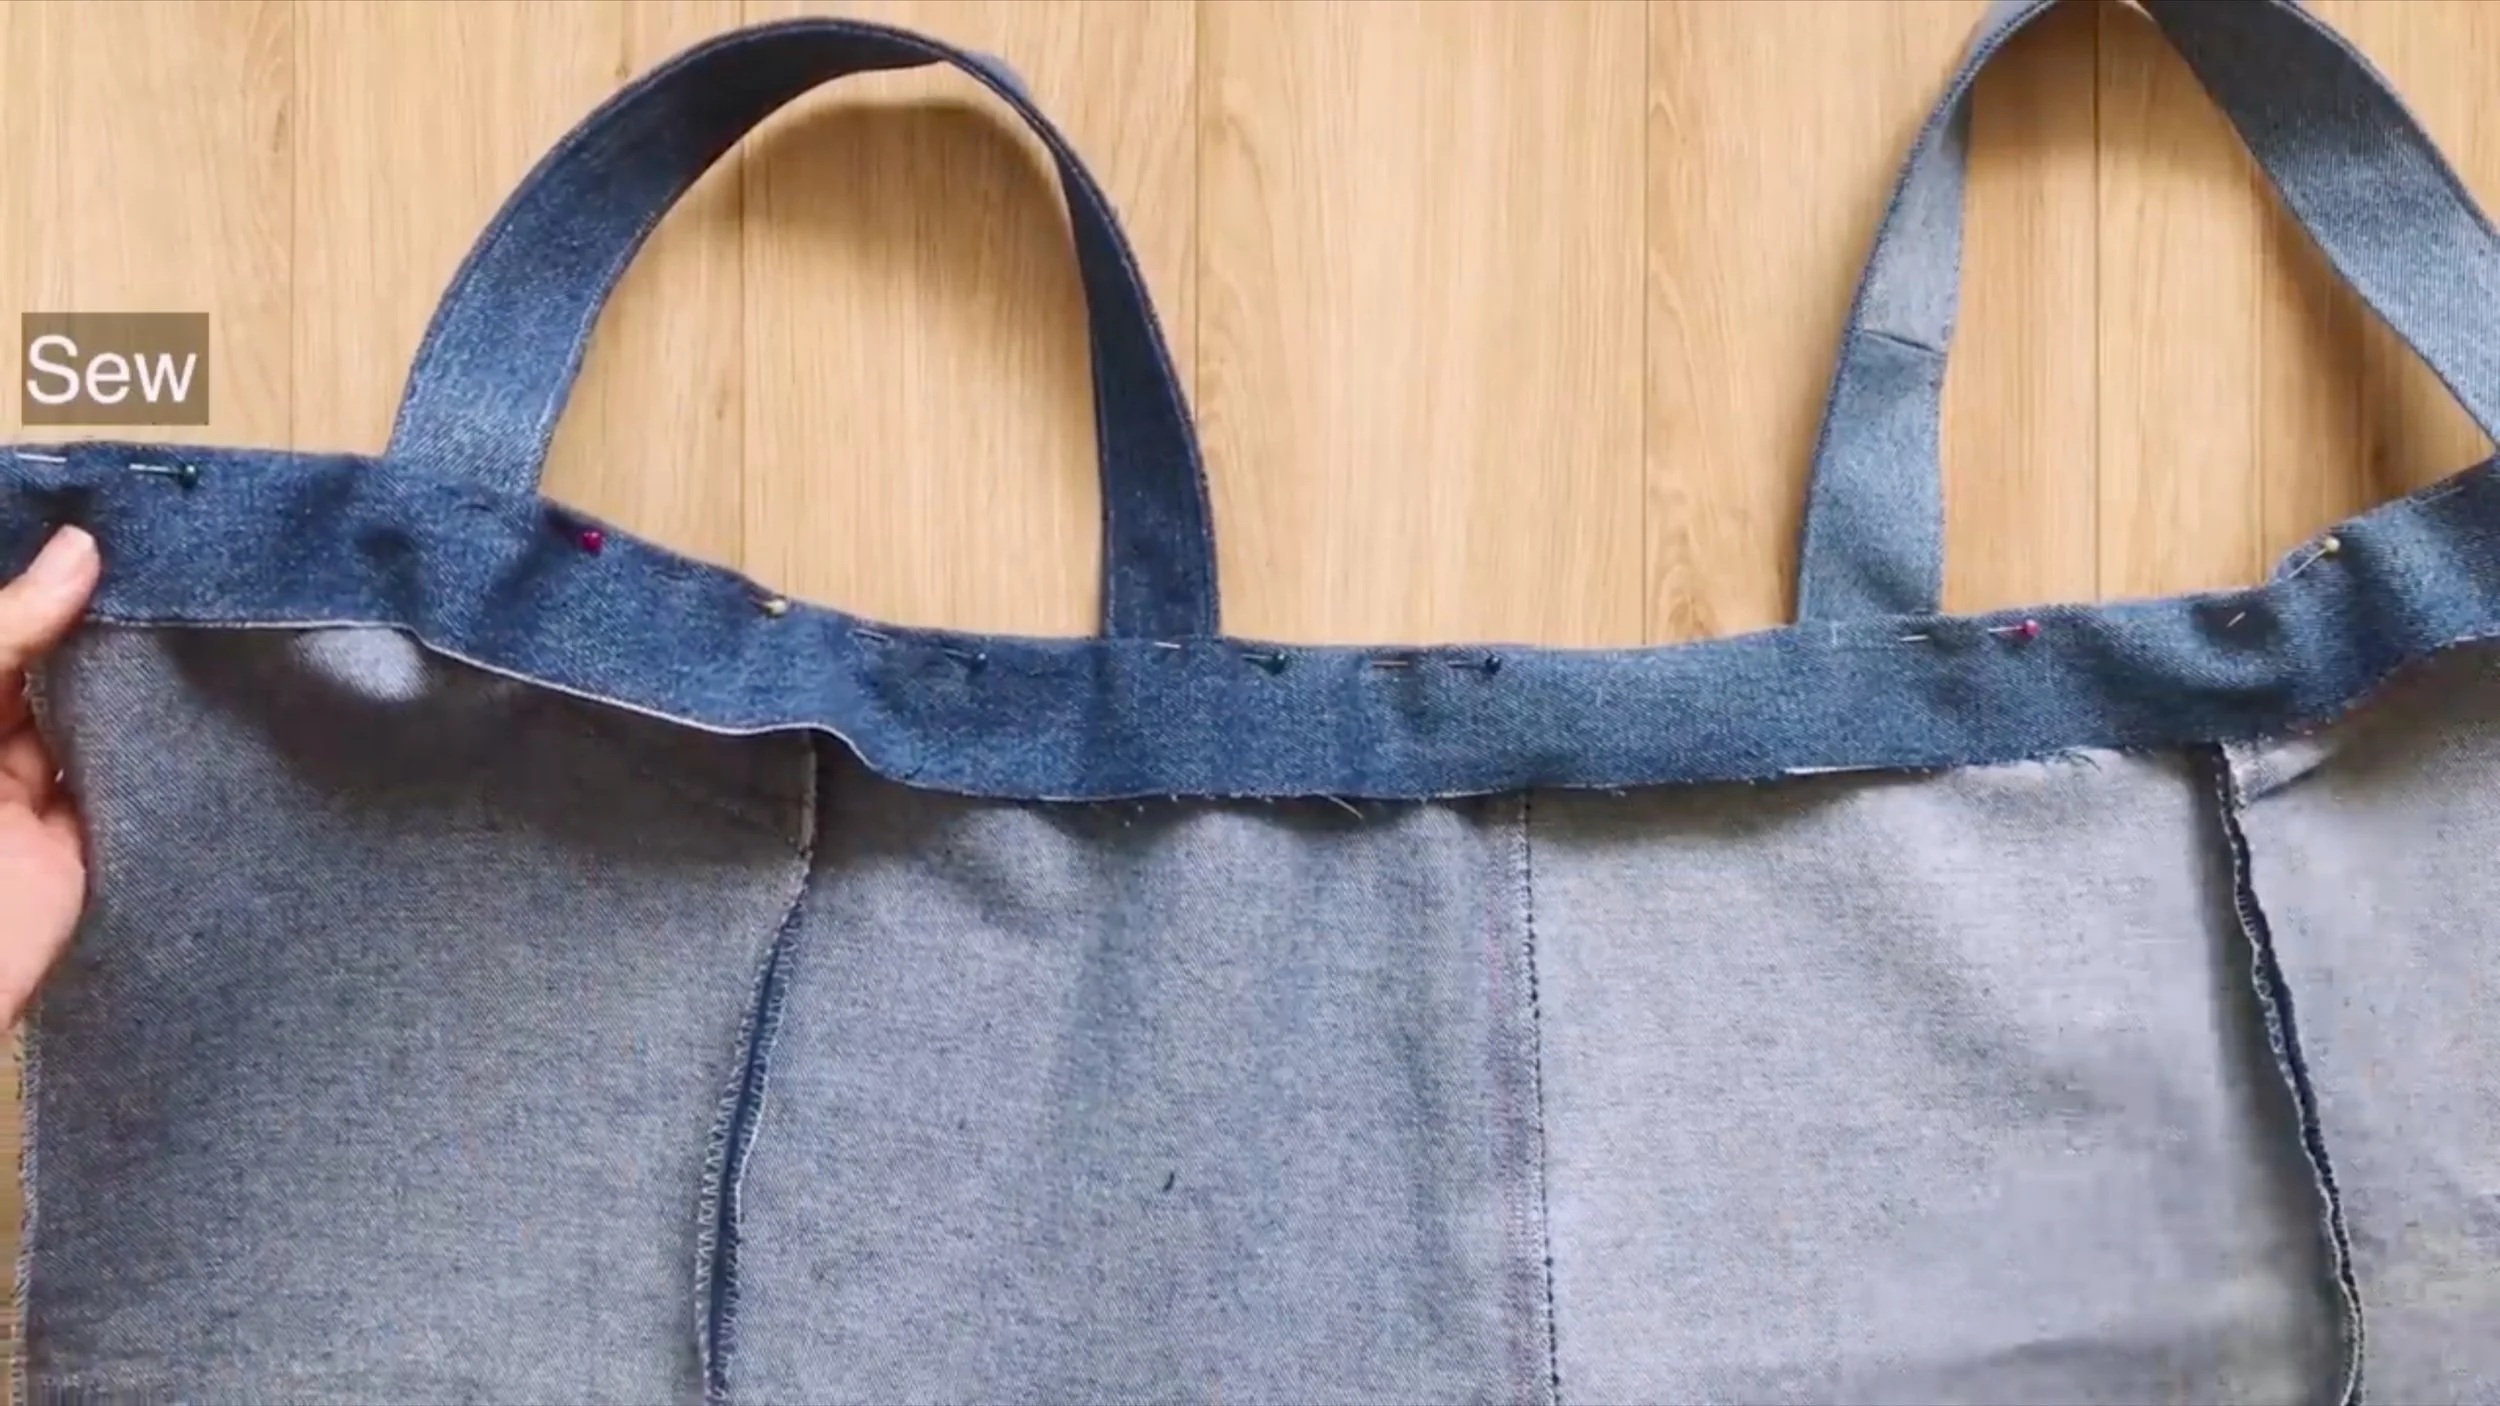
After the first seam, make an understitching seam.
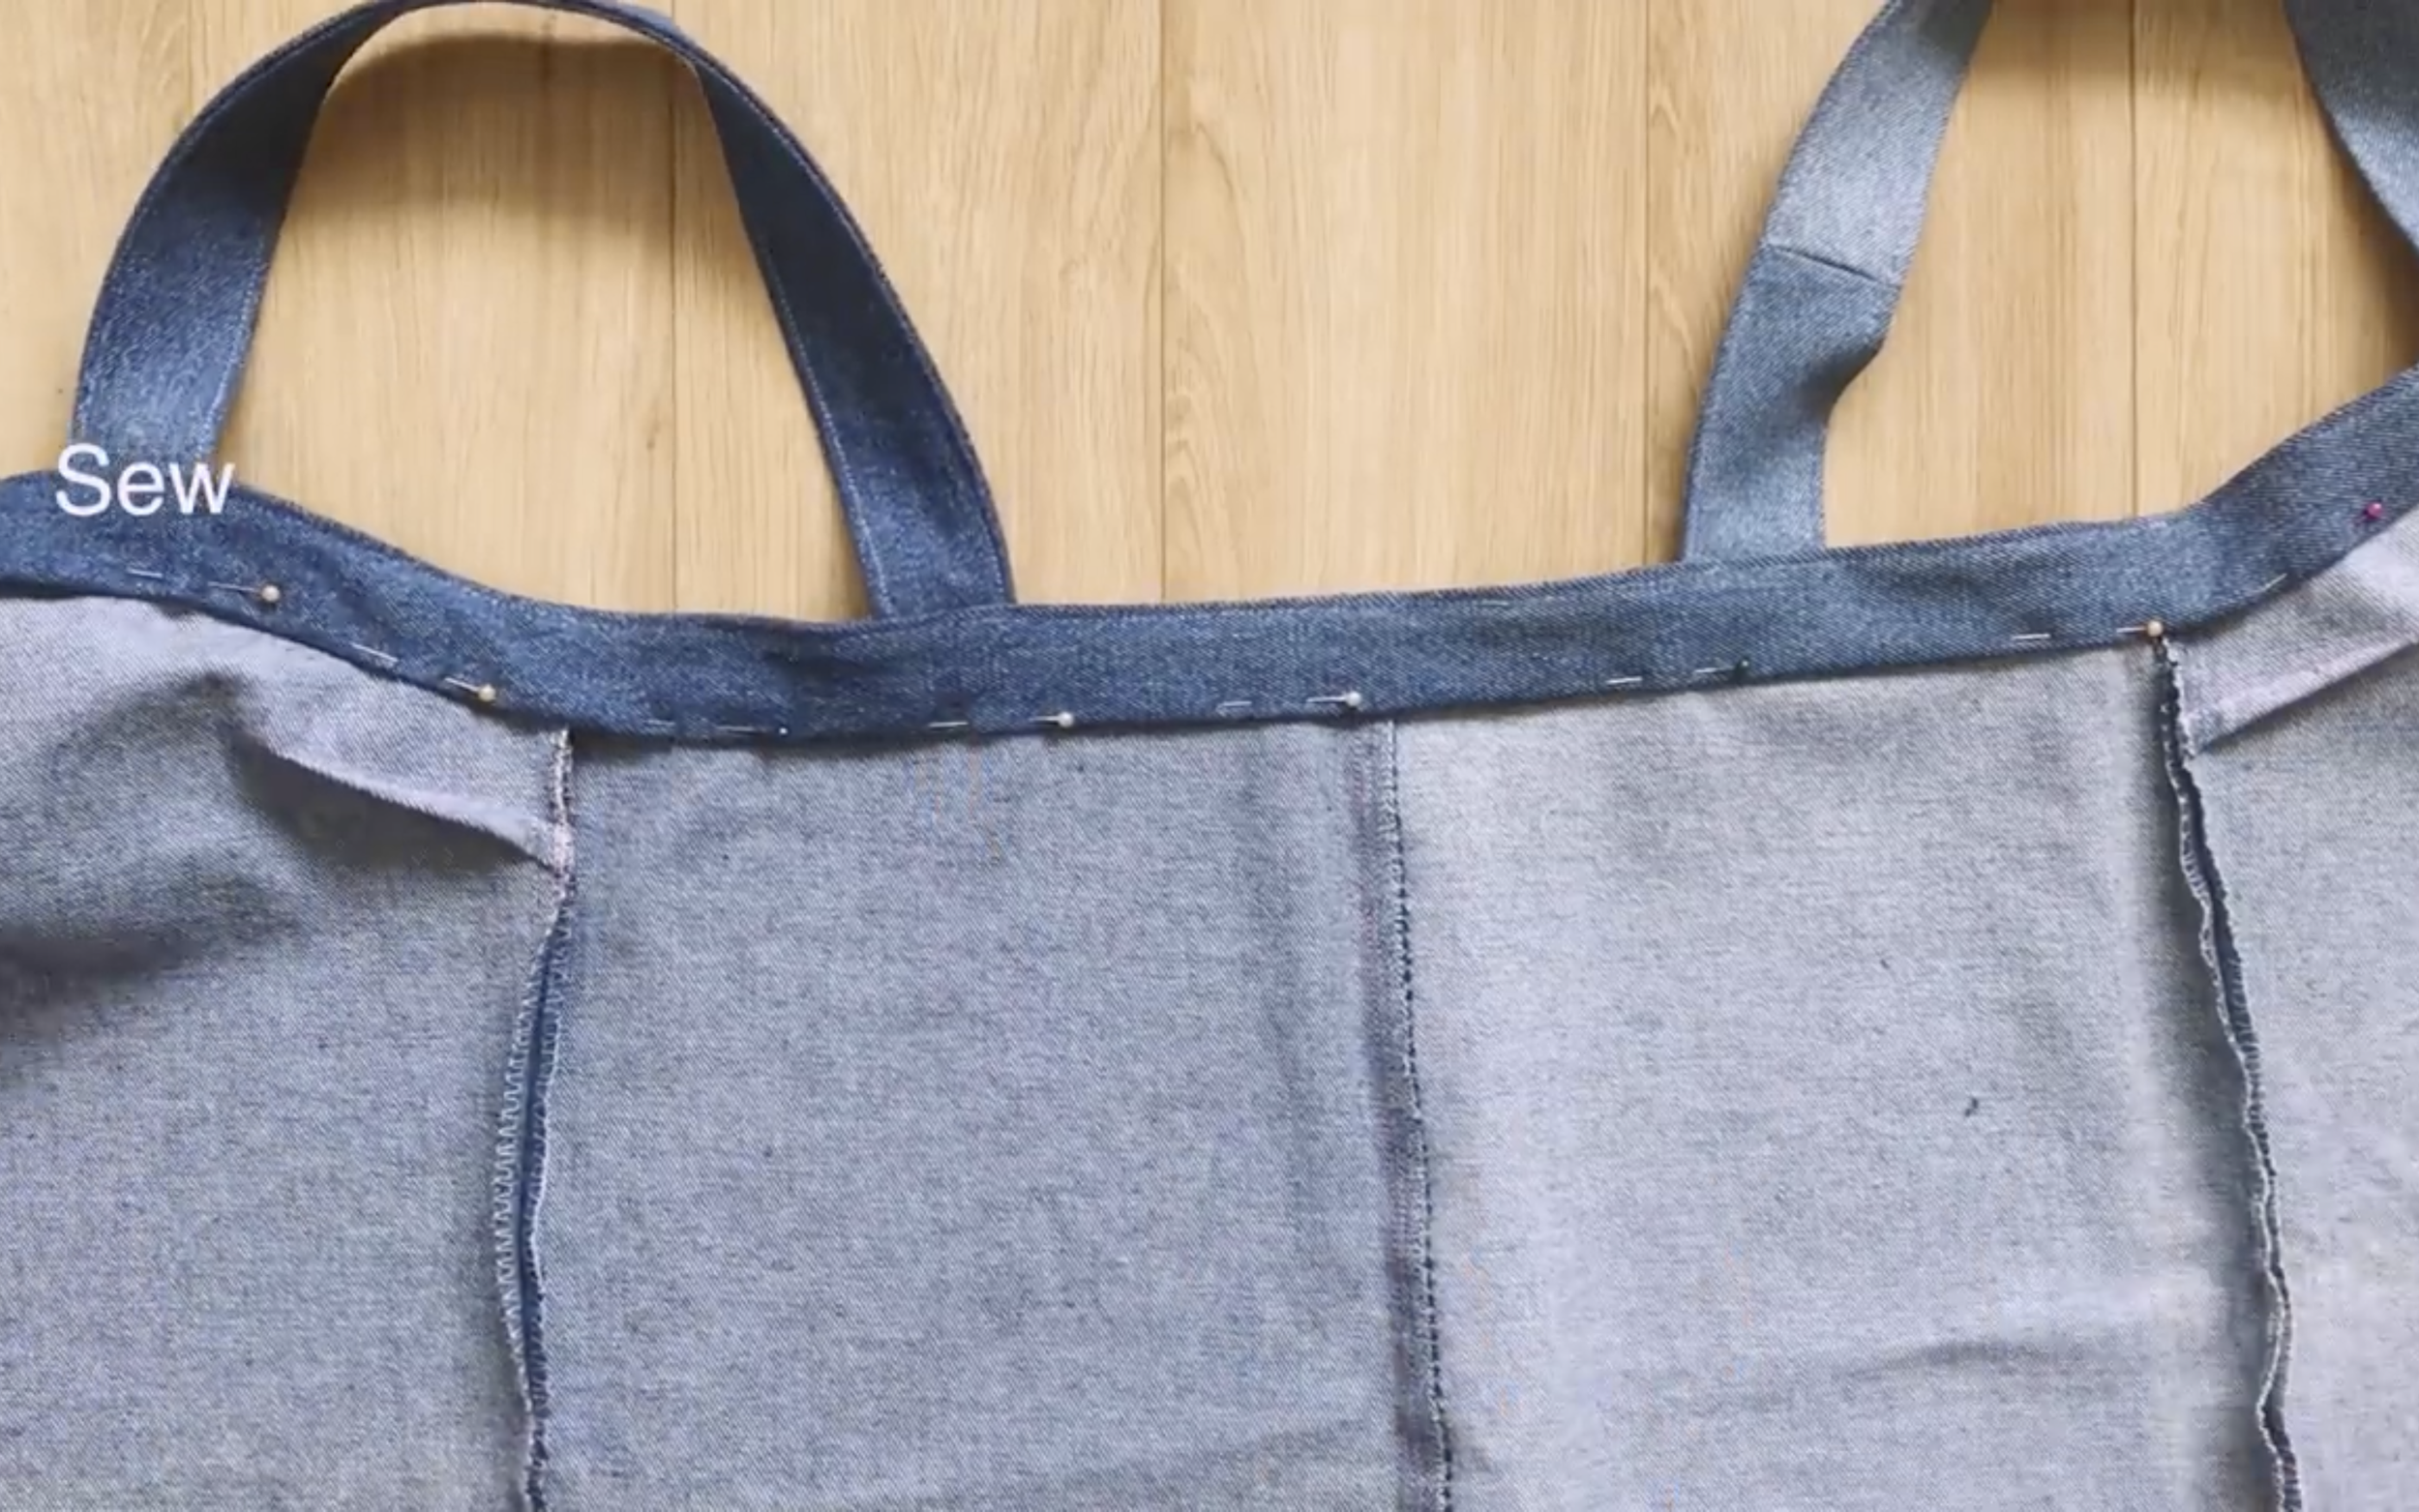
Then, fold the other end of the long rectangle inside around 1 cm and sew.
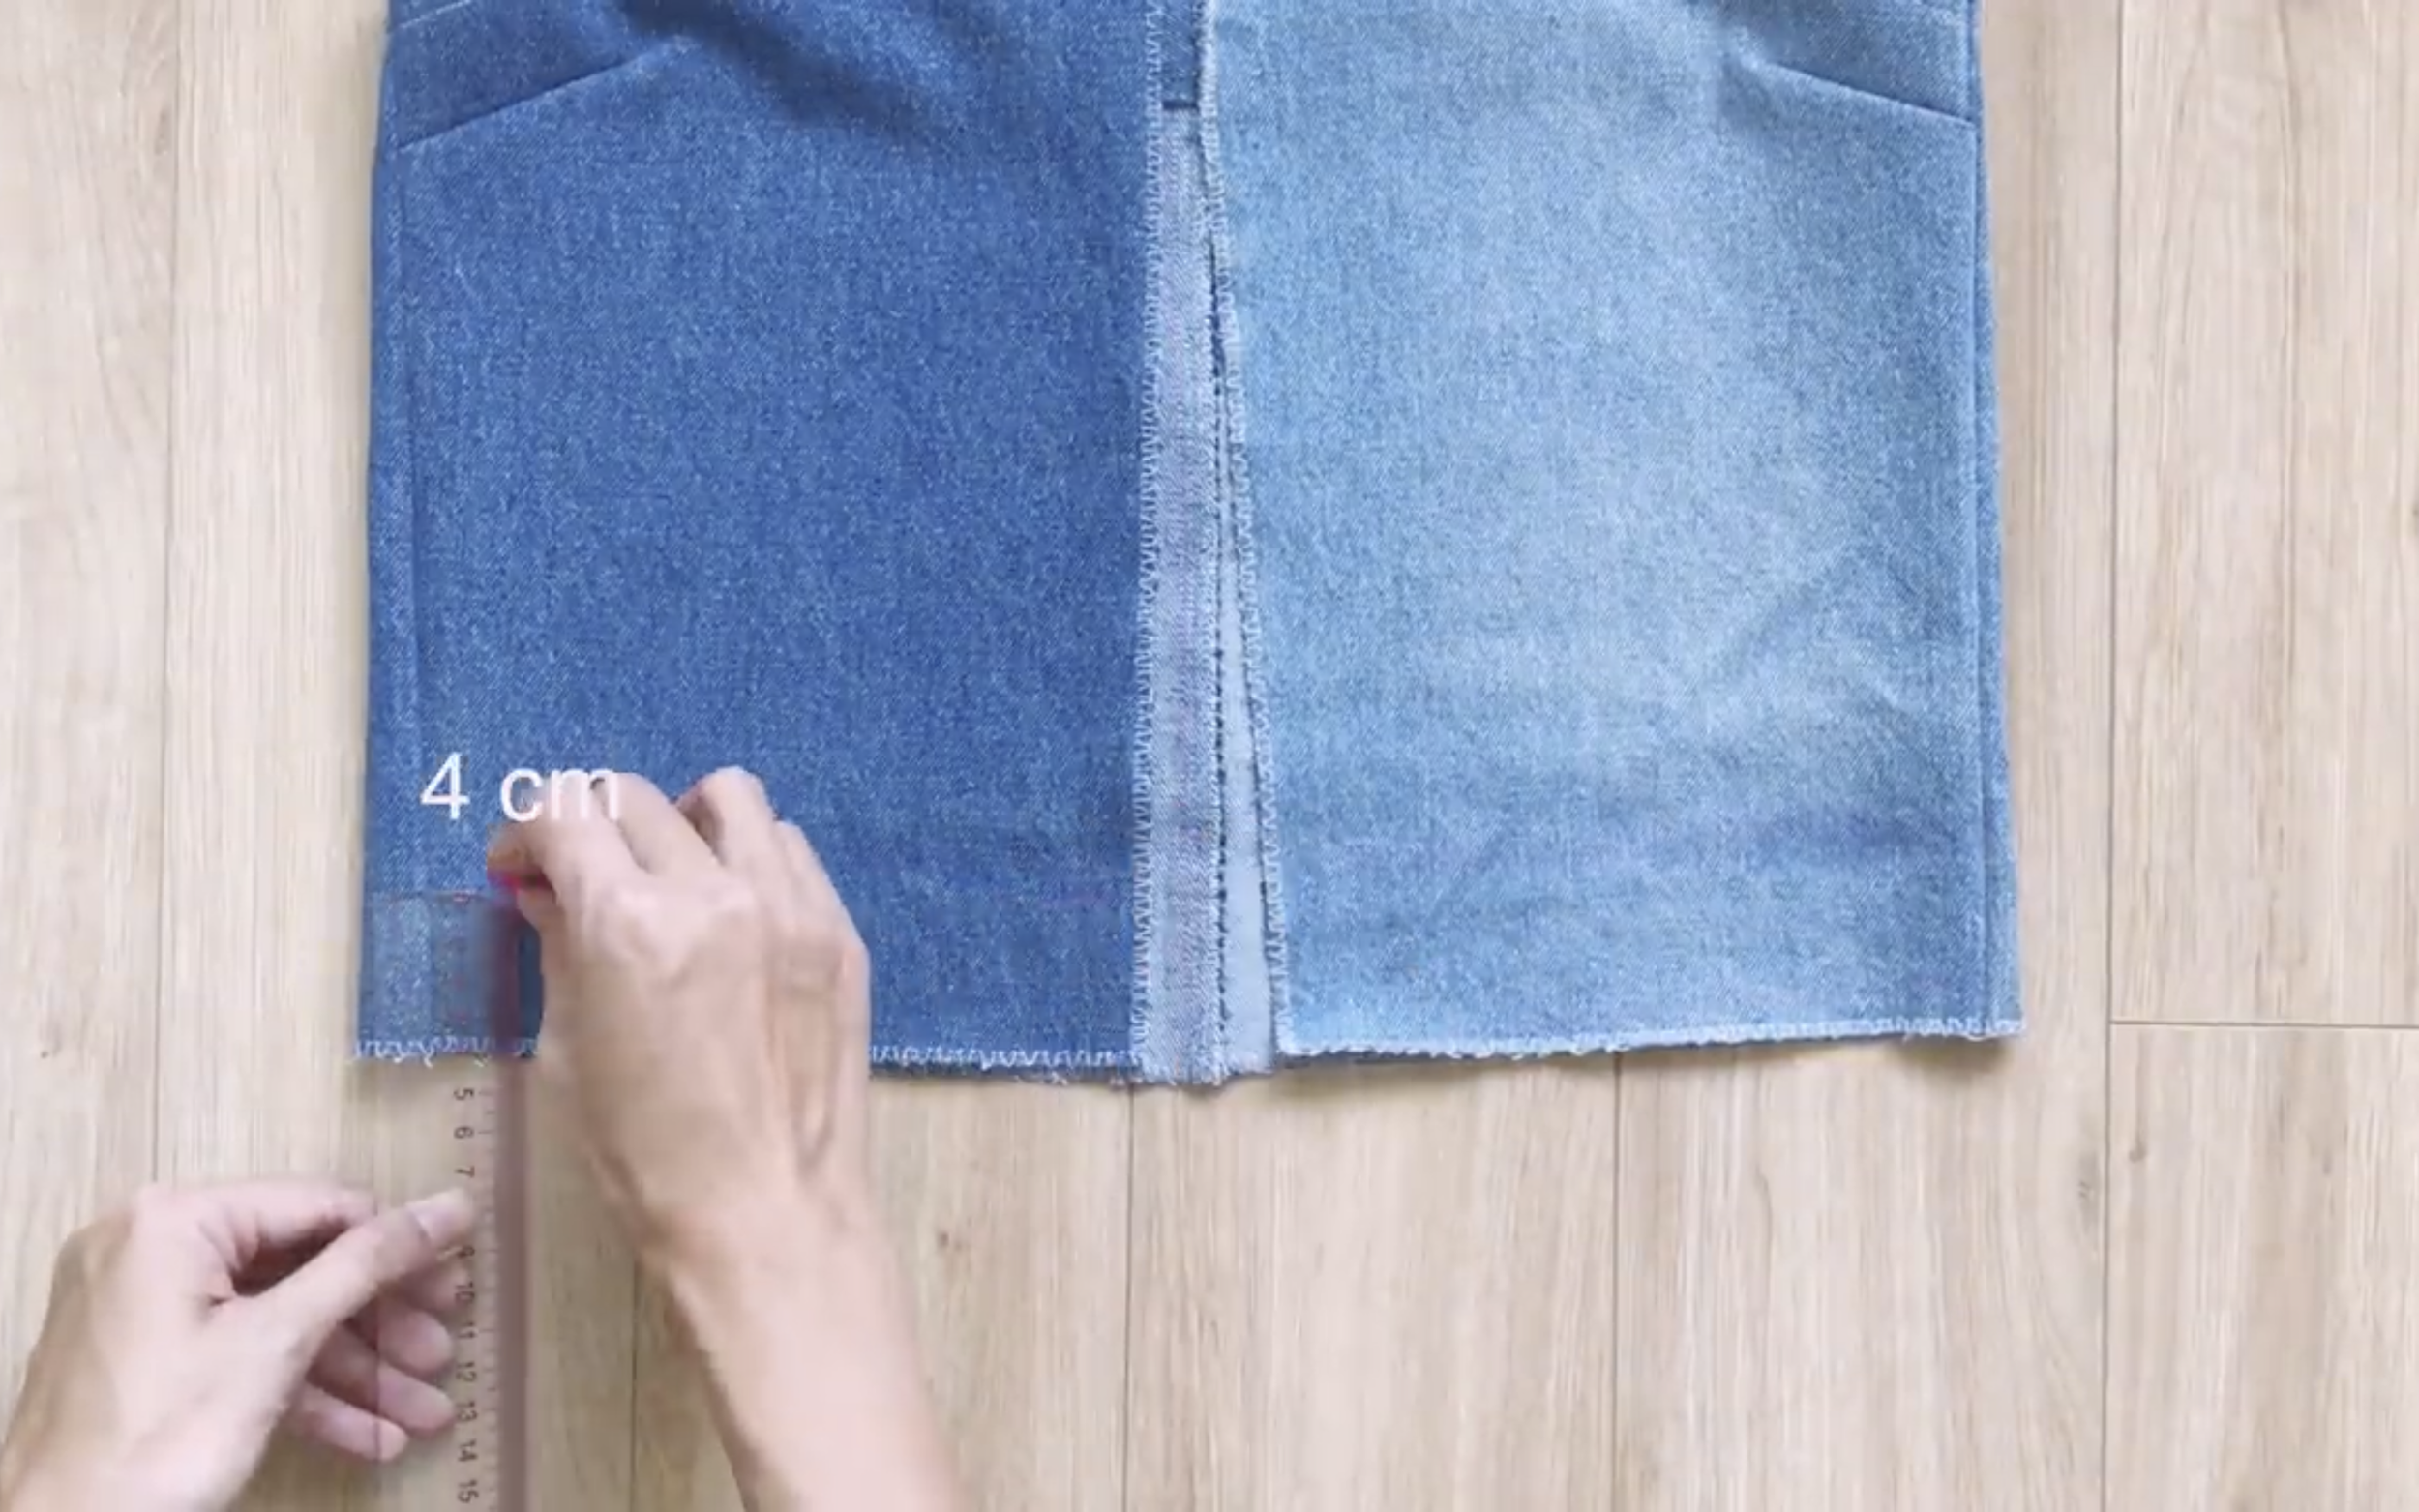
At the end of the top bodice, draw a horizontal line 4 cm above the ending line.
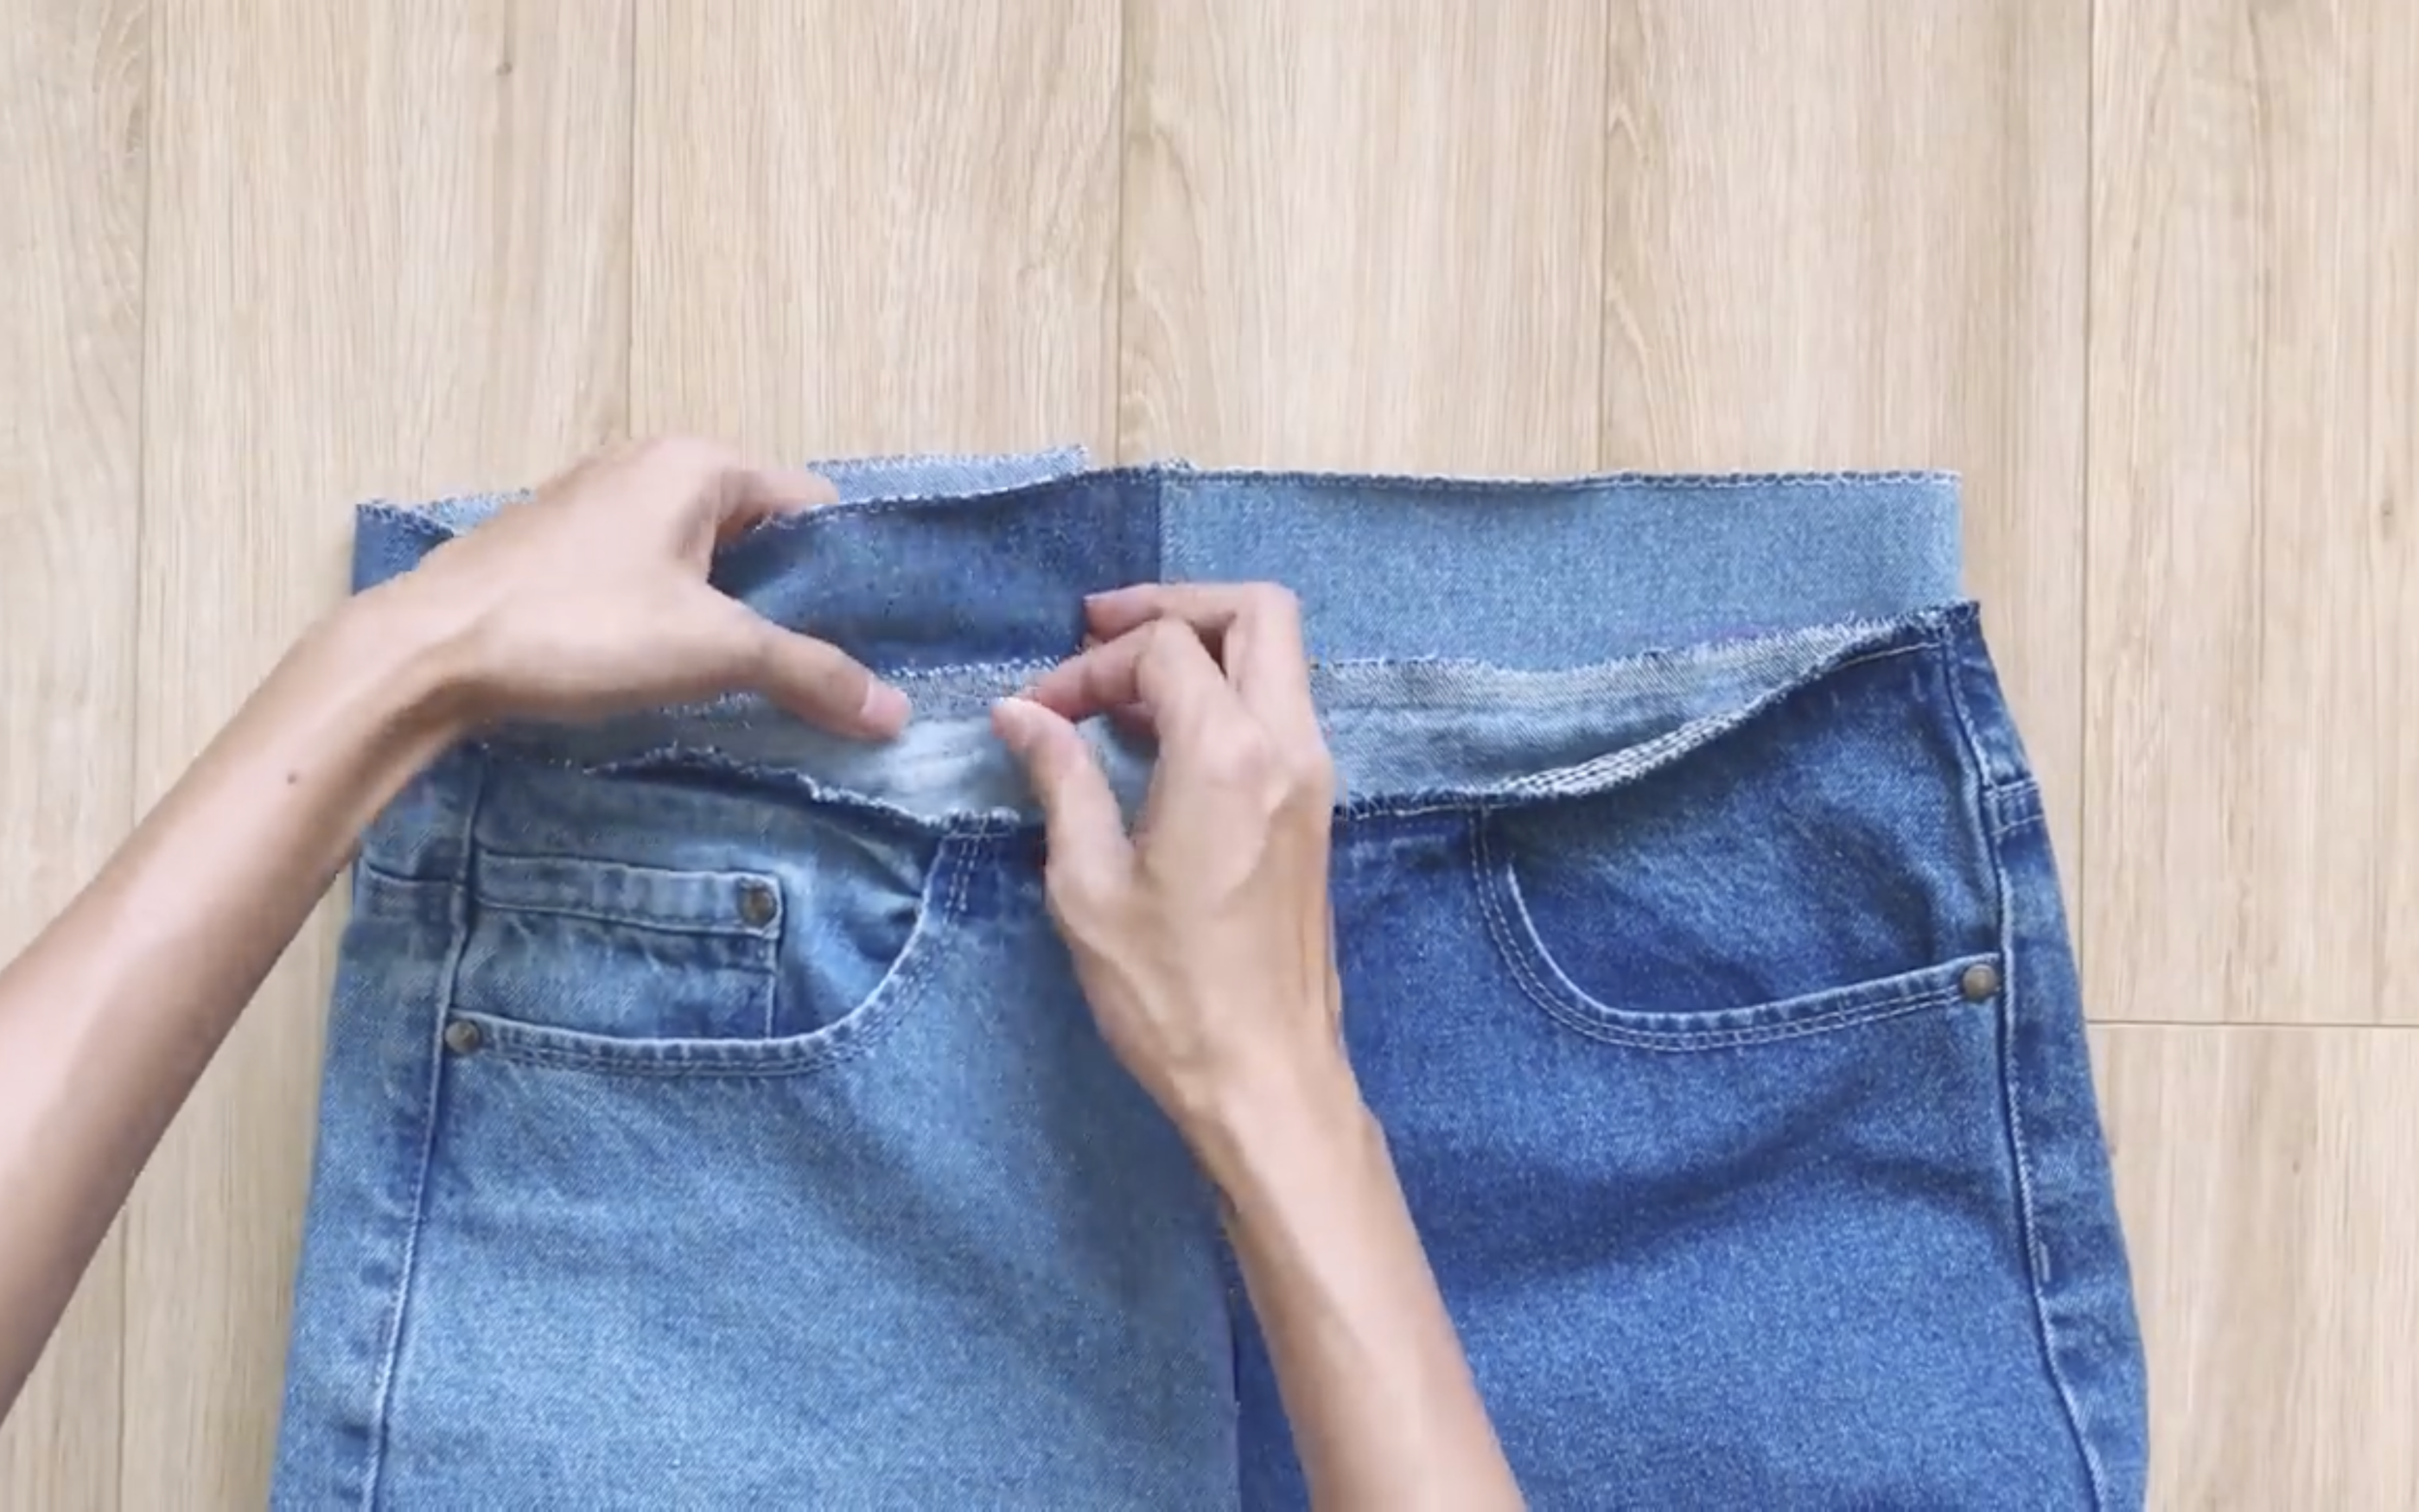
Then, put the extra fabric of the top jumpsuit up.
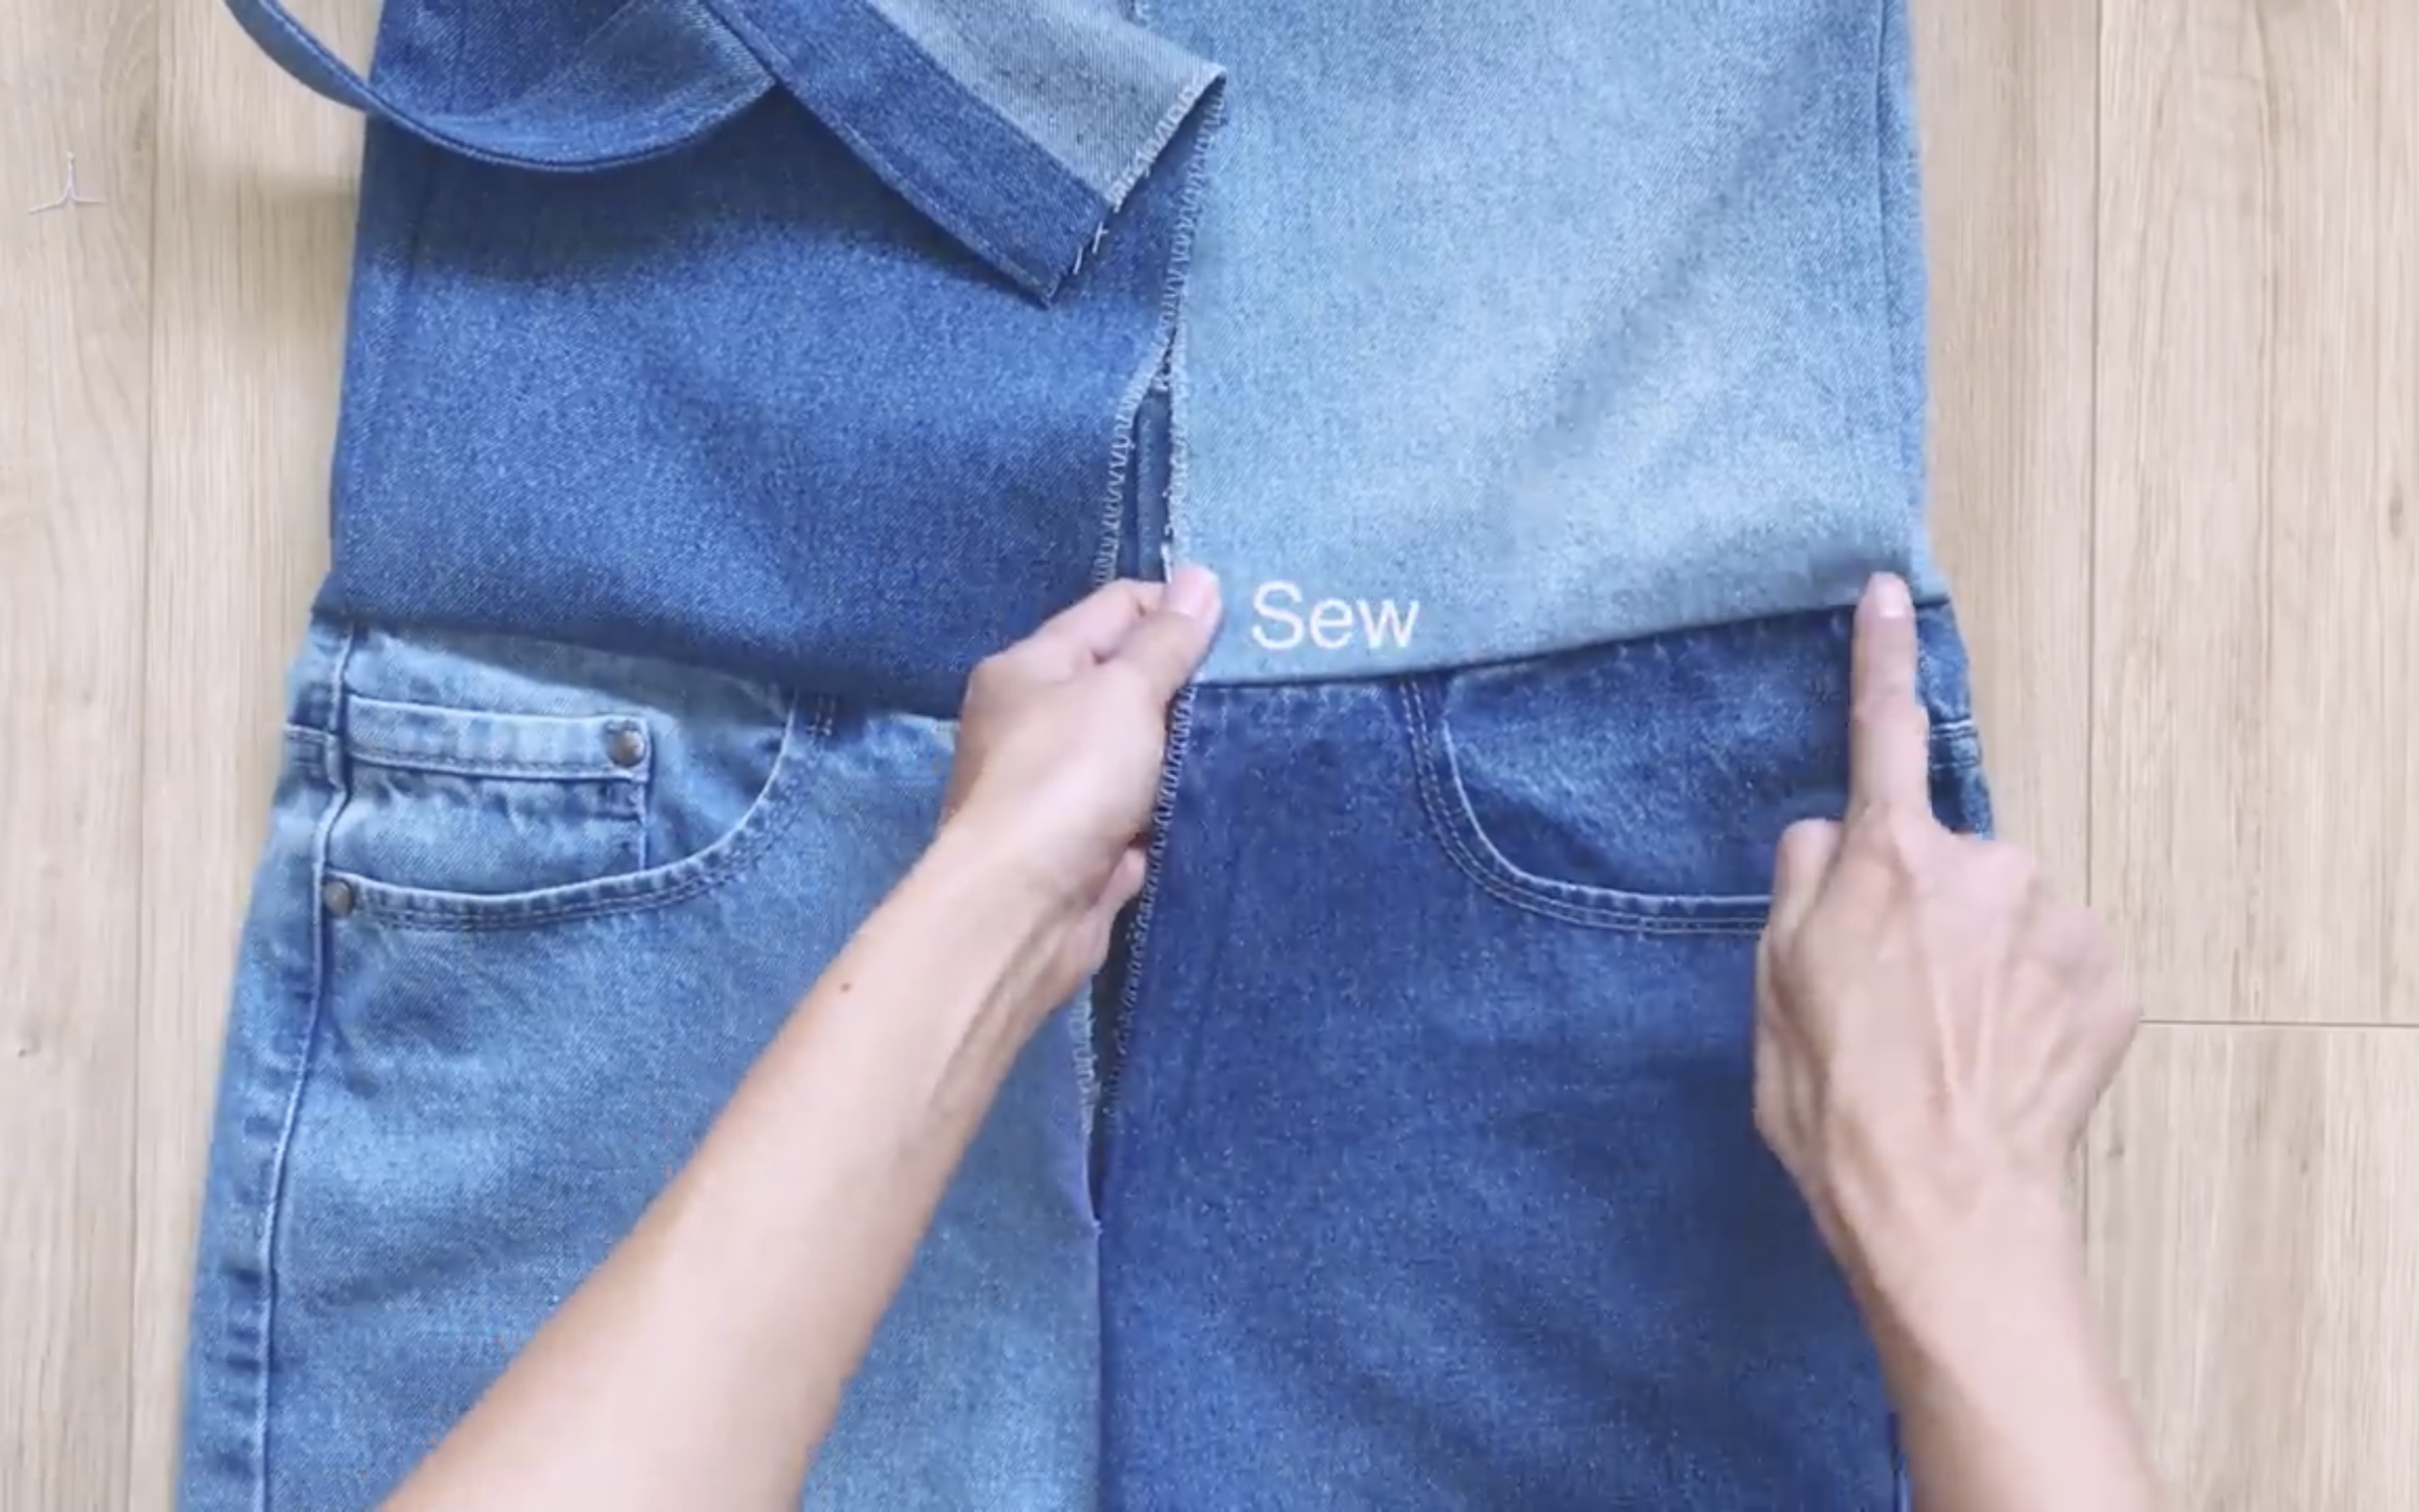
And make the second seam.
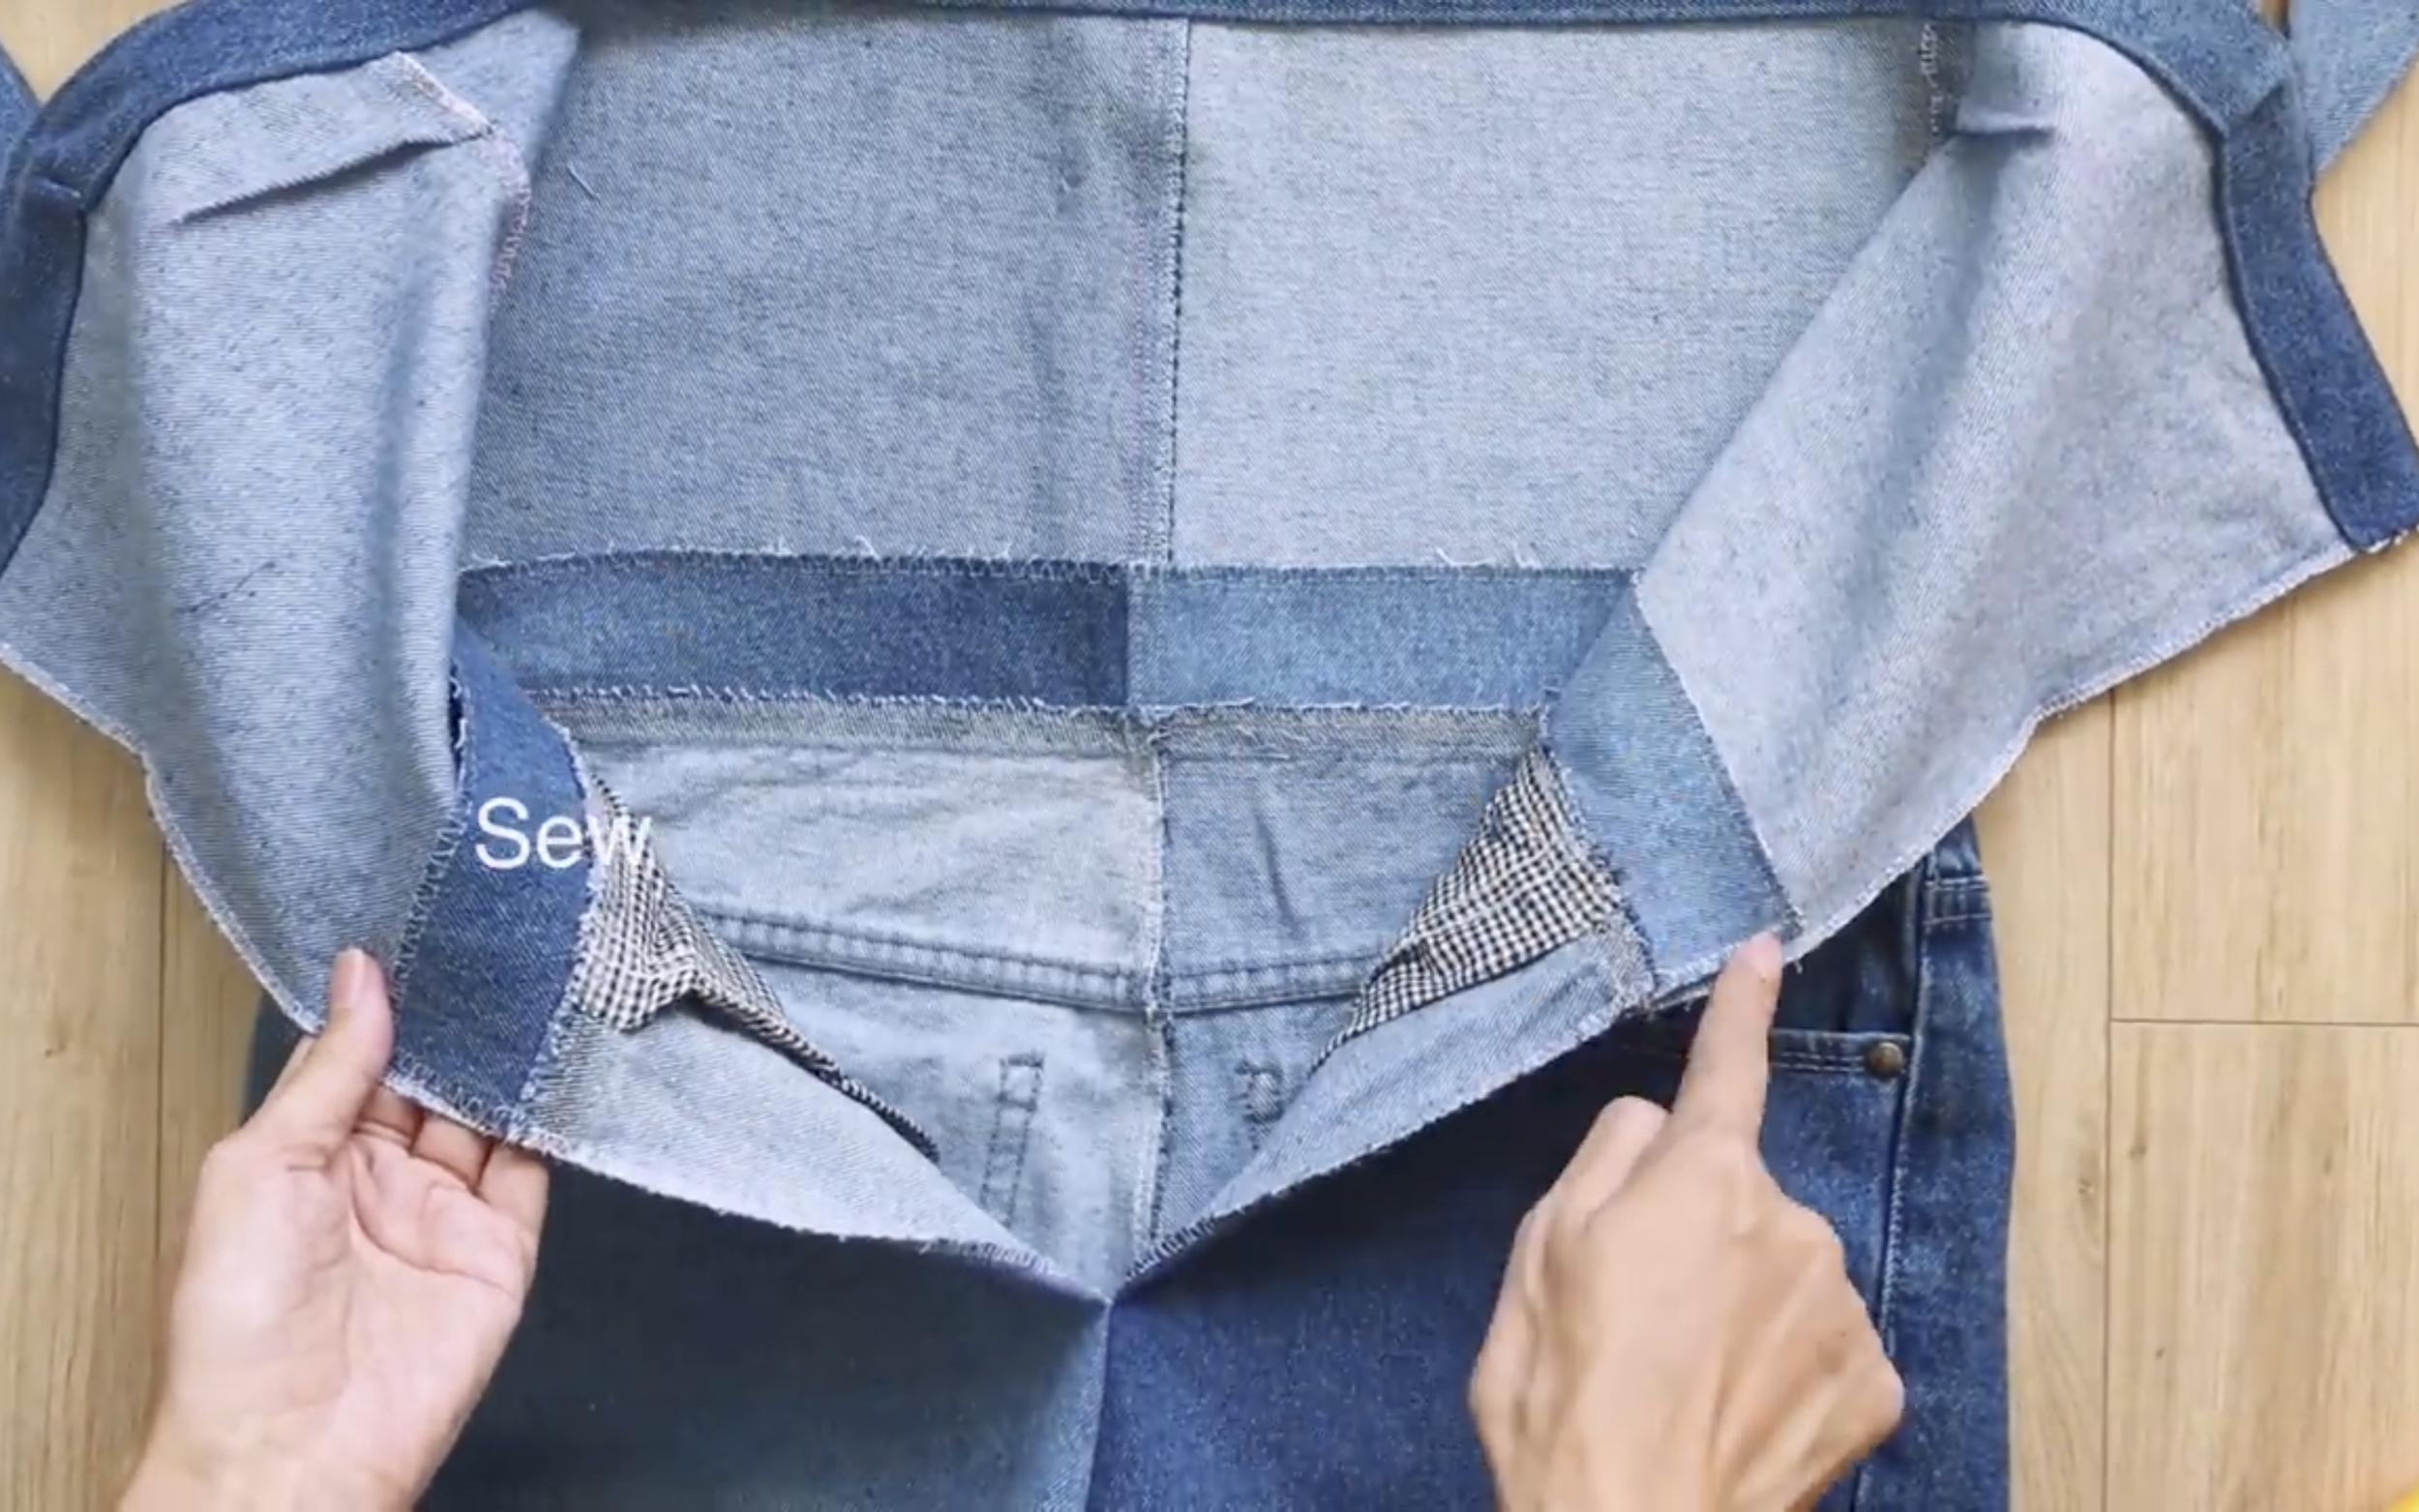
After that, make the third seam at the end of the top jumpsuit to create a fabric tunnel at the waist for the elastic band.
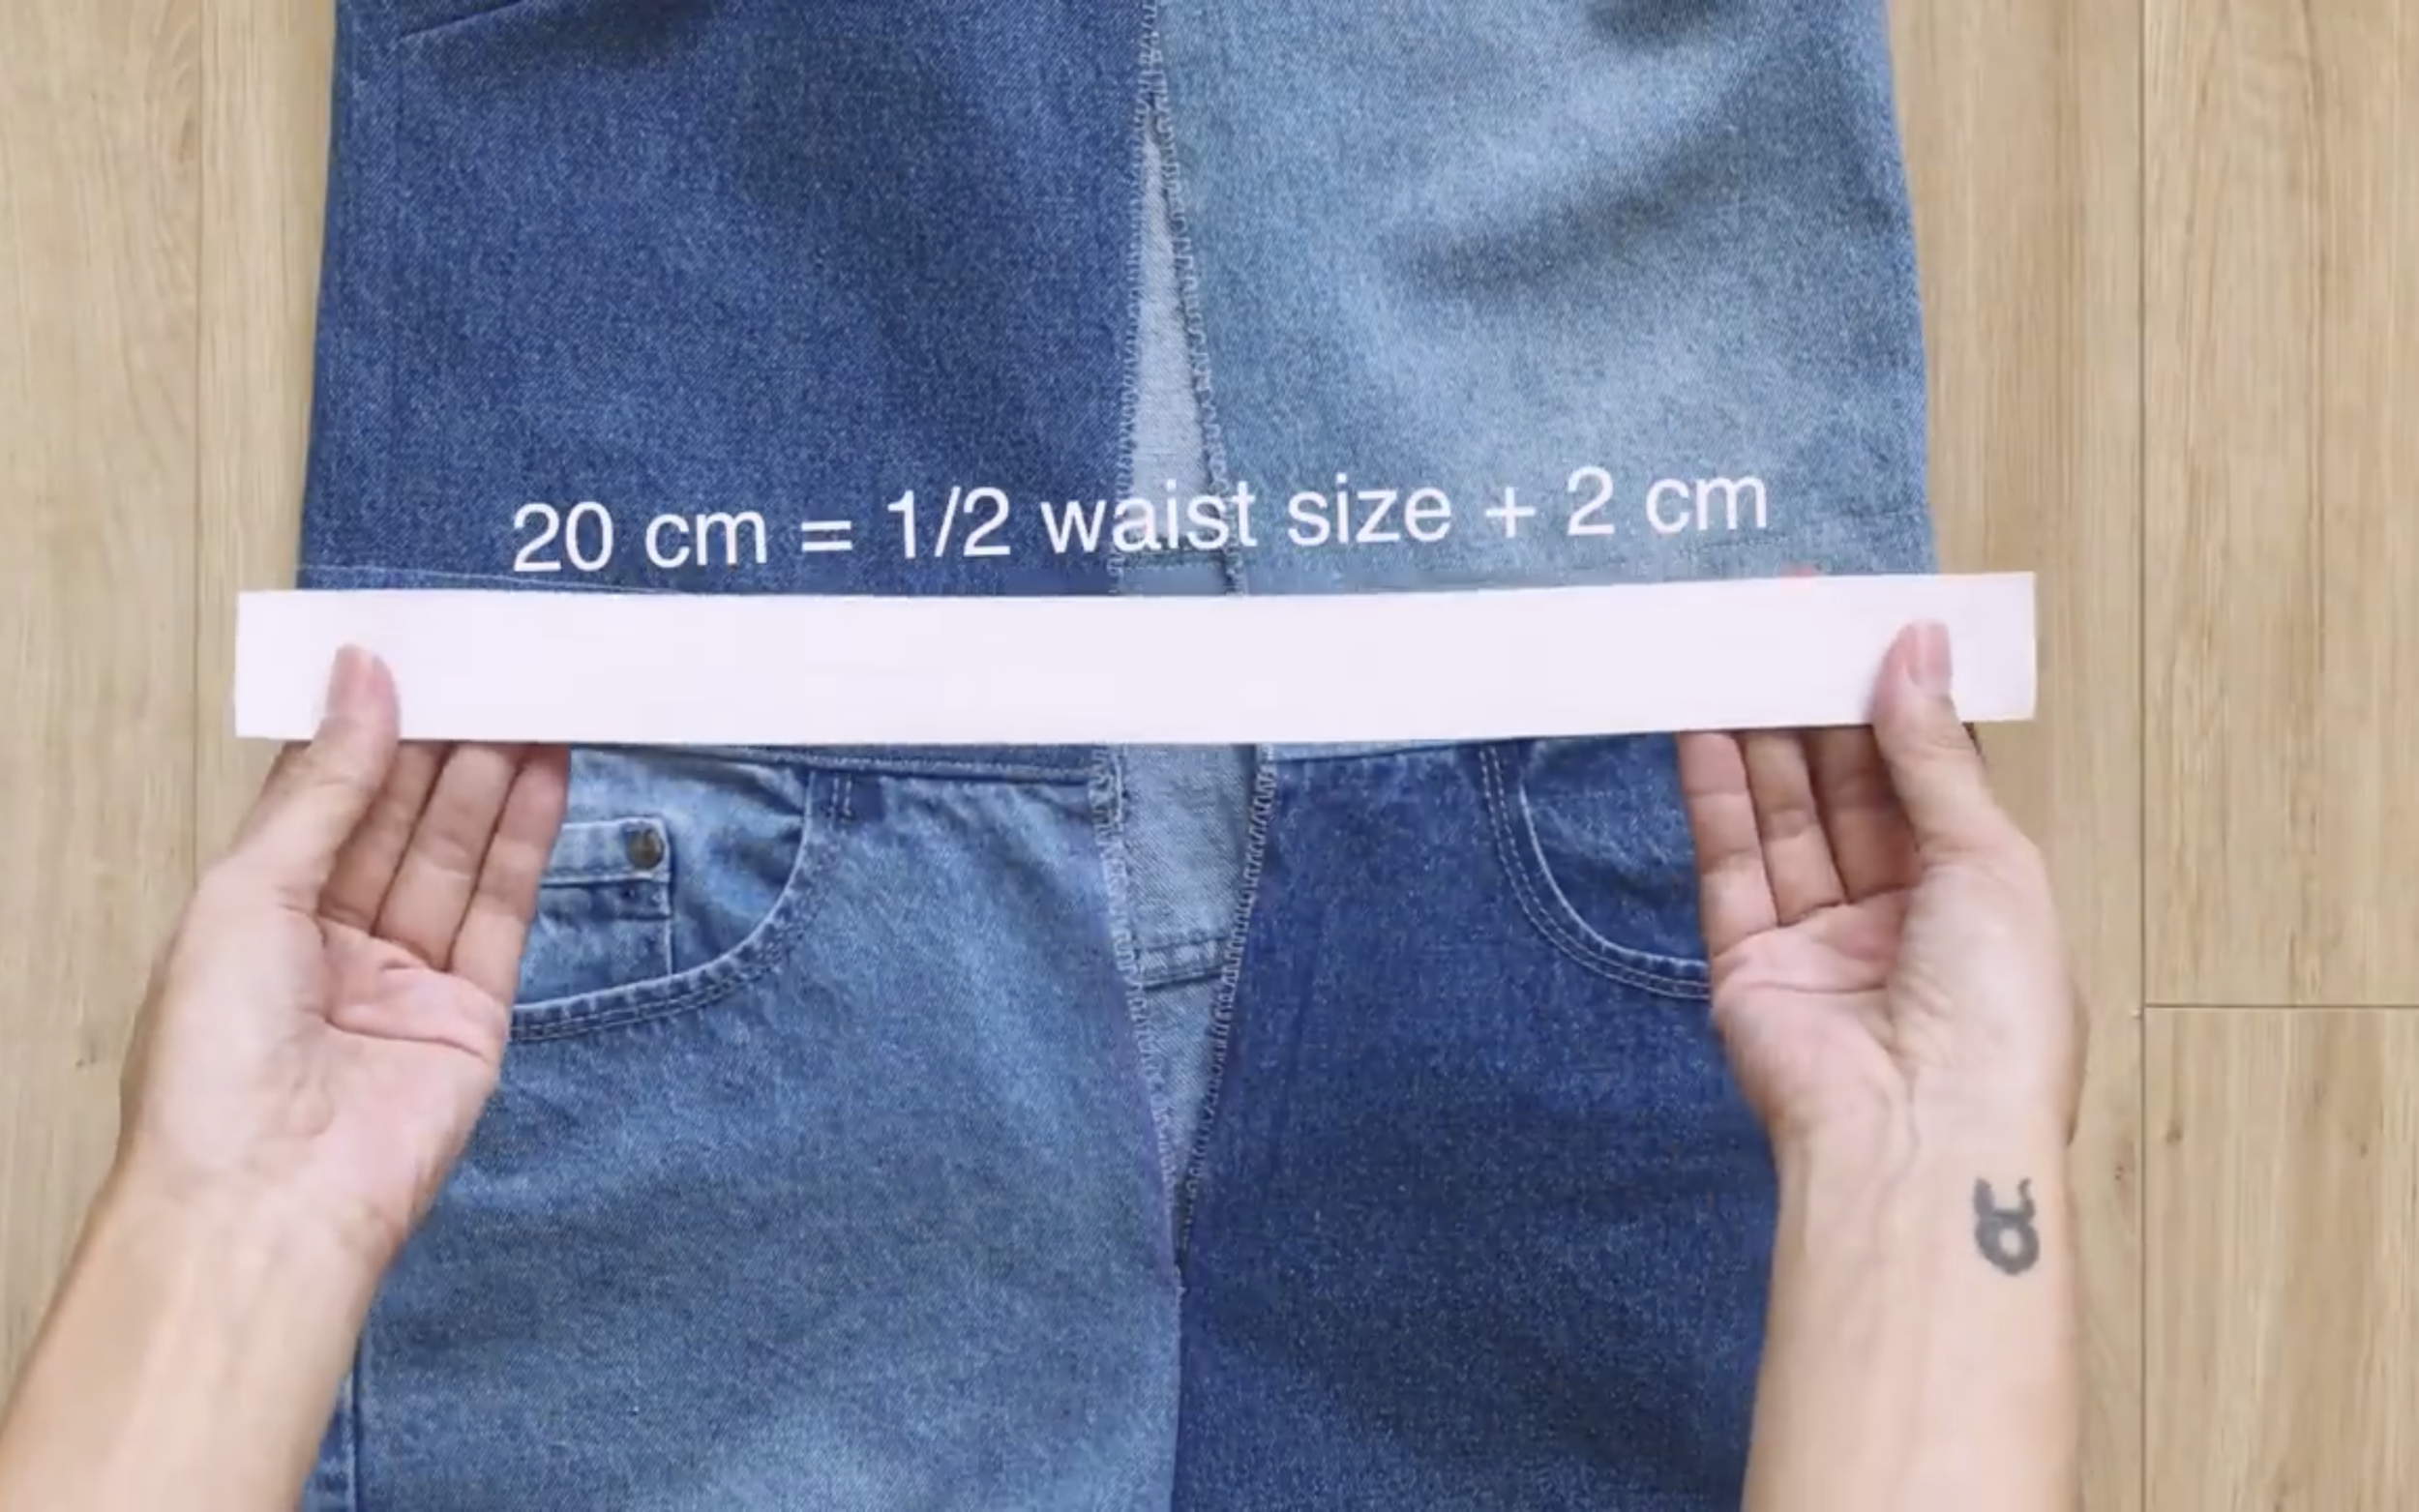
Cut a 20 cm length of elastic band to make the back of the jumpsuit fit better when worn.
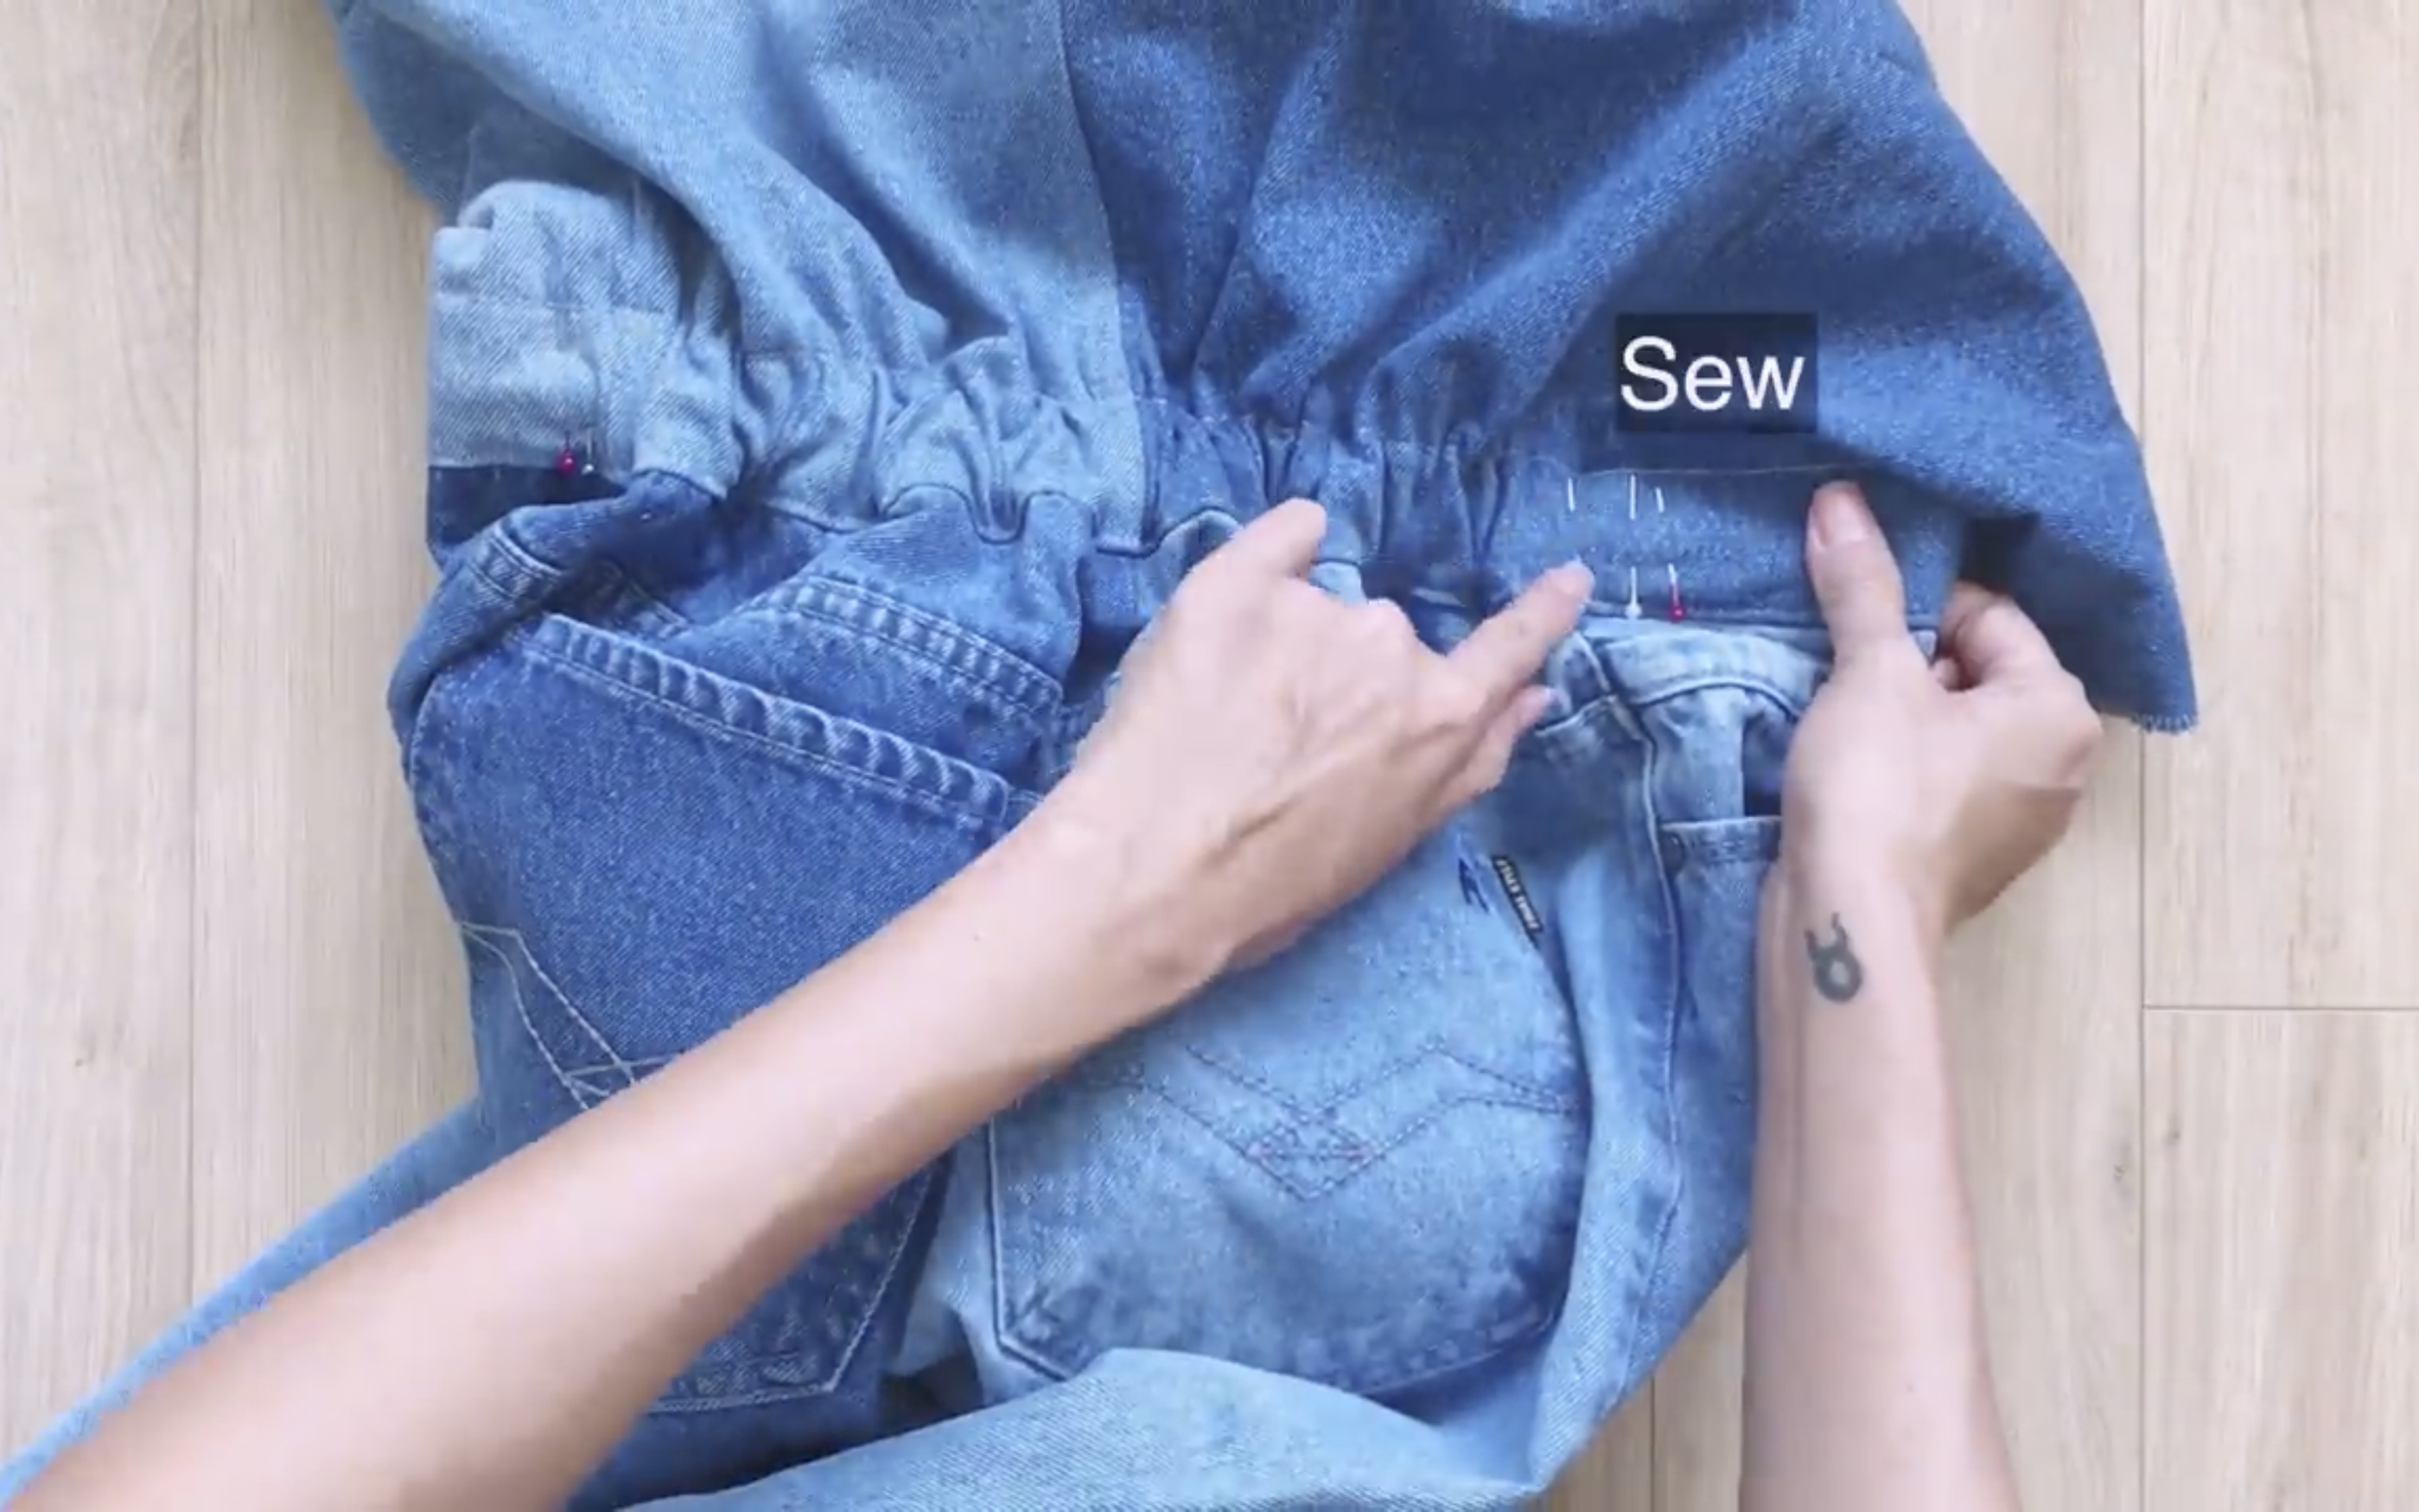
Sew both ends of the elastic band to both ends of the front waist so the front of the jumpsuit looks neater.
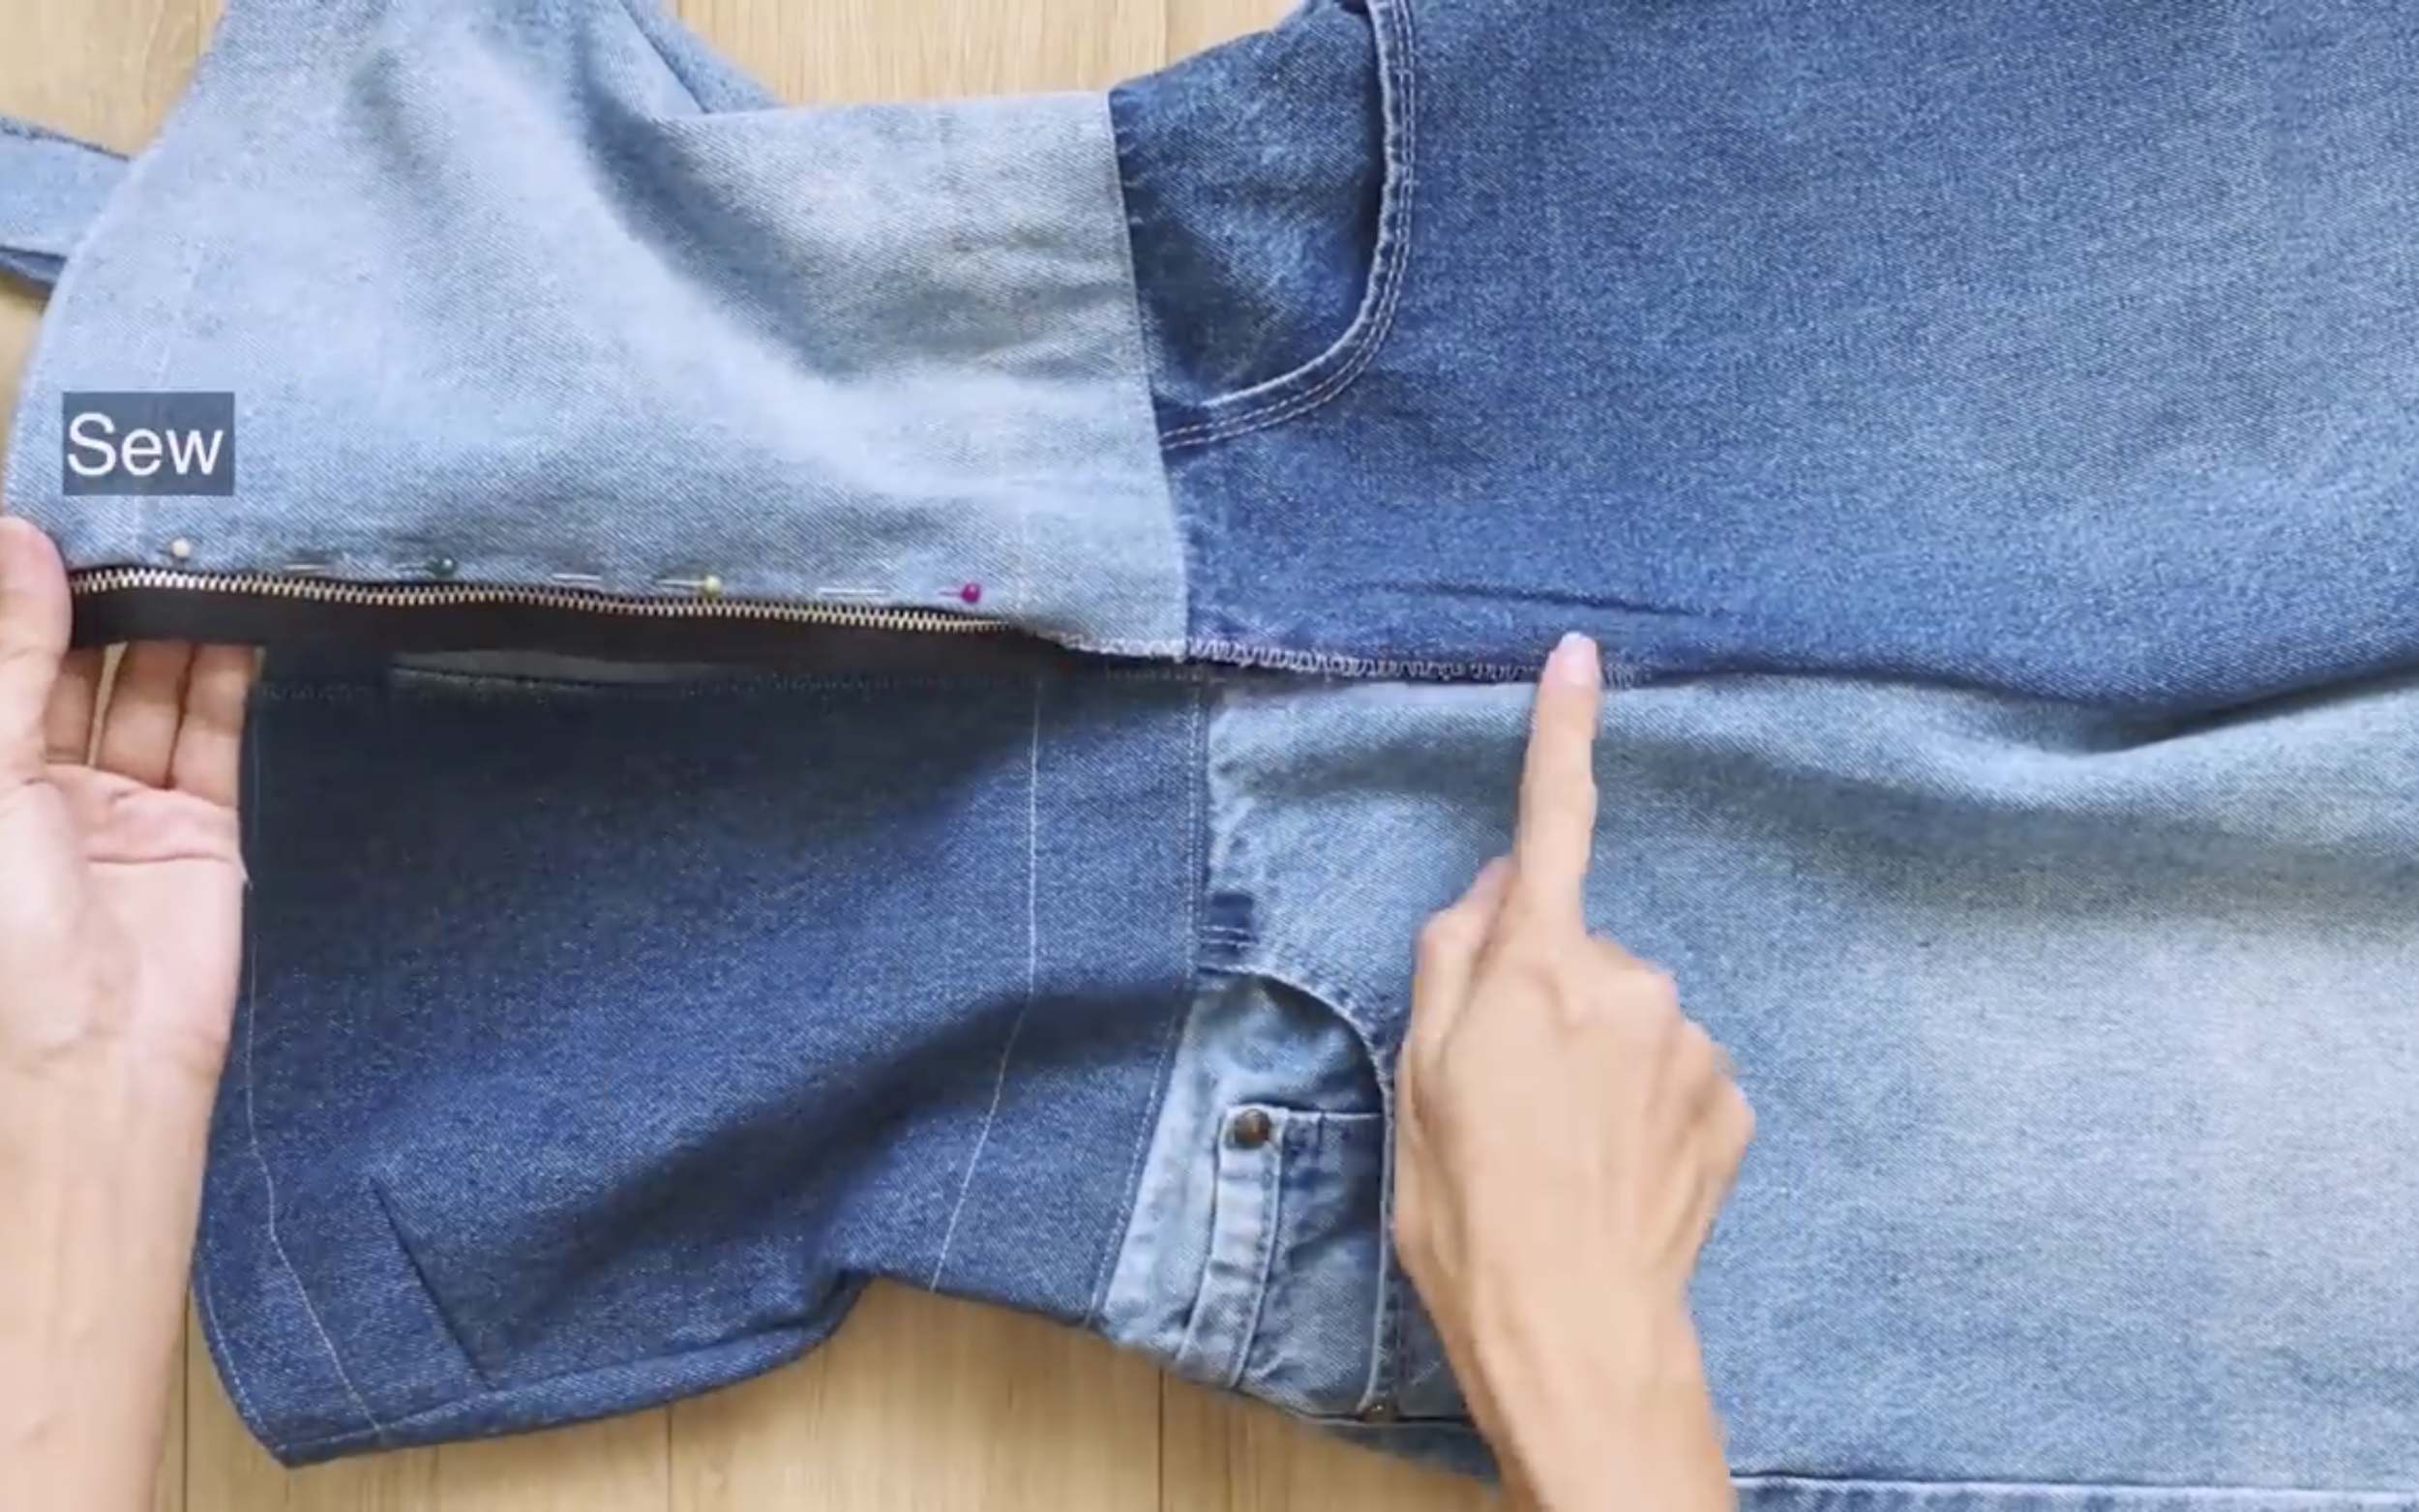
The last step is inserting the zipper at the front of the jumpsuit.

DIY Denim patchwork jumpsuit from Men's jeans - Jeans transformation idea
And here’s the final transformation!
This jumpsuit fits so nicely on its own and is super comfortable to wear.

DIY Denim patchwork jumpsuit from Men's jeans - Jeans transformation idea
I hope you found my step-by-step guide helpful and inspiring.
If you’re interested in making your own, give it a try and let me know how it goes!
Until then, happy sewing!