DIY Drawstring backless cut out midi dress | Dating wardrobe | Ep 4- Dinner date | Sewing tutorial

DIY Drawstring backless cut out midi dress | Dating wardrobe | Ep 4- Dinner date | Sewing tutorial
Welcome or welcome back to my channel!
In today's tutorial, I'm going to share with you the next episode of the Dating wardrobe series. Dating wardrobe is the sewing tutorial series where I will share with you my picks for the dating outfits I would love to wear on the different types of dating. And in this video, I'll share with you how I made my dinner date outfit. When it come to this type of date, I want to wear something that looks chic at the front and wow at the back. And this dress drawstring backless dress is the perfect one for me. It has the cut out design at 2 sides of the dress, right at the waist. So it will make your waist look smaller. And the backless design at the back will bring the sexy feeling for the dress.
So I hope you can get come inspiration out of it. Let’s get started!
WHAT YOU’LL NEED
The main: 1.2m of mix spandex & cotton fabric
The lining: and 1.2m of soft chiffon fabric
Pattern paper
Sewing machine
Pins
Scissors
Ruler
Long stick
Zipper
Buttons
MAKING THE PATTERNS
Here’s the pattern for the project. To get a clear understanding of all the measurements needed for the pattern, watch the video from 0:58 to 5:09.
Remember, you can adjust these measurements to fit your own dimensions!

THE FRONT PATTERN
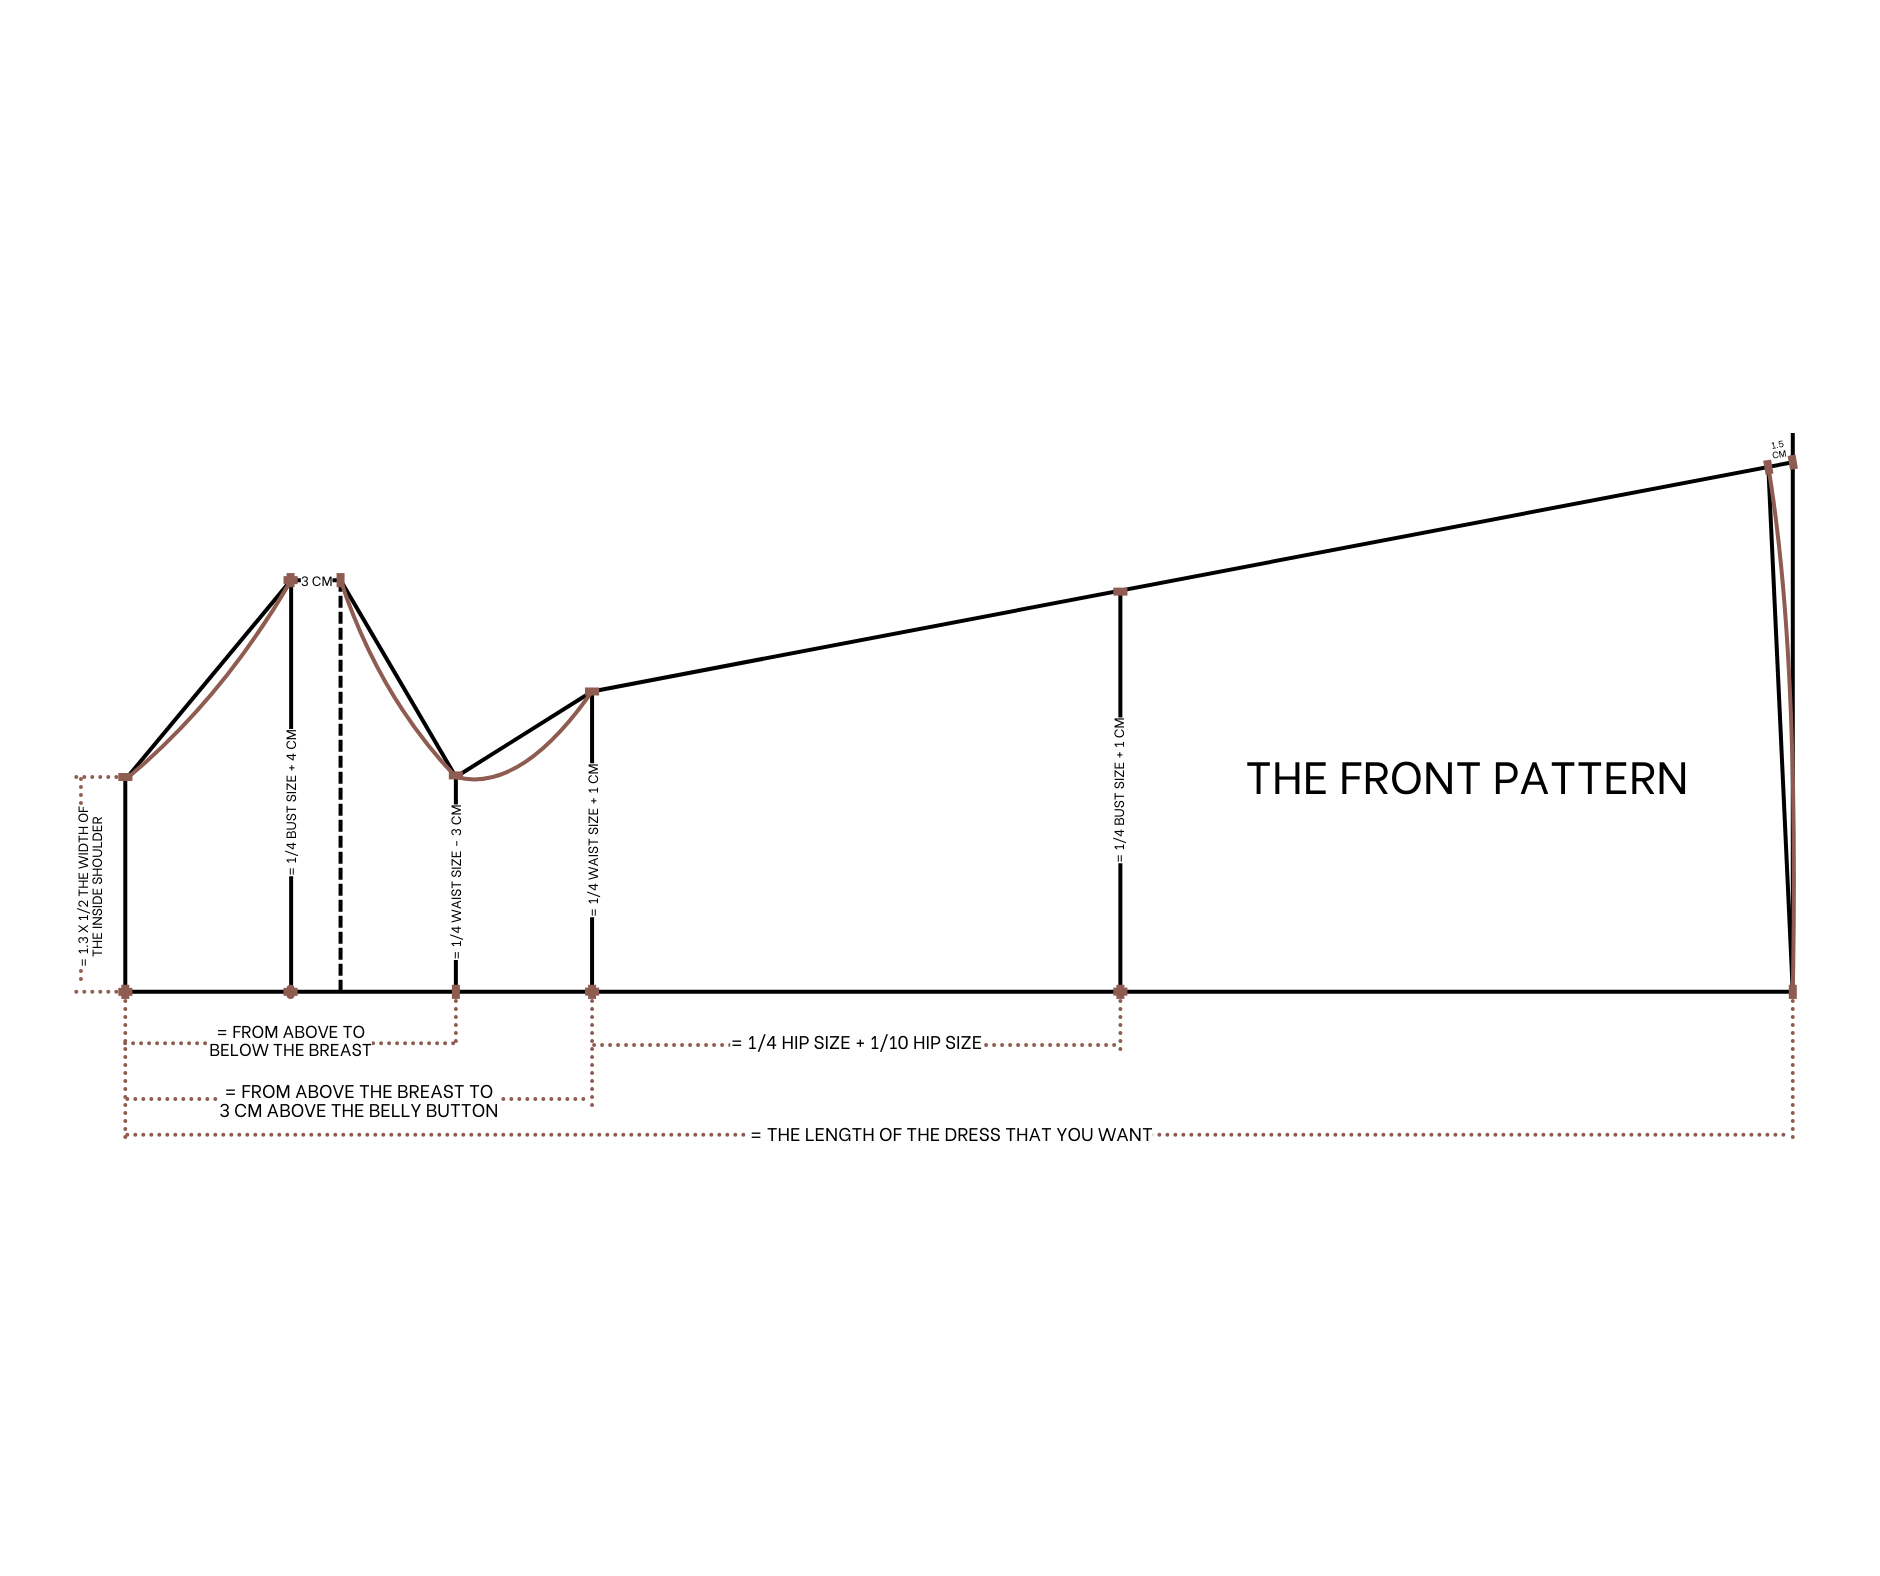
To make the front pattern, draw a horizontal line and a straight line intersecting at one point.
From the straight line, make another one 20 cm away. This is the width from above to below the breast.
Draw another straight line in the middle between them.
The width of the first straight line is 13 cm, which is 1.3 times half of the inside shoulder where the shoulder strap will be.
The width of the third straight line is 25 cm, which is a quarter of the bust size plus 4 cm.
Connect the ends of the first and third straight lines together. Based on this line, draw a slightly curved line to finish the sleeve line of the front pattern.
From the end of the sleeve line, draw a horizontal line 3 cm long, parallel to the first horizontal line.
Draw a straight line from the end of this horizontal line to cut the first one.
Based on the first straight line, draw another one 28 cm away. This is the length from above the breast to 3 cm above the belly button.
Mark at 17 cm on this new line, which is a quarter of the waist size plus 1 cm.
Make another mark at 13 cm on the second straight line, which is a quarter of the waist size minus 3 cm.
Connect these marks to the end of the second horizontal line. Based on these lines, draw a slightly curved line to finish the cutting line of the front pattern.
From the last straight line, draw another one 32 cm away. This is the width from 3 cm above the belly button to the biggest part of the butt and is a quarter of the hip size plus 1/10 of the hip size.
On this line, mark at 24 cm, which is a quarter of the hip size plus 1 cm.
Connect this mark to the mark on the straight line next to it to create the sideline of the front pattern.
Draw the last straight line 100 cm away from the first straight line. This is the ending line of the dress and also the desired dress length.
Continue the sideline to meet the ending line to complete the sideline of the front pattern.
From the end of the sideline, mark up 1.5 cm, then connect this mark to the other end of the ending line.
Based on this, draw a slightly curved line to finish the ending line of the front pattern.
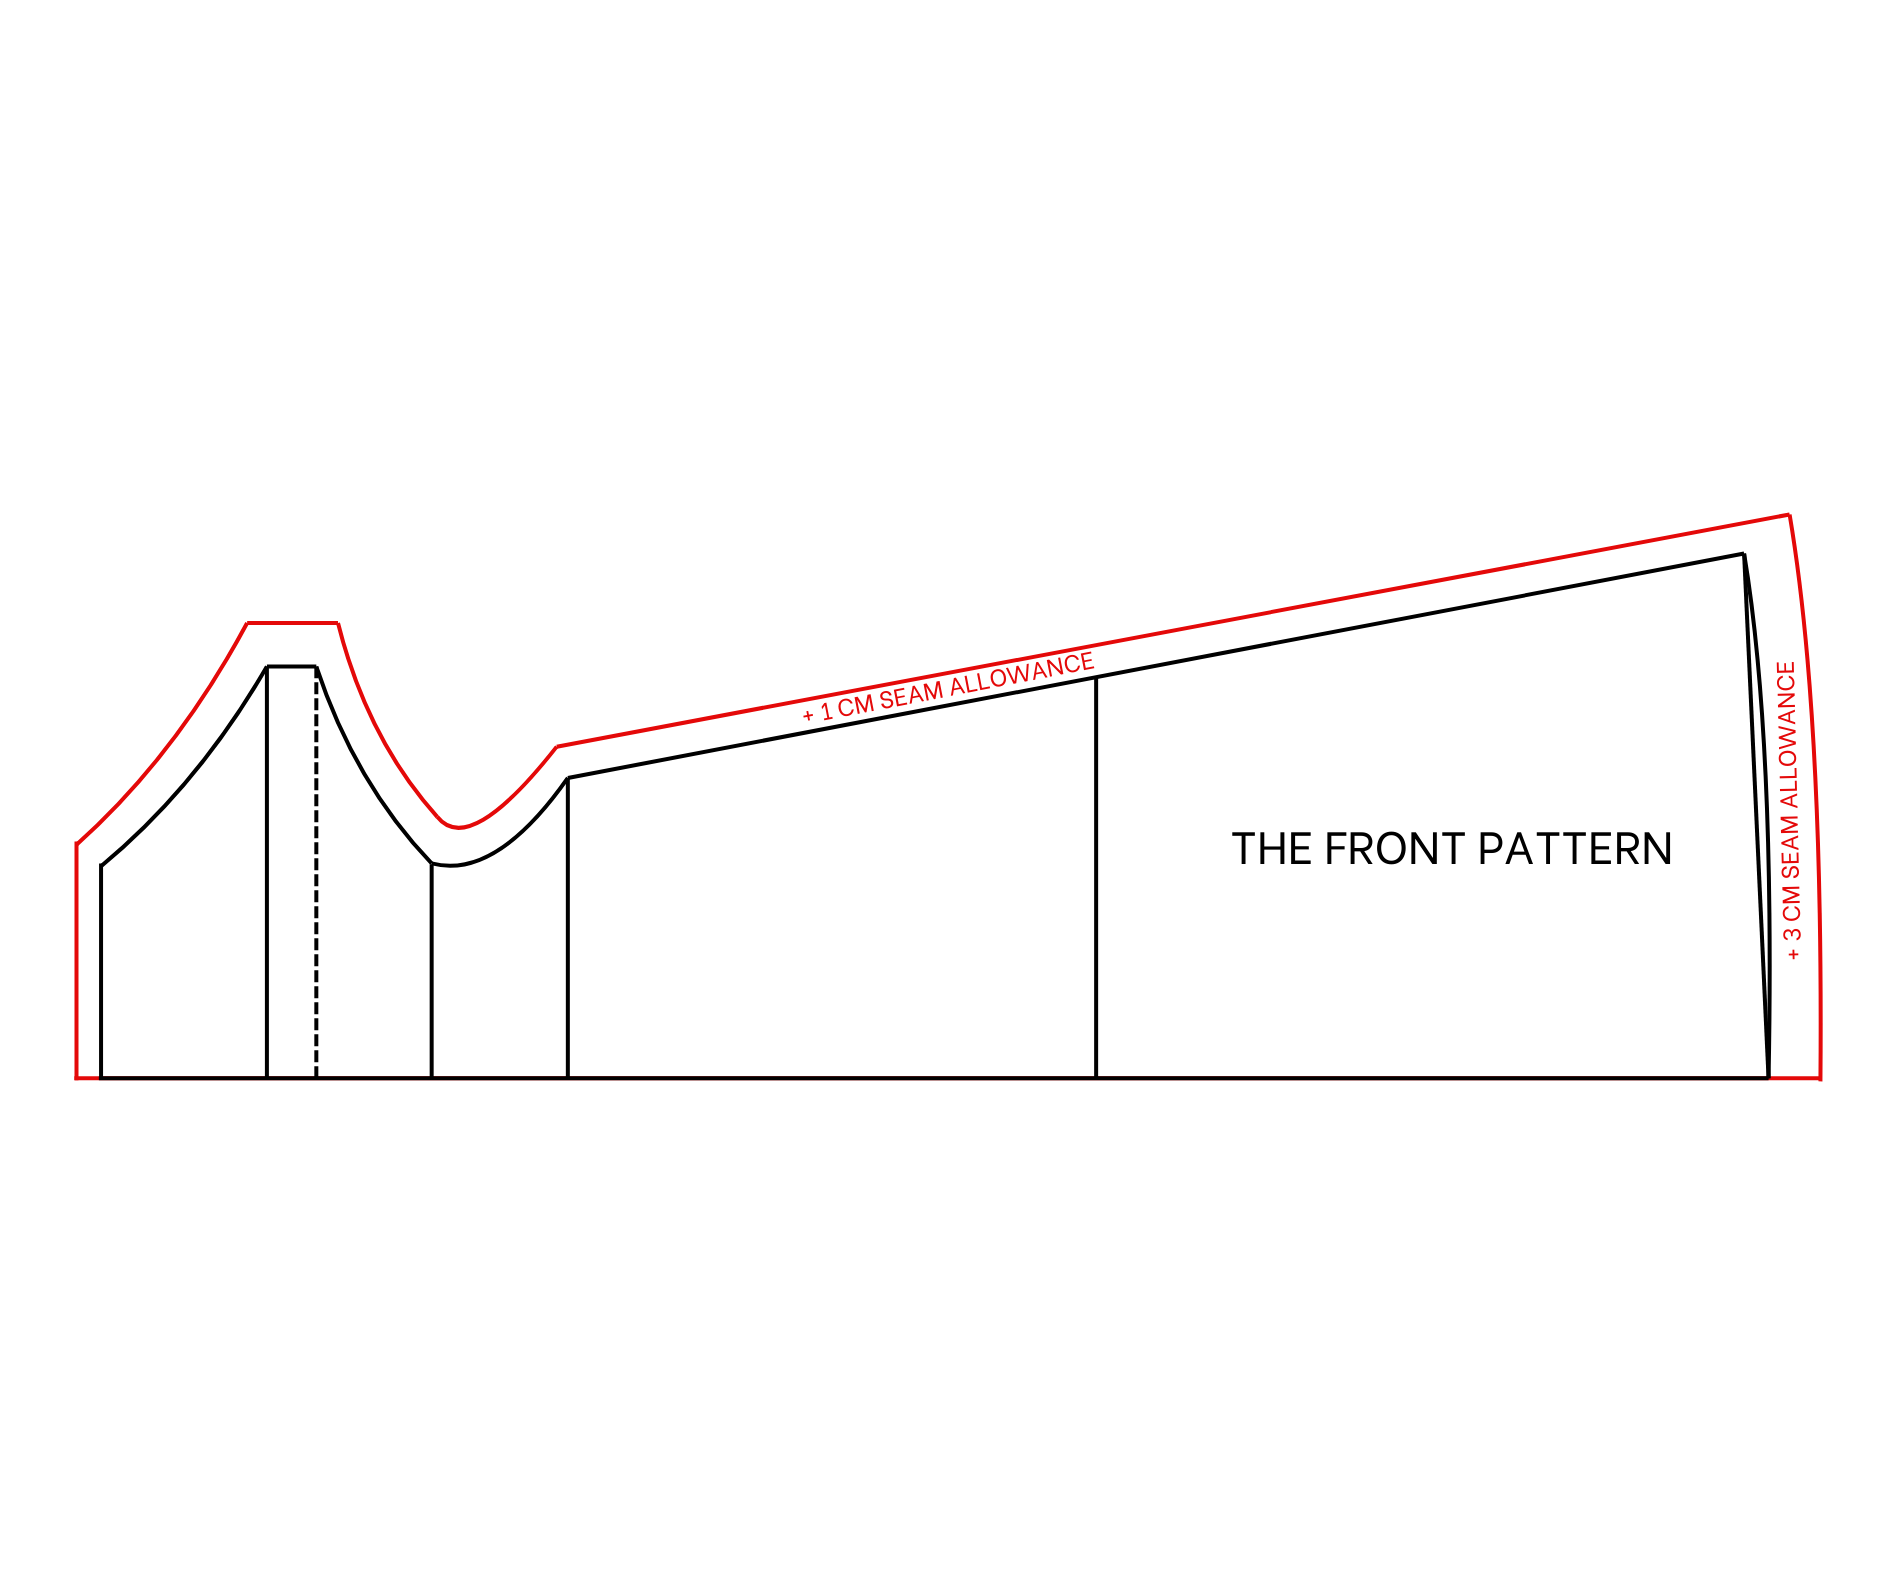
Add 1 cm for seam allowance at the sleeve line, cutting line, and sideline.
Add 2 cm for seam allowance at the top line and horizontal line.
Add 3 cm for seam allowance at the ending line.
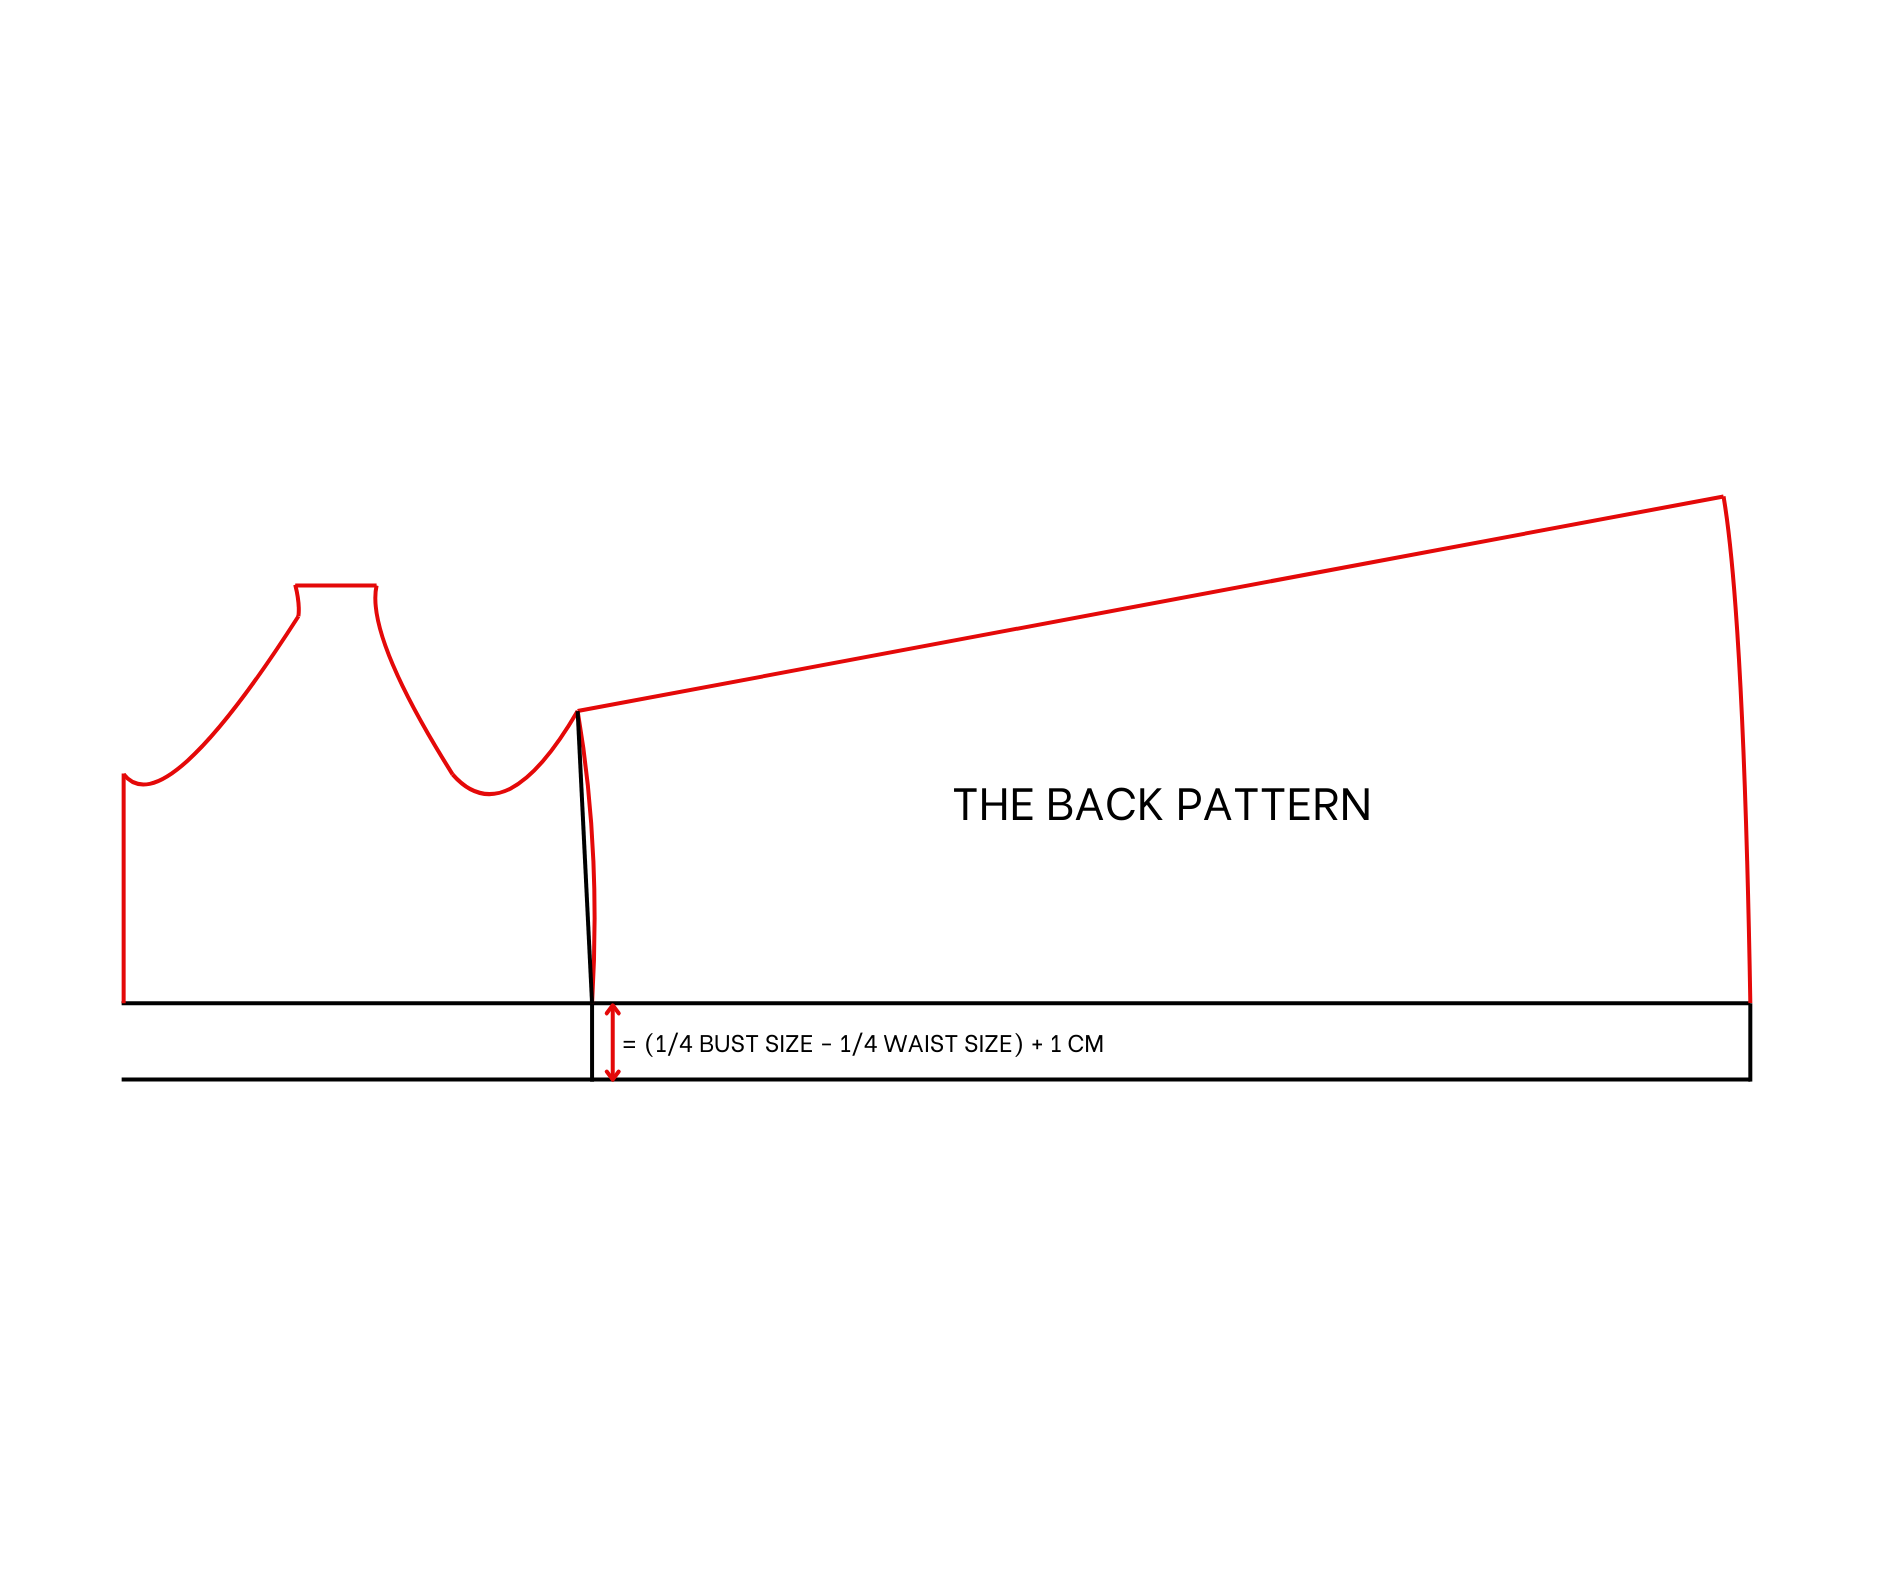
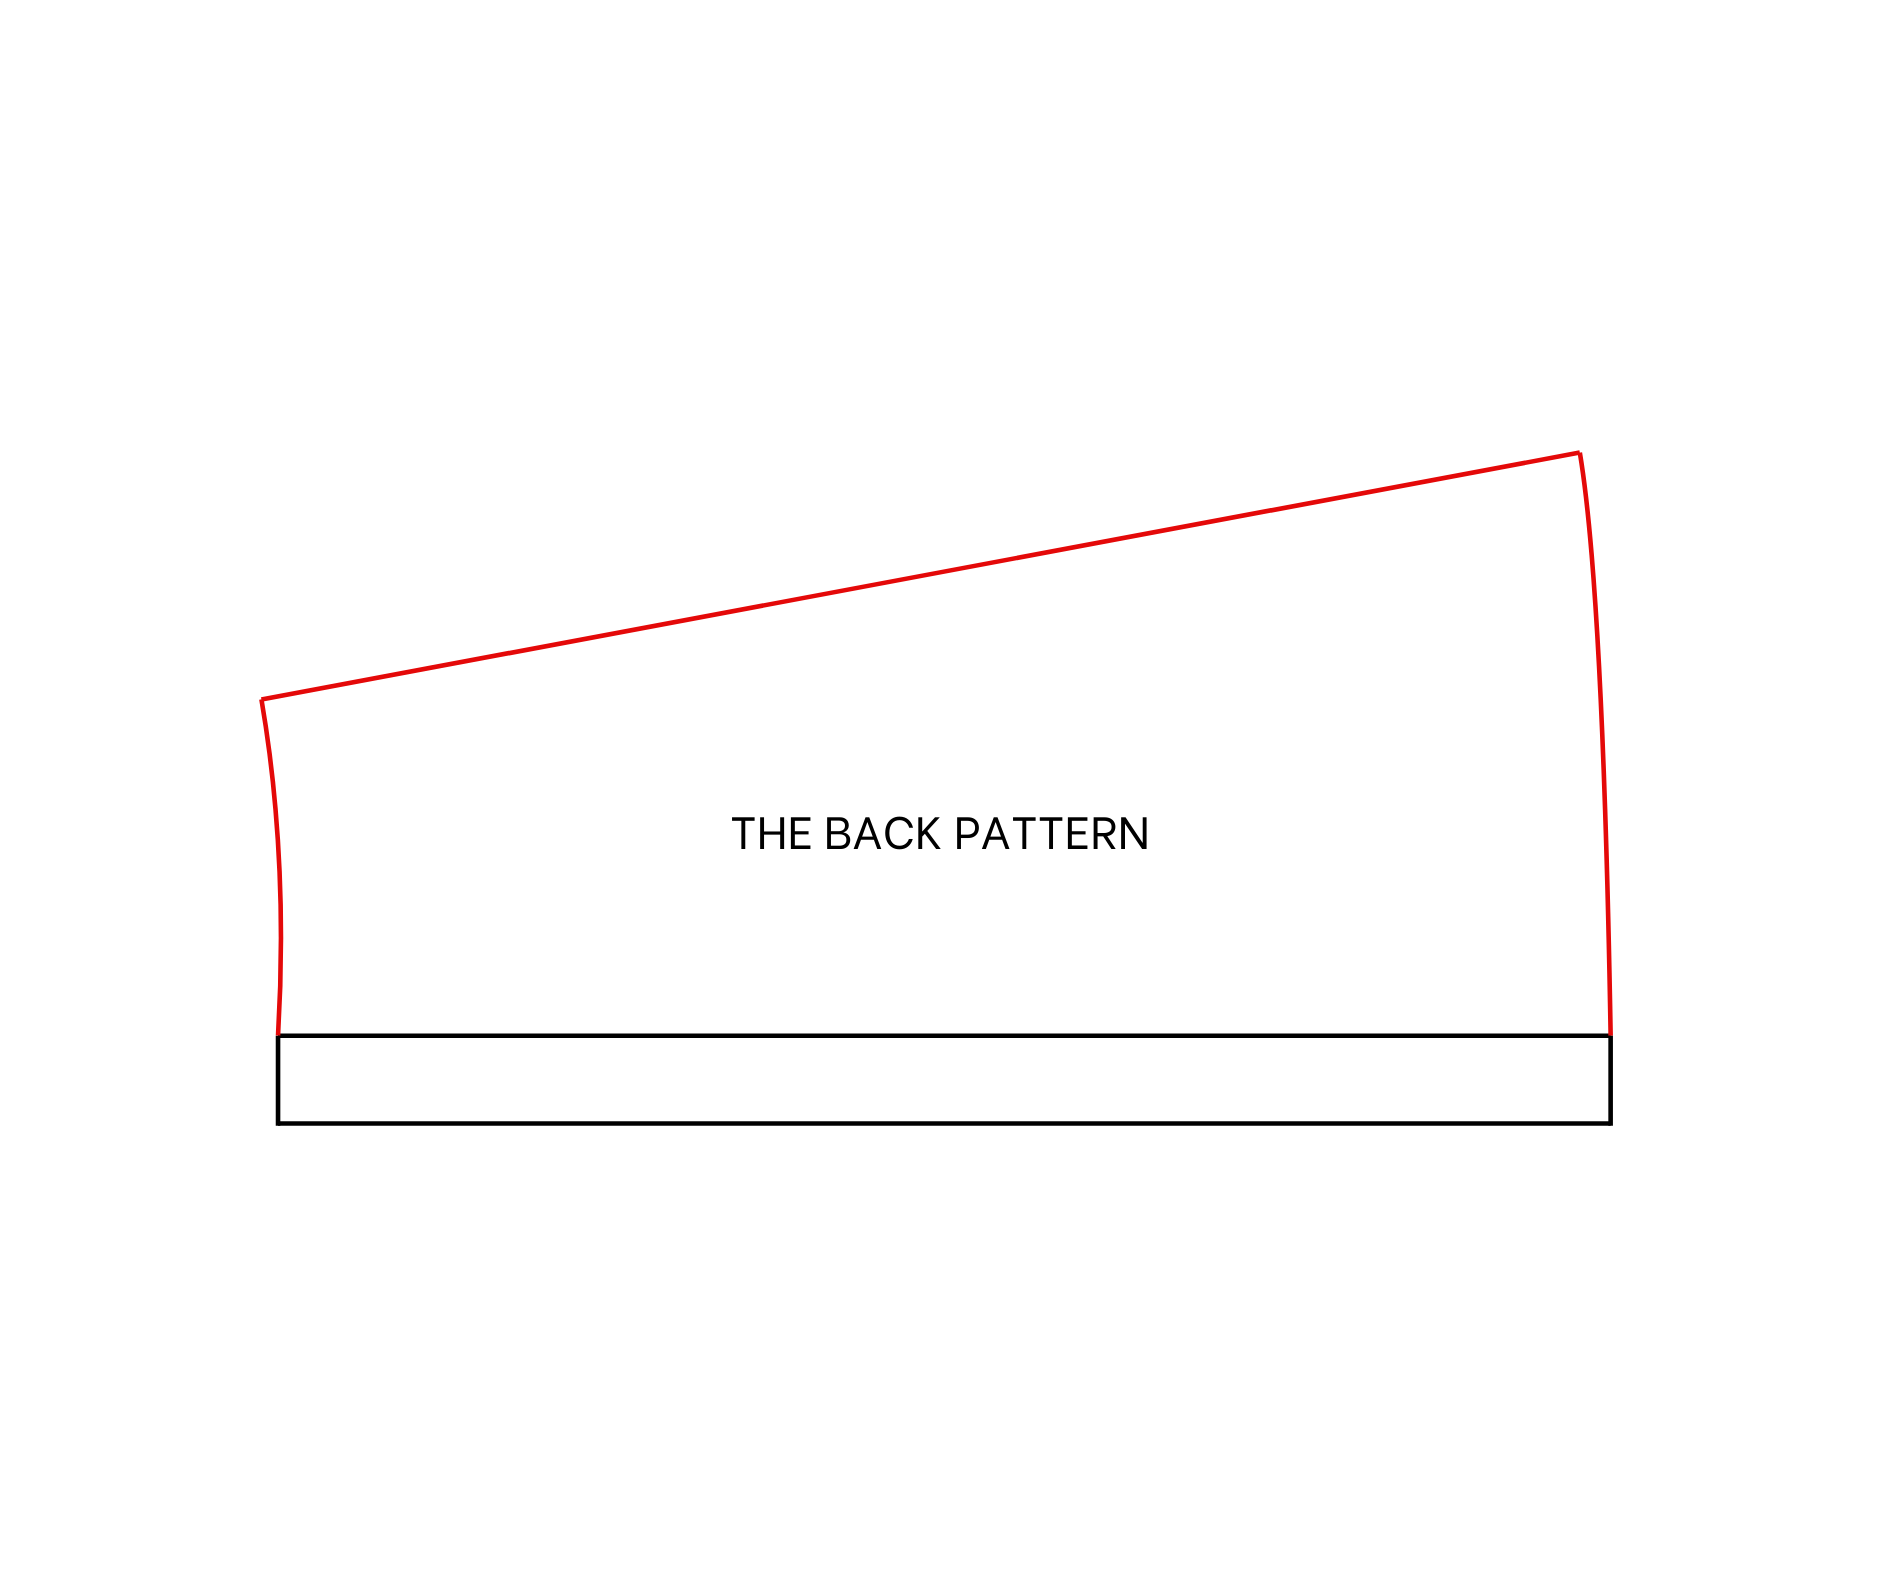
THE BACK PATTERN
To make the back pattern, draw a horizontal line 5 cm from the edge of the paper. This is the gap between a quarter of the bust size minus a quarter of the waist size plus 1 cm.
Apply the front pattern to this horizontal line and trace along it.
For the open-back design, keep the pattern from the waistline to the end.
Redraw the waistline on the back pattern slightly and continue it to the edge of the paper.
SEWING THE DRESS
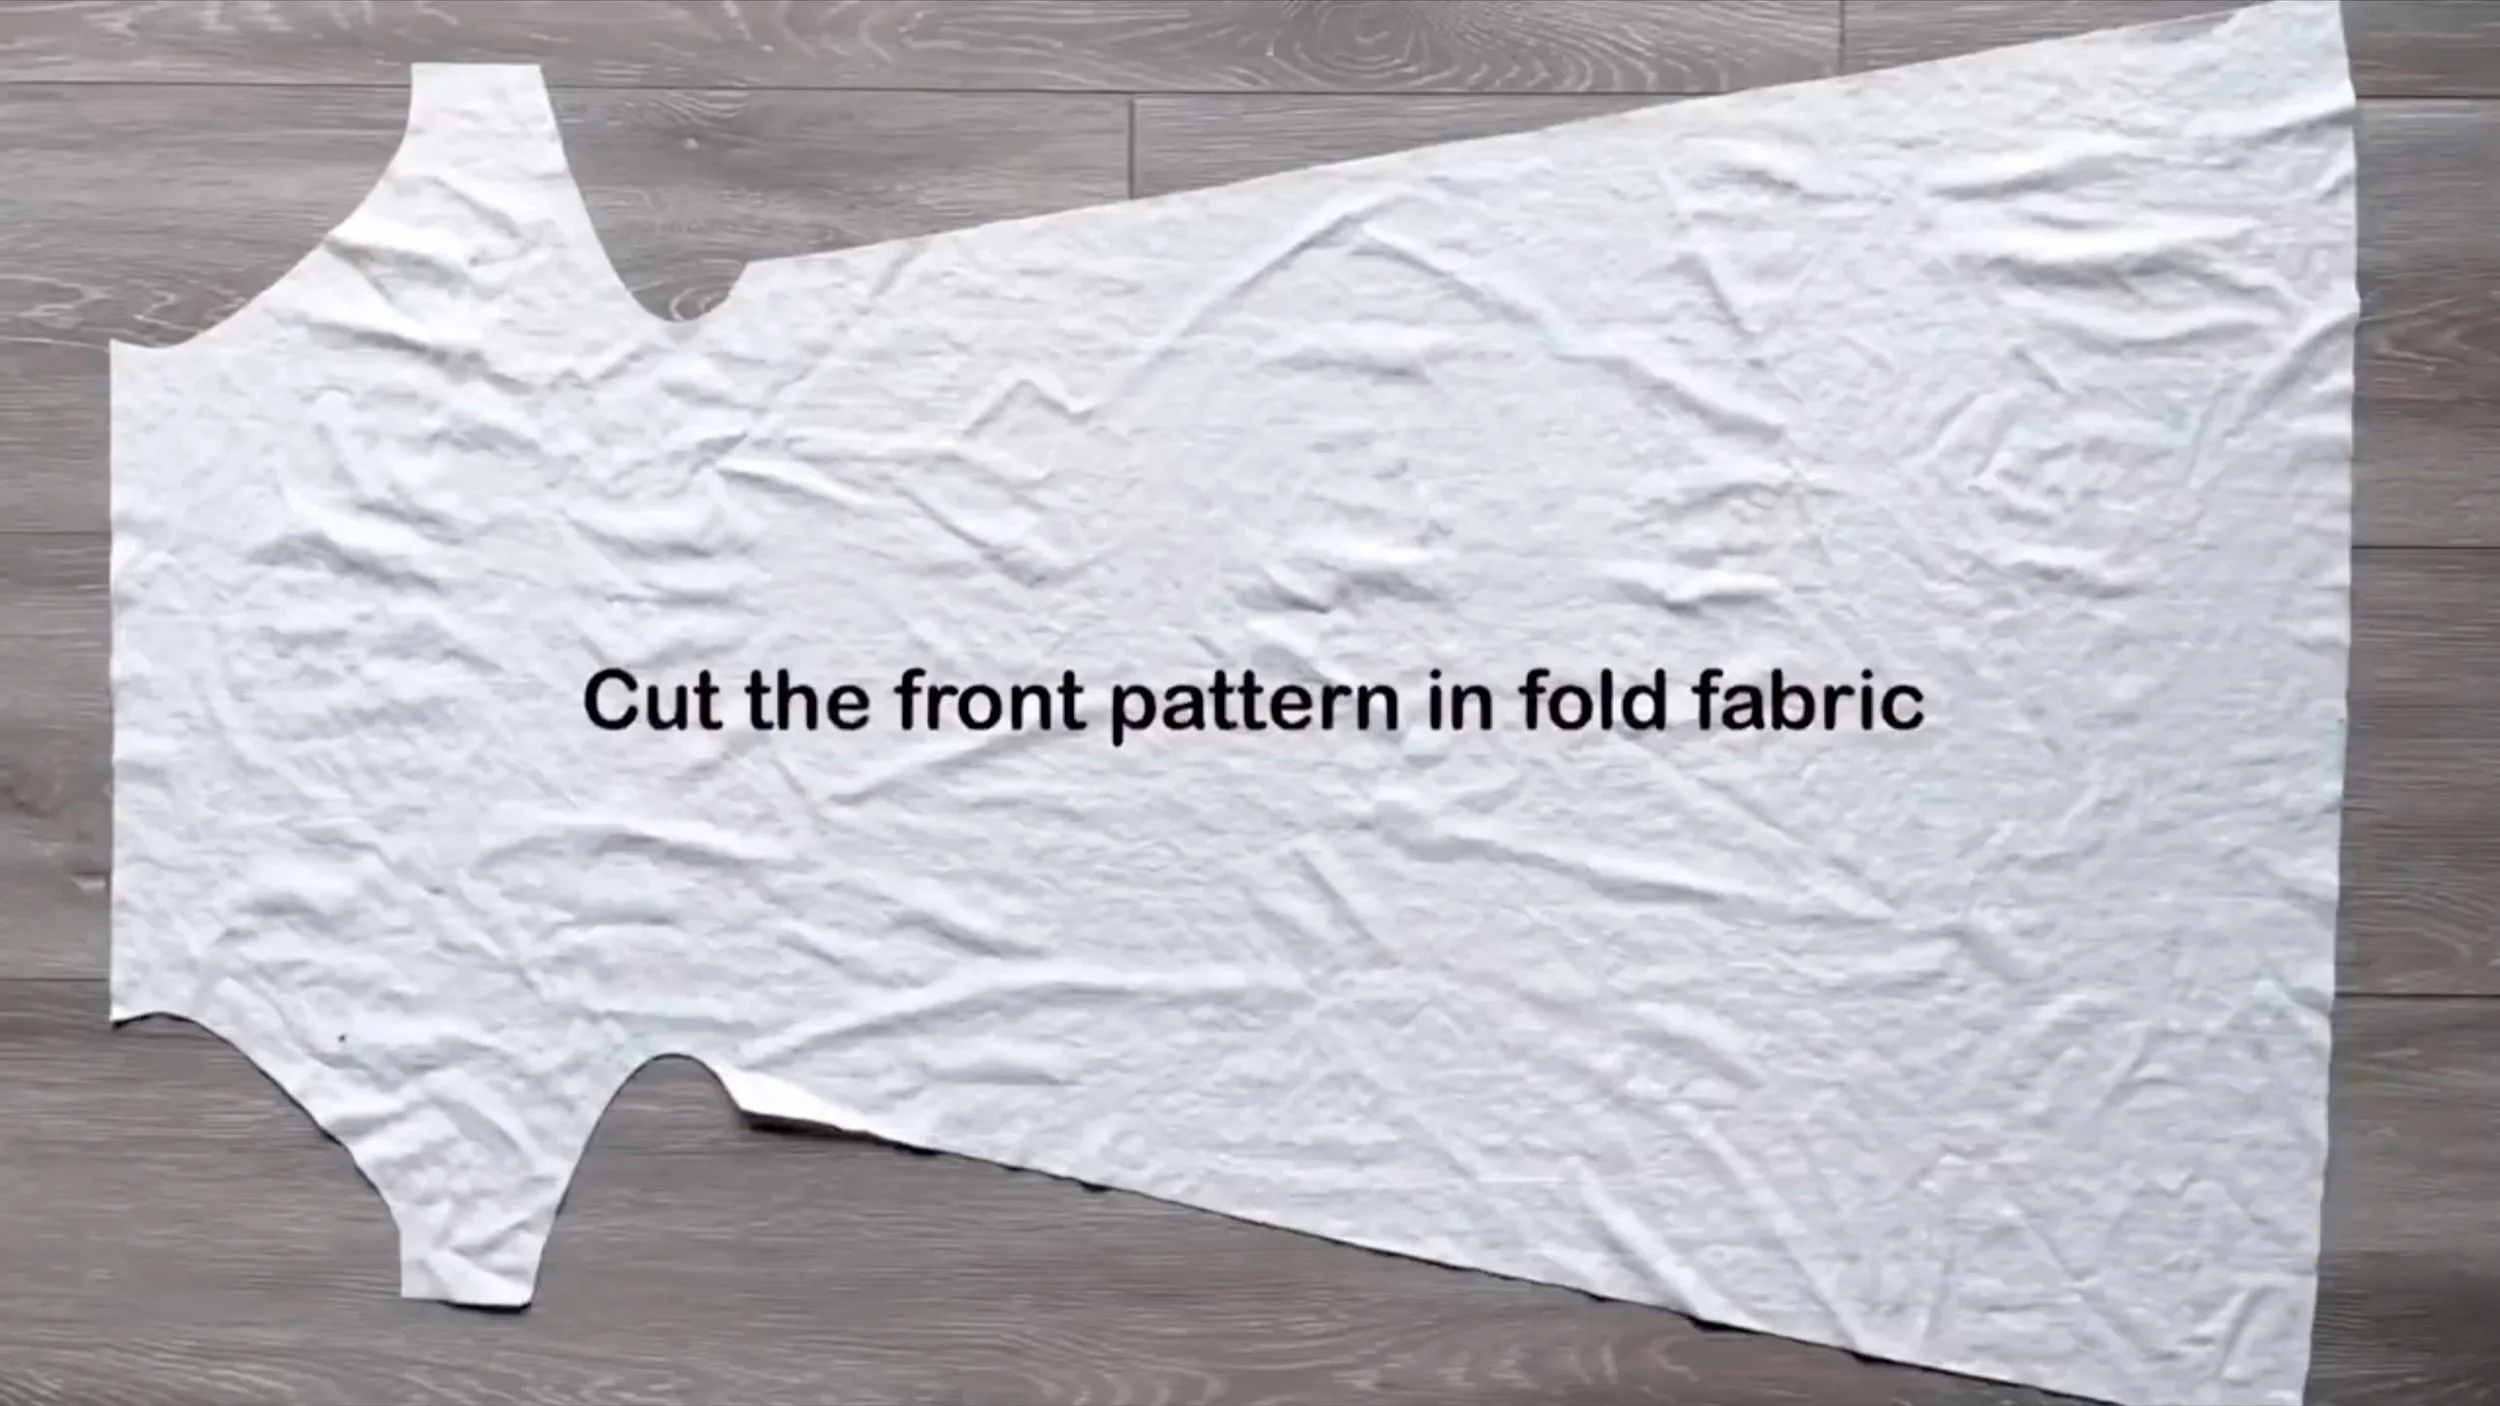
Cut the pattern on folded fabric.
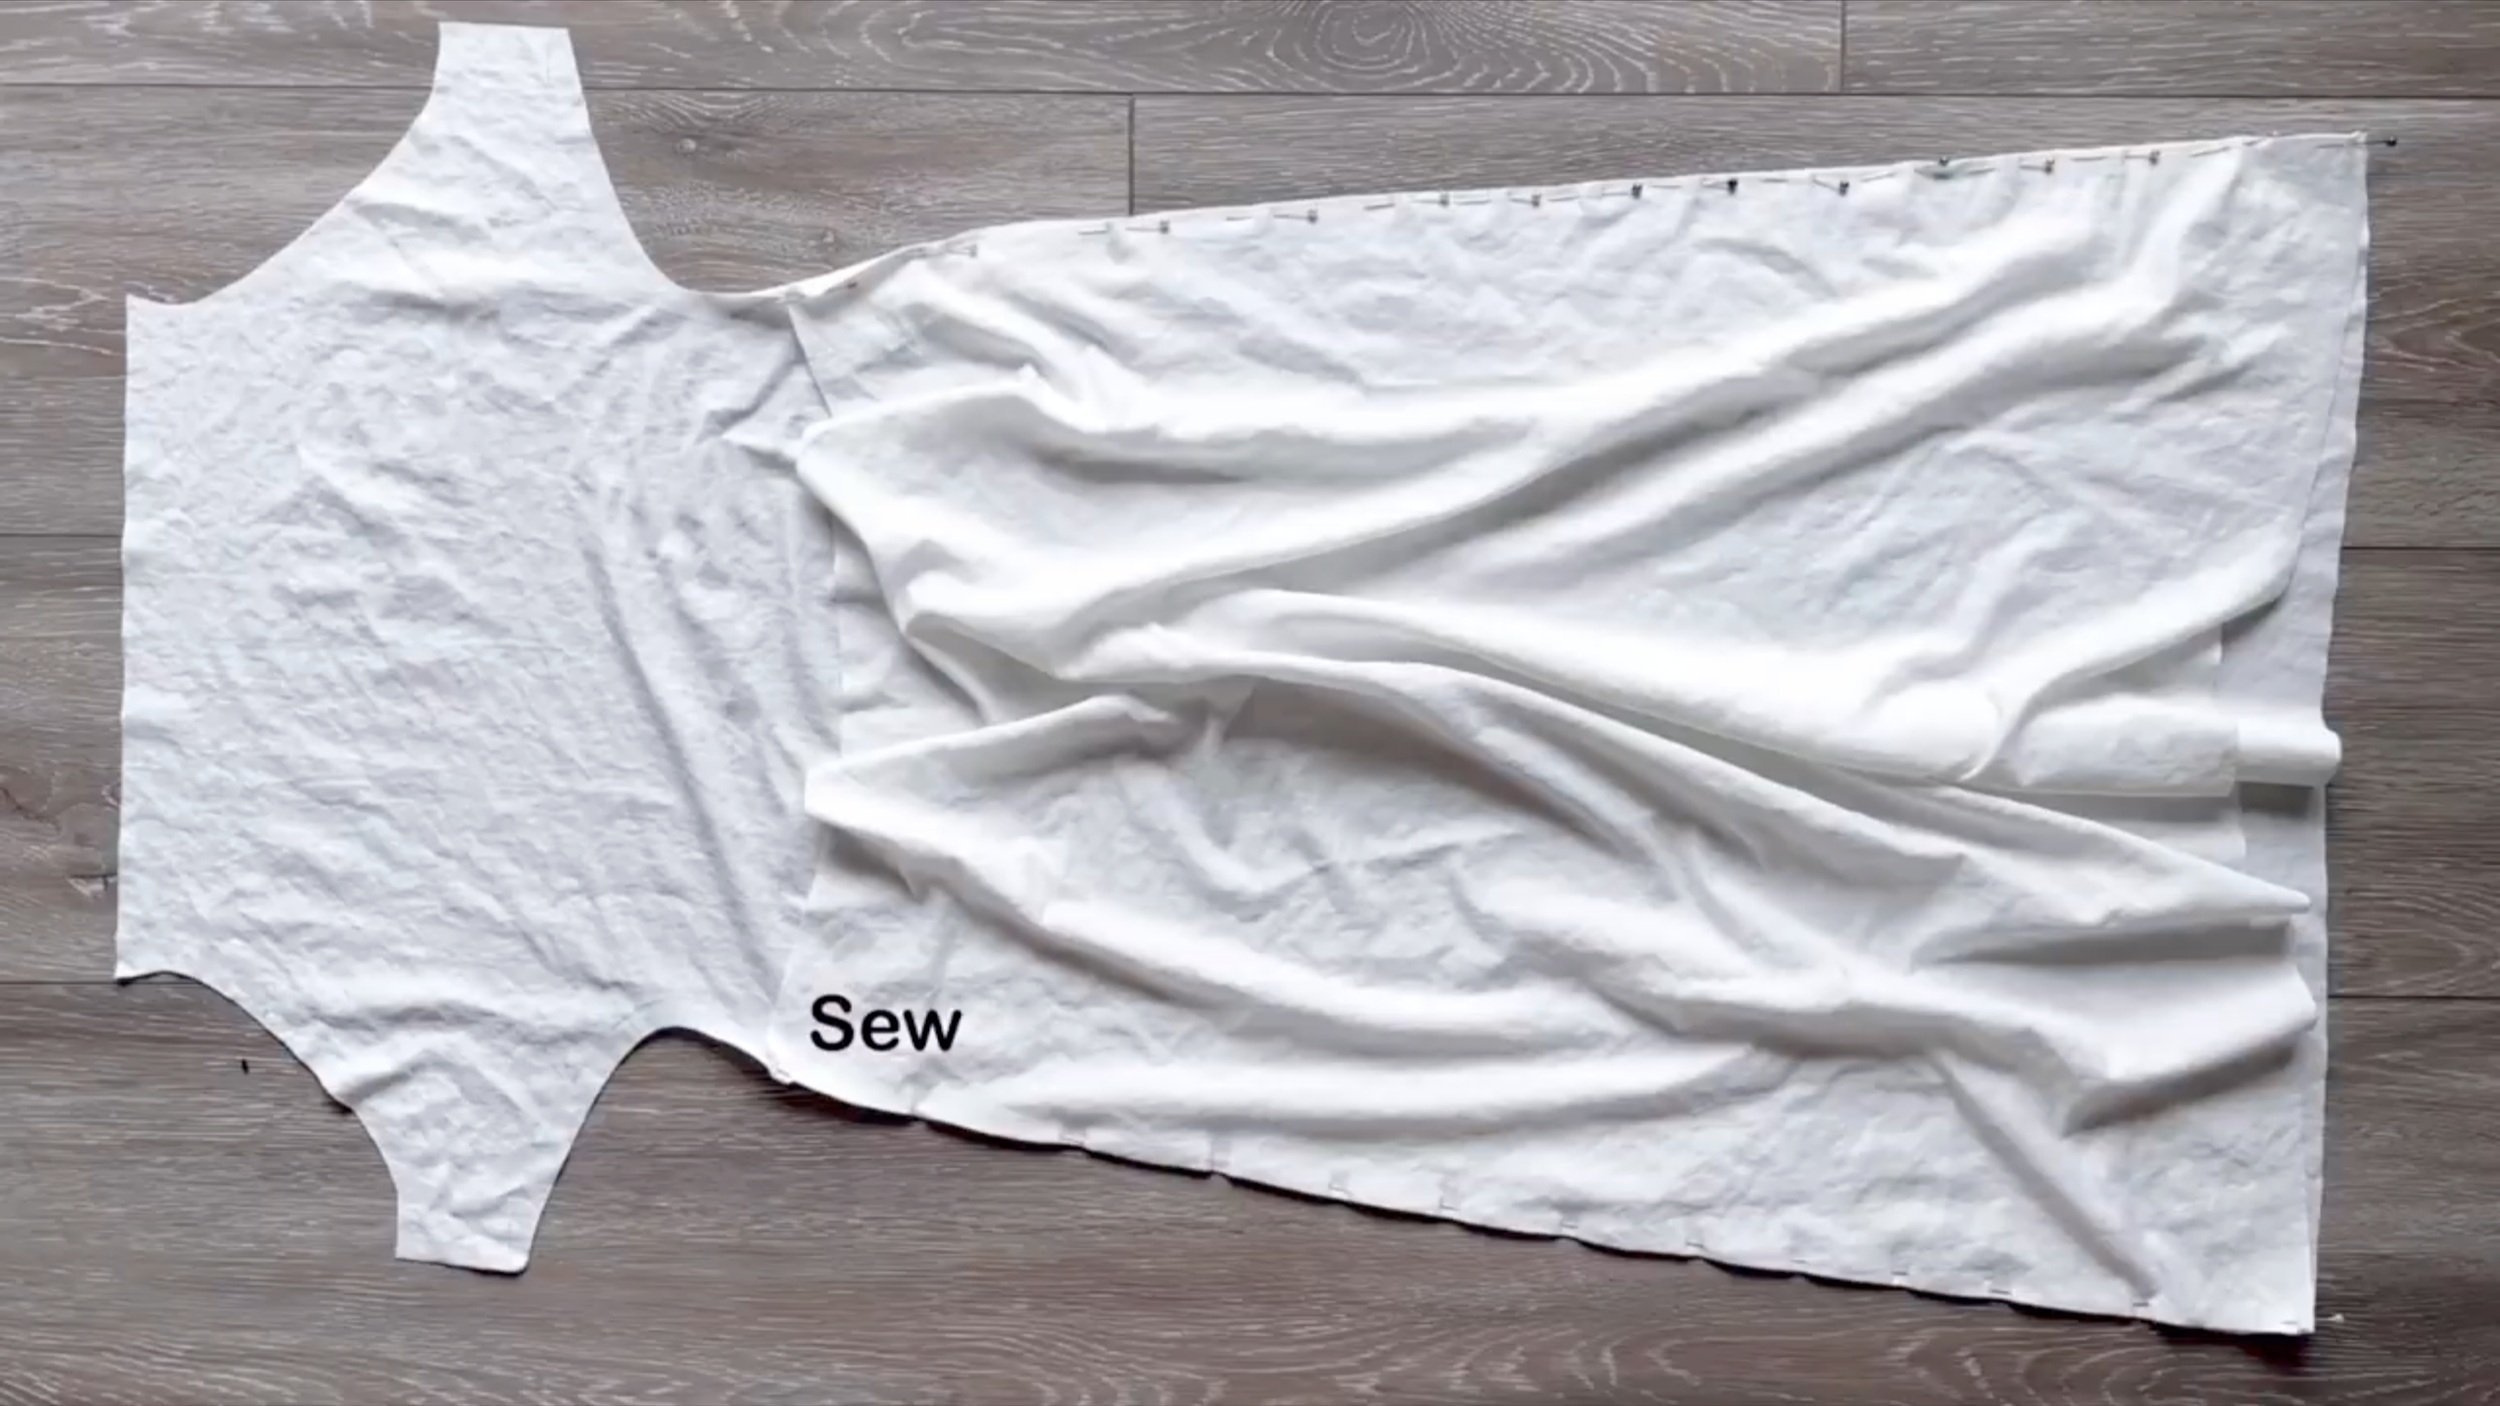
After cutting, connect the front and the back of the dress together at the sides and sew.
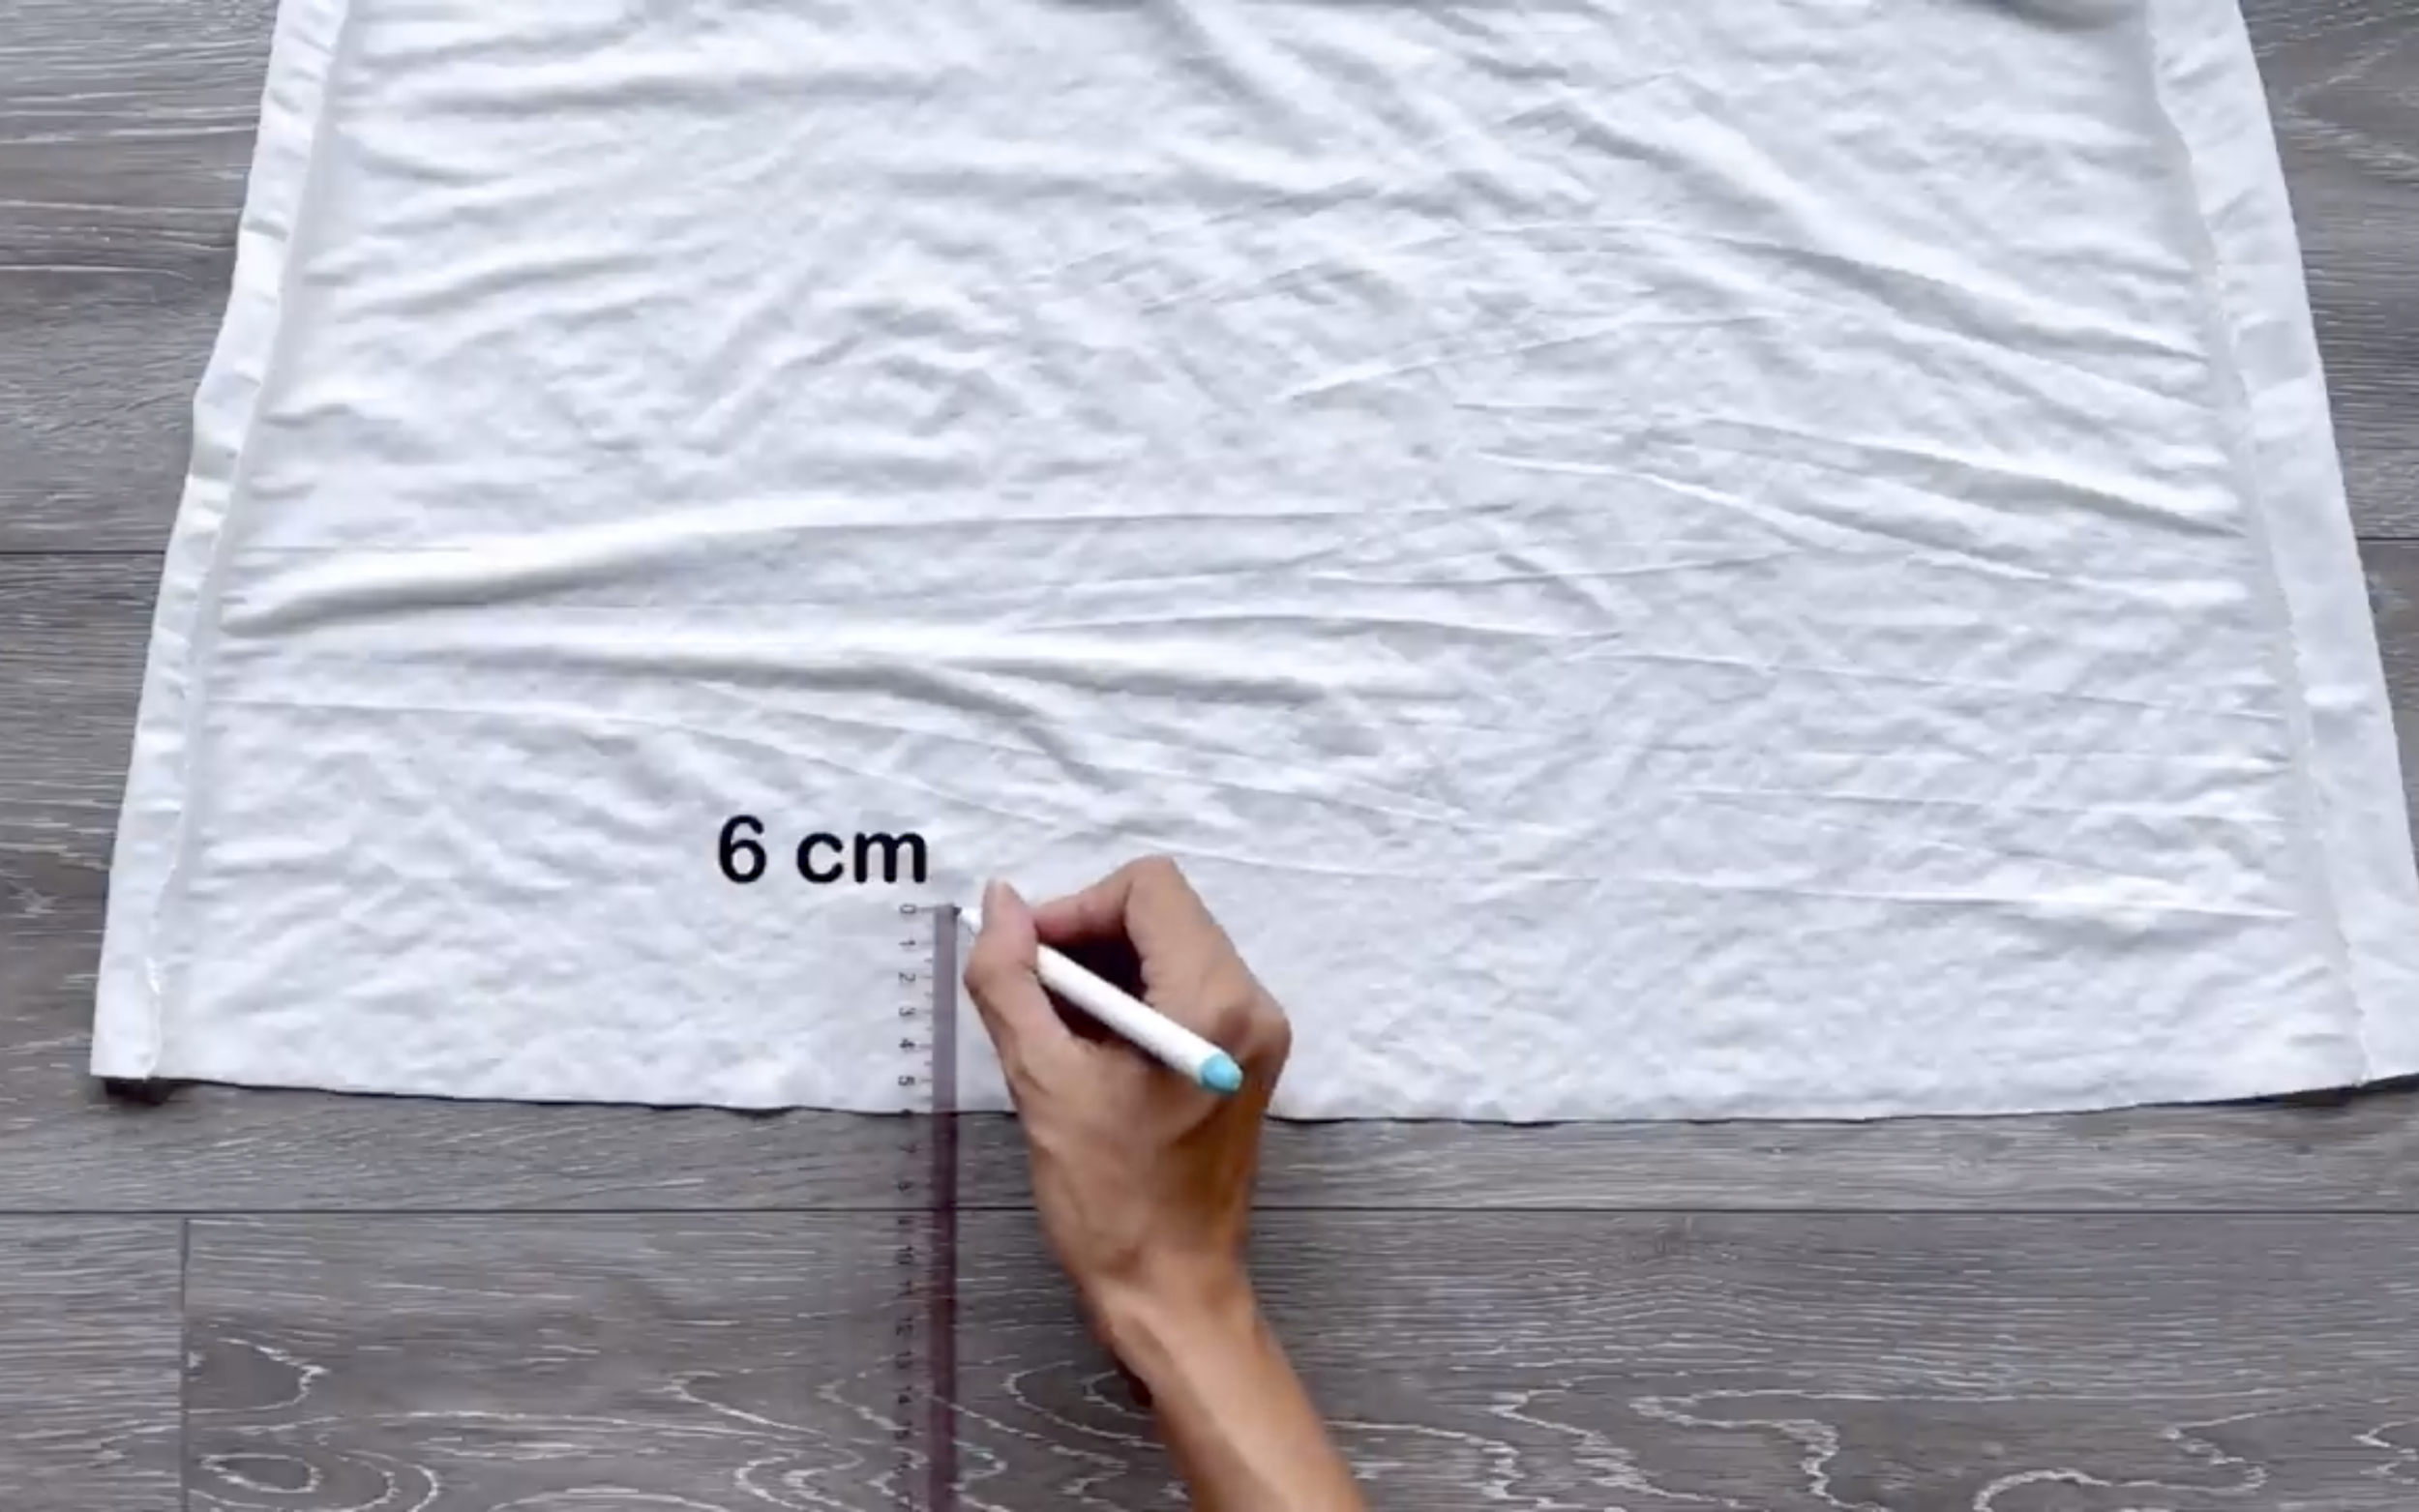
At the end of the dress, draw a line 6 cm above the edge.
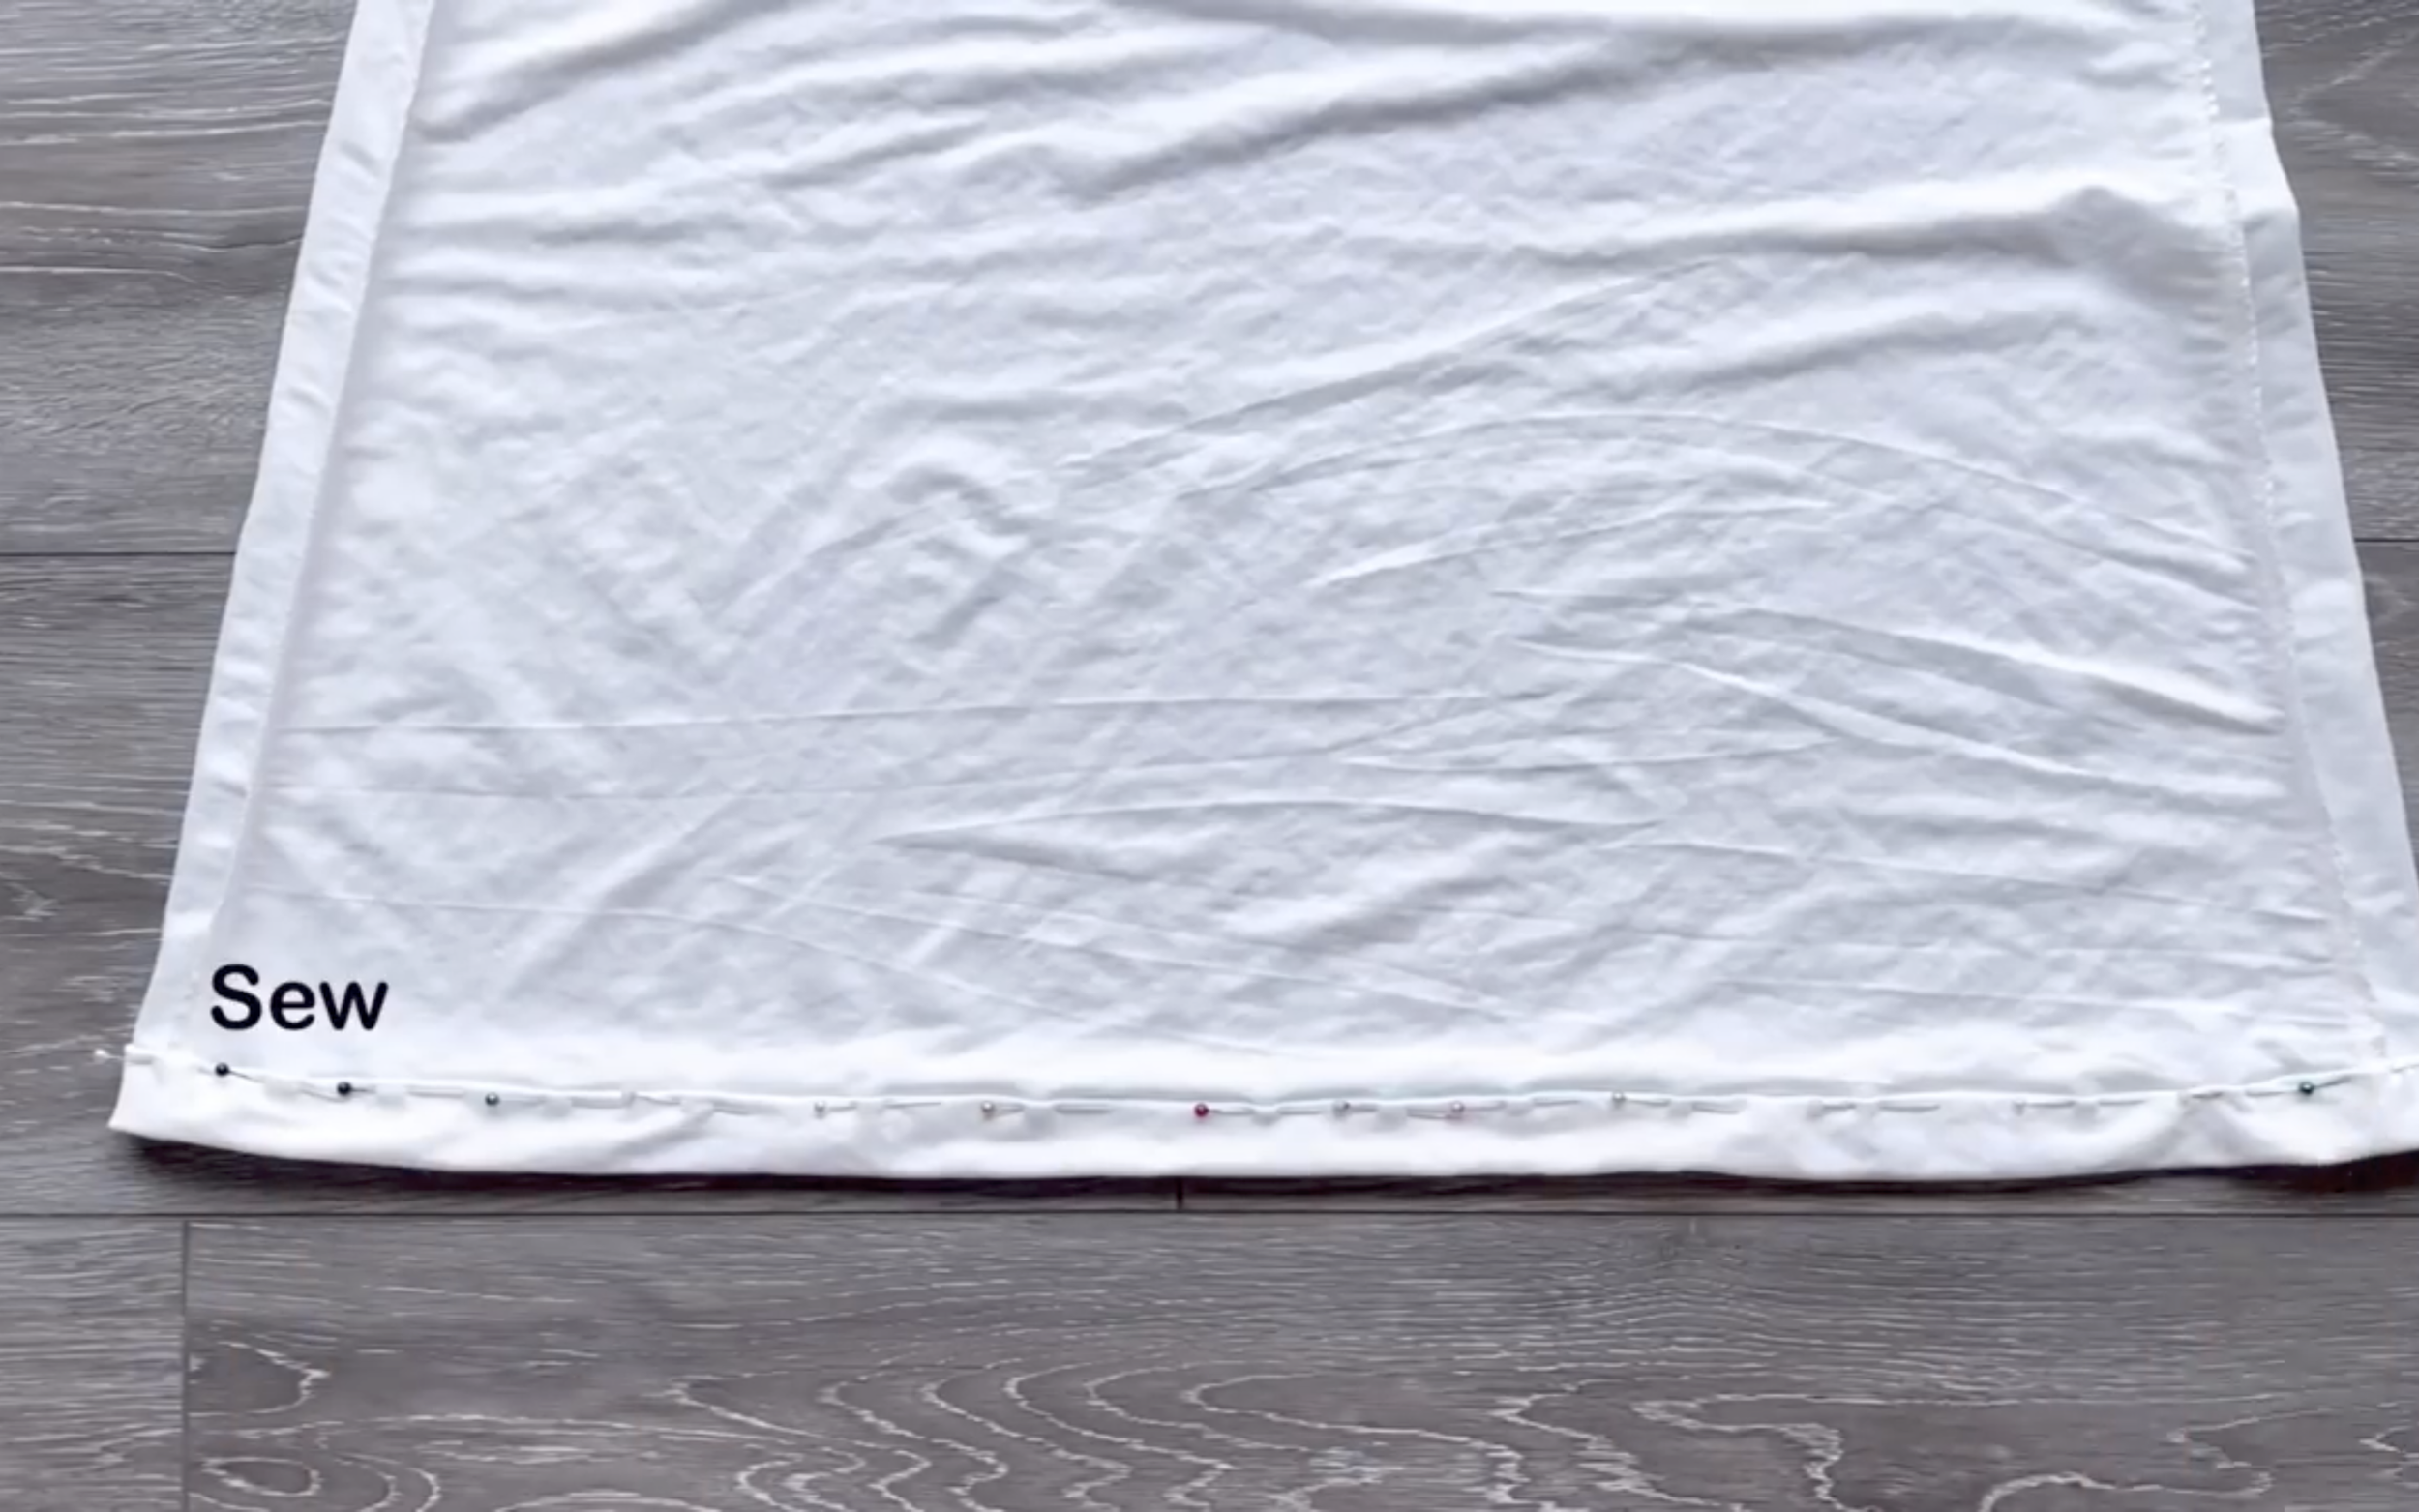
Fold the end fabric inward by 1 cm, then fold again to the drawn line and sew to finish the hem.
The dress is complete after sewing.
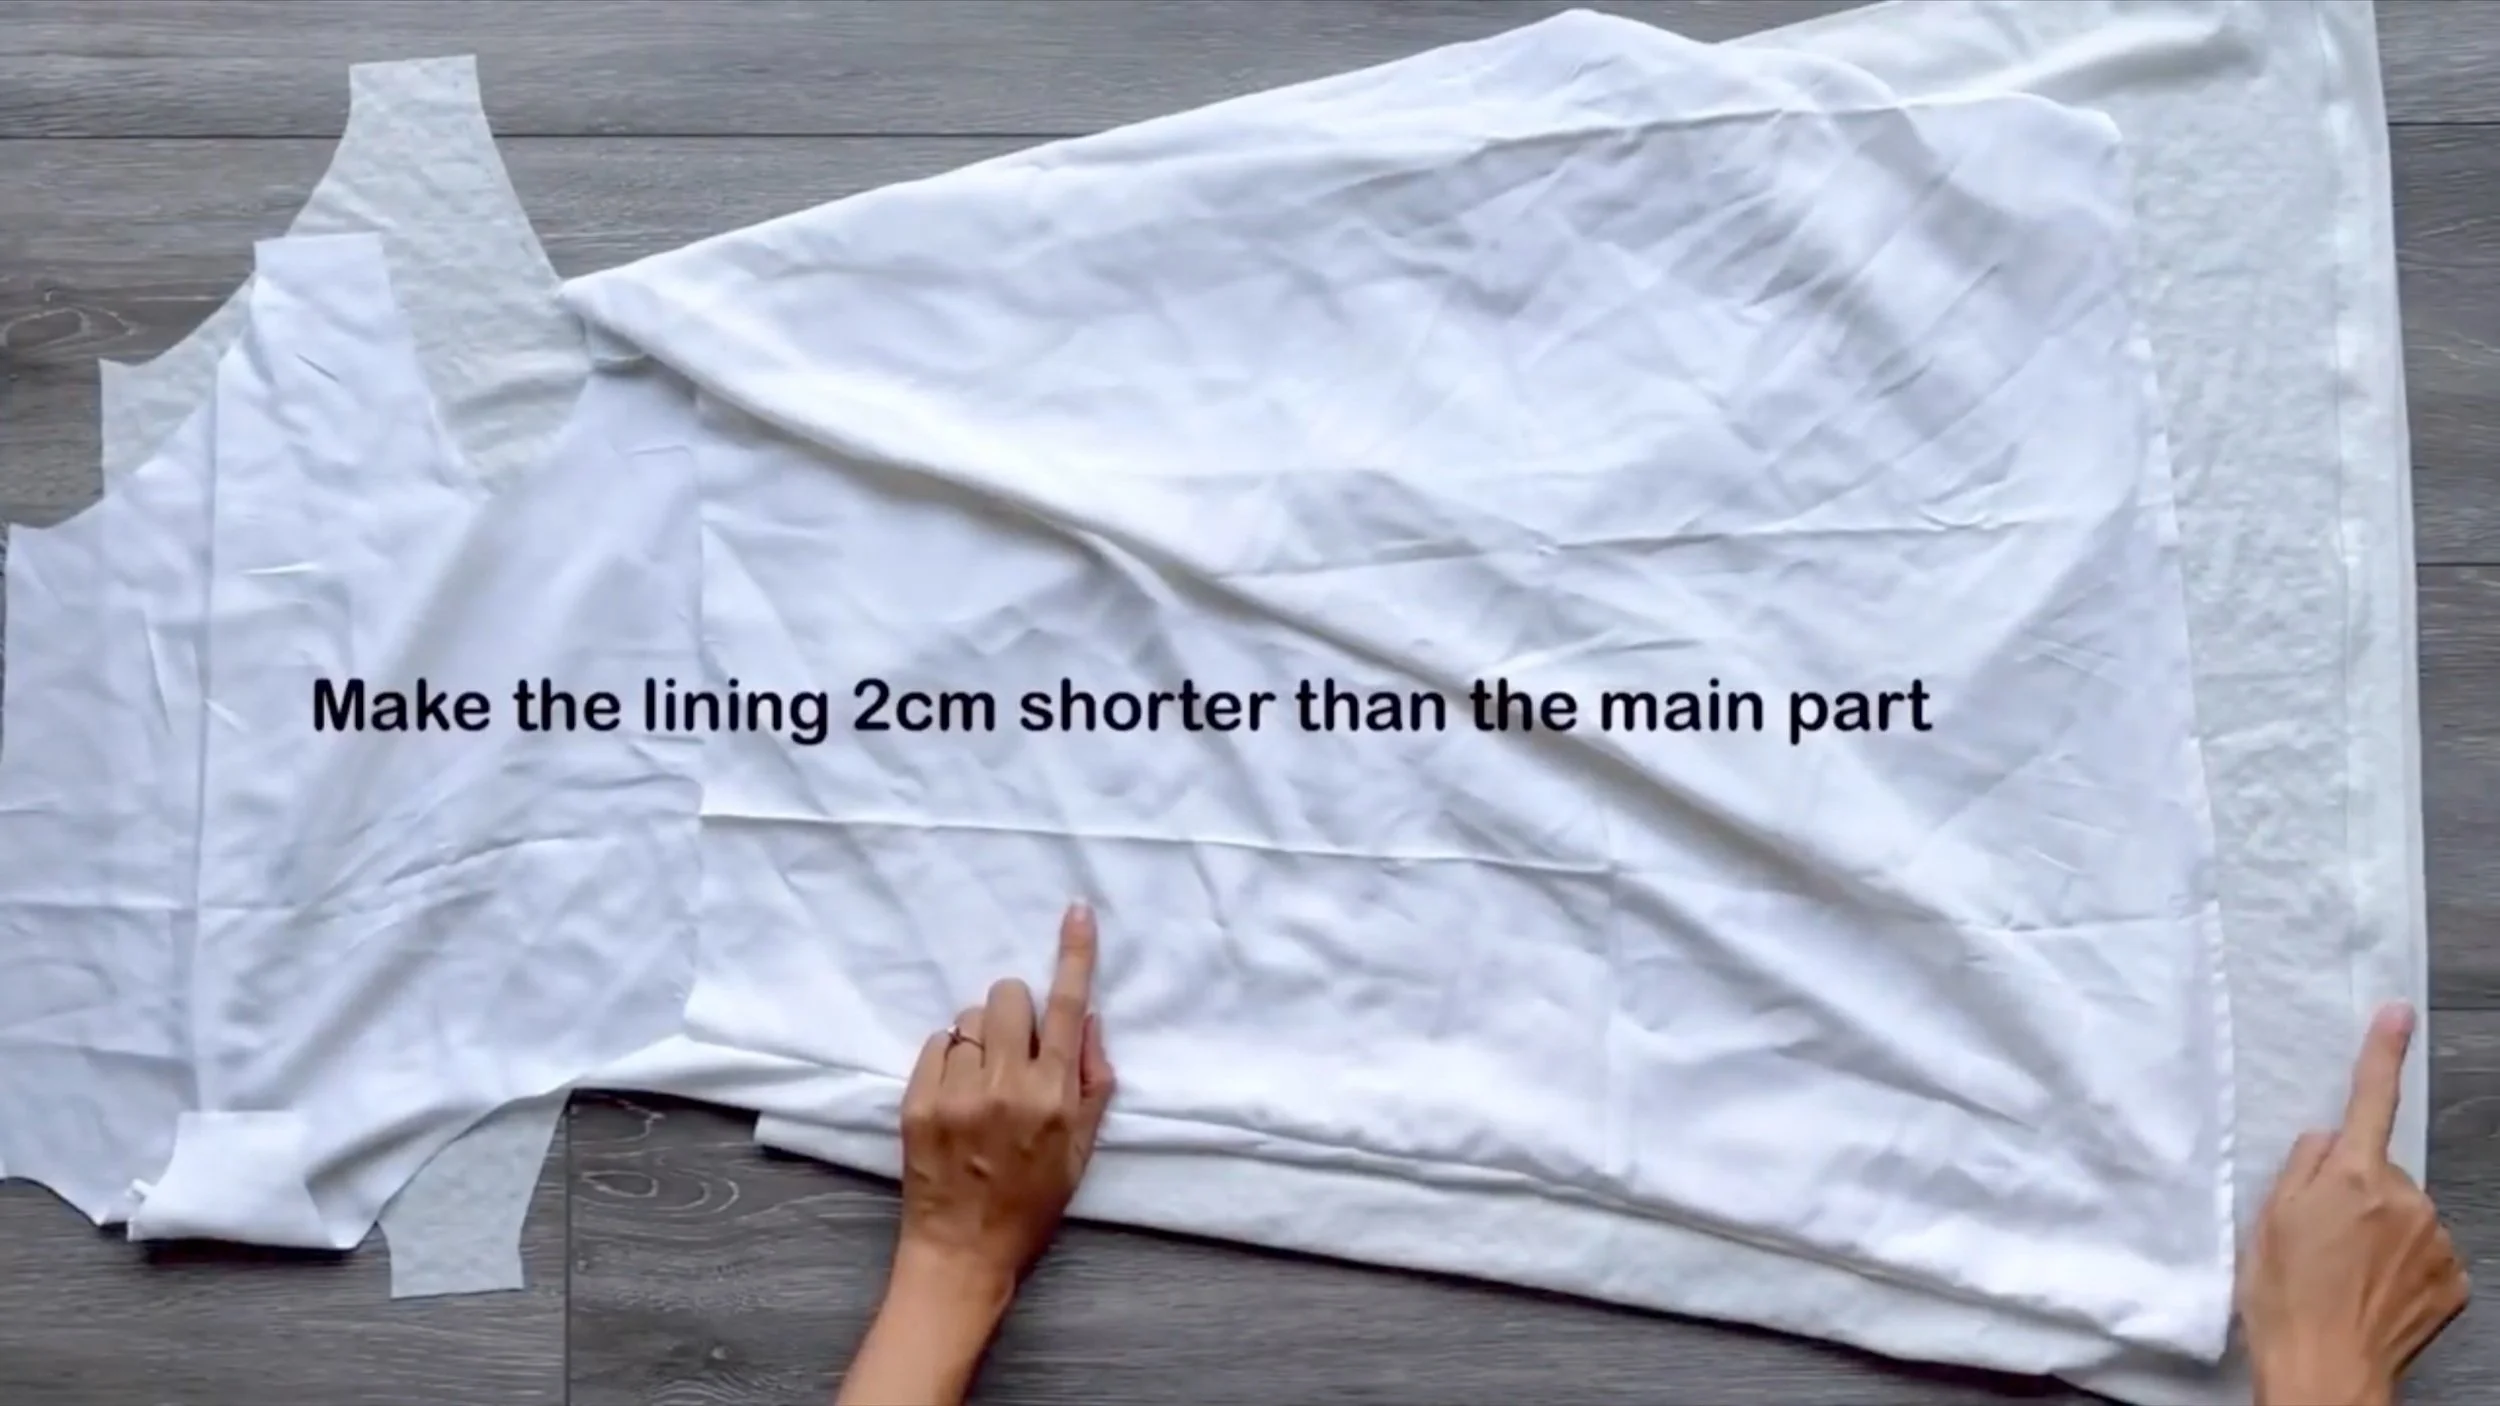
Use the same method to make the lining part of the dress but make it 2 cm shorter than the main part.
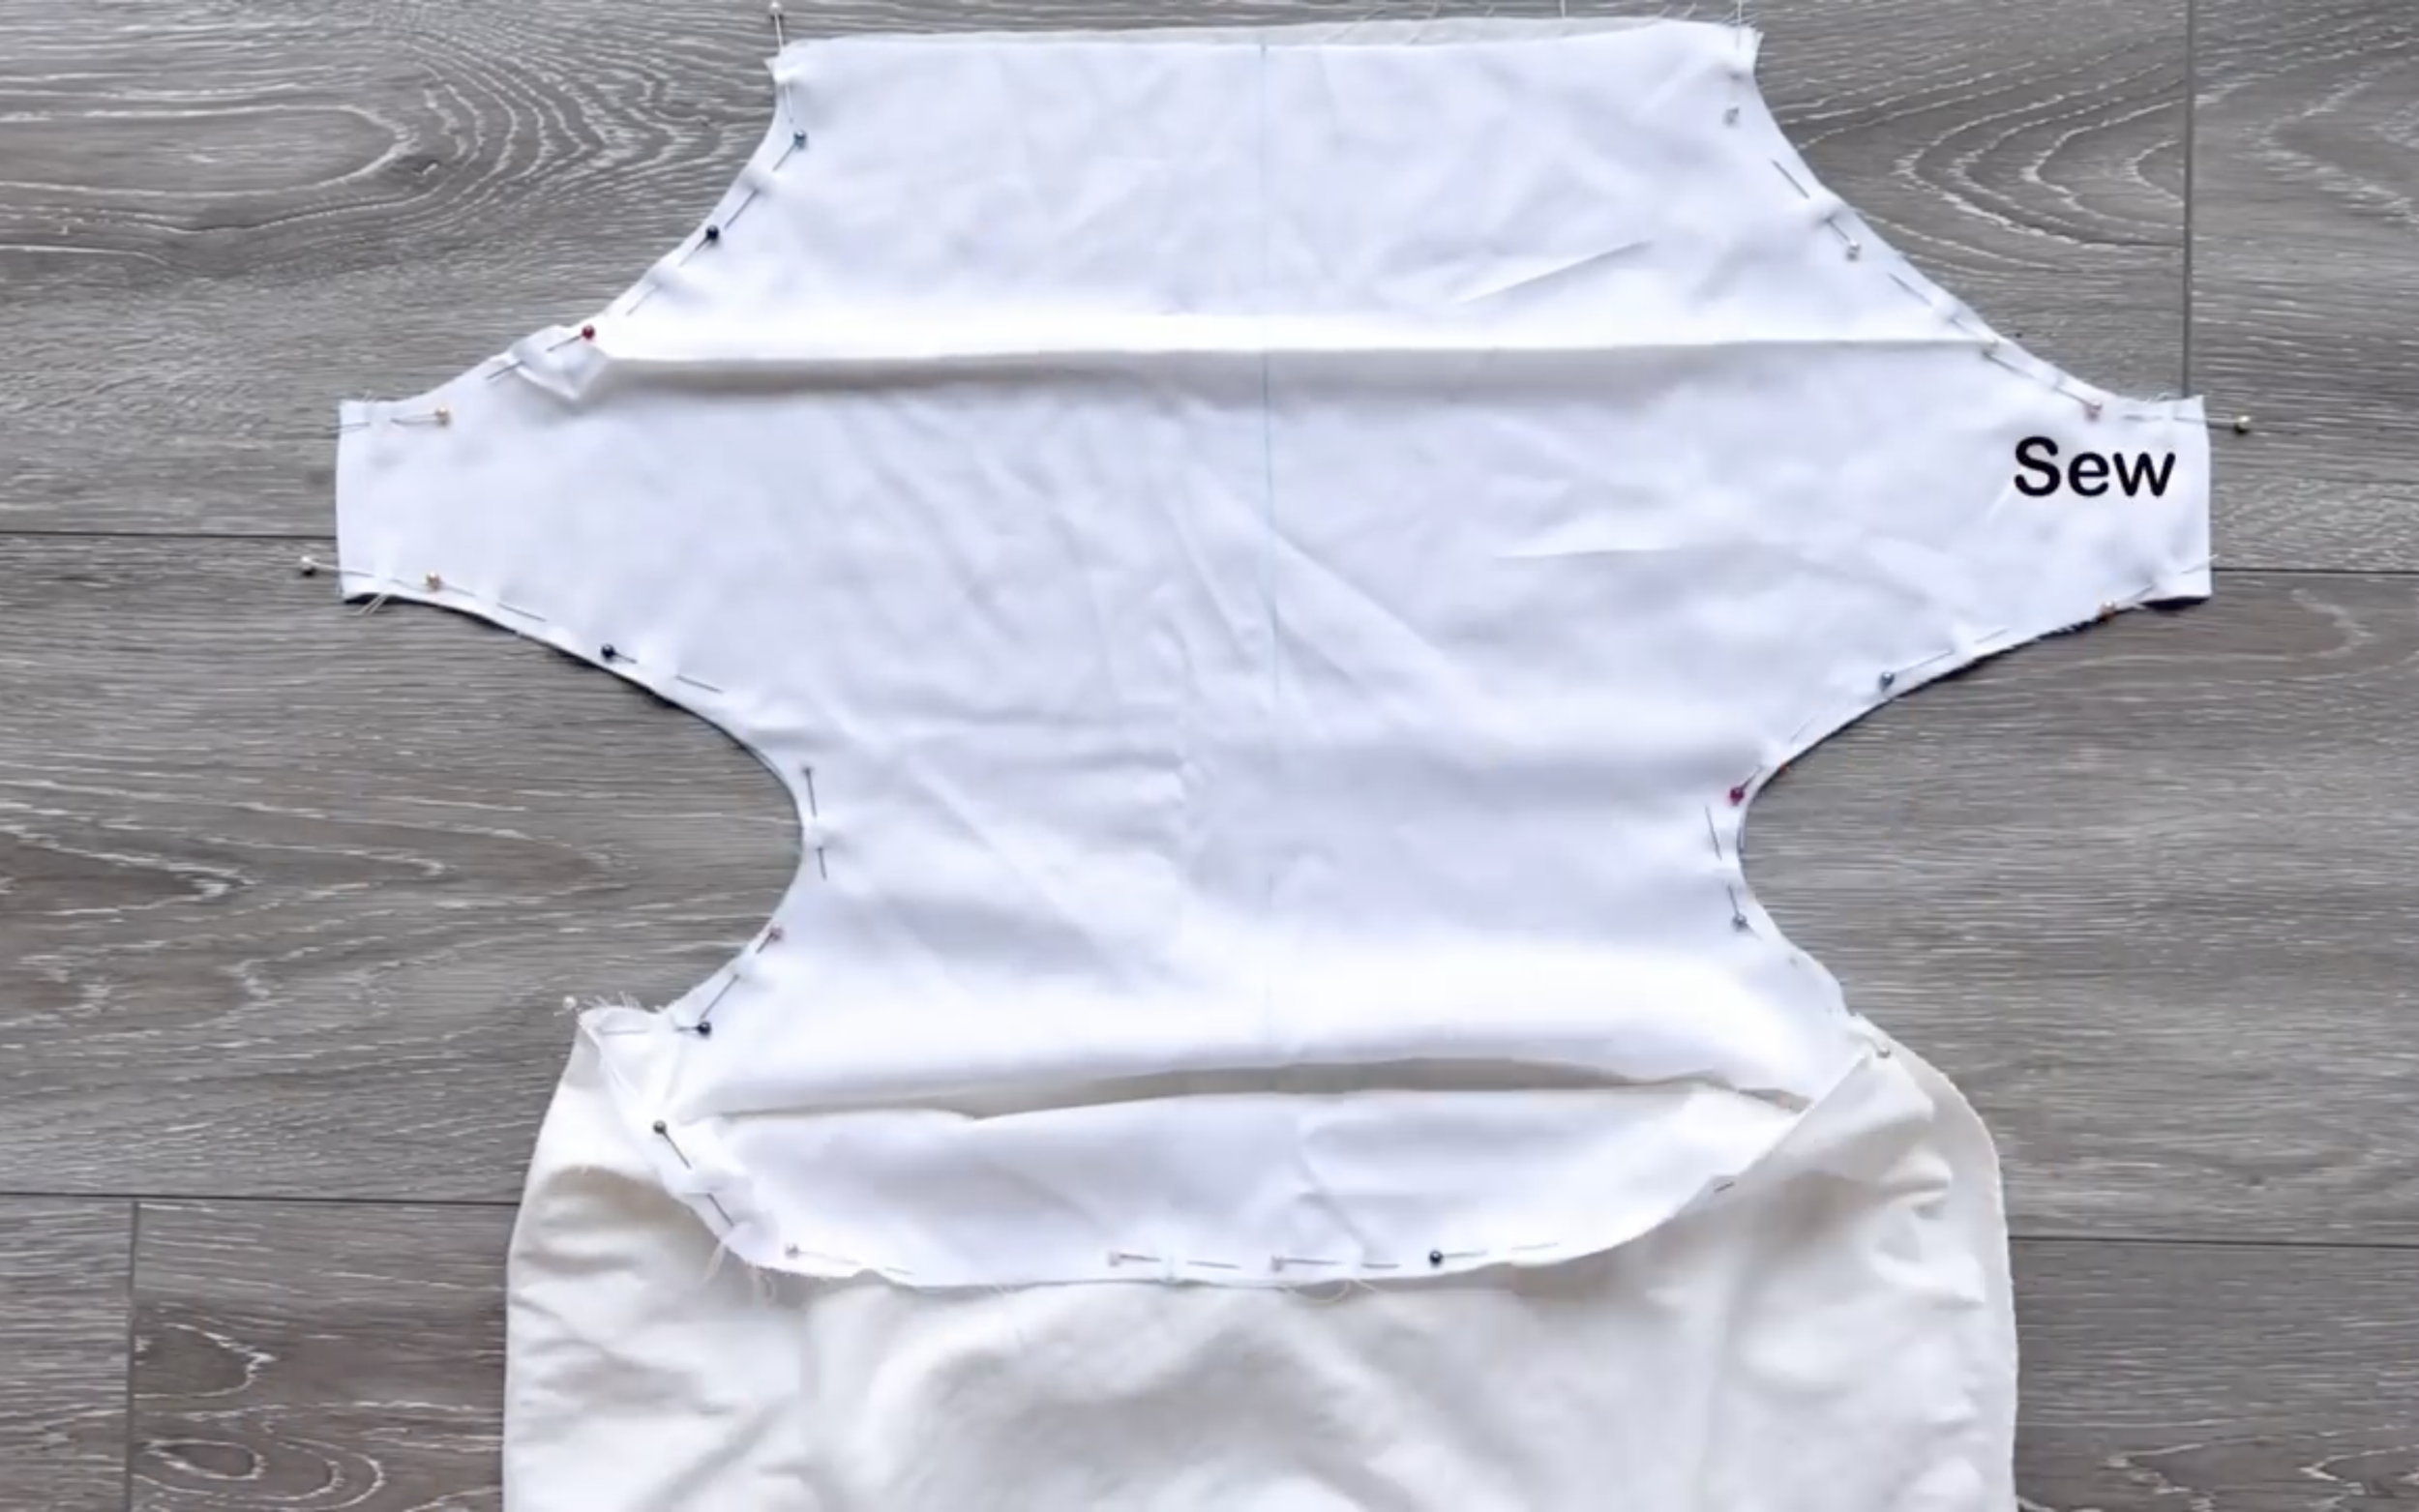
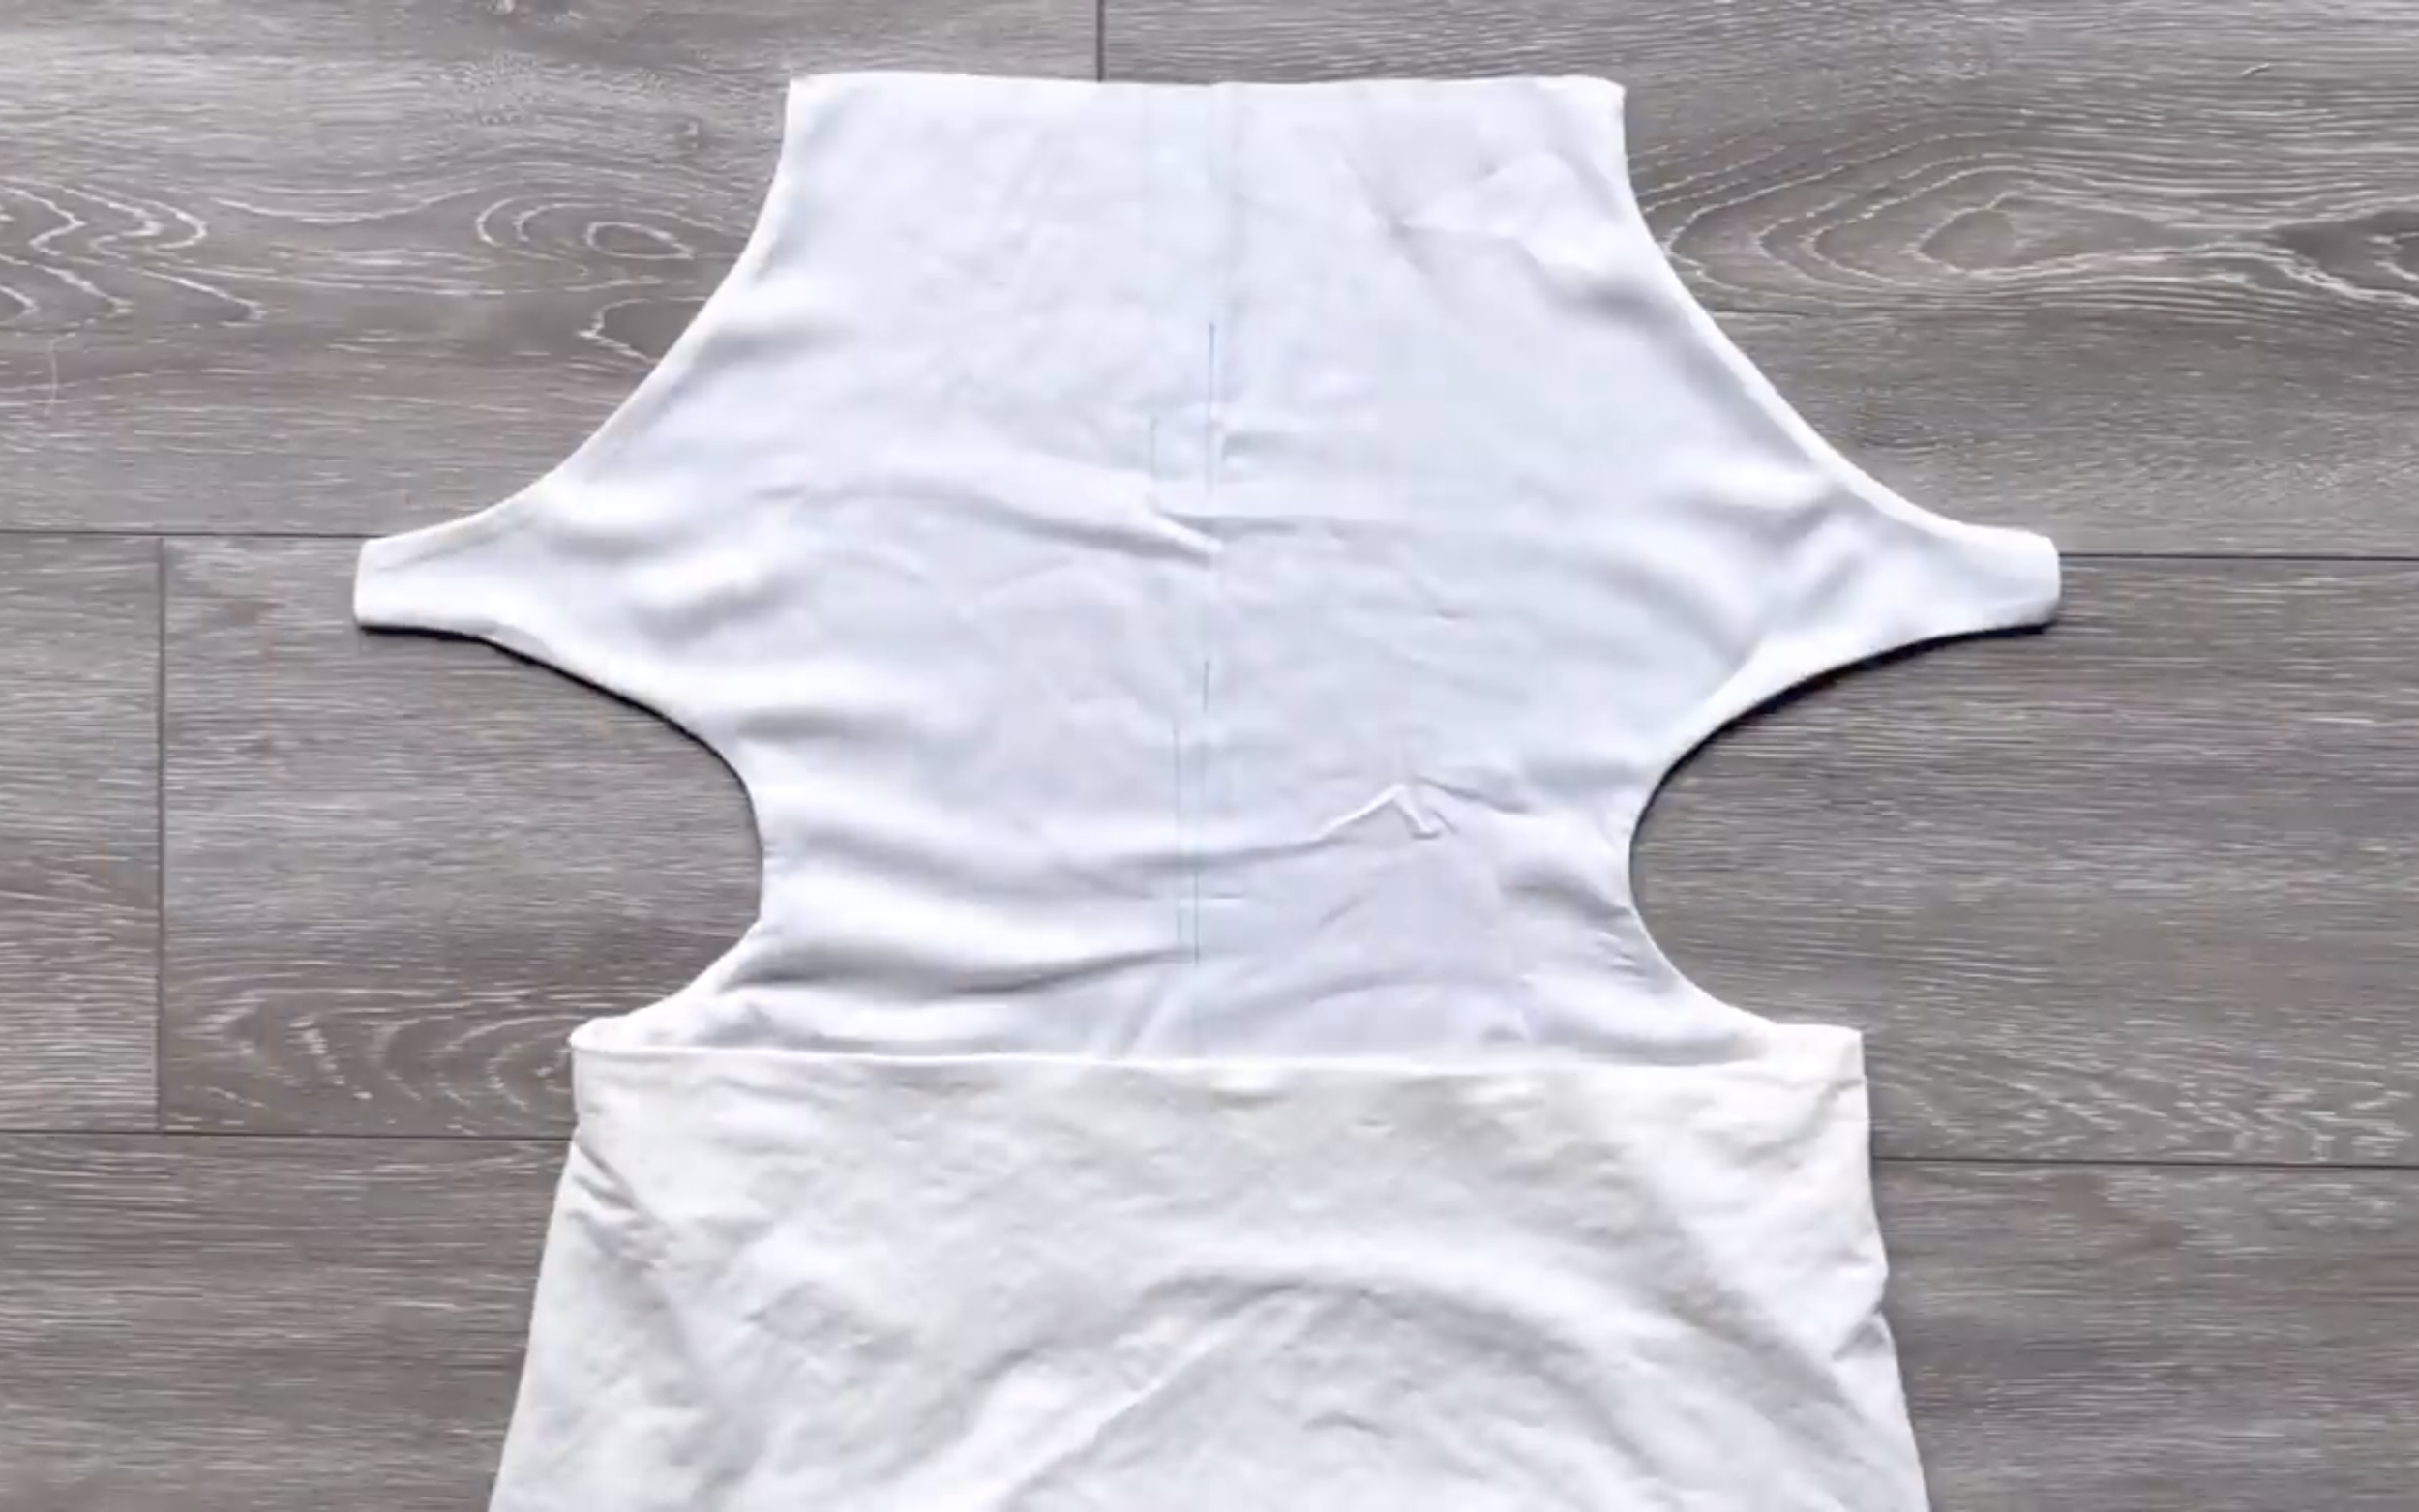
Connect the main part and the lining part together at the top of the dress, from the sleeve line to the cutting line to the waistline at the back.
After sewing, make a few small cuts along the curved line before turning it inside out.
Iron the seams to keep them neat and in place.
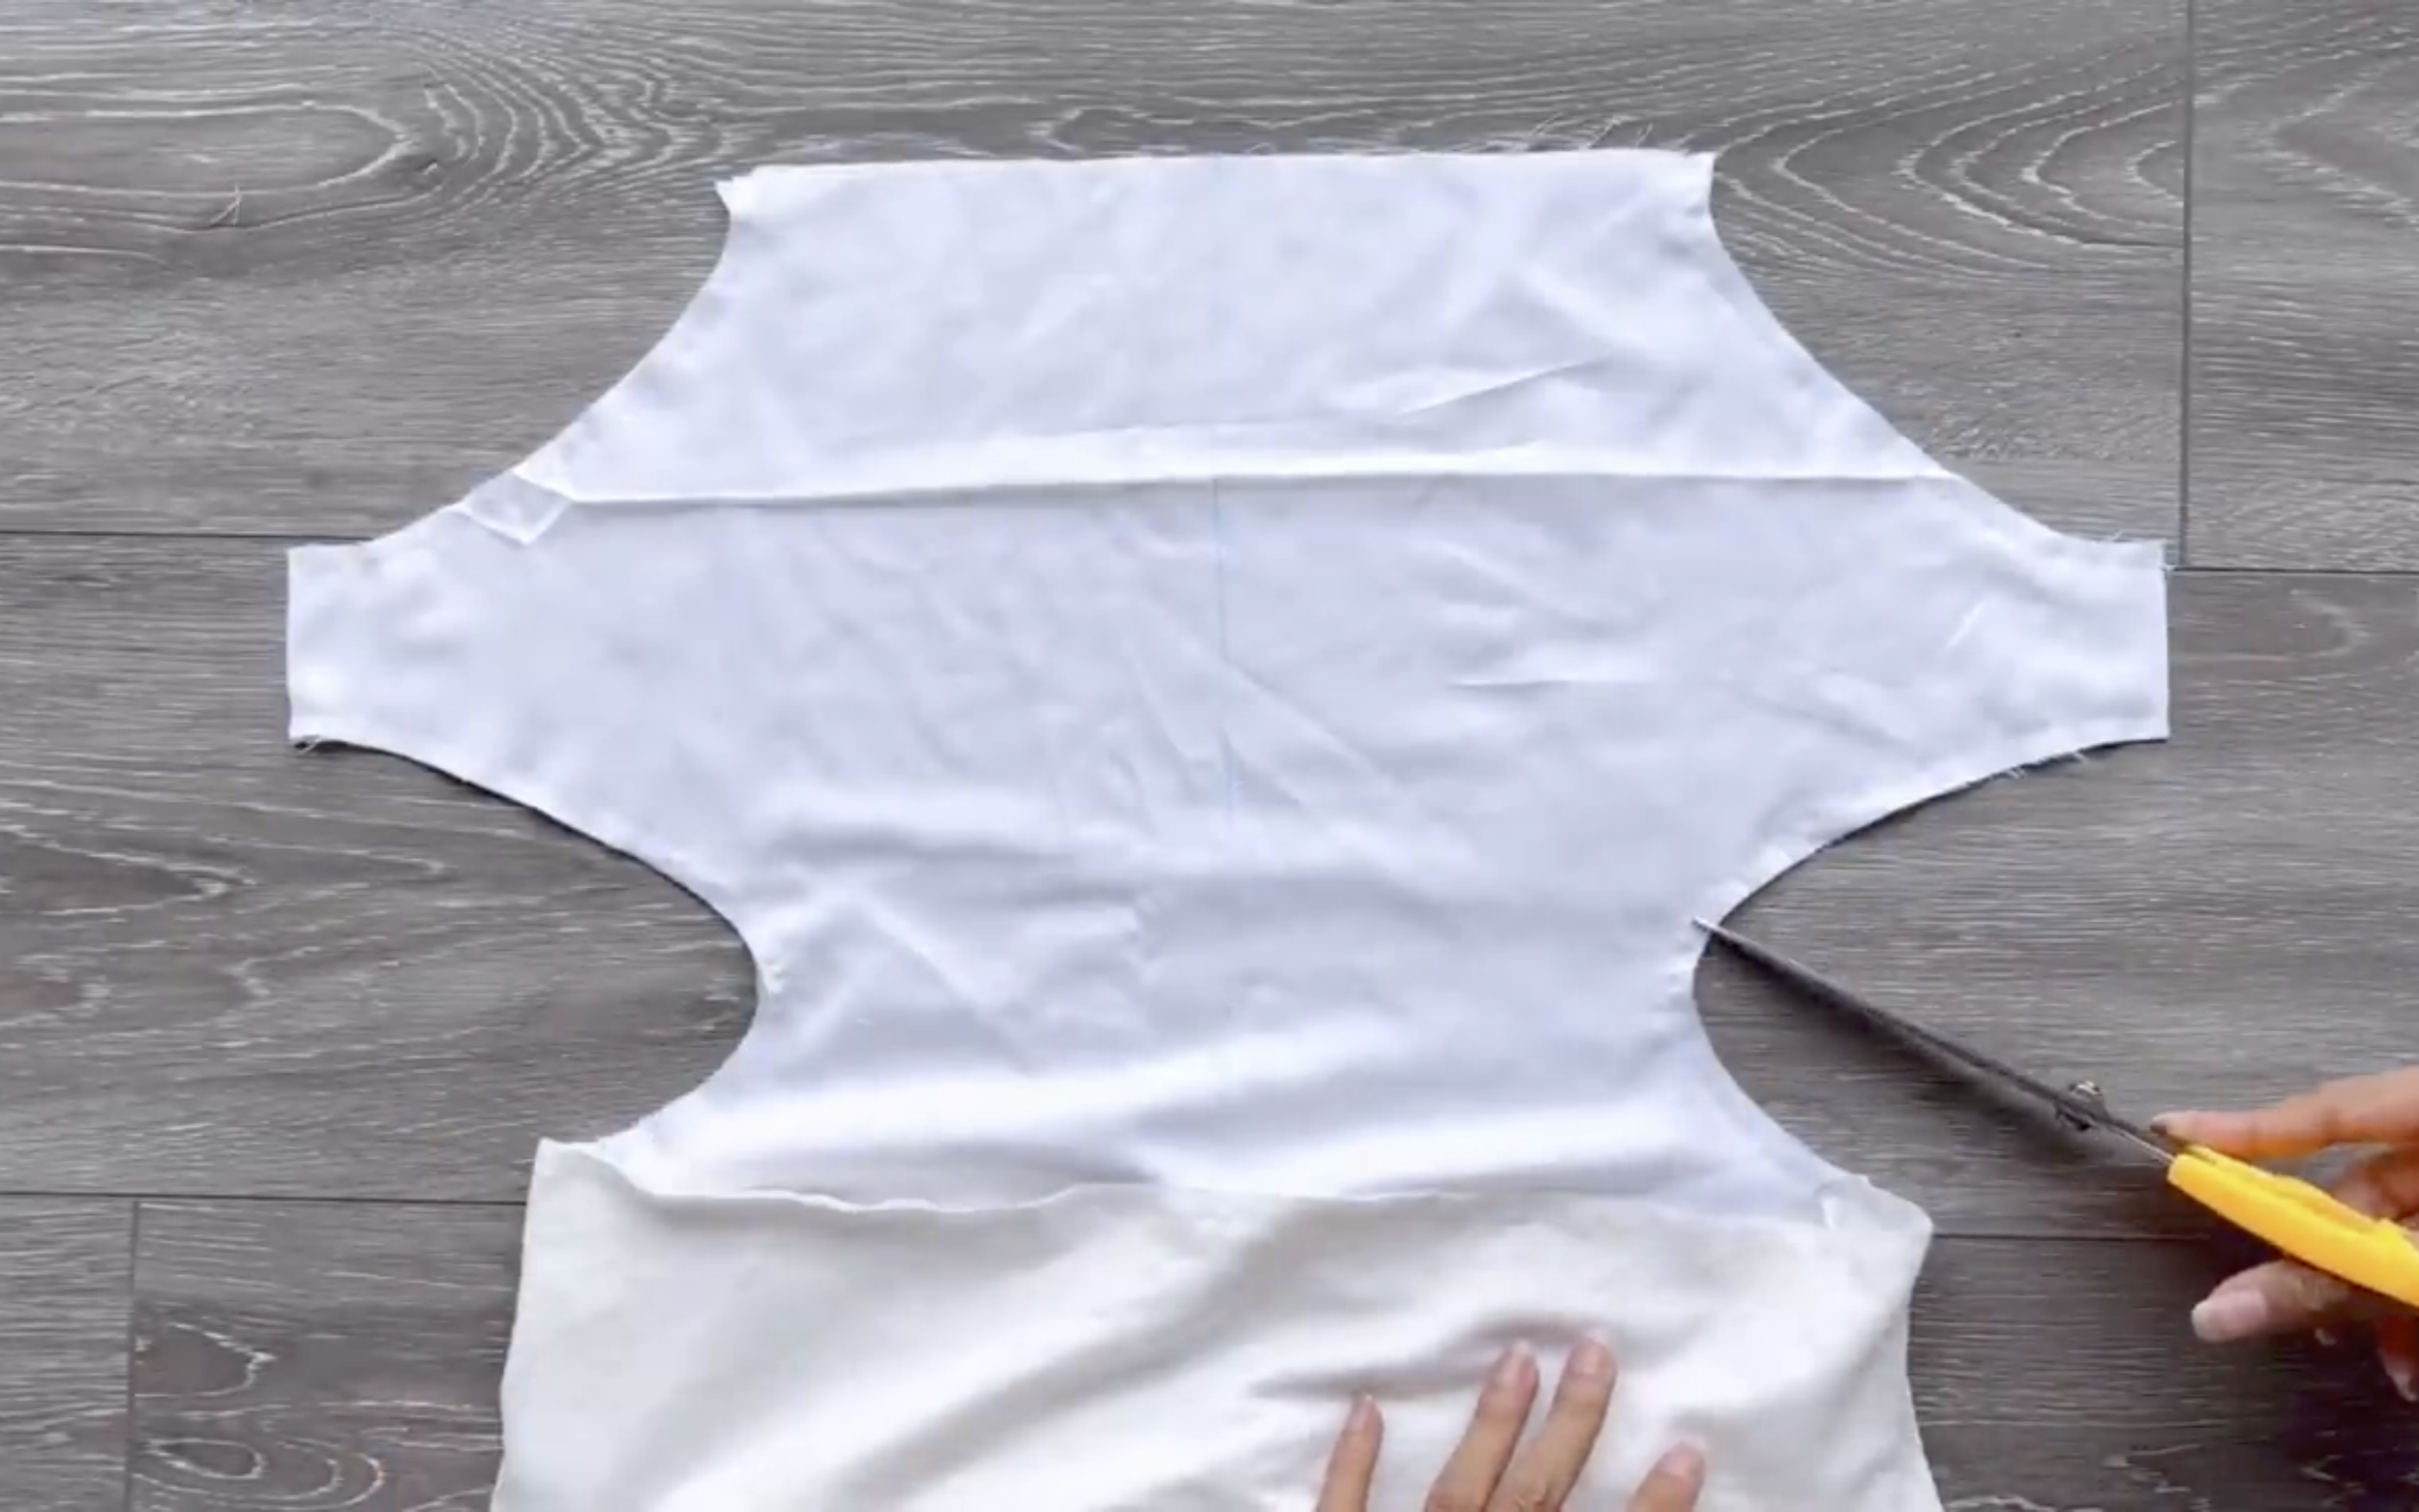
After sewing, make a few small cuts along the curved line before turning it inside out.
Iron the seams to keep them neat and in place.
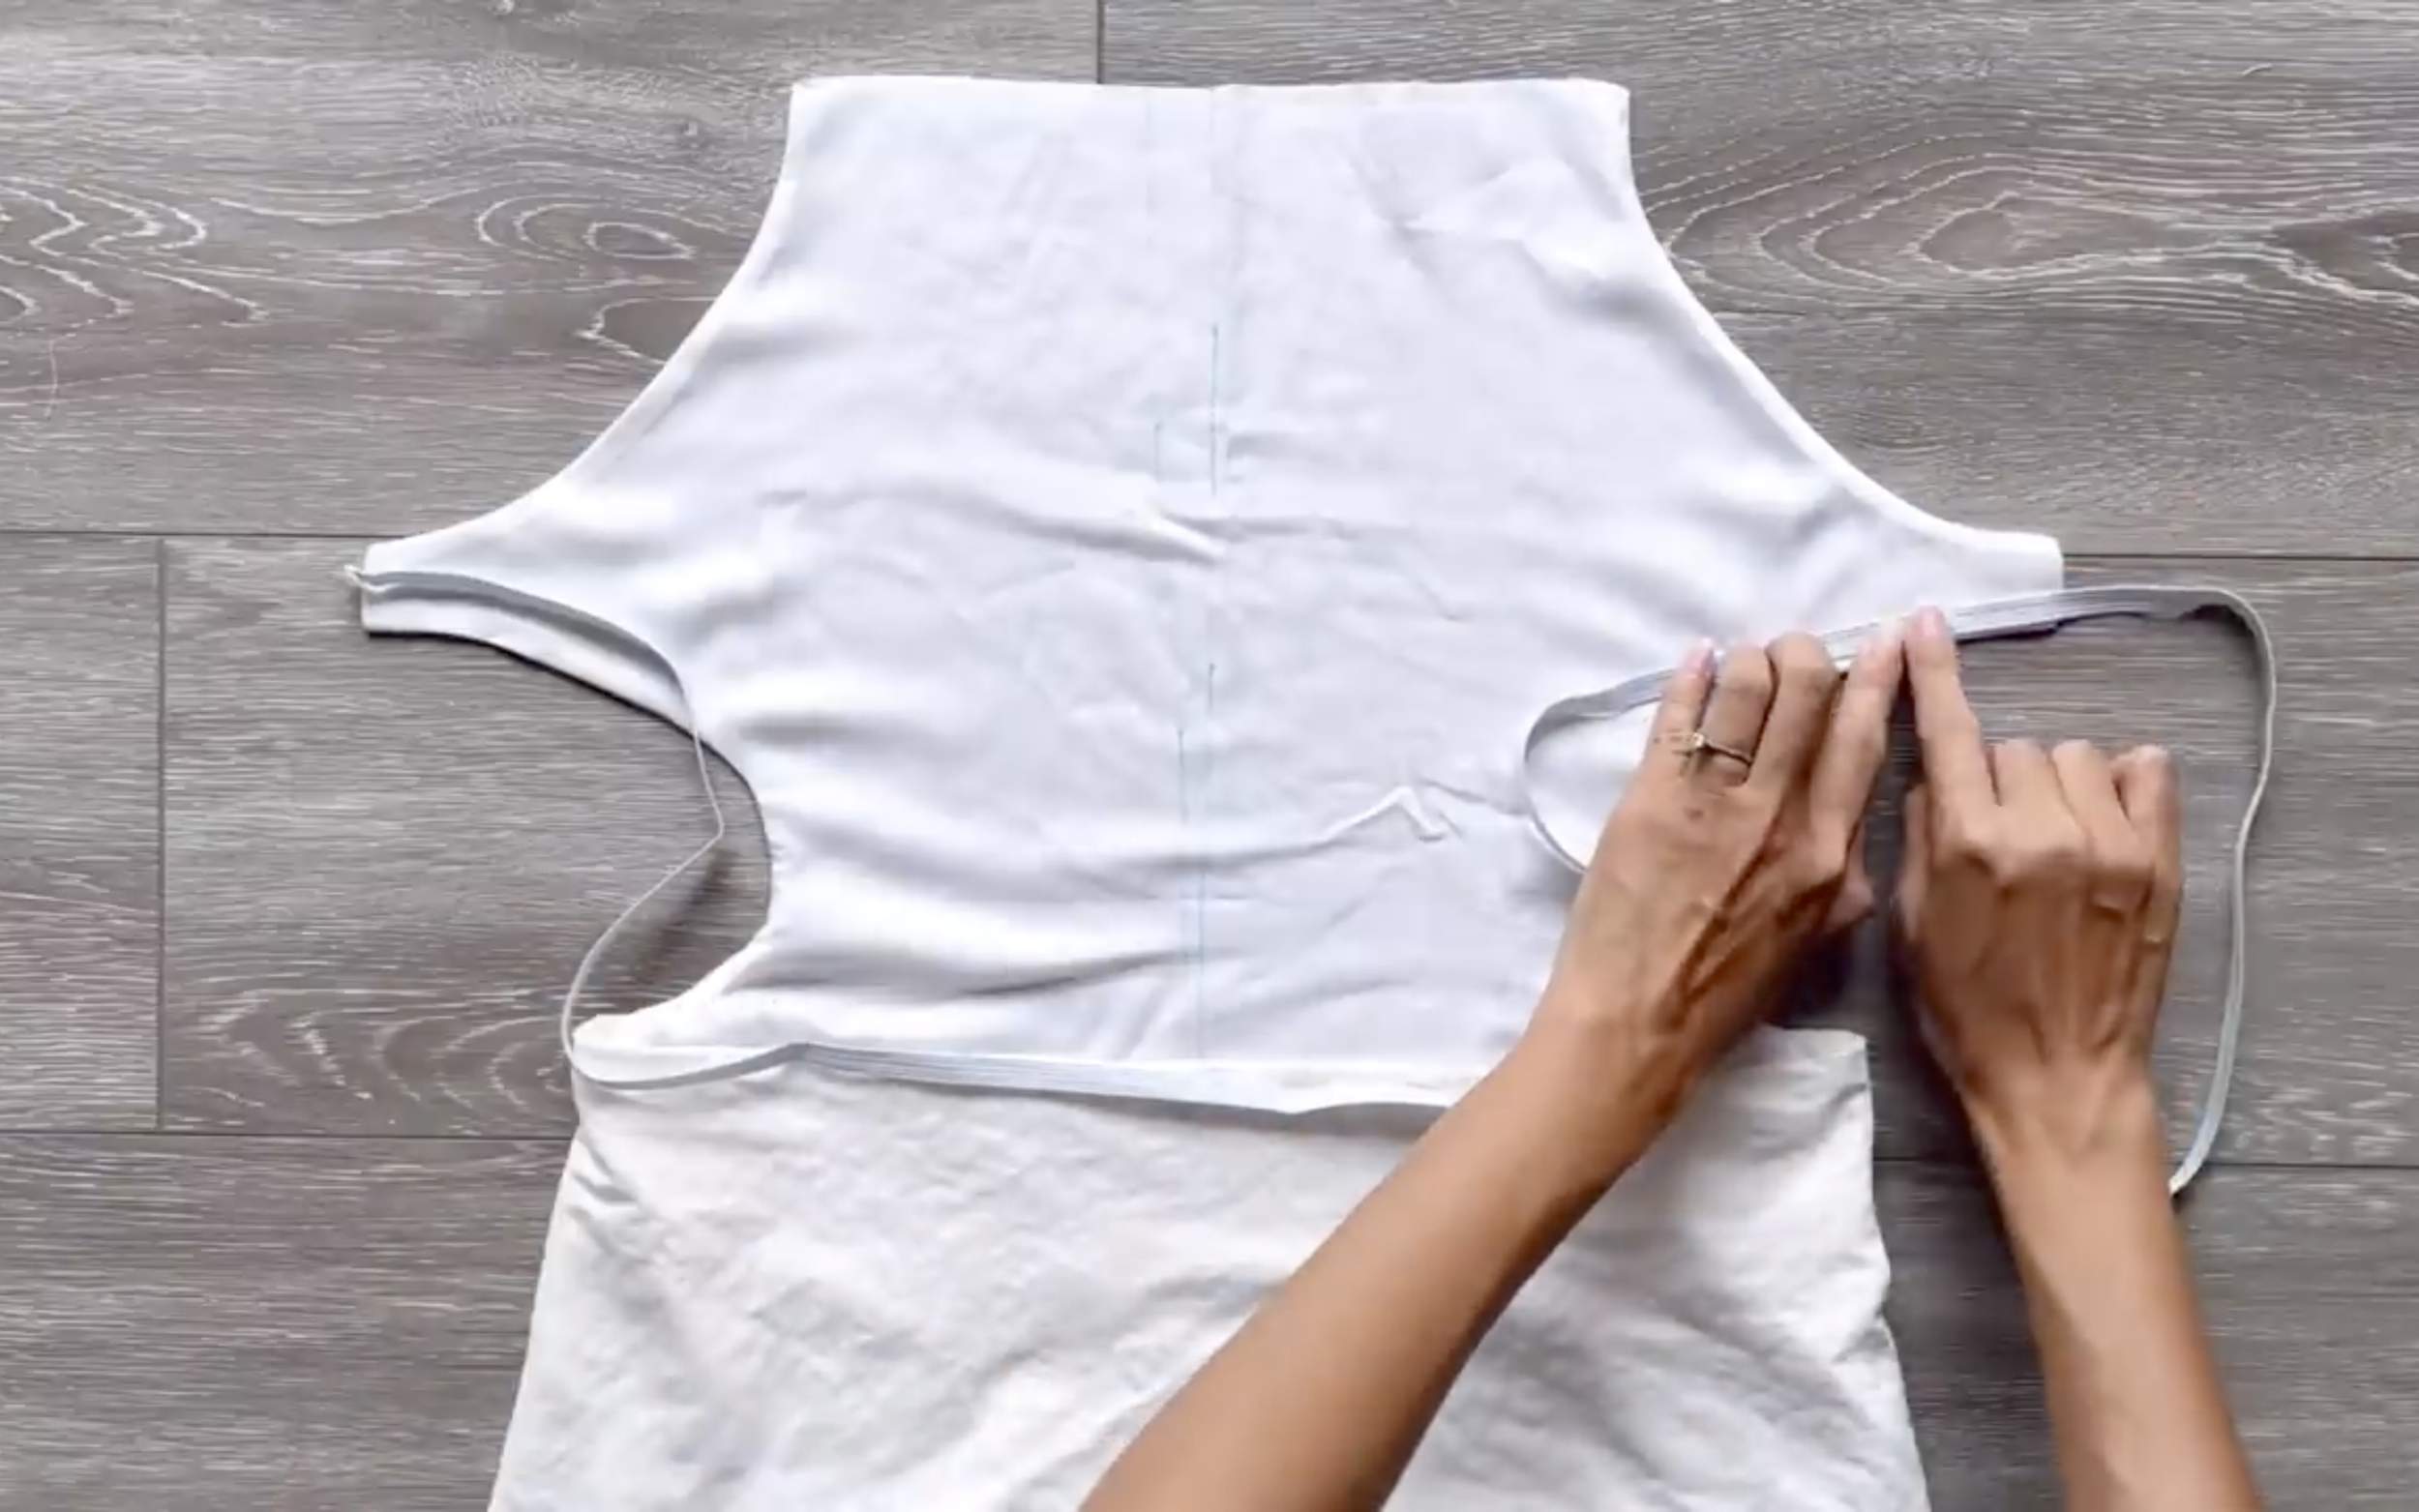
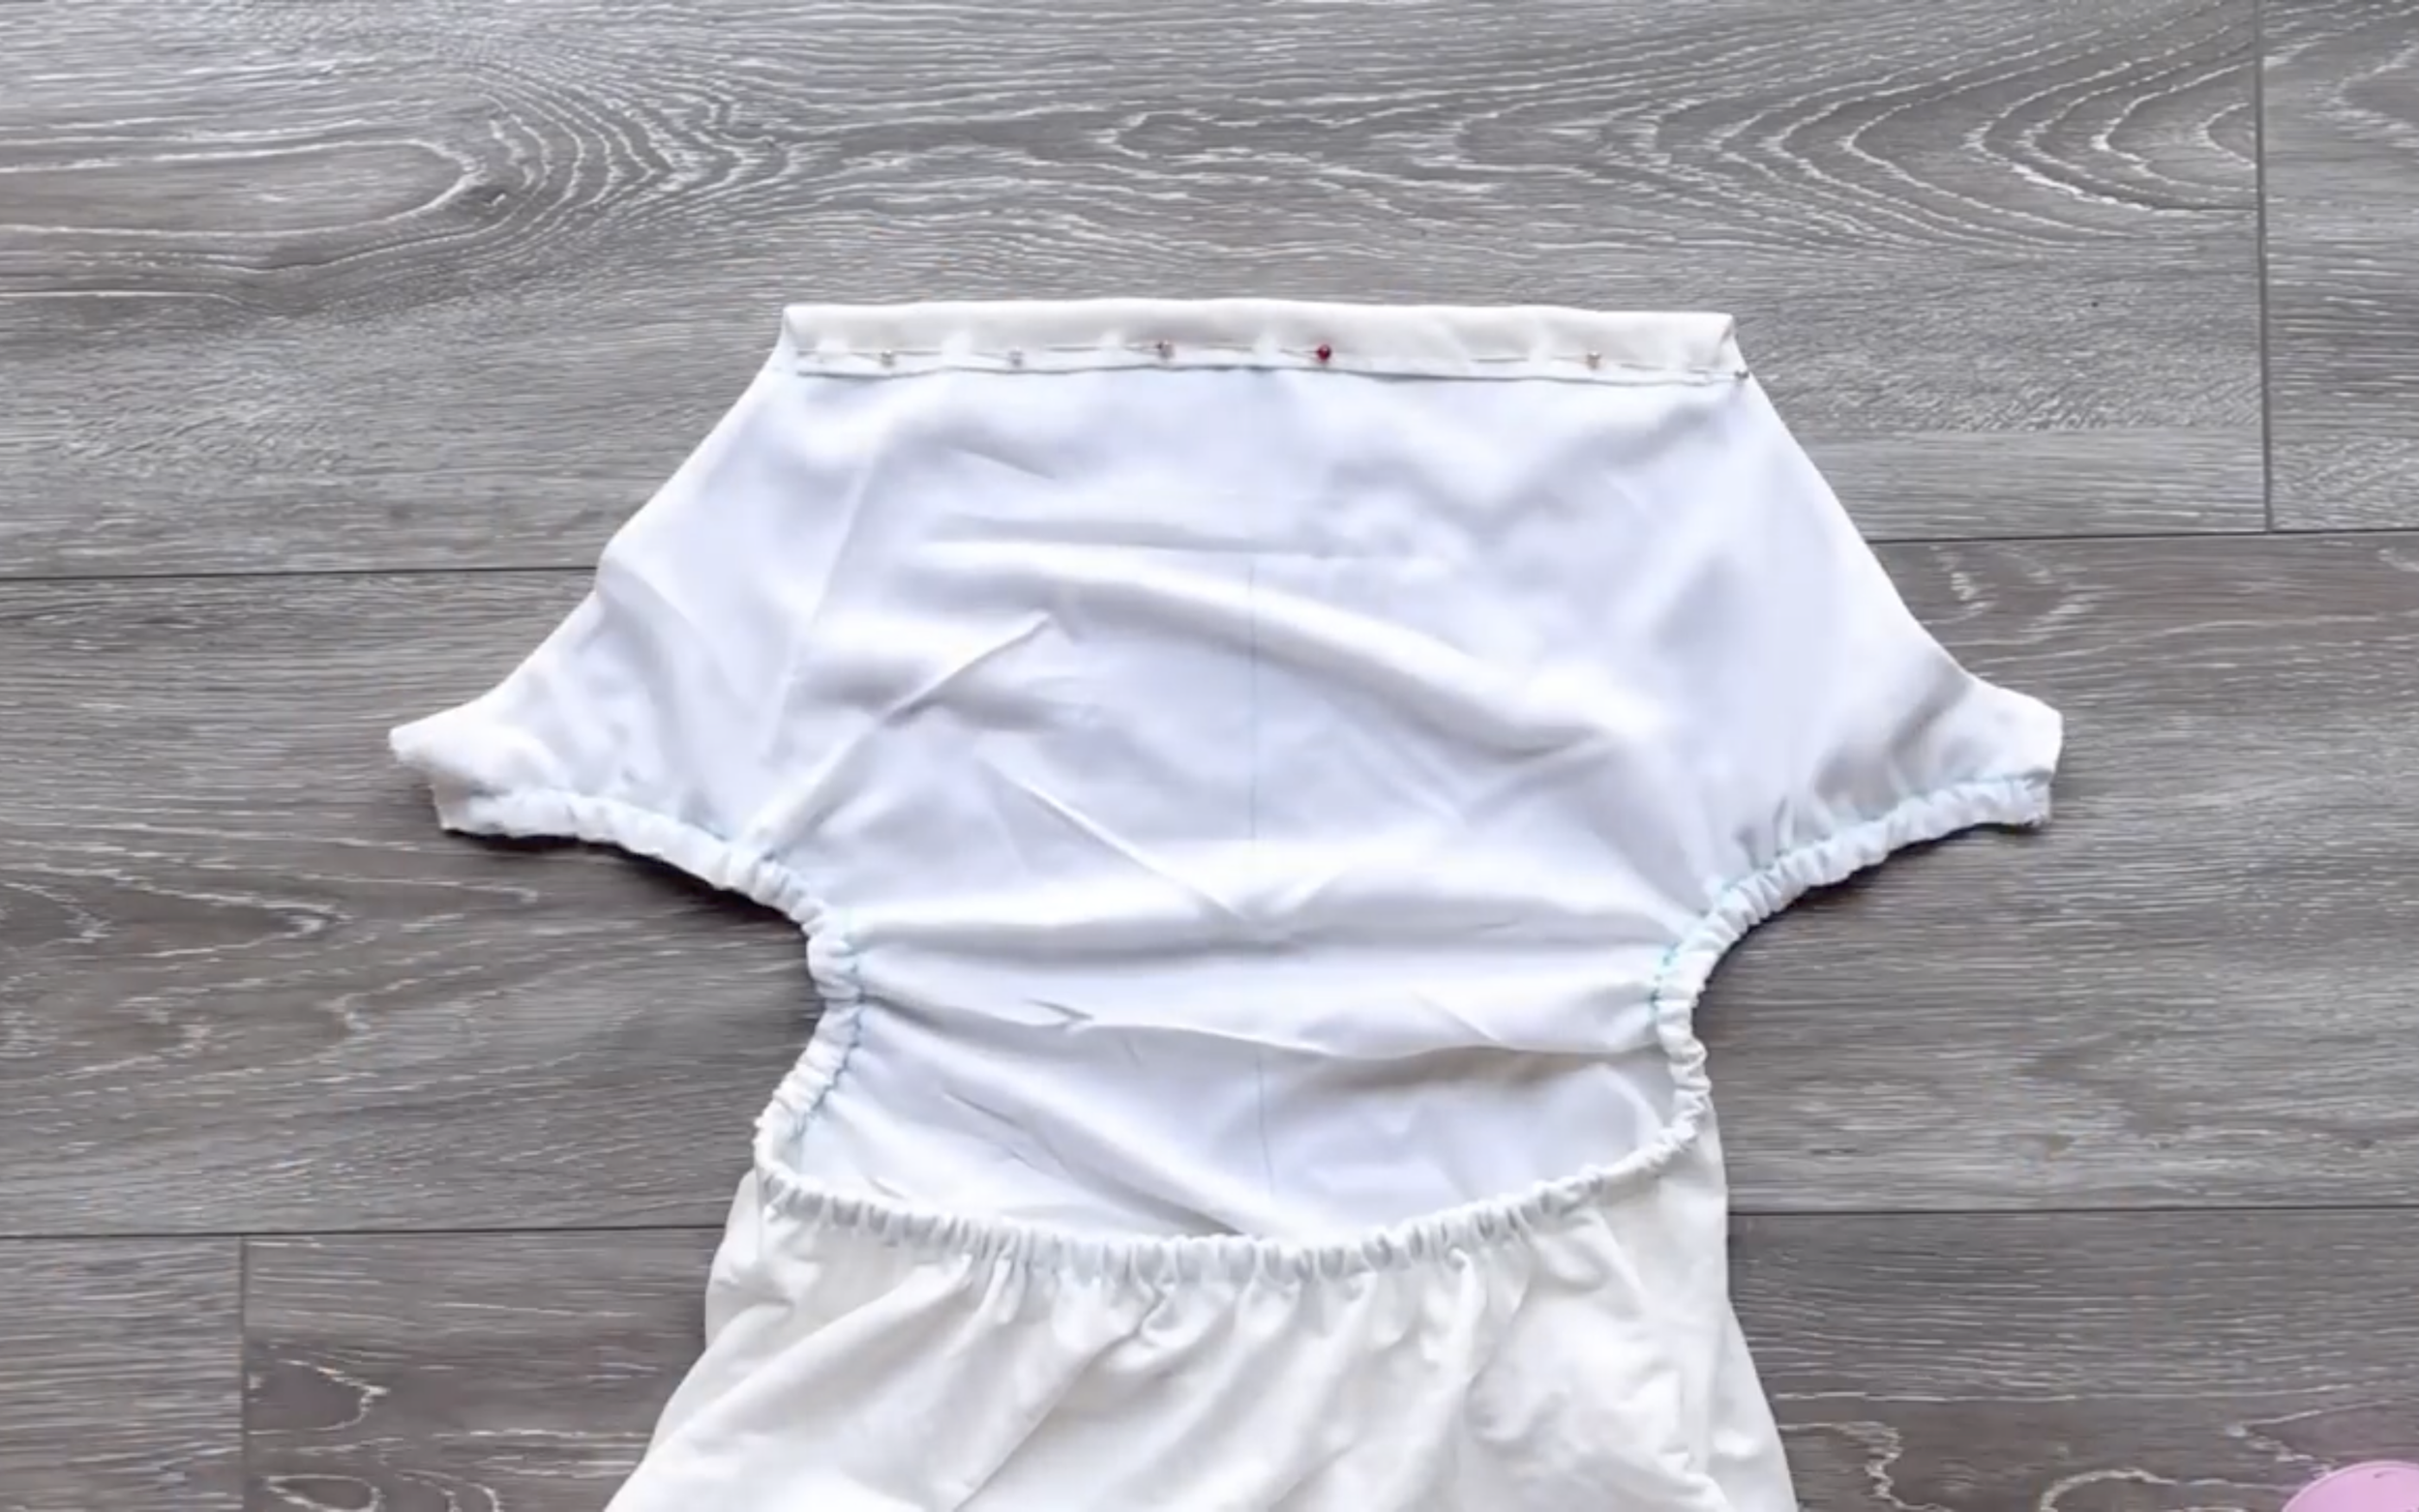
Add an elastic band to the back of the dress at the cutting line.
Measure the width of the elastic band and create a fabric casing.
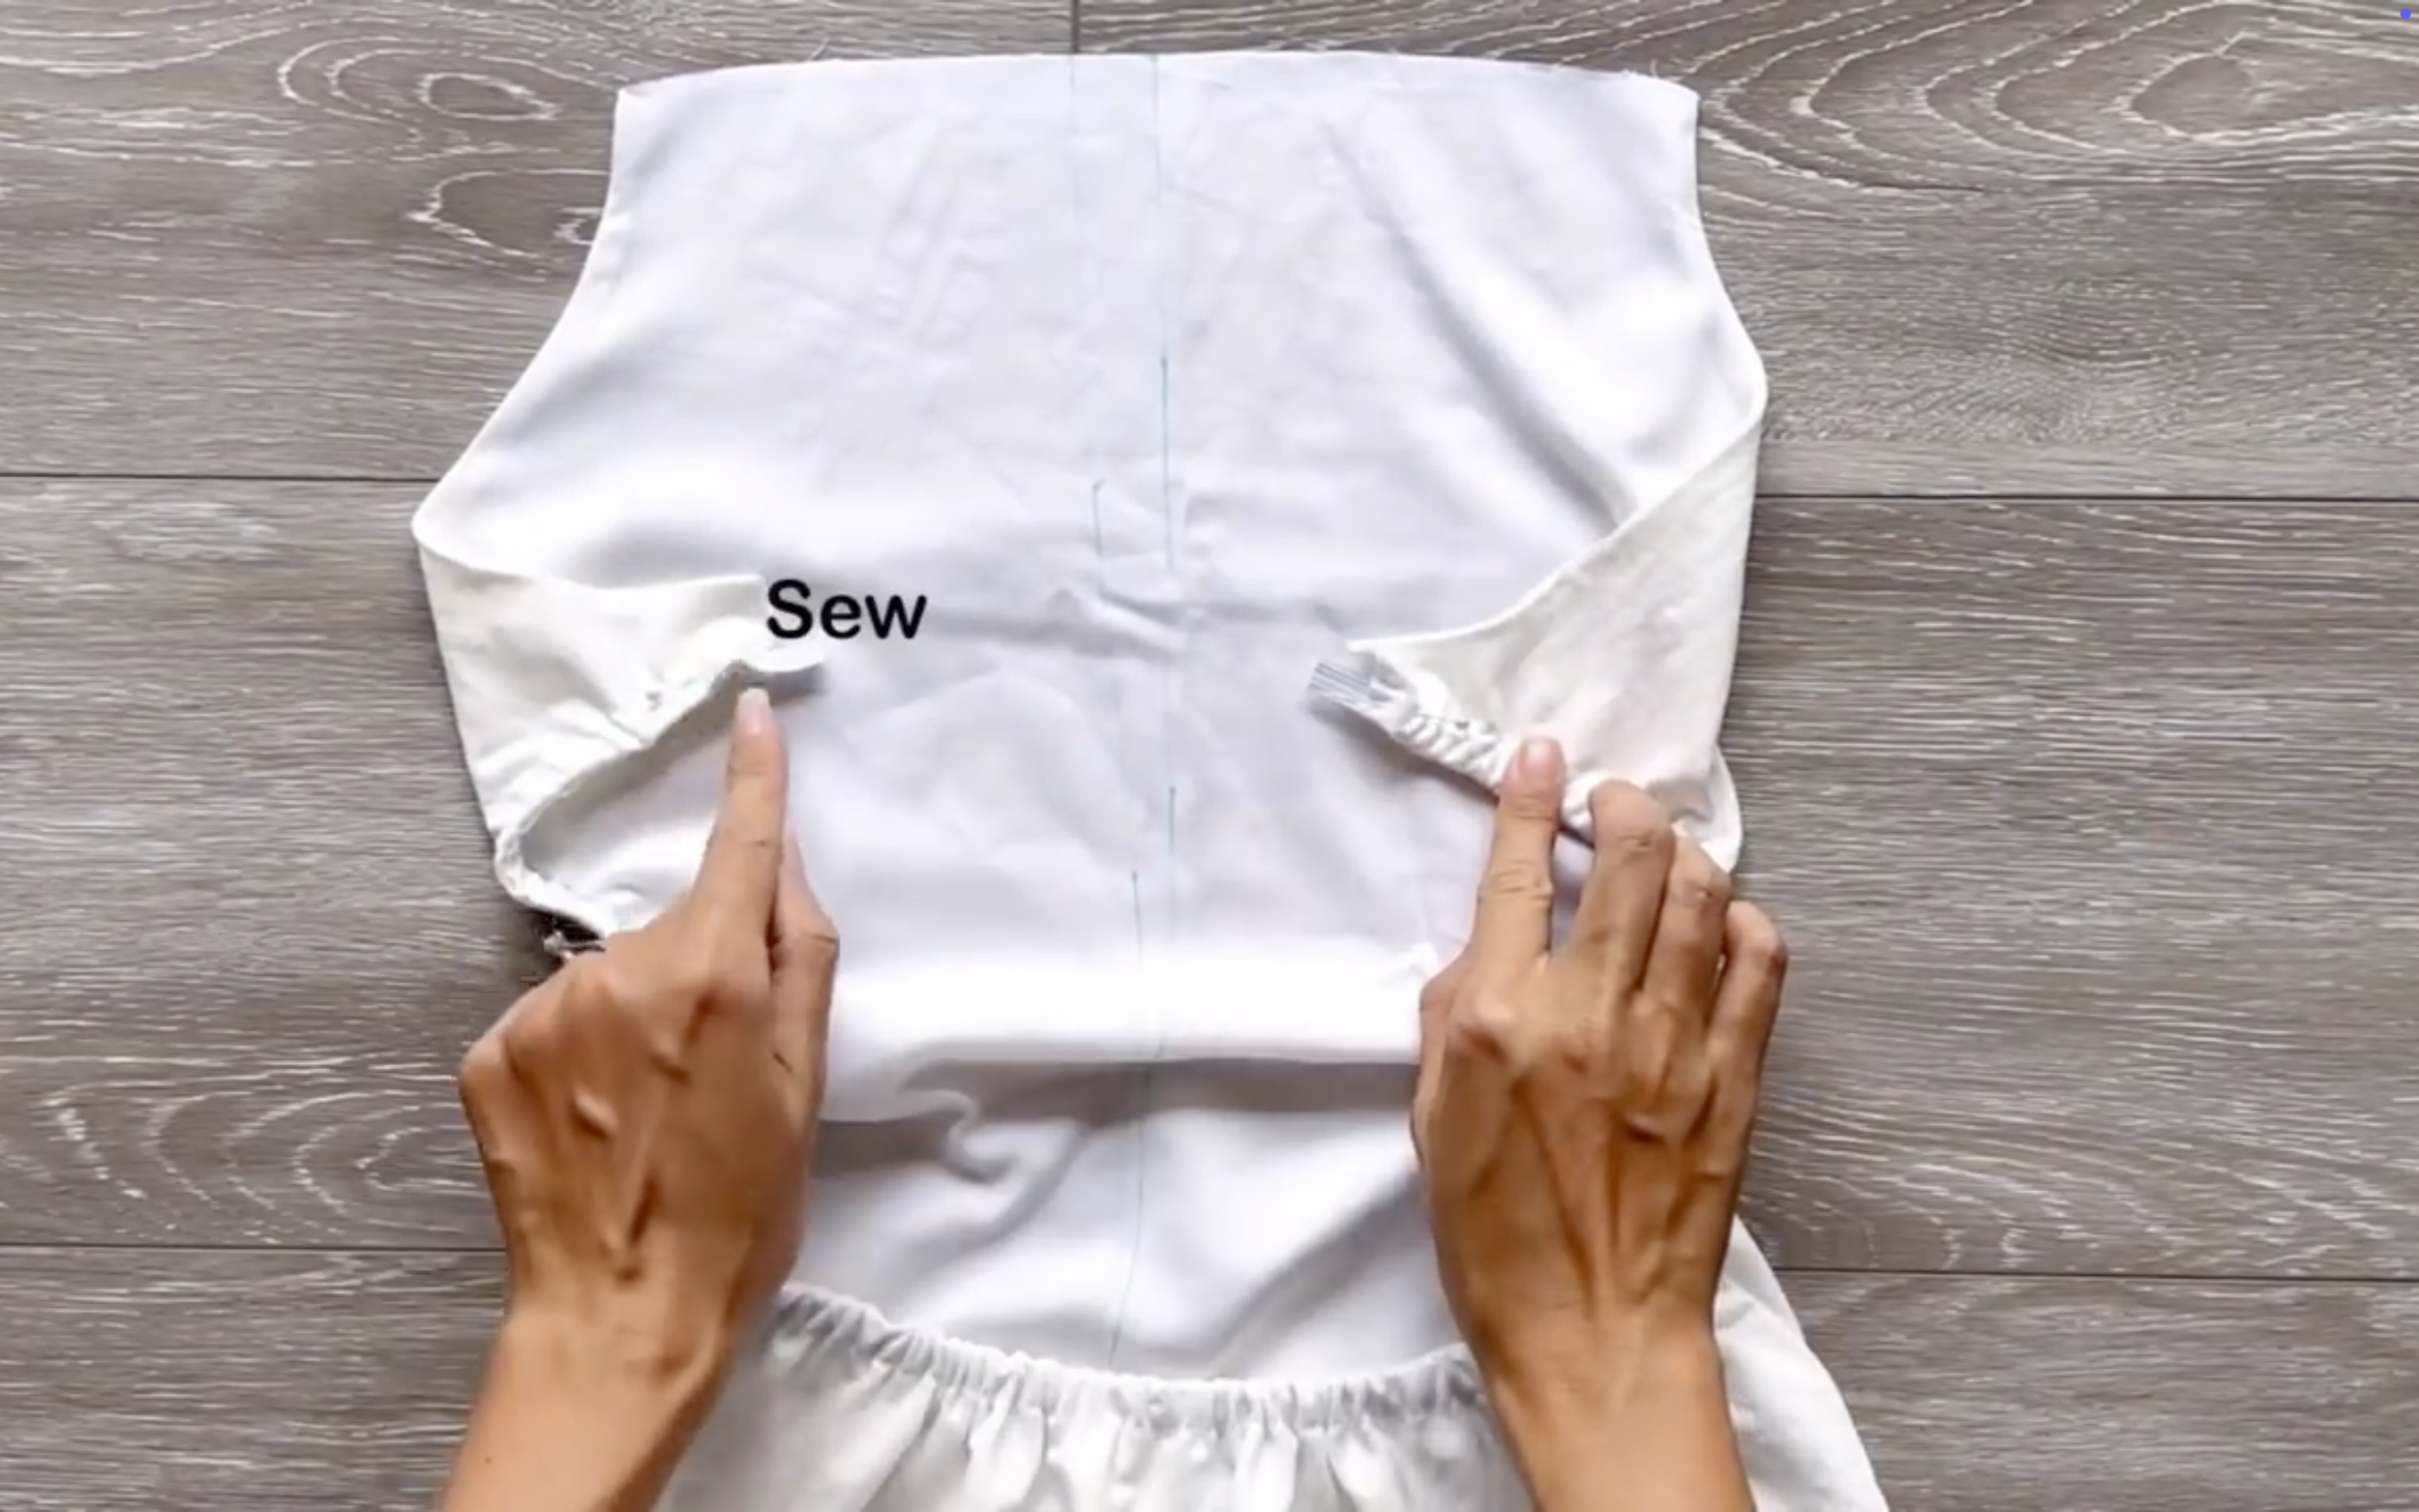
Sew the casing.
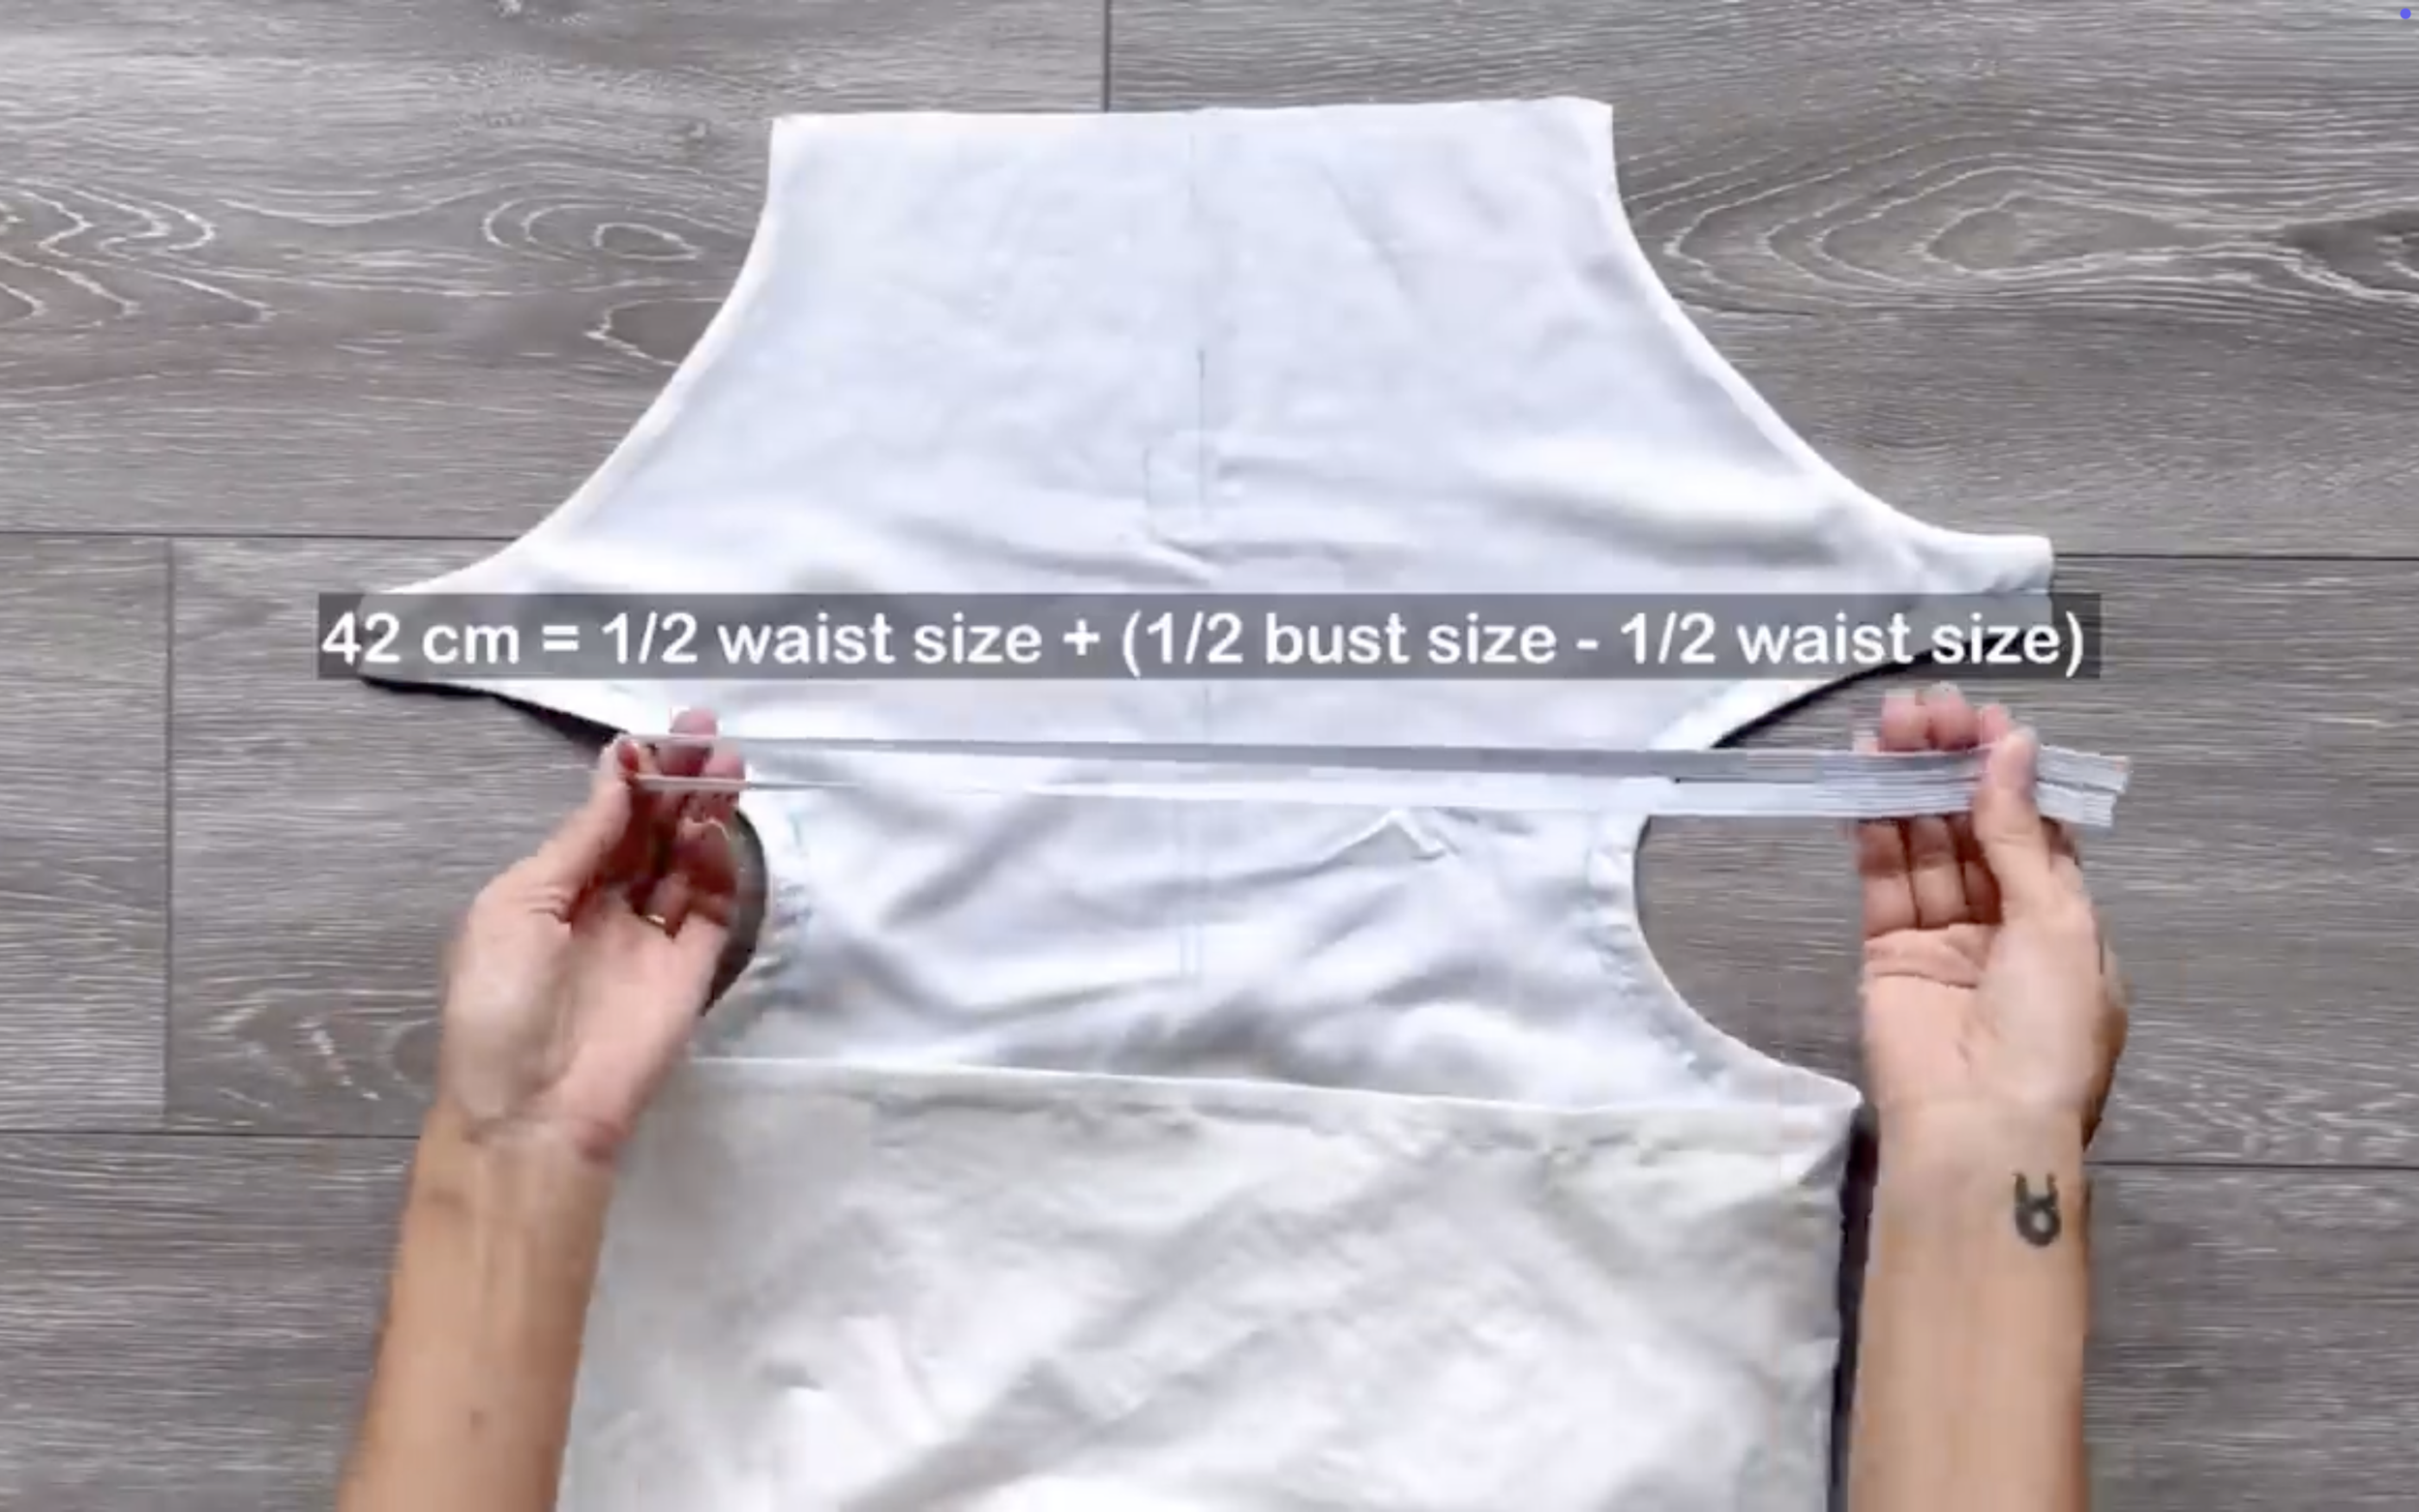
Then cut a 42 cm elastic band (half the waist size plus the difference between half the bust size and half the waist size).
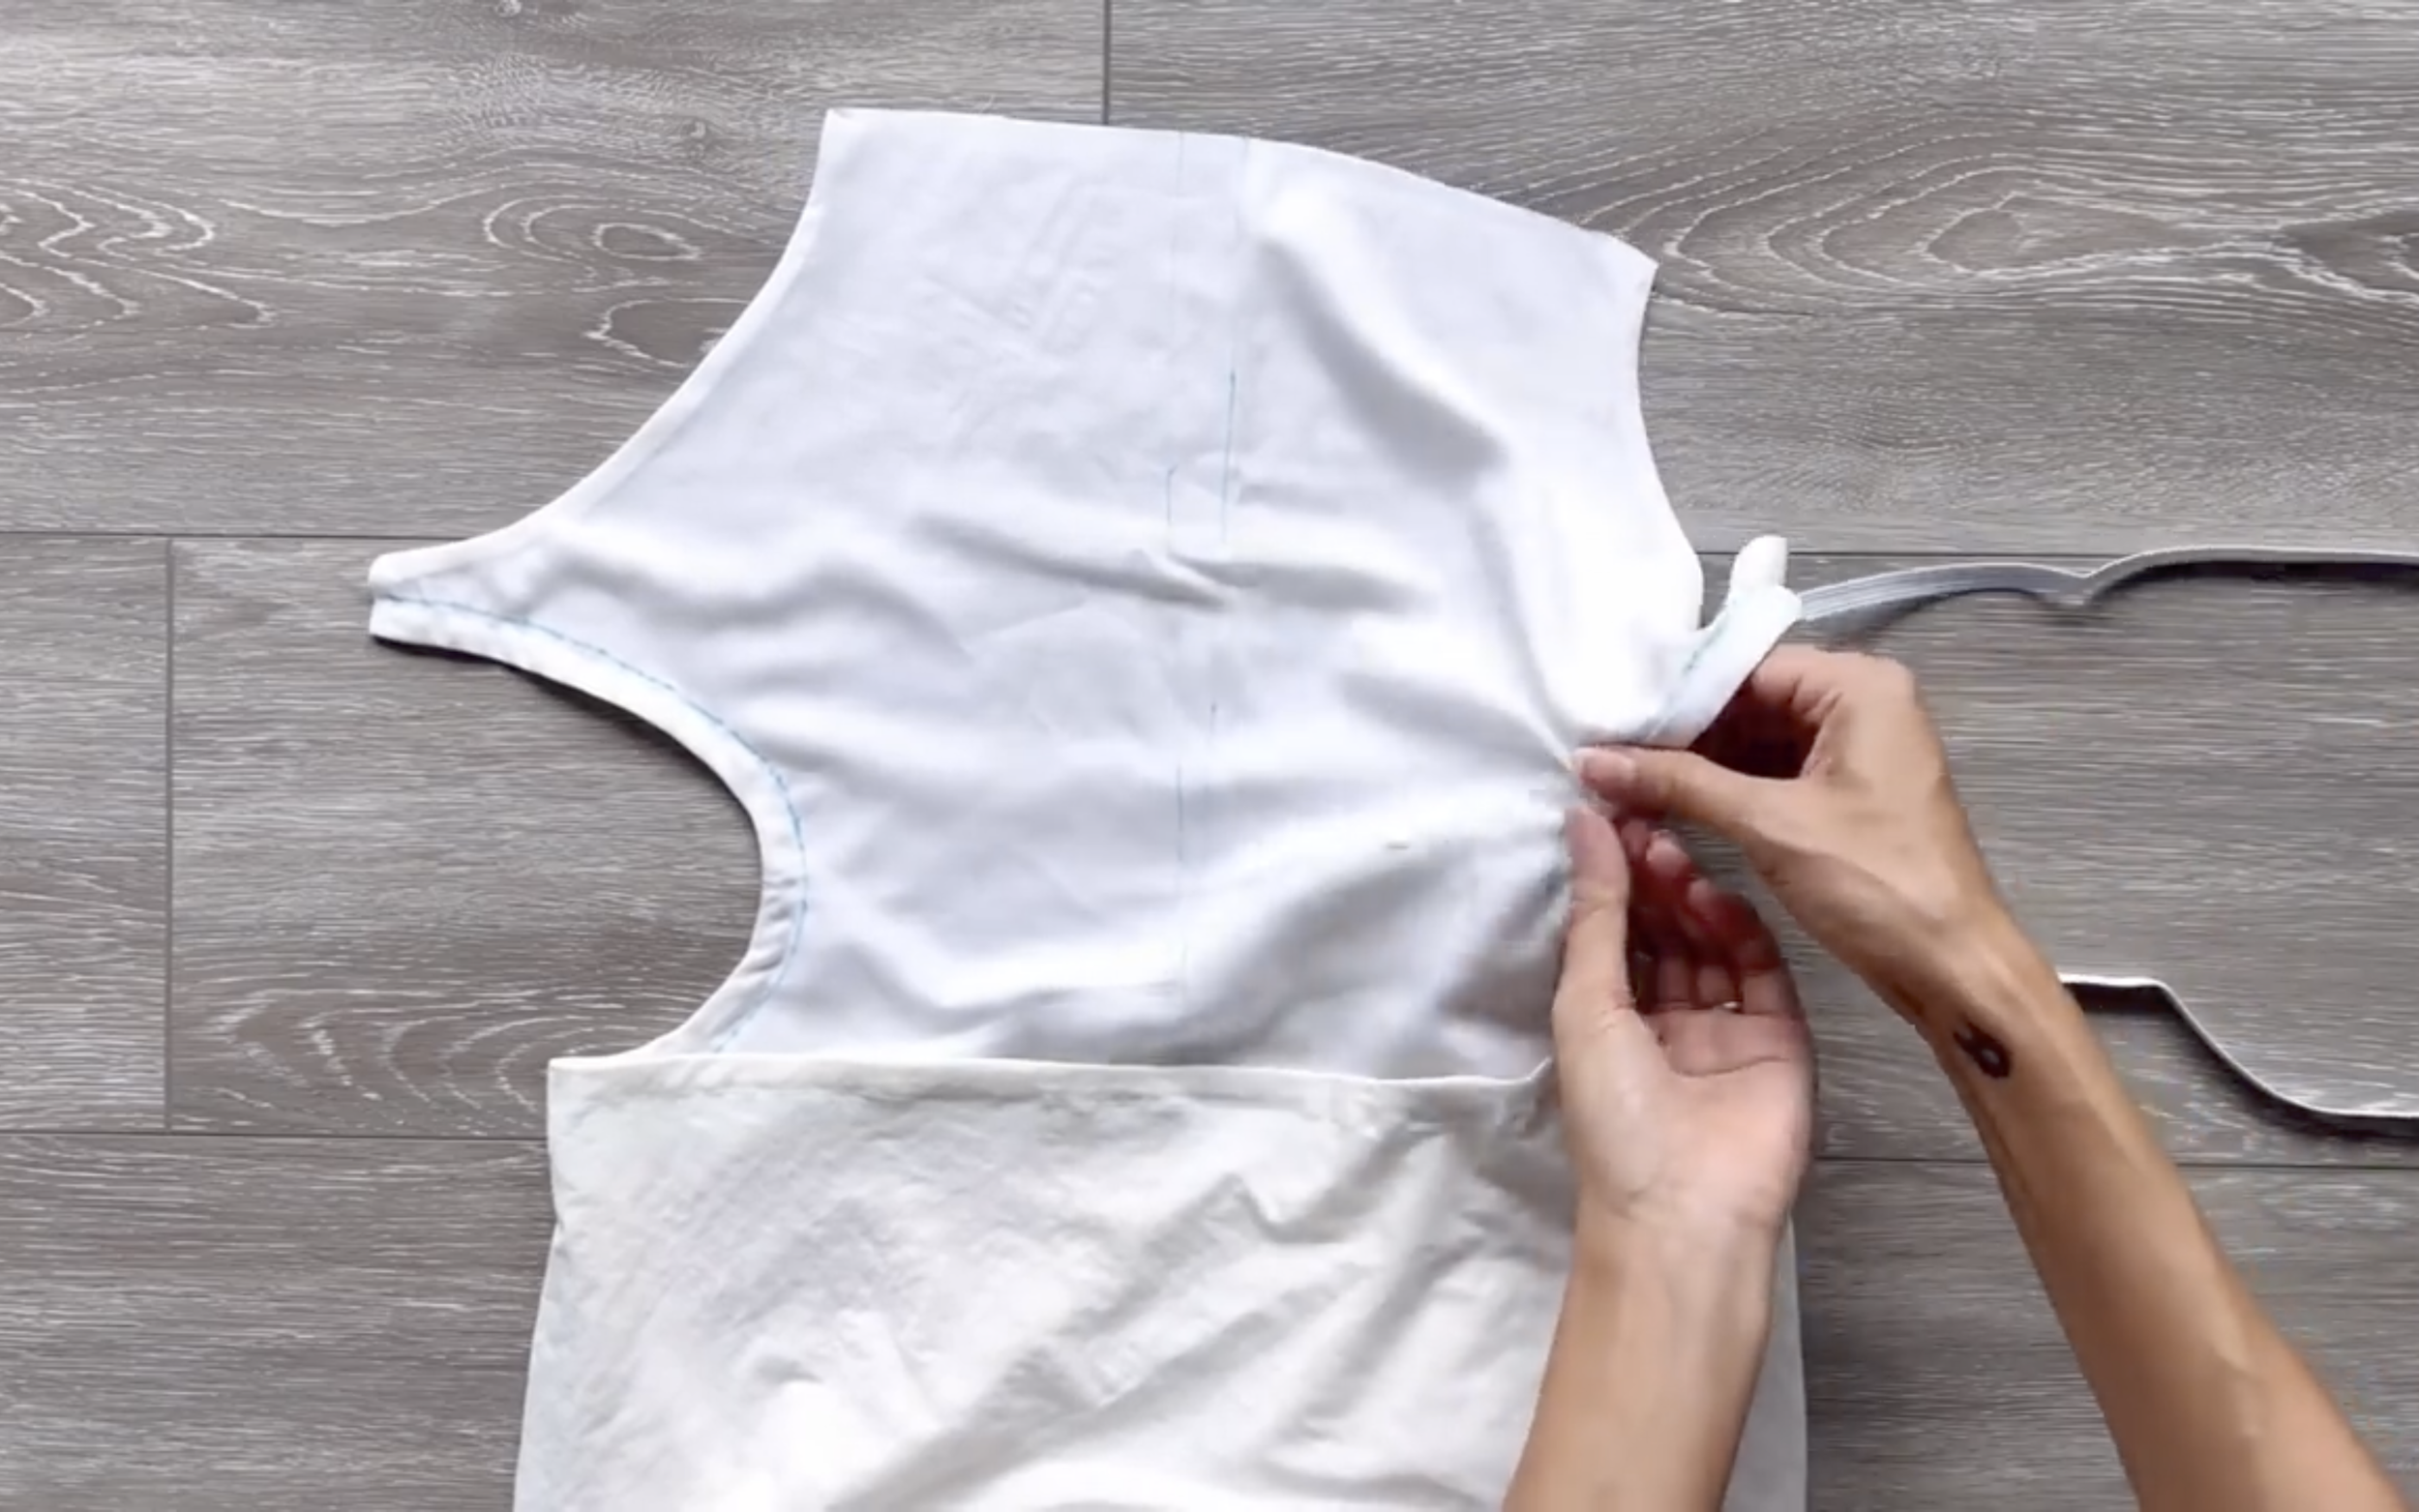
Insert the elastic band into the casing.
And sew the ends of the band to the ends of the casing to secure it.
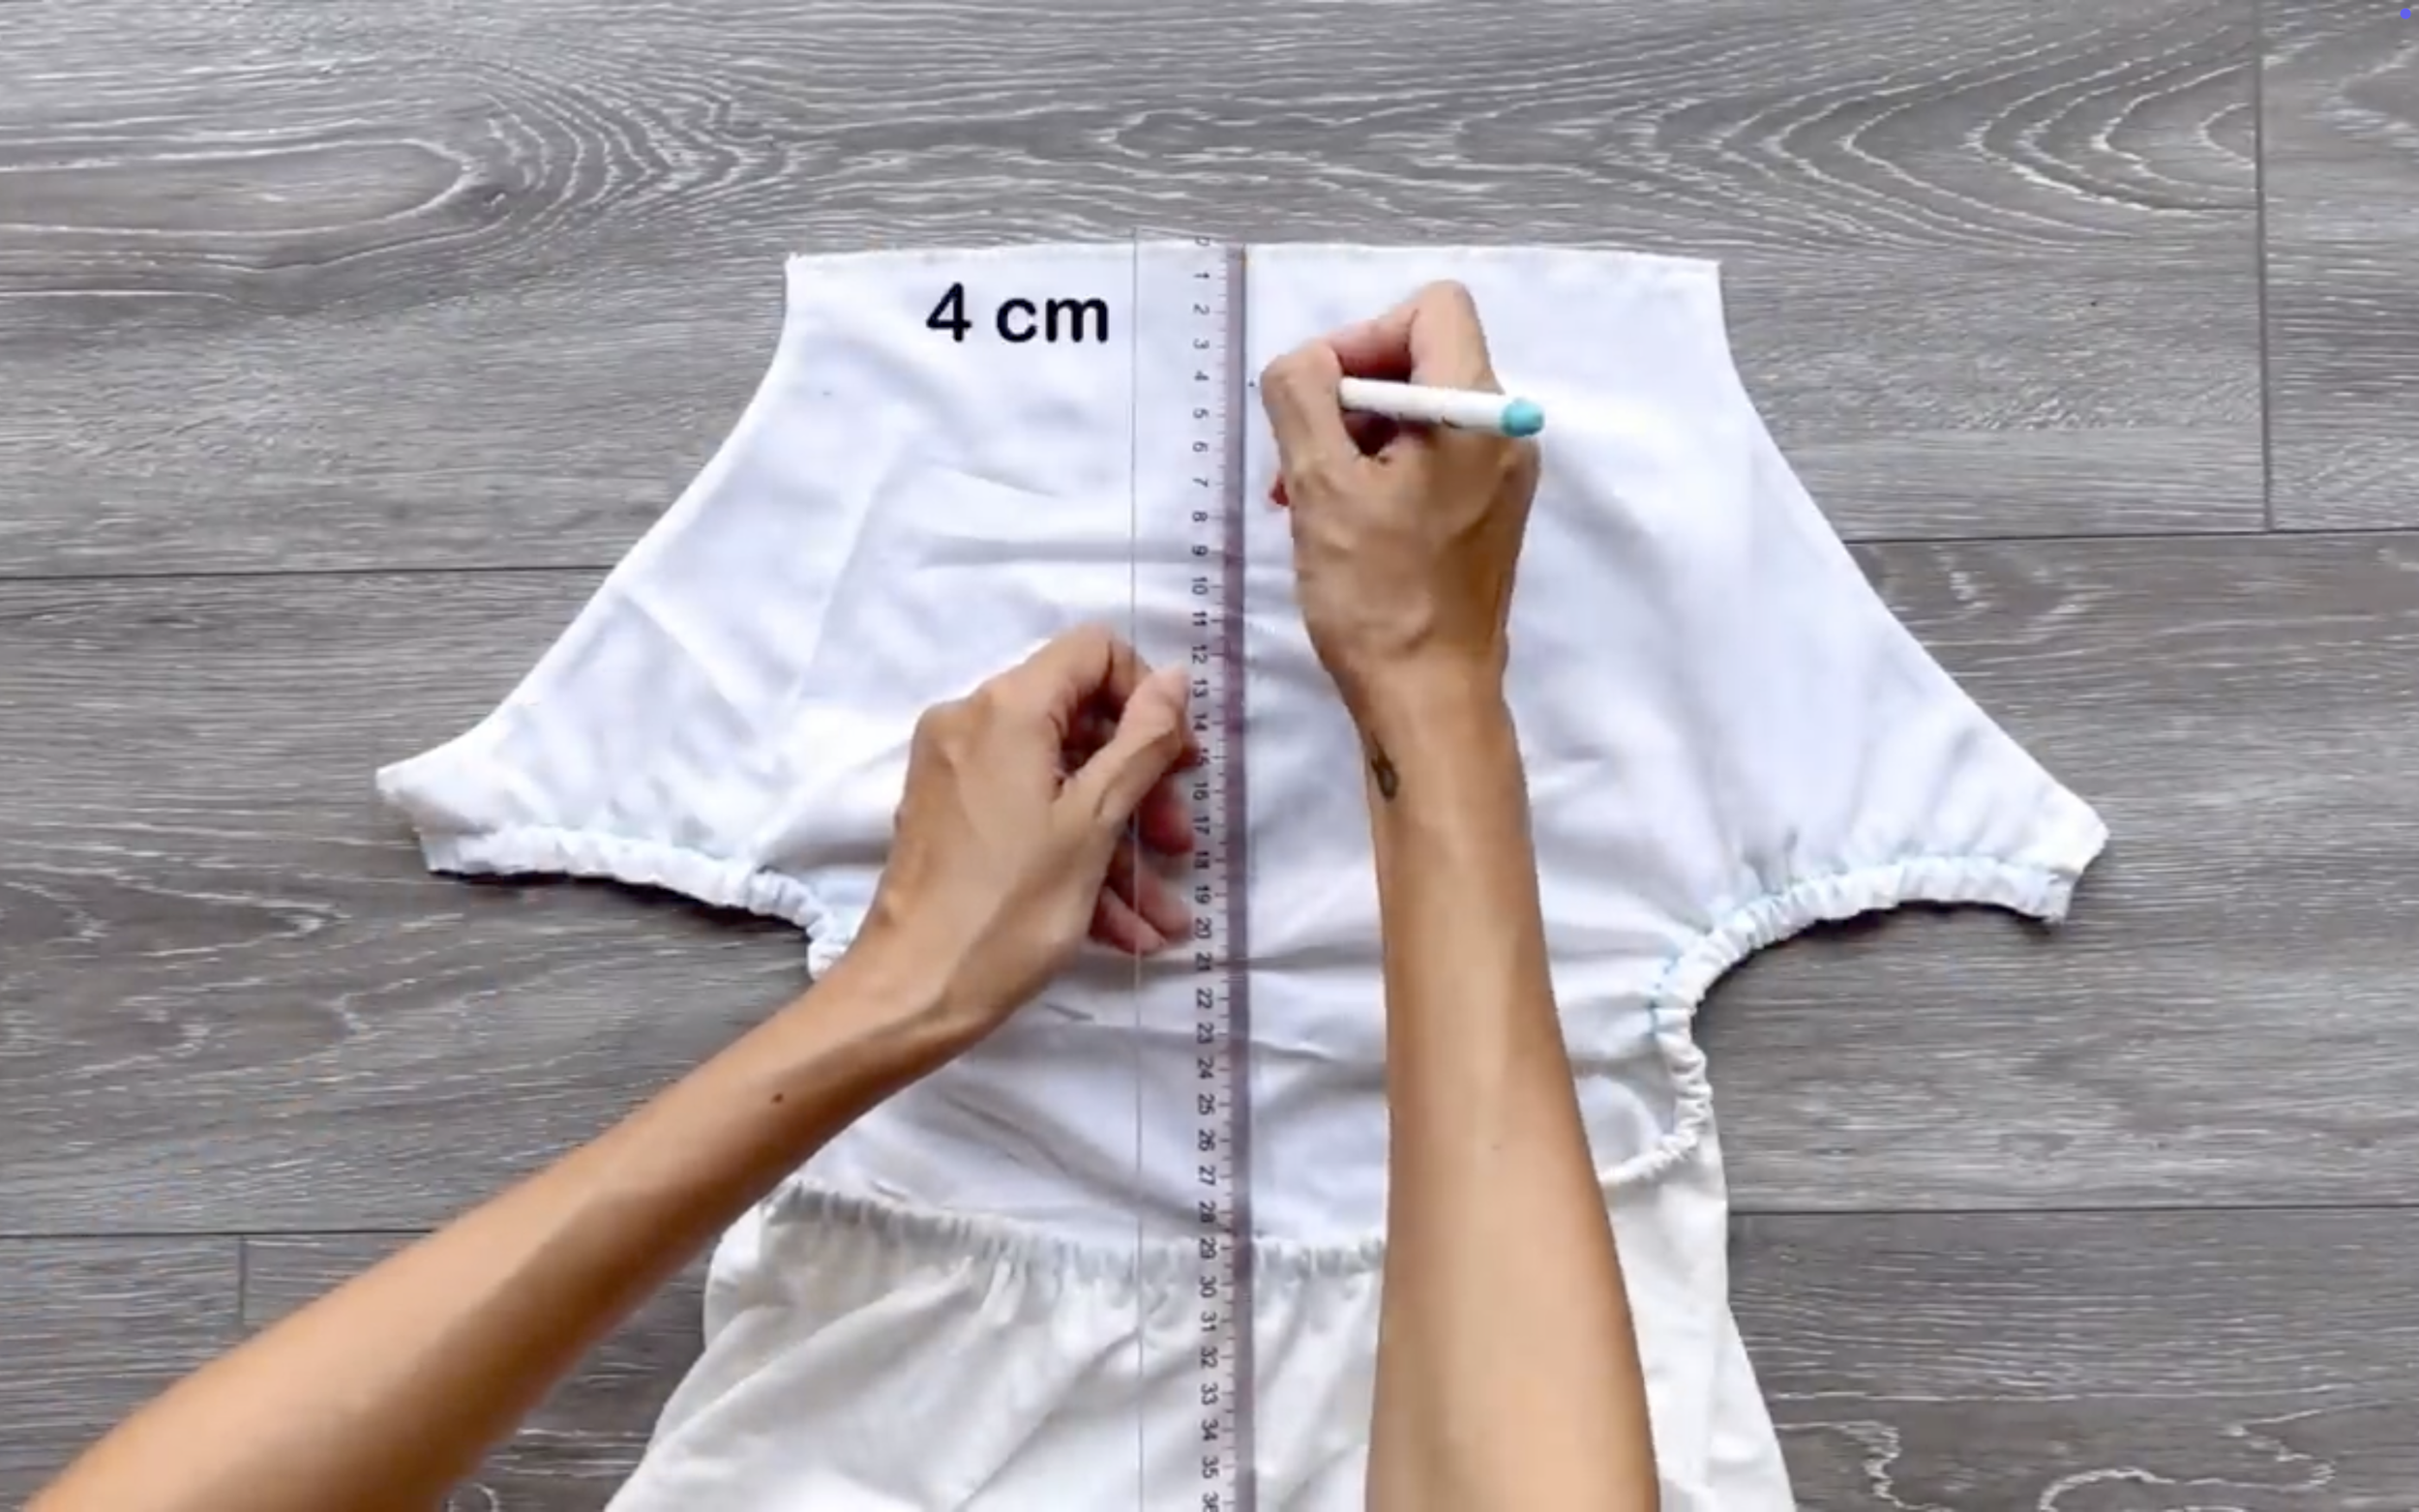
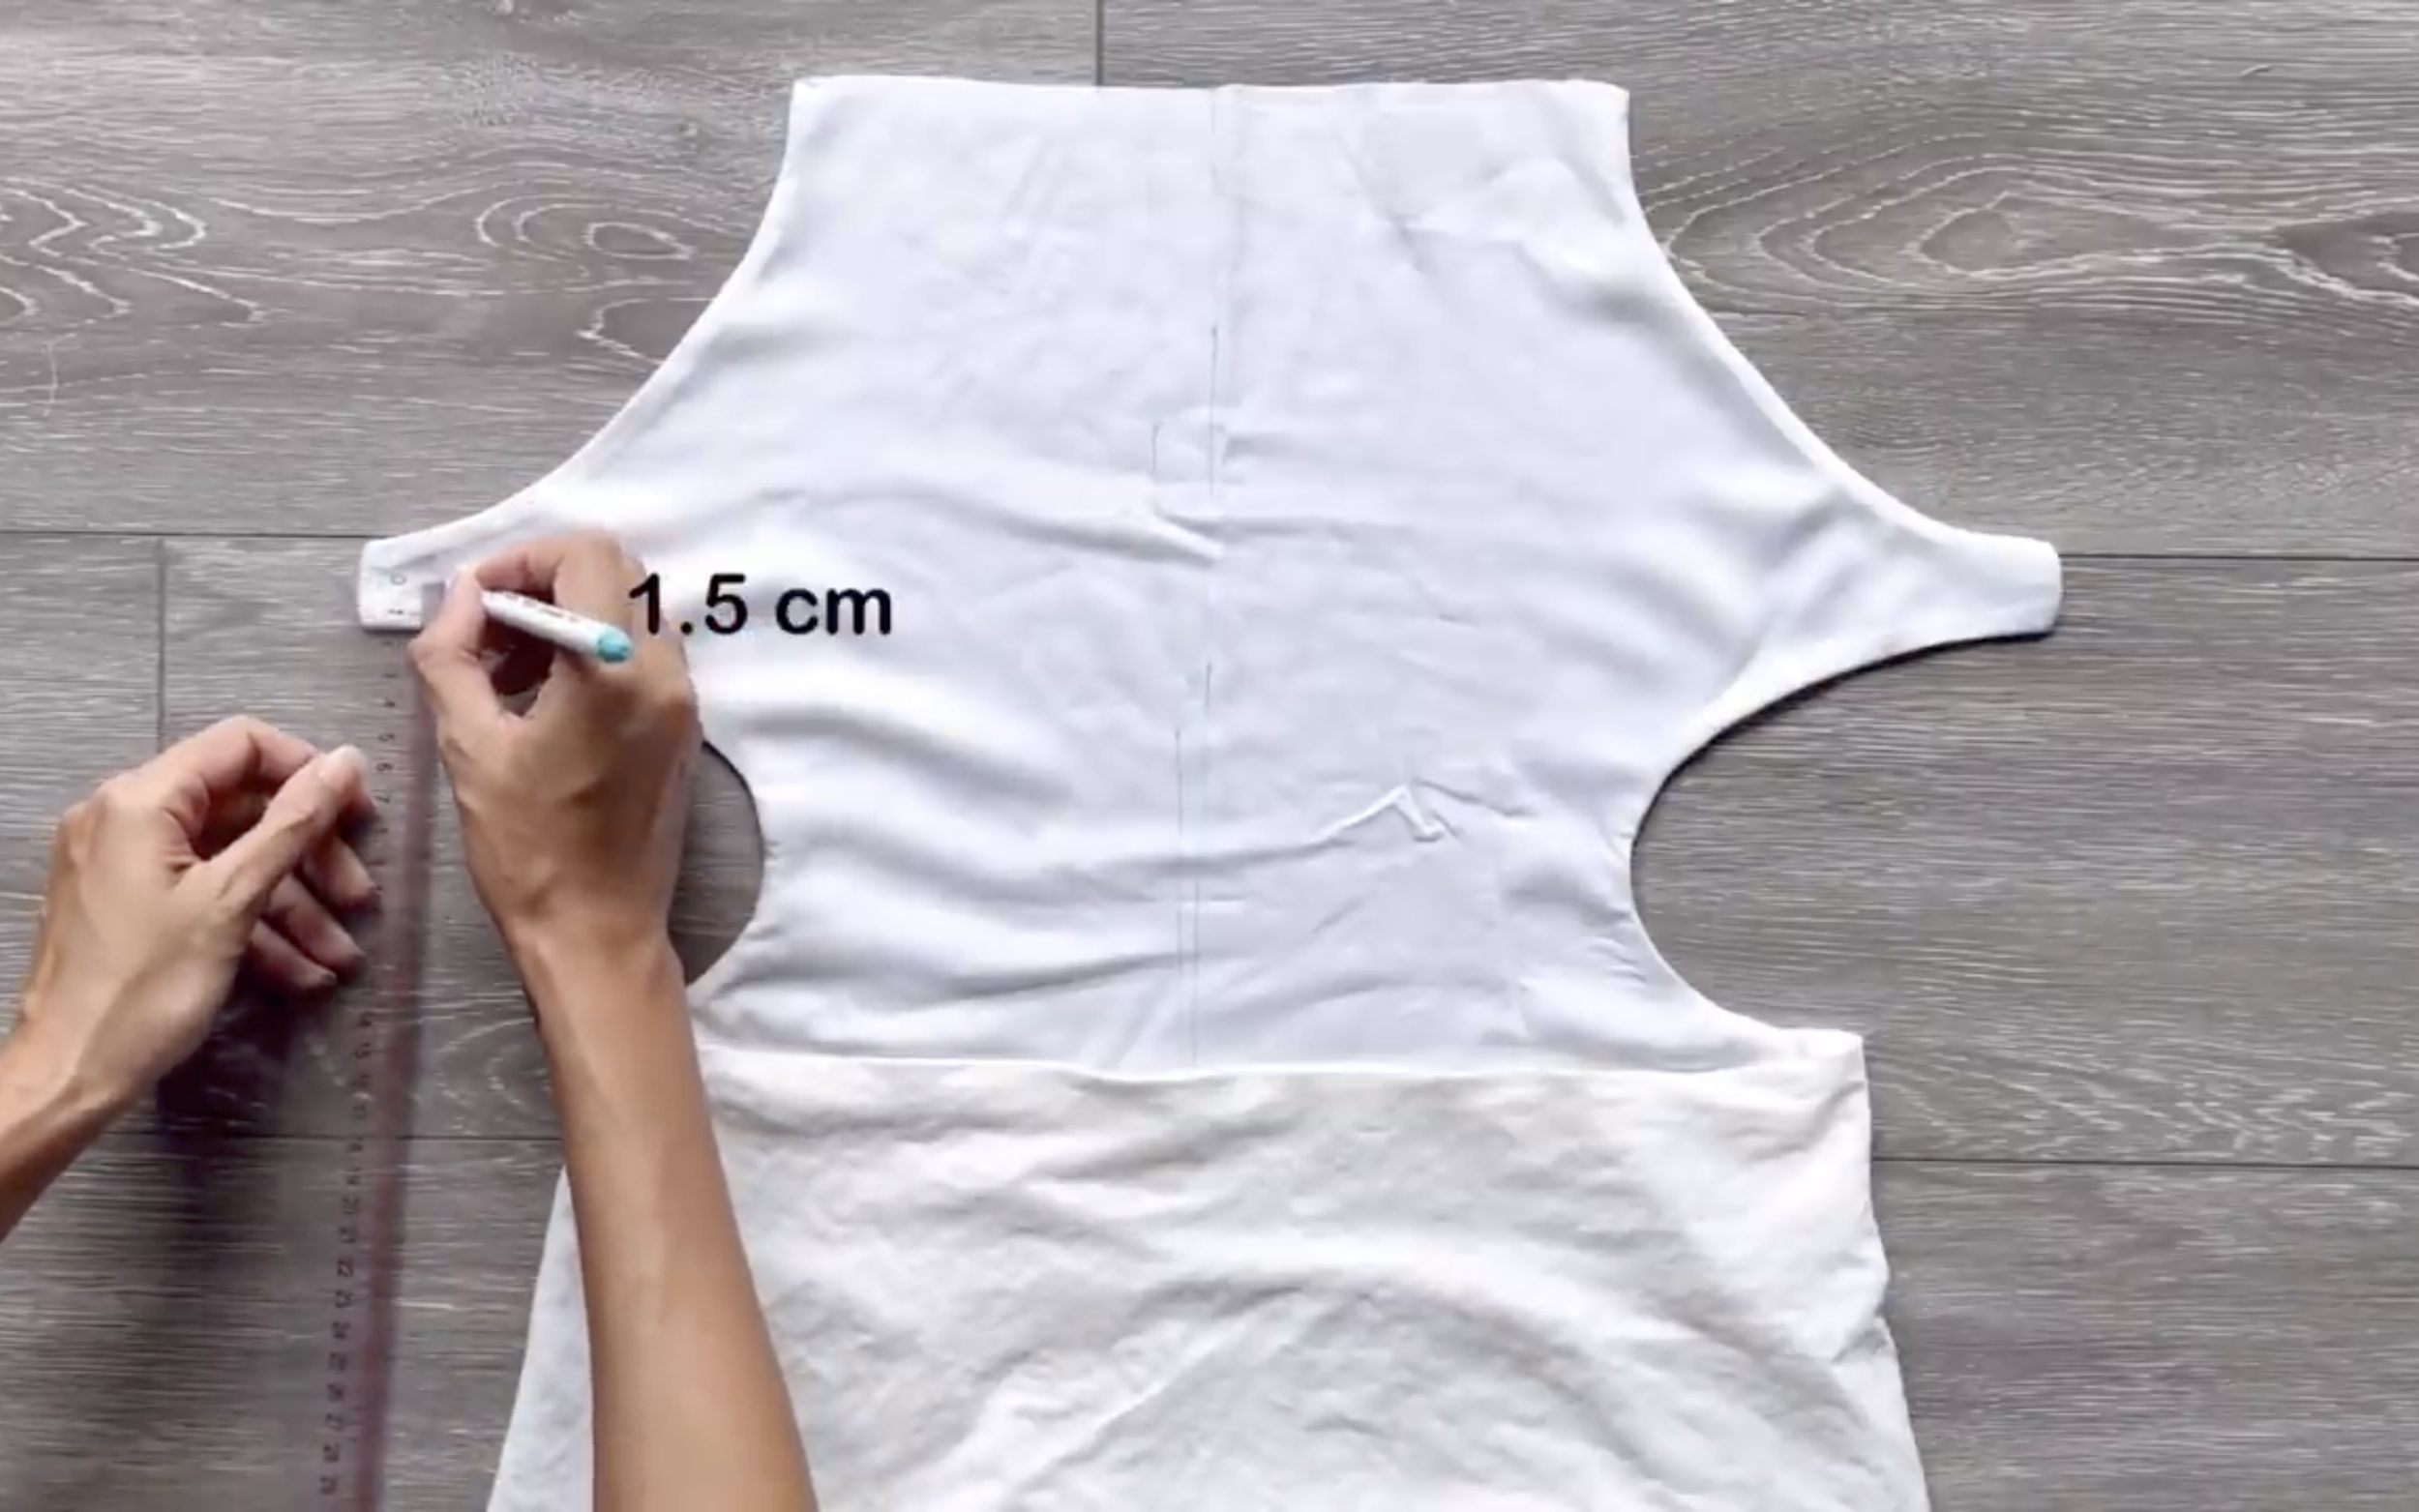
At the top of the dress, draw a line 4 cm below the edge.
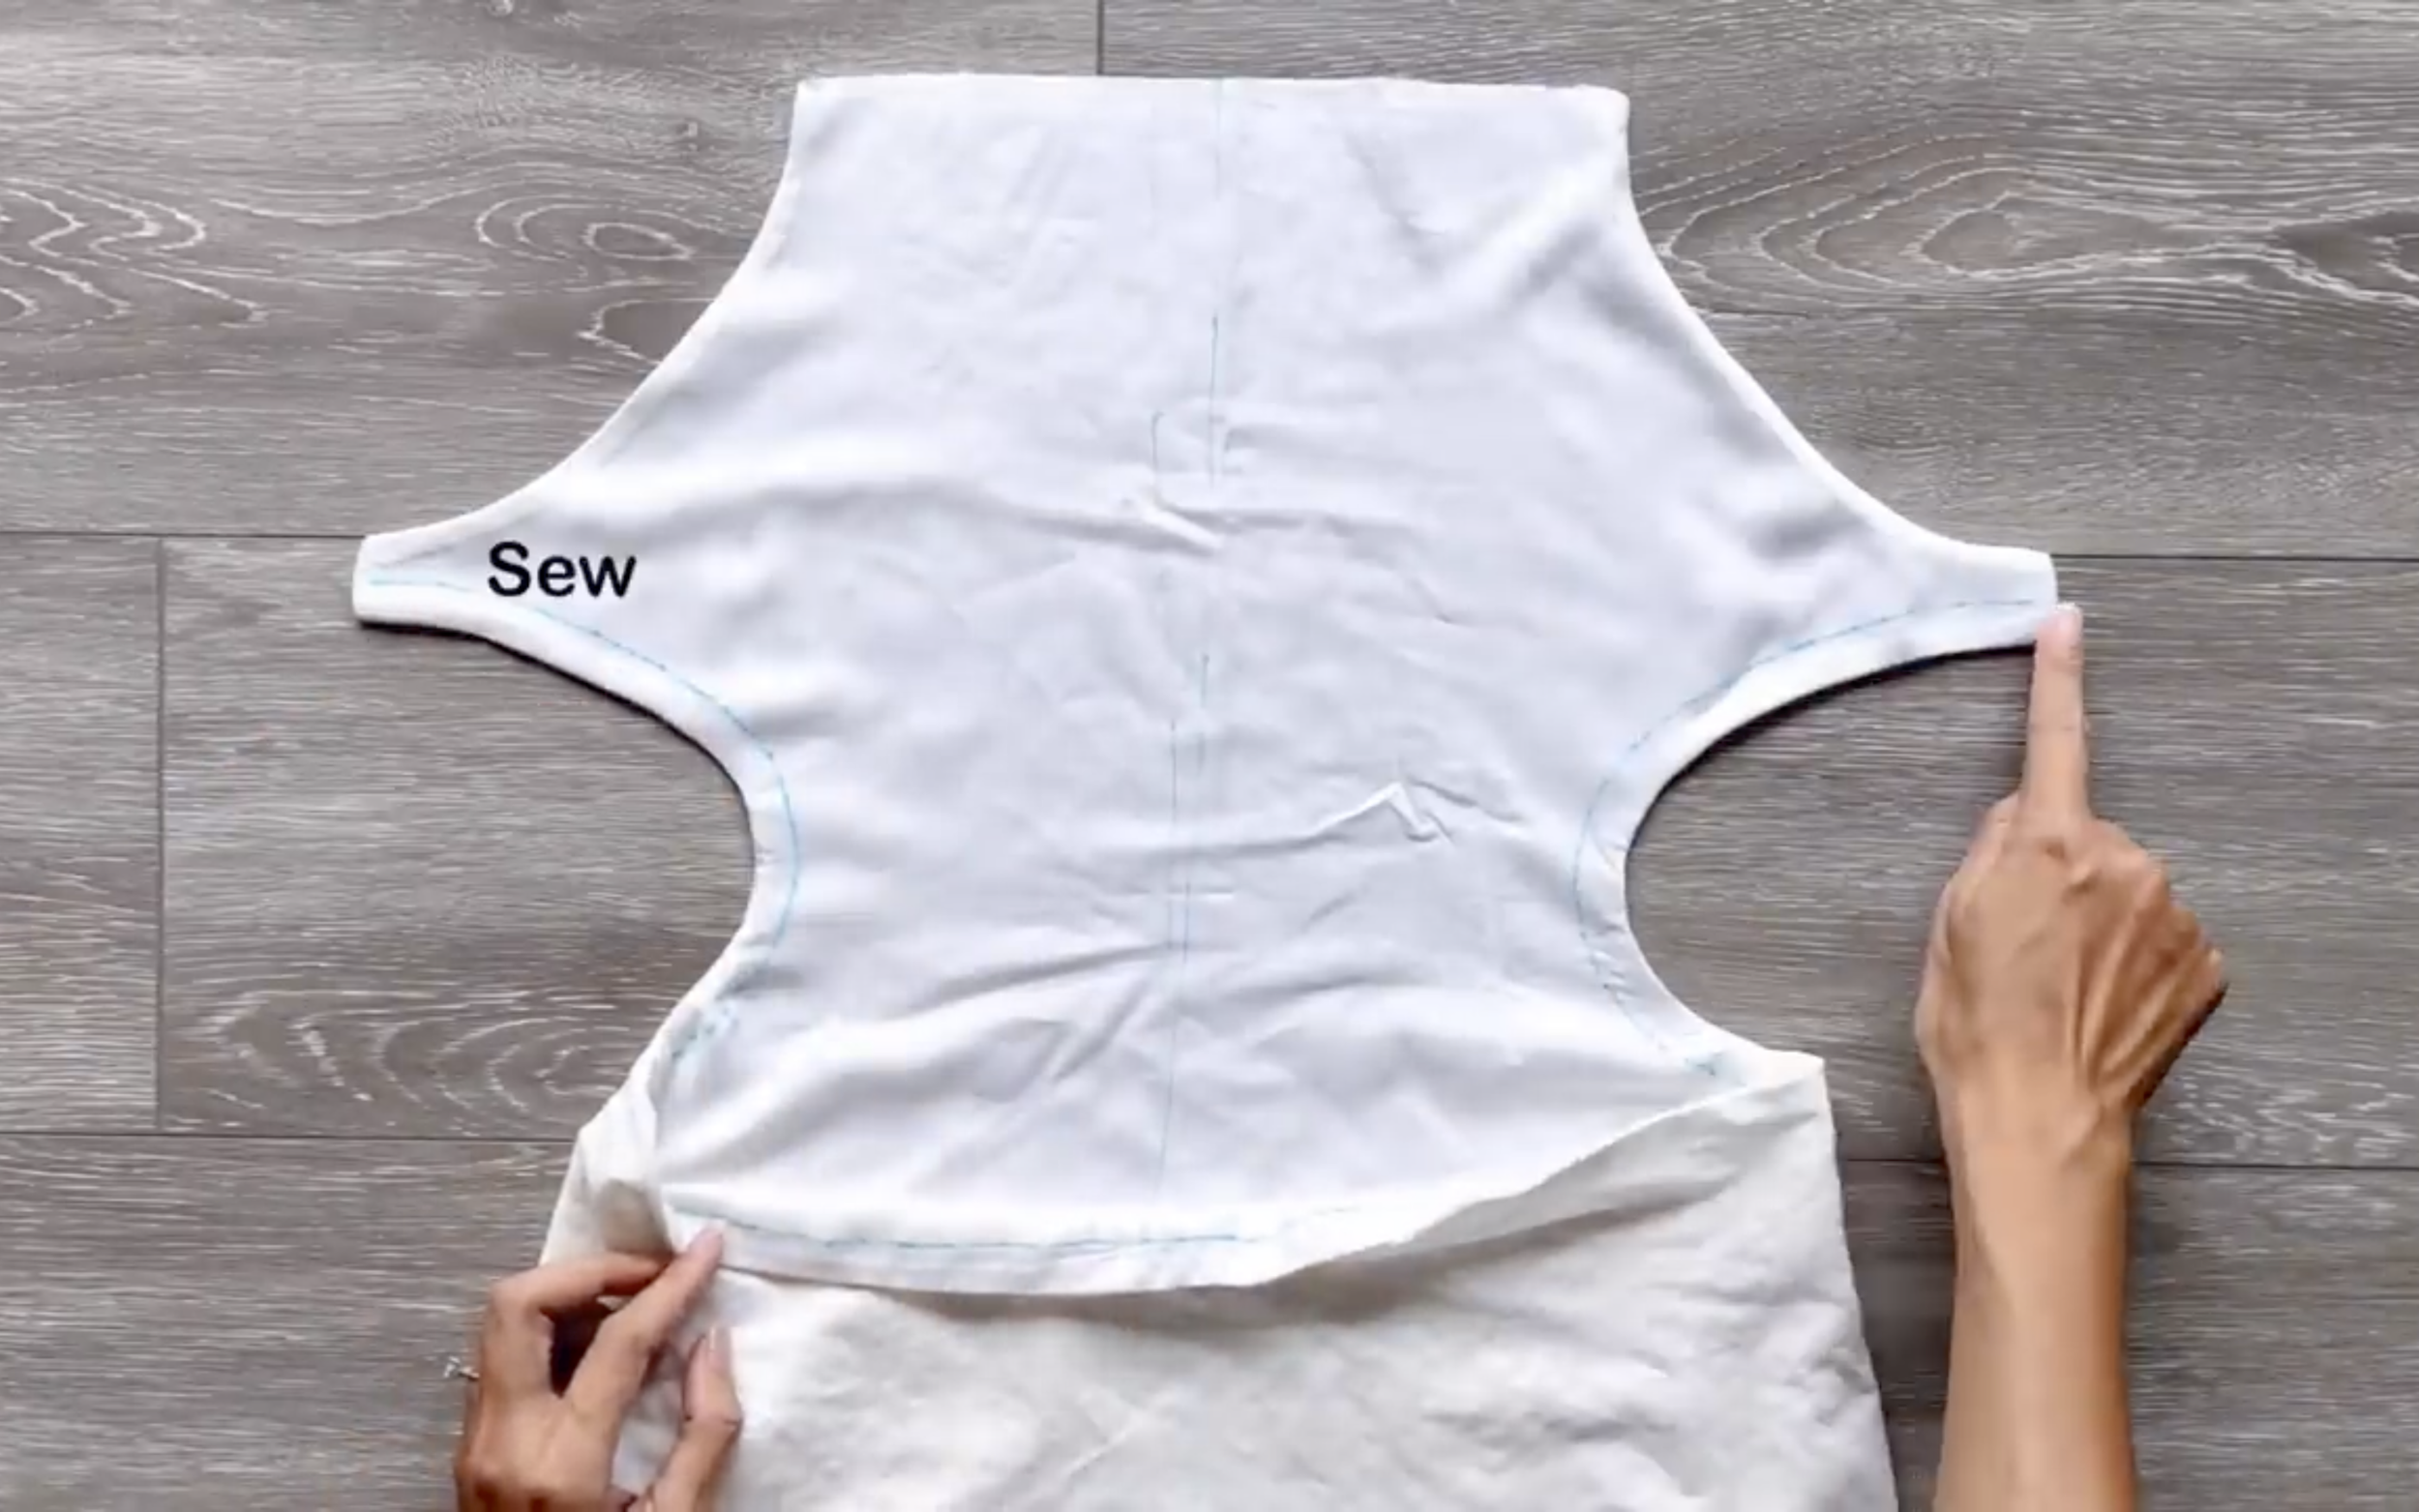
Fold the fabric inward to the drawn line and sew to create a fabric casing.
Repeat the same process for the two sides under the armpits.
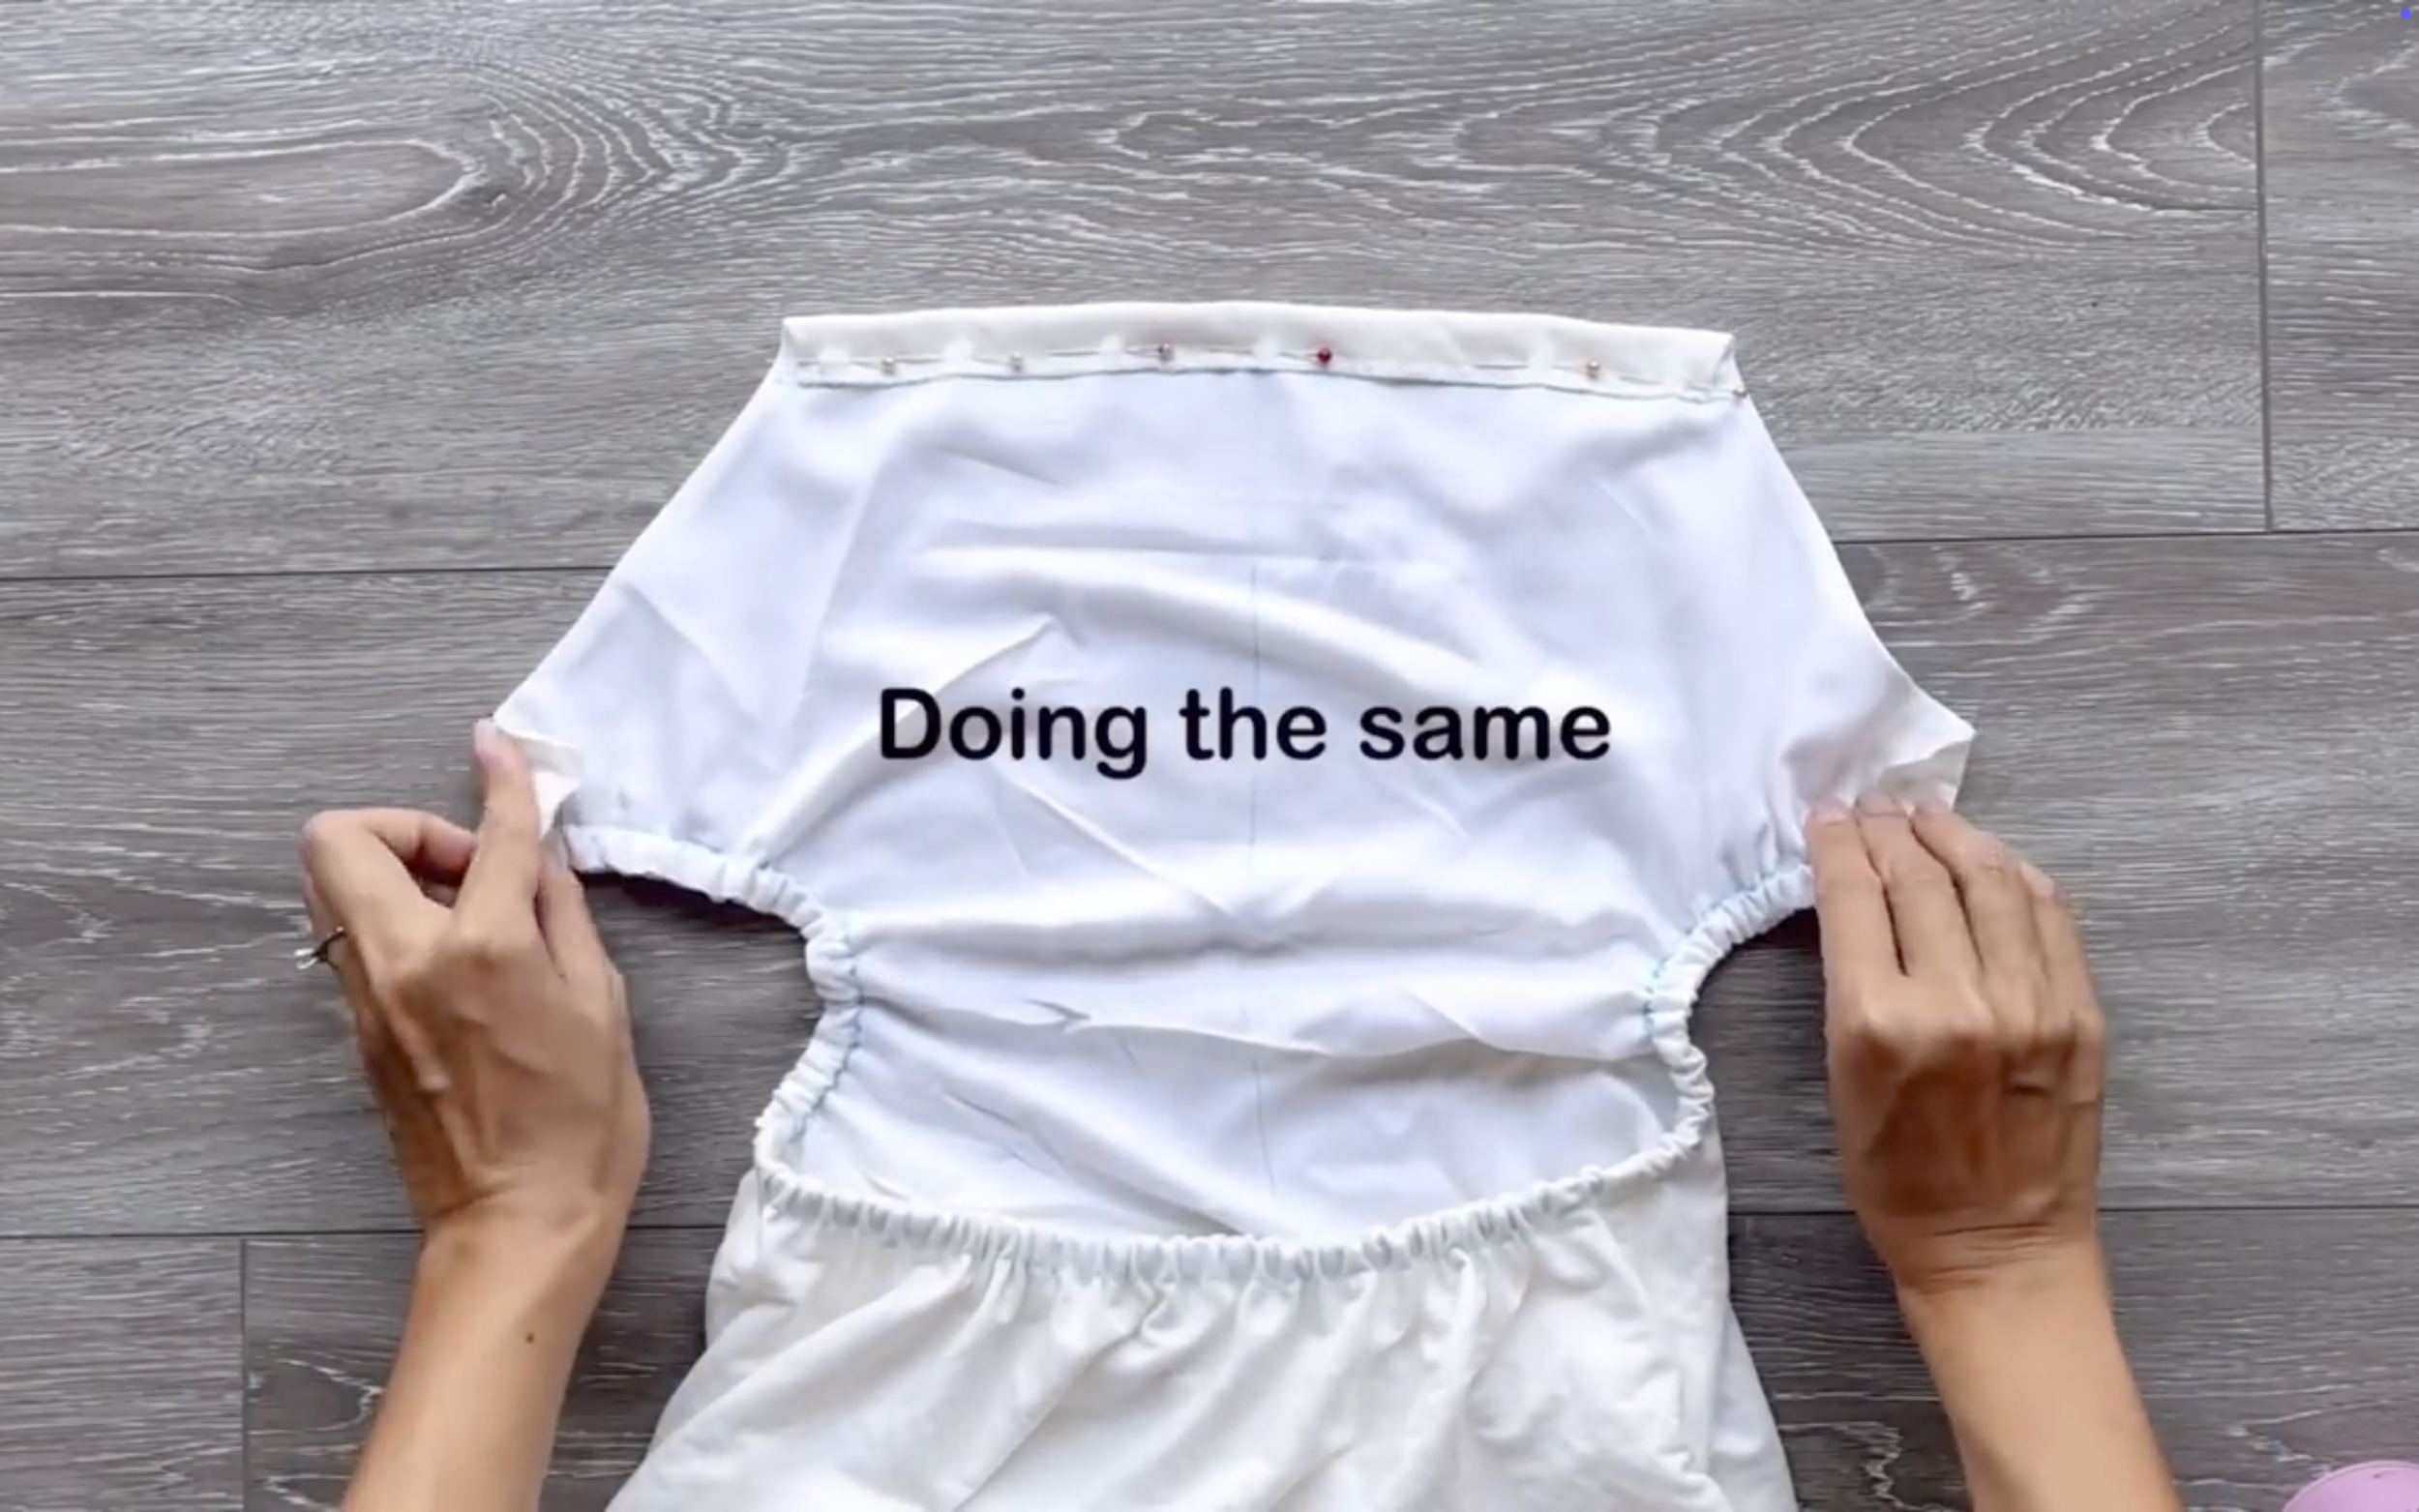
Repeat the same process for the two sides under the armpits.
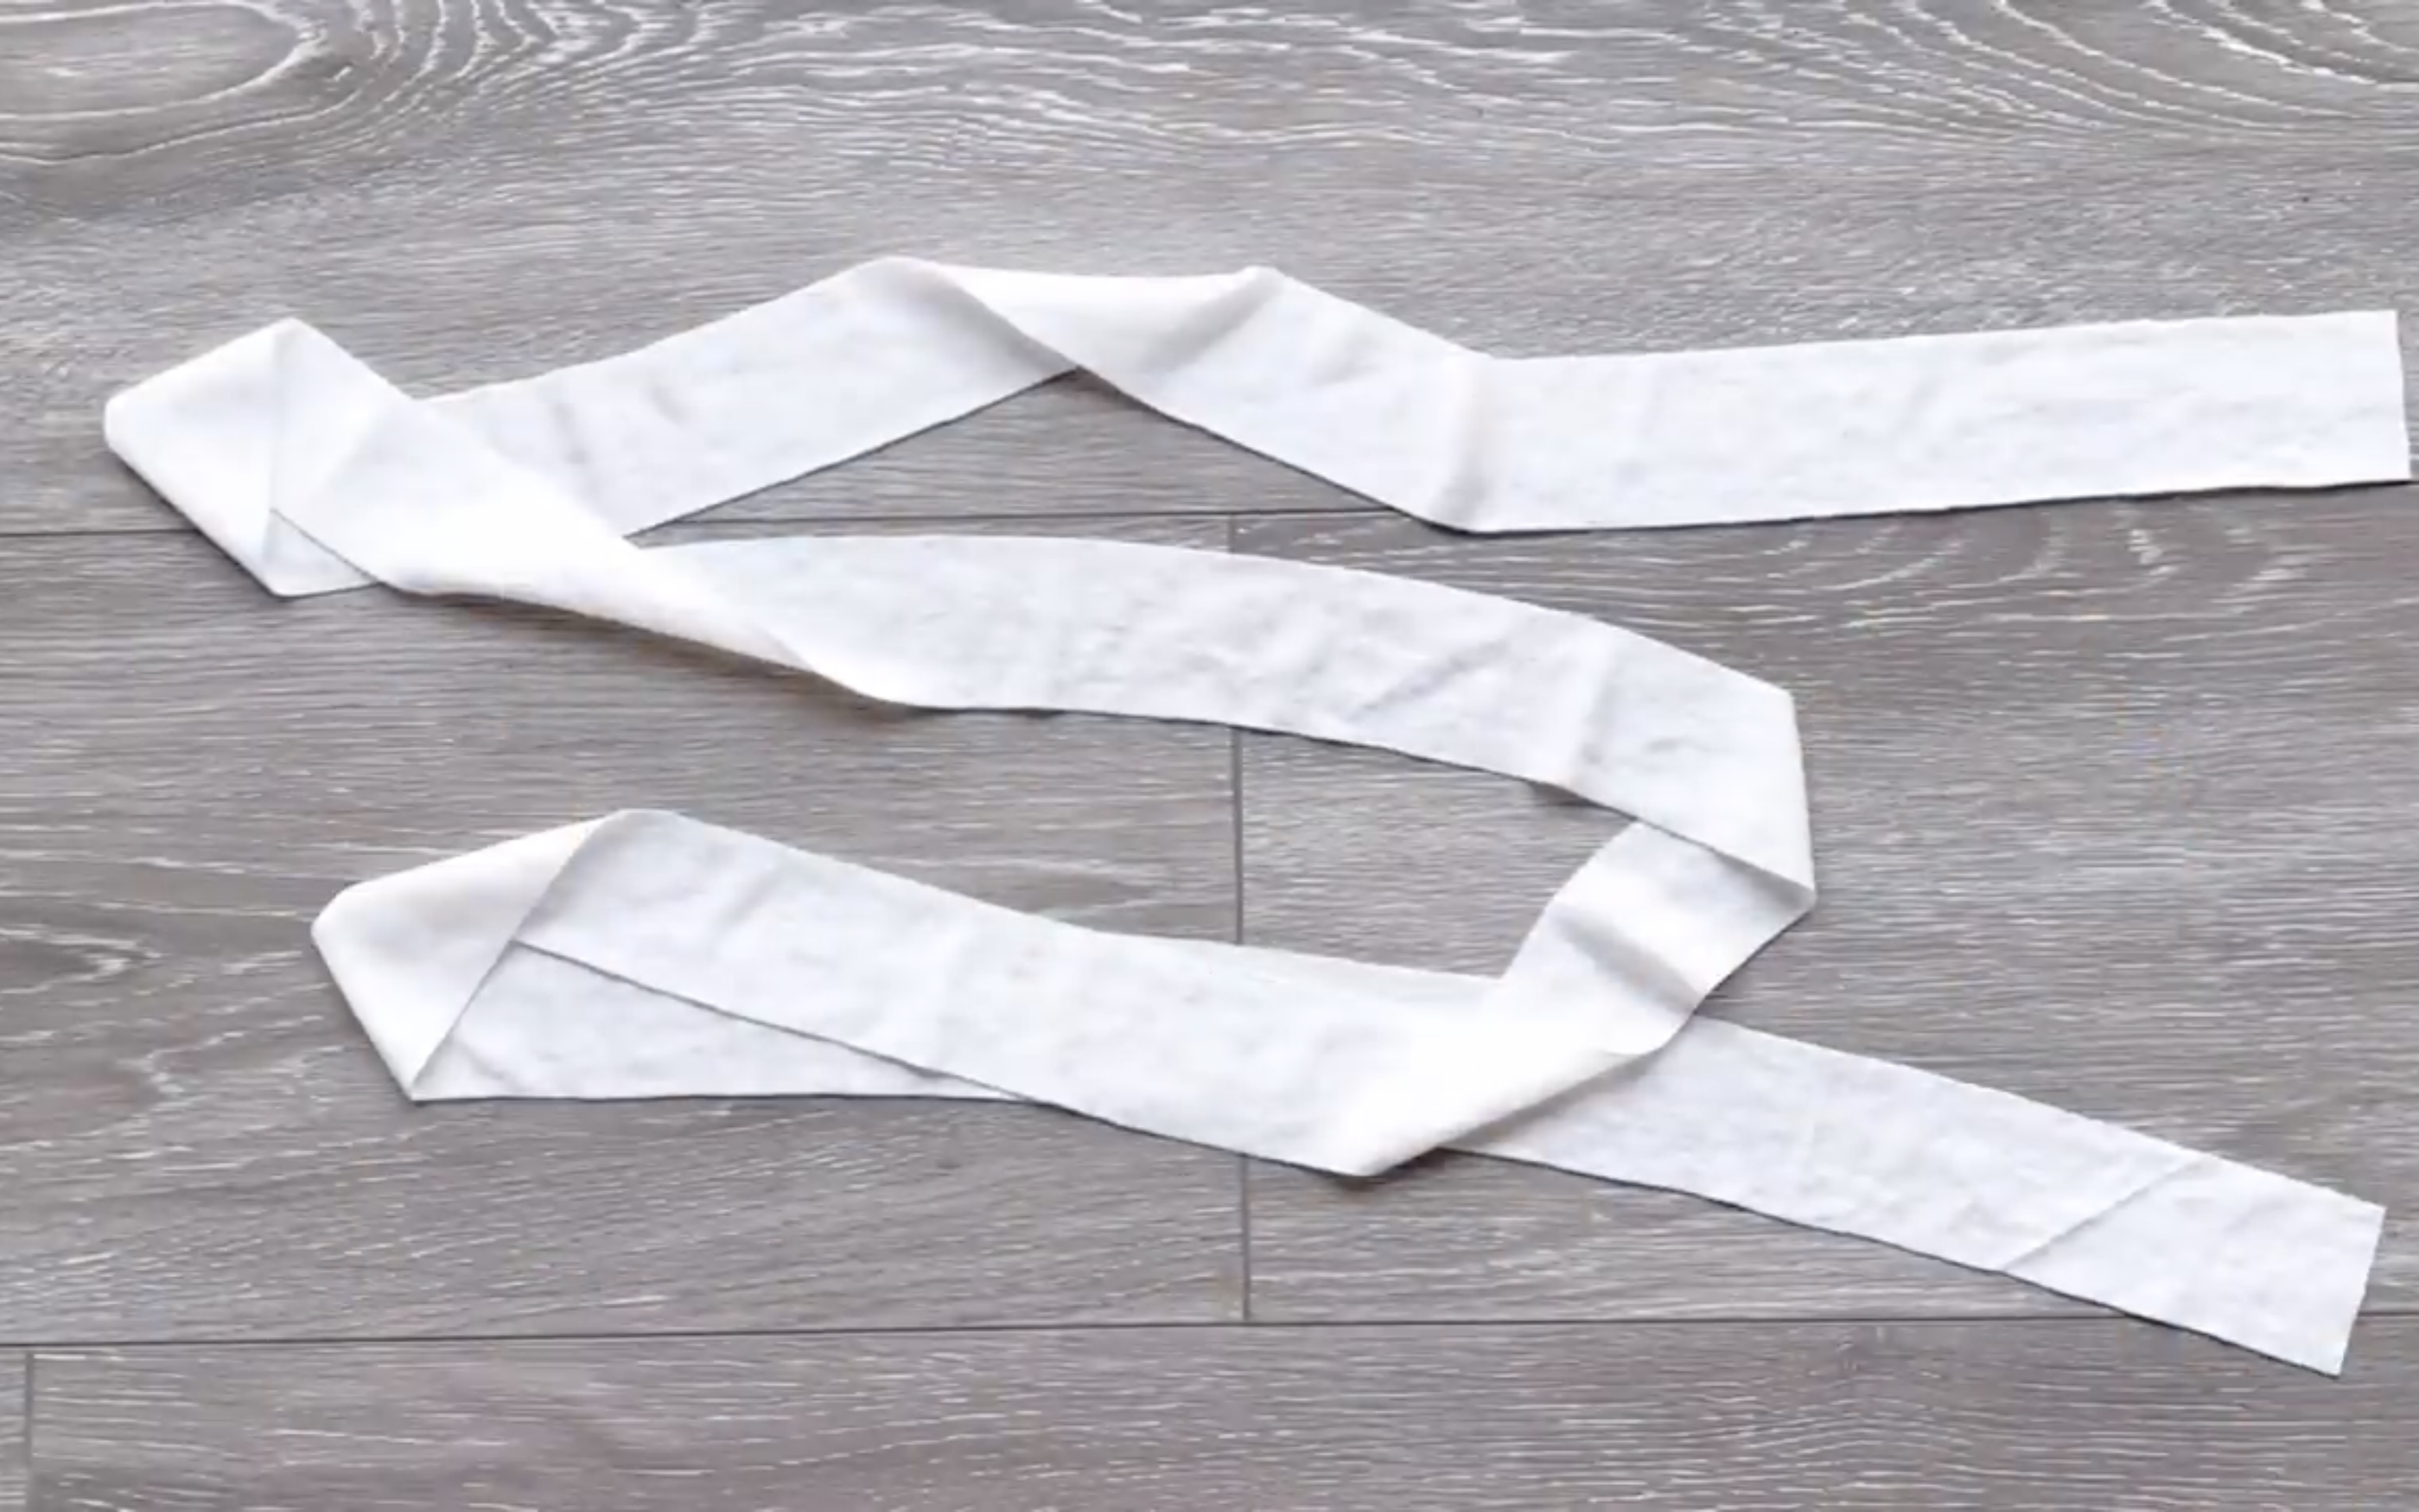
Cut a long strip of fabric 5 cm wide (double the desired strap width plus 2 cm for seam allowance) and about 80 cm long (the desired strap length).
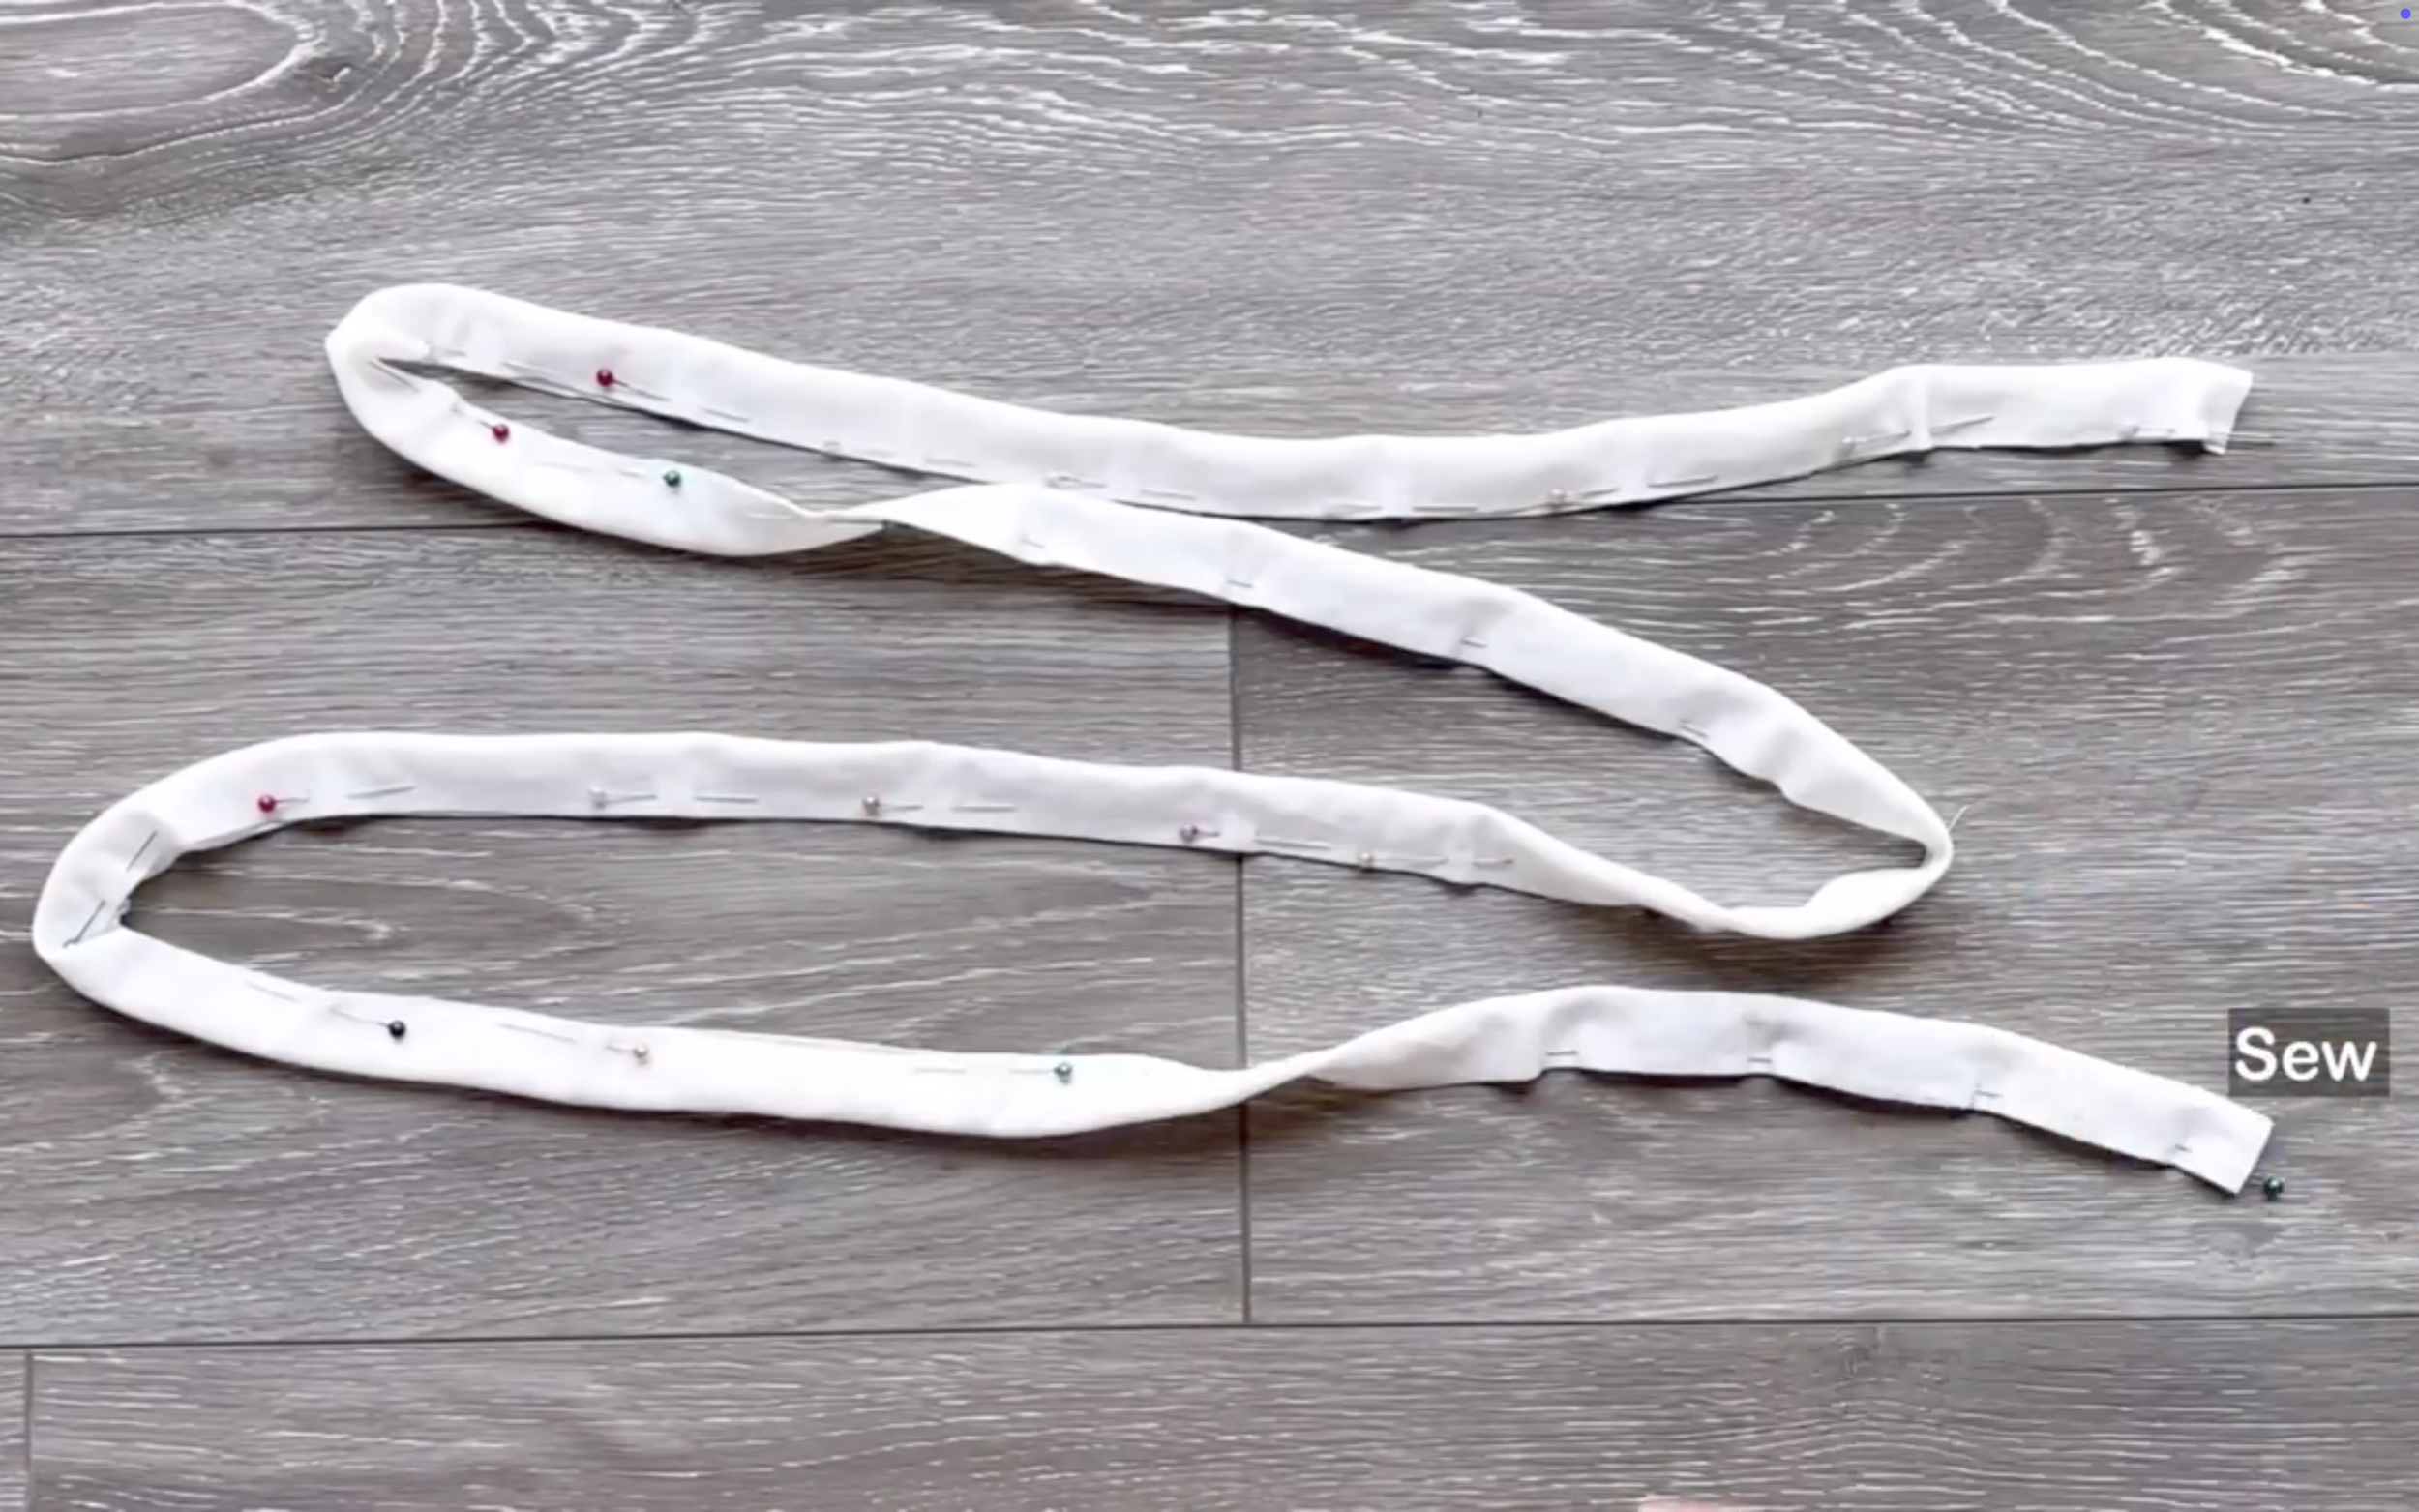
Sew the fabric strip along the edges.
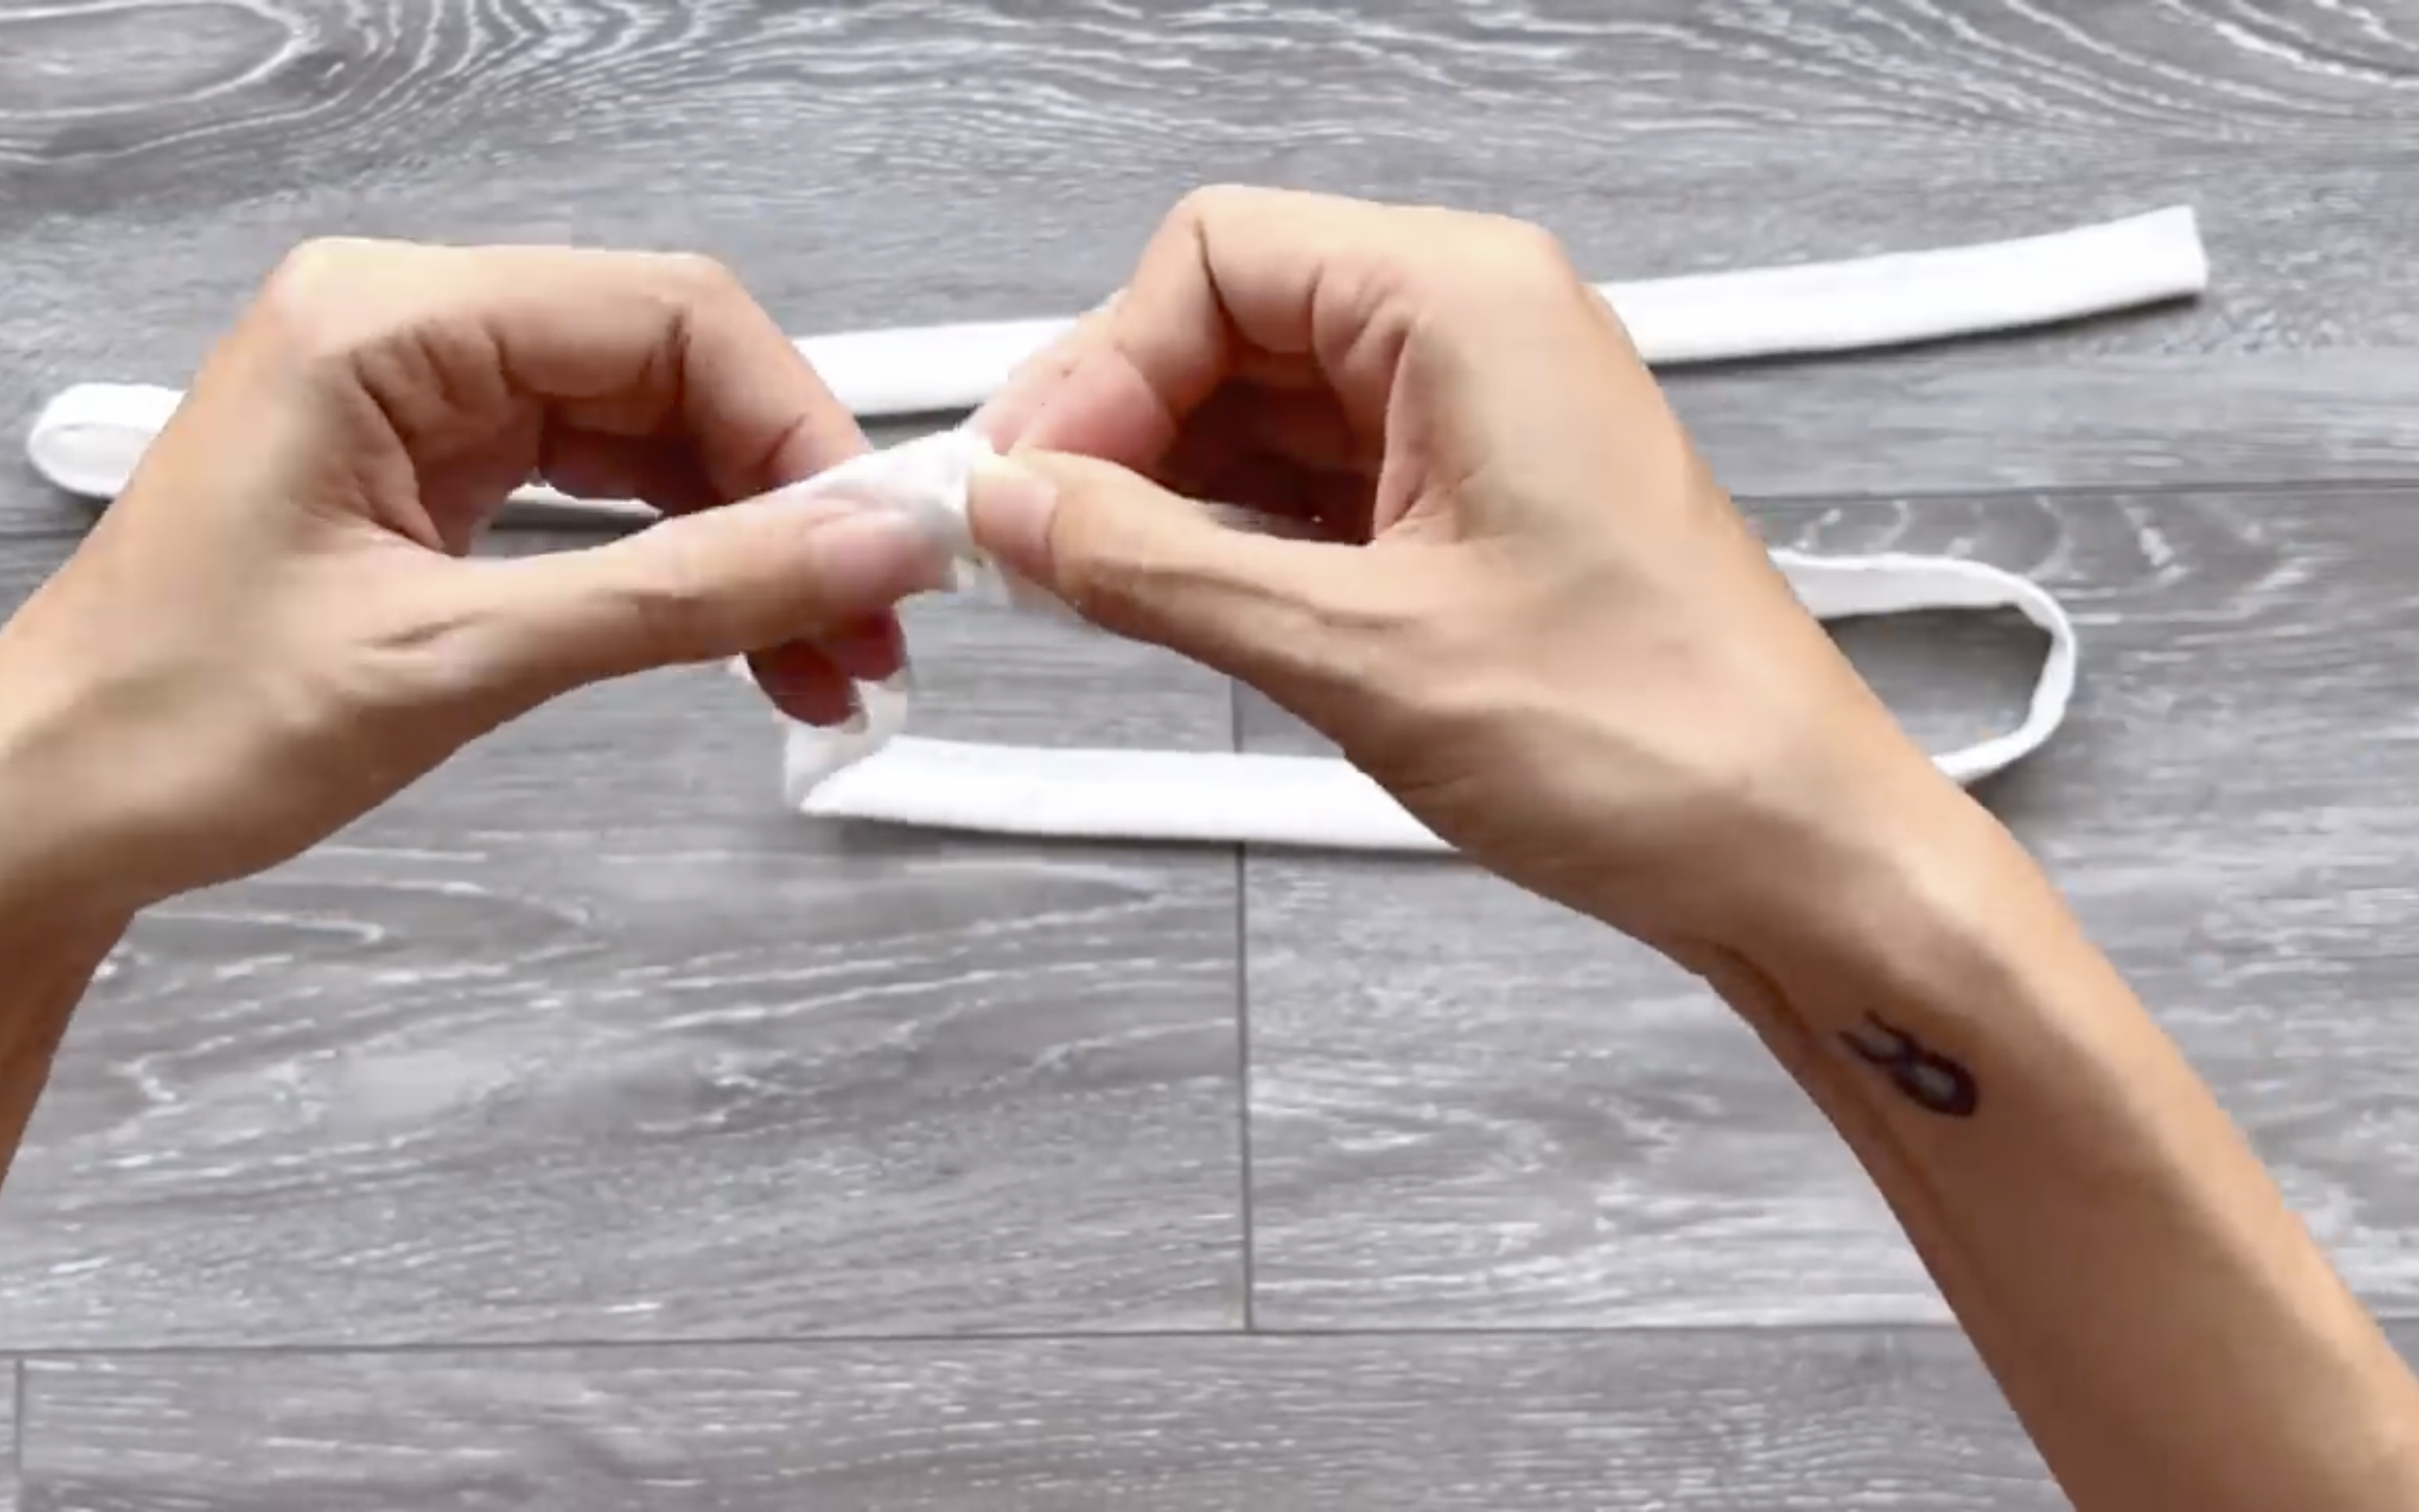
Then turn it inside out to hide the seam.

Insert the strap into the fabric casing at the top, thread it through the casings under the armpits, and tie the ends together at the middle of the back.

DIY Drawstring backless cut out midi dress | Dating wardrobe | Ep 4- Dinner date | Sewing tutorial
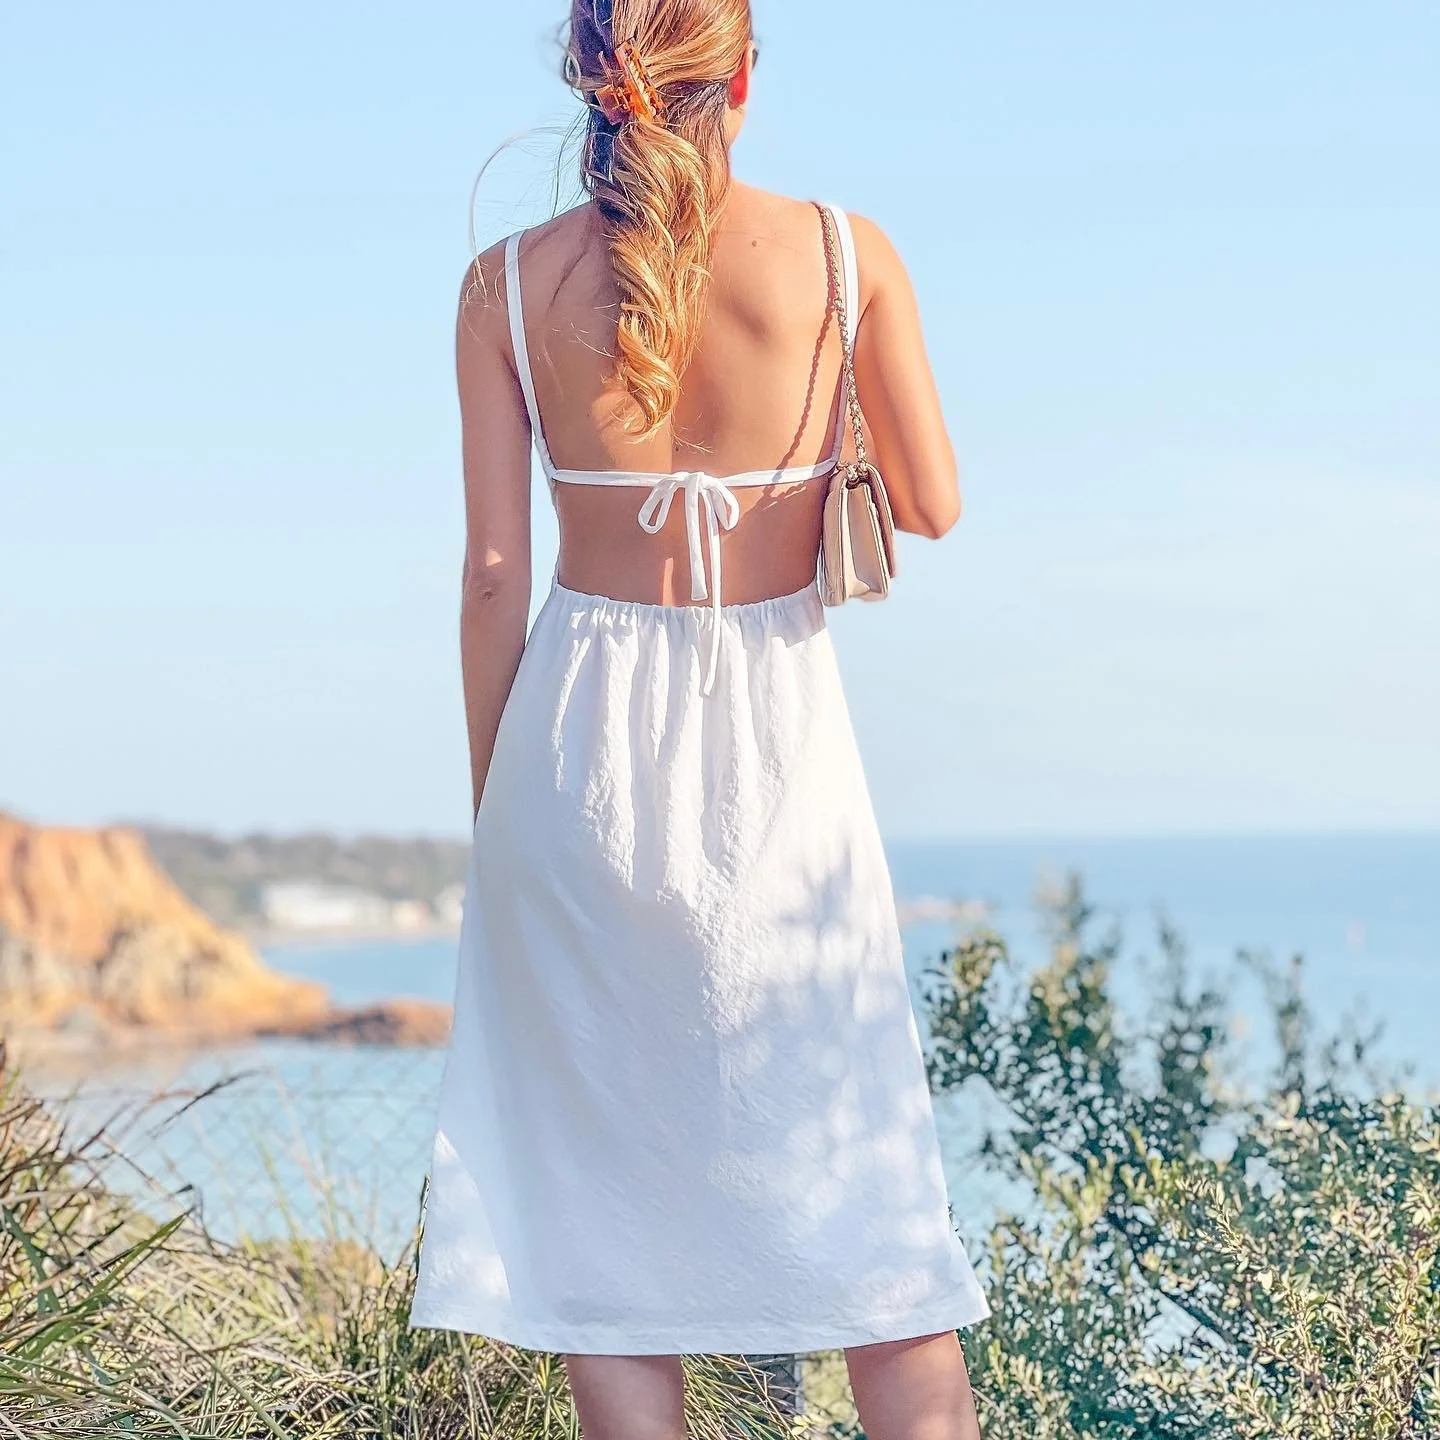
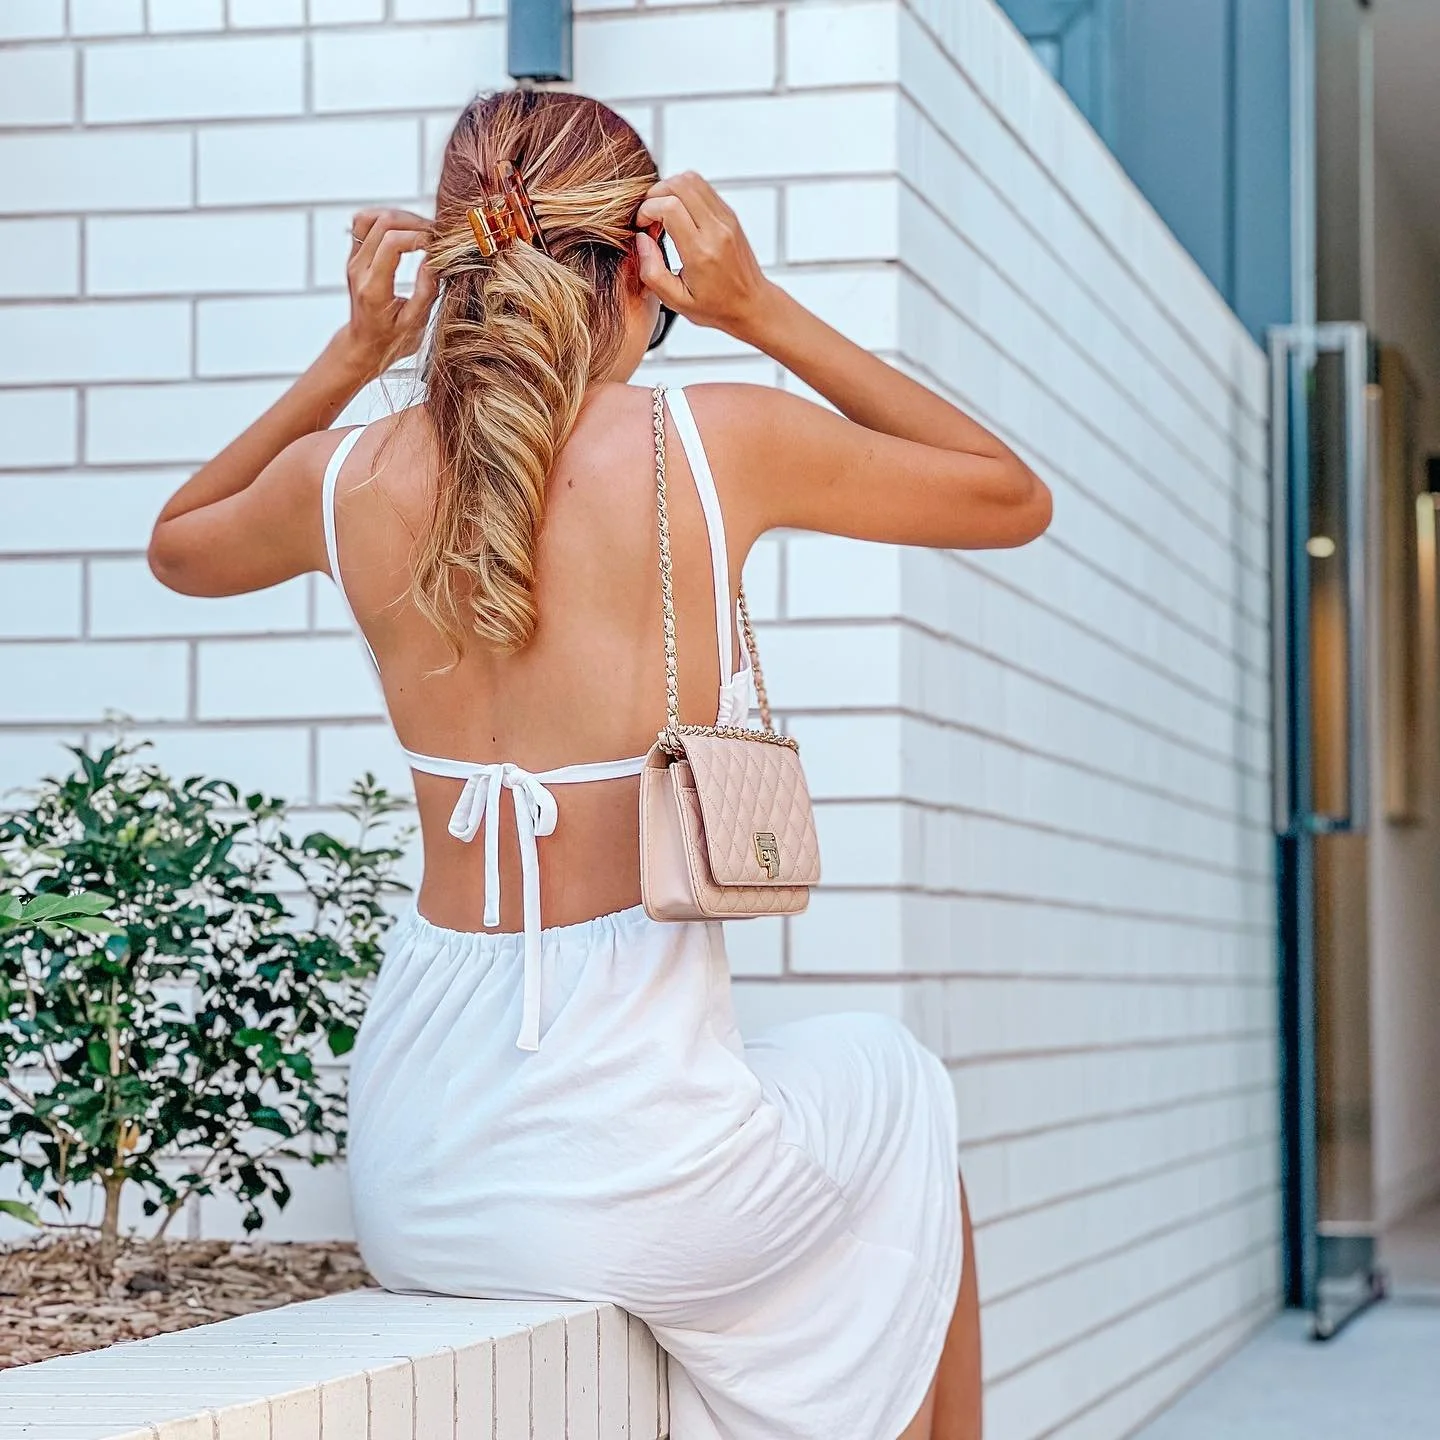
And that's the end of this DIY!
Here's the final result—this top is exactly what I envisioned: chic in the front and a total "wow" at the back, making it perfect for a dinner date outfit.

I hope you found my step-by-step guide helpful and inspiring.
If you’re interested in making your own, give it a try and let me know how it goes!
Until then, happy sewing!