DIY FALLING NECK DRESS - Convert old dress to sexy dress for my Valentine 2019

DIY falling neck dress
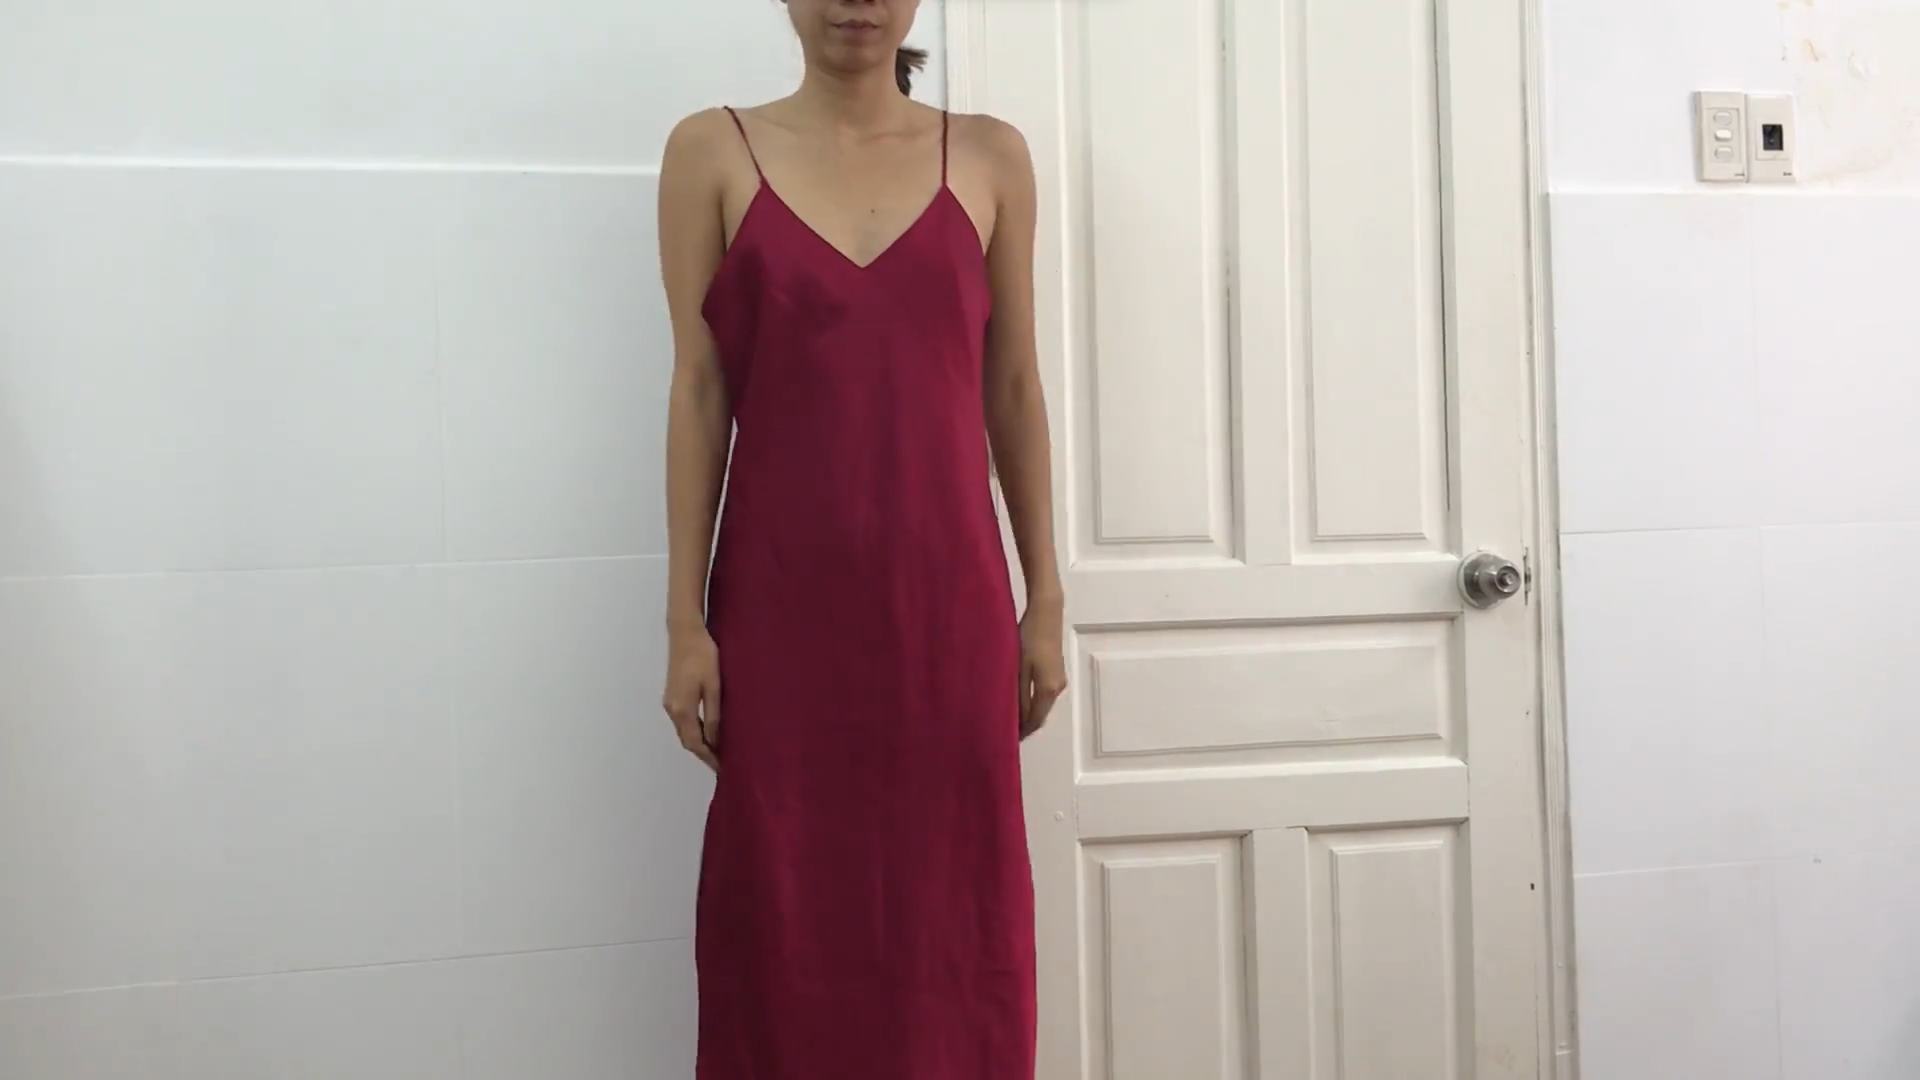
Have you picked out your dress for Valentine’s Day yet? I’ve just completed a DIY project creating a stunning falling neck dress for this special occasion.
I hope this dress serves as inspiration for you to create or find your perfect Valentine’s Day outfit. Wishing you a Happy Valentine’s Day in advance!
Let’s get started!
WHAT YOU’LL NEED
Old silk dress
Pattern paper
Sewing machine
Pins
Scissors
Ruler
Long stick
SEWING THE DRESS
THE MAIN BODY
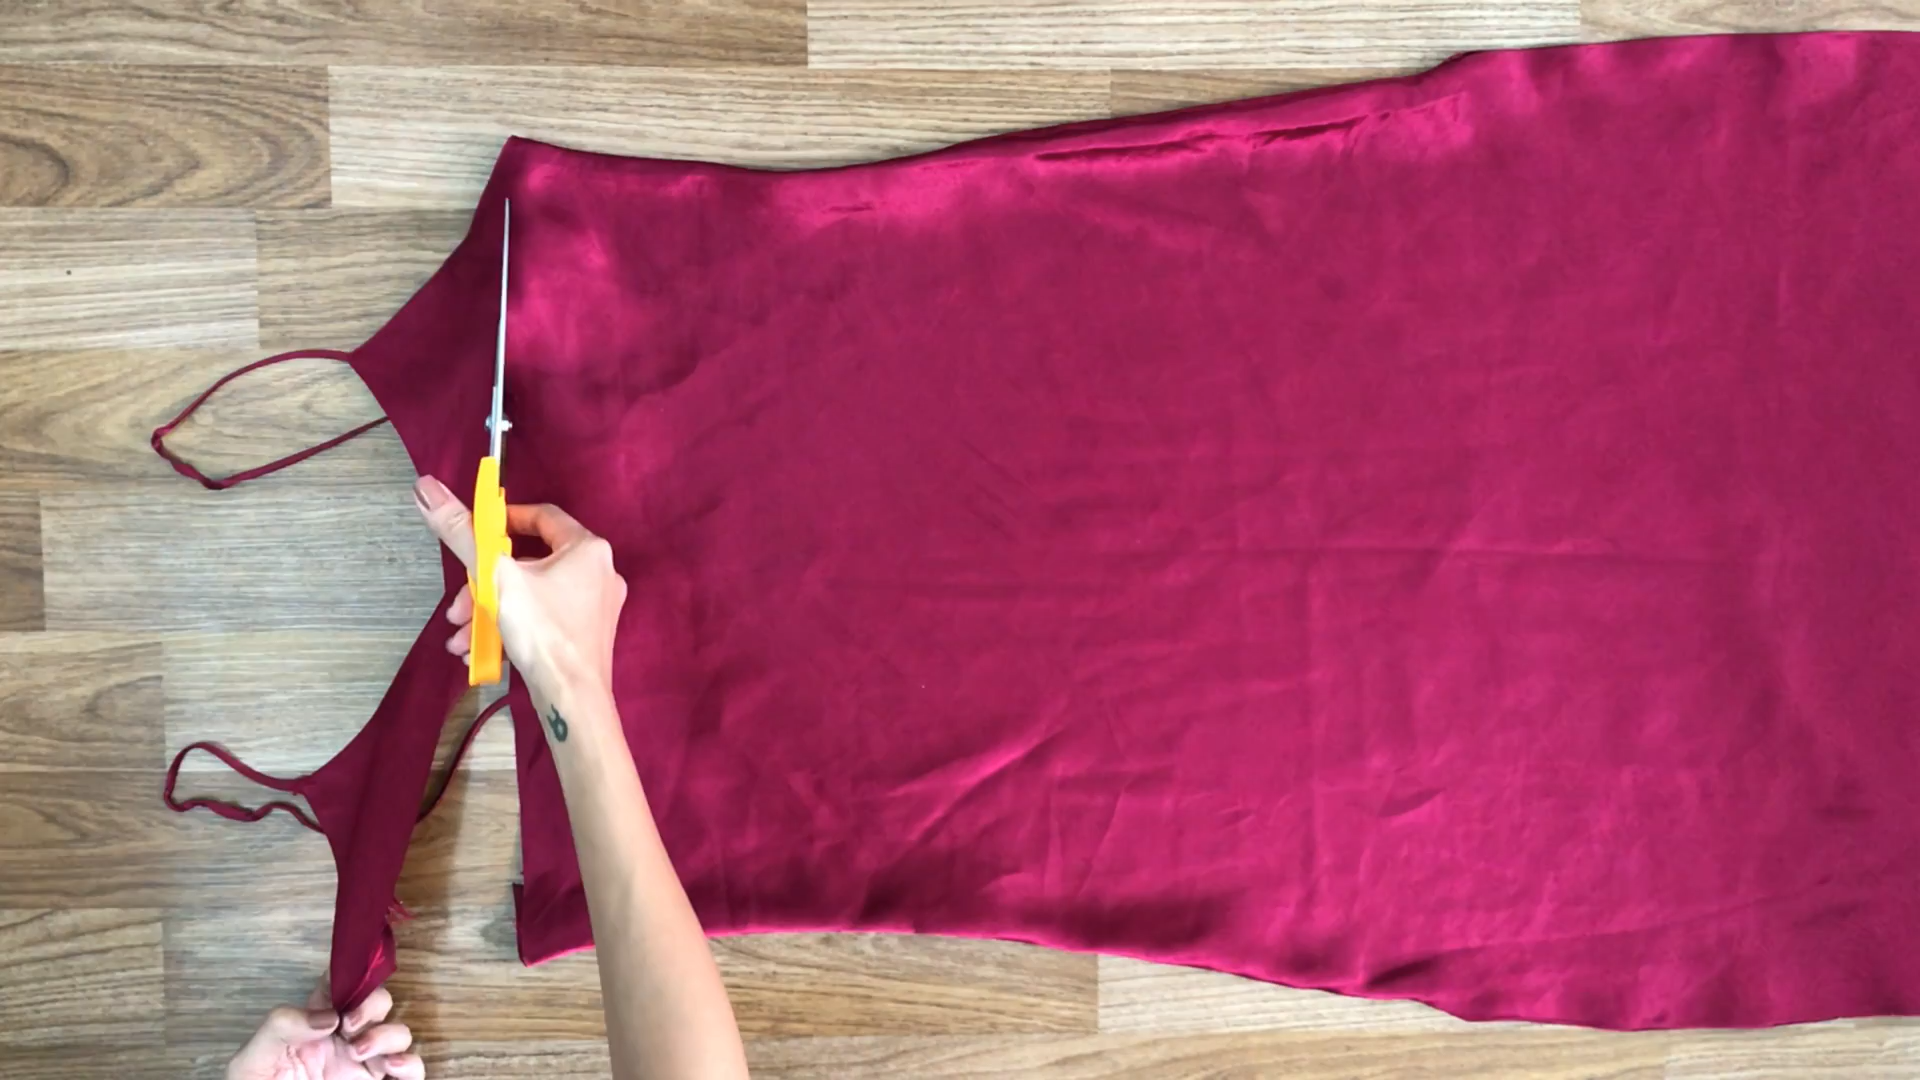
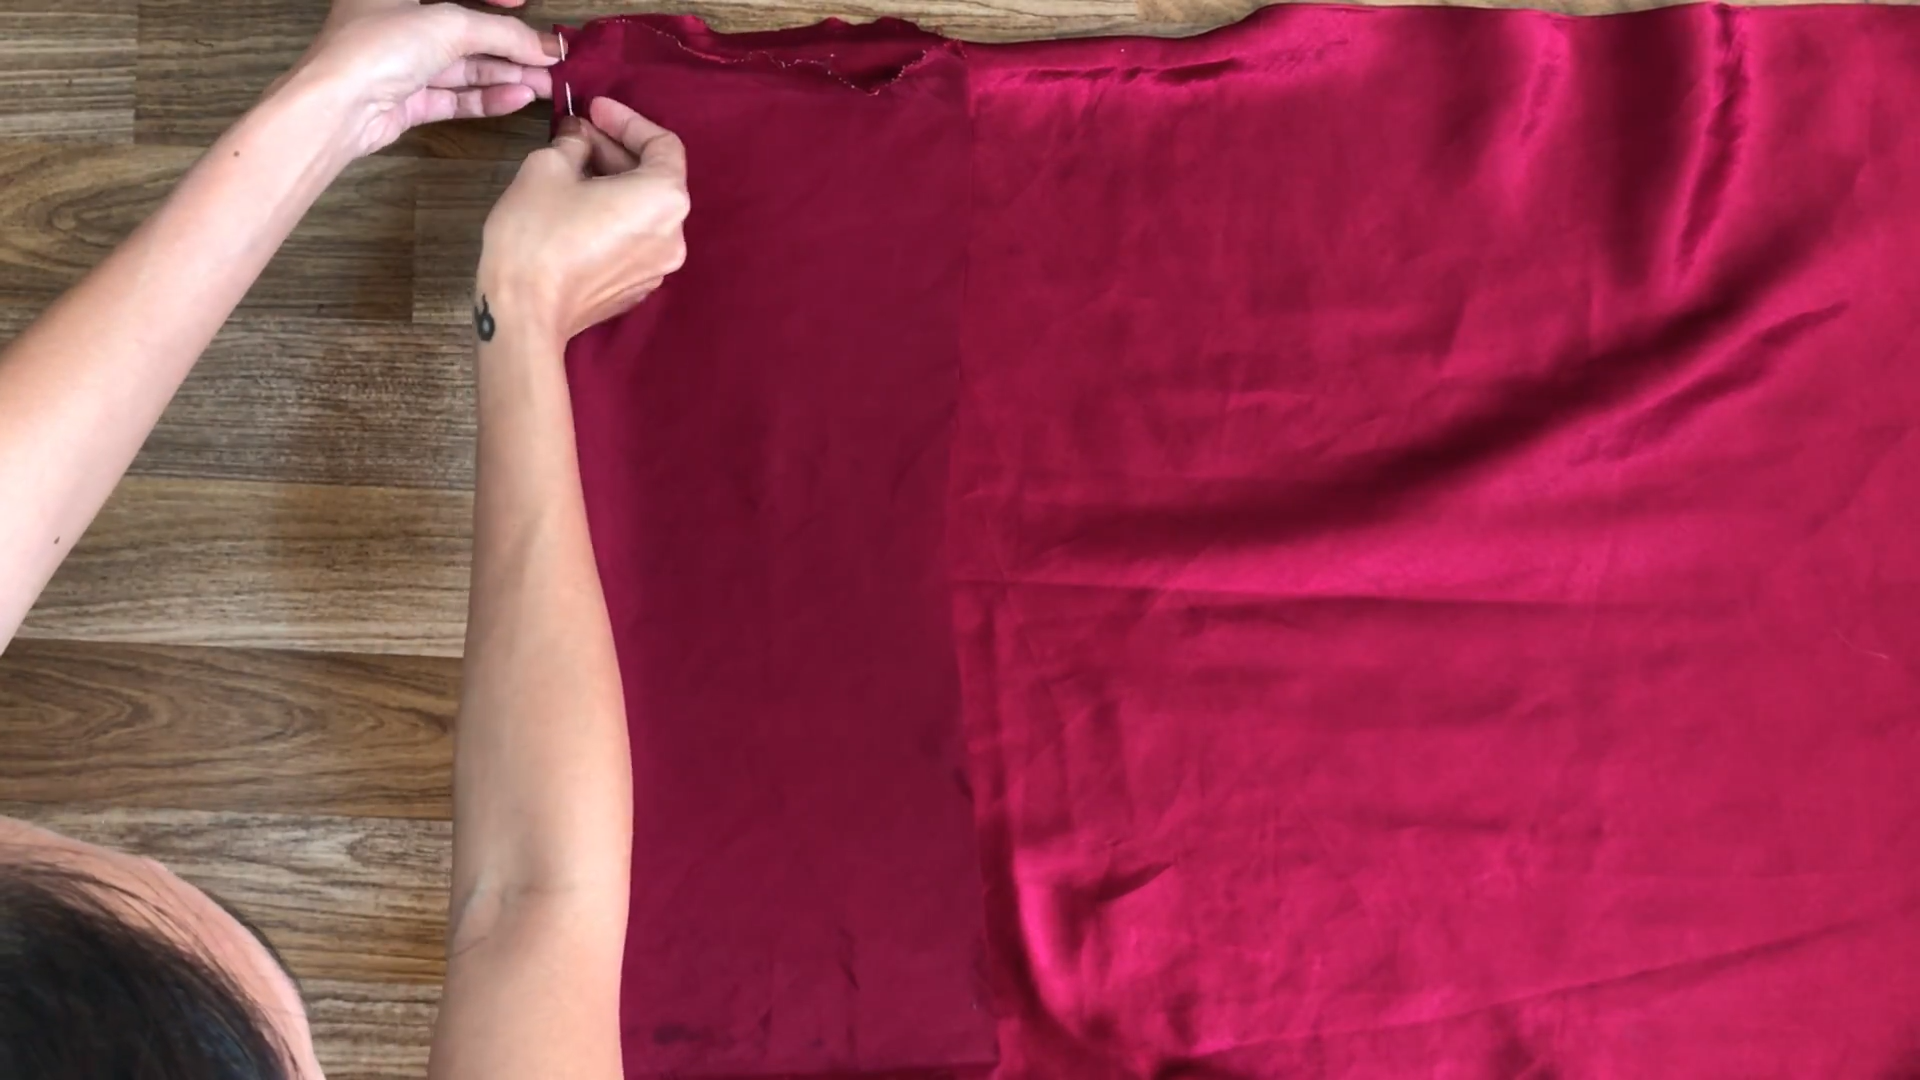
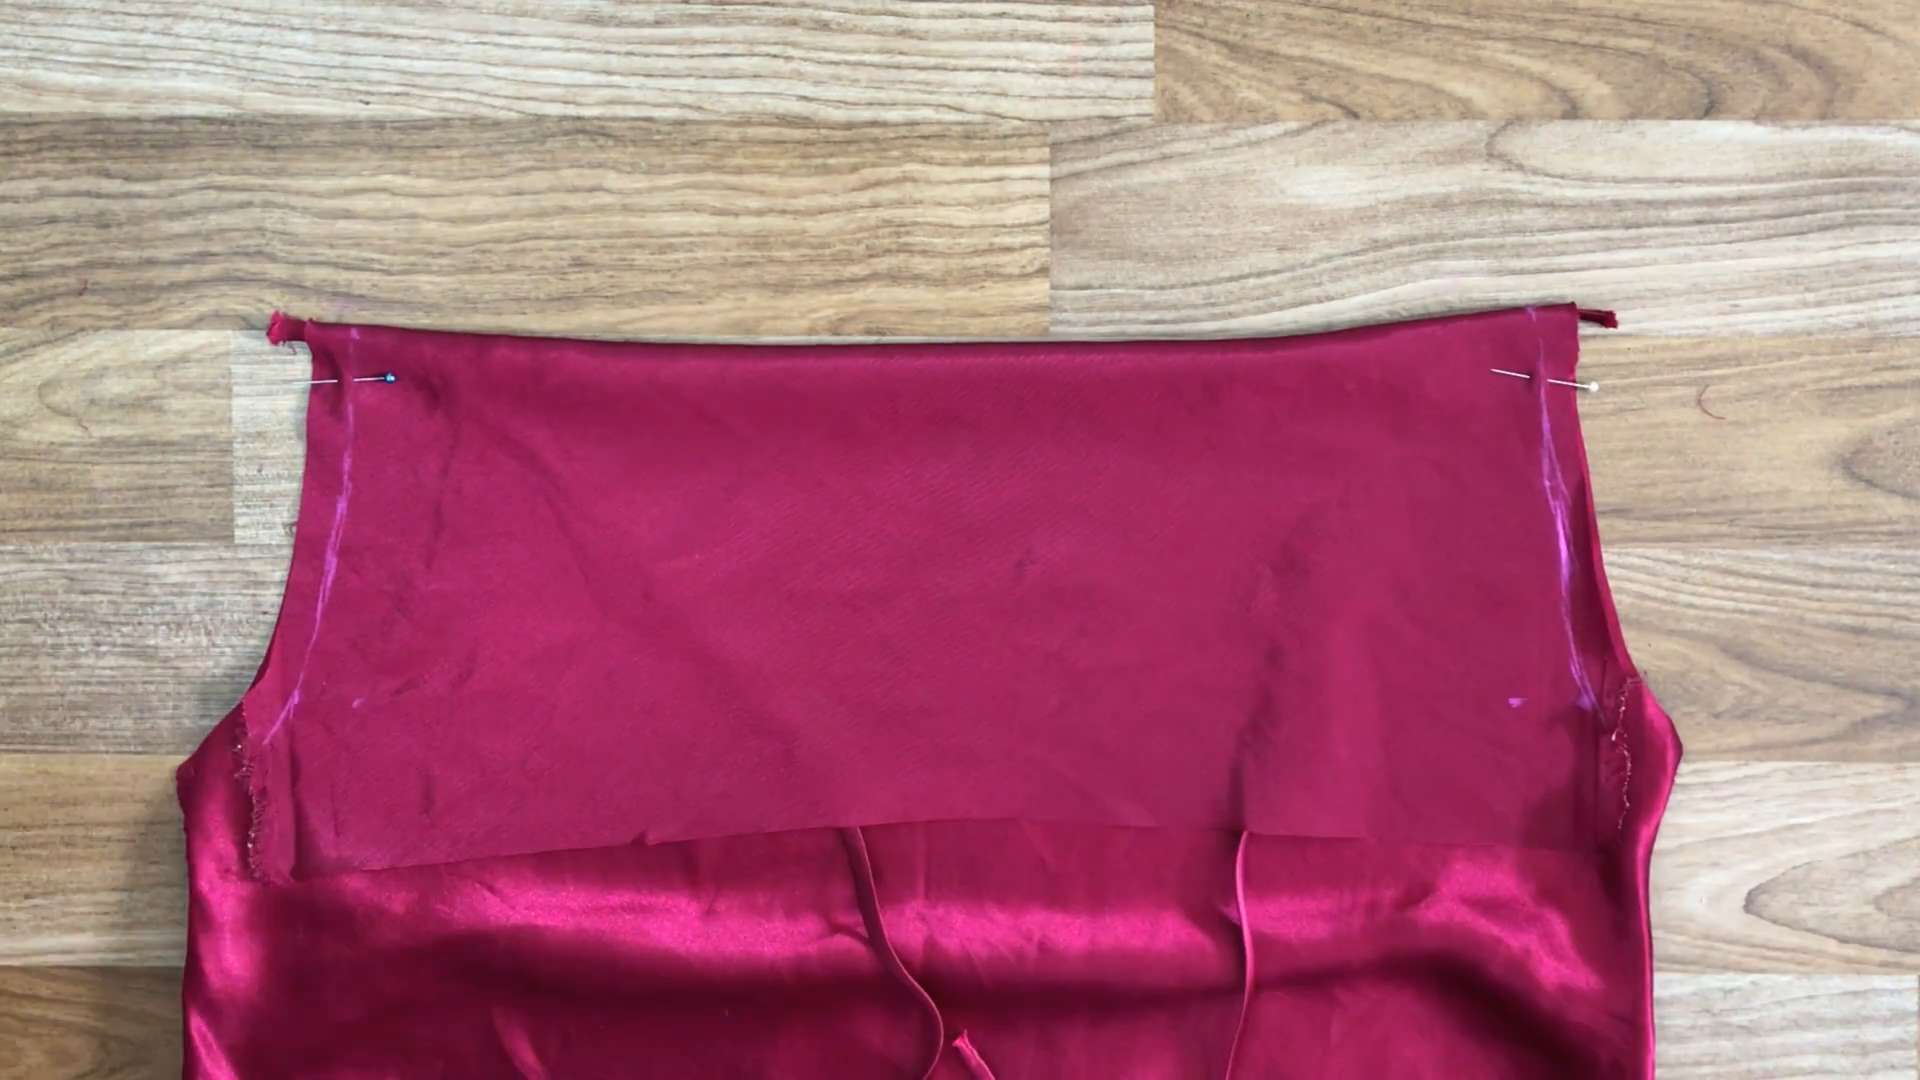
Cut the top of the dress to create a new look for the neck.
Then, unsew two sides of the dress.
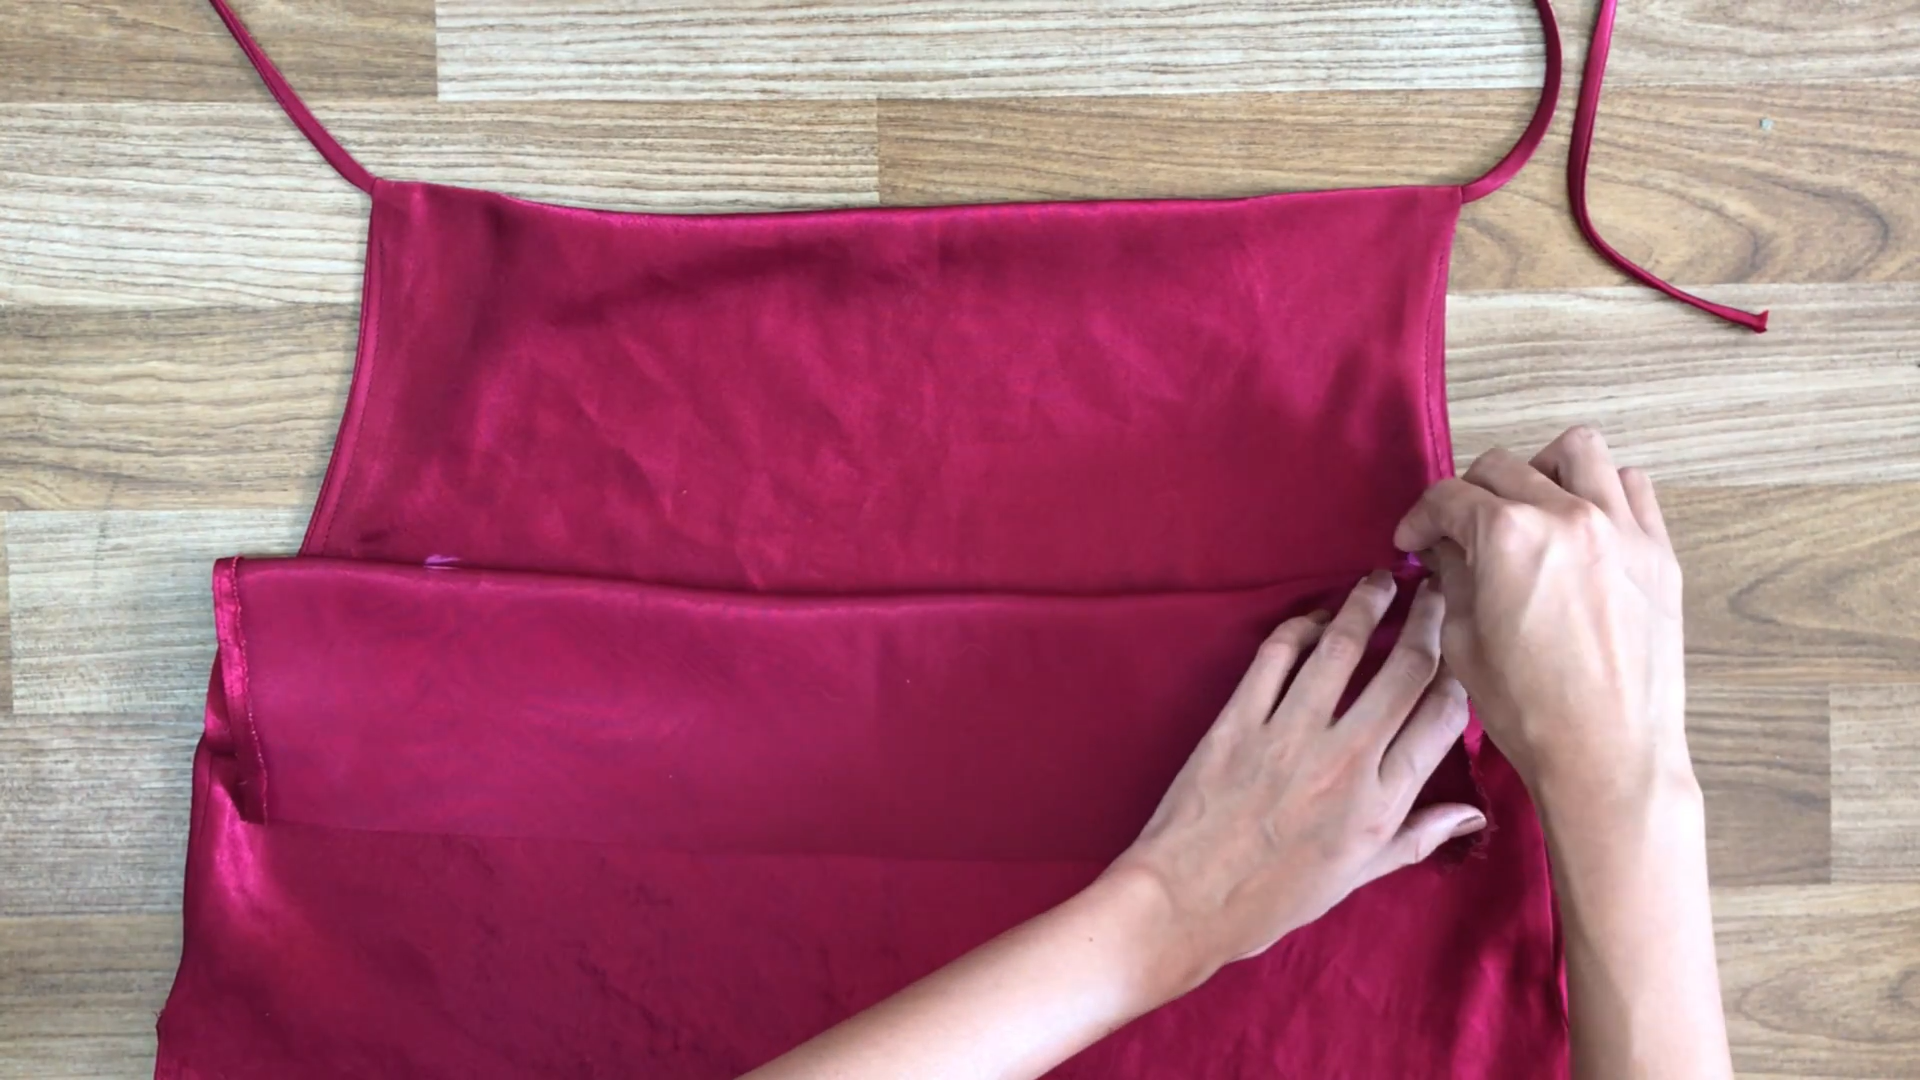
THE WAIST BELL
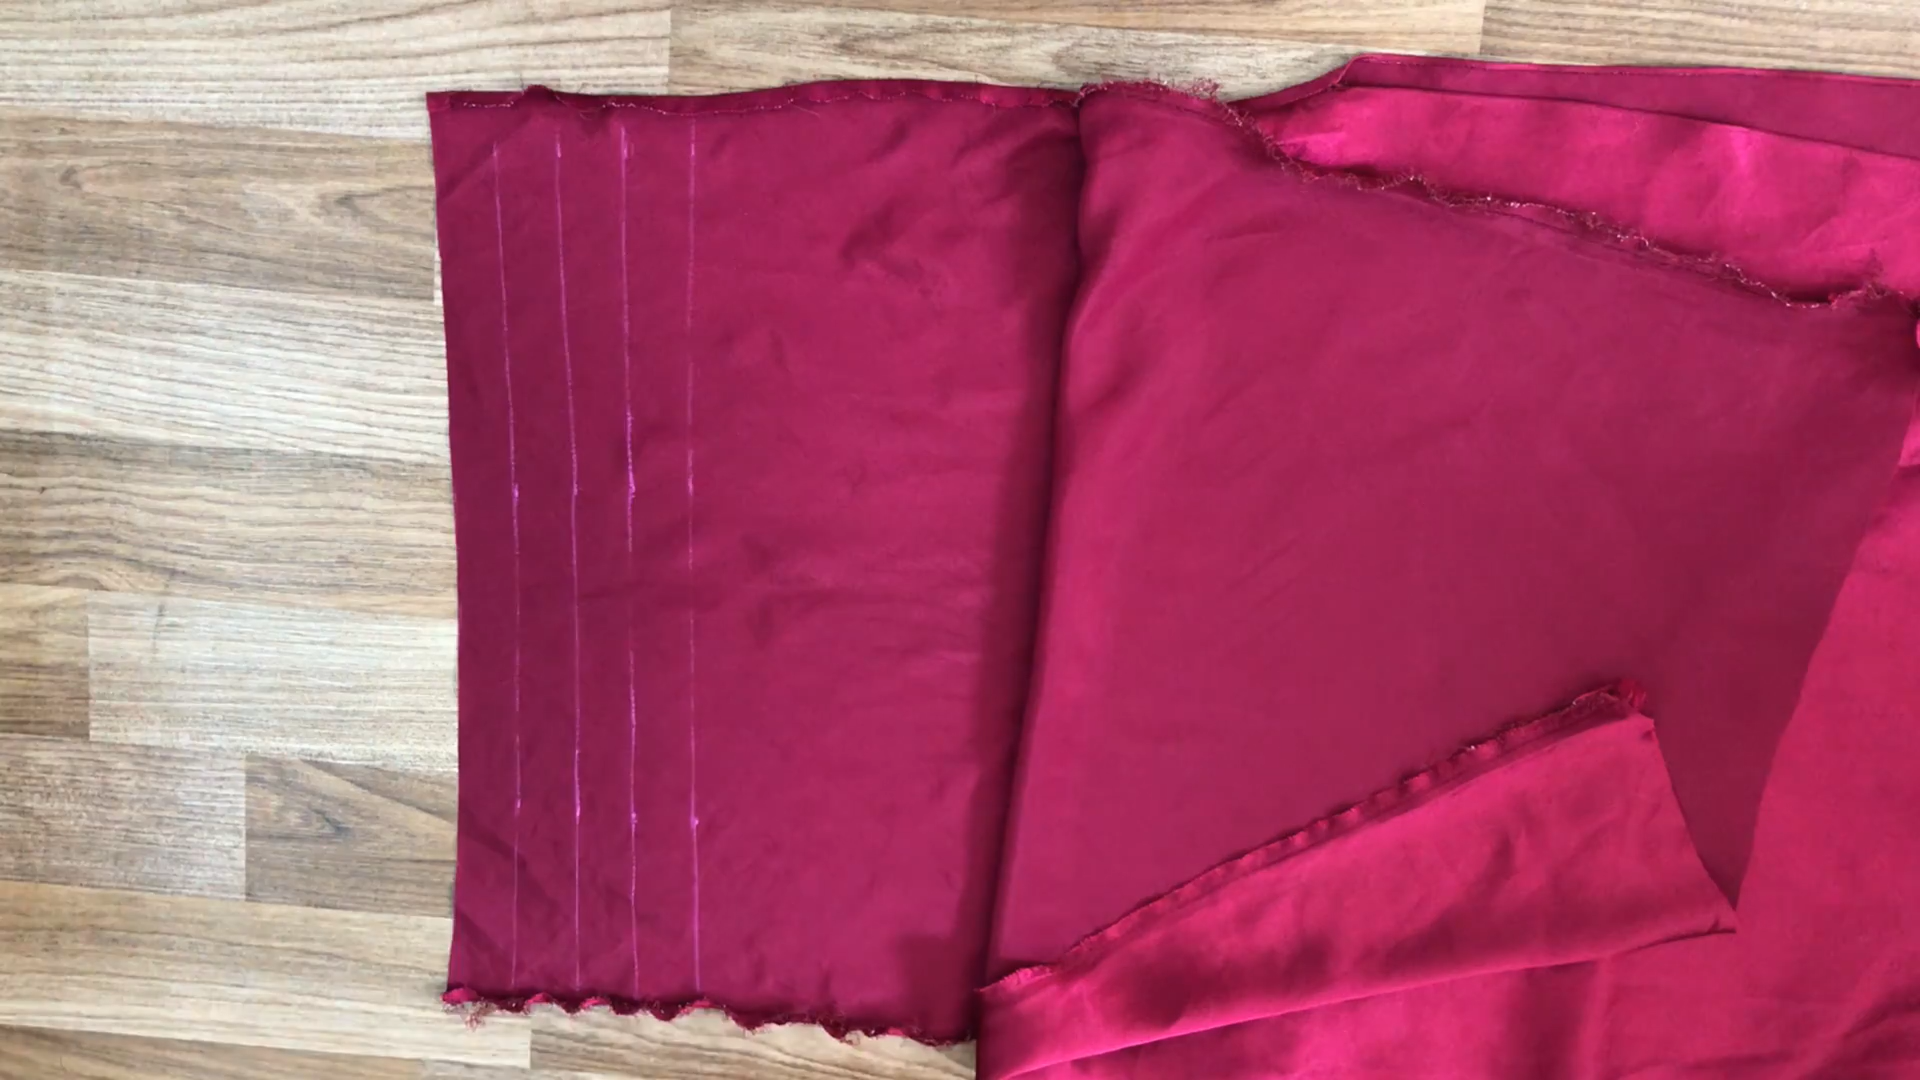
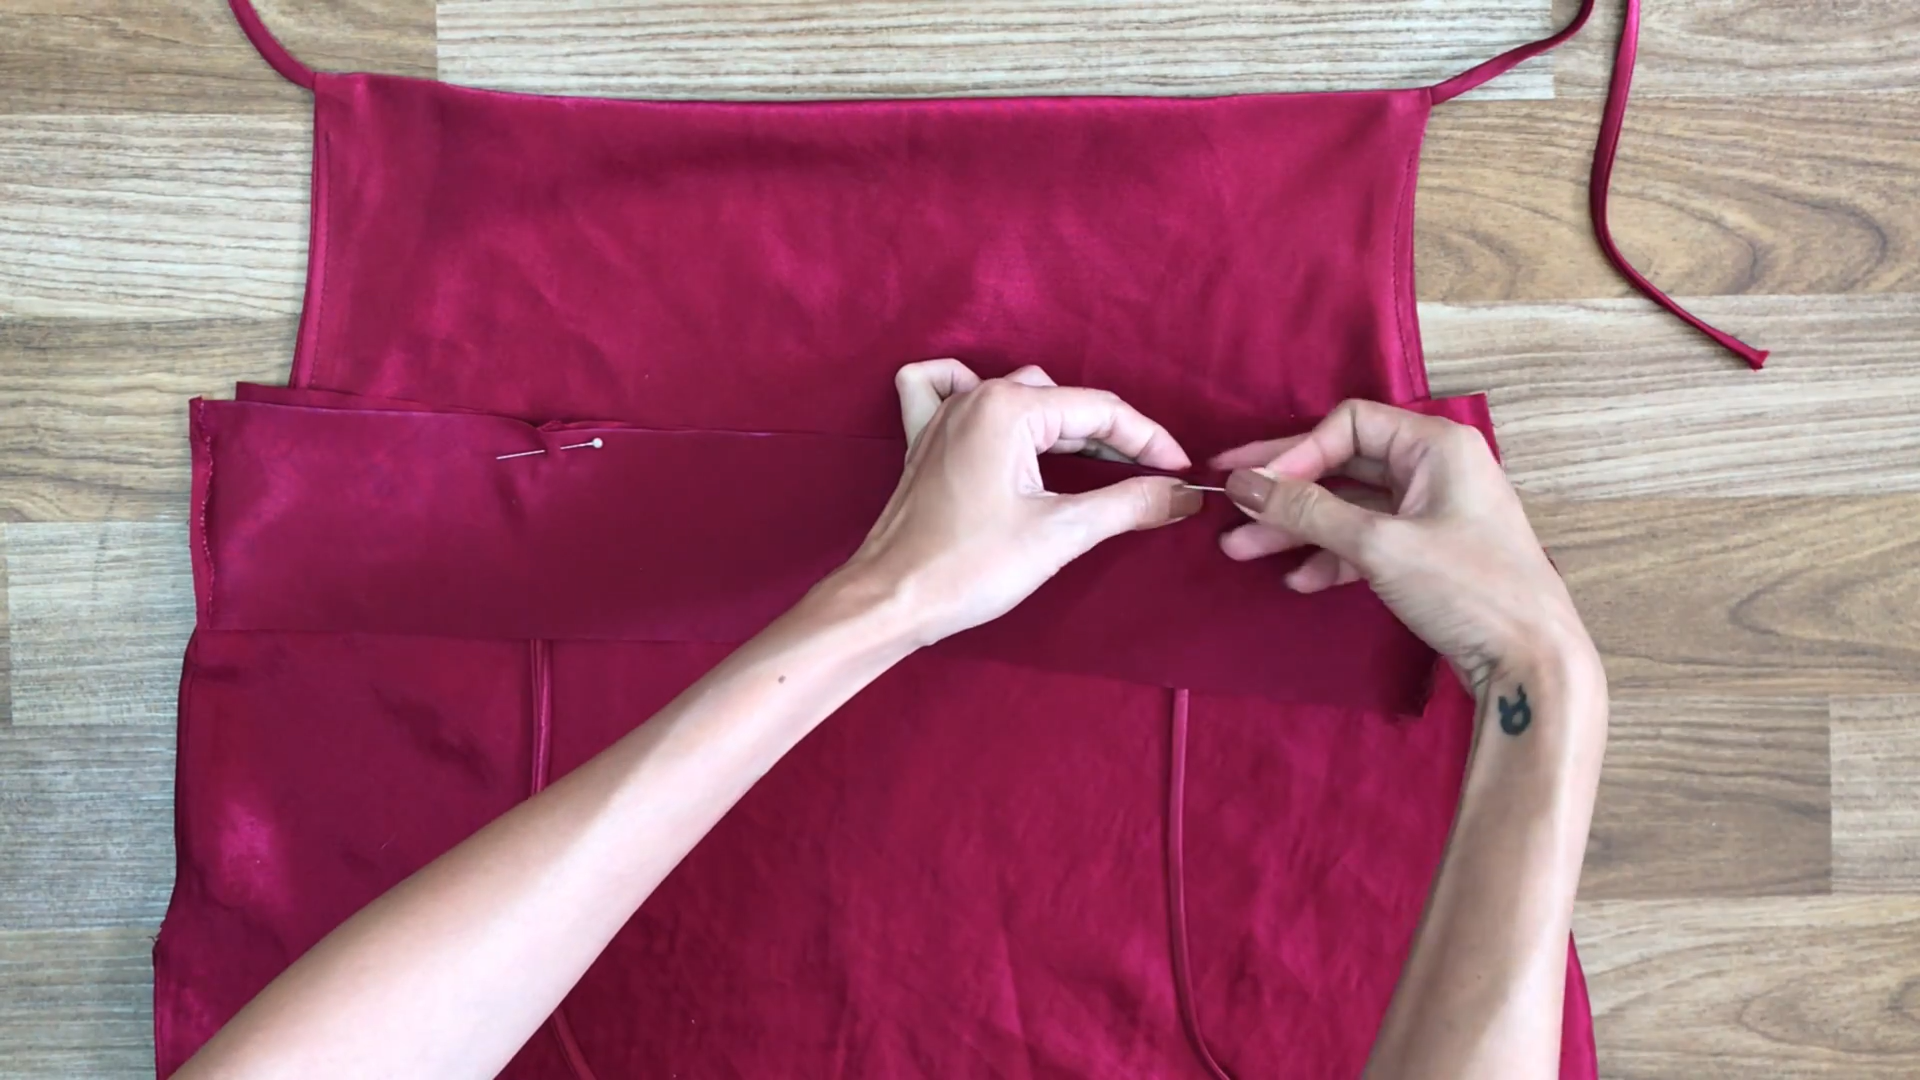
At the back of the dress, draw four lines with a width of 3cm. These will be the waist bell of the dress.
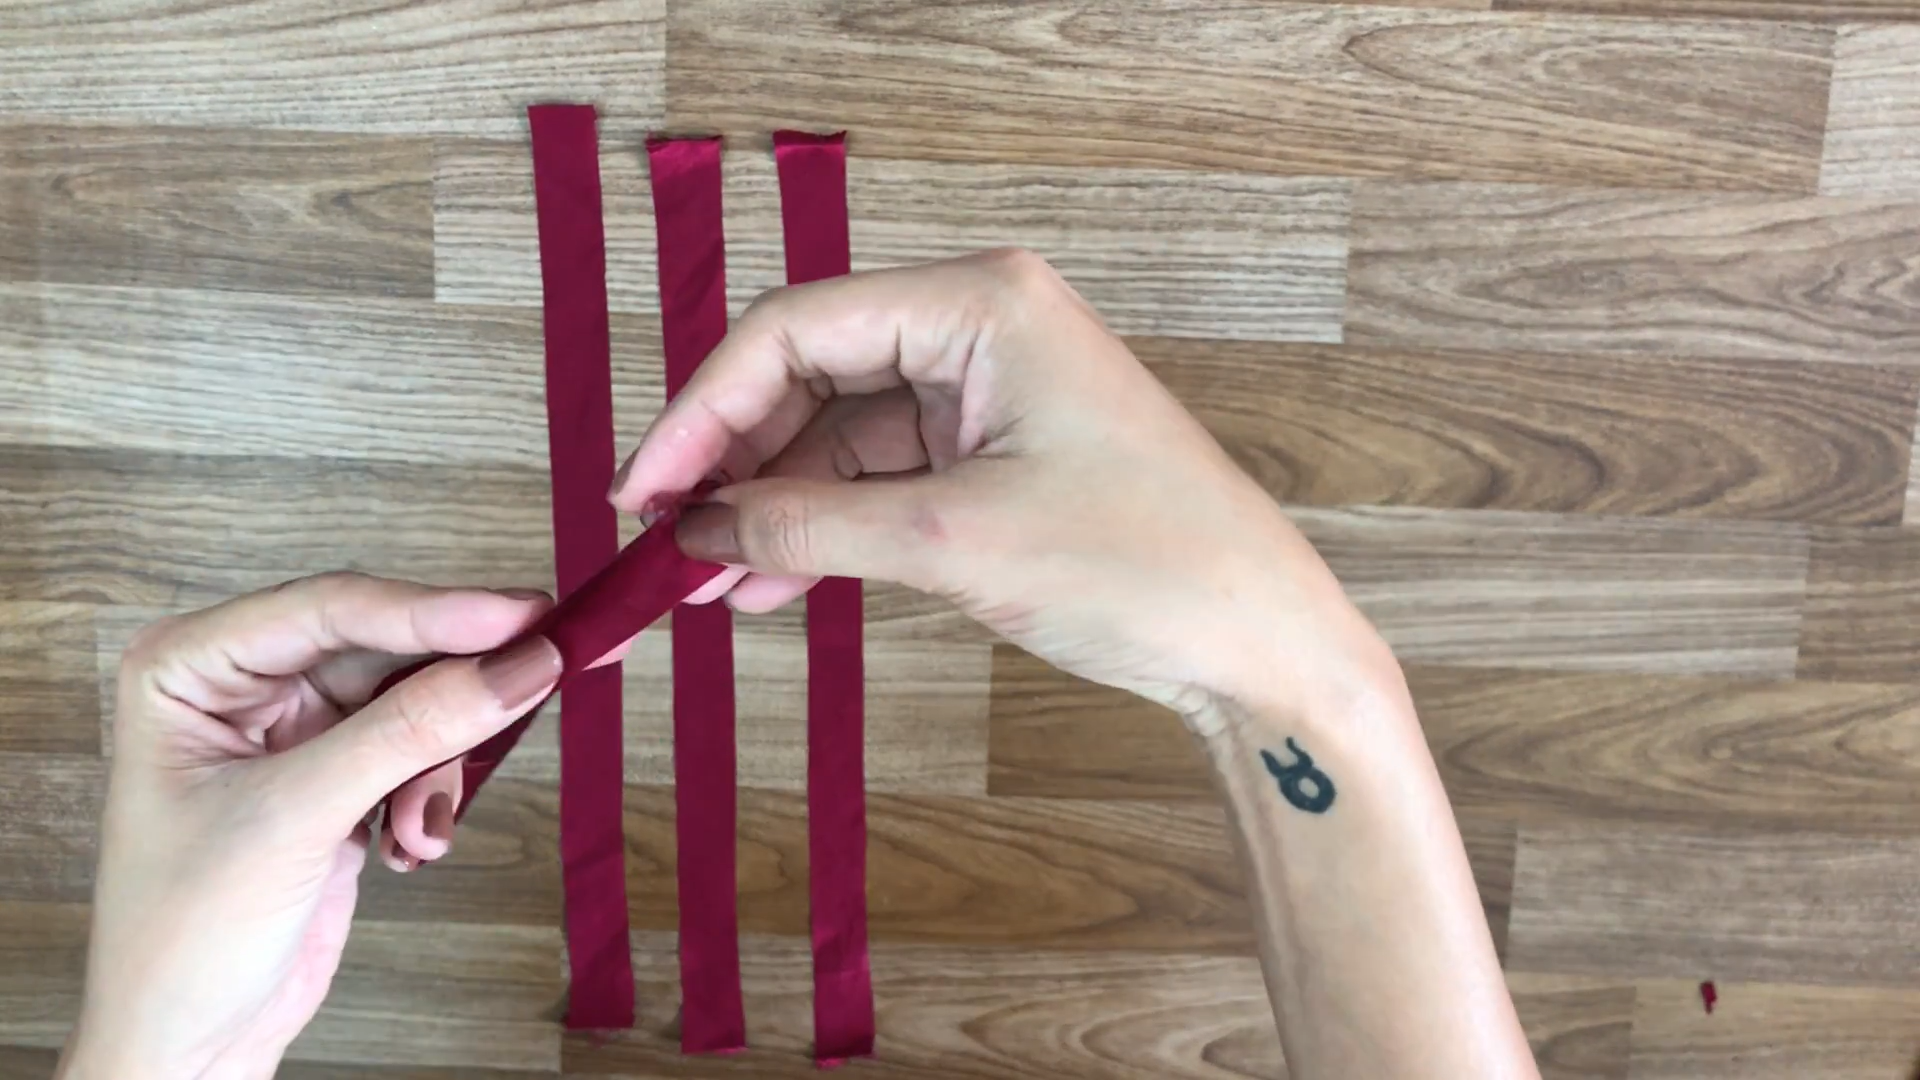
Now, fold the fabric in double and sew it.
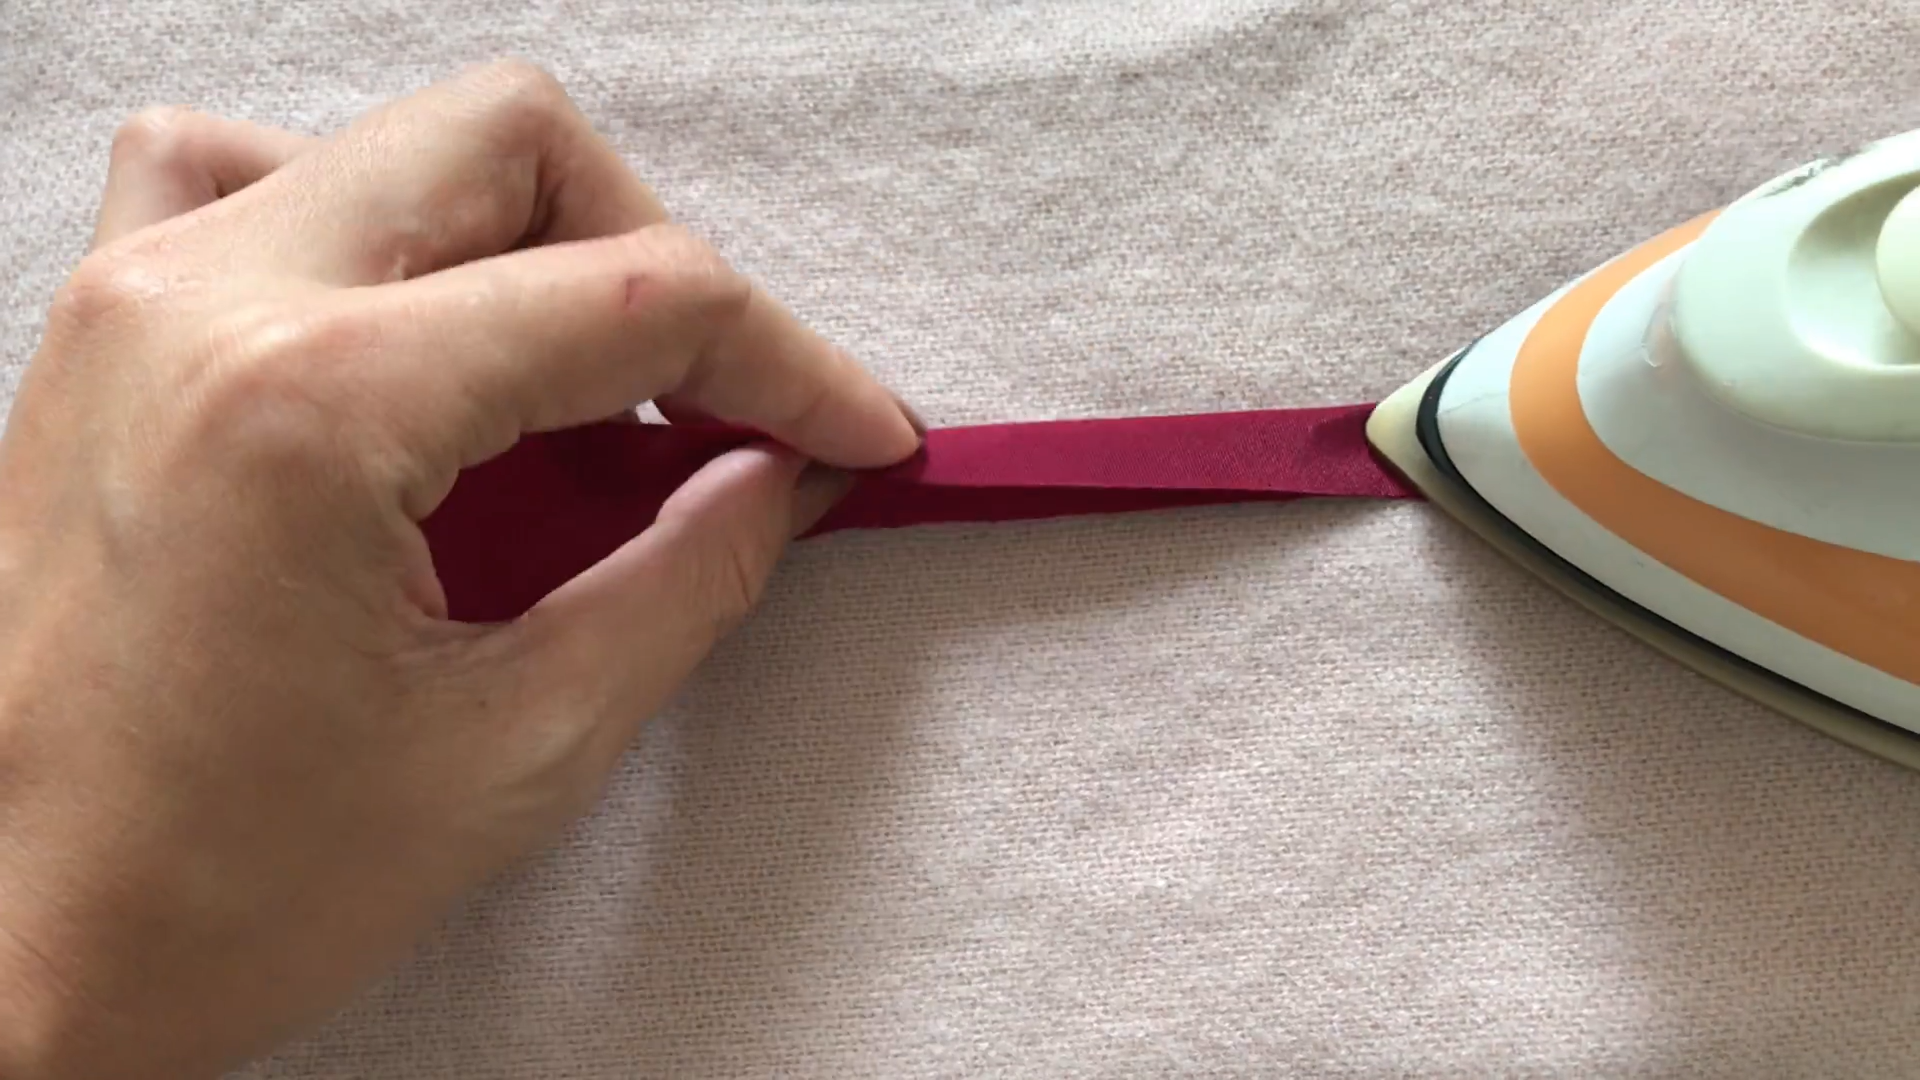
Because the fabric is pretty small, it’s a good idea to iron it before sewing.
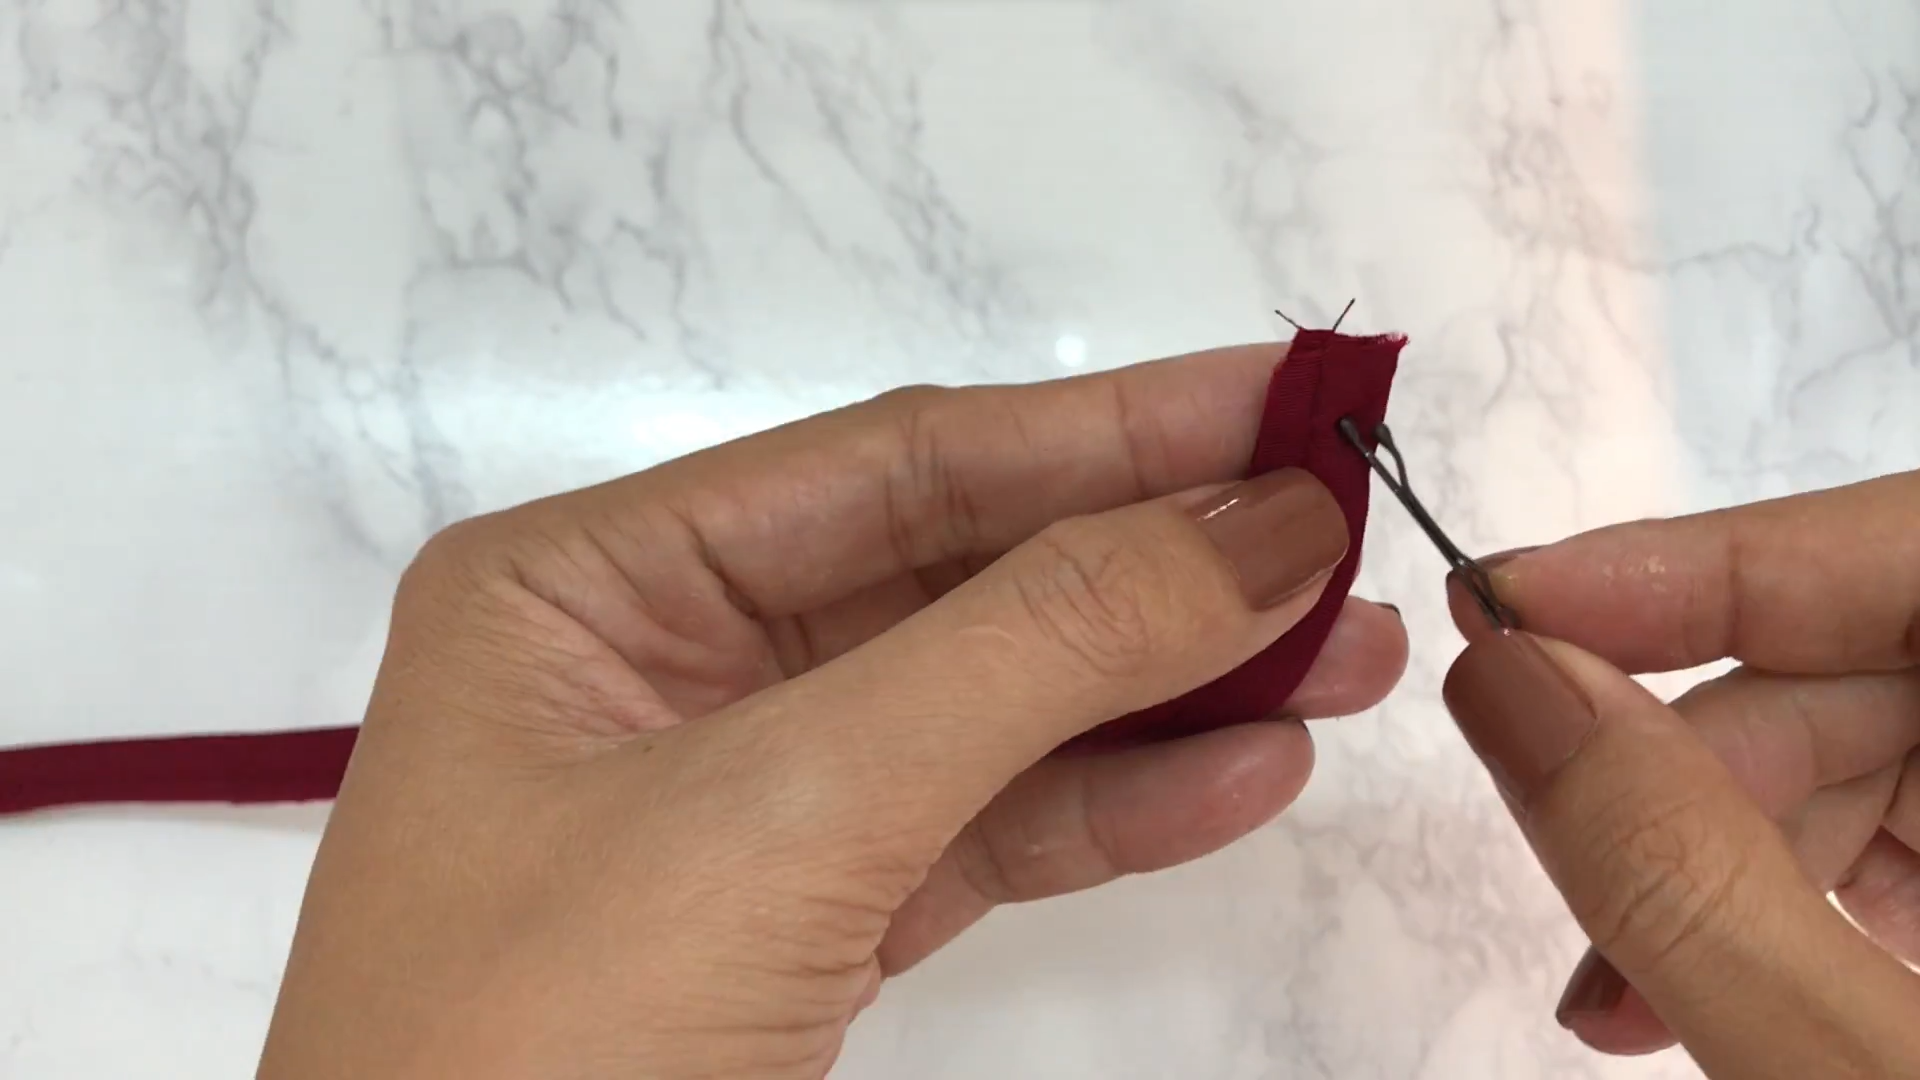
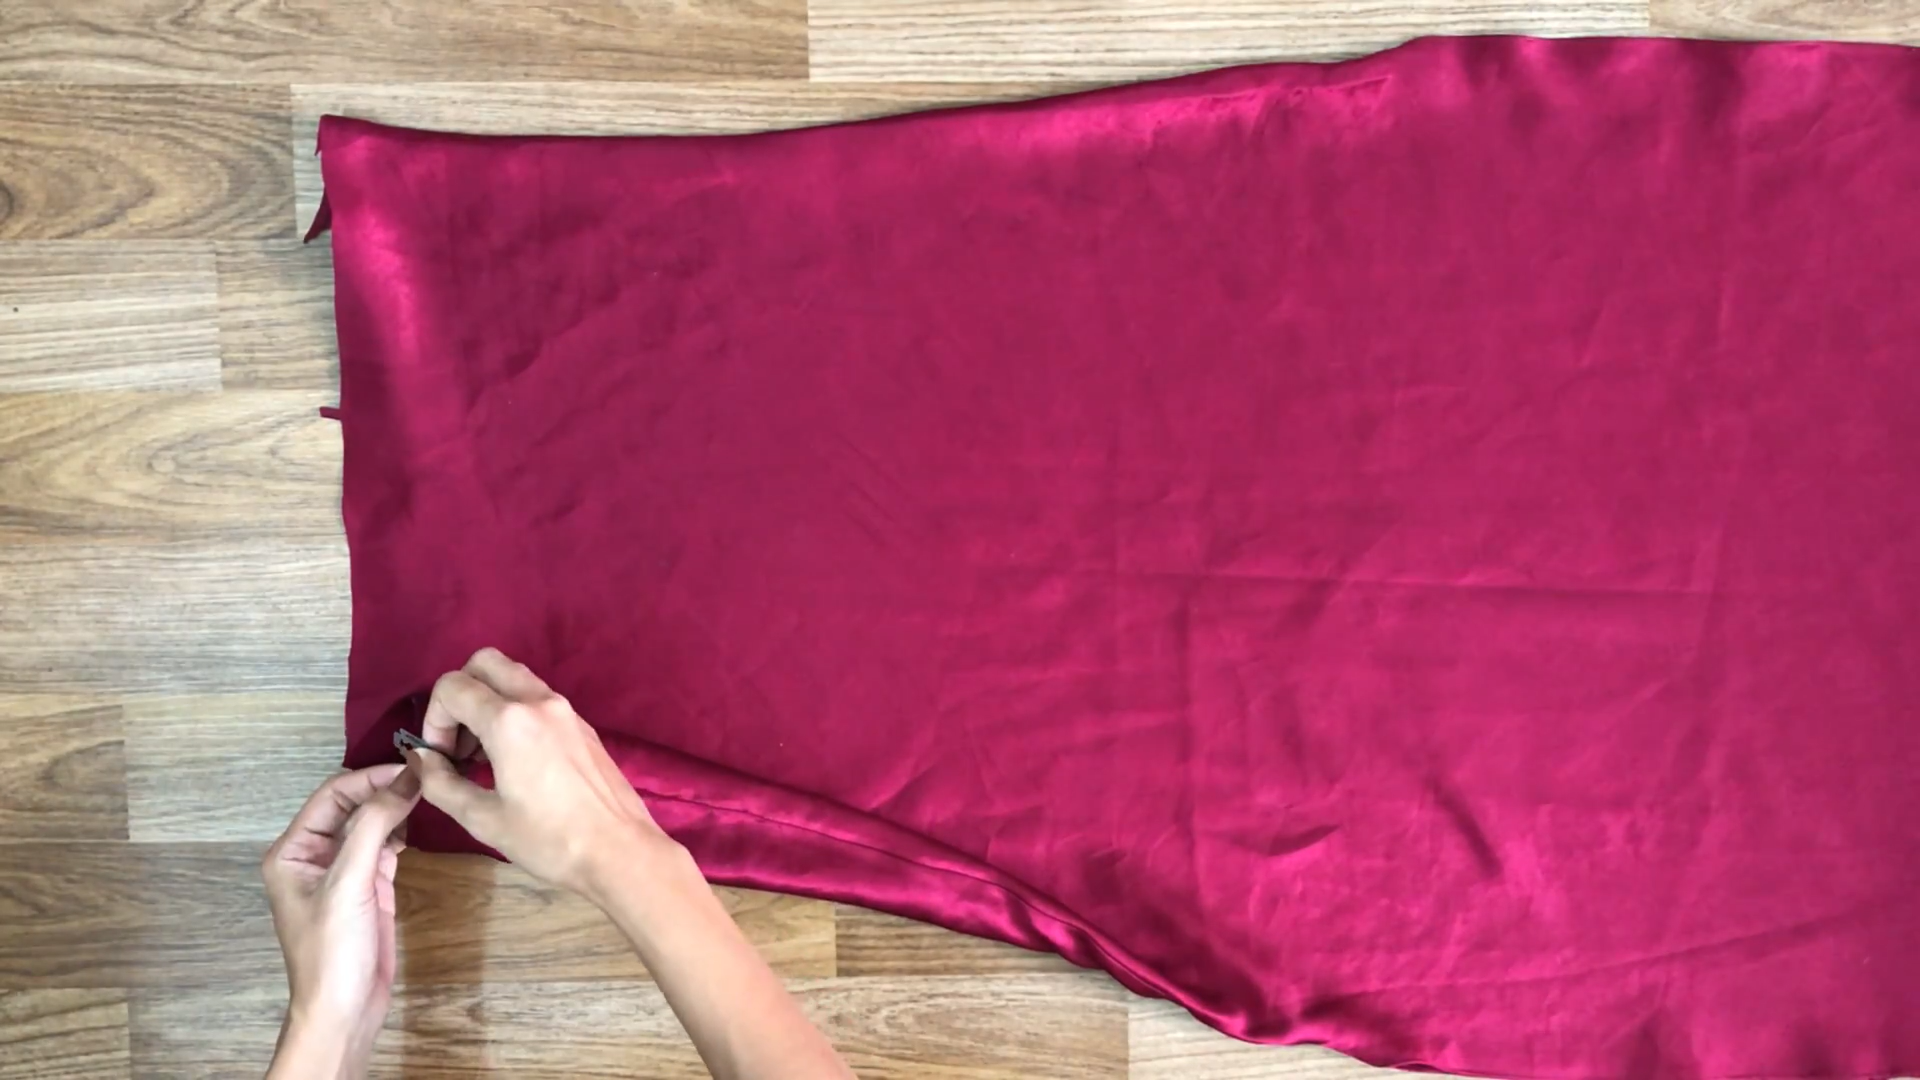
Use a hair clip to flip to the right space of the fabric. Stab a hole in the top of the fabric, then stream it into the fabric hole and move it to another end of the fabric.
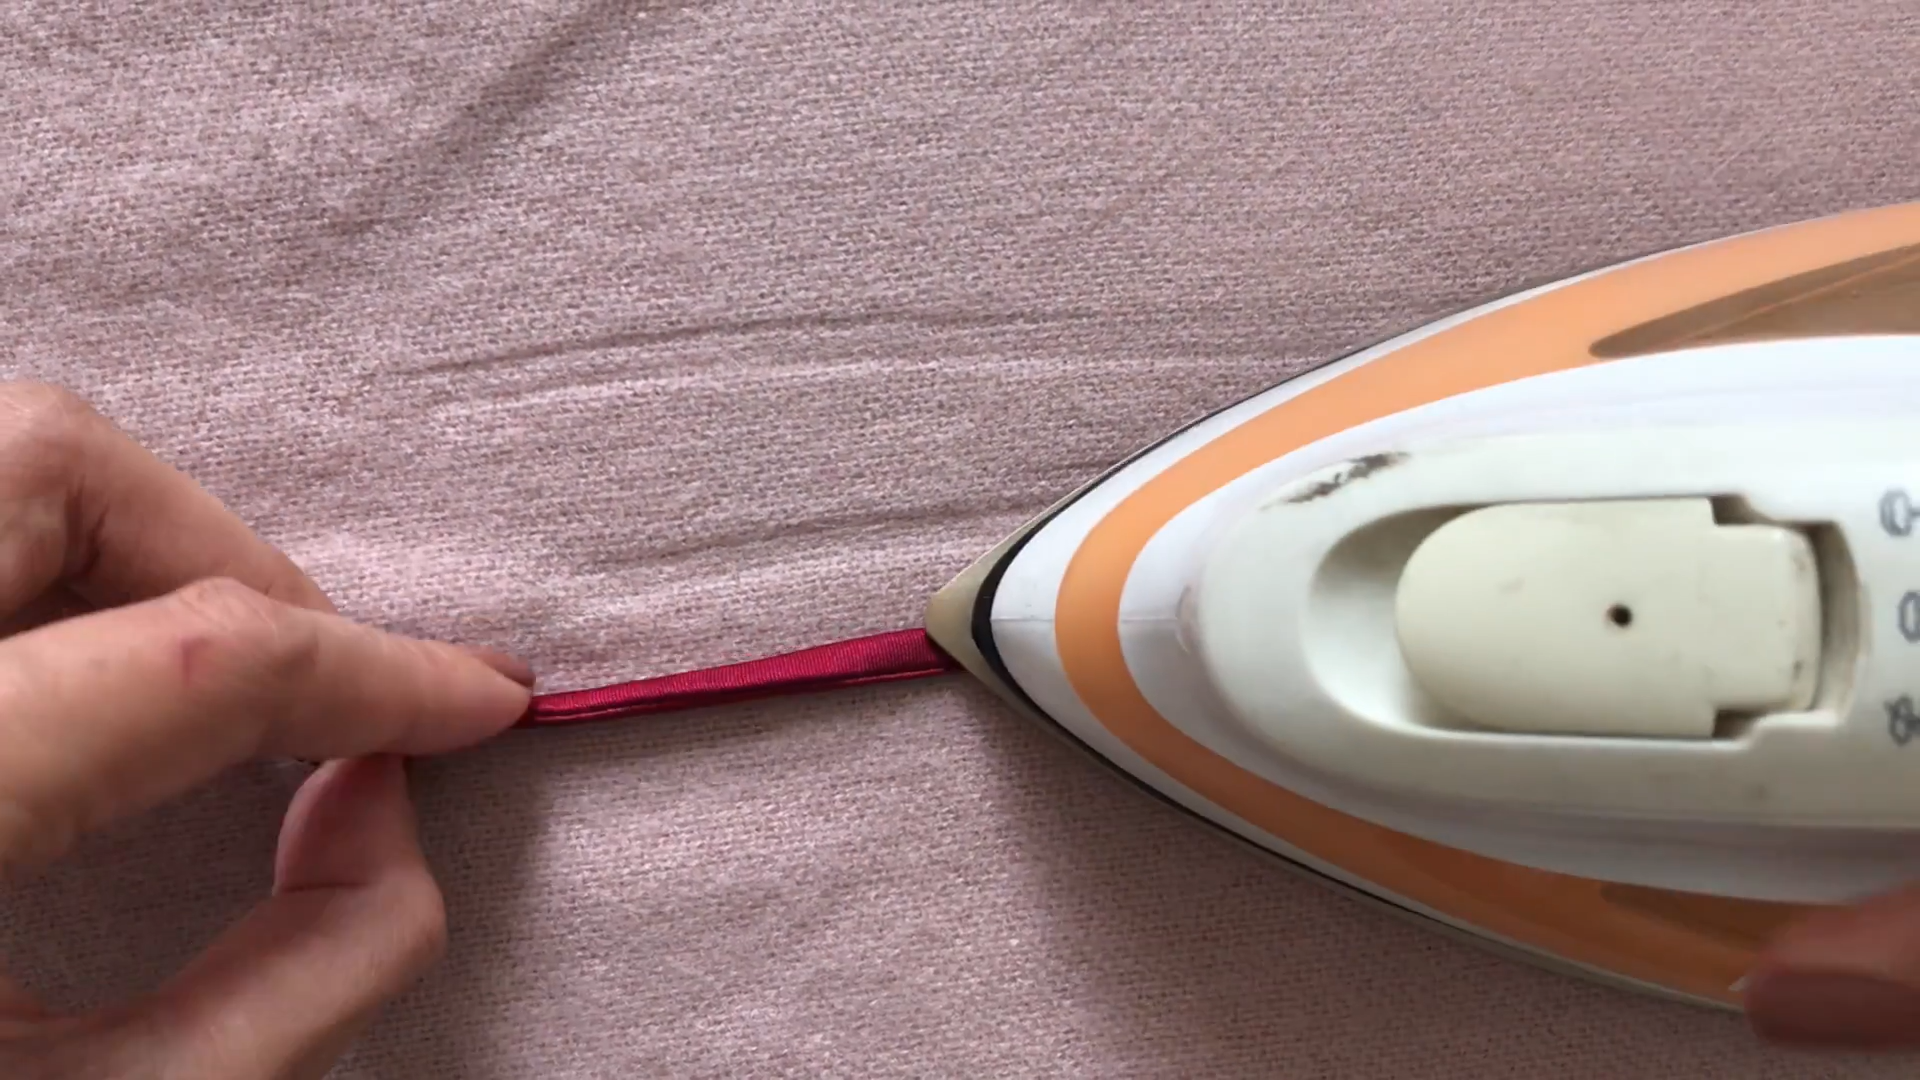
Repeat this for the other pieces of fabric and iron it to make it straight.
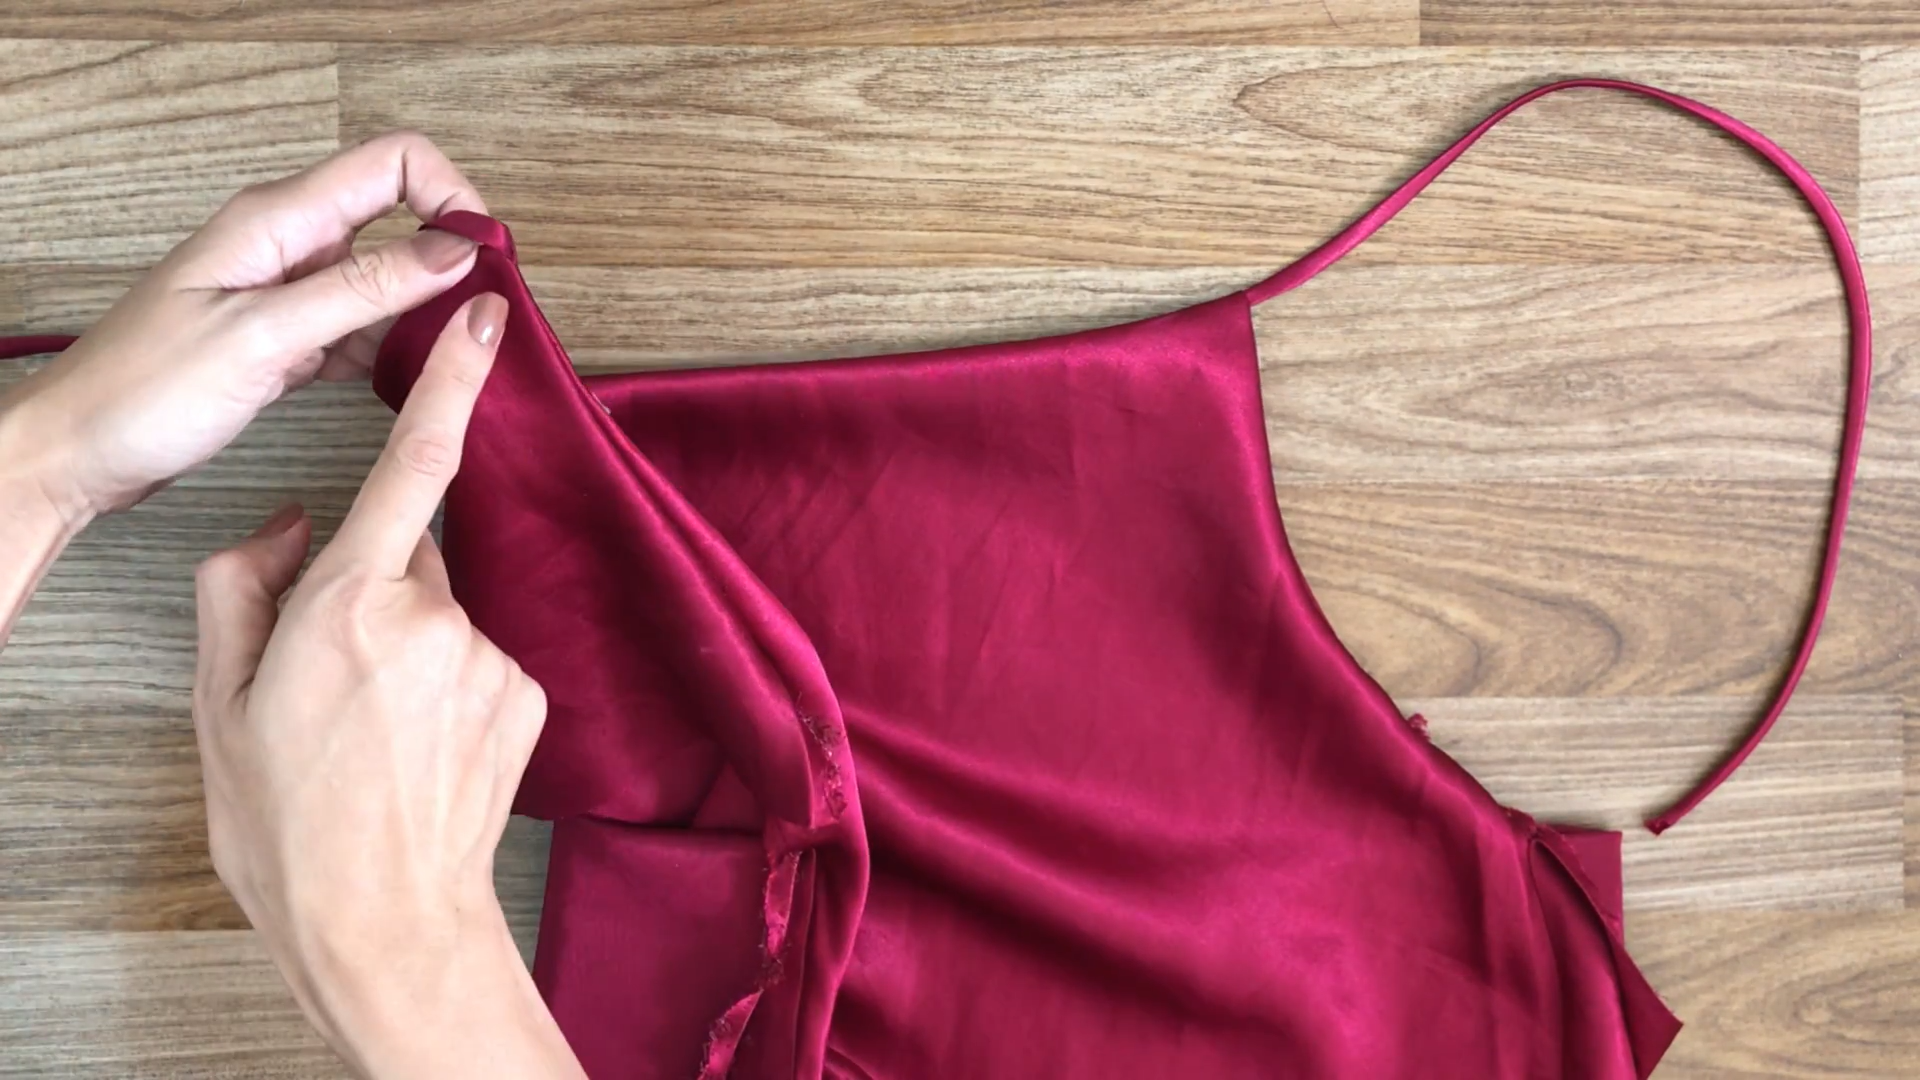
THE FALLING NECK
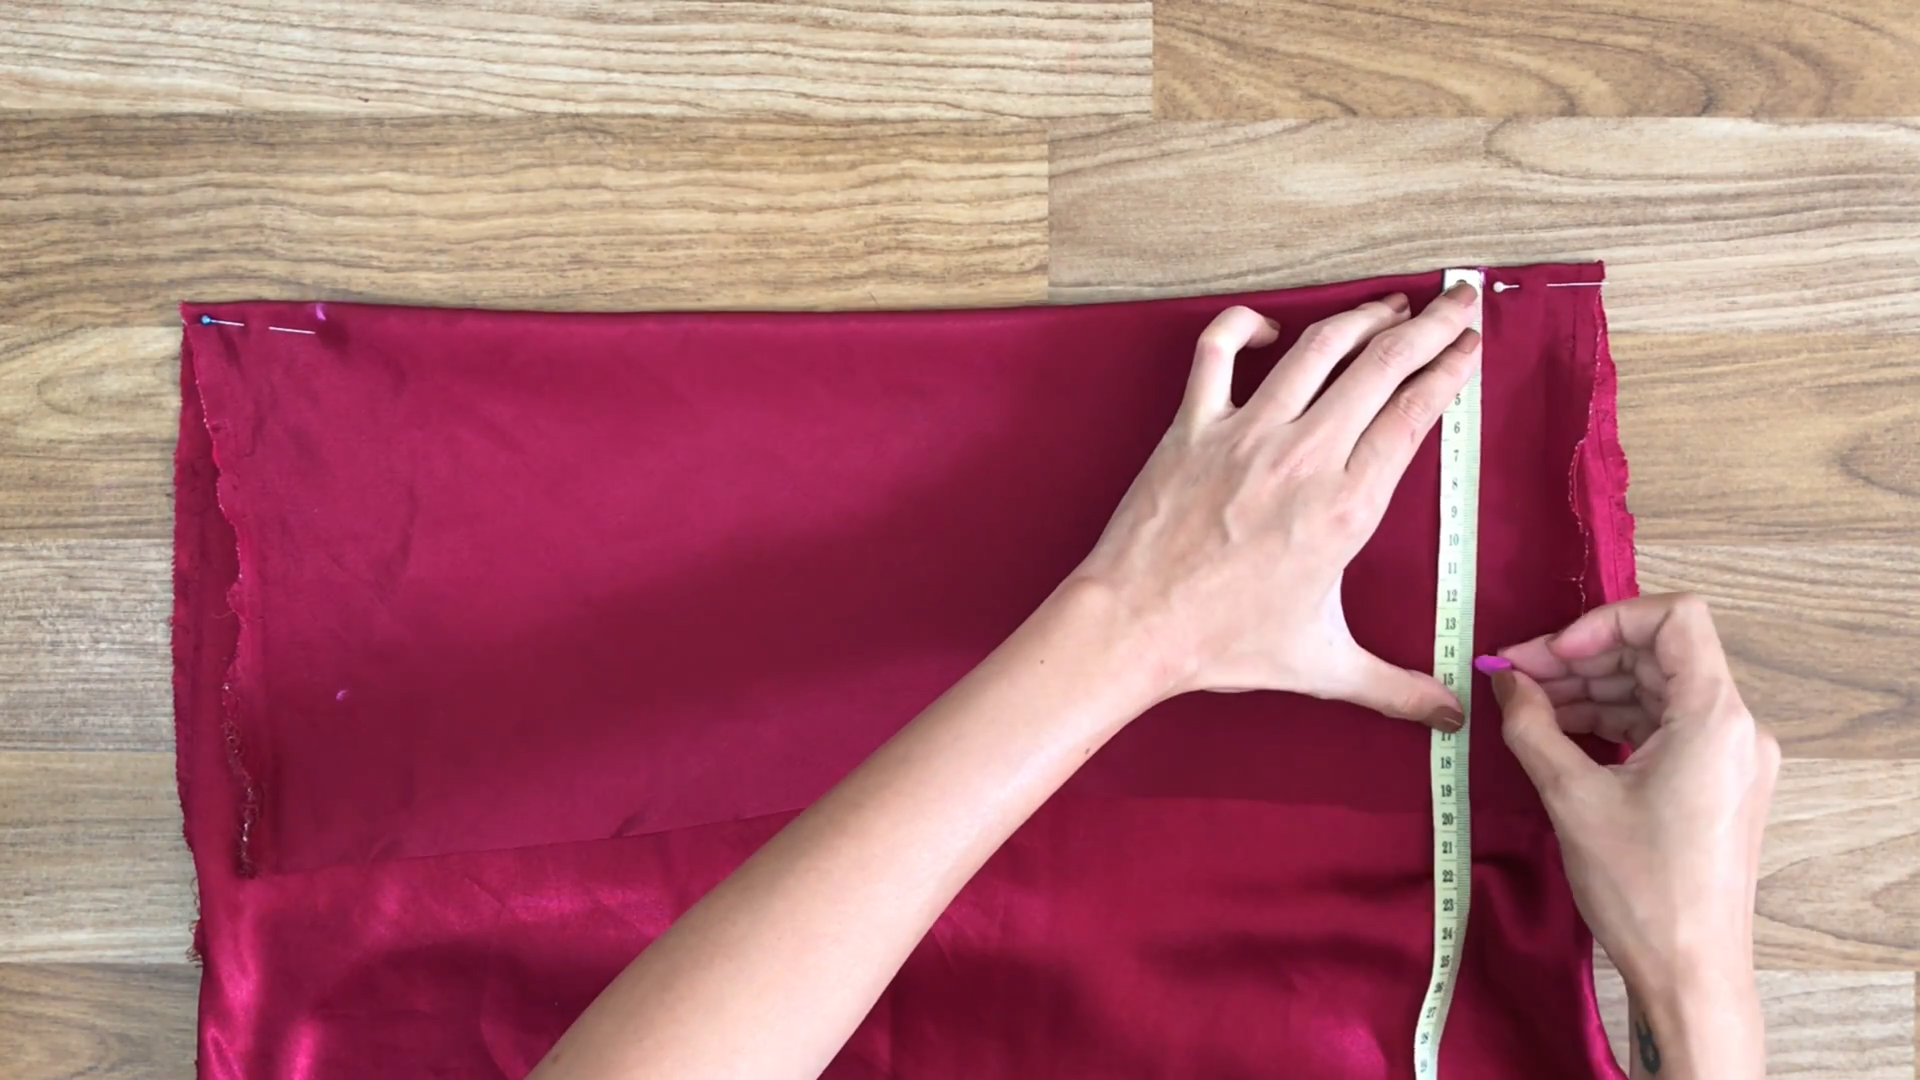
At the front of the dress, fold the fabric down to 20 cm and use pins to hold it.

Mark two points for the width of the falling neck at 41 centimeters.
Then, make two hands of the dress. The depth of the hands will be 14 cm down from the top of the neck.
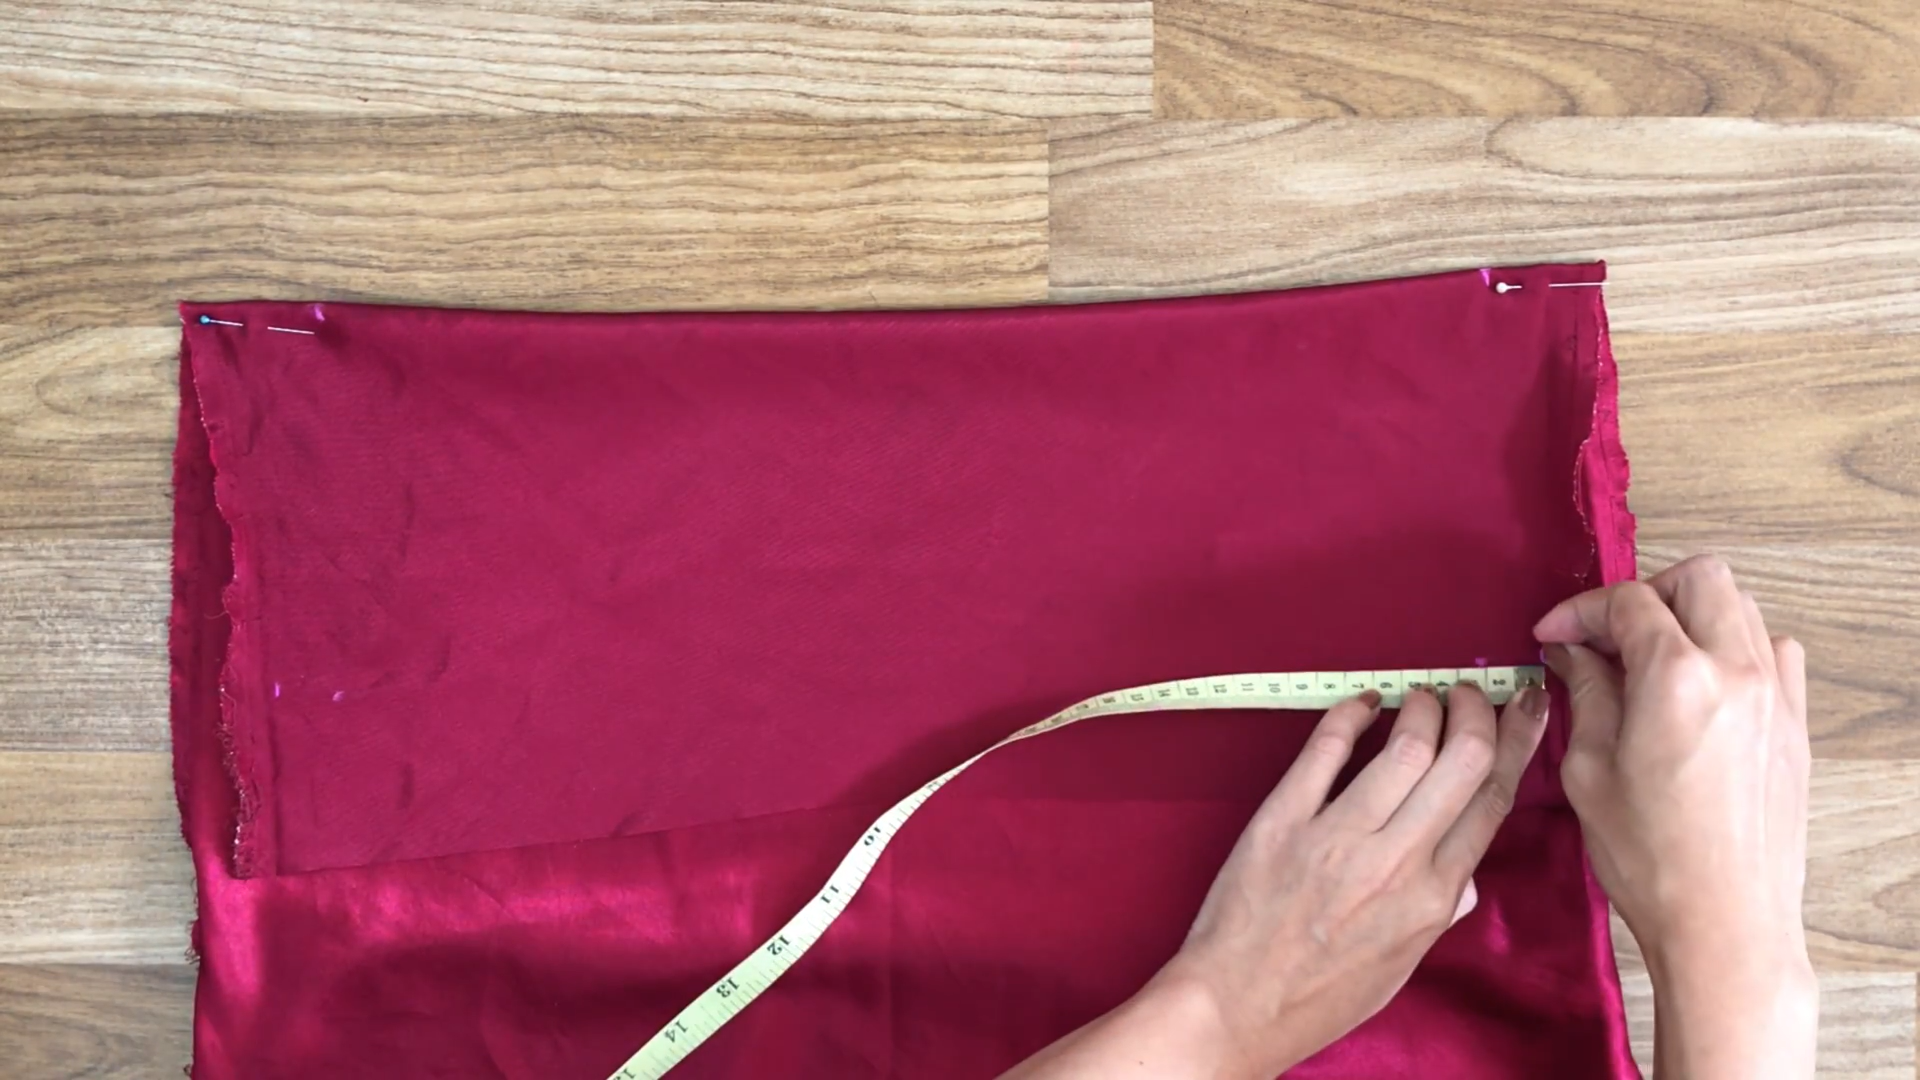
Move 2 cm extra from the end skin to create a curve for the hands.
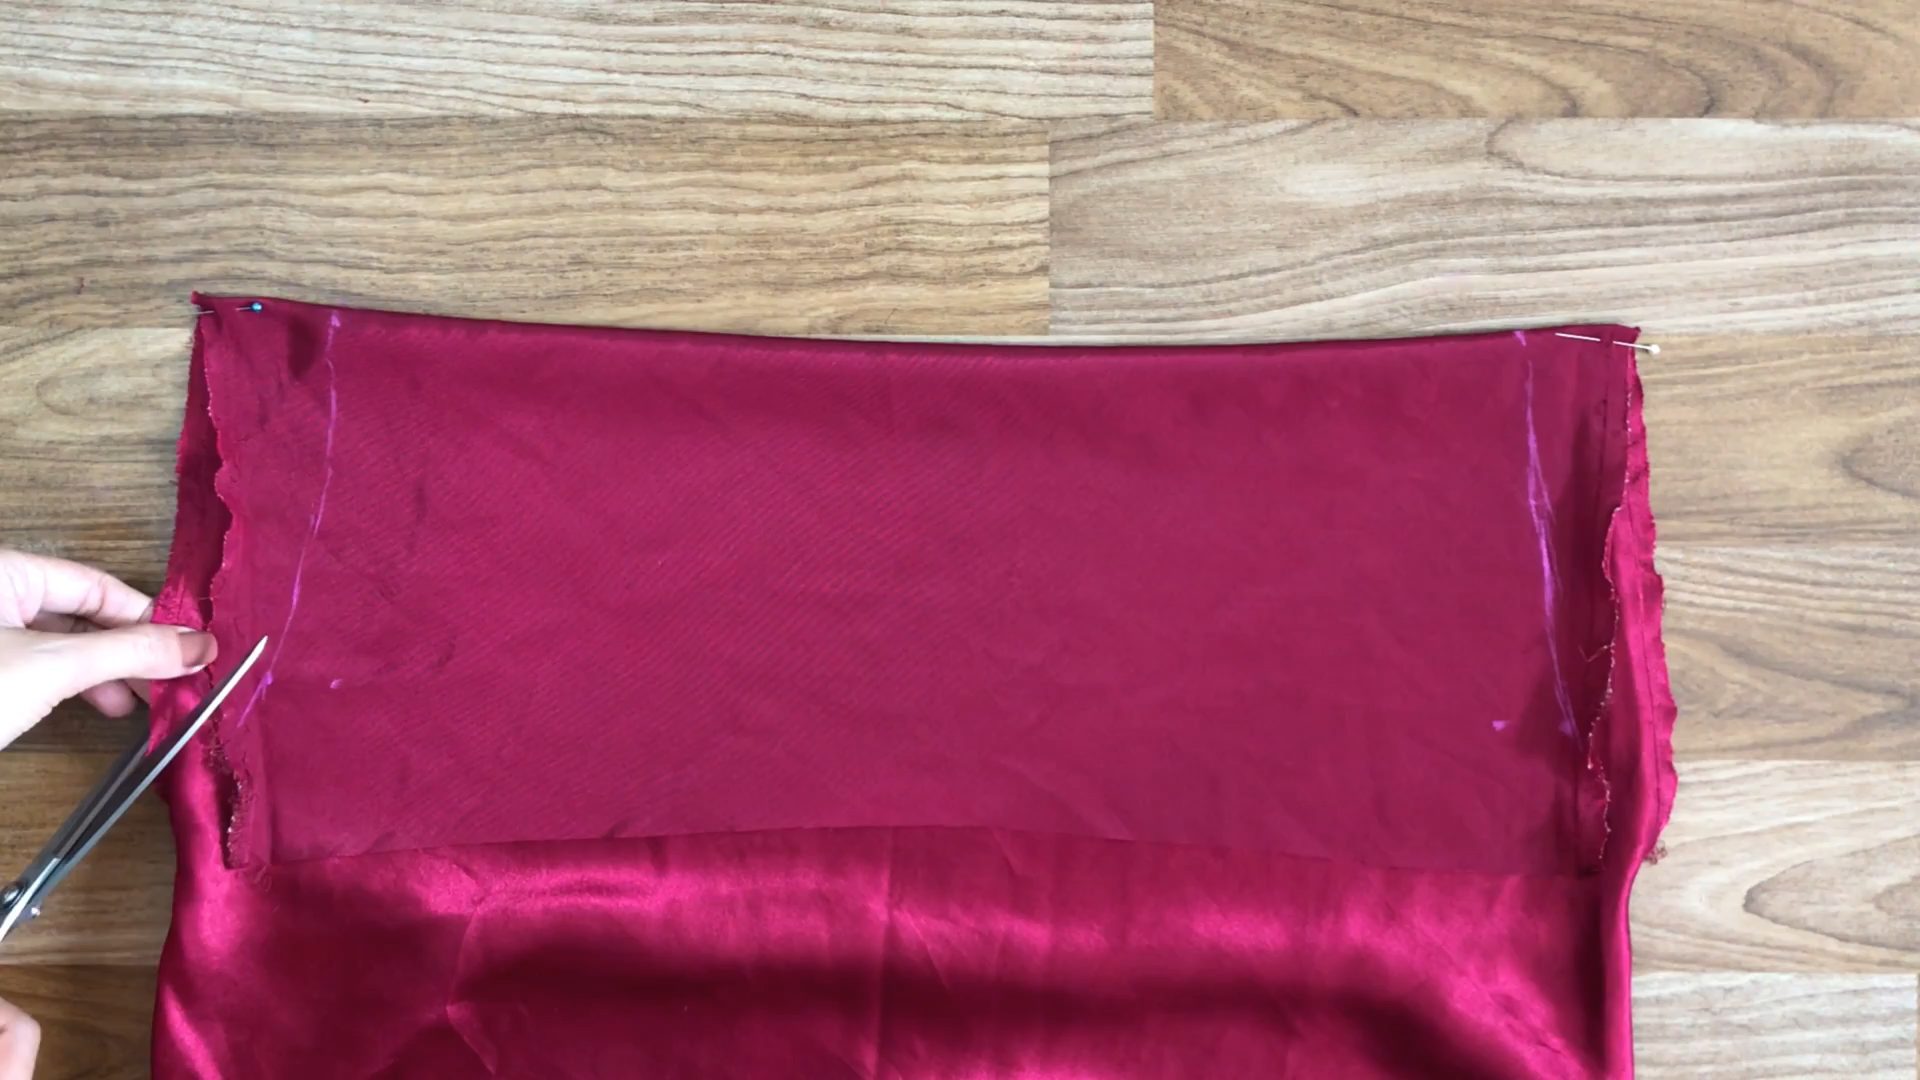
Then, cut a curve by the drawing line.
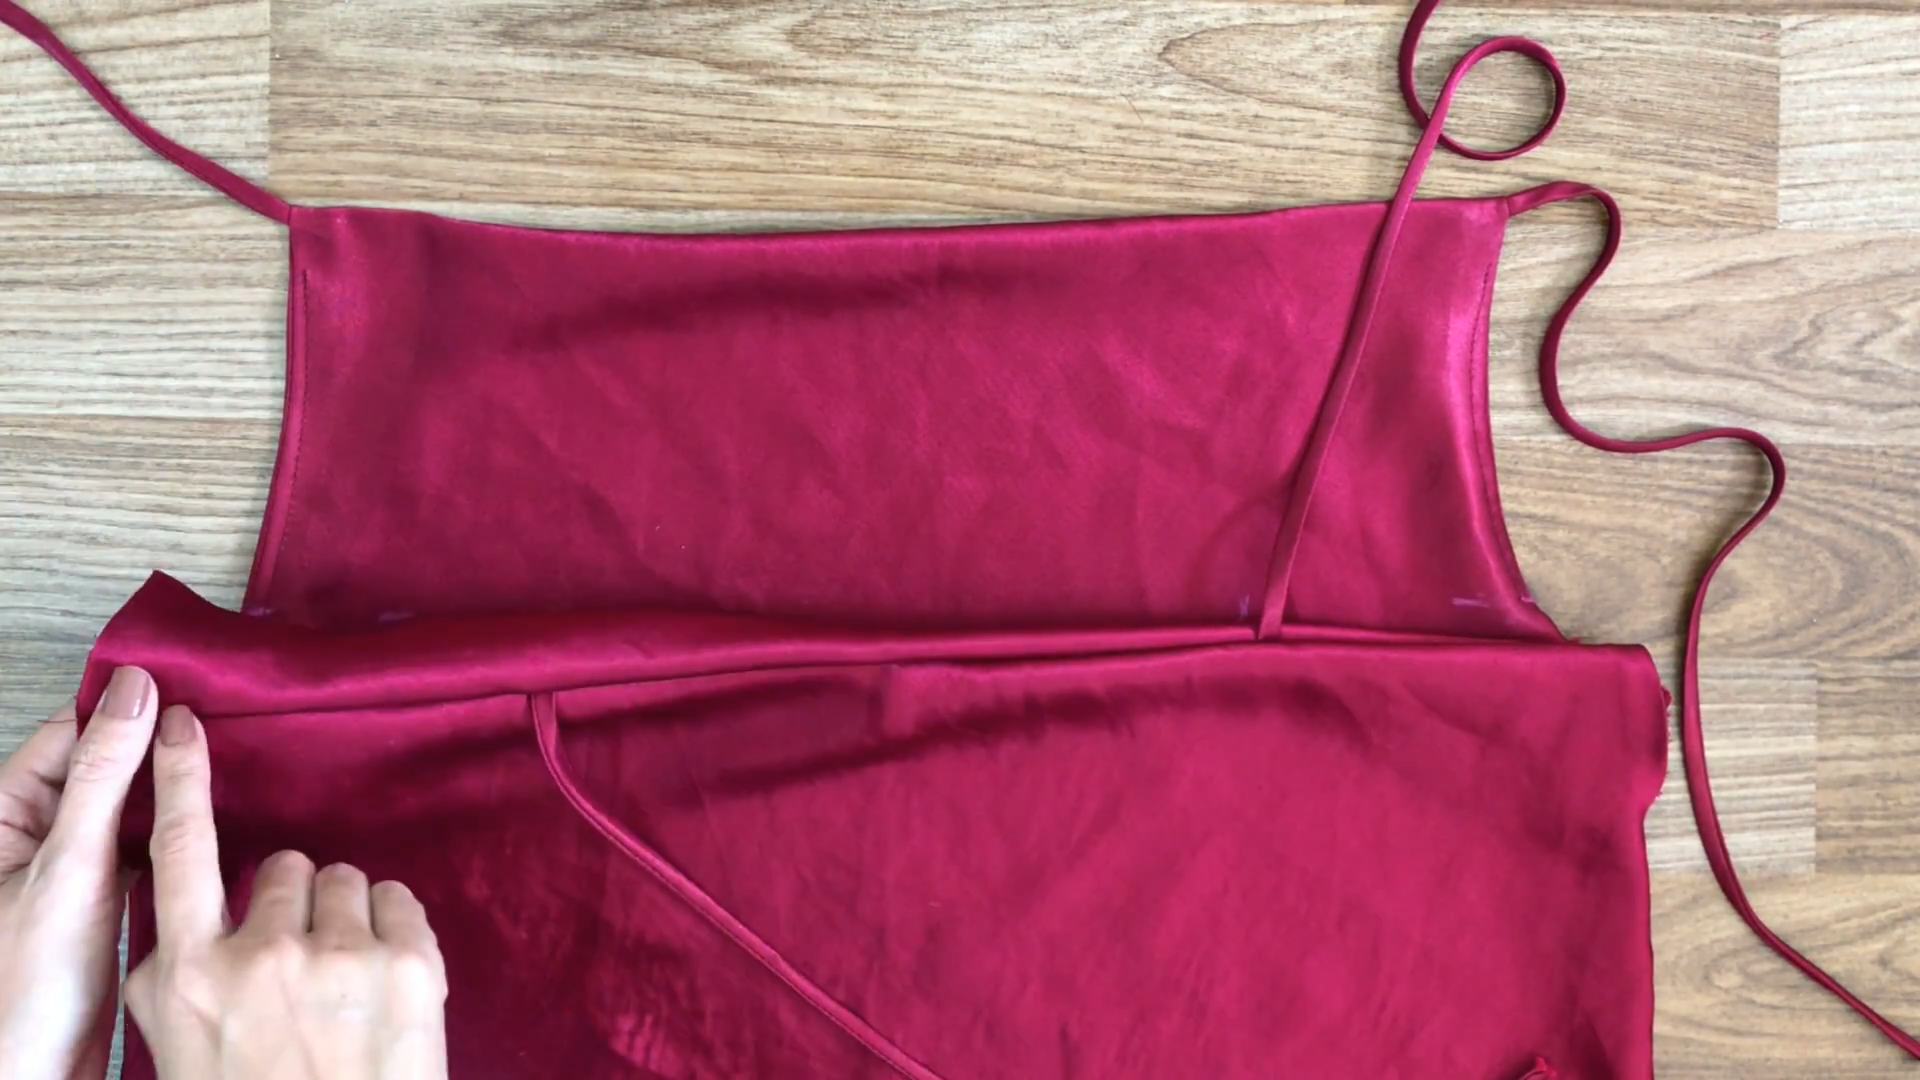
Before sewing, put two waist bells to the top of the falling neck. This creates the falling neck of the dress.
To hide the sewing line of the hands, sew on the fabric to the backside of the falling neck.
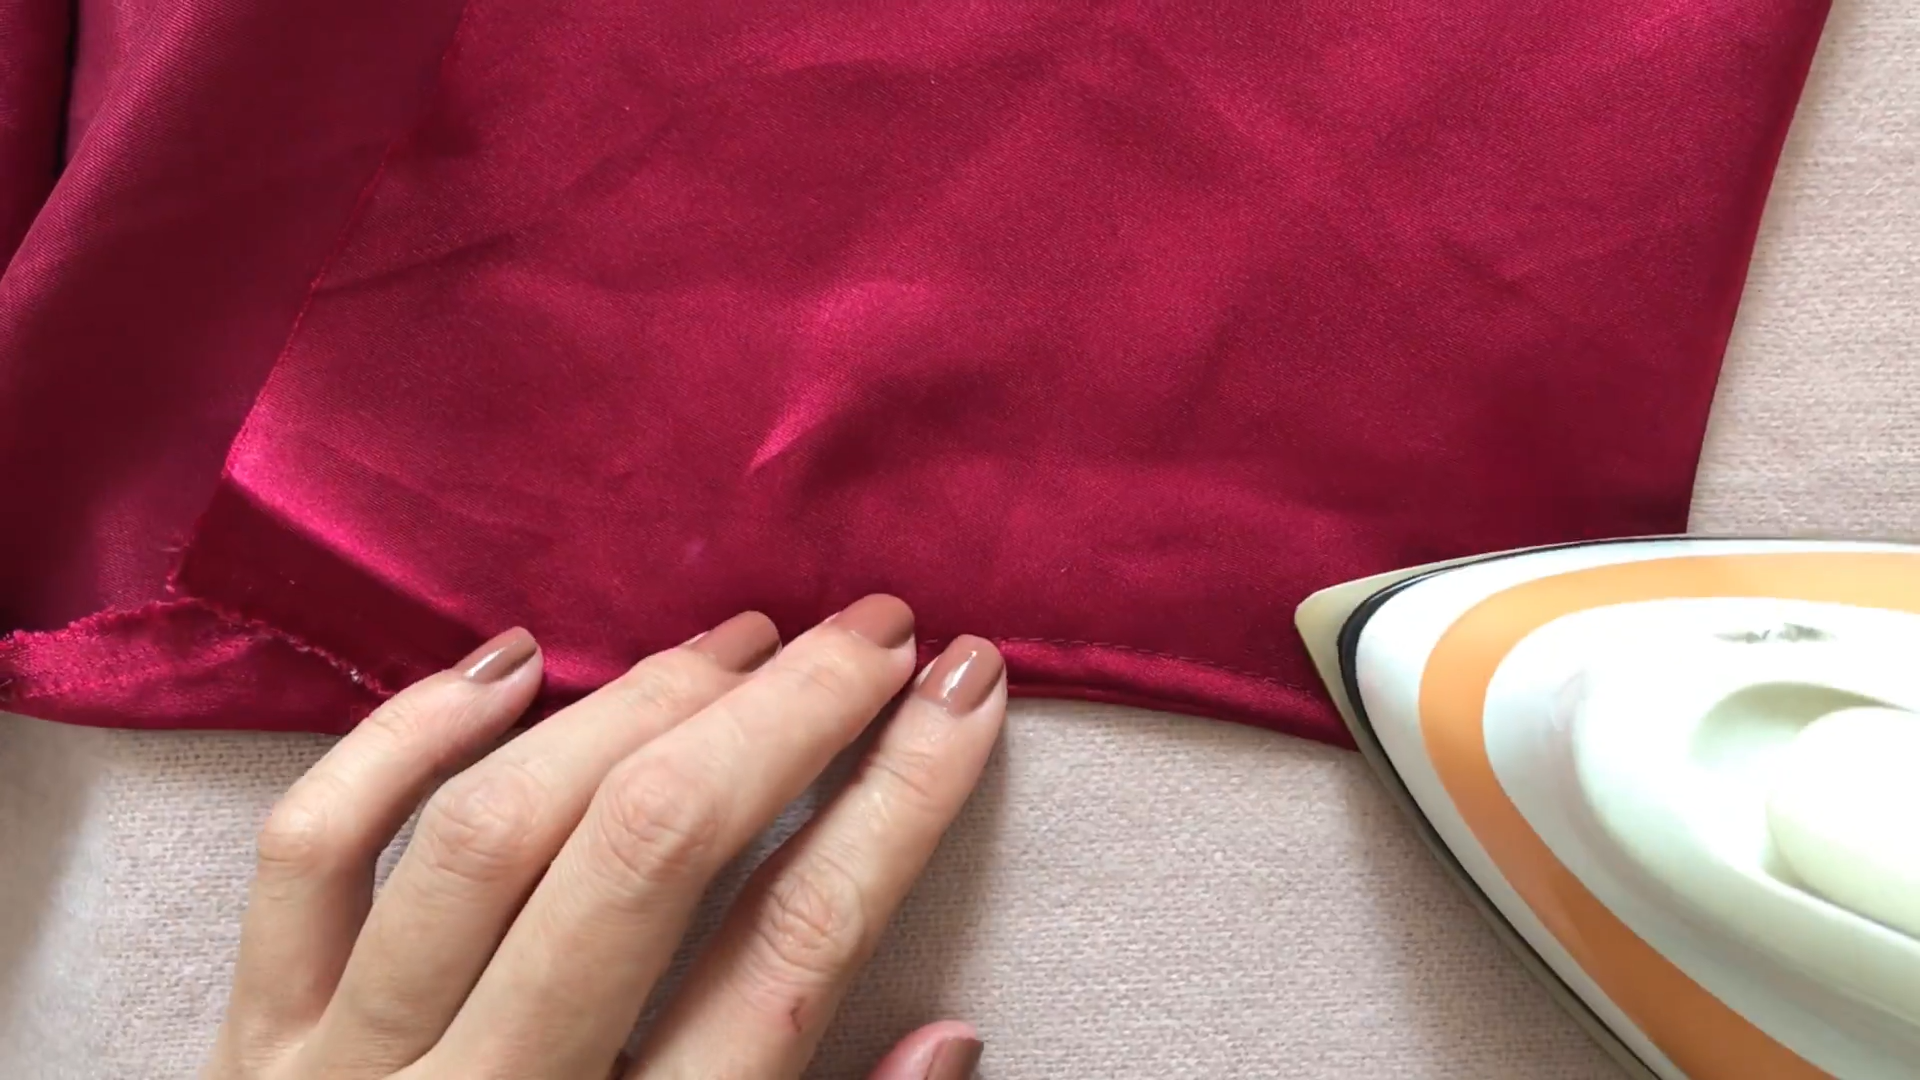
Then, iron it to keep it straight.
THE BACK
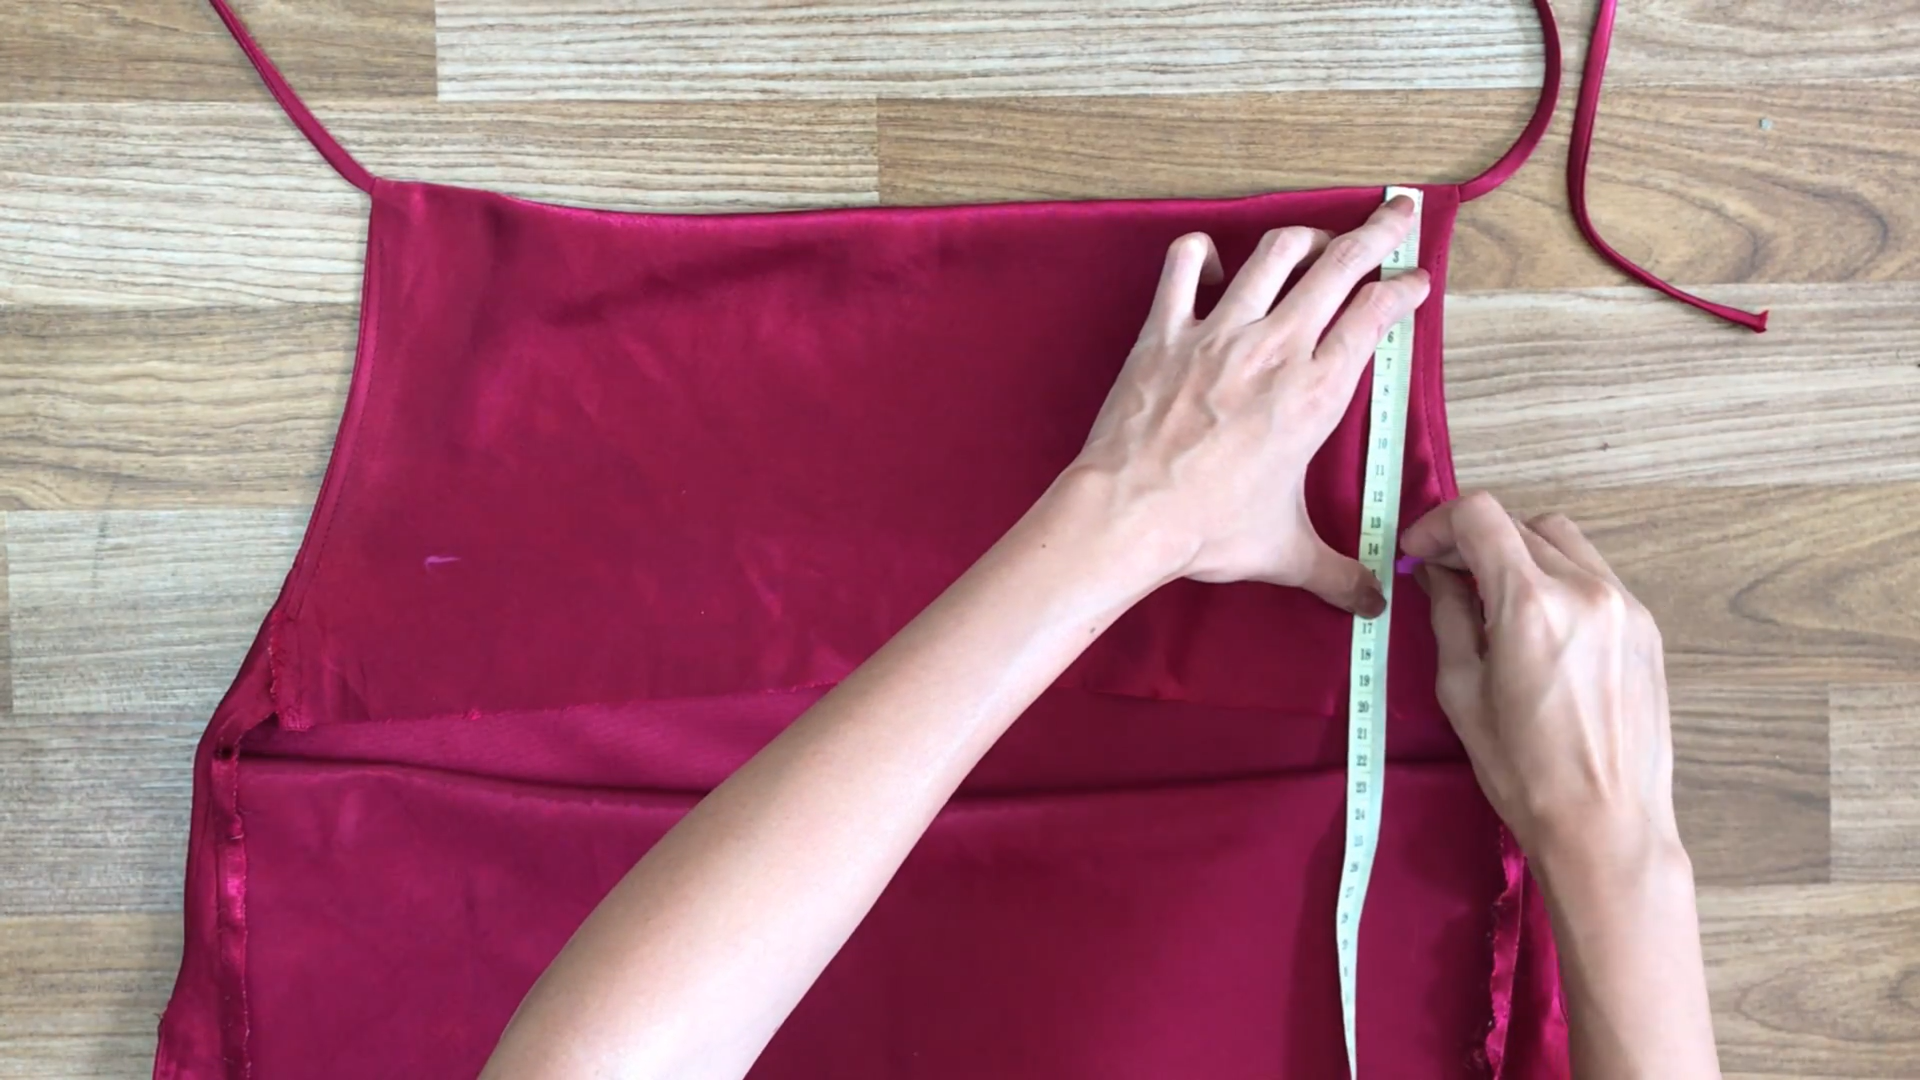
From the top of the neck, go down 14 cm and make a mark.
Then, fold the fabric up the back to that mark. This will be the hide of the back.
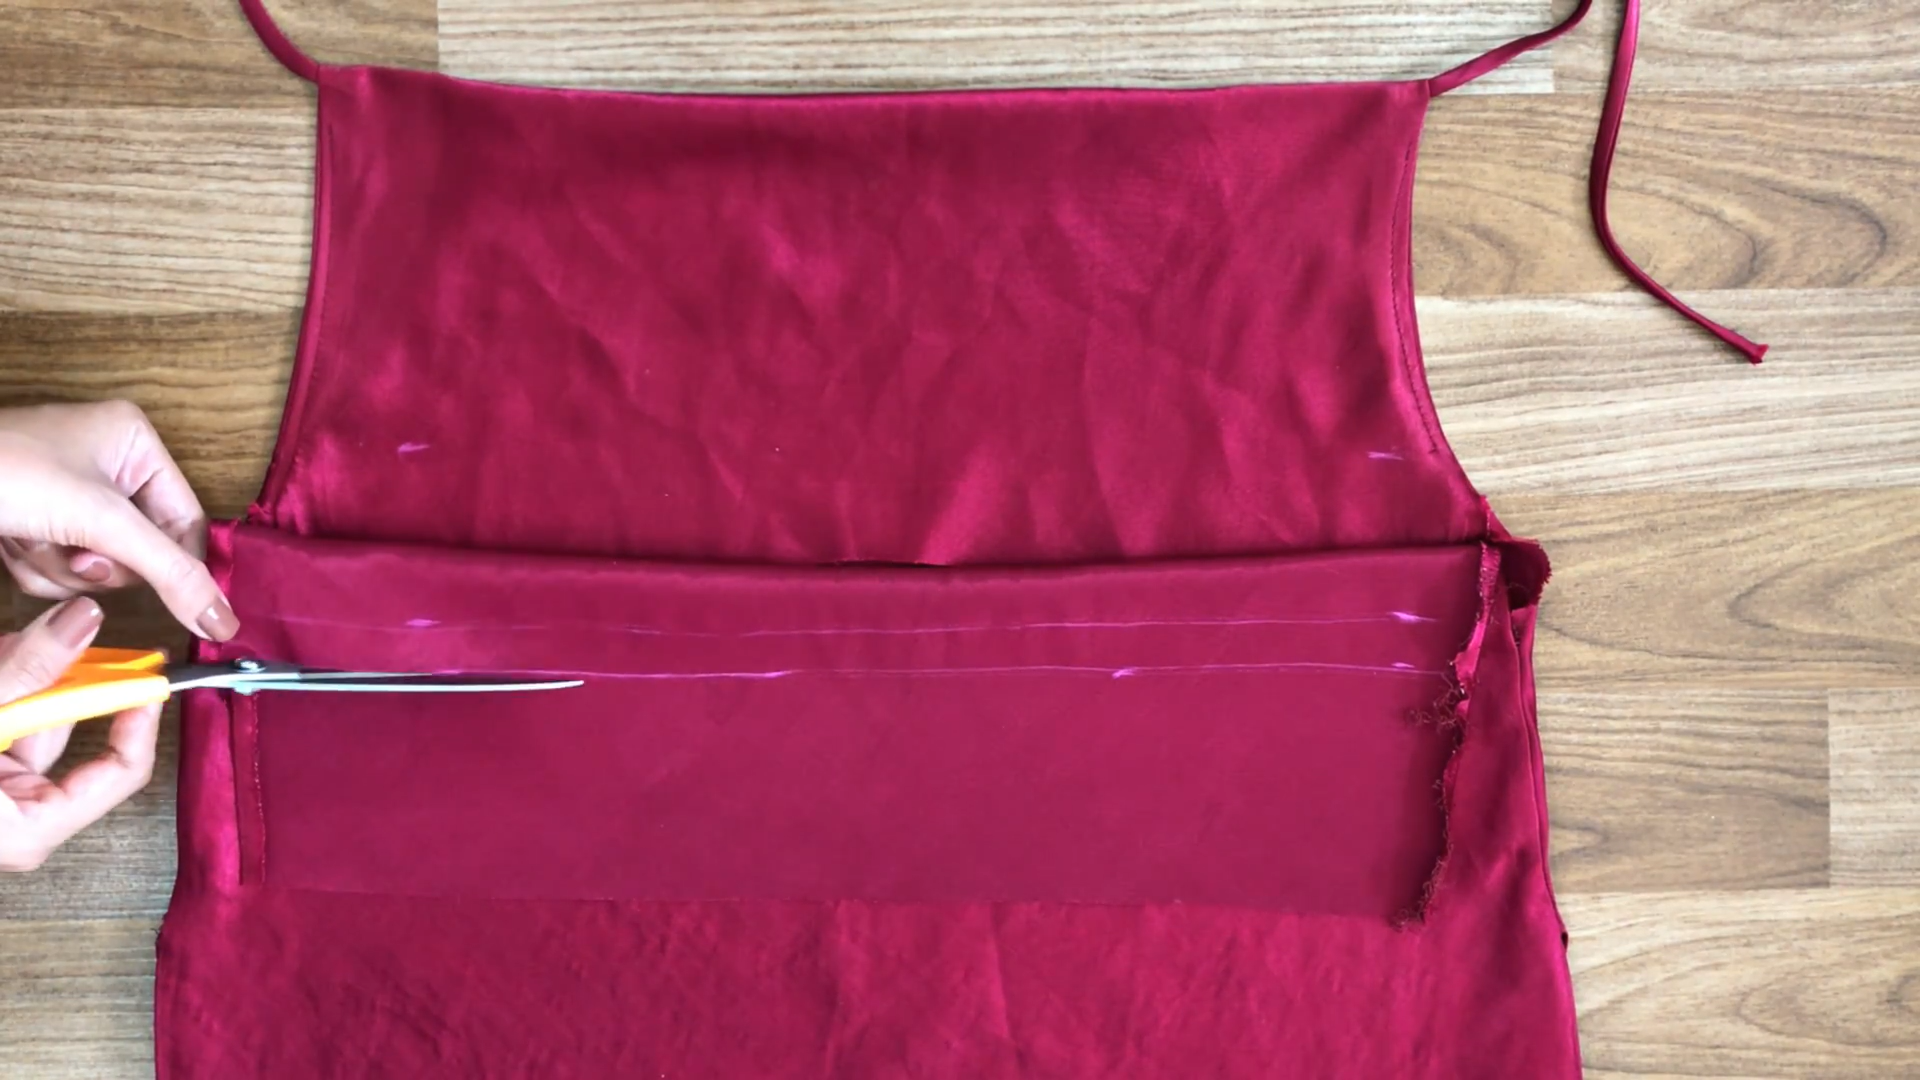
Draw two lines at the mark and cut with 2 cm extra for sewing later.
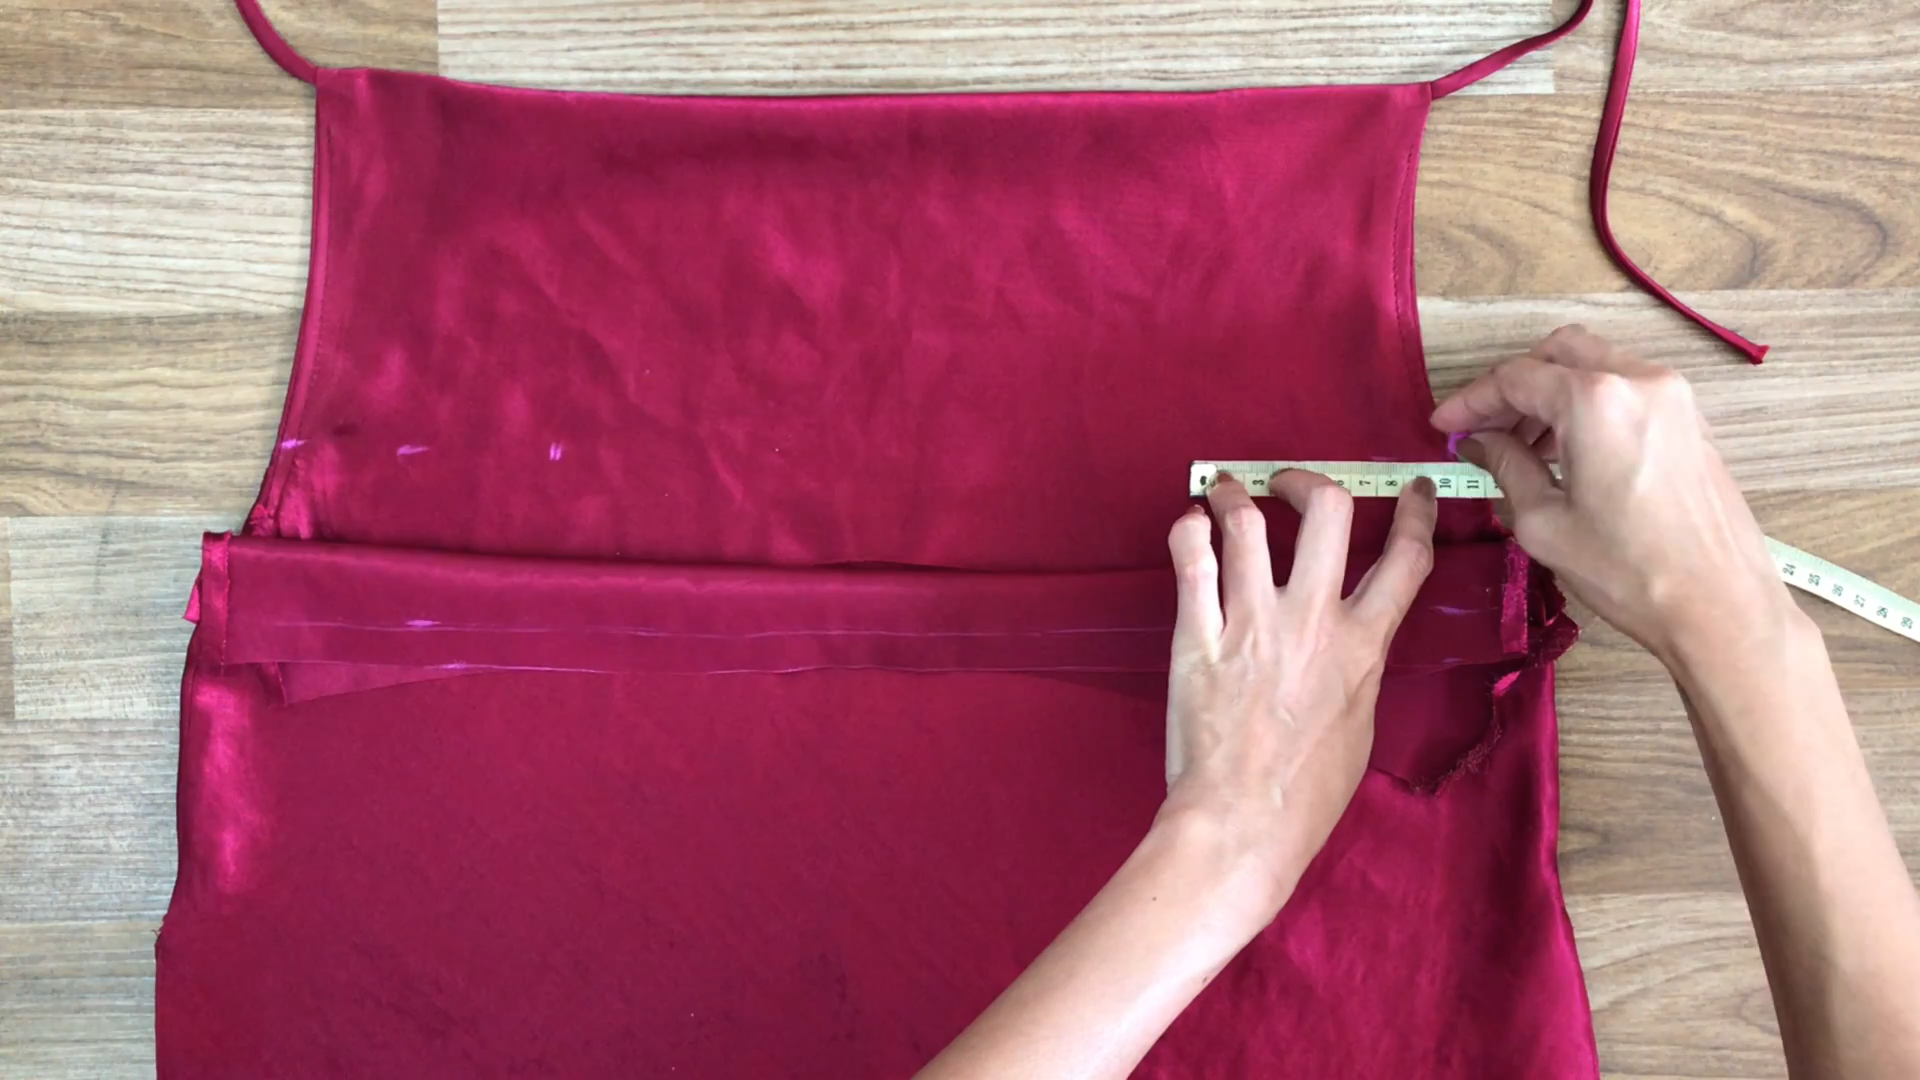
From two sides of the hands to the middle, make another mark at 10 cm.
Then, copy that mark to the fabric of the back.
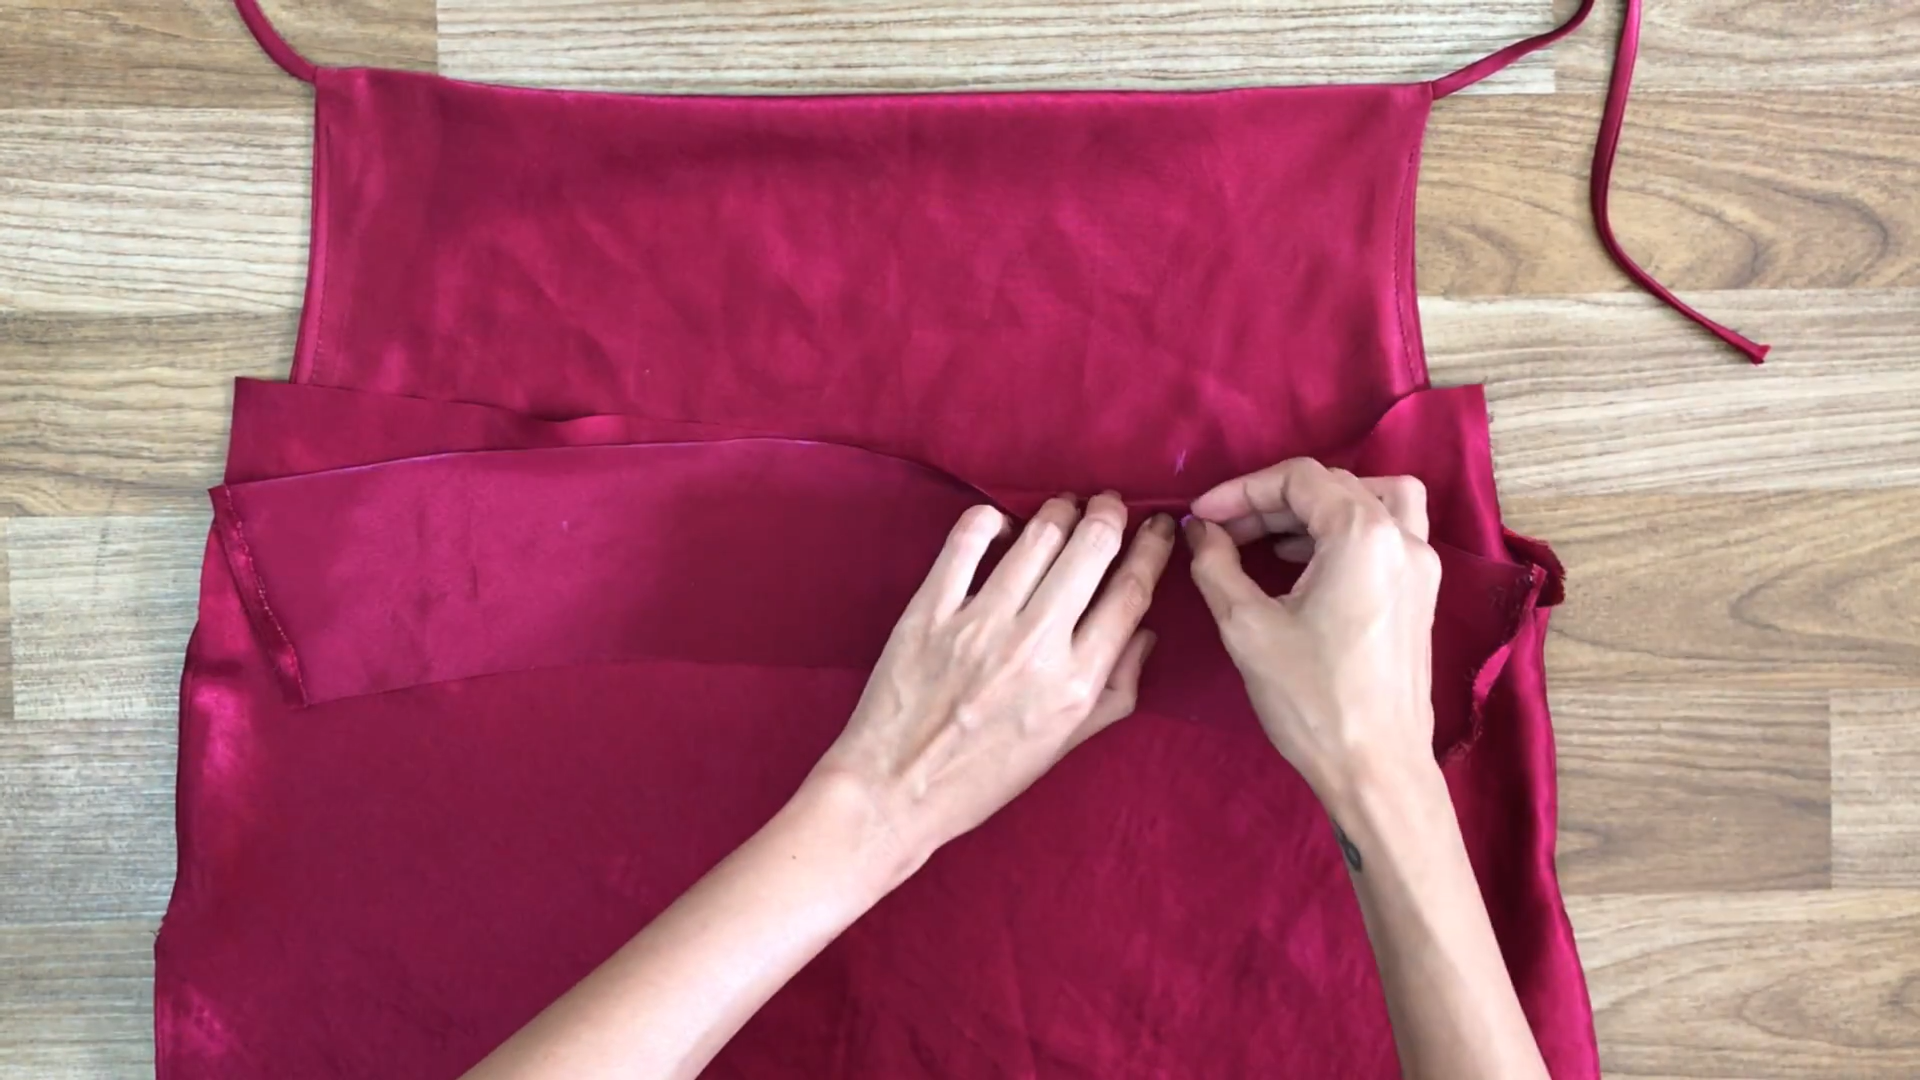
Put two other waist bells at the mark and pin them together, then sew along the drawing line.
Similar to what was done with the hands, sew on the fabric to the back and iron it to hide the sewing line.
THE WIDTH
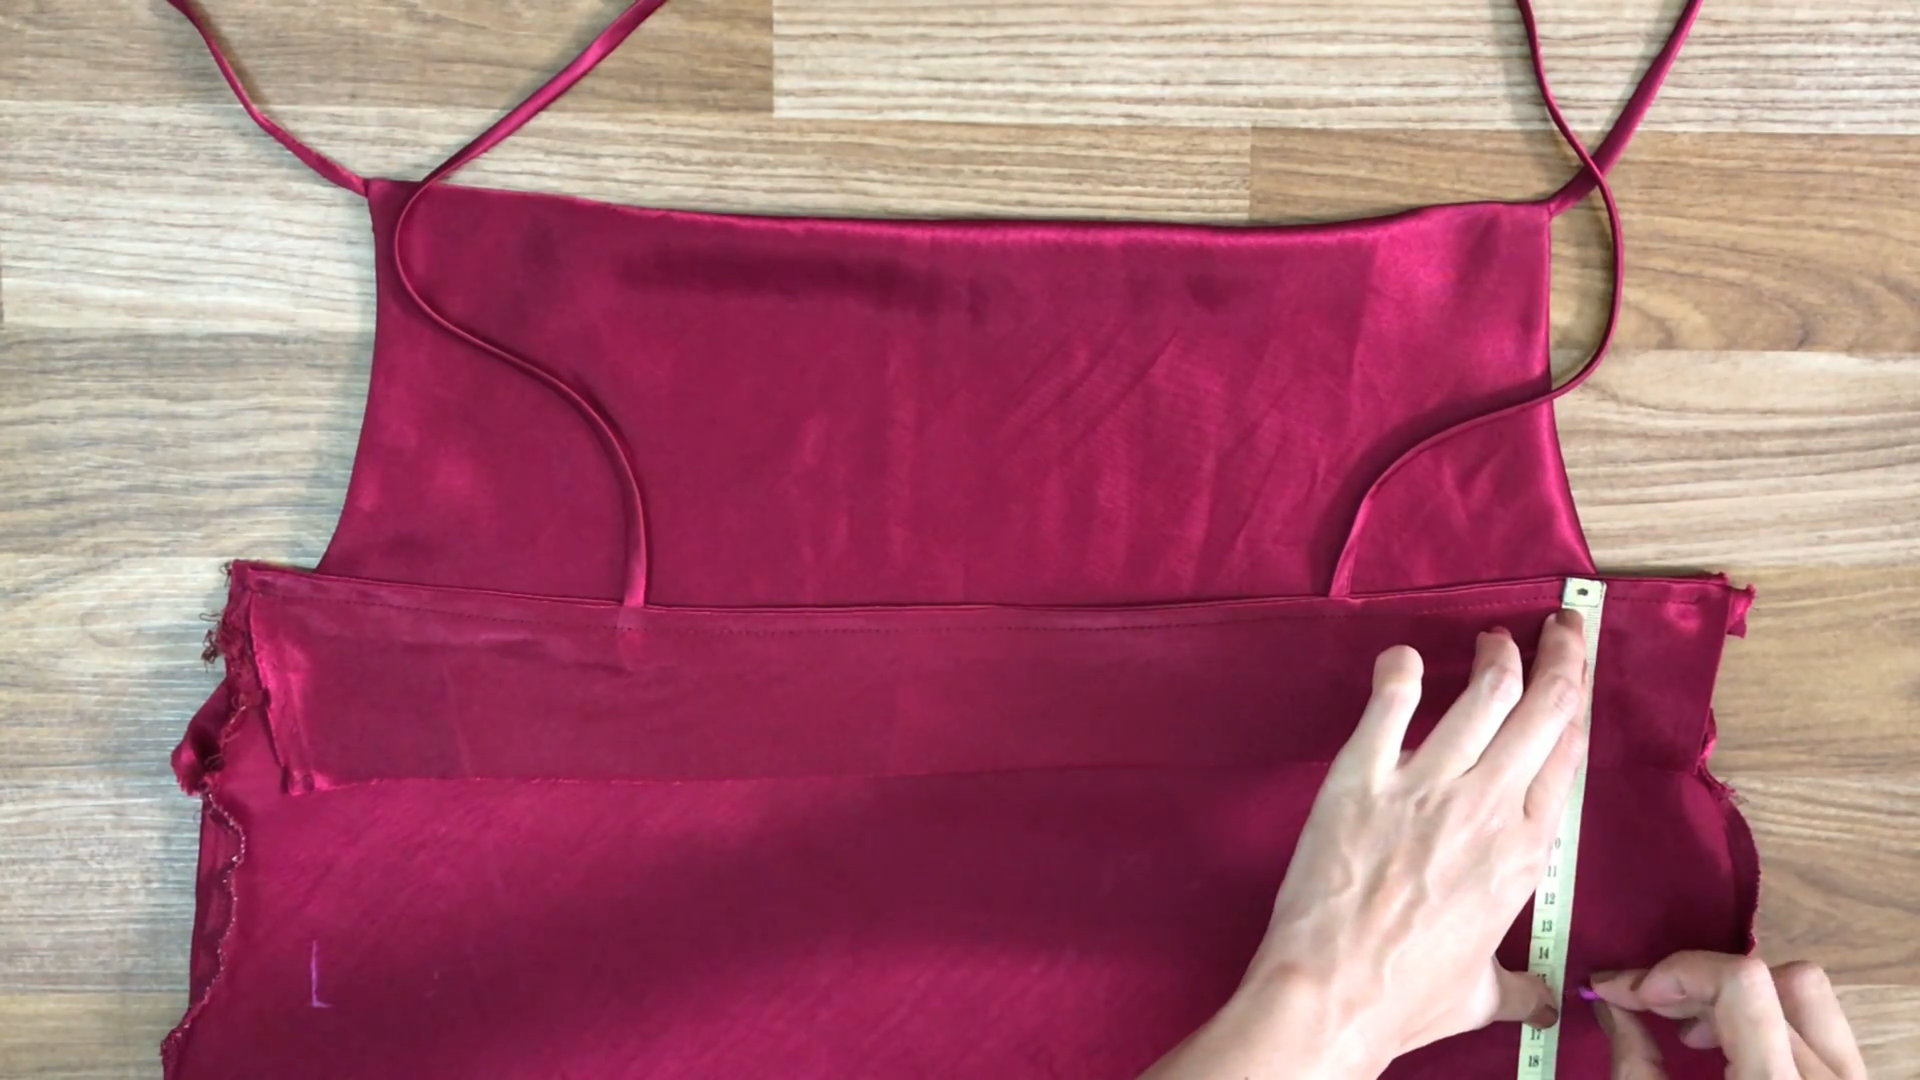
From the top of the back, go down 15 cm to where your belly is and make a mark there.
From that mark, move 4 cm and make another mark so the width of your belly will be 34 cm.
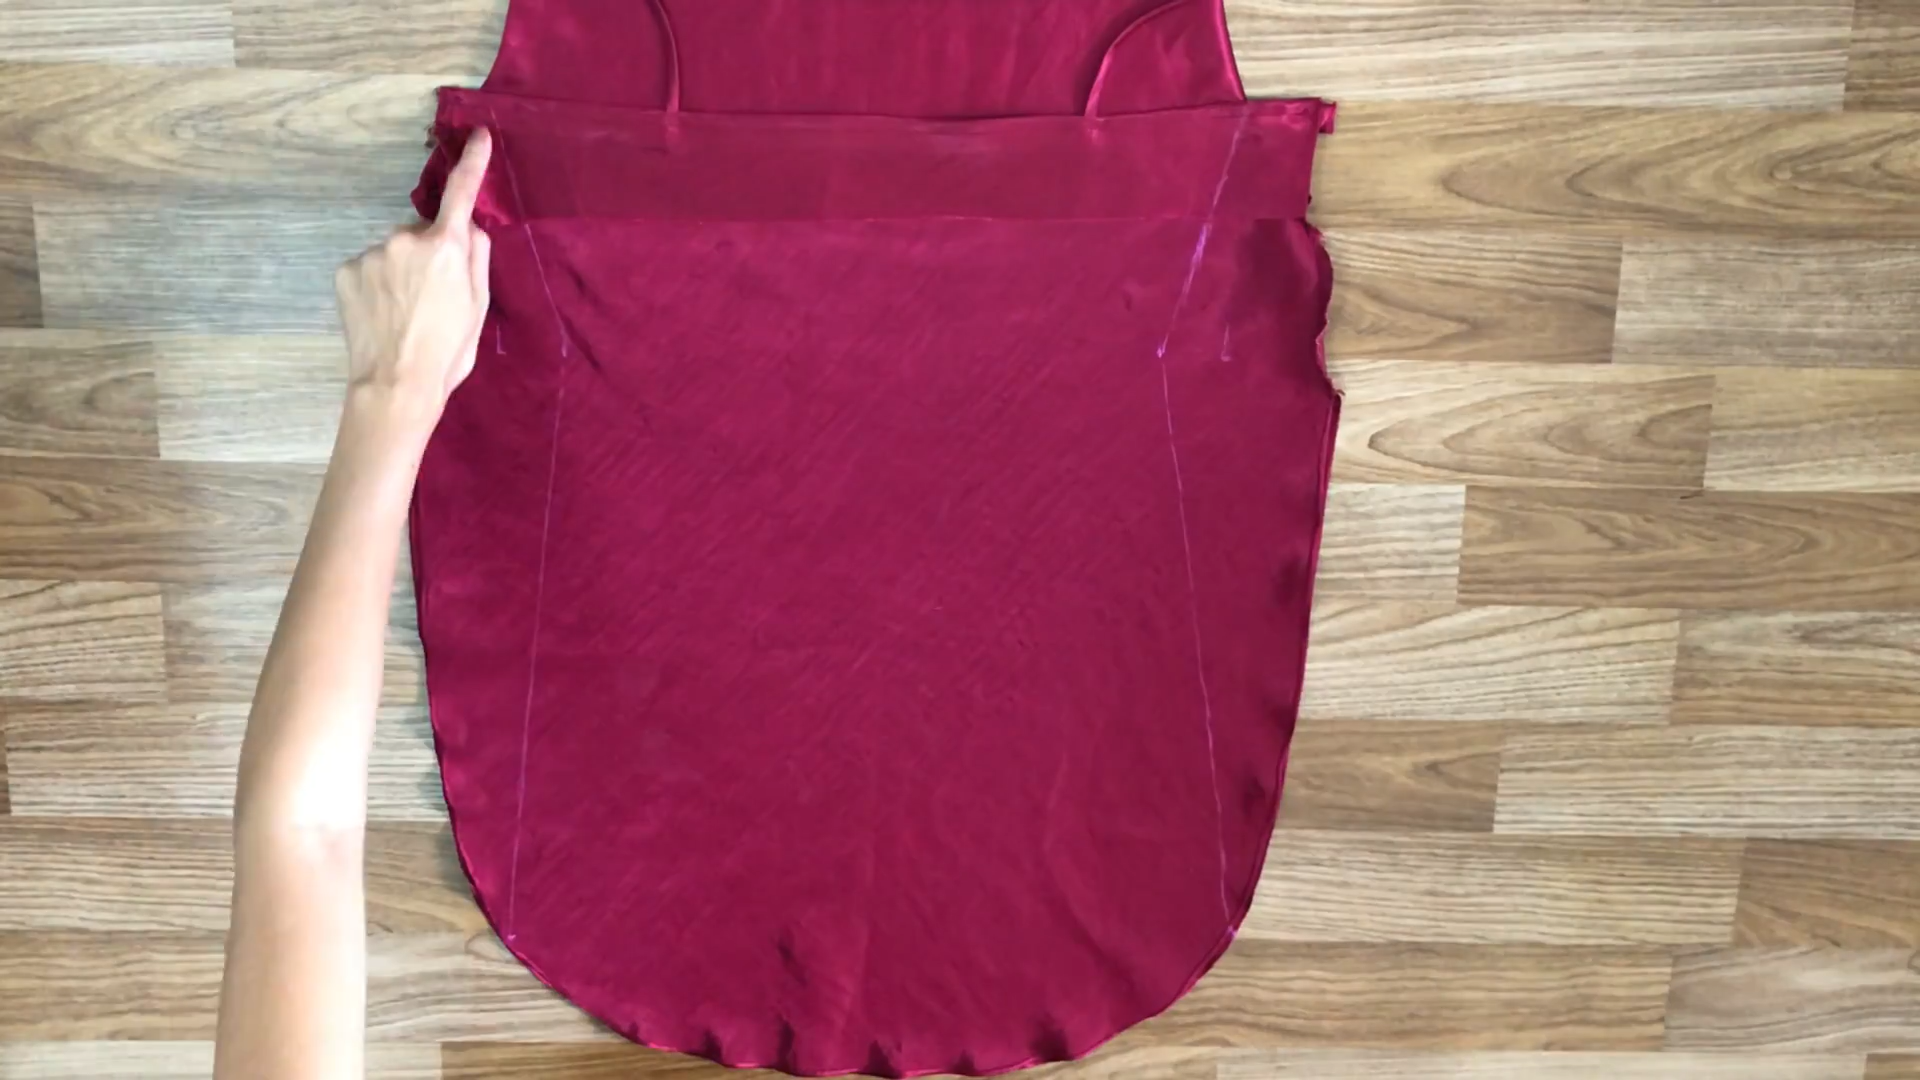
Then, draw the line by your marks.
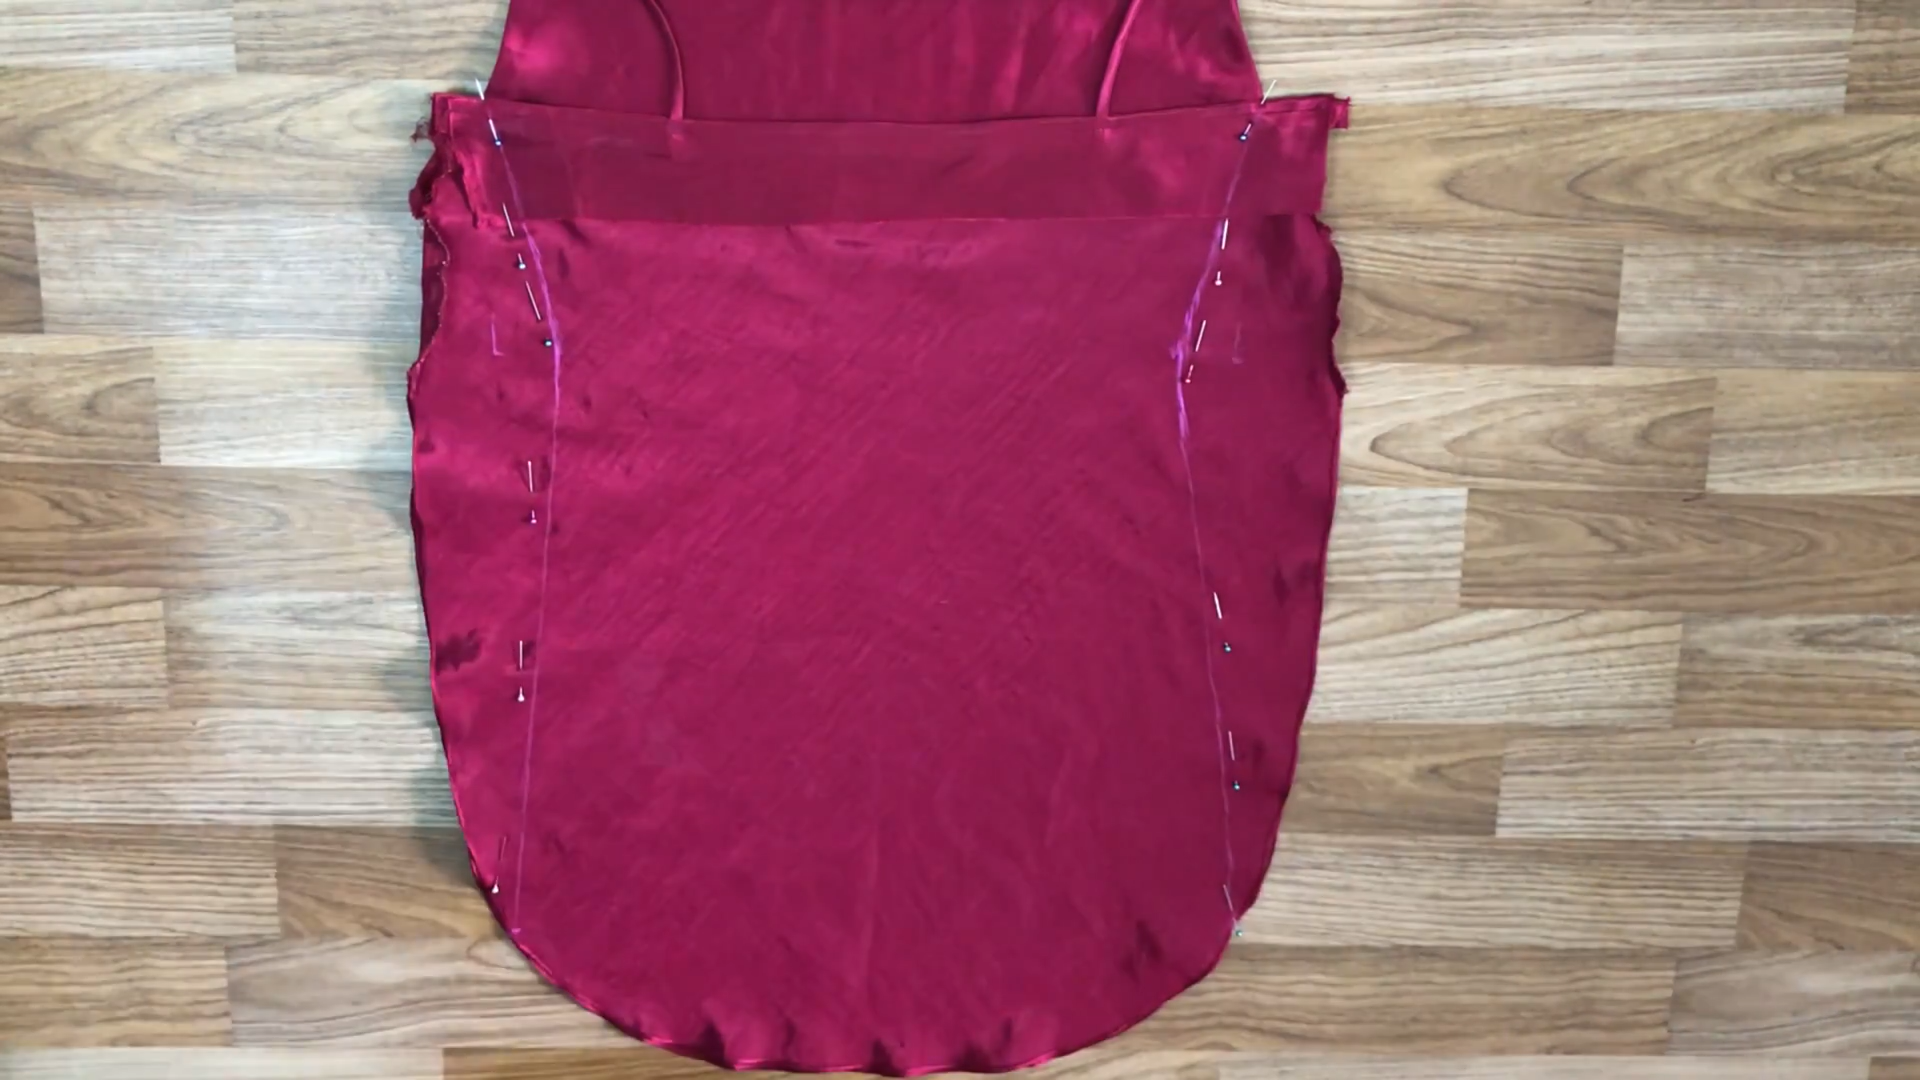
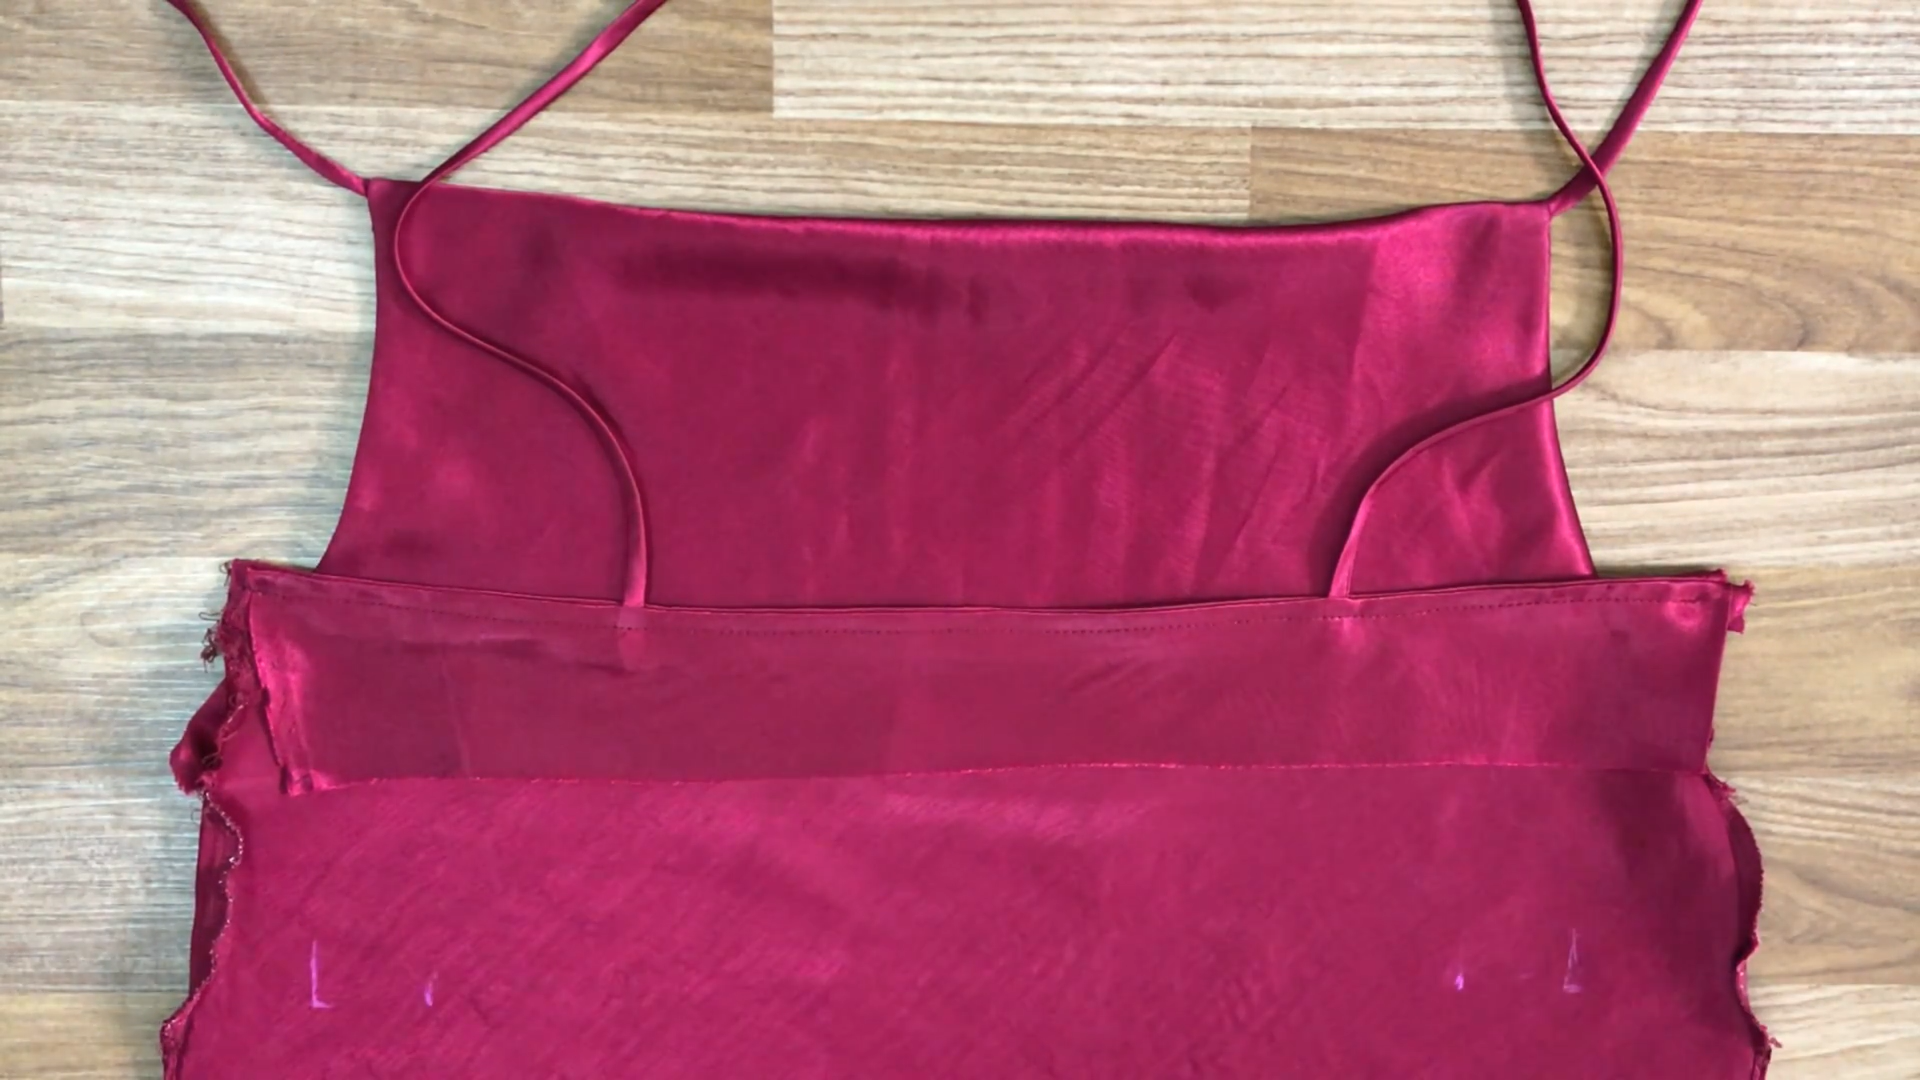
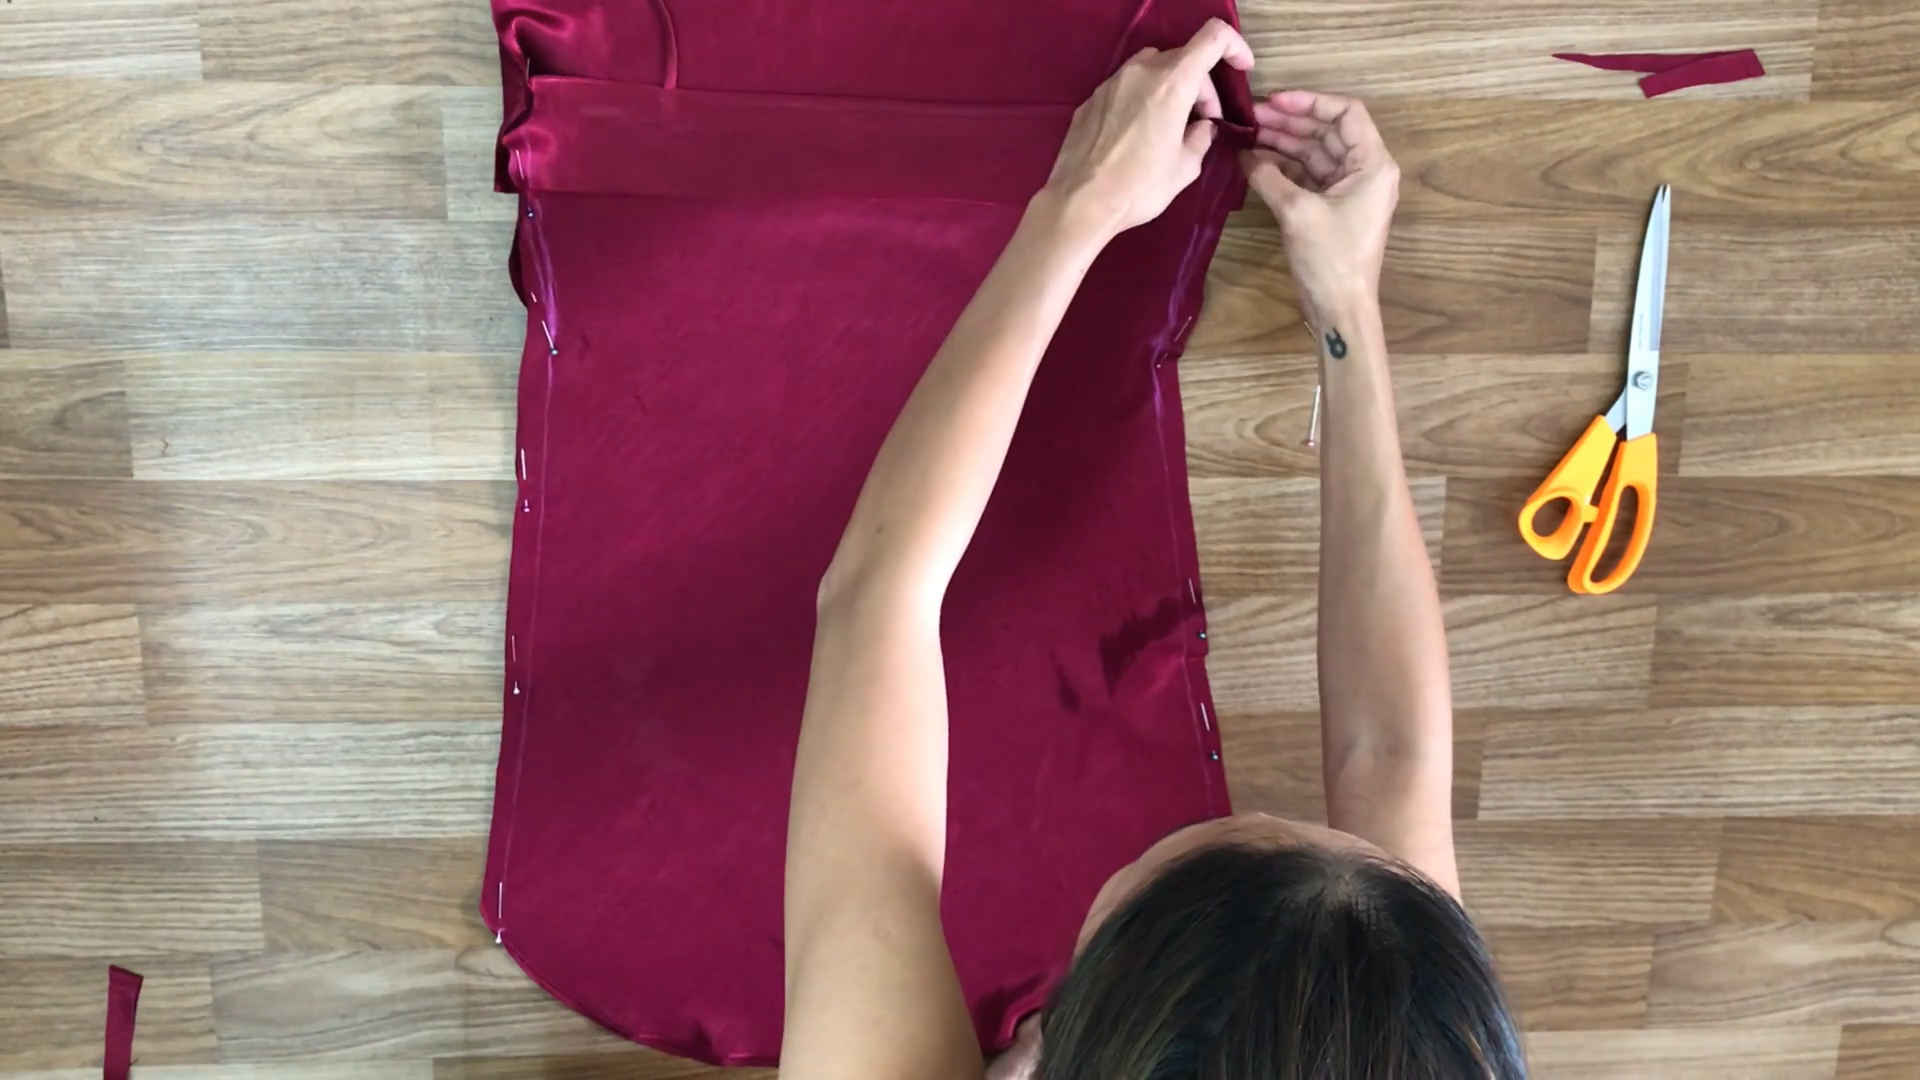
Pin the back and the front of the dress to hold them together.
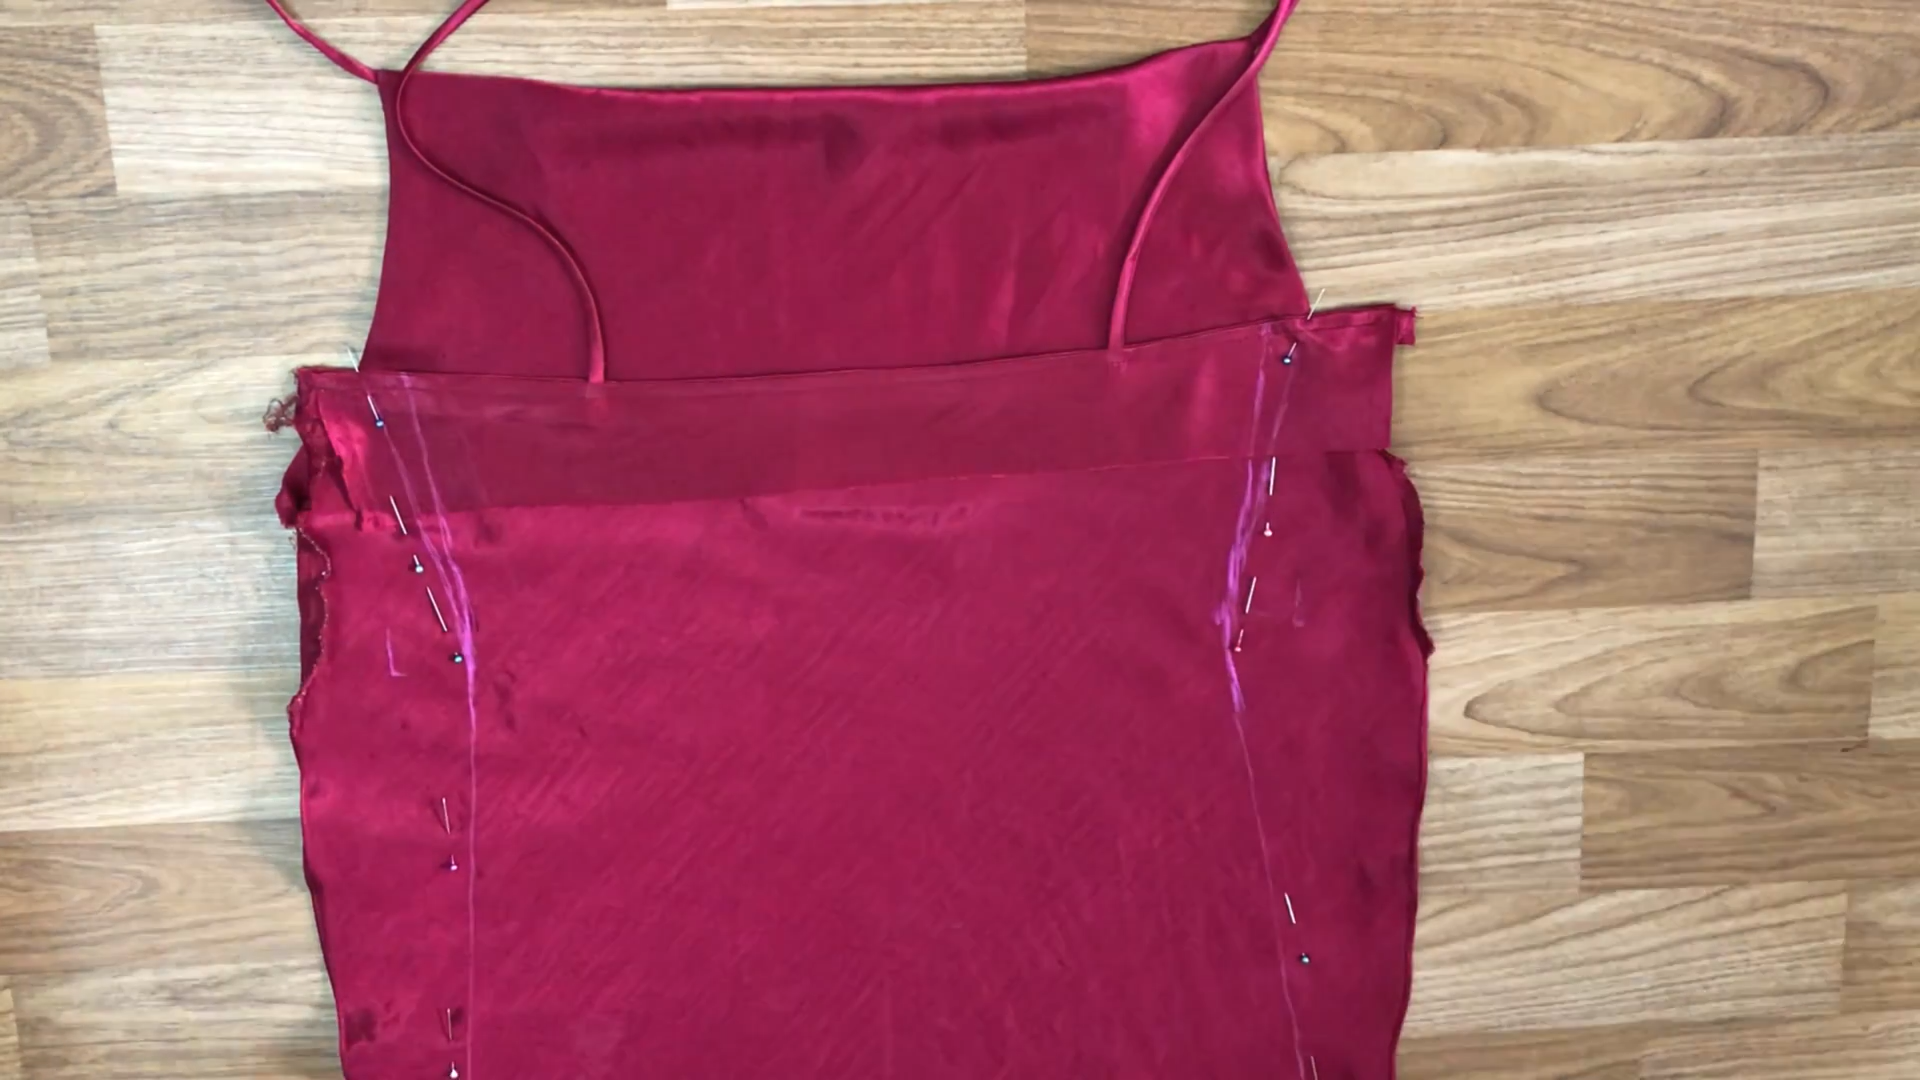
Move 2 cm on two sides of the hands. This will make the width of the back fit your size at 30 cm in half space for your armpit.
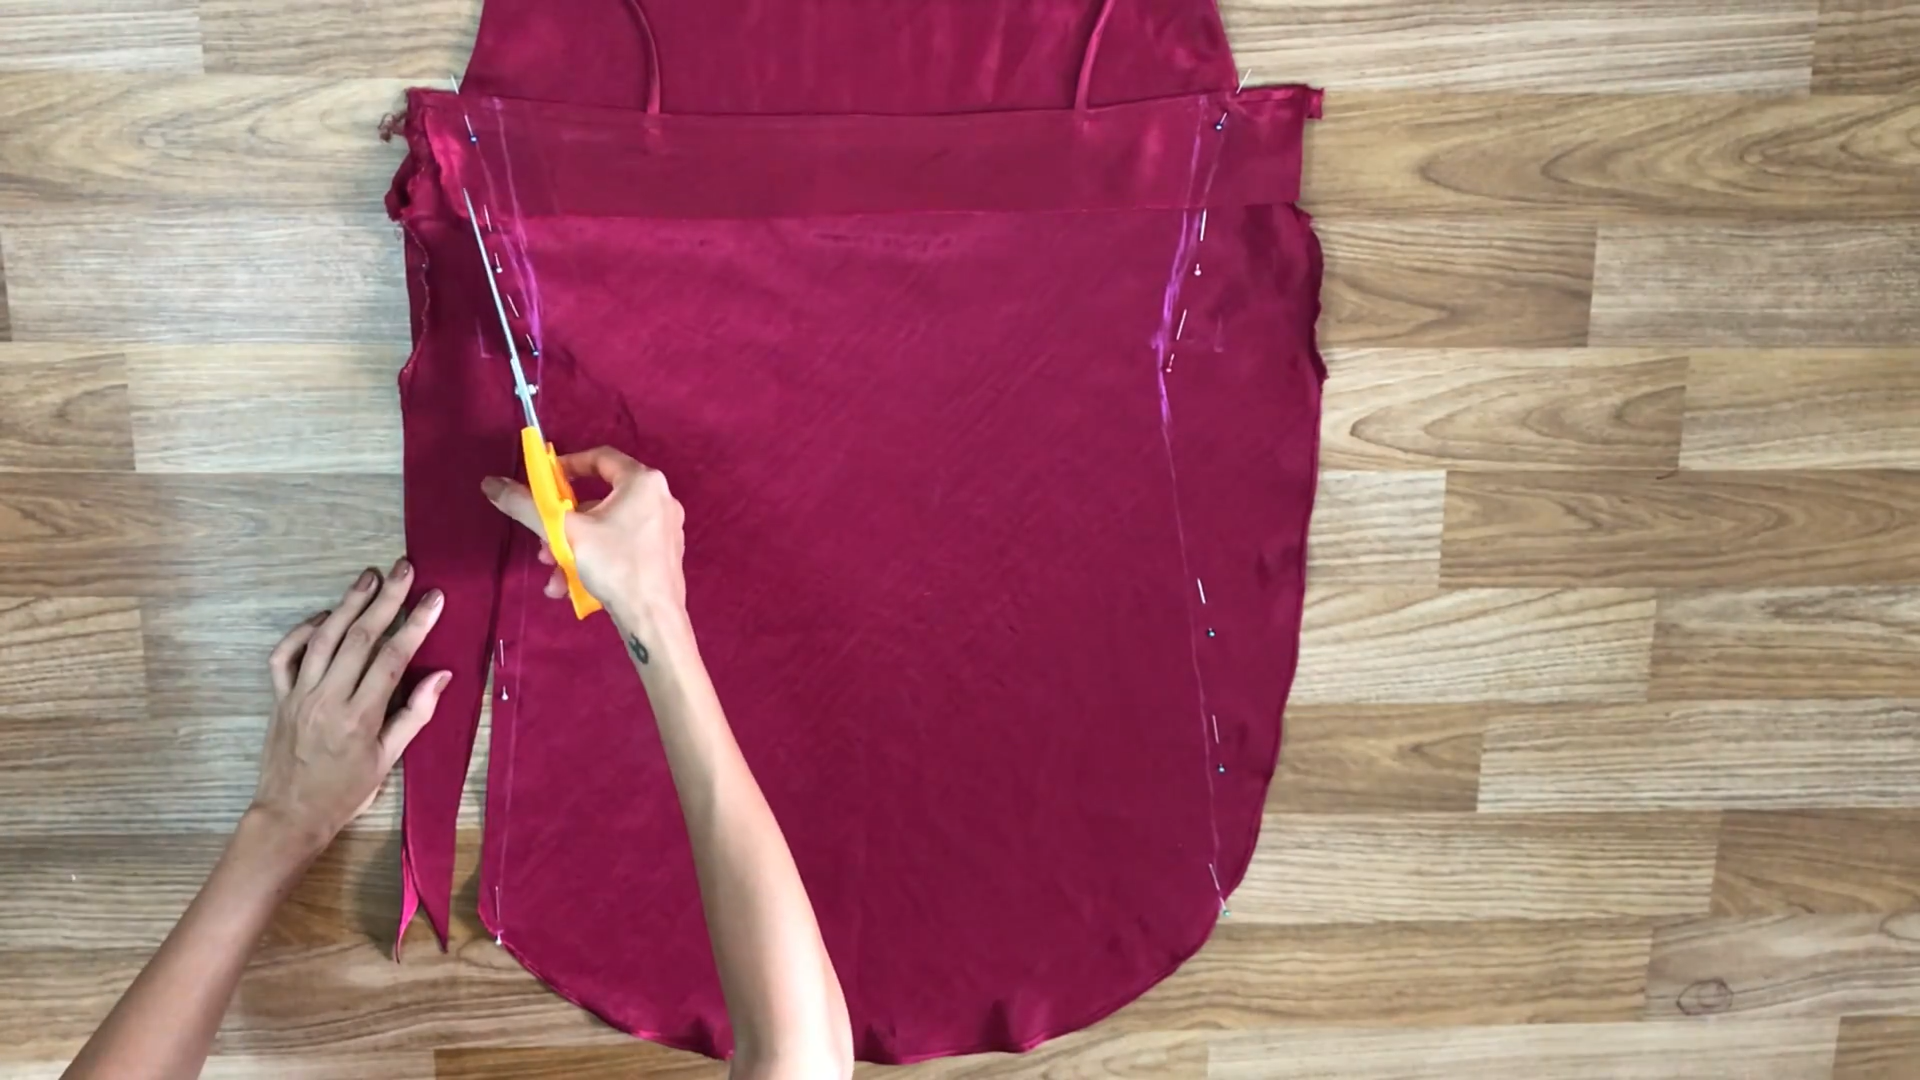
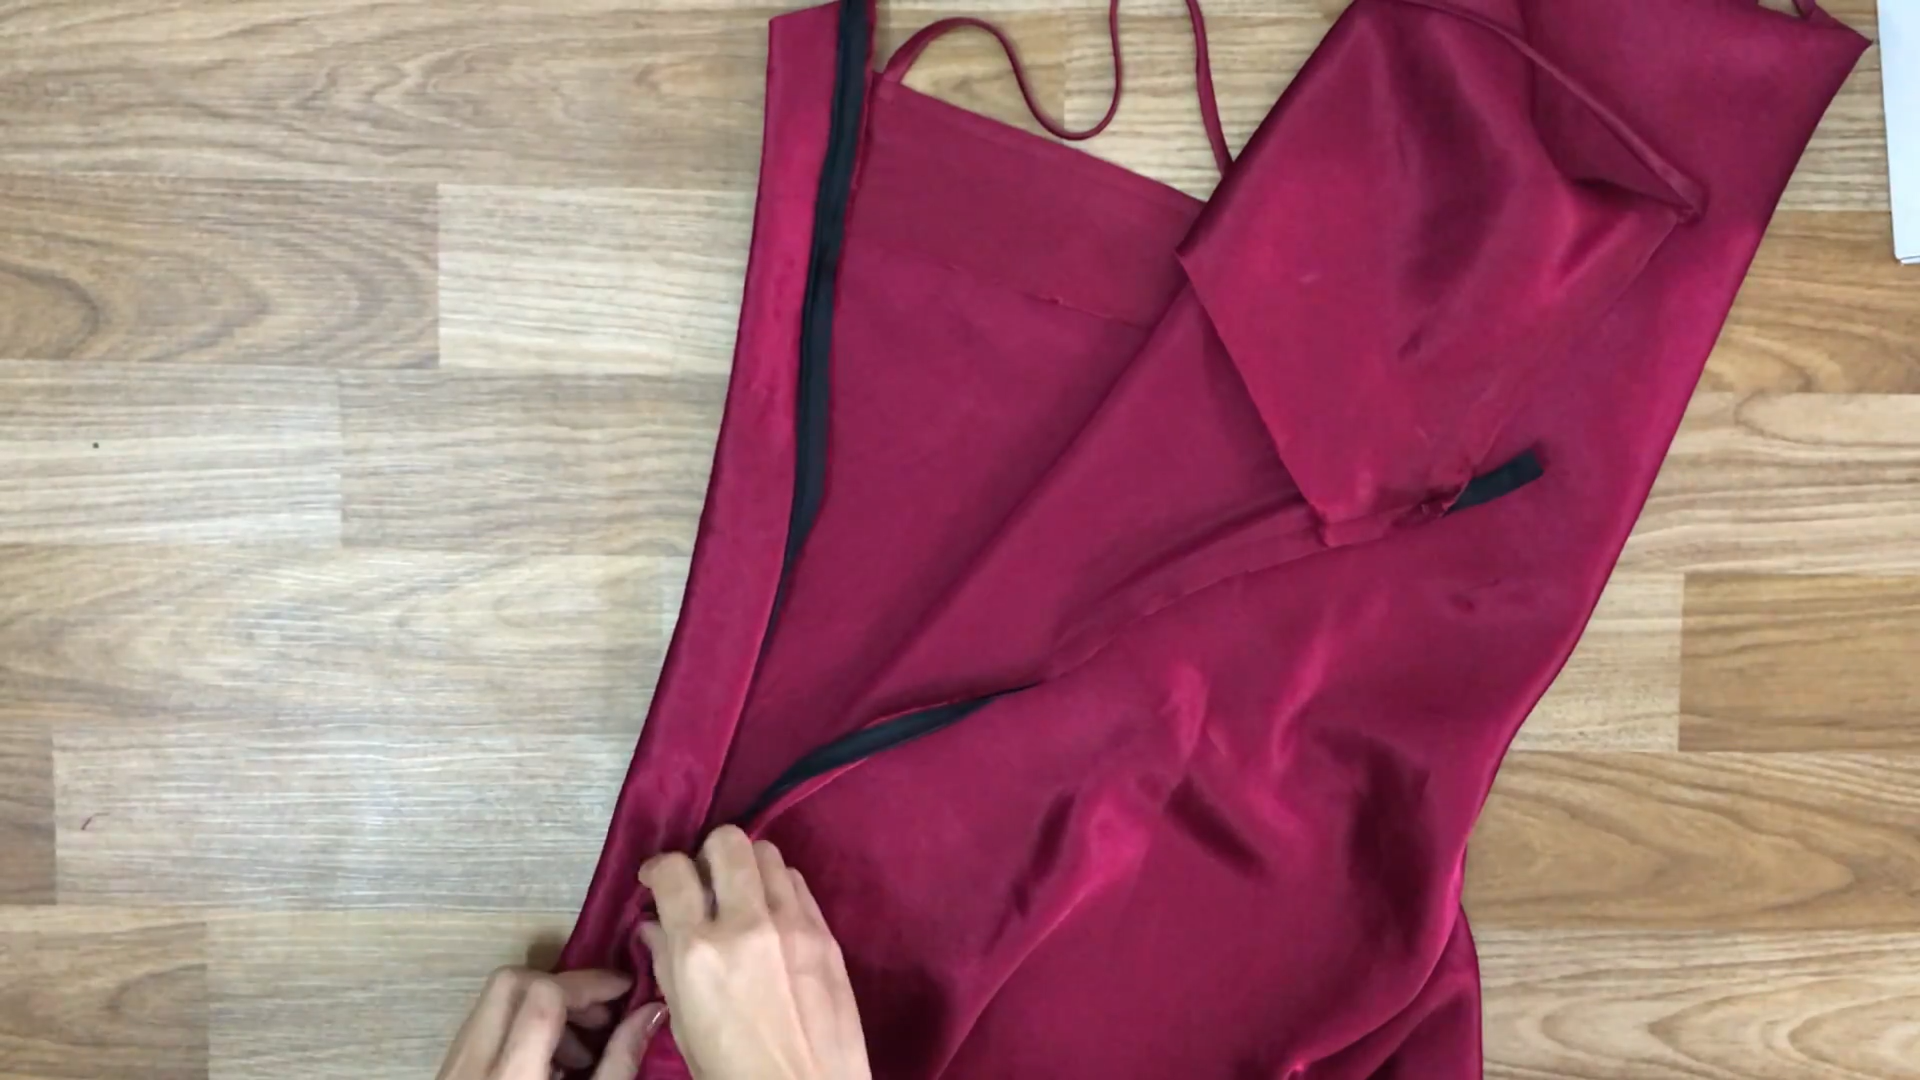
Then, cut the fabric by the drawing line and sew one side of the dress.
After cutting, connect the two new sides together and sew.
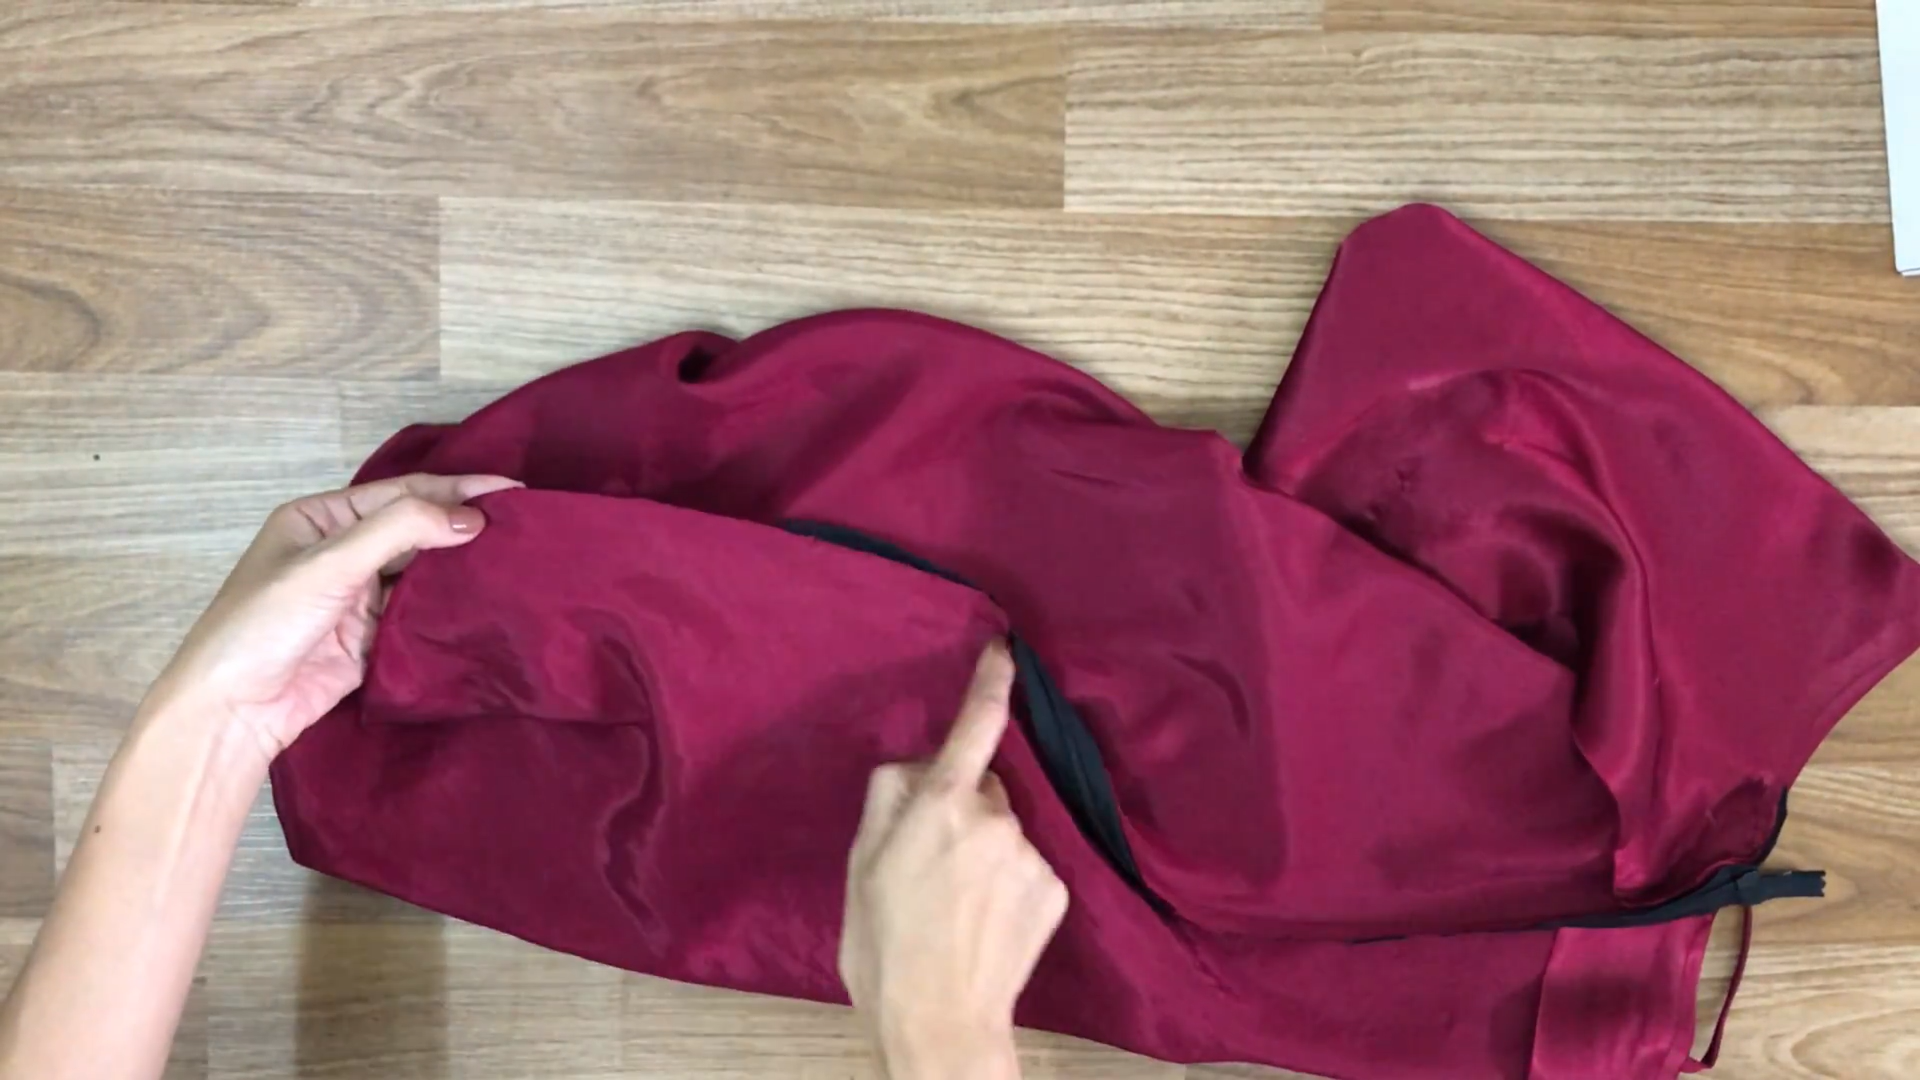
THE ZIPPER

Use a zipper for the other side.
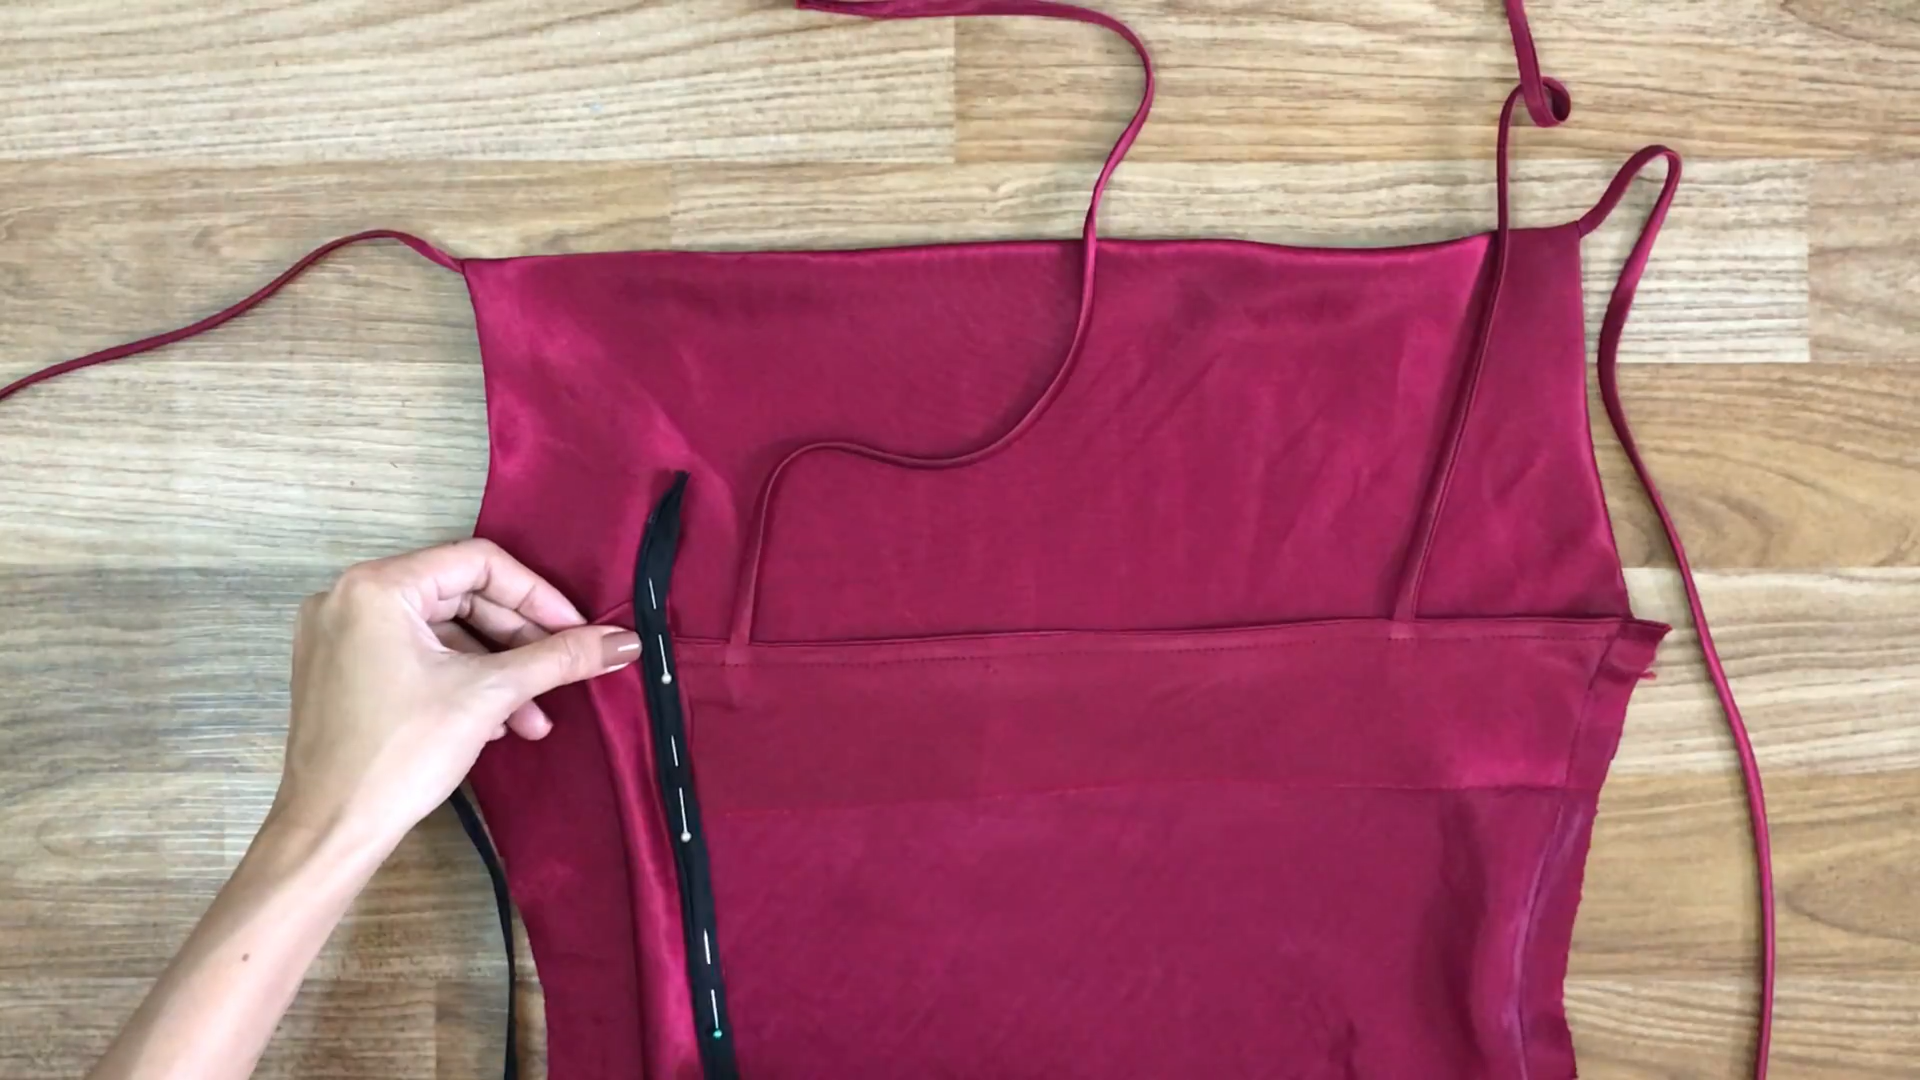
Sew one side of the zipper with the back of the dress first.
Then, close the zipper and pin the other side of the zipper to the front of the dress.
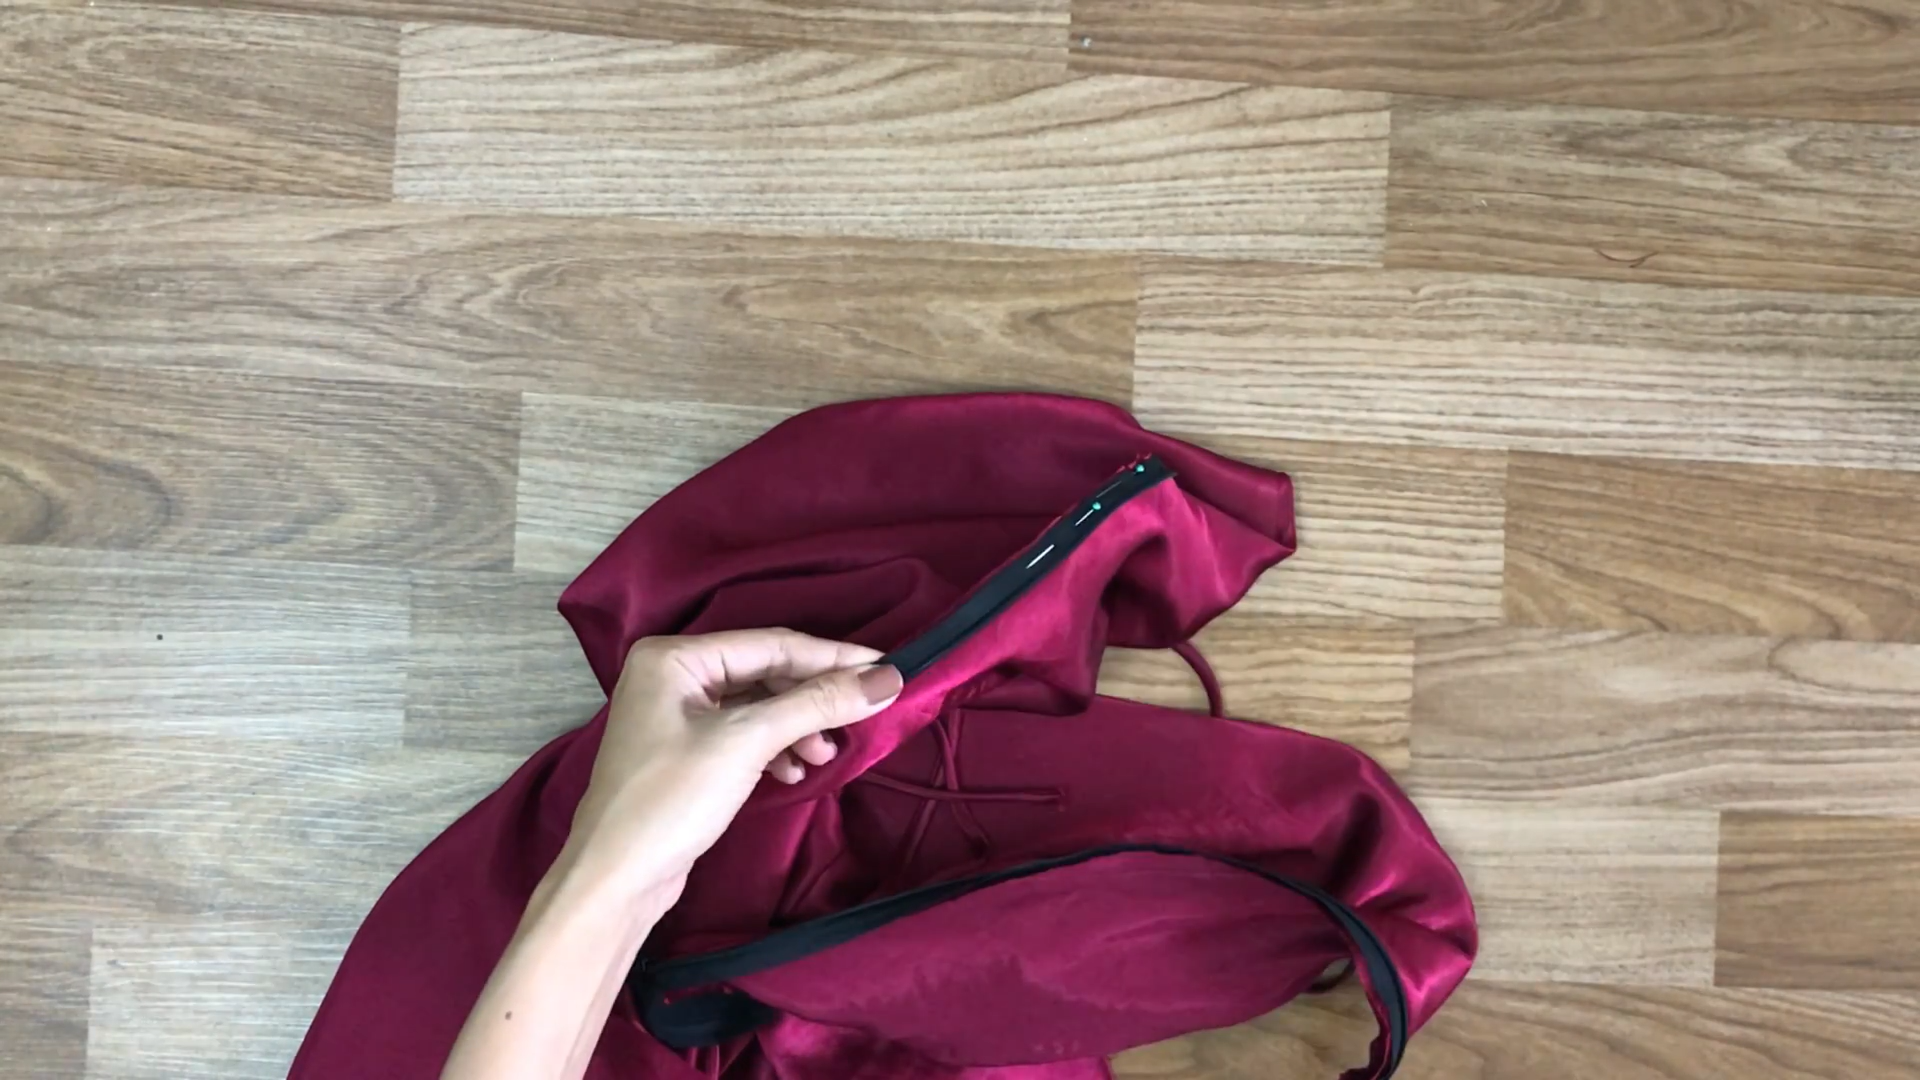
Open the zipper and sew it together.
The last step is to sew the end of the dress to the end of the zipper.
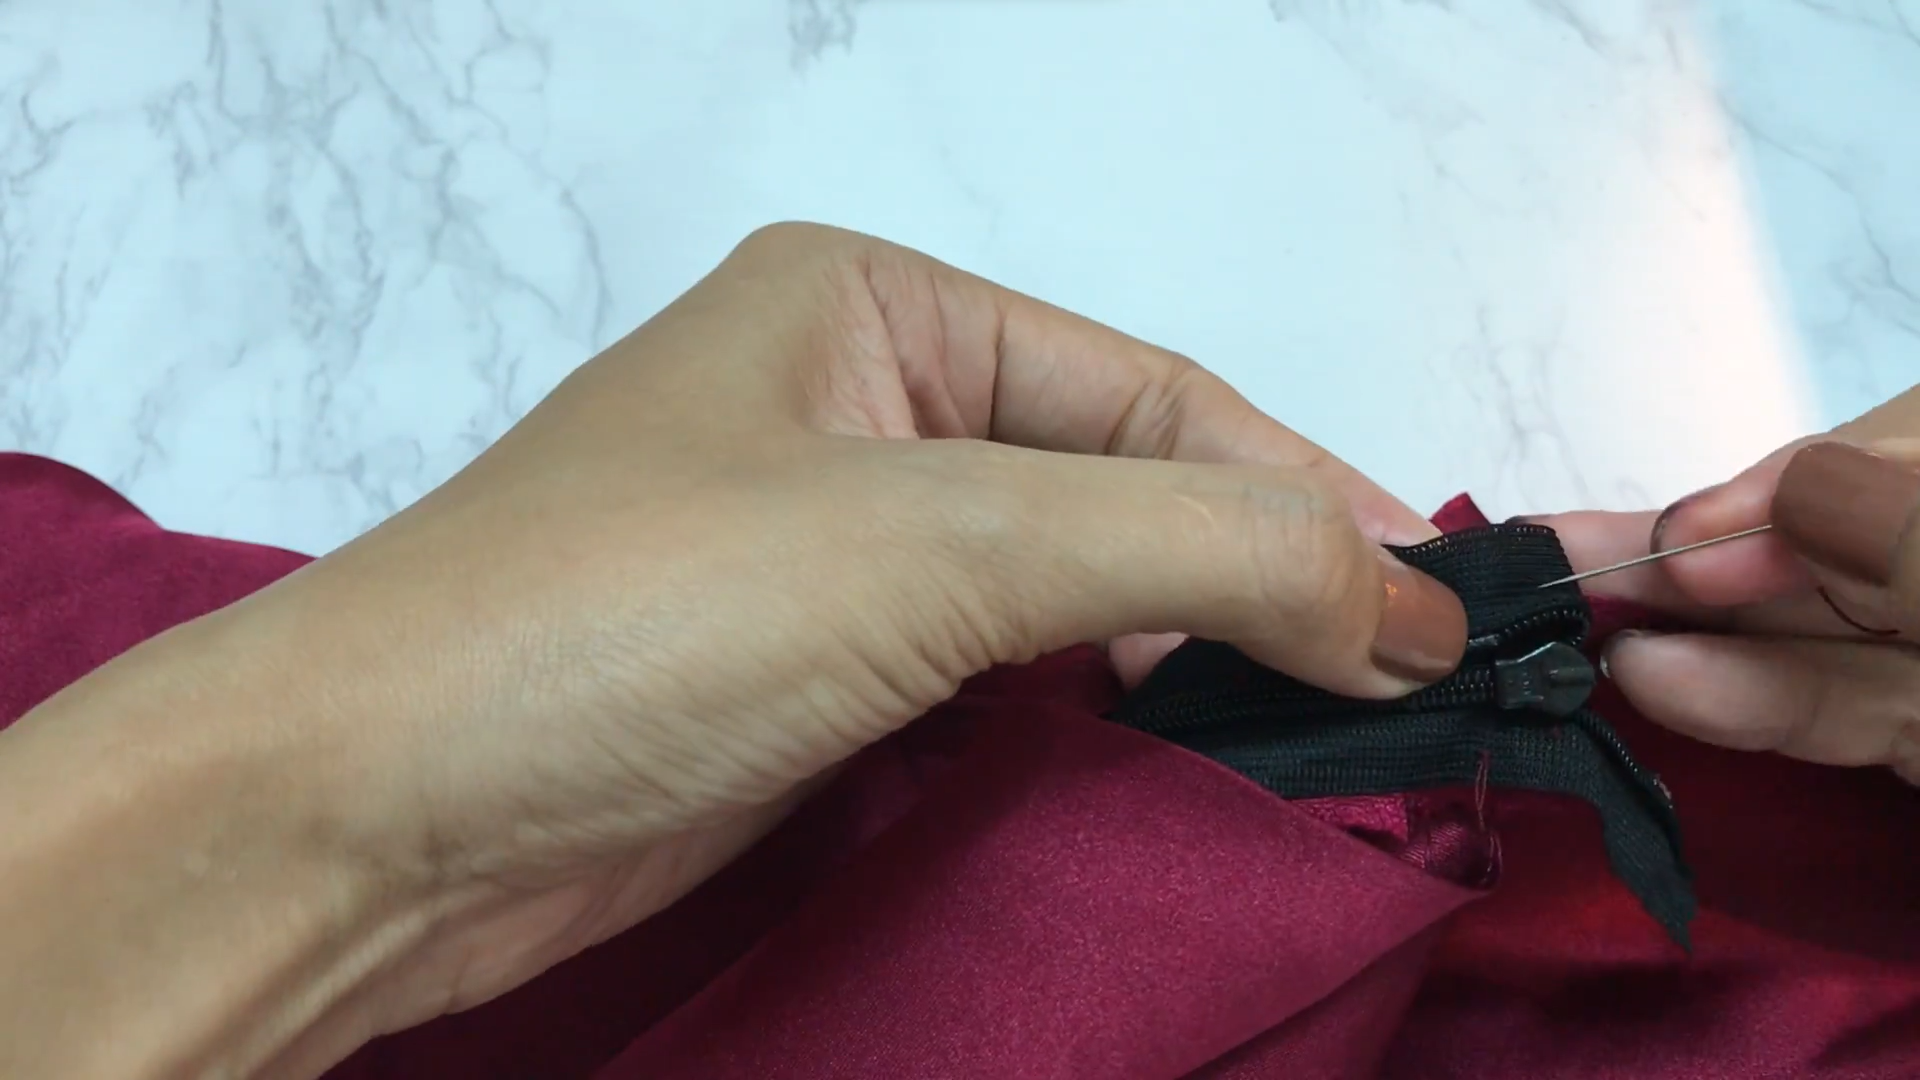
For the extra zipper at the hands, hand sew to hide them.

DIY Falling neck dress
And there you have it!
The transformation is complete and I’m thrilled with the result. It’s the perfect piece for my Valentine’s Day outfit.

I hope this project has inspired you to create your own unique look for Valentine’s Day.
May your day be filled with love and joy.
Until next time, happy sewing!