DIY JUMPSUIT from Men's jeans - Jumpsuit month series - Ep 4

DIY JUMPSUIT from Men's jeans - Jumpsuit month series - Ep 4
Welcome or welcome back to my channel. My name is Jess and I love doing DIY, making clothes in a "simply but pretty" way.
It's the last episode of my "Jumpsuit month" series and I want to share with you how to transform a men's jeans into this fashionable jumpsuit. I wanted to make this jumpsuit for very long time. And finally I found a perfect men's jeans to make it.
So I hope you like it and try it out. Let’s get started!
WHAT YOU’LL NEED

Men's jeans (XXL size)
Sewing machine
Pins
Scissors
Ruler
Long stick
Buttons
SEWING THE JUMPSUIT
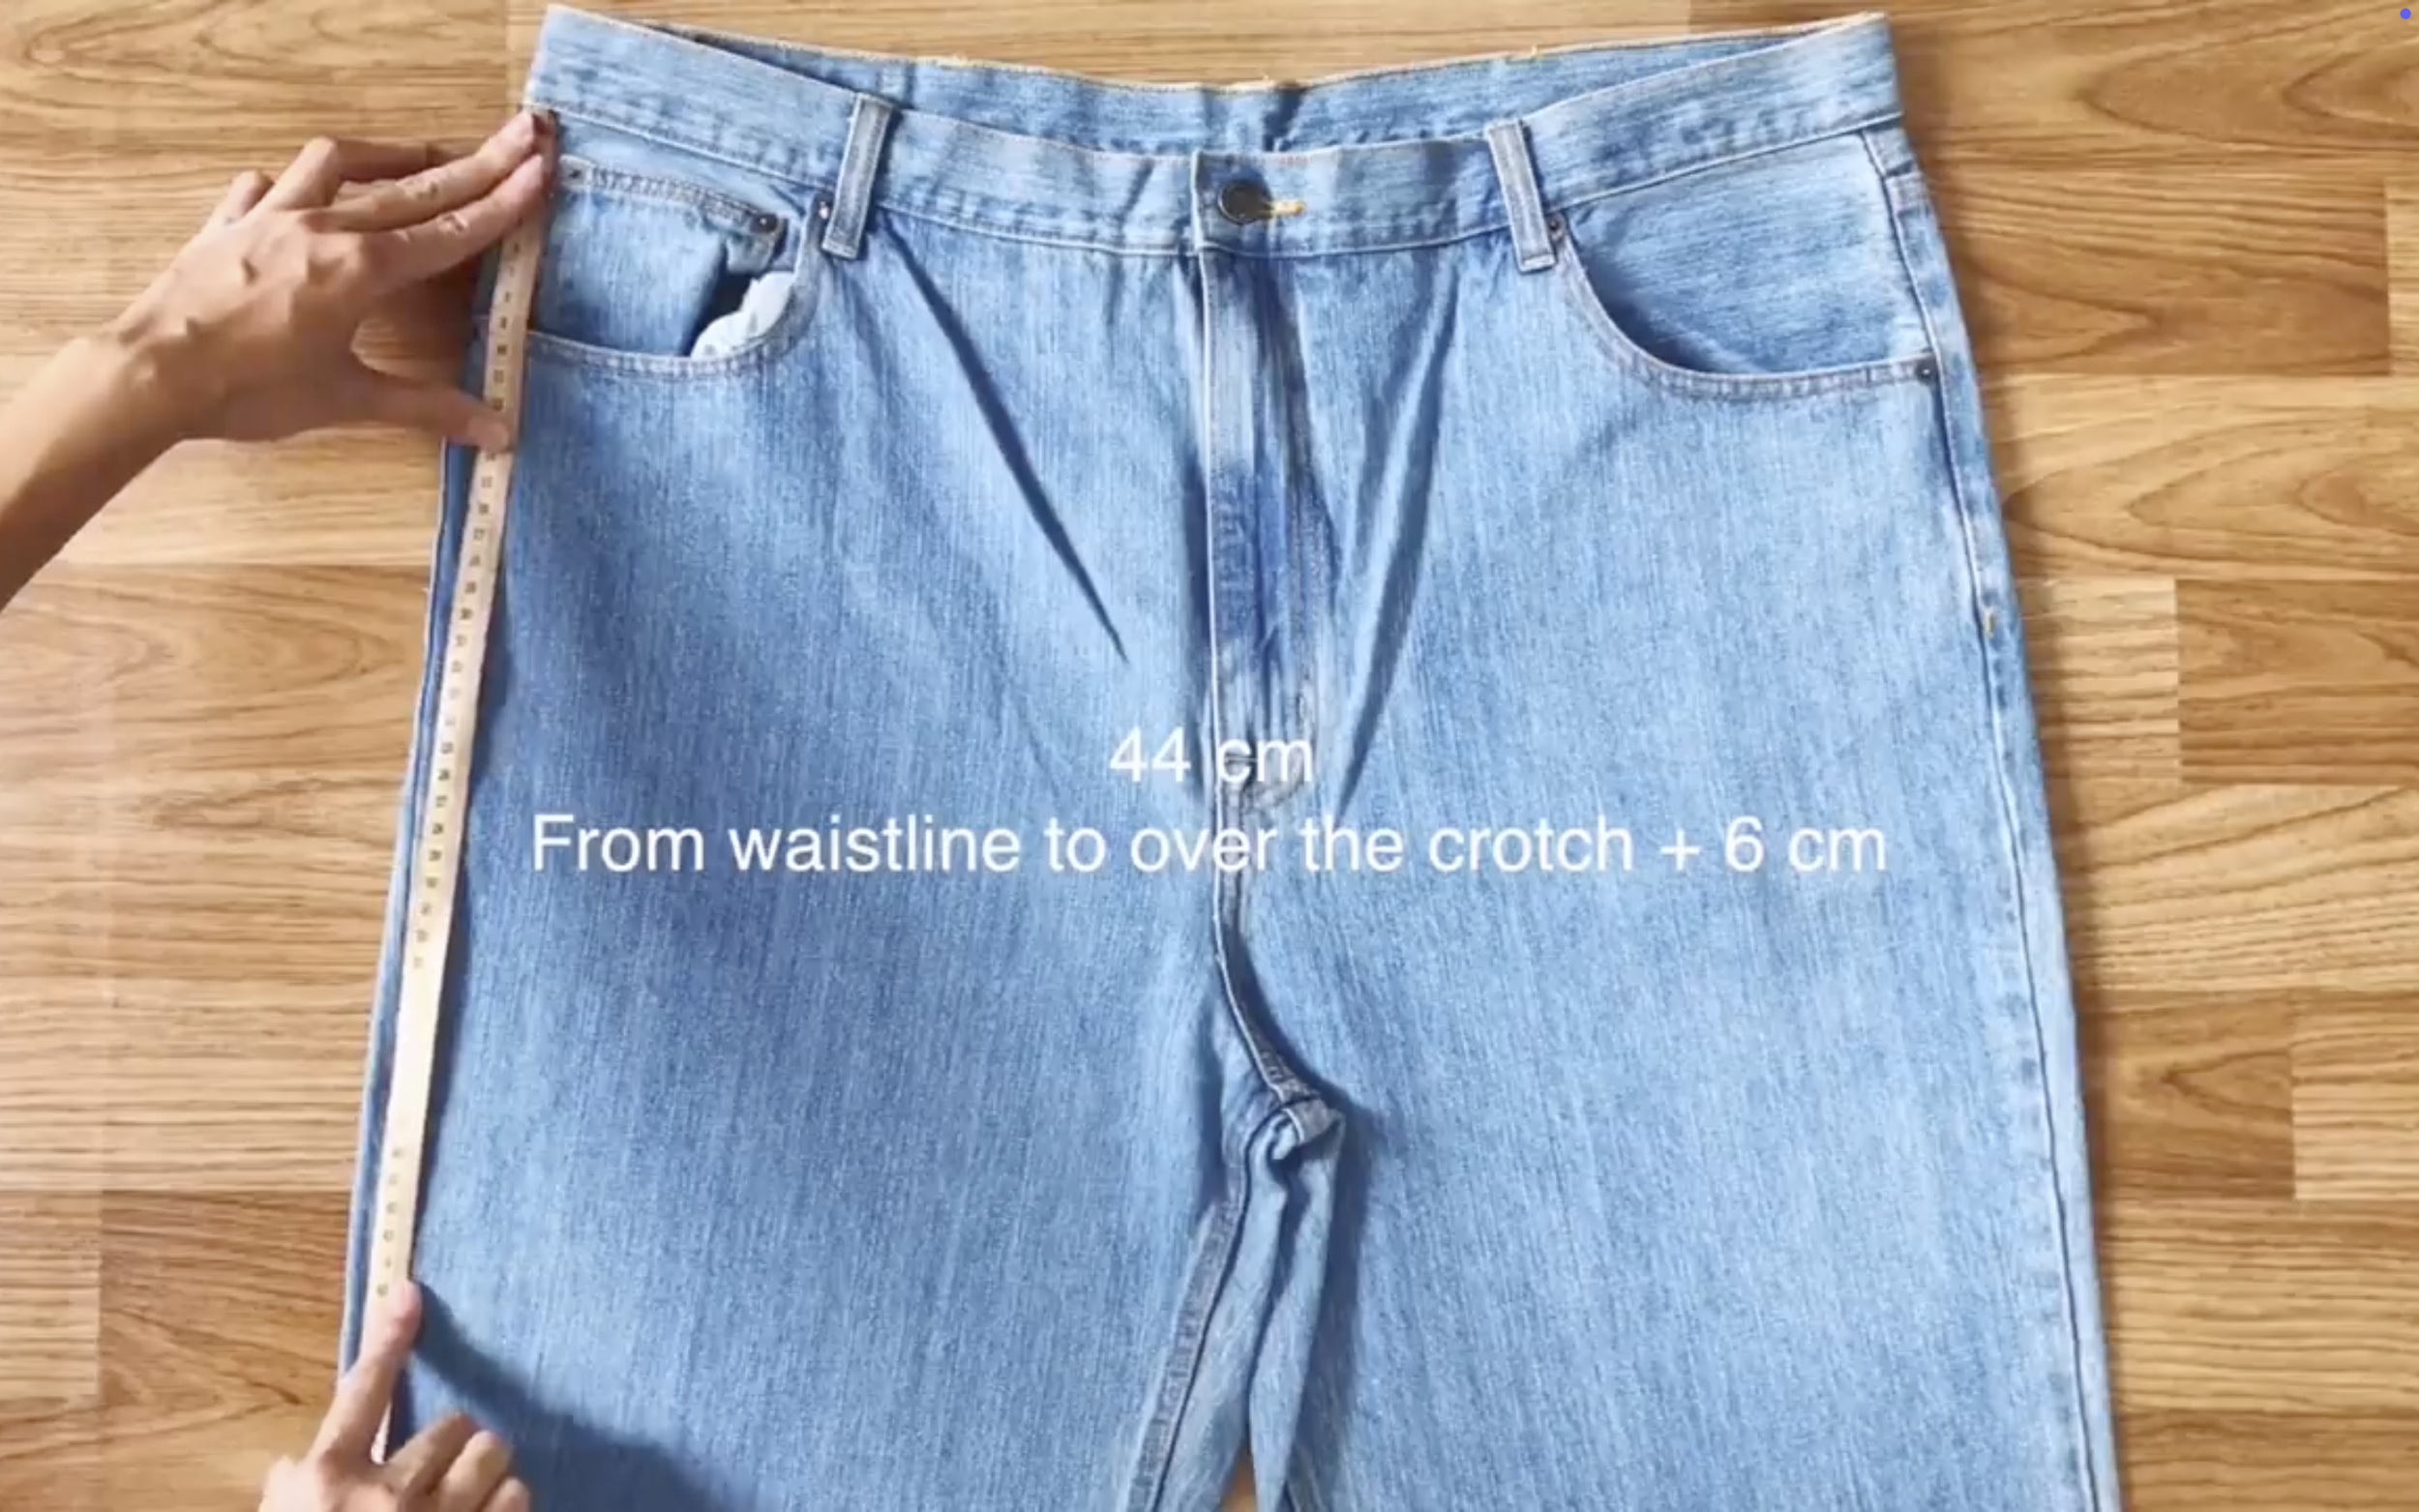
At the waistband of the jeans, go down 44cm which is the width from your waistline to over the crotch + 6cm.
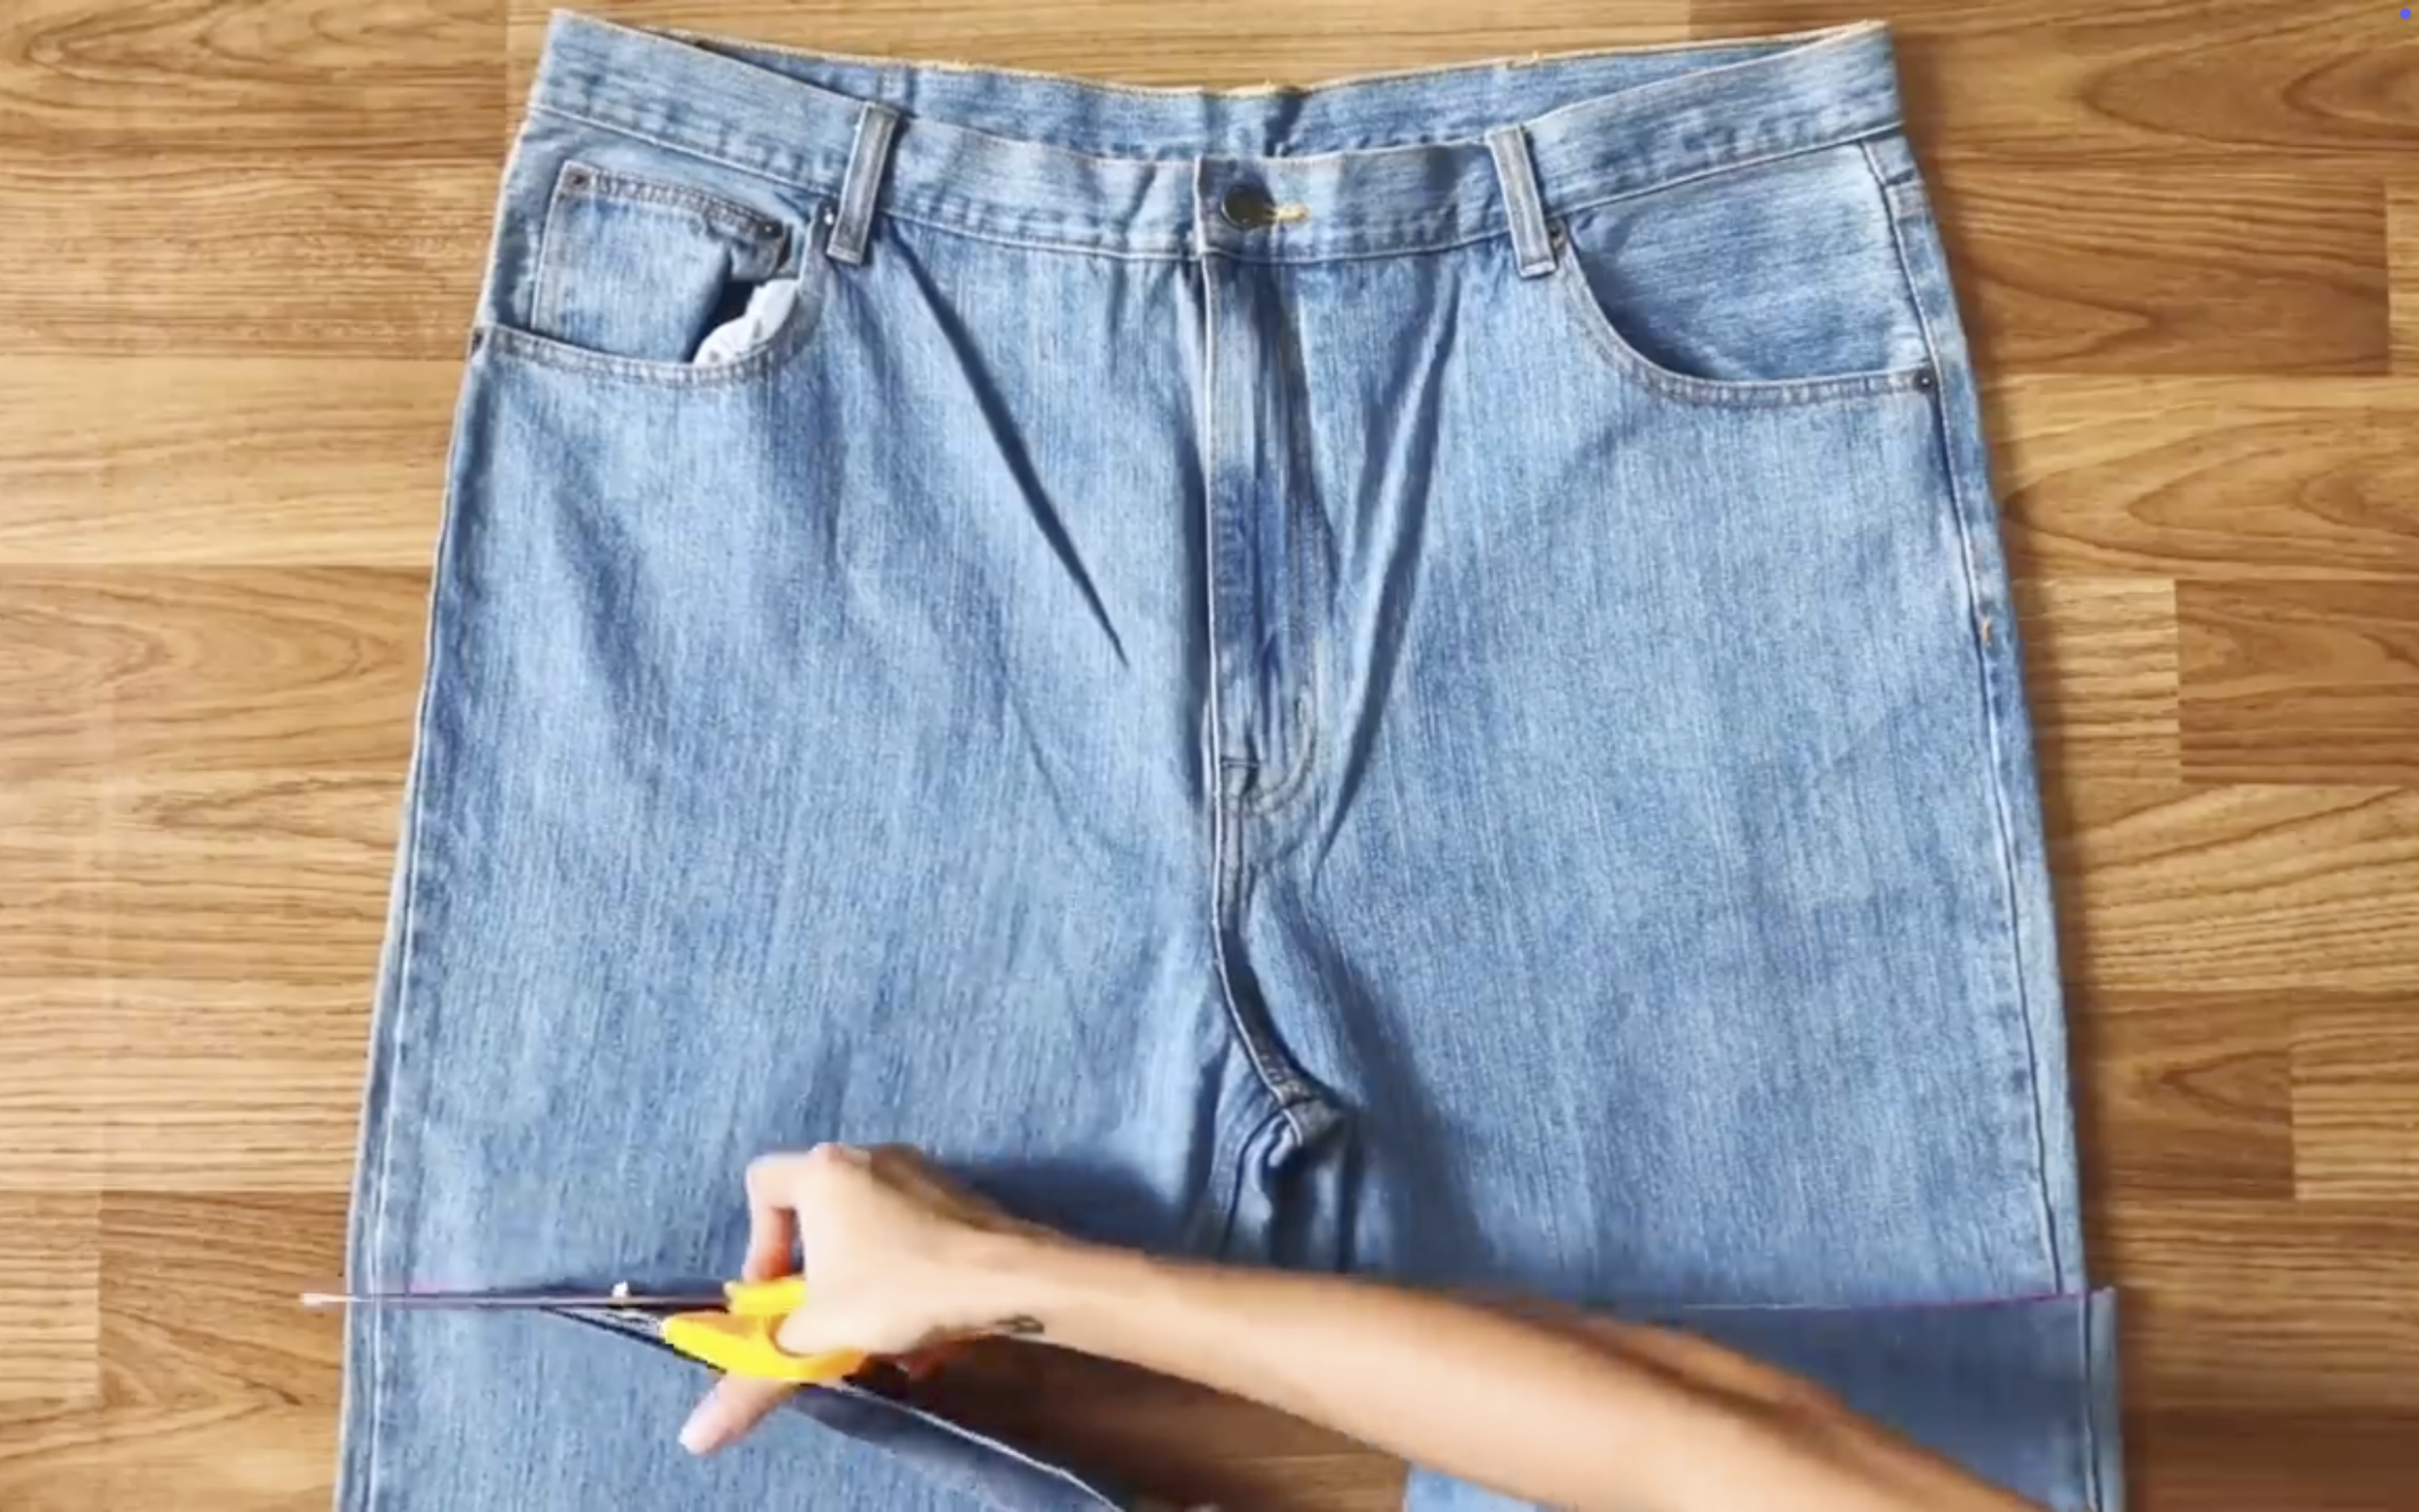
Then draw and cut a horizontal line there.
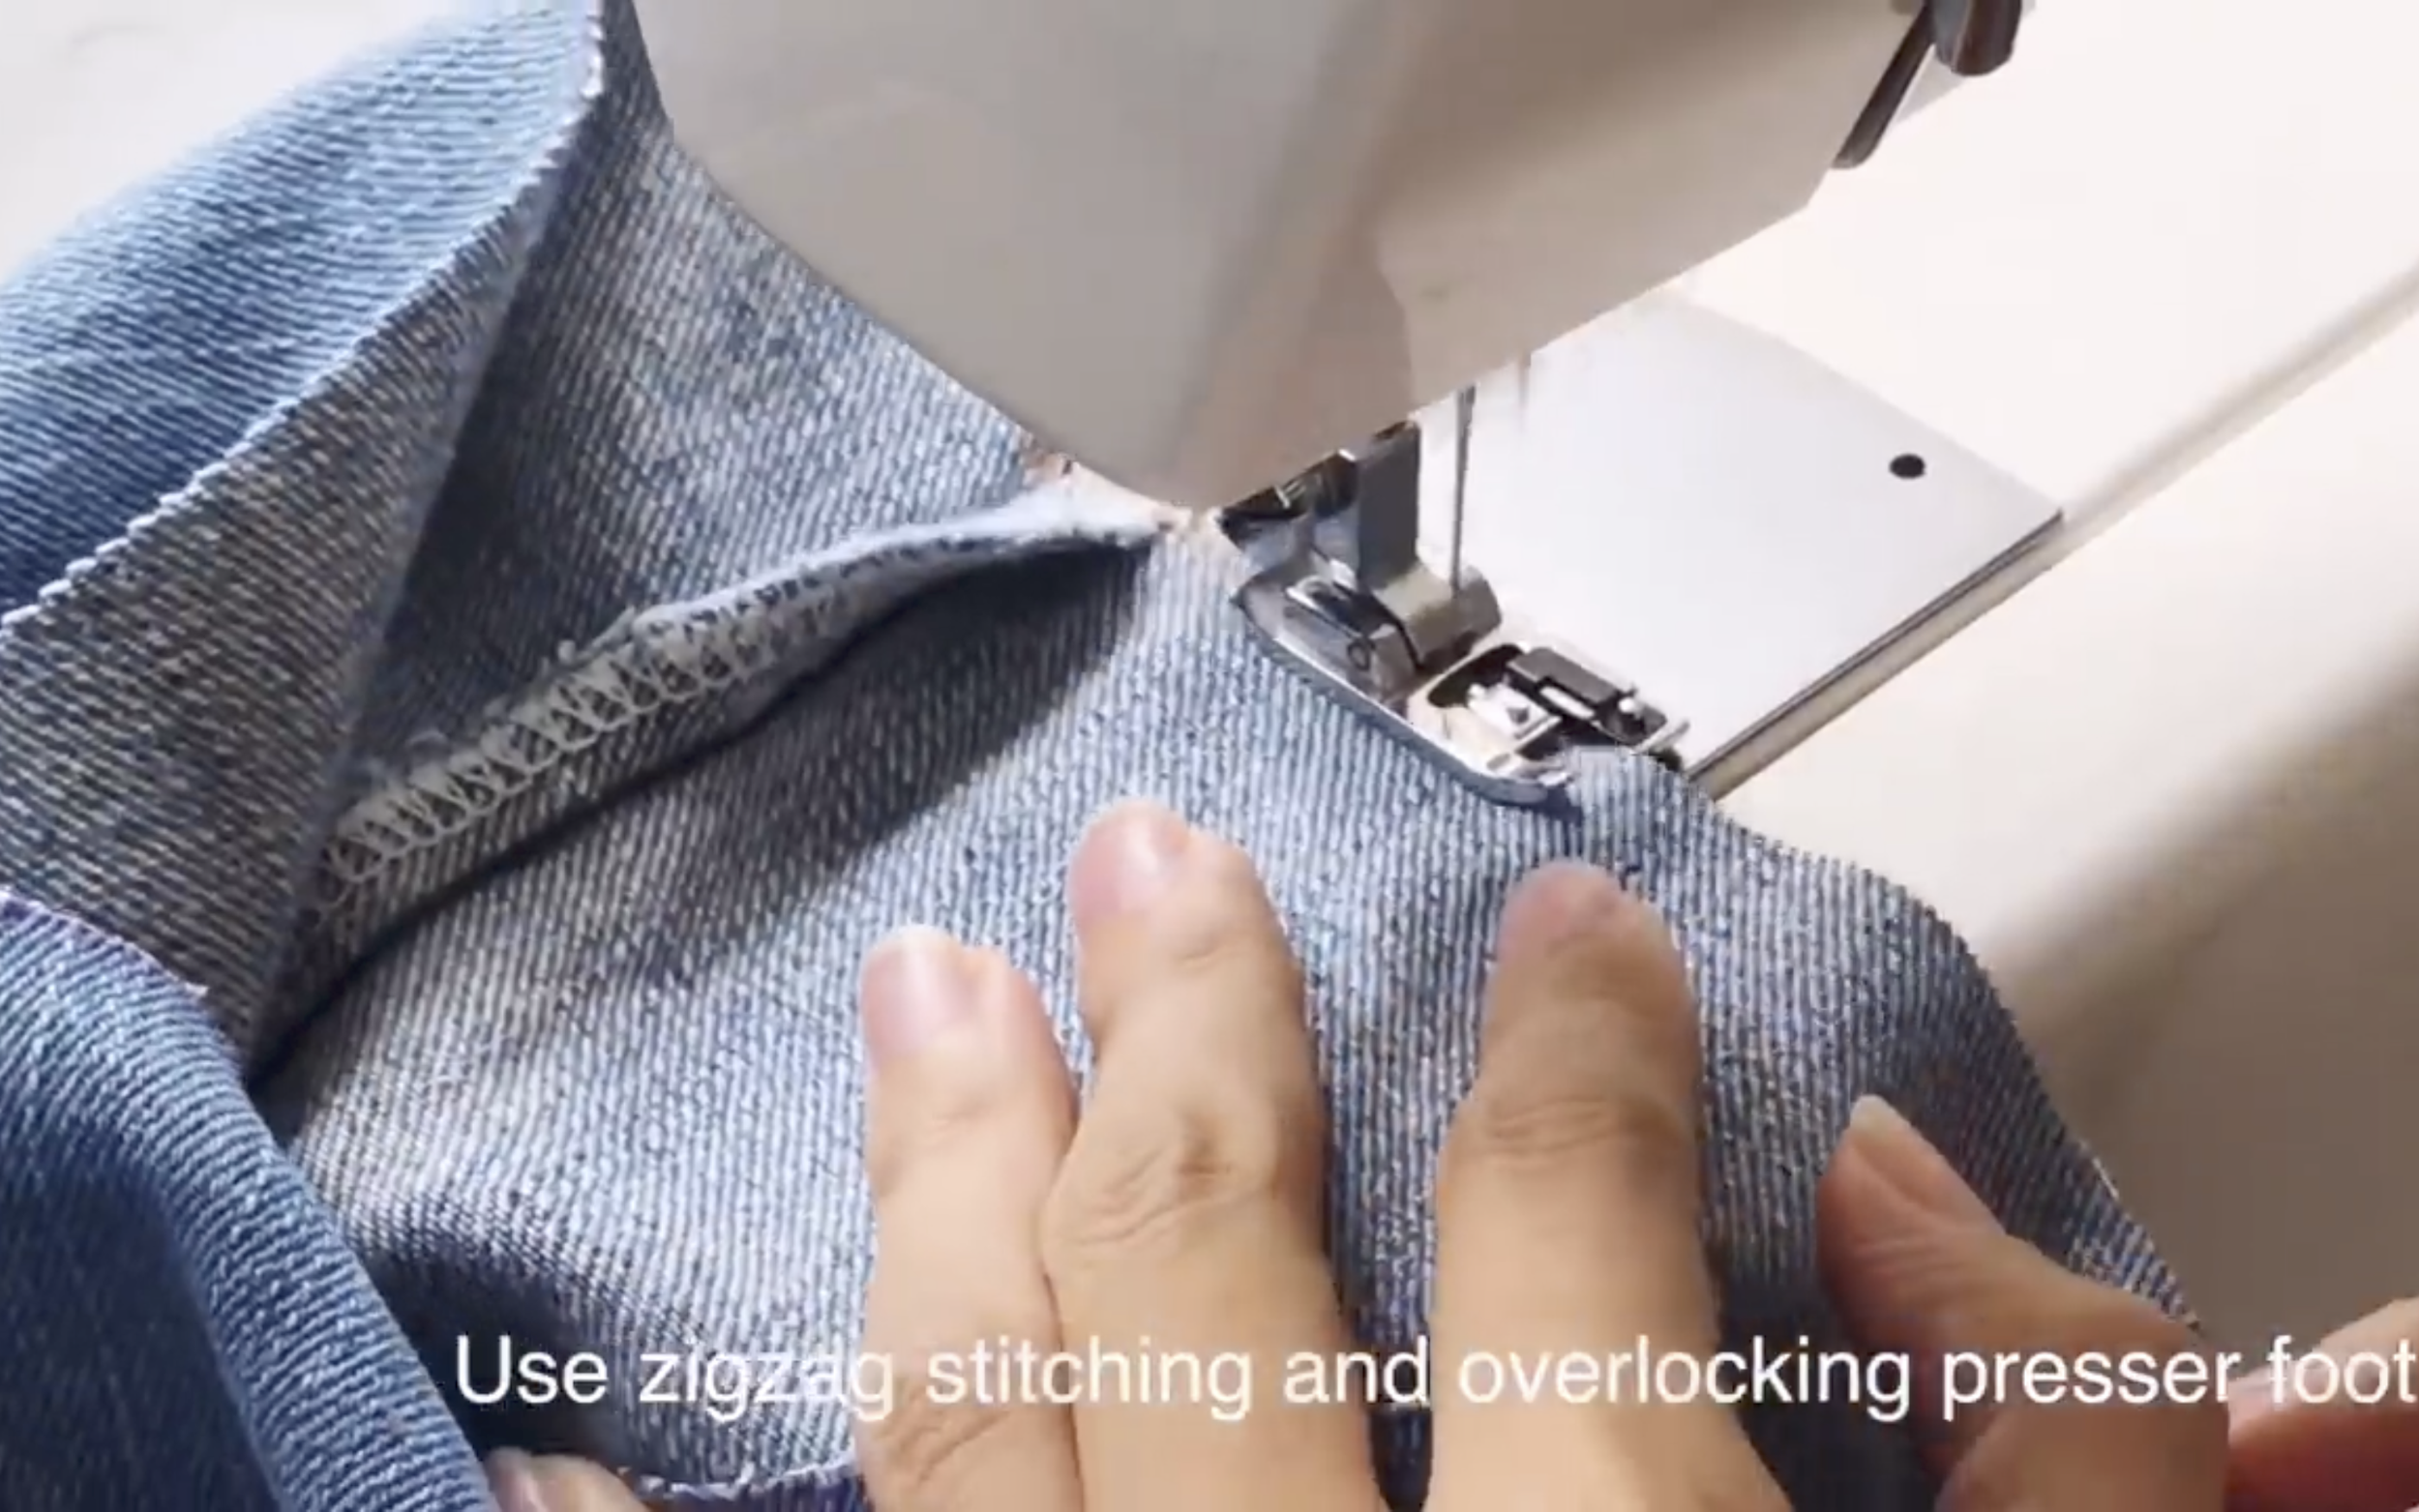
After cutting, overlock to protect the fabric by using the zigzag stitching and overlocking presser first.
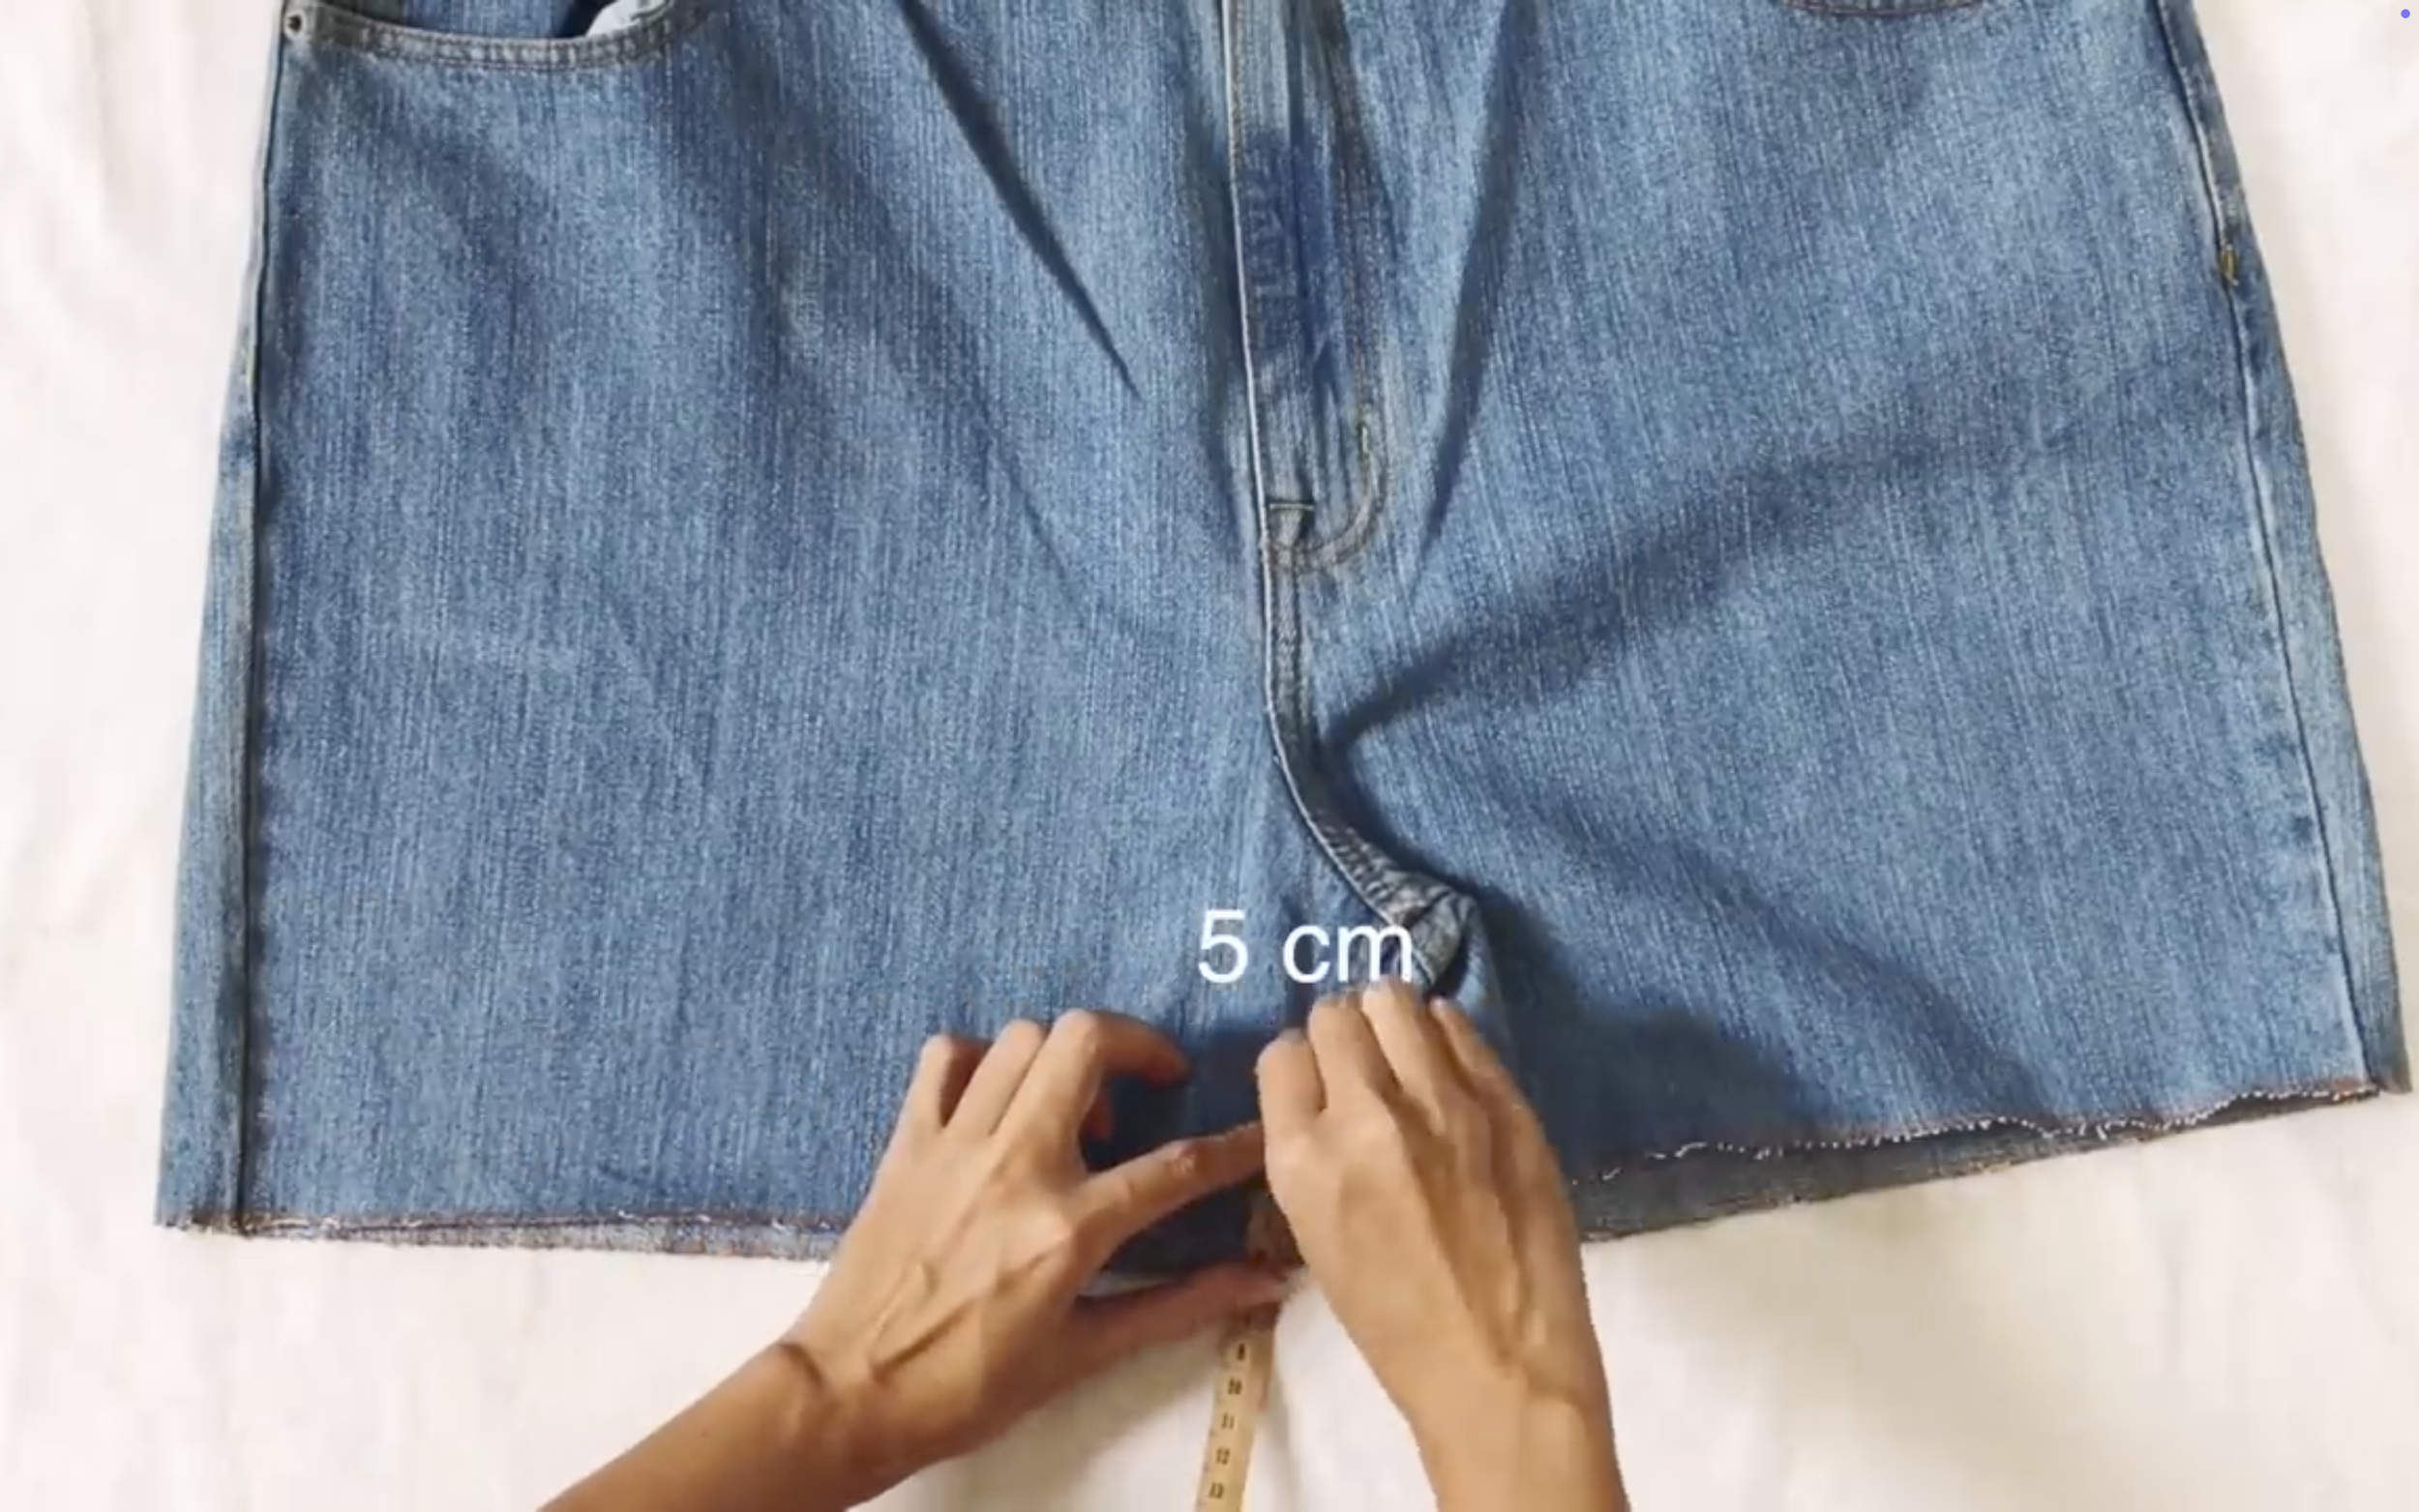
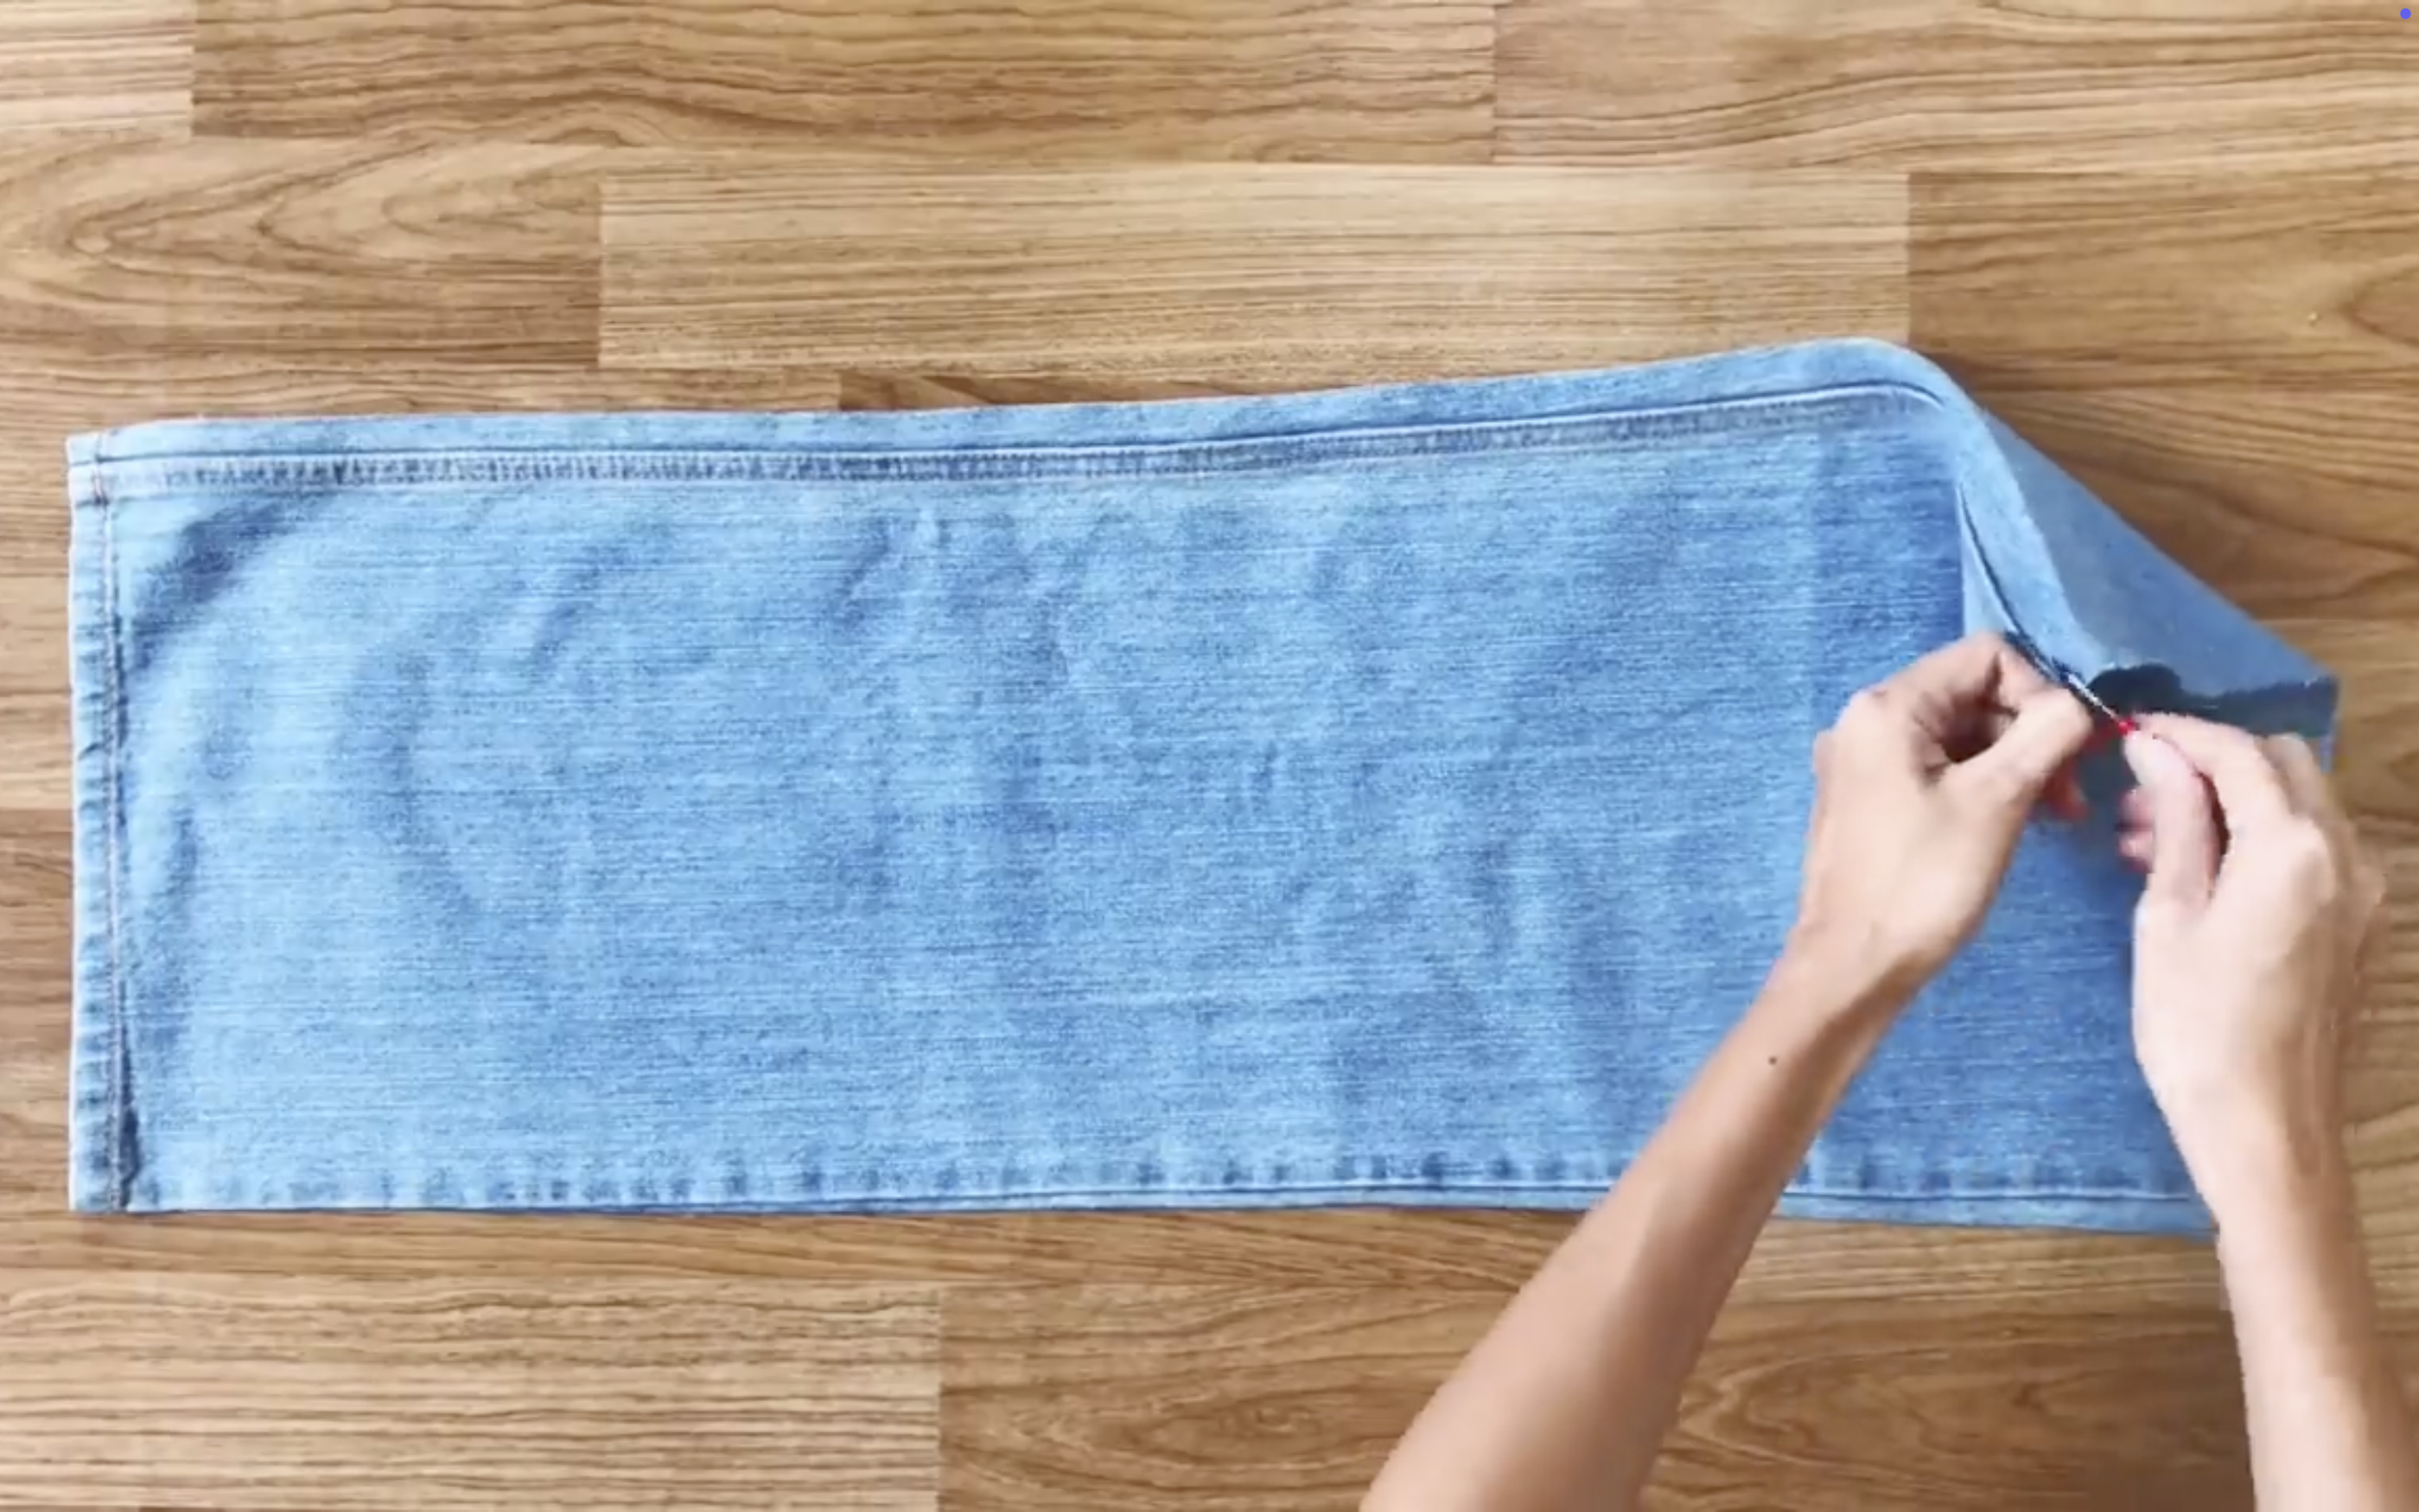
At the end of the pants, go up and mark at 5cm.

Then fold the end of the fabric to that mark and iron to make the folding.
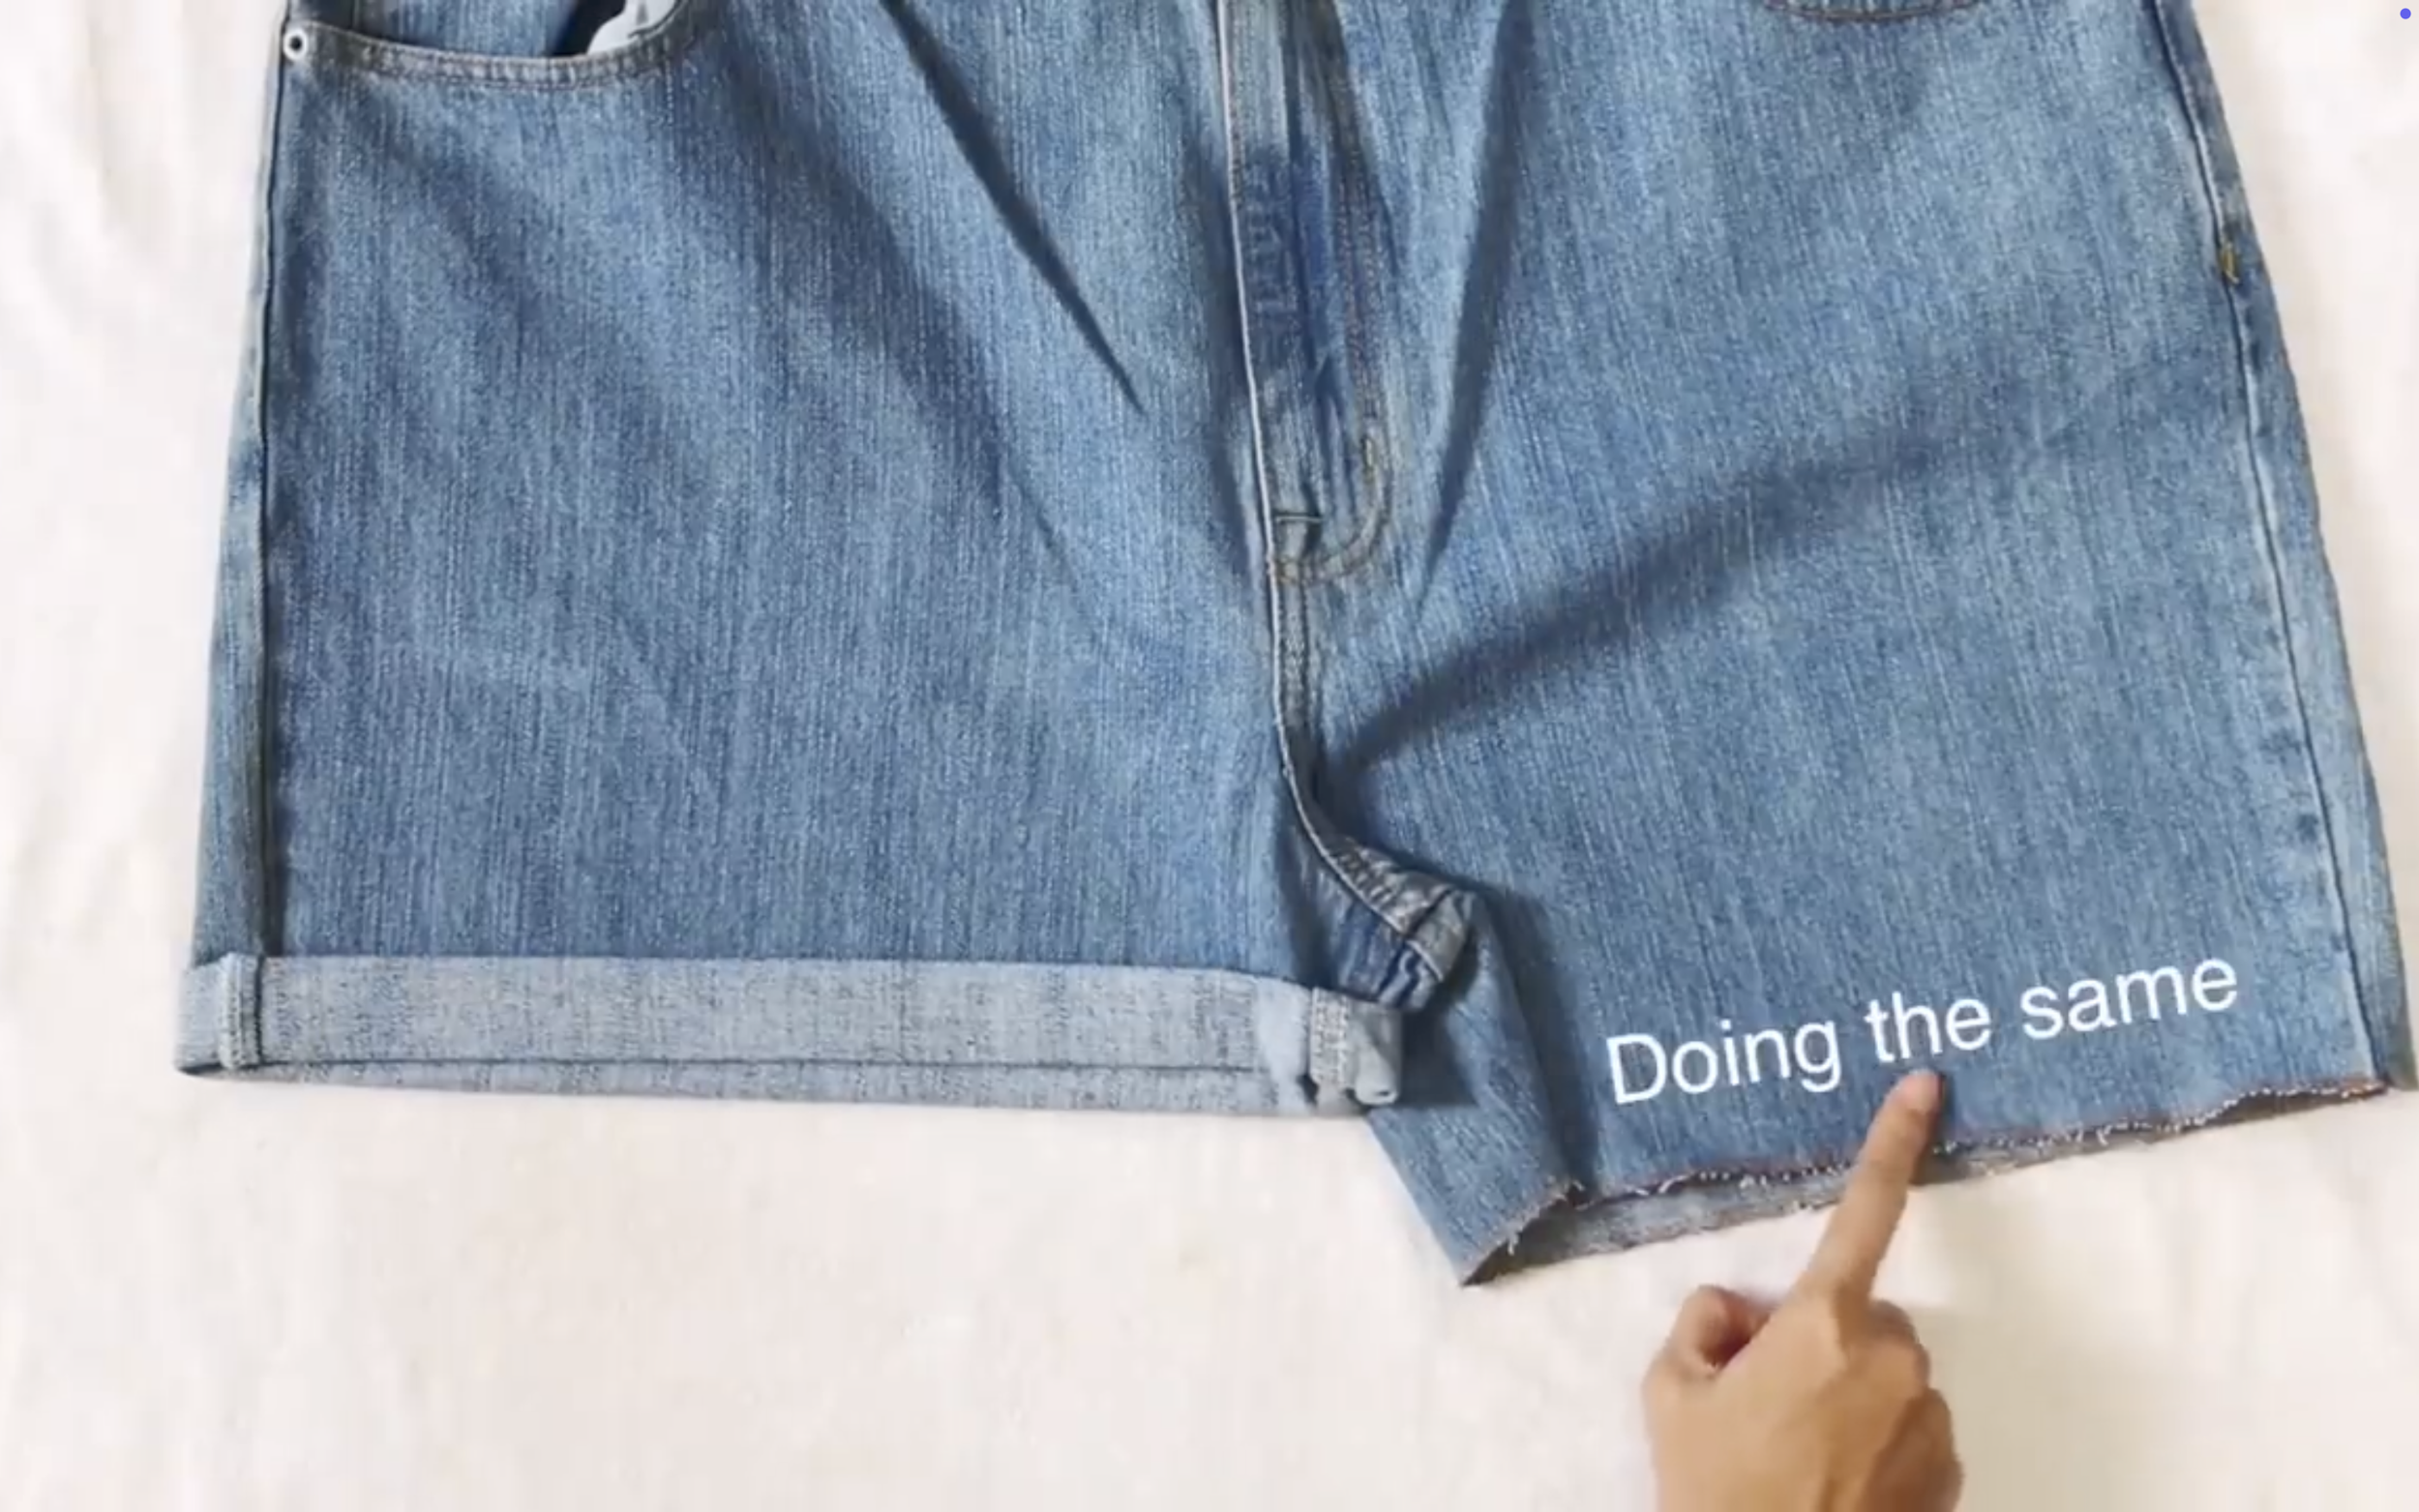
Do the same way like it for the second folding.
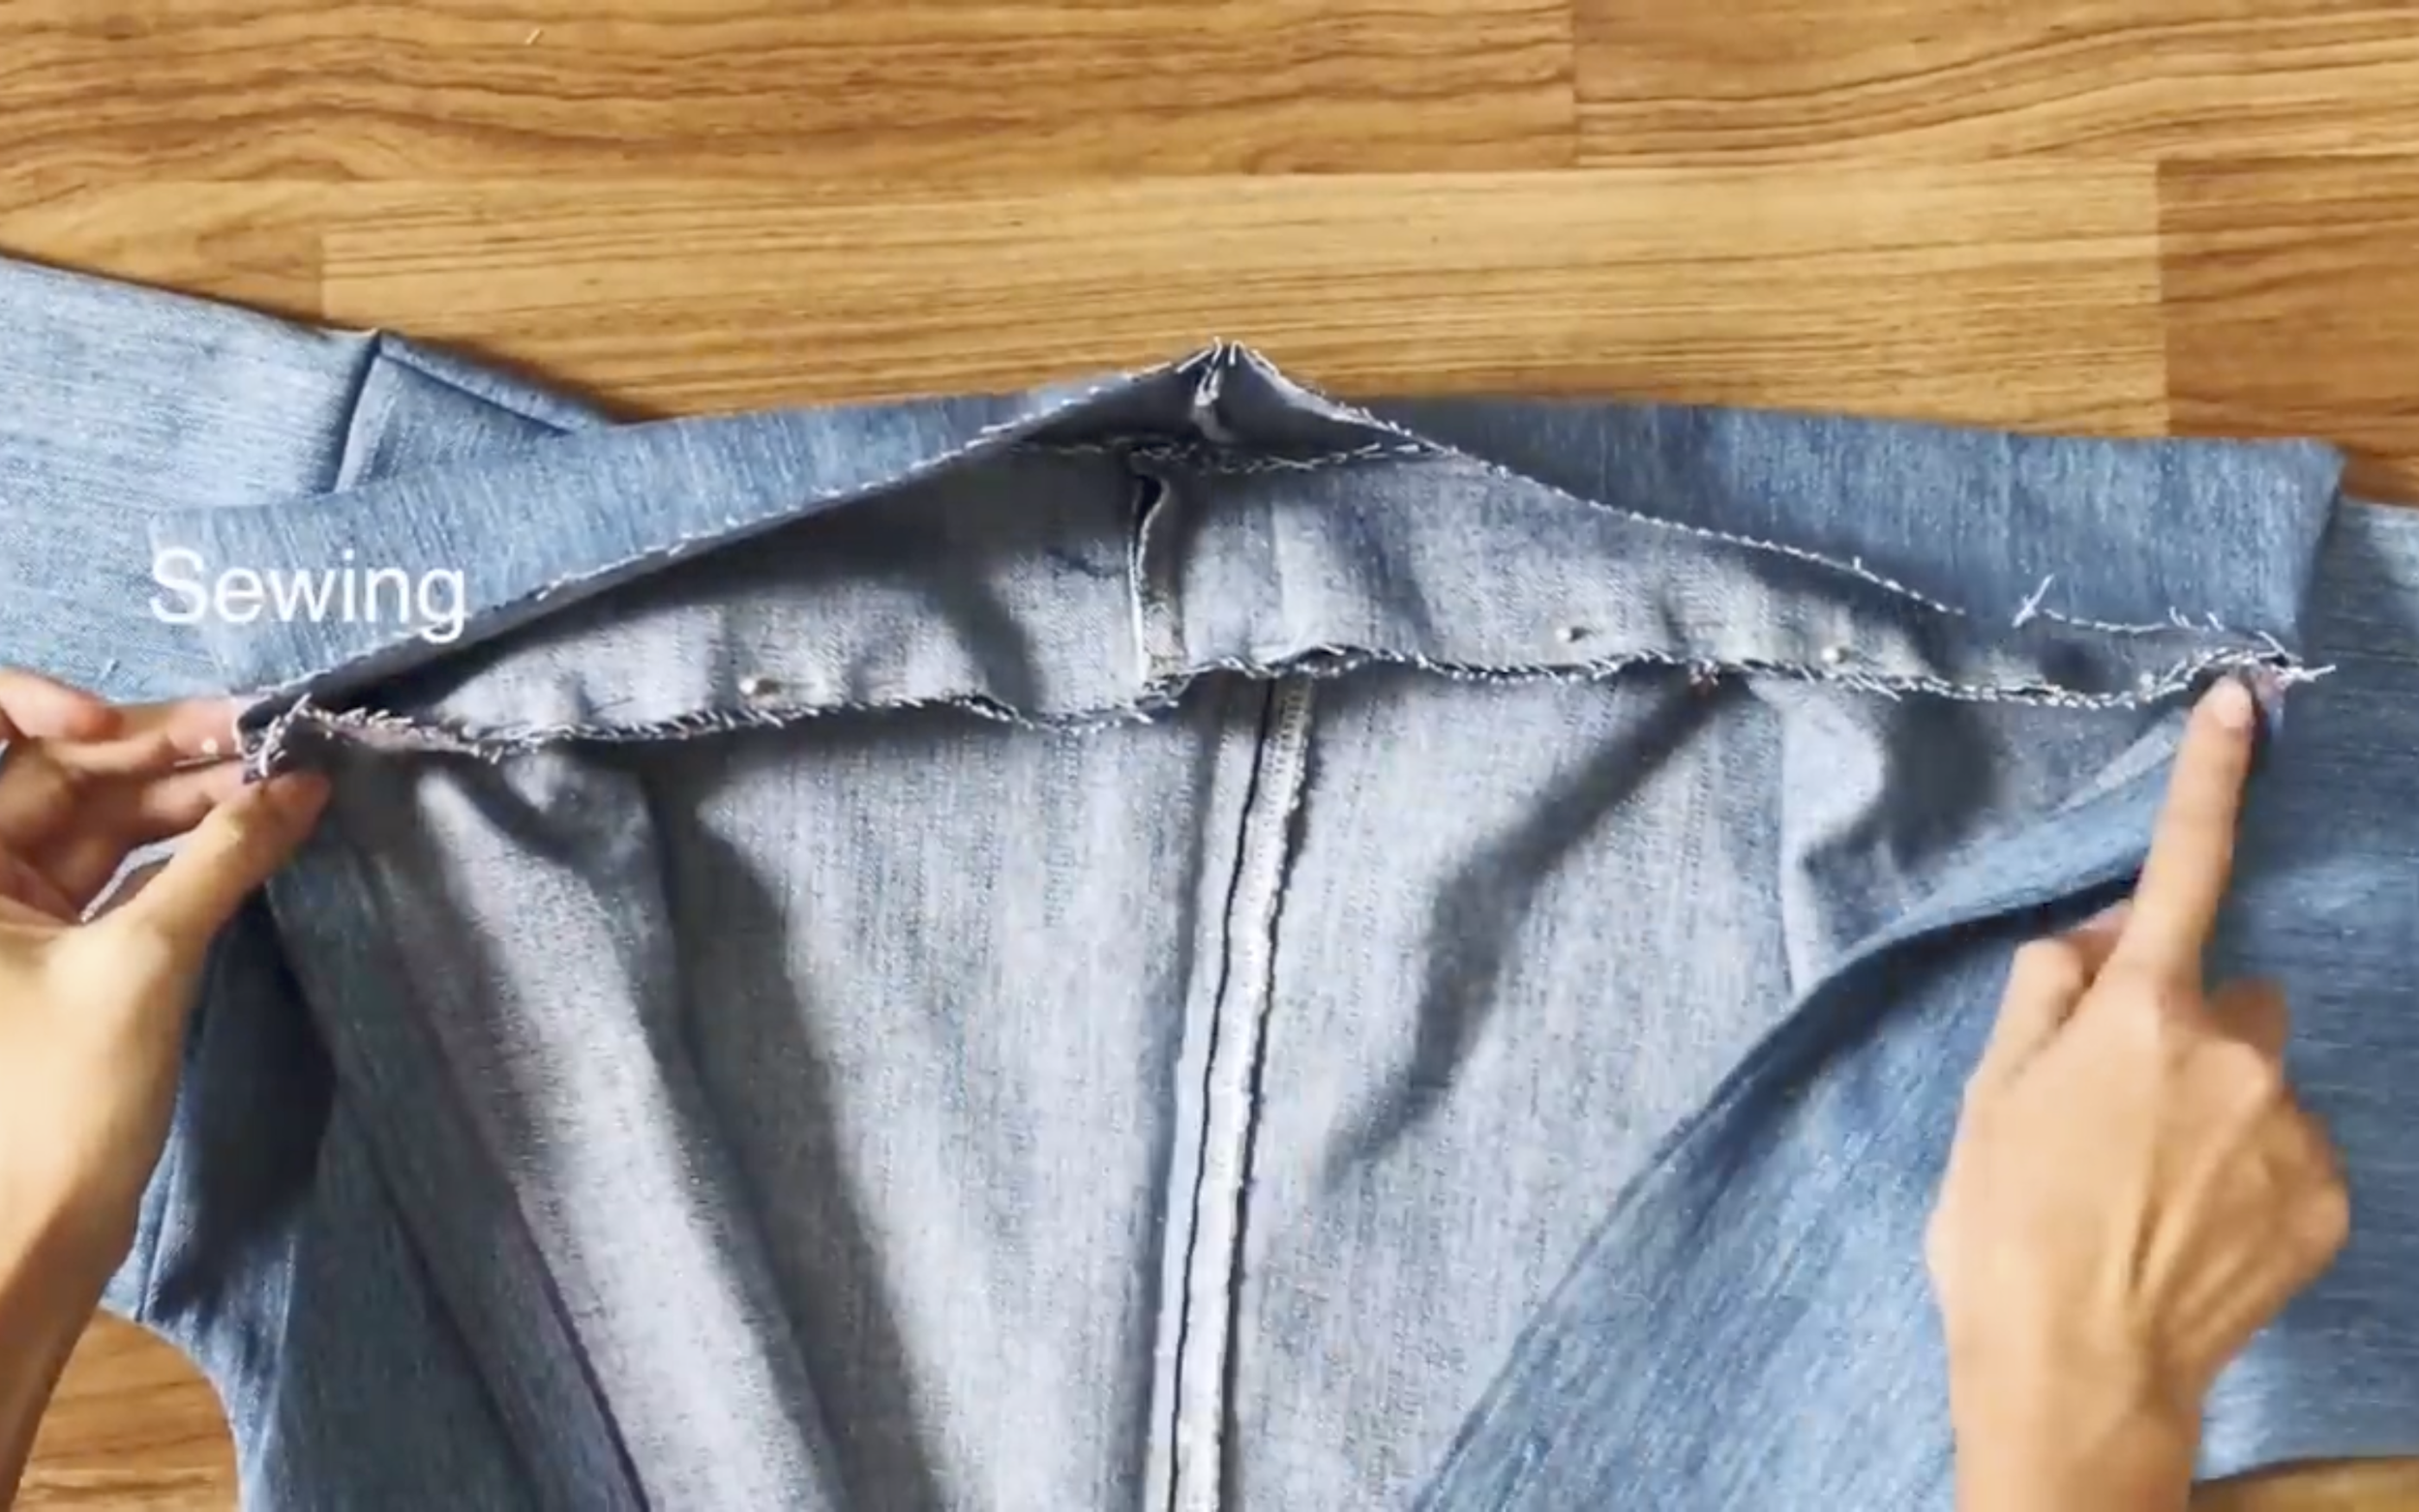
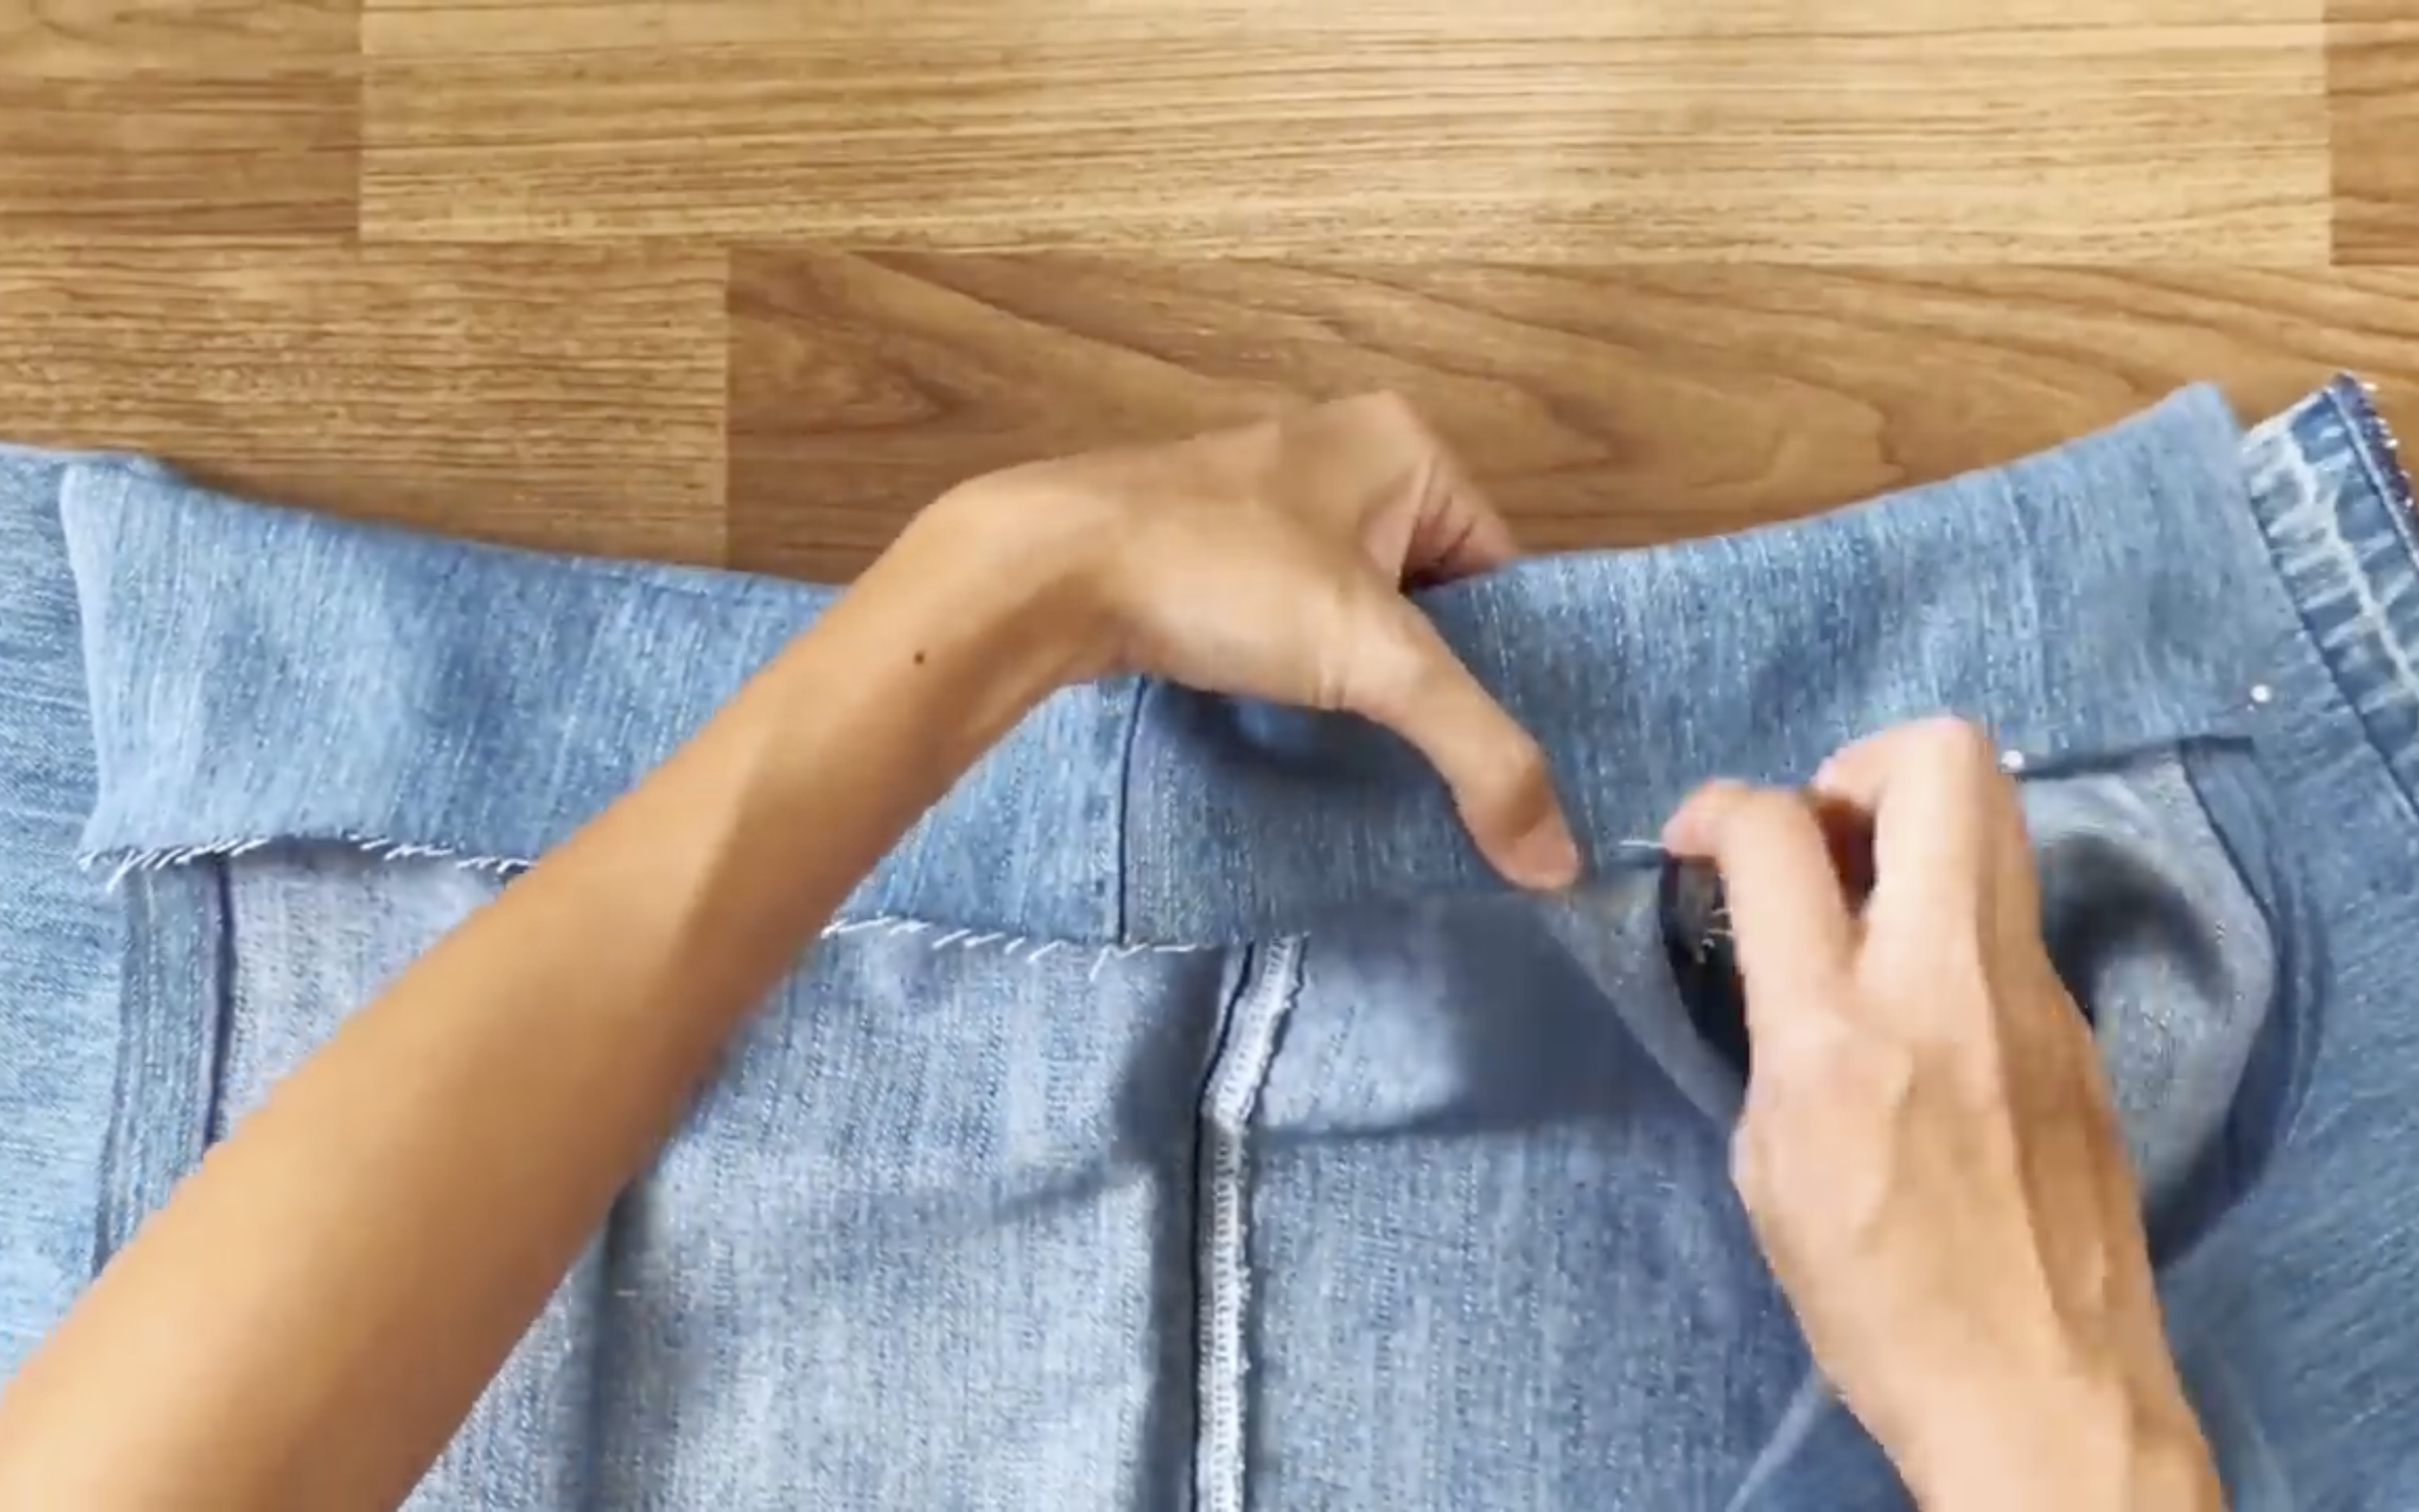
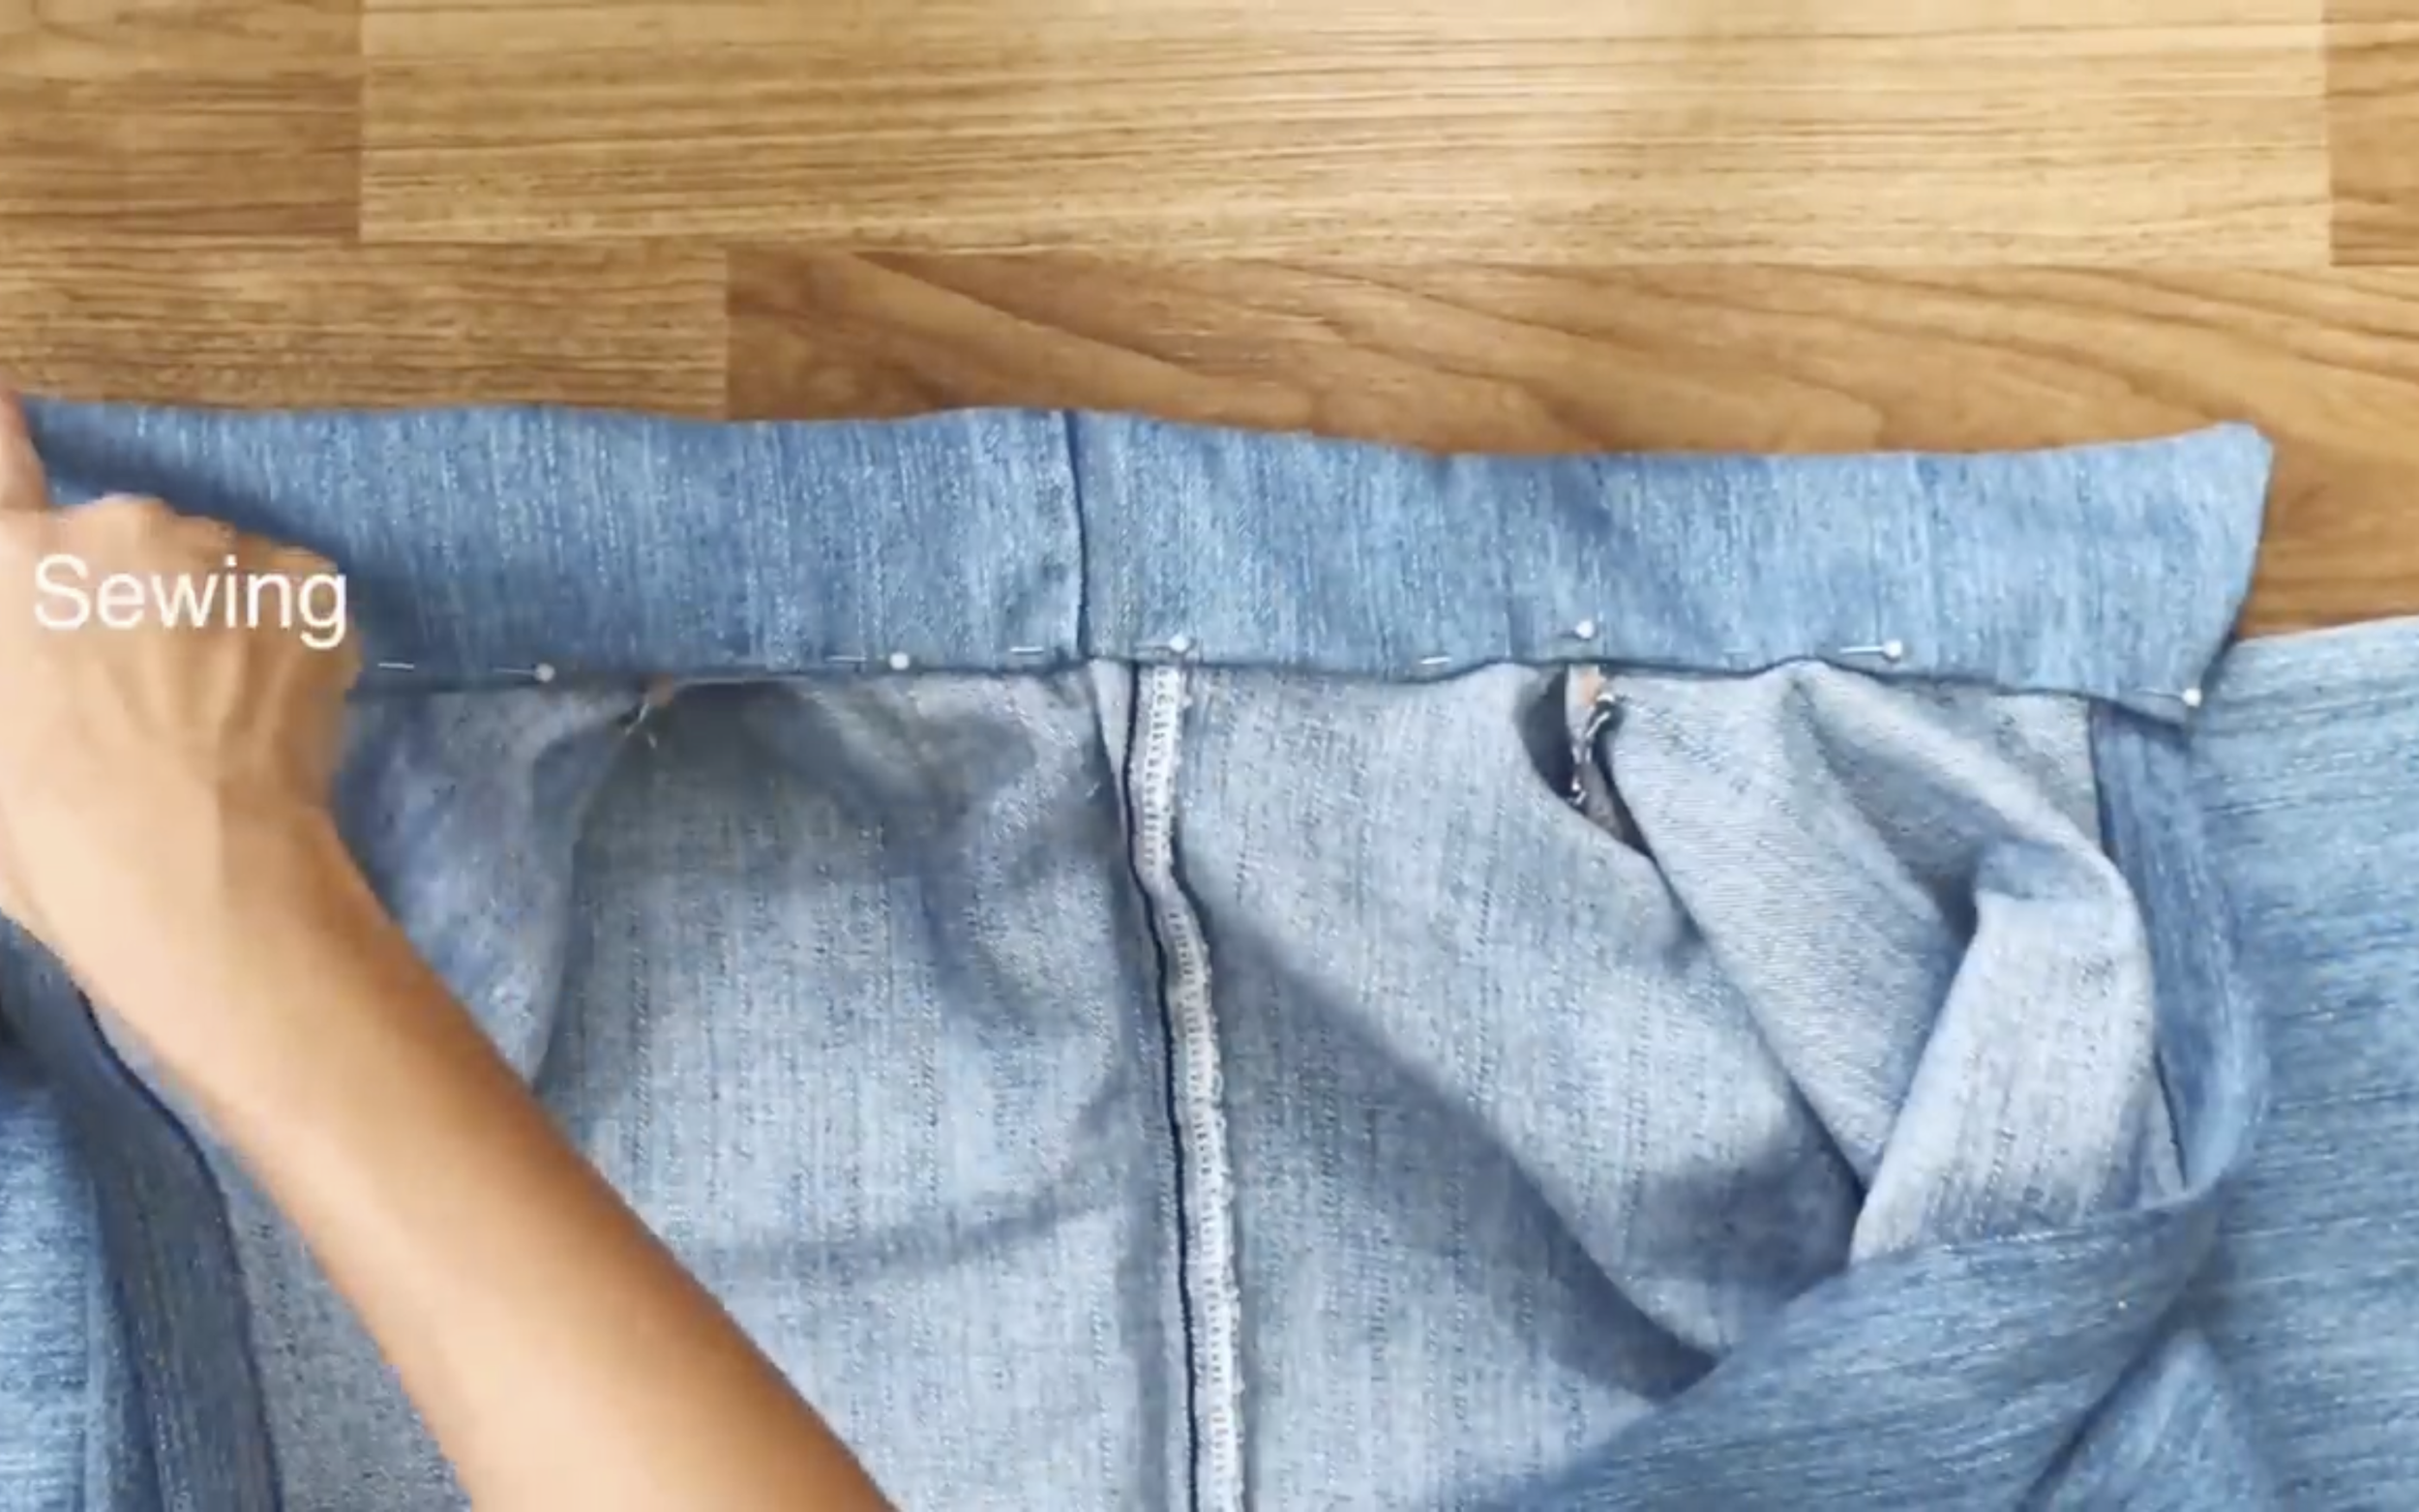
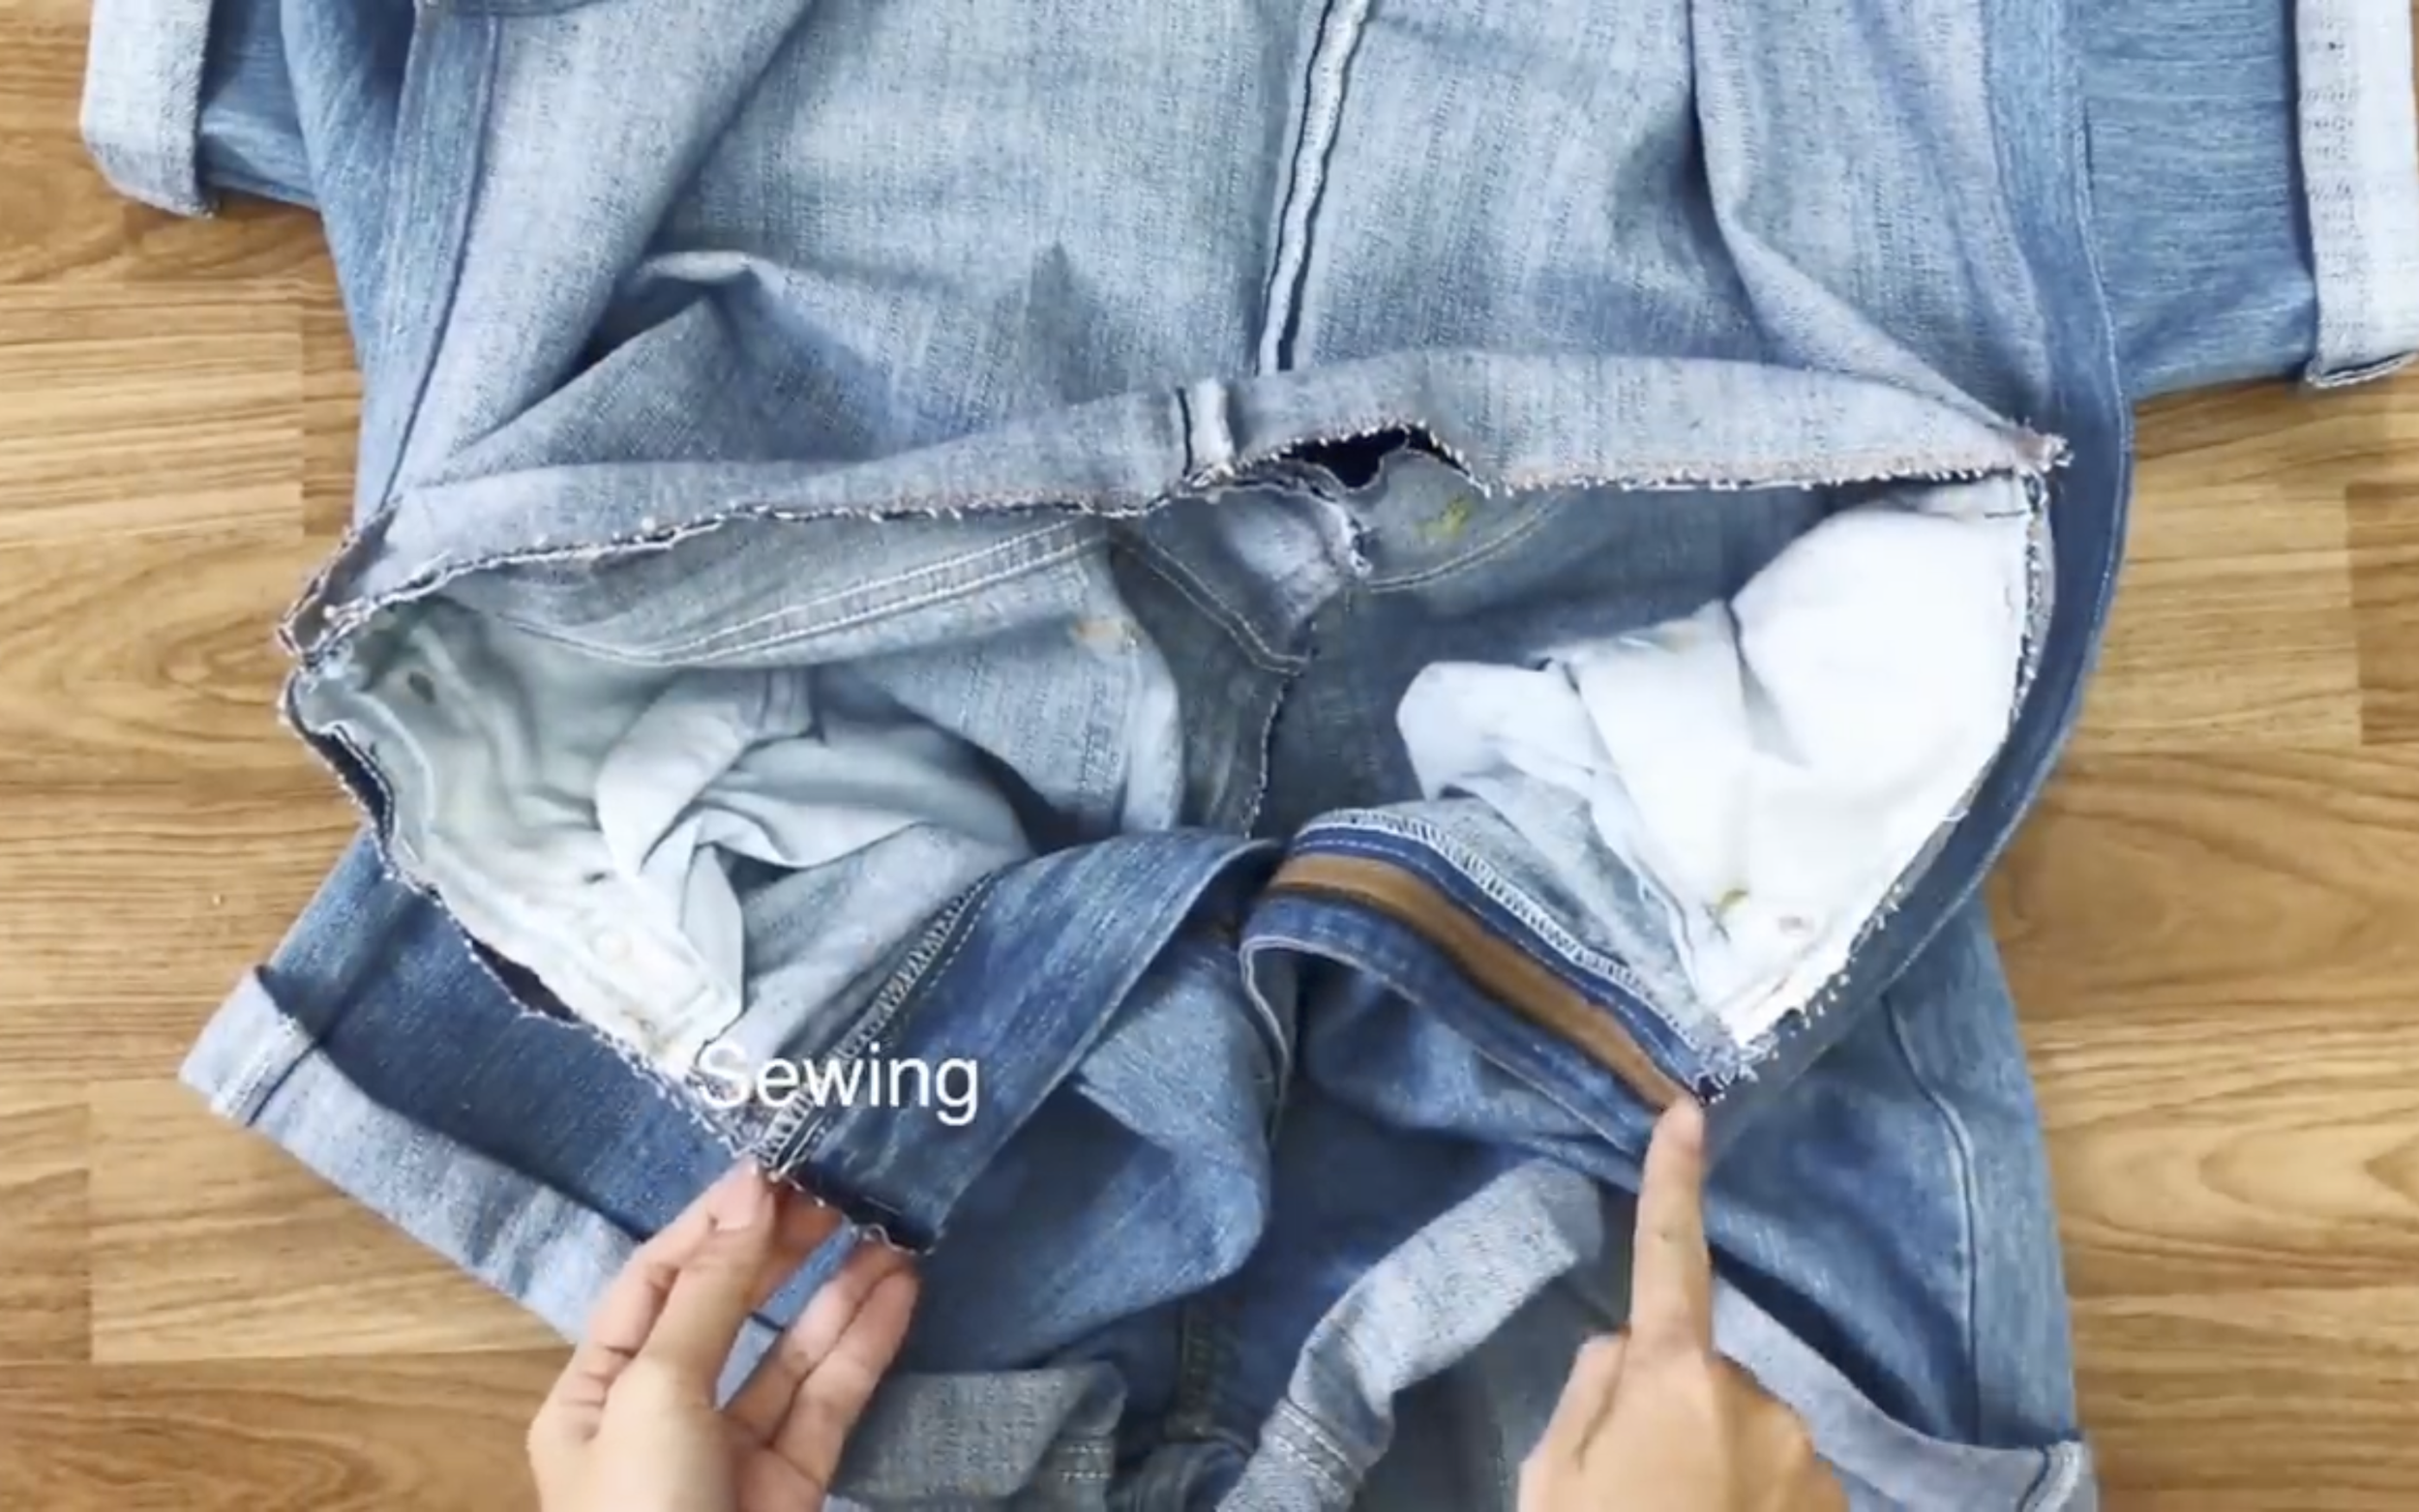
After that, un-sew the waistband of the pants and fix the width to fit the size.
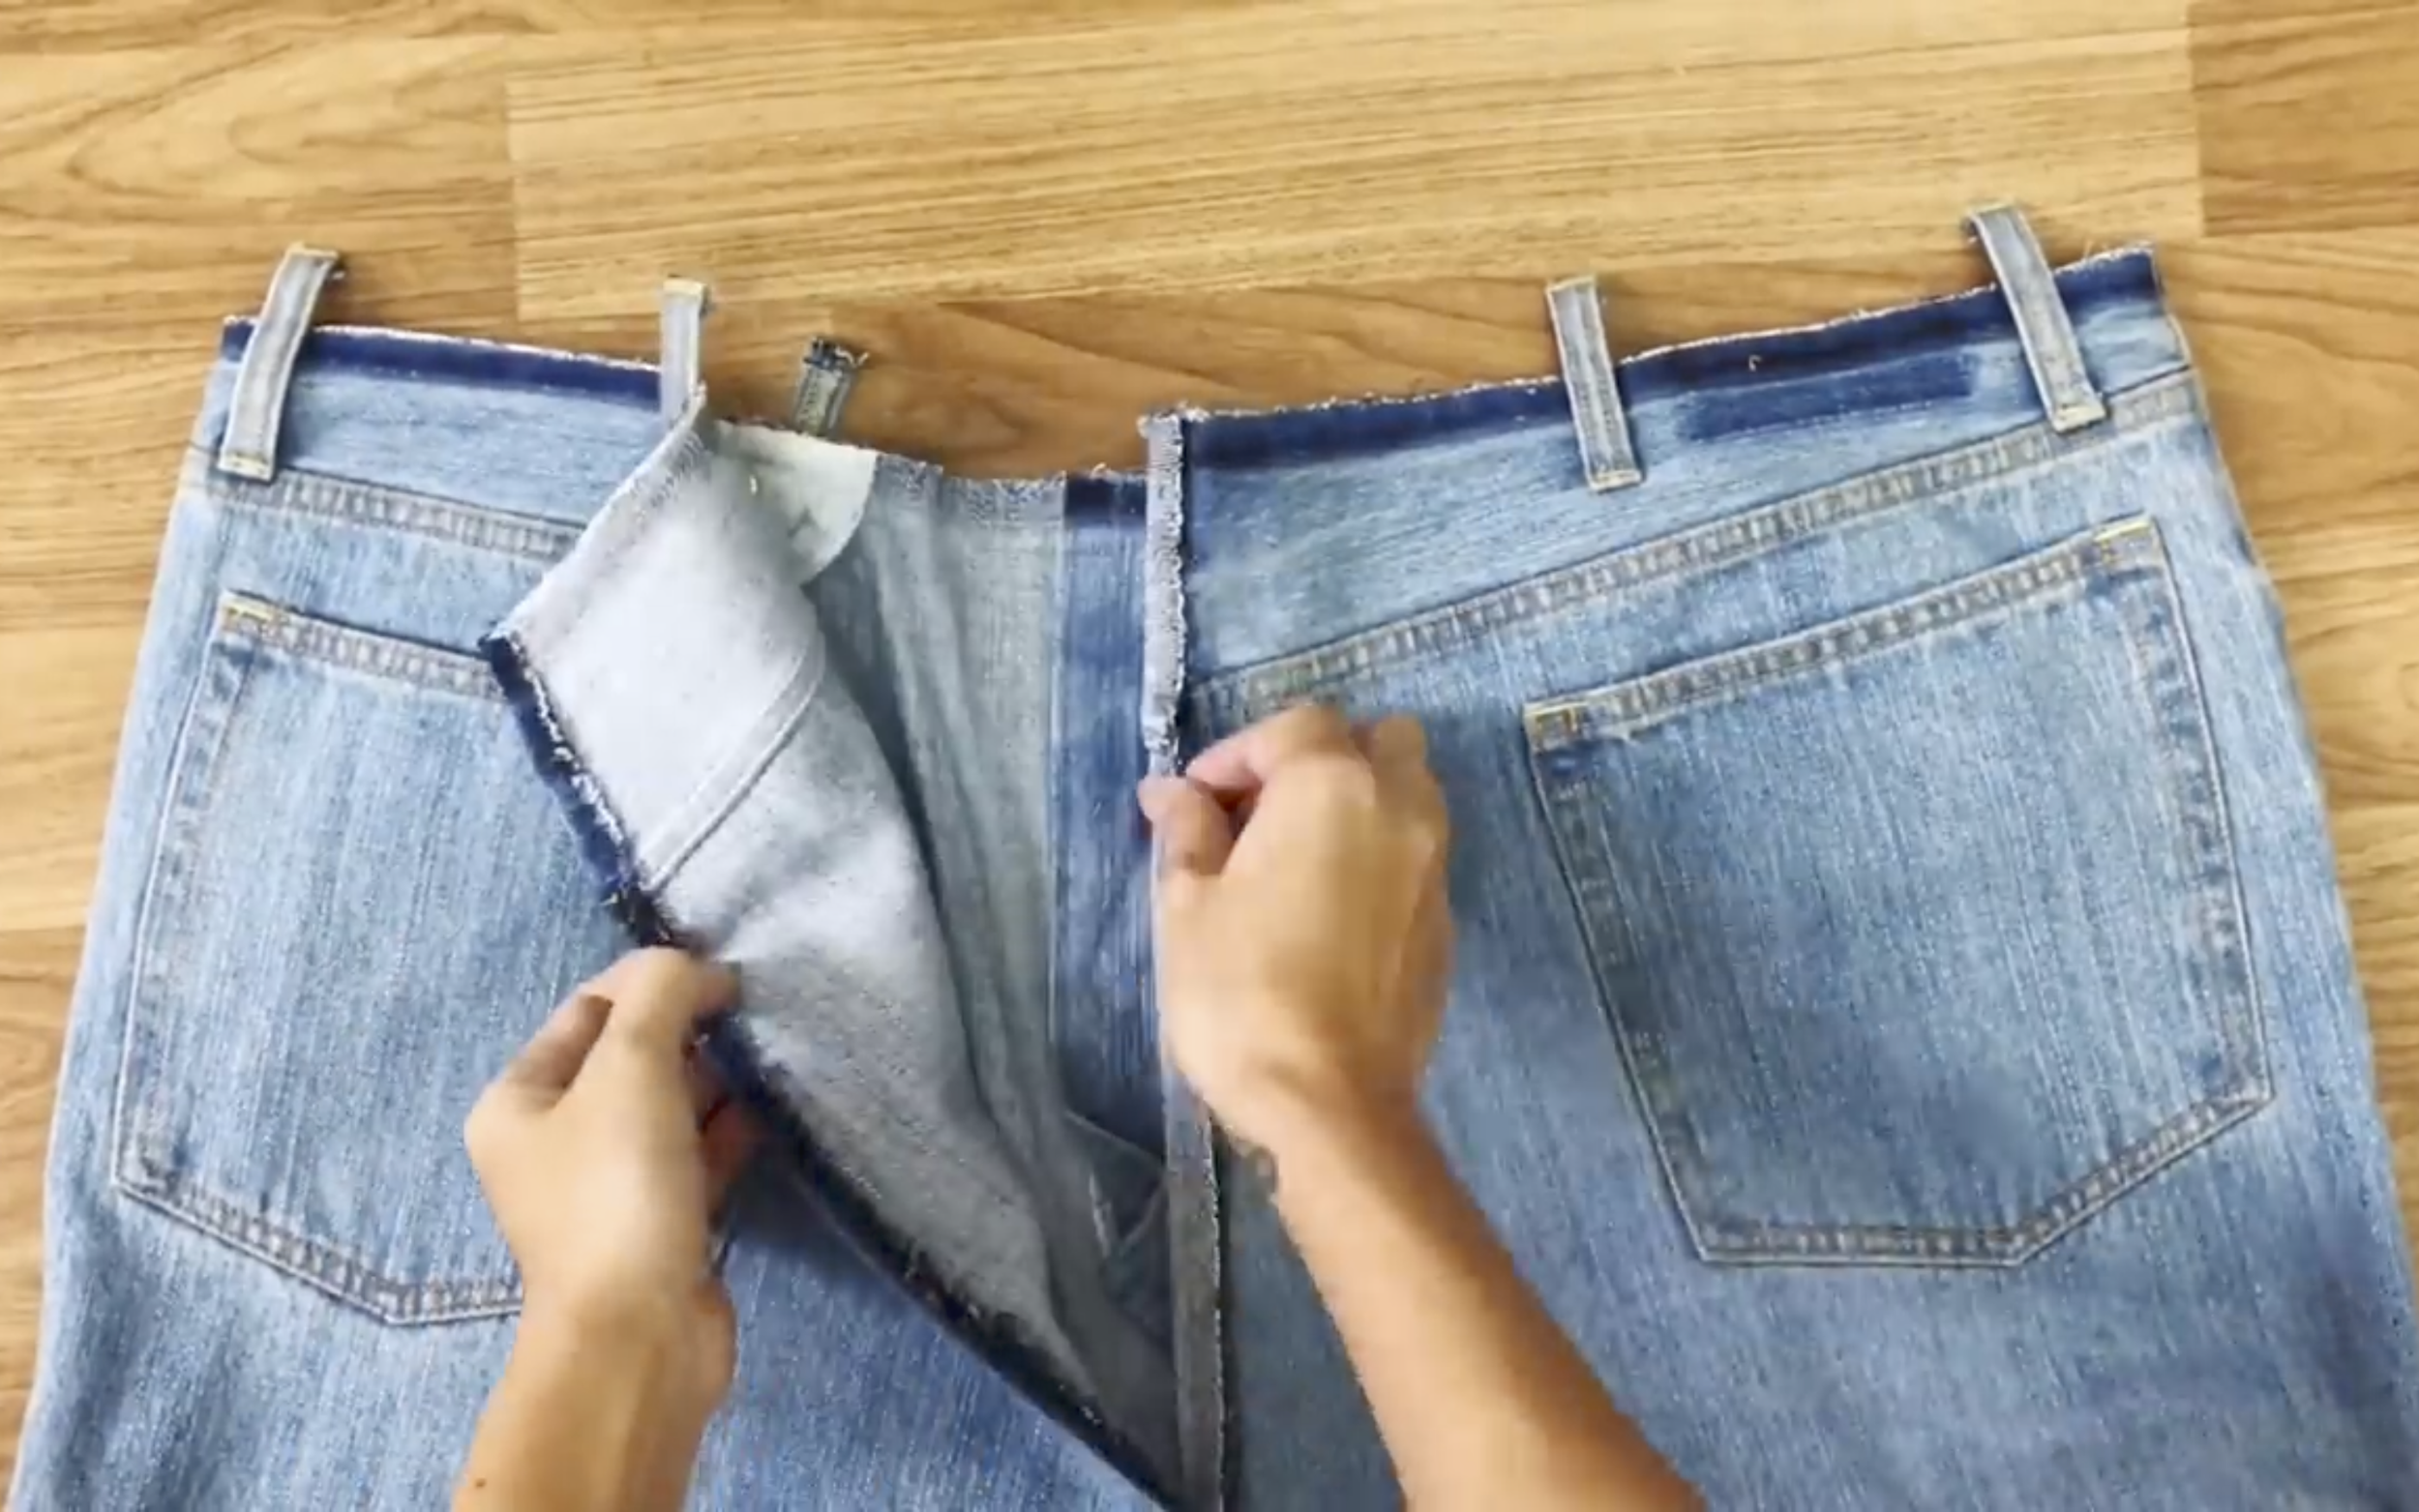
Un-sew the seam at the middle of the back pants first.
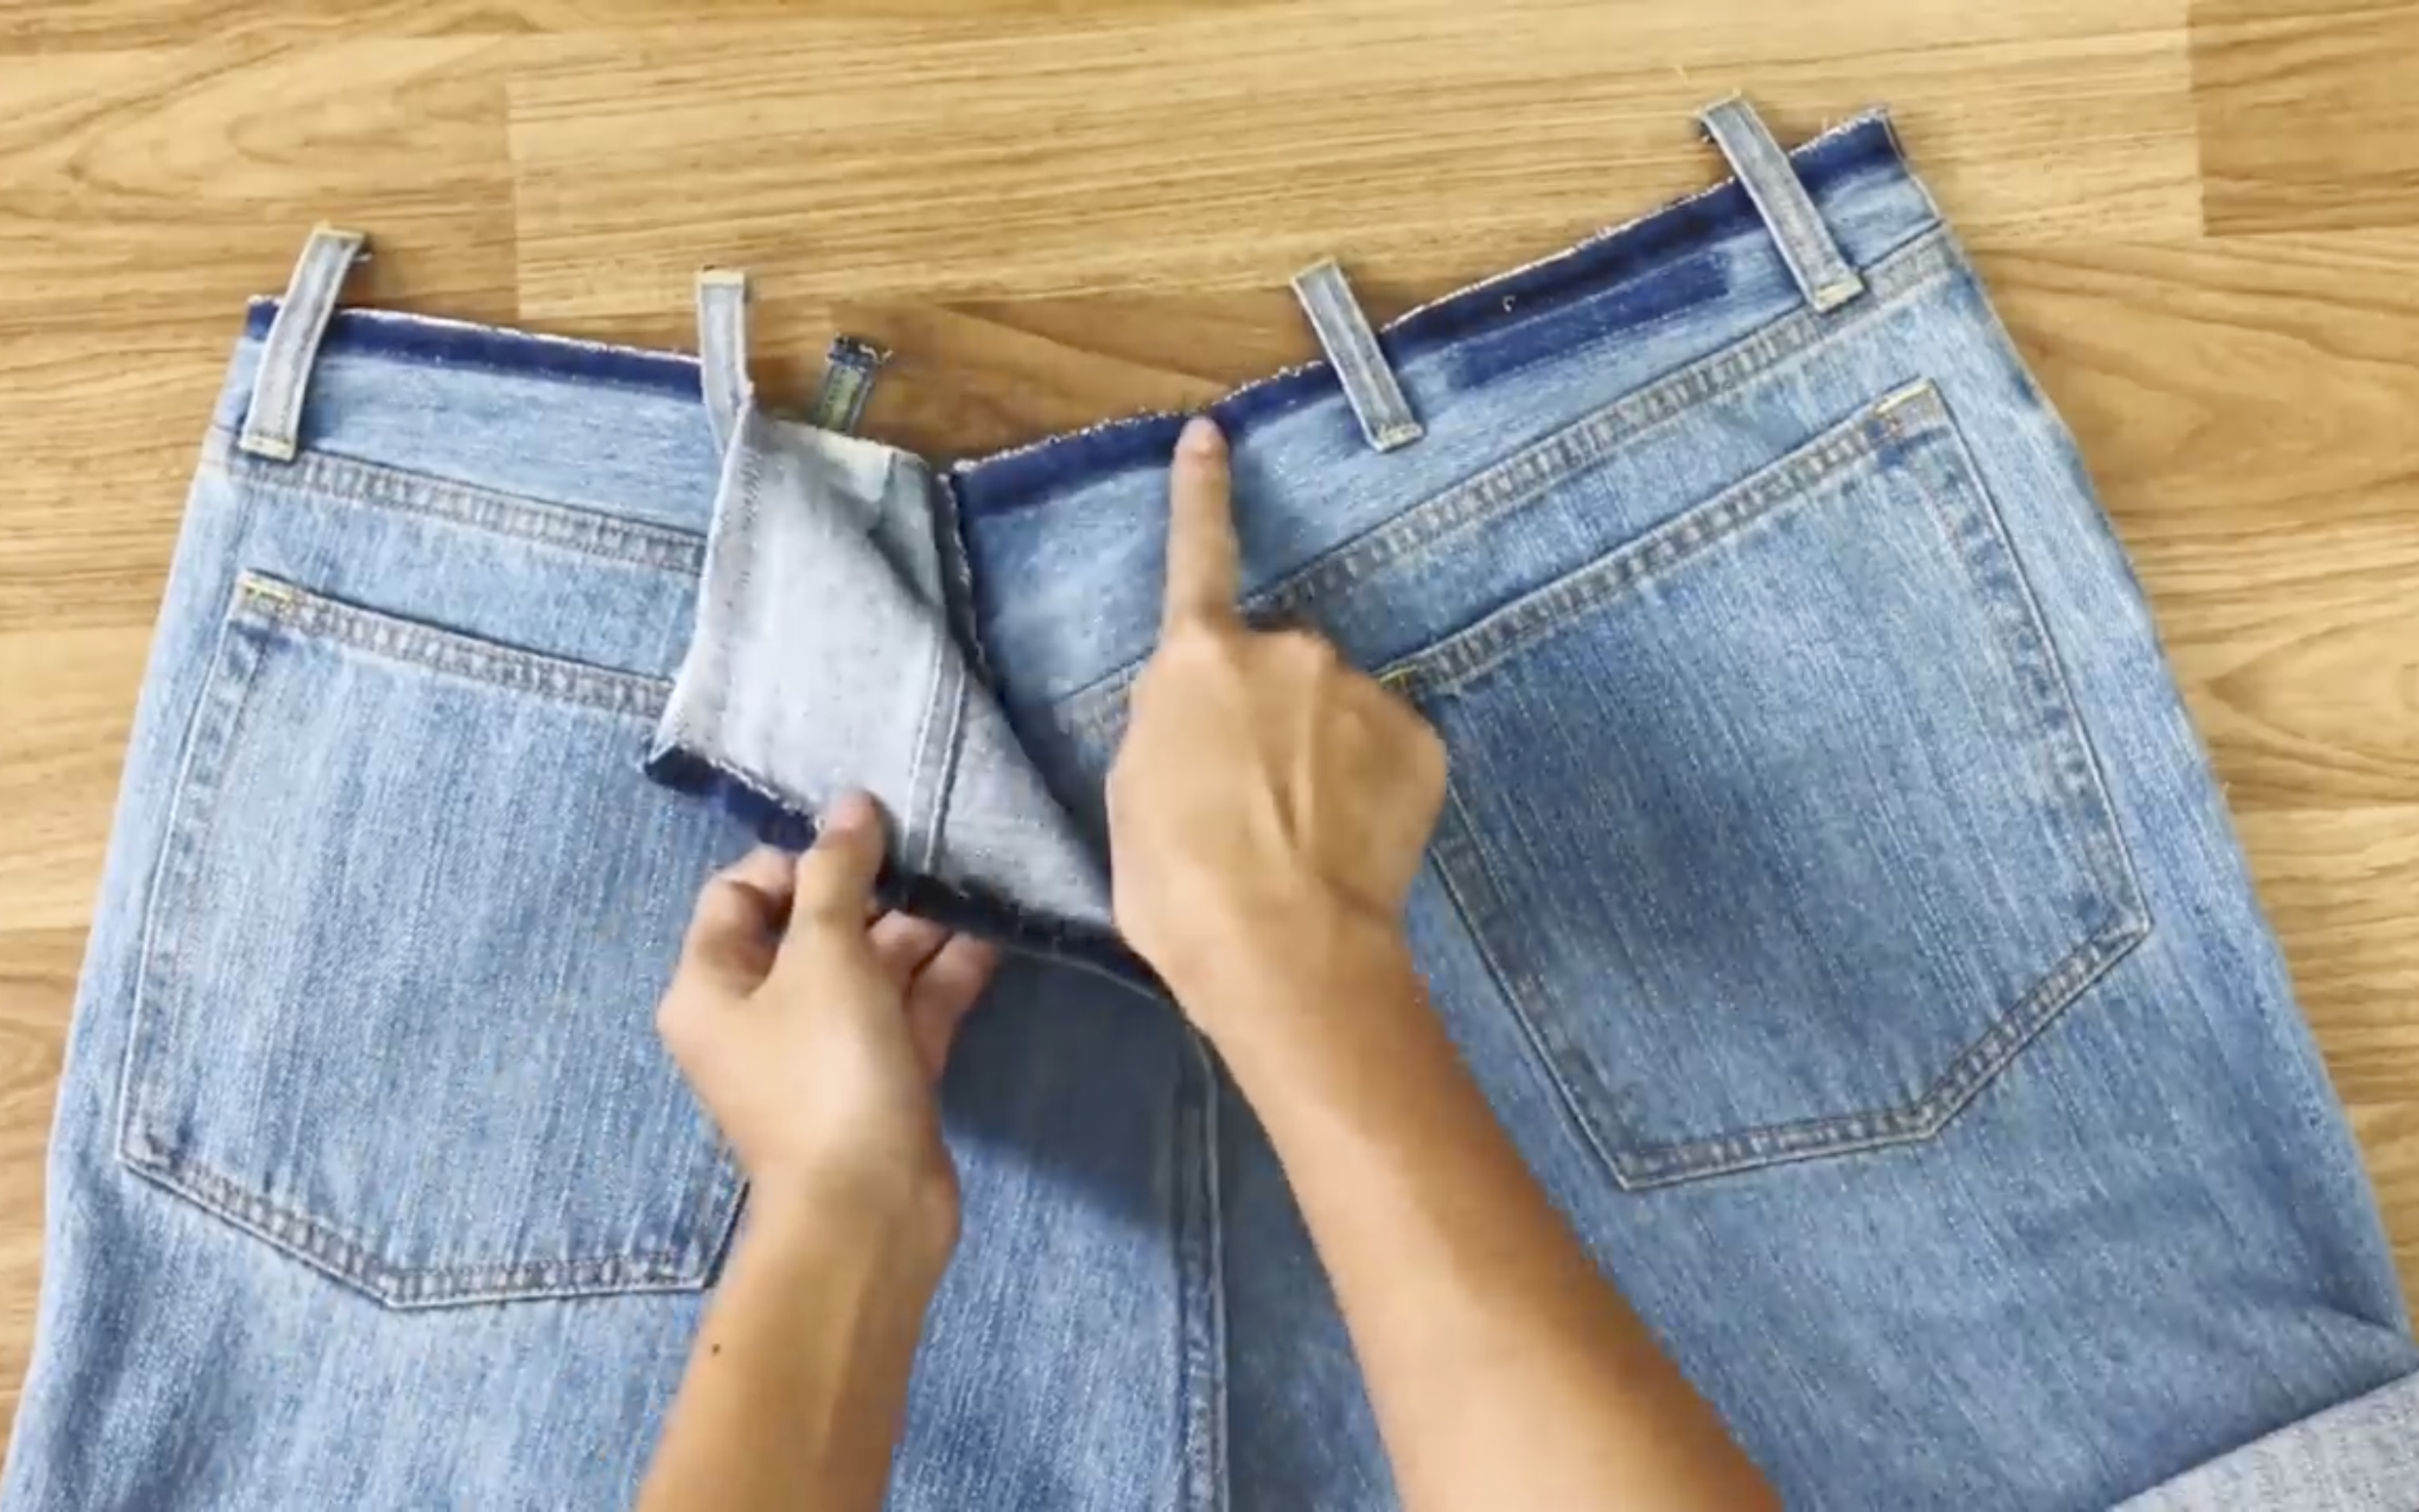
Then fold one side deeper to another side.
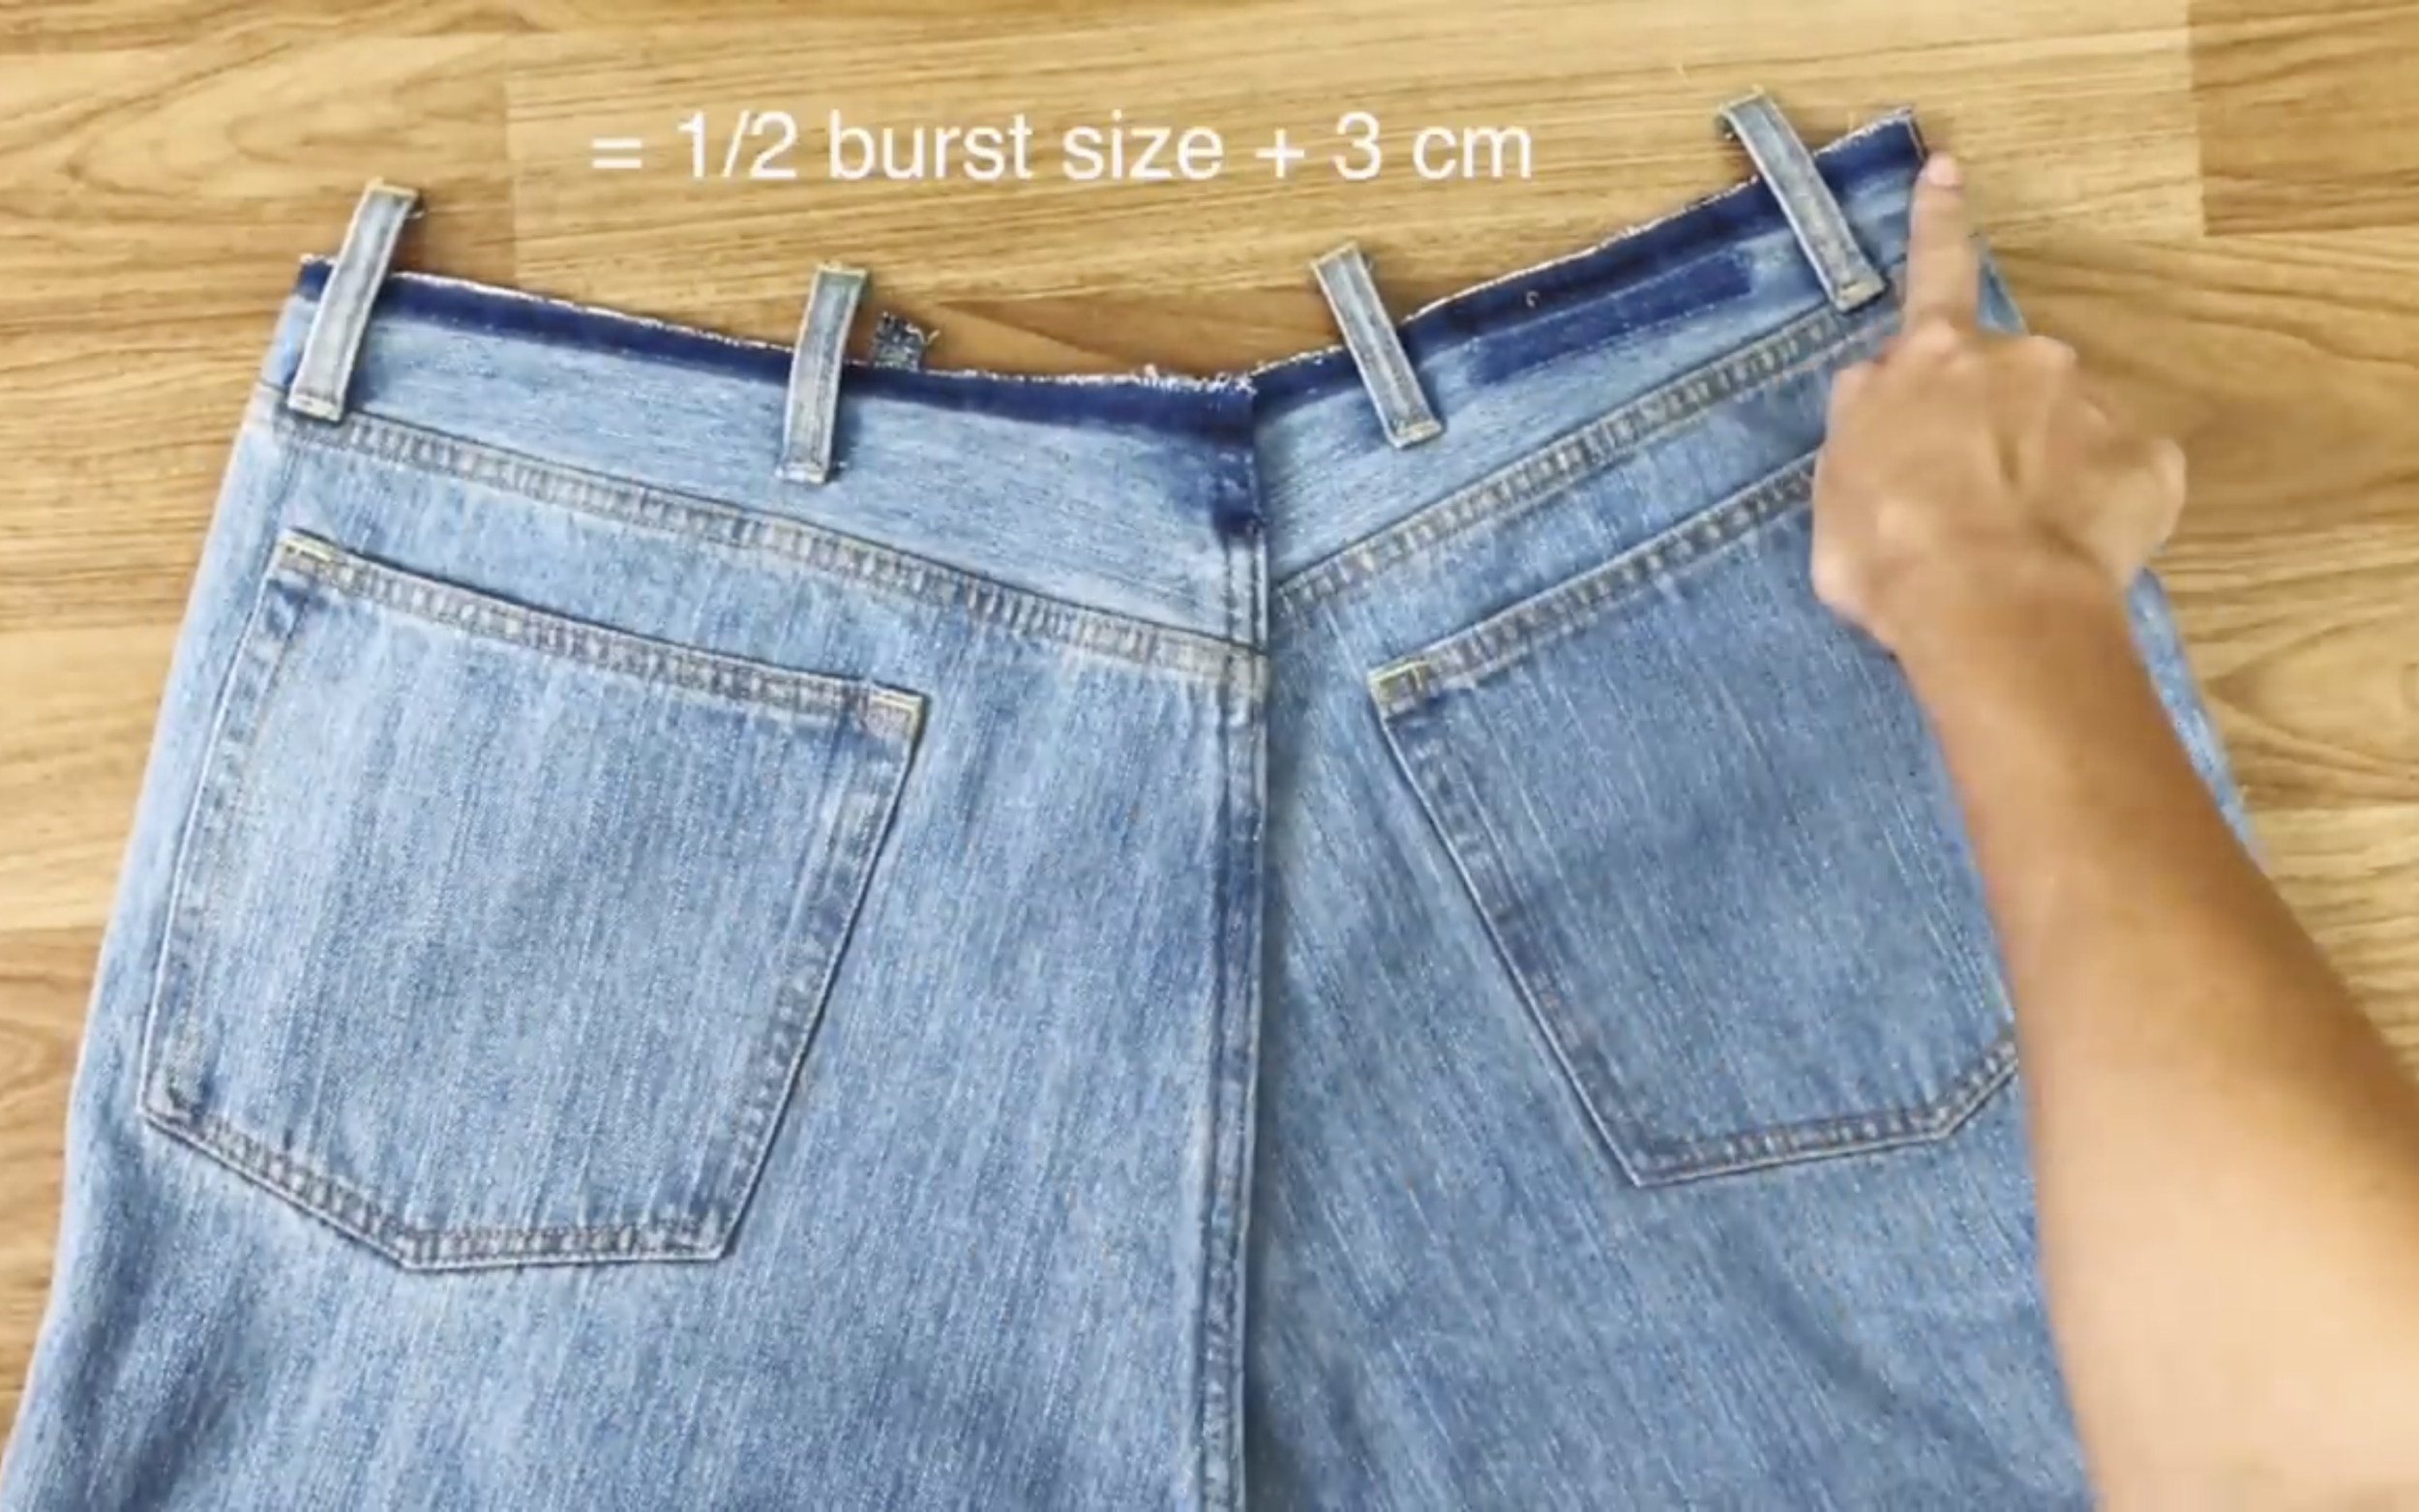
Make sure the width of the waistband has to be a half of your bust size + 3cm.
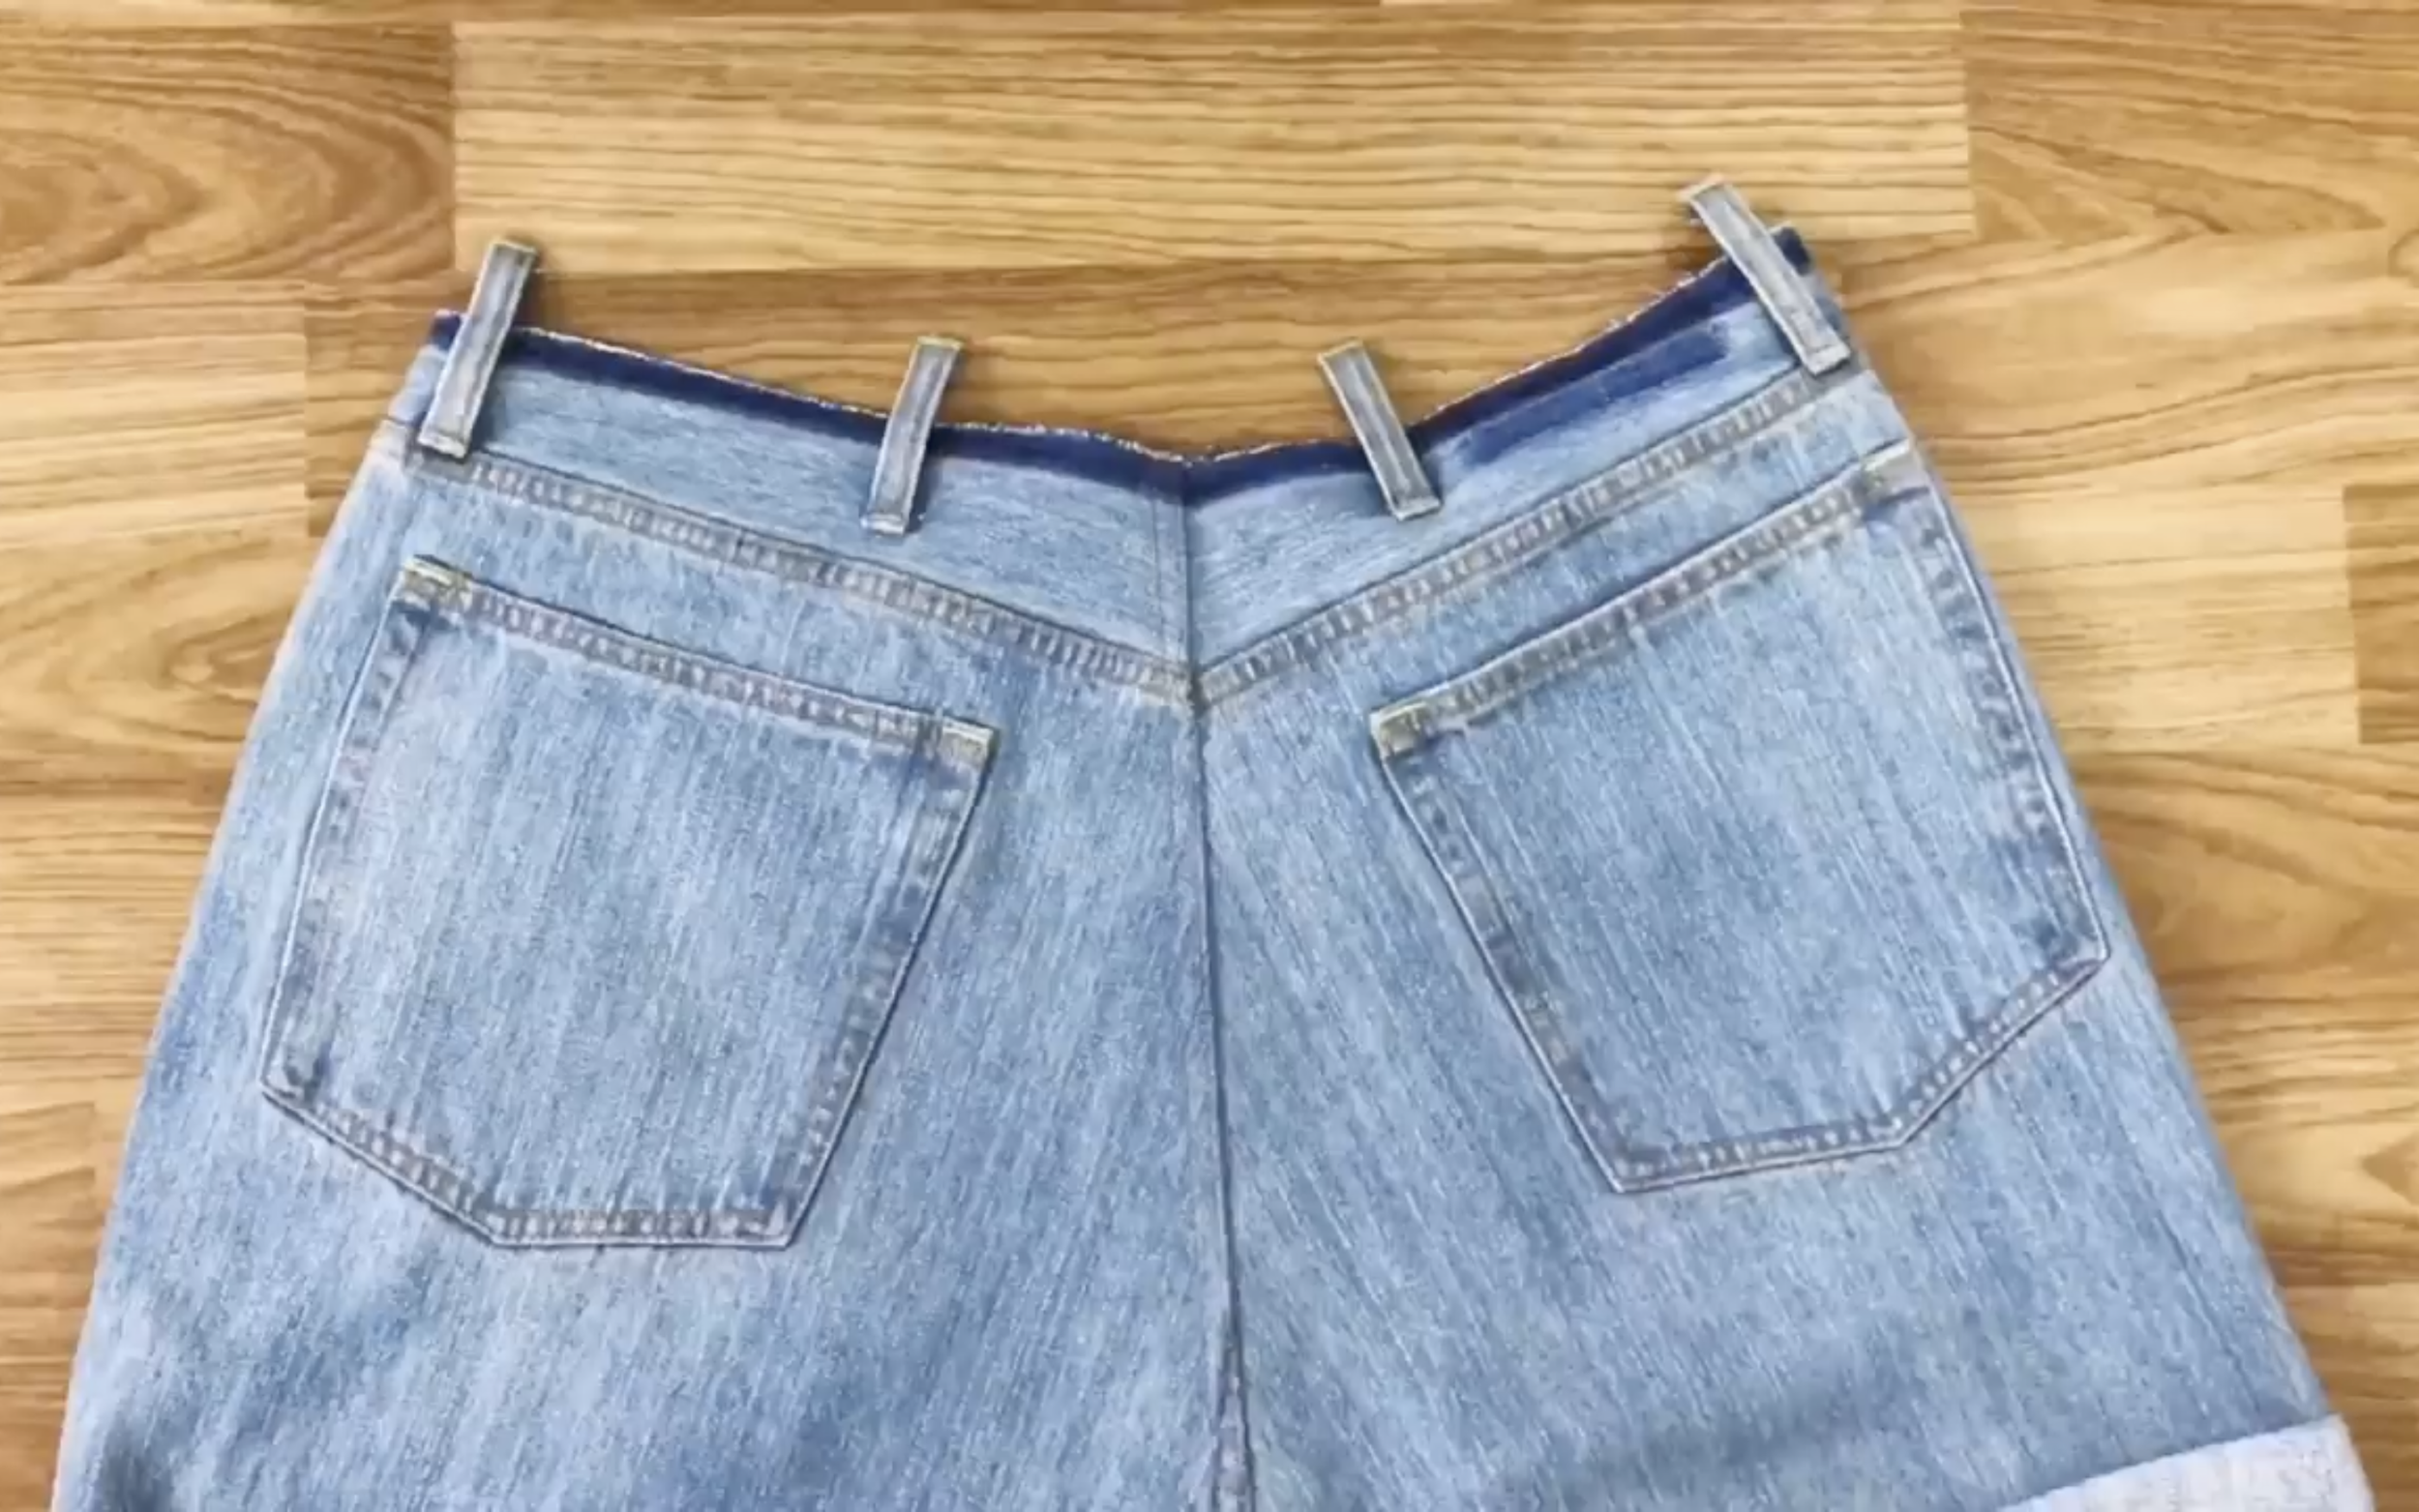
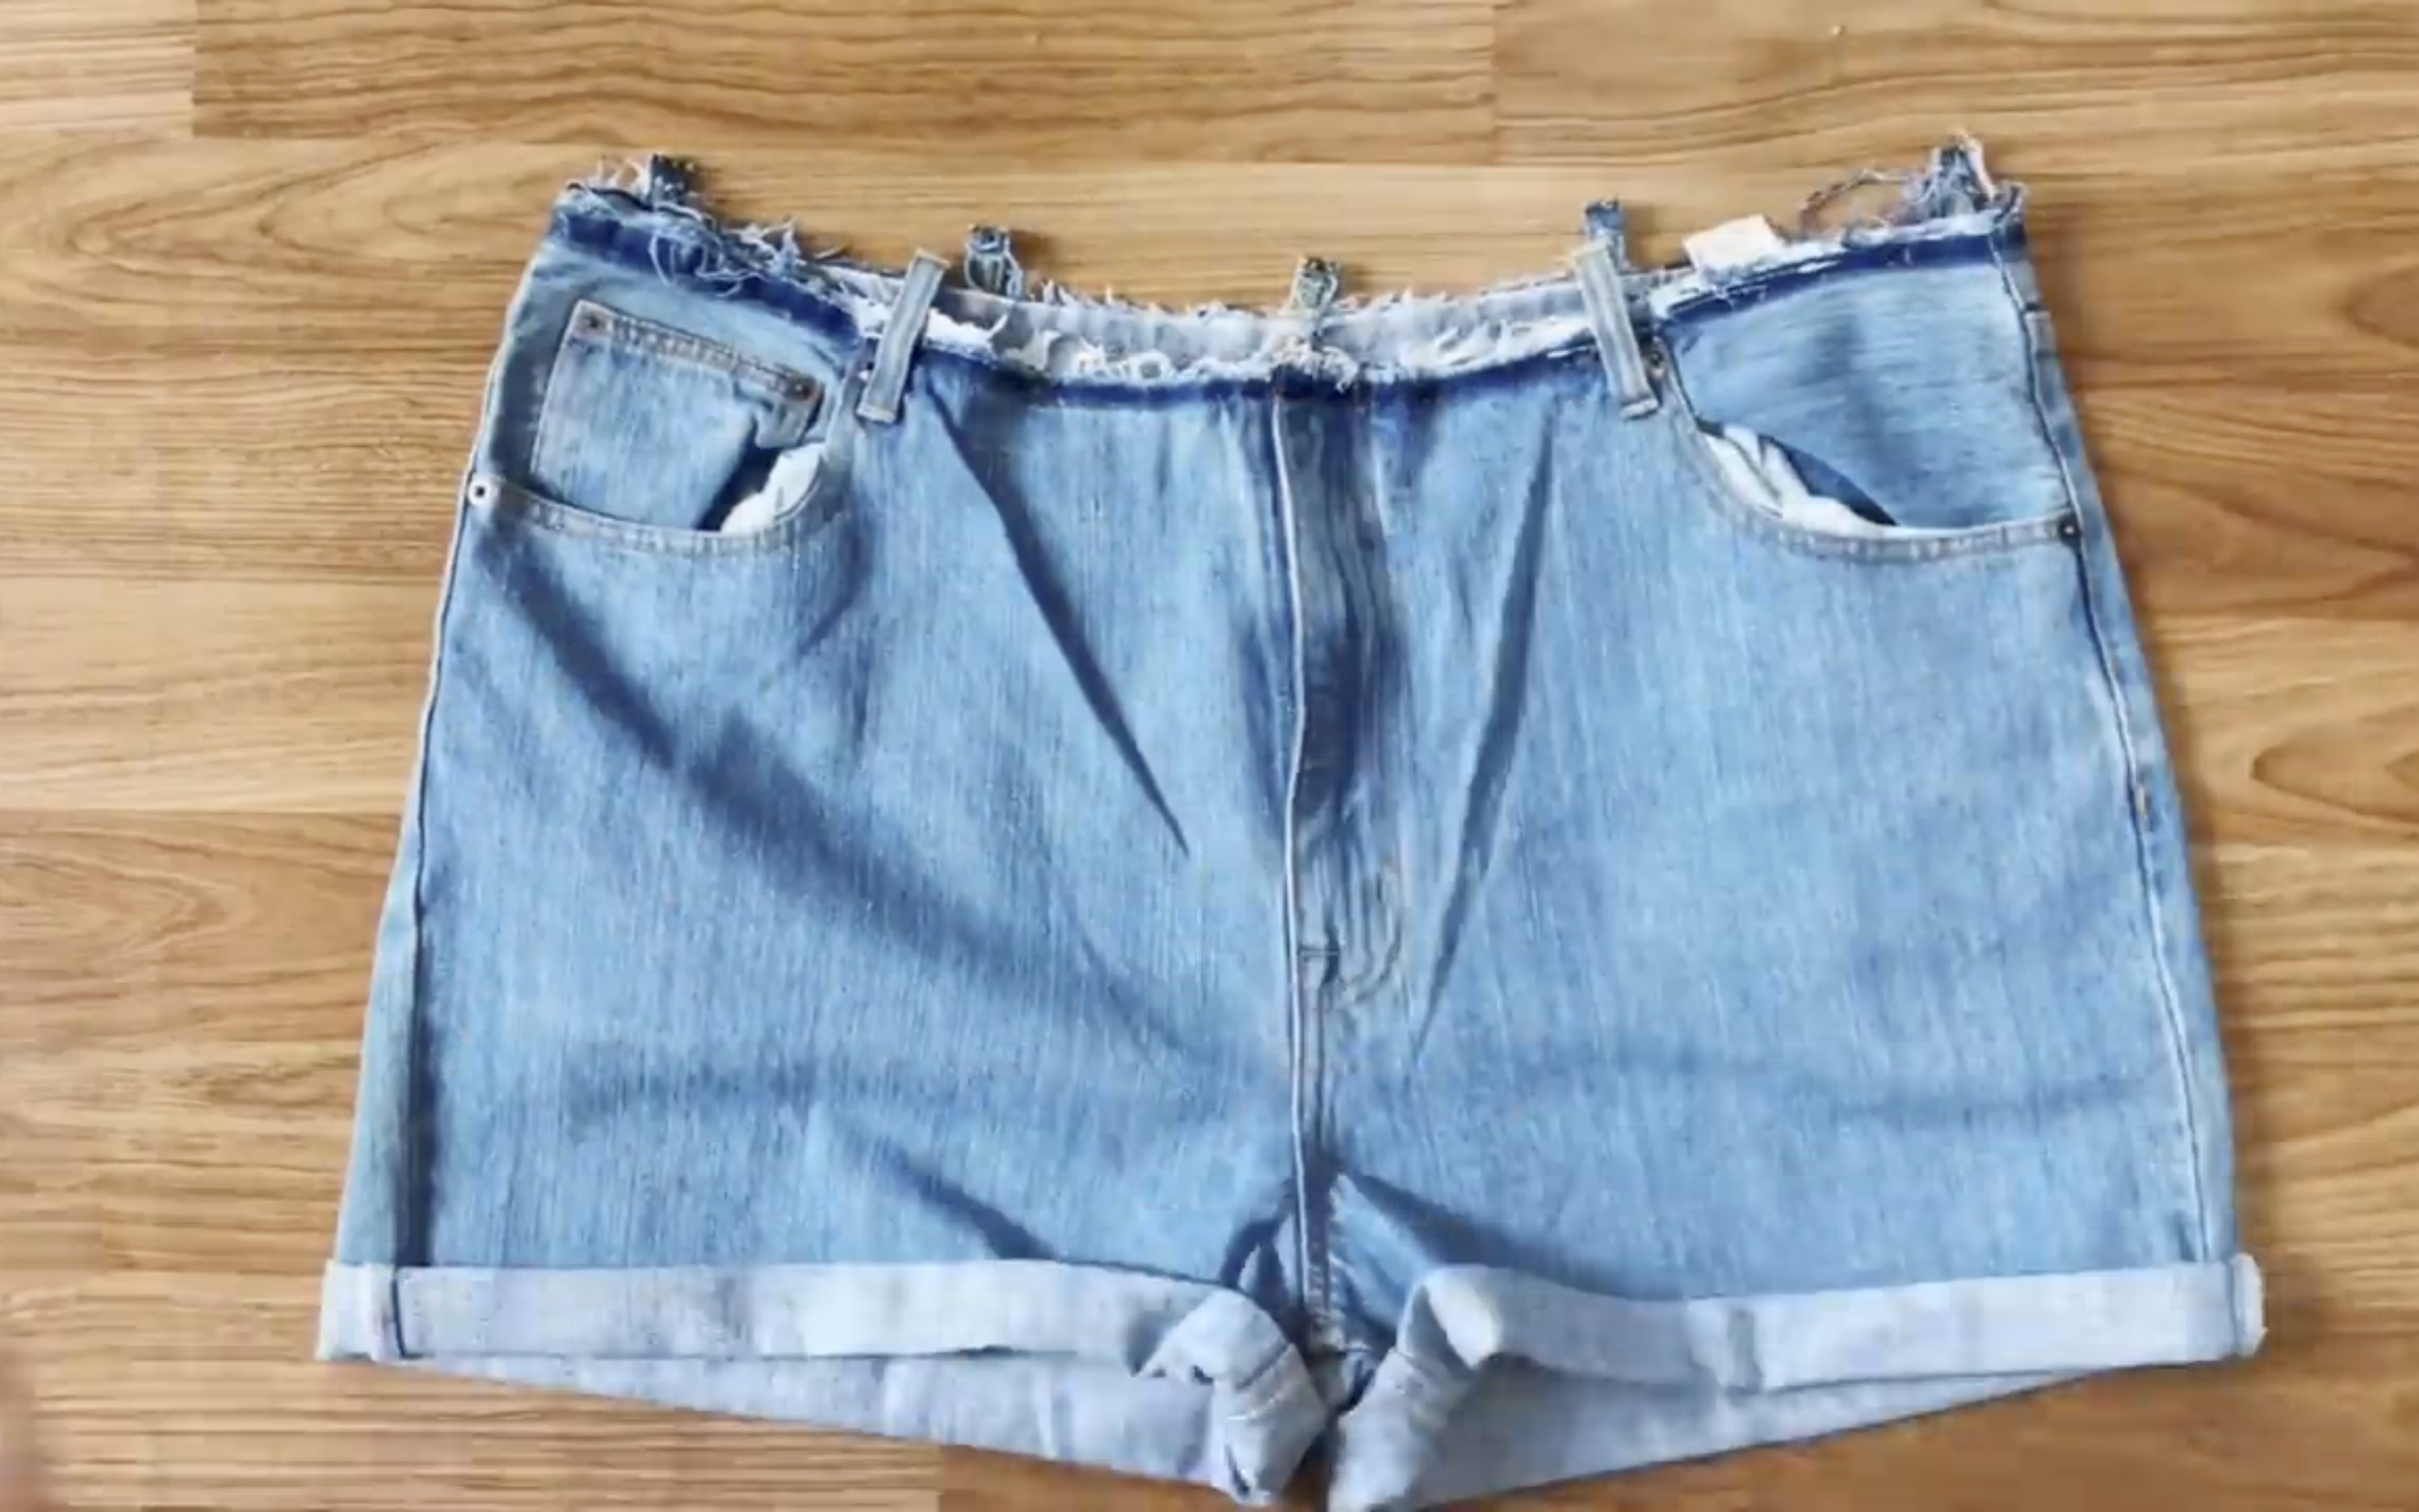
And finish the pants for the jumpsuit.
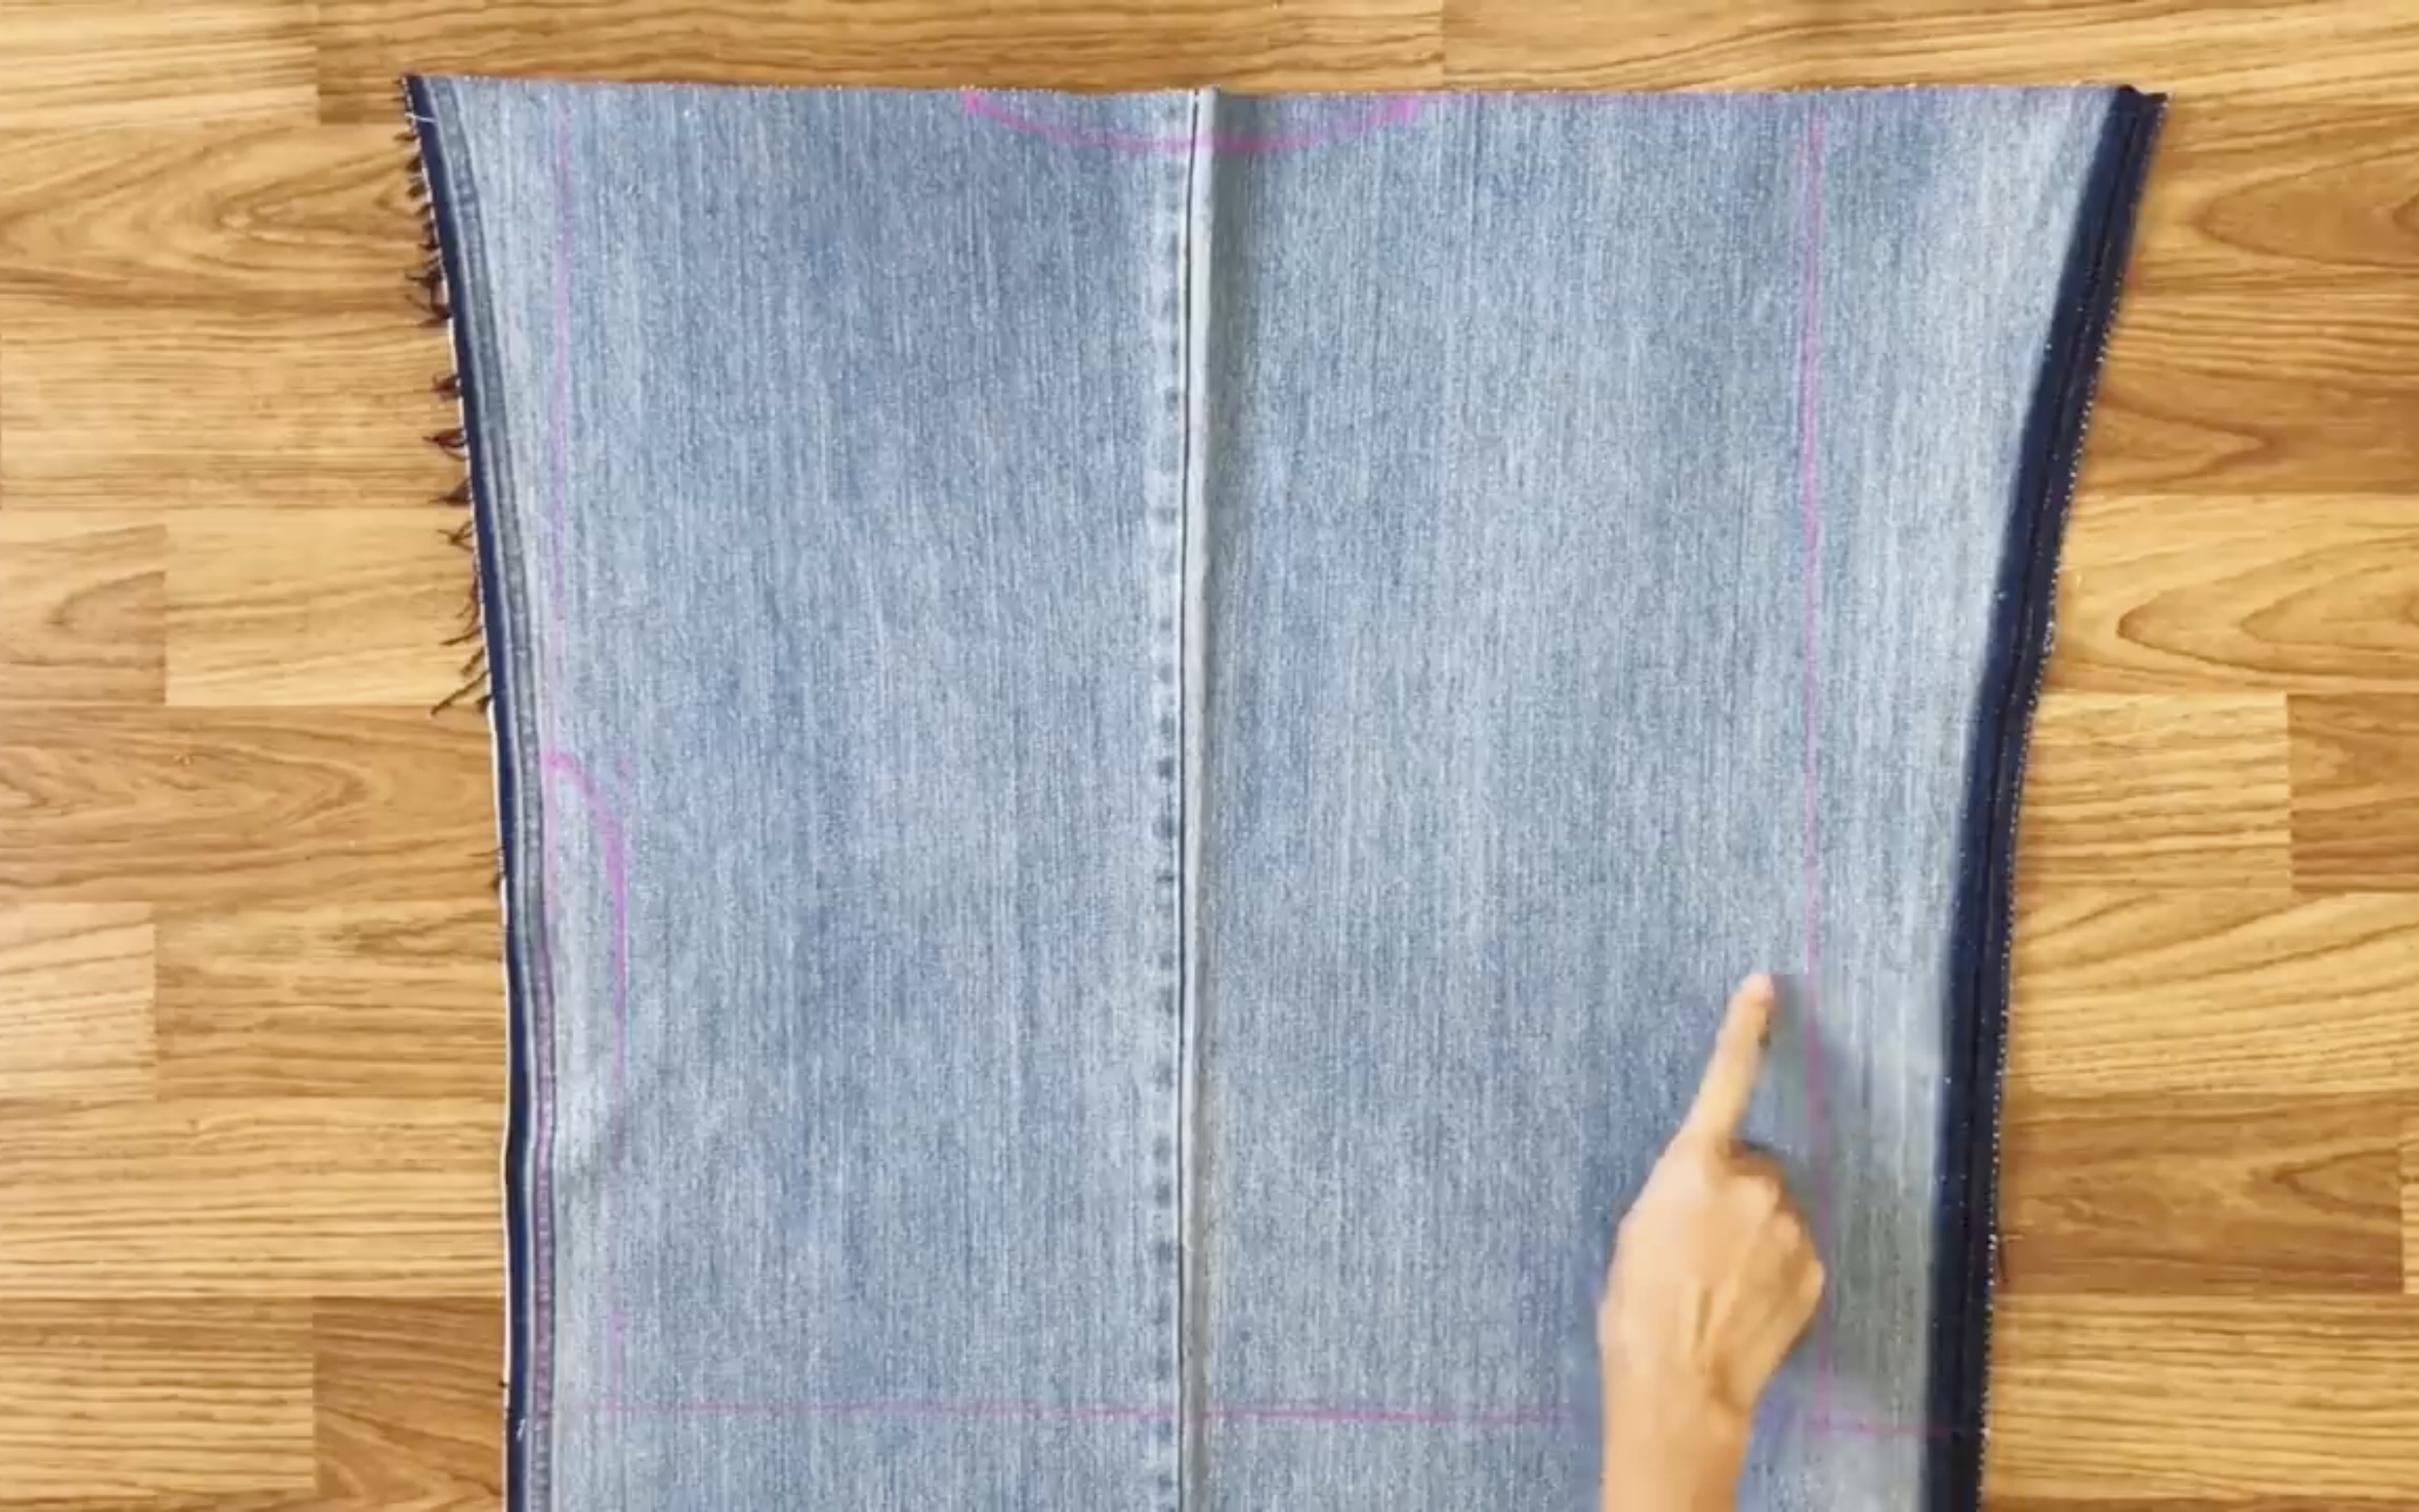
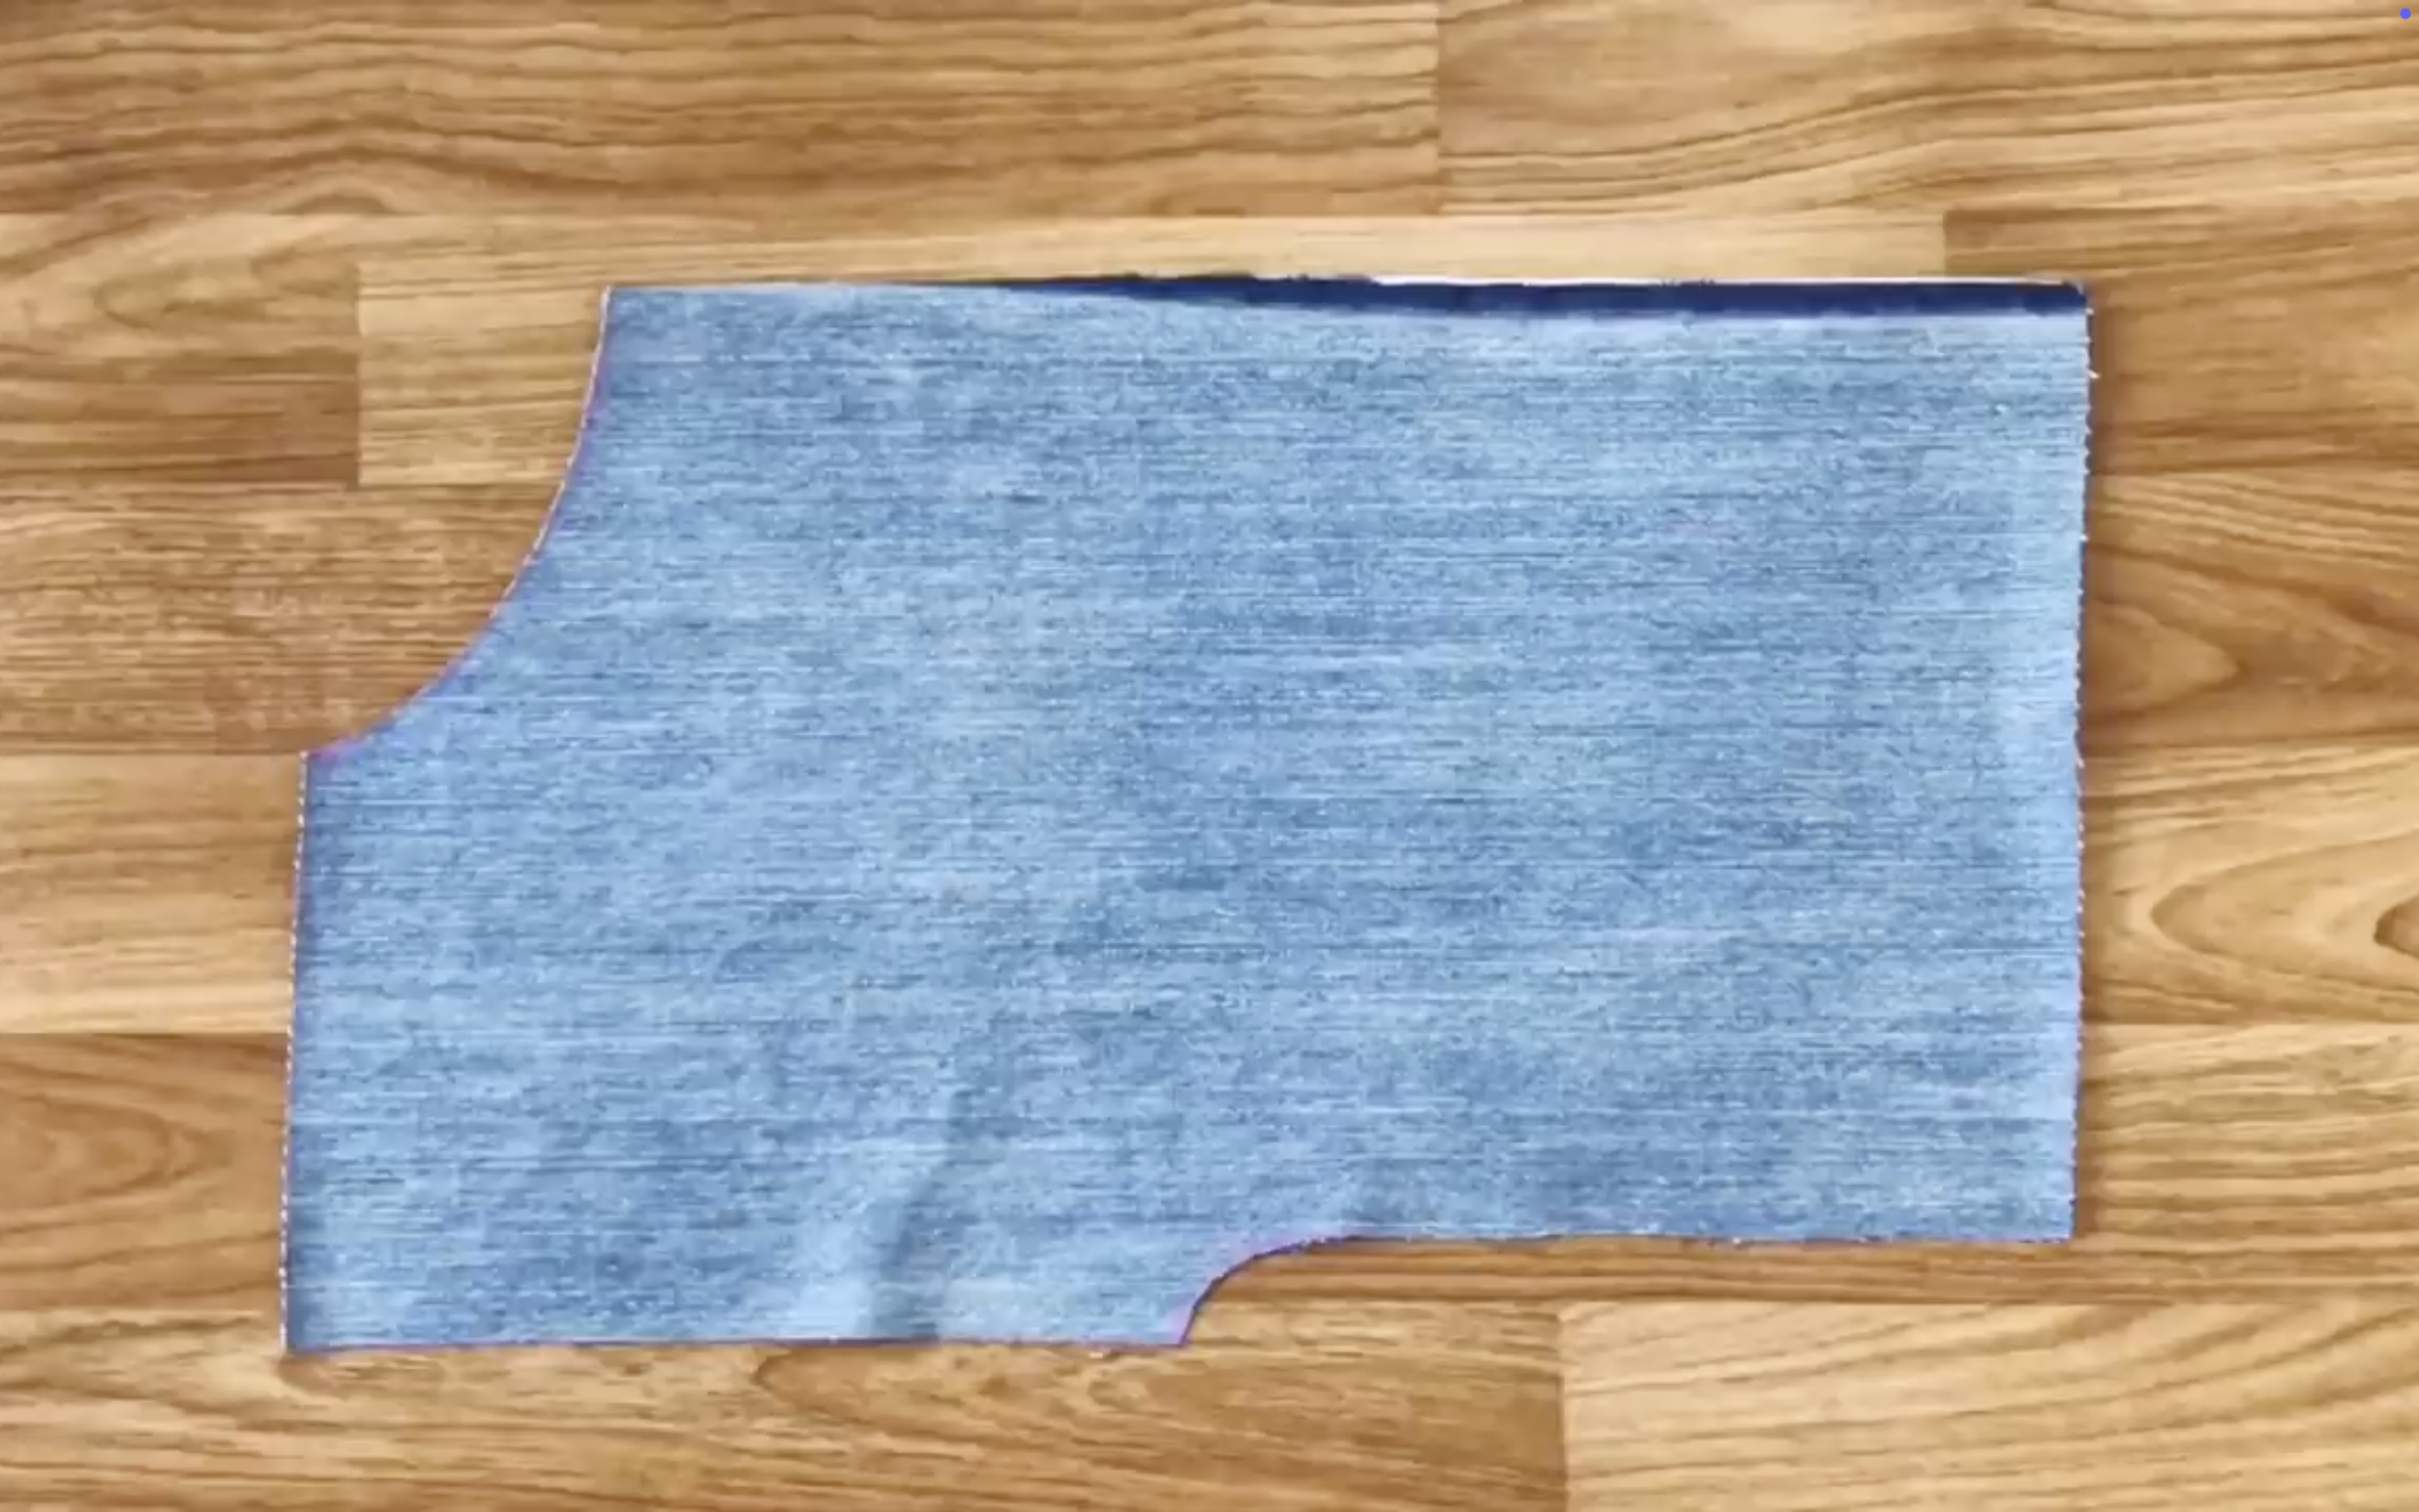
Use the fabric from the legs of the jeans to create the top for the jumpsuit.
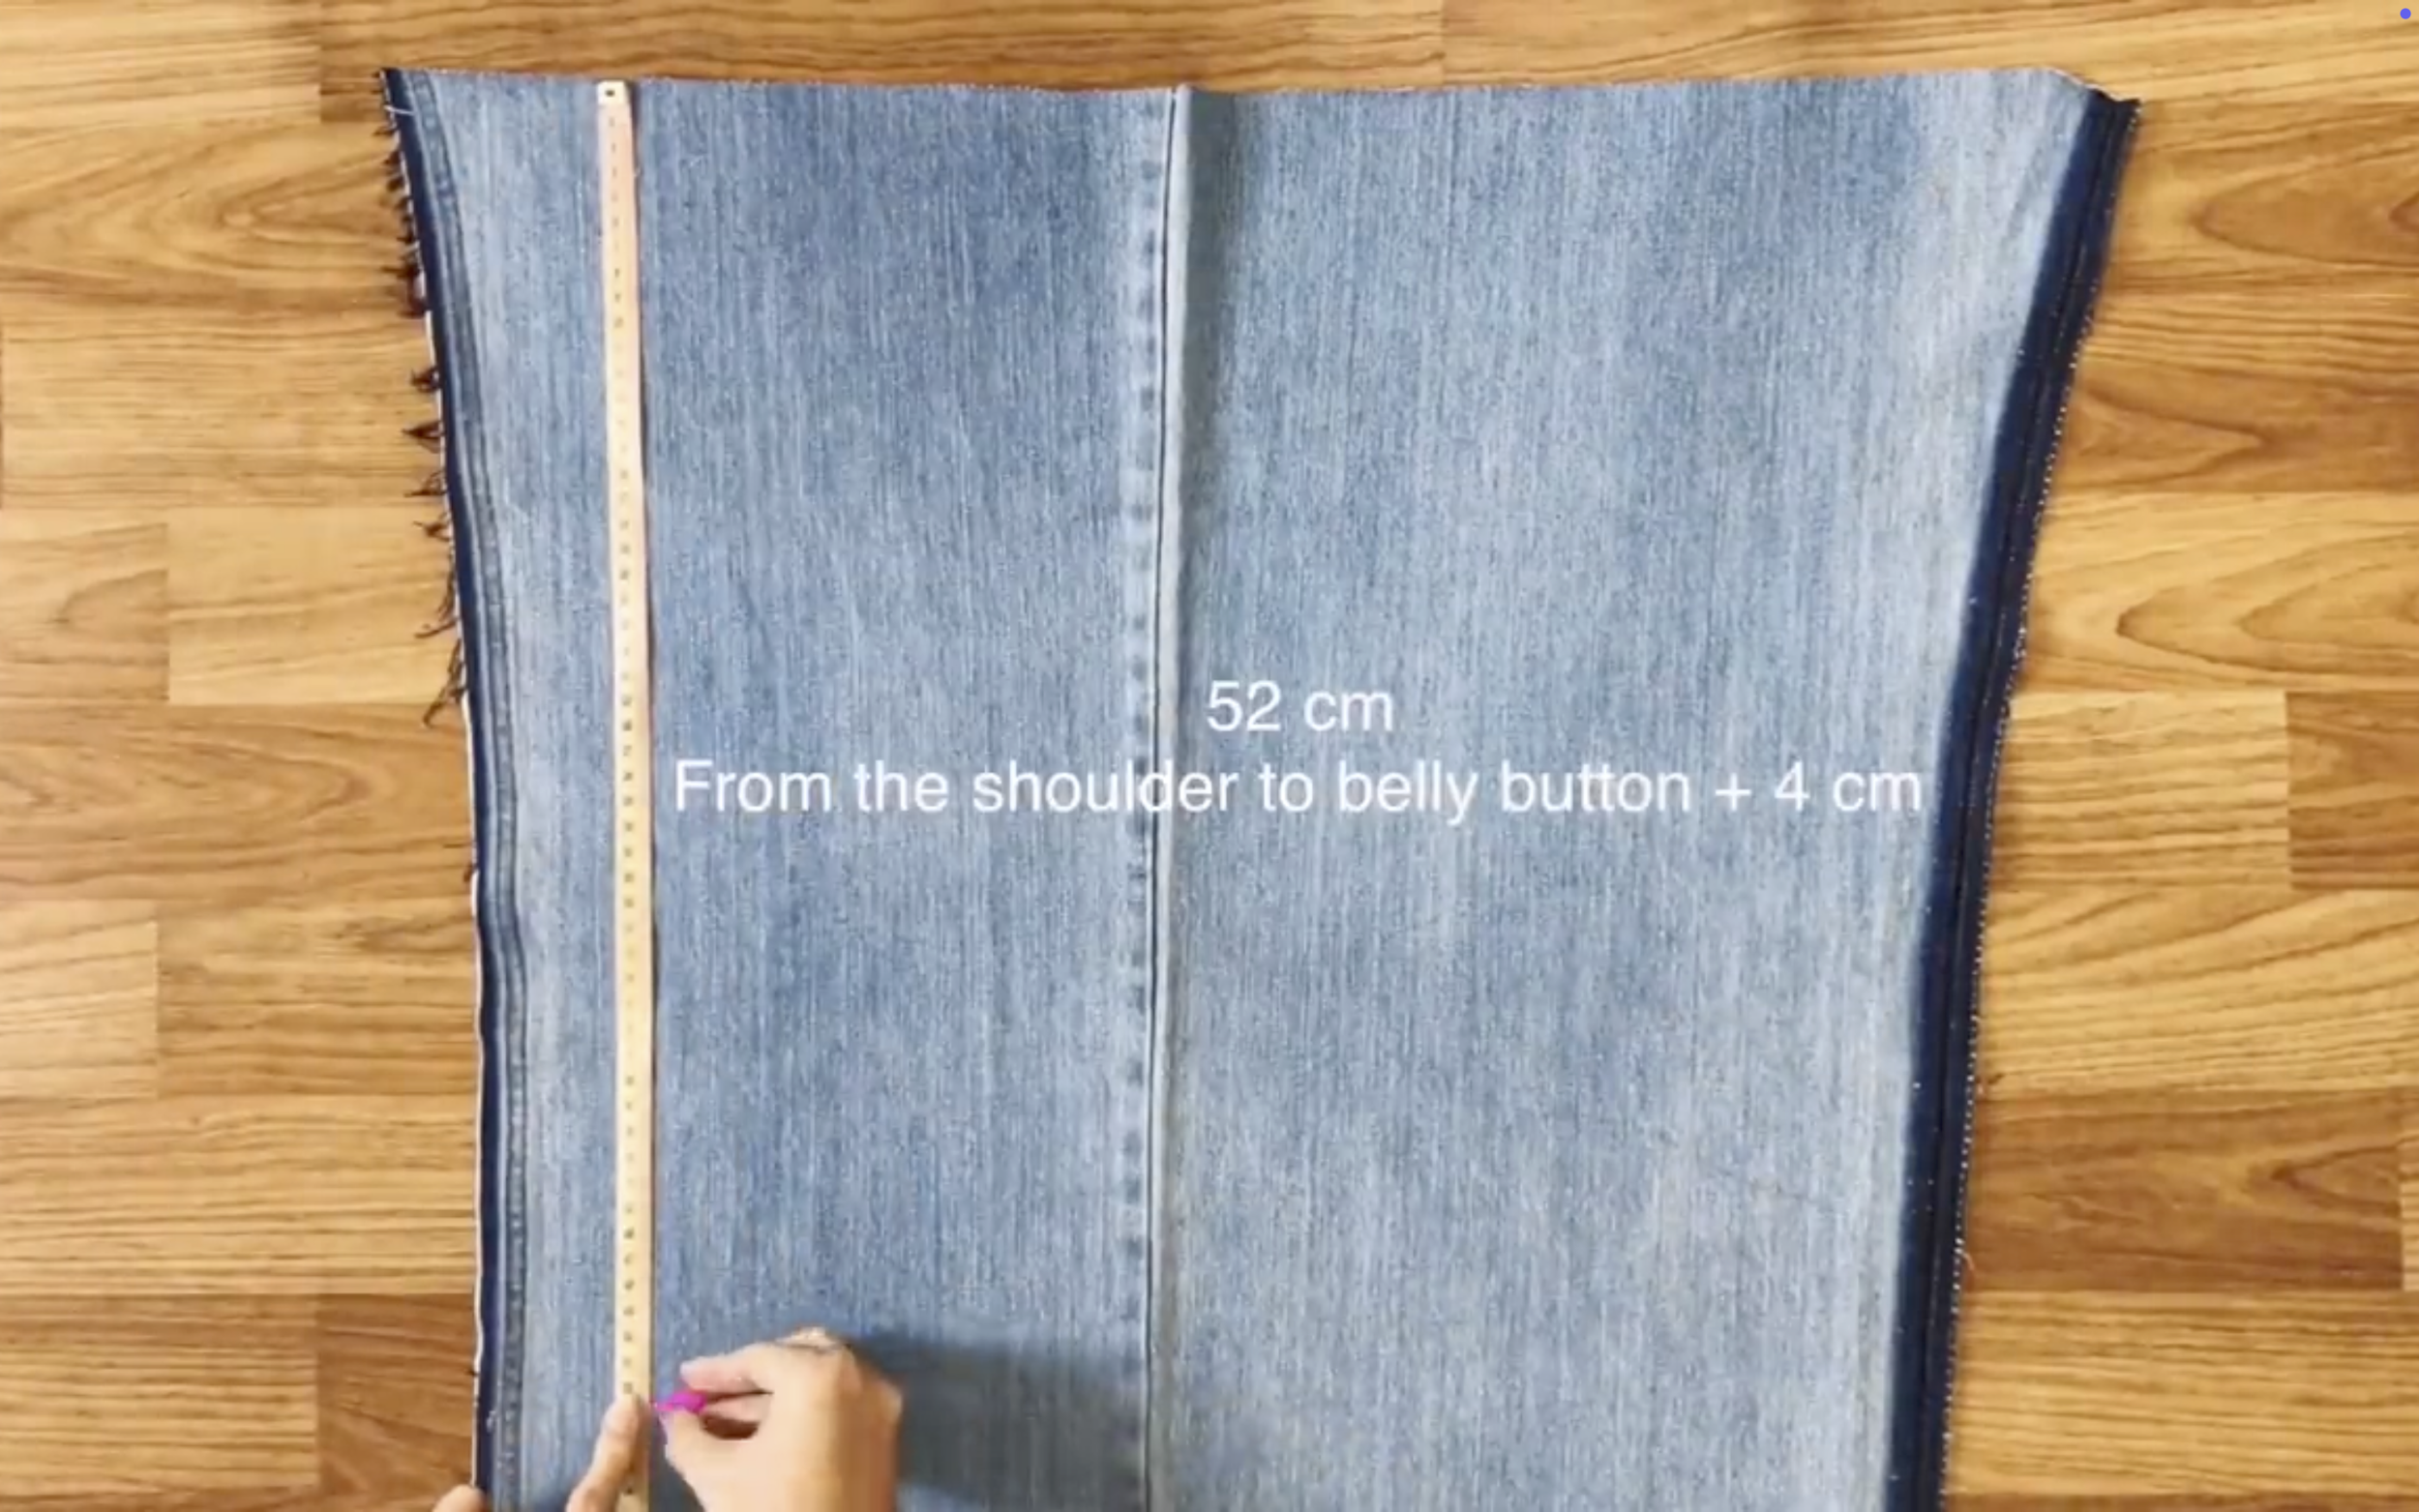
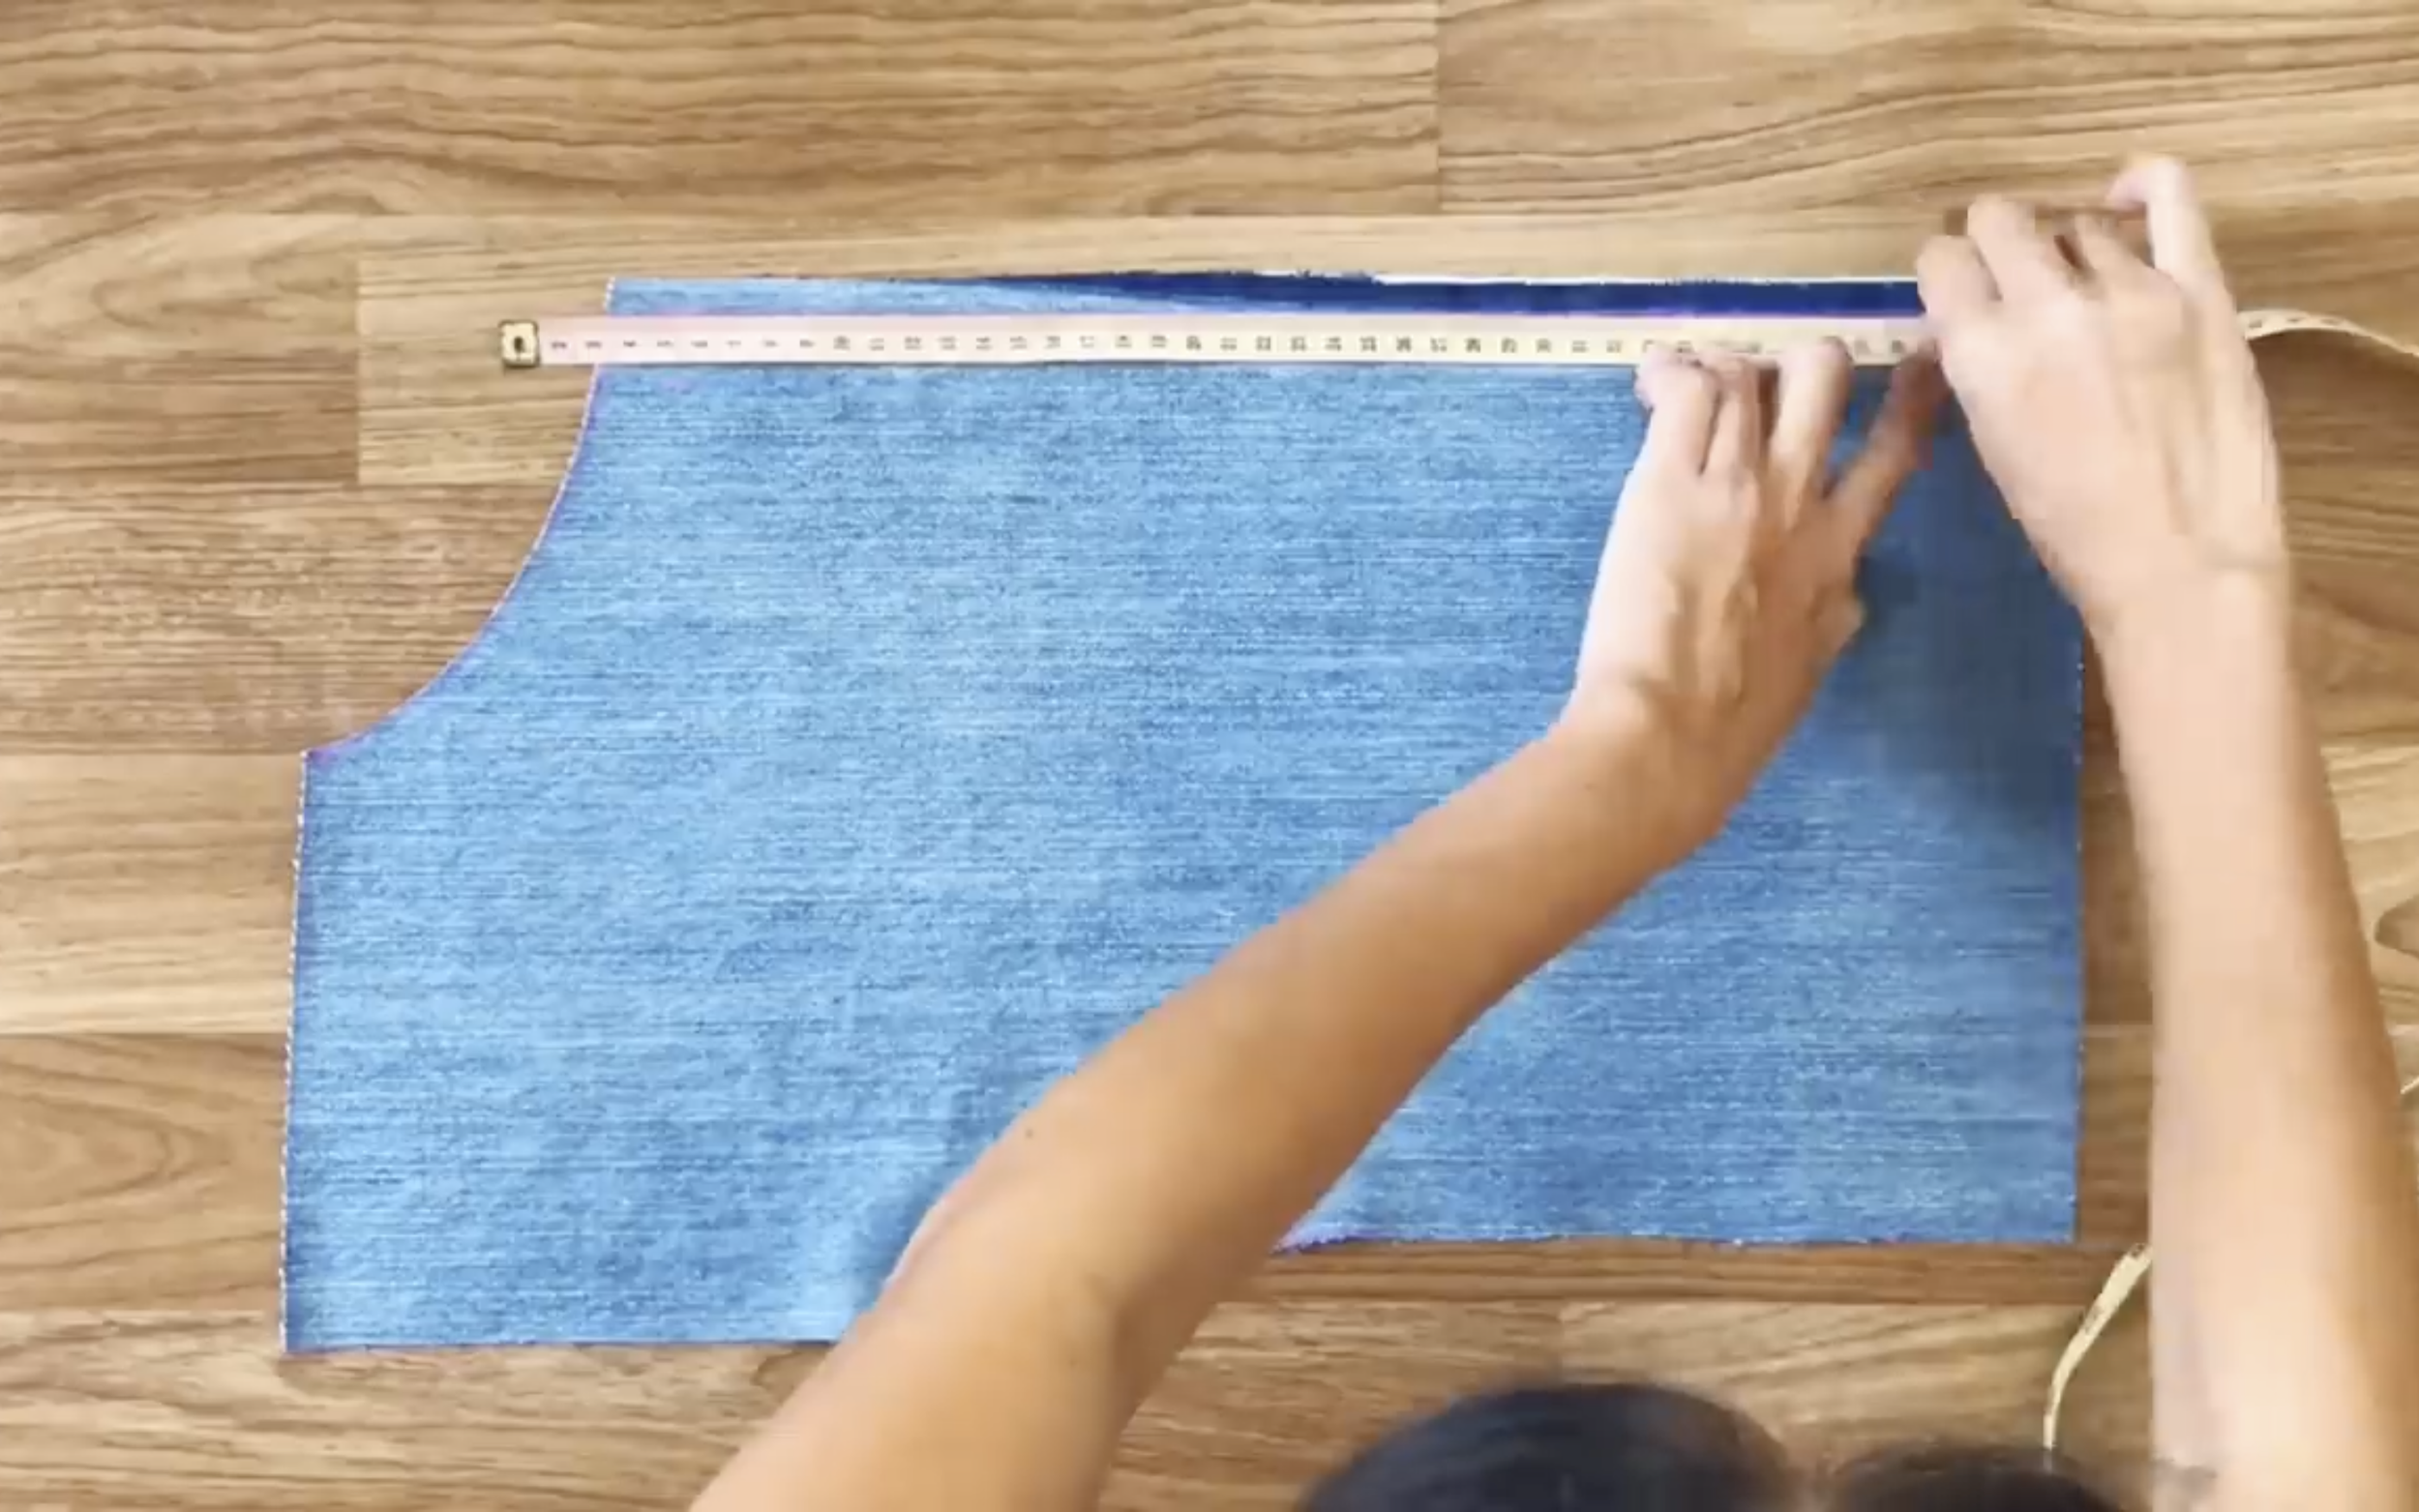
At the top, go down 52cm which is the width from your shoulder to the belly button + 4cm.
Then draw a horizontal line there.
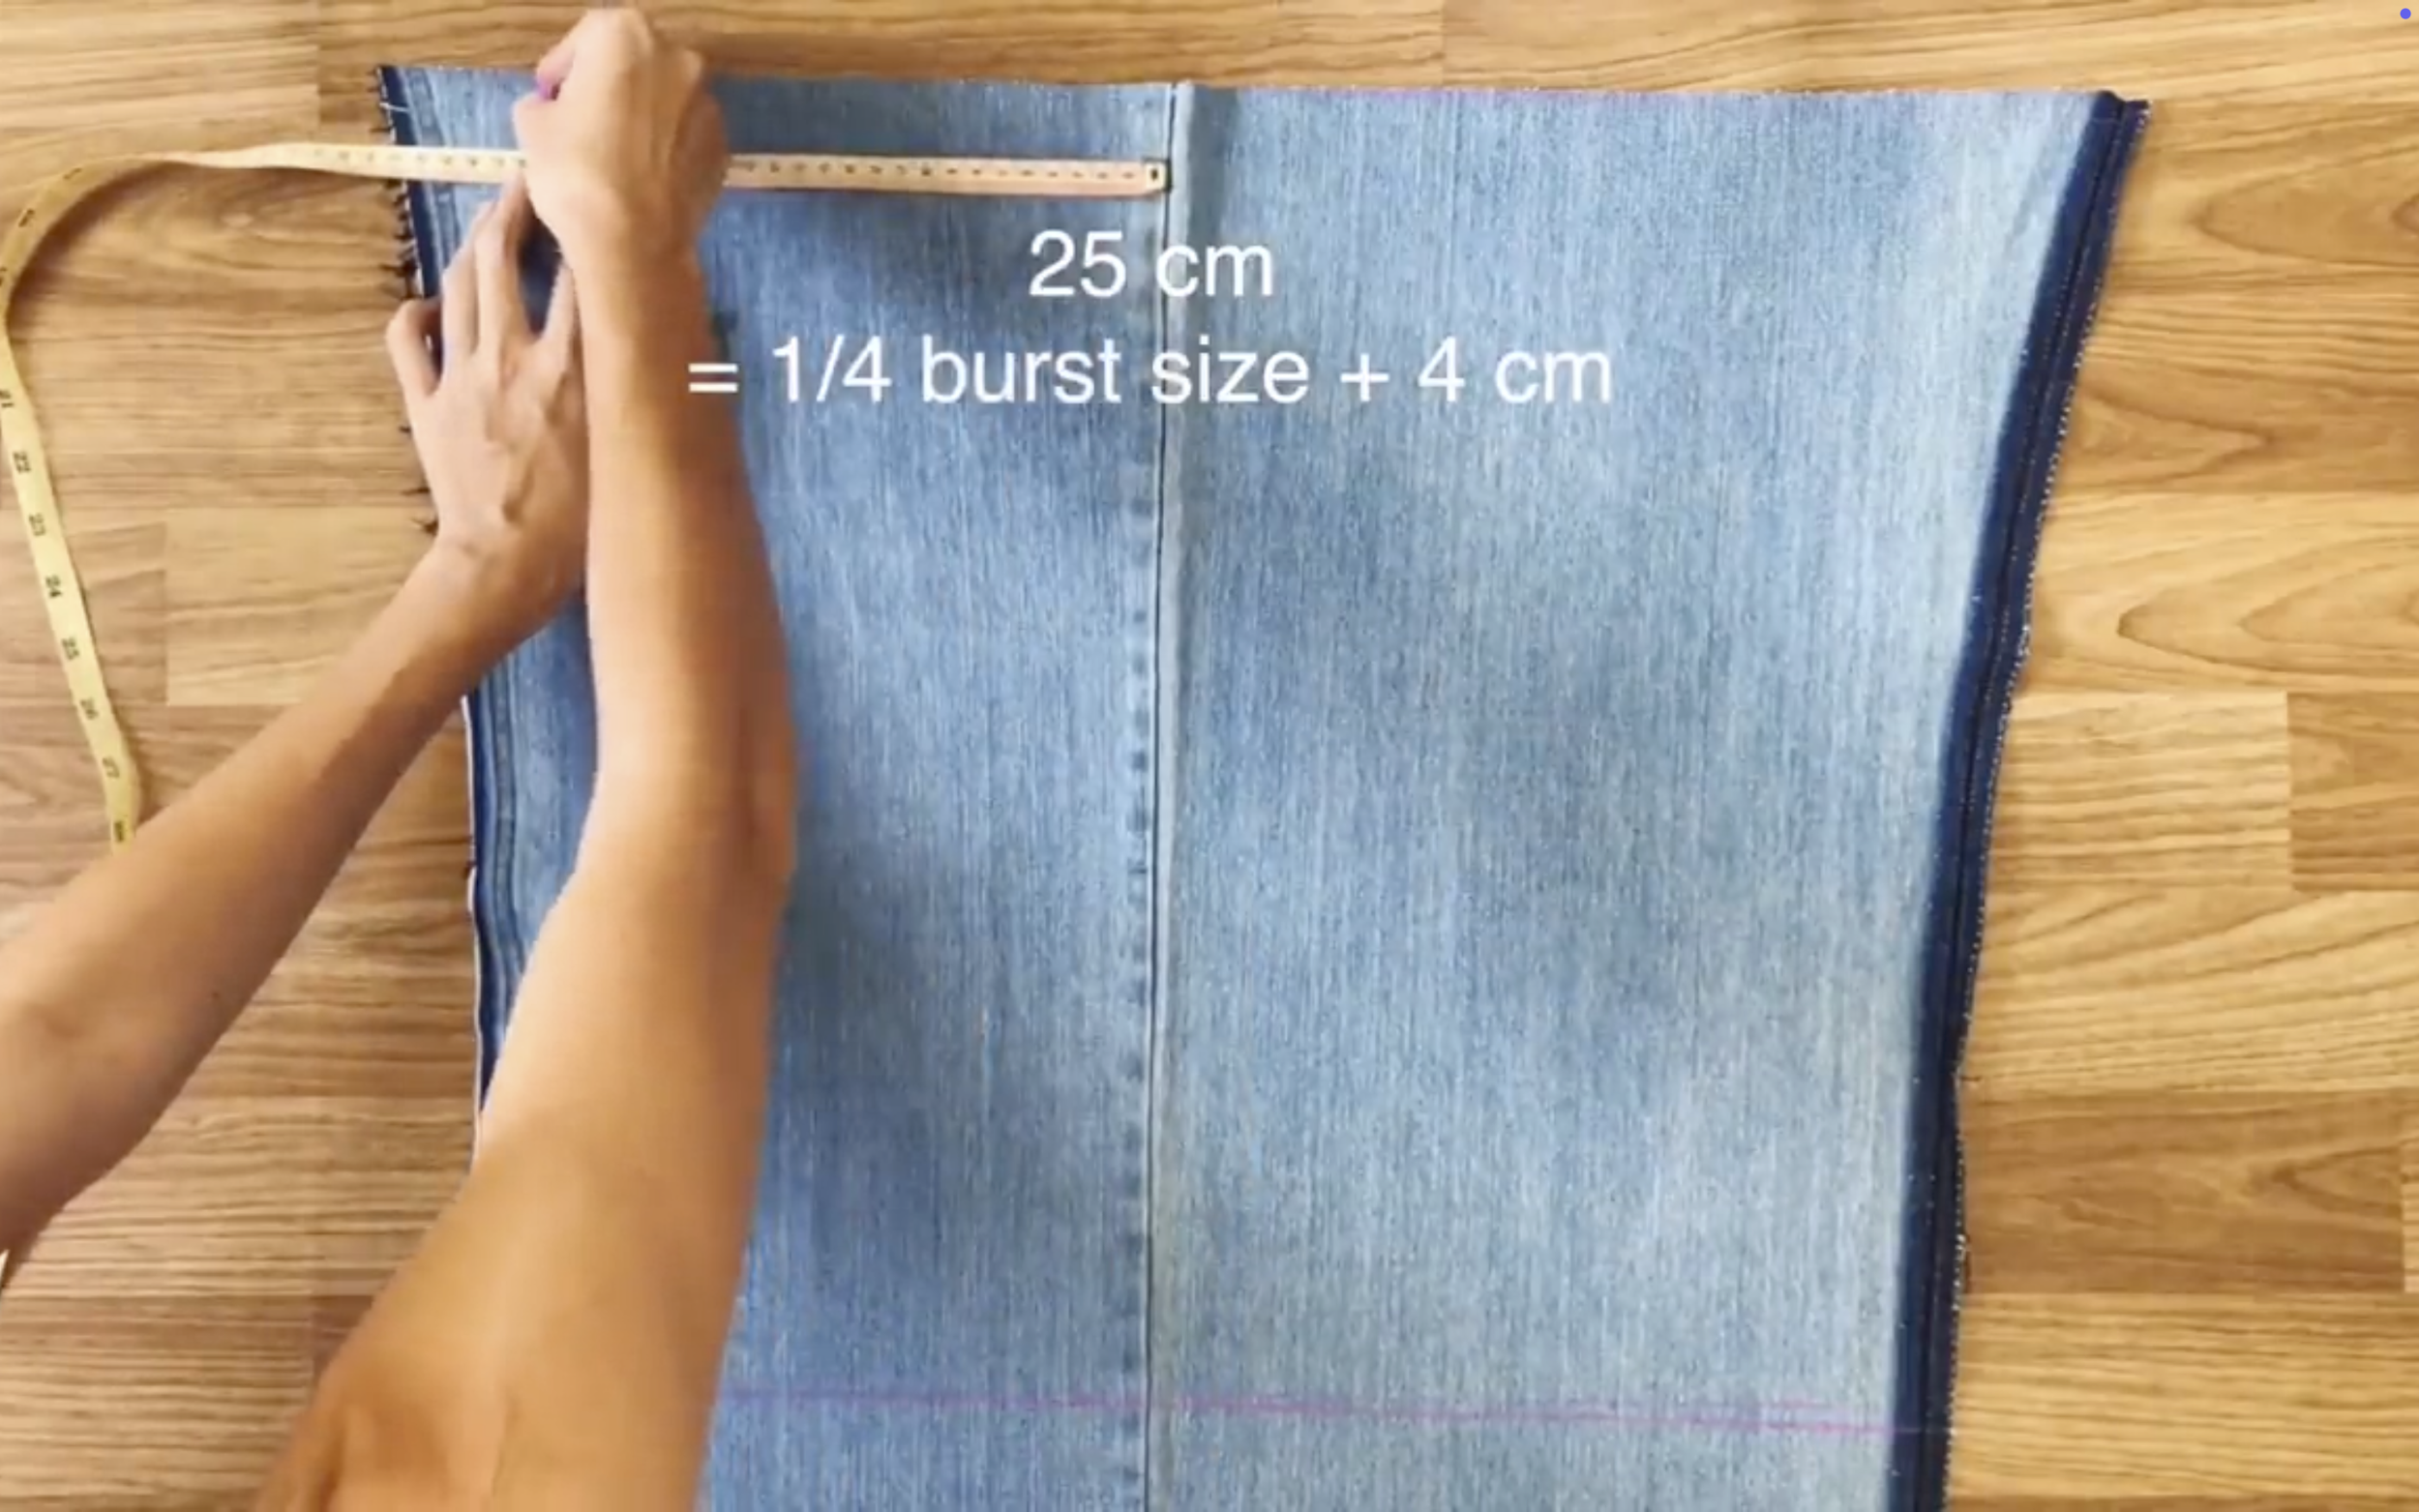
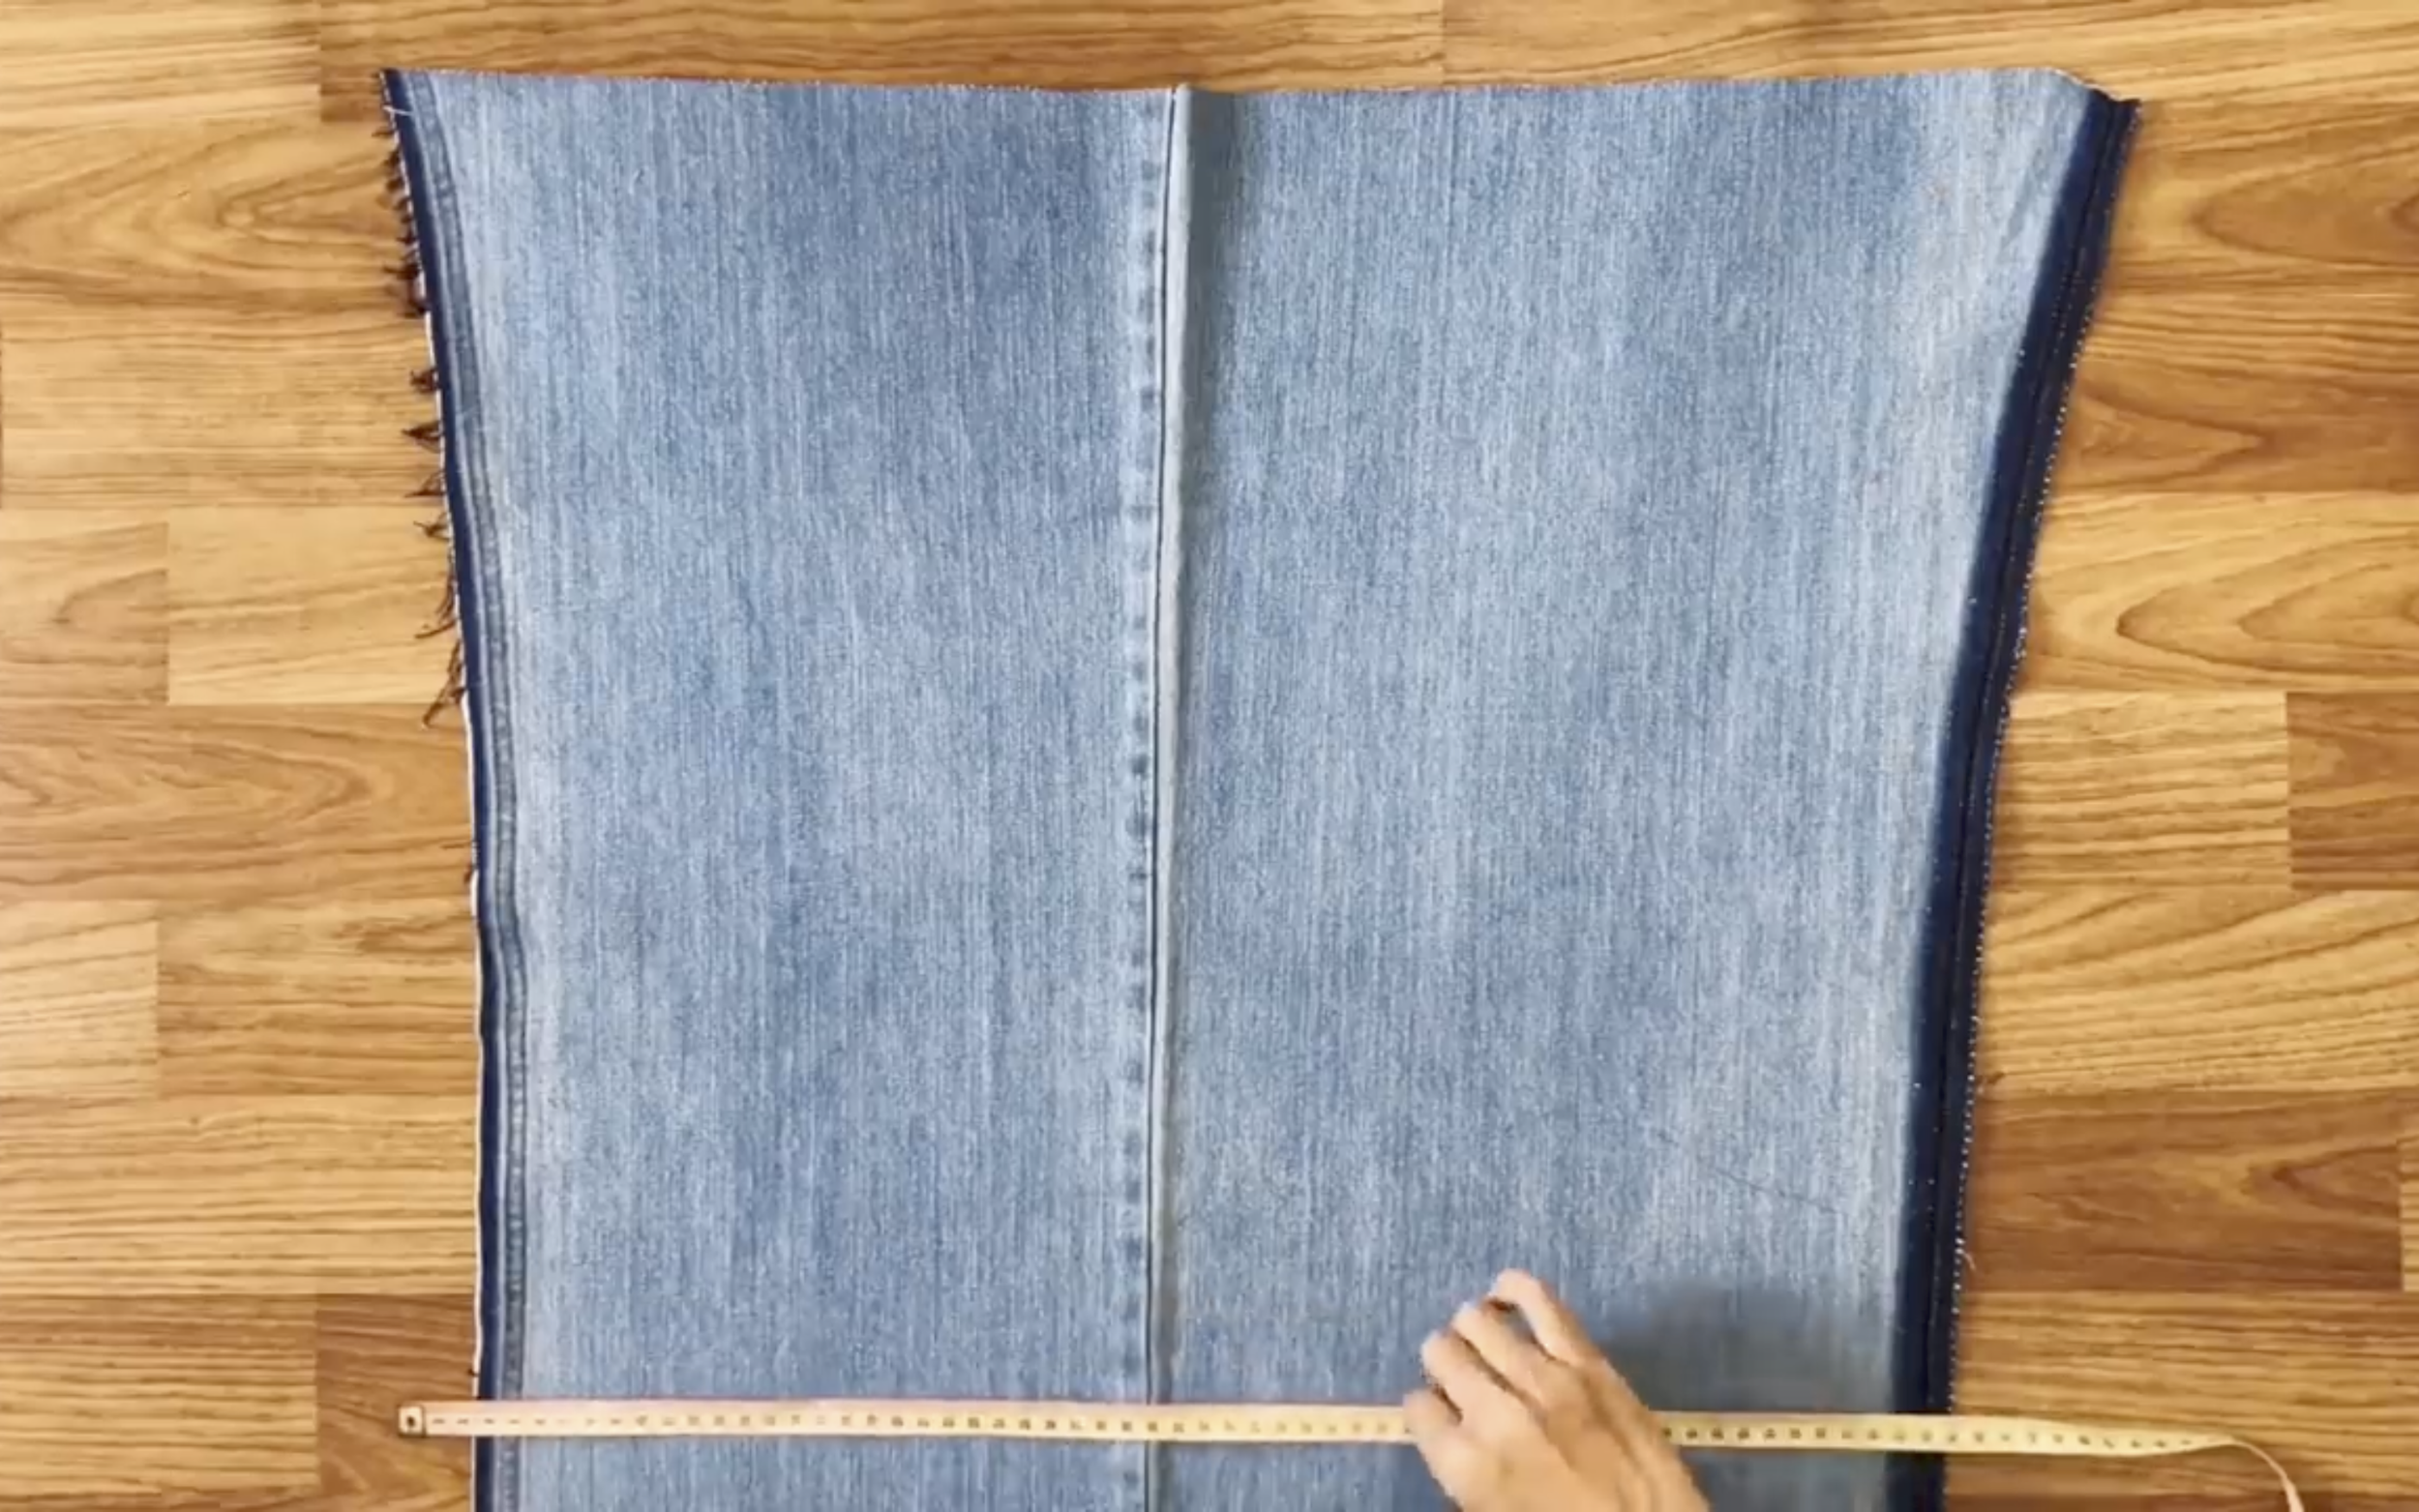
At the middle seam, go to the left 25cm which is a quarter of your bust size + 4cm and draw a straight line down there.
Then do the same for the right side.
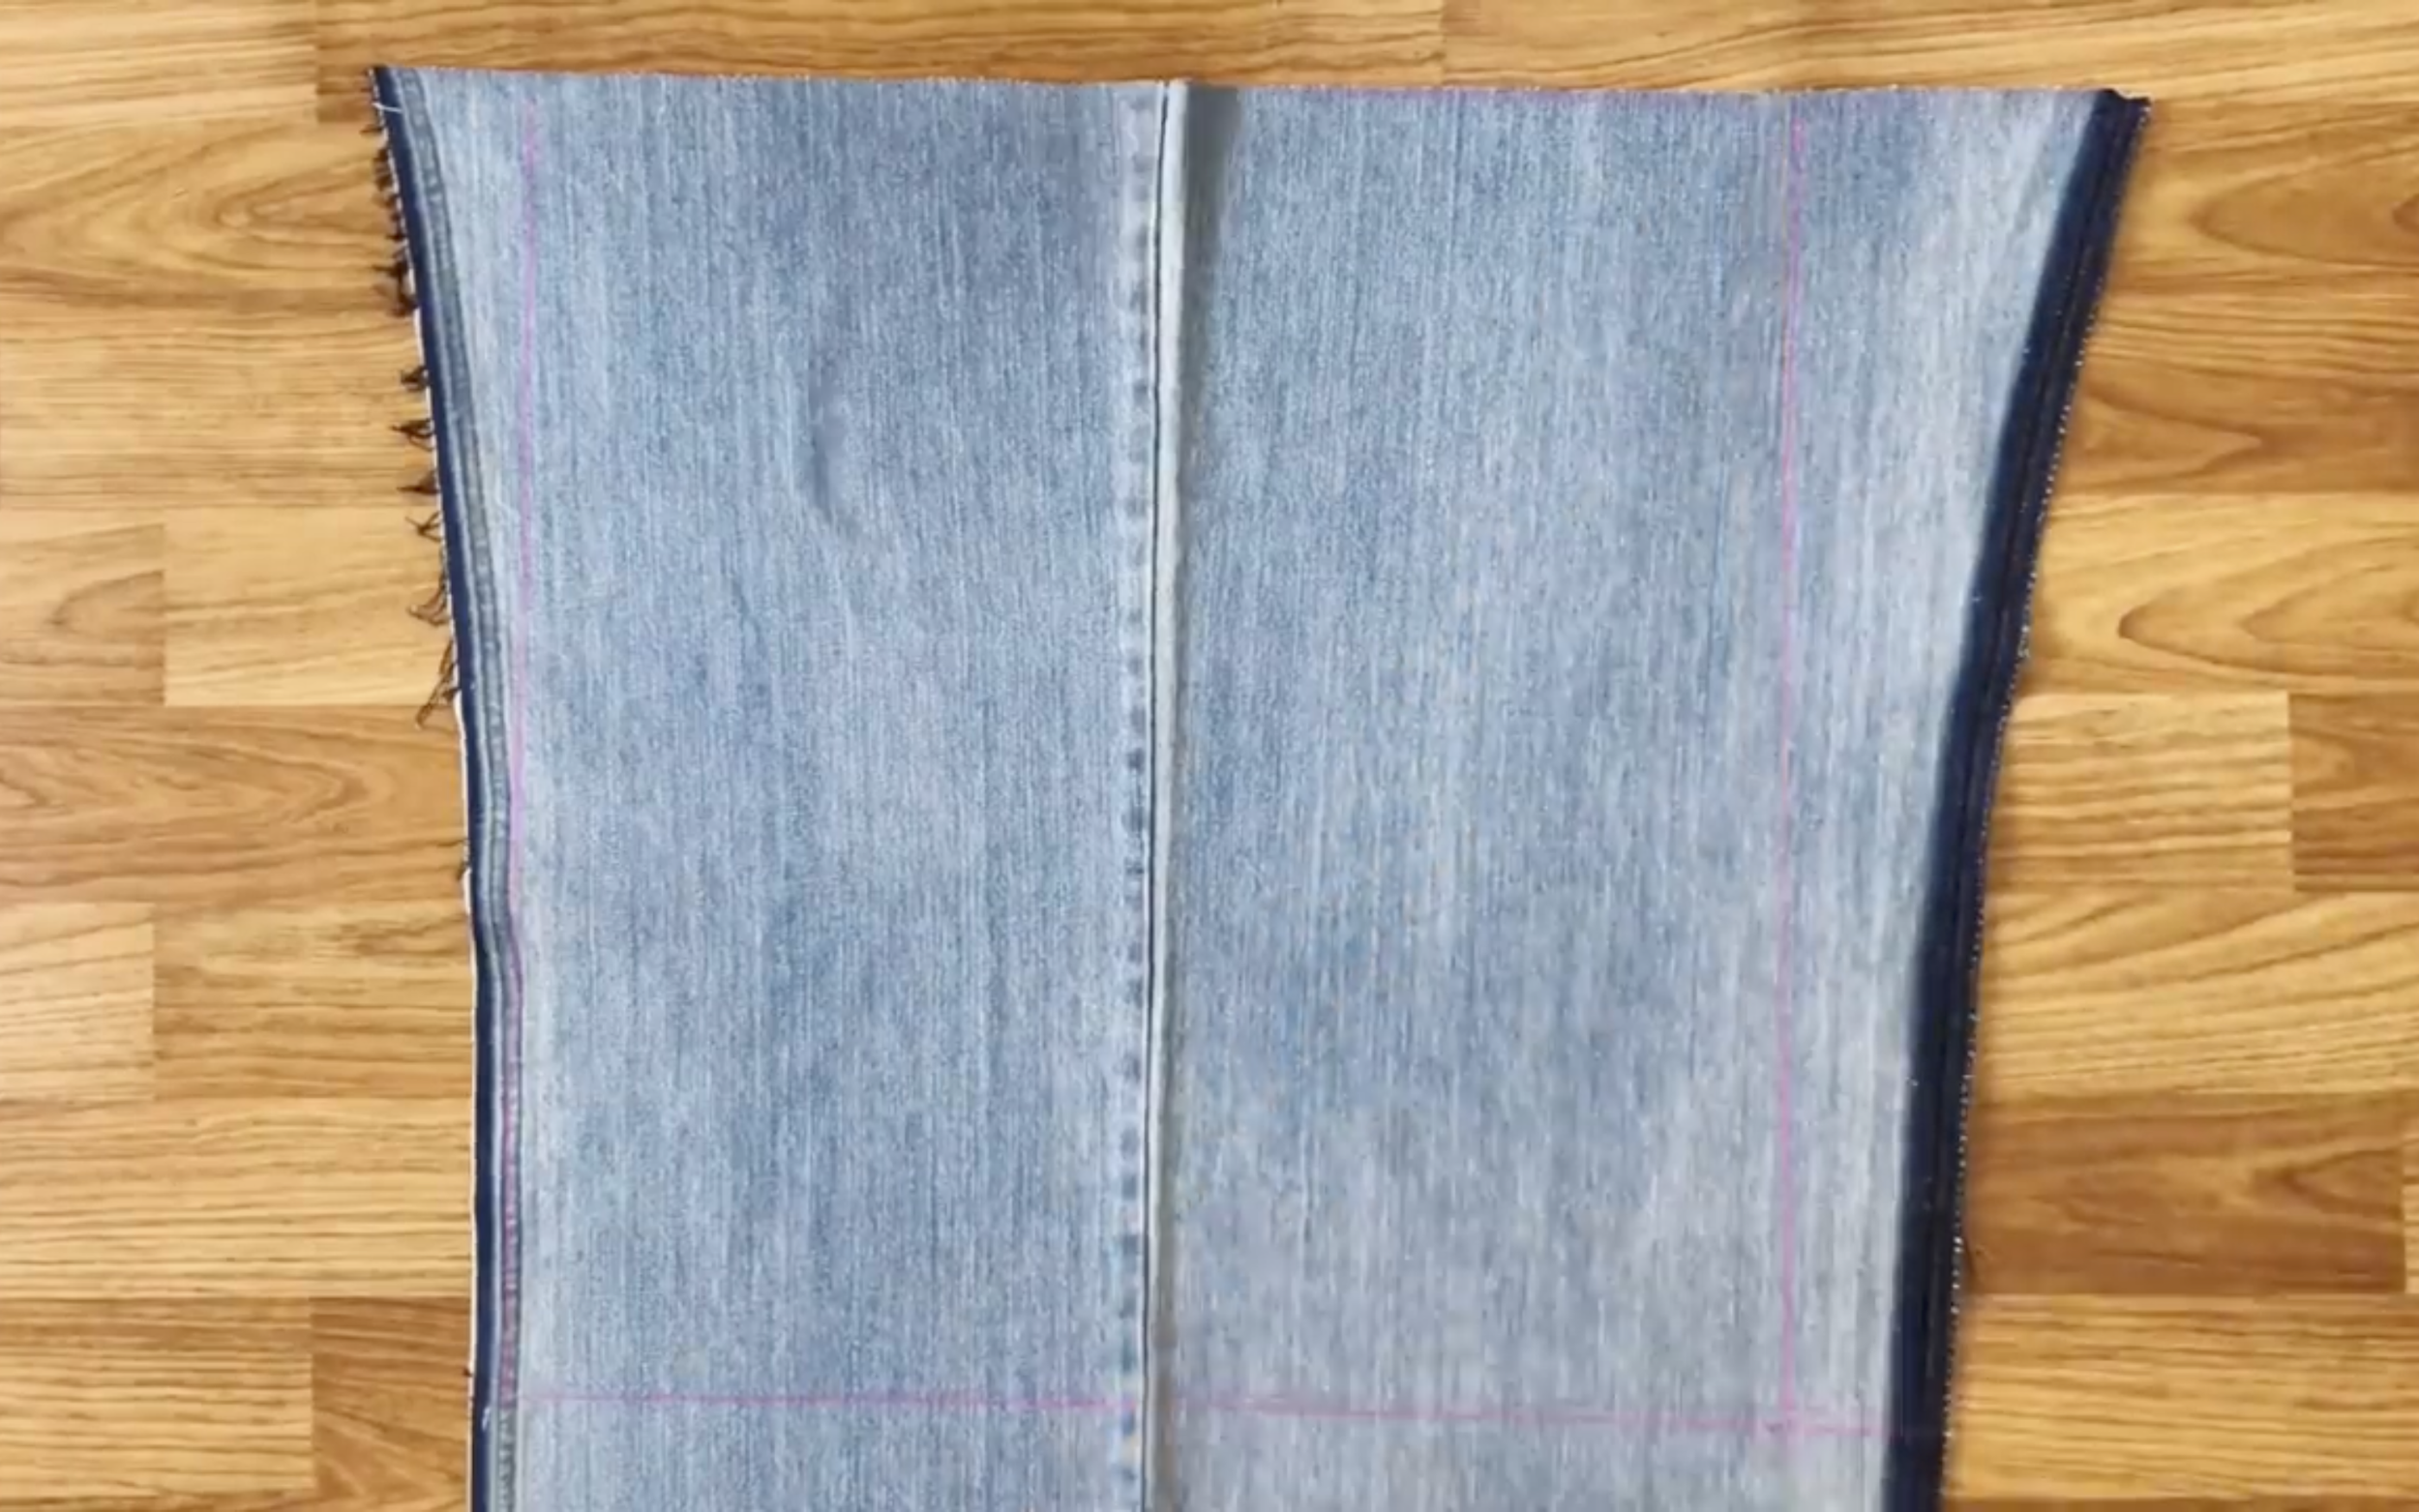
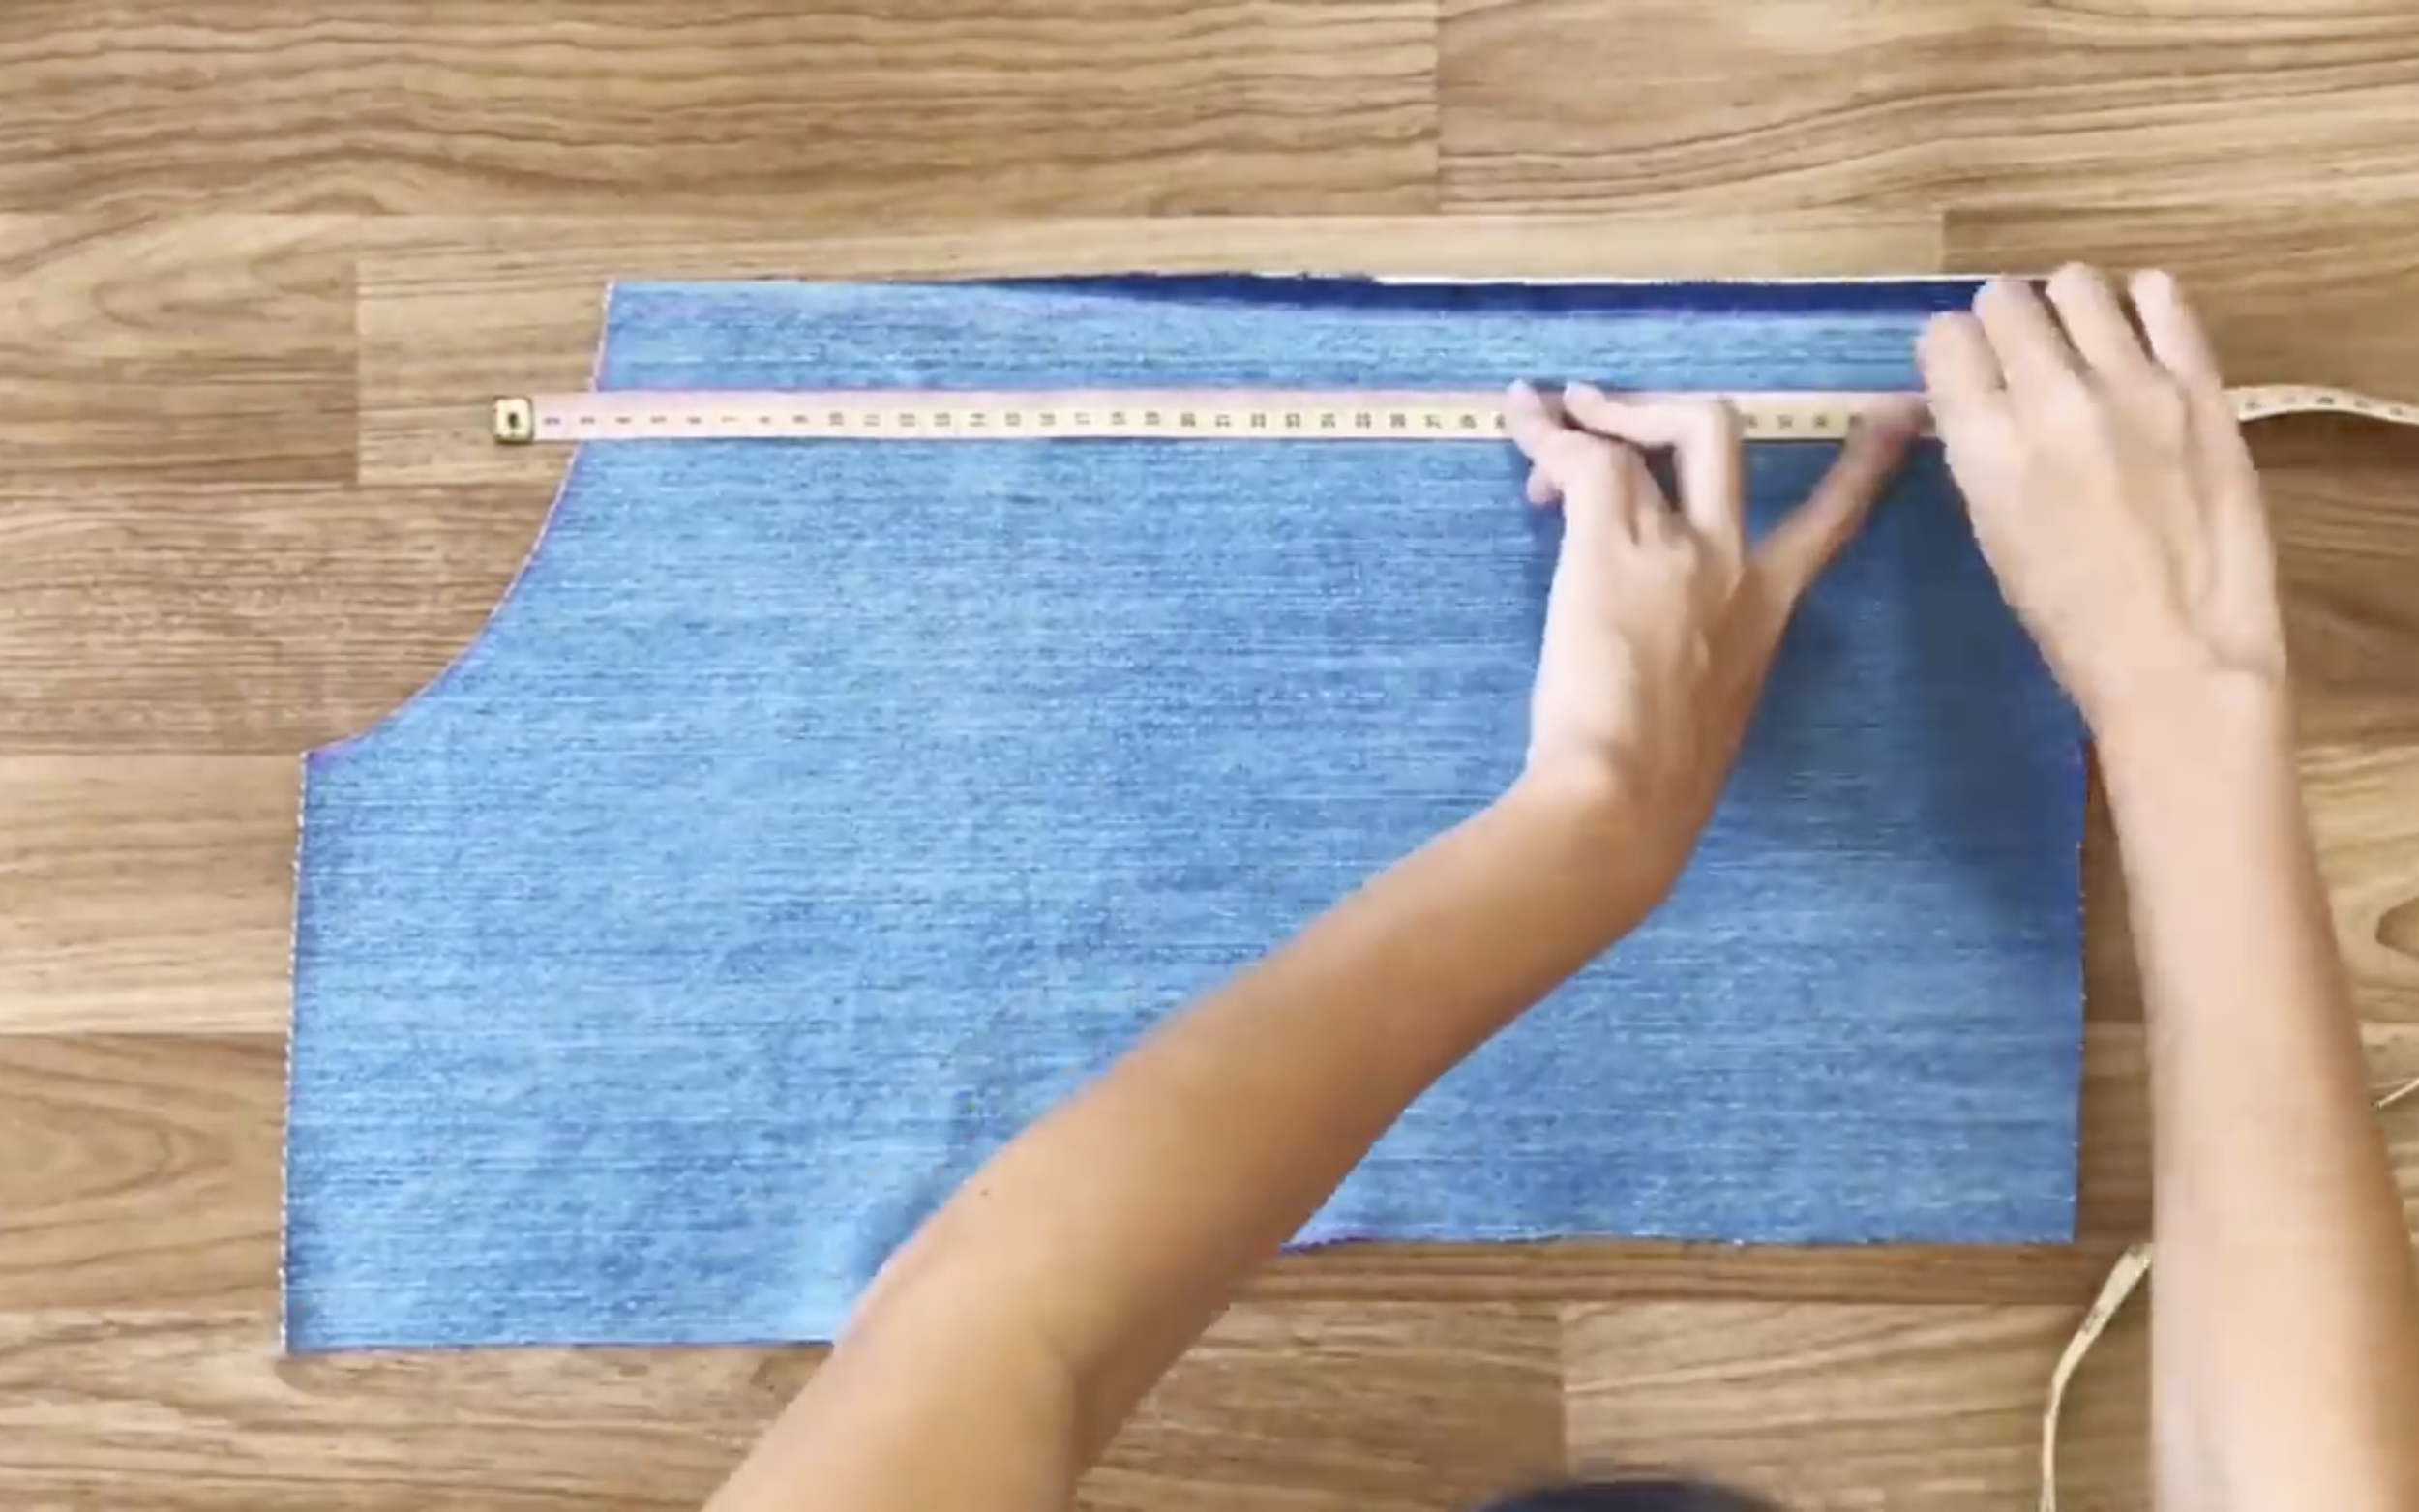
So in the end, will have a rectangle with 50cm width and 52cm length.
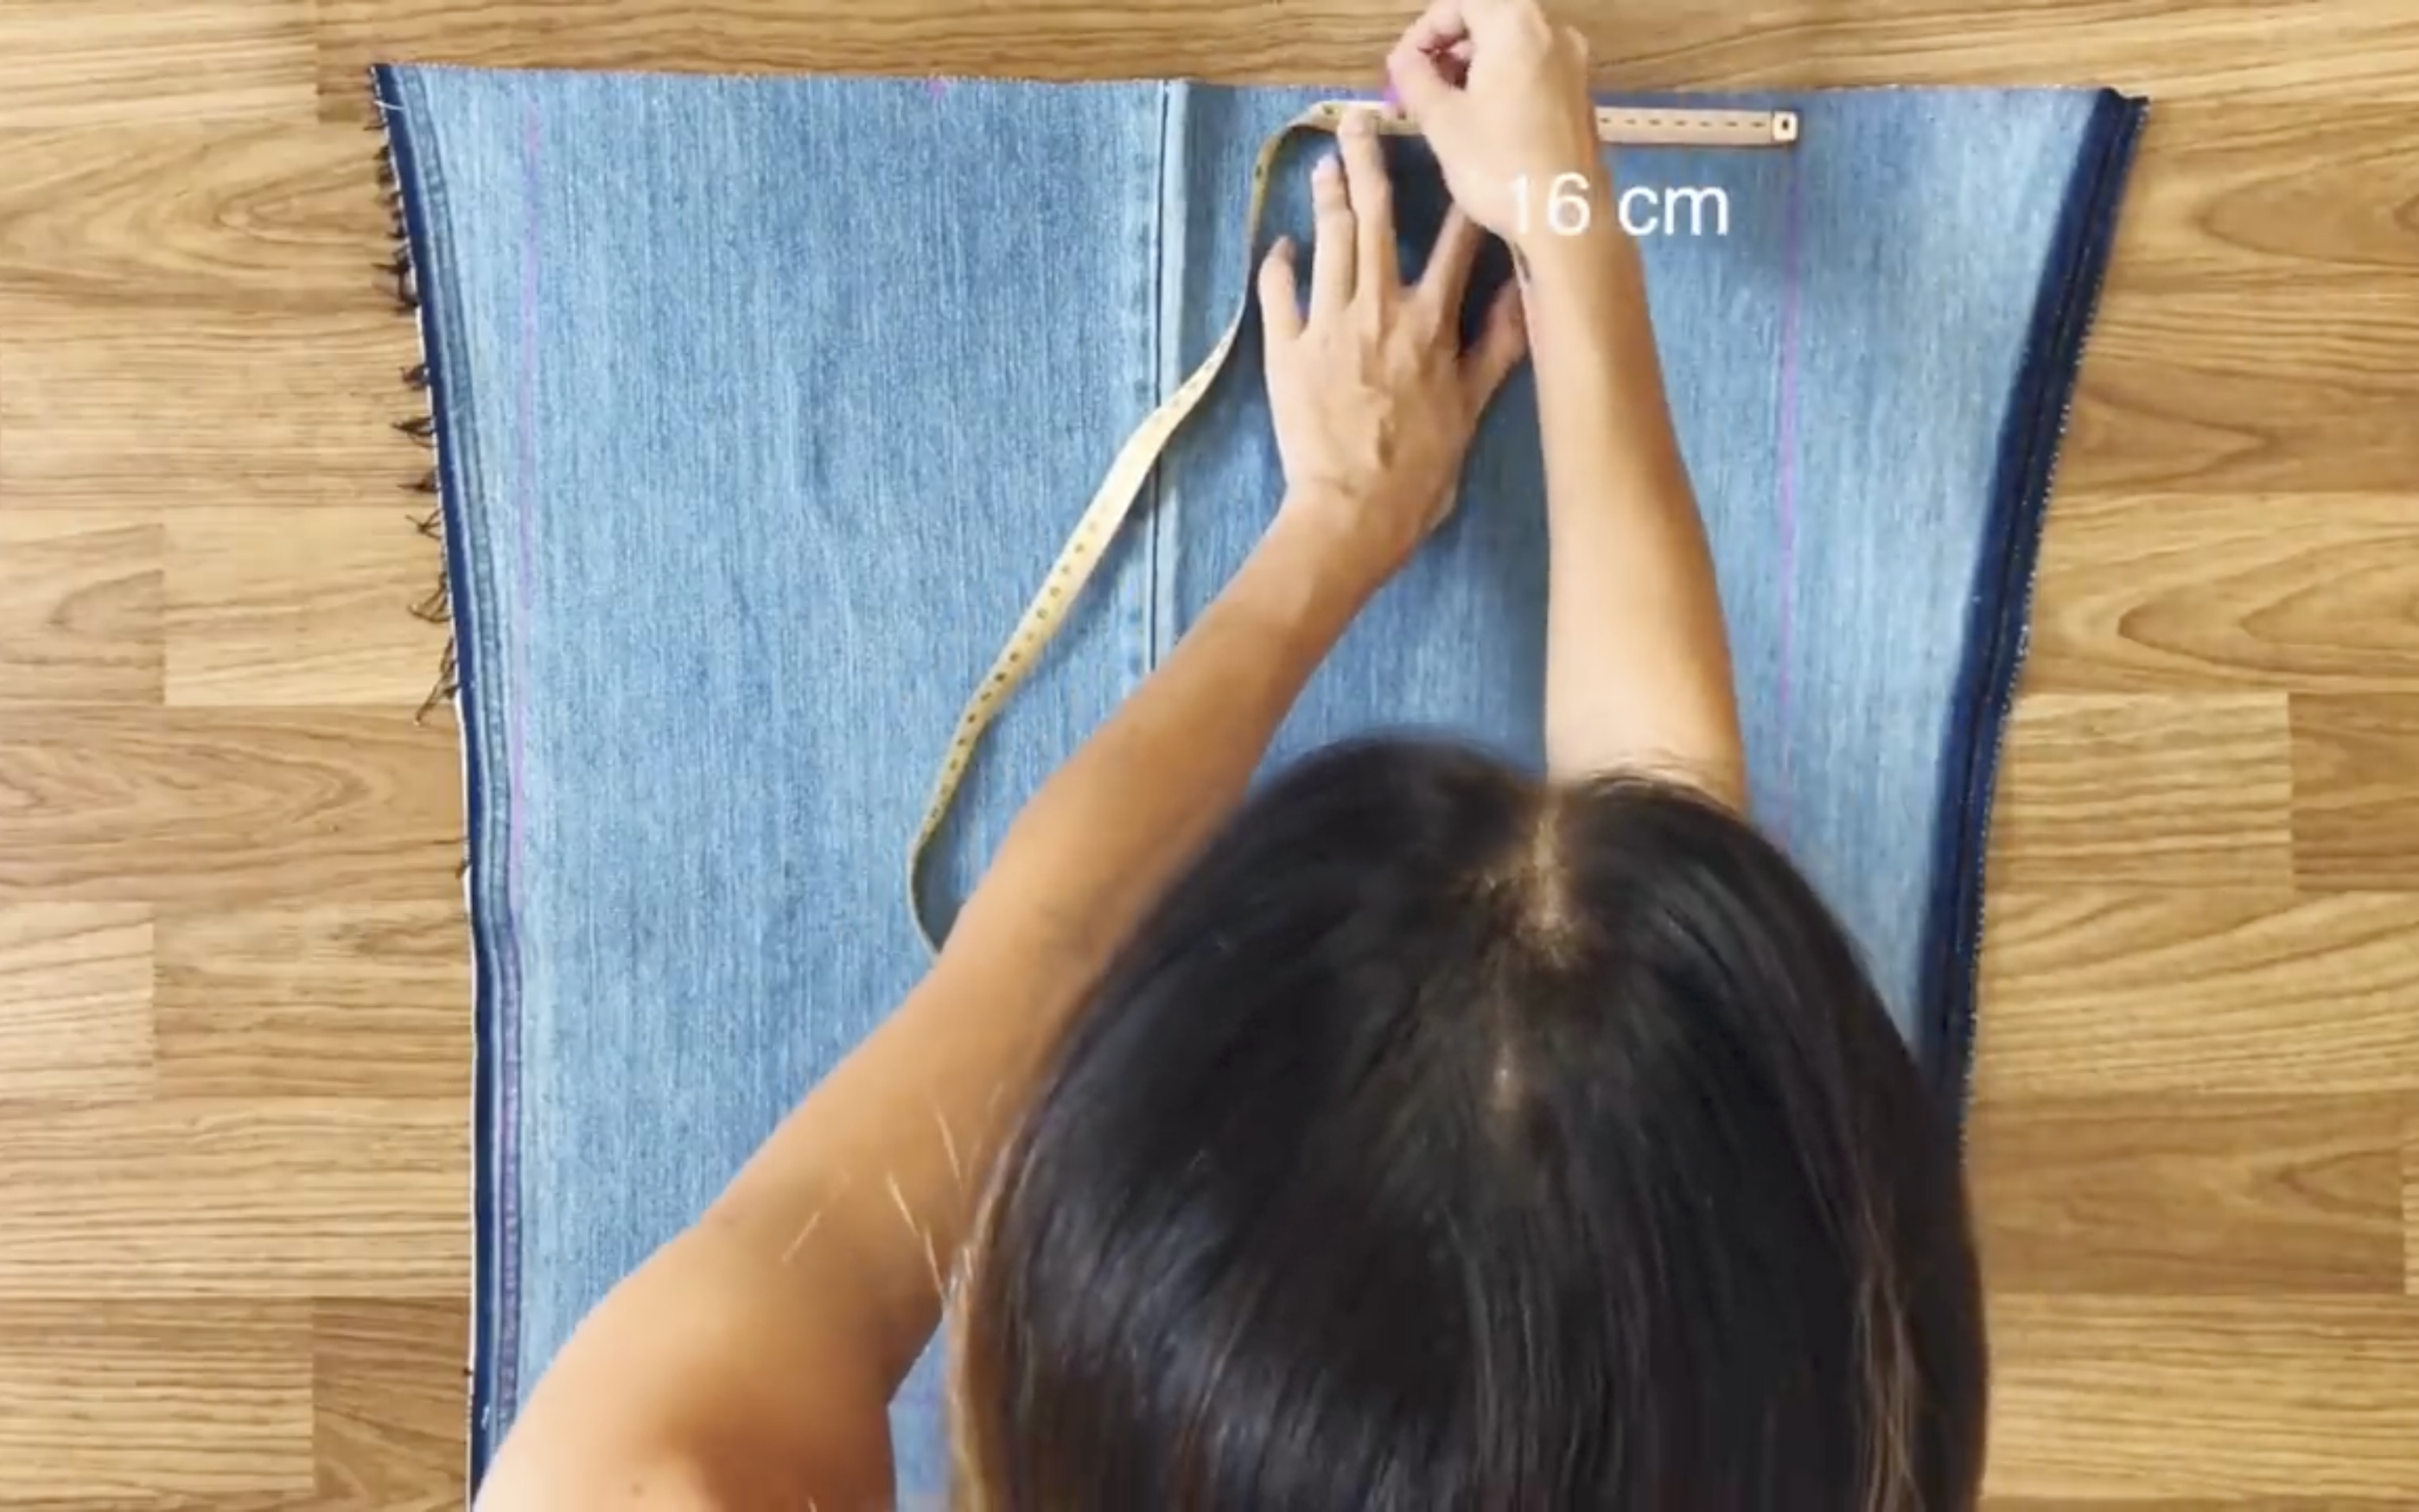
At the top, mark at inside of 2 sides 16cm.
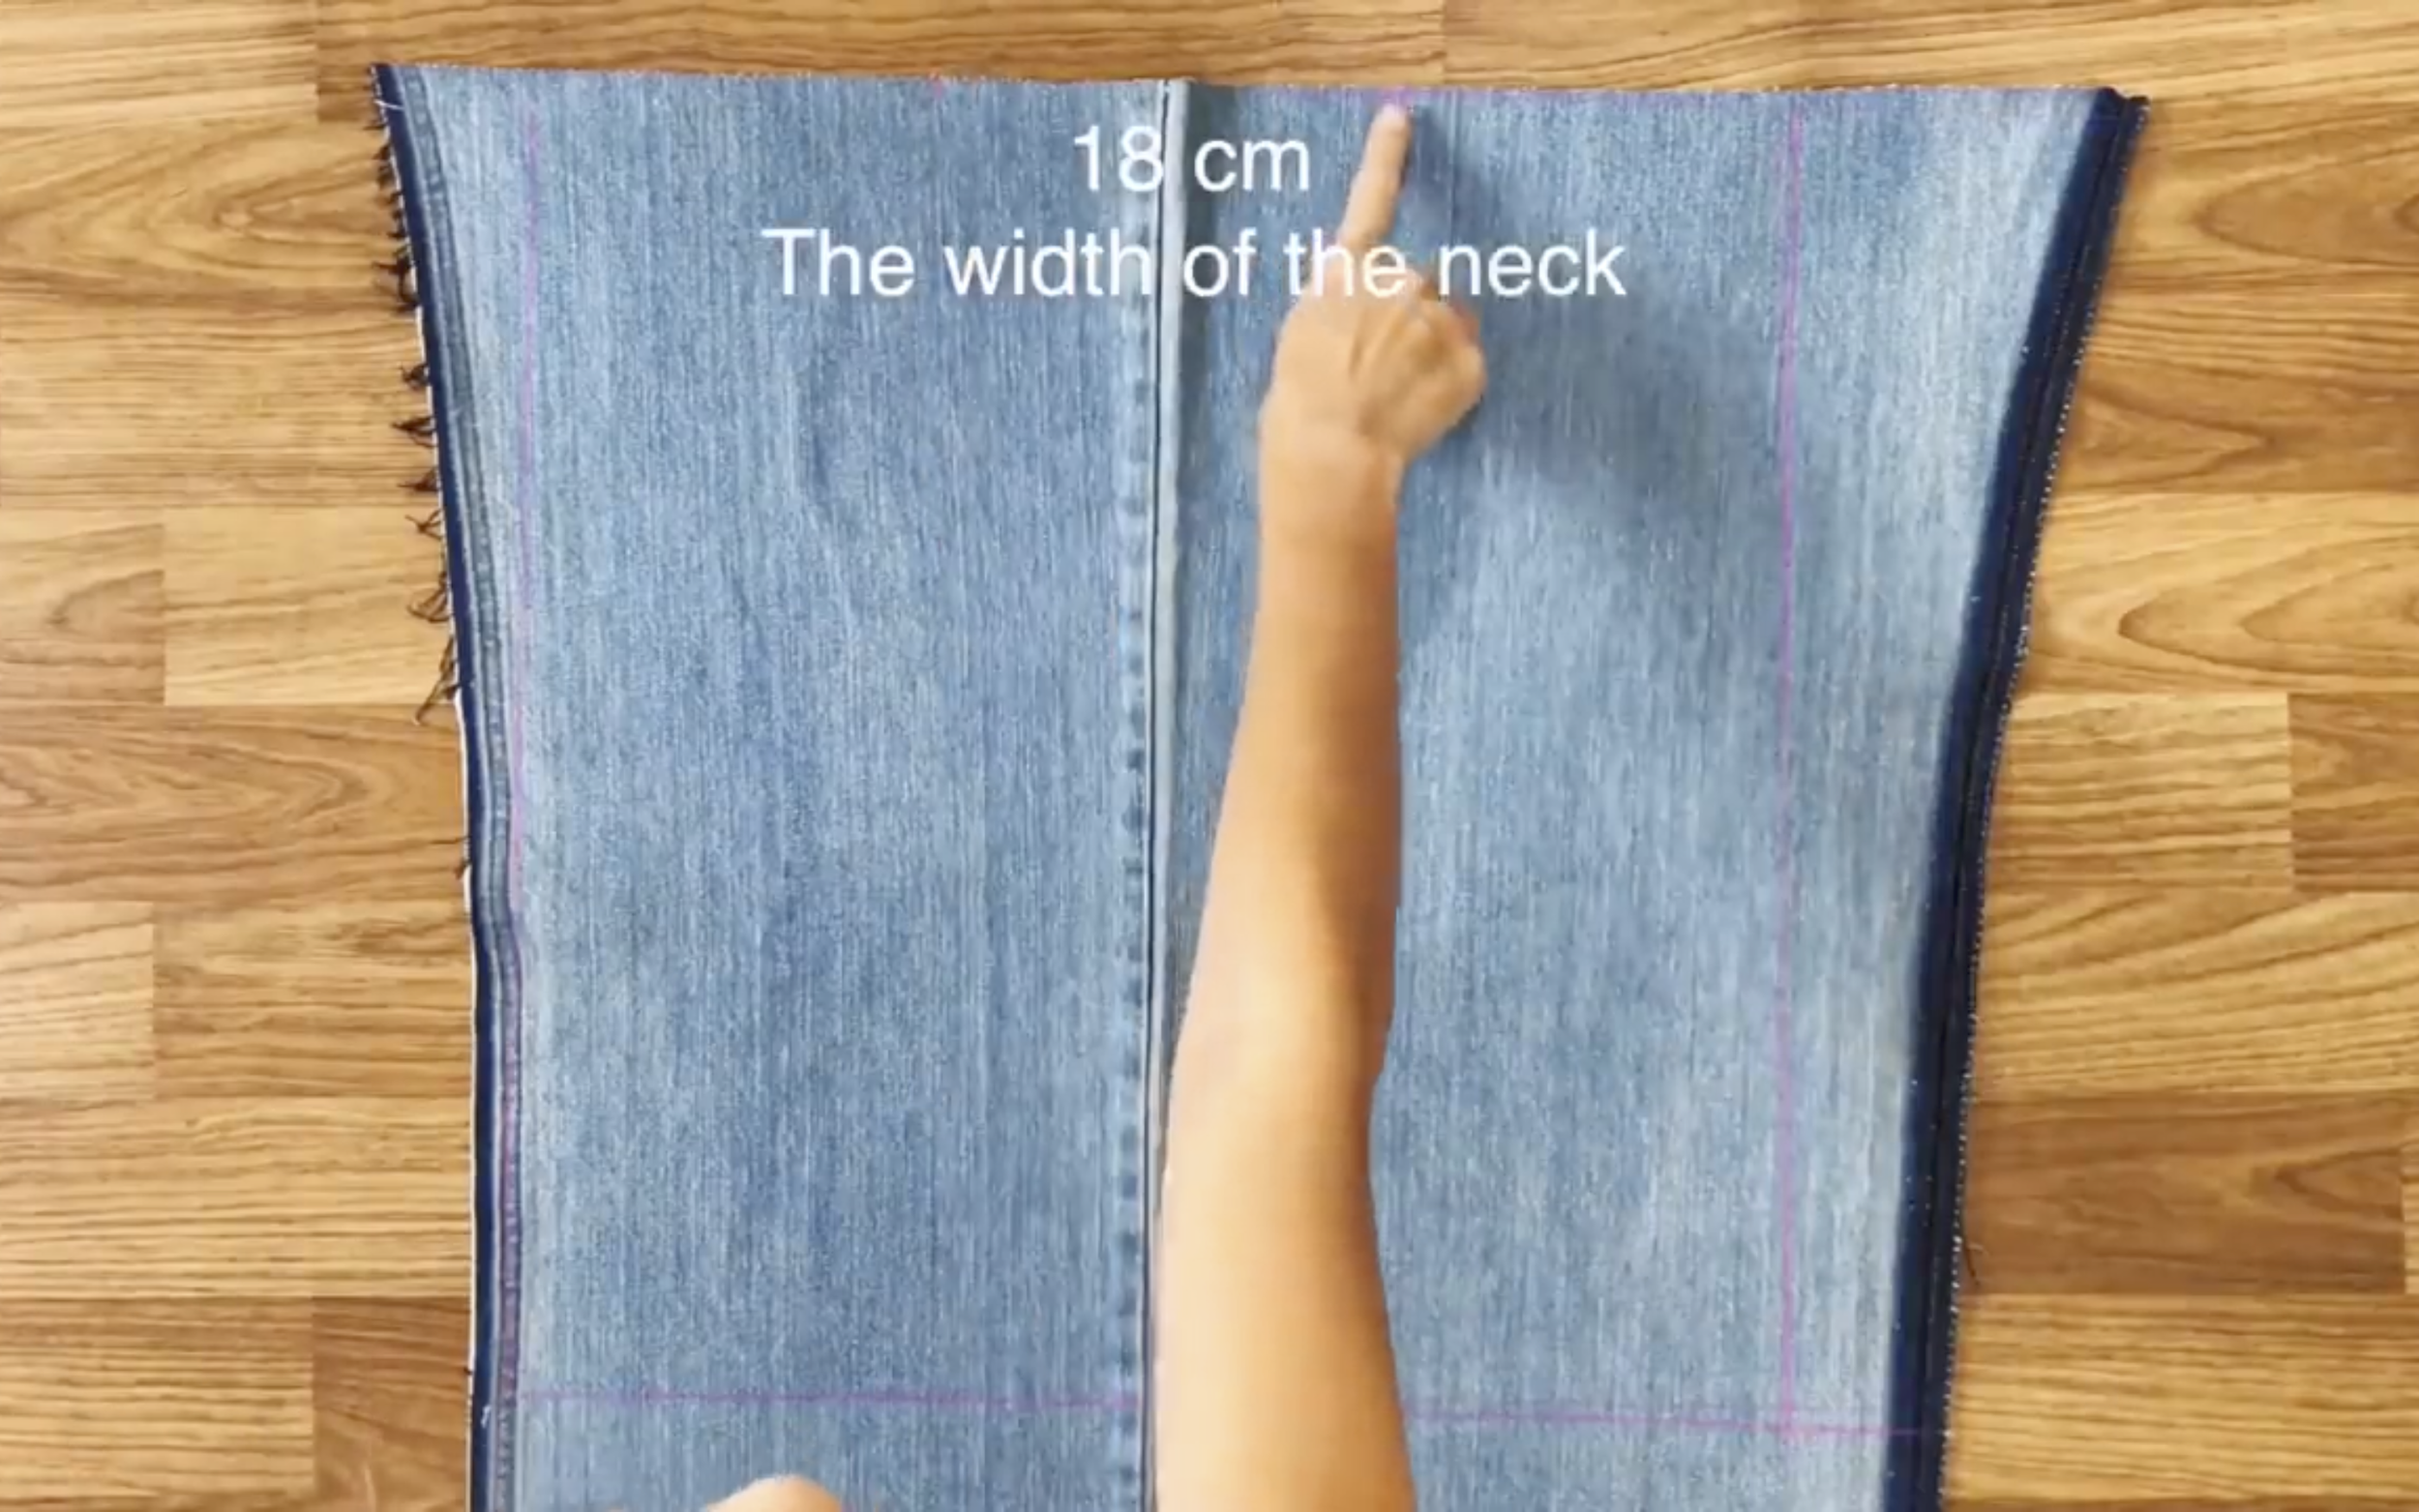
So the width between 2 marks will be 18cm which is the width of your neck.
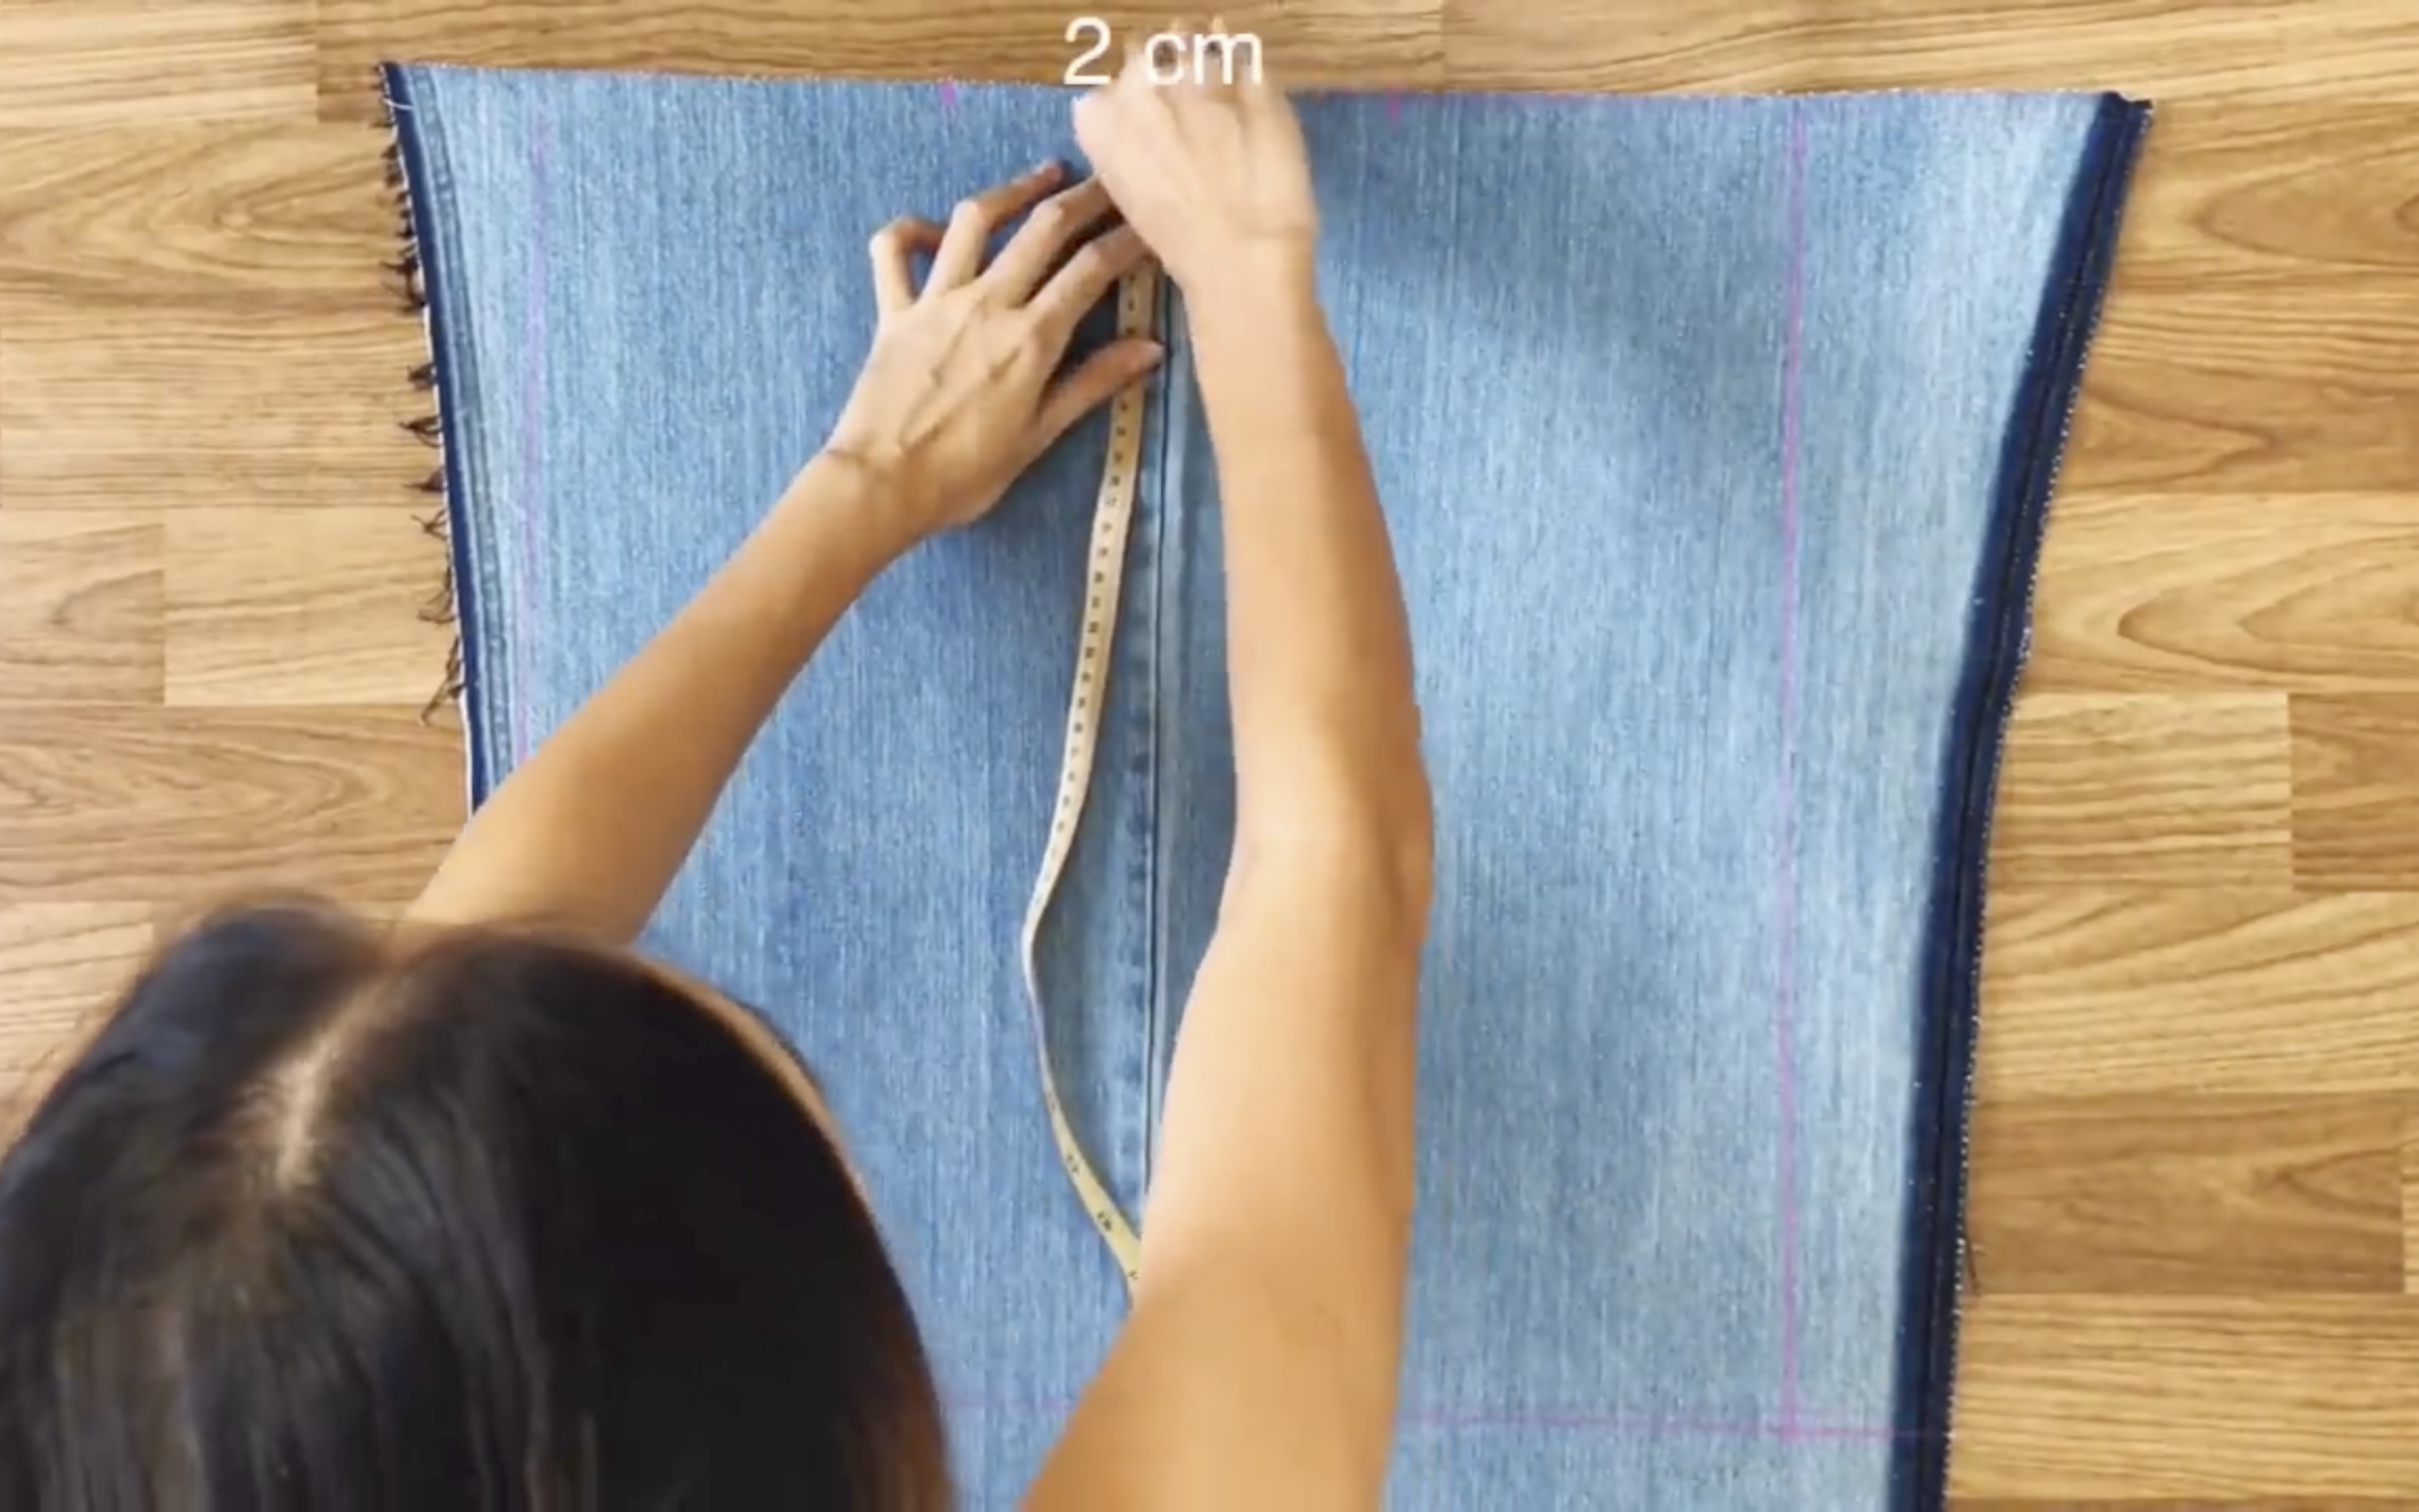
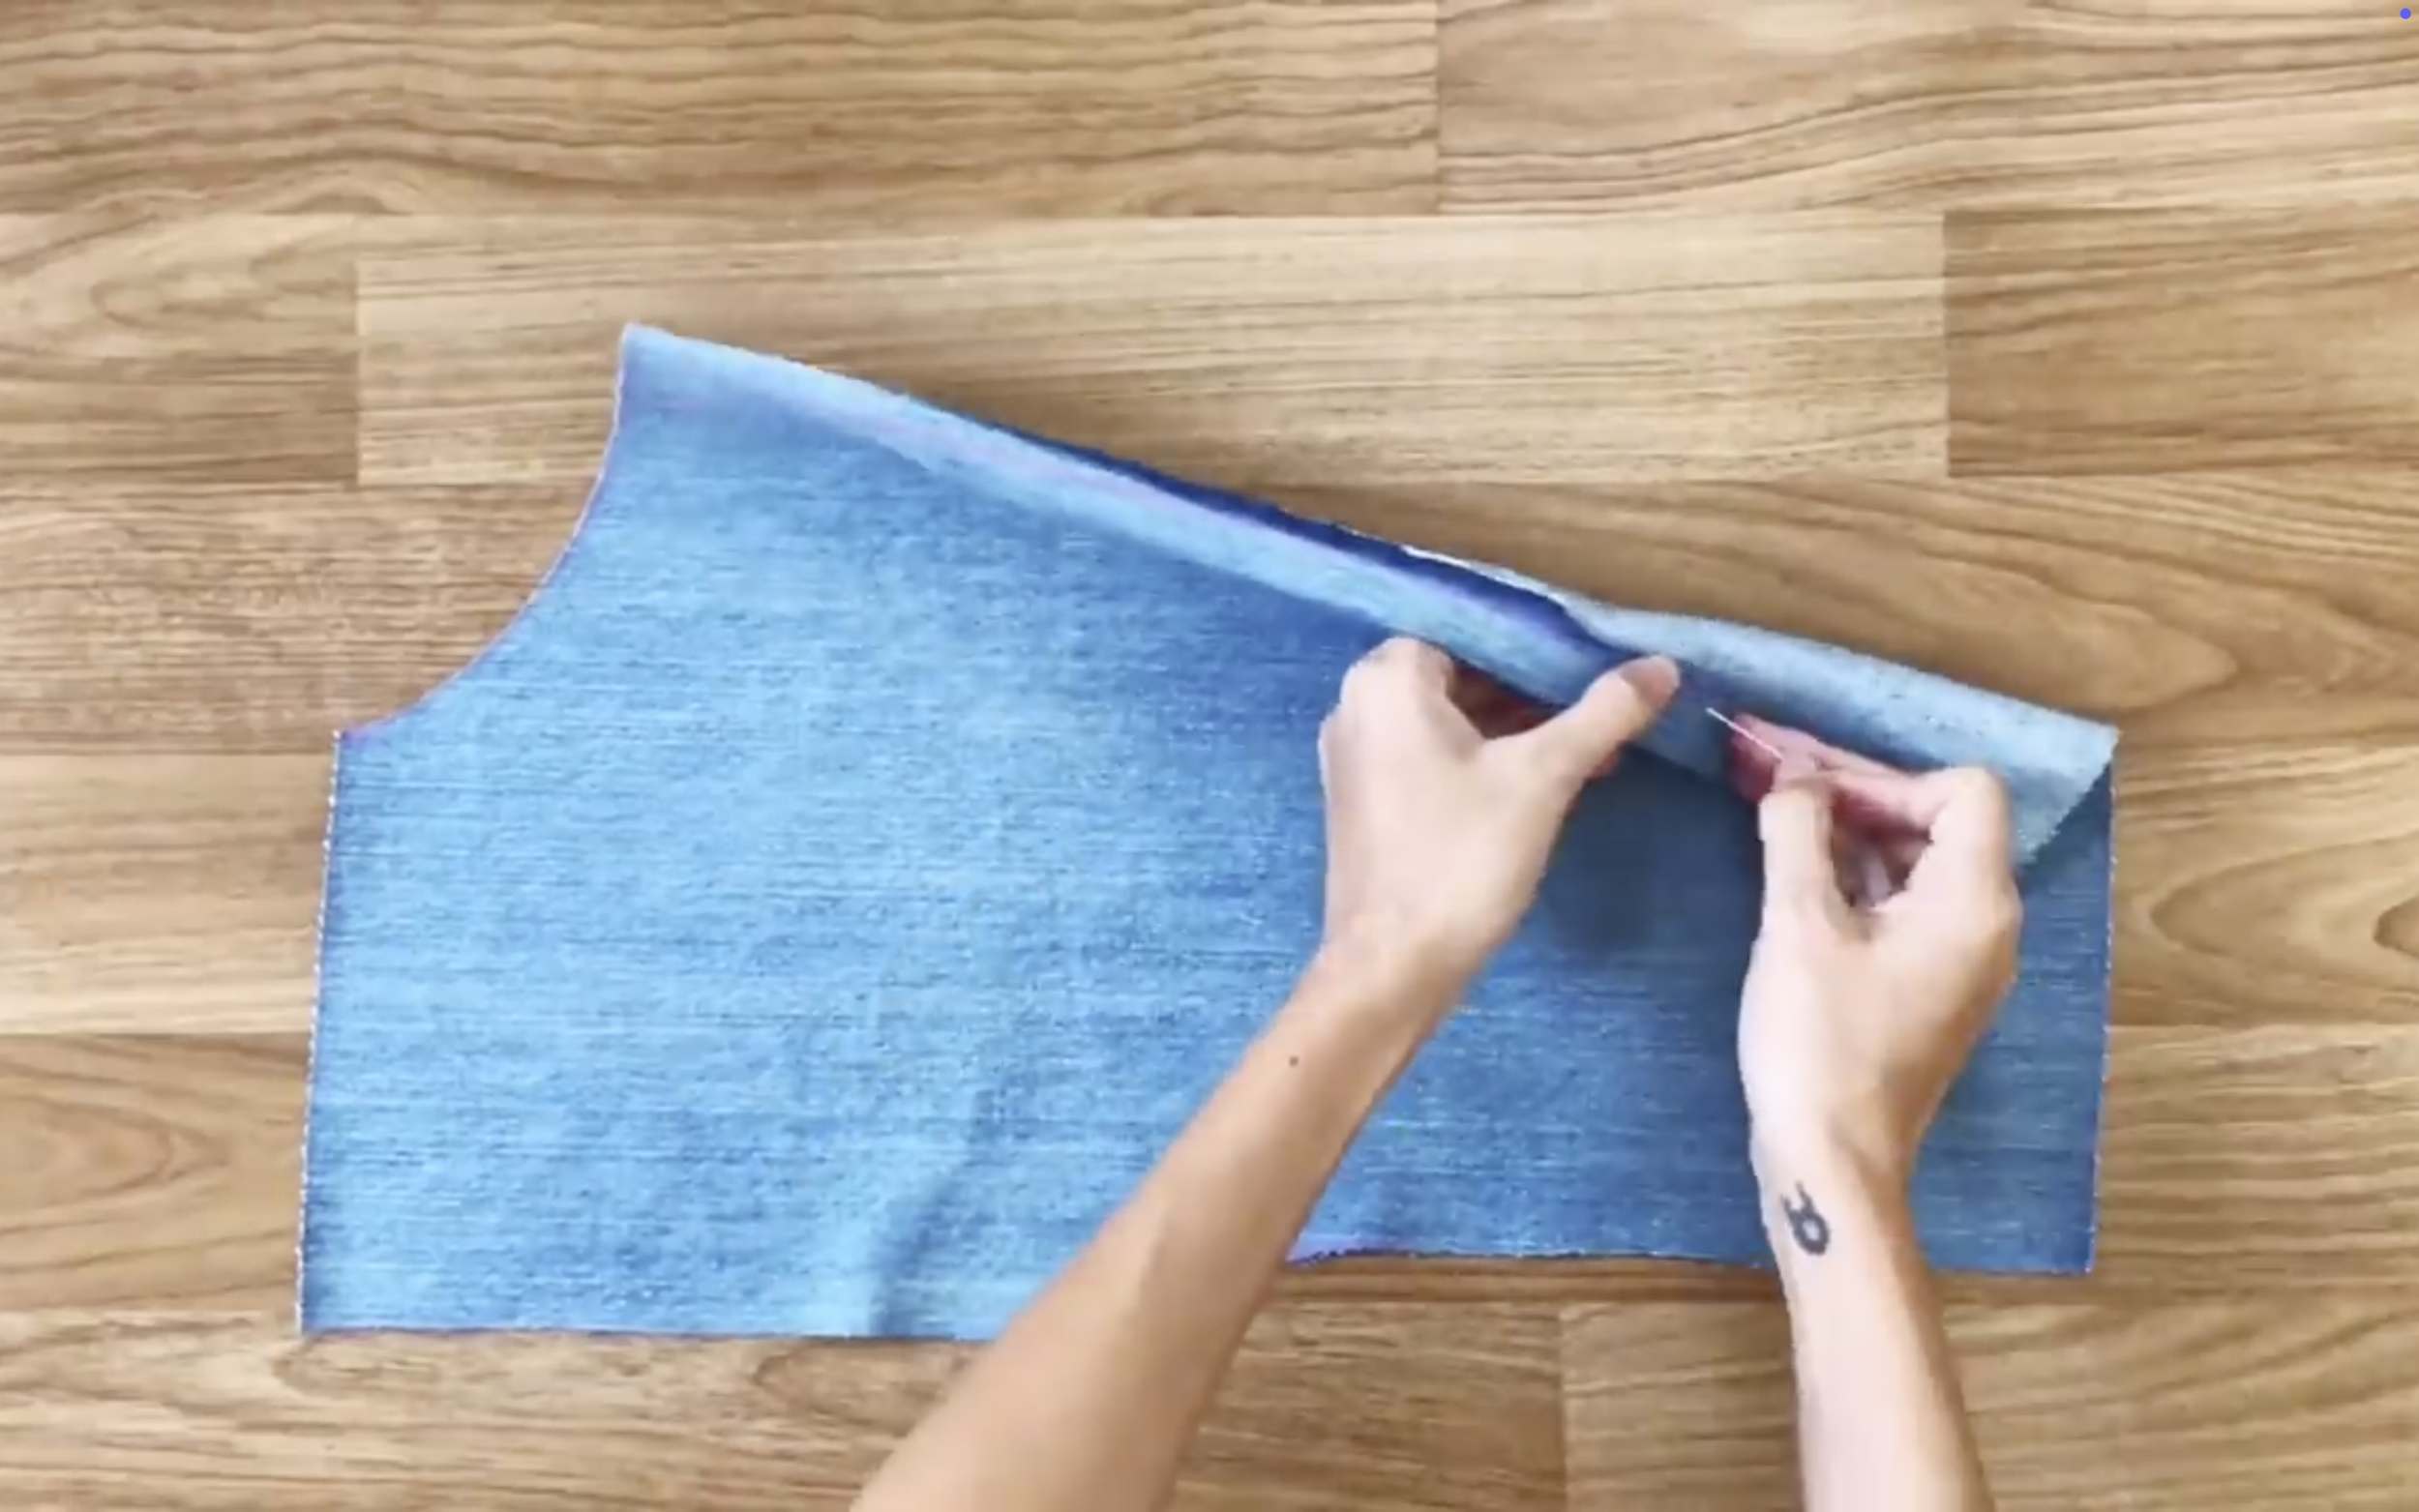
At the middle of the top, go down 2cm and draw the lines to connect to 2 sides of the neck.
After that, draw a curved line at these lines.
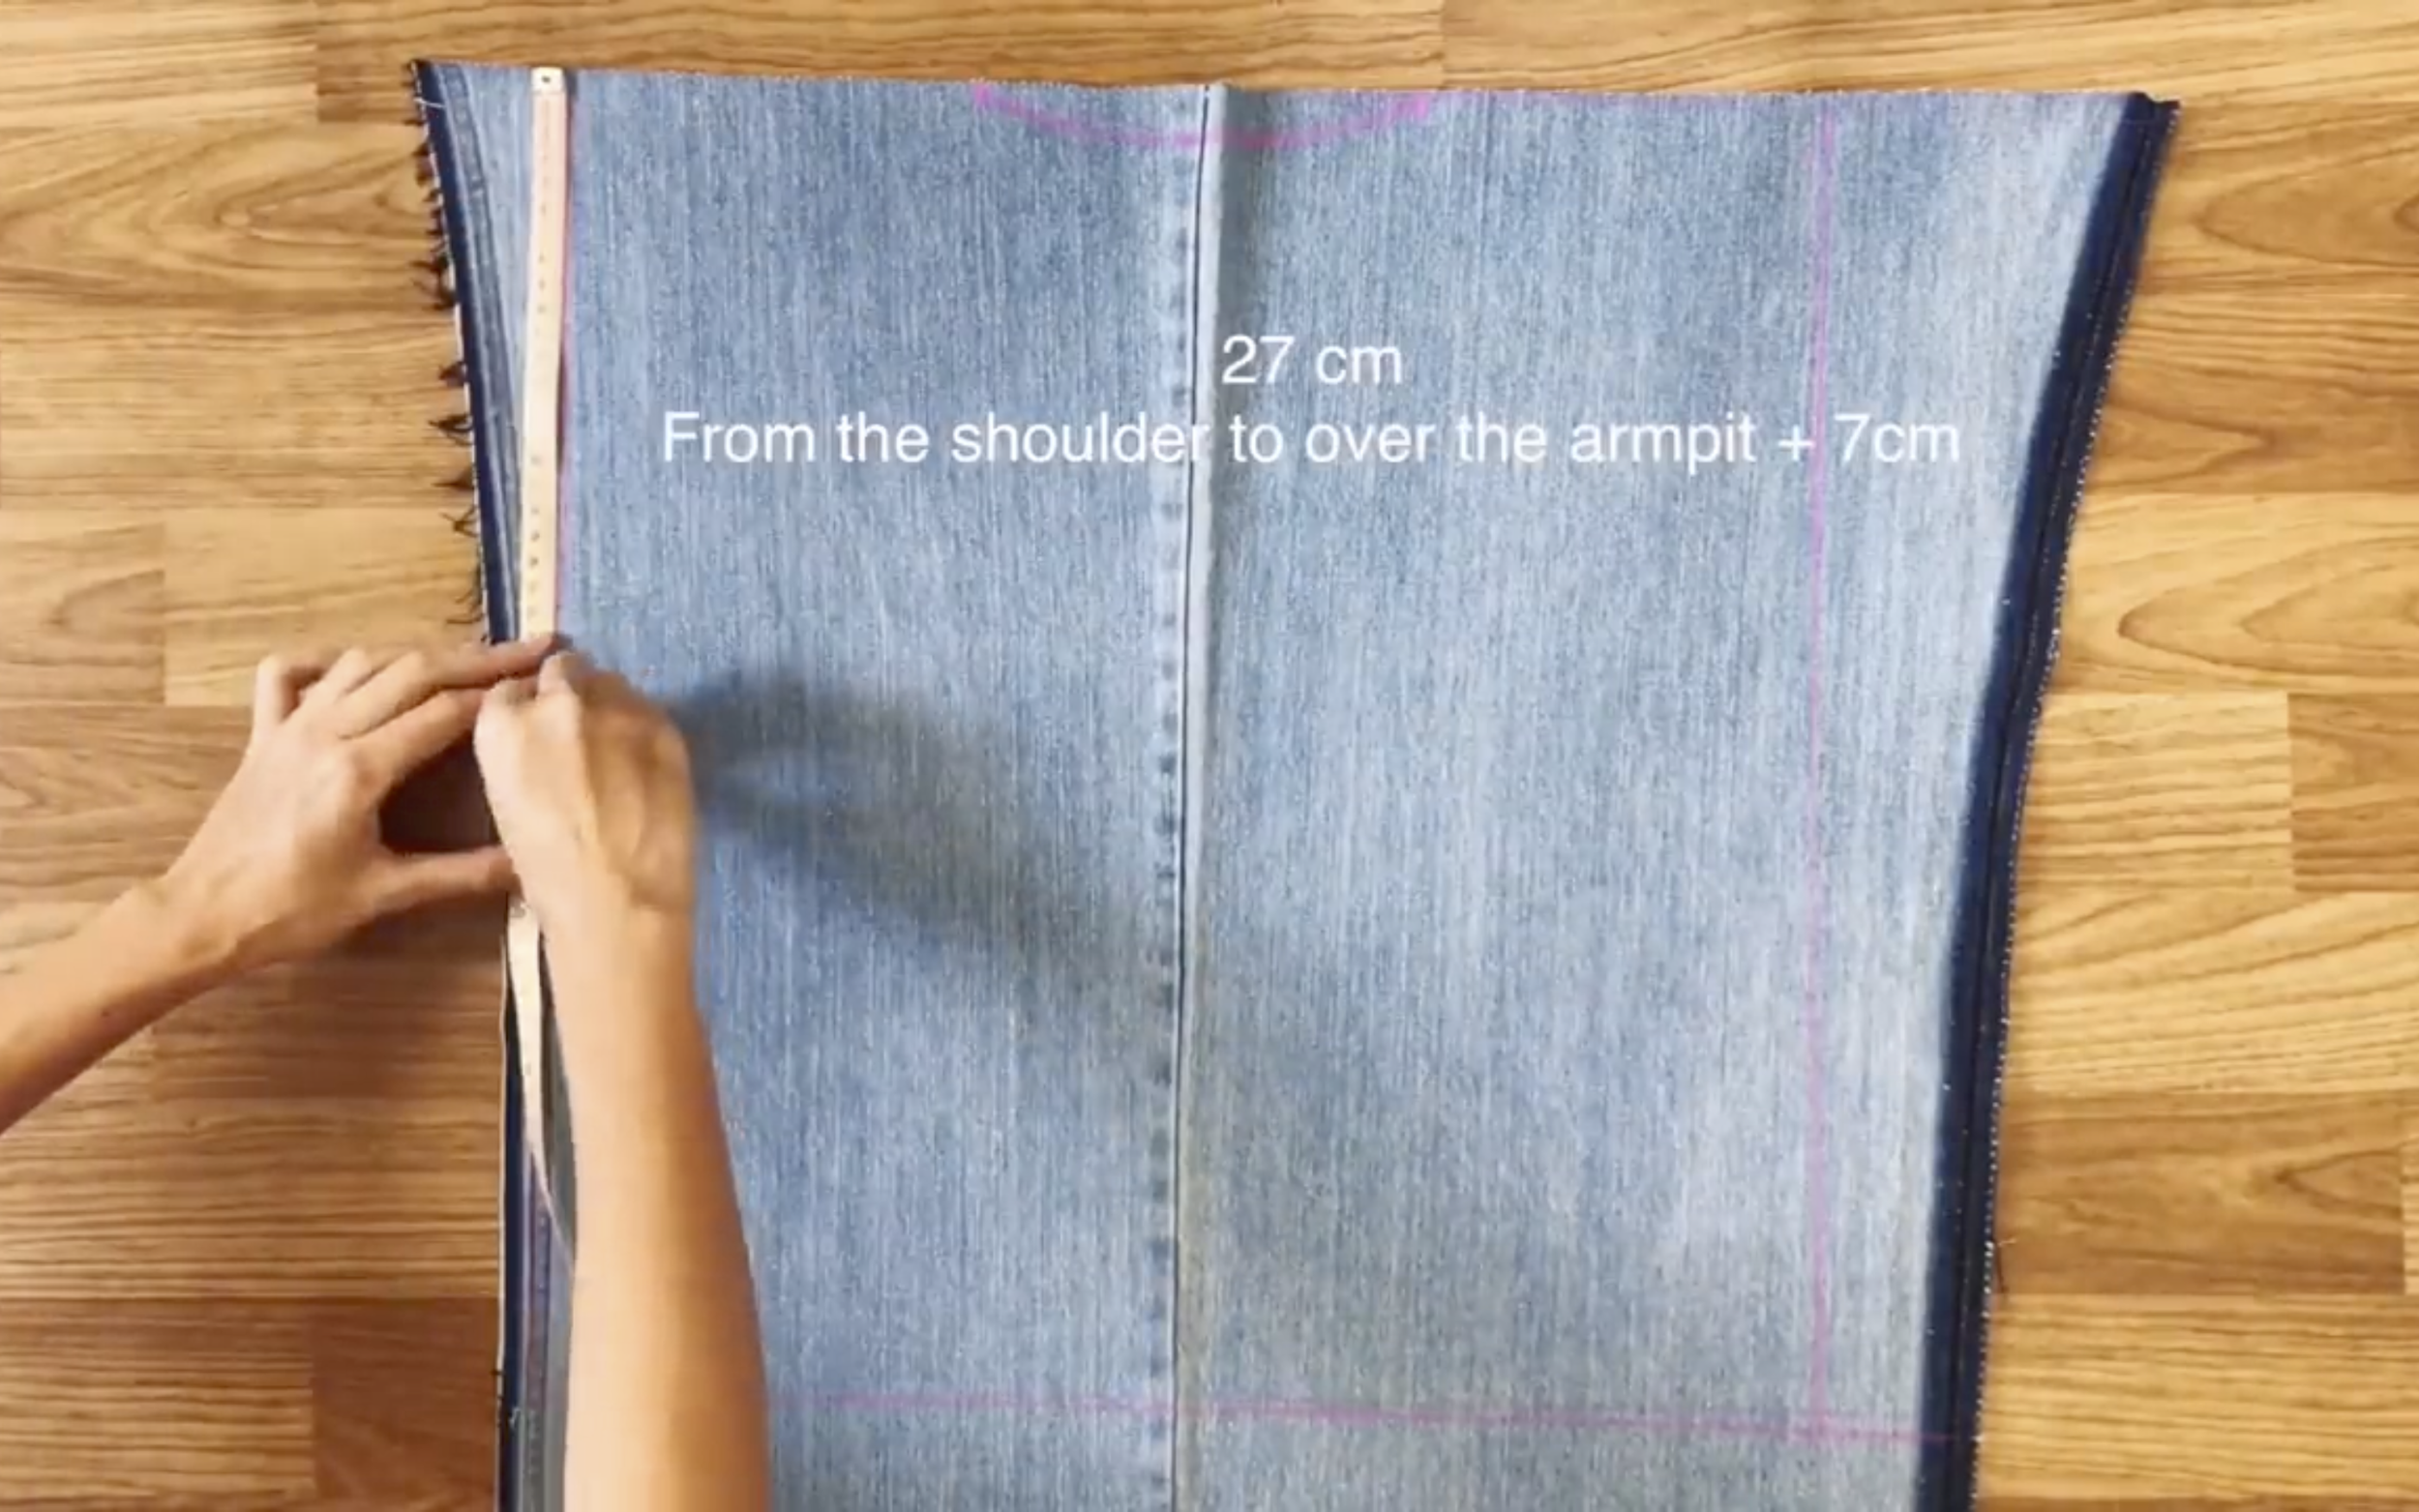
At the top of the left side, go down 27cm which is the width from your shoulder to over the armpit + 7cm to create the hand.
And do the same for the right.

After cutting, will have the back of the top.
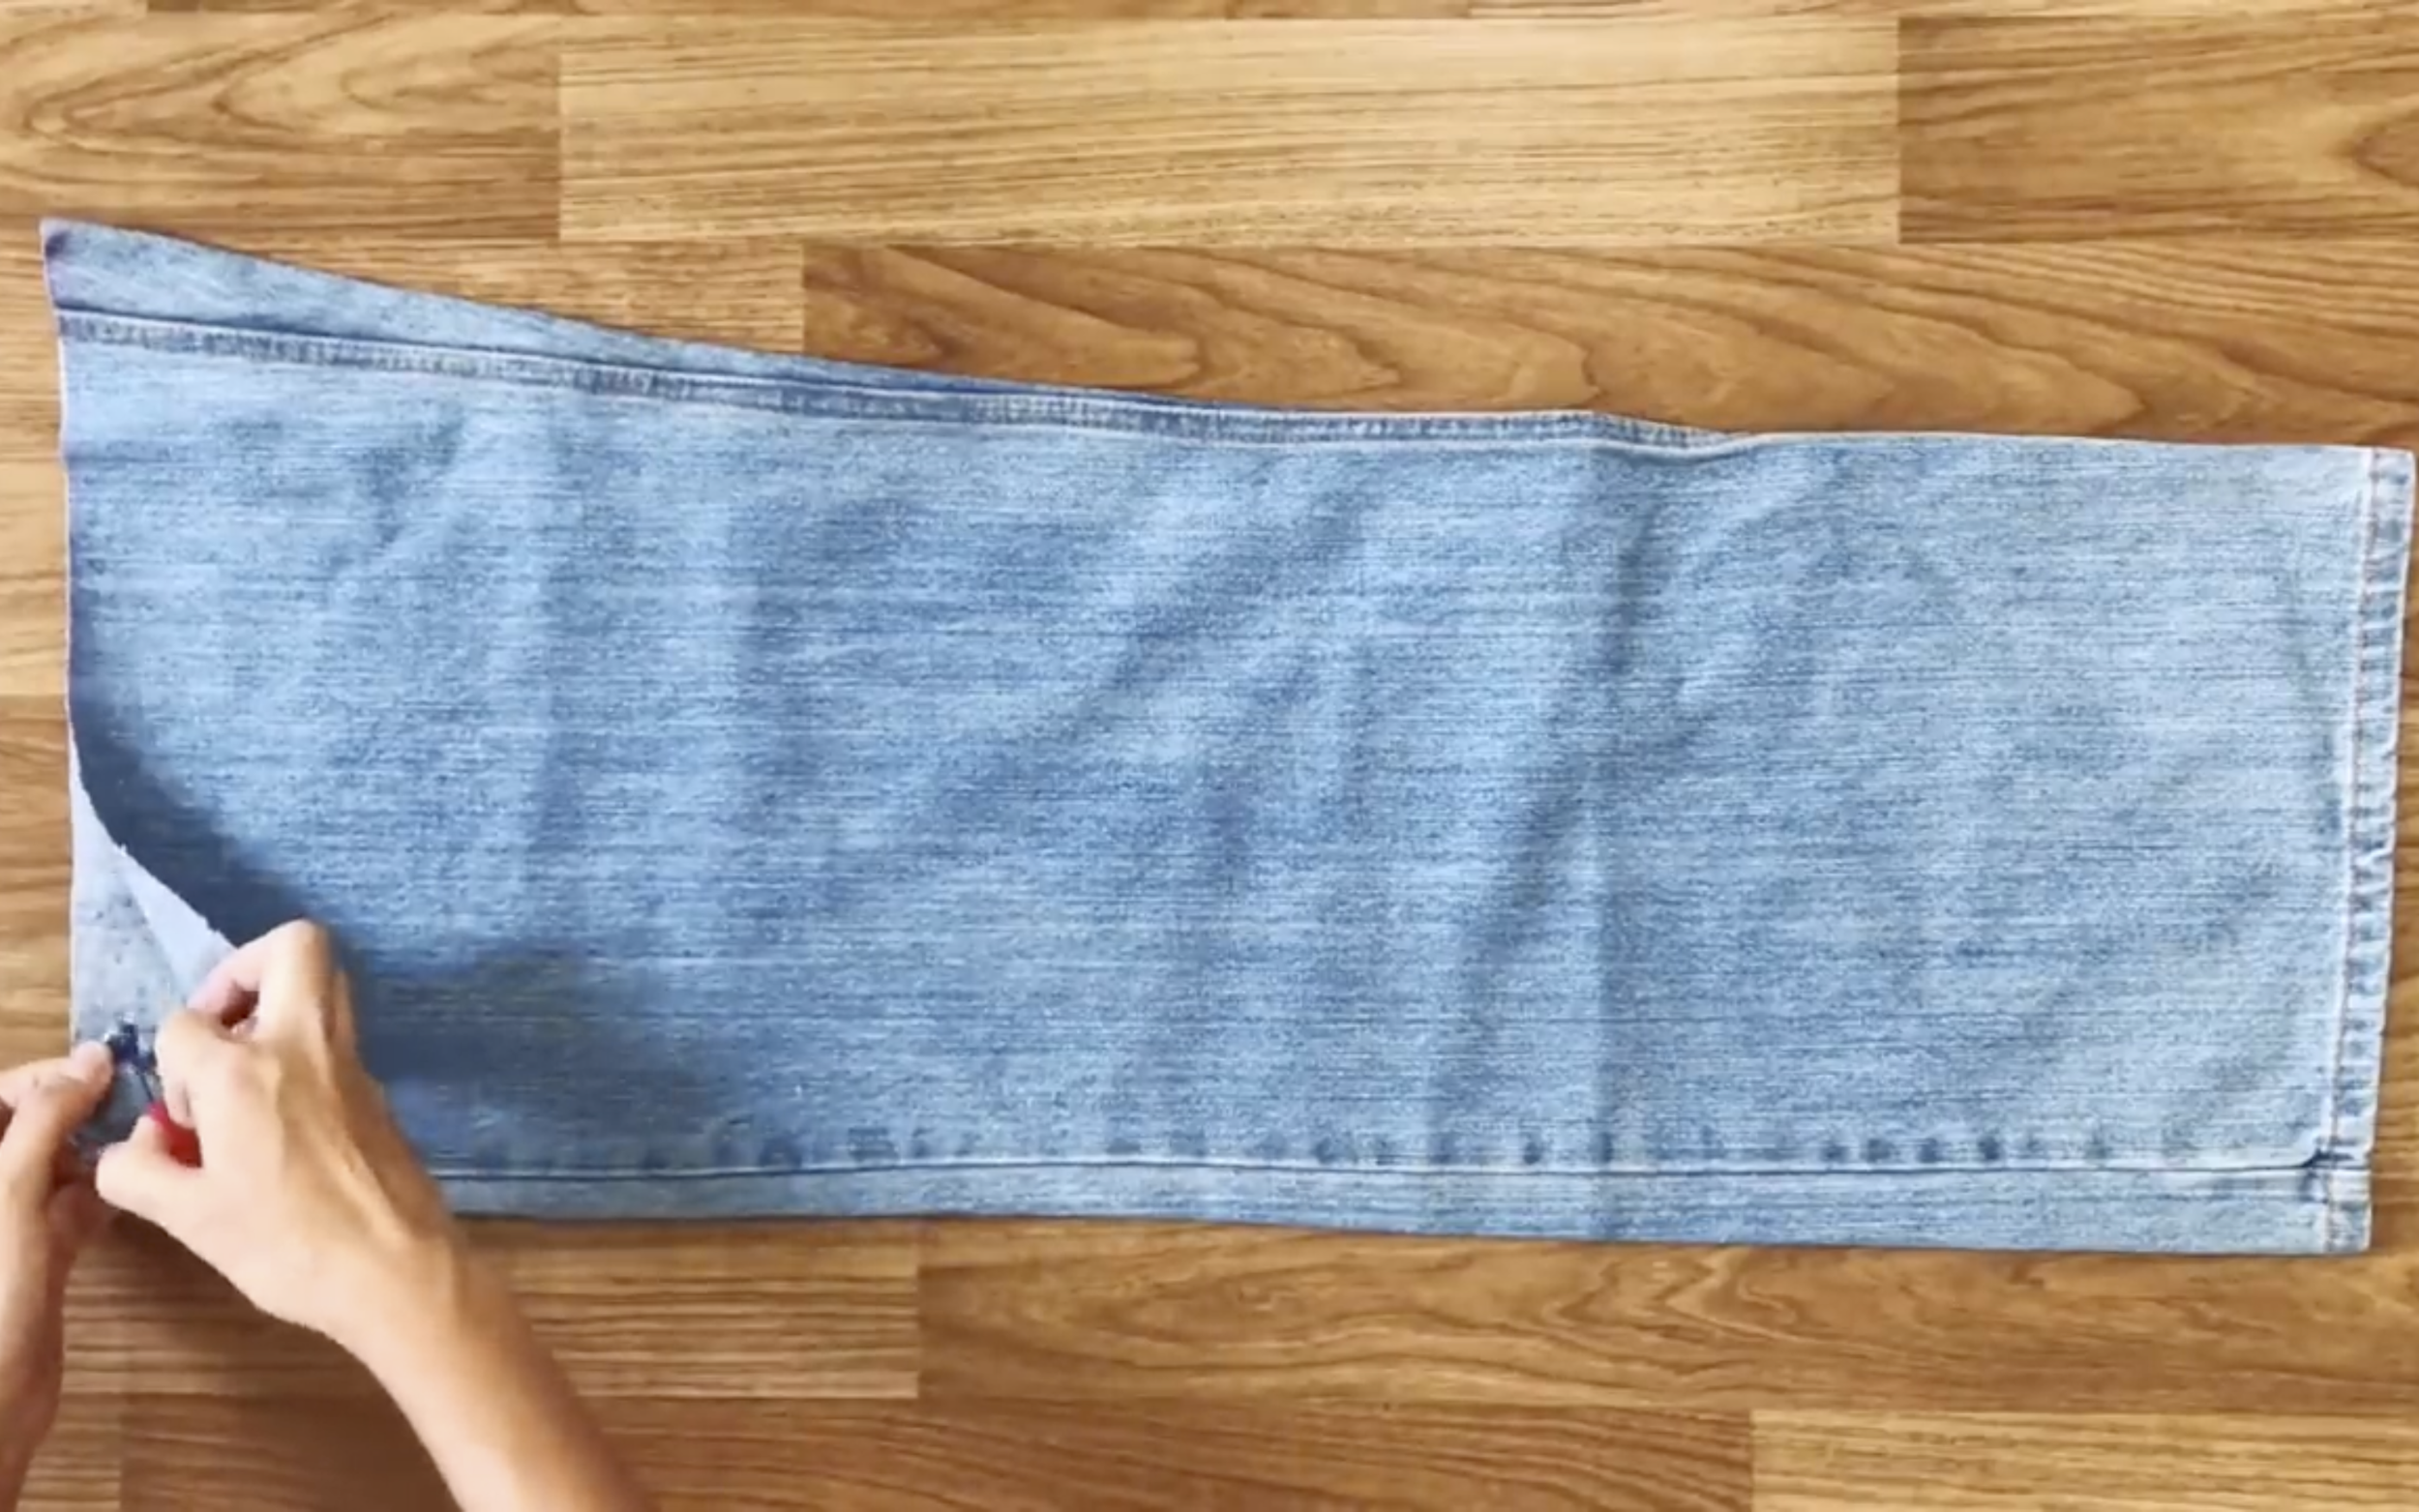
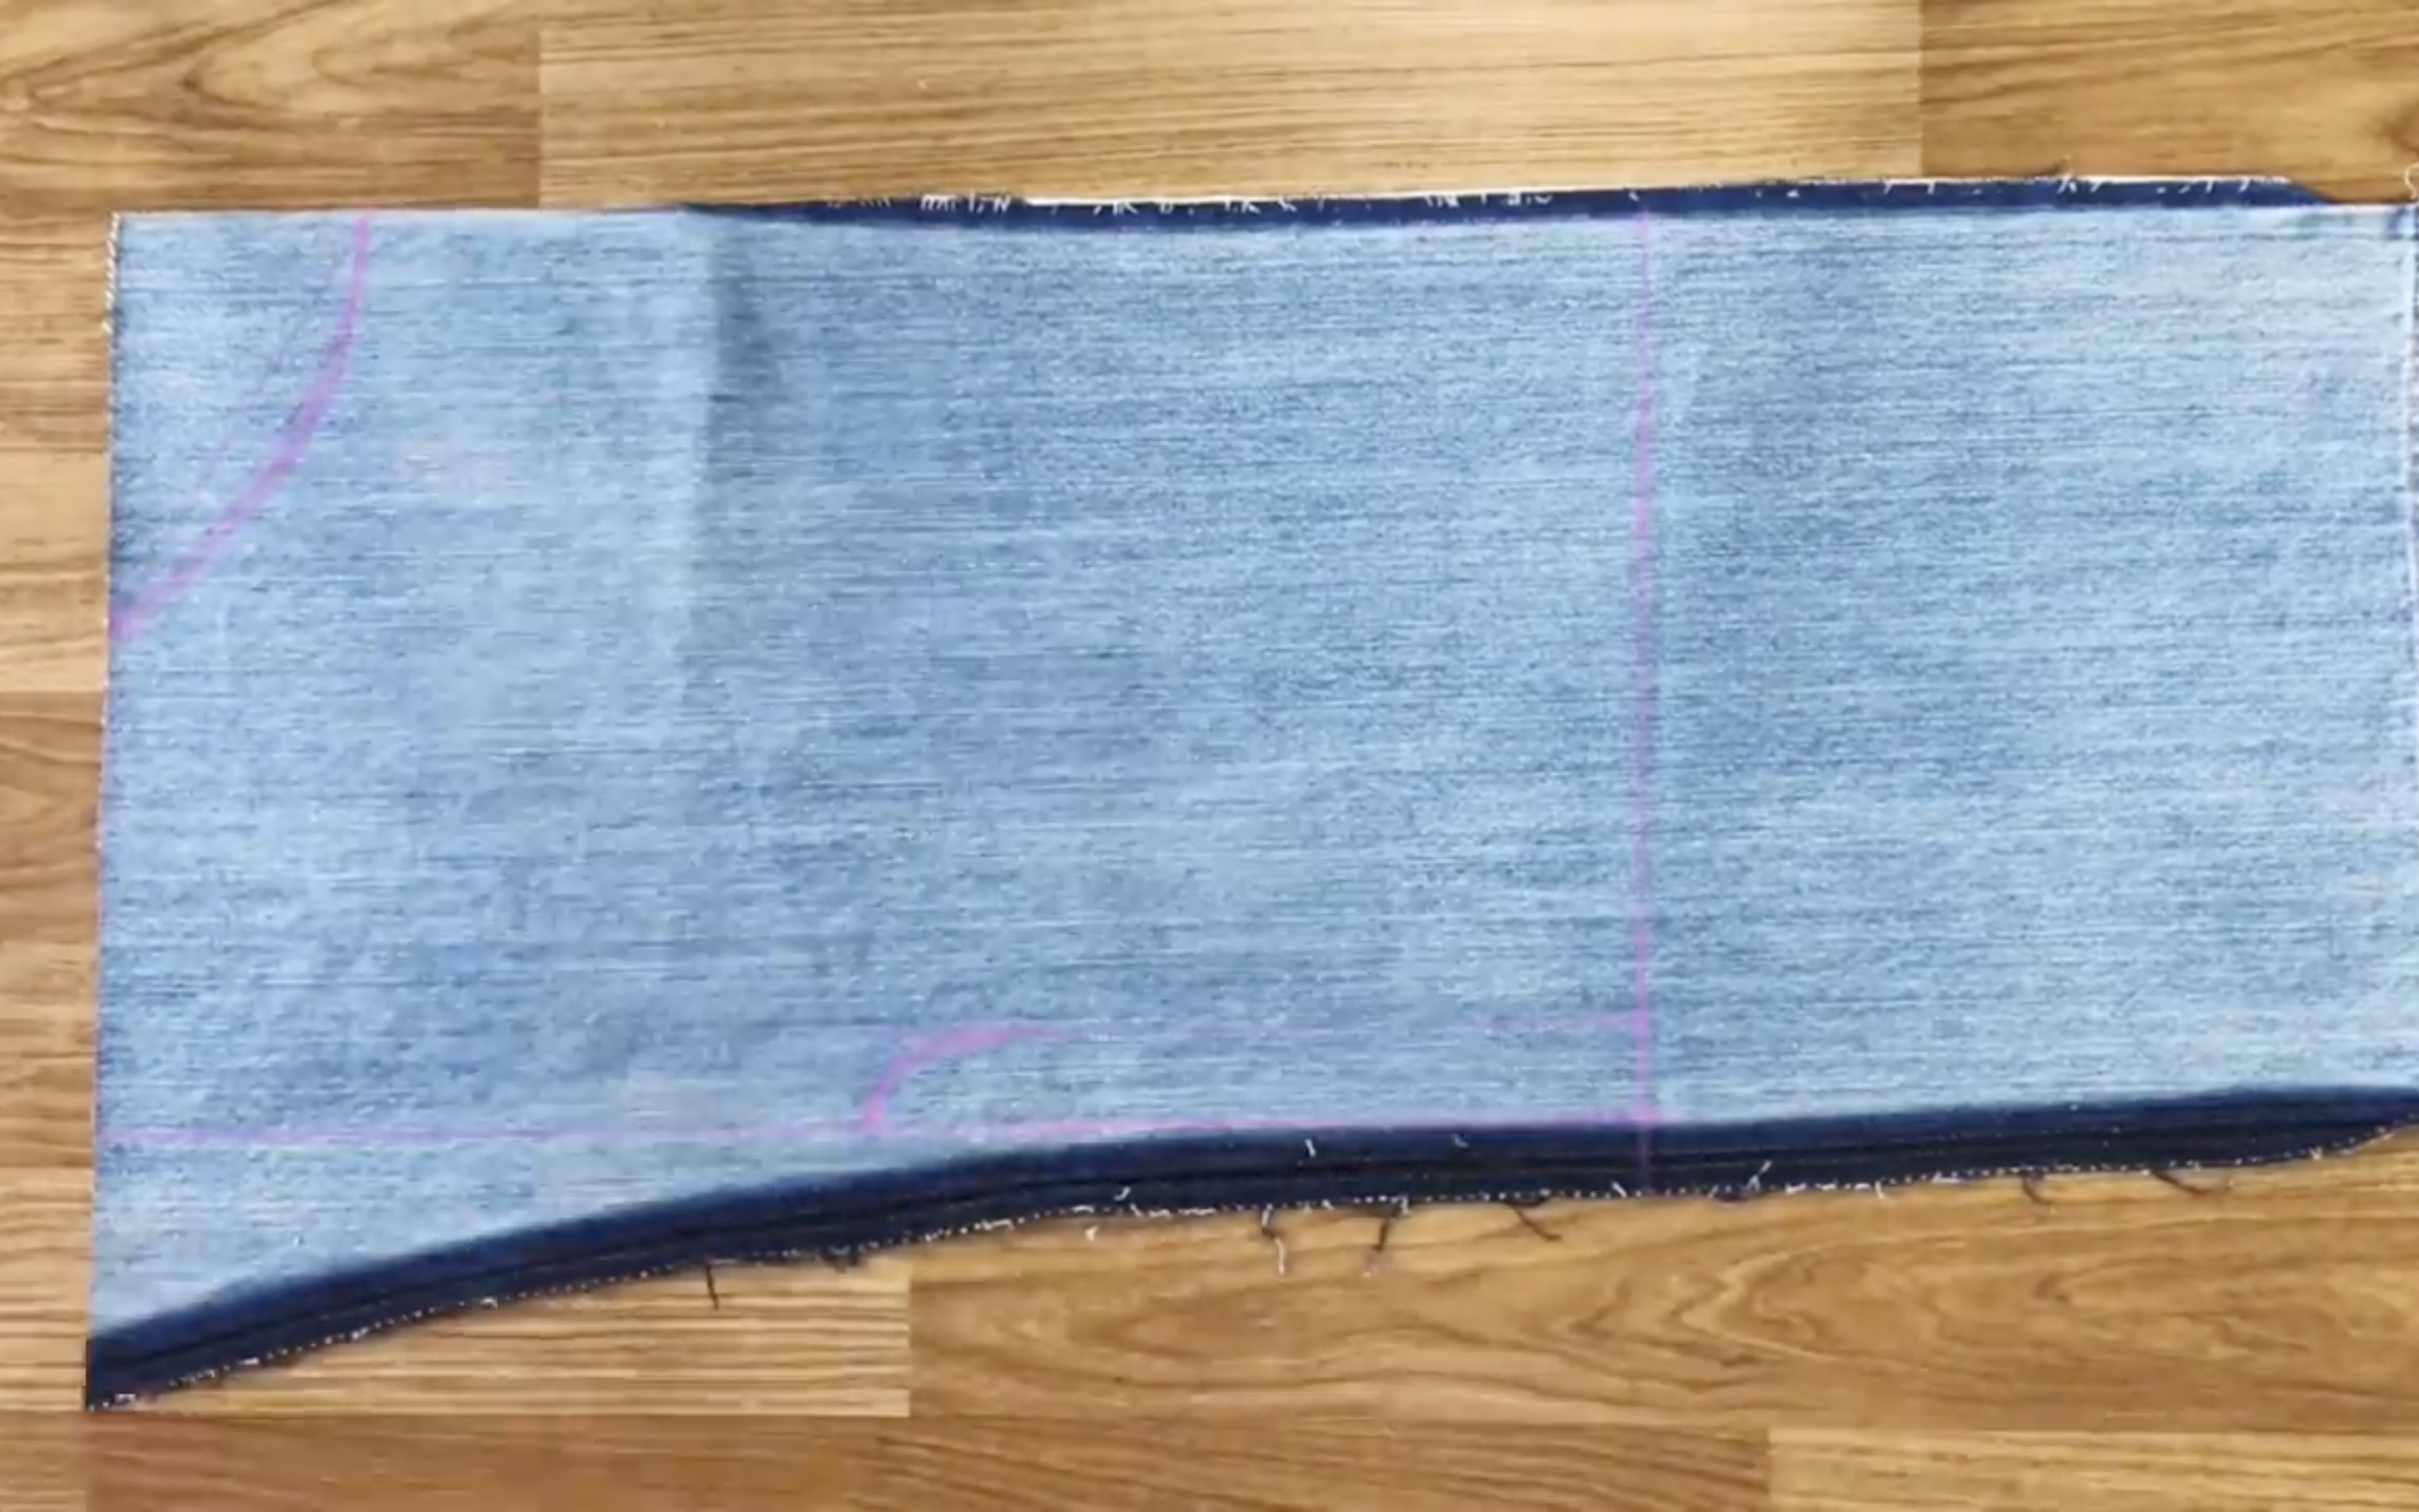
Use the other legs of the jeans to create the front of the top.
Draw 2 rectangles with 50cm length which is the width from your shoulder to the belly button + 2 cm and 30cm width which is a quarter of your bust size + 10cm.
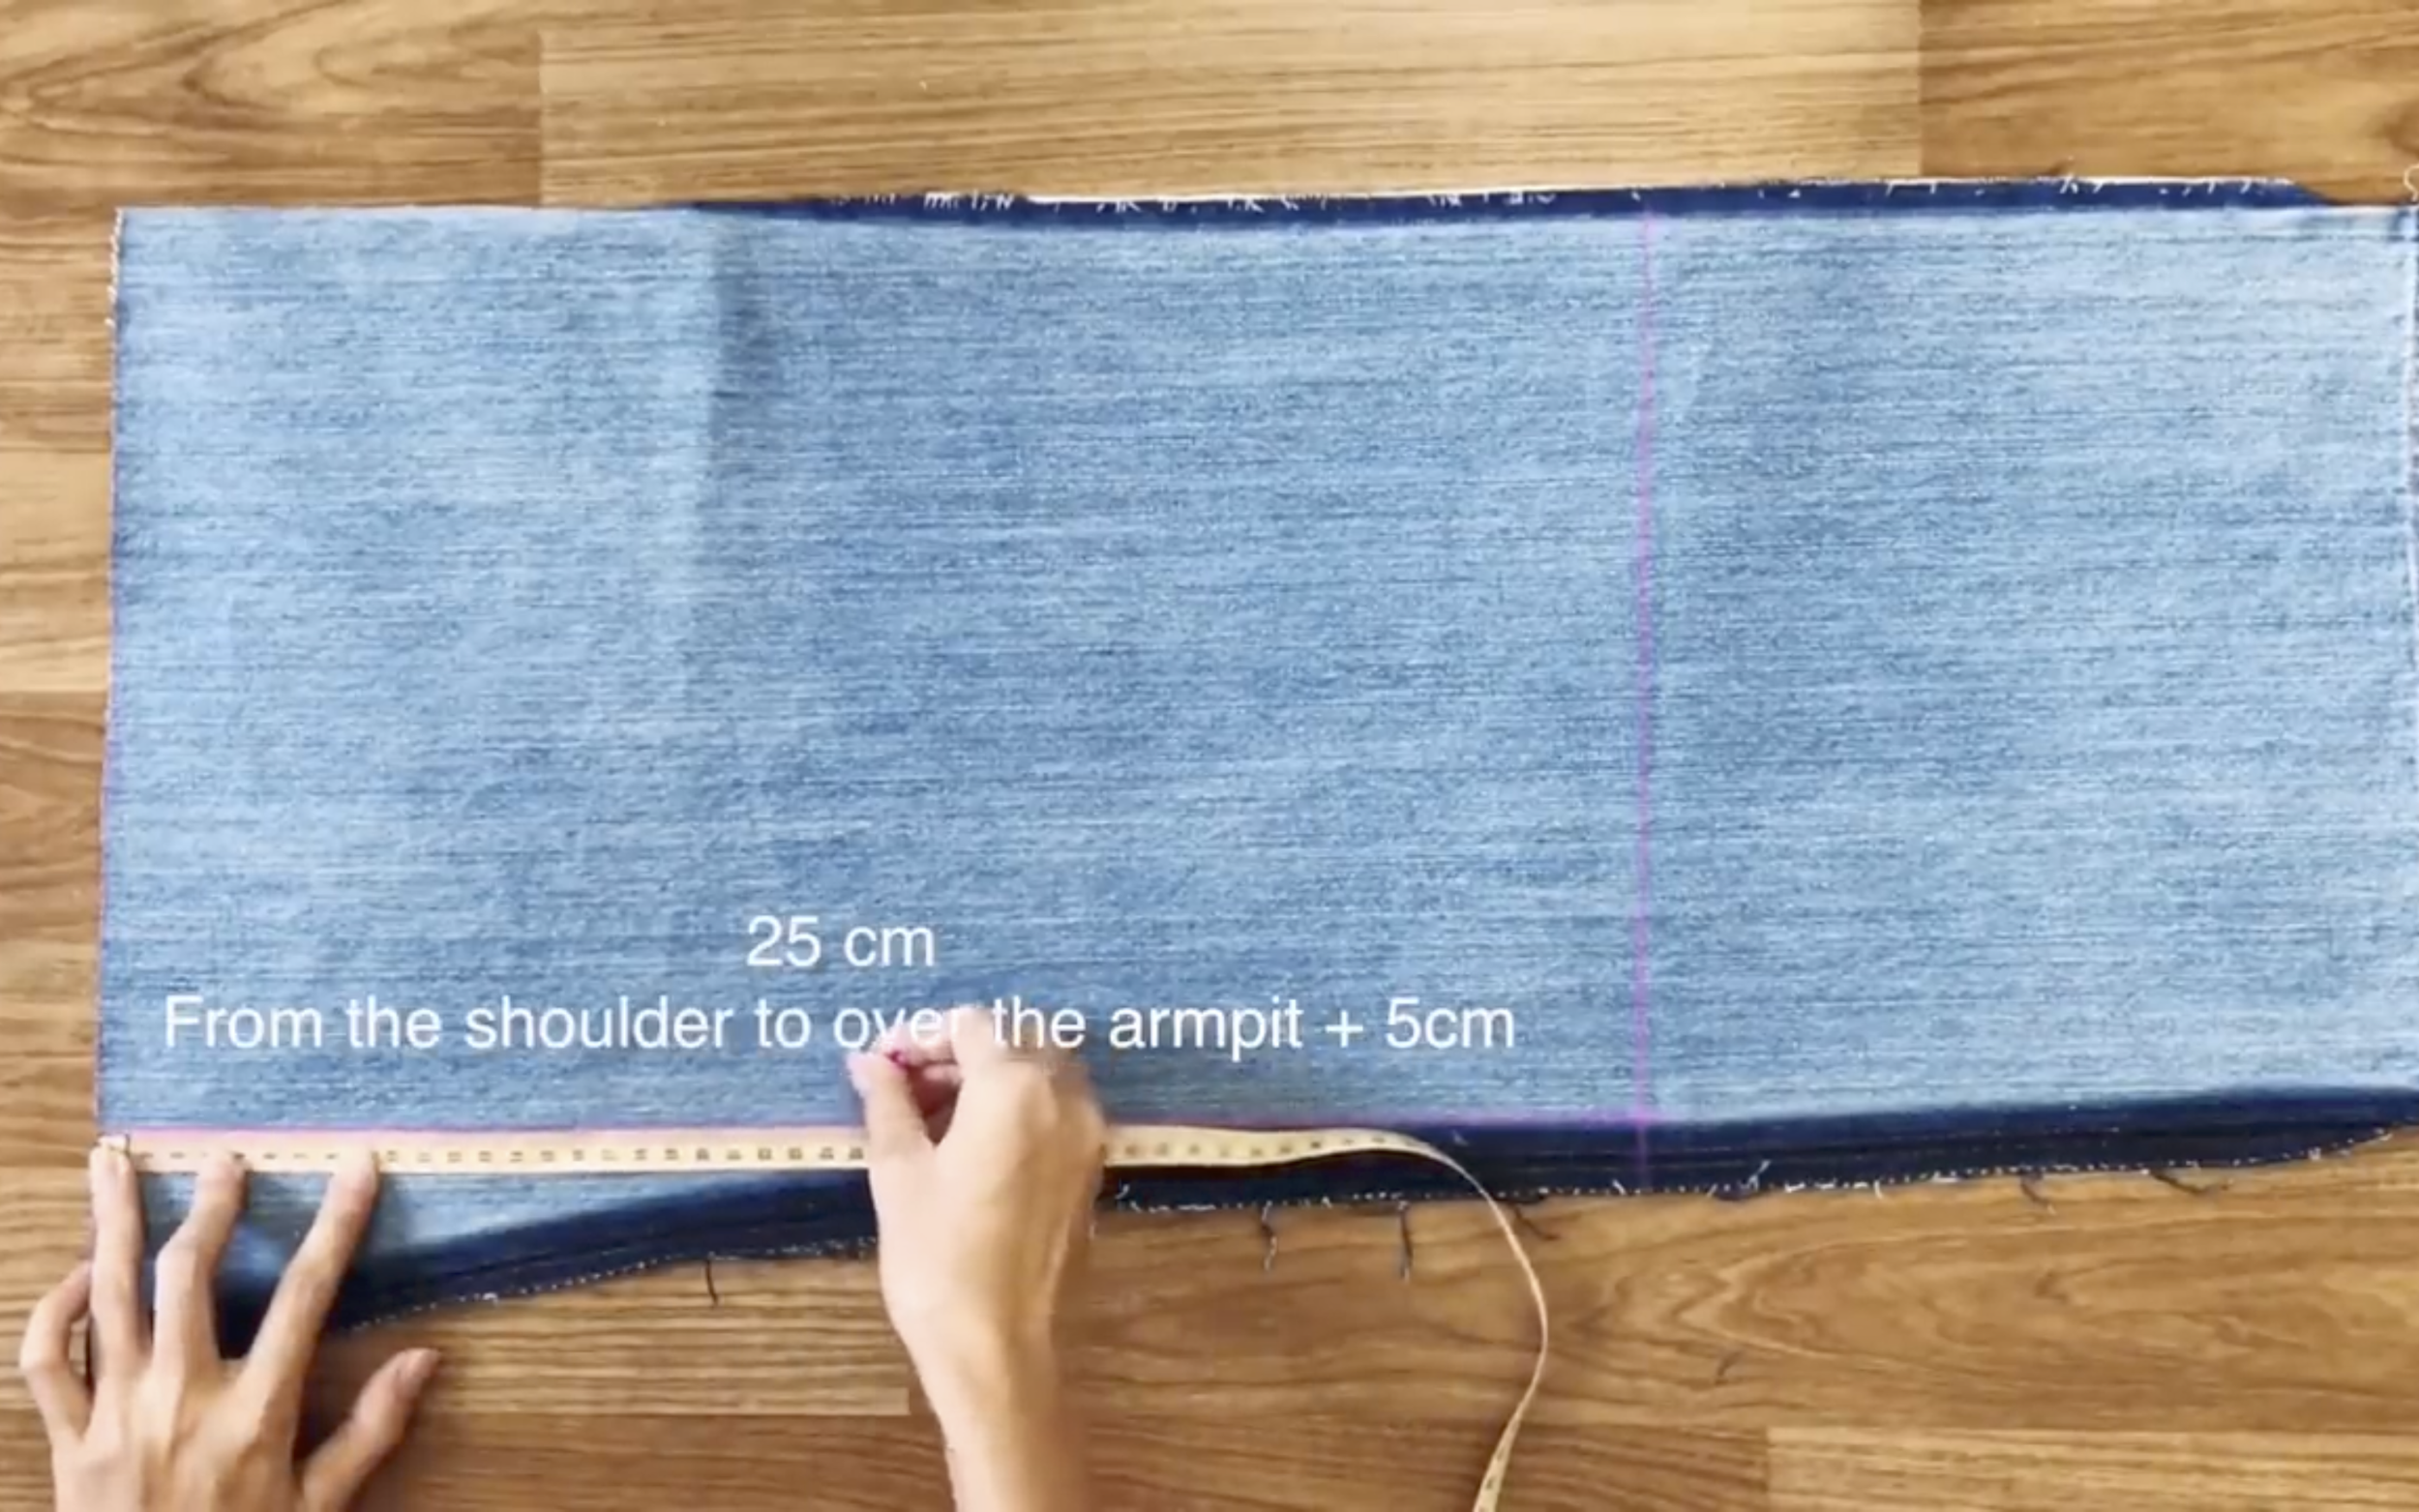
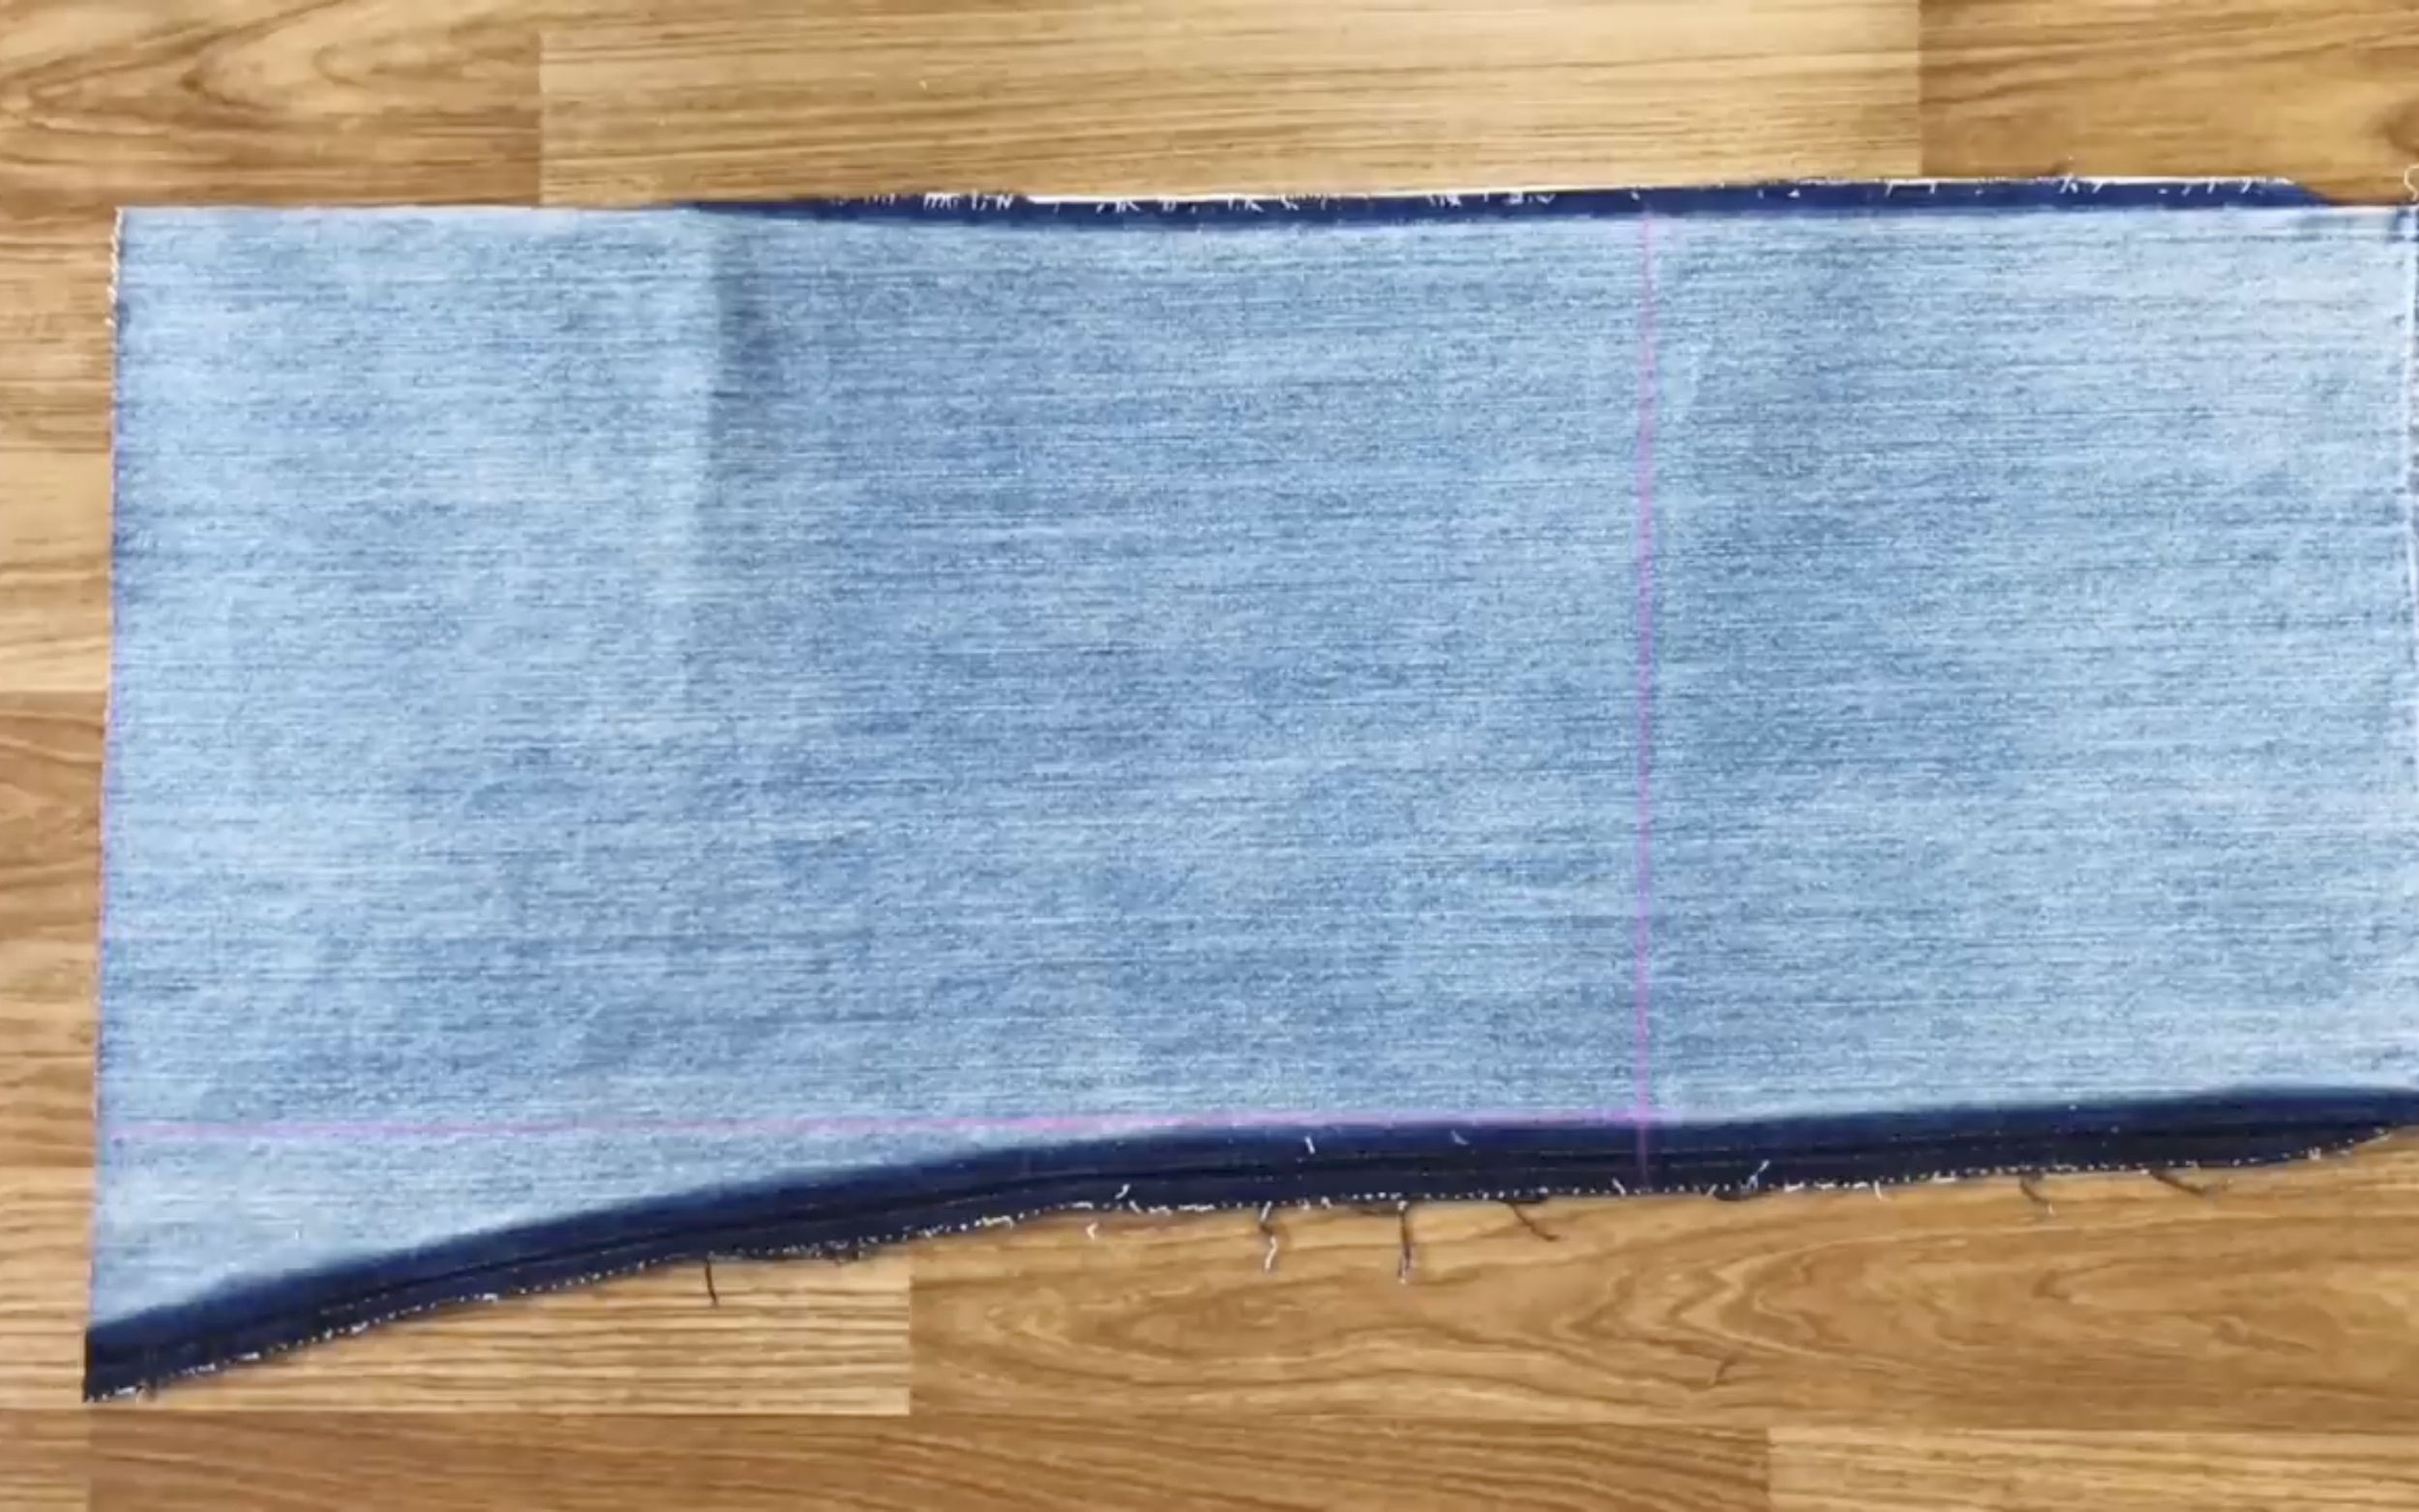
To create the hand for the front, mark at 25cm from the left to inside which is the width from your shoulder to over the armpit + 5cm.
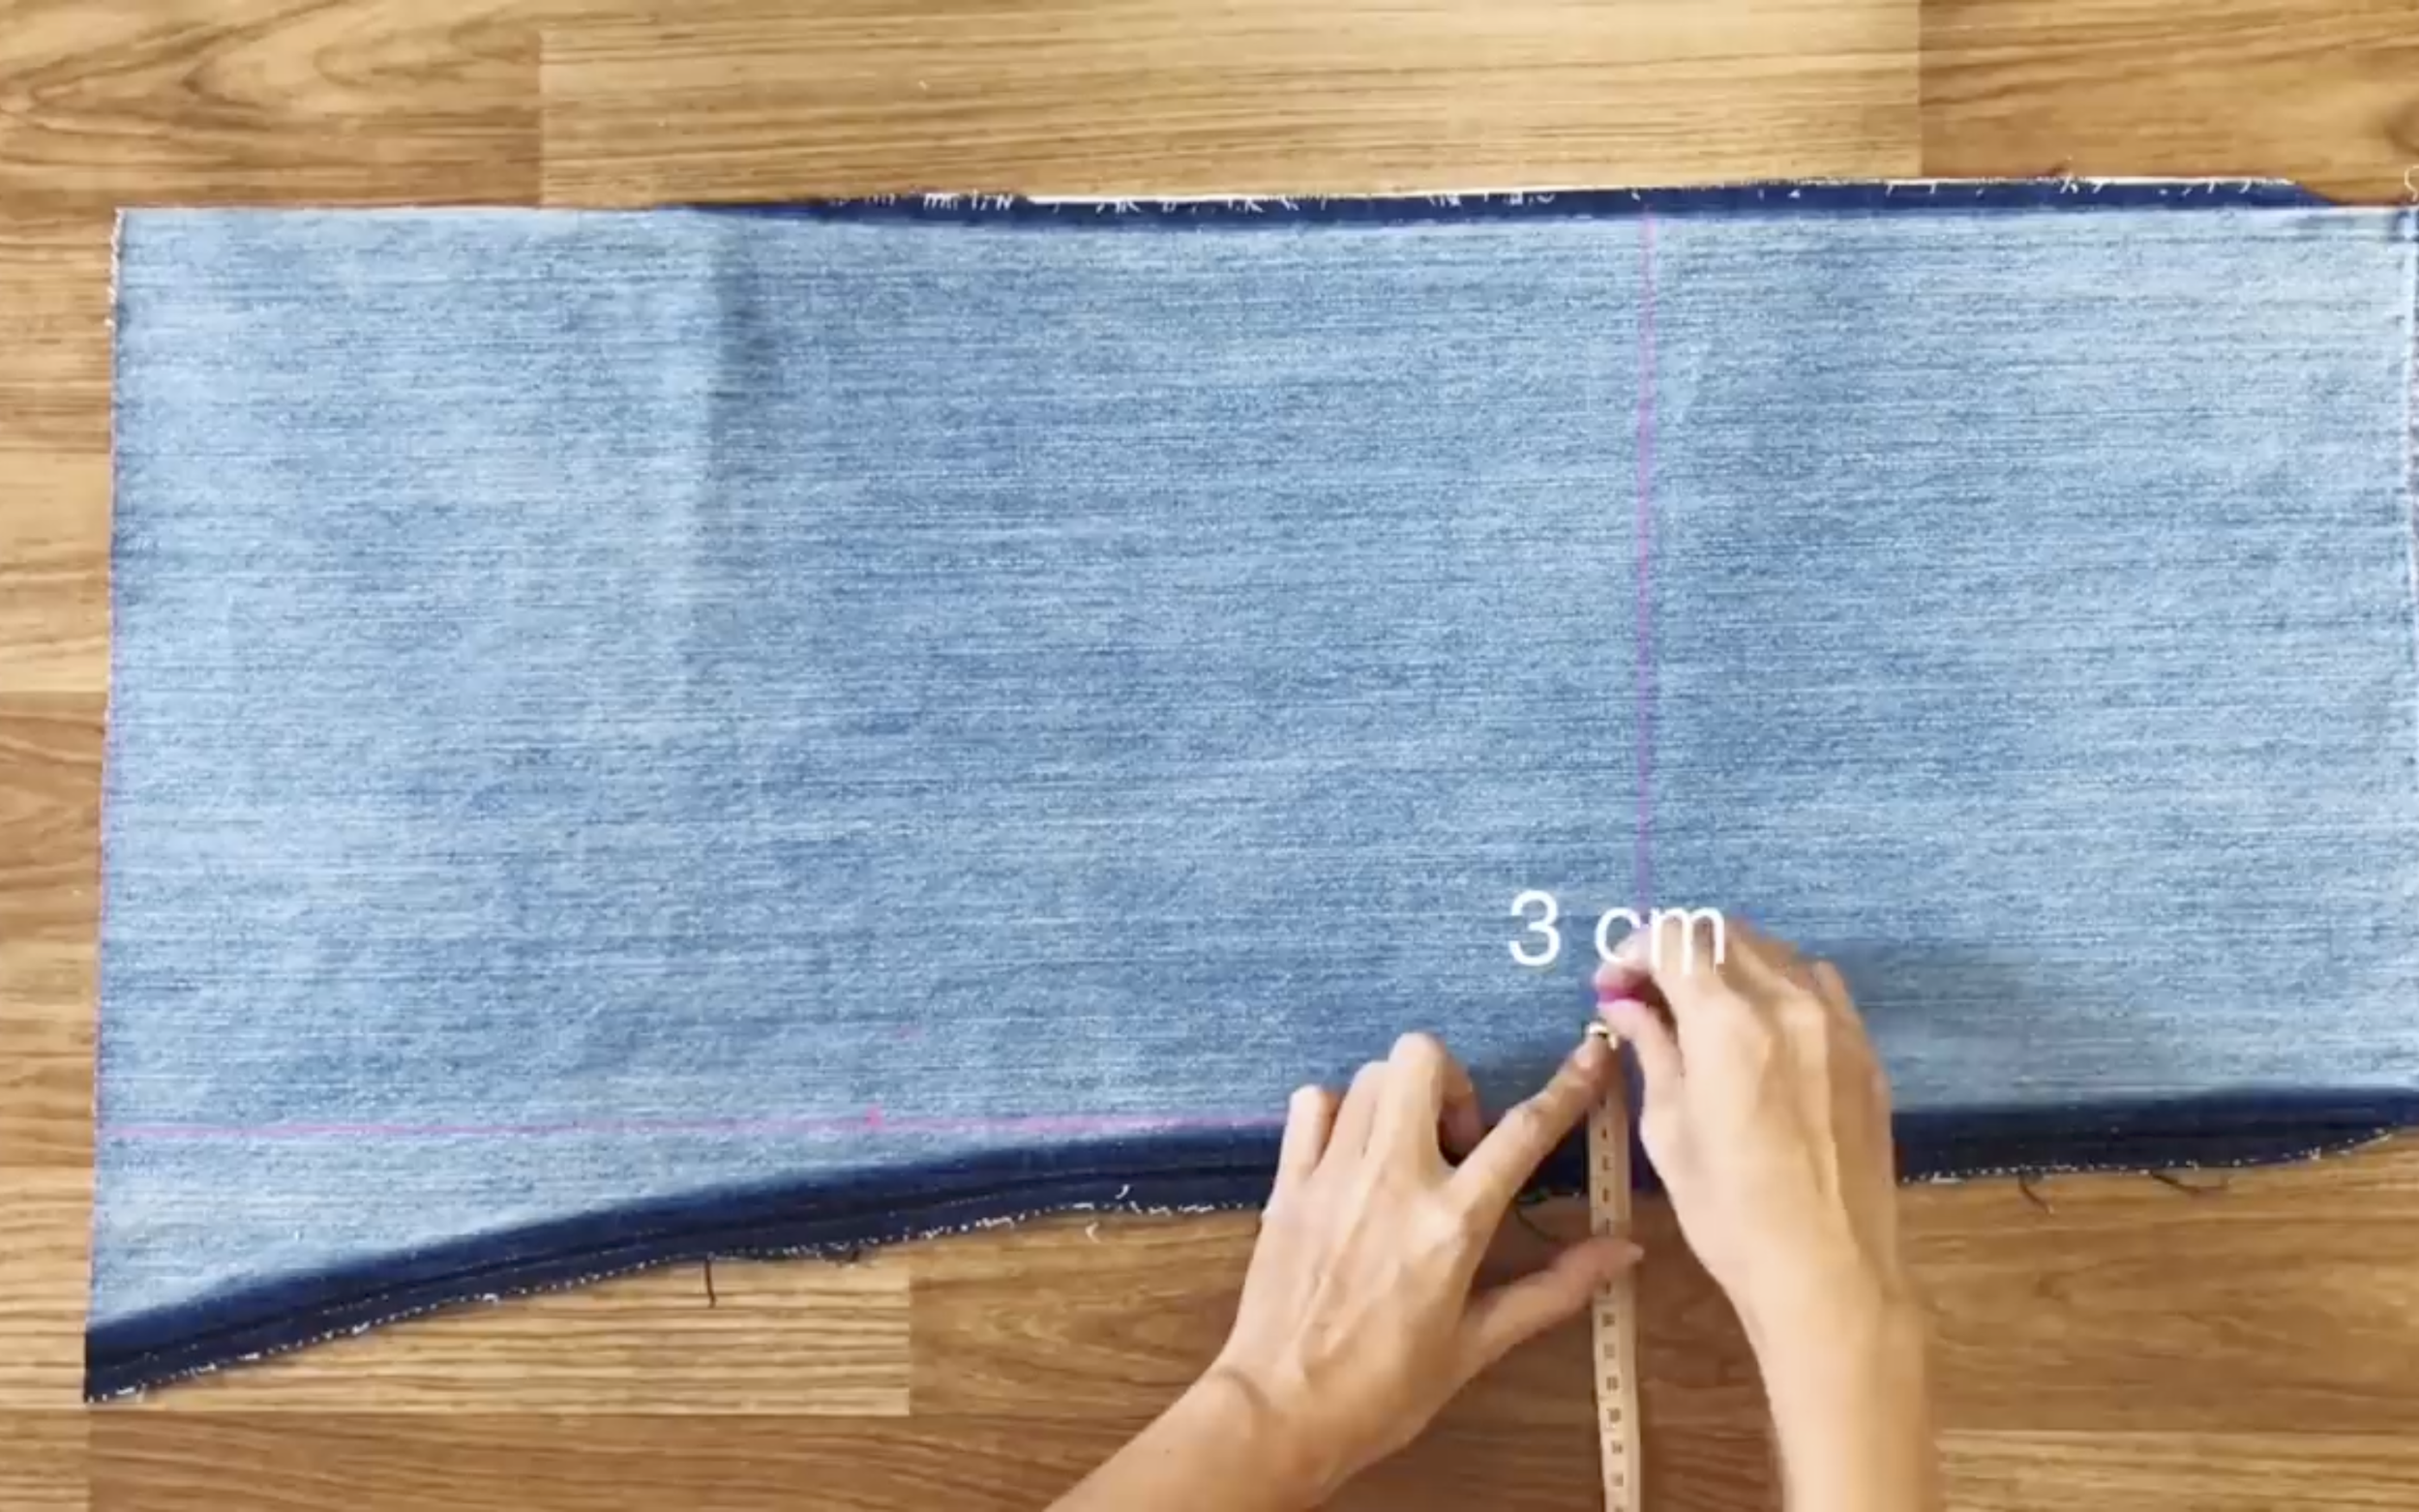
Then draw a slightly curved line to inside 3cm.
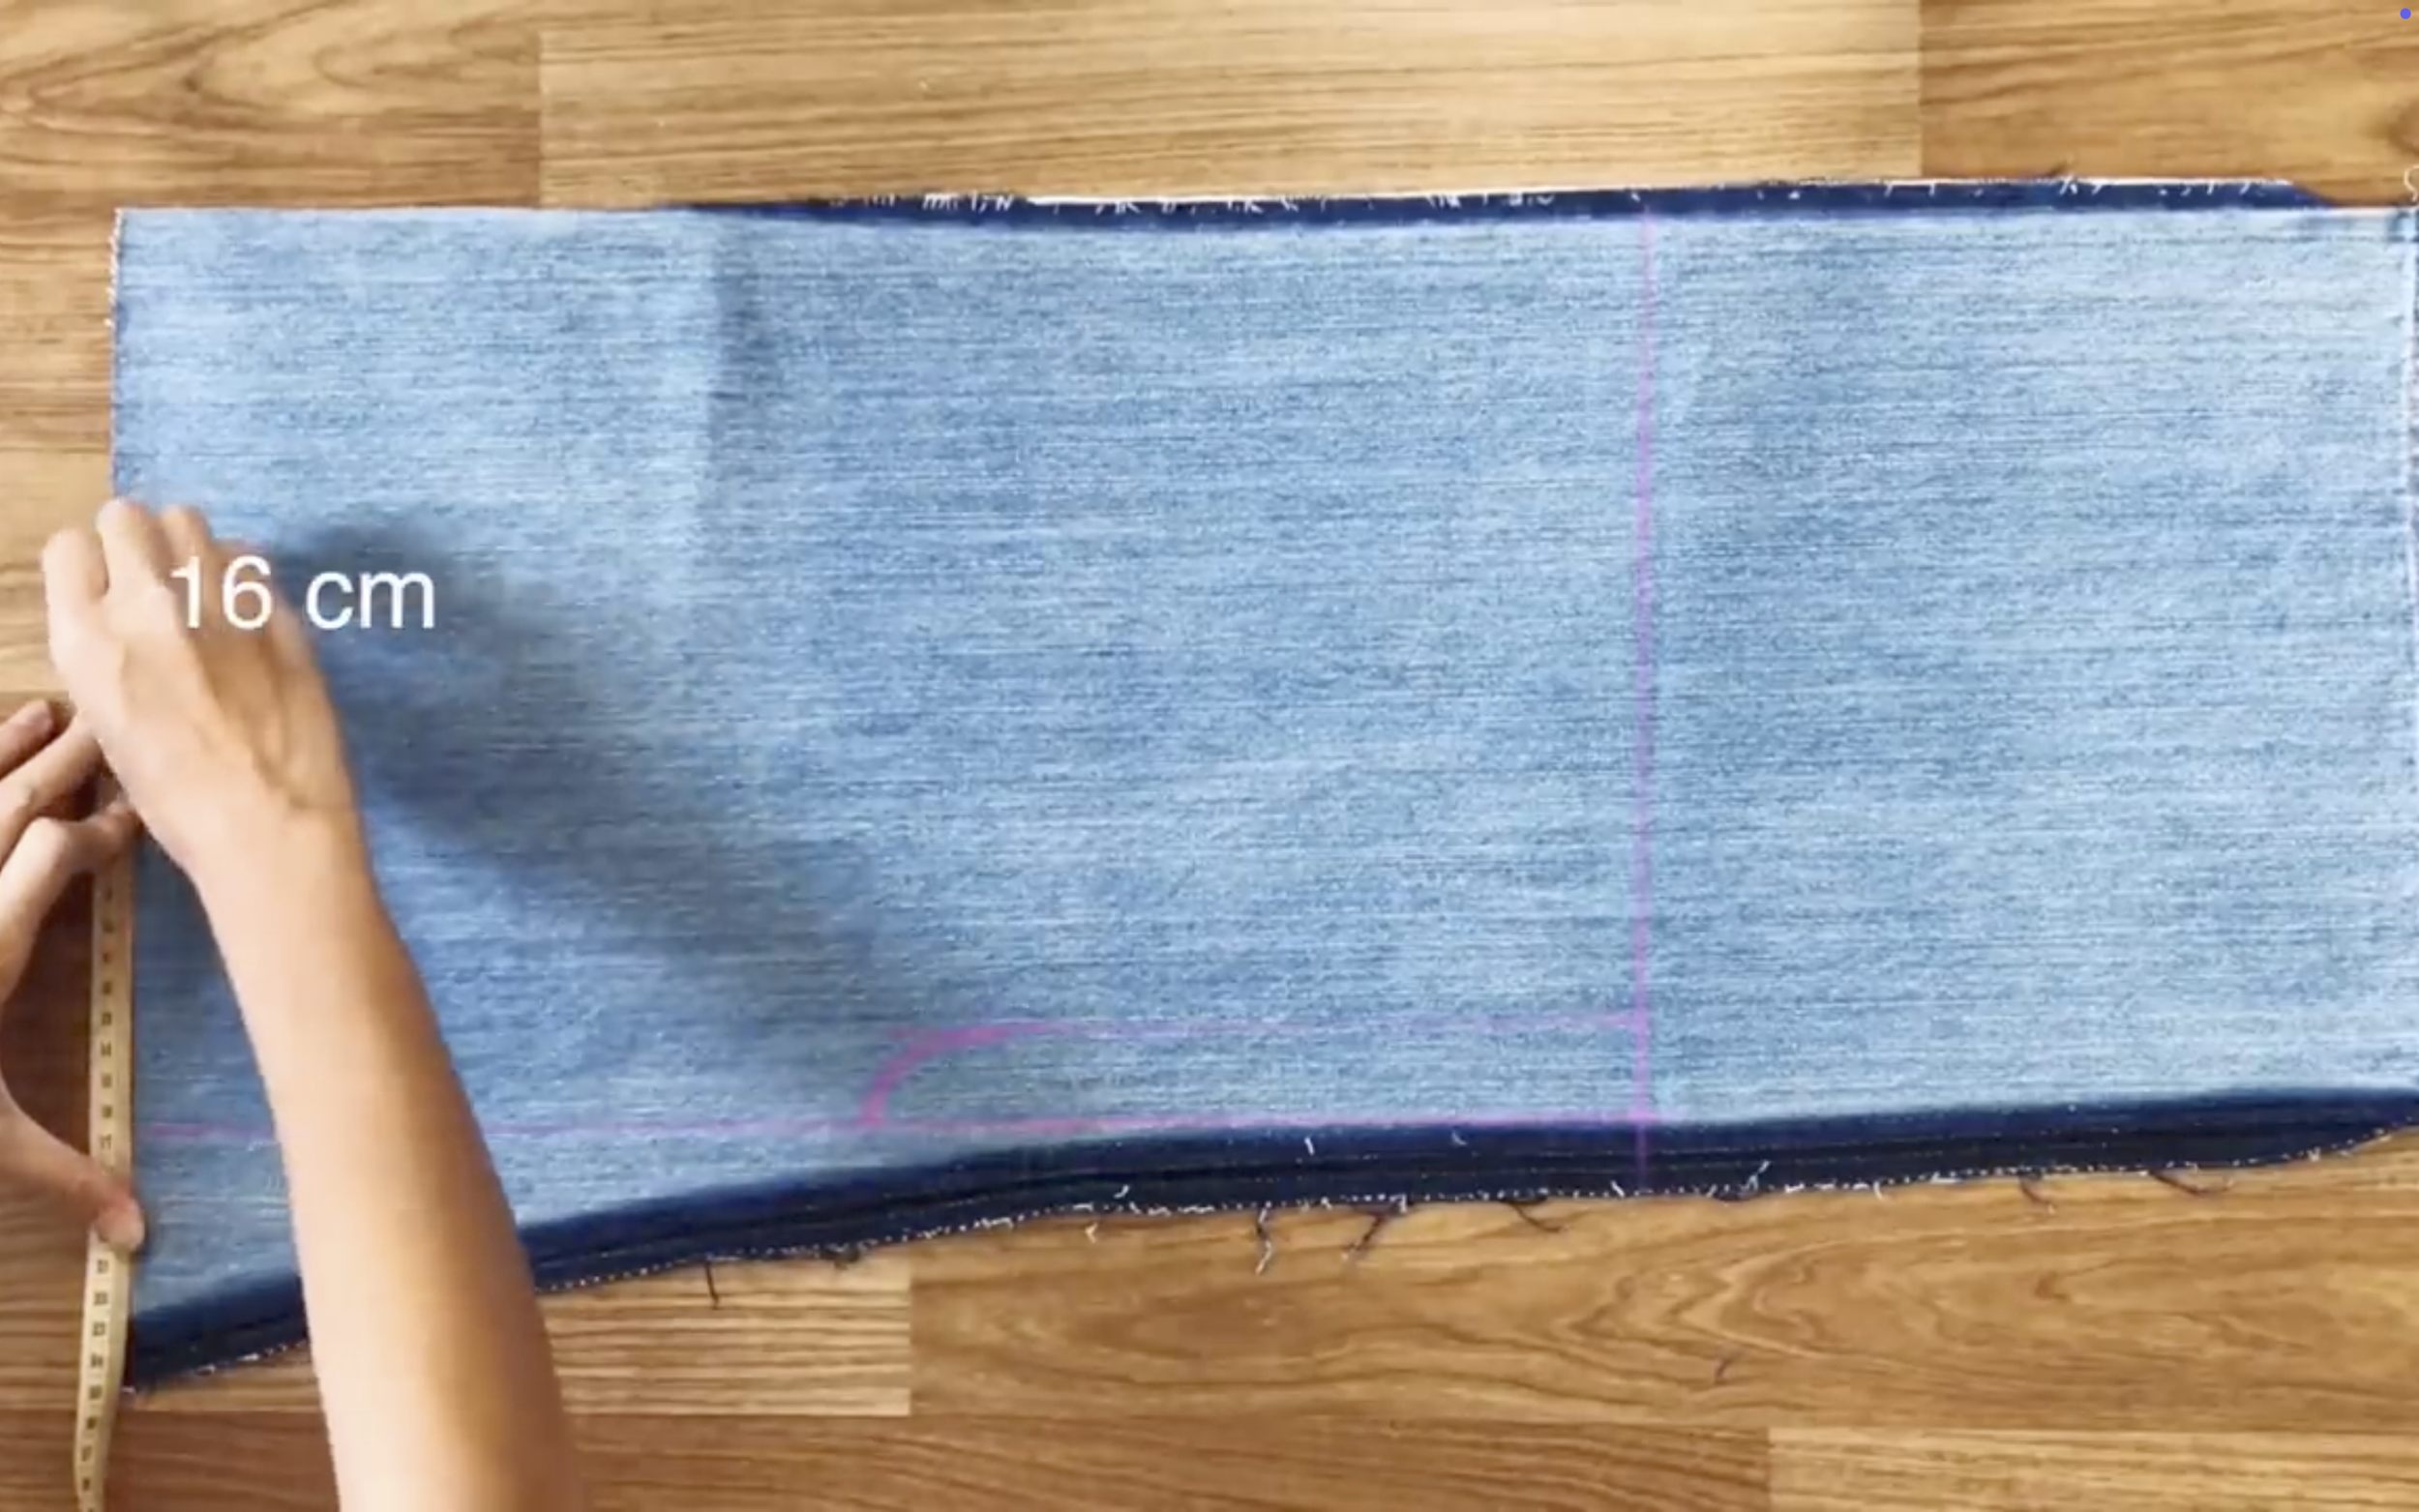
At the end, go up 16cm and mark there.
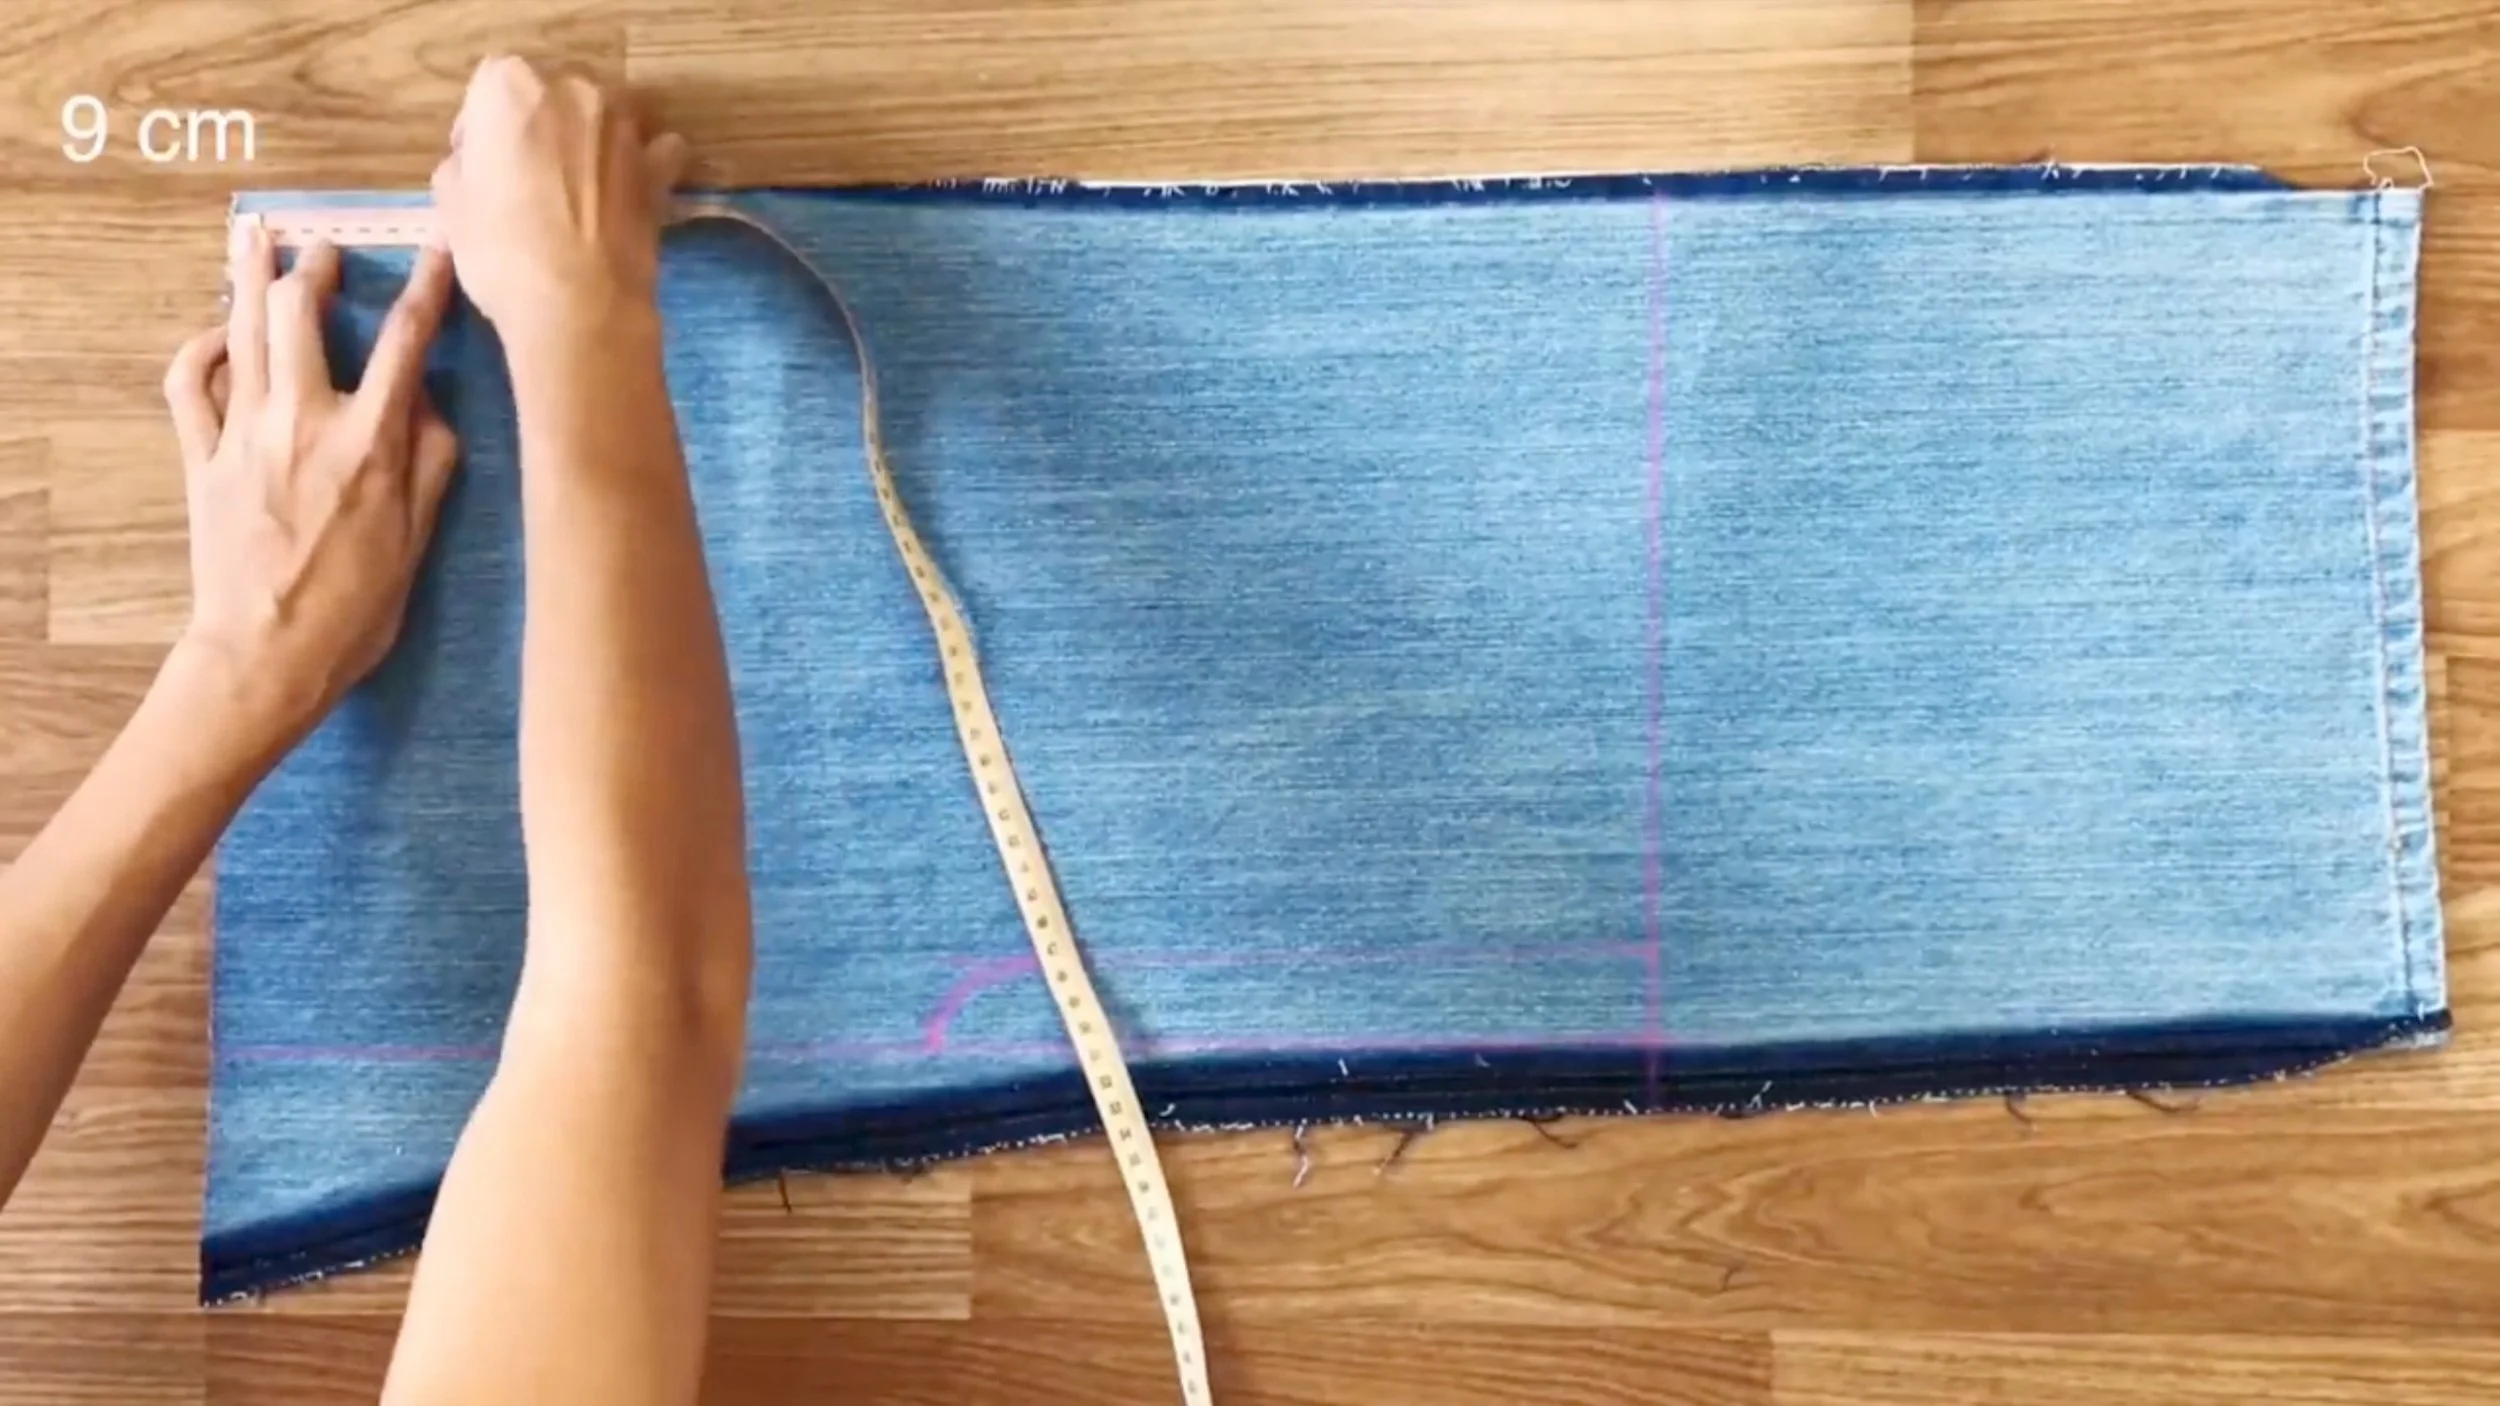
Then connect that mark to the other mark at 9cm inside of the top line.
And draw a curved line between 2 of them.
So it'll be the front neck of the top.
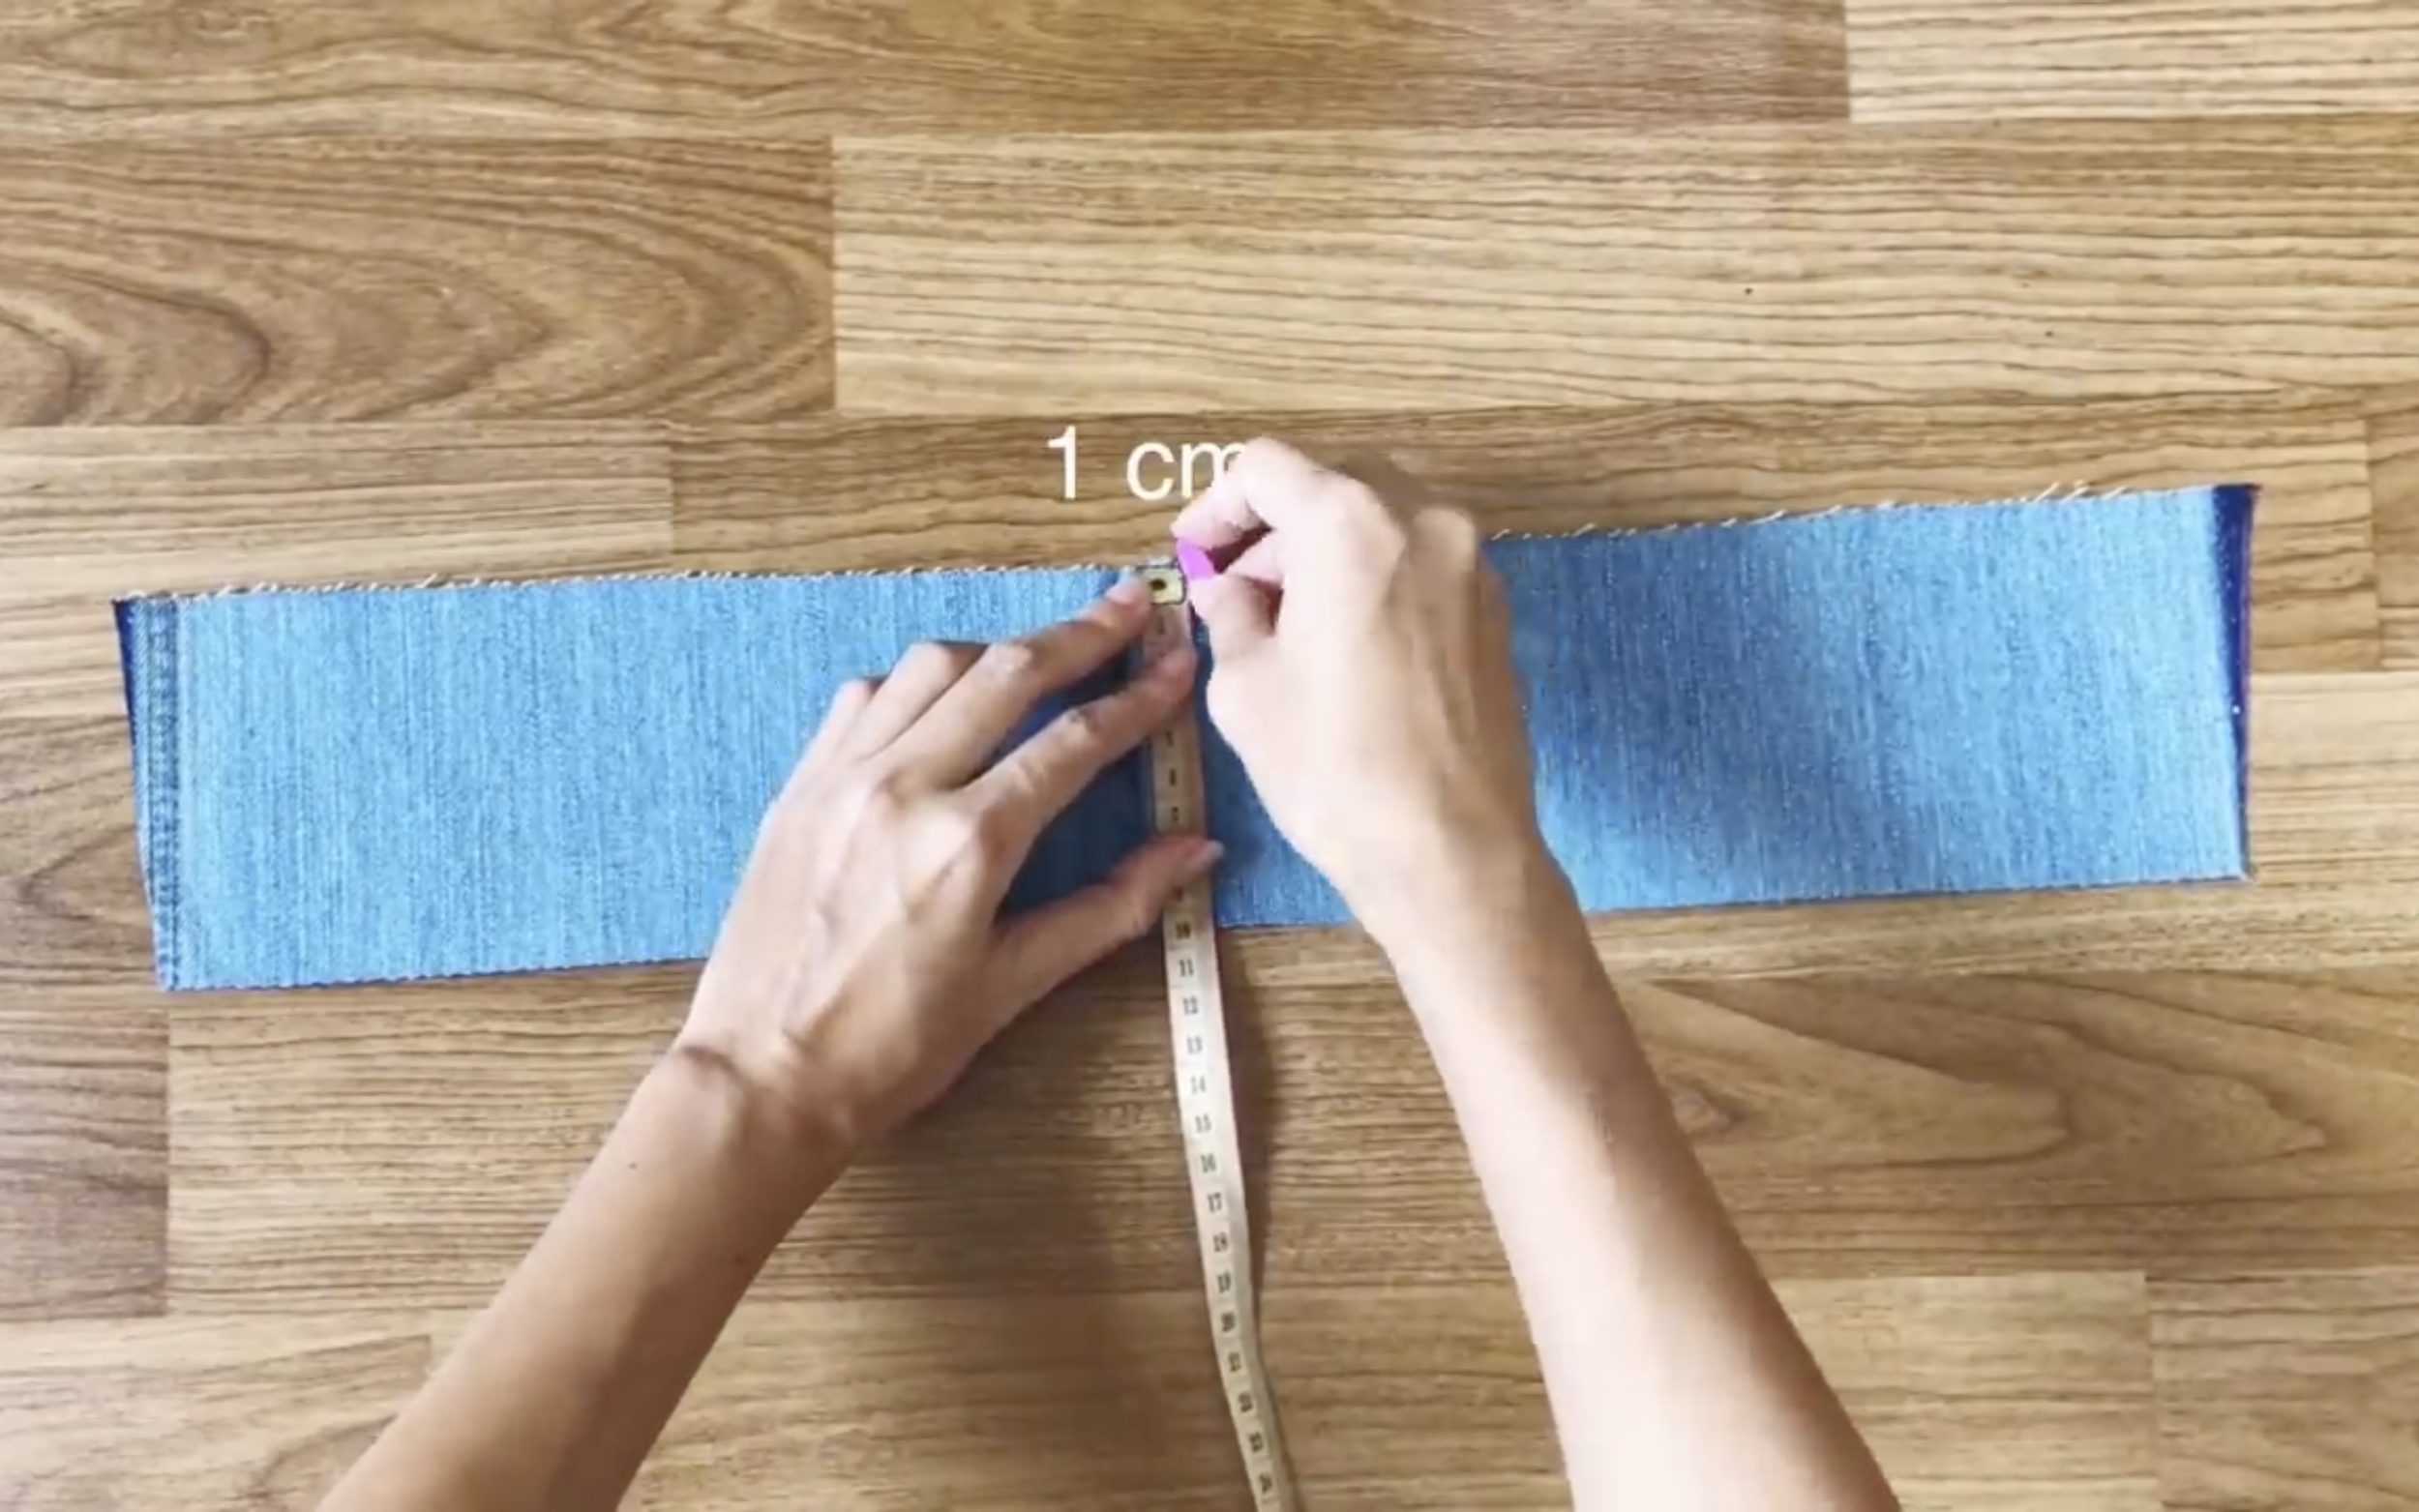
From the top of the neck, go down 1 cm and draw a horizontal line there.
Then draw another horizontal line at 2cm down from the first line.
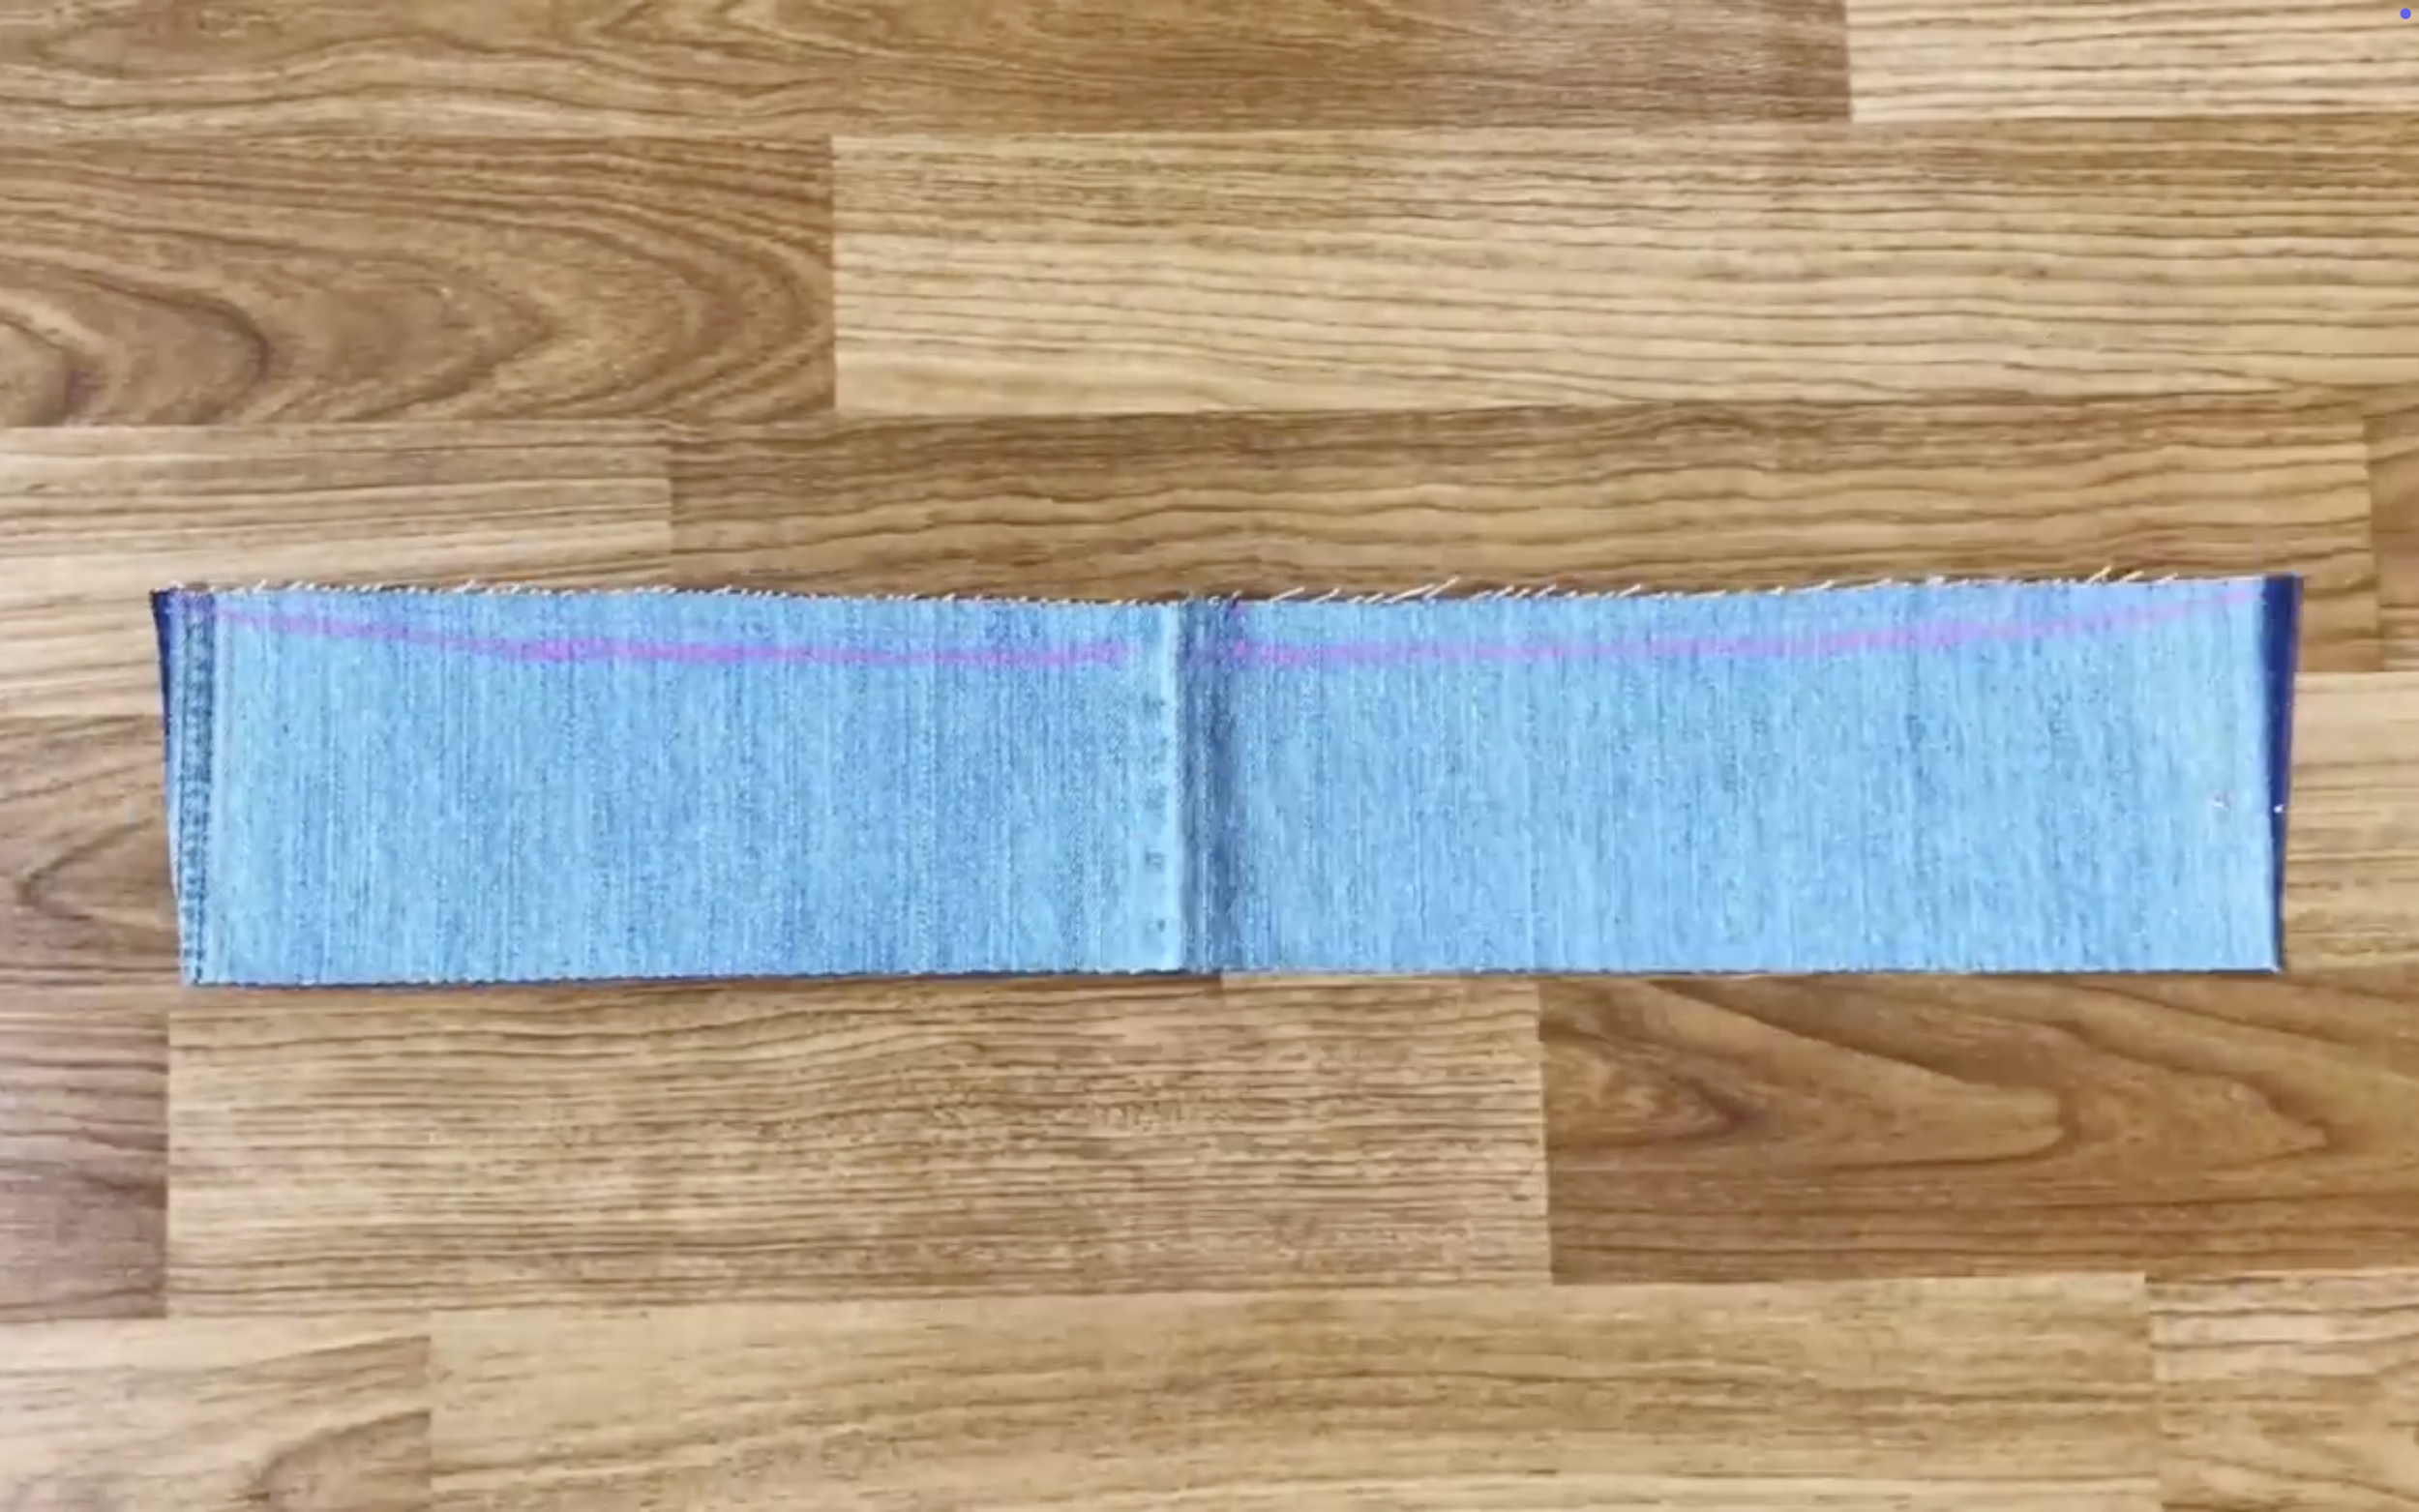
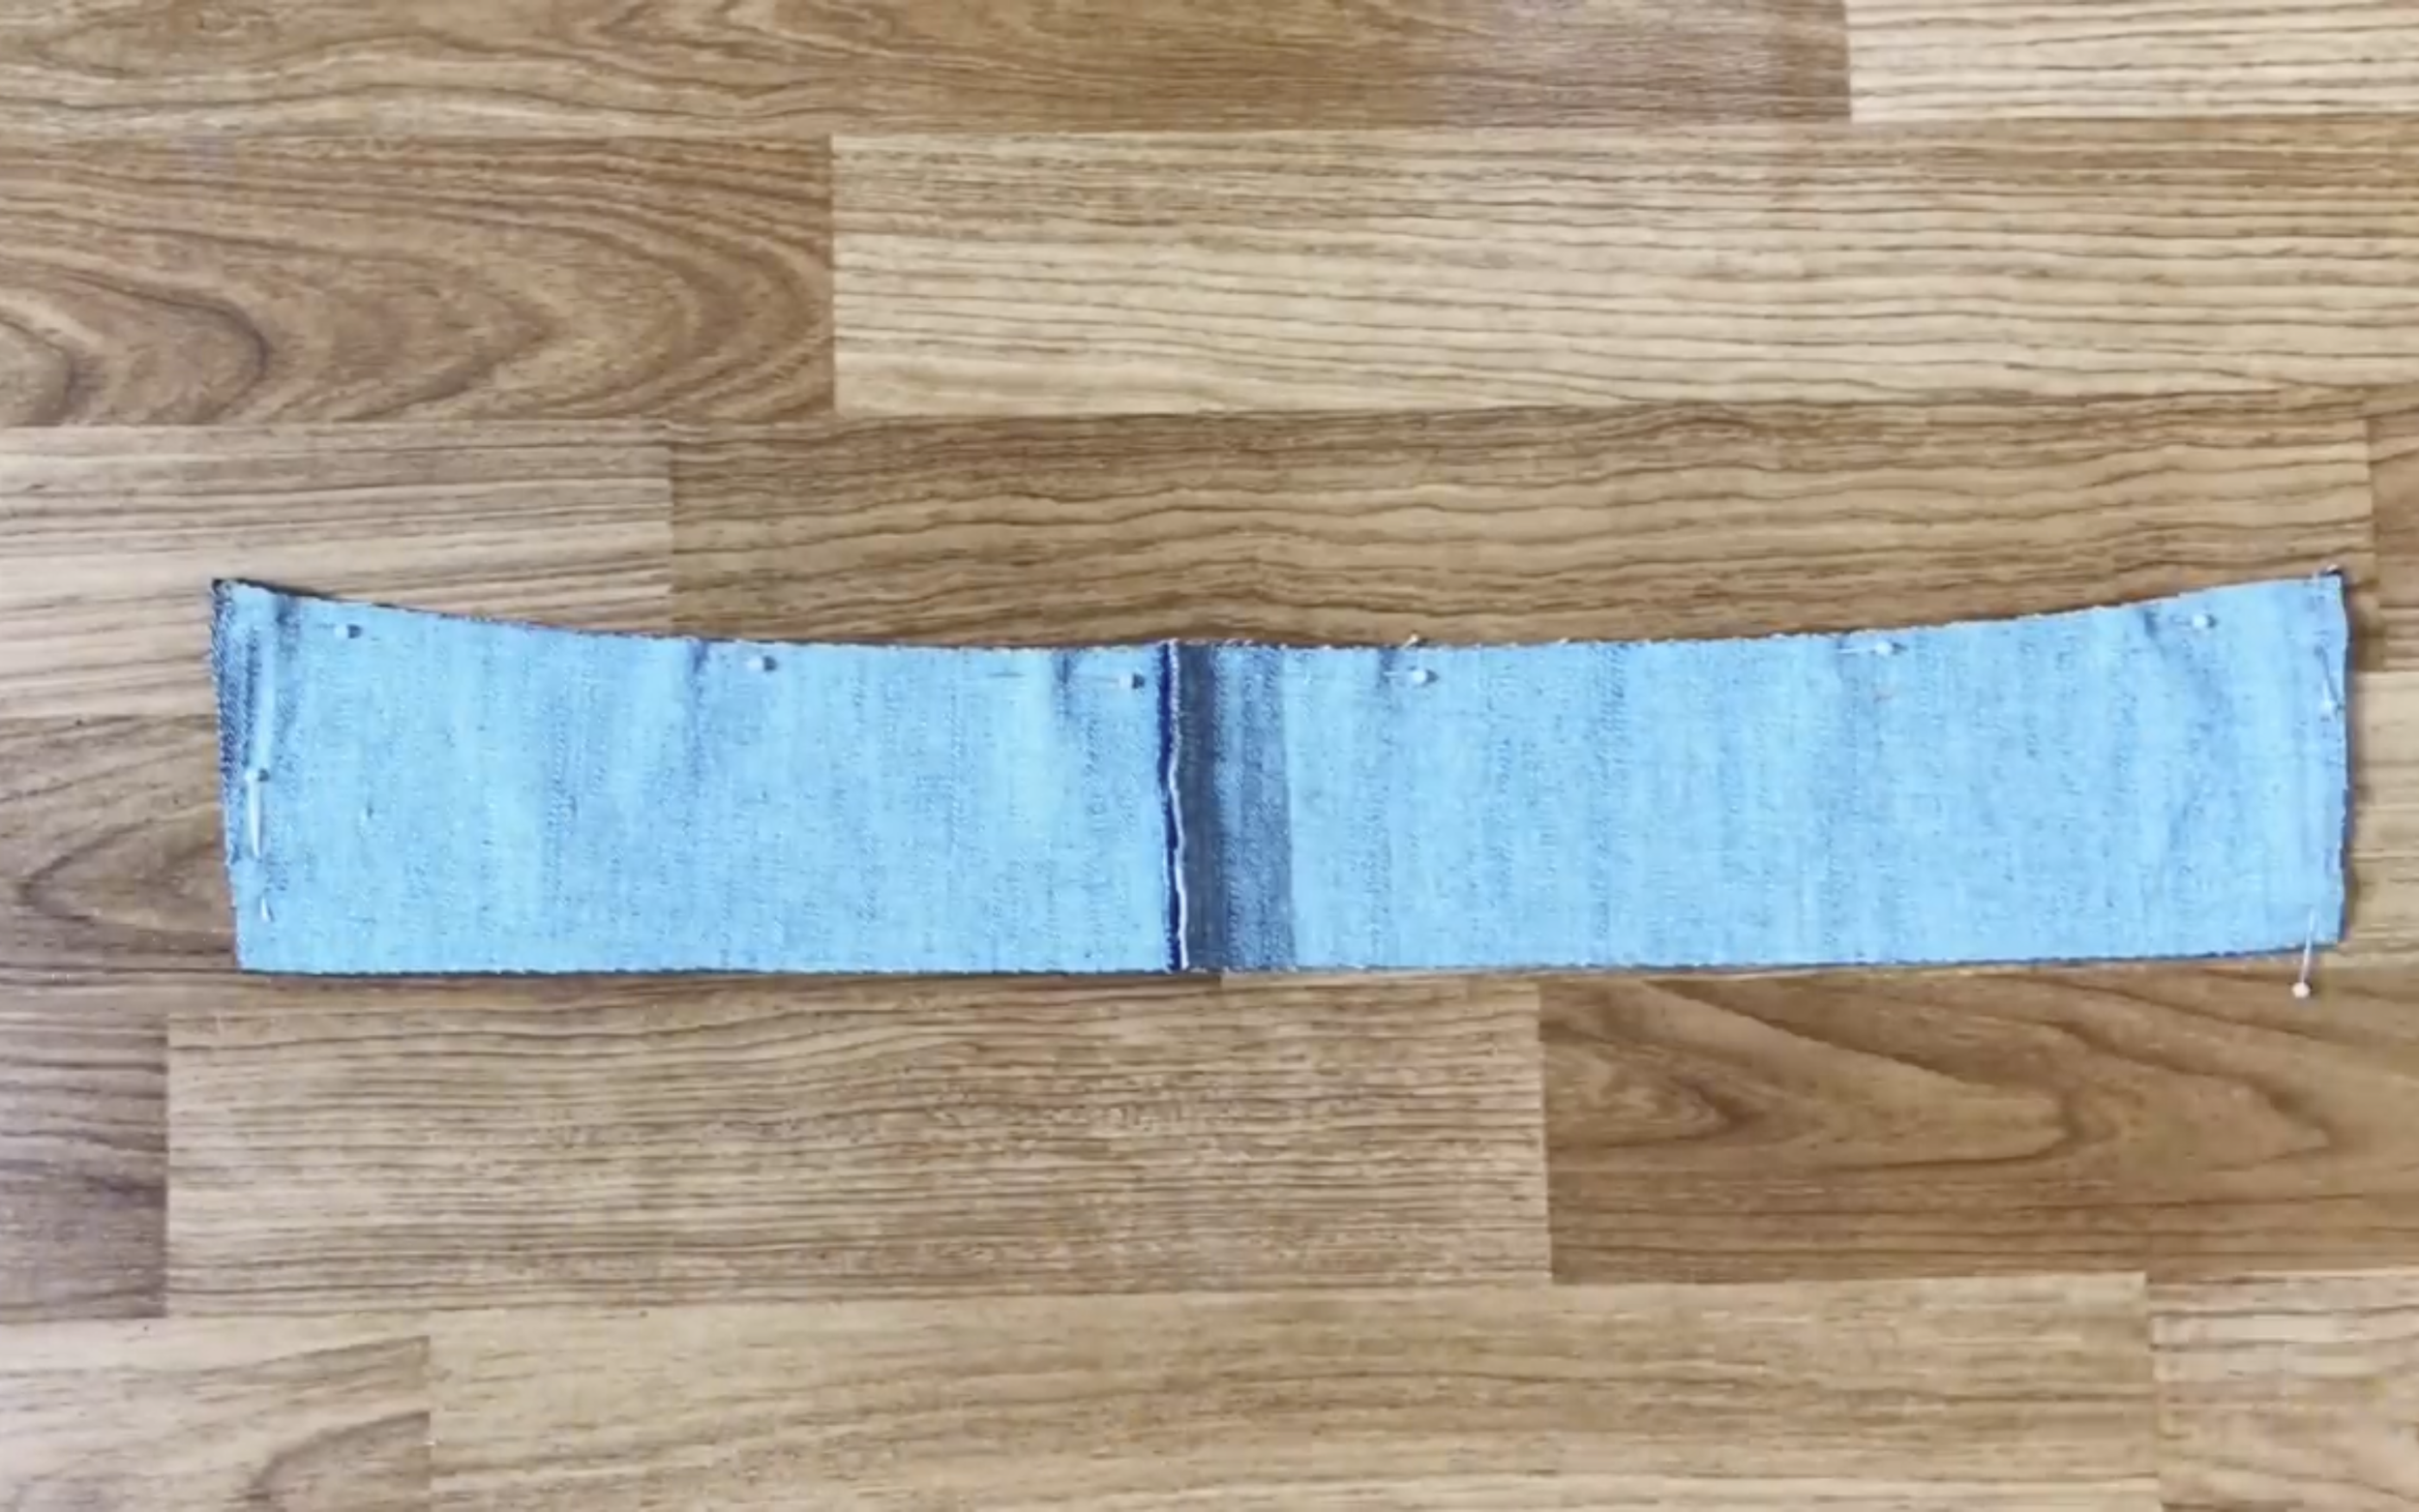
After that, fold the fabric by the drawing lines to create the button and the buttonhole area of the top.
Then sew to keep the folding.
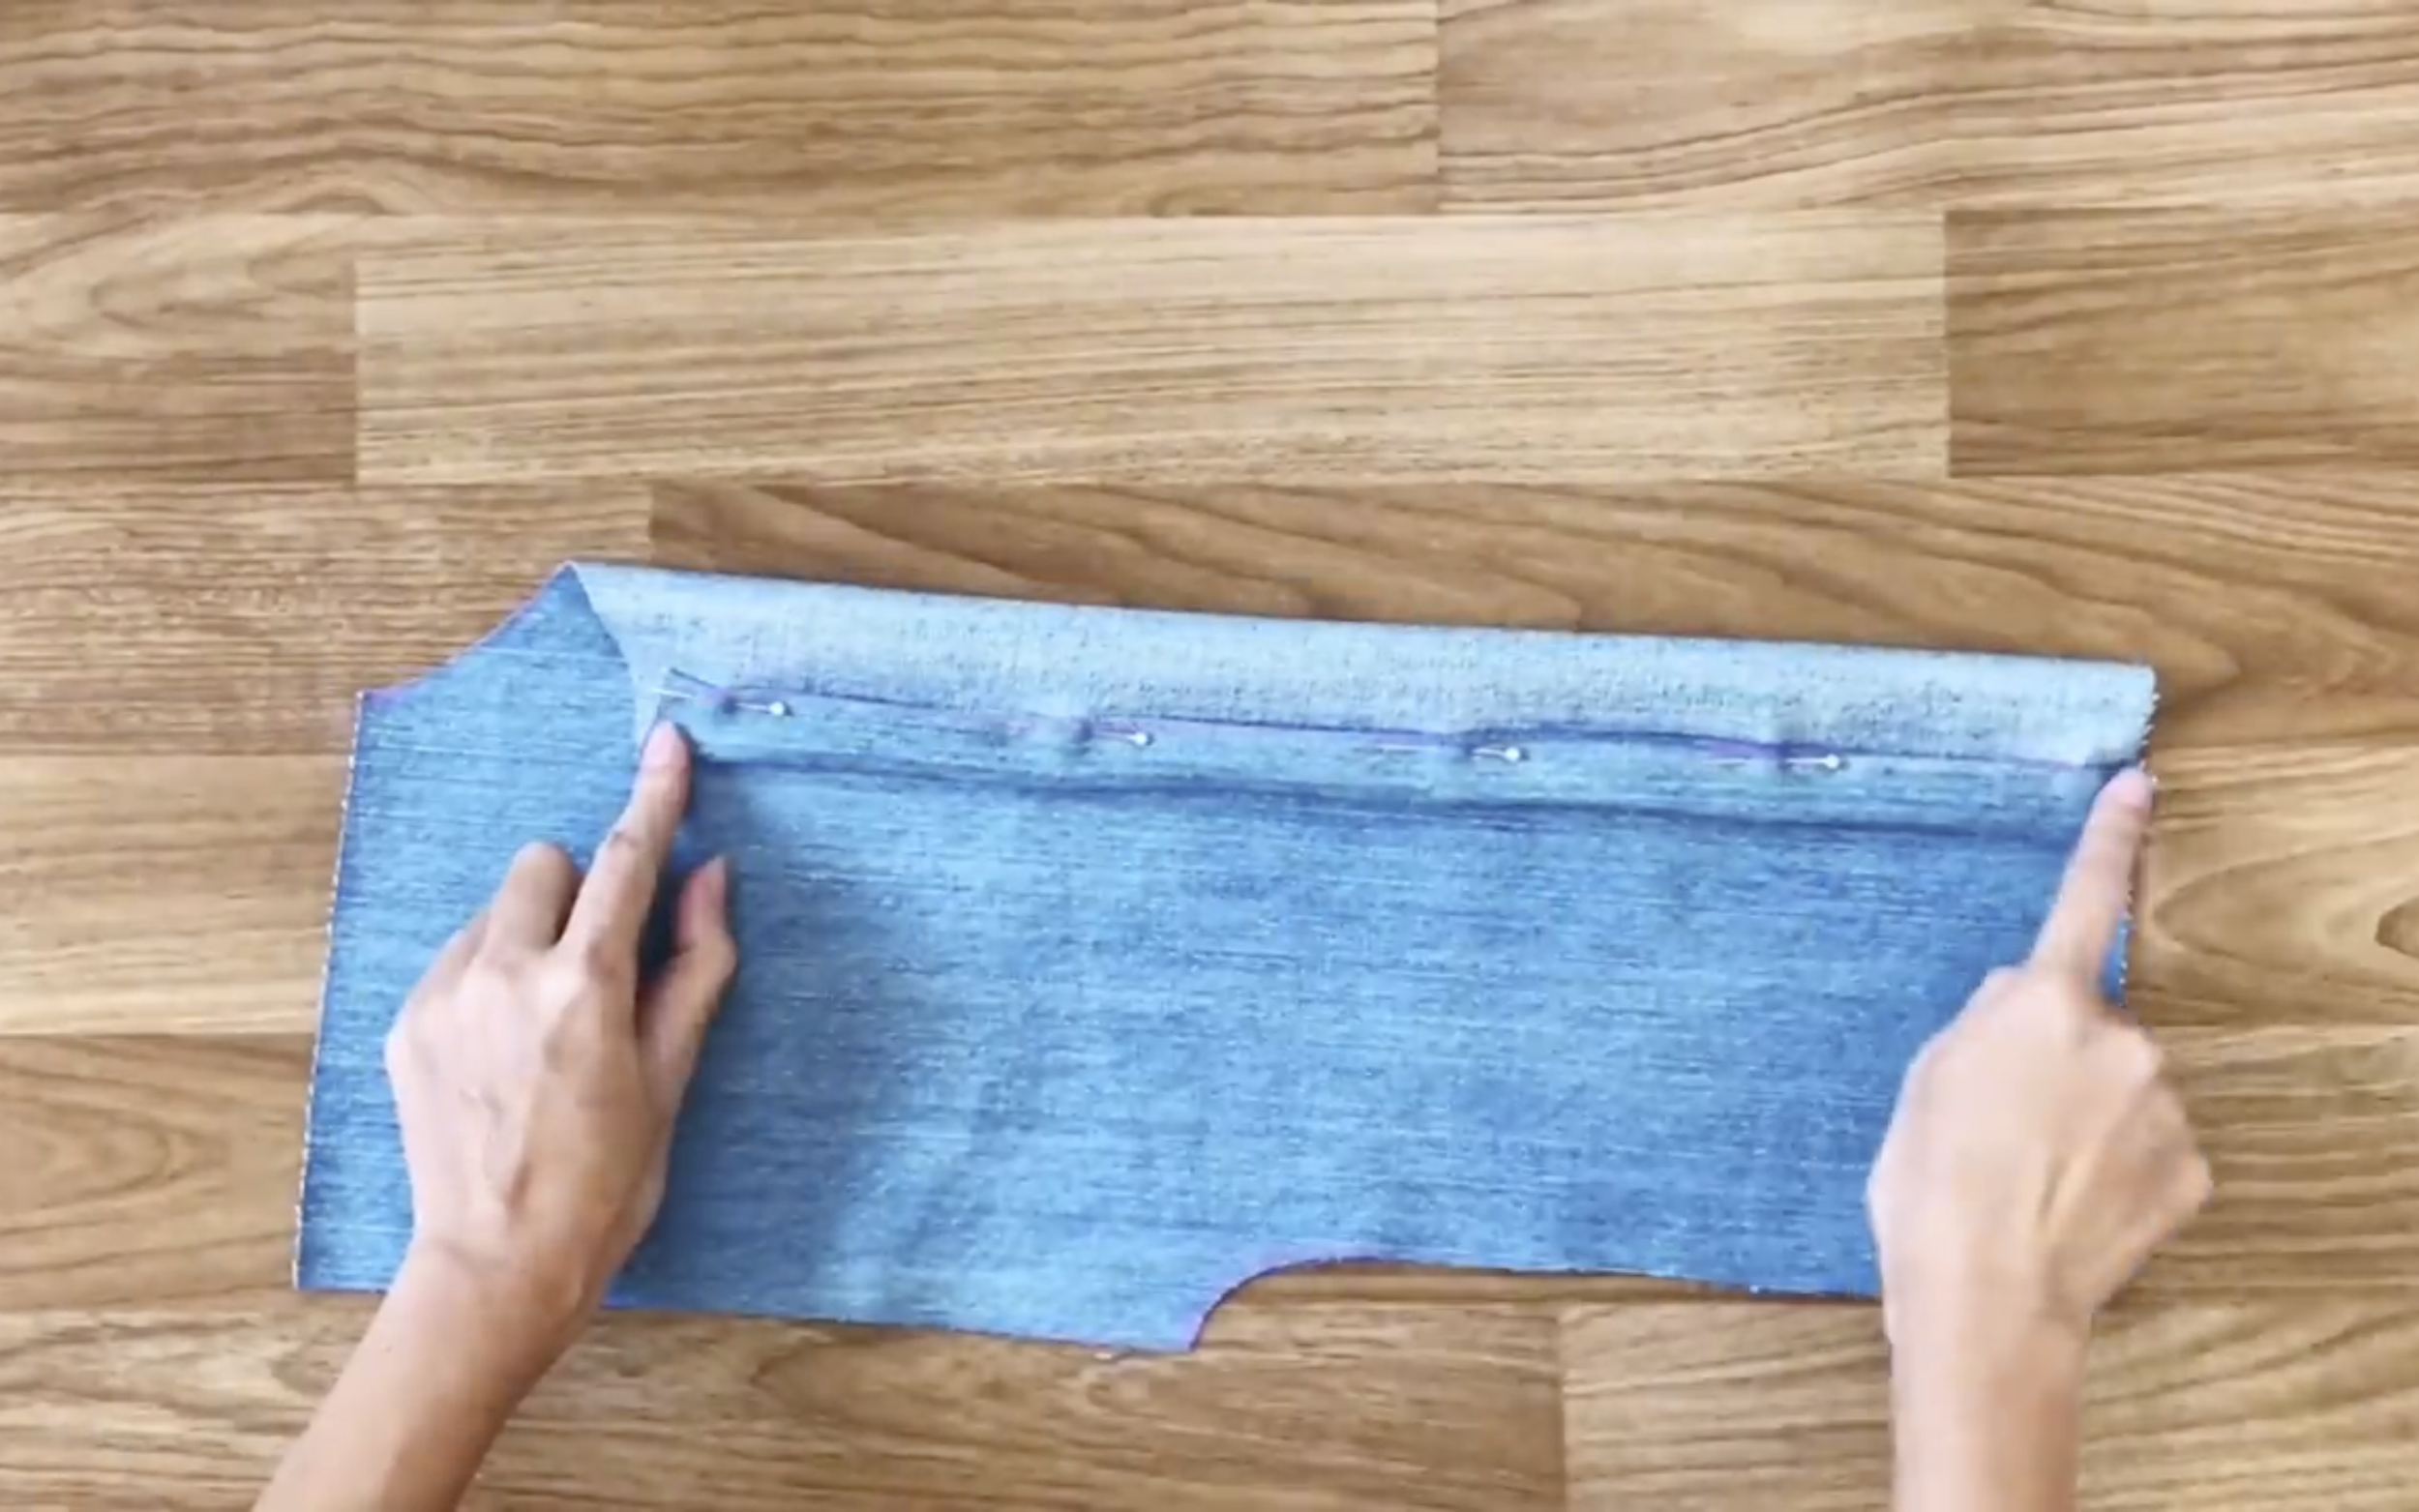
Now connect the front and the back of the top together at the shoulder.
Then cut 2 rectangles with 52cm length and around 15cm width from the leftover fabric to create the hands for the top.
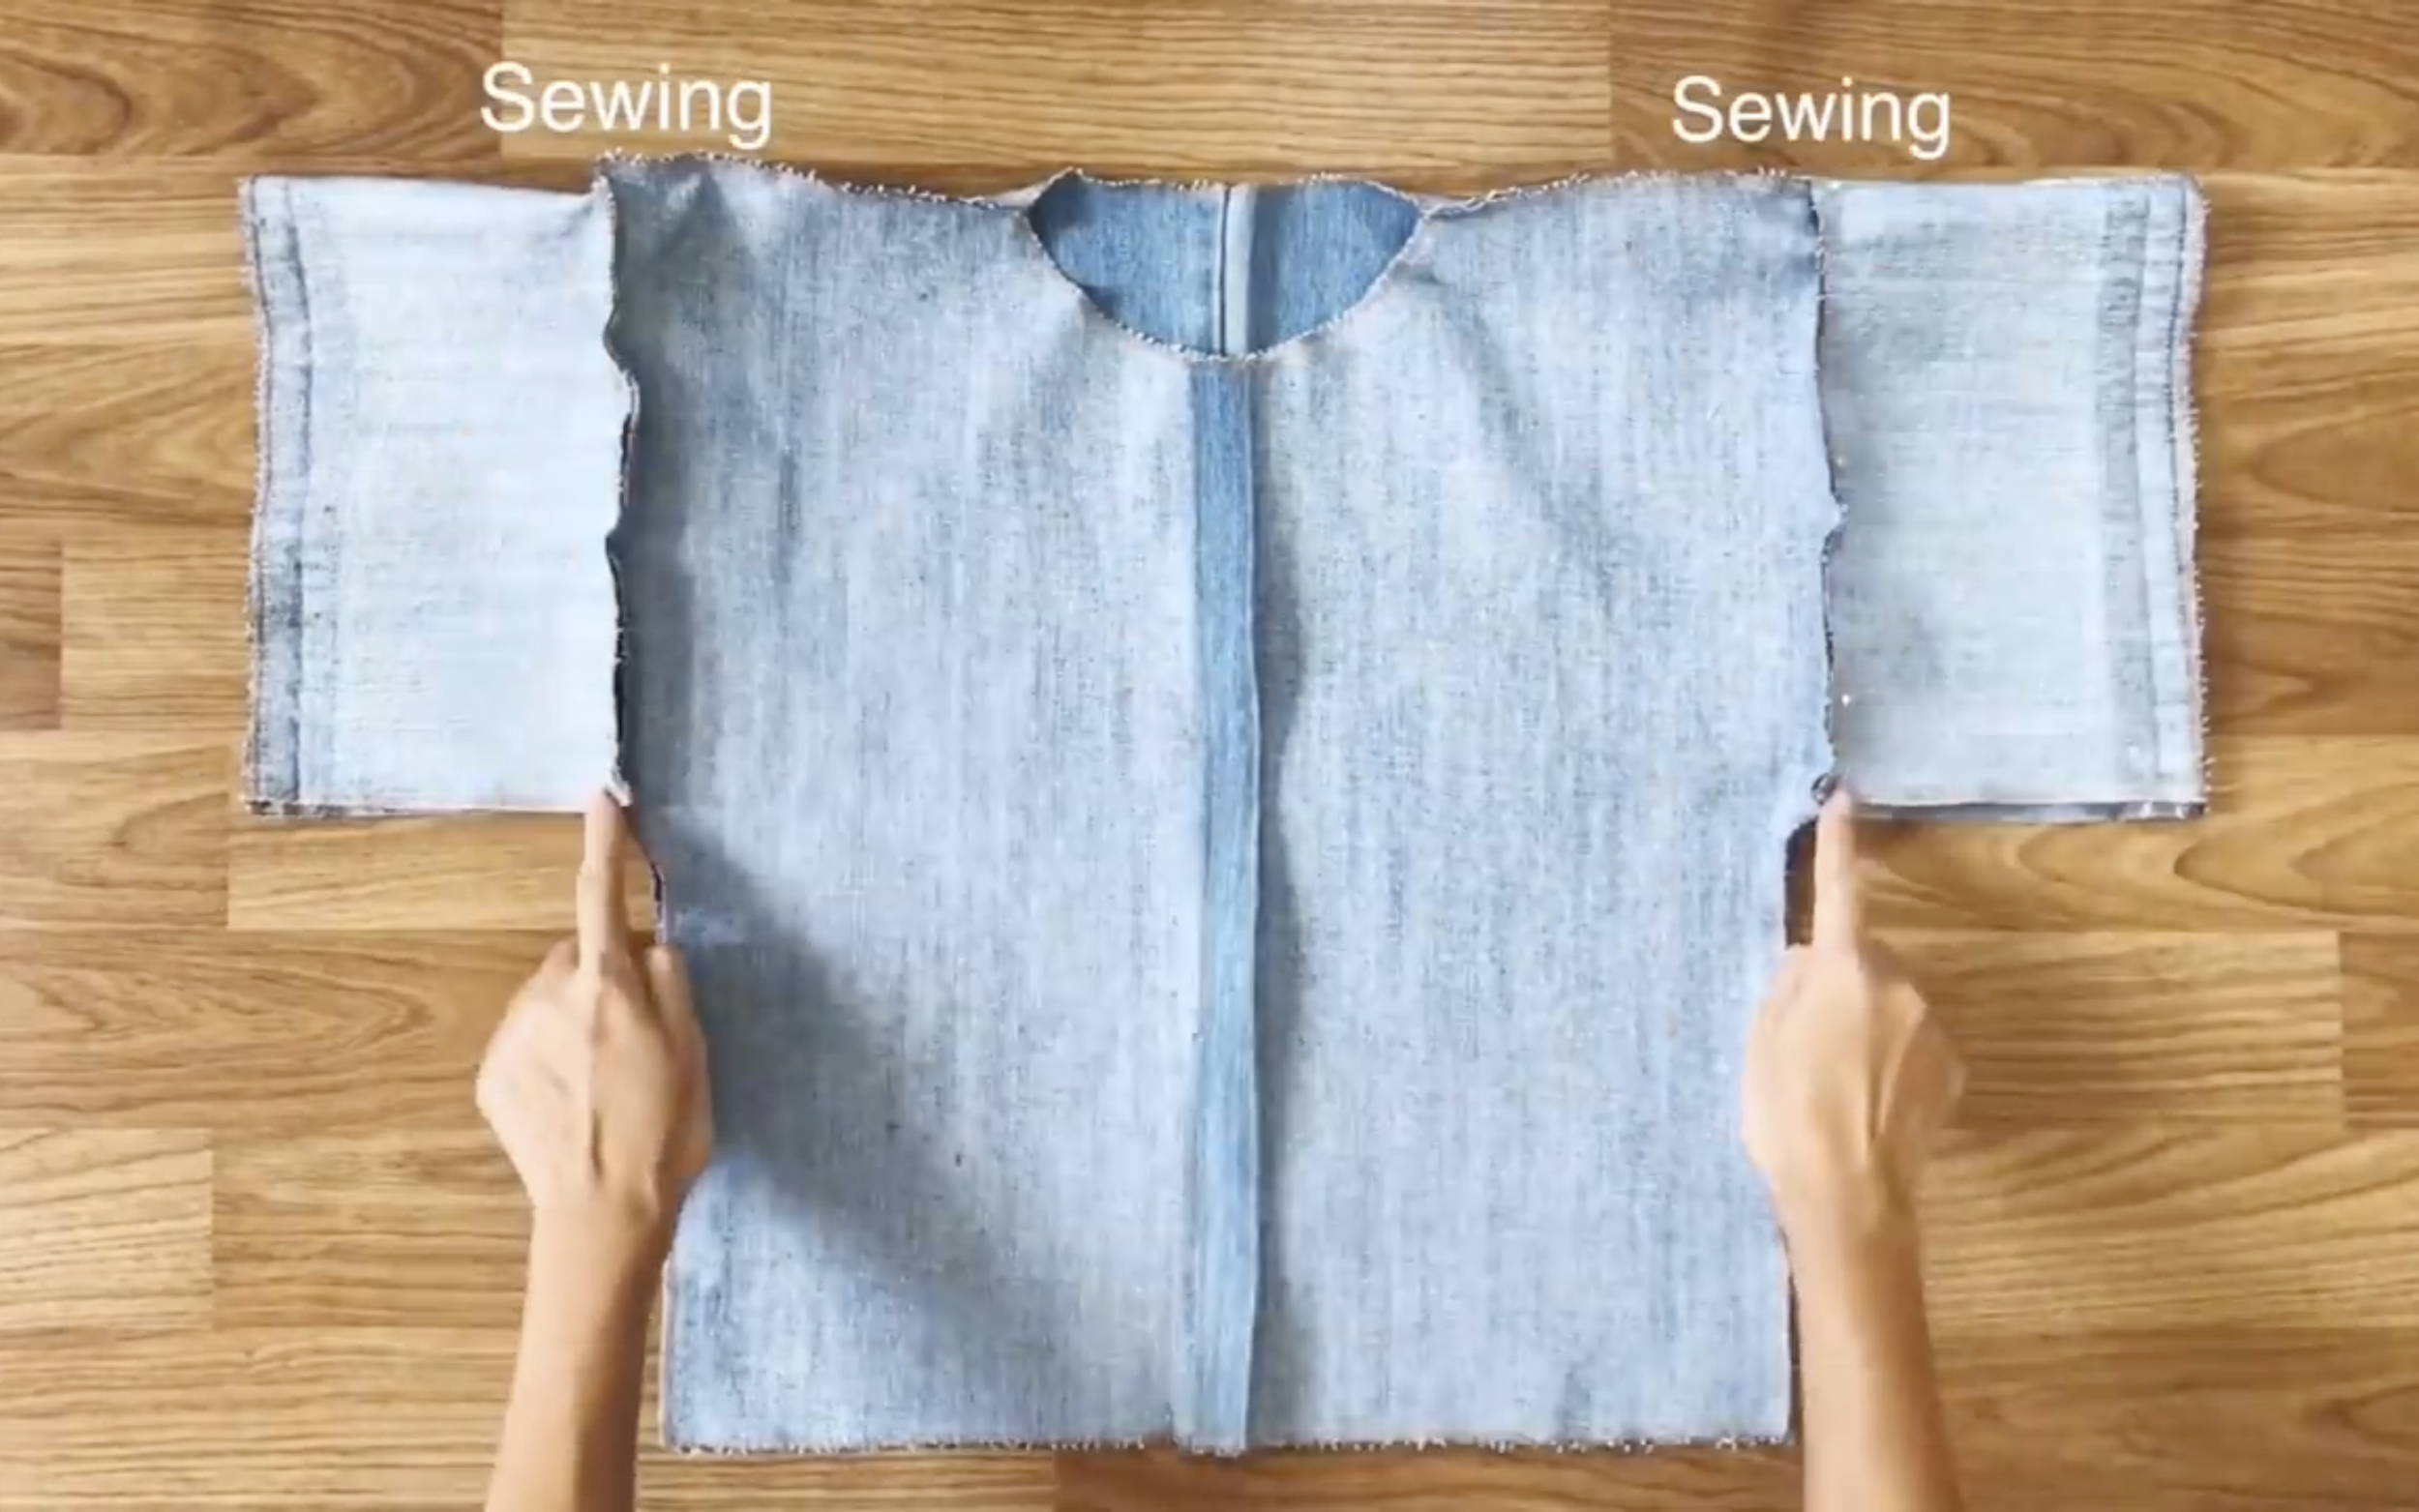
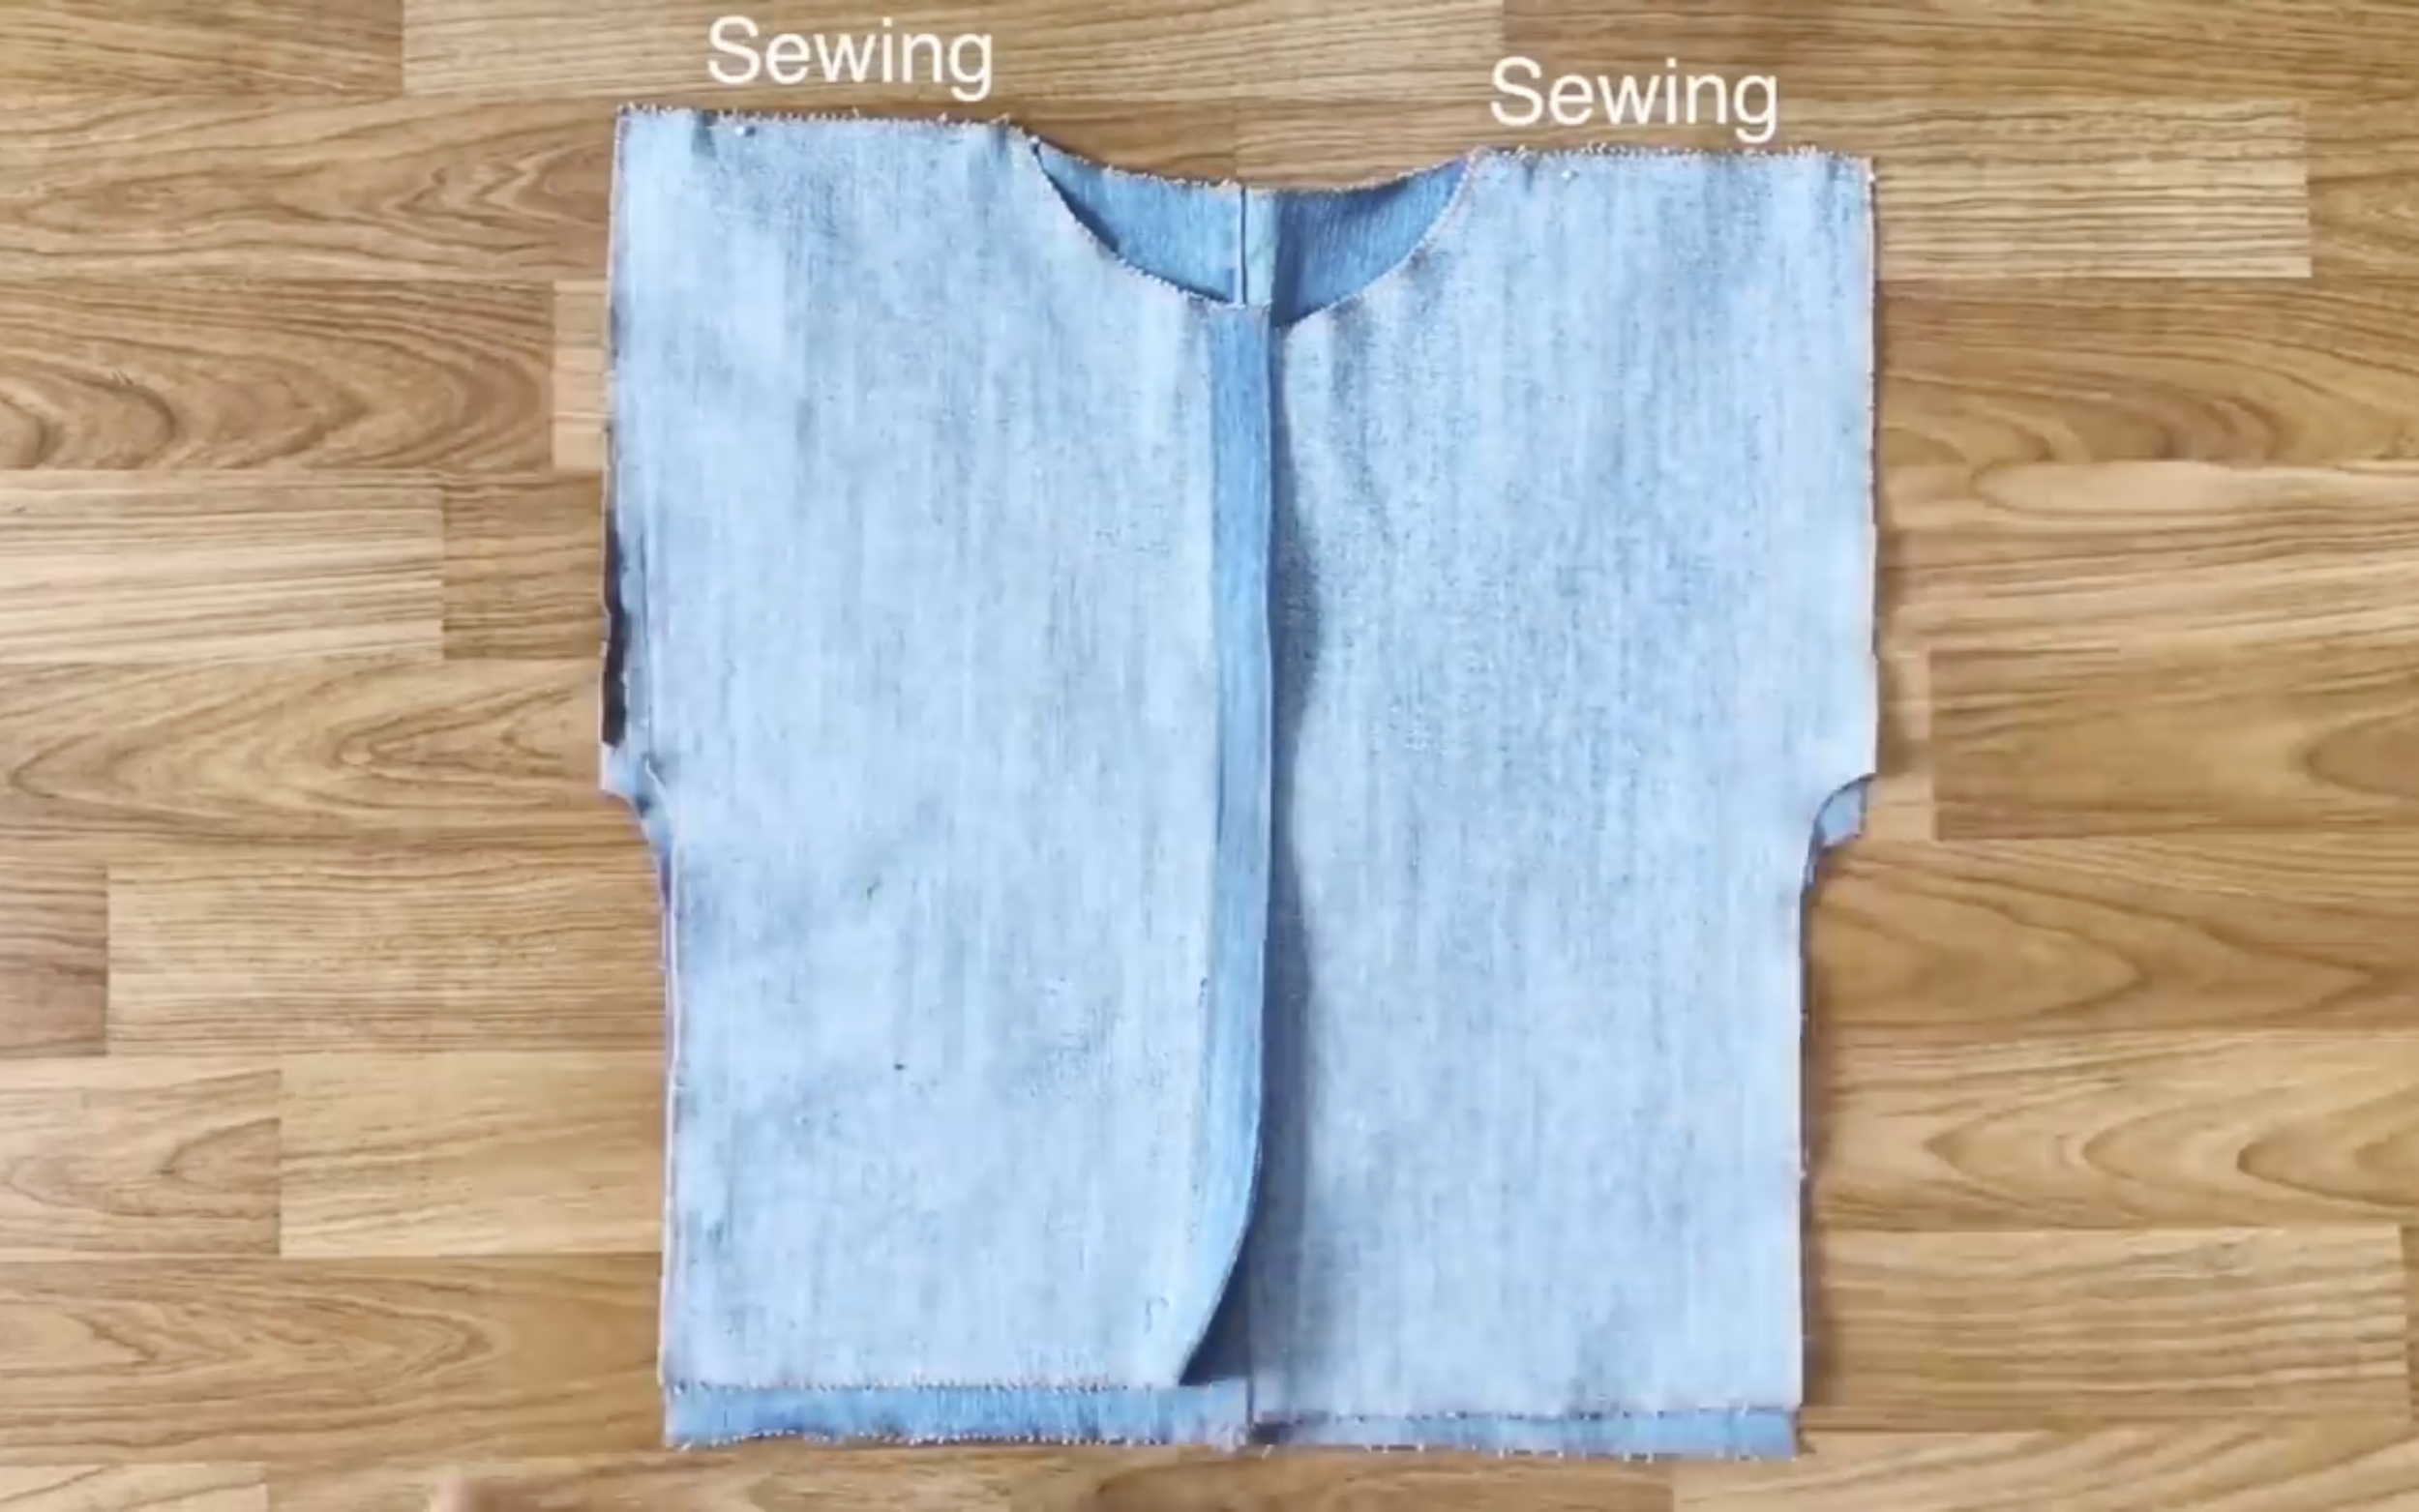
After overlocking, connect 2 hands to 2 sides of the top at the hand areas by the pins and sew.
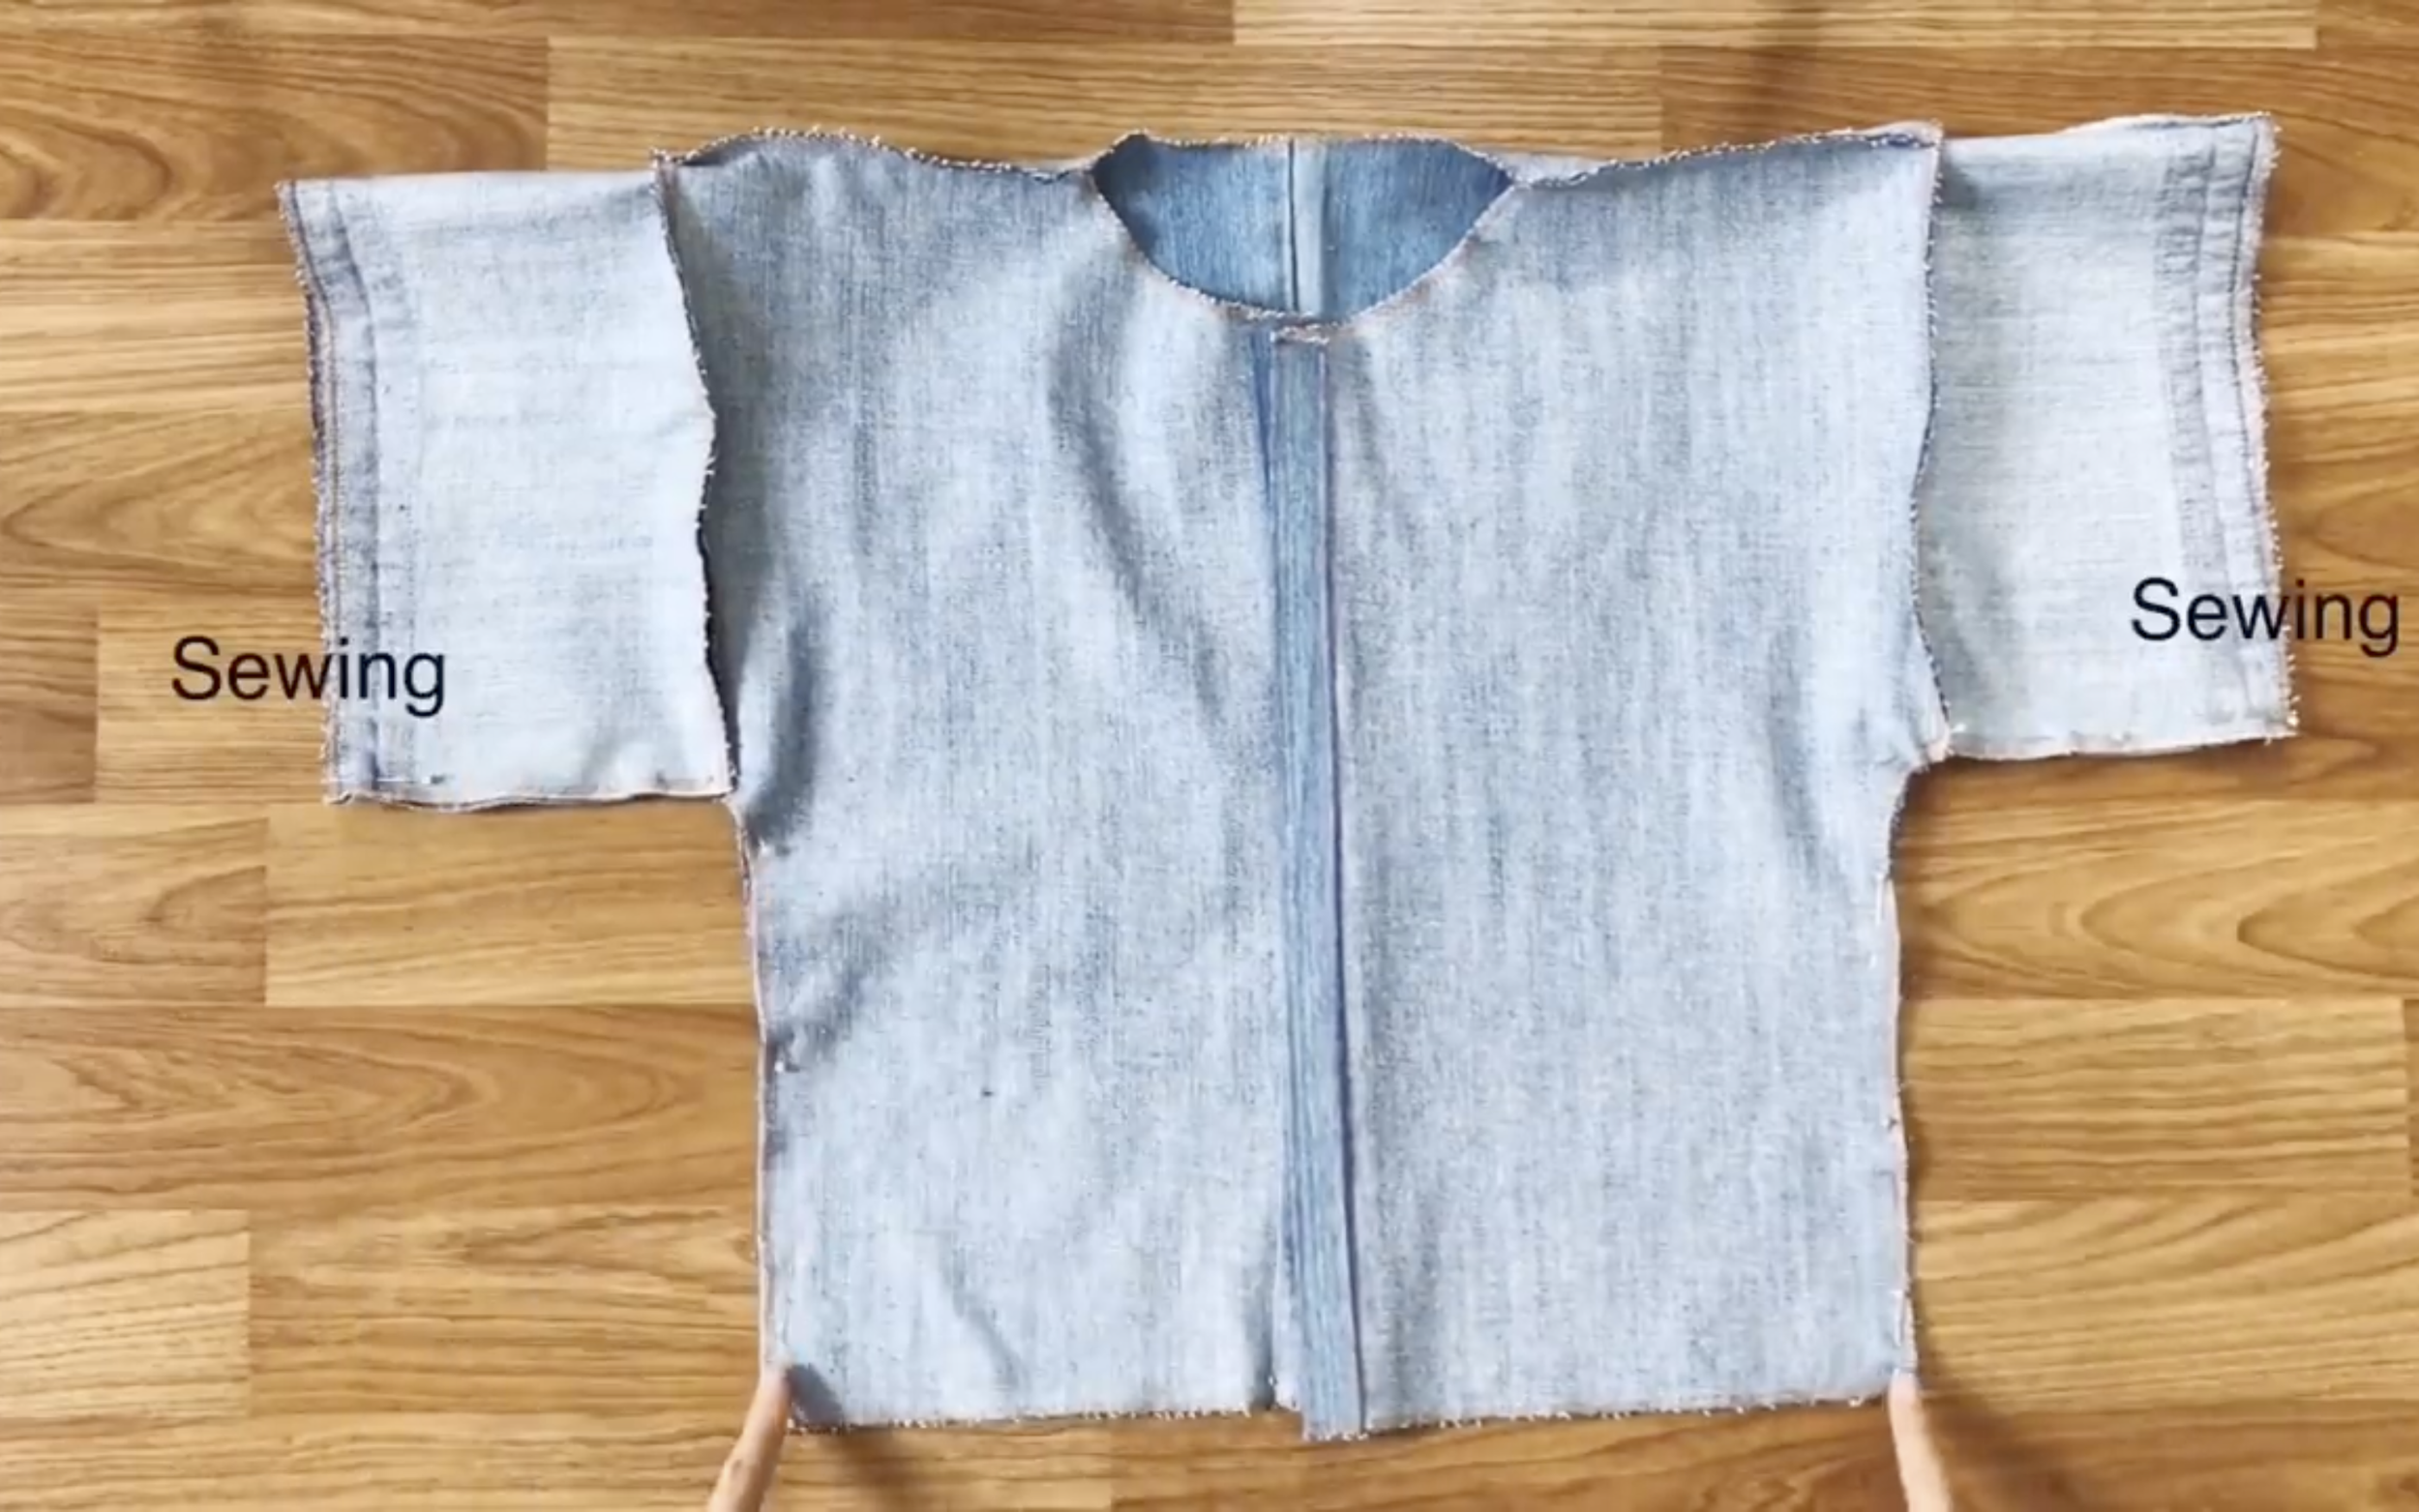
Then sew at two sides after that.
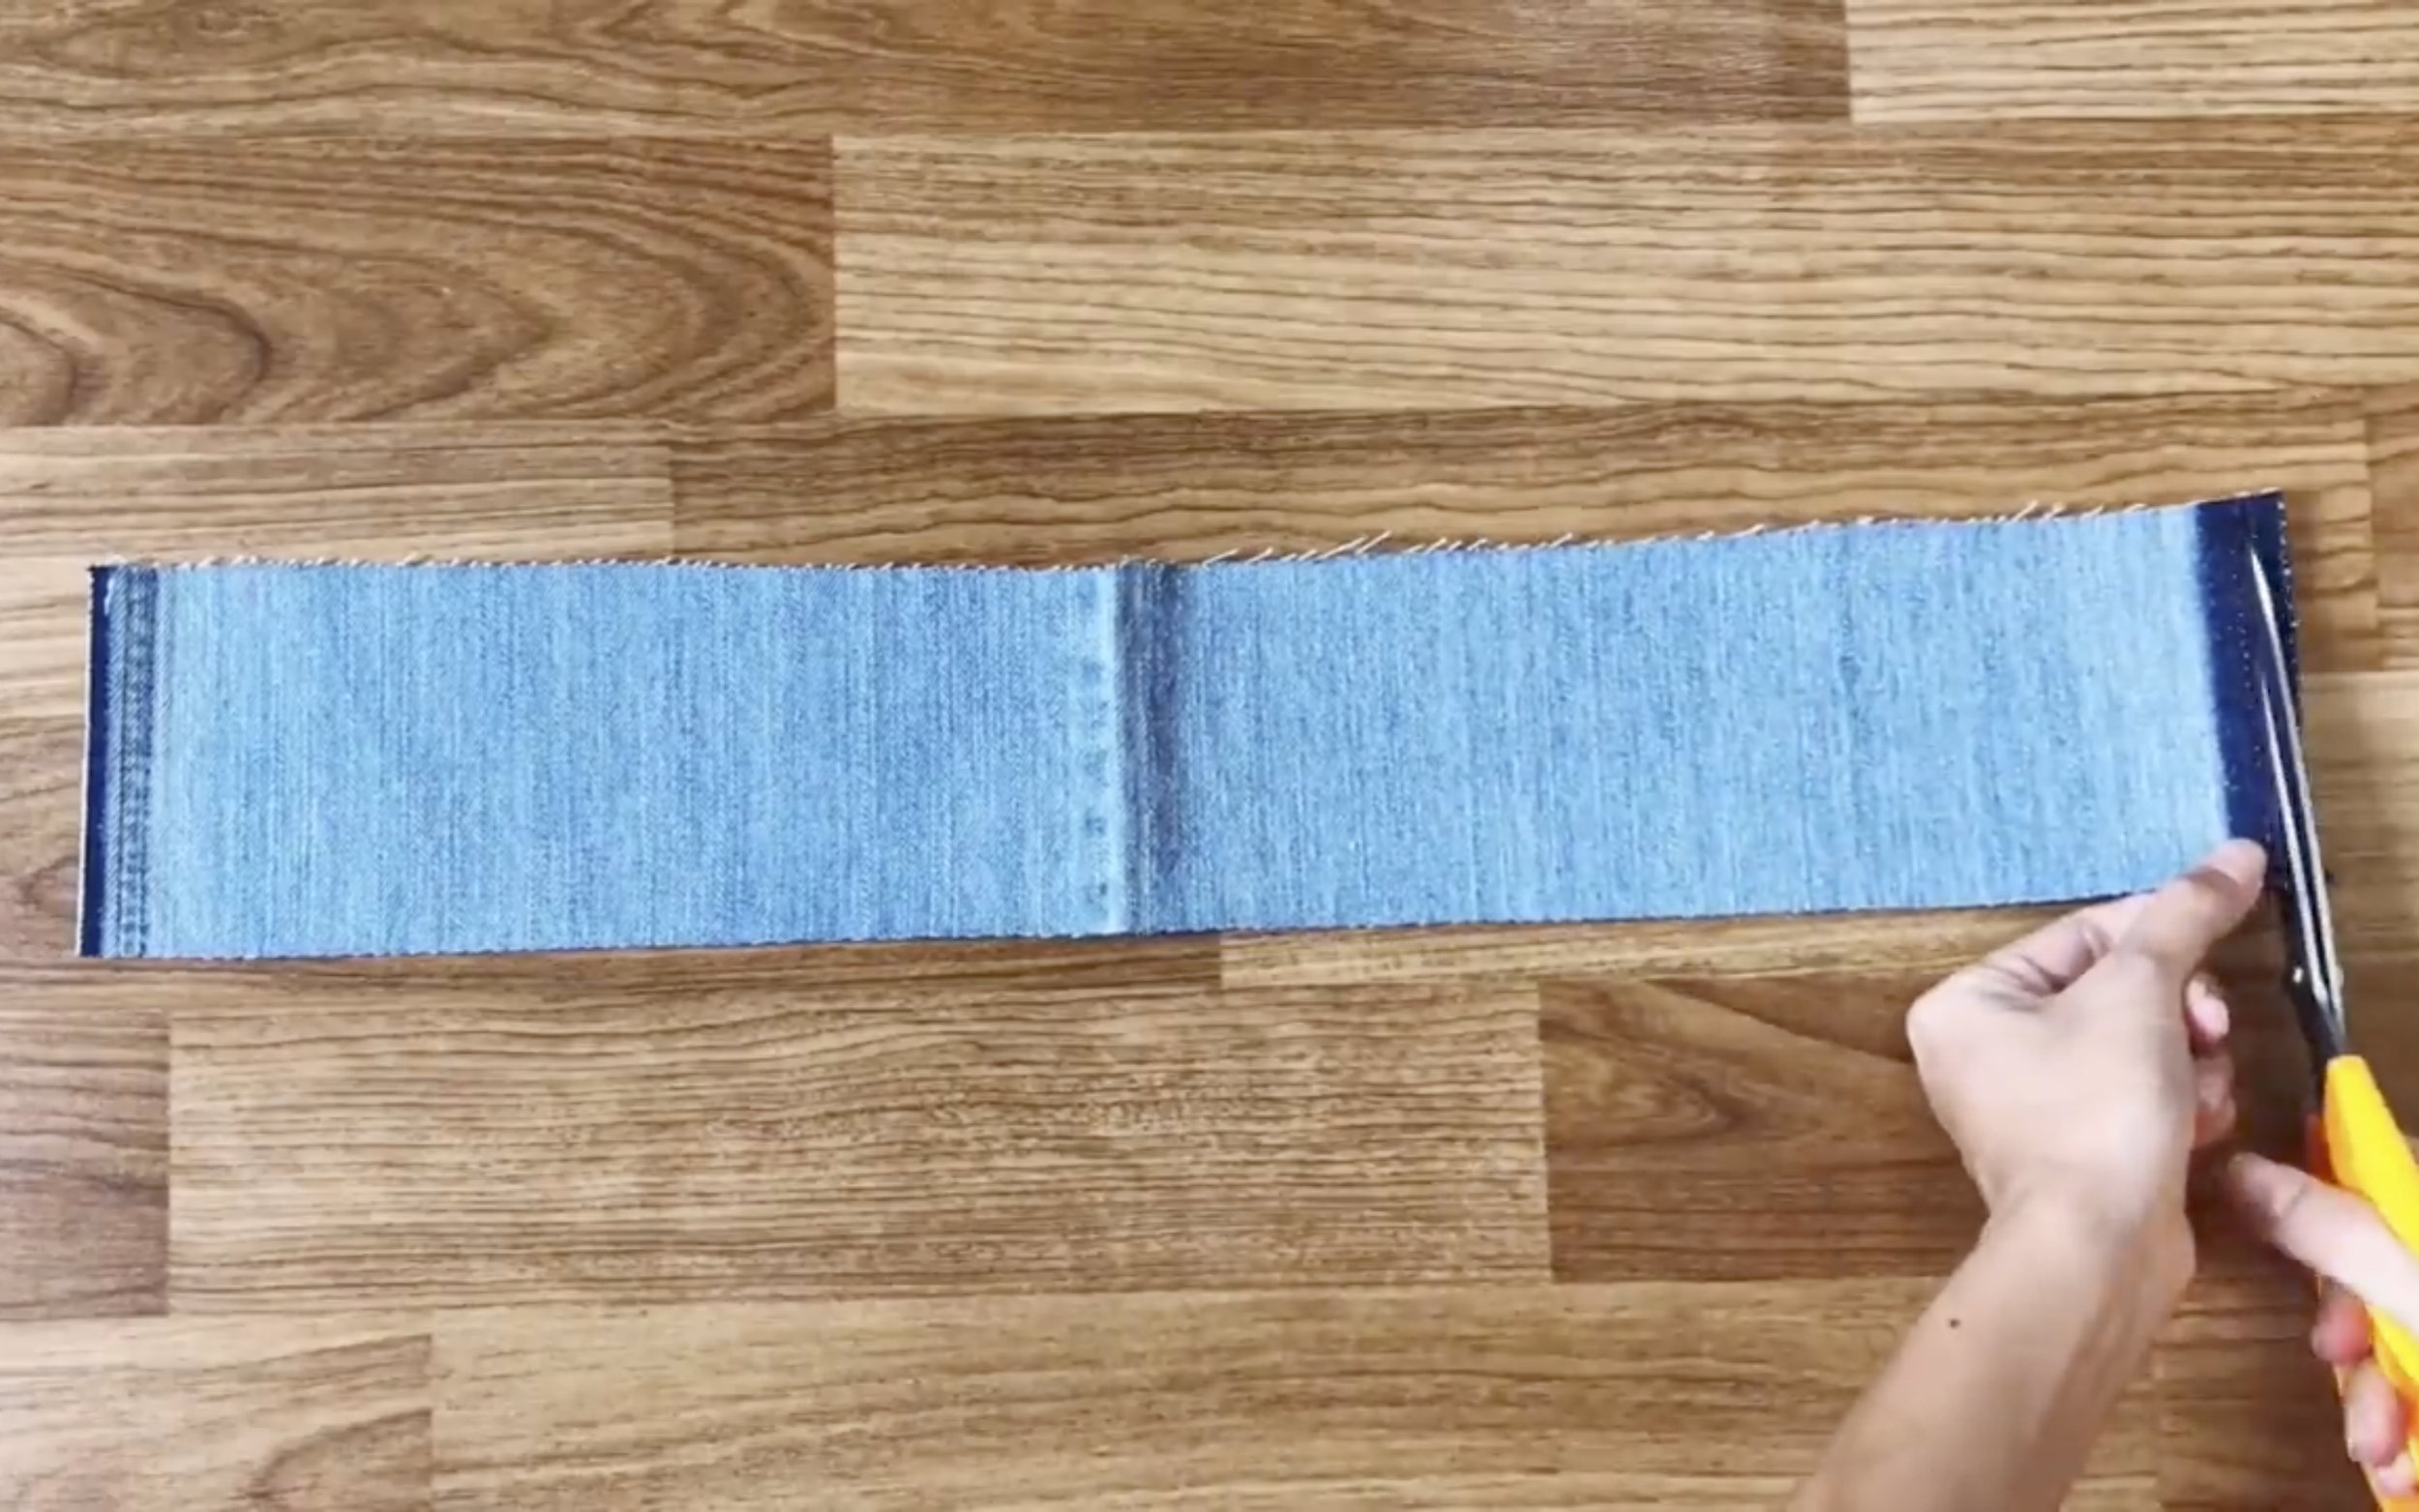
To make the neck for the top, cut two rectangles with 56cm length and 10cm width.
Make sure the length of the rectangle has to be the same length with the neck + 2cm extra.
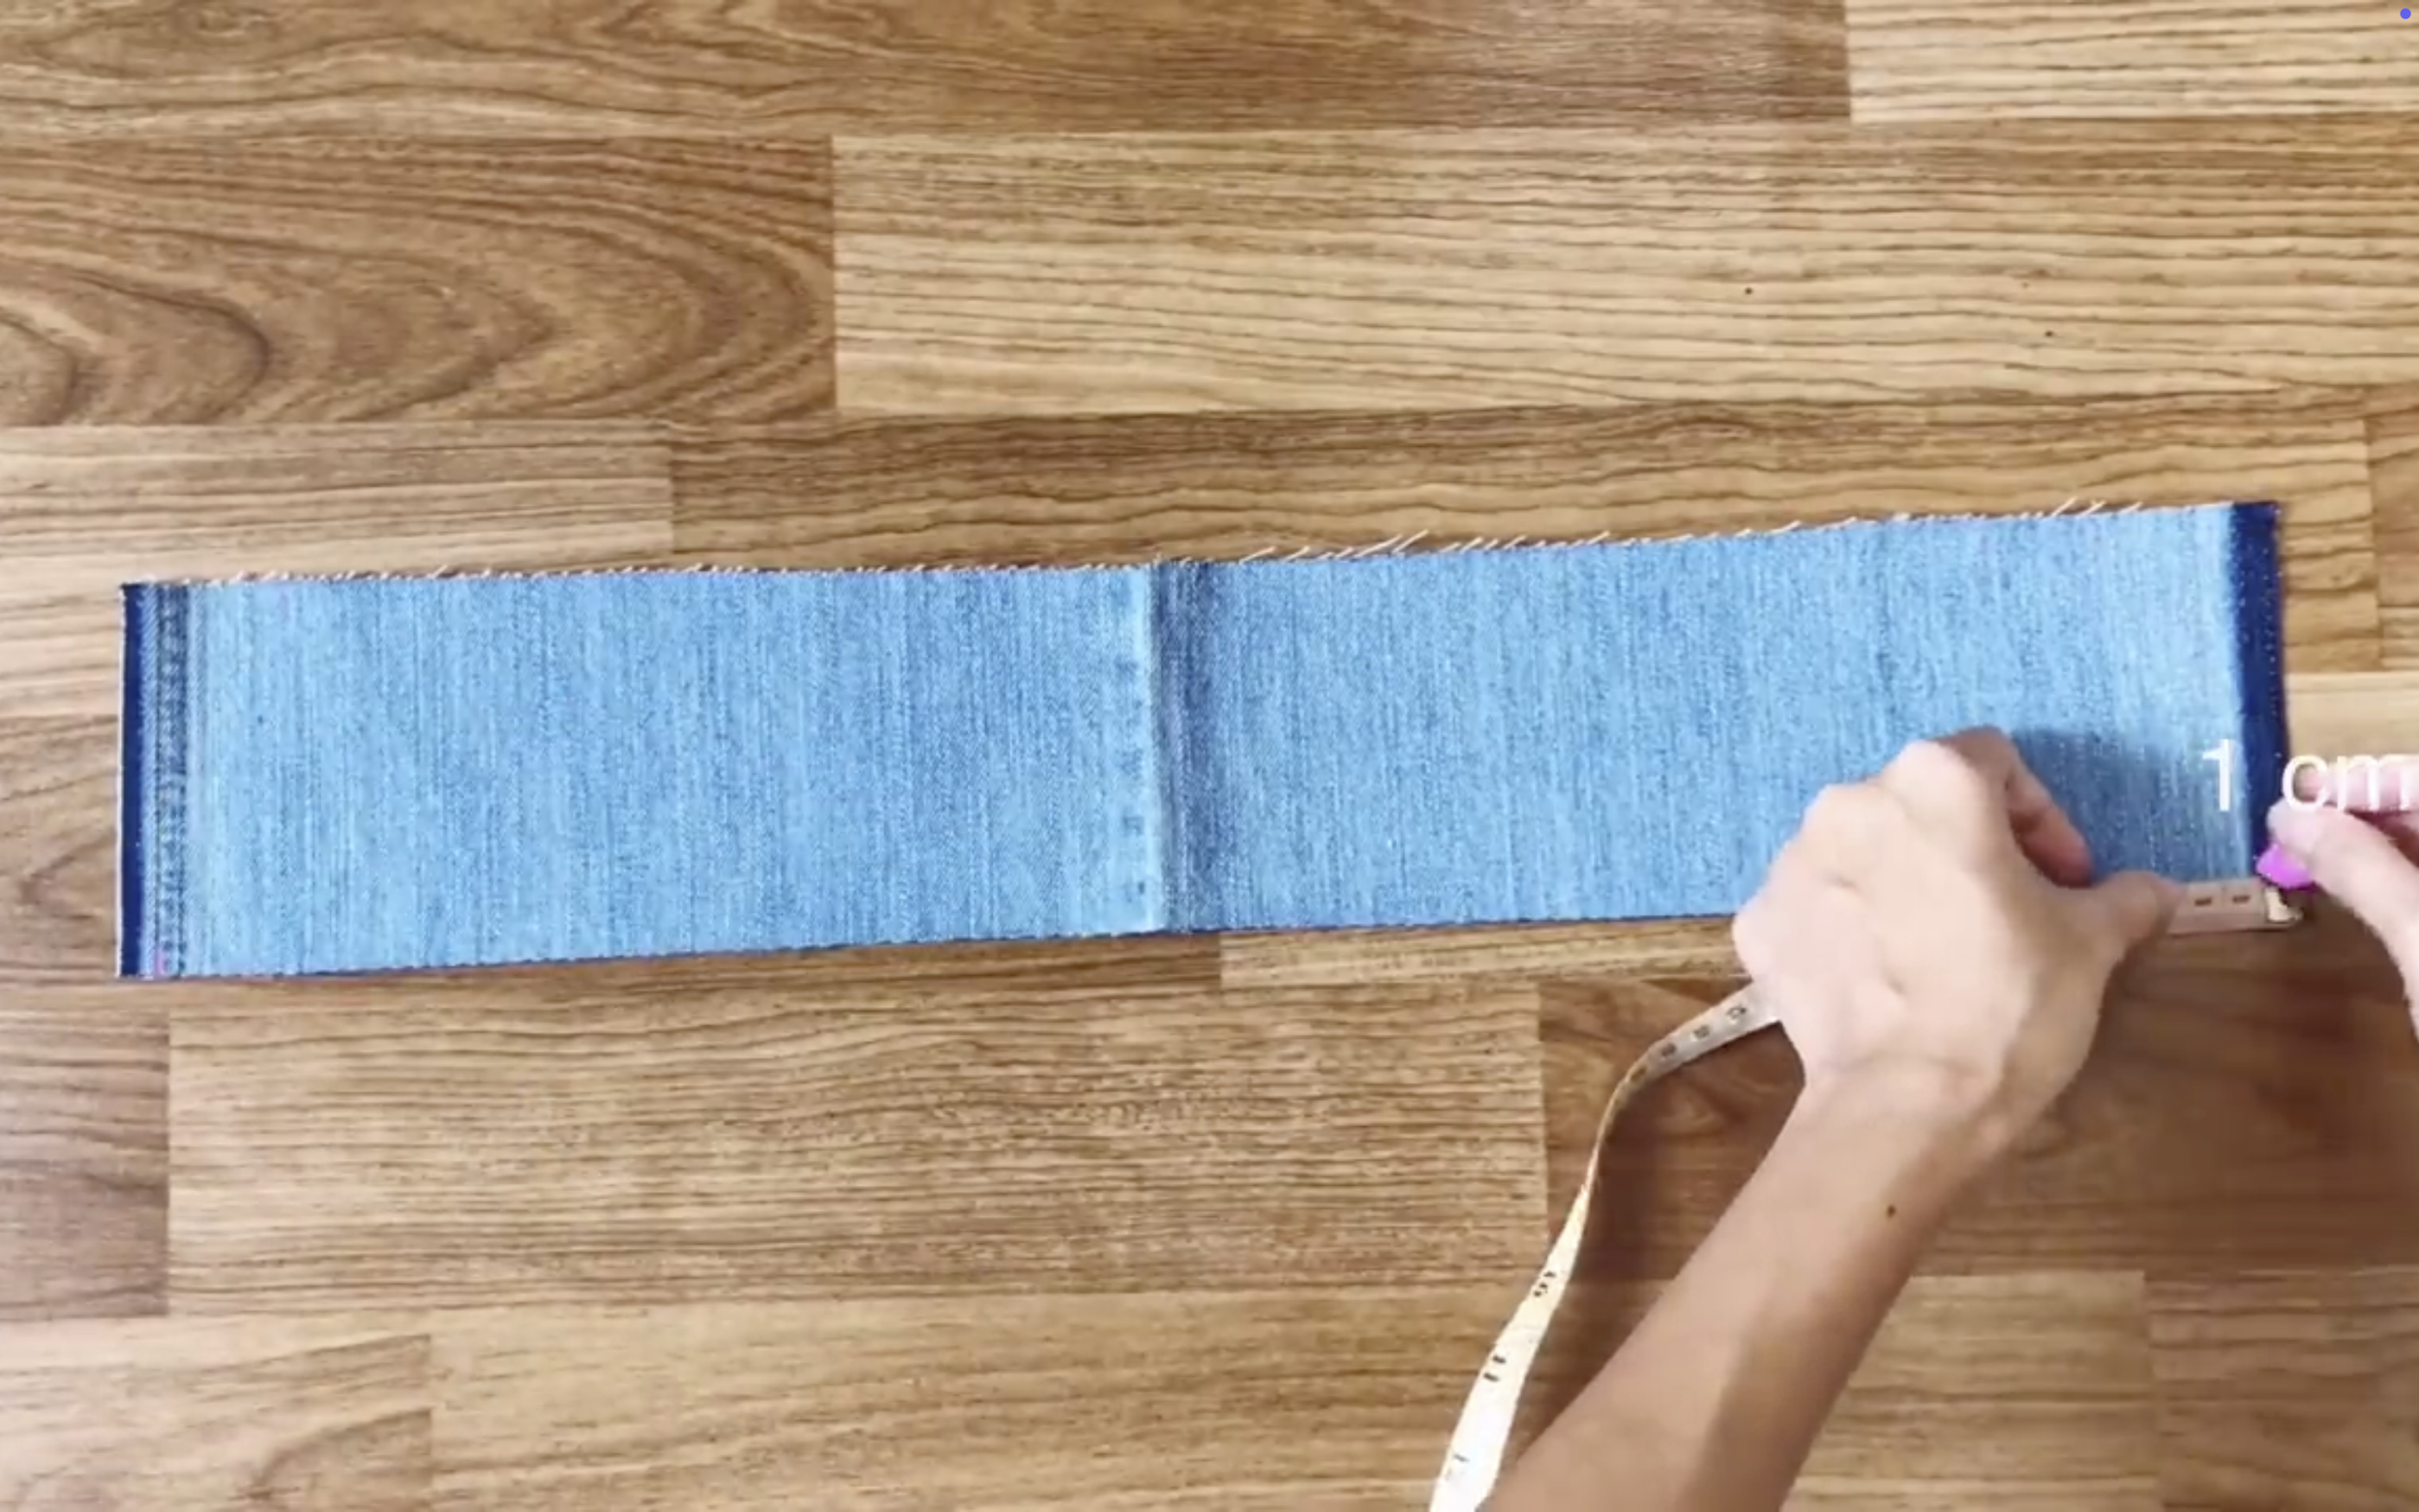
At two sides of the rectangle, drawing a line from the top to the end at 1cm inside.
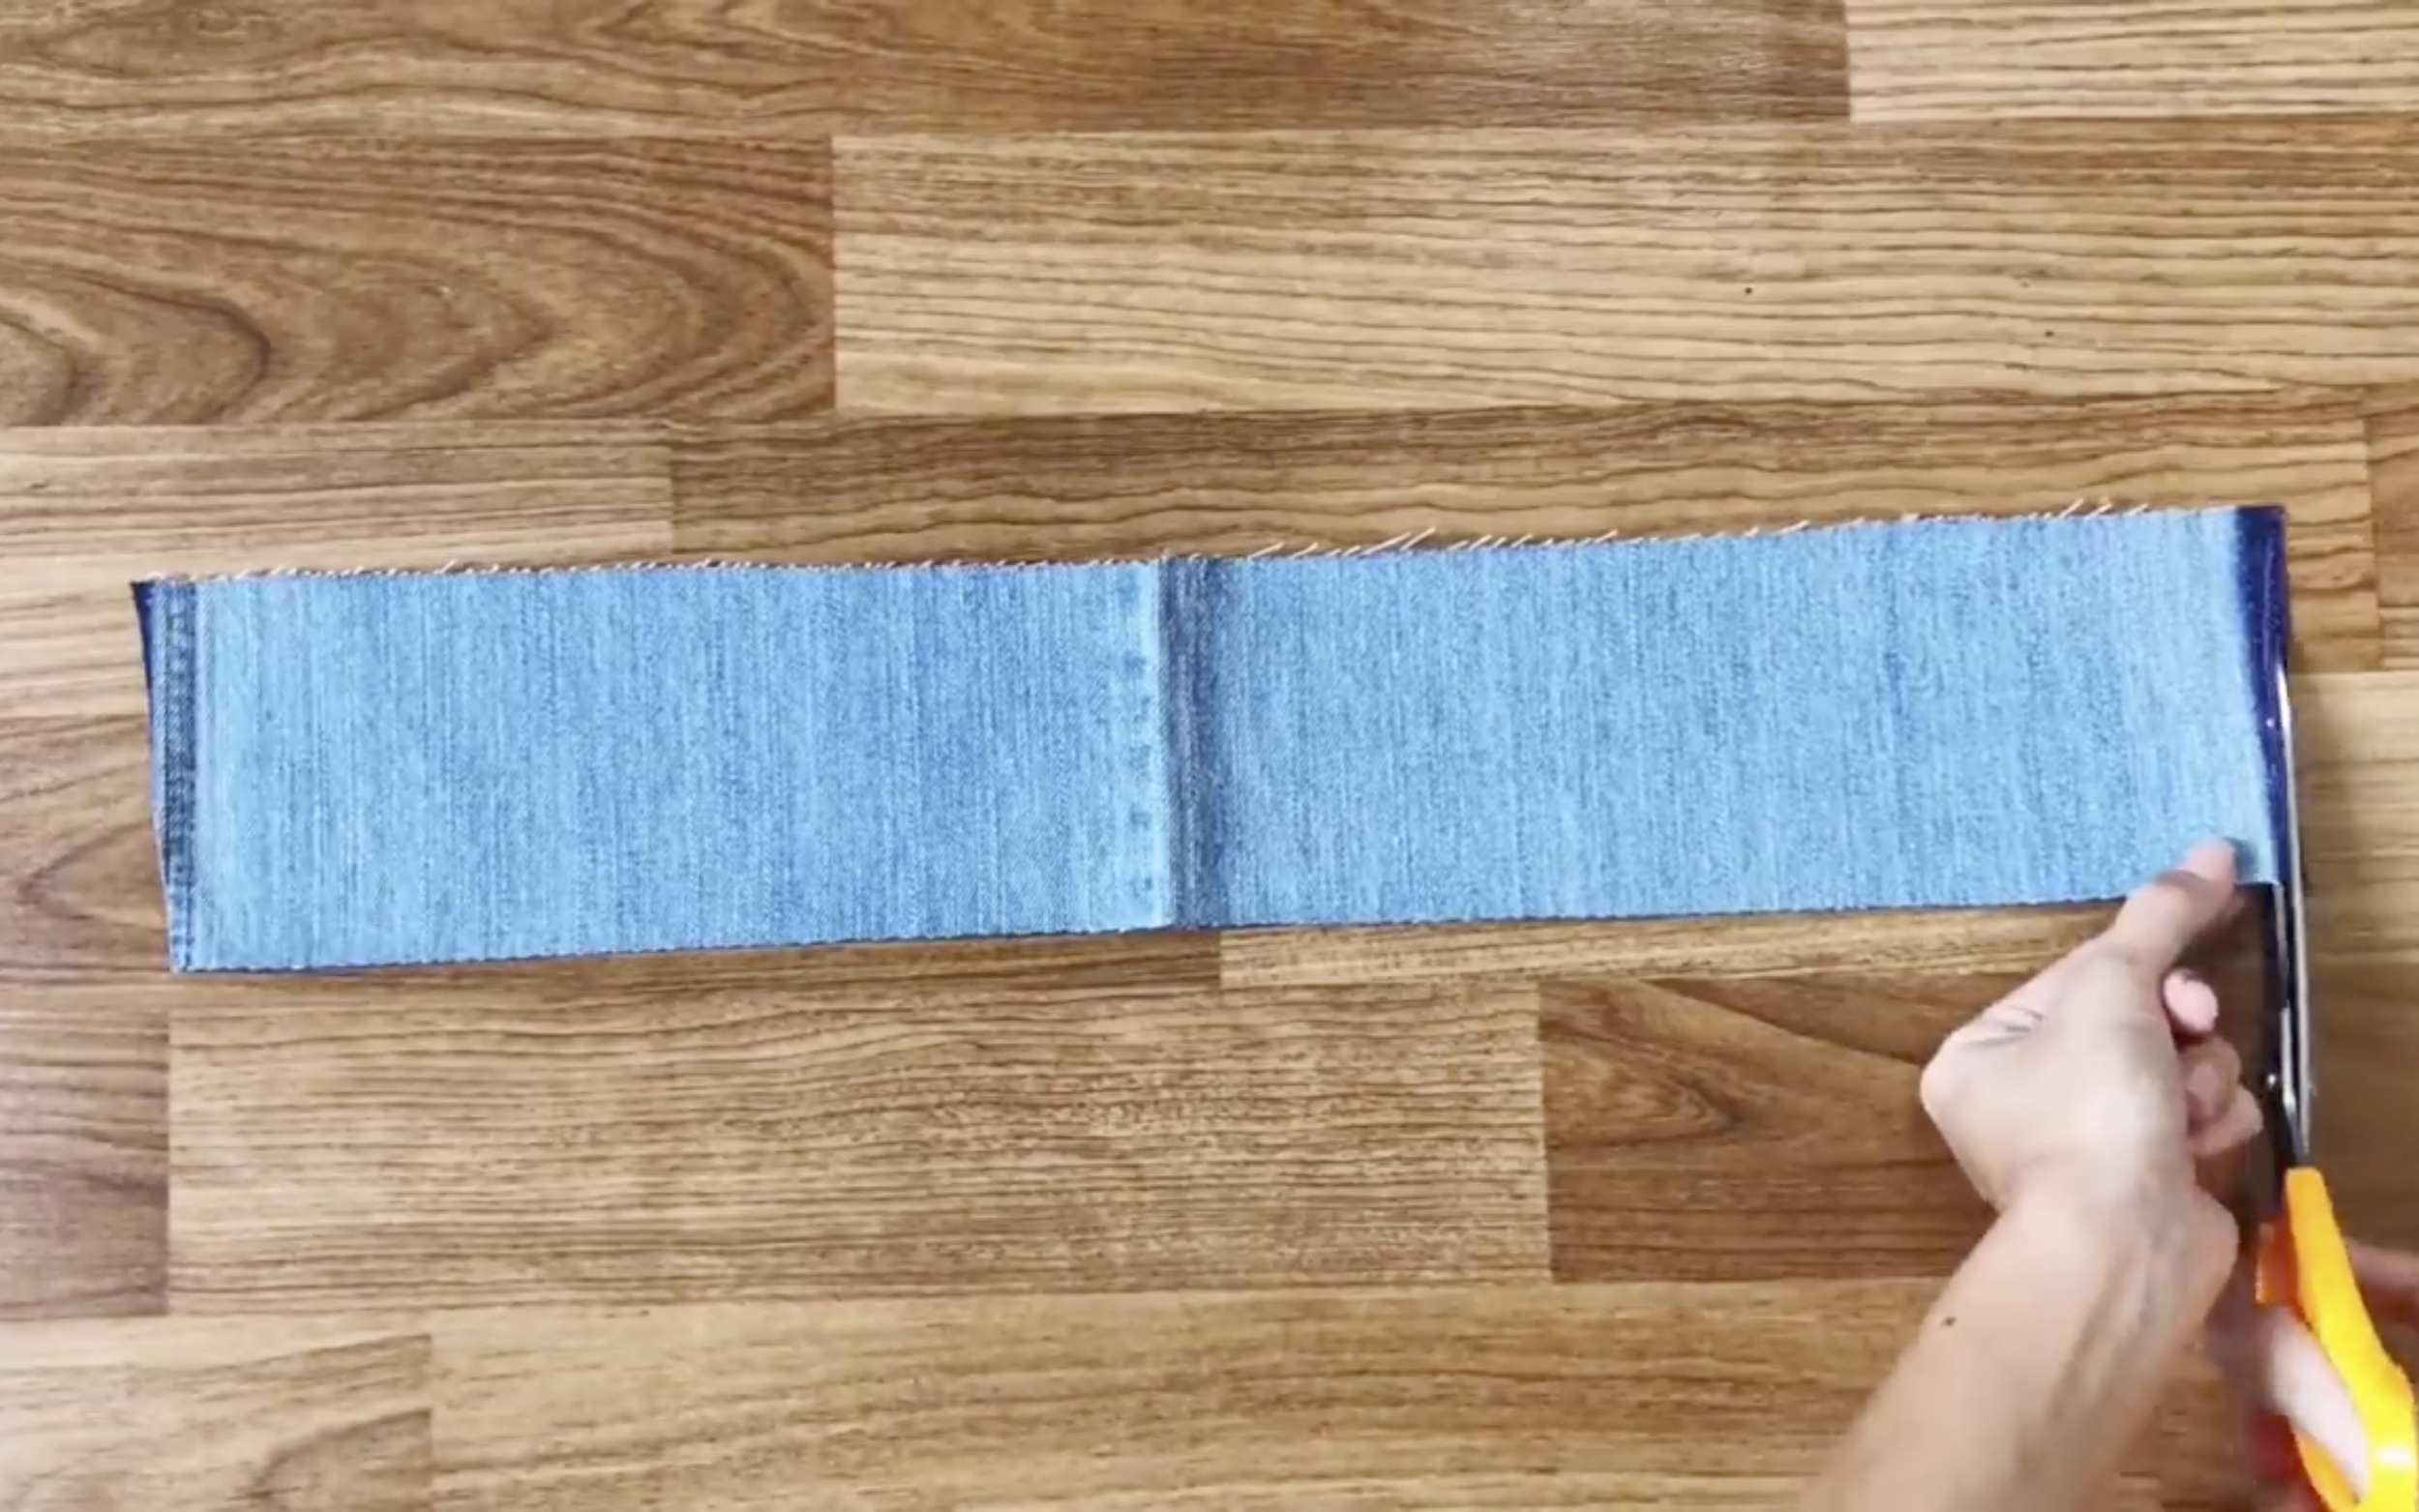
Then cutting by the drawing line.
At the middle of the top, go down 1cm.
Then drawing a slightly curved line from there to 2 sides of the rectangle.
Connect two rectangles together by the pins. Then sewing.
After upsiding the neck, connect one pattern of the neck to the neck area of the top.
After sewing the first seam, fold the other pattern of the neck inside right at the seam just made.
Then making another seam to finish the neck.
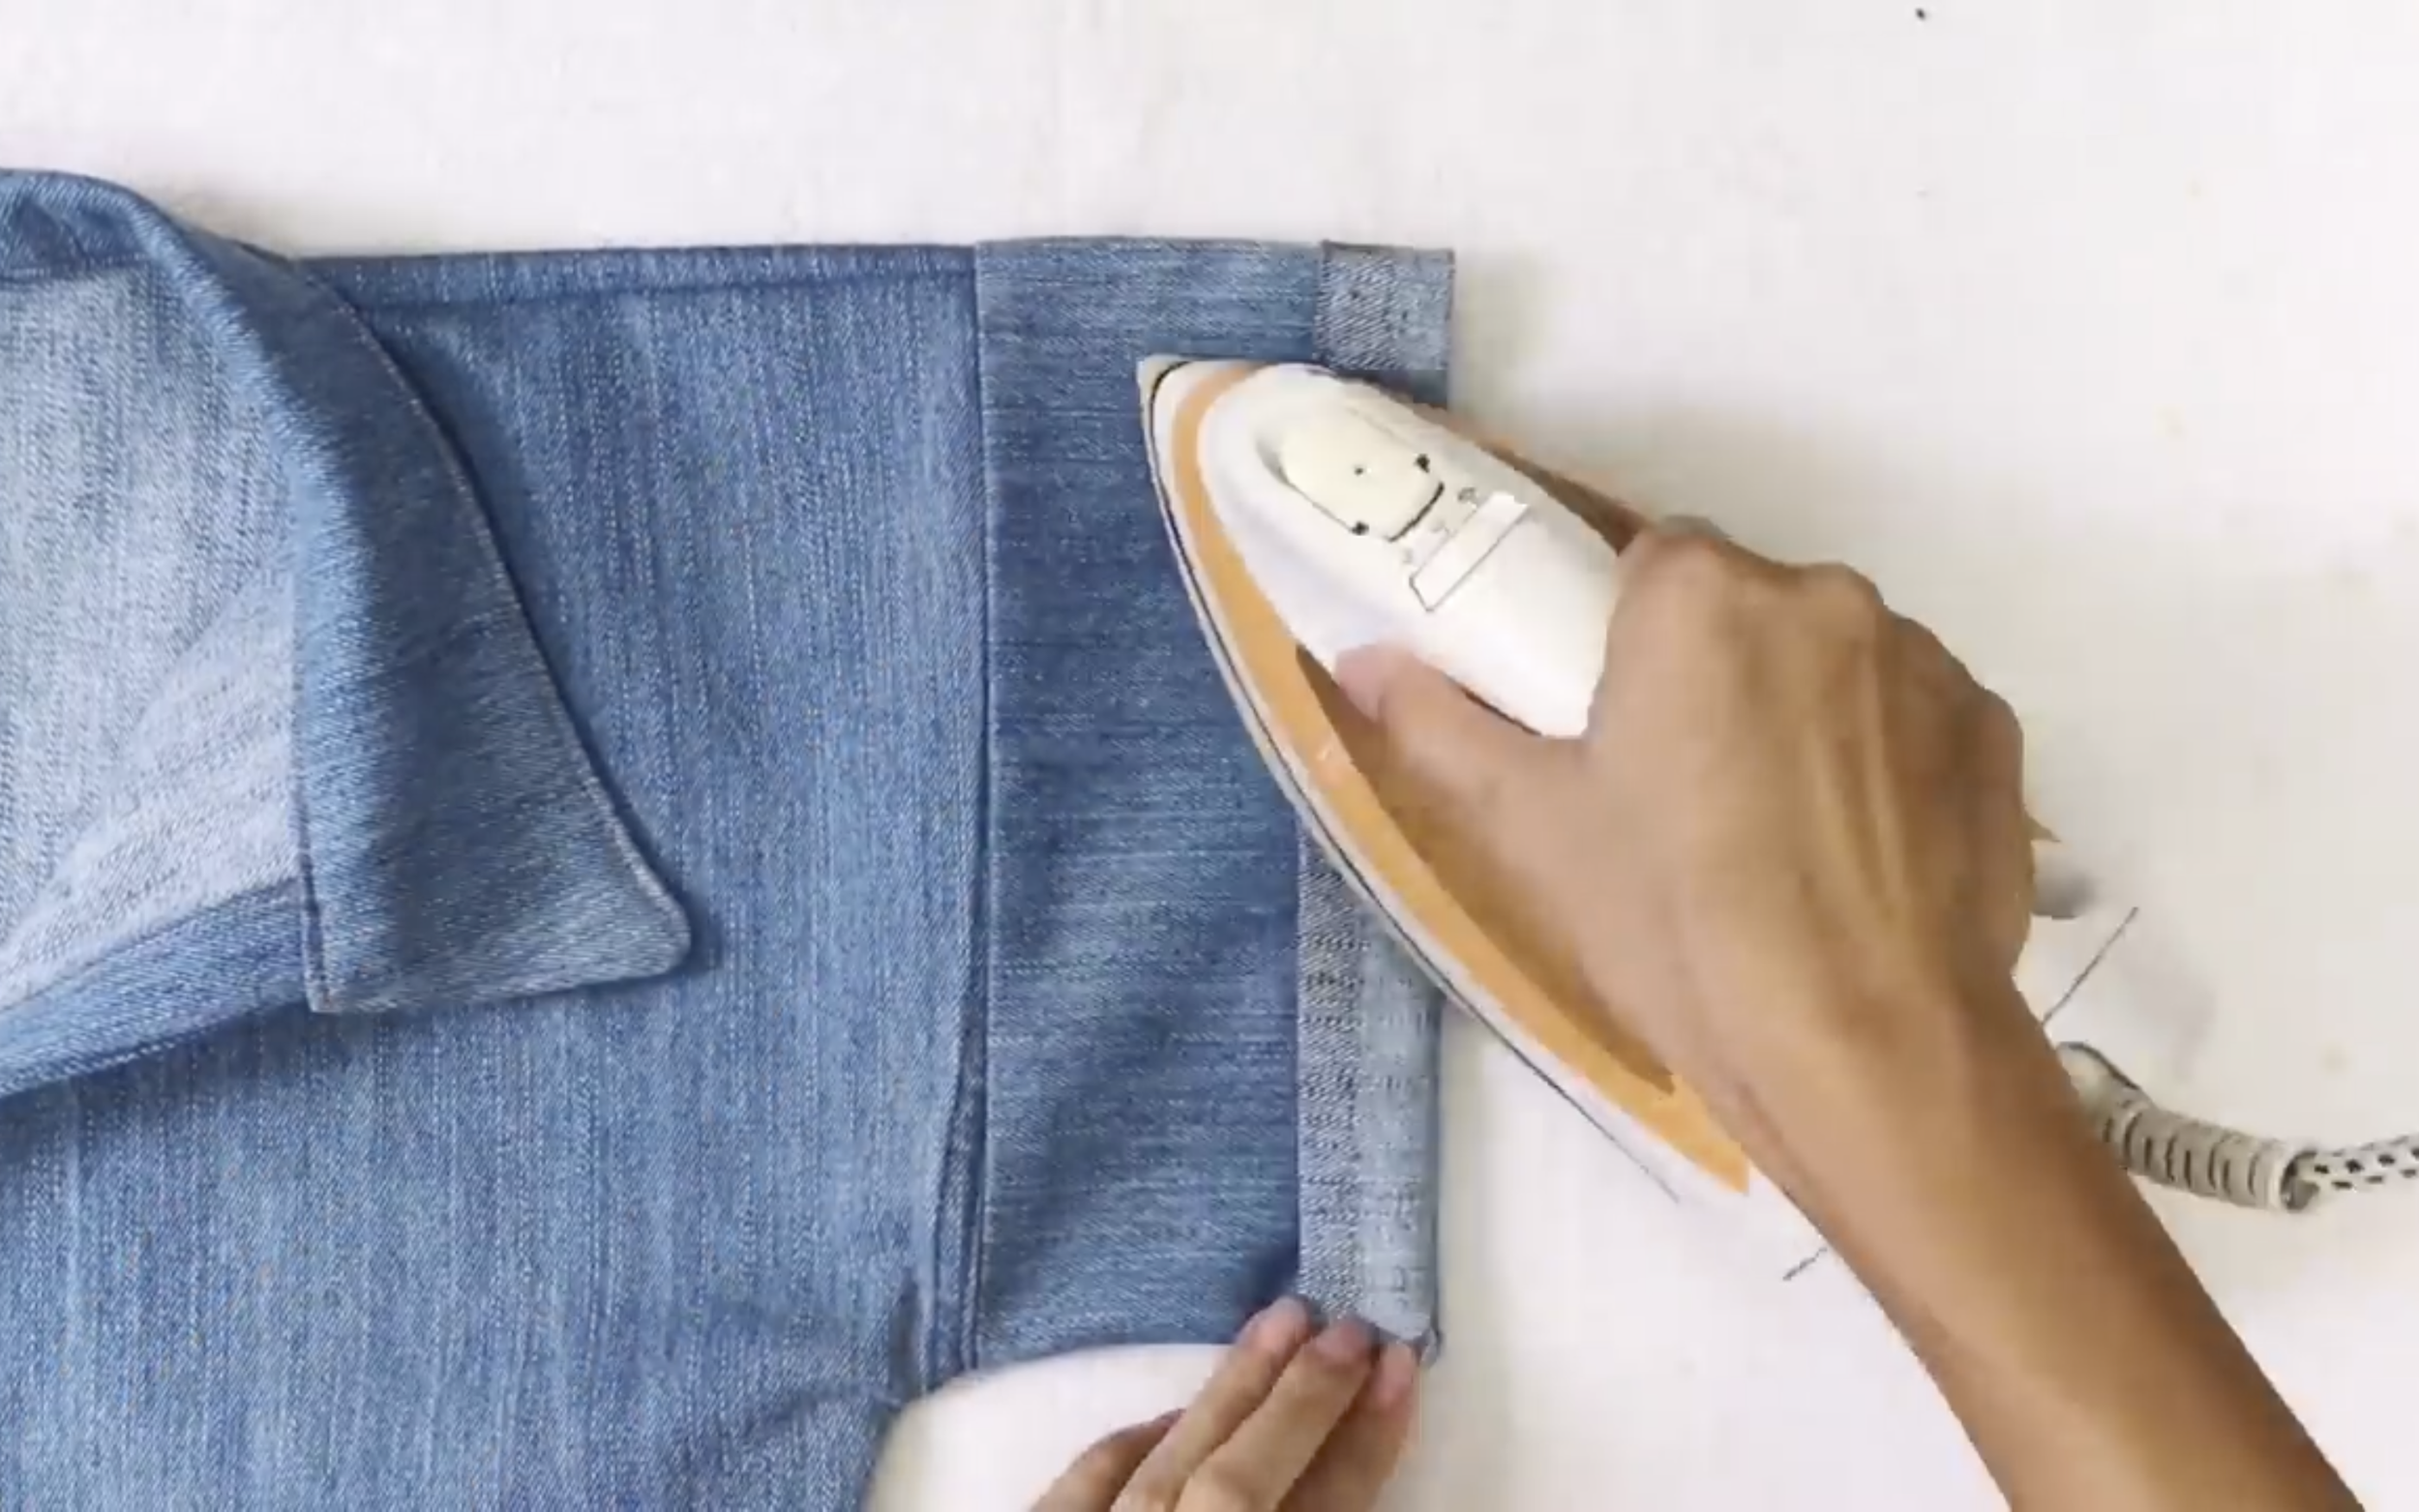
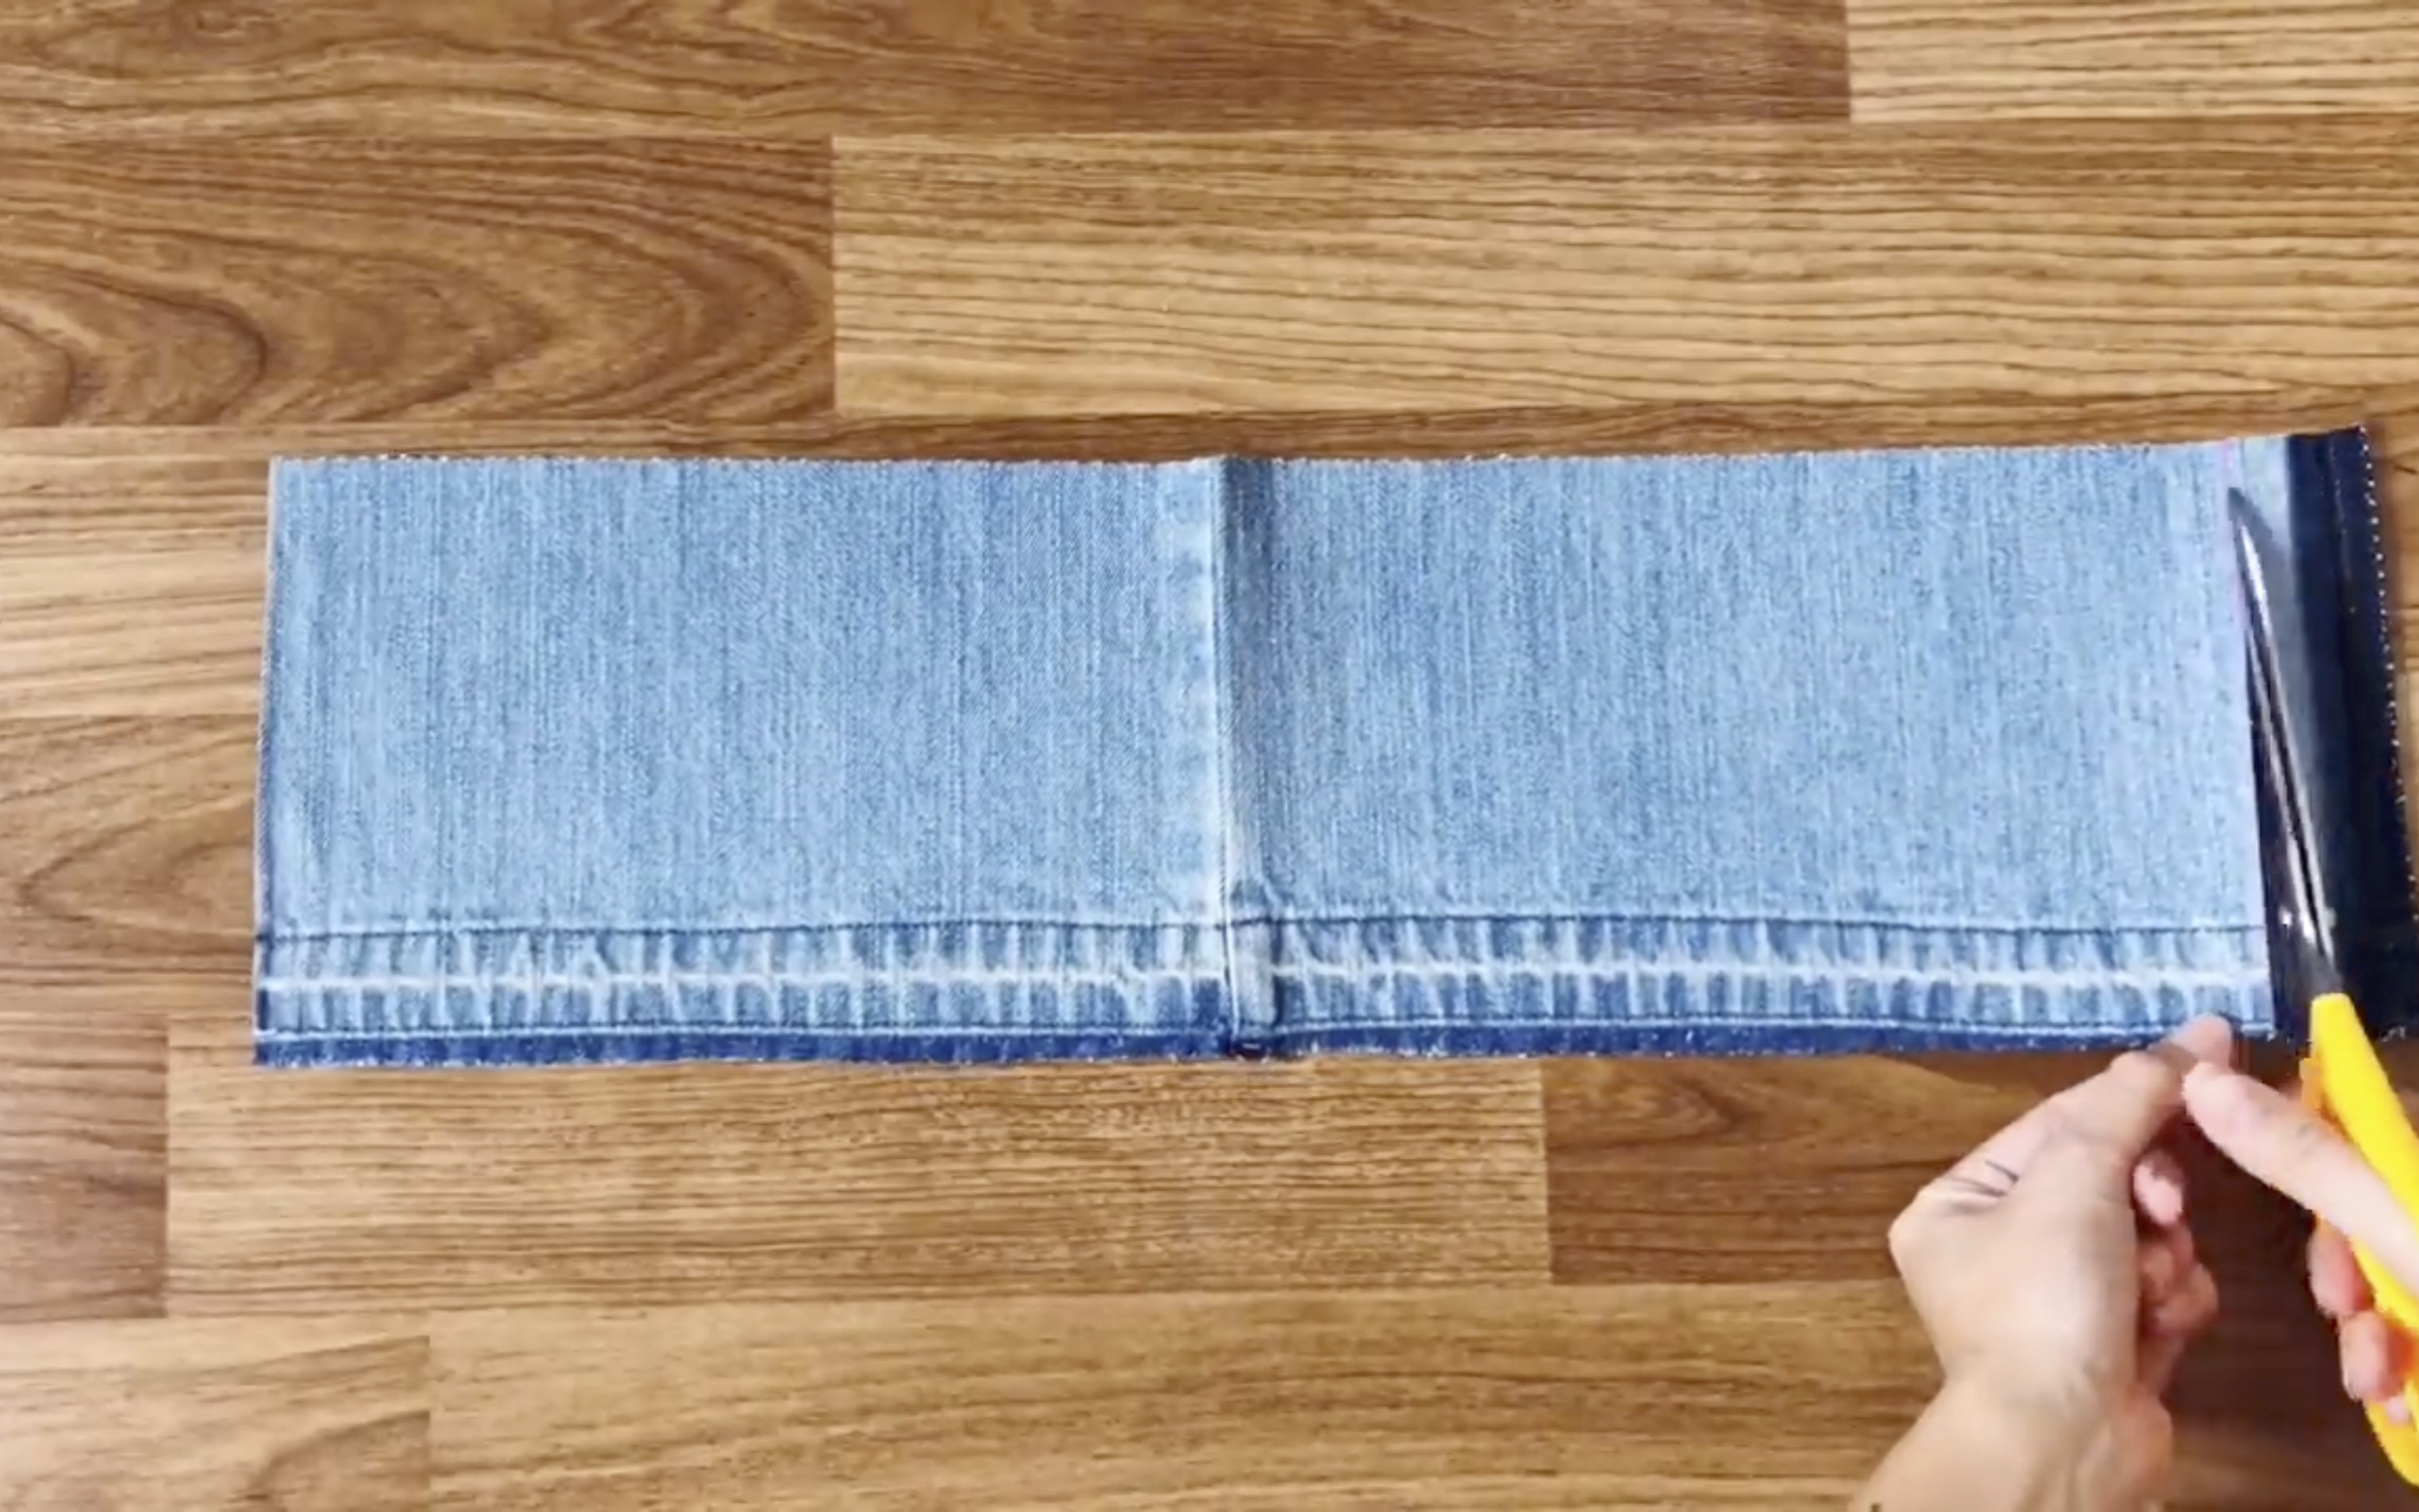
For the end of the hands, folding it similar to what was done to the pants by using the iron to create the folding.
Now connecting the top and the pants of the jumpsuit together at the waistline.
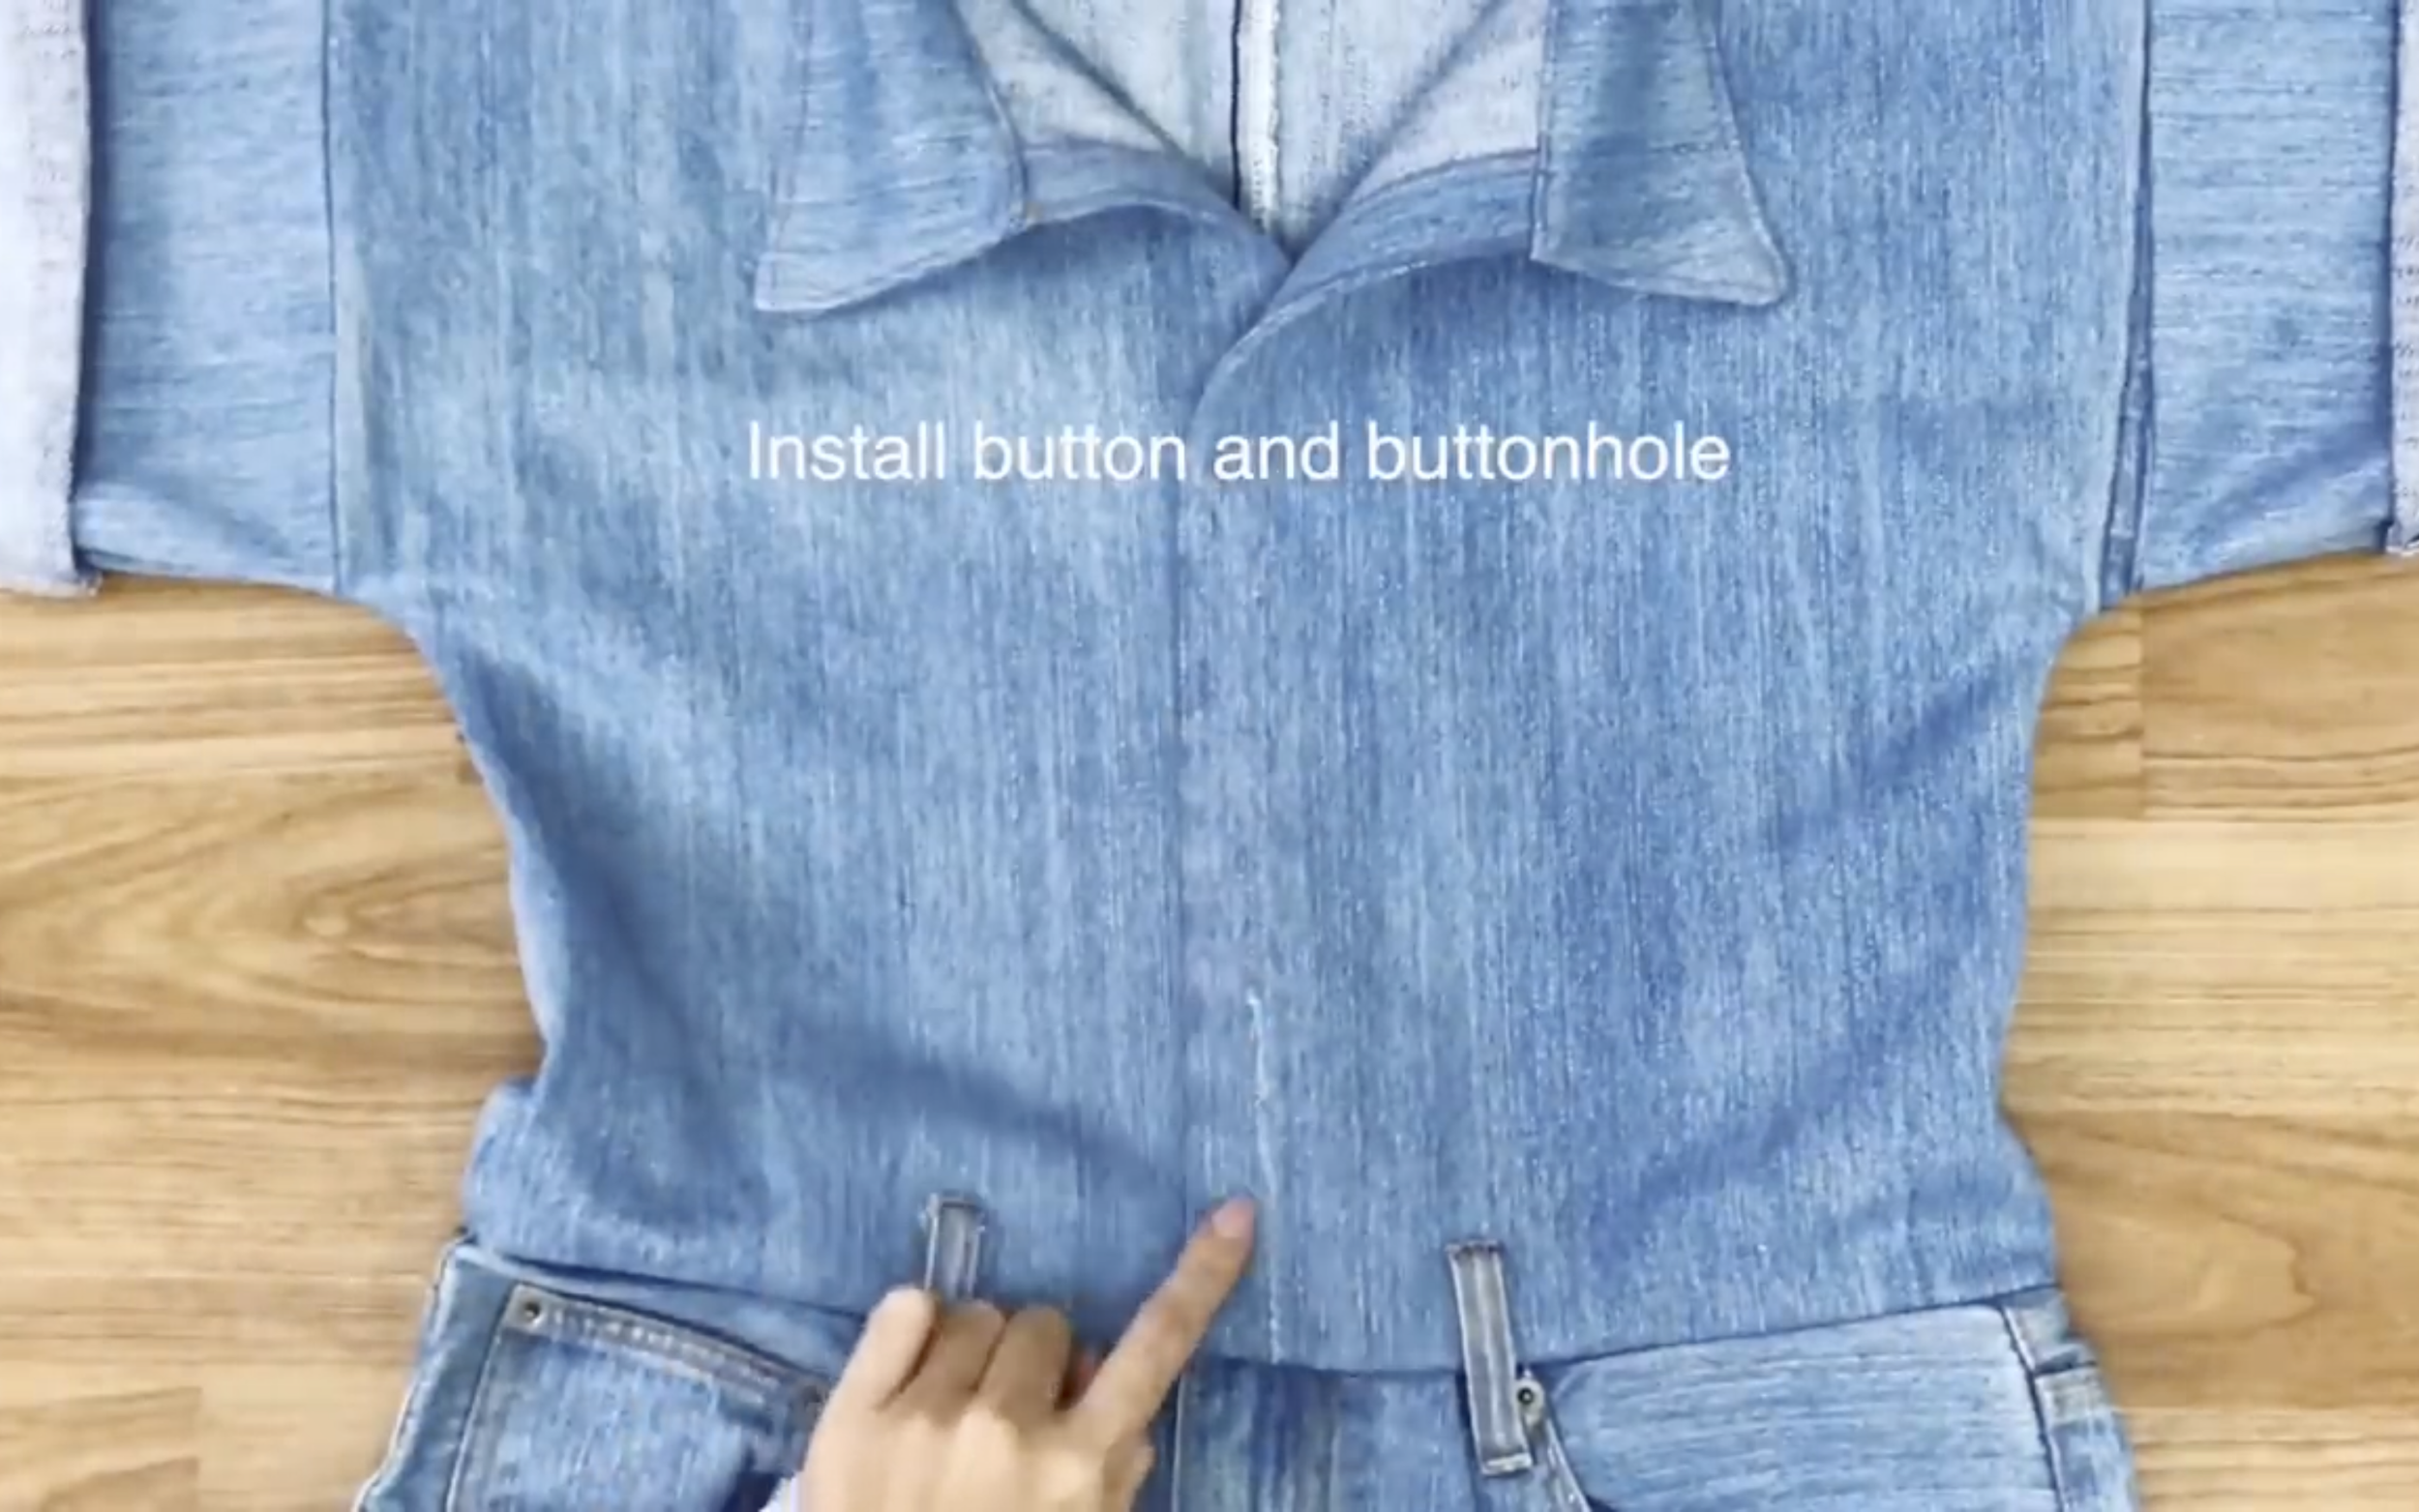
Then install the buttons and make the buttonholes to finish the jumpsuit.
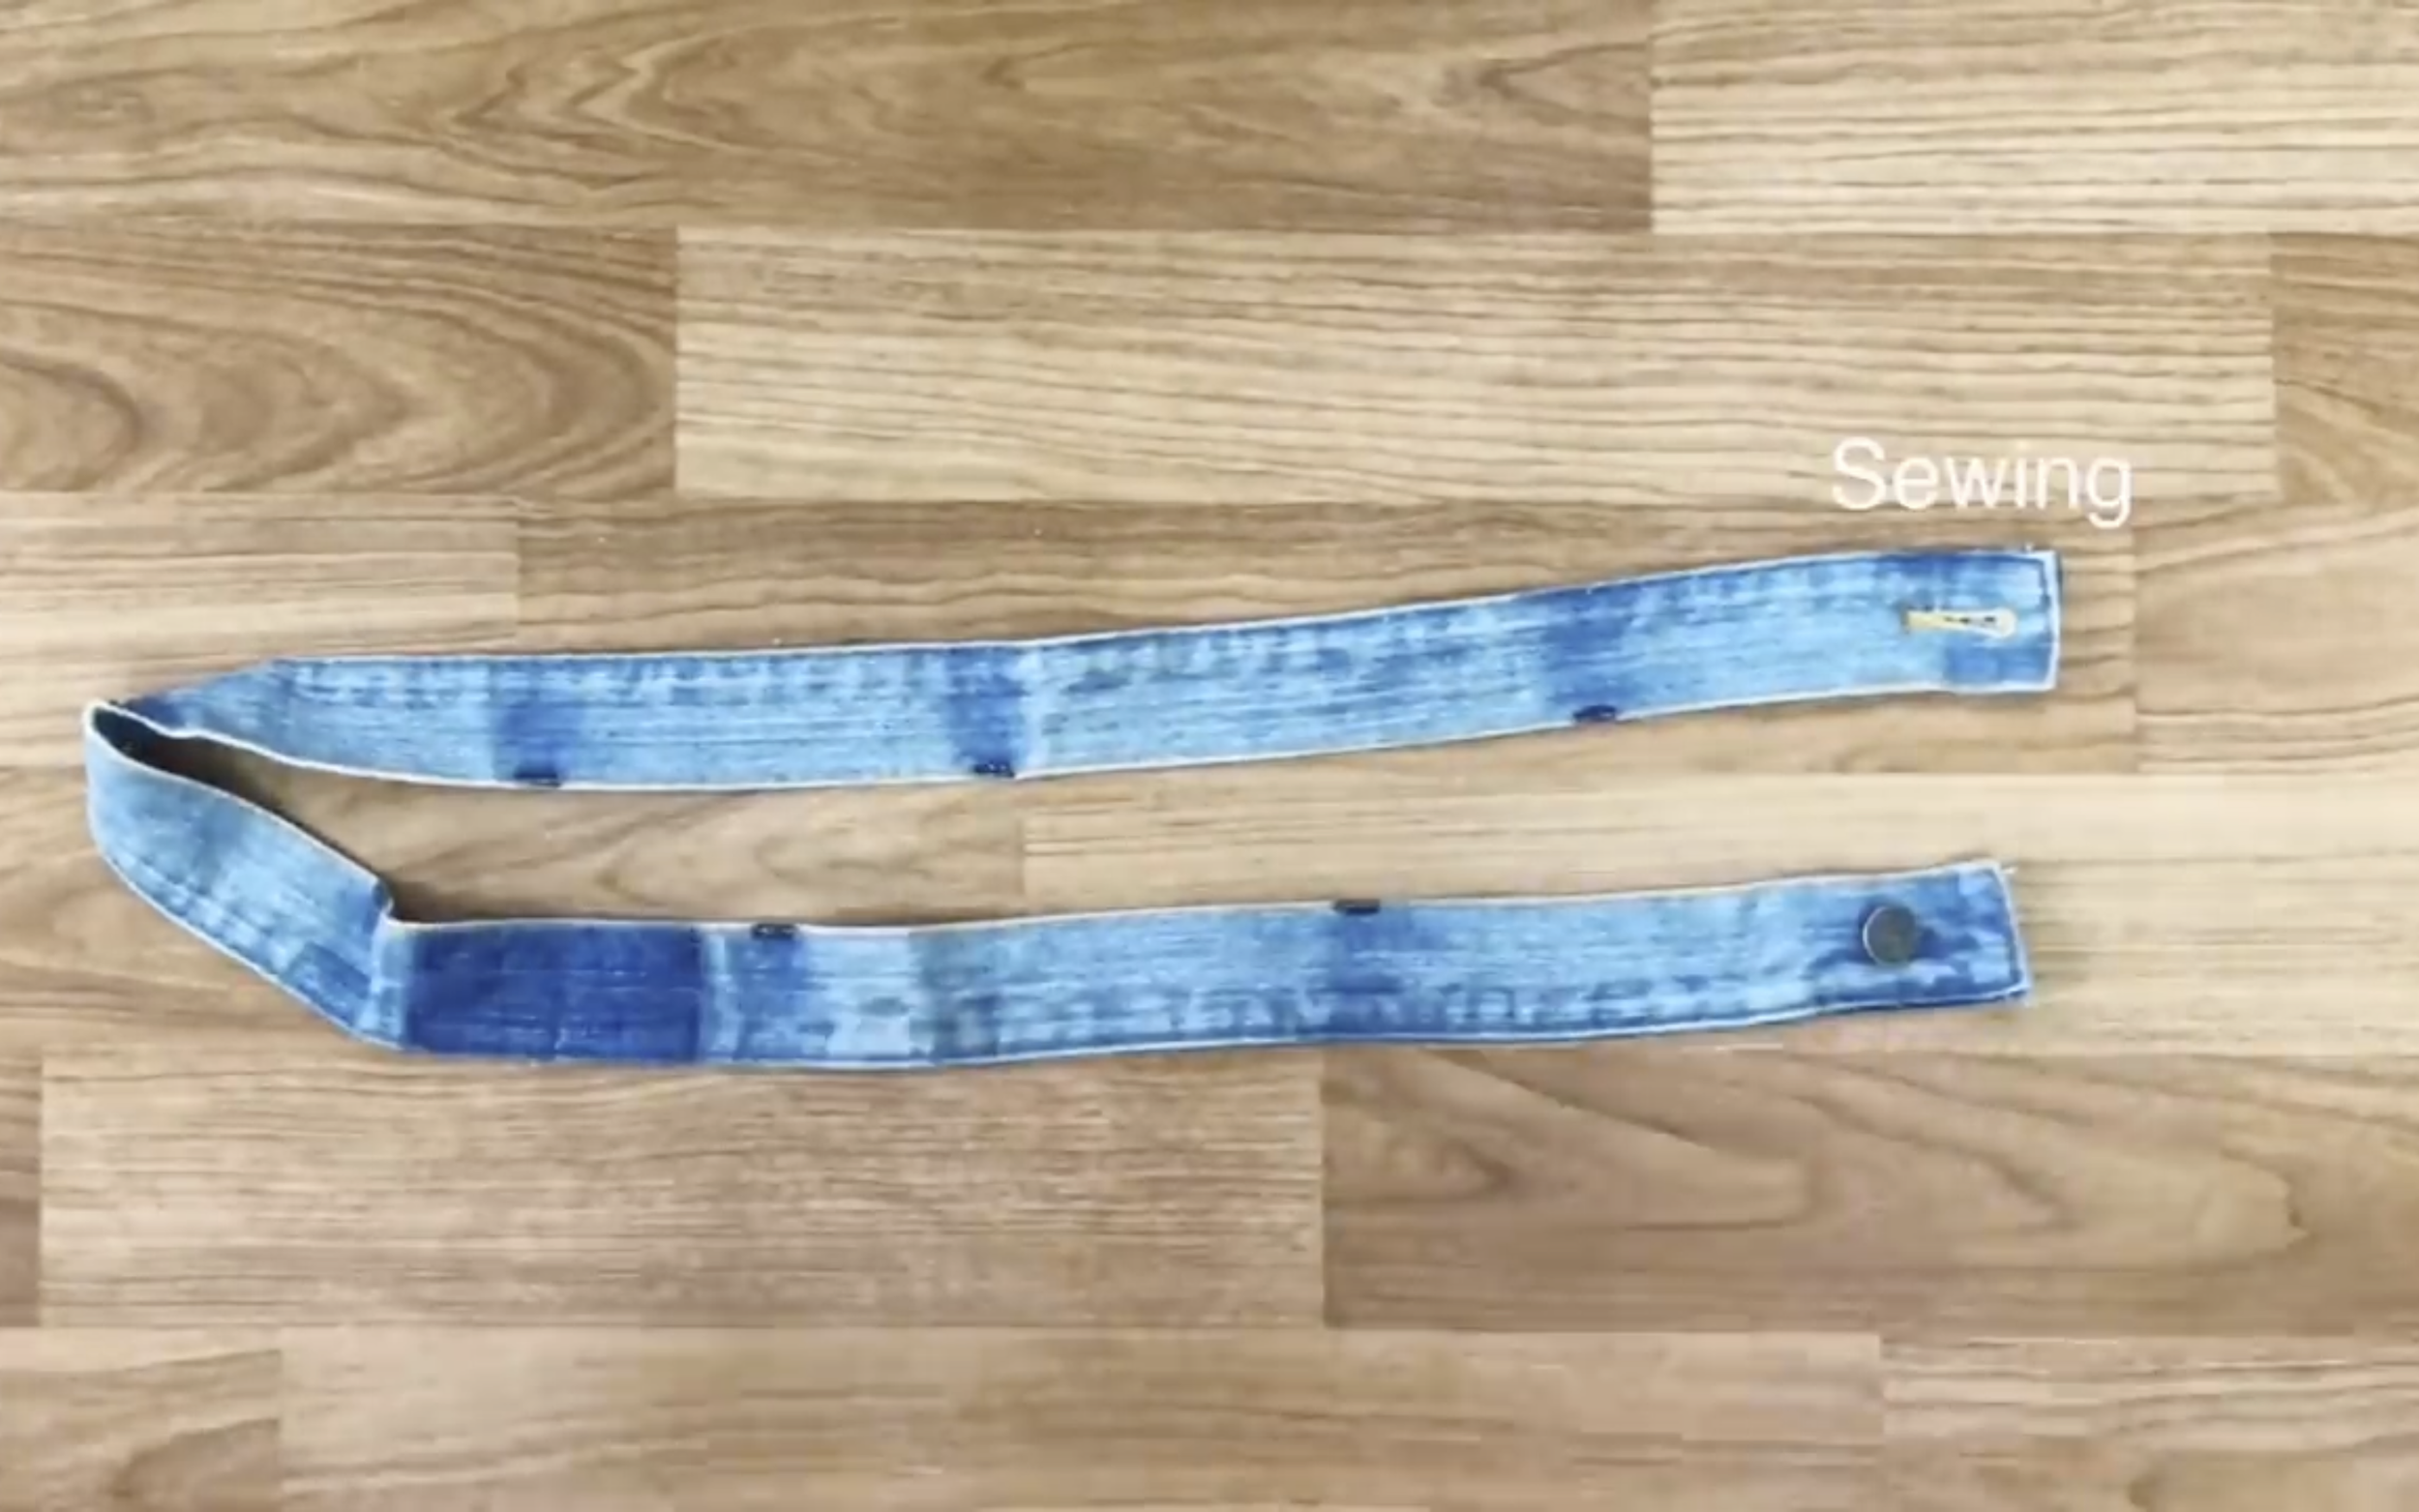
Use the waistband of the old jeans as the belt for the jumpsuit.

DIY JUMPSUIT from Men's jeans - Jumpsuit month series - Ep 4
And that’s a wrap for this DIY!
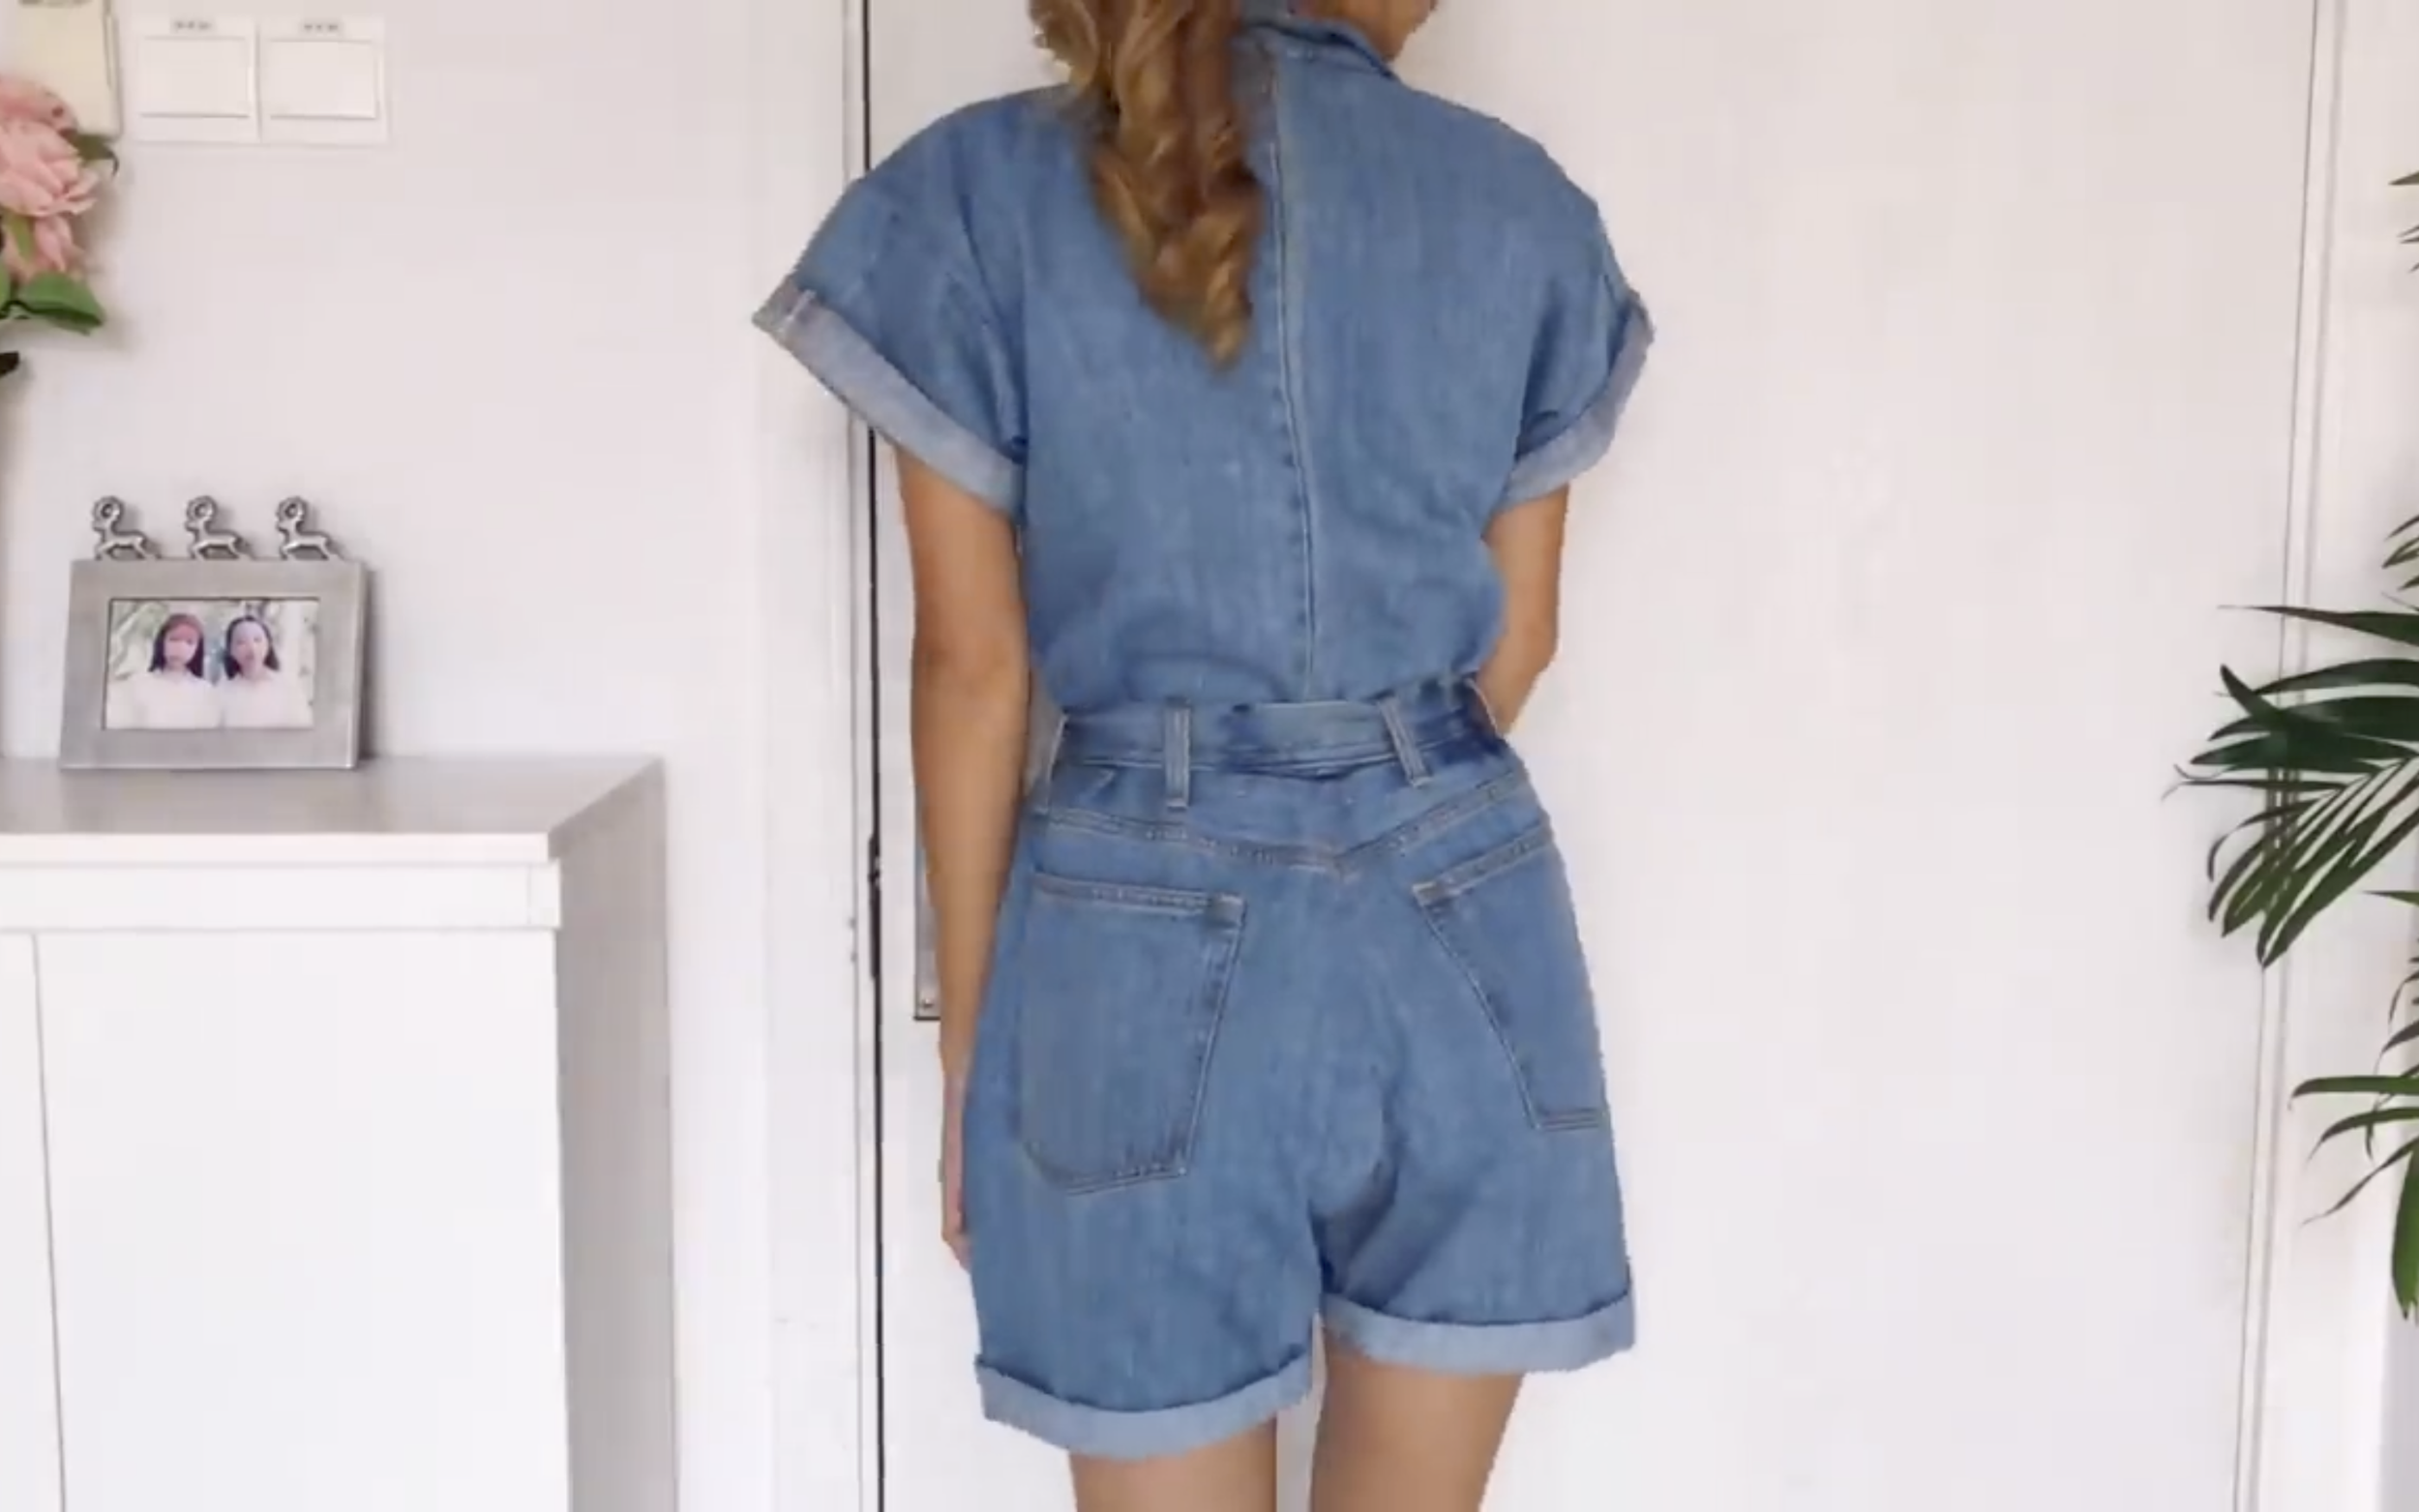
Here’s my final transformation — a denim jumpsuit that’s both stylish and full of energy. I’ve always loved jumpsuits, and this one turned out just the way I hoped.
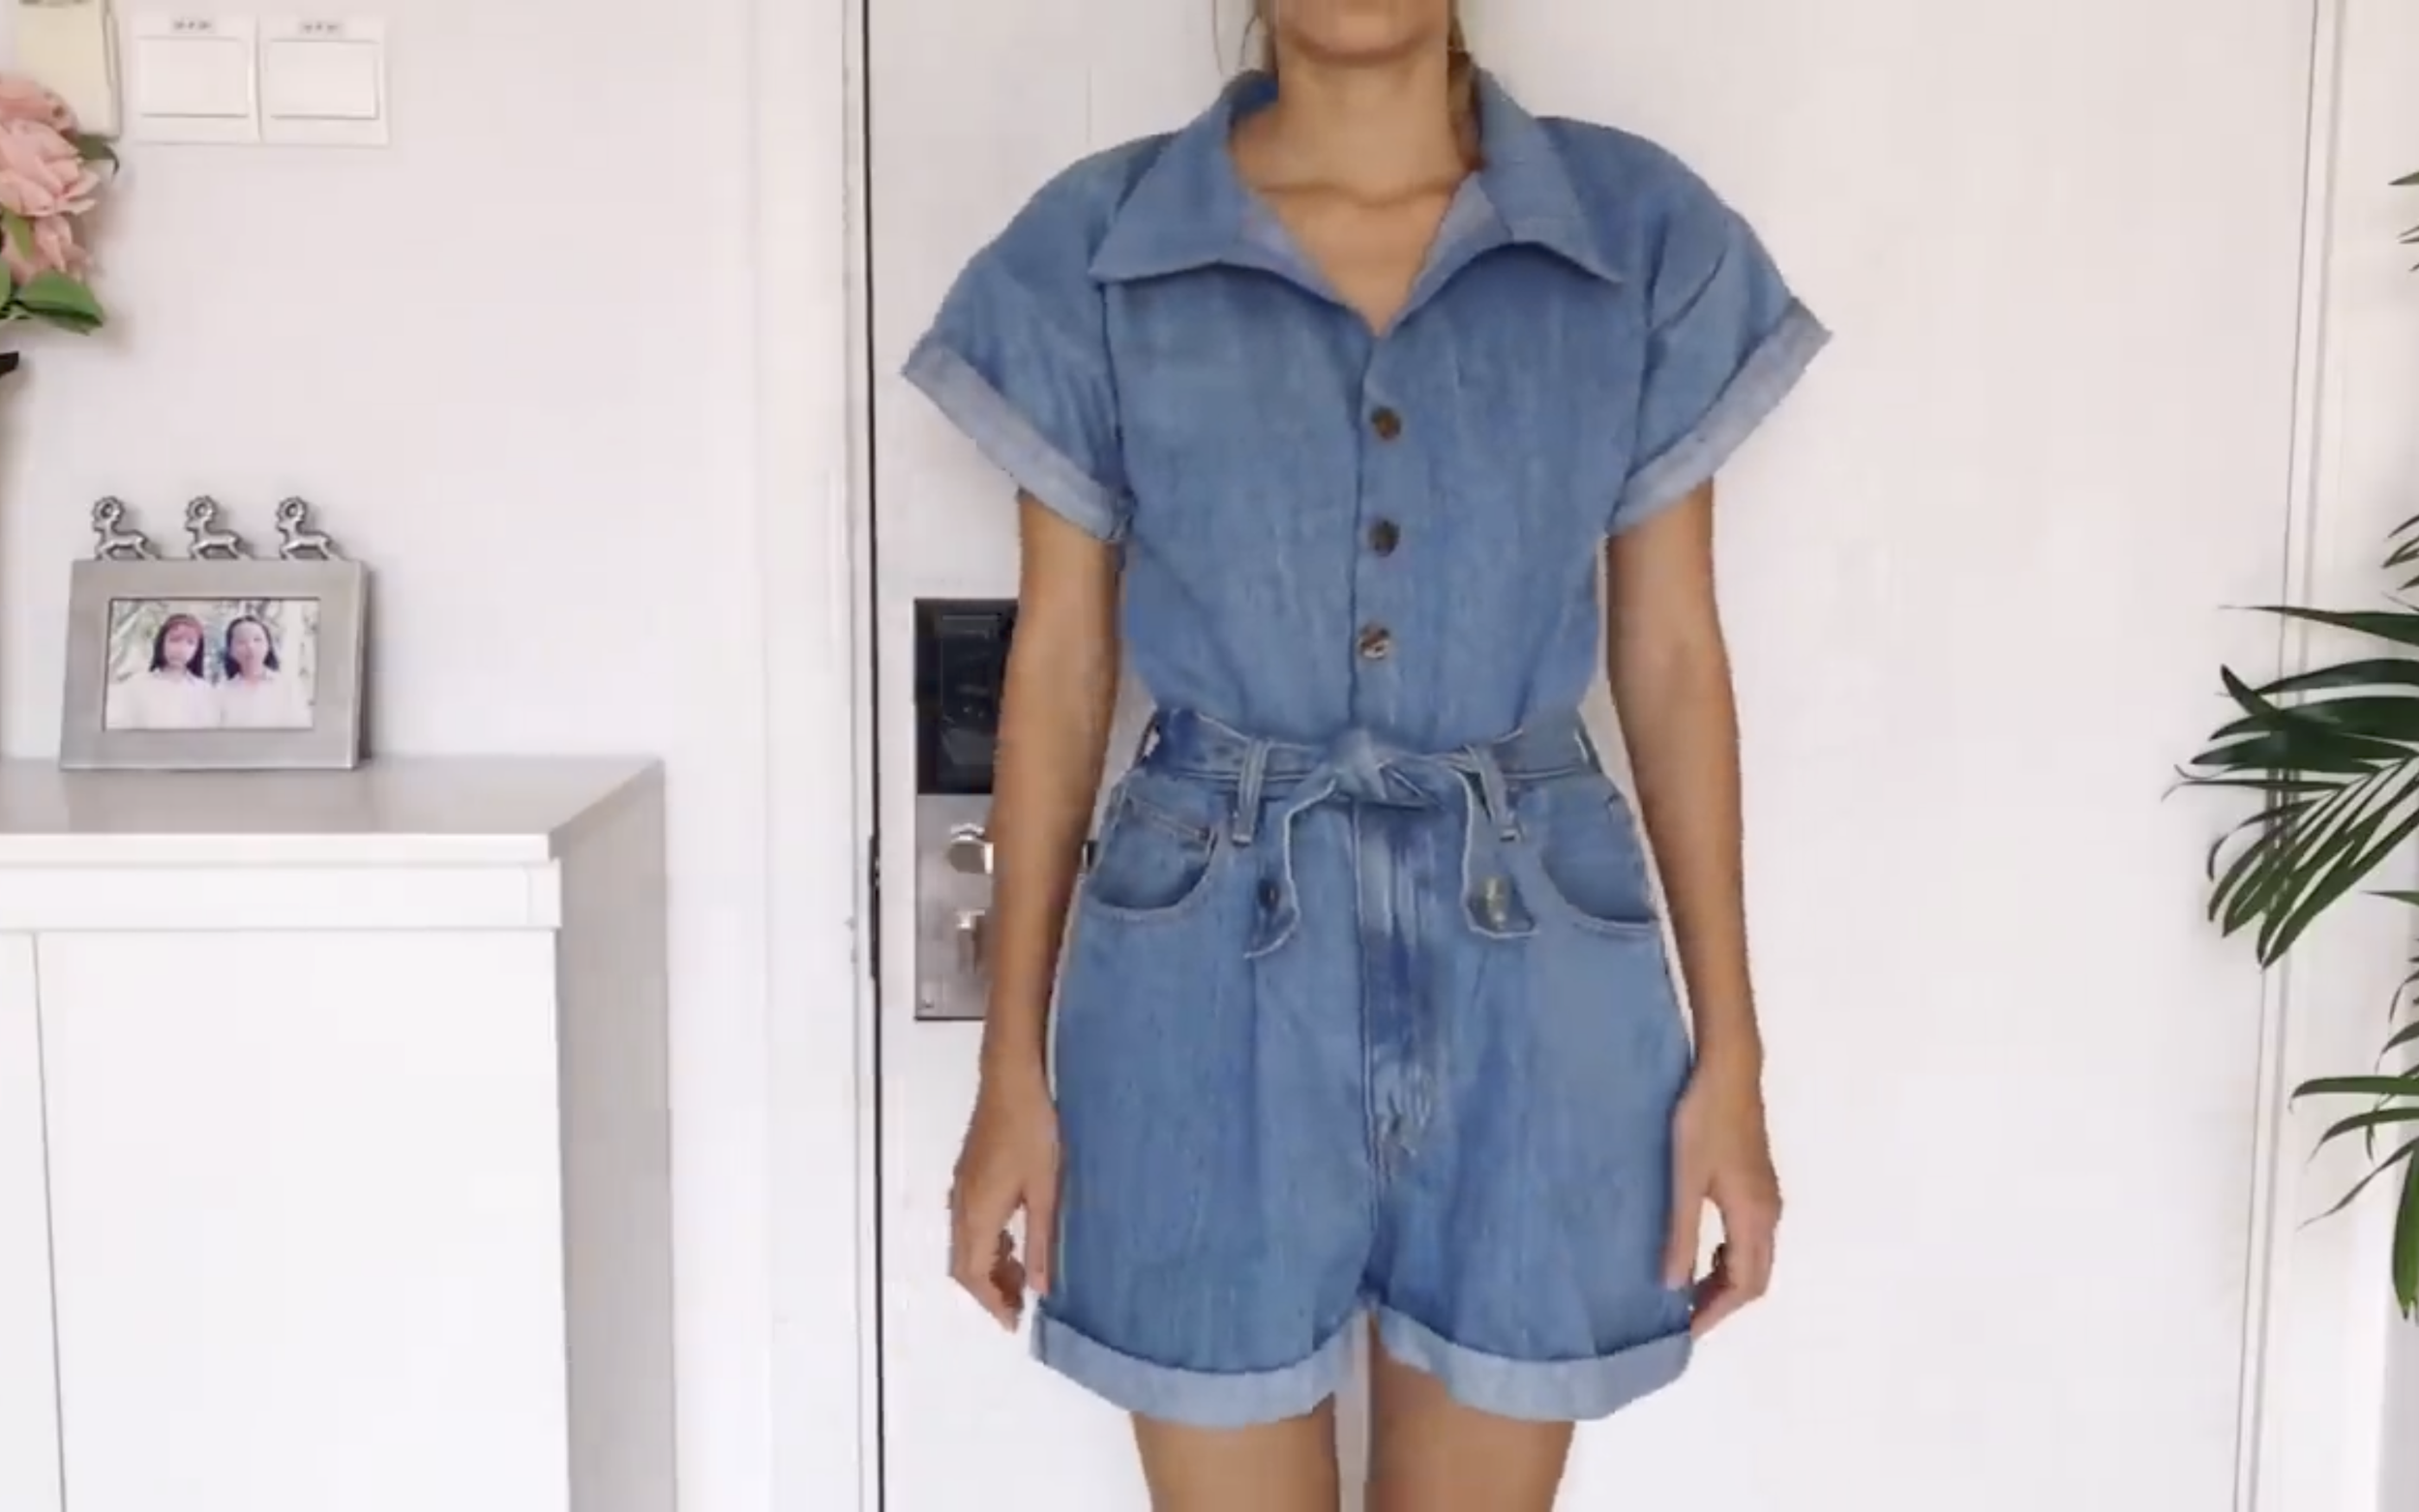
I hope you found my step-by-step guide helpful and inspiring.
If you’re interested in making your own, give it a try and let me know how it goes!
Until then, happy sewing!