DIY SKIRT PANTS (with side pockets) | Step by step sewing tutorial

DIY SKIRT PANTS (with side pockets) | Step by step sewing tutorial
Welcome or welcome back to my channel. My name is Jess and I love doing DIY, making clothes in a "simply but pretty" way.
In today's tutorial, I'm going to share with you a very simple way to make a Skirt pants. It's a pants that looks like a skirt. So it's the perfect combination between the comfortable feeling of the pants and the flattering feeling of the skirt.
So I hope you like it and try it out. Let’s get started!
WHAT YOU’LL NEED
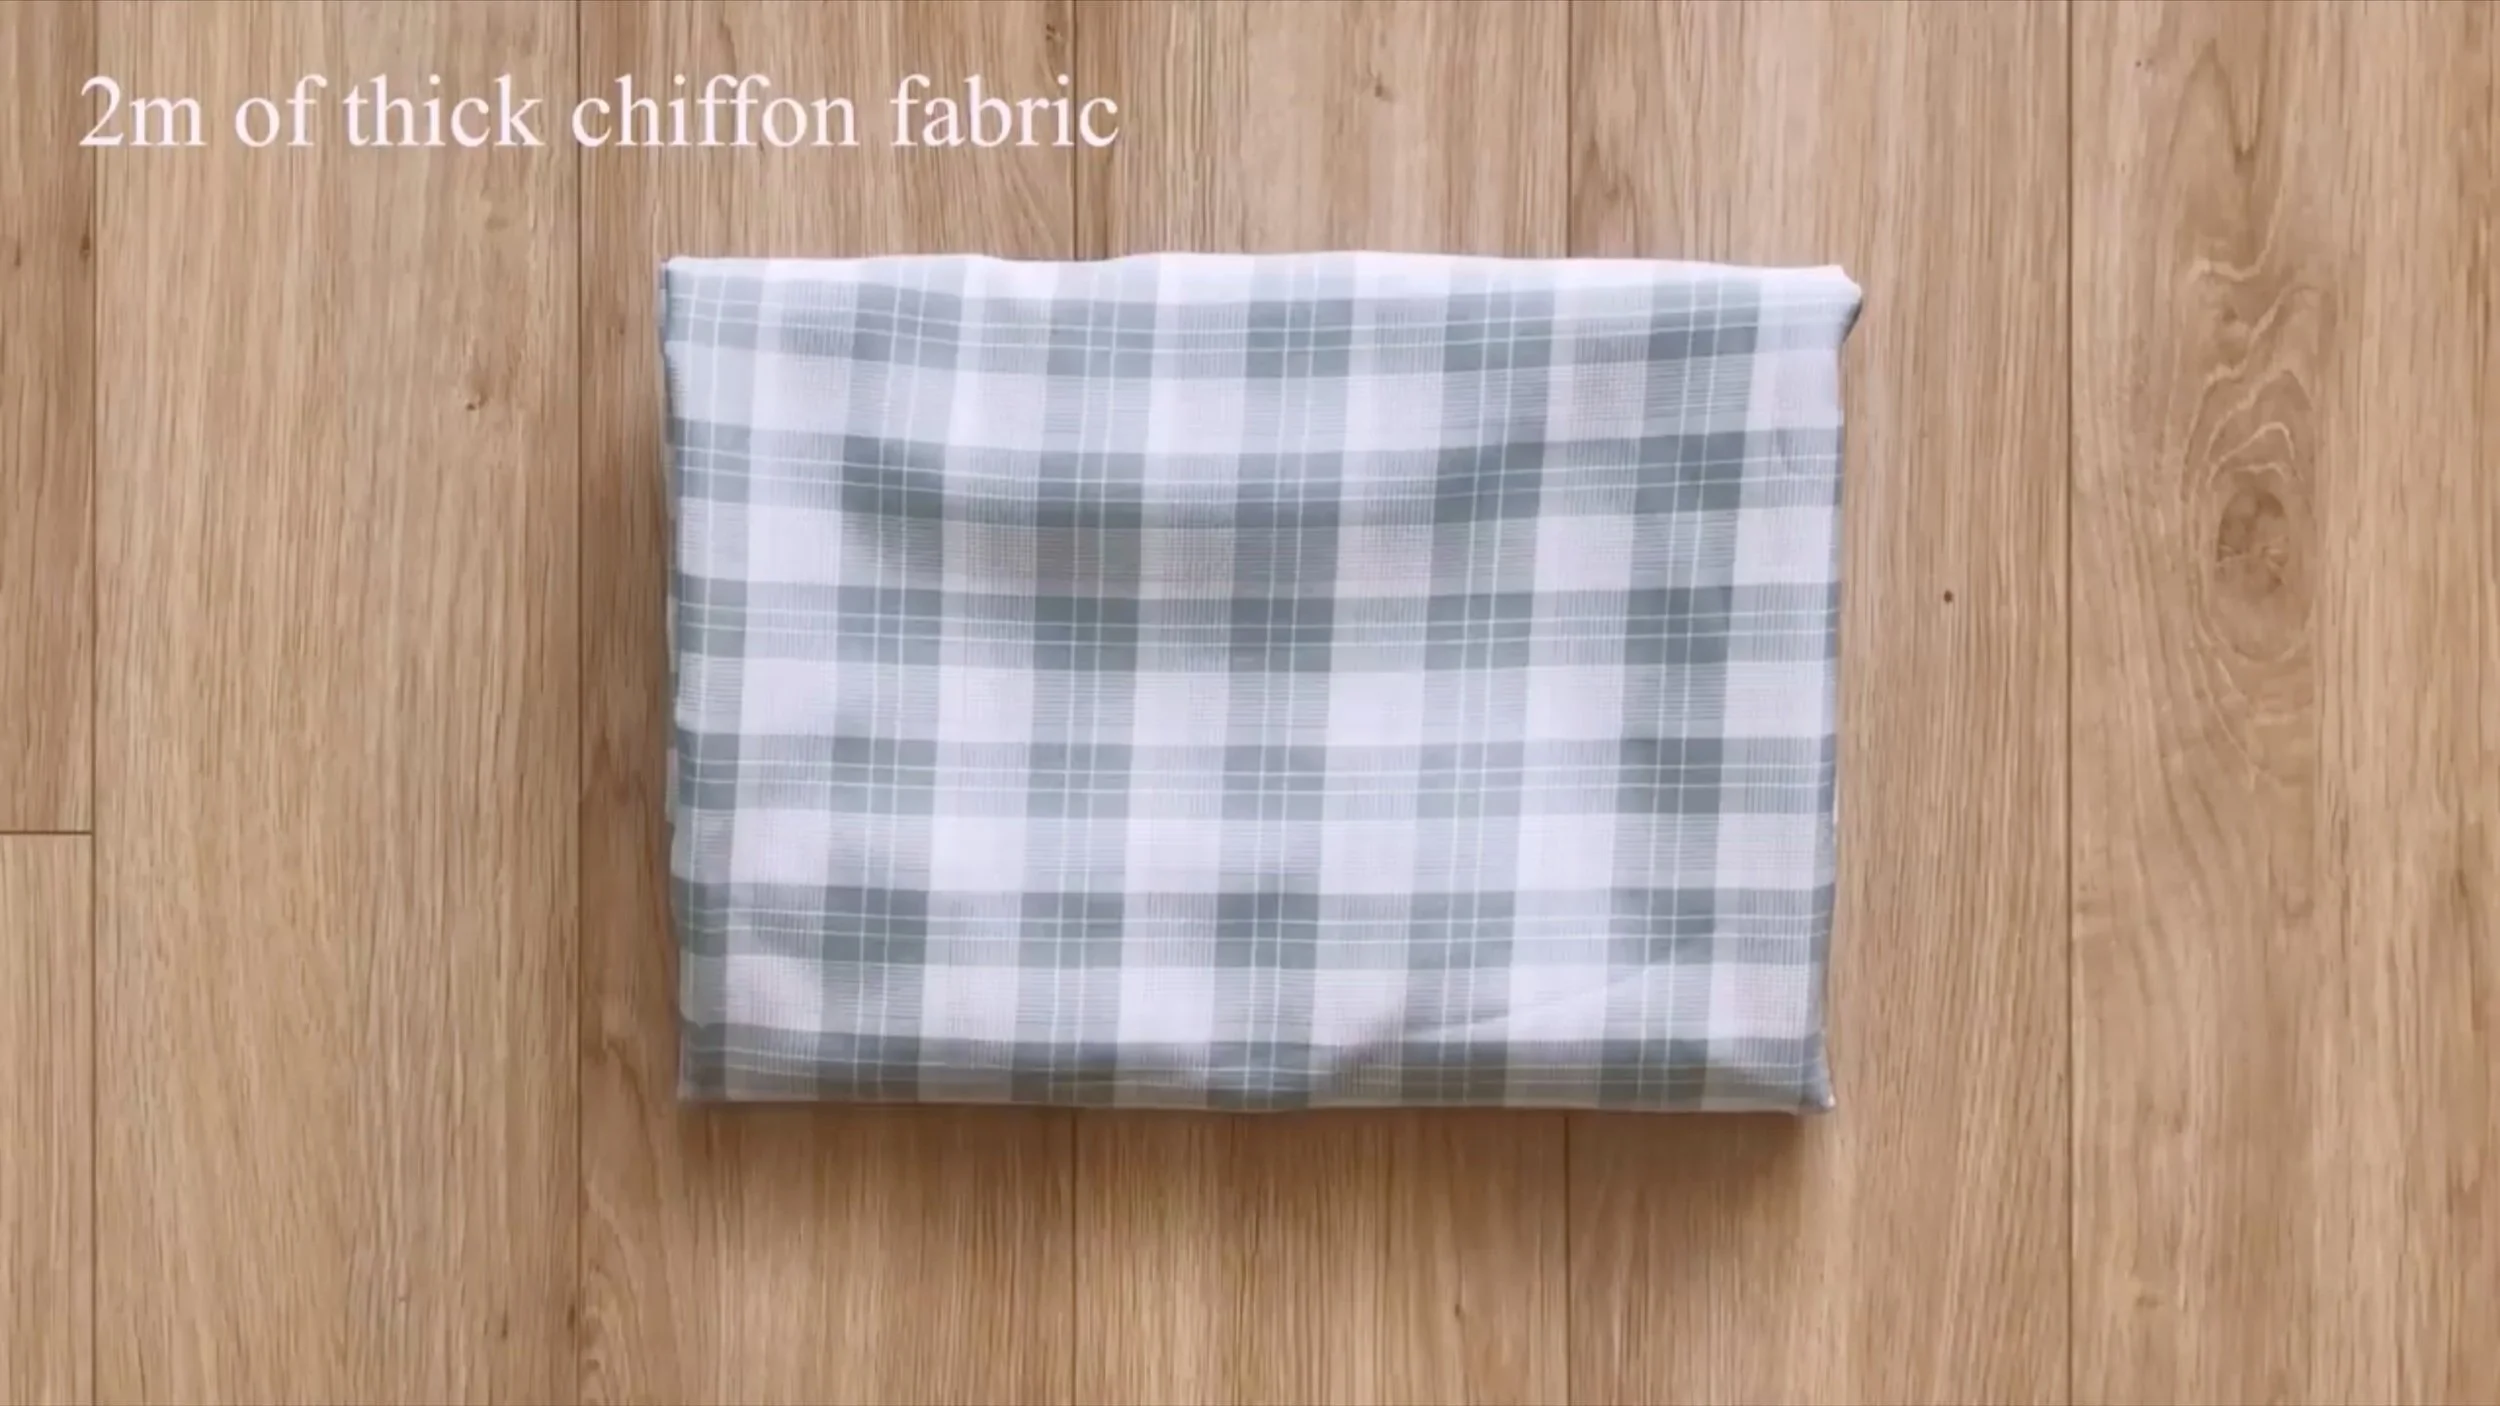
2m of thick chiffon fabric or soft fabrics
Pattern paper
Sewing machine
Pins
Scissors
Ruler
Long stick
Elastic band
MAKING THE PATTERNS
Here’s the pattern for the project. To get a clear understanding of all the measurements needed for the pattern, watch the video from 1:11 to 4:16.
Remember, you can adjust these measurements to fit your own dimensions!

THE BACK PATTERN OF THE TOP


Firstly, fold the length to the width of the fabric.
Then measure the width between the folding line and the length line and mark where is 33 cm, which is a quarter of your hip size plus 1/10 hip size and plus 1 cm for seam allowance.
After that, measure the length from the top of the folding fabric to this mark.
Then based on it, draw a curved line. This will be the waistline of the skirt pants.
From one end of this line on the length line, measure and mark at 75 cm, which is the length from the belly button to over the knee. It is the length of the skirt pants that is wanted.
After that, measure the length from the top of the folding fabric to this mark.
Then based on it, draw a curved line. This will be the ending line of the skirt pants.
From one end of the waistline, measure and mark at 30 cm on the folding line. It is the width from the belly button to over the crotch.
Make sure to make a little space for it so the pants won't be too tight at the crotch.
Then draw a parallel line at 9.2 cm from the folding line. It is 1/10 hip size.
After that, draw a curved line at the end of the parallel line to connect to the mark on the folding line so will have the crotch line of the pants after that.
Make sure the leftover of the width on the waistline will be bigger than a quarter of your hip size.
After cutting by the drawing line, will have one piece of the pants.
Cutting another piece like this.
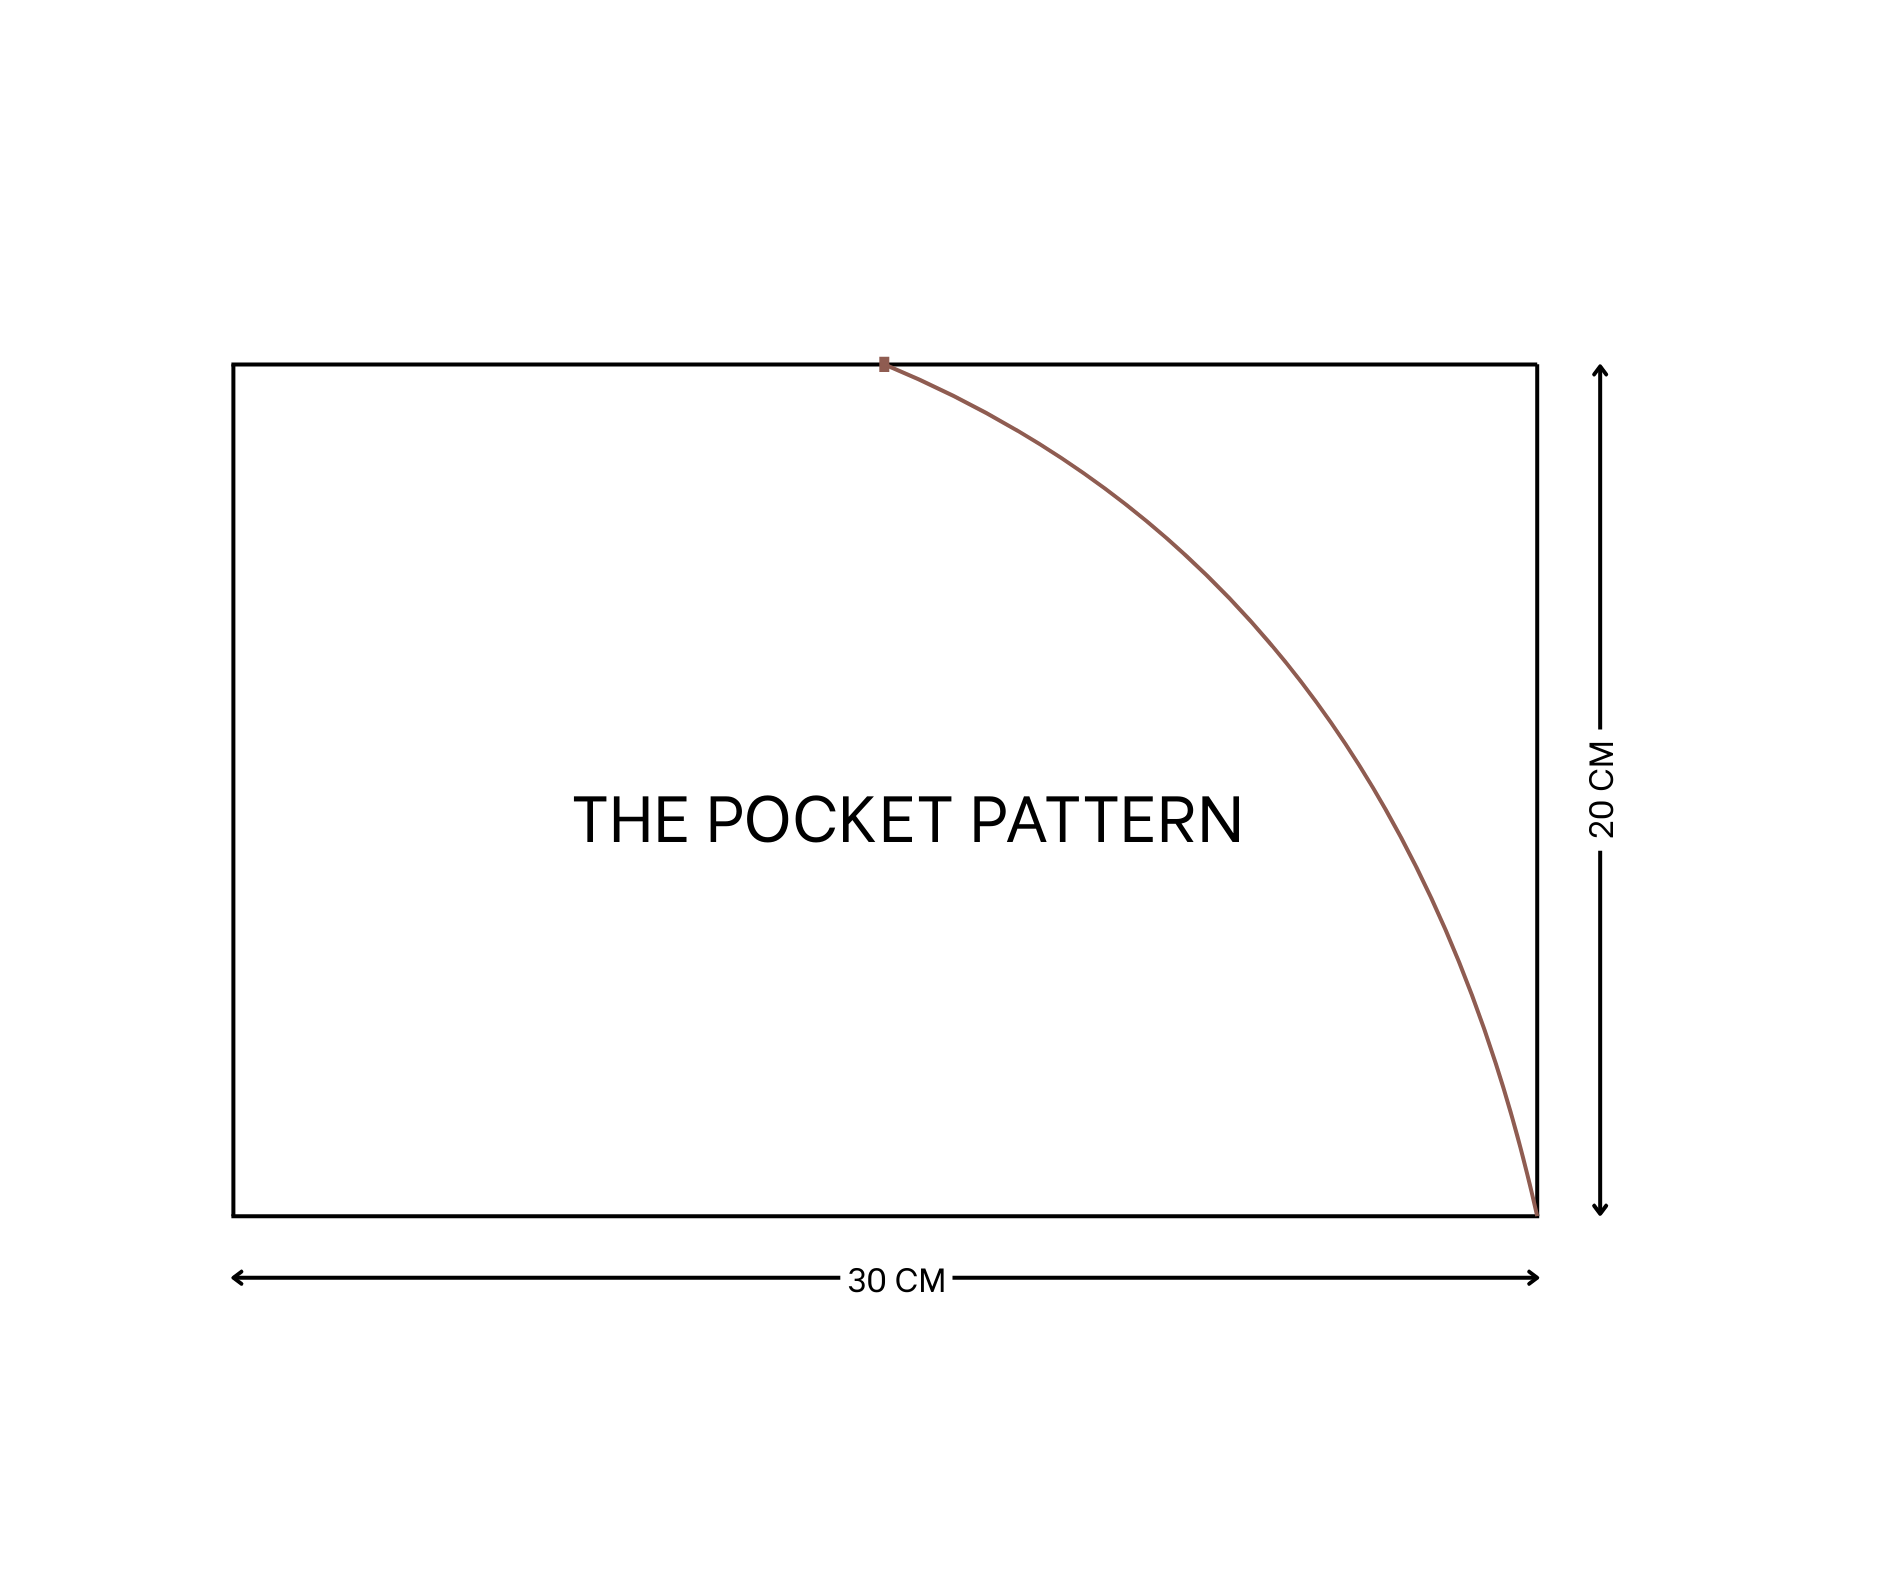
THE POCKET PATTERN
Cut a rectangle with 20 cm width and 30 cm length.
On one length line, mark at the middle first.
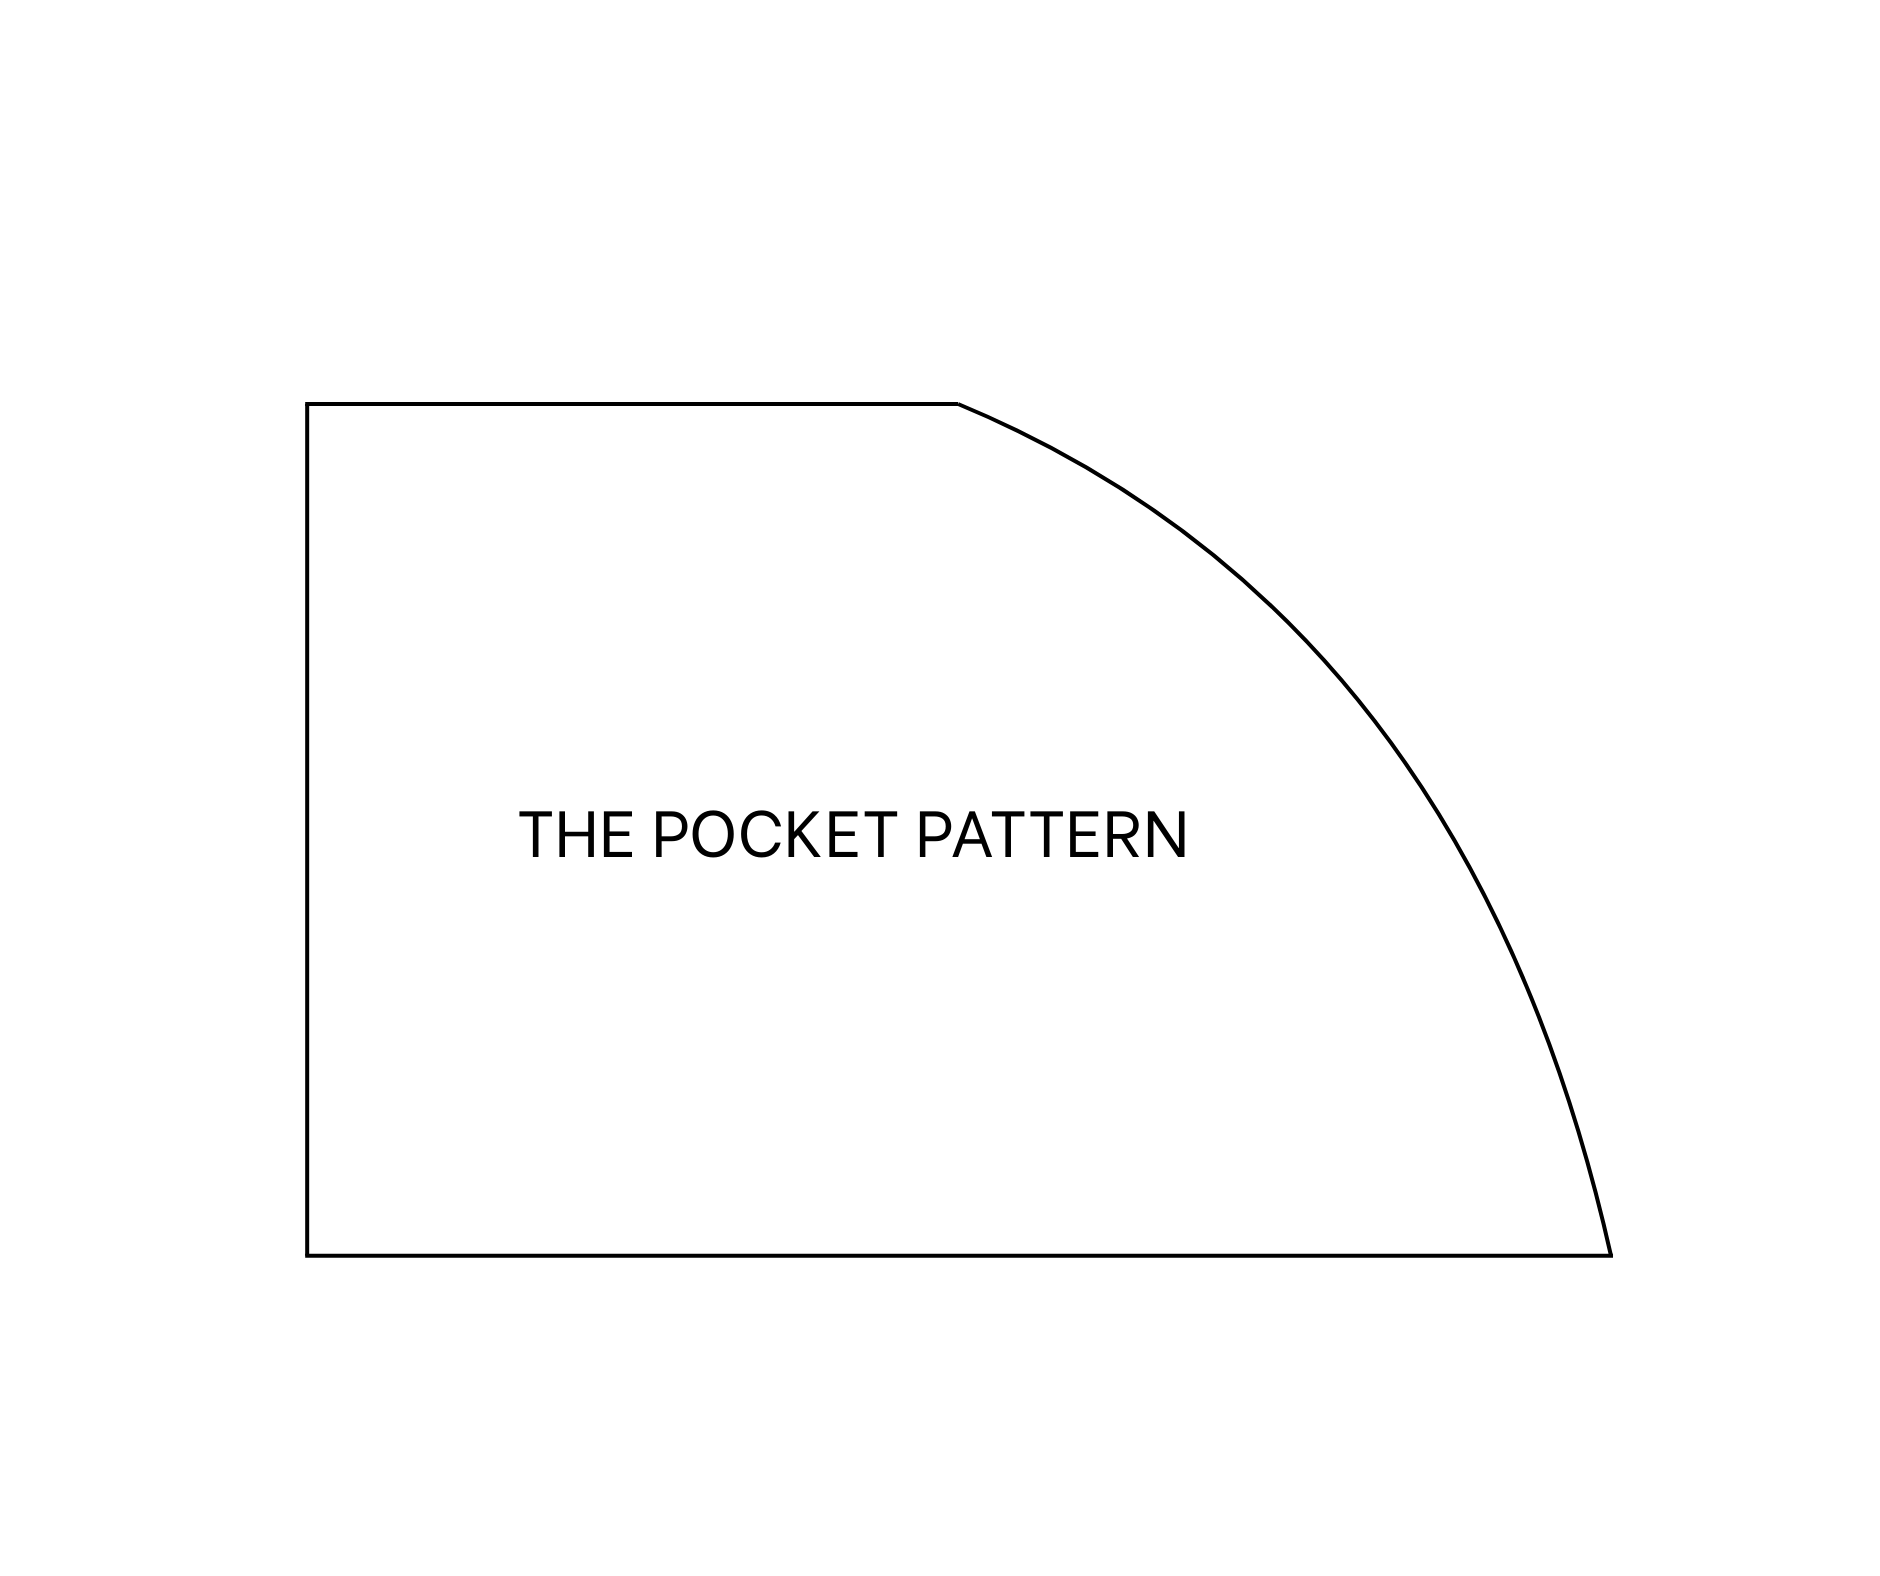
Then draw a curved line to the end of the other length line.
Making three more pieces like this.
SEWING THE SKIRT PANTS
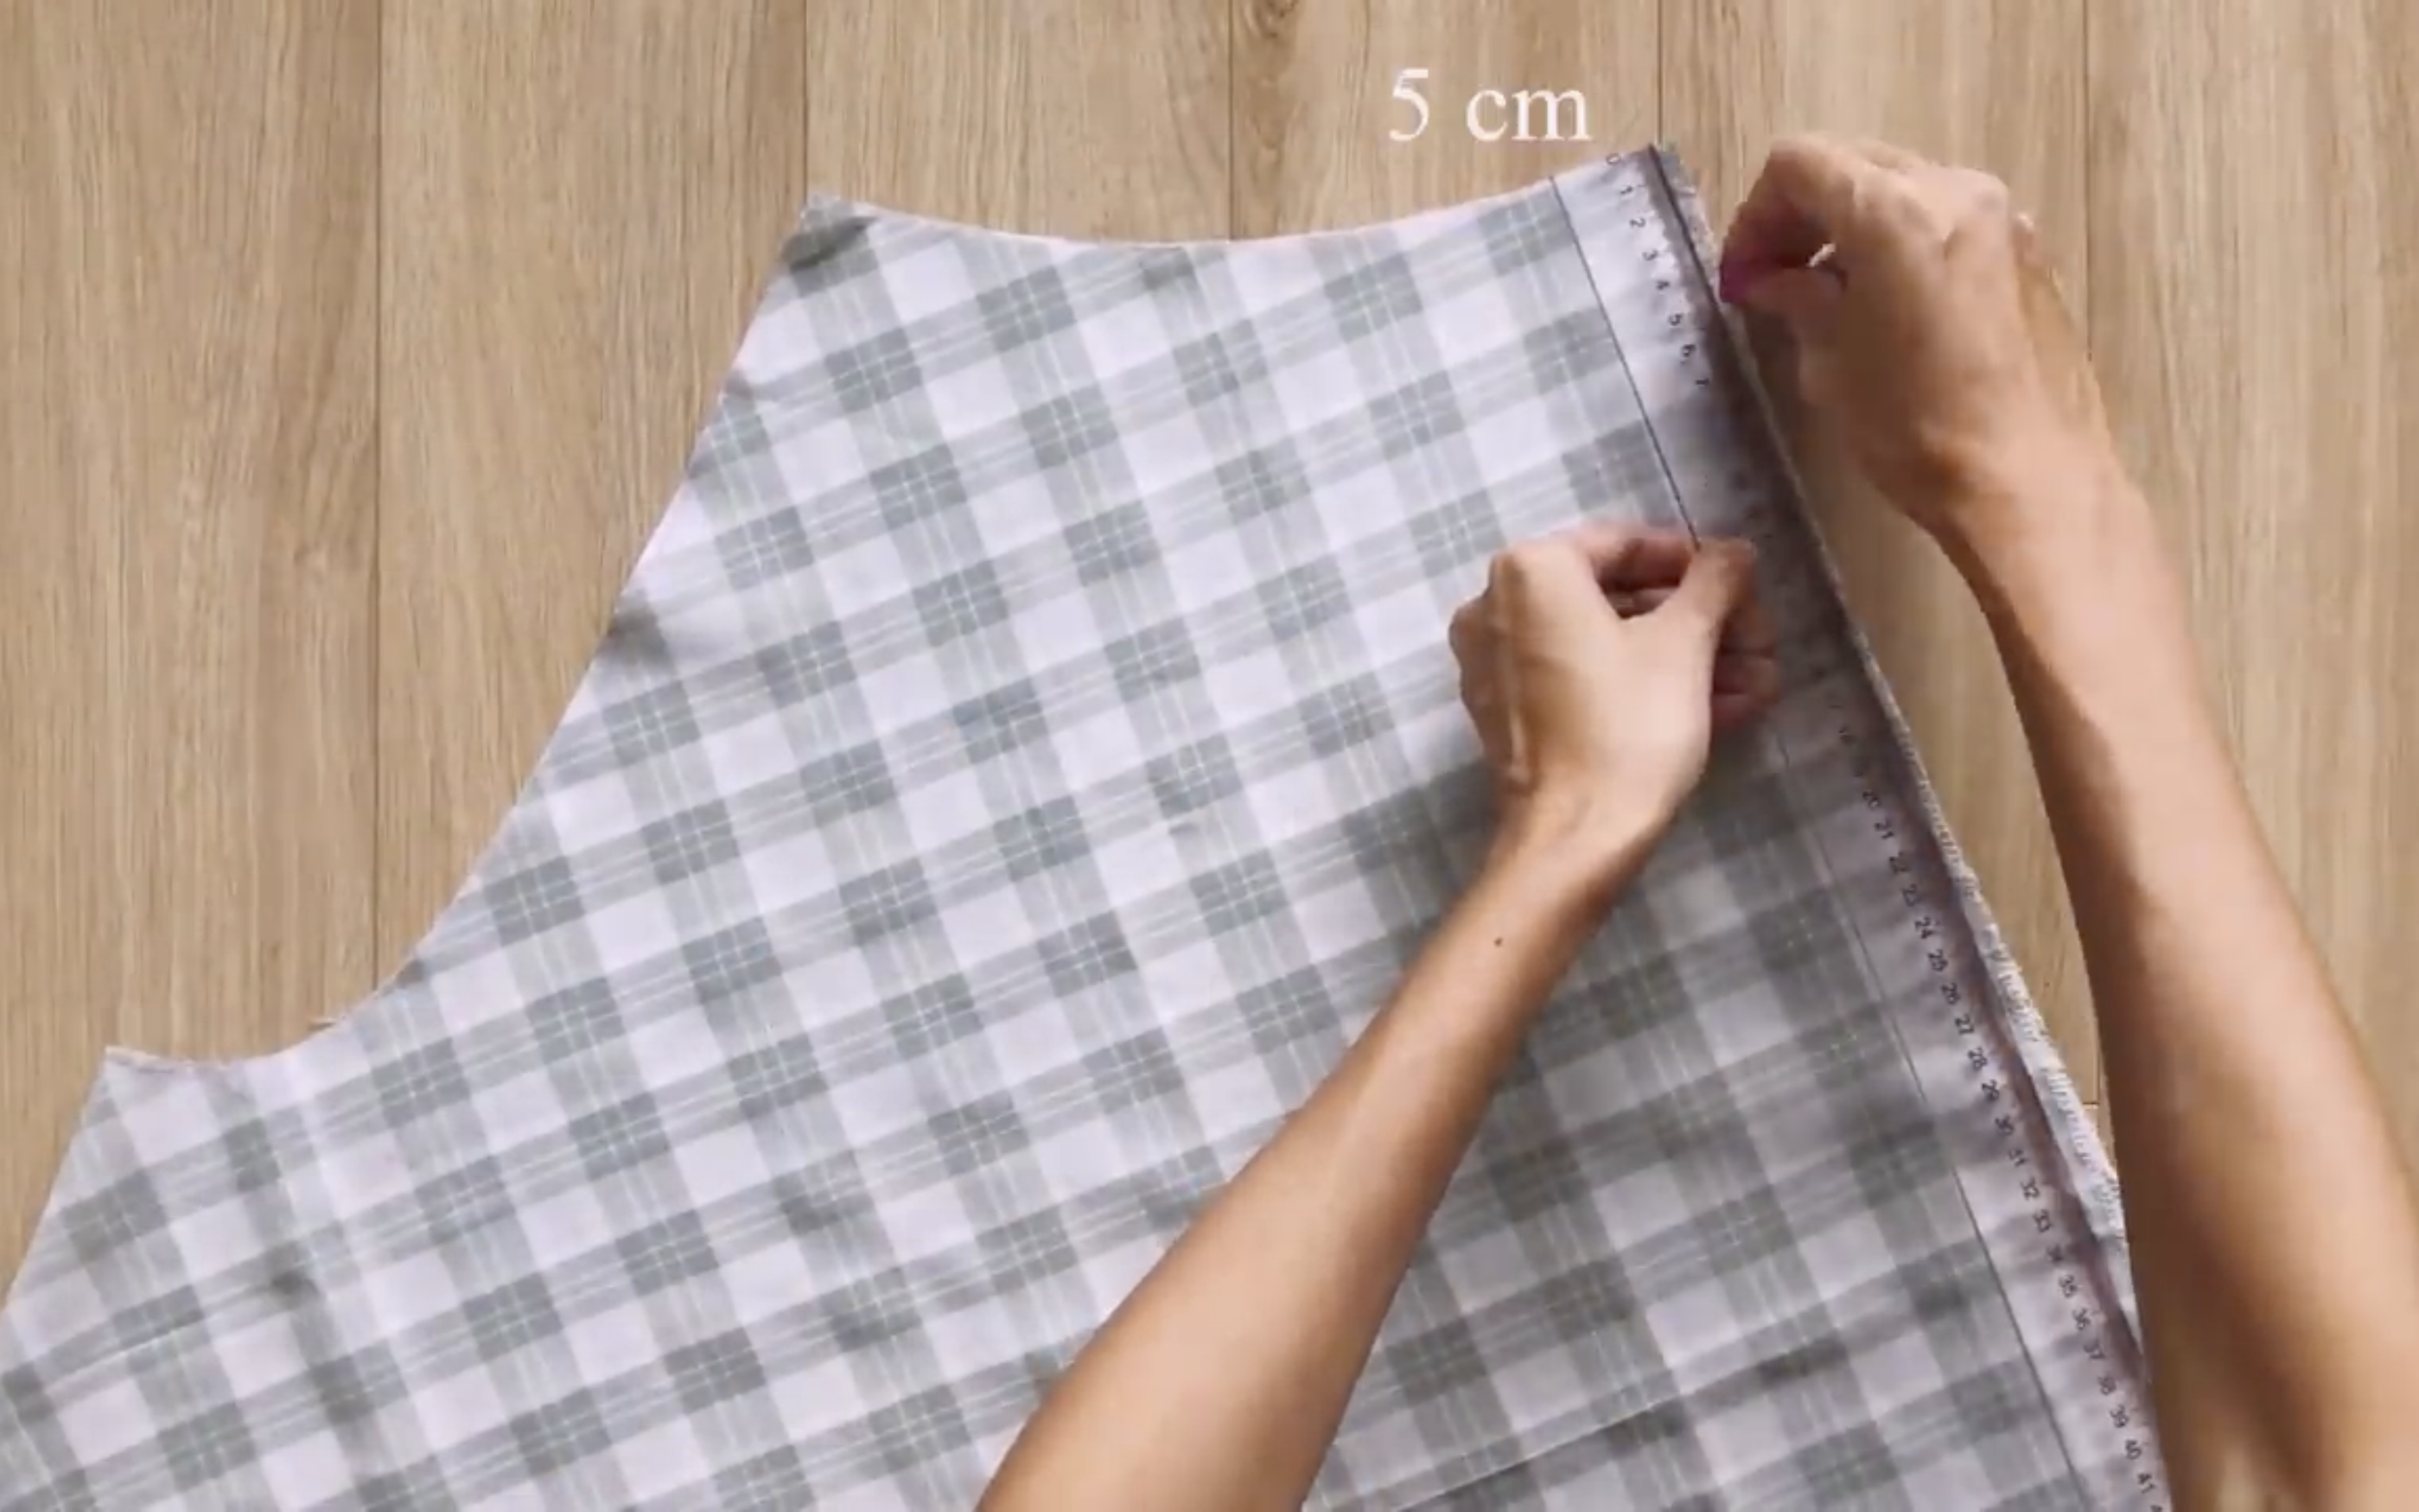
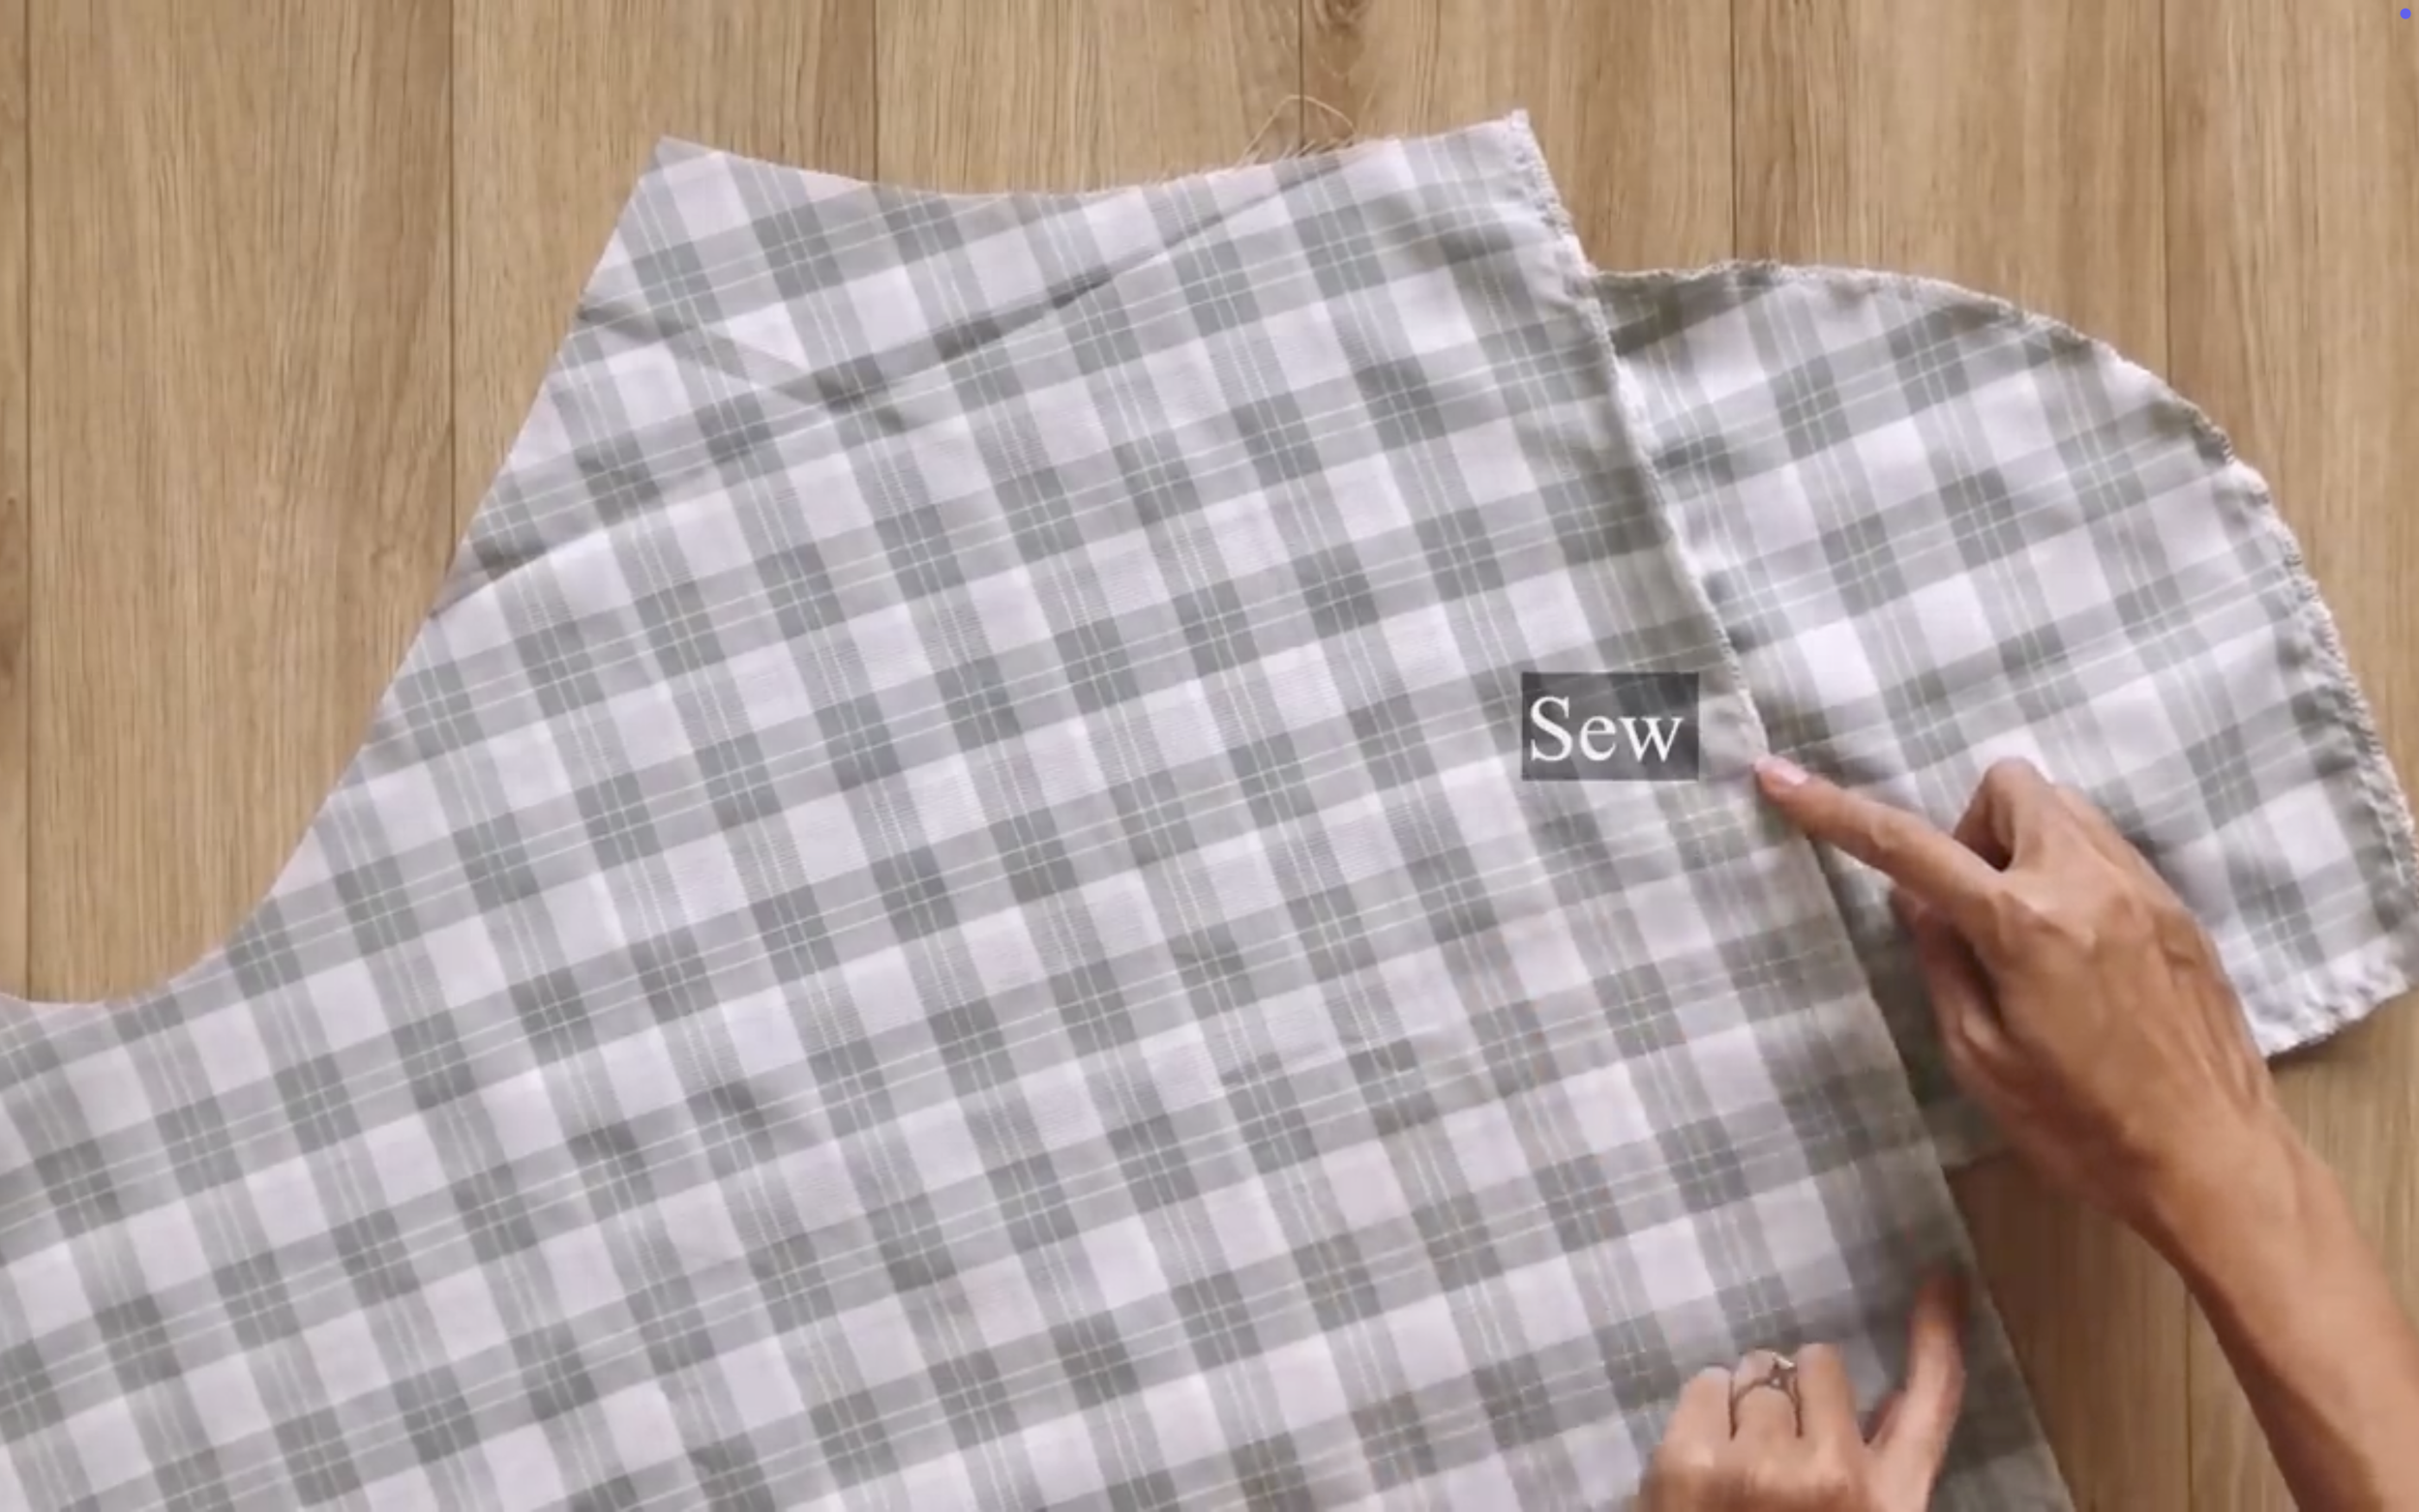
At one piece of the pants, on the sideline, mark down at 5 cm from the waistline. This will be the position for the pocket.
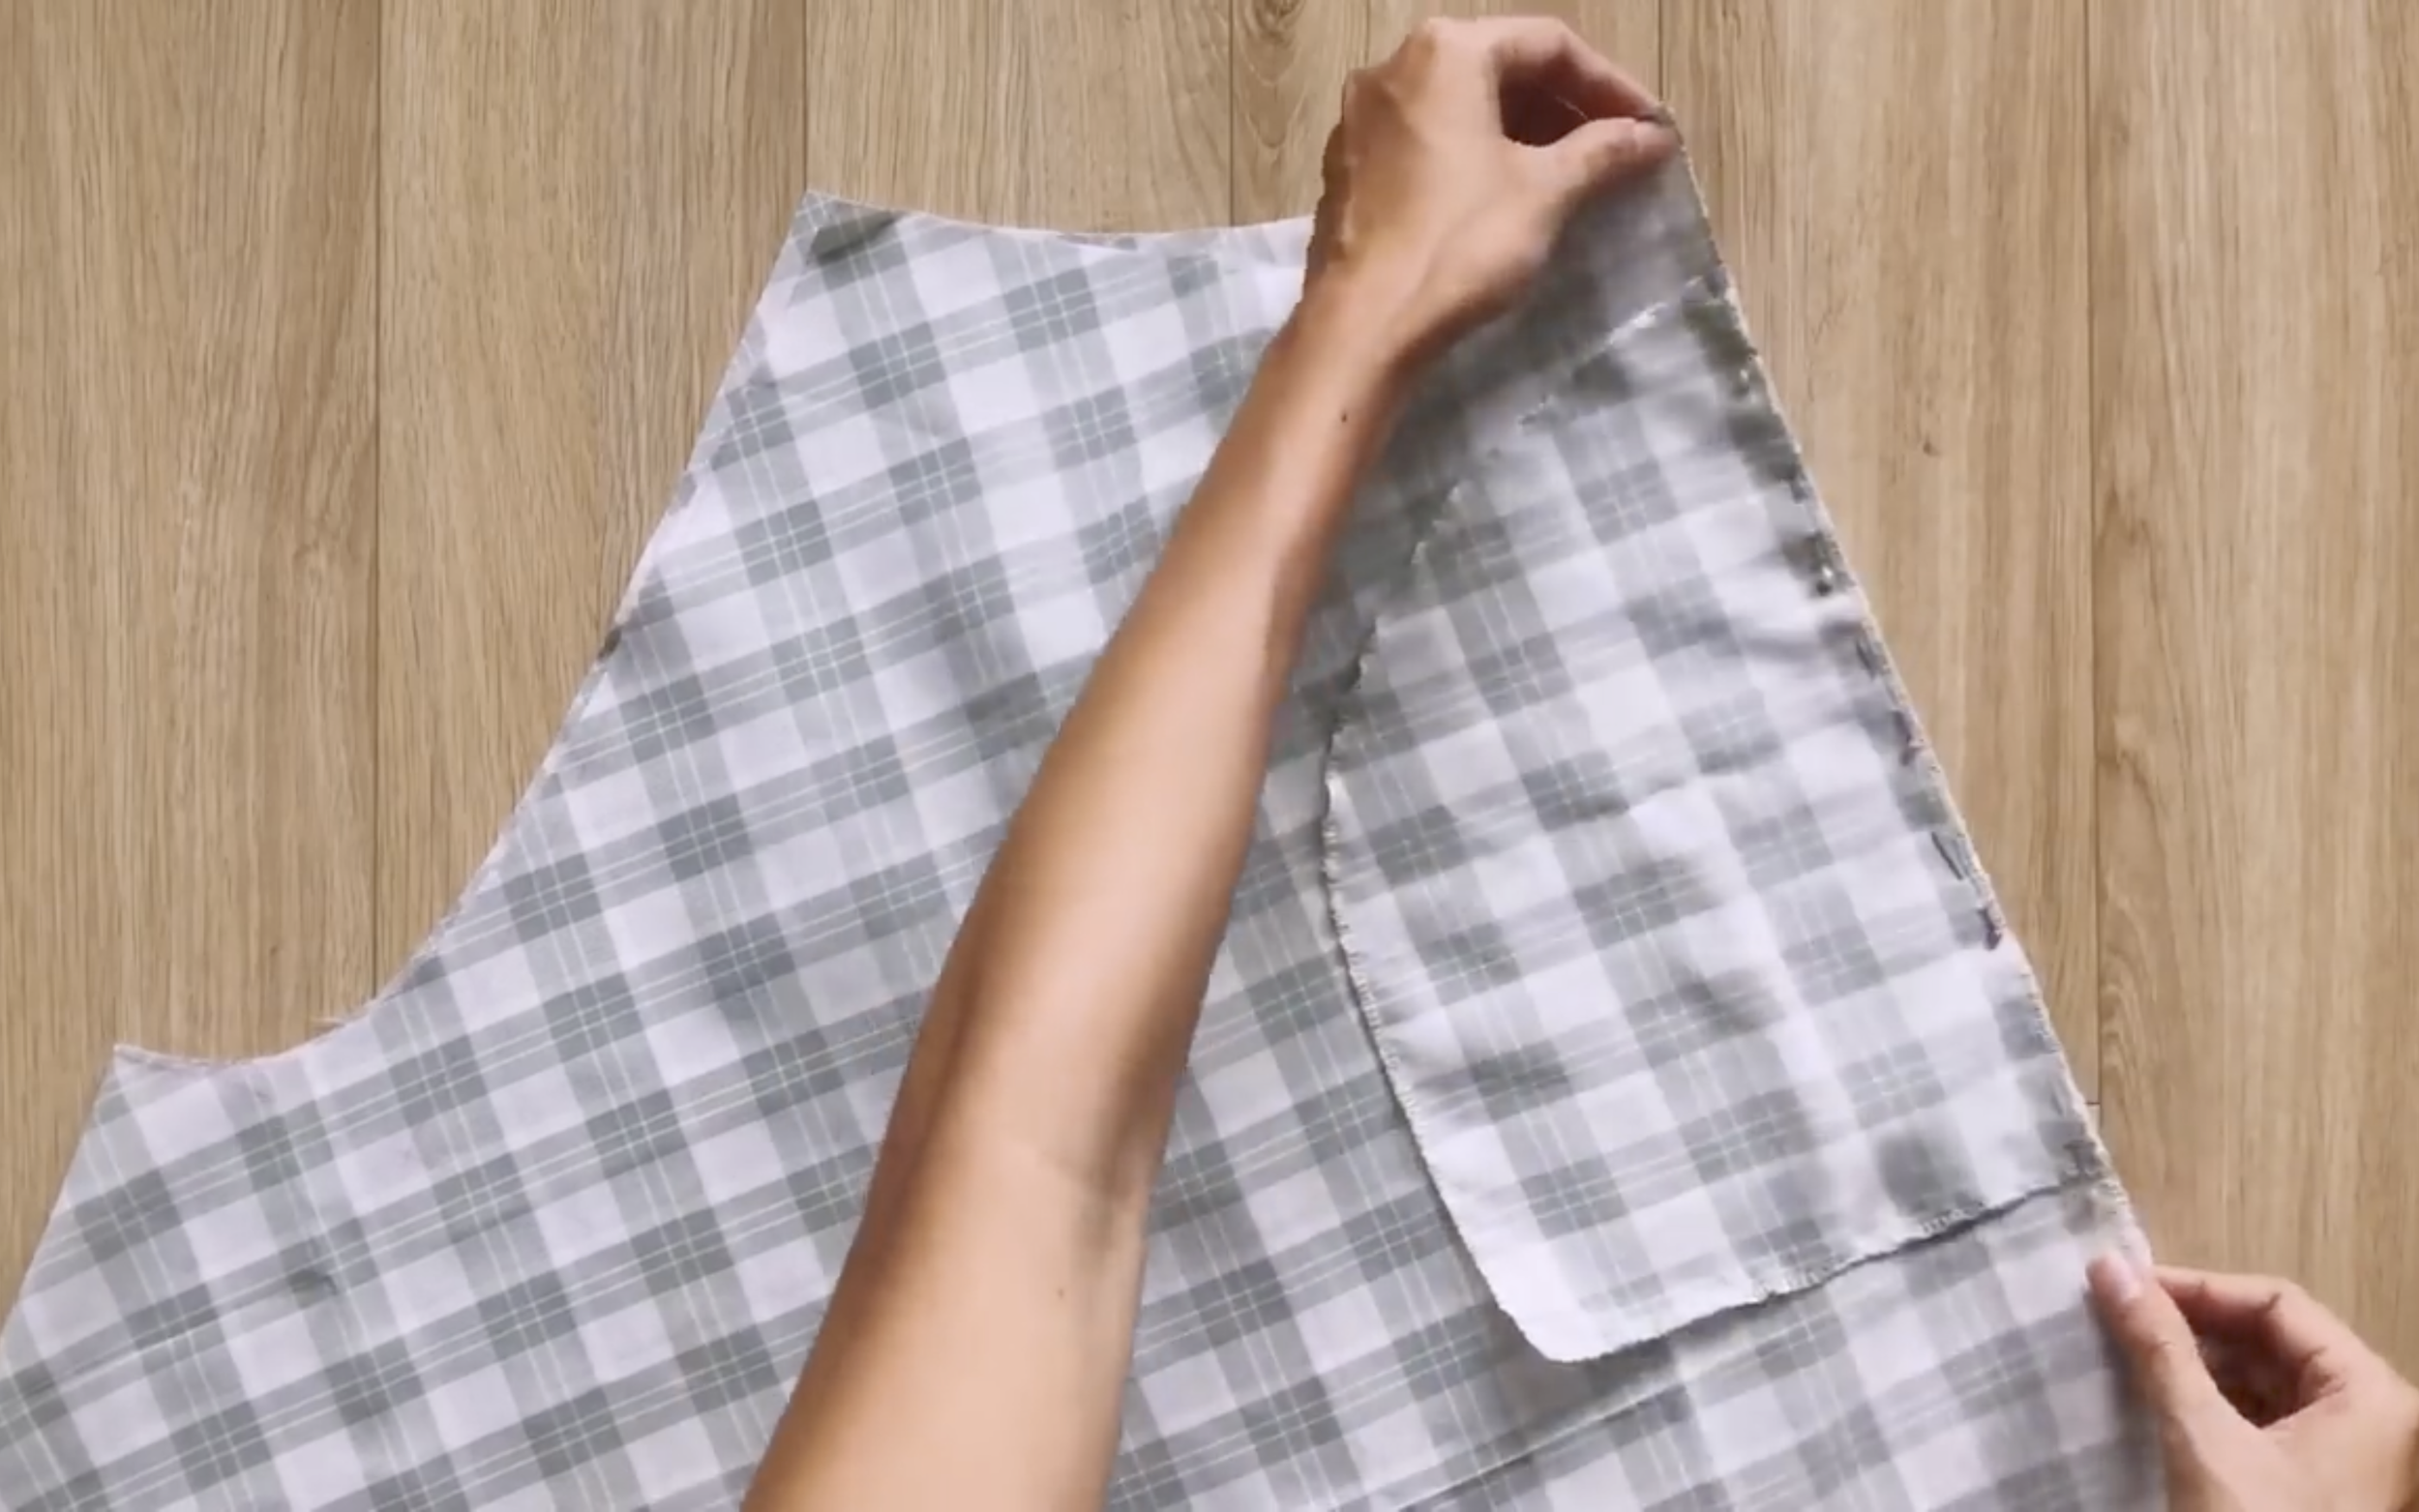
Then connect the pocket to the sideline from that mark.
Do the same for the other sideline.
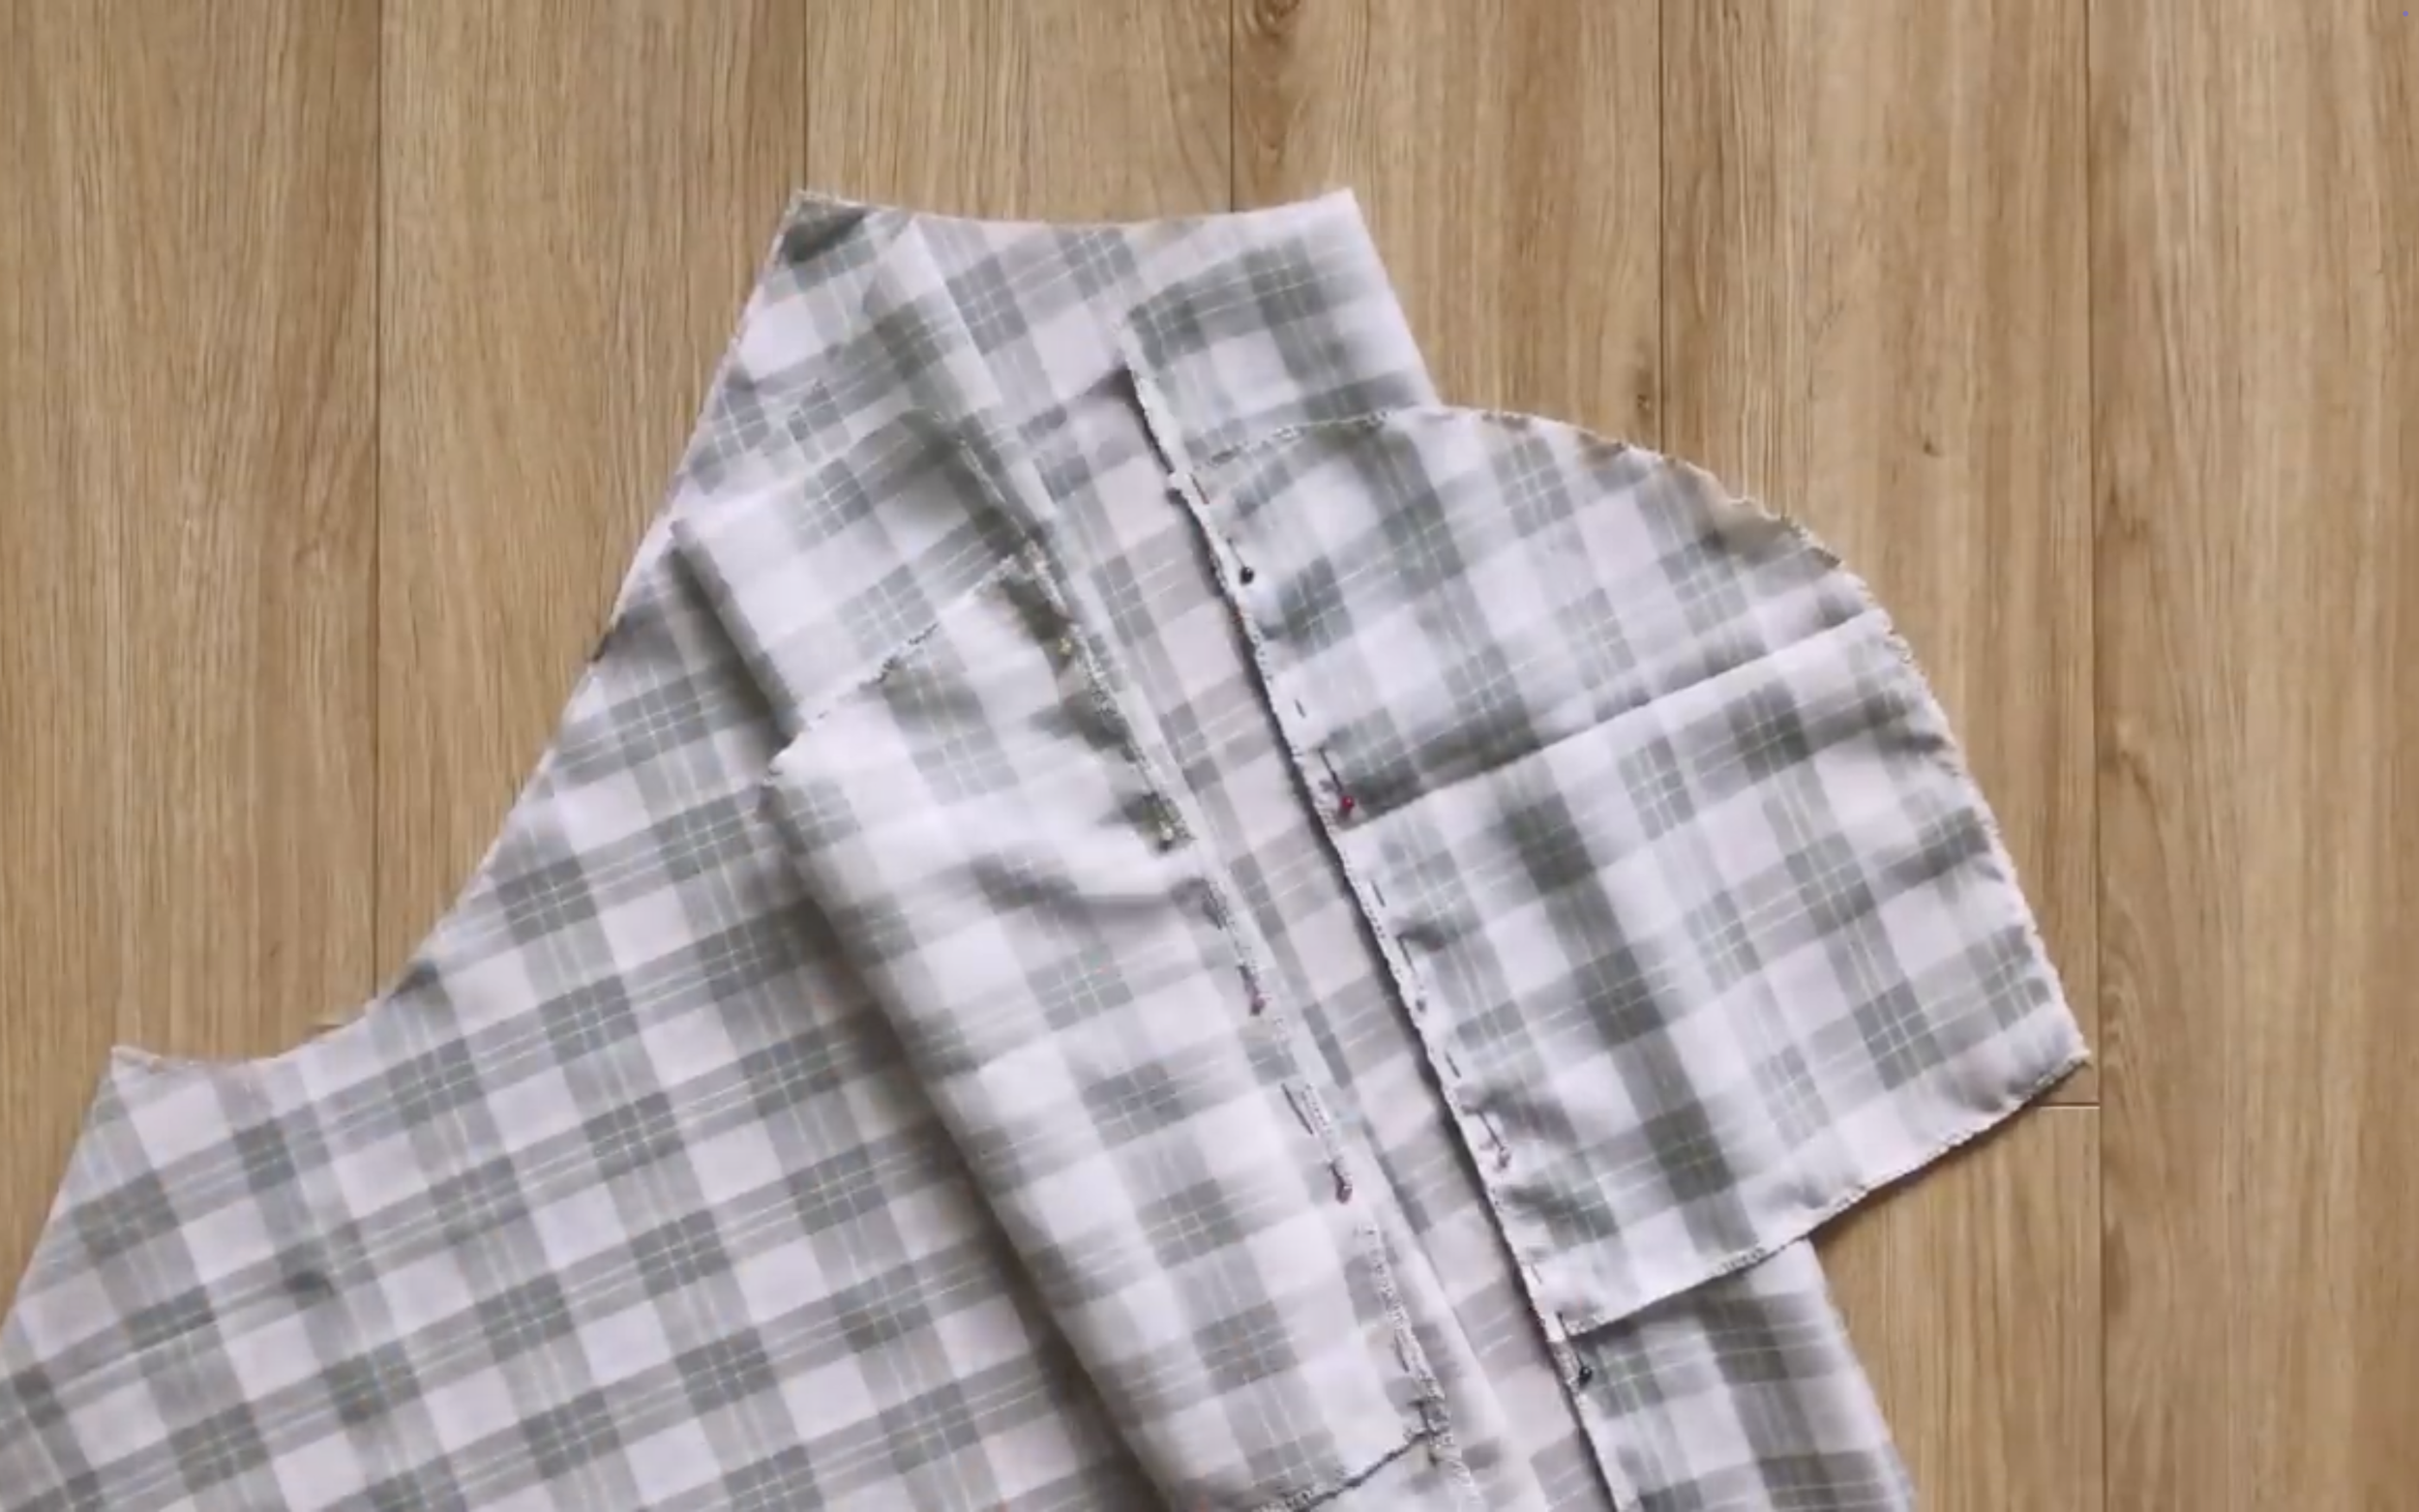
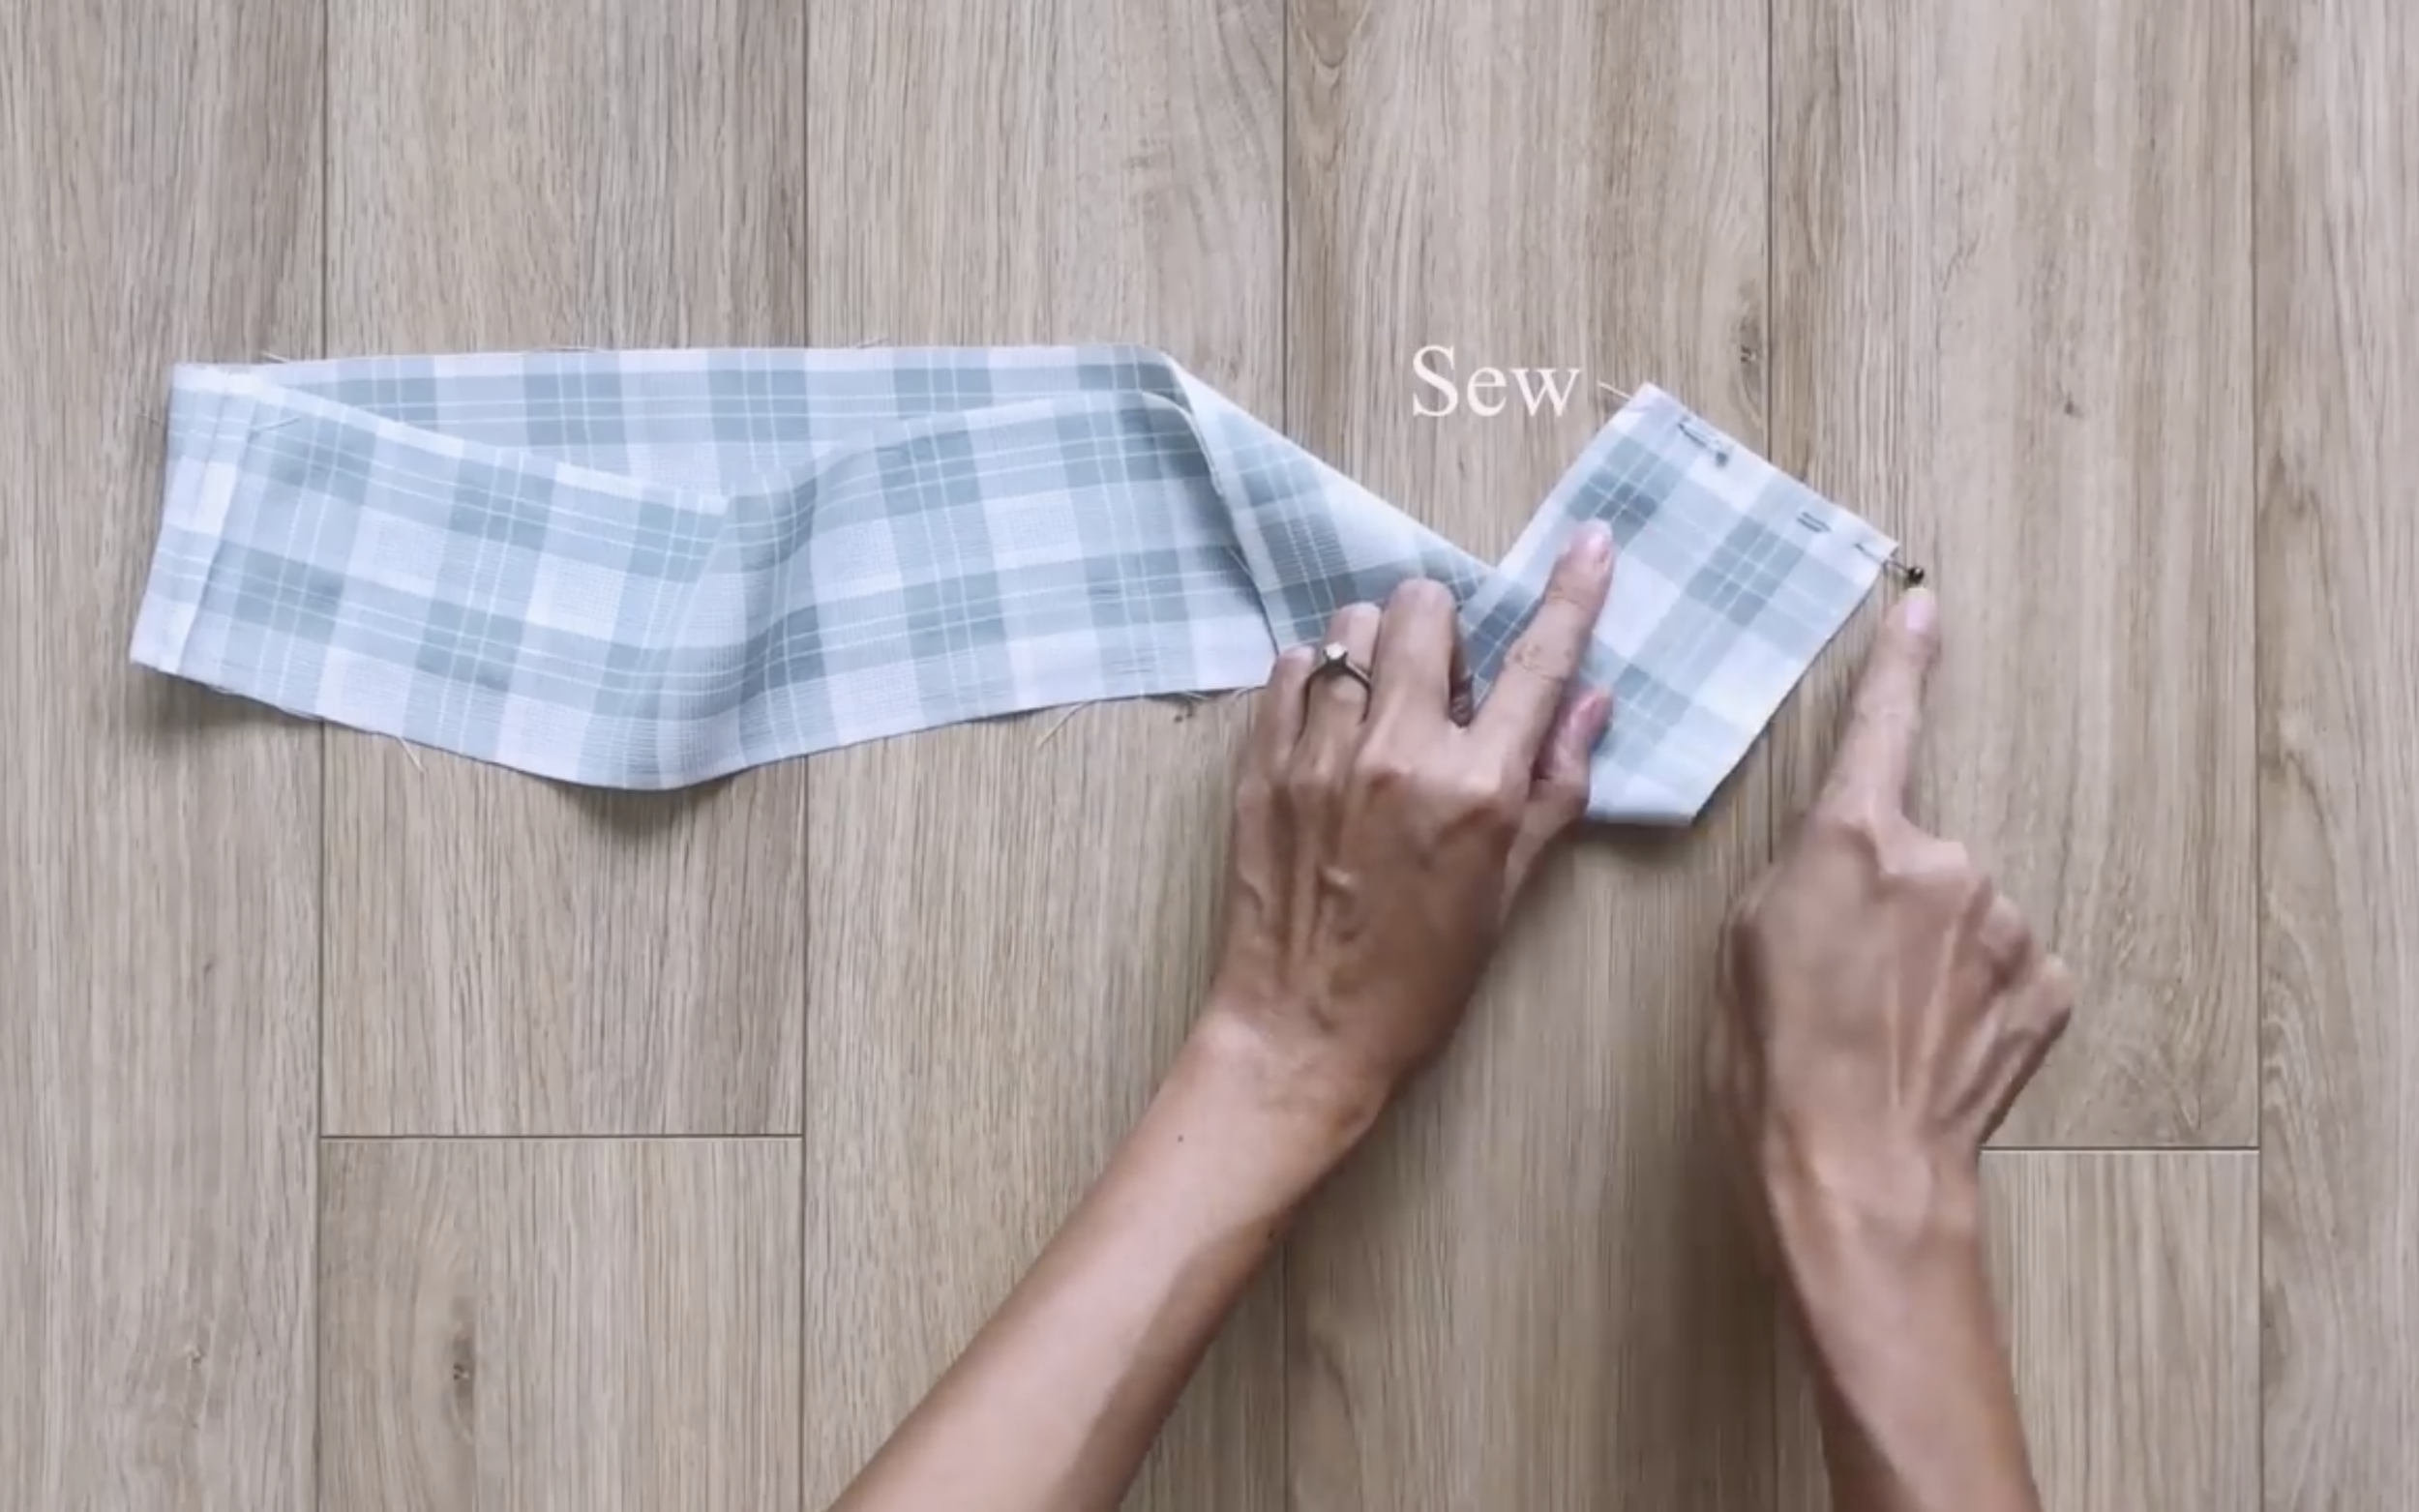
After sewing, connect two side lines and two pieces of the pocket together.
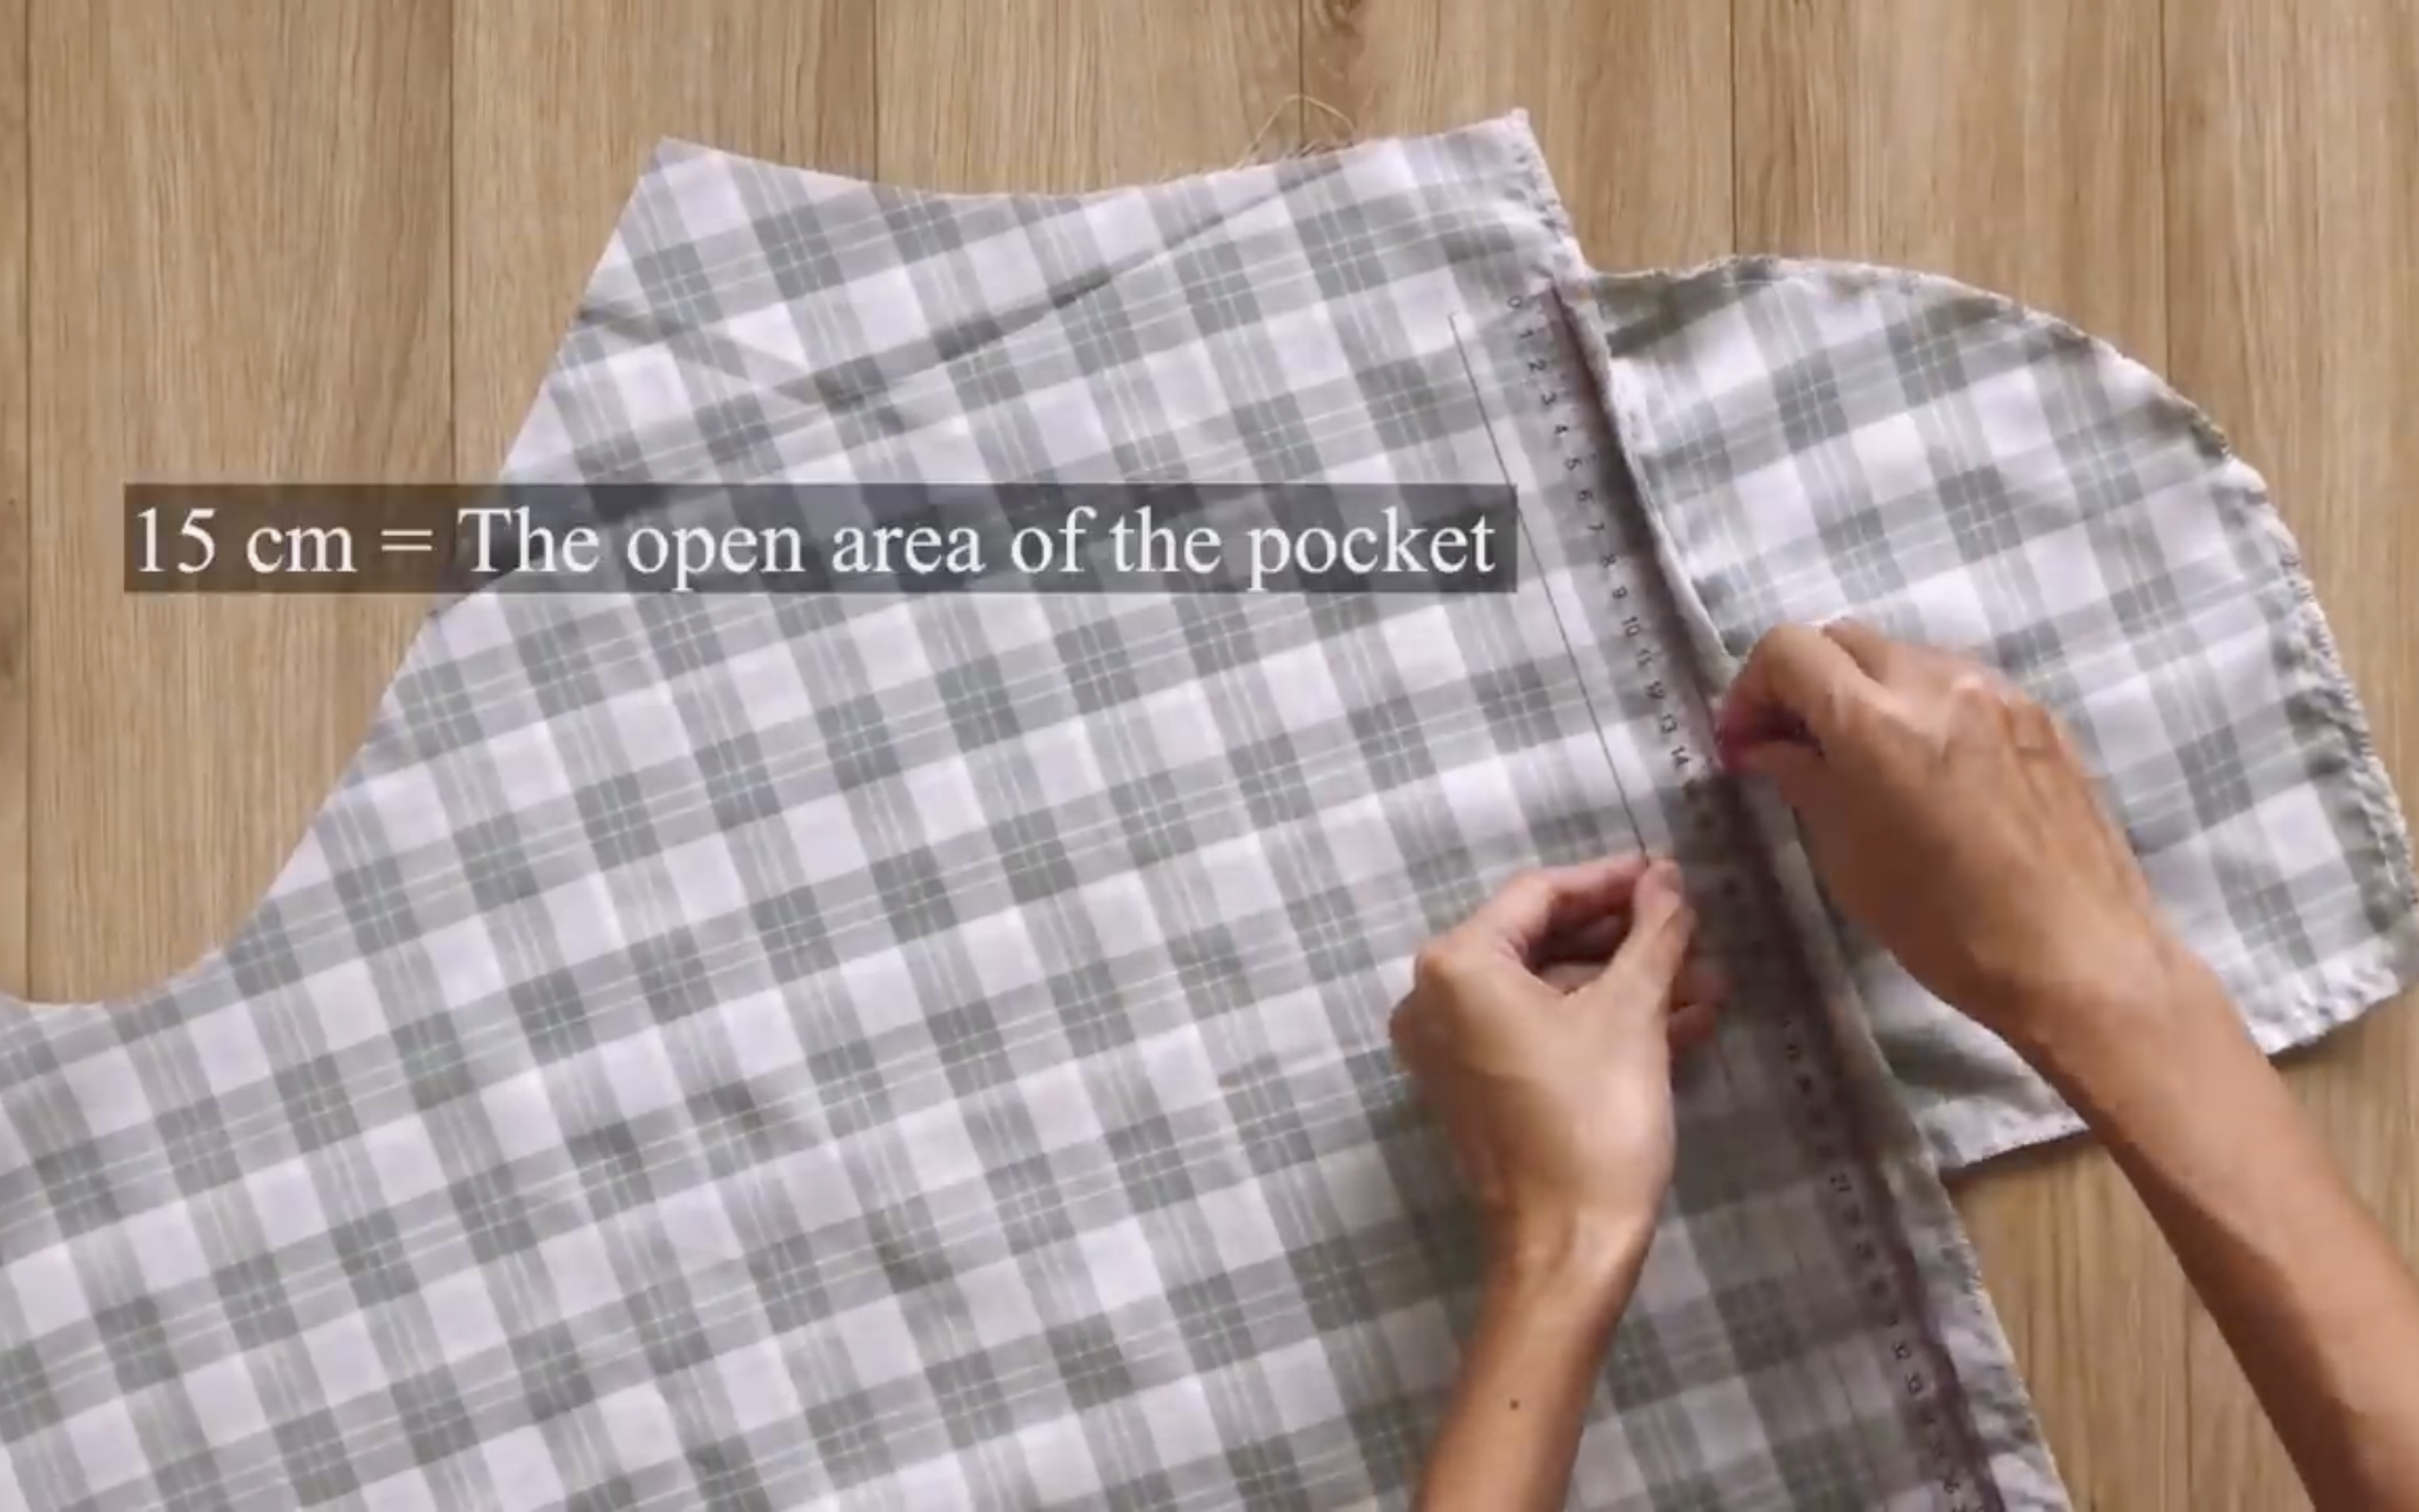
From the top of the pocket, mark down at 15 cm, which is the width of the open pocket where a hand can go in.
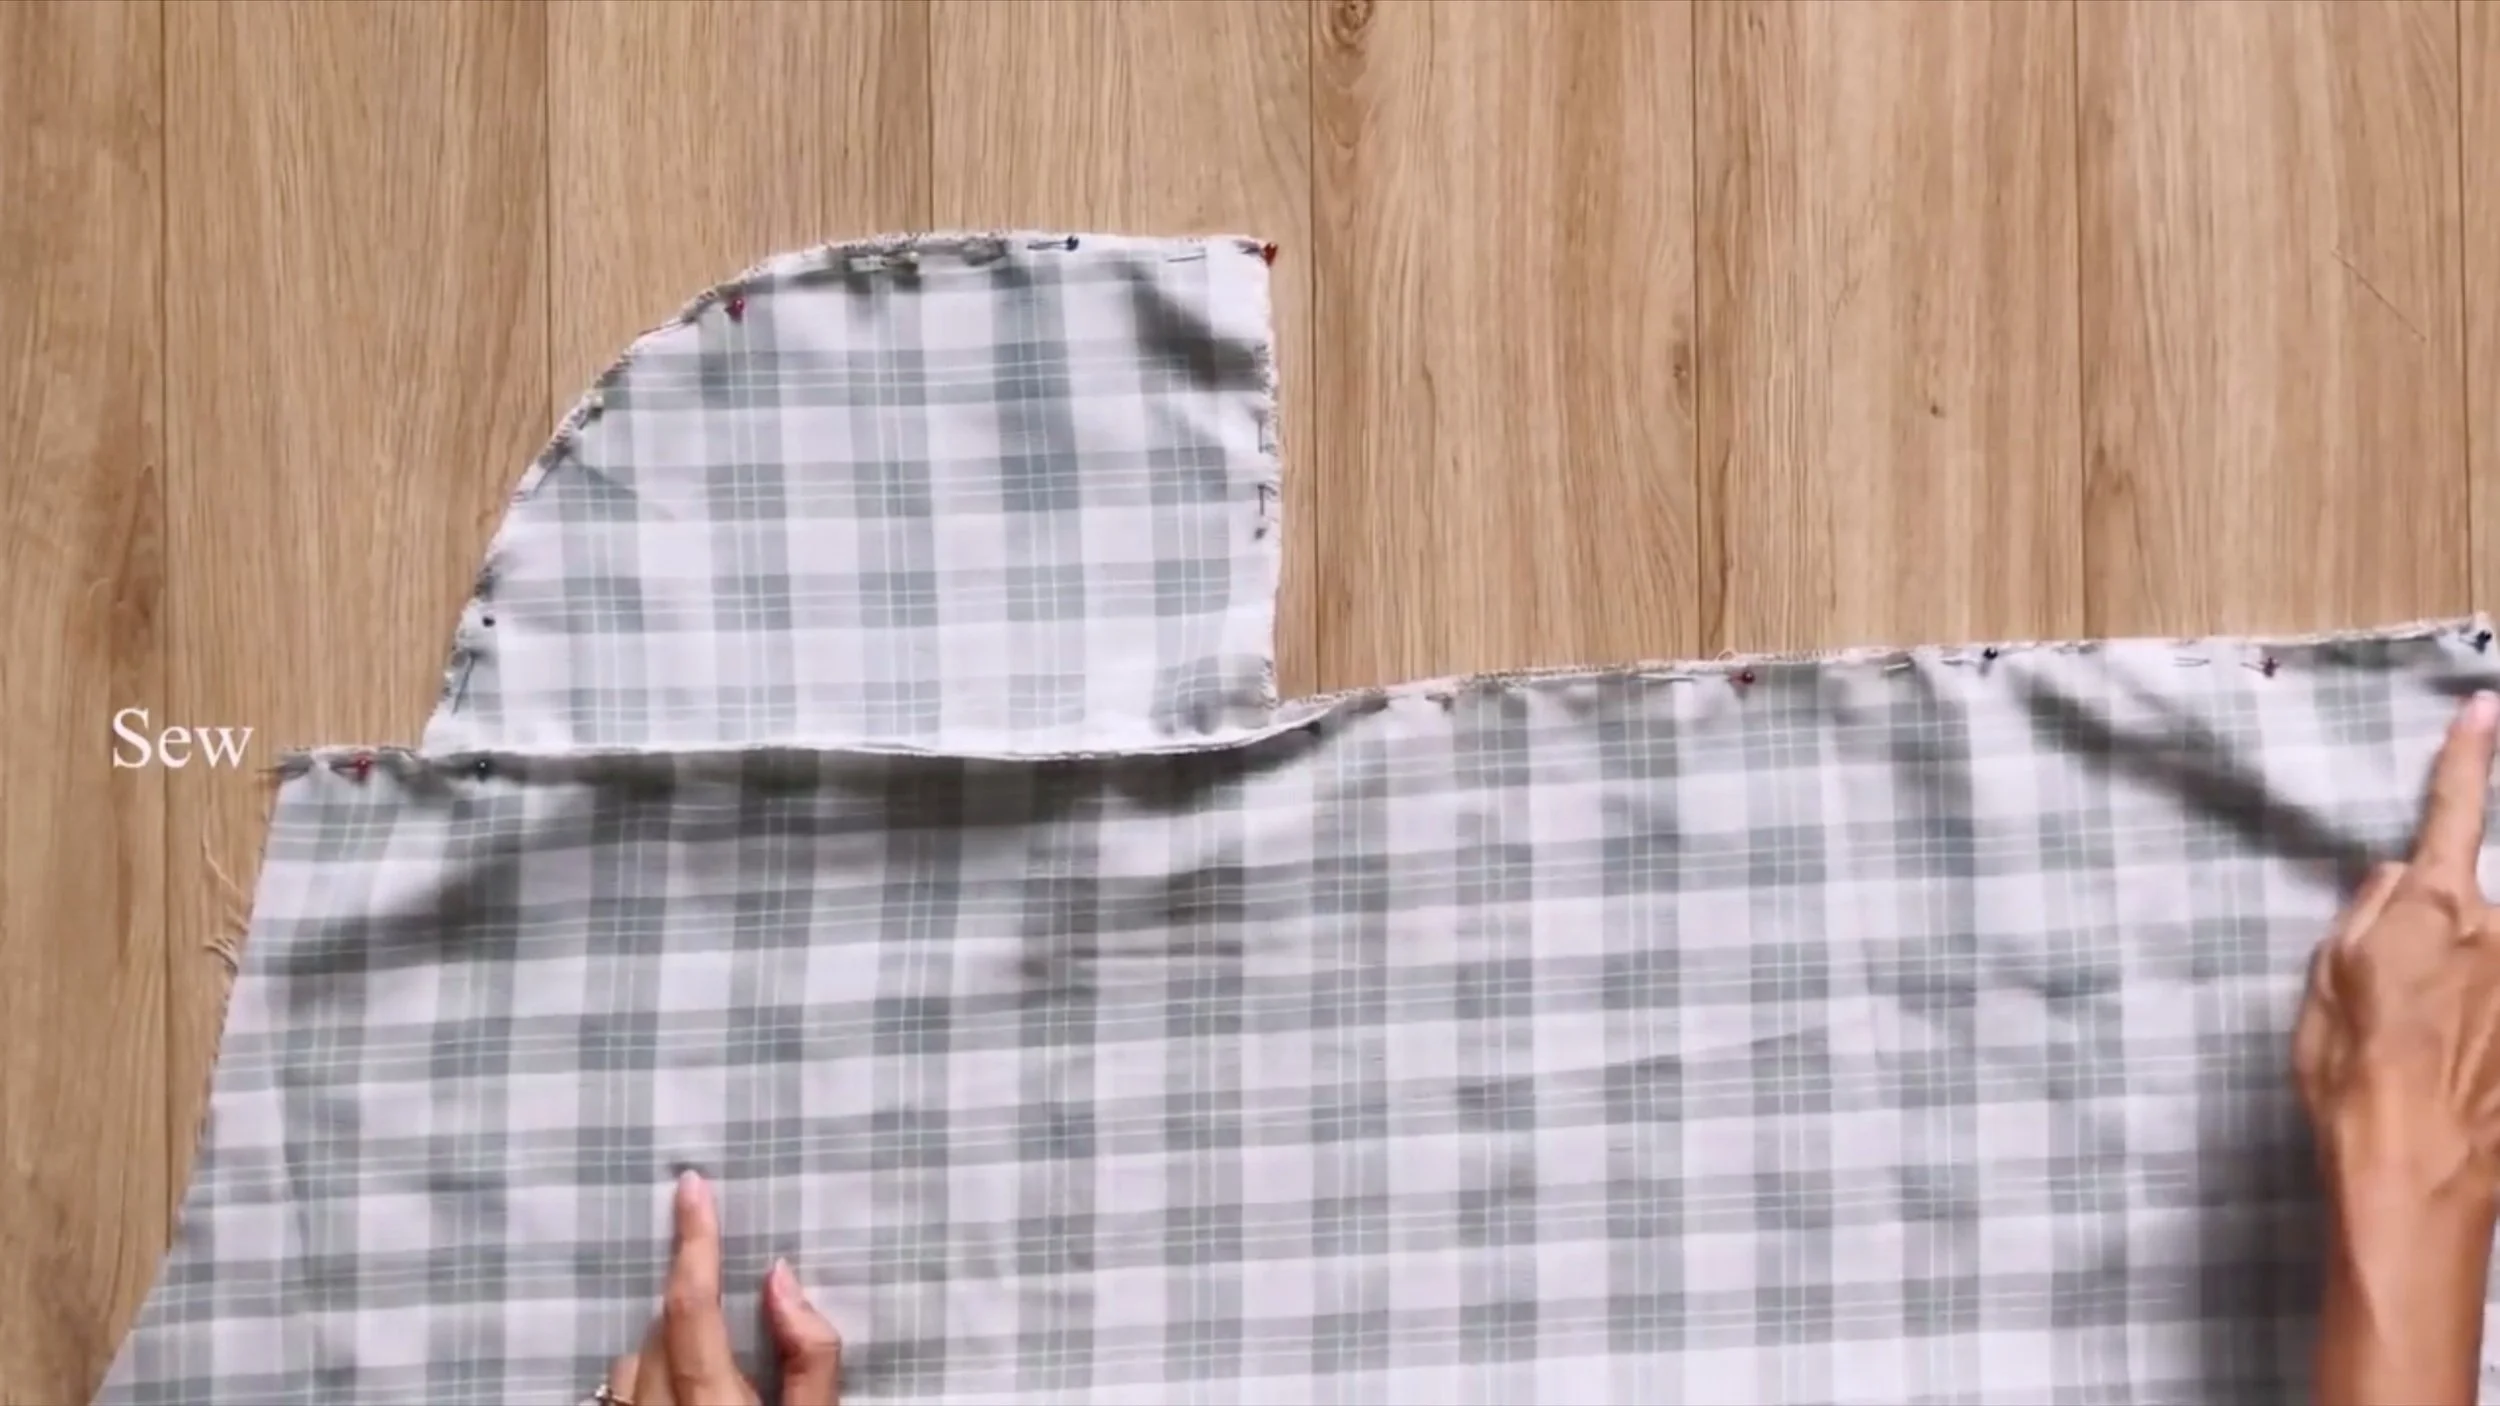
Then sew from this mark to the end of the pocket.
Do the same for the other pieces of the pants.
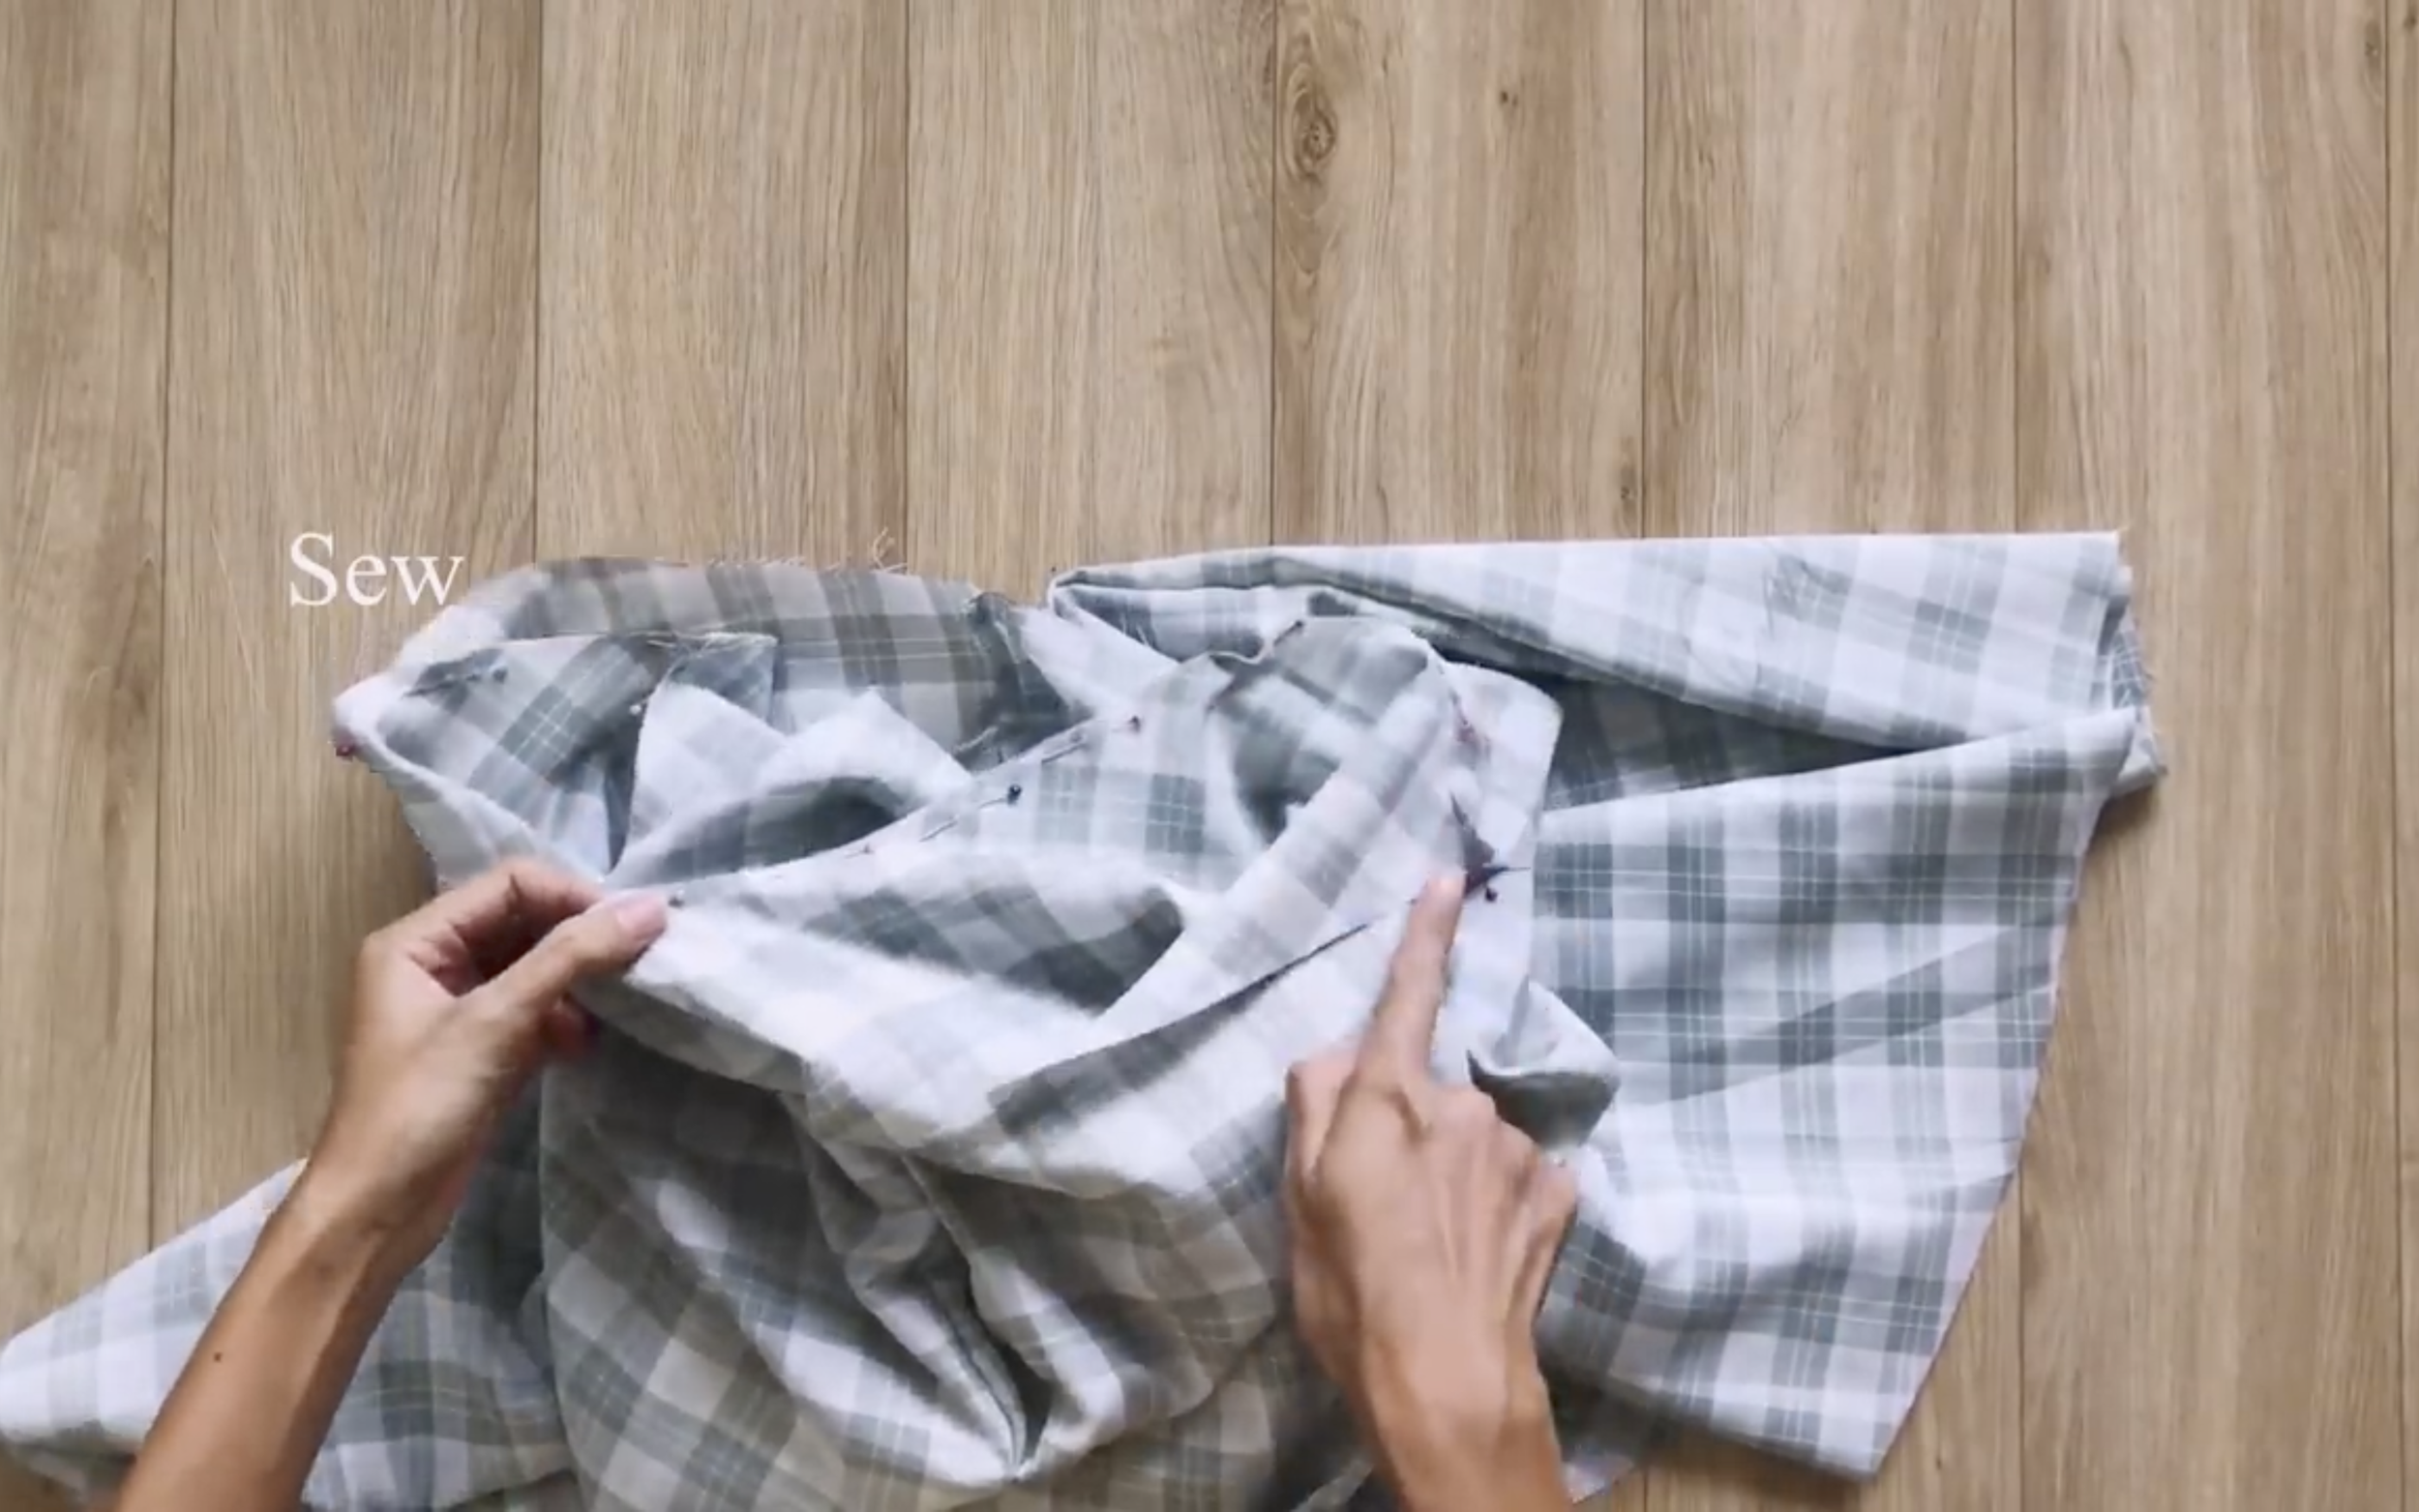
After that, connect two pieces of the pants together at the crotch line then sew.
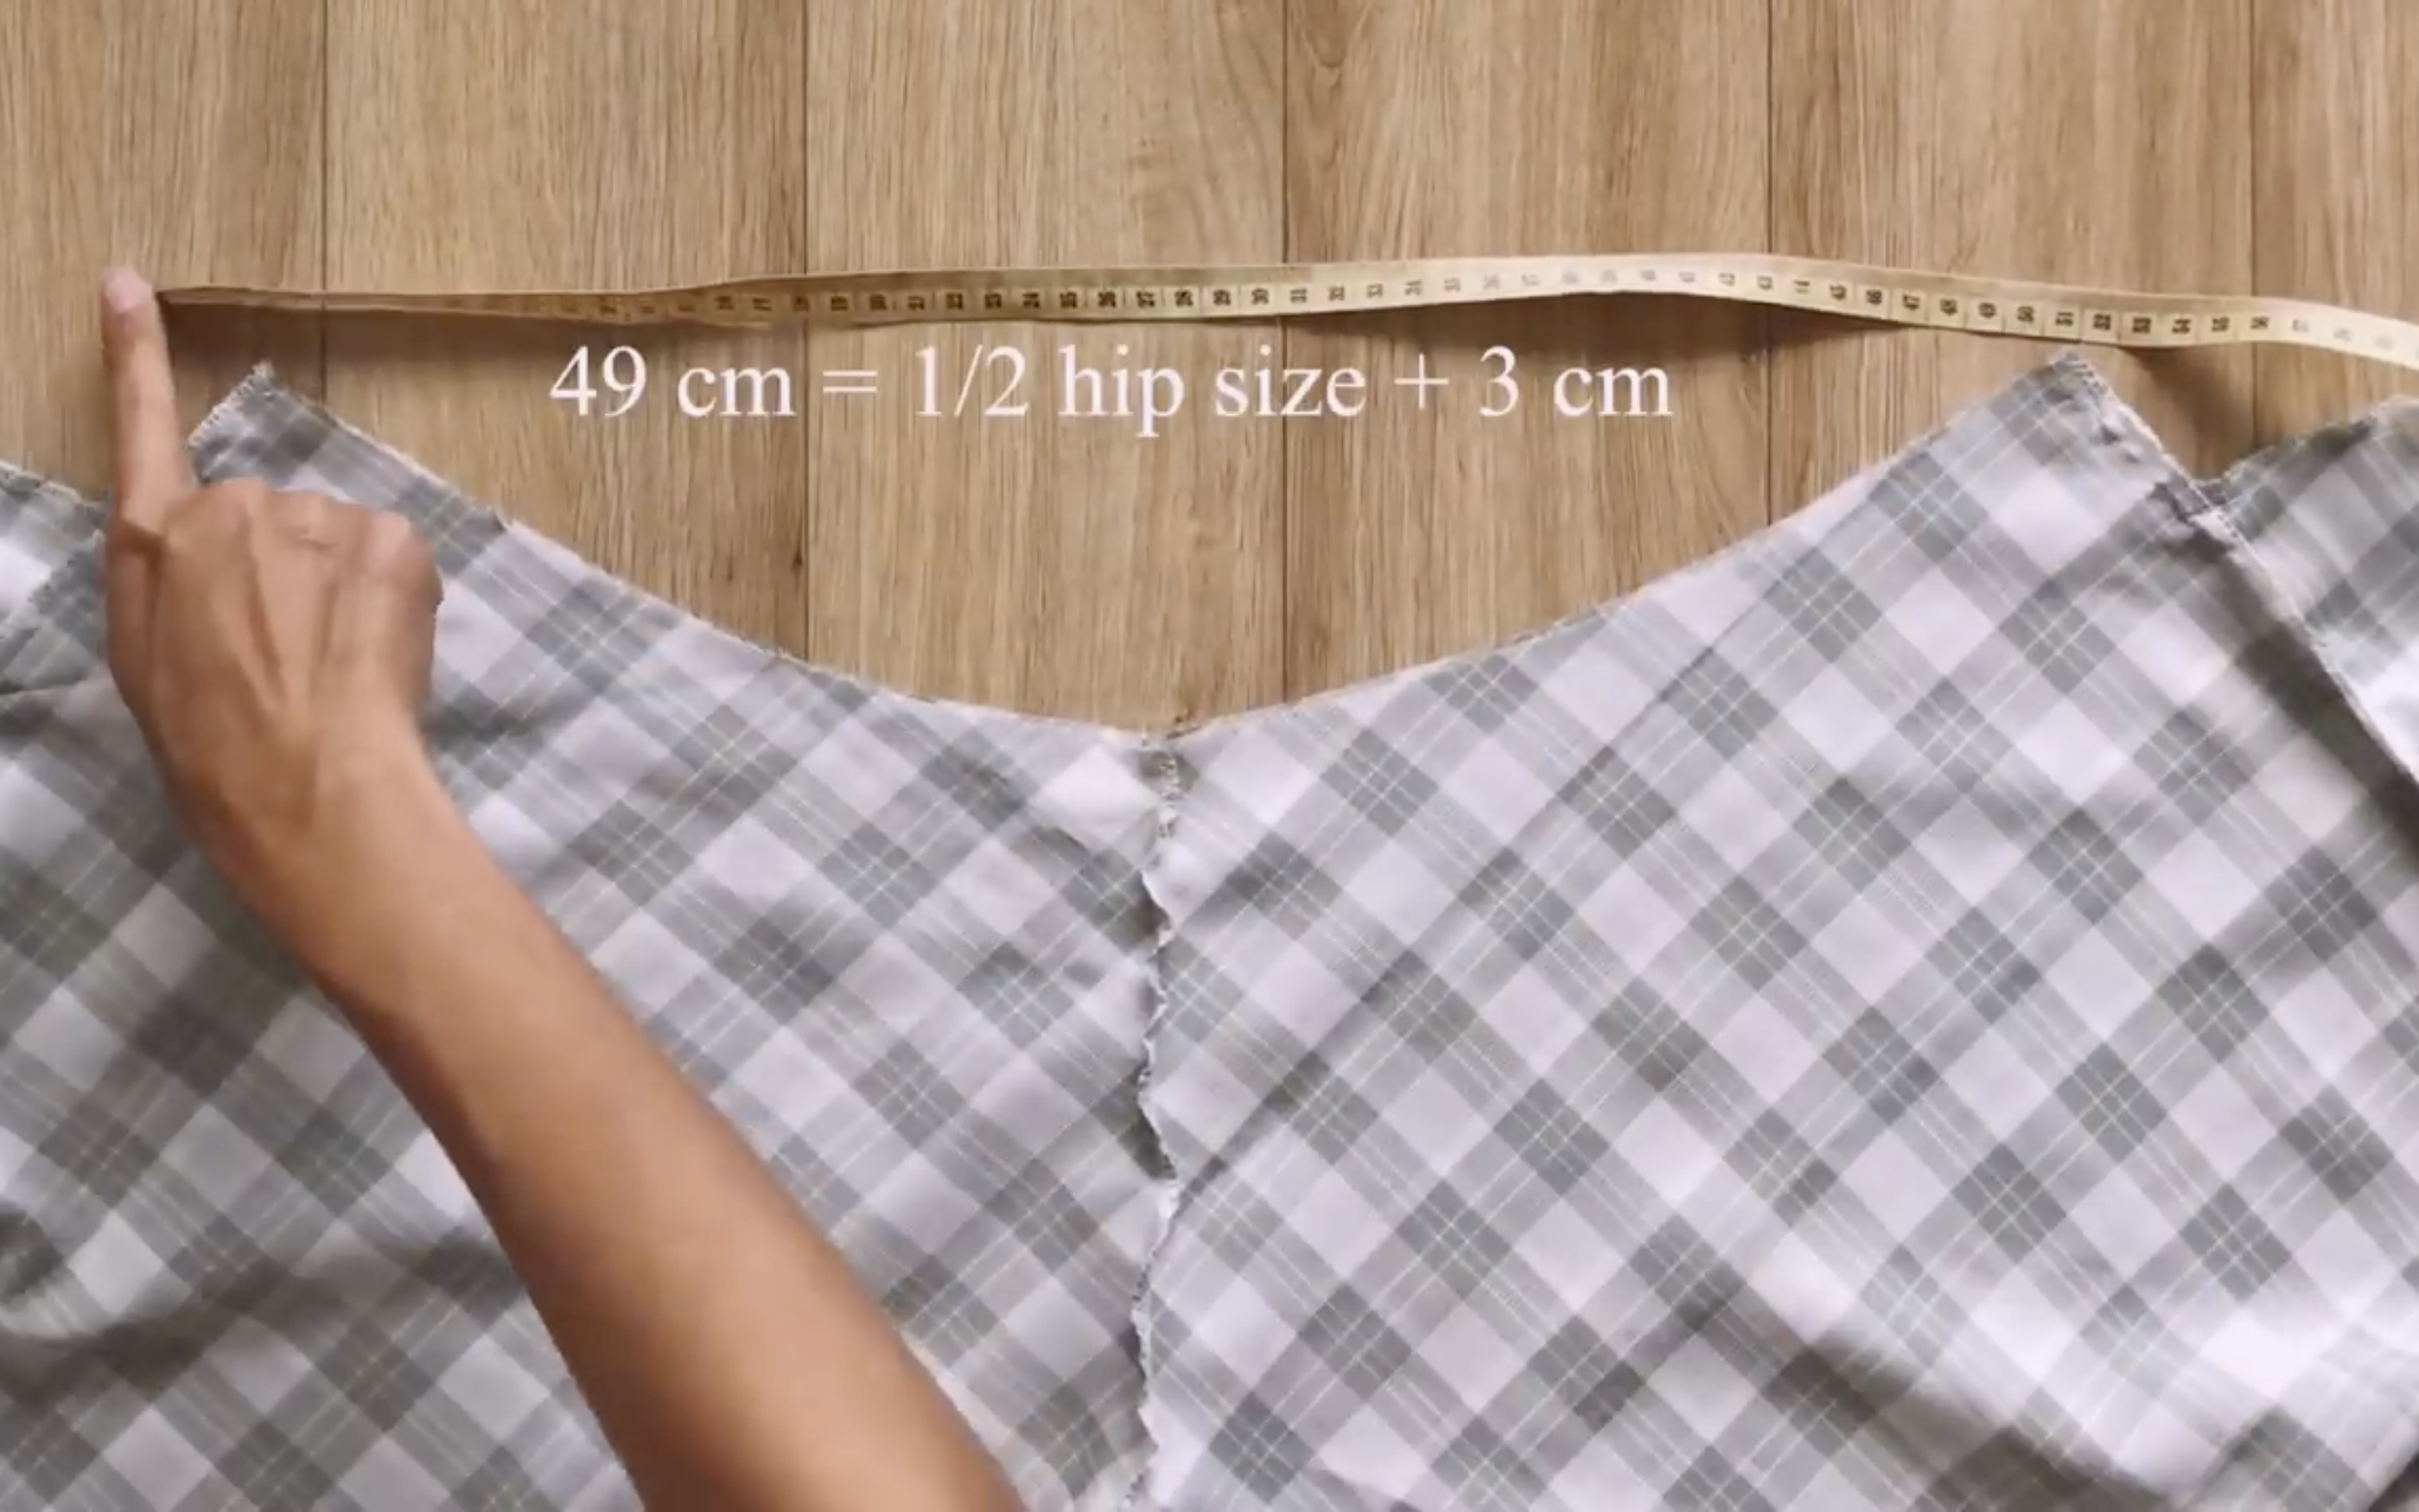
Measure the width of the waistline after that.
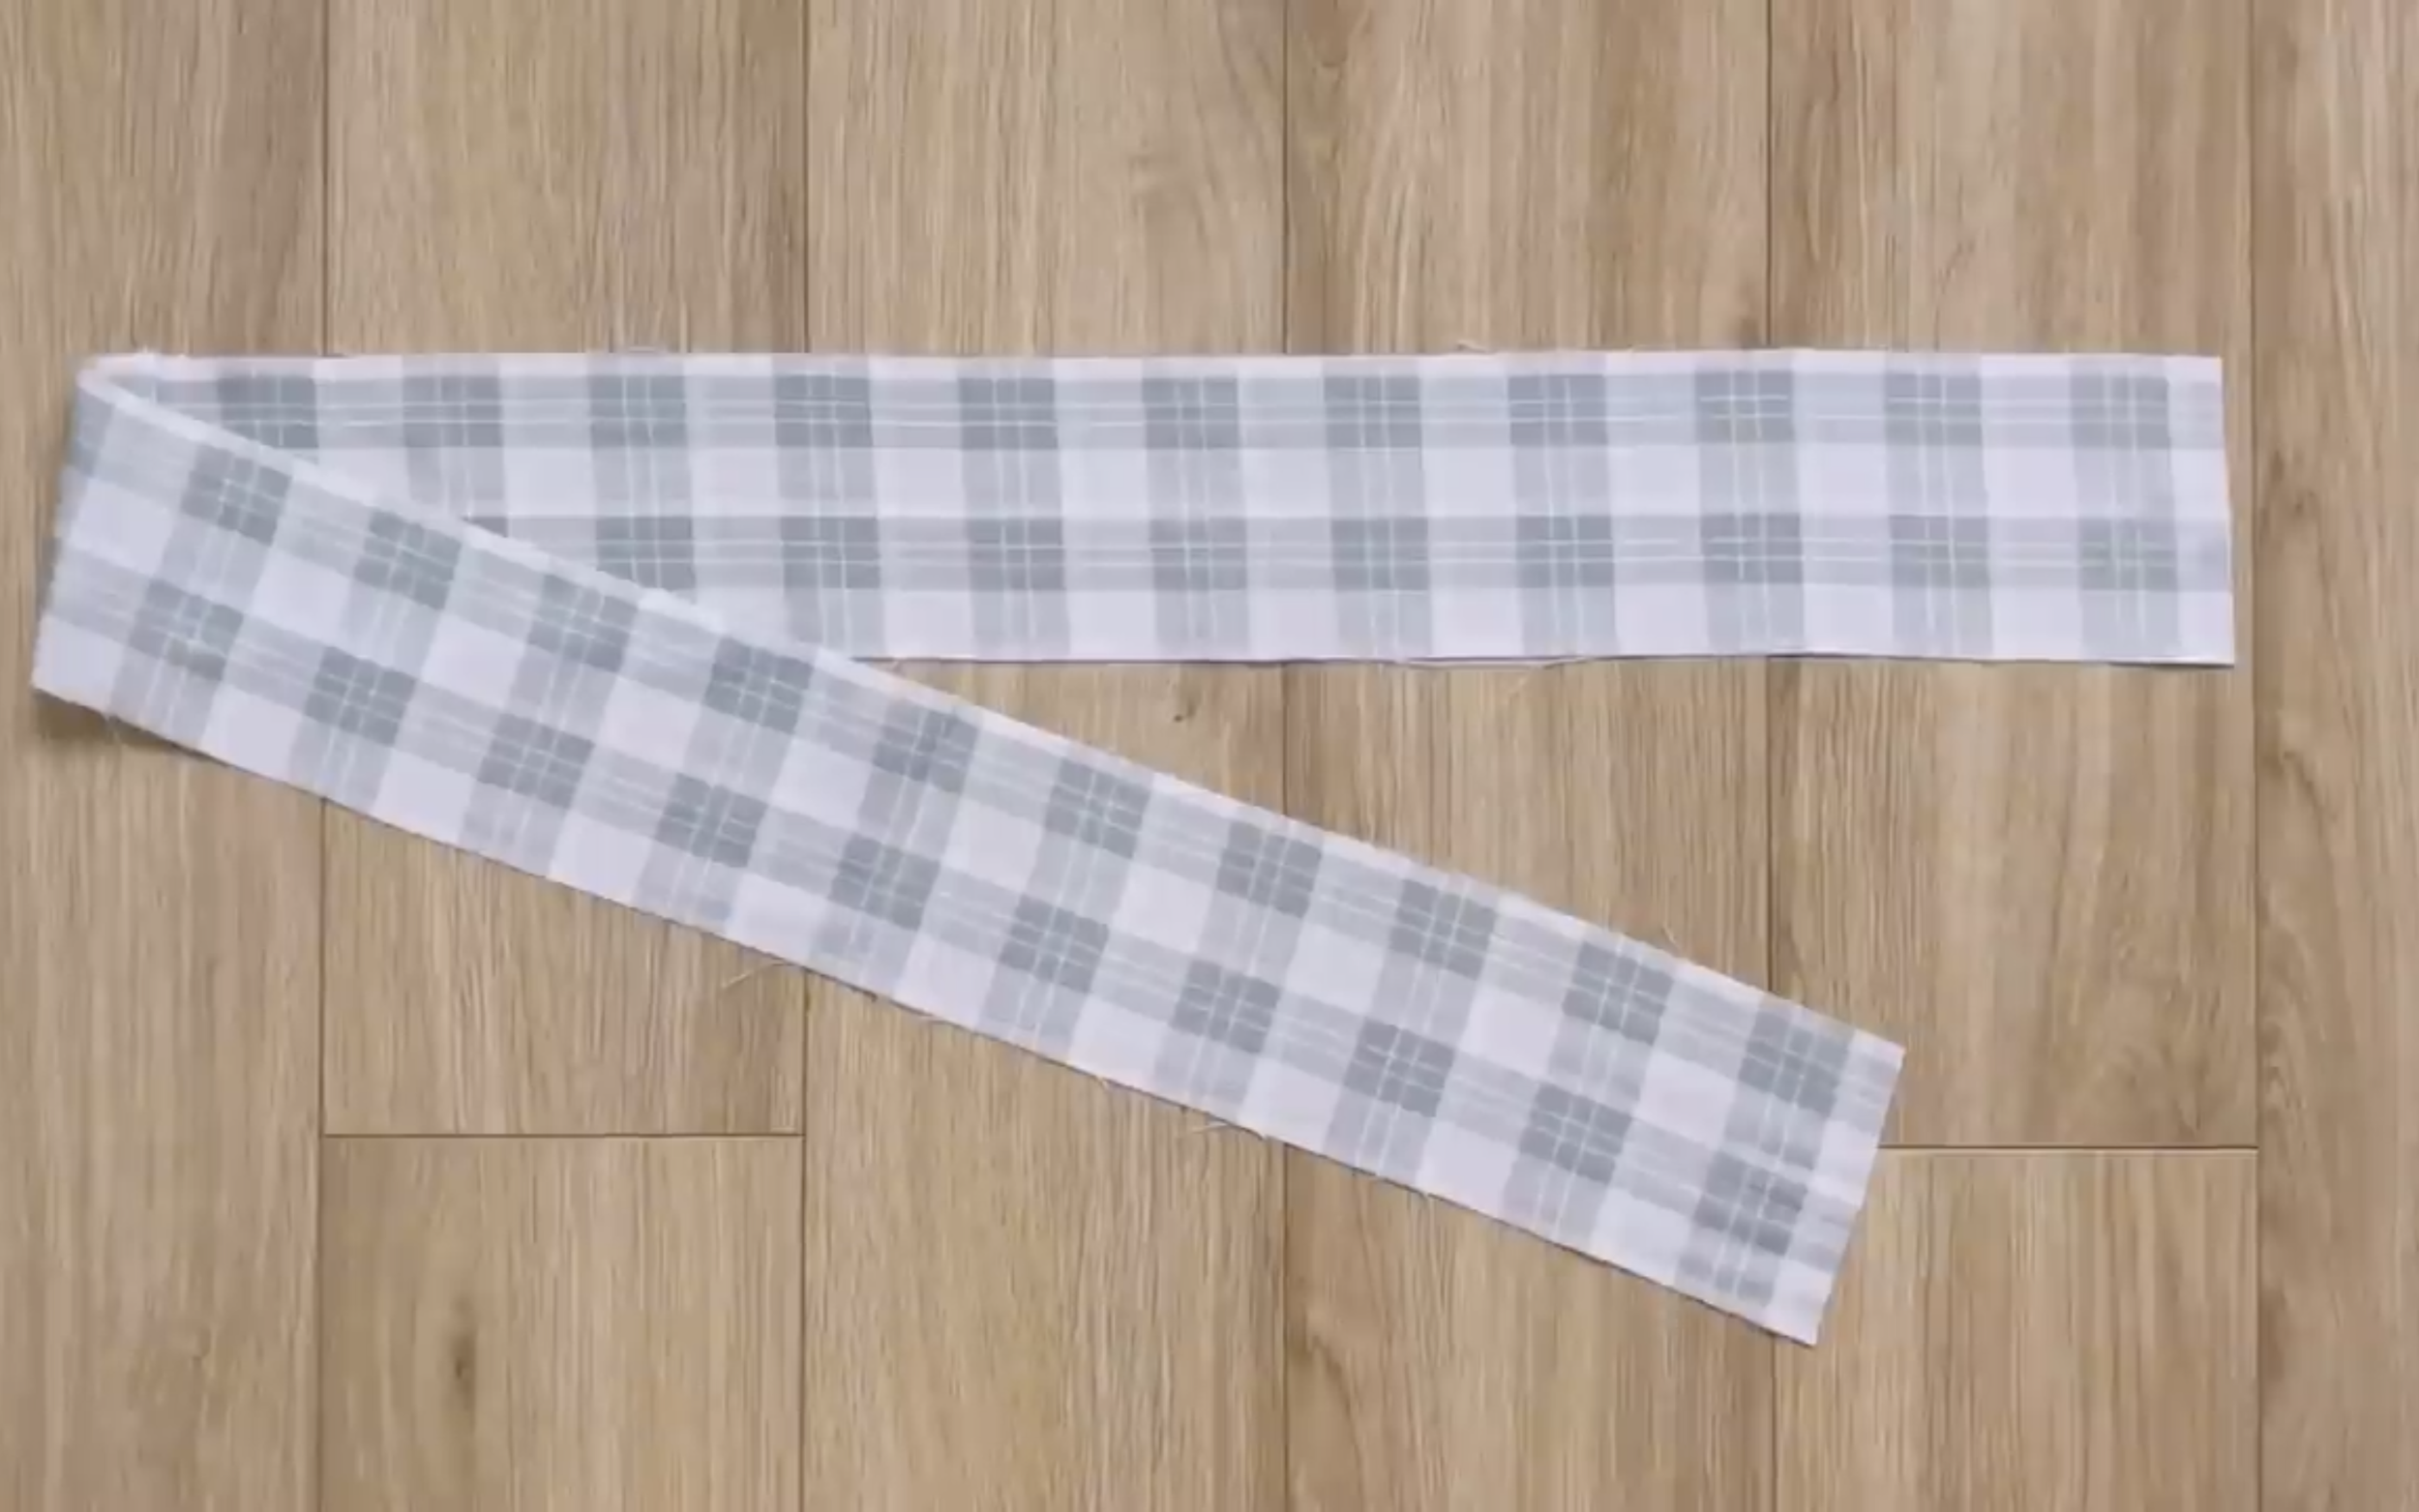
Then cut a rectangle with 8 cm width, which is two times the width of the elastic band used plus 2 cm for seam allowance, and 100 cm length, which is the length of the waistband just measured before that plus 2 cm for seam allowance.
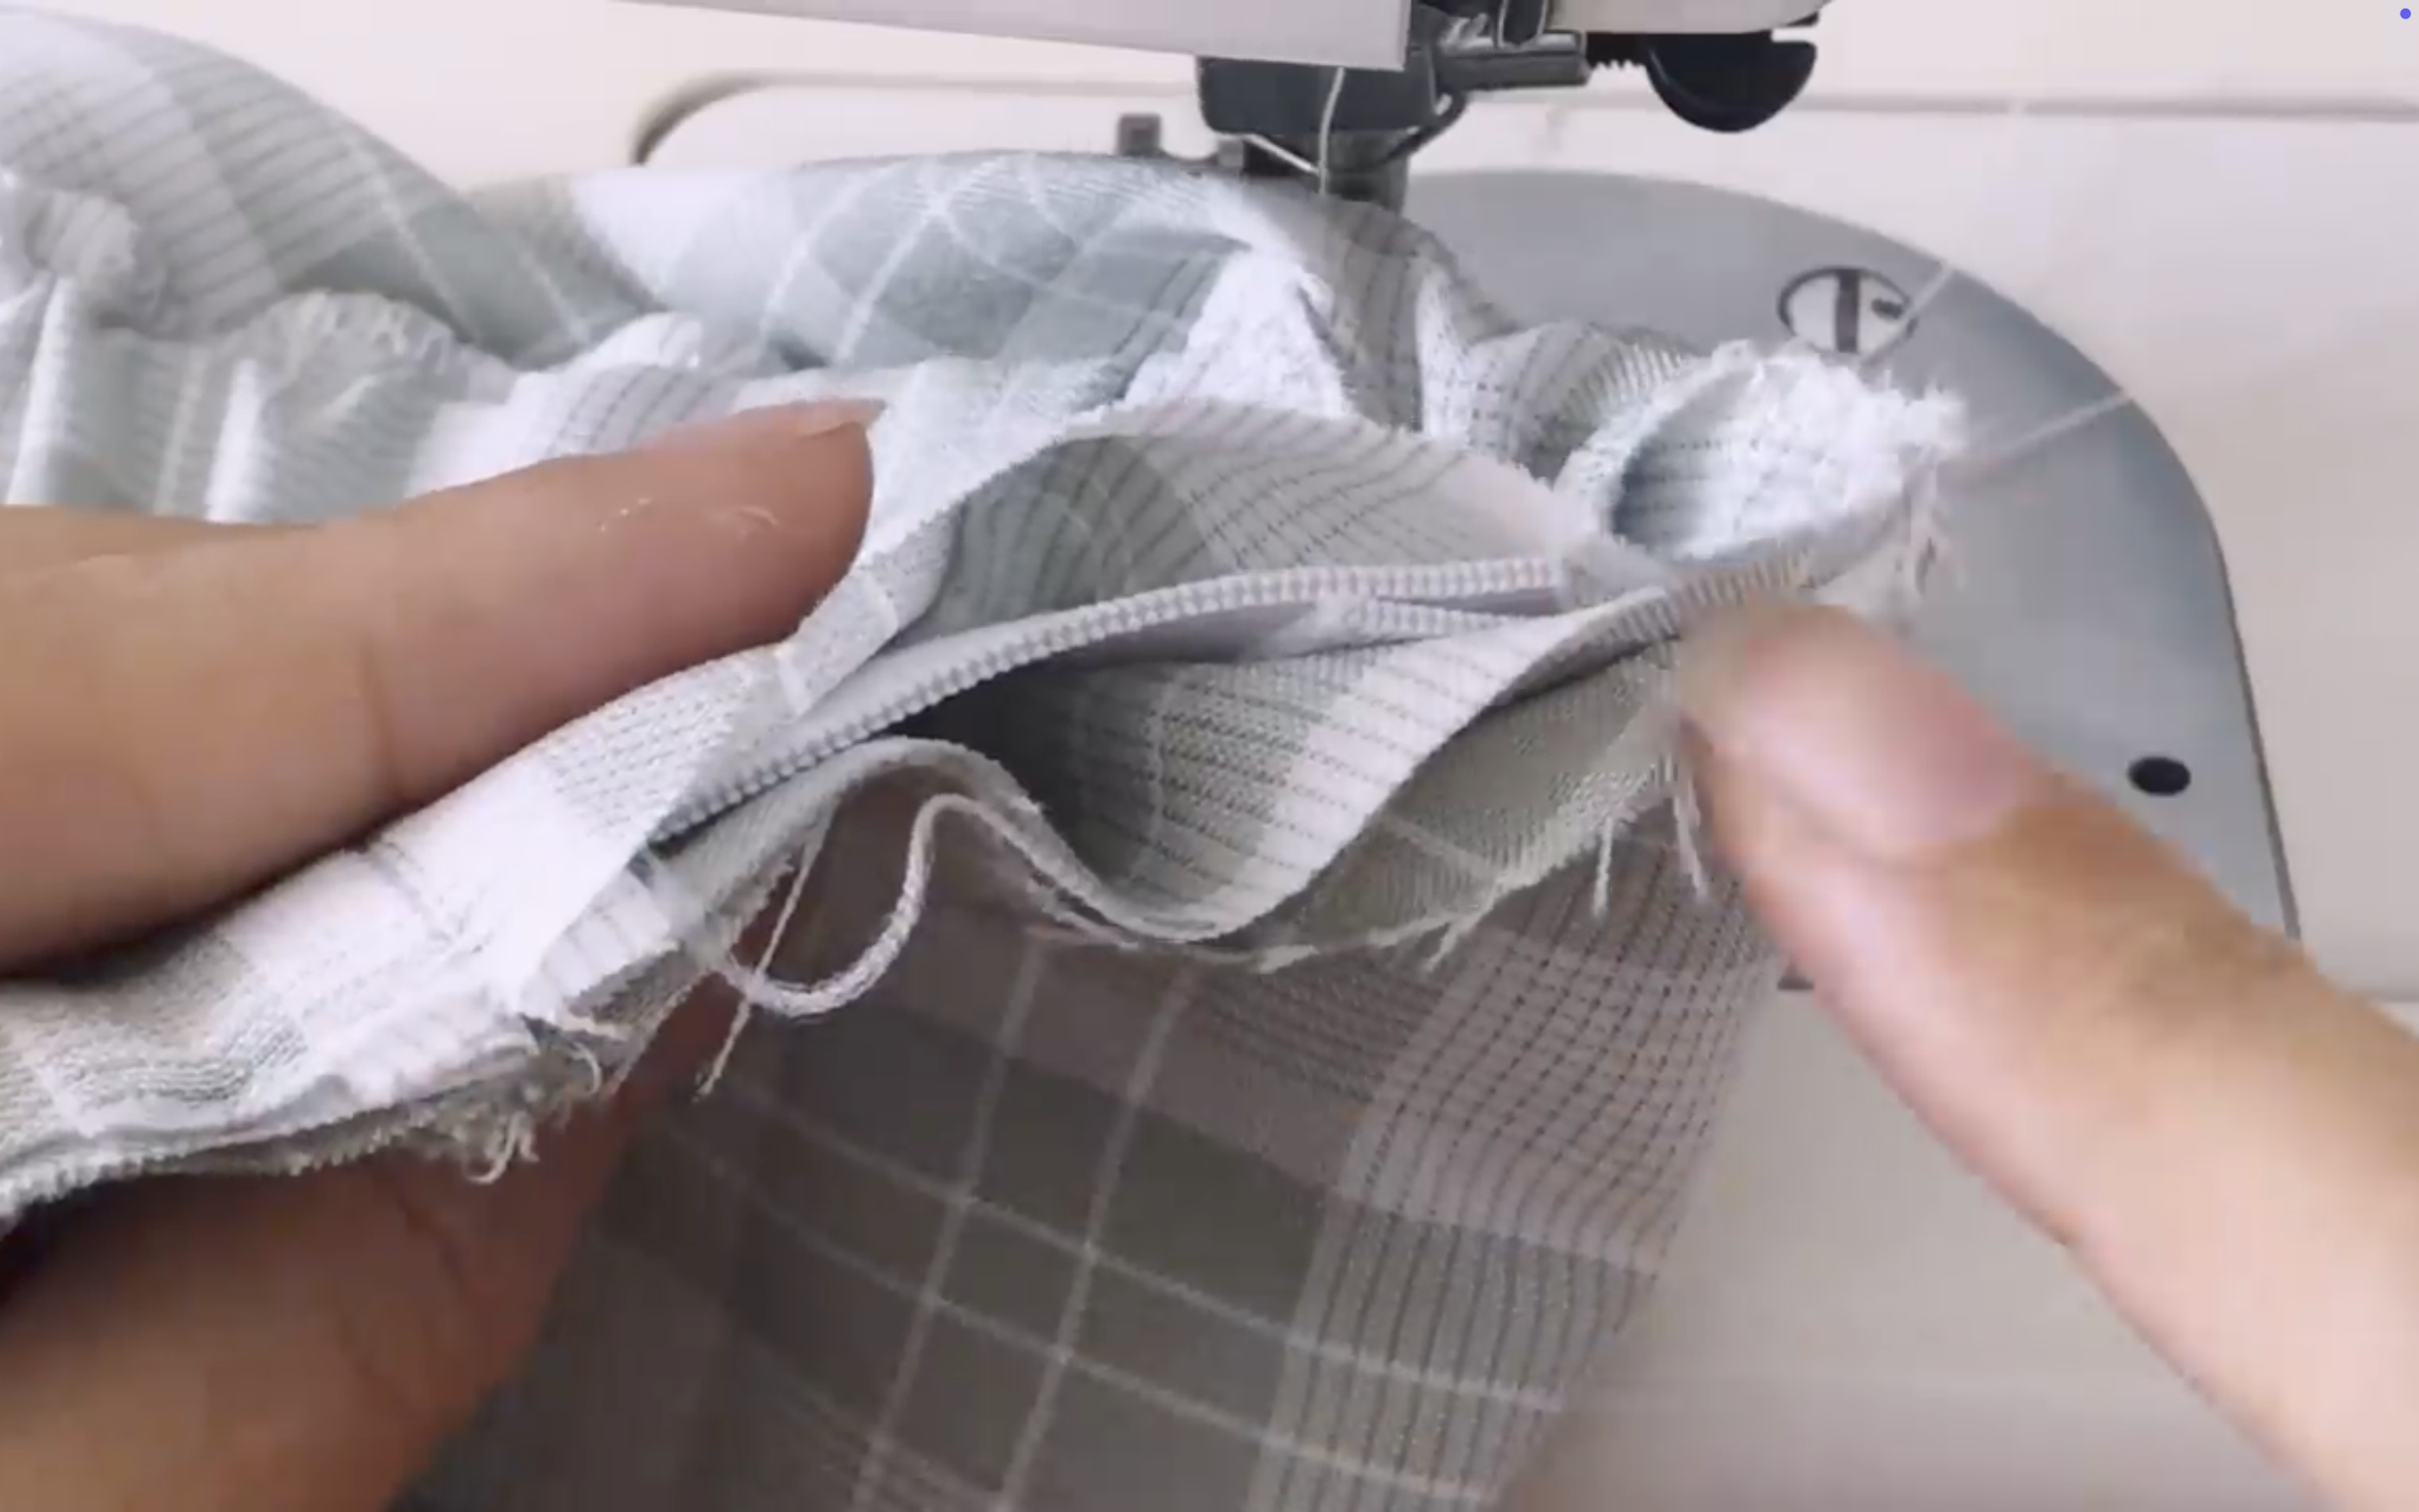
Connect two width lines of the rectangle together to create a circle fabric first.
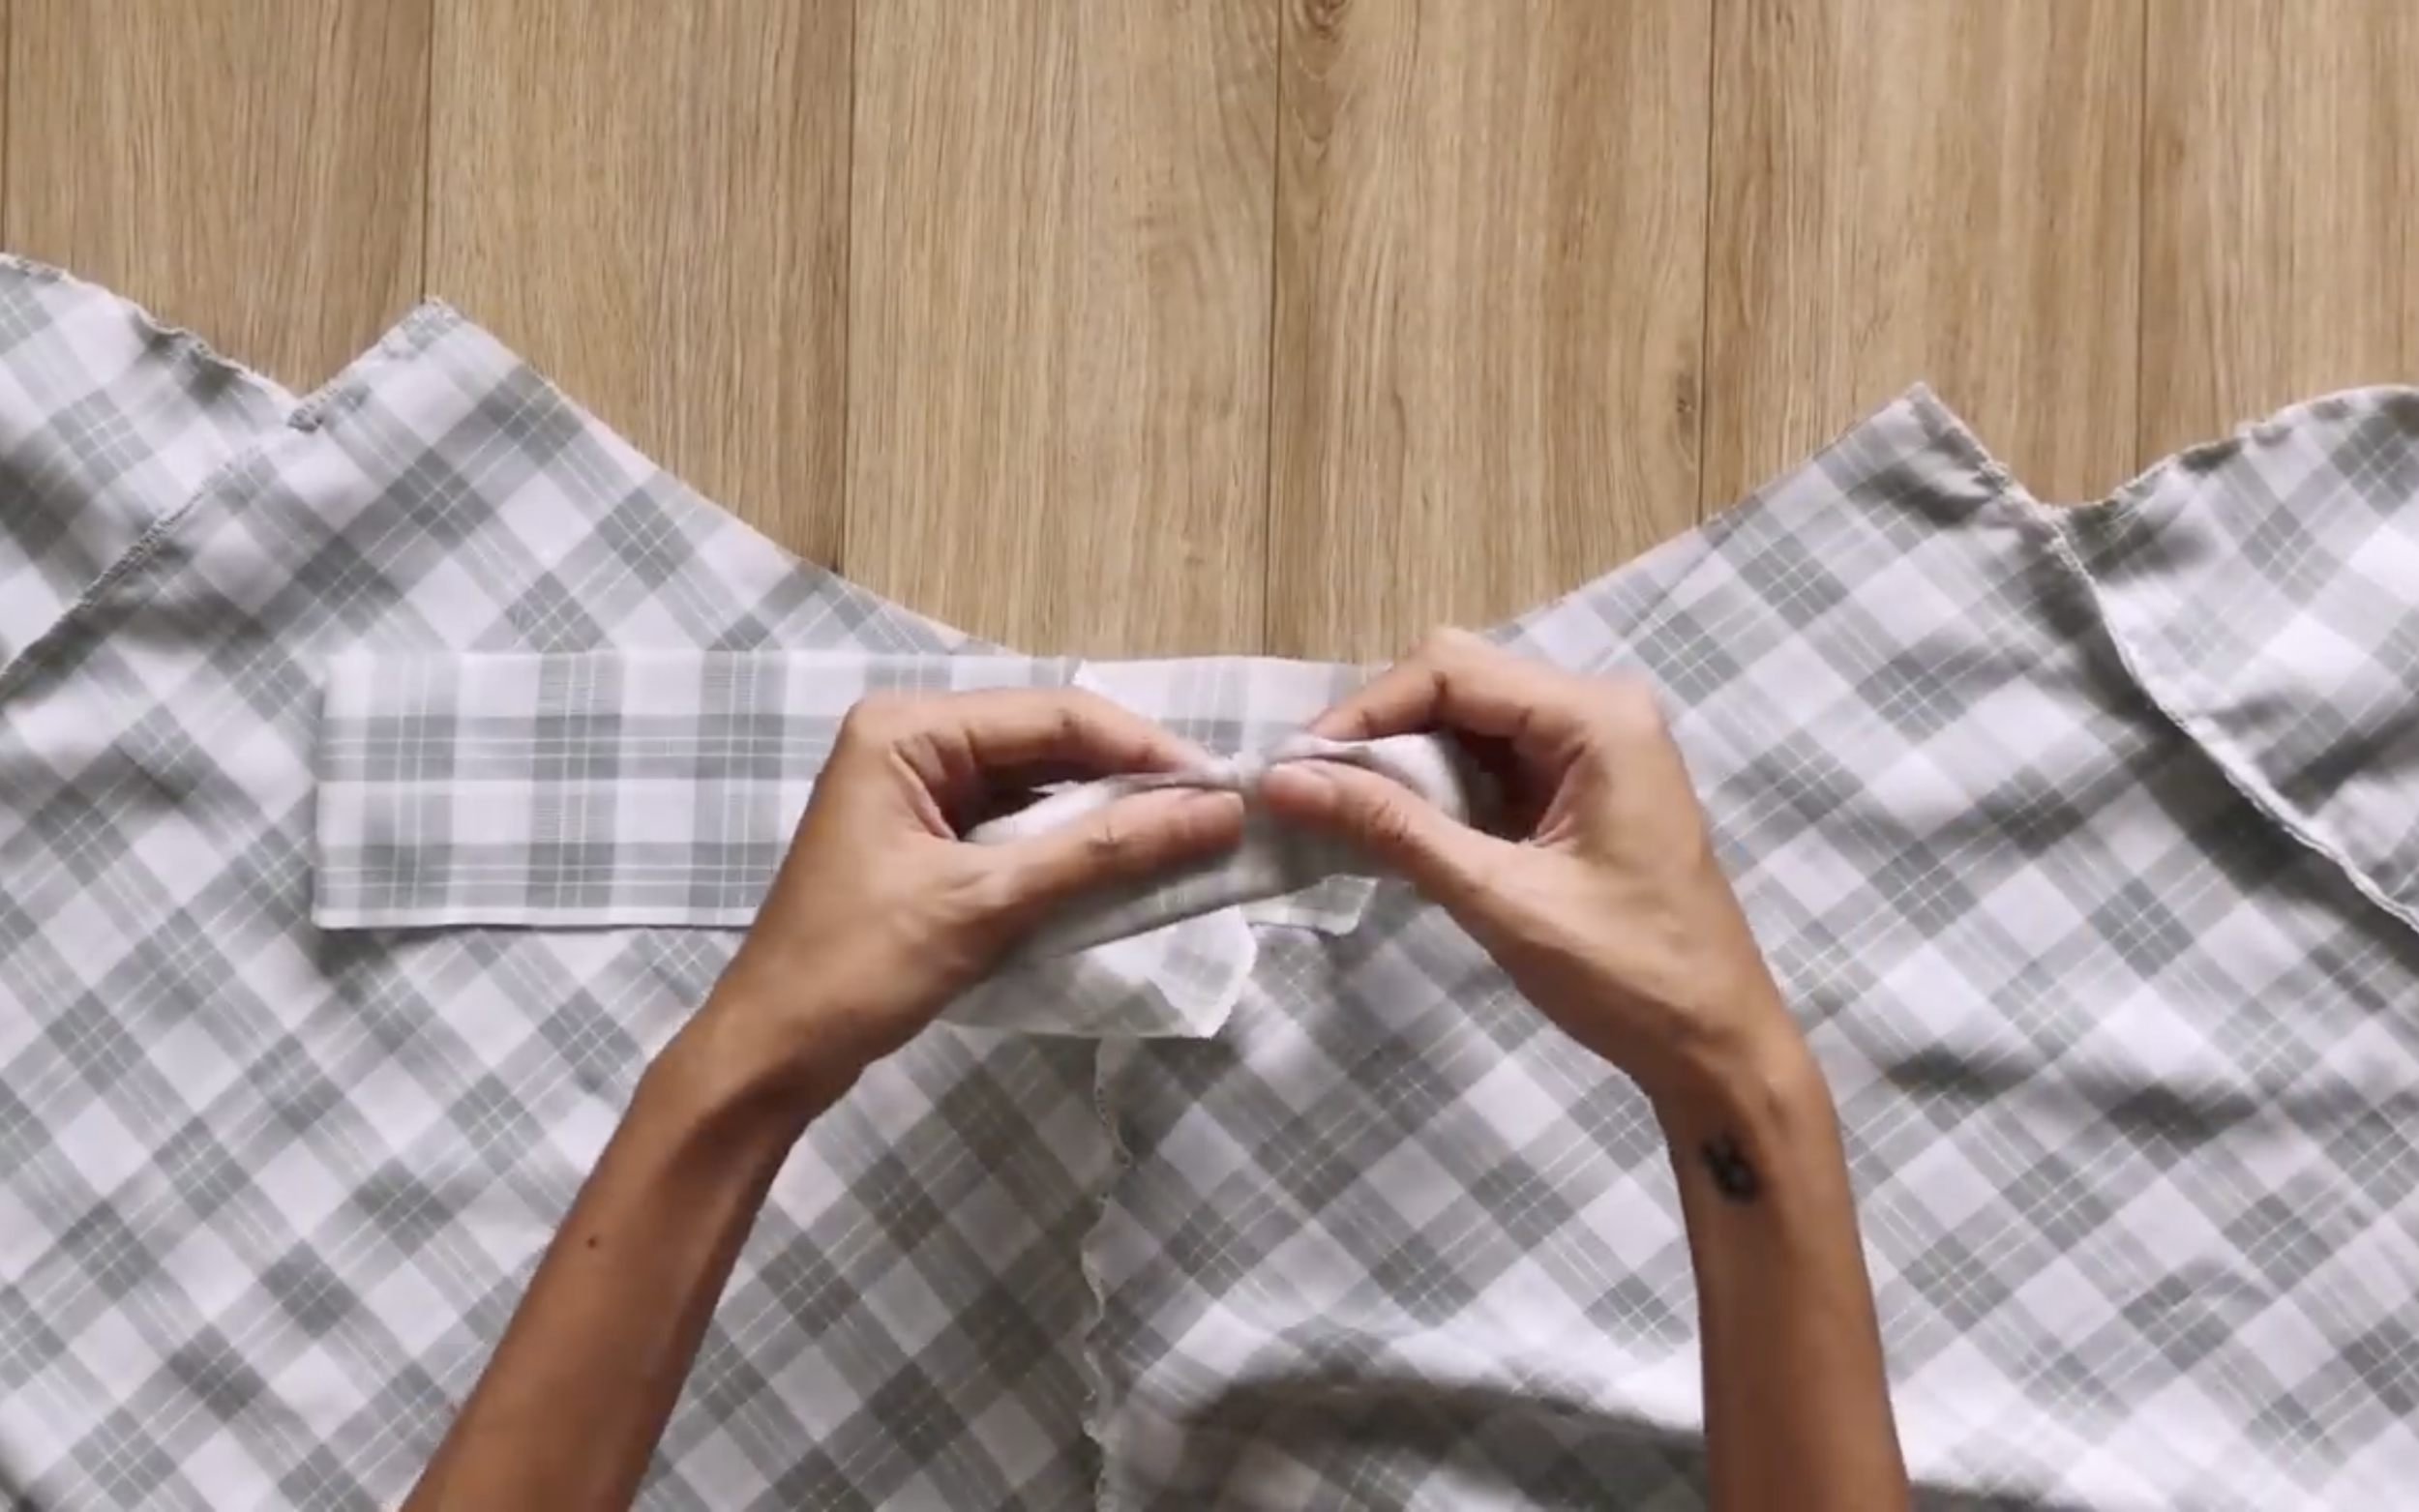
Then fold two length lines of the circle fabric together later.
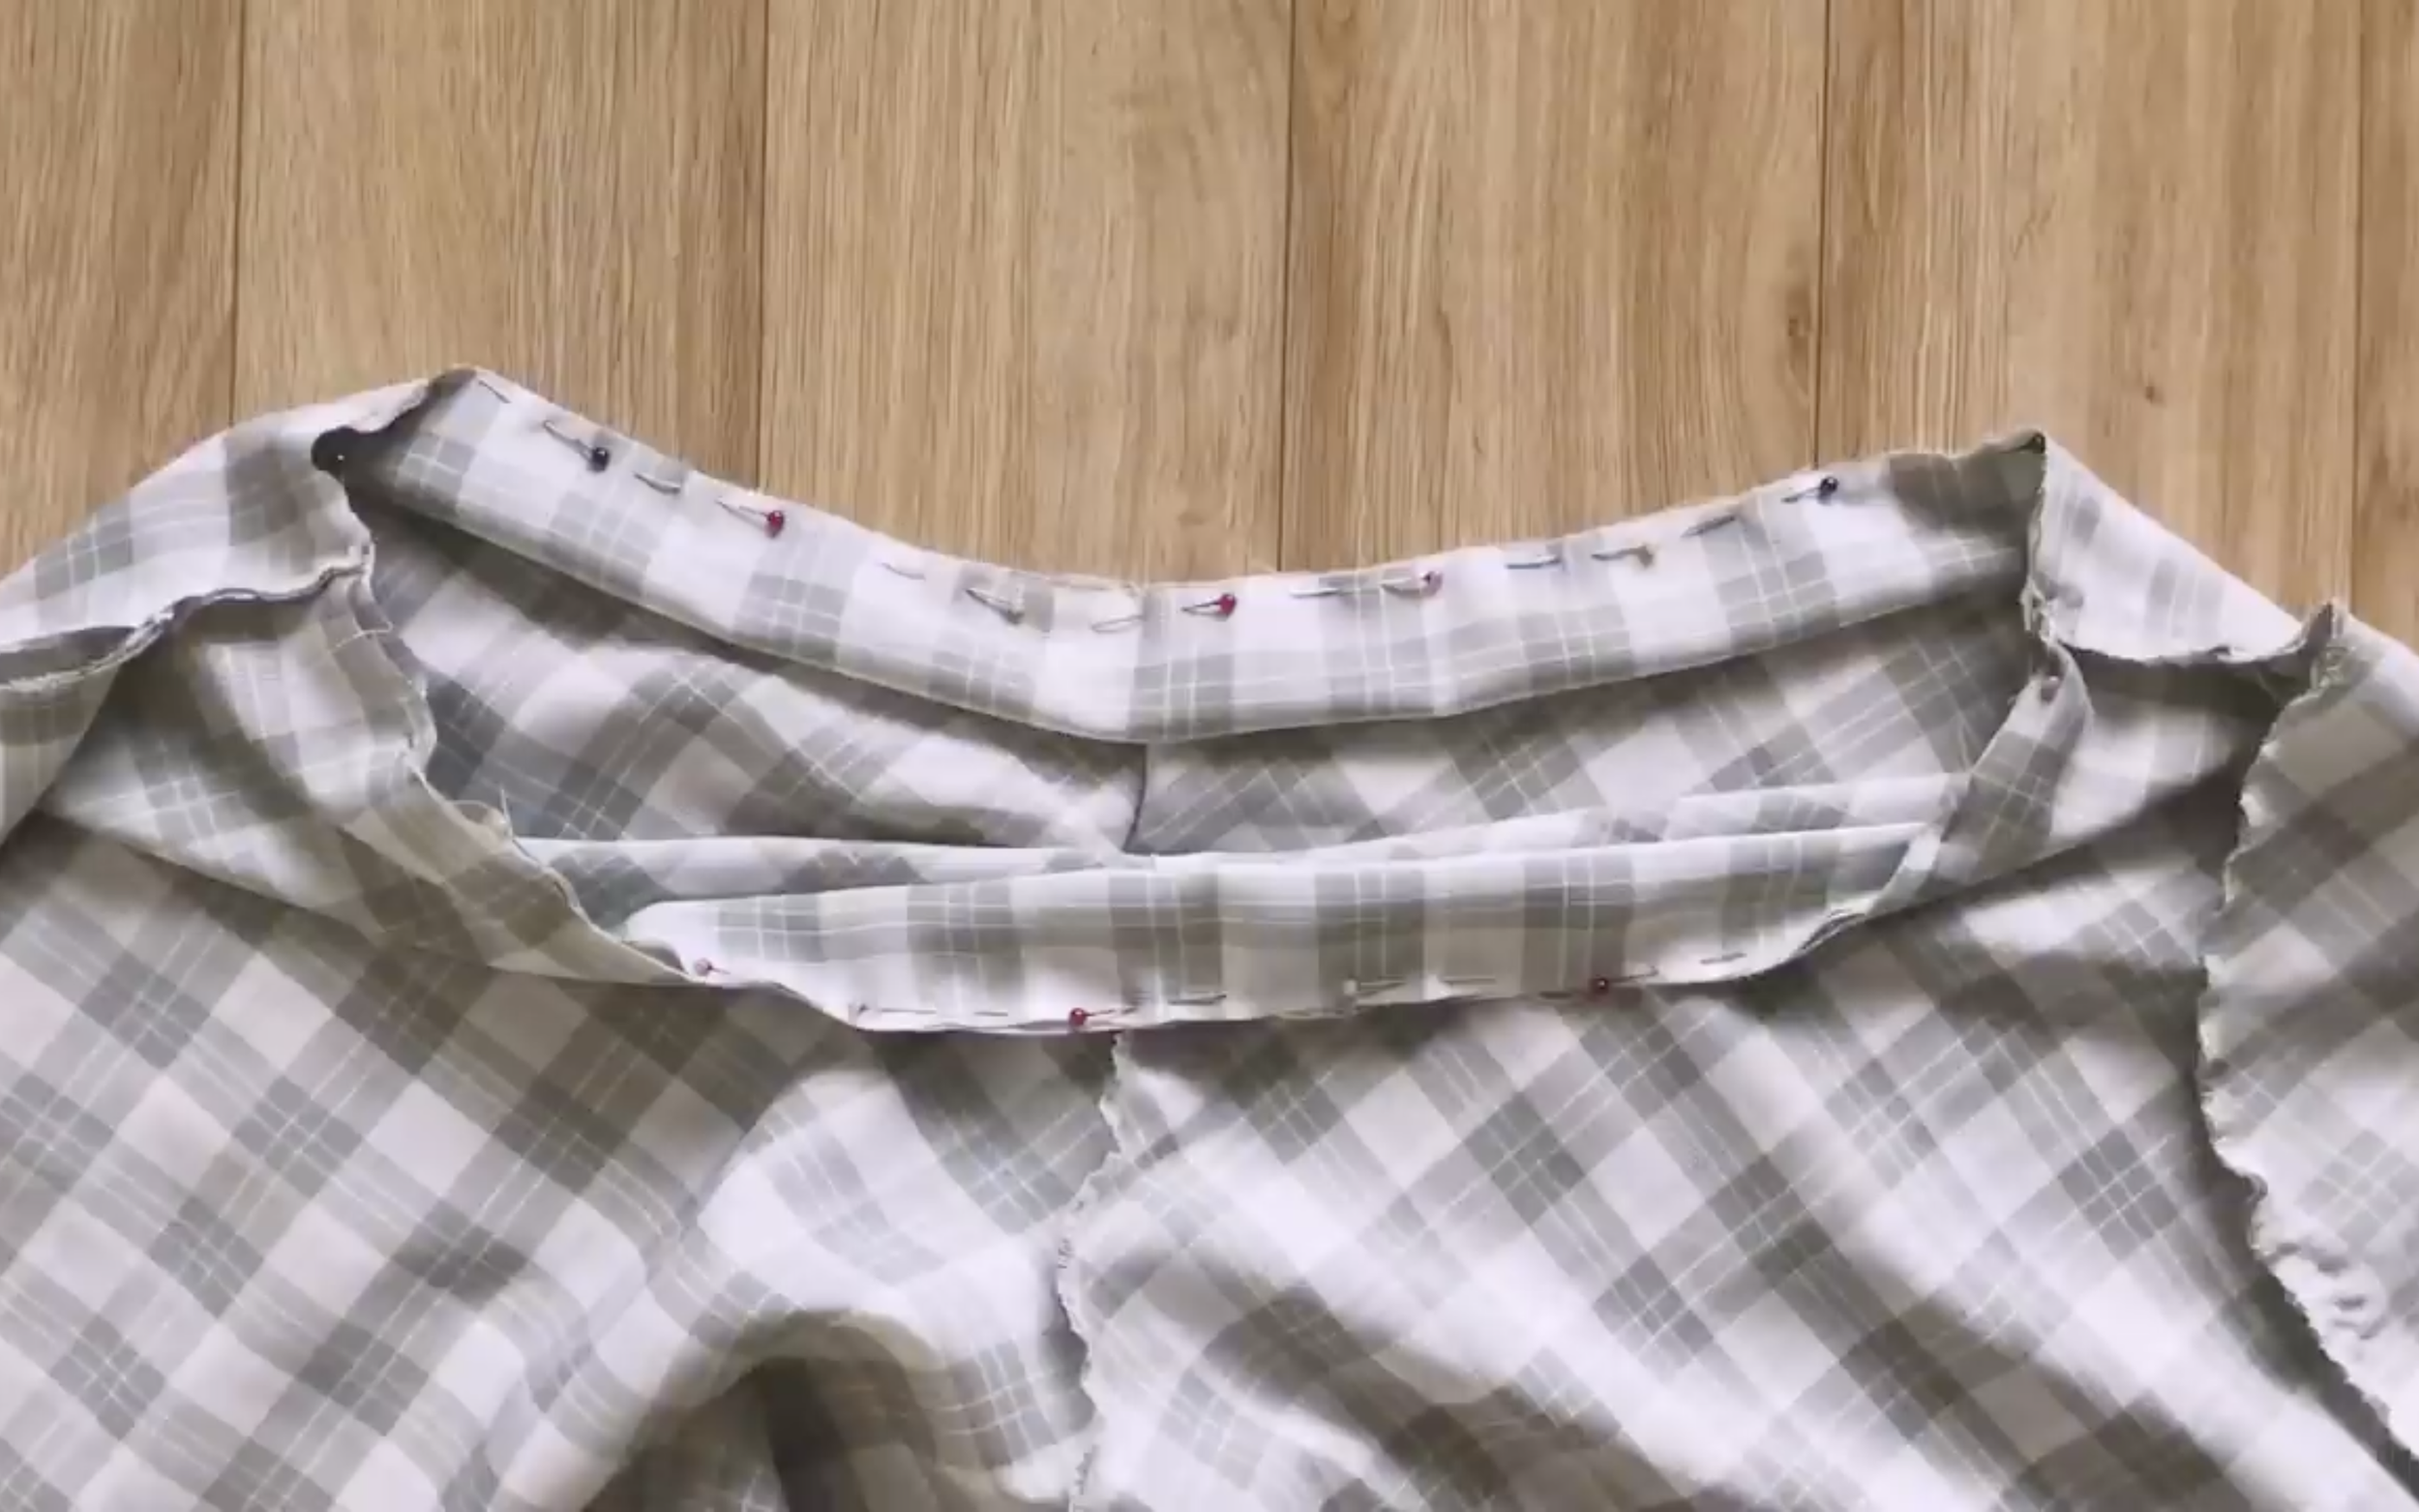
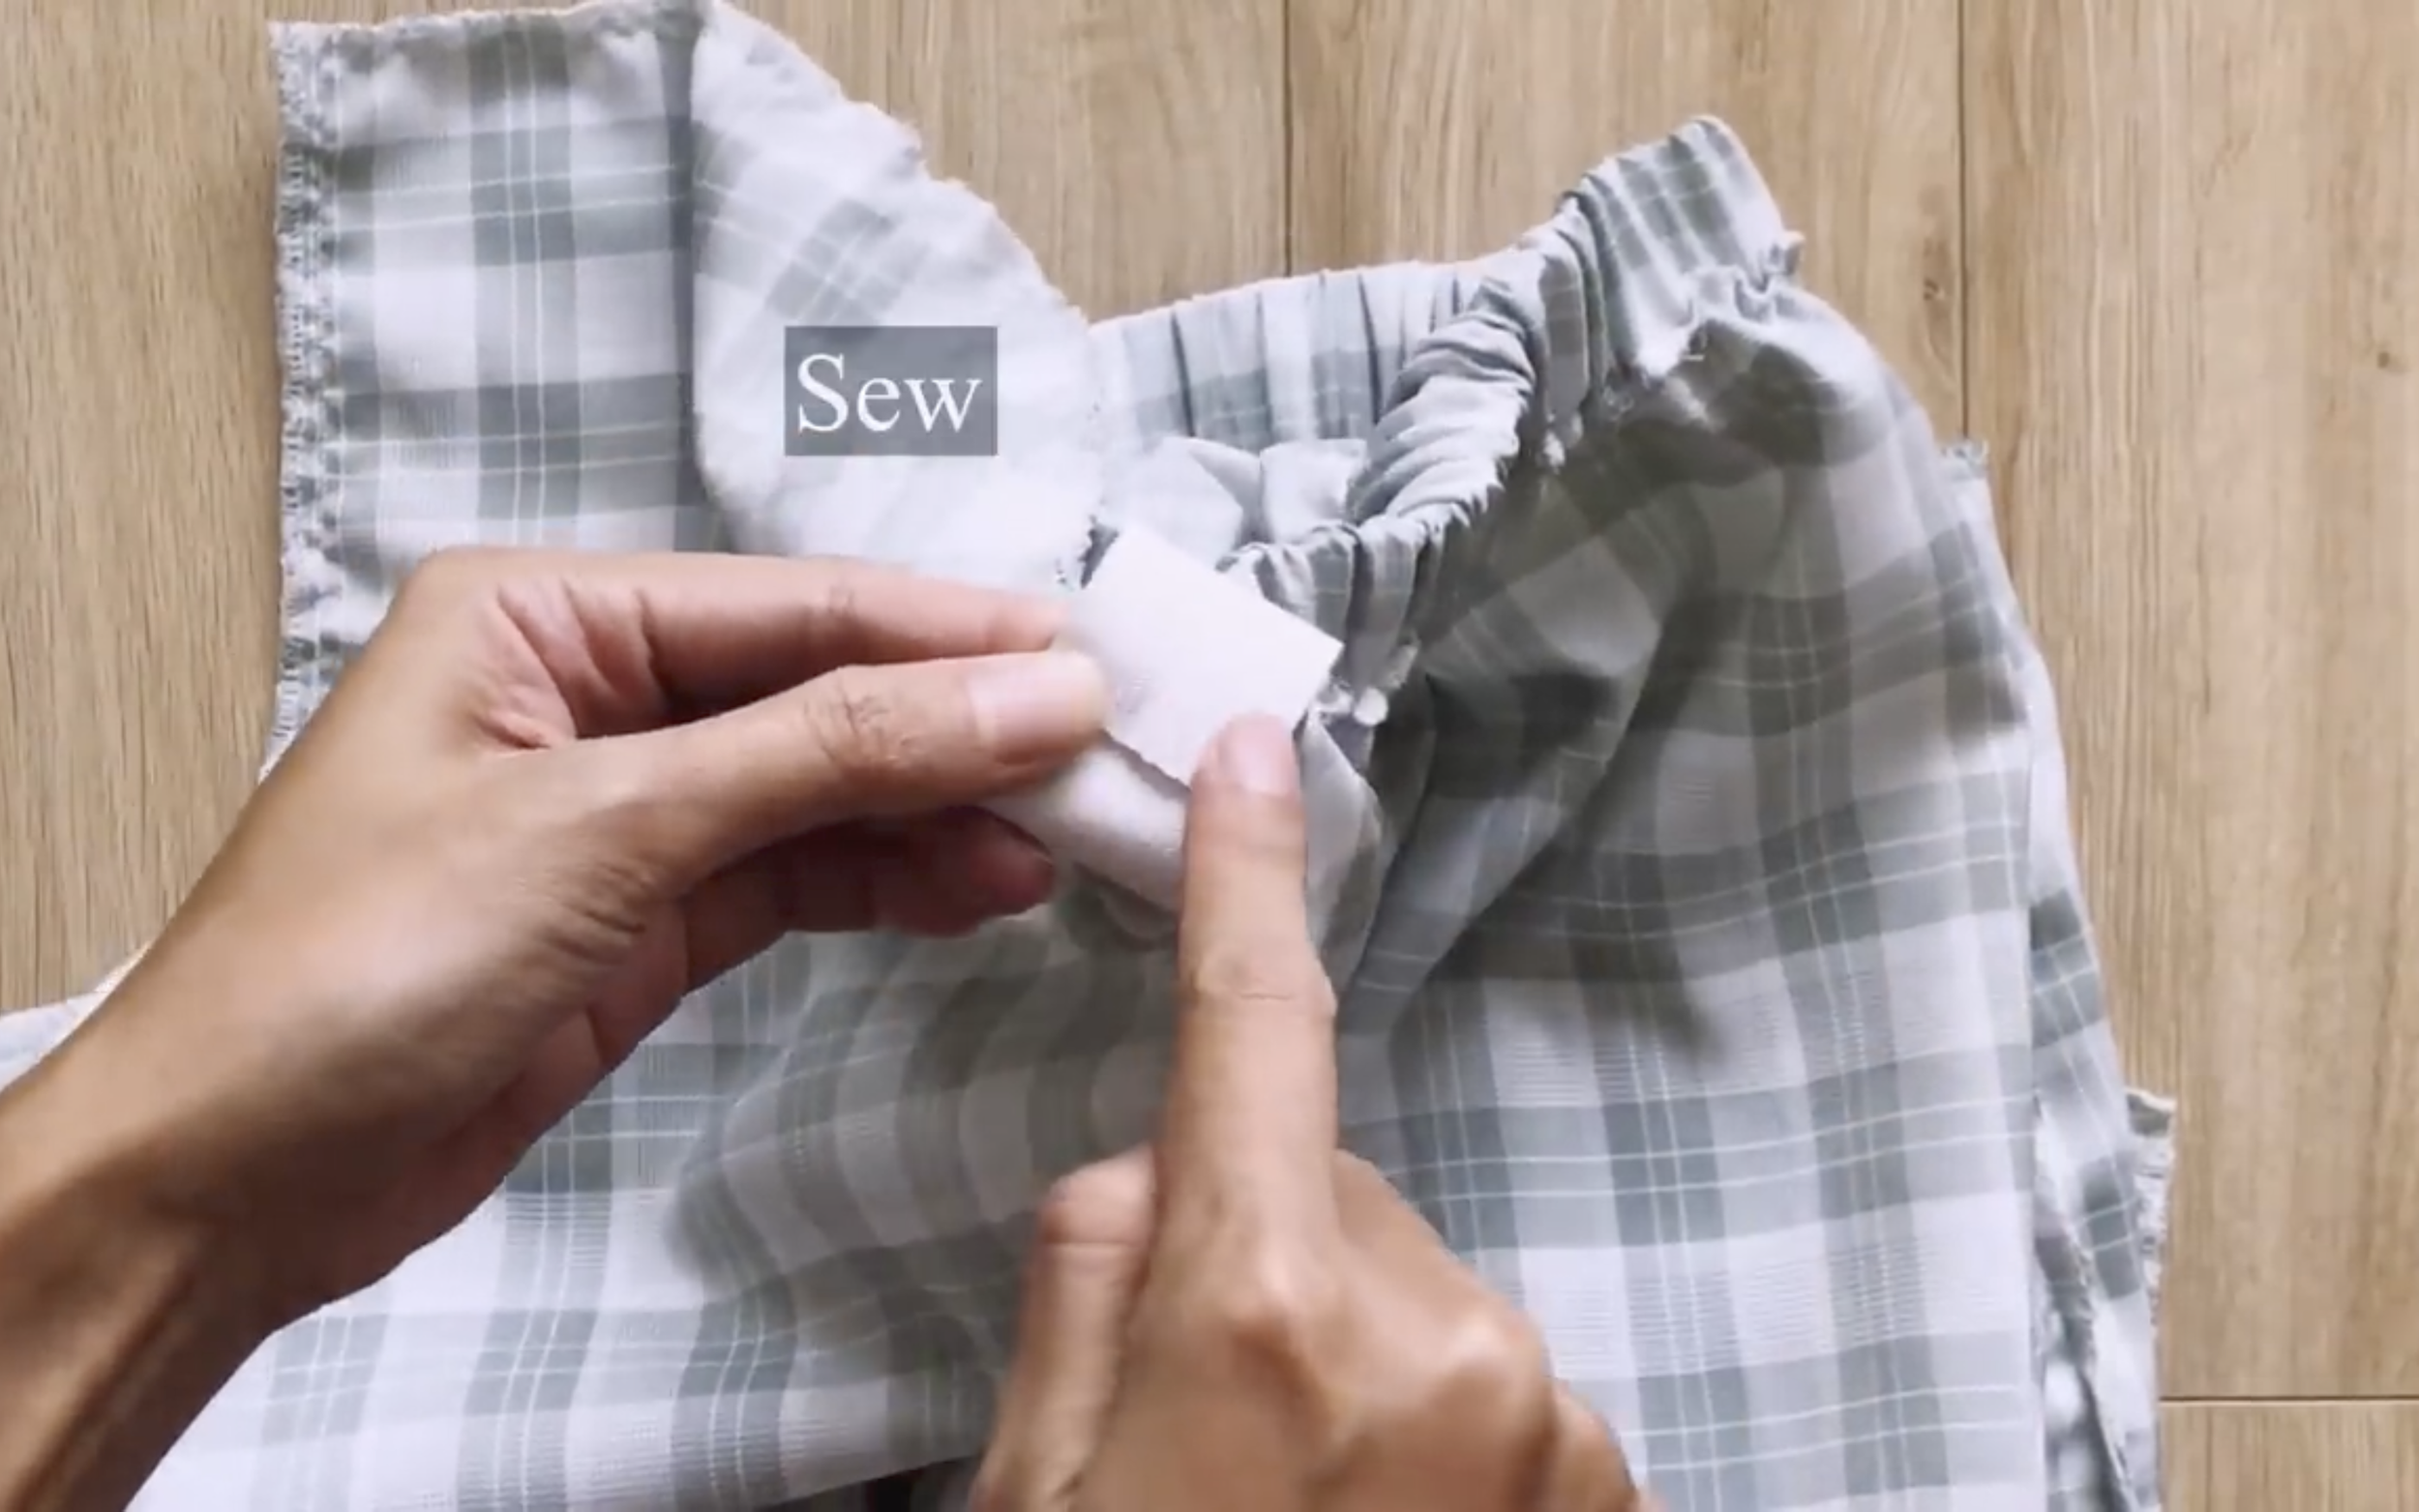
After that, connect the circle fabric to the waistline and sew.
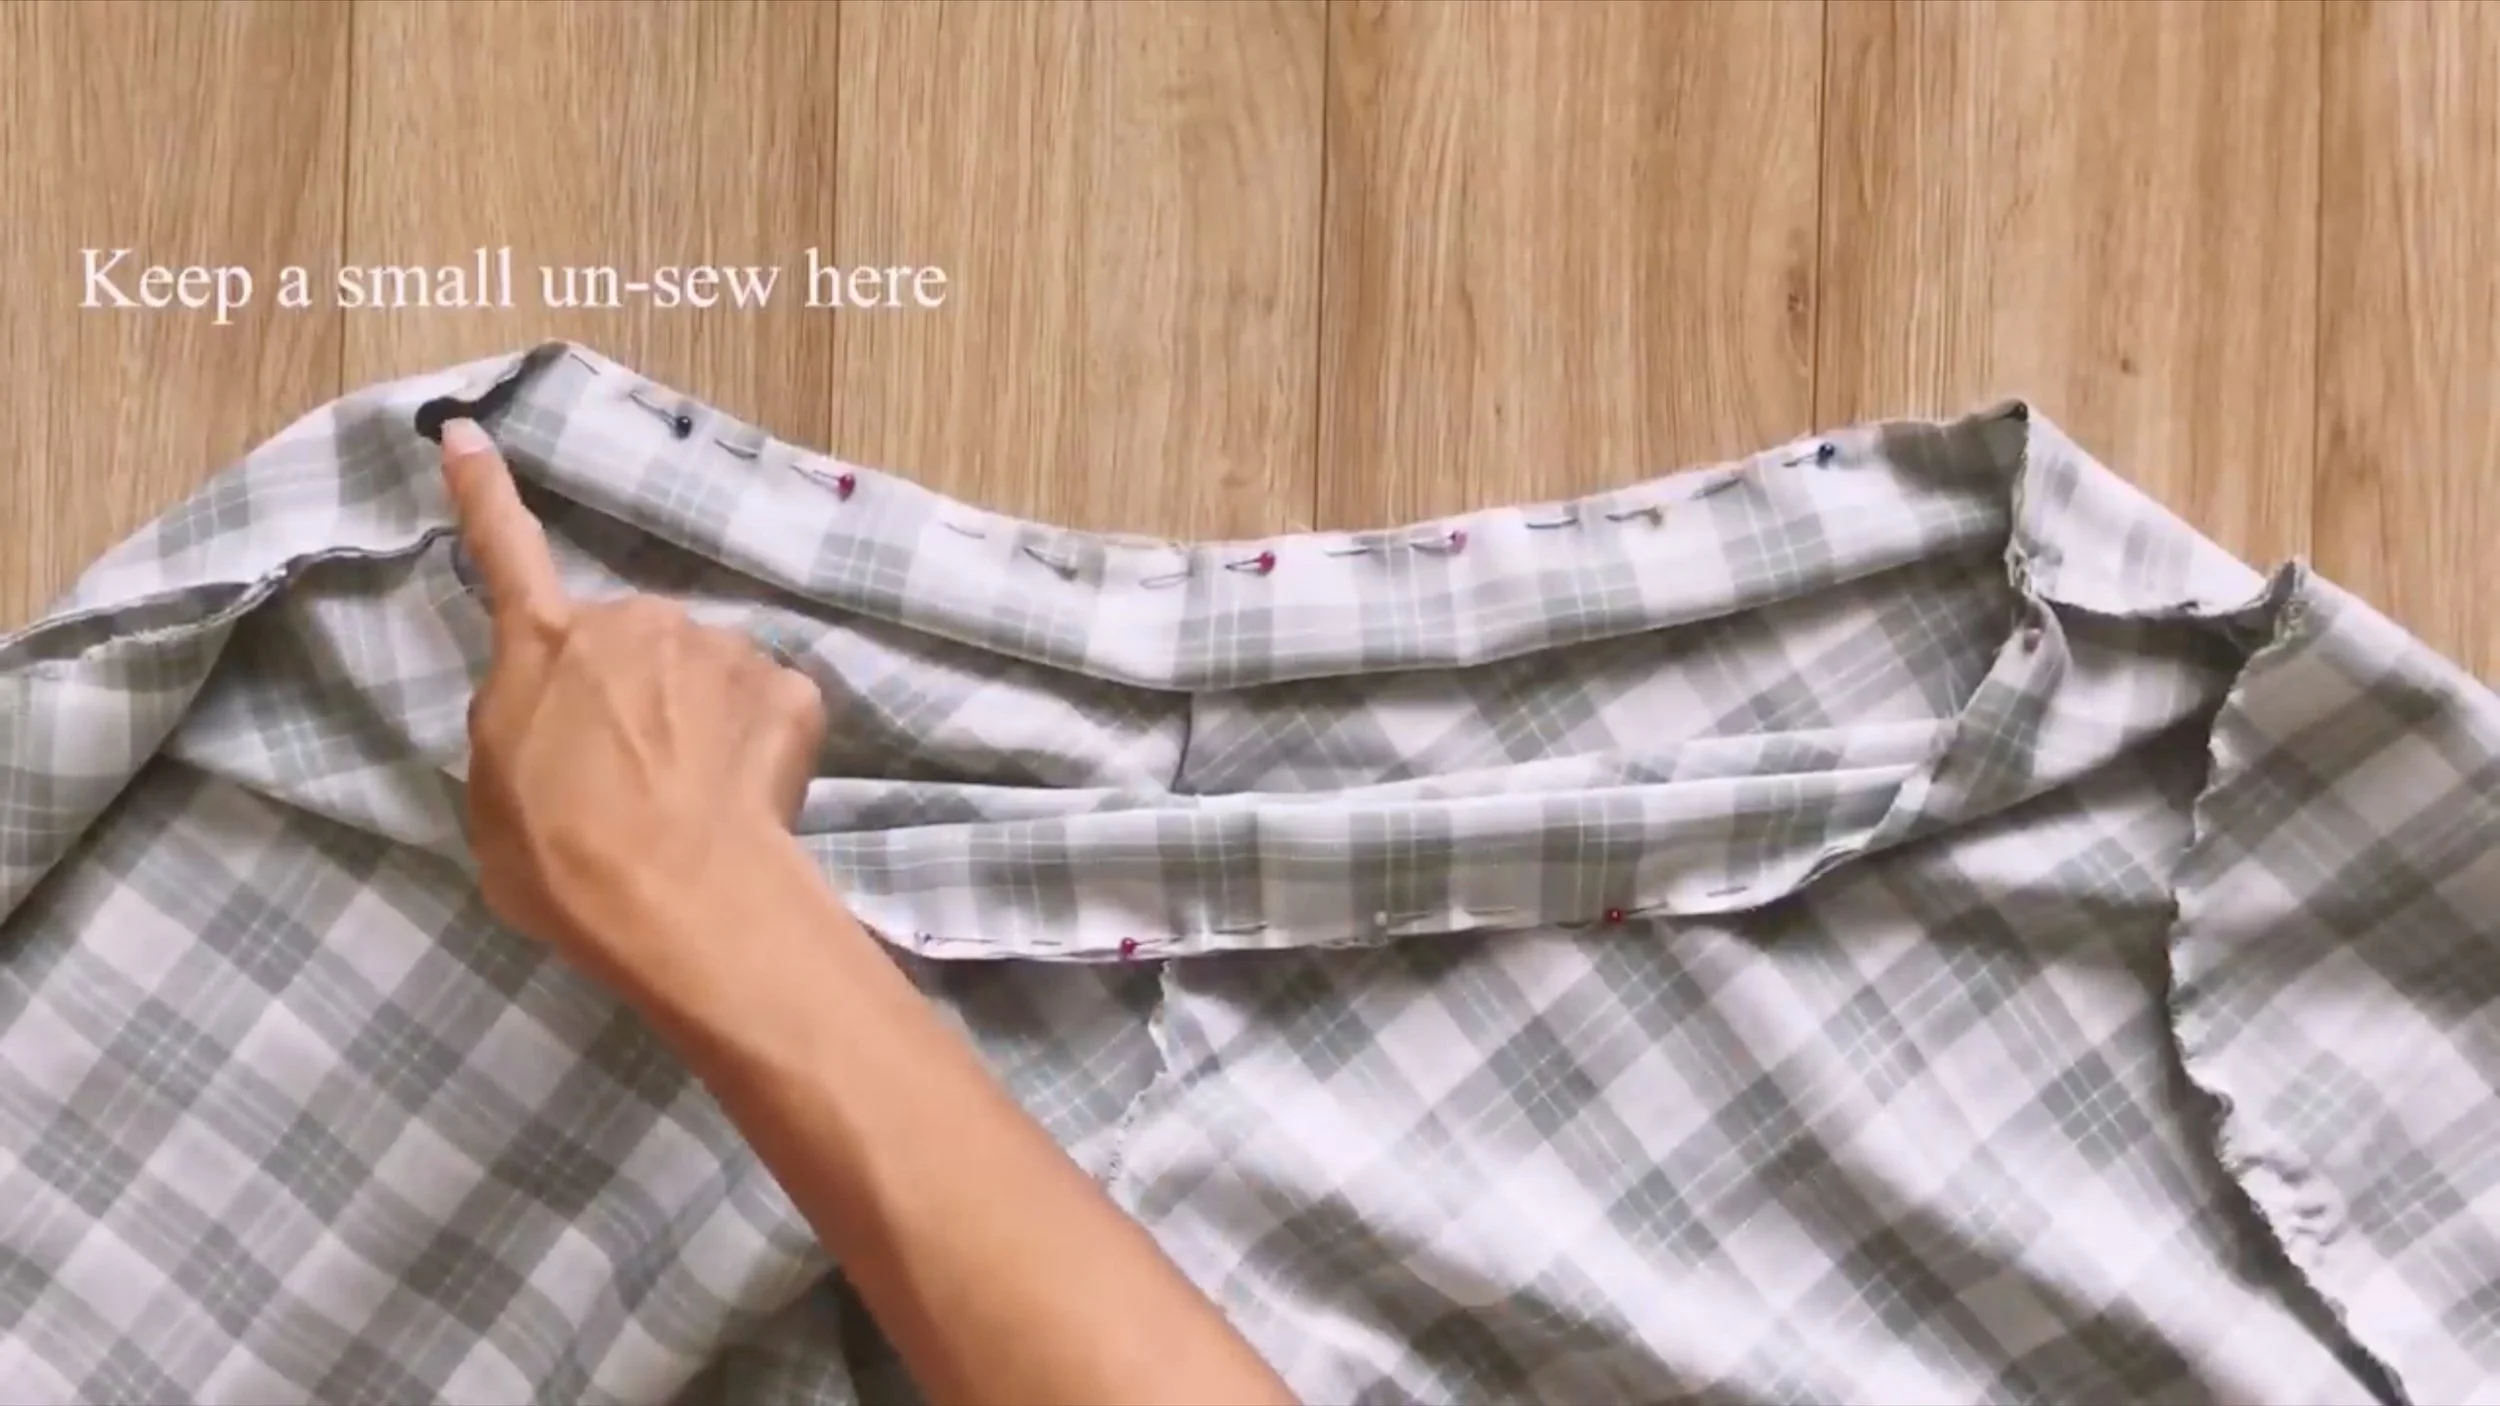
However, keep a small unsew space for the elastic band to go through later.
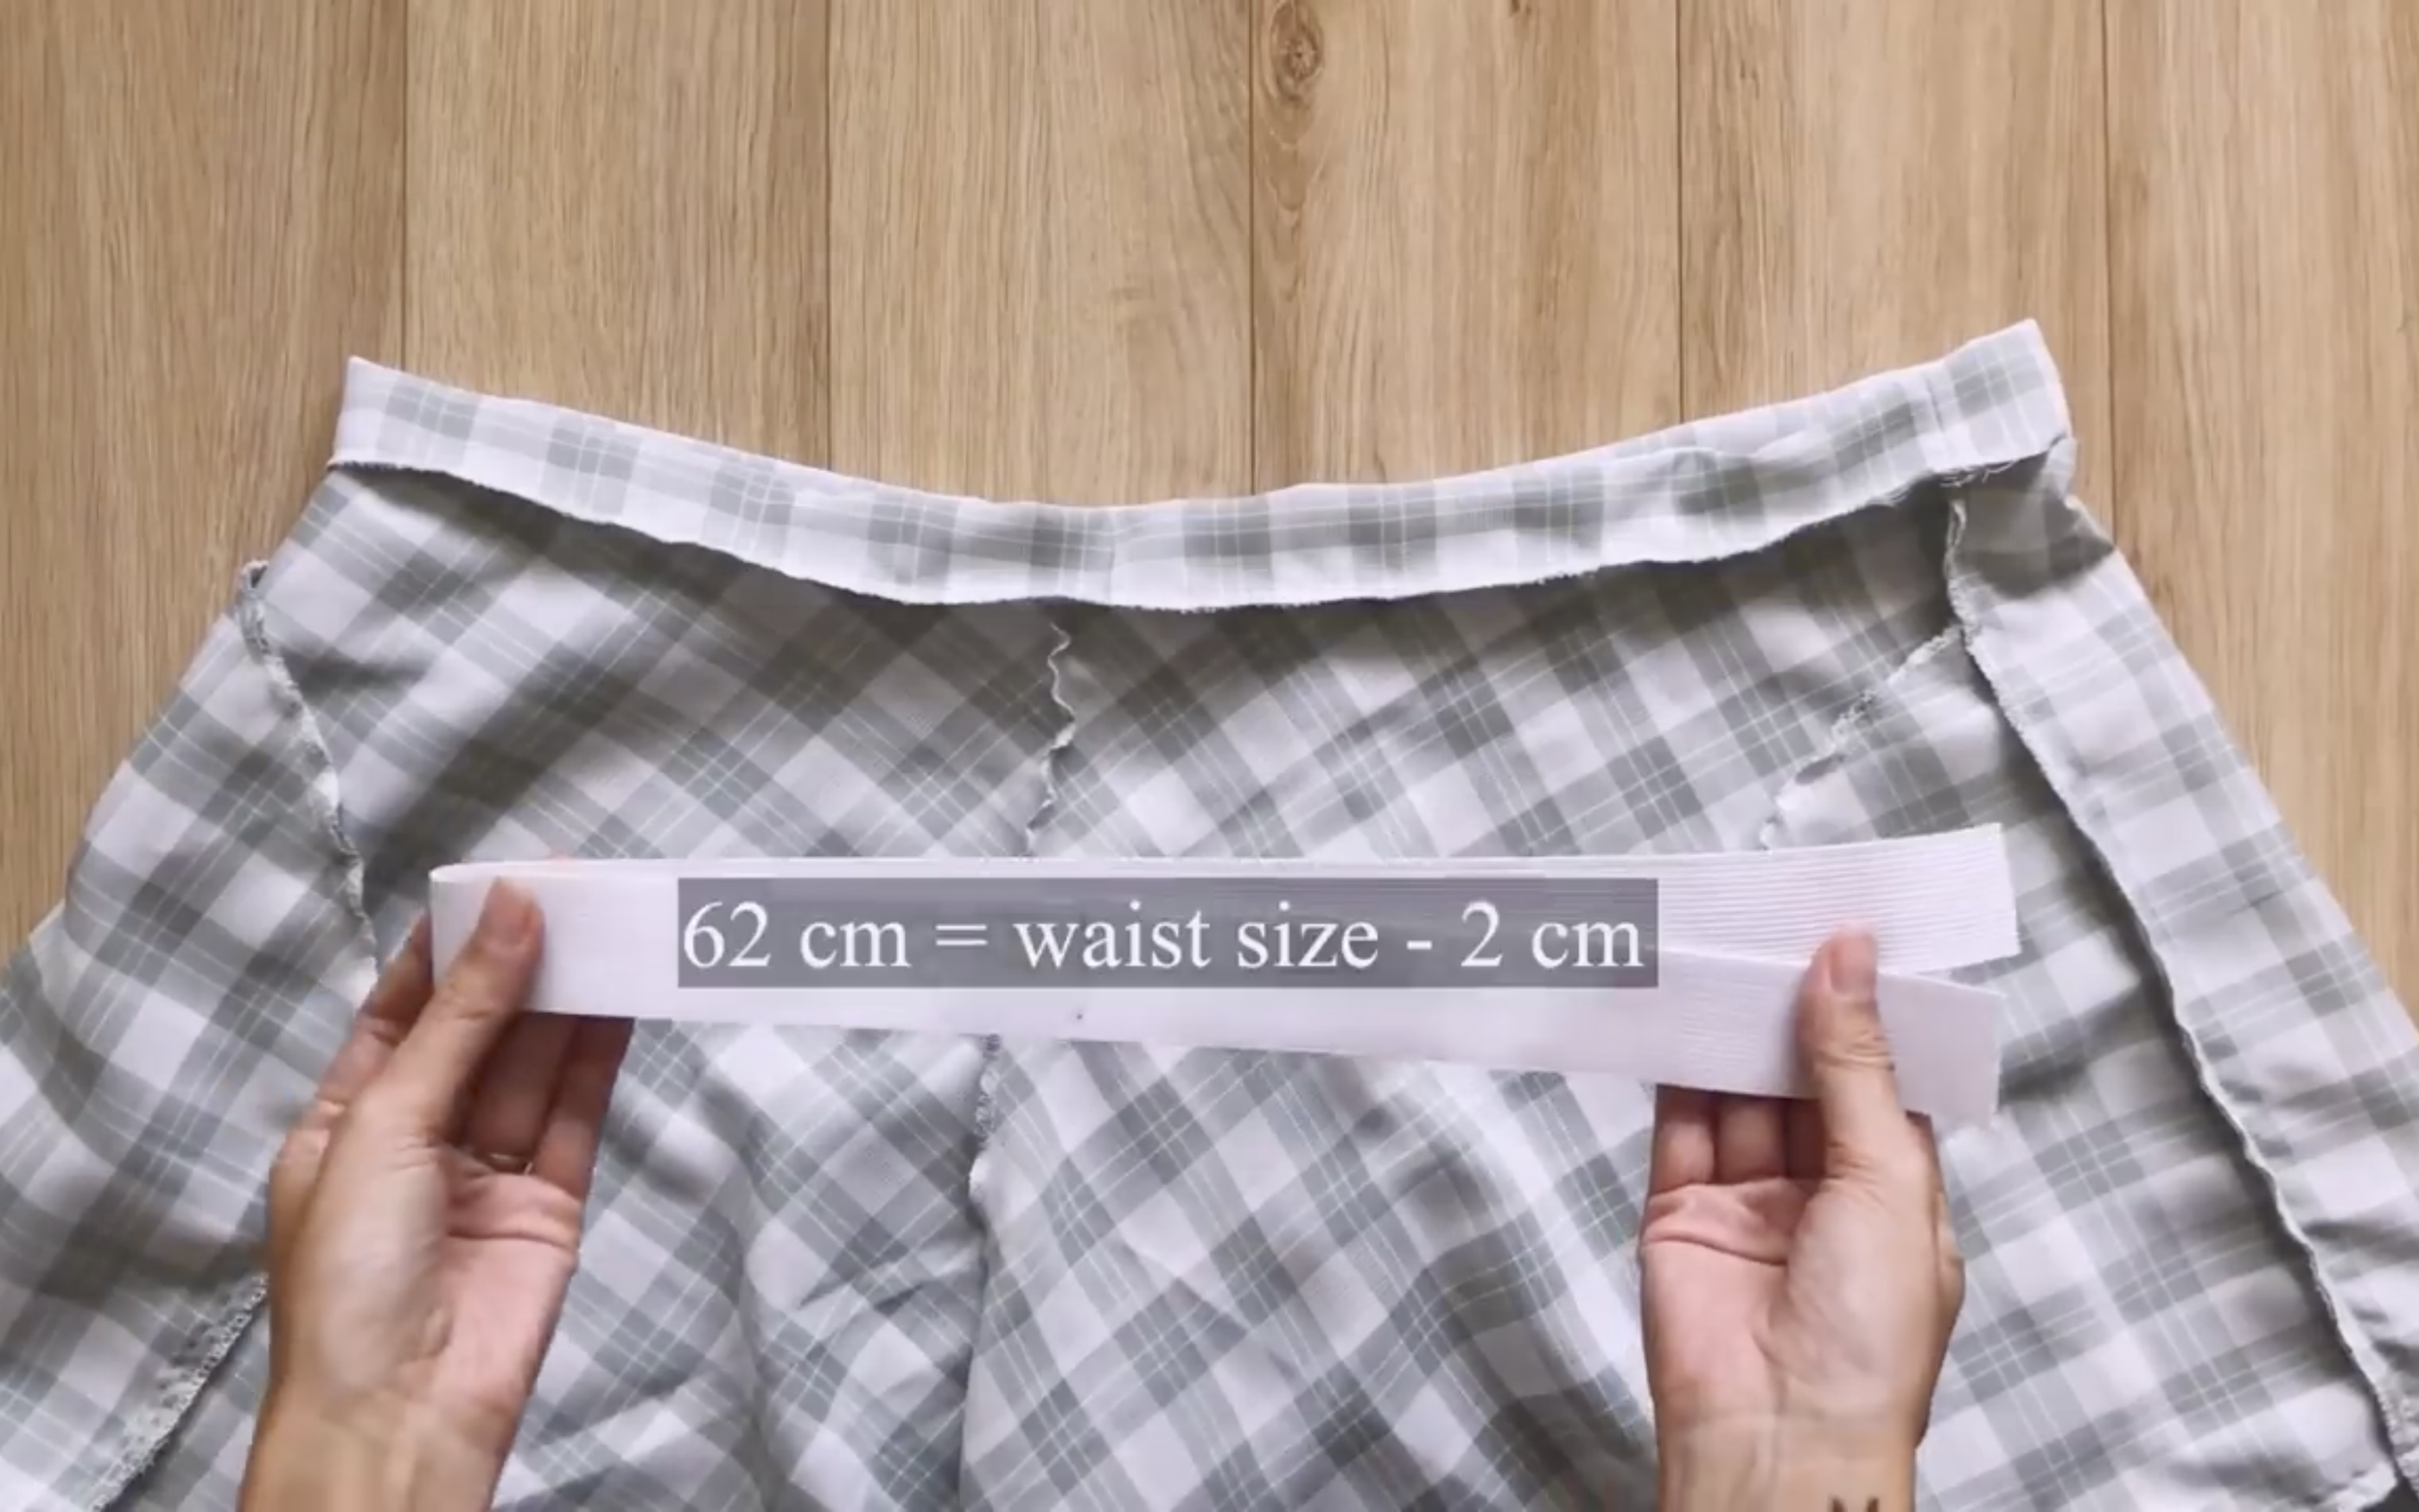
Use the elastic band with 3 cm width and 62 cm length, which is 2 cm shorter than your waist size.
Then connect two ends of the elastic band together.
Don't forget to close the unsew space to finish the waistband.
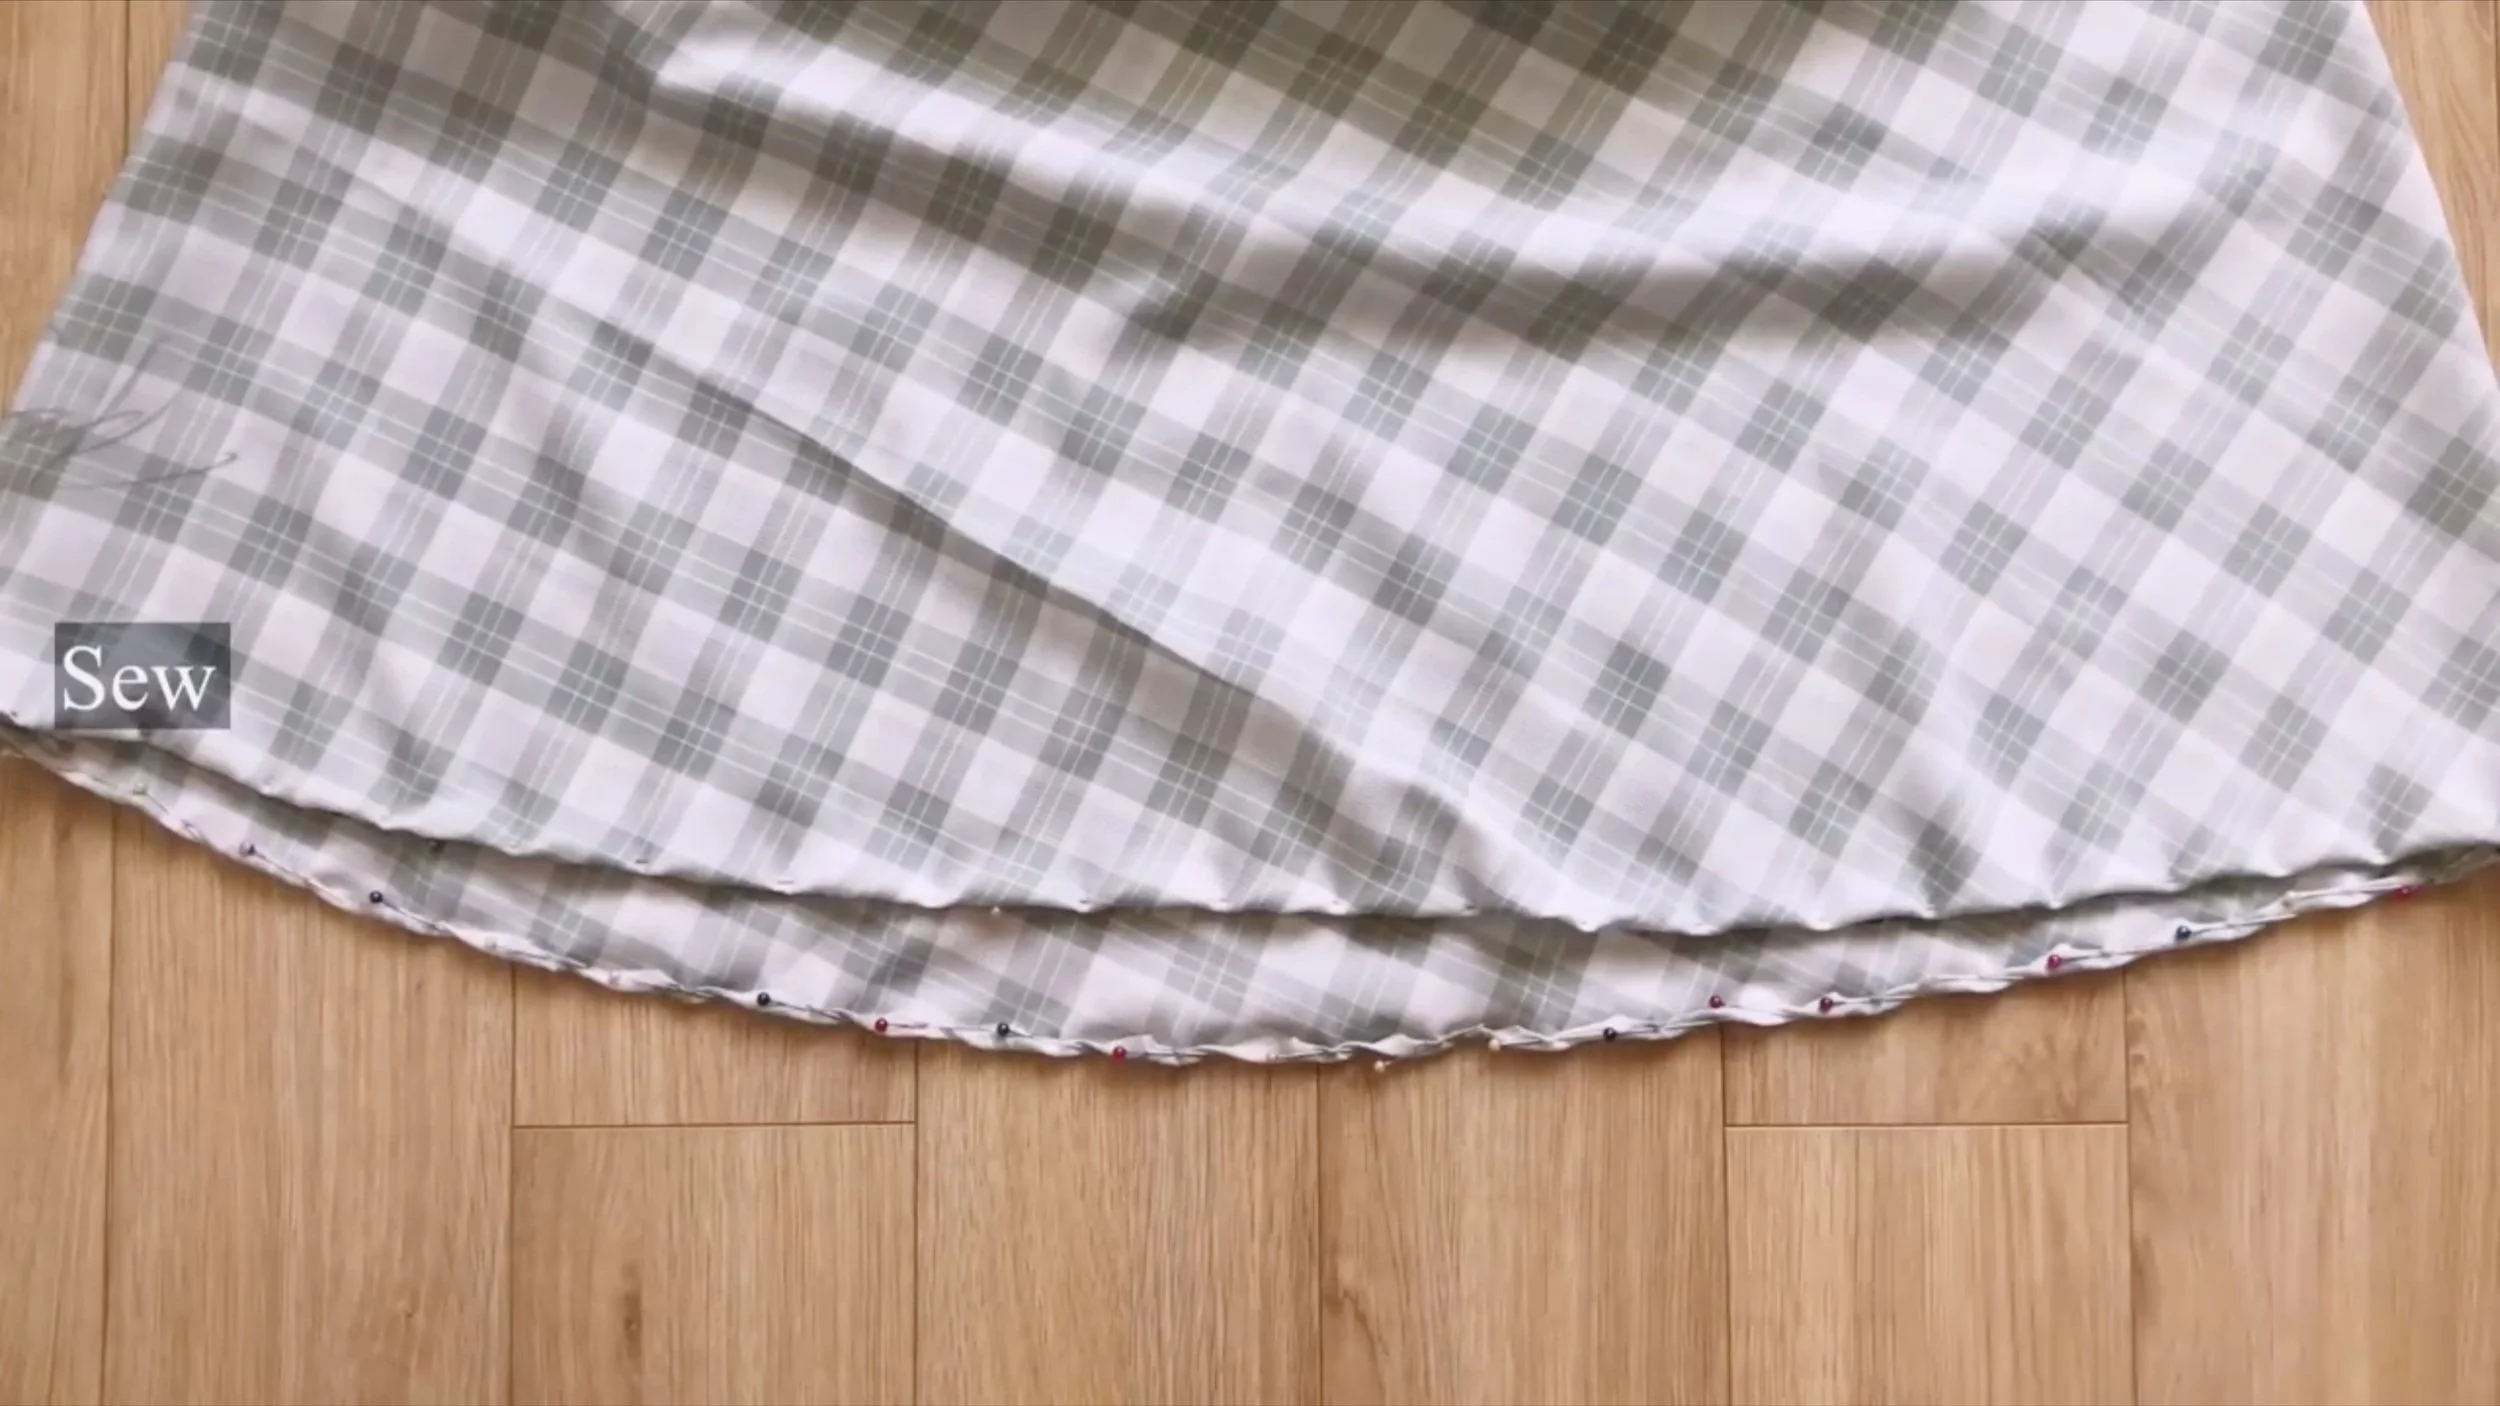
The last step is finishing the end of the pants. Fold the end fabric inside two times and sew to finish it.

DIY SKIRT PANTS (with side pockets) | Step by step sewing tutorial
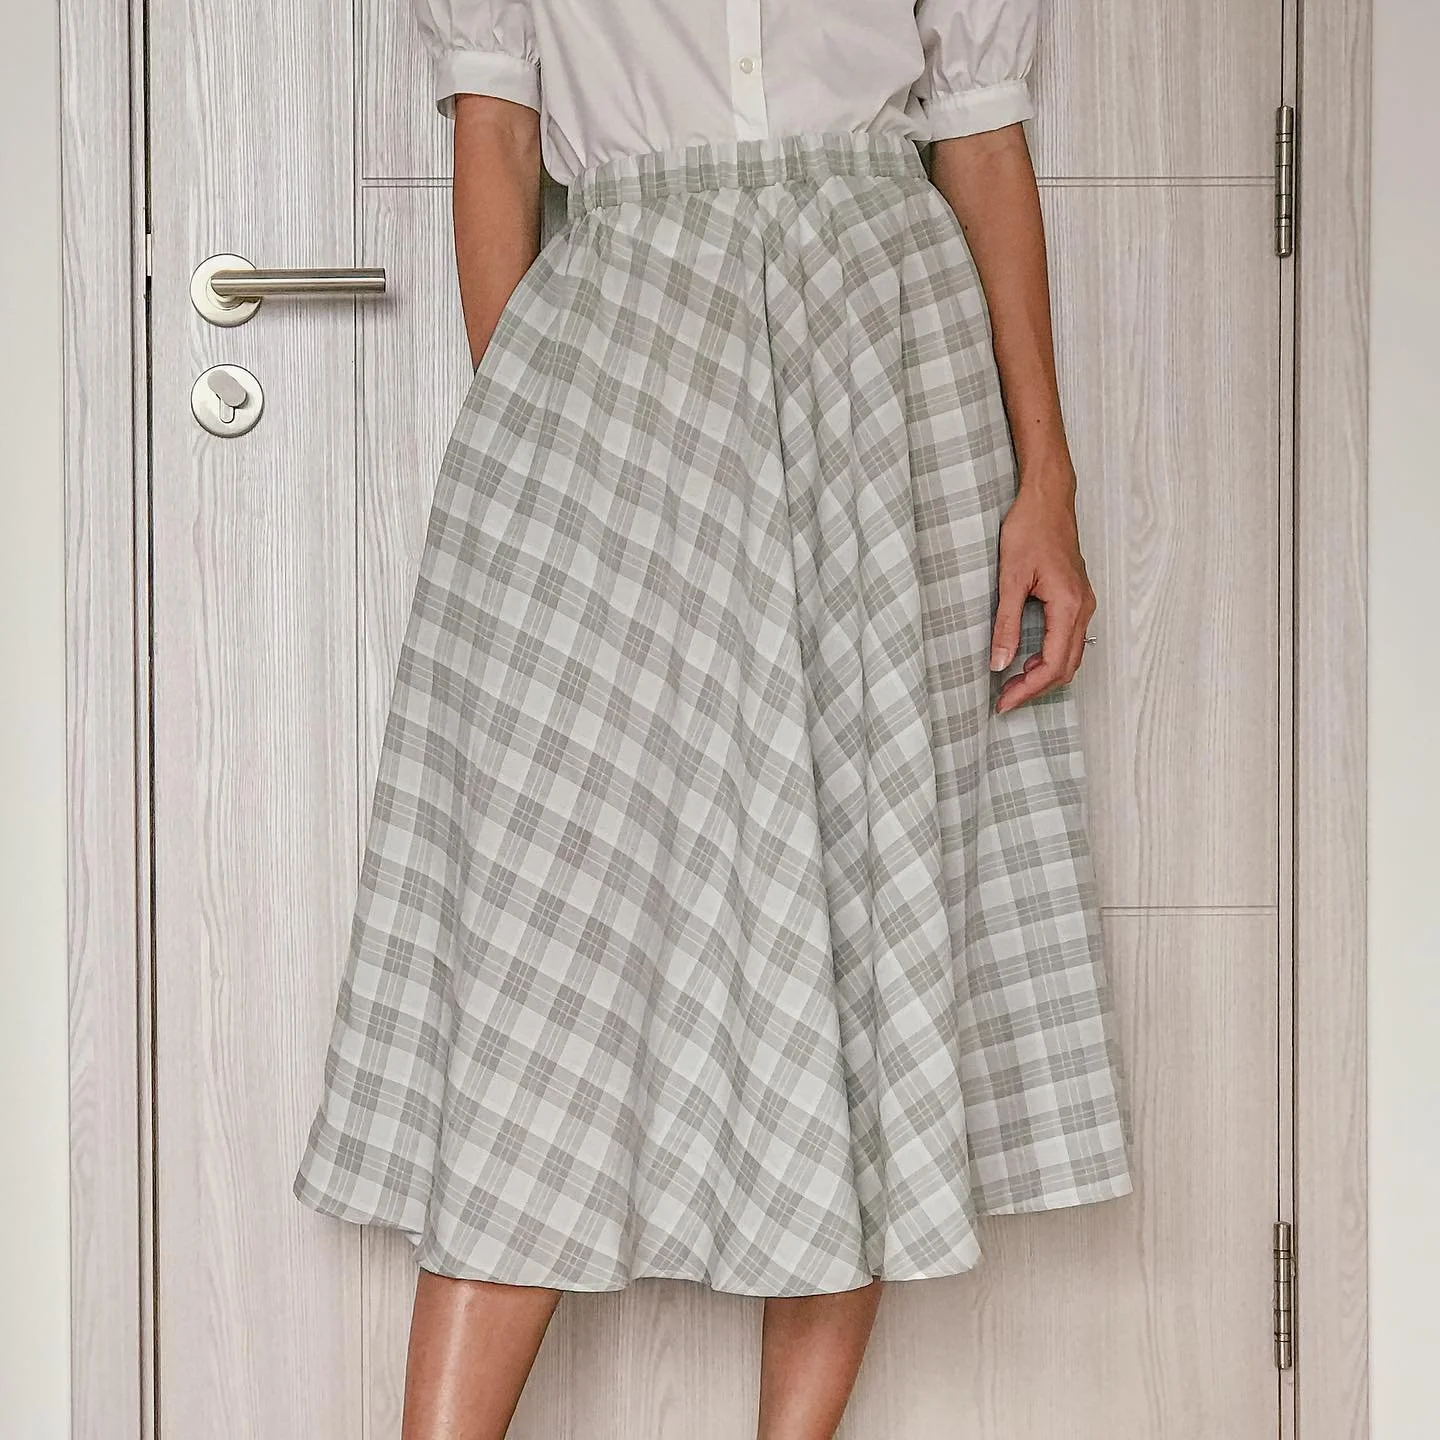
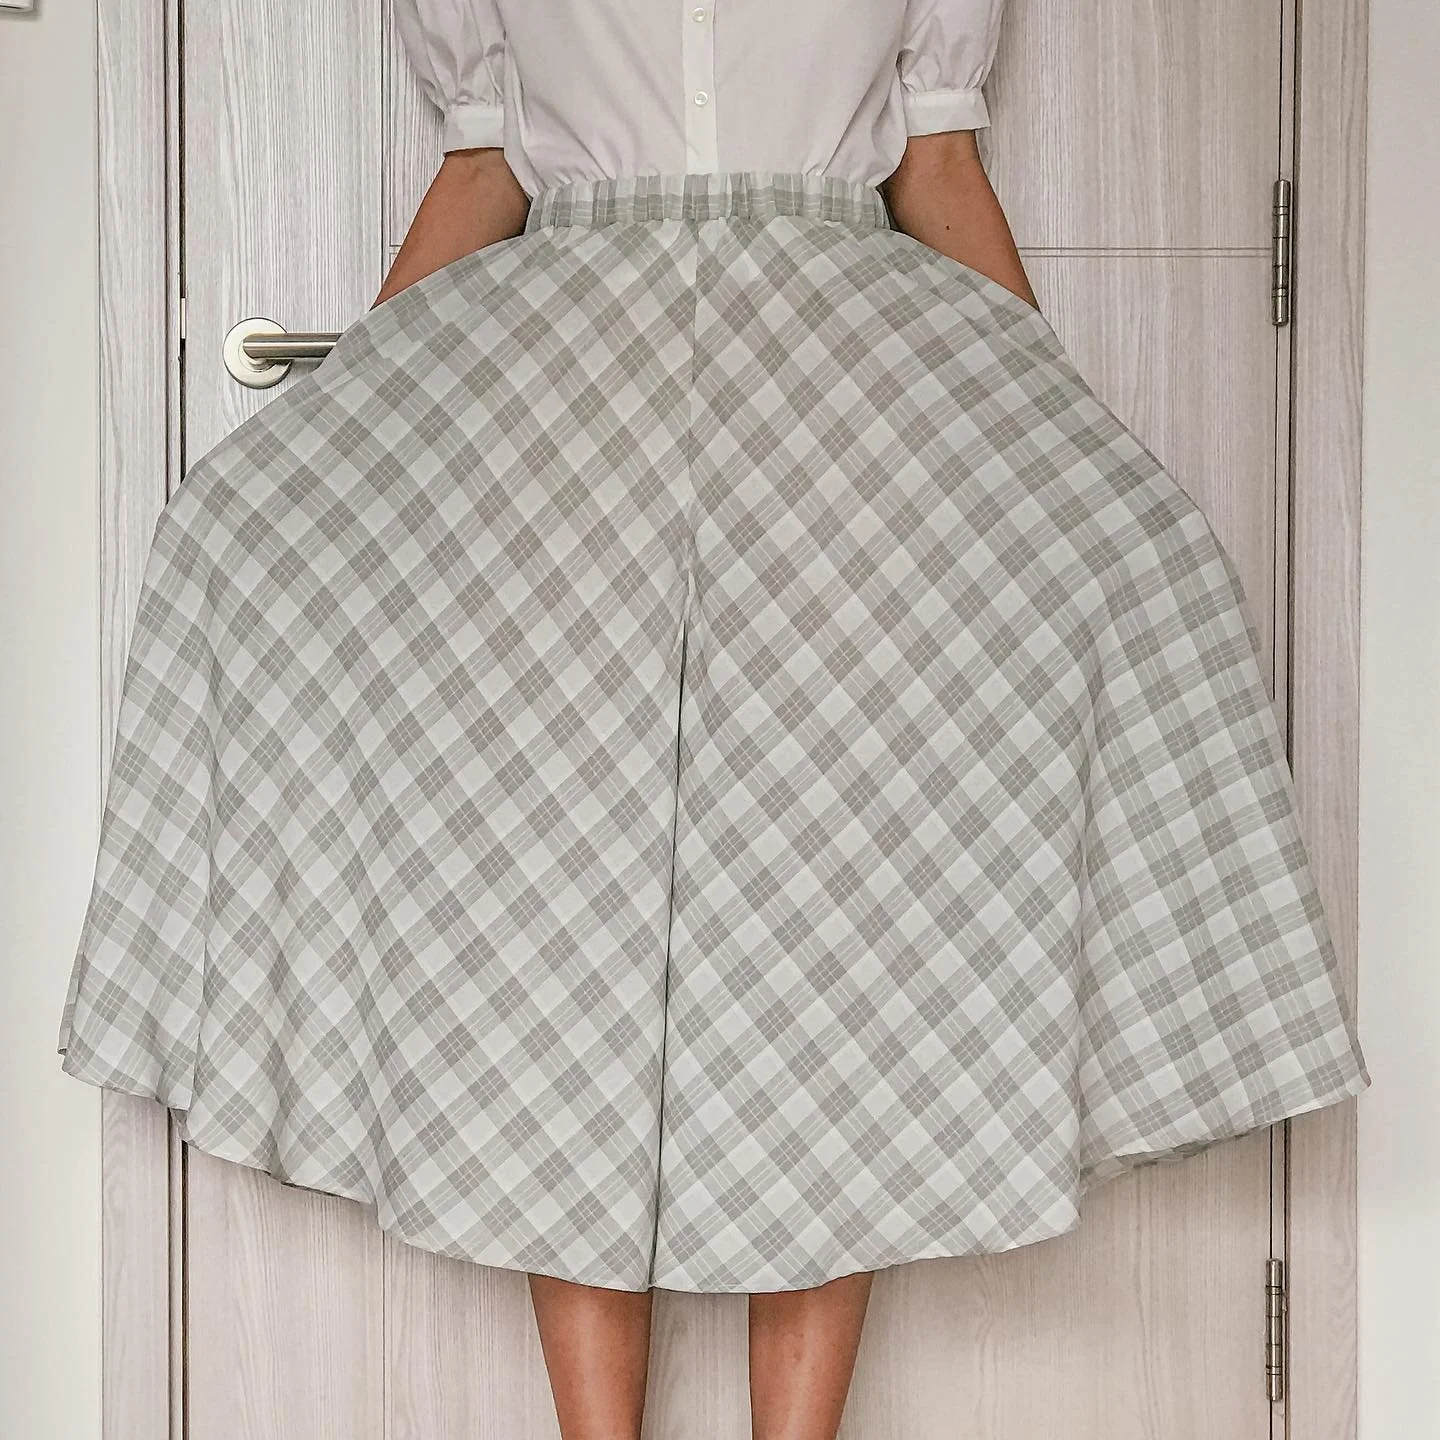
And I finished this DIY — here’s my final result!
These pants are so comfy and pretty that most people might think it’s a skirt. Such a fun twist, right?
I hope you found my step-by-step guide helpful and inspiring.
If you’re interested in making your own, give it a try and let me know how it goes!
Until then, happy sewing!