DIY Long puffy sleeve blouse with ruffle hem and wrap style | Sewing tutorial with pattern making

DIY Long puffy sleeve blouse with ruffle hem and wrap style
Welcome or welcome back to my sewing blog!
In today's tutorial, I'm going to share with you how I made the long sleeve ruffle hem blouse in 2 different ways. They're both the blouse versions of 2 dresses that I made before.
So let's get started!
WHAT YOU’LL NEED
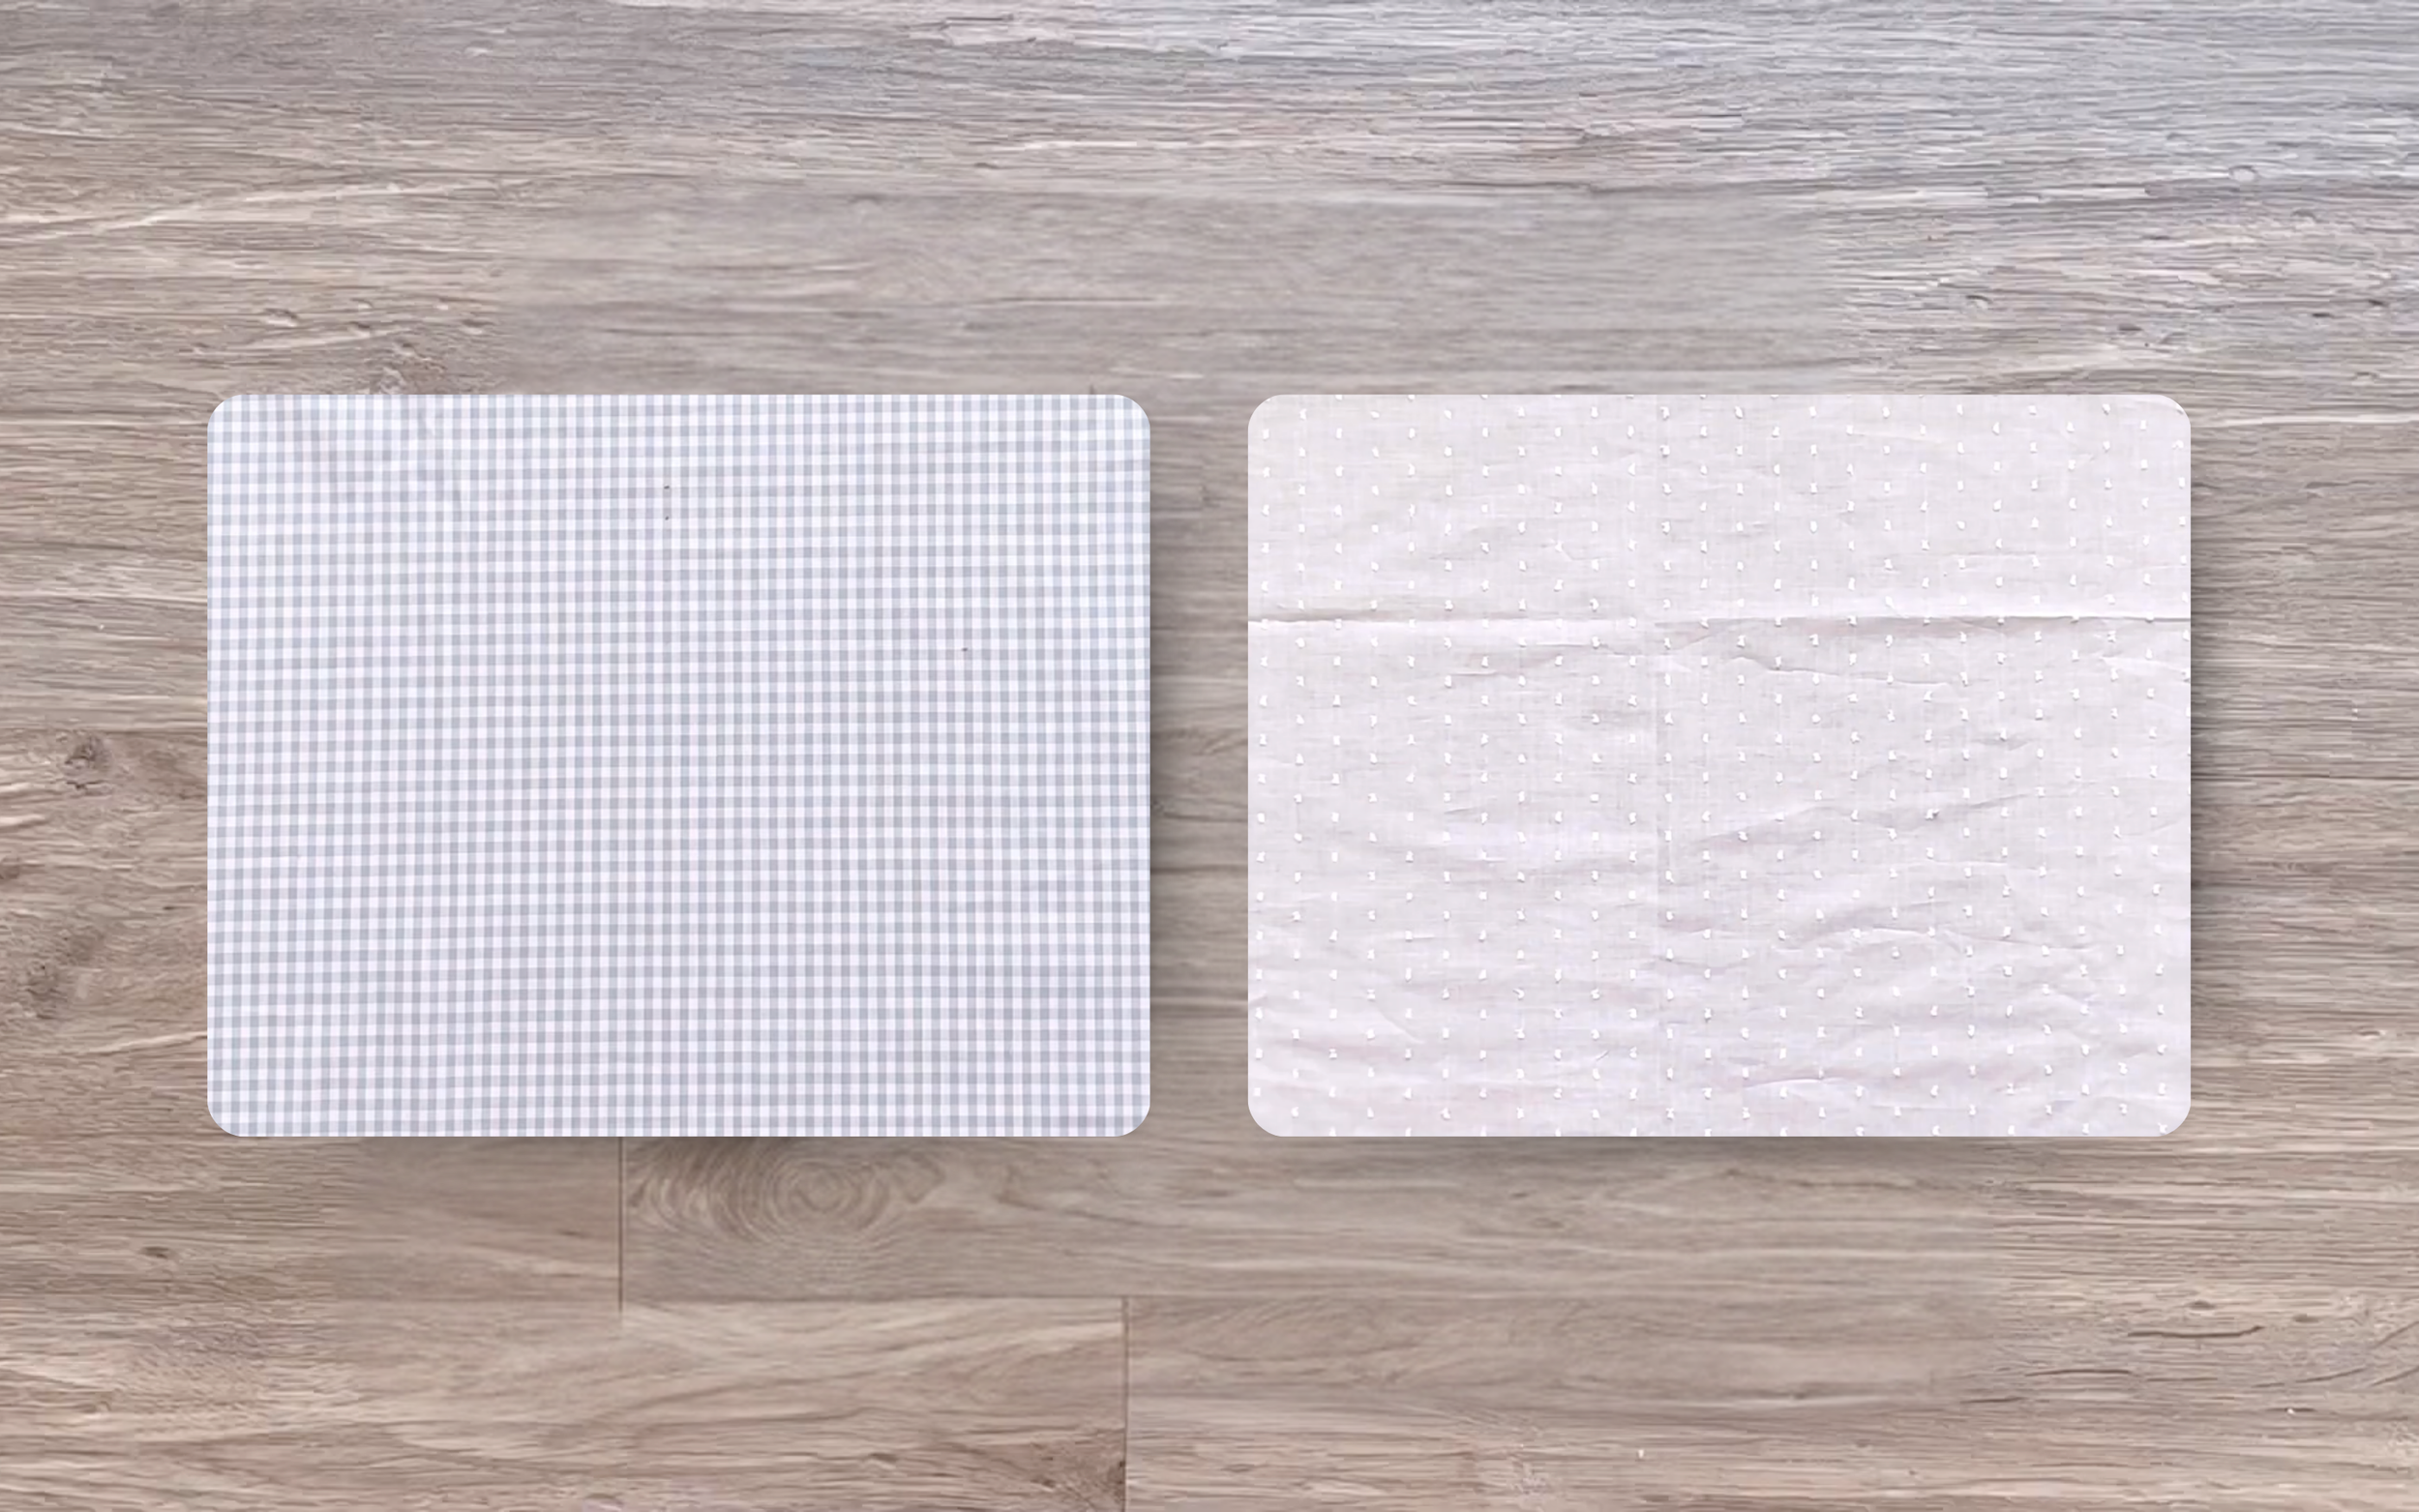
1.5m of cotton fabric for each blouse
Pattern paper
Sewing machine
Pins
Scissors
Ruler
Long stick
VERSION ONE
THE BACK BODICE PATTERN
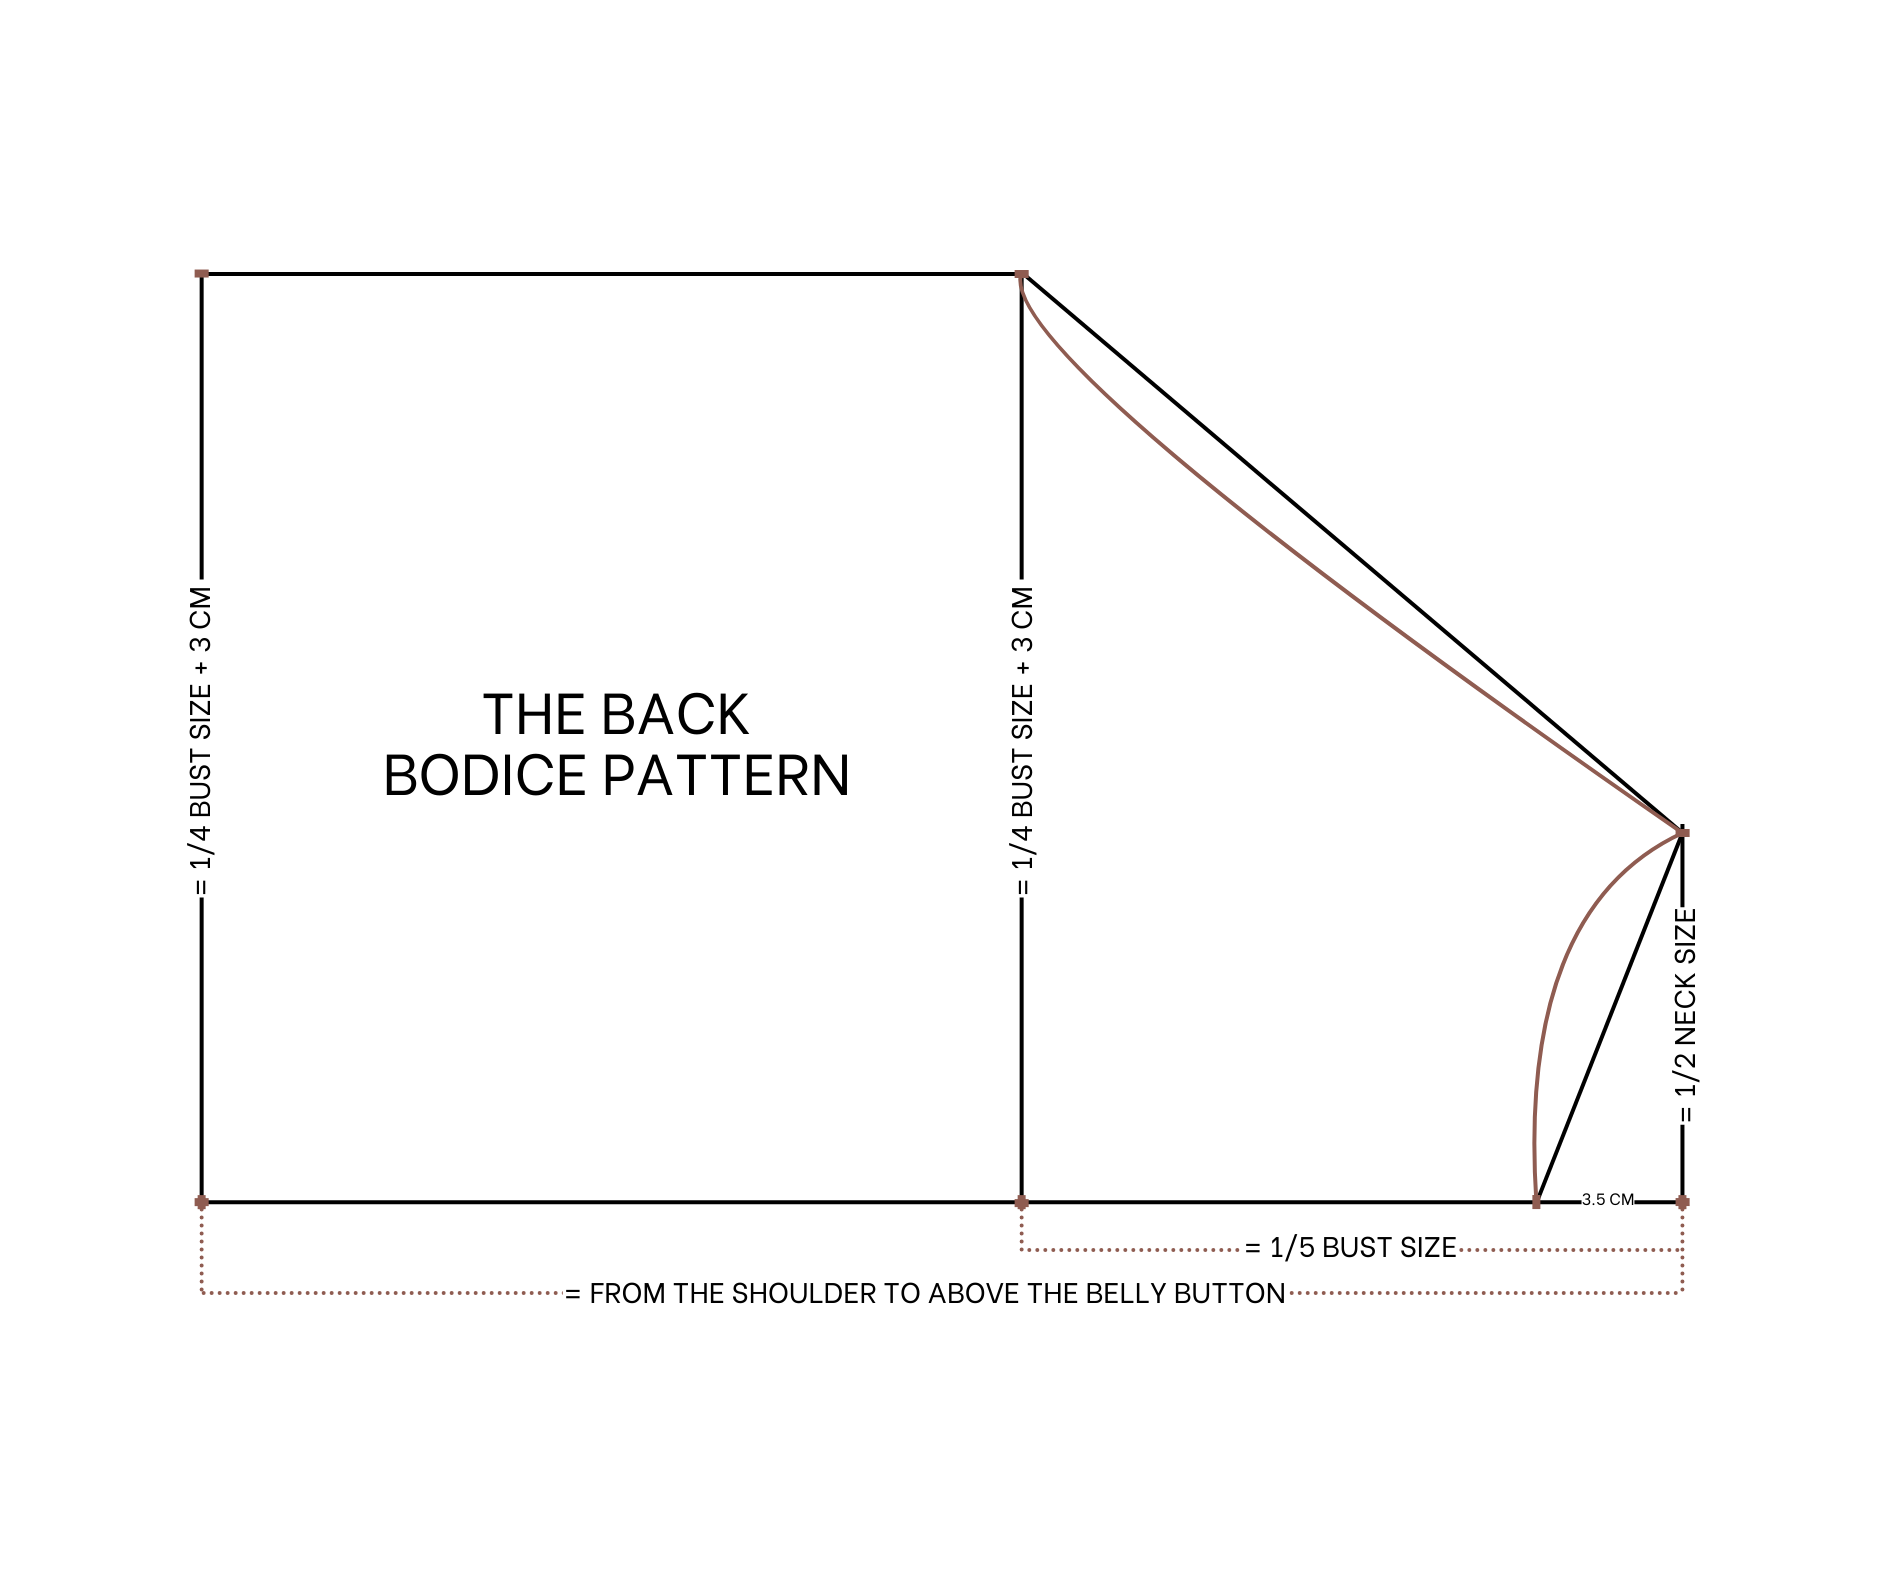
To make the back bodice pattern, fold the paper in half first.
From the folding line, draw a straight line at one side; this will be the top of the back bodice.
From the first straight line, draw another one 16 cm next to it (1/5 of the bust size). This is the bust line of the blouse.
From the first straight line, draw another one 36 cm away; this is the length from the shoulder to above the belly button and marks the ending line of the back bodice.
From the end of this straight line, mark up 9 cm (half the neck size of the blouse).
On the folding line, mark 3.5 cm from the end of the straight line (the depth of the neck at the back of the blouse).
Connect these two marks and draw a curved line based on them.
From the end of the bust line, mark up 23 cm (a quarter of the bust size plus 3 cm).
Connect this mark to the top of the neckline to create the sleeve line at the back bodice.
From the end of the ending line, mark up 23 cm (the same measurement as the mark on the bust line).
Connect this mark to the end of the sleeve line to create the sideline of the blouse.
Redraw the end of the sleeve line slightly to create a smooth connection between the sleeve and bodice for sewing.
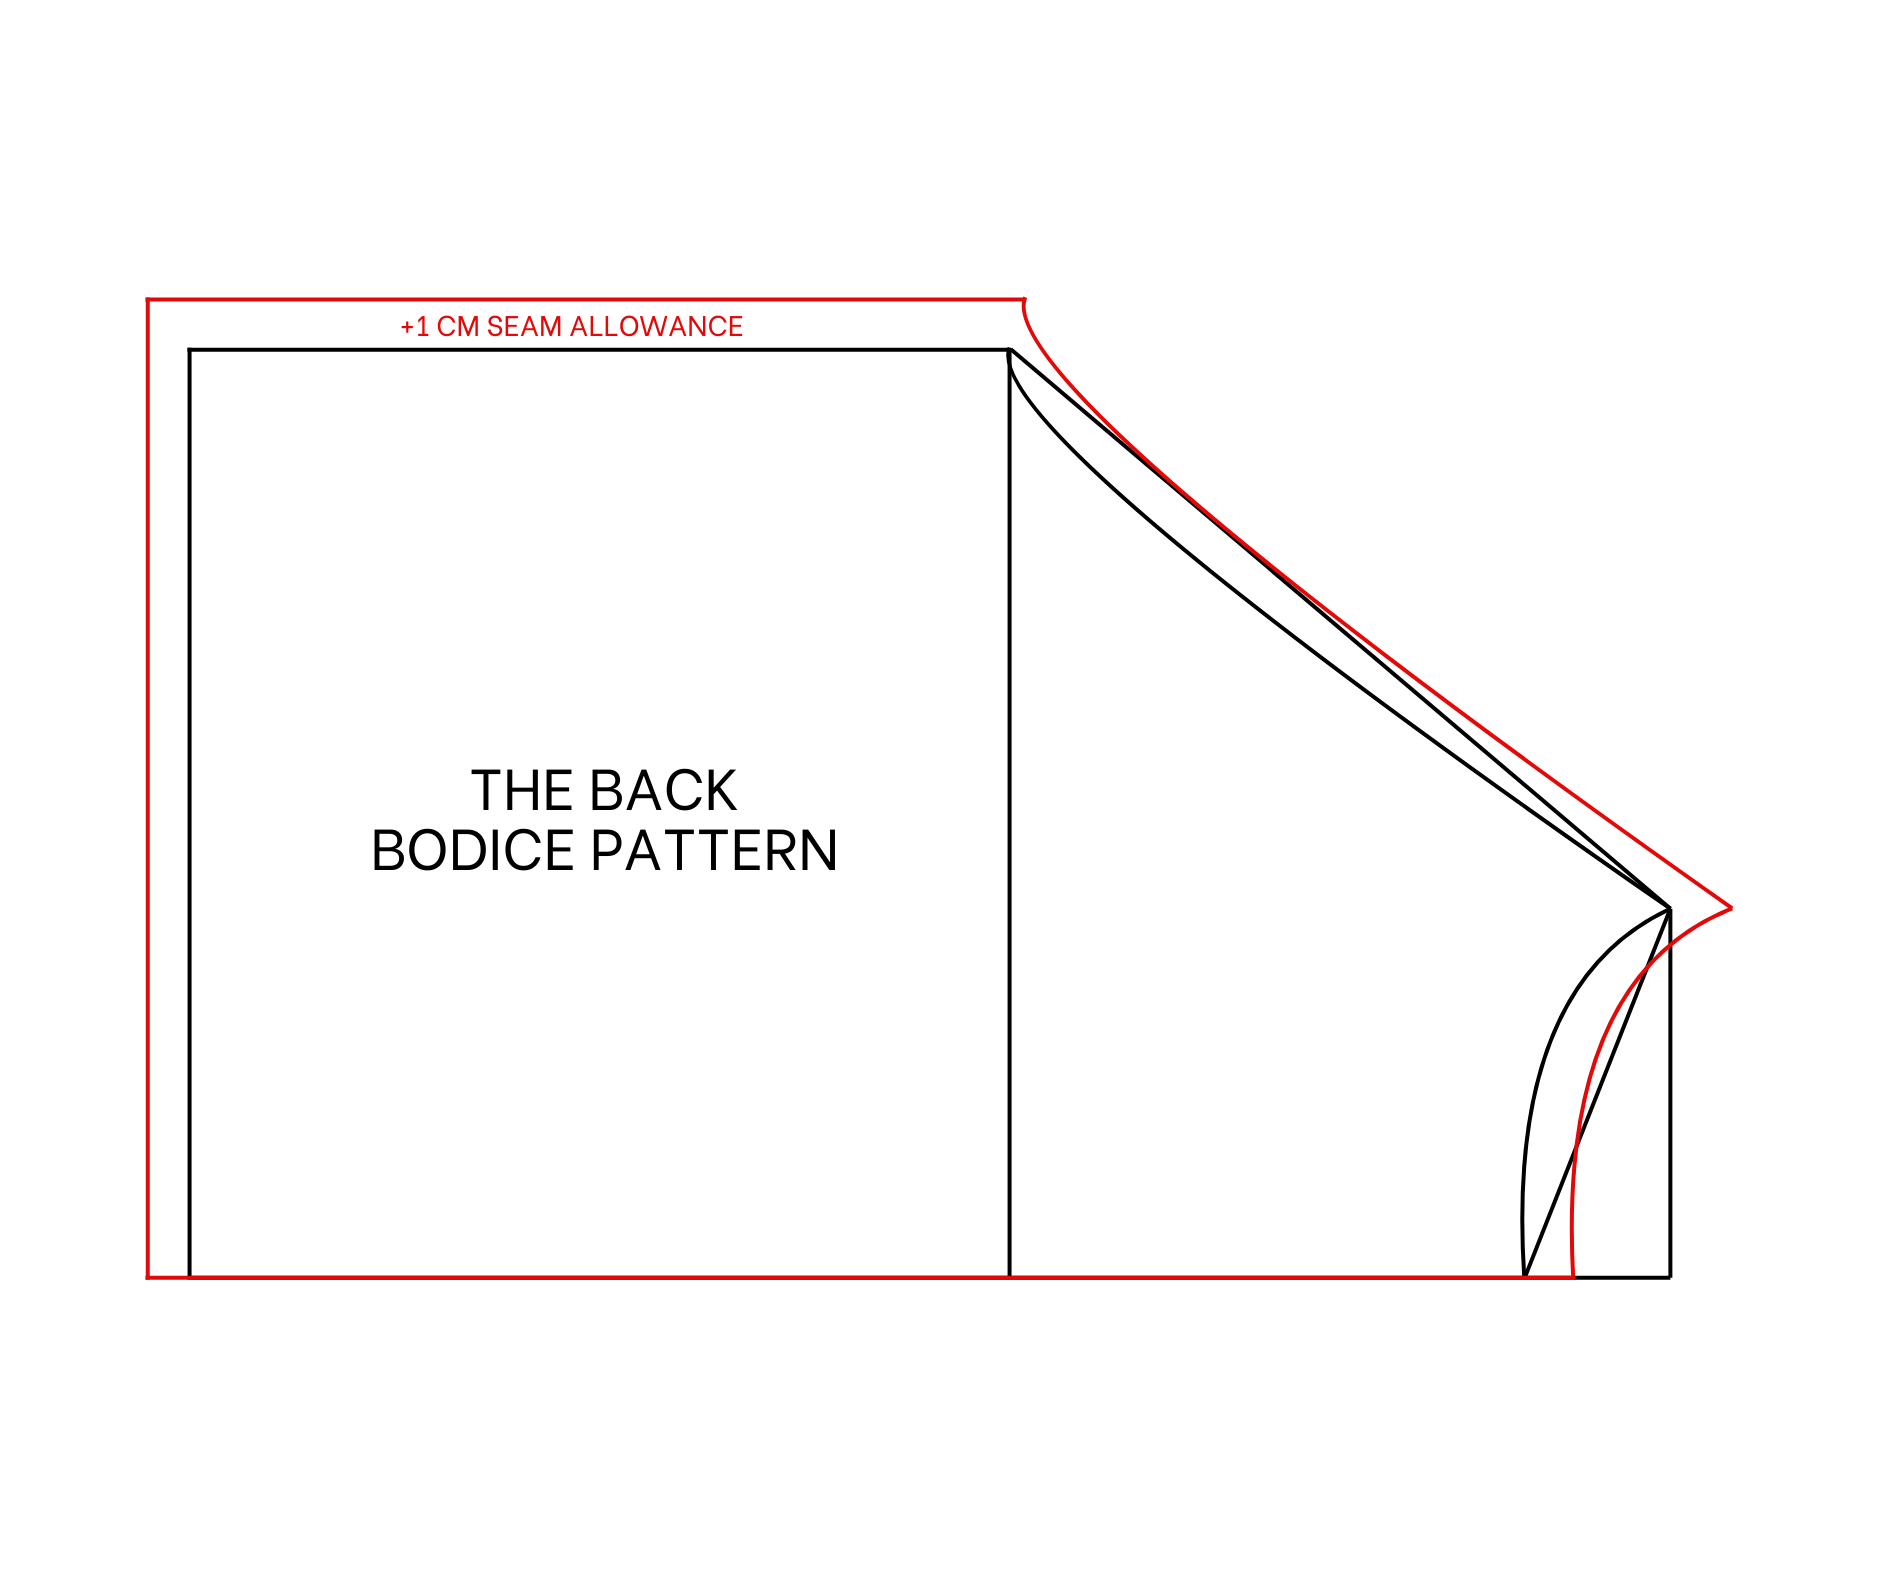
Add 1 cm seam allowance.
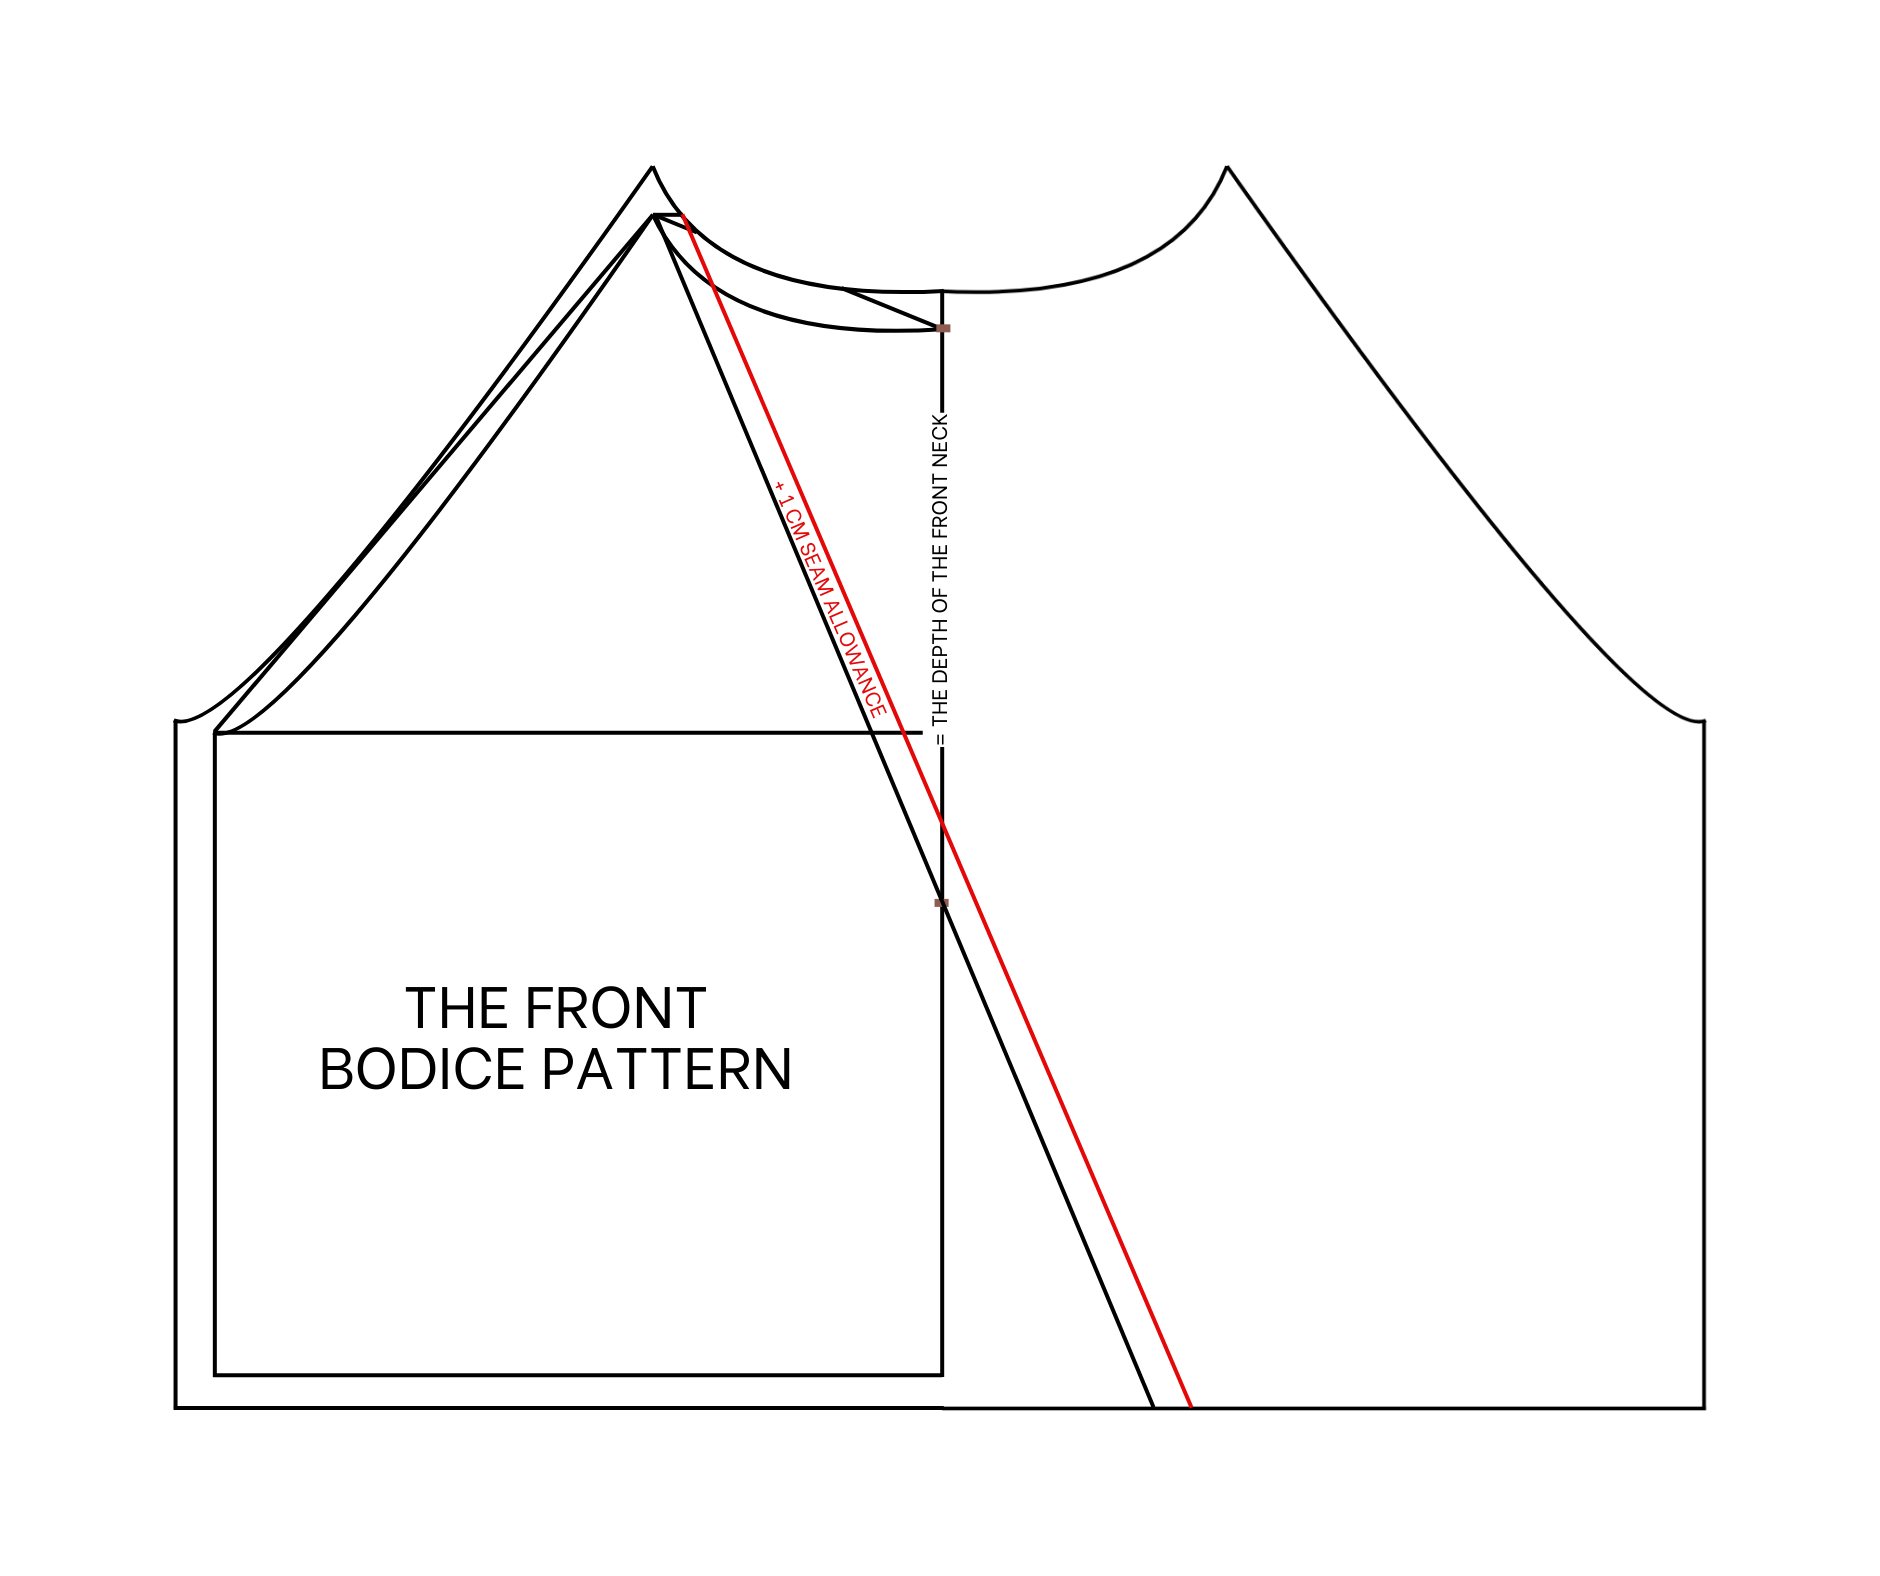
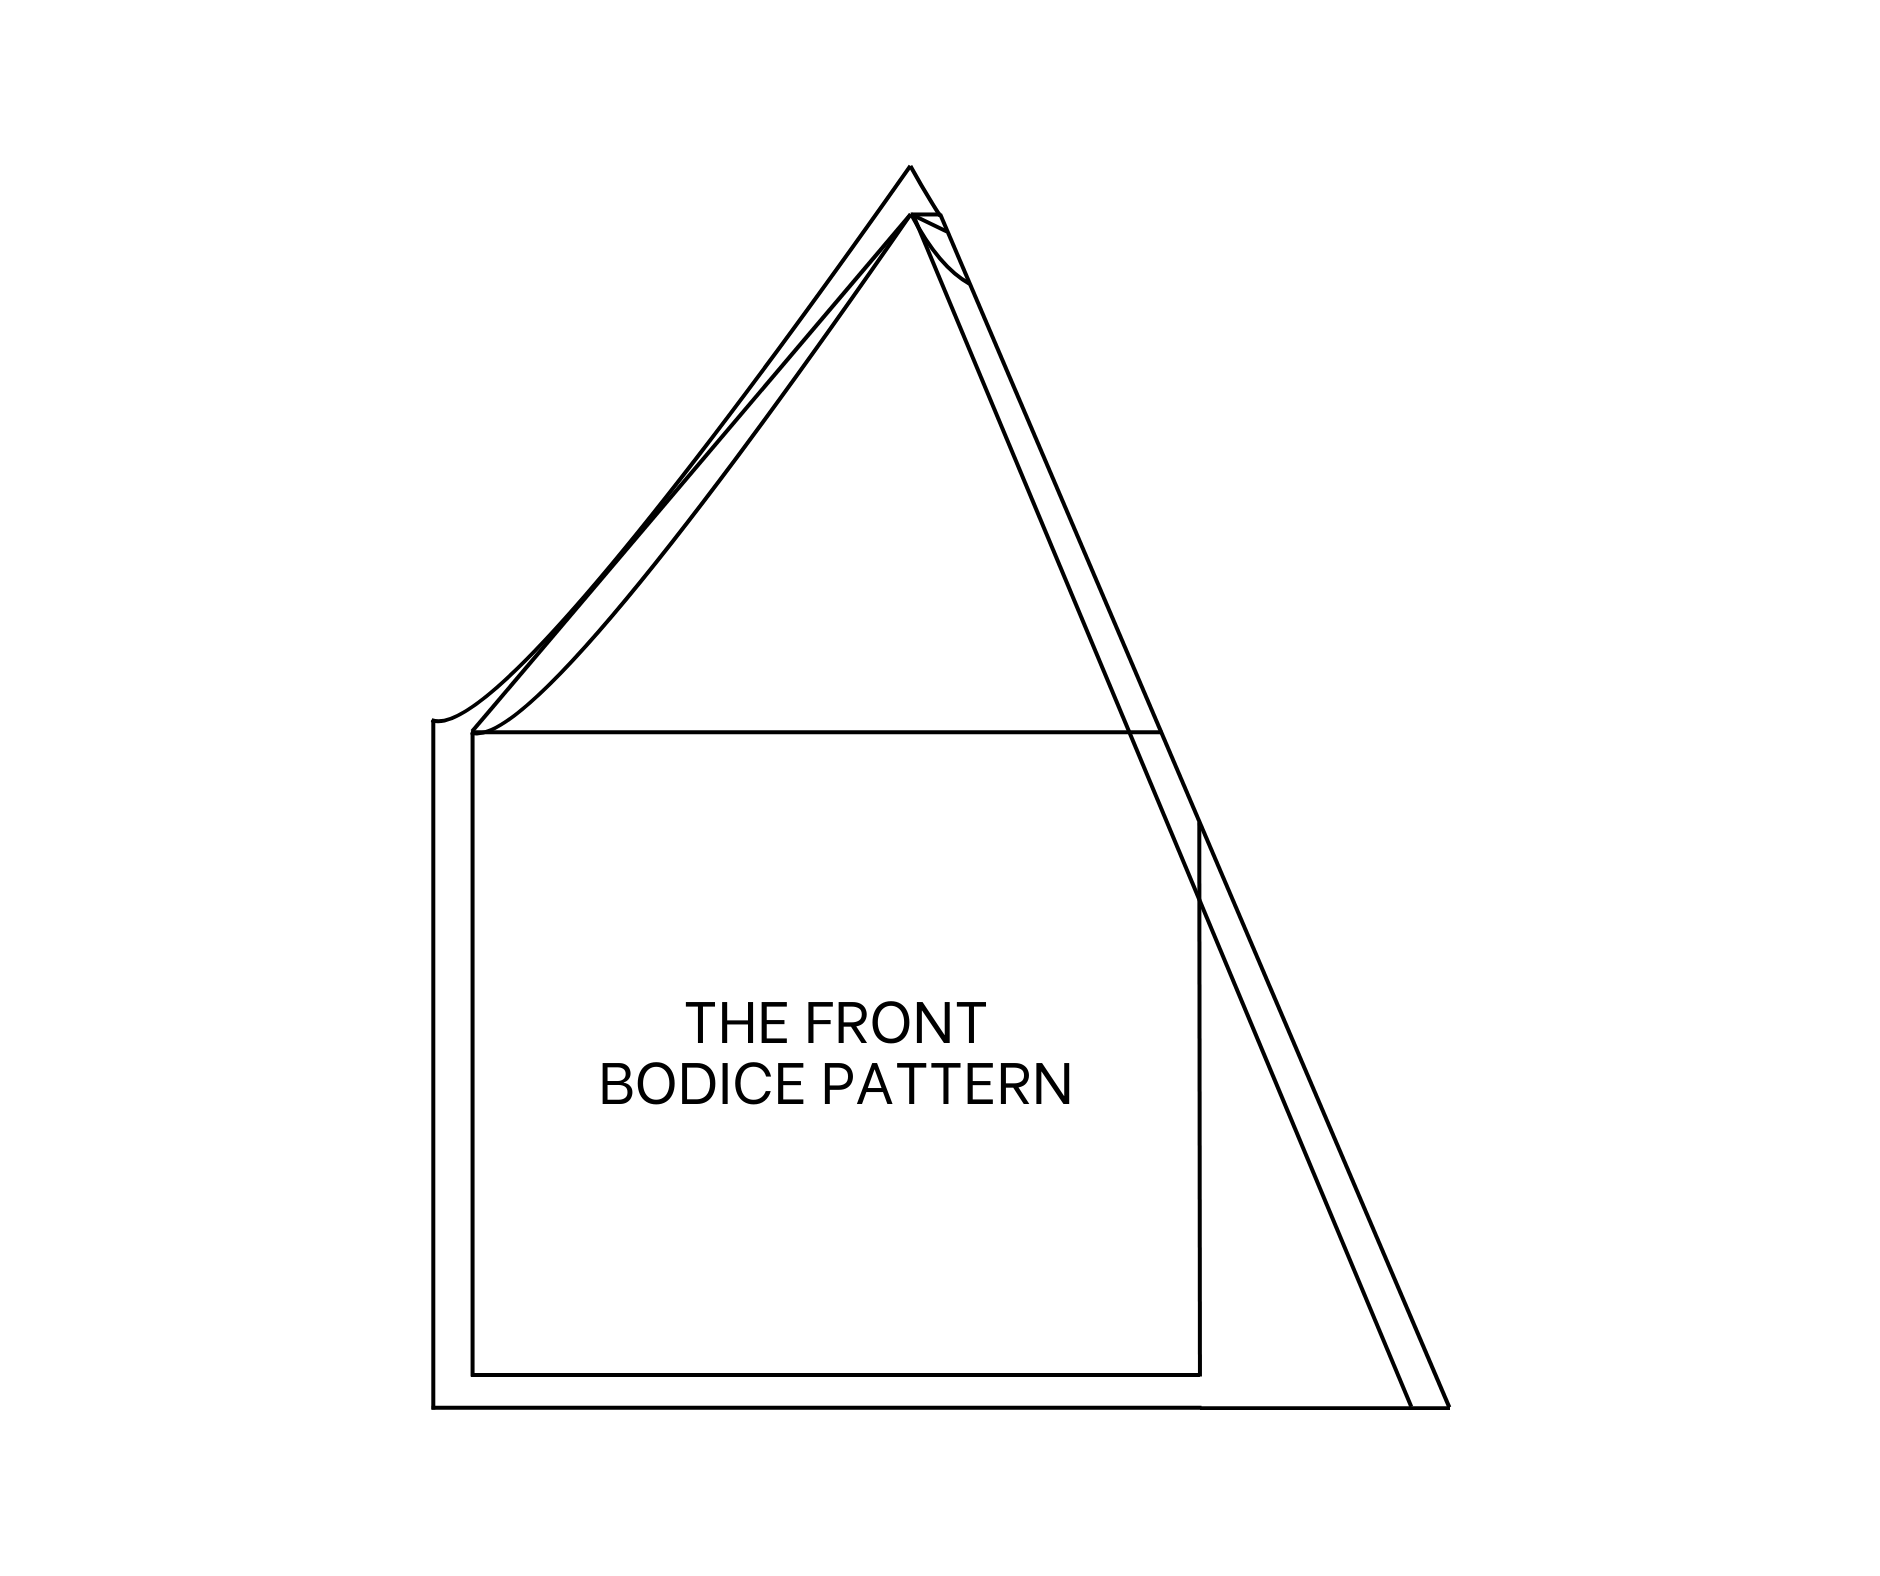
THE FRONT BODICE PATTERN
To make the front bodice pattern, use the back bodice pattern.
From the middle of the neckline, mark down 18 cm on the folding line (the depth of the neck at the front of the blouse).
Connect the top of the neckline to this mark to create the front neckline for the blouse. This line will cut the ending line at one point.
Add 1 cm seam allowance to this line.
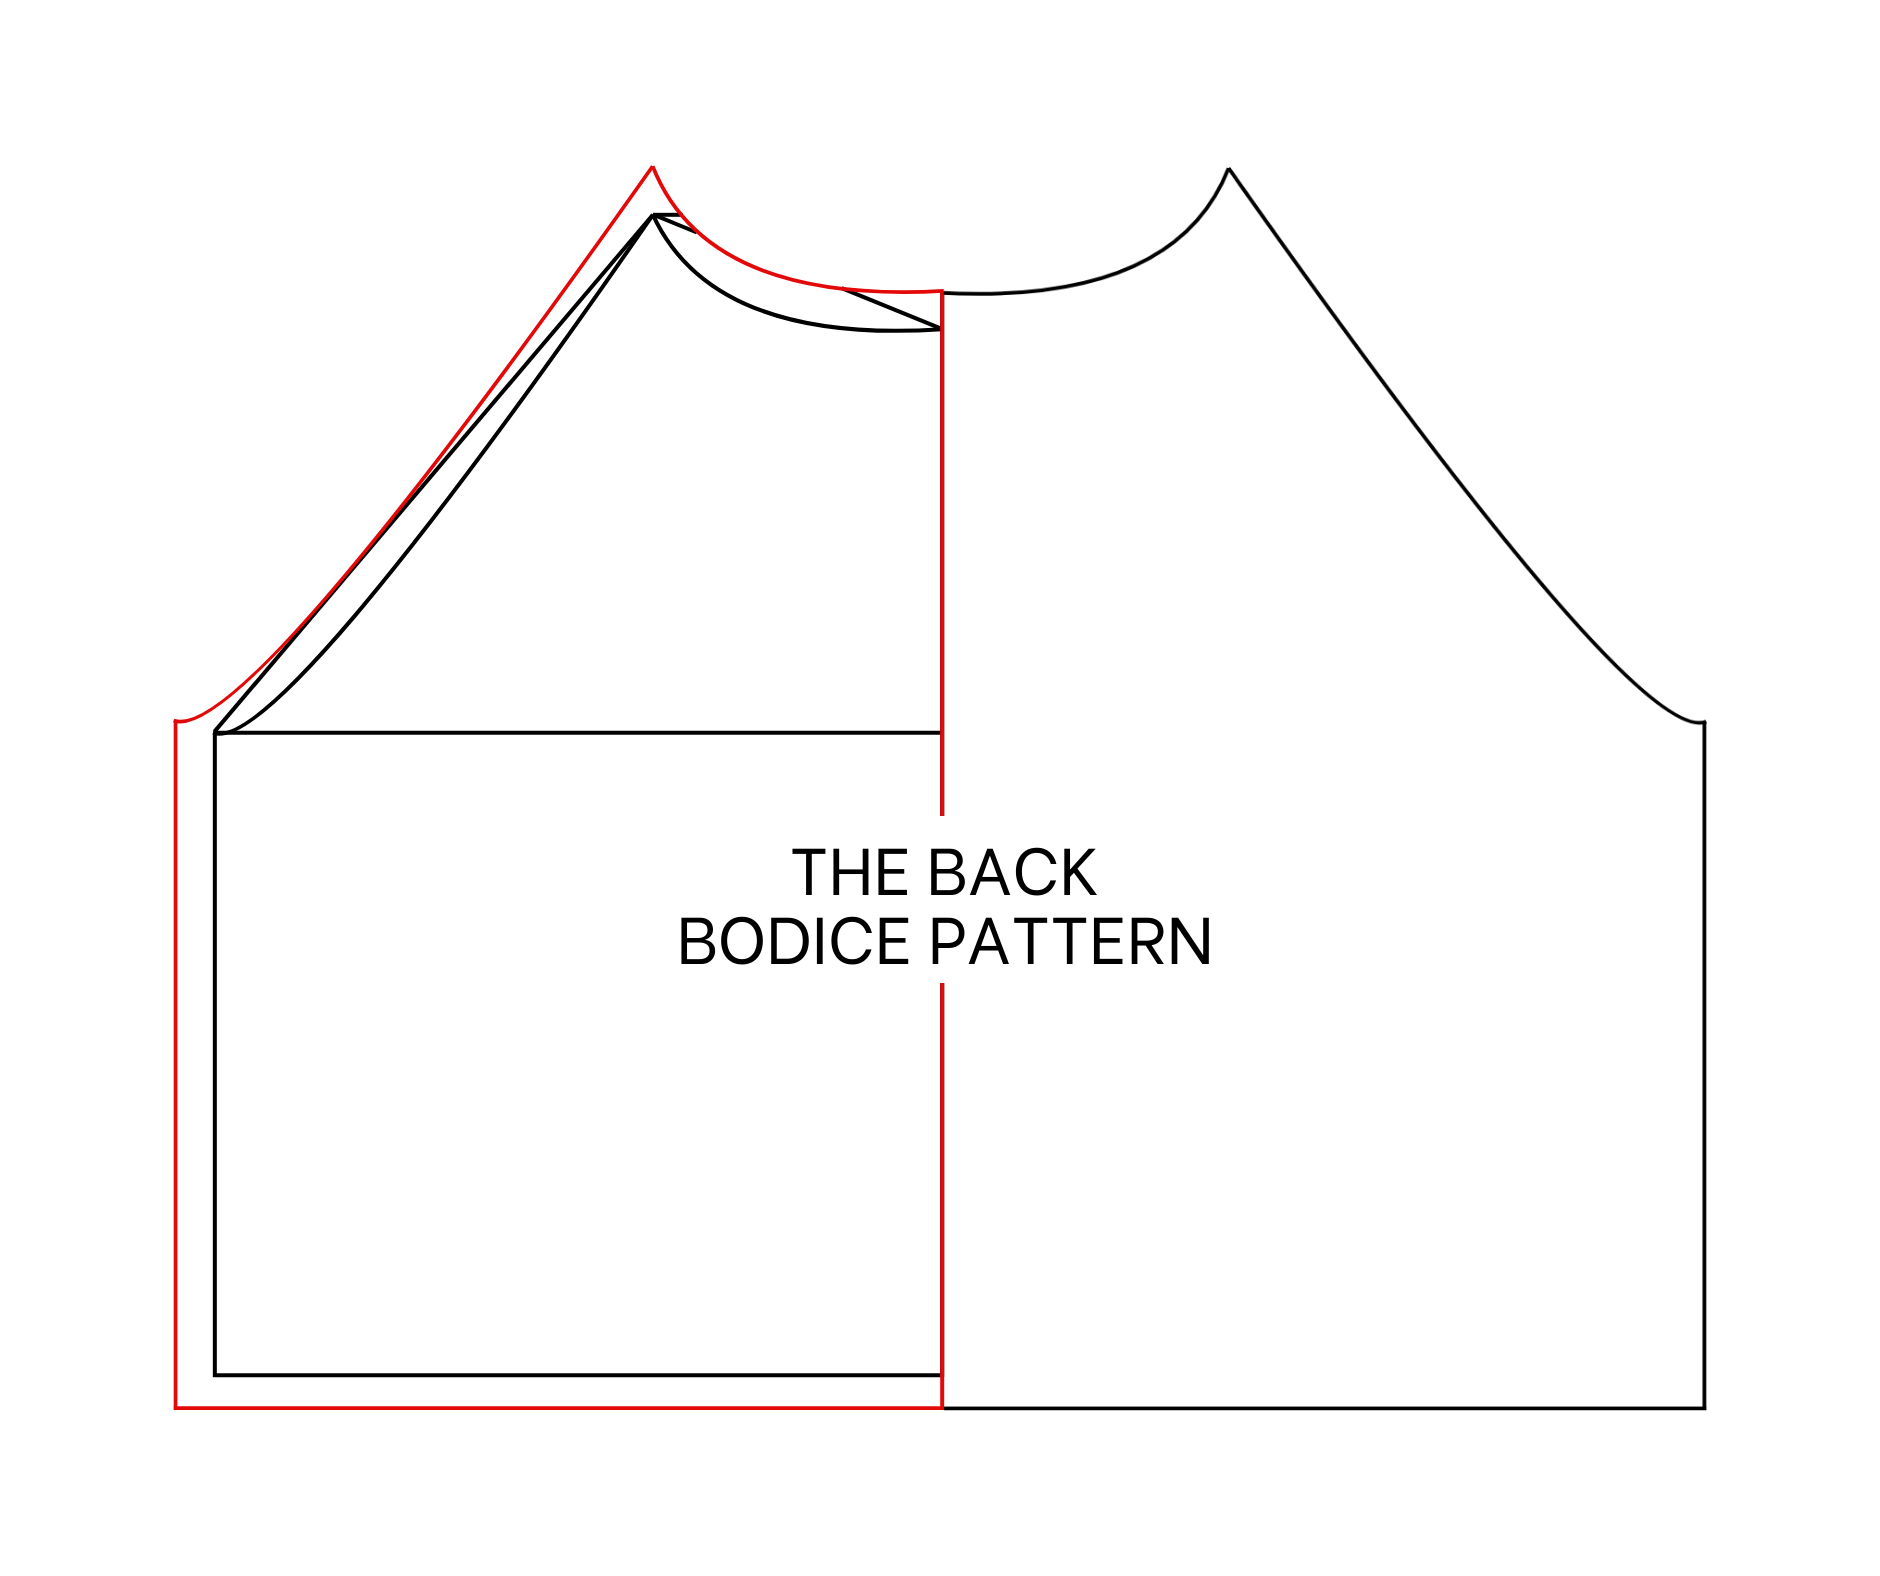
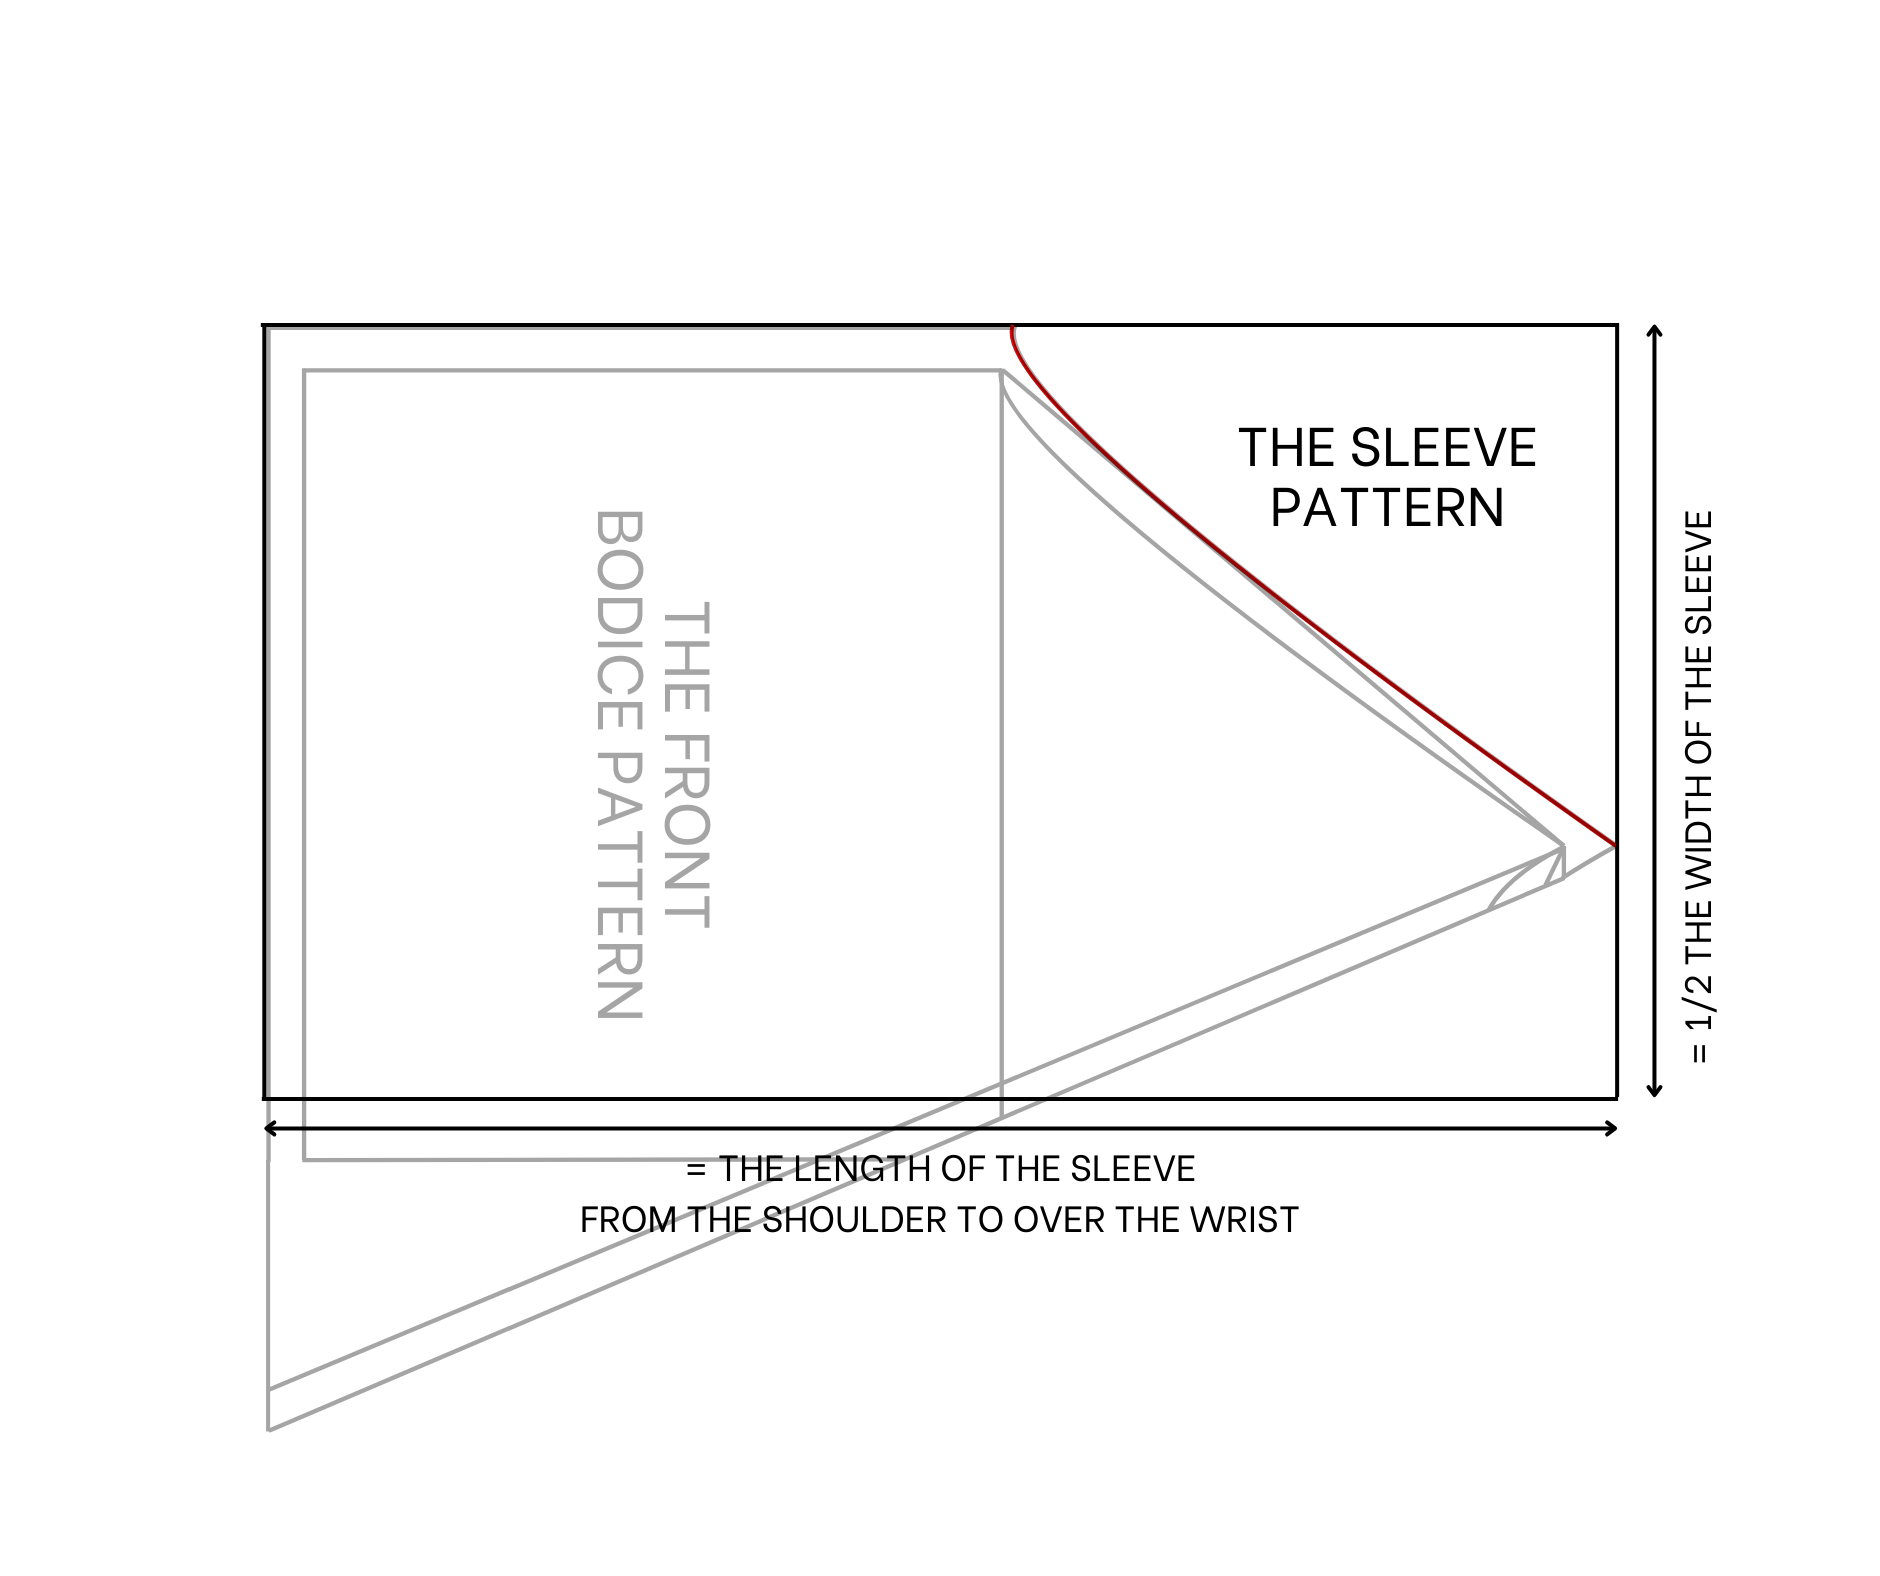
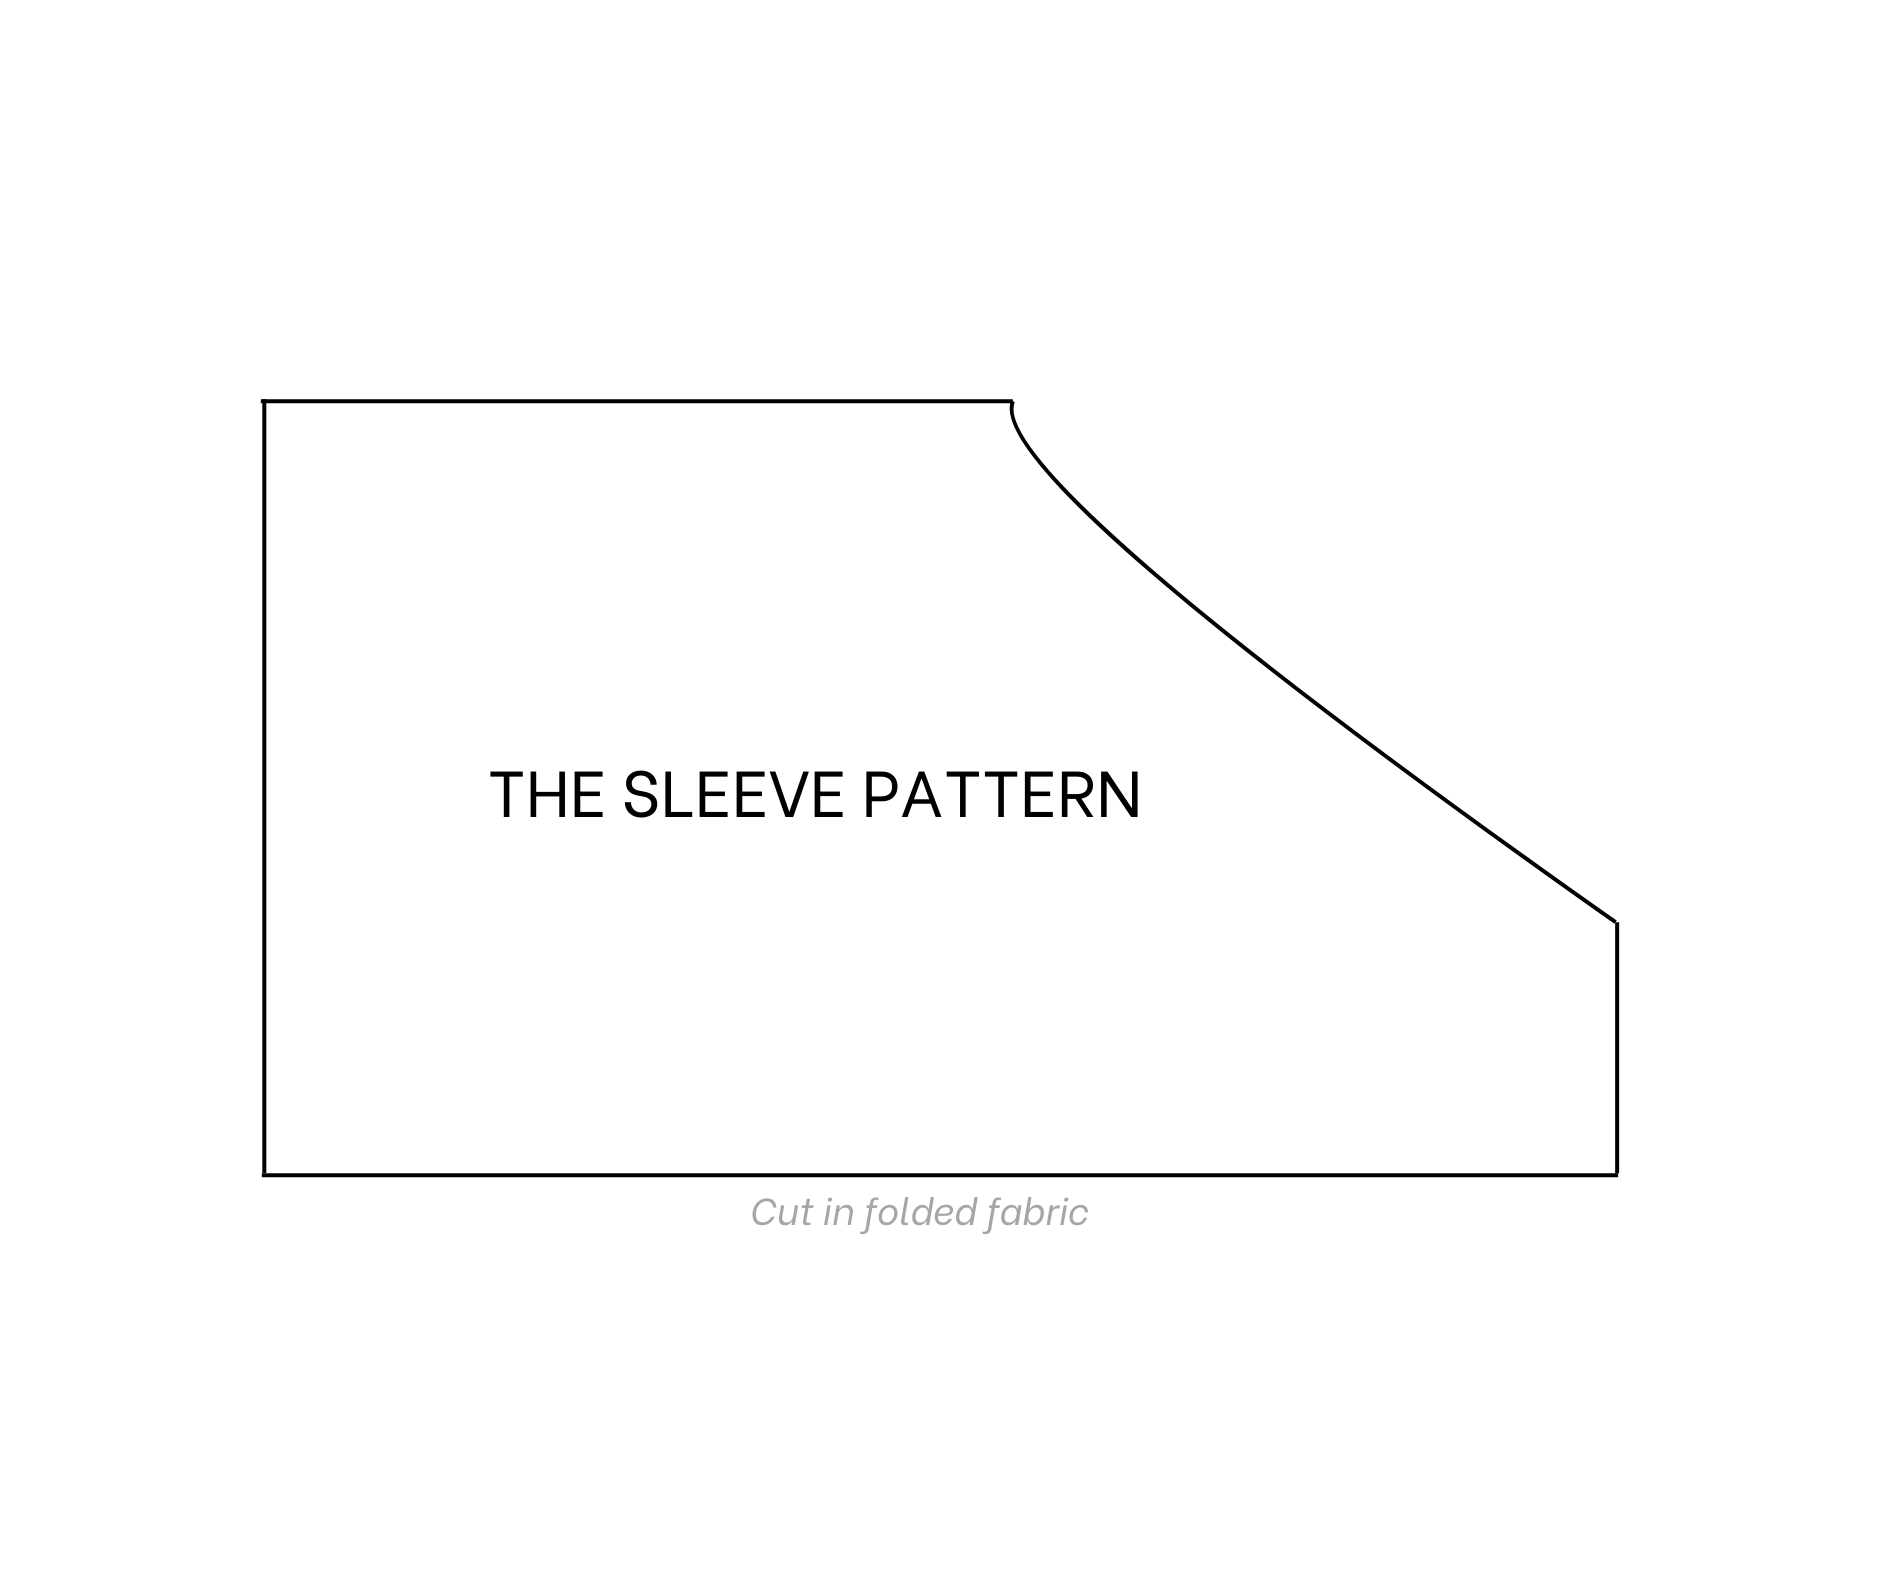
THE SLEEVE PATTERN
To make the sleeve pattern, cut a rectangle with 30 cm width (half the width of the sleeve) and 60 cm length (the desired sleeve length from the neck to the wrist).
Copy the sleeve line from the front bodice pattern to the rectangle at one width line and one length line.
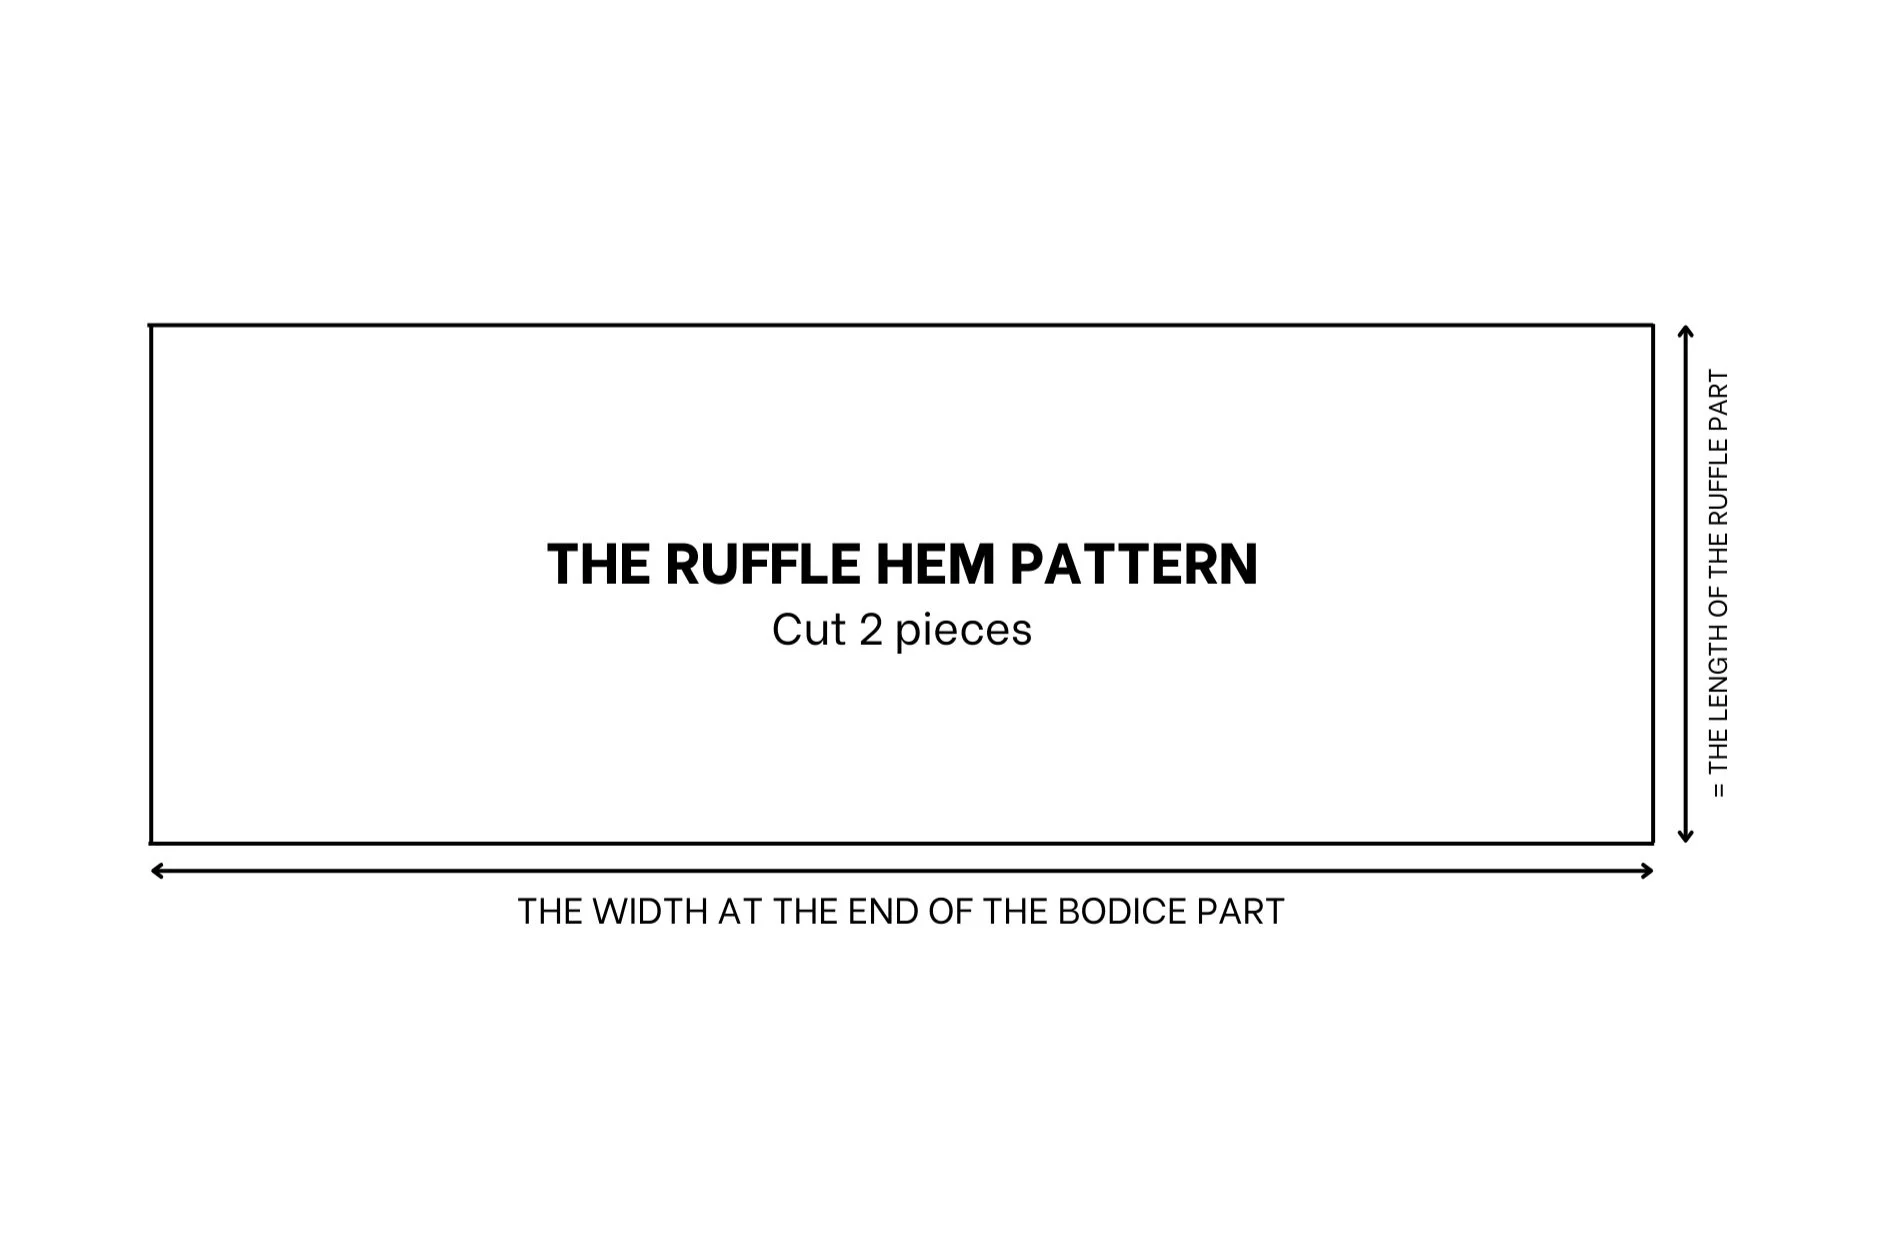
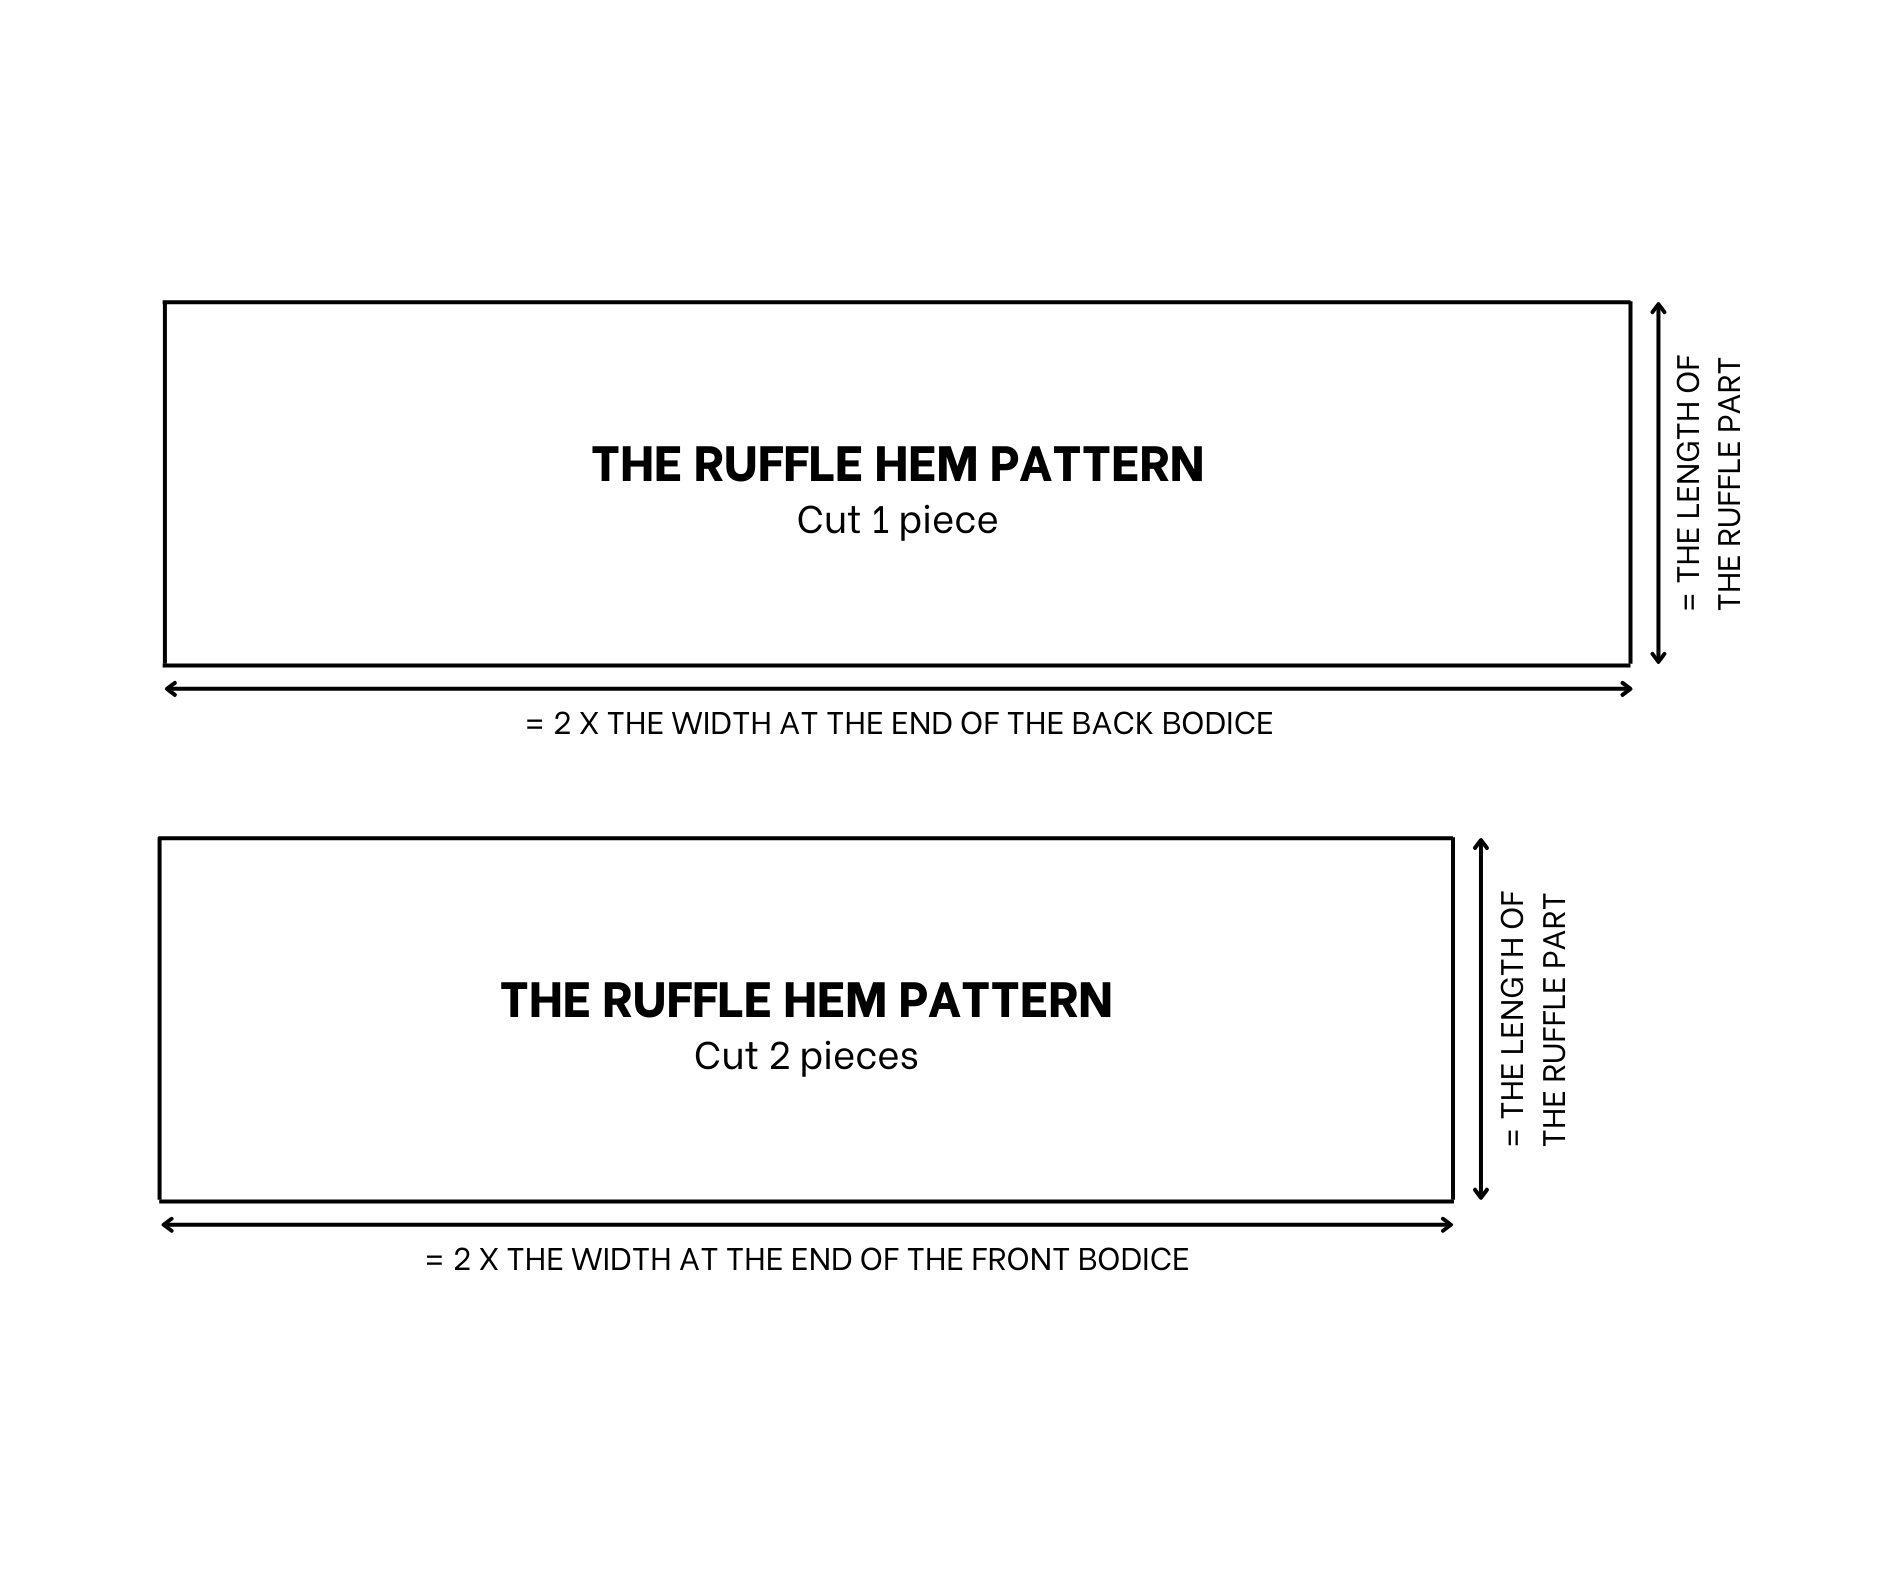
THE RUFFLE HEM PATTERN
Cut a rectangle with 20 cm length (the length of the ruffle hem part) and 164 cm width (twice the bust size).
THE BODICE PART
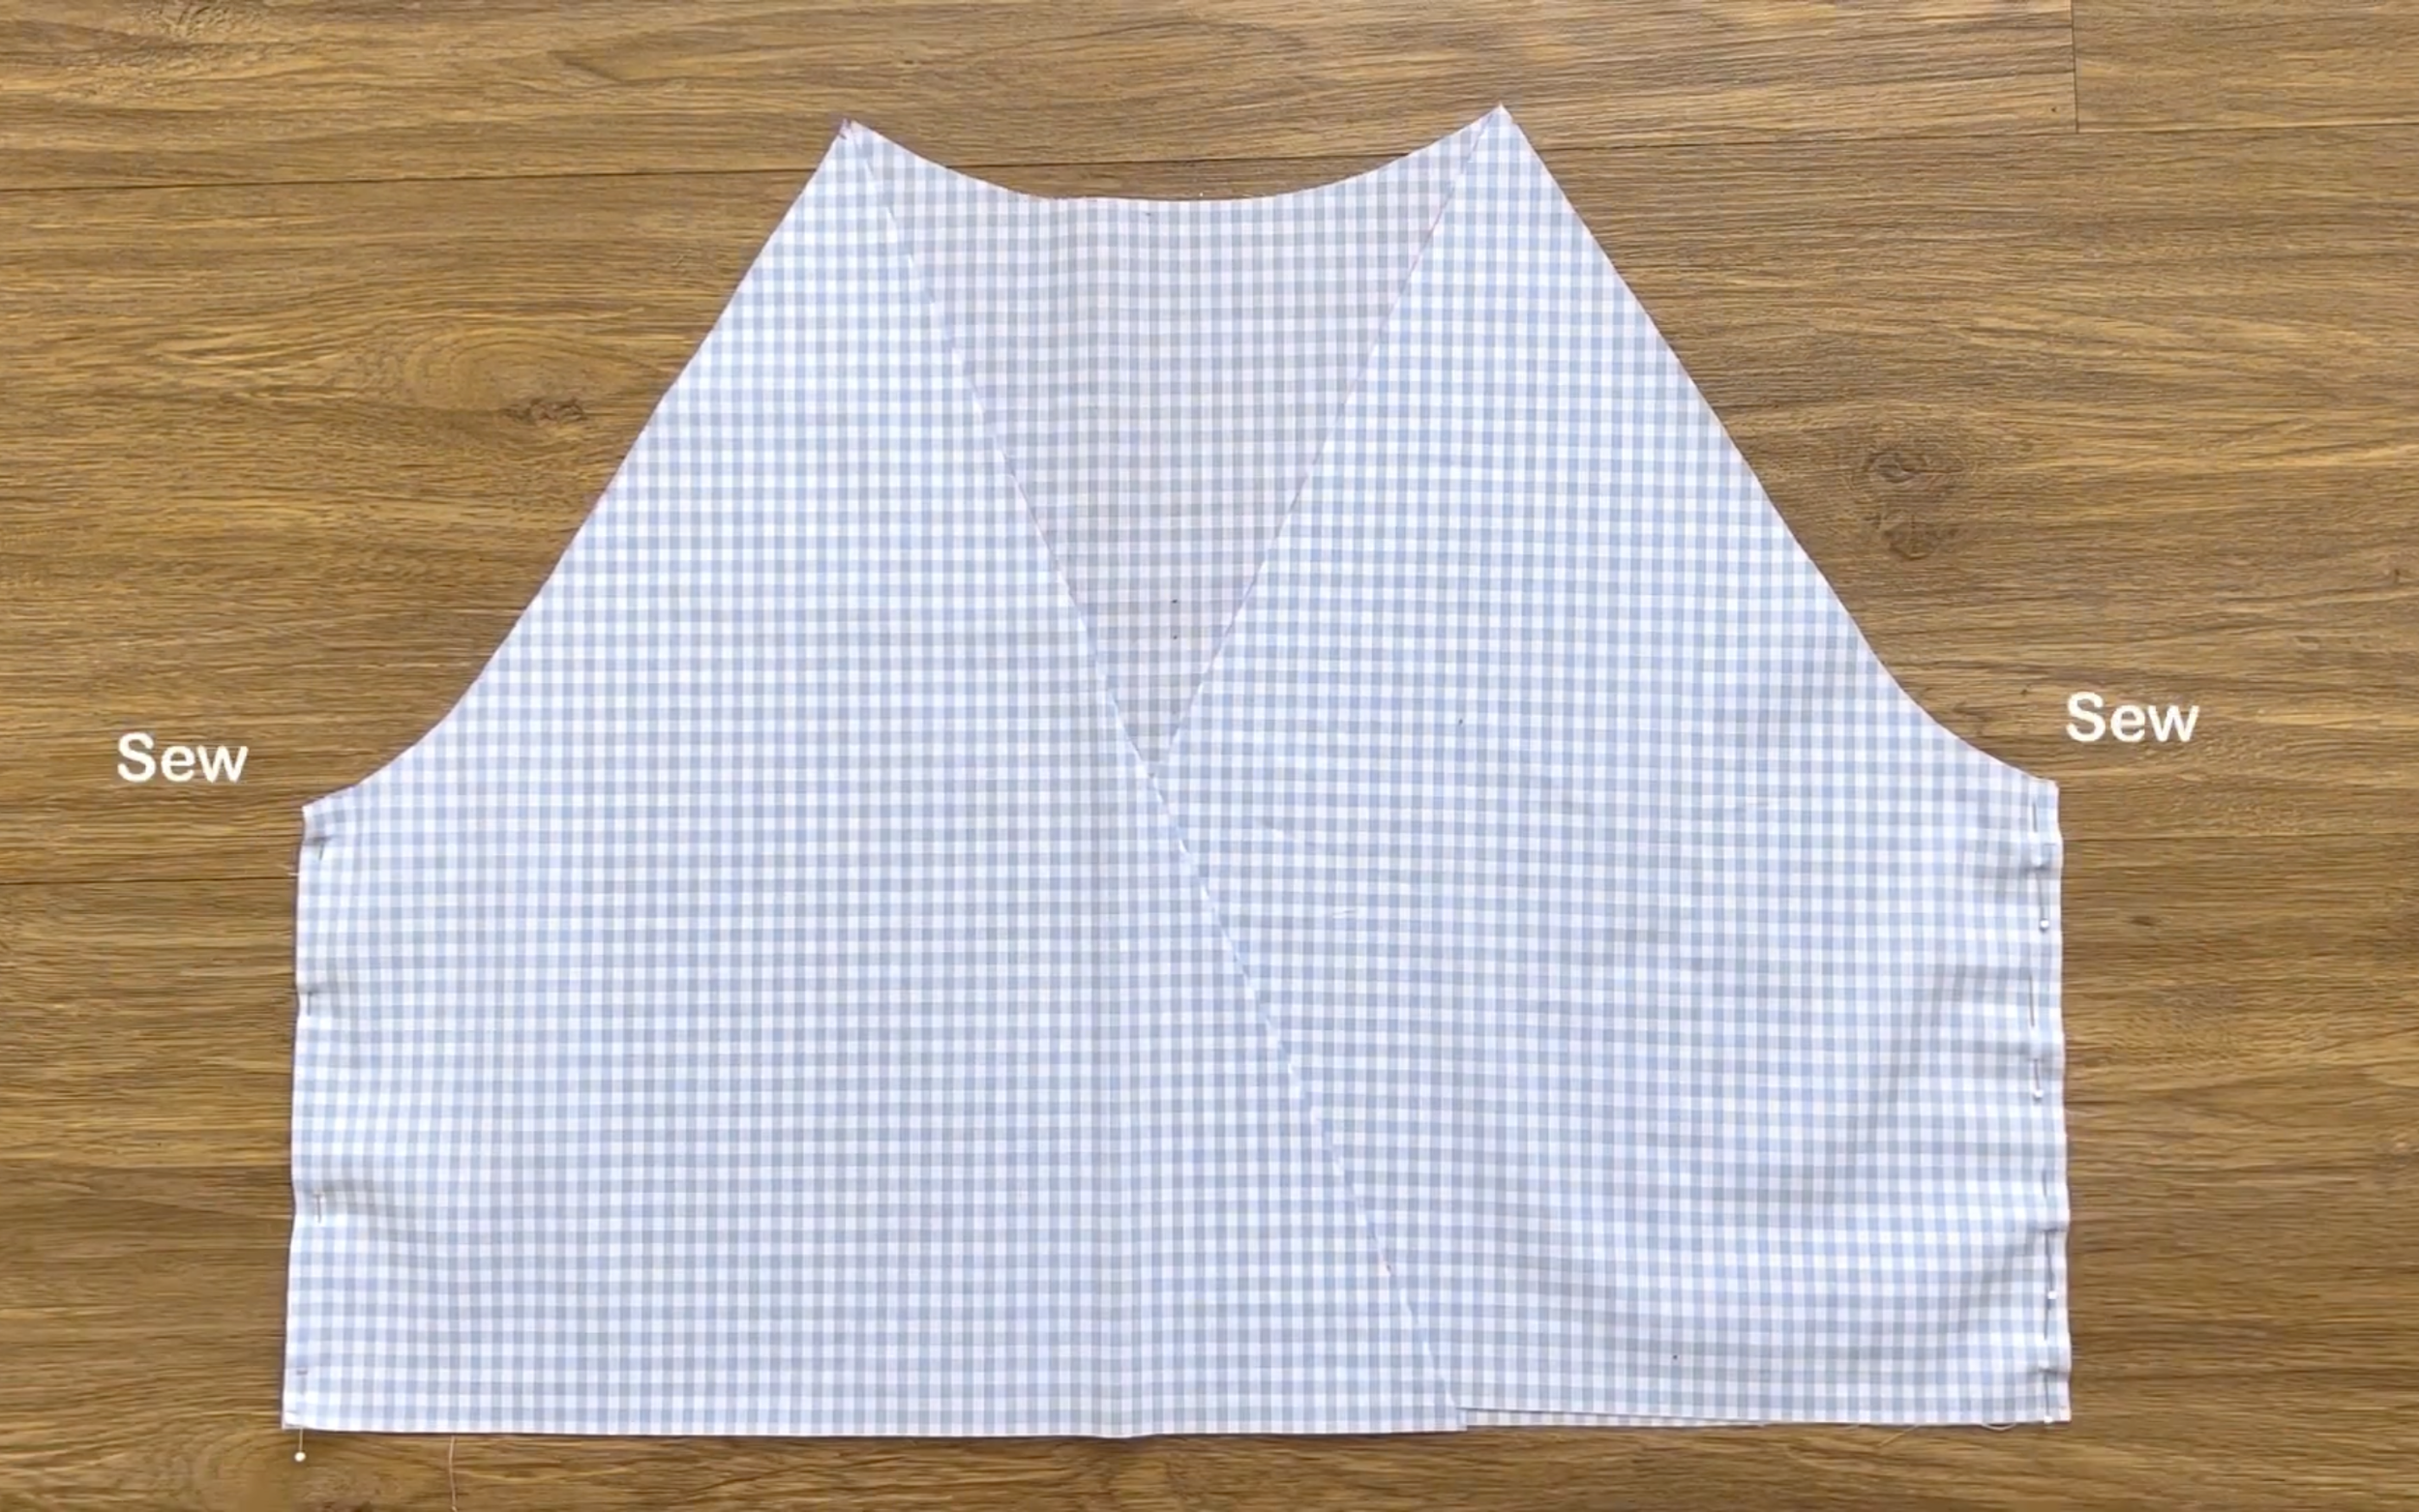
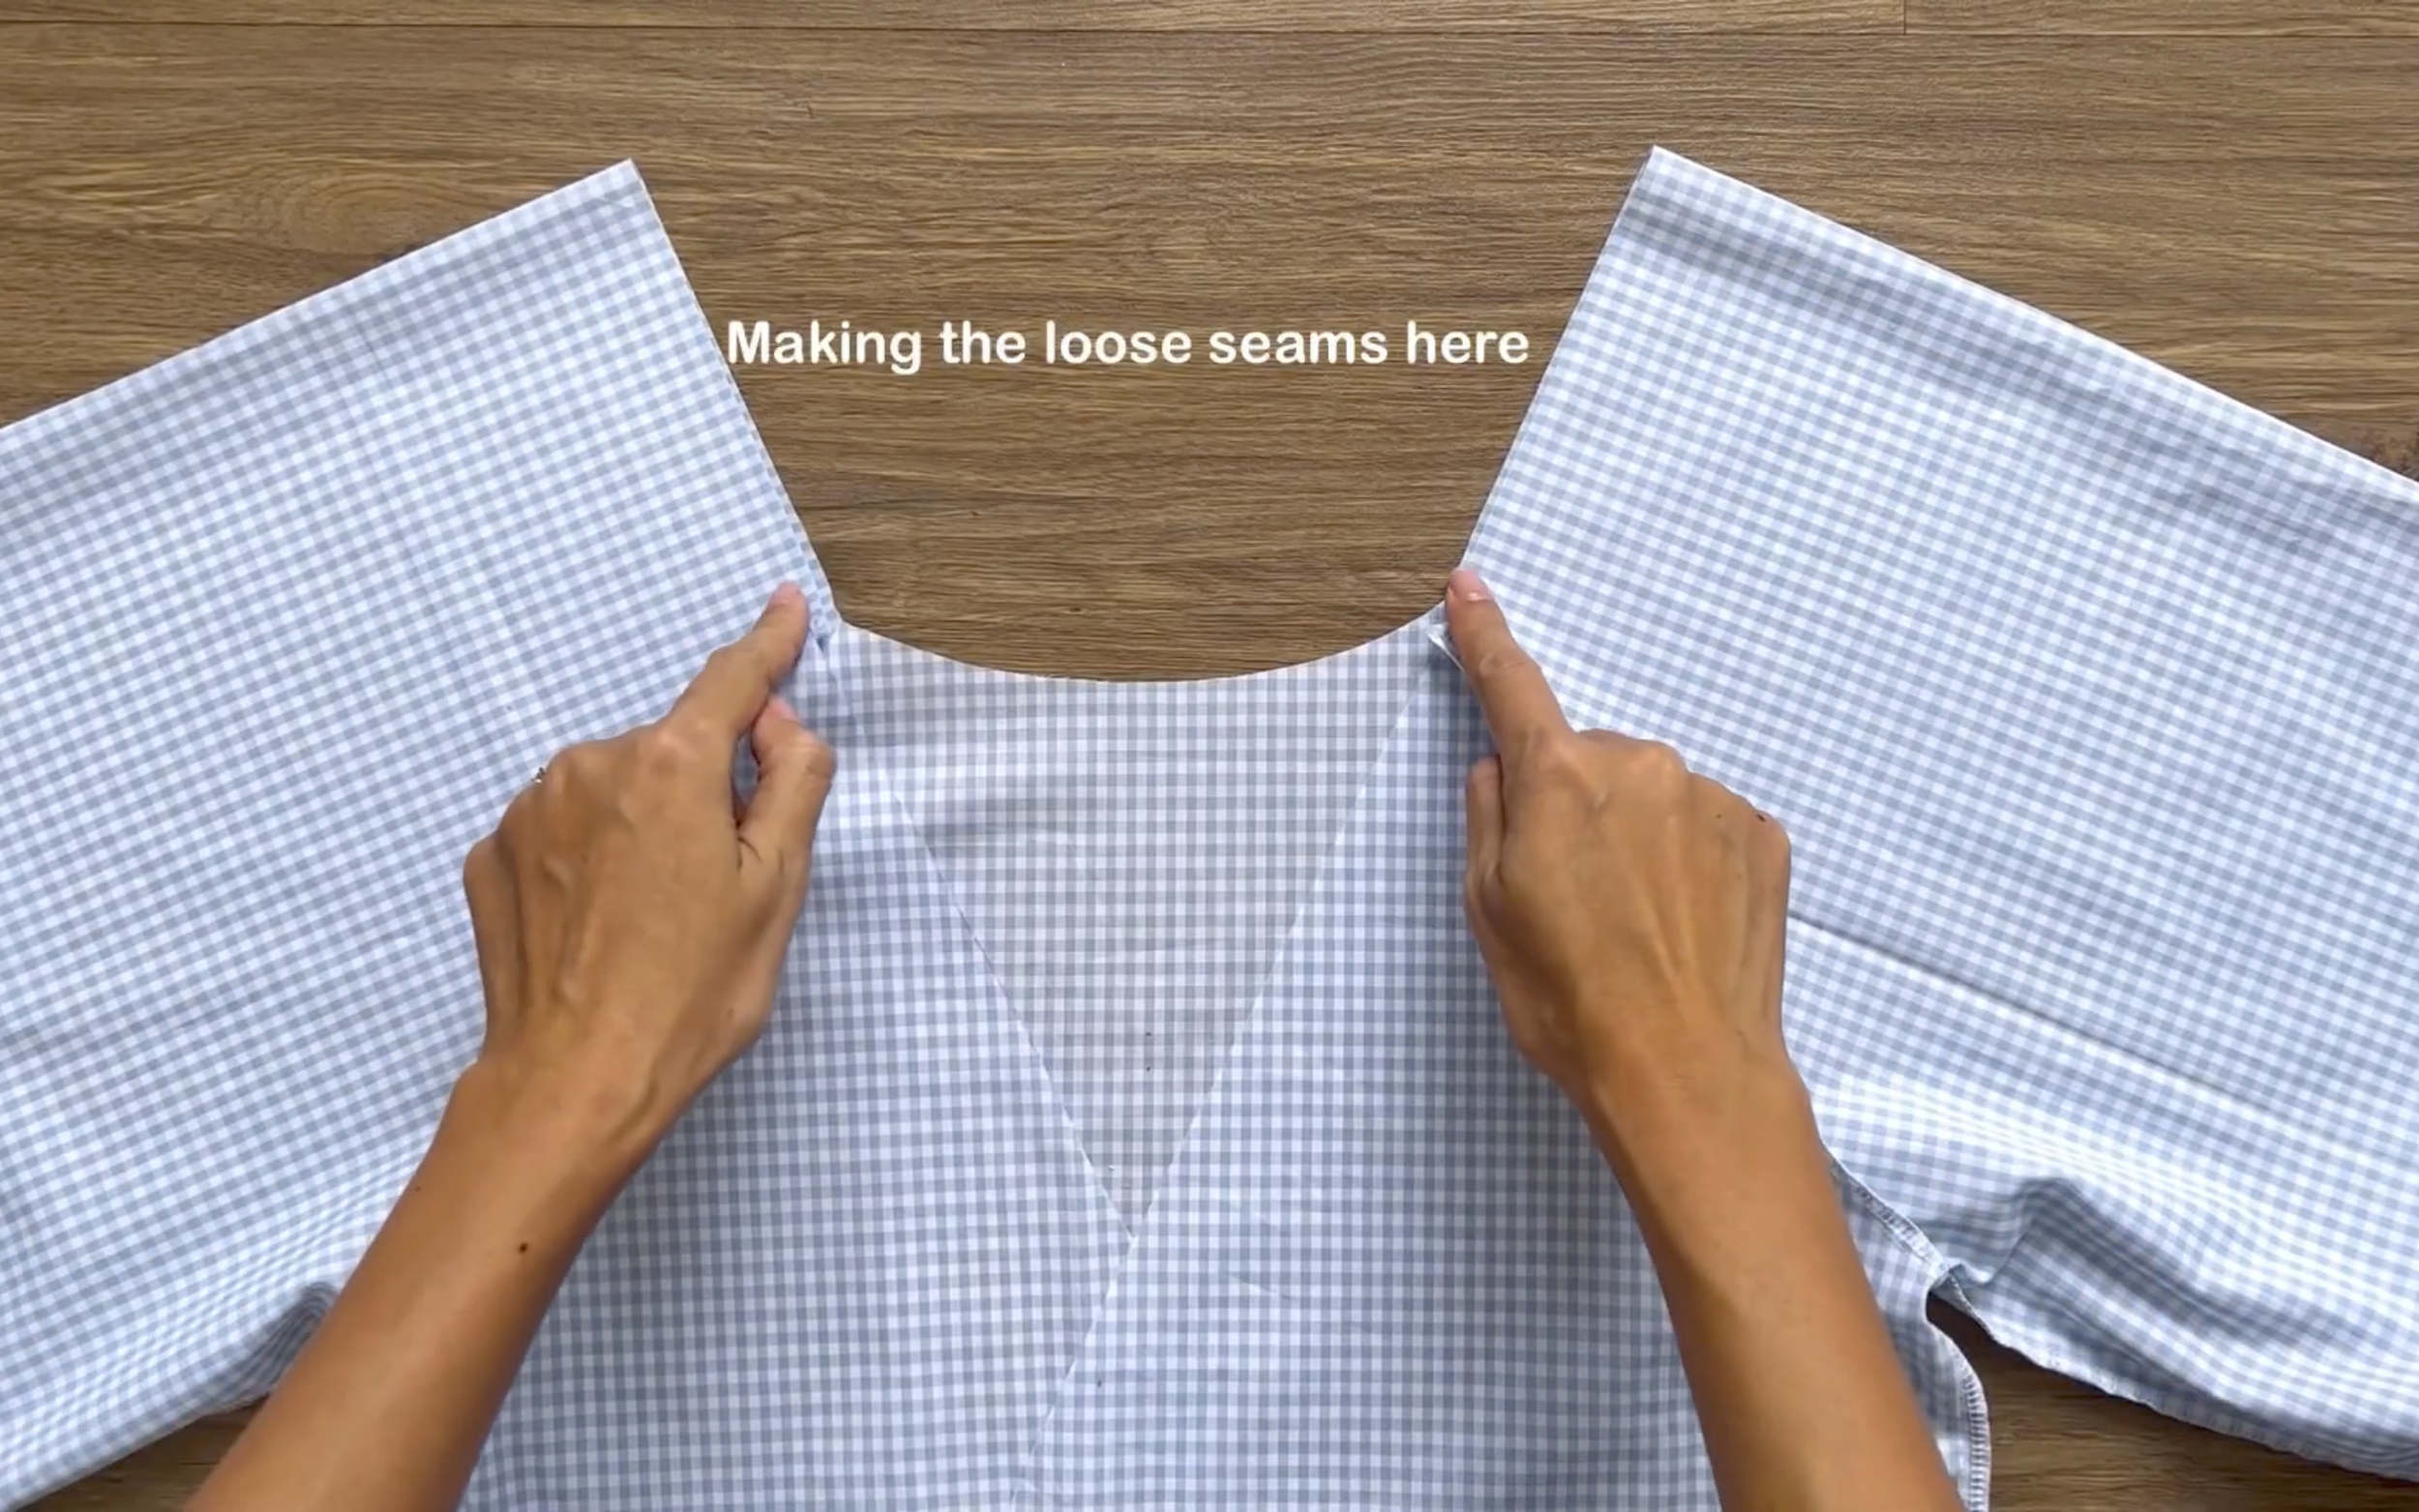
After cutting, connect the front and back bodice together at the two side lines and sew.
THE SLEEVE PART
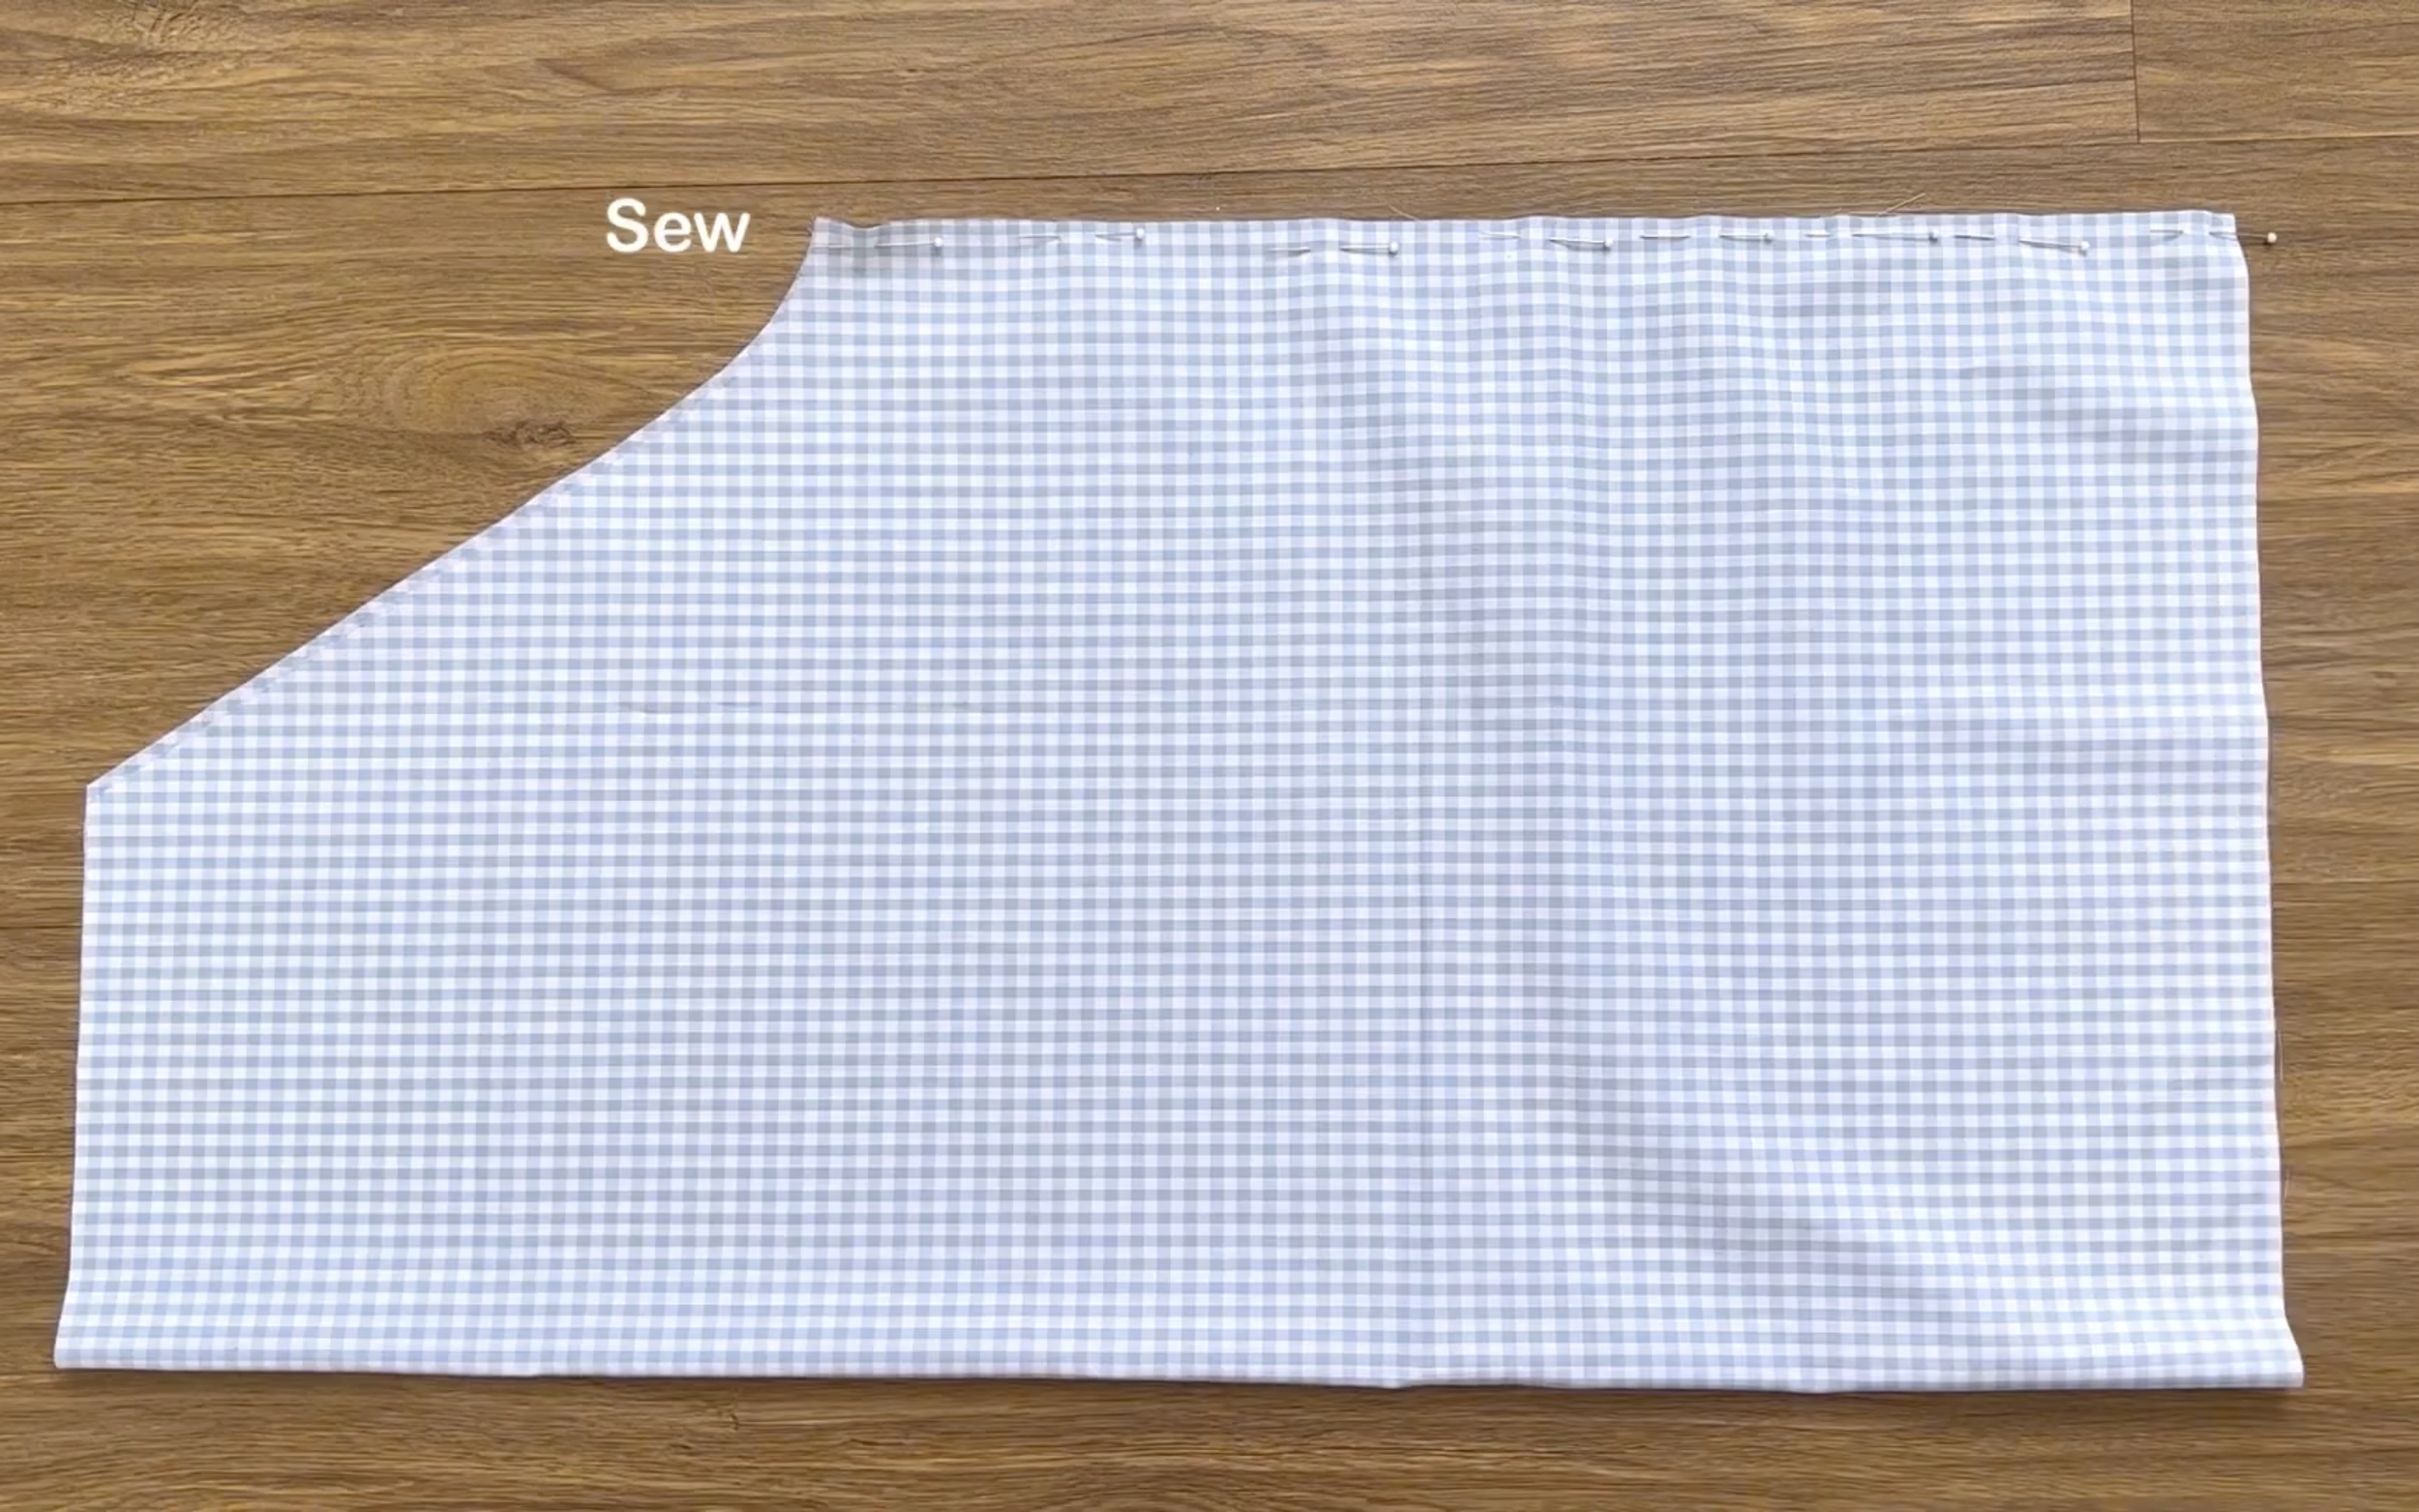
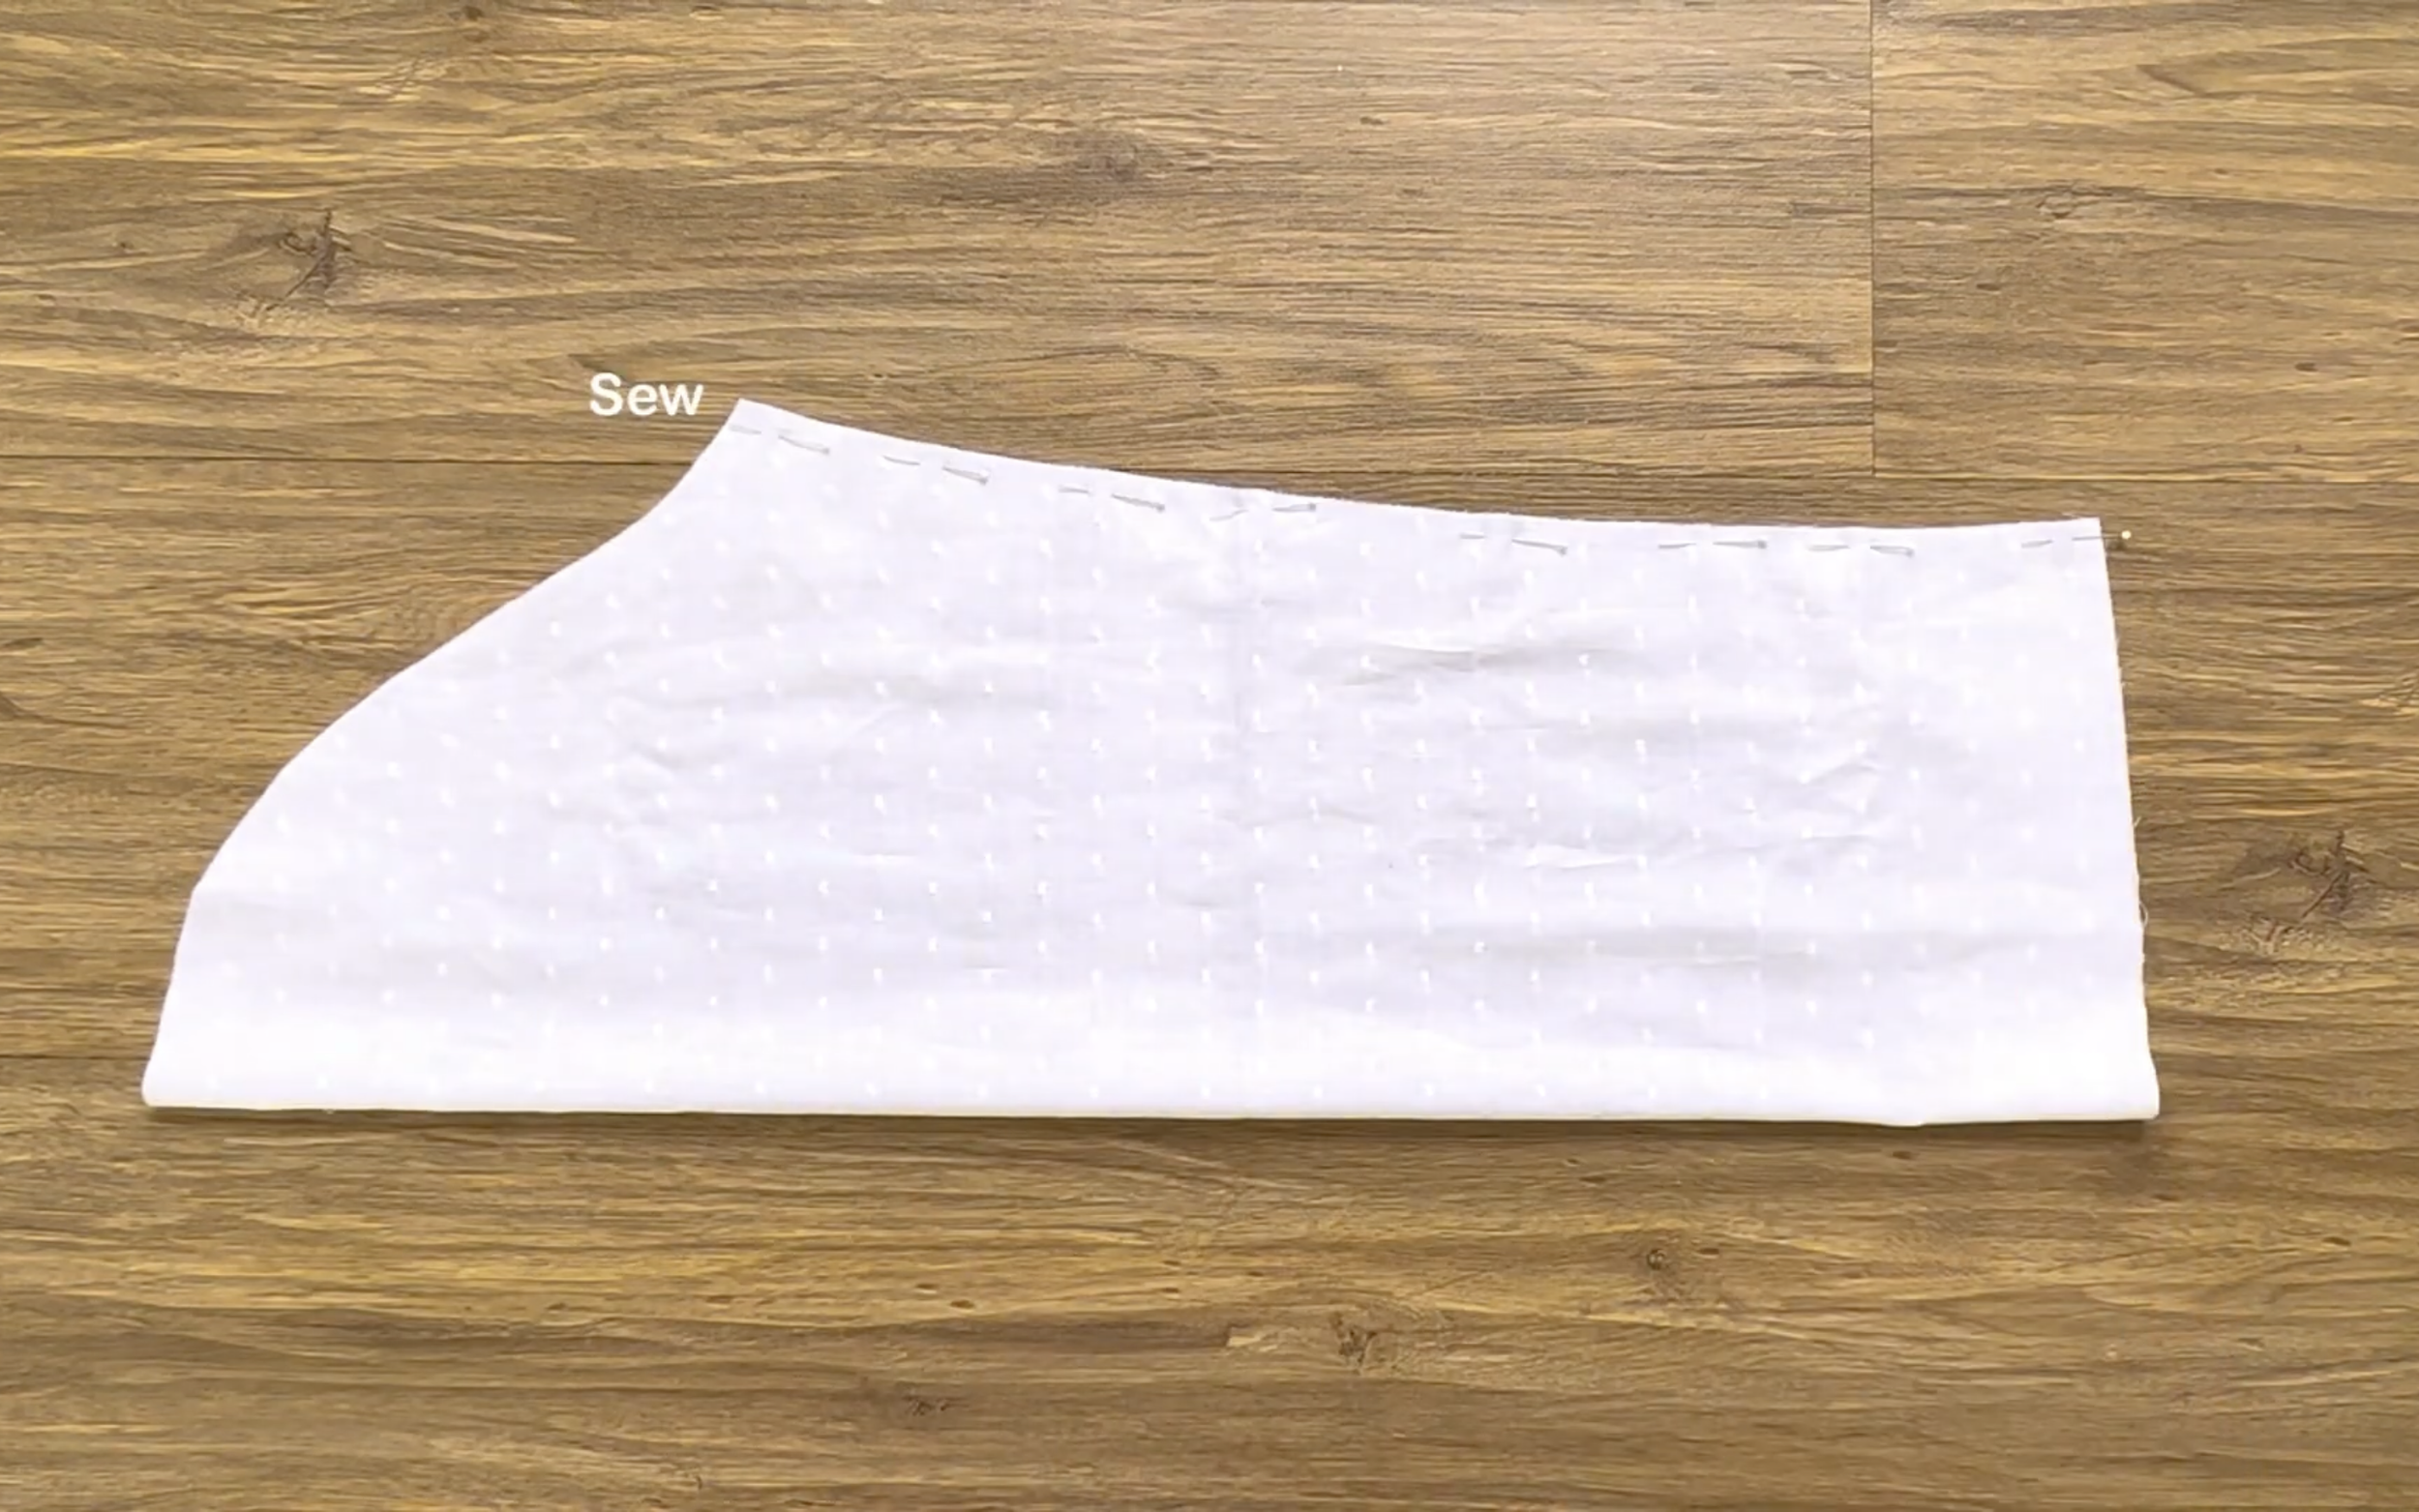
For the sleeve, connect the two under-armpit lines after cutting.
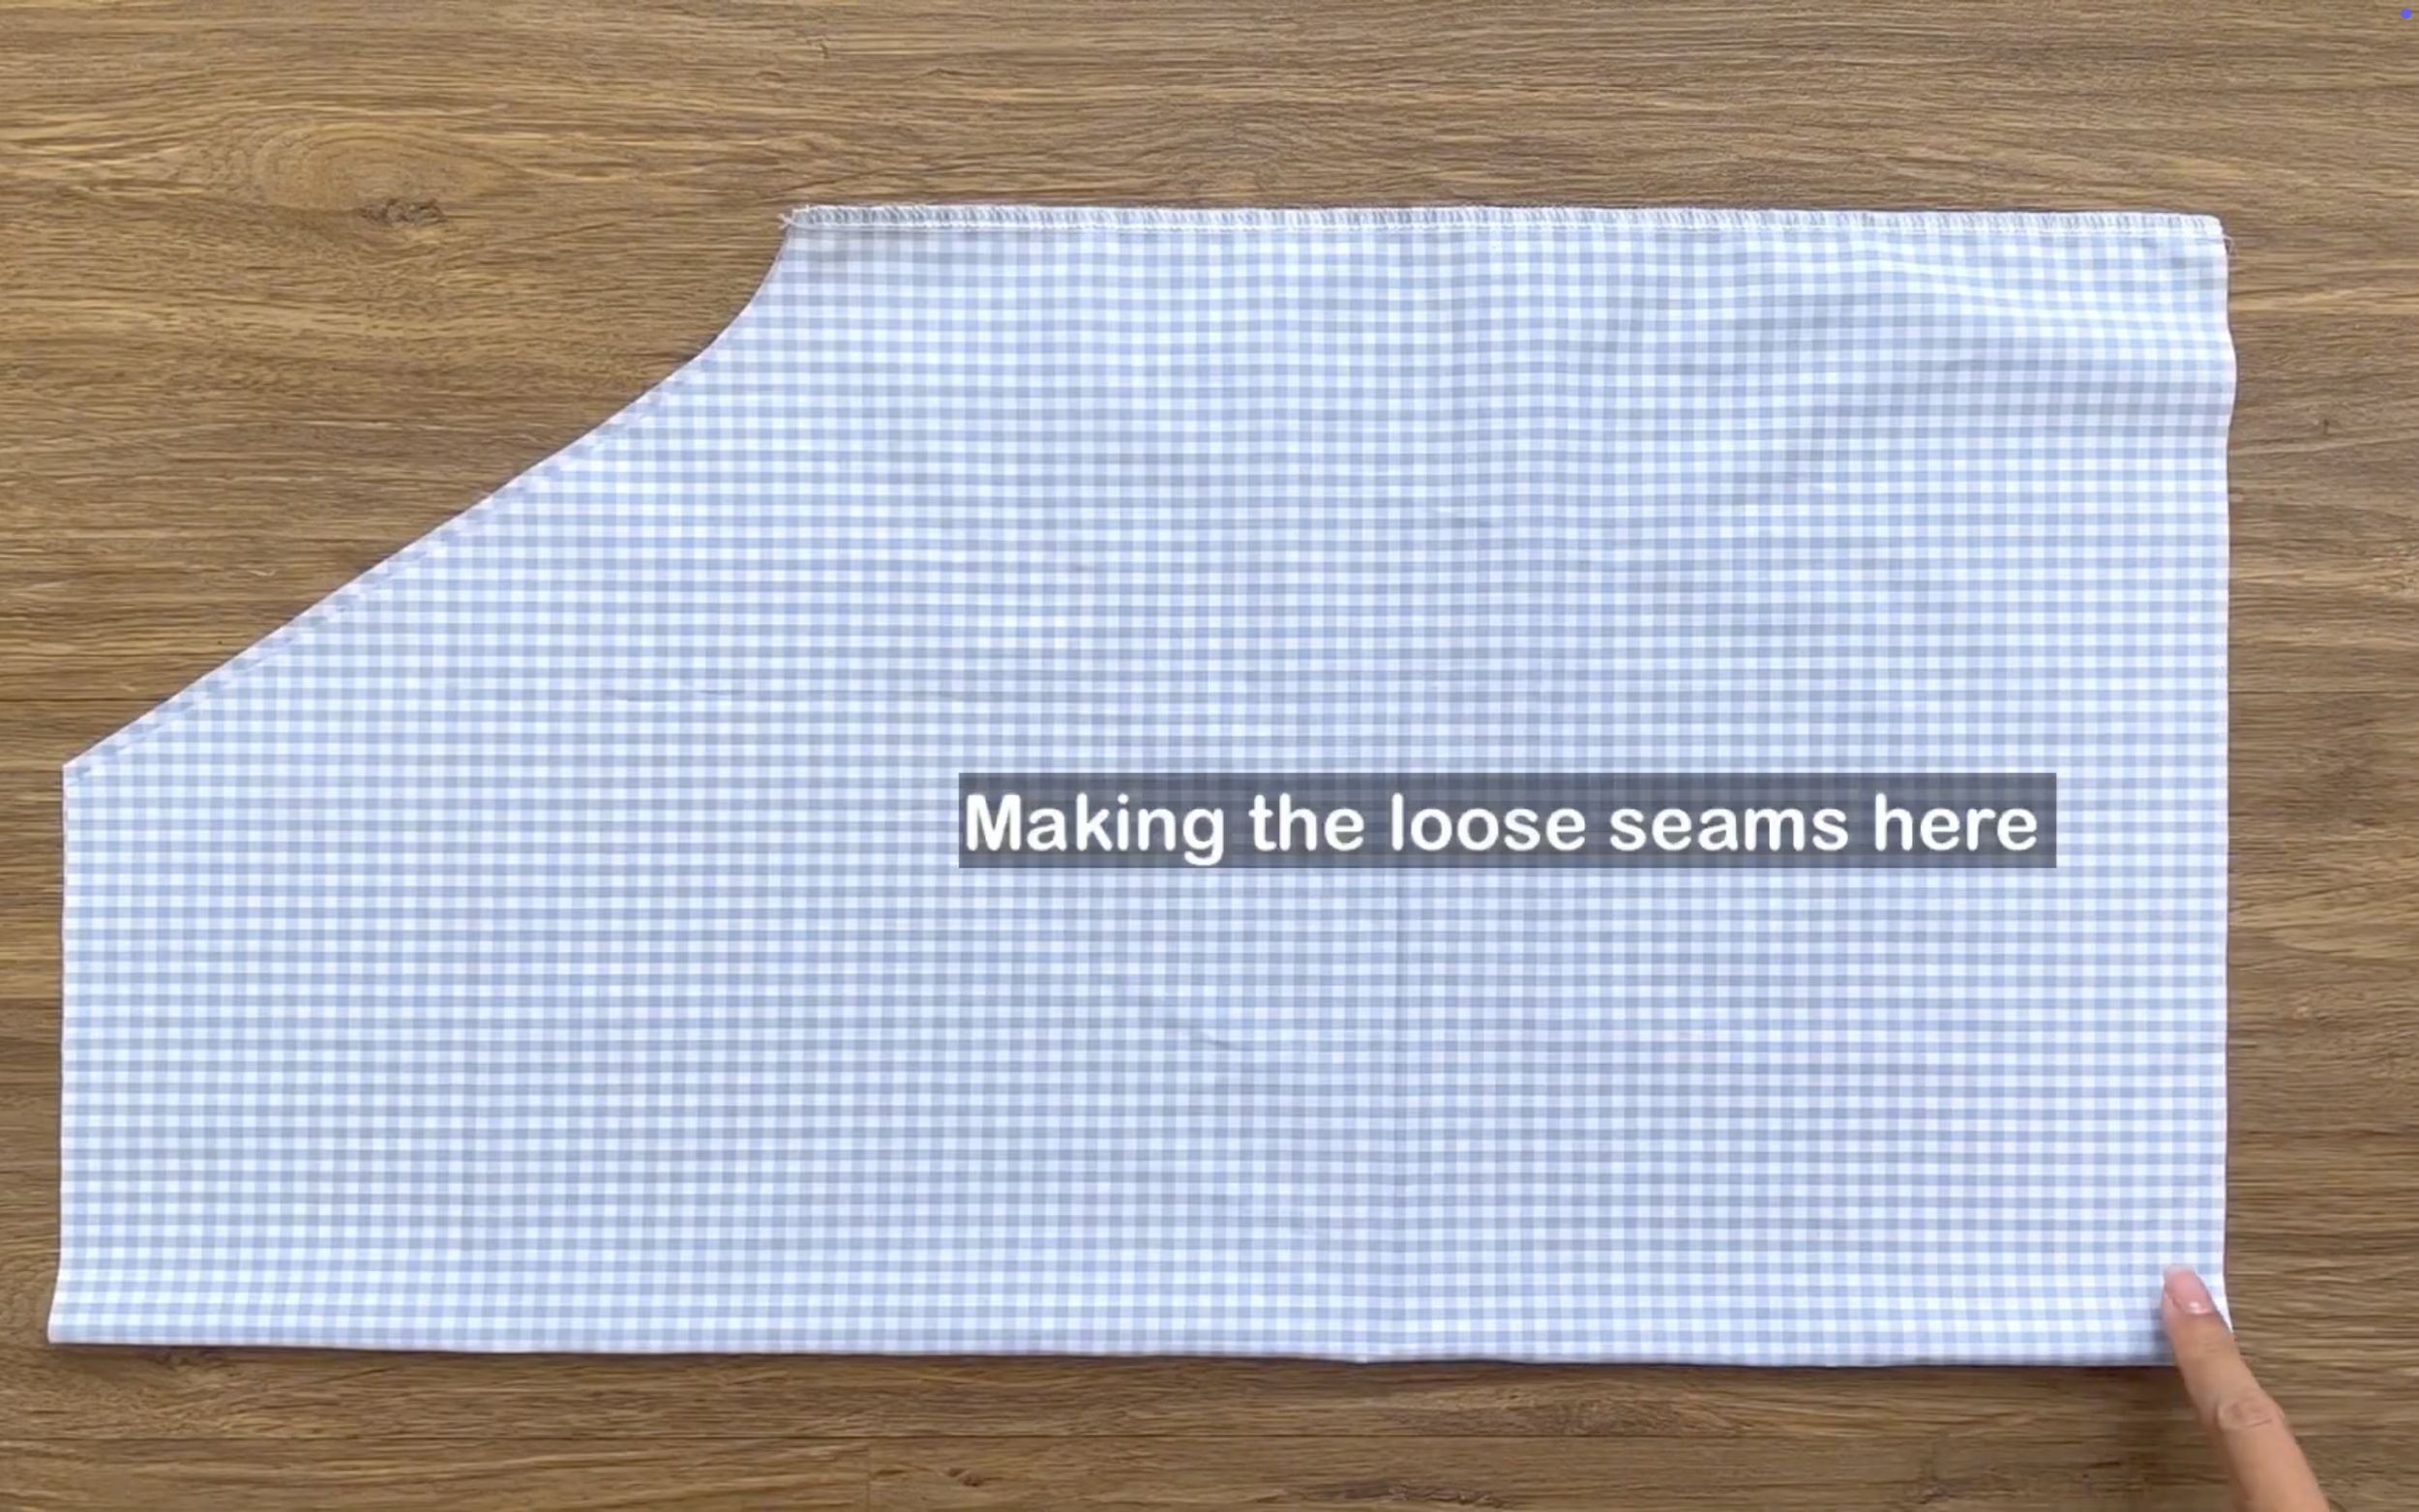
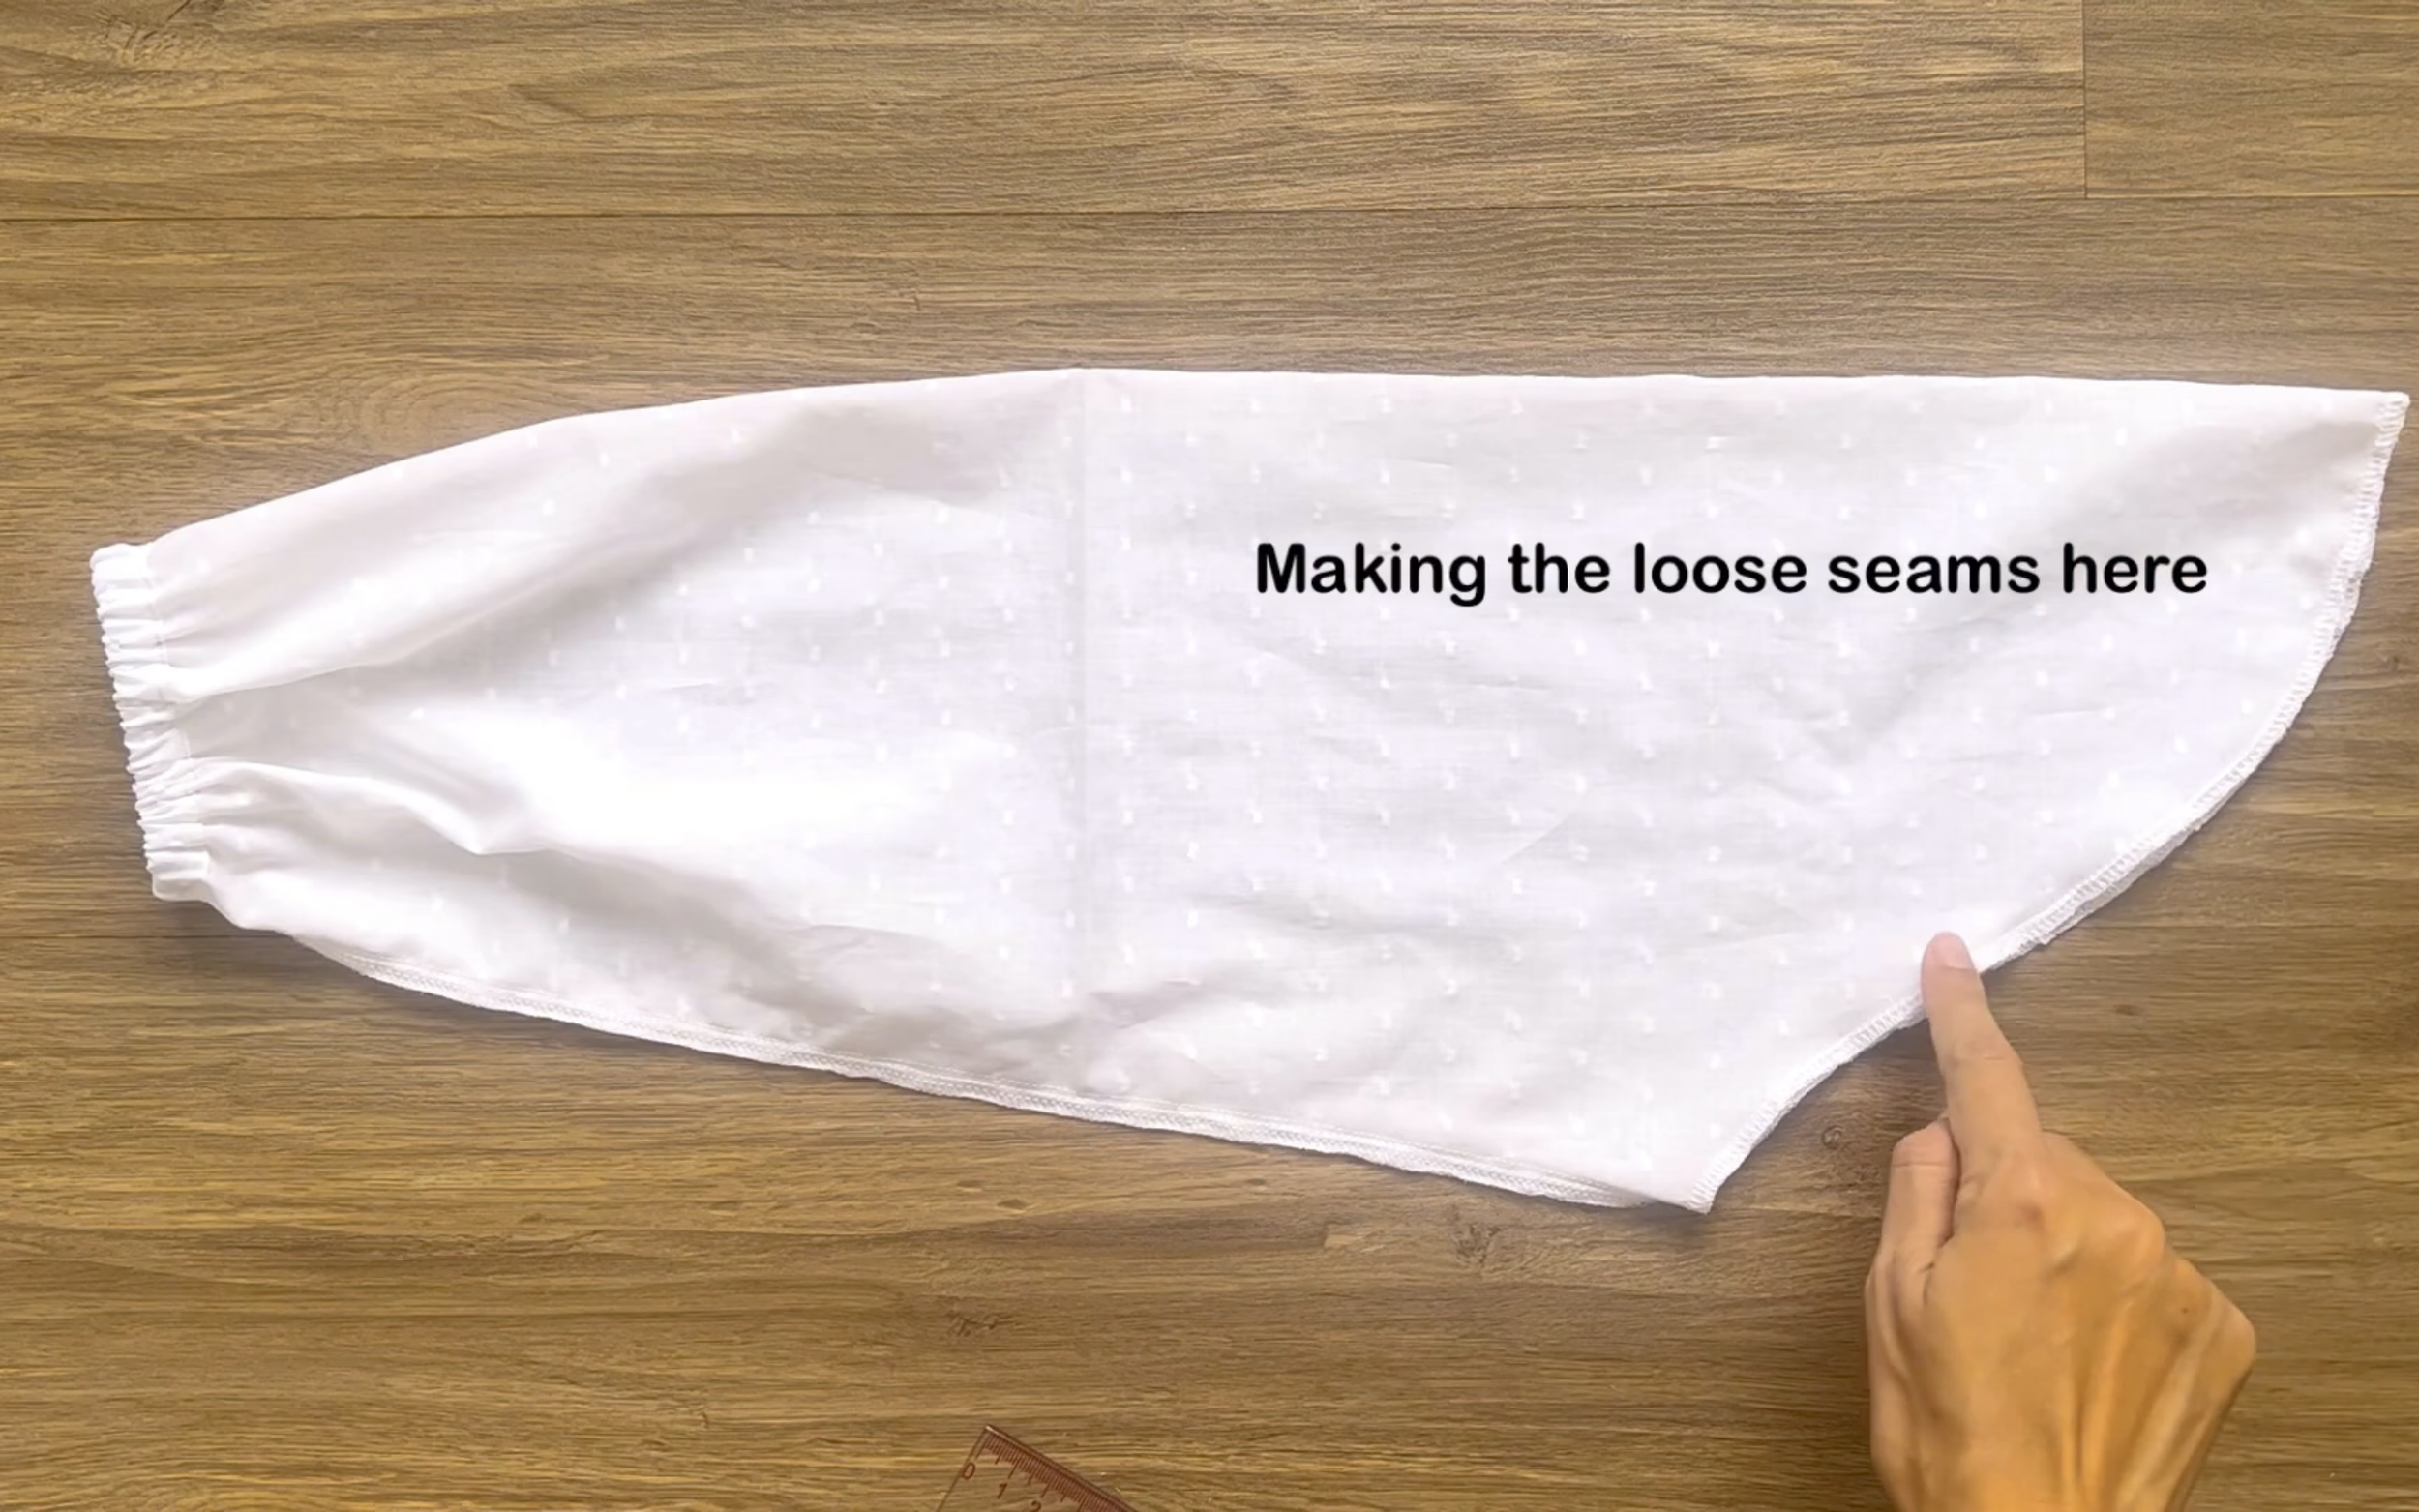
At the end of the sleeve, make a loose seam first, then create gathering fabric.
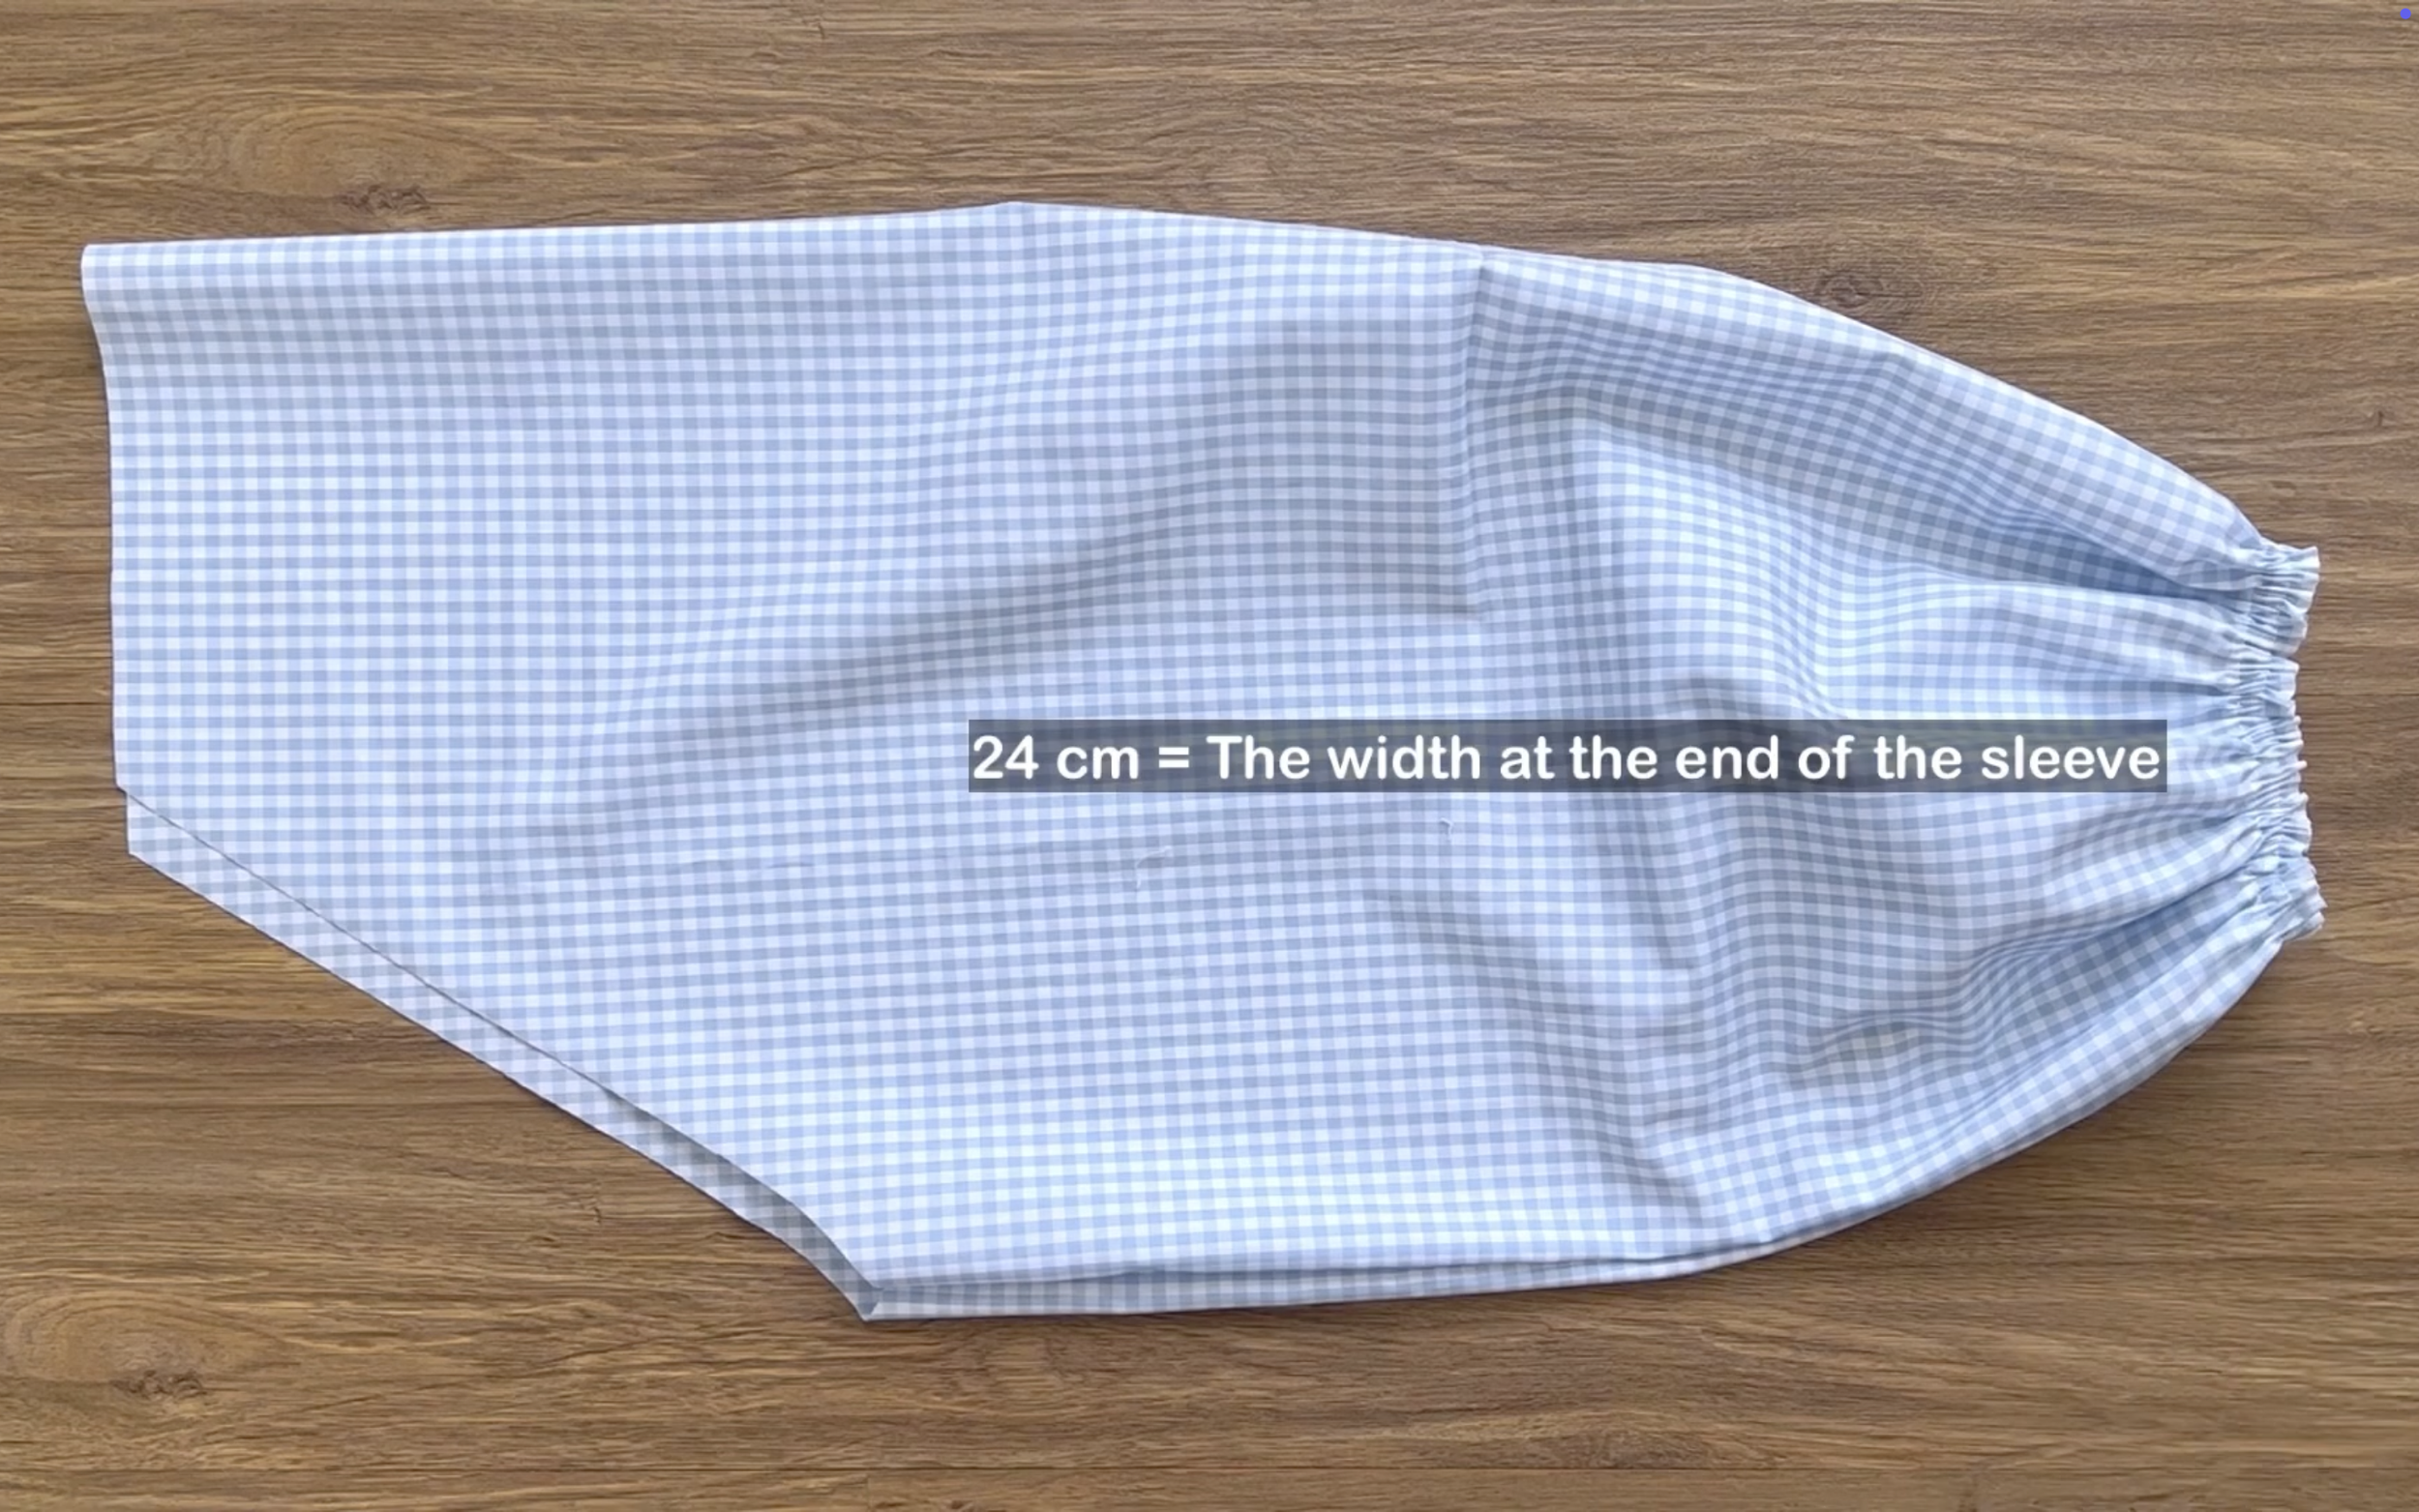
The final width of the gathering fabric should be 24 cm, which is the desired width at the end of the sleeve. Make sure it is larger than the wrist for easy wear.
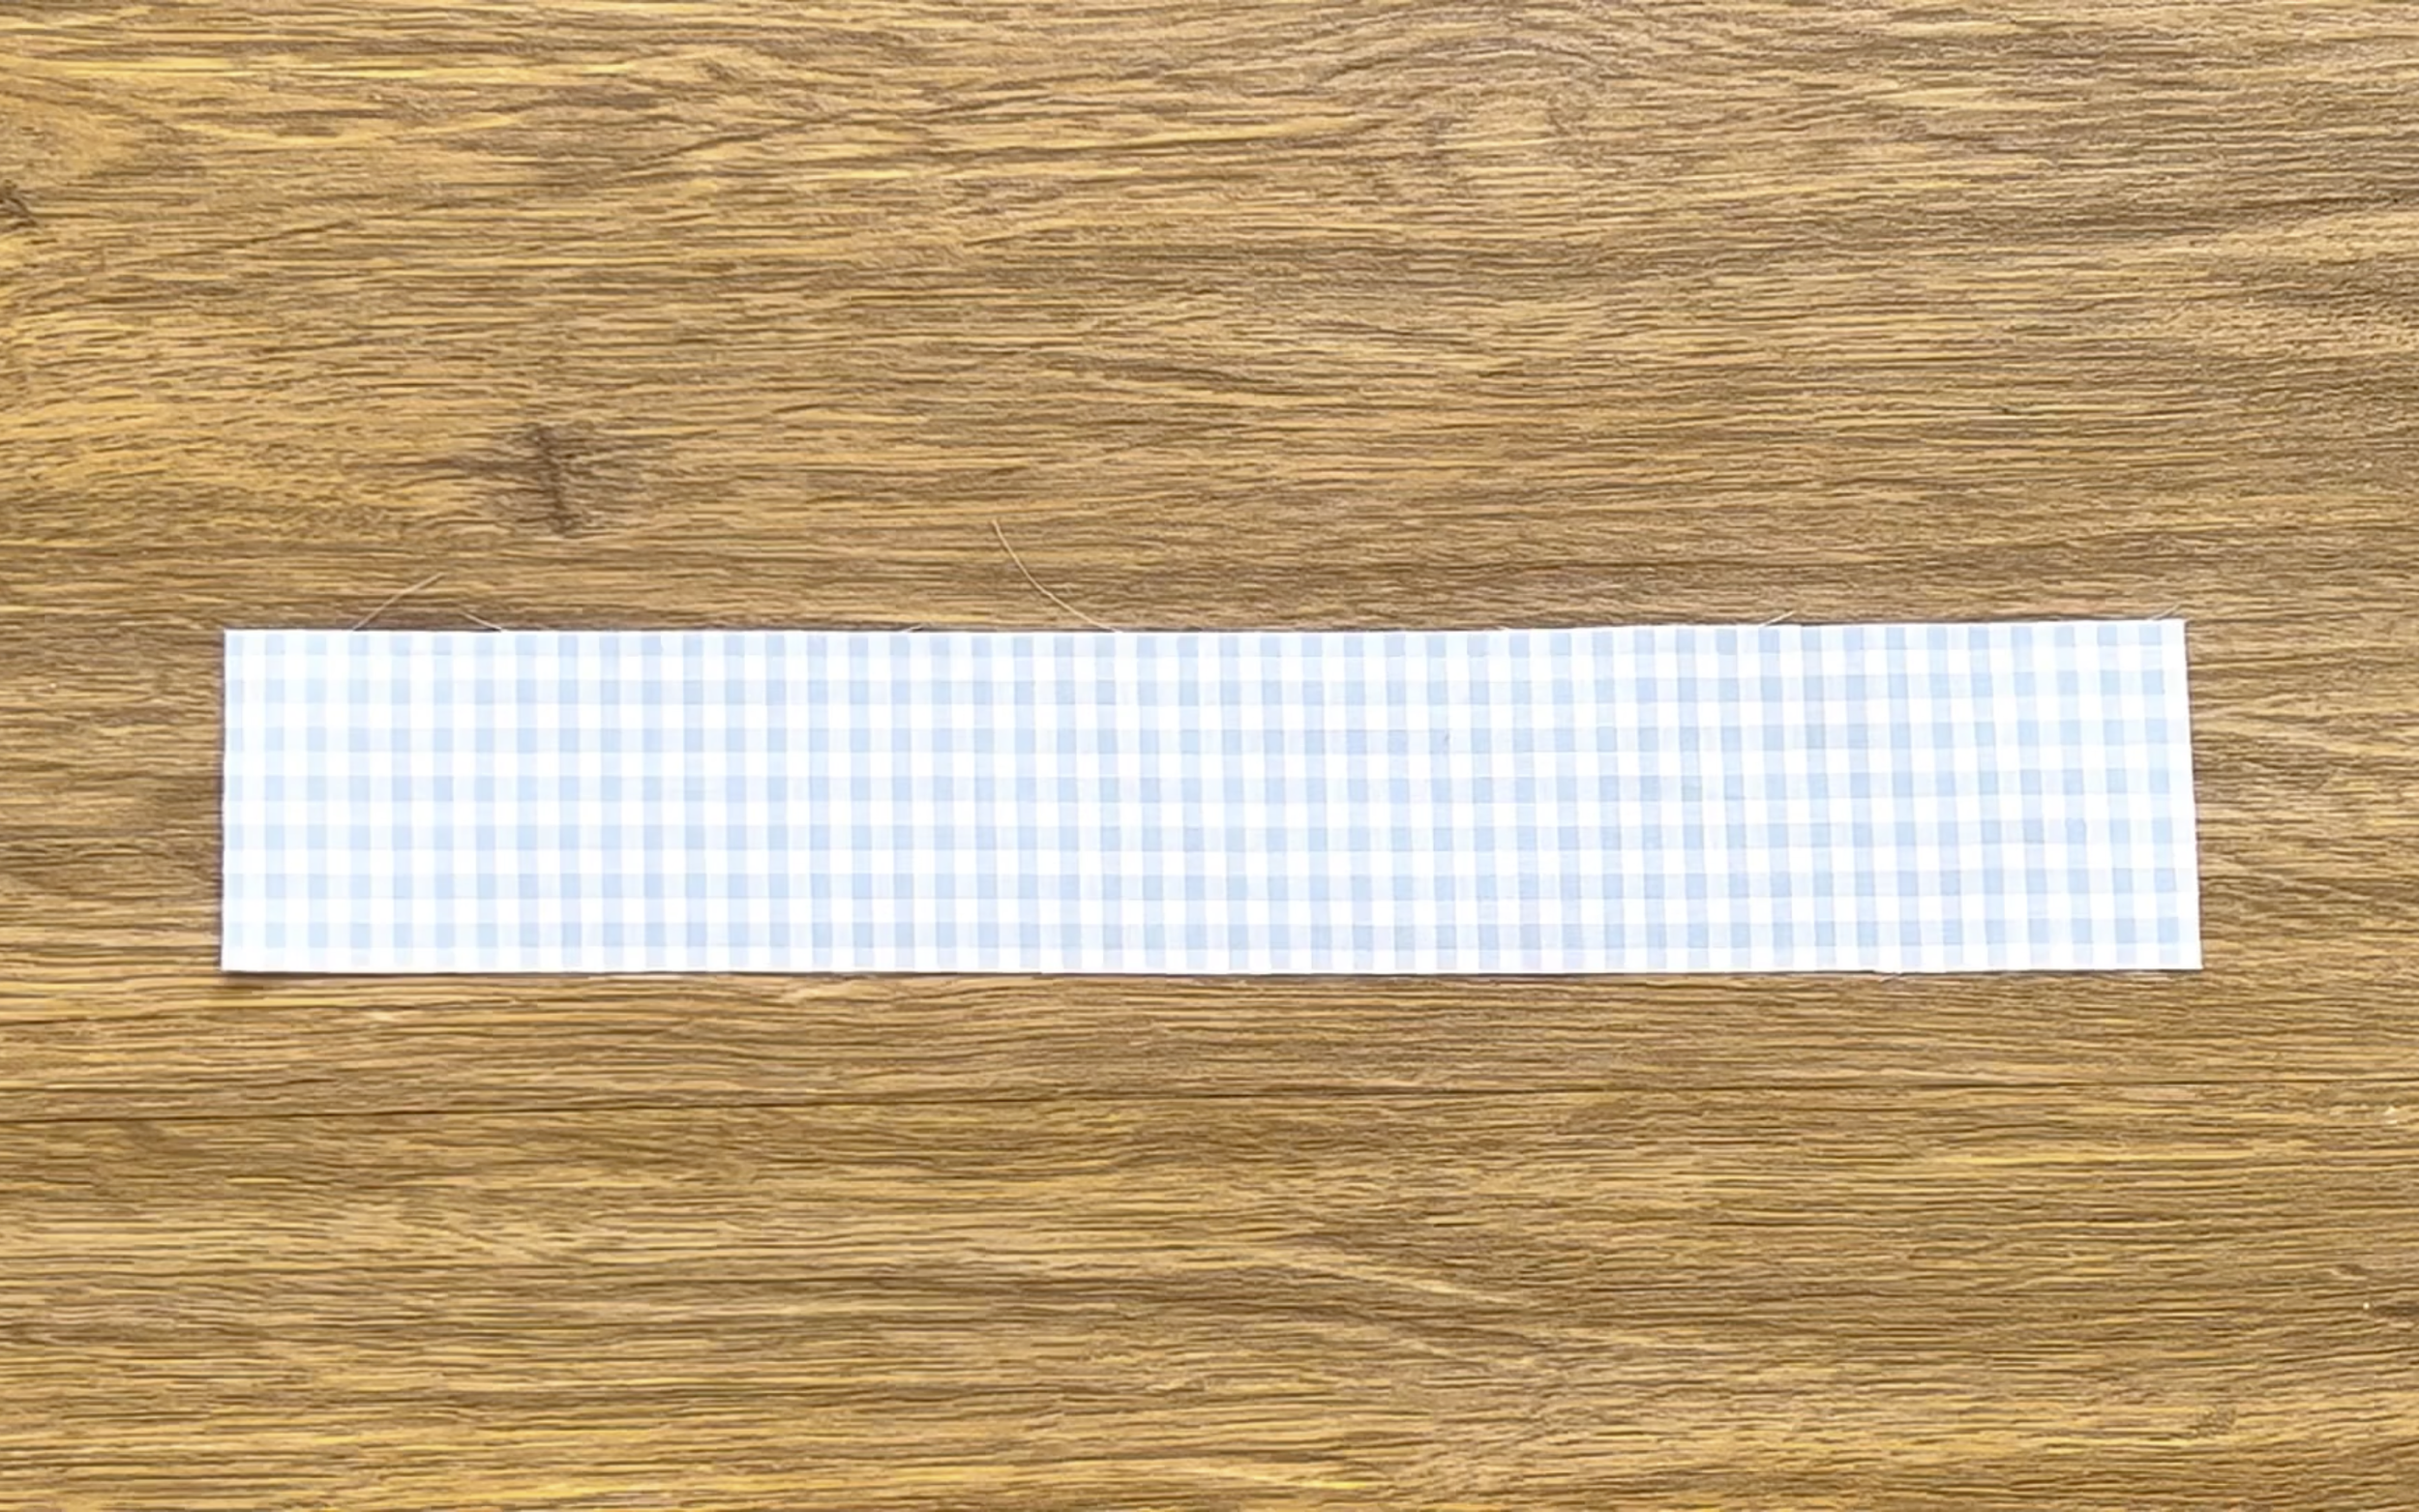
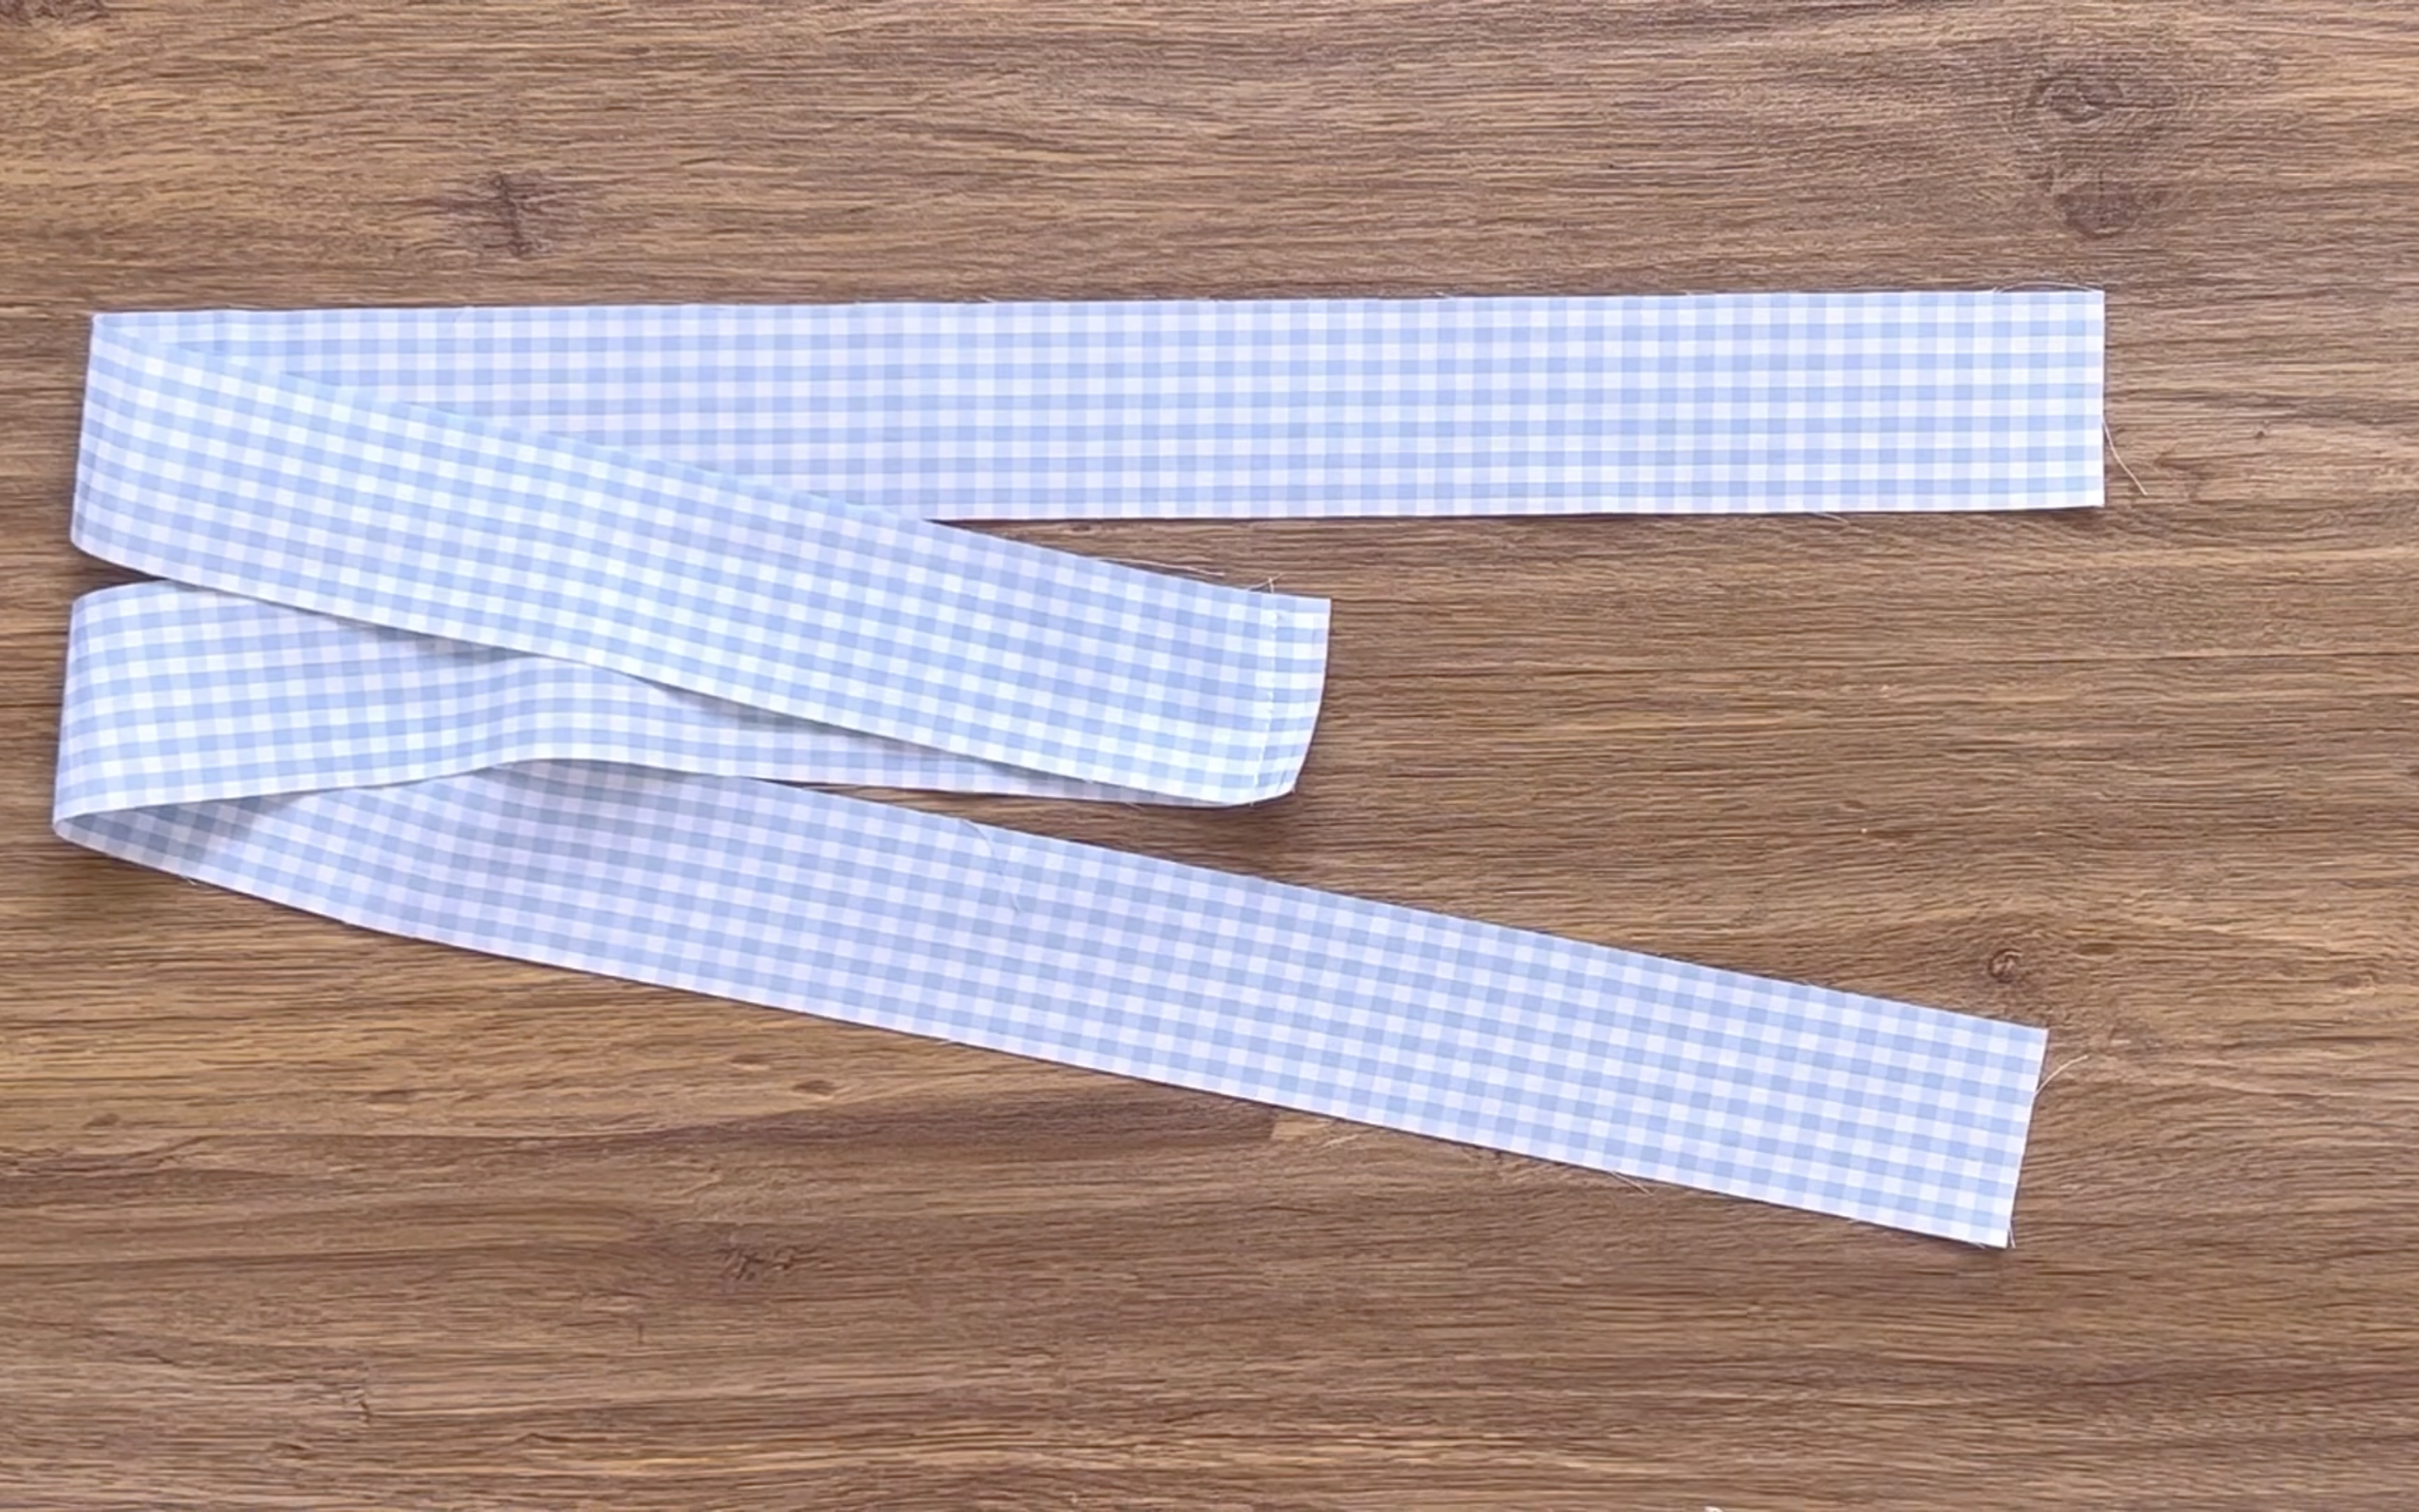
Cut a fabric strip 4 cm wide (four times the width of the binding at the sleeve end) and 26 cm long (2 cm longer than the sleeve’s width).
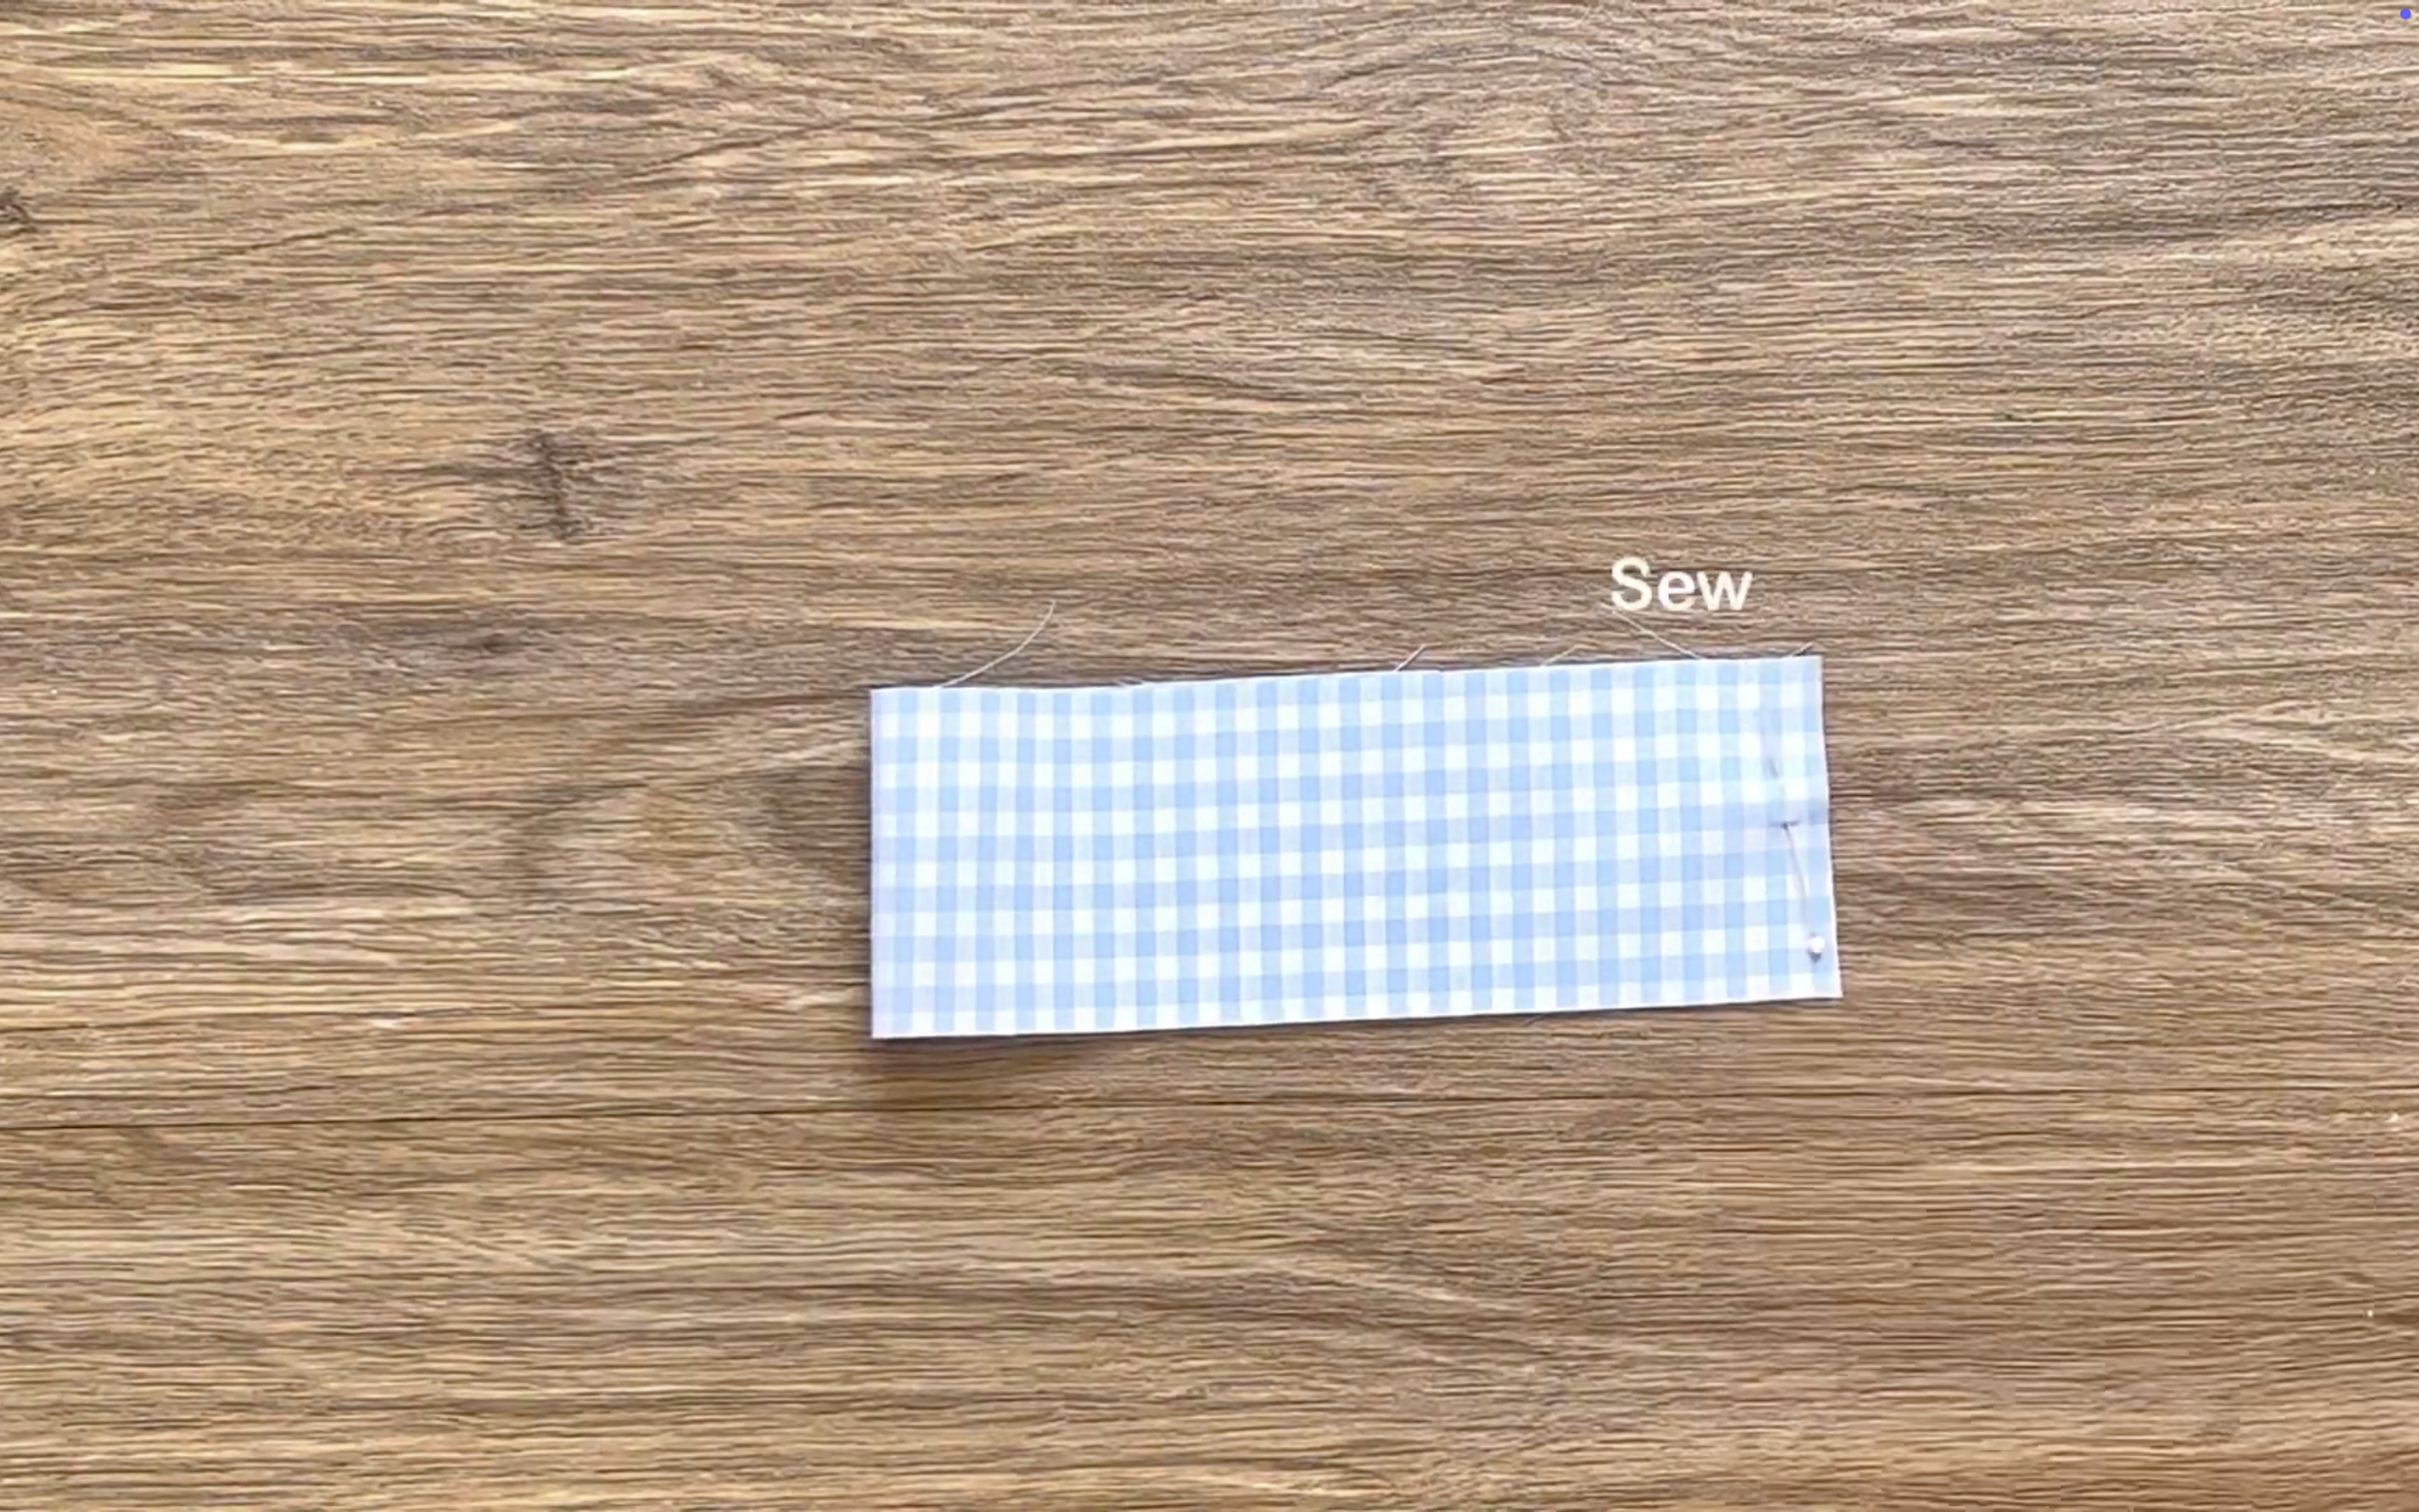
Connect the two width lines to create a circular fabric.
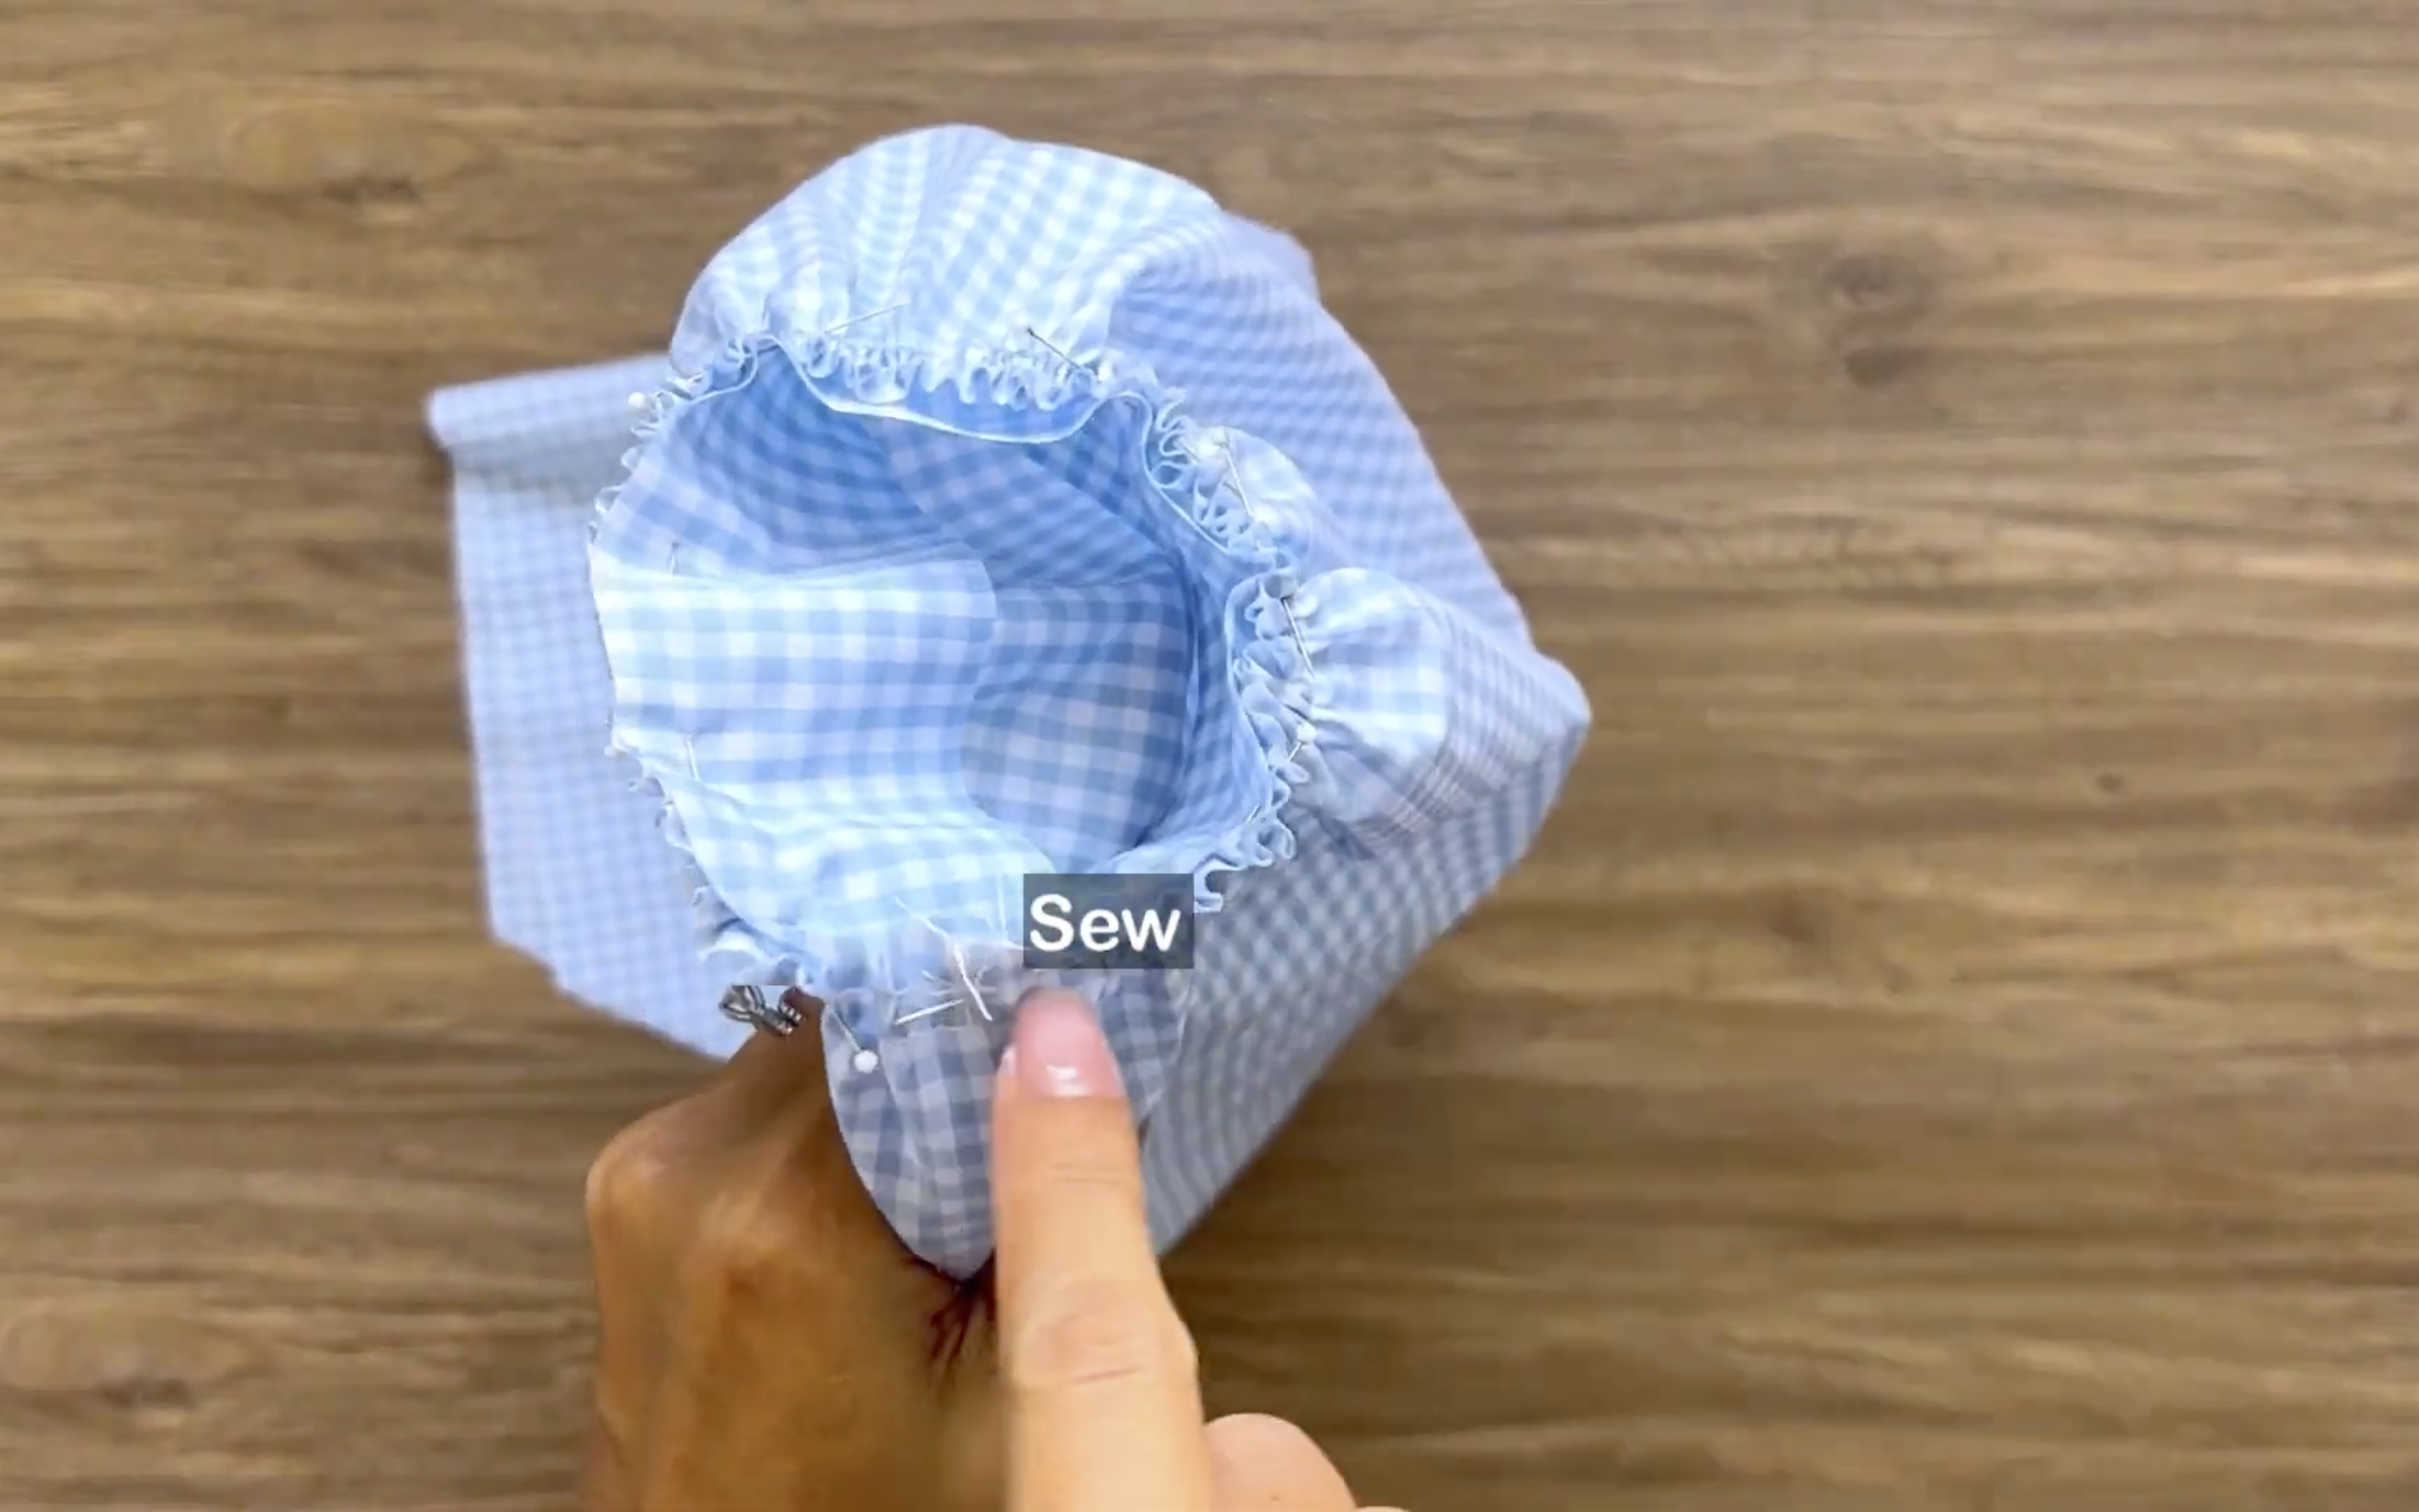
Attach one side of the circle to the sleeve end.
After the first seam, fold the other side of the circle fabric inward to the middle, then fold it over the first seam and make the second seam.
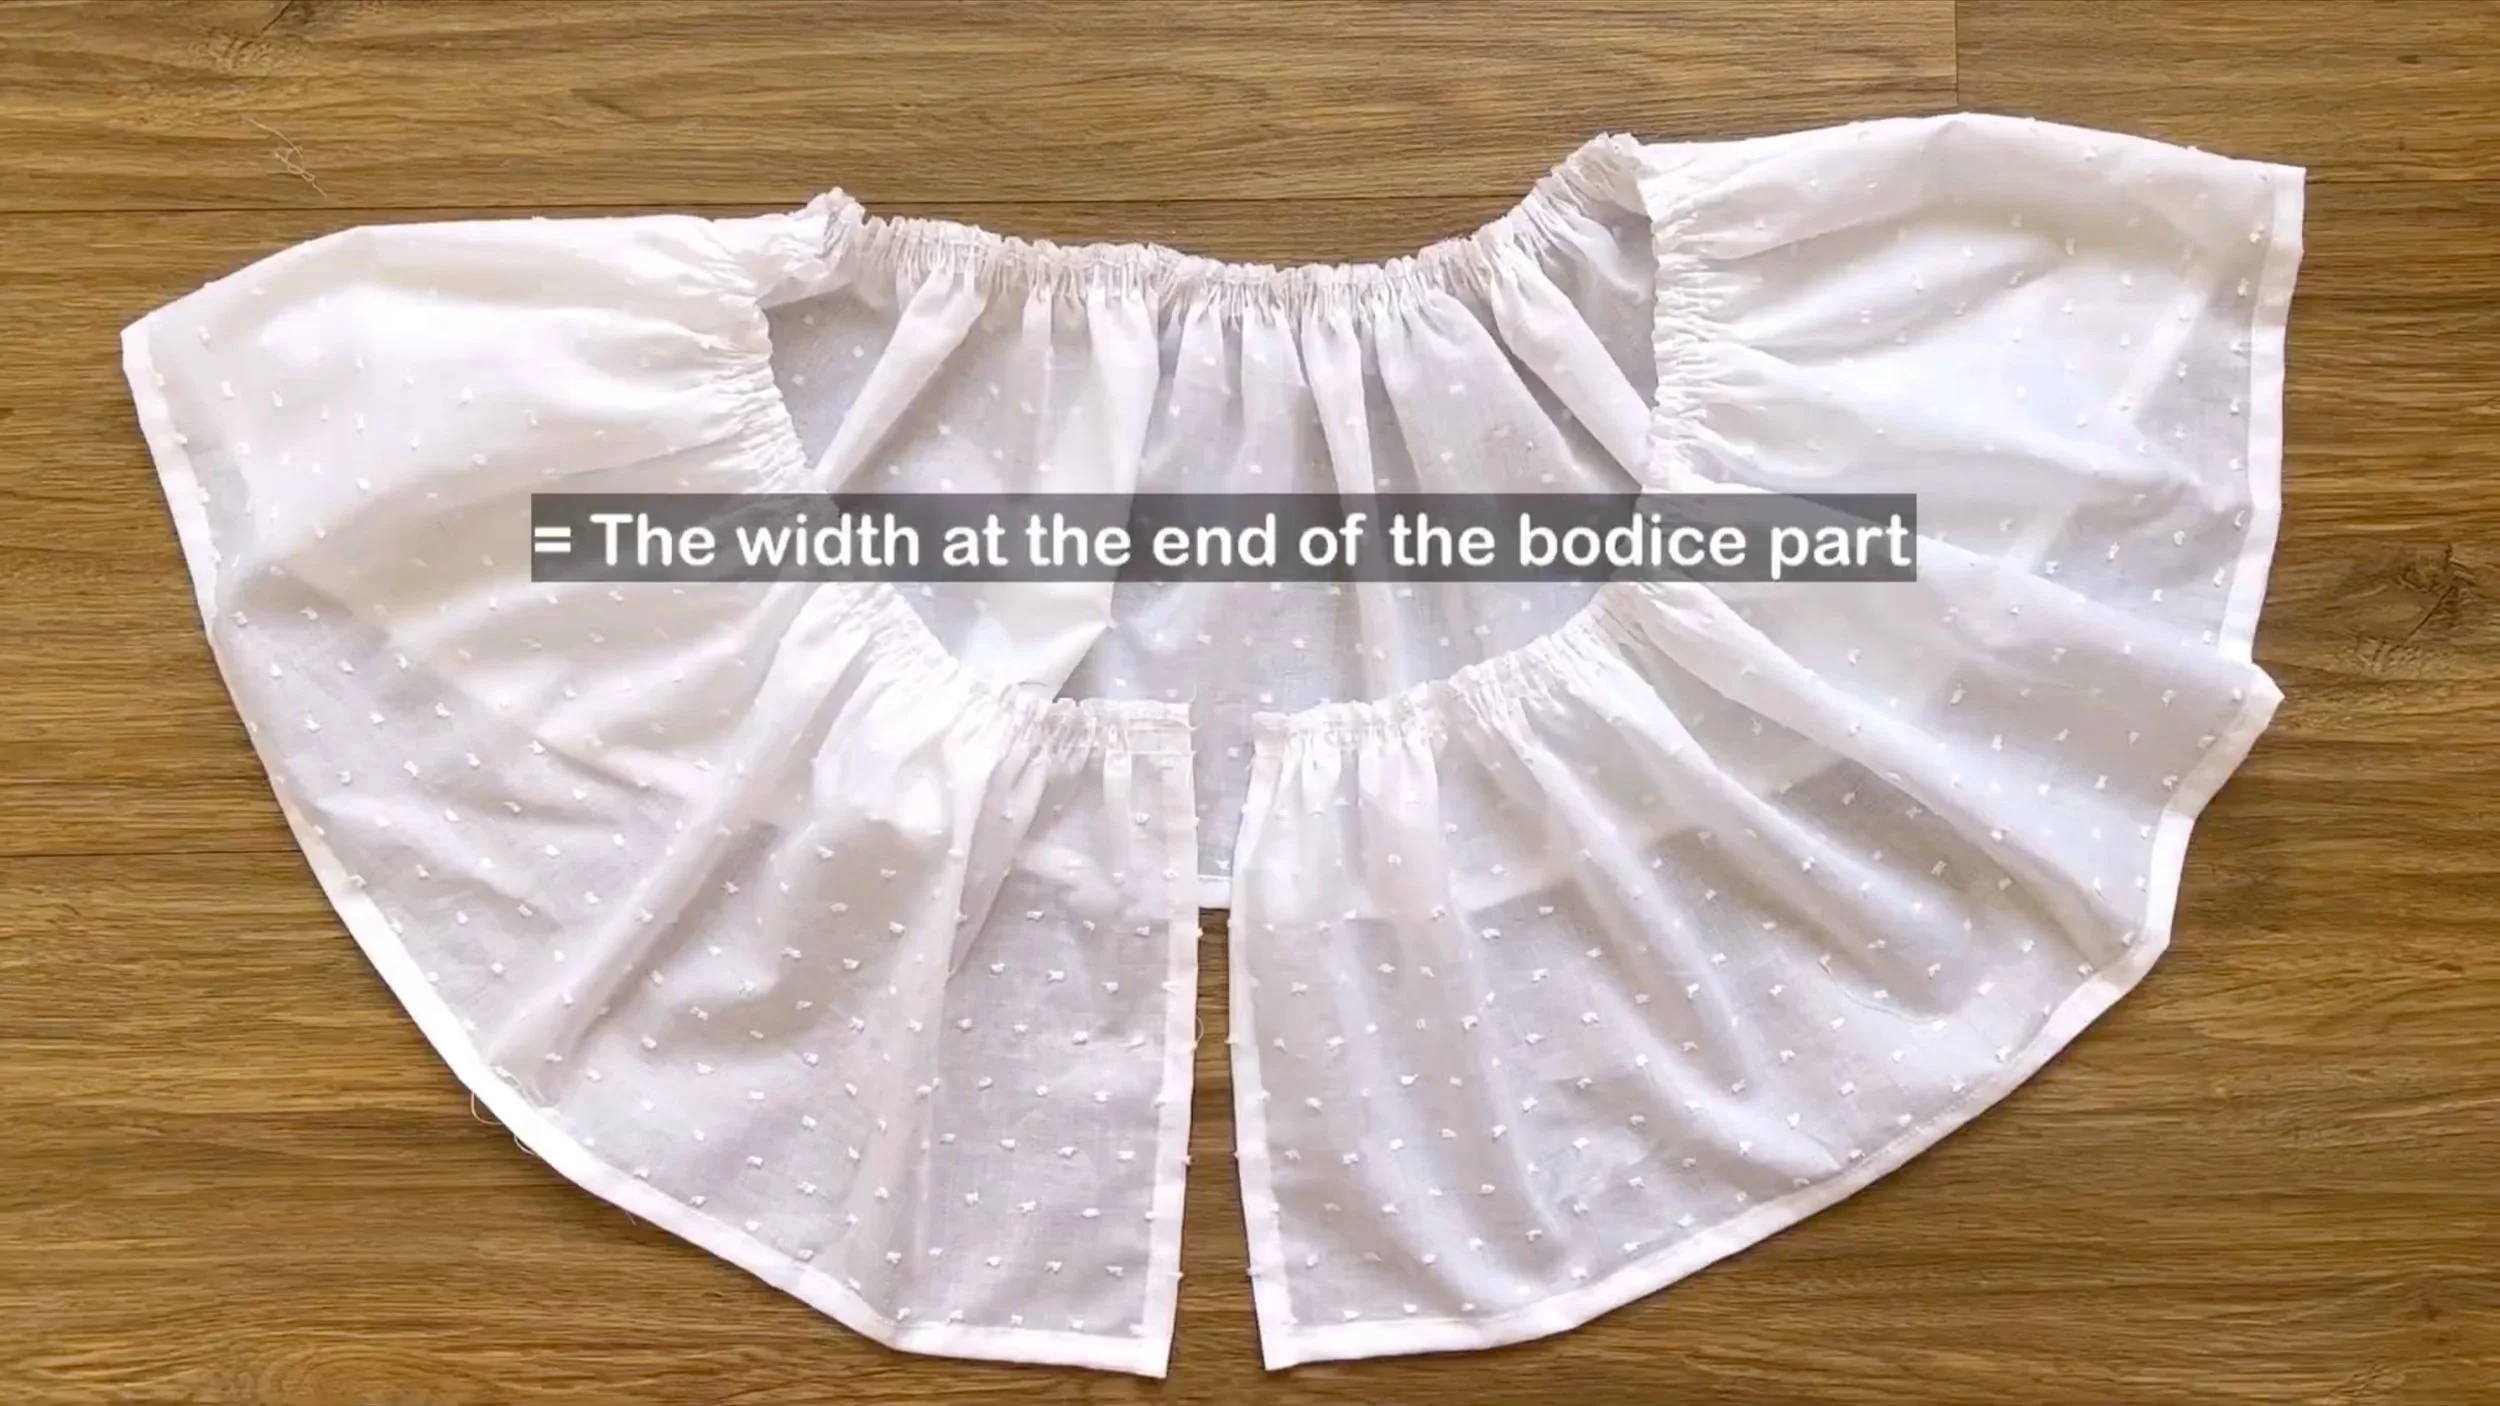
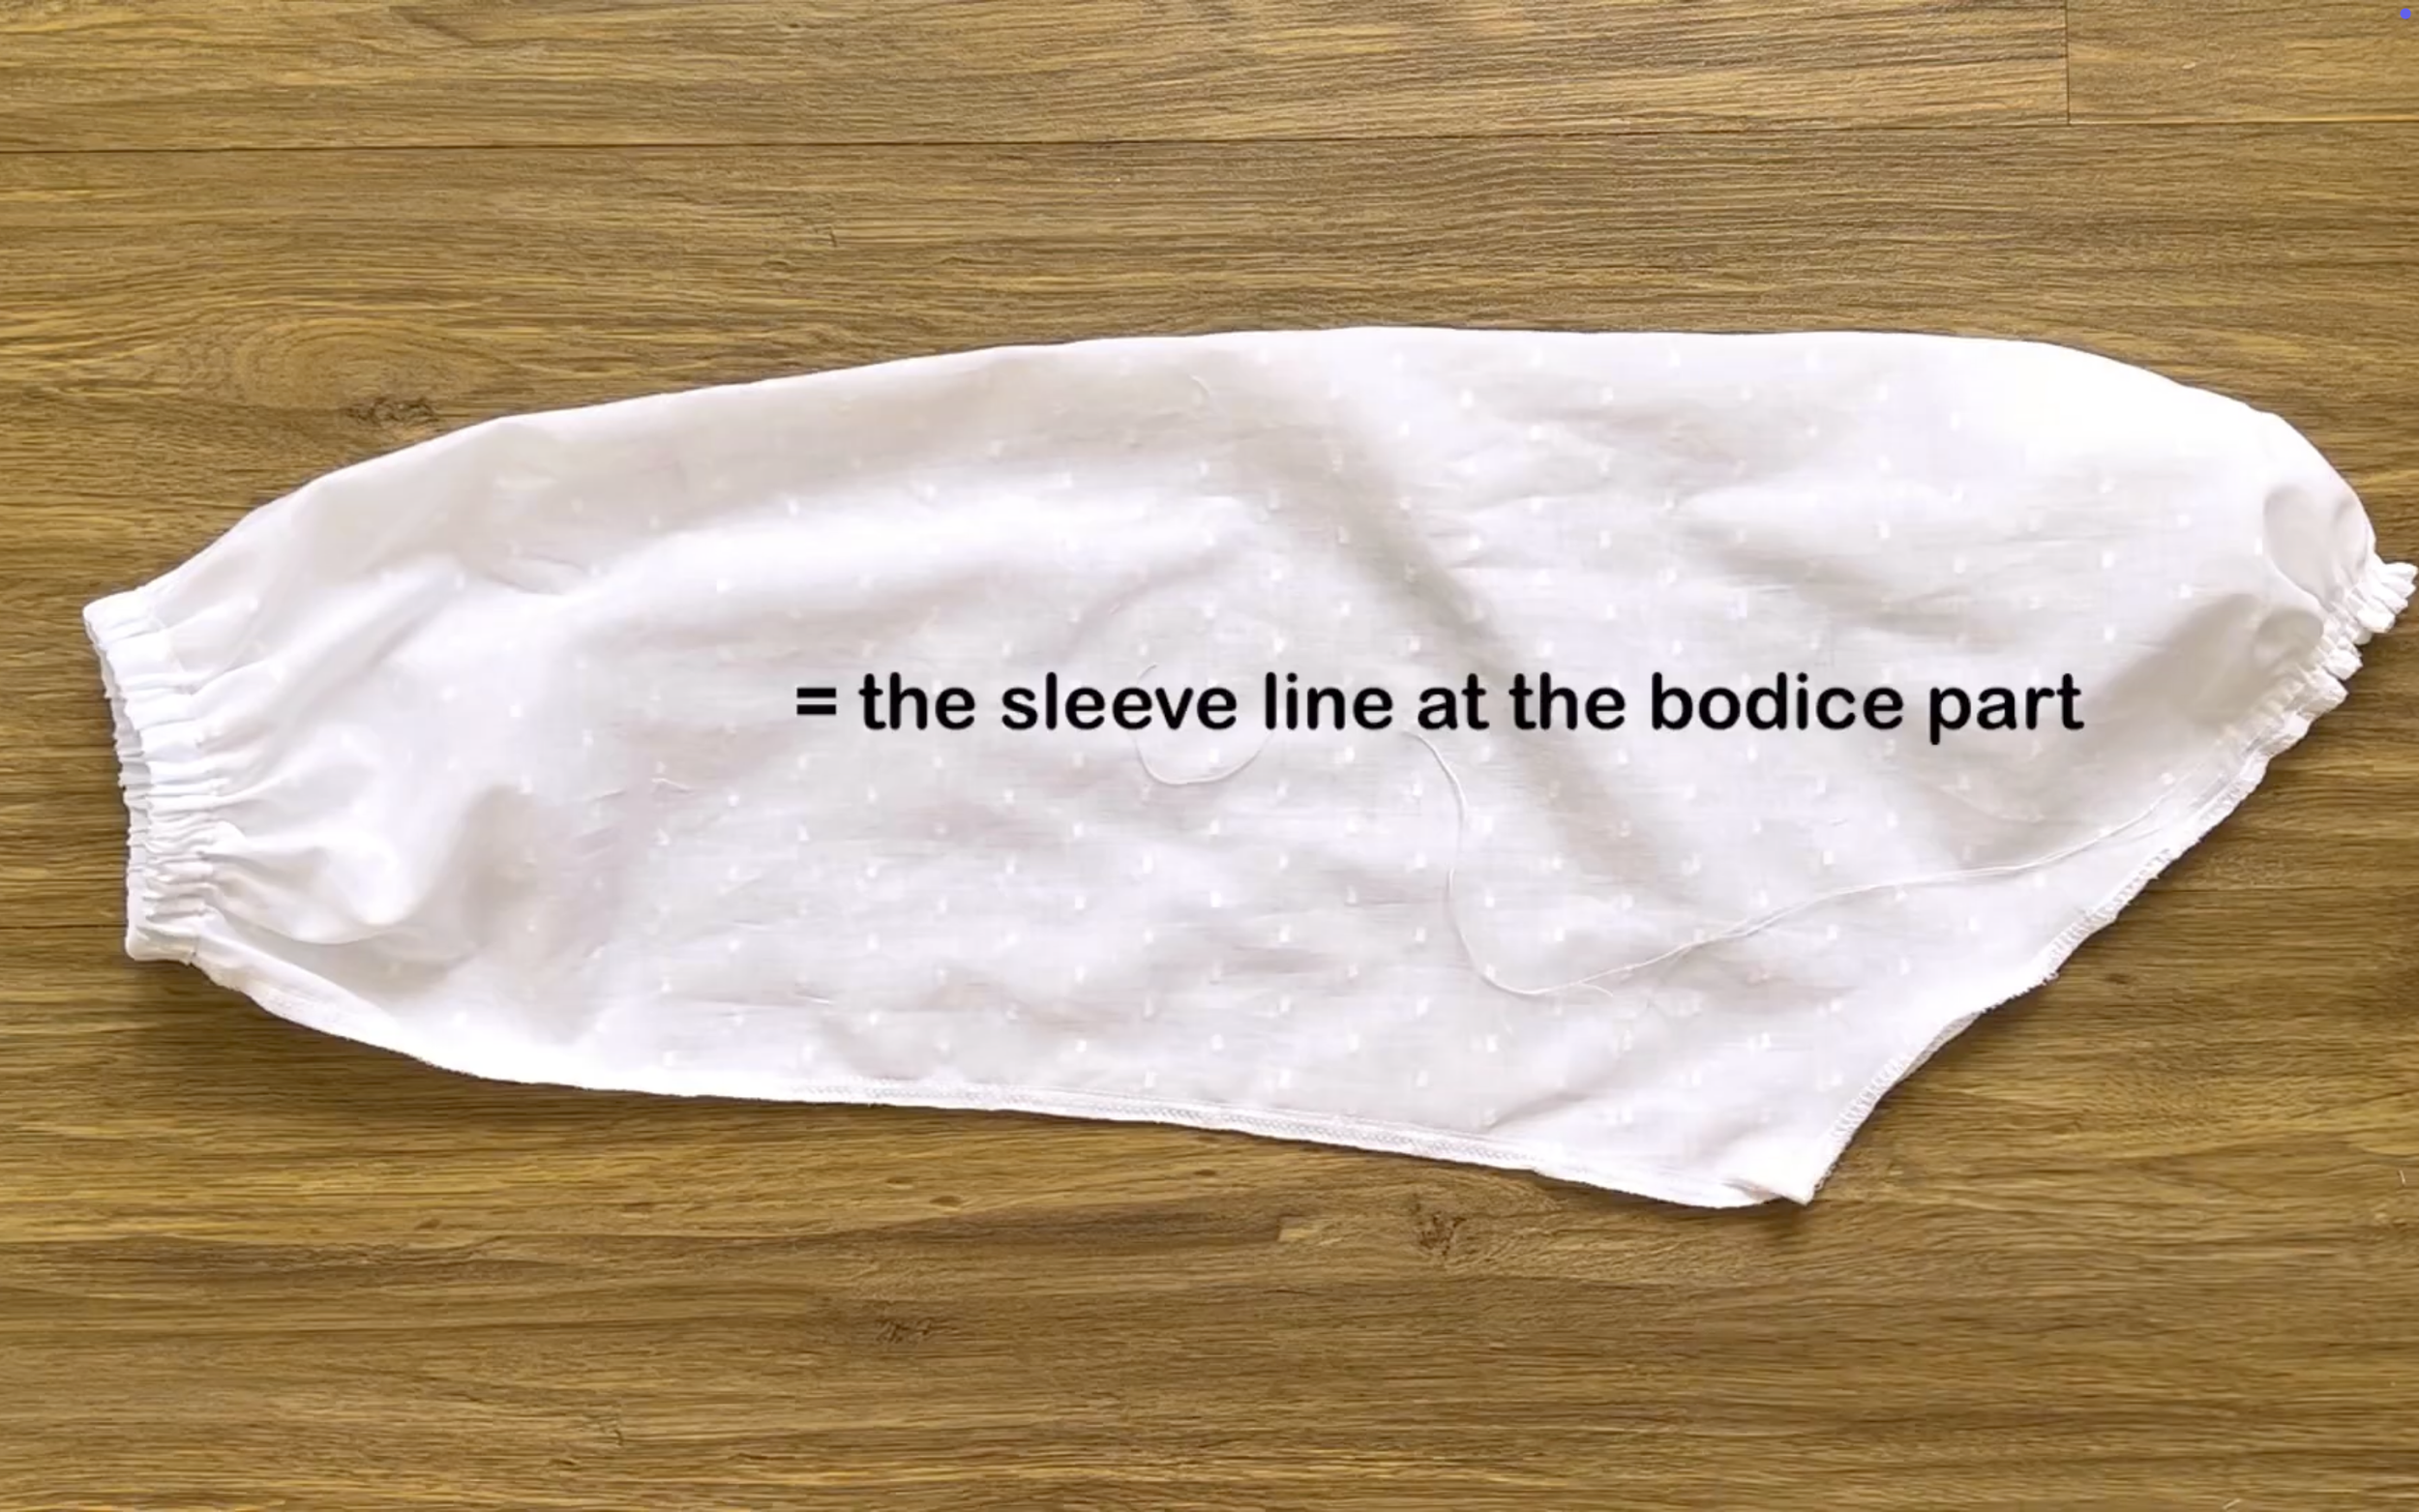
CONNECT THE SLEEVES TO THE BODICE

Attach the sleeves to the bodice at the sleeve line and sew.
At the top of the sleeve, make a loose seam first, then create gathering fabric.
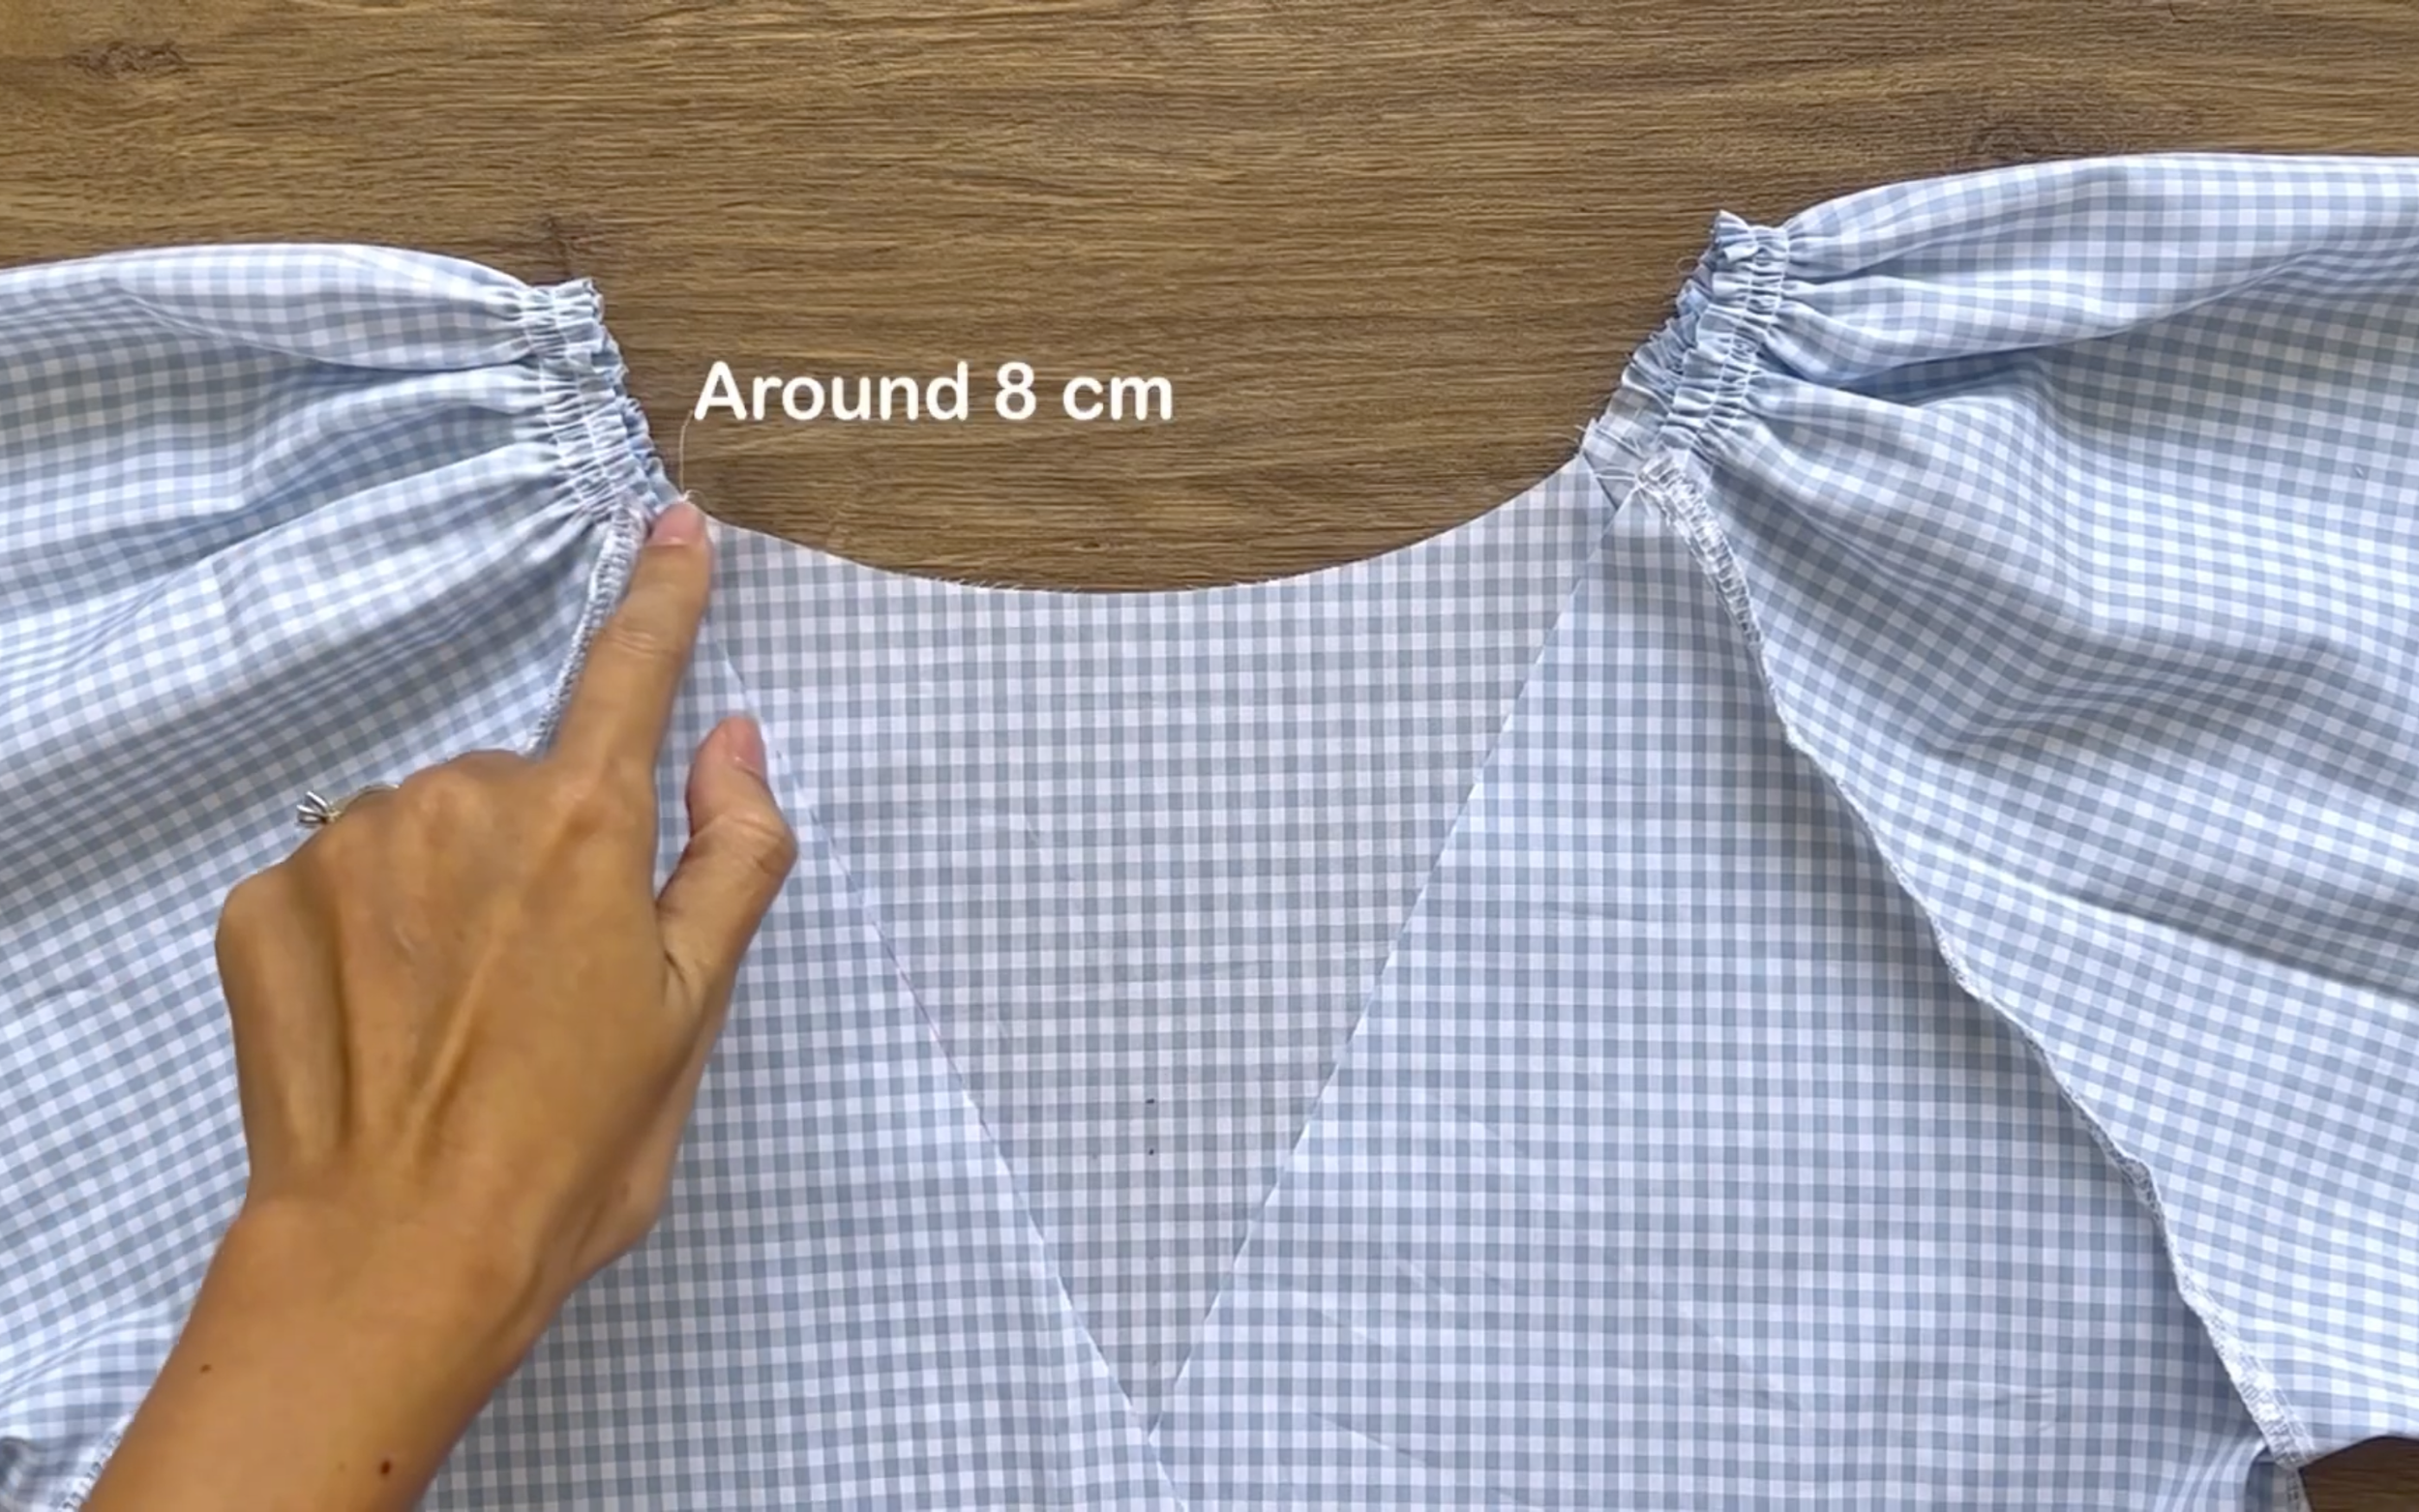
The final width of the gathering fabric should be about 8 cm.
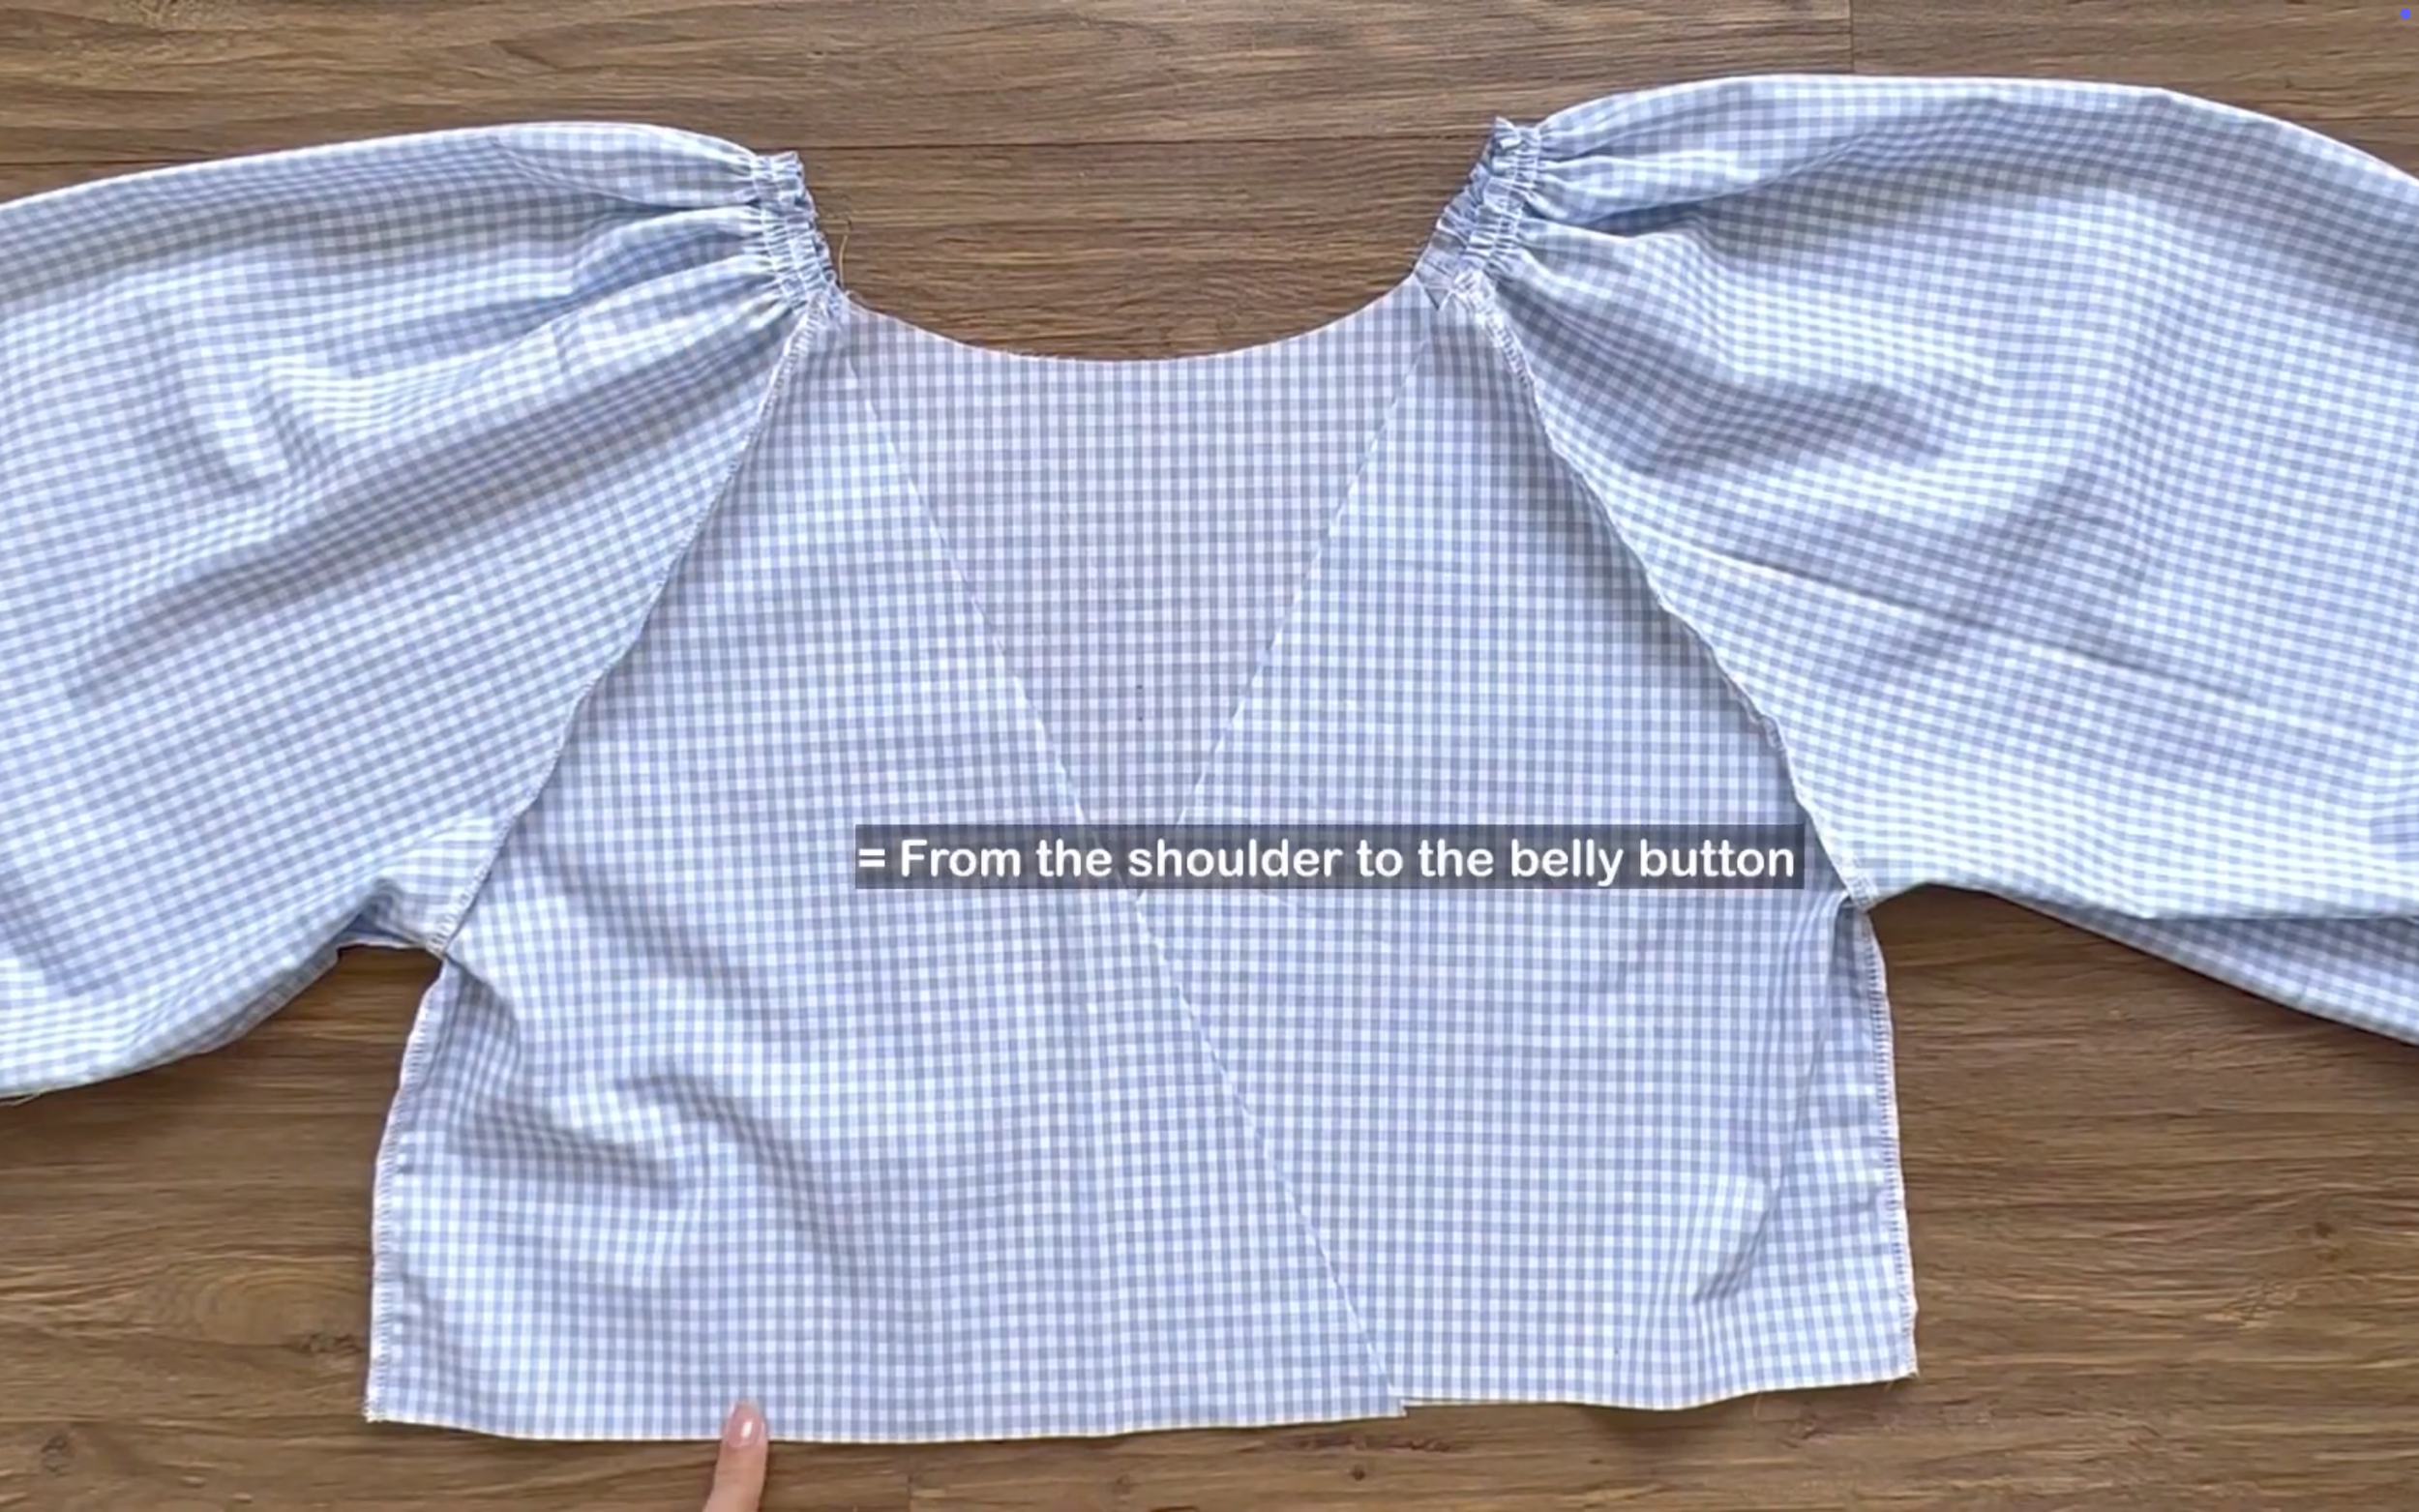
And match the length from the sleeve top to the bodice end, which defines the blouse’s length from the shoulder to the belly button.
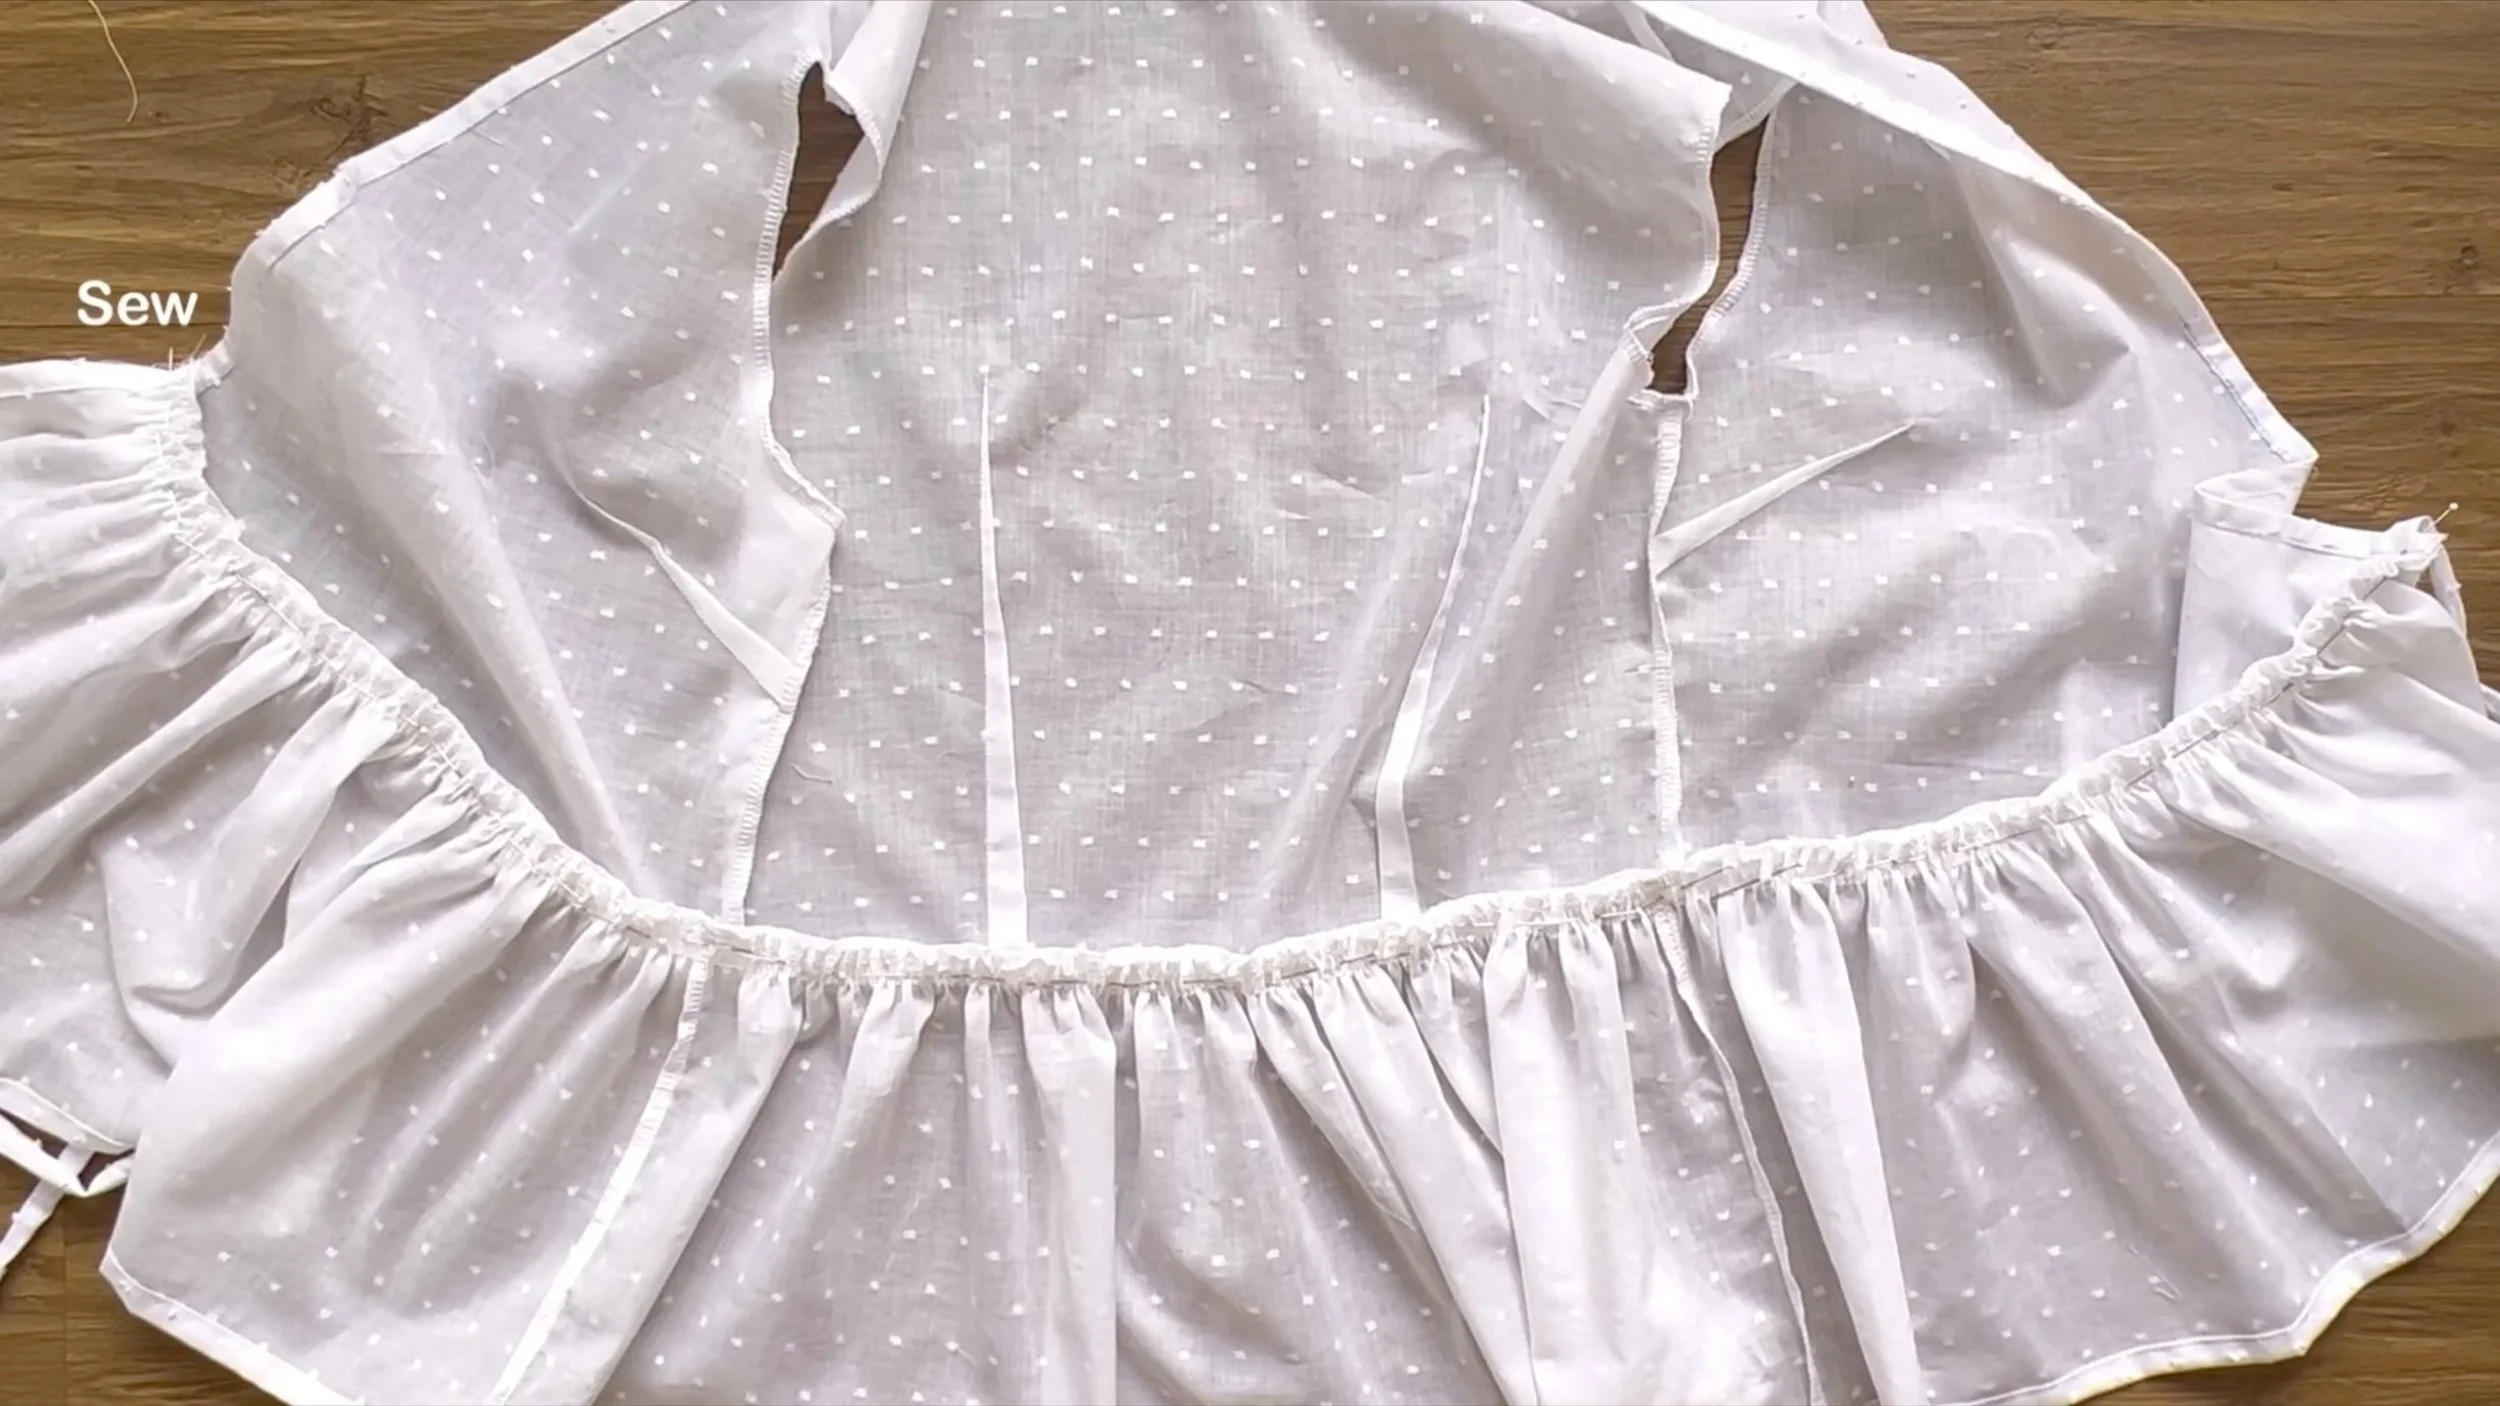
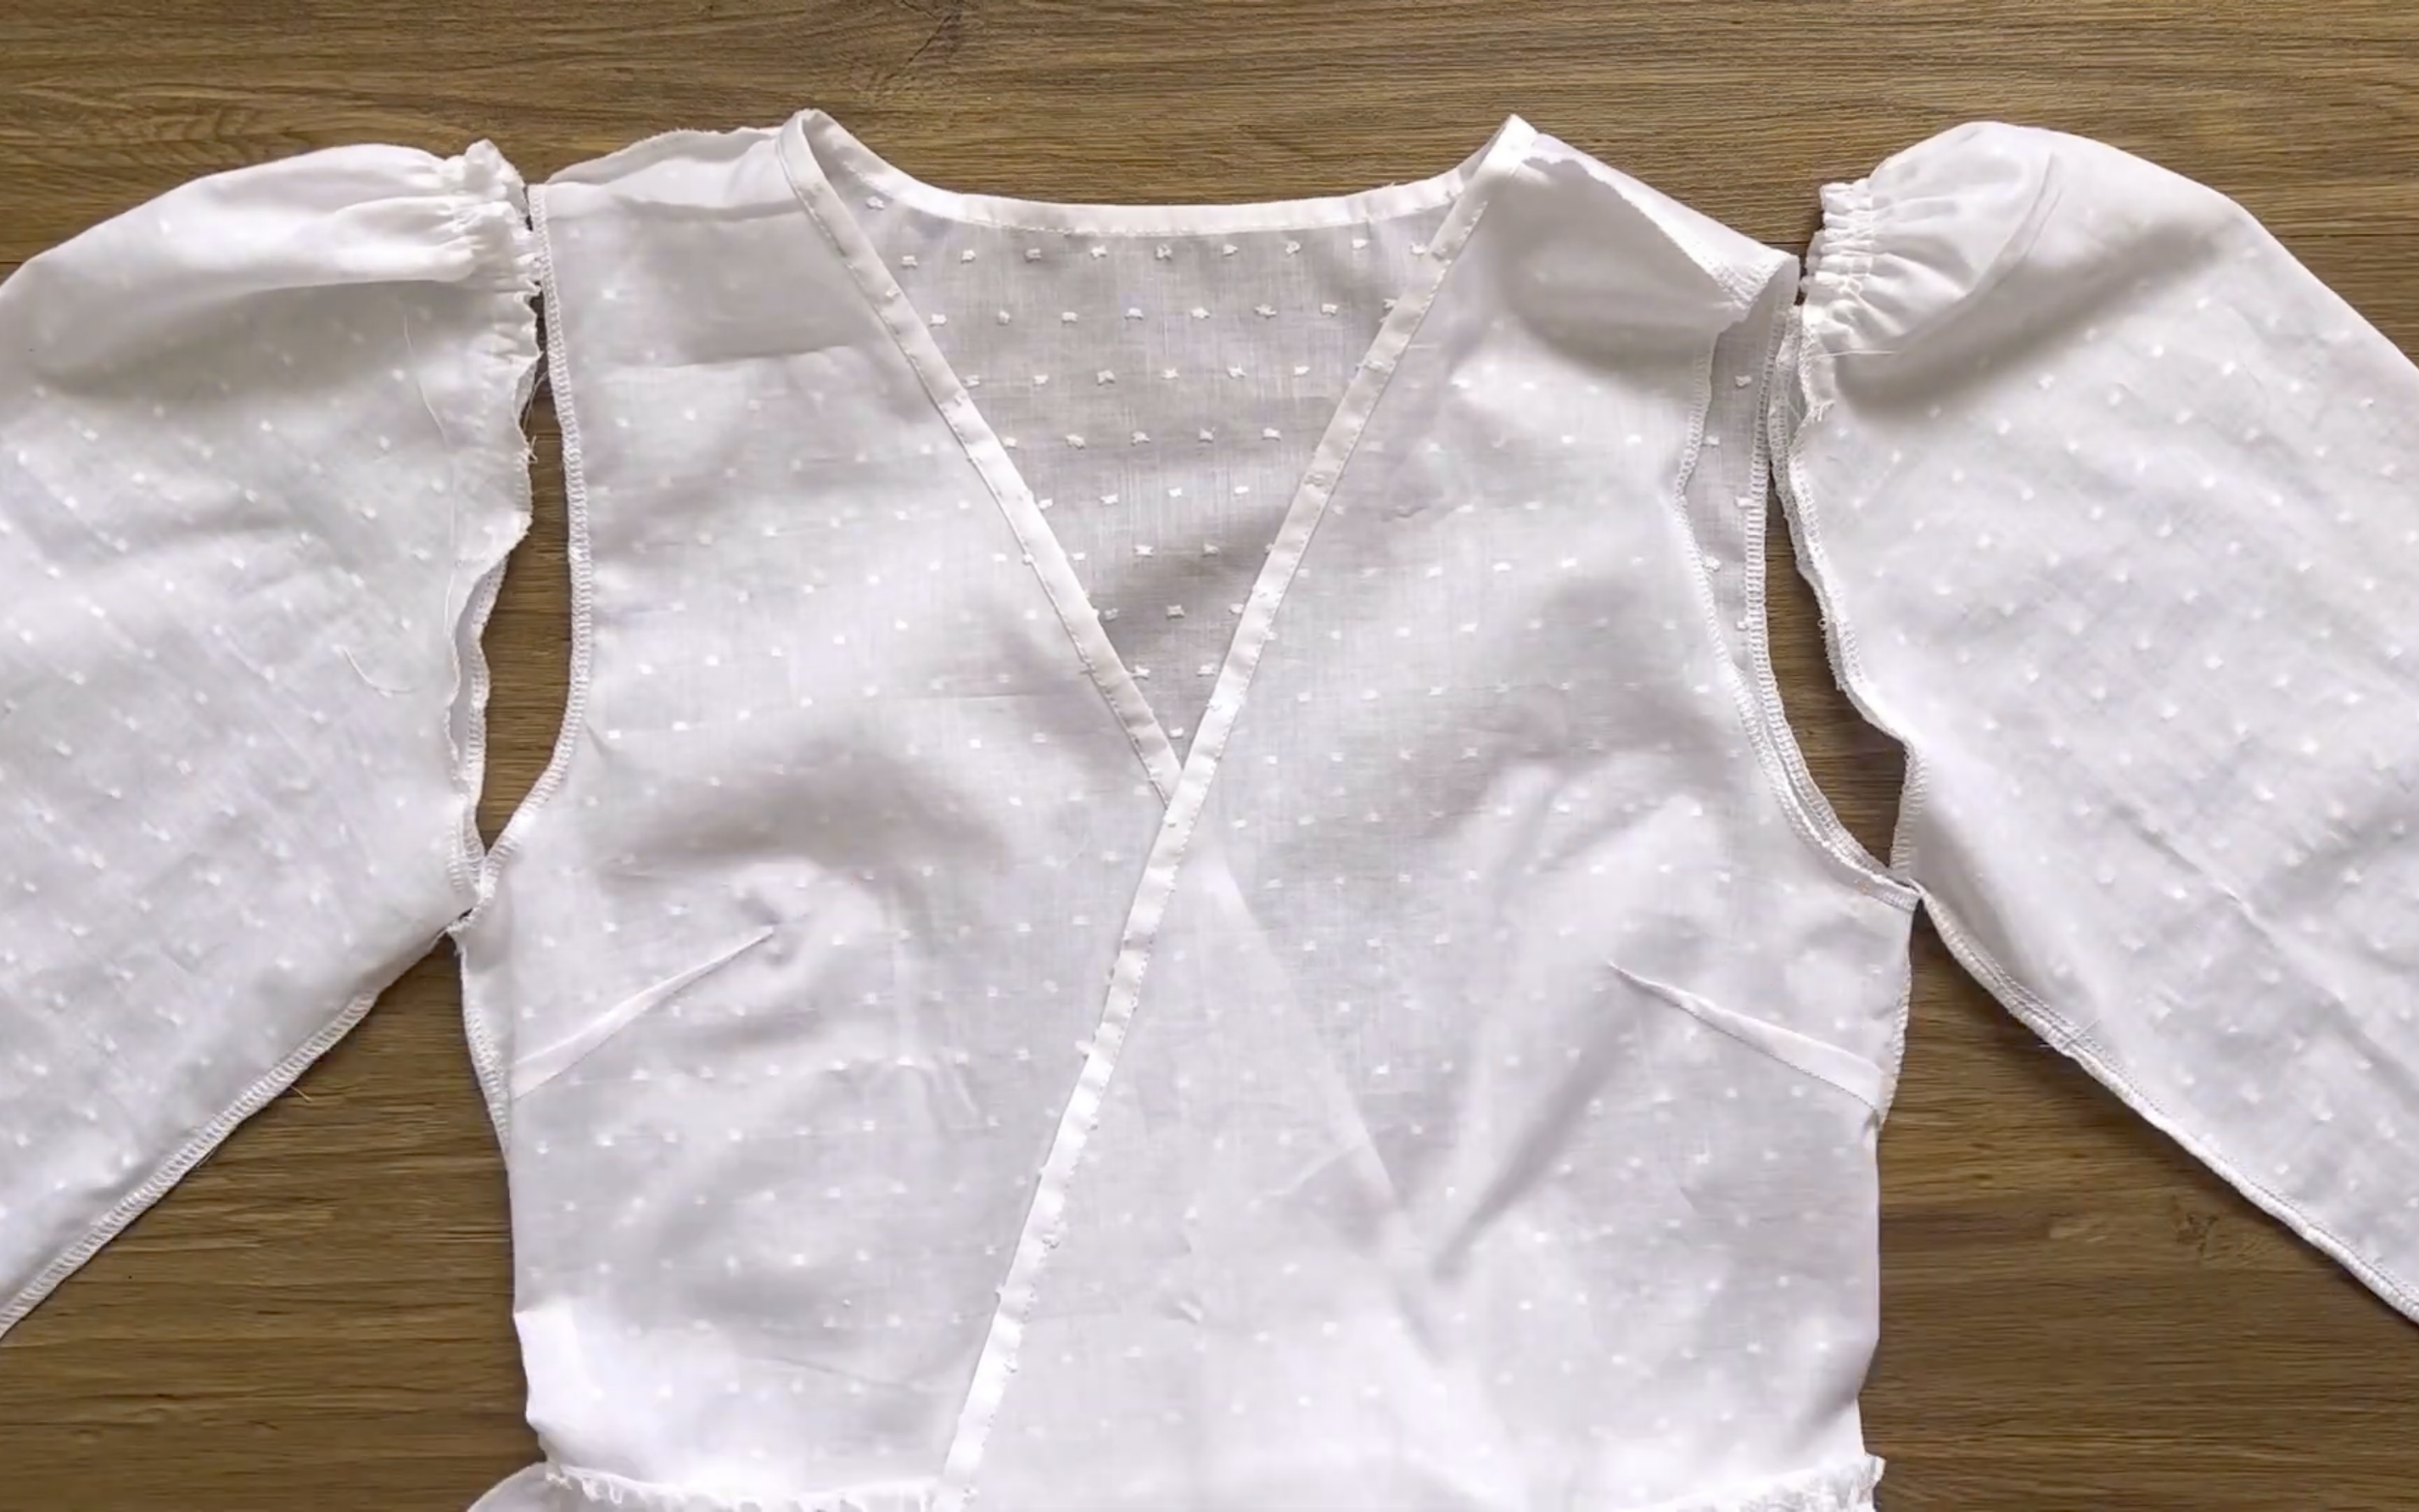
For the neckline, cut a fabric strip 4 cm wide (four times the desired binding width) and longer than the neckline length from front to back.
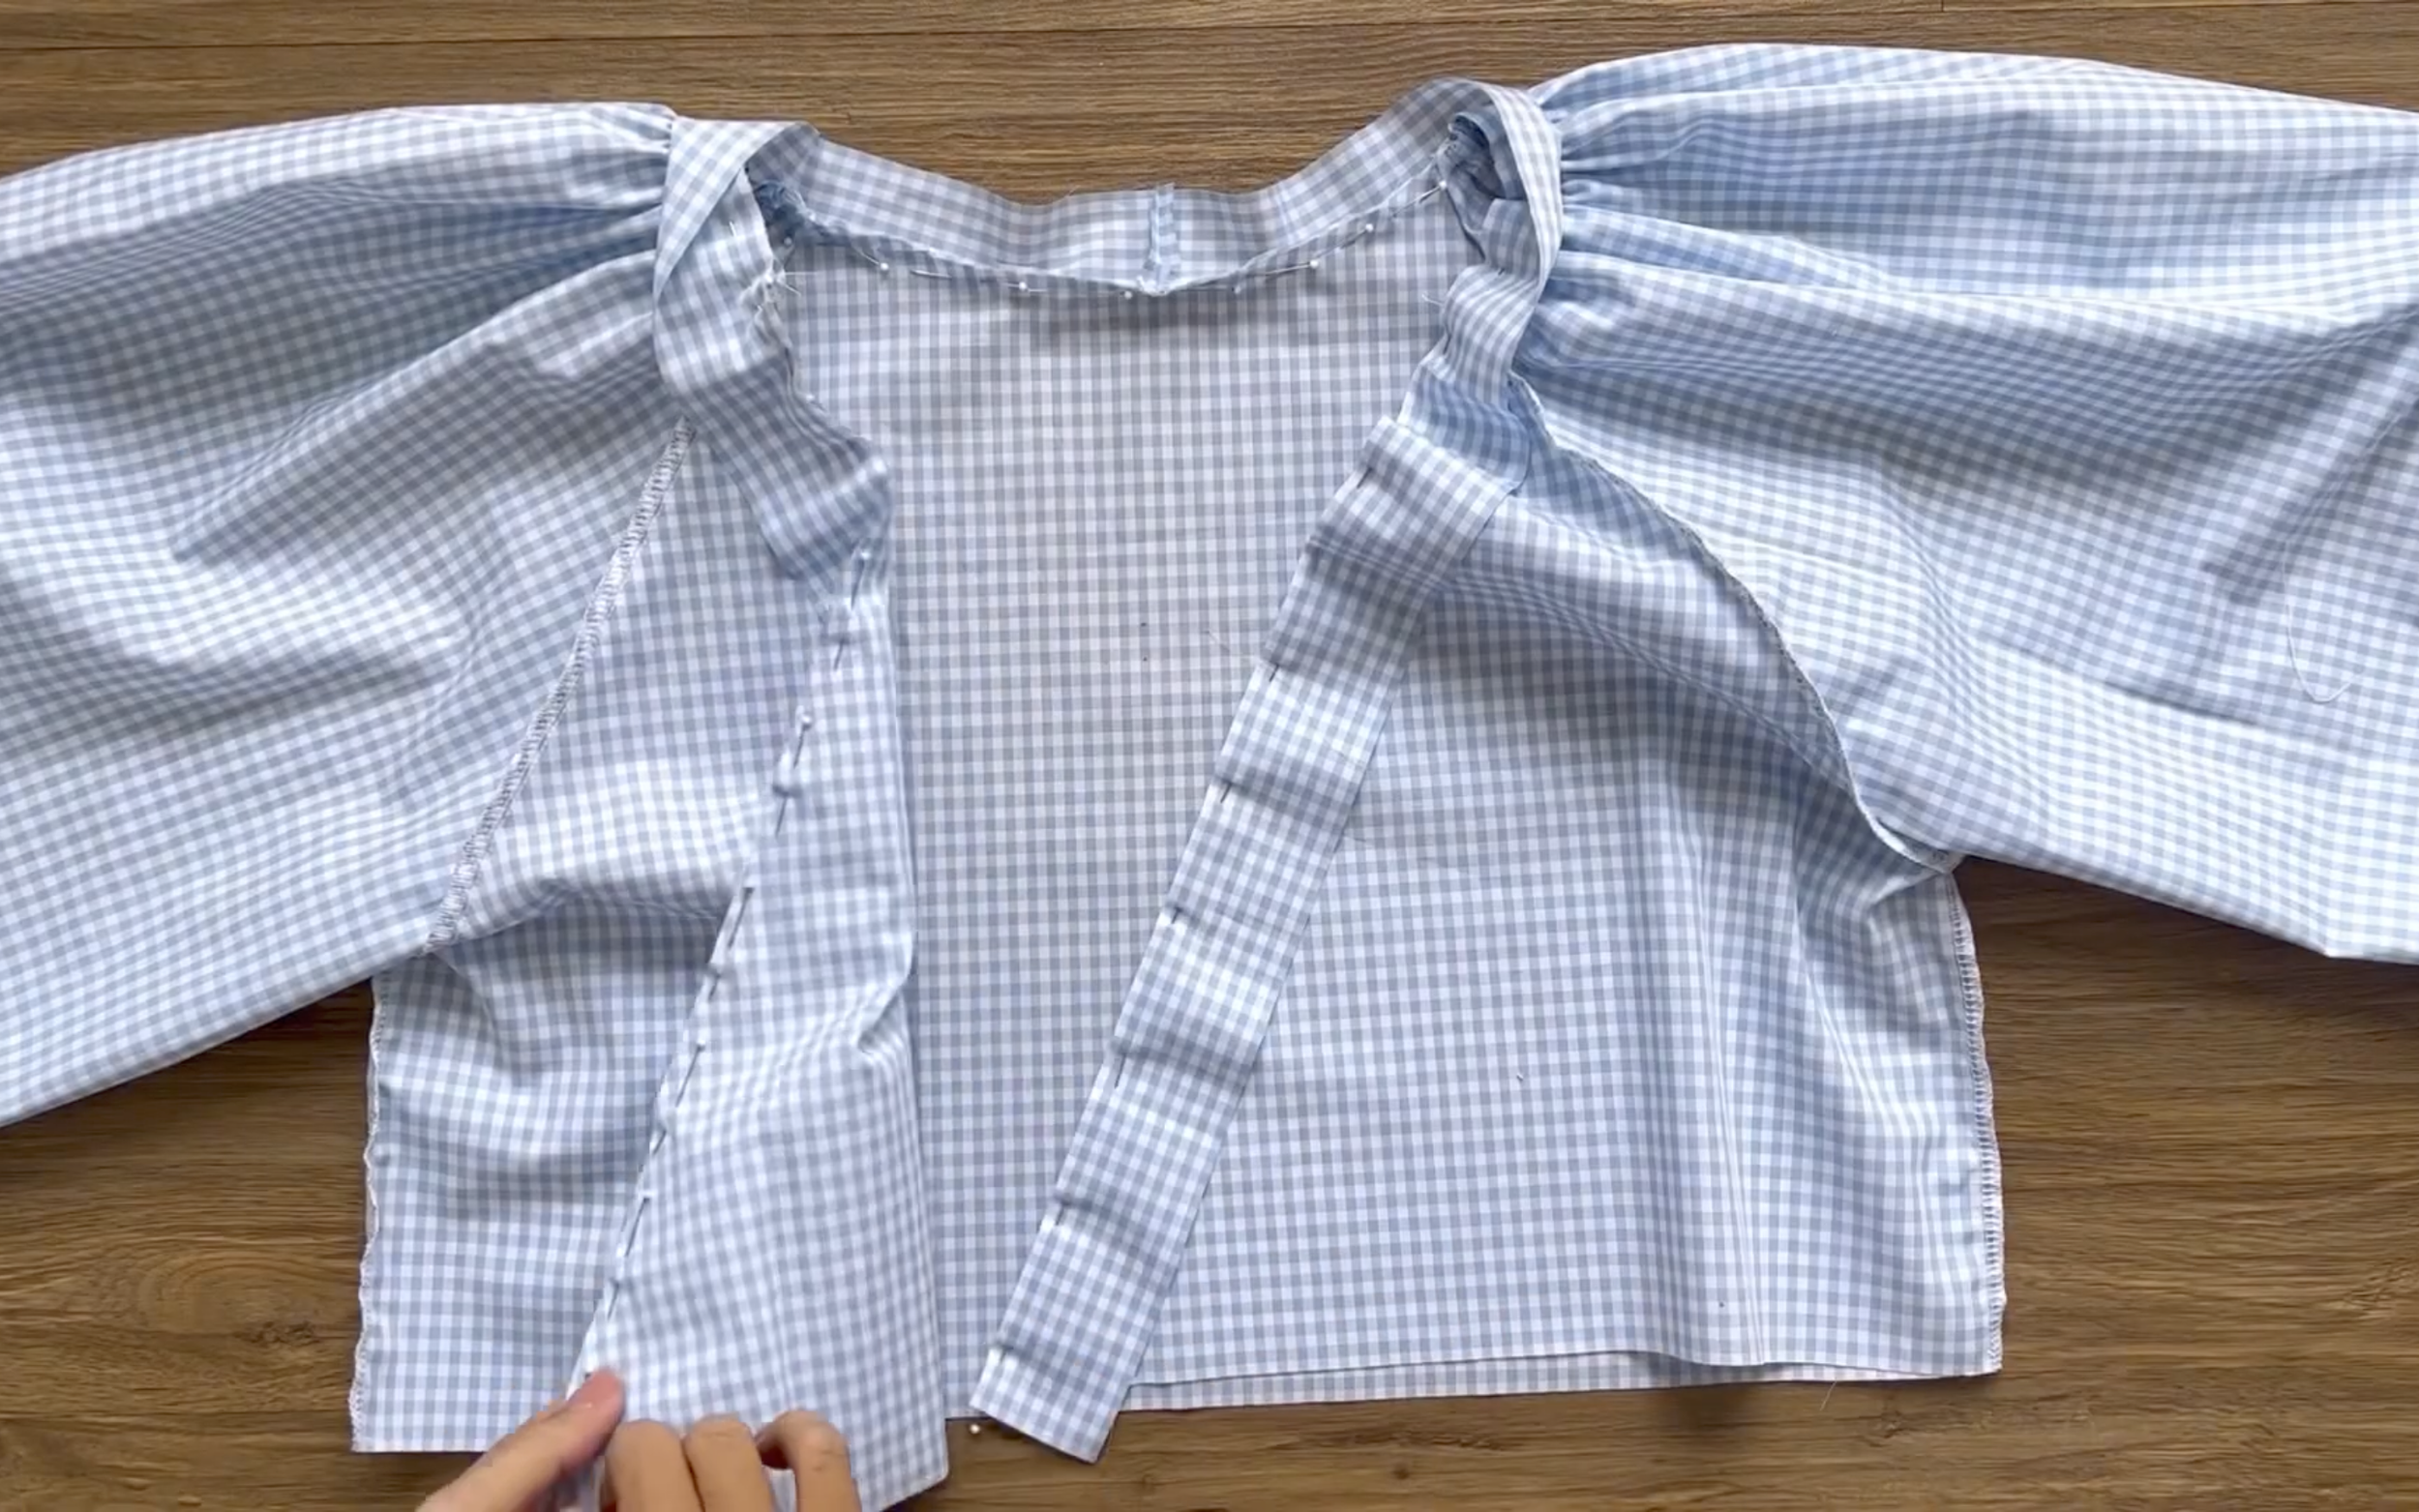
Attach one edge of the strip to the neckline and sew.
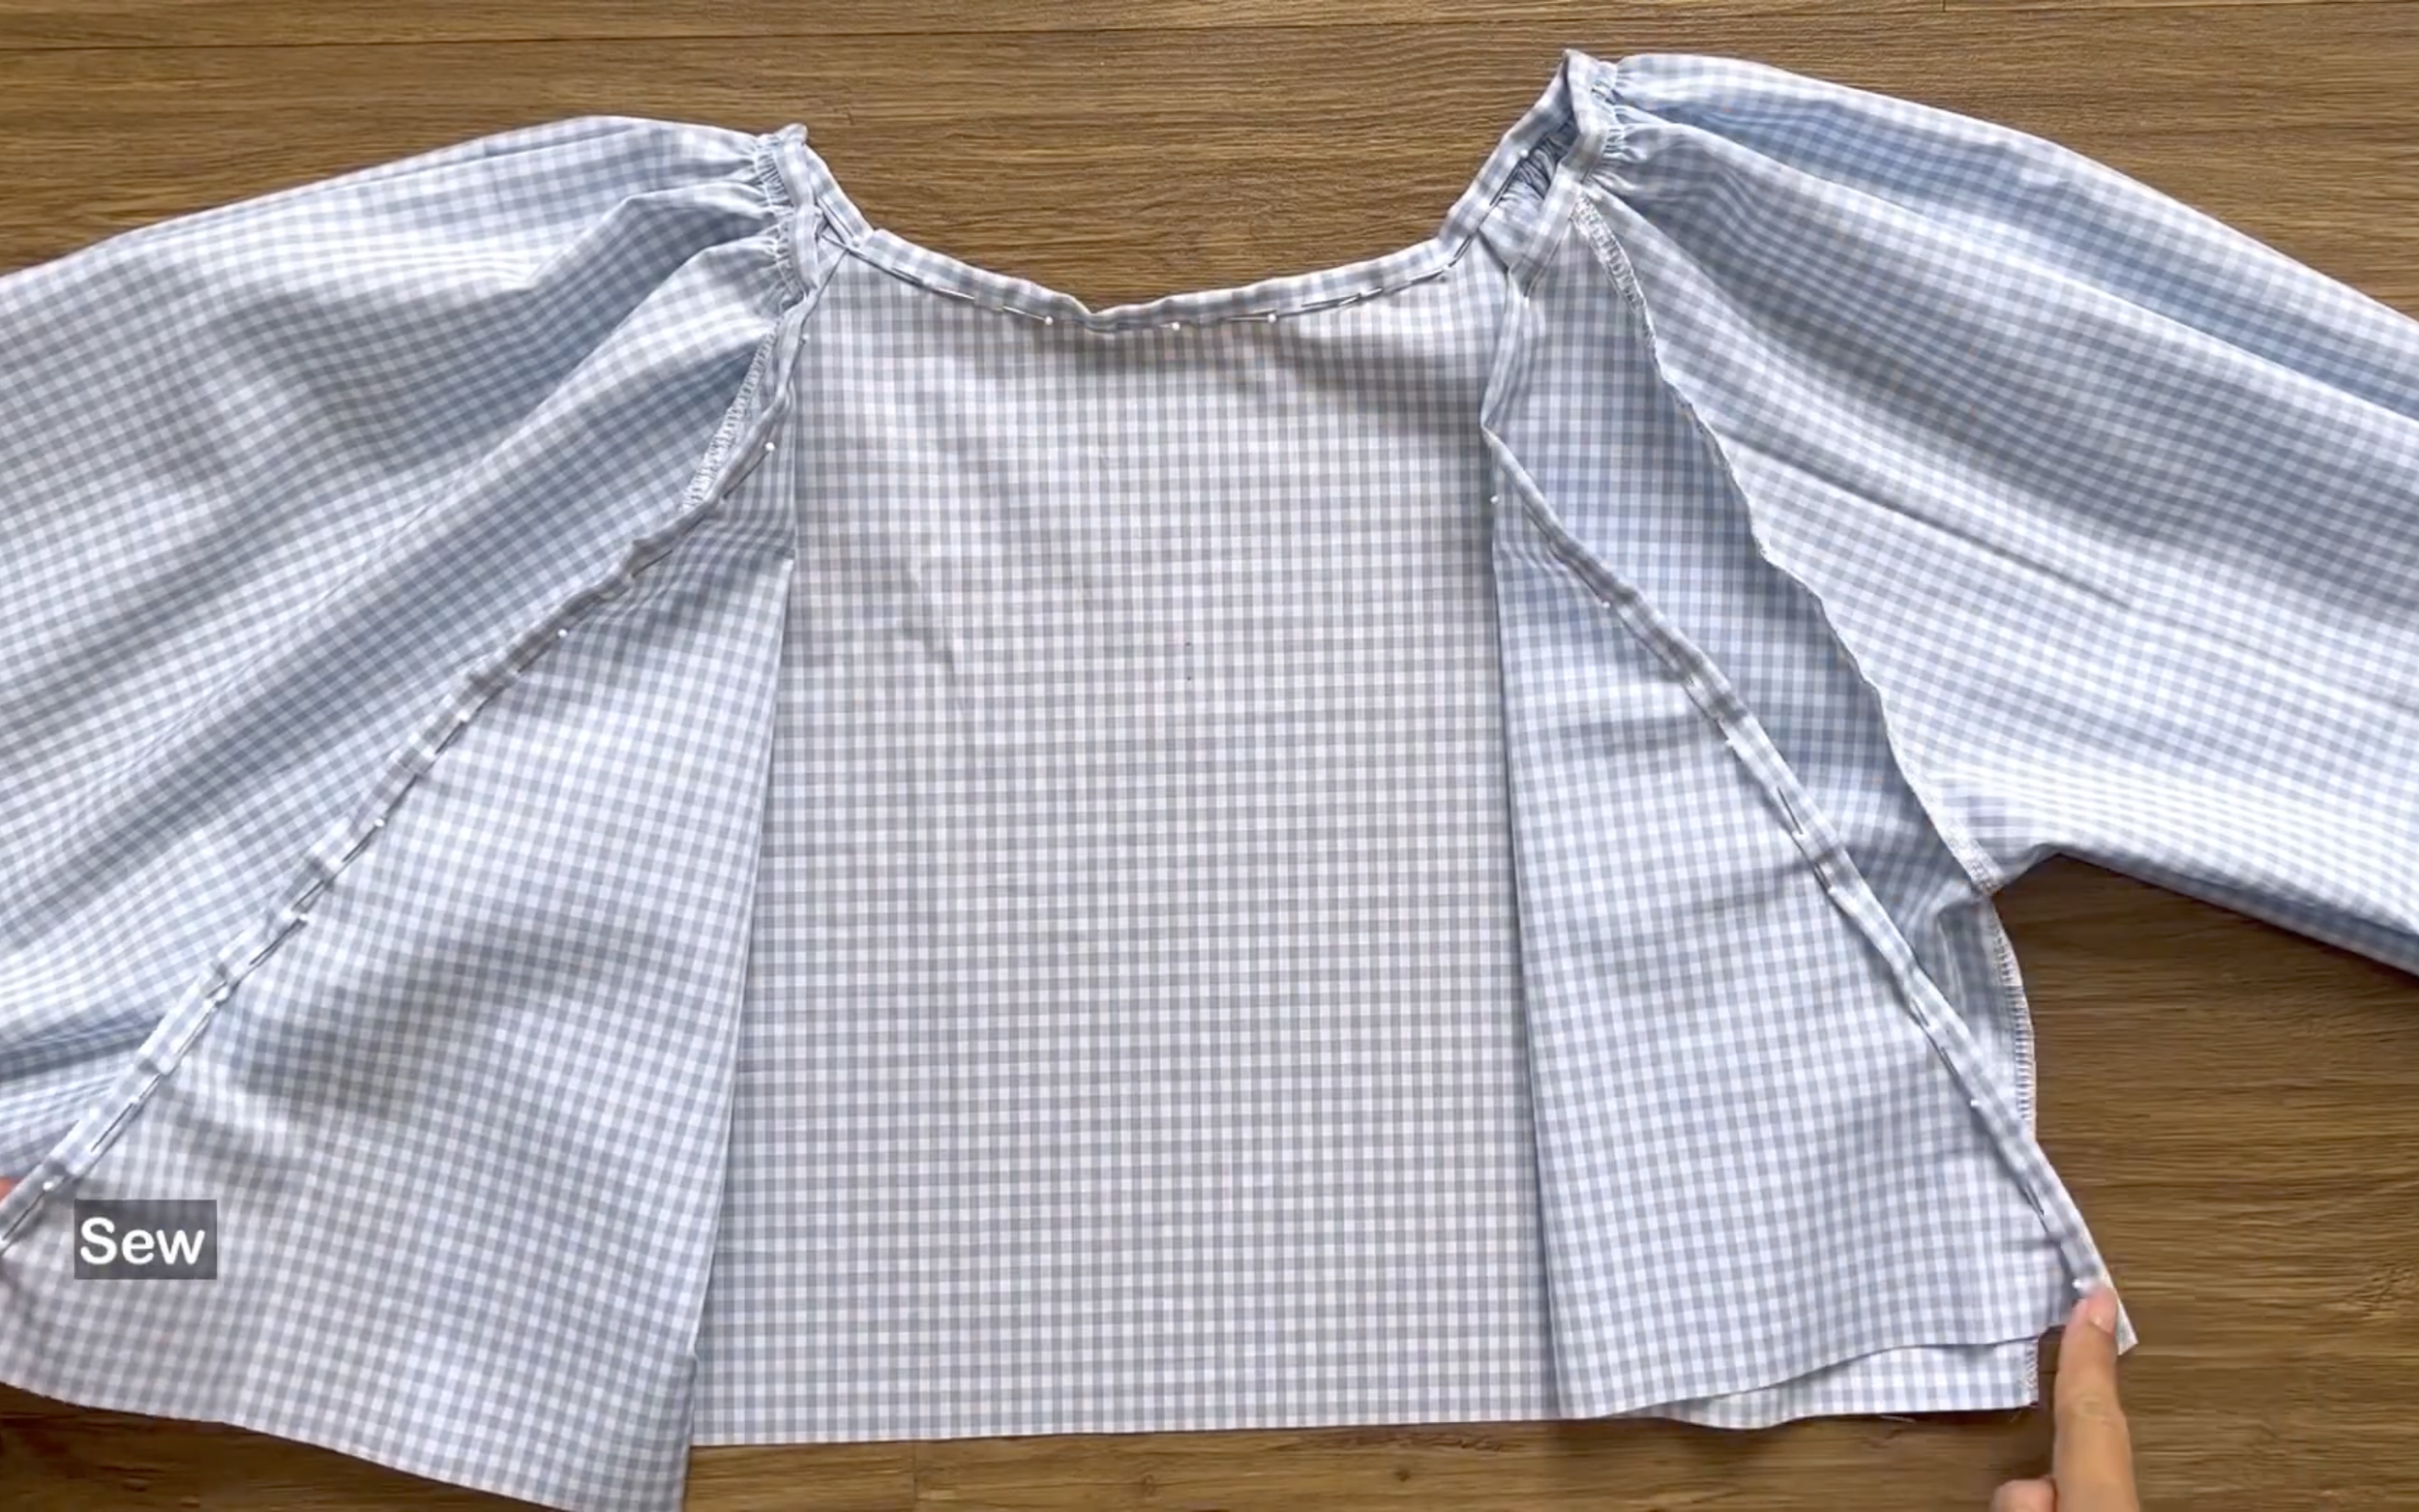
After the first seam, fold the other edge inward to the middle, then fold it over the first seam and sew the second seam.
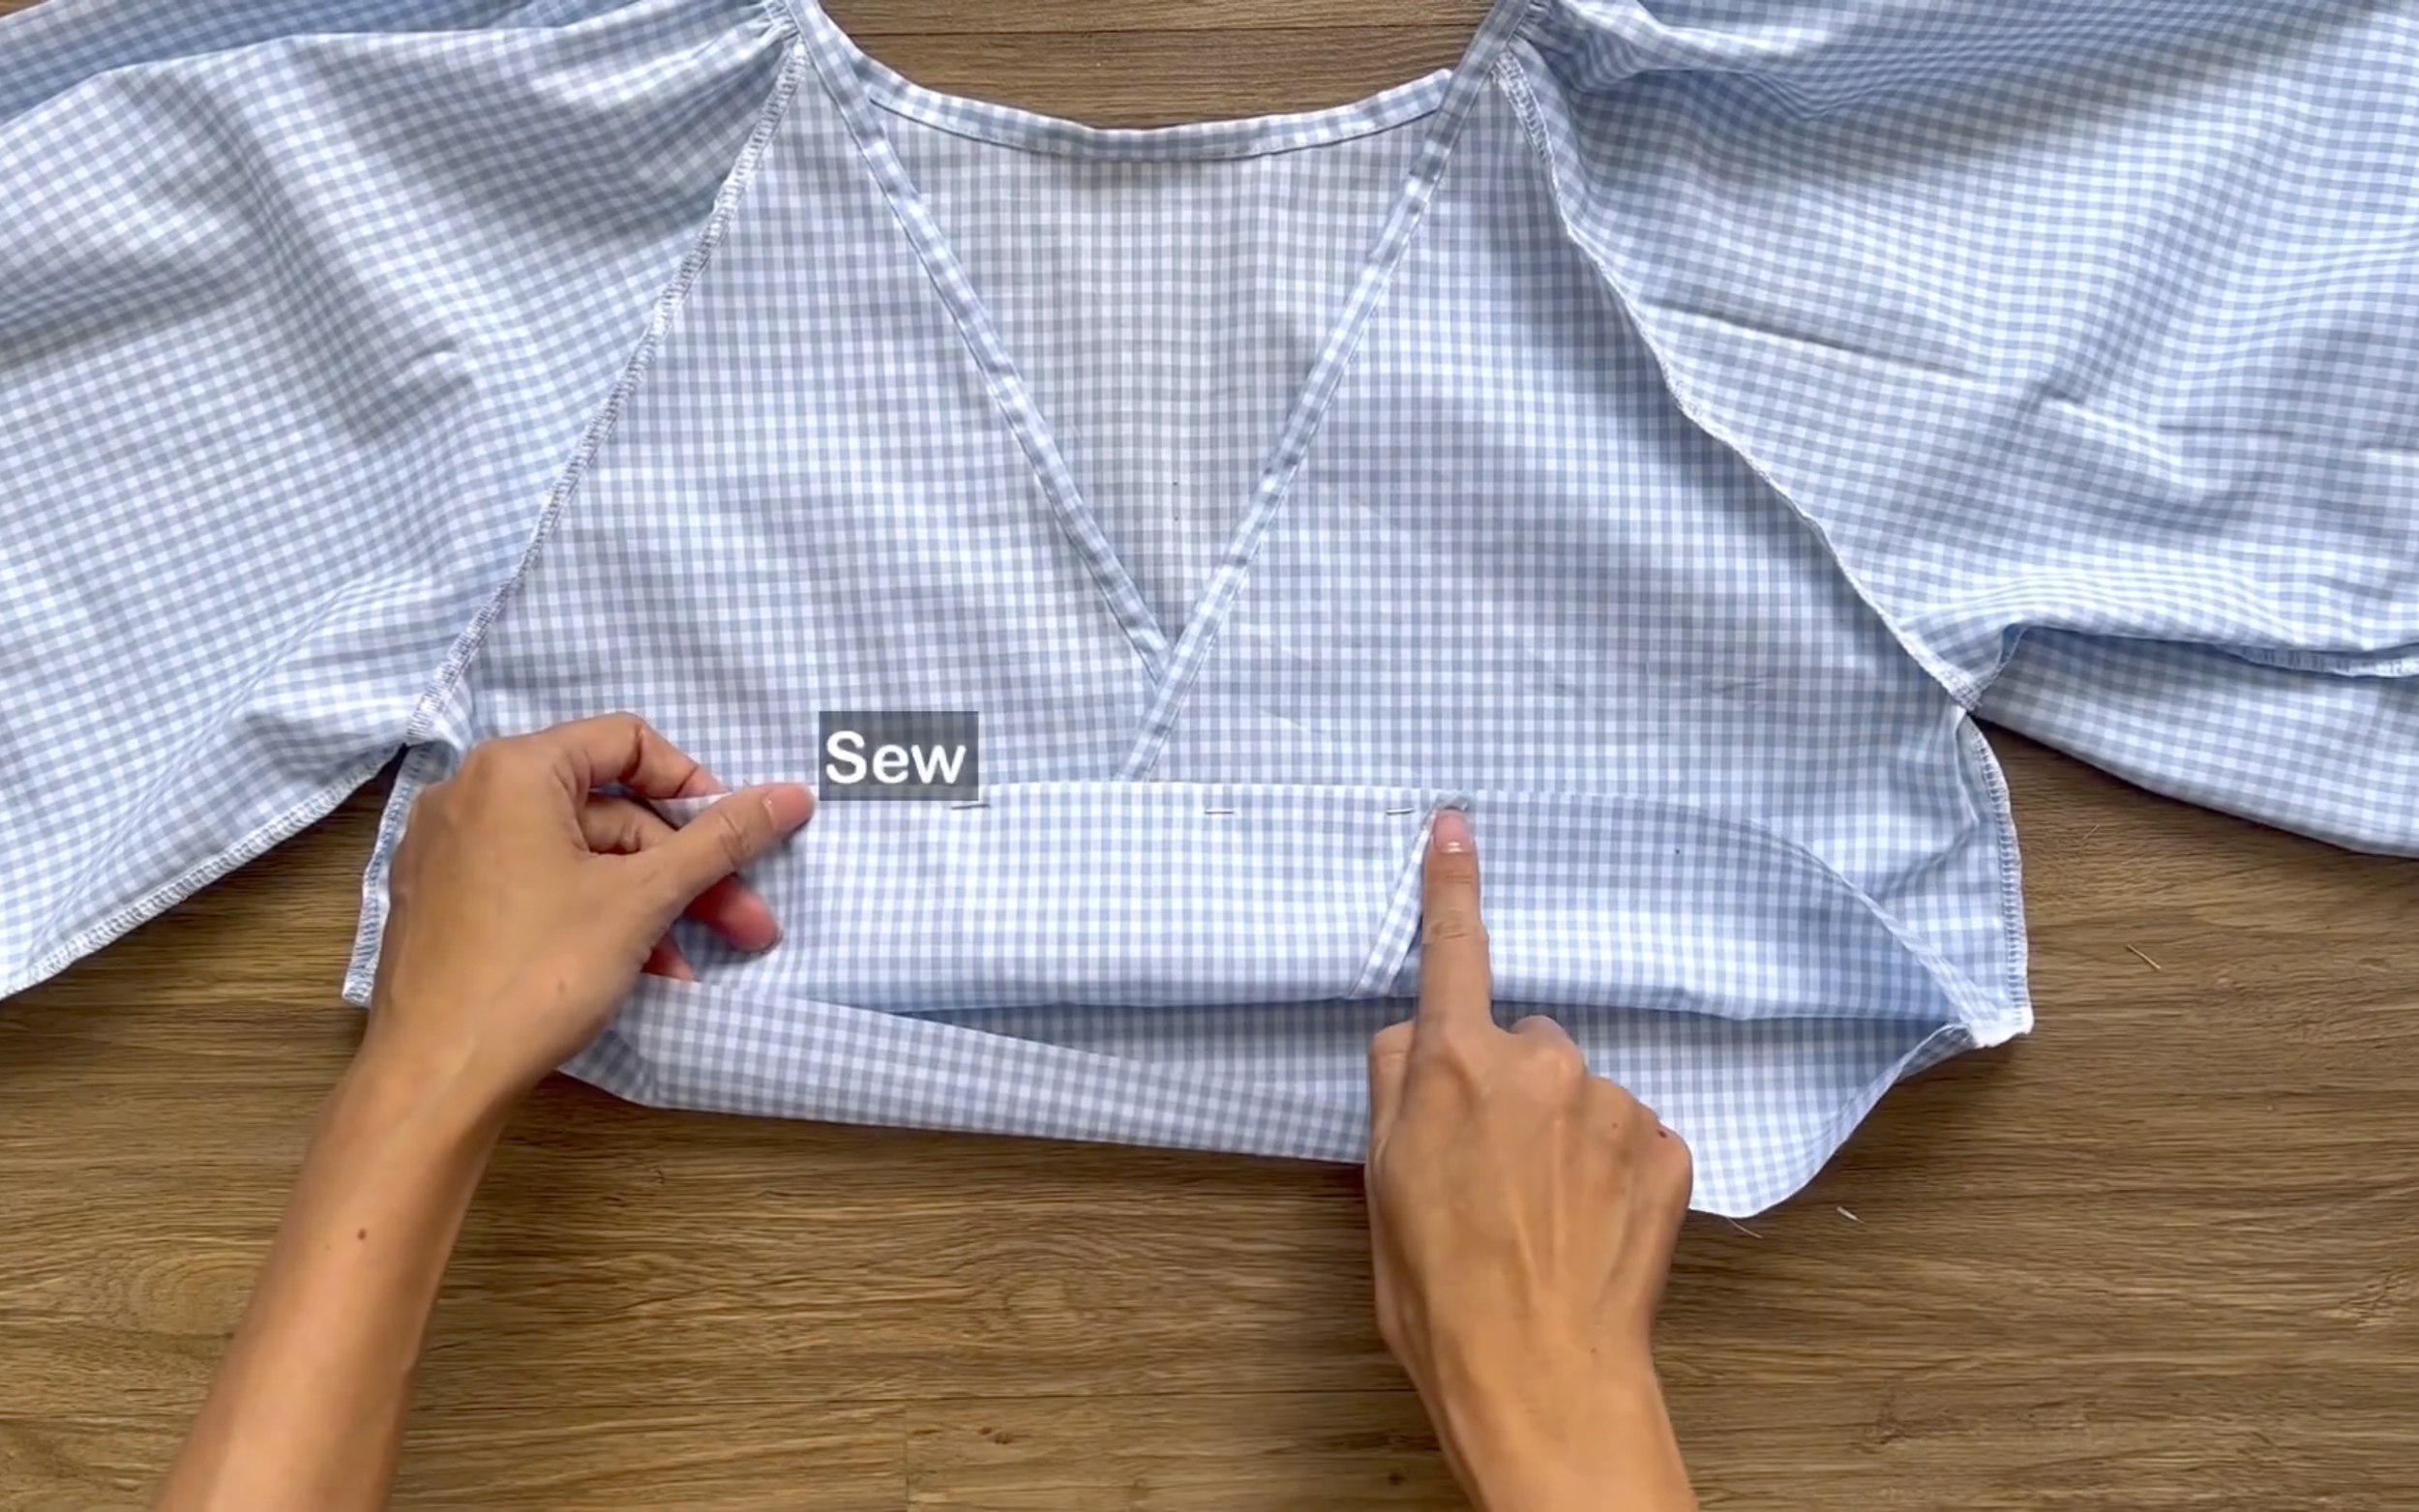
Connect the gap between the two front bodices.
THE RUFFLE HEM PART
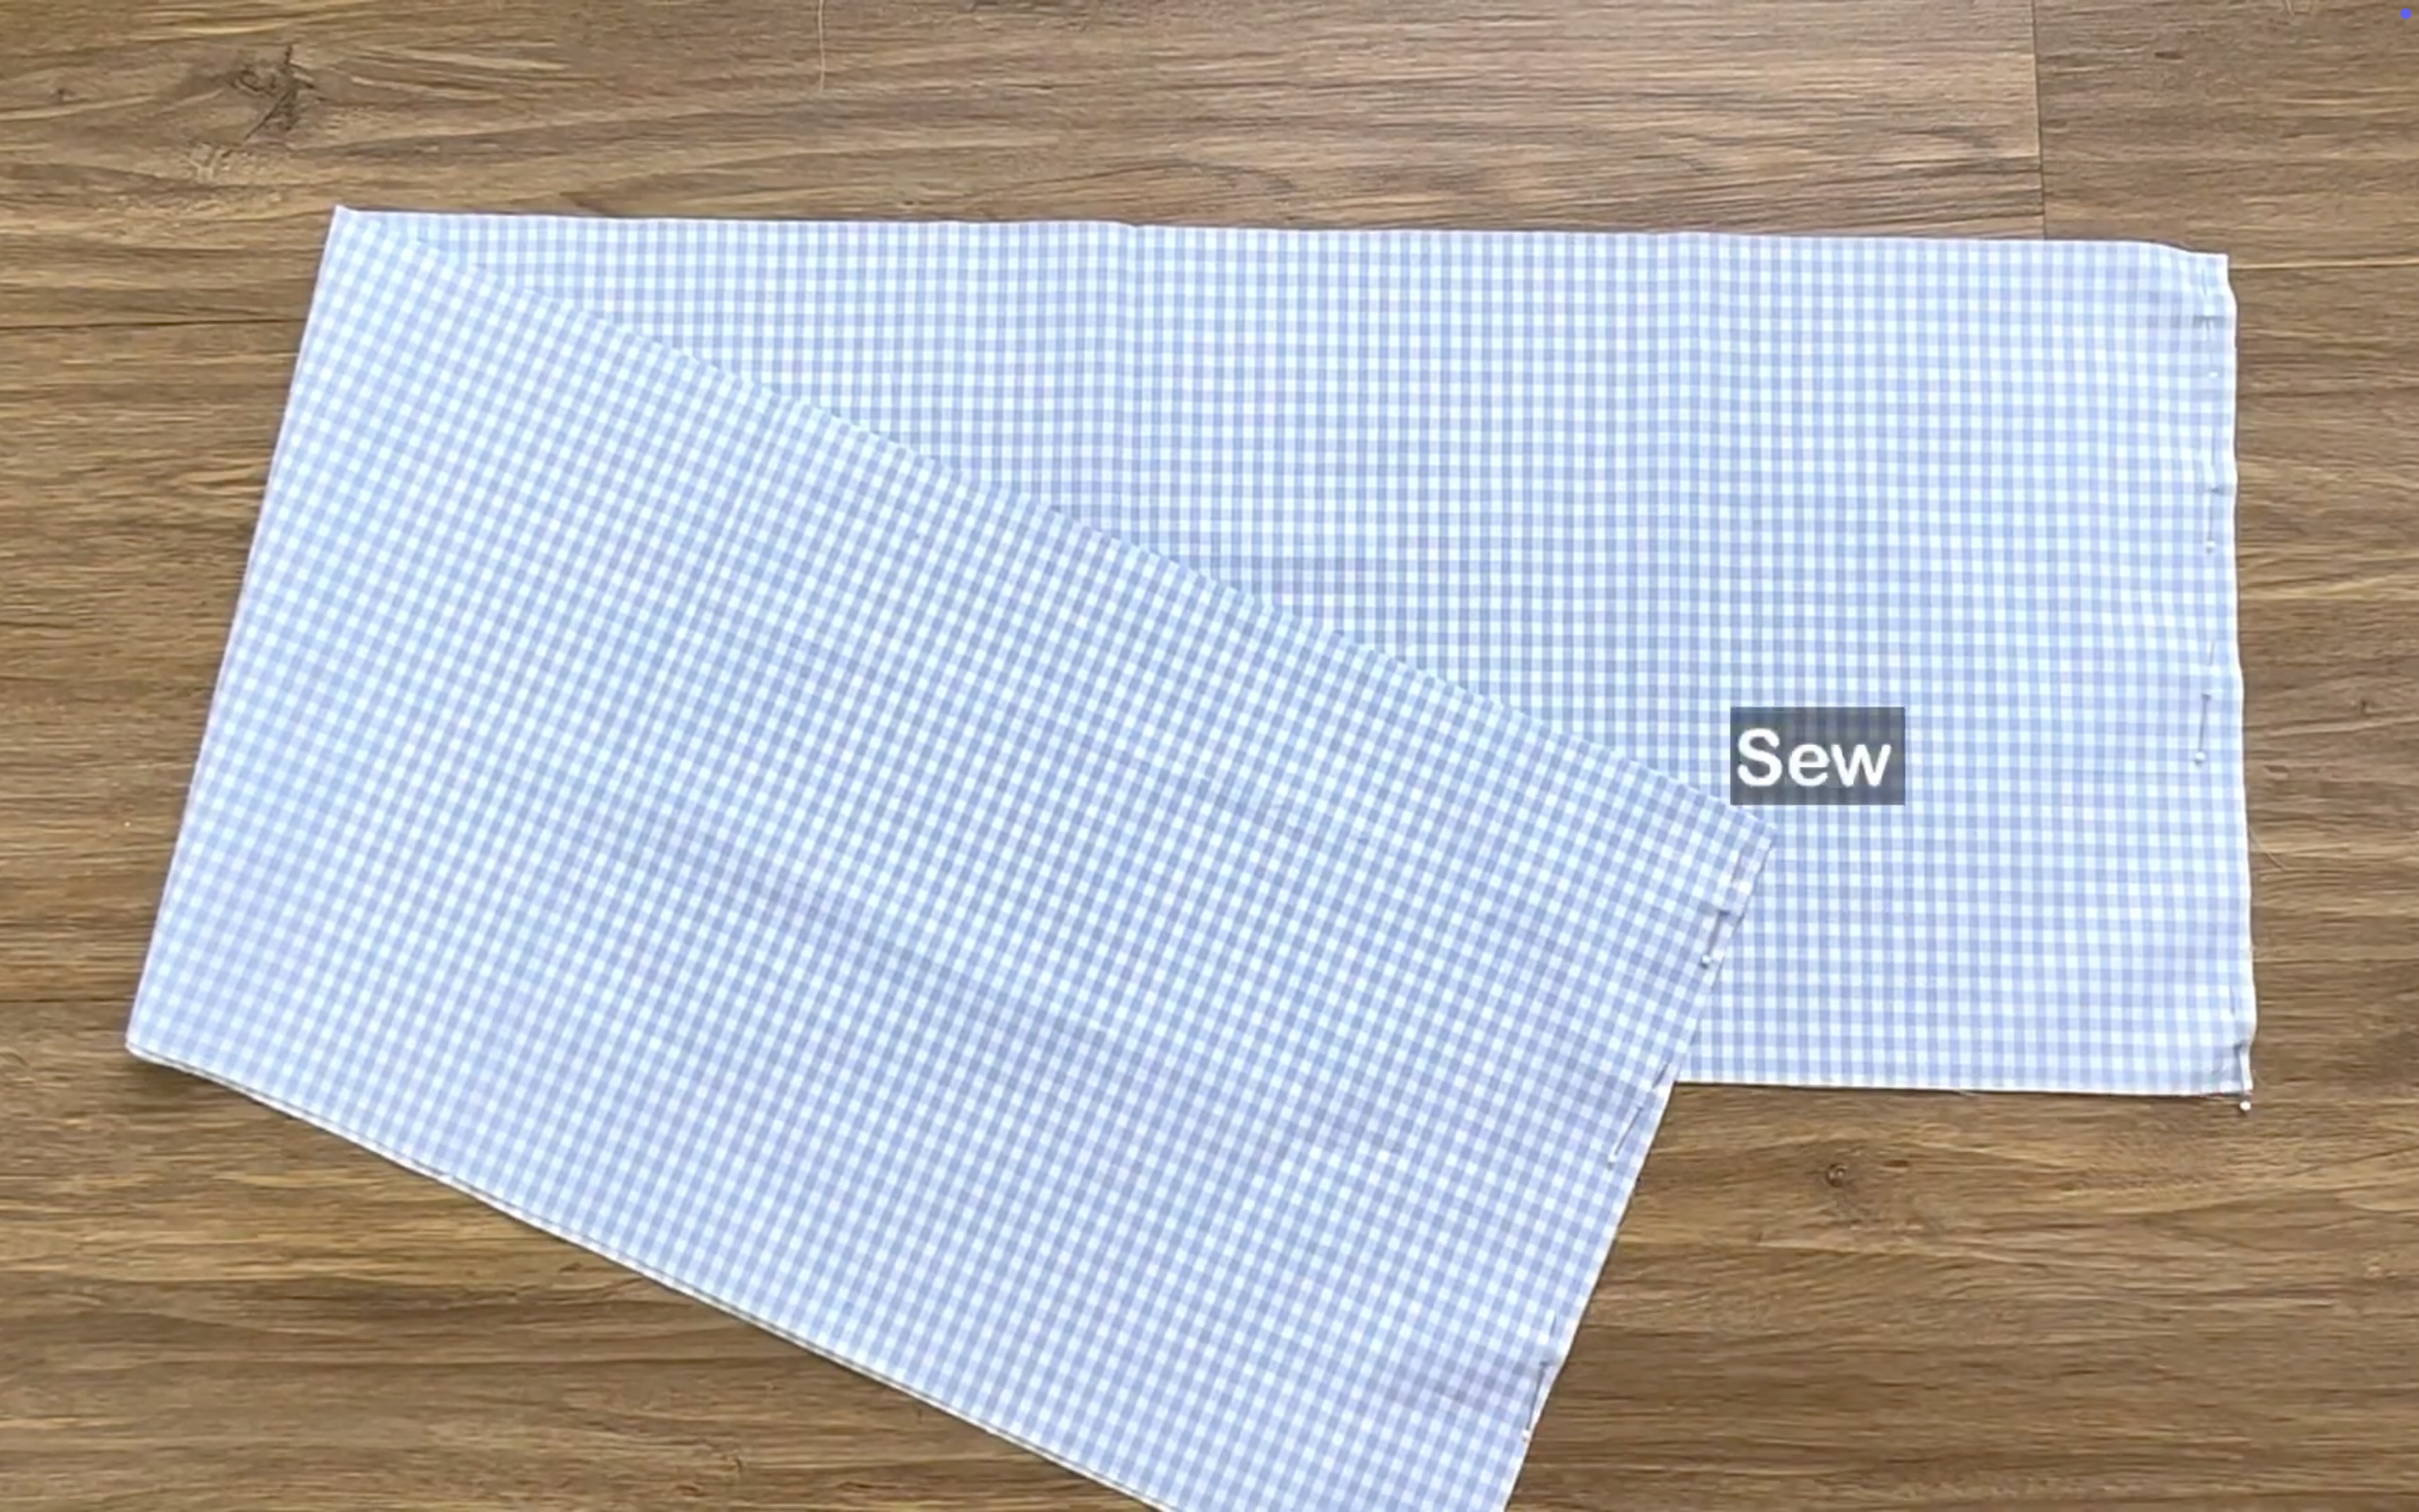
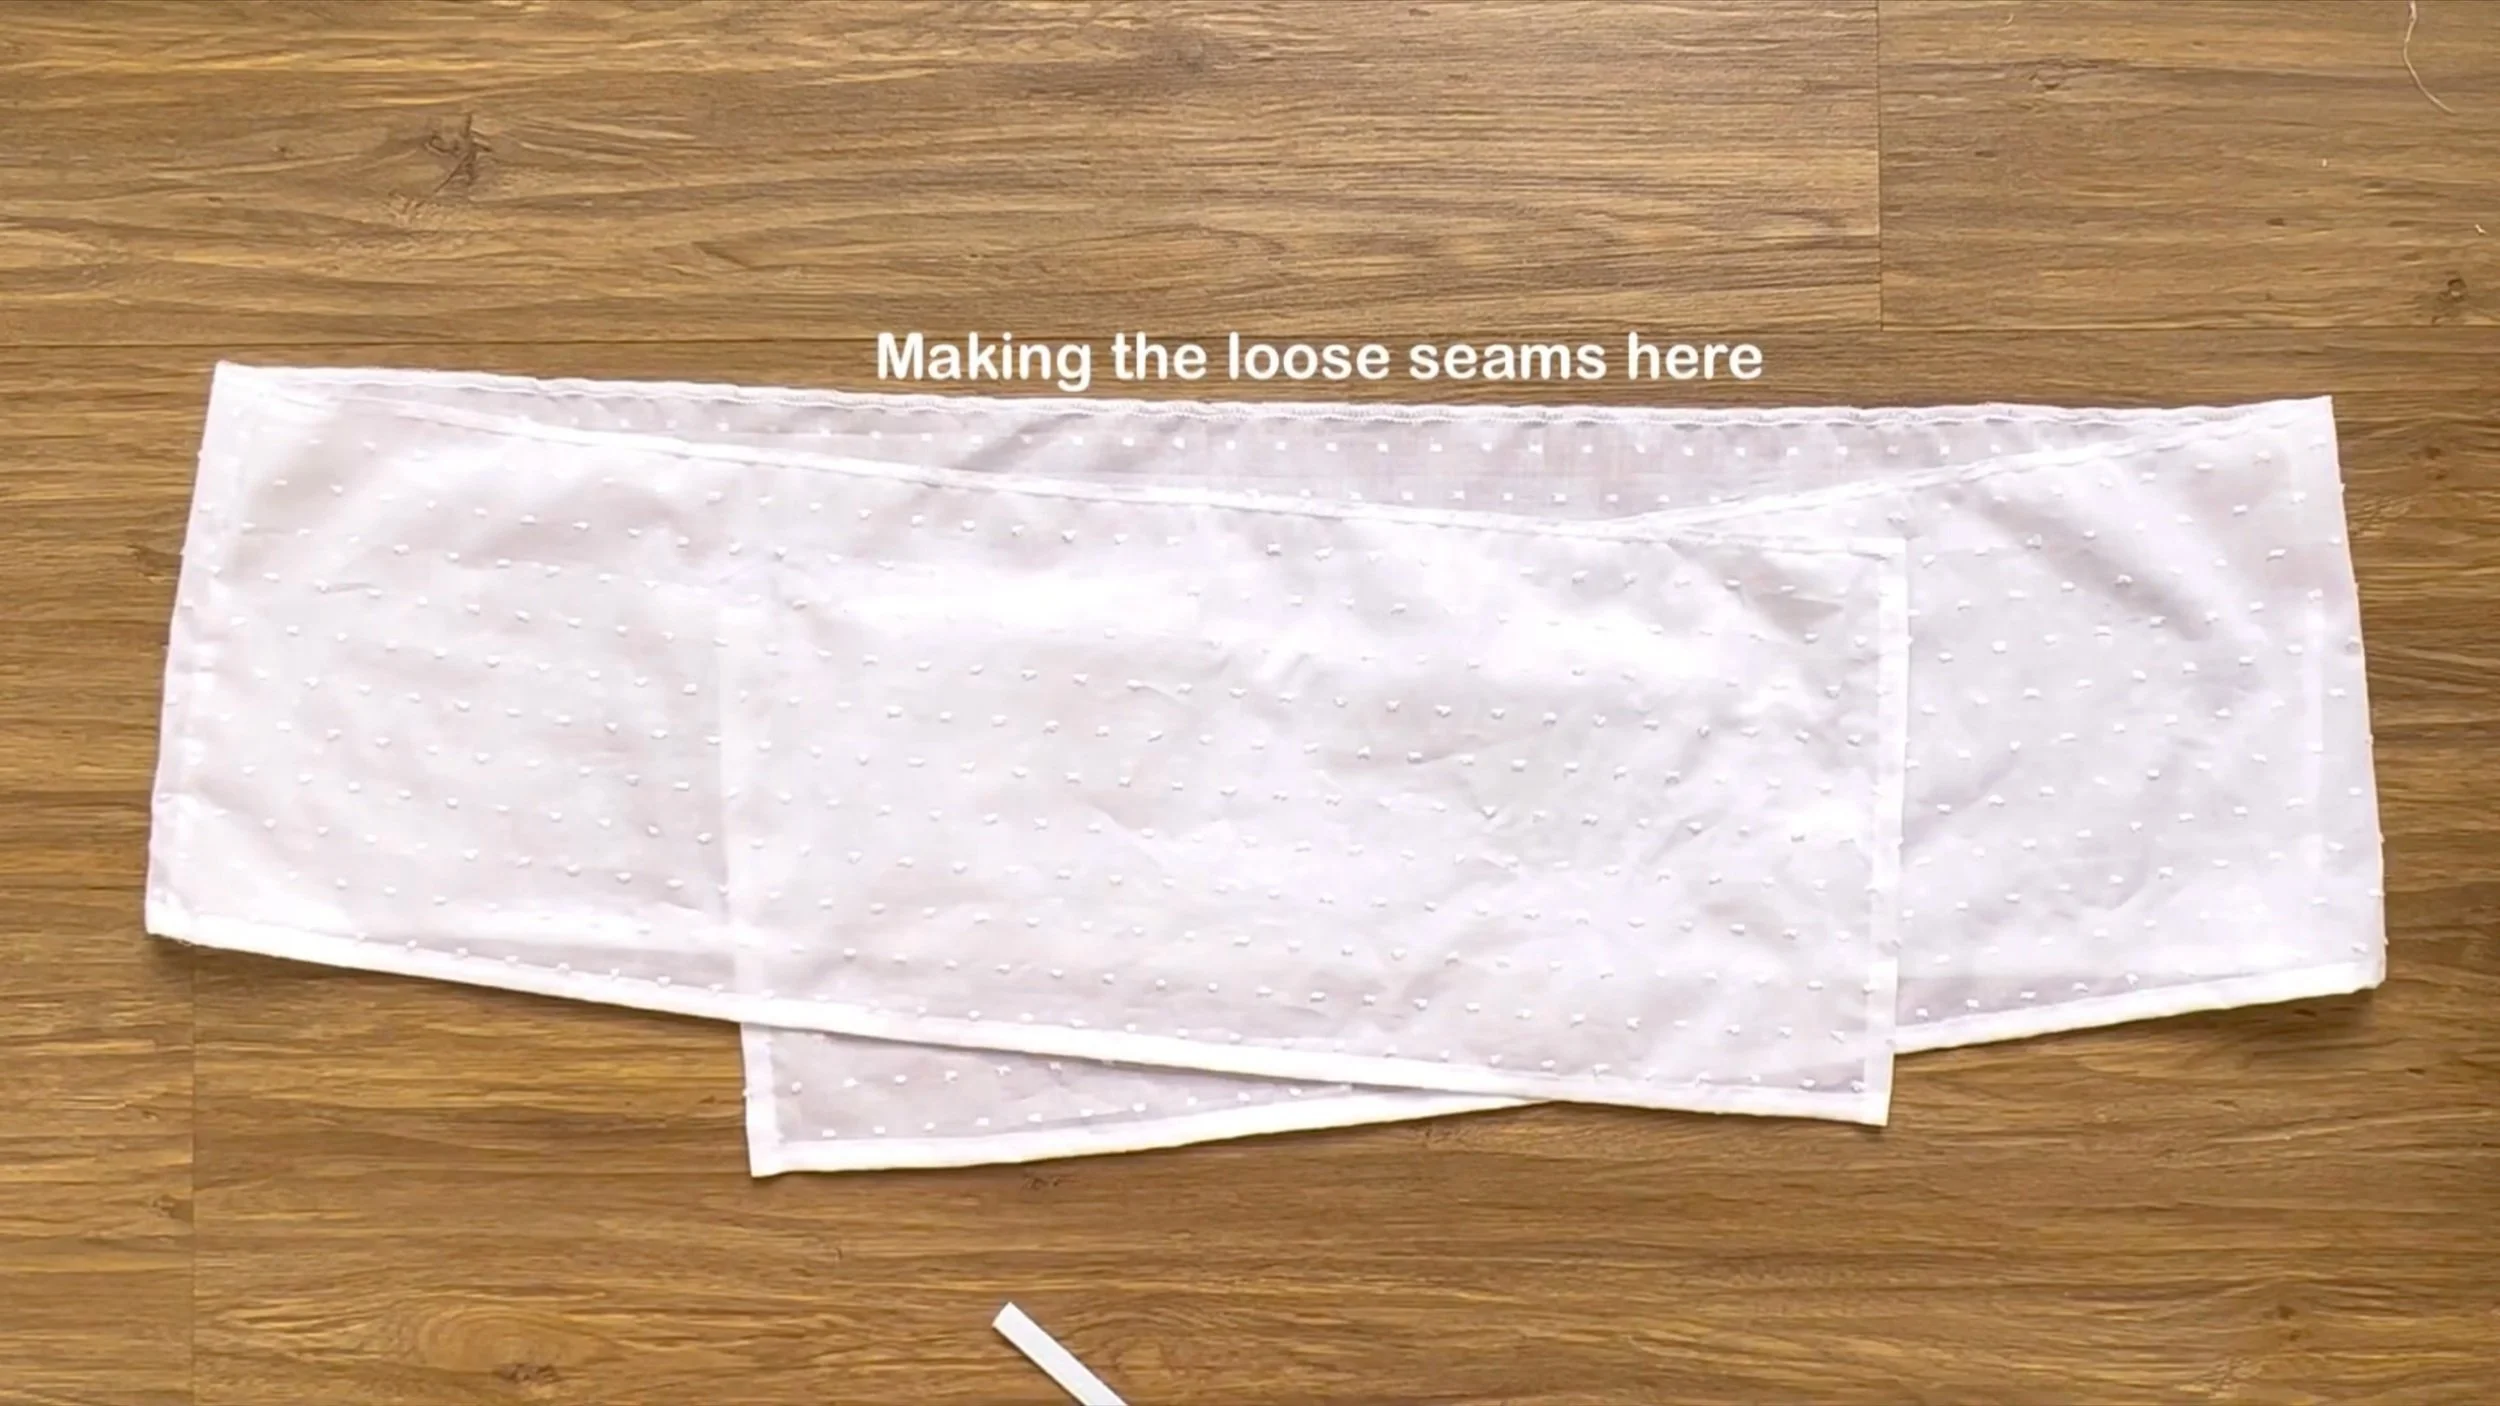
For the ruffle hem, connect two rectangles at the long edge to create a circular fabric.
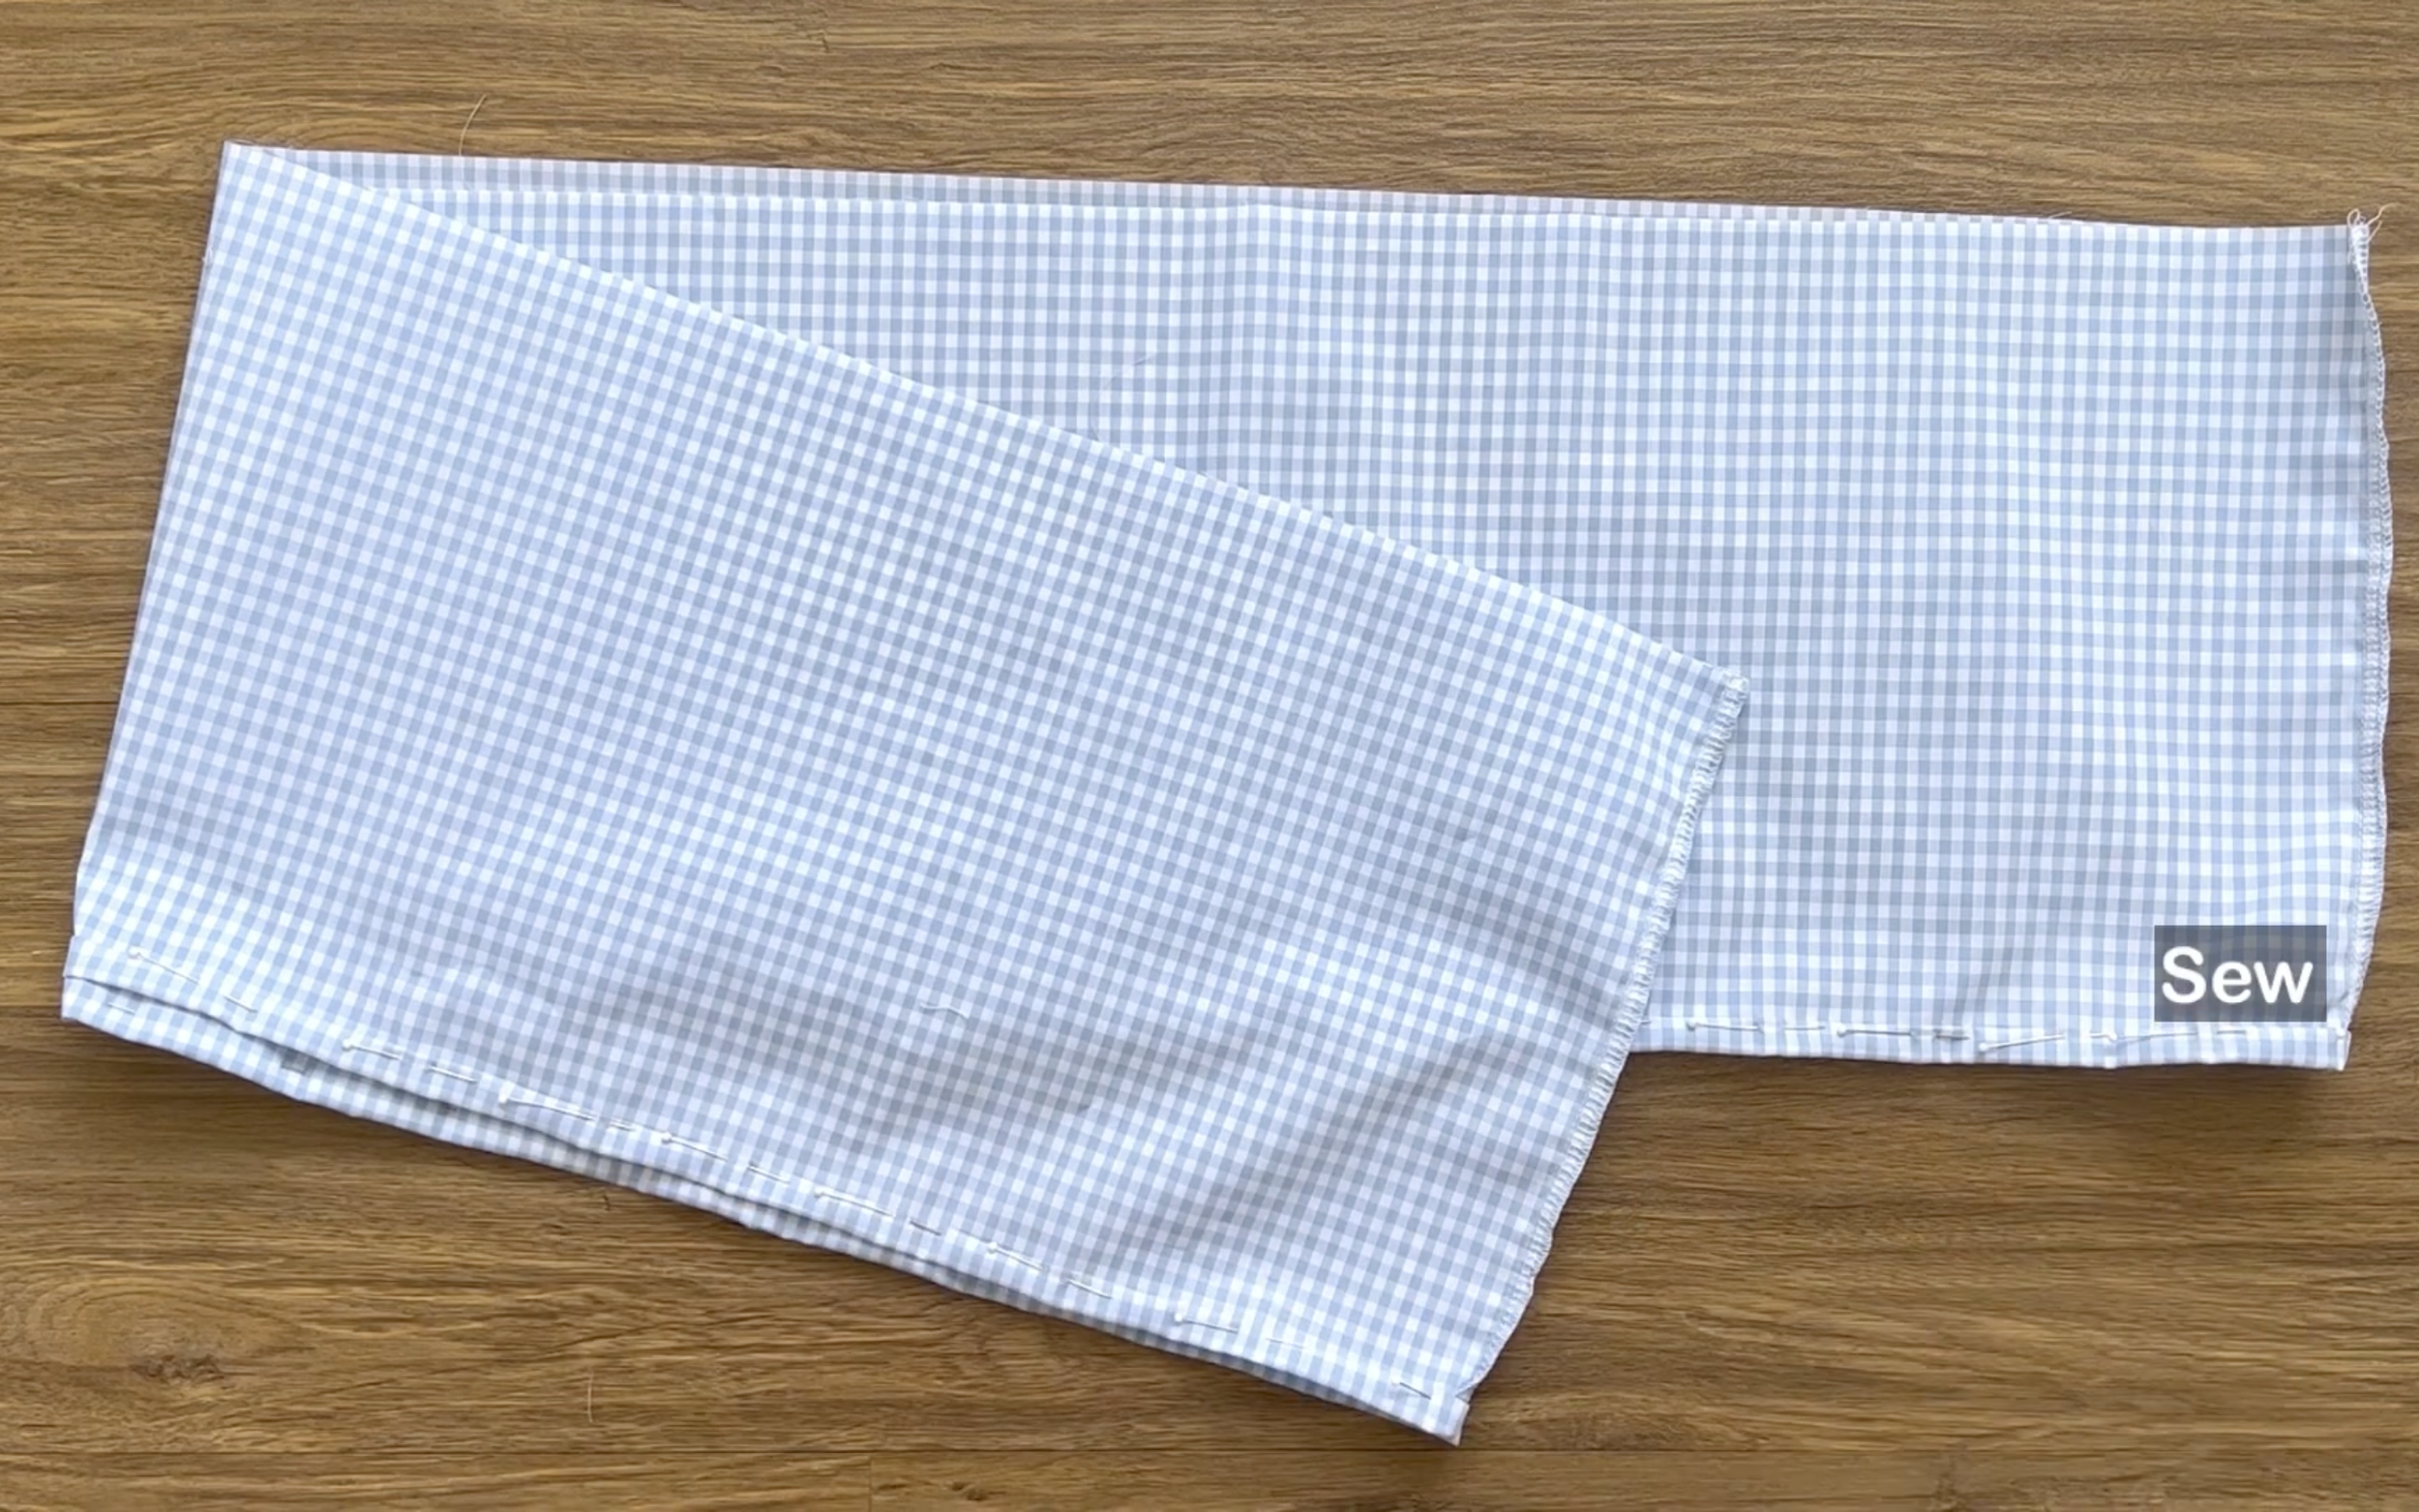
Finish one side of the circle by folding the edge inward twice, 1 cm each time, and sewing.
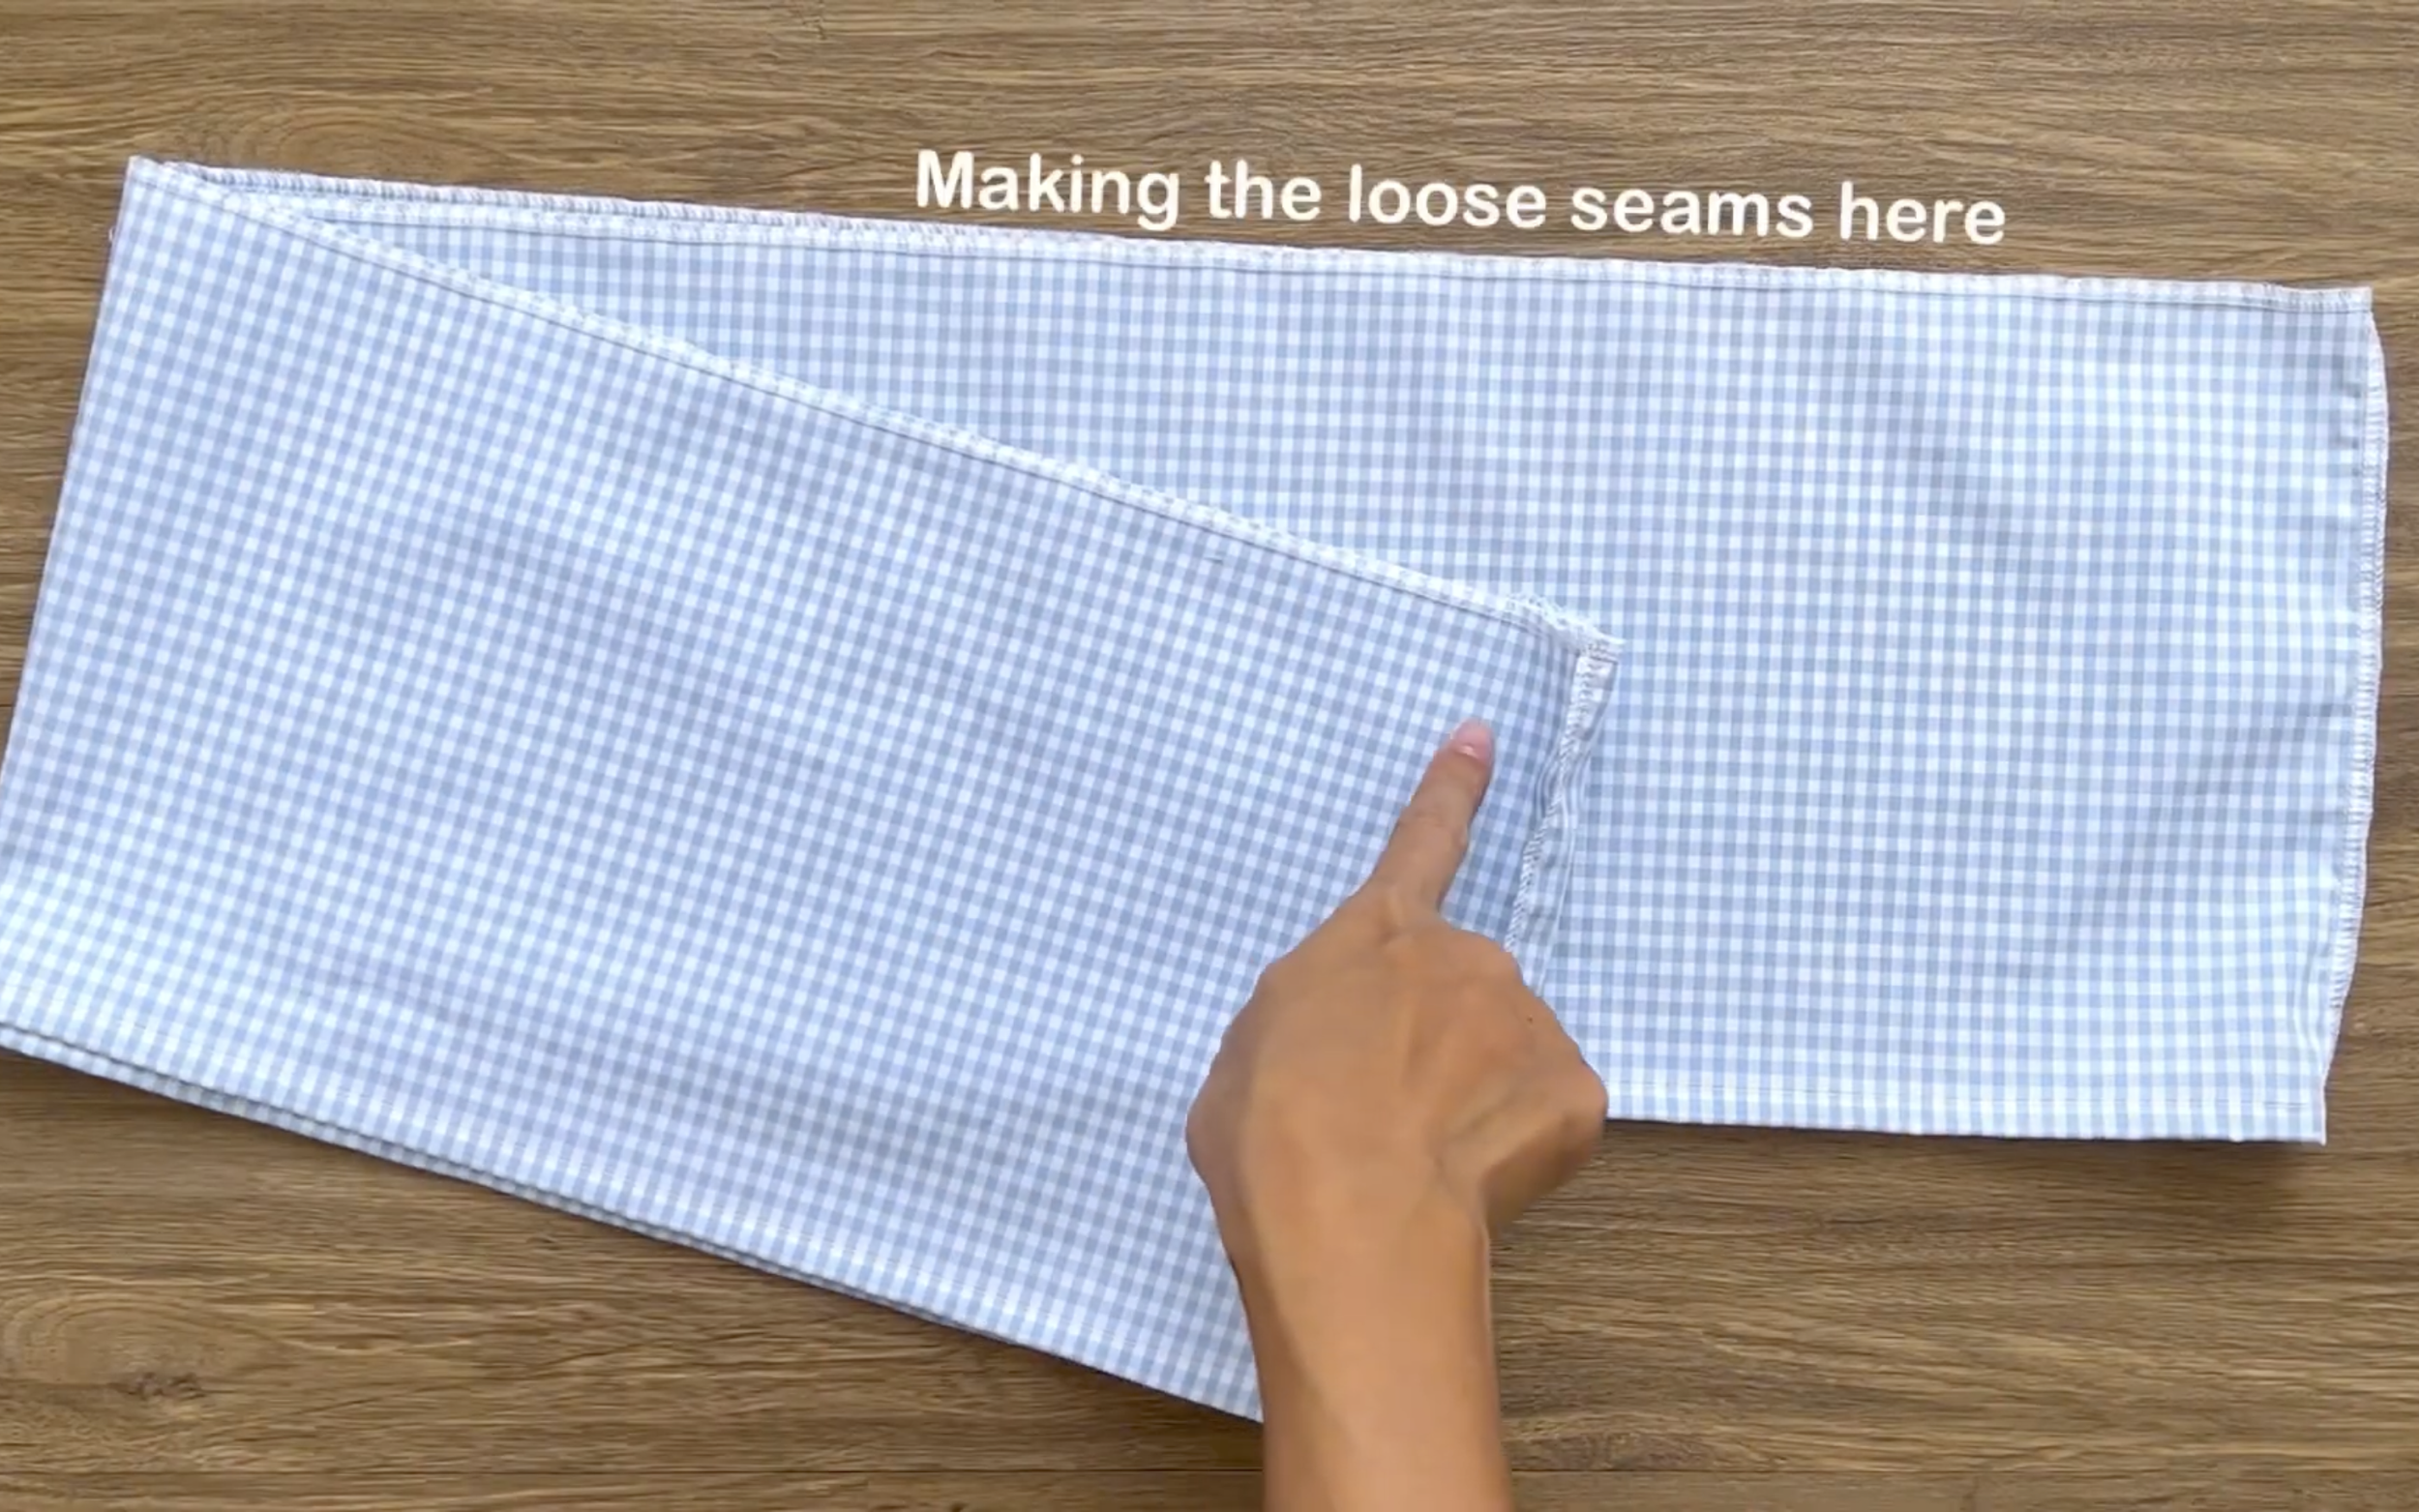
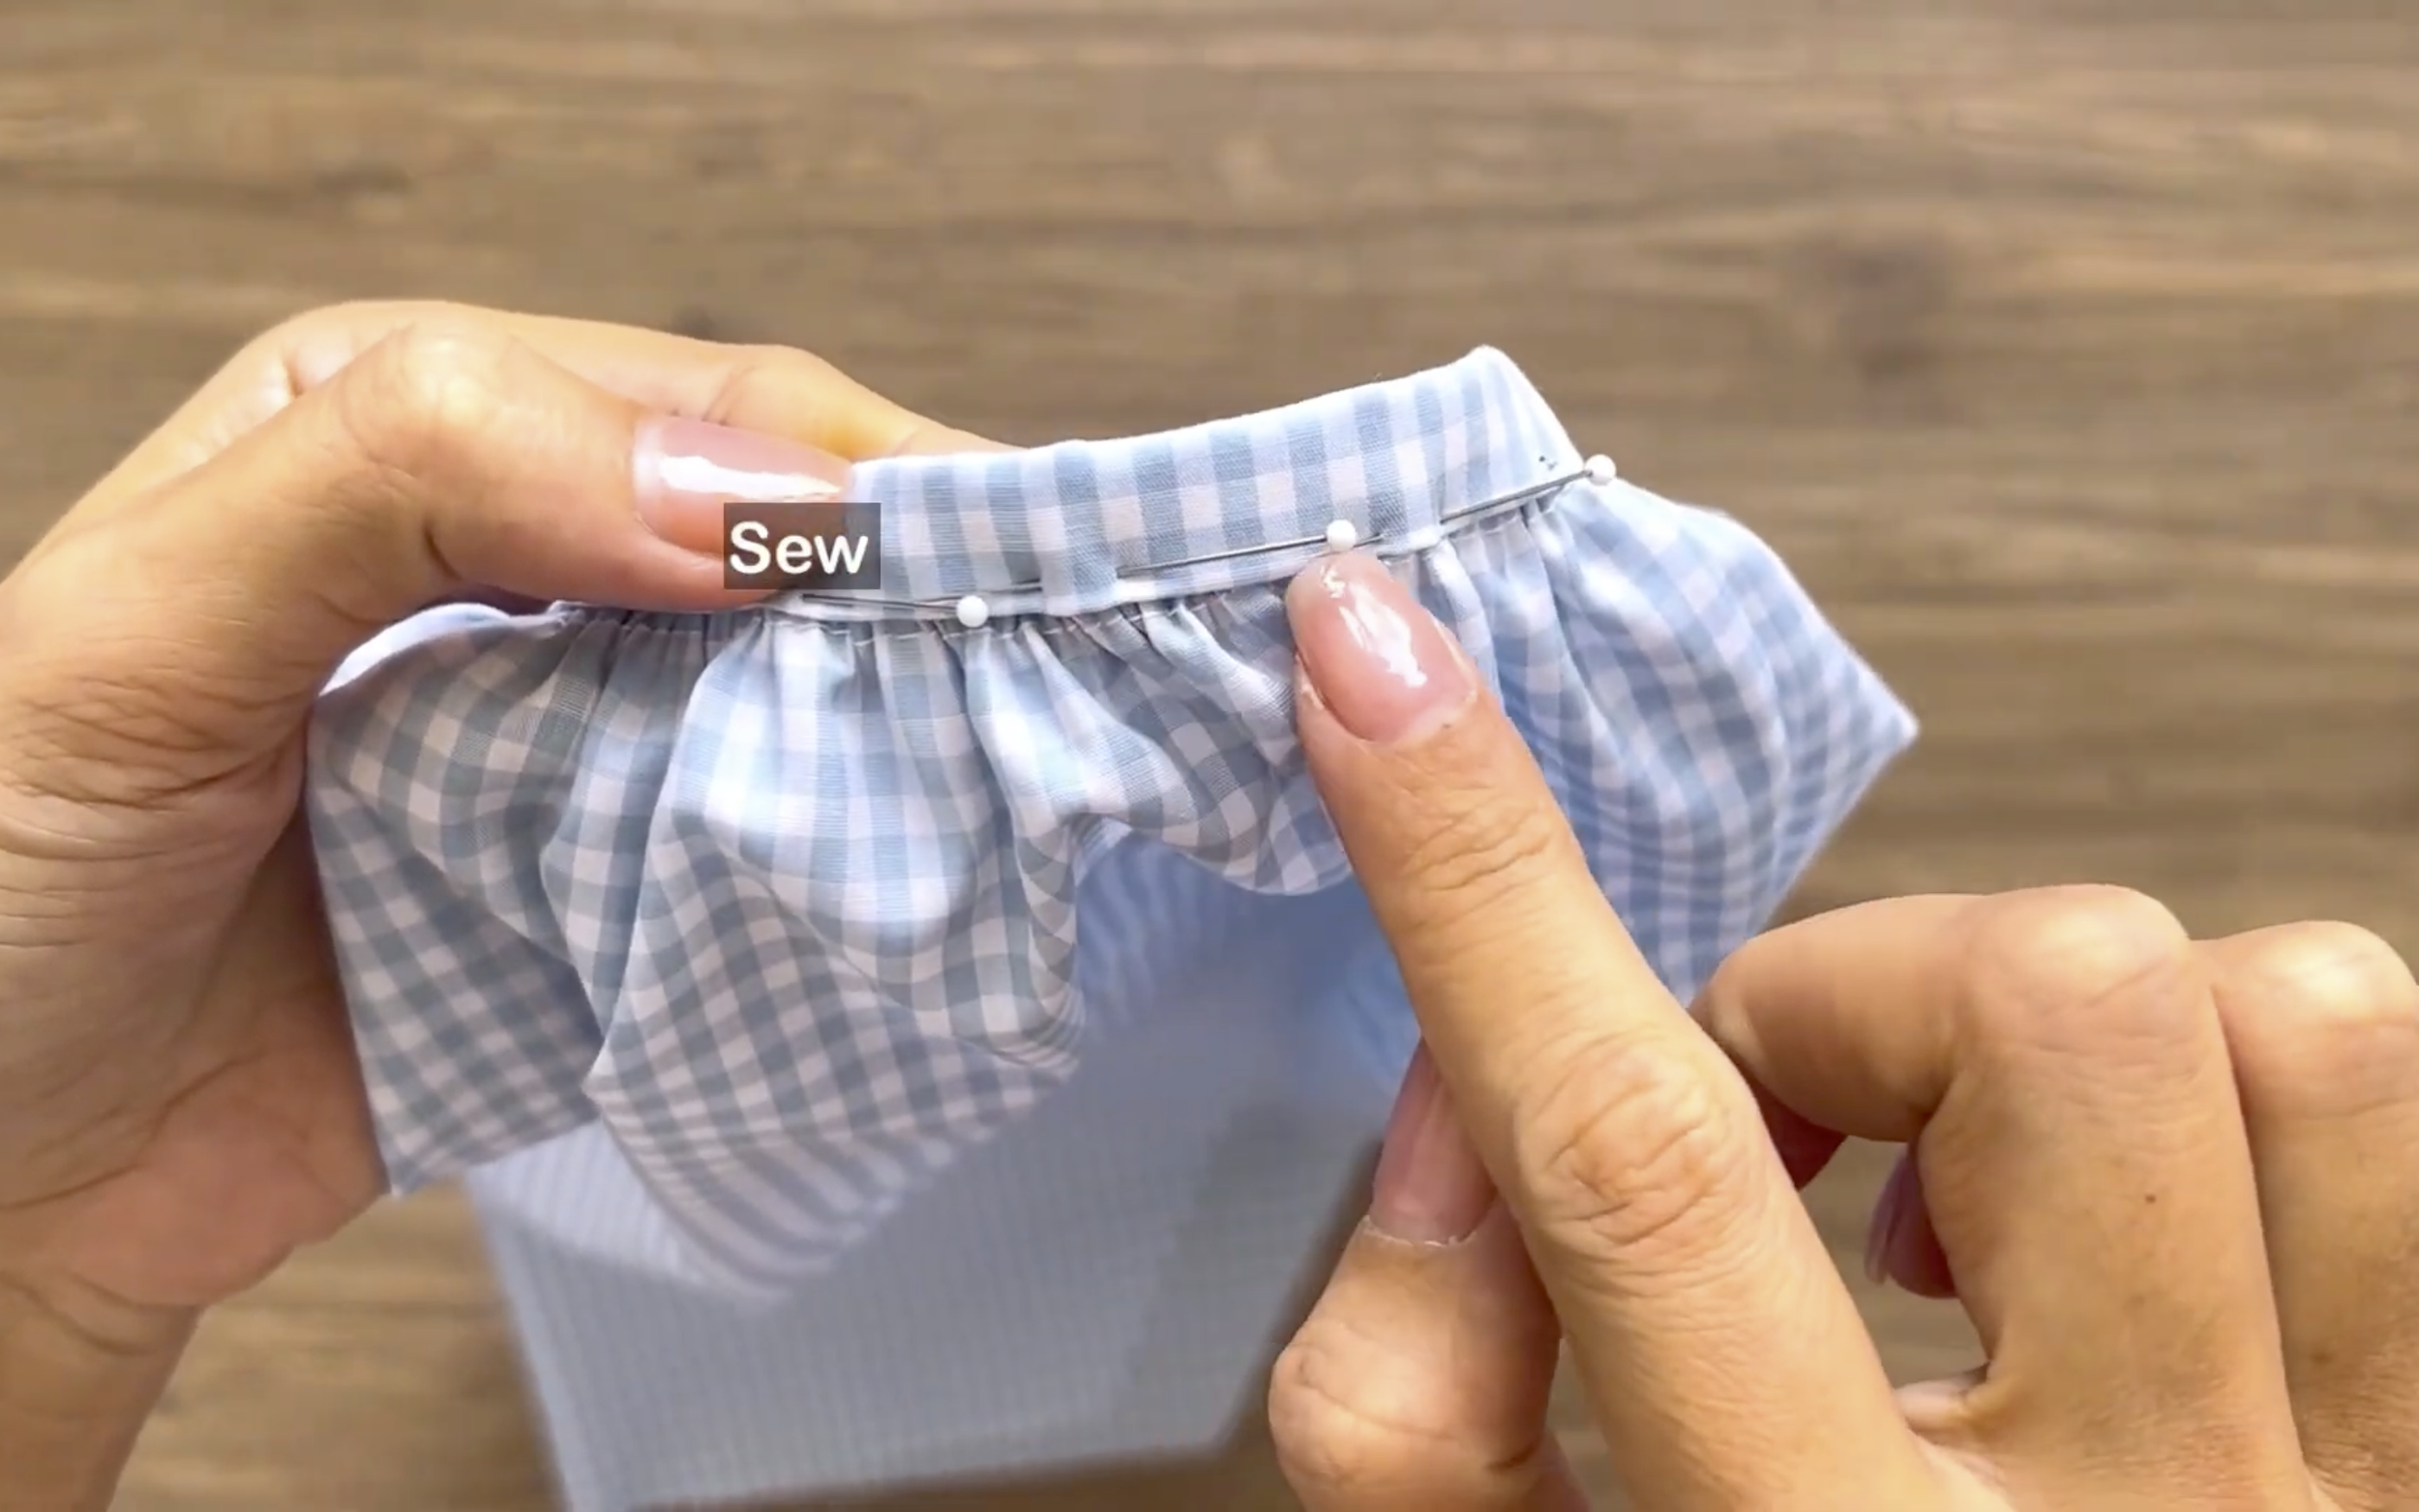
At the other side of the circle, make a loose seam first, then create gathering fabric. The final width of the gathering fabric should match the bodice’s lower edge for connection later.
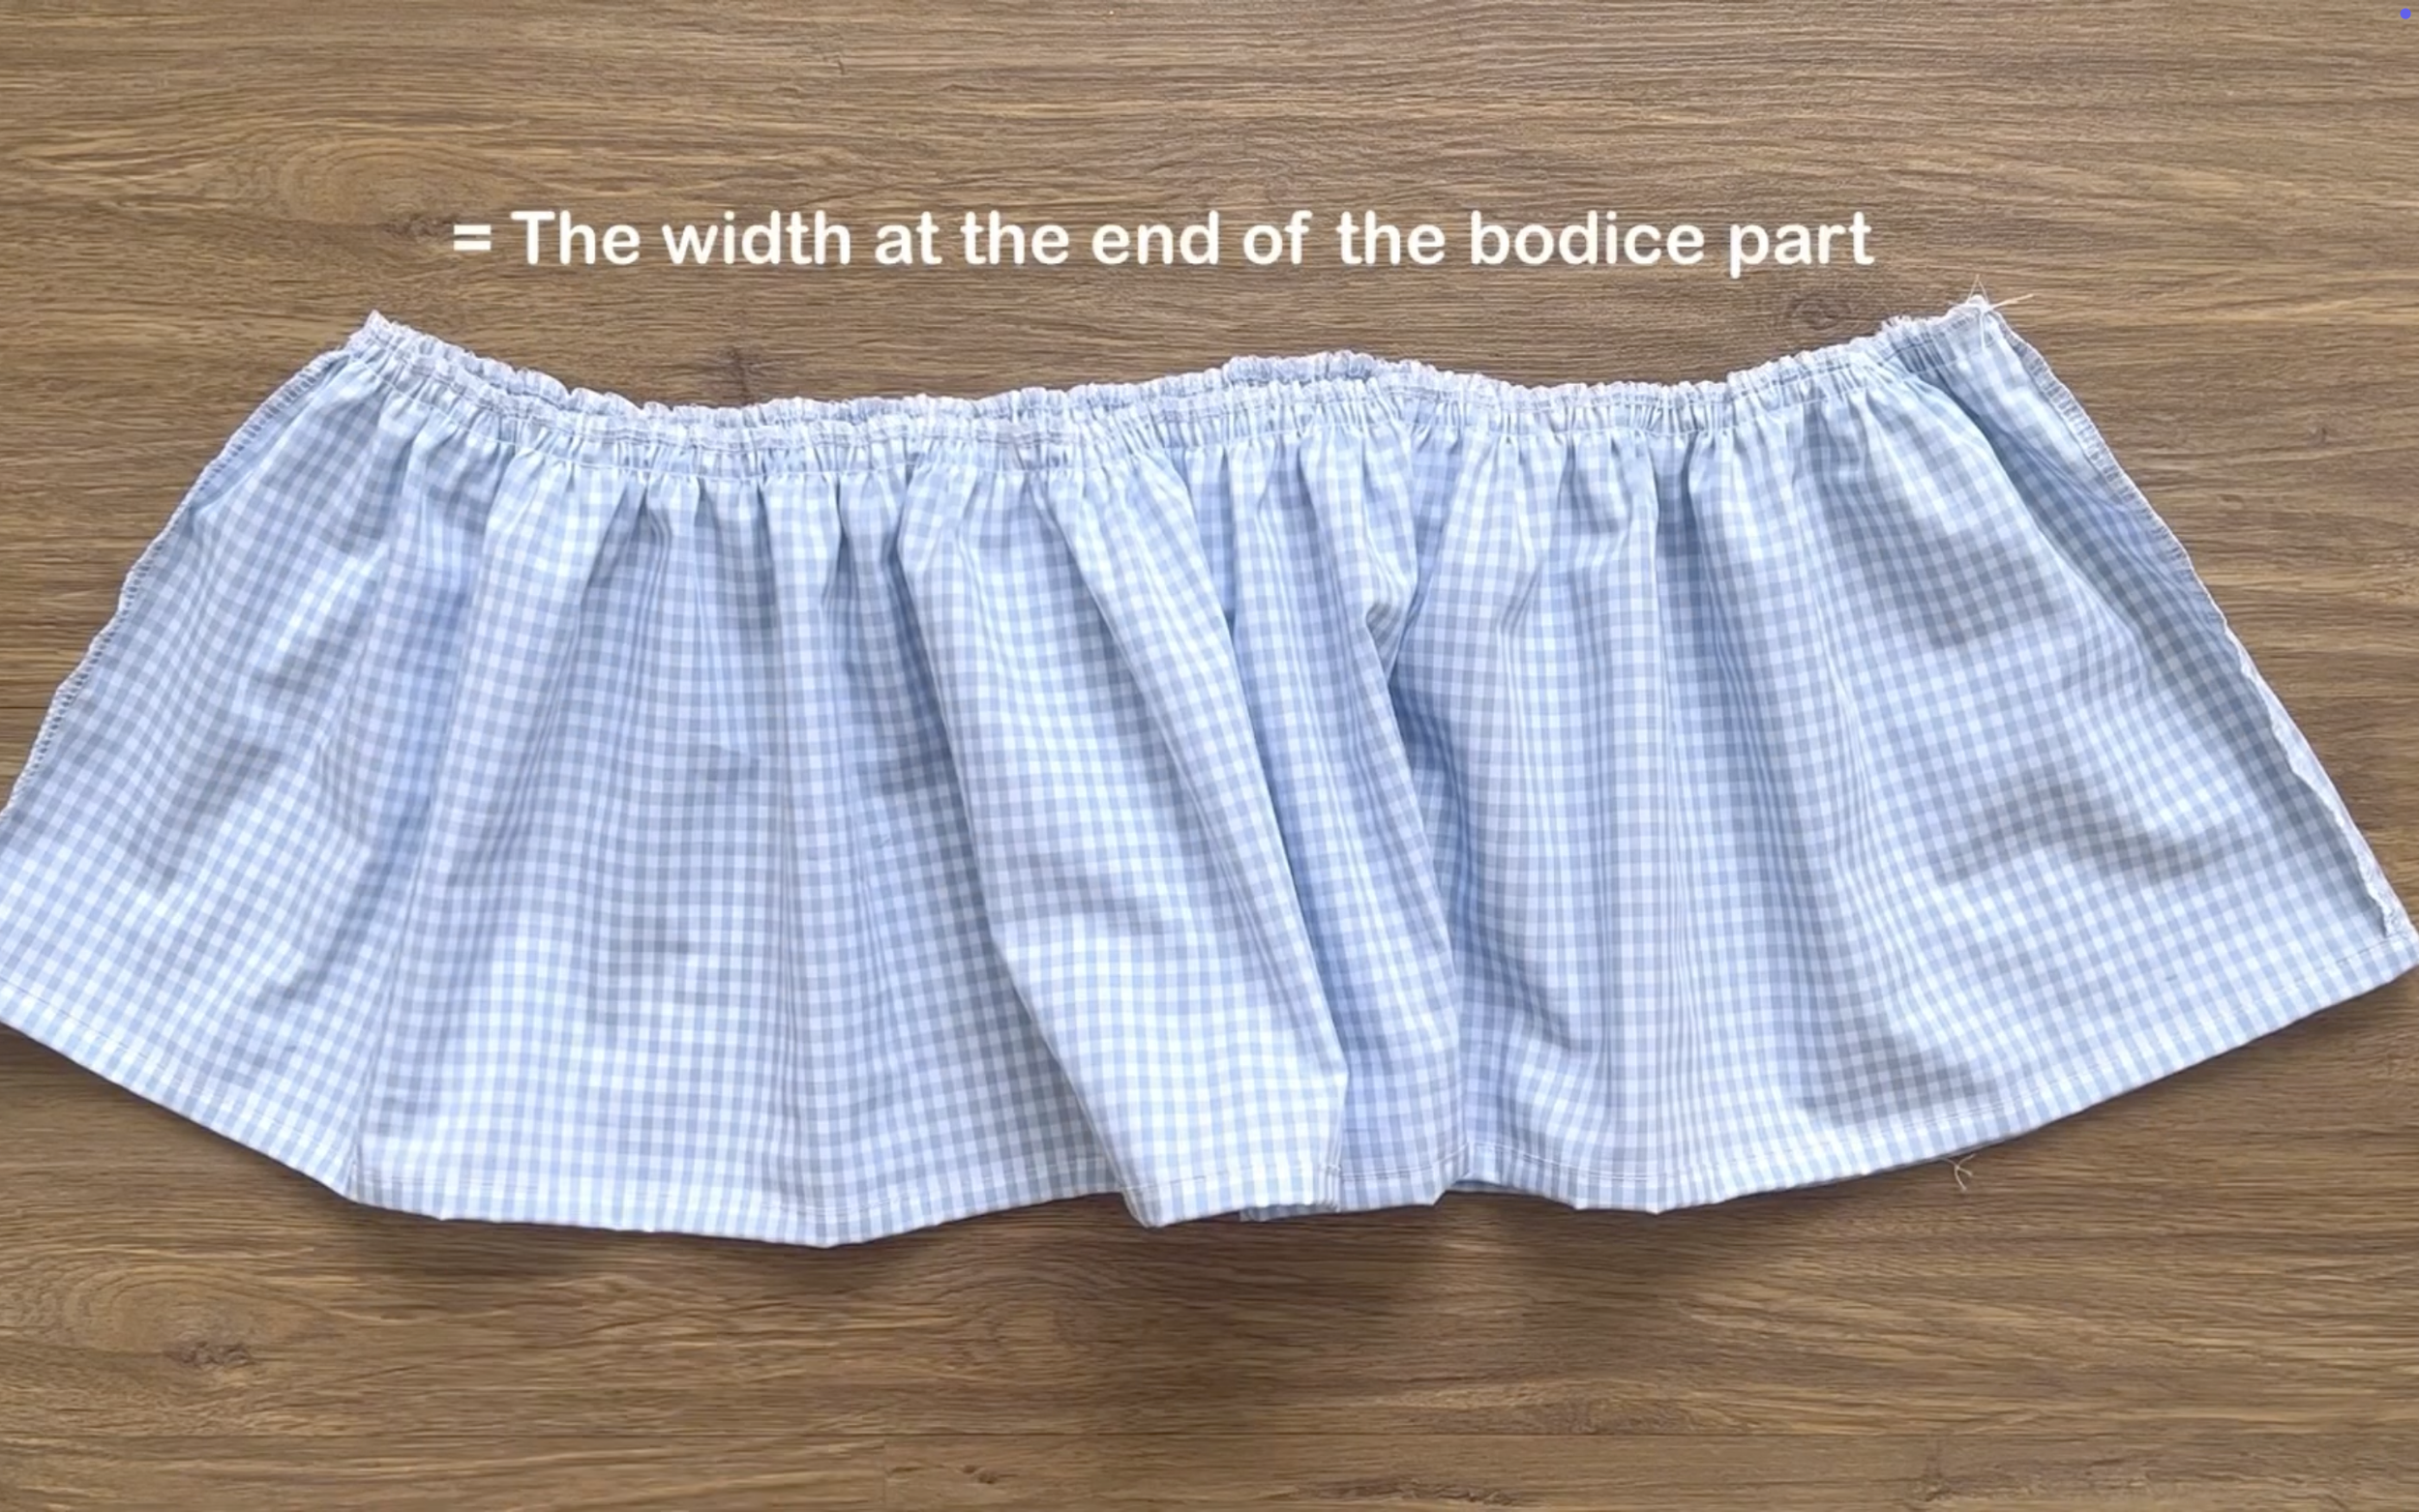
The final width of the gathering fabric should match the bodice’s lower edge.
CONNECT THE RUFFLE HEM TO THE BODICE
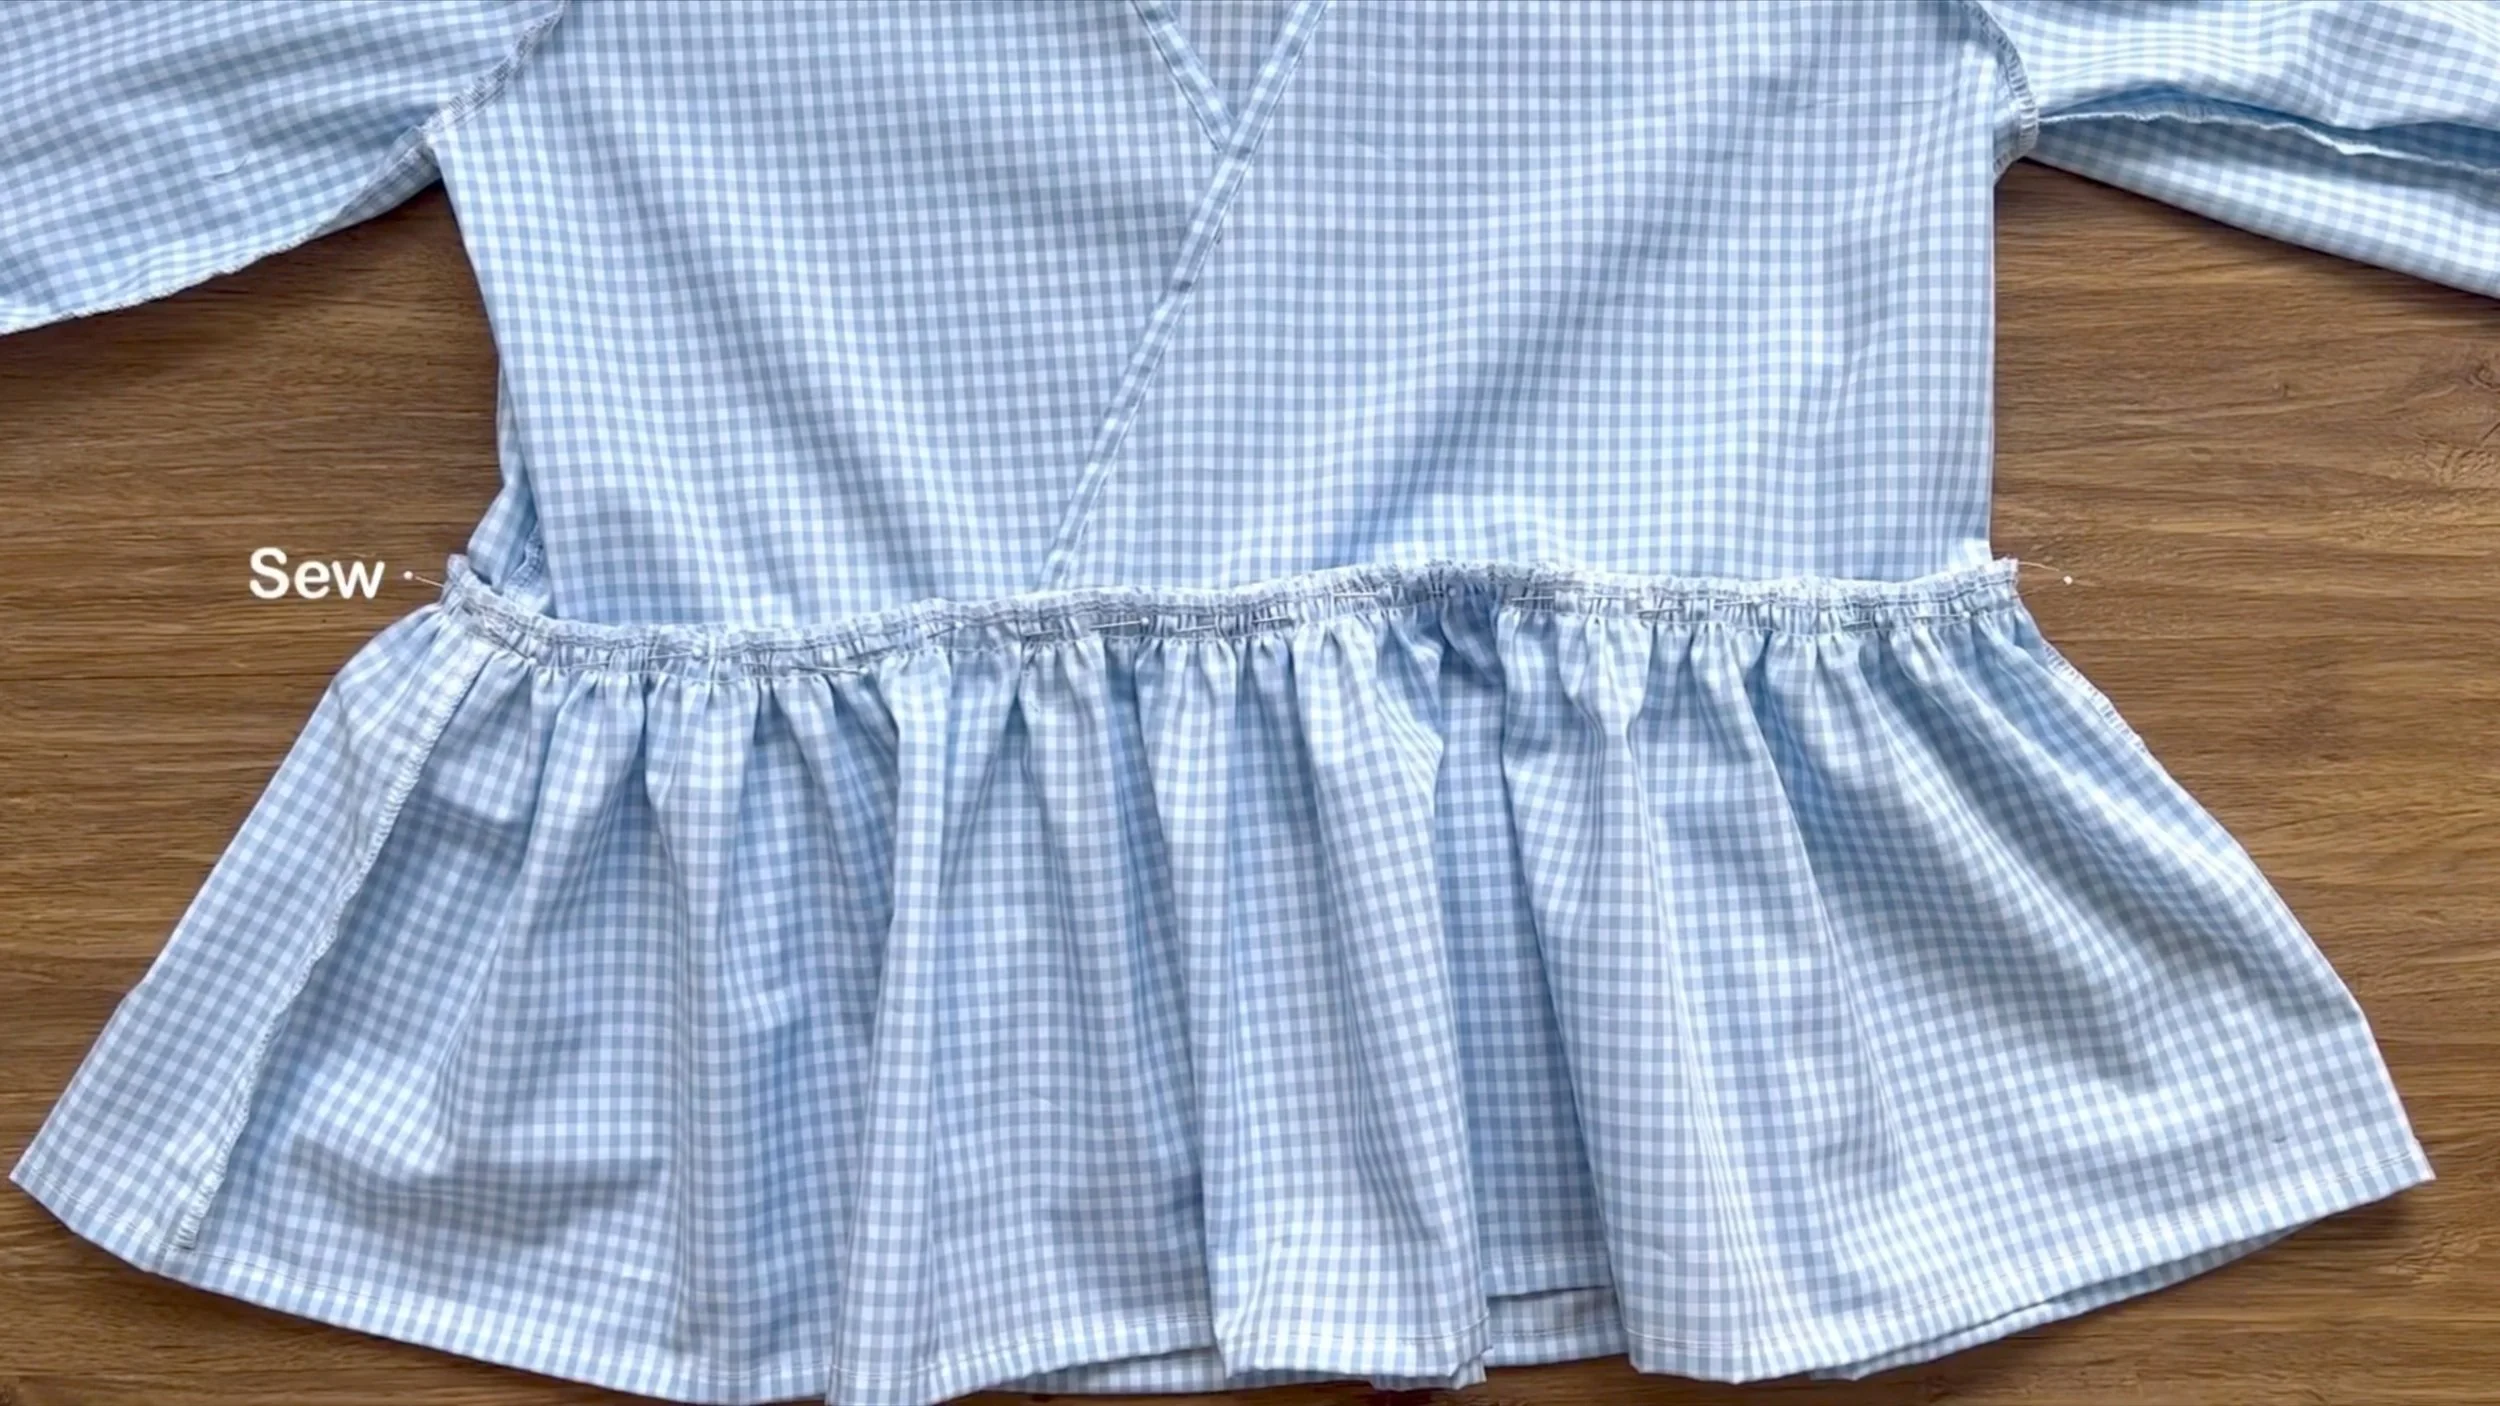
Then connect the ruffle hem to the blouse.
DIY Long puffy sleeve blouse with ruffle hem and wrap style
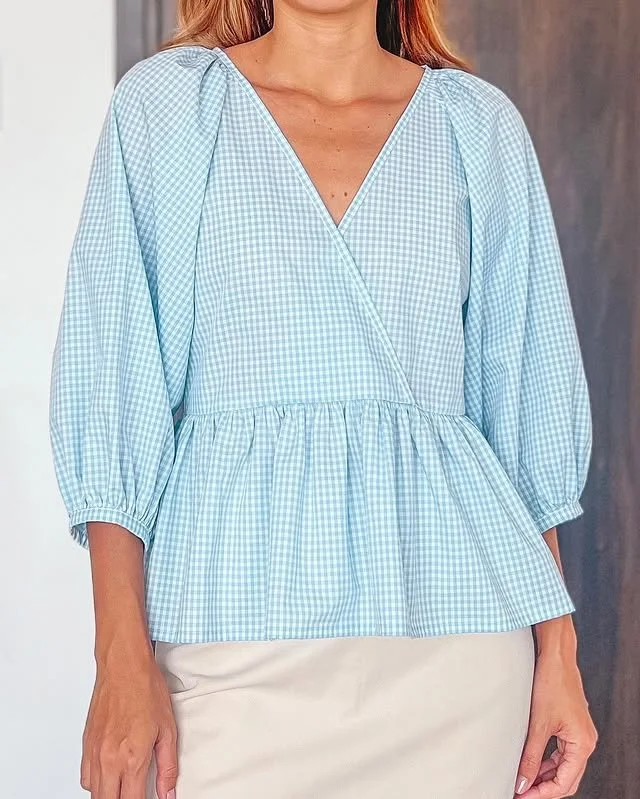
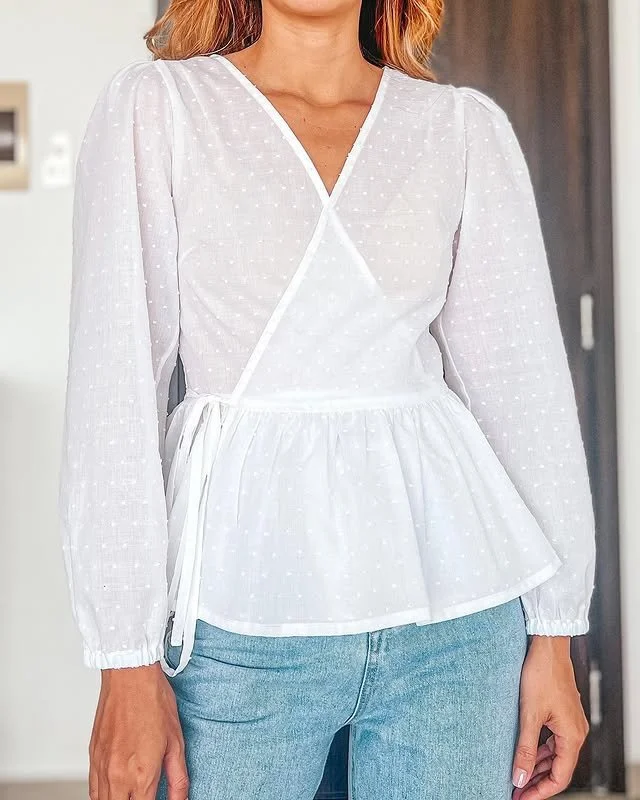
And that’s a wrap on this DIY! Here’s the final result—a cute yet incredibly comfy blouse that pairs perfectly with my mini skirt.
Hope you love it and feel inspired to try it yourself.
2. VERSION TWO
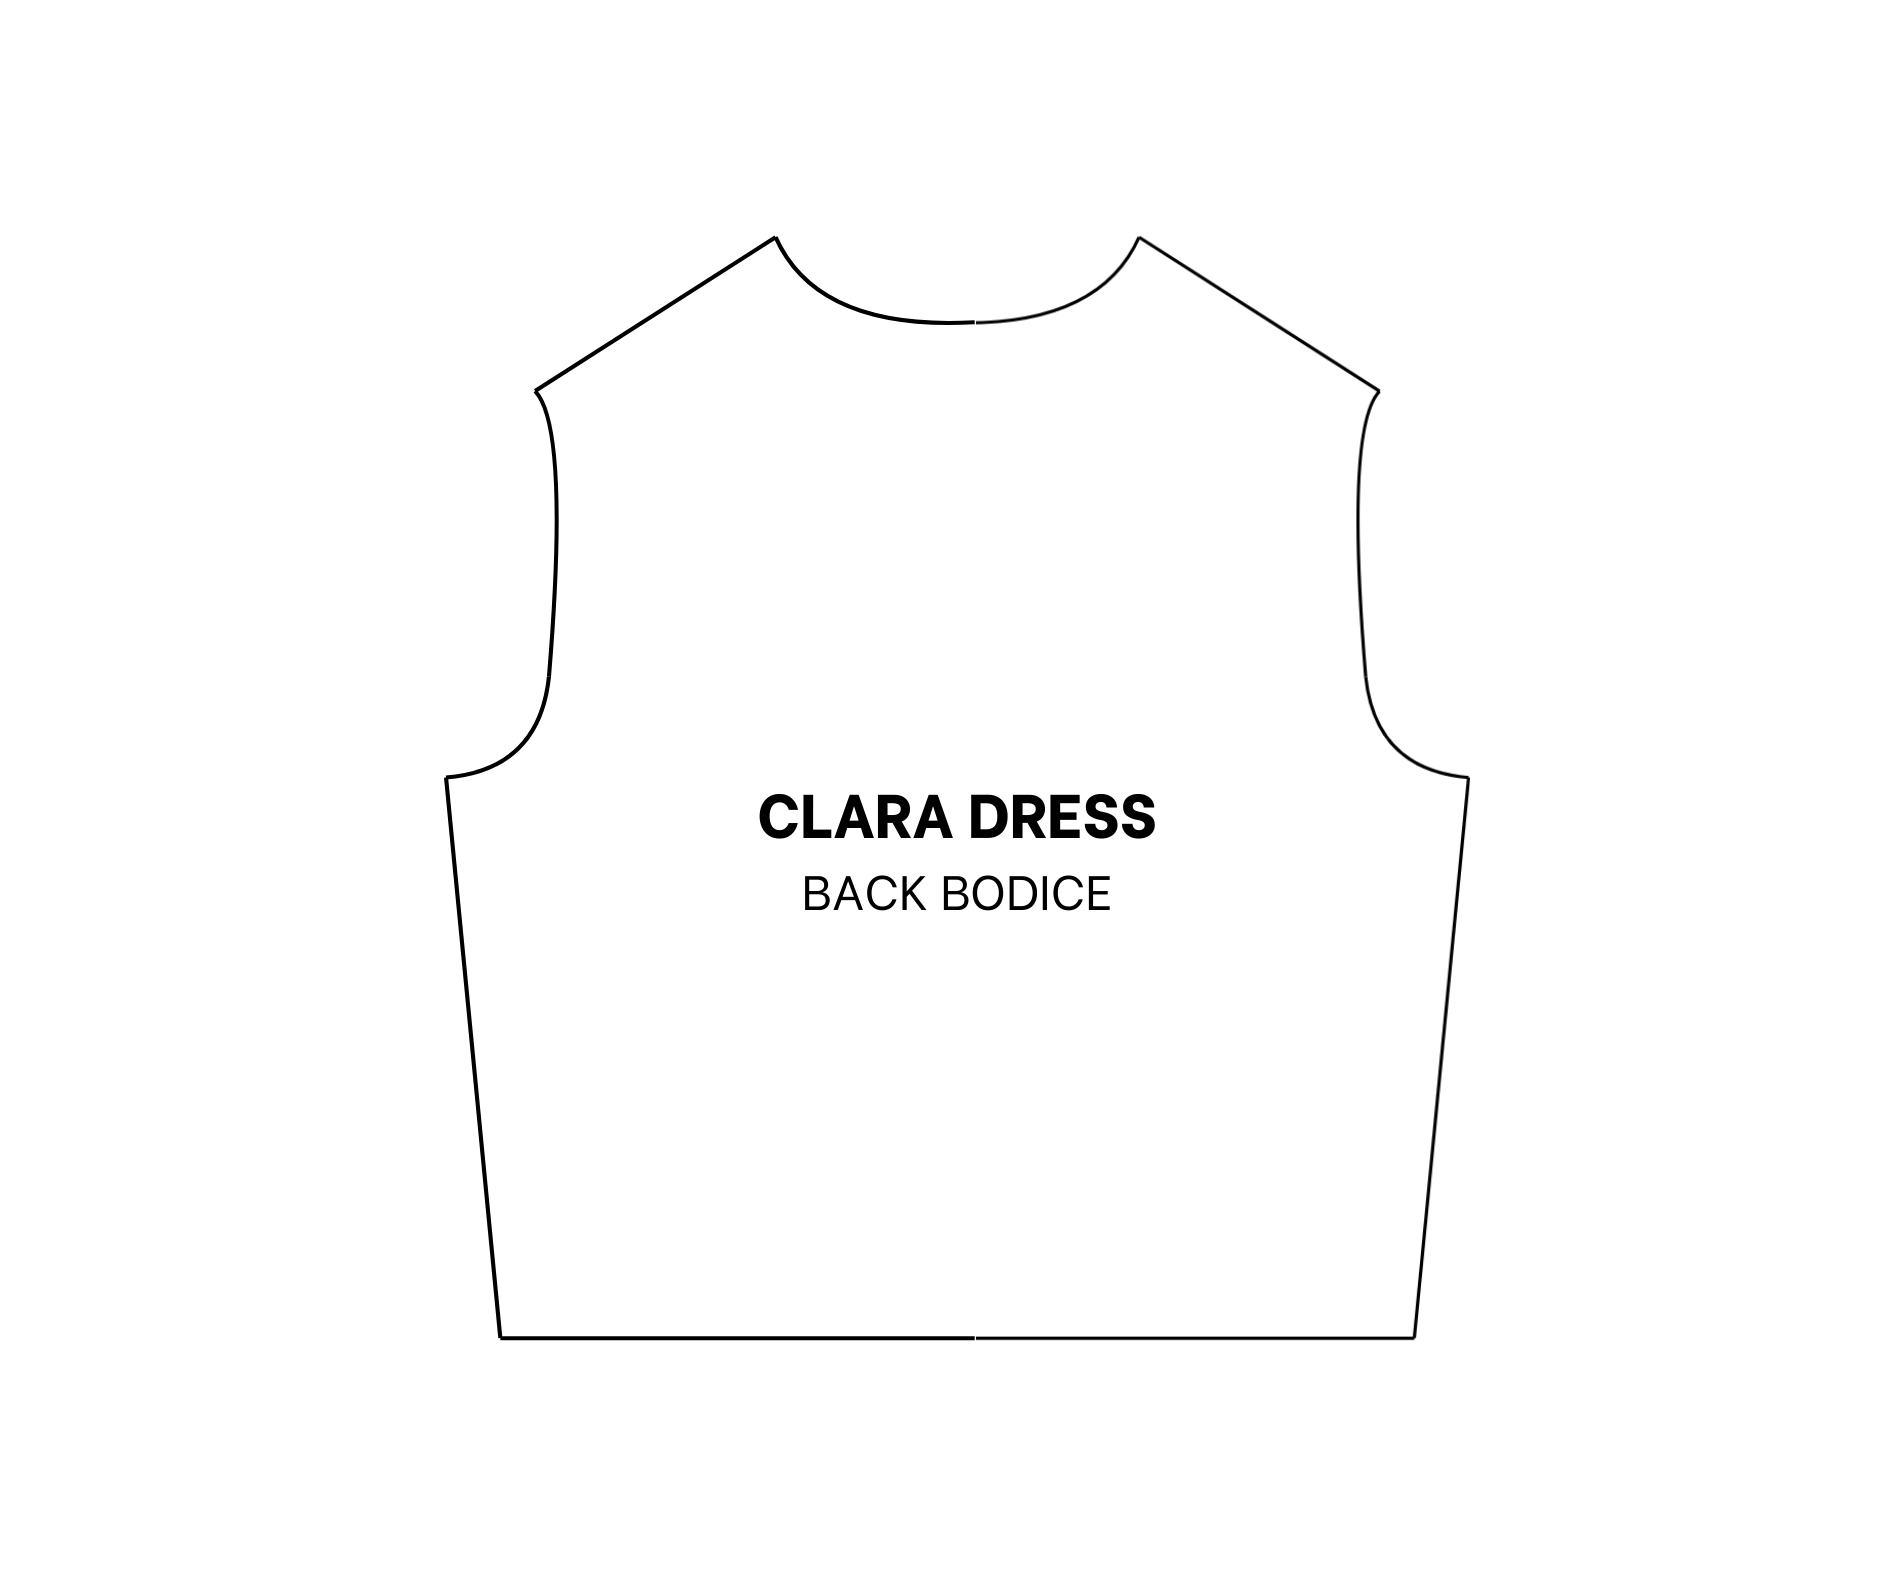
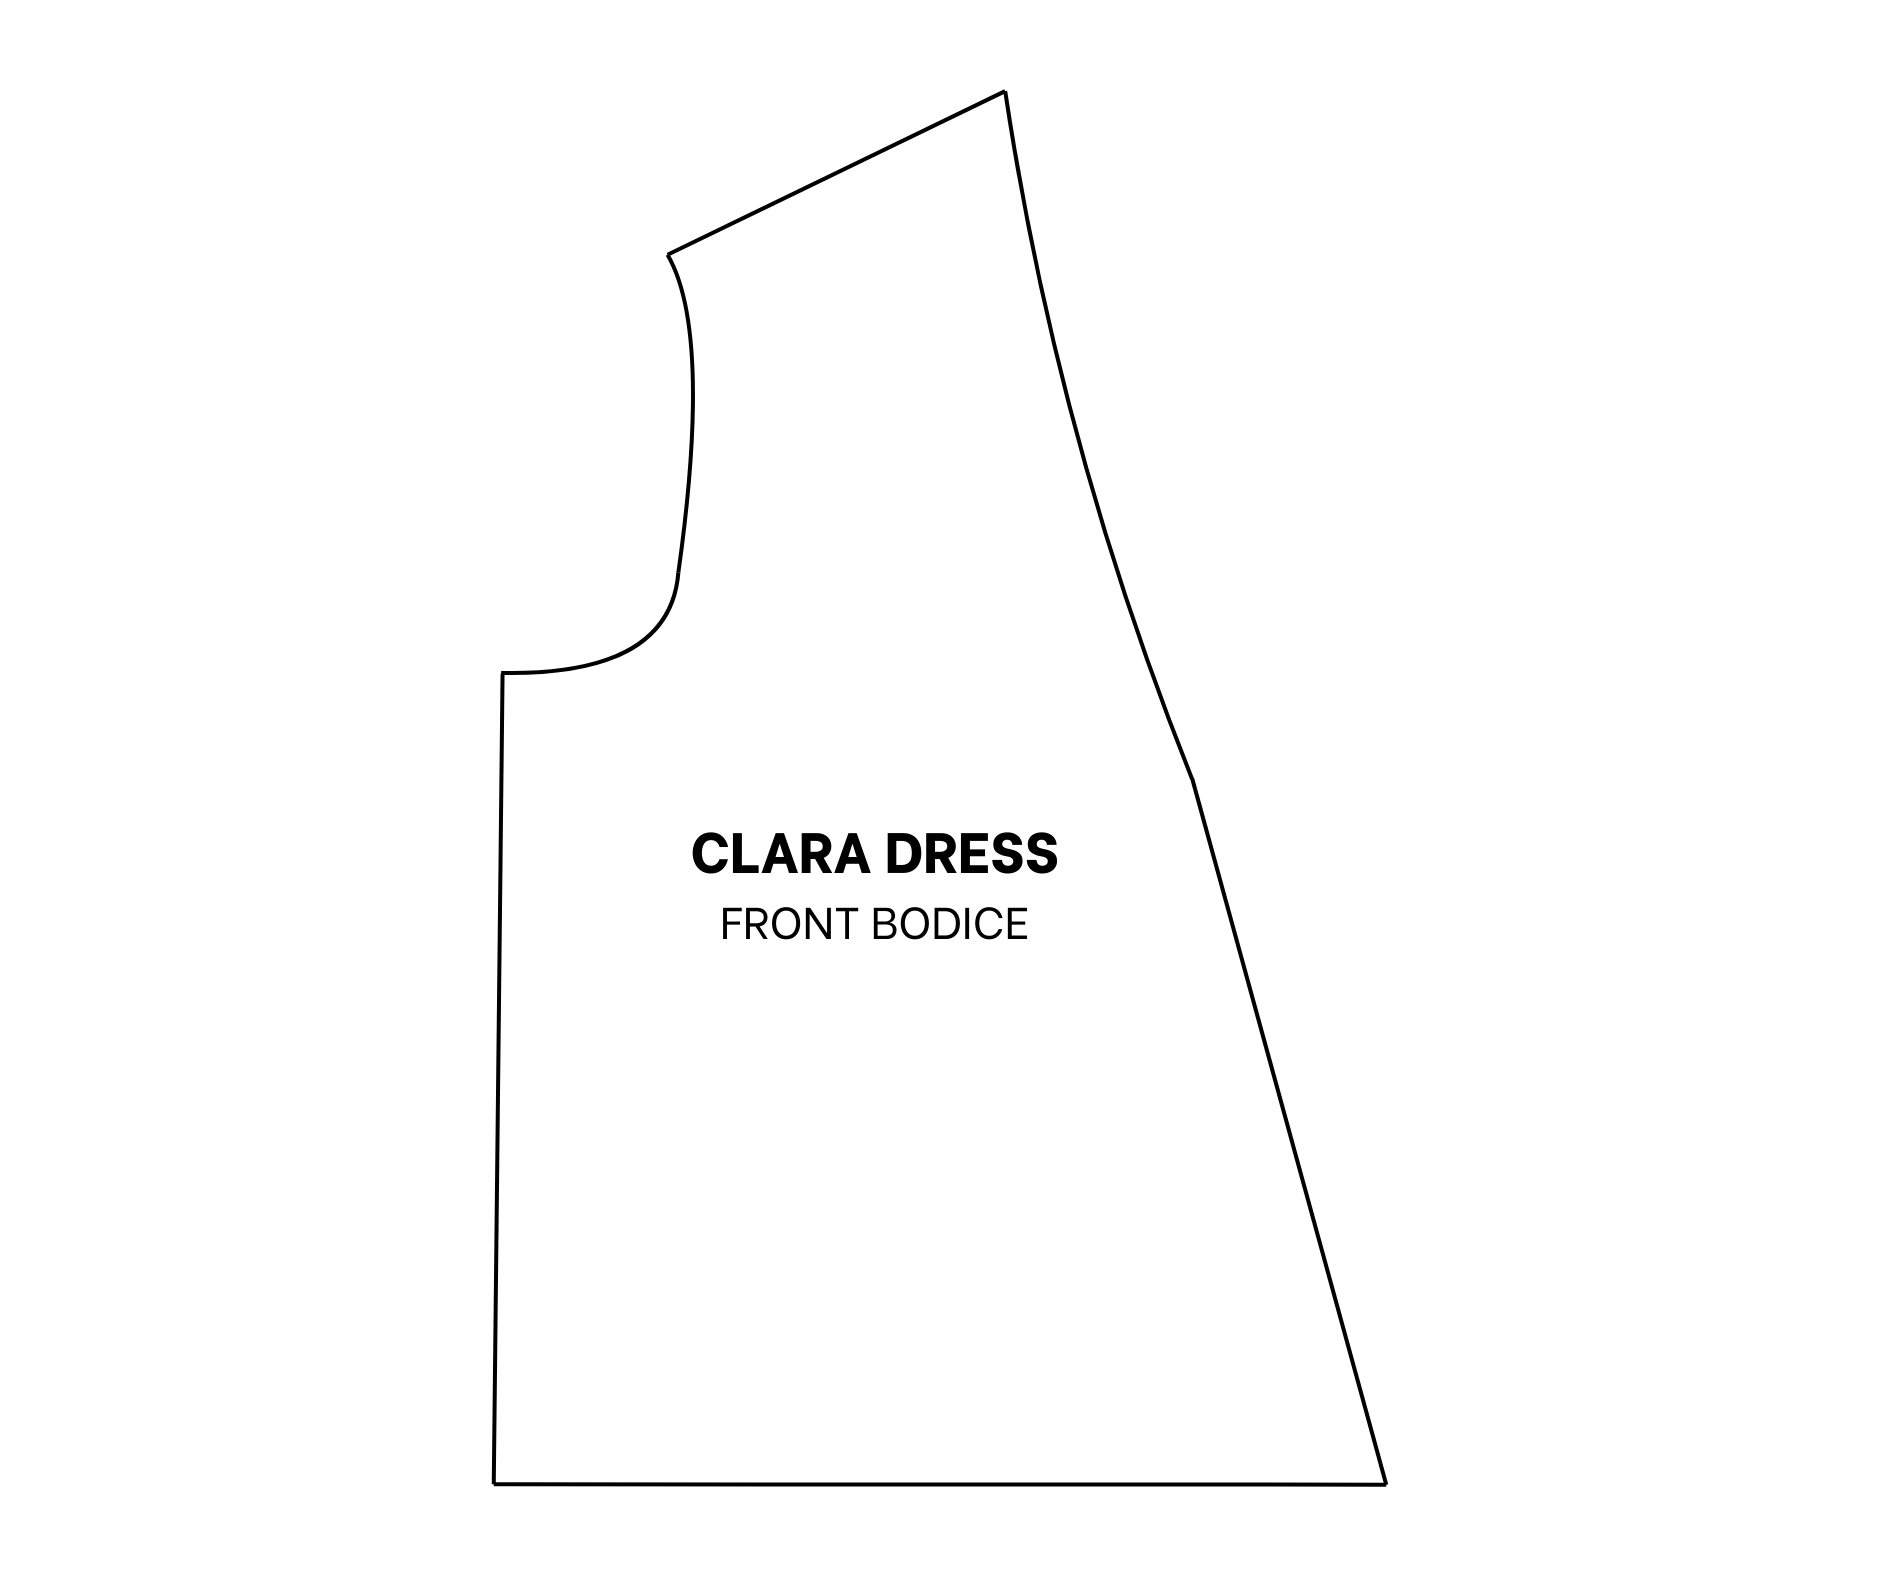
PDF patterns for the Clara dress can be found on the website for those who prefer ready-made patterns.
THE BODICE PATTERN
Use the same bodice pattern from the Clara dress.
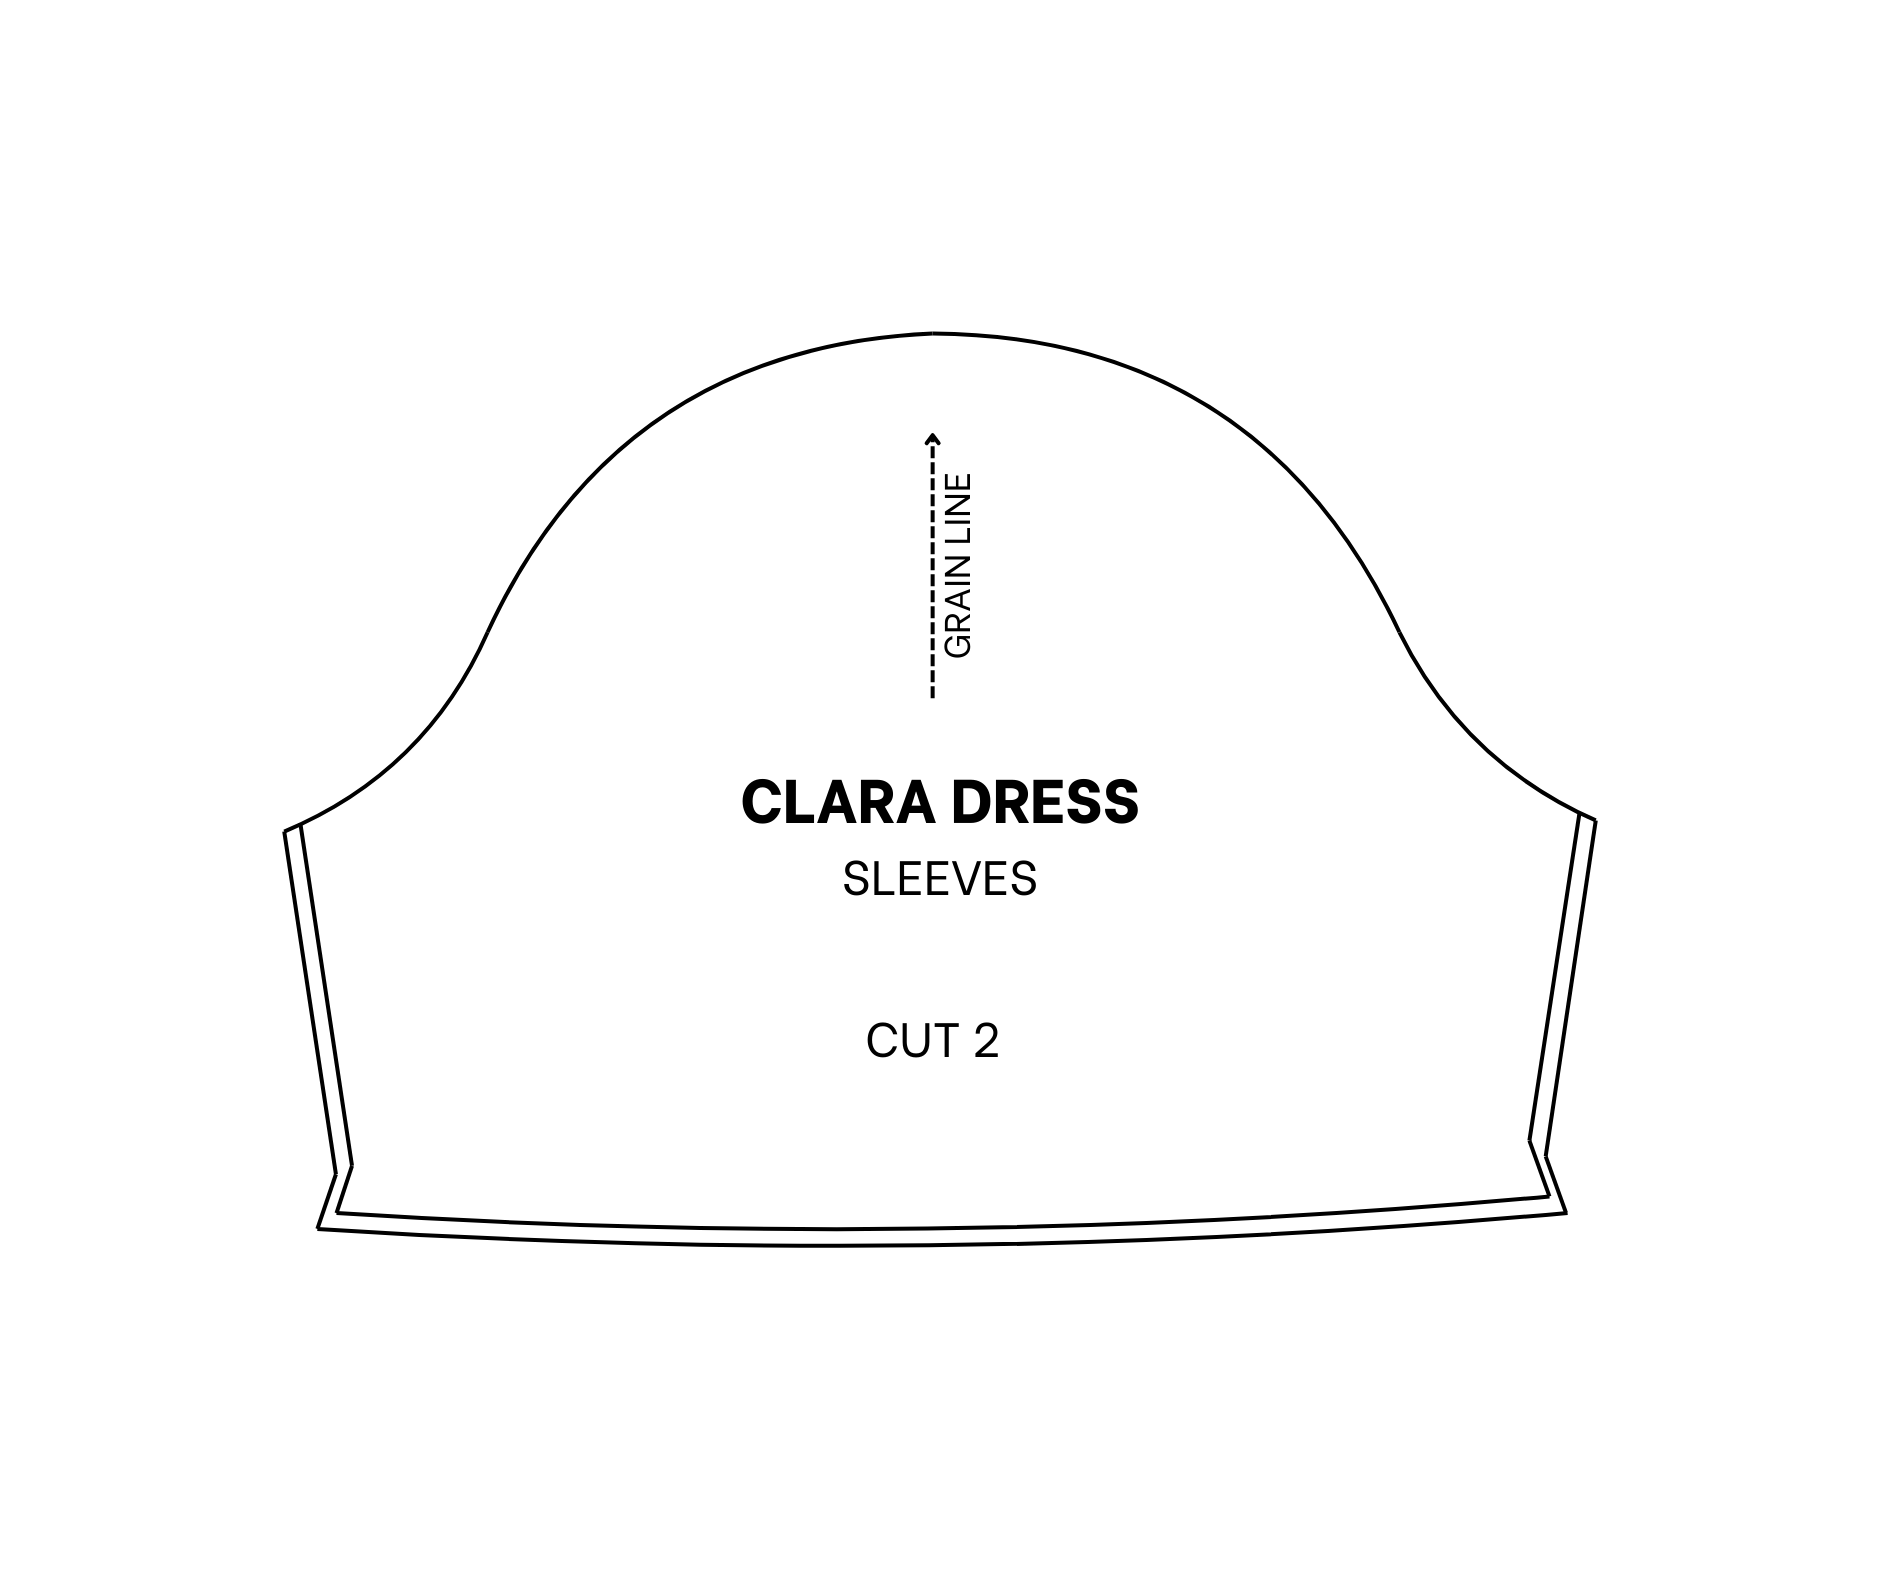
THE SLEEVE PATTERN
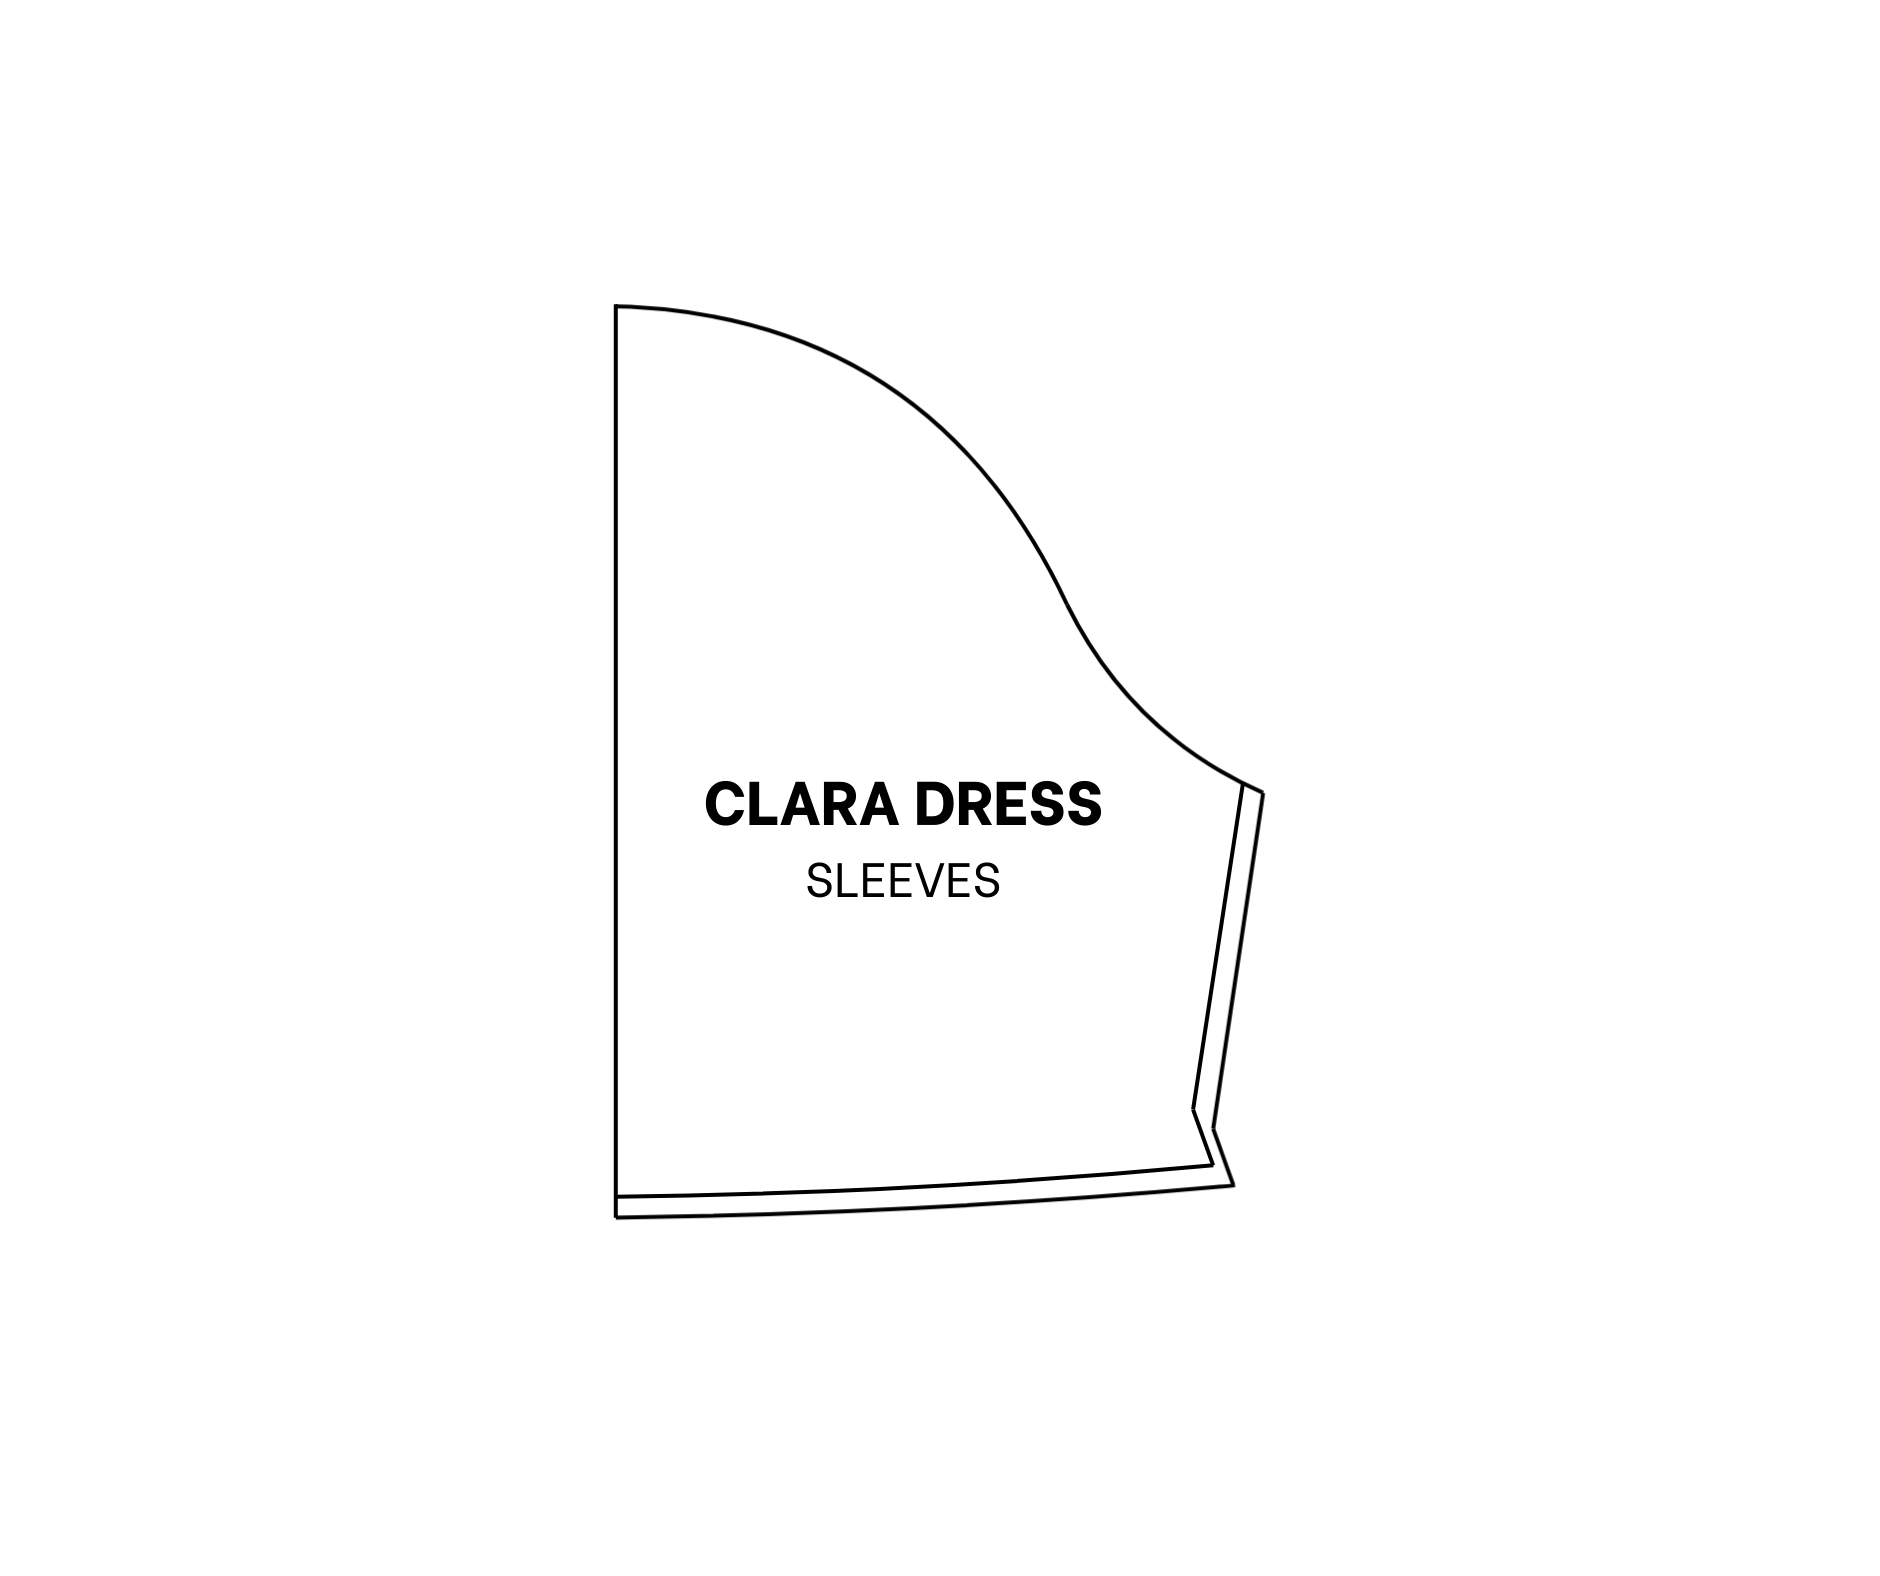
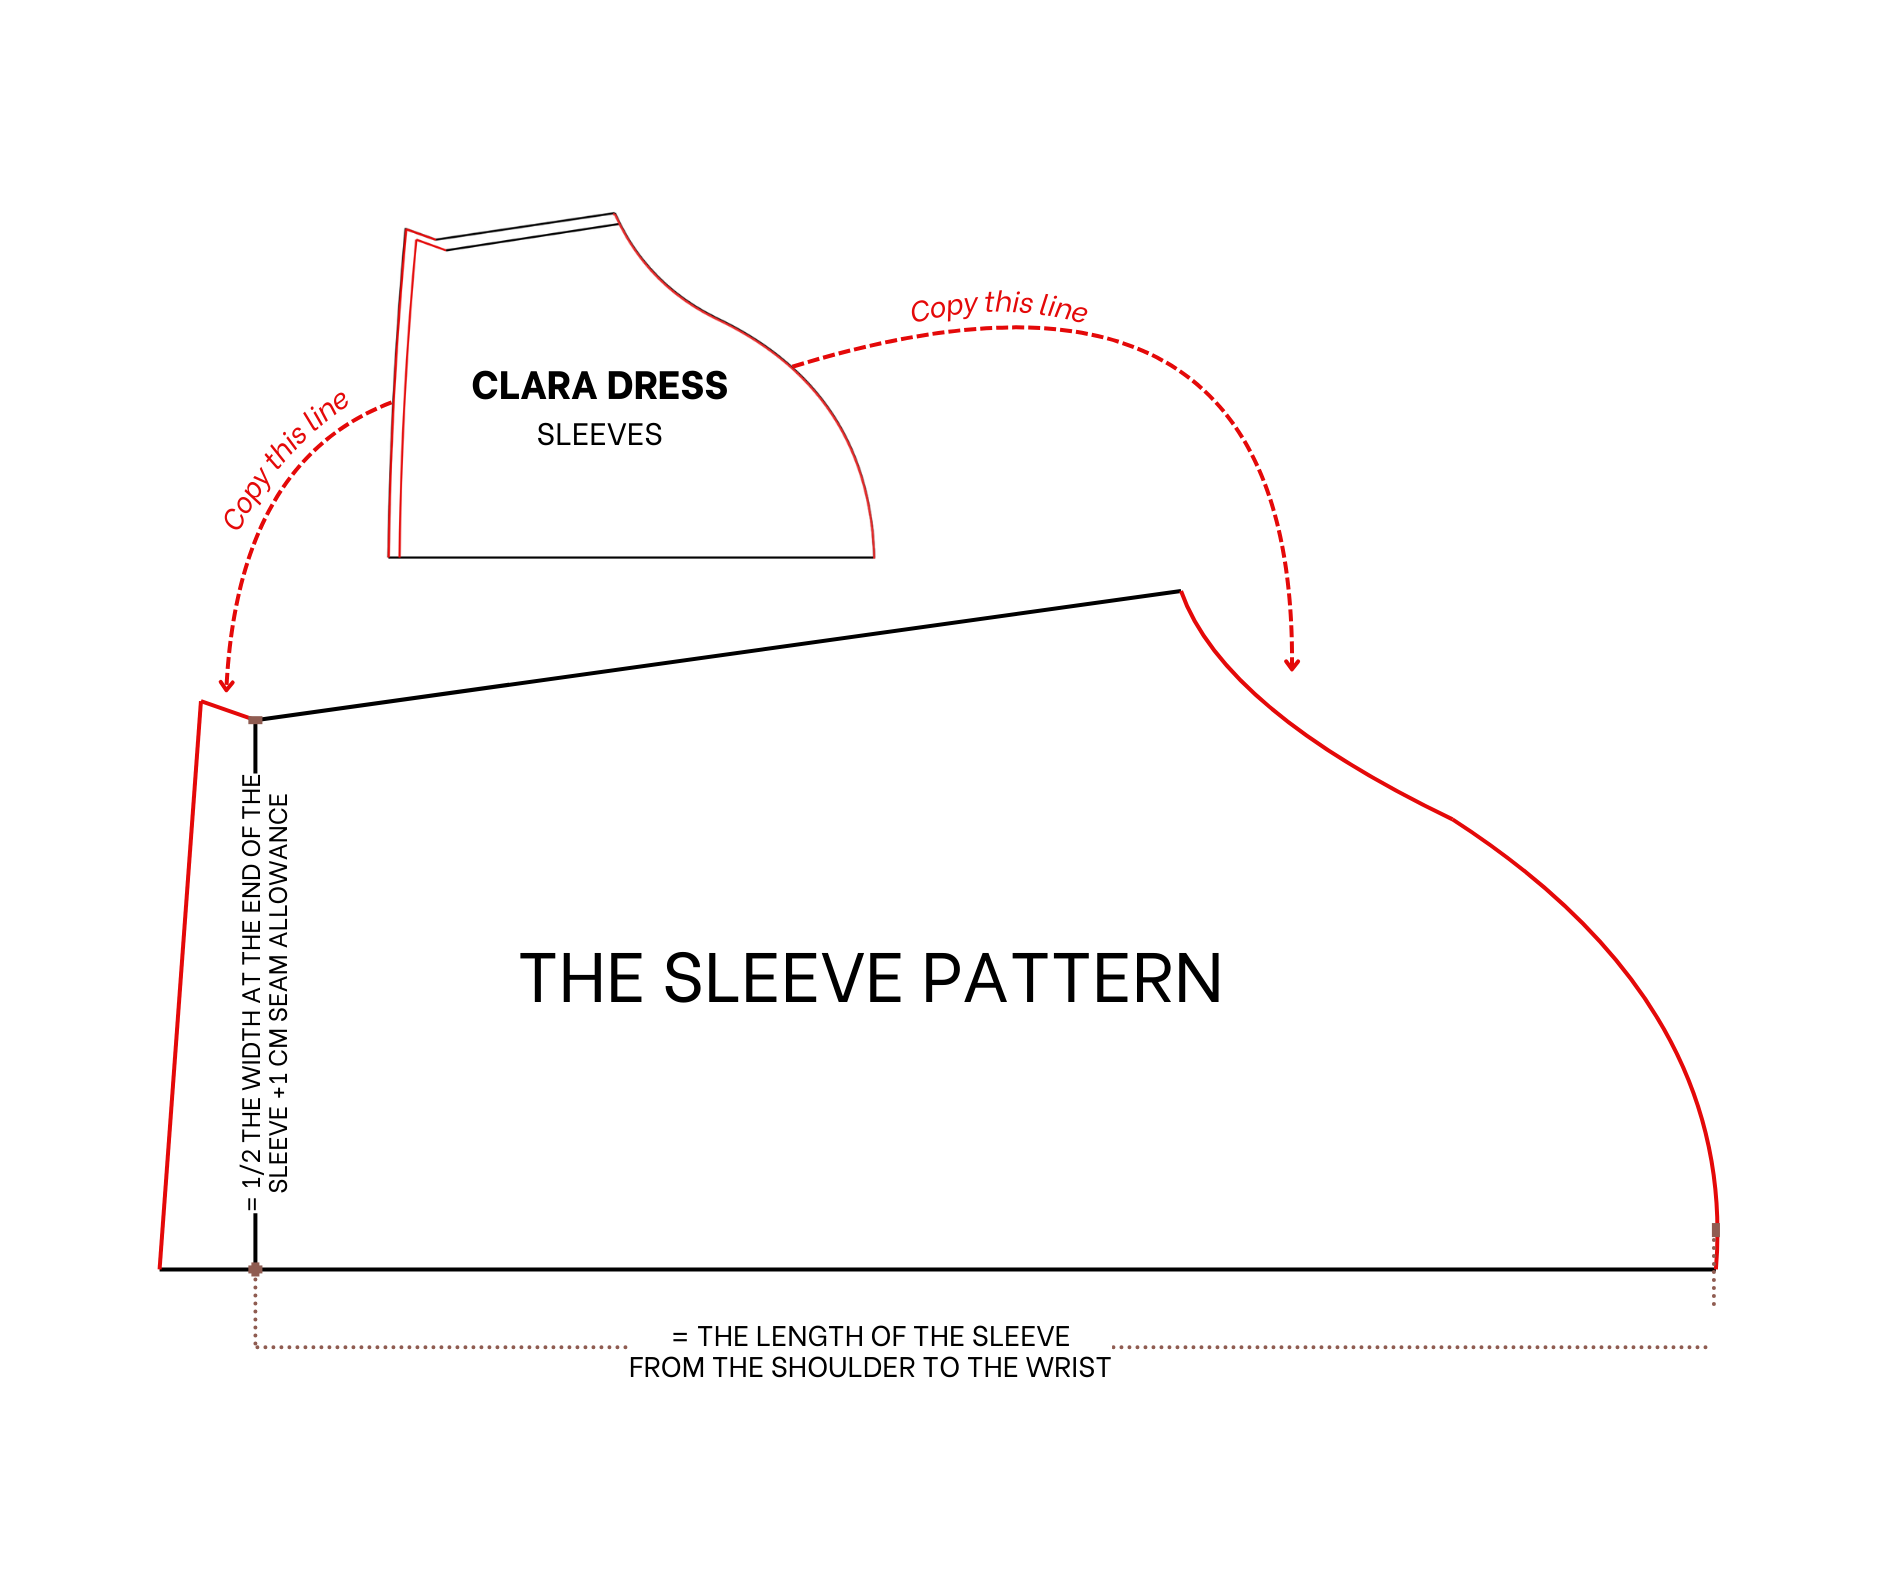
For the sleeve pattern, modify the sleeve pattern from the Clara dress with a simple adjustment.
Fold the sleeve pattern in half first.
Measure and draw a straight line 55 cm from the edge line, representing the sleeve length from the shoulder to beyond the wrist.
Copy the sleeve line from the Clara dress pattern onto the paper.
From the end of the straight line, mark 19 cm, which is half the desired sleeve width at the end plus 1 cm for seam allowance.
Connect this mark to the end of the sleeve line to create the armpit line for the new sleeve.
Copy the fabric hole area at the sleeve's end from the Clara dress pattern.
THE RUFFLE HEM PATTERN
For the ruffle hem pattern, use a simple rectangle with a length of 20 cm and a width twice that of the bodice’s bottom edge.
THE BODICE PART
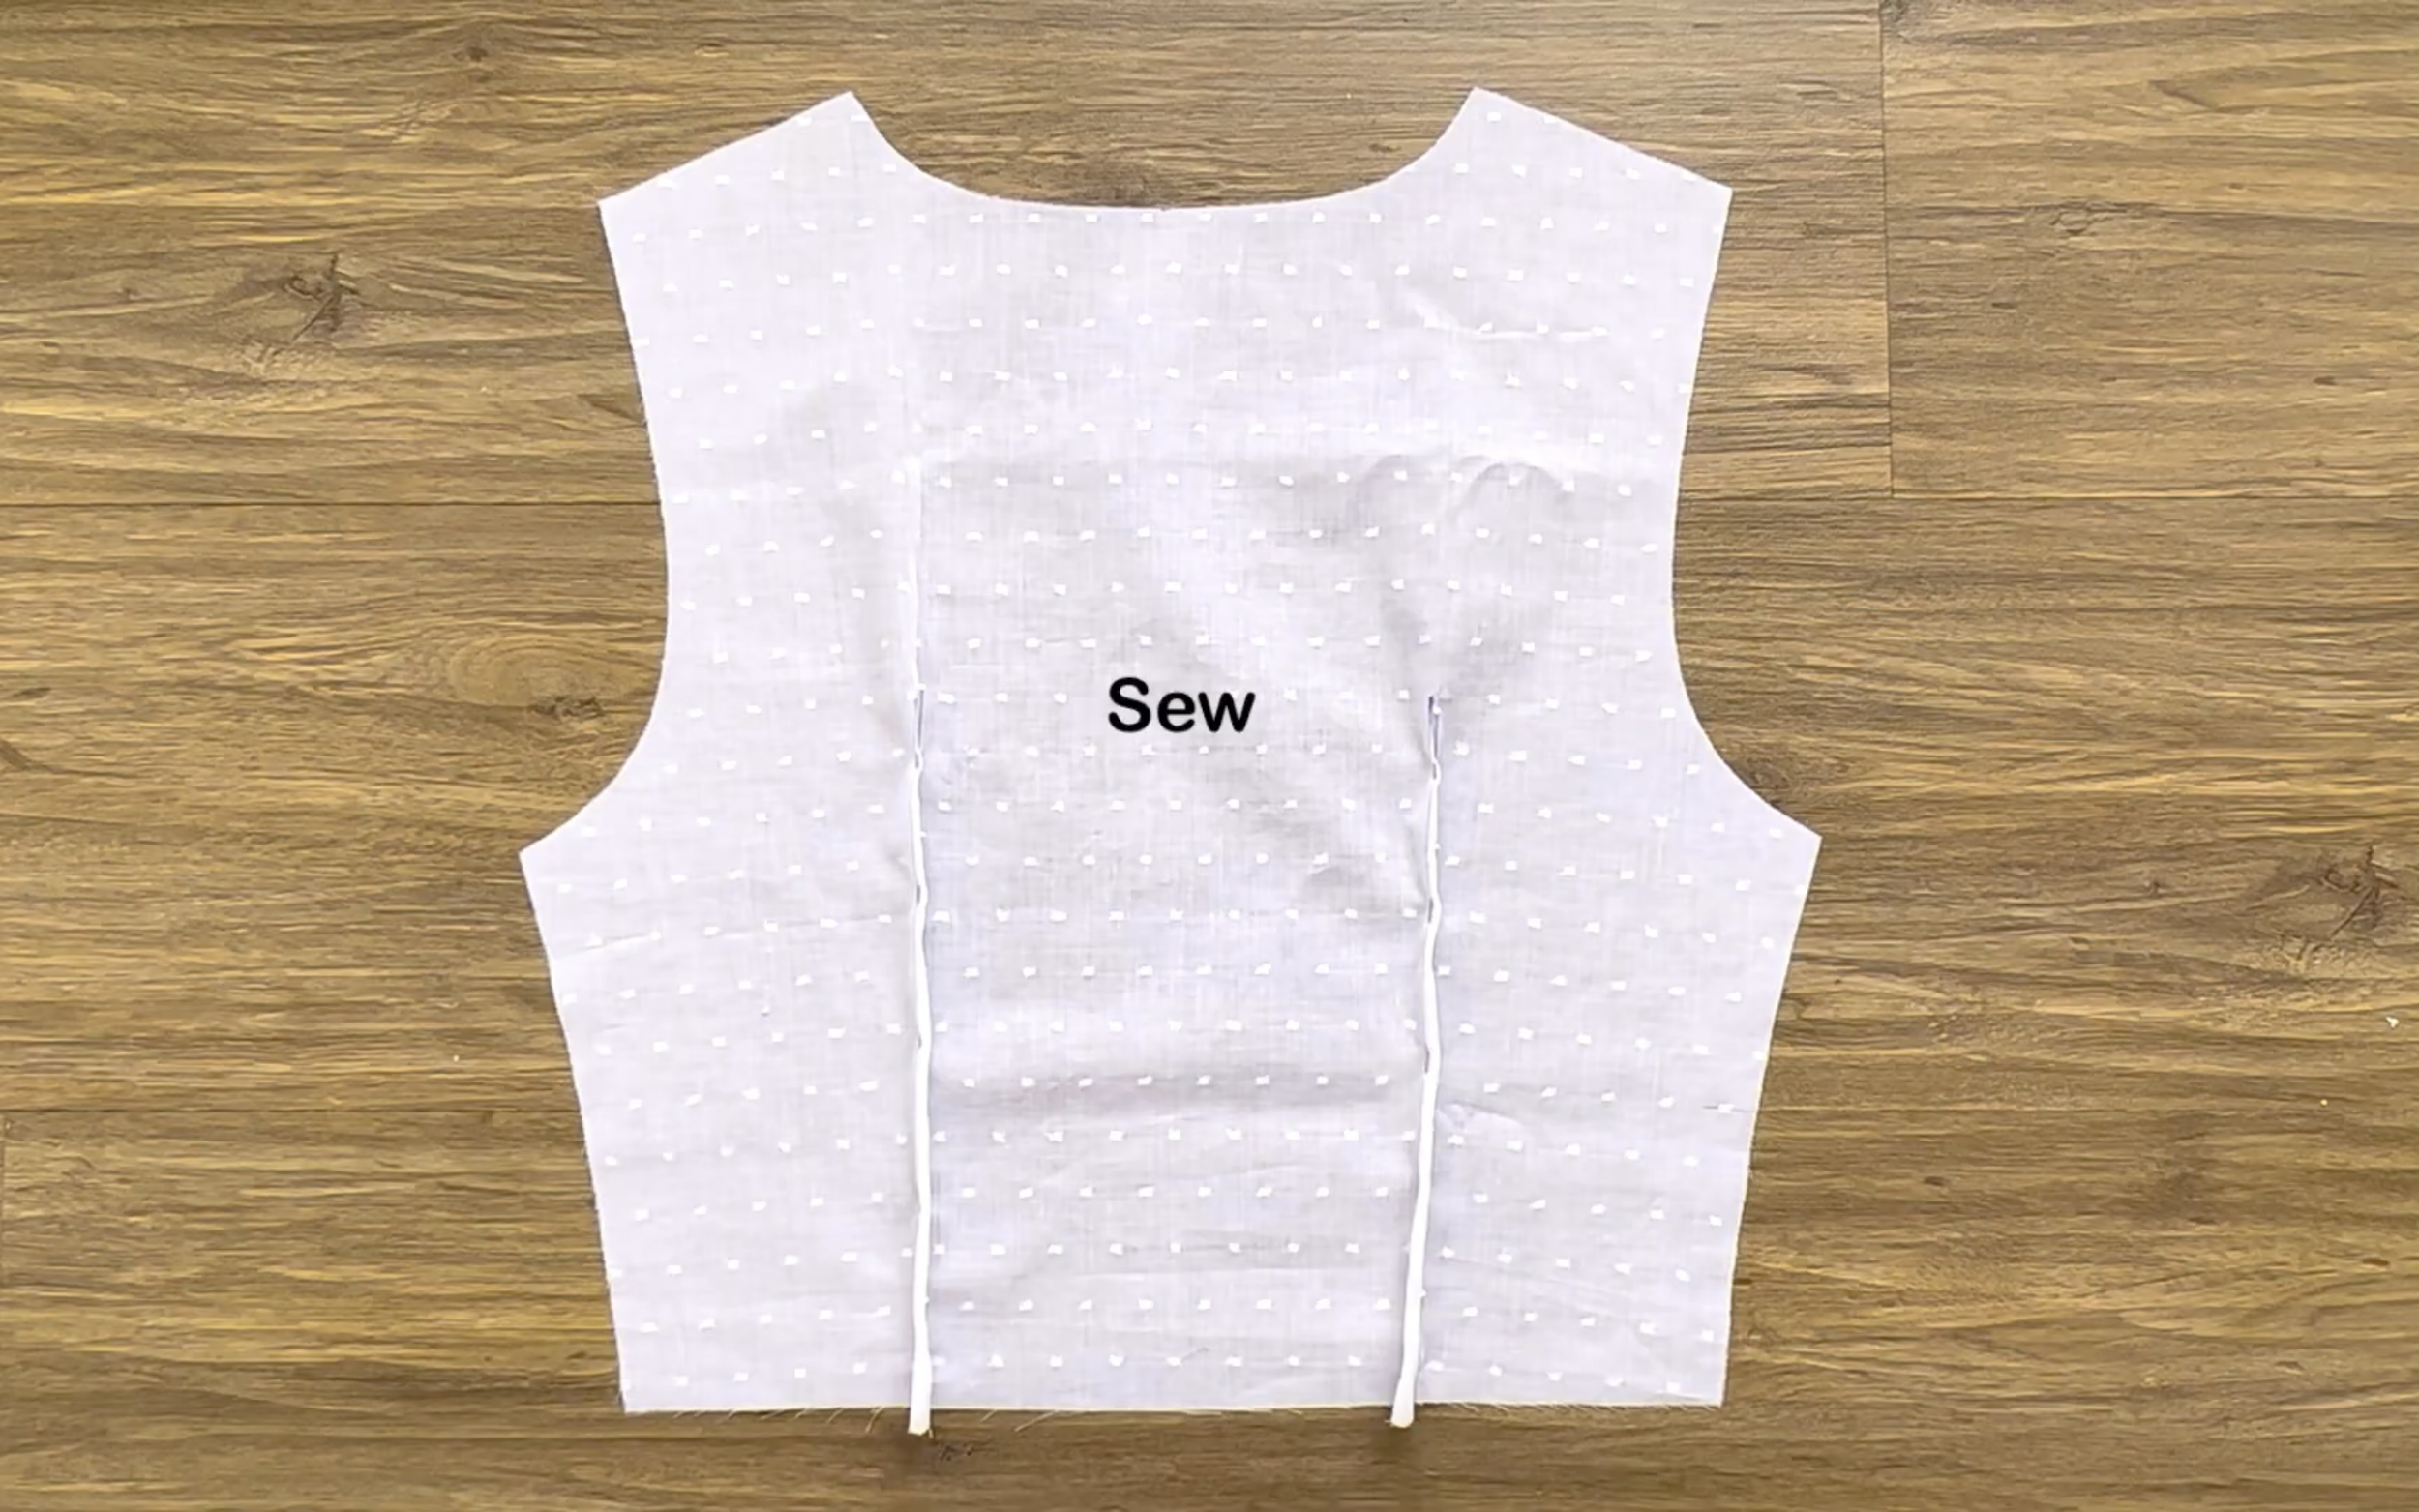
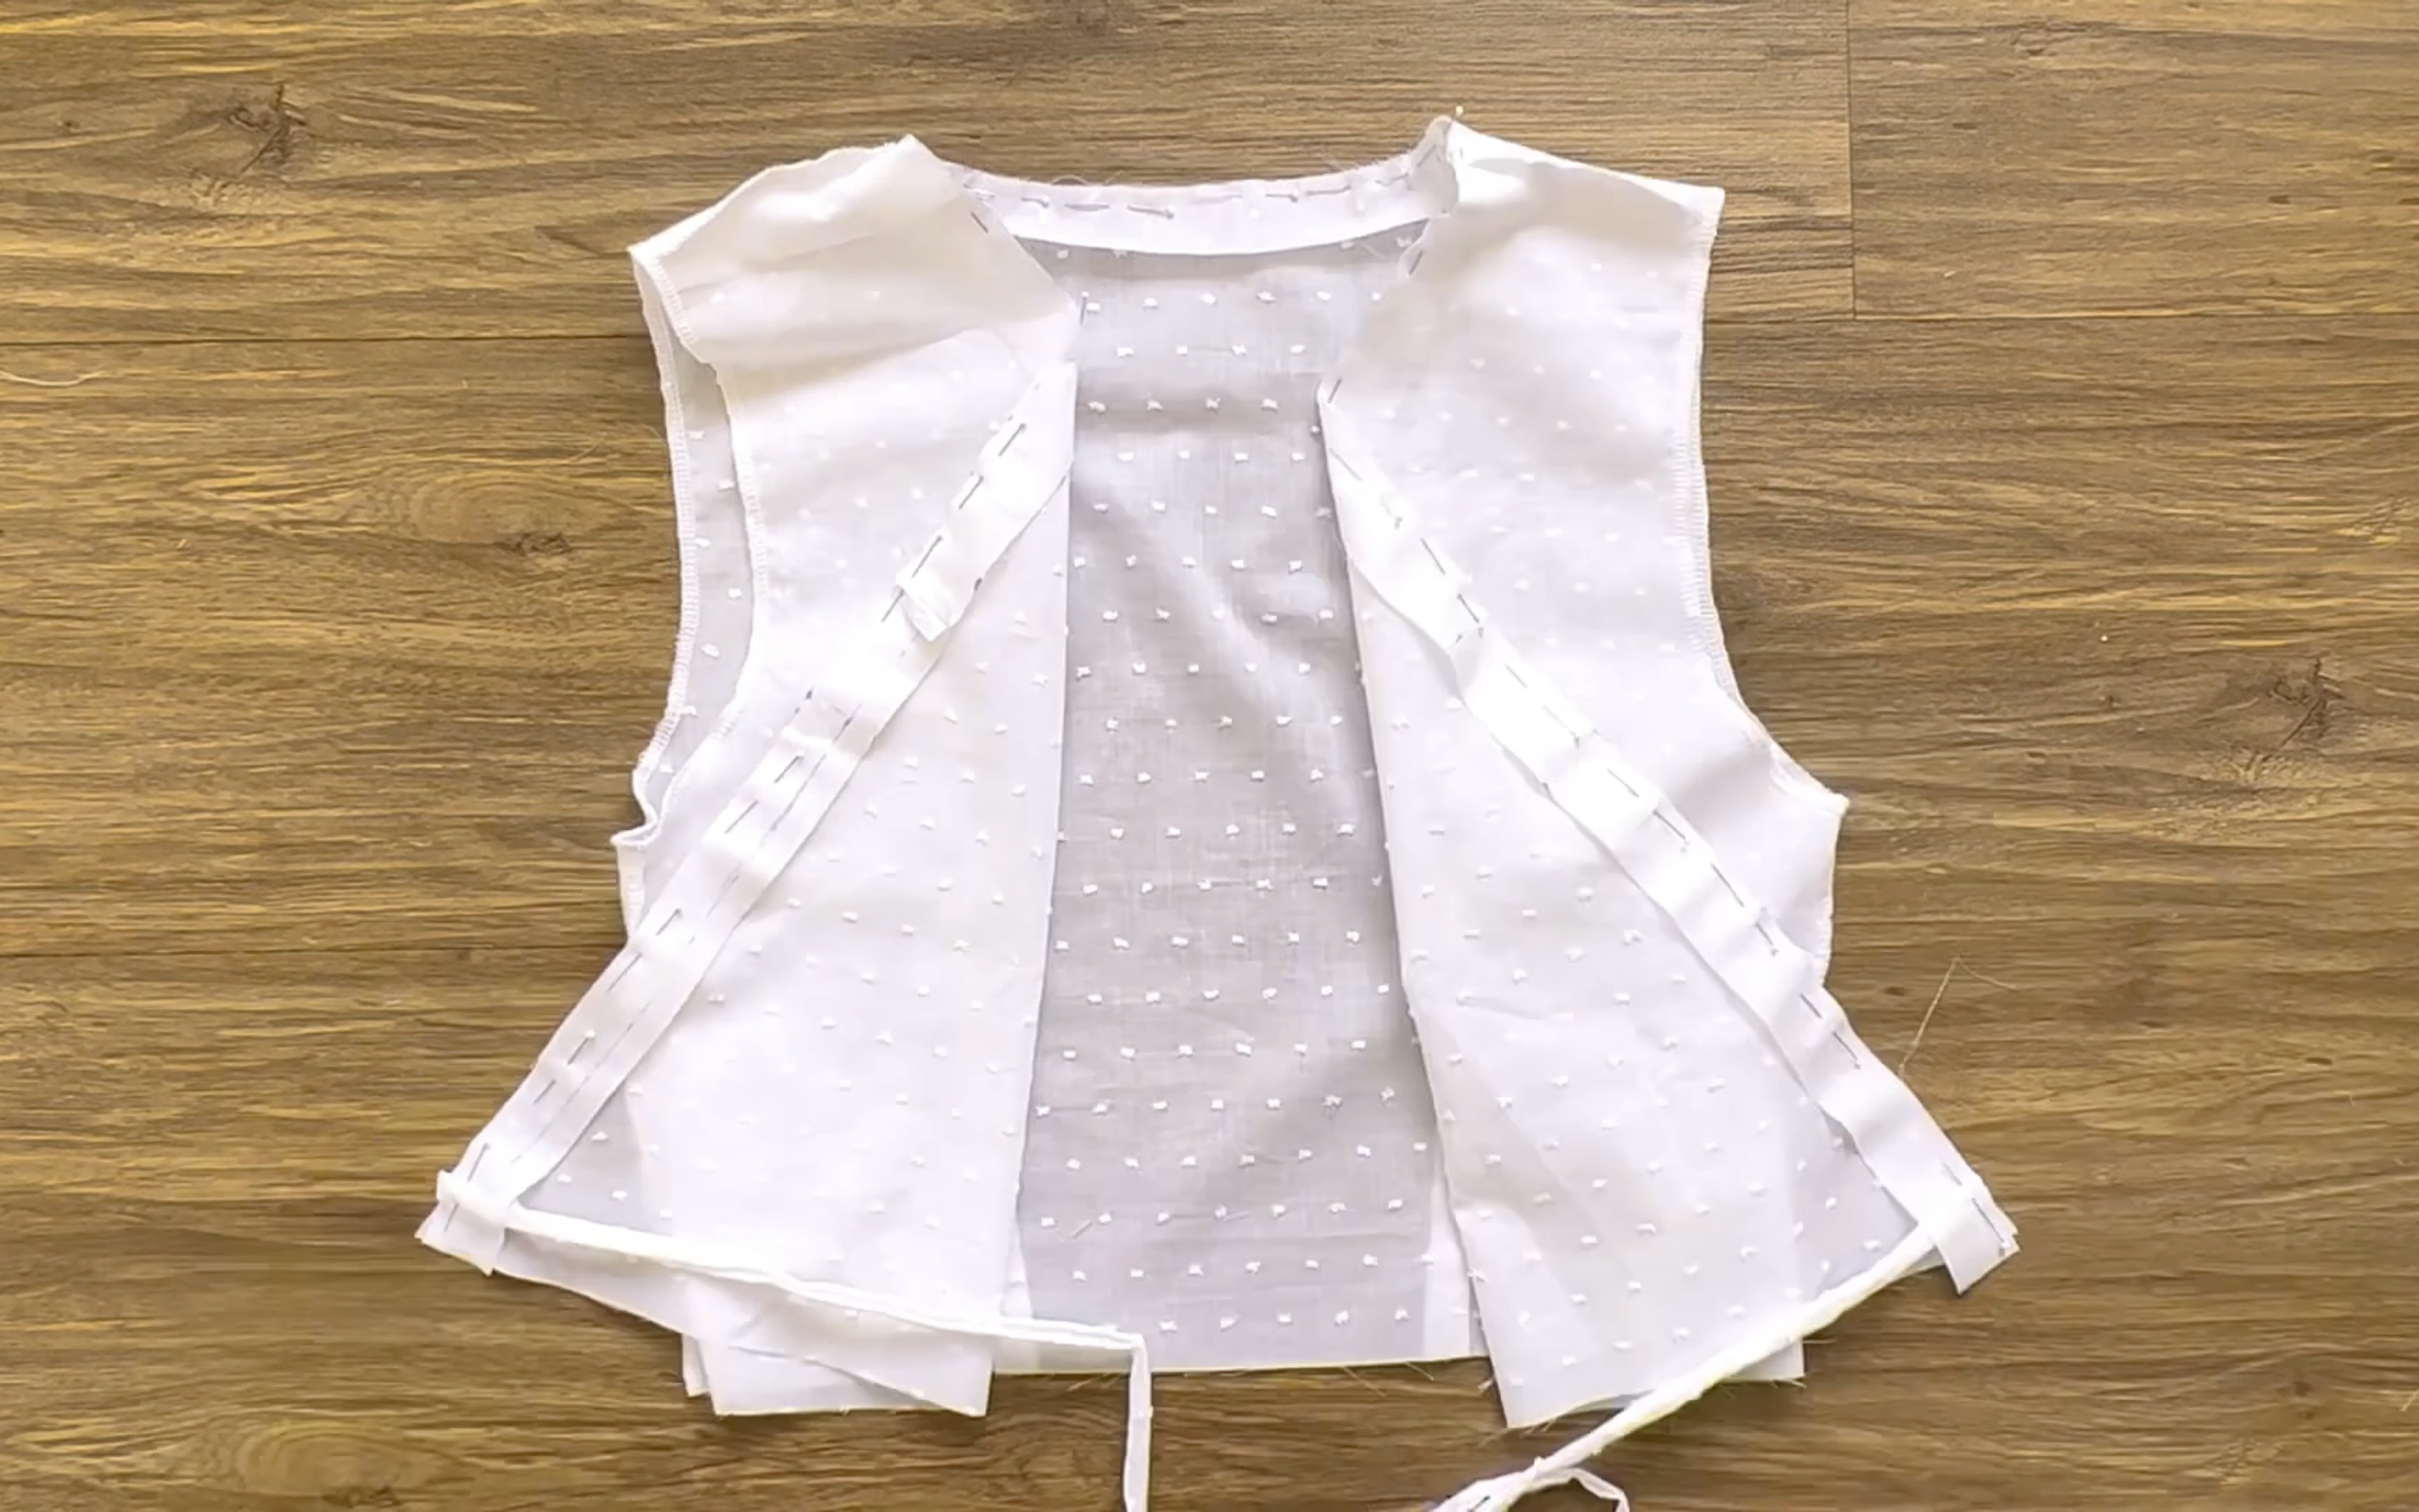
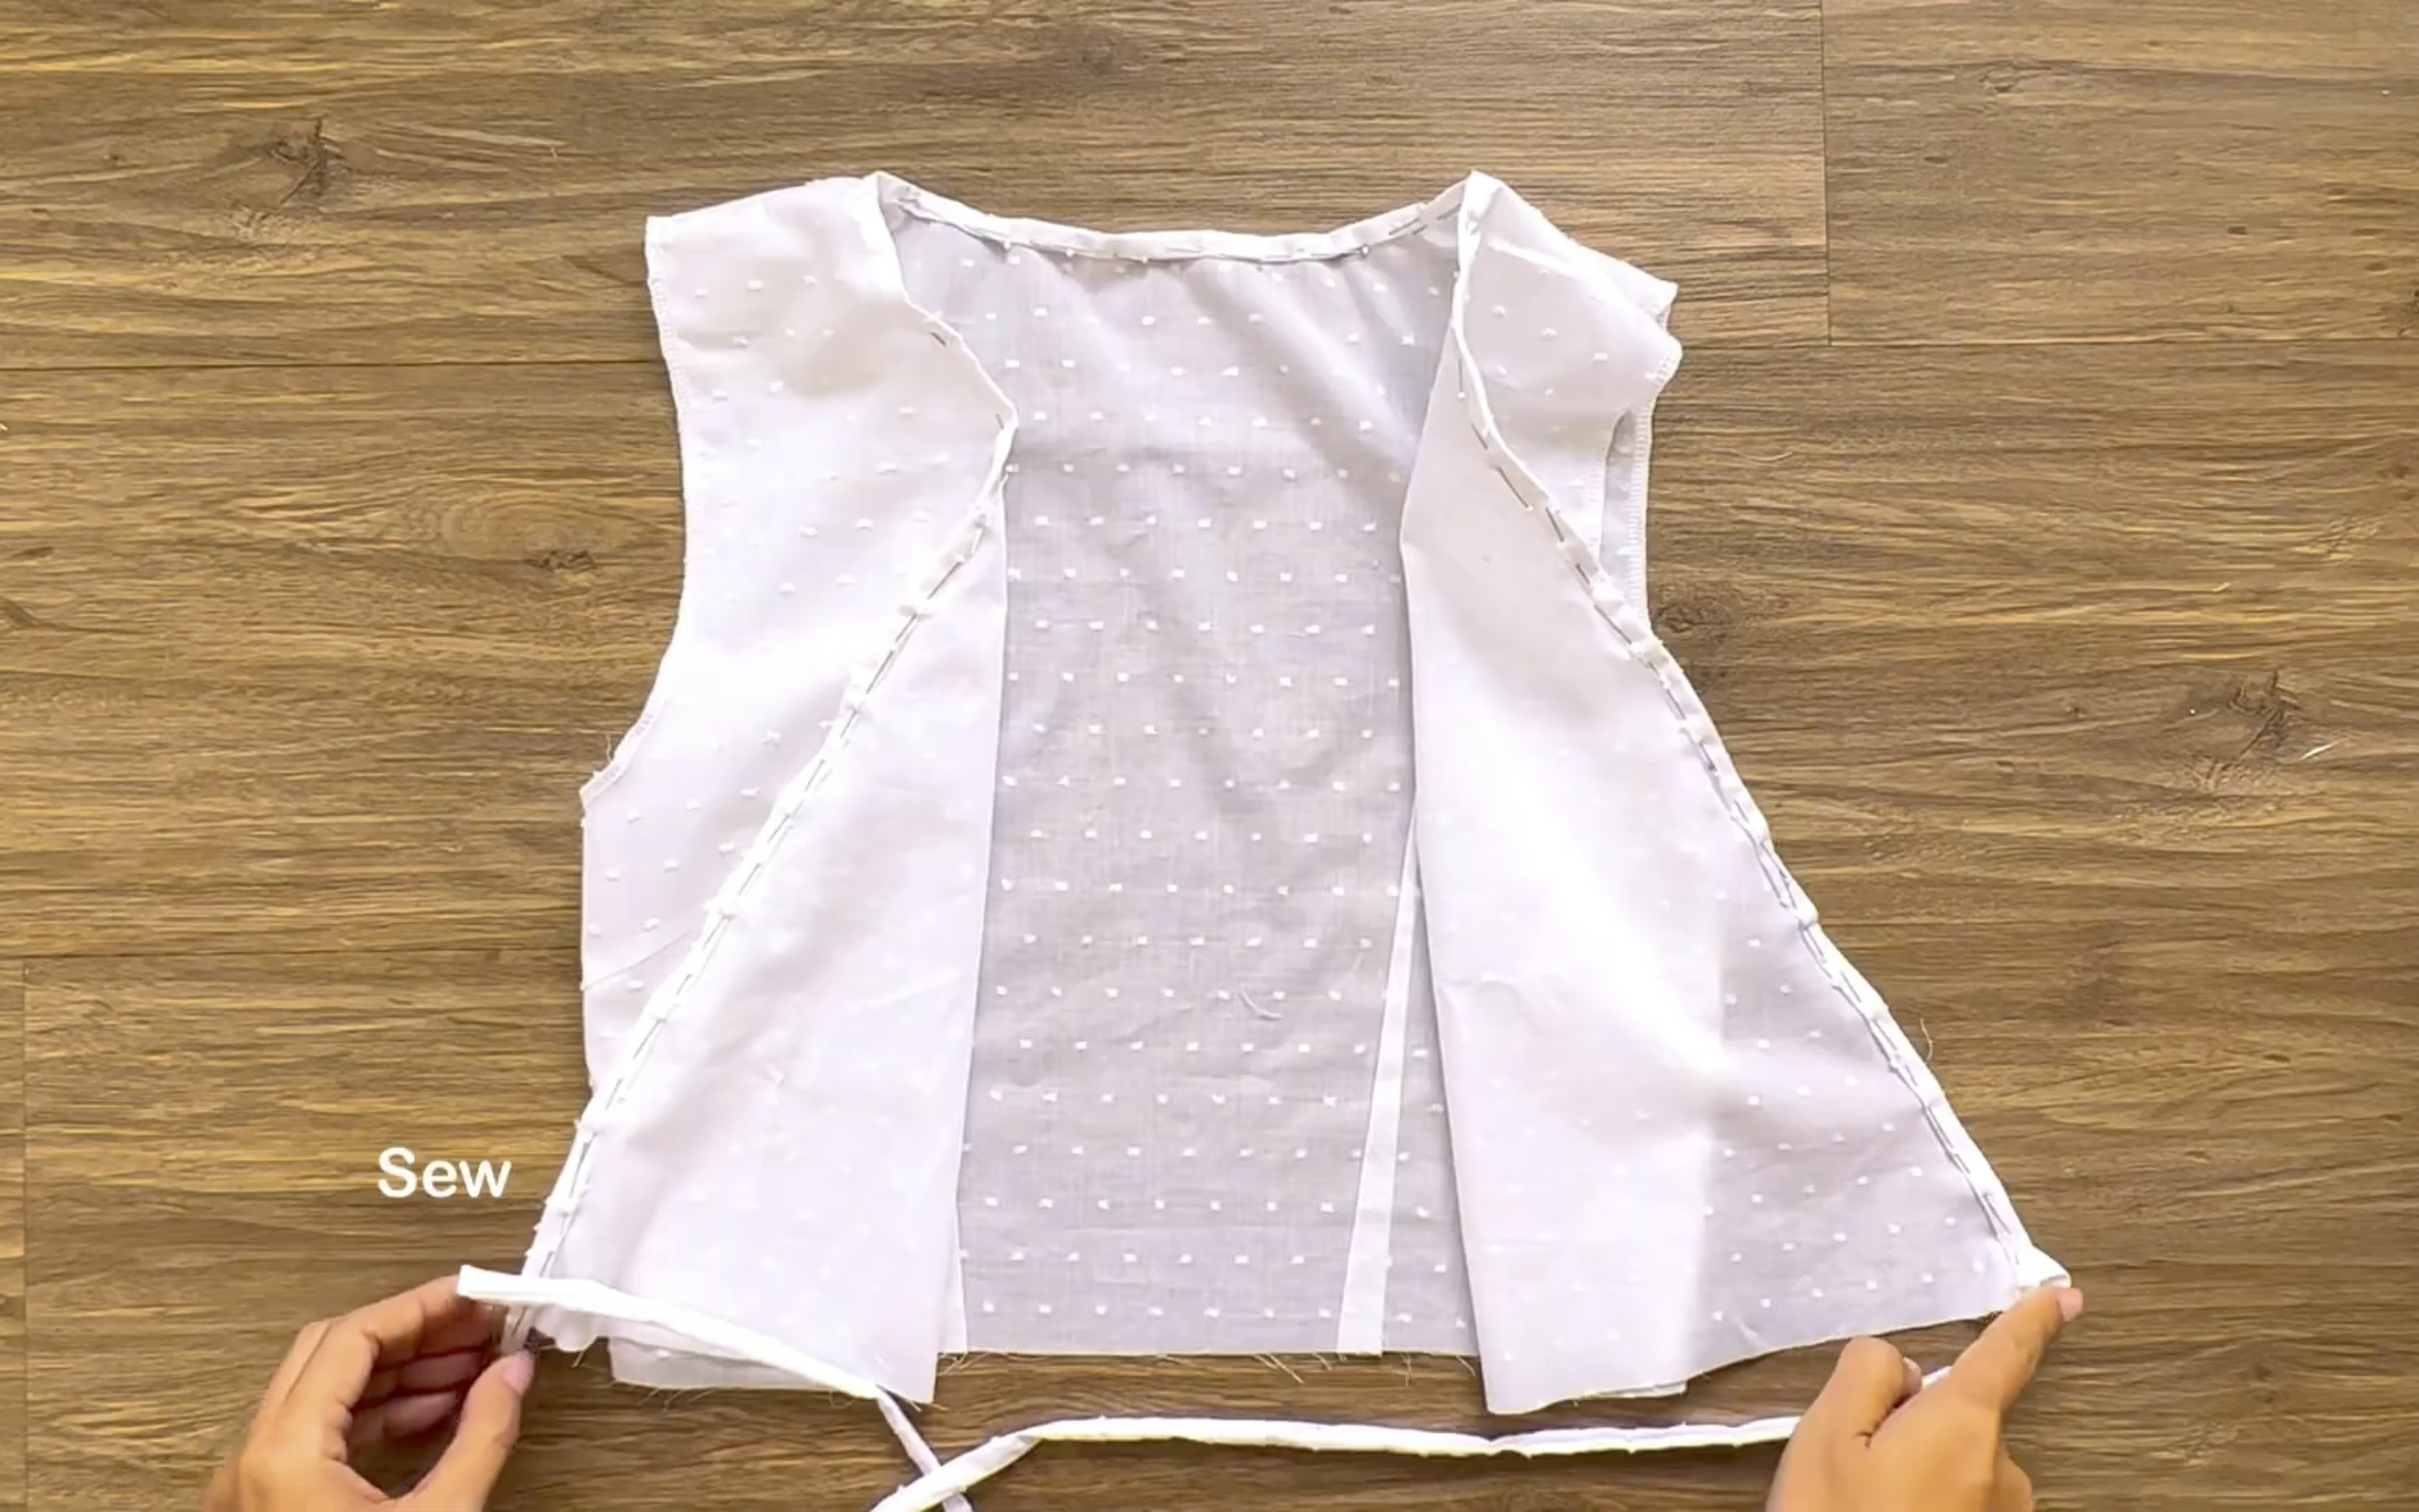
After cutting, finish the dart at the front and back bodice of the blouse.

Then, connect them together at the shoulder and sides.
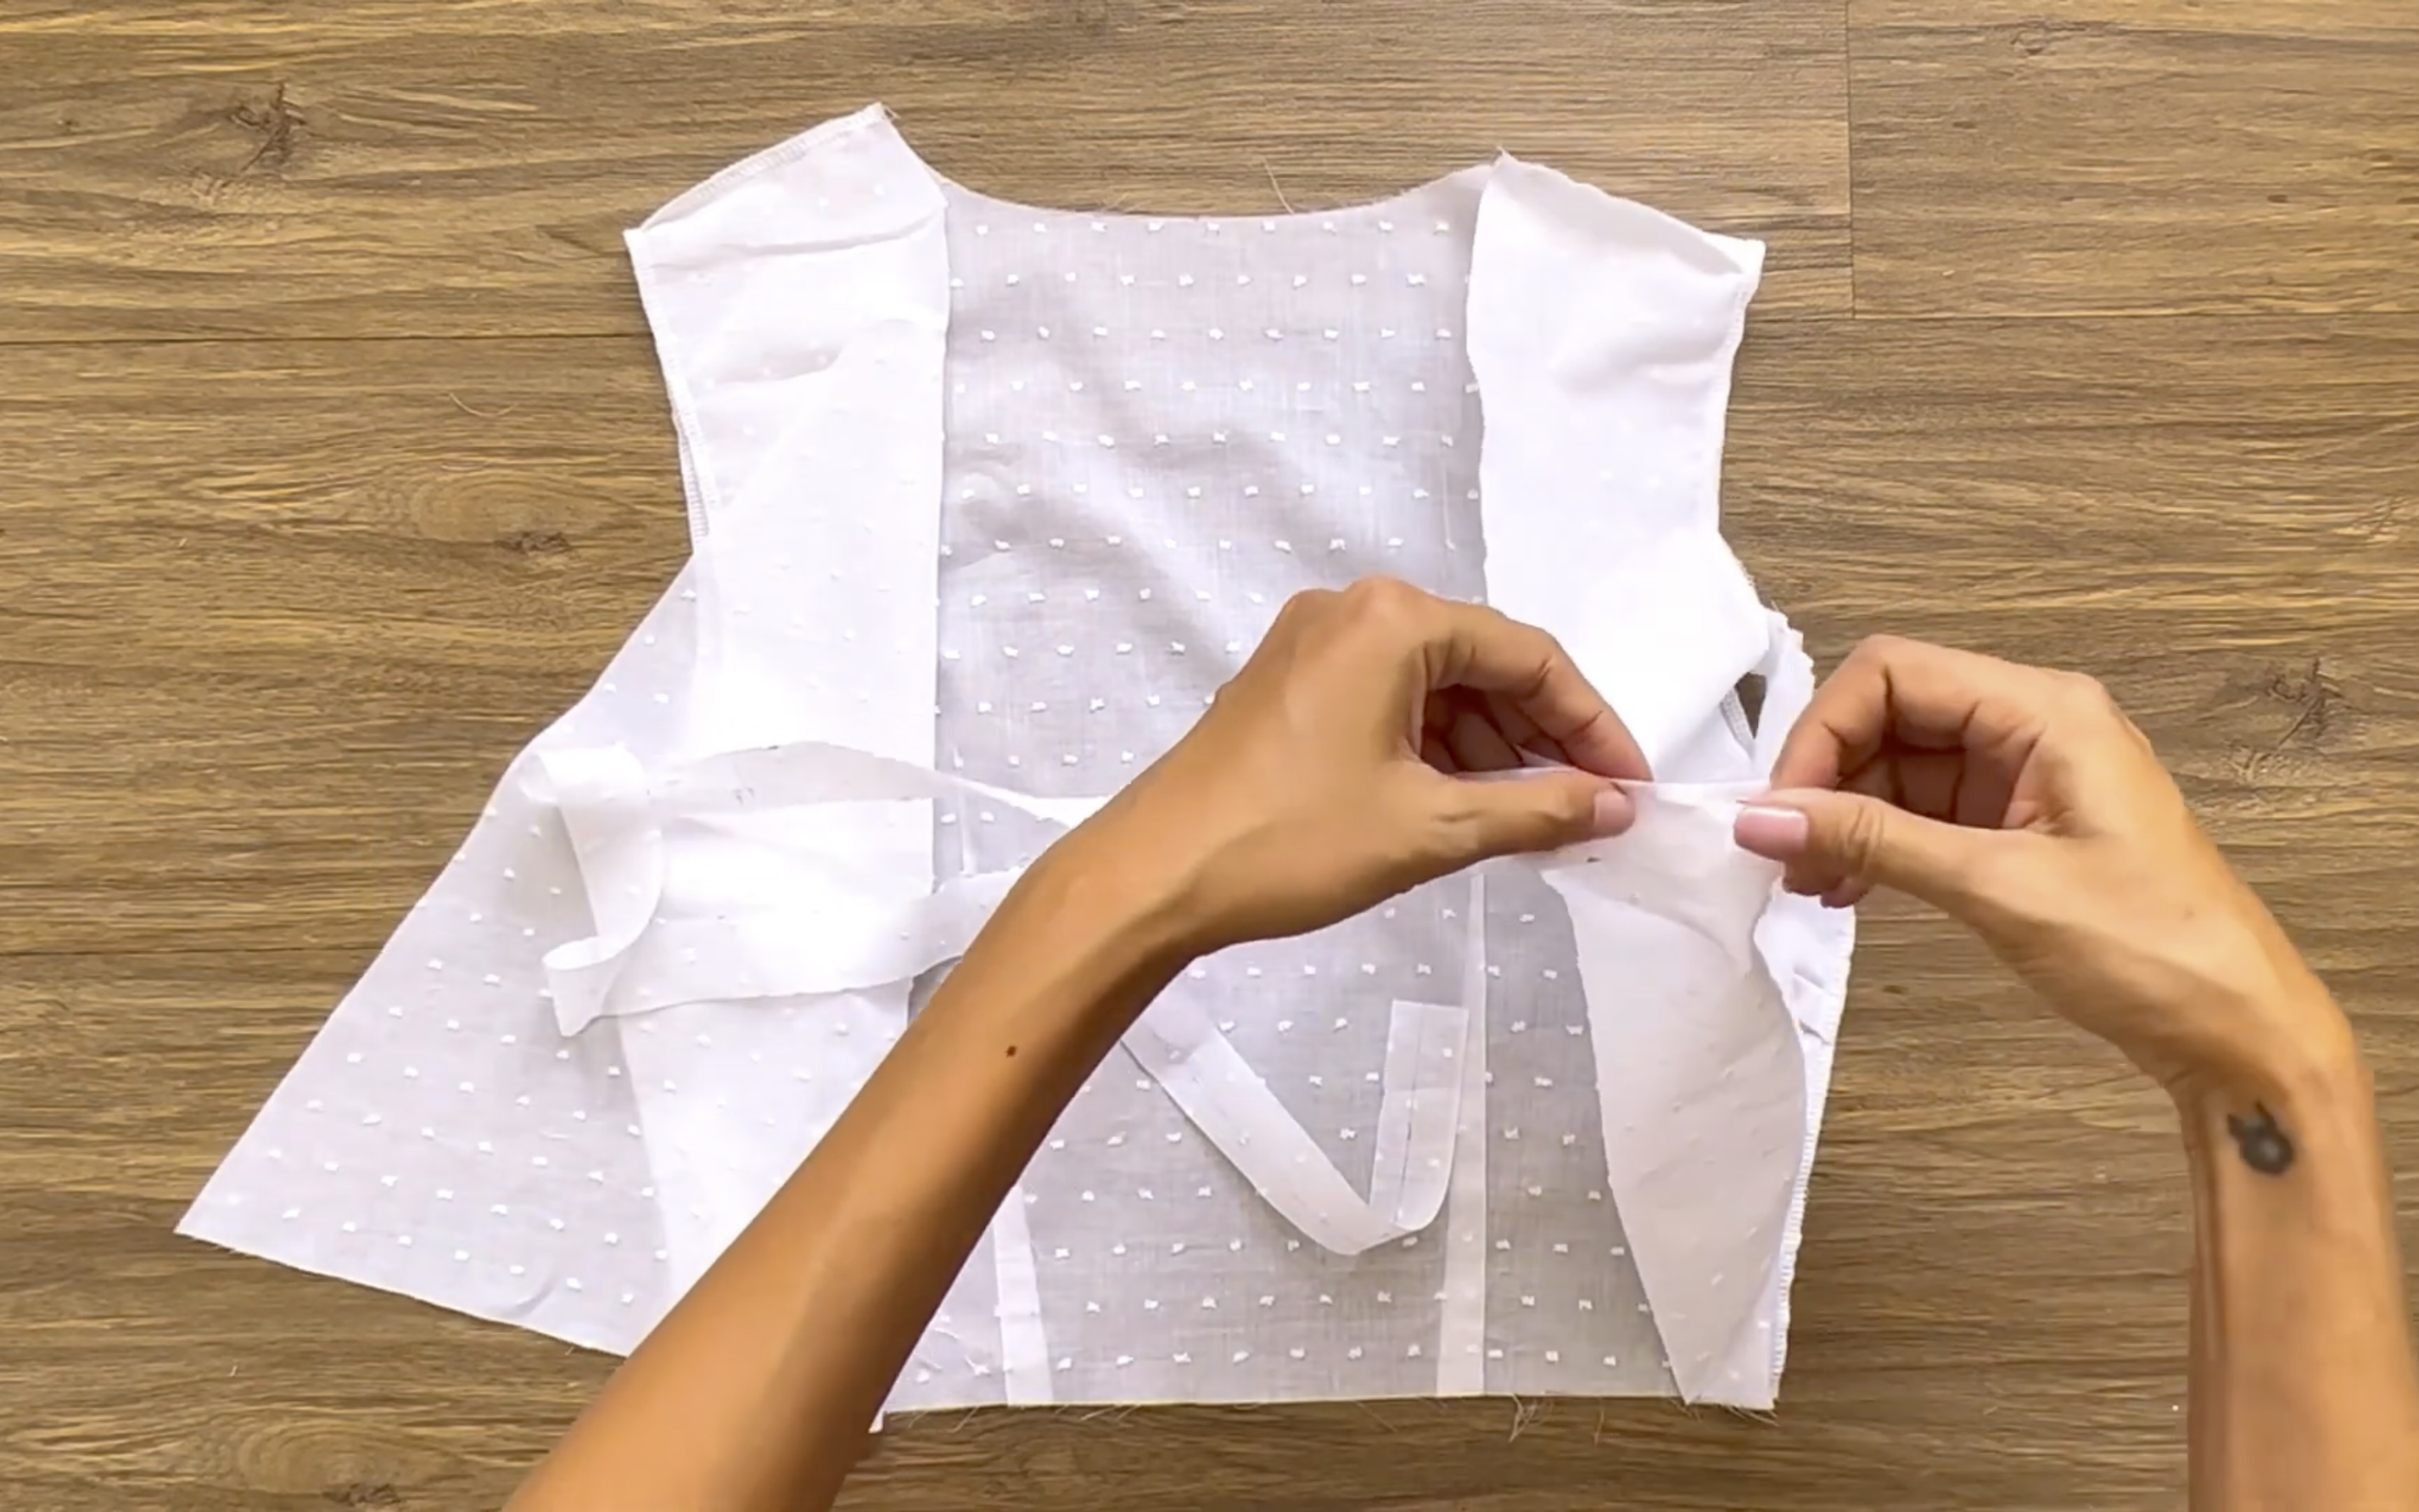
For the neckline, use the same method as the Clara dress.
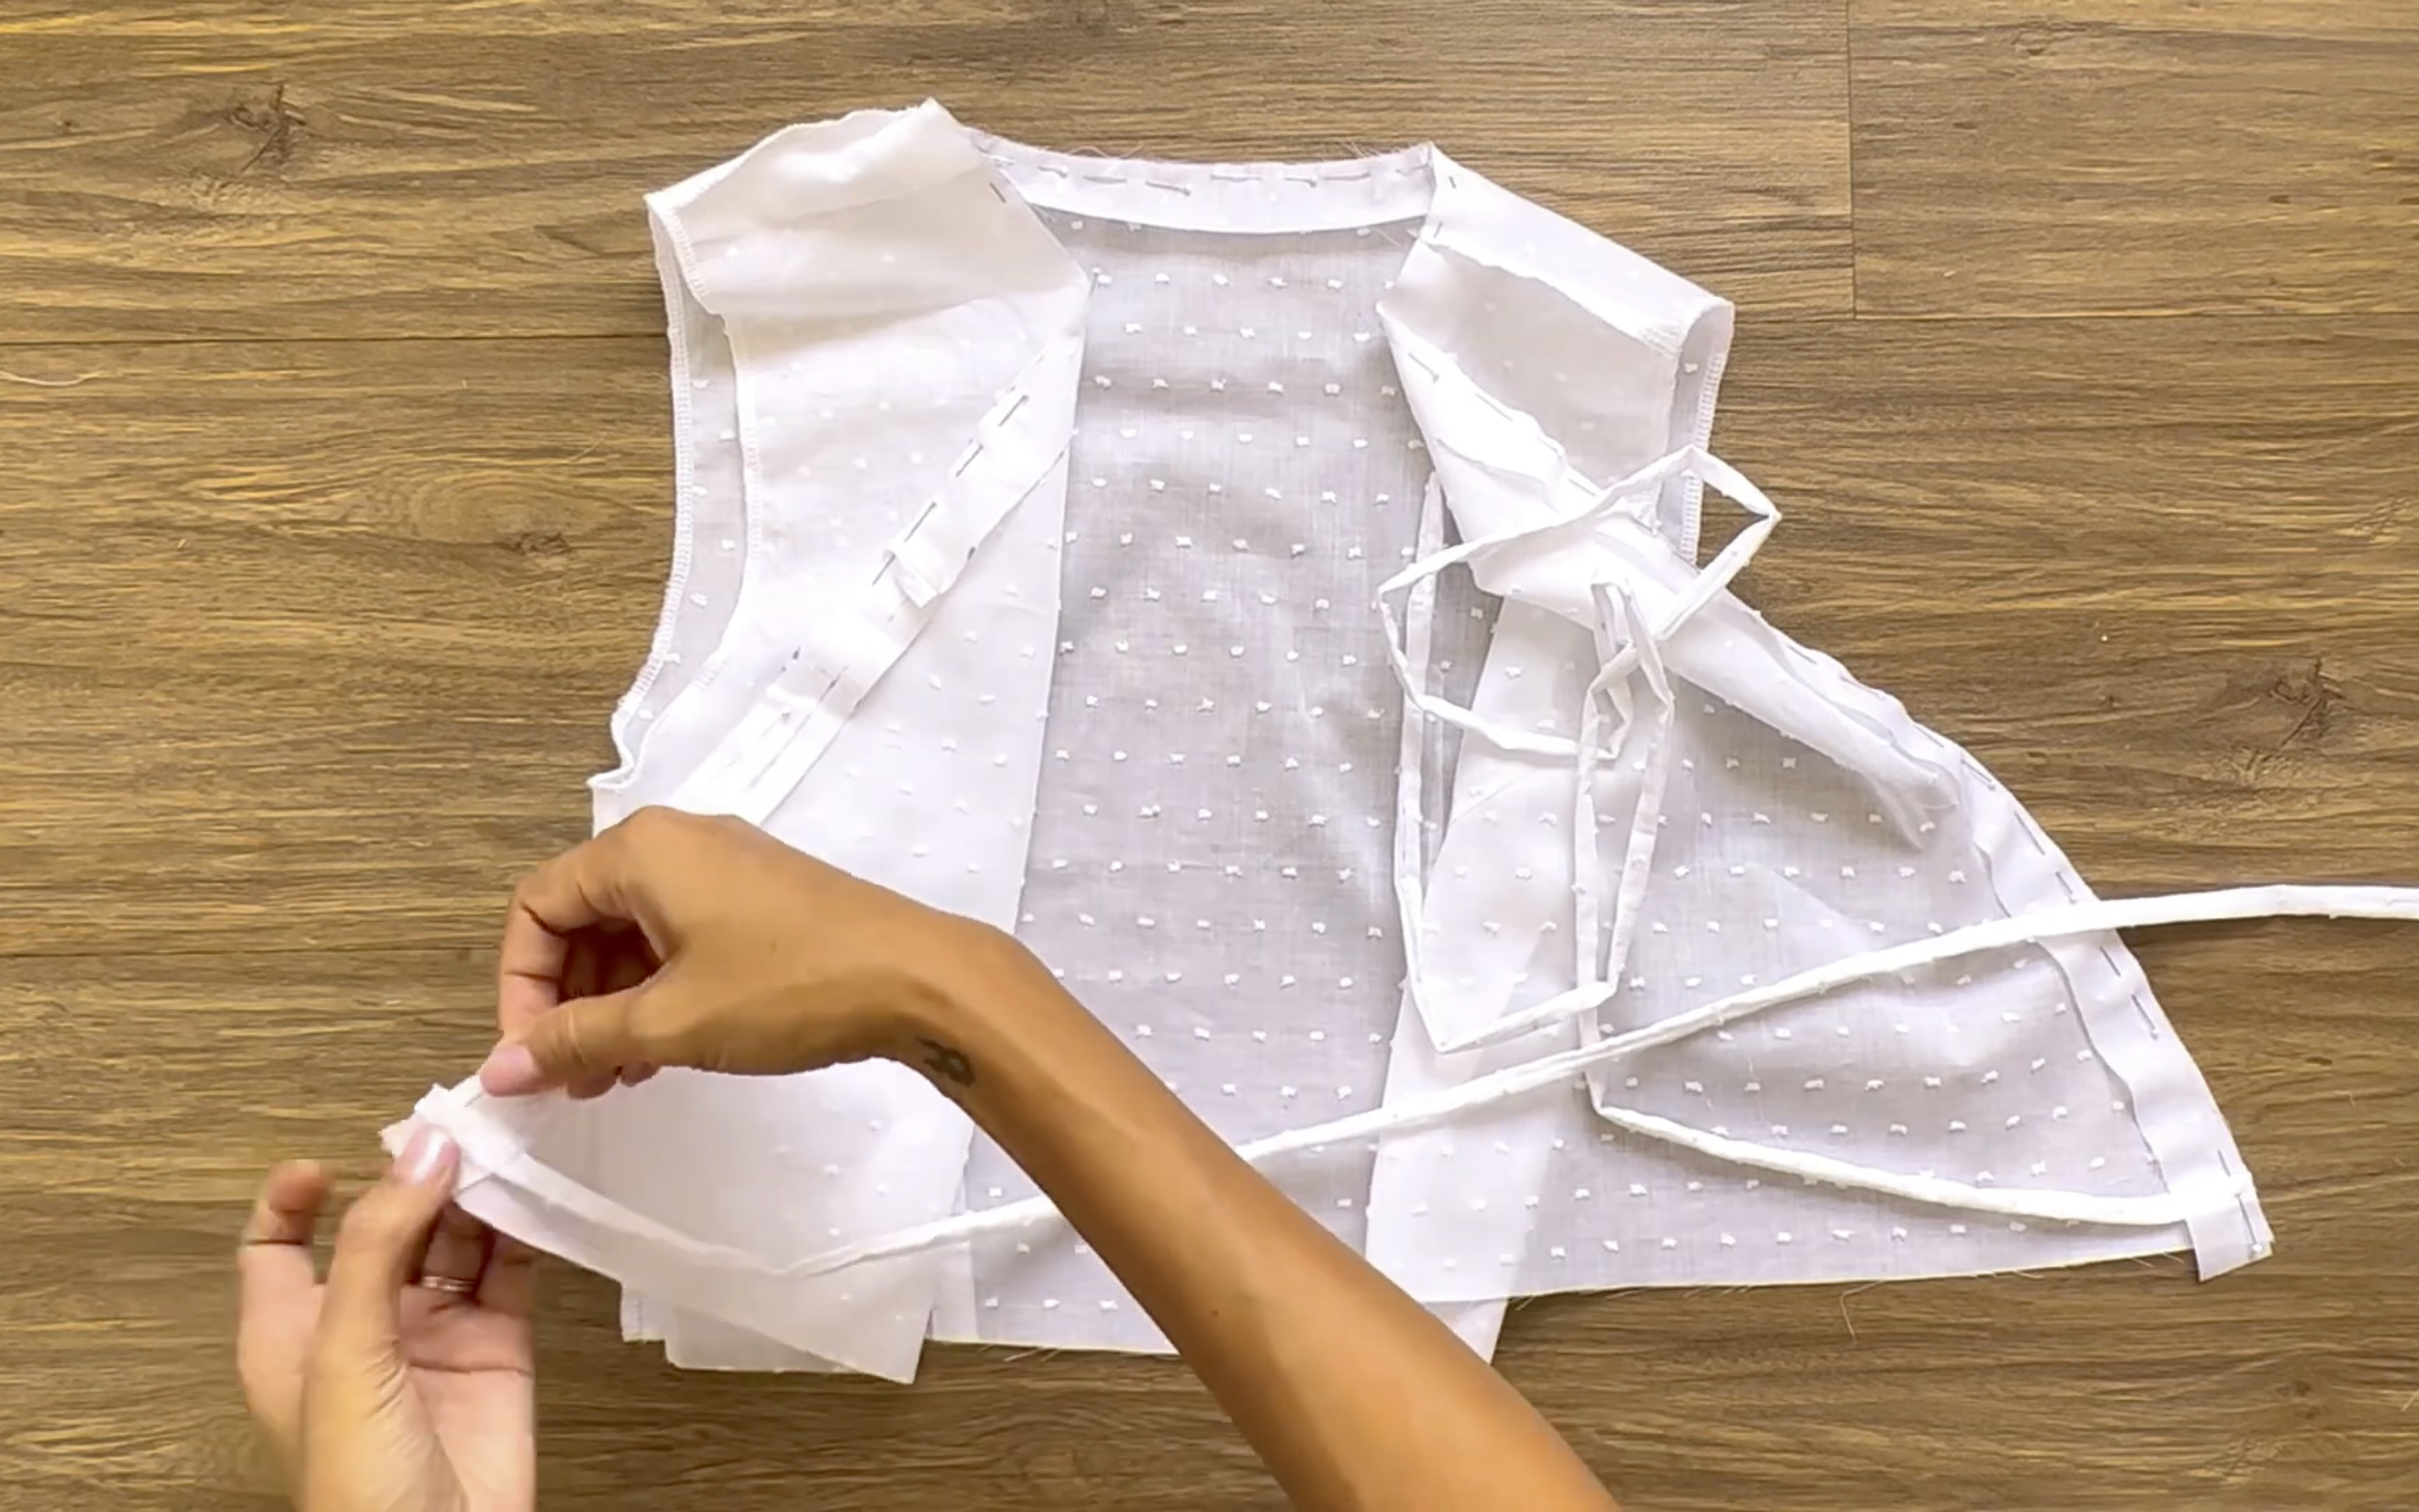
Before sewing, add one end of the tie to one end of the front bodice.
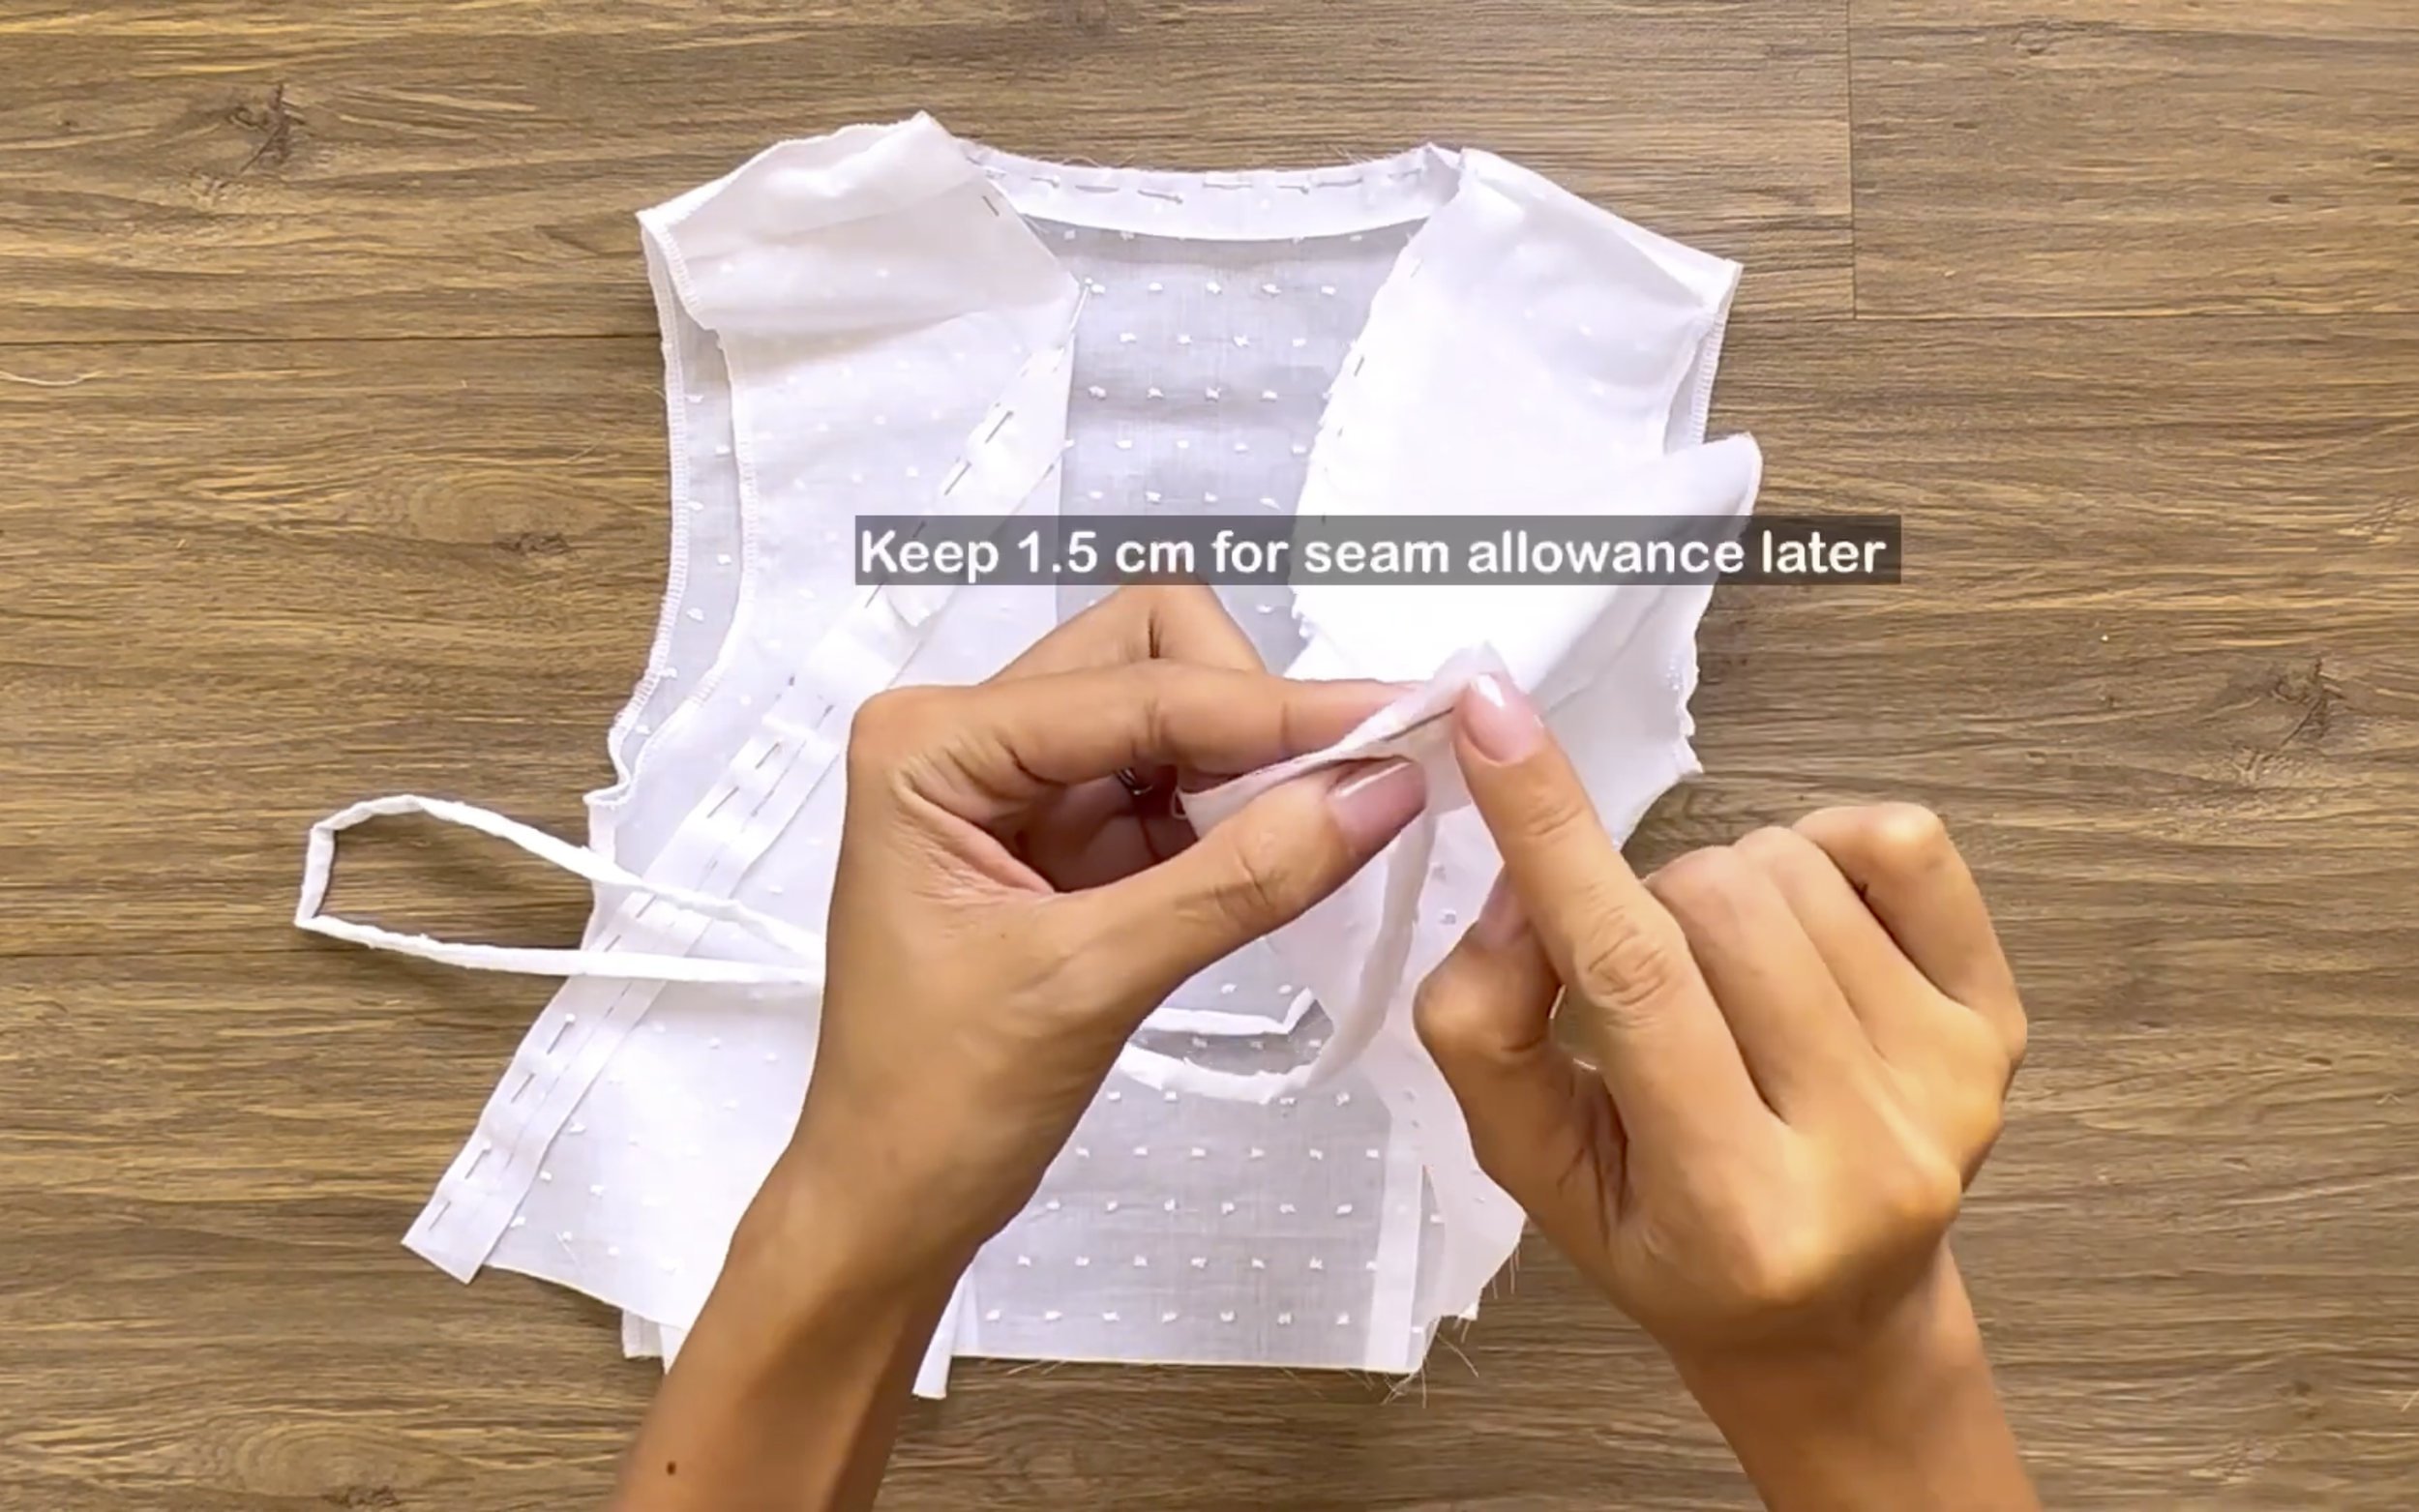
Remember to leave around 1.5 cm extra for seam allowance.
Place the tie between the bodice and the binding.
After the first seam, finish the neckline by folding the other side of the binding inward twice and sewing.
THE RUFFLE HEM PART
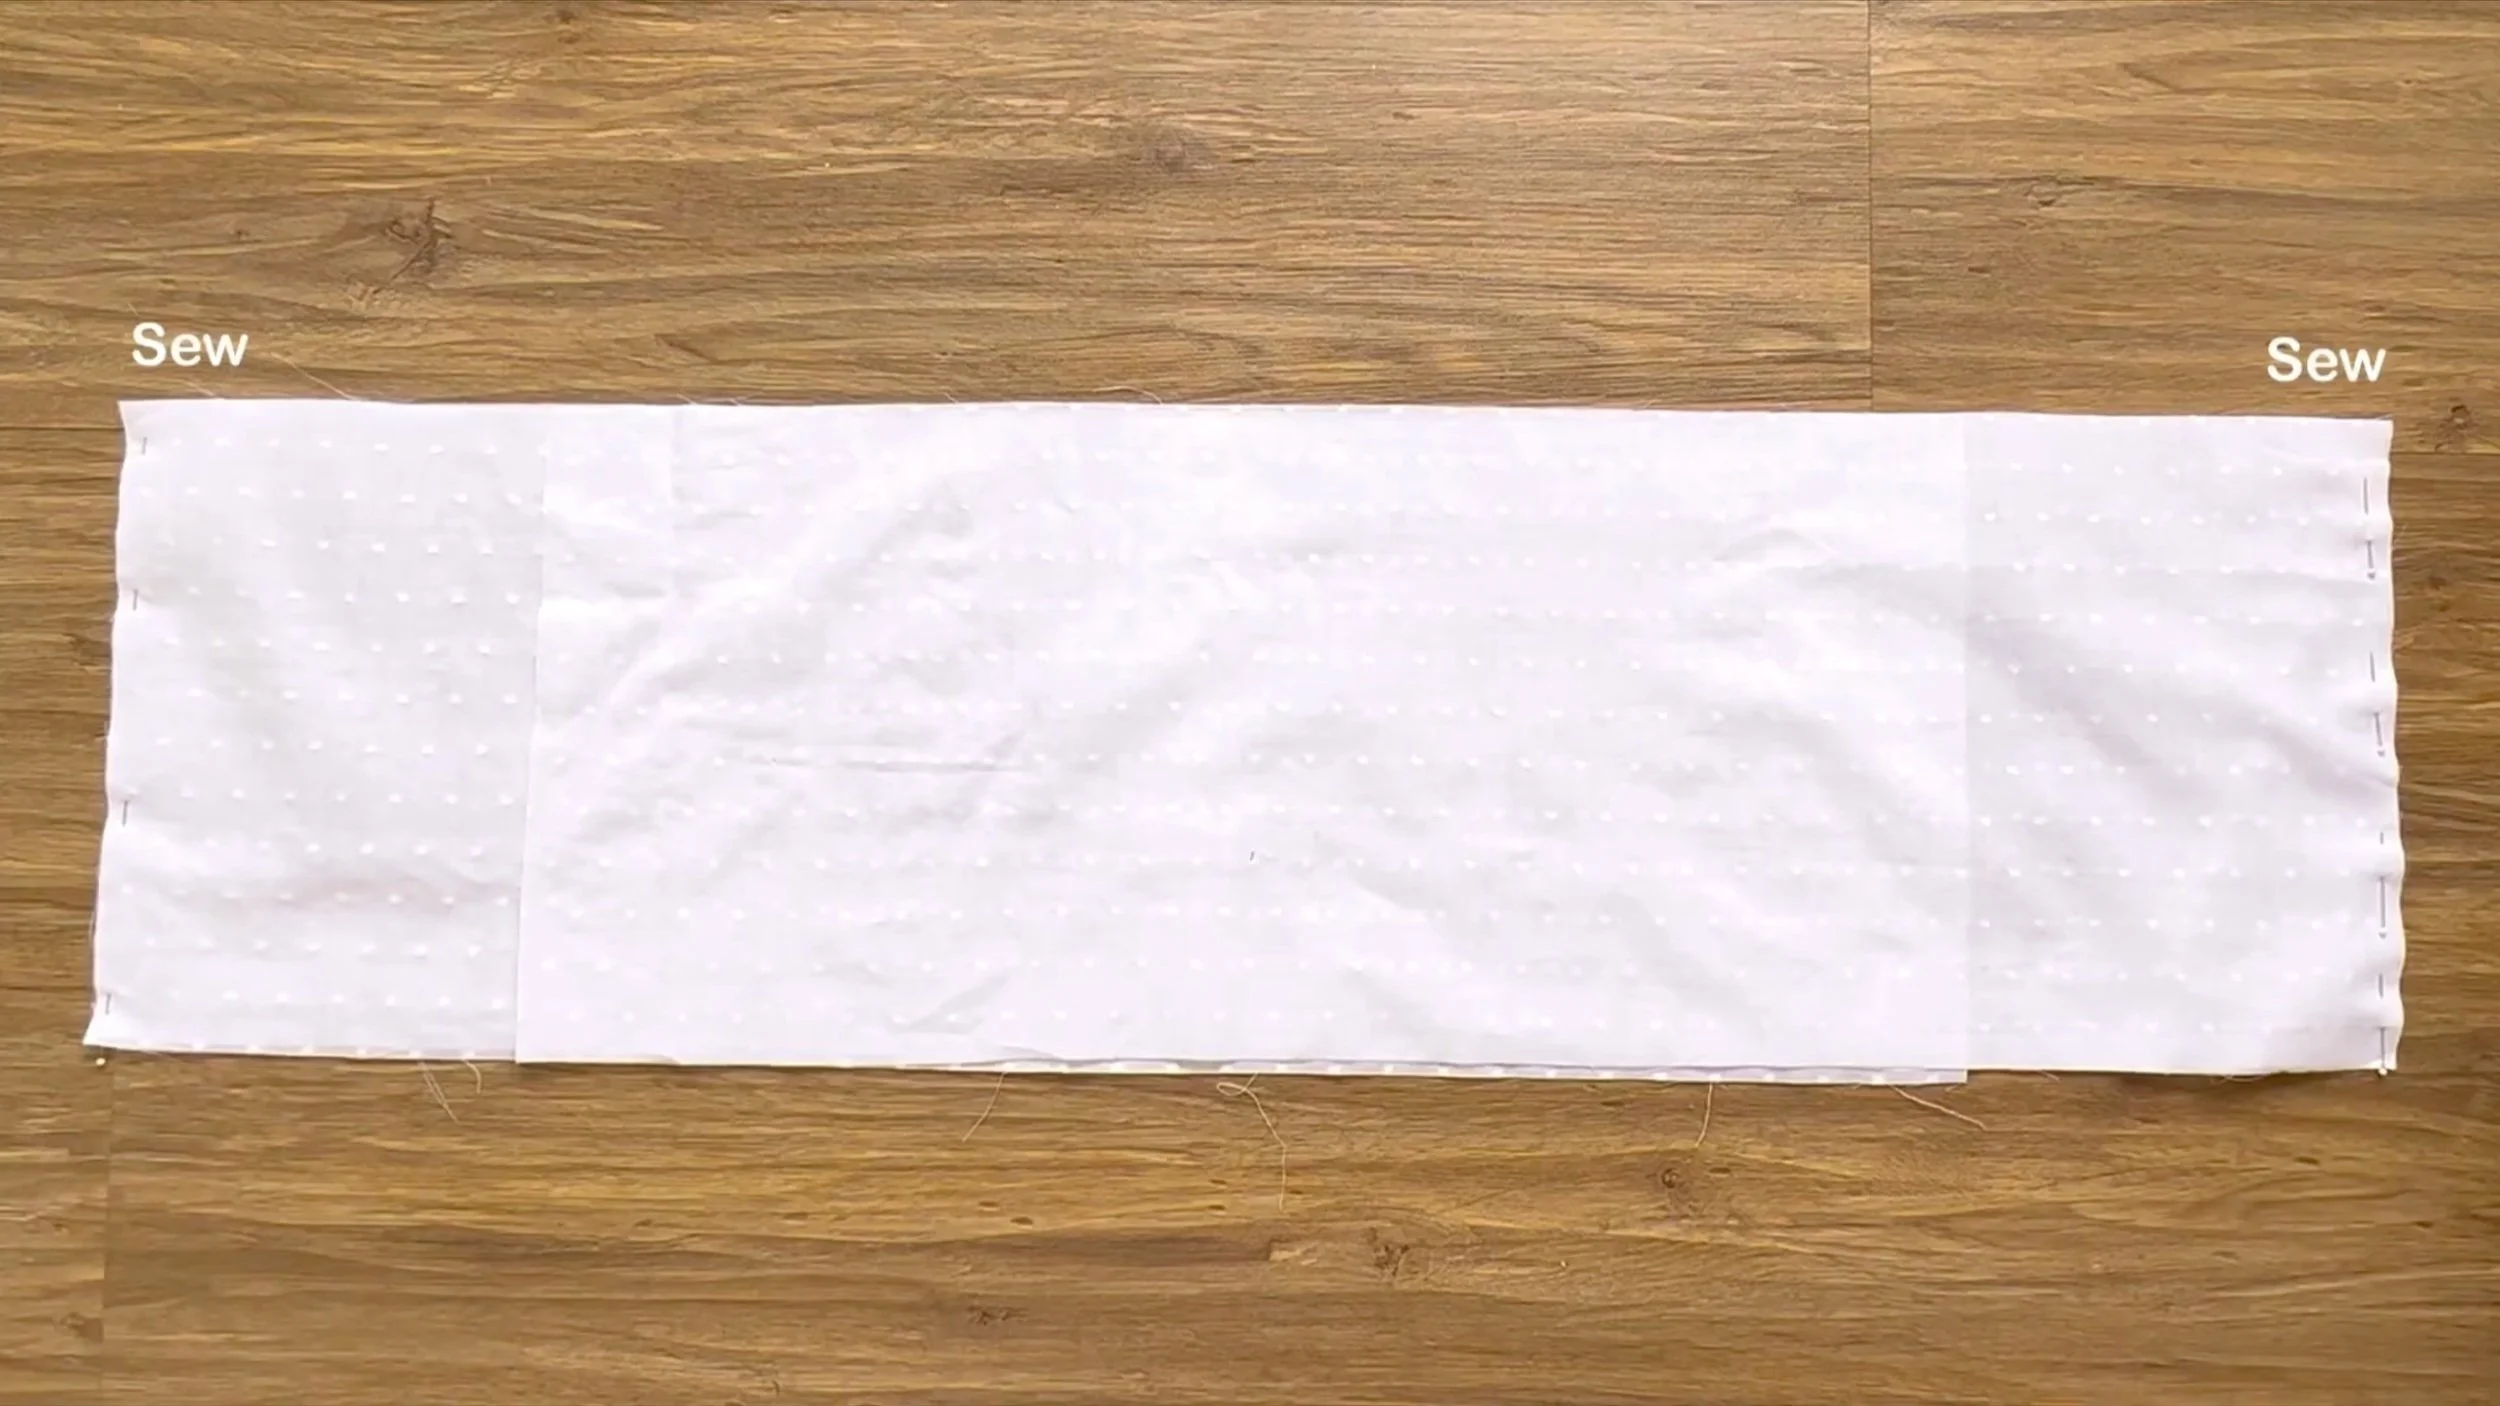
For the ruffle part, connect the two front pieces to the back.
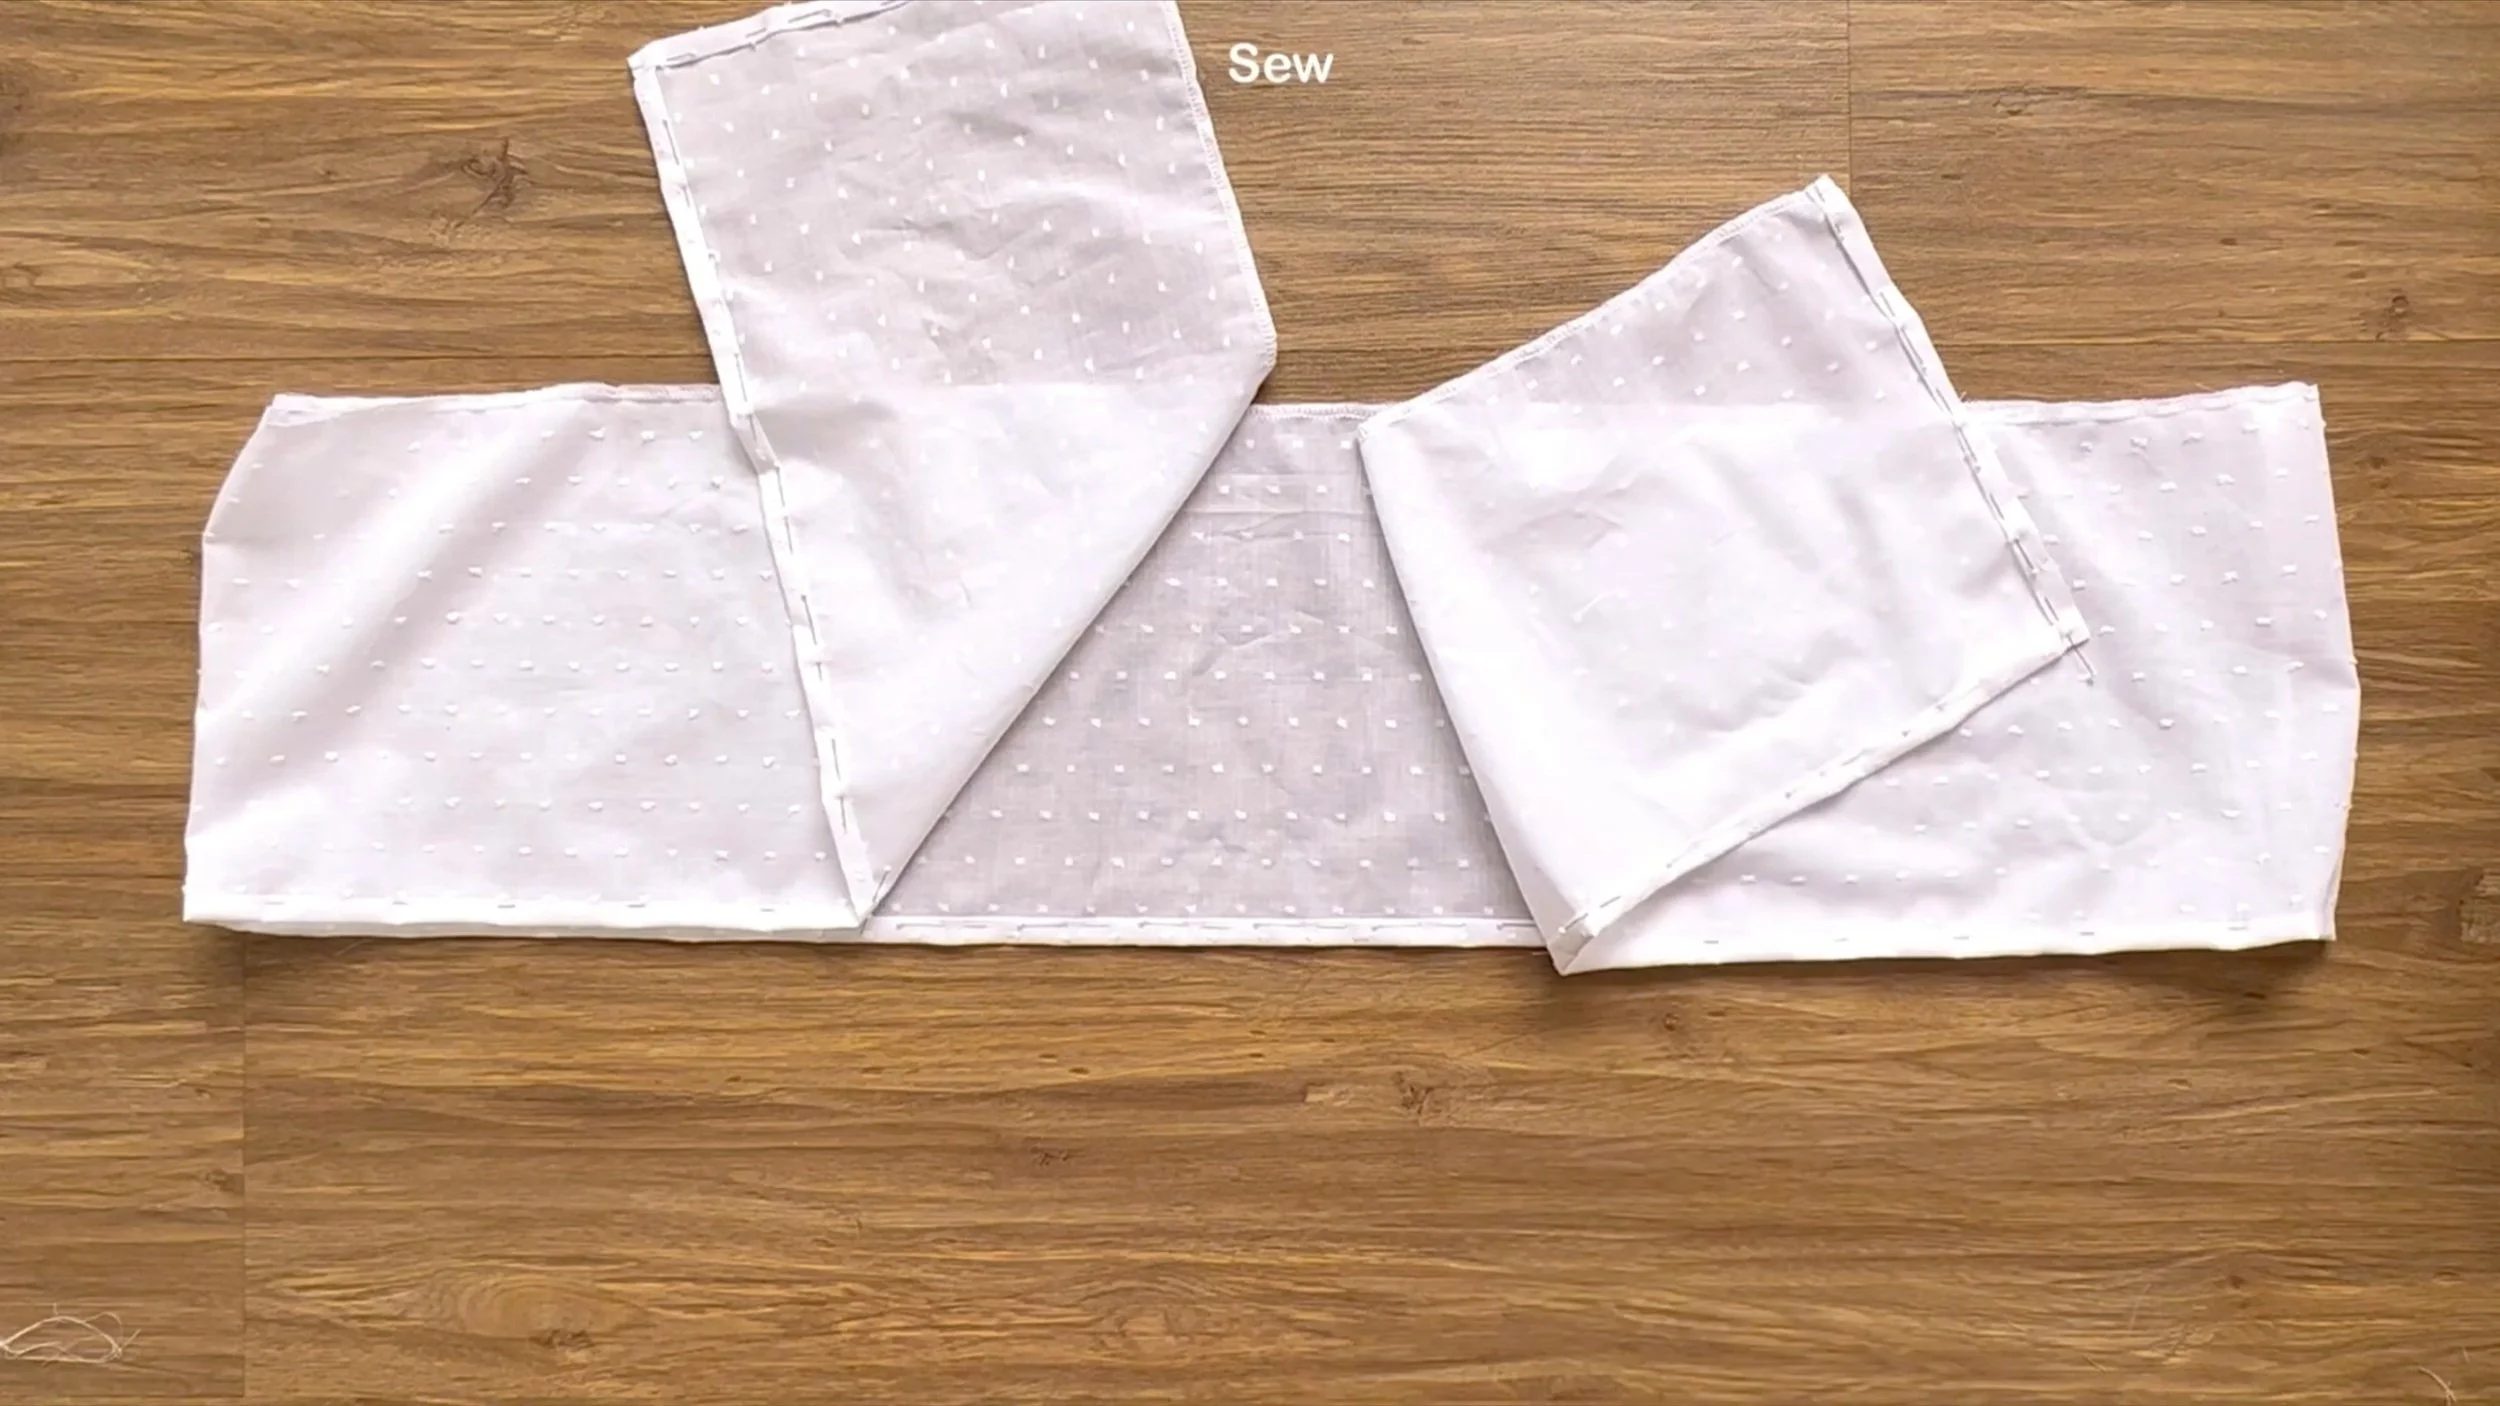
Finish one side of the ruffle, which is the end of the blouse, by folding the edge inward twice with 1 cm each time and sewing.
On the other side, make a loose seam first, then create gathering fabric.
The final width of the gathering fabric should match the bodice’s lower edge for connection.
CONNECT THE RUFFLE HEM TO THE BODICE
Then connect the ruffle hem to the bodice.
THE SLEEVE PART
For the sleeve, connect the under-armpit line first.

At the end of the sleeve, draw a line 4 cm above the edge.
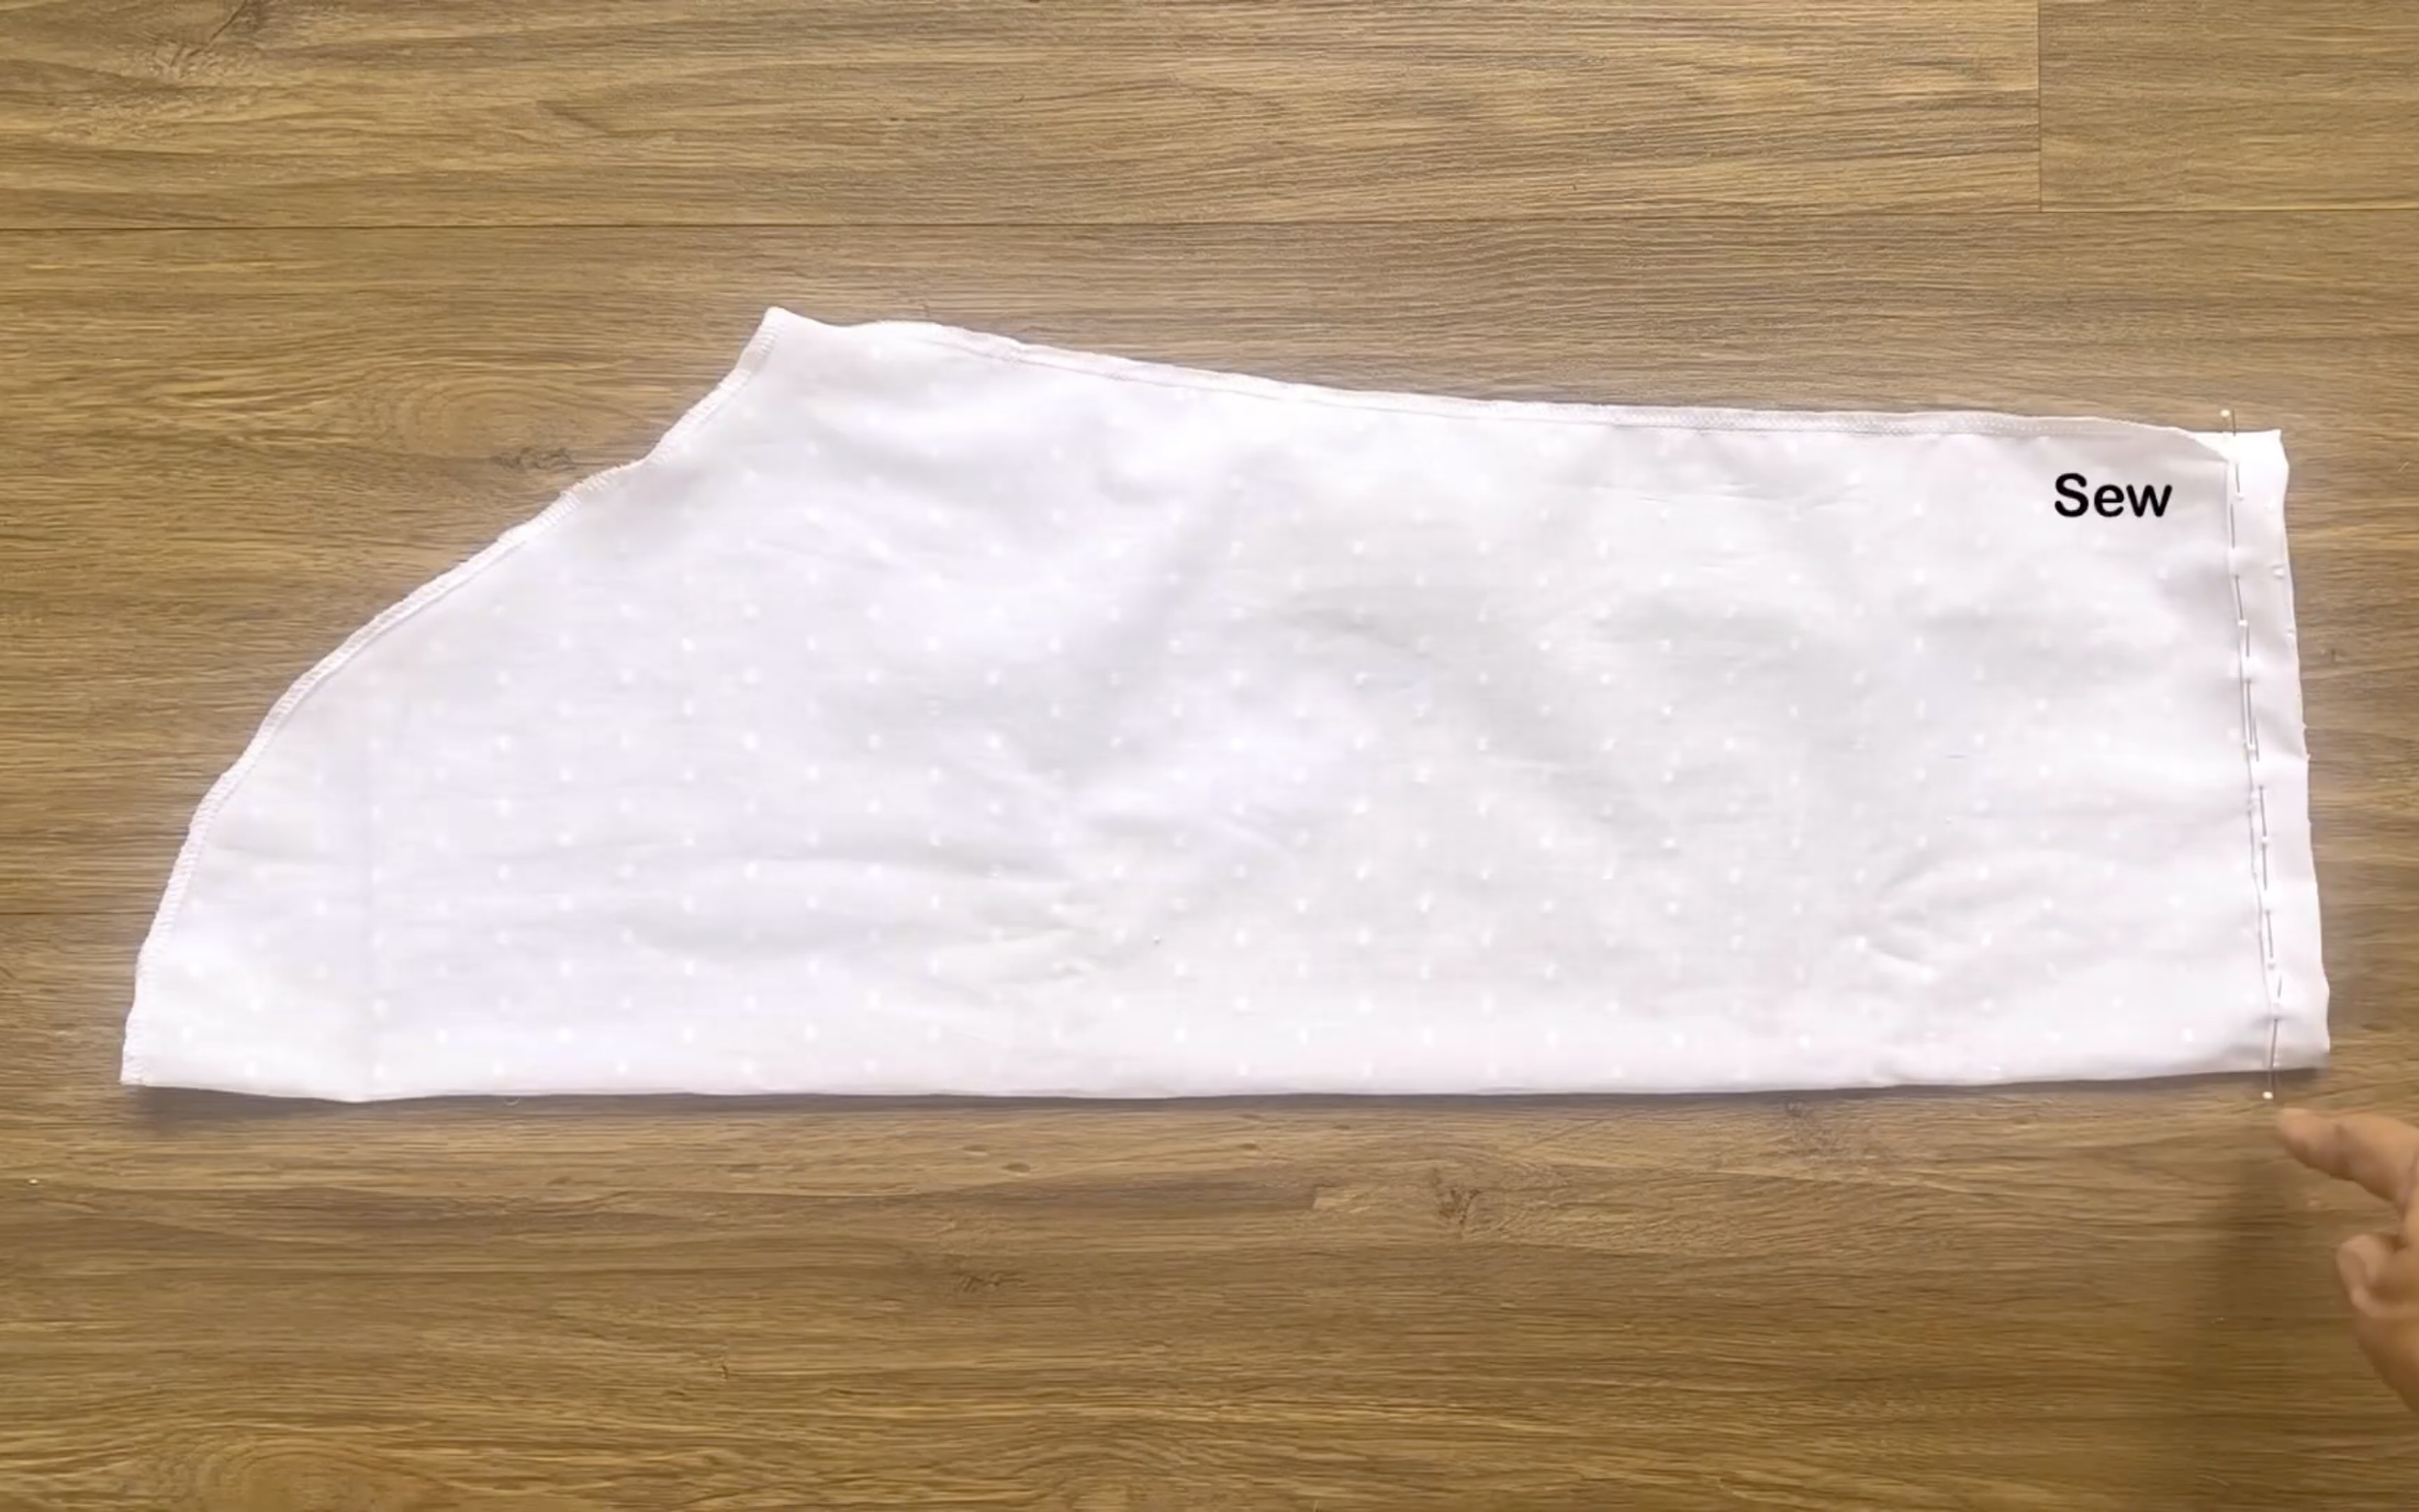
Fold the end fabric inward by 0.5 cm first, then fold it up to the drawn line and sew.
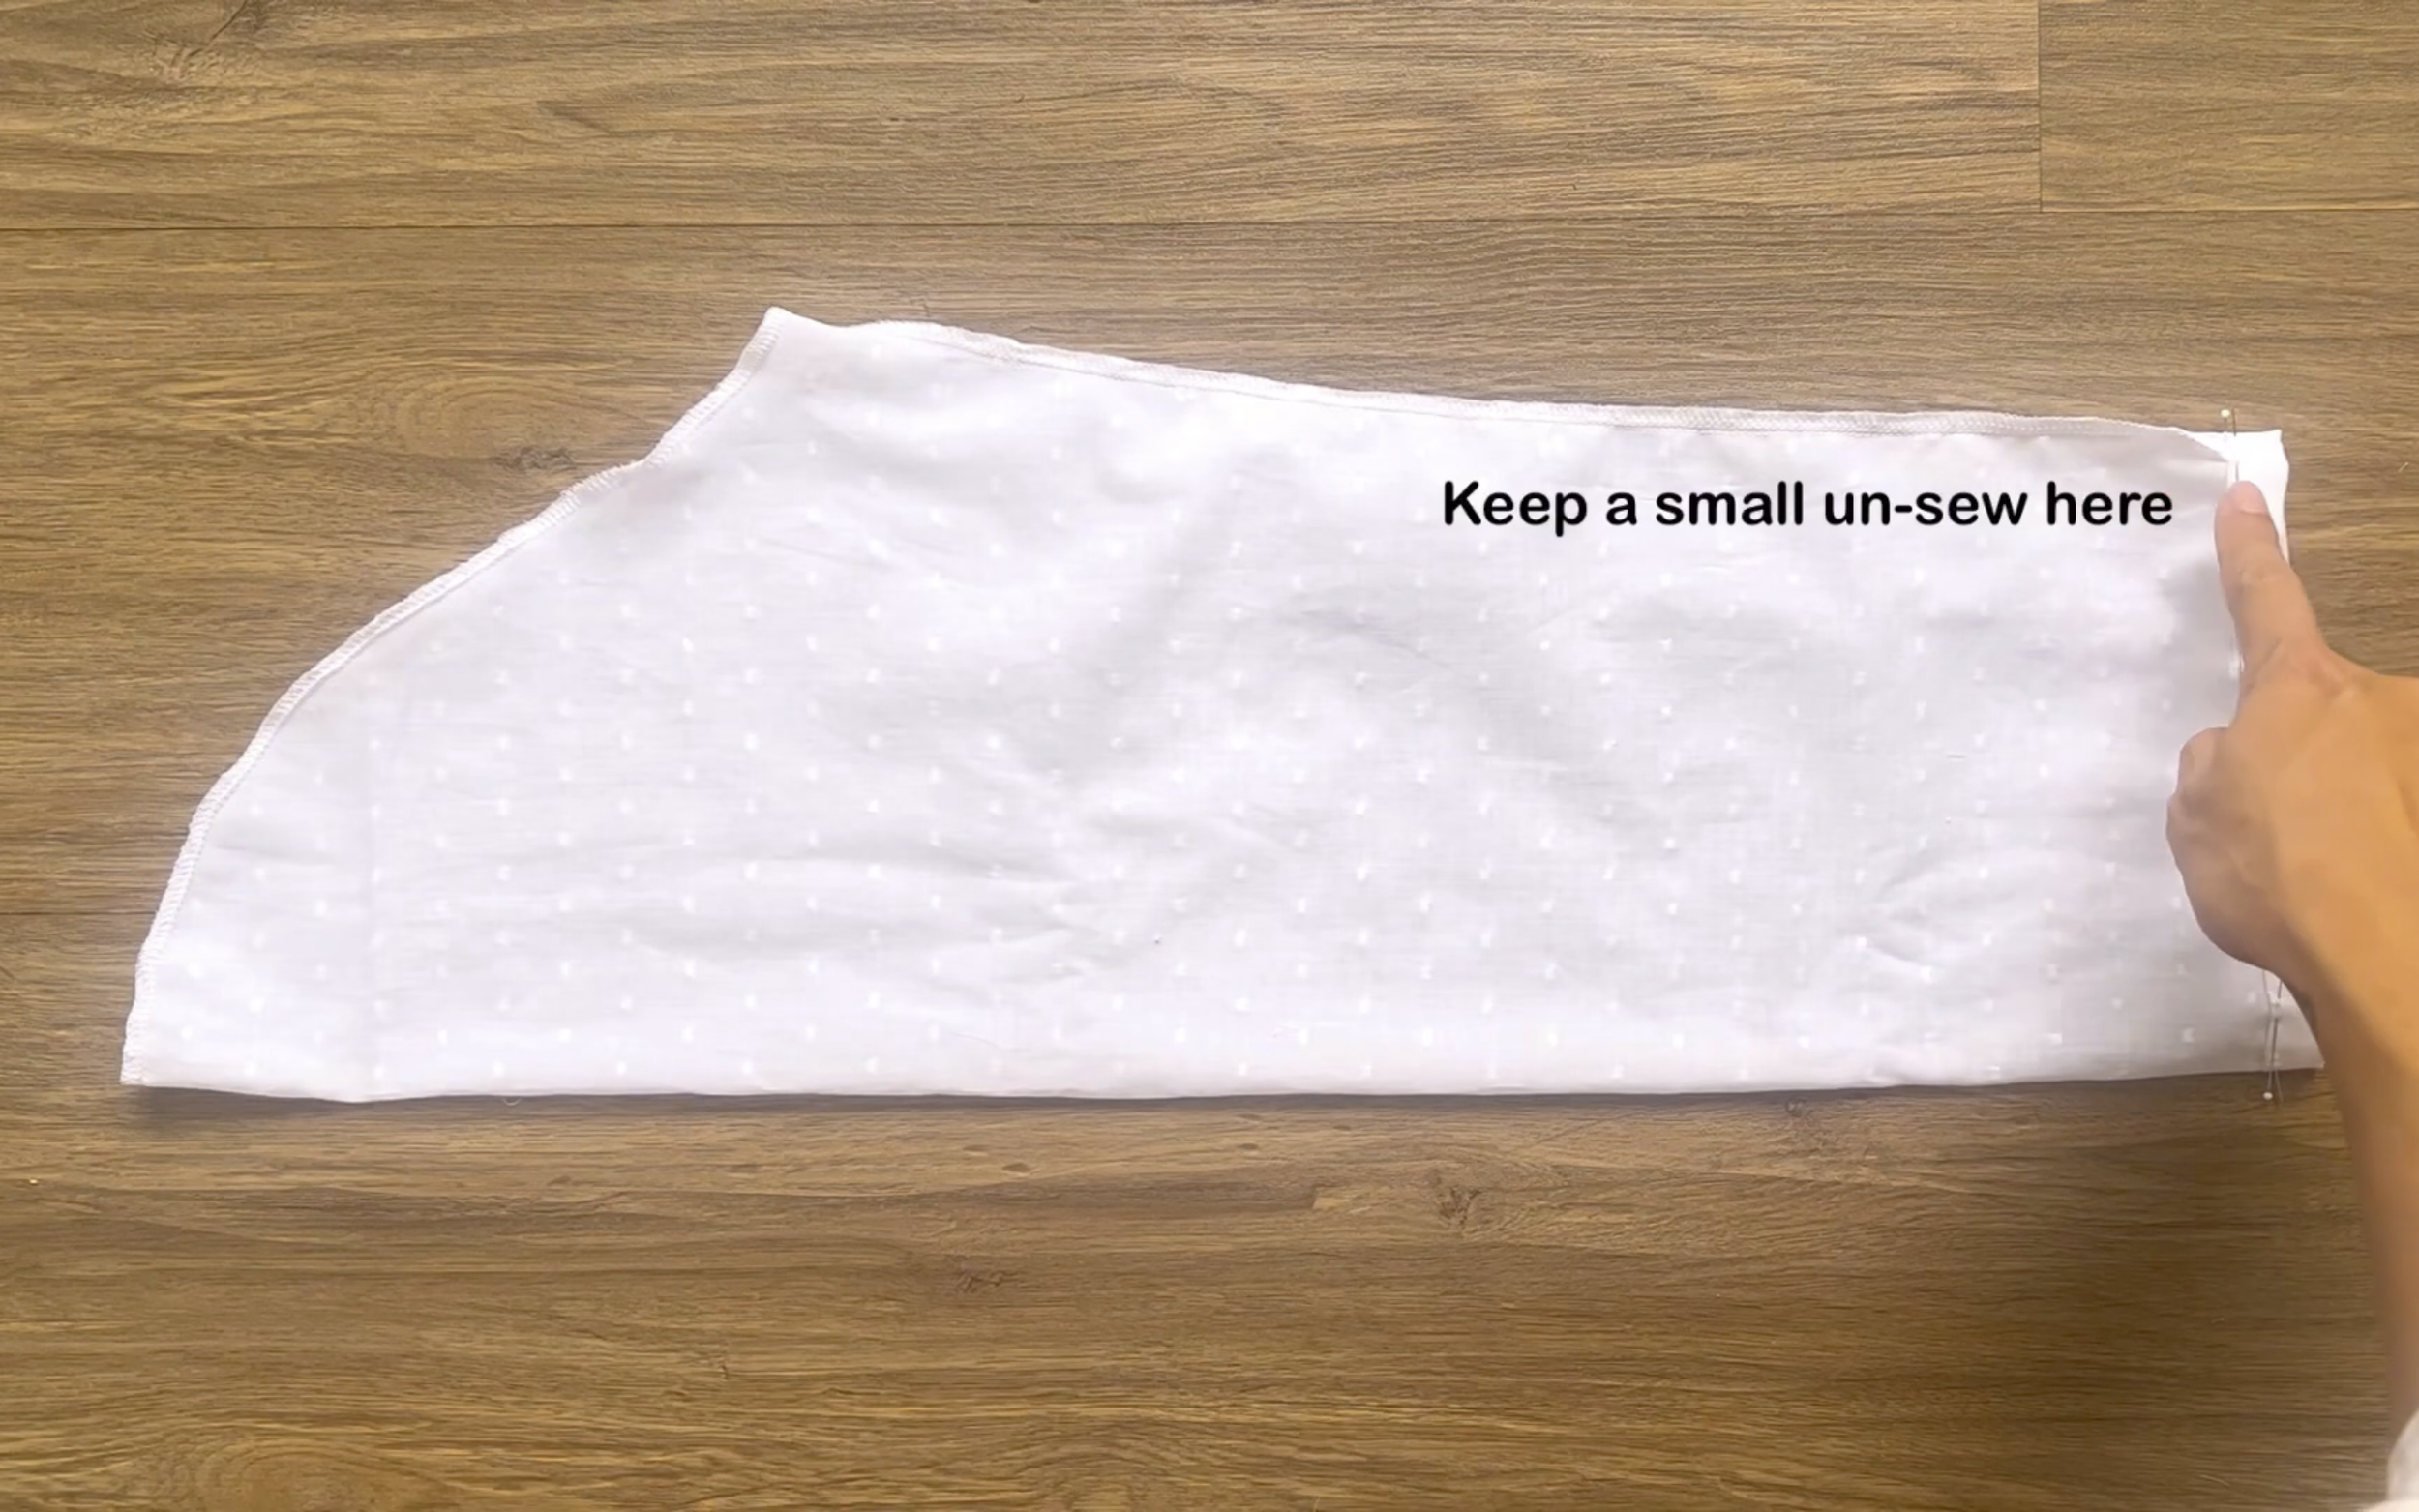
Remember to leave a small gap for the elastic band.
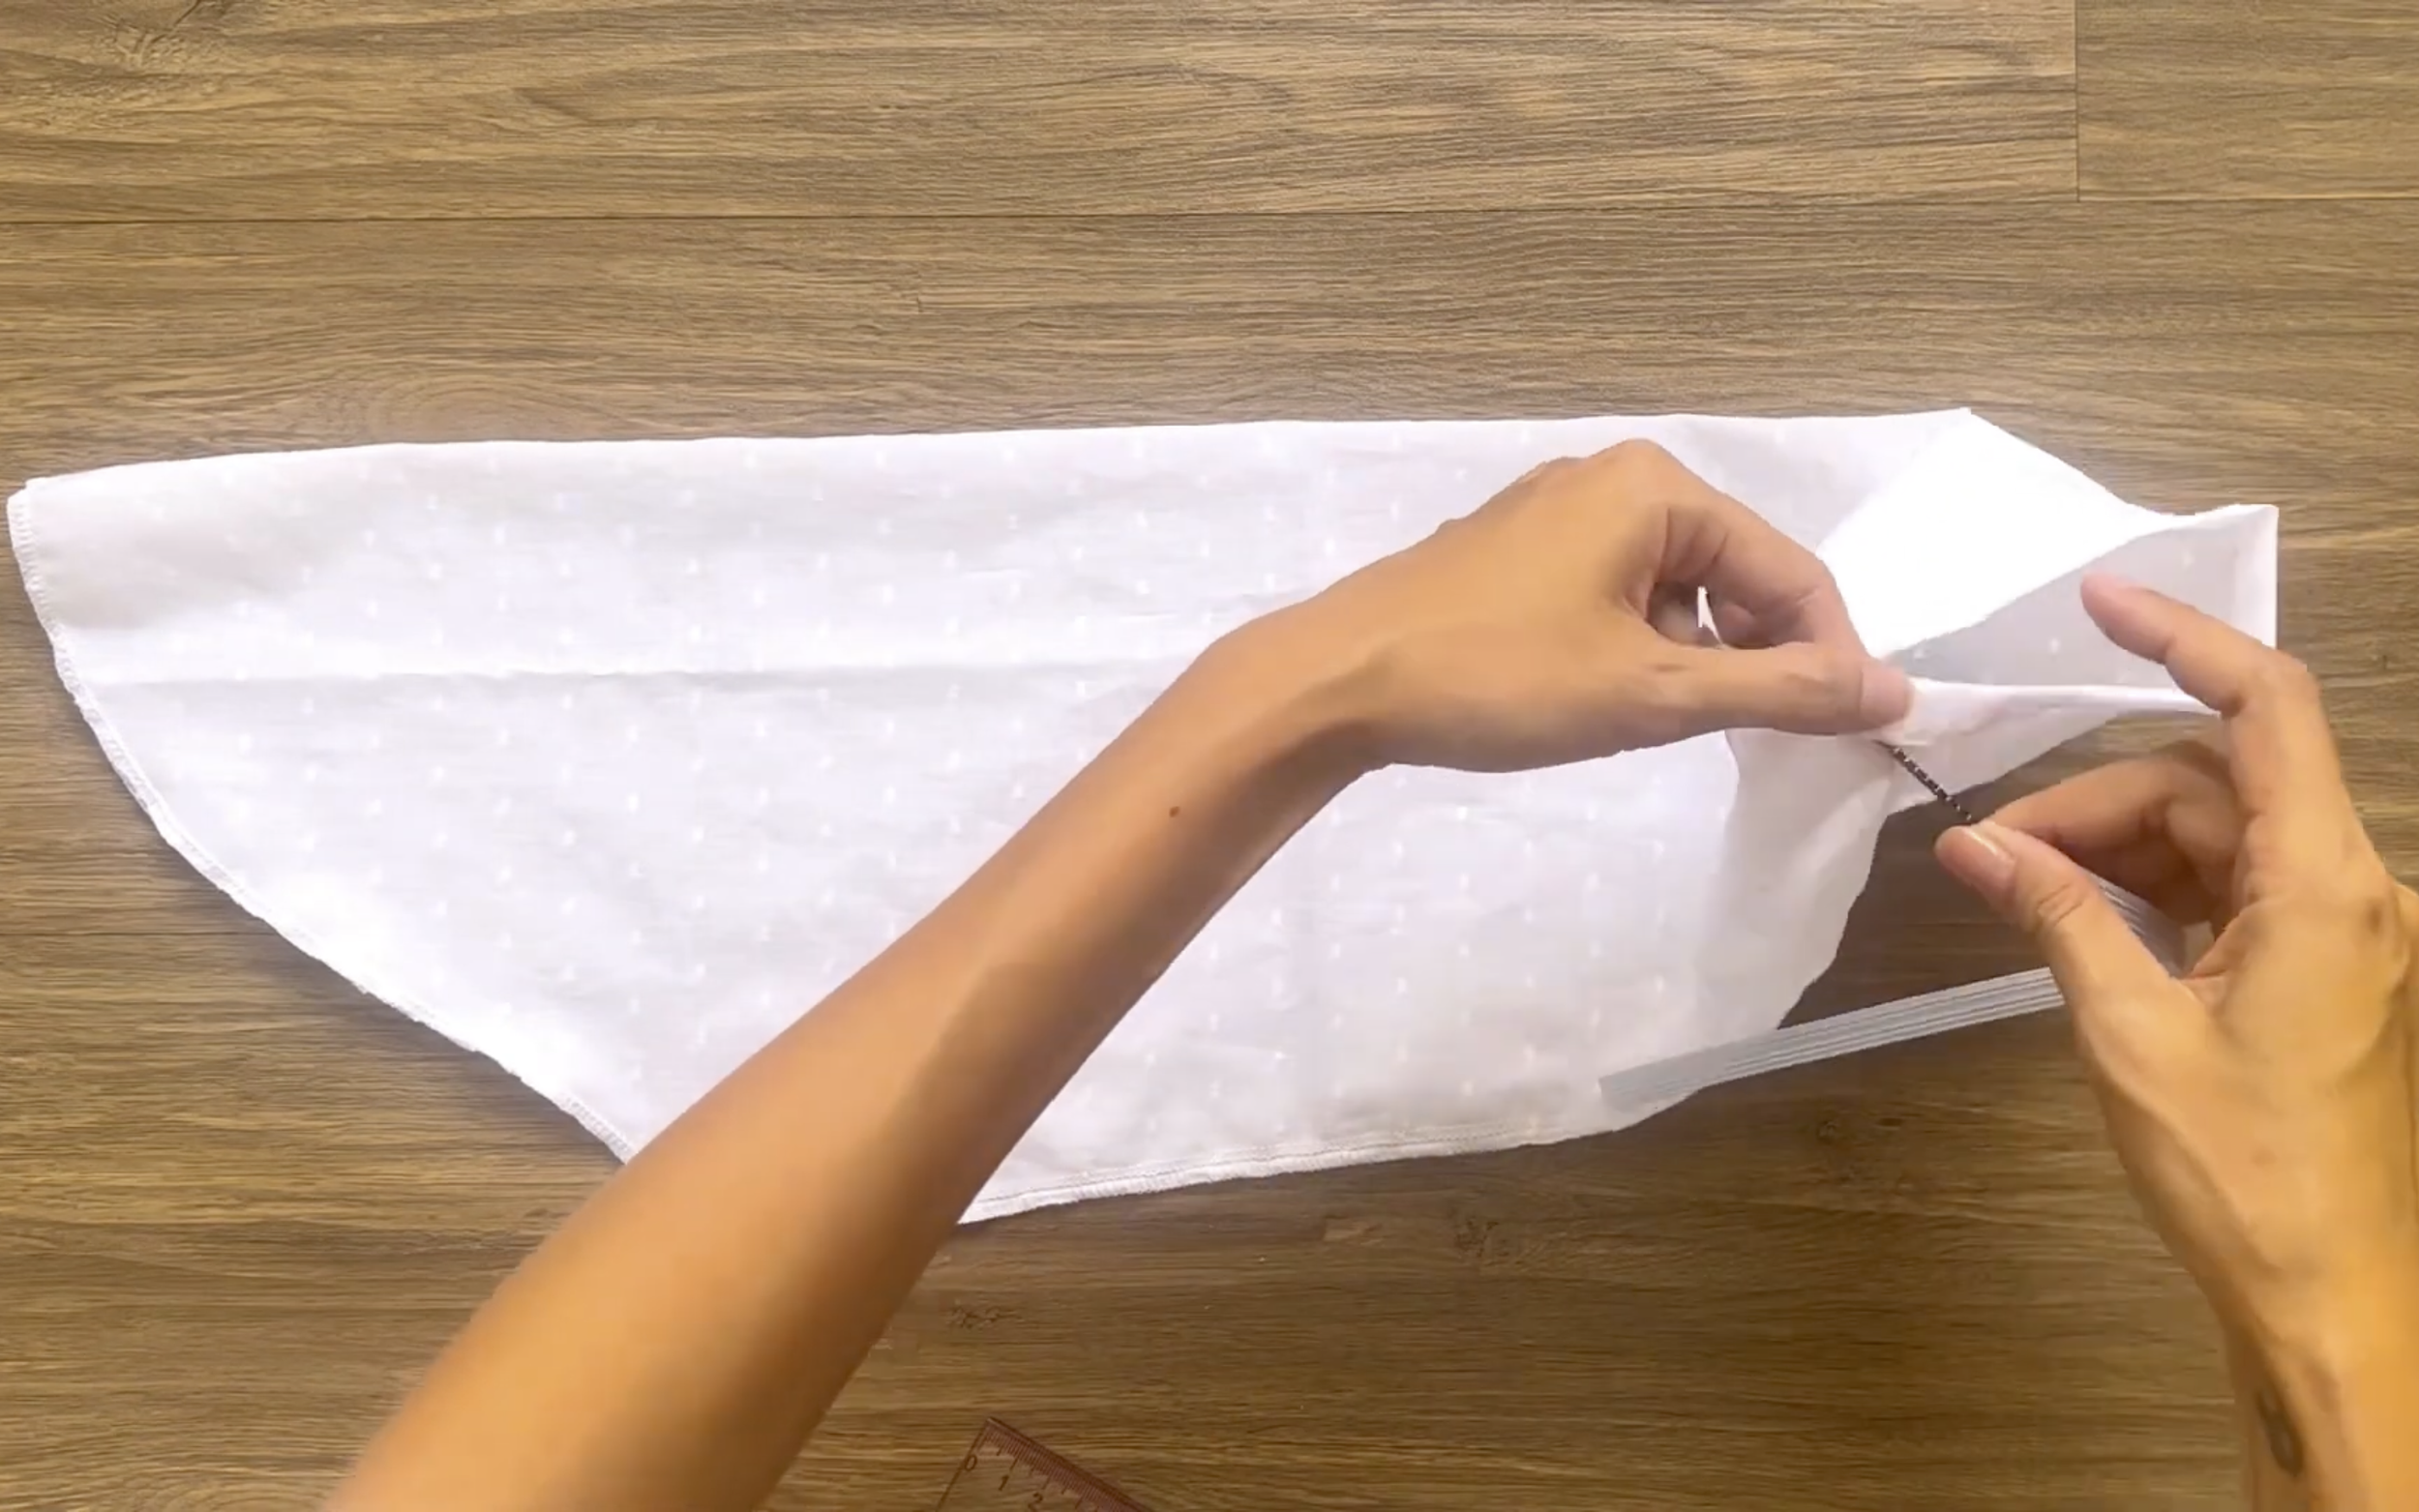
Cut a 24 cm elastic band and put it through the fabric hole.
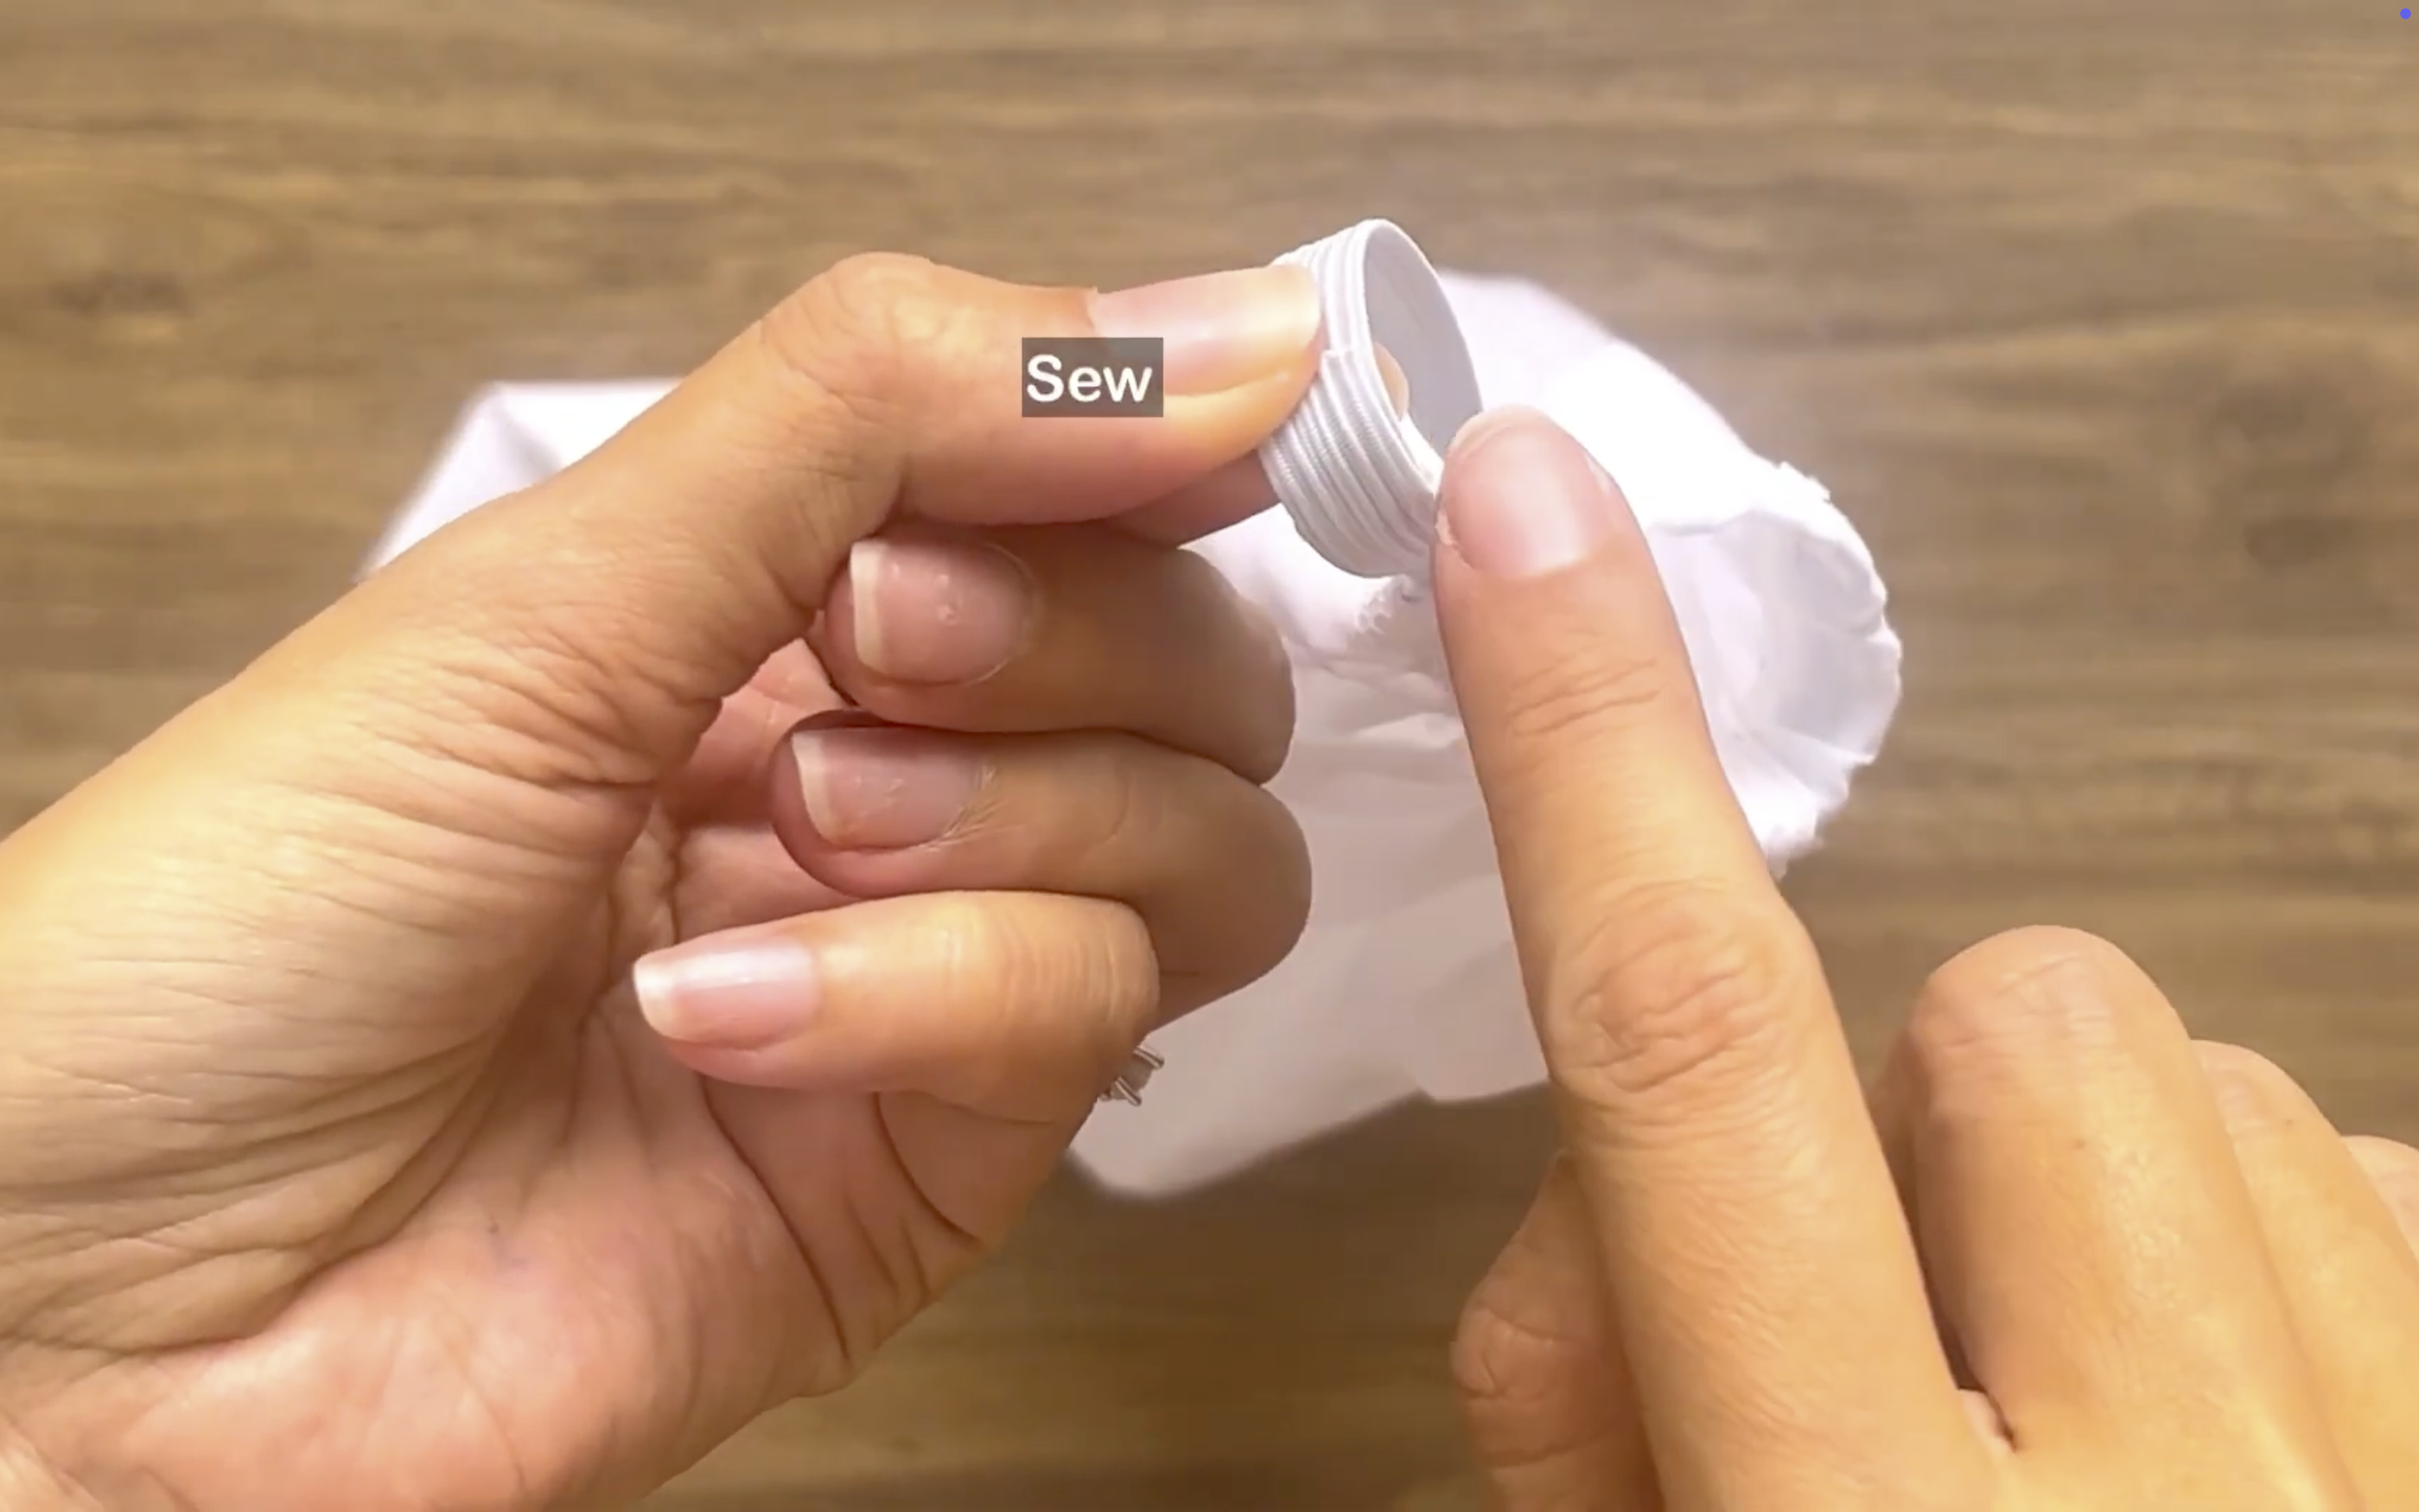
Sew the elastic ends together and close the gap.
At the sleeve top, make a loose seam first, then create gathering fabric.
Make sure the final sleeve width matches the sleeve line width at the bodice for connection.
CONNECT THE SLEEVES TO THE BODICE
The last step is connecting the sleeves to the bodice.
DIY Long puffy sleeve blouse with ruffle hem and wrap style
And that’s the finished DIY! Here’s the final result—a blouse that’s not only cute but also feels so familiar and versatile.
I hope you’ll give both of these tops a try! They’re fun to make and so versatile.
See you next time!