DIY Mini denim skirt from leftover fabric of the jeans - Don't throw your old jeans away

DIY Mini denim skirt from leftover fabric of the jeans - Don't throw your old jeans away
Welcome or welcome back to my channel!
In today's tutorial, I'm sharing with you another idea to reuse the leftover fabric from the jeans that you might throw away. It's this Mini denim skirt. And I made it from the leftover fabric of 2 leg's jeans. We usually cut off the leg's jeans to make the short or the skirt from the old jeans. It's the most common way to recycle your jeans. Then we don't know what to do with the leftover fabric.
So I hope this idea will help you save them for a great DIY. Let’s get started!
WHAT YOU’LL NEED
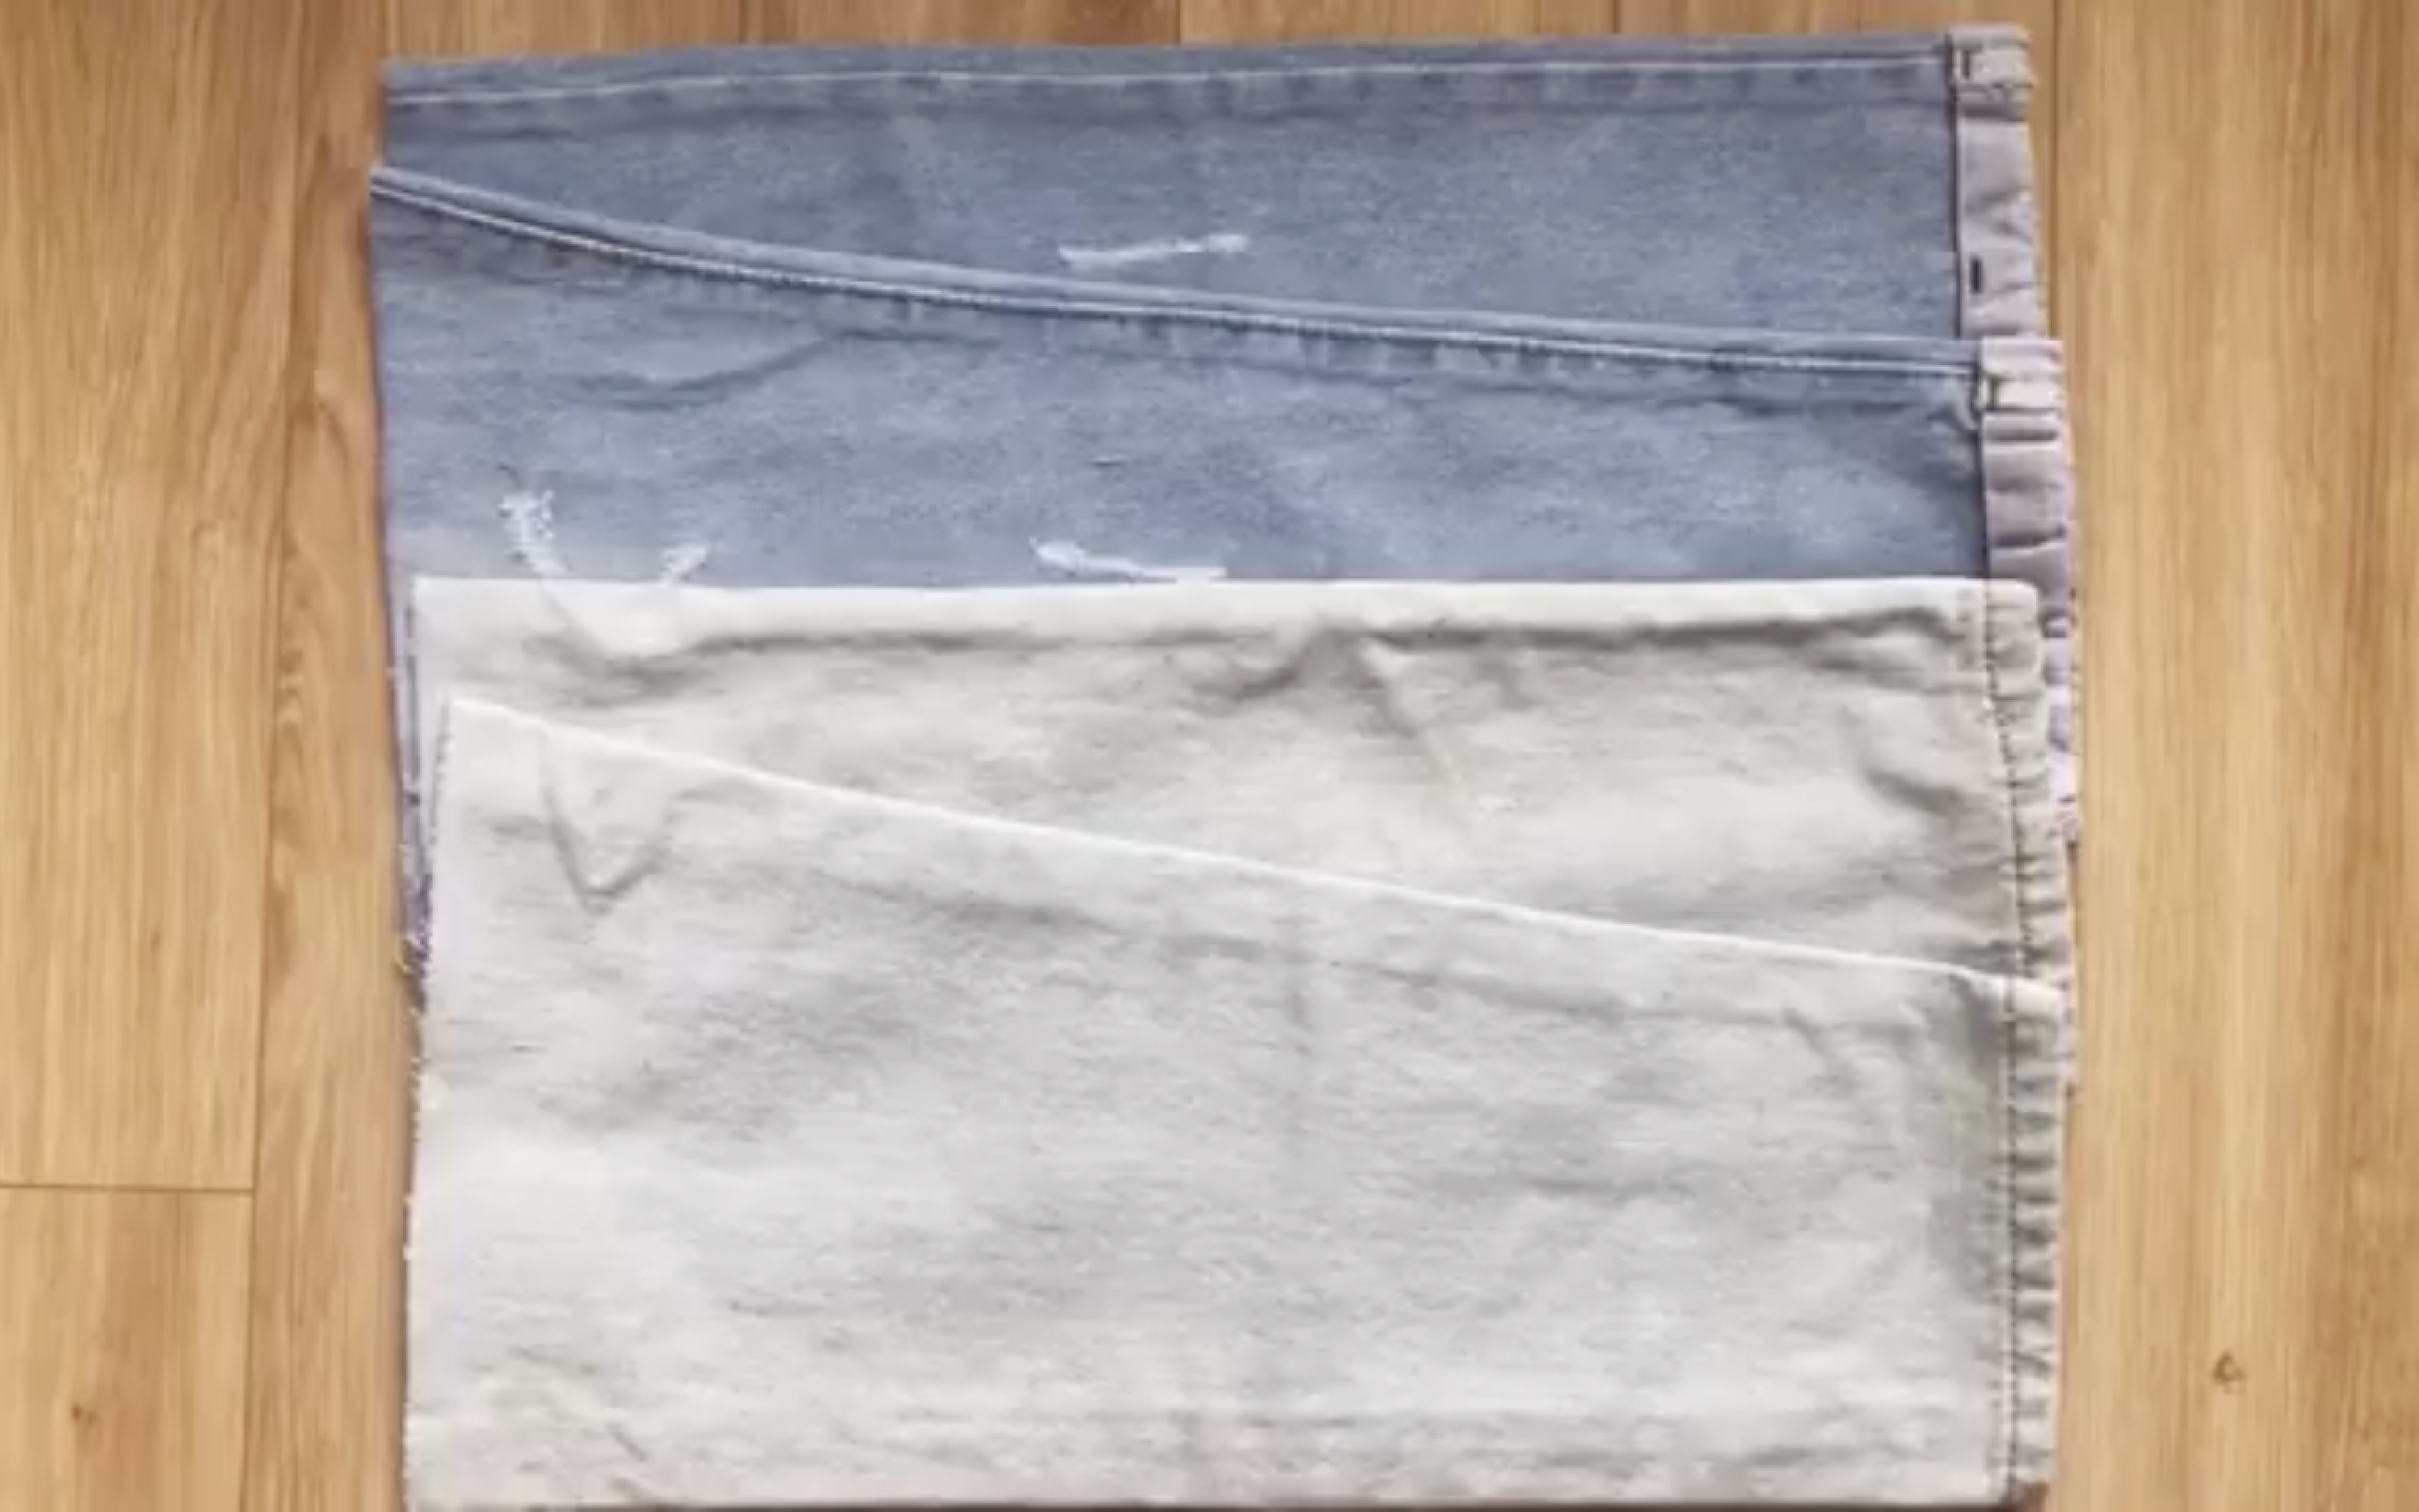
4 pieces of leg's jeans from 2 old jeans
Pattern paper
Sewing machine
Pins
Scissors
Ruler
Long stick
Zipper
Buttons
MAKING THE PATTERNS
Here’s the pattern for the project. To get a clear understanding of all the measurements needed for the pattern, watch the video from 0:44 to 3:36.
Remember, you can adjust these measurements to fit your own dimensions!

THE SKIRT PATTERN
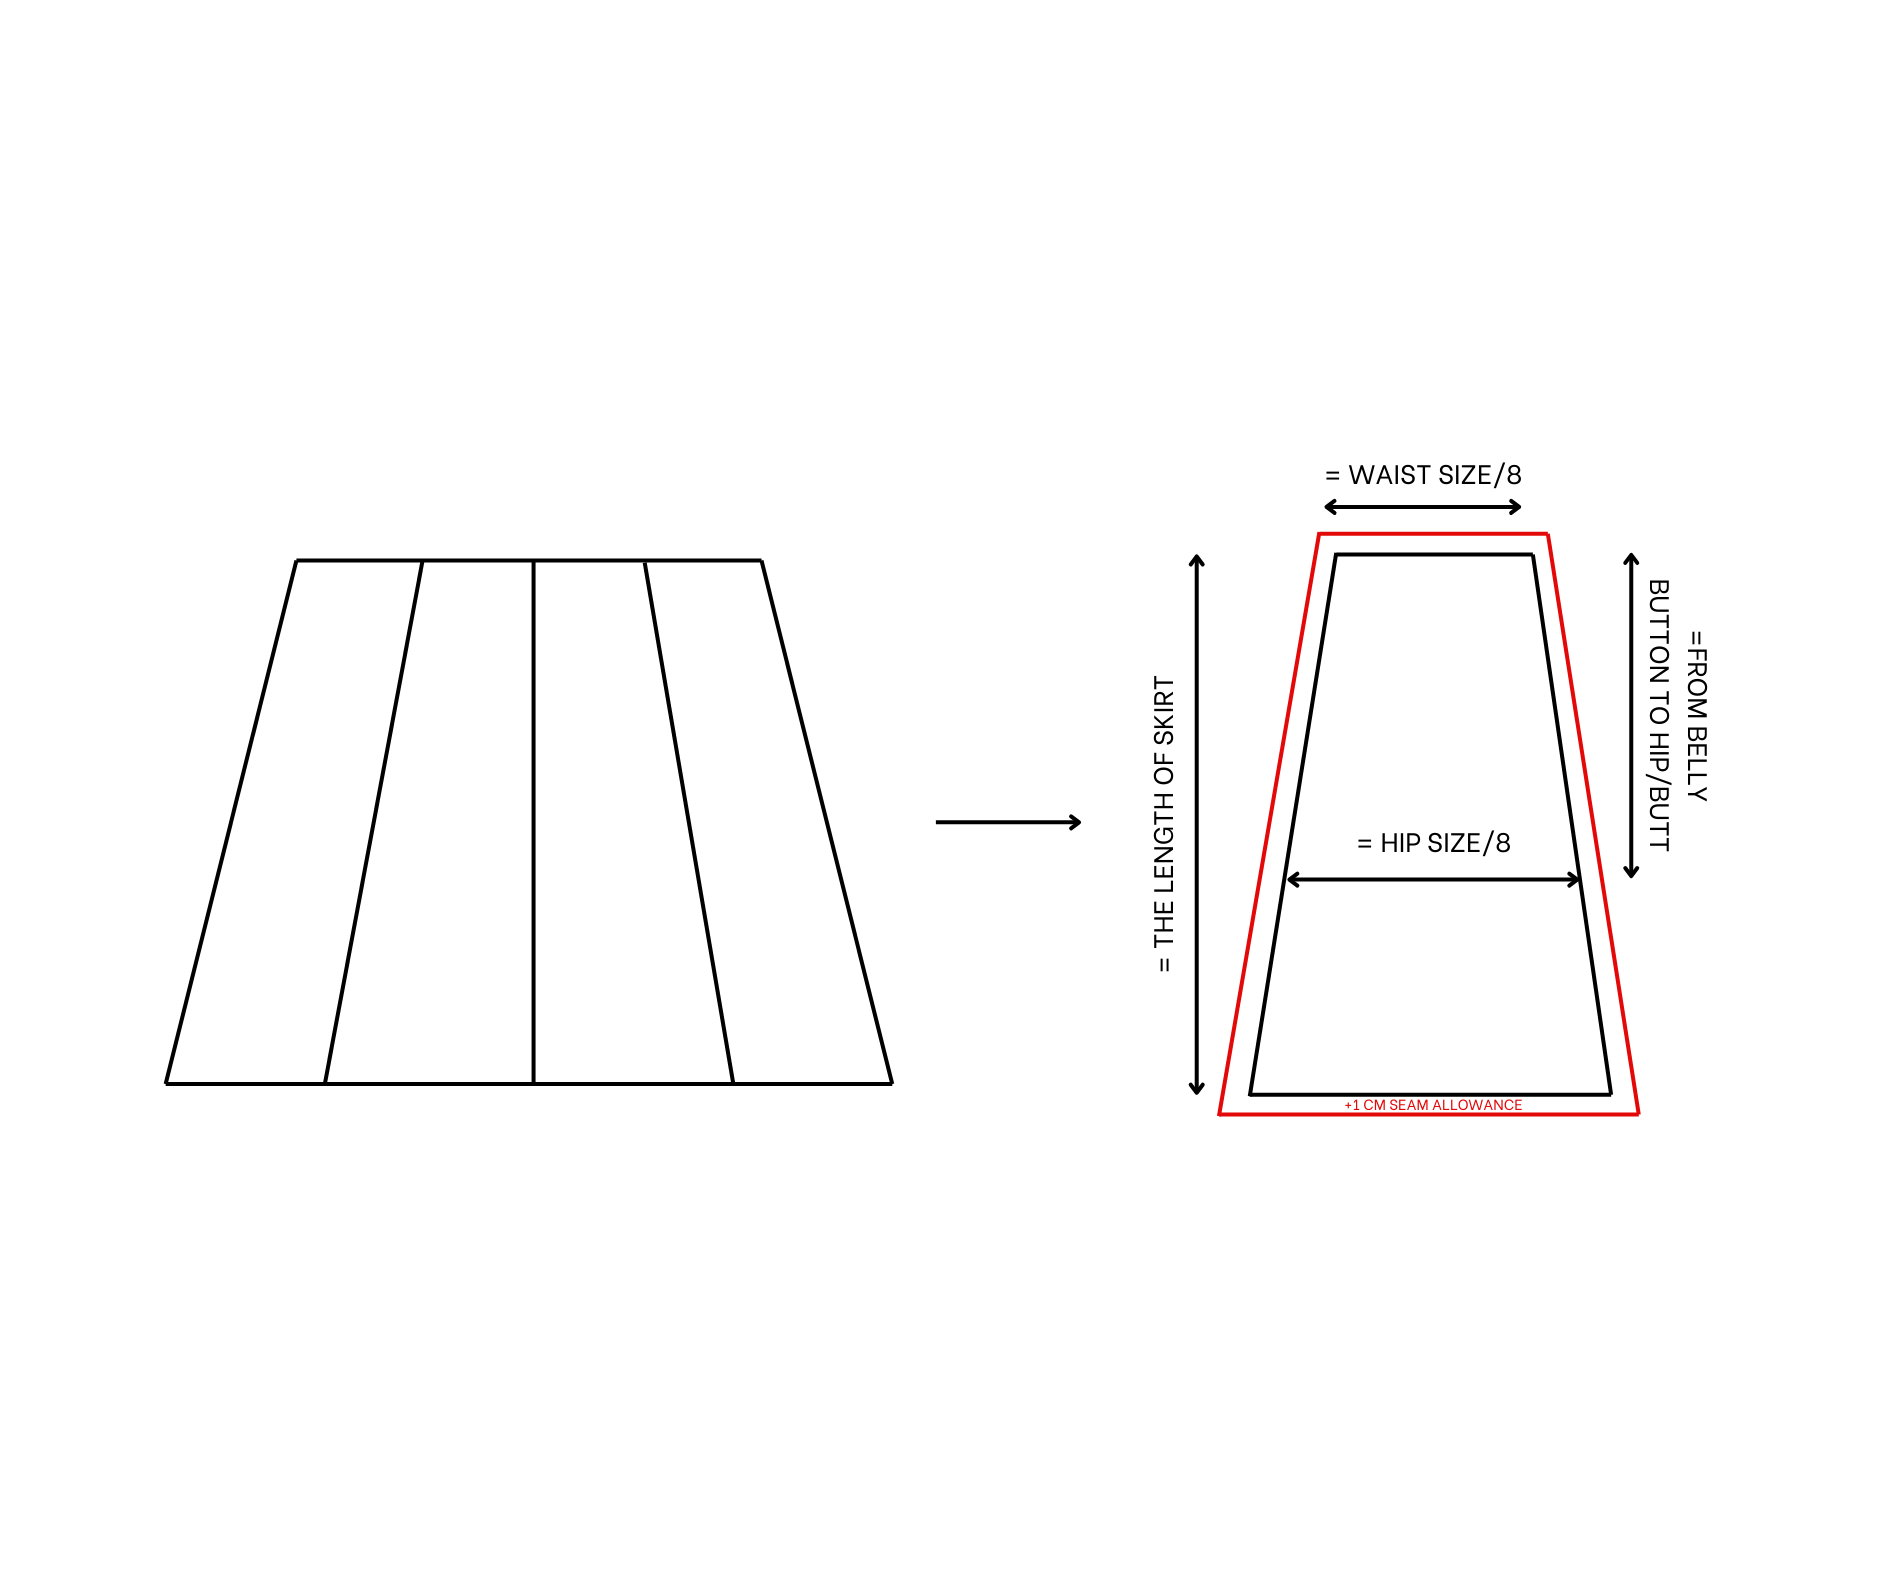
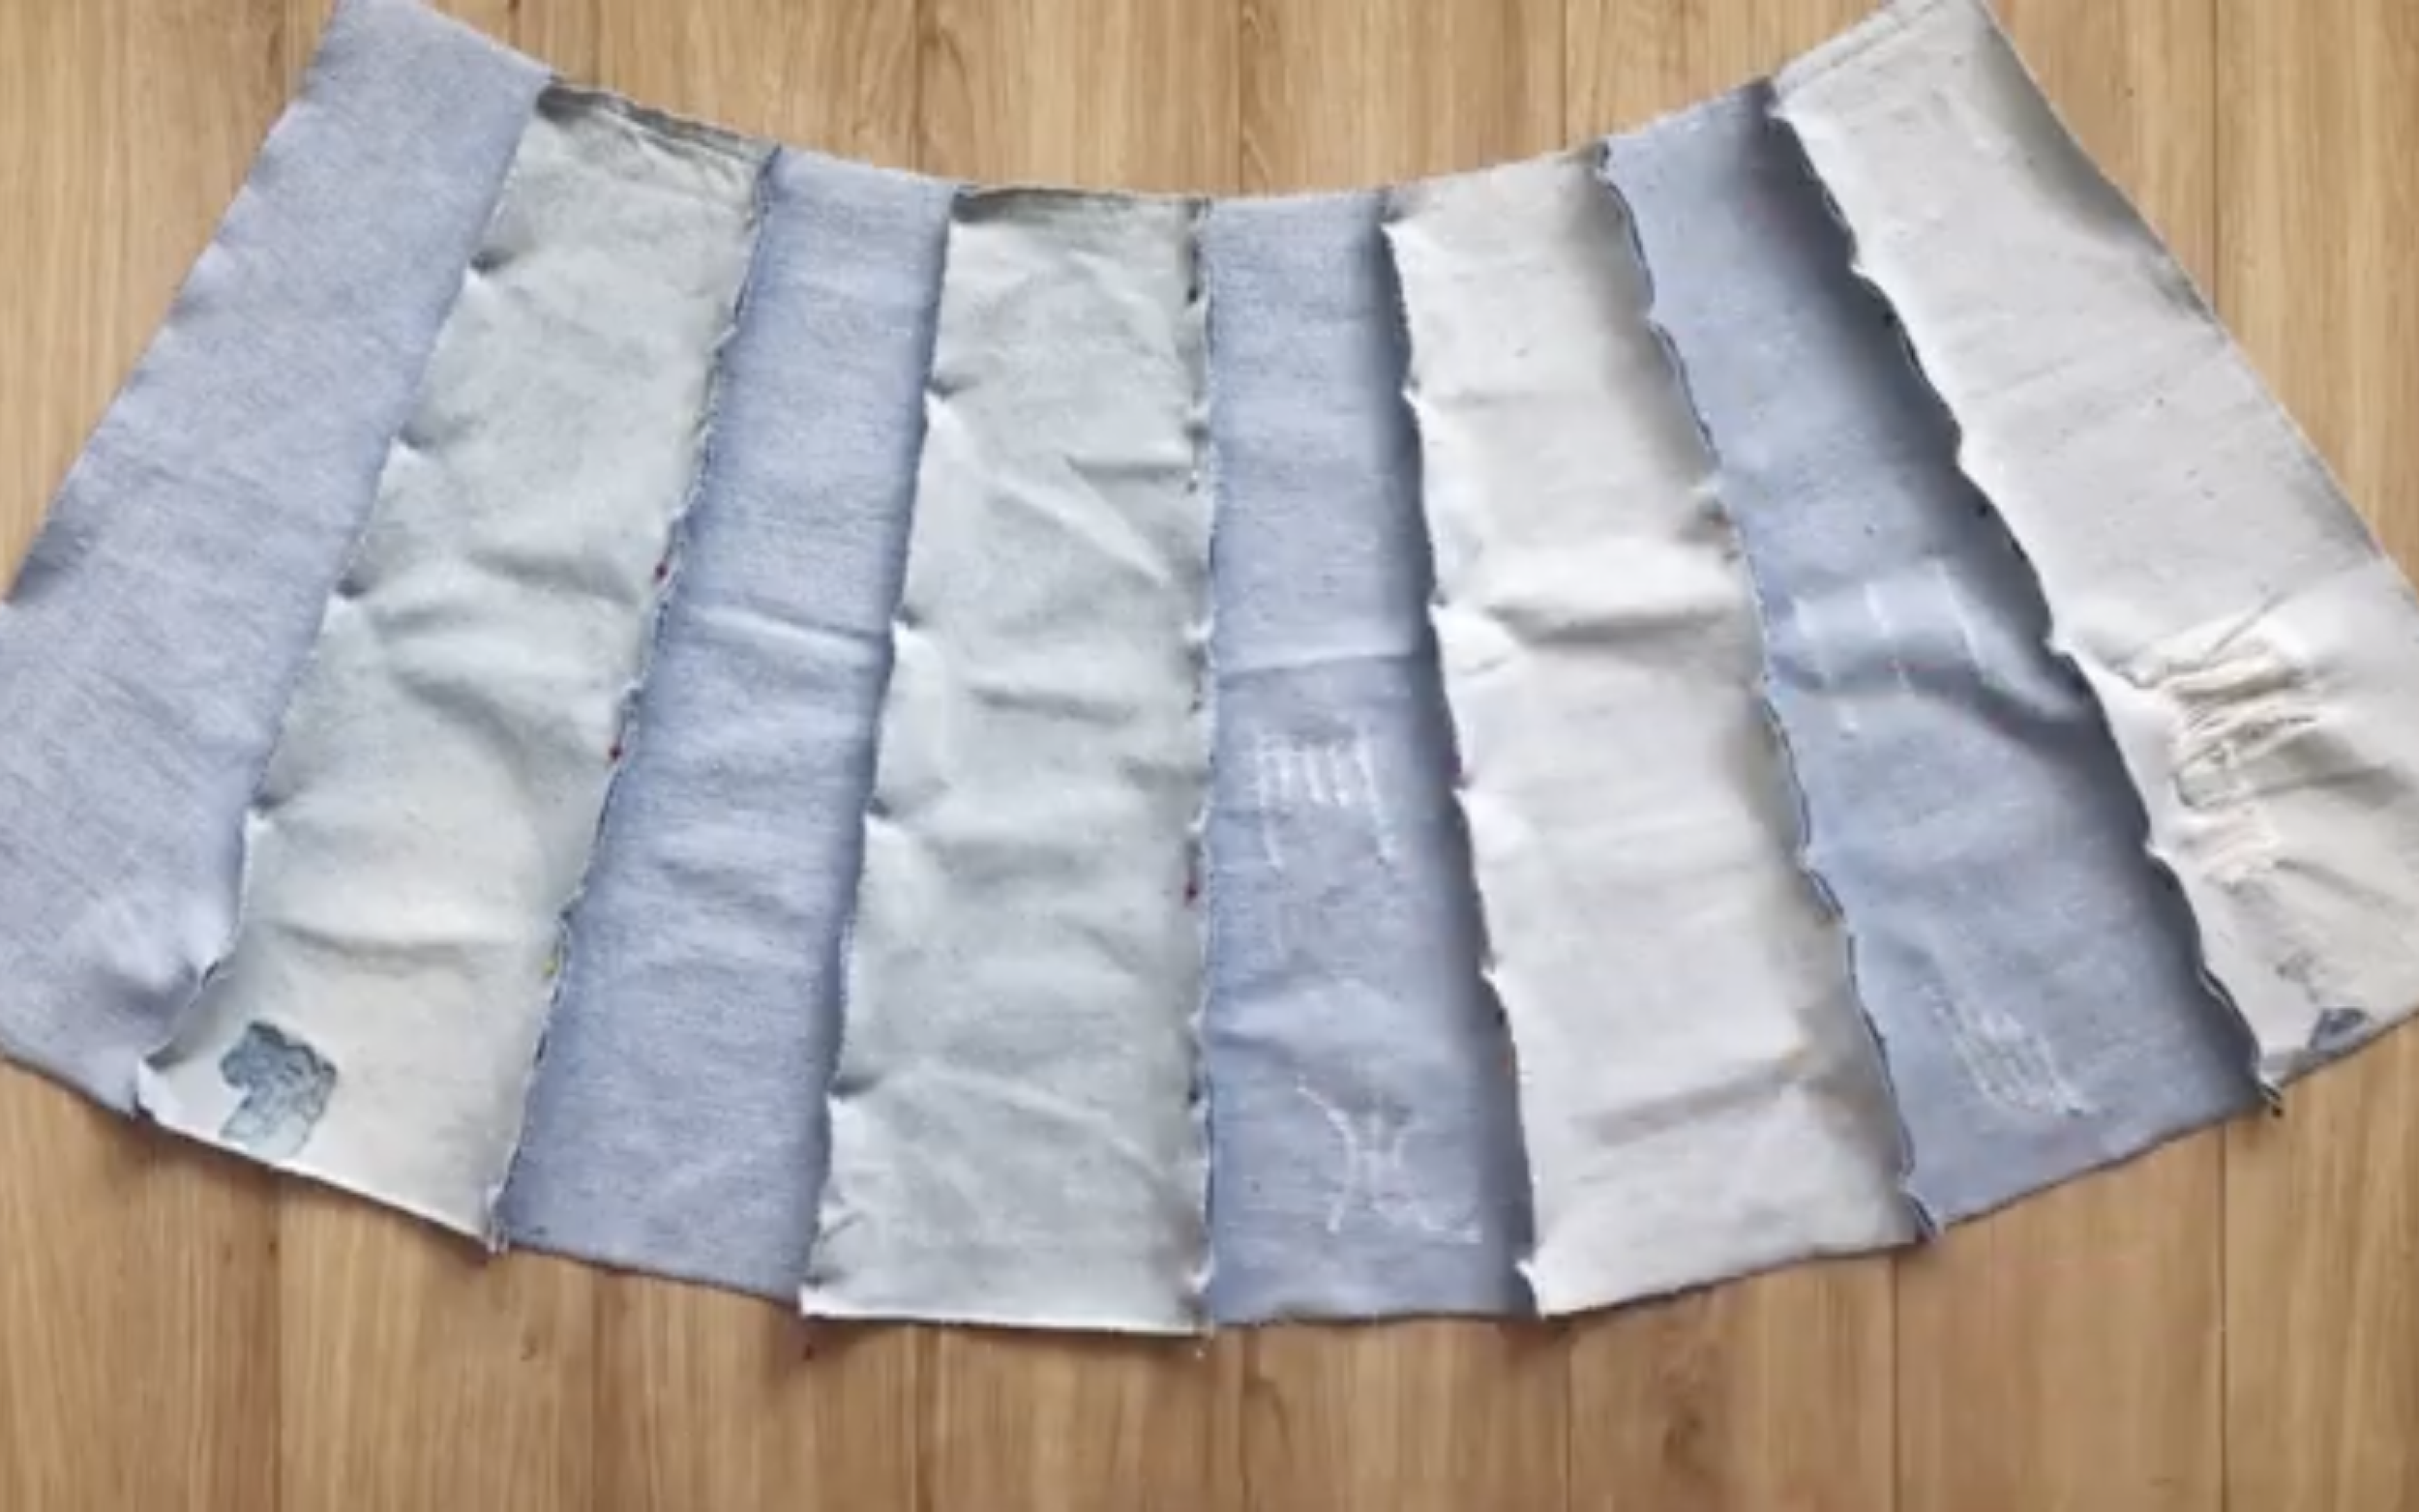
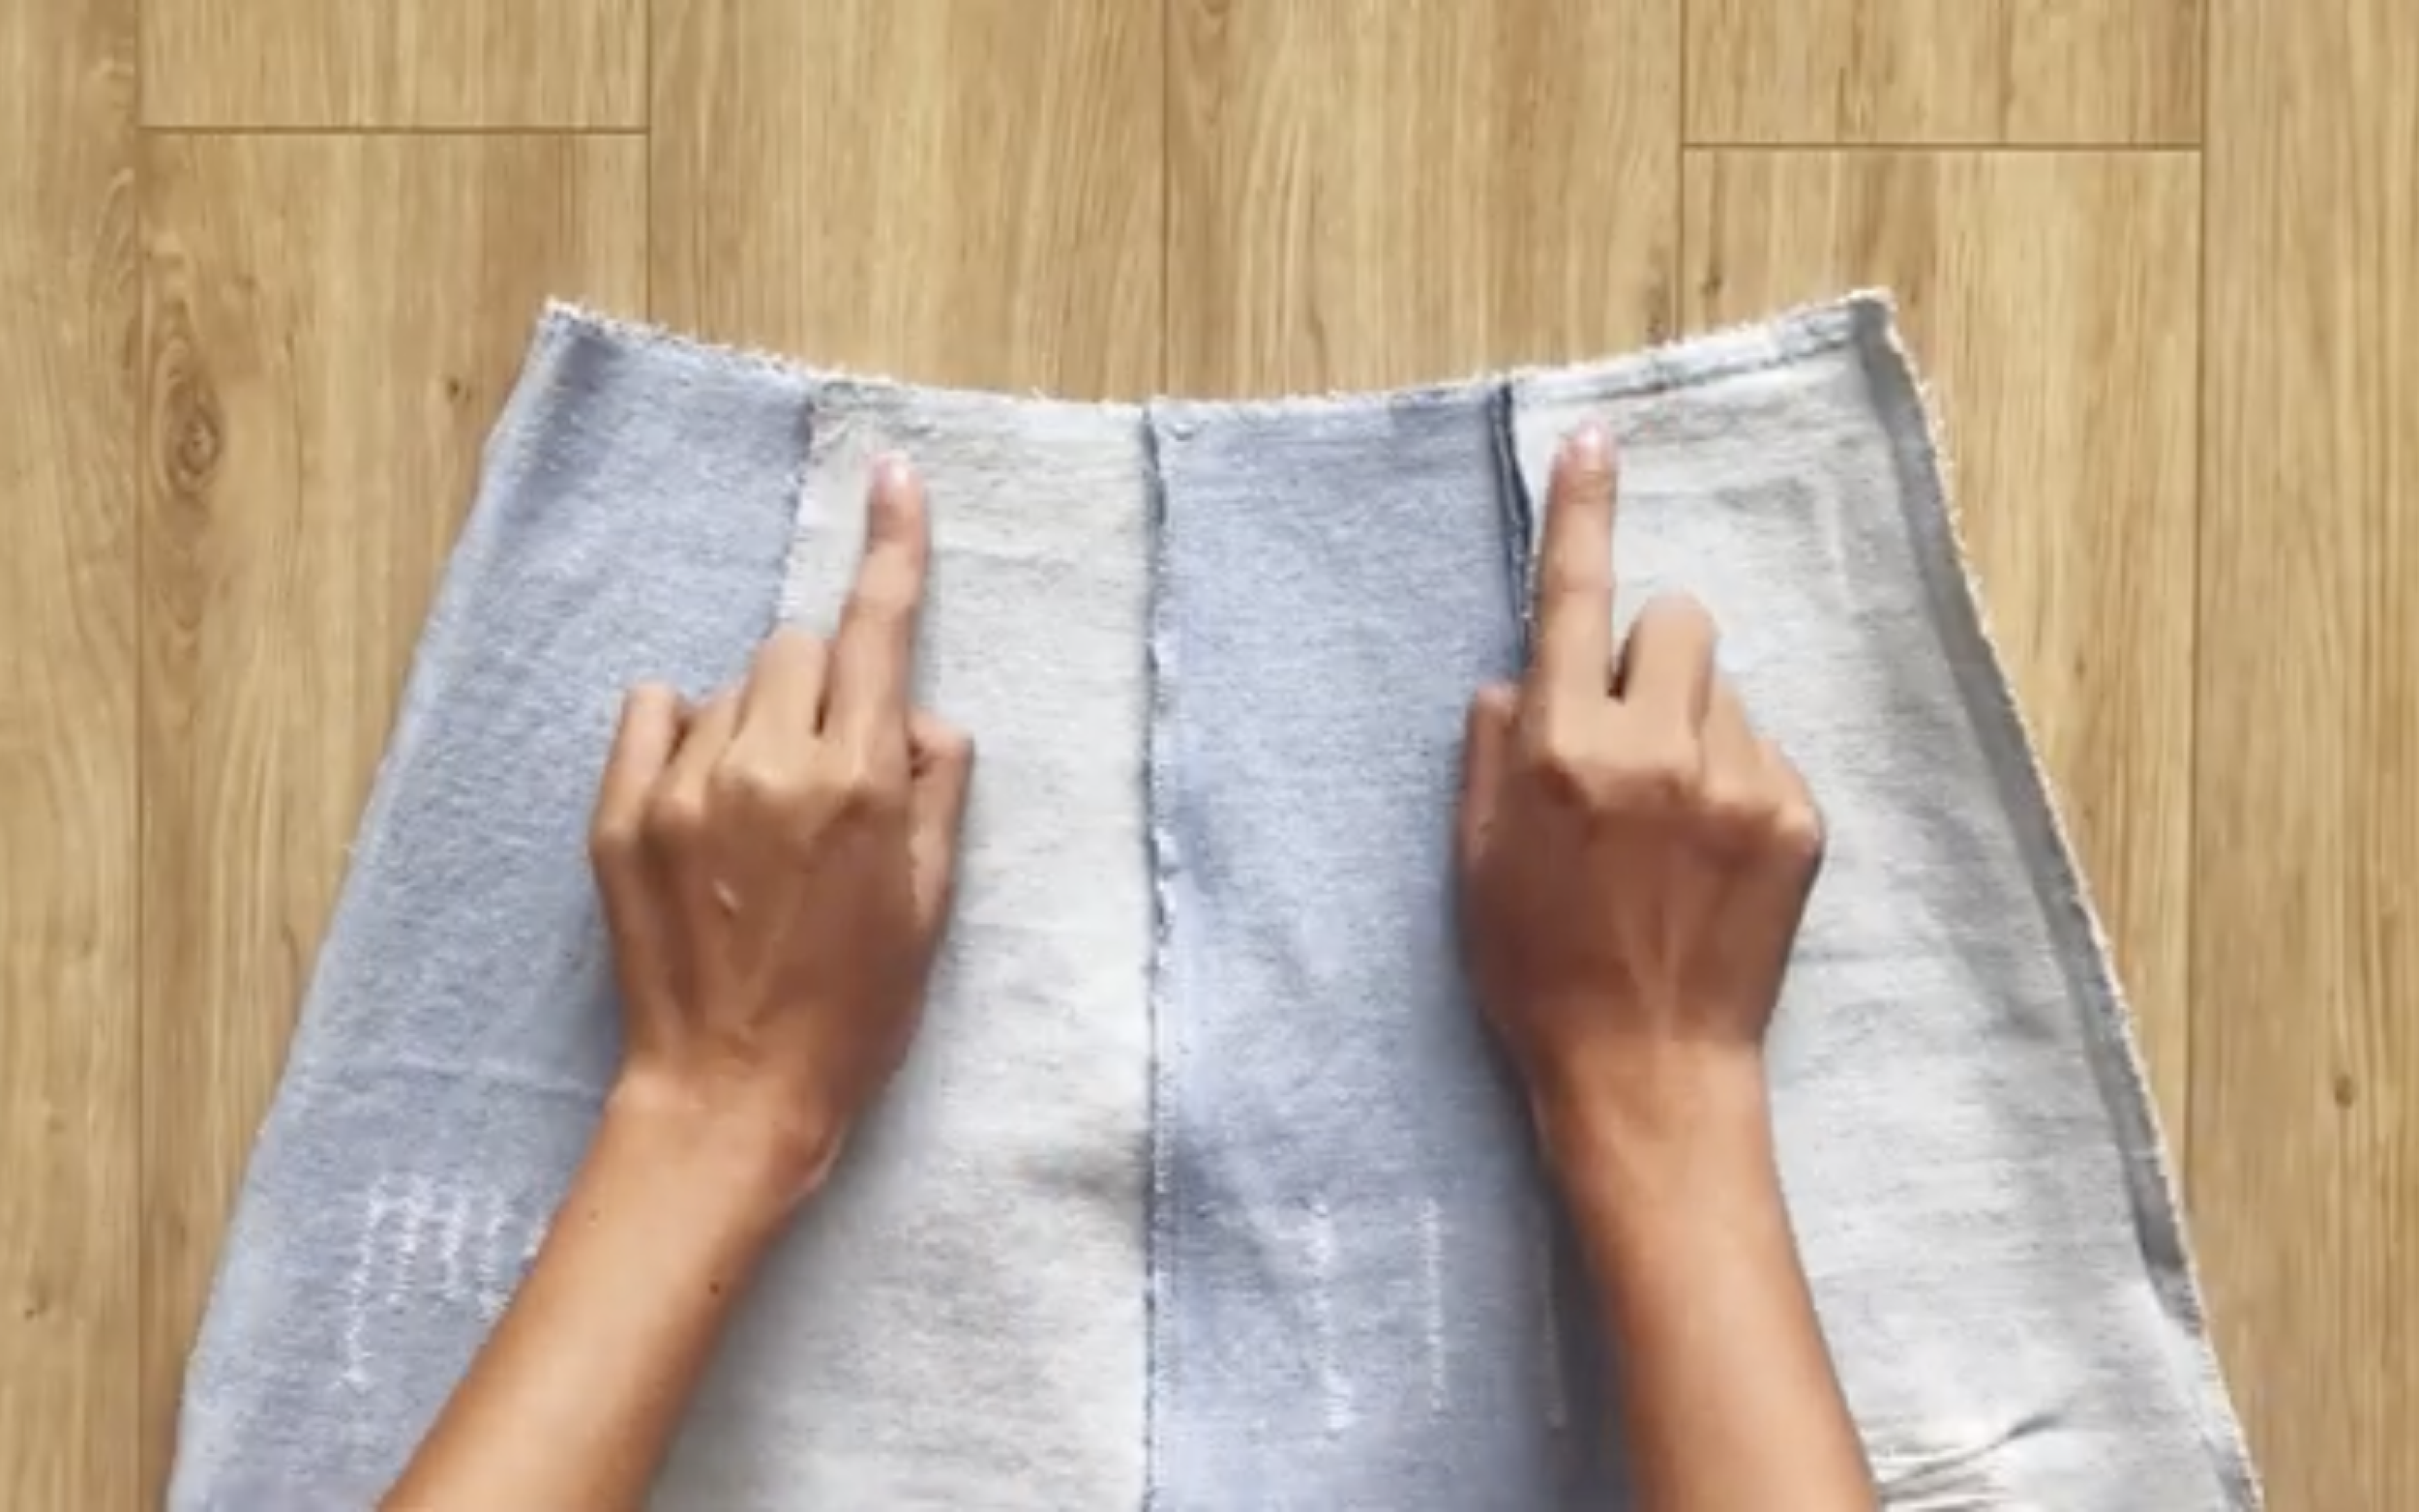
Because of four pieces of leg jeans, divide the skirt into eight pieces, with four pieces for the front and four pieces for the back of the skirt.
Draw one single piece to get the measurement for it.
The measurement for the top will be 1/8 of the waist size.
The measurement for the part between the top and the bottom will be 1/8 of the hip size. So, the measurement between them will be from the belly button to the butt.
The measurement between the top and the bottom will be the length of the skirt.
However, since eight pieces will be connected together, seam allowance is needed, which is usually 1 cm.
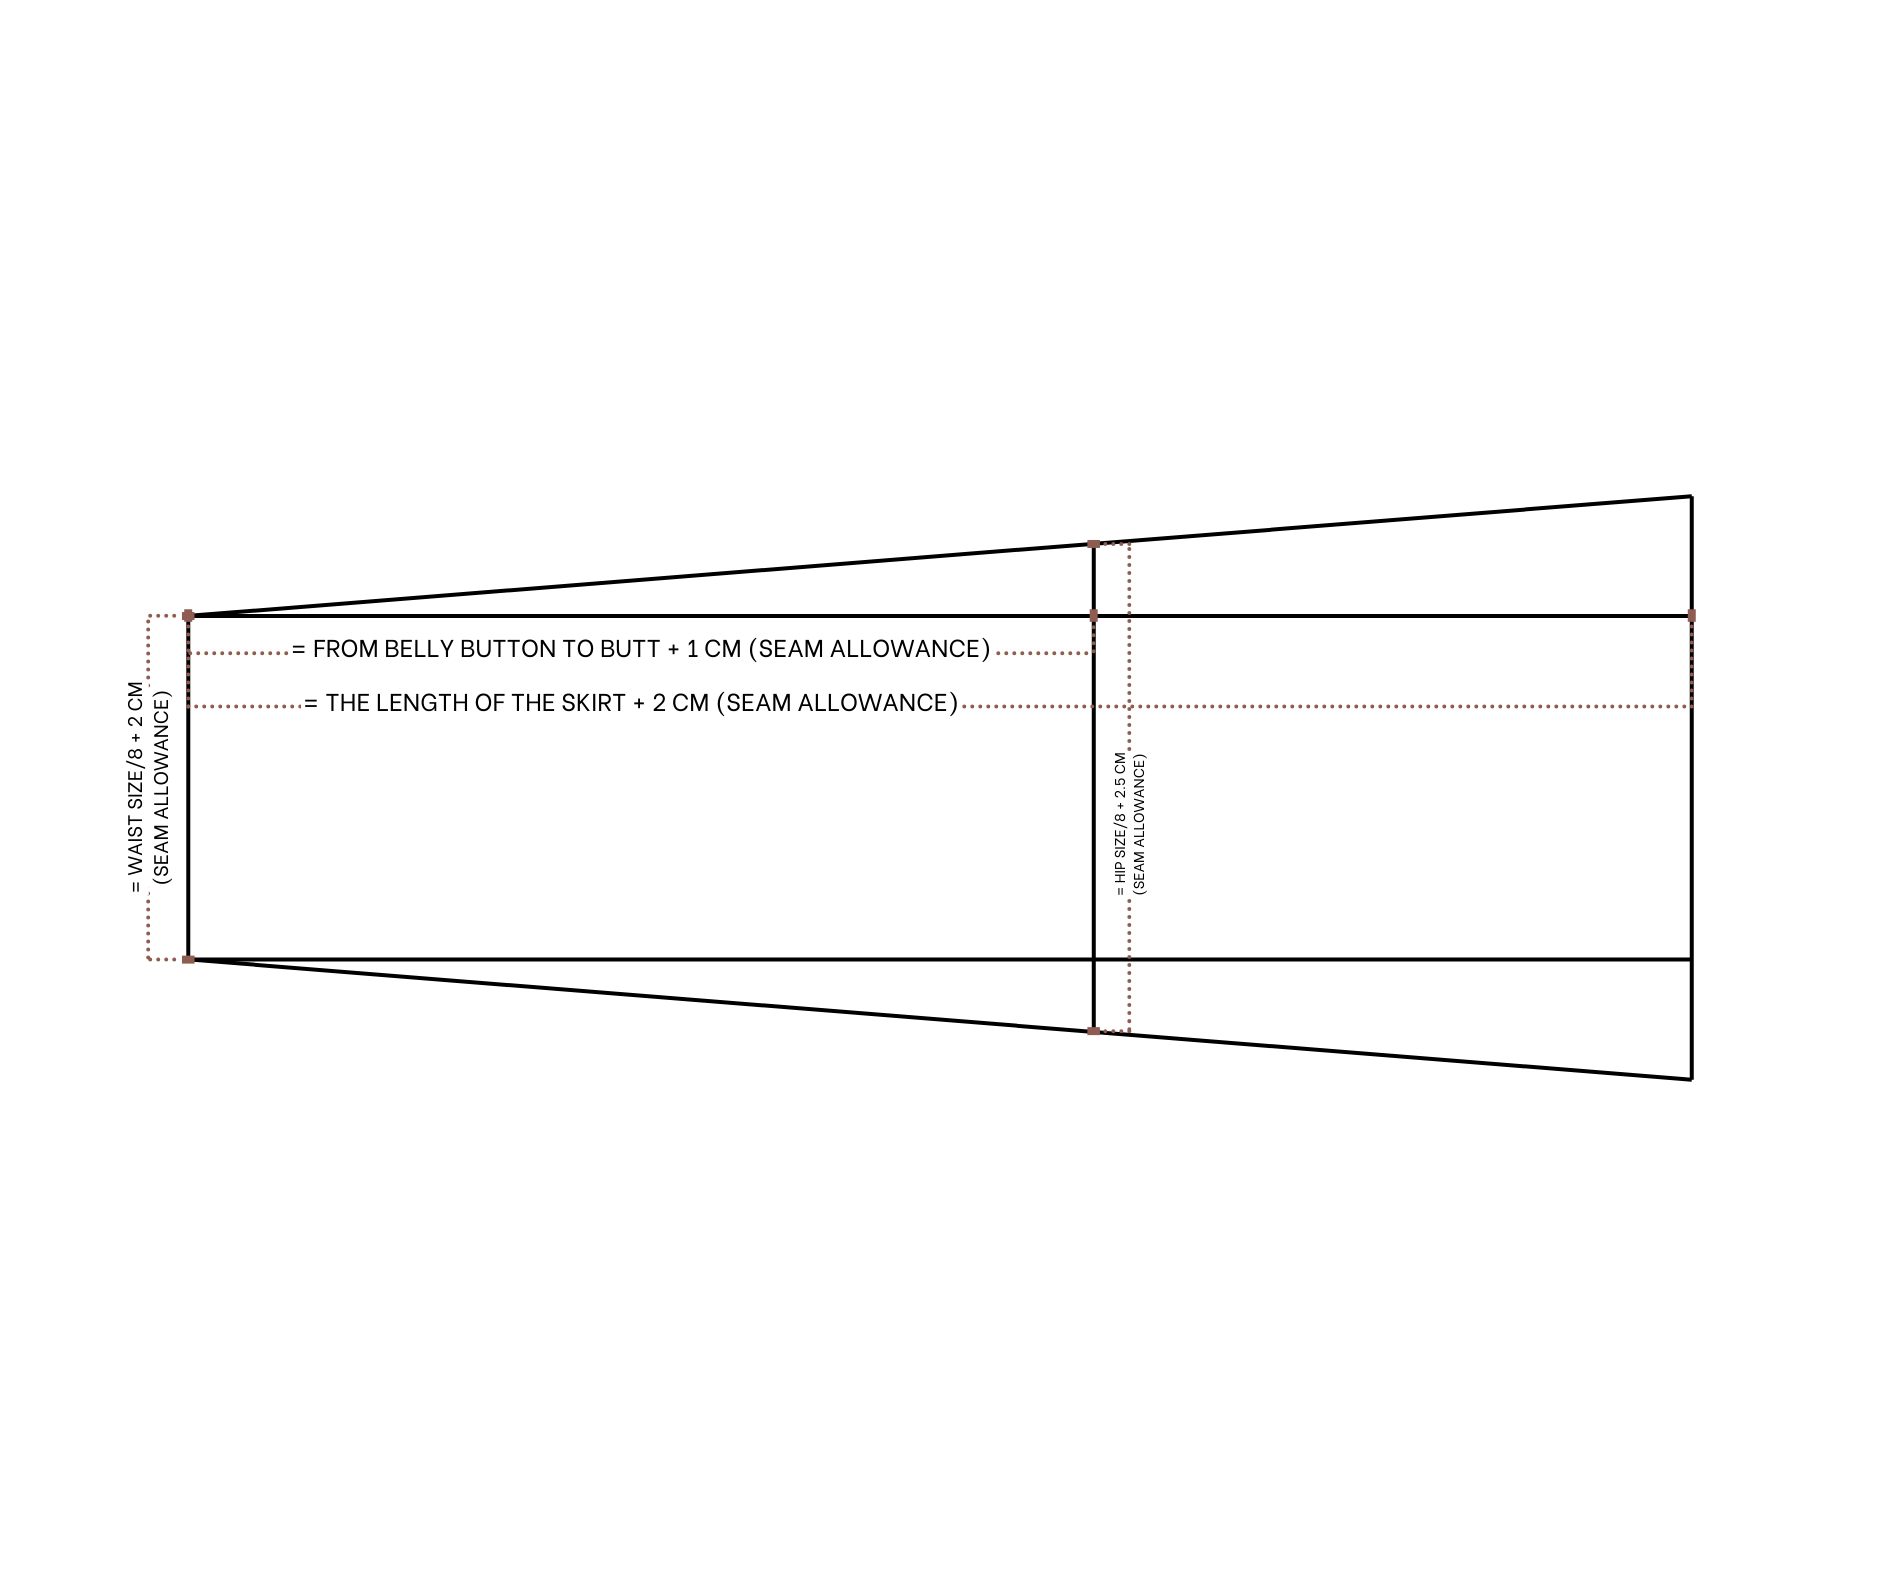
Draw a rectangle with 8 cm width, which is 1/8 of the waist size plus 2 cm for seam allowance, and 44 cm length, which is the length of the skirt plus 2 cm for seam allowance.
From the width side, mark at 27 cm, which is the width from the belly button to the butt plus 1 cm for seam allowance, then draw a line there.
From the connected point between the two lines, move out 2 cm on each side.
So, the width of this line will be 14 cm, which is 1/8 of the hip size plus 2.5 cm for seam allowance.
Now, just connect the two ends of the top line to the two ends of this line to finish the pattern.
SEWING THE SKIRT
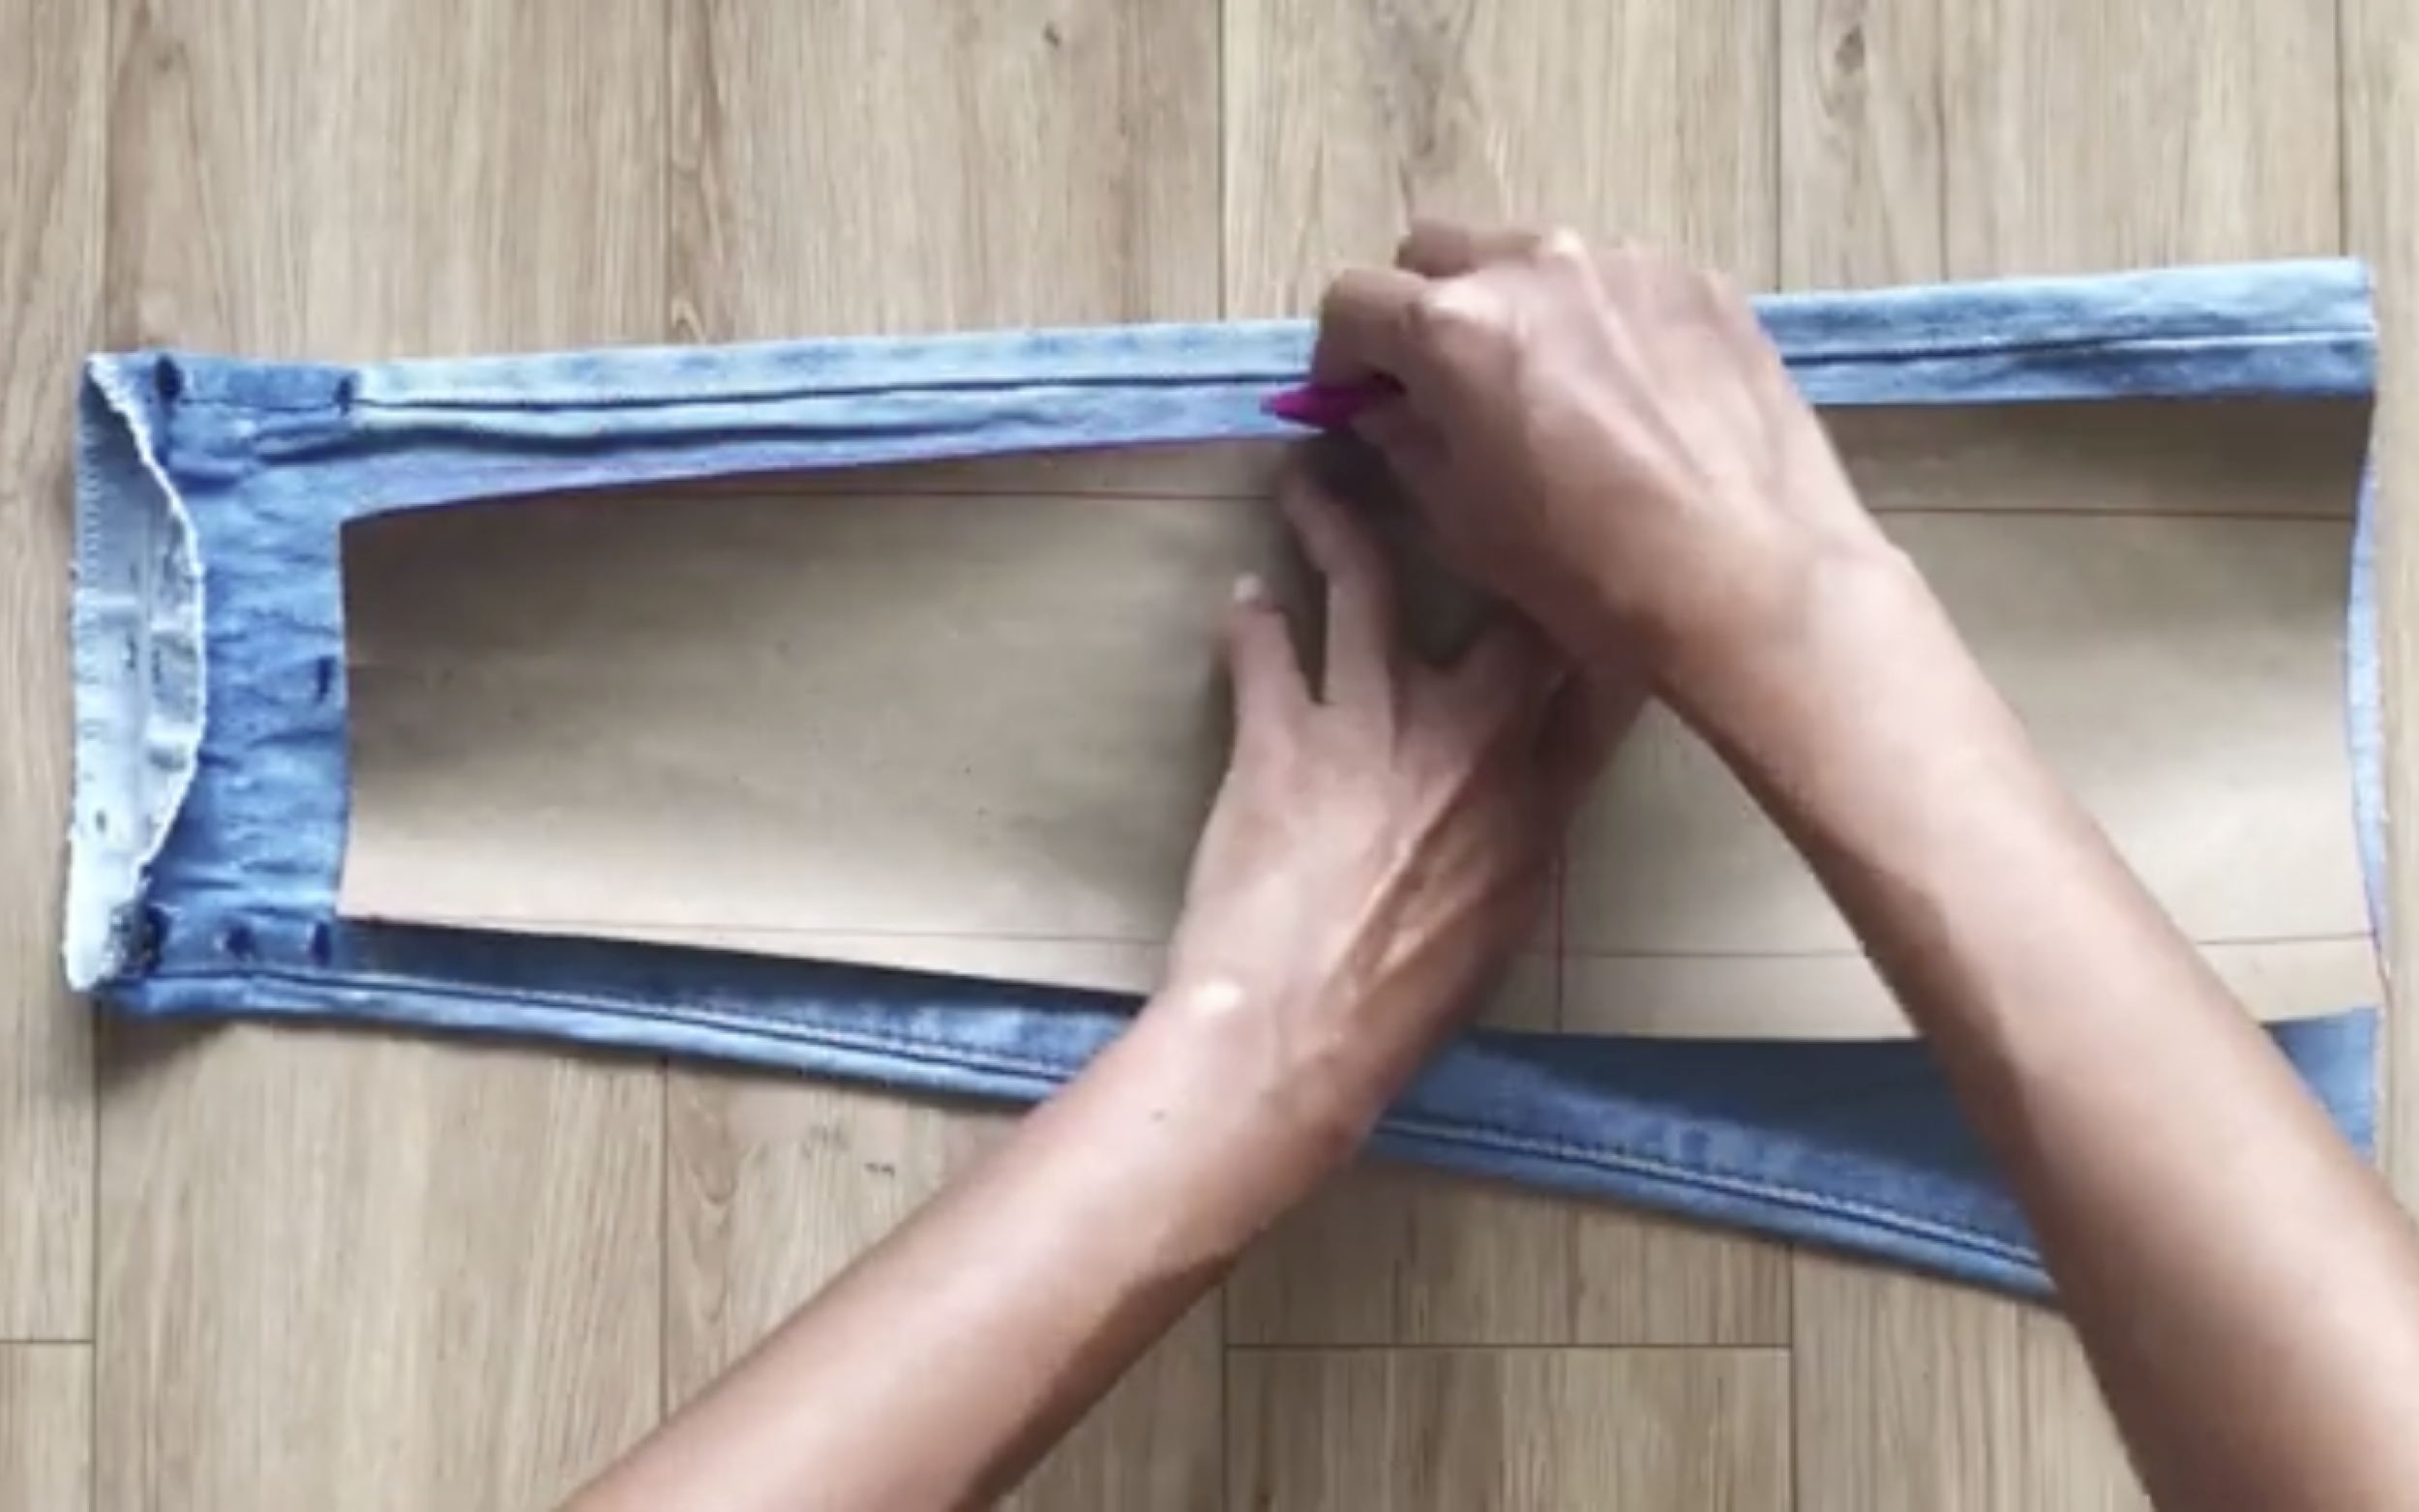
After that, apply the pattern to the leg jeans and draw.
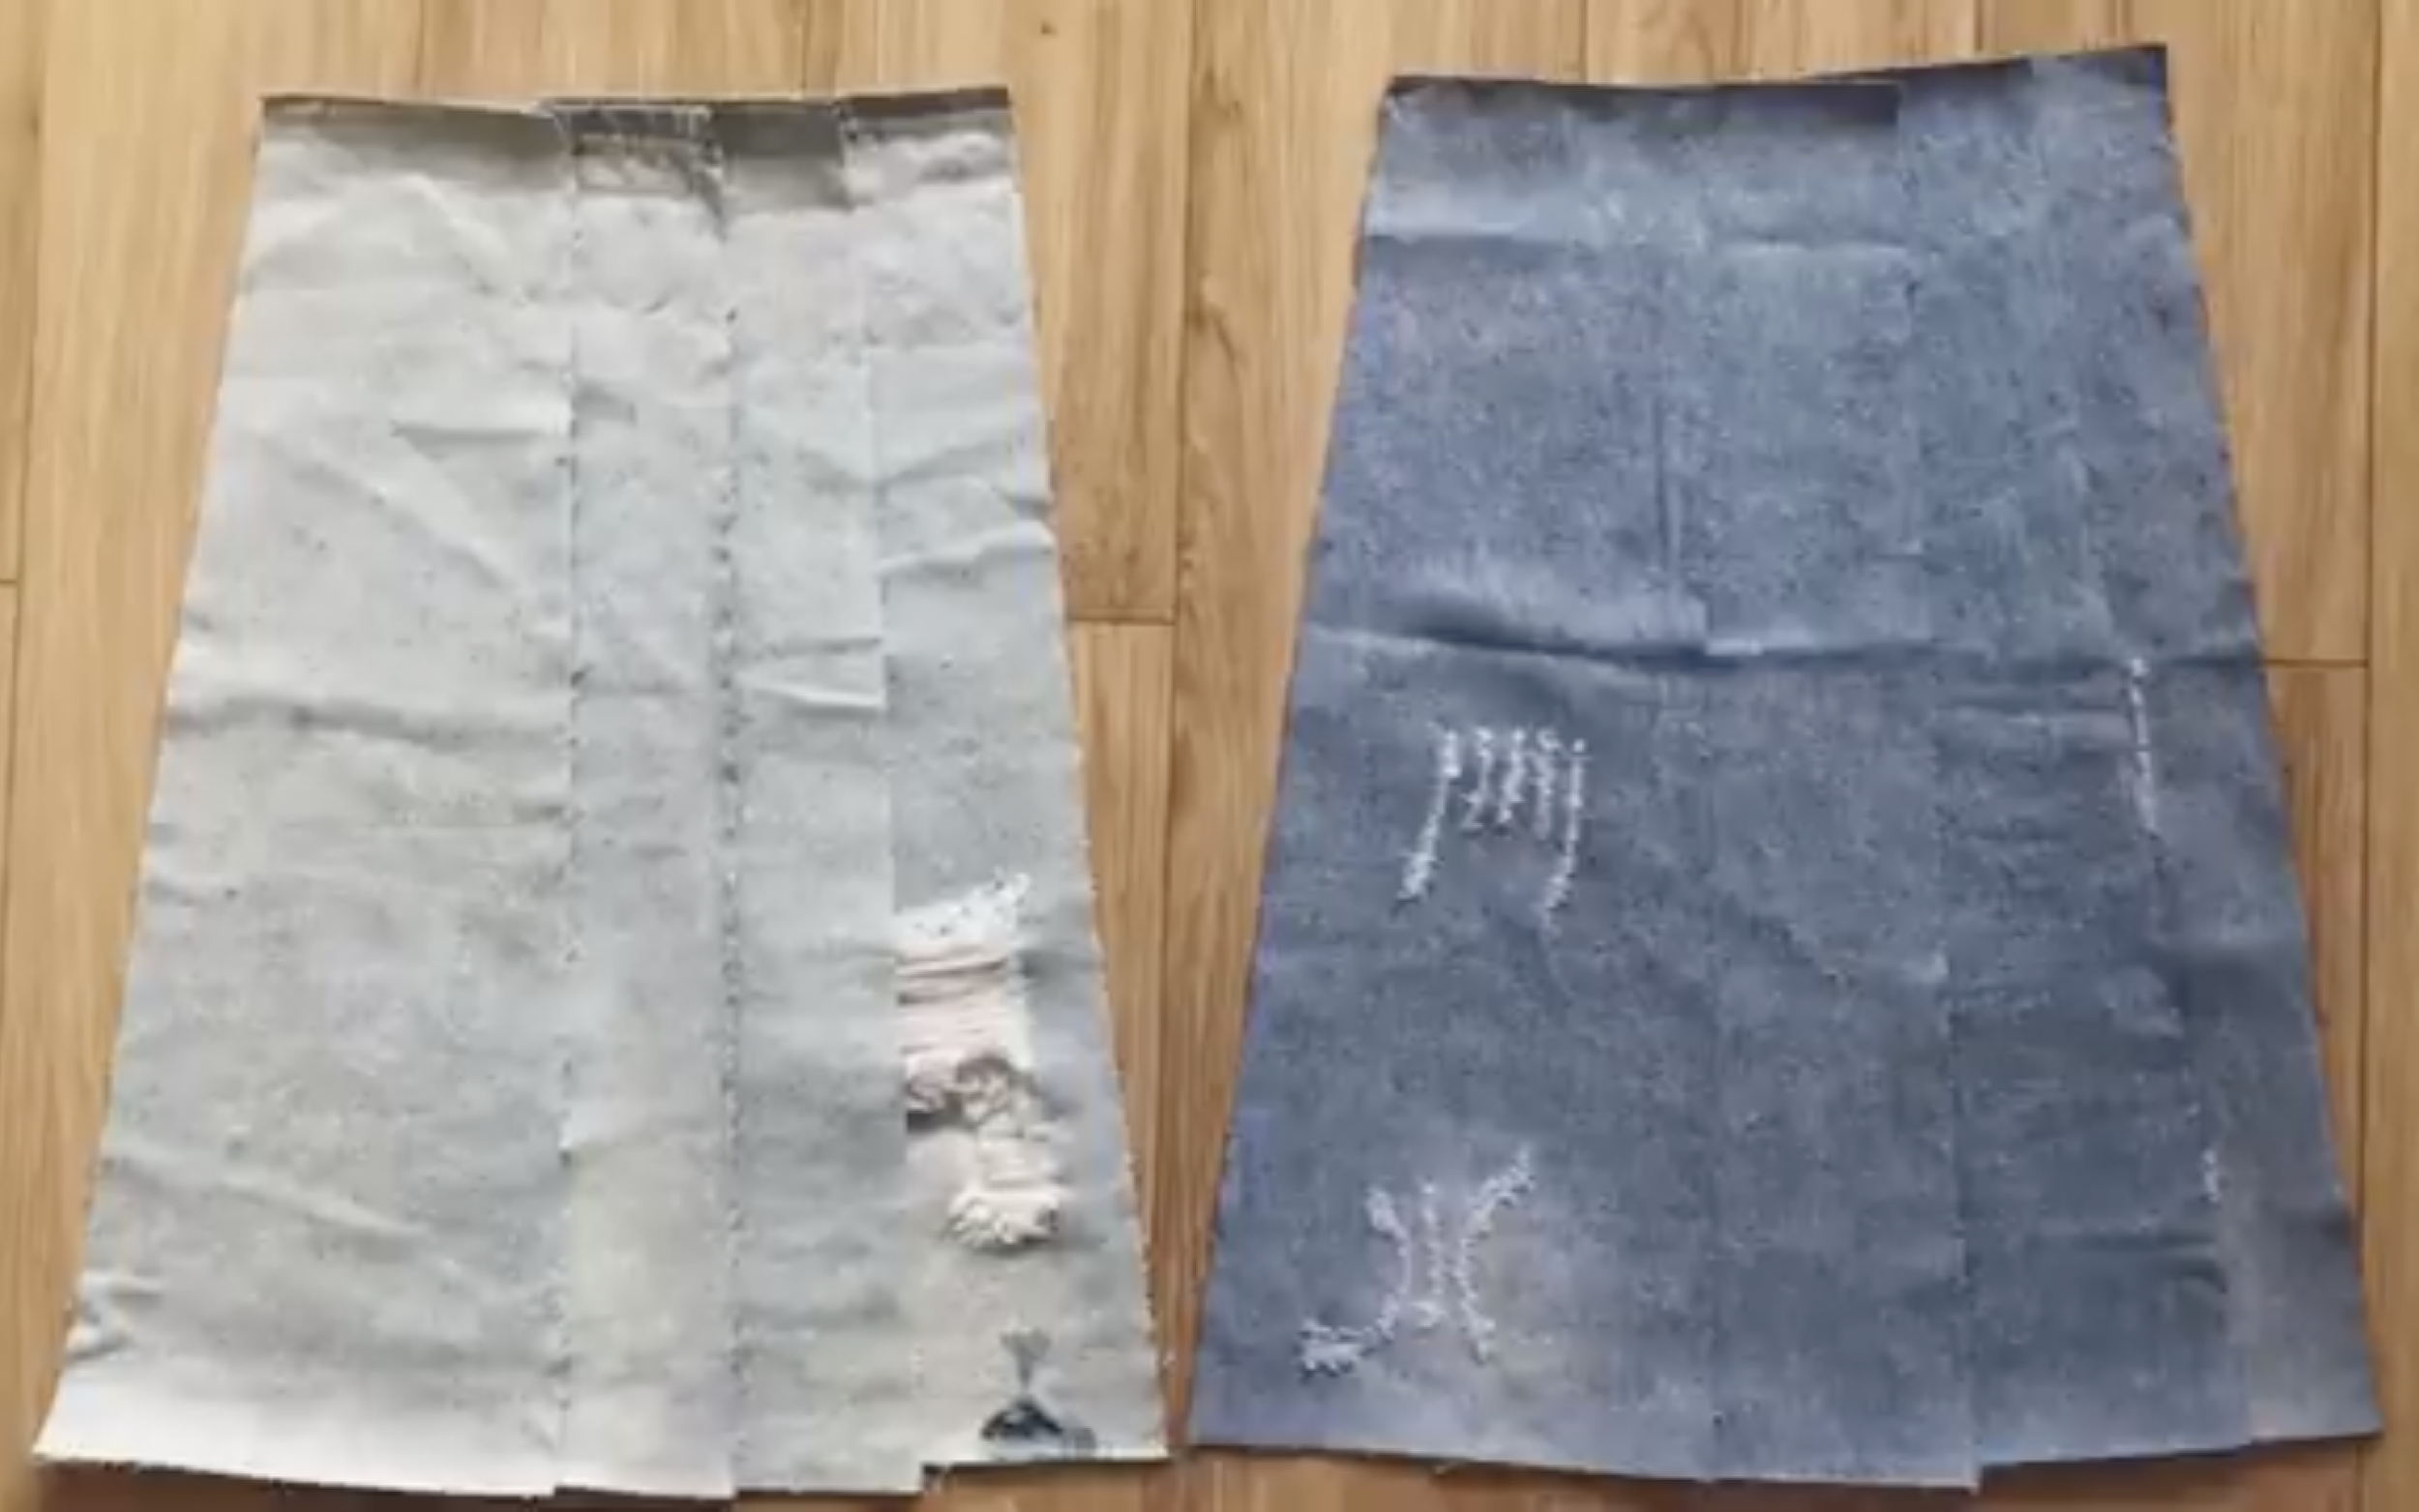
After cutting, there will be eight pieces of the skirt.
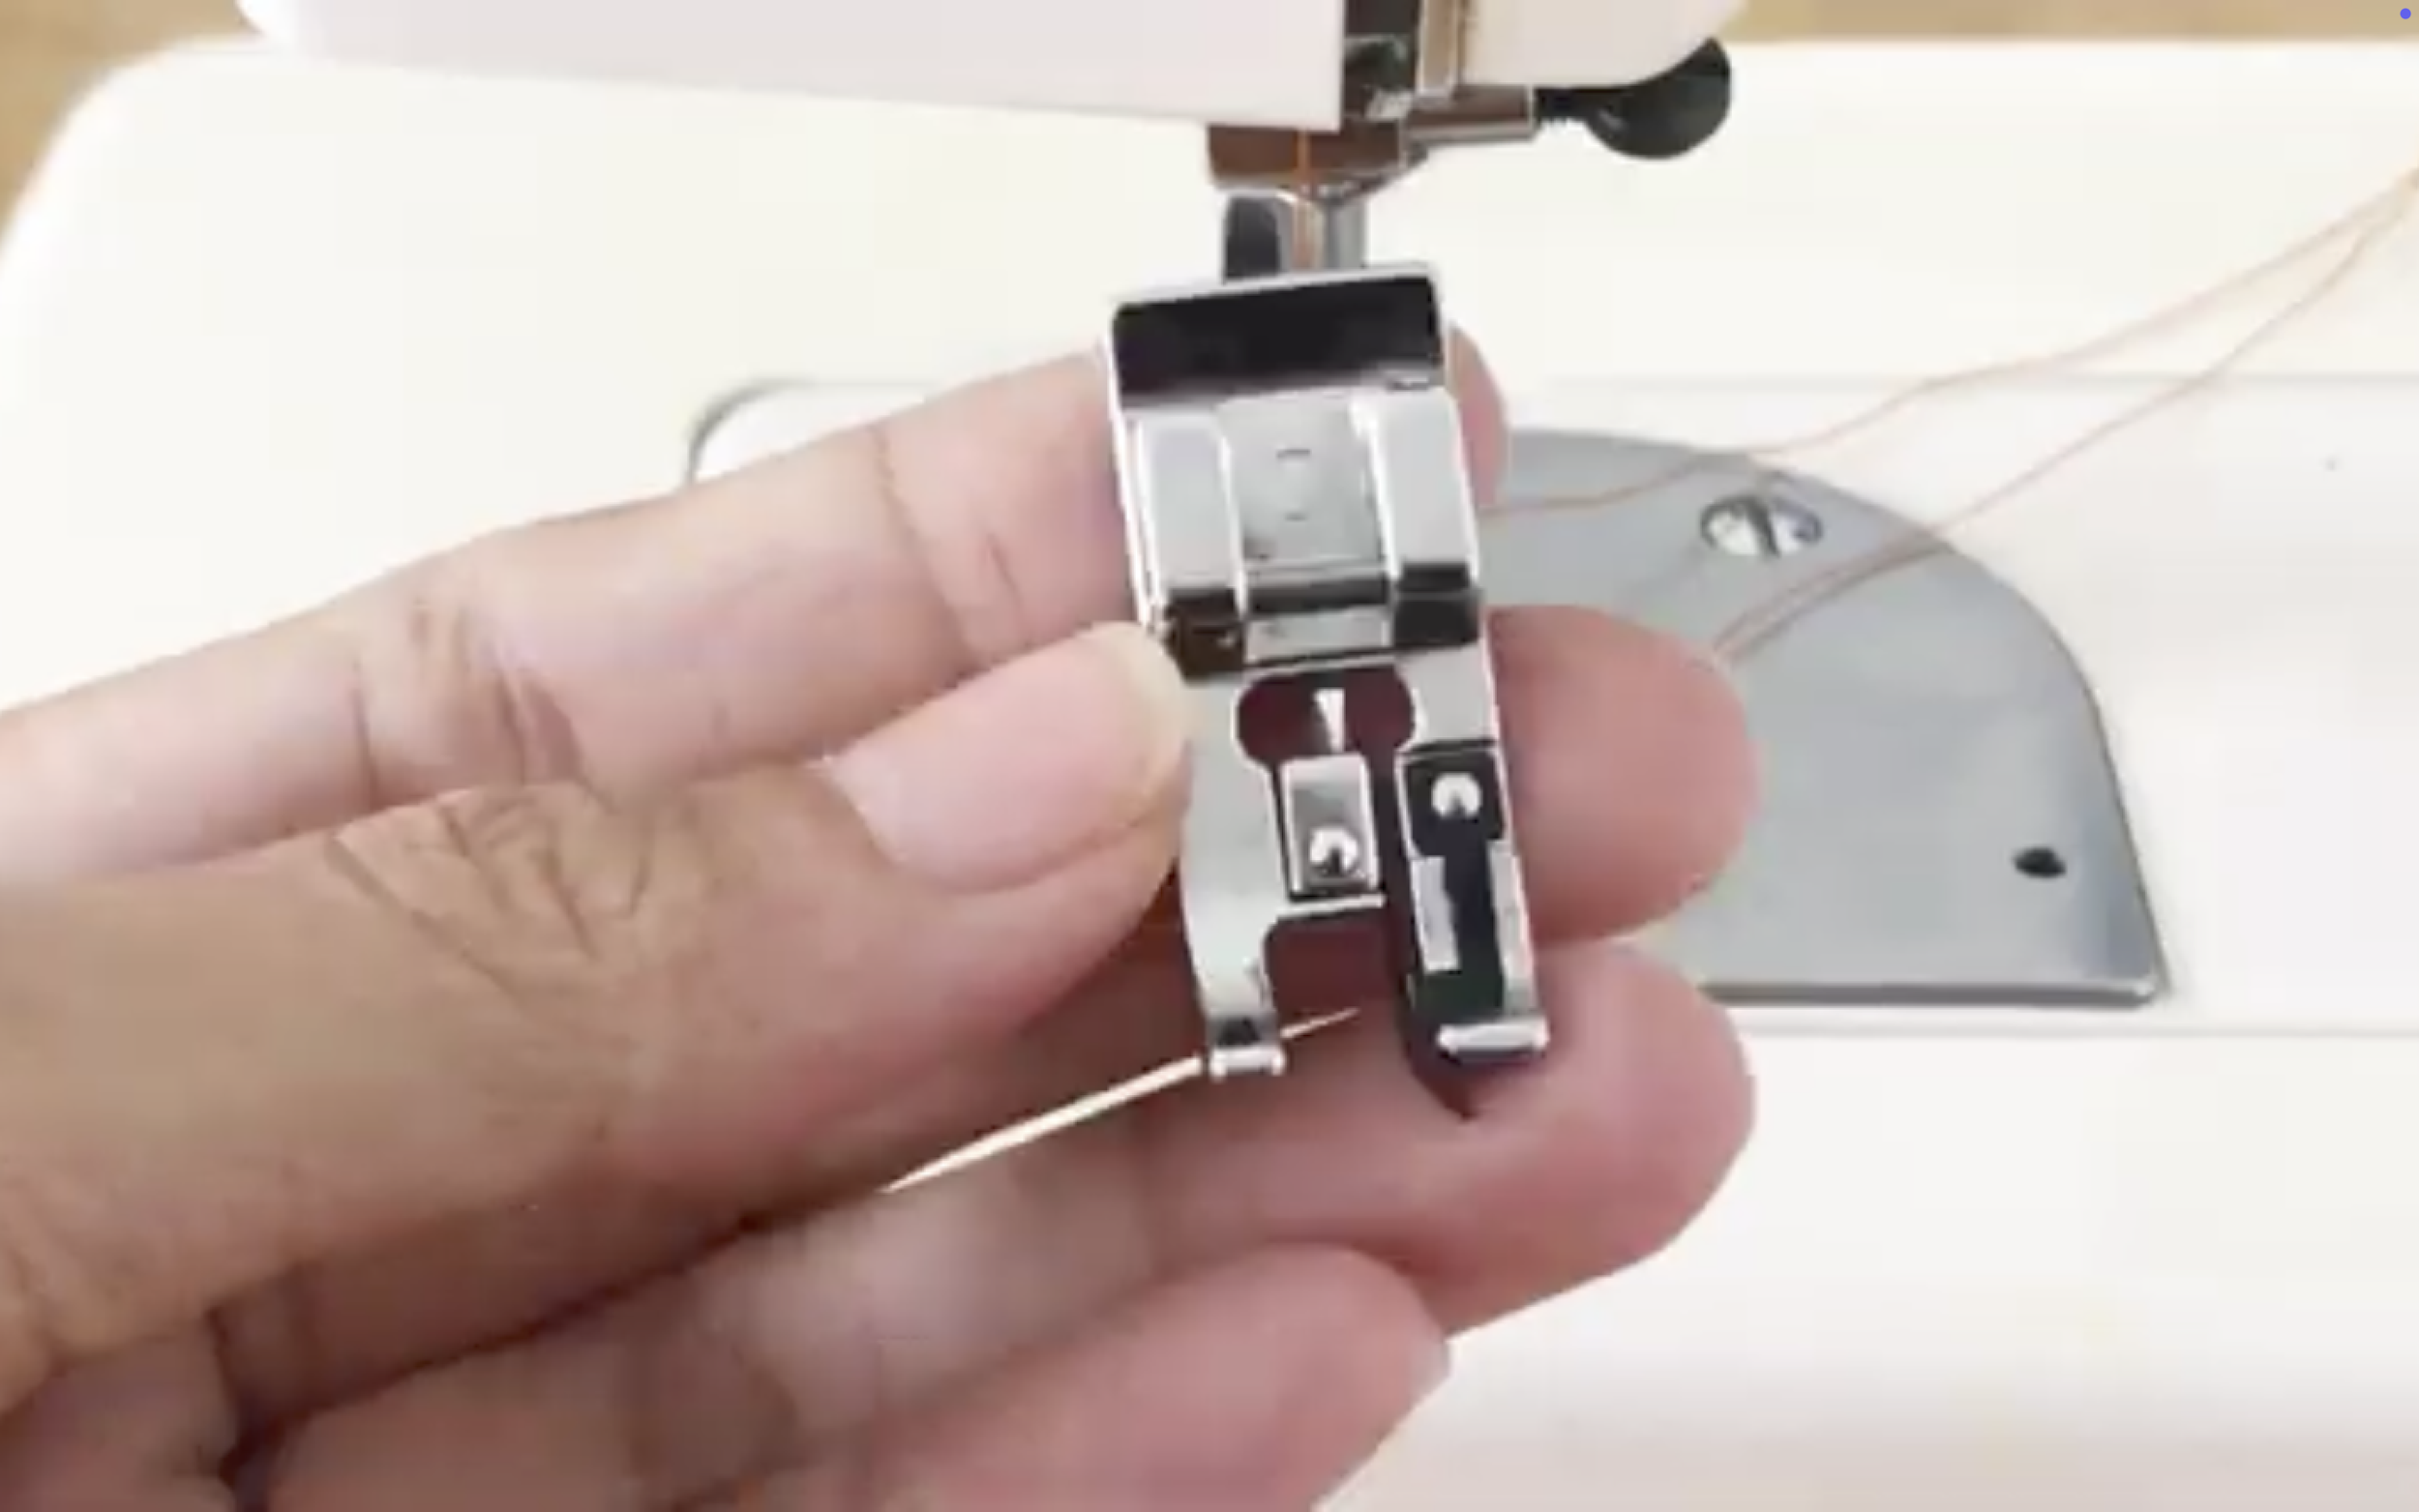
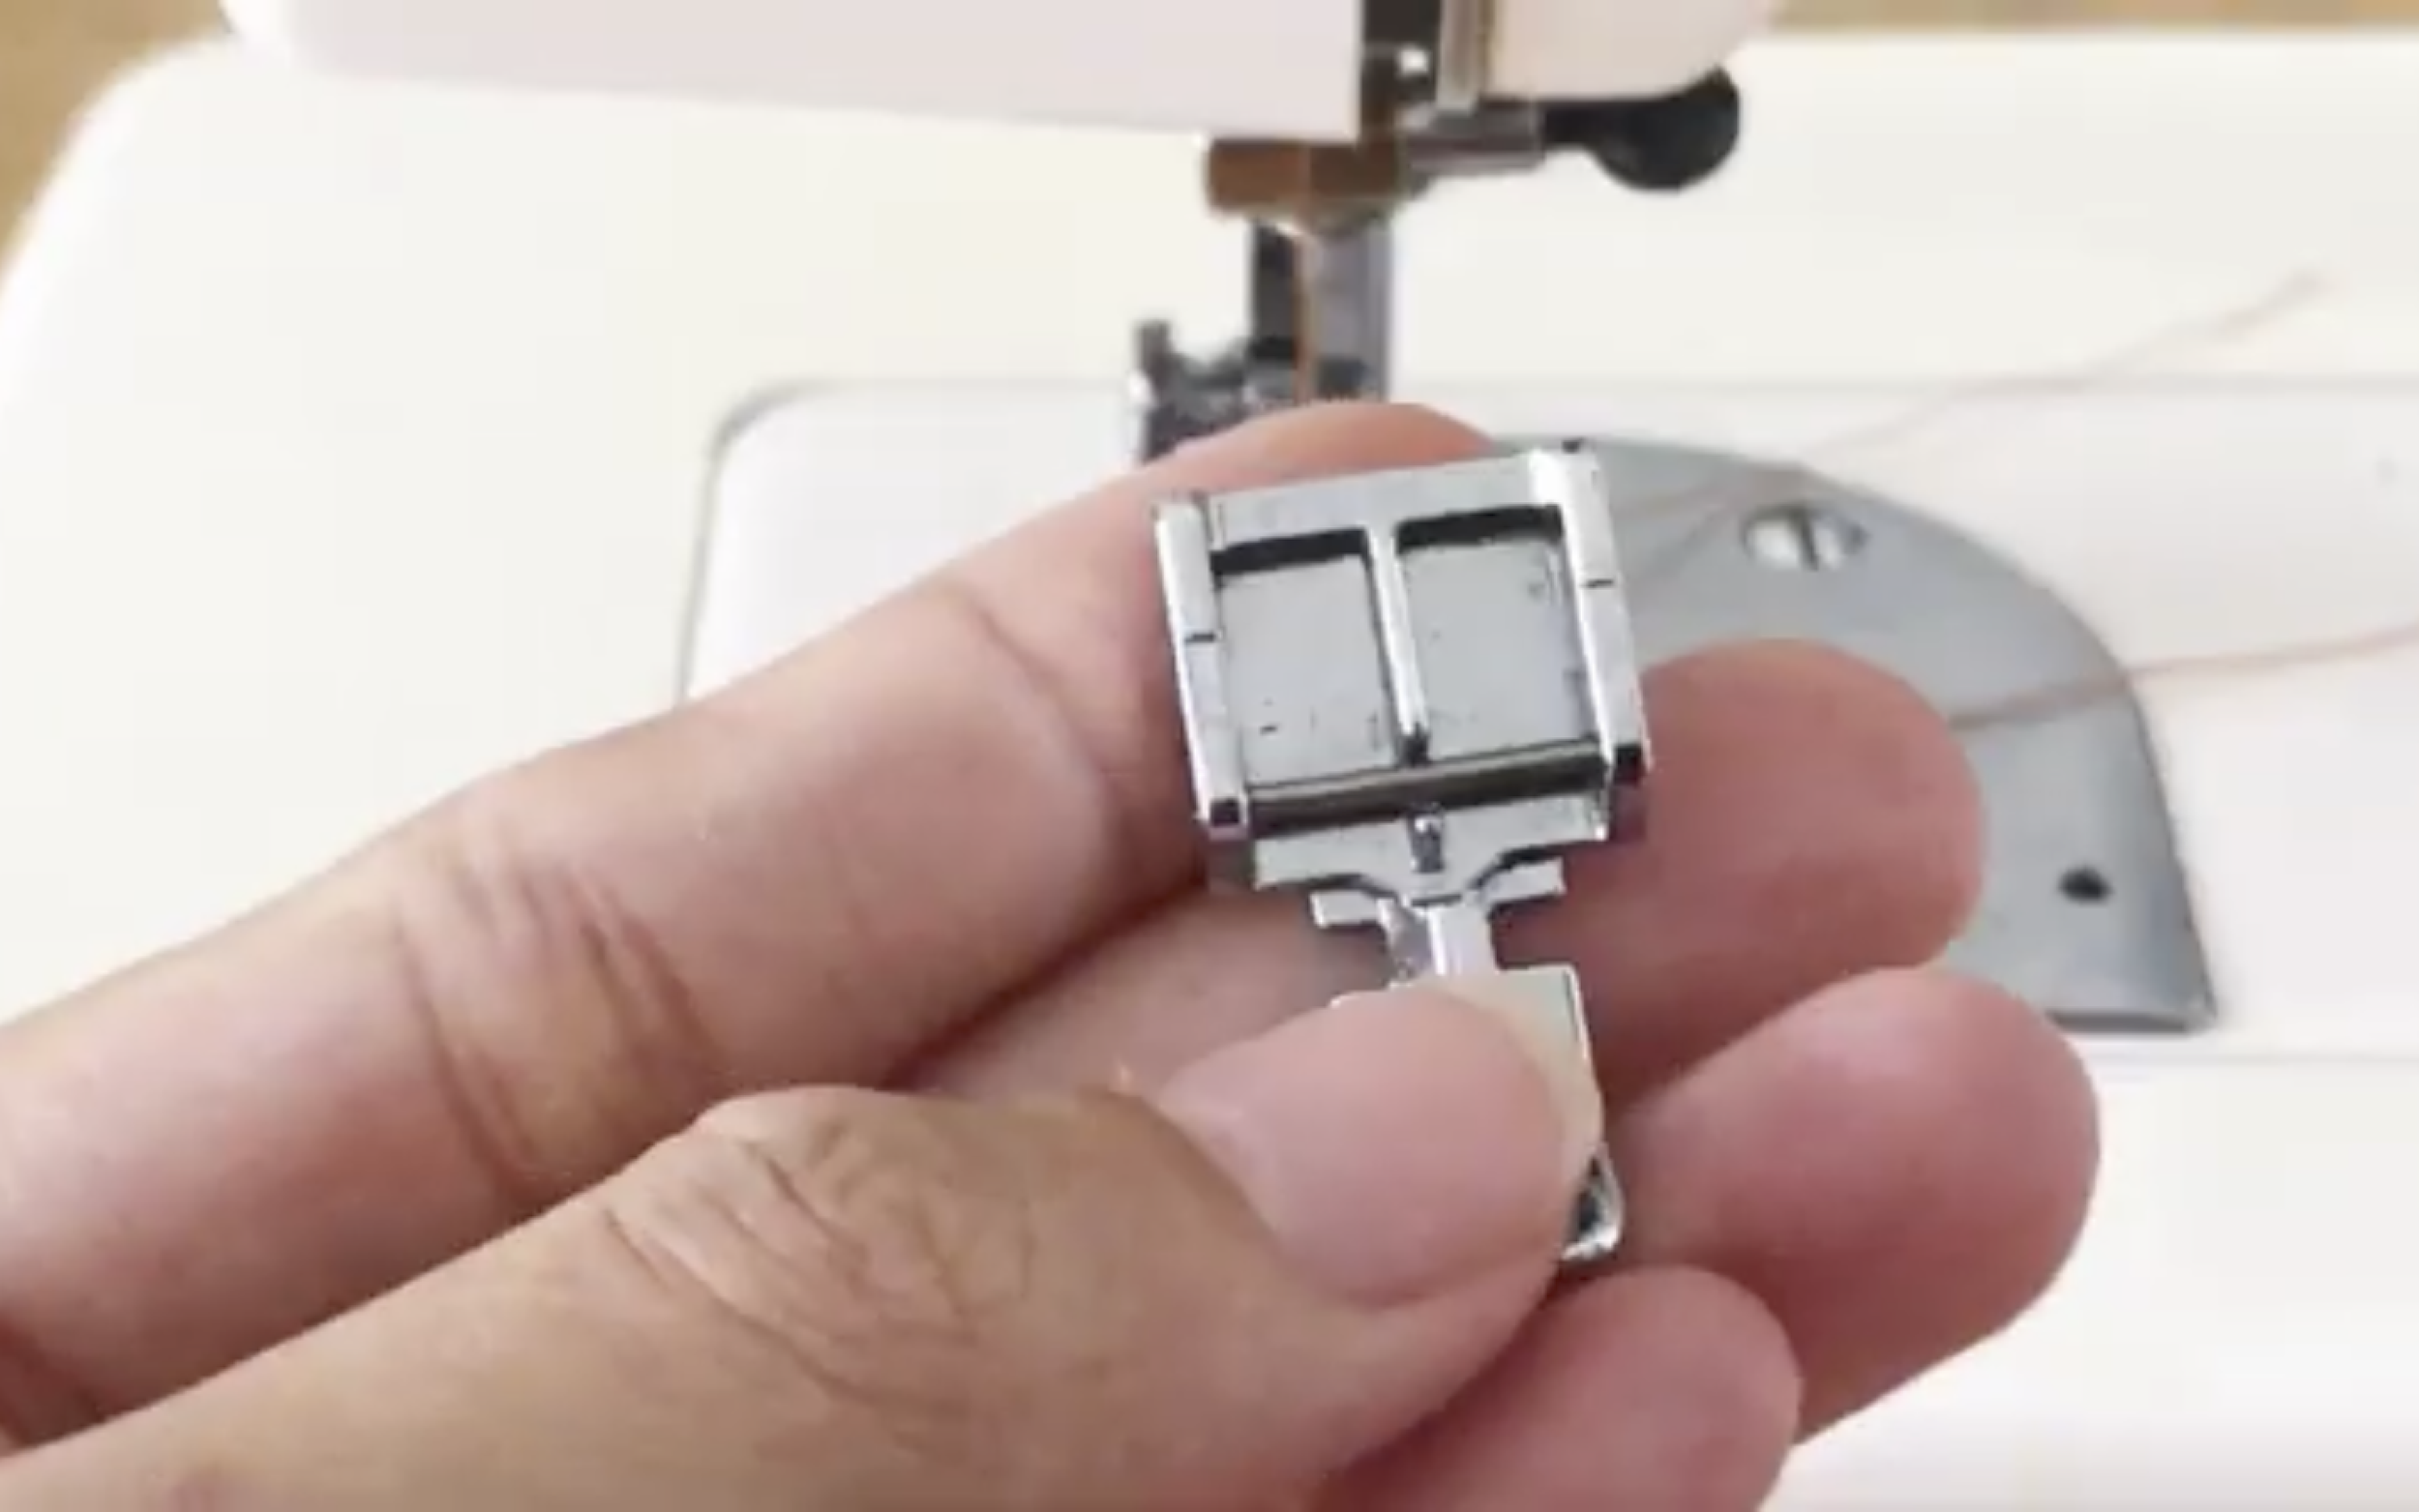
Don't forget to overlock after cutting to protect the fabric.
Use the overlock presser foot…
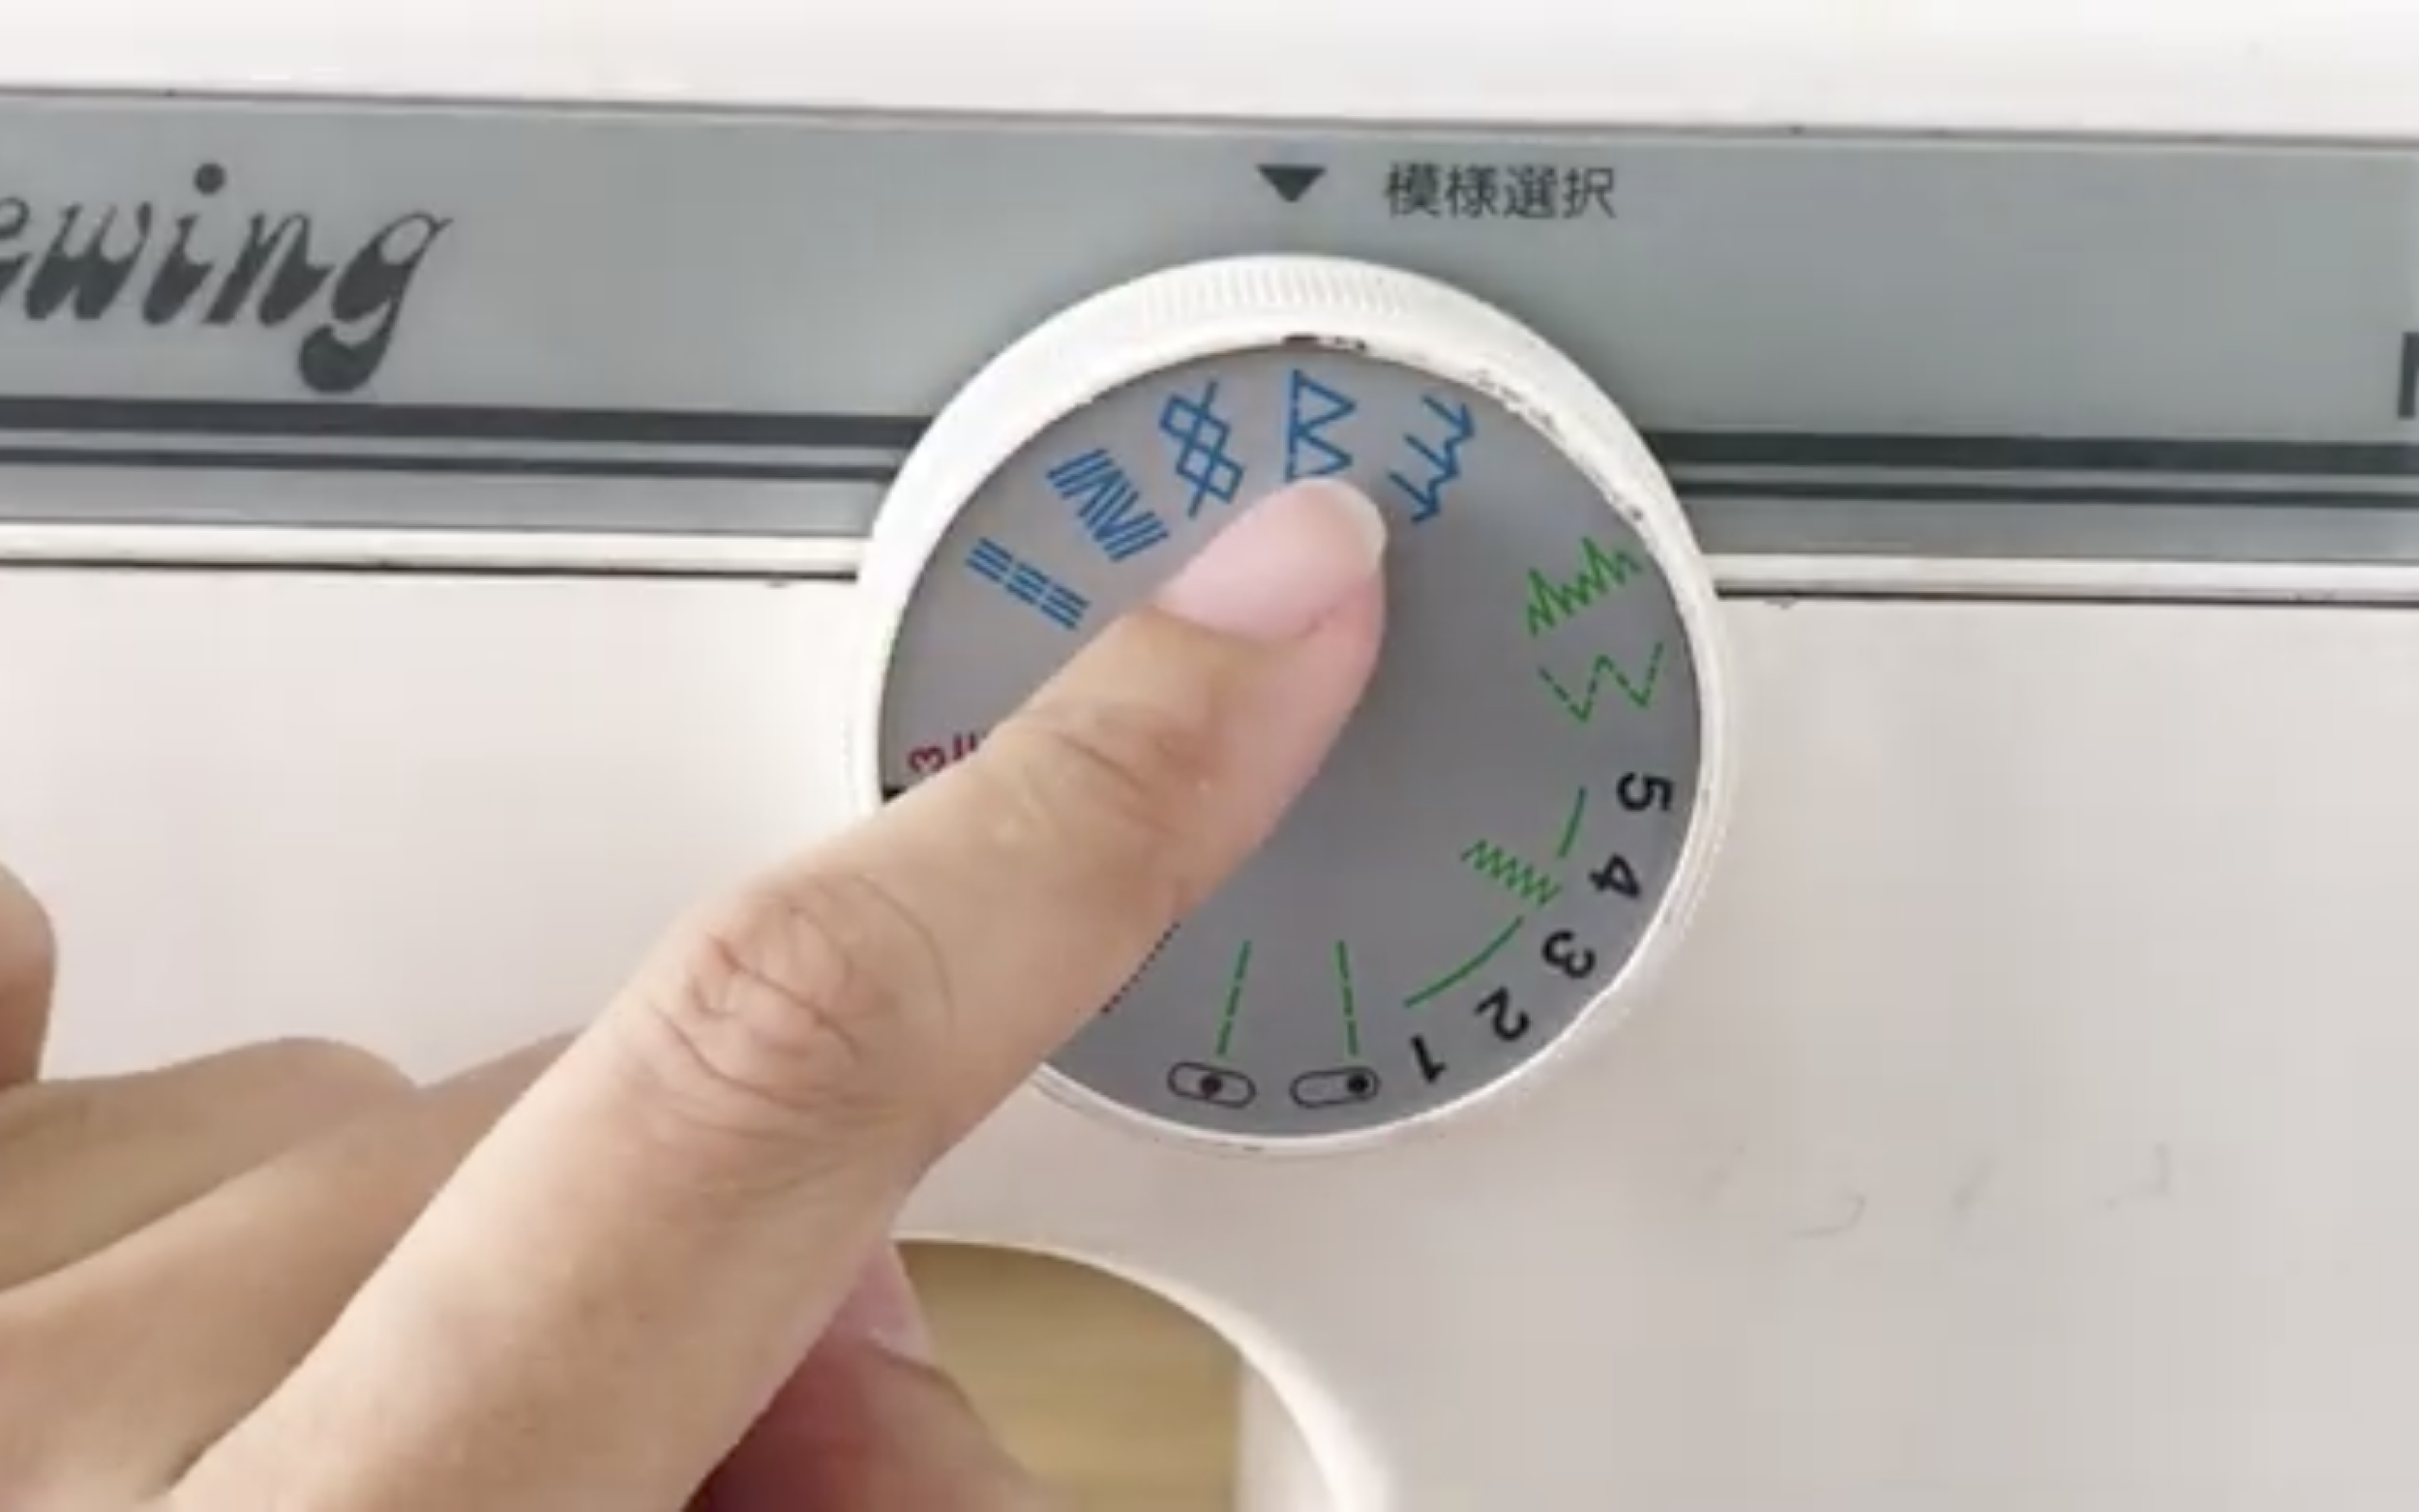
…with zigzag stitching to do it.
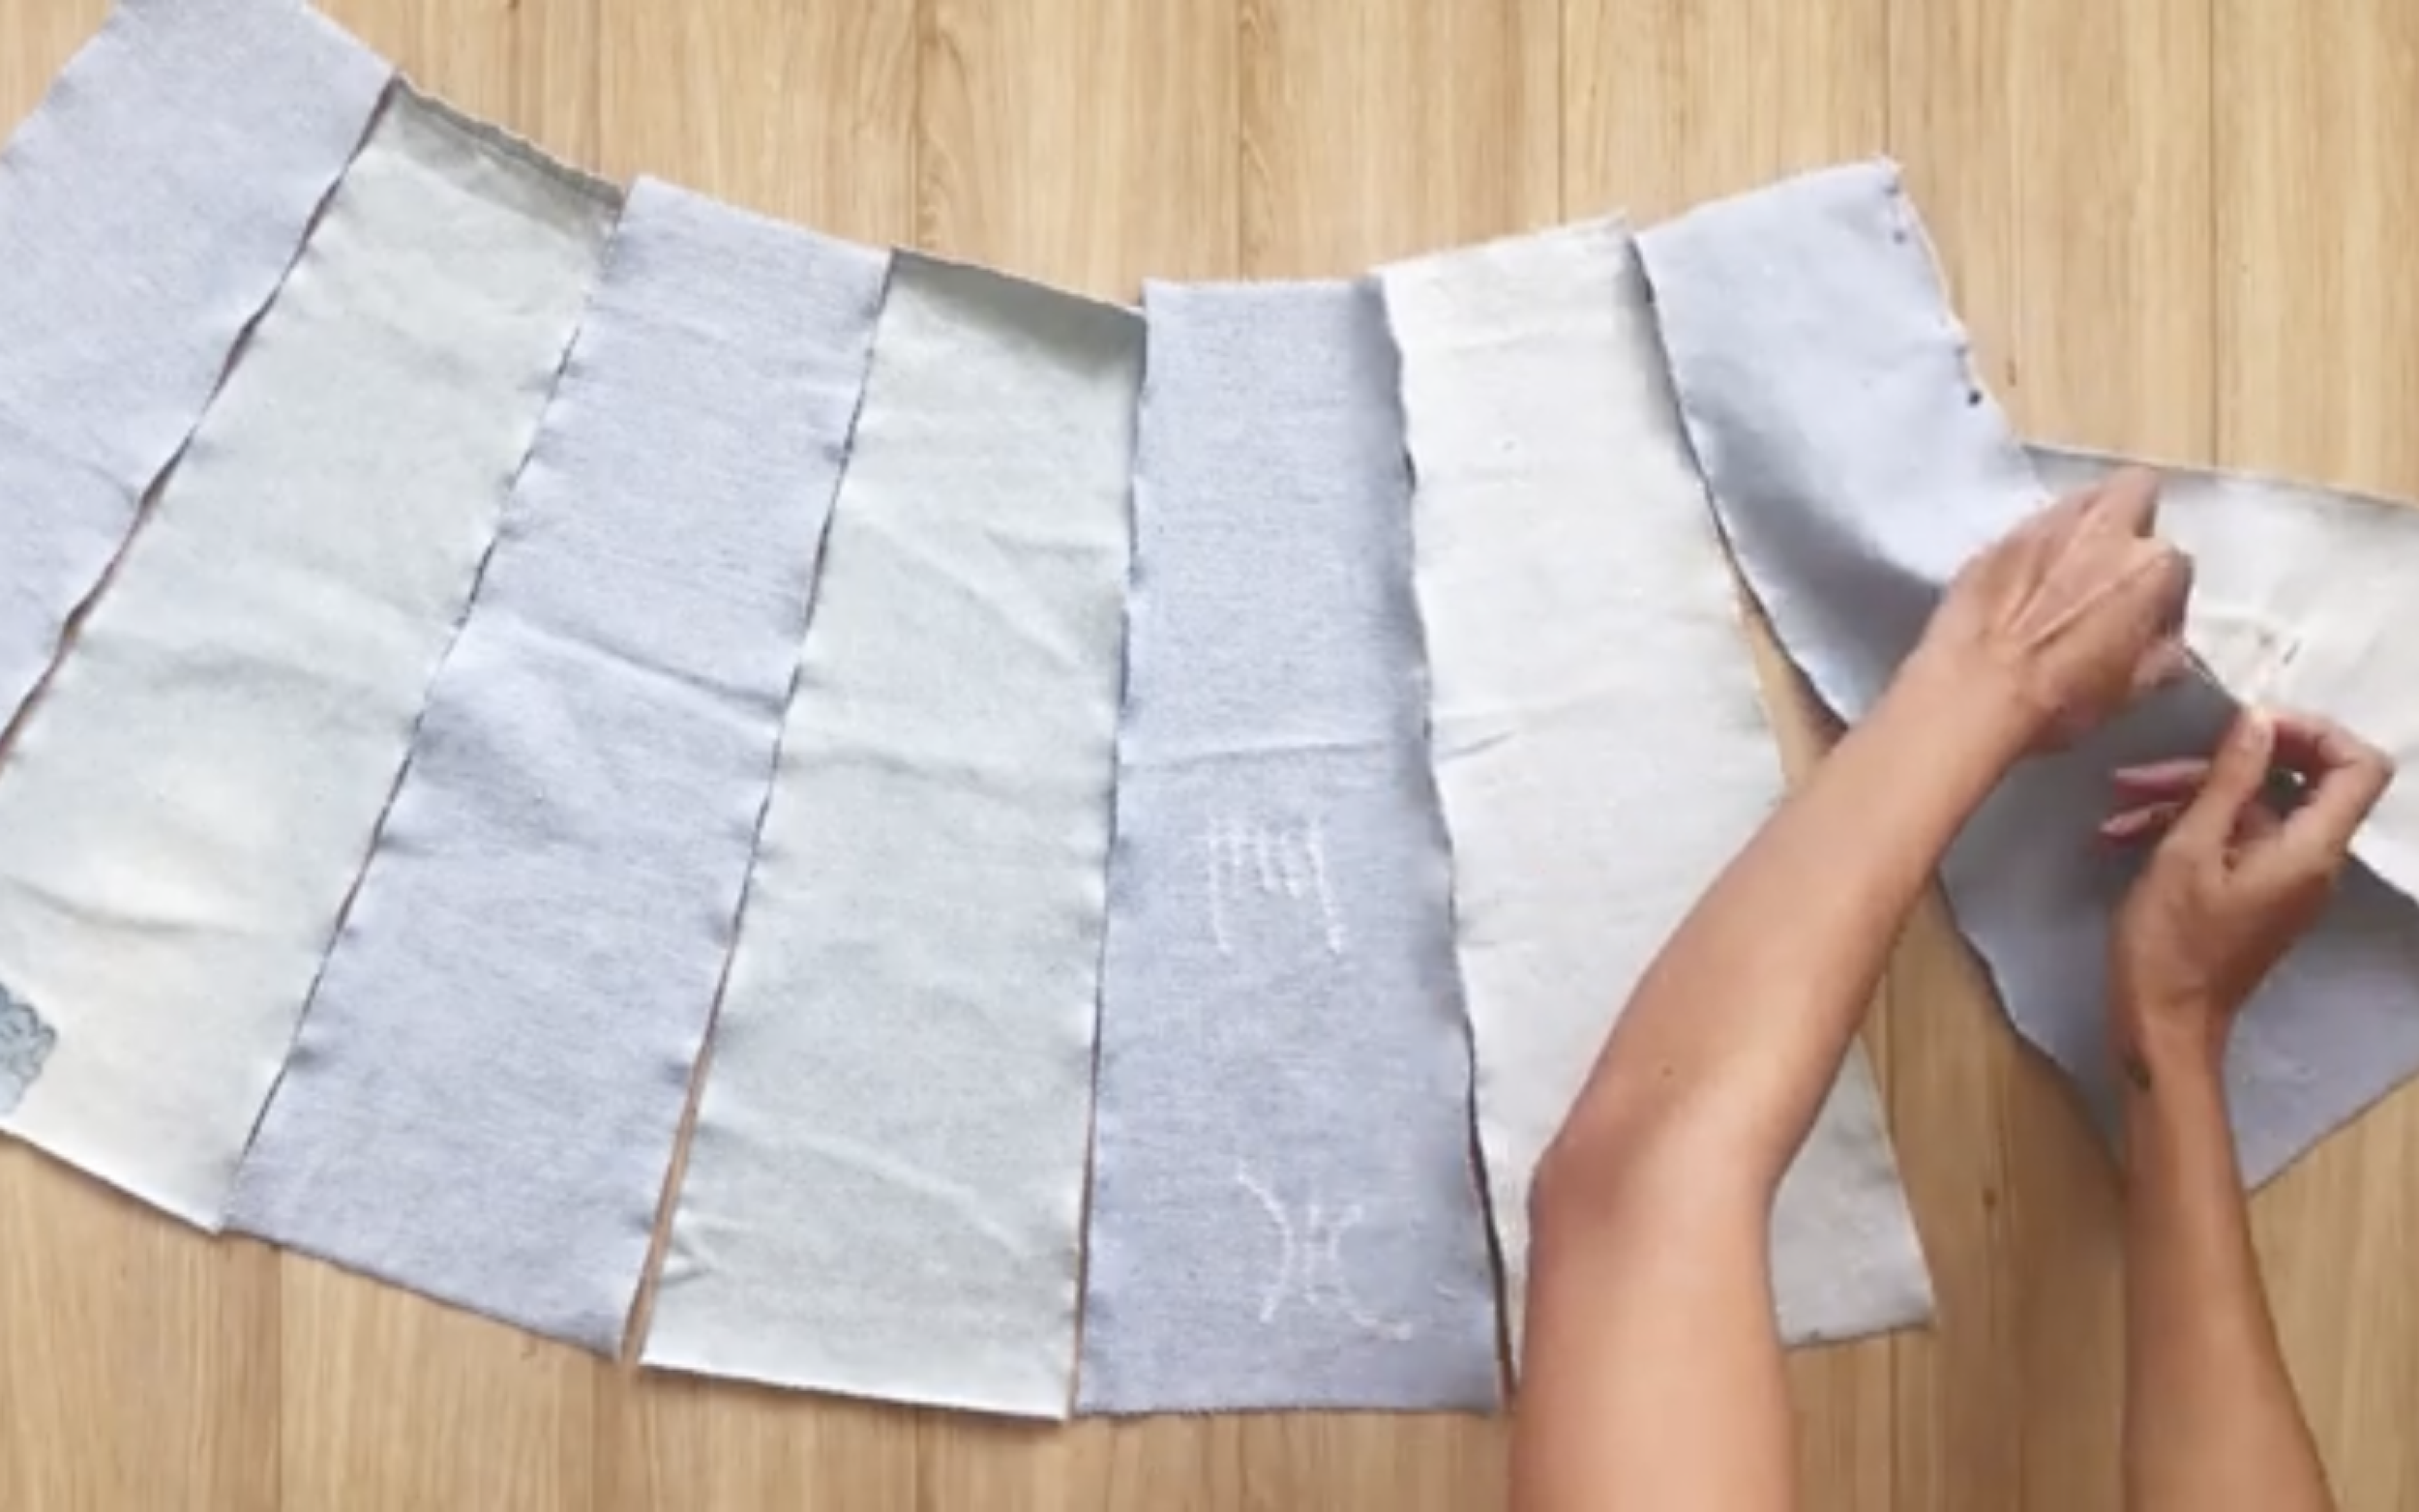
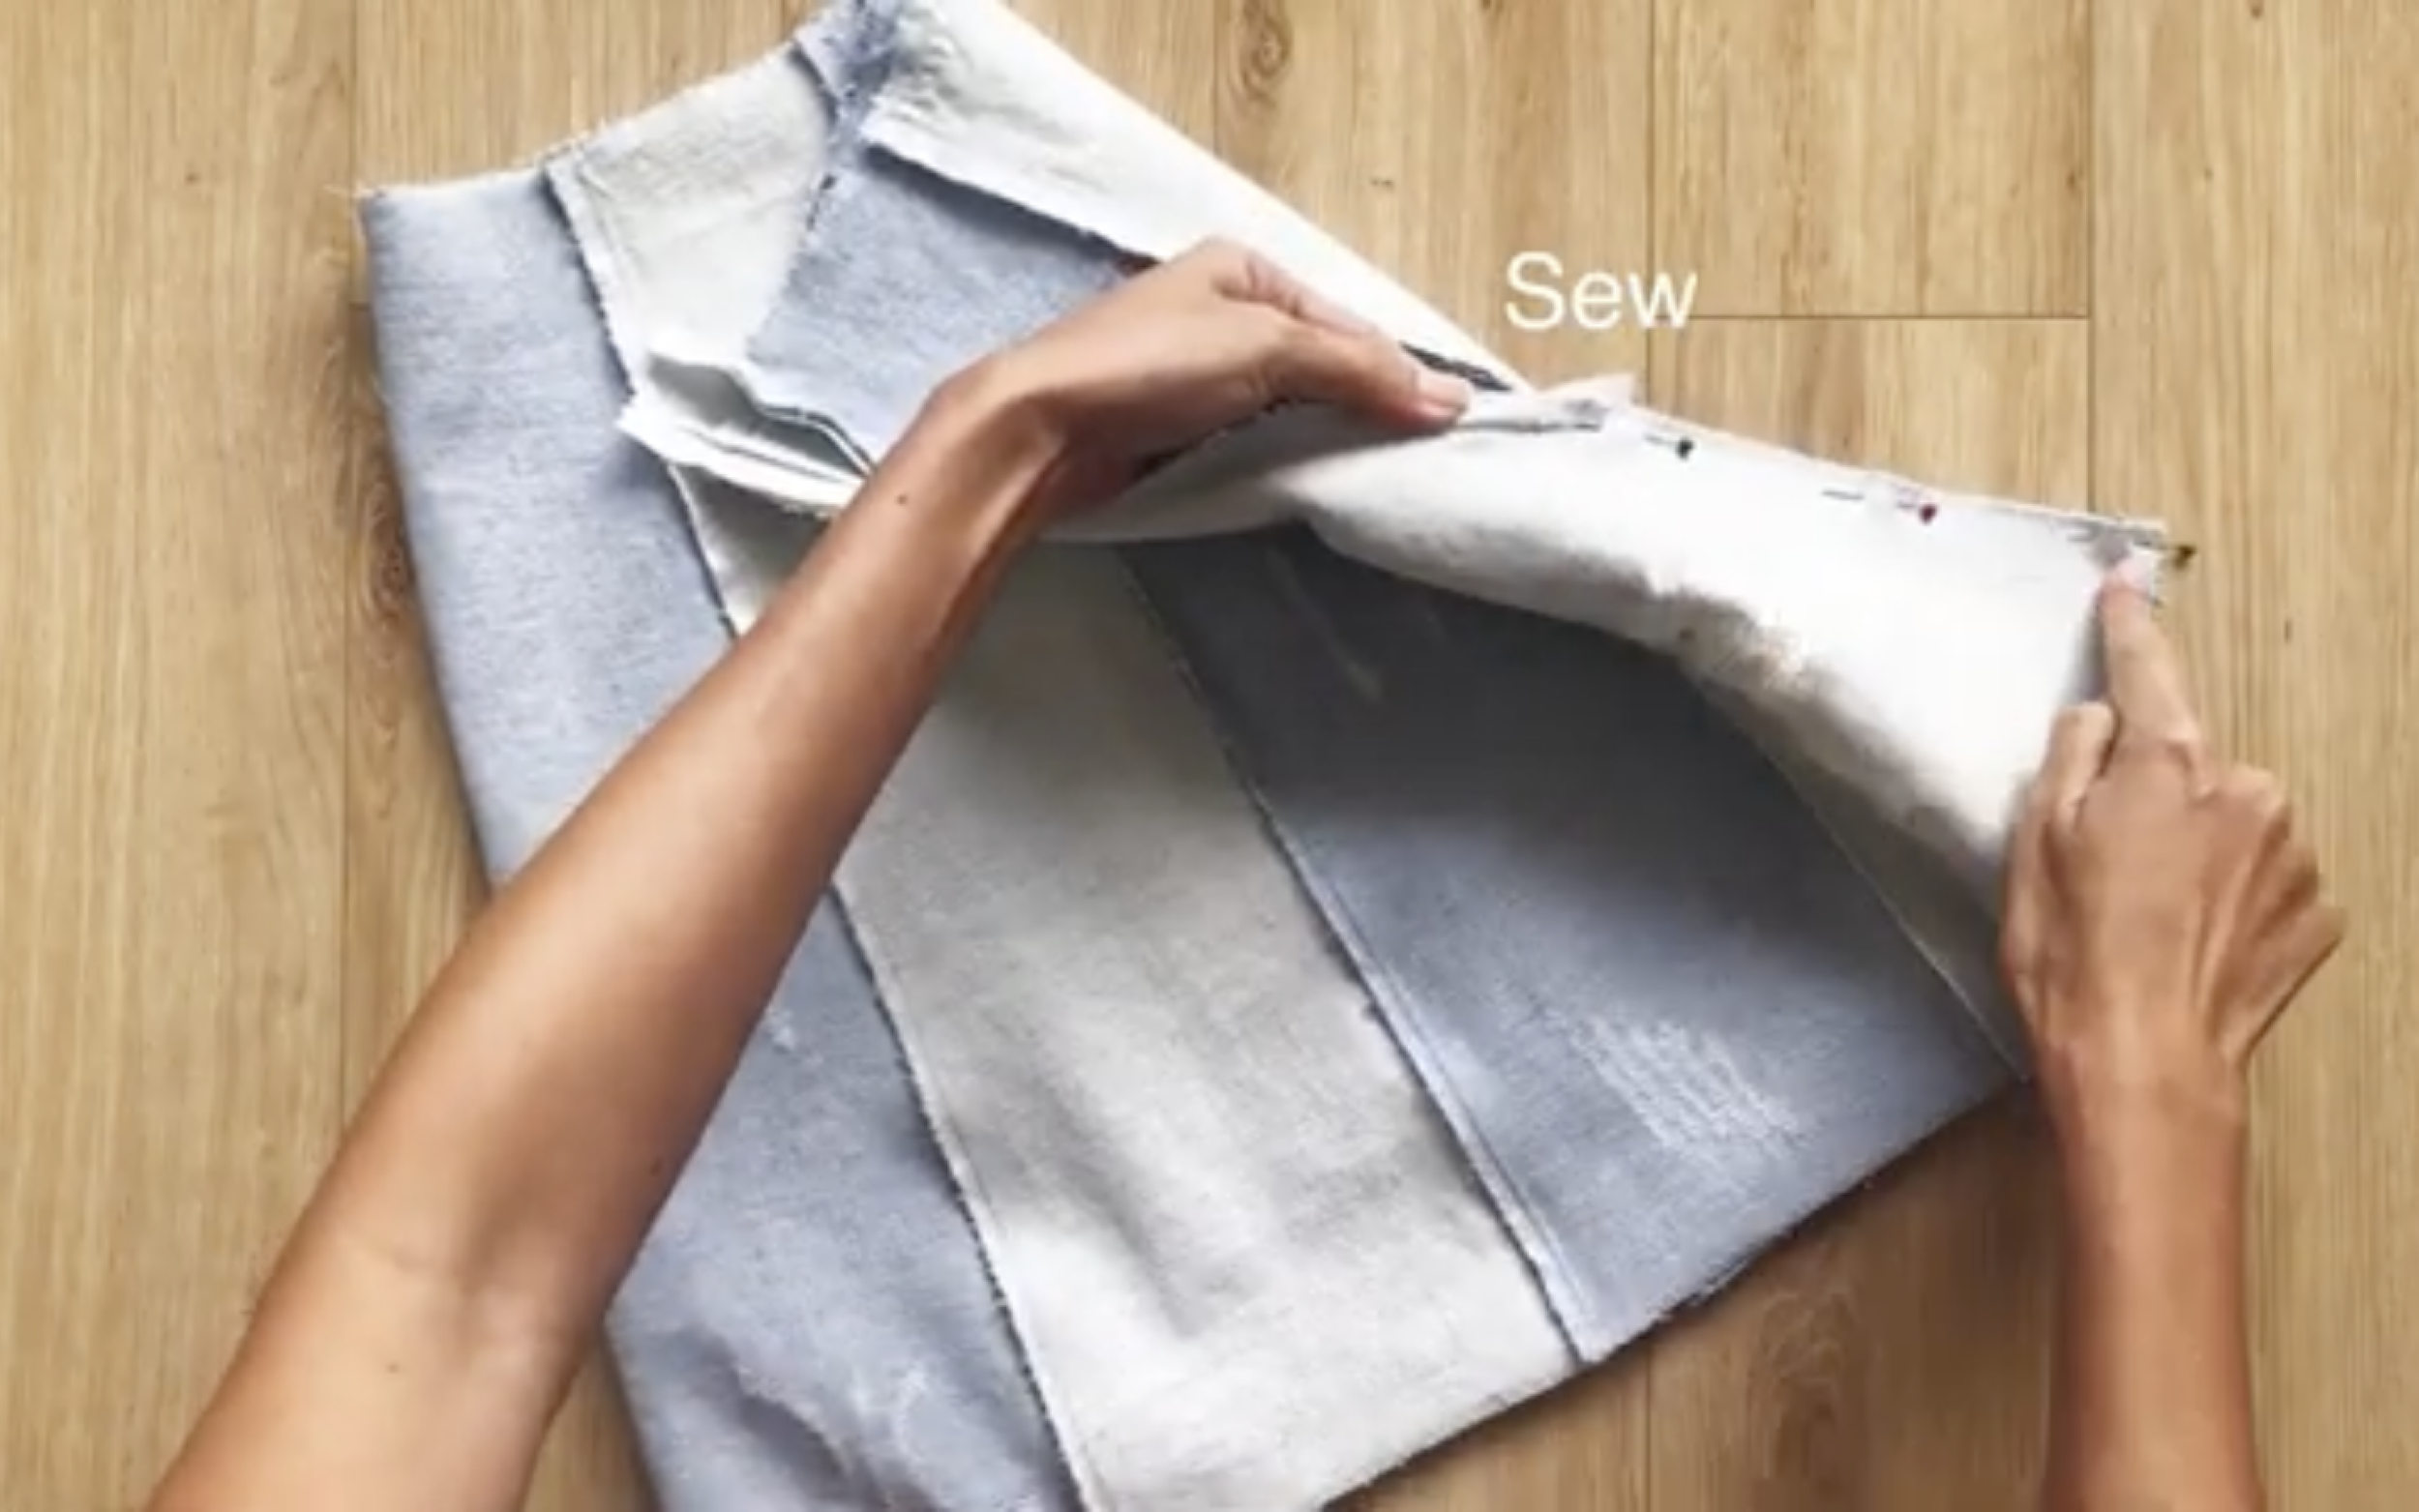
To create a nice look for the skirt, mix each piece in different colors next to each other, then connect them together using pins.
Then sewing.

After the first seam, put the extra fabric to one side and make the second seam outside.

Use a bigger thread for this seam to make it nicer.
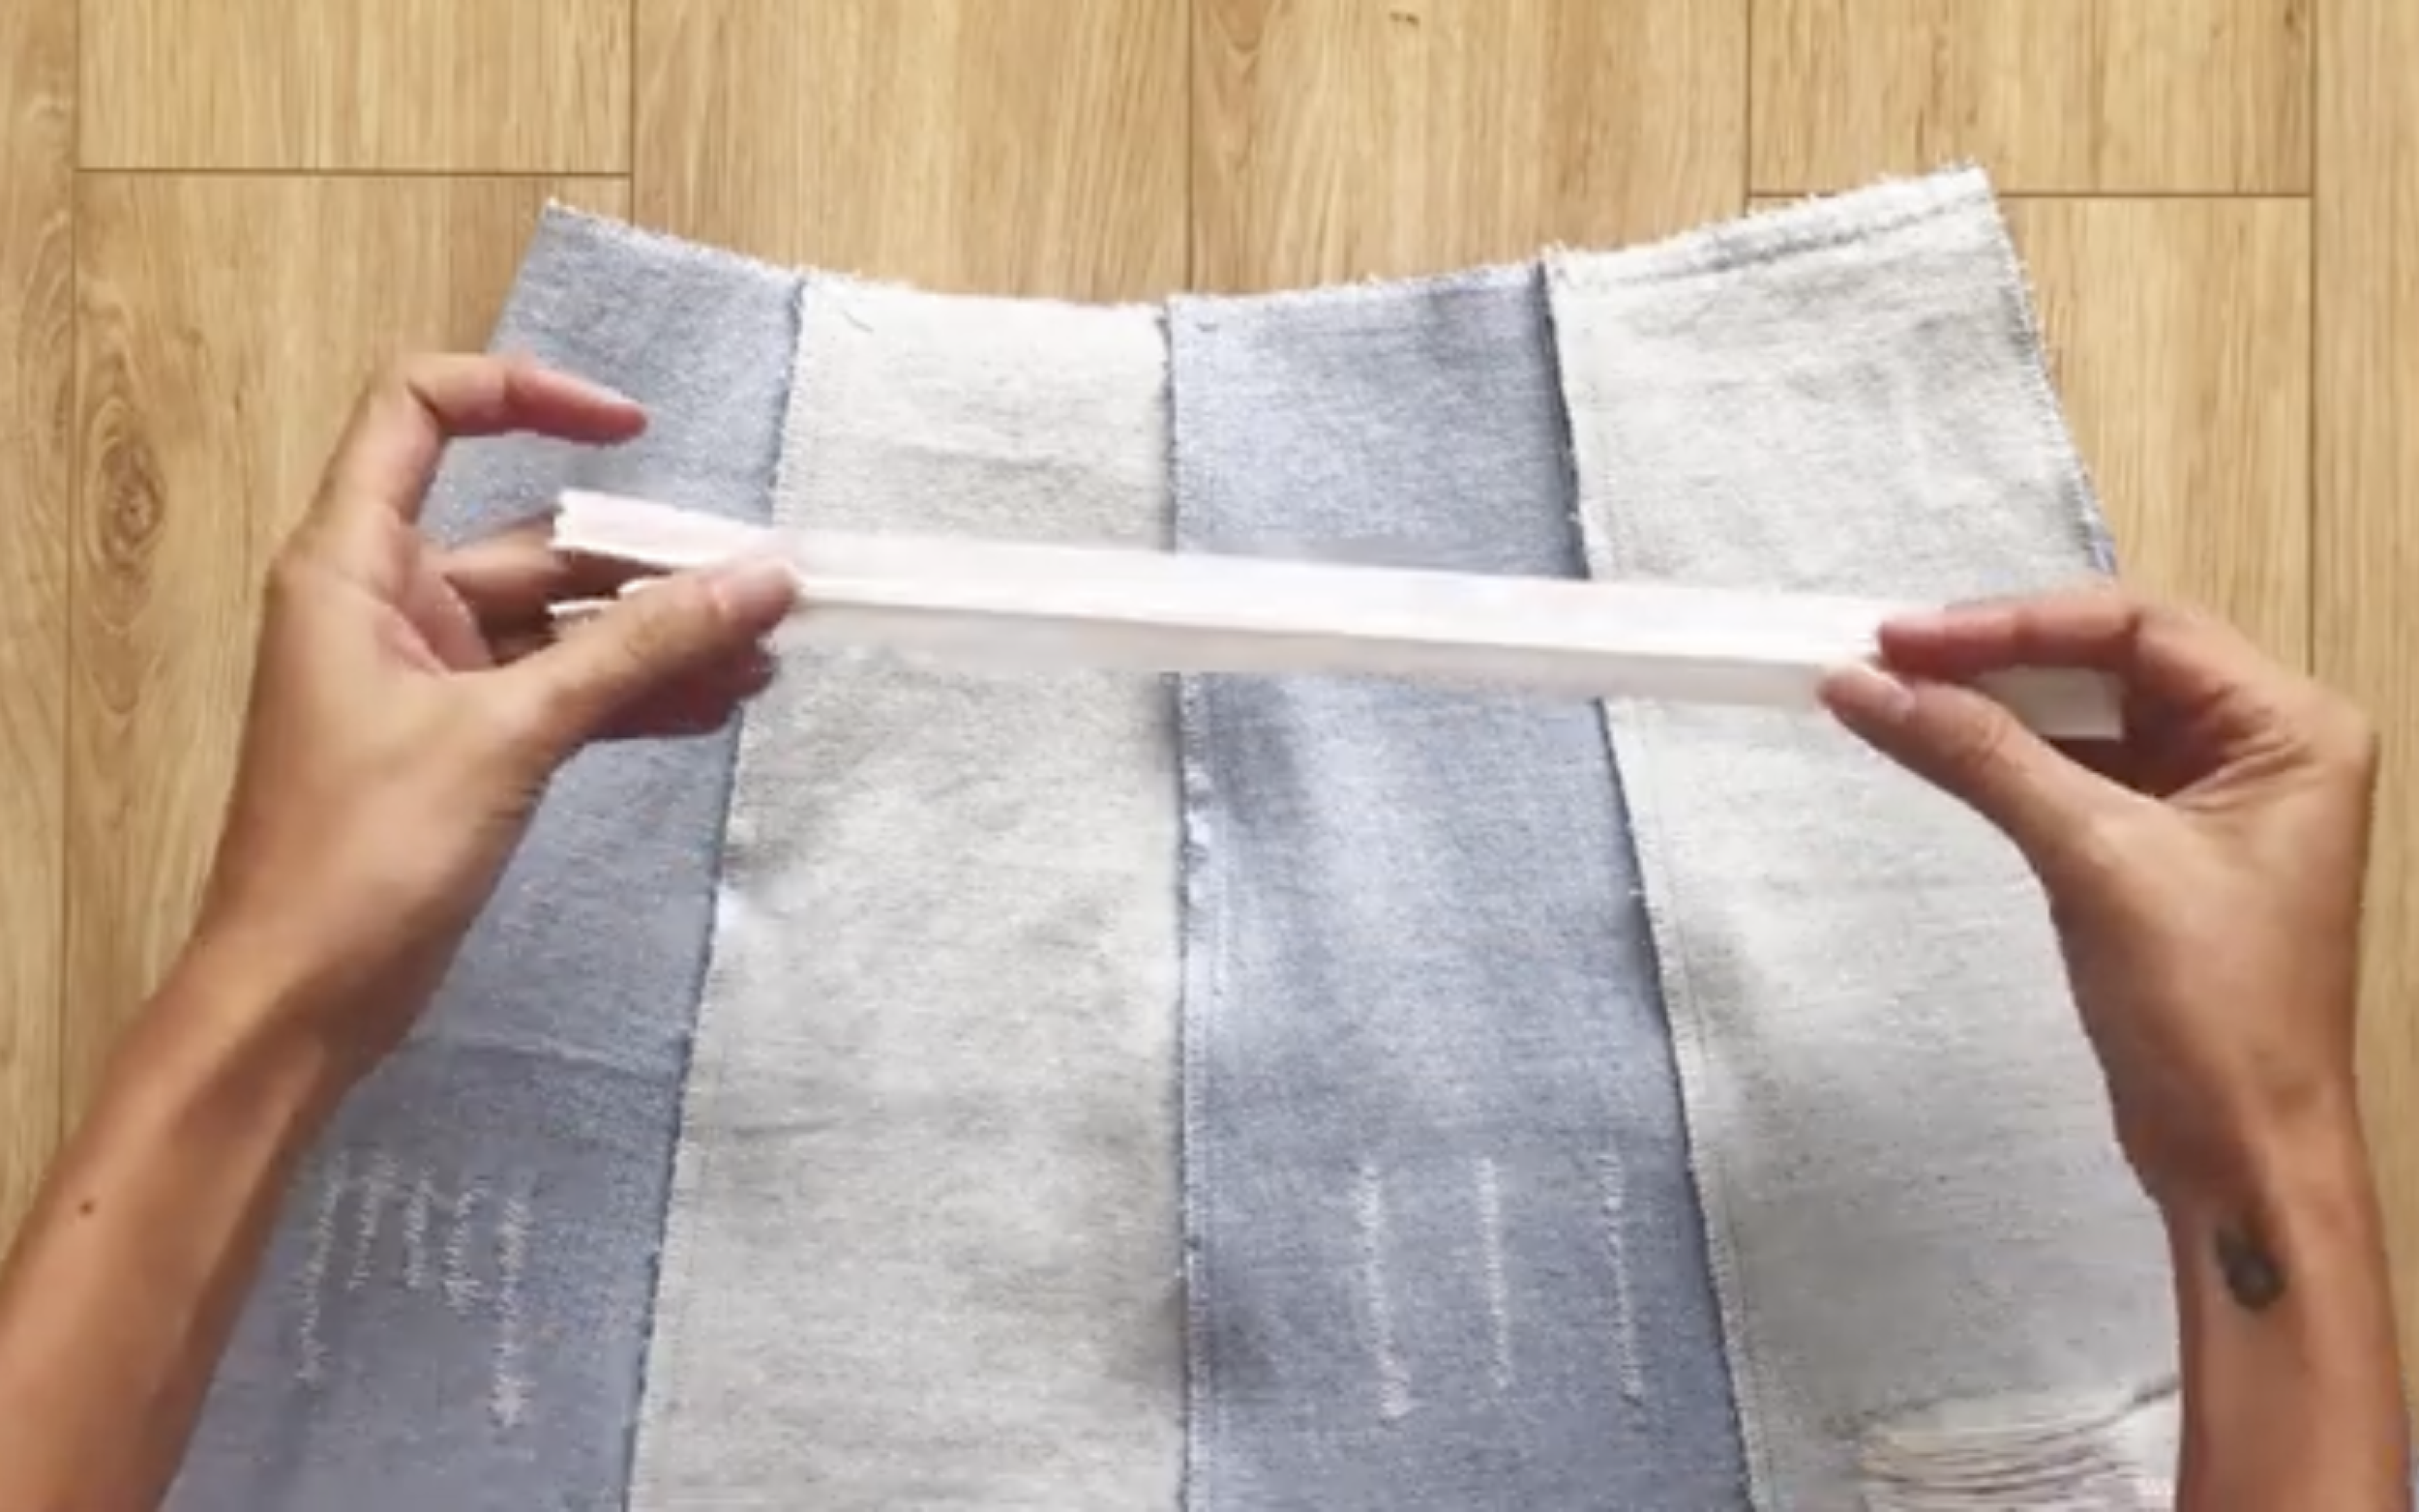
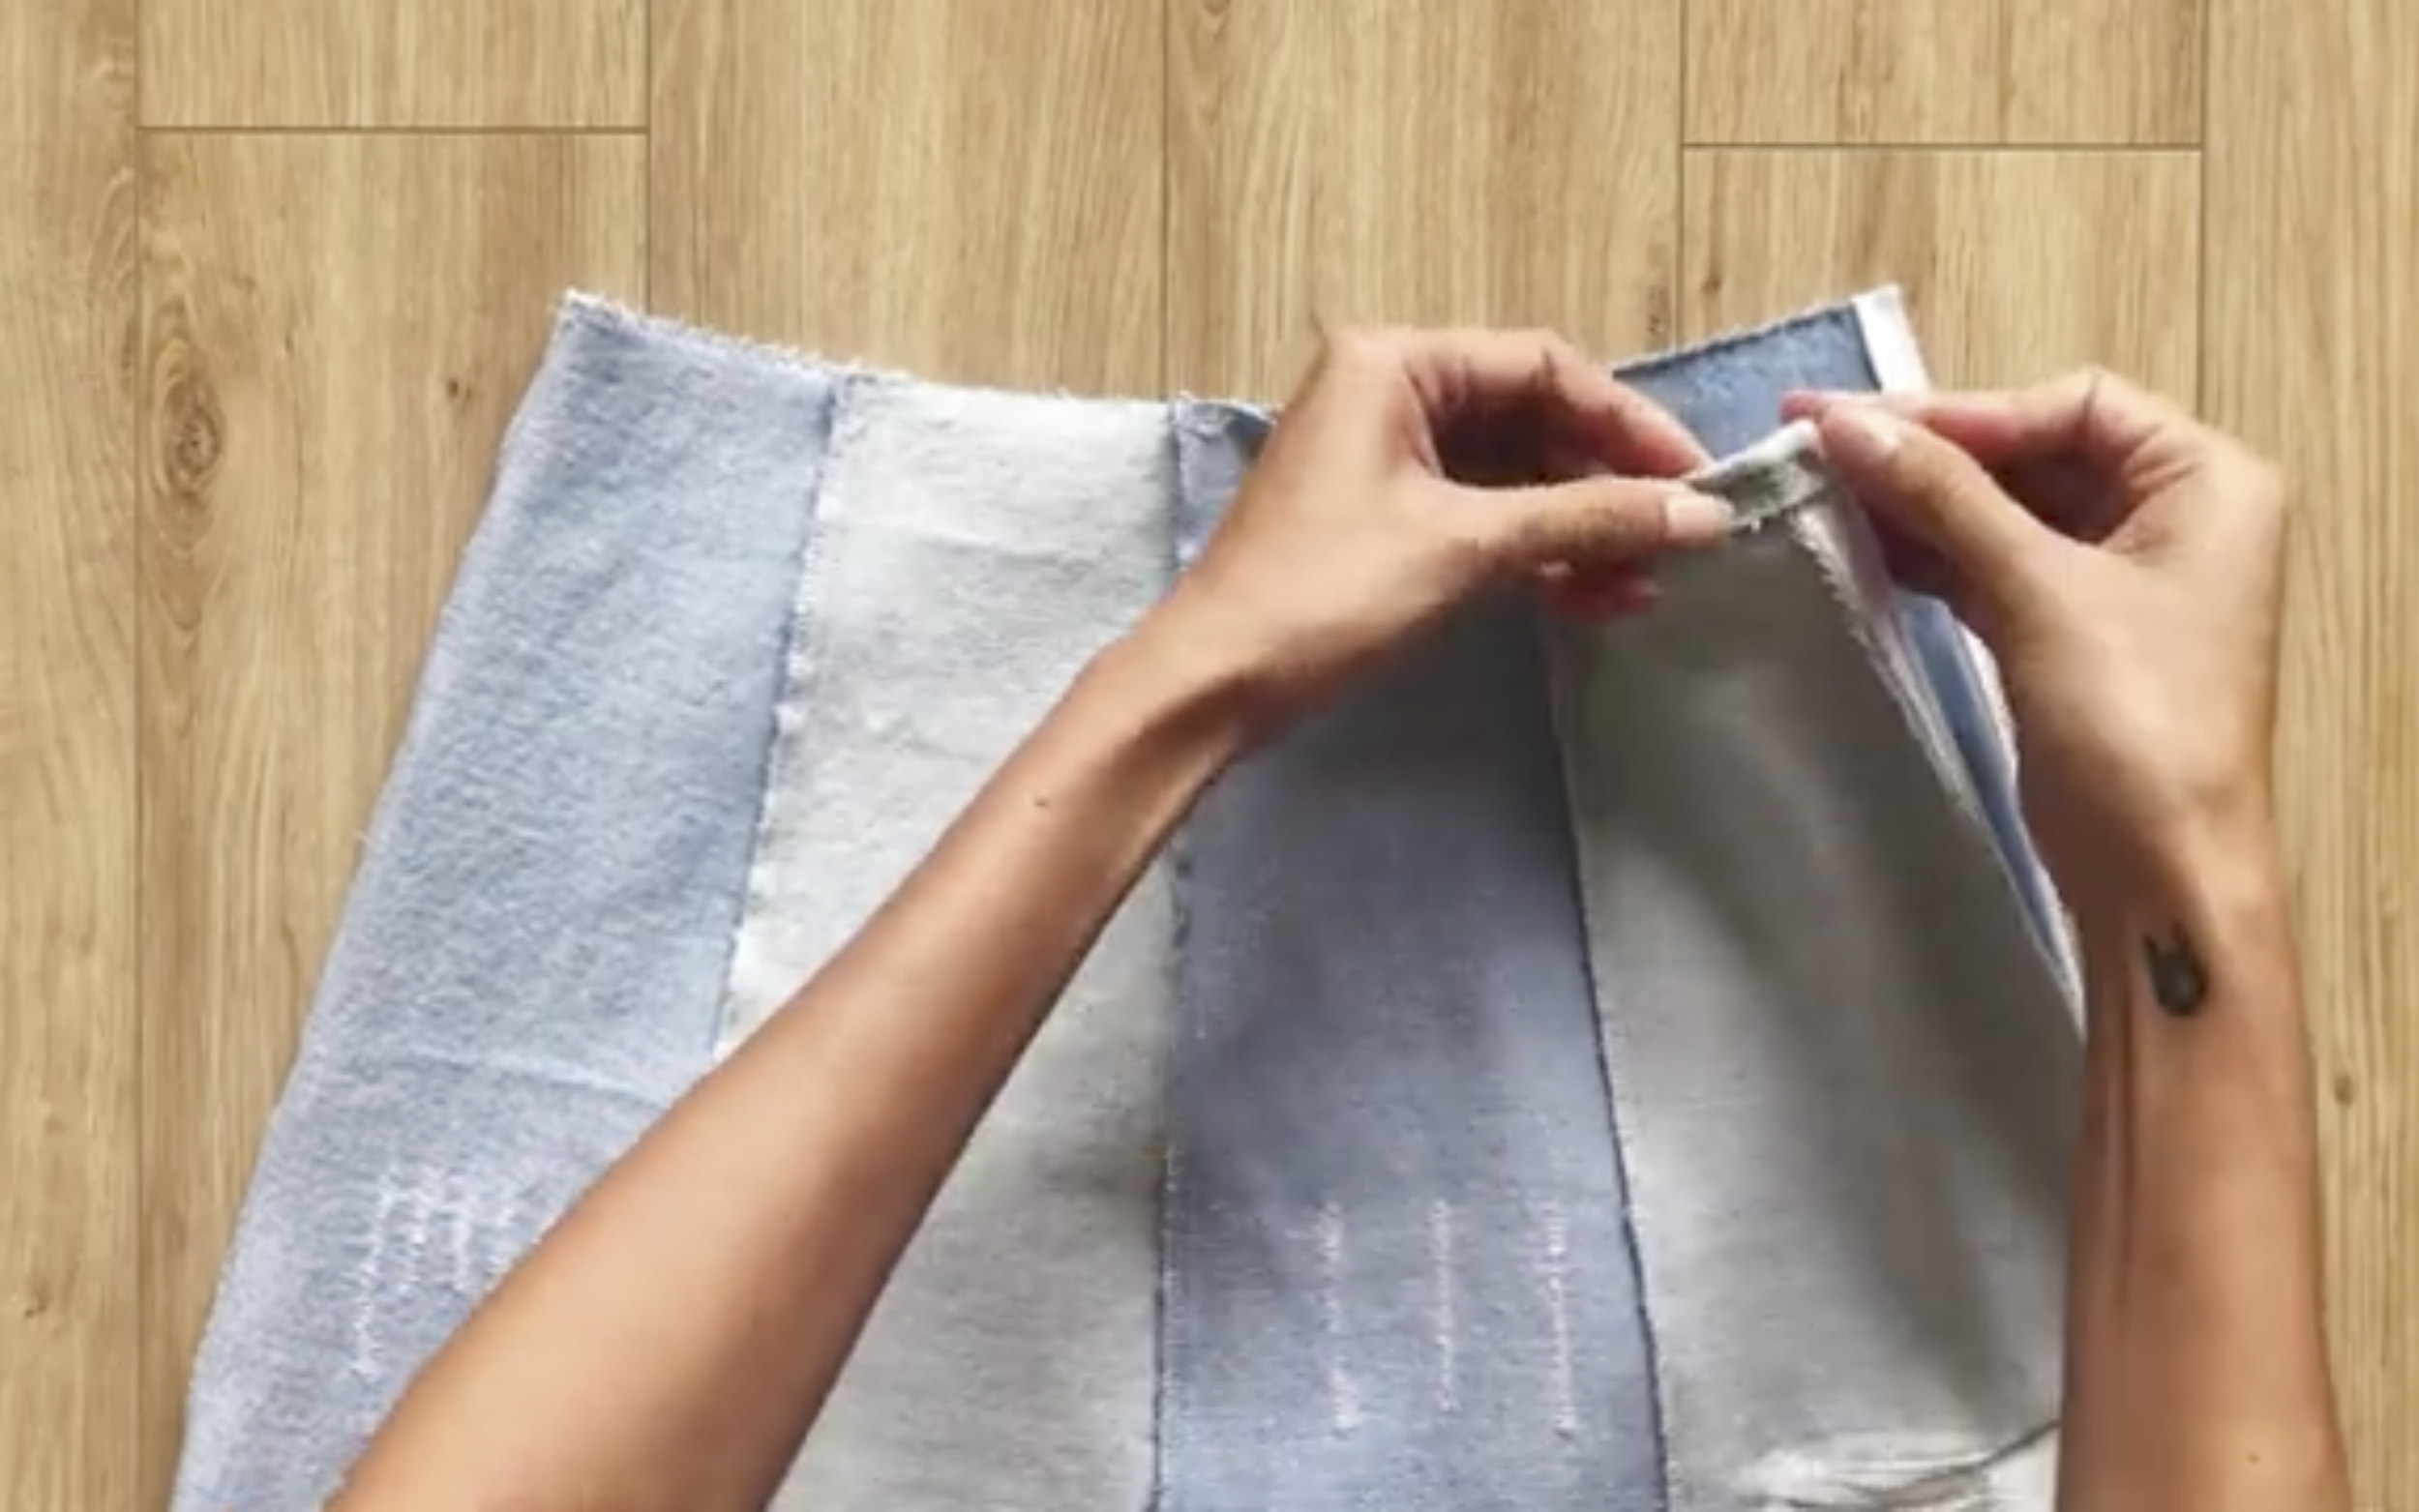
Now it's time for the zipper.
Use an invisible zipper for this skirt.
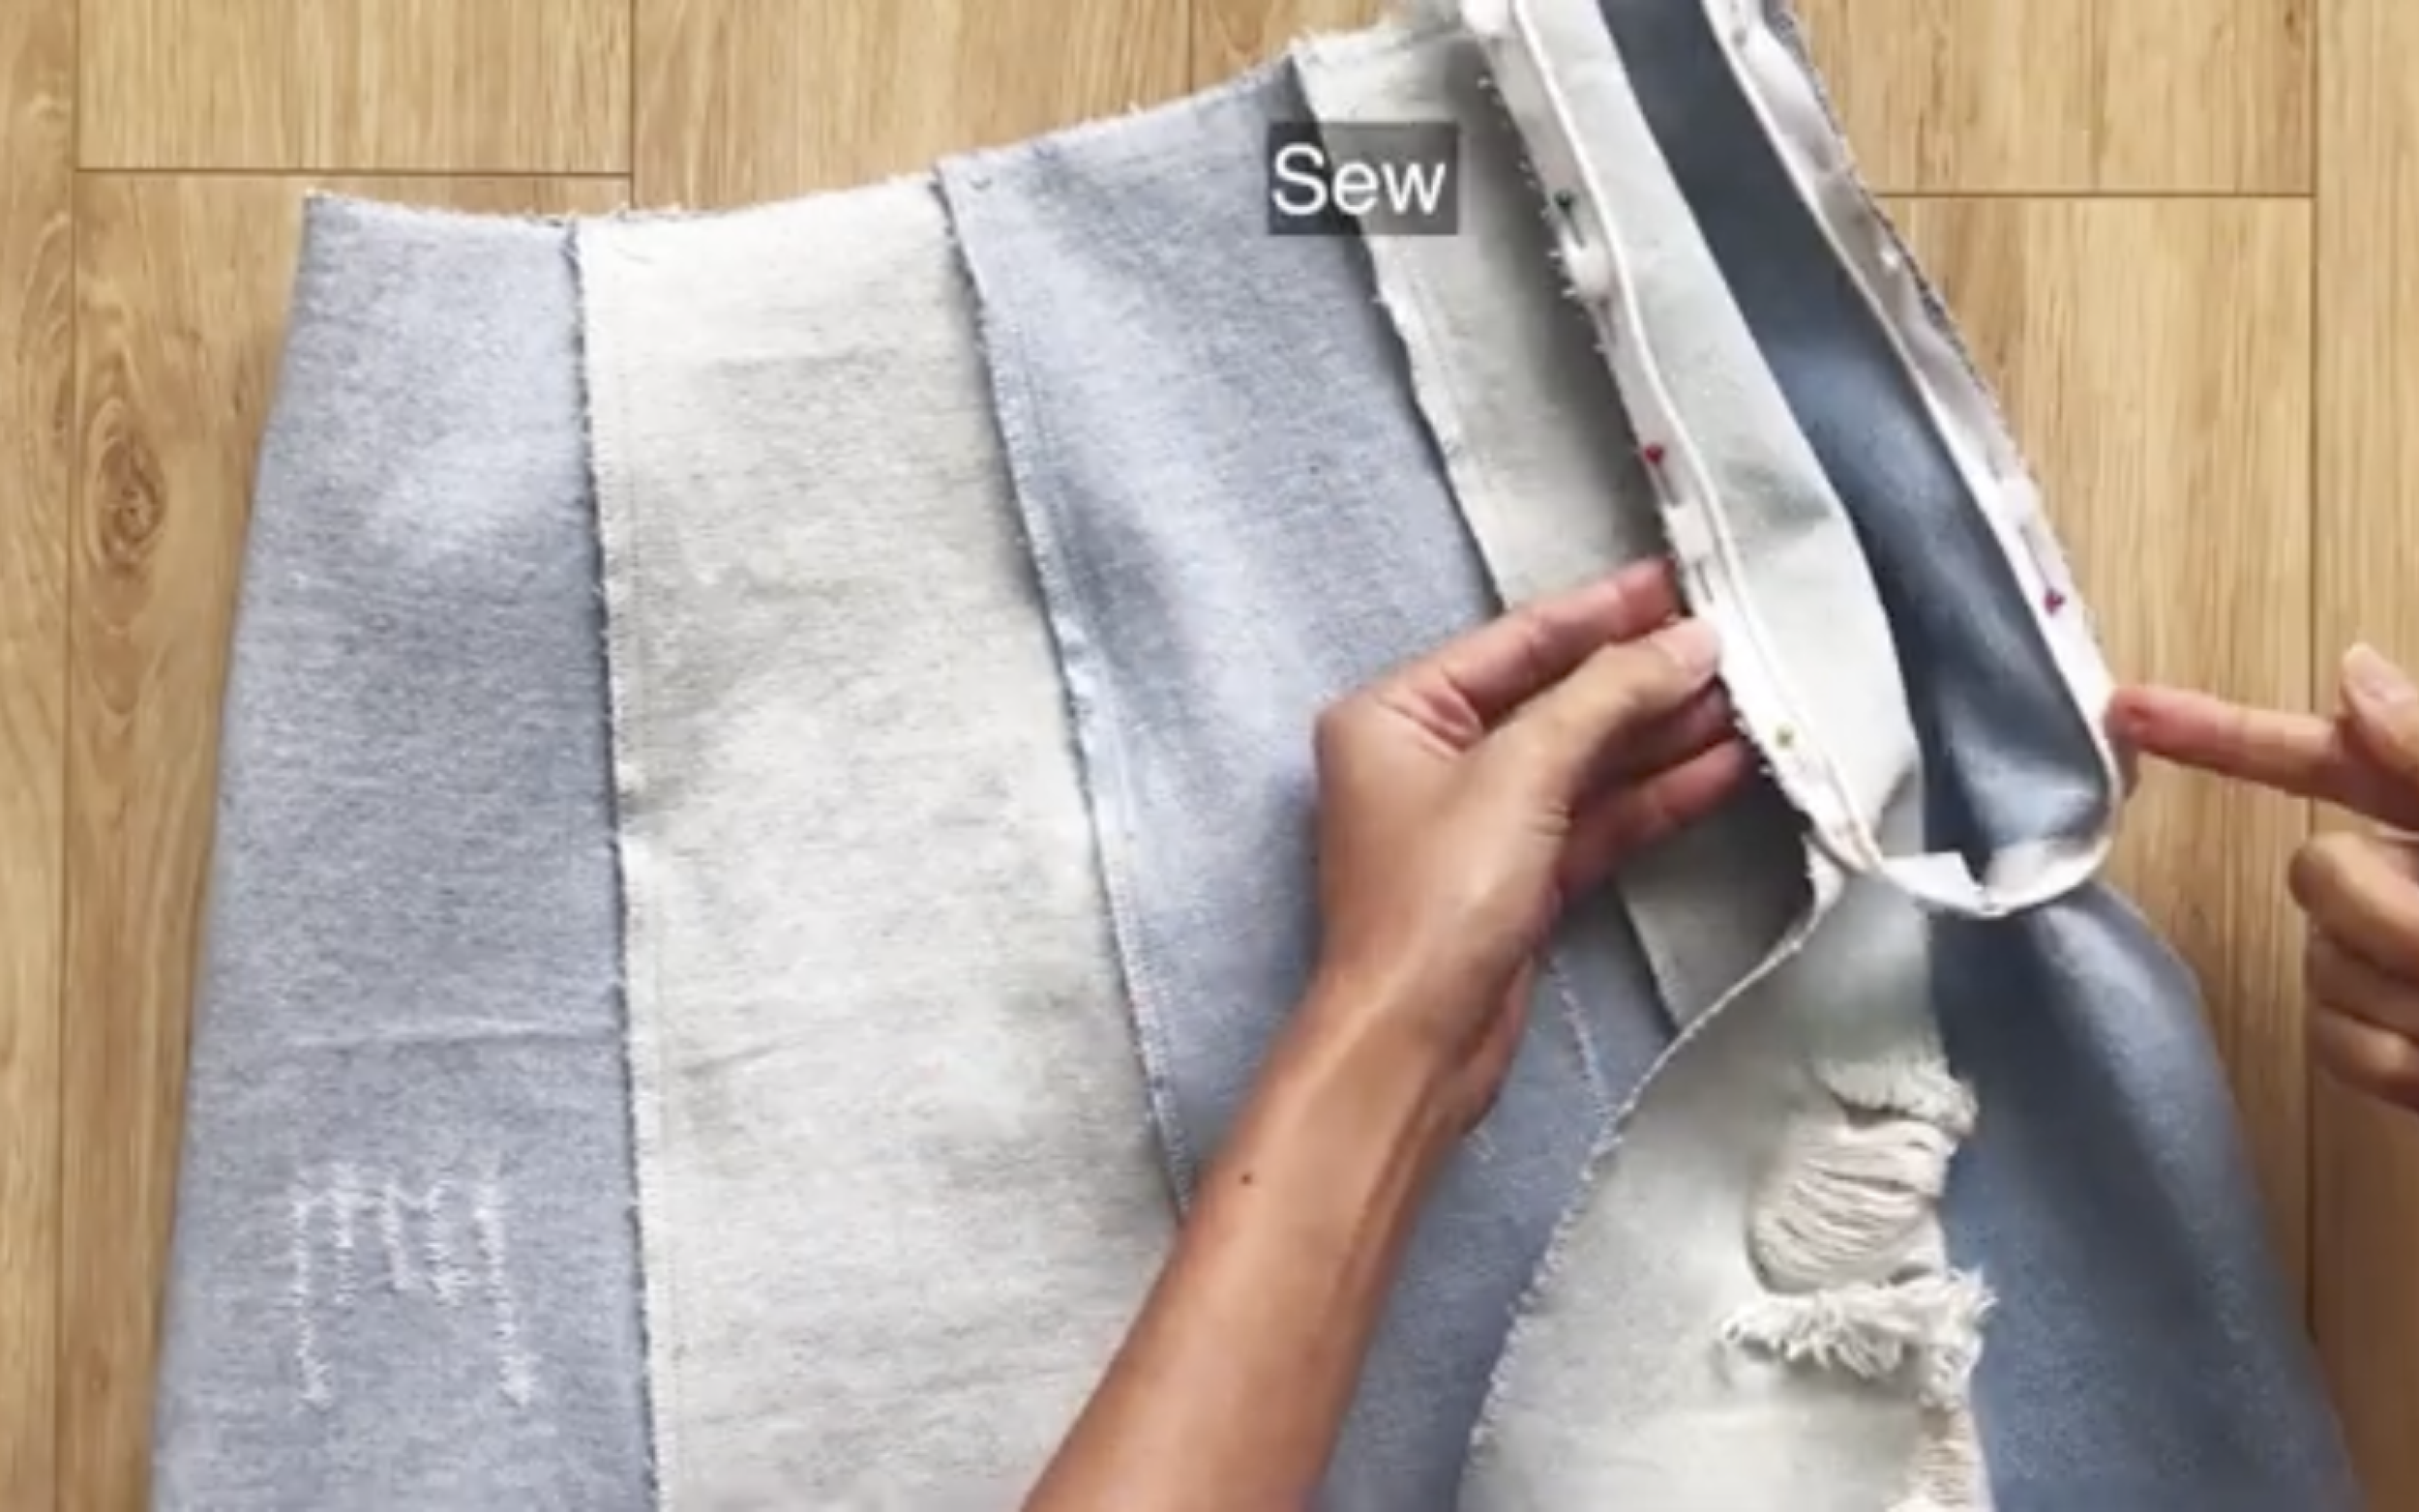
A useful tip is to keep the zipper closed and fix one side of it to one side of the skirt first, then fix the other side after that so the zipper will stay equal on both sides after sewing.
Use the zipper presser foot to help sew easily for this part.
After sewing, connect the rest of the fabric on both sides together, then sew.
Now, finish the top of the skirt.
No waistband is made for this skirt because there isn't enough fabric from the leg jeans.
Besides that, it looks nicer without the waistband. However, if enough fabric is available, a waistband can be added if desired.
Just fold the end of the top inside around 1 or 1.5 cm and sew.

A useful tip here is to move the end of the top at the zipper inside a bit so it won’t get stuck when closing the zipper.
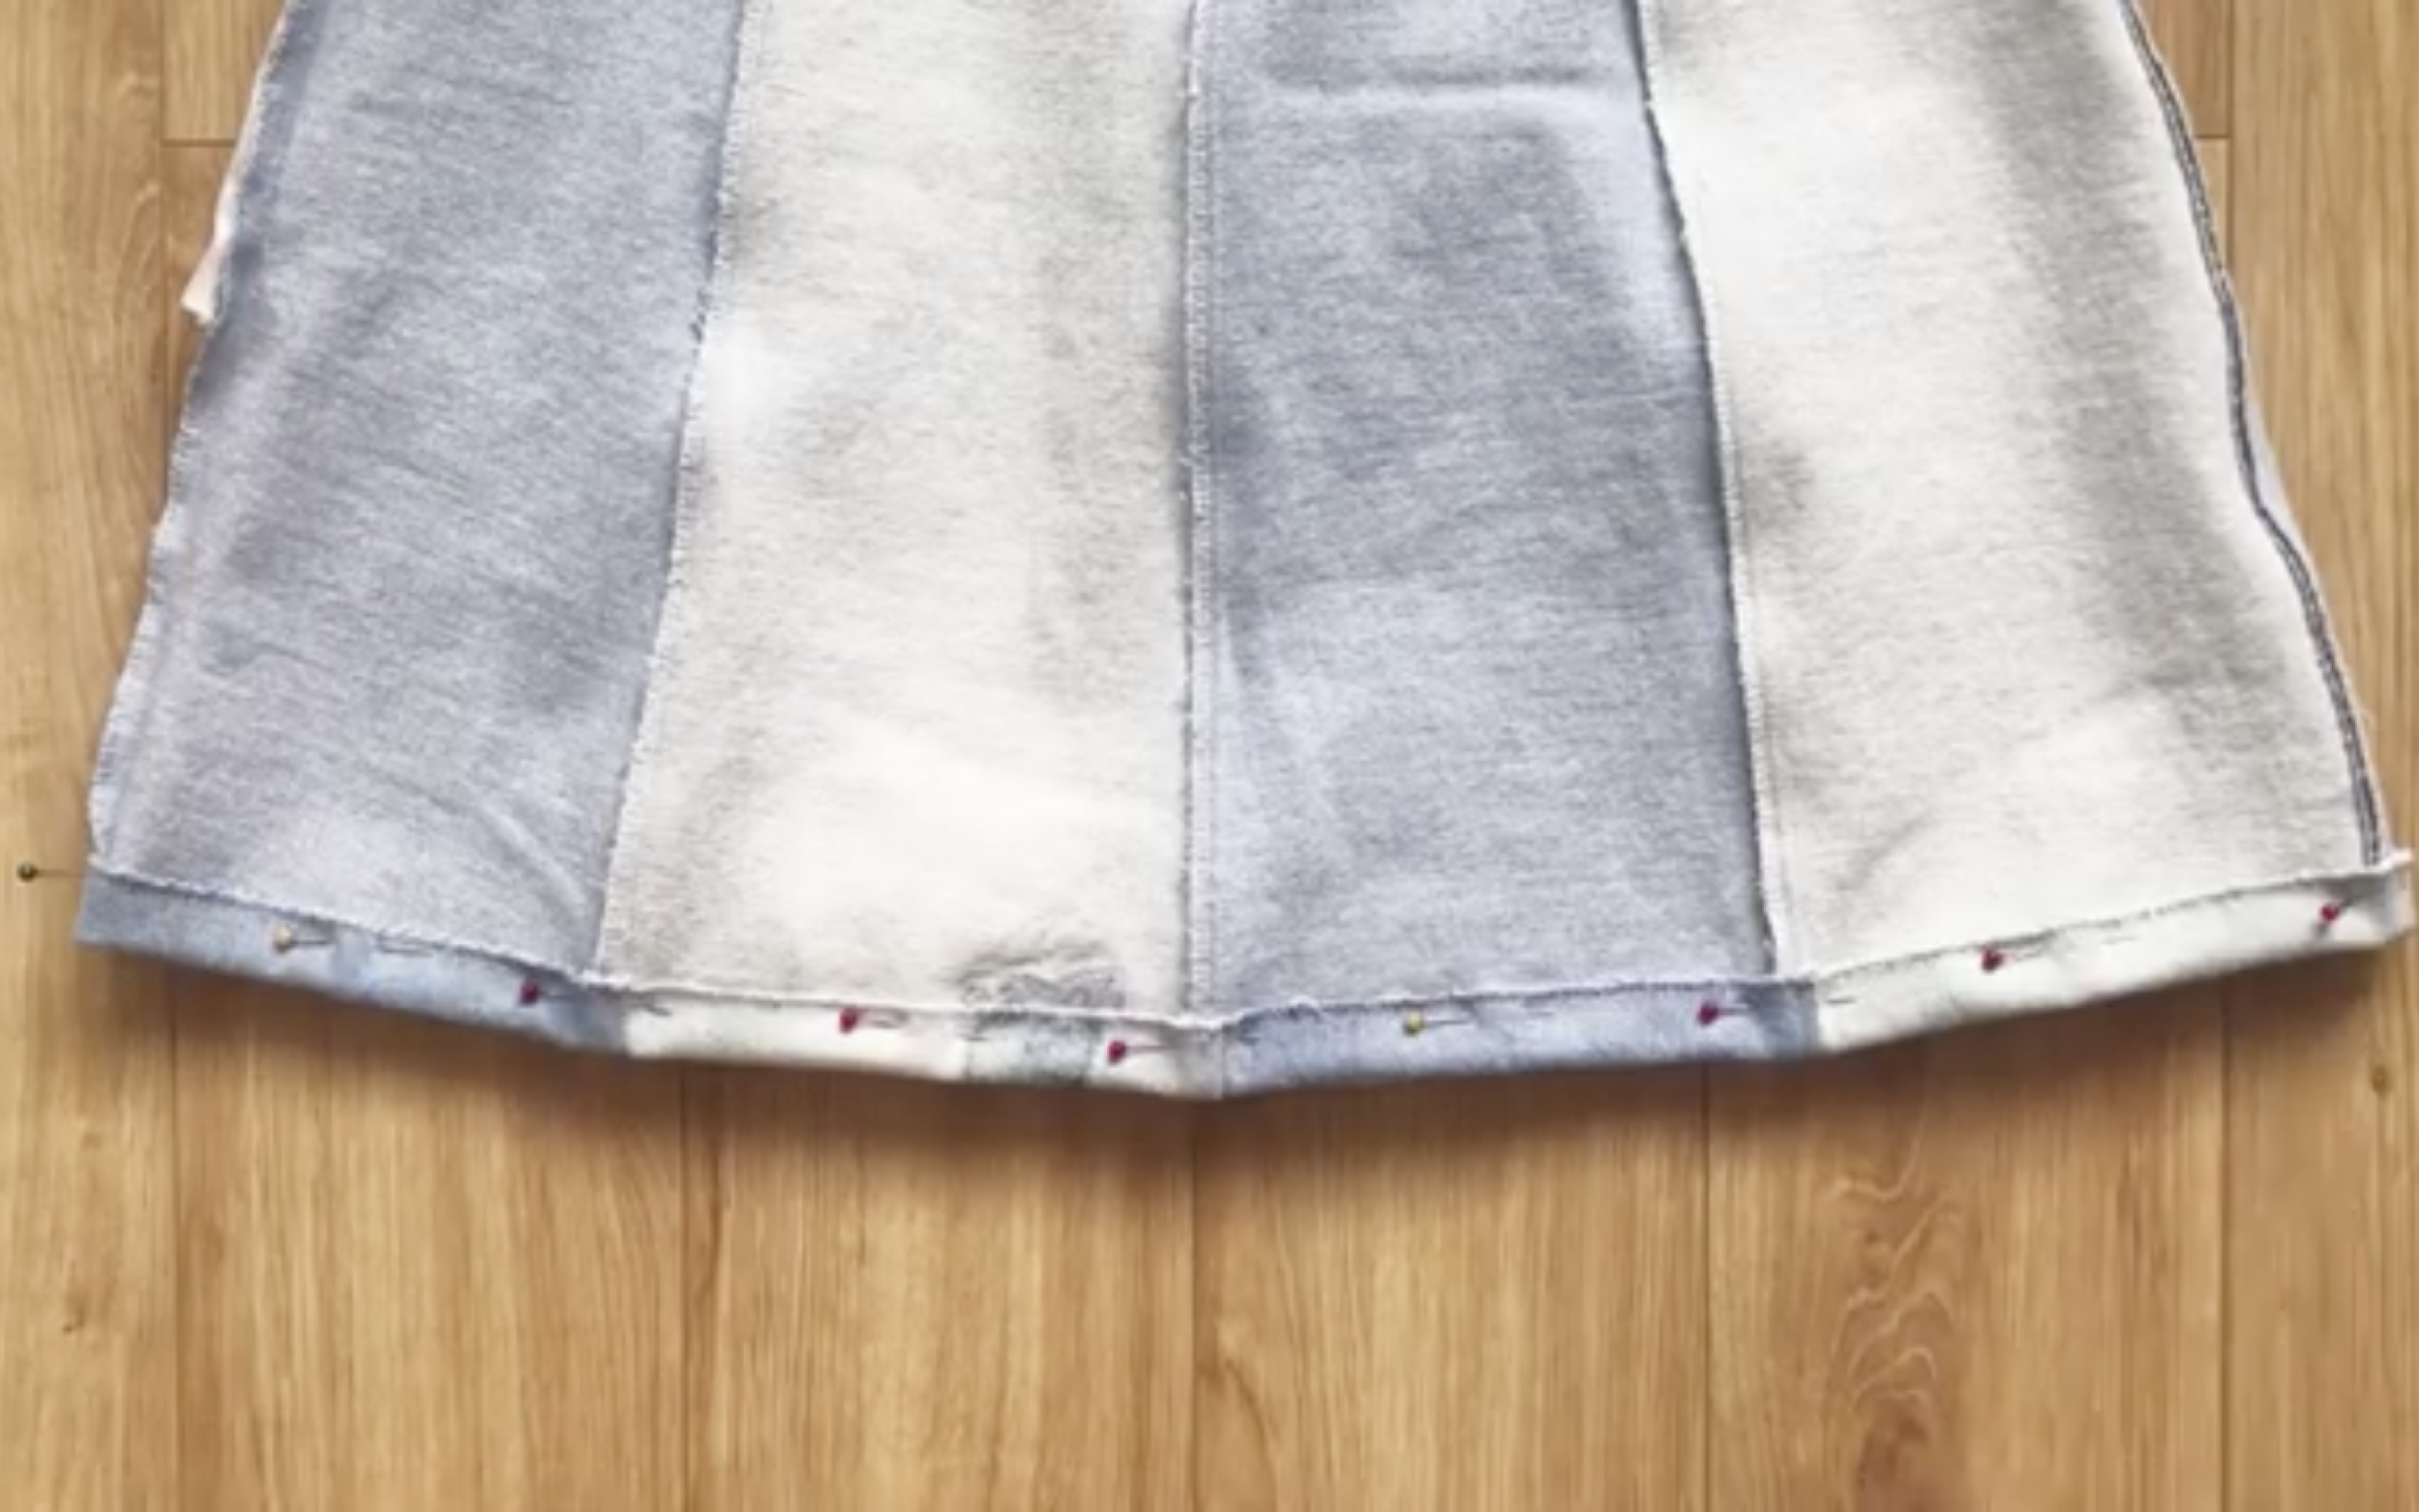
After finishing the top, move to the end of the skirt and do the same.

DIY Mini denim skirt from leftover fabric of the jeans - Don't throw your old jeans away
And that’s the final result!
From leftover fabric that might have been tossed, now there’s a stylish and trendy skirt. It’s not too difficult to make, so what do you think about this idea?
I hope you found my step-by-step guide helpful and inspiring.
If you’re interested in making your own, give it a try and let me know how it goes!
Until then, happy sewing!