DIY Wrap jumpsuit from scratch | Step by step sewing tutorial
DIY Wrap jumpsuit from scratch | Step by step sewing tutorial
Welcome or welcome back to my channel!
In today's tutorial, I'm going to share with you how I made my Wrap jumpsuit from scratch. I used muslin fabric to make this DIY as I want to use this jumpsuit as one of my loungewear. But you should choose another type of fabric if you want to wear it outside of the house. It's very easy to make by following my detail step by step tutorial.
So I hope you like it and try it out. Let’s get started!
WHAT YOU’LL NEED
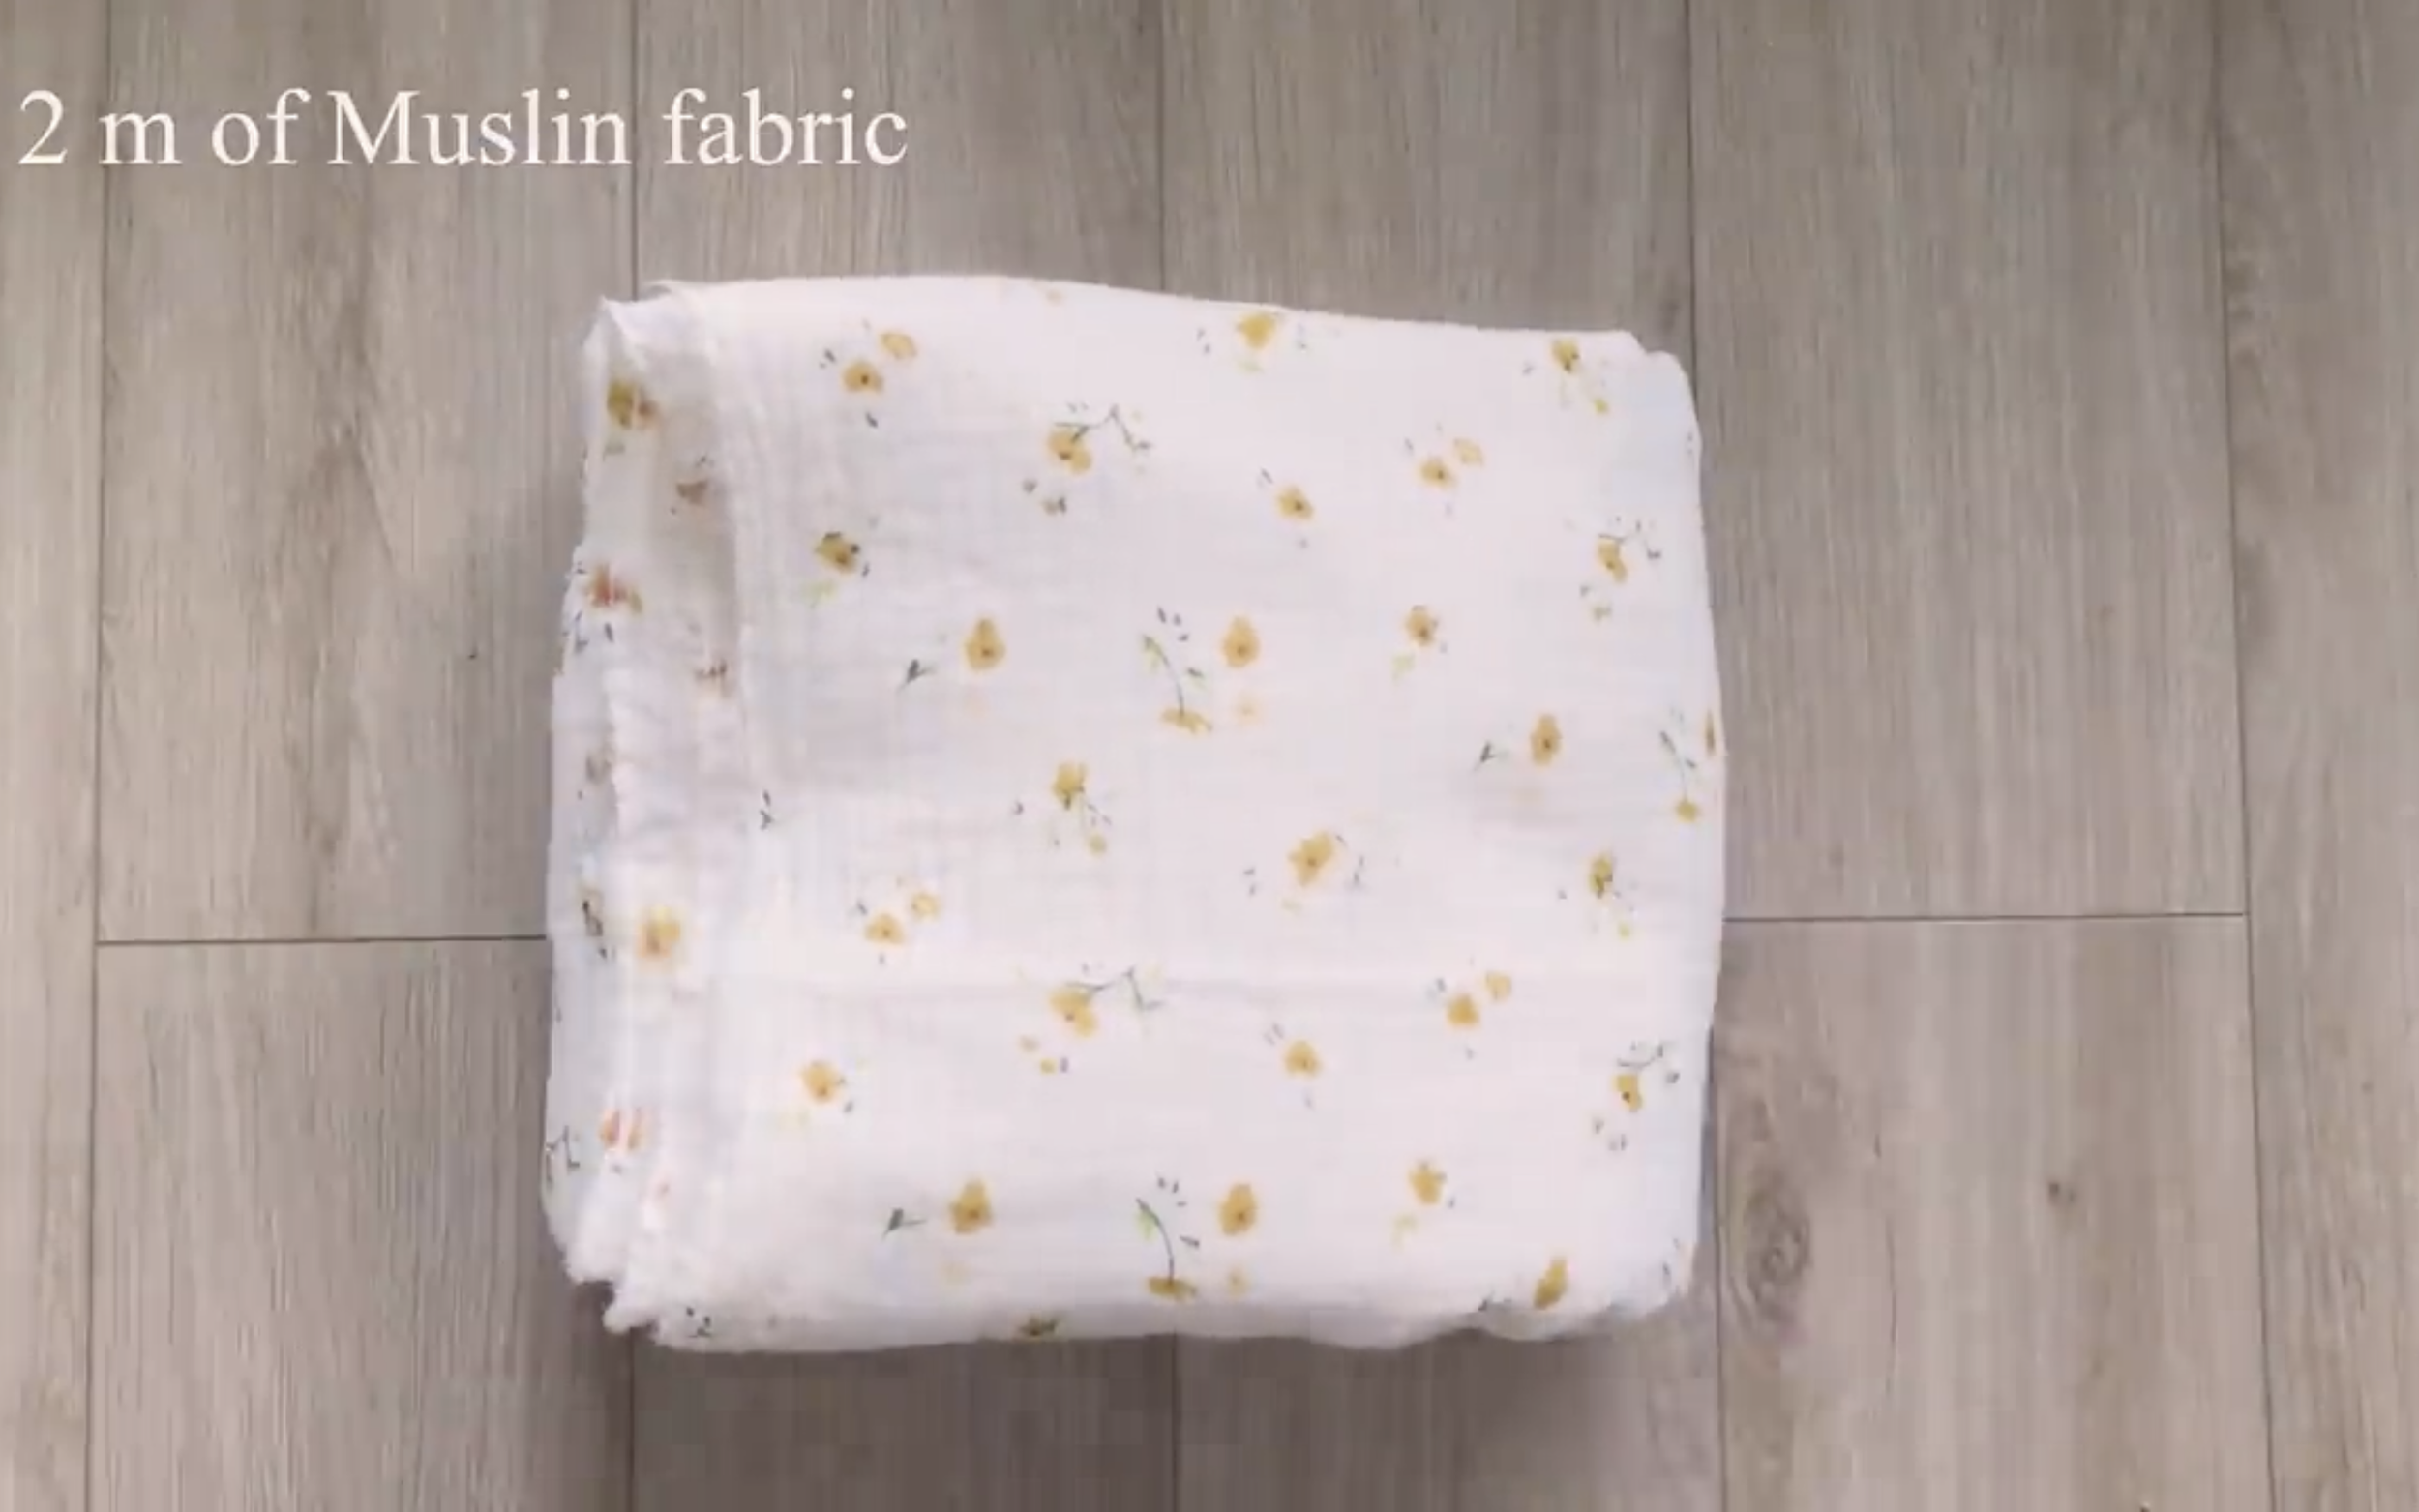
2m of muslin fabric (You can use linen or cotton fabric)
Pattern paper
Sewing machine
Pins
Scissors
Ruler
Long stick
Zipper
Buttons
MAKING THE PATTERNS
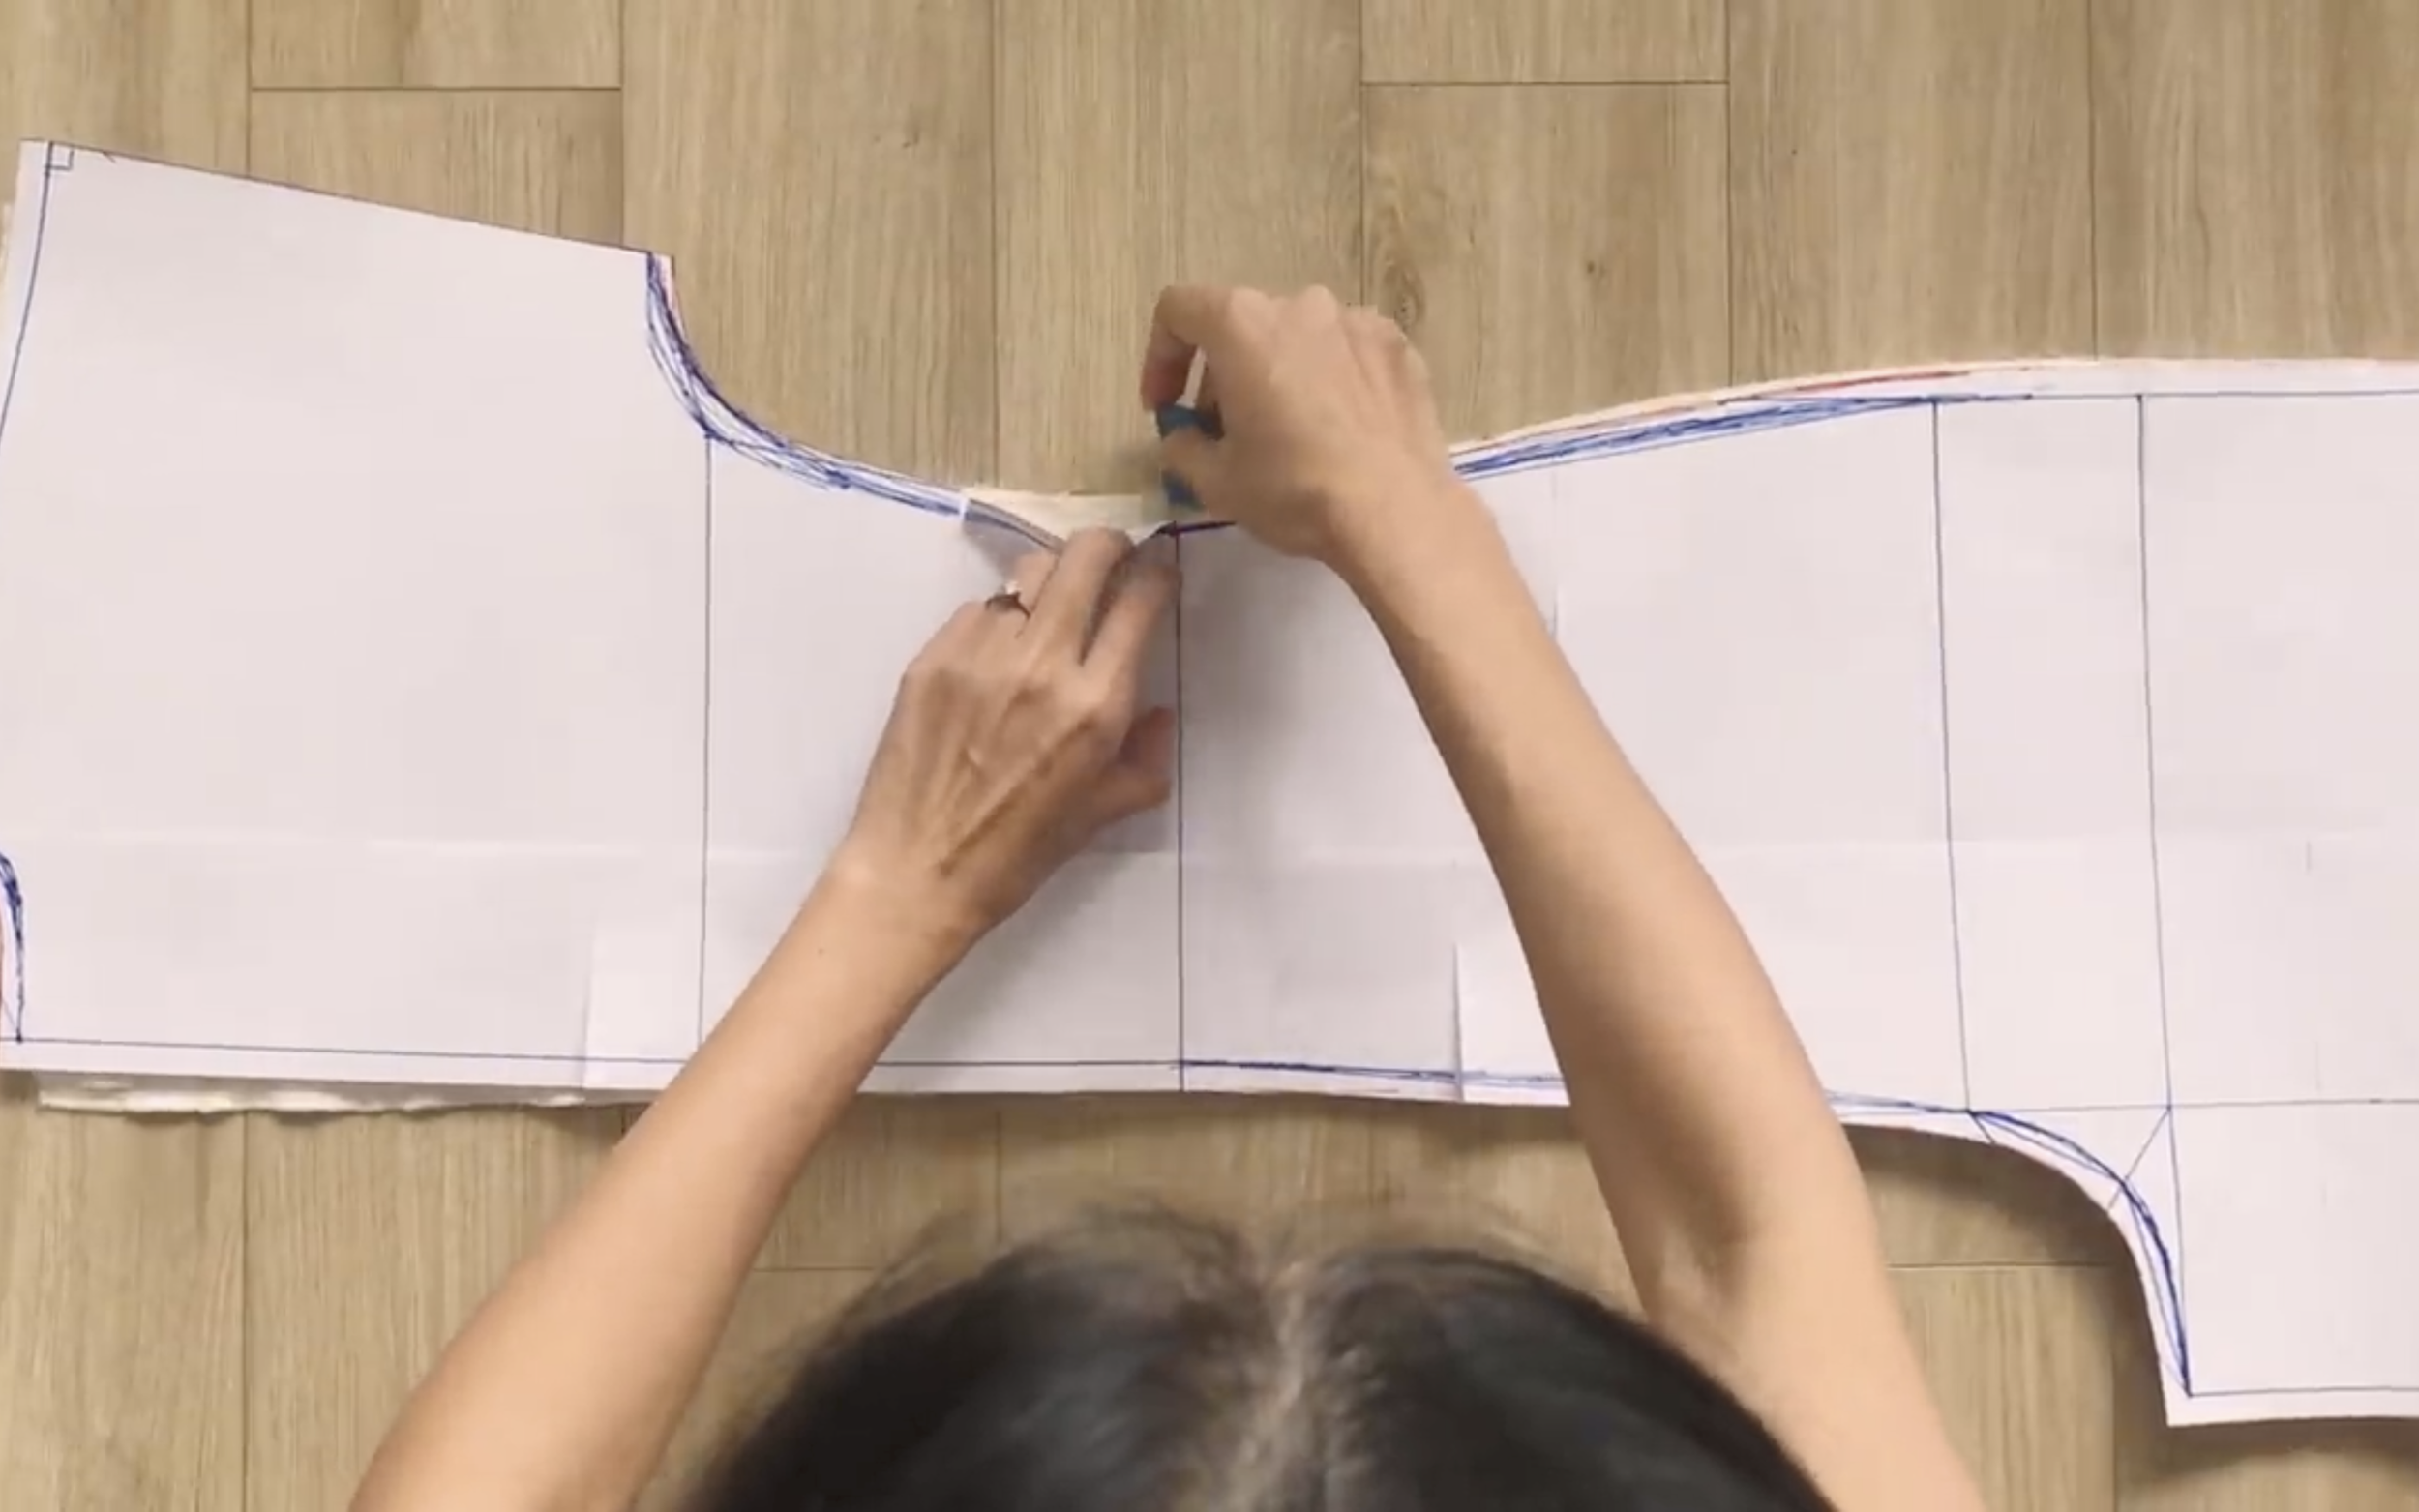
Here’s the pattern for the project. To get a clear understanding of all the measurements needed for the pattern, watch the video from 1:19 to 8:08.
Remember, you can adjust these measurements to fit your own dimensions!

THE BACK PATTERN


To make the back pattern, draw a rectangle with 25 cm width, which is a quarter of the hip size plus 2 cm, and 90 cm length, which is the length from 2 cm above the belly button to the ankle.
From one width line, mark at 33 cm on two lane lines. This is the quarter of the hip size plus 1/10 of the hip size, representing the height of the pants of the jumpsuit.
From this line, move up 9.2 cm, which is 1/10 of the hip size, then connect it to one end of the line at 7 cm away from the first straight line.
Draw a curved line there to create the crotch line for the back pants.
From the end of the crotch line, draw a straight line down to the end of the leg to finish the inside line of the pants.
At the top of the pants, mark at 2 cm inside the width line, then redraw the crotch line.
Draw a straight line 40 cm from the top of the crotch line, representing the length from the shoulder to 3 cm above the belly button.
From the top of the new line, draw a straight line first, then mark at 7 cm on that line, which is half the width of the neck.
Connect this mark to the mark at 4 cm on the continuous crotch line, then draw a curved line to finish the neckline of the back pattern.
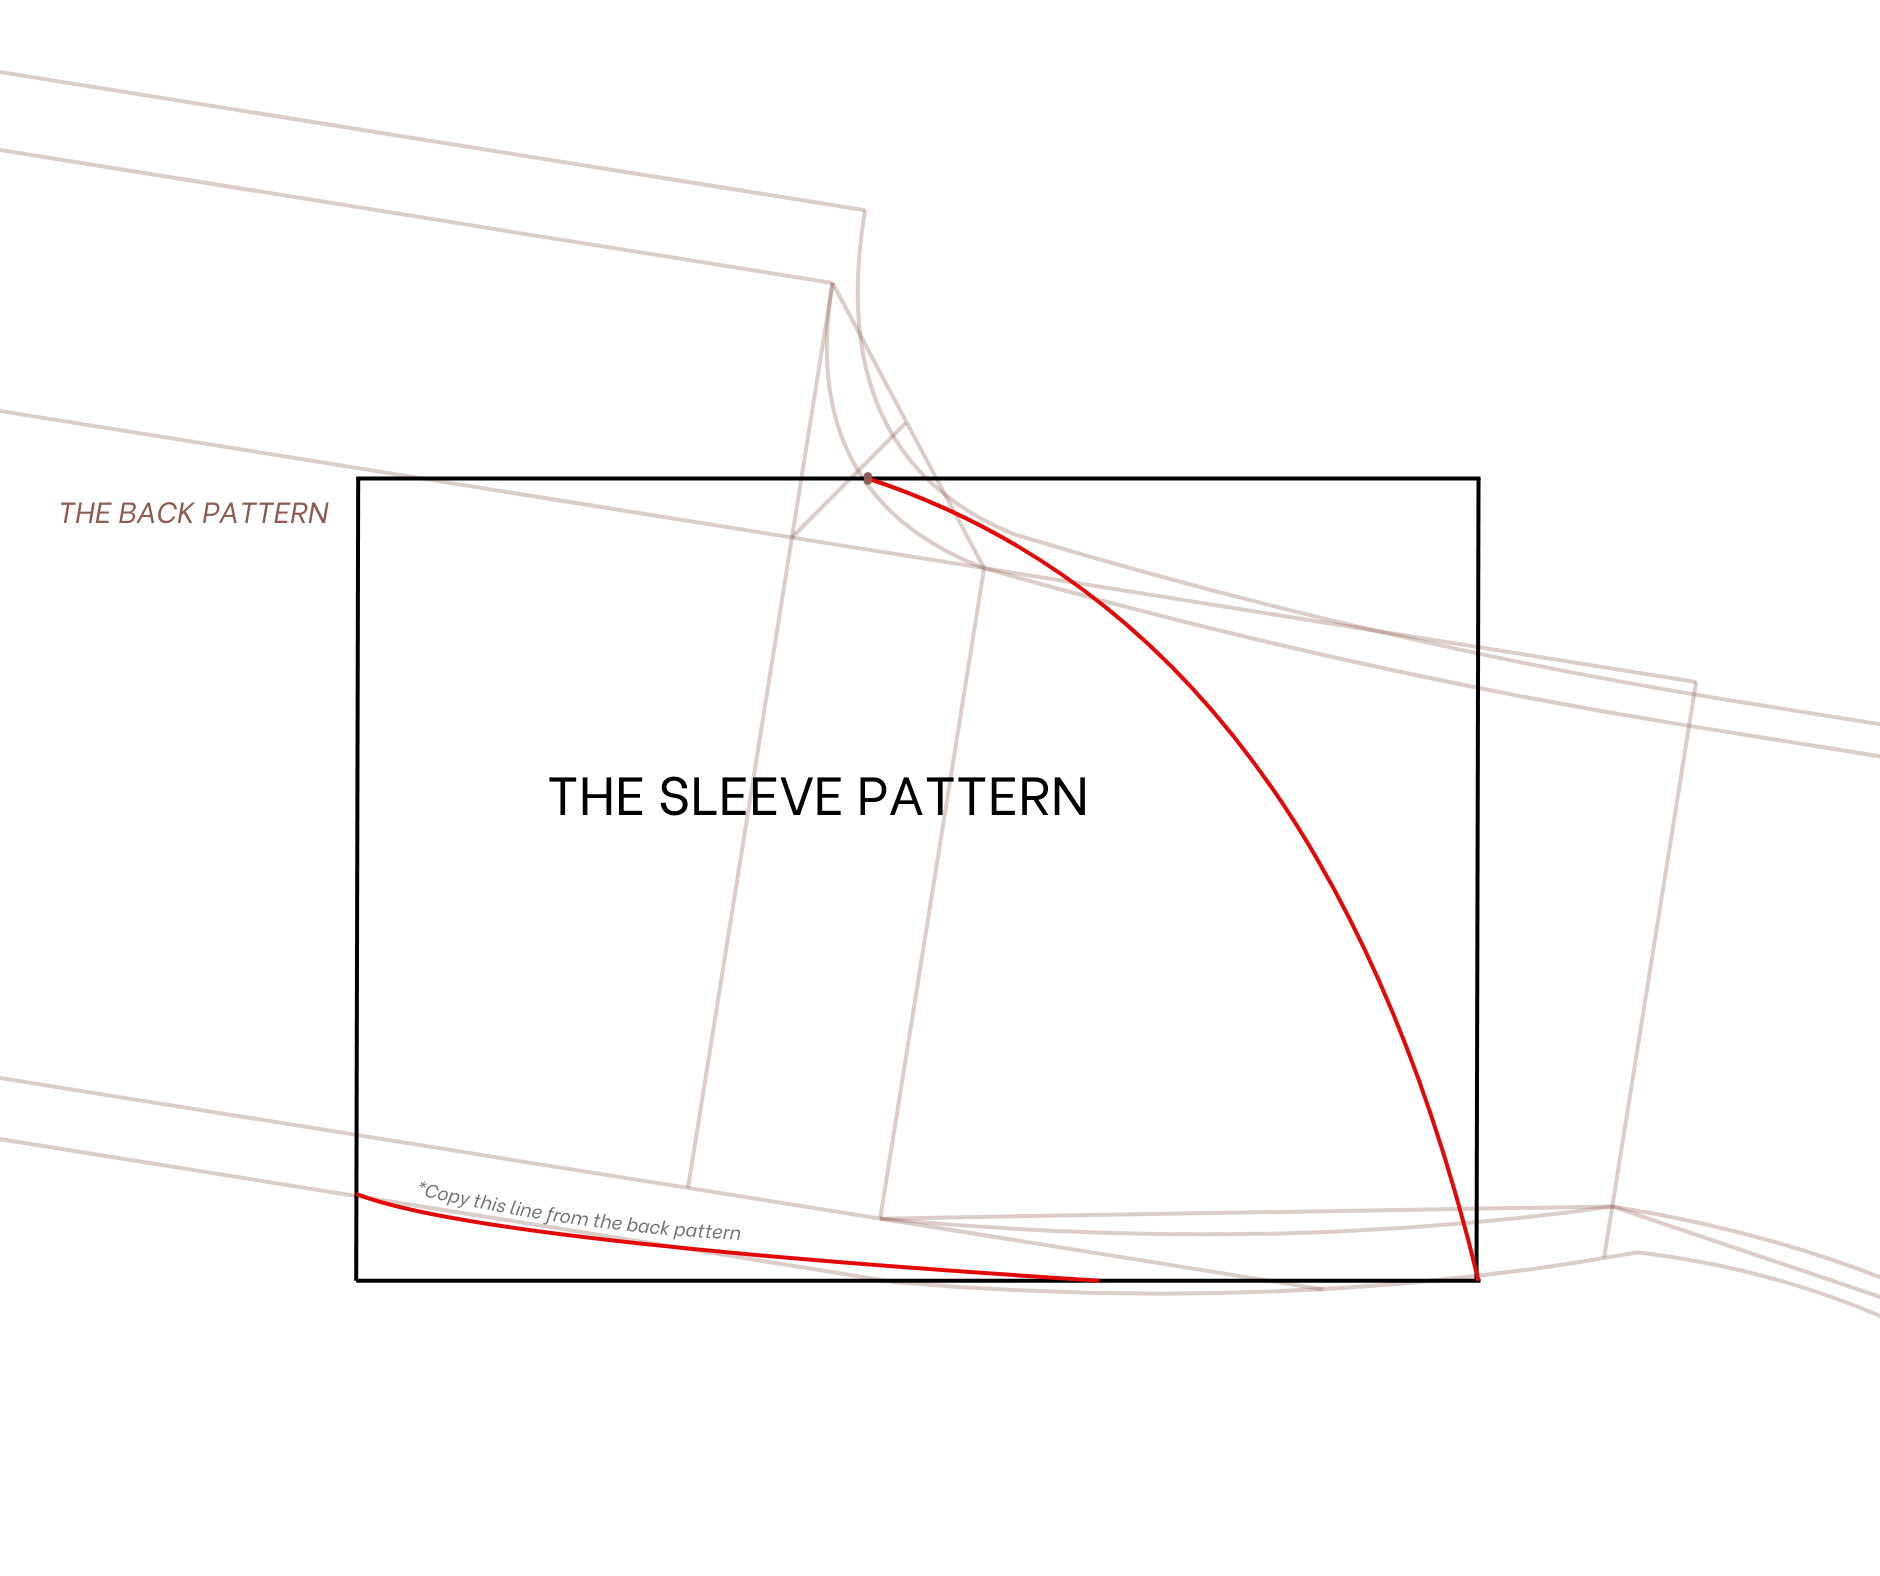
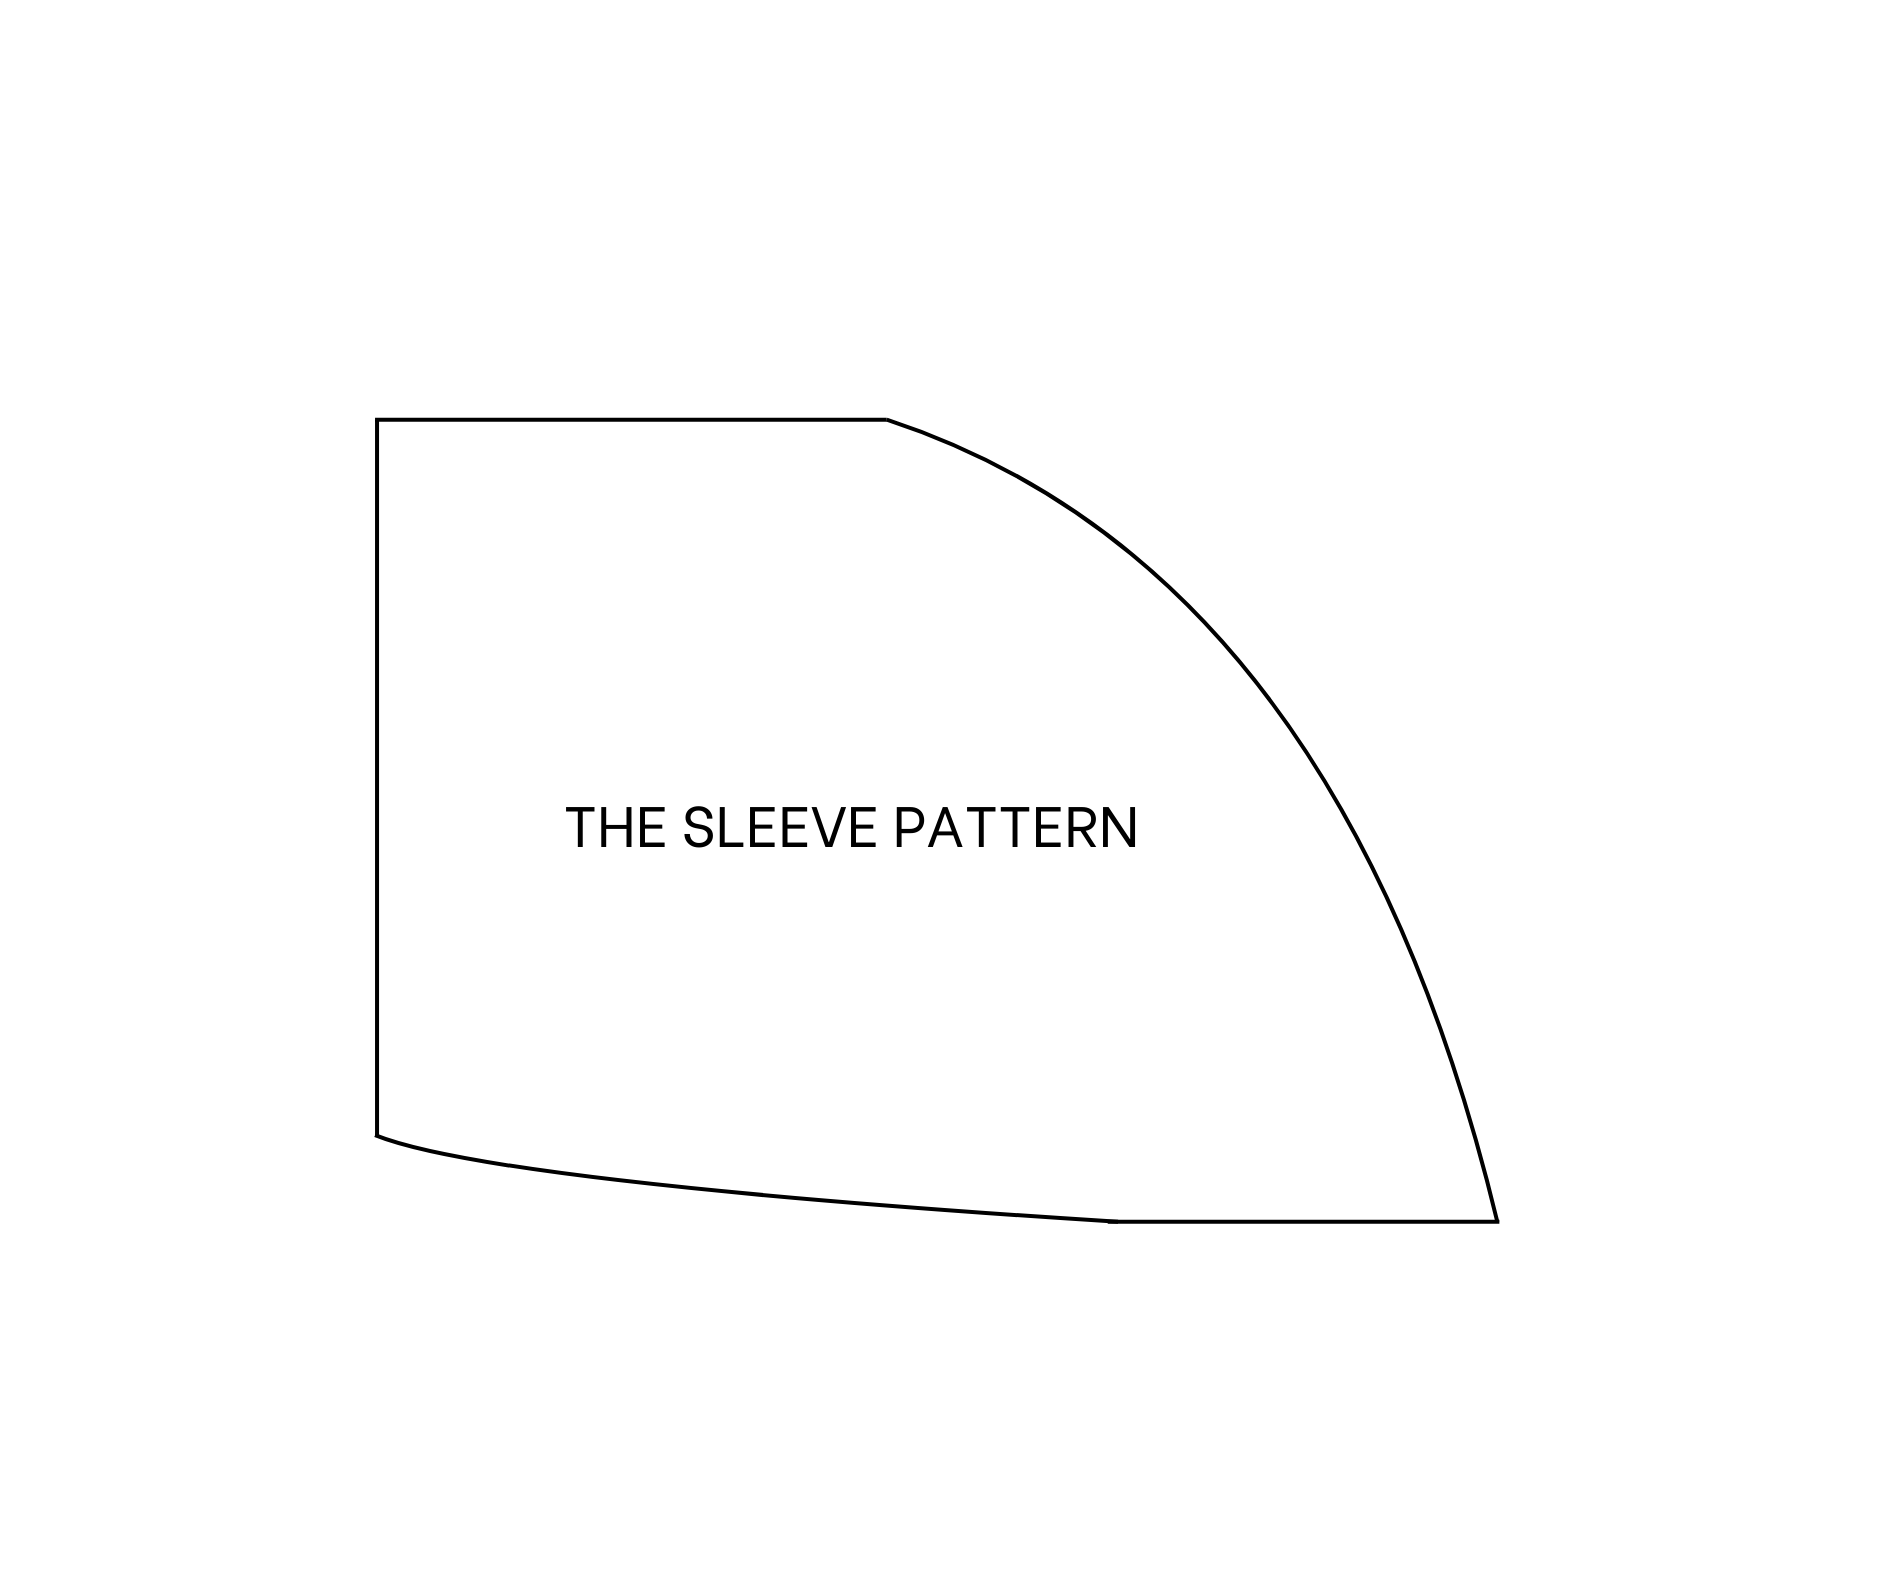
From the top of the neckline, mark 23 cm on the straight line, which is the length of the sleeve.
Draw a perpendicular line with 4 cm width from that mark and connect the end of this line to the top of the neckline to create a shoulder line for the pattern.
Draw a 20 cm perpendicular line from the end of the shoulder line, representing the width of the sleeve.
From the top of the continuous crotch line, mark down 26 cm, which is the length from the shoulder to the middle of the bust, then draw a perpendicular line from that mark. The length of the new line is 21 cm, which is a quarter of the bust size plus 1 cm.
Connect the end of this line to the end of the sleeve line.
On the waistline, mark at 18 cm, which is a quarter of the waist size plus 1 cm, then connect this mark to the end of the bust line and to the end of the hip line to create a raw sideline of the jumpsuit.
Draw a curved line based on it to finish the back pattern.
Add 1 cm for seam allowance, and for the ending of the leg, add 3 cm for seam allowance.
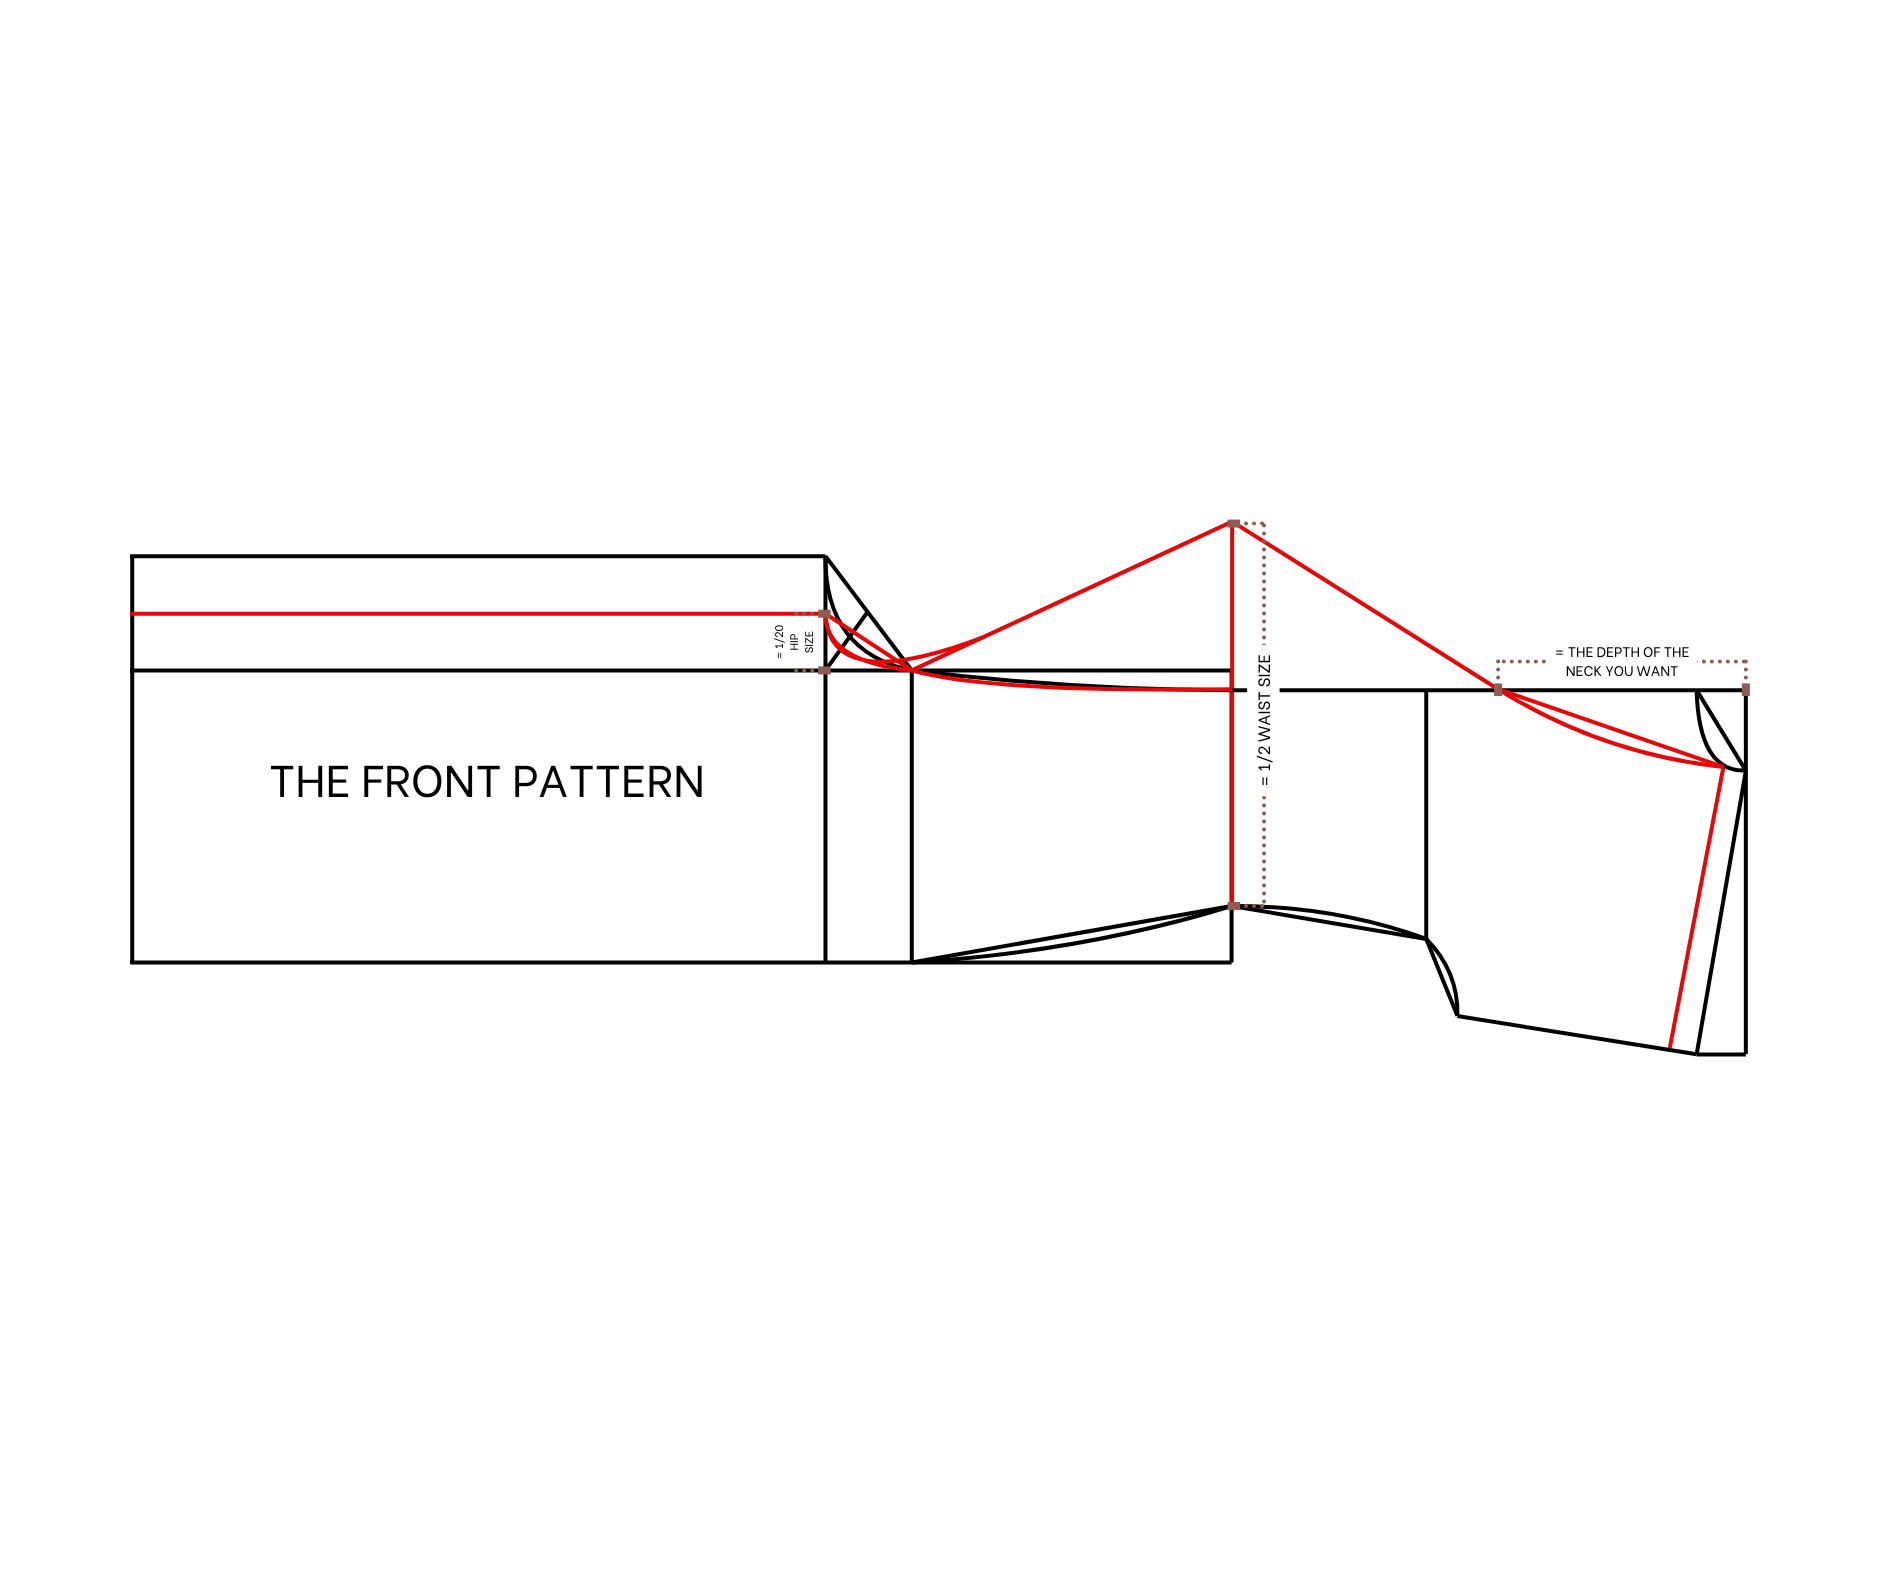
THE FRONT PATTERN
To make the front pattern, use the back pattern without the seam allowance.
First, change the crotch line of the front pattern. Instead of 9.2 cm, move out 4.6 cm, which is 1/20 of the hip size.
Draw a new crotch line and a new inside line of the leg similar to the back pattern.
At the shoulder line, make it 2 cm shorter than the back.
On the waistline, draw out 14 cm so the length of the waistline will be 32 cm, which is half of the waist size.
From the bust line, mark up 4–6 cm, leaving the rest as the depth of the neck.
Connect this mark to the end of the shoulder line and the end of the new waistline to create the neckline for the front.
Connect the end of the new waistline to the end of the hip line first, then draw a curved line to connect the crotch line to it.
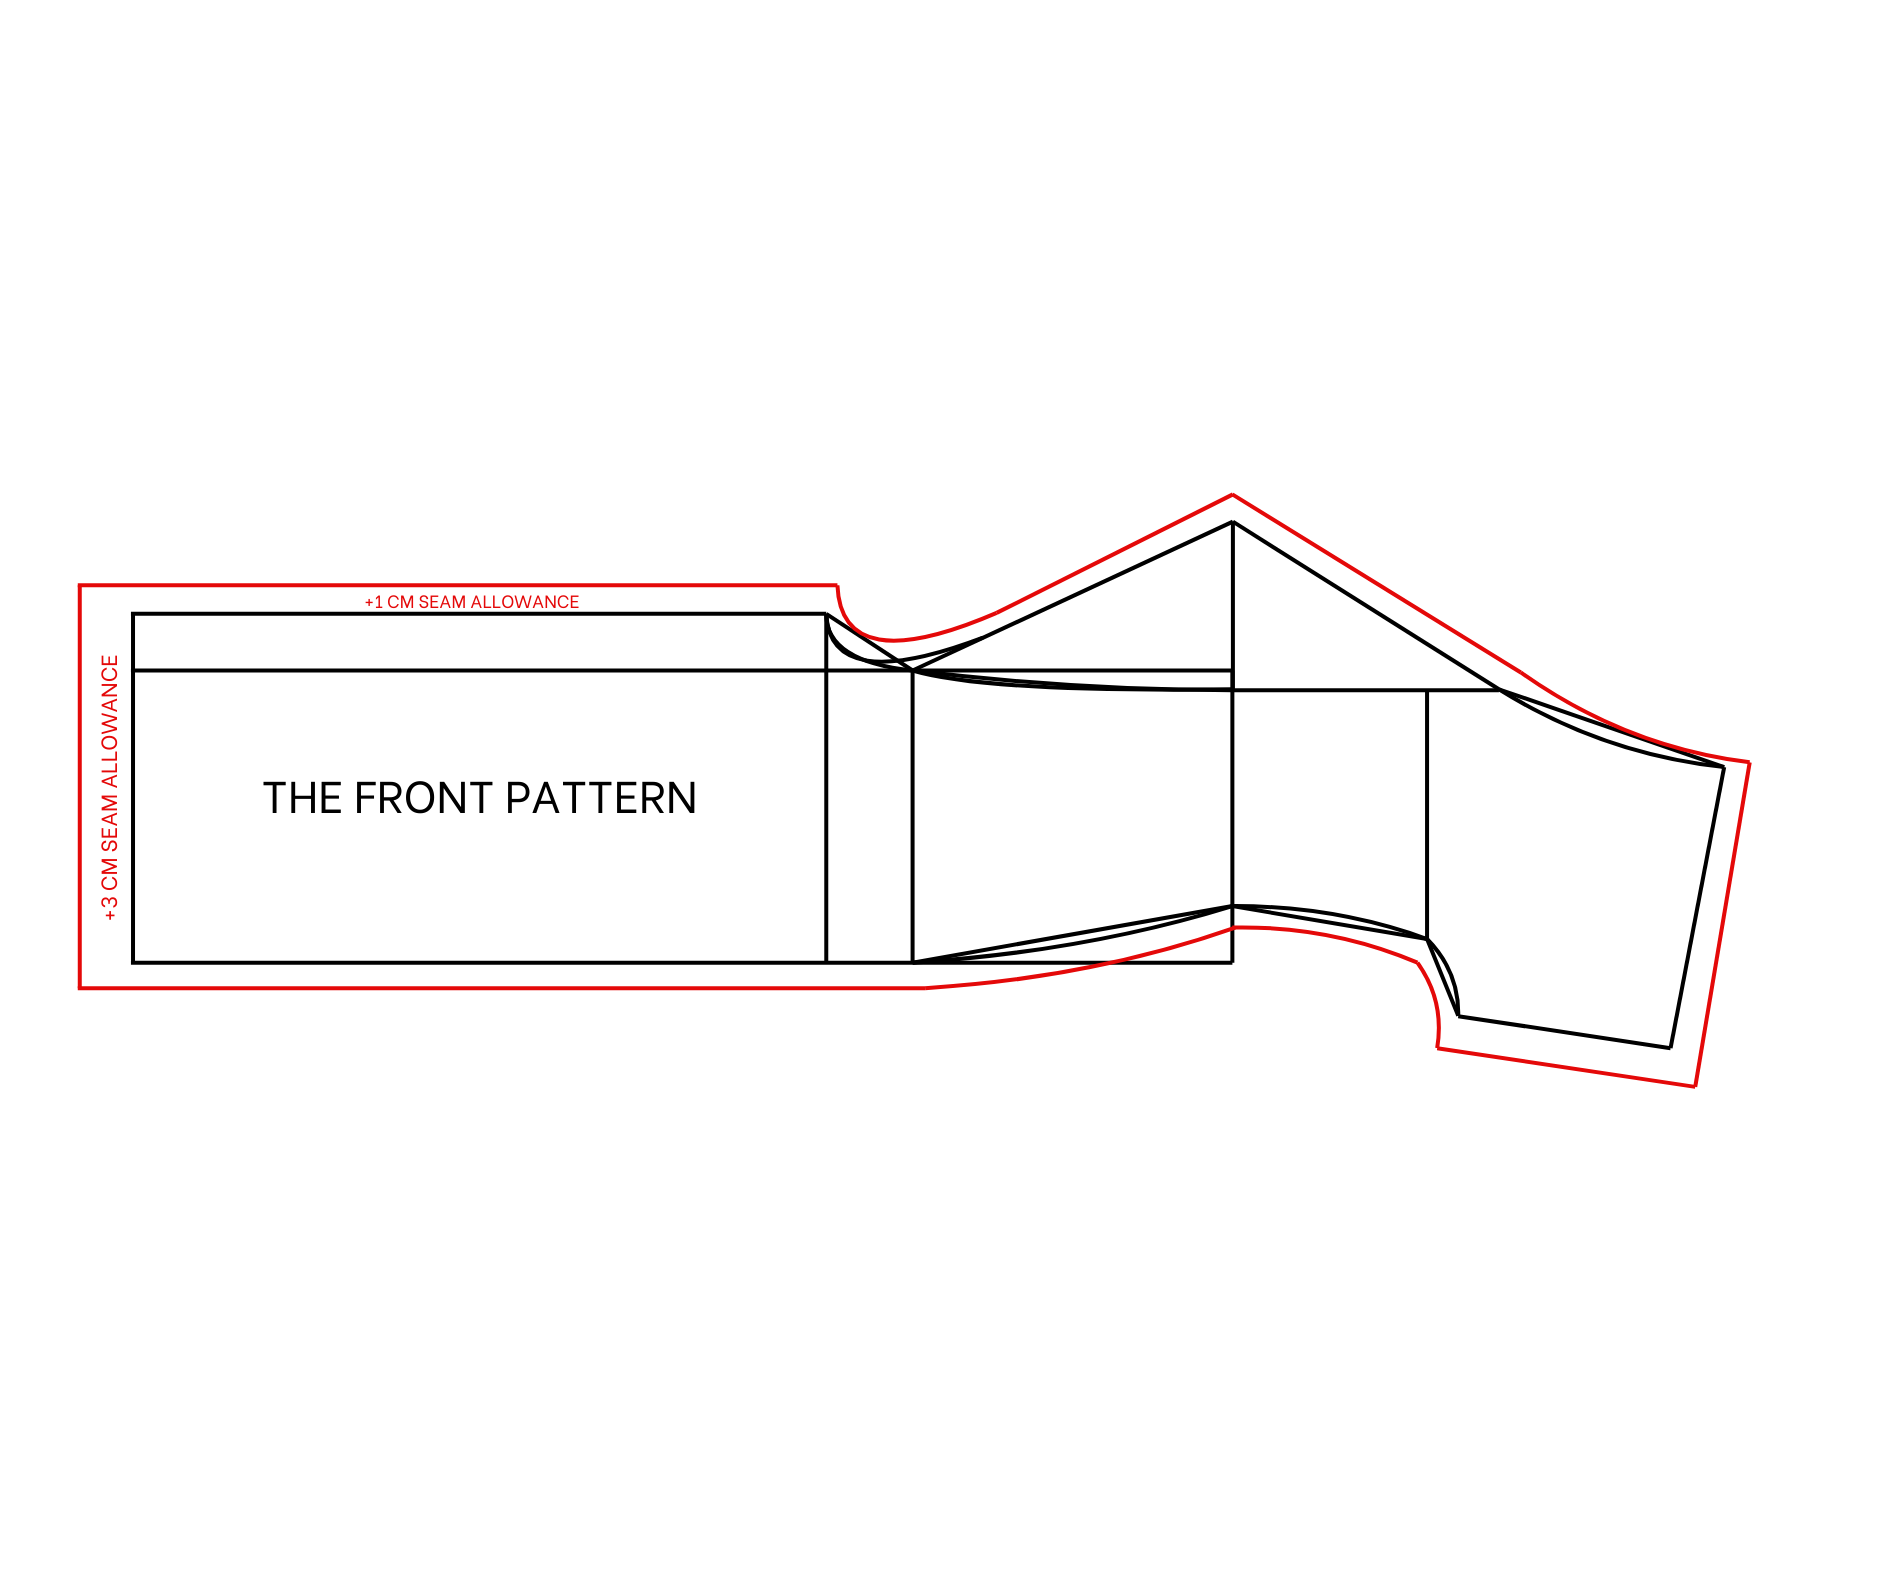
Add seam allowance, and here is the front part of the jumpsuit.
THE POCKET PATTERN
To make the pocket pattern, cut a rectangle with 20 cm width and 30 cm length.
On one lane line, mark the middle first, then connect this mark to one end of the other lane line with a curved line.
From the waistline of the back pattern, mark down 5 cm, then fix this mark to the top of the pocket pattern to draw a matching outside line for the pocket.
SEWING THE JUMPSUIT
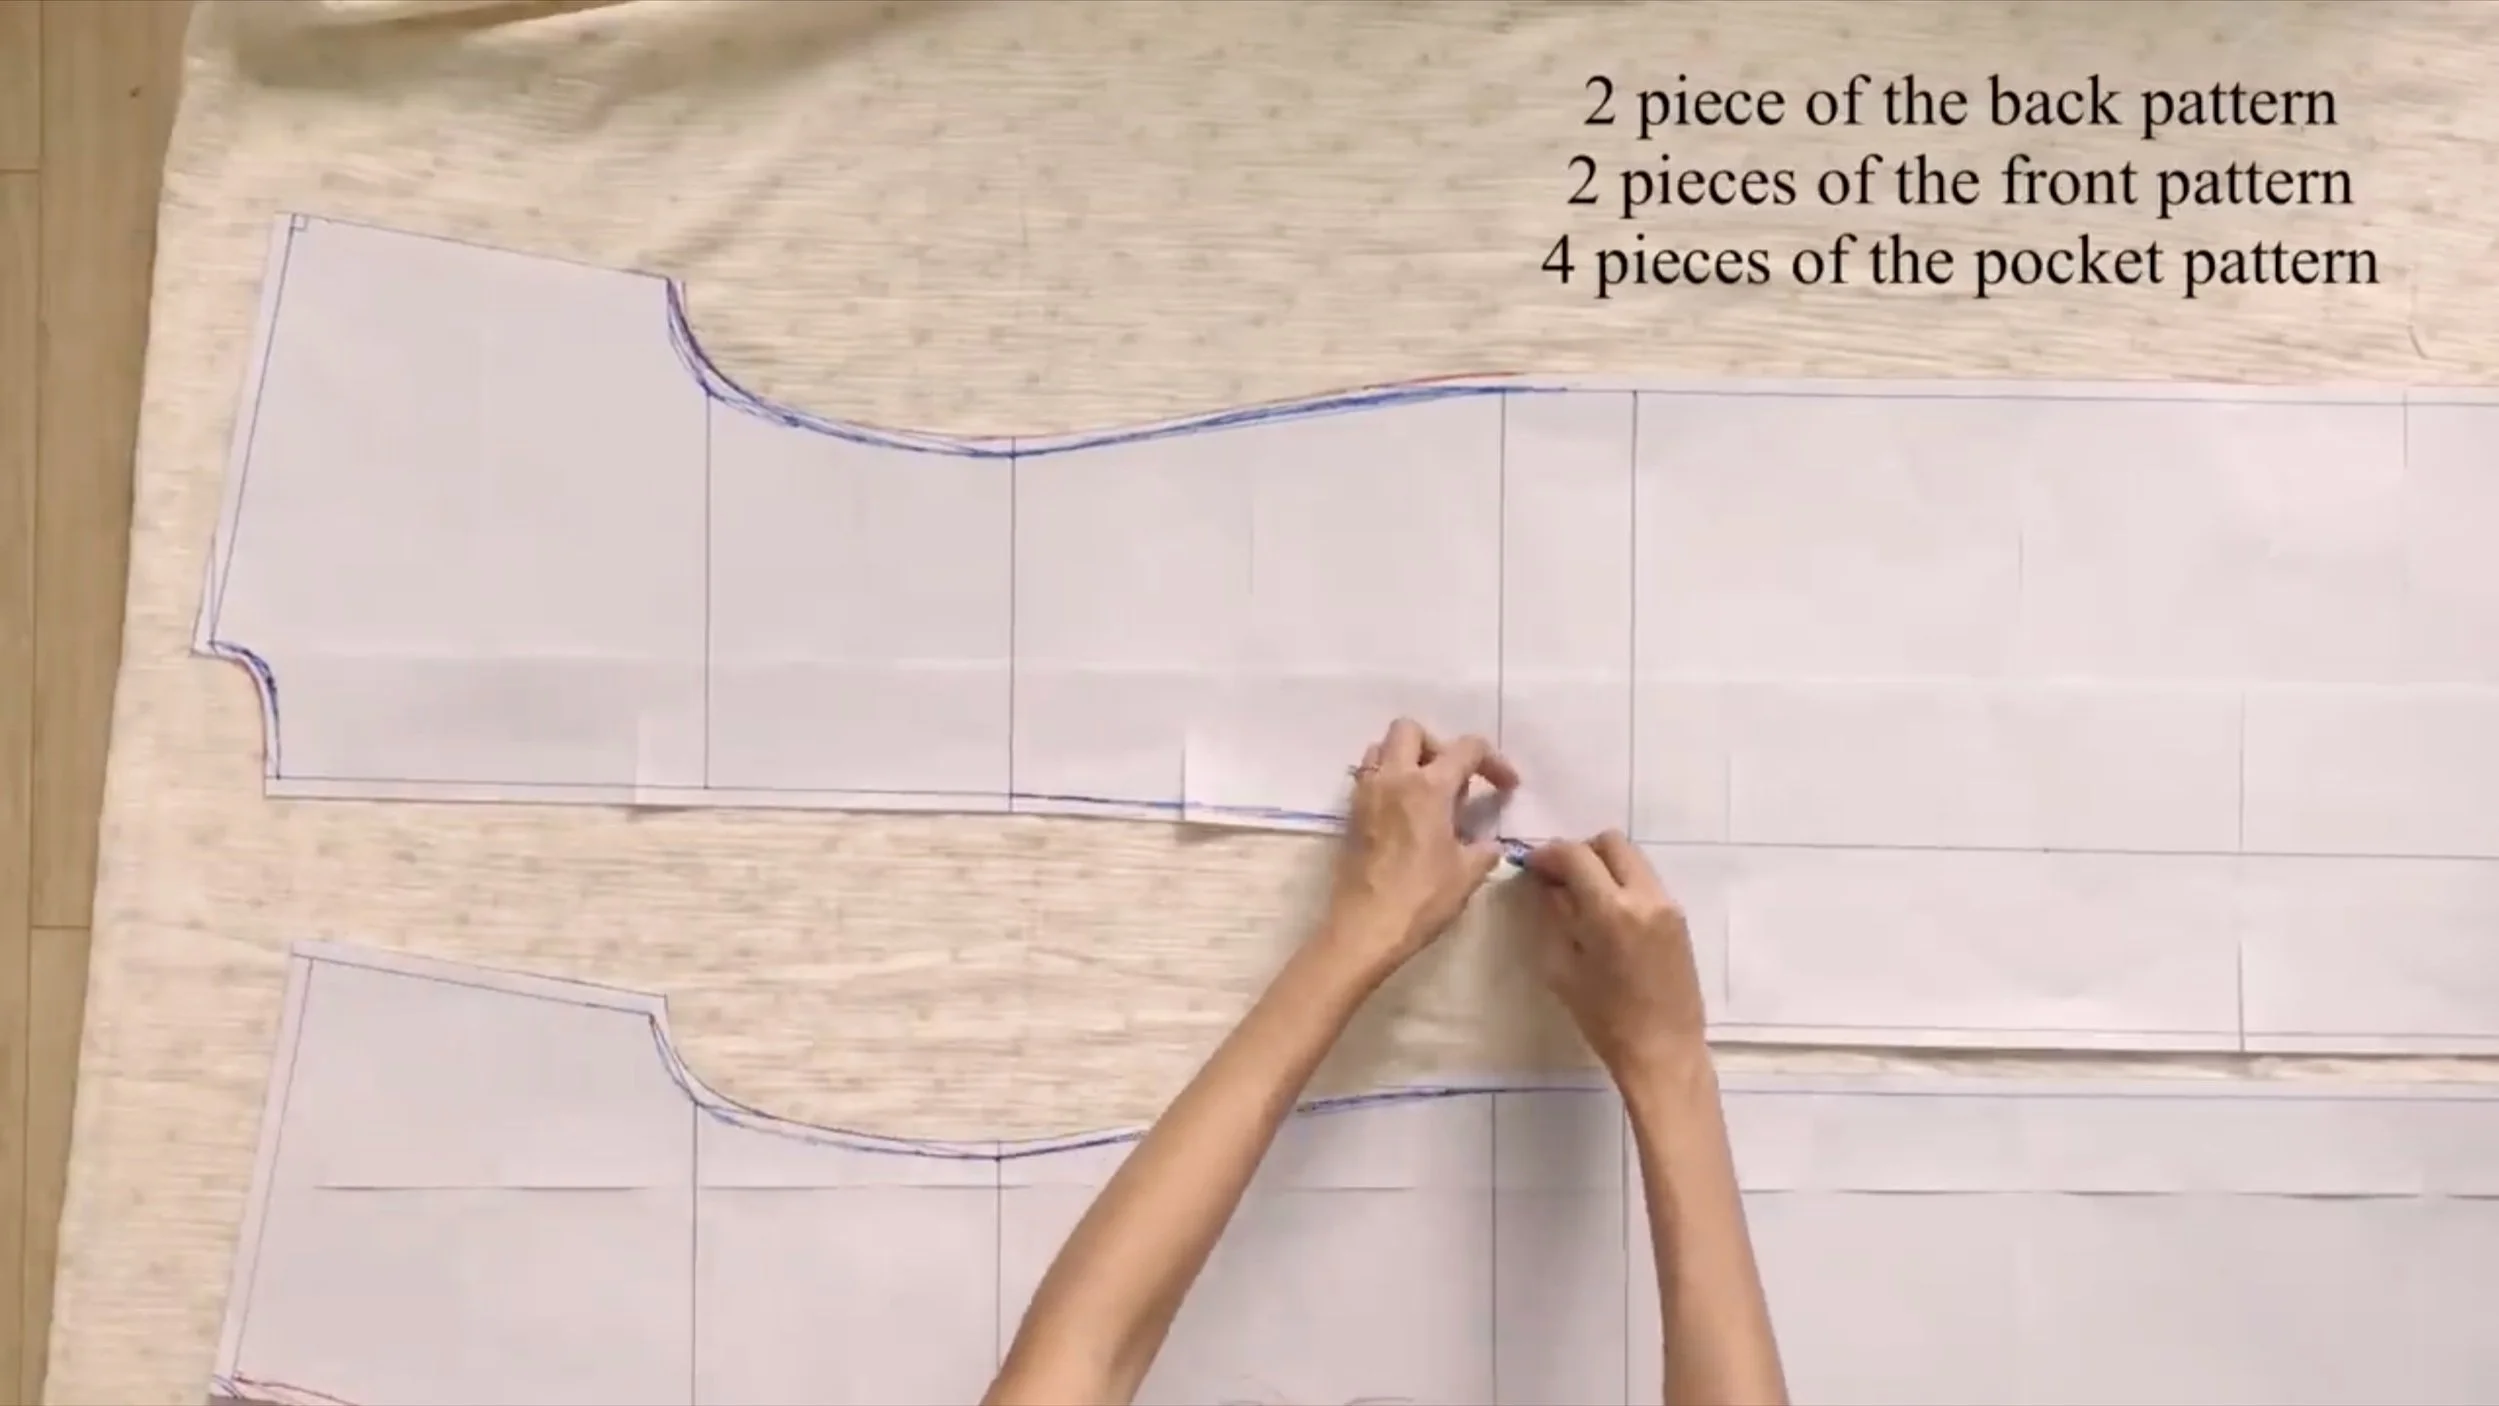
Apply the pattern on the fabric and draw along.
Two pieces of the back pattern, two pieces of the front pattern, and four pieces of the pocket pattern are needed.
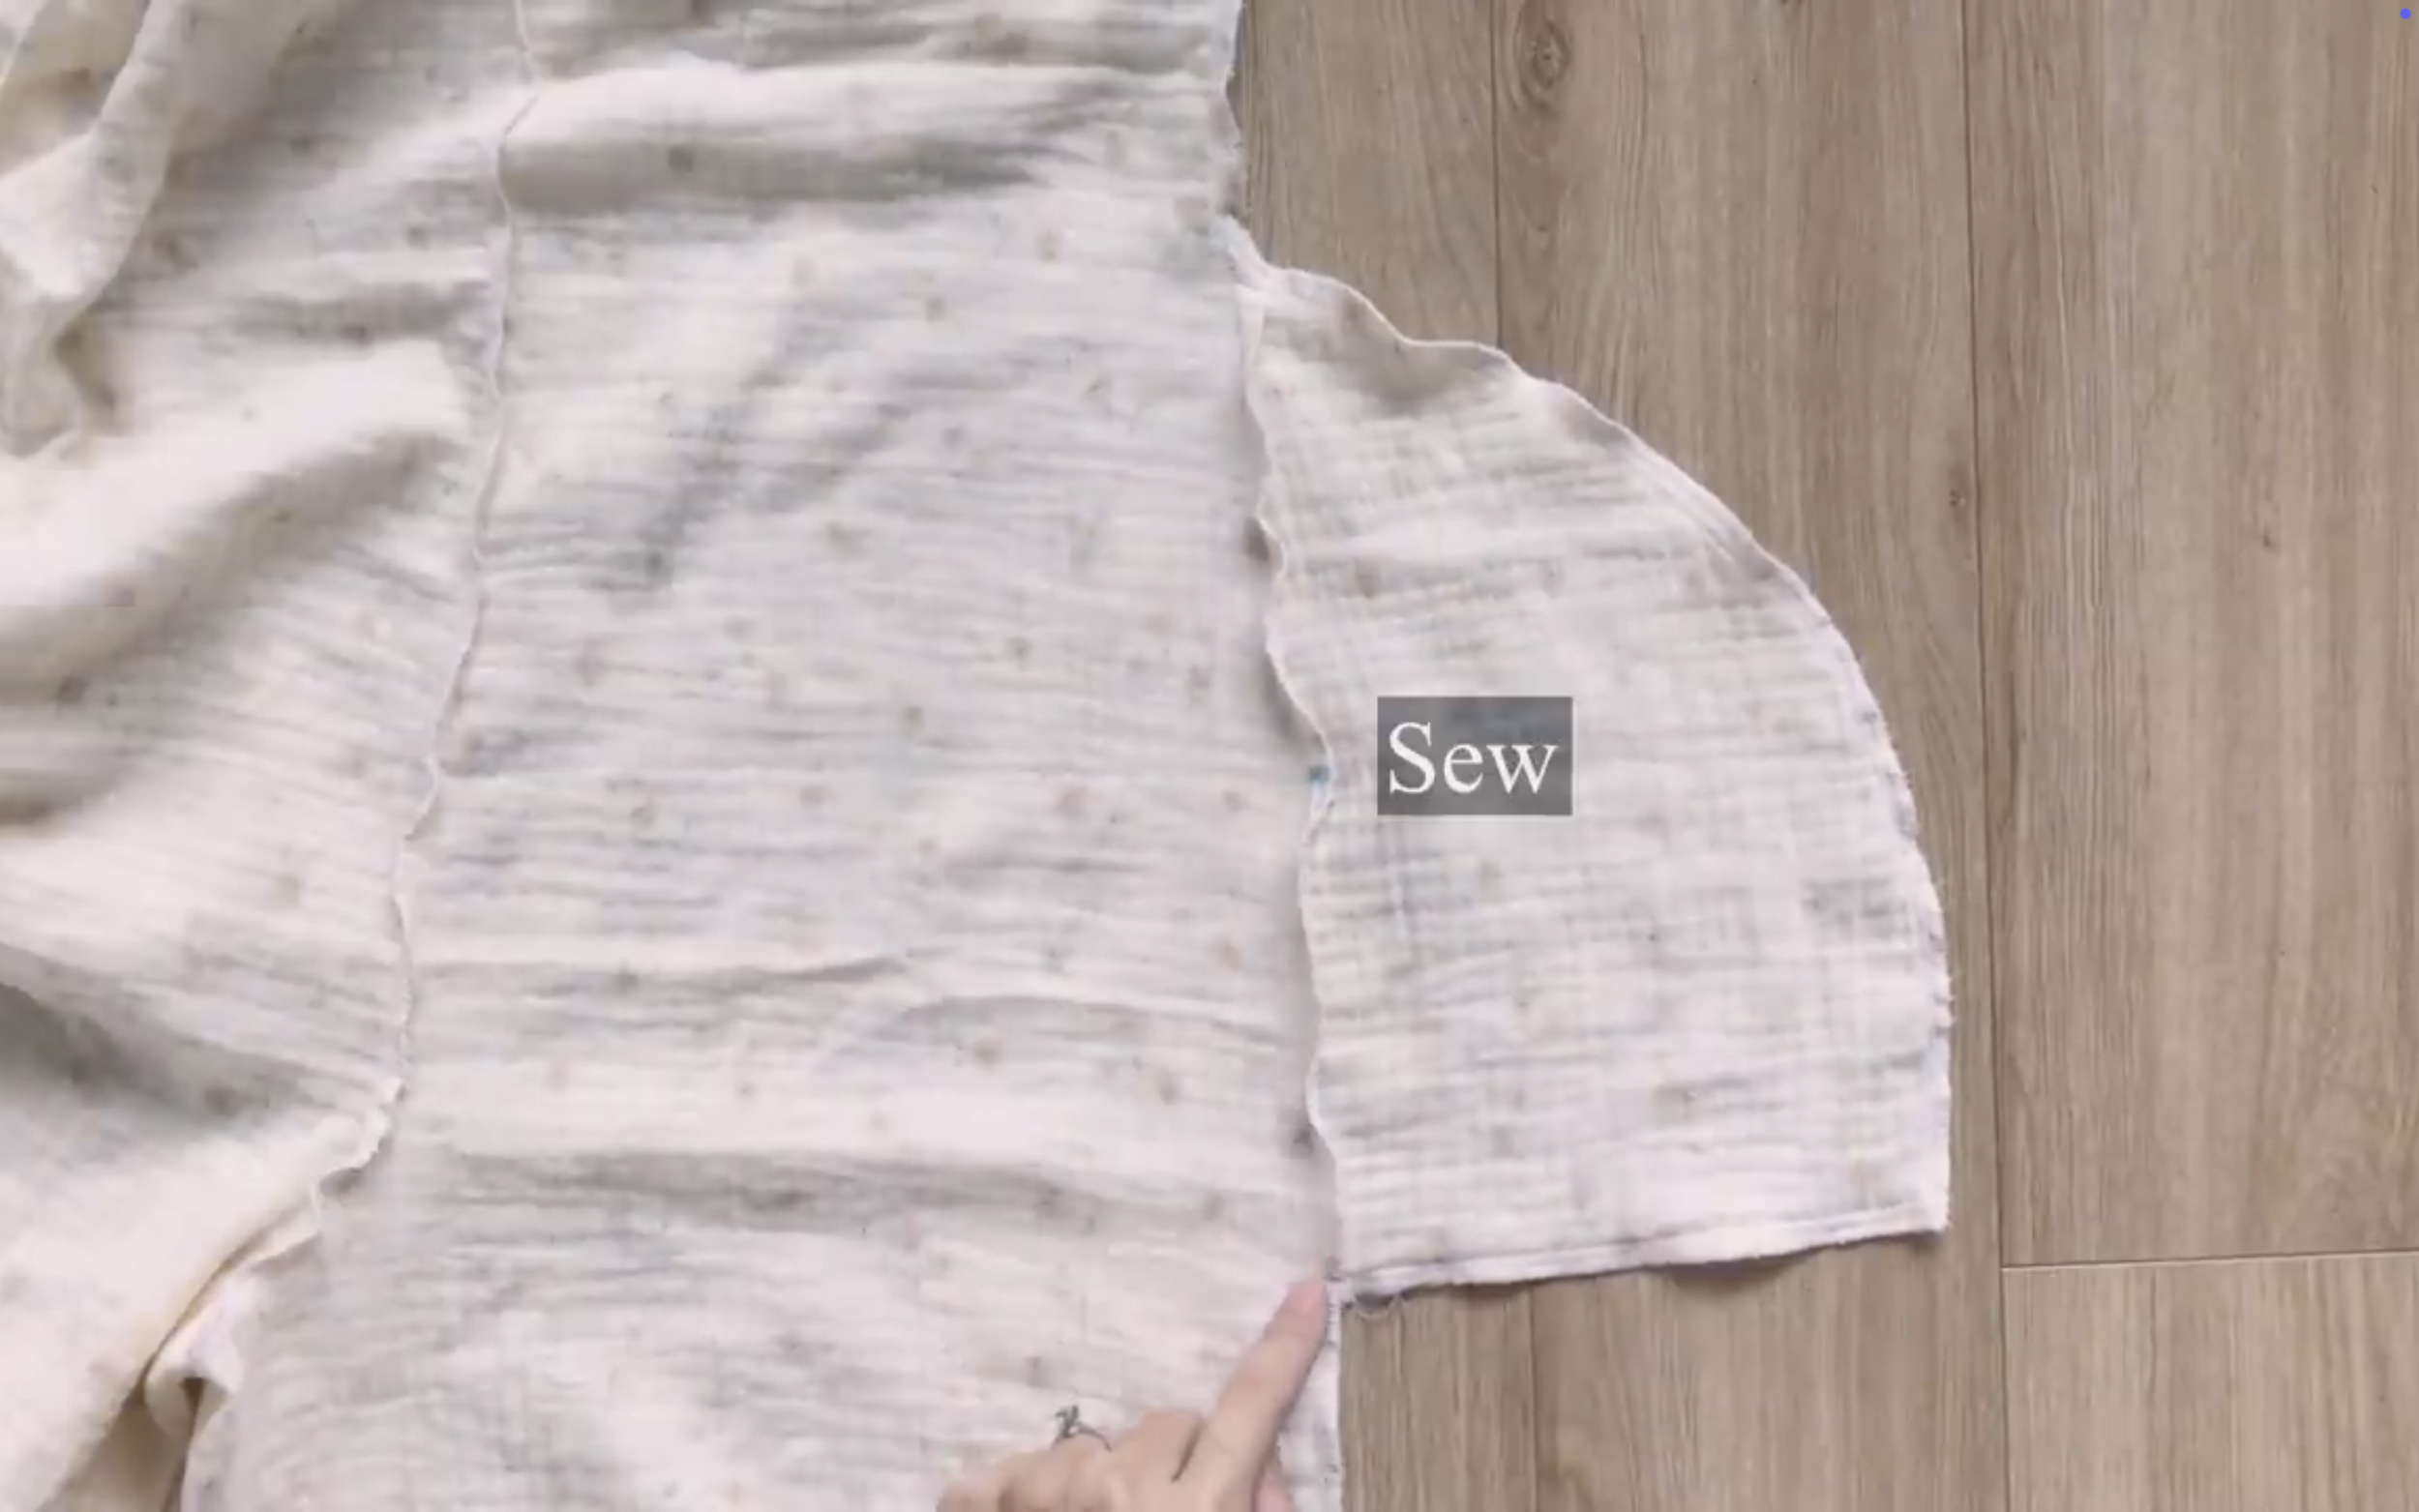
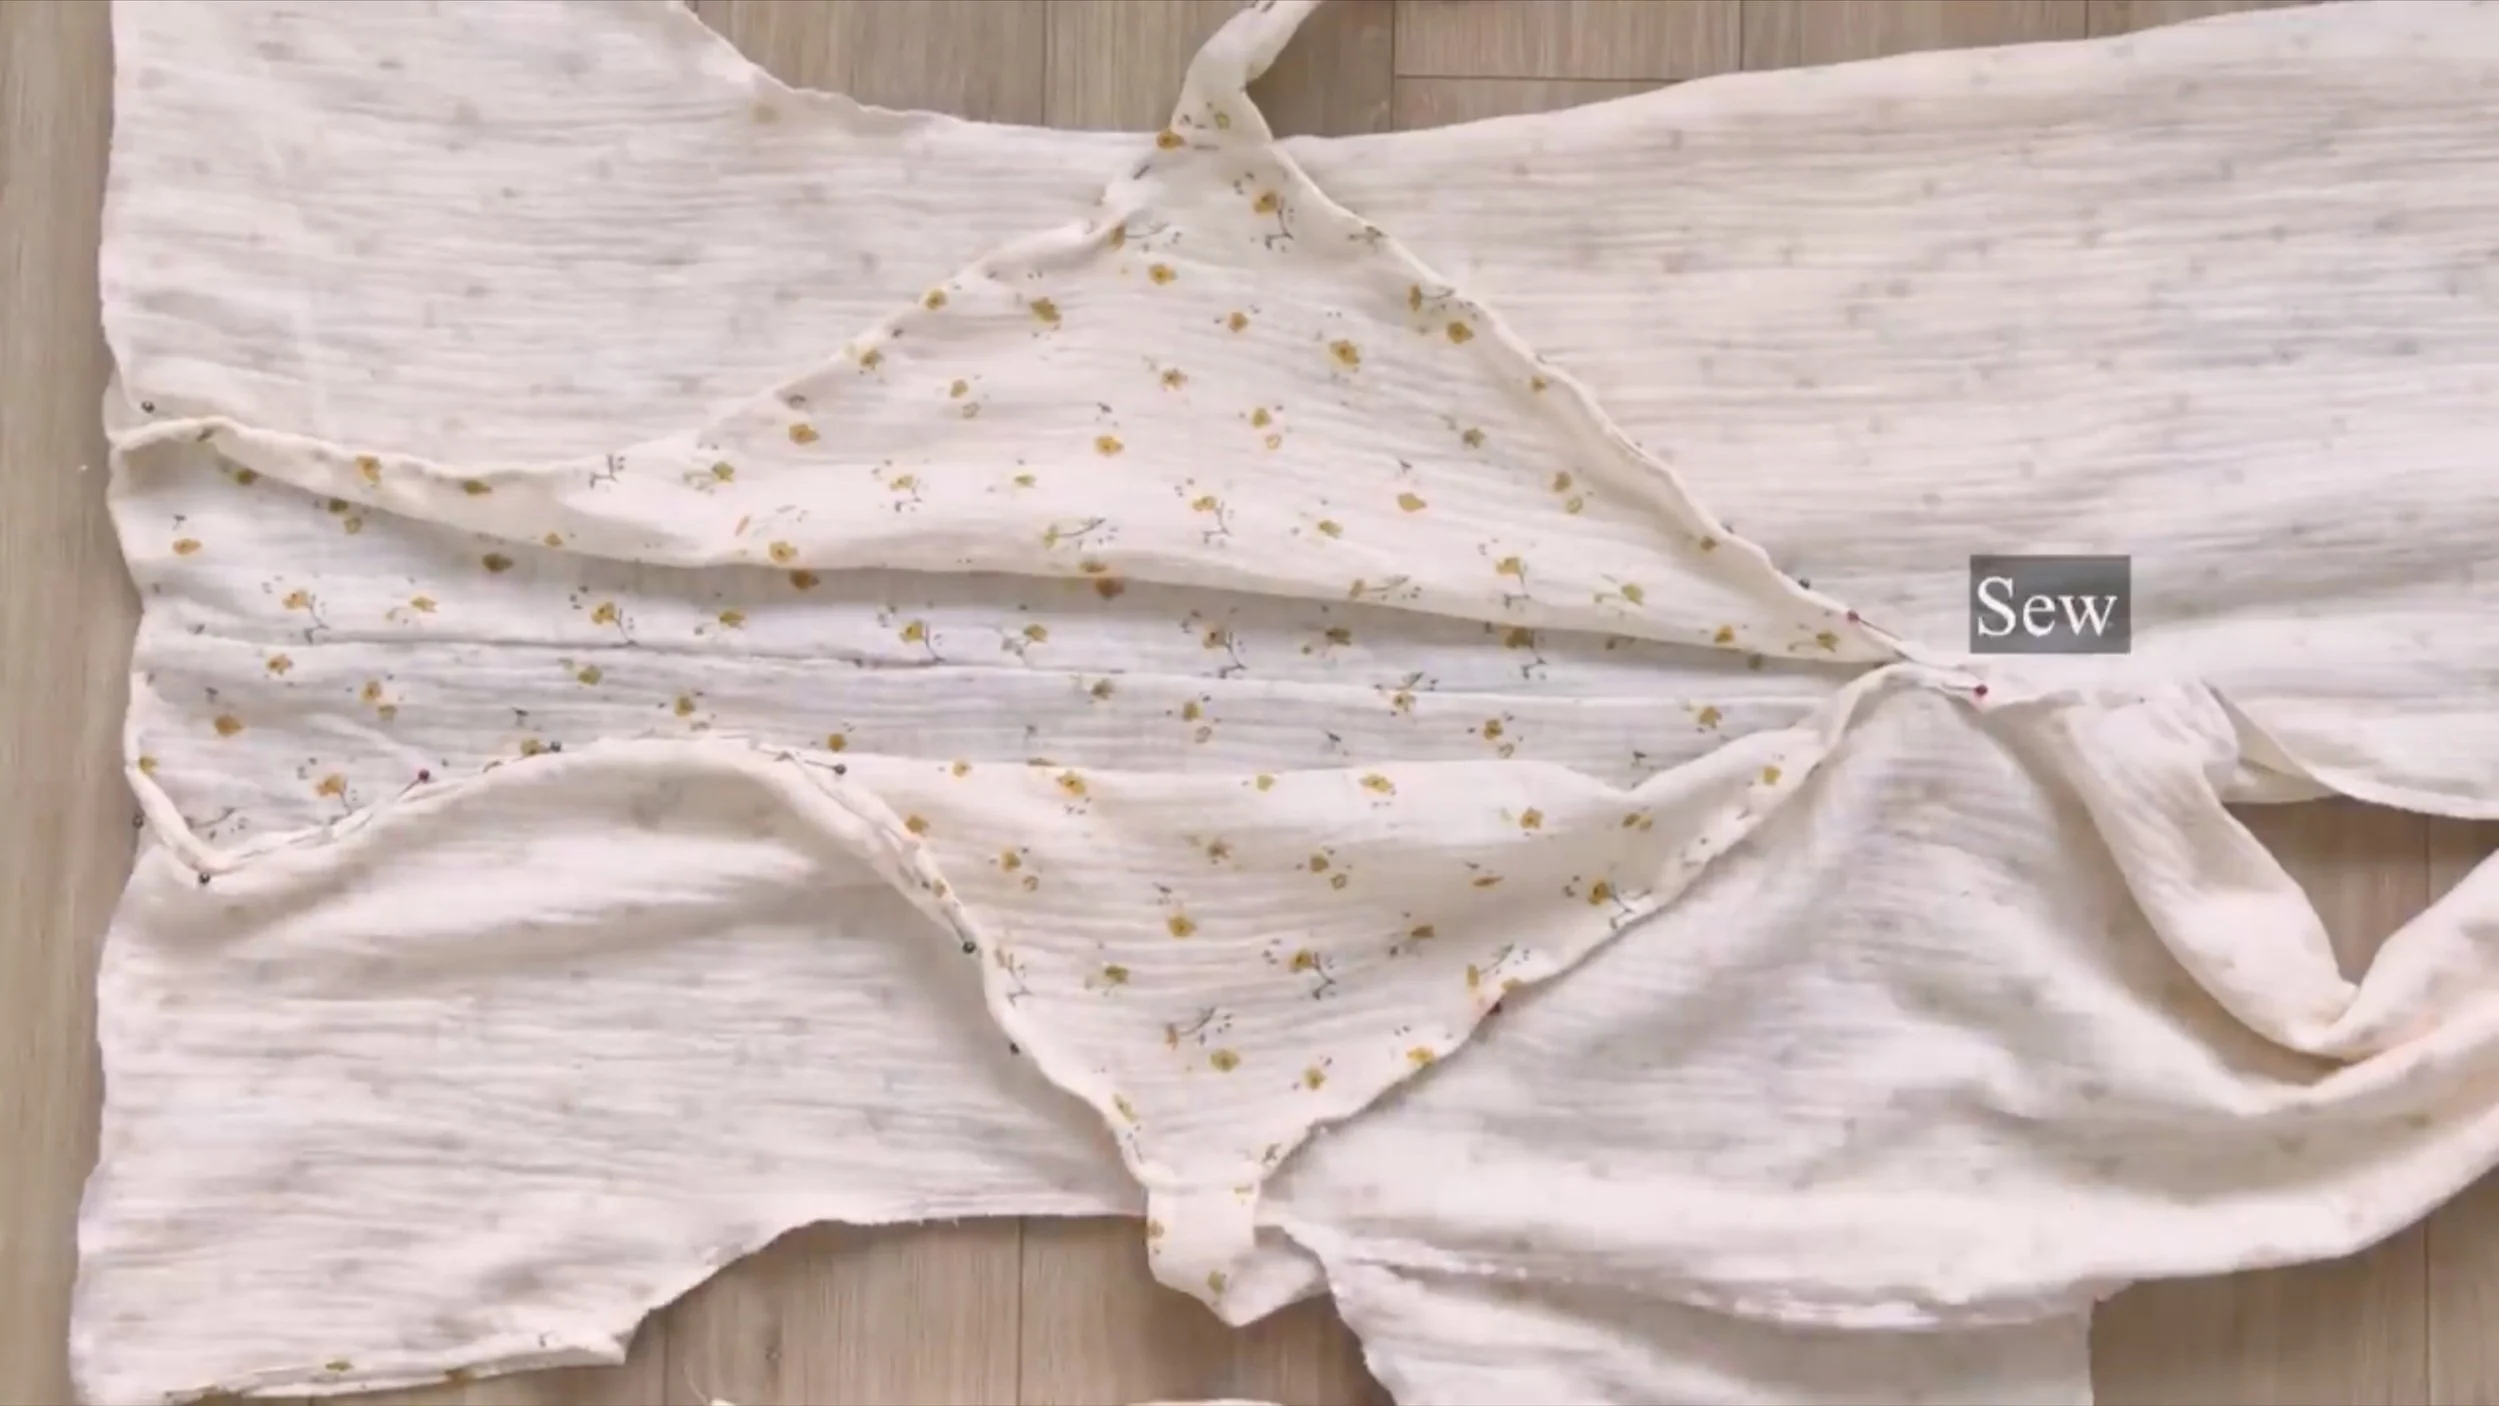
After cutting, connect two pieces of the back pattern together at the crotch line.
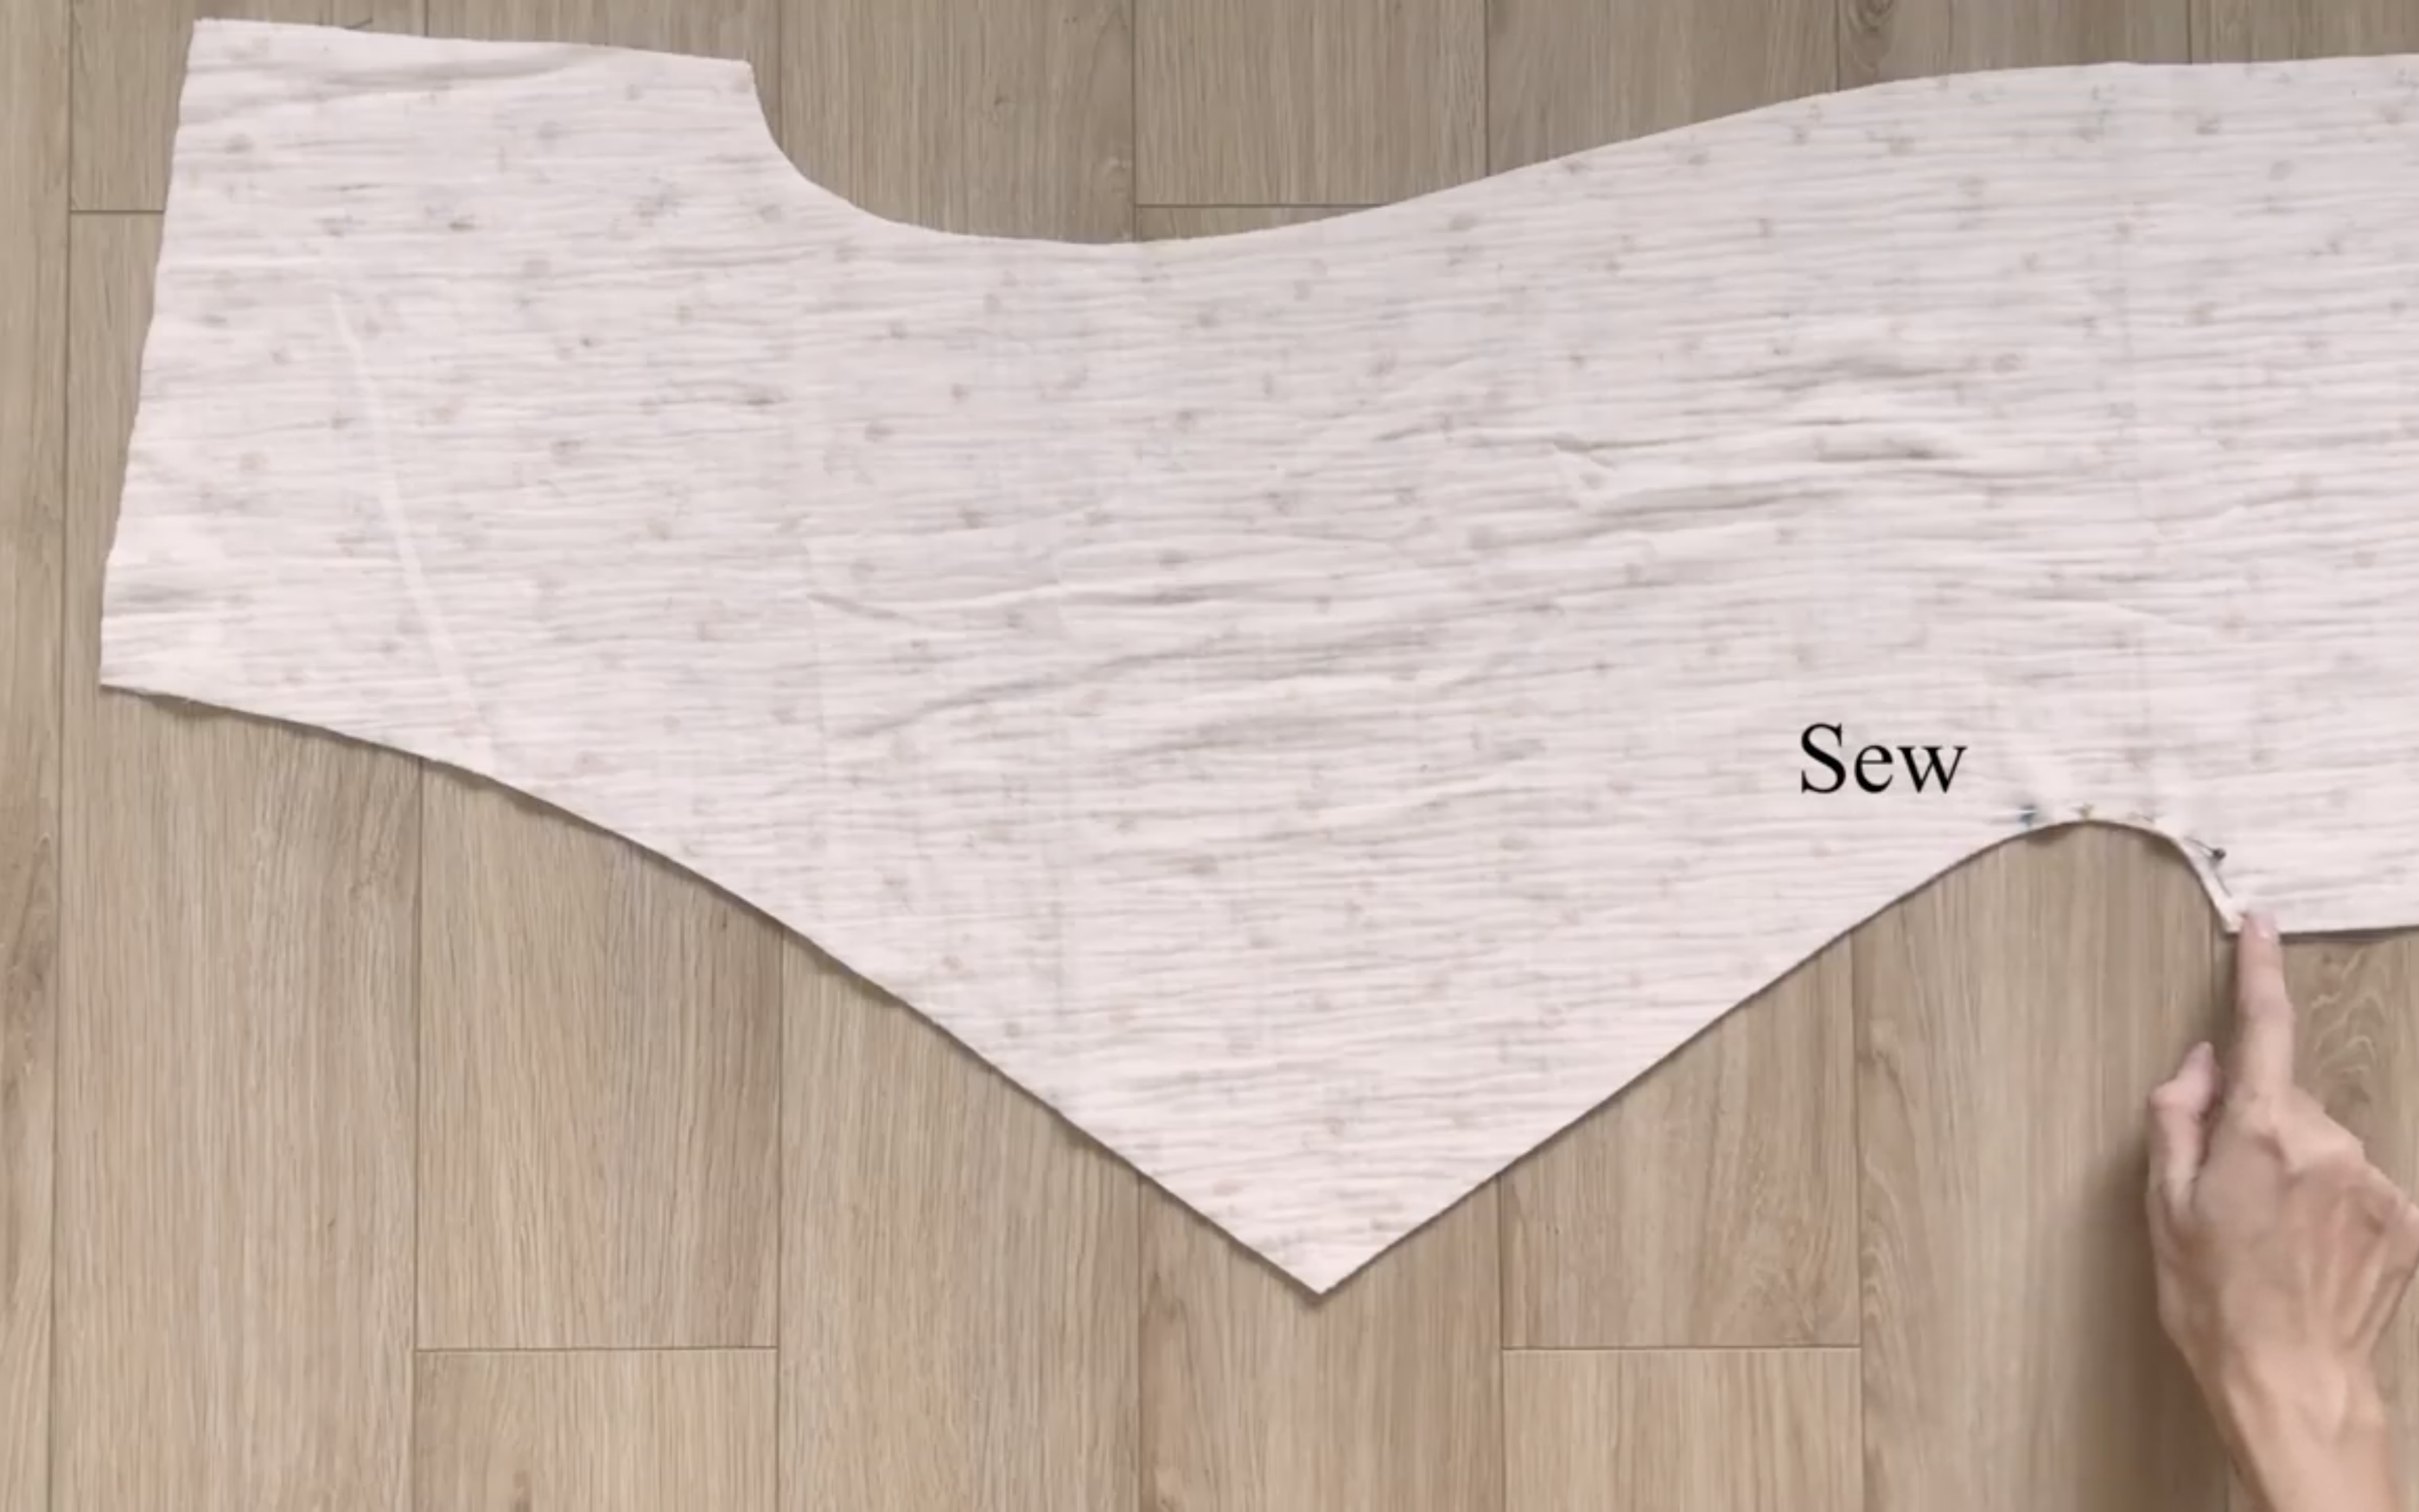
For the front, connect them from the hip line to the end of the crotch line, keeping the rest of the crotch line open.
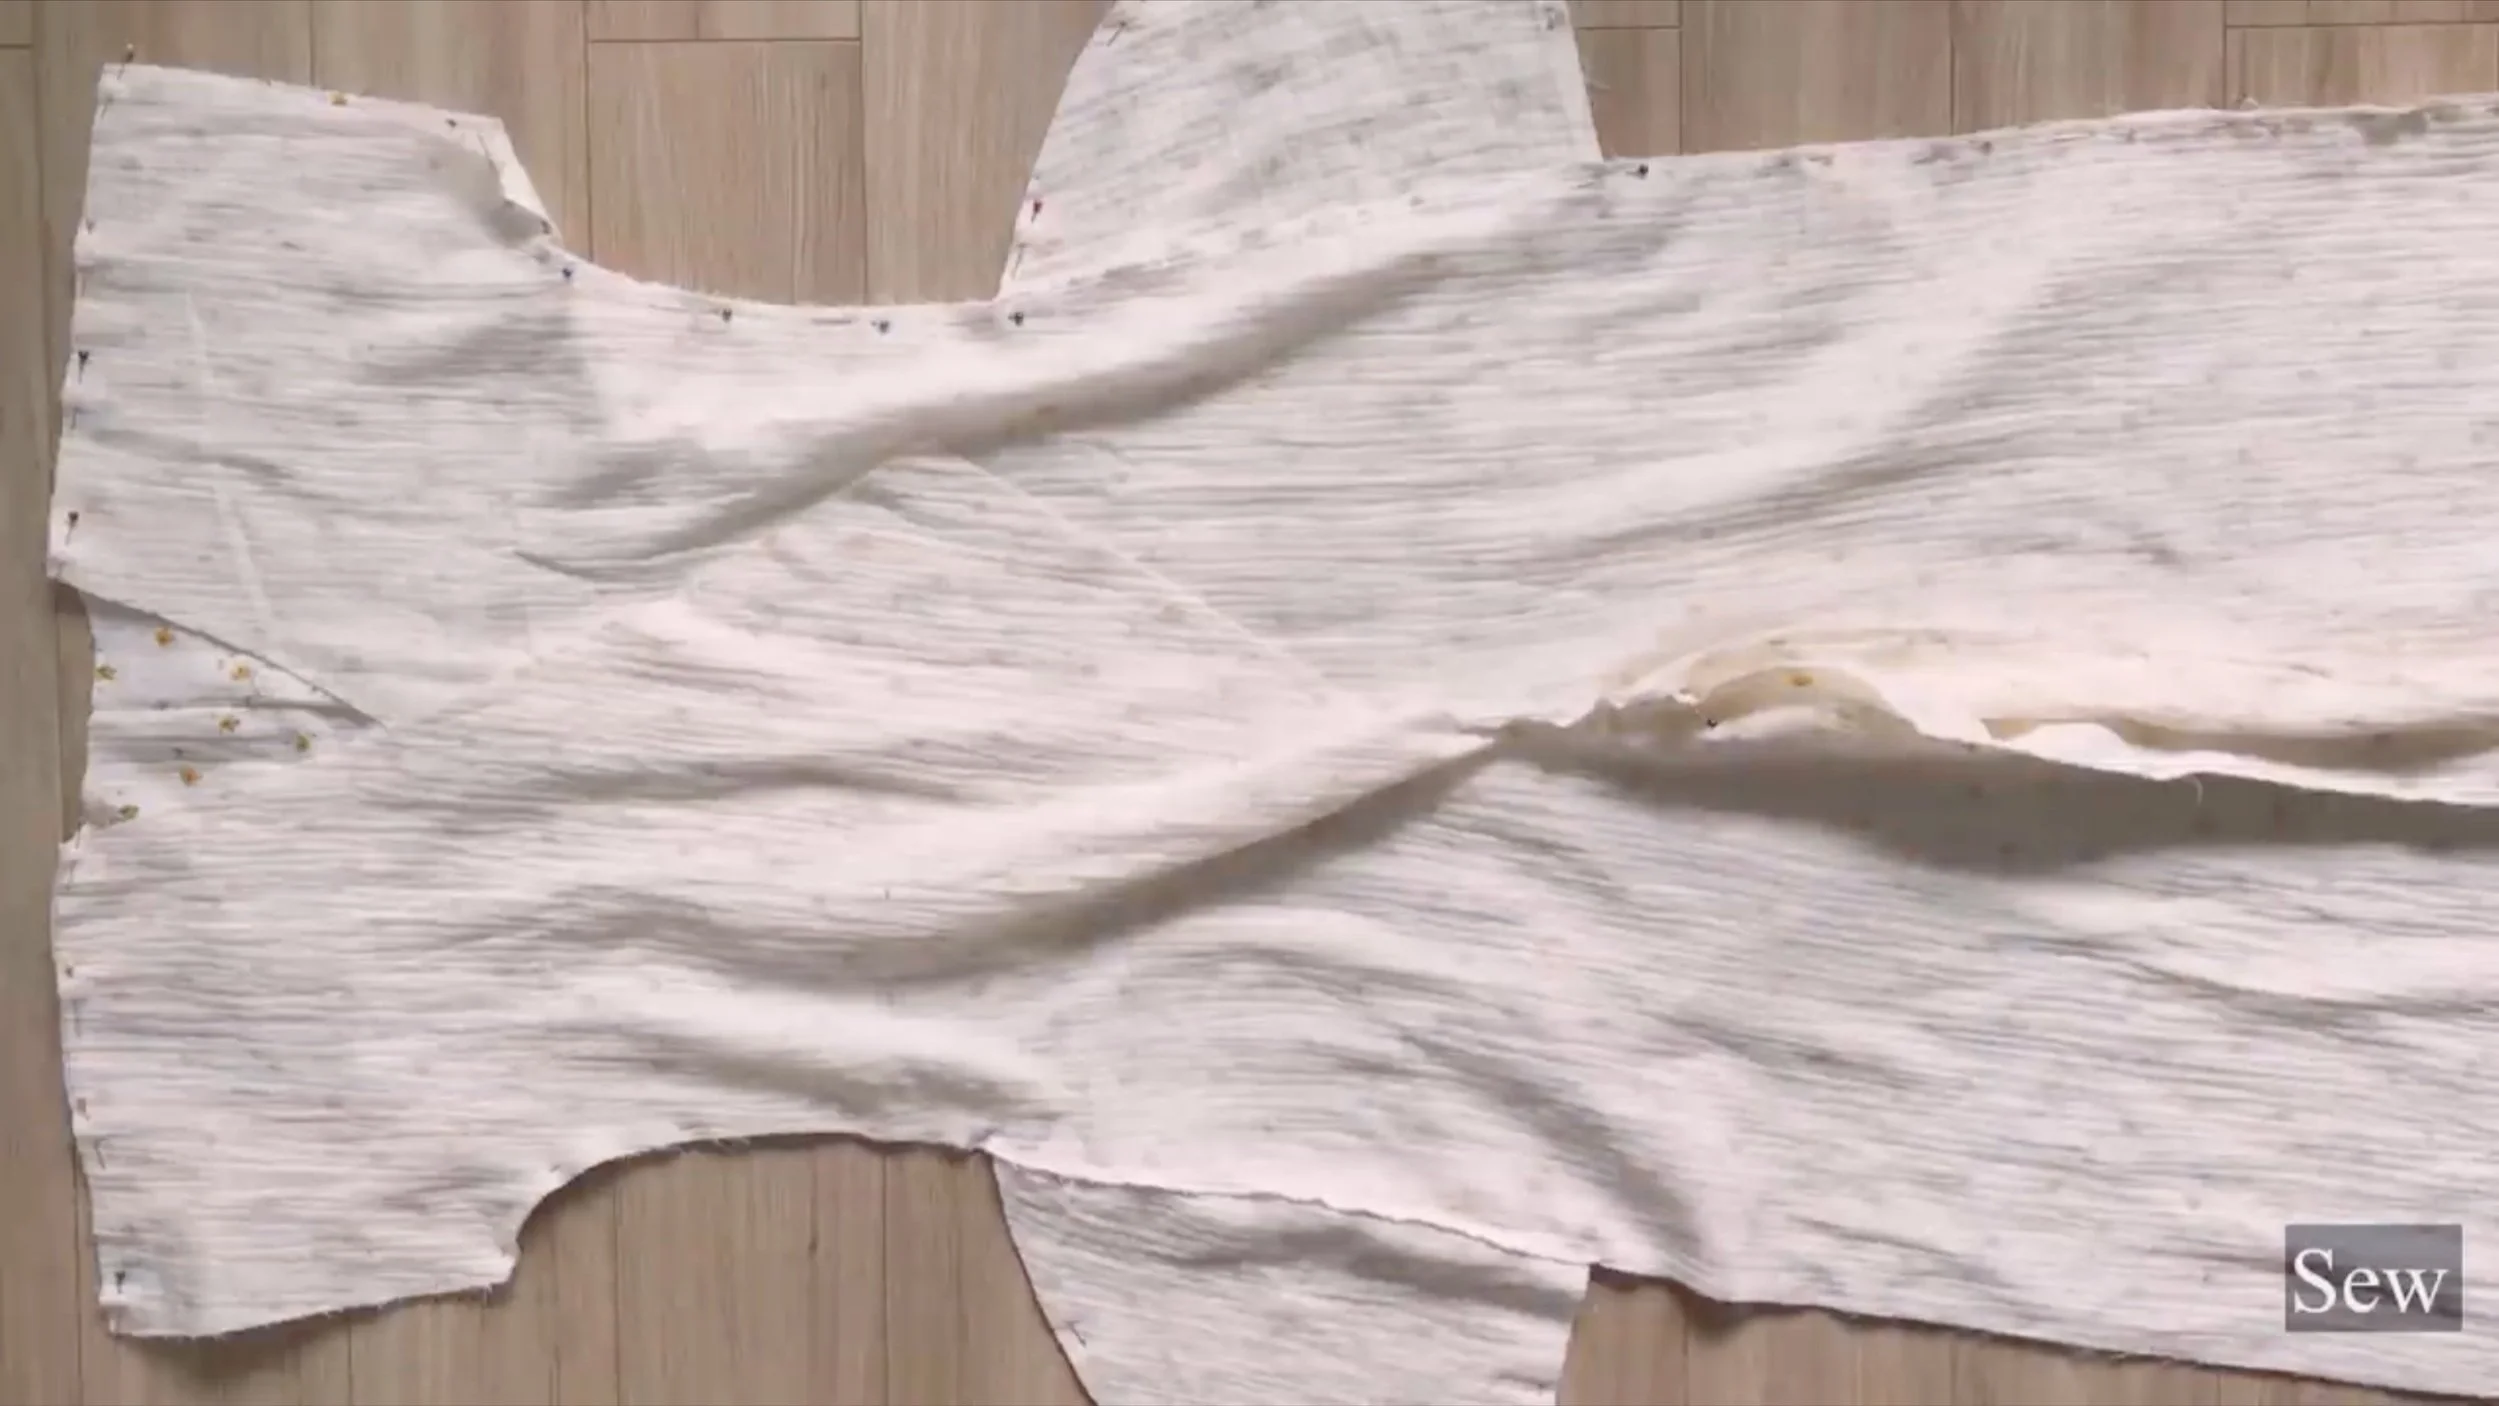
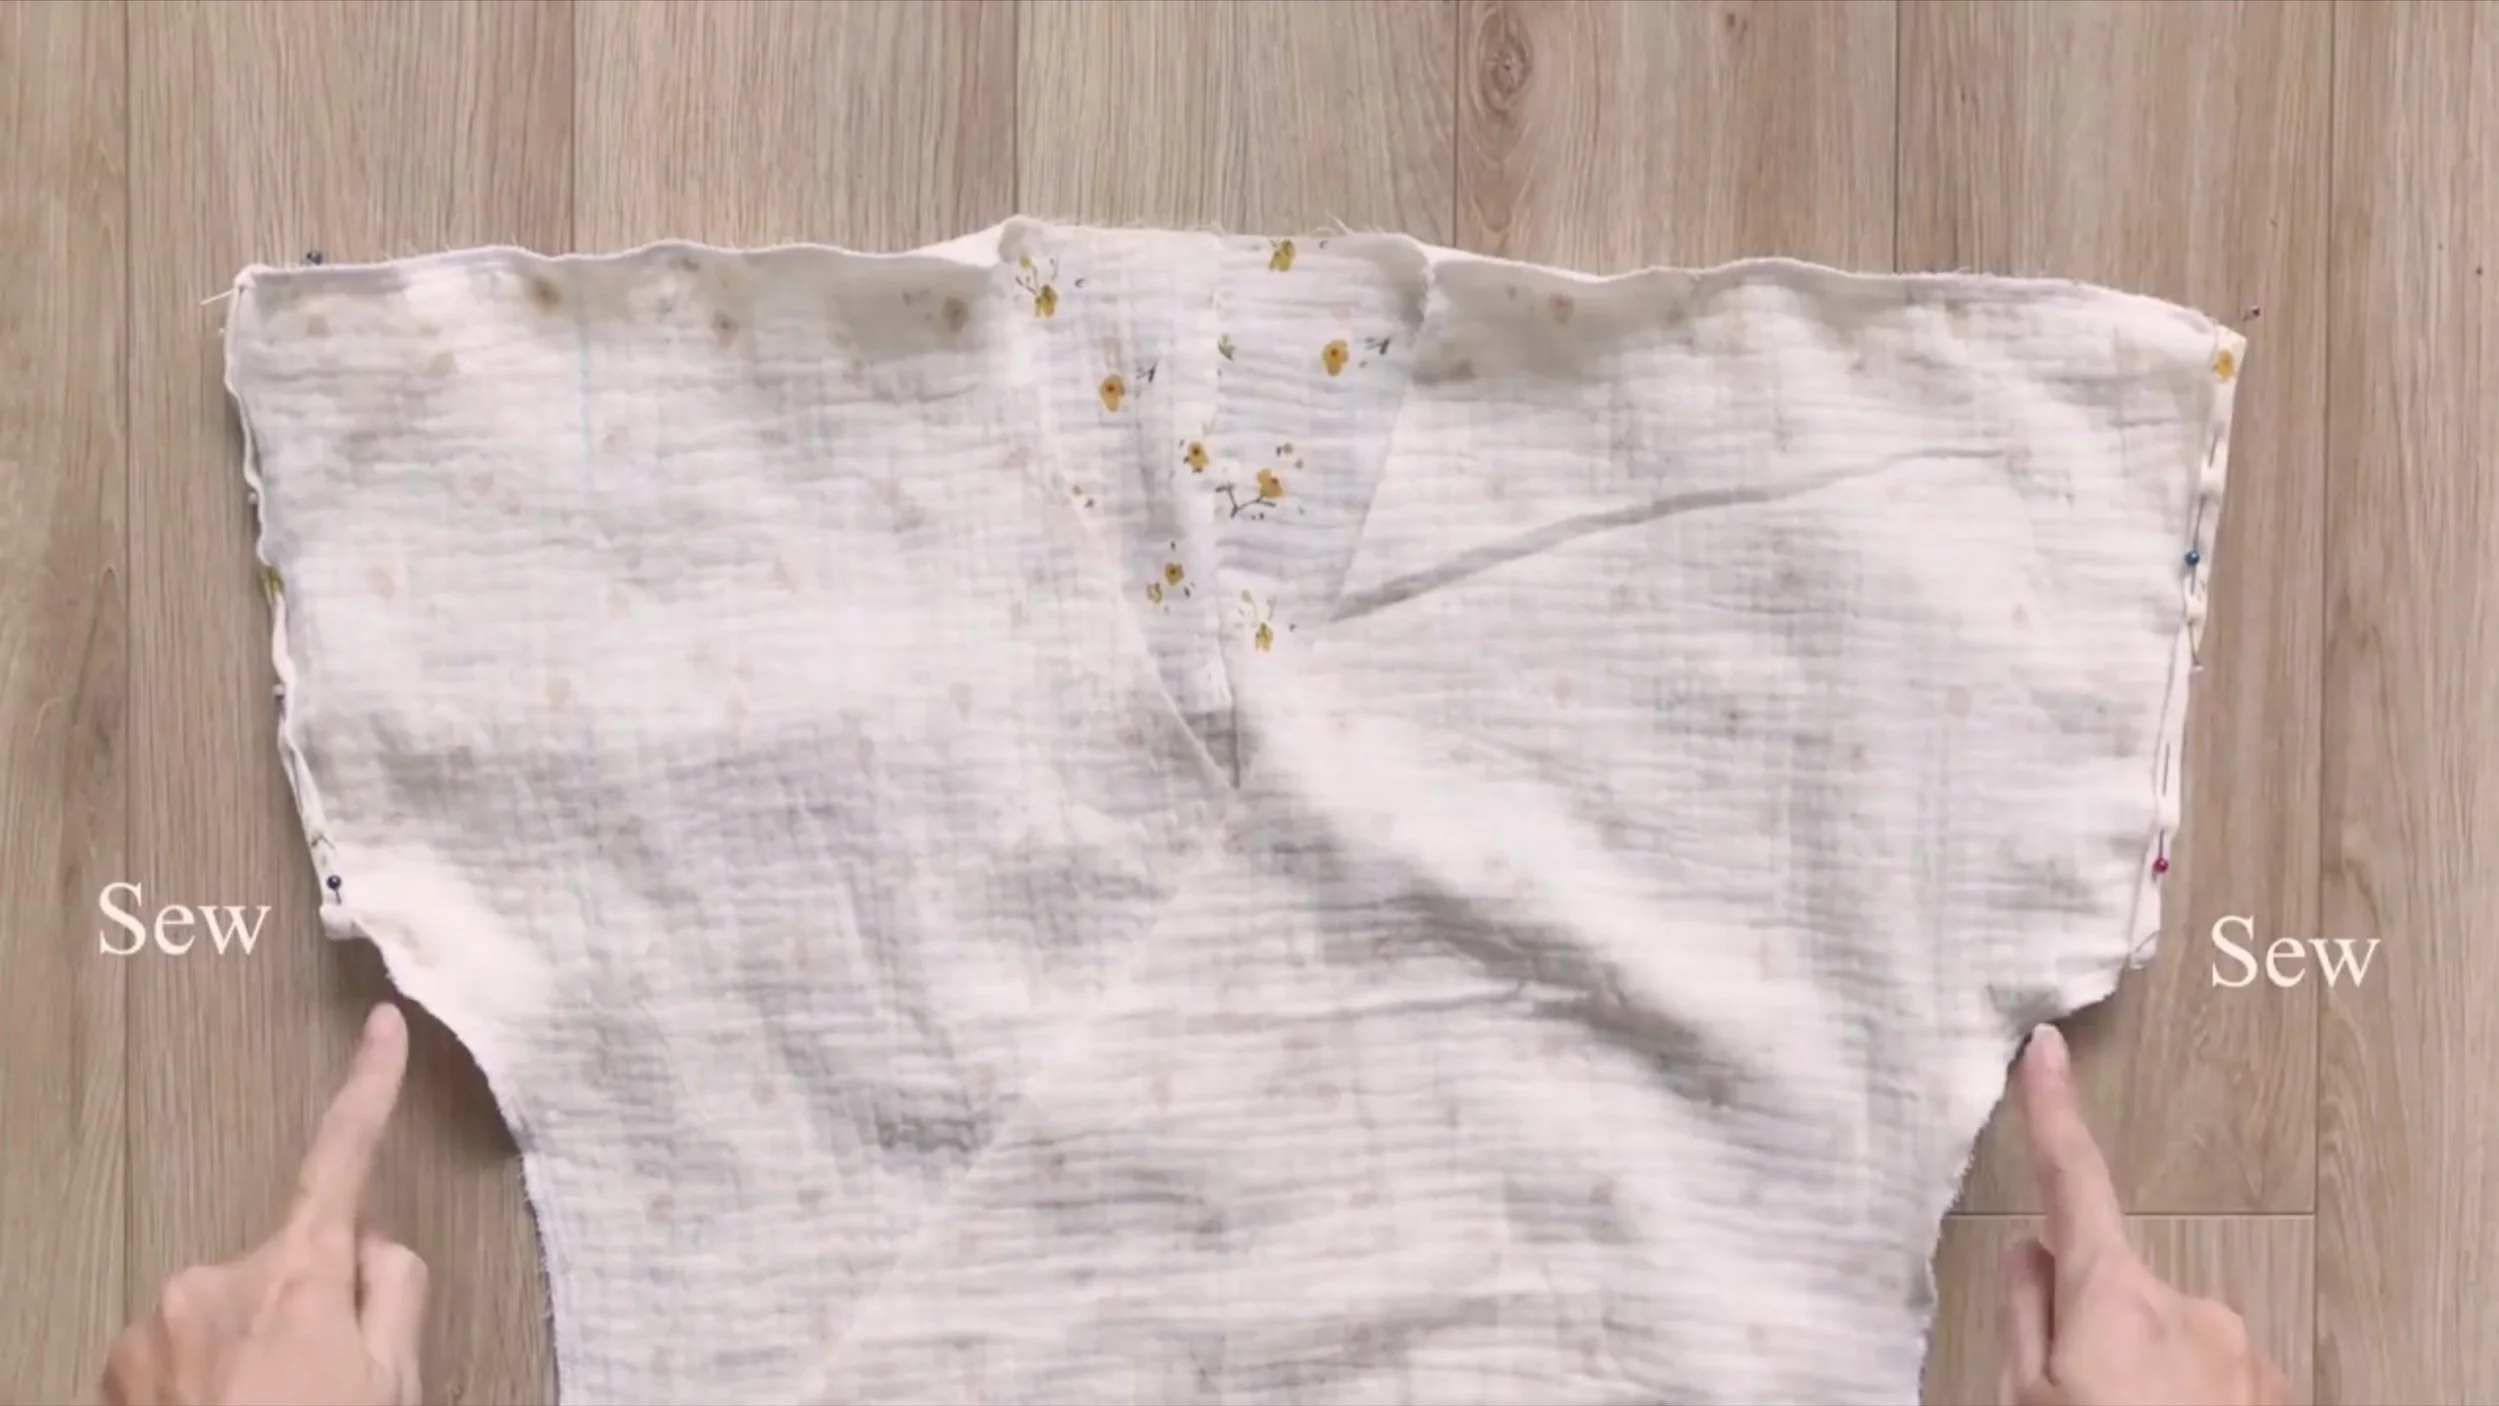
Use the pattern to mark the position for the pocket.

Then add the pockets to the two side lines of the front and the back of the jumpsuit.
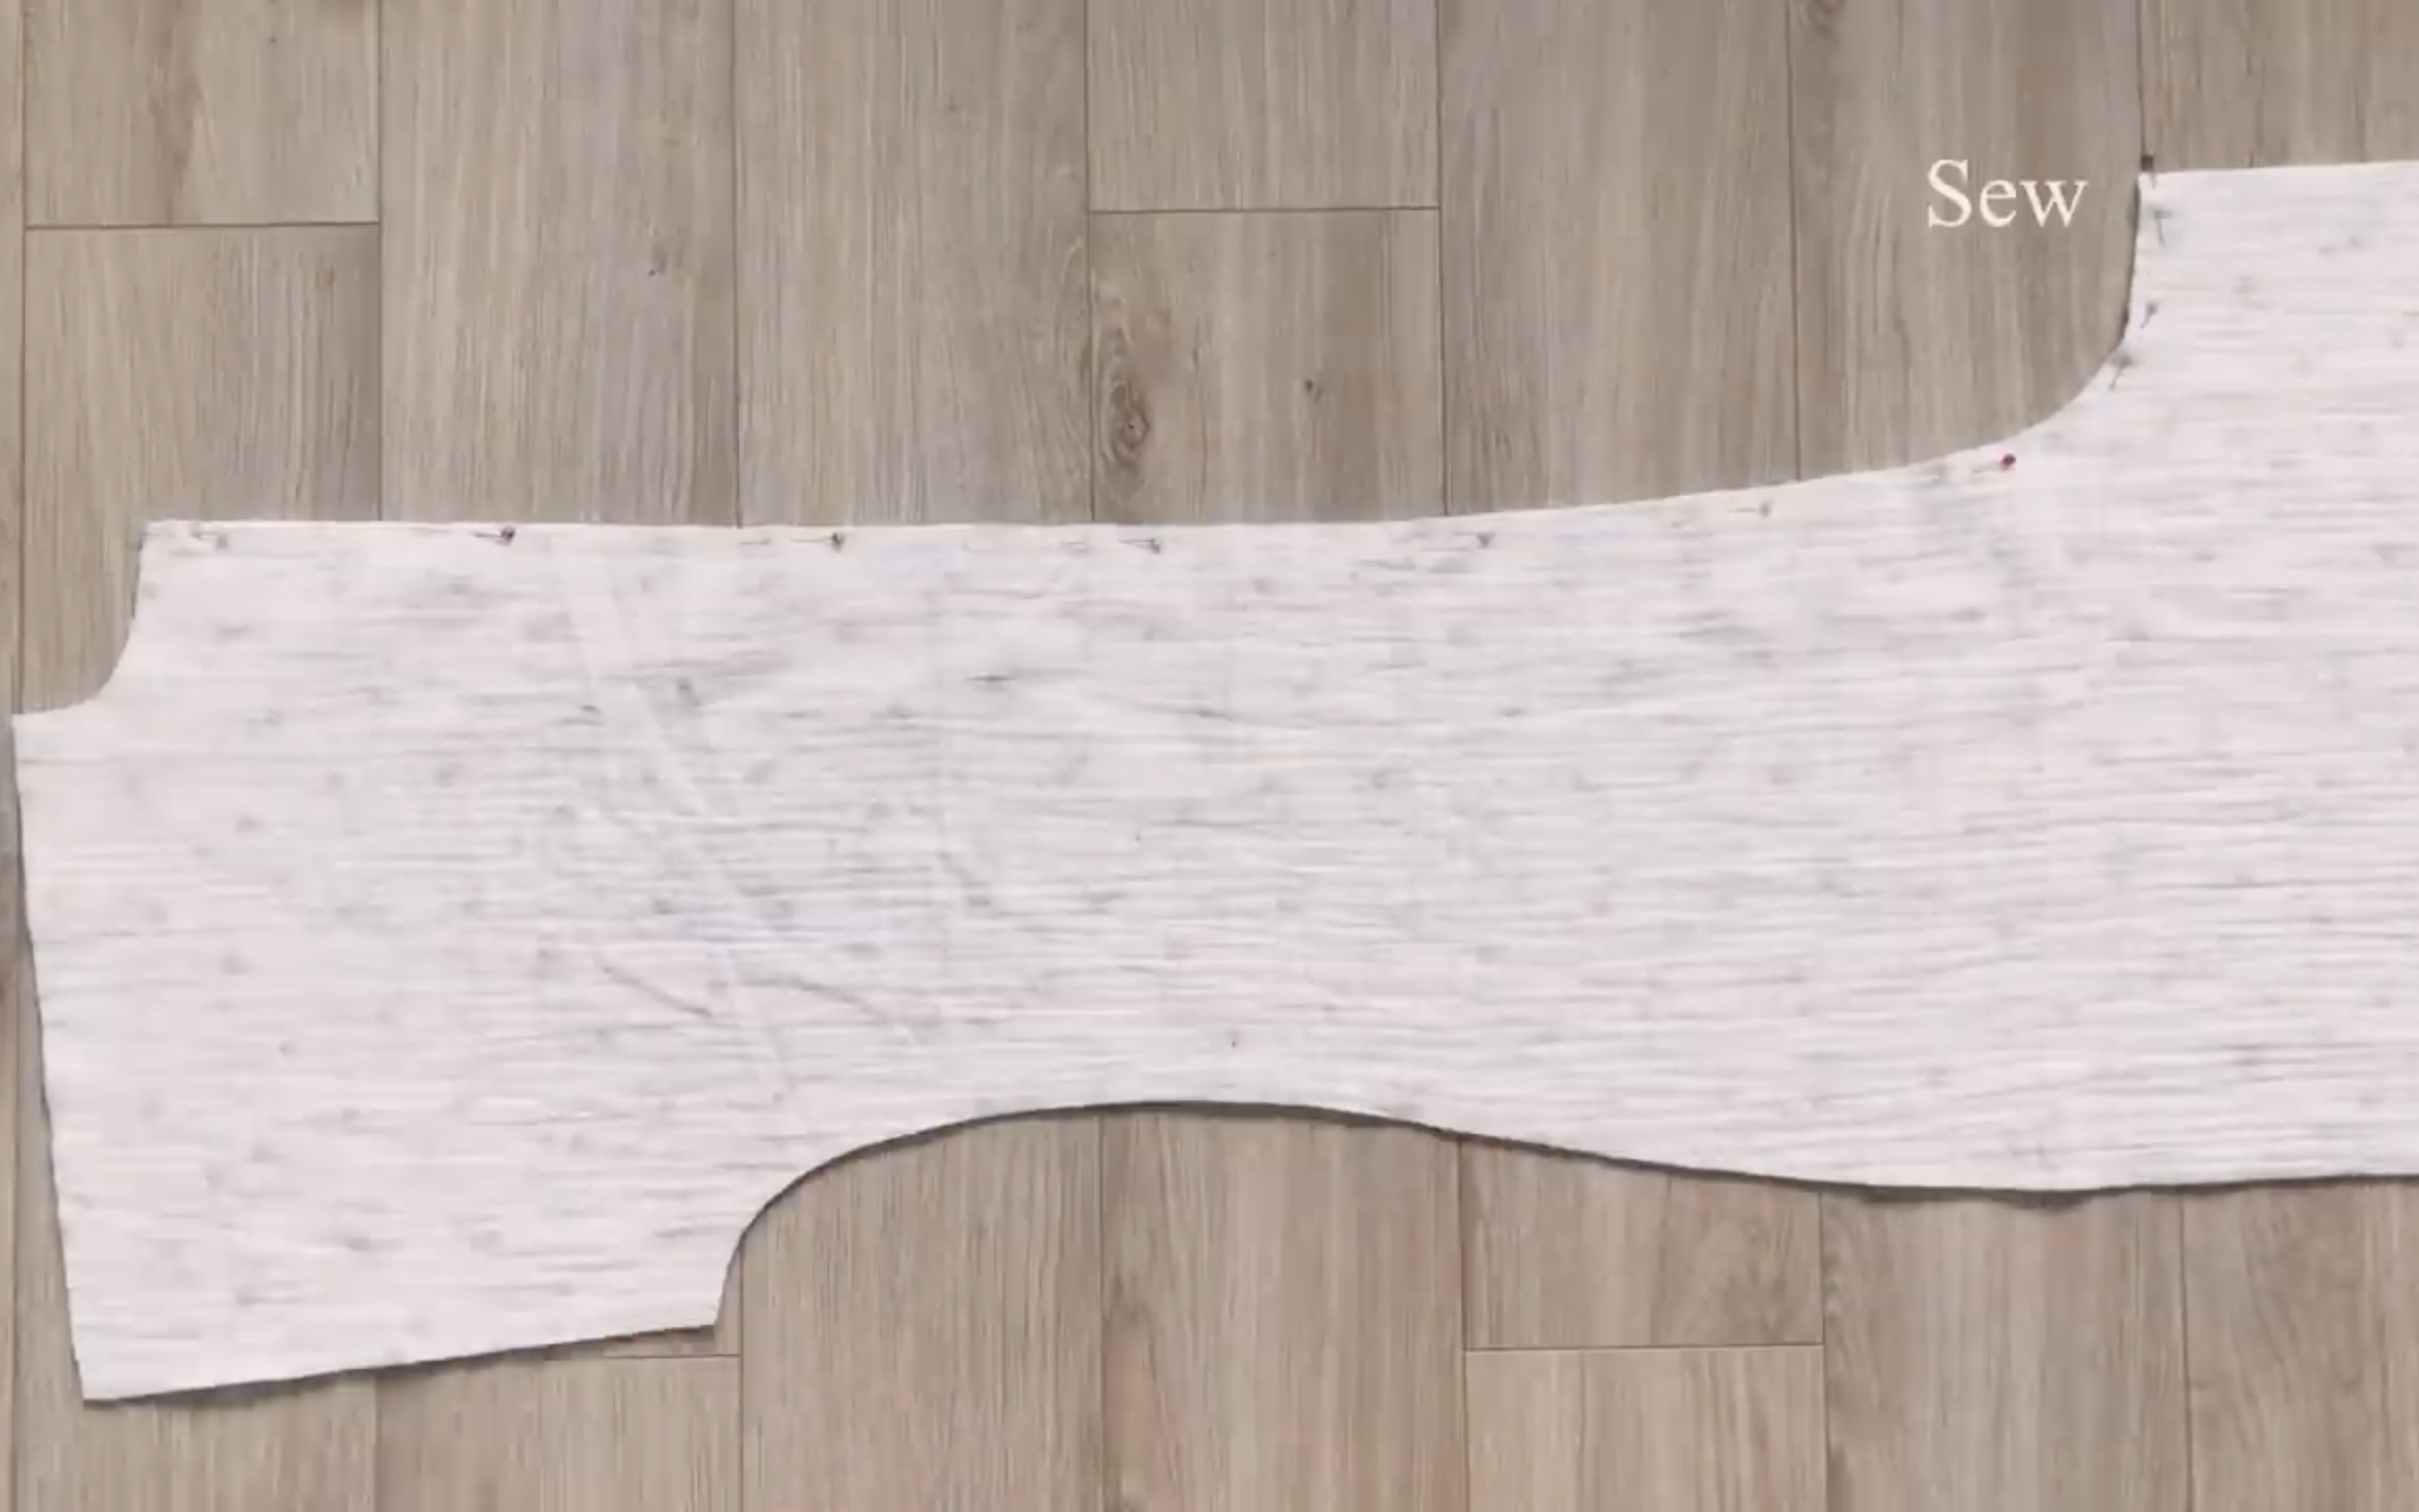
Connect the front and back of the jumpsuit together at the shoulder, two sides, and the inside leg.
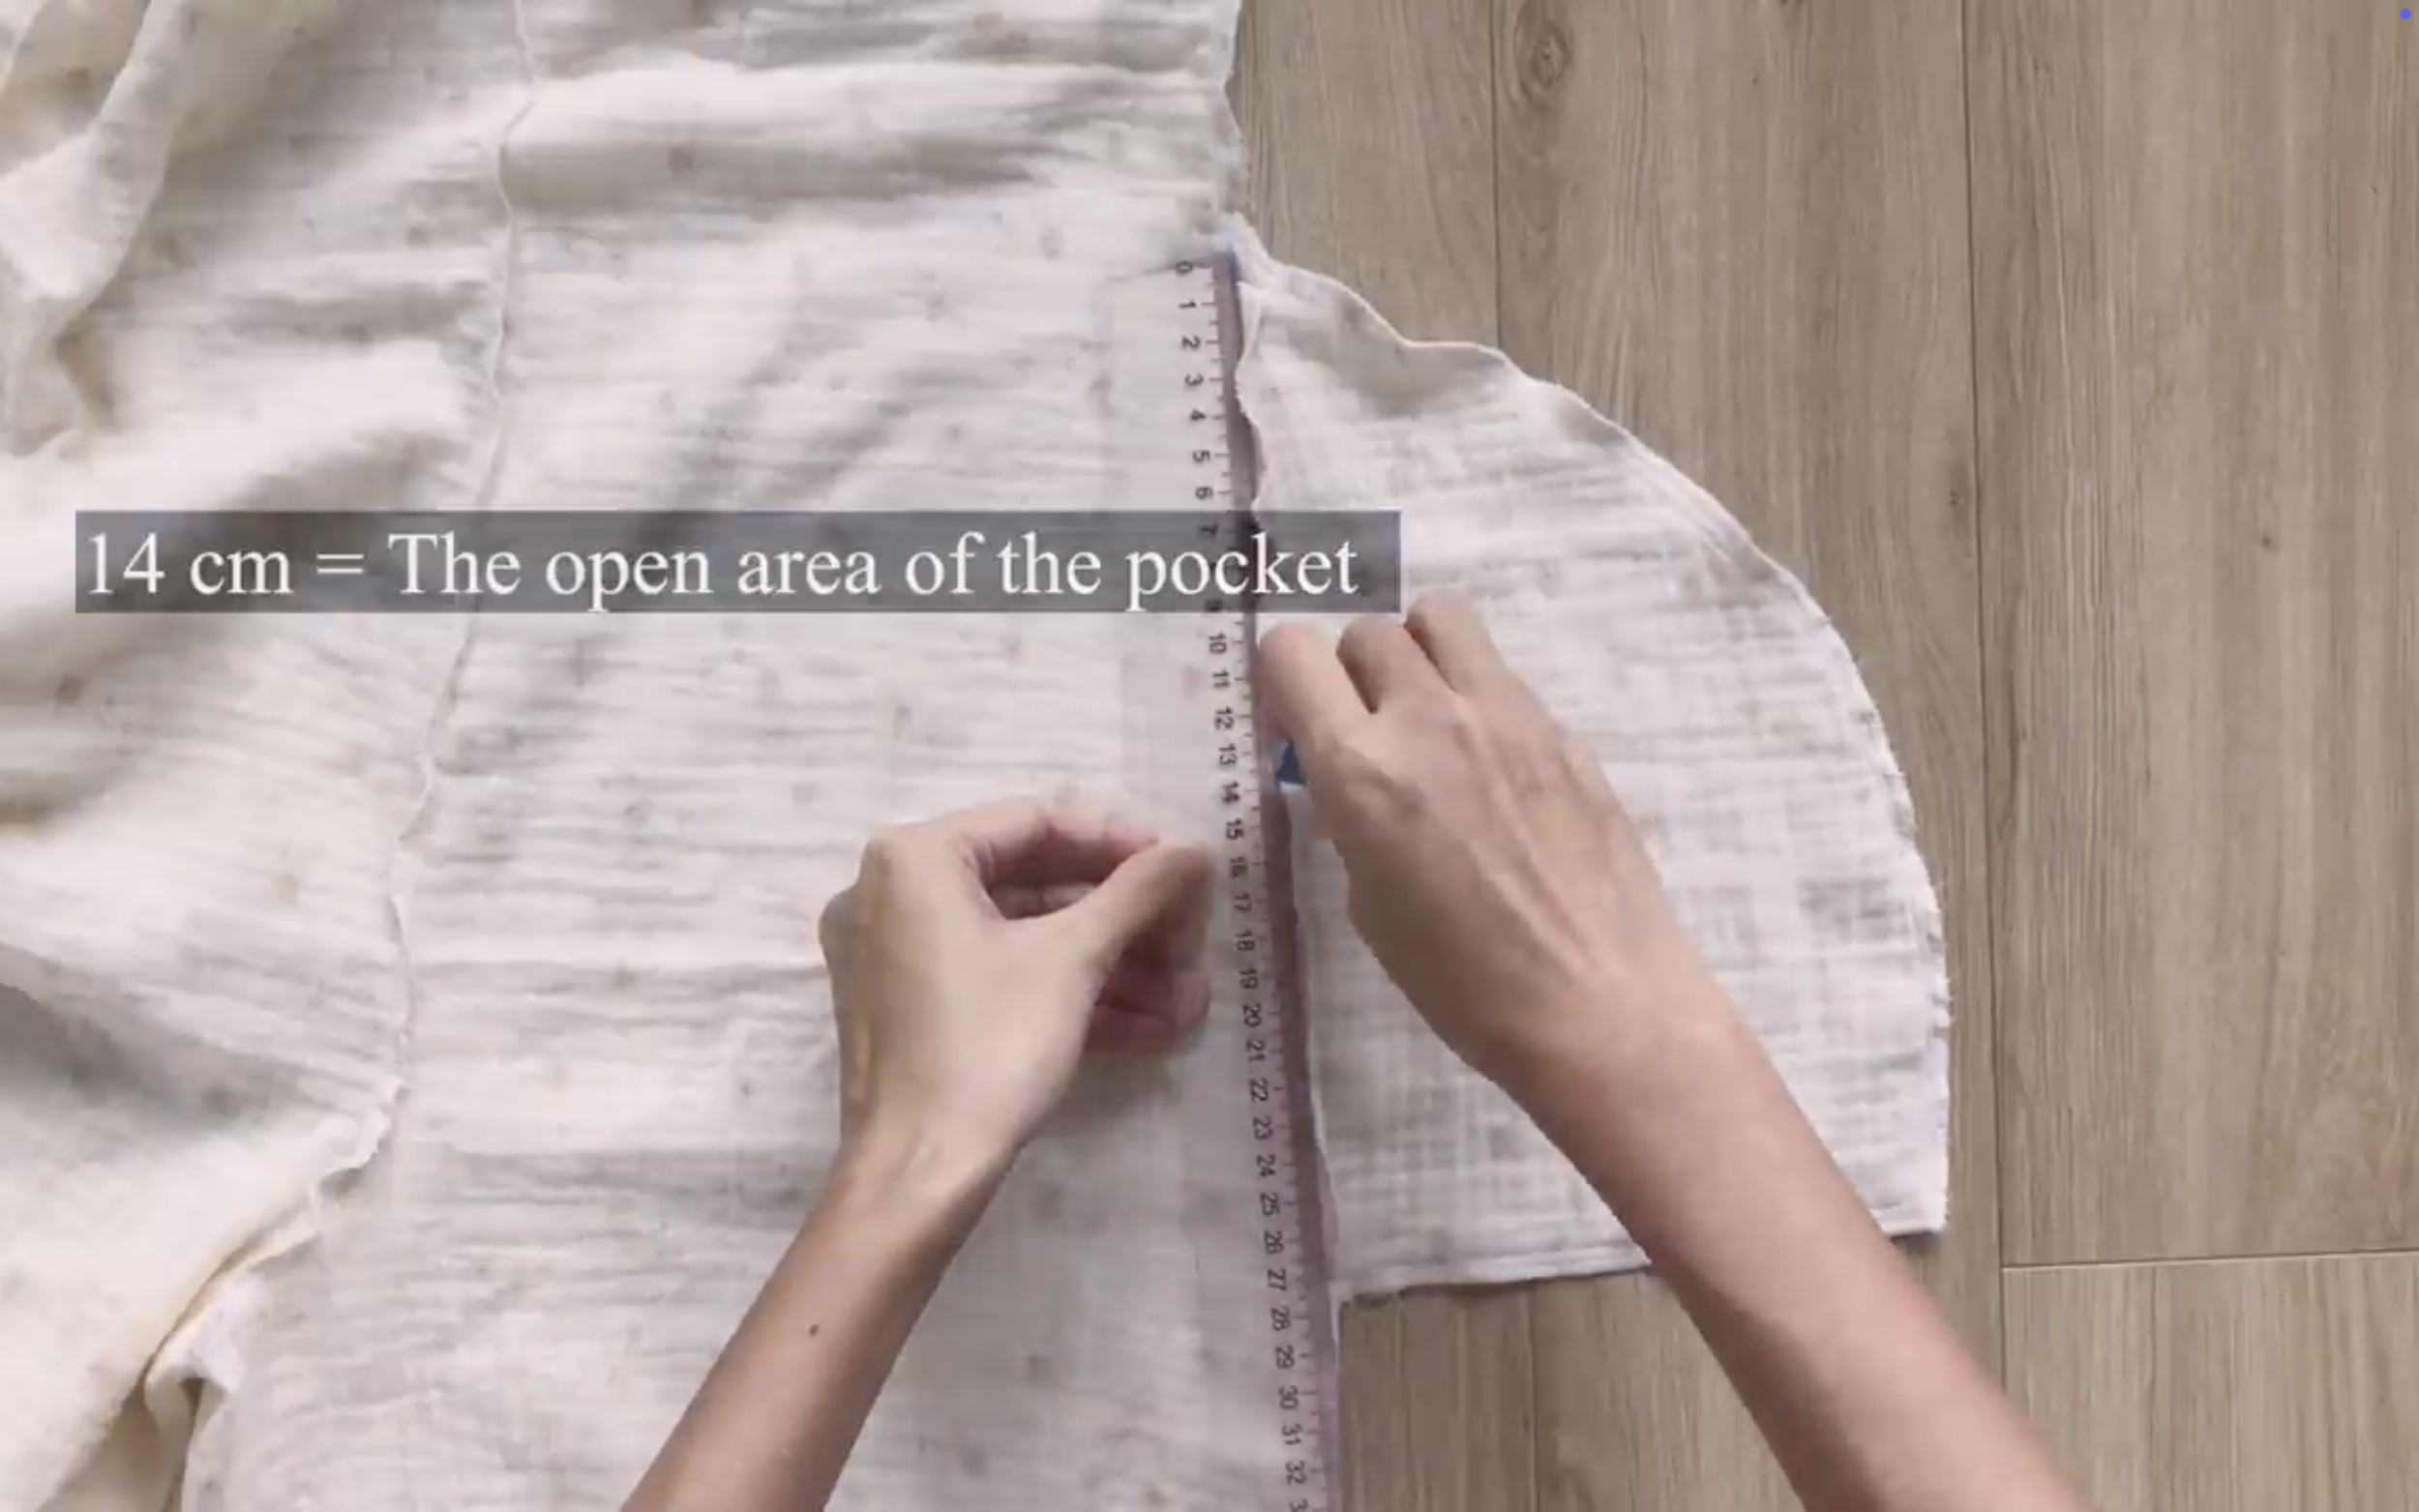
To create the depth for the pocket, mark at 14 cm from the top of the pocket. This is the width of the open pocket where a hand can fit in.
Sew the rest of the pocket together.
To finish the end of the sleeve, fold the fabric inside twice and sew it together.
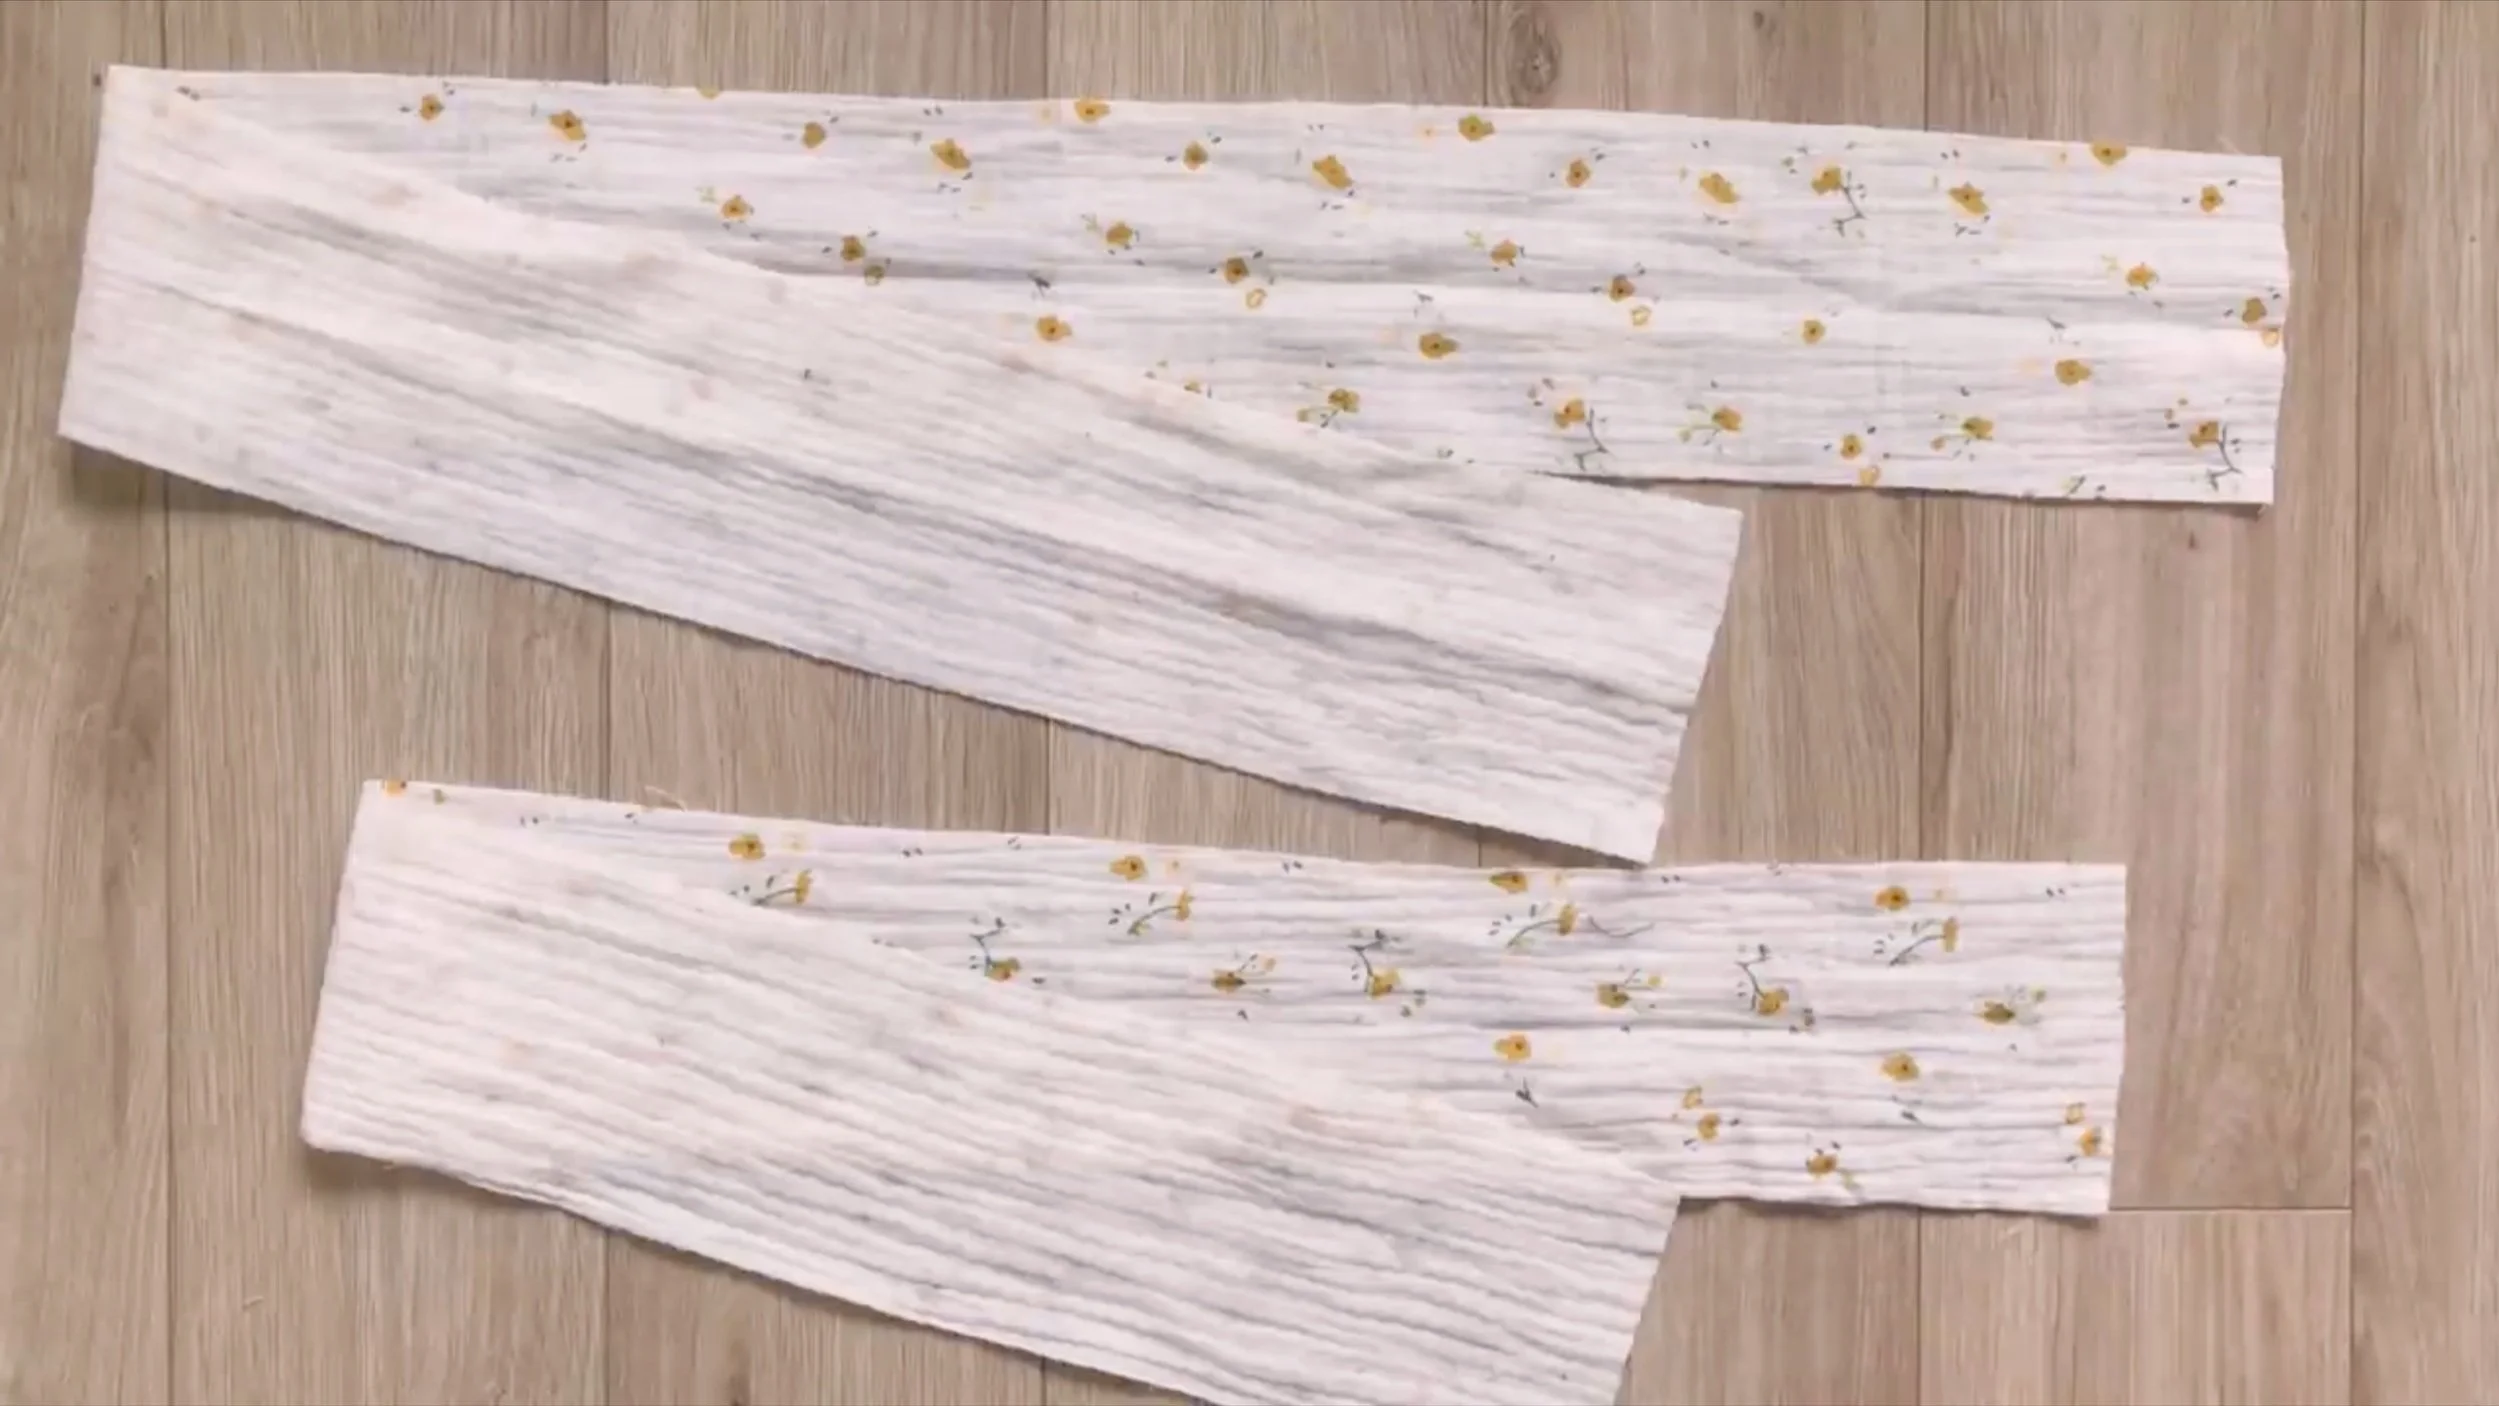
To make the ties for the jumpsuit, cut two rectangles with 8 cm width: 40 cm for the short tie and 80 cm for the long tie.
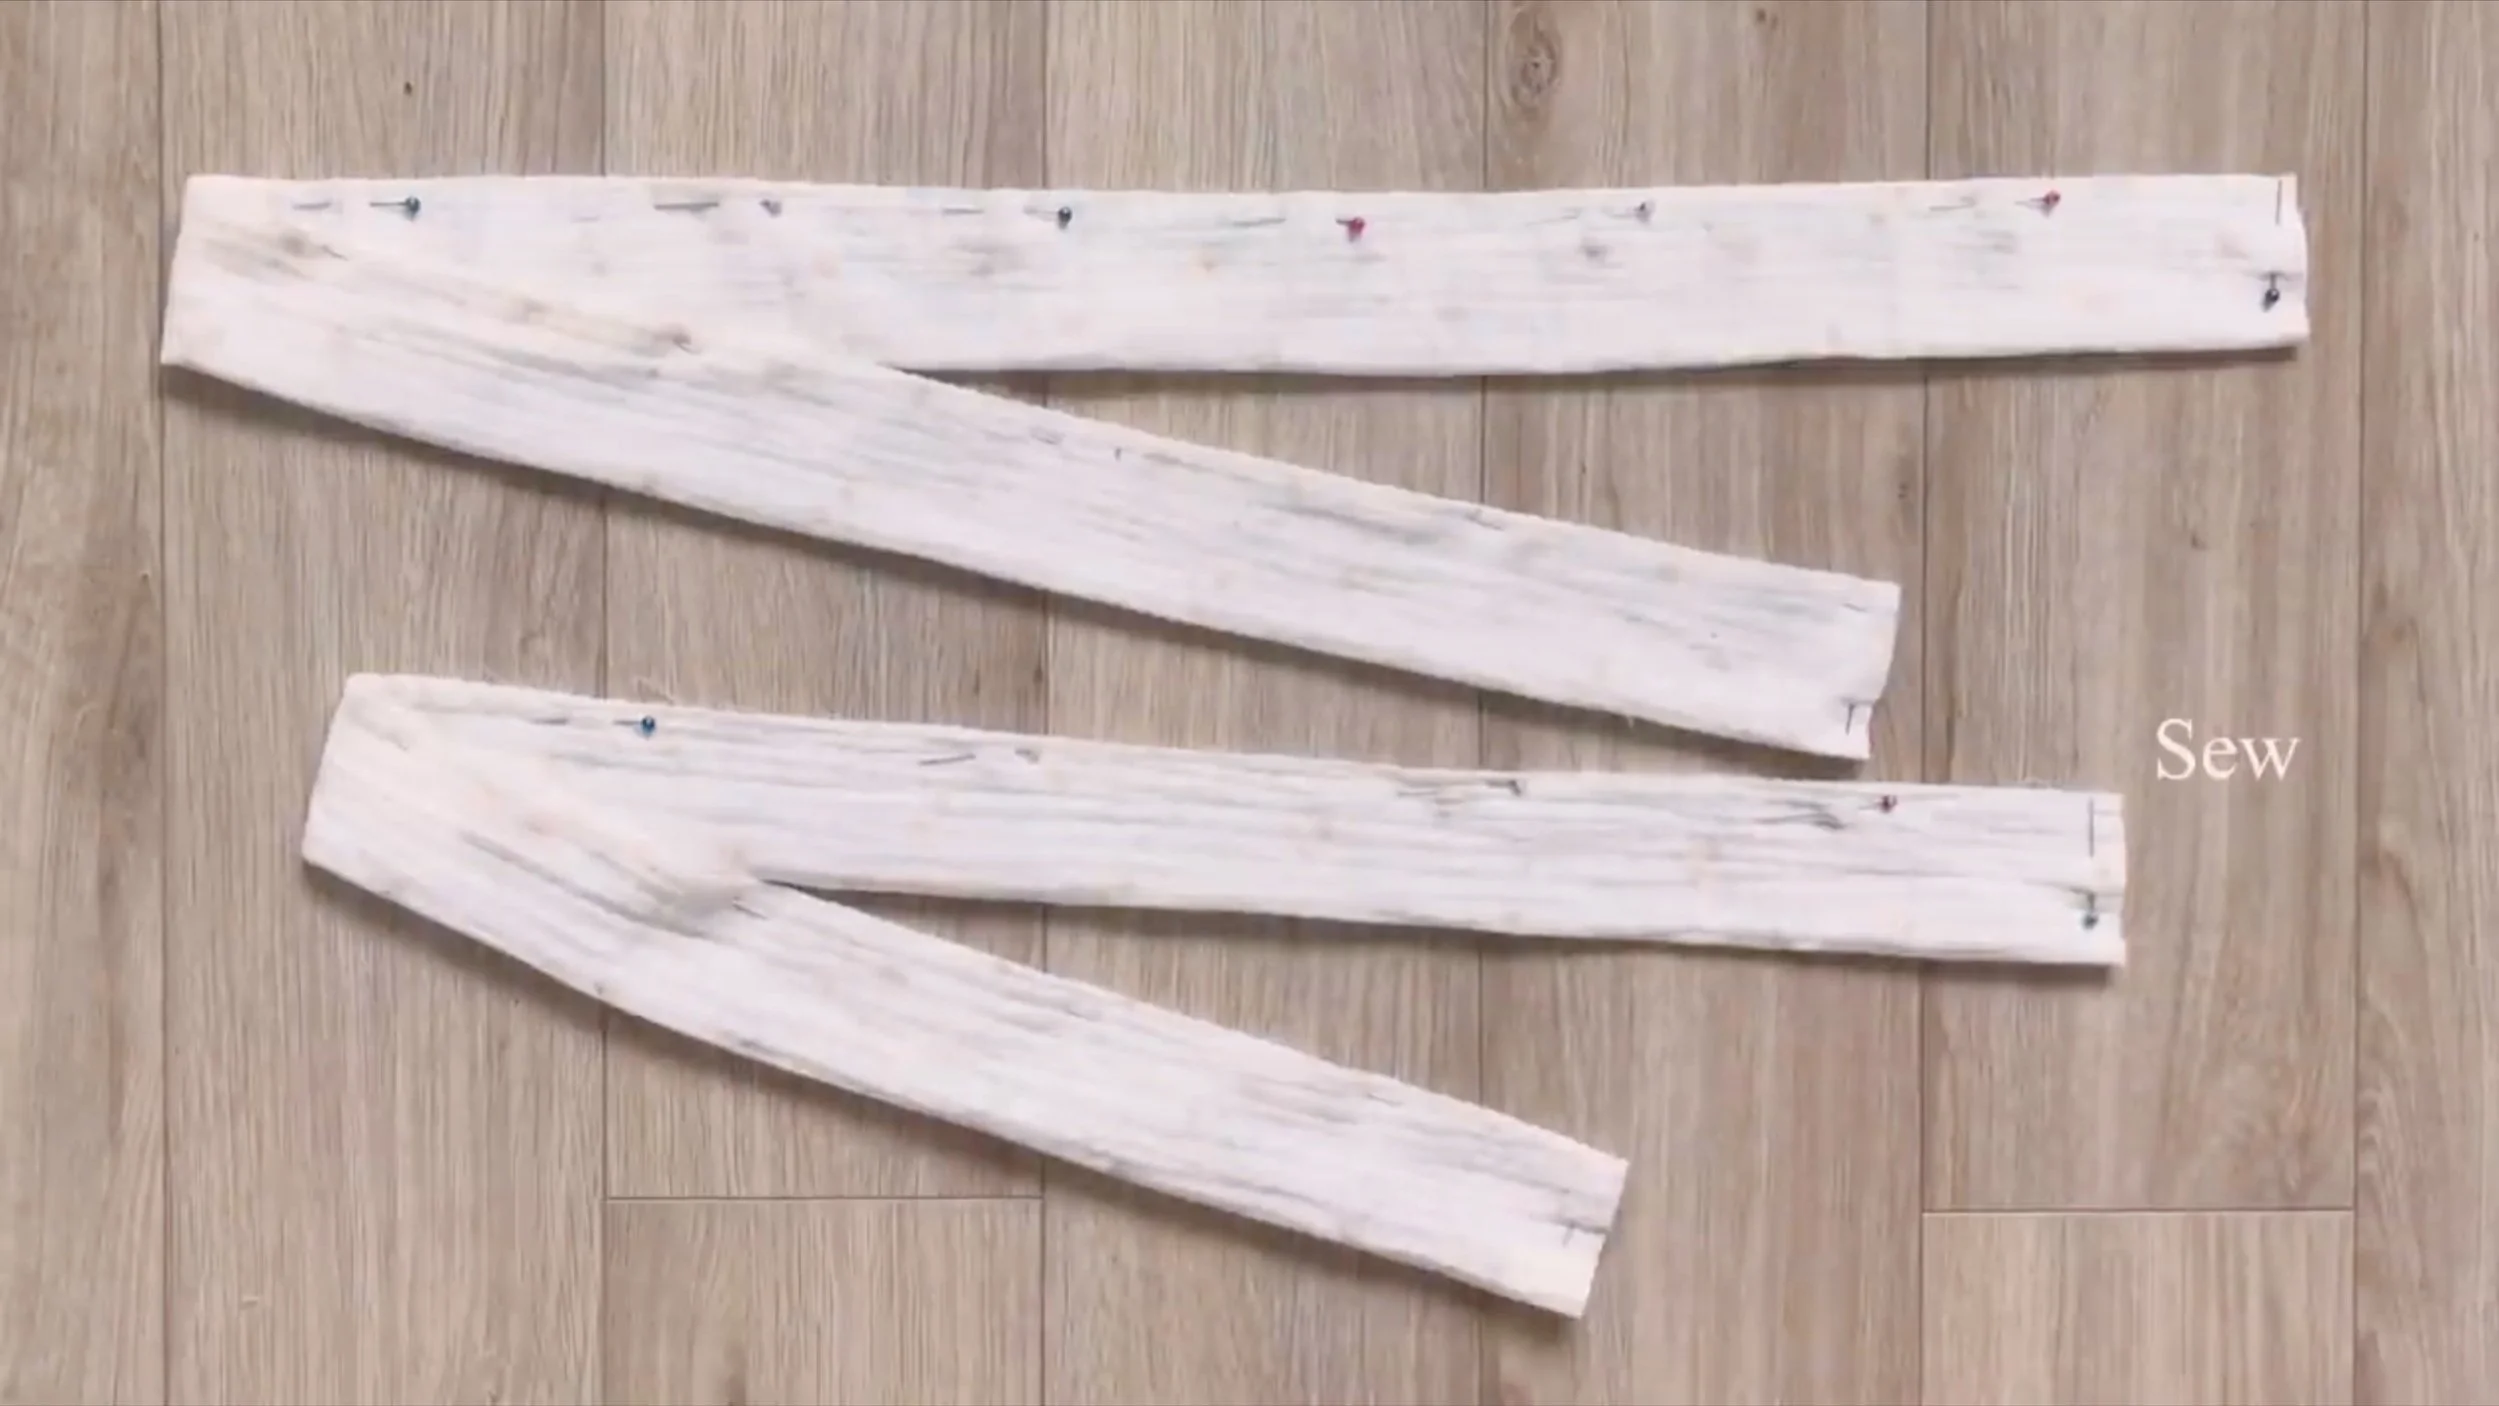
Fold the rectangle along the length and sew them together.
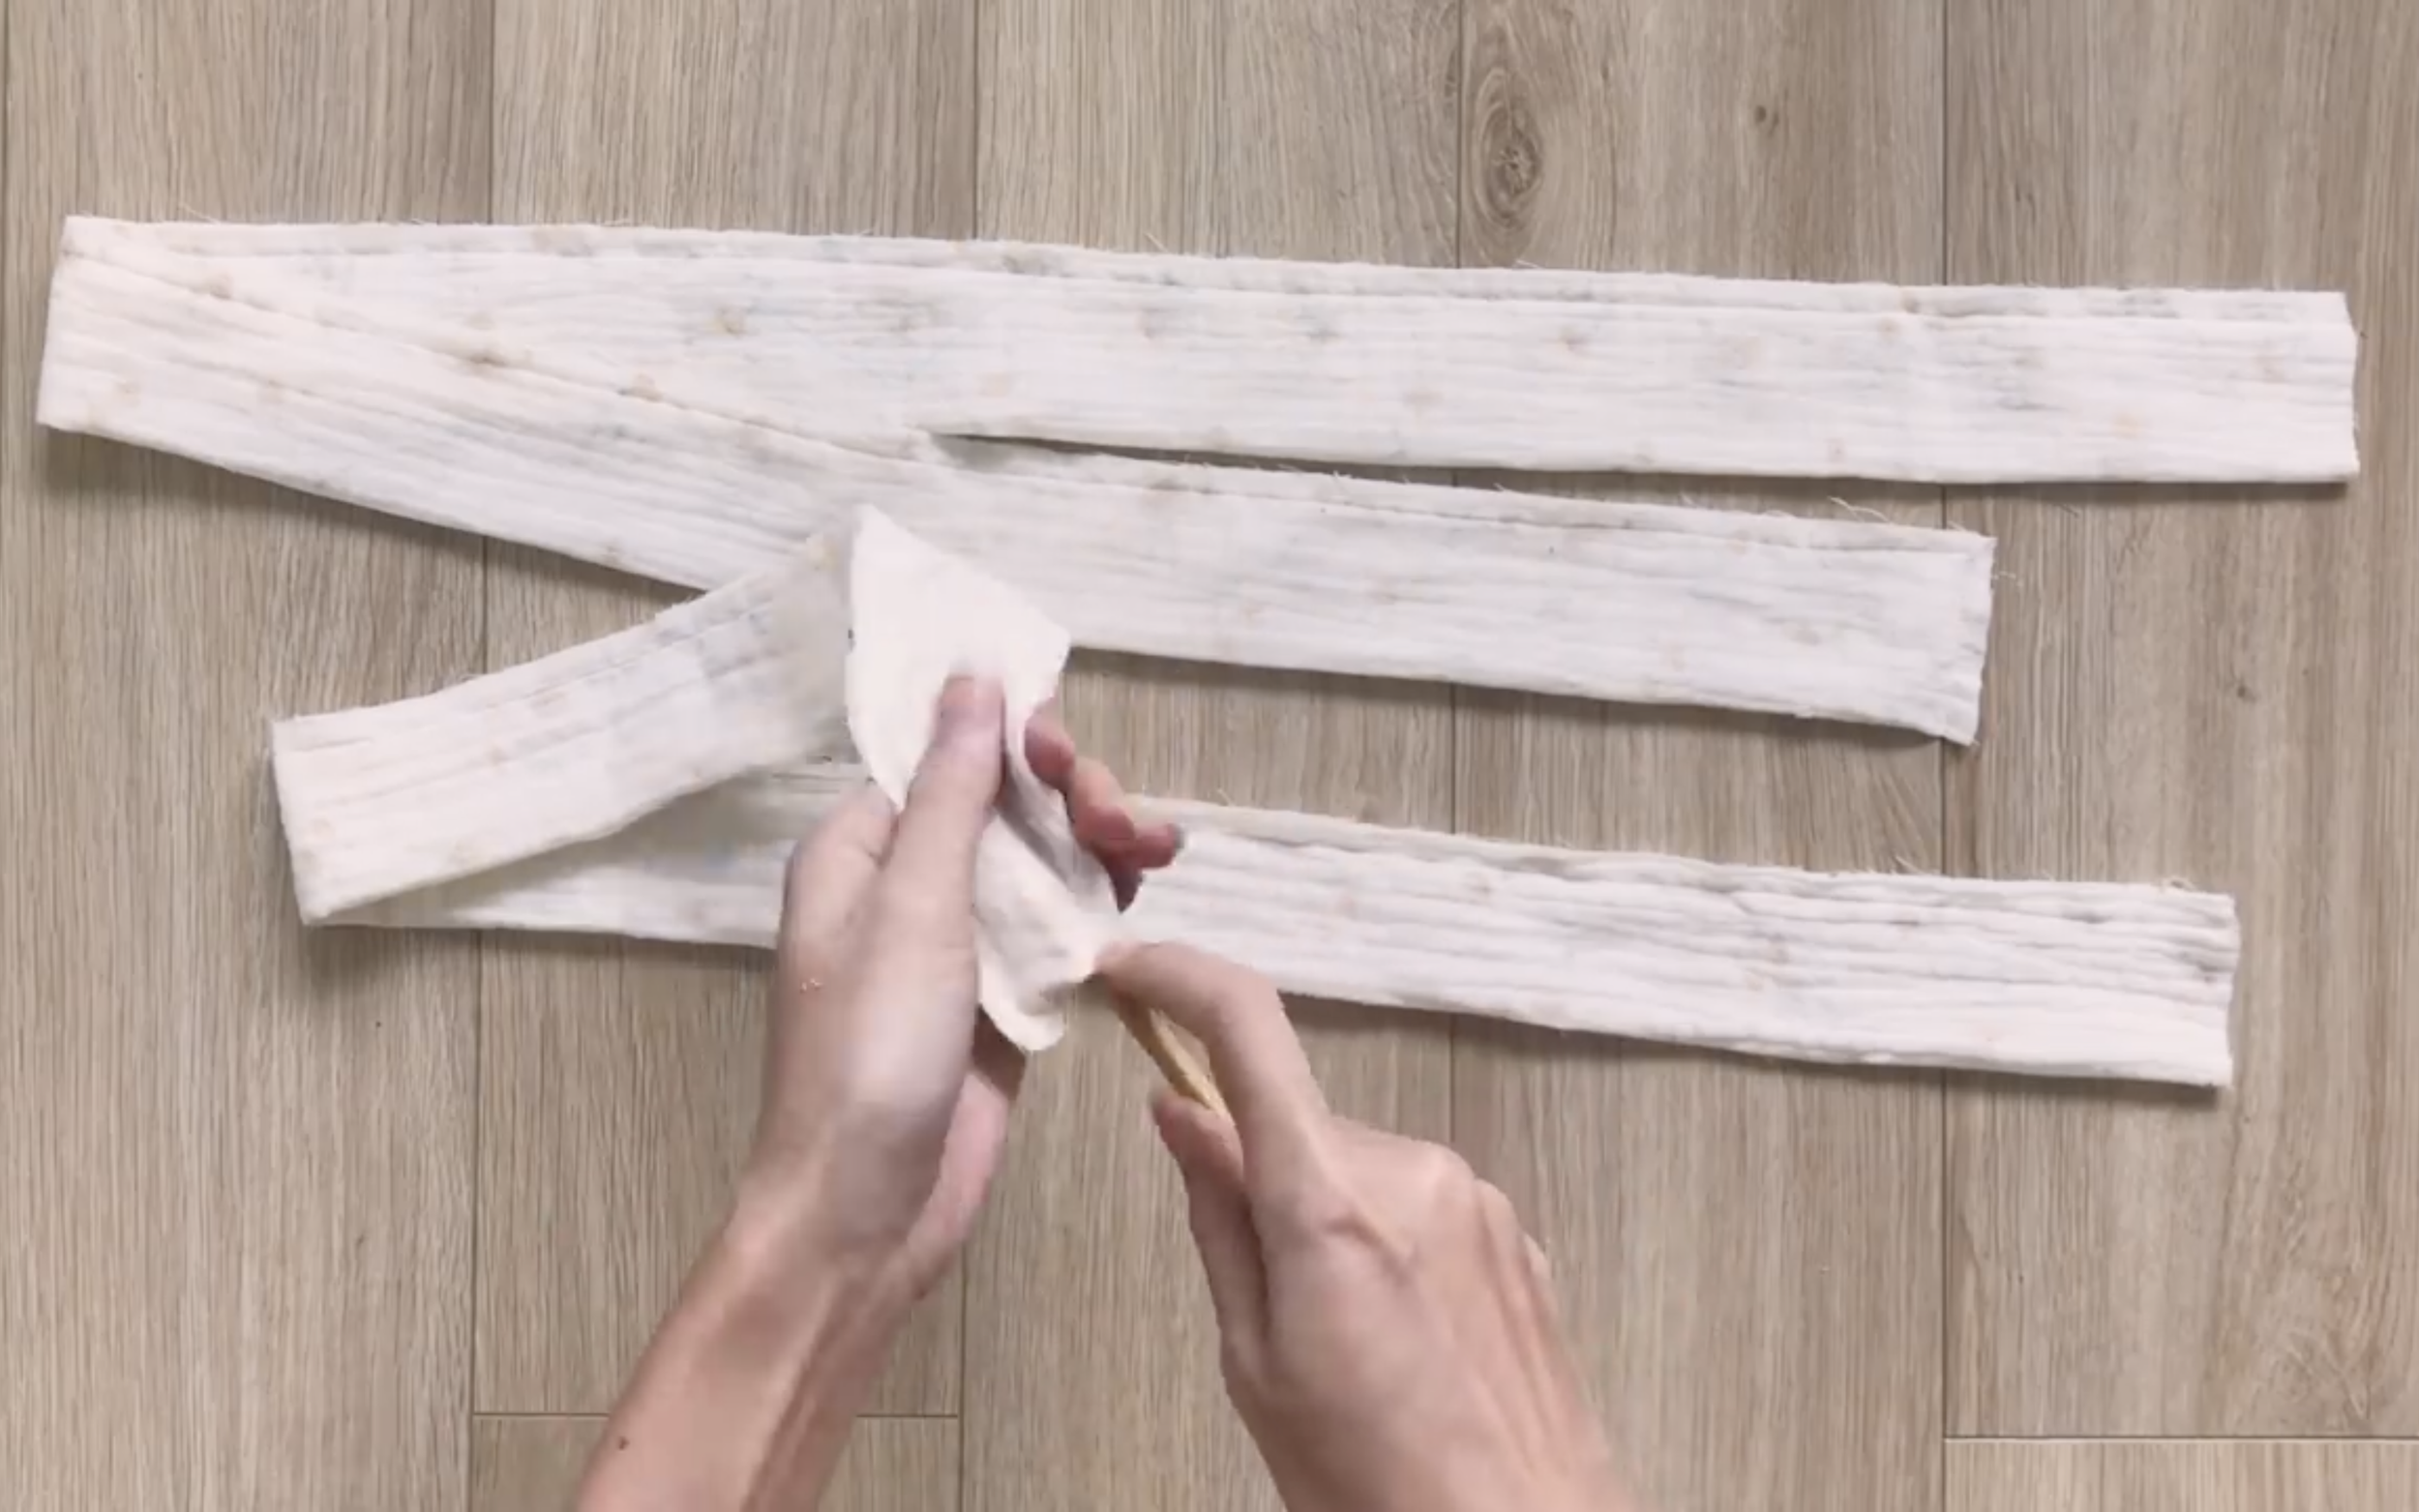
Use a long stick to turn the ties.
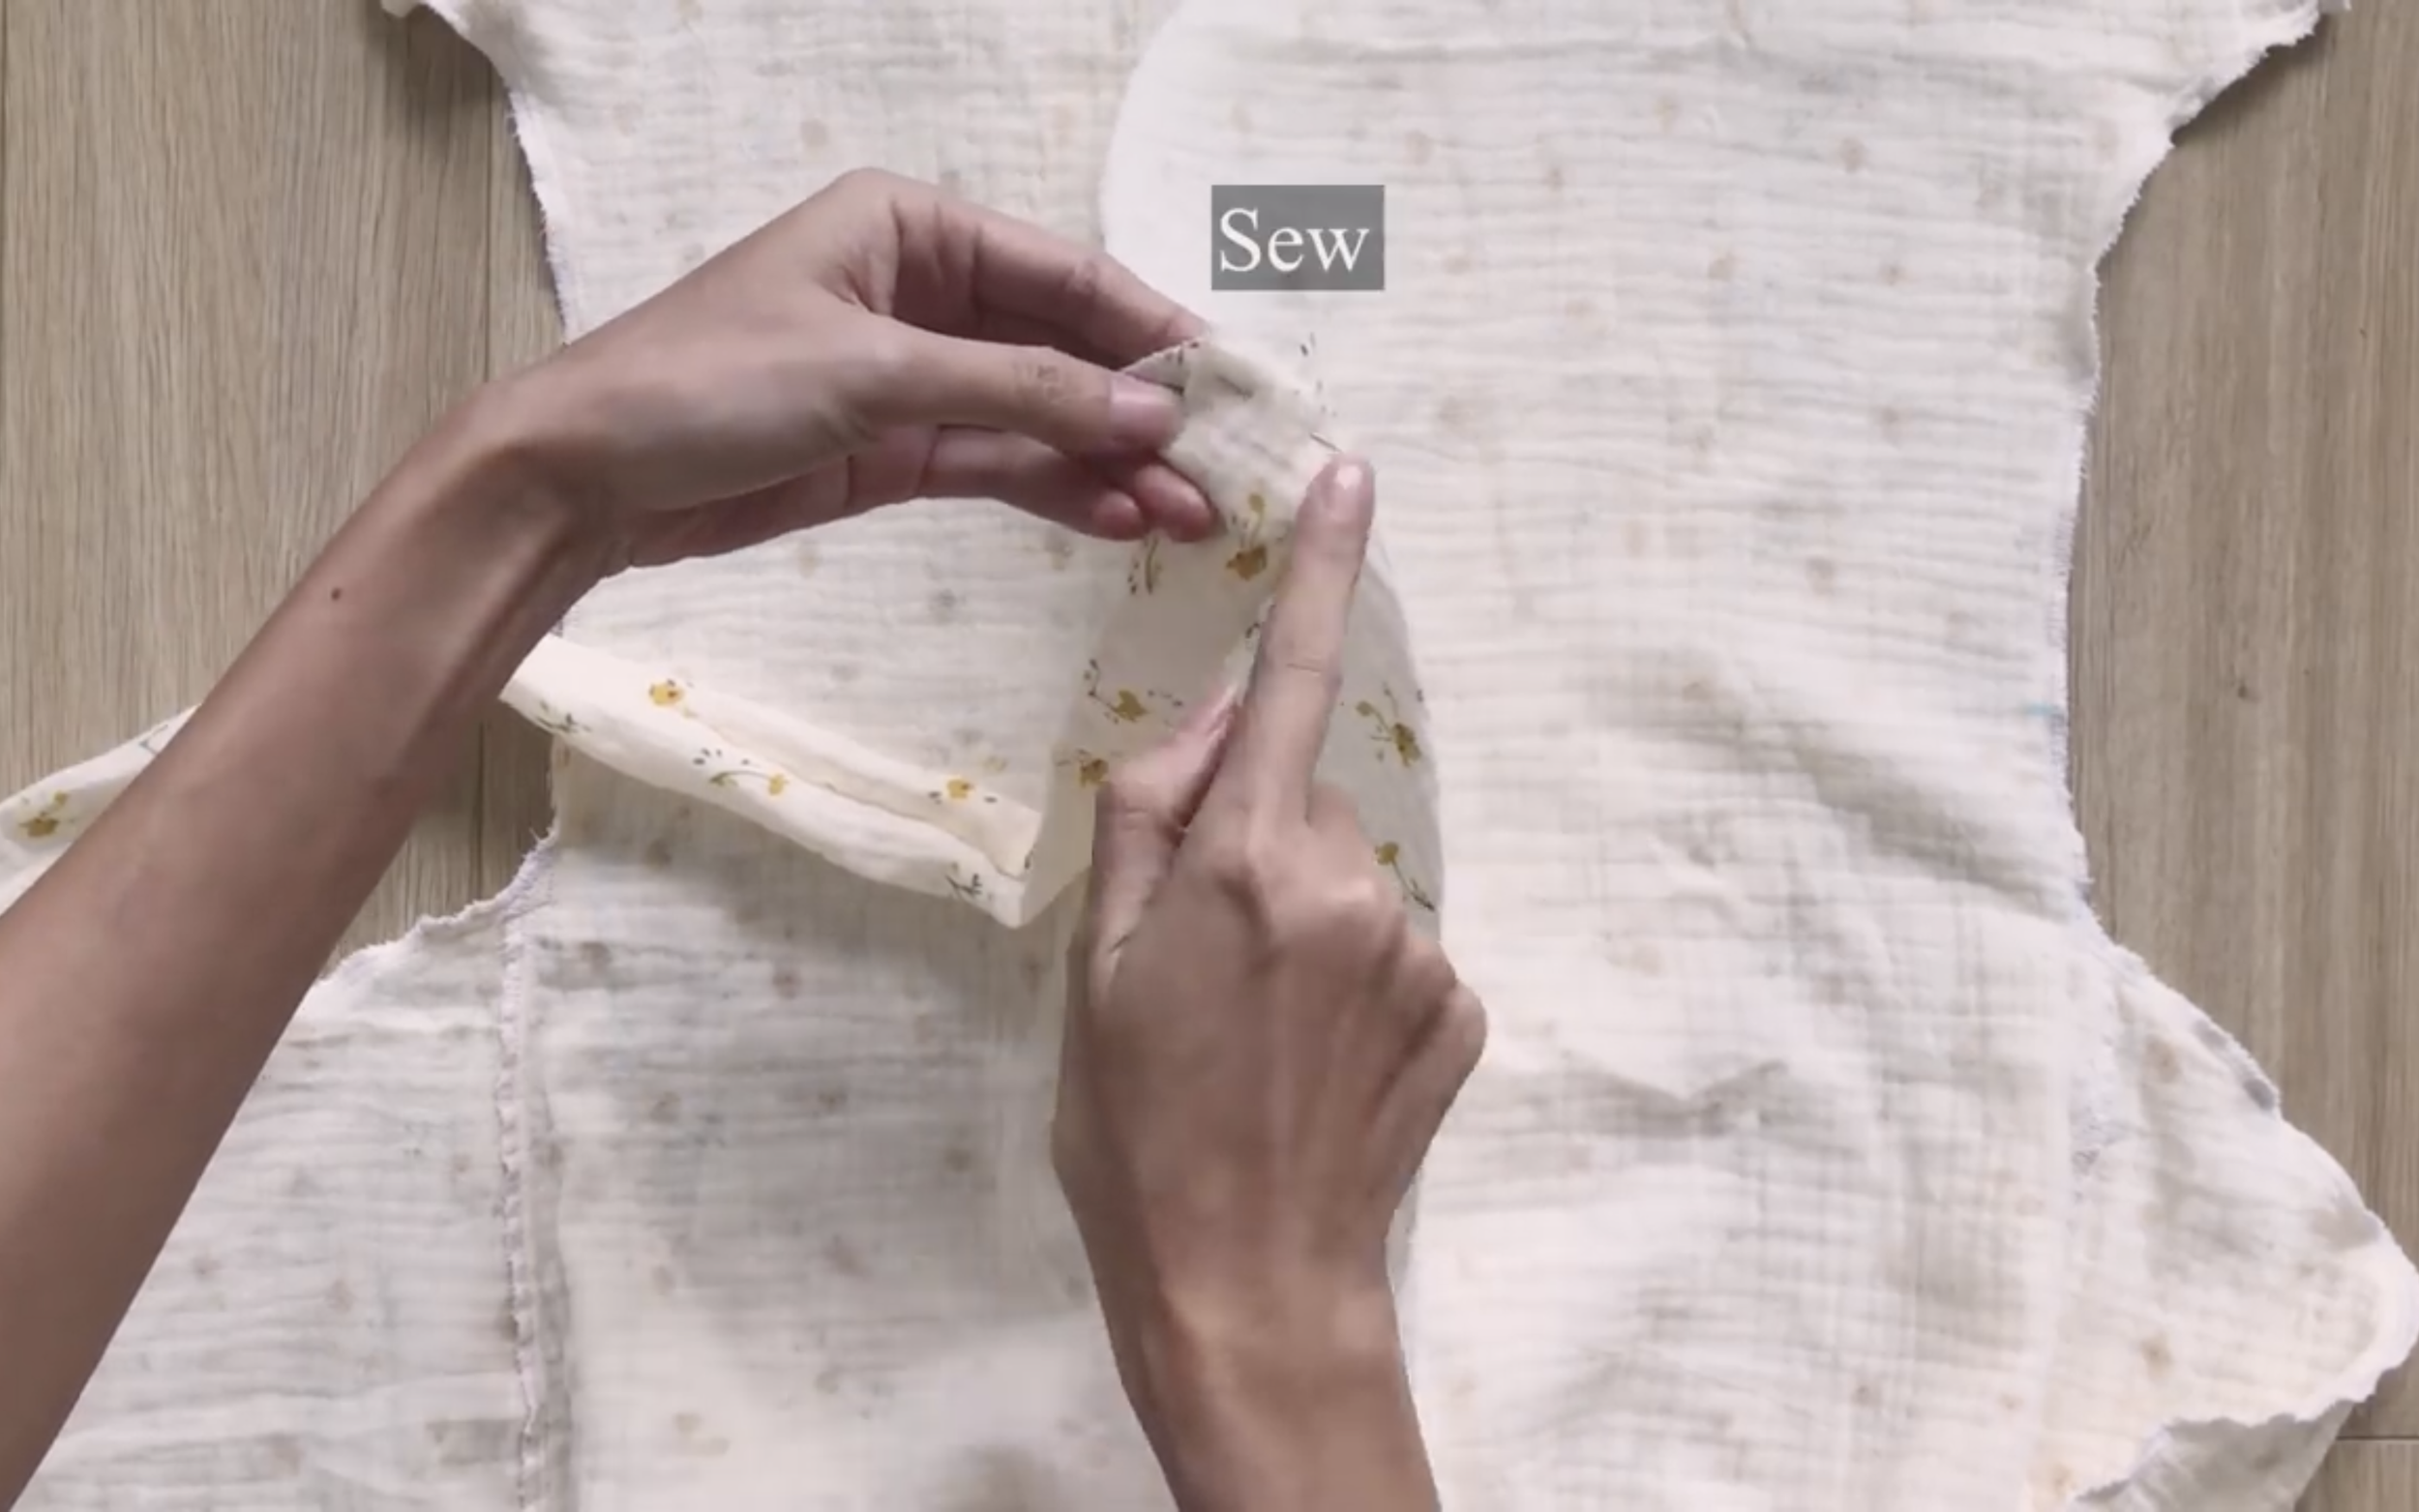
Connect one end of the tie to the end of the waistline on the front part of the jumpsuit.
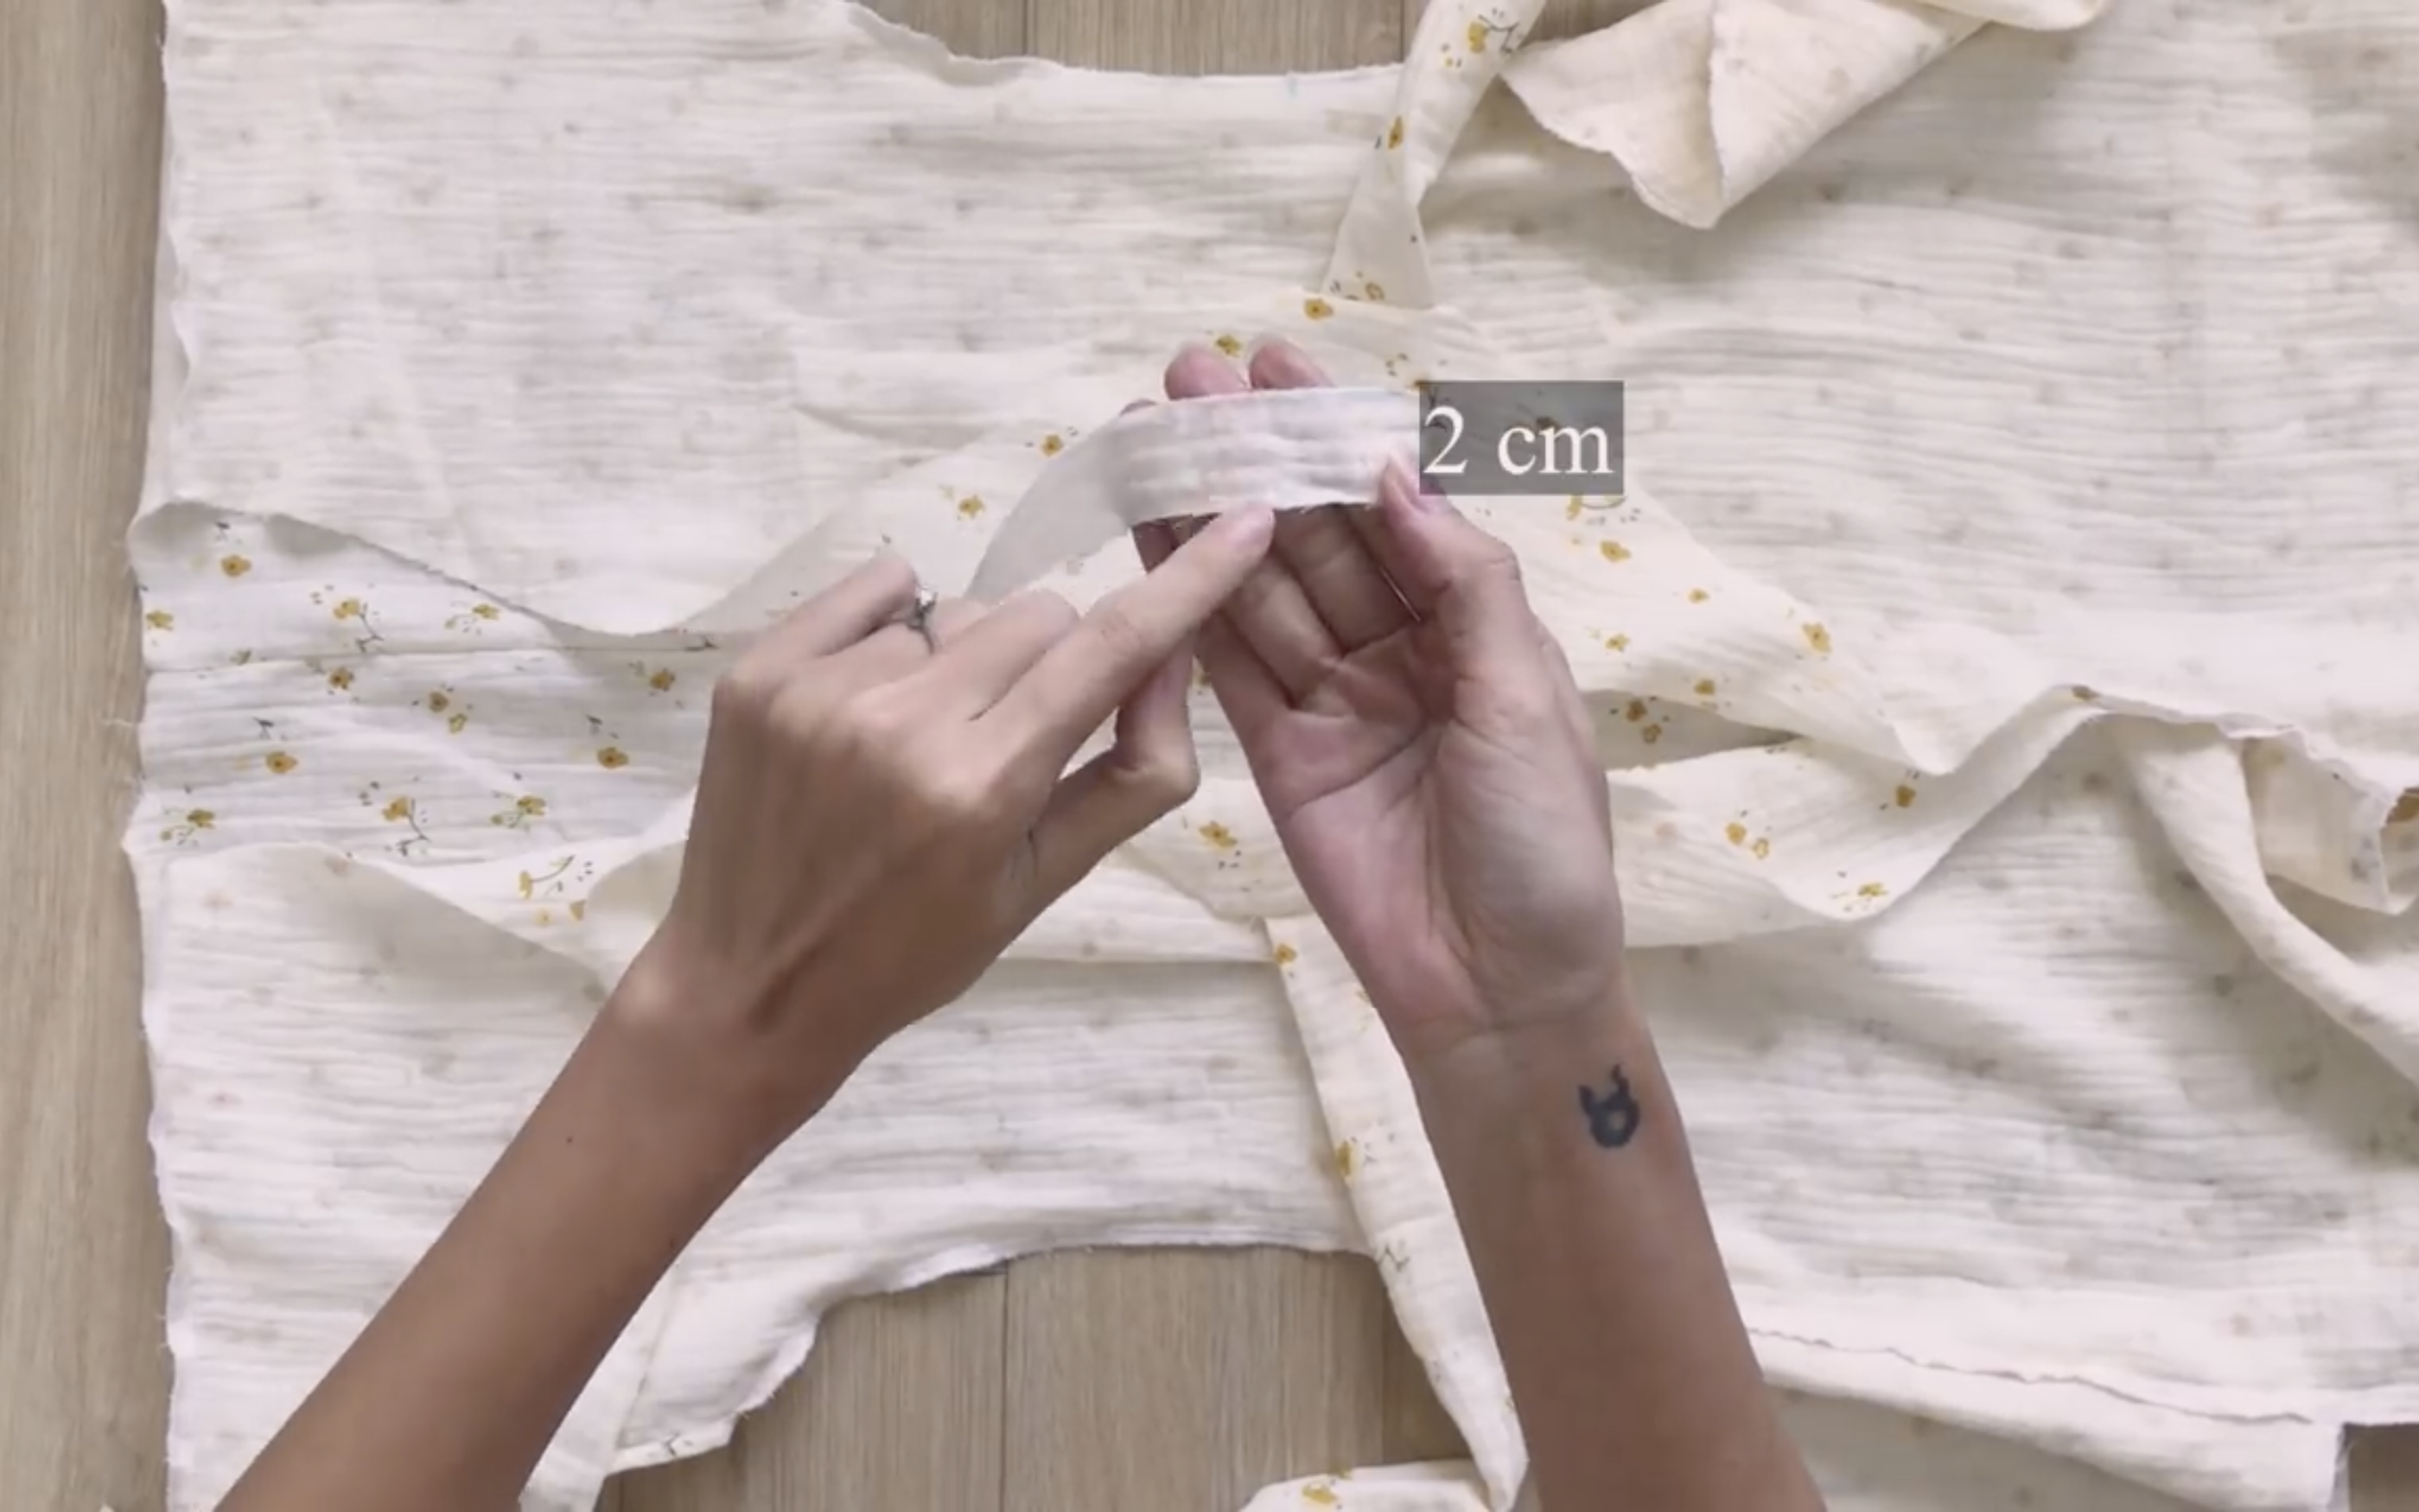
Cut a long fabric with 2 cm width to hem the crotch and the neck of the jumpsuit.
Connect one side of the long fabric to the crotch and the neckline first.
After the first seam, fold the other side of the long fabric inside twice and make the second seam.
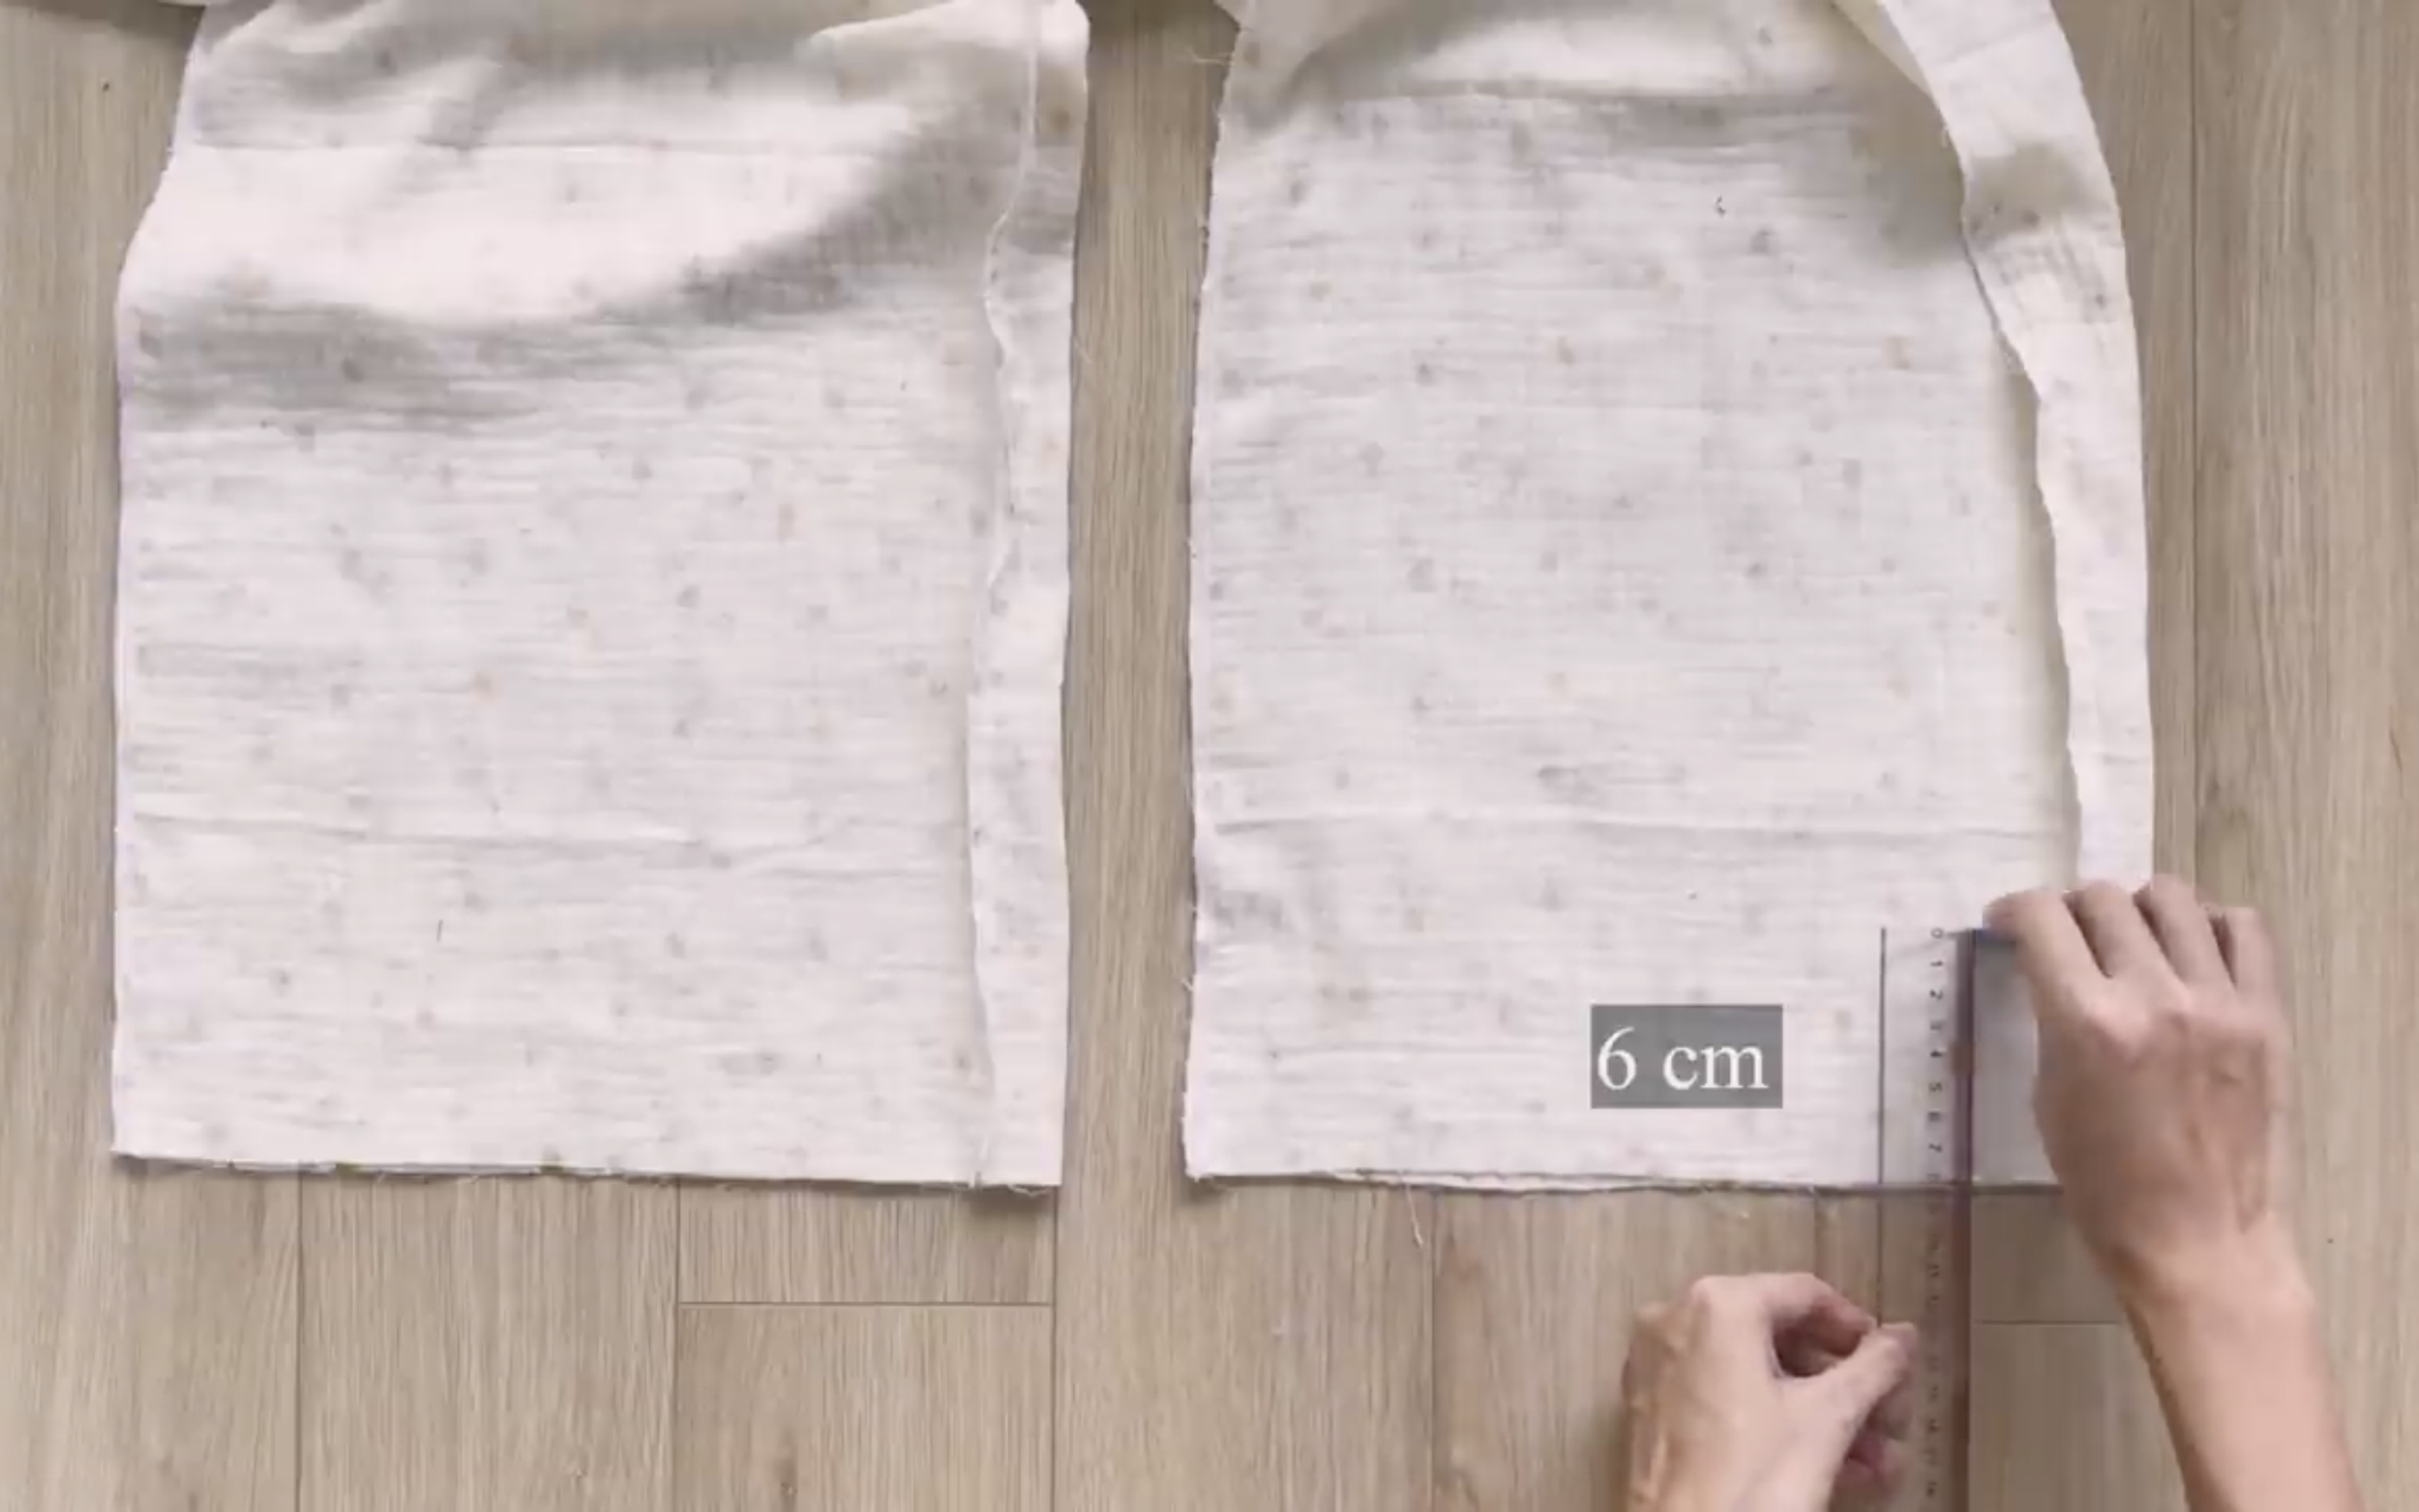
At the end of the leg, draw a line 6 cm from the end.
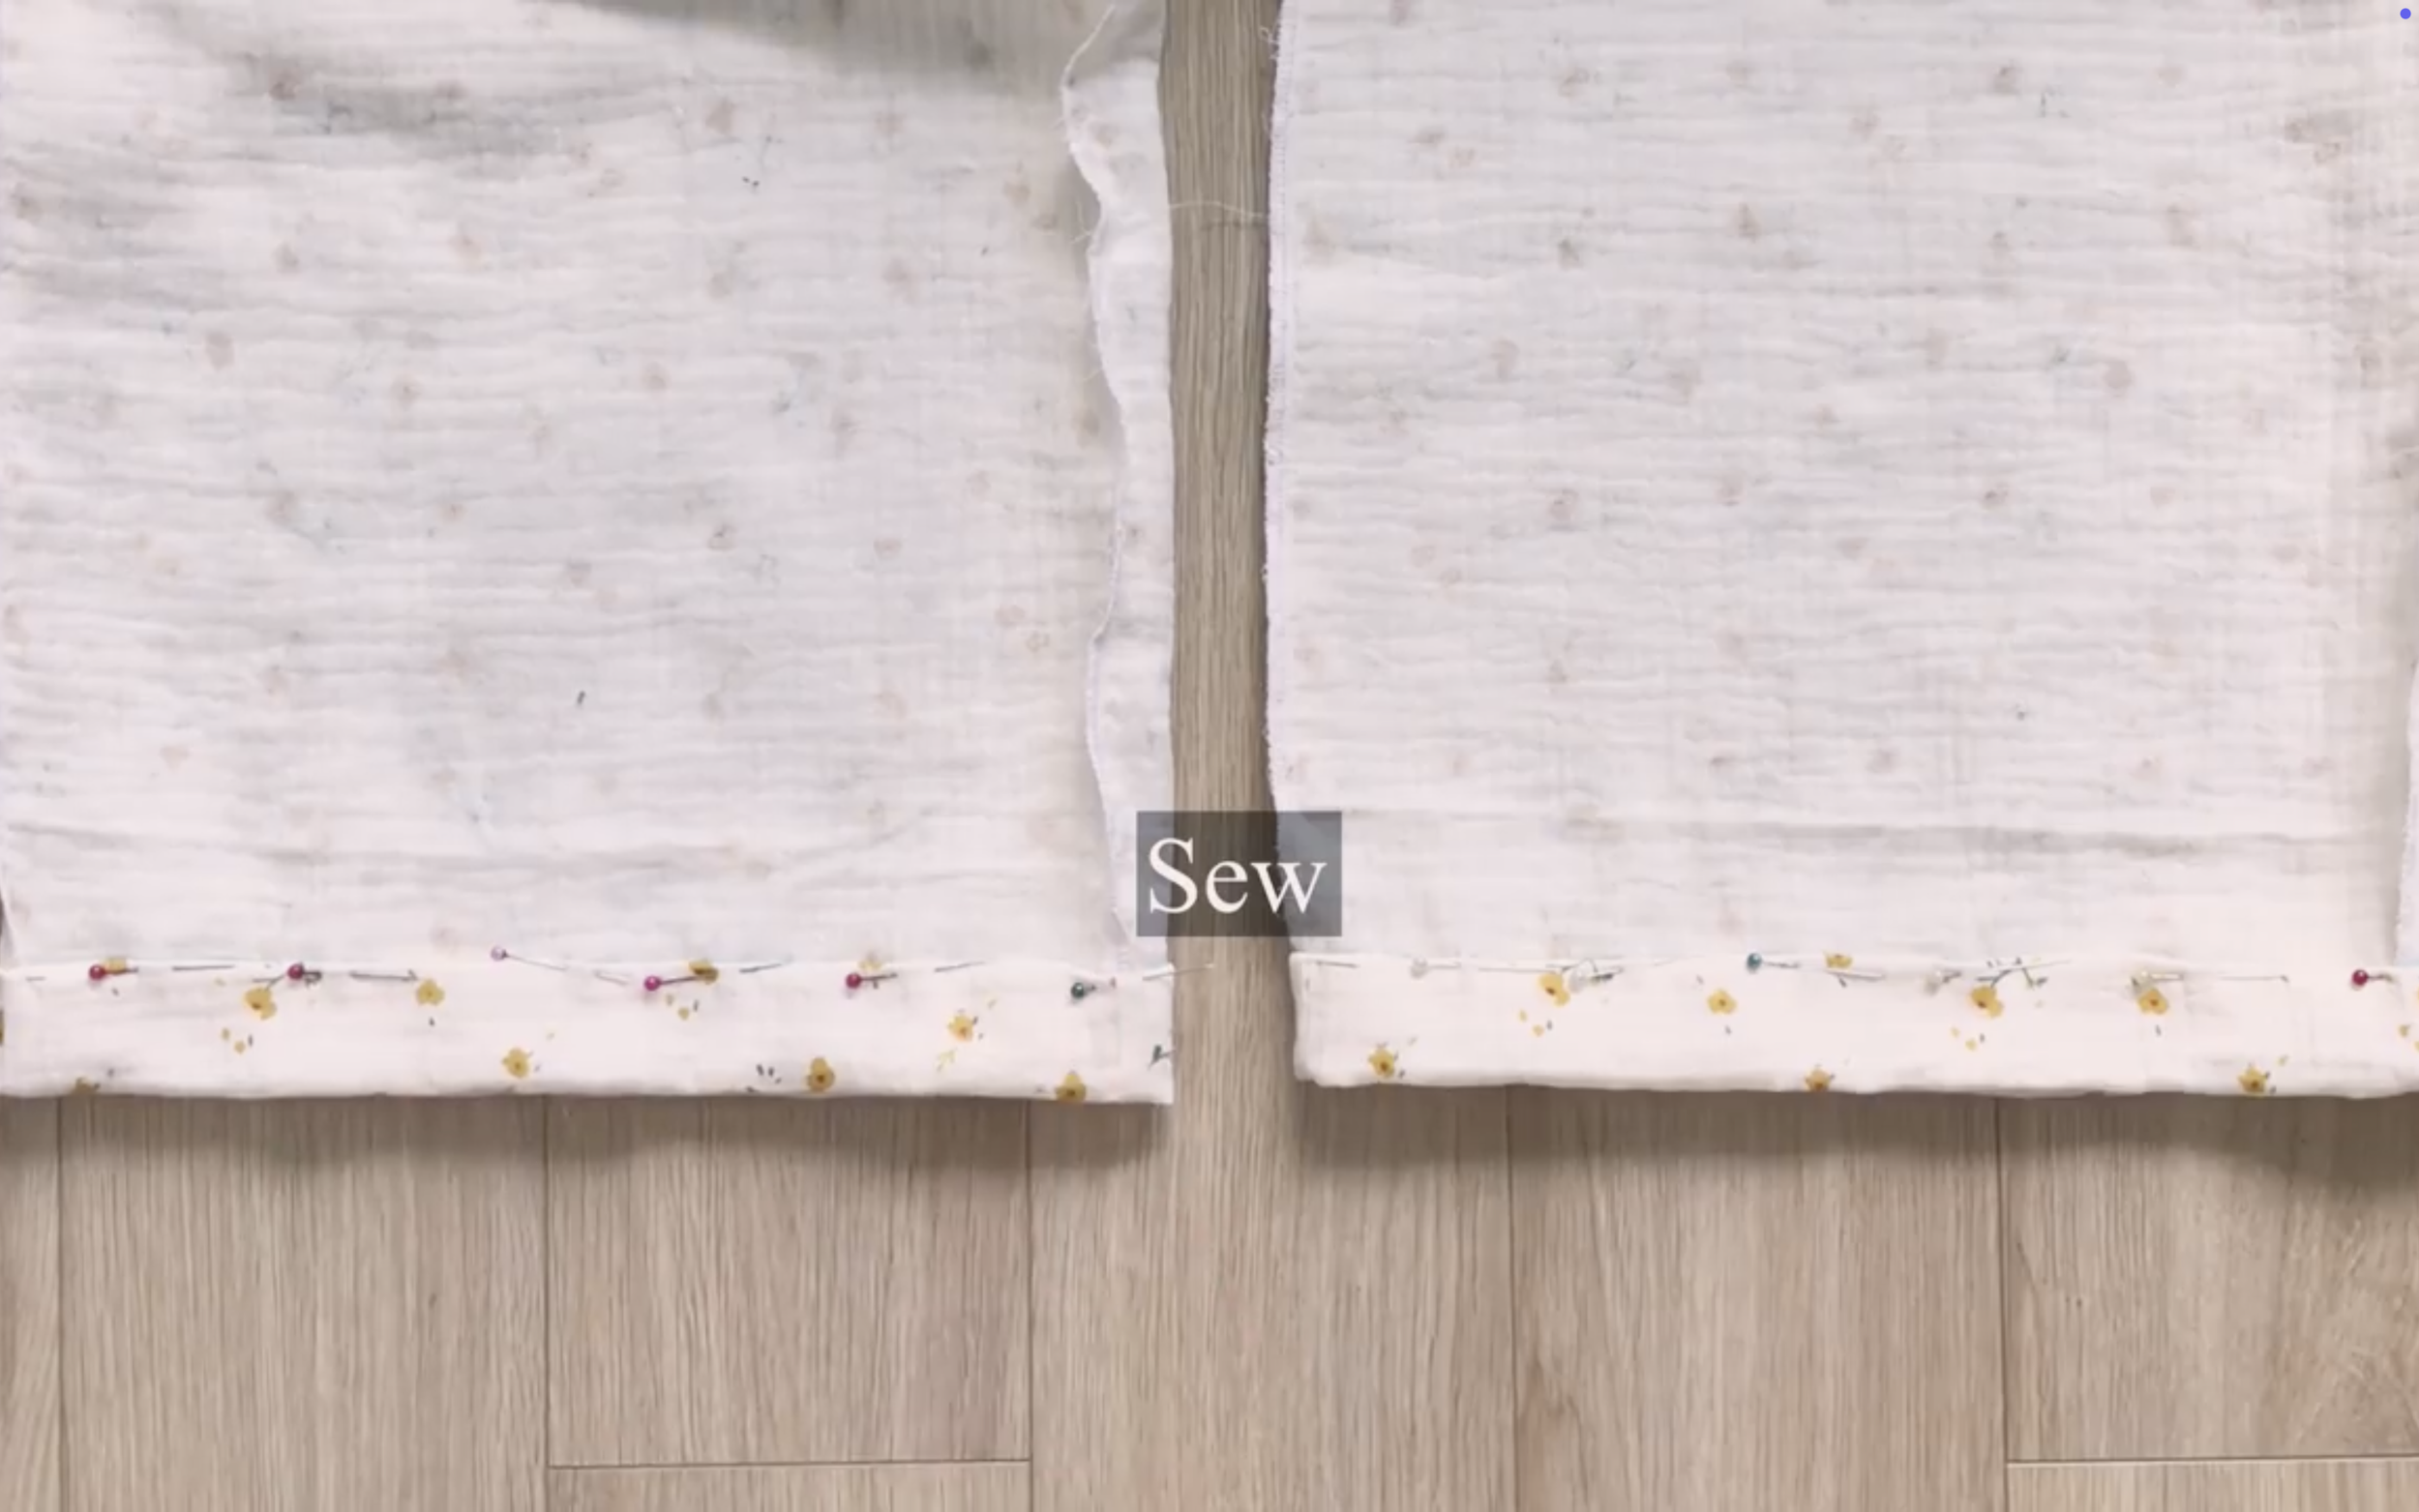
Fold the end fabric inside 1 cm, then keep folding it to the line just drawn before sewing to finish the end of the leg.
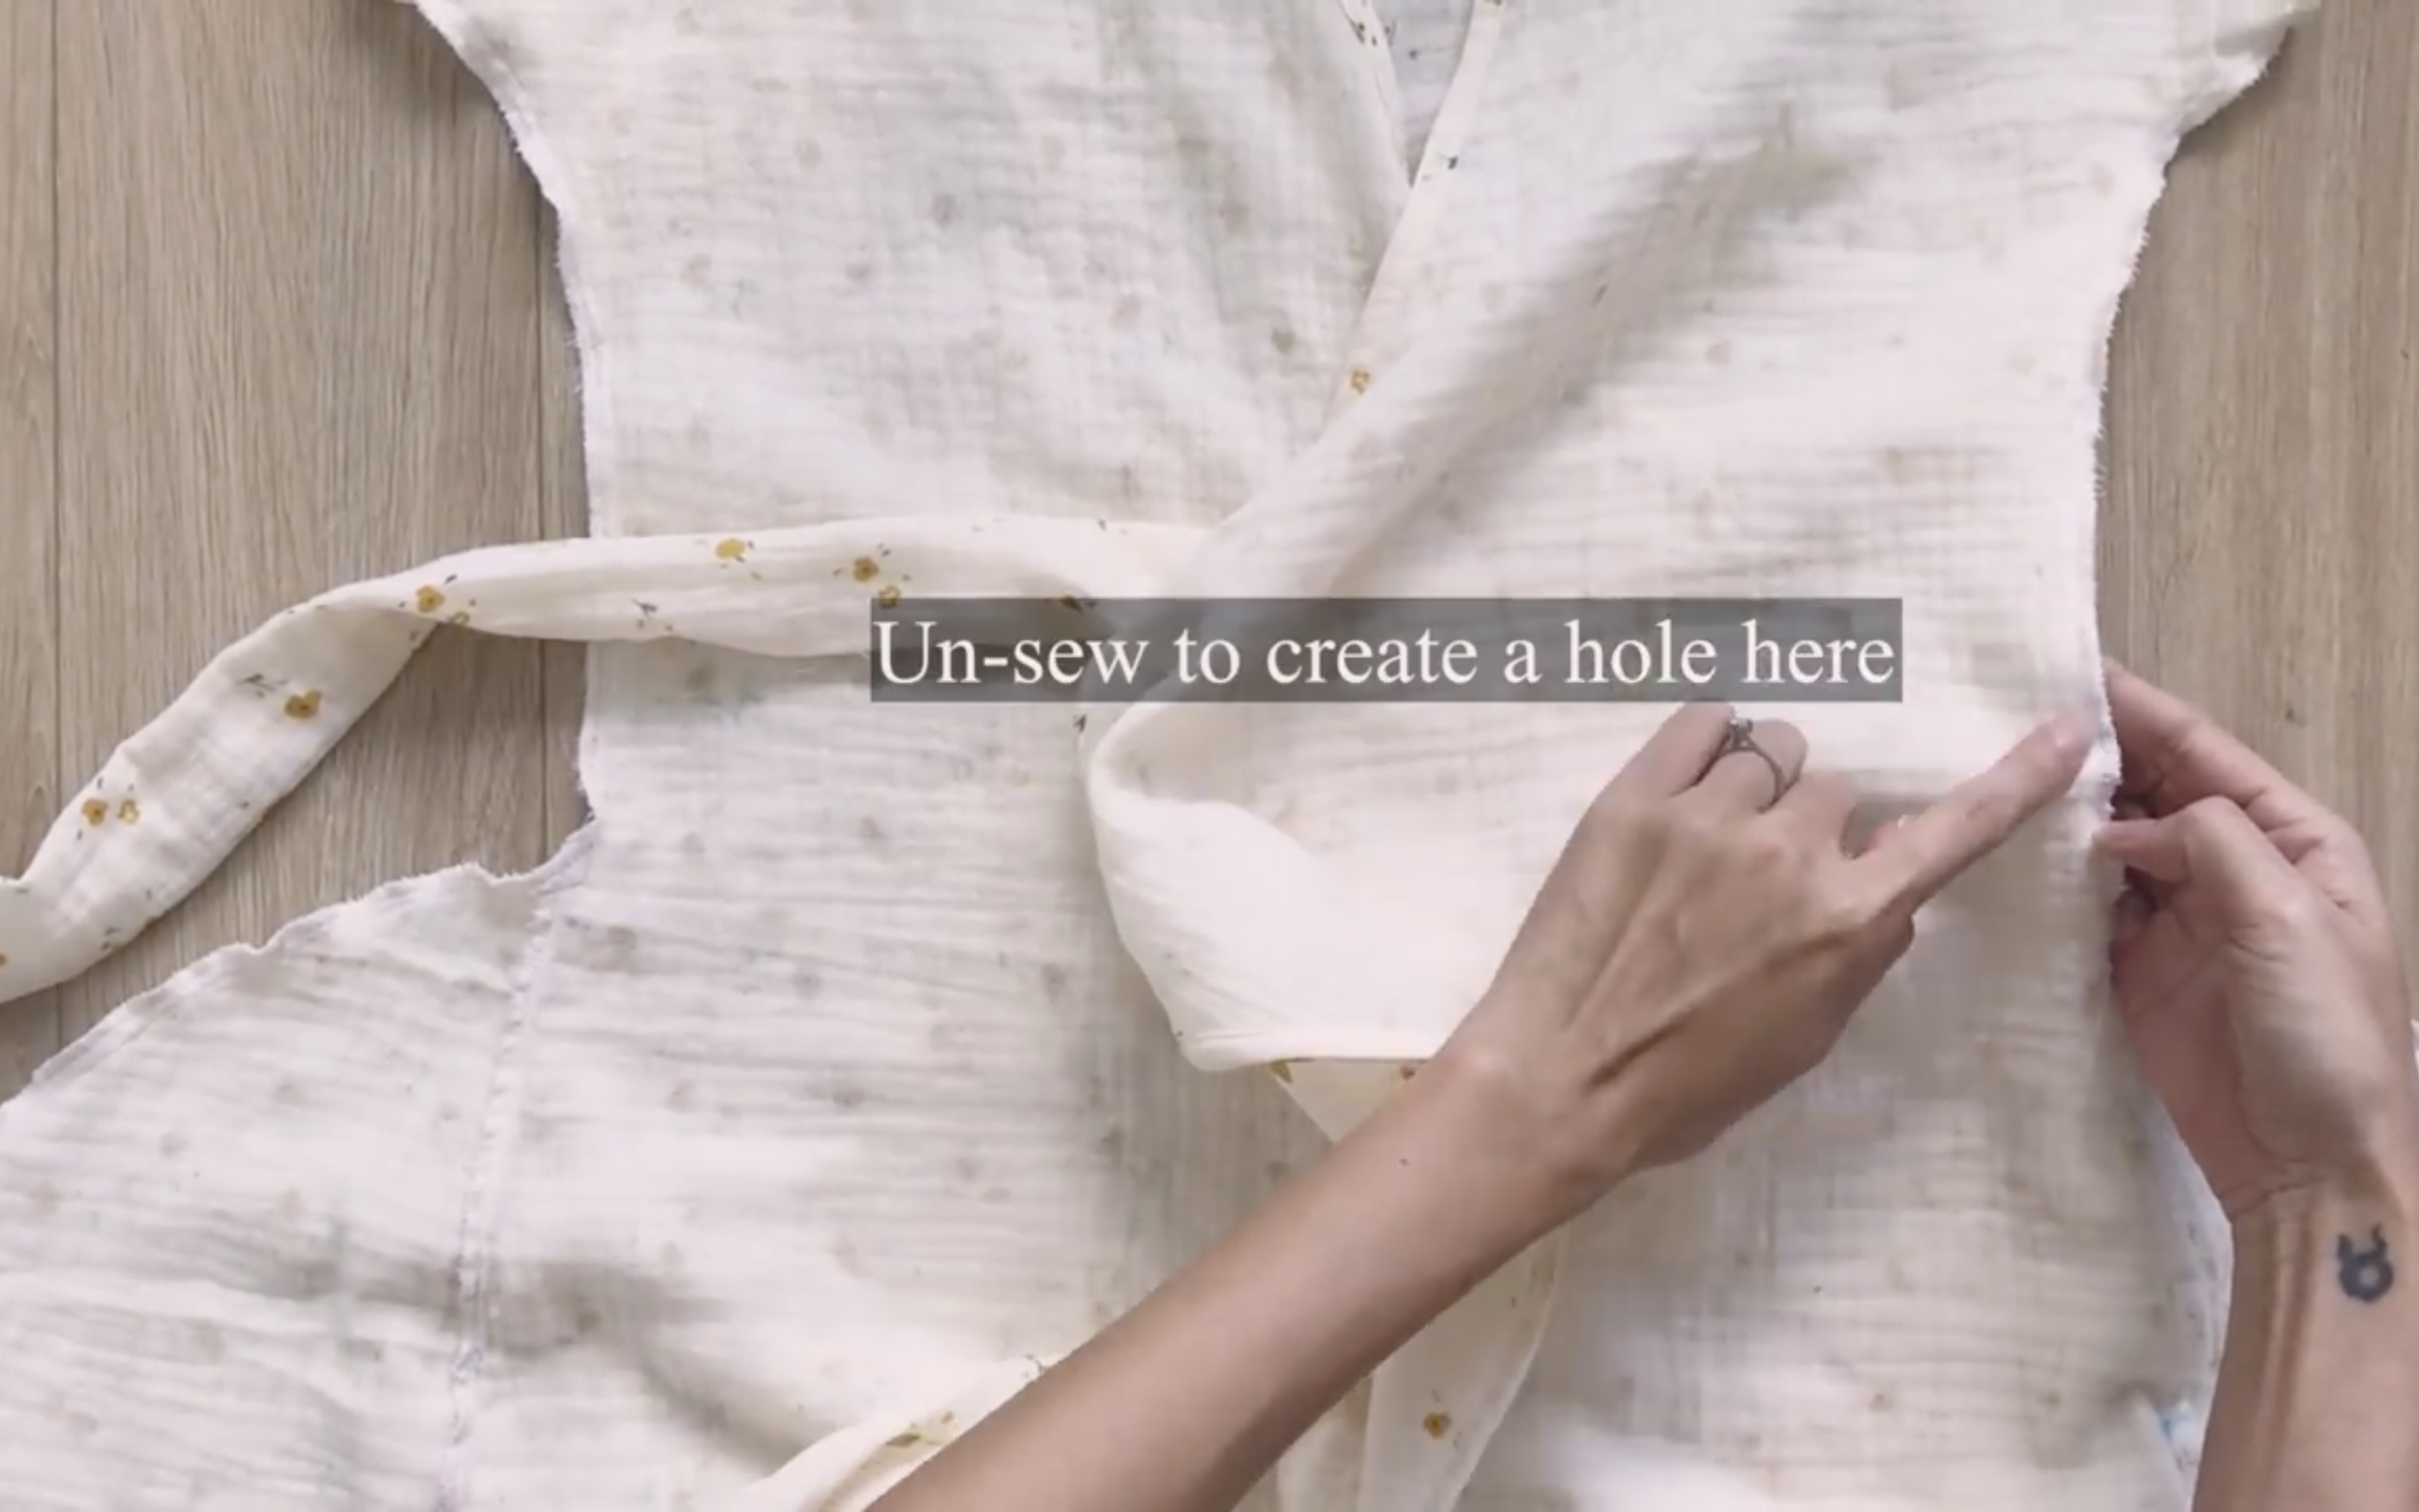
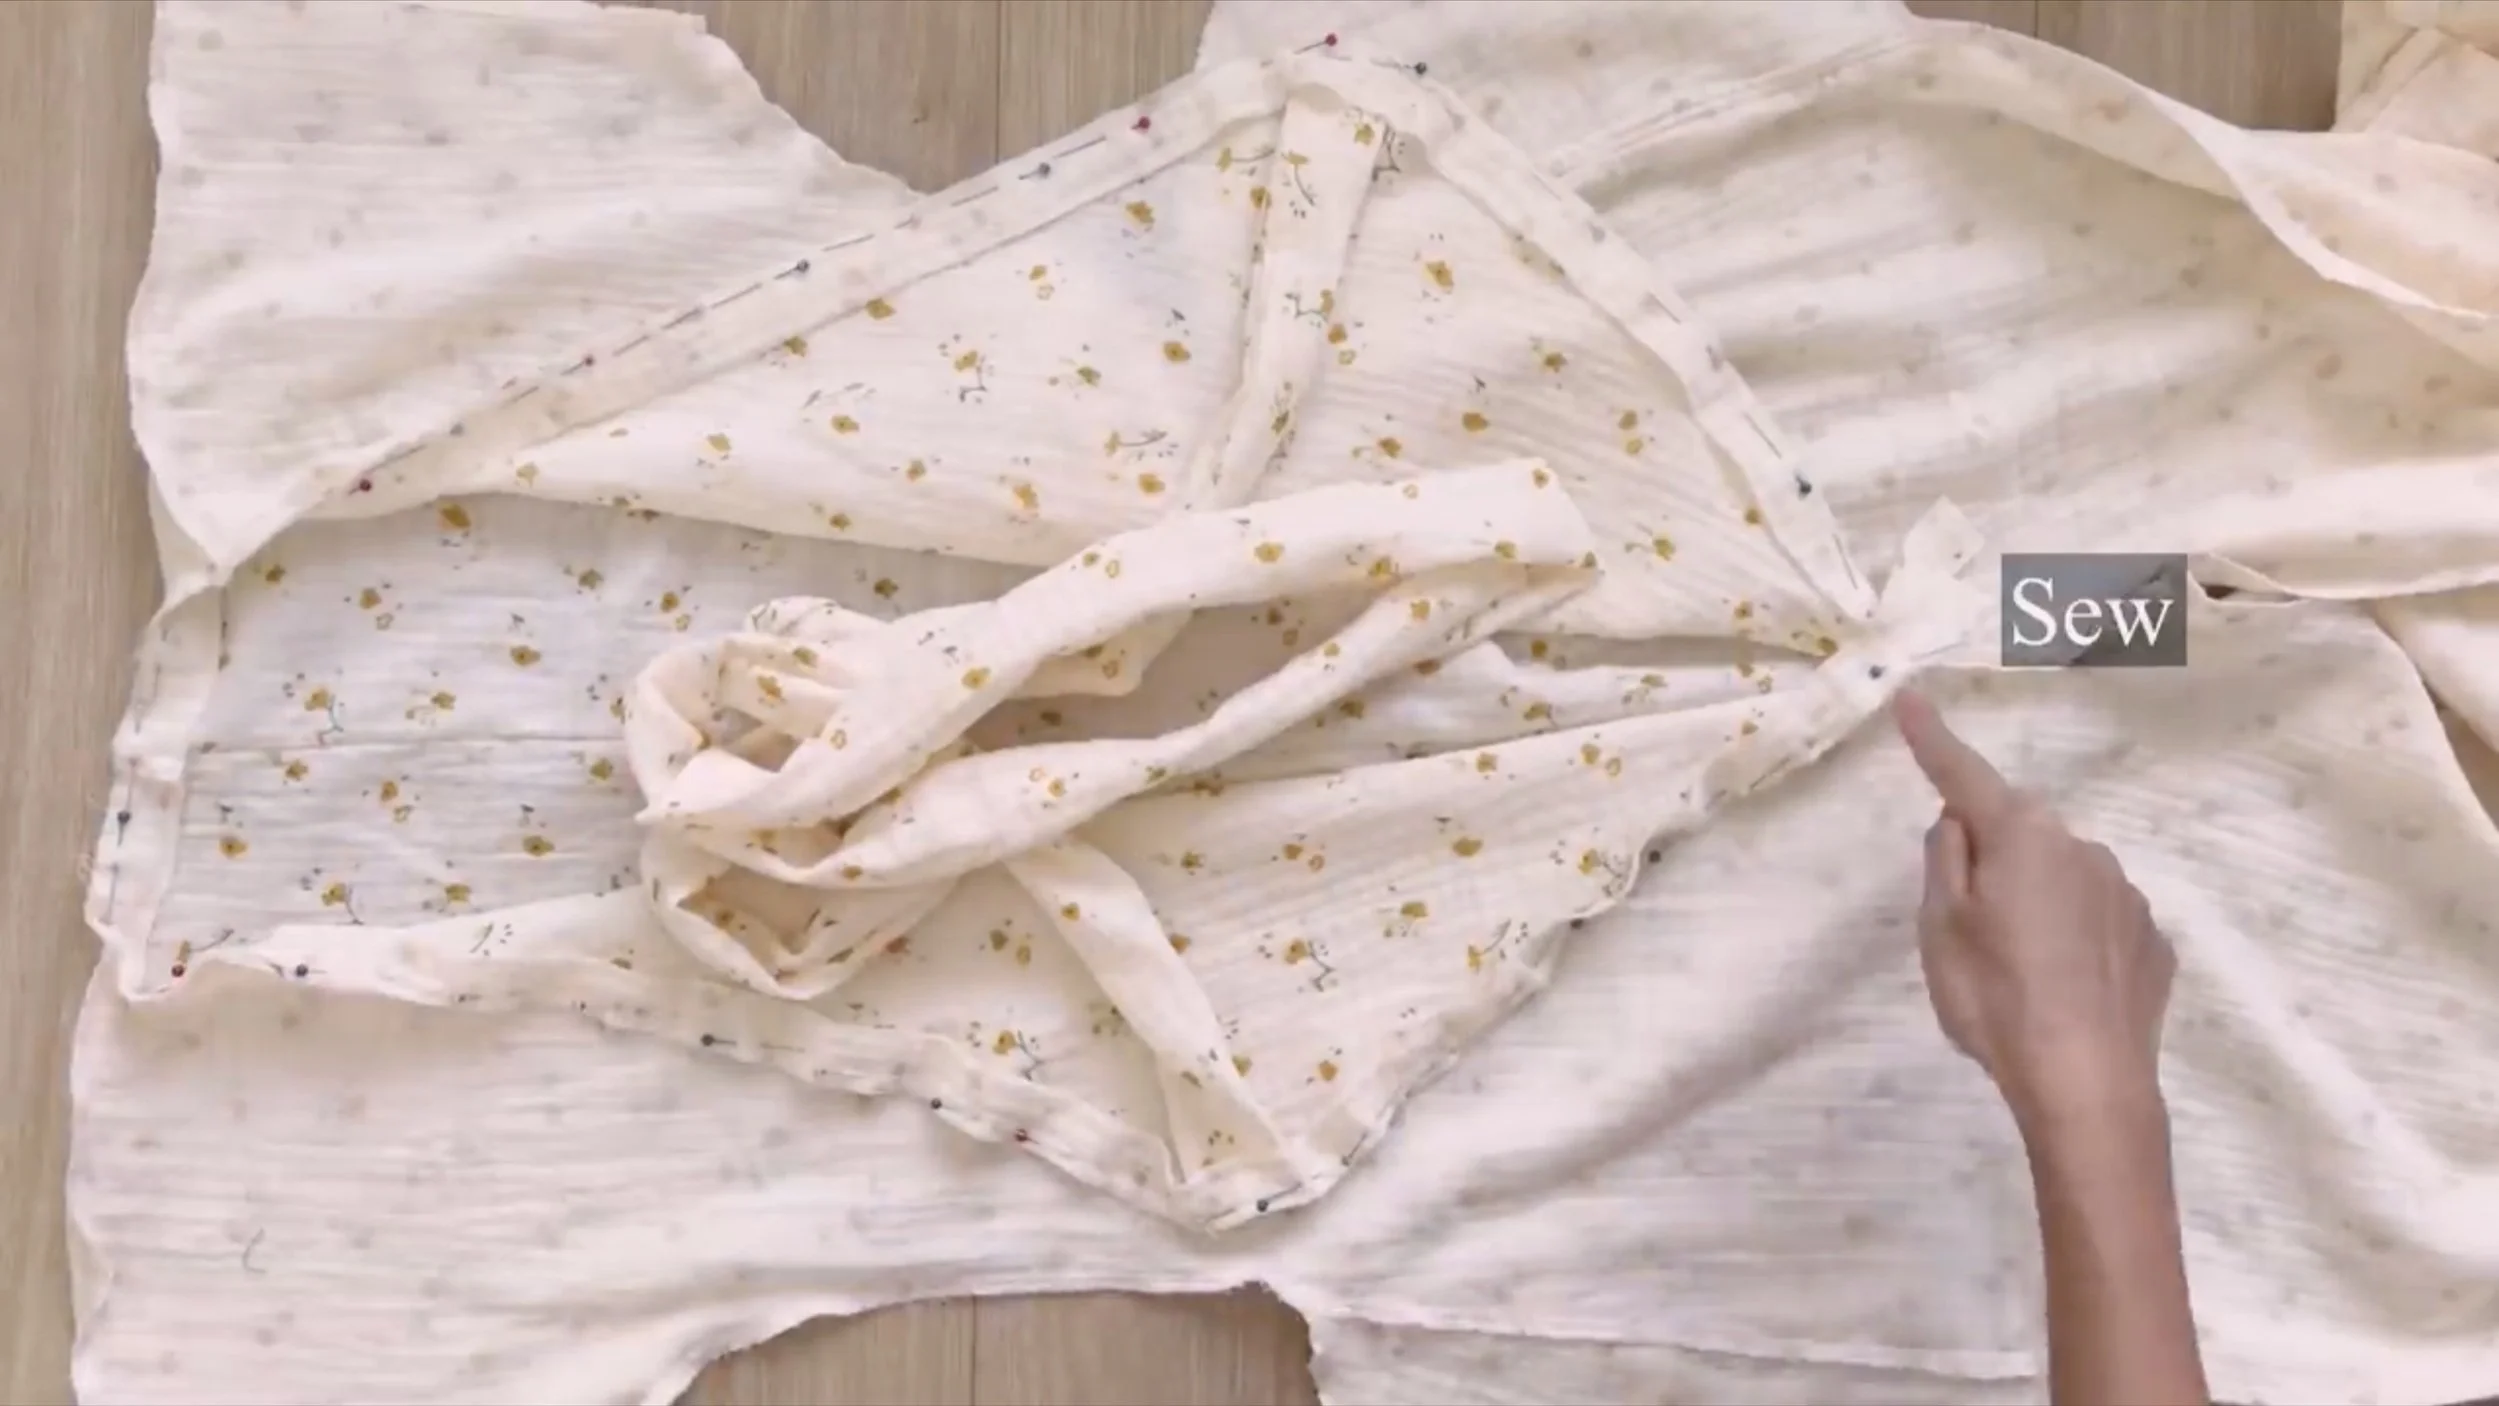
The last step is to unsew a small part on one side of the jumpsuit for the tie to go through.

DIY Stripe patchwork dress from 2 leftover fabrics | Step by step sewing tutorial
And that’s it for this DIY!
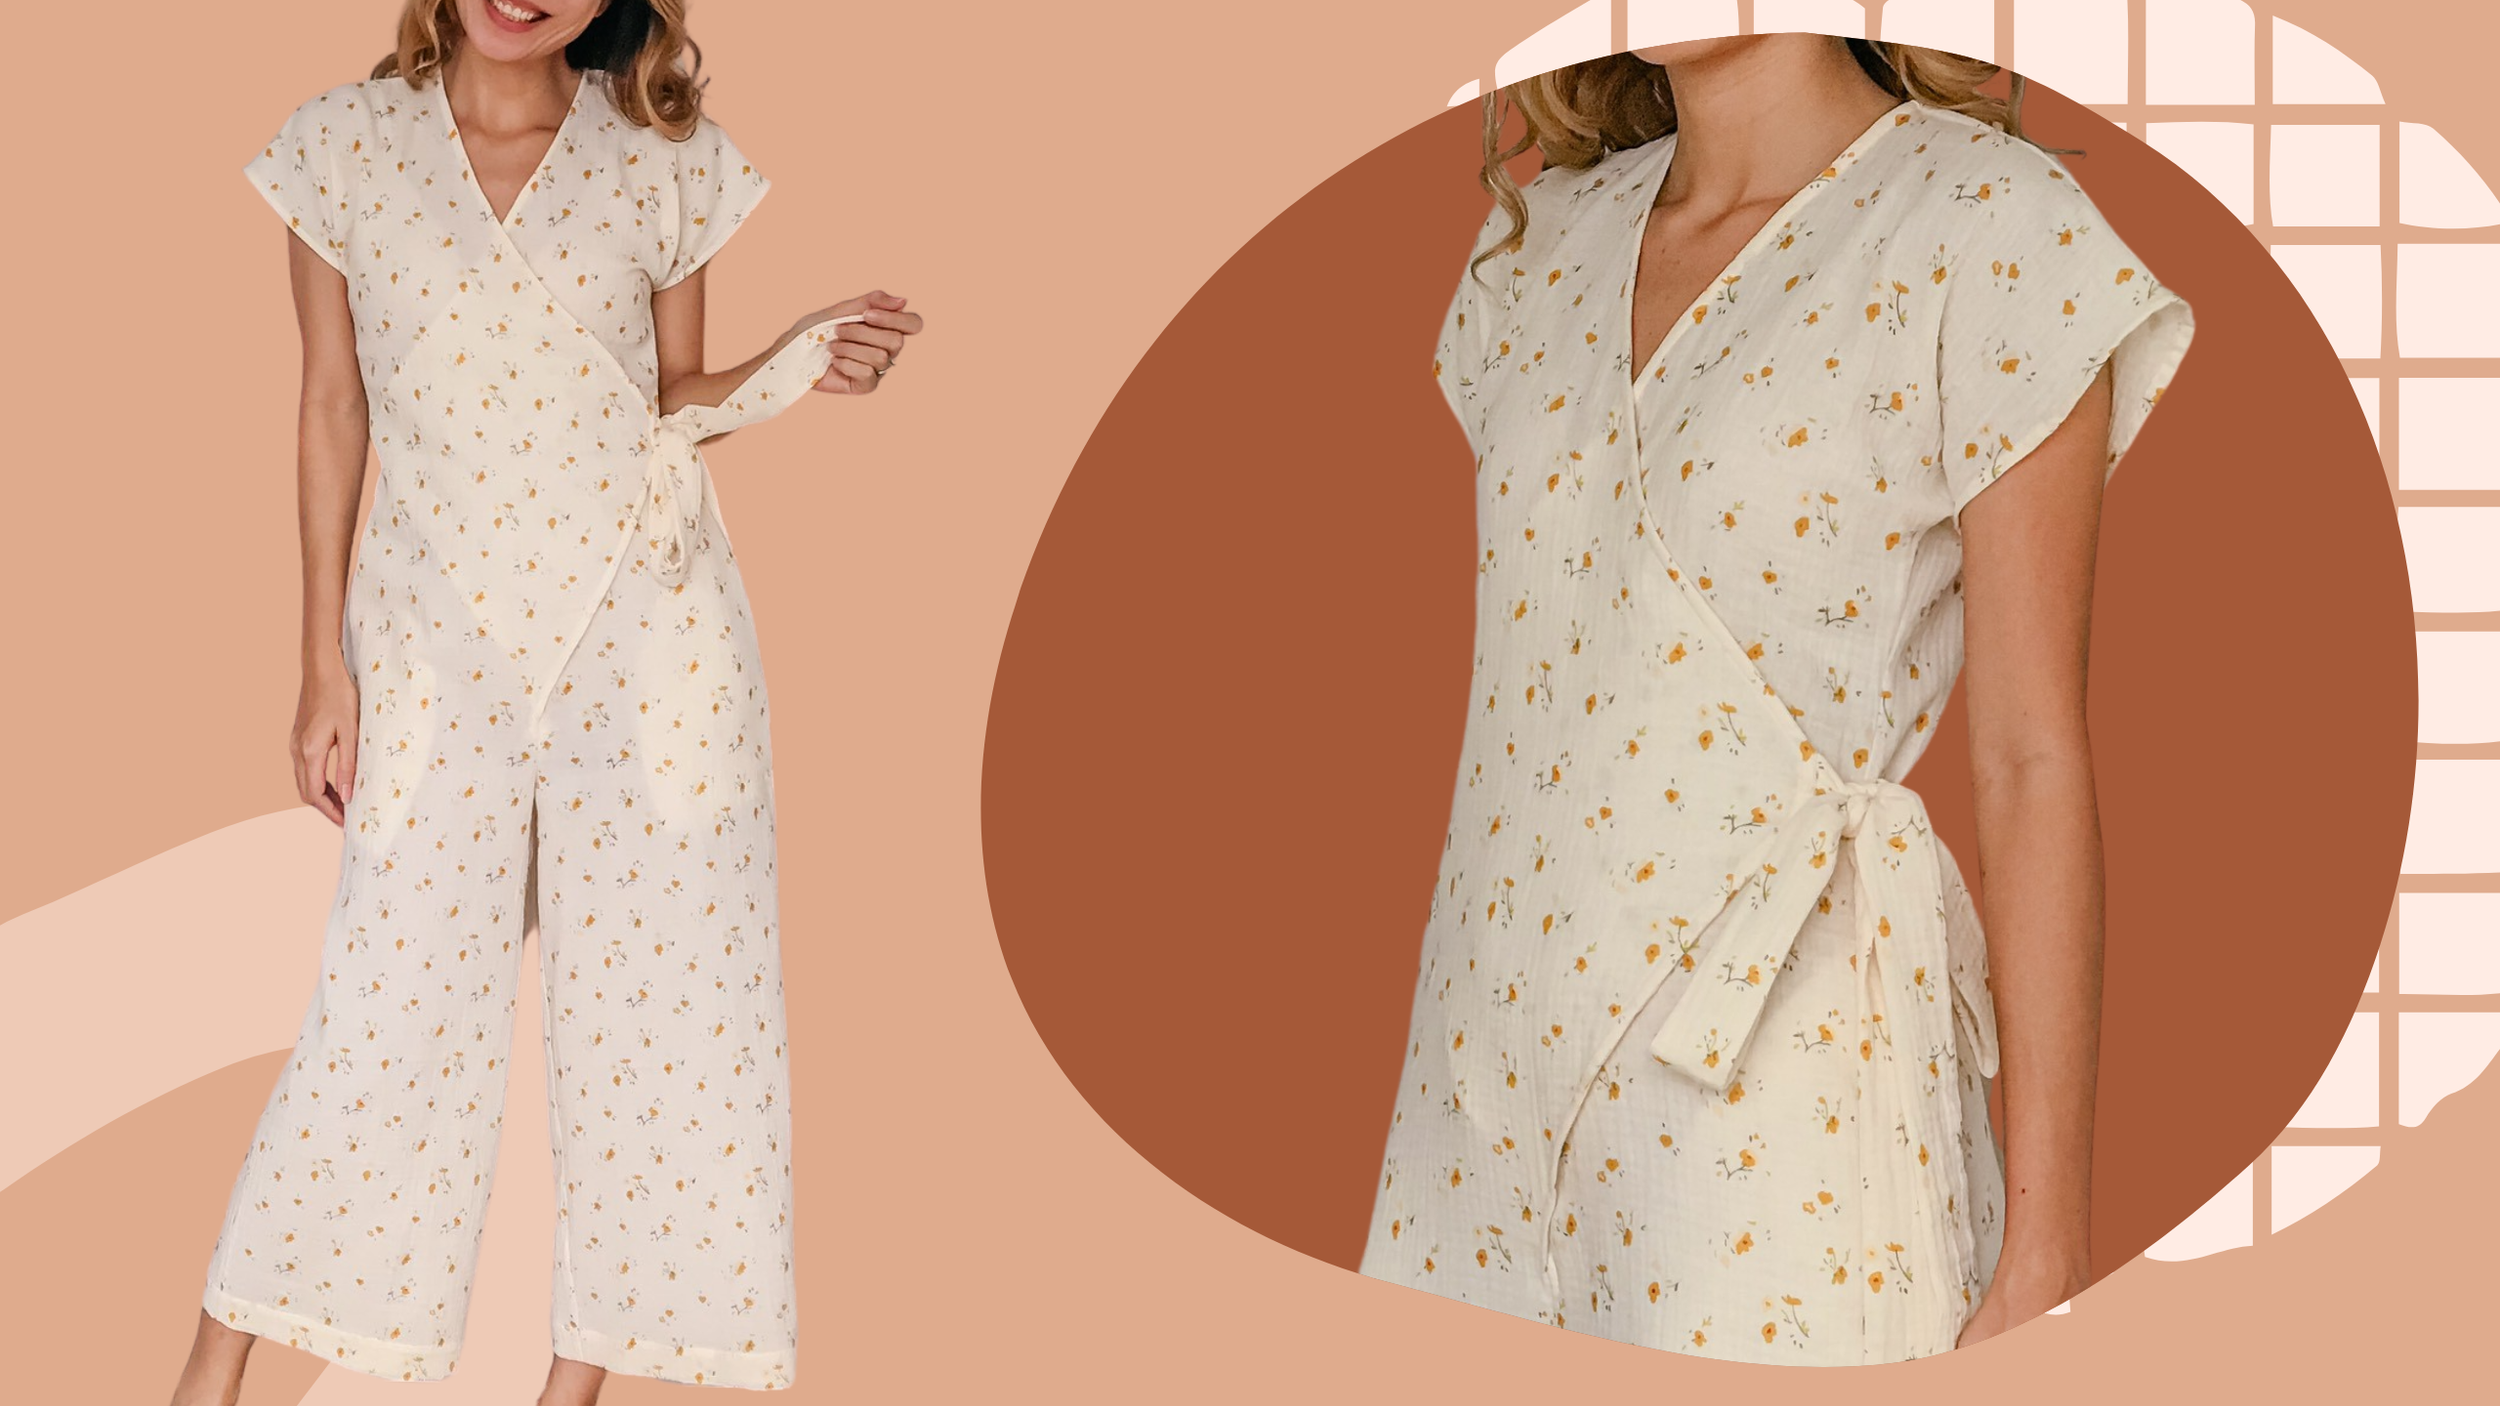
Here’s the final look—this jumpsuit is not only super cute but also incredibly comfortable. Perfect for any occasion!

DIY Wrap jumpsuit from scratch | Step by step sewing tutorial
I hope you found my step-by-step guide helpful and inspiring.
If you’re interested in making your own, give it a try and let me know how it goes!
Until then, happy sewing!