DIY Corduroy jacket/Sherpa jacket from old shirt - Old shirt transformation idea
DIY Corduroy jacket/Sherpa jacket from old shirt - Old shirt transformation idea
Welcome or welcome back to my channel. My name is Jess and I love doing DIY, making clothes in a "simply but pretty" way.
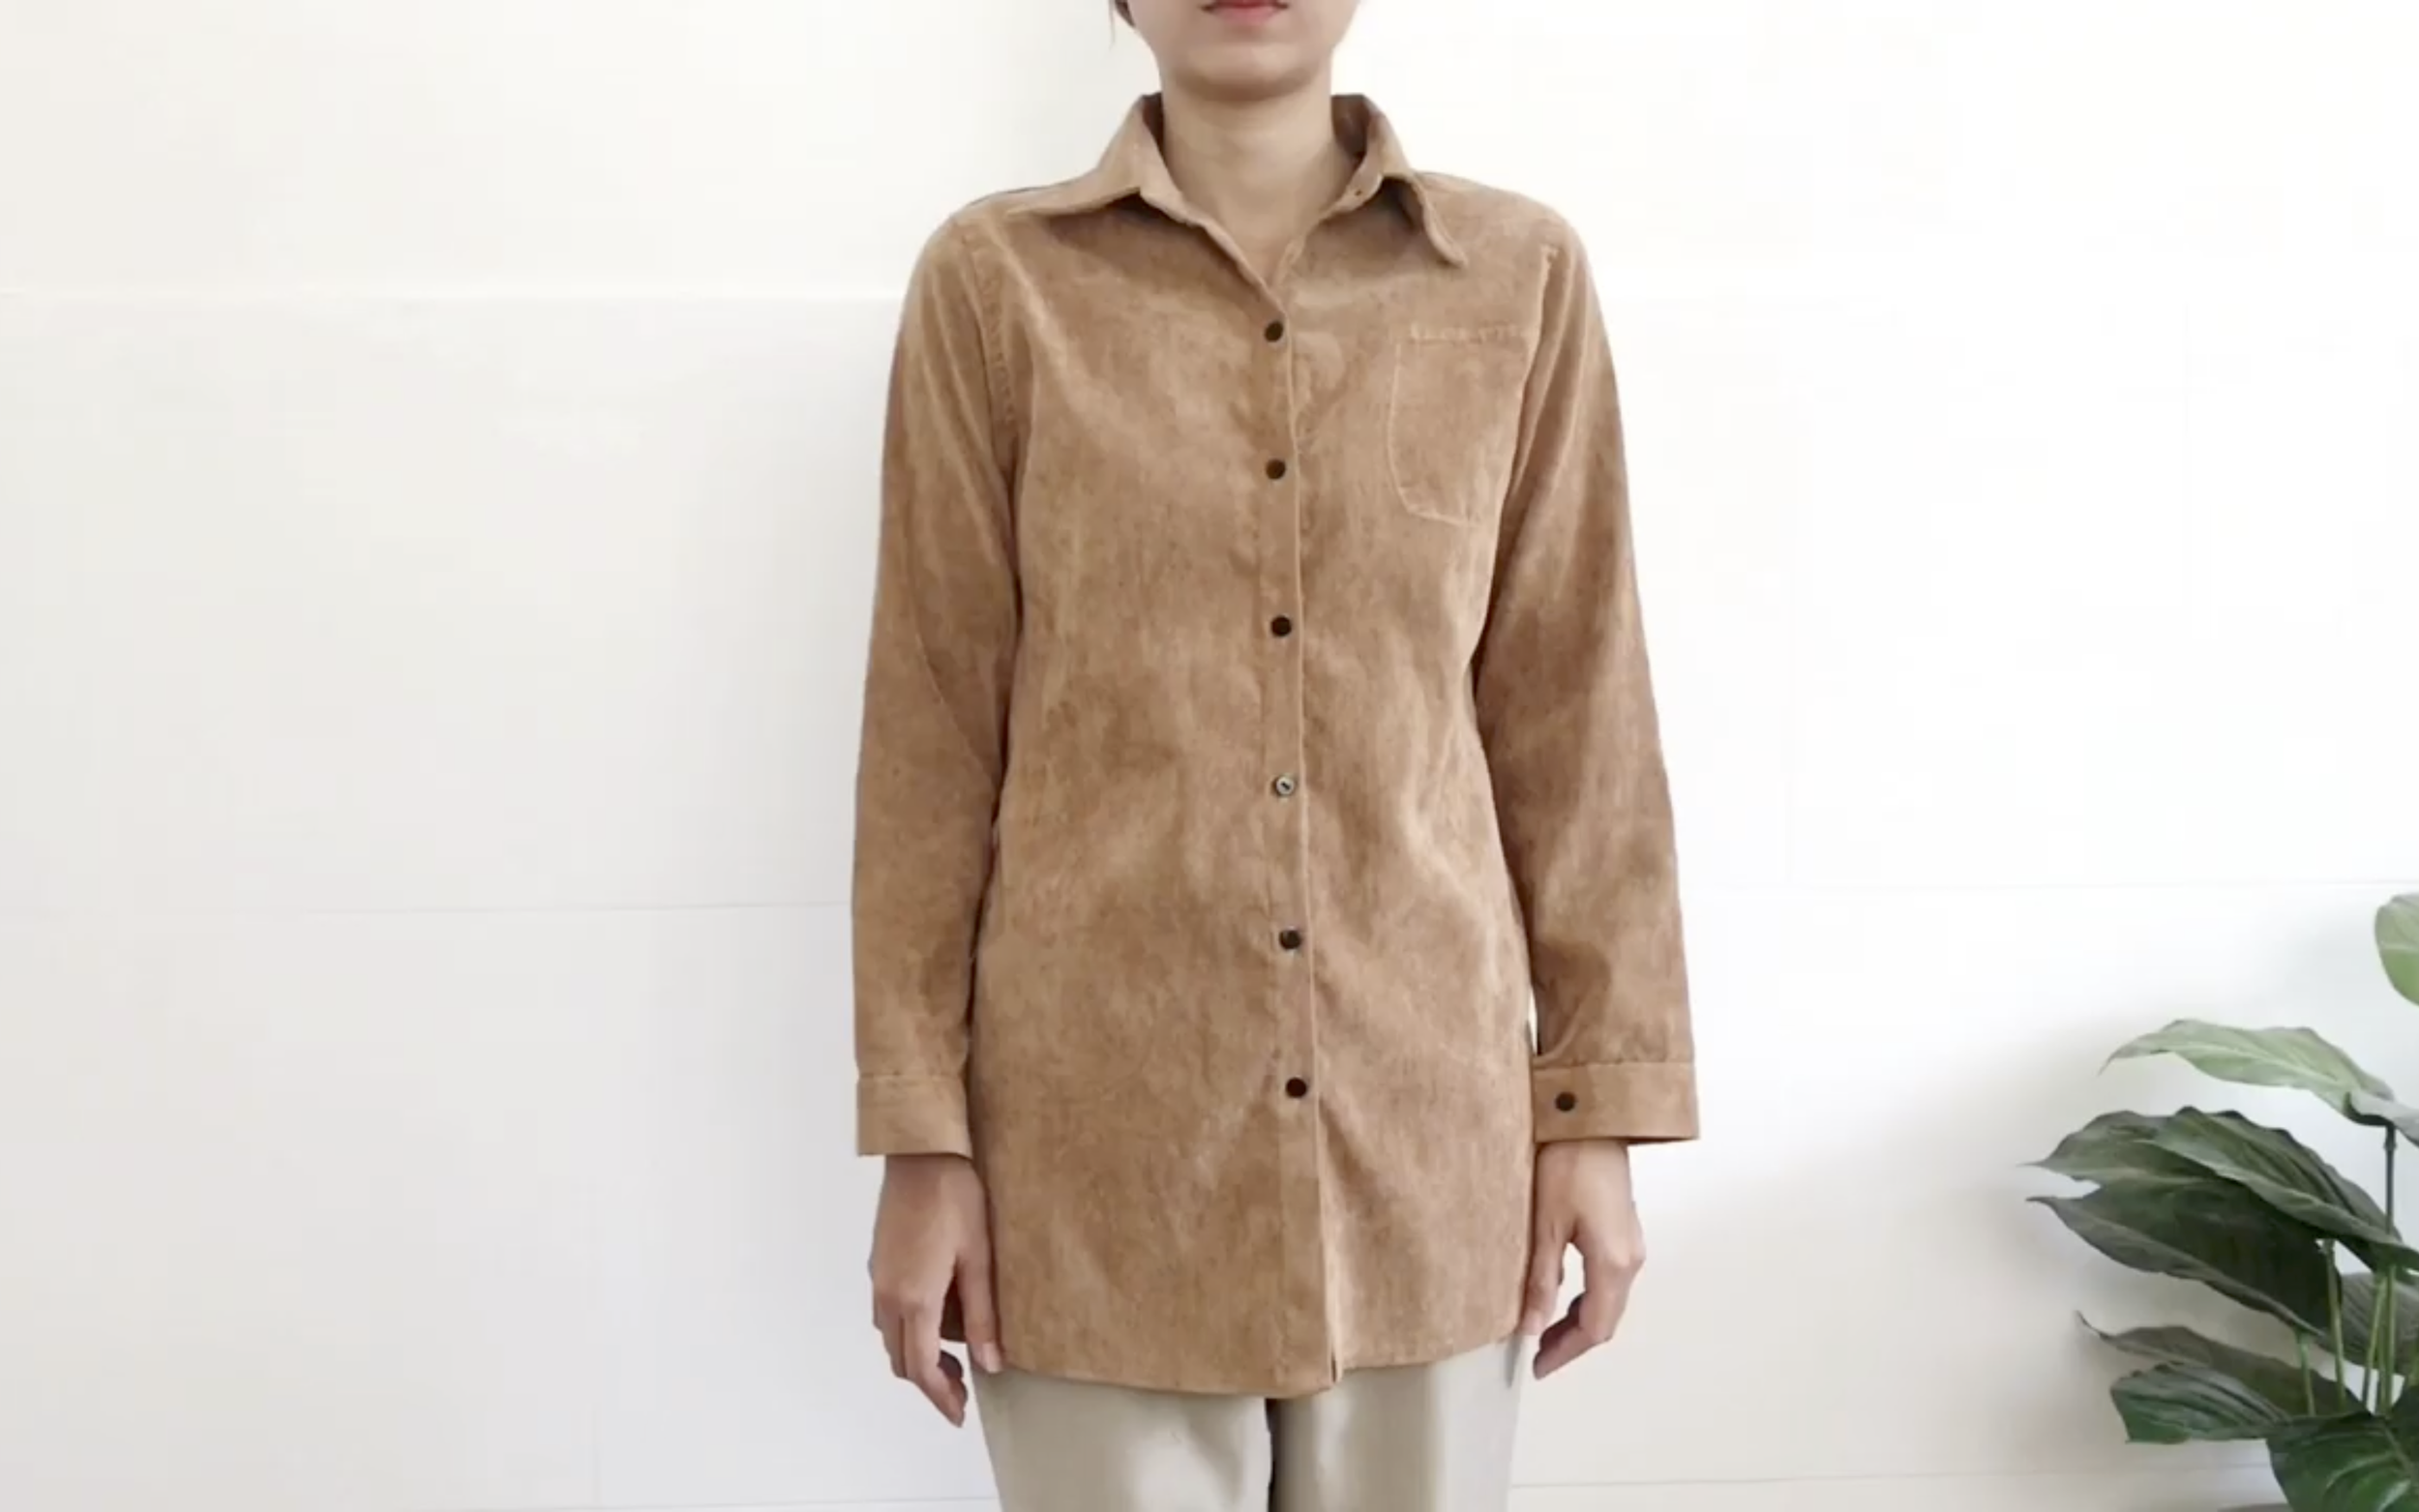
In today's tutorial, I refashioned my old shirt into the corduroy or sherpa jacket. It's supper easy tutorial to follow and I believe you can do it by yourself. Keep yourself be warm on the winter with this jacket.
So I hope you like it and try it out. Let’s get started!
WHAT YOU’LL NEED
Old jacket
Sewing machine
Pins
Scissors
Ruler
Long stick
SEWING THE JACKET
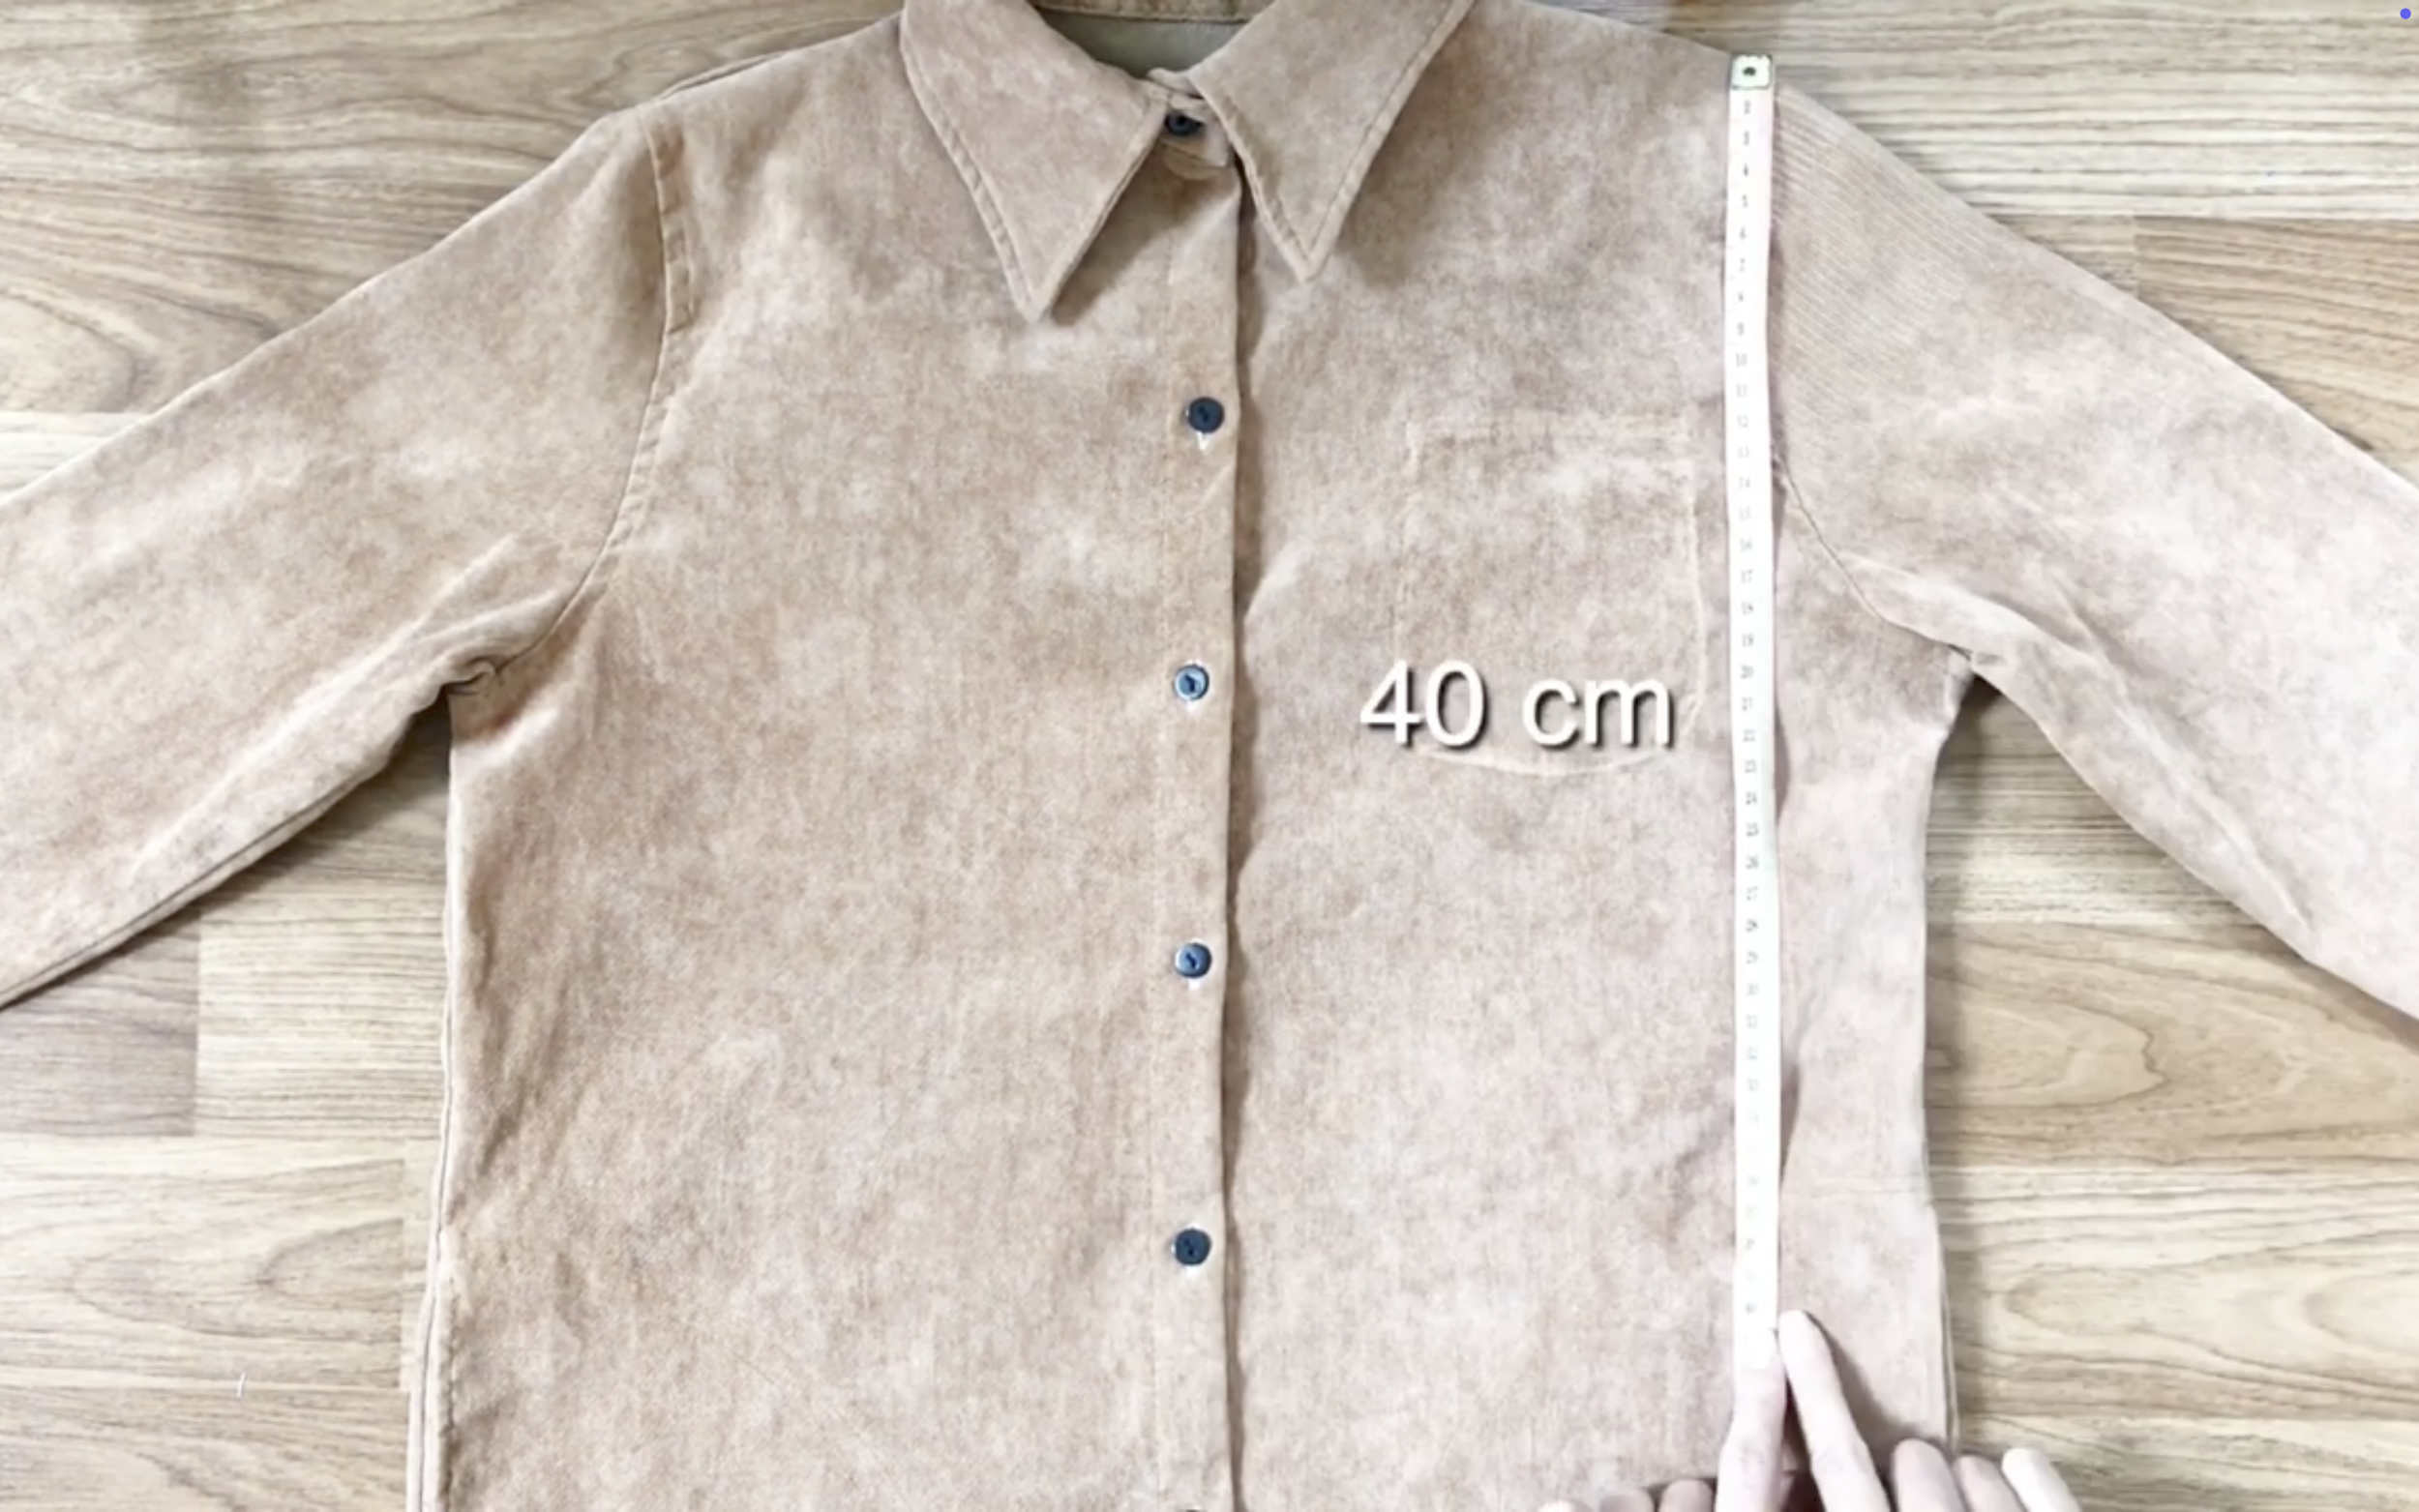
First step, measure the length of the jacket want to have, and it’s 40 cm from the shoulder, but you can make it longer if you want.
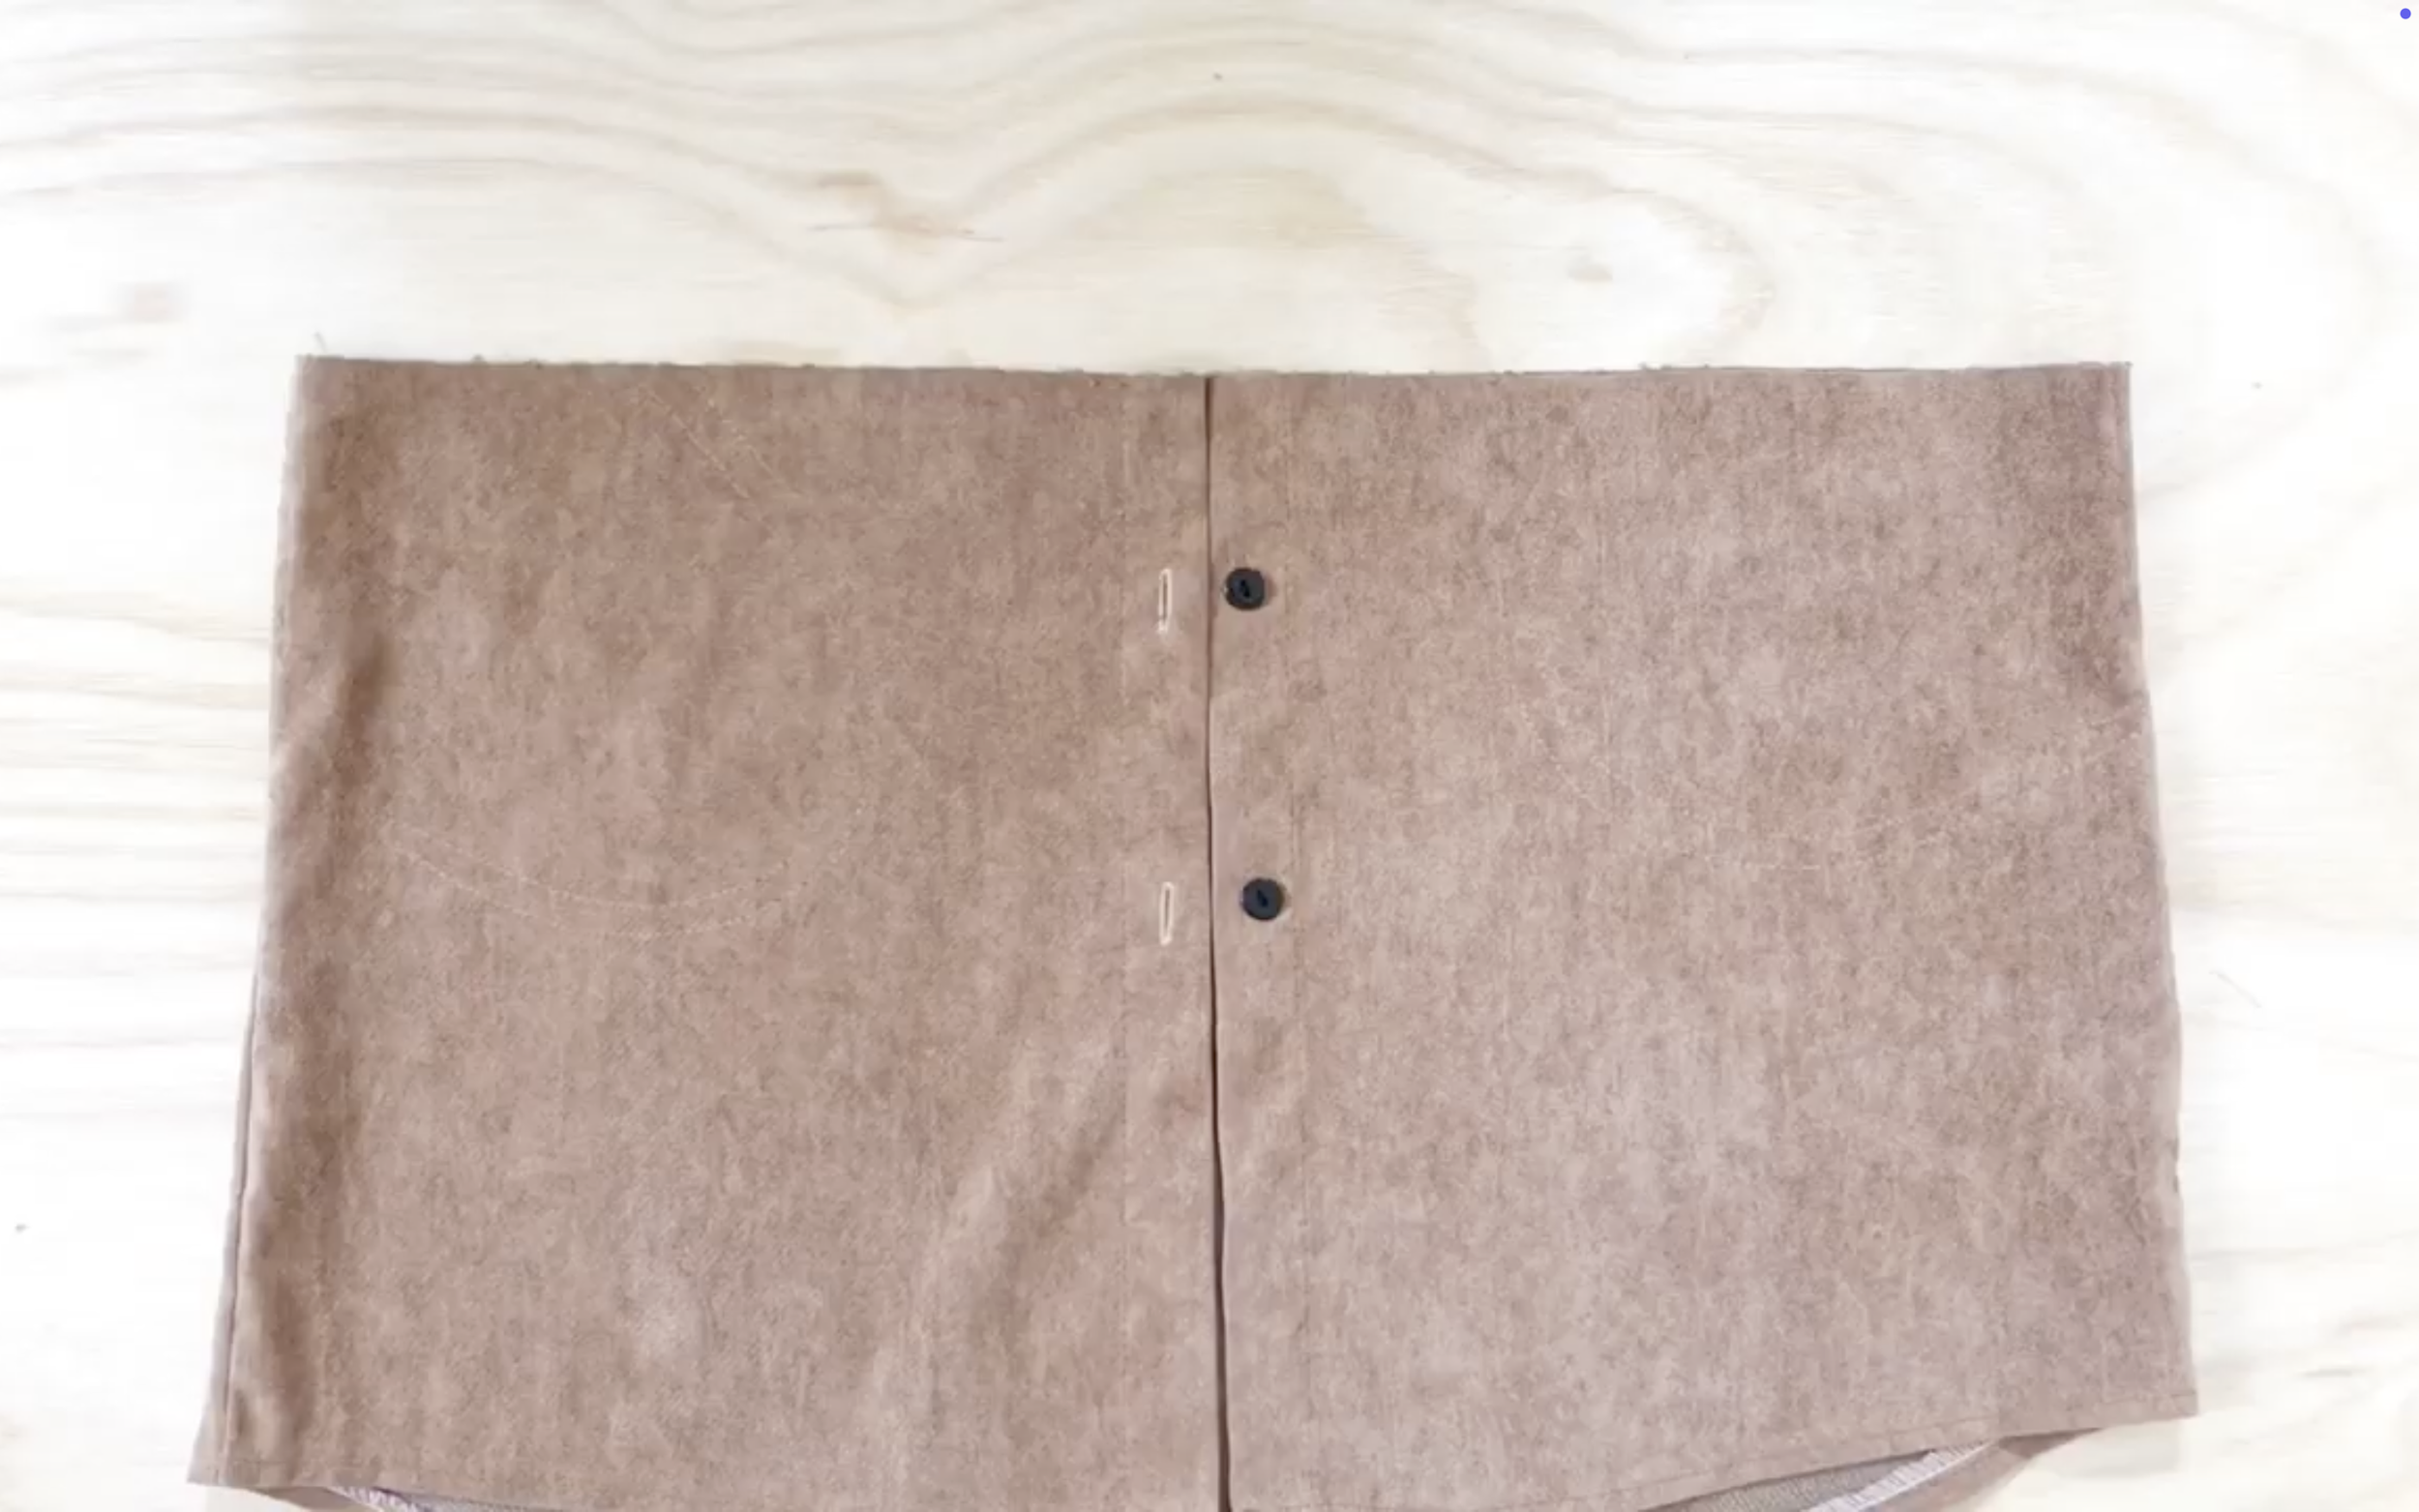
After cutting, use the leftover fabric of the shirt to create a waistband and the pockets for the jacket.
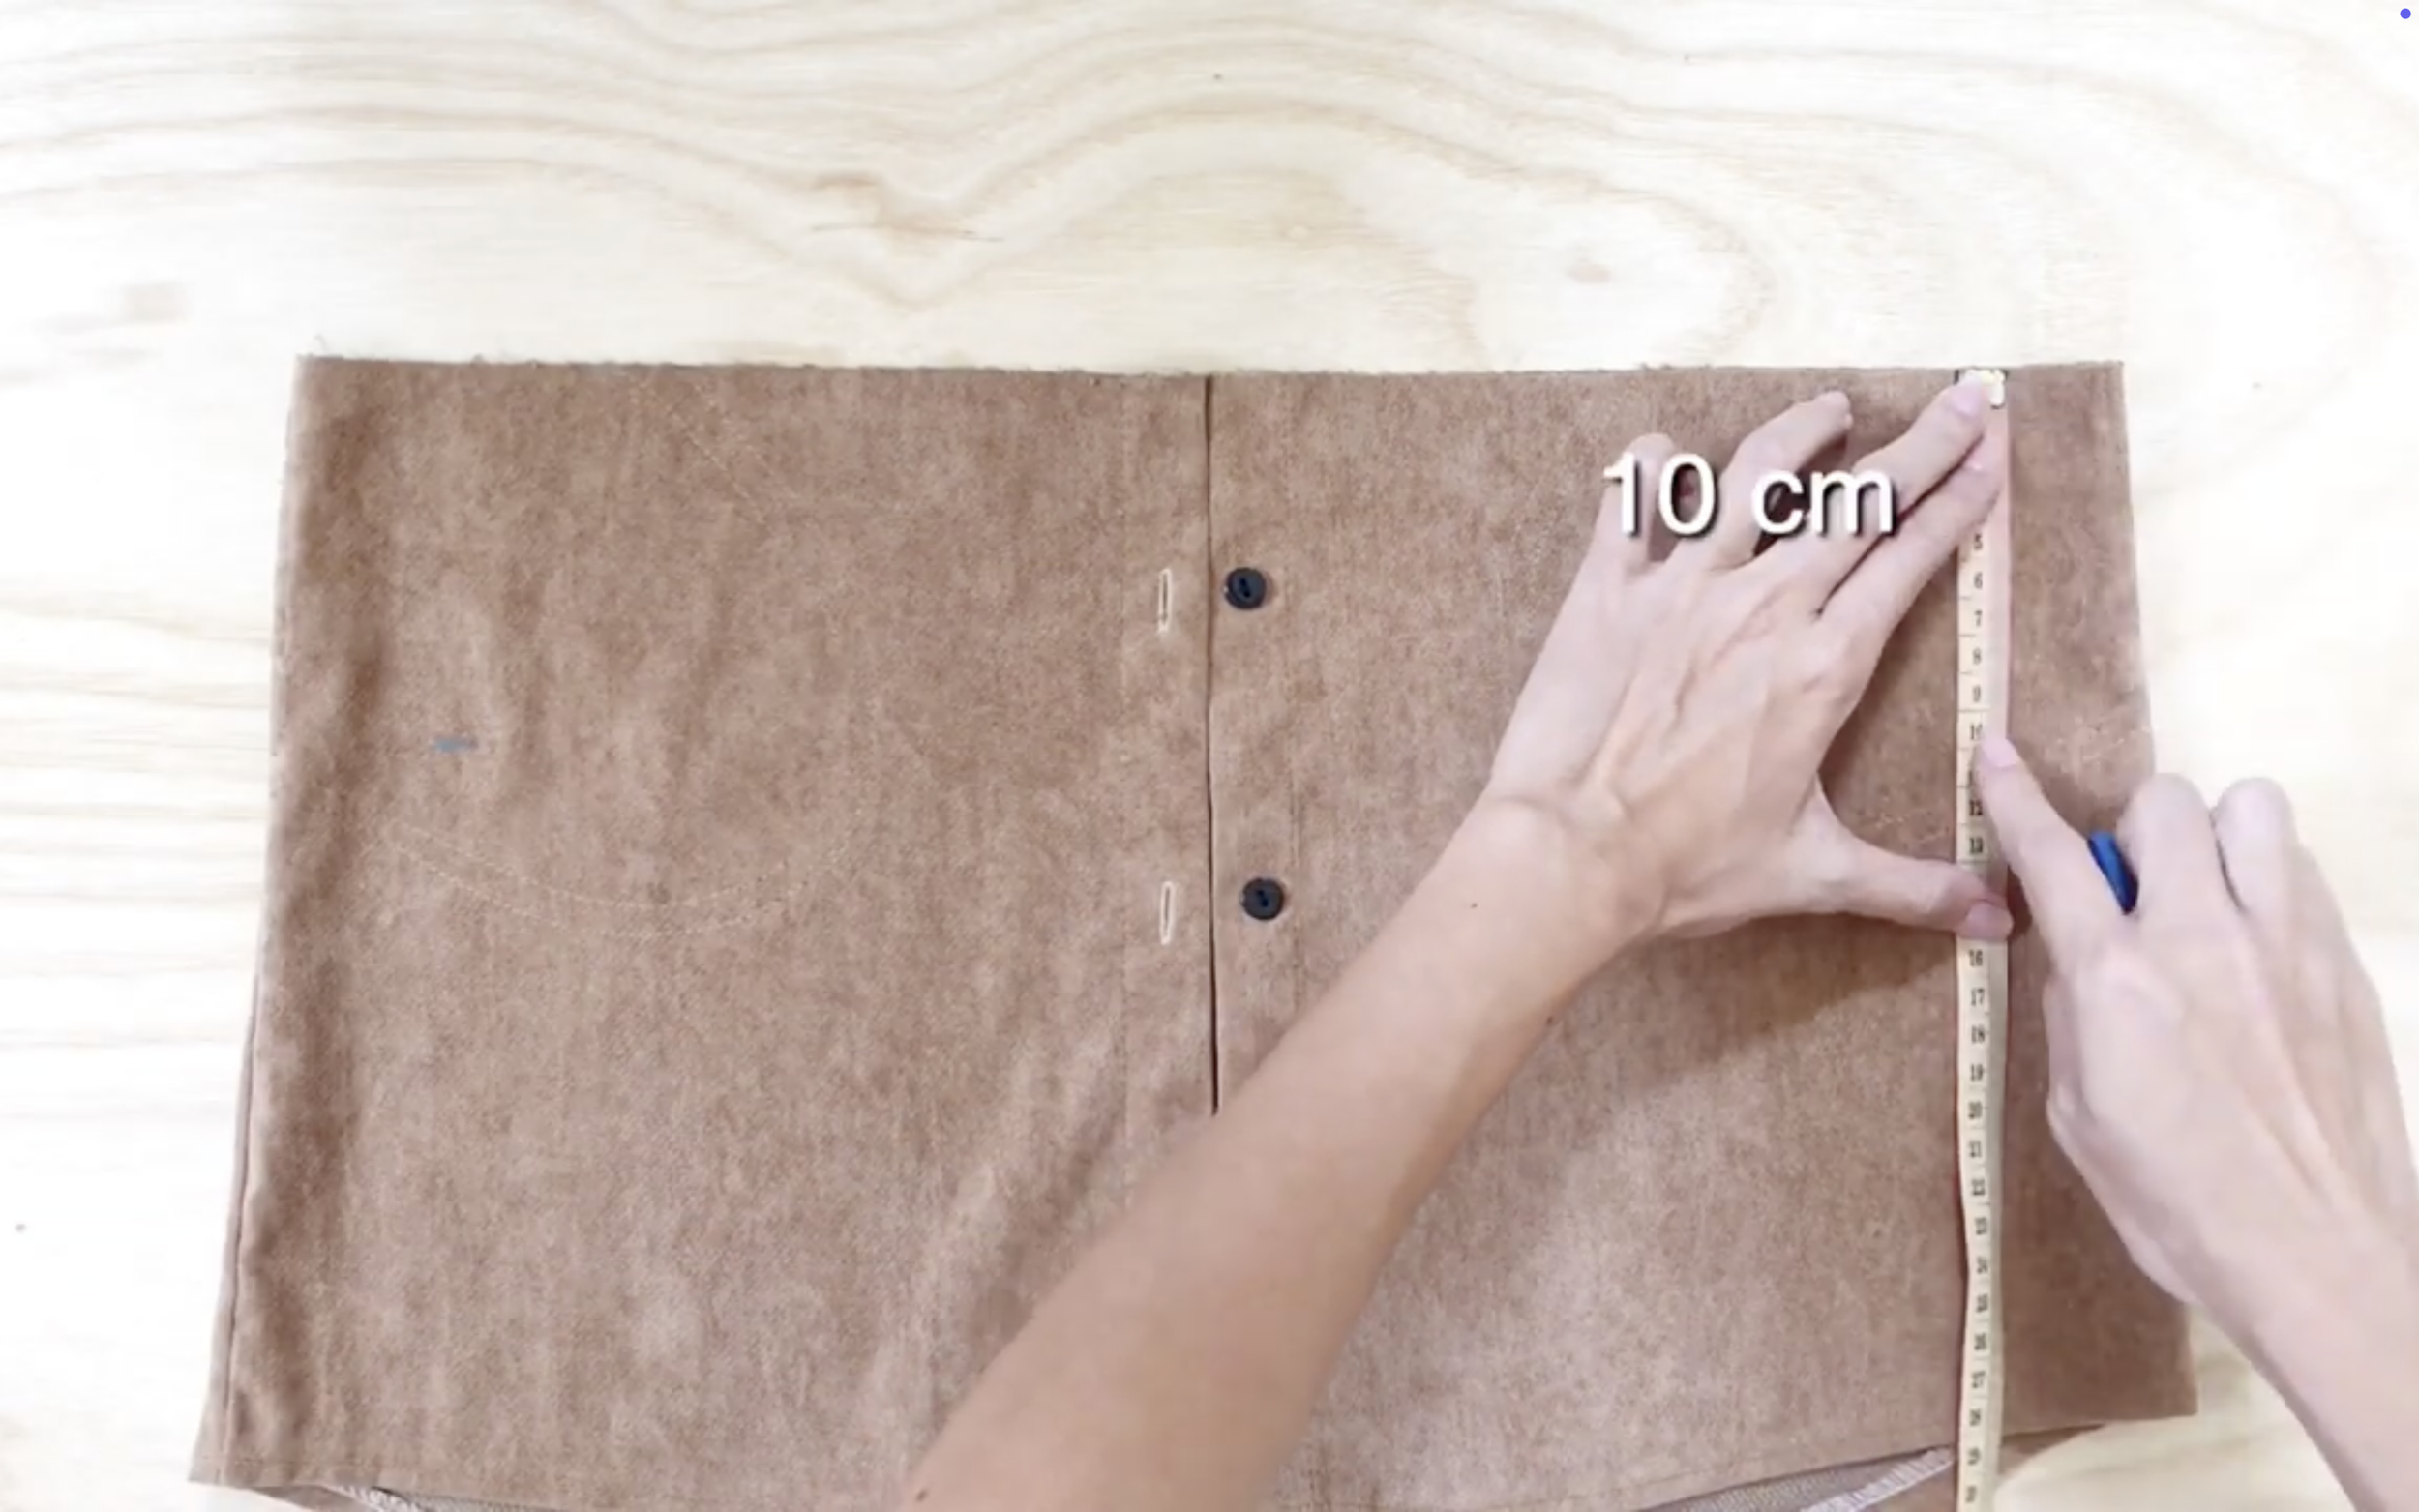
For the waistband, cut a rectangle with 10 cm length.
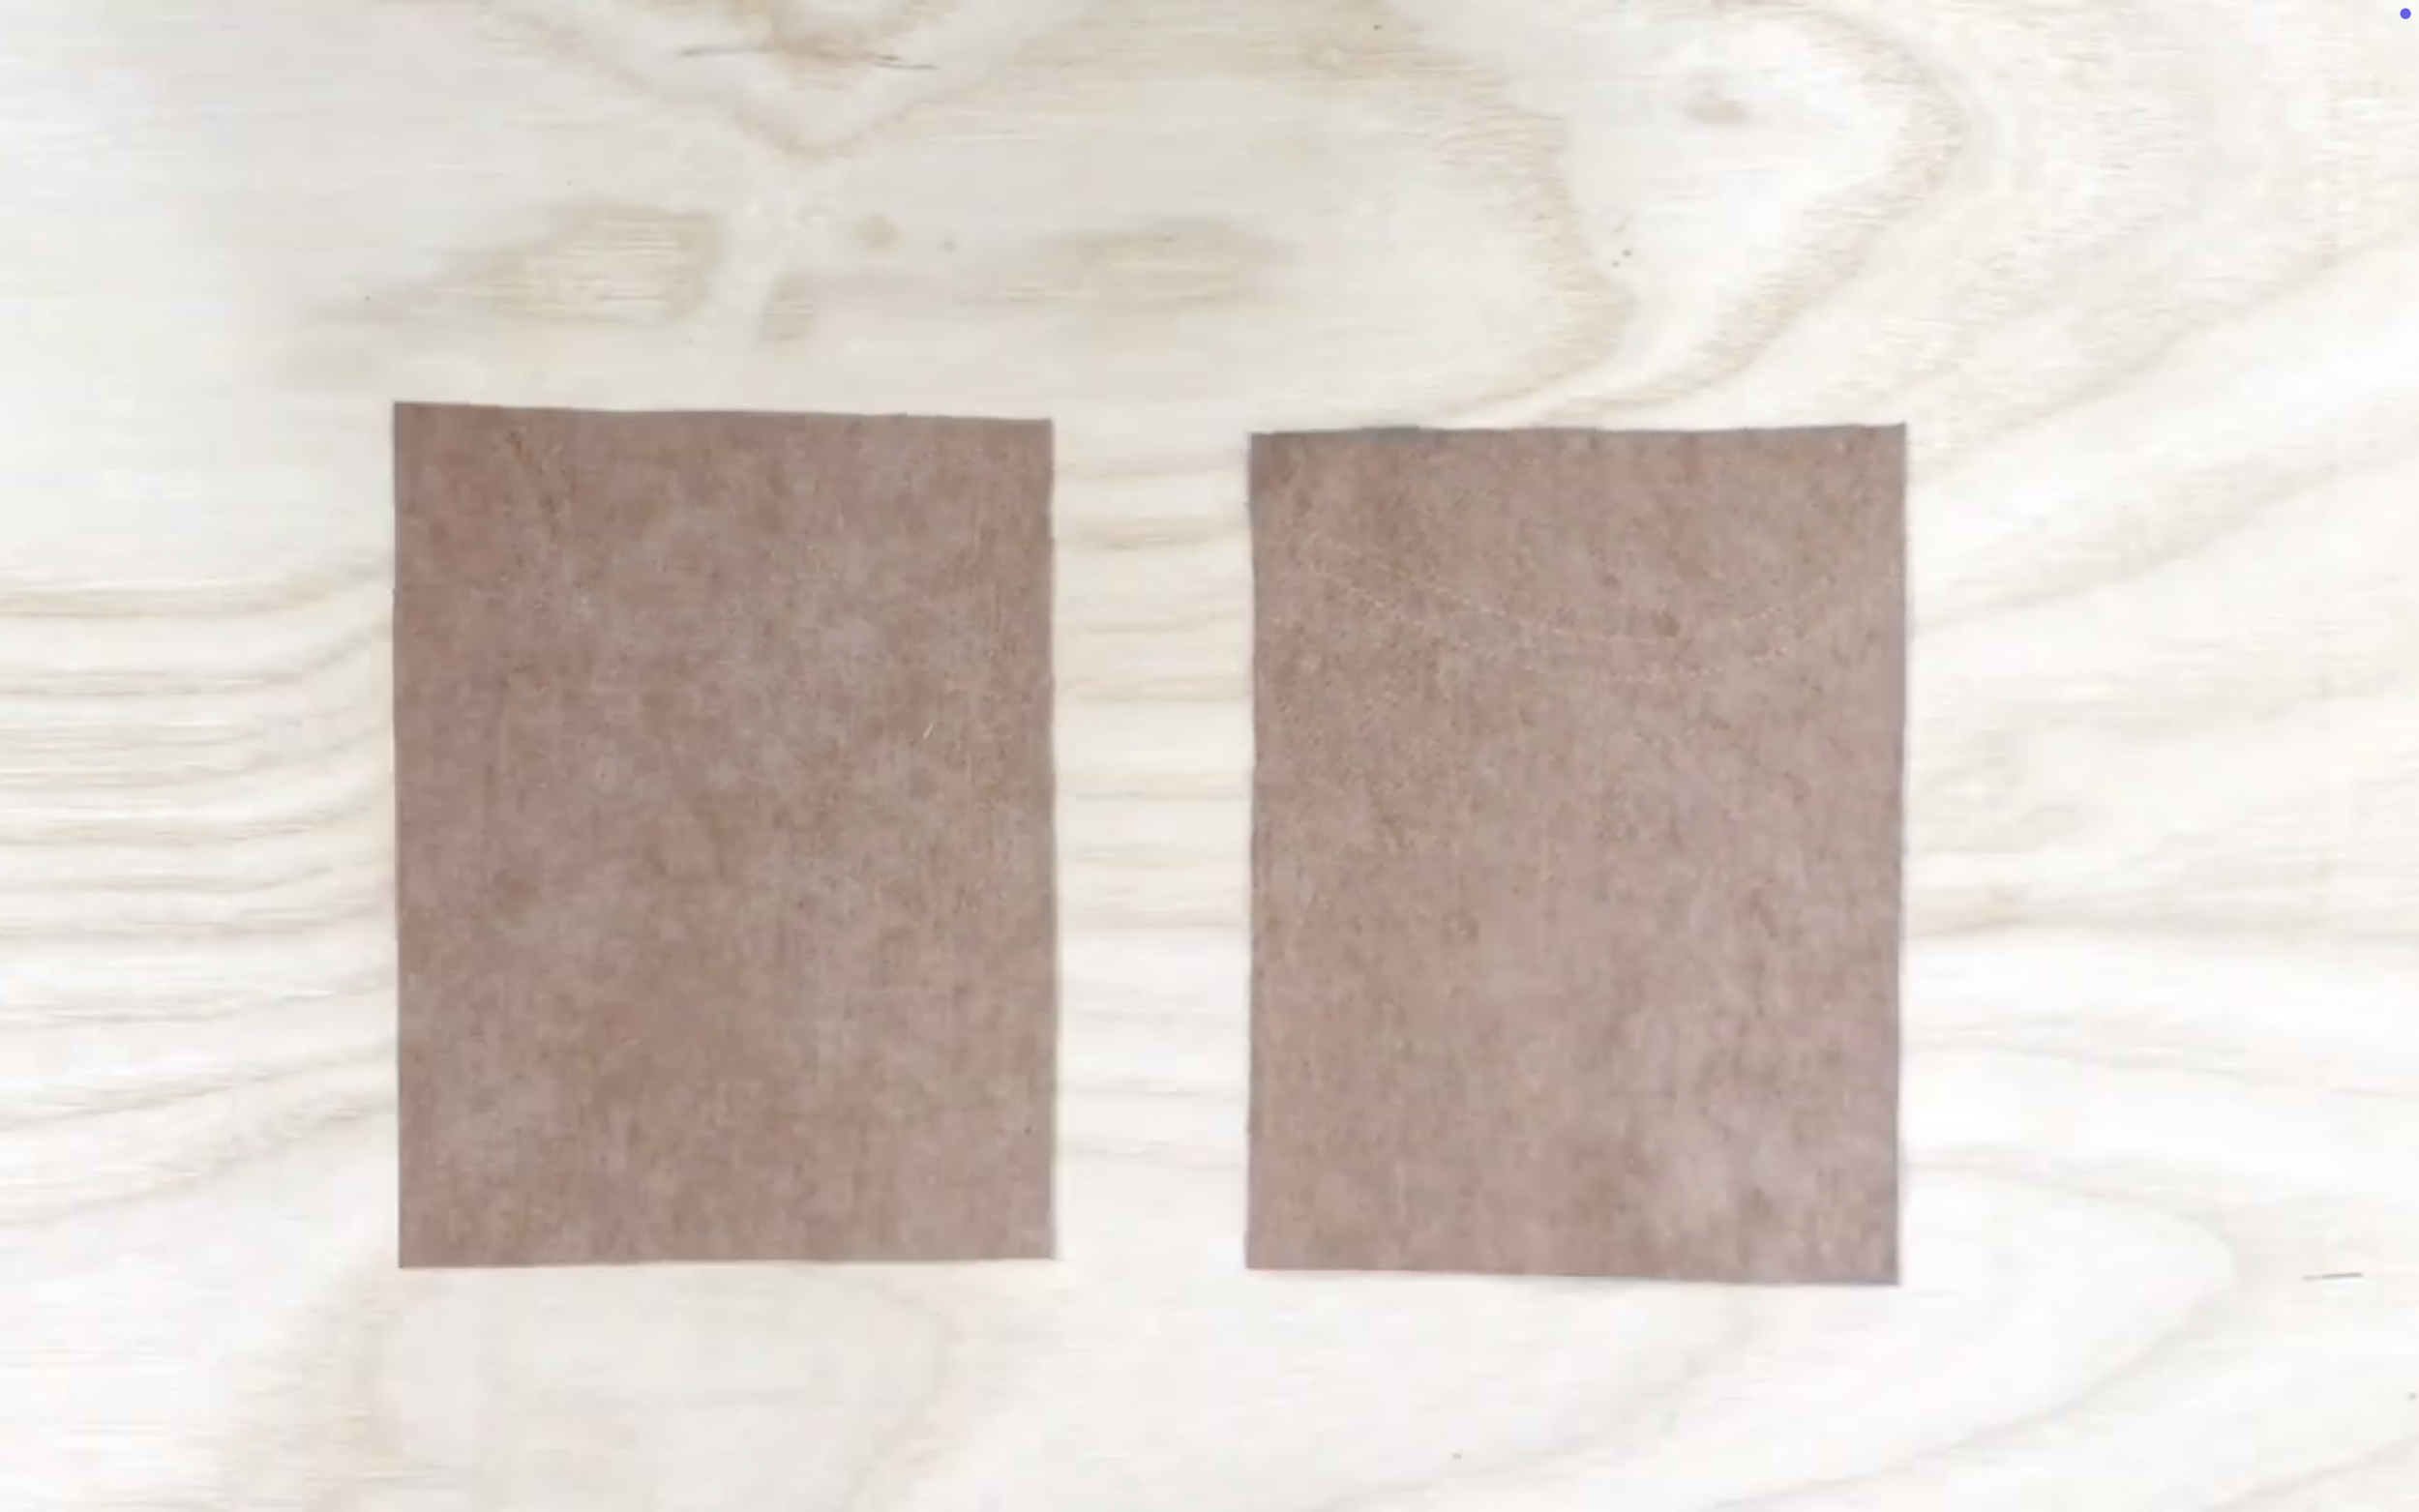
For the pockets, want to have two front pockets of the jacket, so cut two rectangles with 13 cm width and 17 cm length.
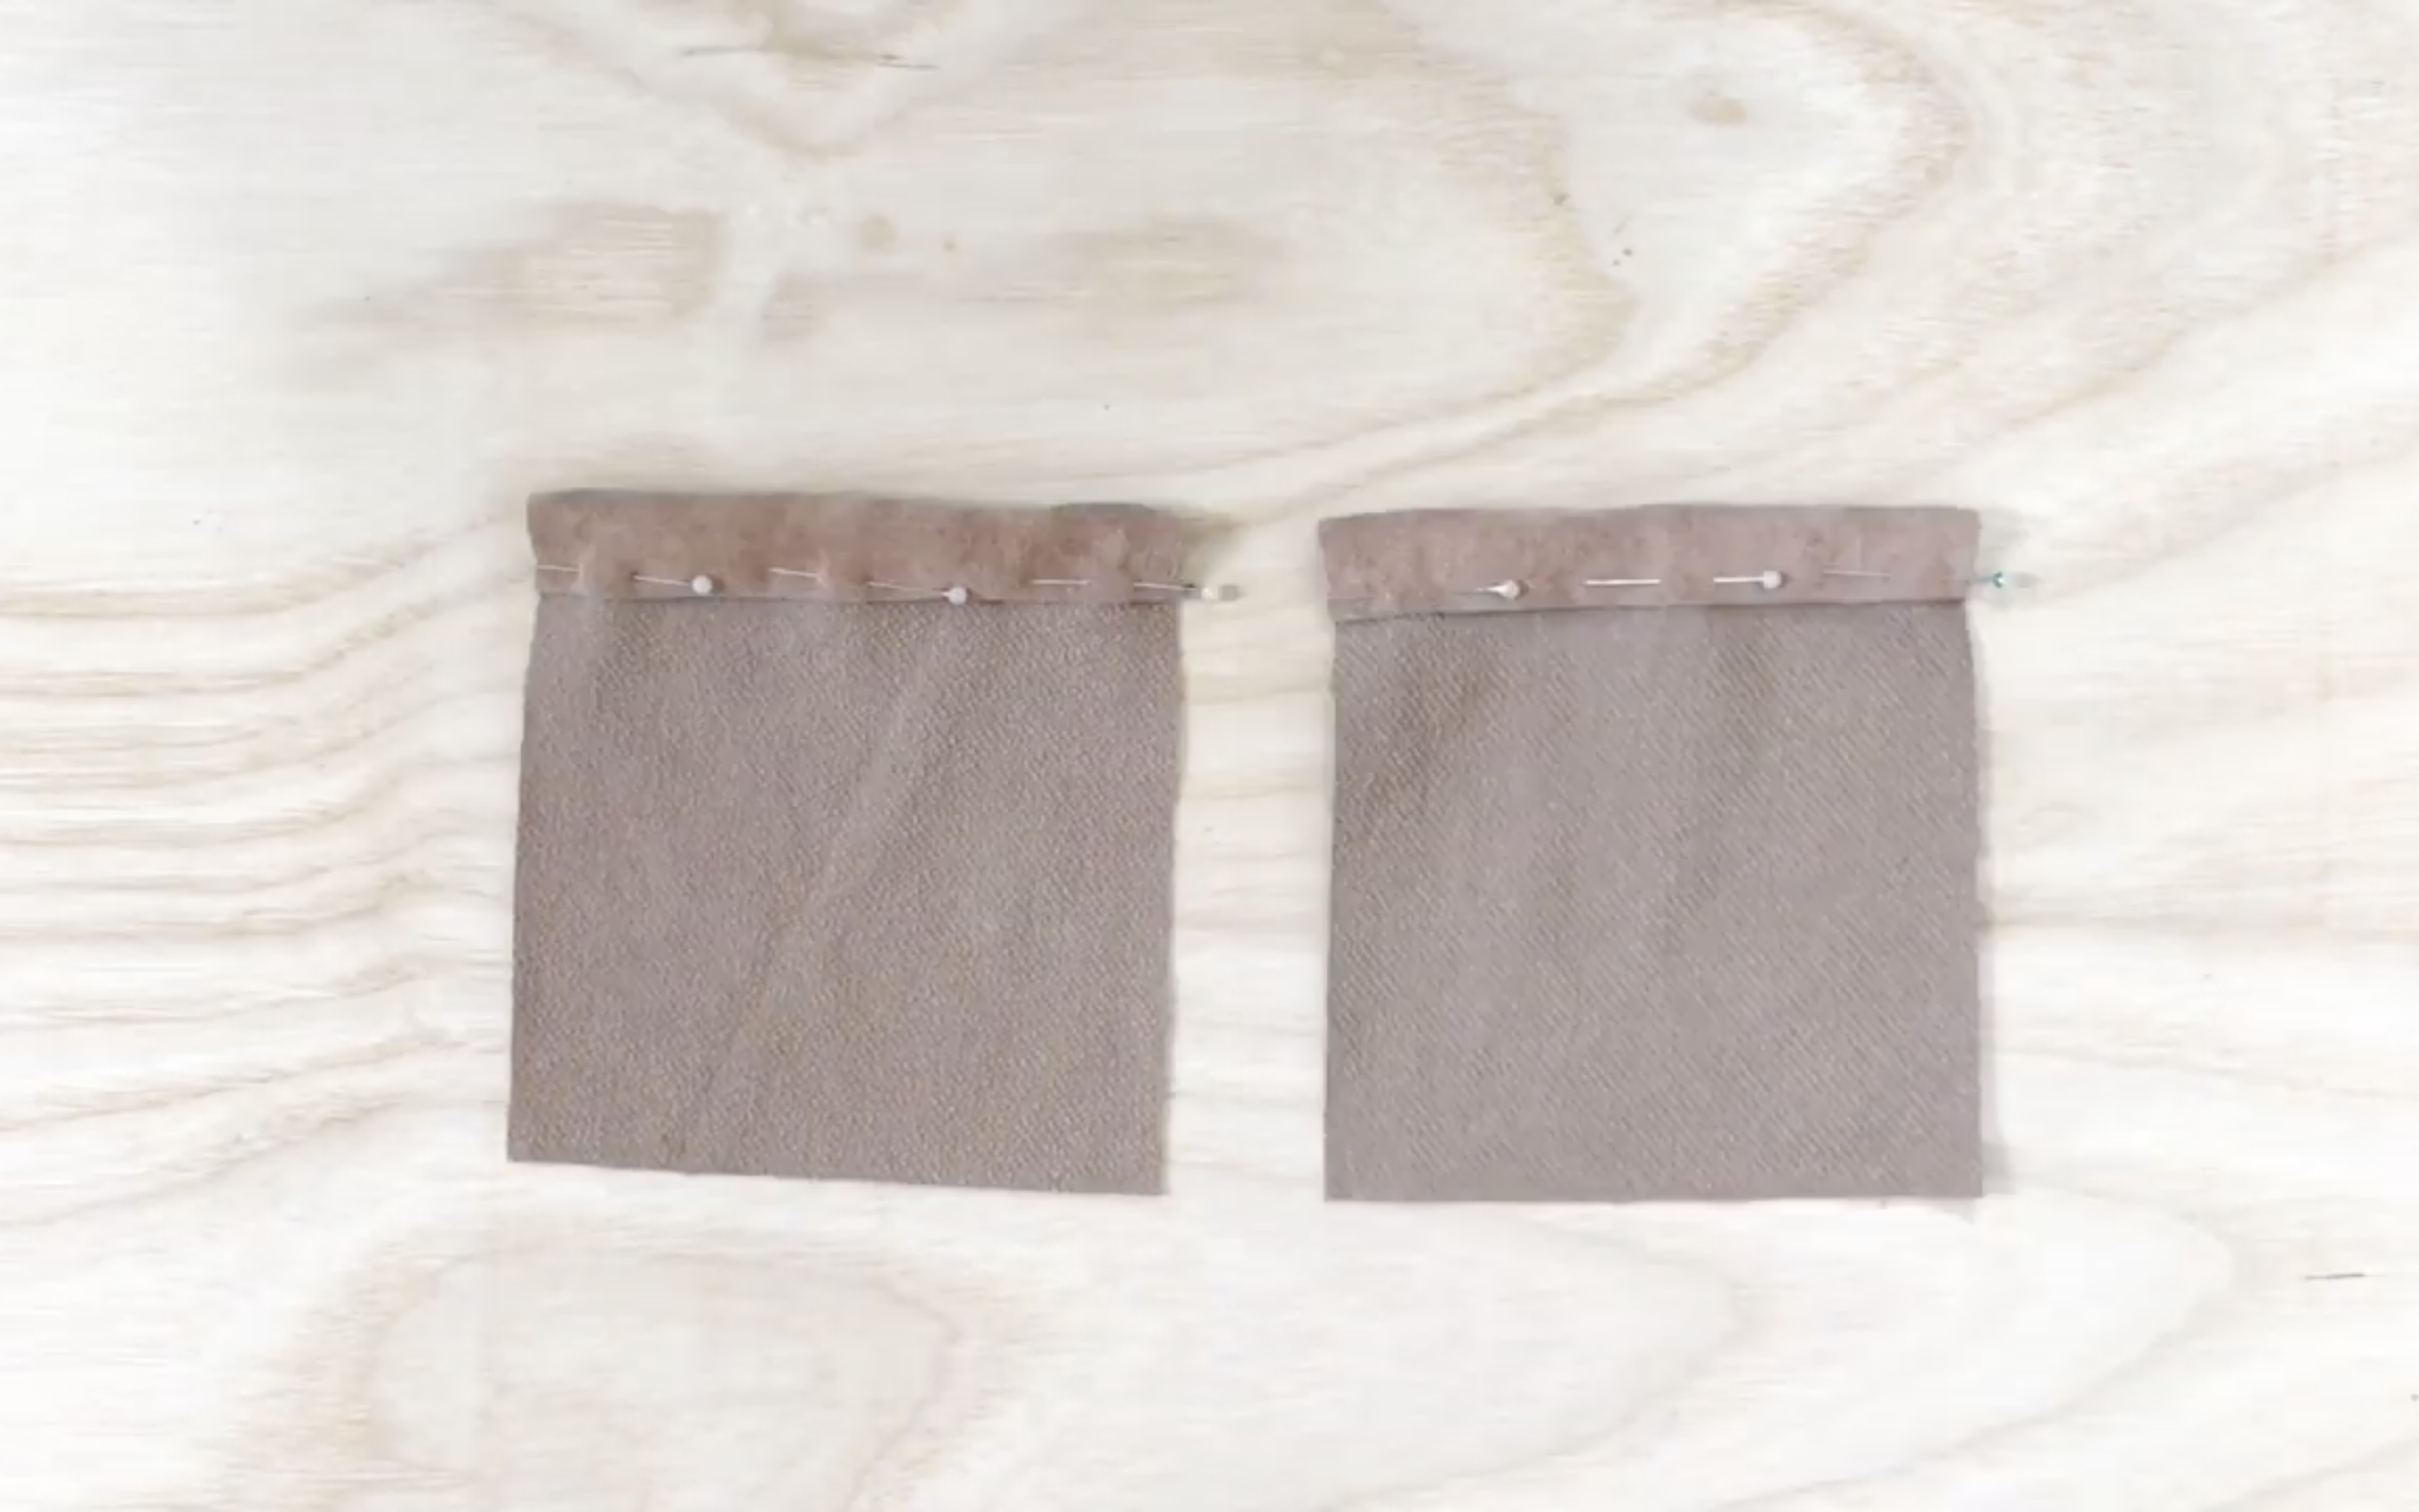
Then double fold one edge of the rectangle so it will be an open area of the pocket.
After sewing, also overlock the pockets.
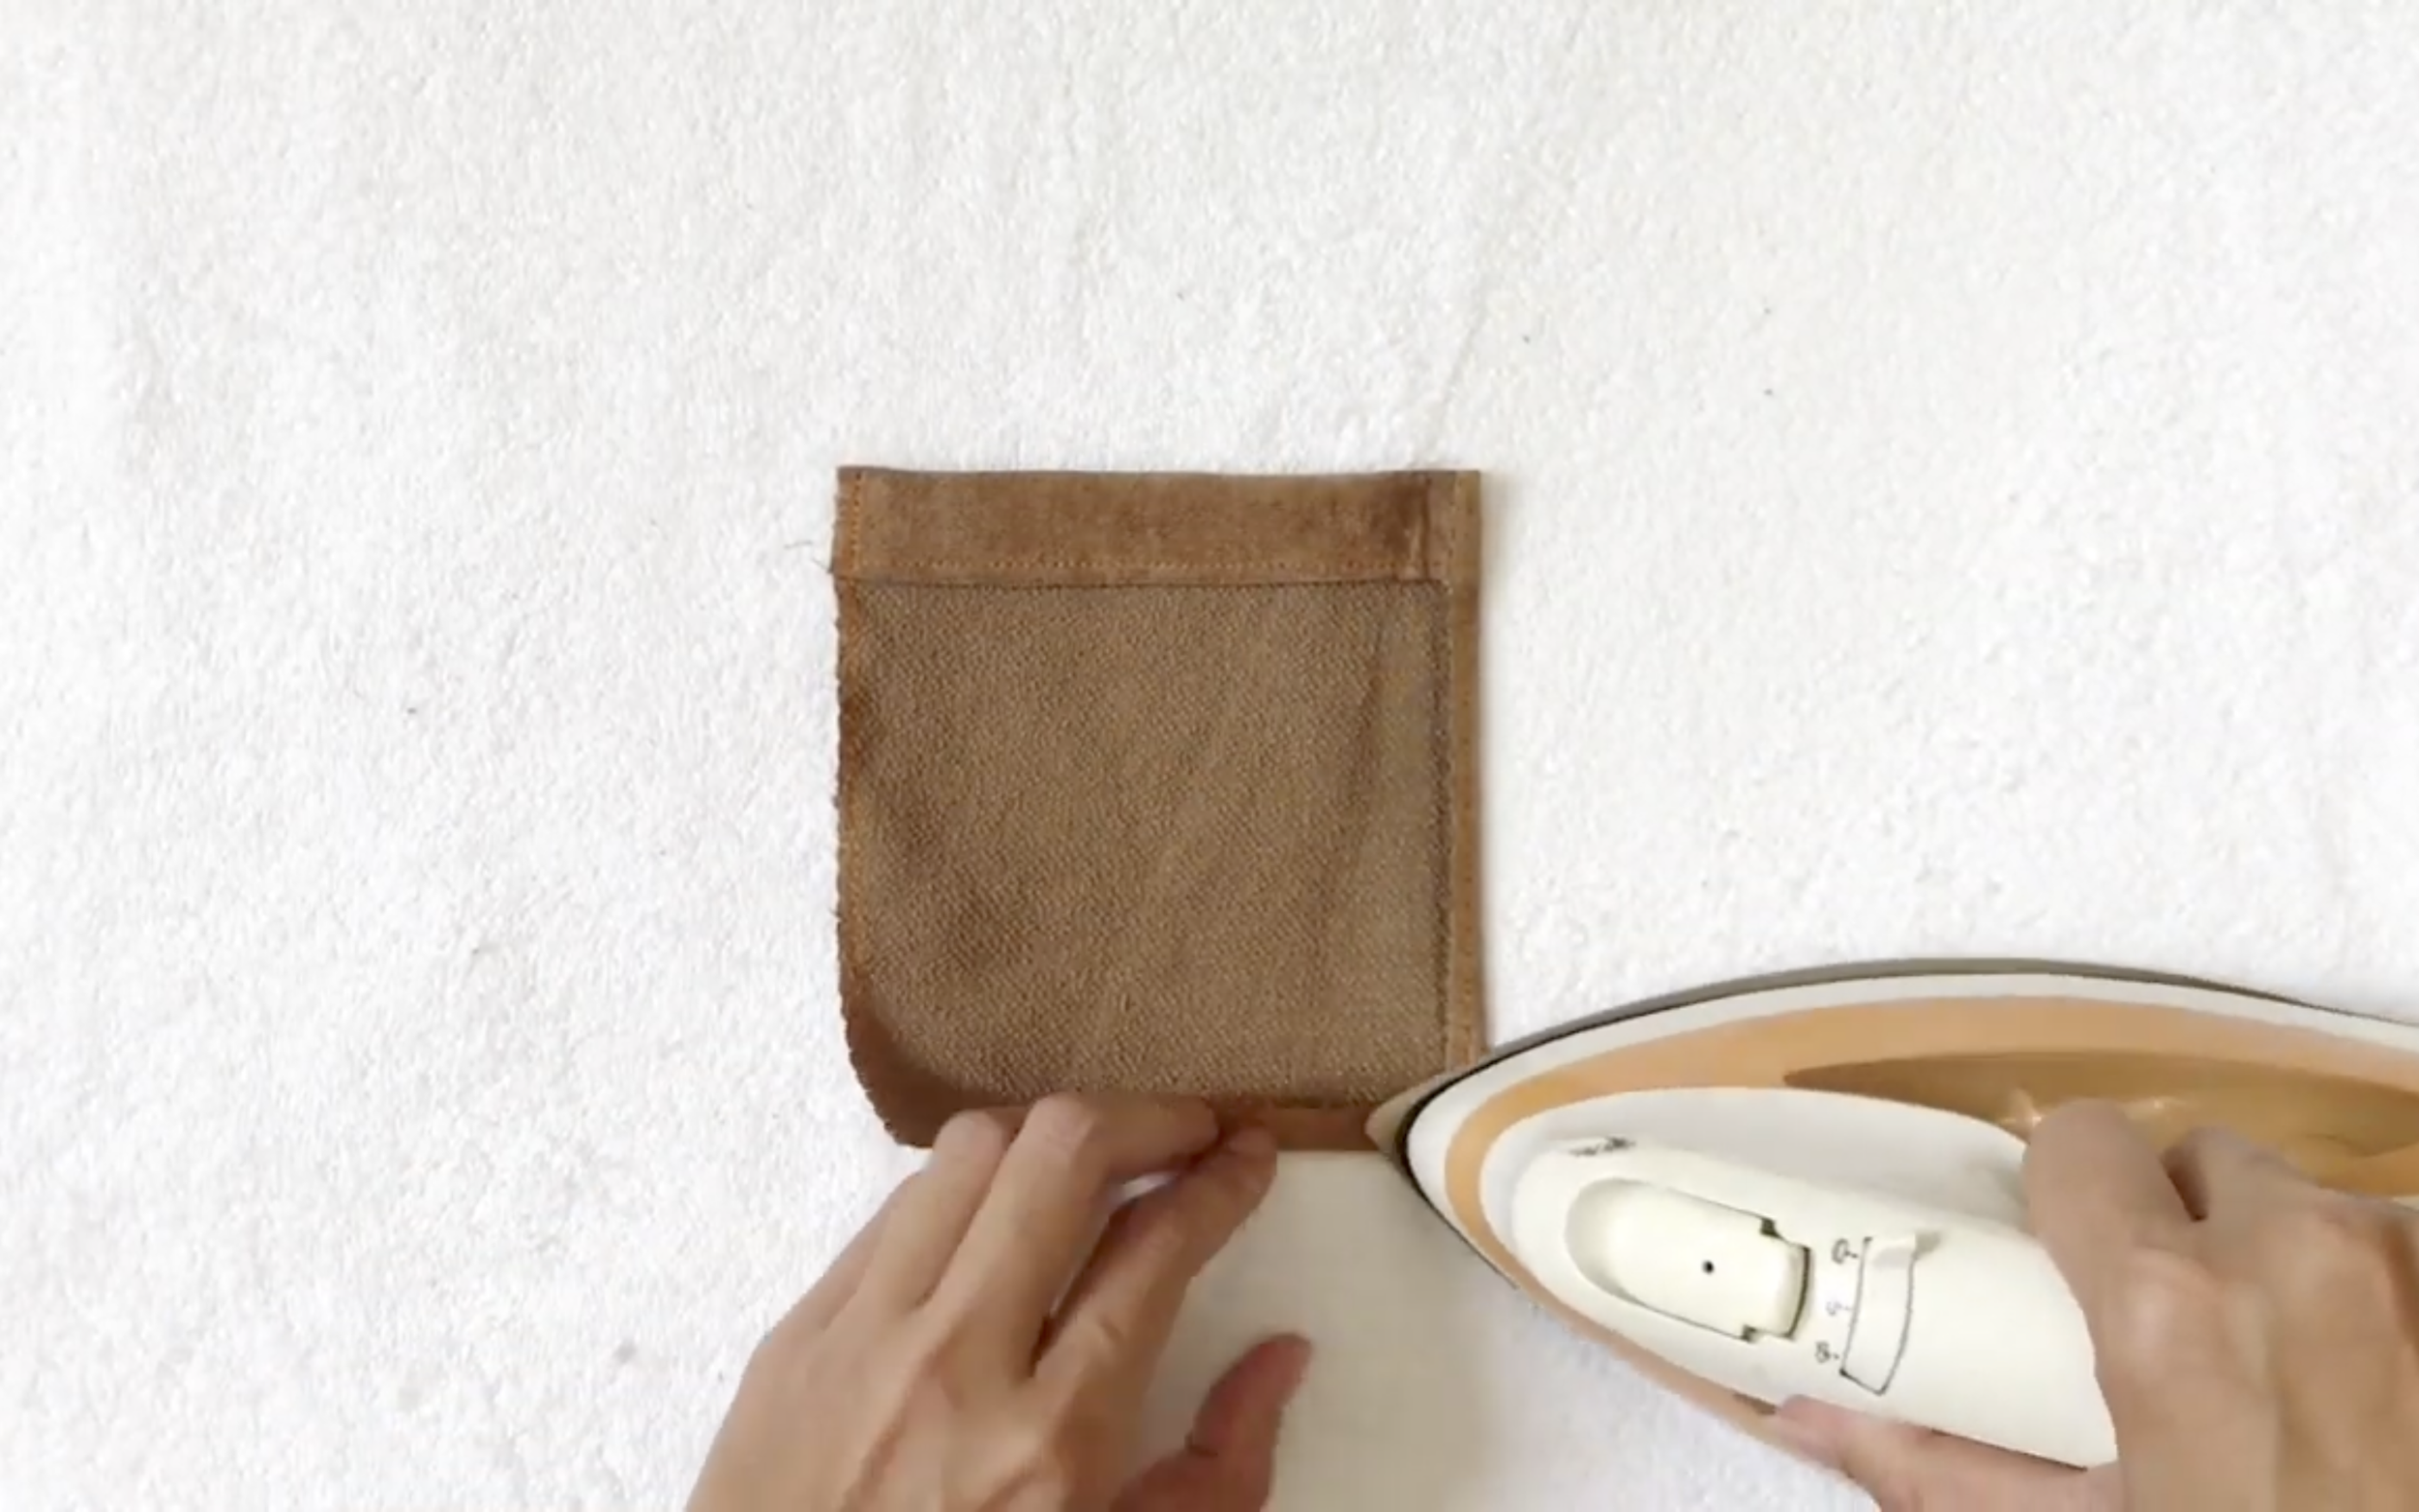
Then use the iron to create a folding for the pocket, and will have the body of the pocket.
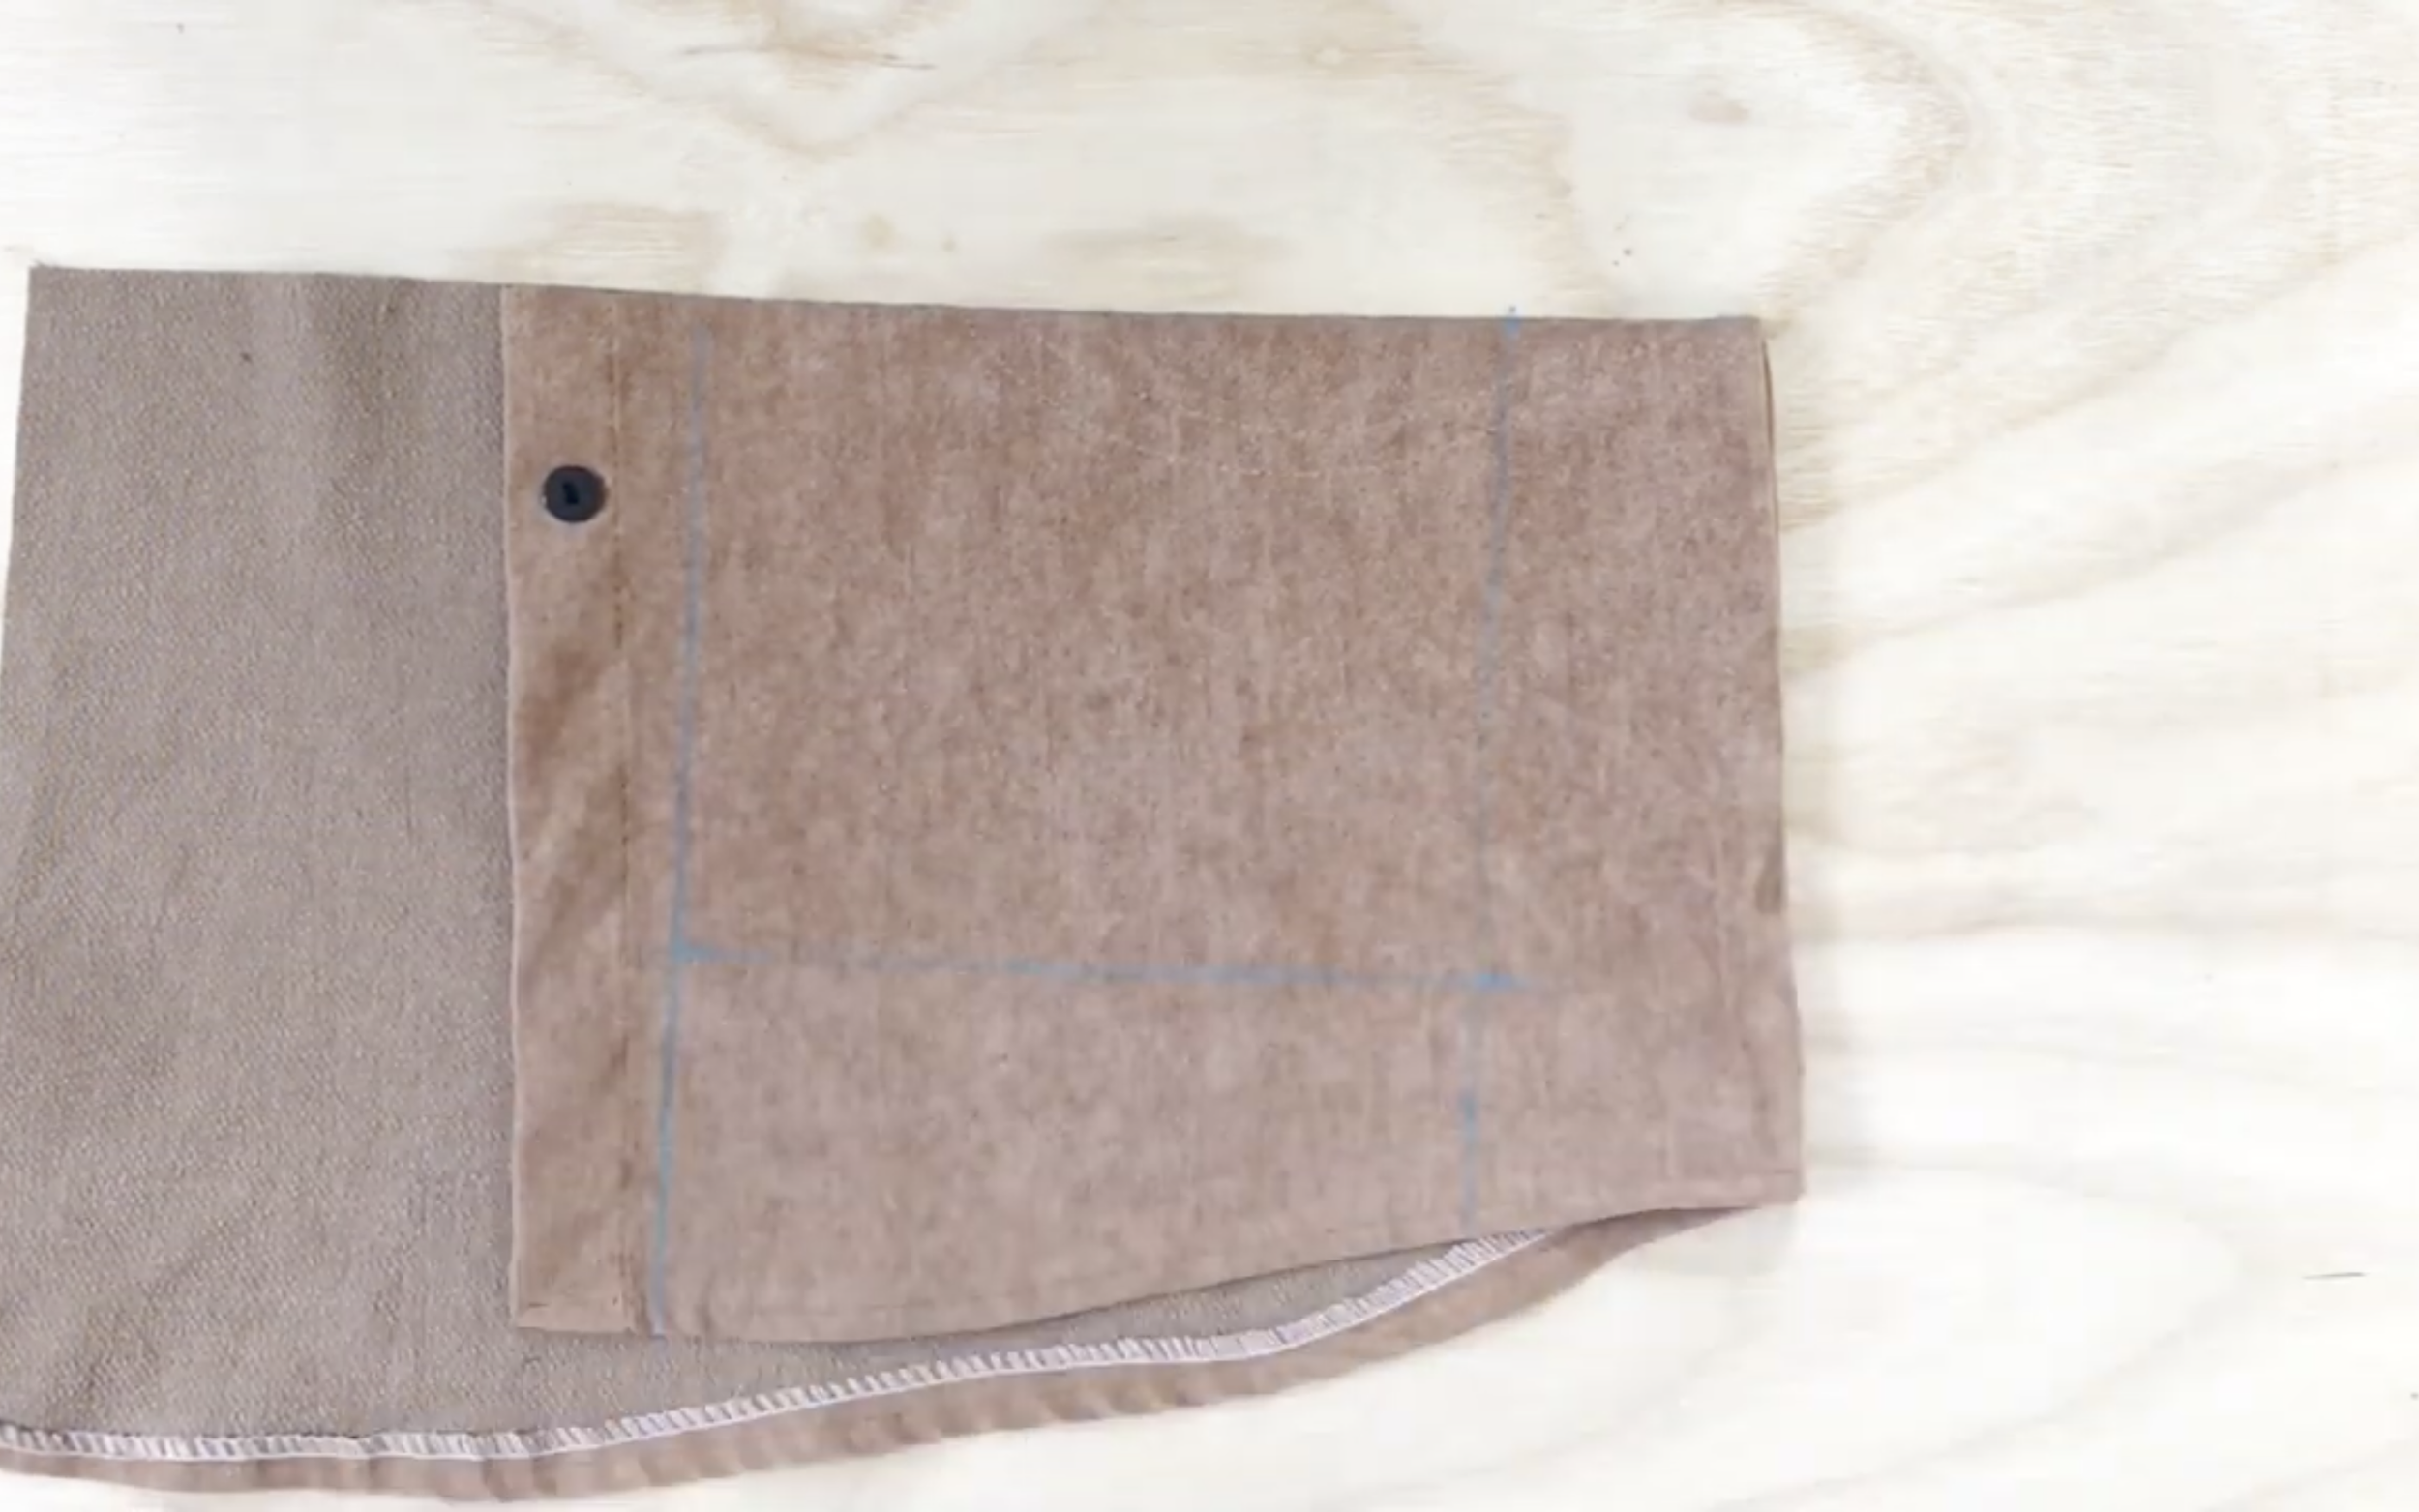
For the pocket-flap, drawing into a rectangle with 16 cm width and 13 cm length.
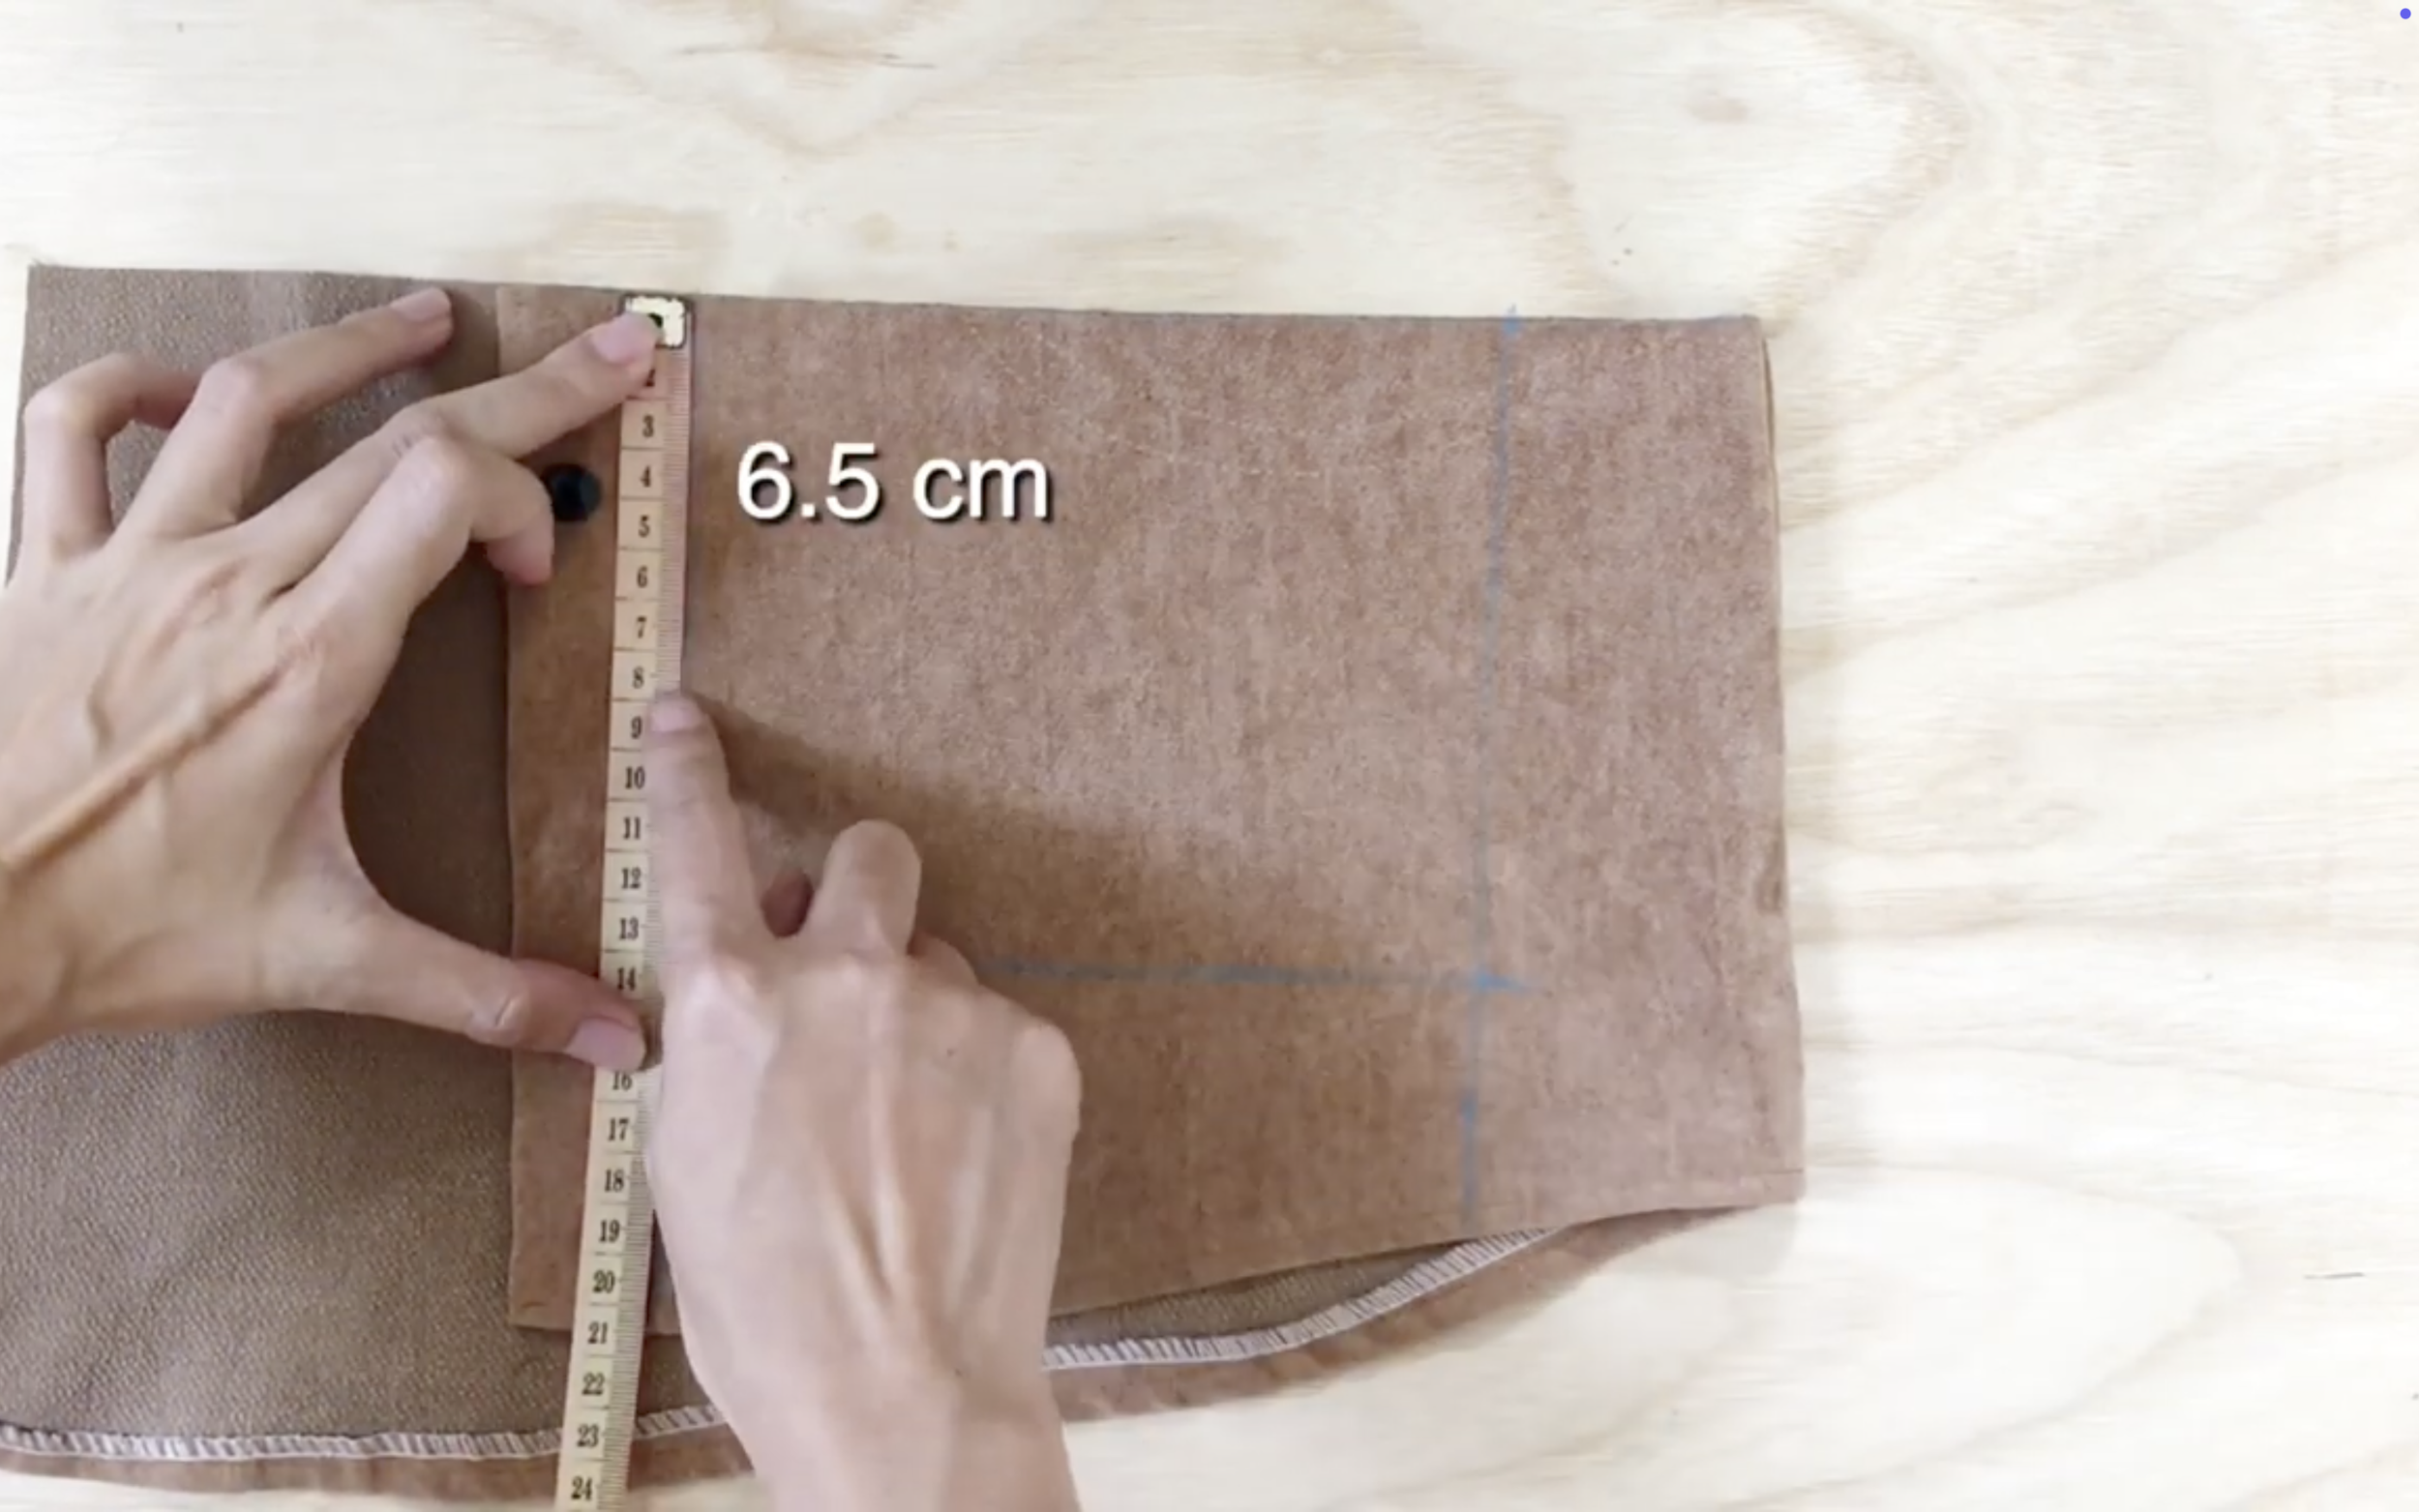
From two edges of the length, mark at the middle.
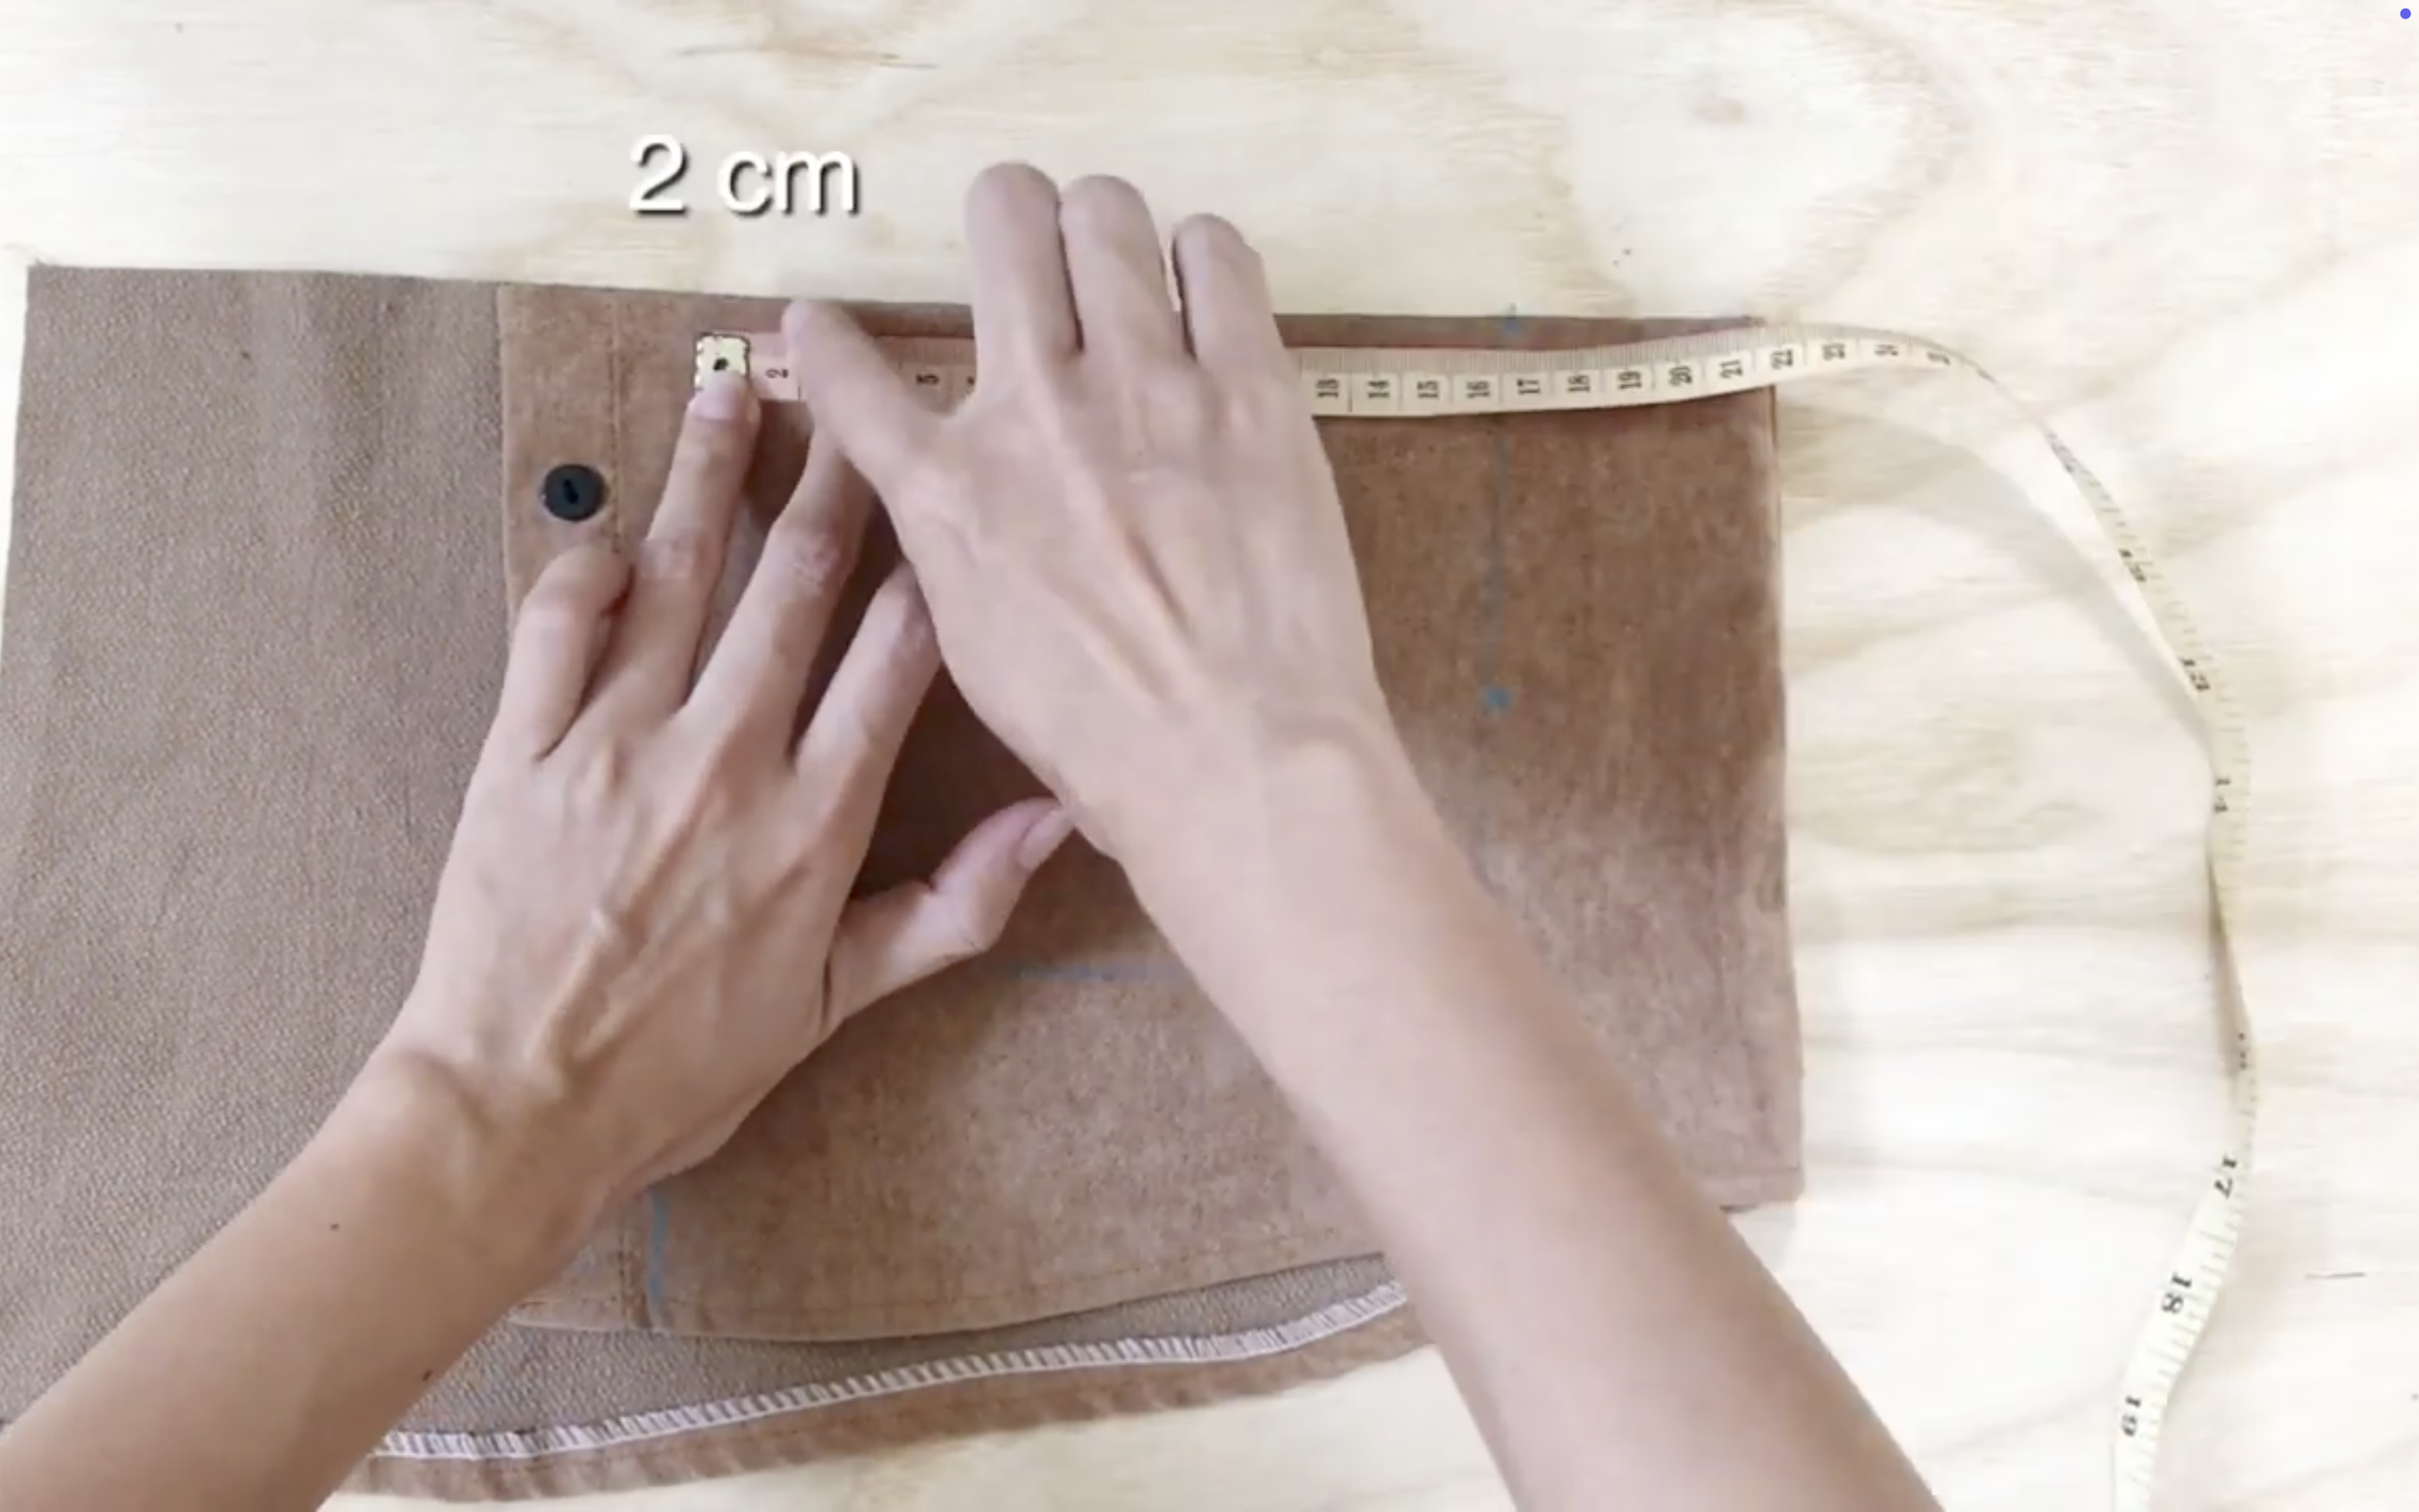
From two edges of the width, go to inside 2 cm and mark there.
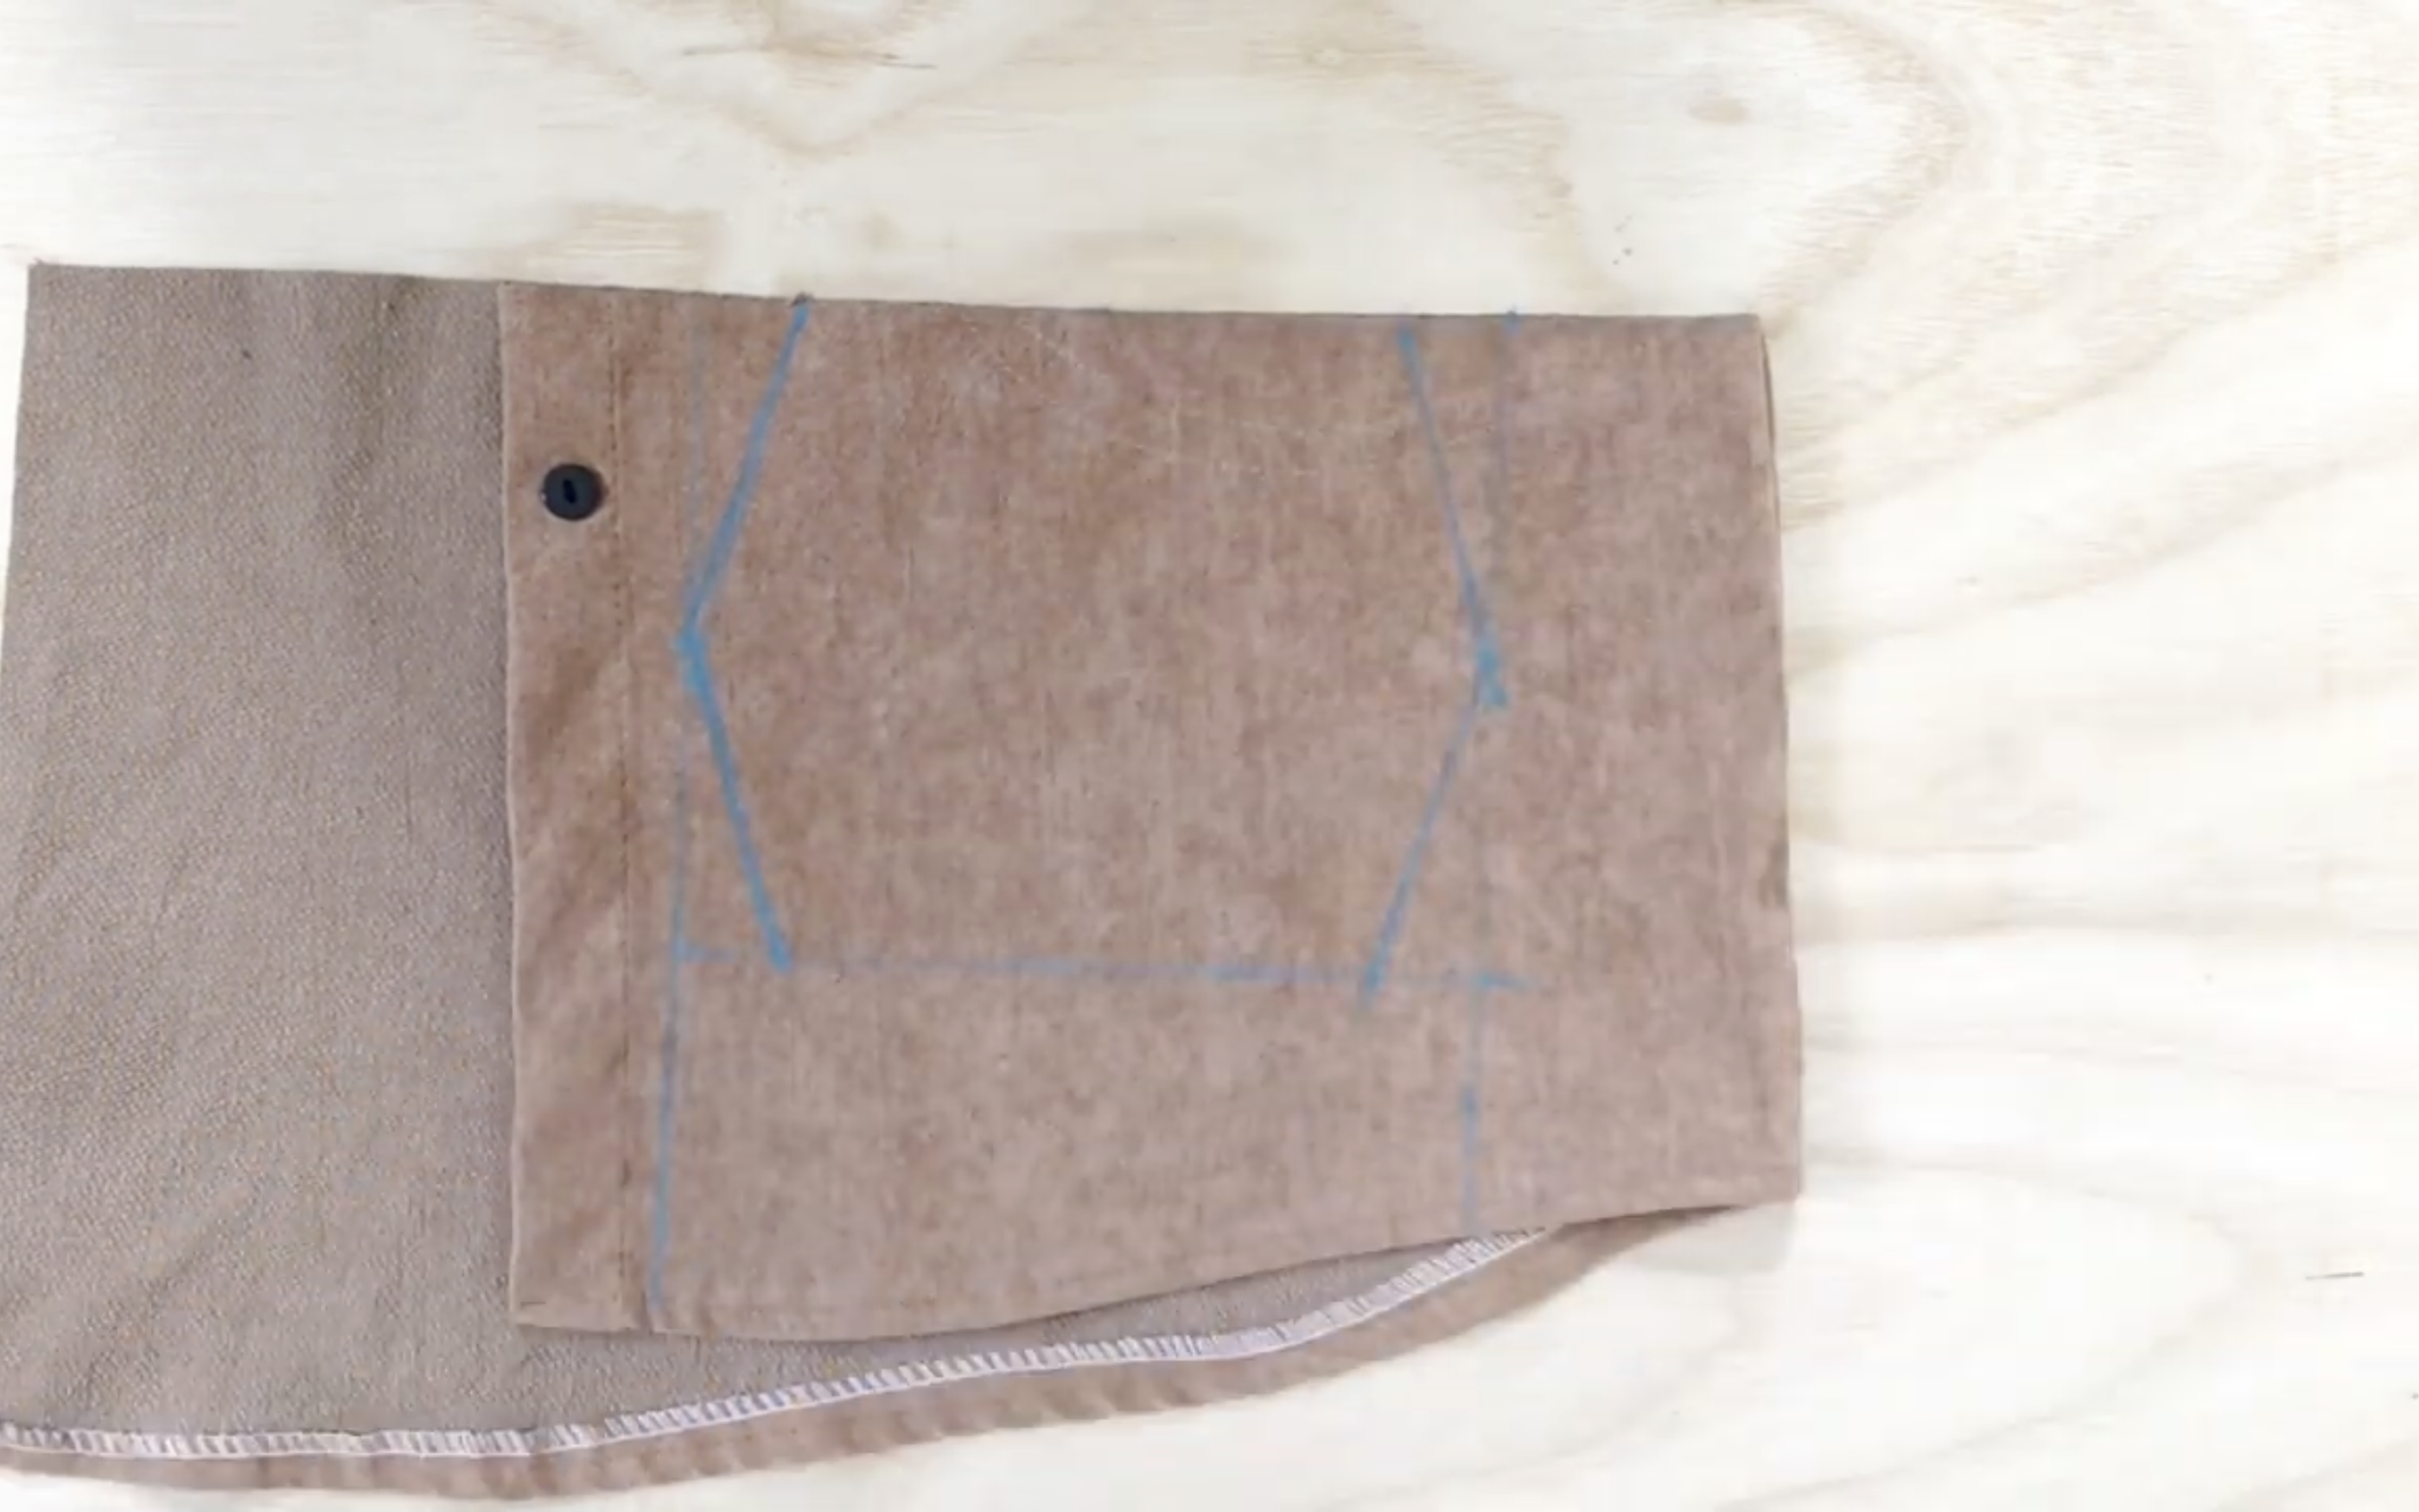
Then connect these marks together.
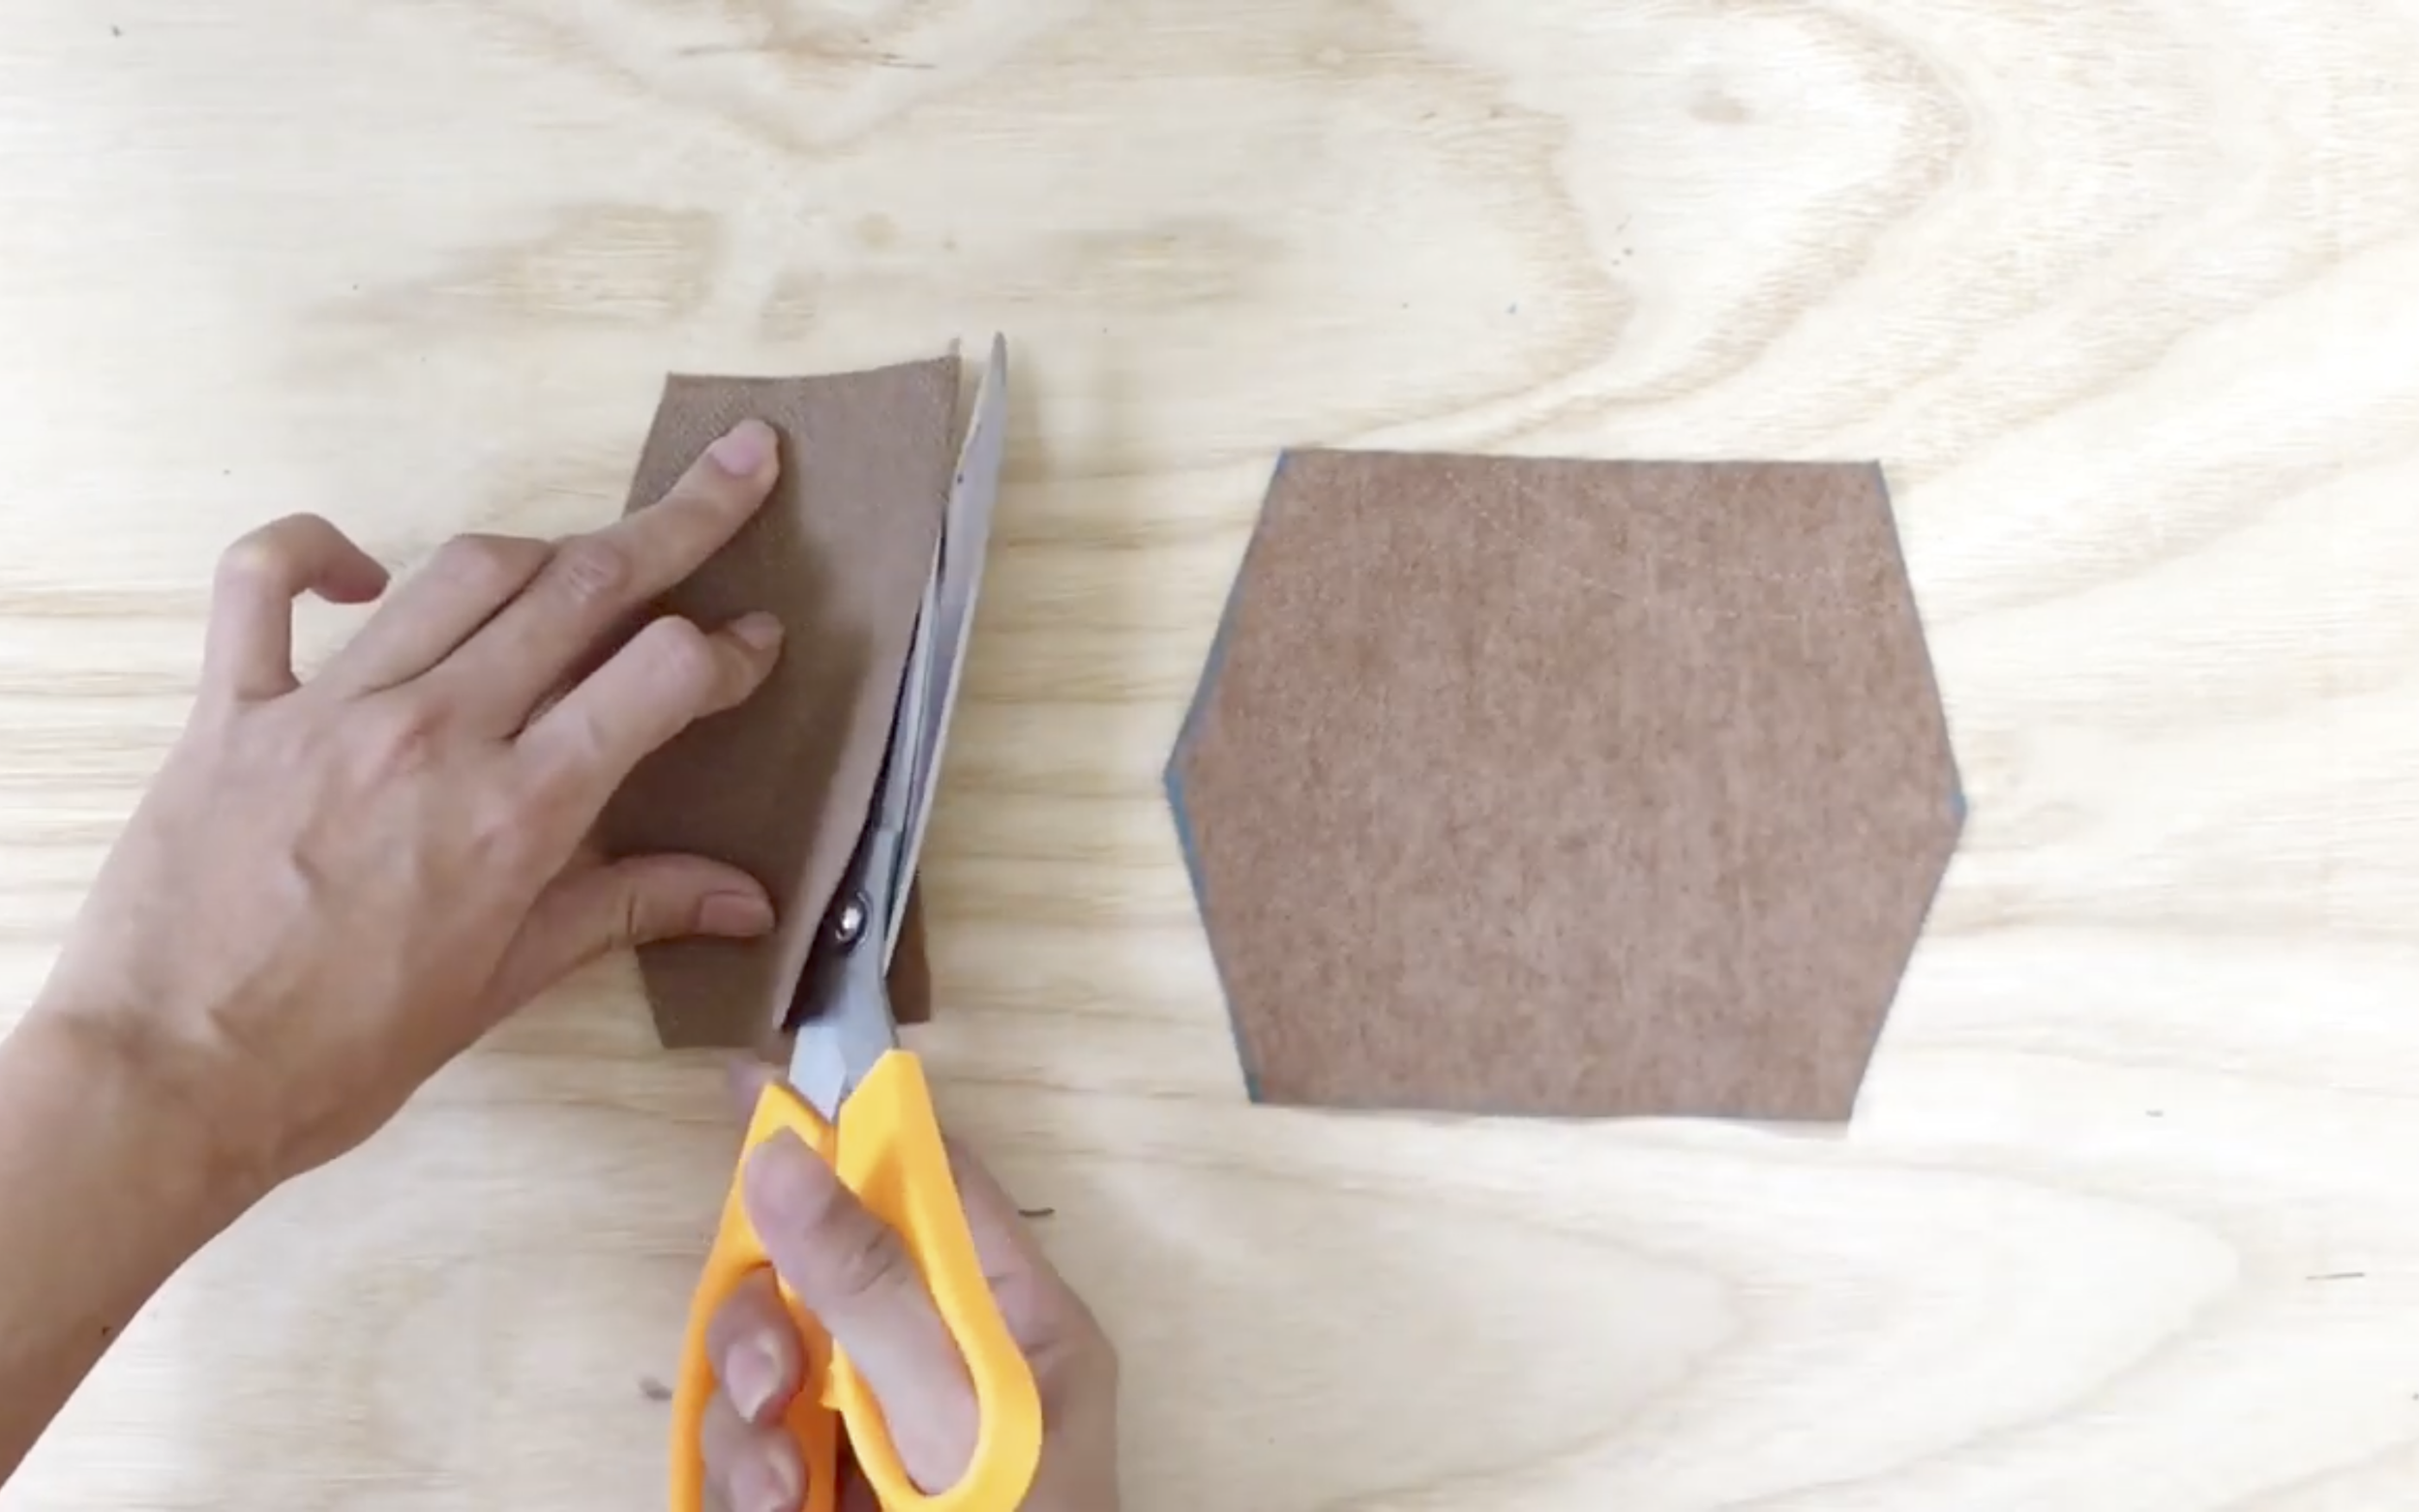
After that, you will have the flap of the pocket.
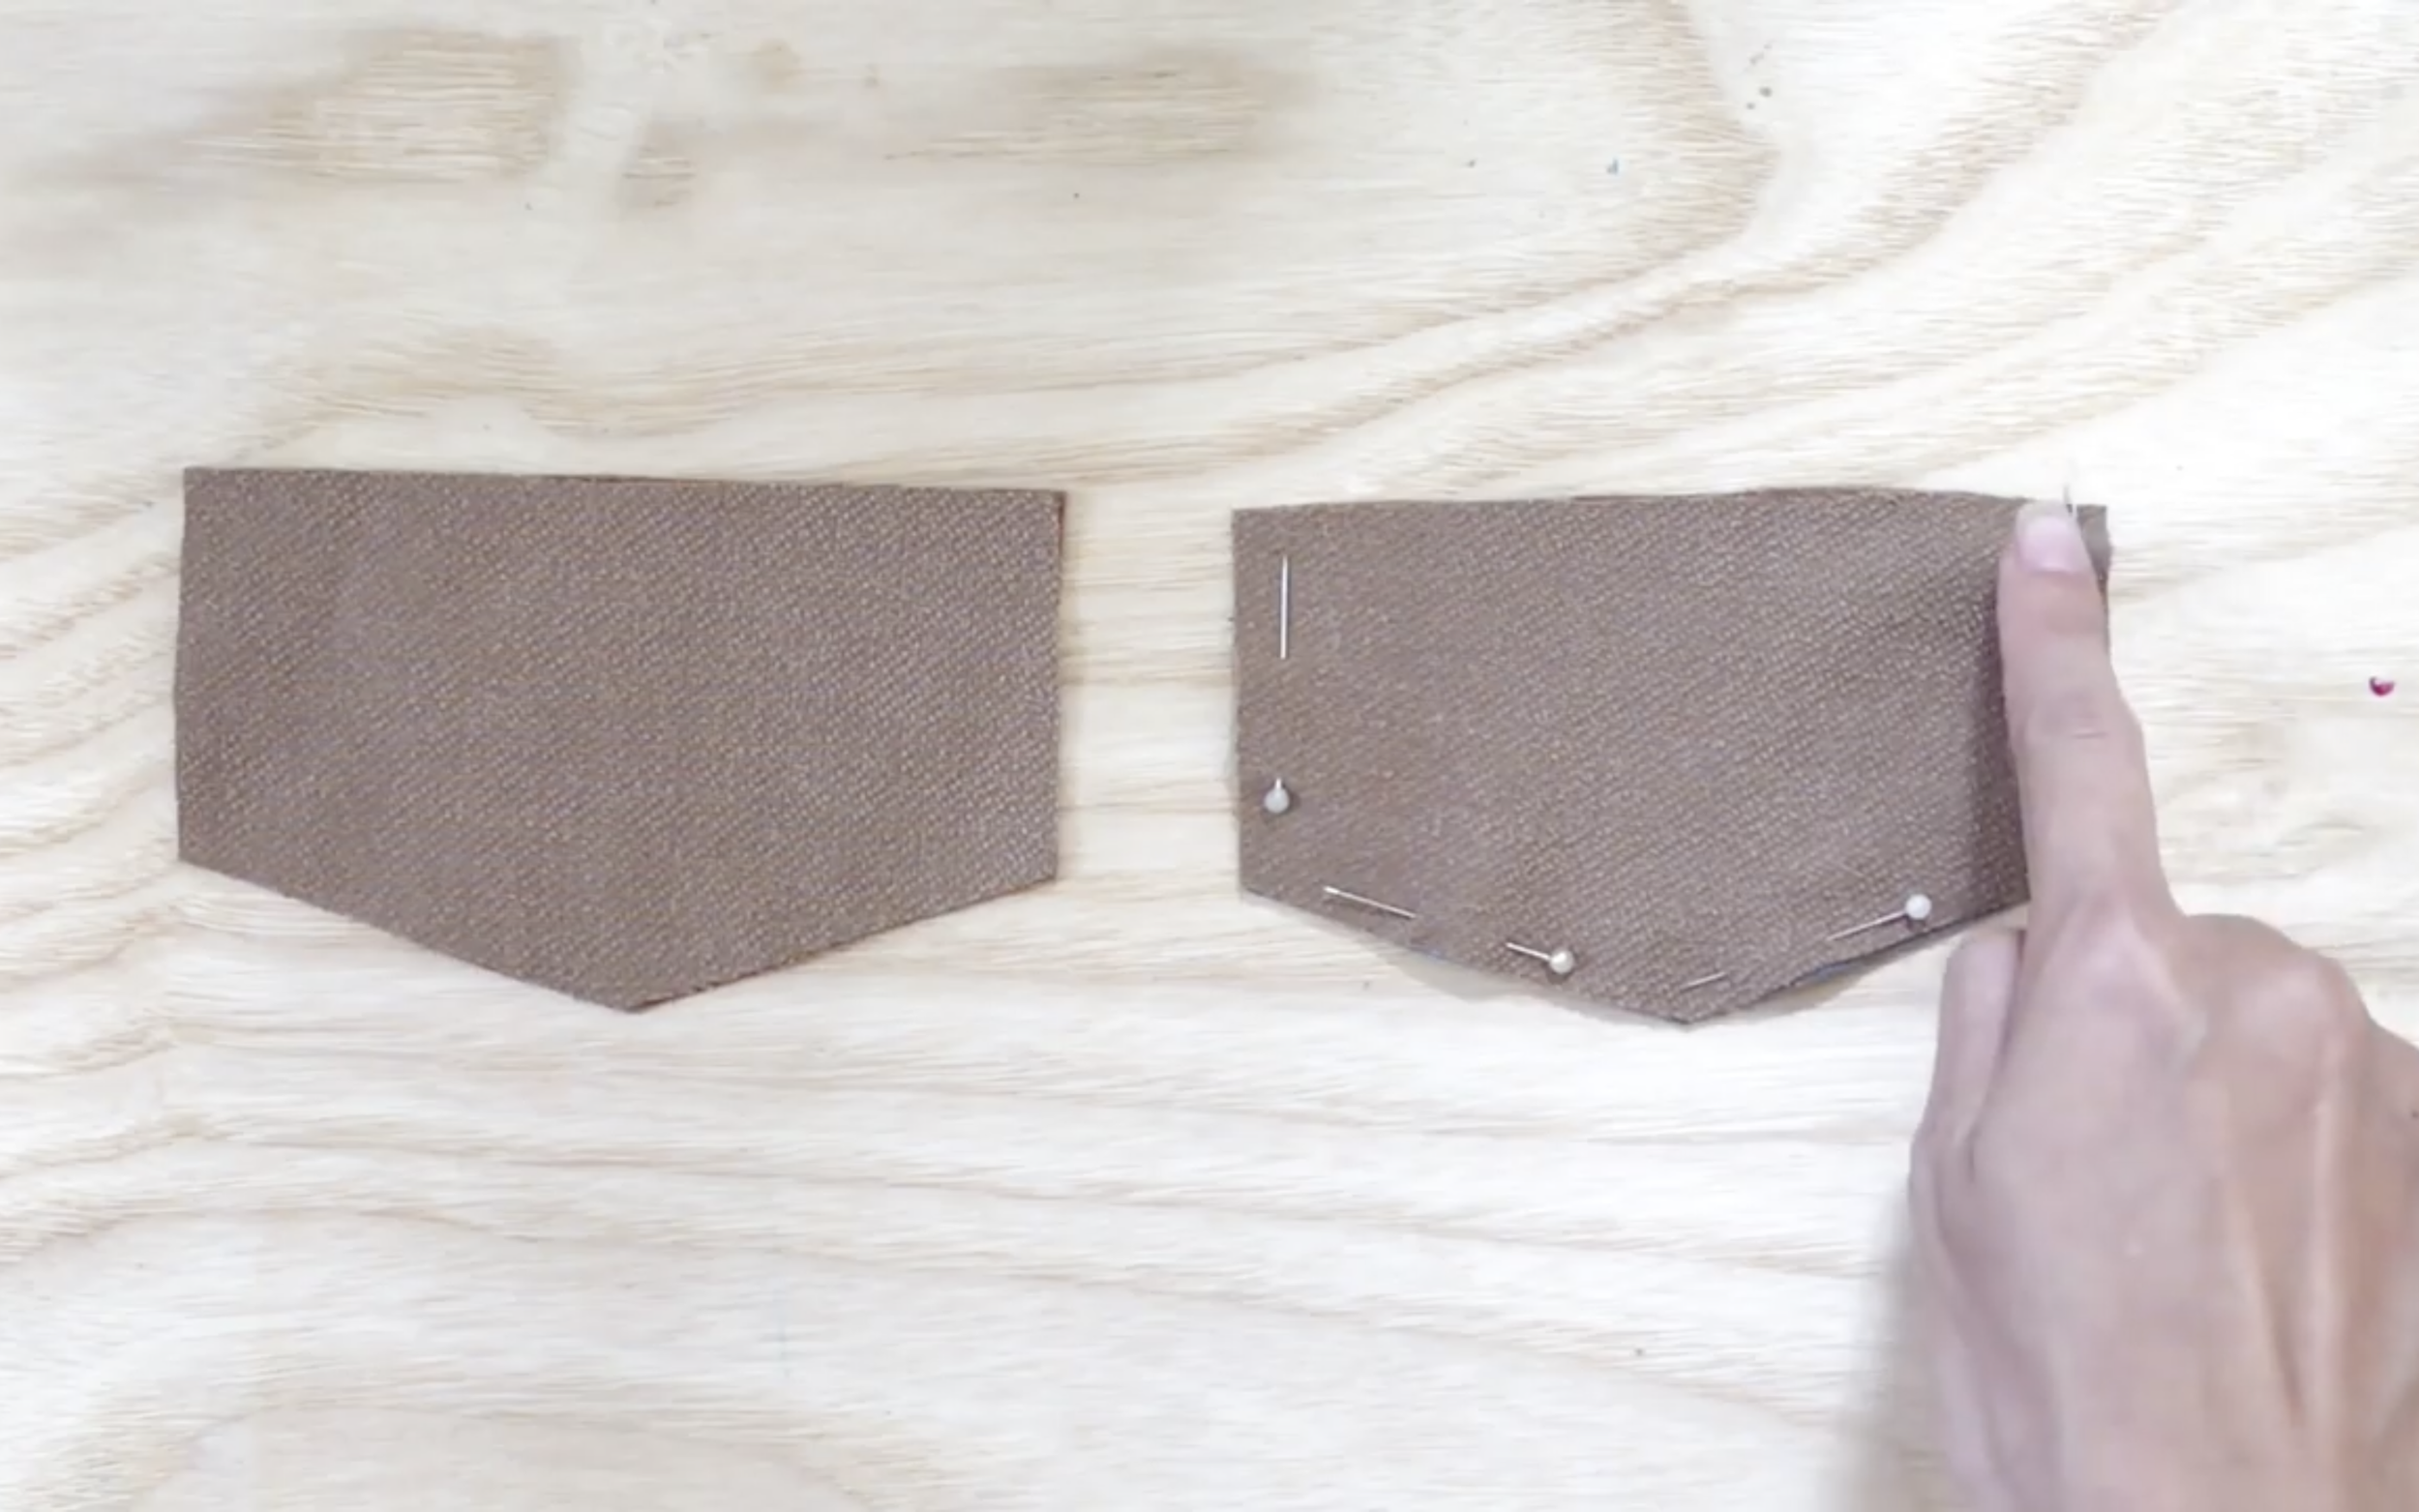
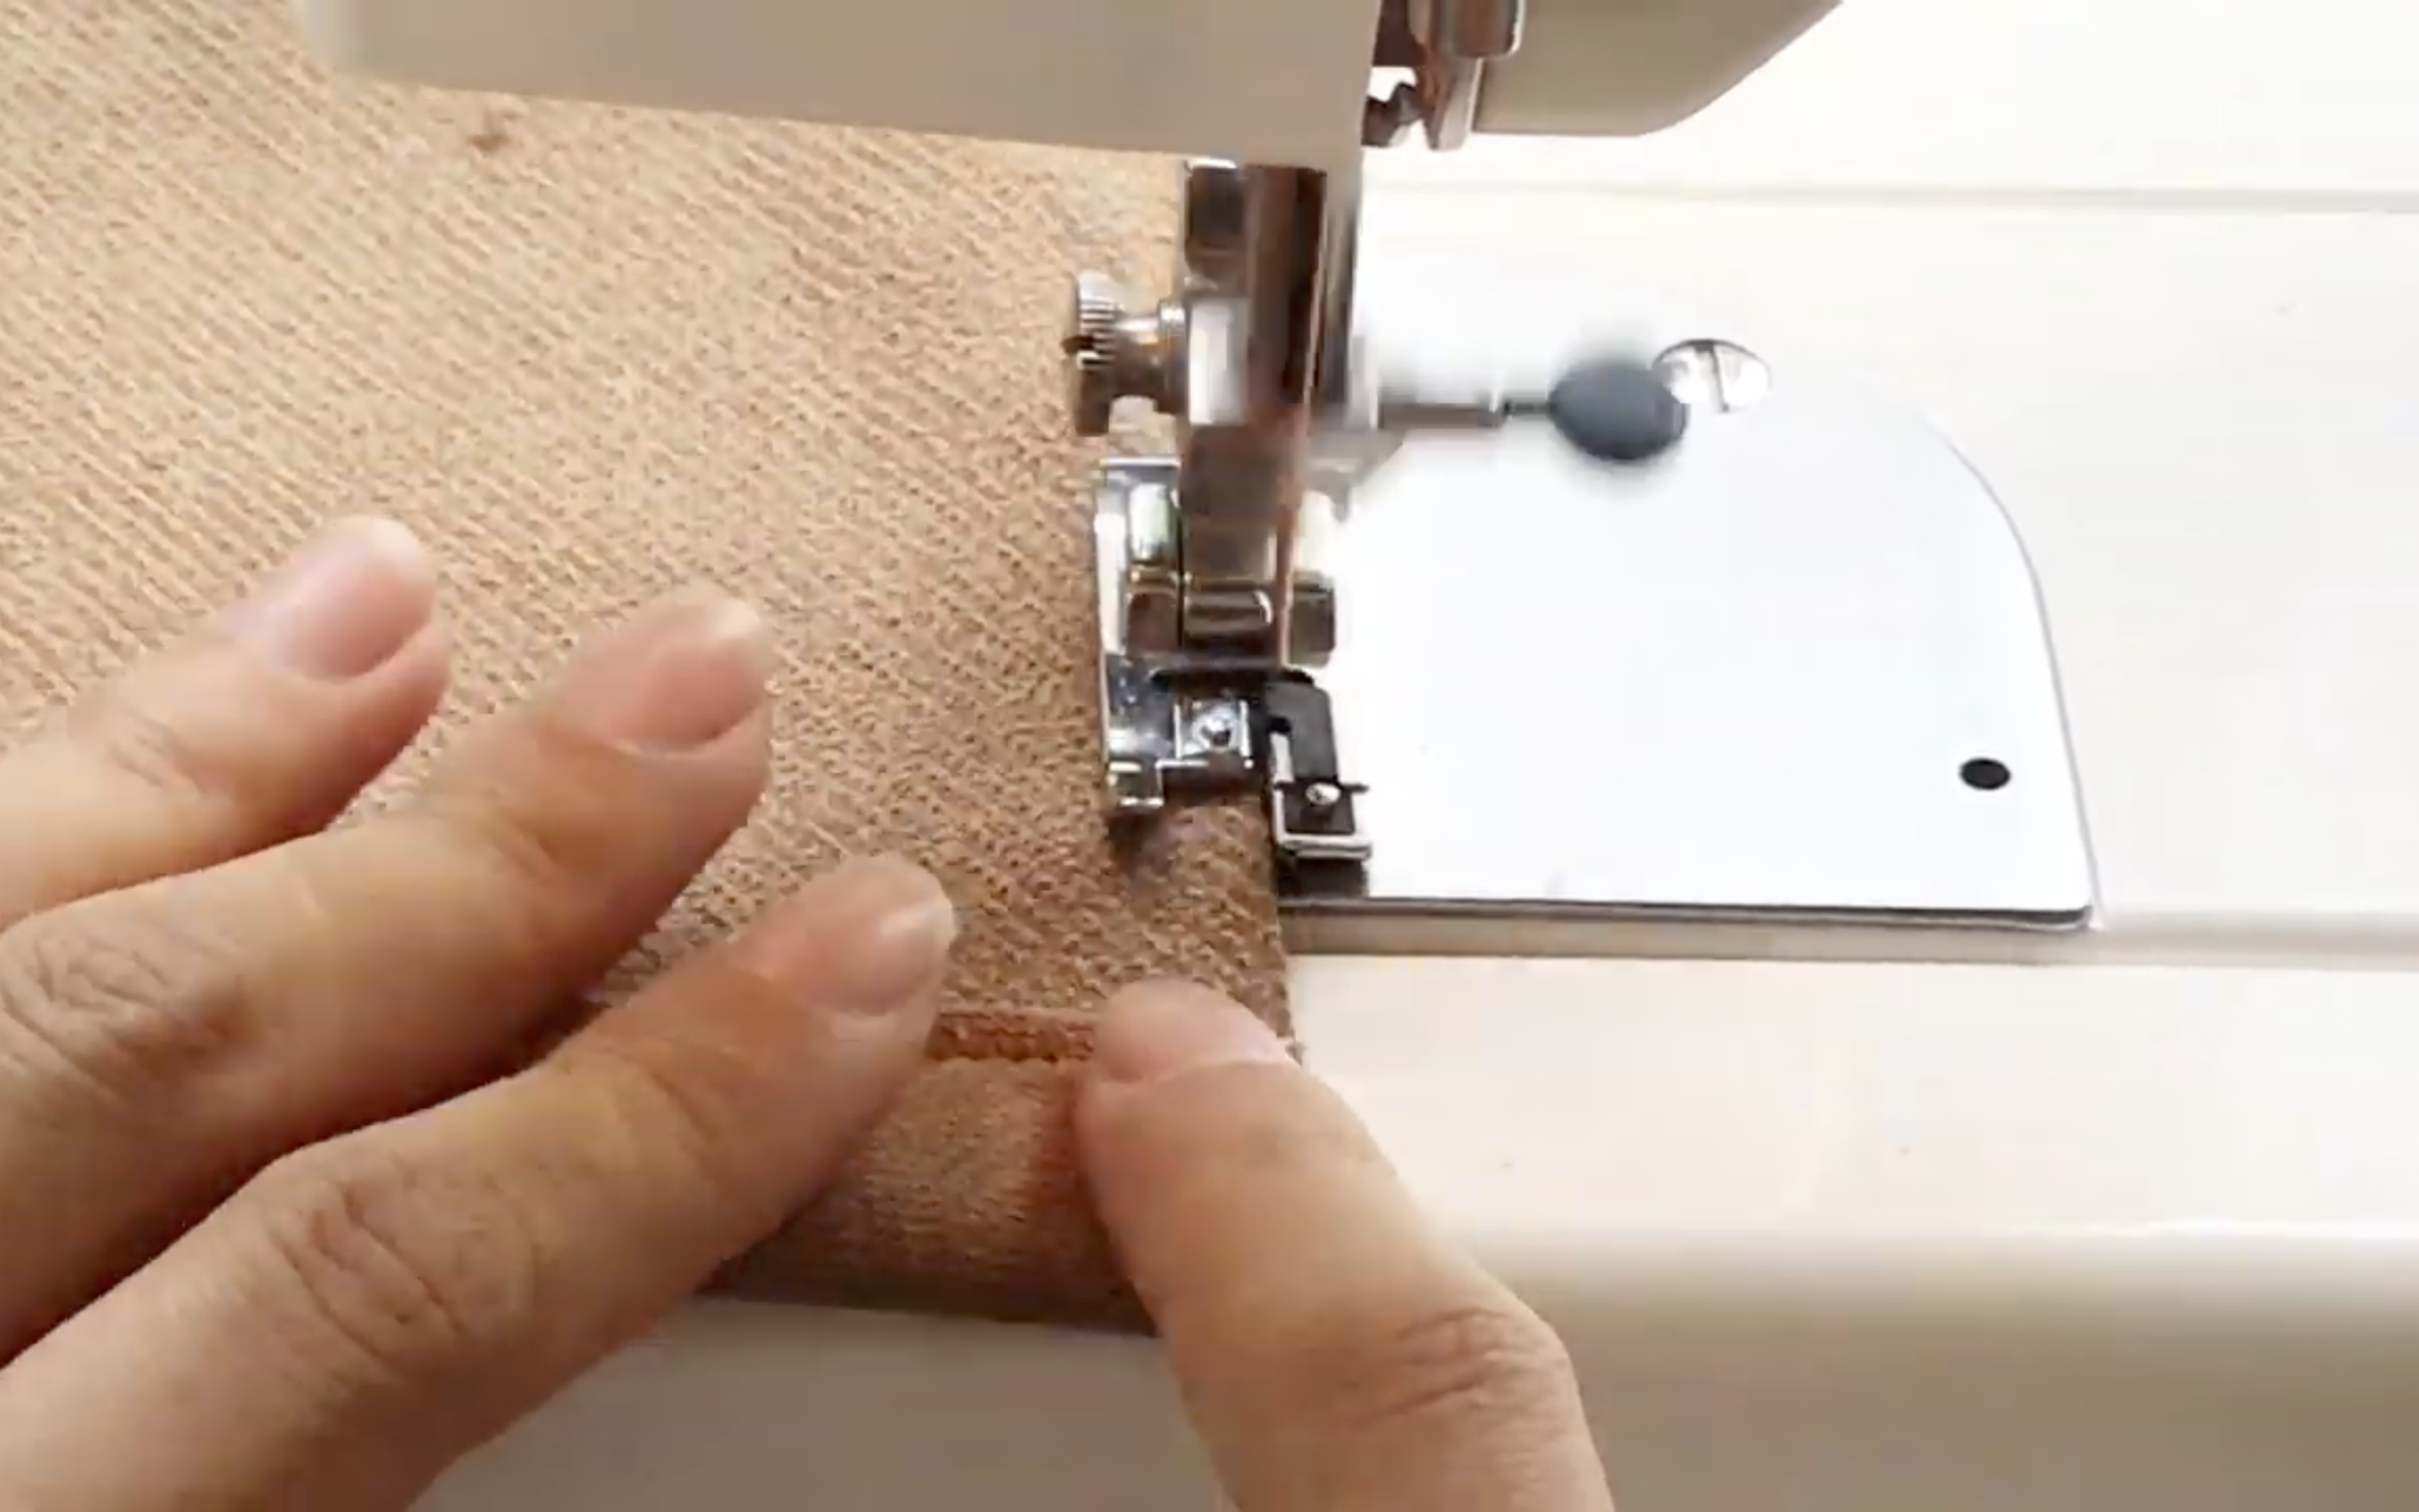
Use the pins to hold the pocket-flap together, then sewing.
After sewing, upside the pocket-flap and make another seam outside.
Also overlock the pocket-flap after that.
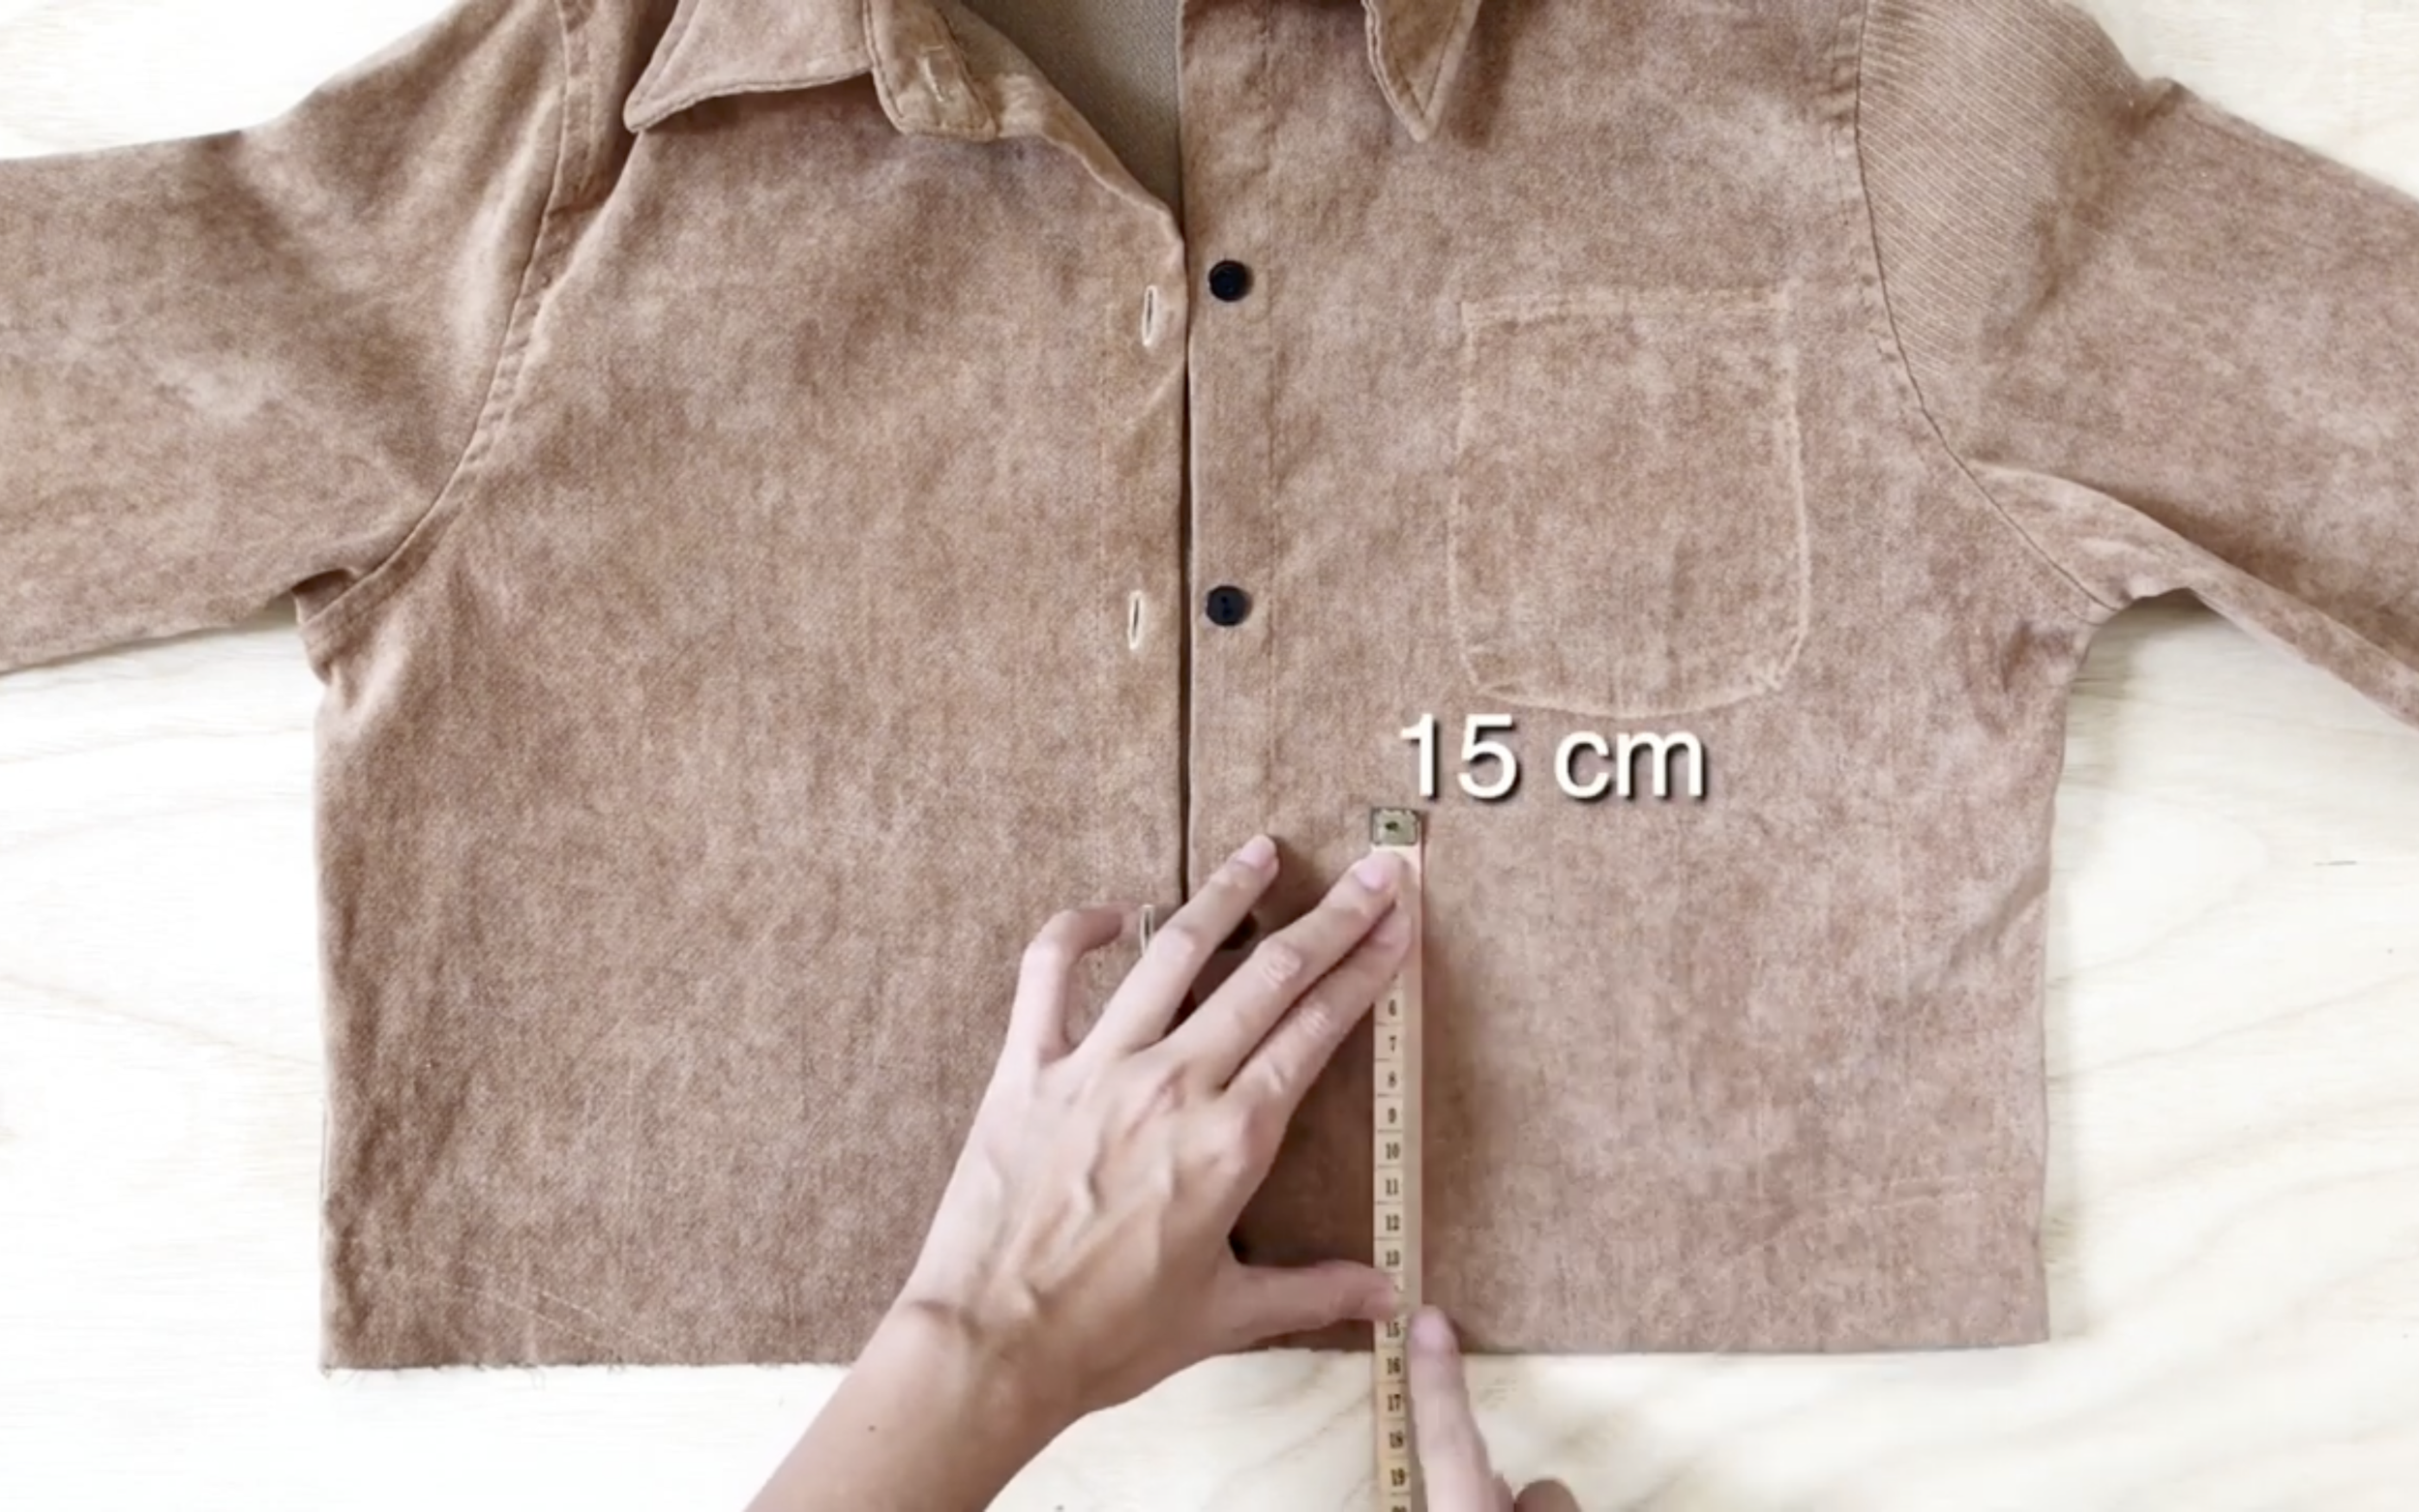
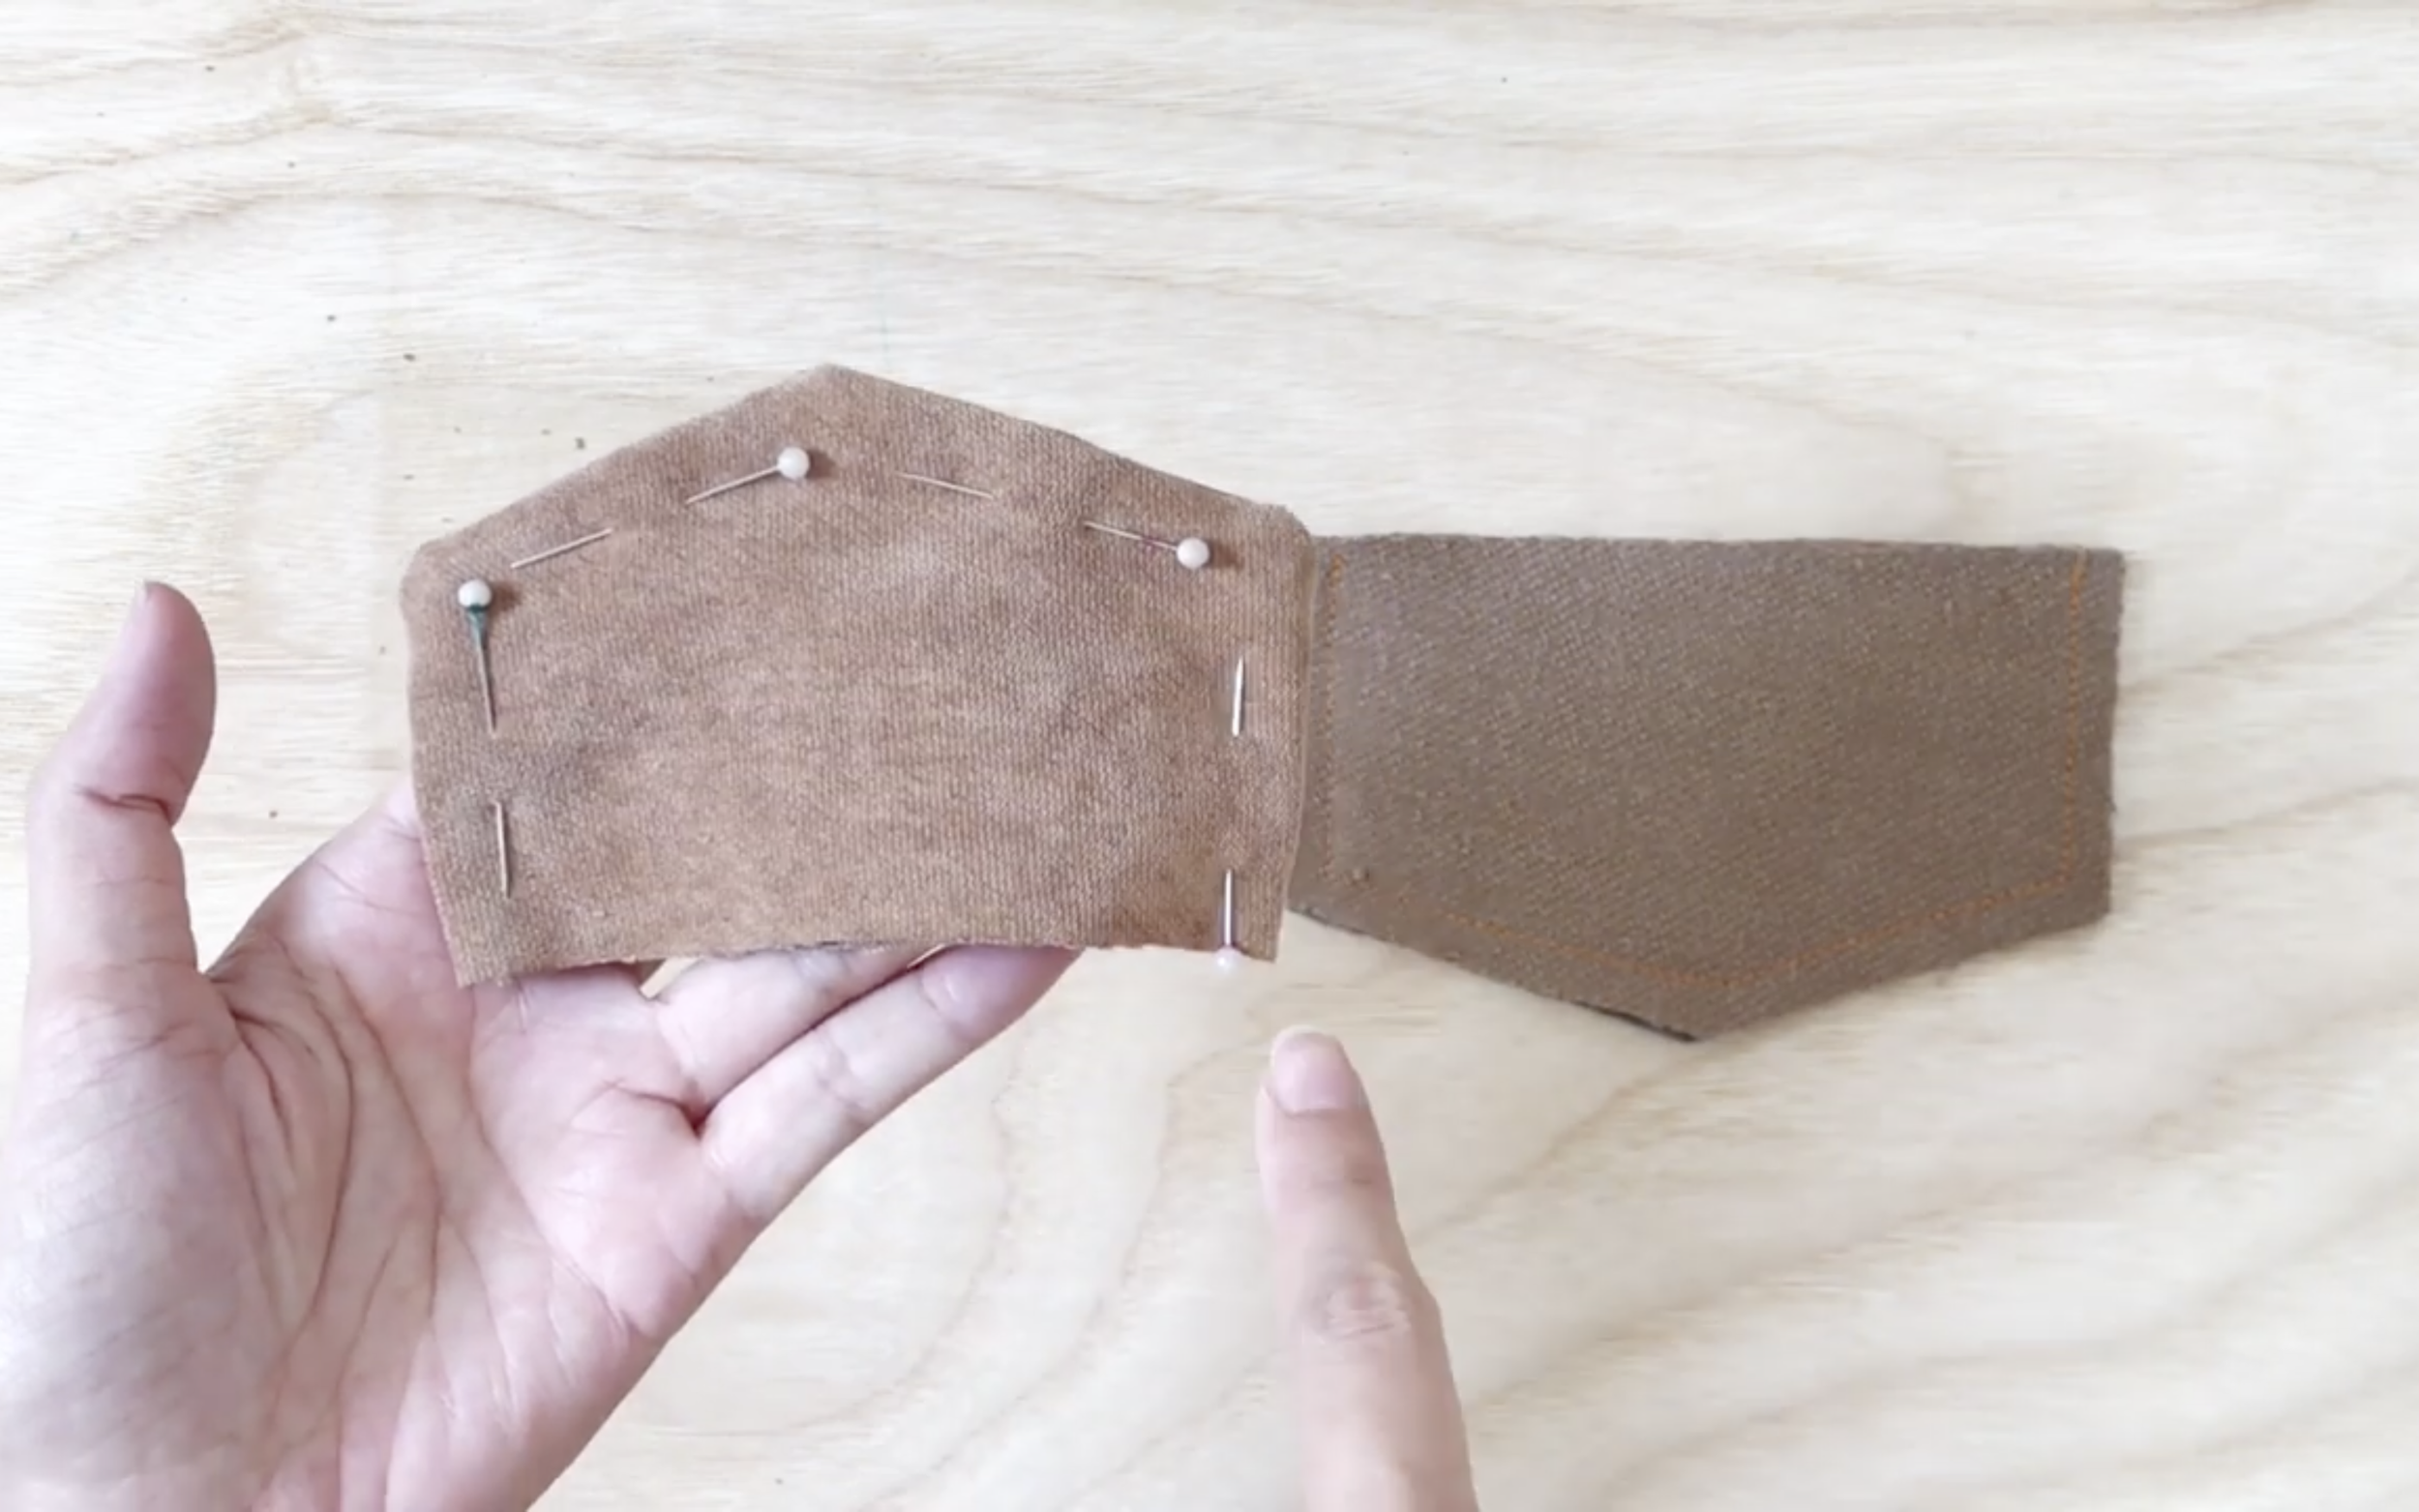
Now measure the position for the pockets.
From the end of the jacket, go up 15 cm and mark there.
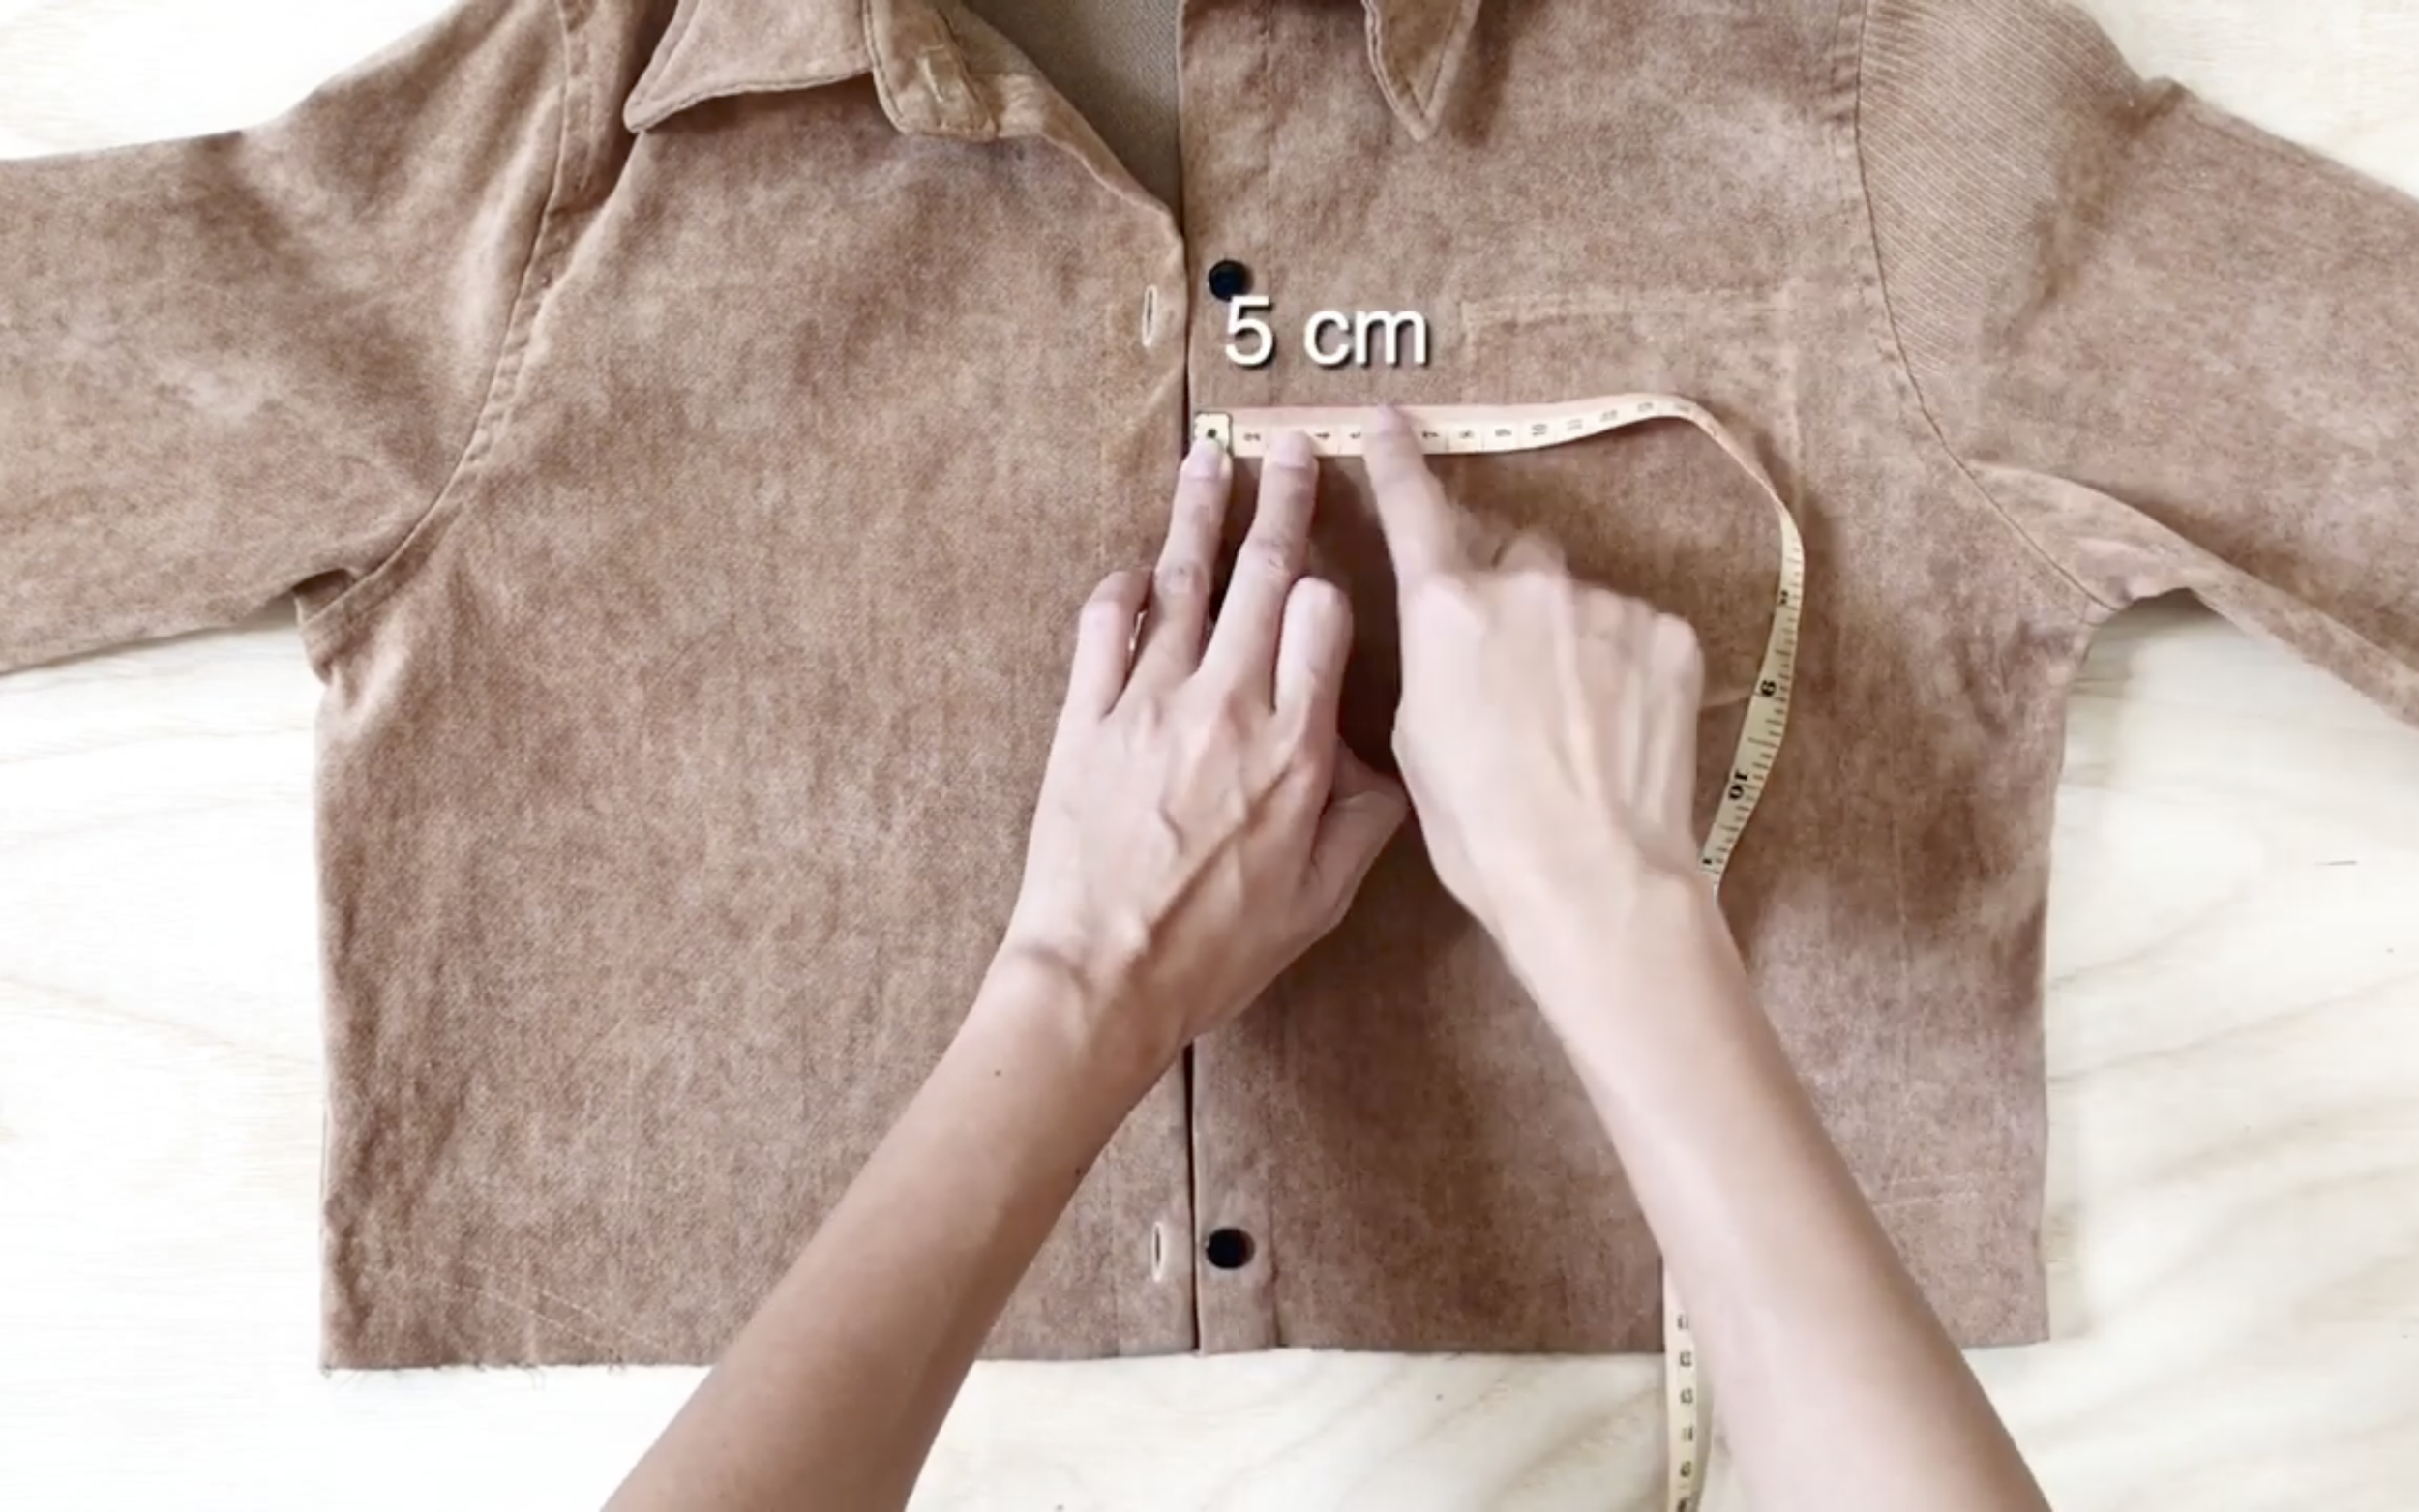
From the button area, go to inside 5 cm and make another mark.
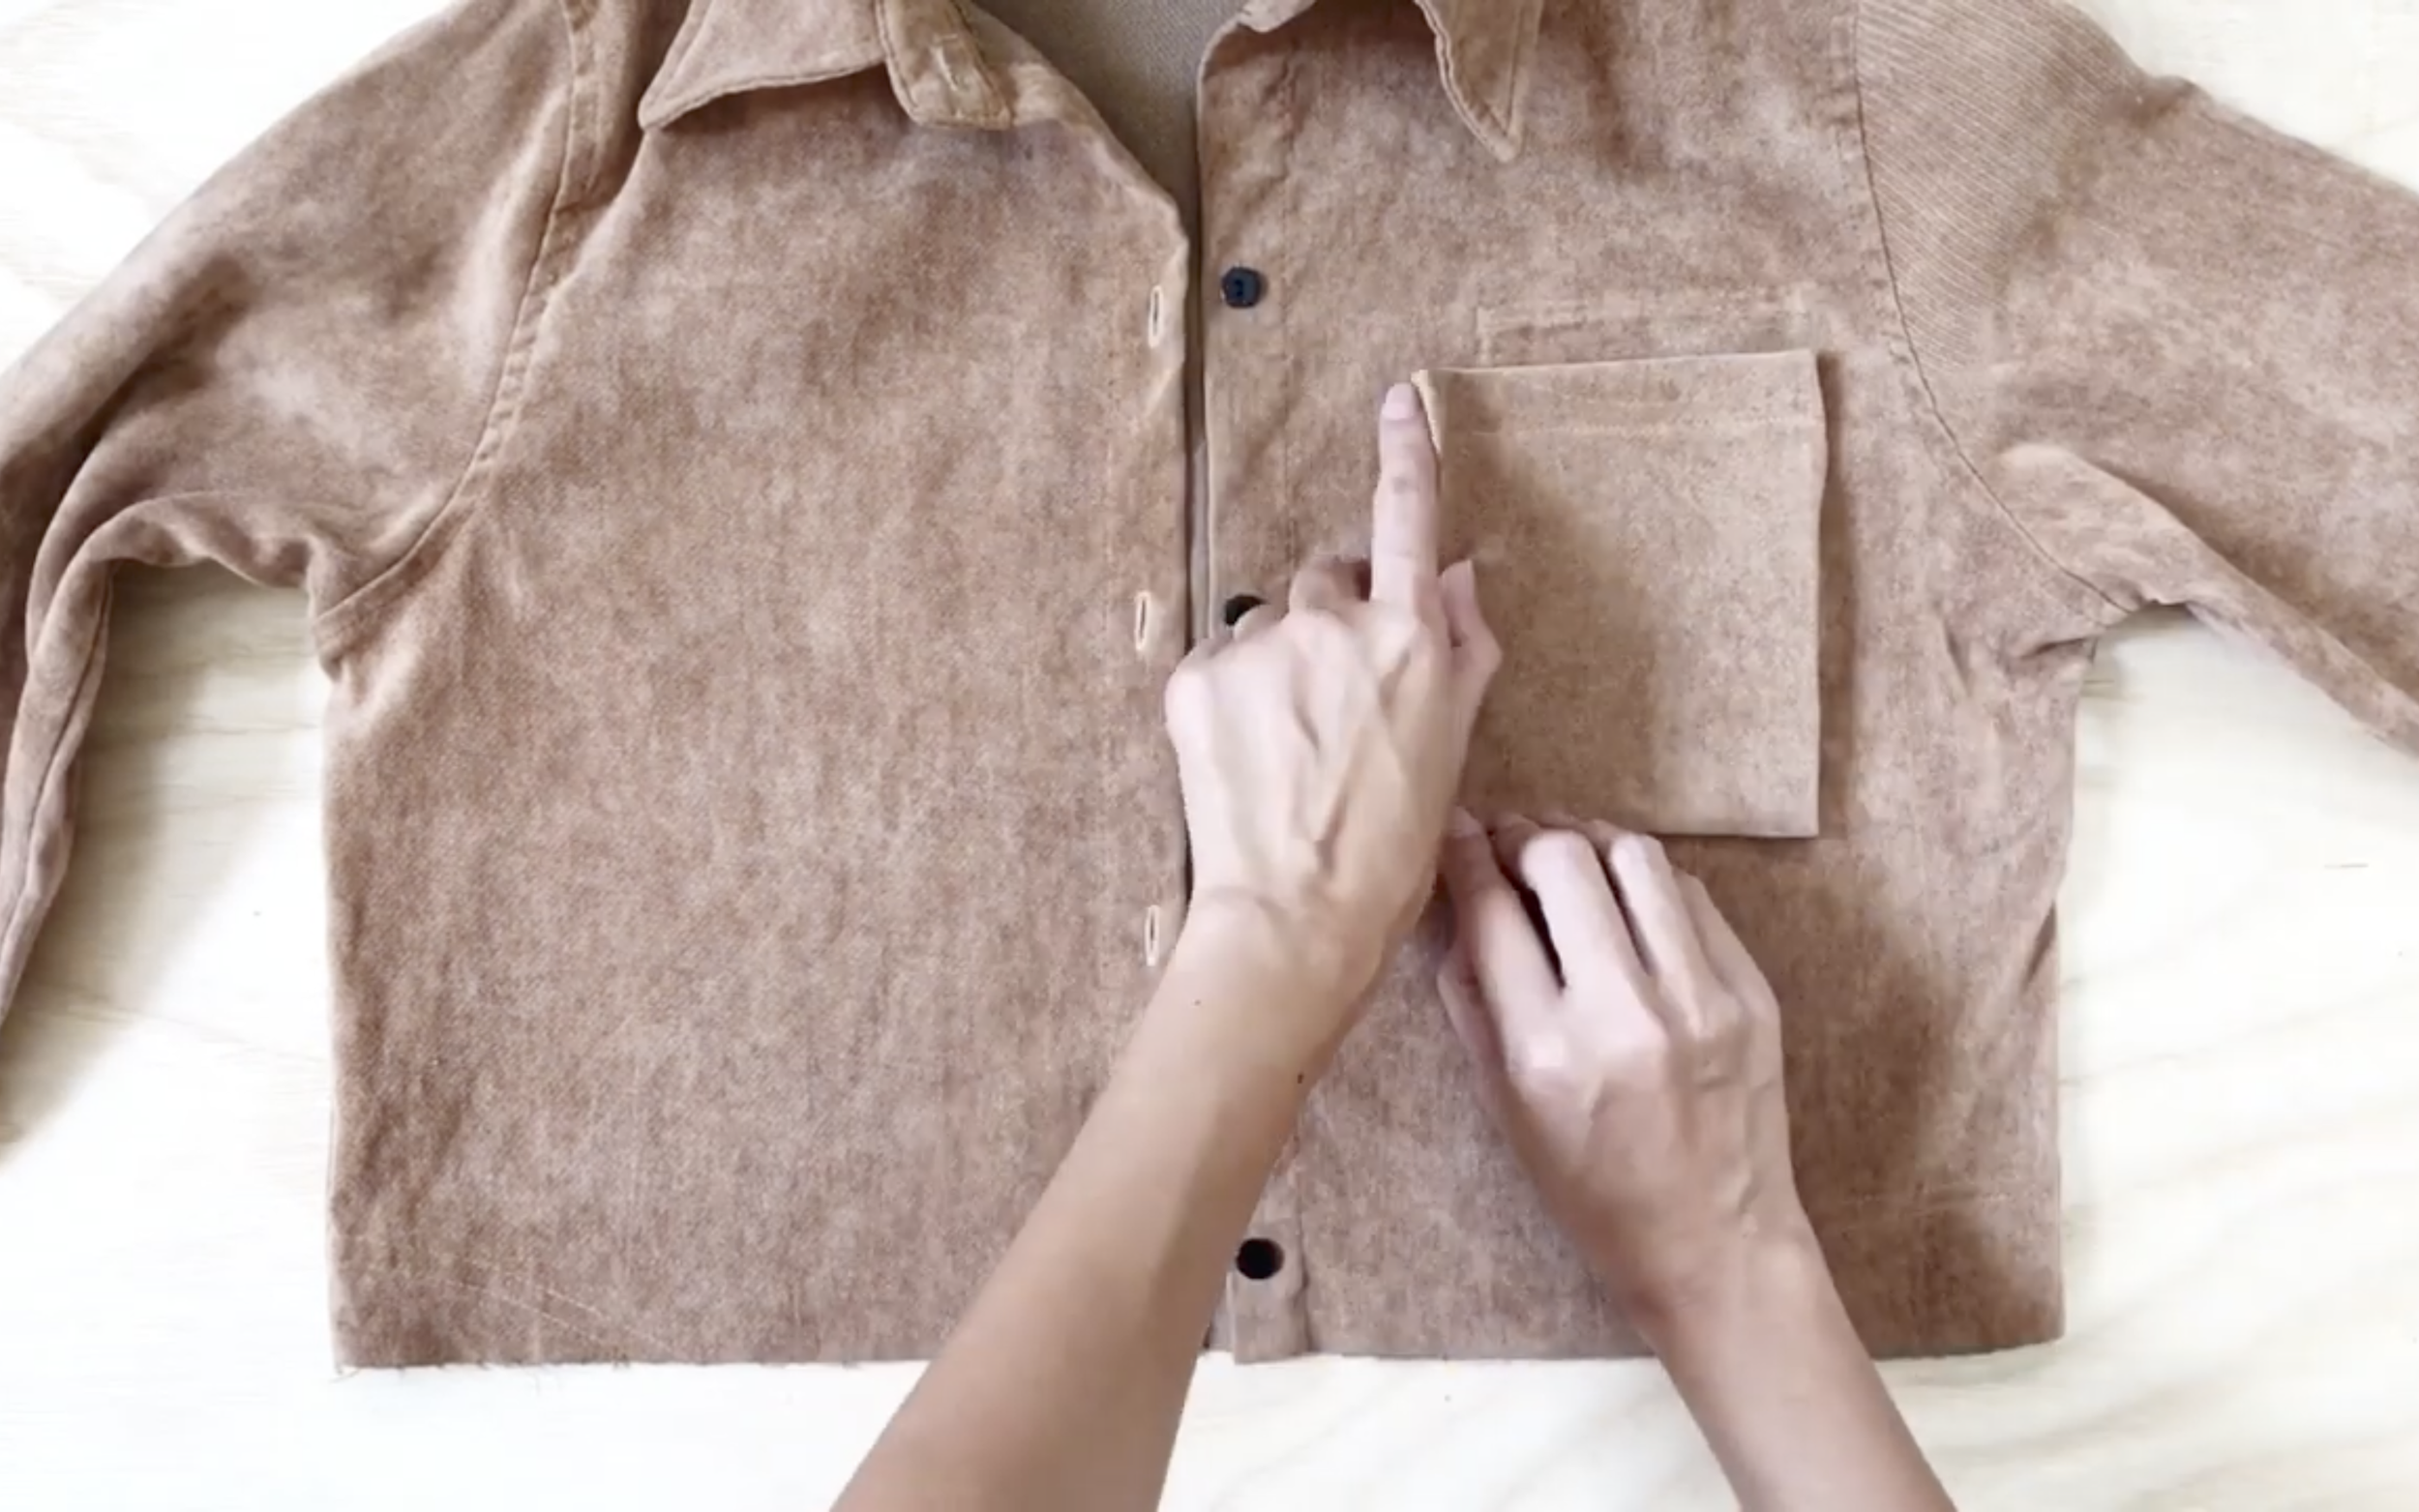
After that, put the body of the pocket to the front jacket at the meeting with the mark that was made before.
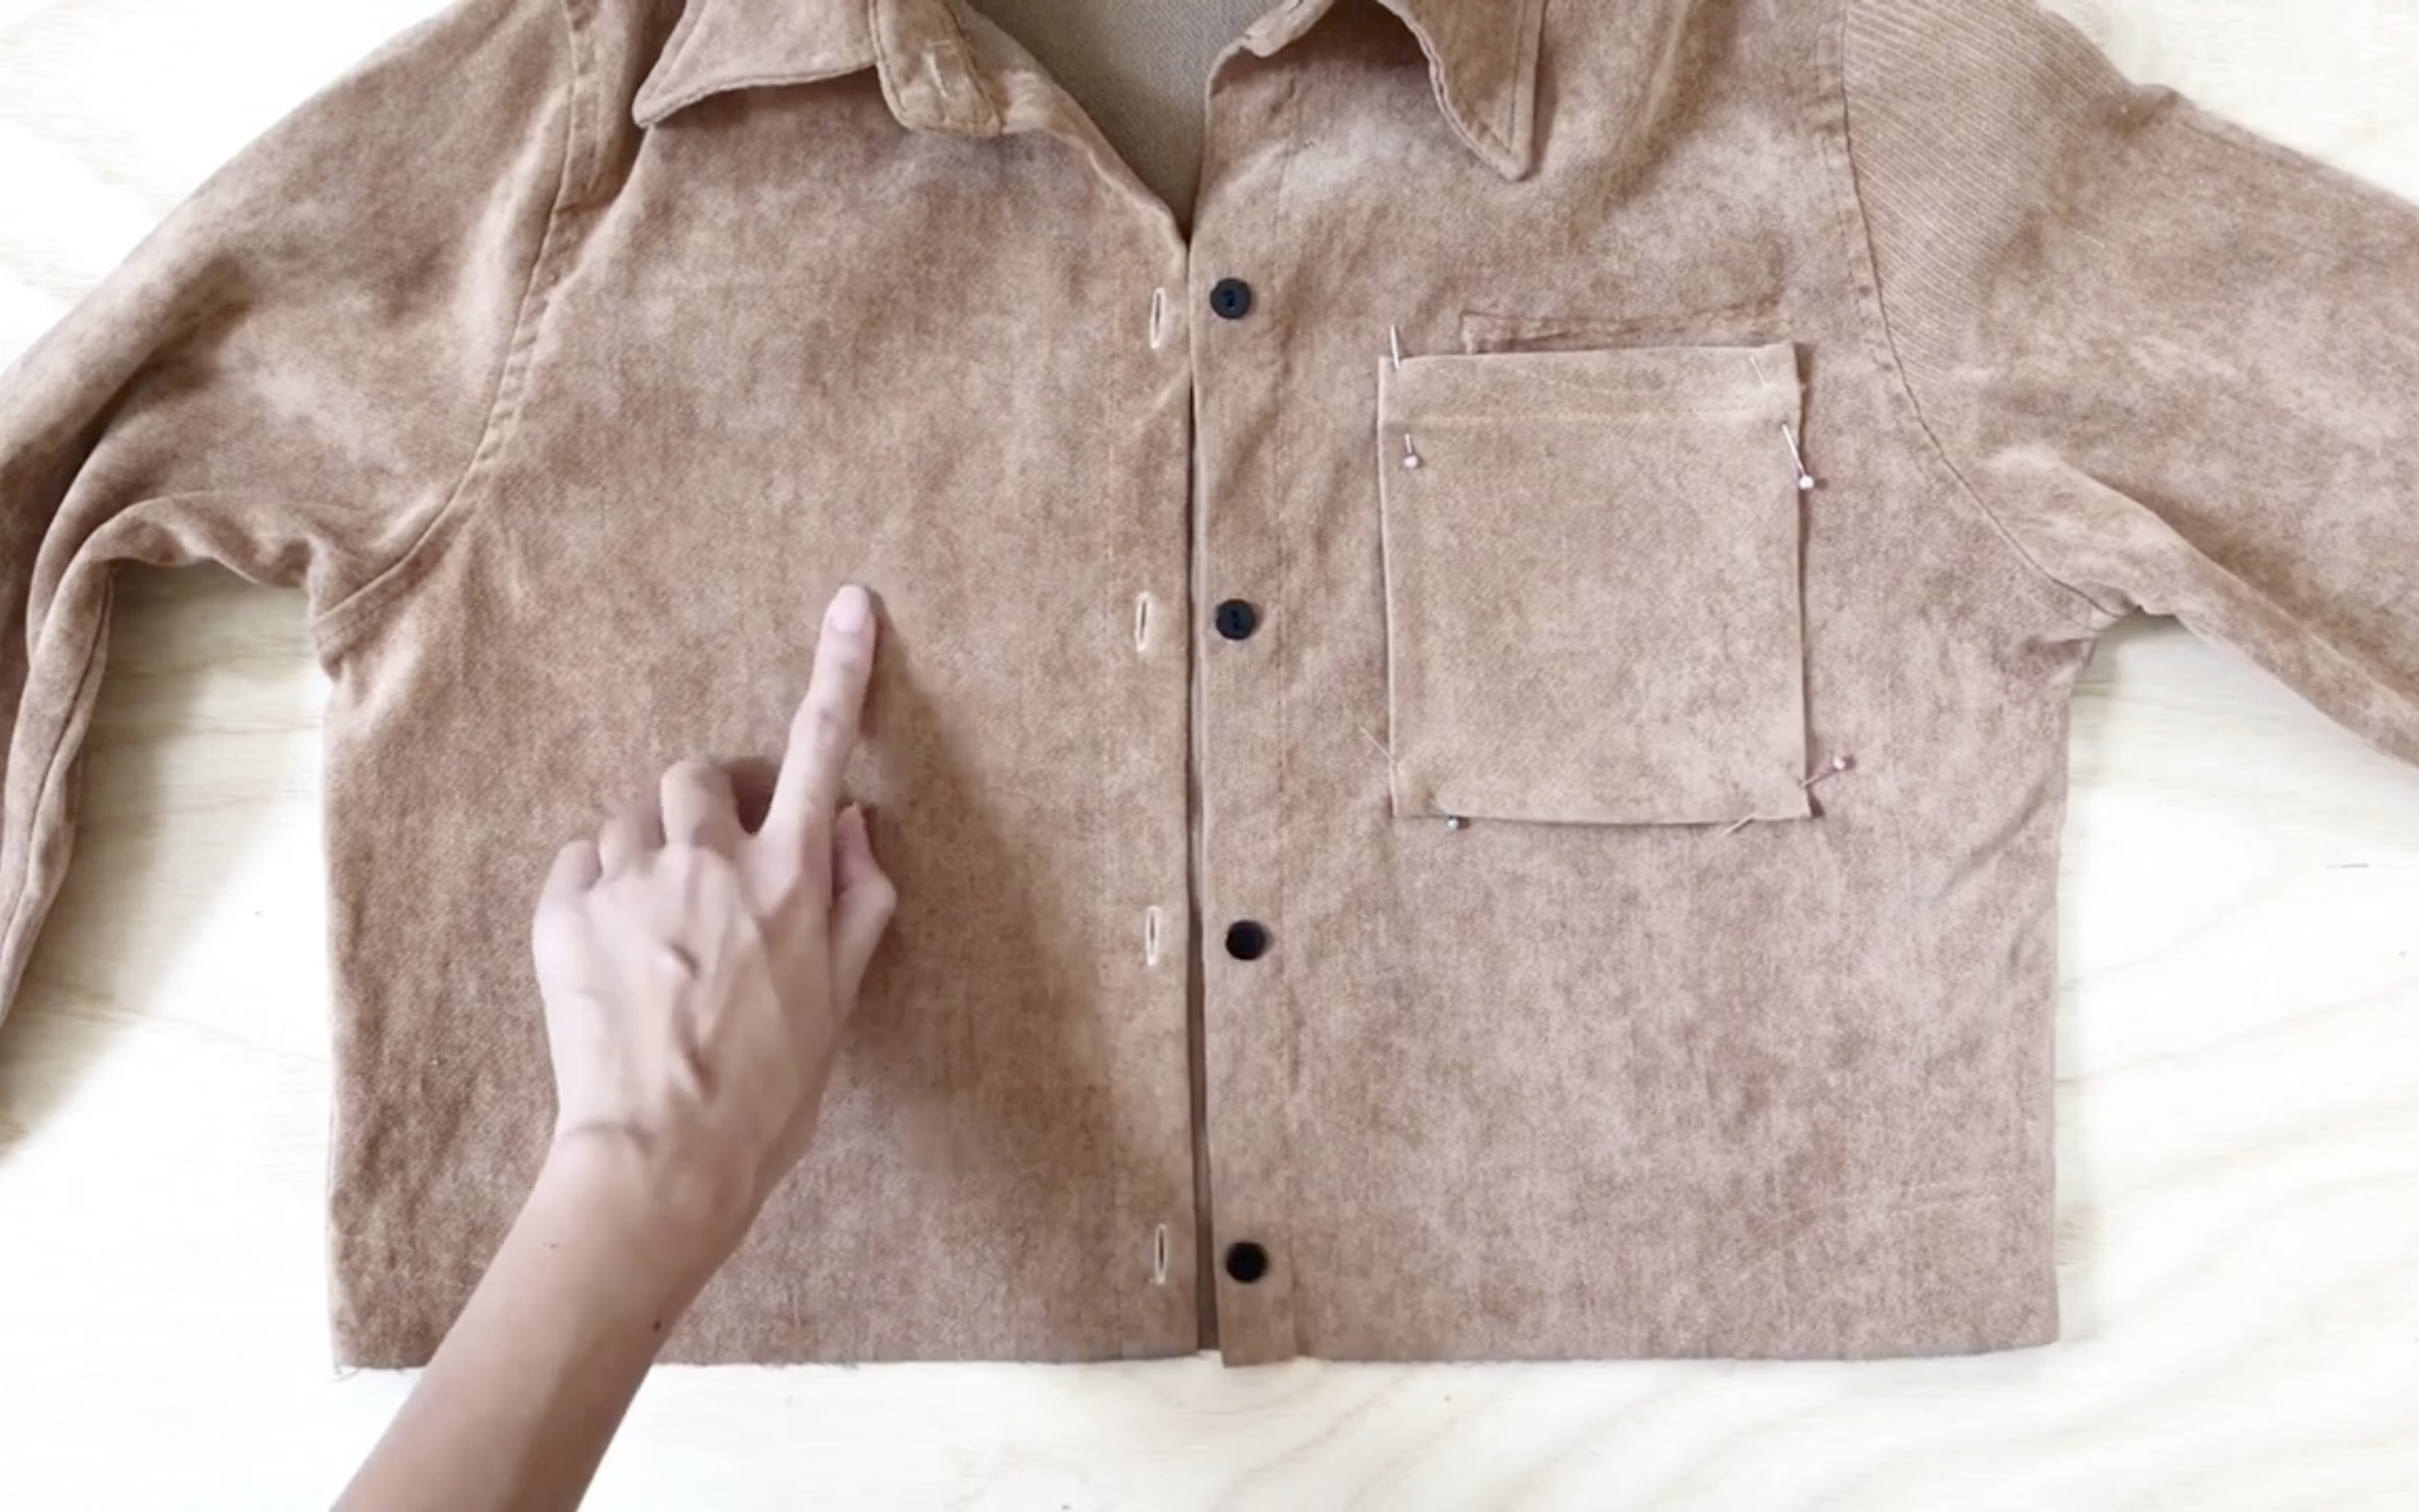
Use the pins to hold the pockets to the front jacket and sewing.
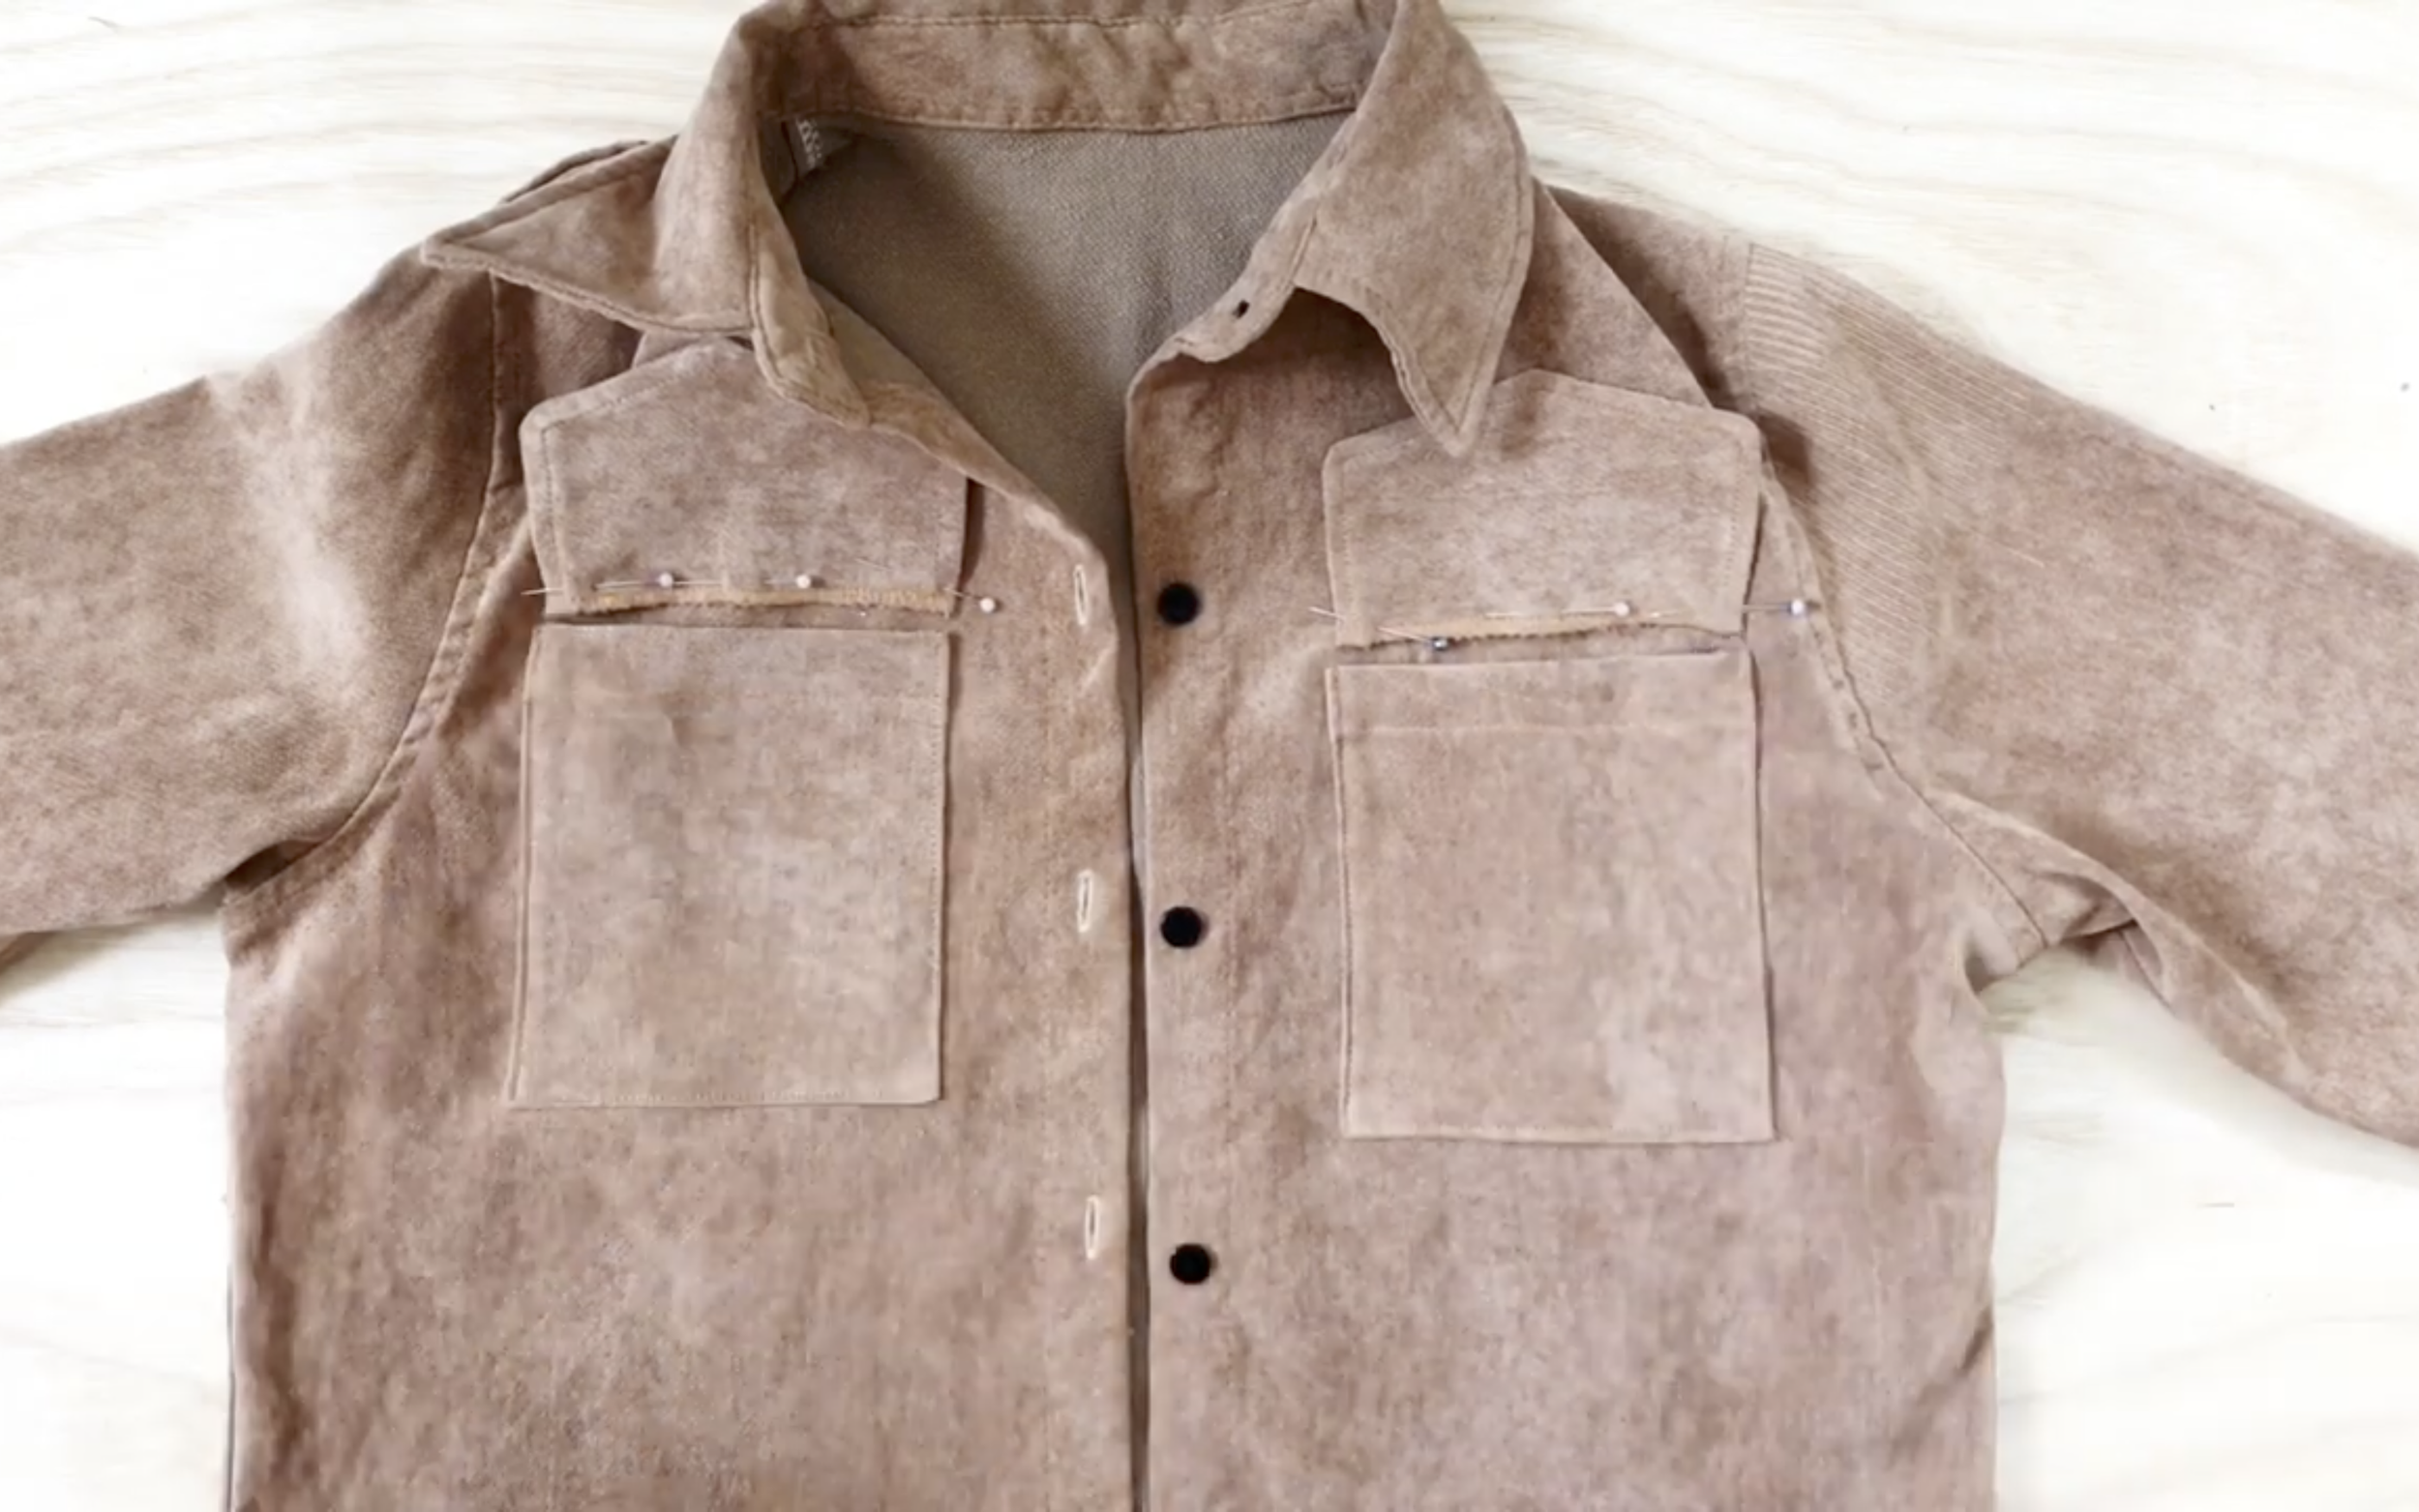
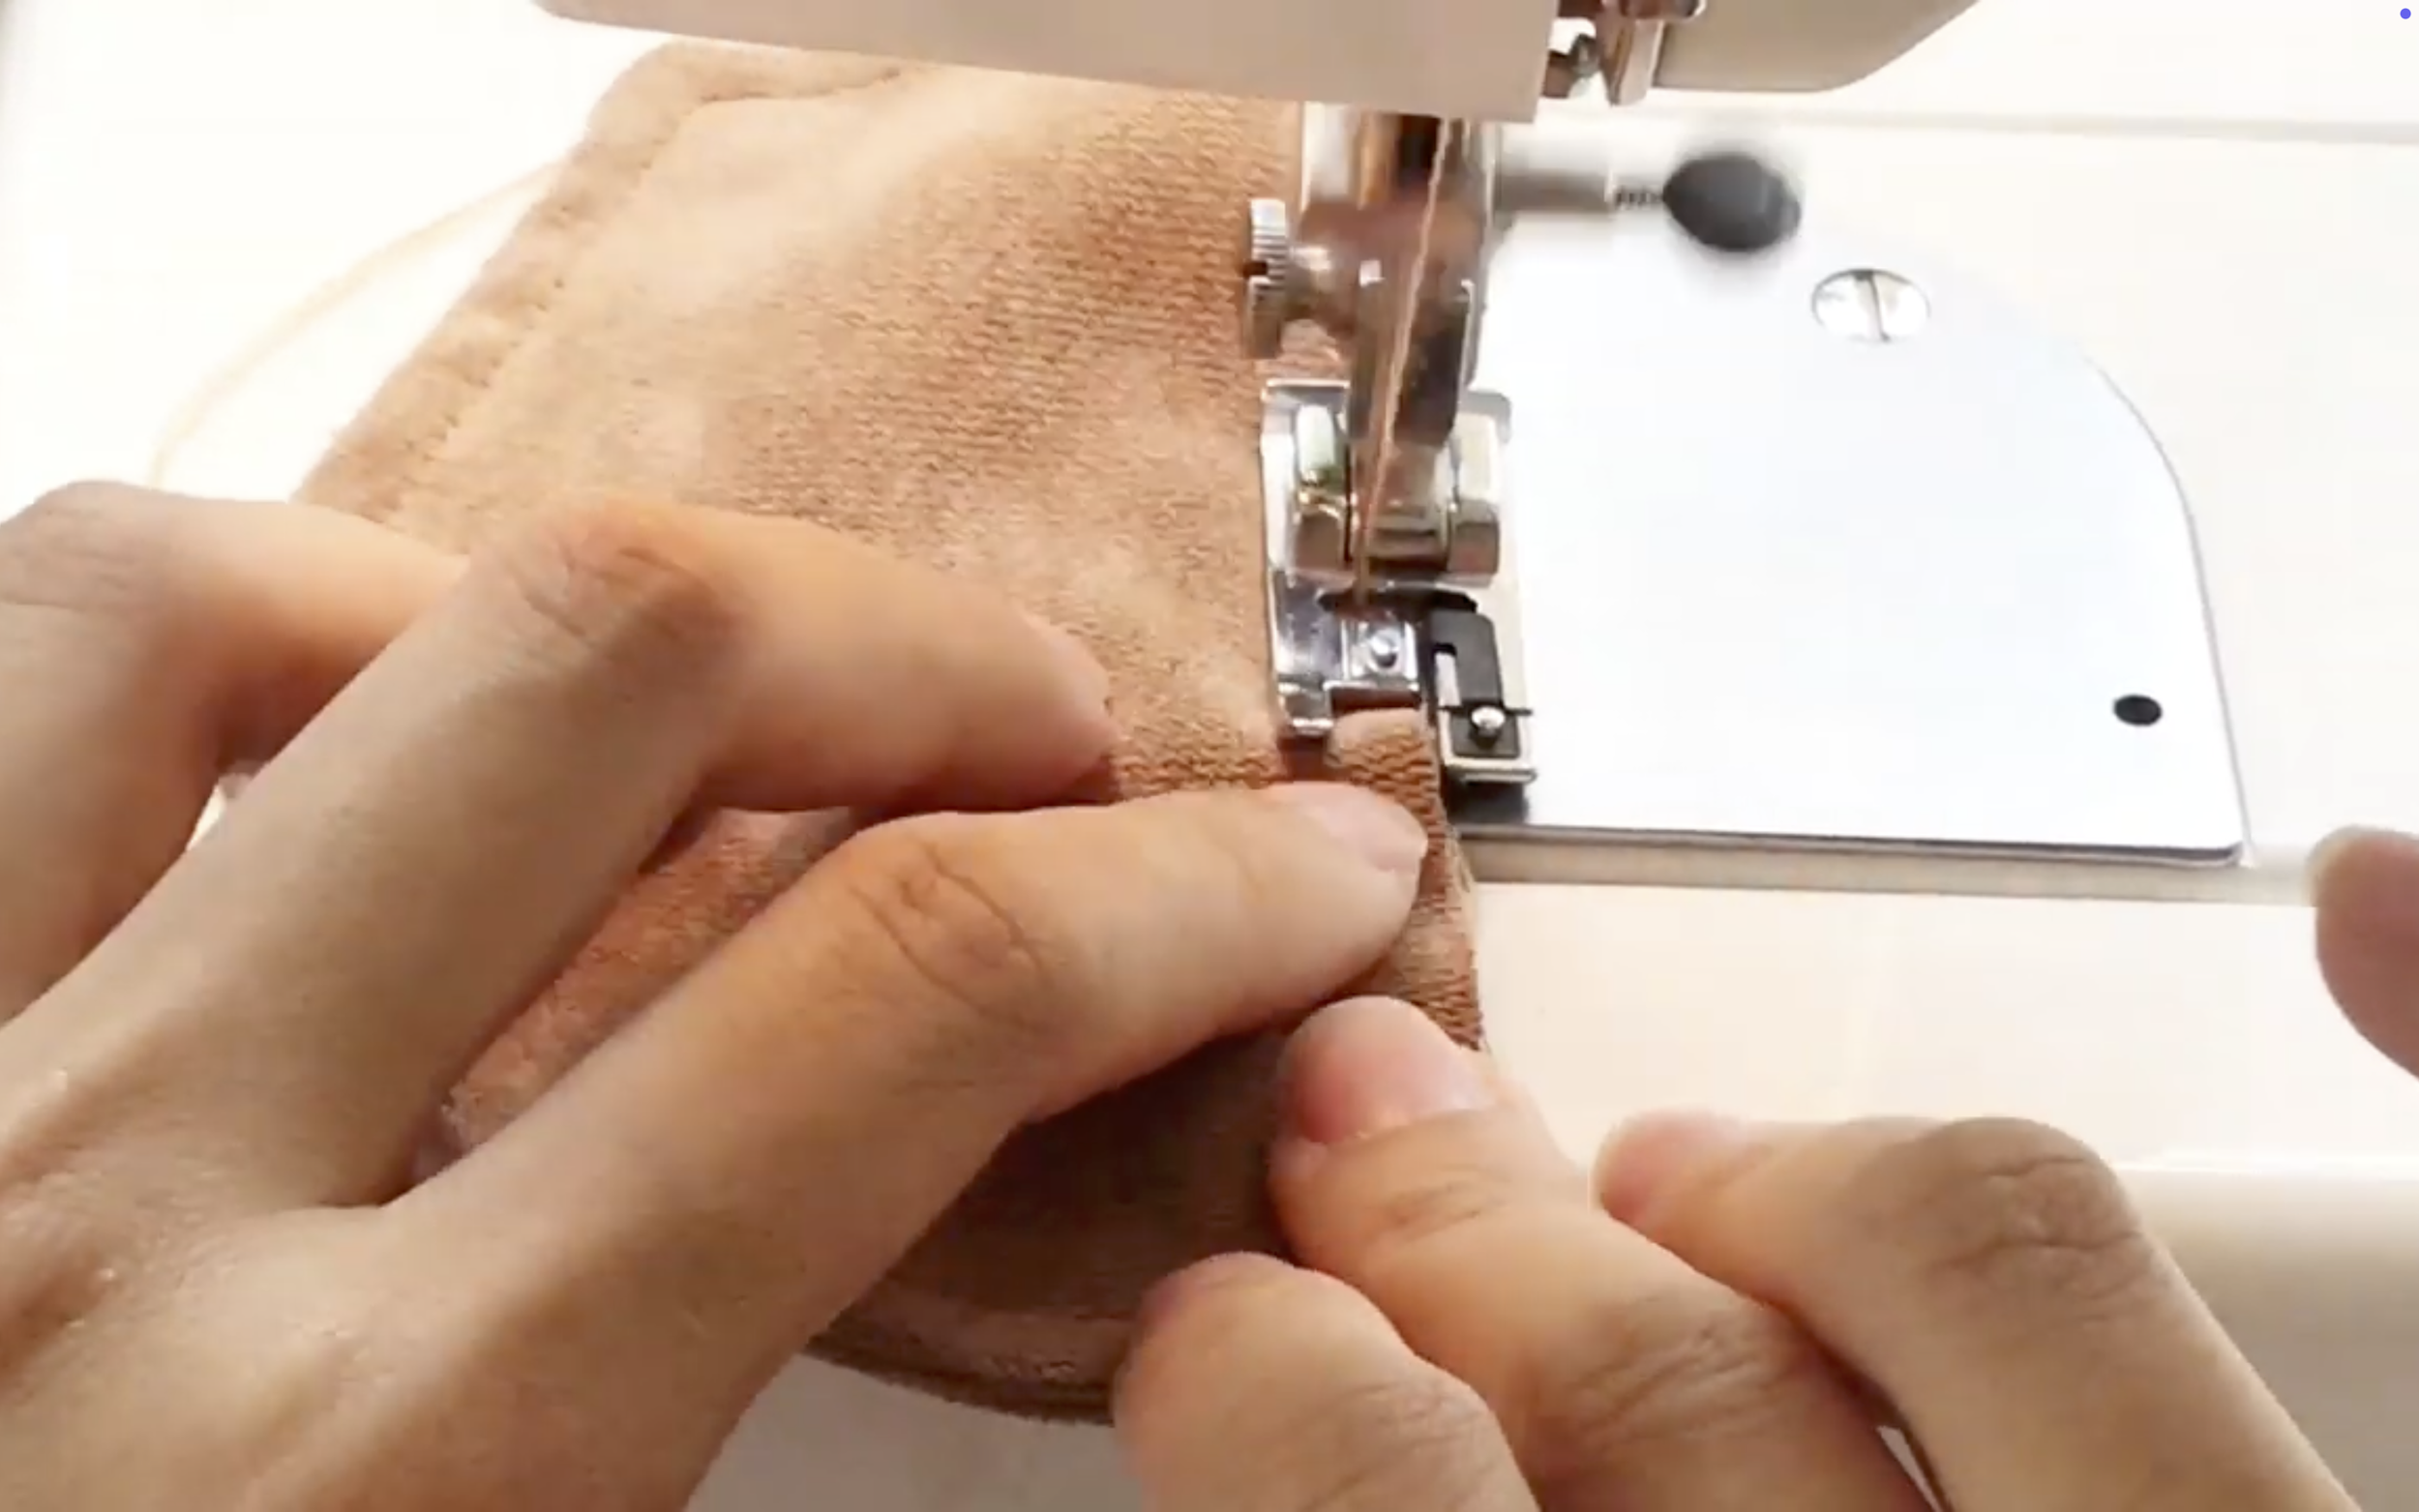
Now install the pocket-flap upper the body of the pocket.
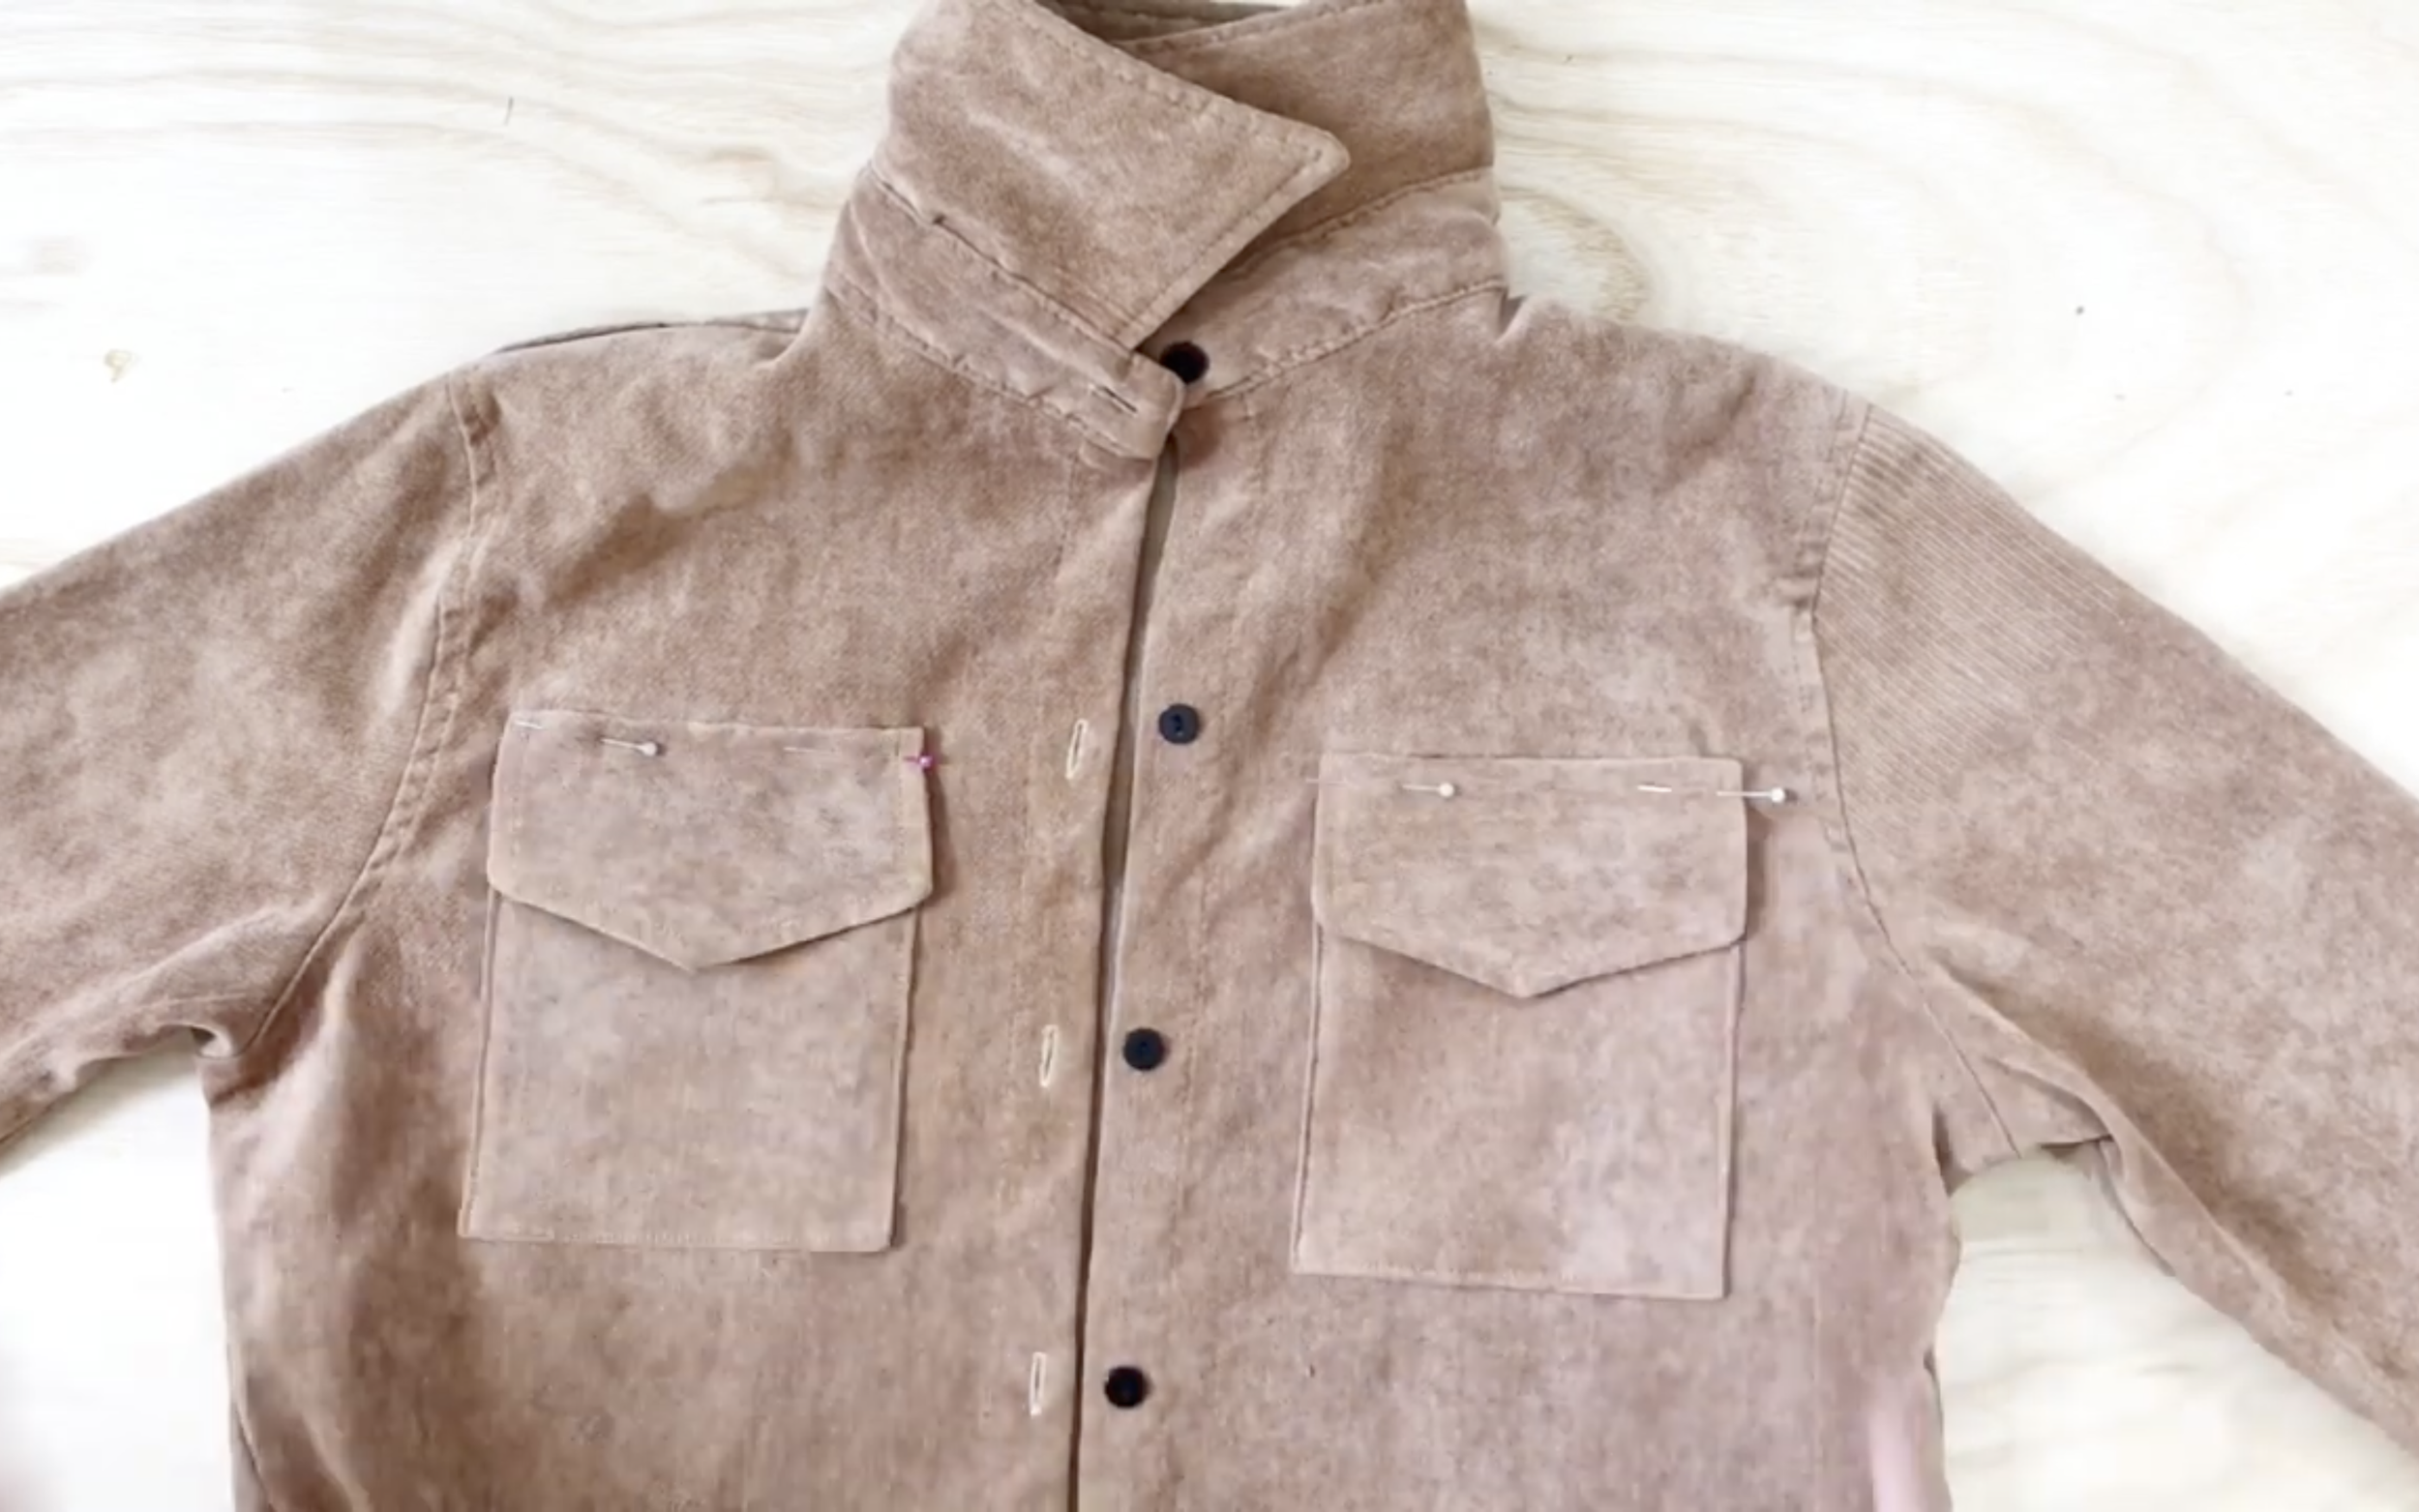
After the first sewing, fold the pocket-flap down and make another sewing to keep it on way there.
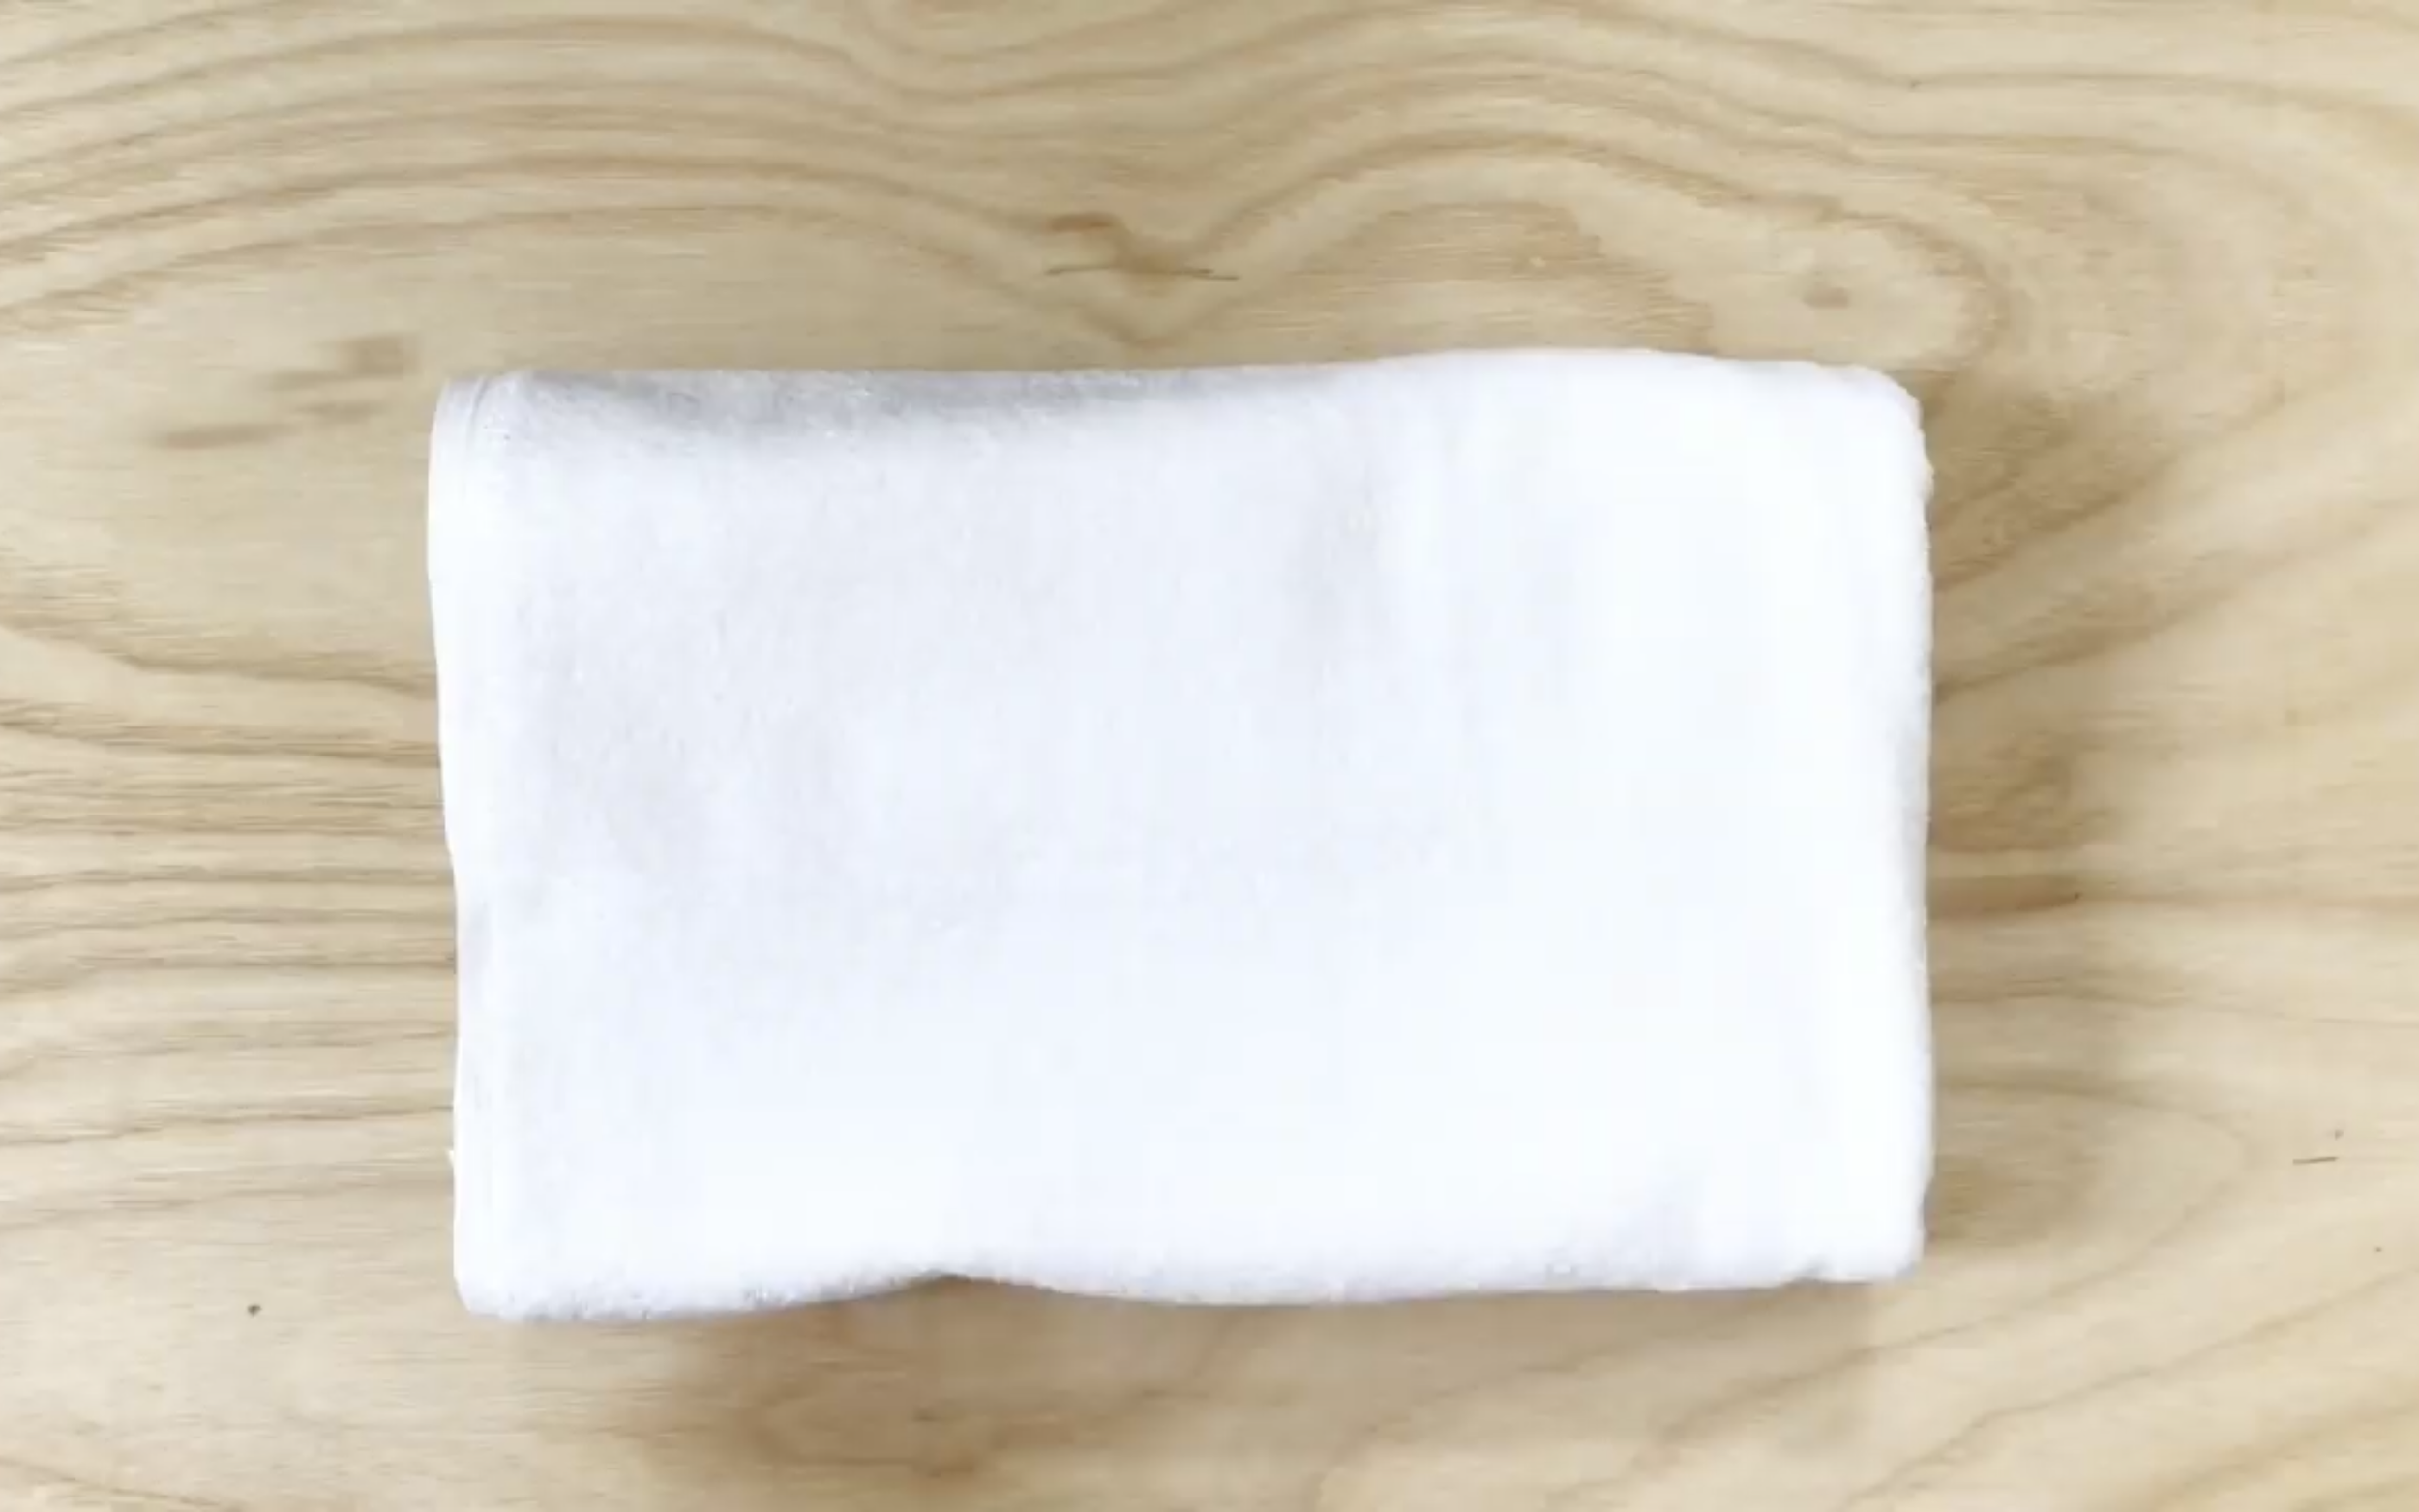
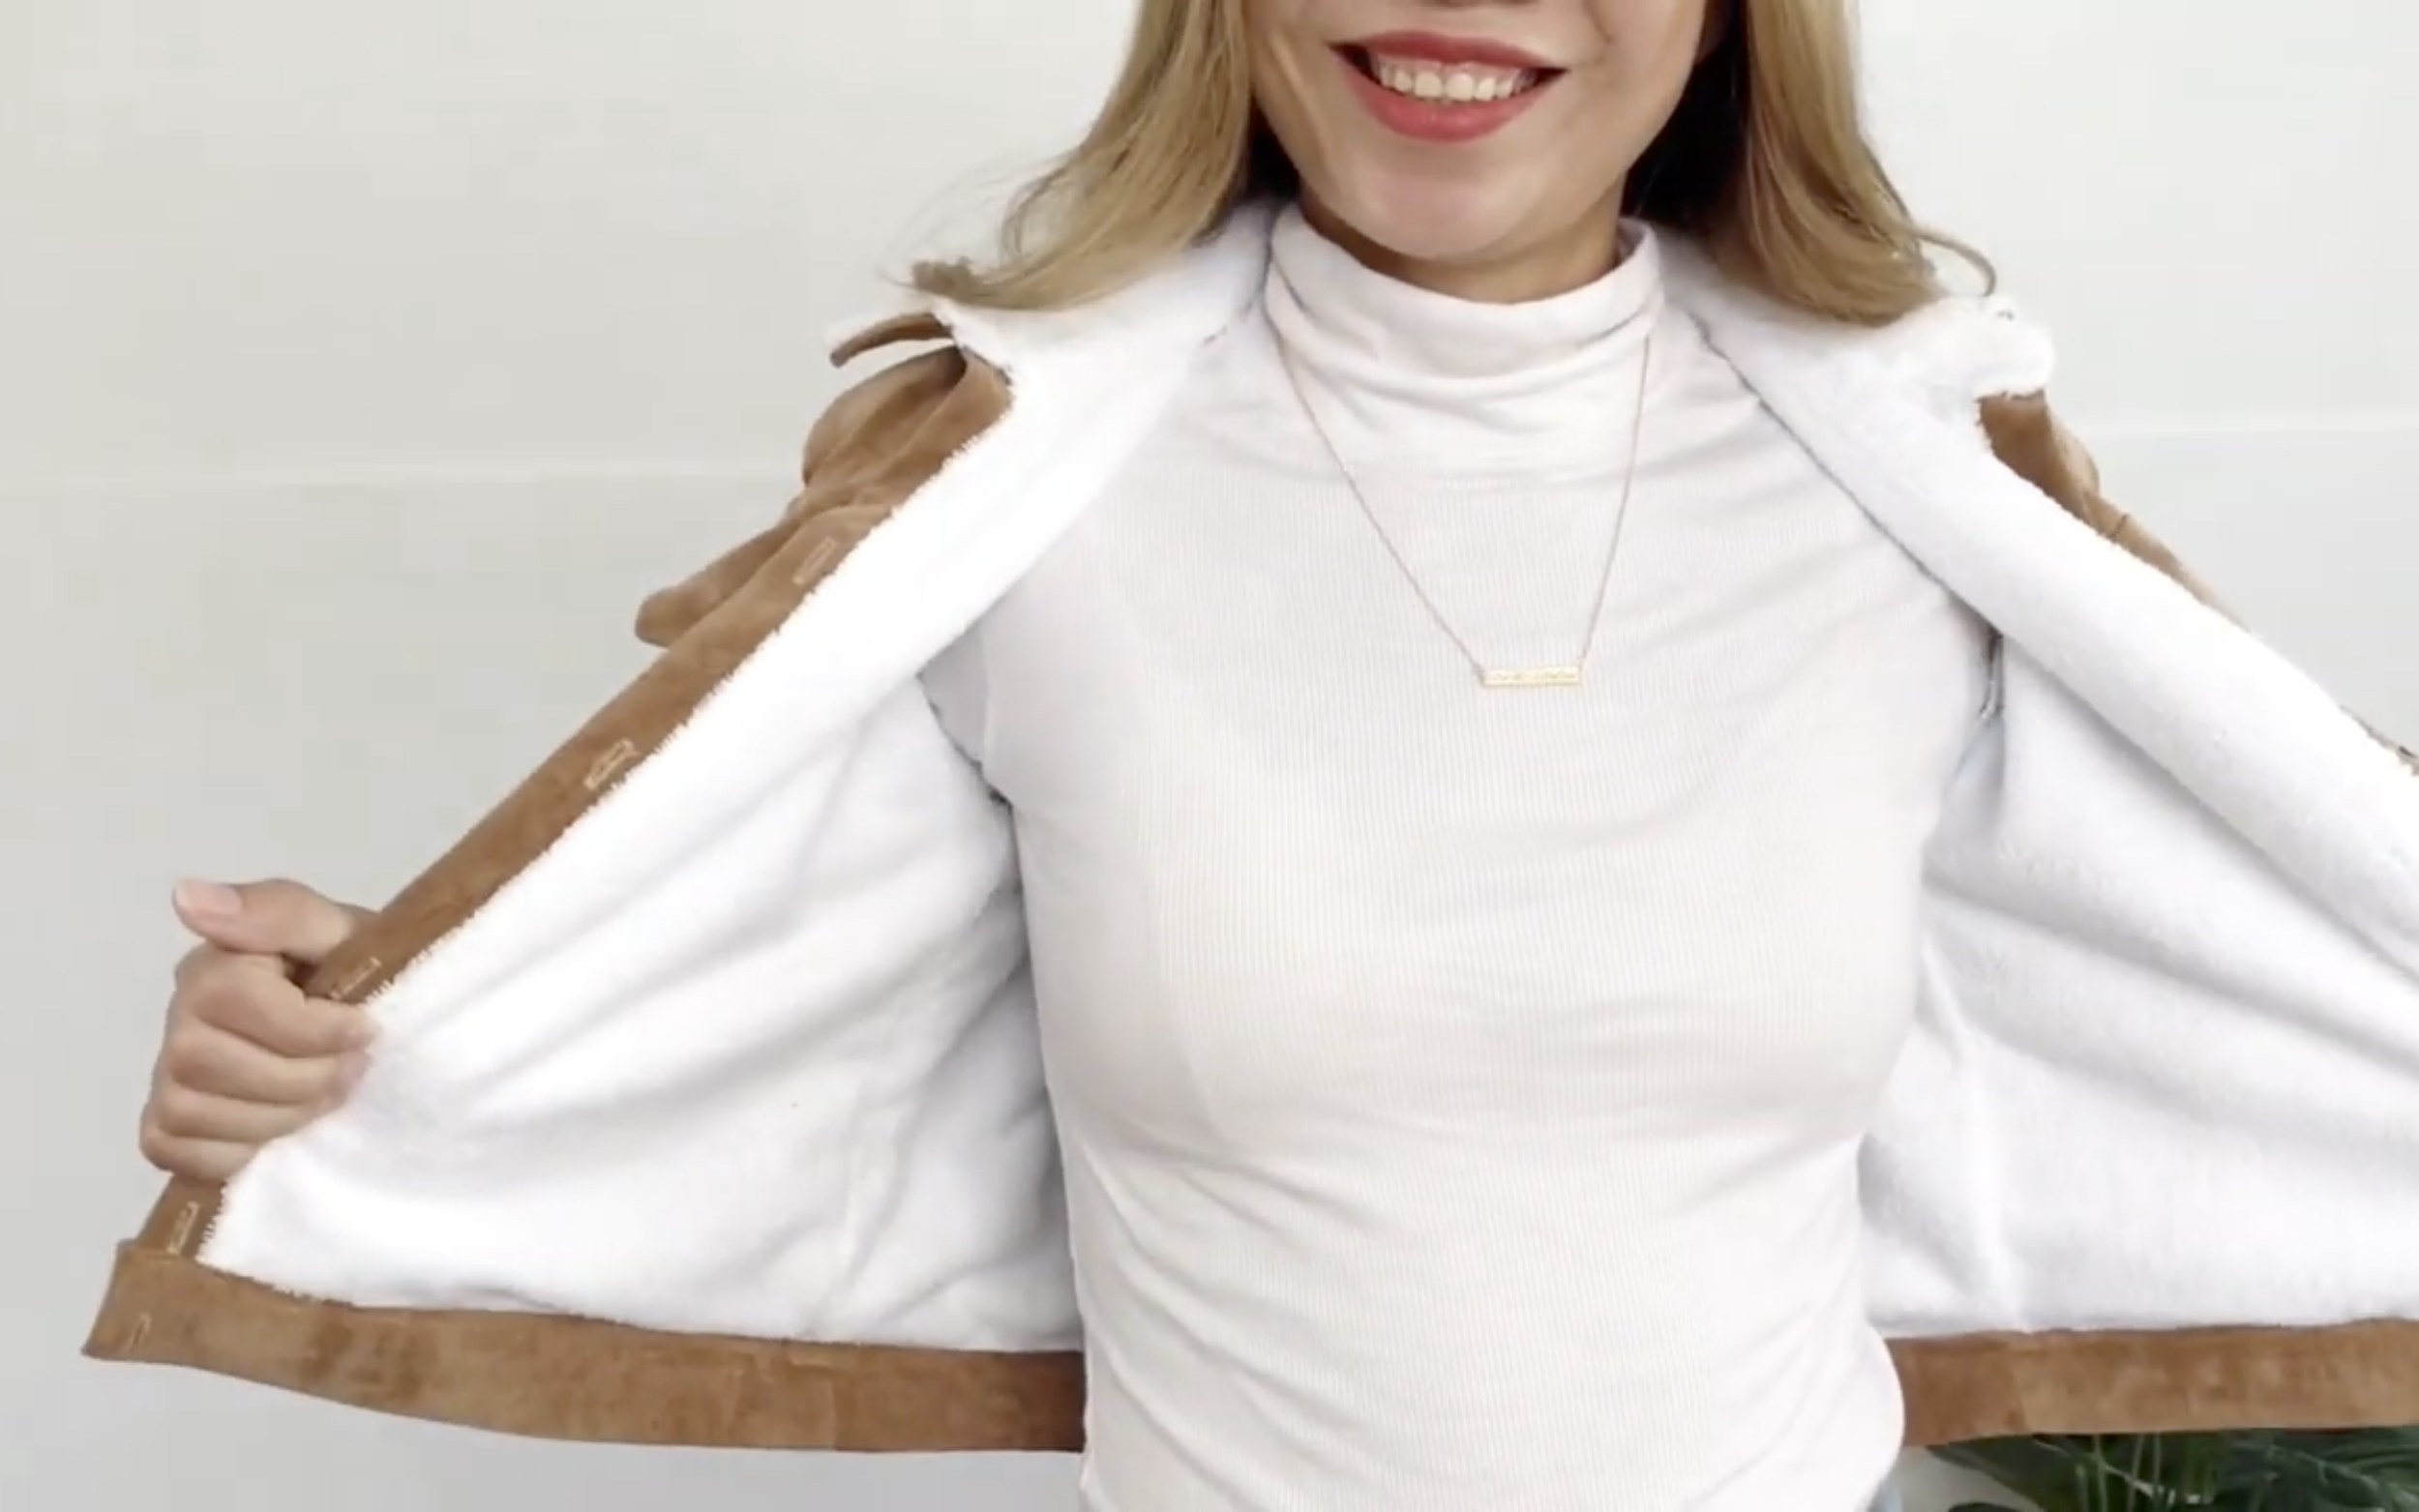
To make the corduroy inside a jacket, need a white towel with a soft material.

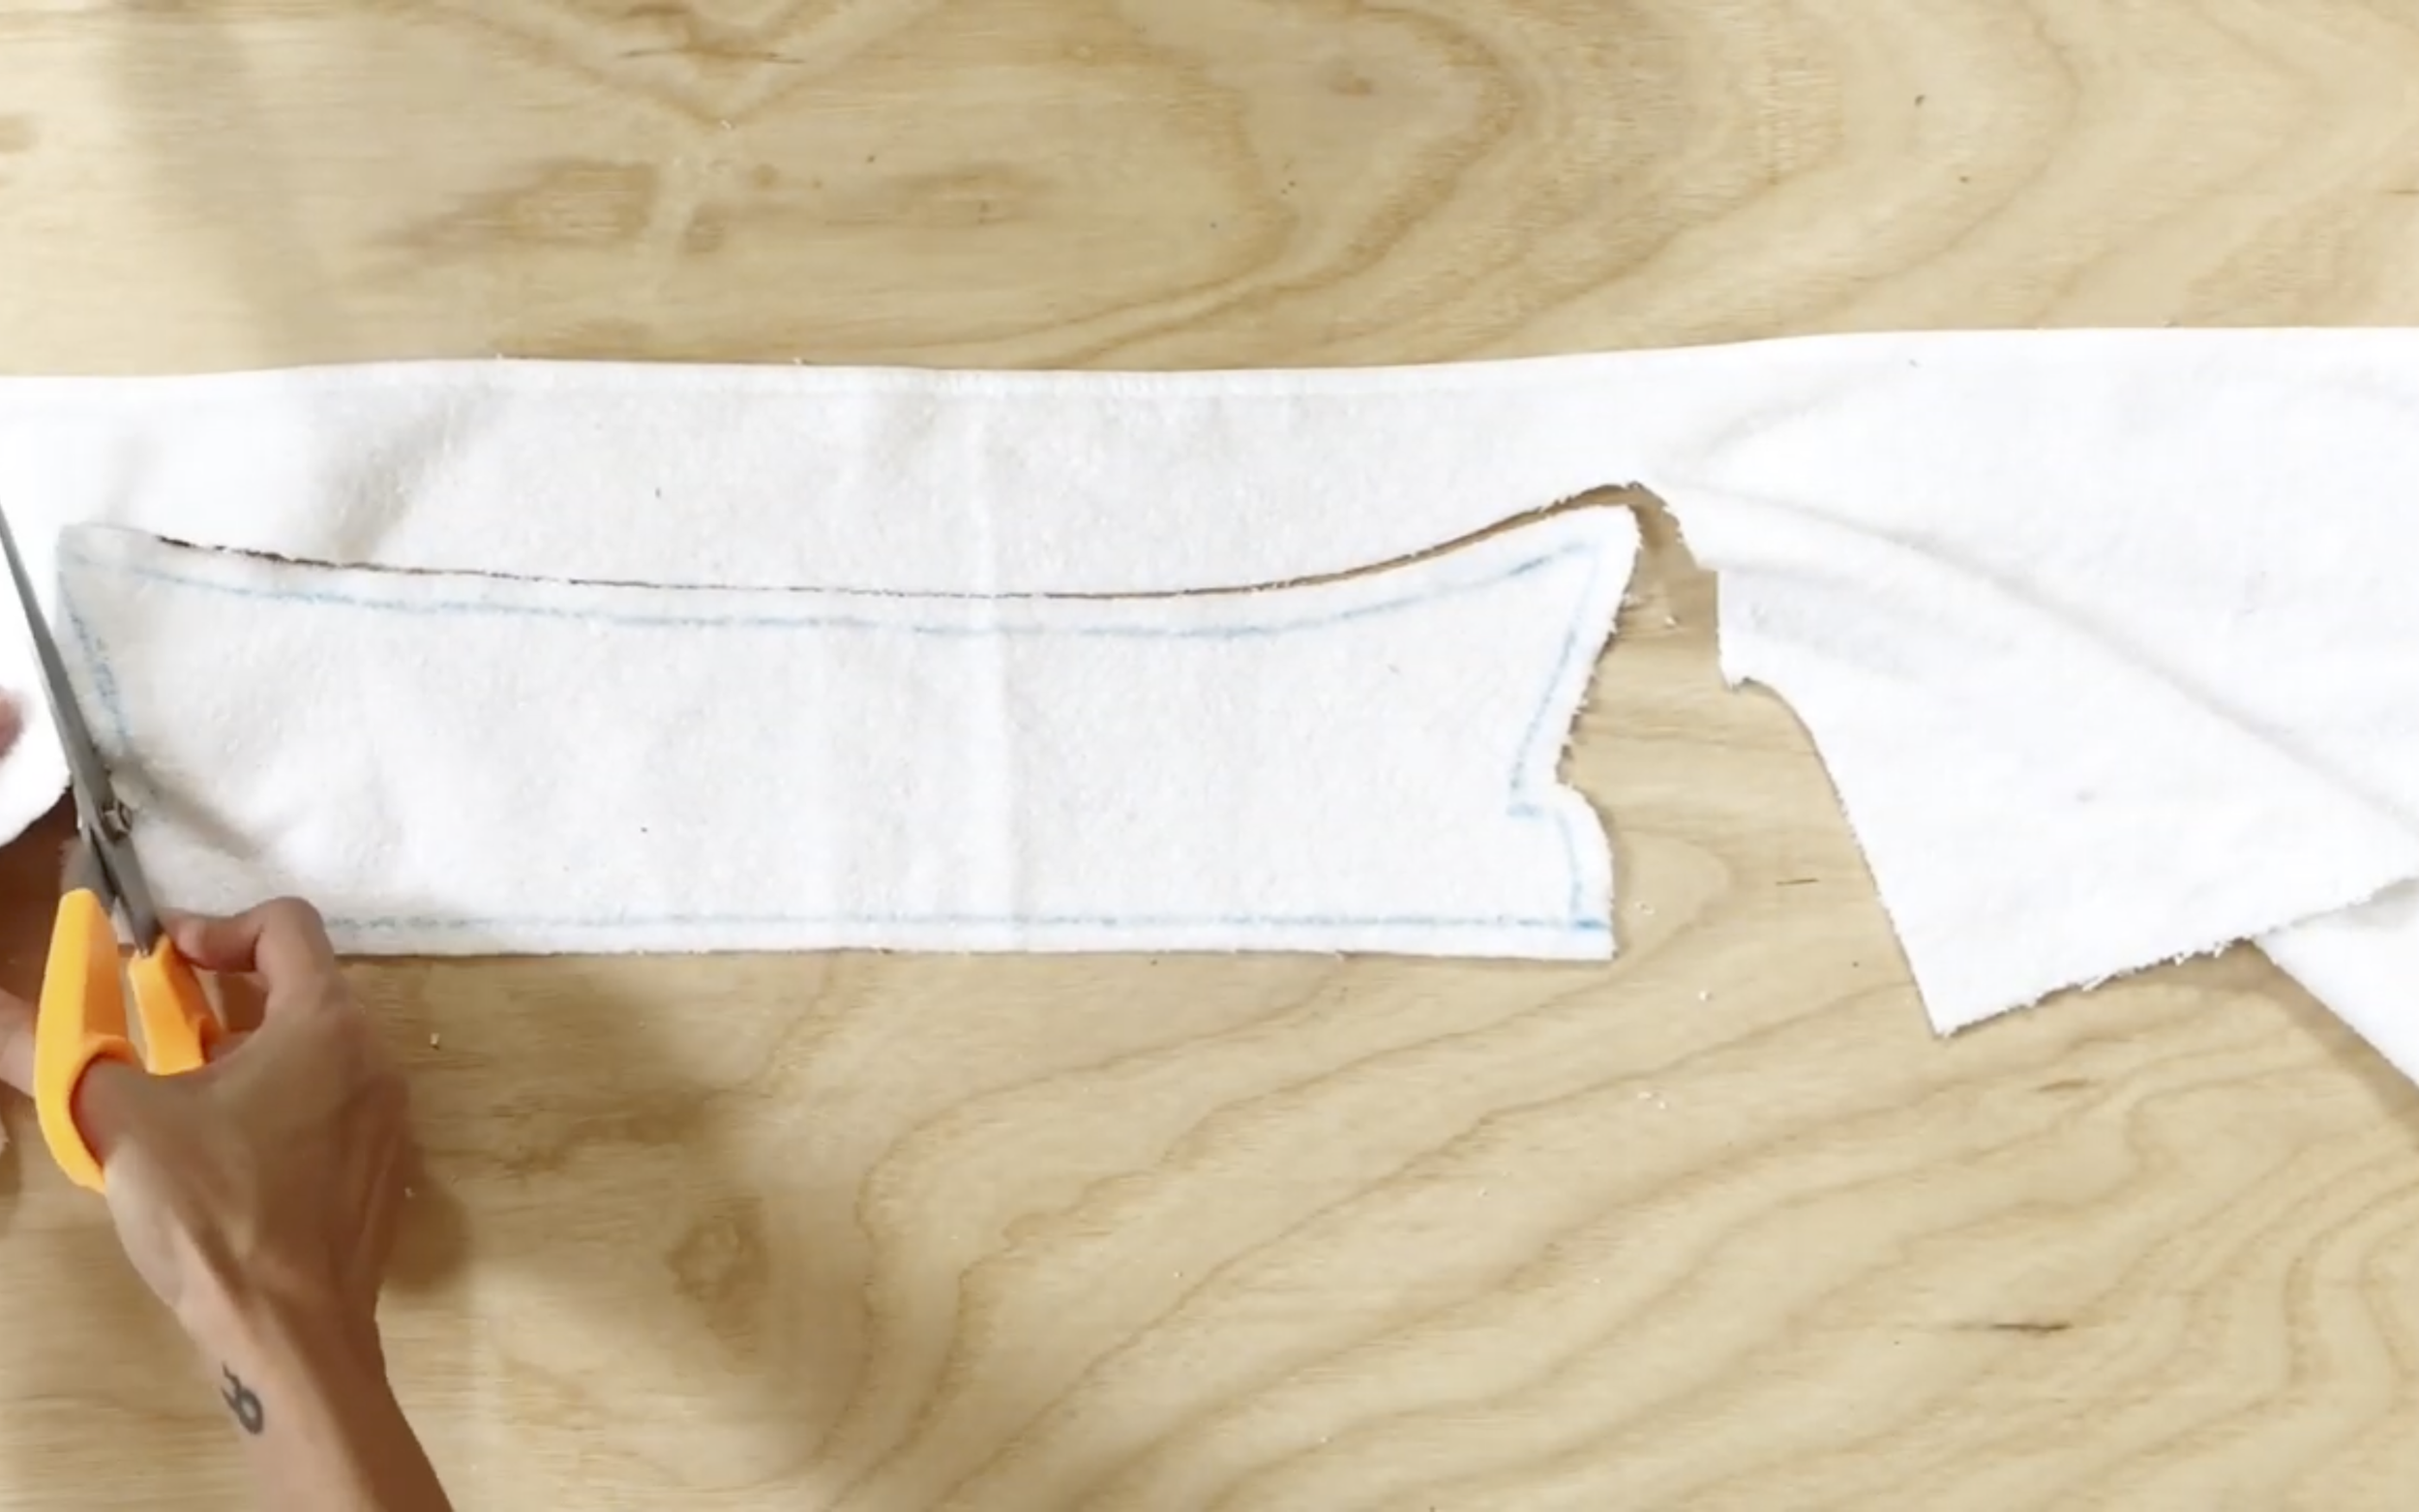
Fold the jacket in half and apply it to the towel to draw the pattern for the front body of the jacket.
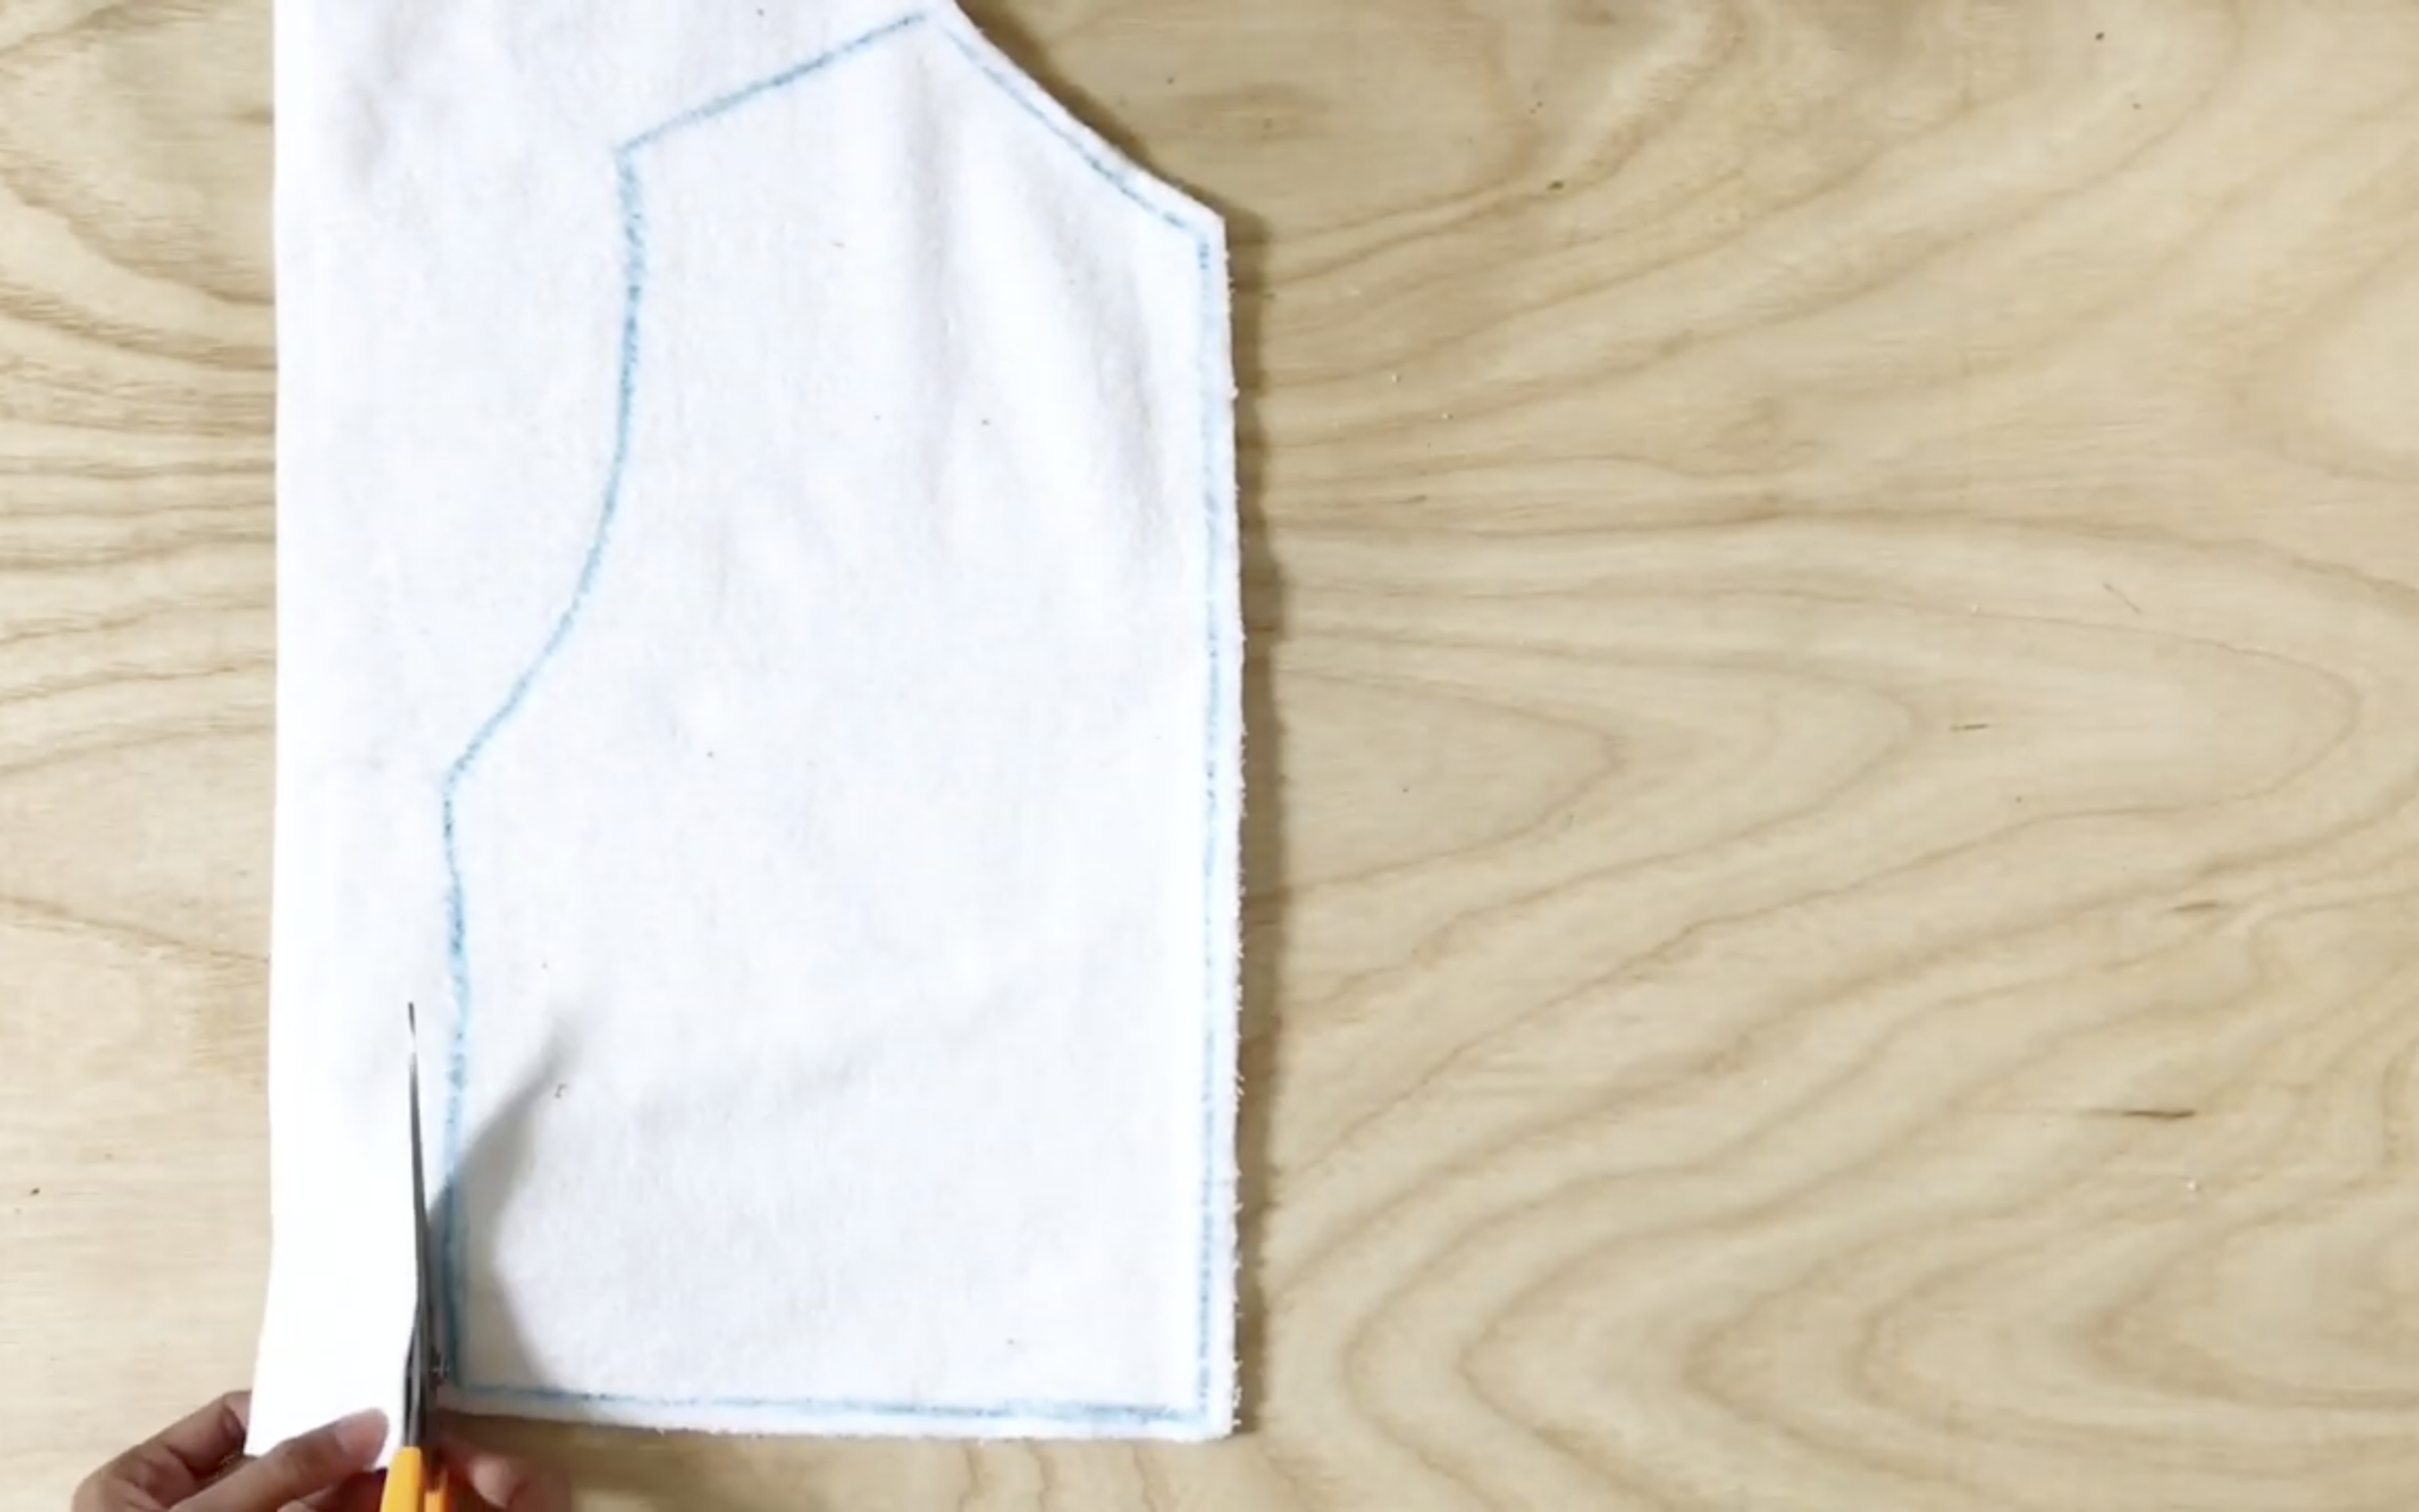
Remember cutt at 1 cm outside the drawing line to have space for sewing later.
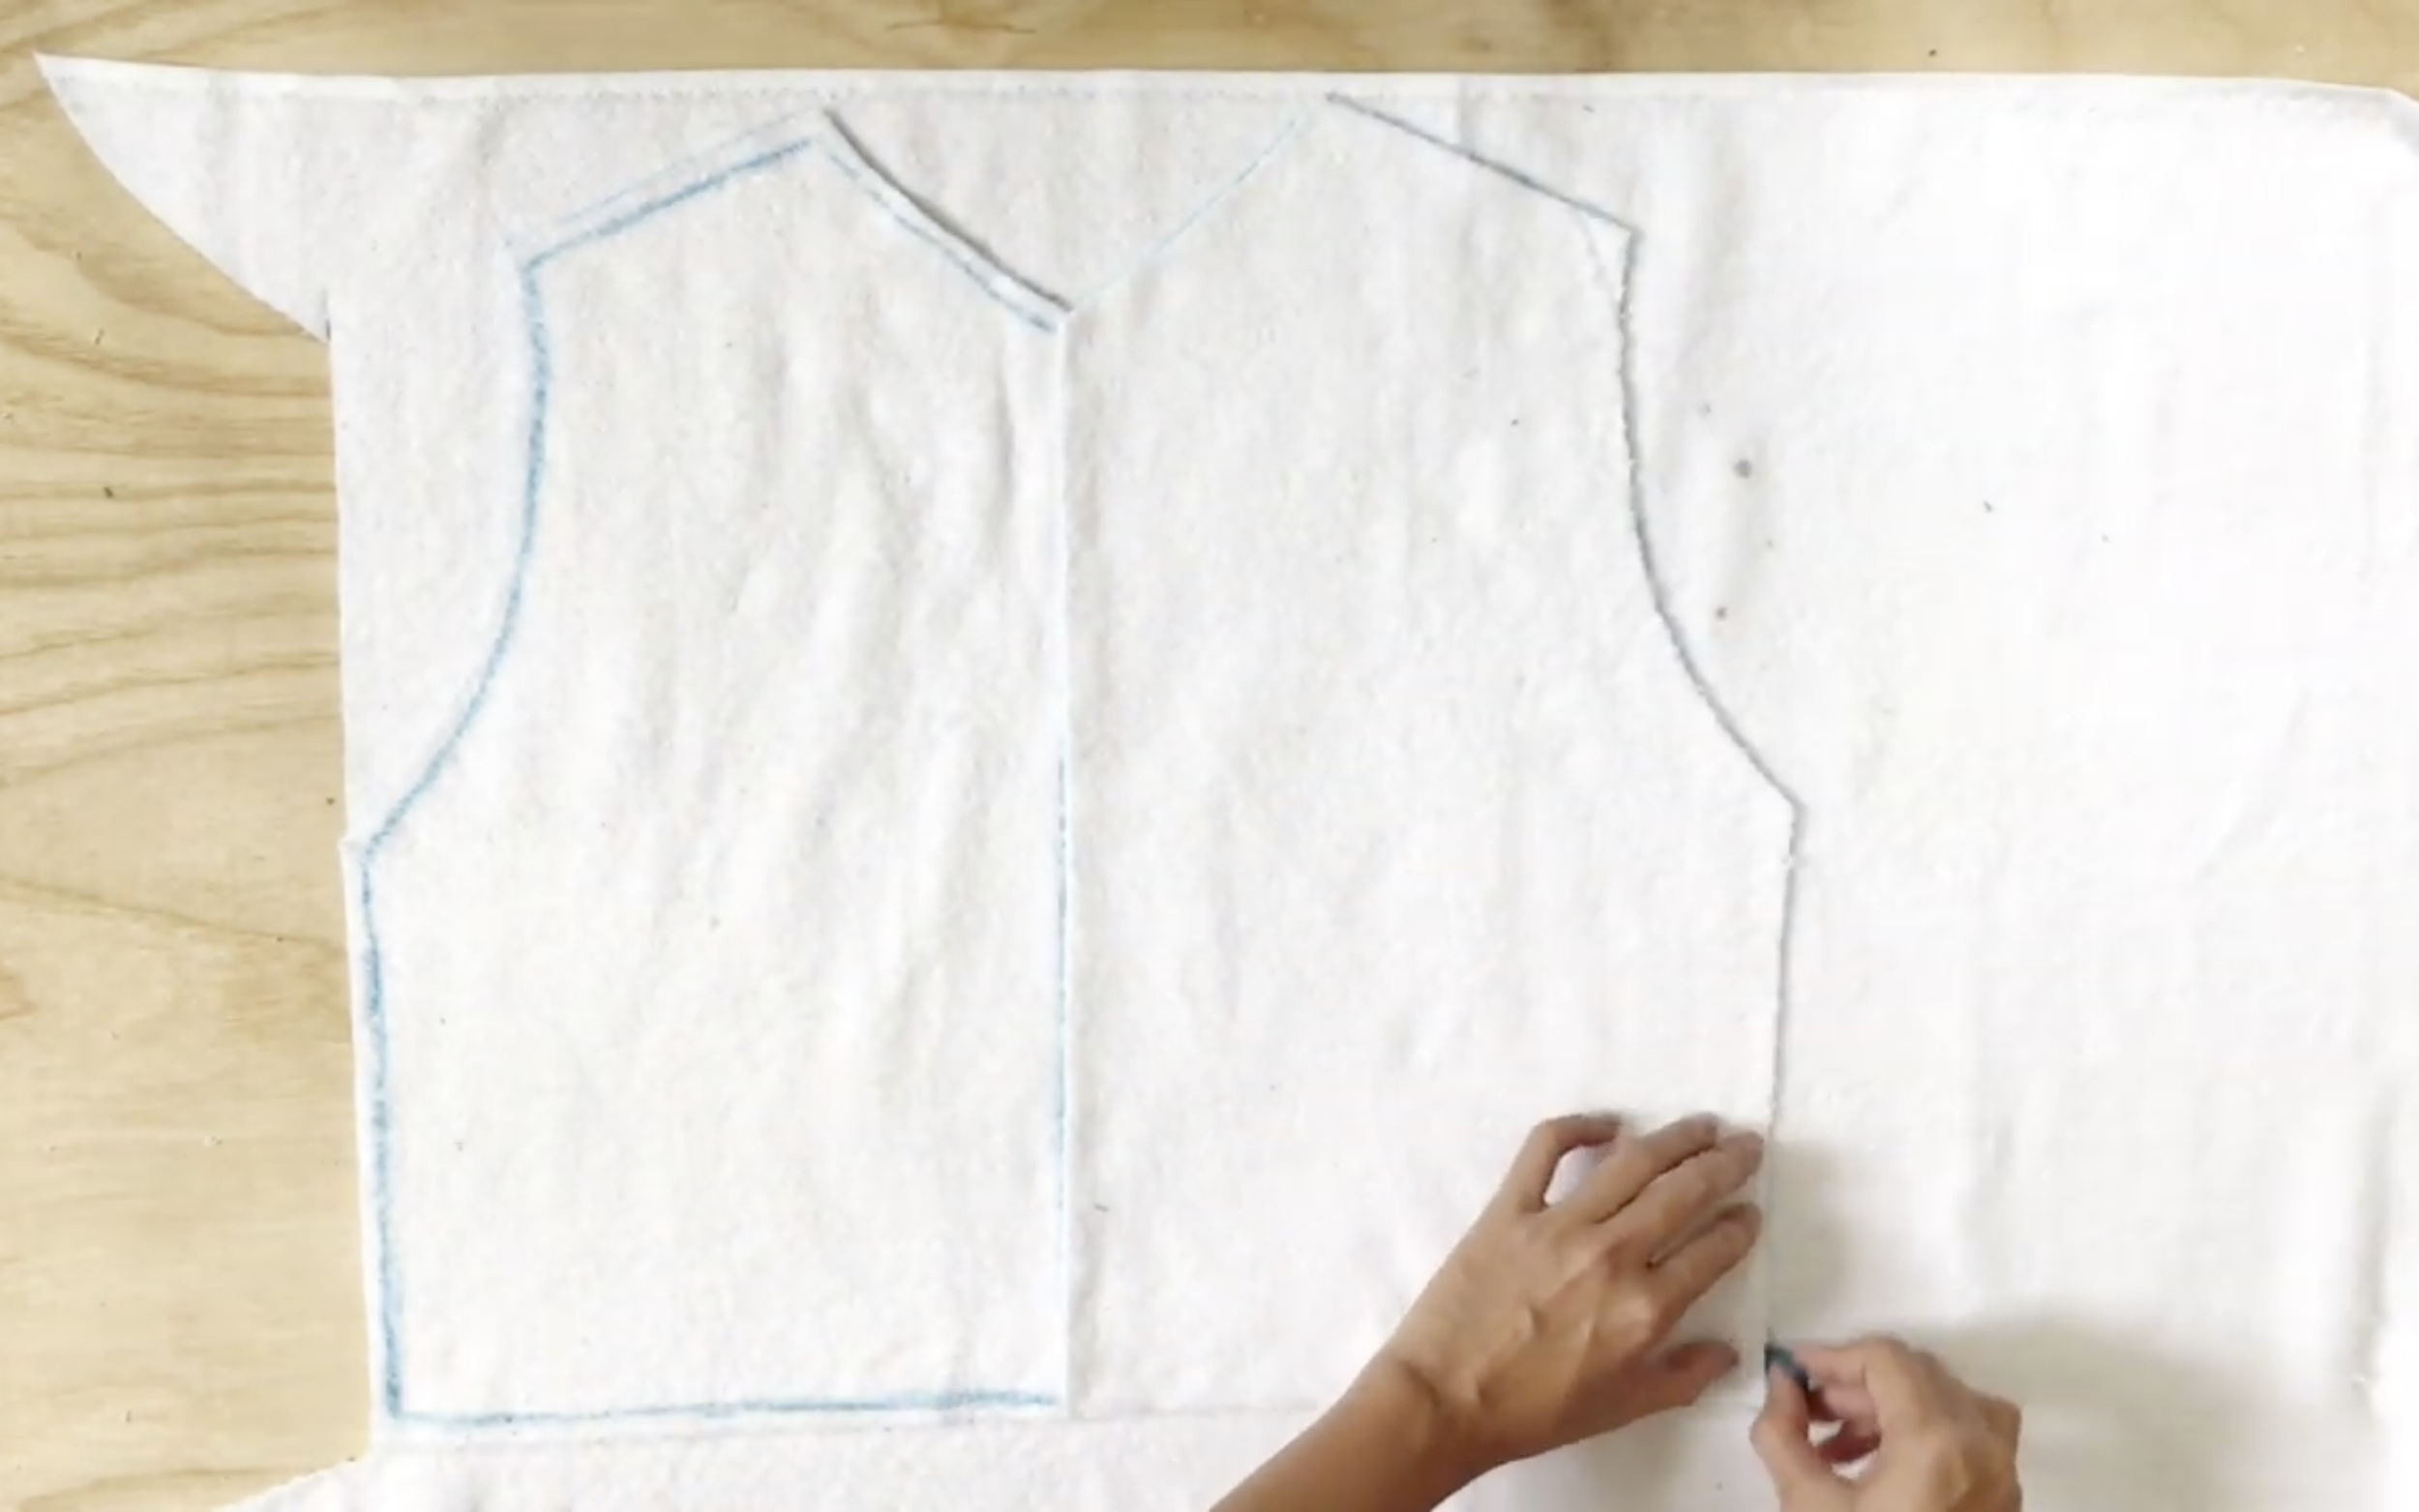
After that, apply two body patterns of front jacket to draw the pattern for the back of the jacket.
However, drawing a curved line at the neck of the back instead of keeping the same line of front, then cutting.
Then cut.
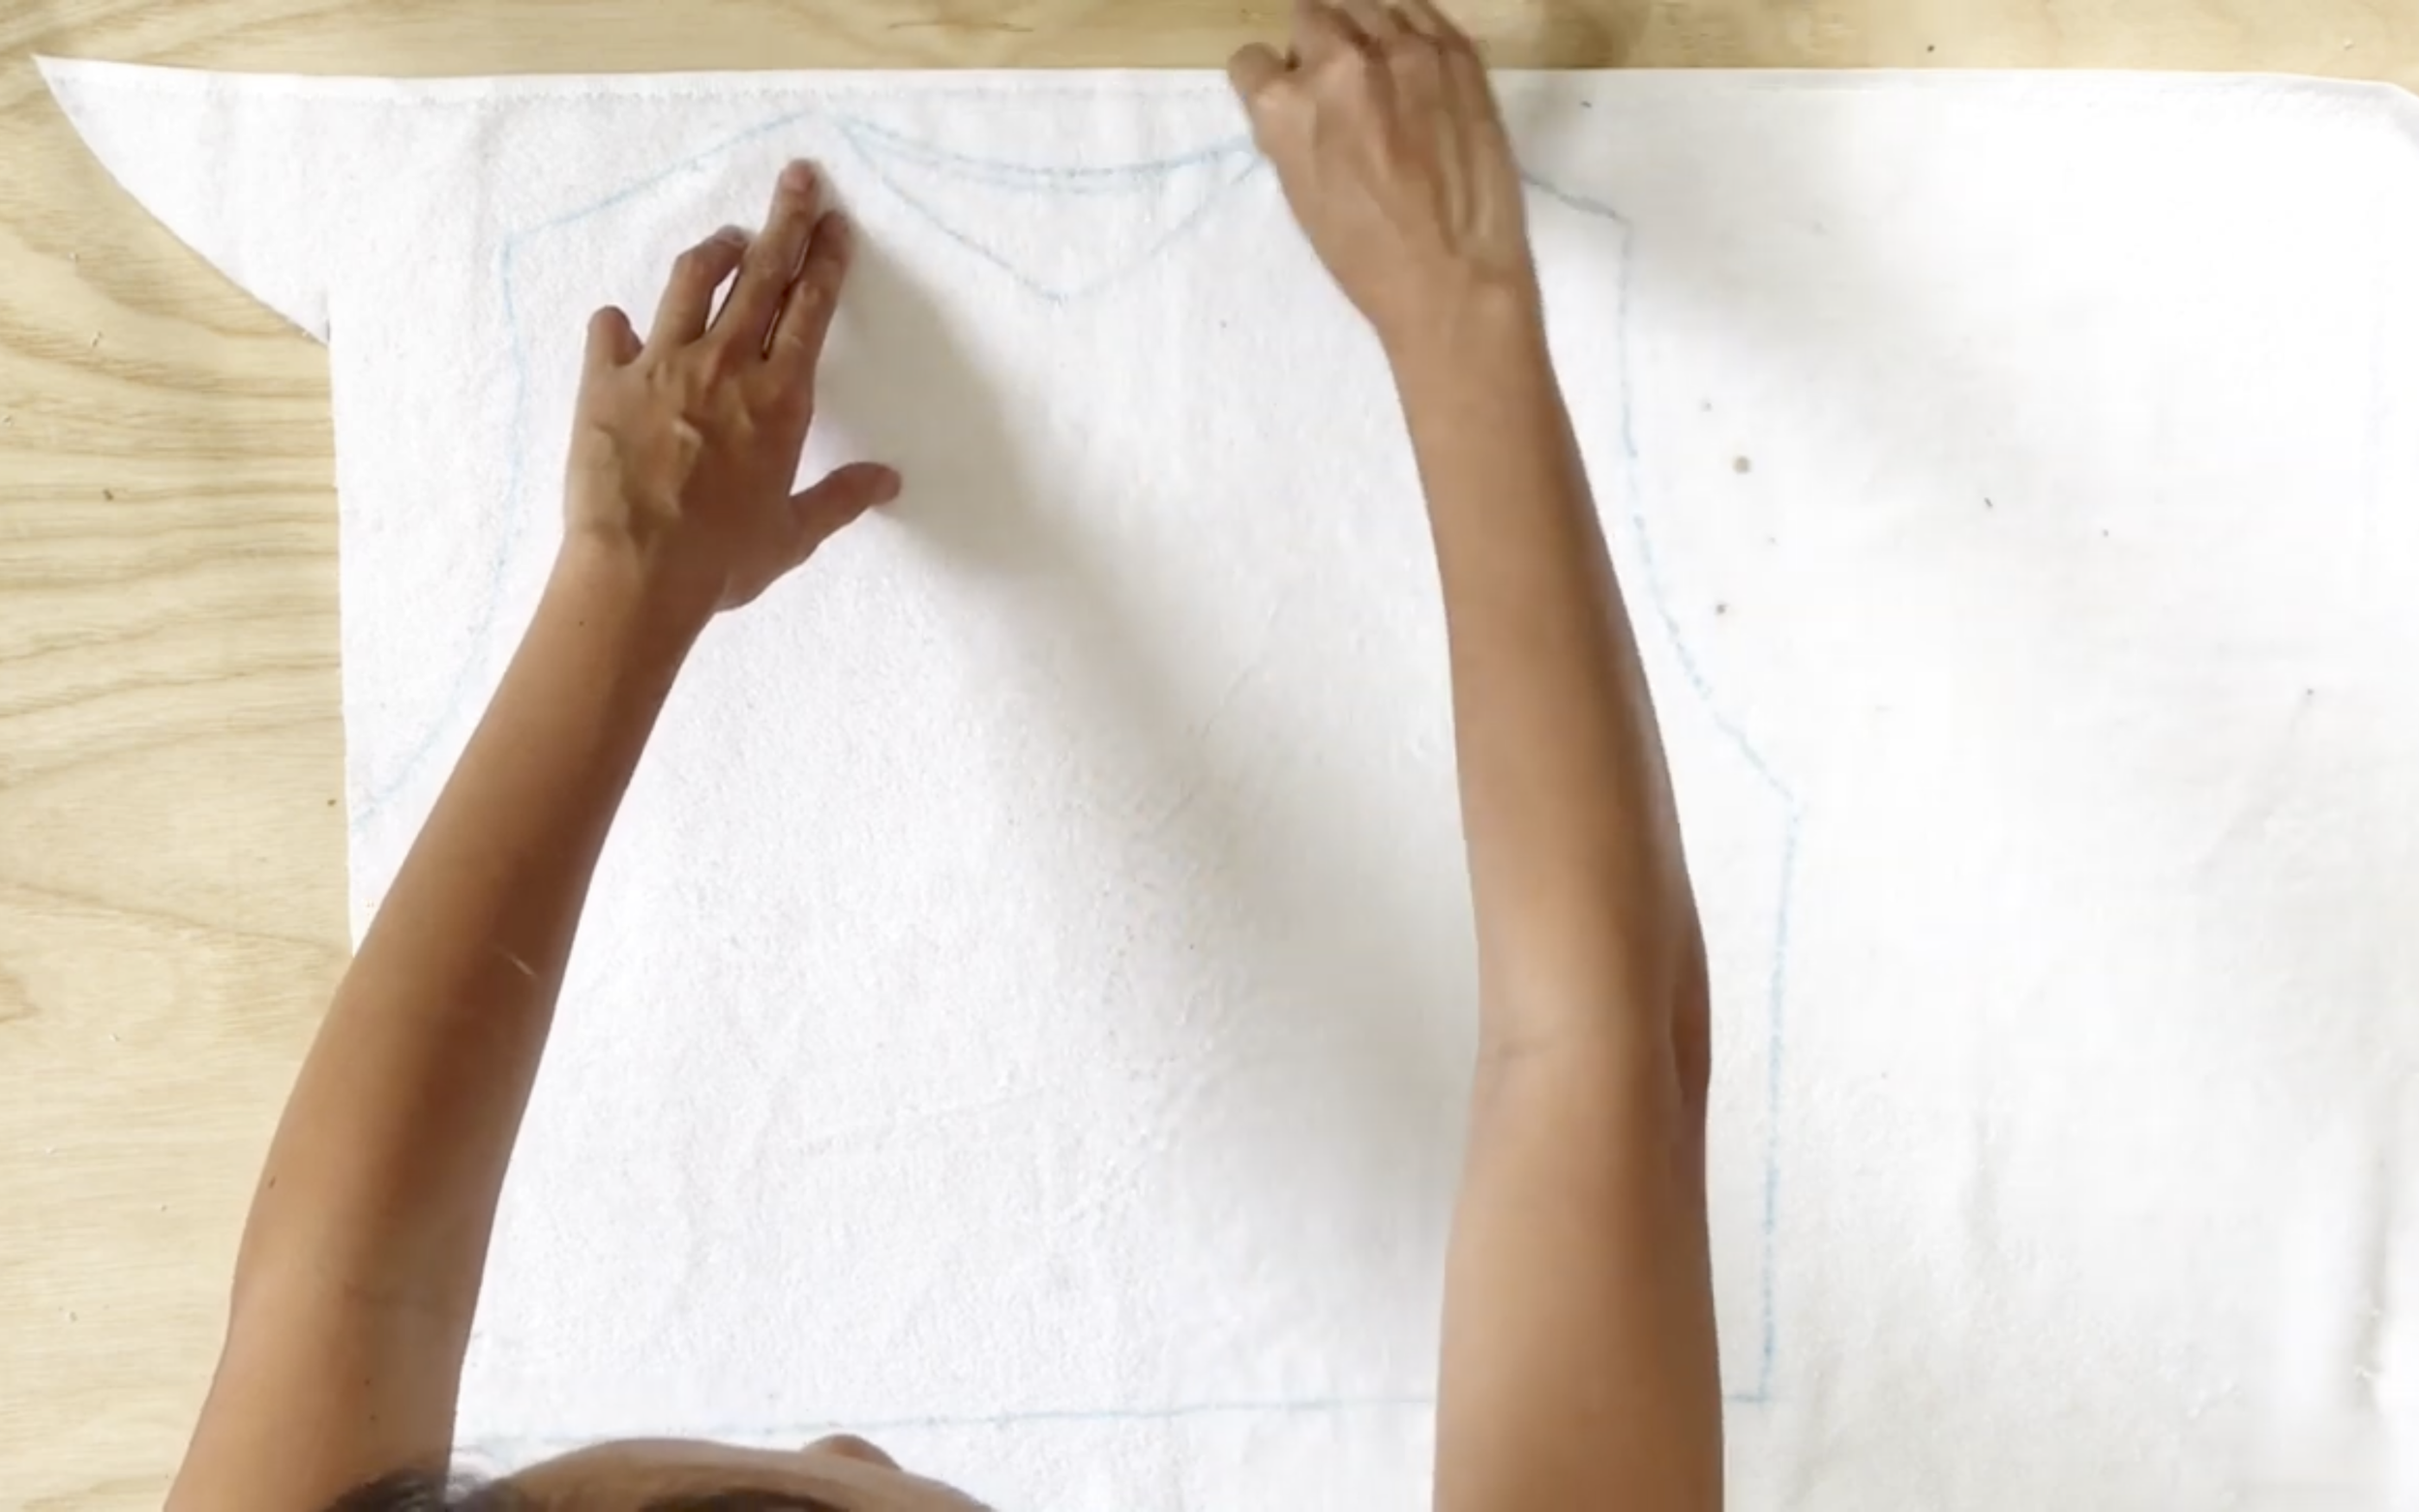
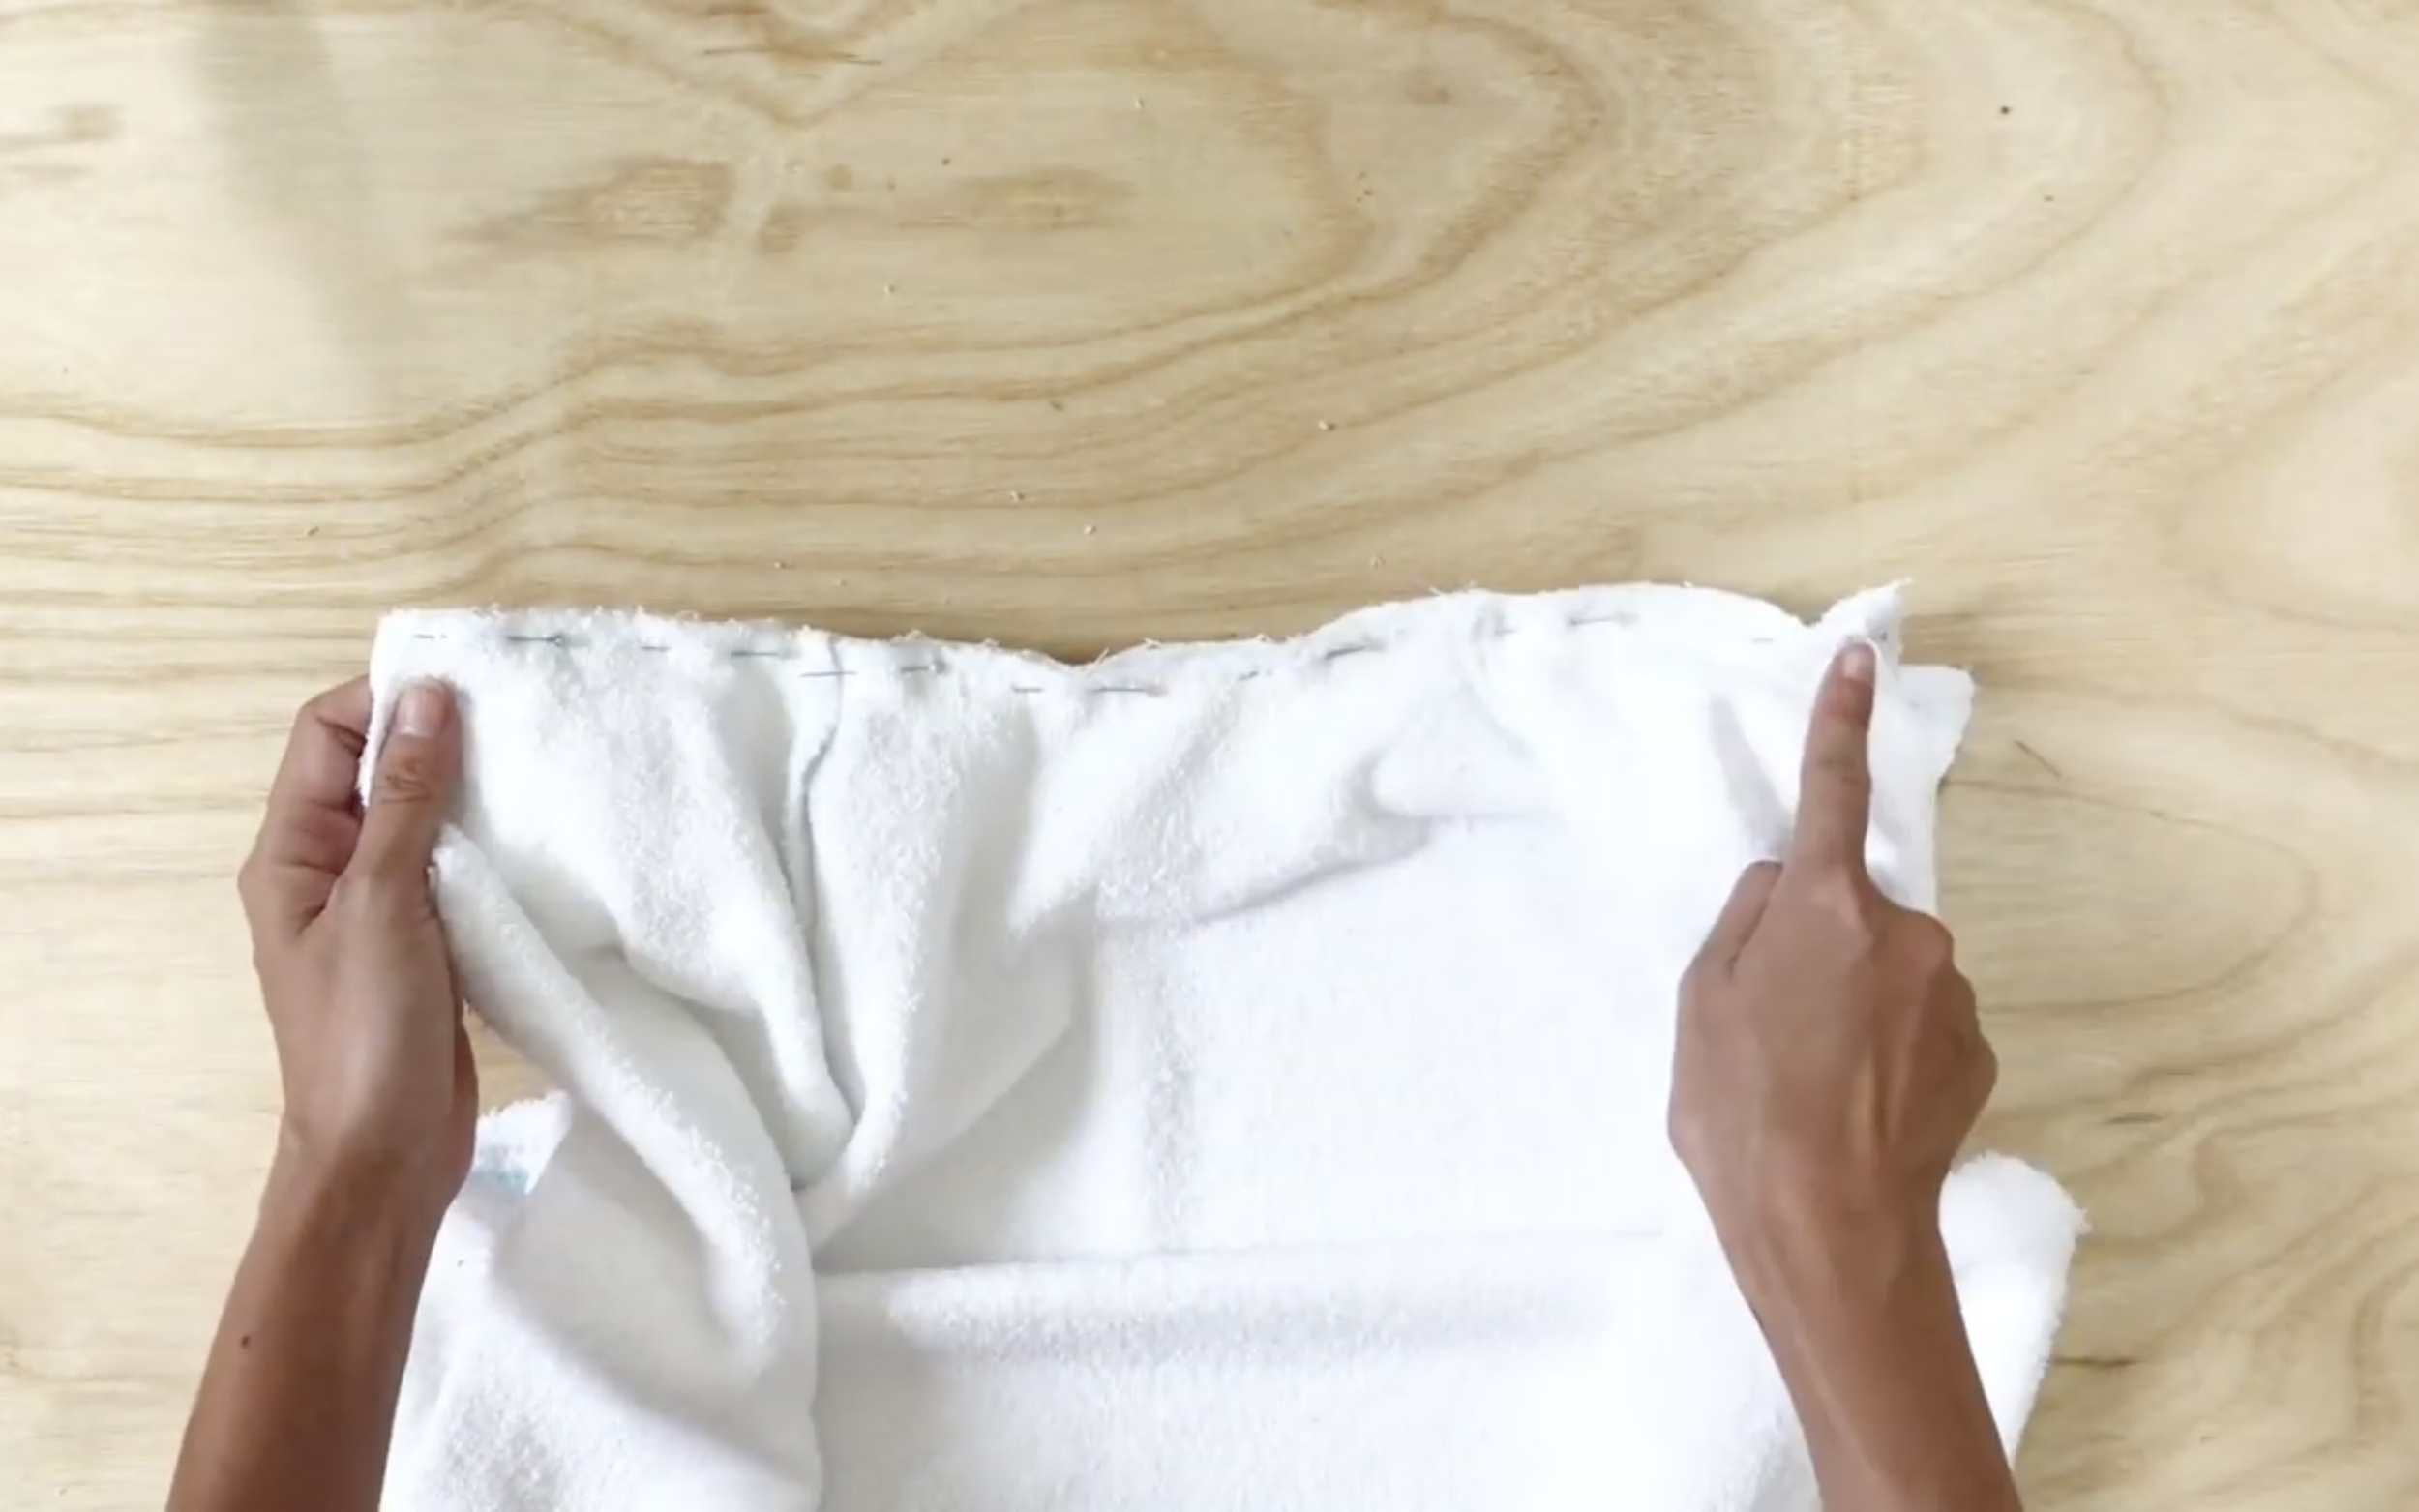
Now connect the front and the back together at the shoulder and two sides.
Use the pins to hold them together, then sewing.
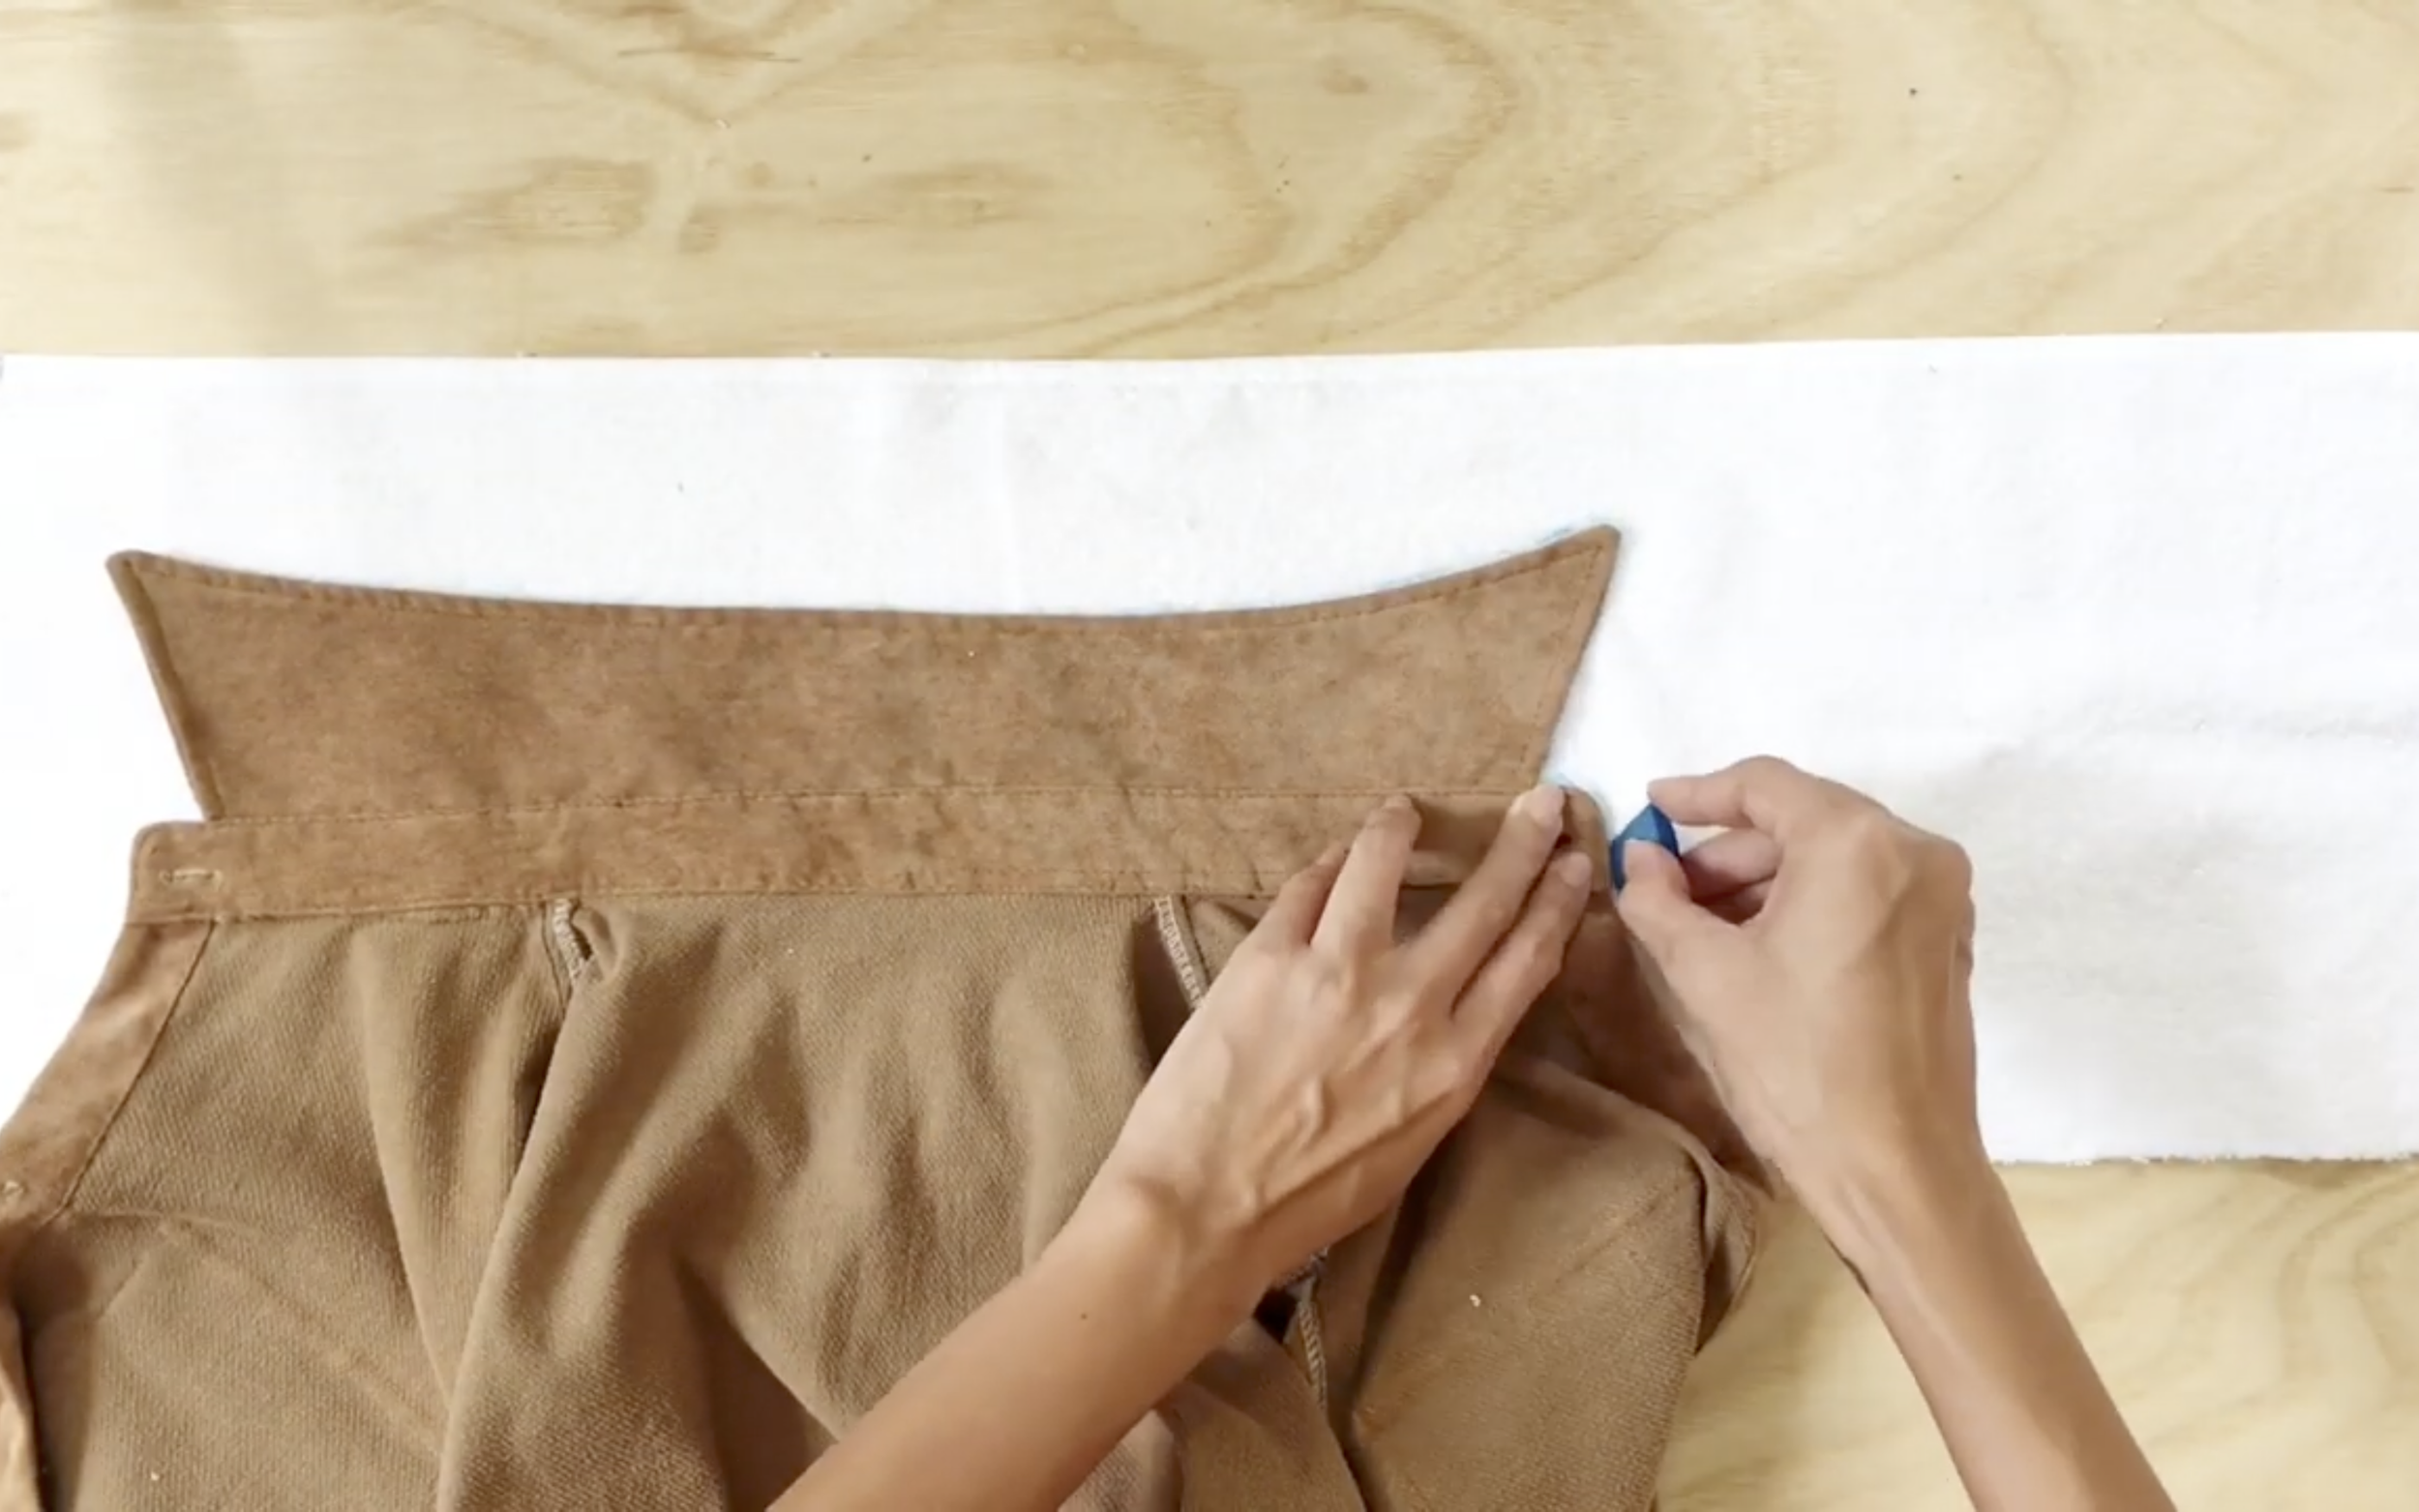
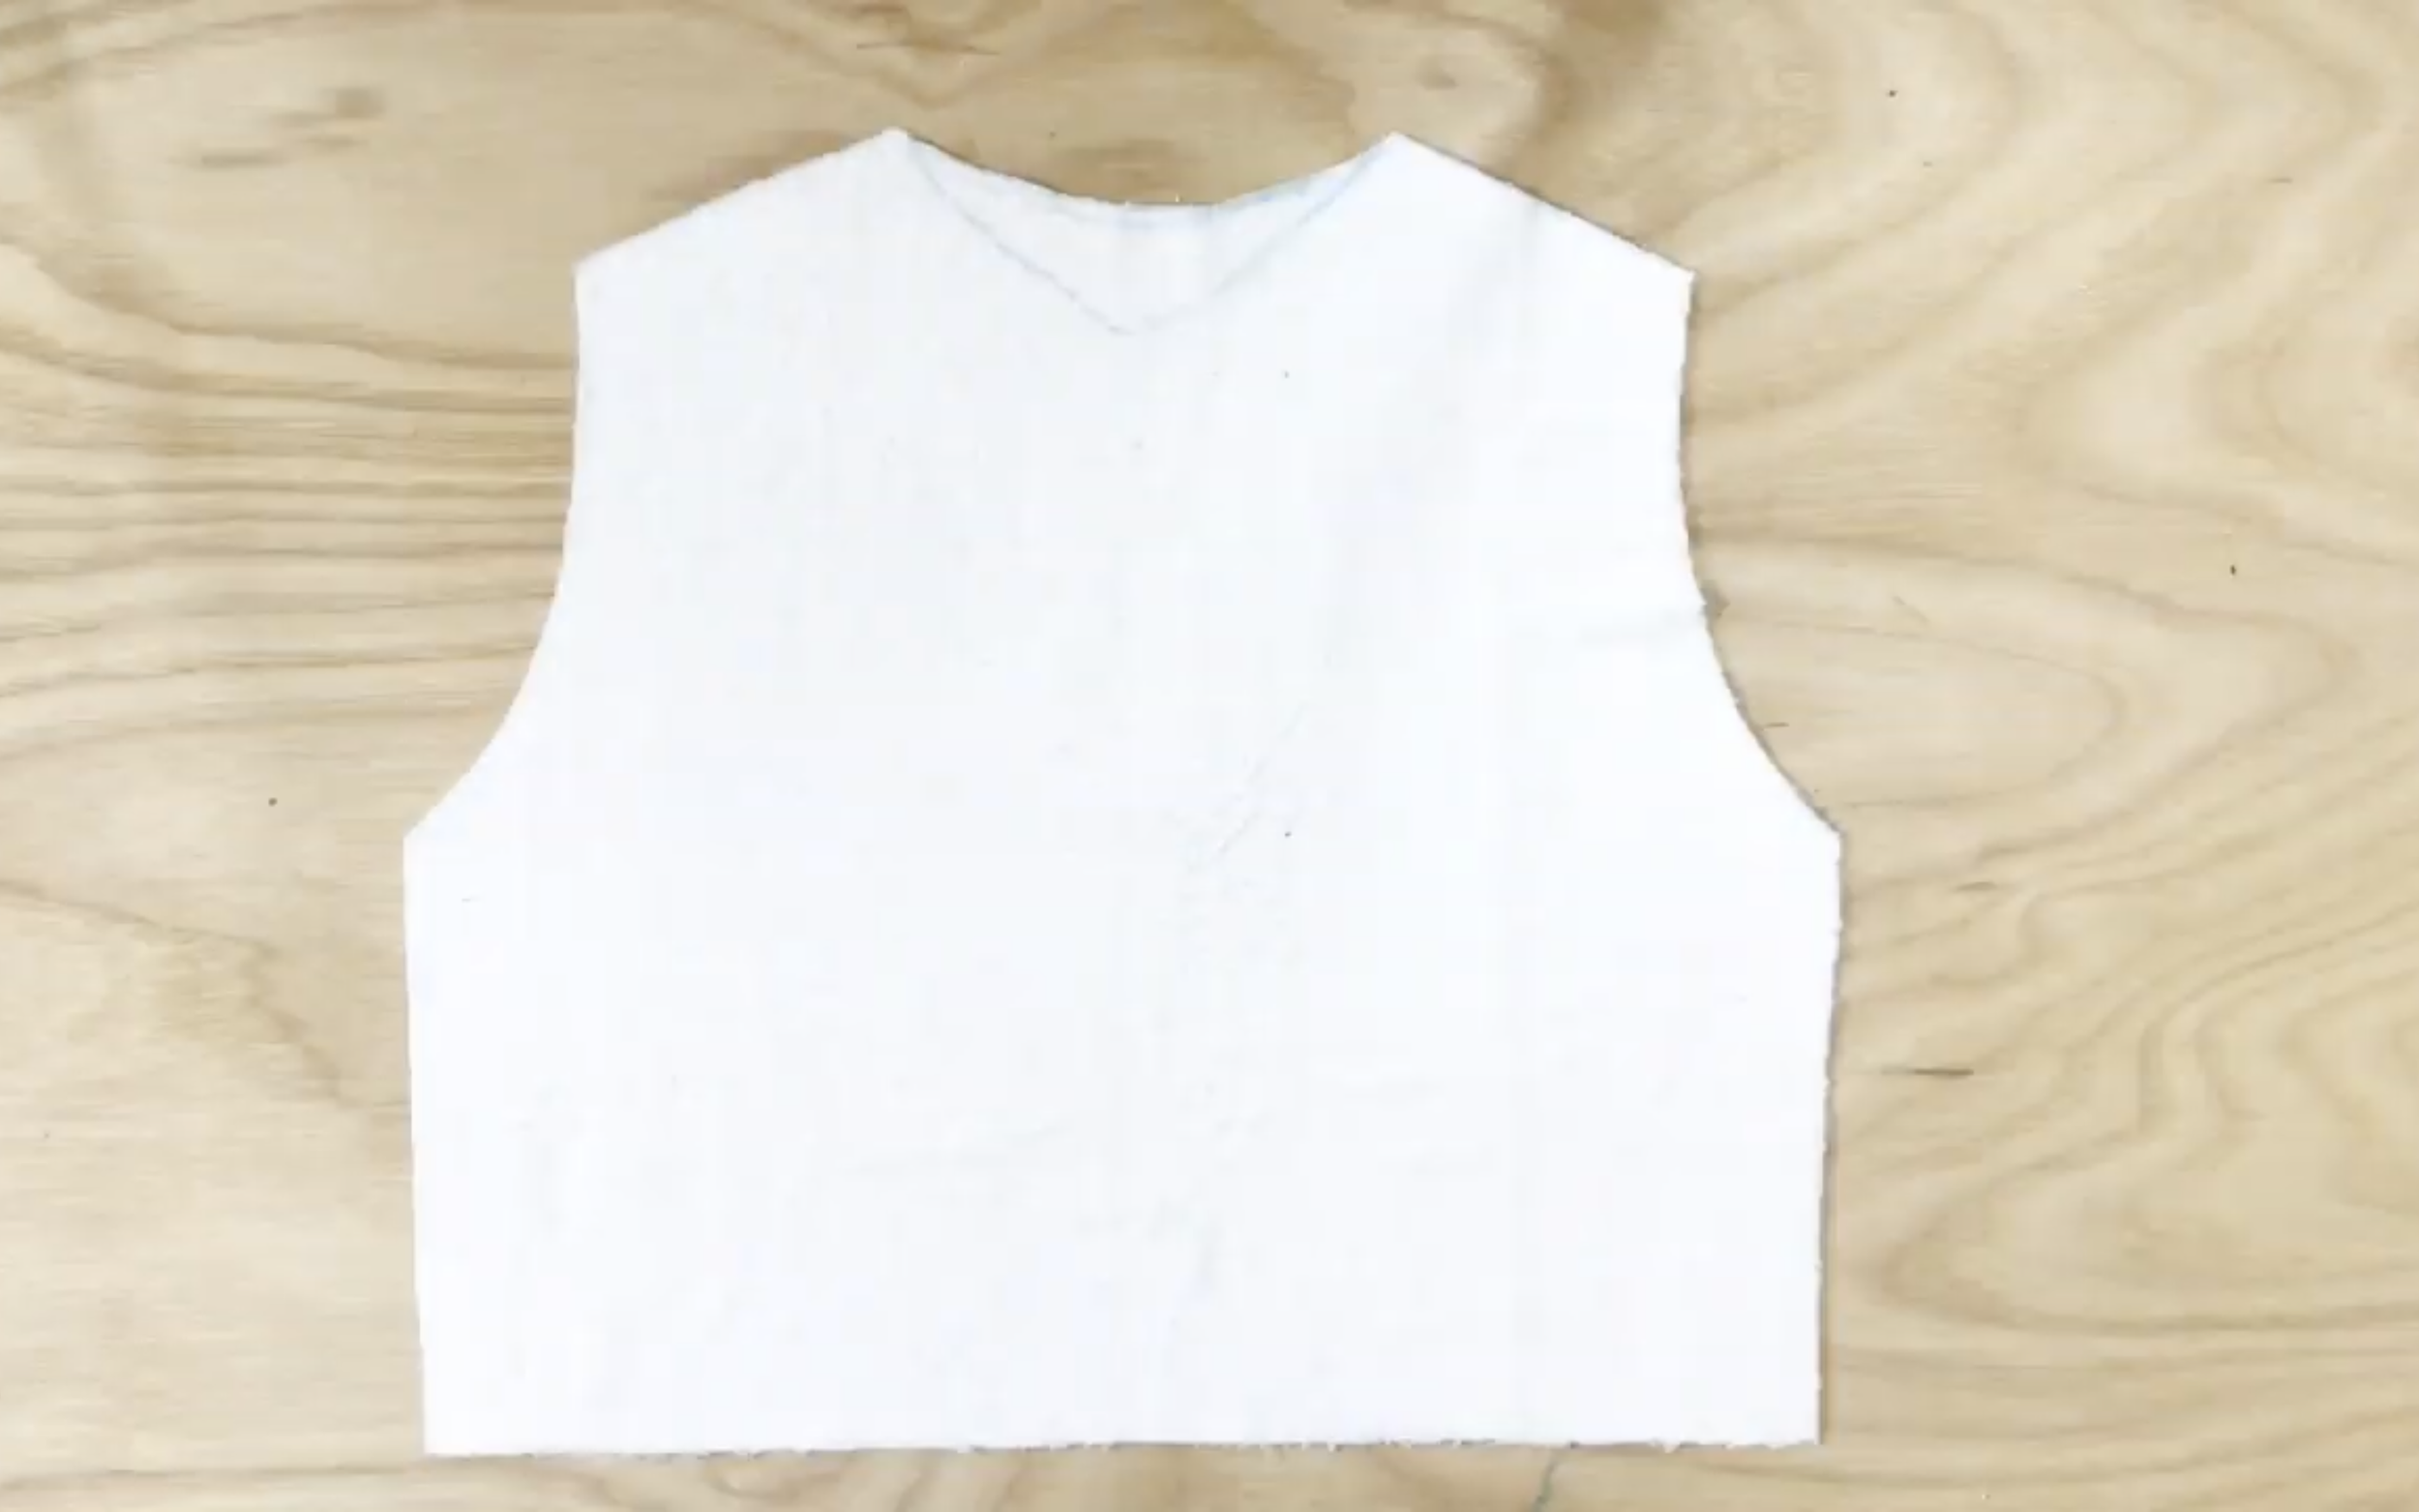
For the neck, apply the neck of the jacket to the towel and draw a pattern.
It is similar like what was done to the body of the jacket before. And cut at 1 cm outside the drawing line.
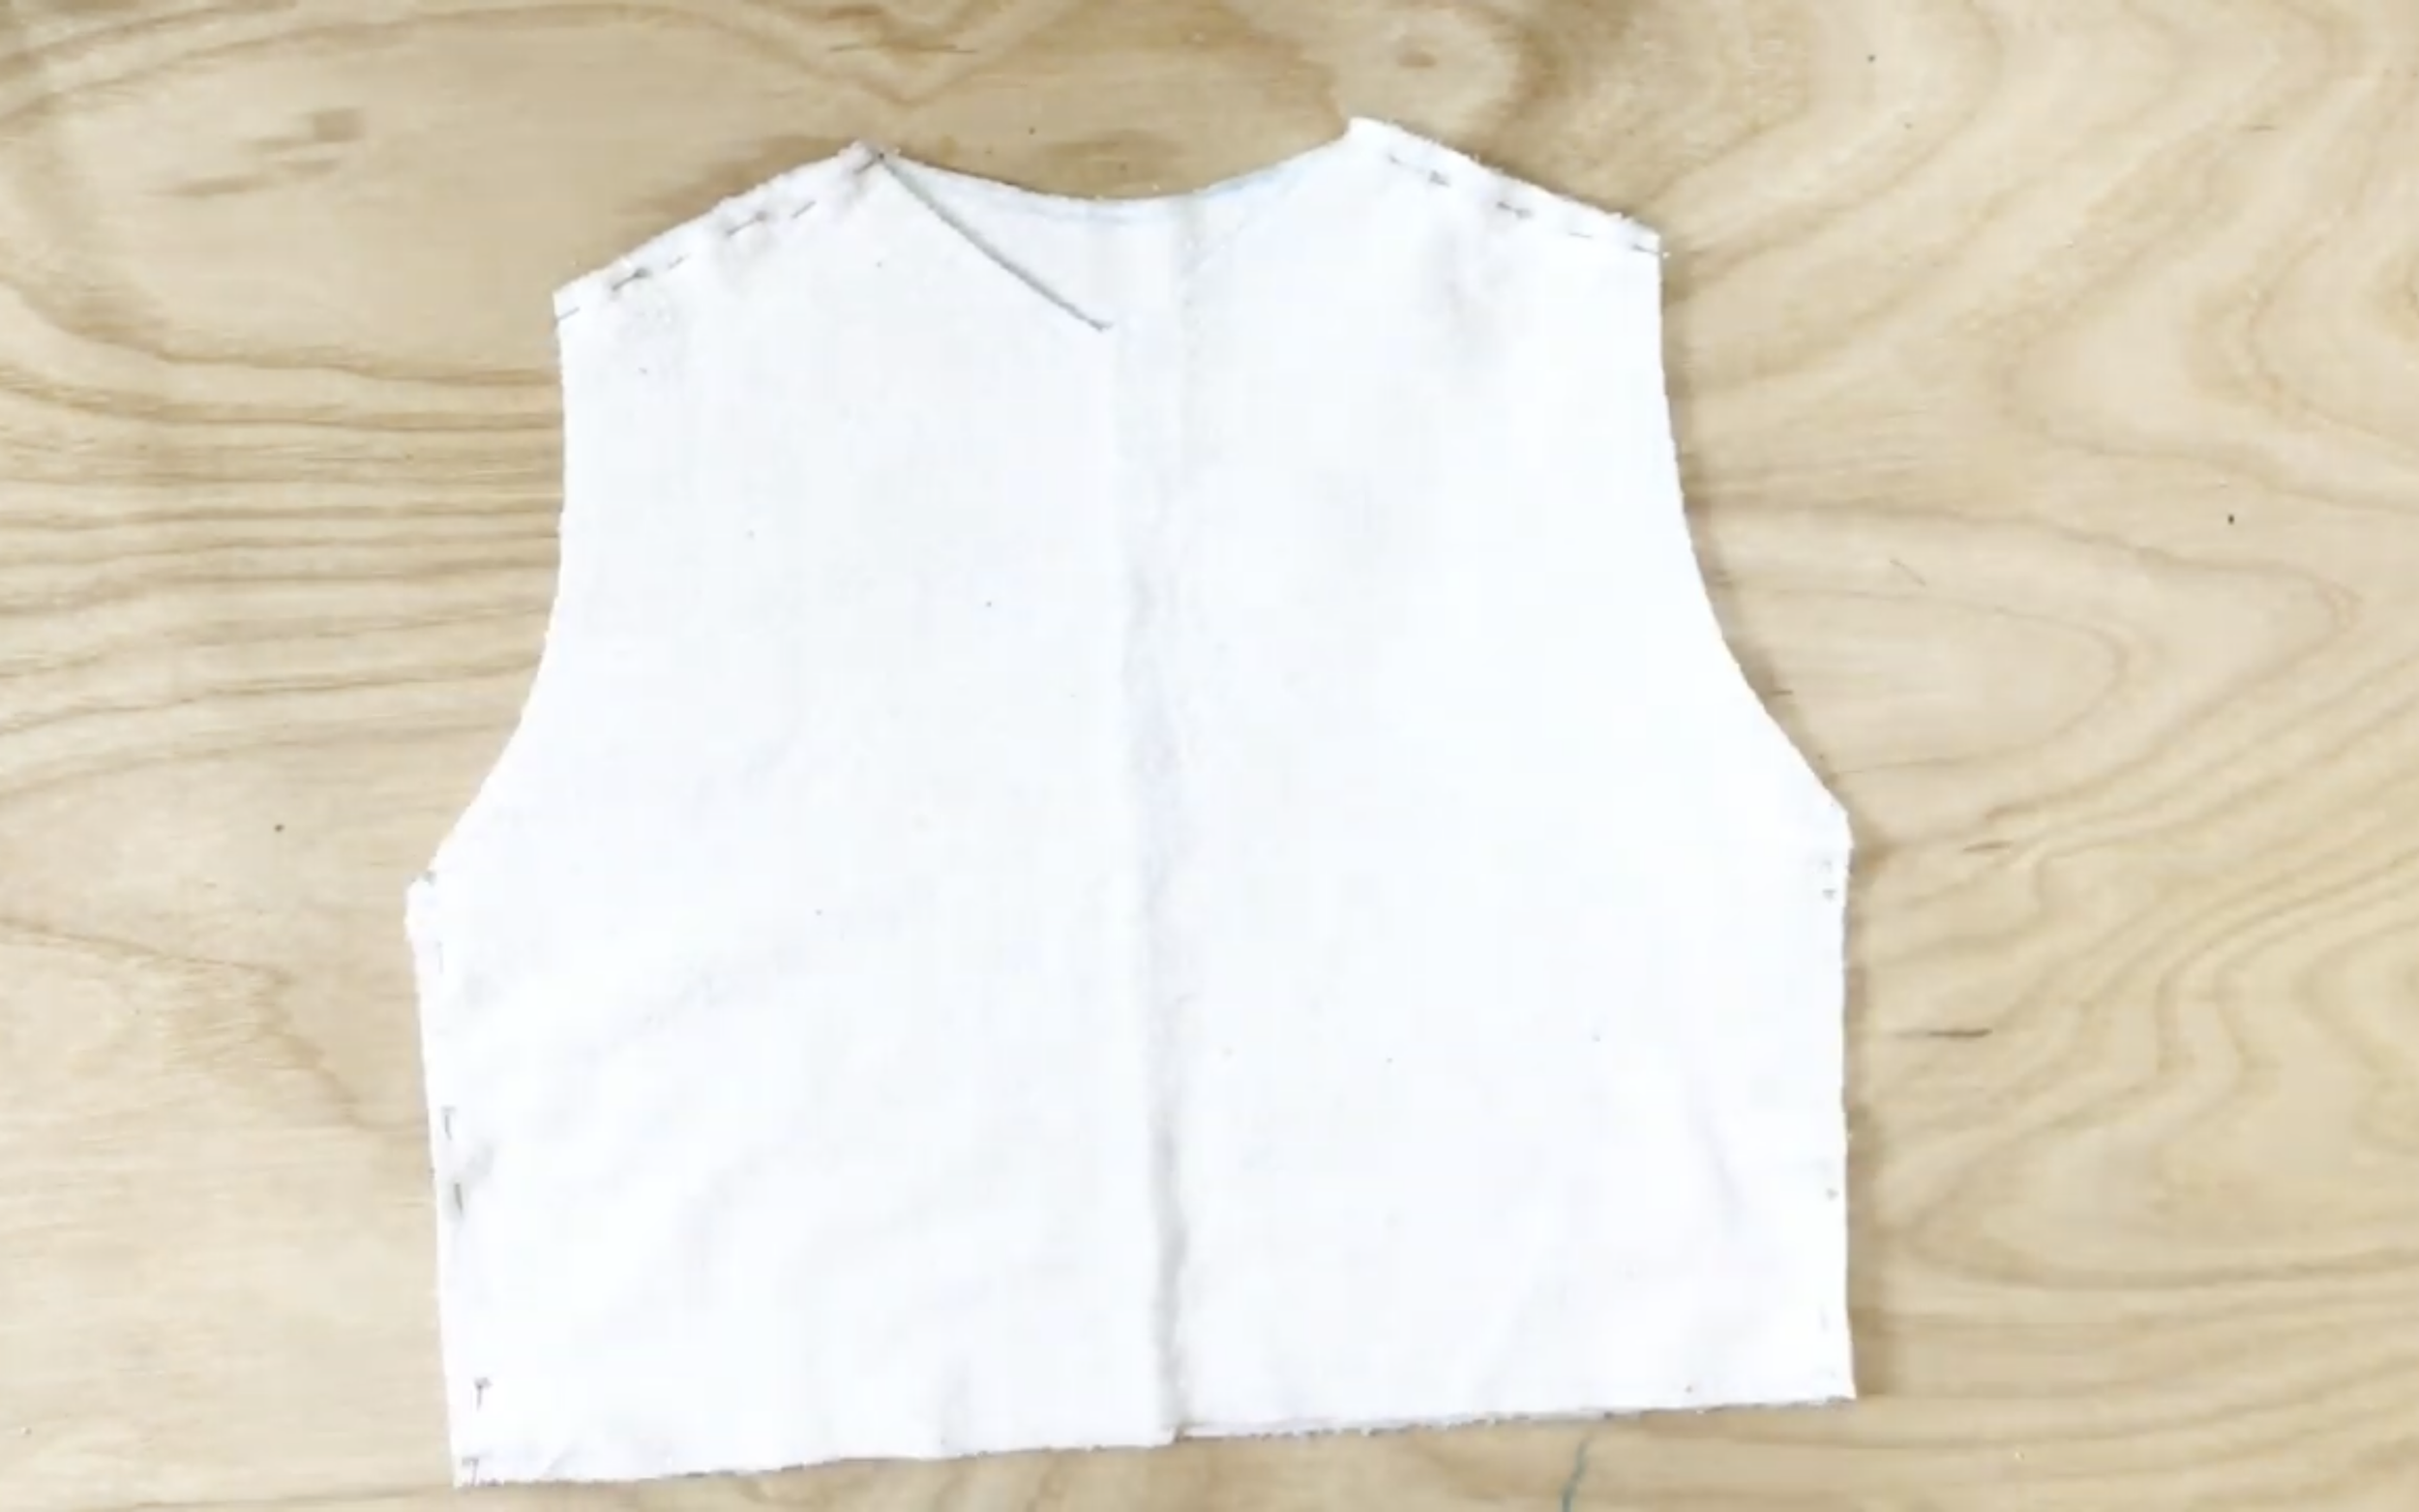
Then connect the neck to the body of the jacket and sewing.
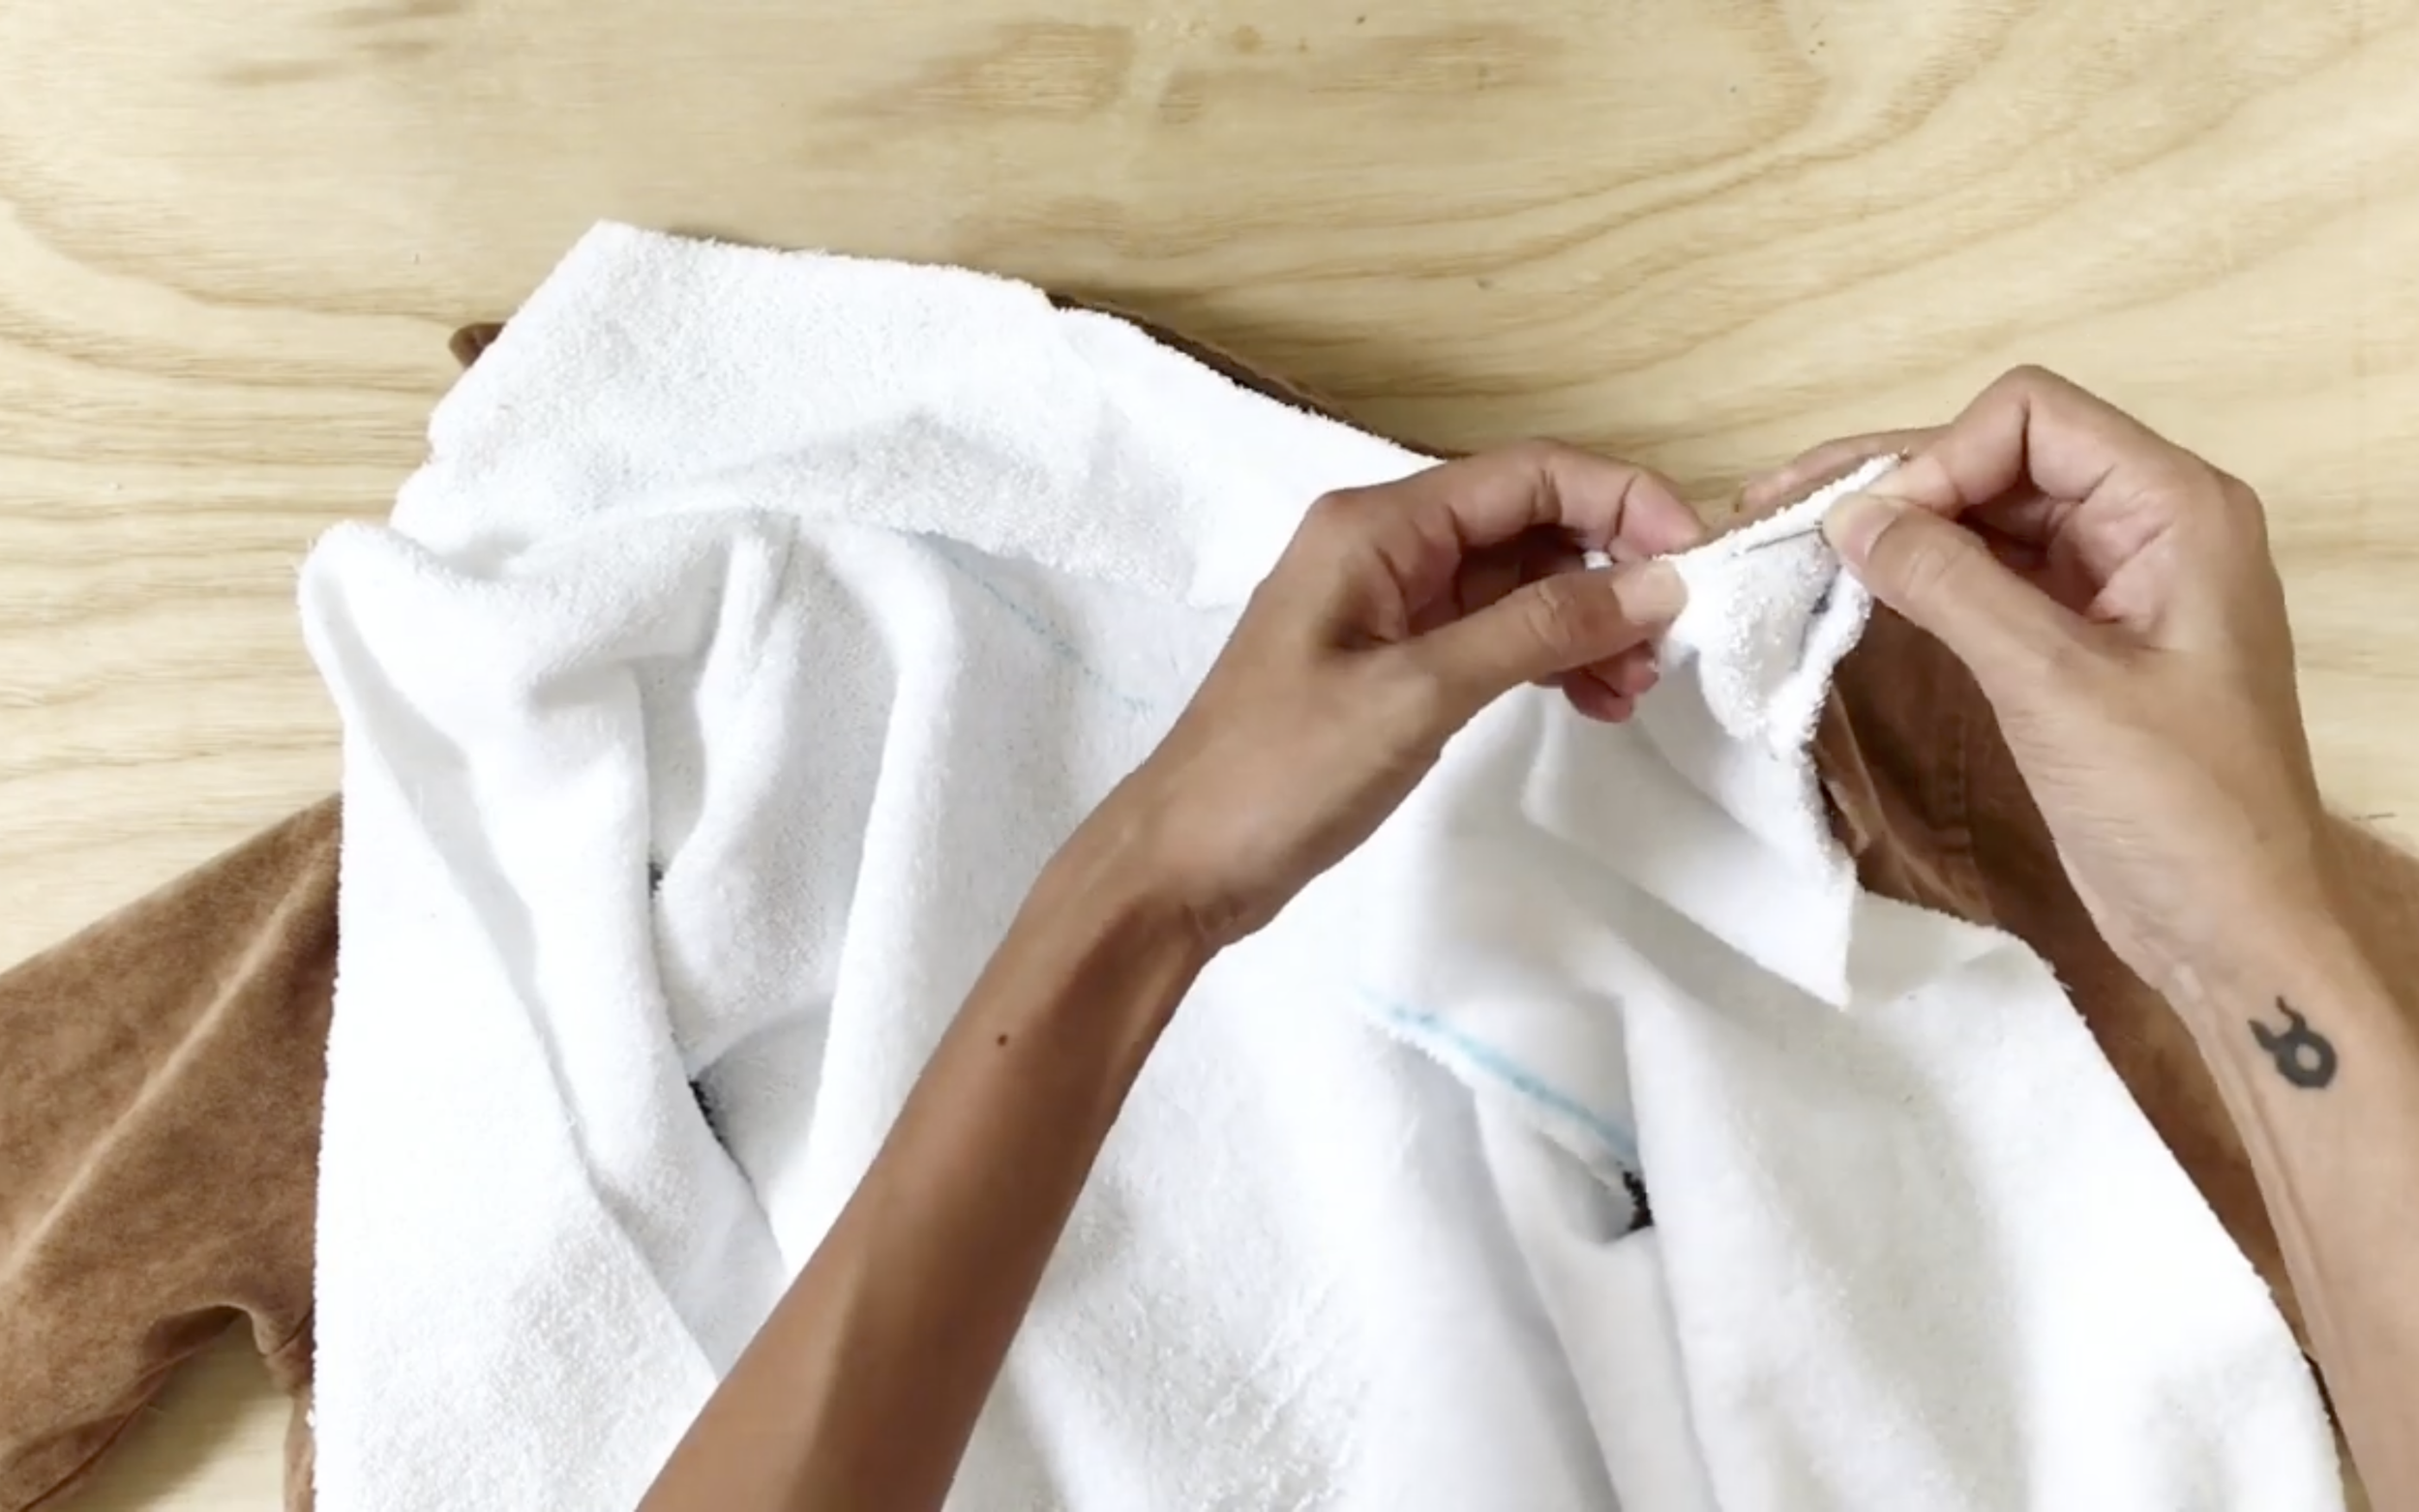
Connect the inside part to the jacket.
The way to do it is folding at the edge of the inside part and fixing them at the same line with the outside part. Use the pins to hold all the folding.
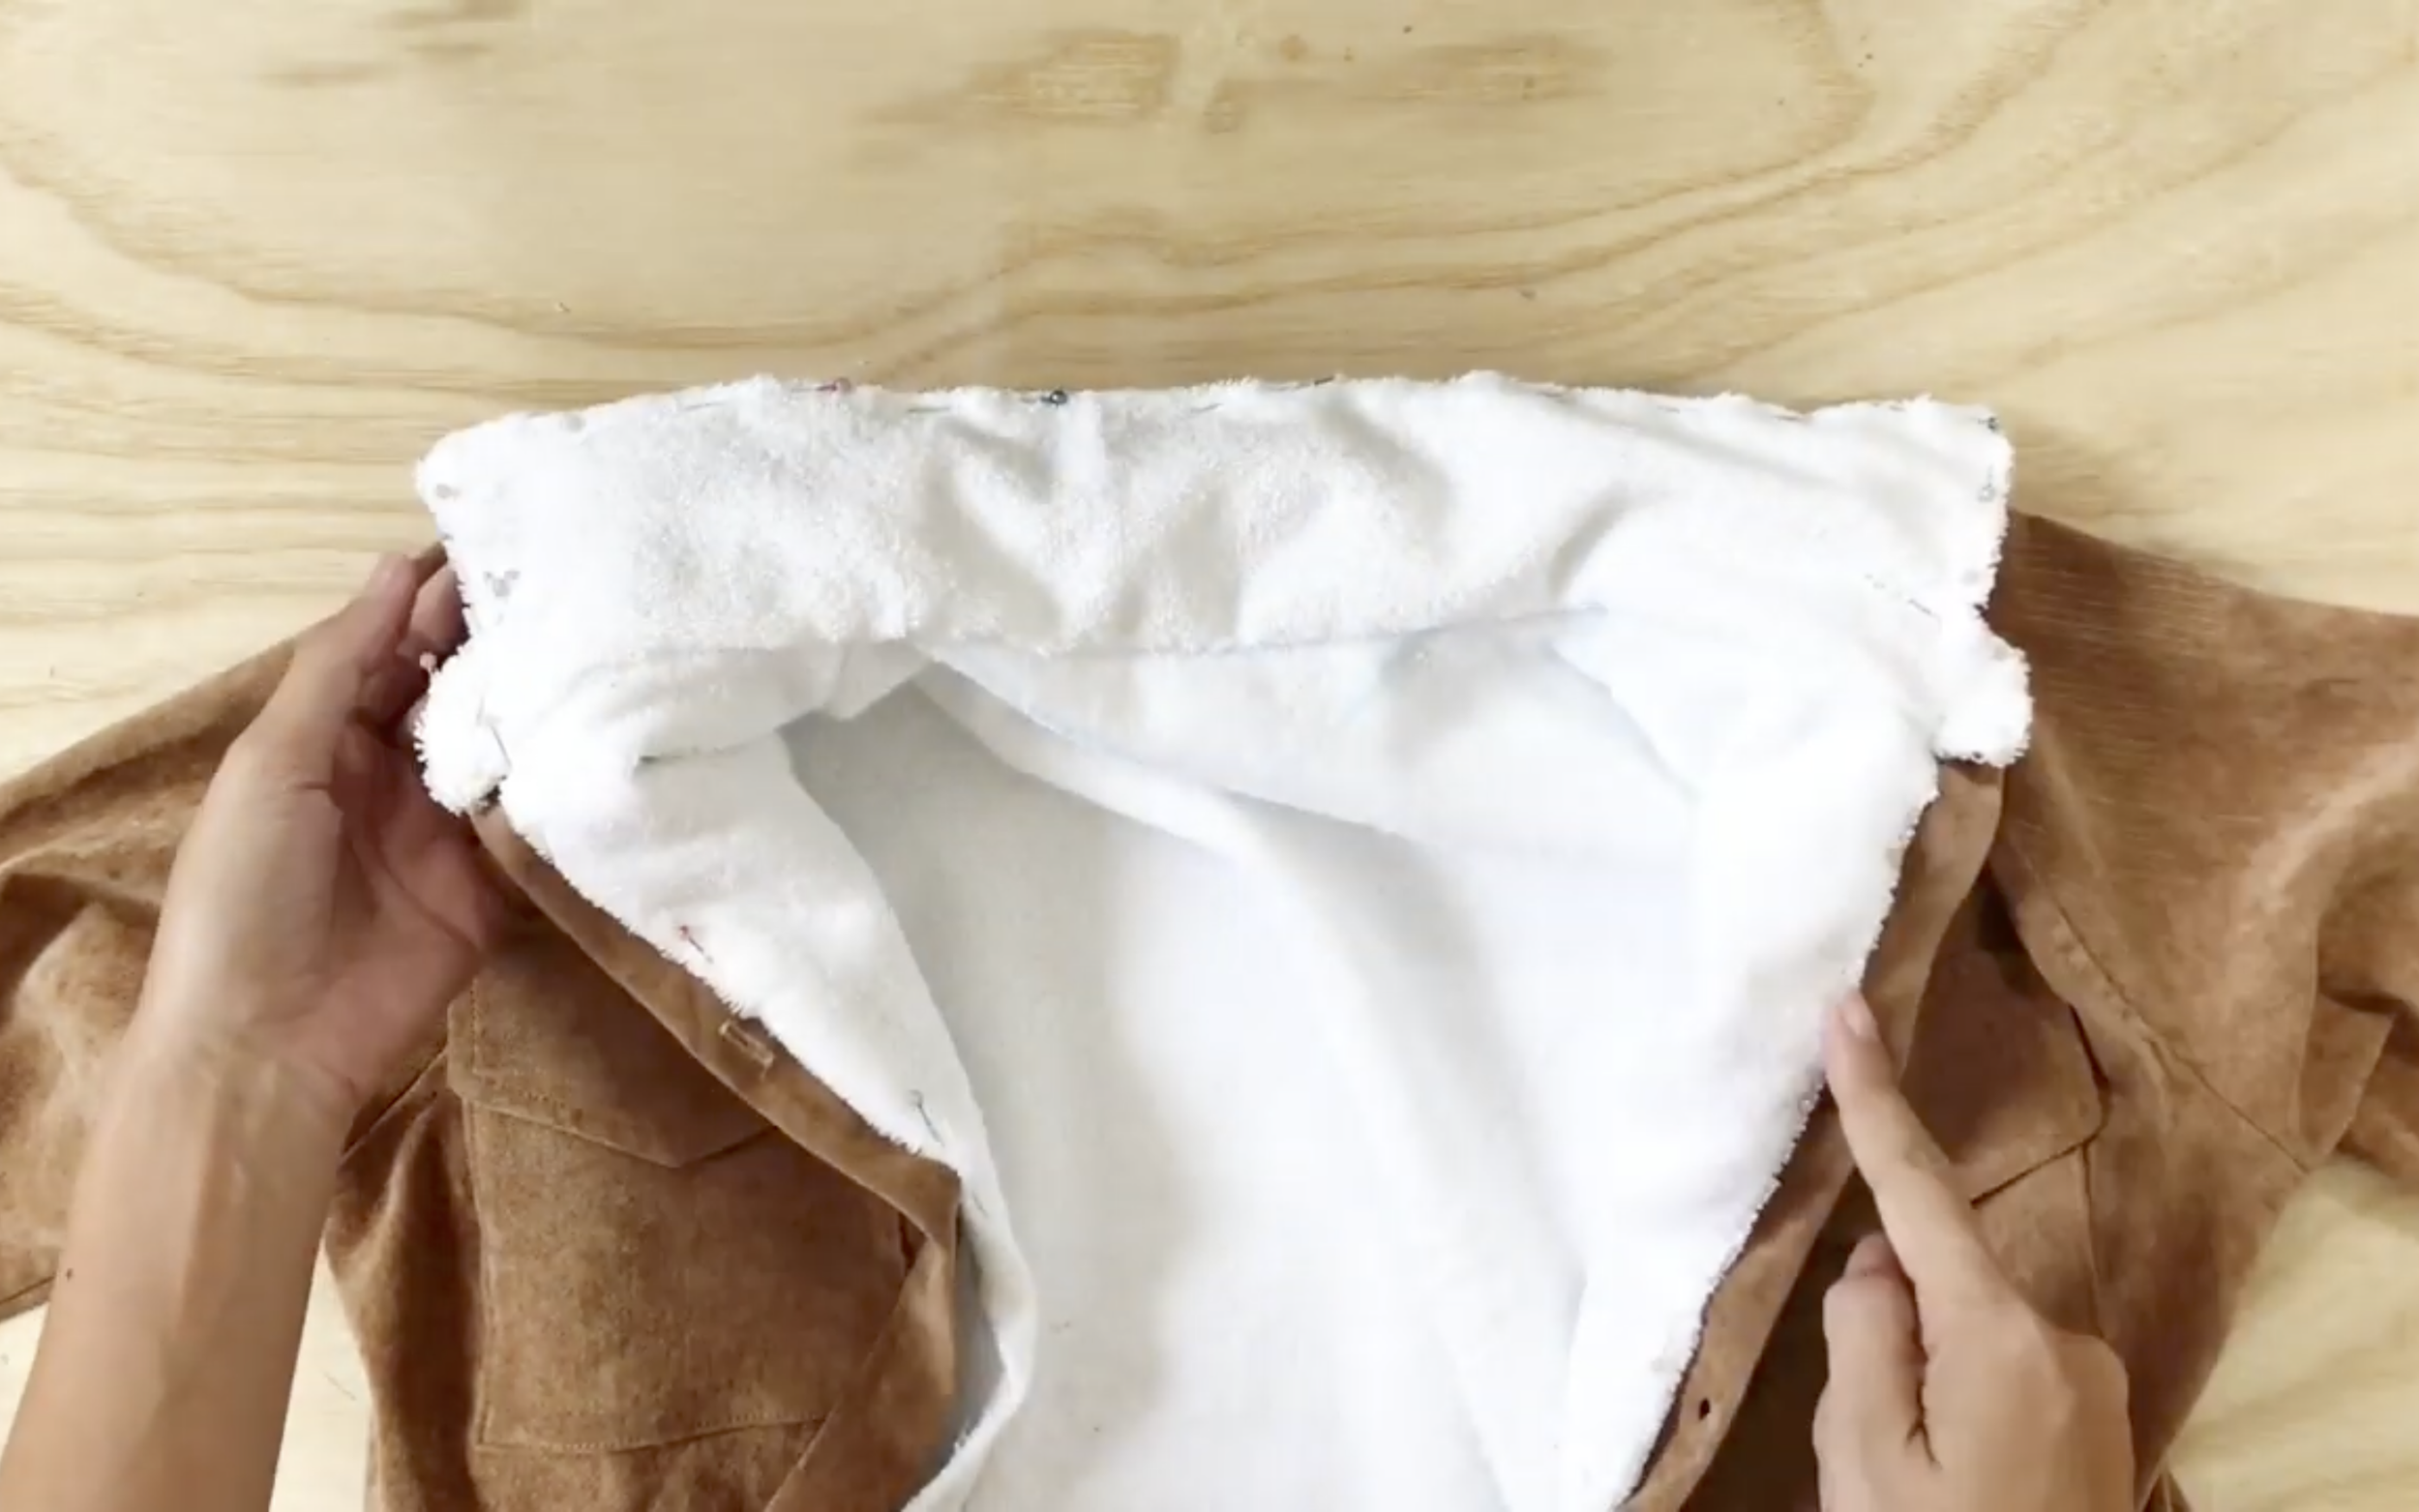
Then sew.
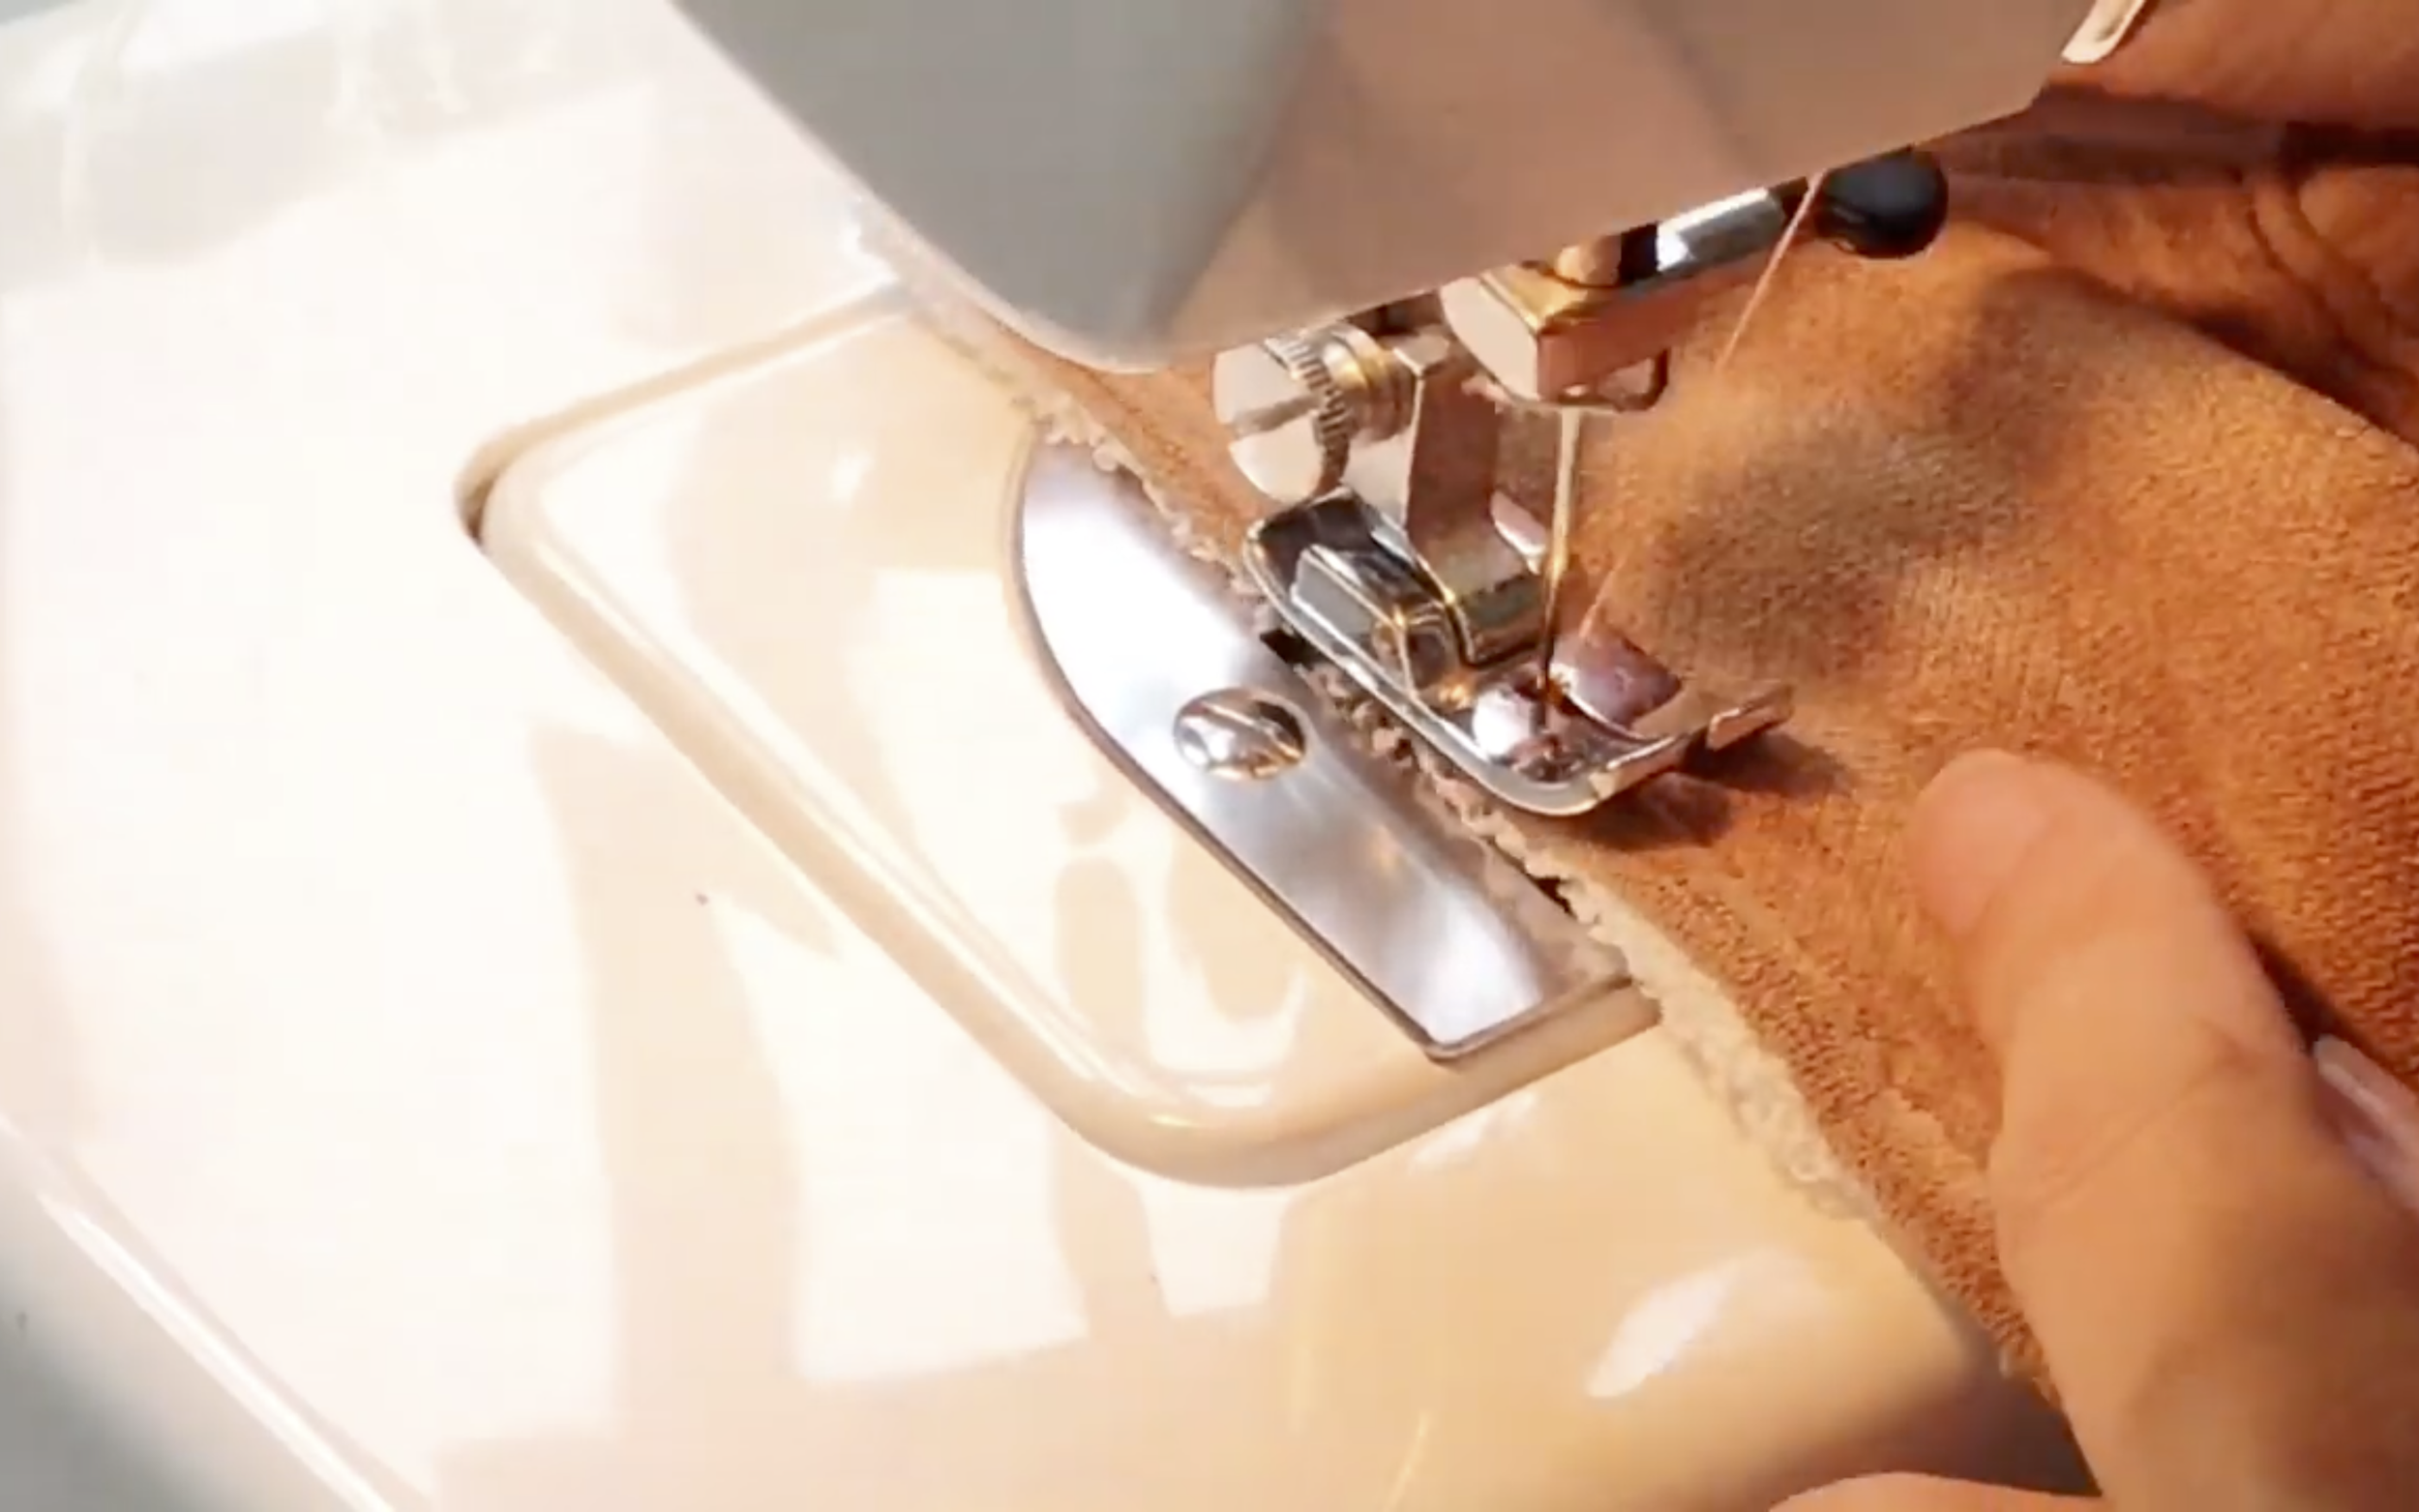
To make the nice seam, sewing into the previous seam of the outside part so it will look like one seam only.
After that, sew the end of the inside to the outside part to keep them together.
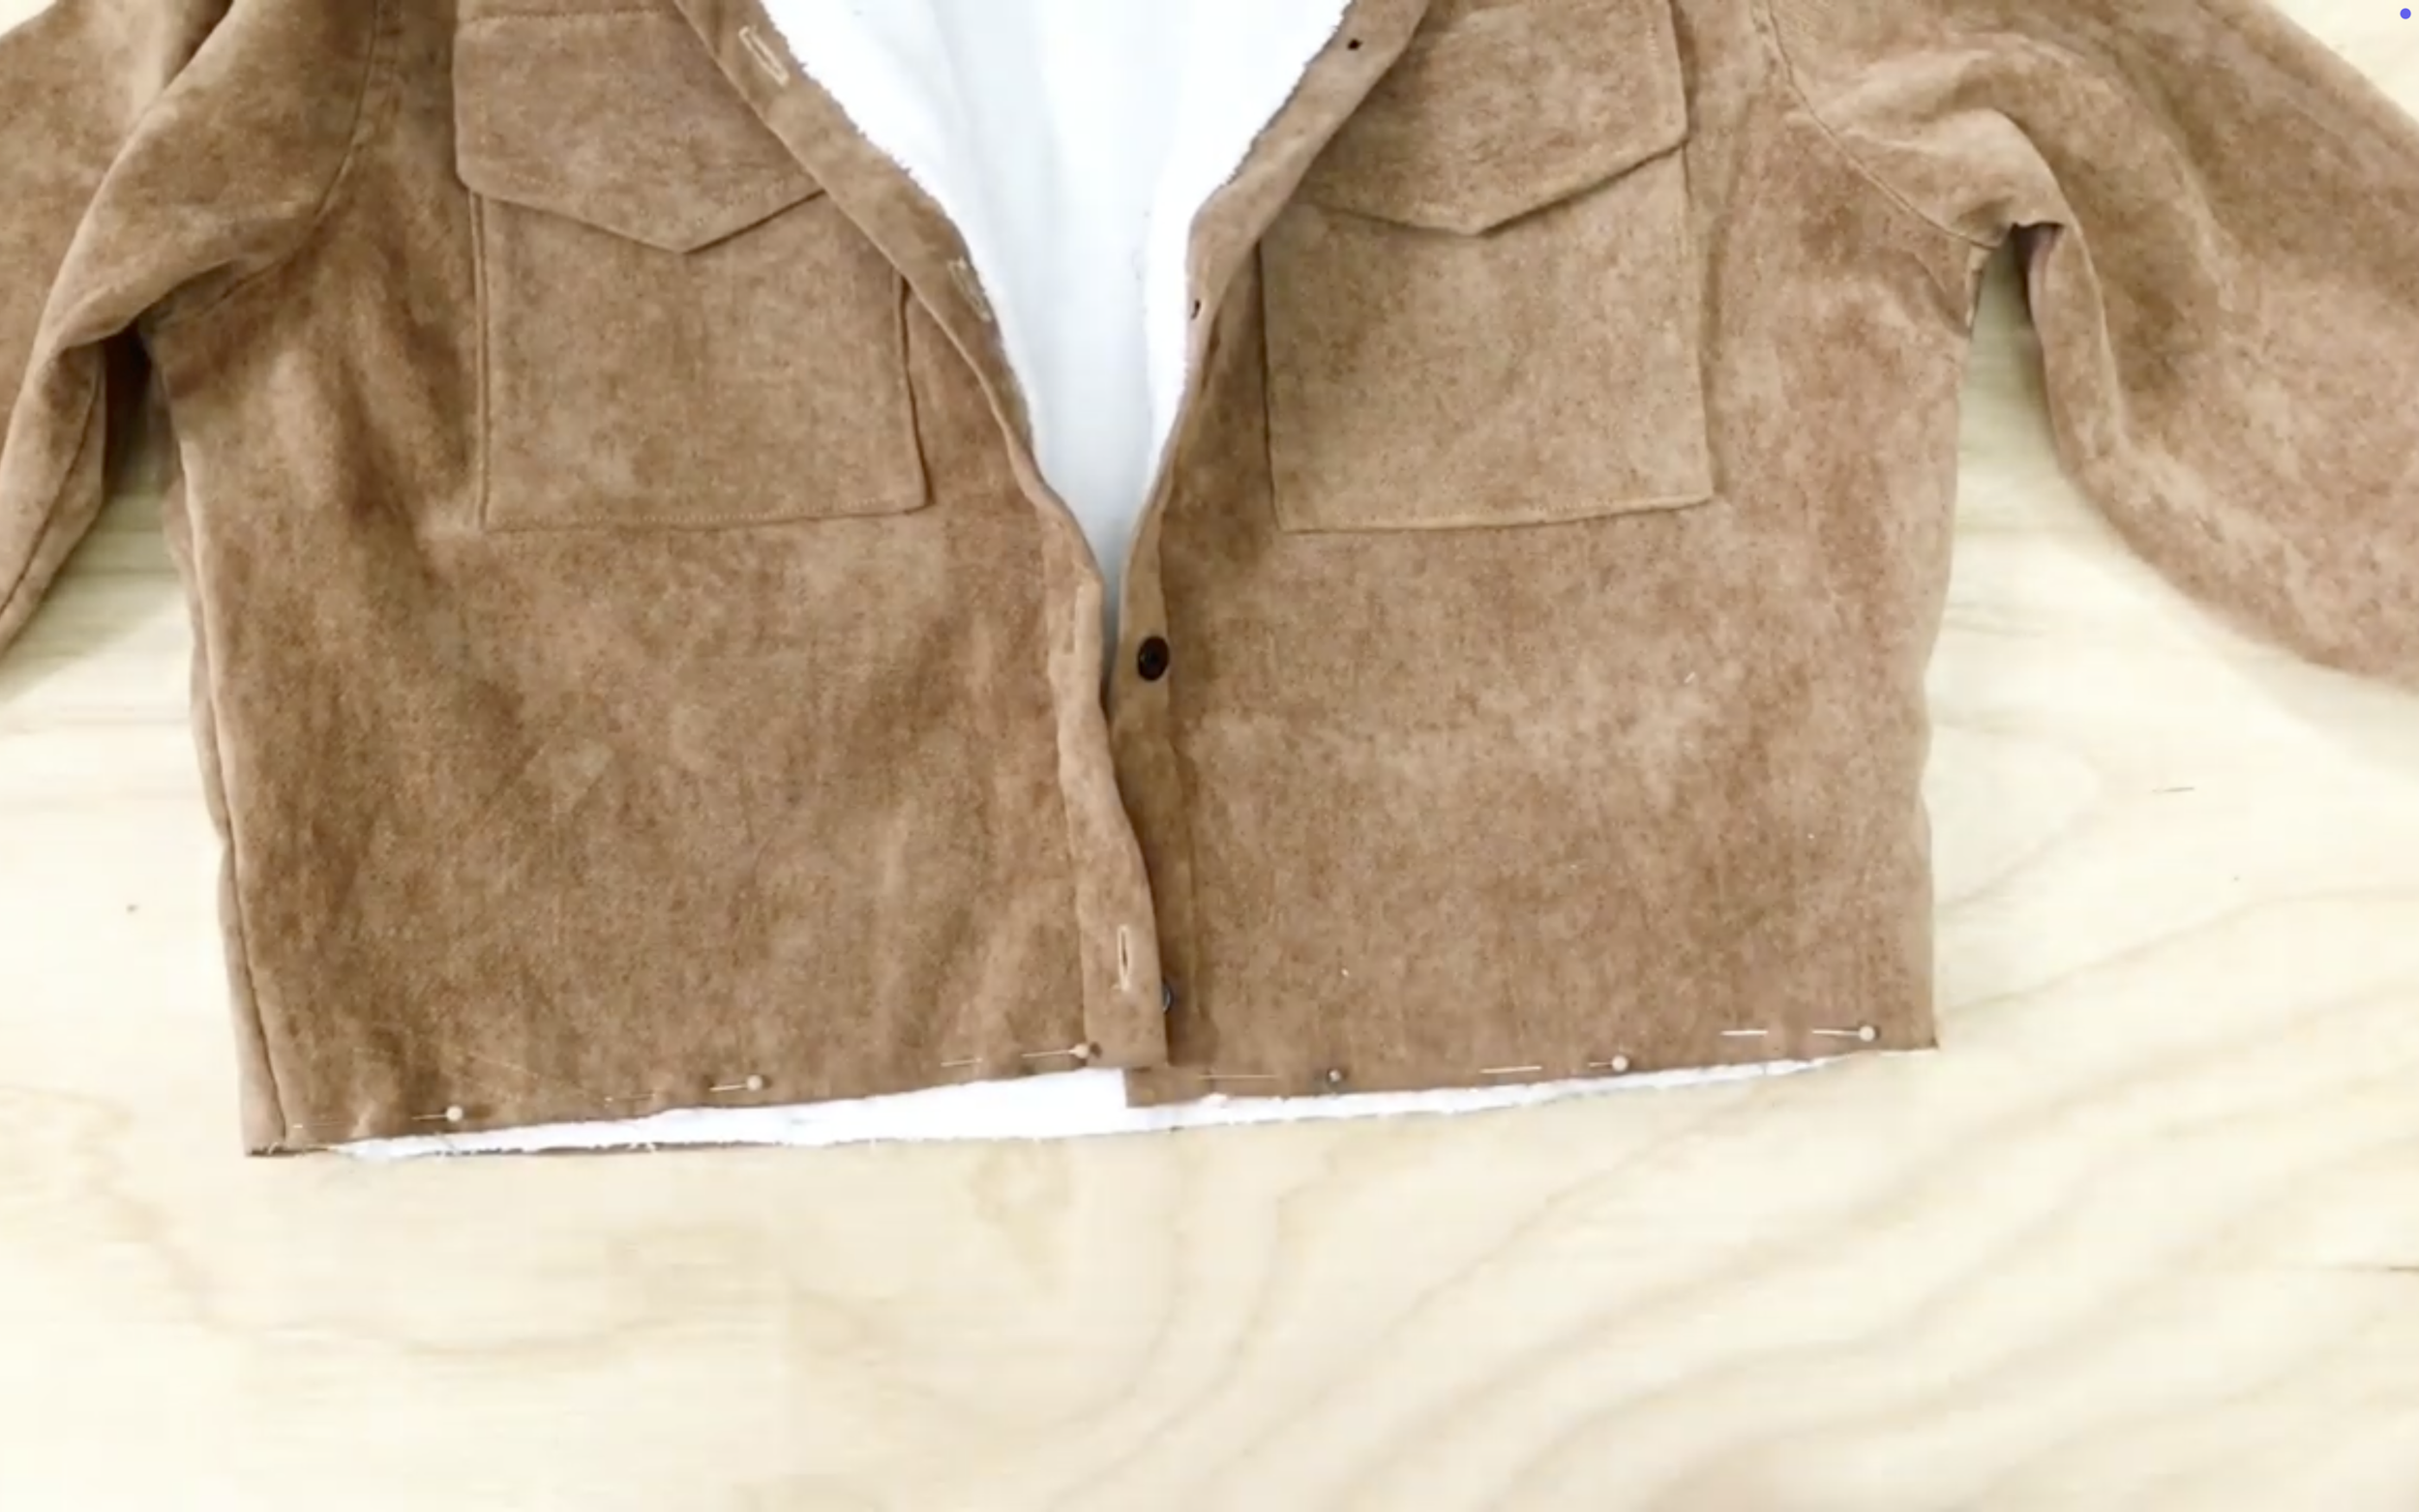
The last step is making the waistband of the jacket.
Use the iron to create a folding for the waistband.
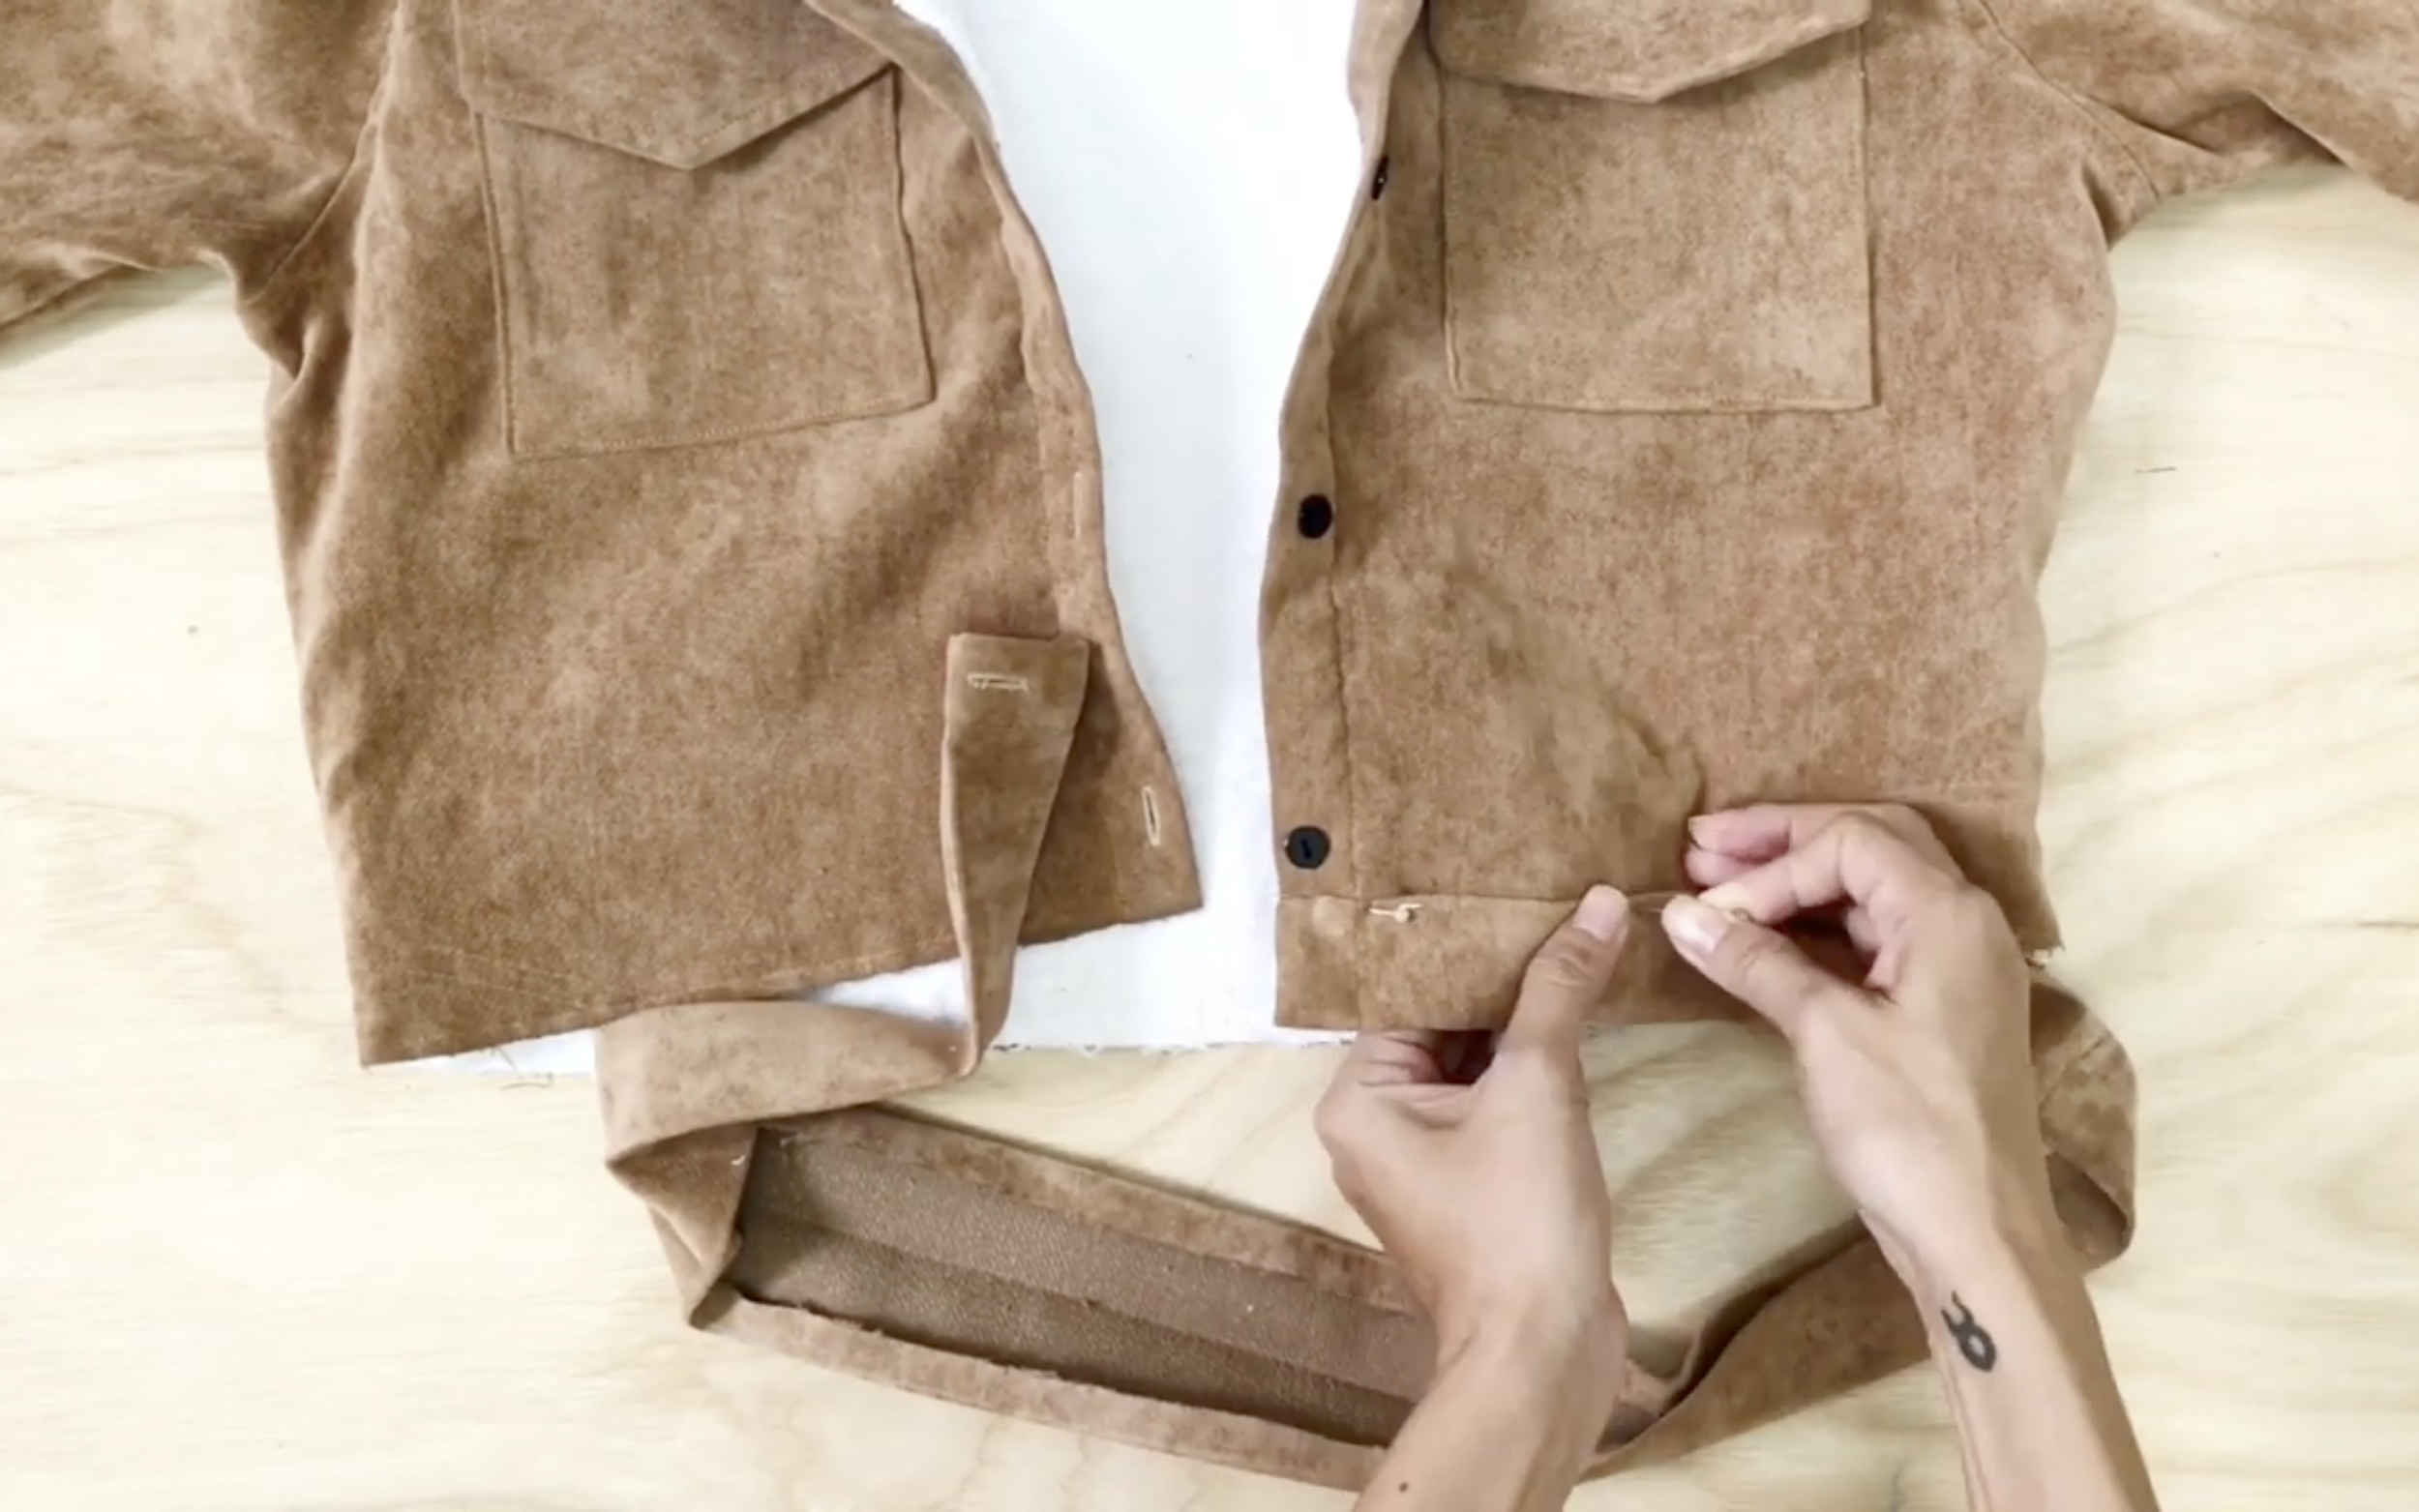
Then fix it into the end of the jacket.

Fix two sides at the button area, then fix the rest later and sewing.

DIY Corduroy jacket/Sherpa jacket from old shirt - Old shirt transformation idea
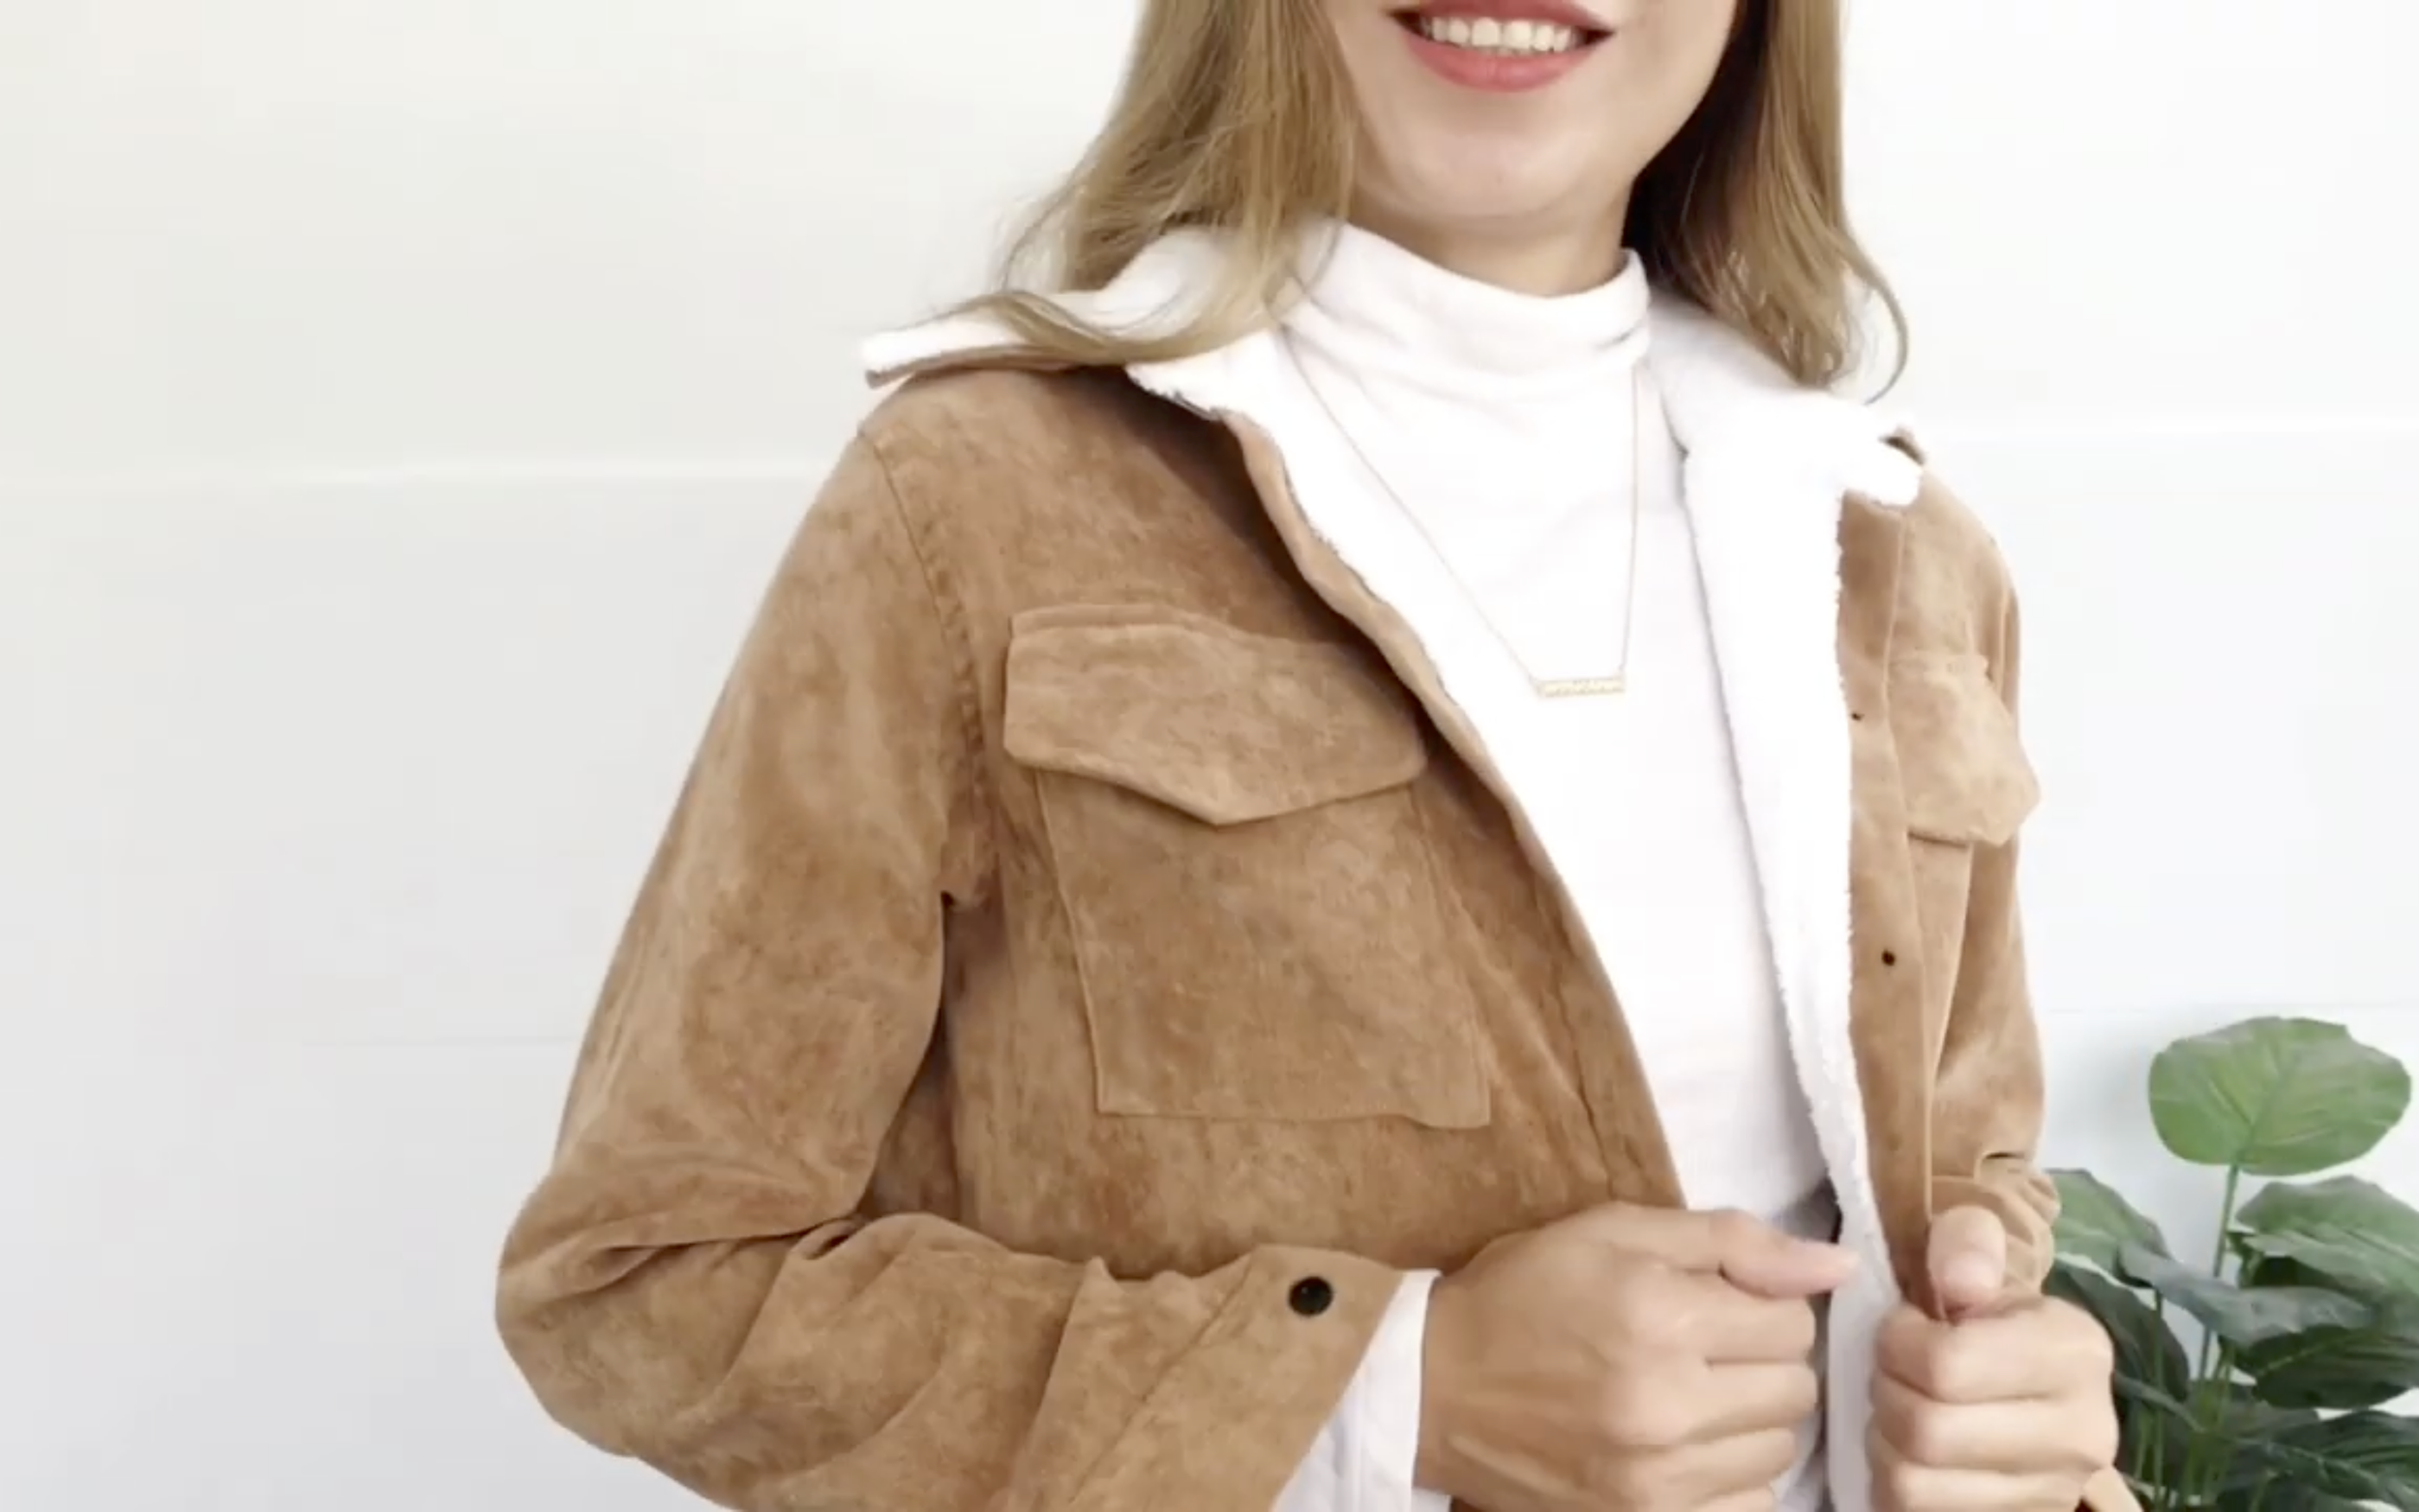
And that’s a wrap on this DIY—here’s the final look!
This corduroy jacket is not only super cute in color and style, but also warm enough to keep the cold away. Perfect for cozy winter days.
I hope you found my step-by-step guide helpful and inspiring.
If you’re interested in making your own, give it a try and let me know how it goes!
Until then, happy sewing!