DIY Puff sleeve smock dress from scratch - A perfect summer dress [+ Free Pattern]

DIY Puff Sleeve Smock Dress
Hi everyone! I hope you’re all doing well.
This's week is one of my favorite DIY projects for the summer - a puff sleeve smock dress. This dress is not only stylish but also perfect for the warm weather.
Let’s get started!
WHAT YOU’LL NEED
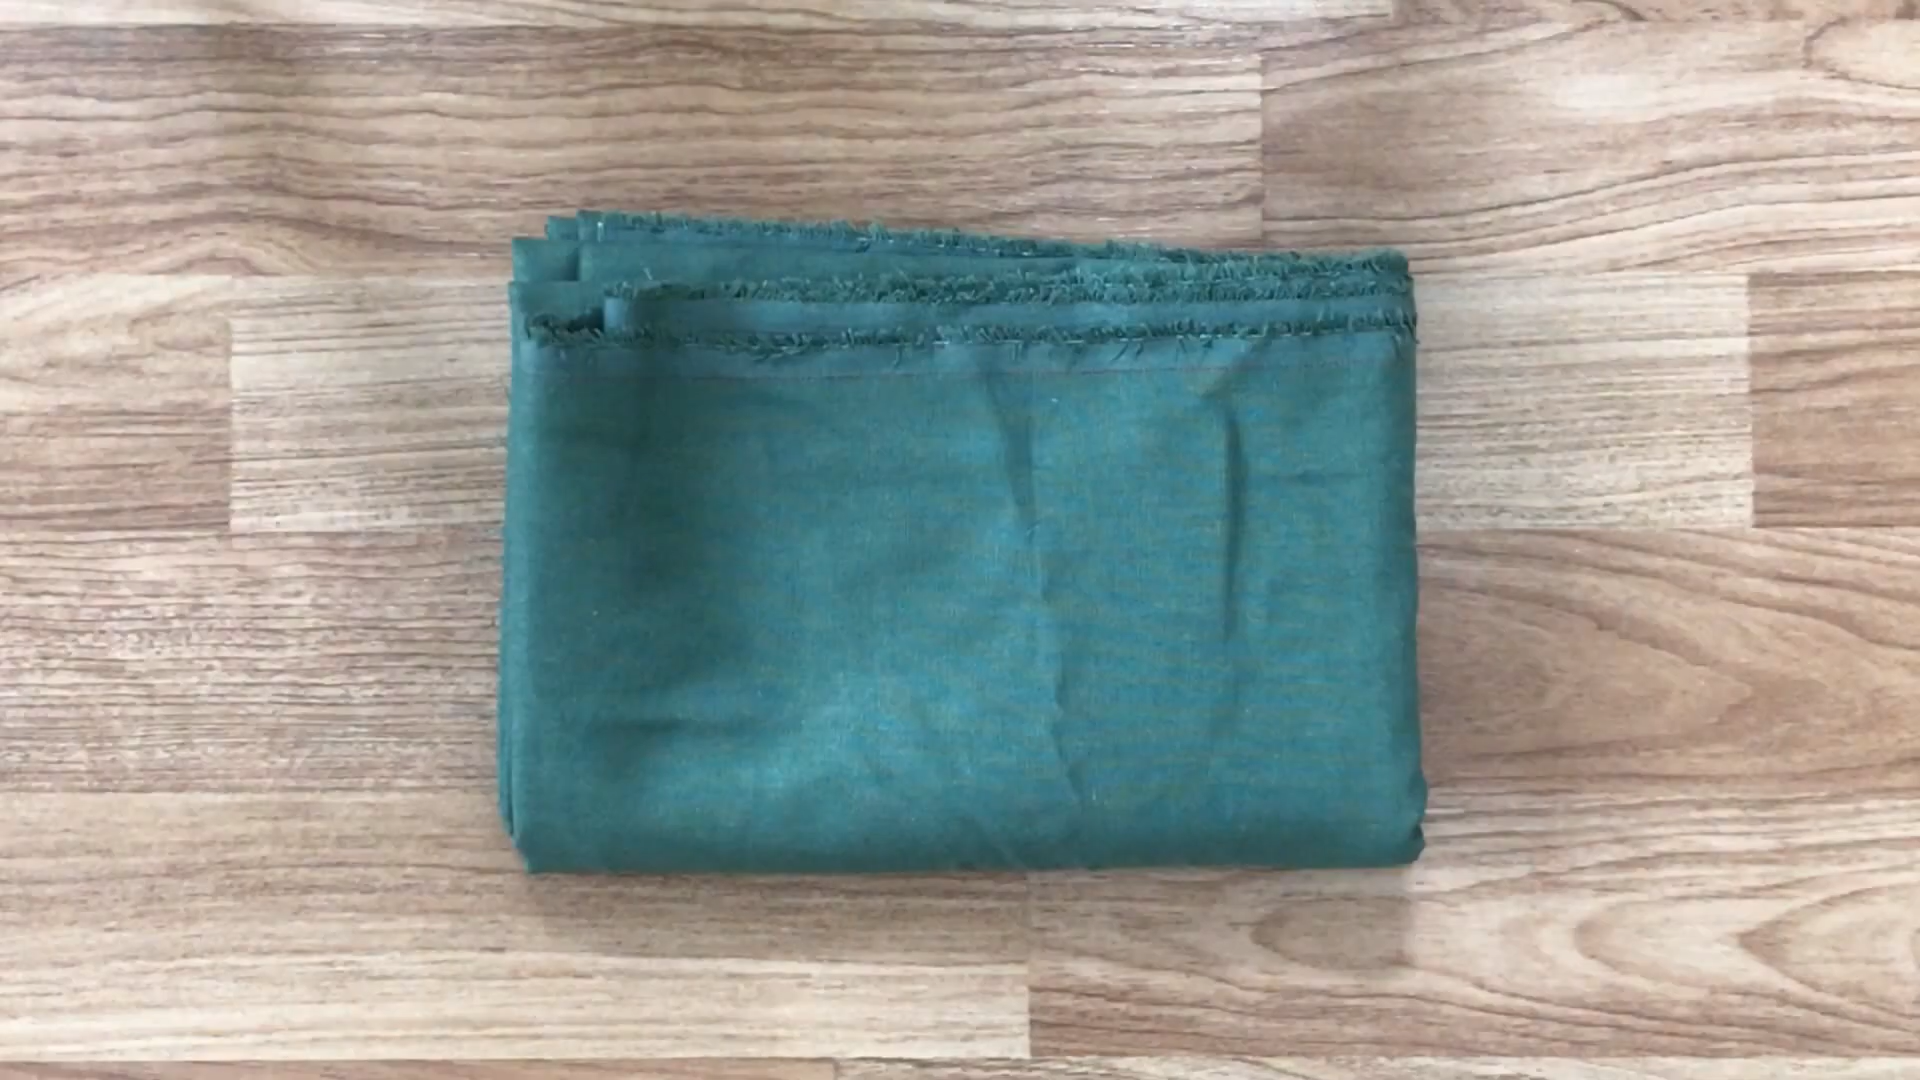
2.5m of loose linen
Pattern paper
Sewing machine
Pins
Scissors
Ruler
Long stick
MAKING THE PATTERNS
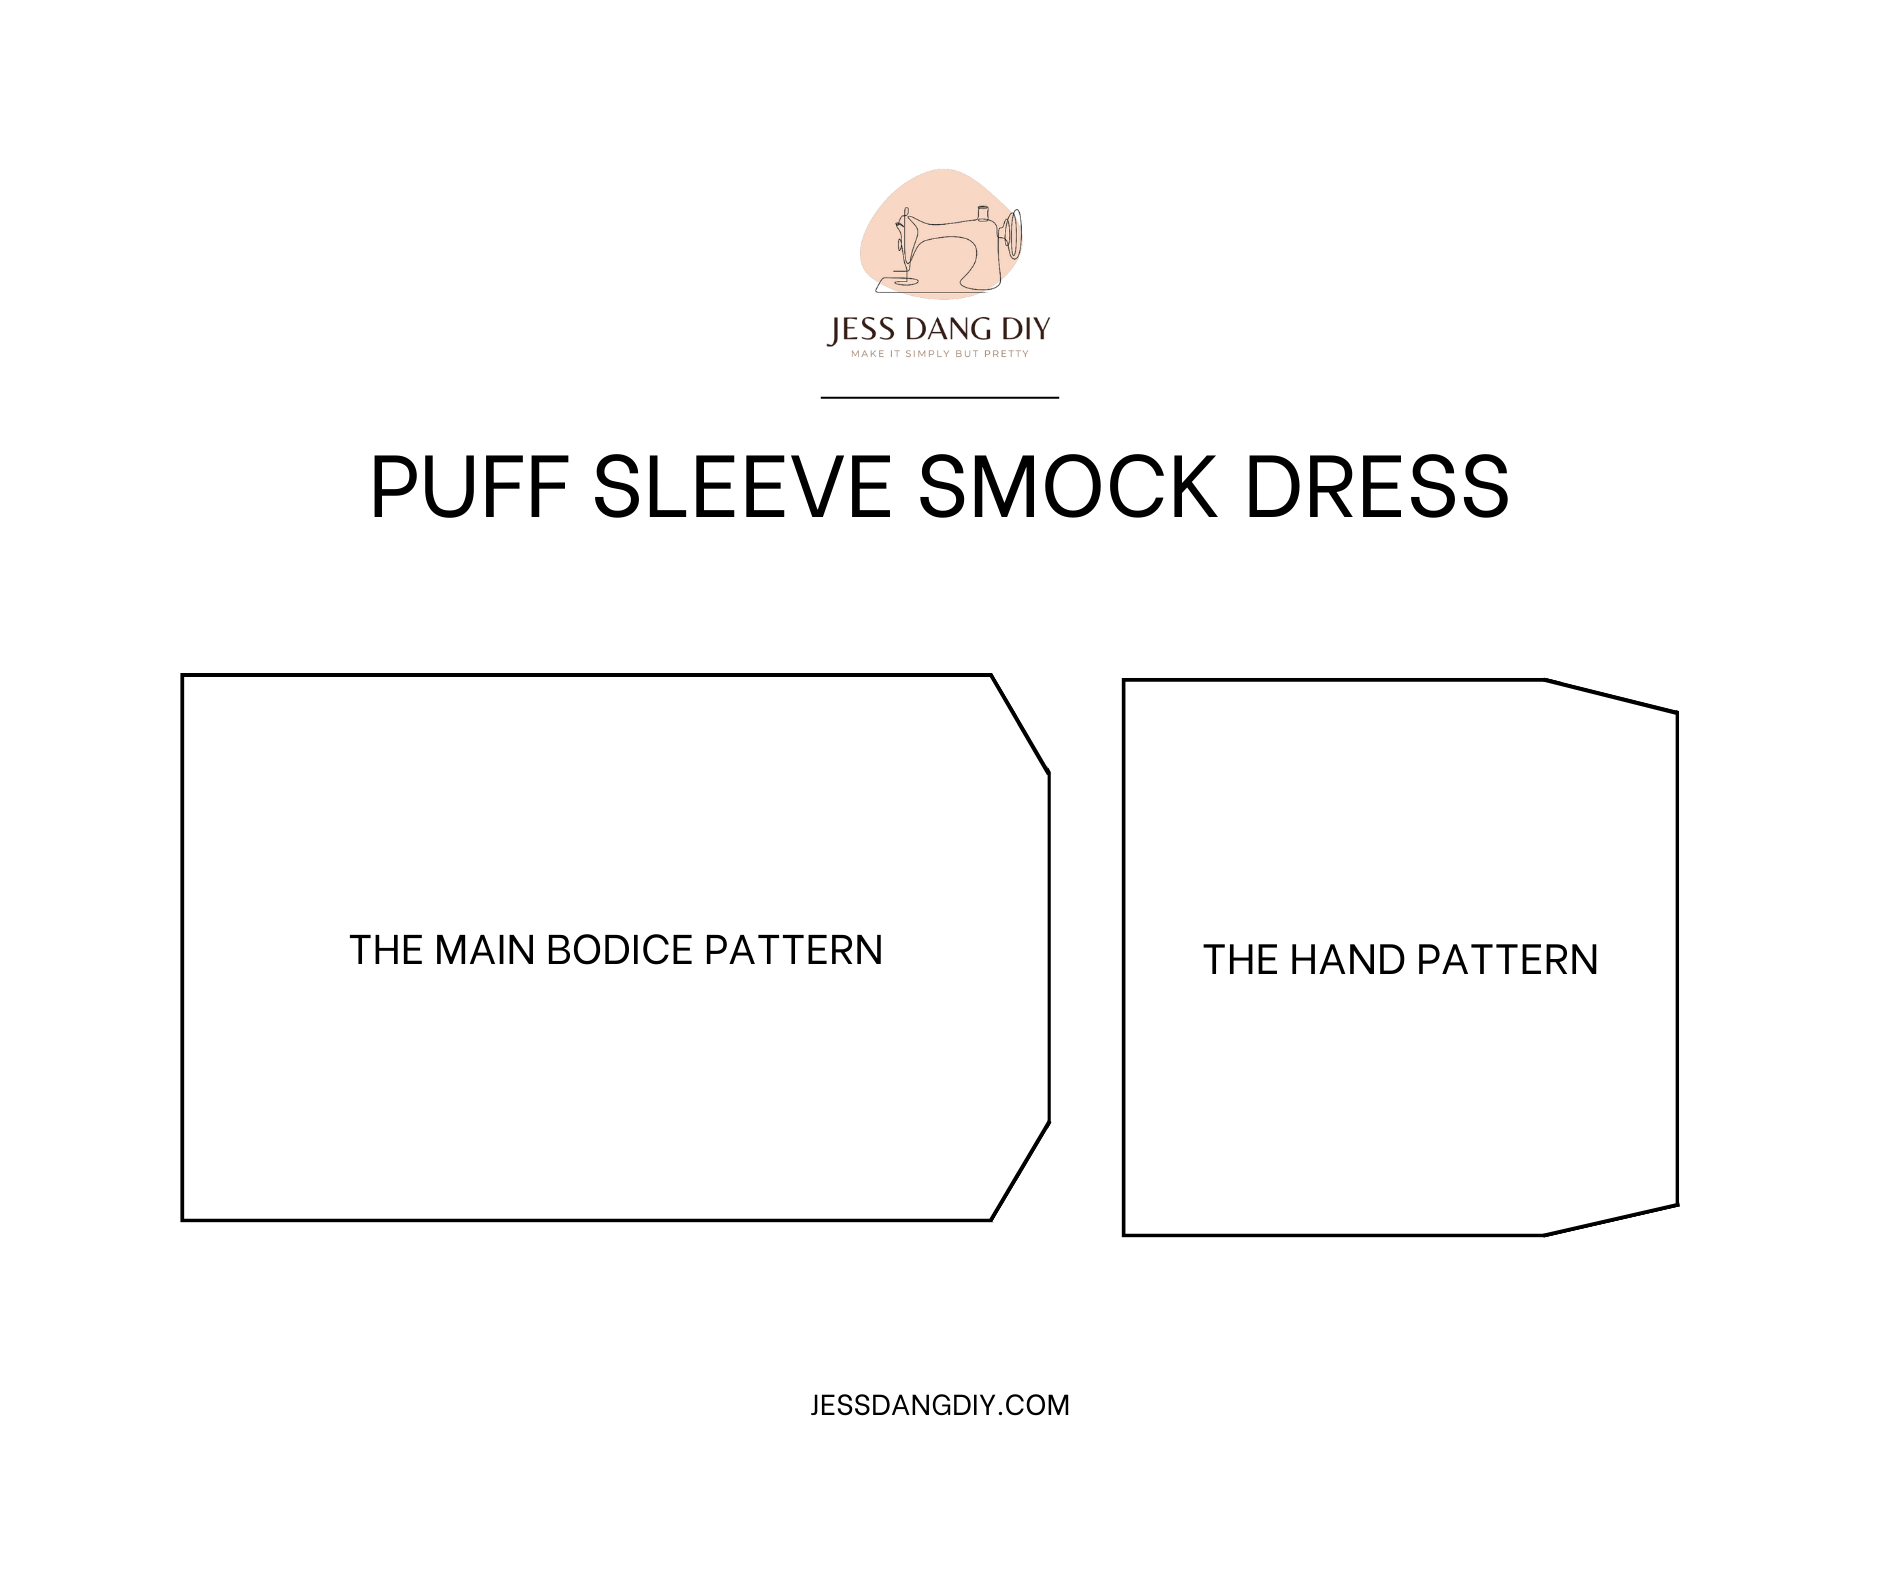
THE MAIN BODICE PATTERN
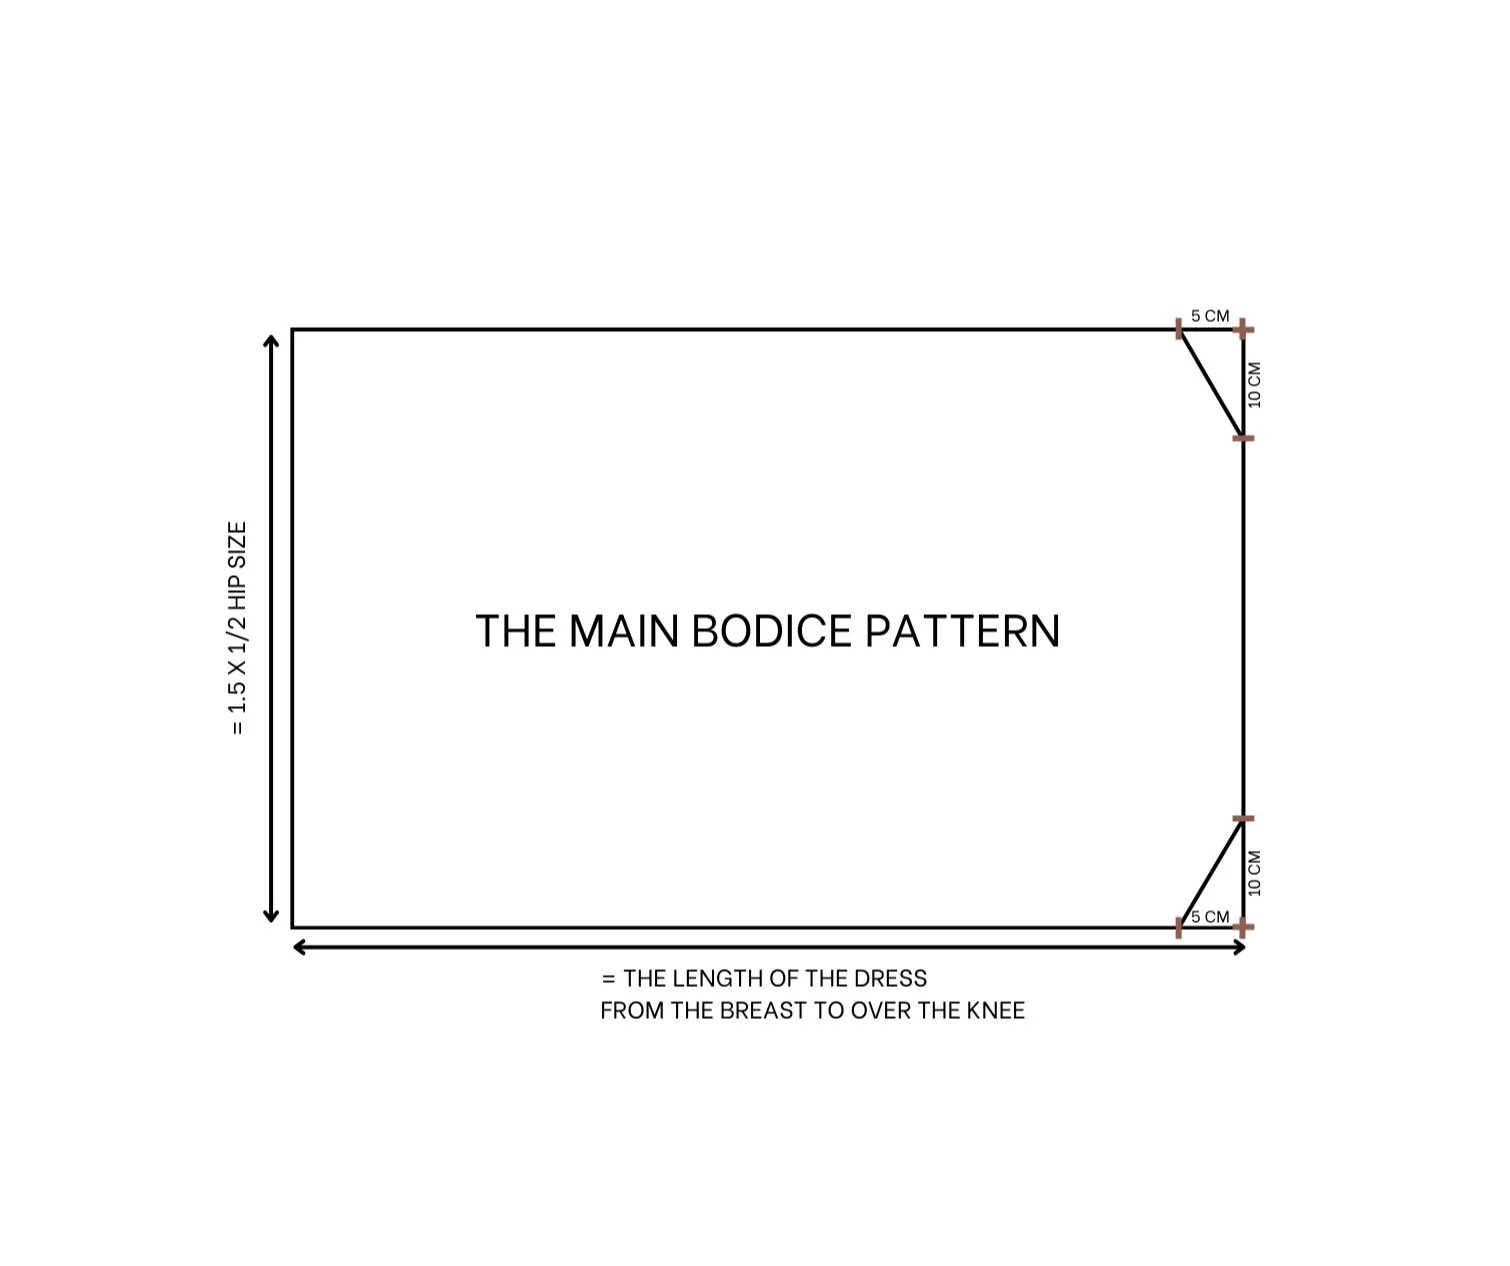
The main bodice pattern
Draw two rectangles with a width of 70 cm, which is one and a half times half of your hip size (or you can make it bigger) and a length of 95 cm, which is the length of the dress that you want, from the breast to over the ankle.
At the width line, mark at 10 cm inside. At the line, mark as 5 cm inside then connect two marks together.
Do the same for the other side. This will be the hand area of the dress.
THE HAND PATTERN
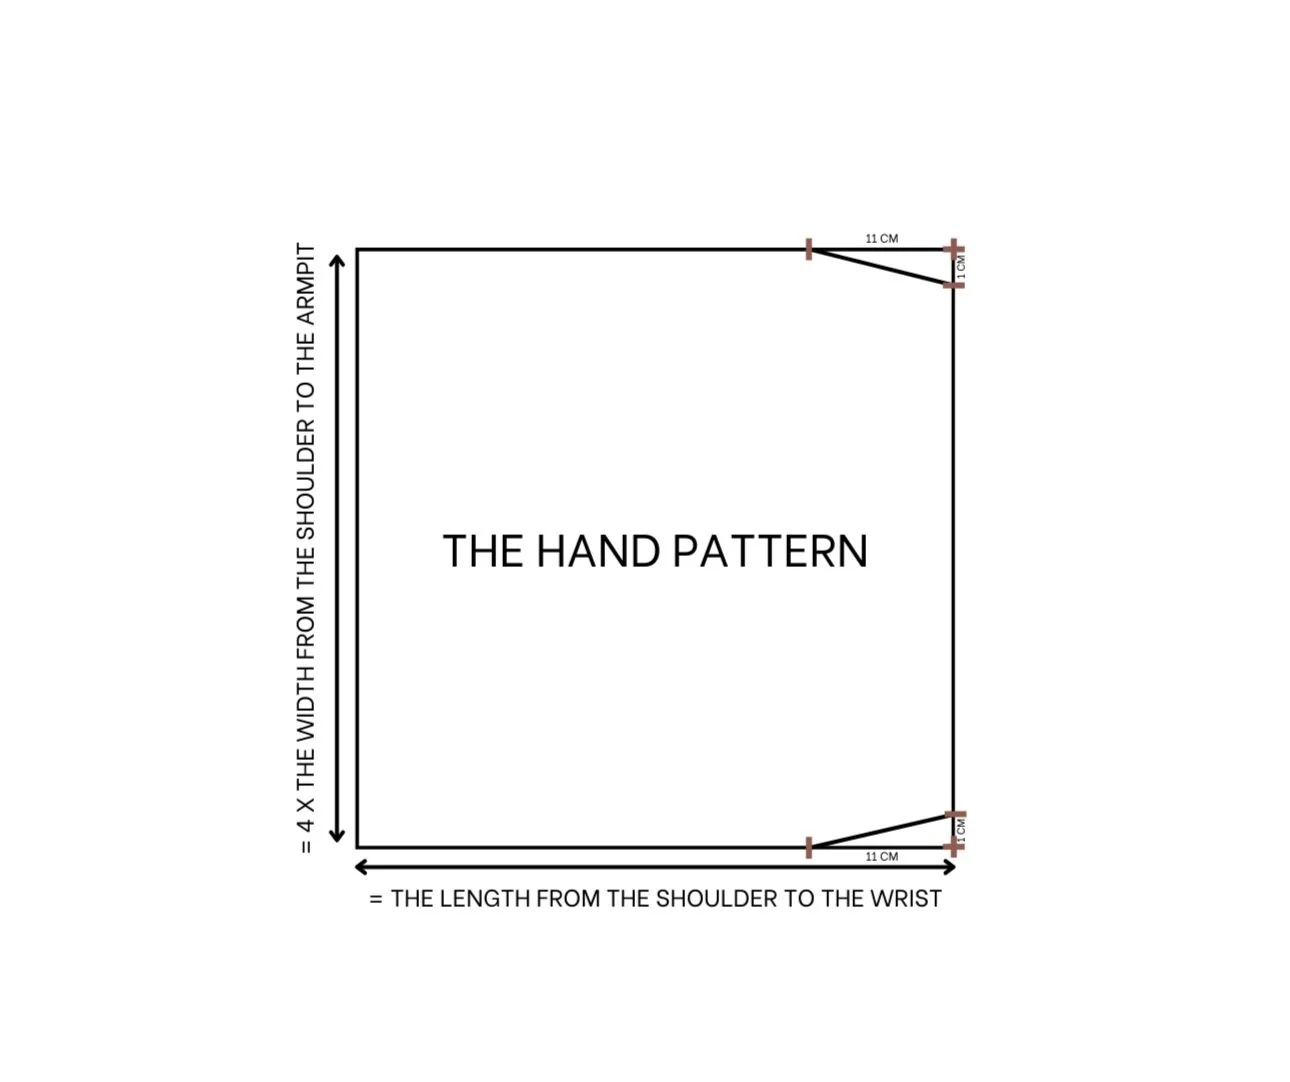
The hand pattern
Draw two rectangles with 60 cm width, which is four times the width from the shoulder to the armpit. If you want more puffy, you just make it longer and the length of the rectangle is 60 cm, which is the length from the shoulder to the wrist.
At the width line, mark at 4 cm, which is 1 cm shorter than the main body. At the line, mark at 11 cm, which is 1 cm longer than the main body then connect two marks together.
Do the same for the other side. This will be the connected area with the main body later.
SEWING THE DRESS
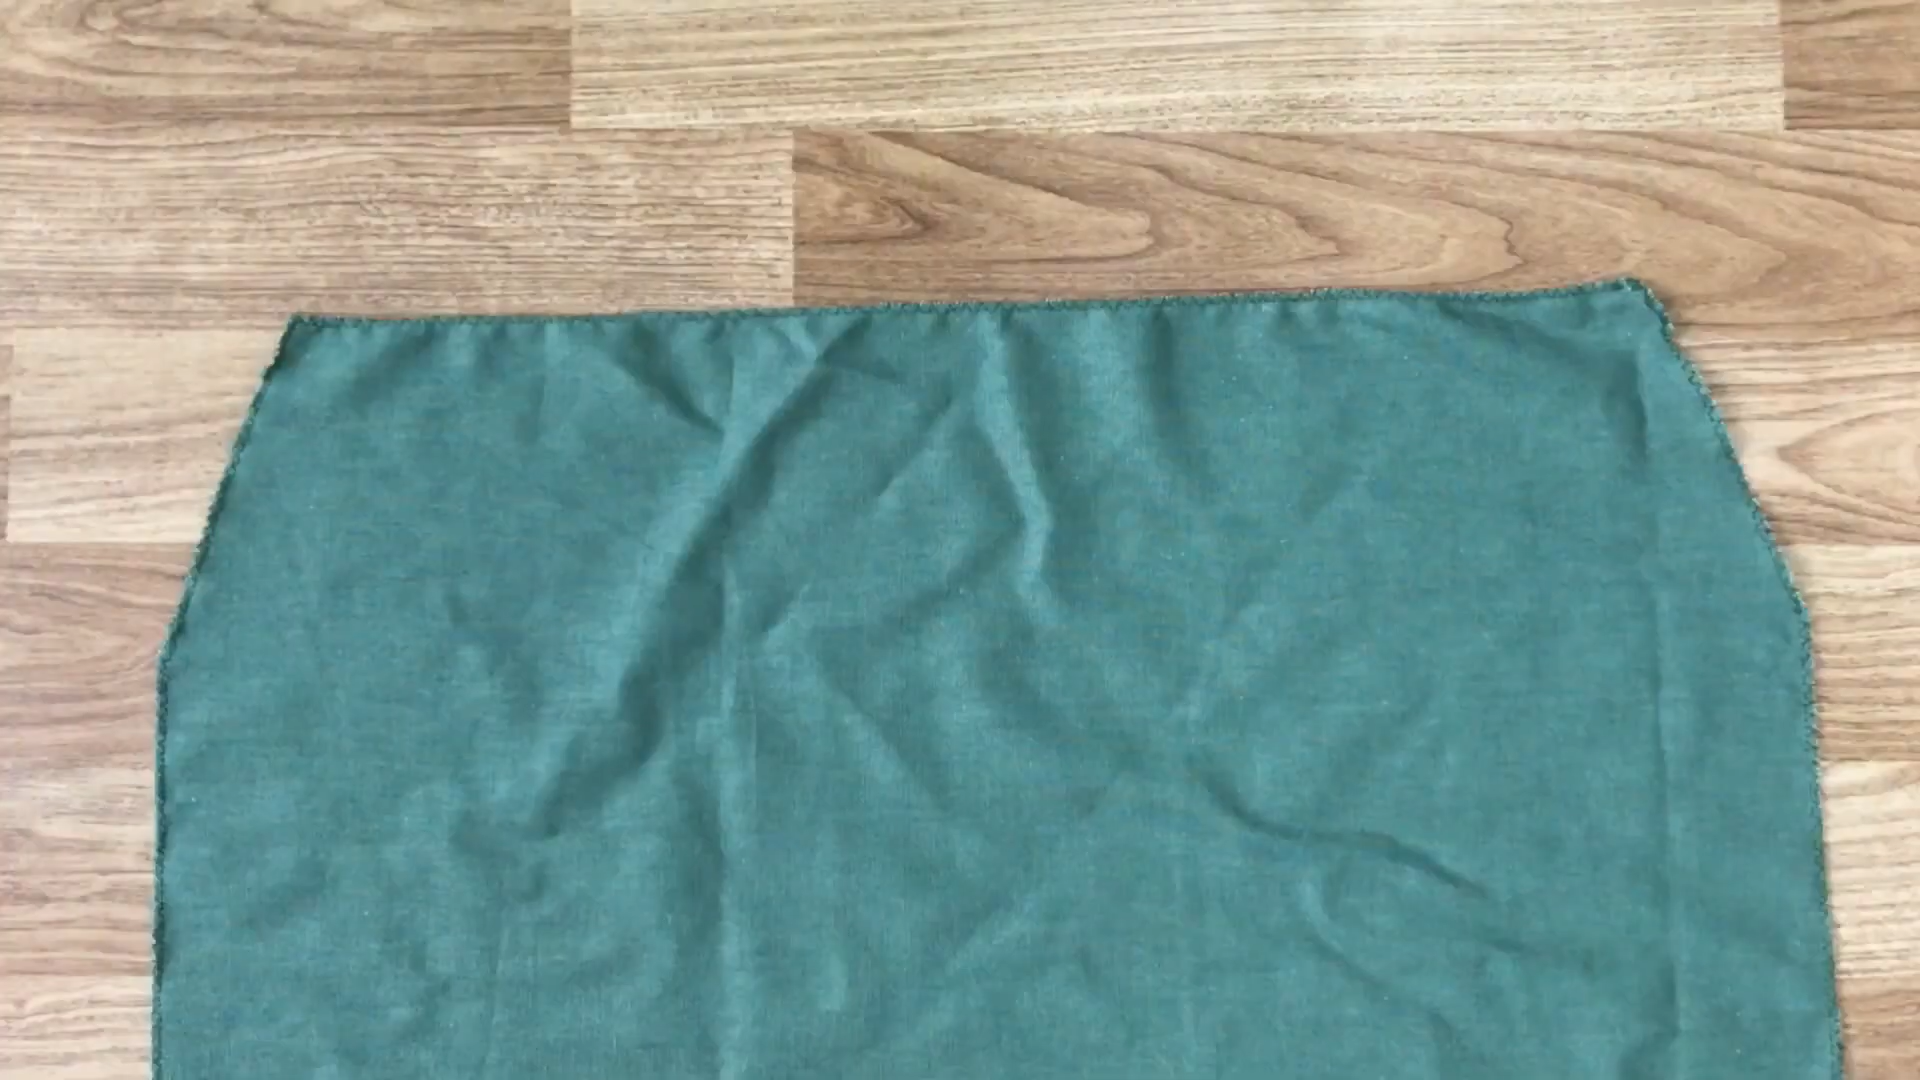
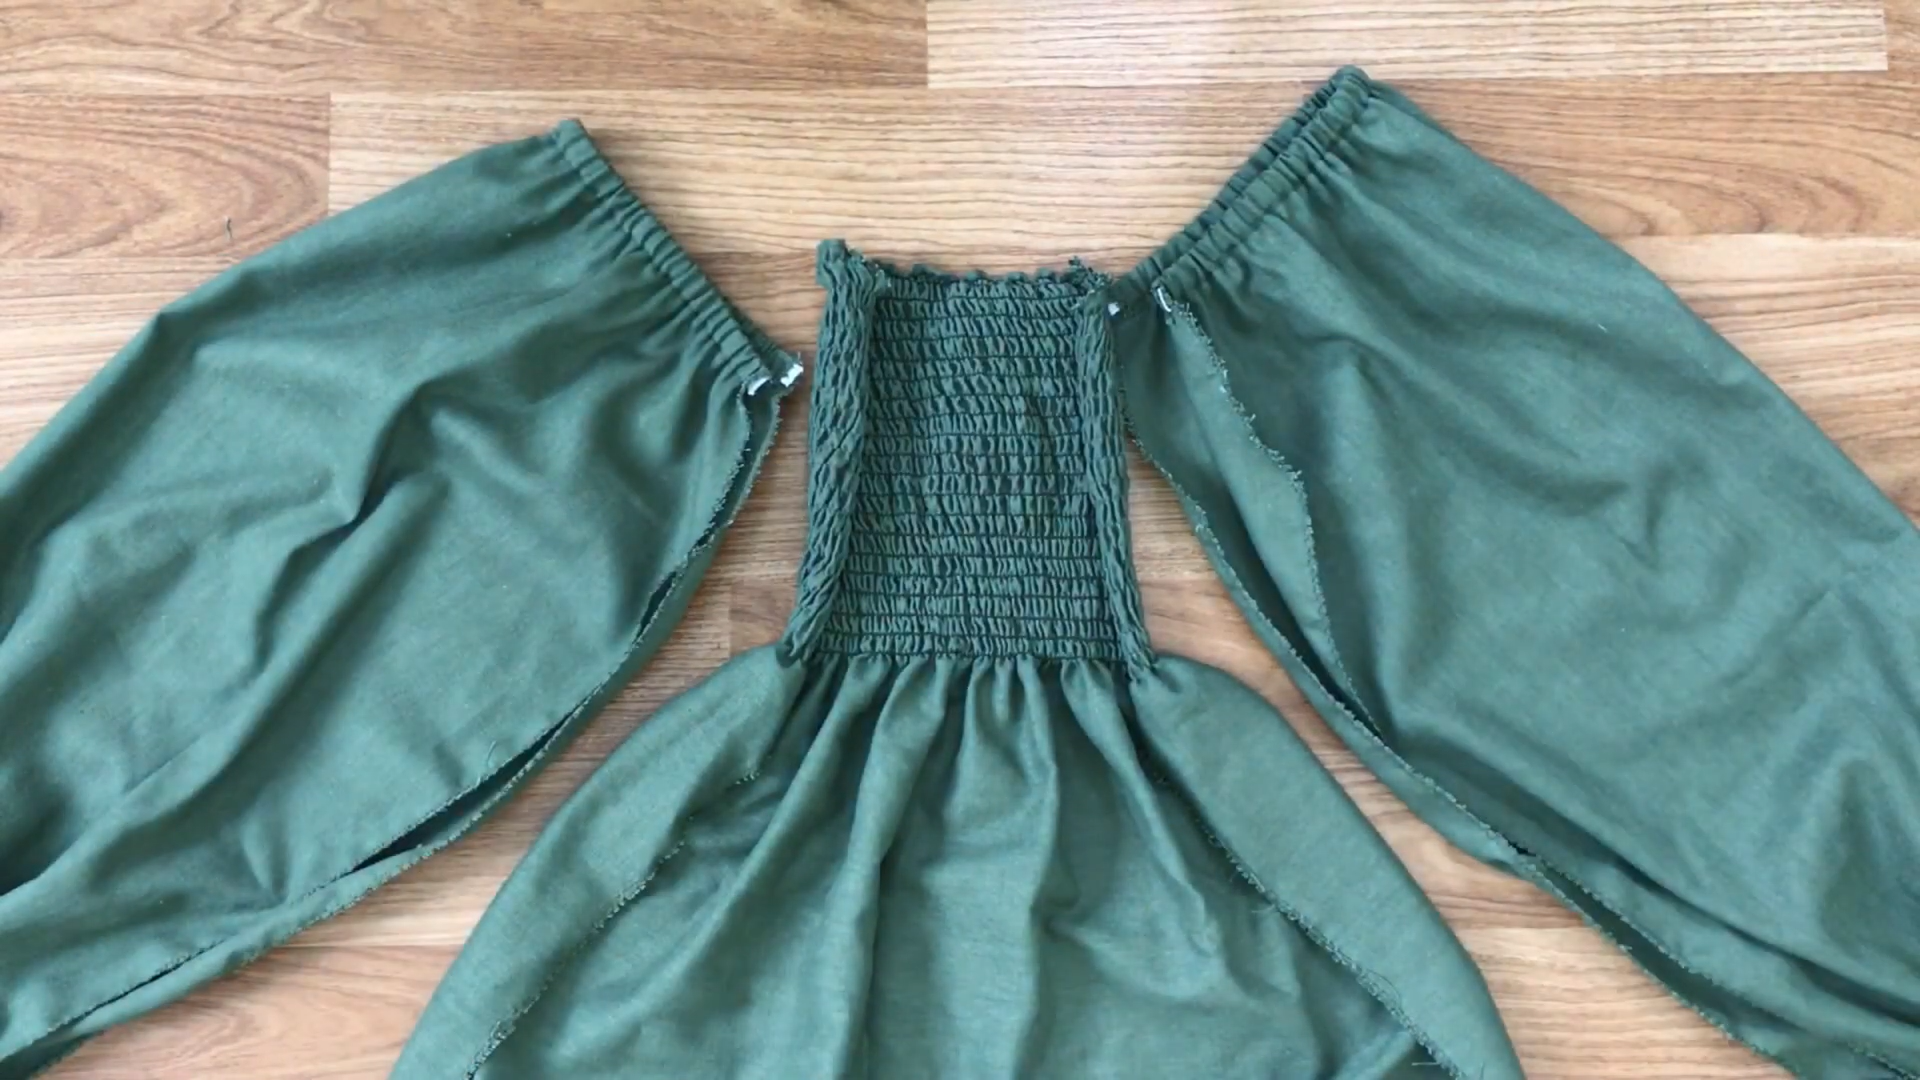
THE MAIN BODICE
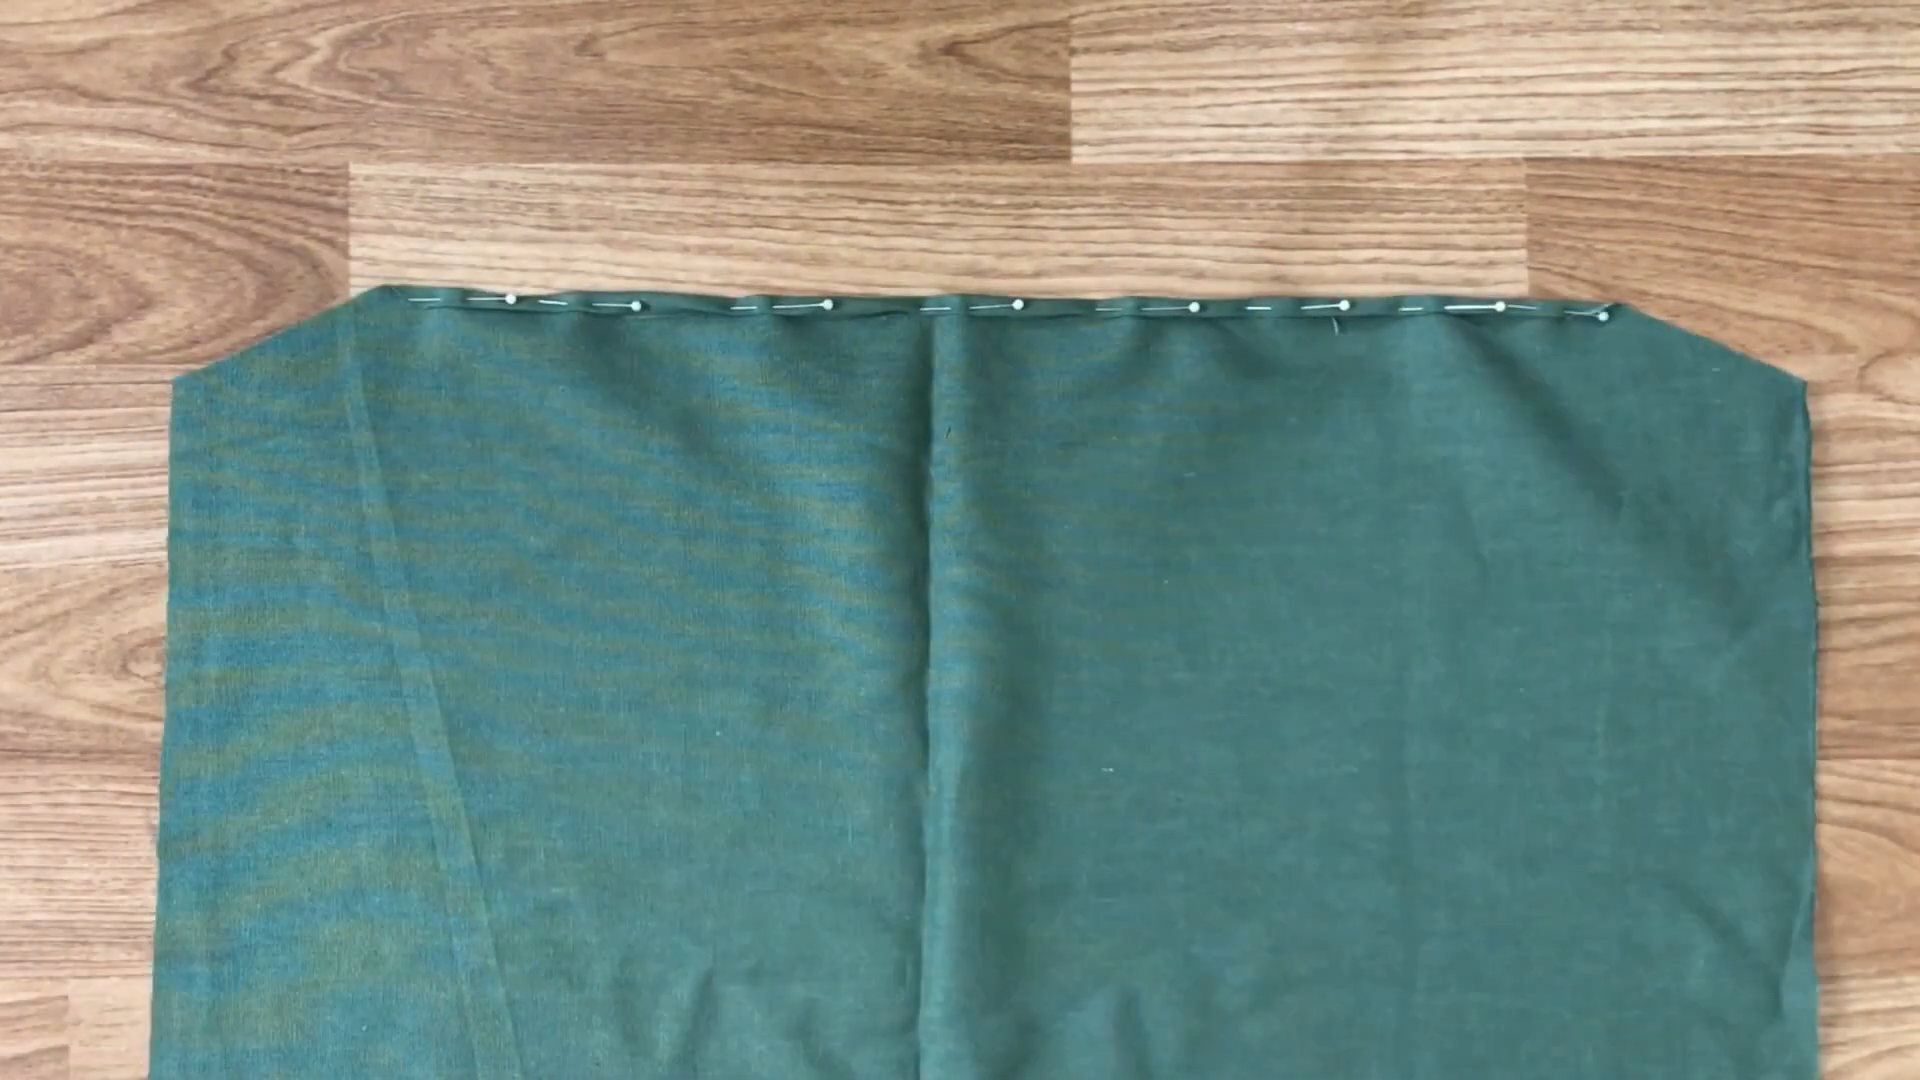
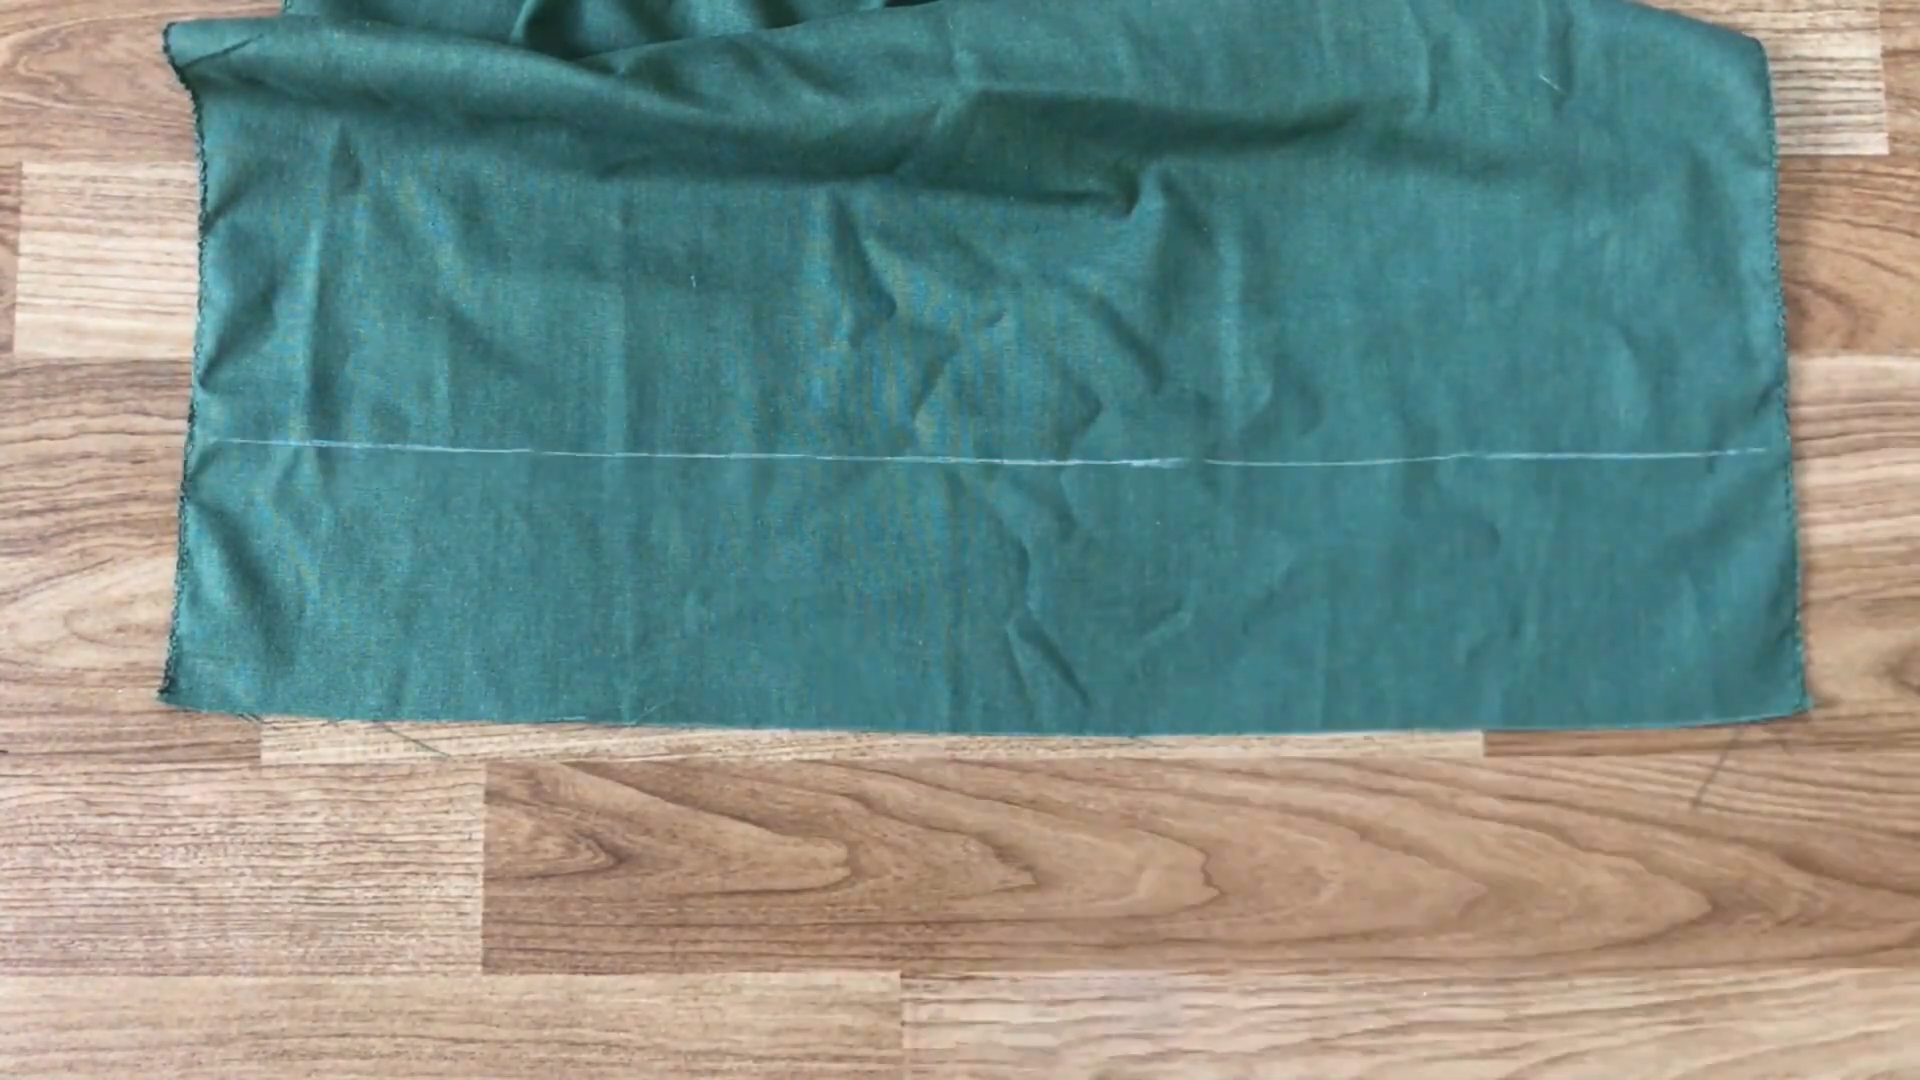
After cutting, fold the top of the main body double time and sew.
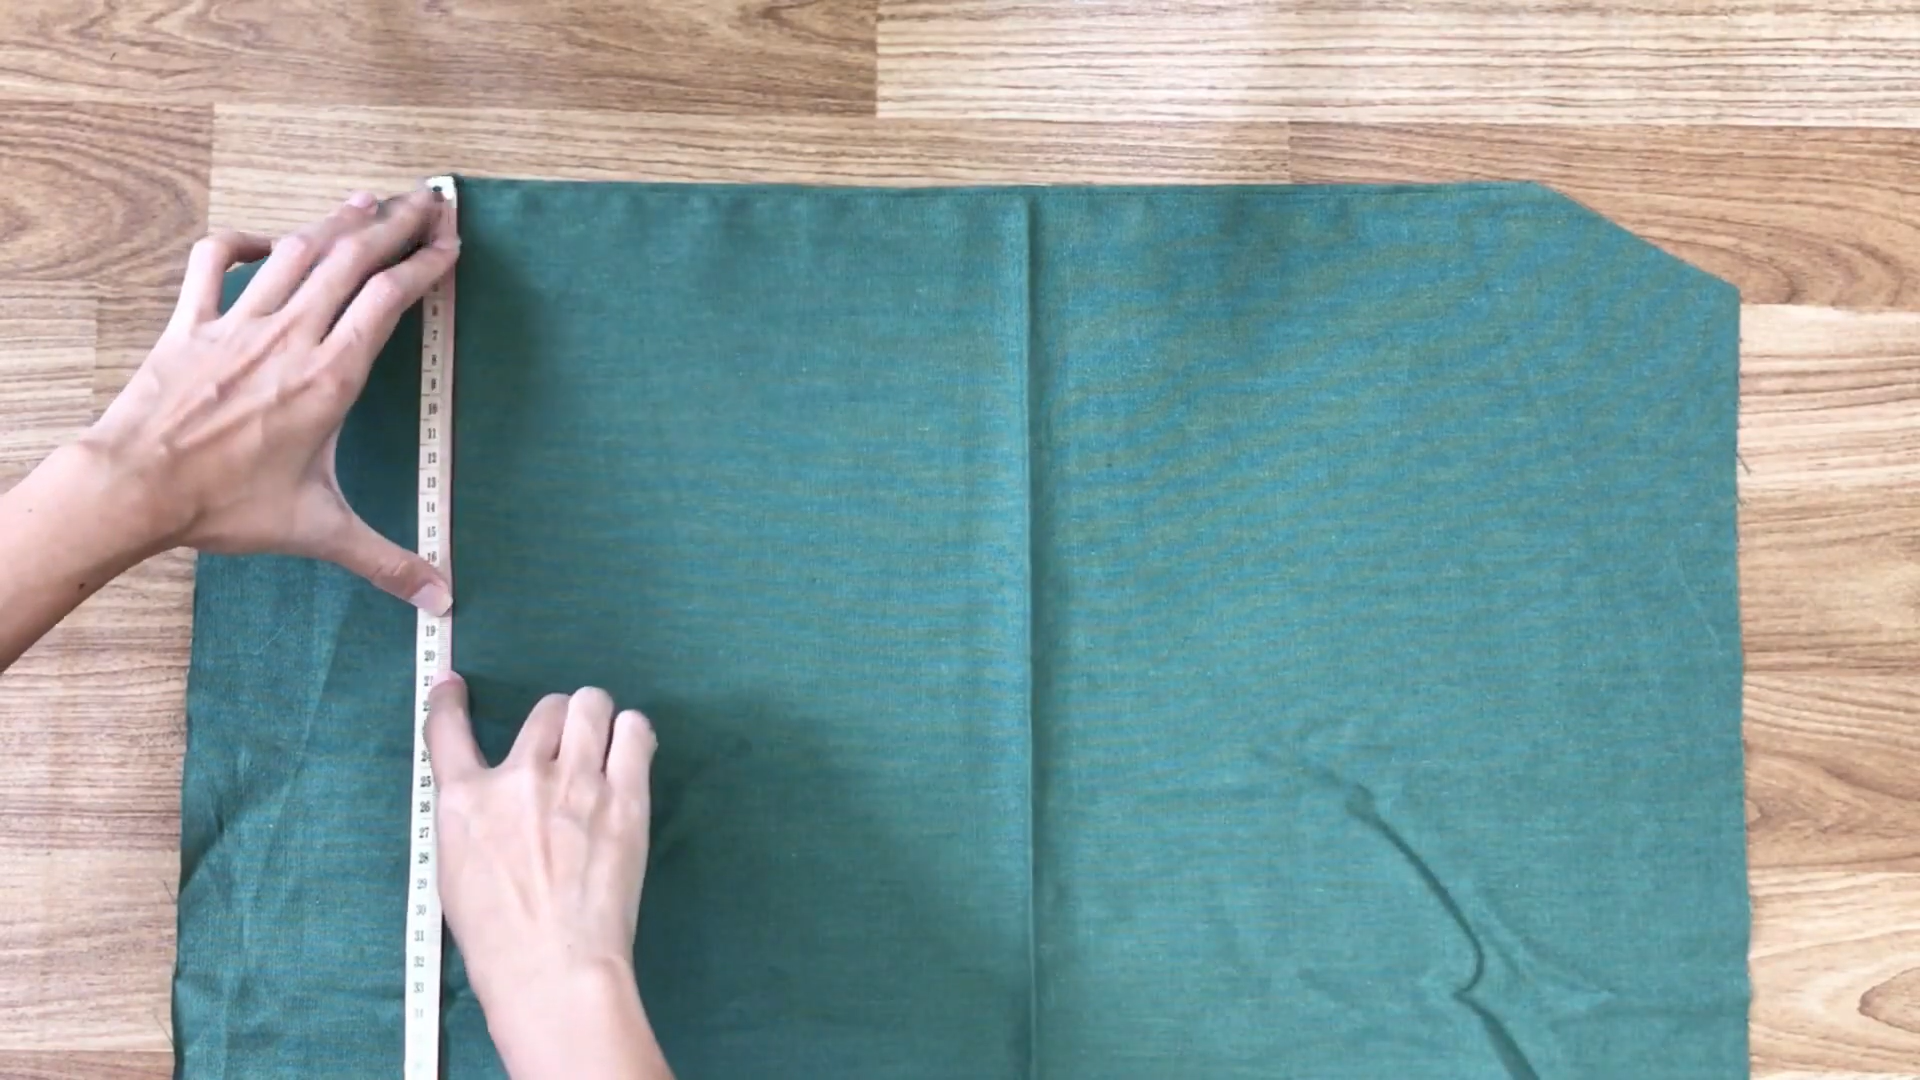
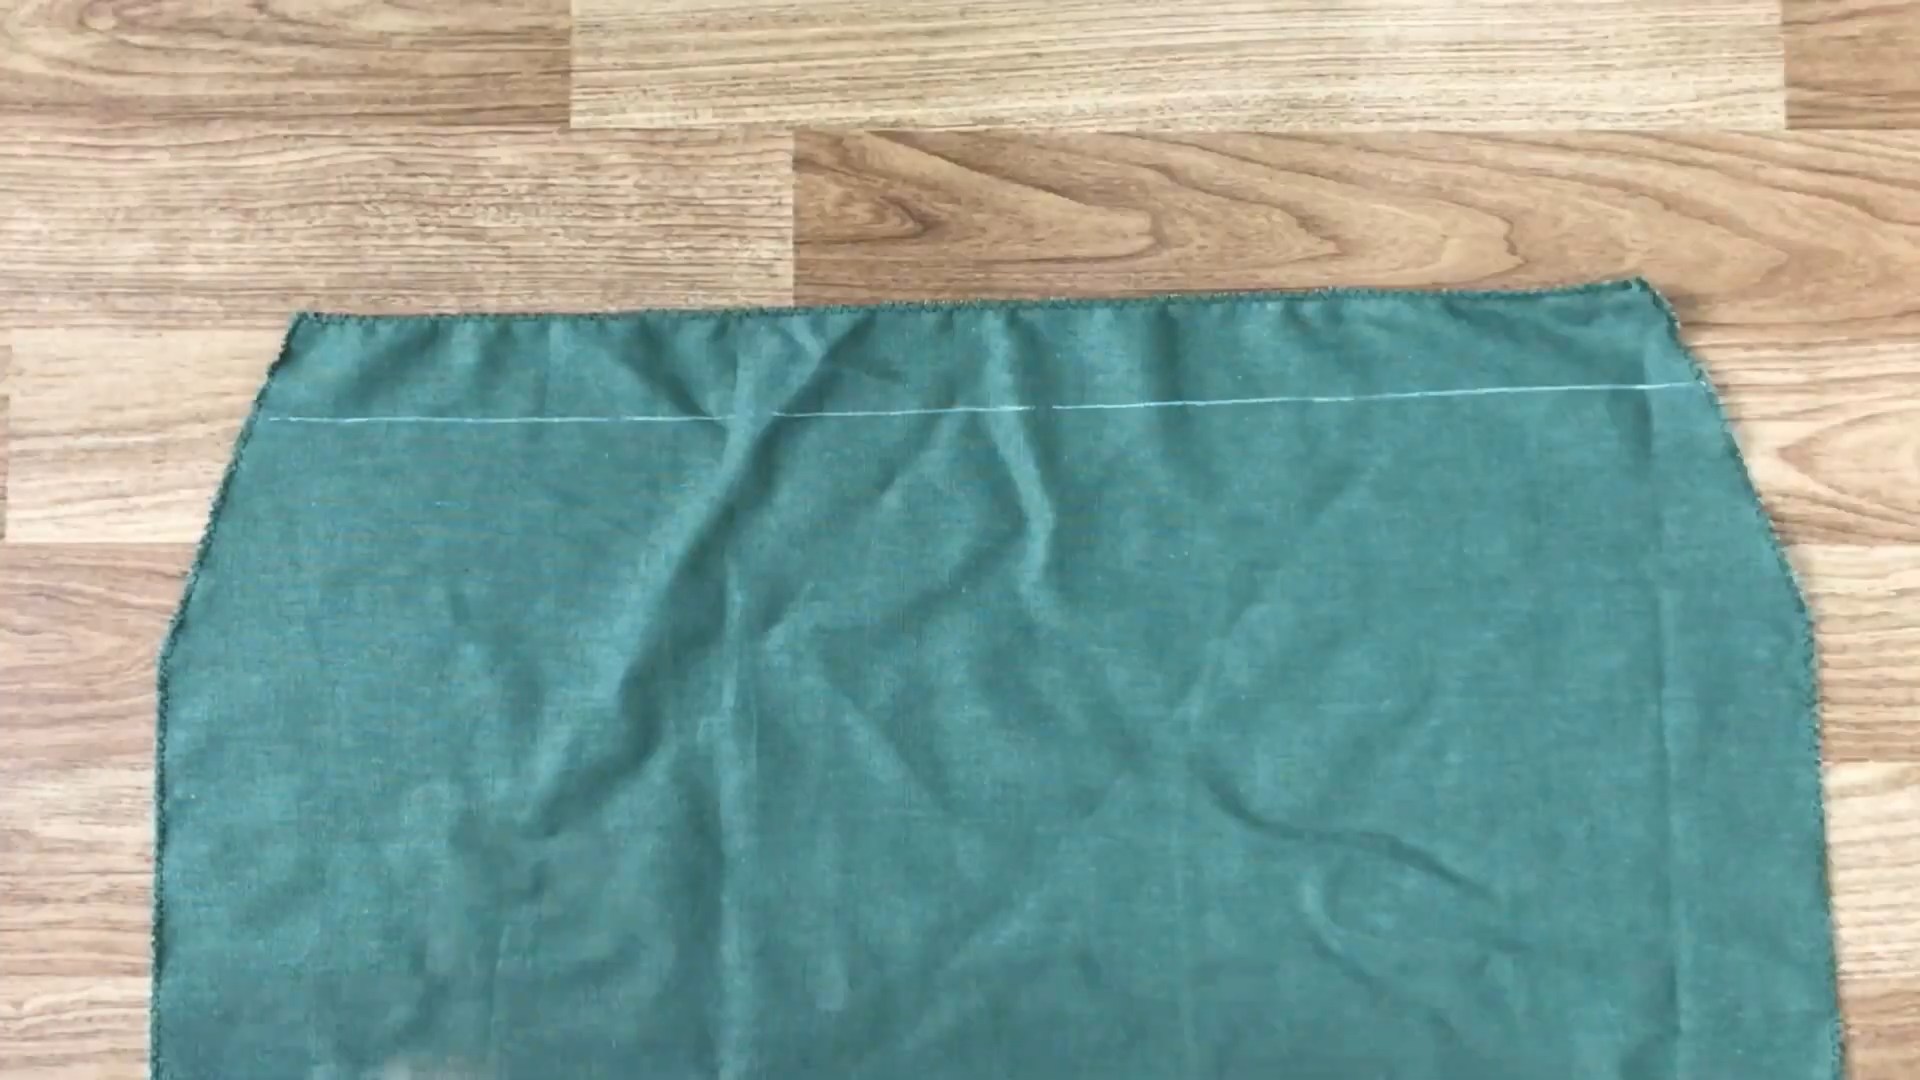
Draw a horizontal line at 20 cm down from the top. It’s the width from your upper to under the breast plus 5 cm.
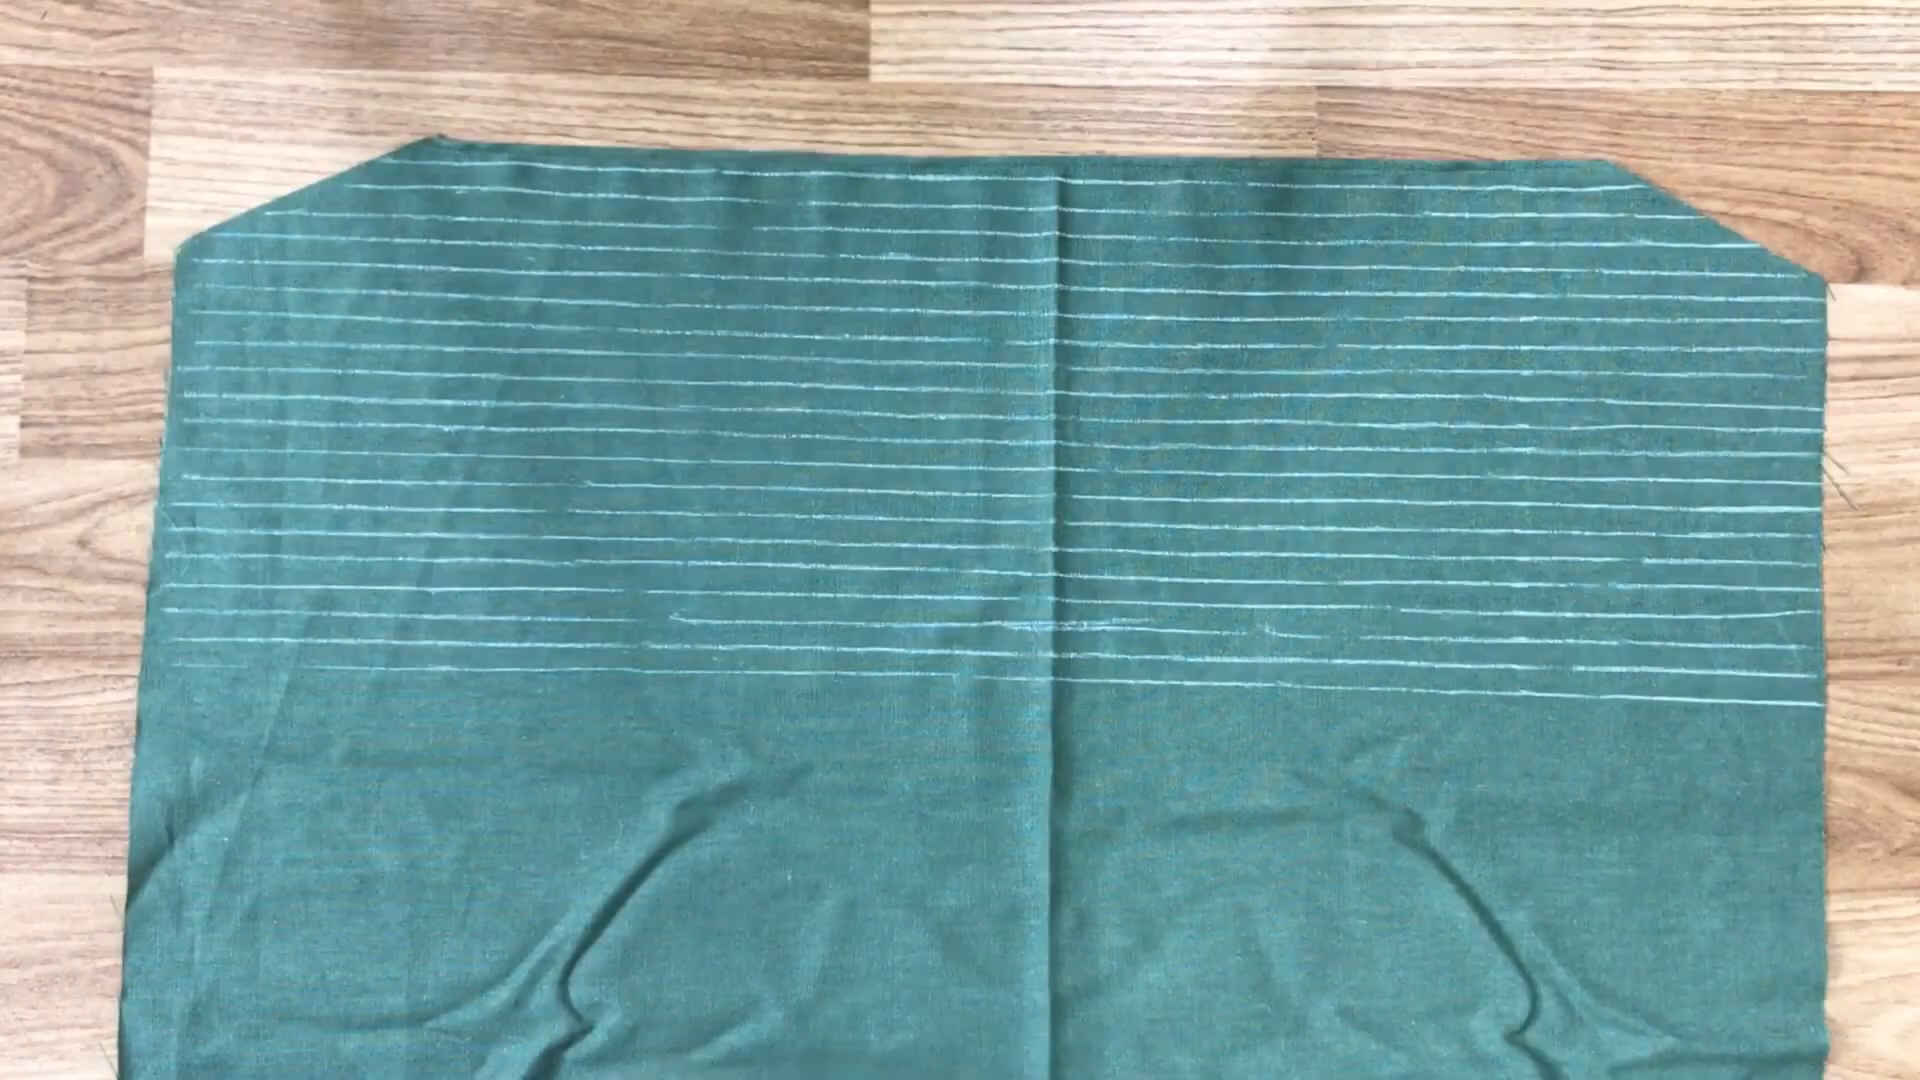
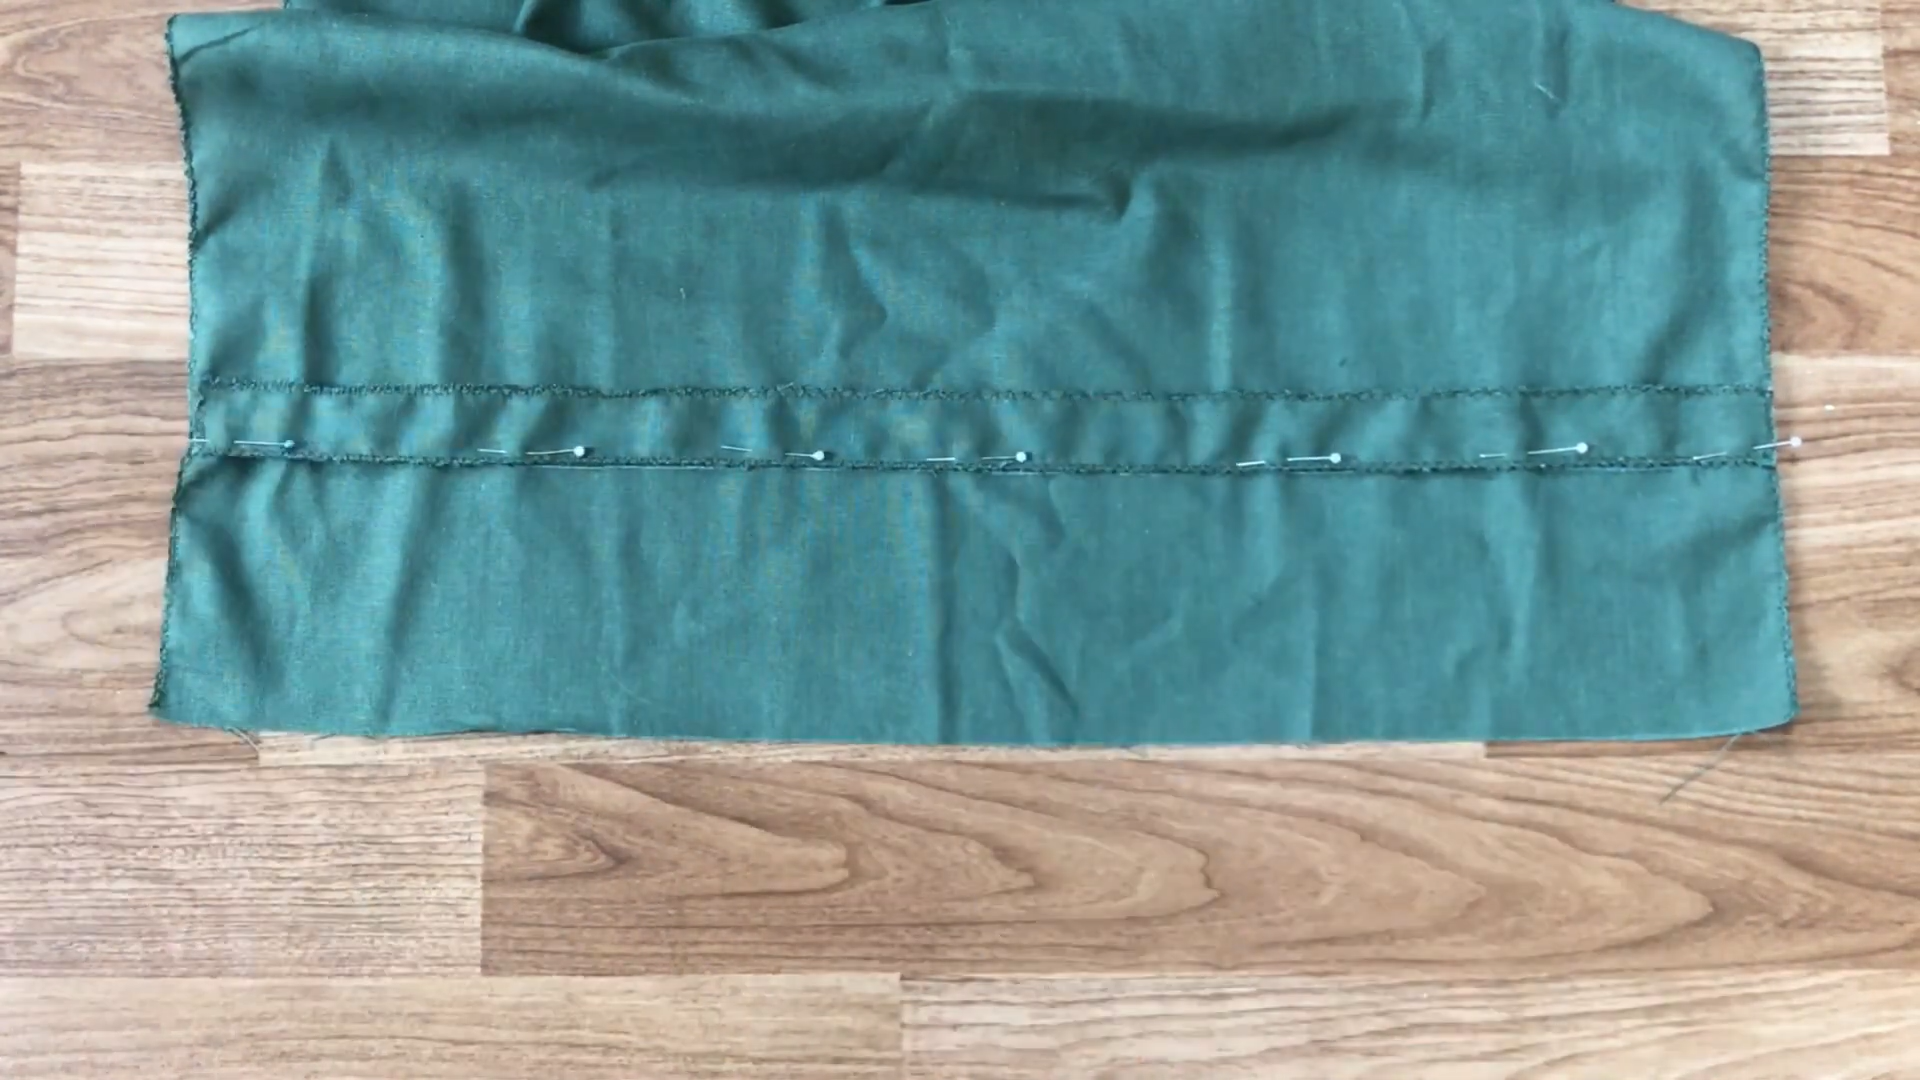
Then, draw another lines 1 cm away from each other to make the shirring after that.
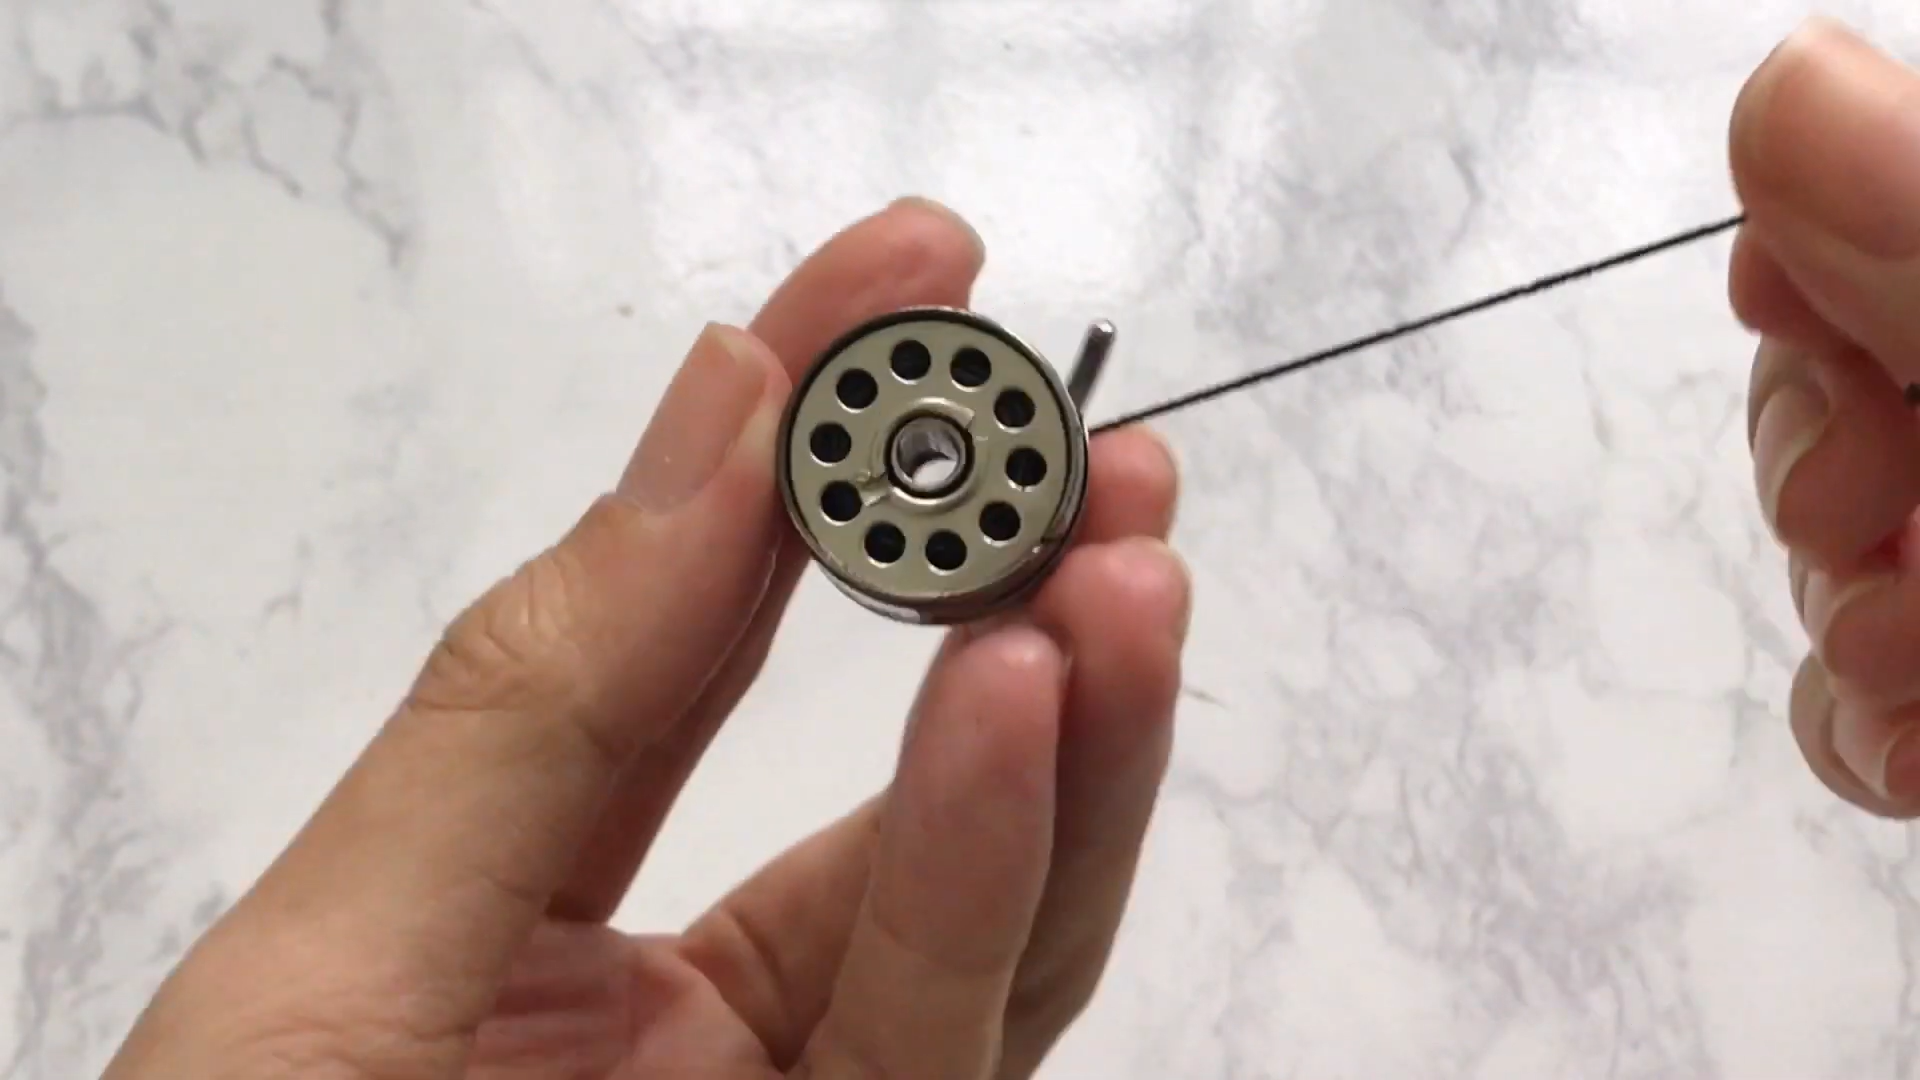
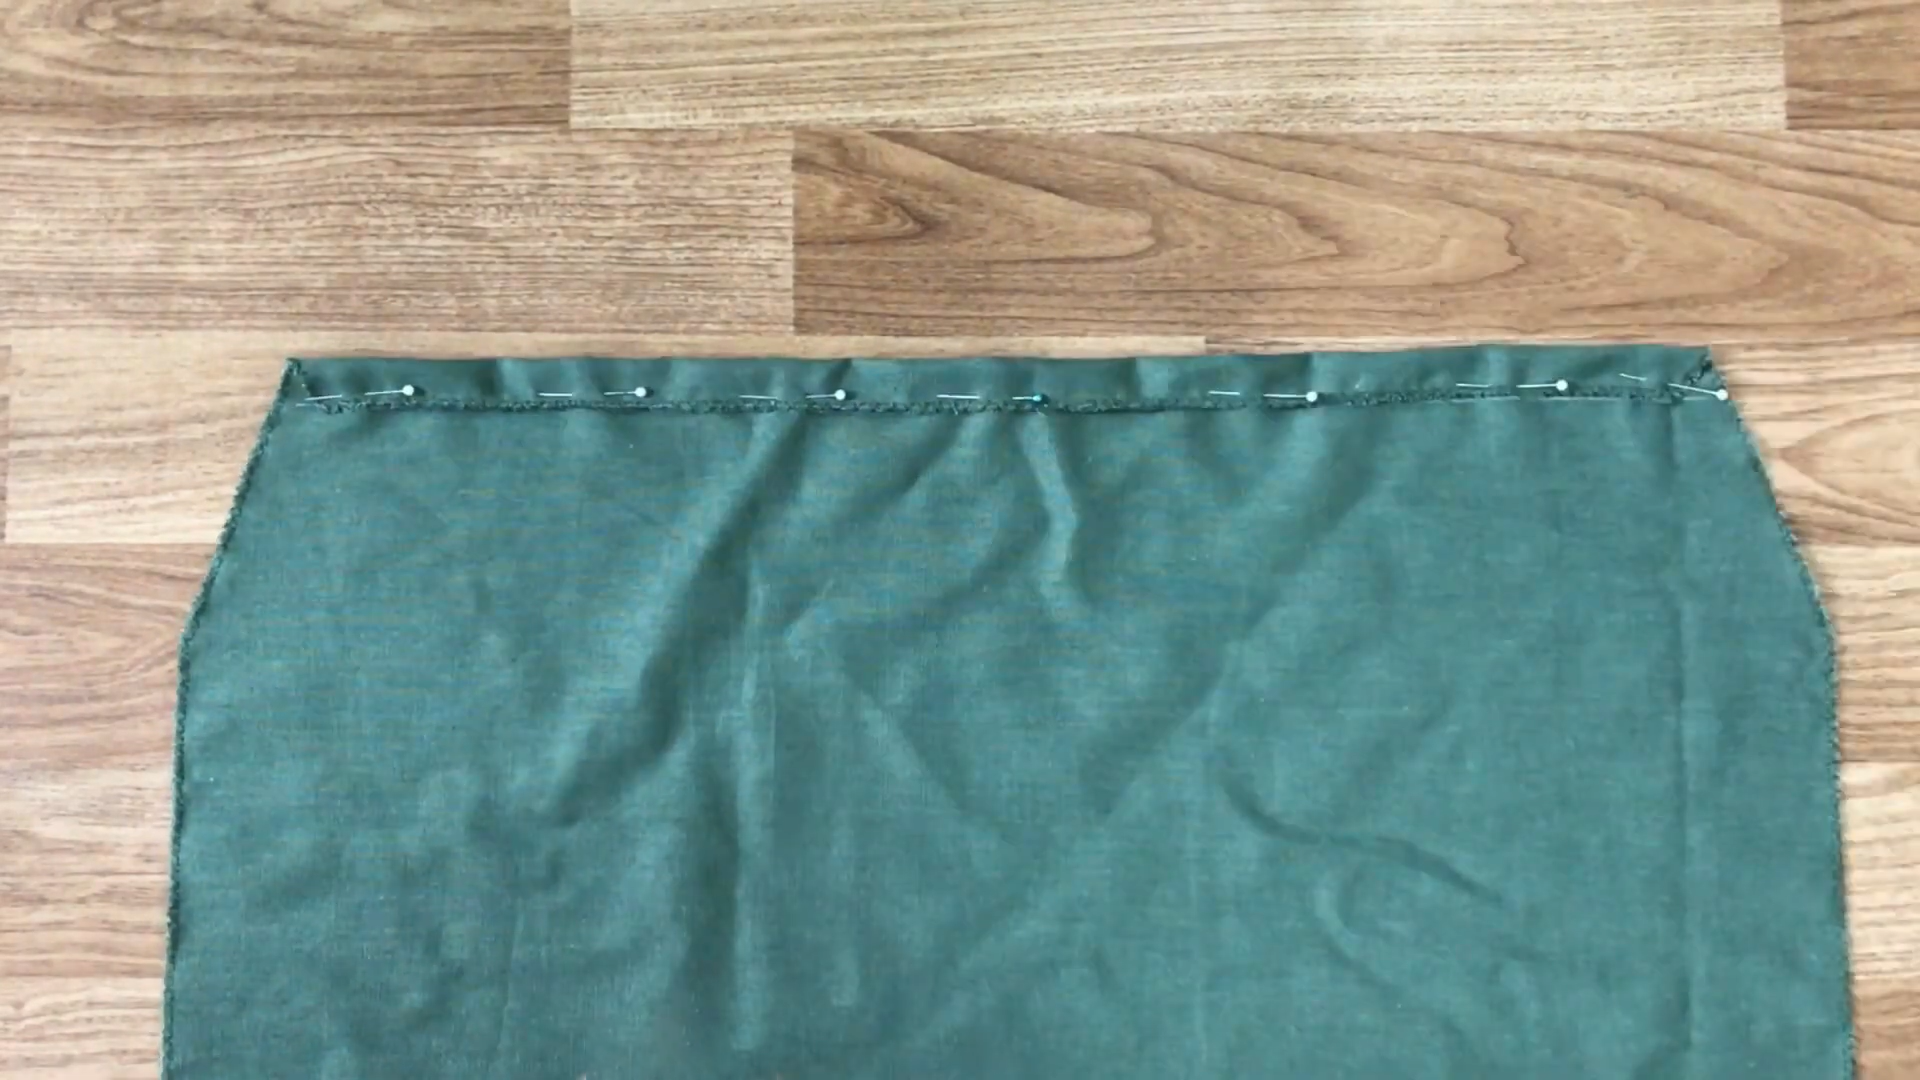
Use the elastic thread at the under thread to create the shirring.
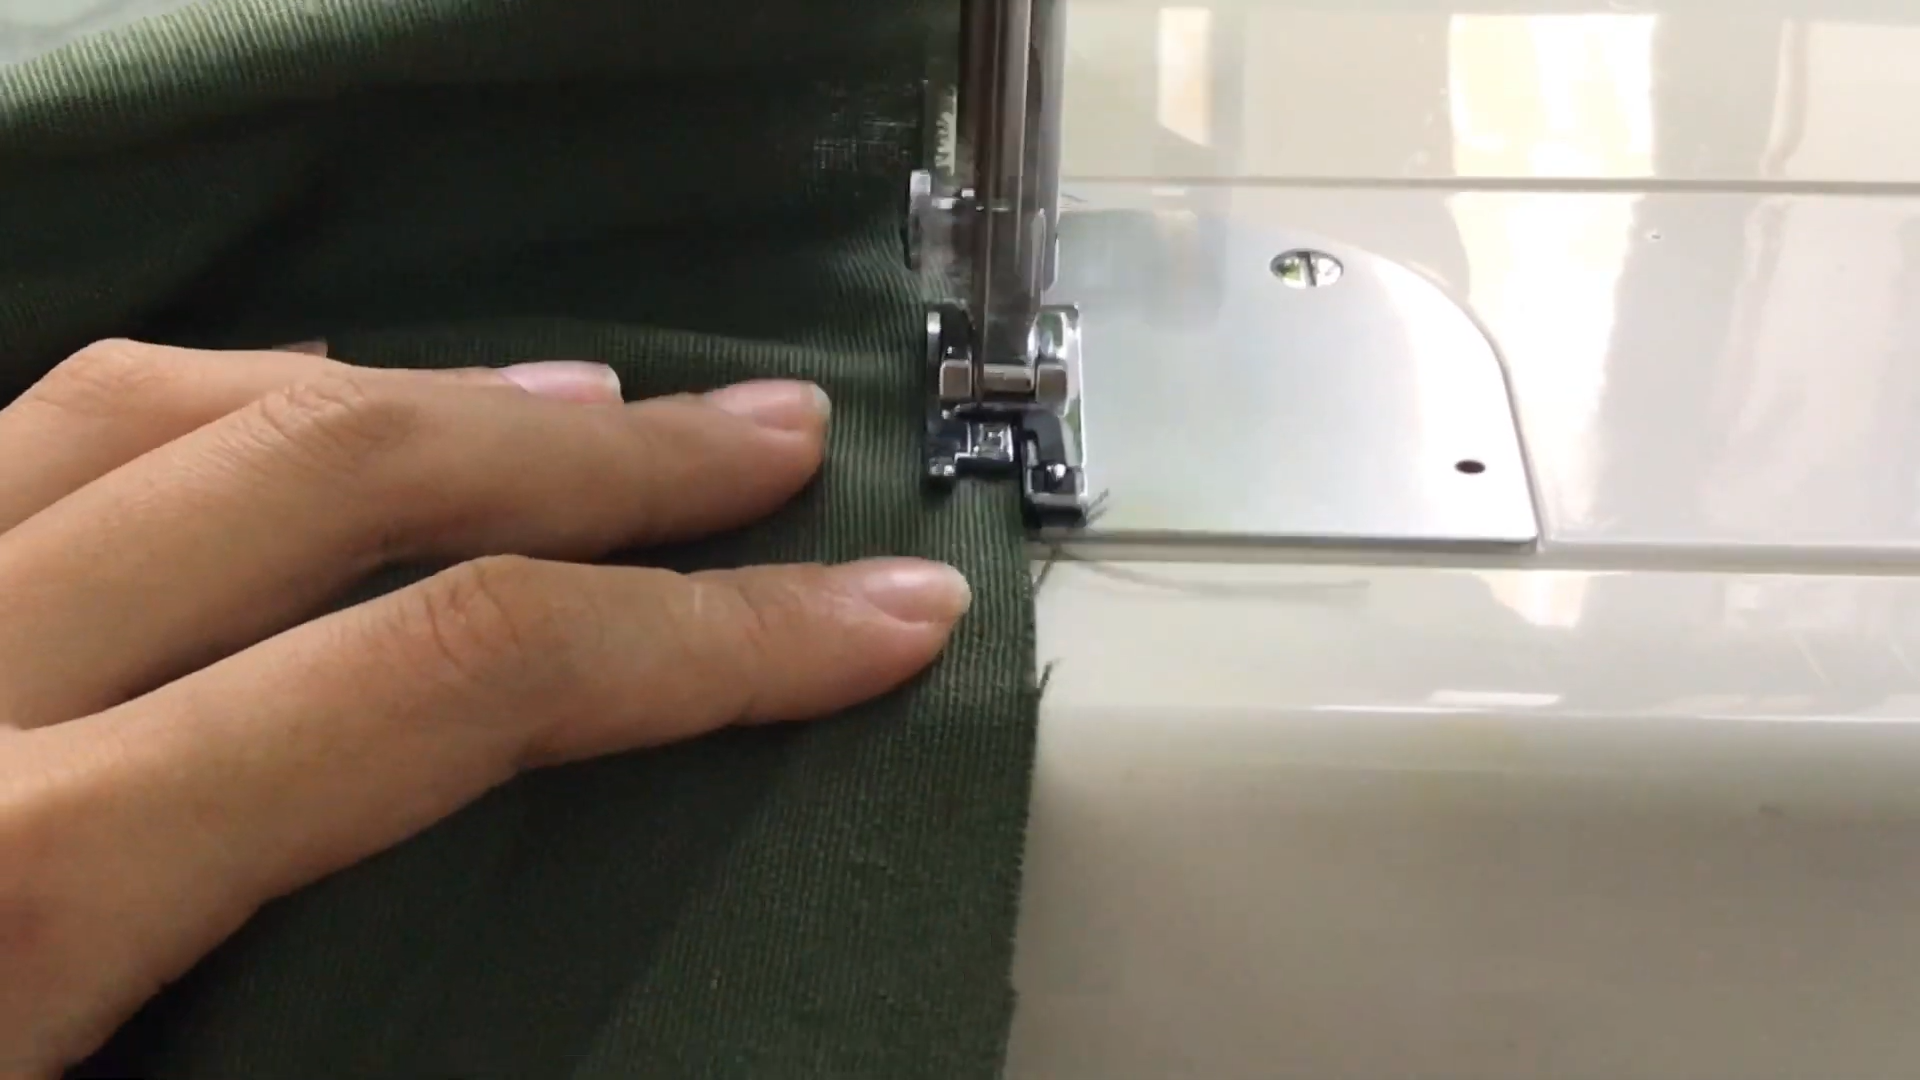
To the rest of the main body, overlock by using the zigzag stitching.
THE HAND
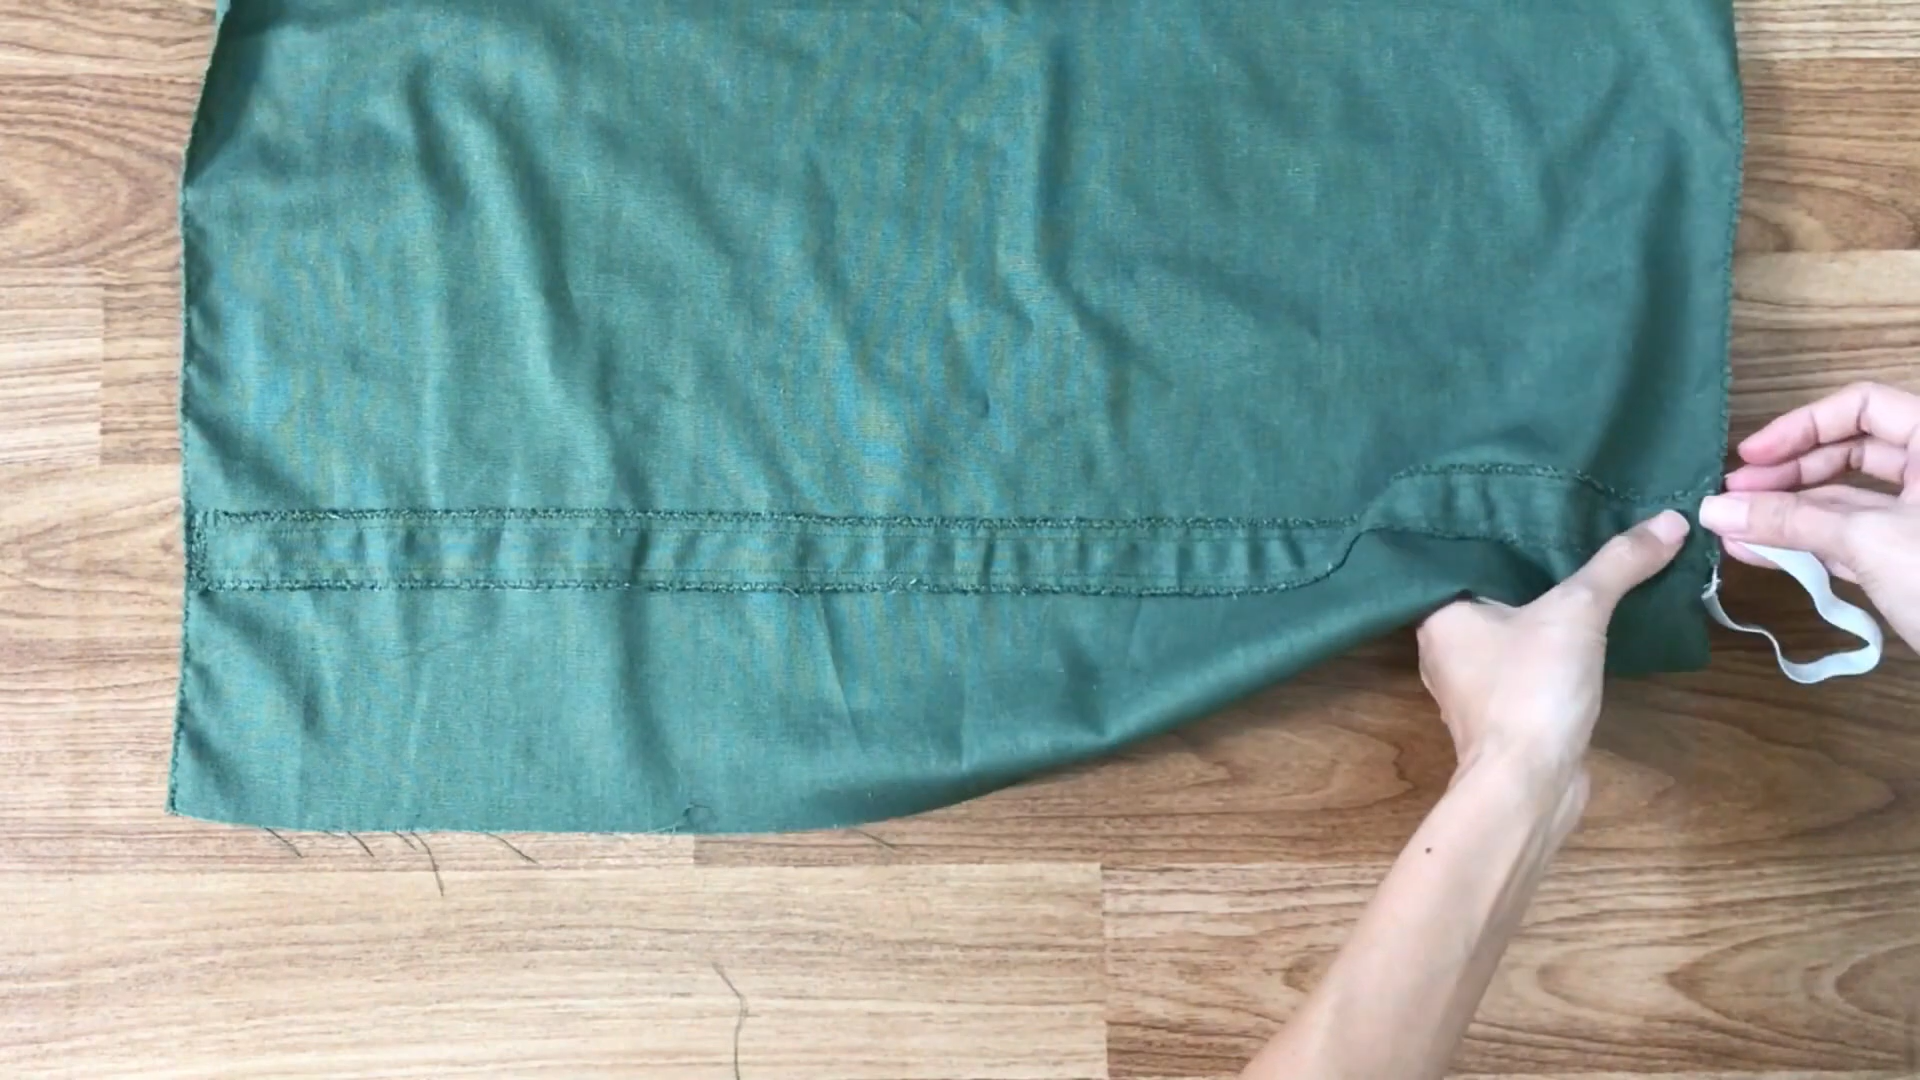
After cutting, overlock to protect the fabric.
Draw a horizontal line at 4 cm under the top.
Then fold the fabric to that line and sew.
Check the width of the elastic to make sure you will have enough space to put it inside after sewing.
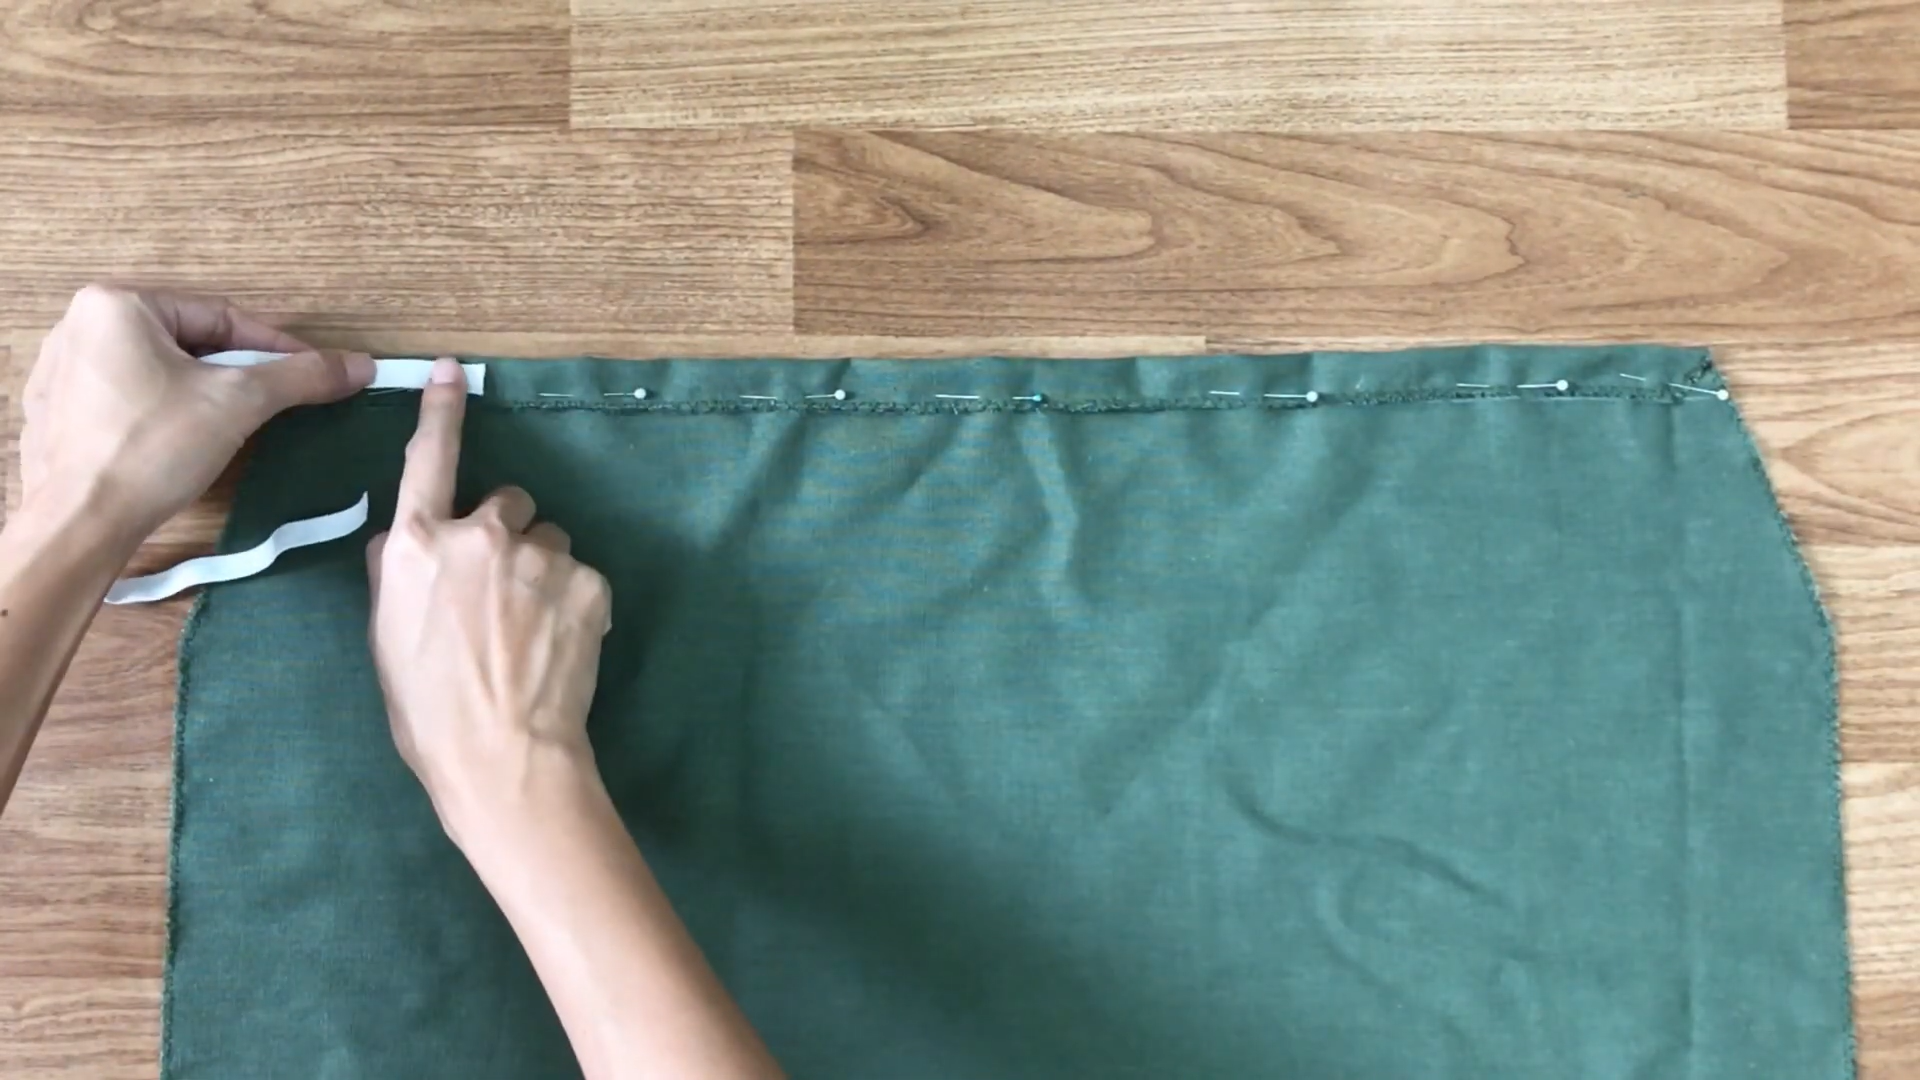
Use the elastic band with around two times the width from the shoulder to open the breast…
…to go through the fabric hole you just created.
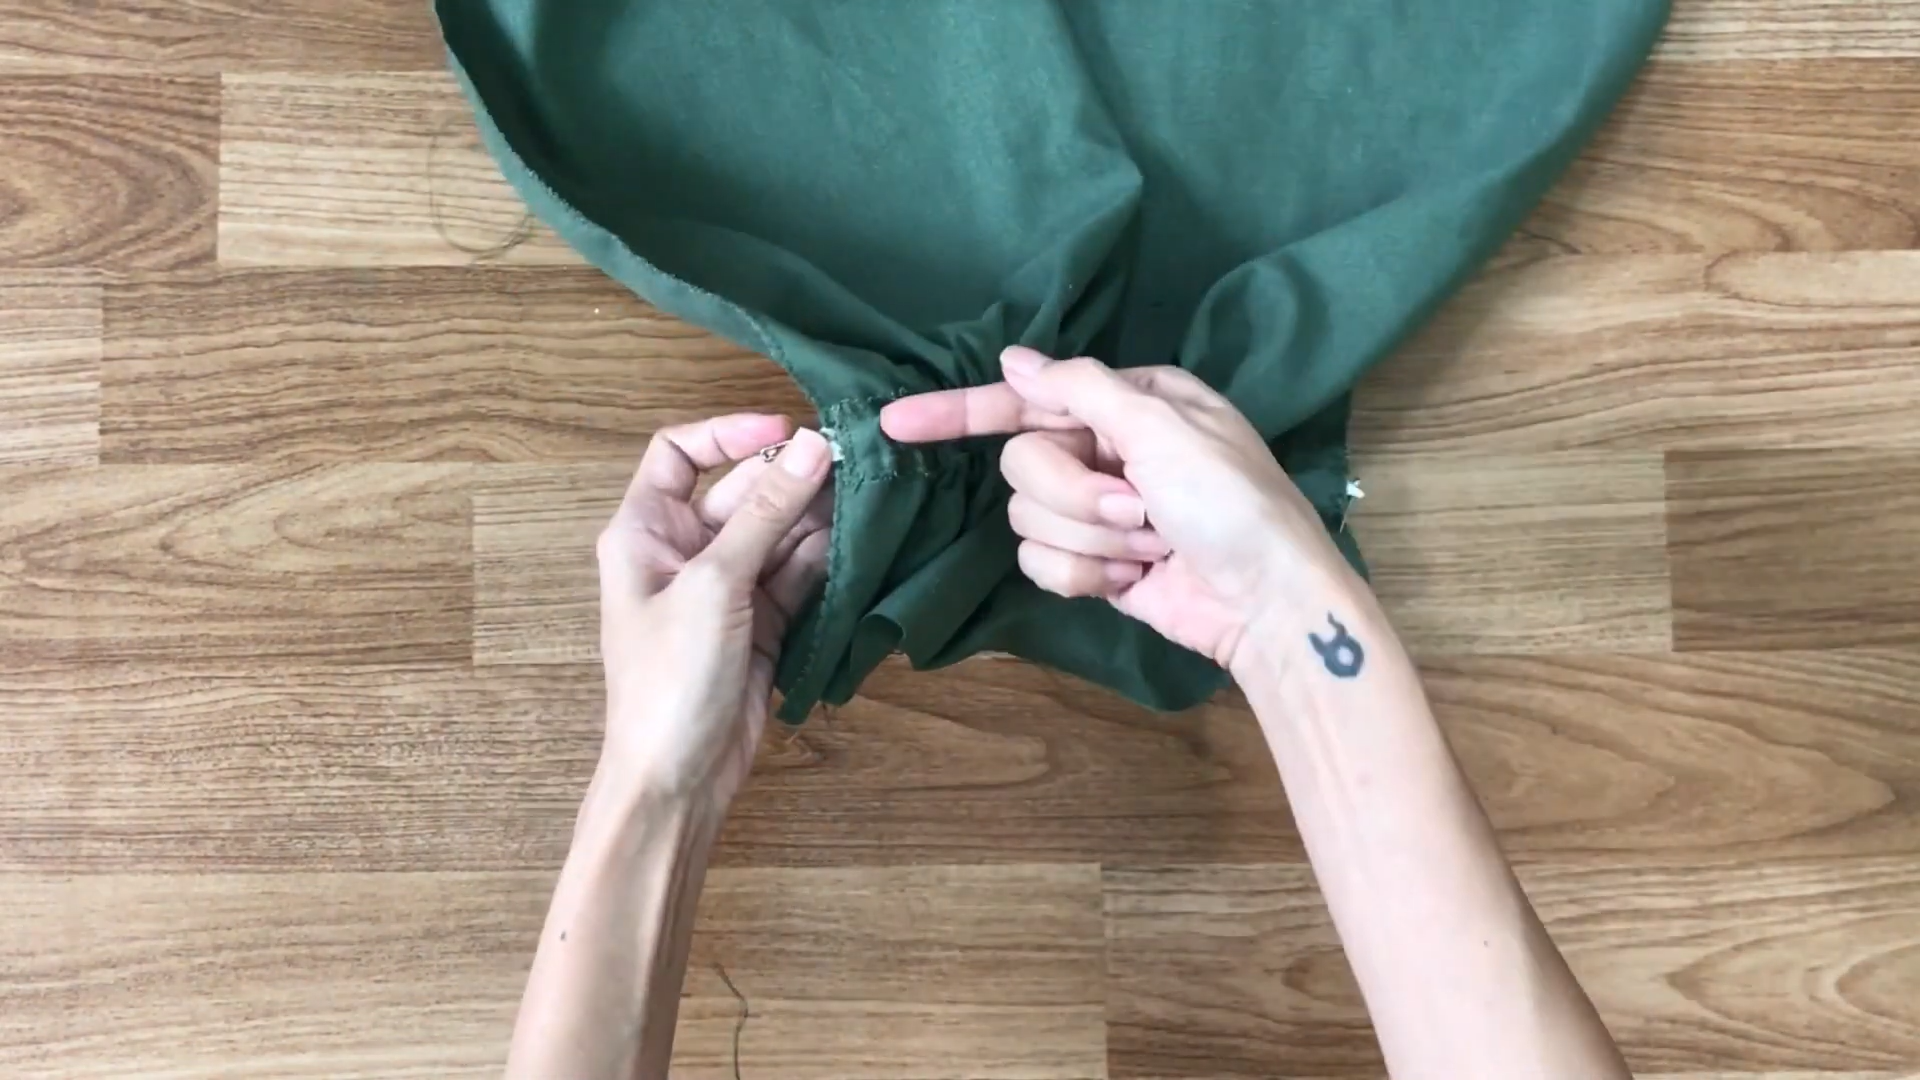
Then, sew two sides of the elastic to the fabric to keep them stay there.
It’s the top of the hand.
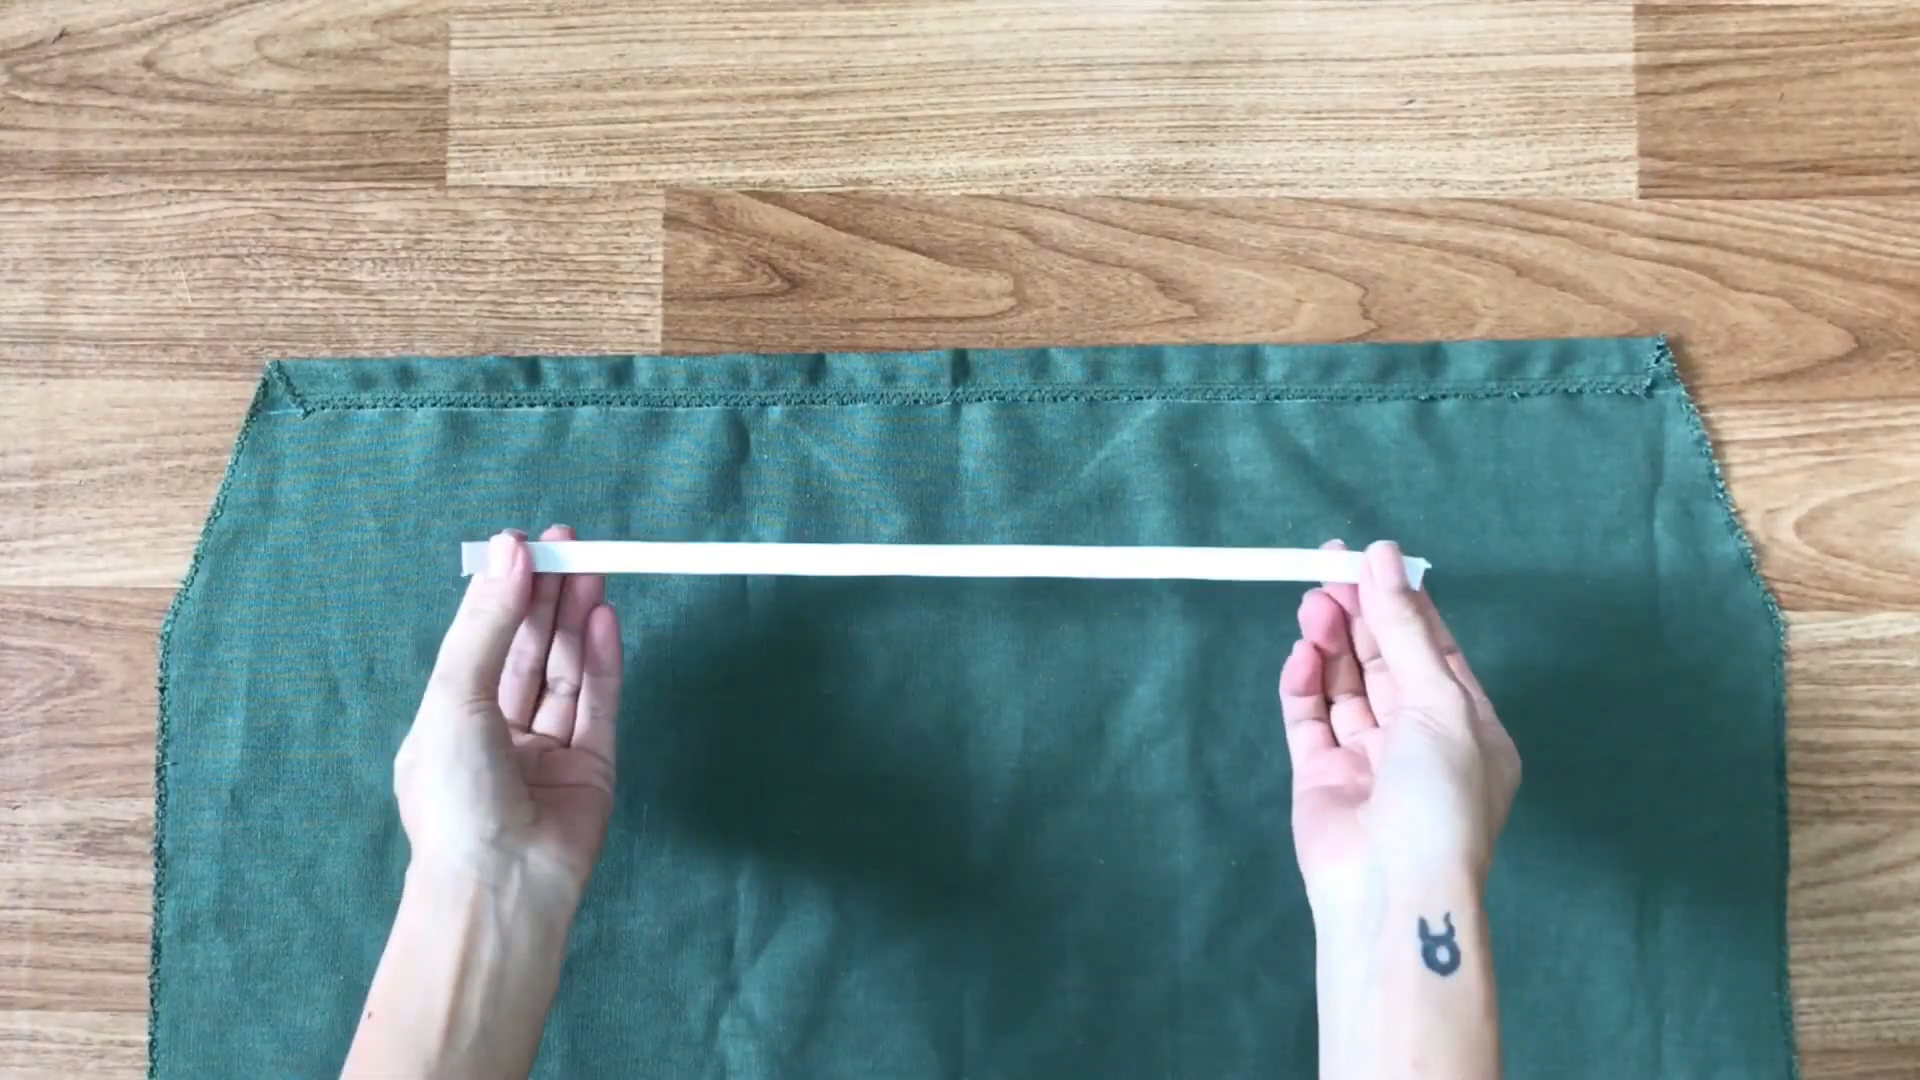
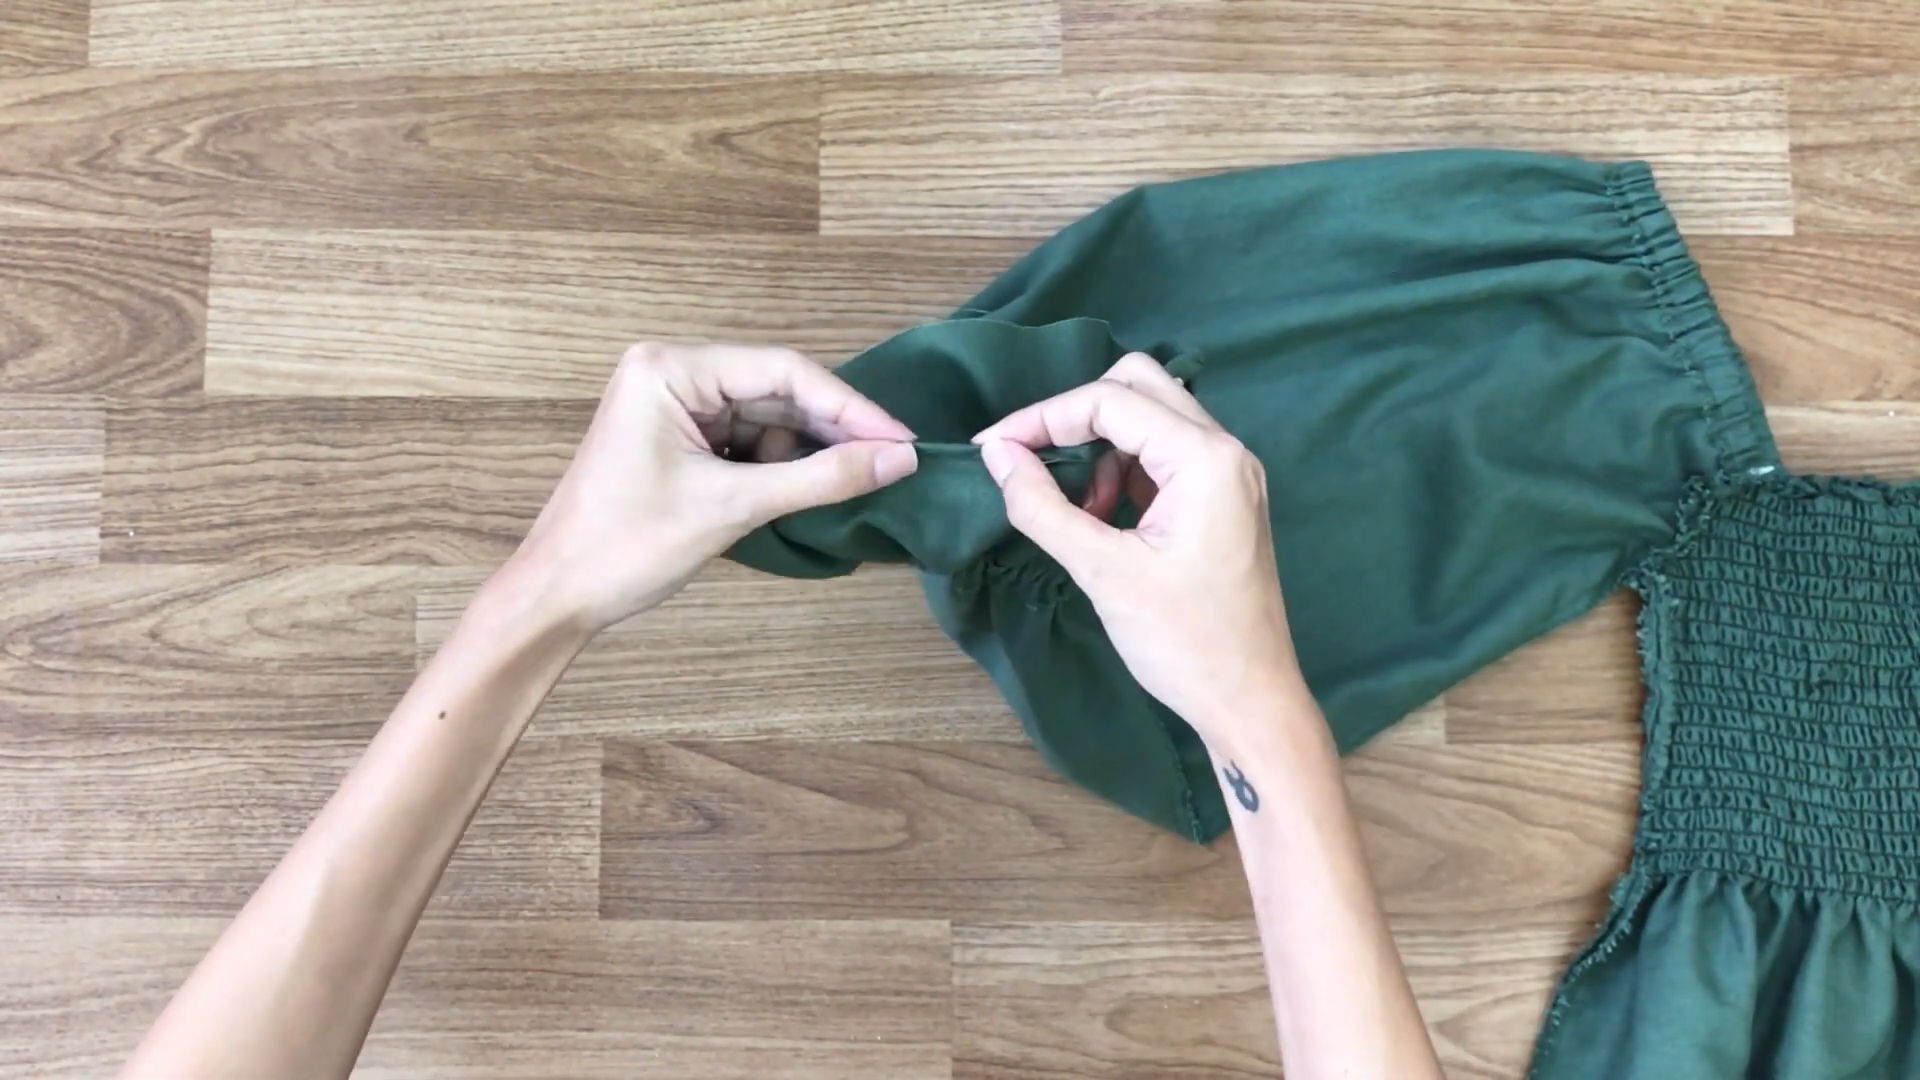
Moving to the bottom of the hand, draw a horizontal line at 10 cm first.

Cut a small rectangle with 3 cm width and 60 cm length which is the same length of the hand.
Fix that rectangle to the line you drew before that. Then, sew two sides of the rectangle to create the fabric hole.
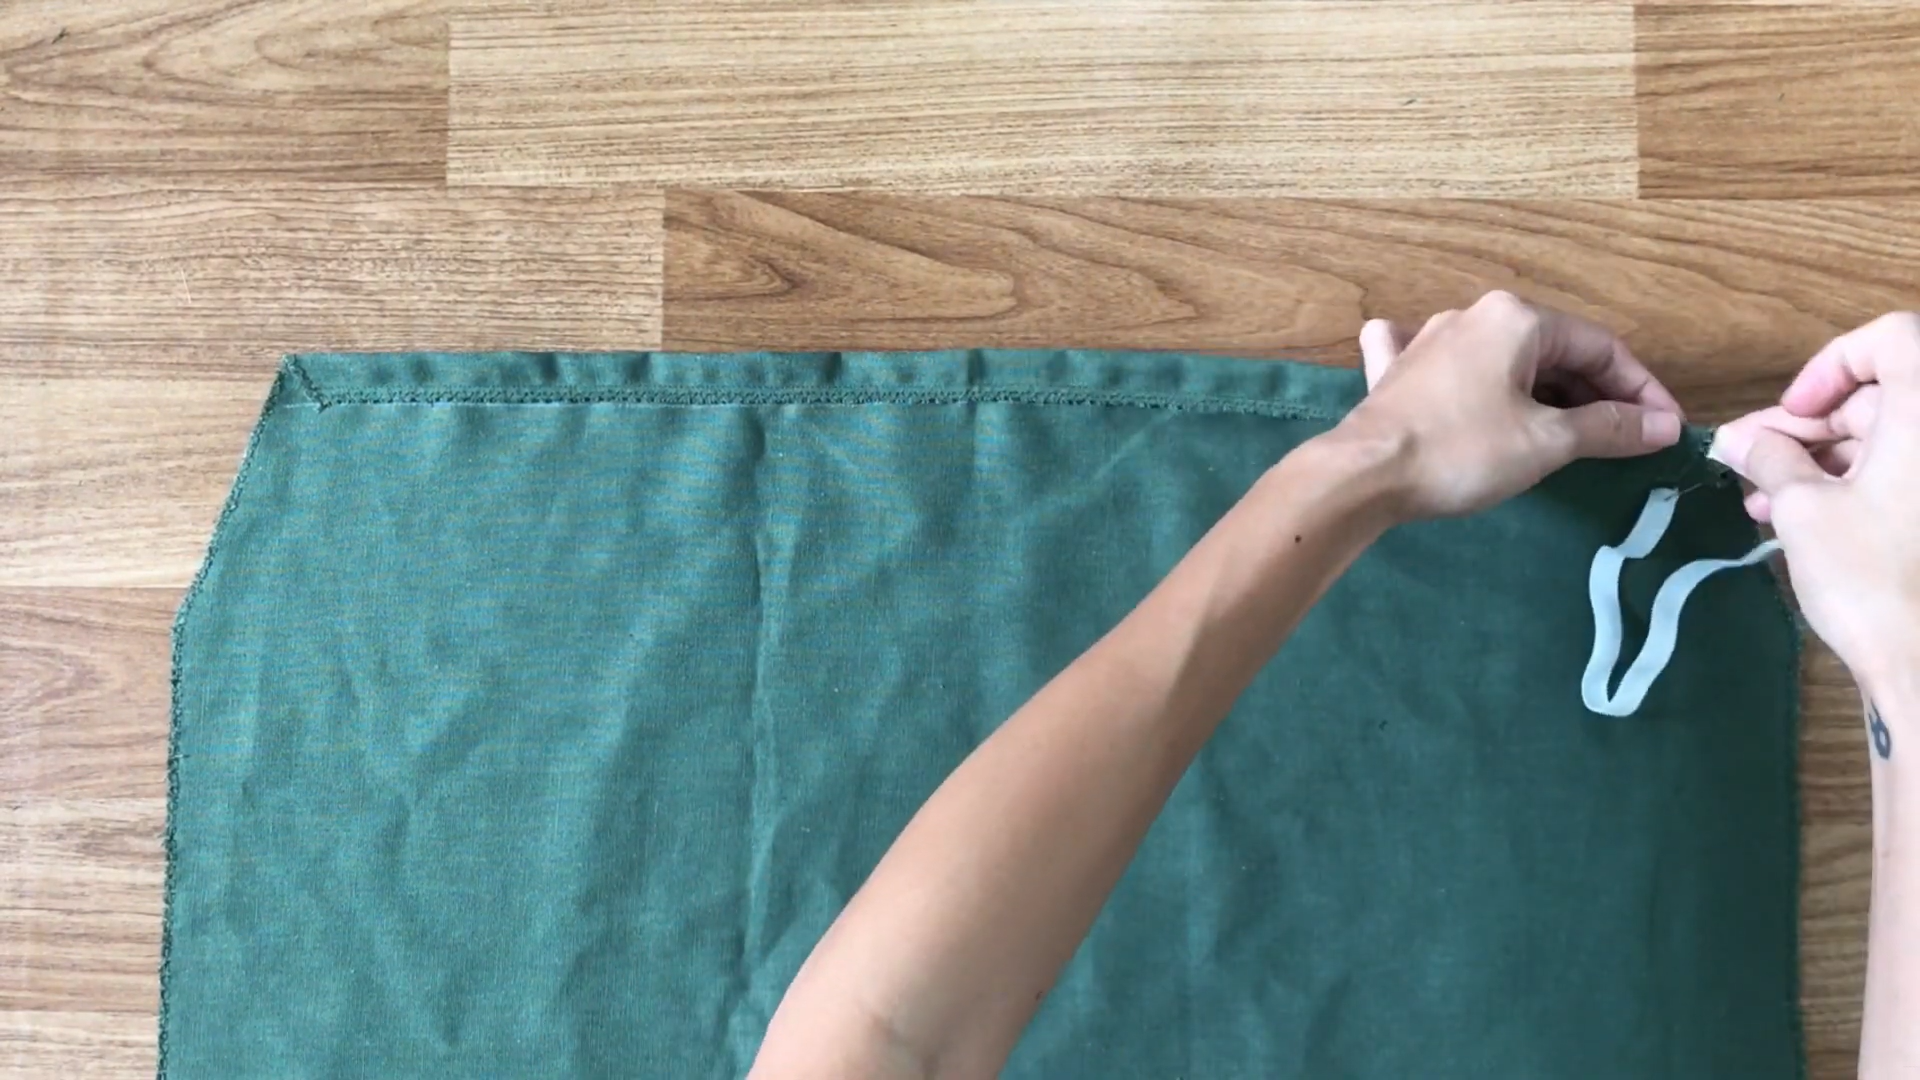
Use the elastic band with the length of the wrist plus 4 cm to go through the fabric hole
Then, sew two sides of the elastic band.
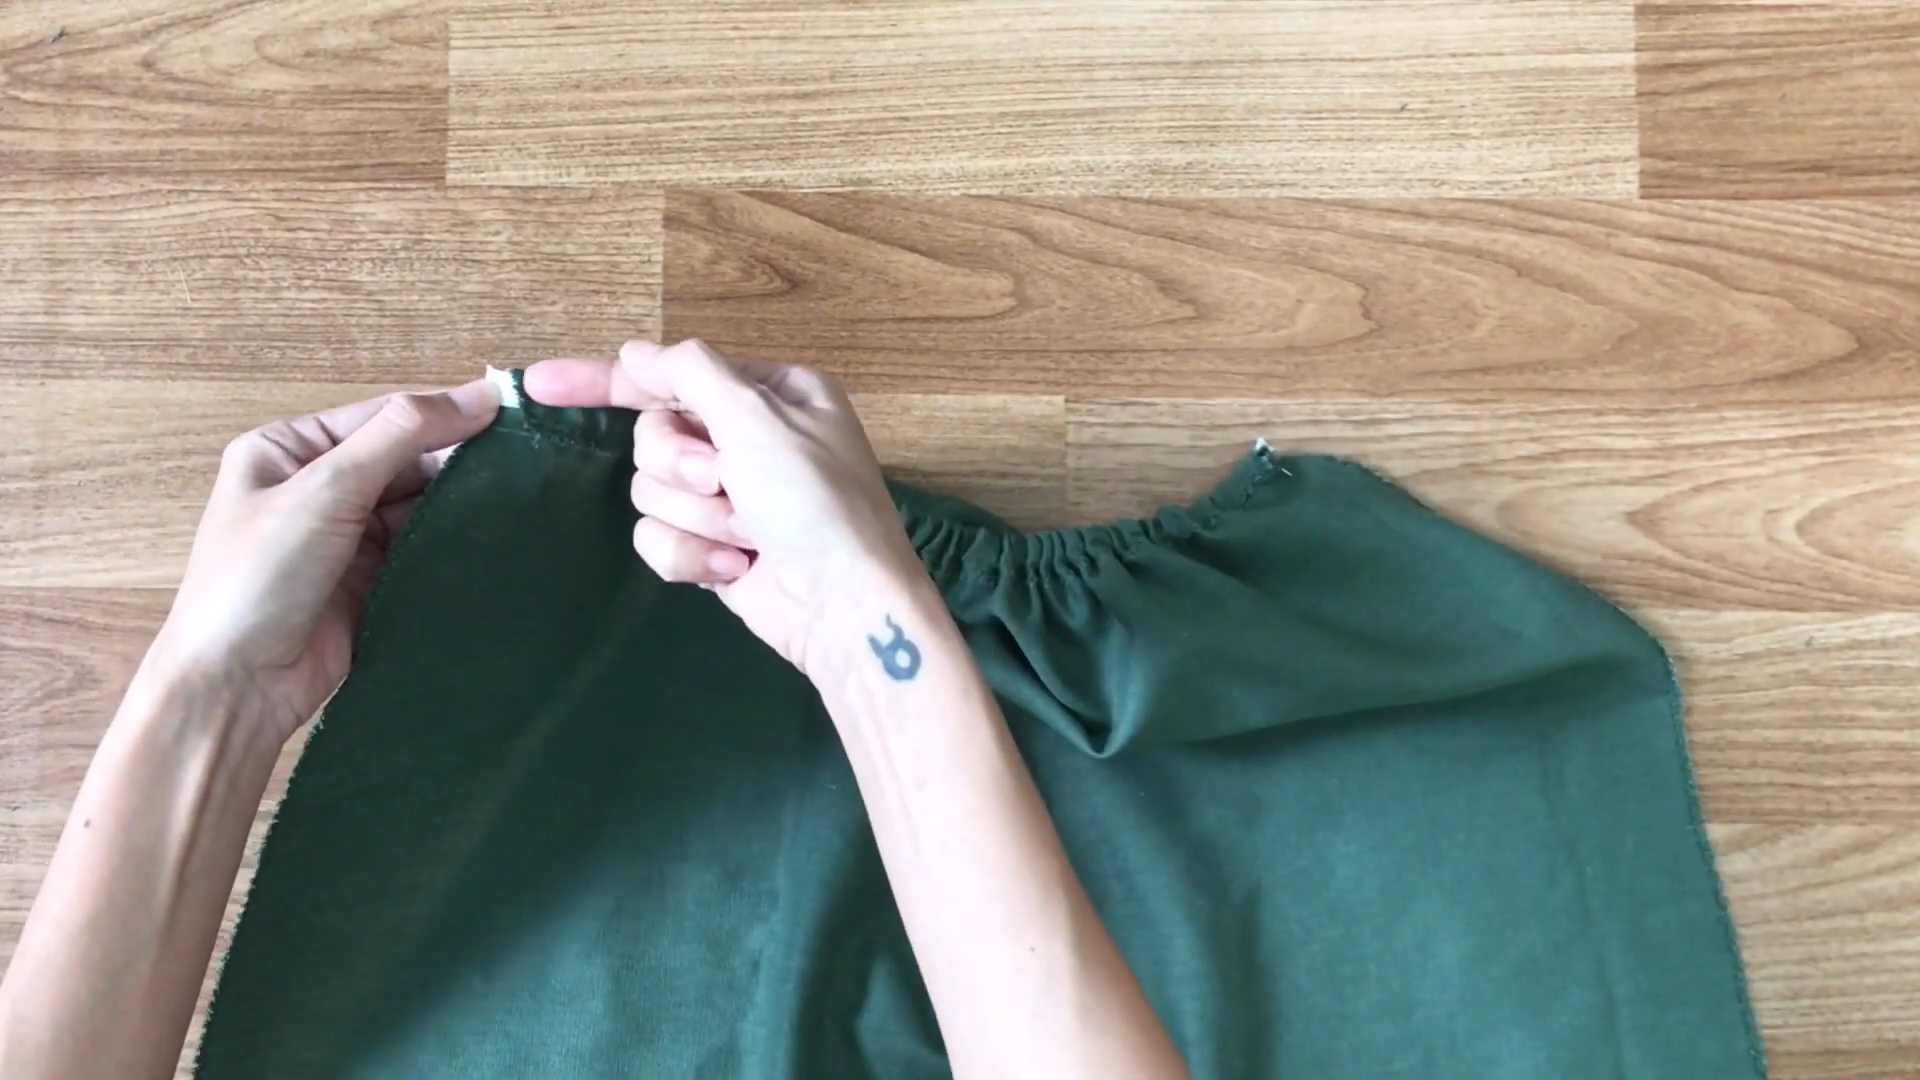
Now, connect the main body and two hands of the dress together at the hand area. Use the pins to hold them before sewing.
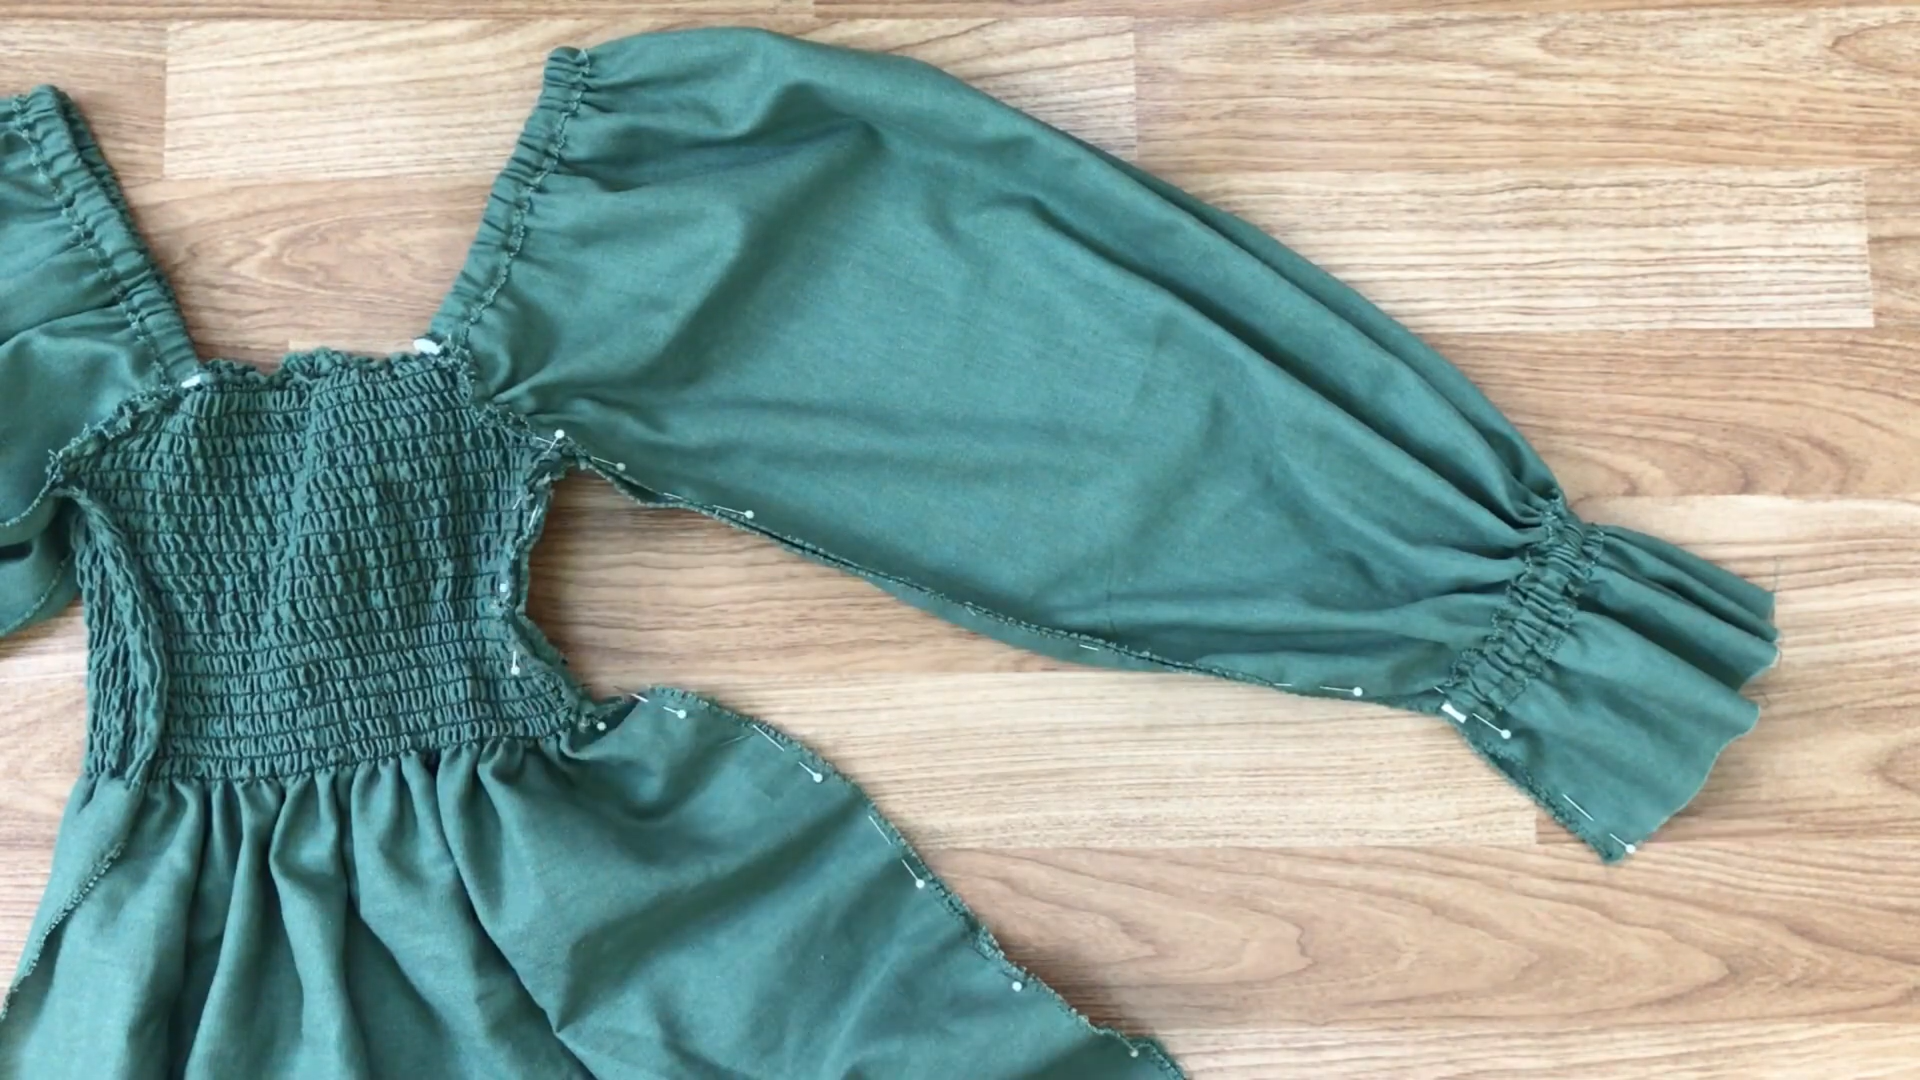
After that, connect two sides of the hand and two sides of the main body together.
At the end of the hand, fold the fabric inside two times and sew to finish the hand.
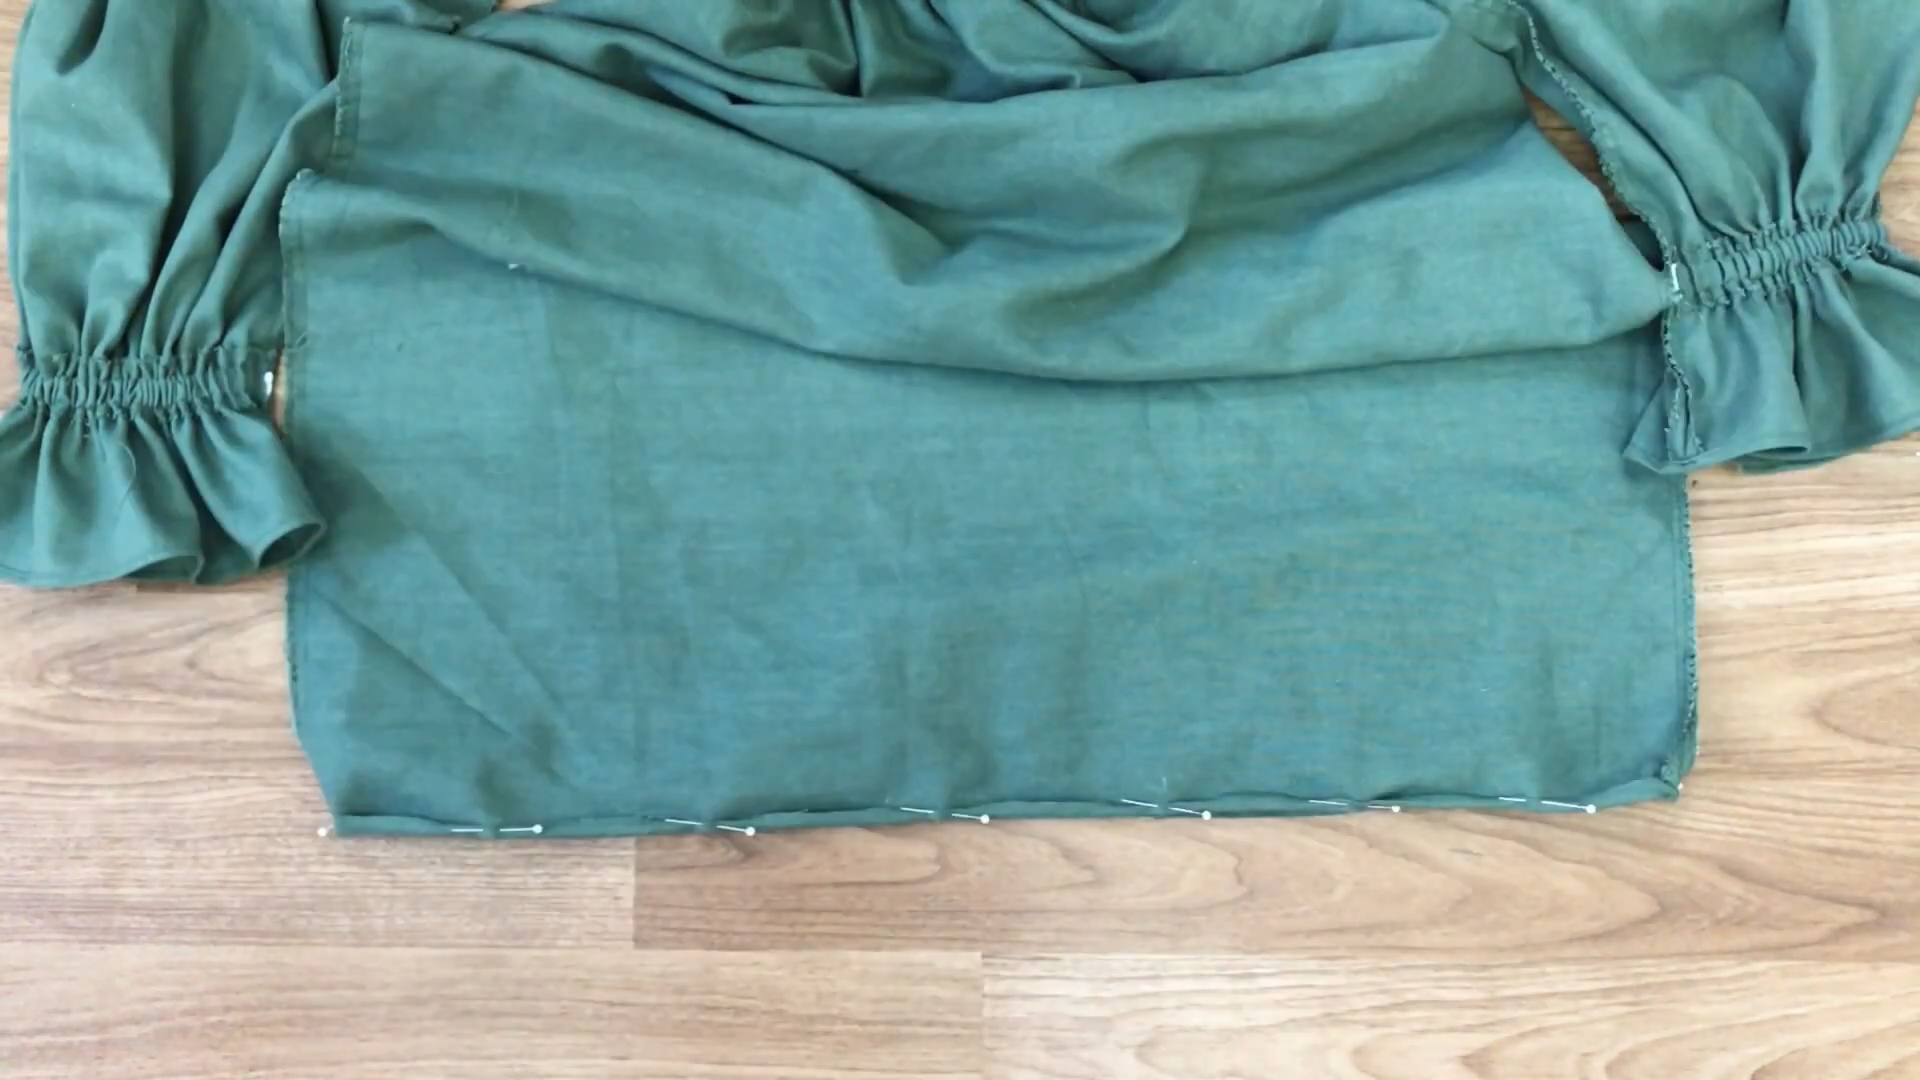
Do the same for the end of the dress.

DIY Puff Sleeve Smock Dress
And there you have it!
Here’s the final result - a dress that I absolutely adore. It’s not just beautiful, but also versatile enough to be worn on any occasion.

I hope you’ve enjoyed this DIY.
Happy sewing!
Please let me know your thoughts in the comments below. I would love to know more from you guys to improve my skills.