DIY Vintage Wrap Dress from scratch | Making a beautiful dress in the most simple way [+ Free Pattern]
DIY Cottagecore Maxi Dress

Hi everyone!
Today's video is a tutorial for a Vintage wrap dress. I’m currently obsessed with, and I think you’ll love it too. This dress has the classic style of old-fashioned clothes and the easy-to-wear design of a wrap dress. It’s a fashionable and comfy outfit for many events. Whether you’re heading to work or looking for a daily outfit, this dress has got you covered.
So, let’s get started!
WHAT YOU’LL NEED
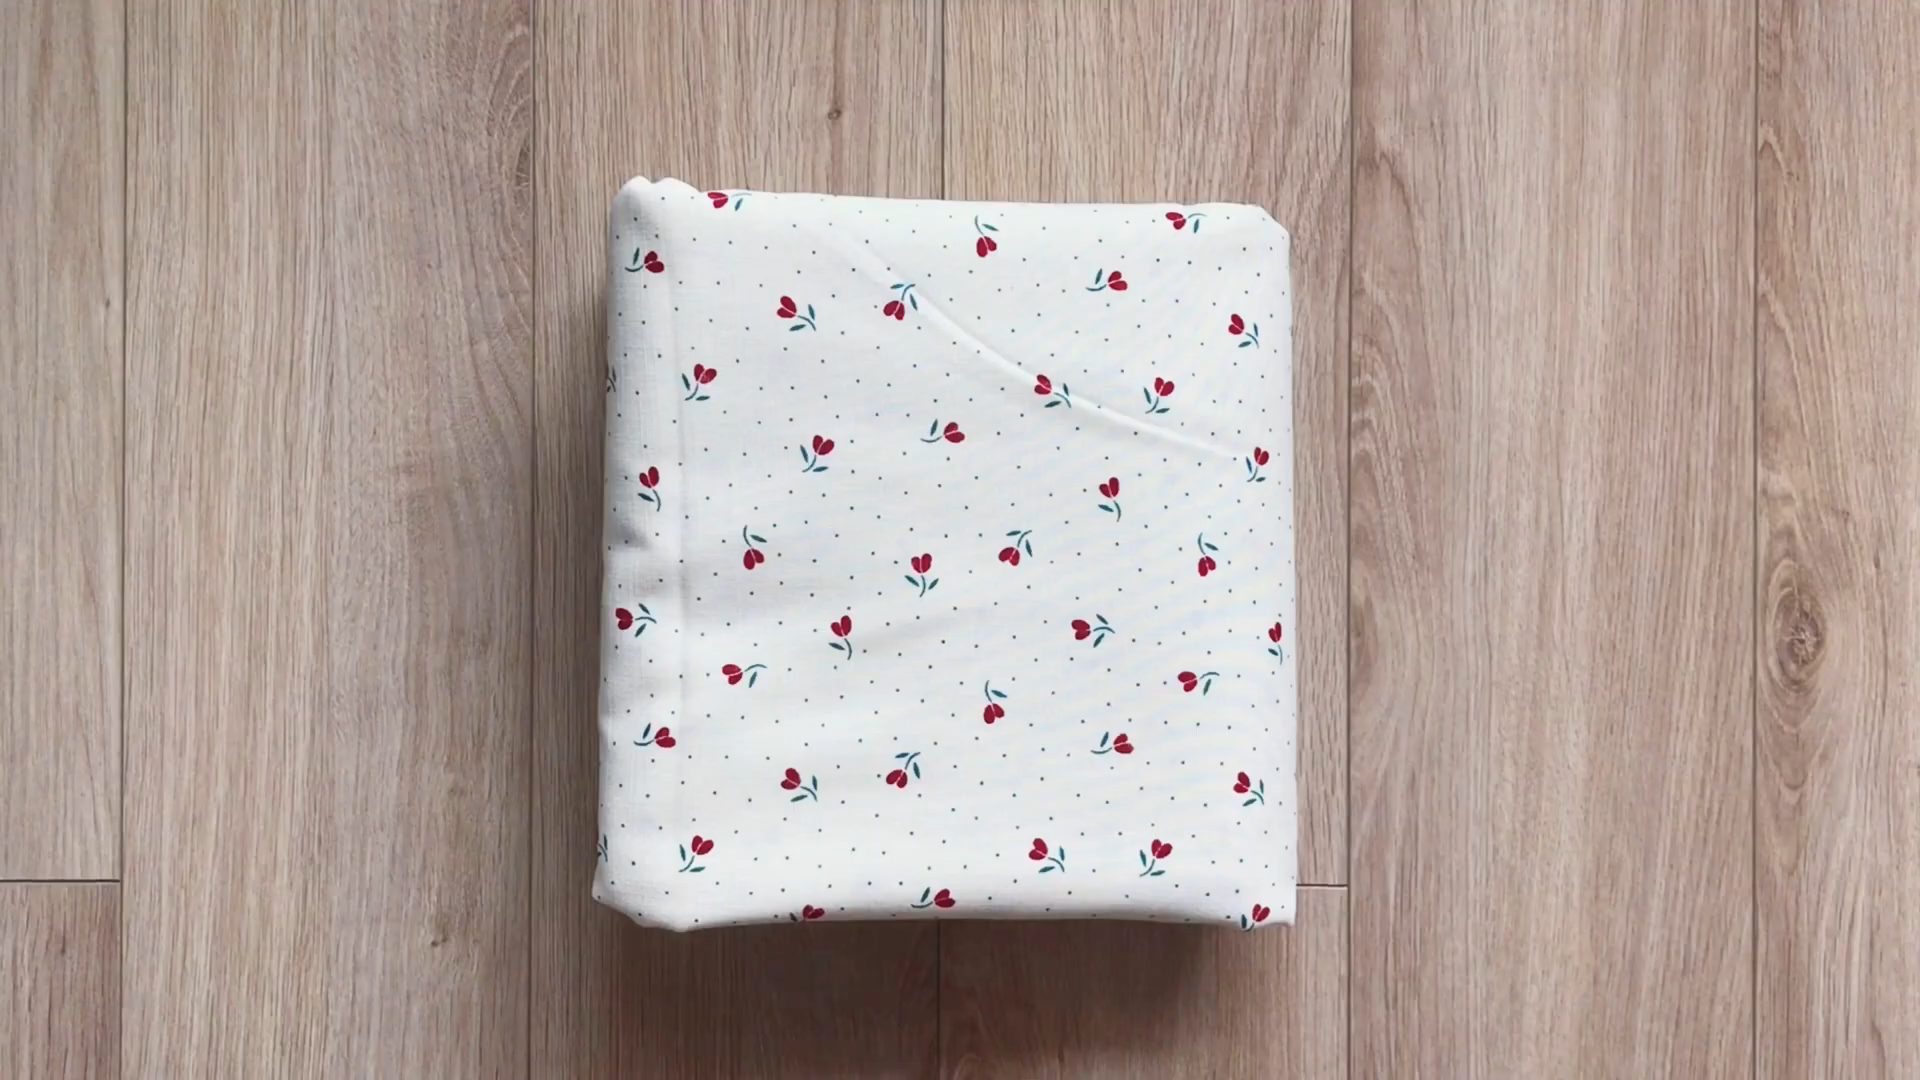
3m of cotton fabric
Pattern paper
Sewing machine
Pins
Scissors
Ruler
Long stick
MAKING THE PATTERNS
Here’s the pattern for the project. To get a clear understanding of all the measurements needed for the pattern, watch the video from 0:40 to 2:58. Remember, you can adjust these measurements to fit your own dimensions!
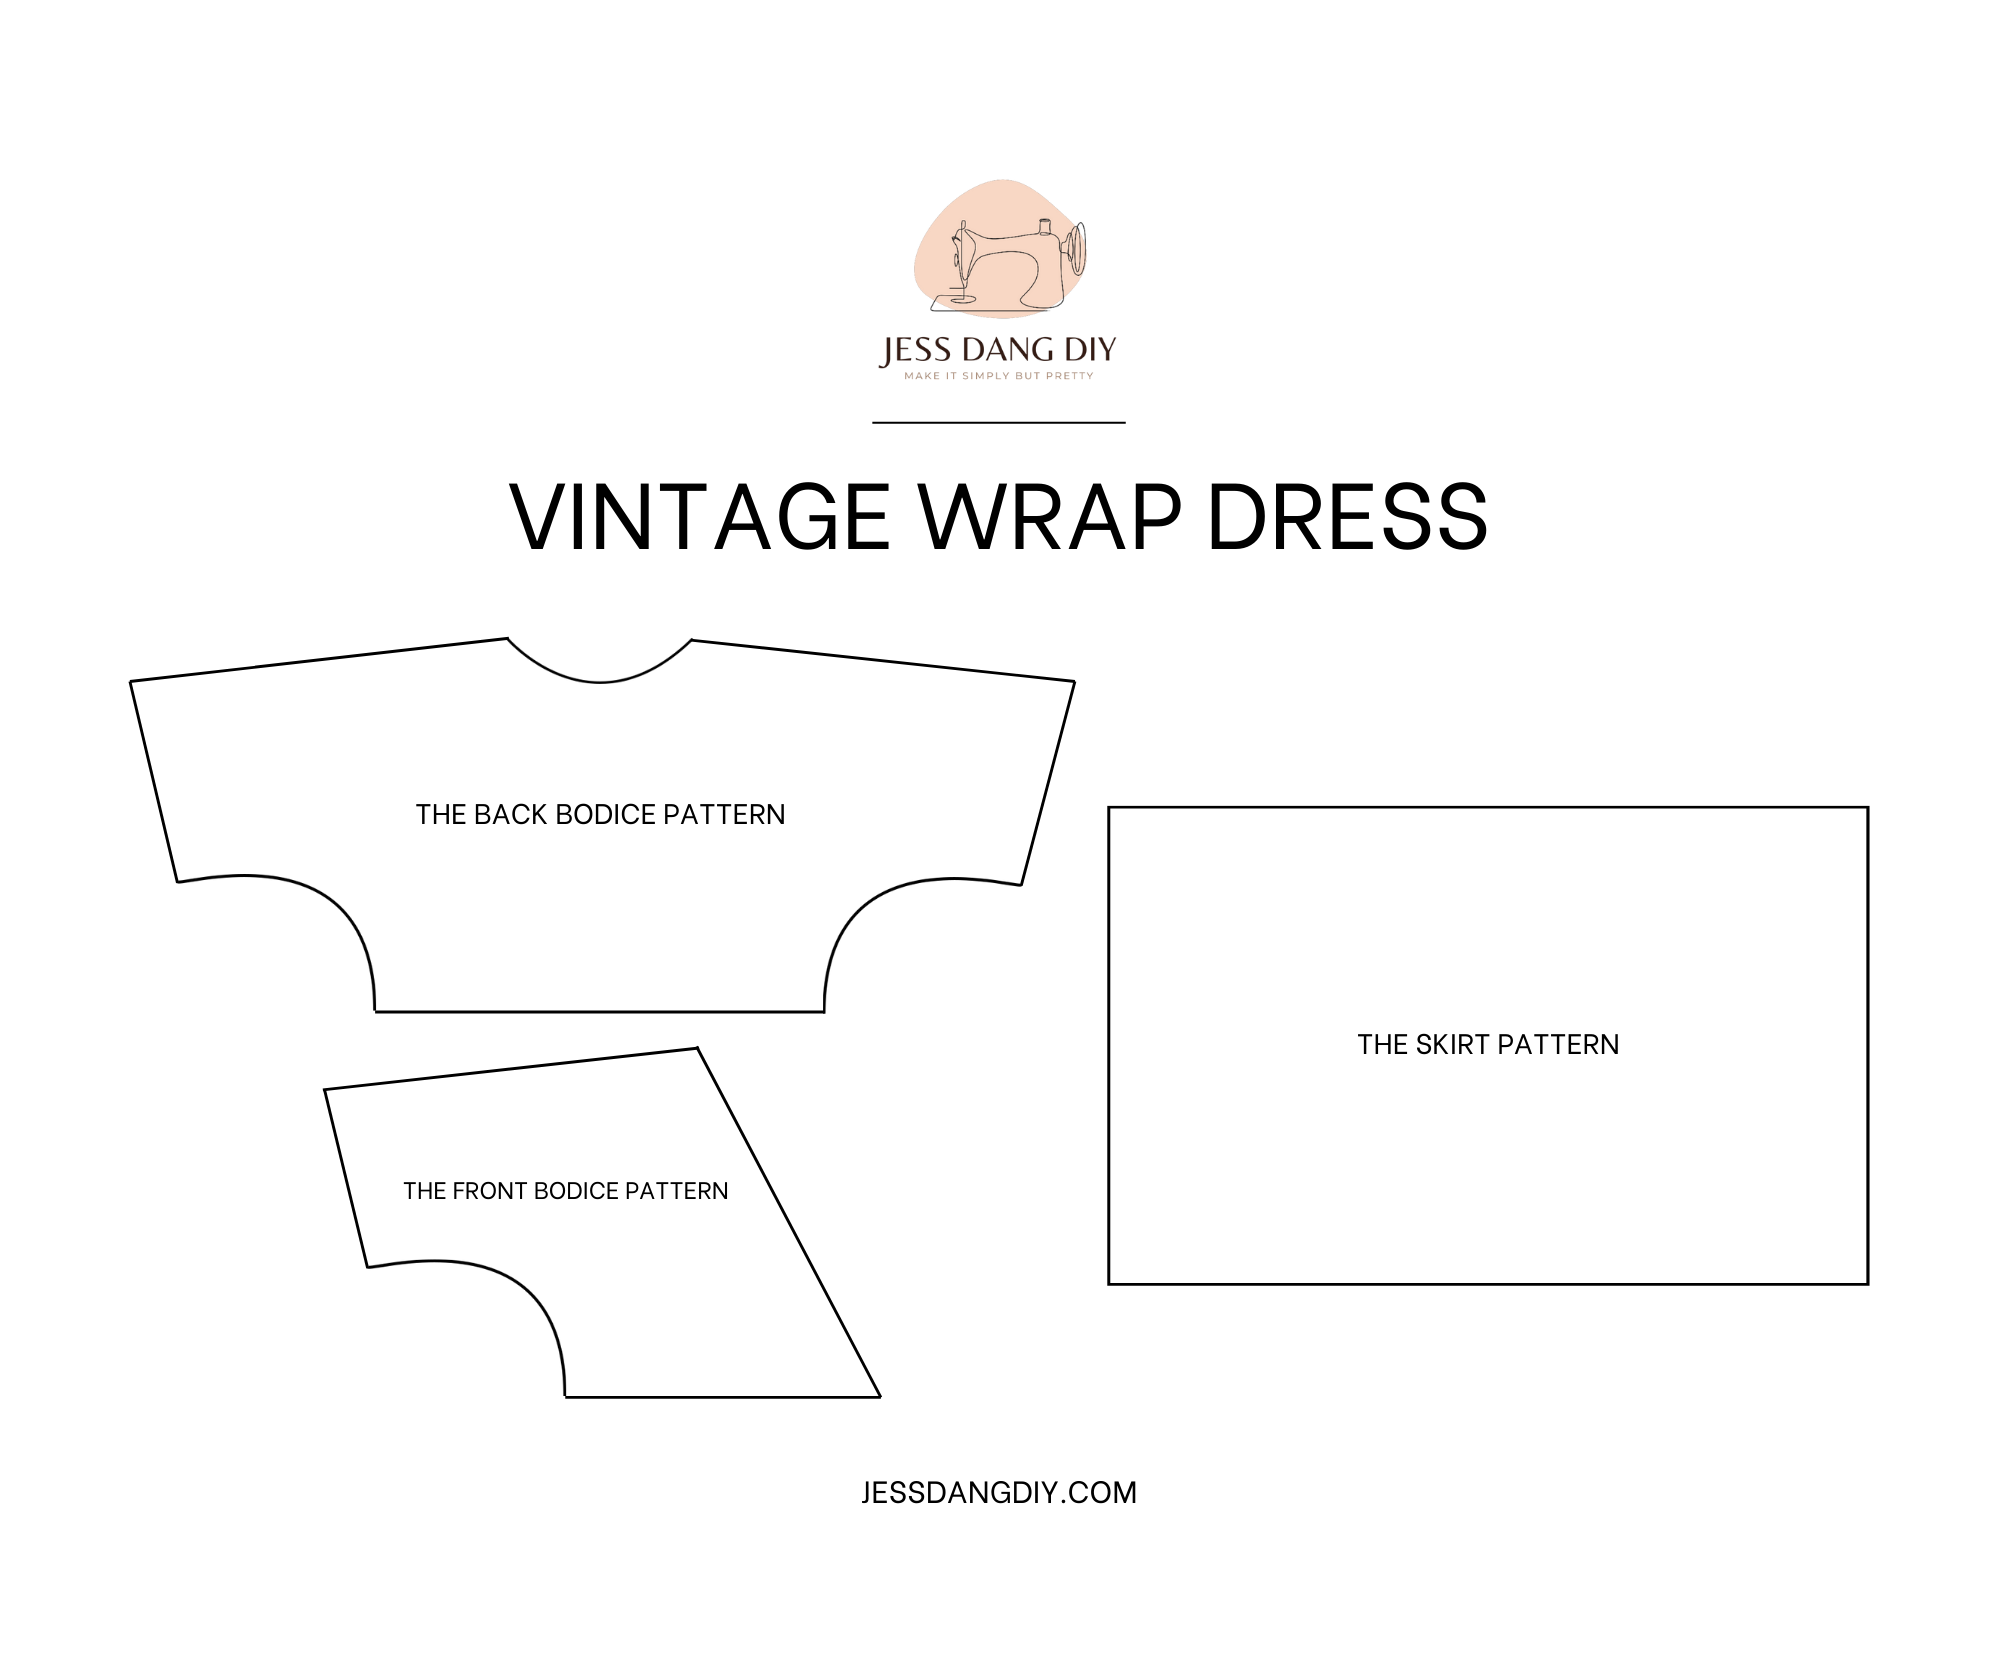
THE BACK BODICE PATTERN
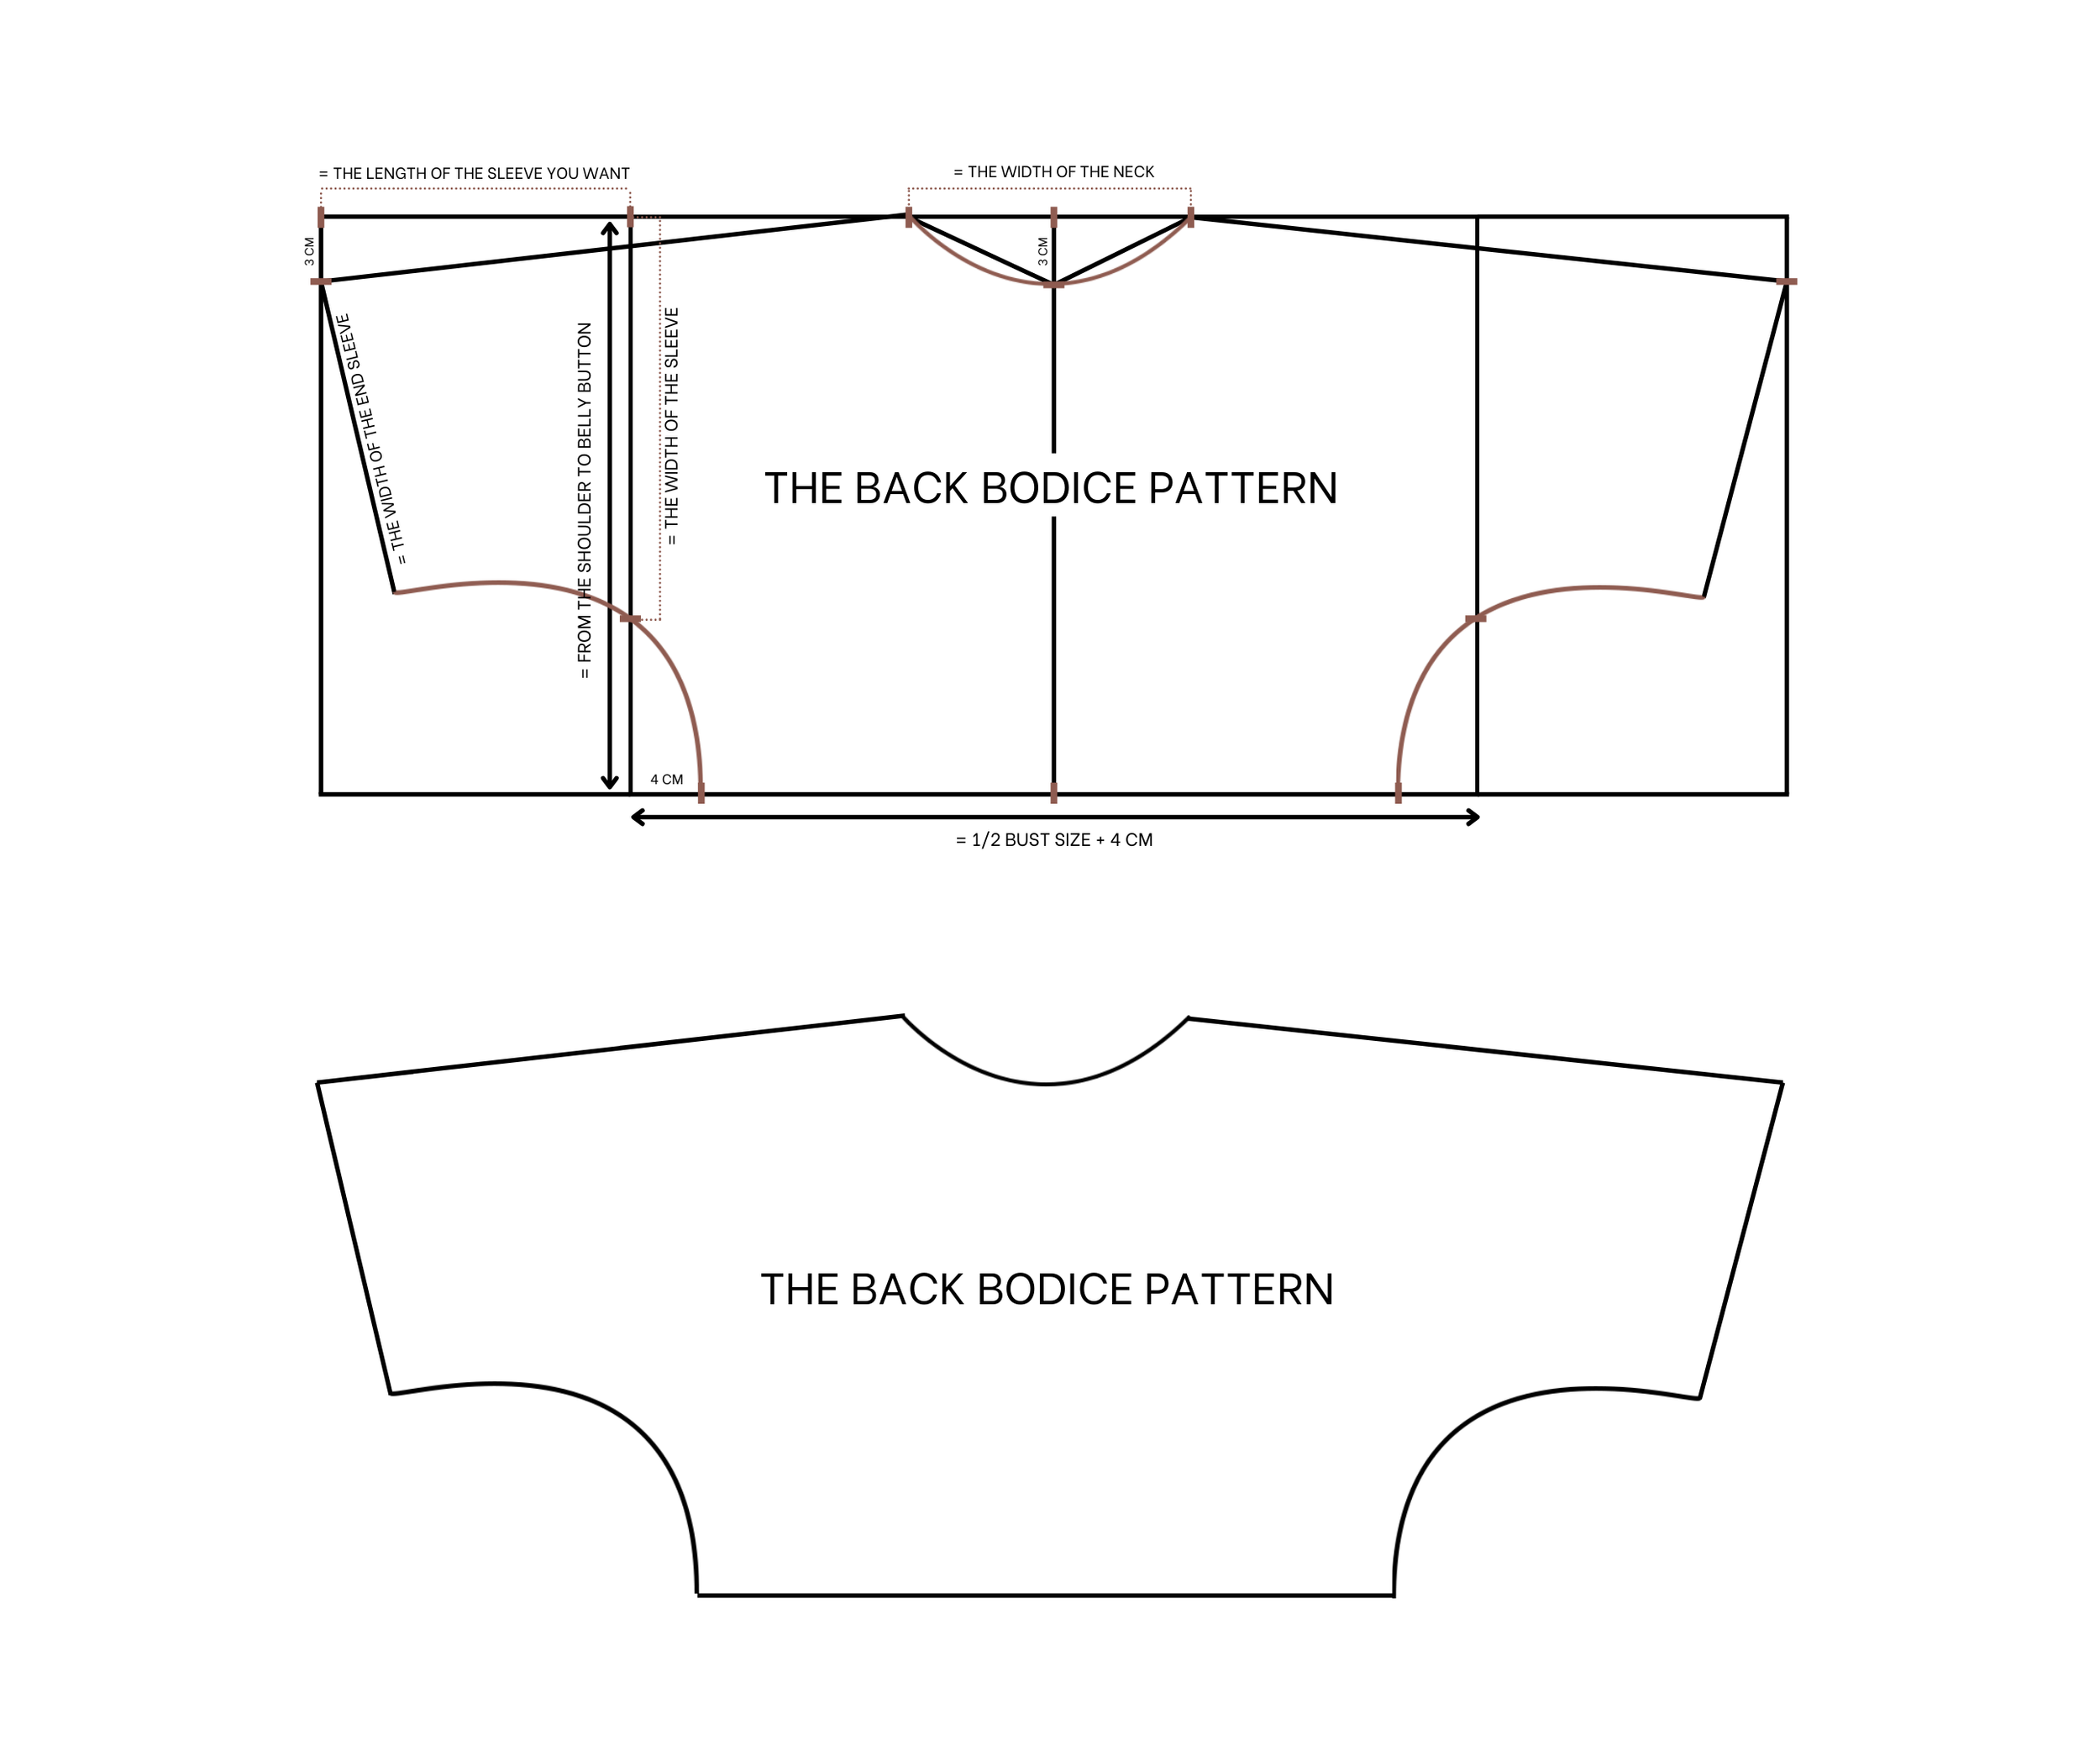
The back bodice pattern
Cut a rectangle with a length of 40 cm, which is the length from the shoulder to the belly button, and a width of 45 cm, which is half of the bust size plus 4 cm.
On the width line, mark at the middle to divide the rectangle into two smaller ones.
At the top width line from the middle, mark at two sides 9 cm so the width between two marks will be 18 cm, which is the width of the neck that you want.
Move down and mark at 3 cm on the middle line to draw the curved line to connect two marks of the neck together.
To make the sleeve area, increase the width of the rectangle to 12 cm.
From the top of the new line, move down 3 cm to make a slight dip for the shoulder line.
At the old line inside, mark a 24 cm for the width of the sleeve you want. Make sure it’s bigger than the width of your arm at the shoulder.
Draw the new line for the end of the sleeve and mark at 18 cm.
At the end of the bodice, mark at 4 cm inside then connect three marks together by the curved line to finish the underarm line for the top bodice.
THE FRONT BODICE PATTERN
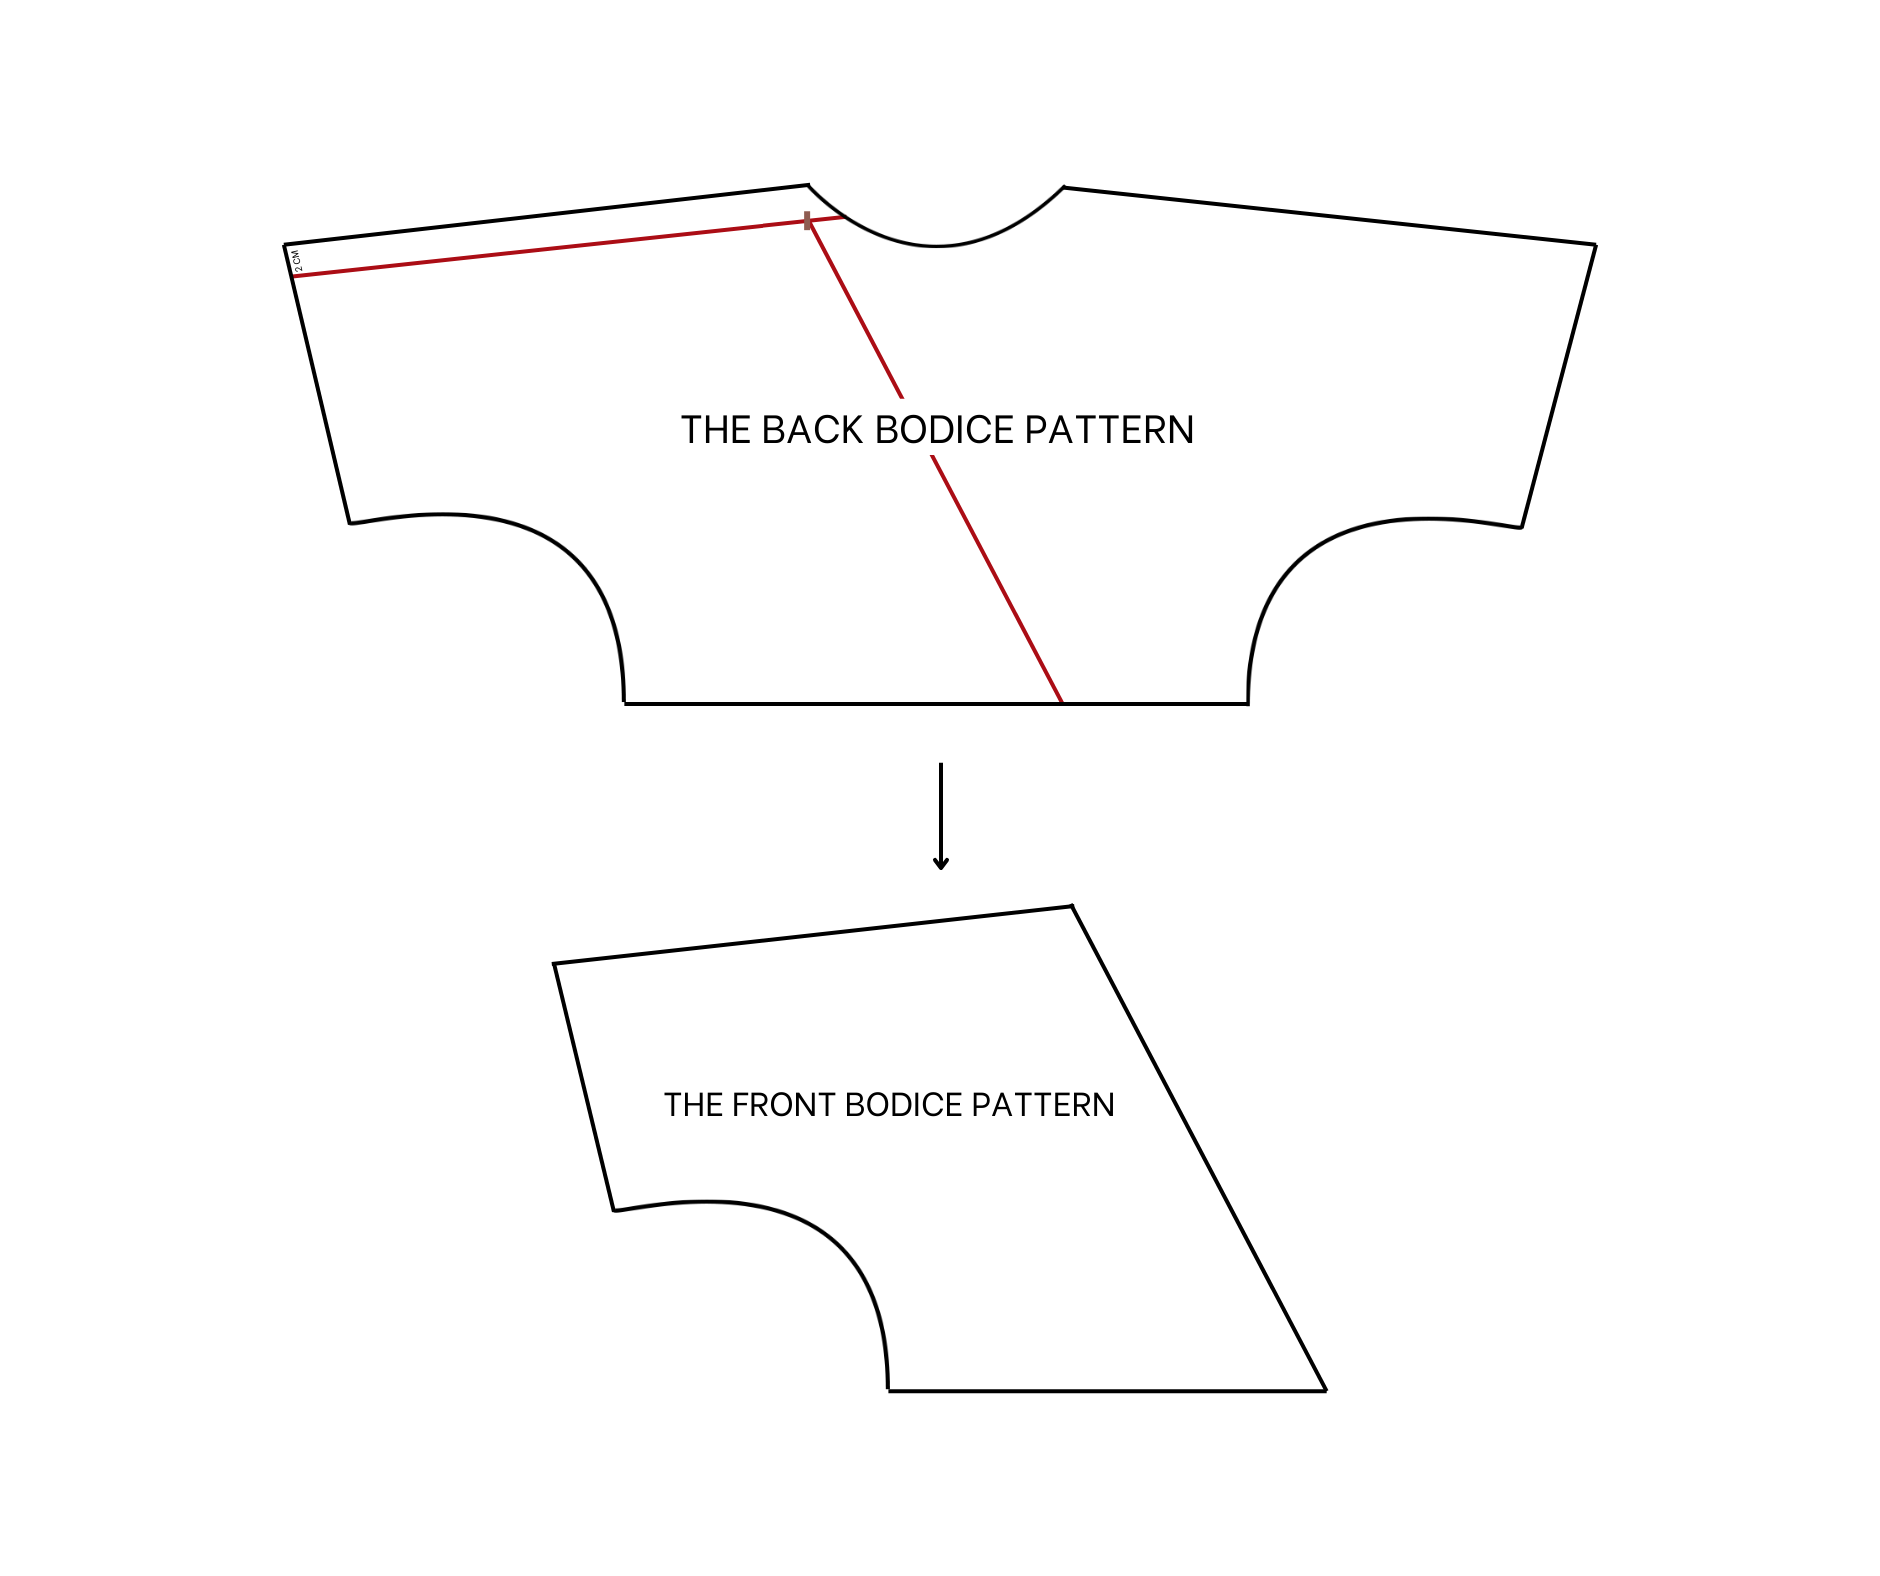
The front bodice pattern
Move down the shoulder line of the back pattern 2 cm.
From the middle of the neck, move down and mark at 16 cm, which is the depth of the V-neck you want for the dress.
Make sure it’s not deeper than your armpit line
Connect the new shoulder line to this mark to the end of the pattern.
After cutting along the new neckline, you will have the front pattern.
THE SKIRT PATTERN
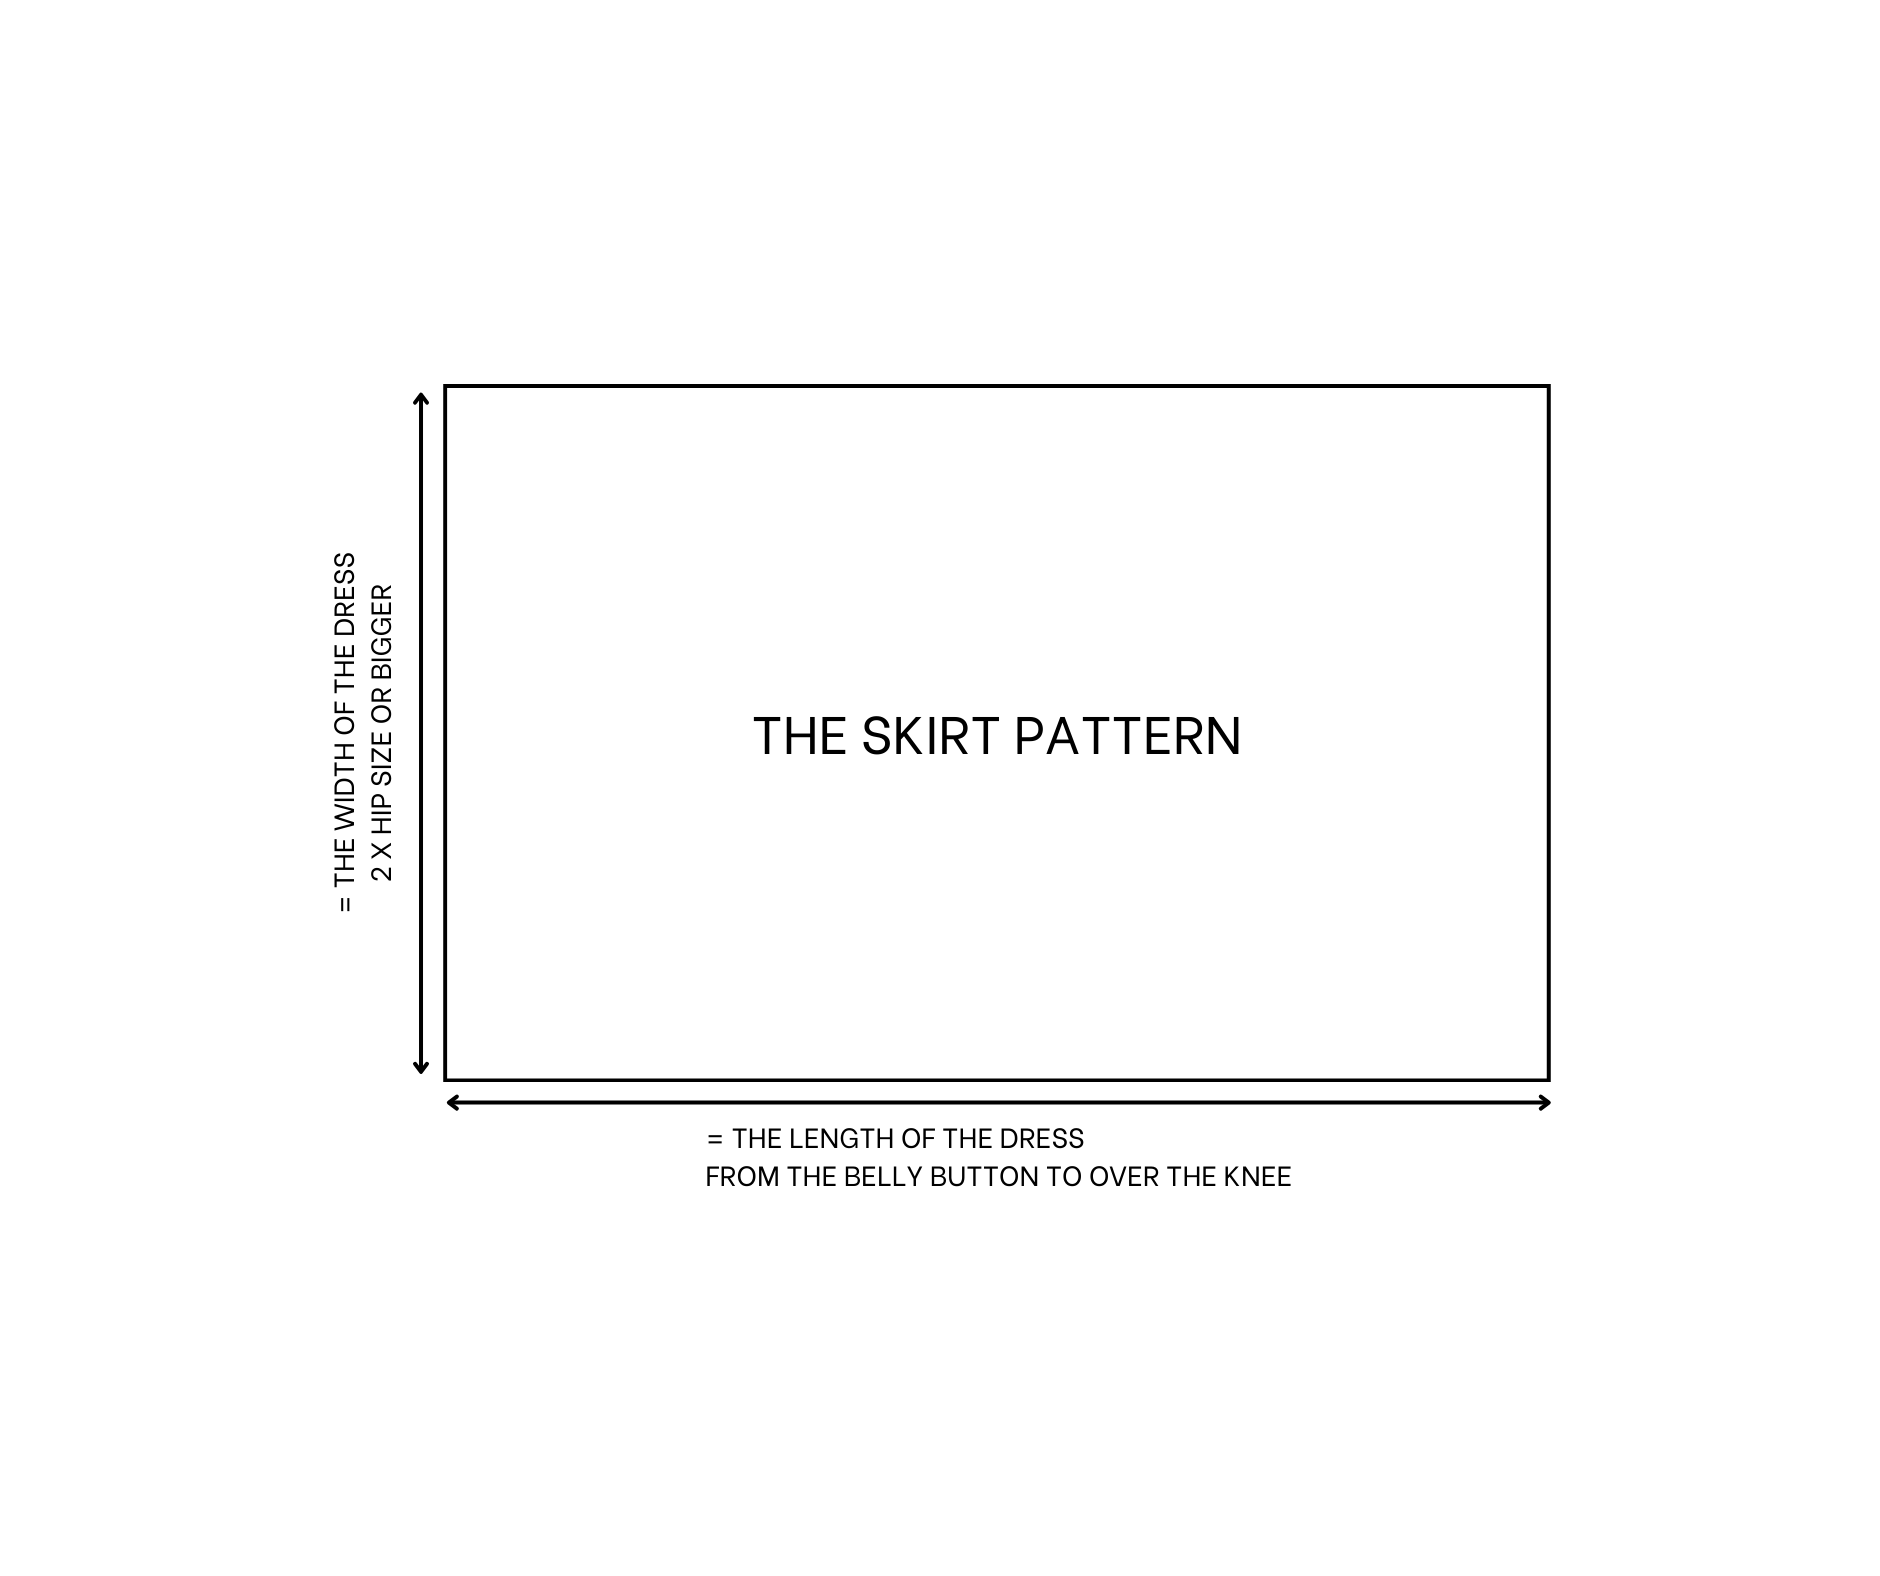
The bottom pattern
Cut a rectangle with 90 cm length, which is the length from the belly button to over the knee and 200 cm width, which is two times the hip size or bigger if you want a puffy look for the bottom part.
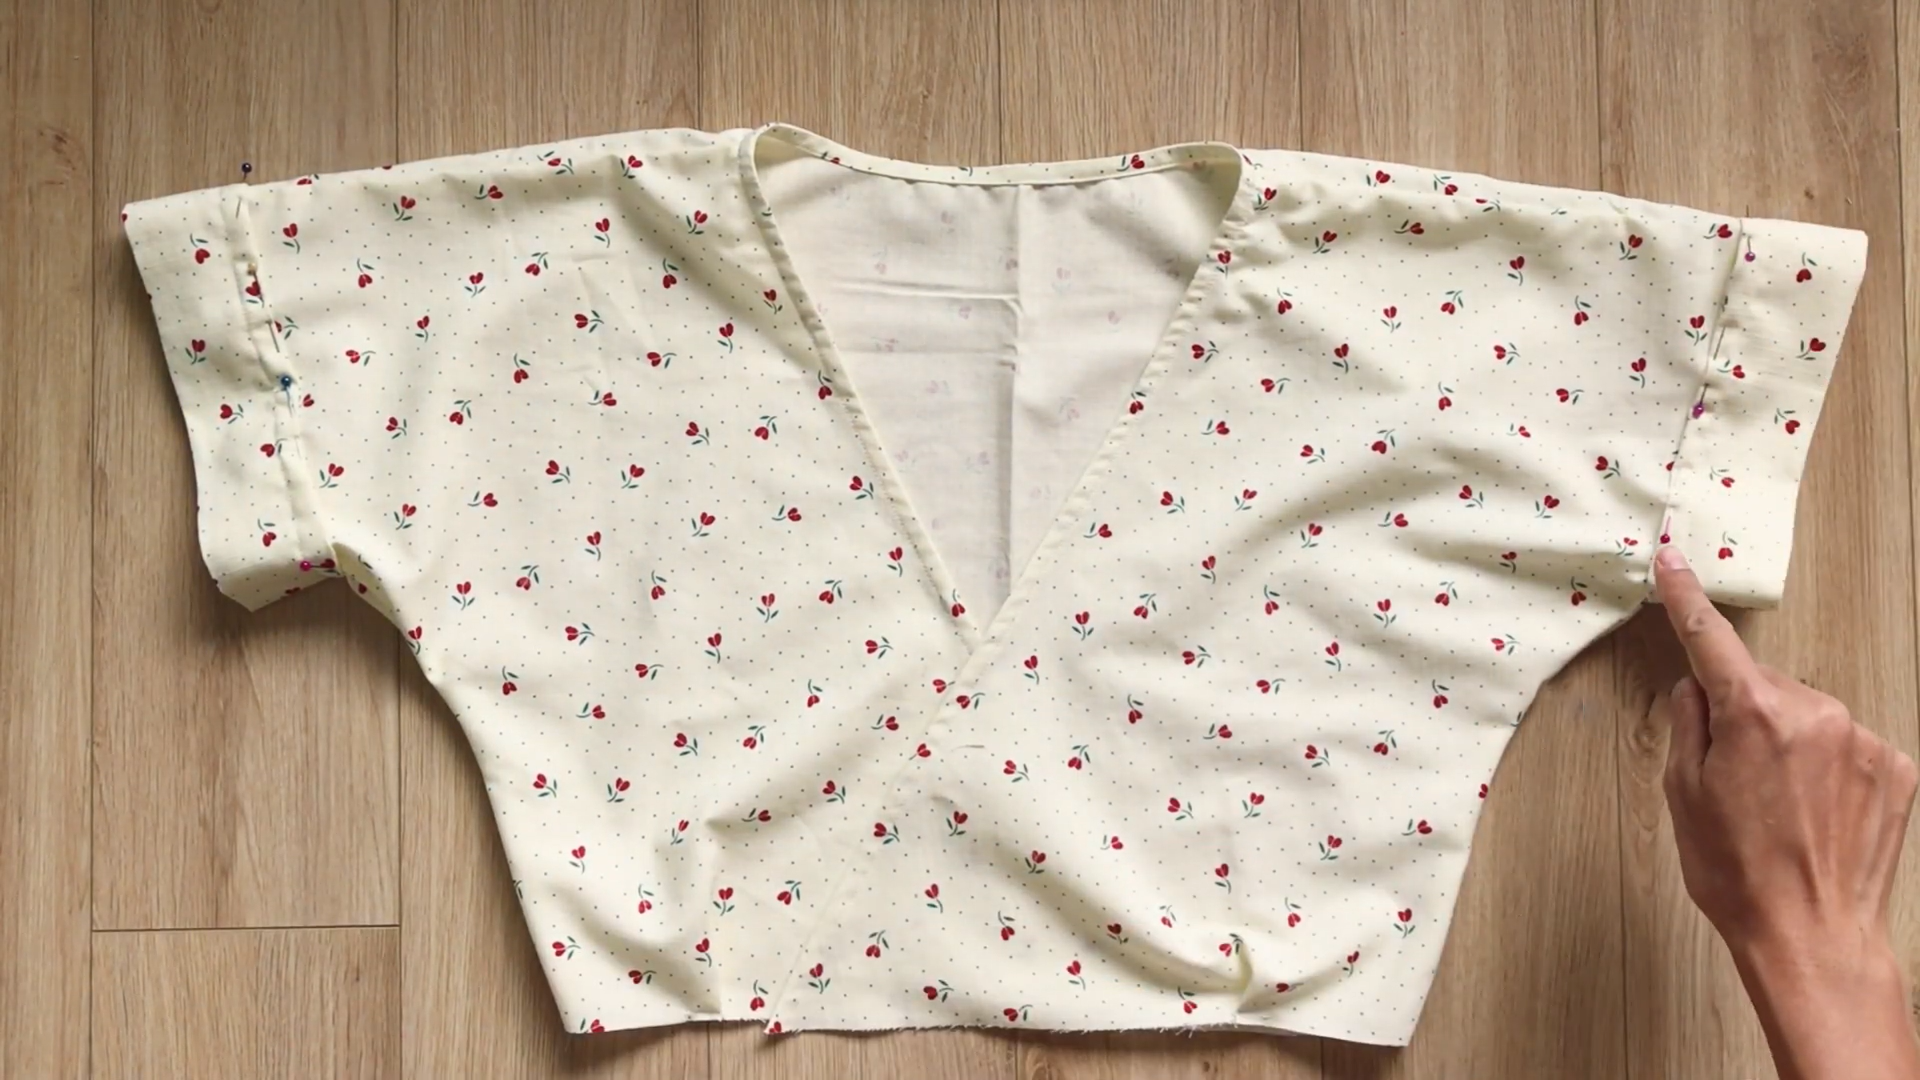
SEWING THE DRESS
THE BODICE
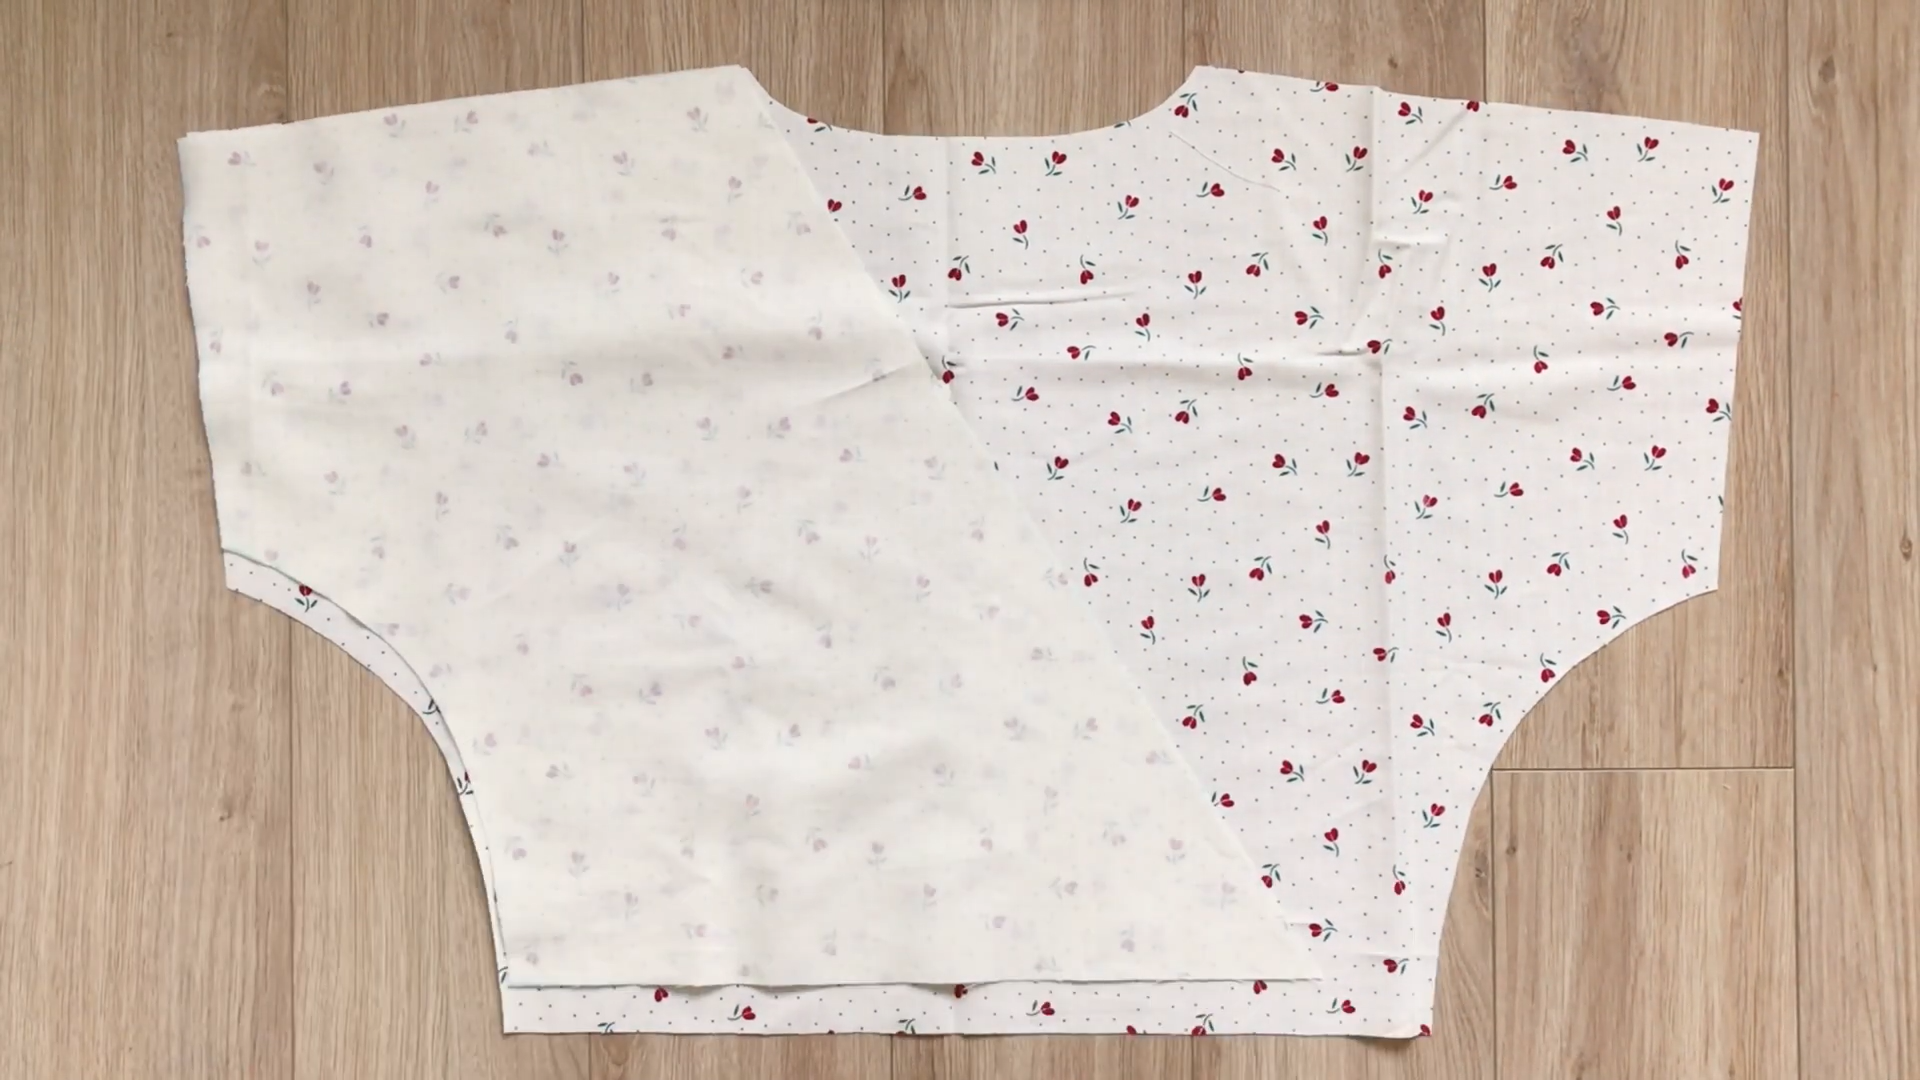
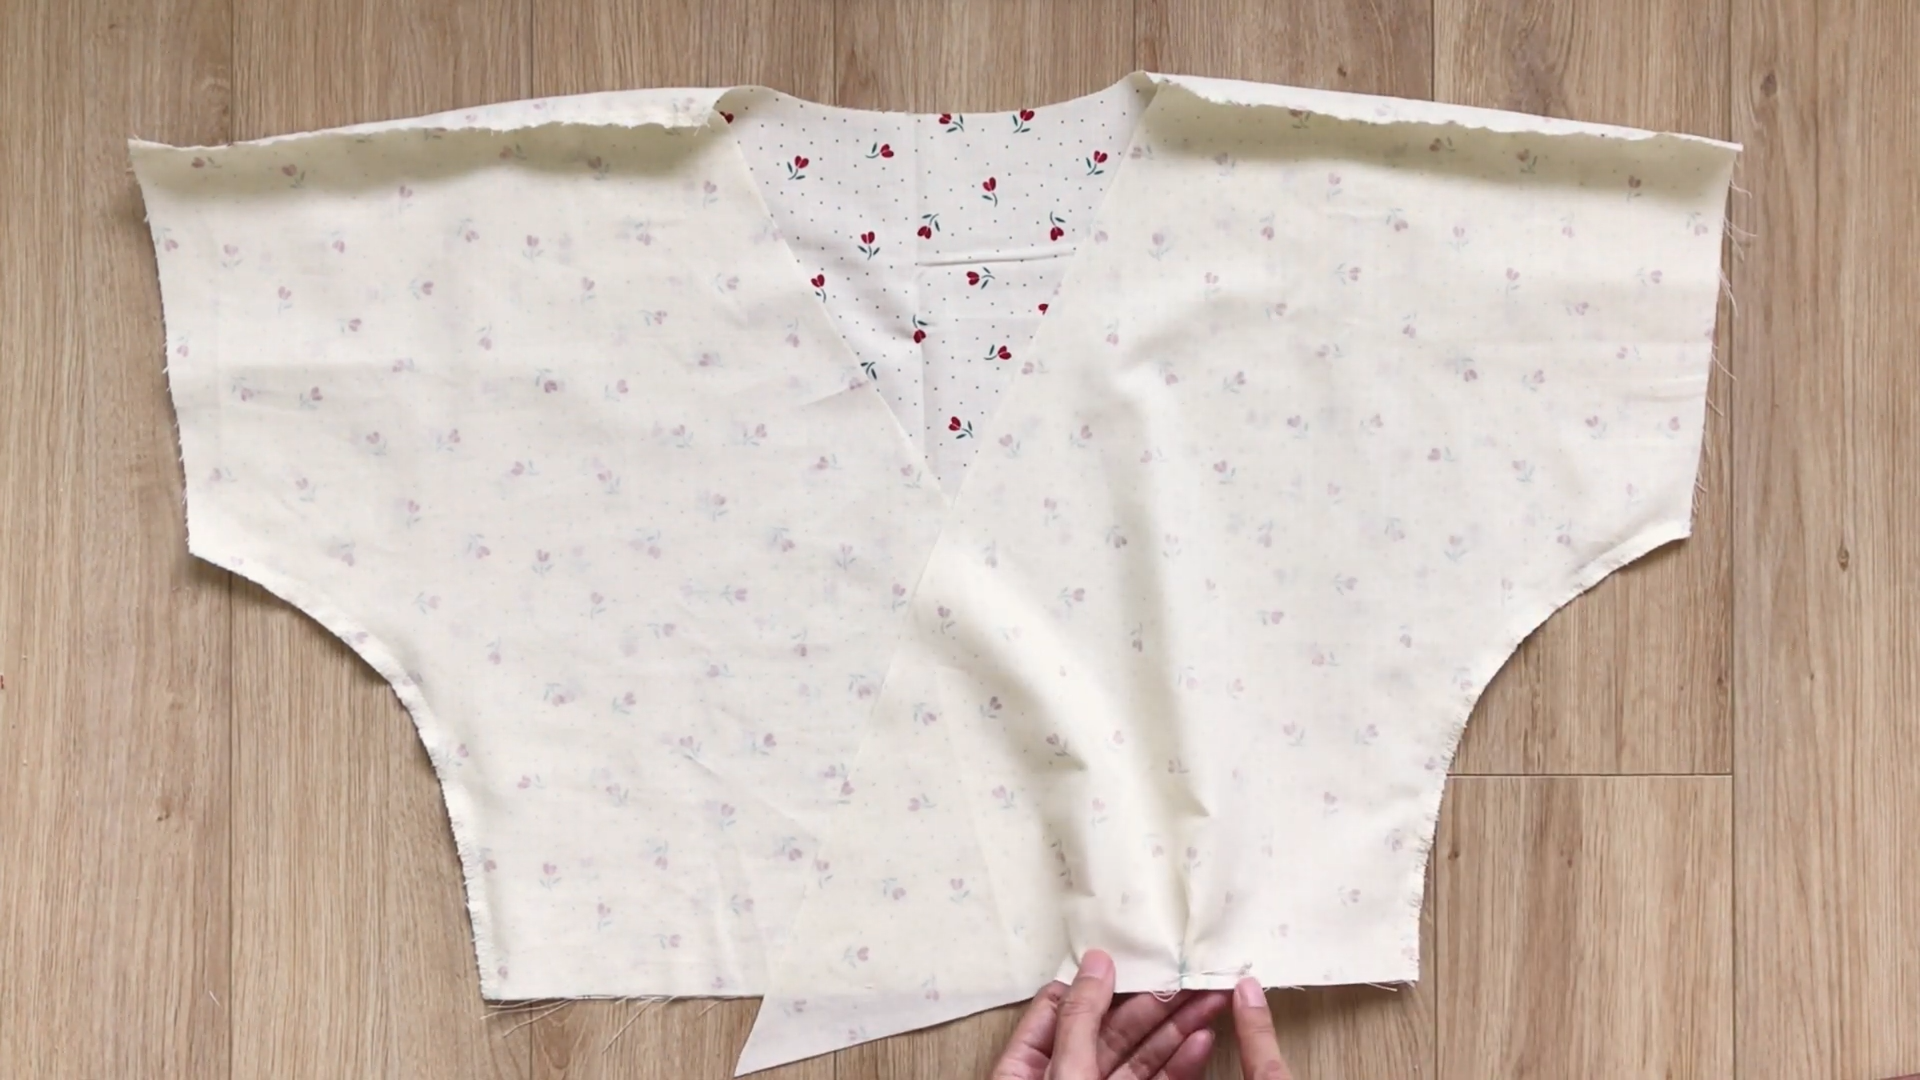
Apply the pattern to the fabric and cut one back pattern and two front patterns.
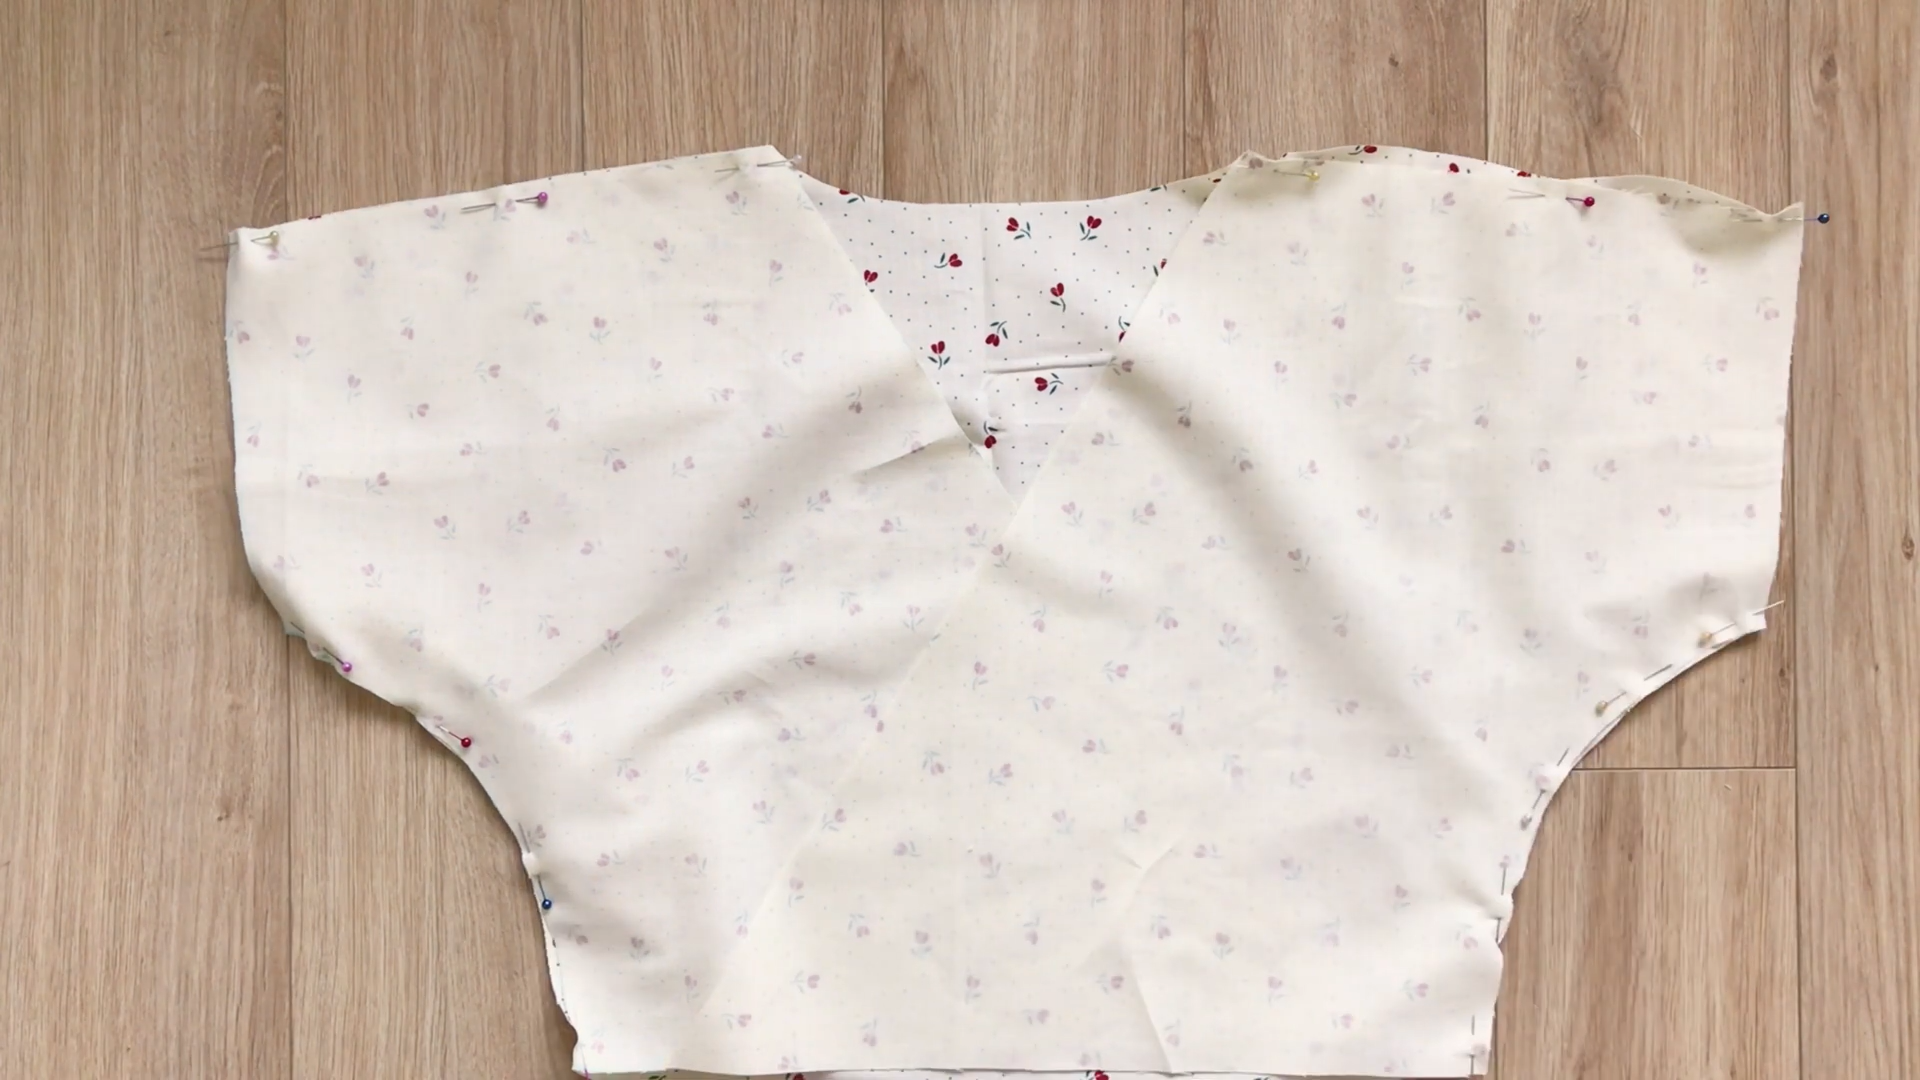
Connect the back and the front bodice together at the shoulder line and at the underarm line. Then, sew.
Next, we’re going to make the depth of the breast area.
If you have a small breast, you can just make one bust with 2 cm width. However, if your breast is larger, you should make the bust bigger or even make two bust darts.
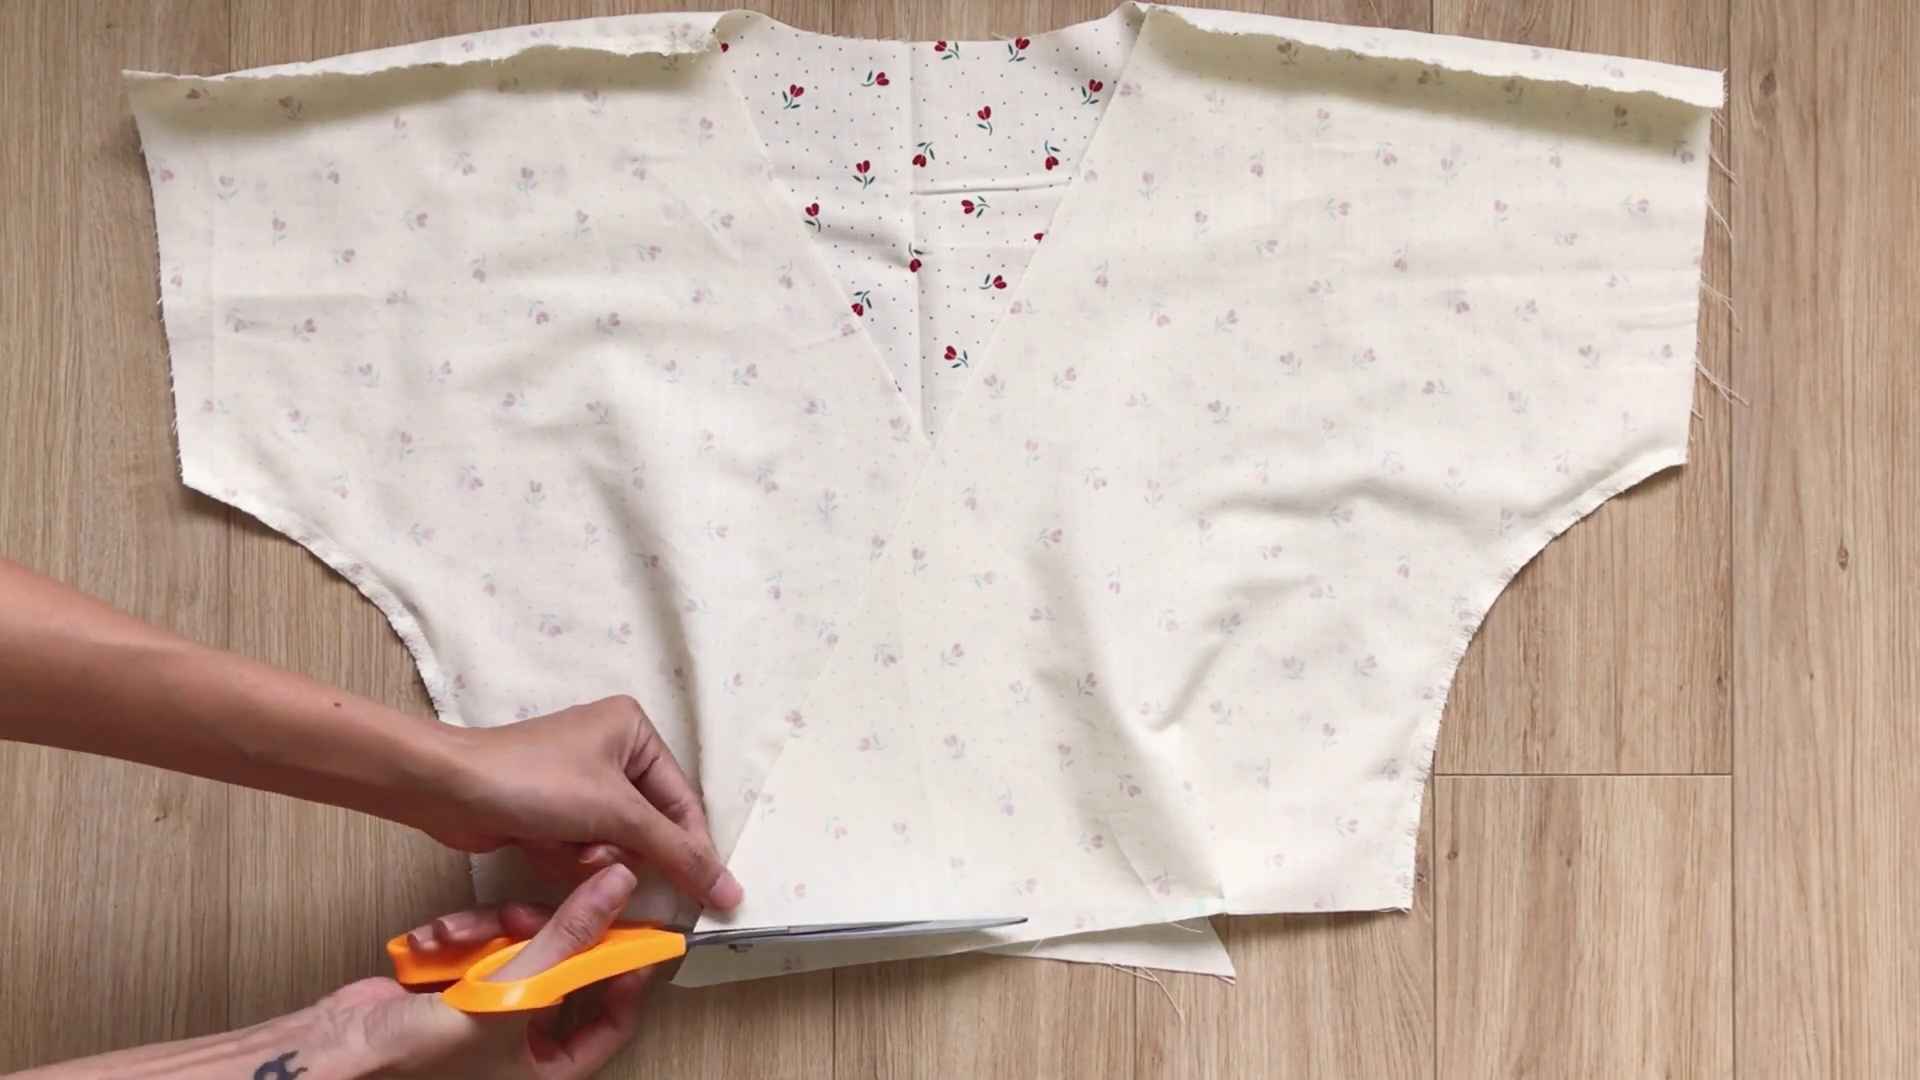
Due to the bust darts, the end of the pattern is not straight anymore, so cut the extra one after sewing.
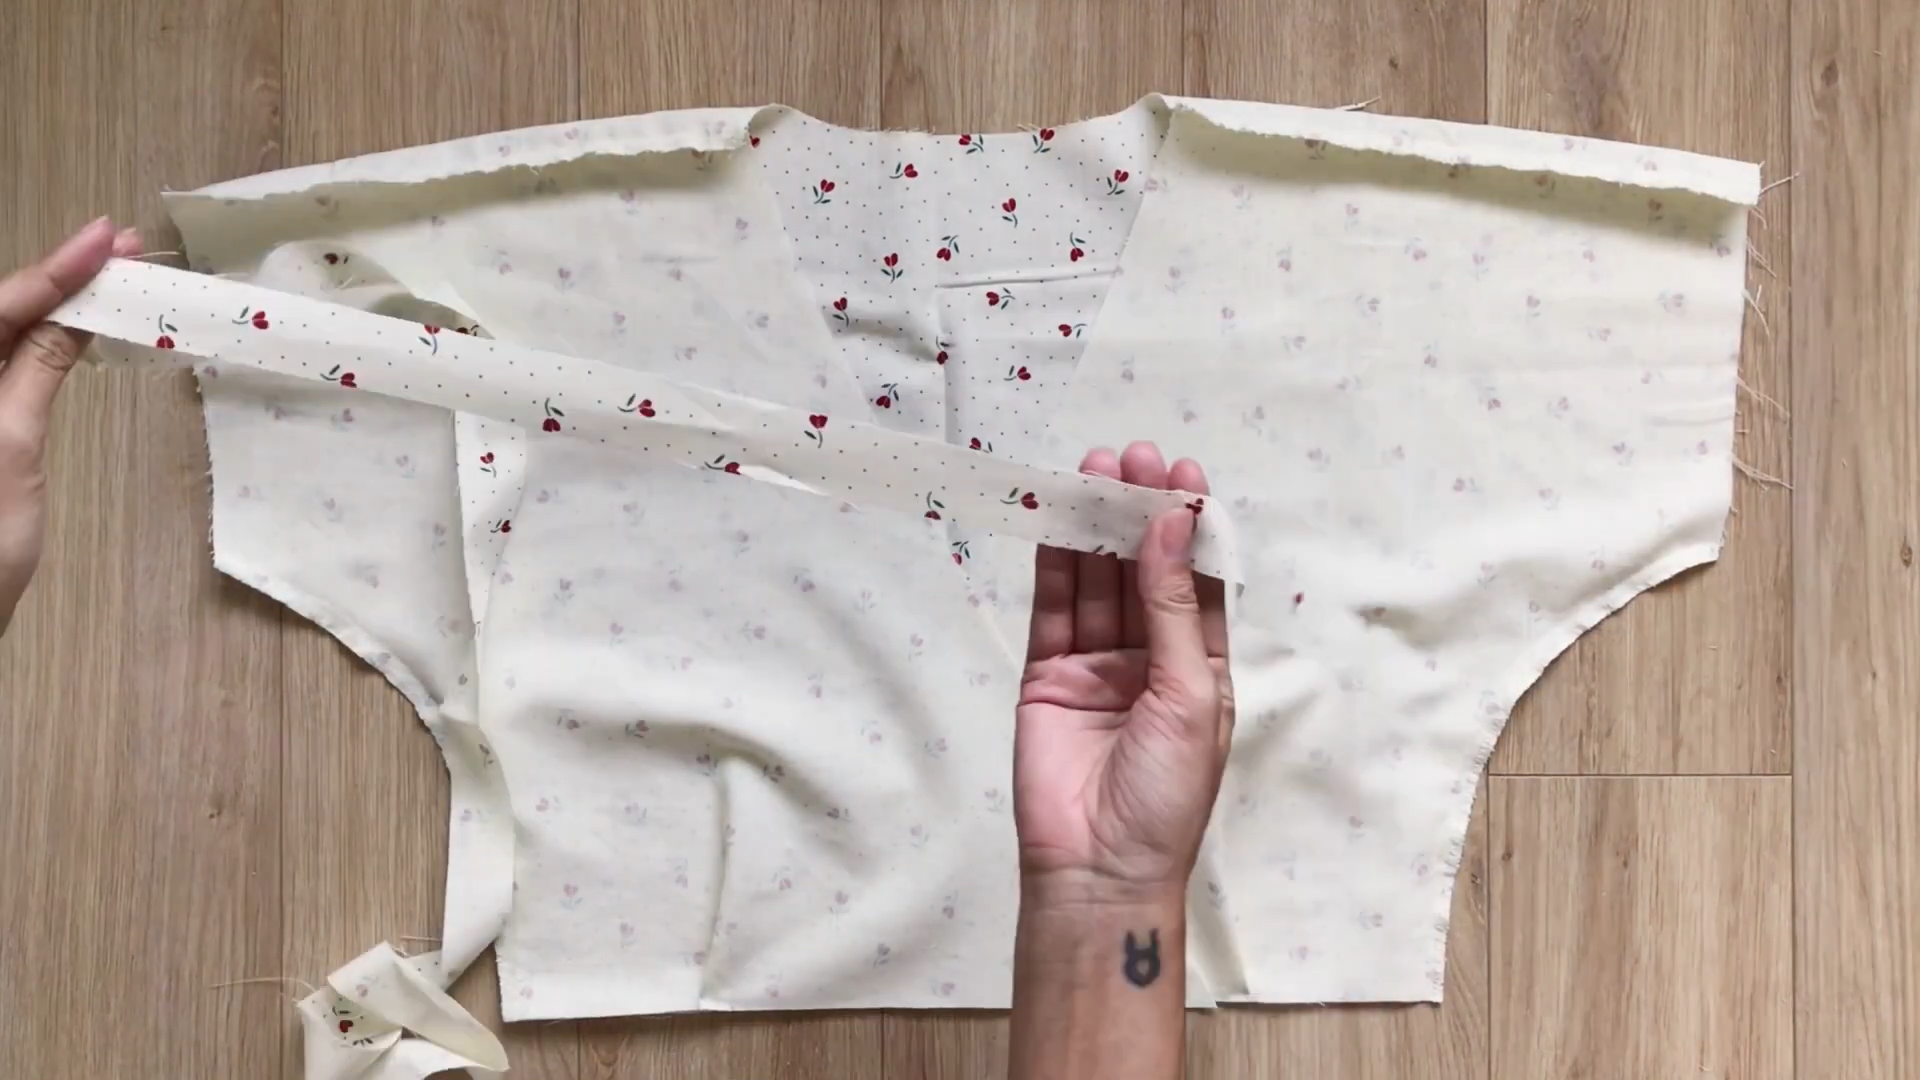
To hem the neck of the dress, cut along the rectangle with 3 cm width.
Connect the long fabric to the neck and make the first seam.
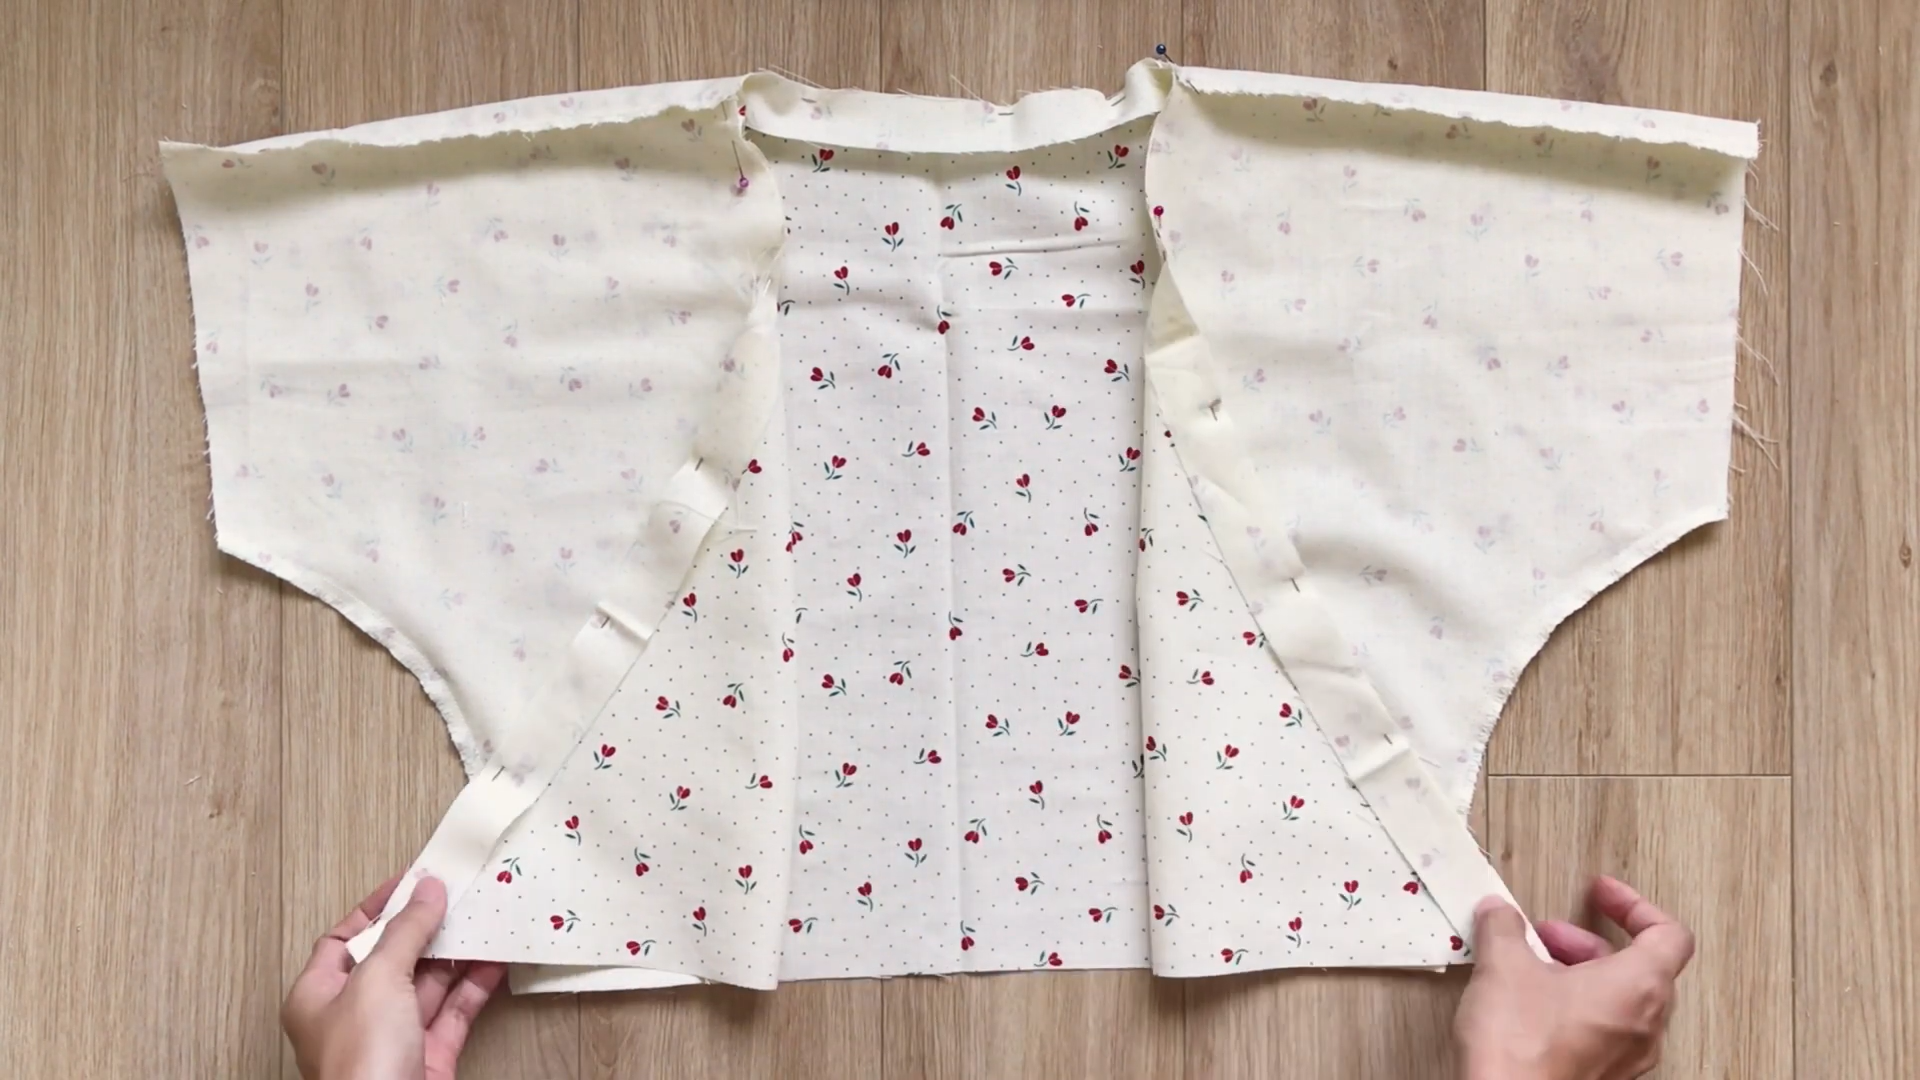
After sewing, make another understitching seam to keep the end fabric to one side.
Fold the end of the long fabric two times inside. Then, sew to finish the hem for the neck.
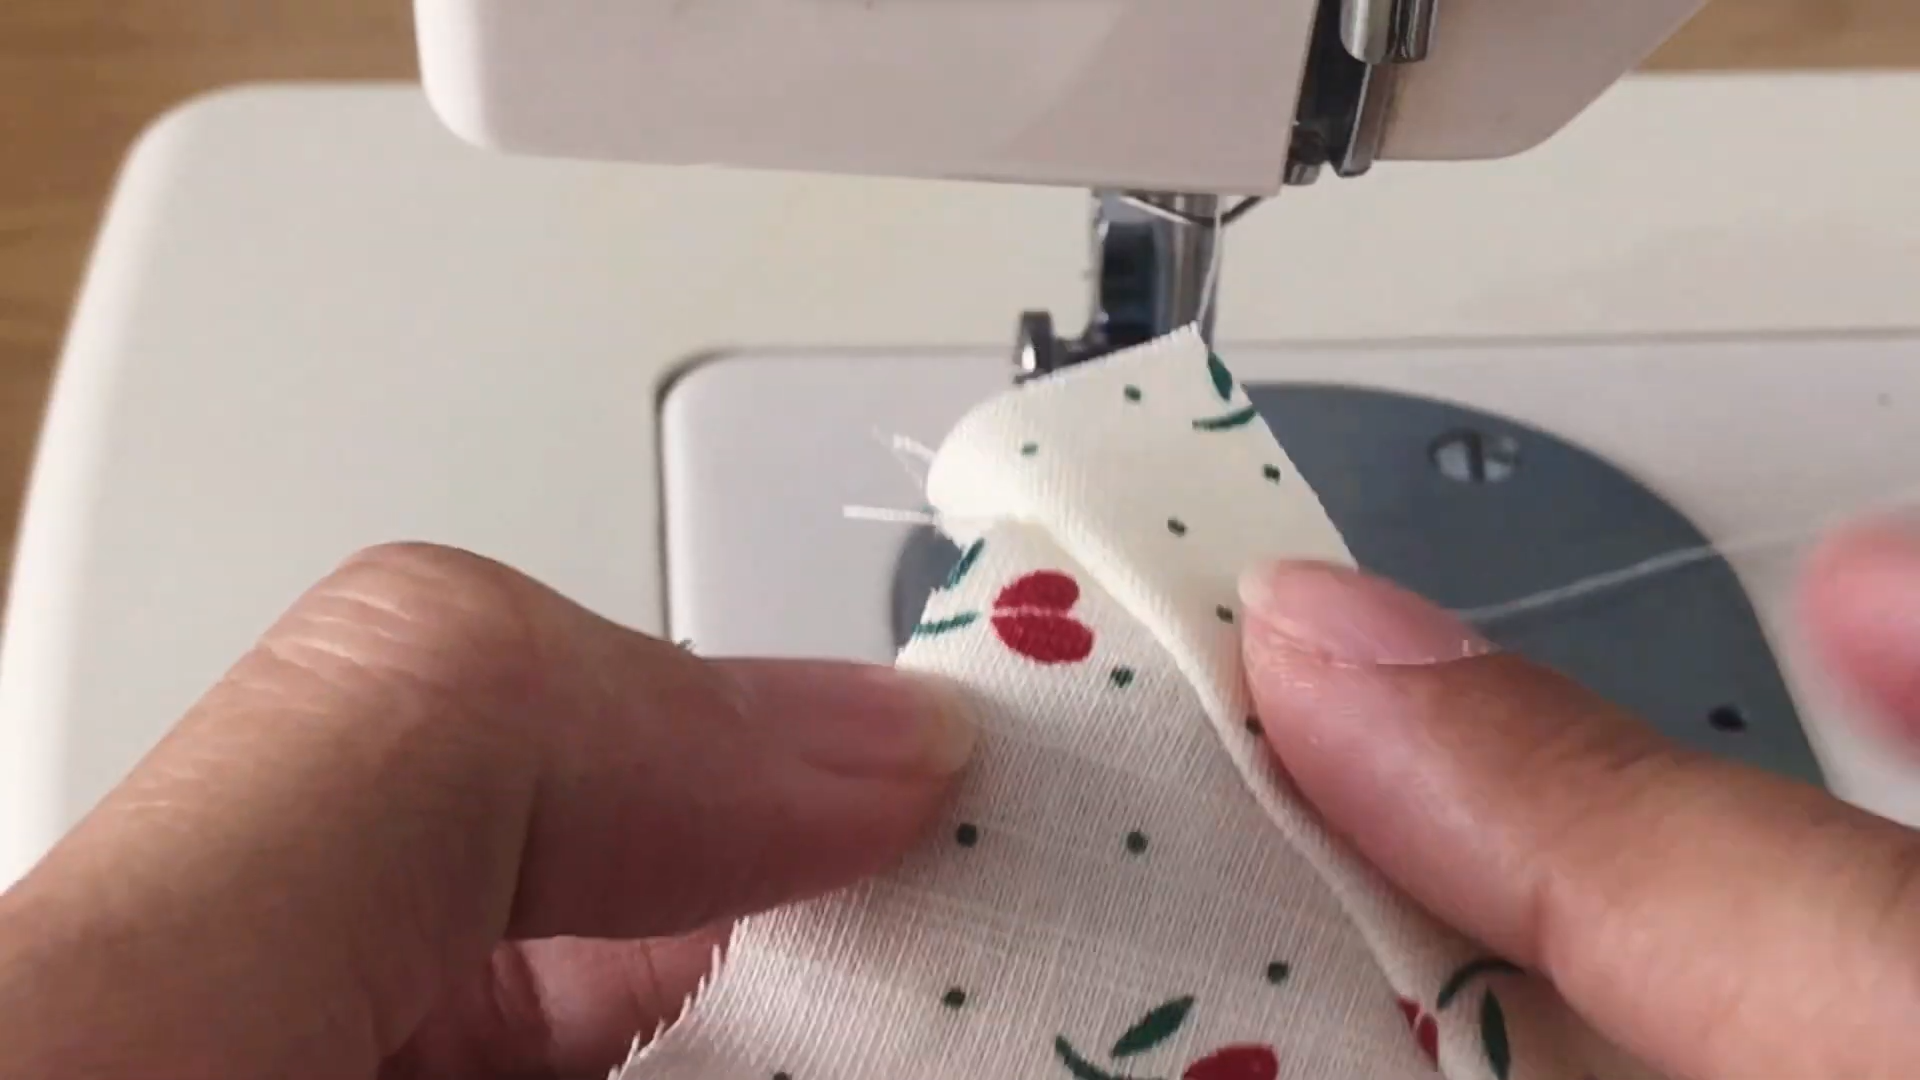
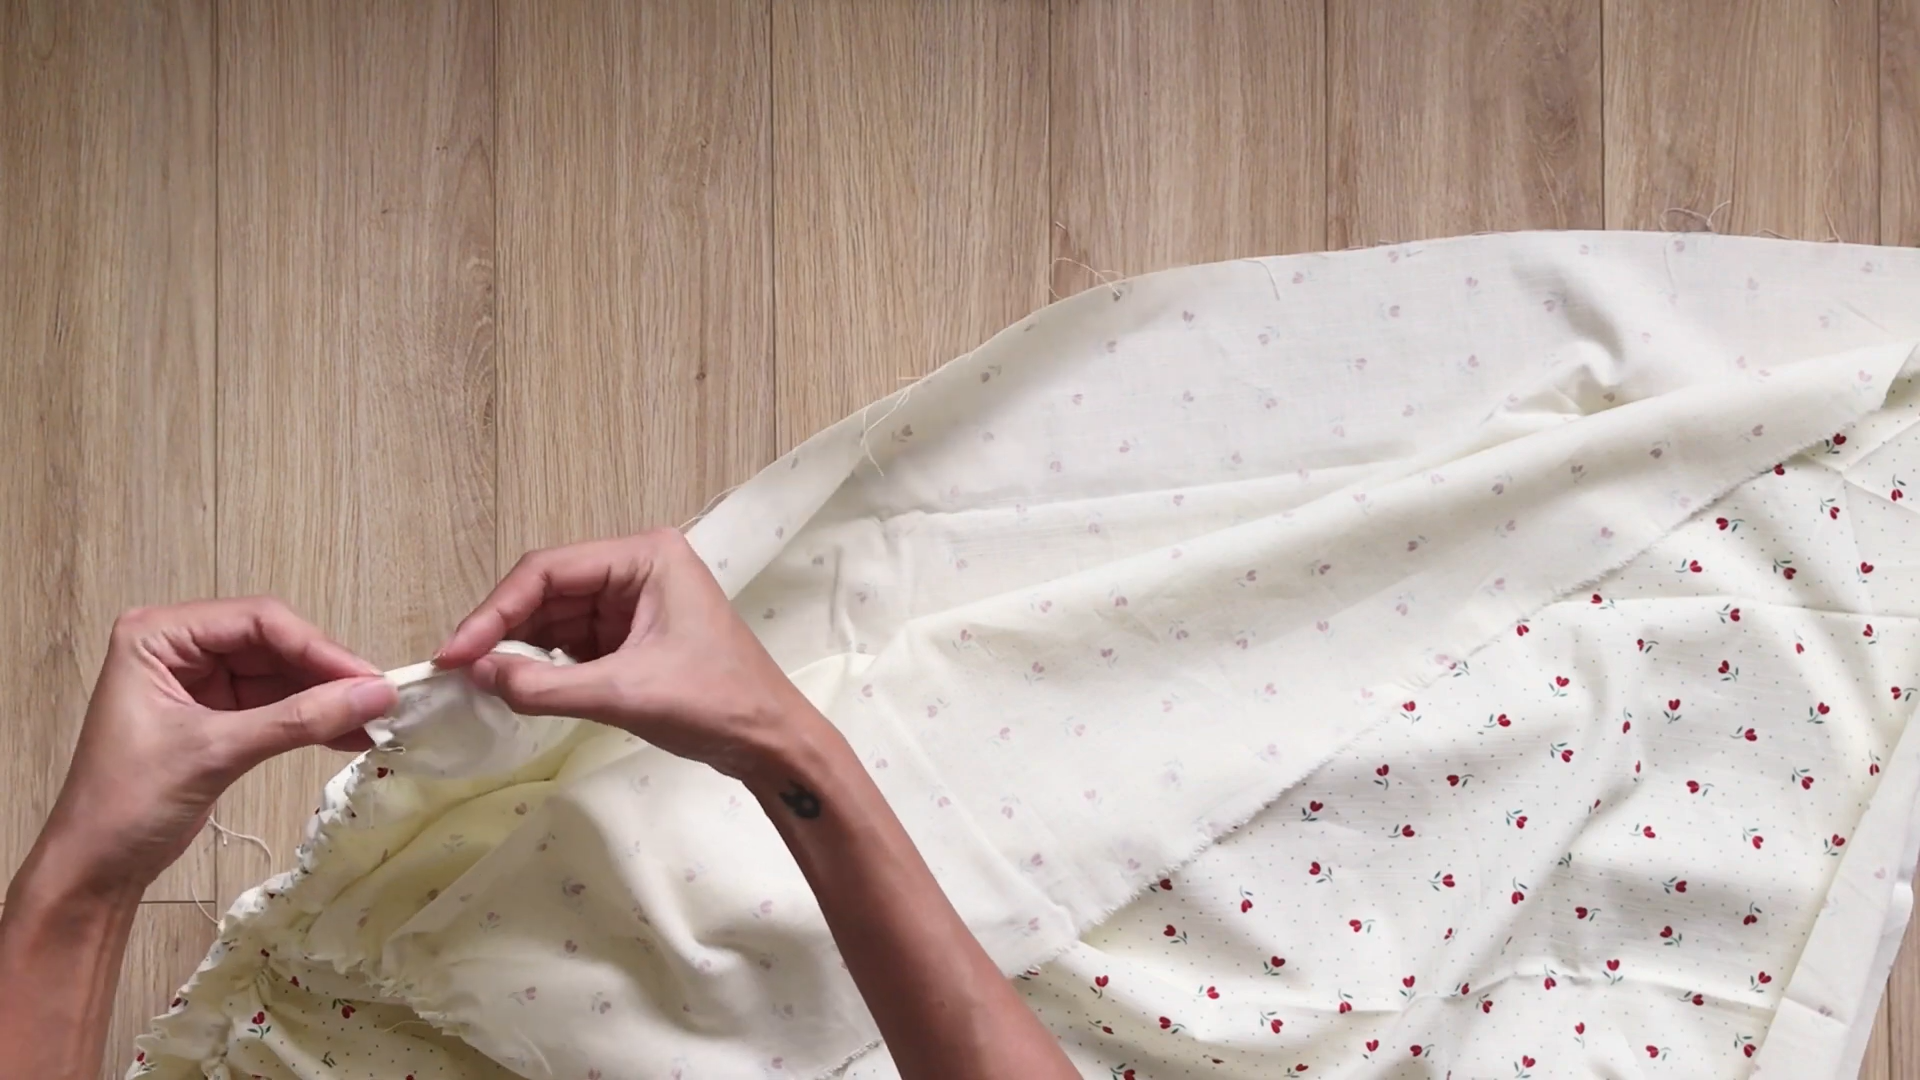
THE SLEEVE
To make the folding look for the sleeve, cut two rectangles with 8 cm width and 36 cm length which is the width of the end sleeve.
Then, sew two width lines together to create a circle fabric.
After sewing, fold two ends of the line together. However, keep them around 1 cm away from each other.

Then, connect the short length to the end of the sleeve and sew.
After that seam, fold the longer length inside to hide the end fabric and make the second seam.
By doing this way, both sides of the sleeve will look nice.
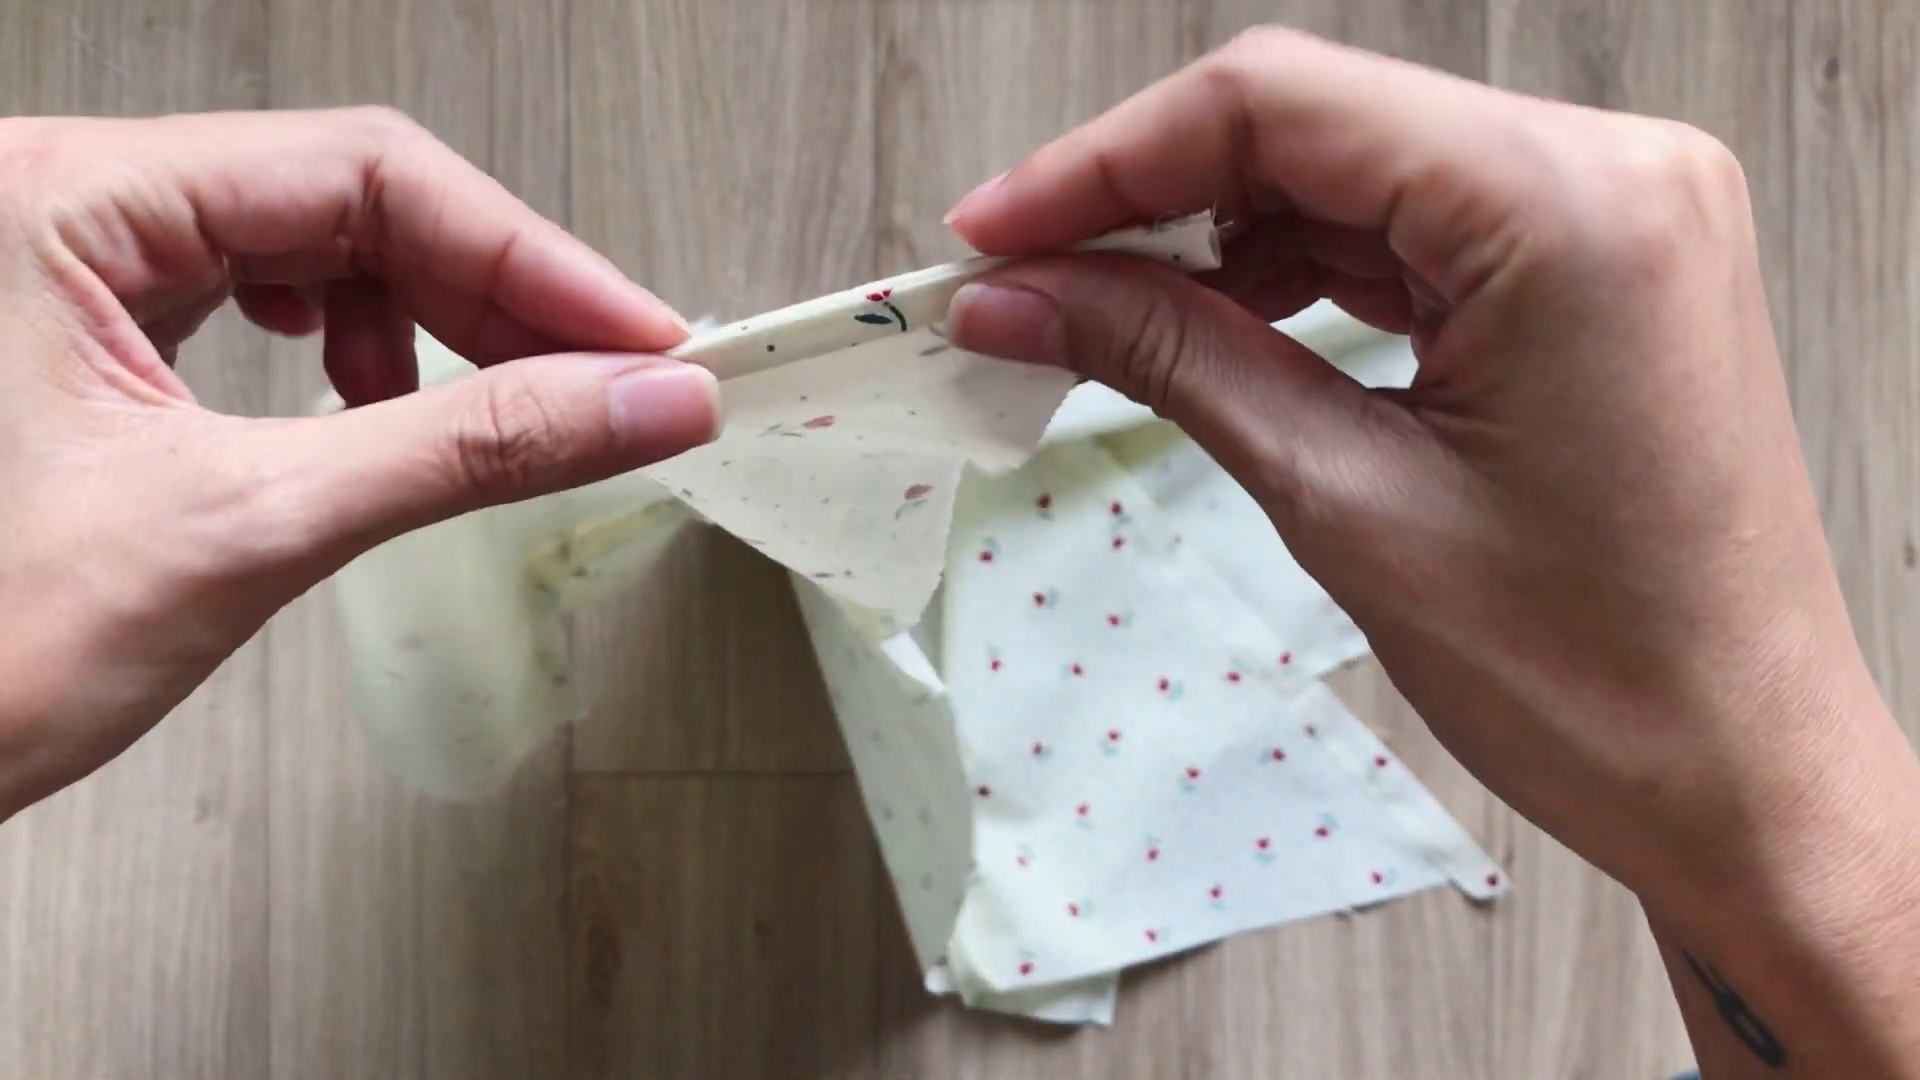
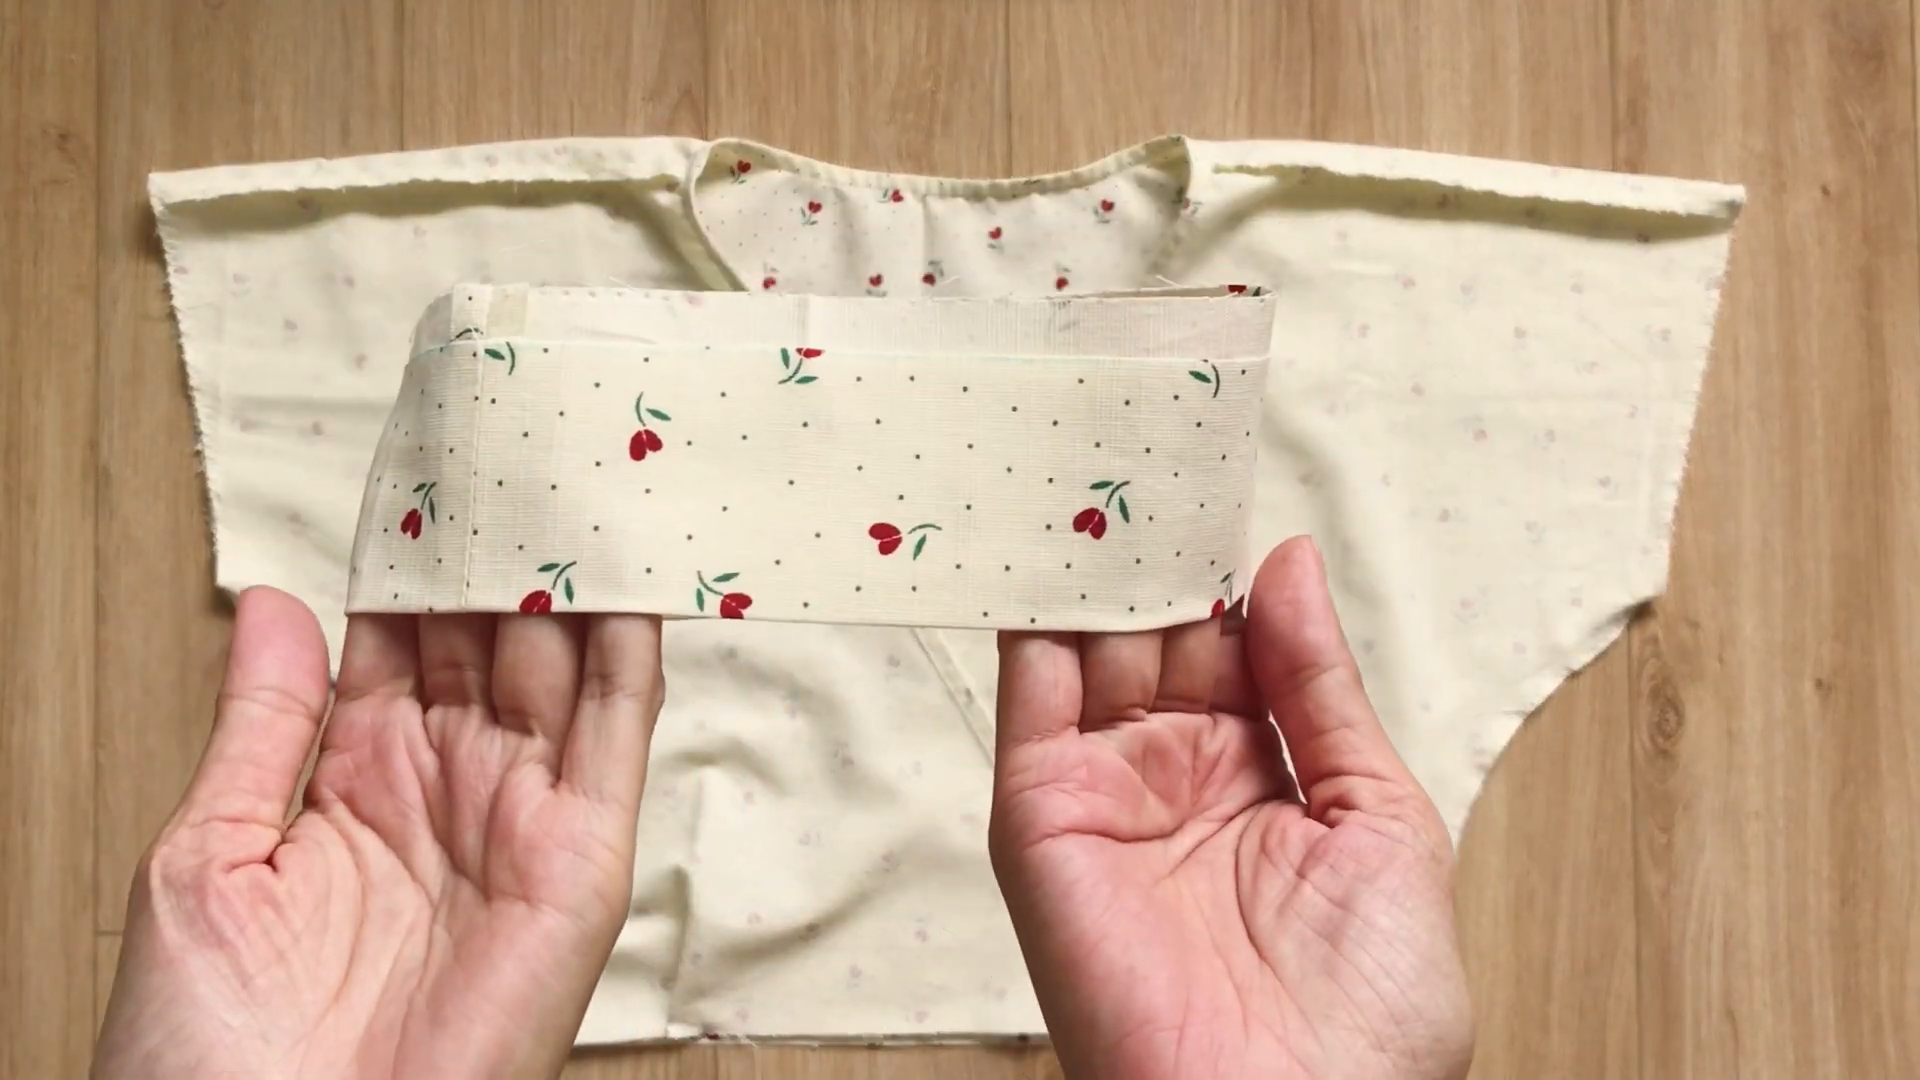
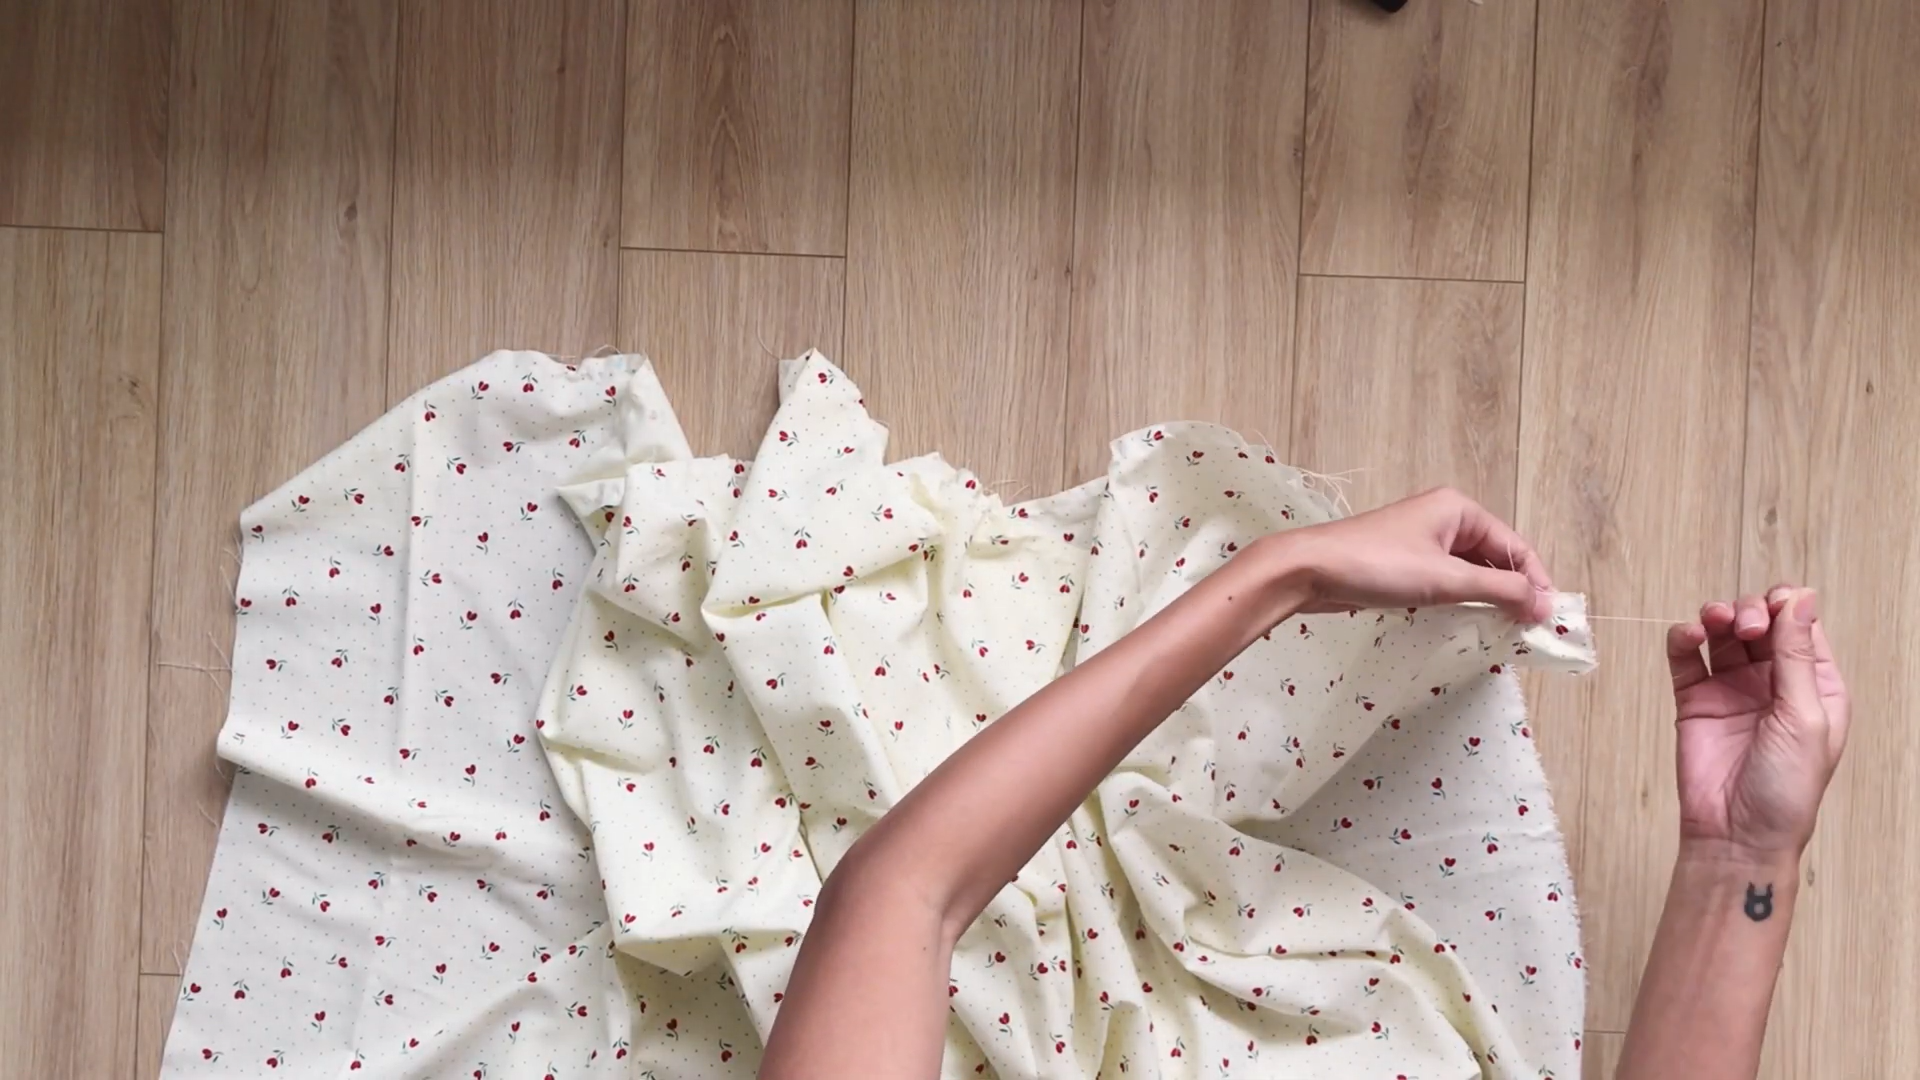
THE WAISTBAND AND TIE
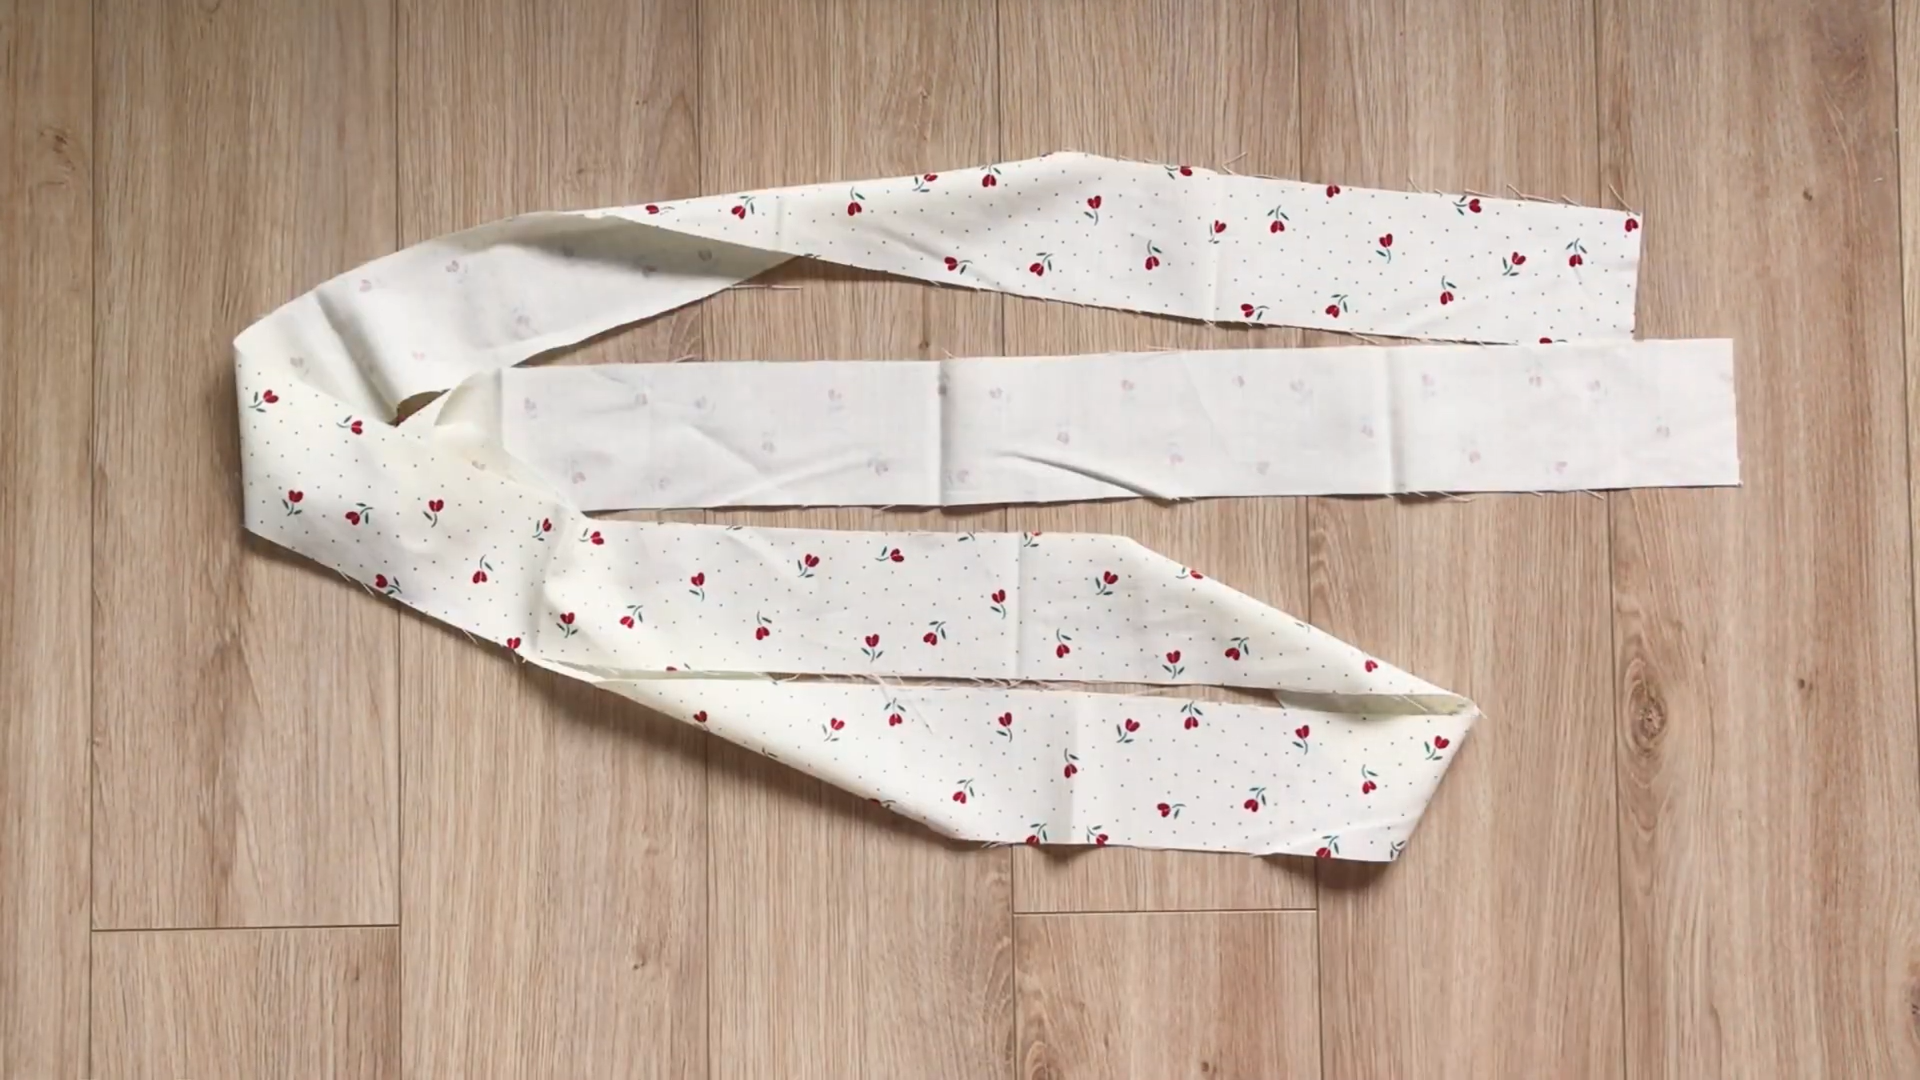
To make the waistband and the ties for the dress, cut four pieces of long rectangle with 5 cm width.
Connect 2 pieces together with the top bodice at the middle. Then, sew.
Make an understitching seam after the first one to keep the end fabric to one side.
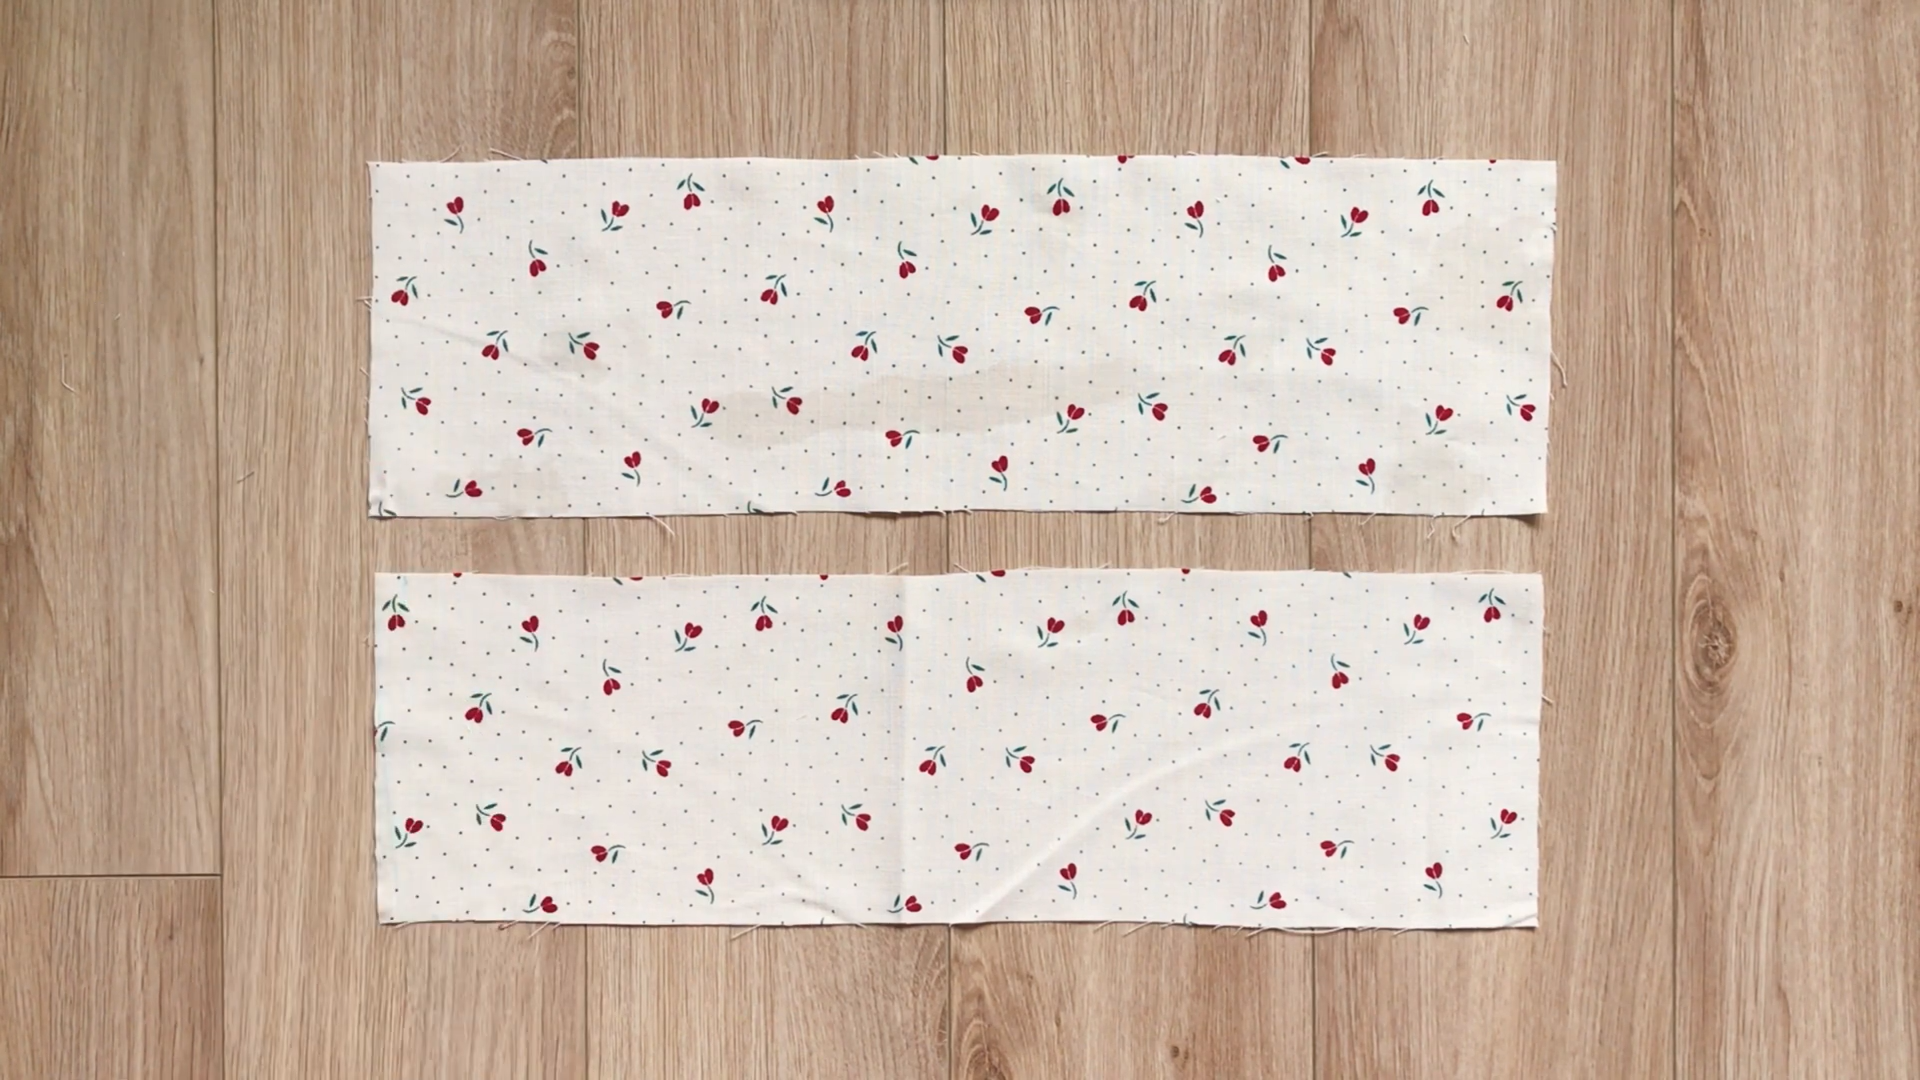
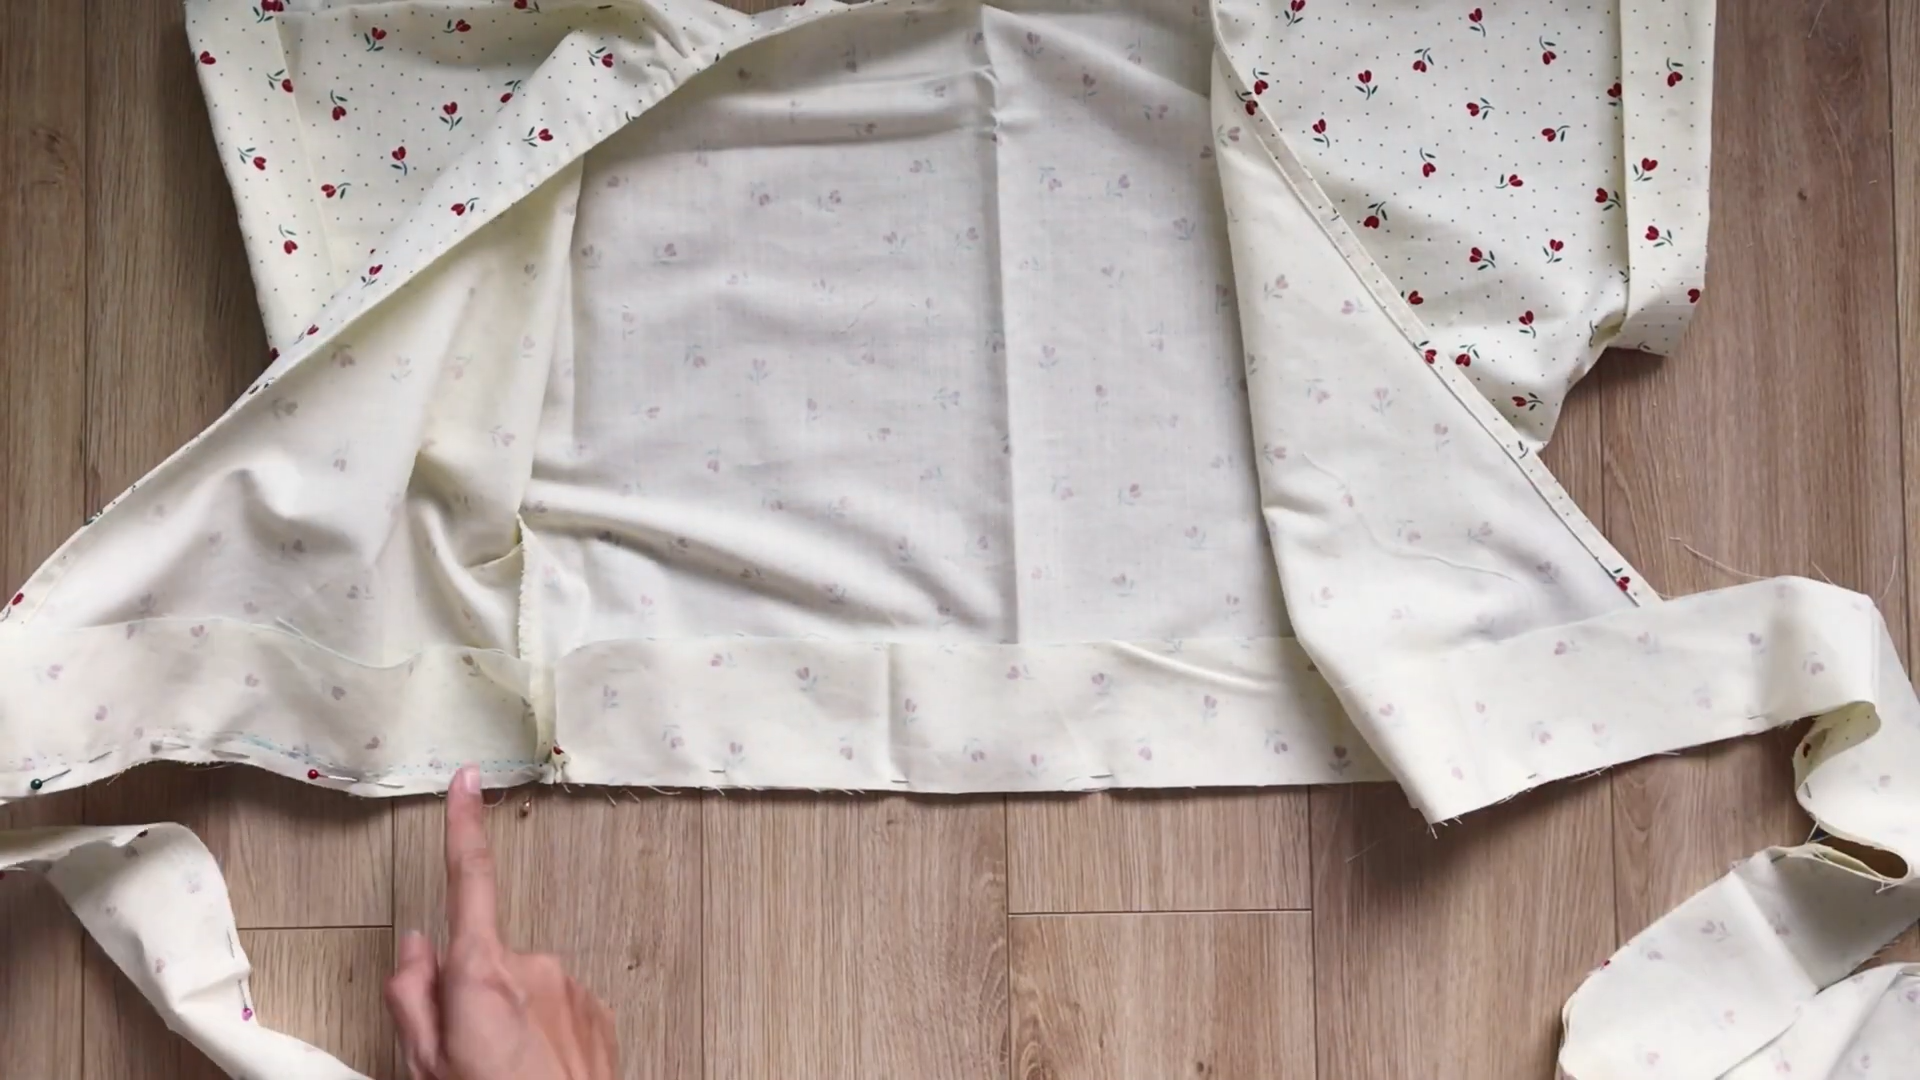
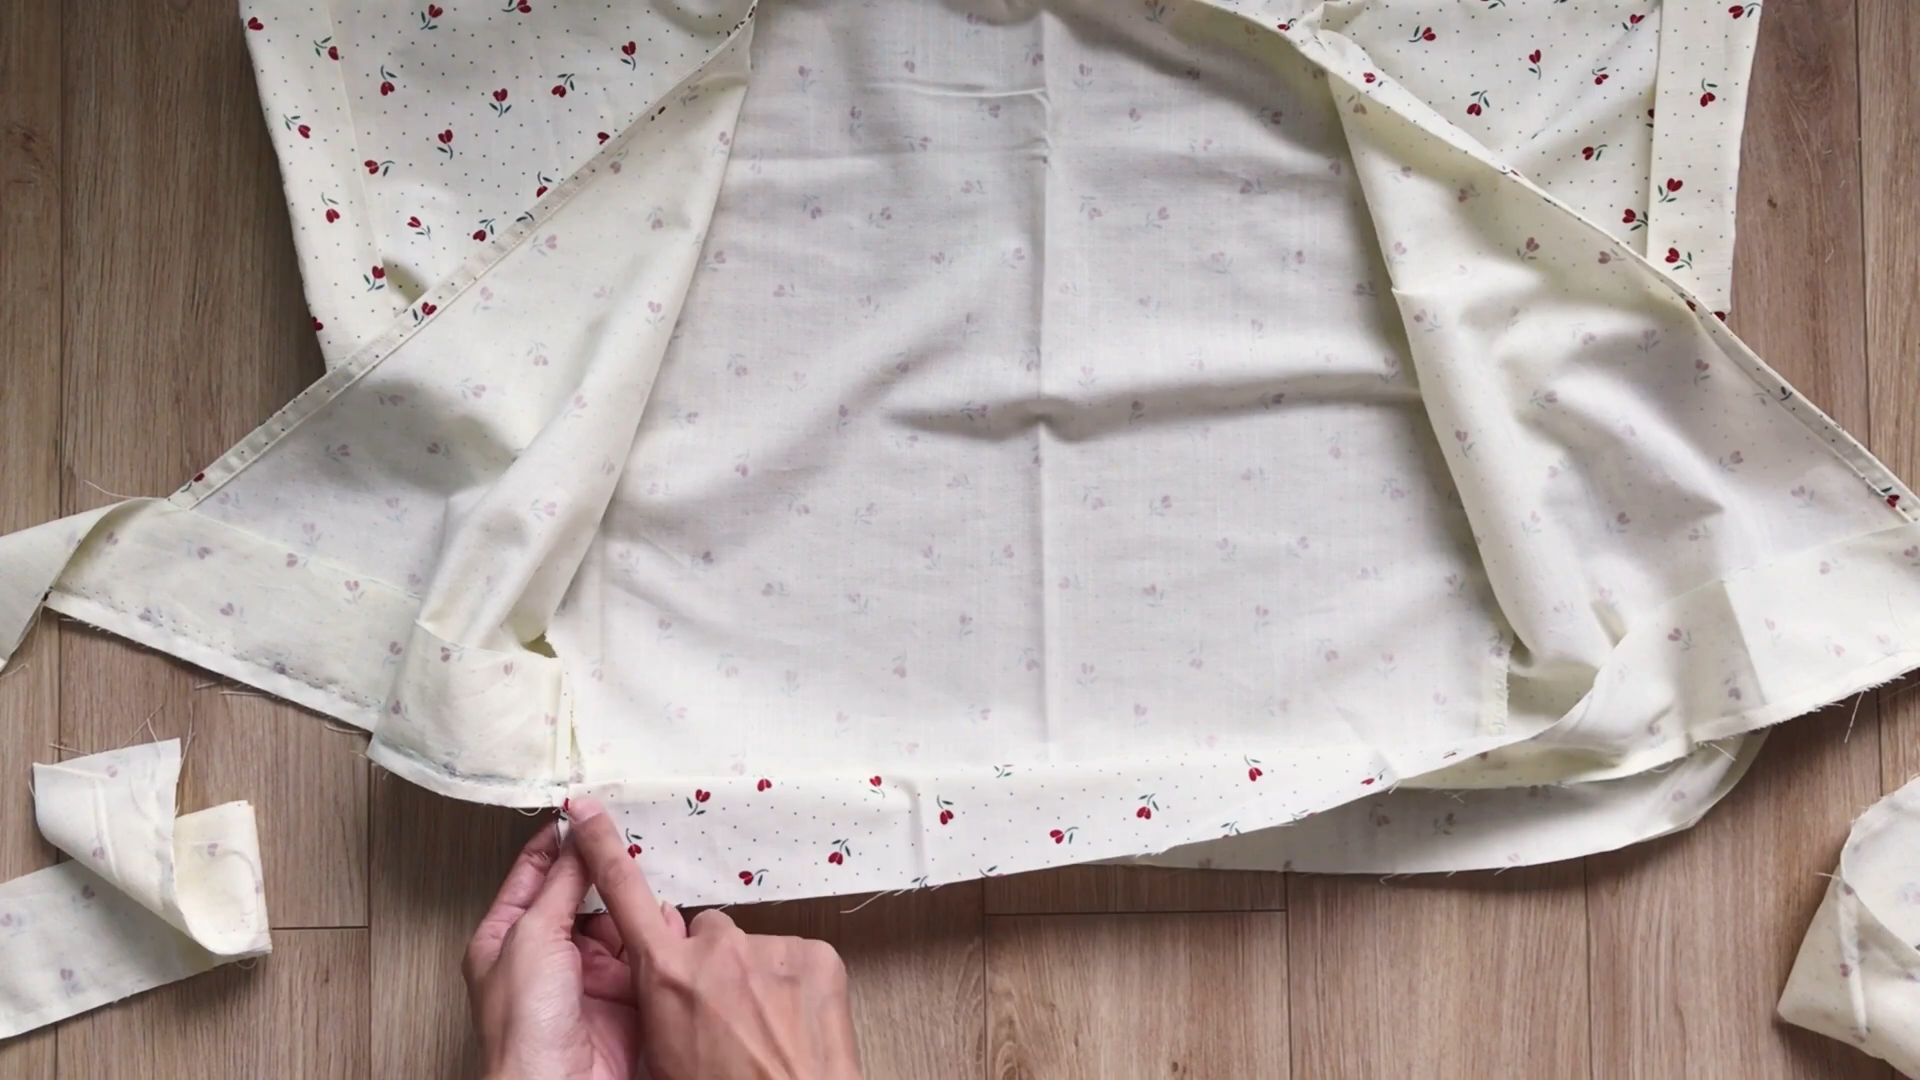
THE BOTTOM
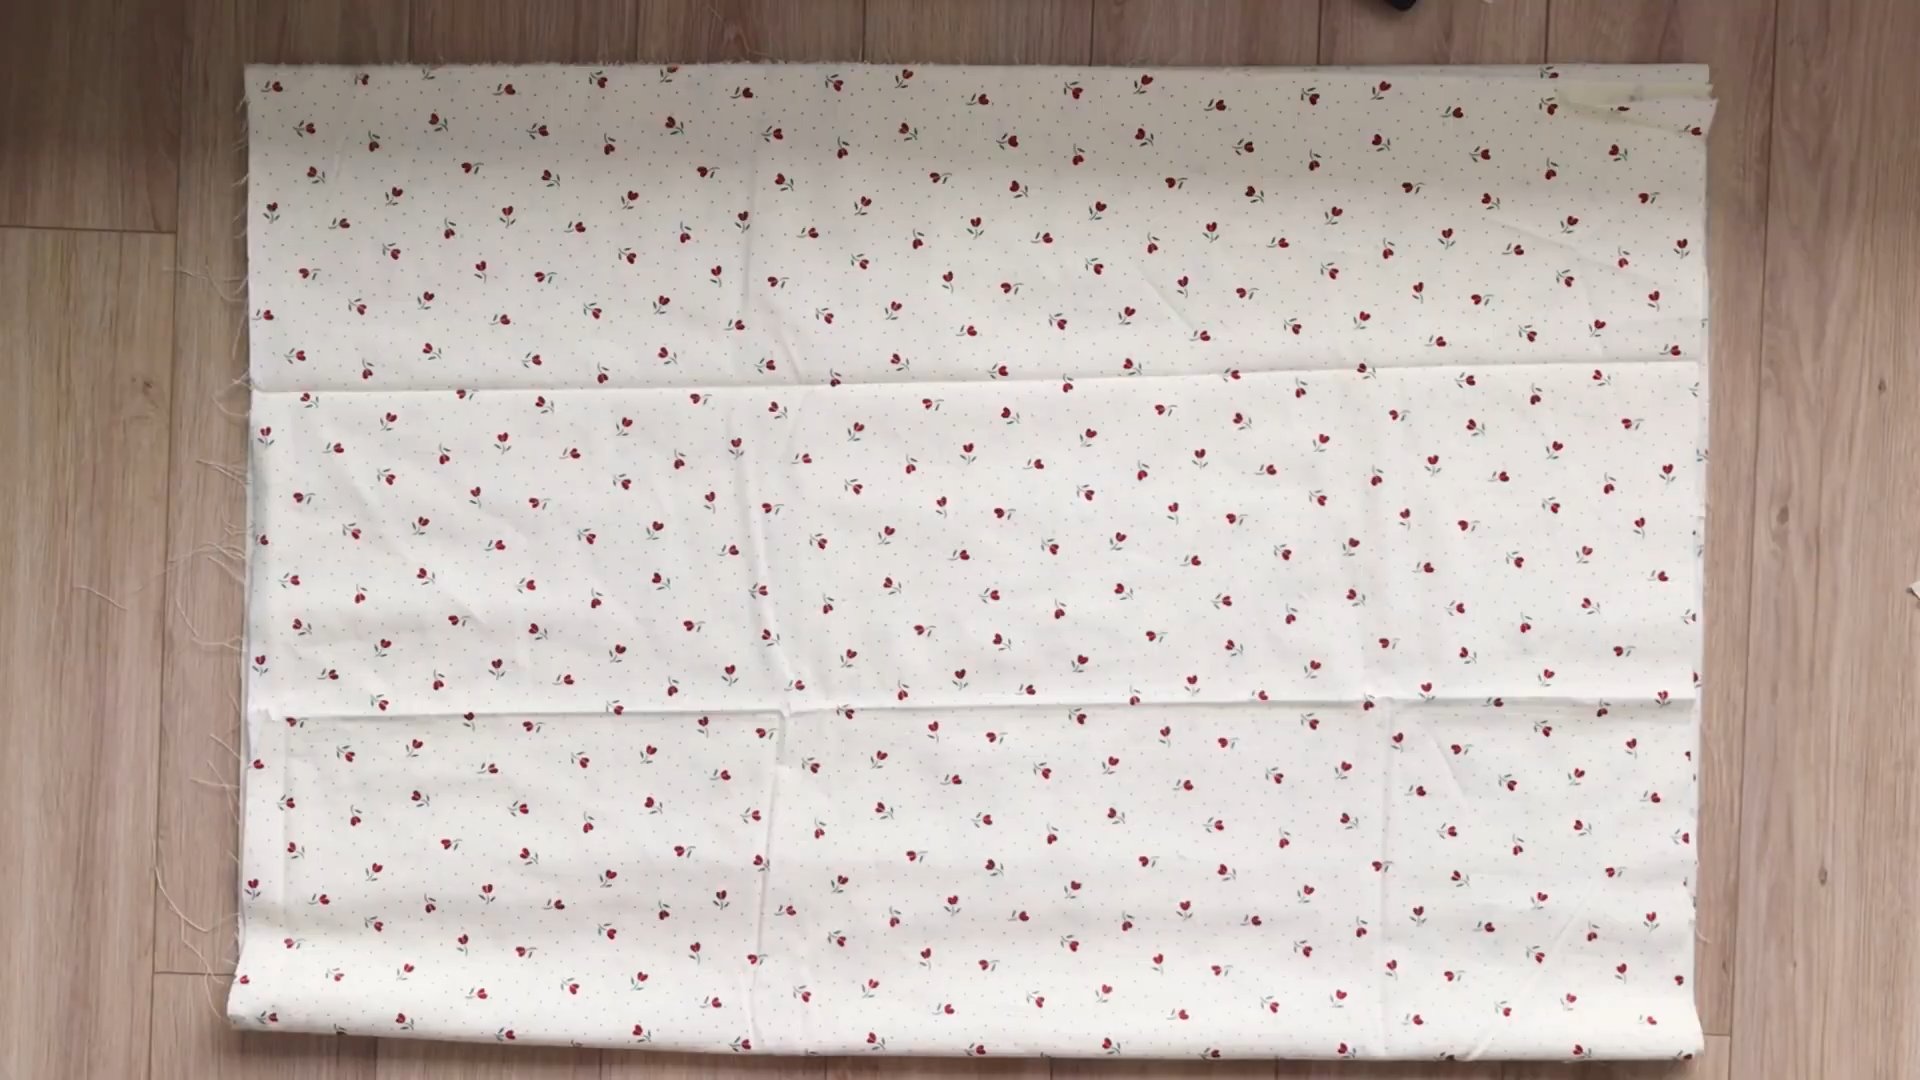
Cut a long and big rectangle according to the pattern instructions above.
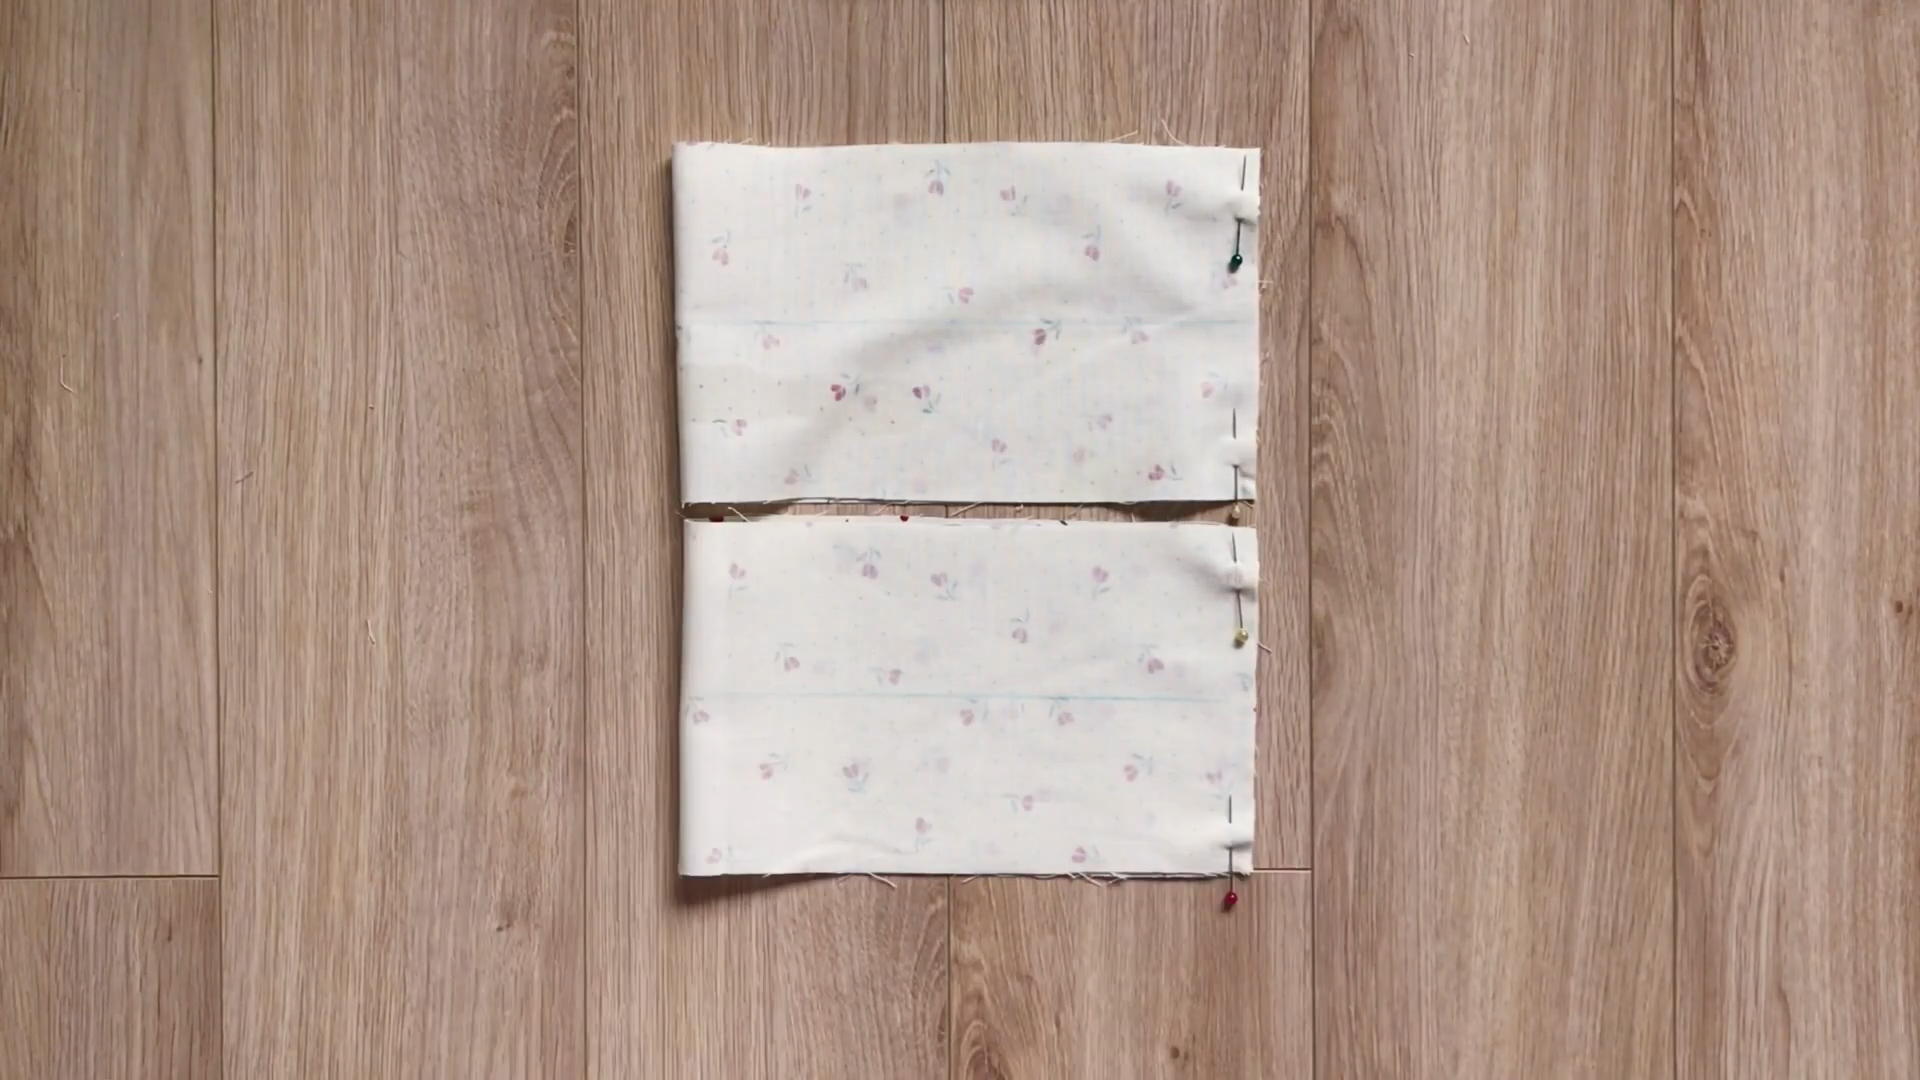
At the width line, make a loose seam by using the maximum thread strands with your straight stitching.
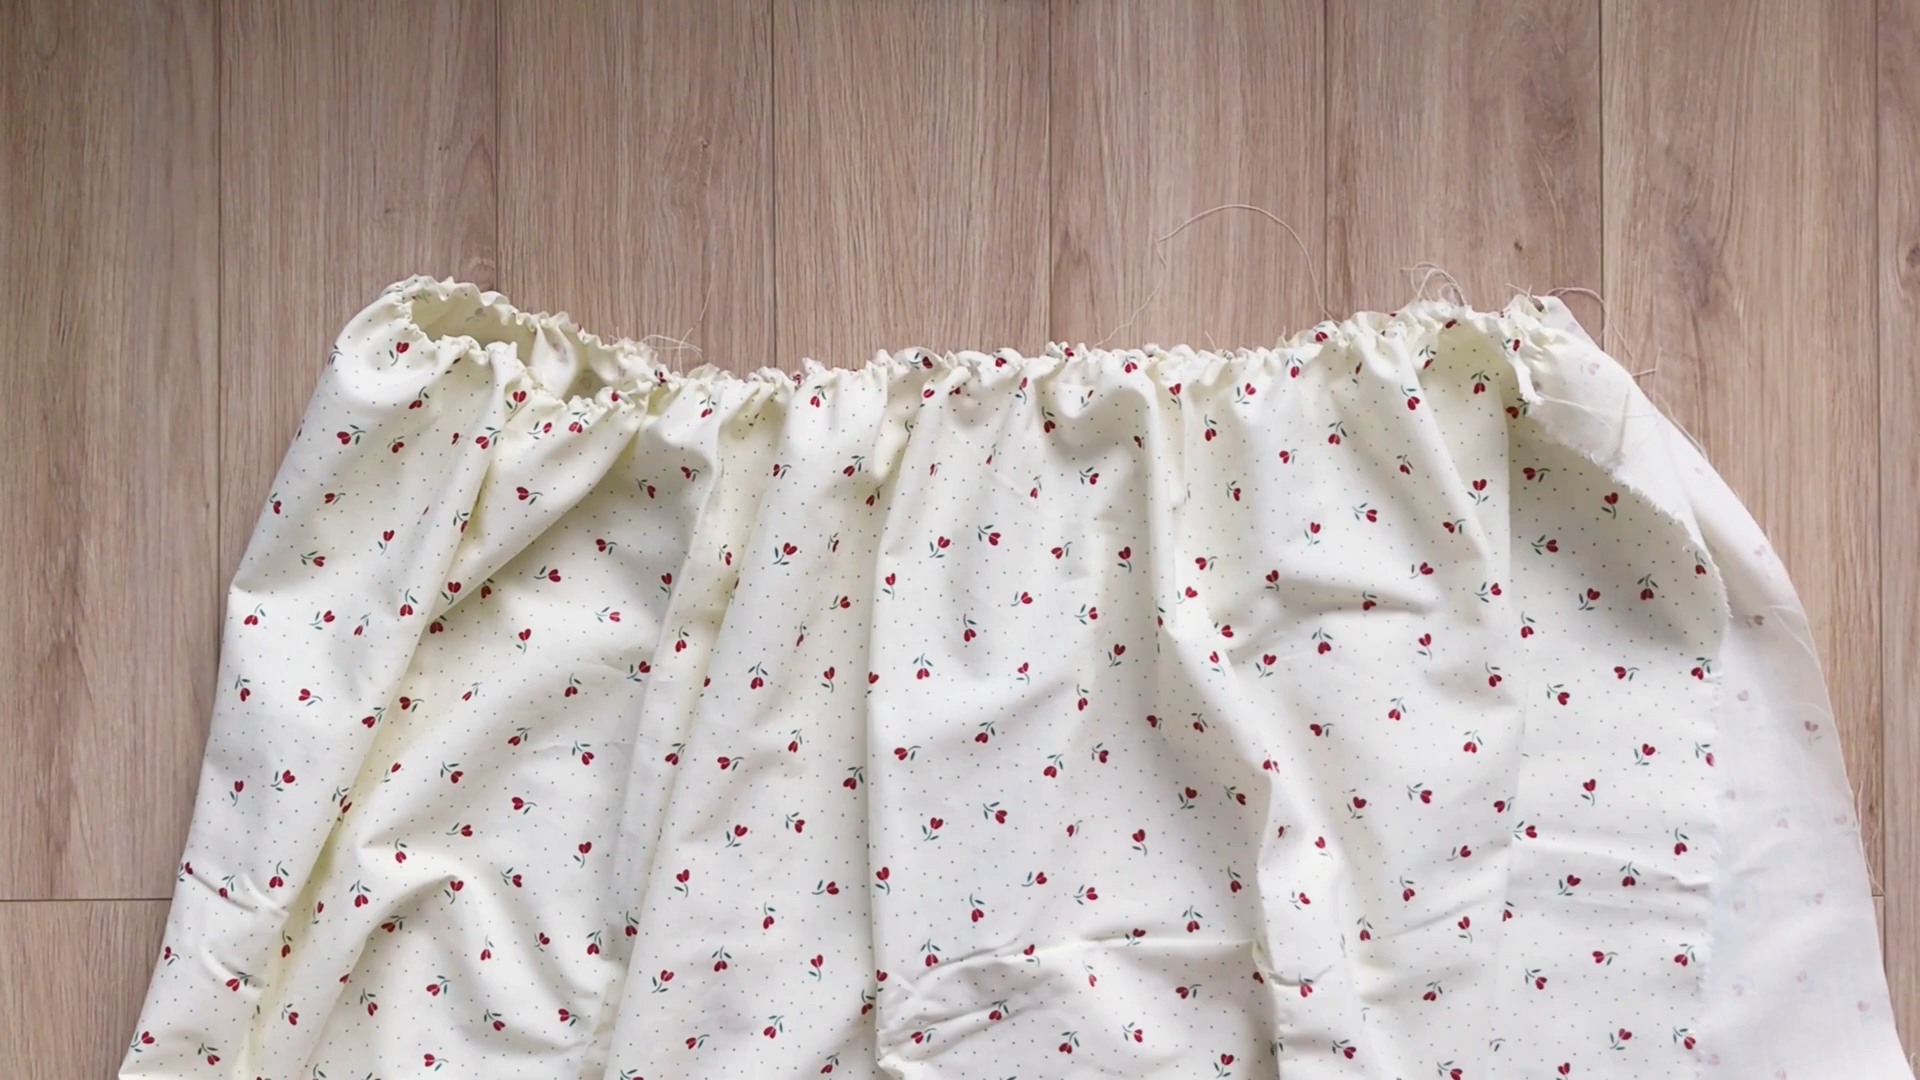
Make sure the length of the puffiness is the same with the end of the top bodice.
After that, fold the end fabric of the rest rectangles to finish the bottom part of the dress.
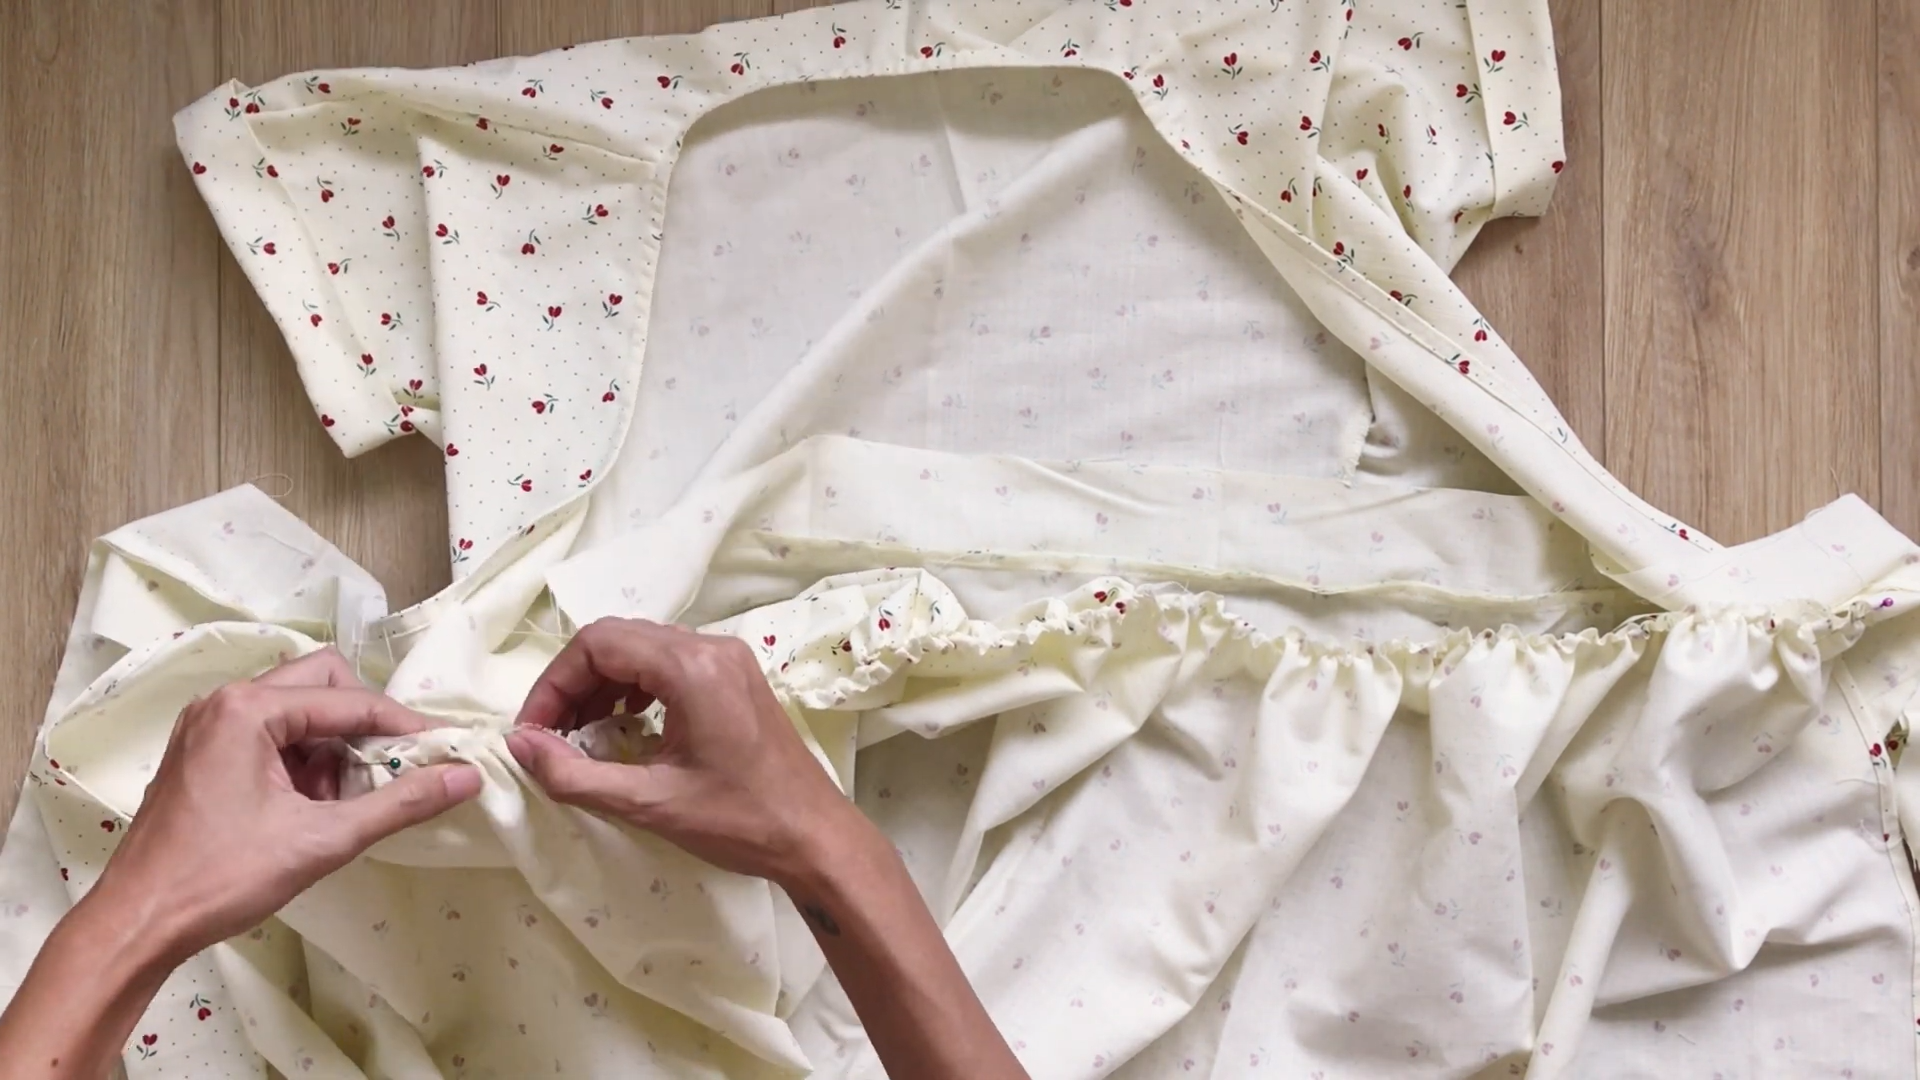
Connect the top and the bottom of the dress together at the waist. Connect the bottom part to the outside waist first.
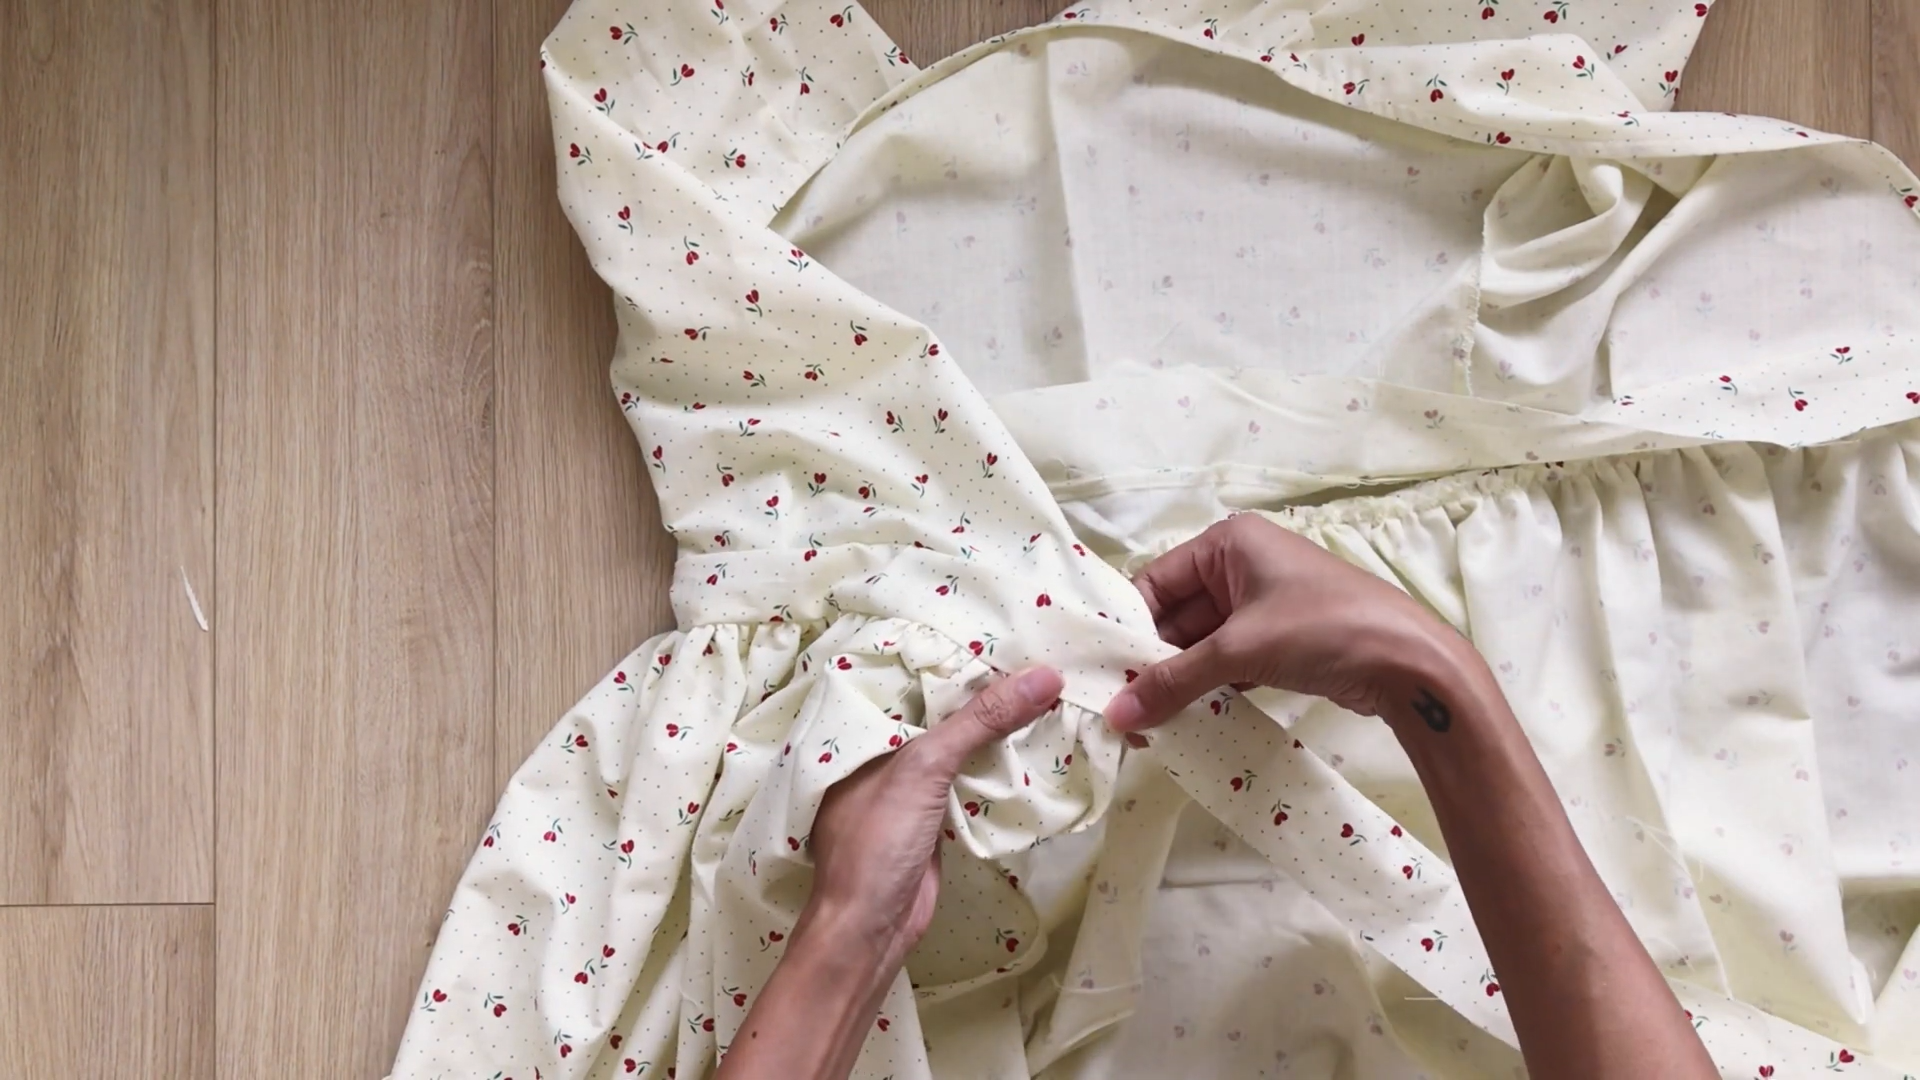
Then, fold the inside waist to hide the end fabric inside and make the next seam to finish the waist and also the ties of the dress.
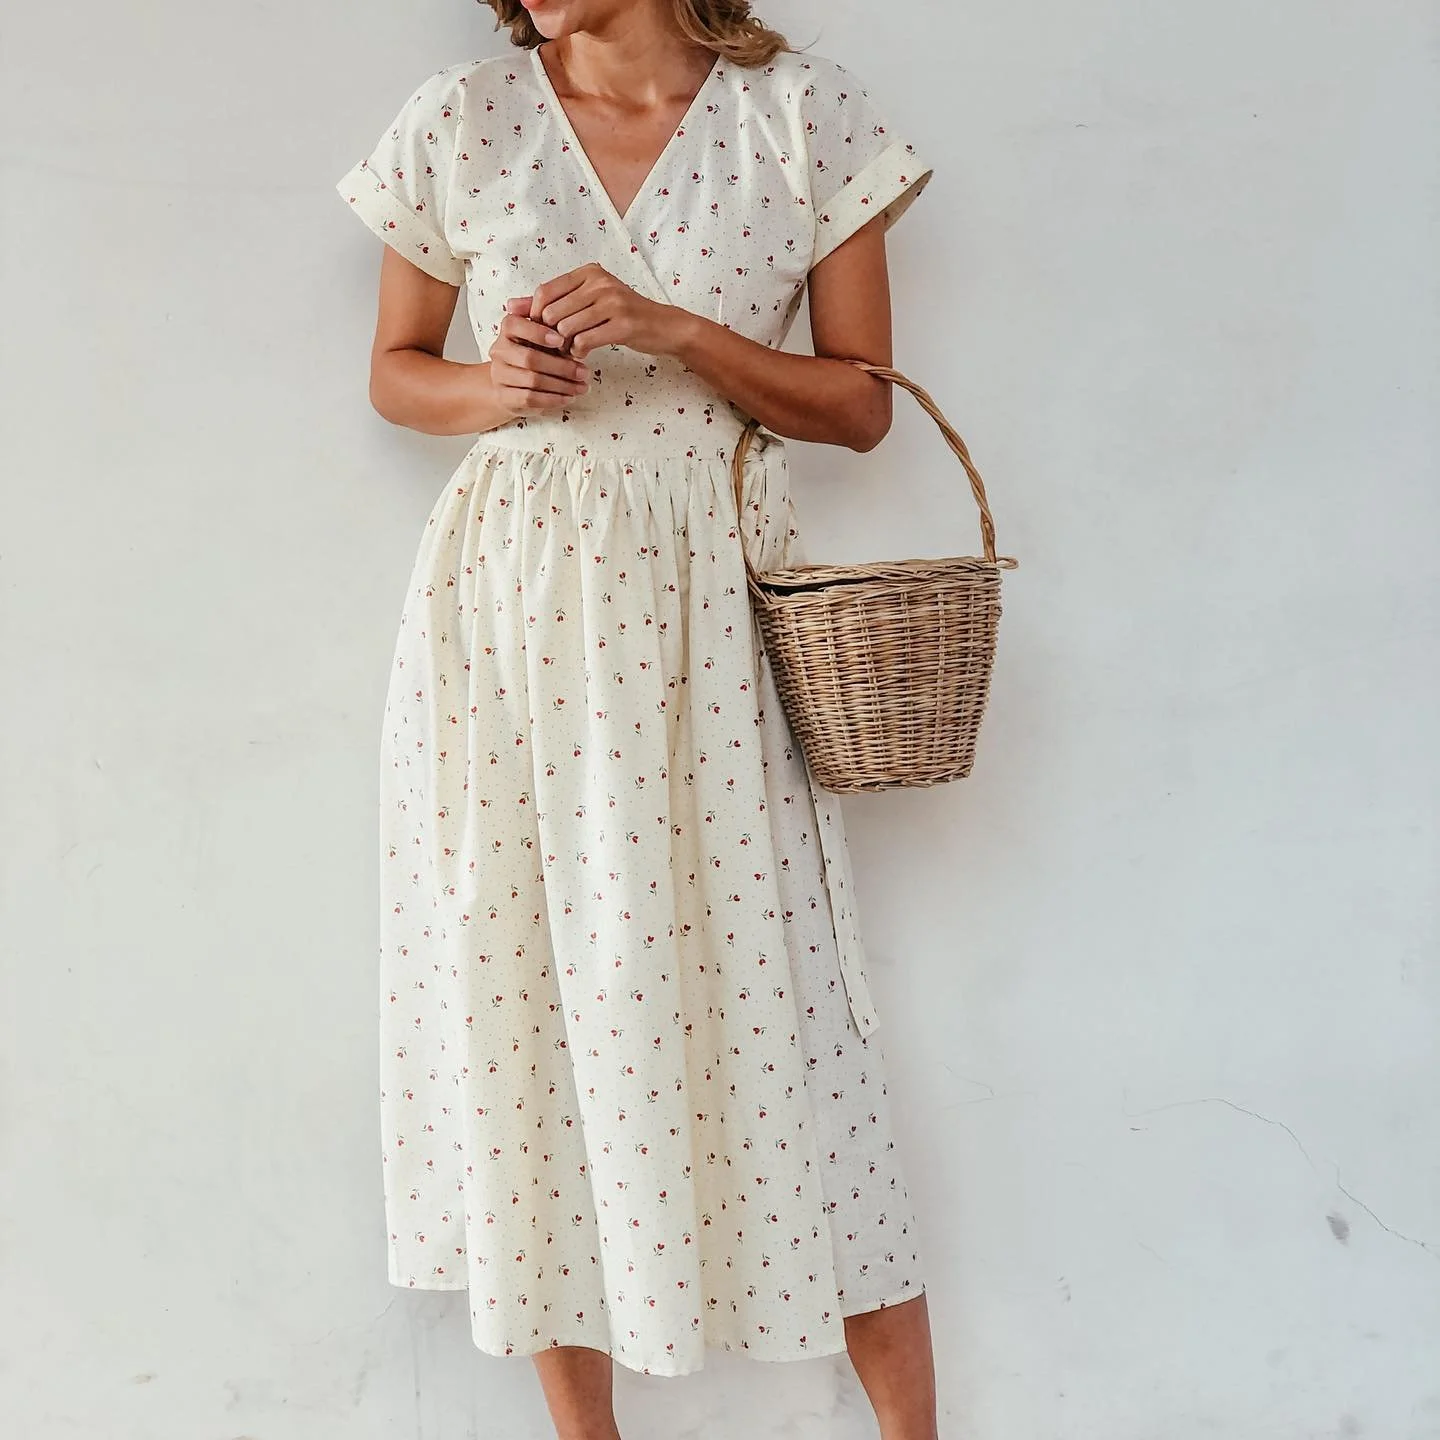
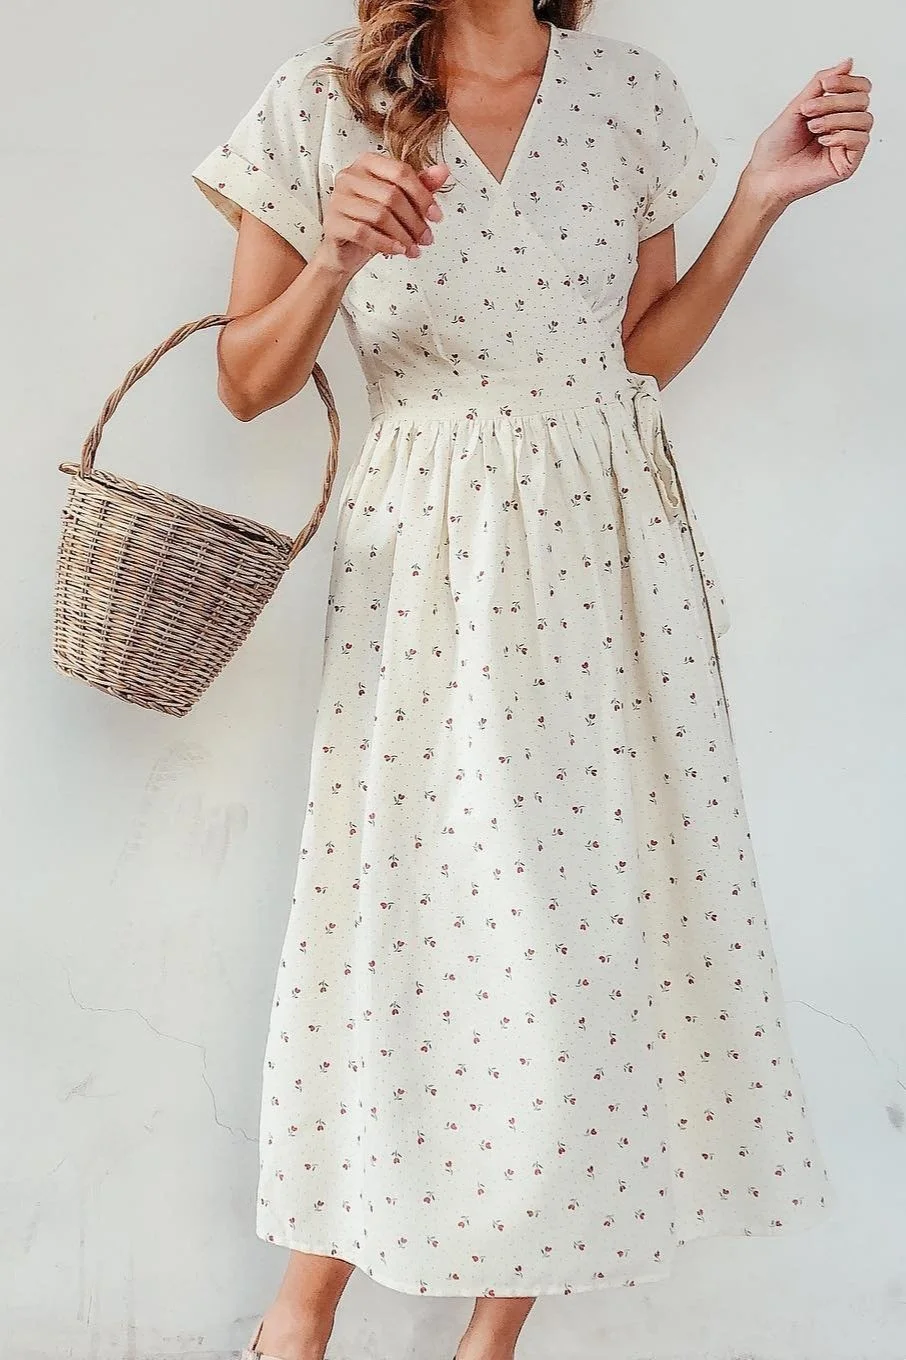
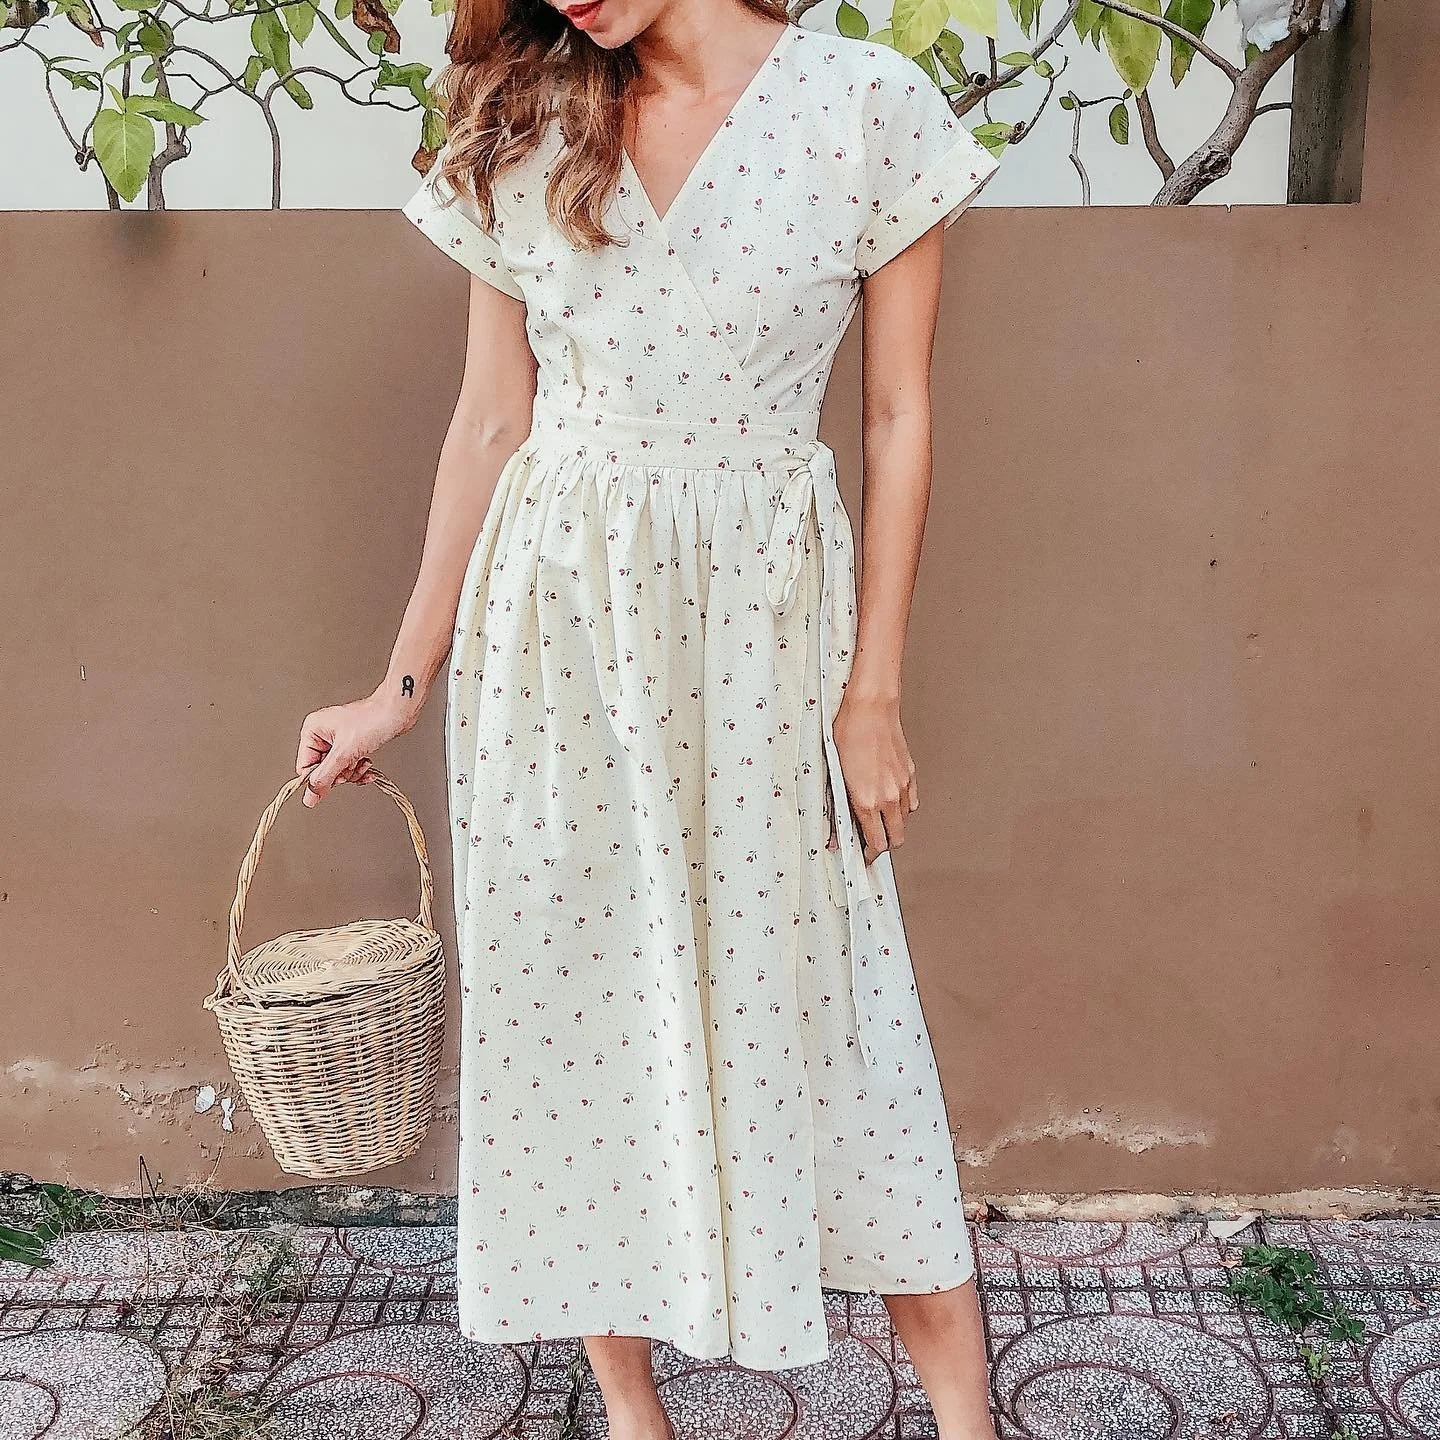
DIY Vintage Wrap Dress
And that’s a wrap!
Here’s the final result of our DIY project - a vintage wrap dress. This dress is not only a nod to timeless fashion but also a comfortable choice for your everyday outfit.

I hope you’re inspired to create one for yourself. Happy sewing!
Please let me know your thoughts in the comments below. I would love to know more from you guys to improve my skills.