DIY Slip dress with side slit - Beginner friendly sewing tutorial
DIY Slip dress with side slit - Beginner friendly sewing tutorial
Welcome or welcome back to my channel. My name is Jess and I love doing DIY, making clothes in a "simply but pretty" way.
In today's tutorial, I'm going to share with you how I made slip dress with side slit. It's a very comfortable dress that you can wear for any seasons with a little mix&match. I've tried to make it as easy as possible.
So I hope you like it and try it out. Let’s get started!
WHAT YOU’LL NEED
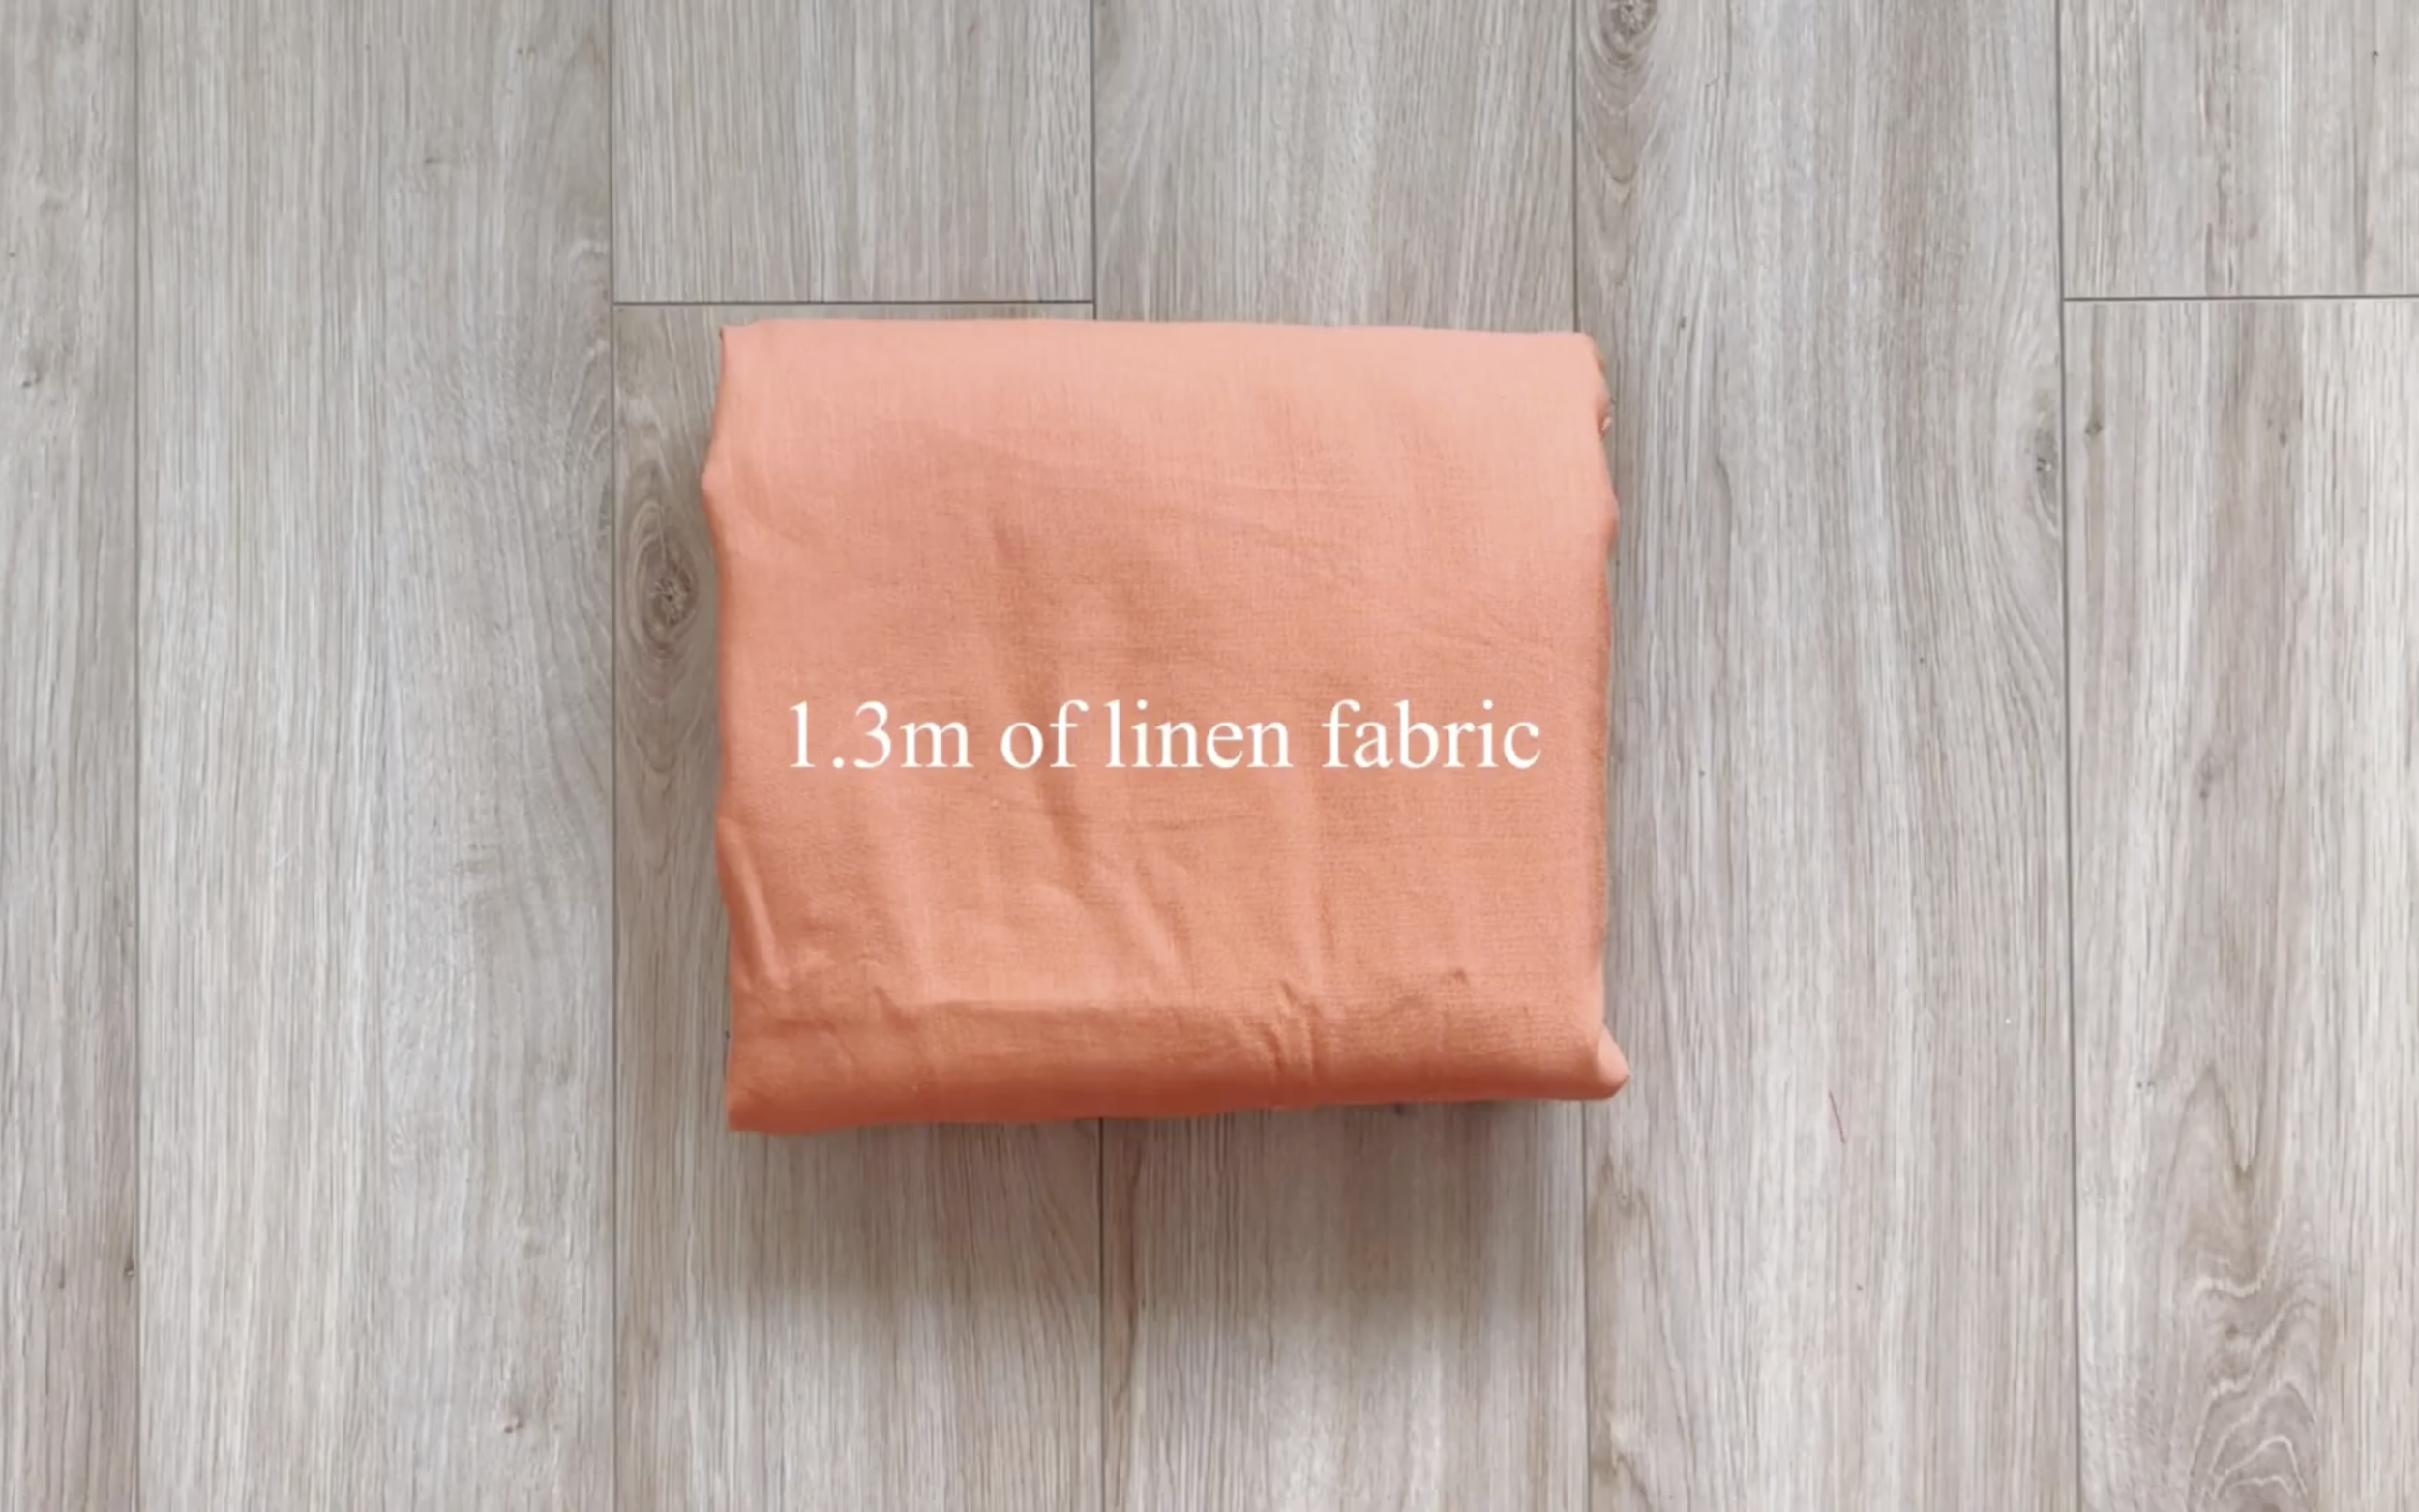
1.3m of linen fabric
Pattern paper
Sewing machine
Pins
Scissors
Ruler
Long stick
Zipper
Buttons
MAKING THE PATTERNS
Here’s the pattern for the project. To get a clear understanding of all the measurements needed for the pattern, watch the video from 0:40 to 4:25.
Remember, you can adjust these measurements to fit your own dimensions!

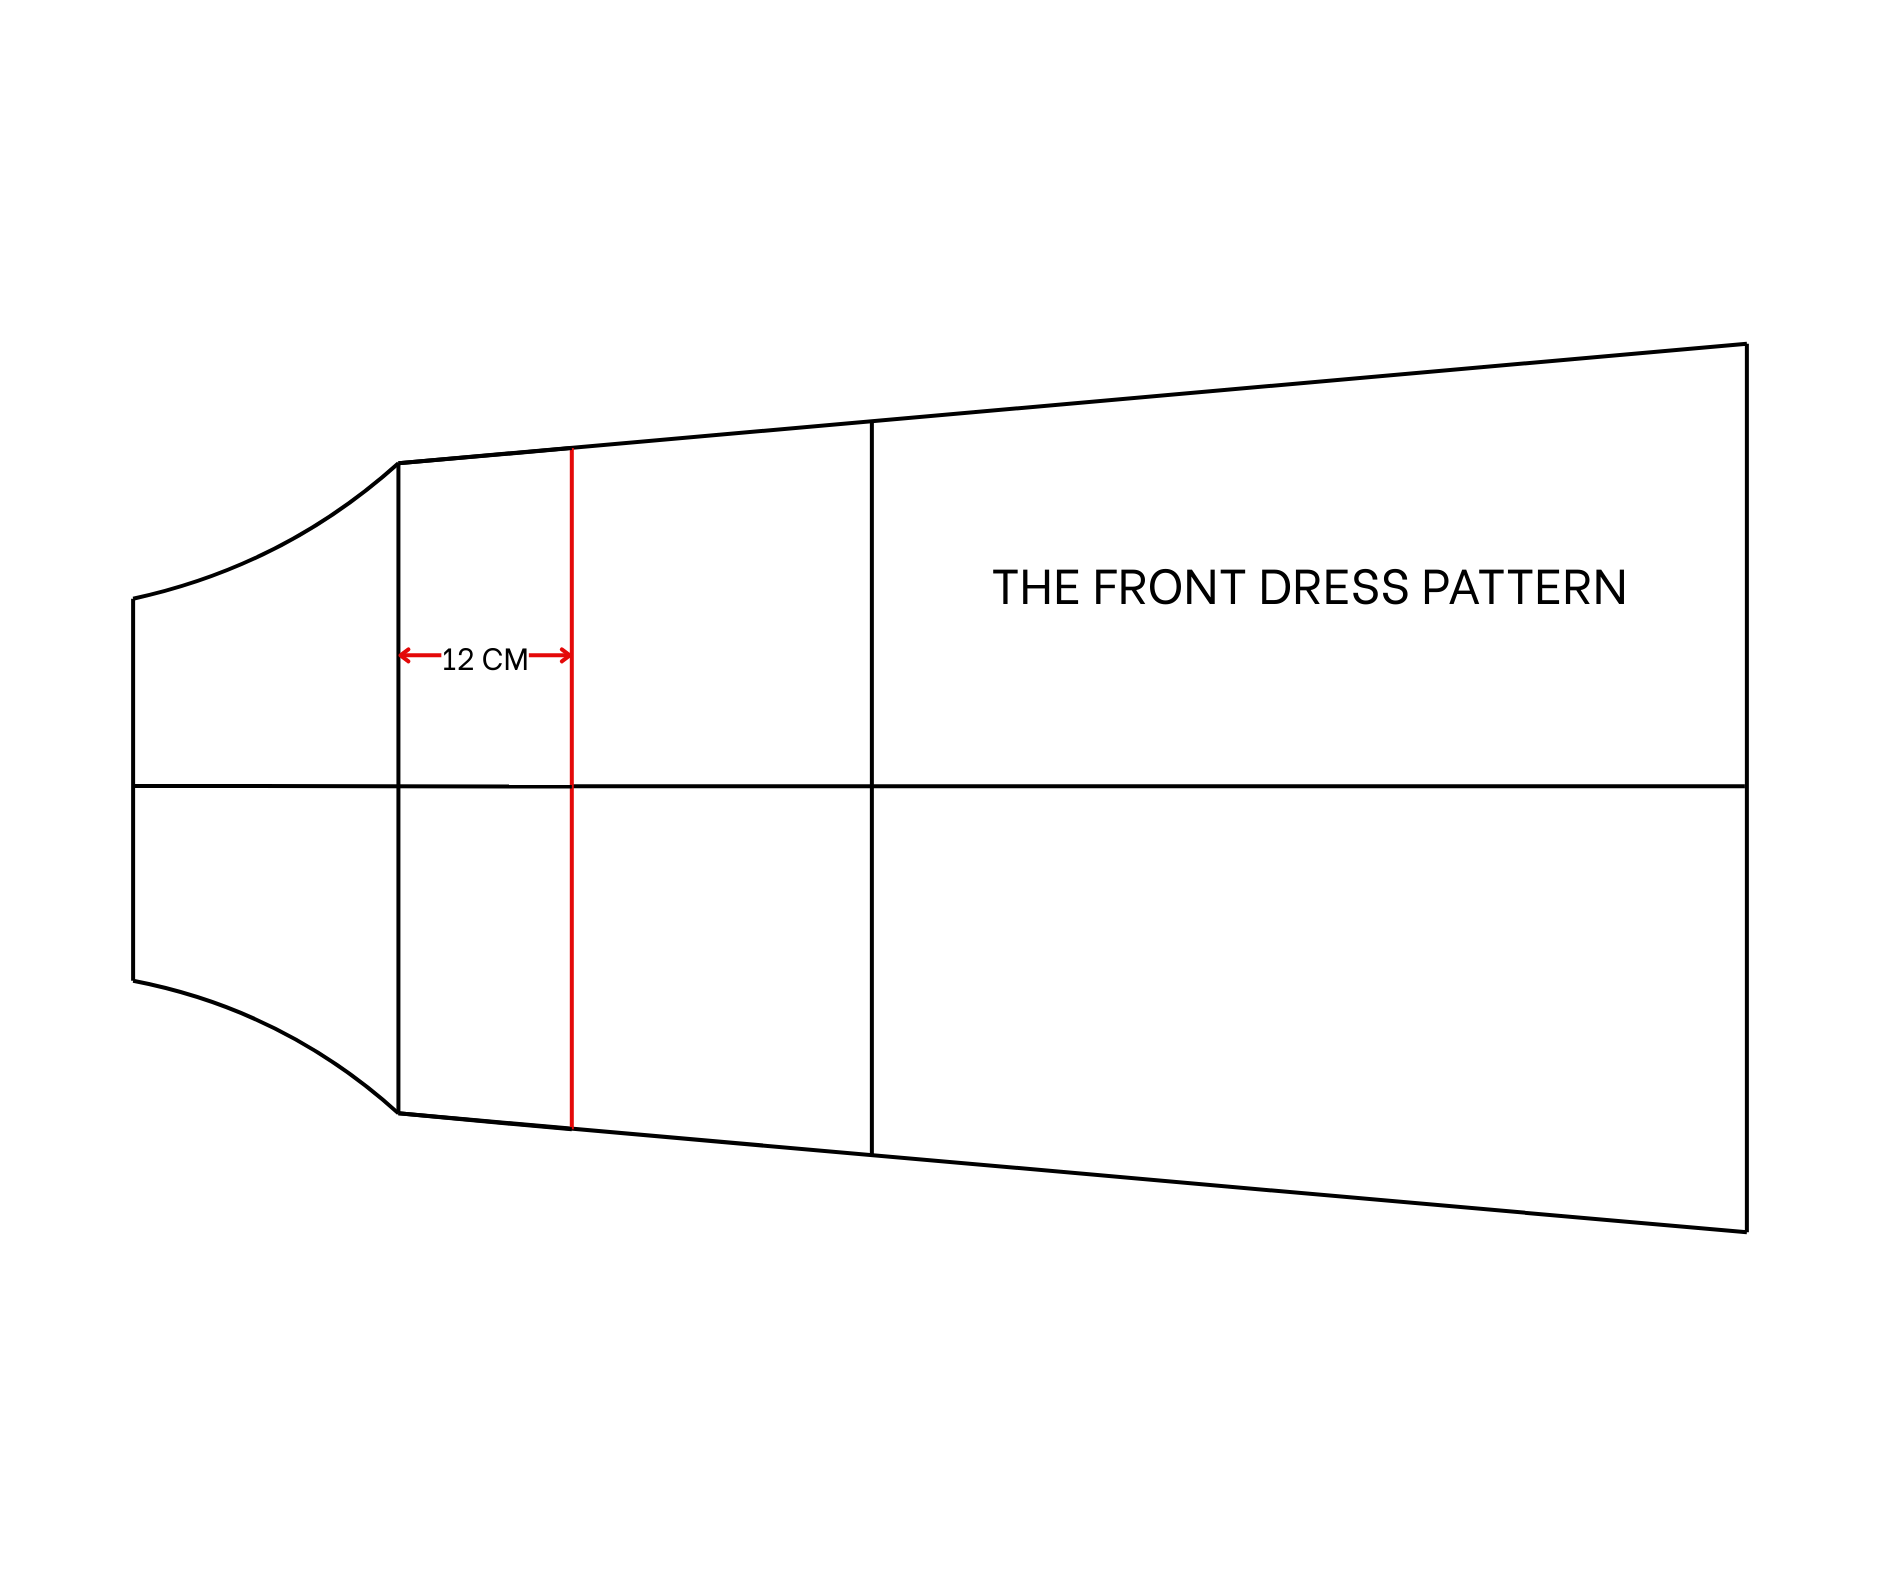
THE FRONT DRESS PATTERN
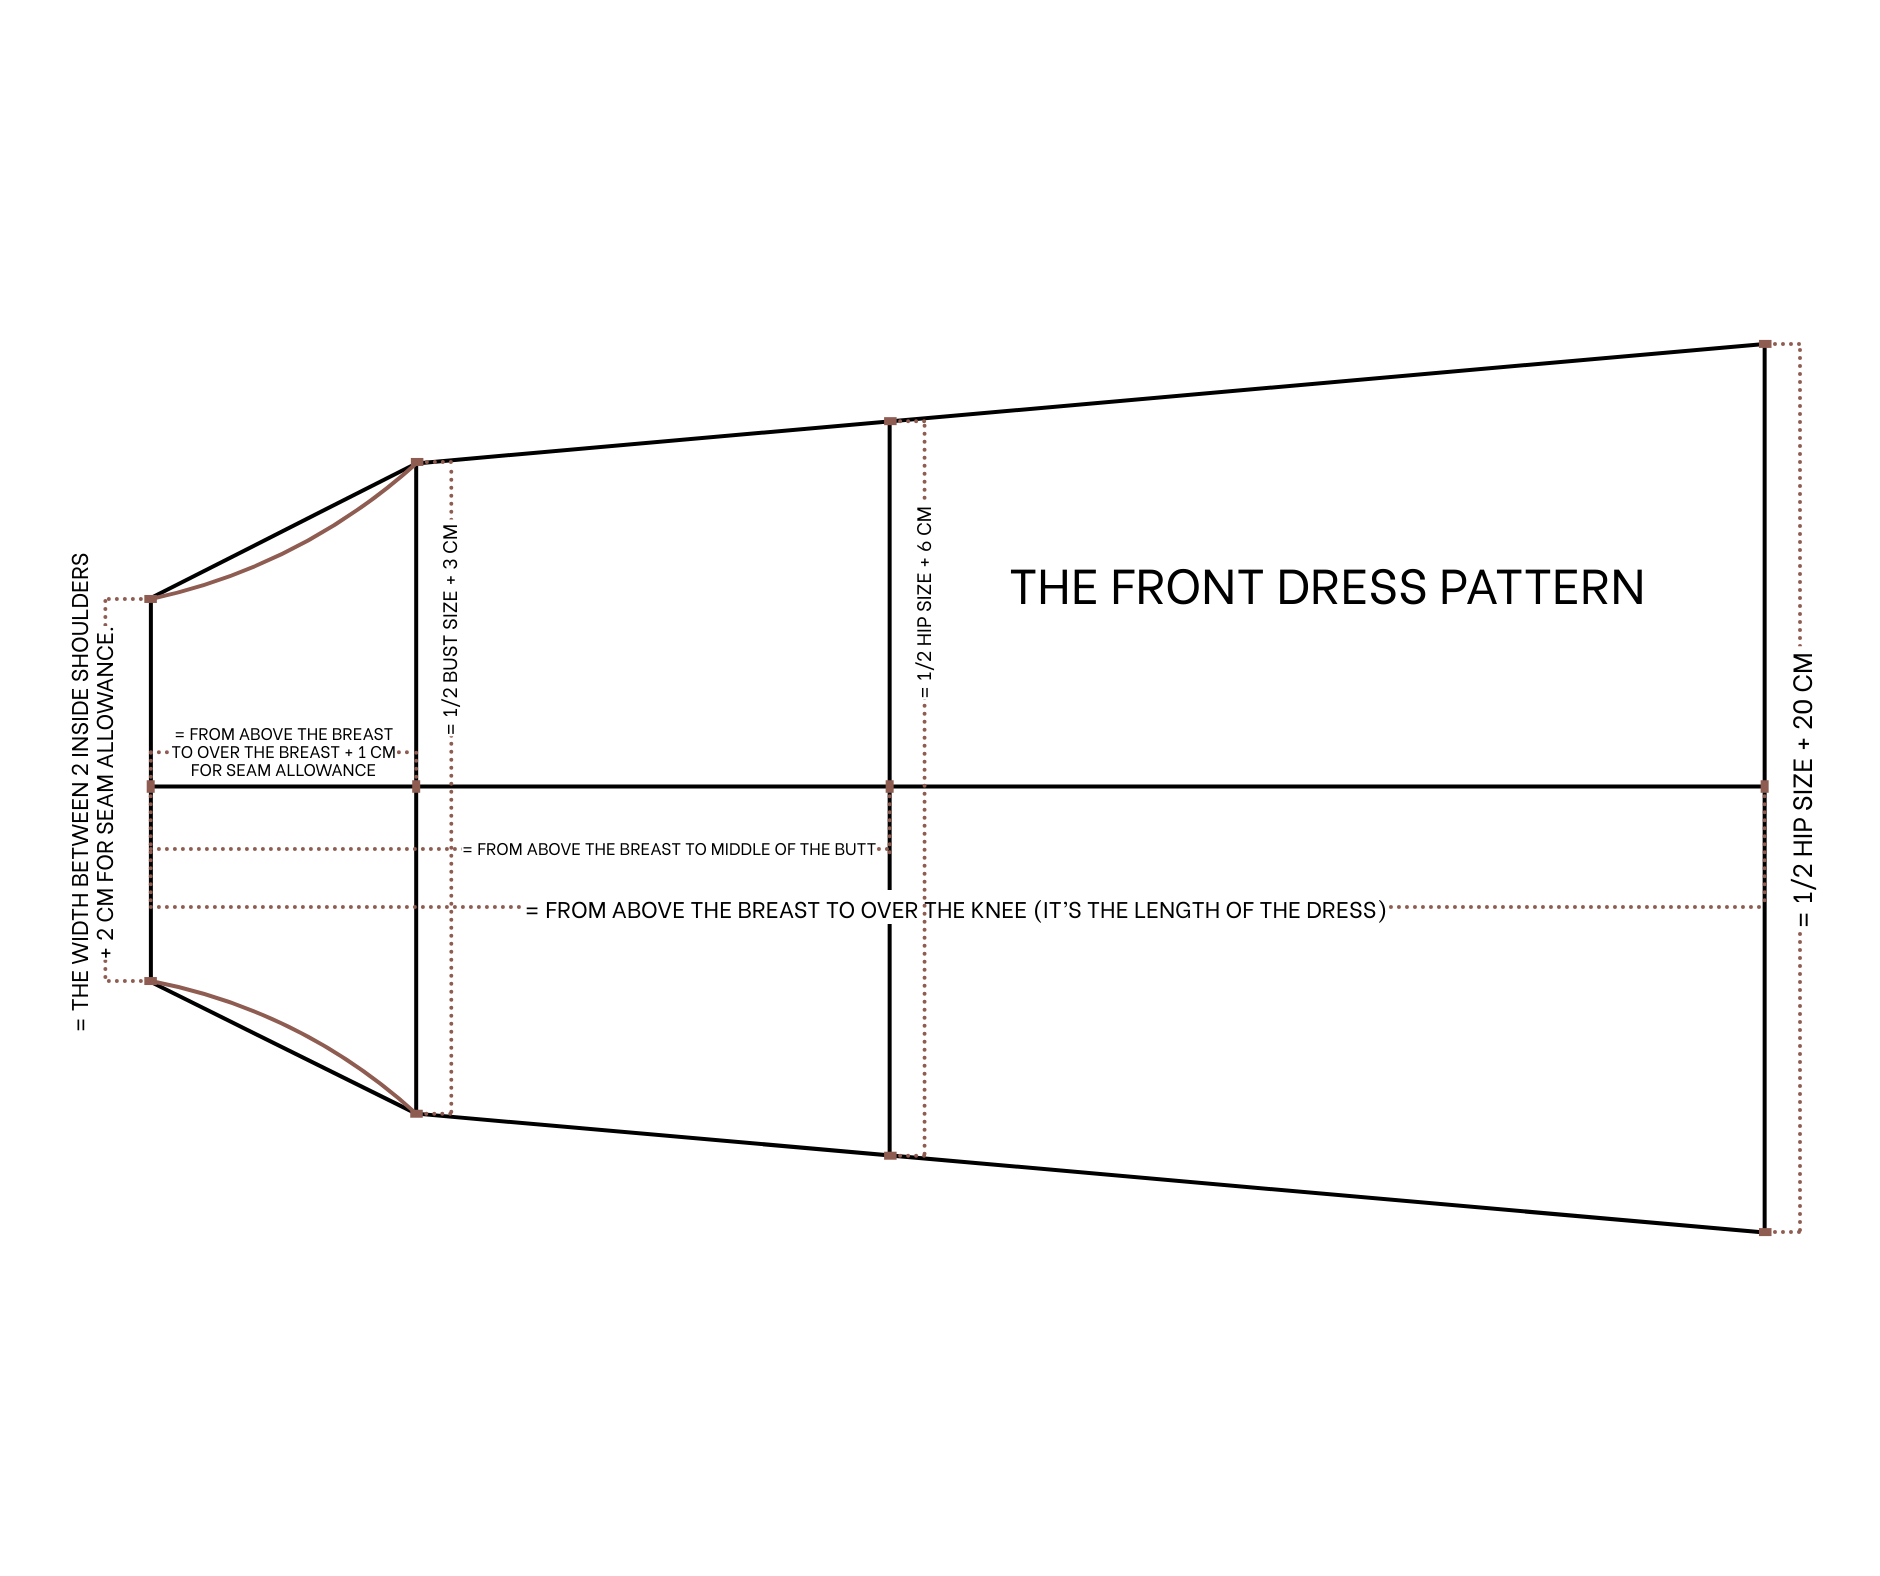

Draw a horizontal line with 110 cm, which is the length from above the breast to over the knee. This is the desired length of the dress.
At one end of the horizontal line, draw a straight line first.
Then, from the cutting point between them, mark two sides of the straight line at 13 cm. The width between the two marks will be 26 cm, which is the width between two inside shoulders plus 2 cm for seam allowance.
From the first straight line, draw another straight line with 18 cm next to it. This represents the length from above the breast to over the breast plus 1 cm for seam allowance.
Then, make two marks at 22 cm from the cutting point. The width between the two marks will be 44 cm, which is half of the bust size plus 3 cm for seam allowance.
After that, connect the mark on the first straight line to the one on the second straight line.
Keep drawing another straight line 50 cm from the first one. This represents the length from above the breast to the middle of the butt.
Then, make two marks on this straight line from the cutting point. The width between the two marks will be 52 cm, which is half of the hip size plus 6 cm. For a looser dress, this part can be made bigger.
After that, connect the mark on the second straight line to the mark on the third one.
Draw the last straight line at the end of the horizontal line.
Then, make two marks 33 cm from the cutting point. The width between the two marks will be 66 cm, which is half of the hip size plus 20 cm.
Then, connect the mark on the third line to these two marks to finish the sideline of the dress.
At the top of the sideline, make a big curve to go along from above the breast to under the armpit.
Fold the pattern along the horizontal line to cut.
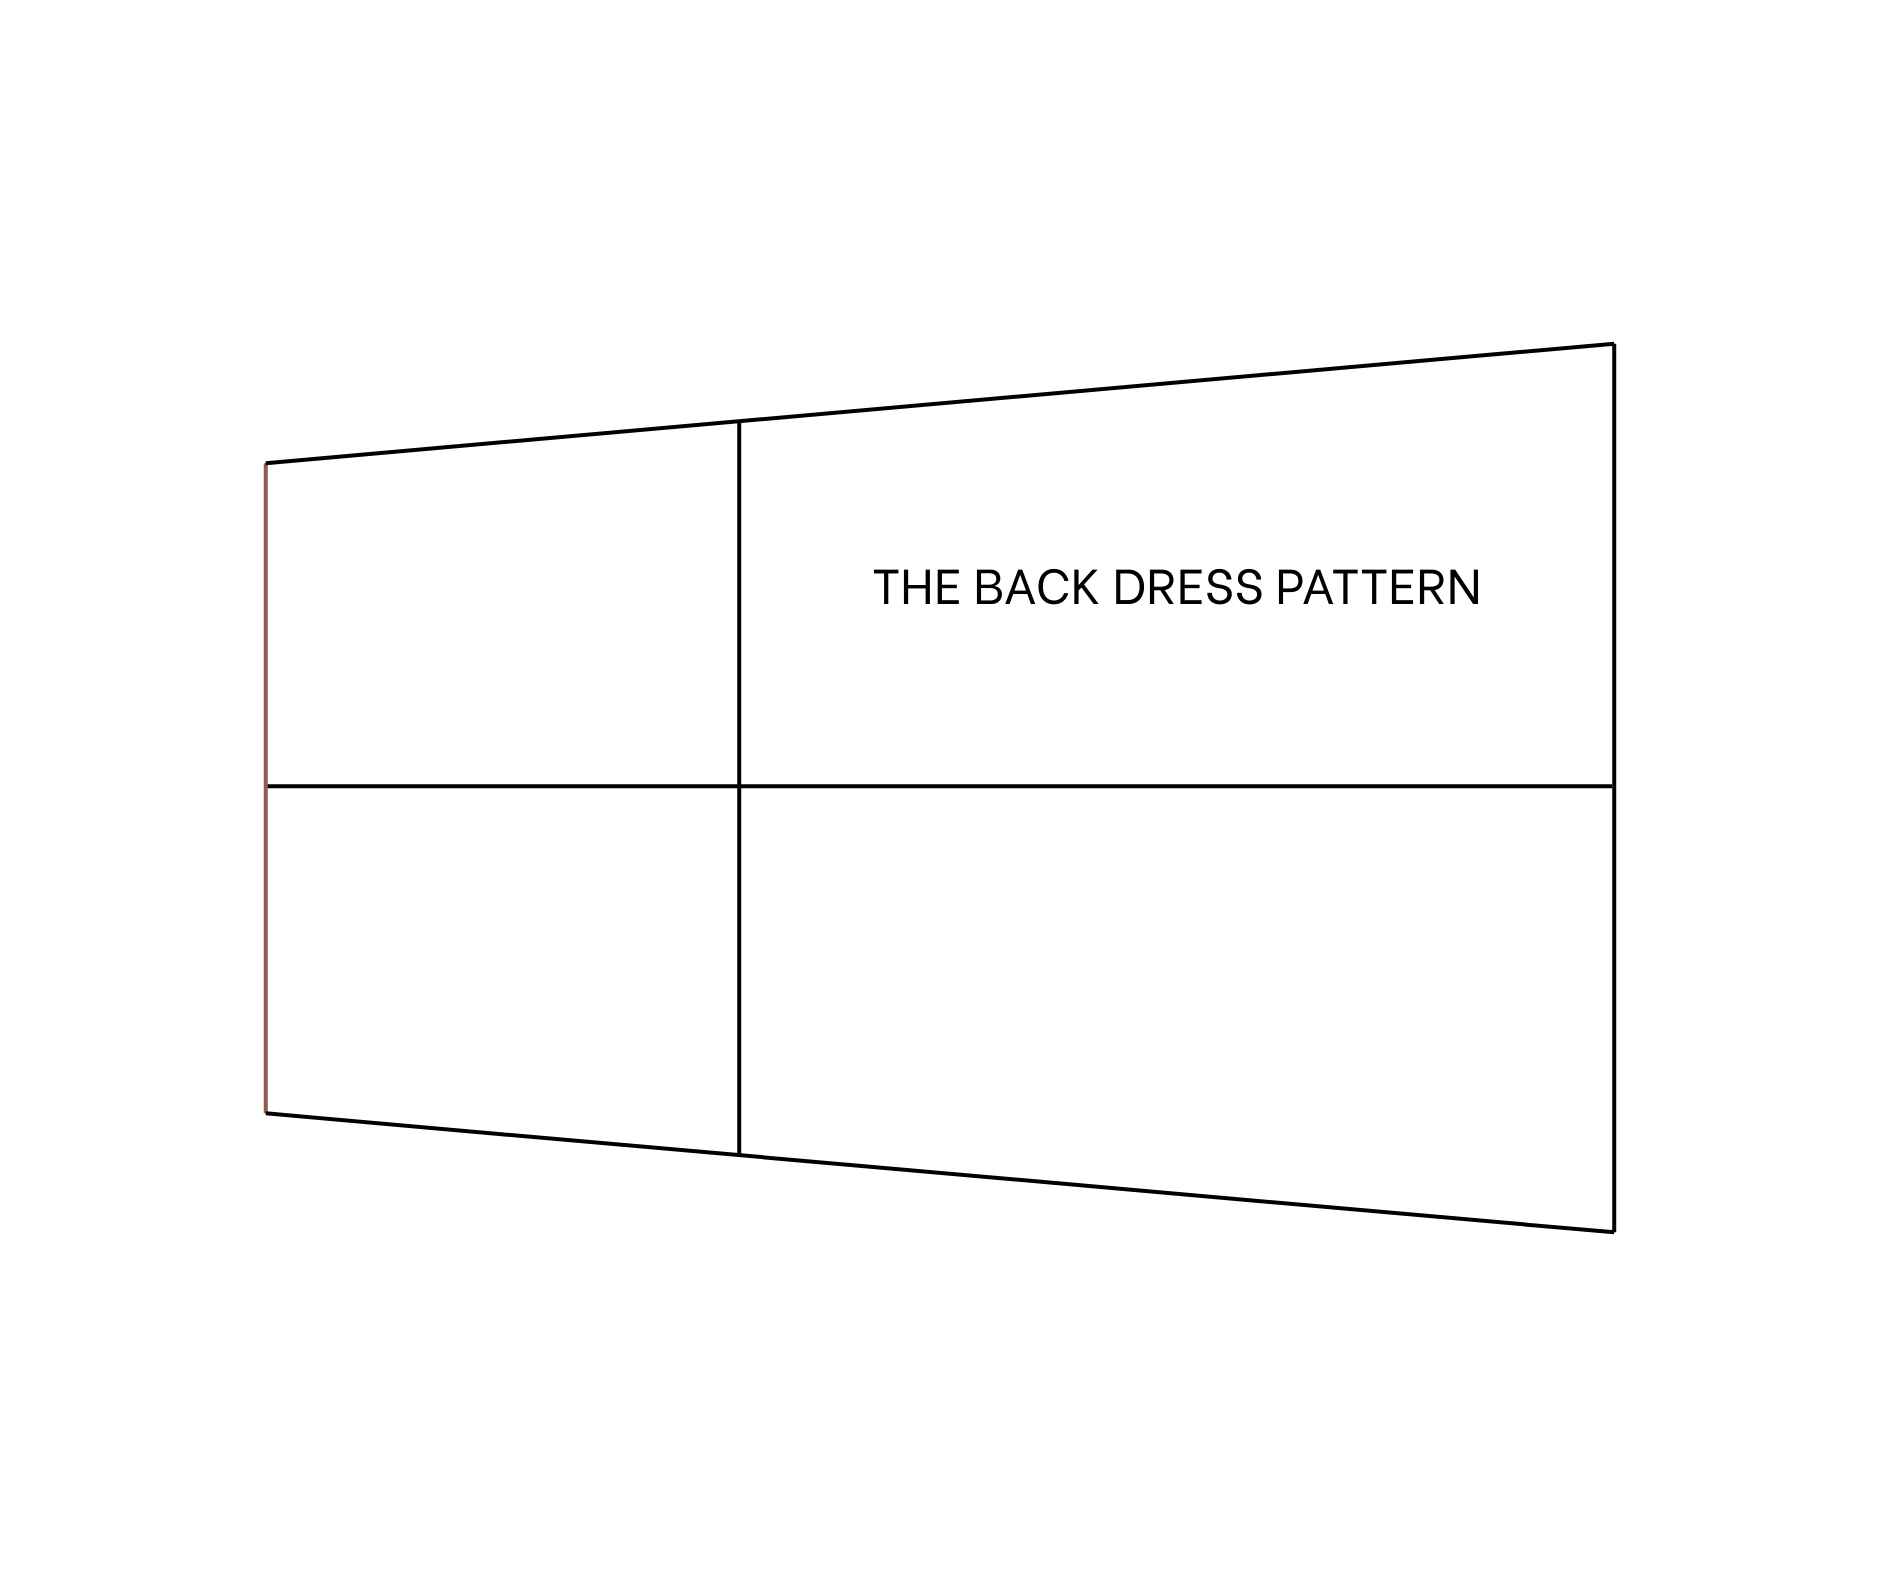
THE BACK DRESS PATTERN
If the top of the pattern is folded at the second straight line, the remaining part will be the back pattern of the dress.
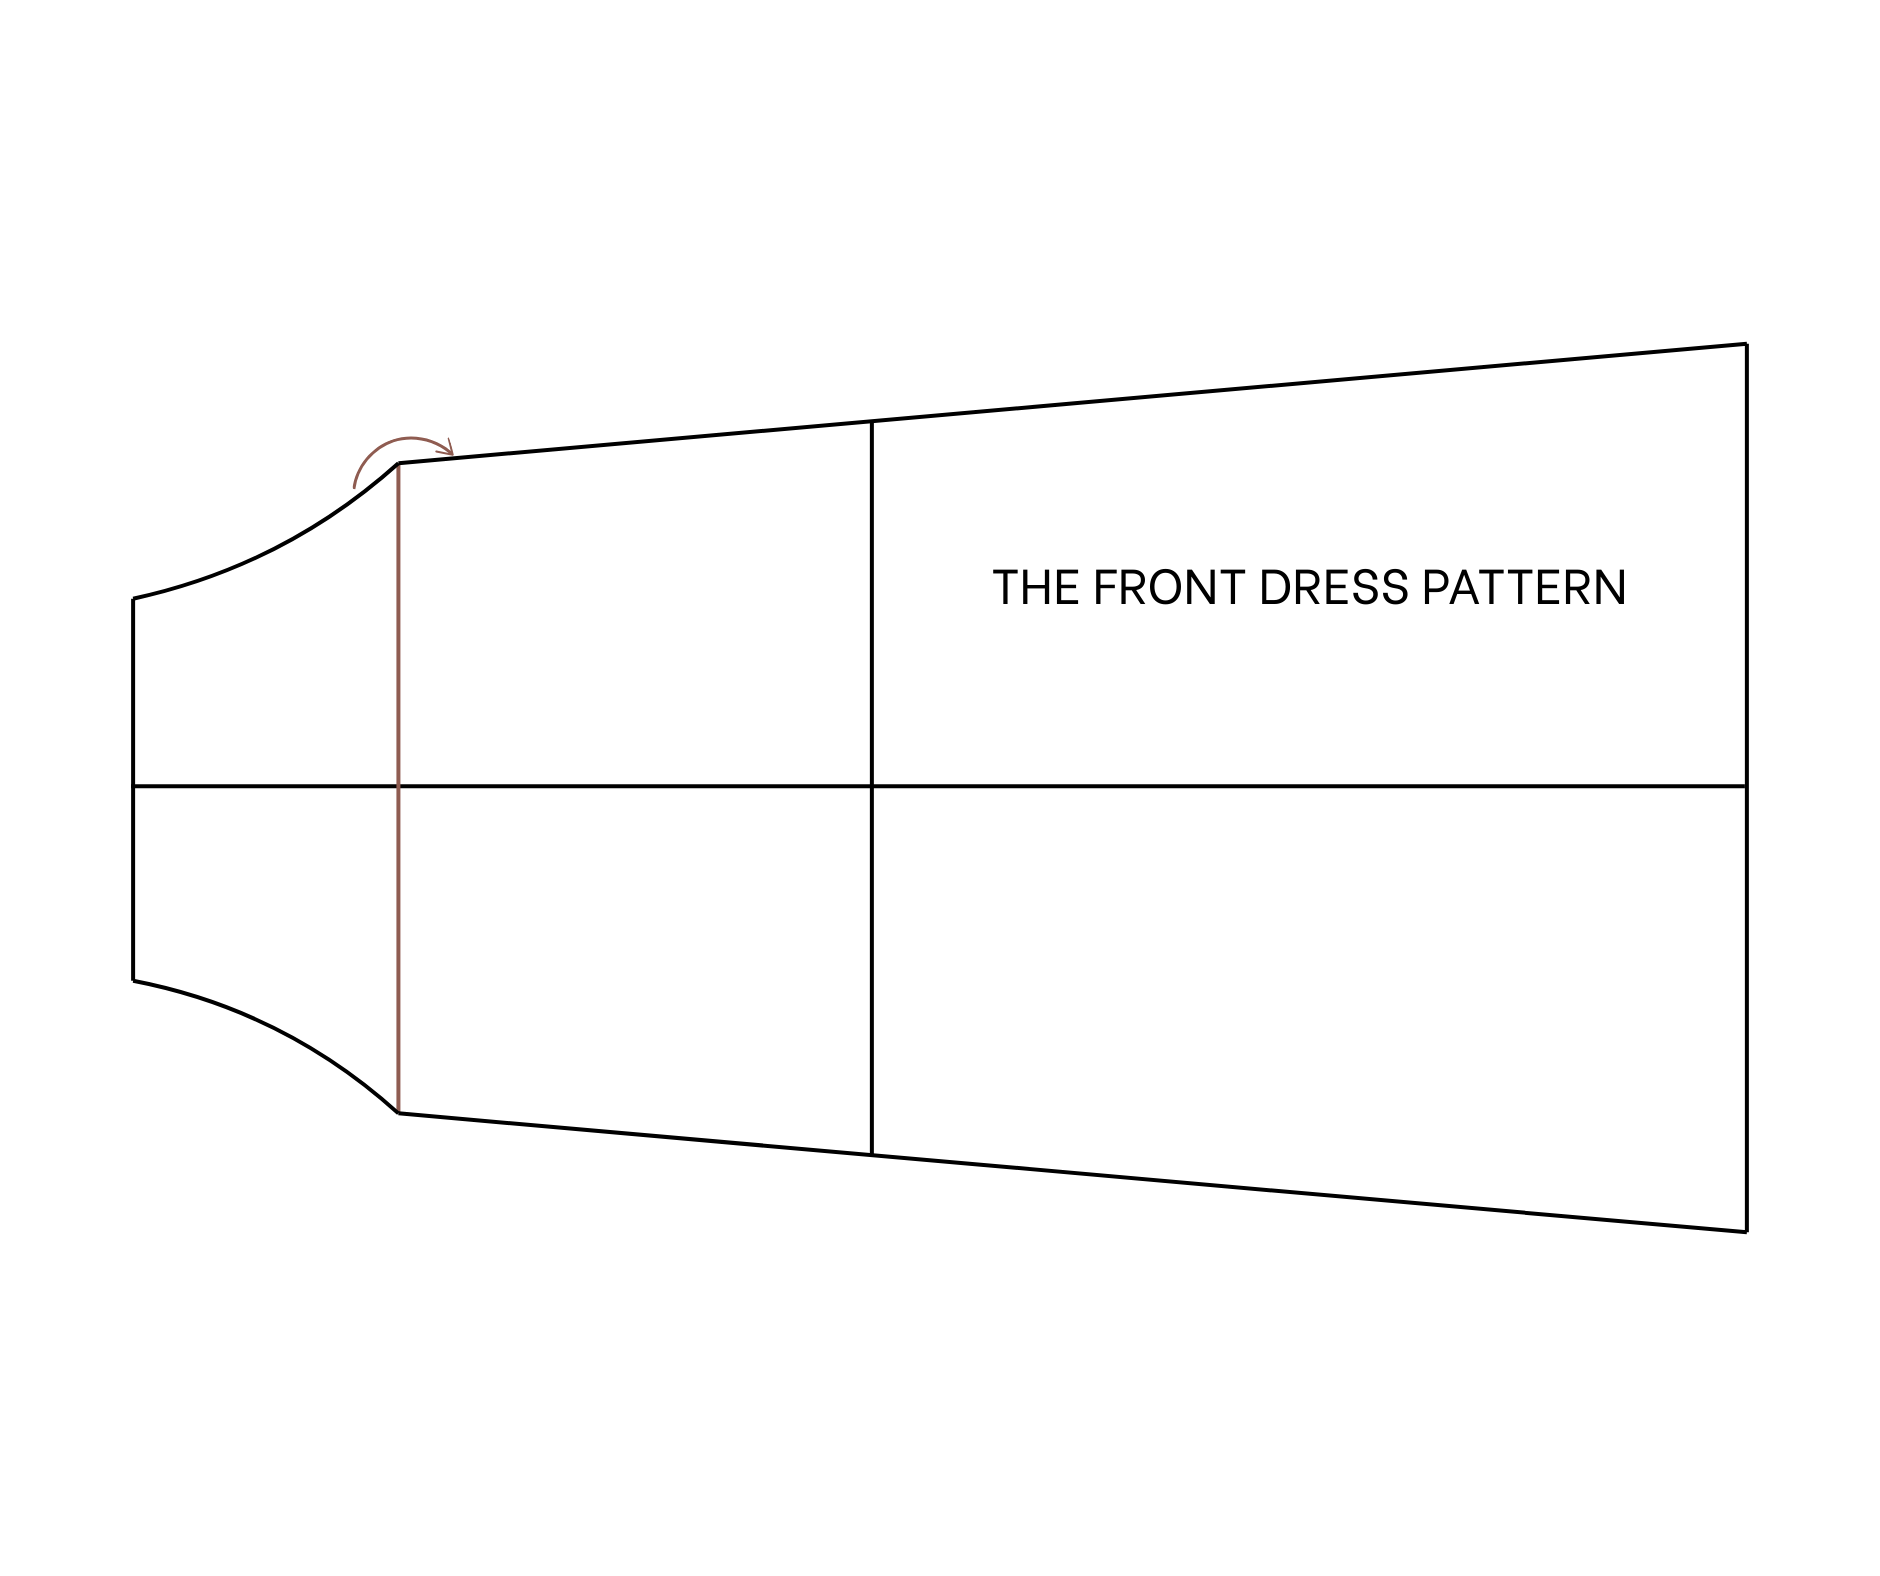
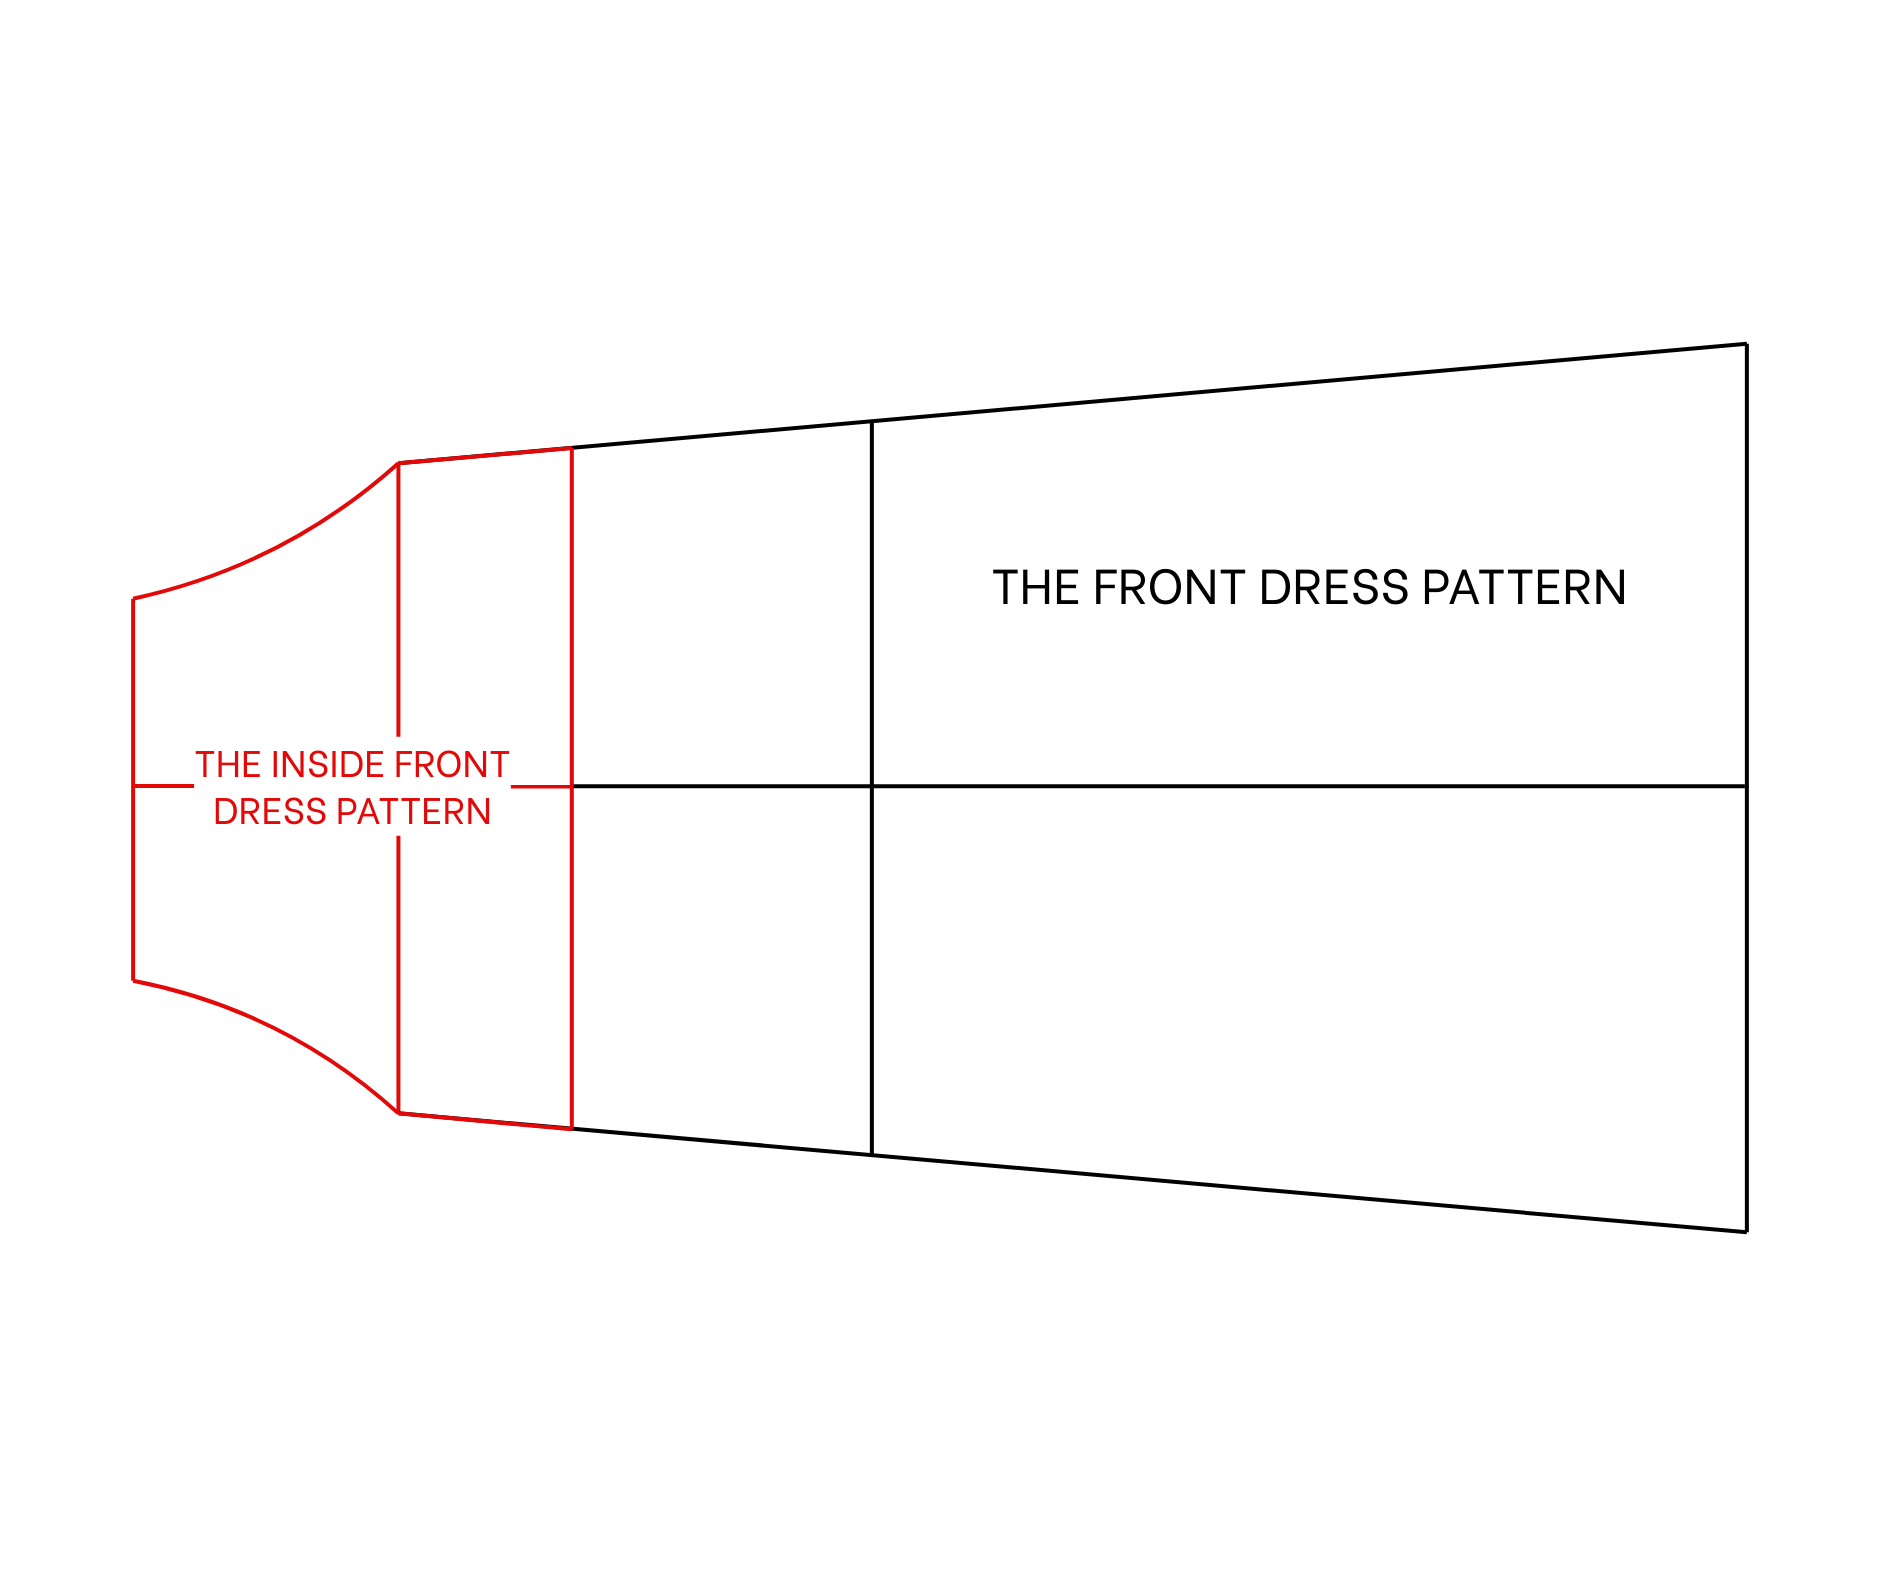
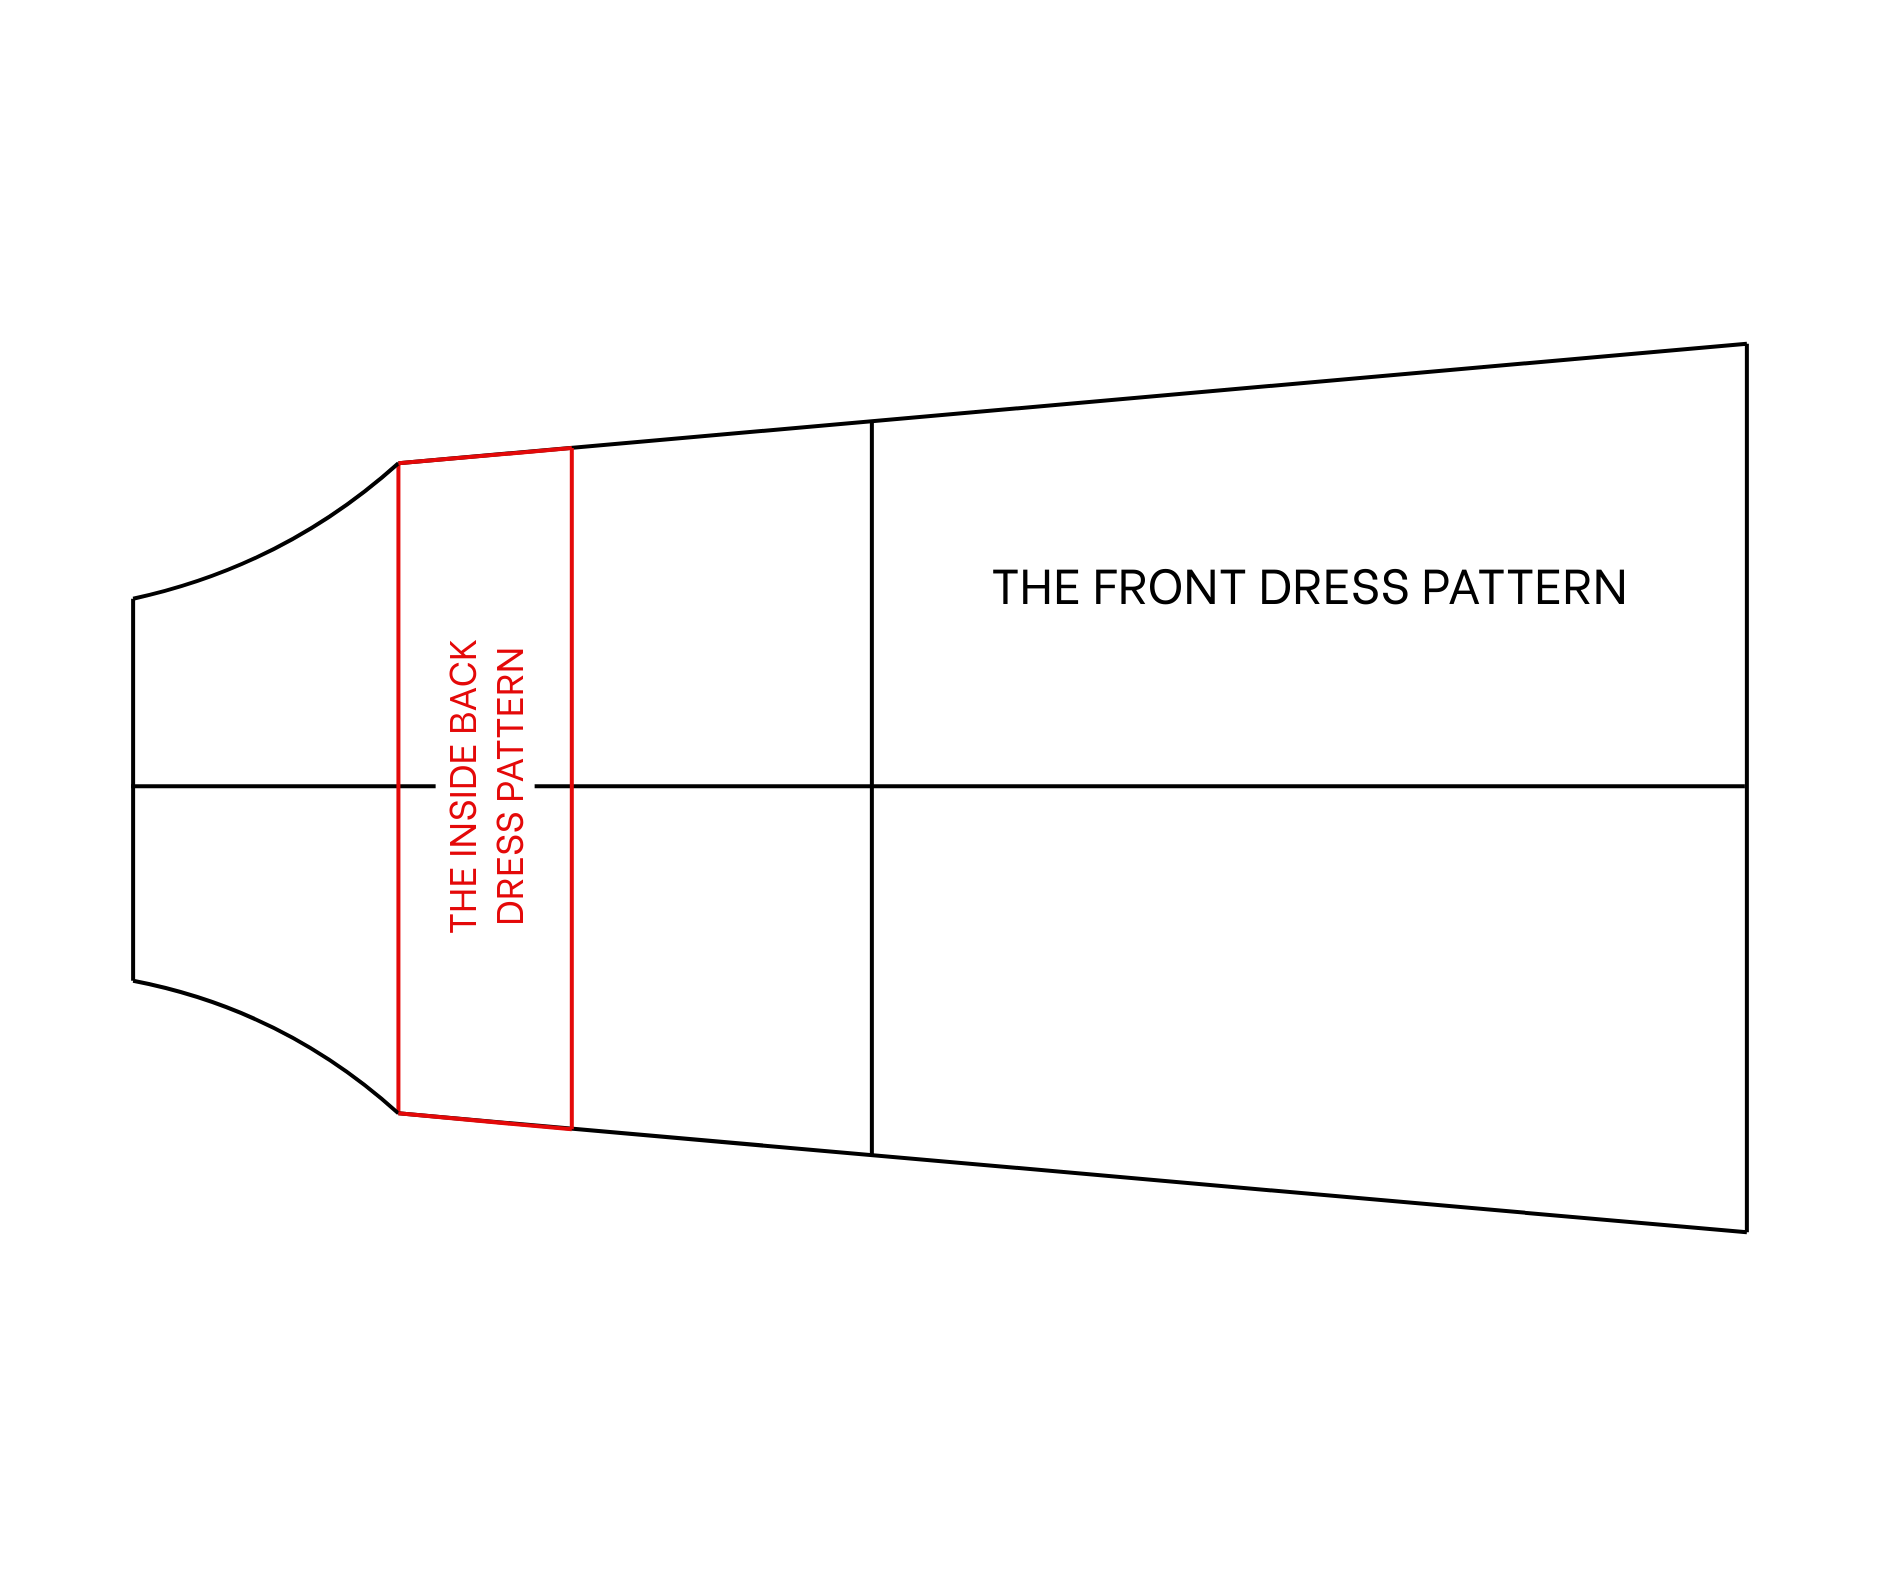
THE INSIDE PATTERN OF THE DRESS
From the second straight line, draw another straight line at 12 cm next to it.
The part from this line to the top of the pattern will be the inside pattern of the front dress.
The part from this new line to the second straight line will be the inside pattern of the back dress.
THE POCKET PATTERN

To make the pocket pattern, cut a rectangle with a 20 cm width and a 30 cm length.
On one length line, mark the middle first.
Then, draw a curved line from this mark to one end of the other length line.
SEWING THE DRESS

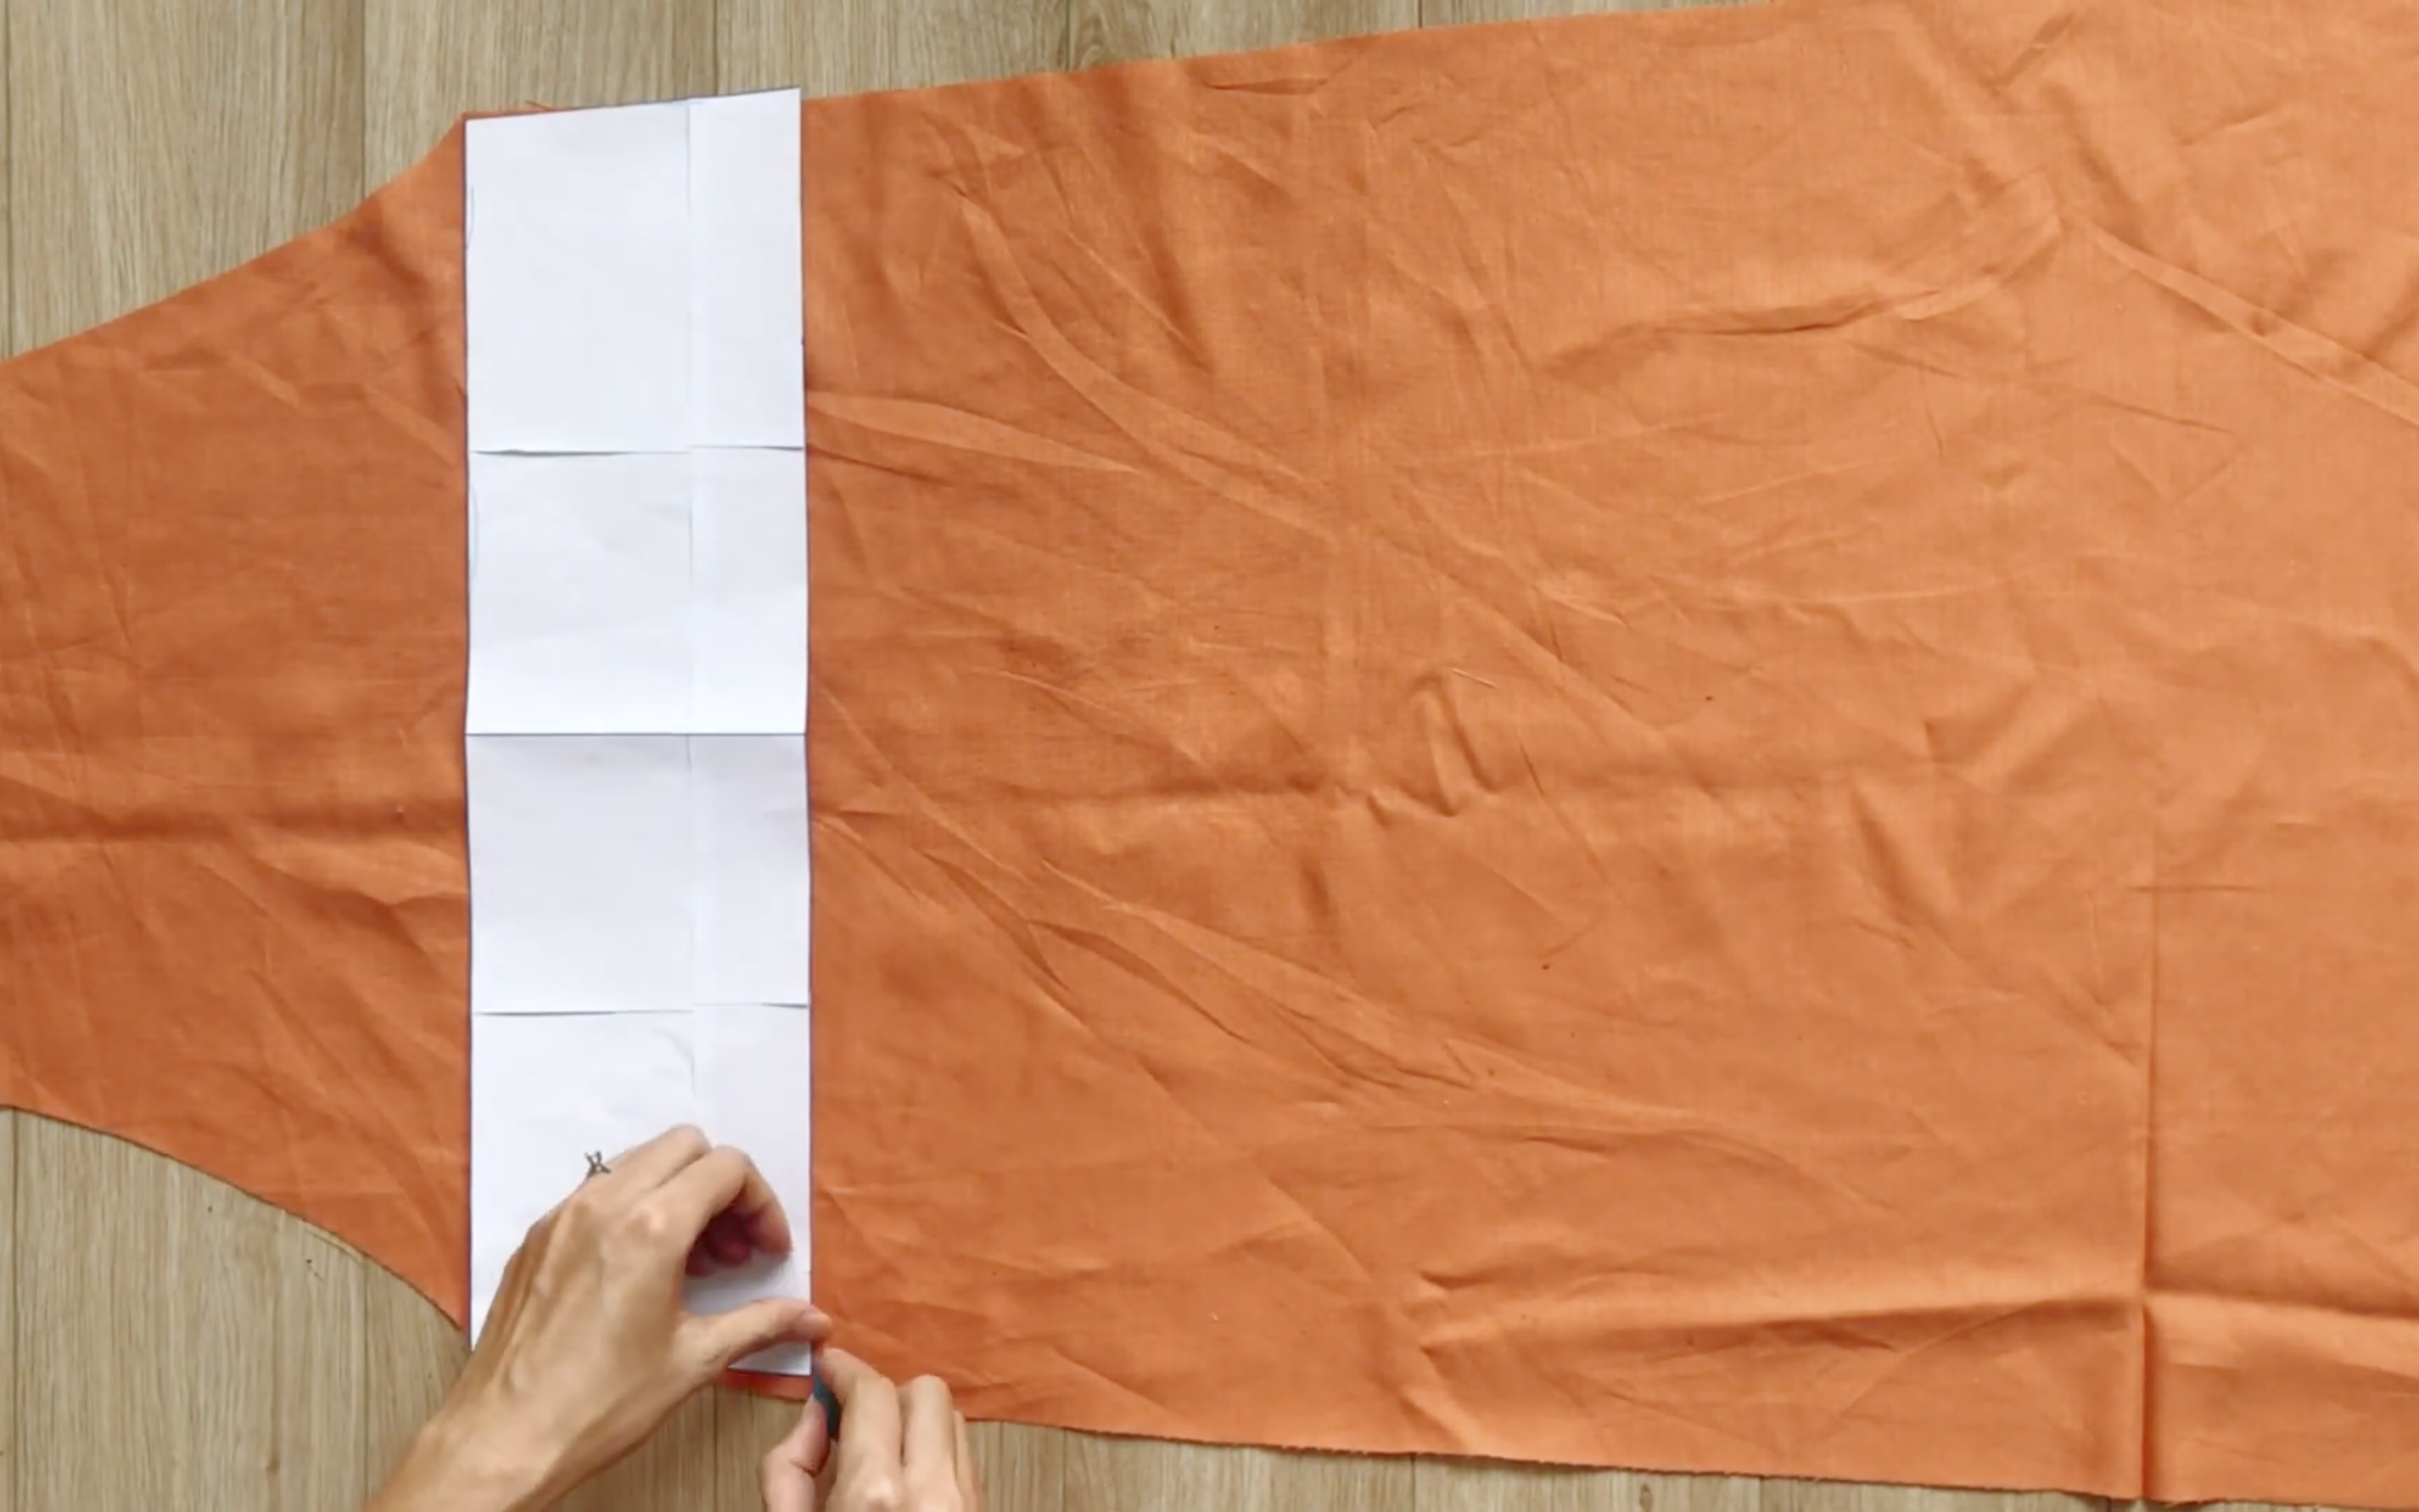
Apply the pattern to the fabric and draw along.
One piece of the back pattern, one piece of the front pattern, one piece of the inside front pattern, one piece of the inside back pattern, and four pieces of the pocket pattern will be needed.
Starting with the front pattern first.
Use the inside back pattern to mark the end of it on the front part of the dress. This will be the position for the pocket.

Then, add the pocket there and sew.
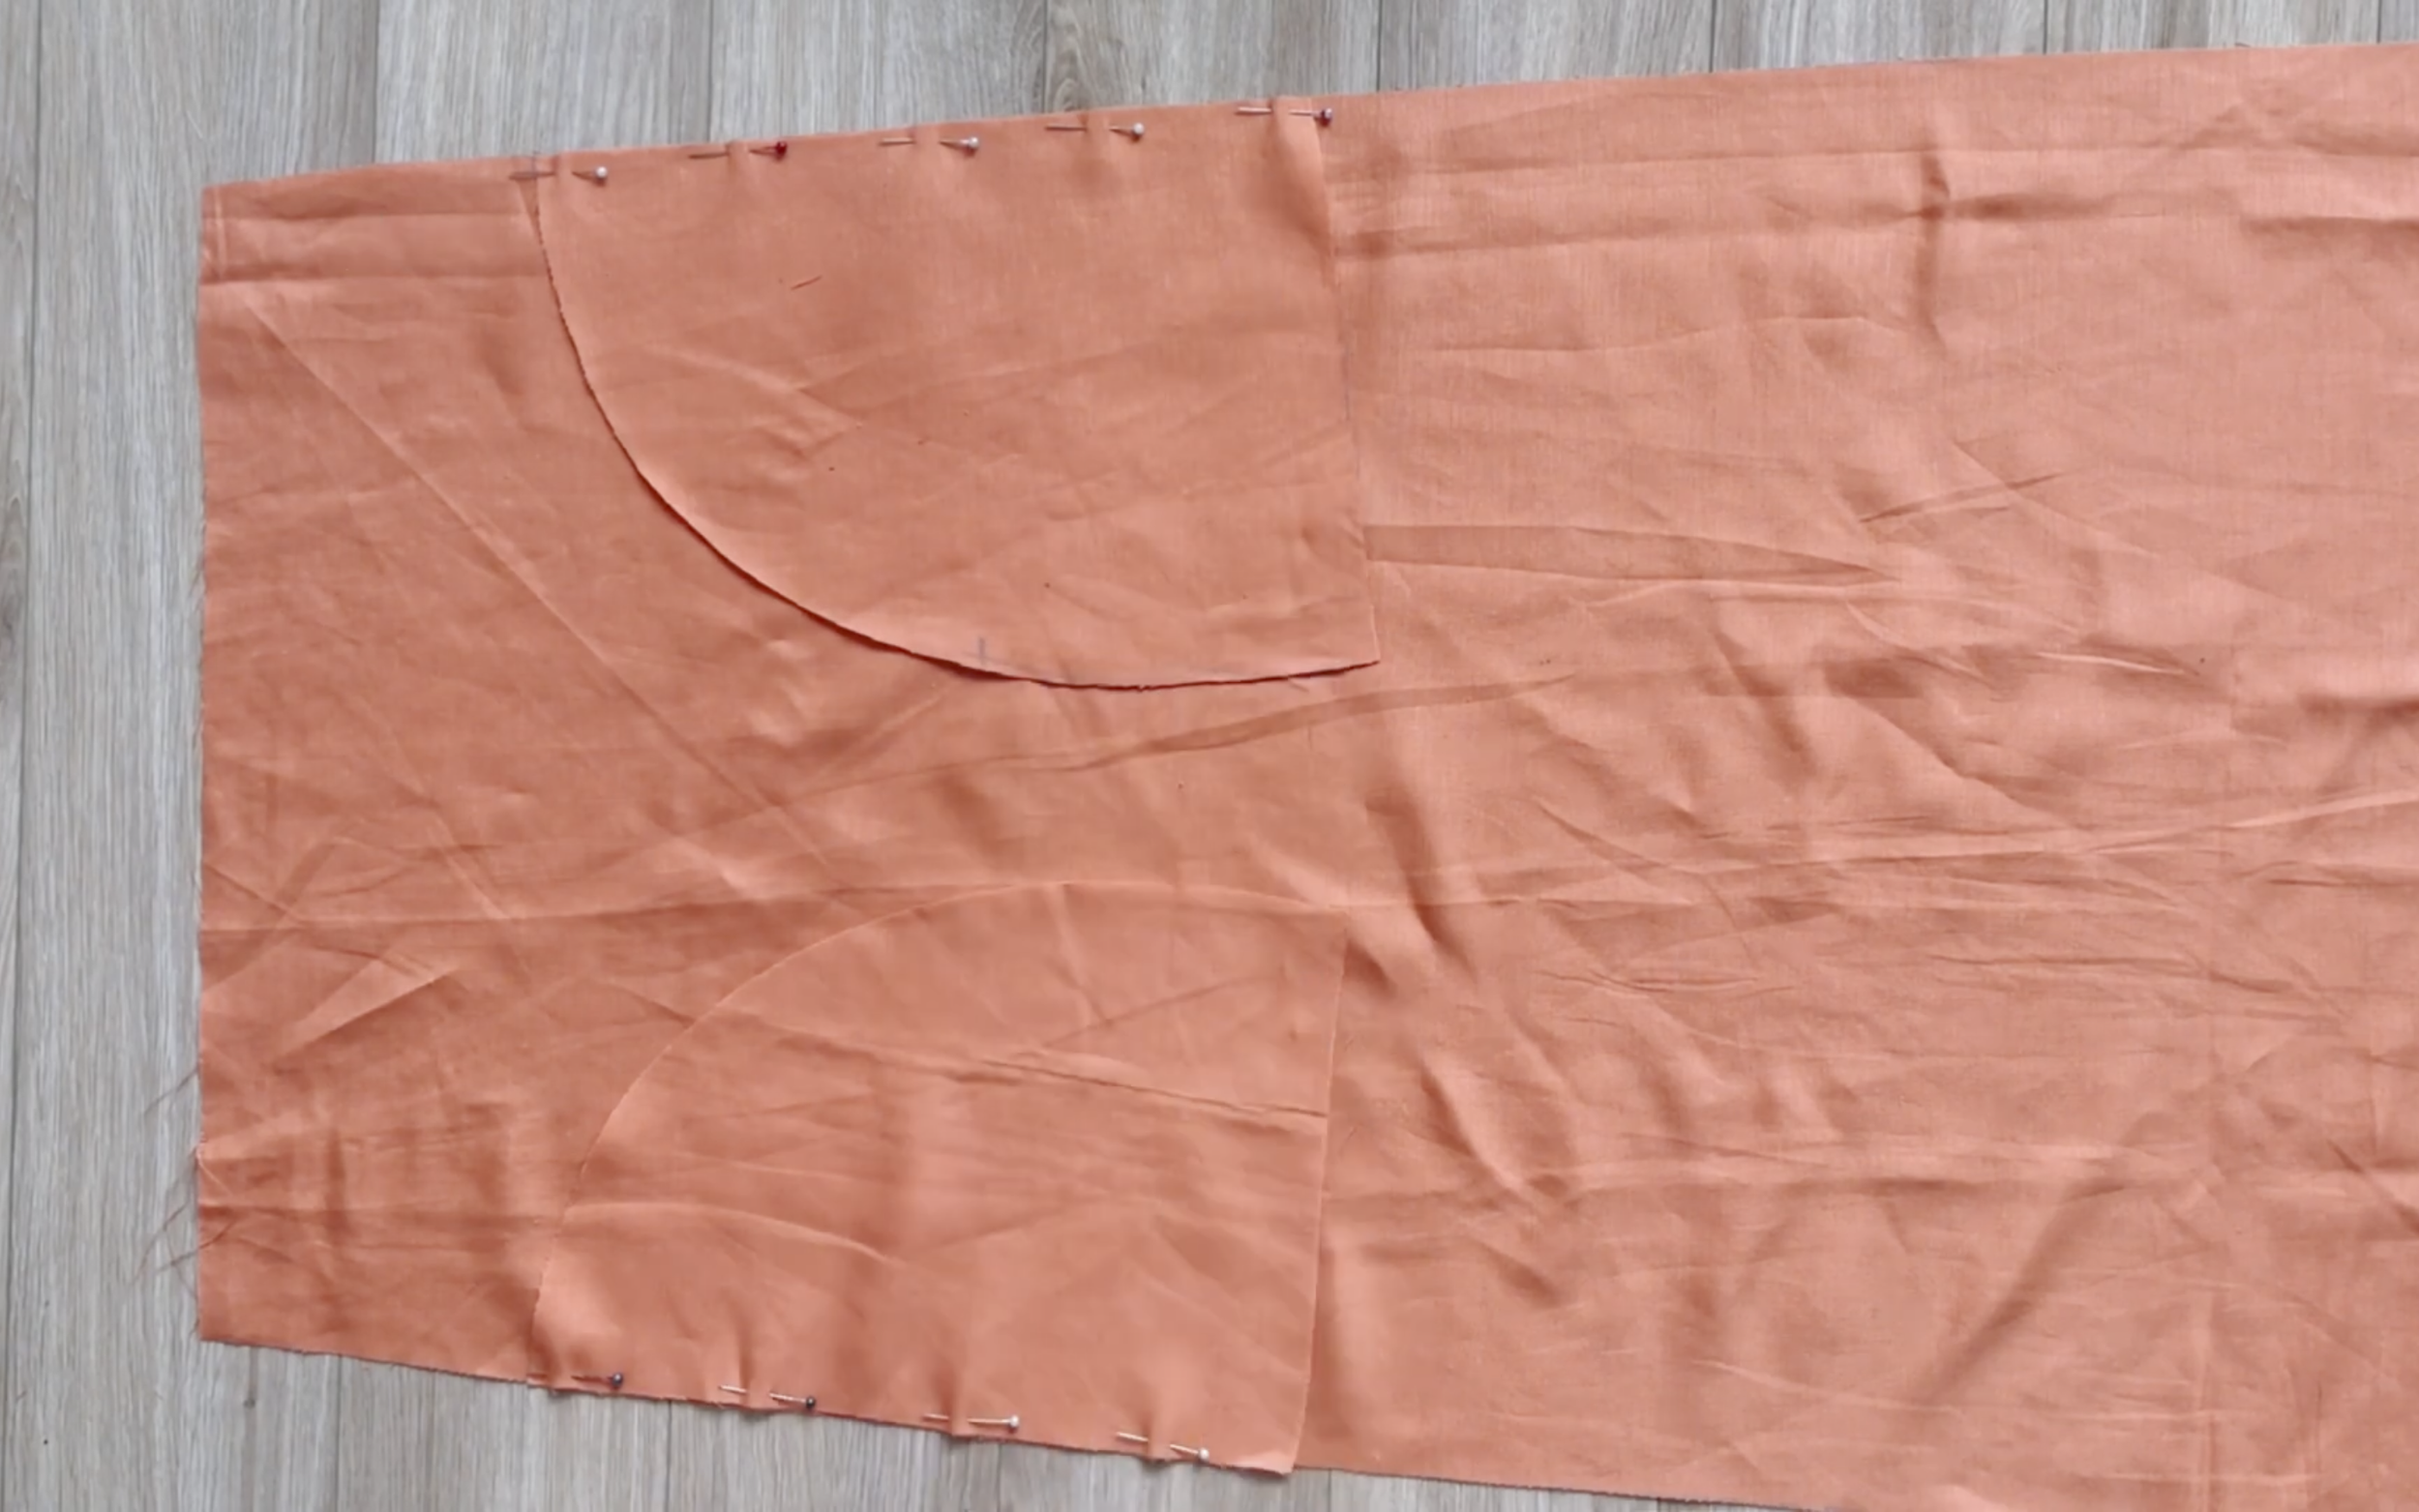
Do the same for the back part of the dress.
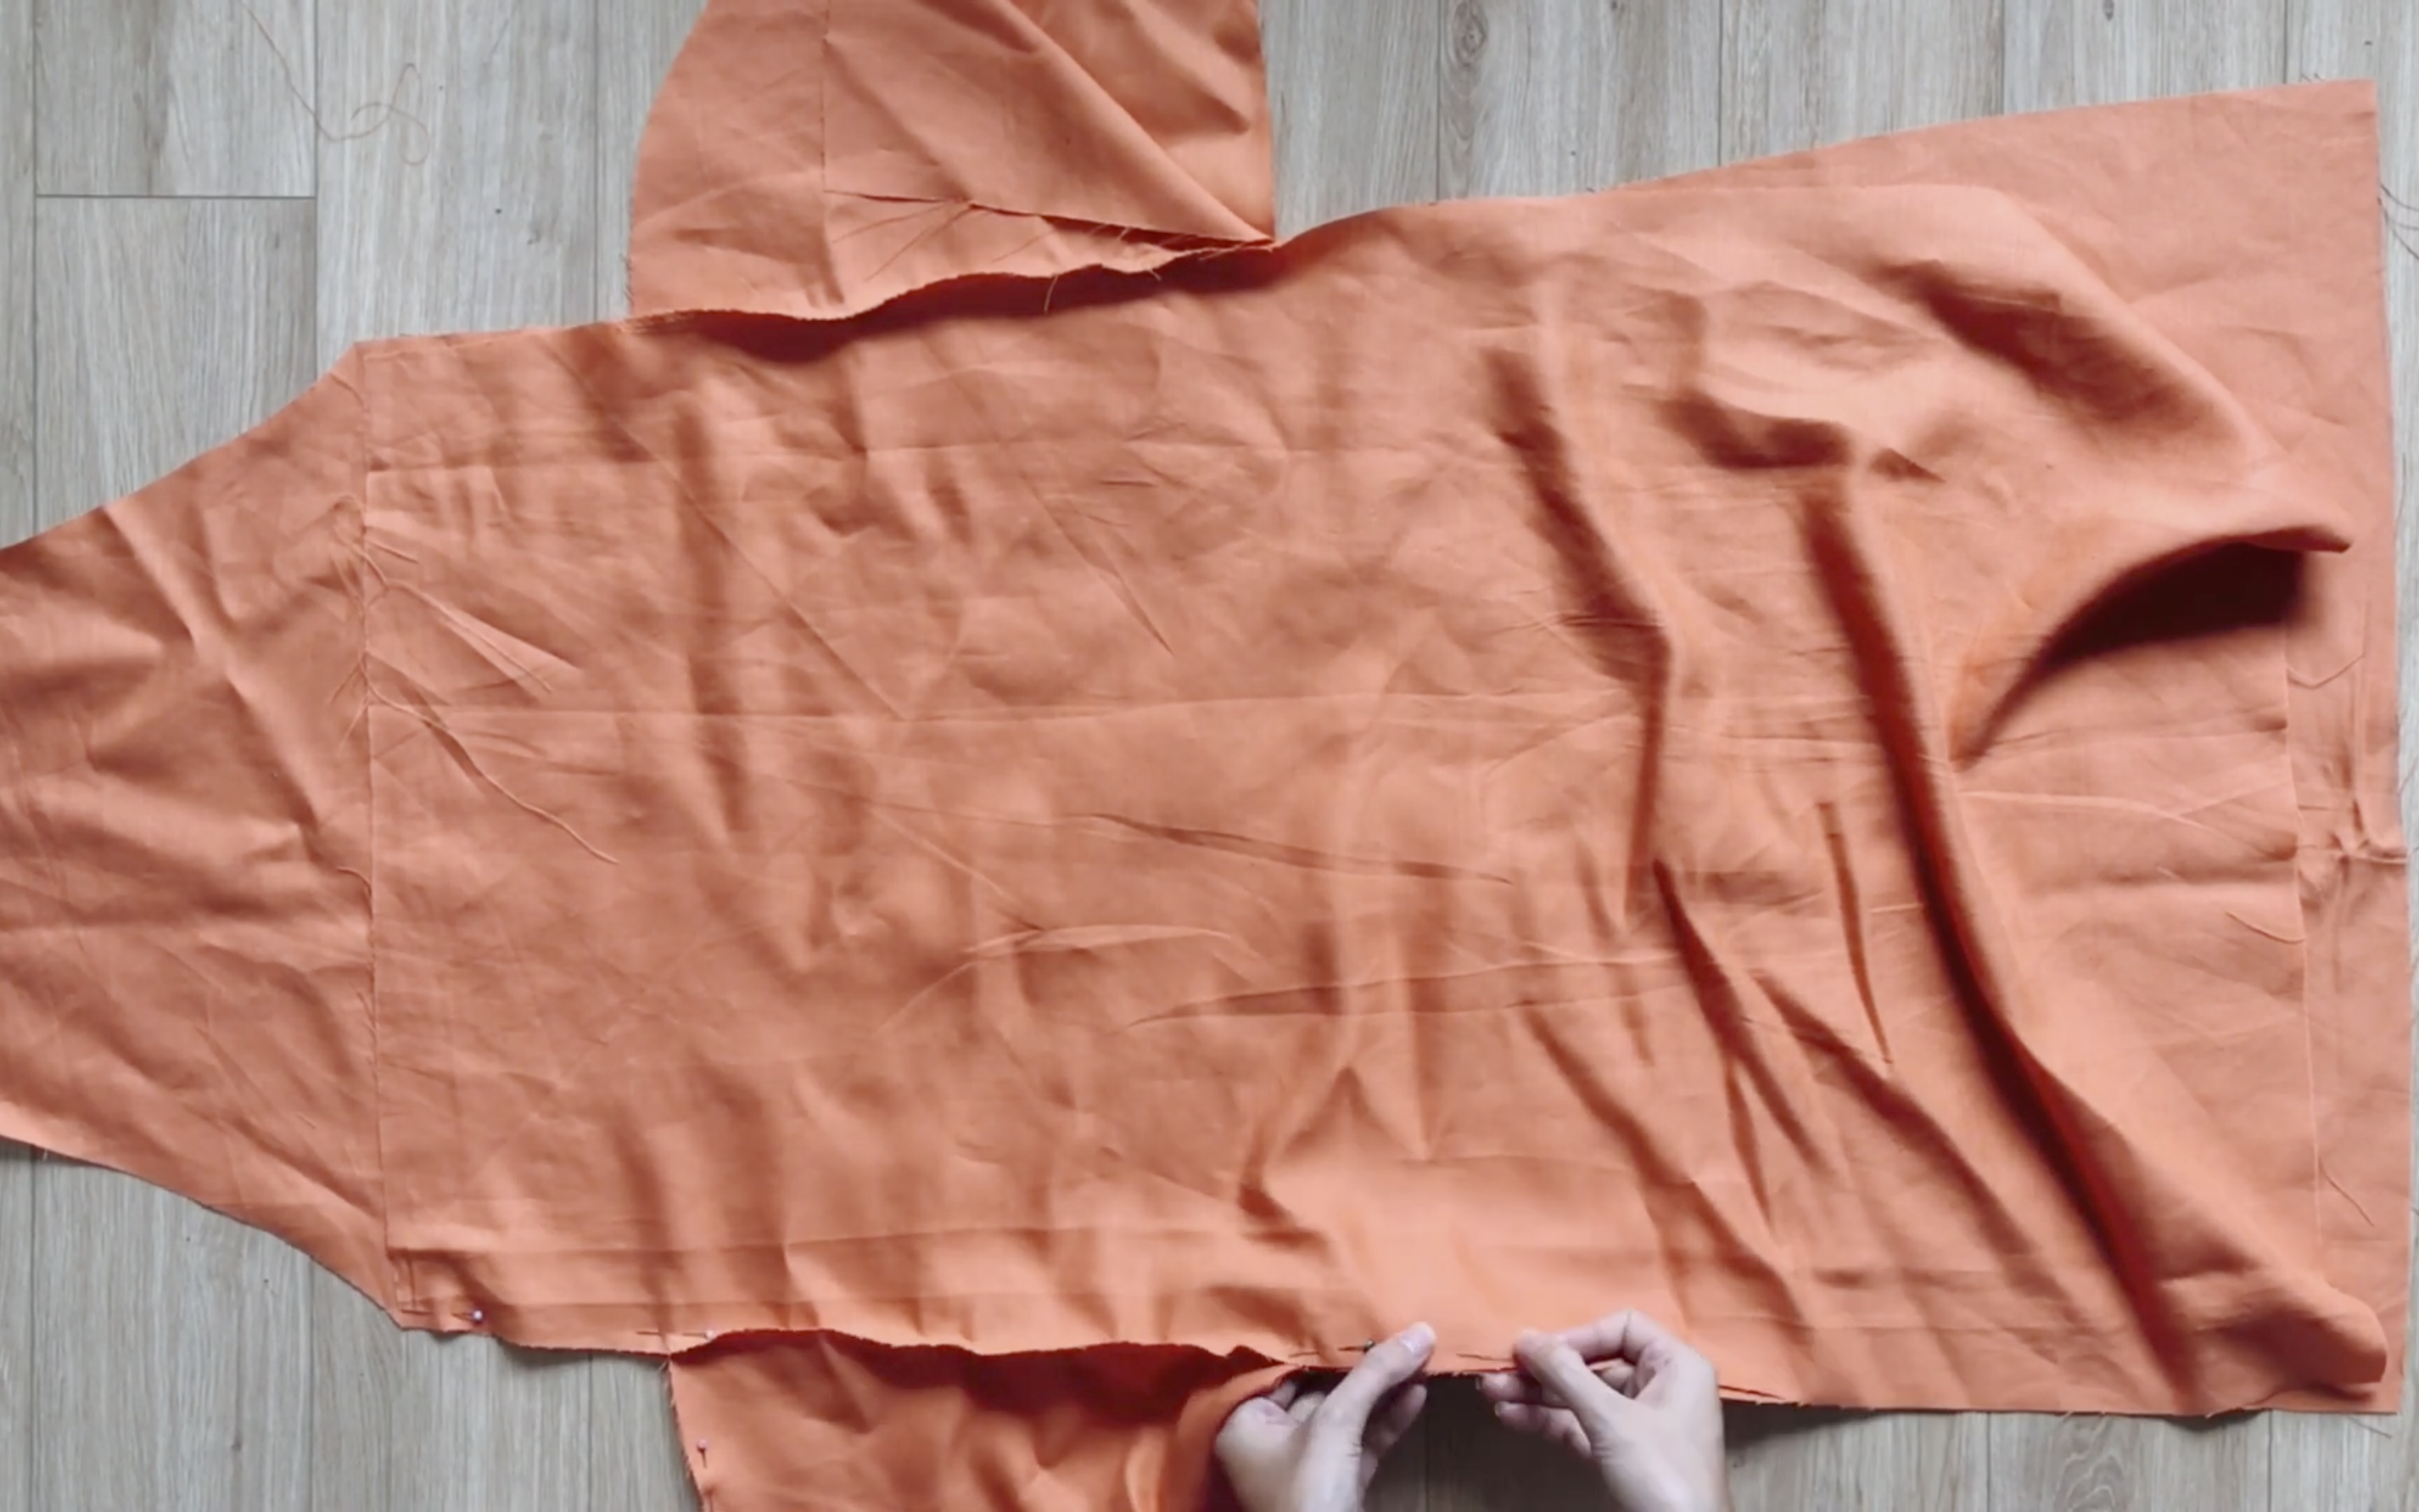
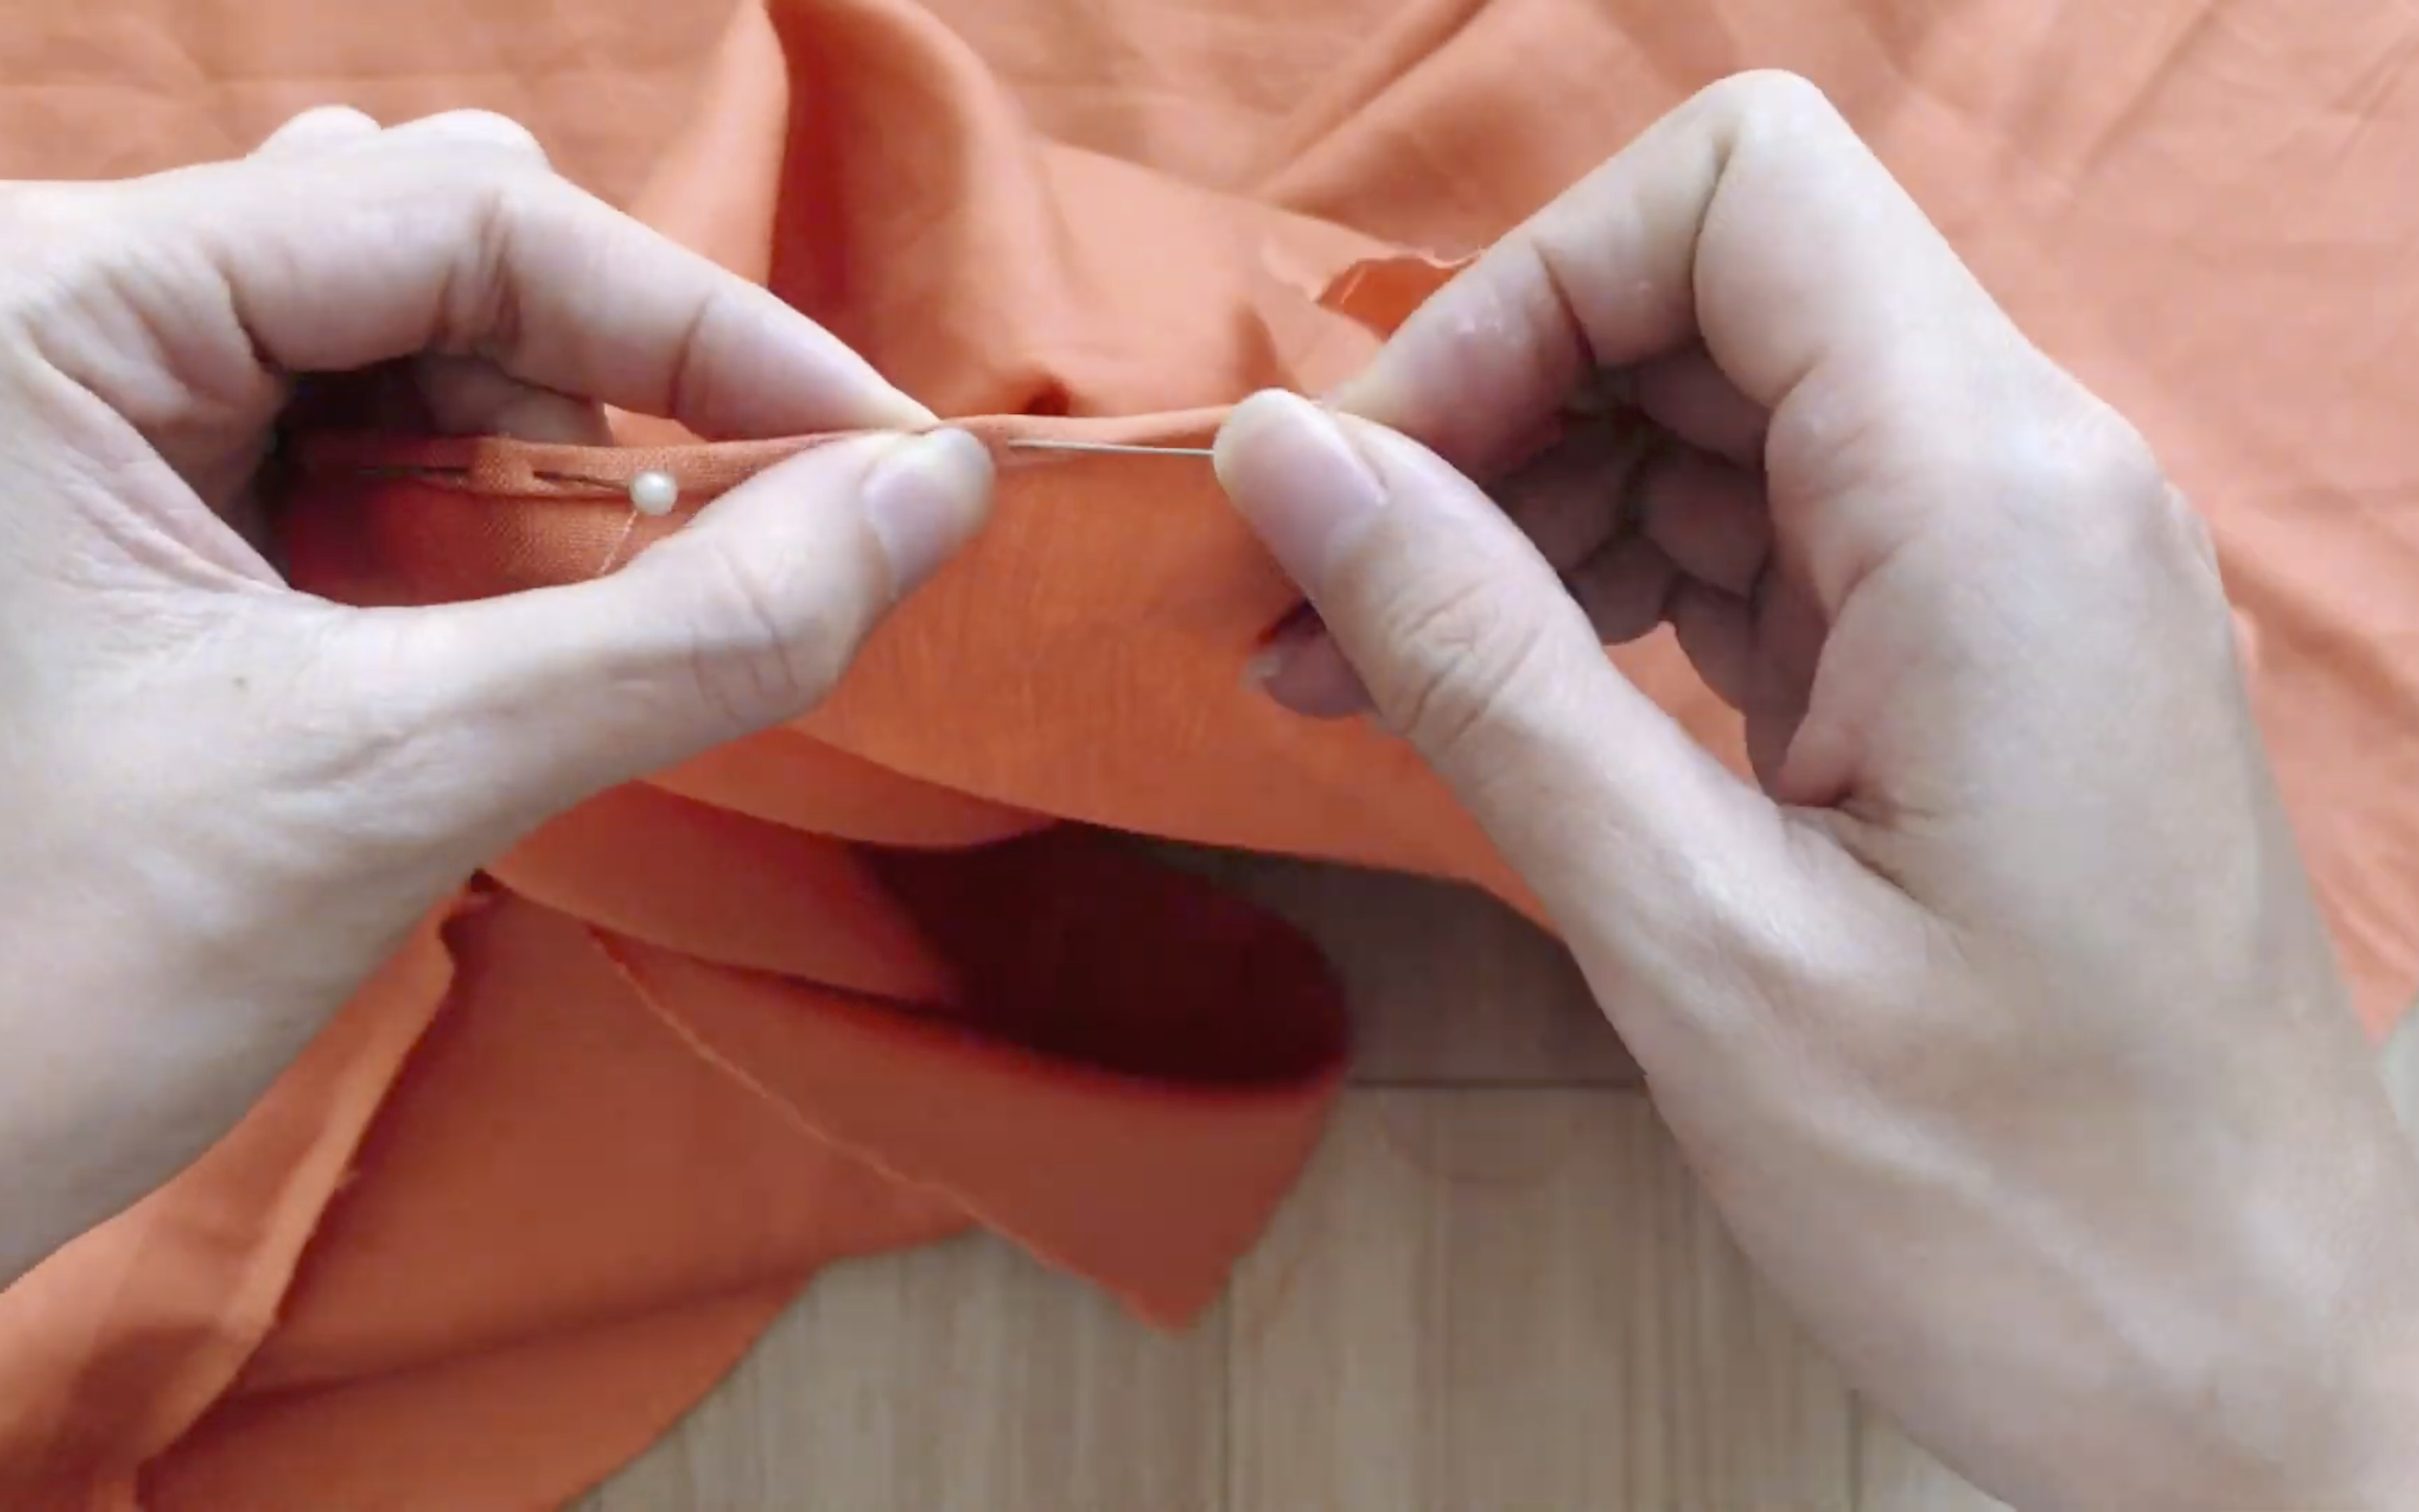
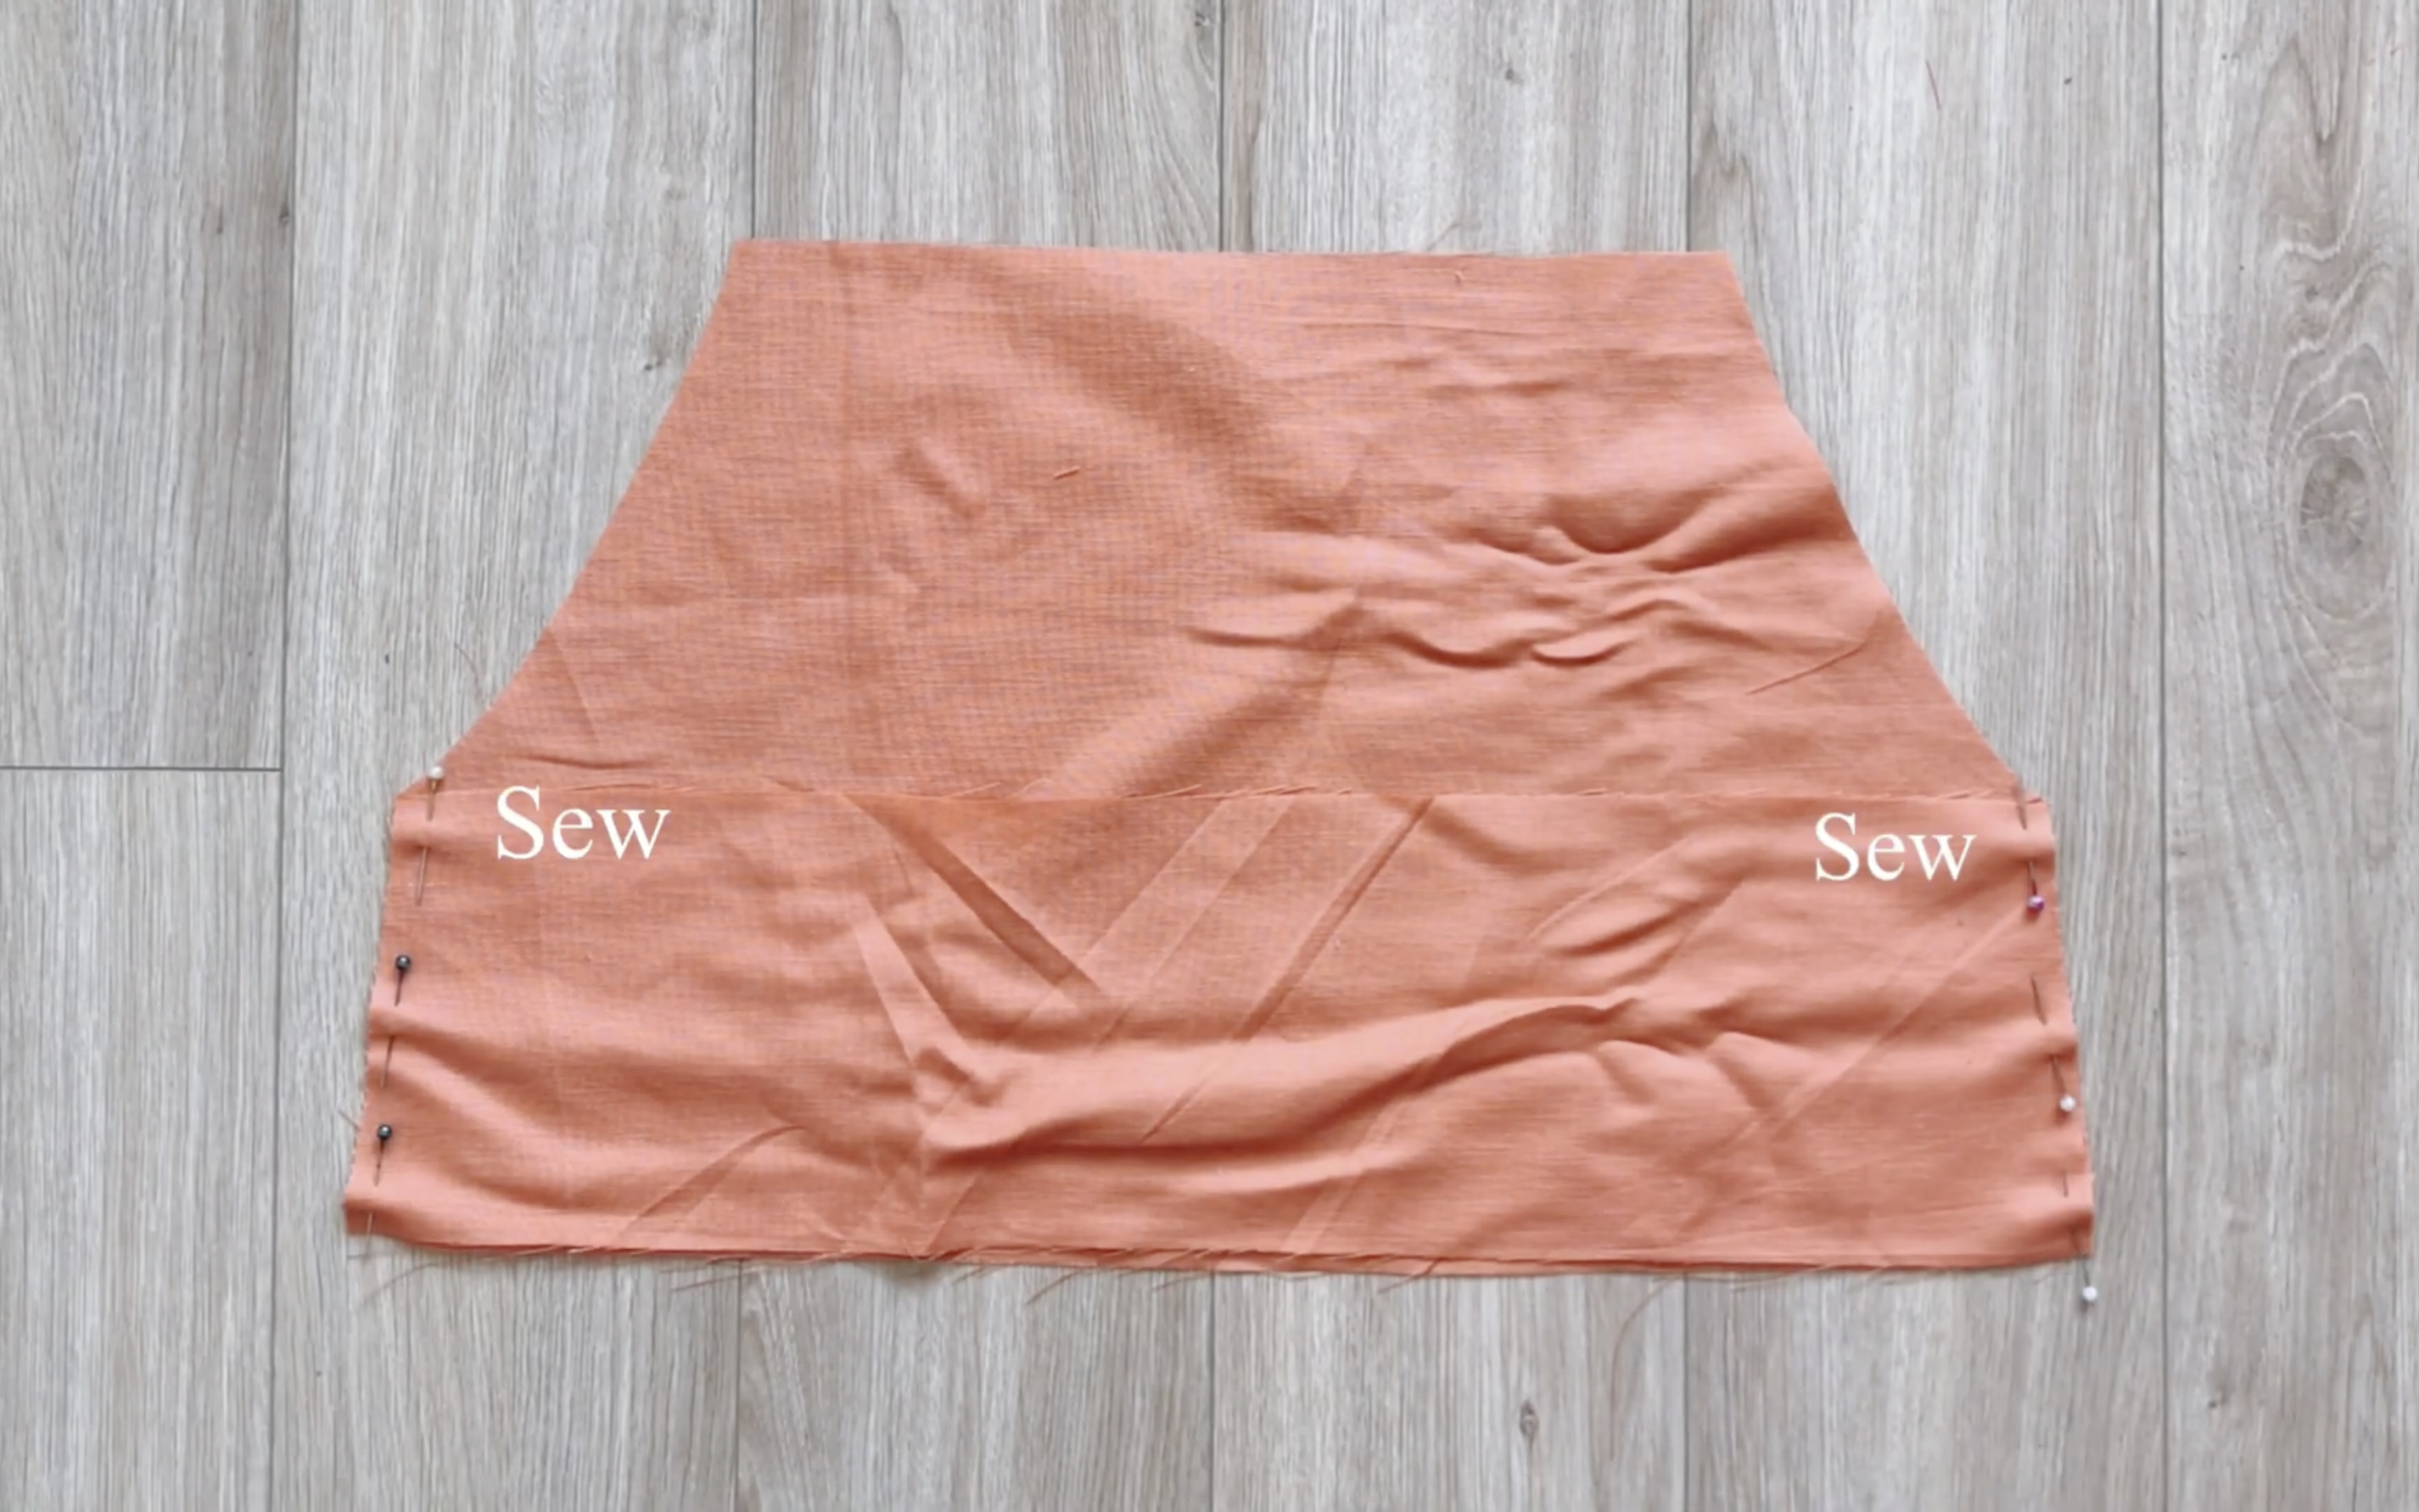
After that, connect the front and the back of the dress together at two sides using pins first.
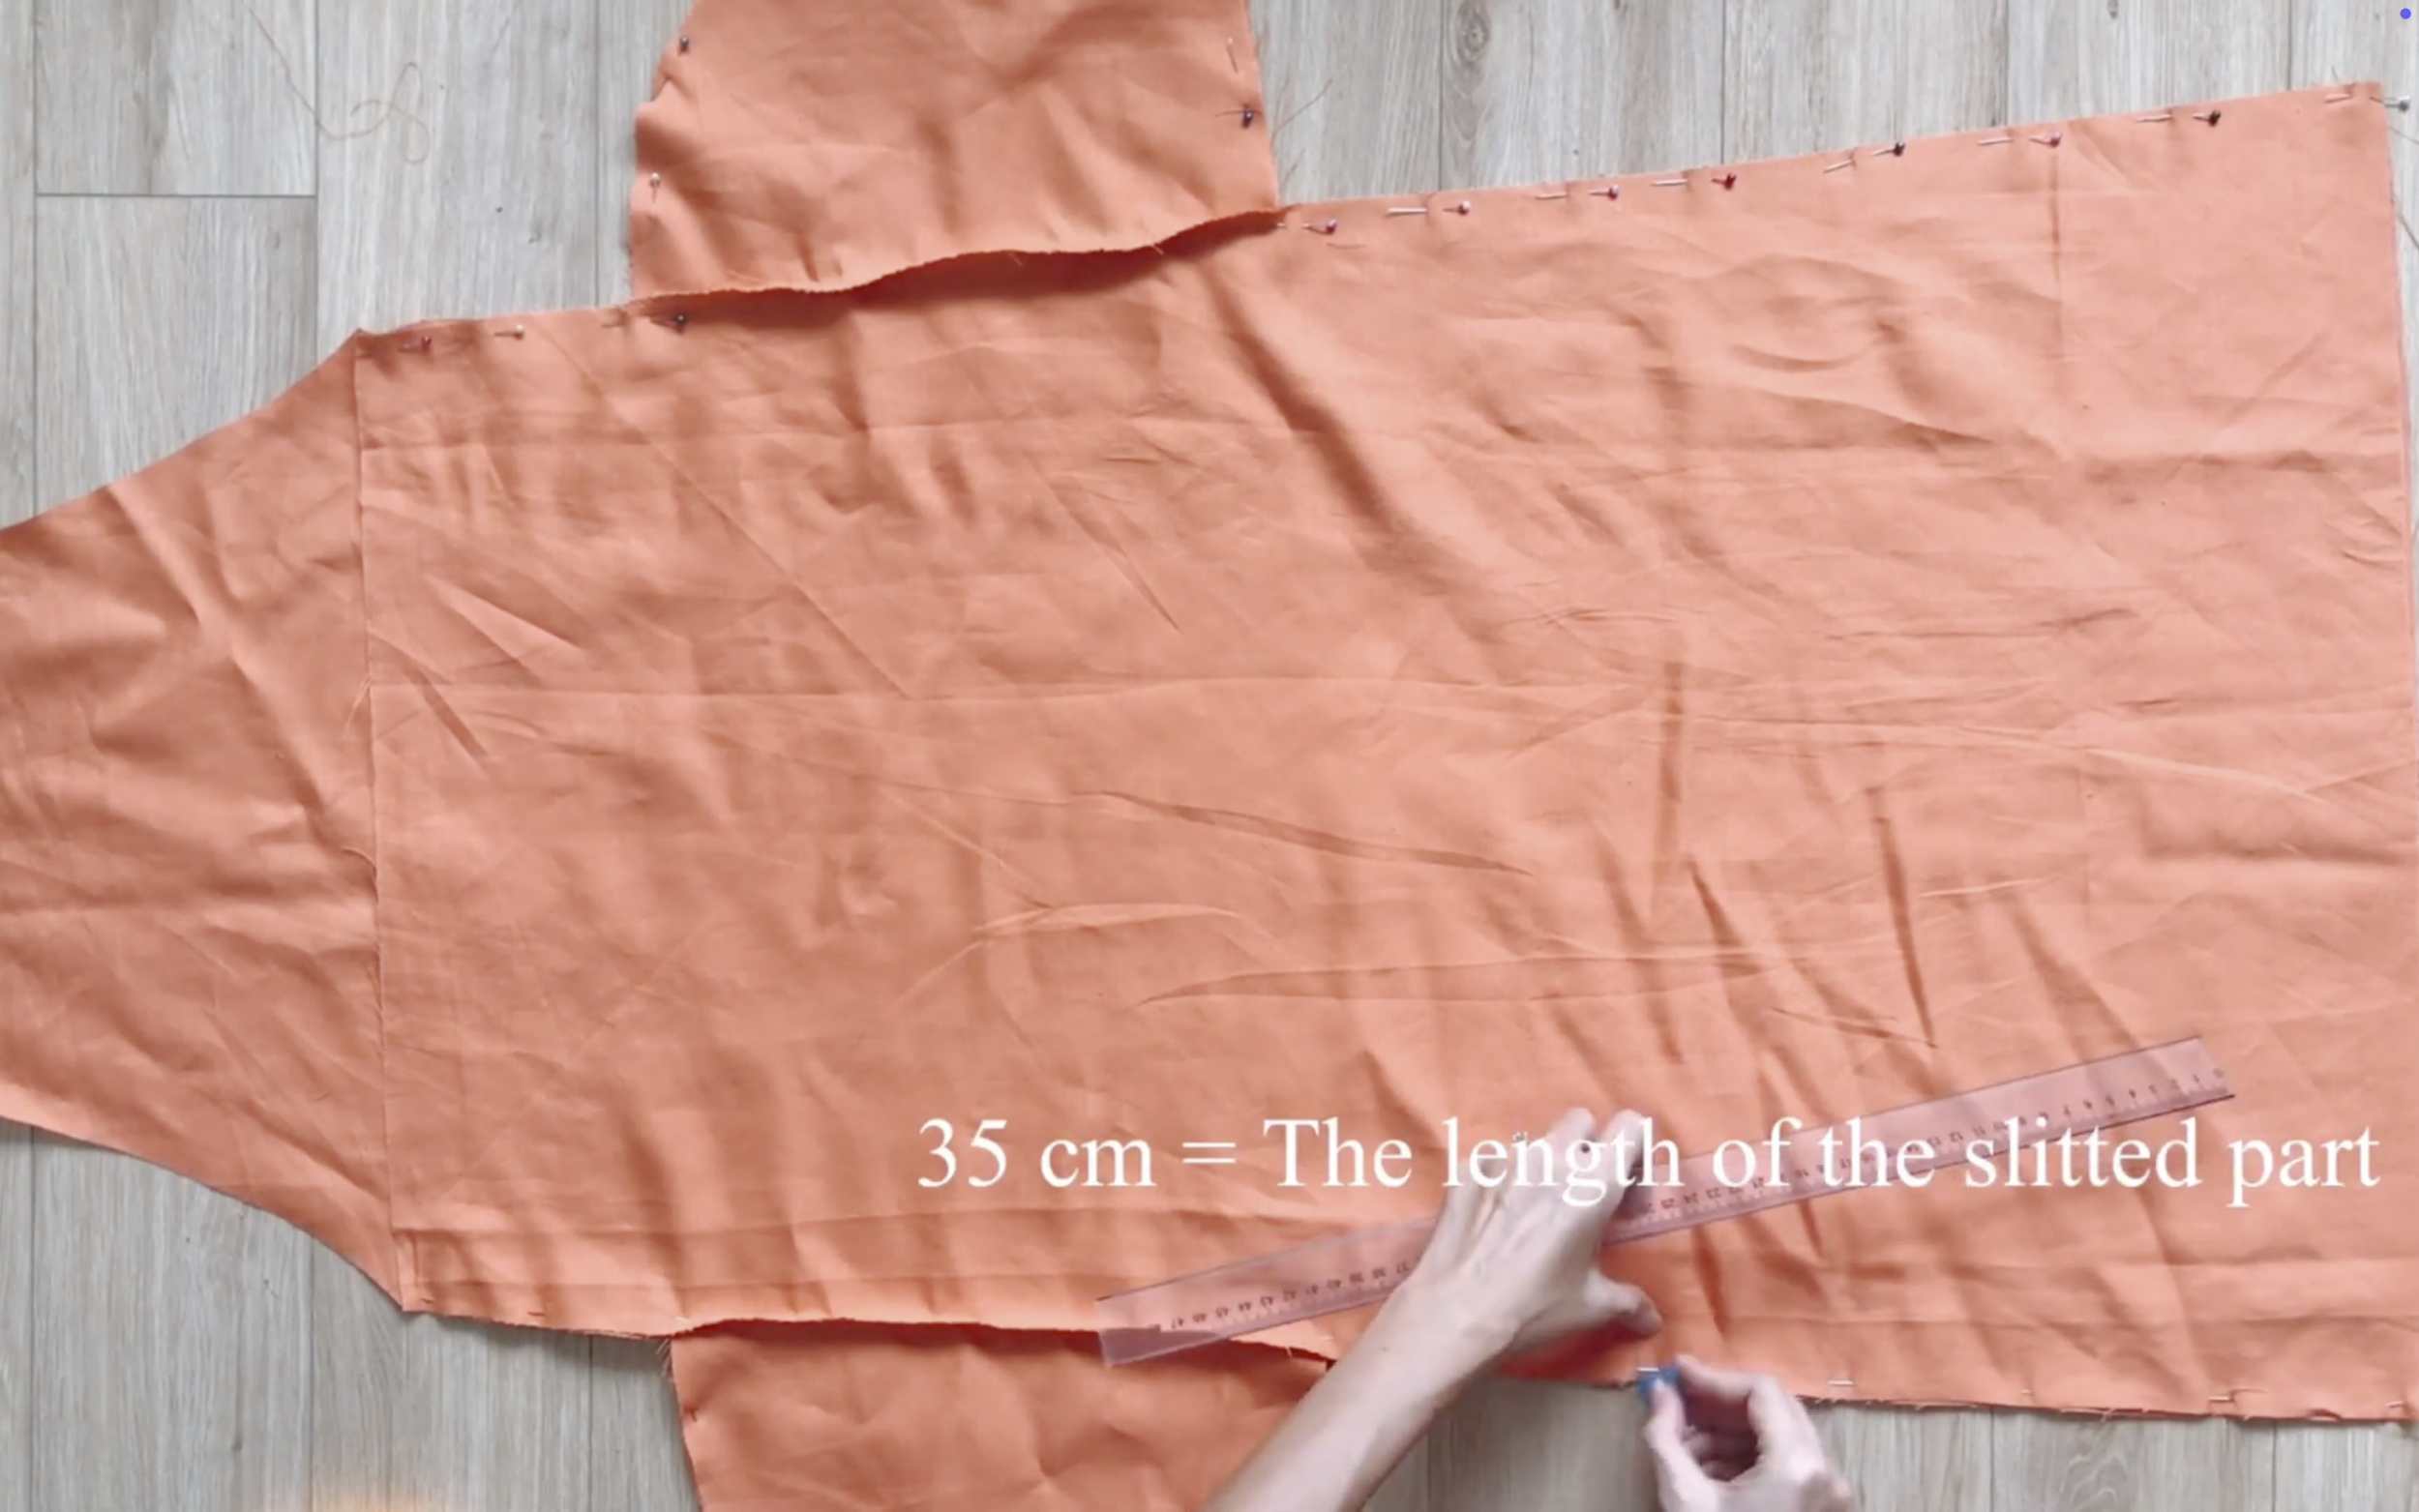
To have a slit at the side of the dress, mark up 35 cm from the end of the dress.
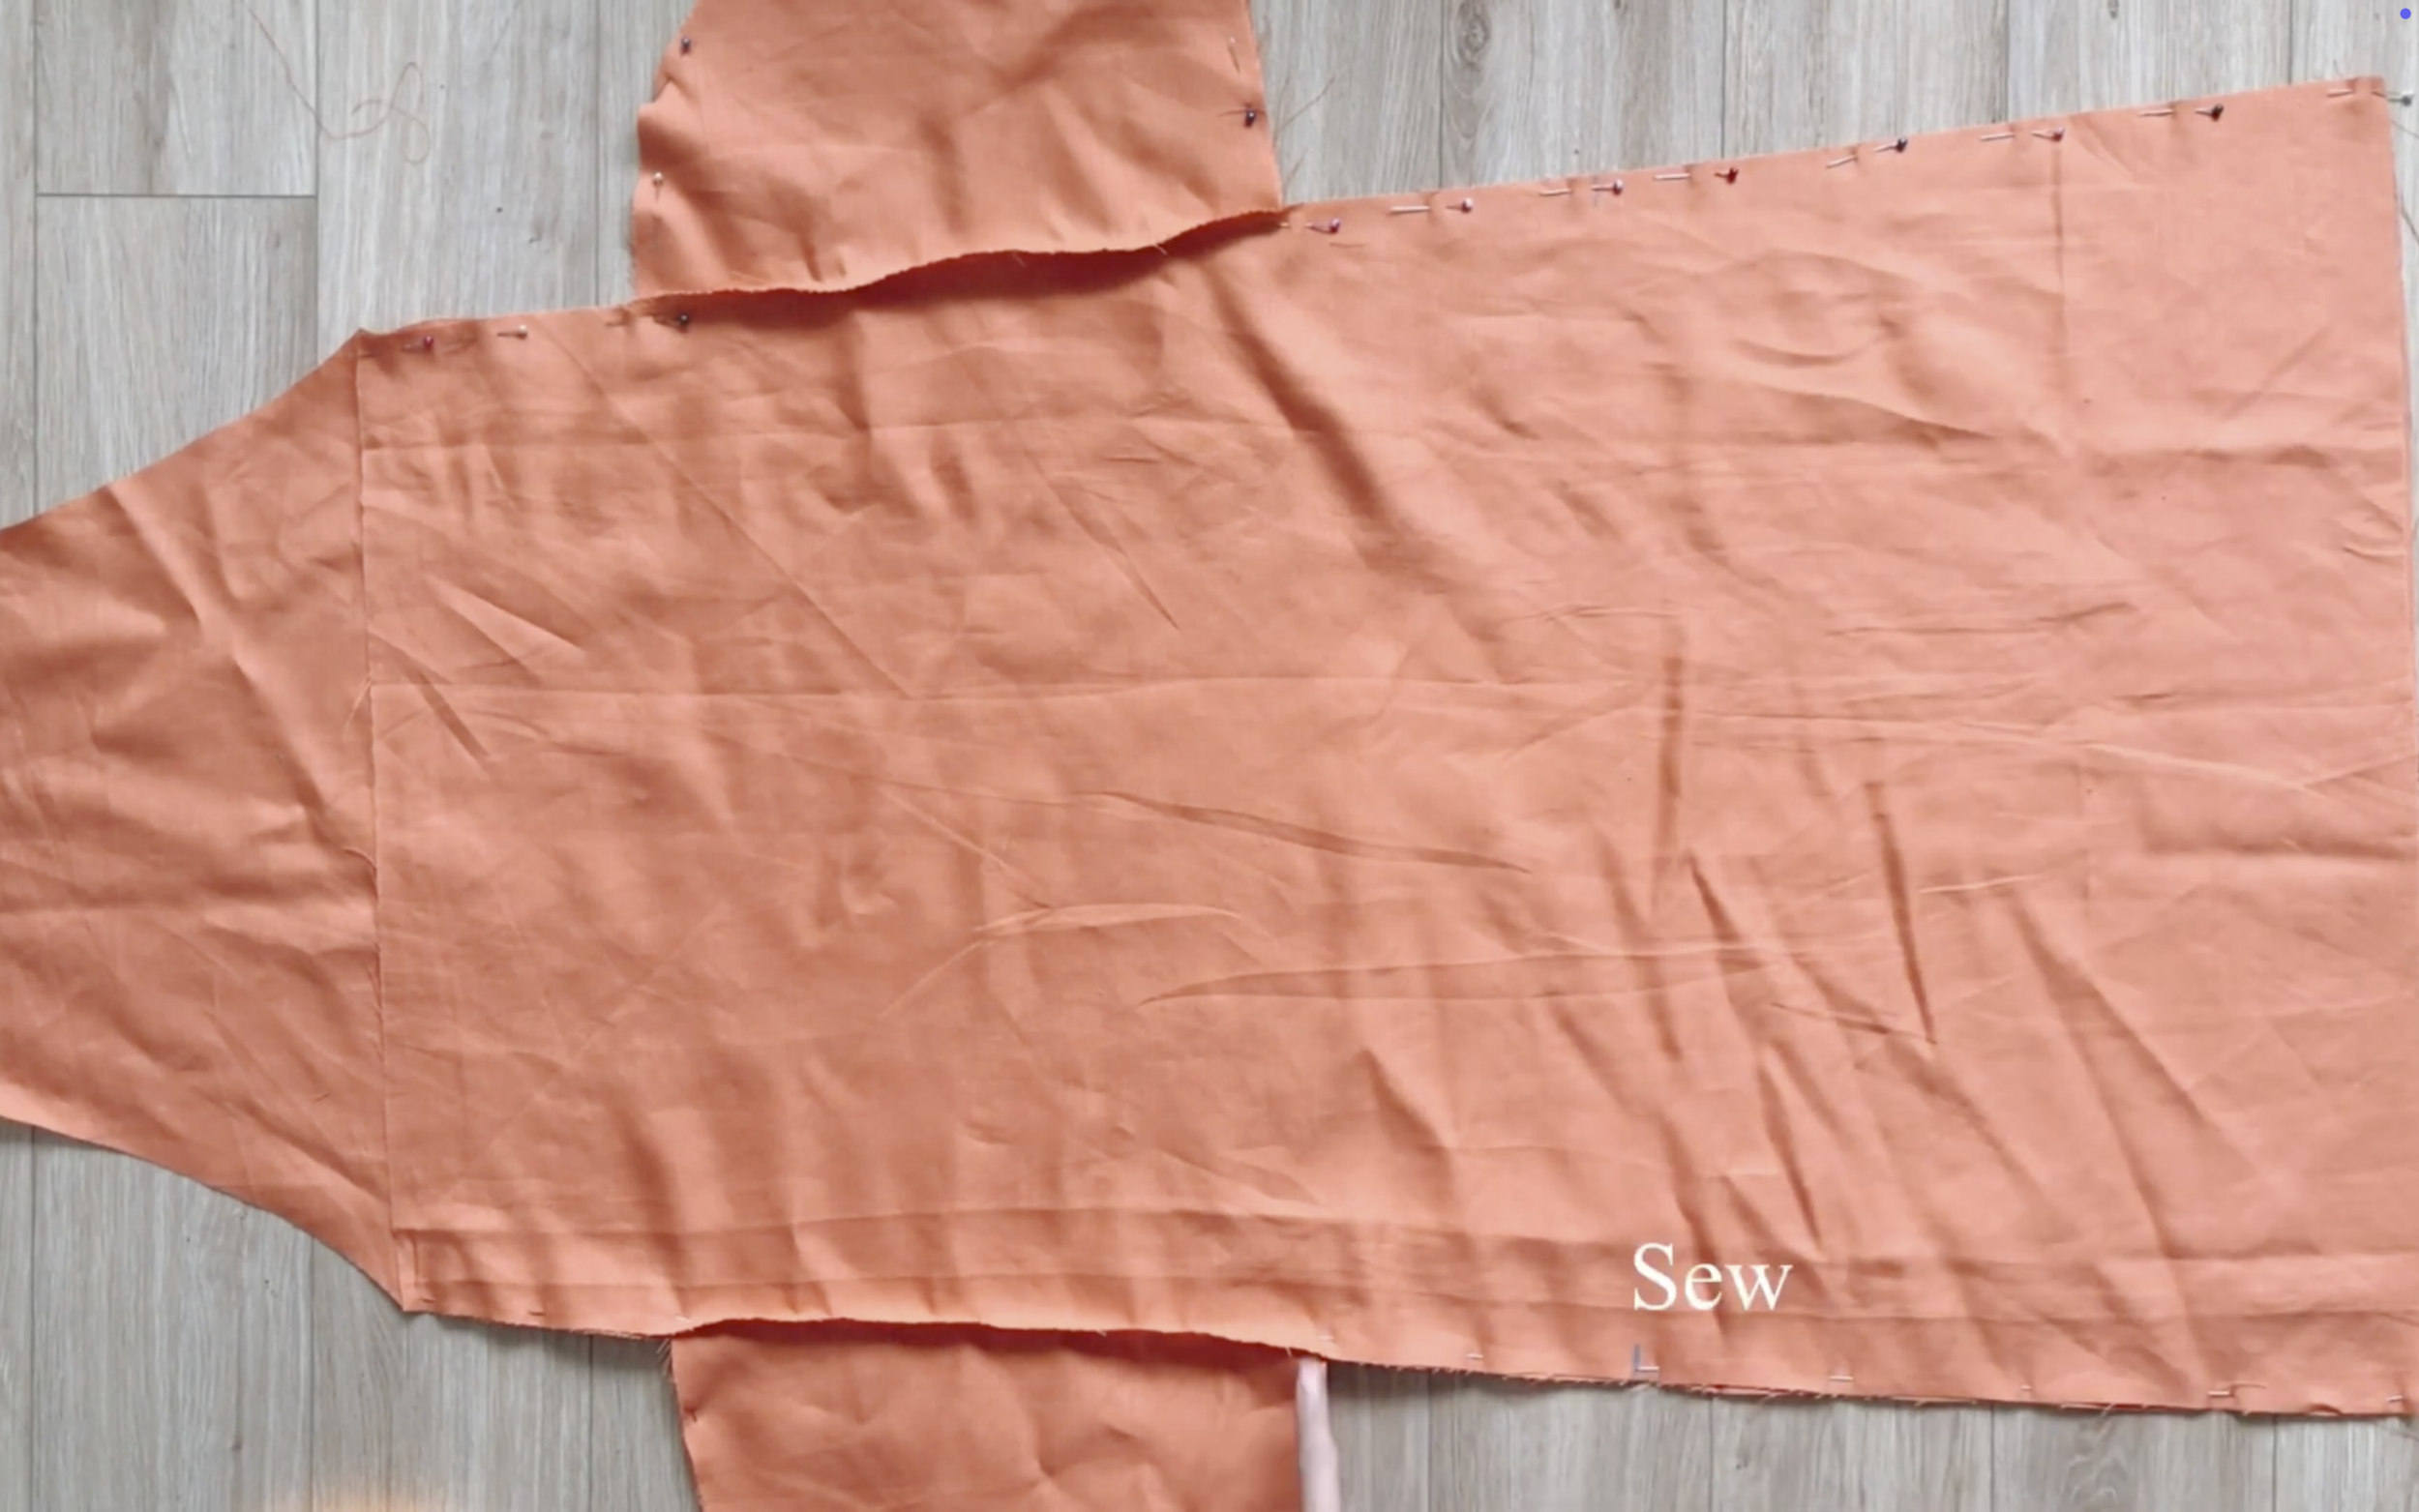
Then sew the rest of the sideline together.
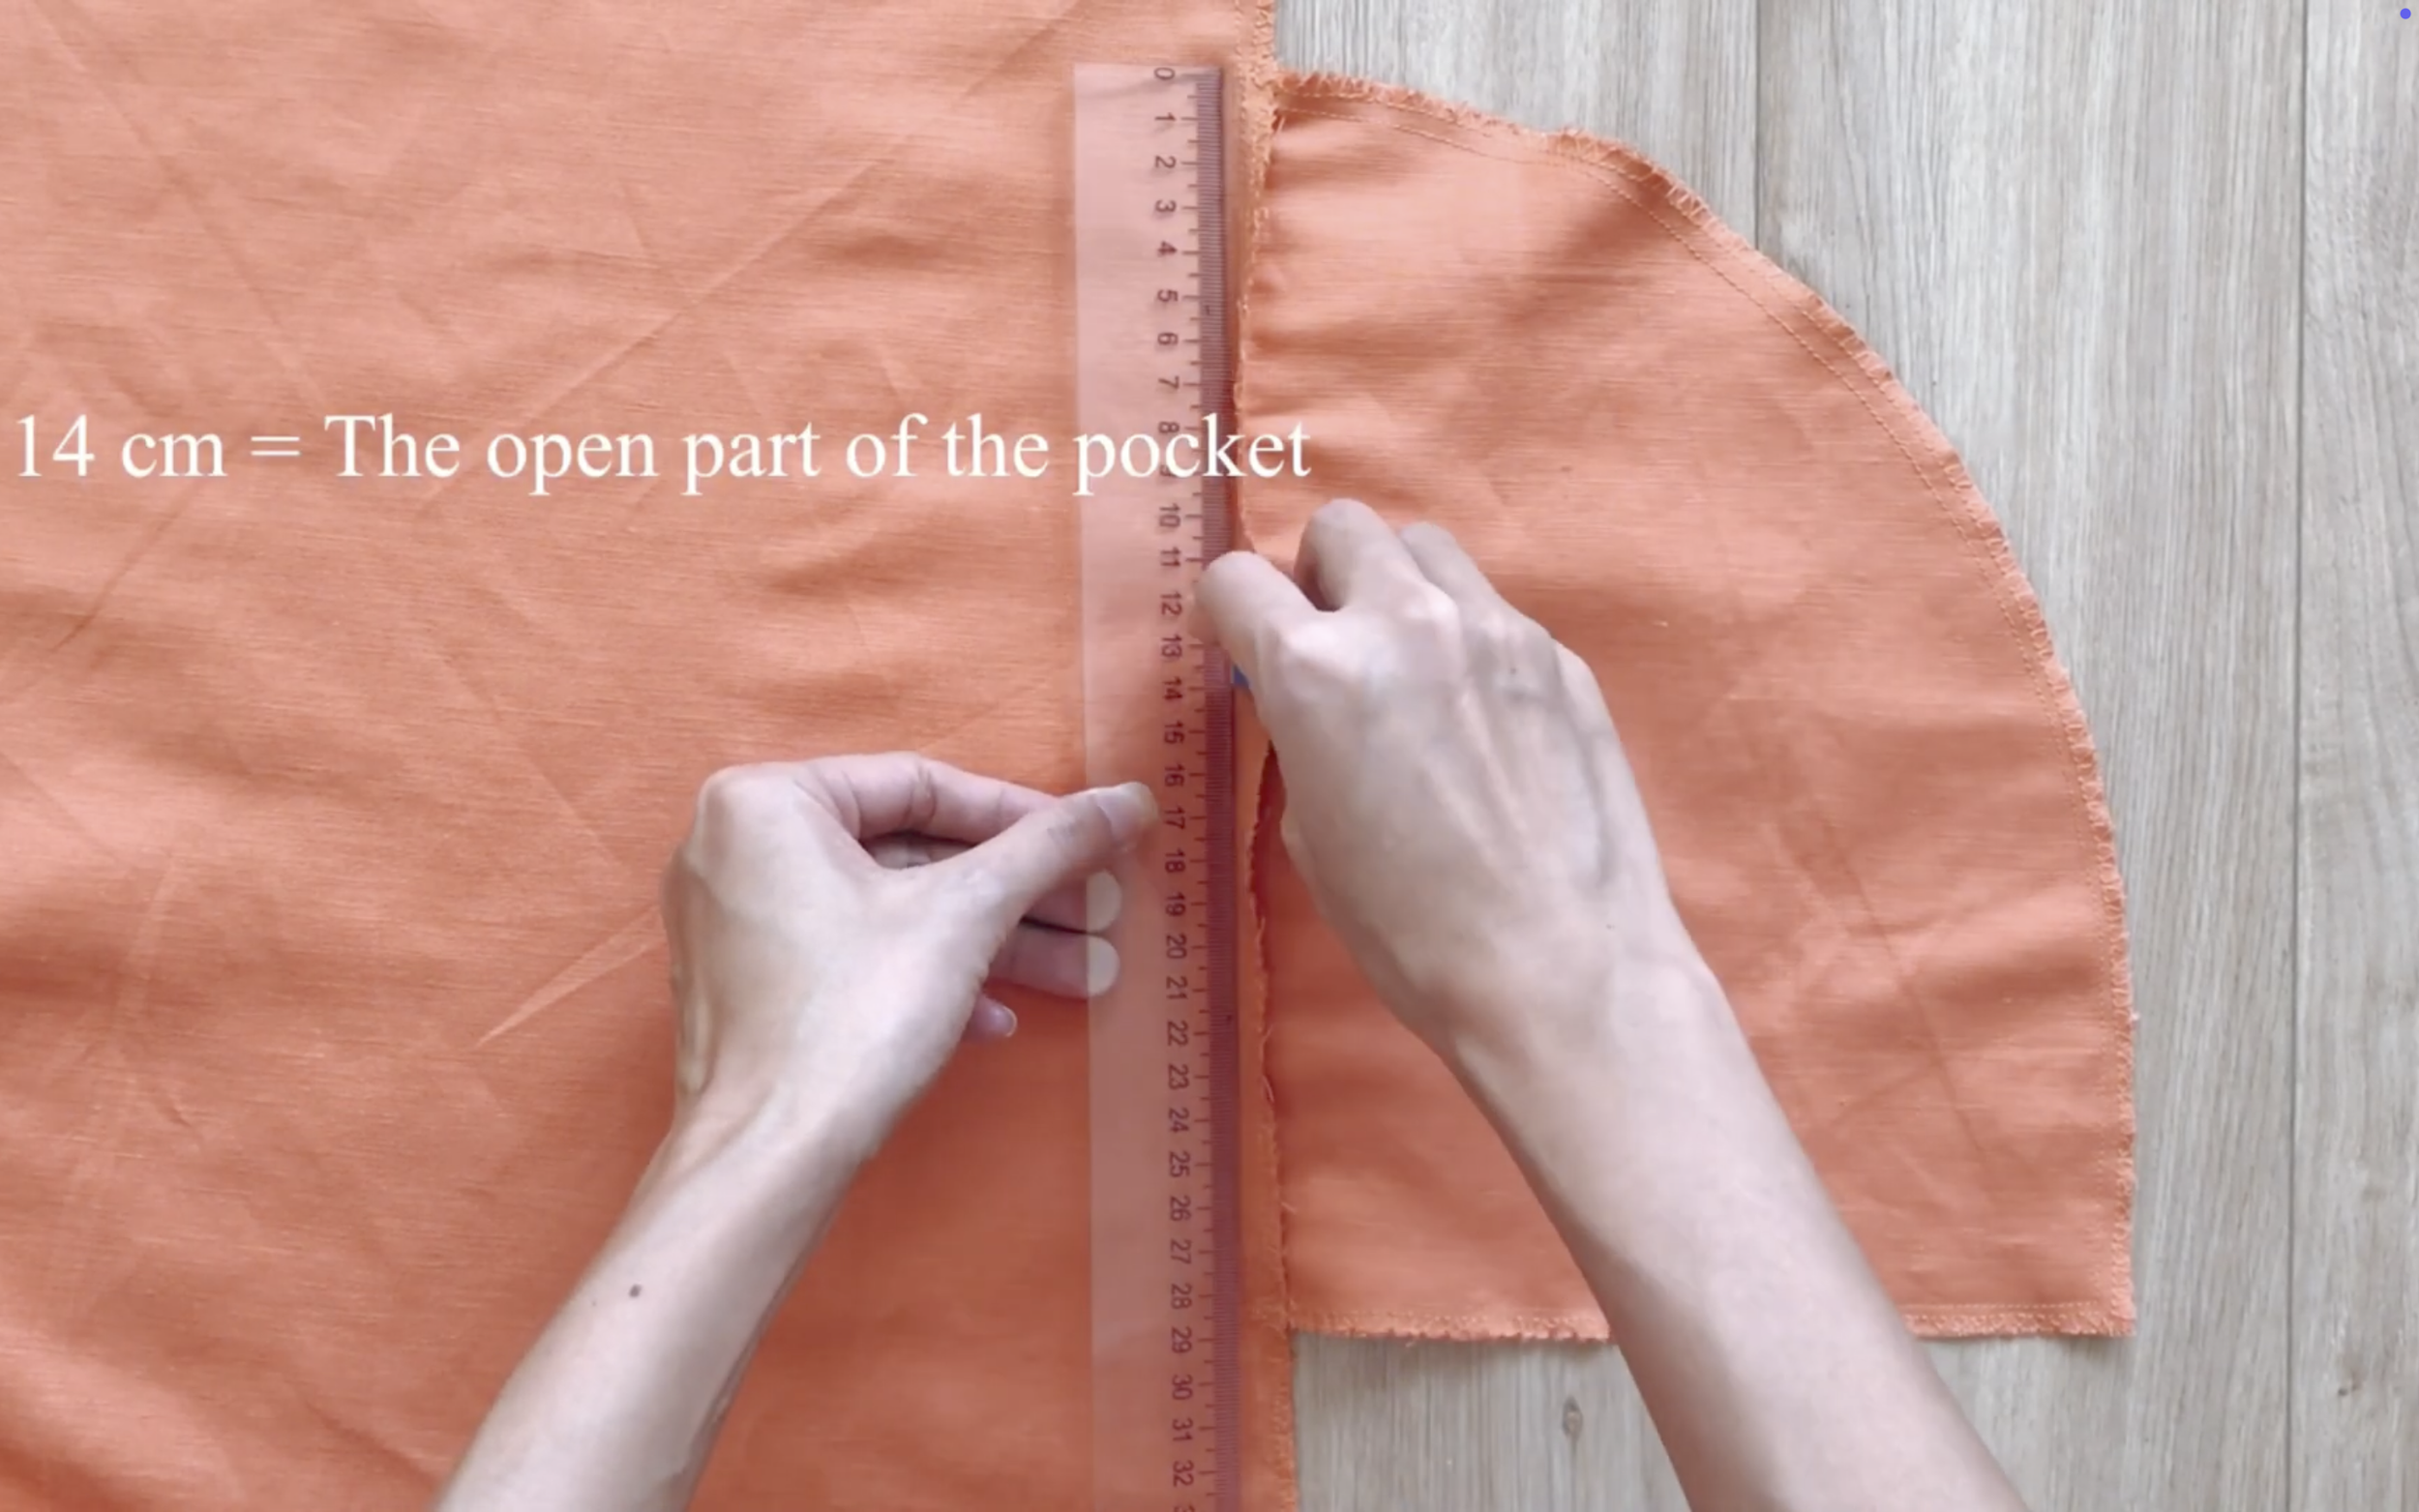
To create depth for the pocket, mark down 14 cm from the top of the pocket. This is the open area of the pocket where a hand can be put in.
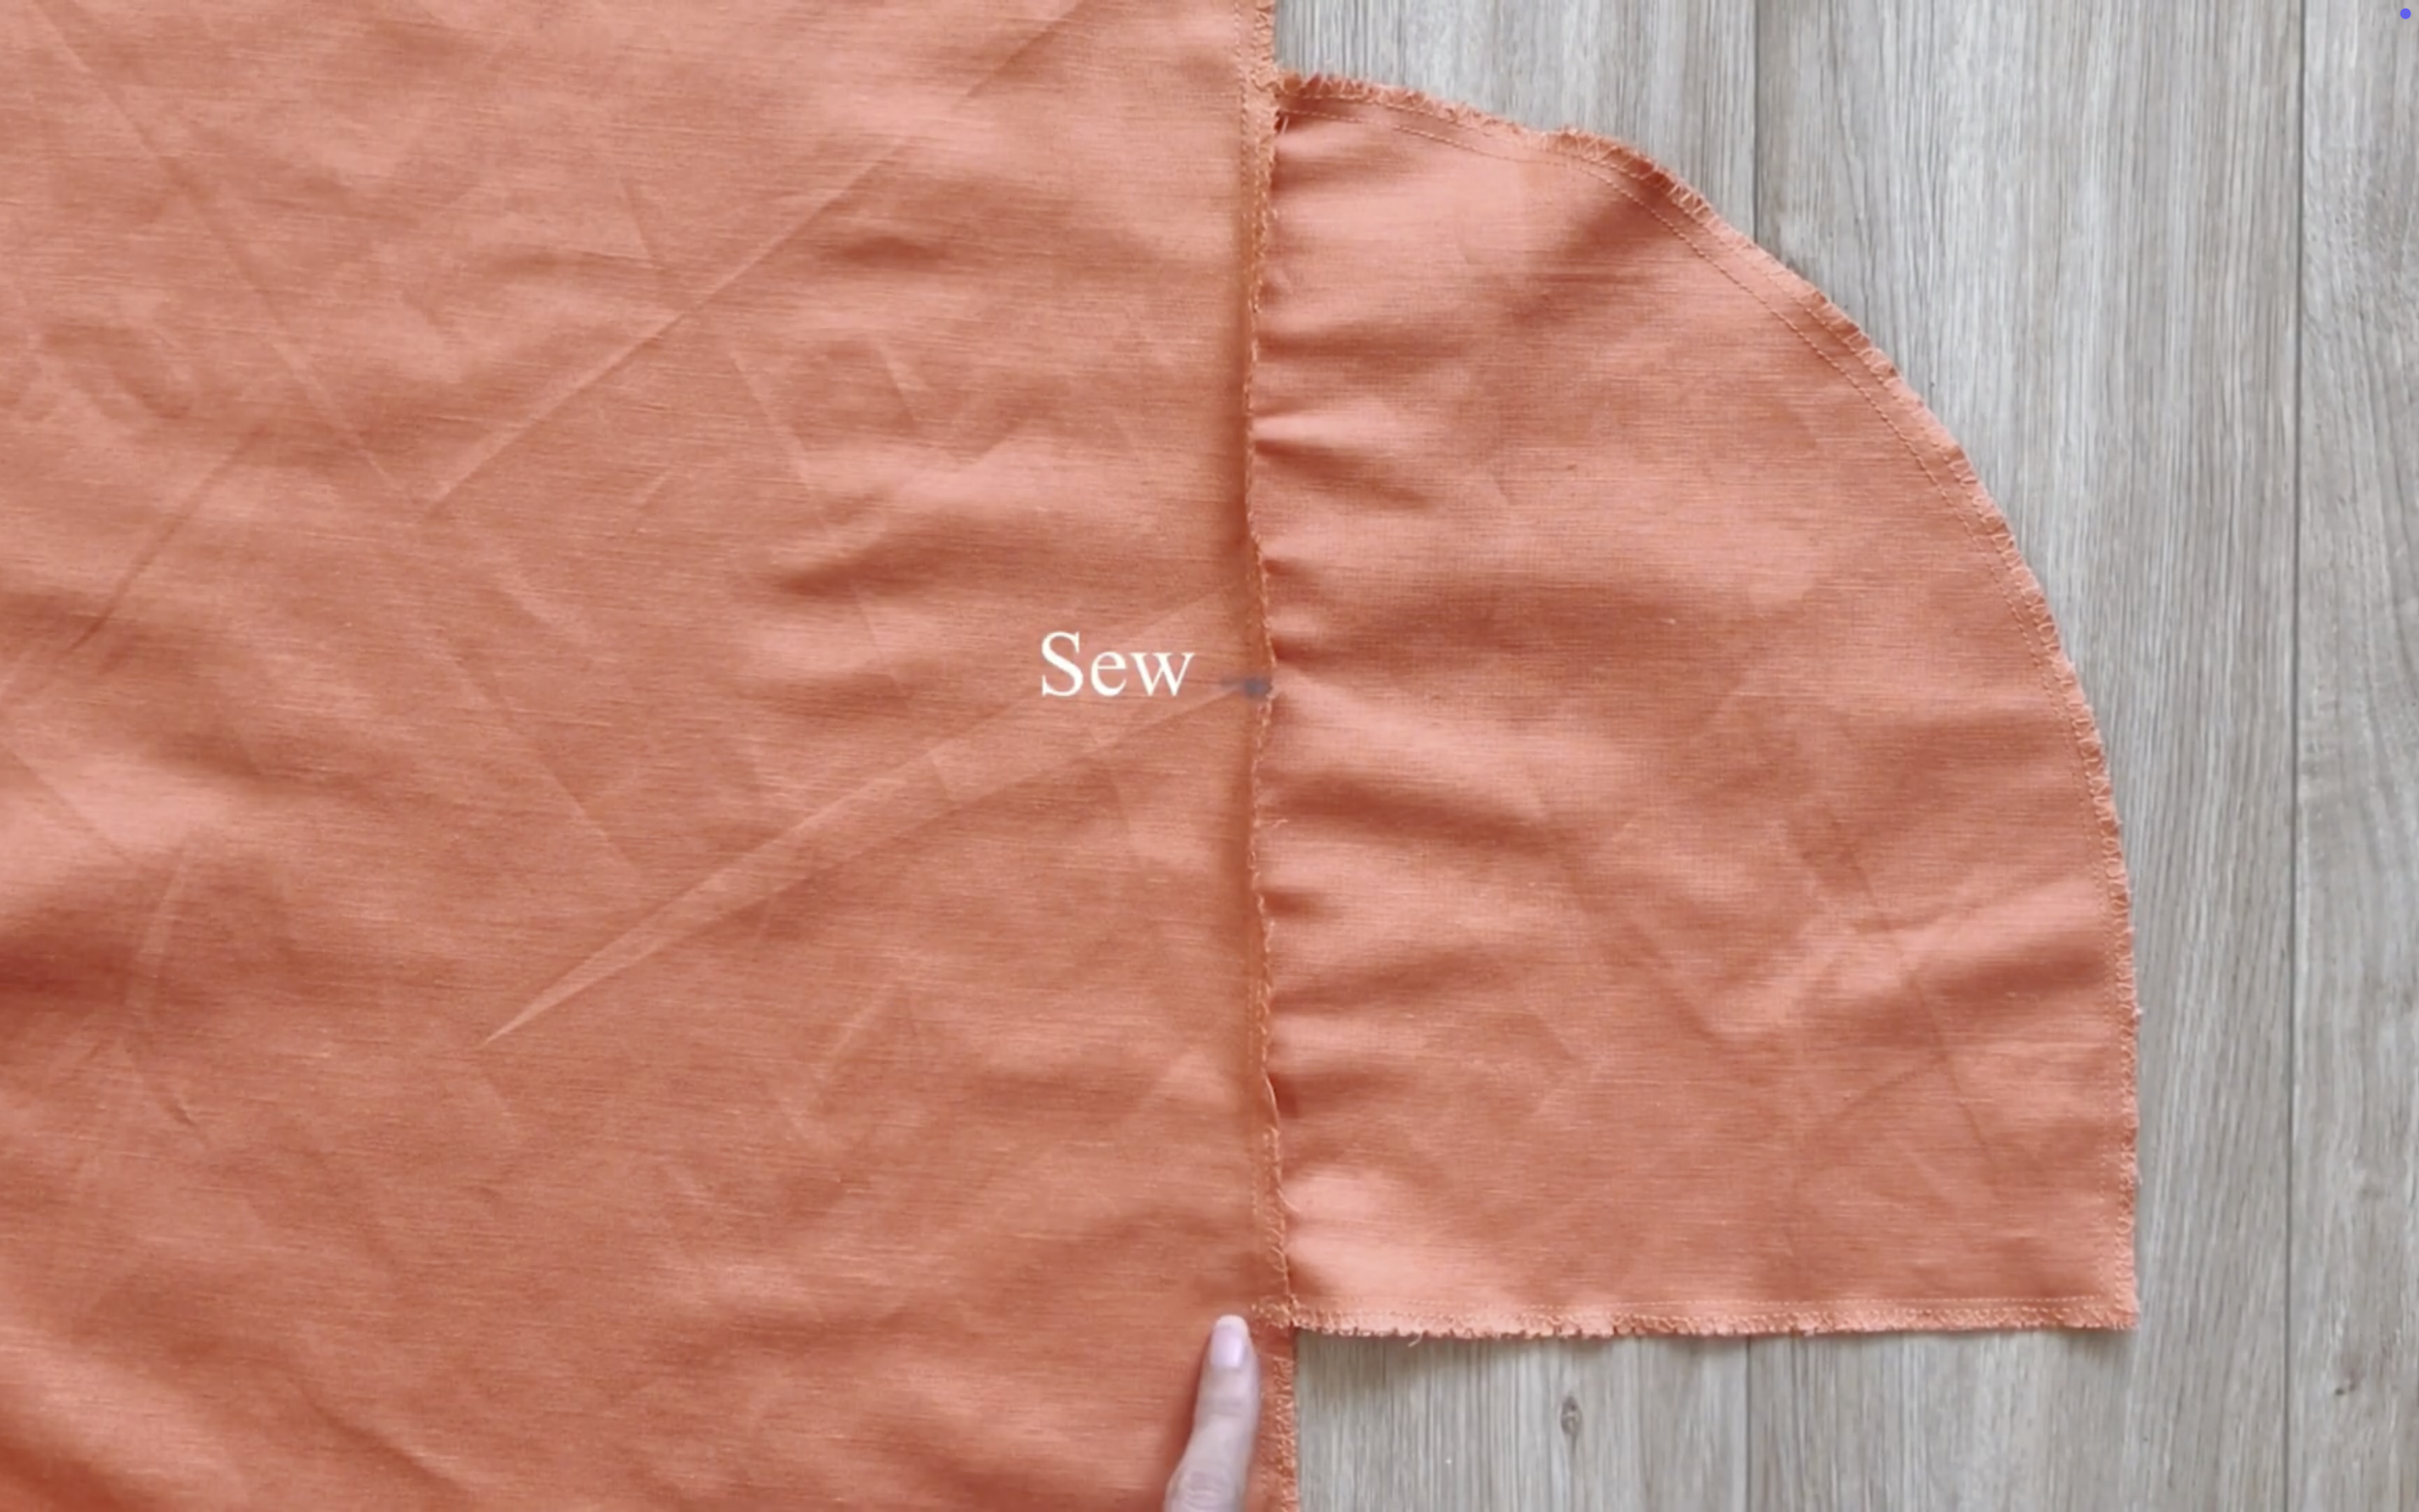
Then, sew the rest of the pocket together.
To finish the slit, fold the end fabric inside two times, then sew to finish it.
Do the same for the end of the dress.
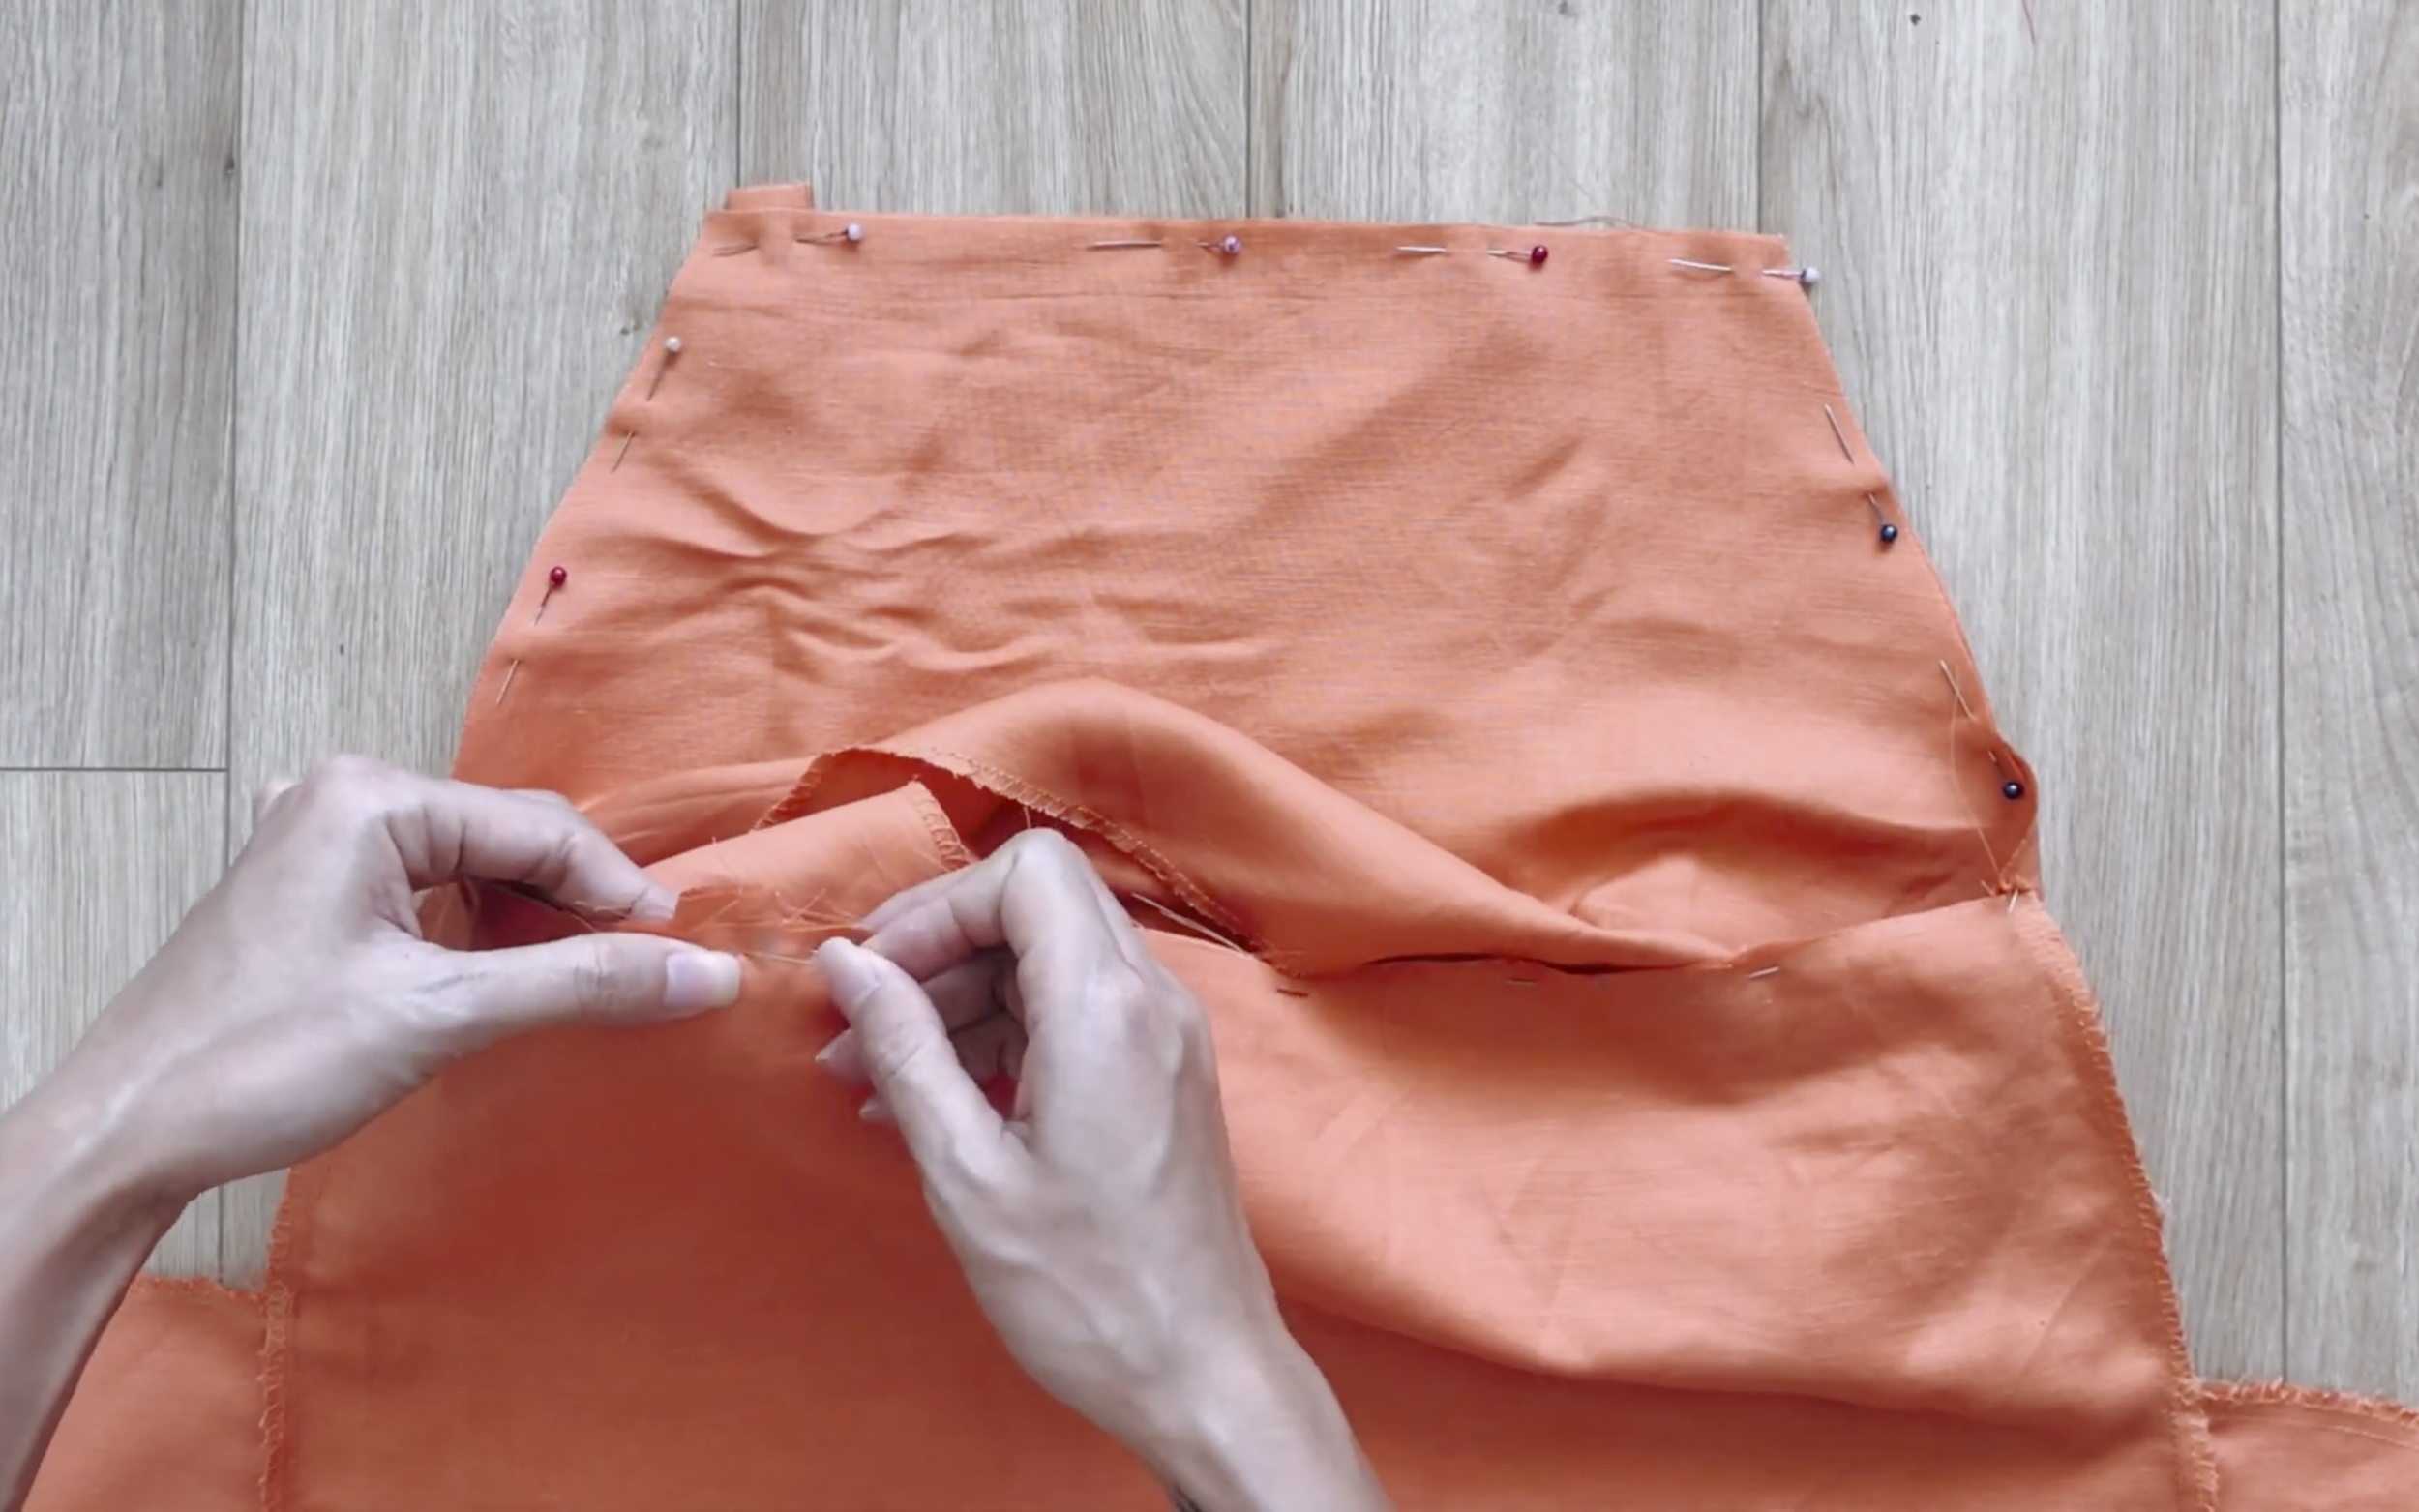
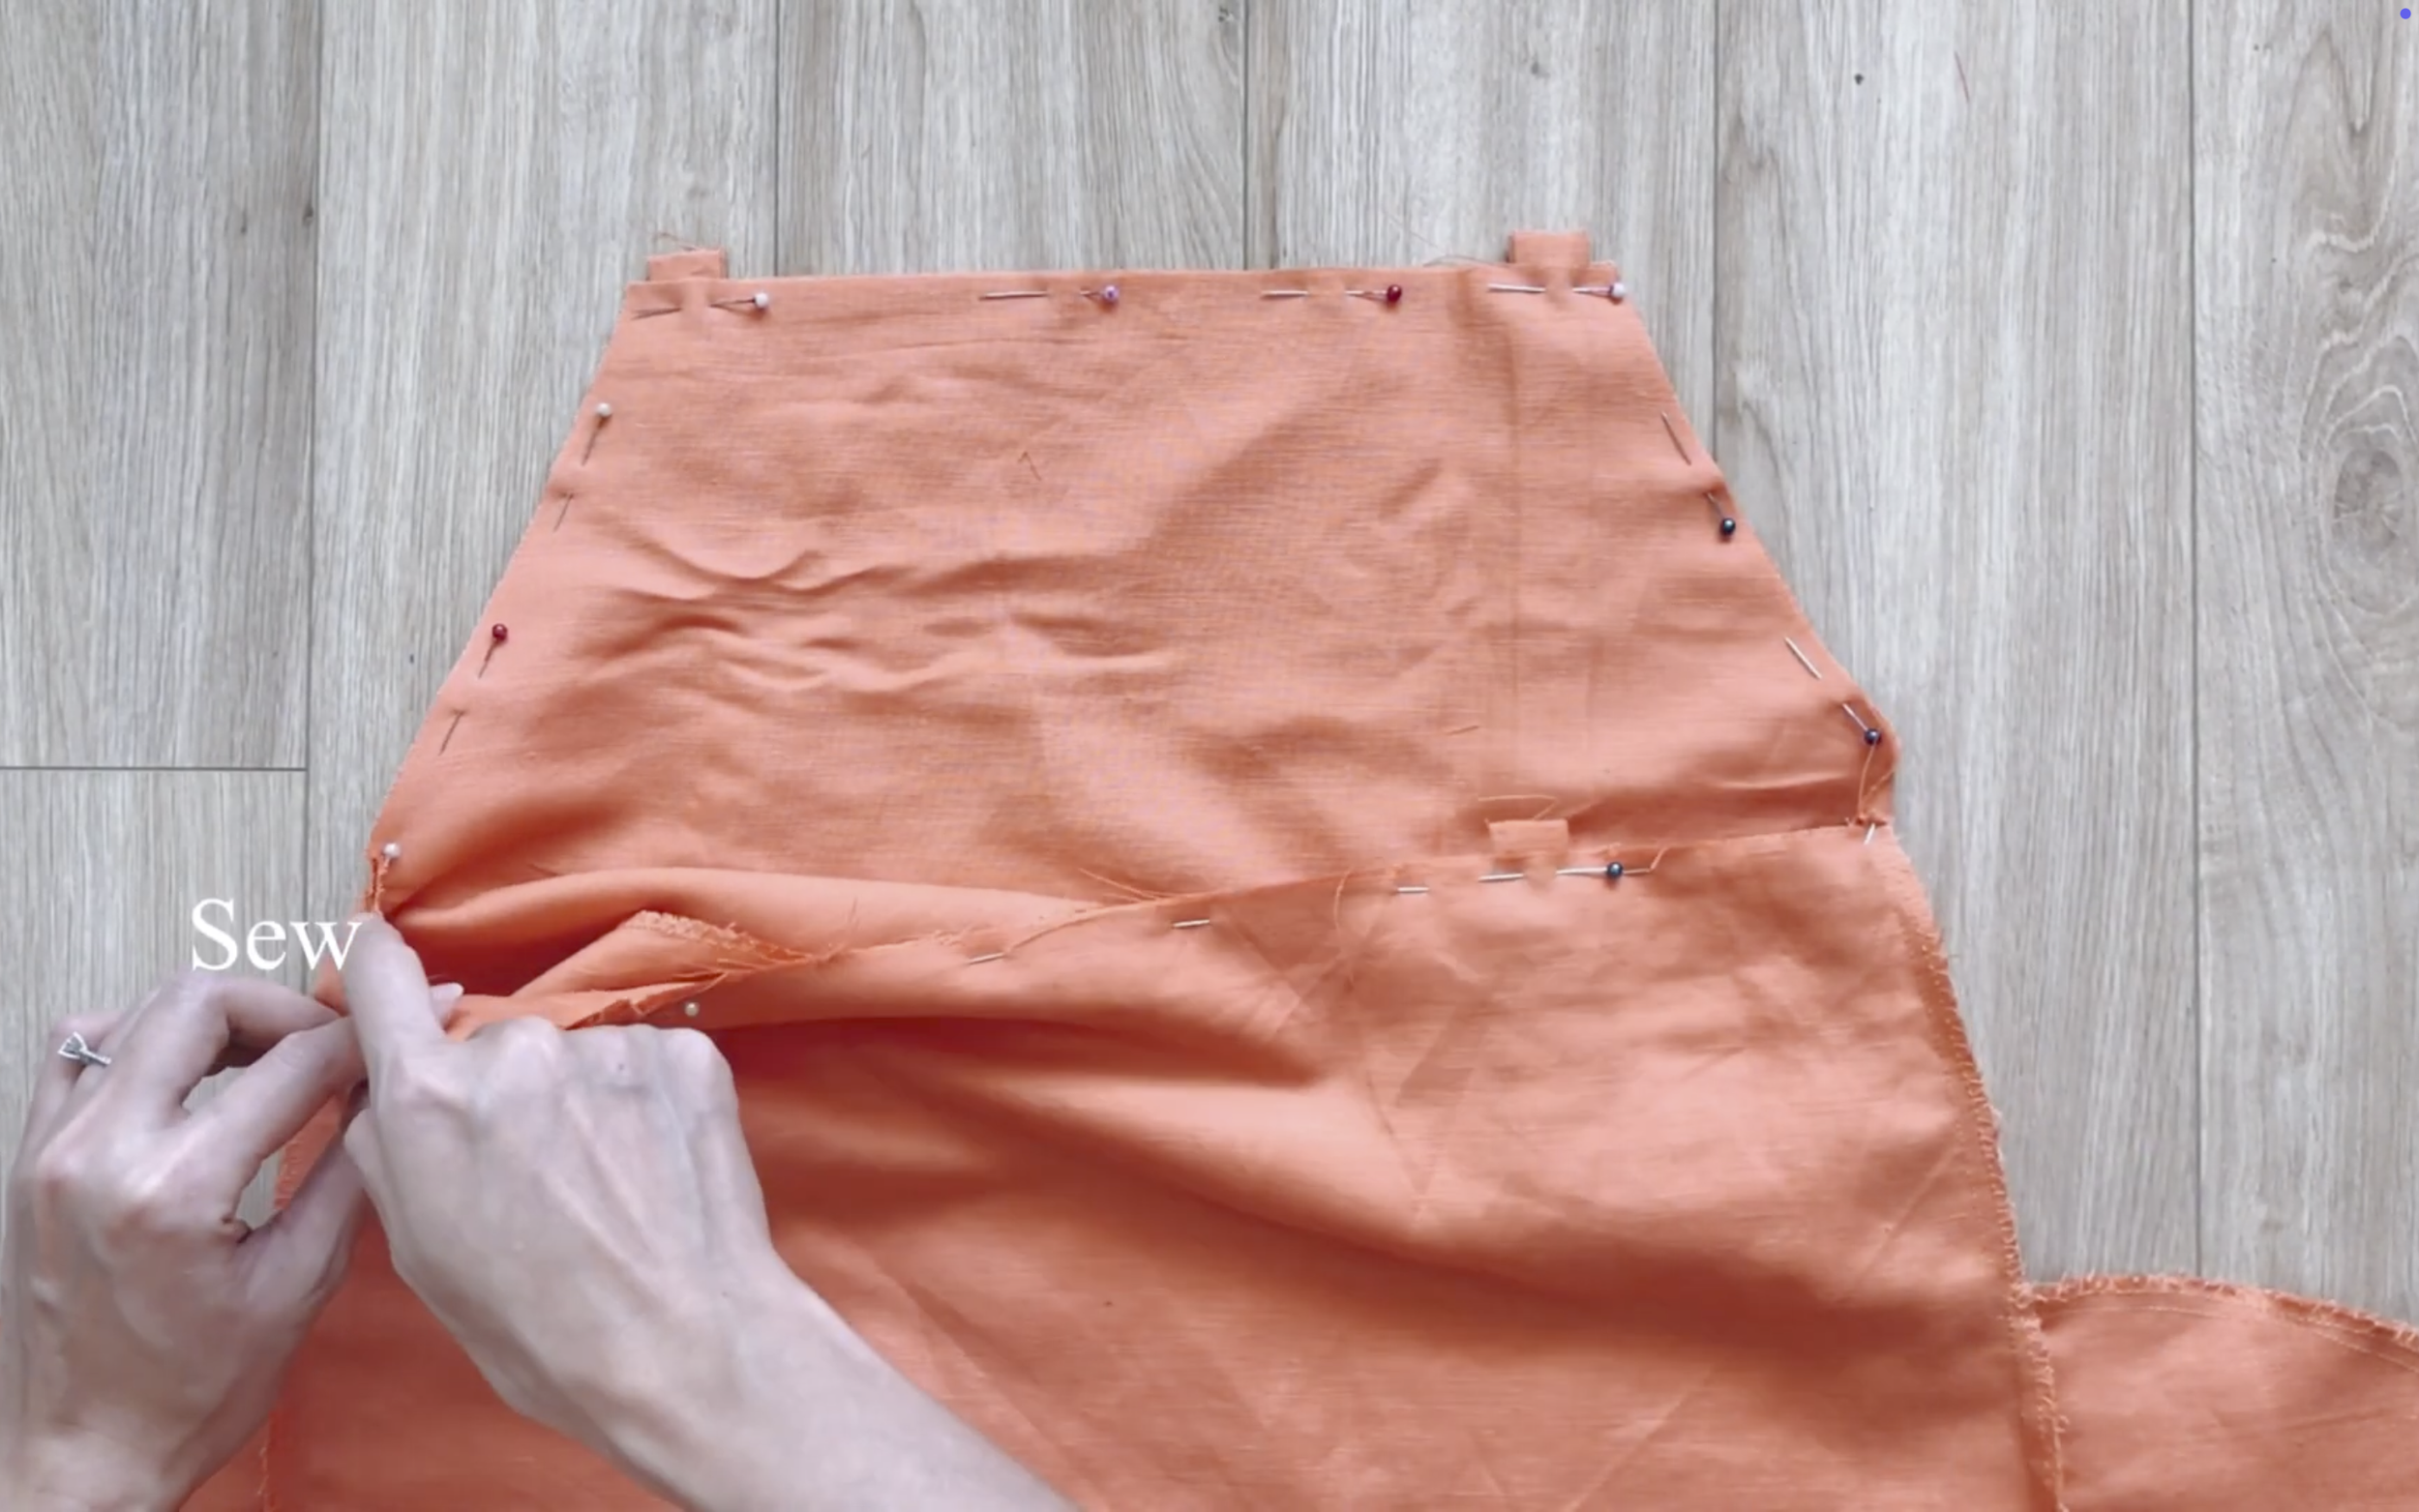
Now, connect the inside part of the front and the back together at two sides.
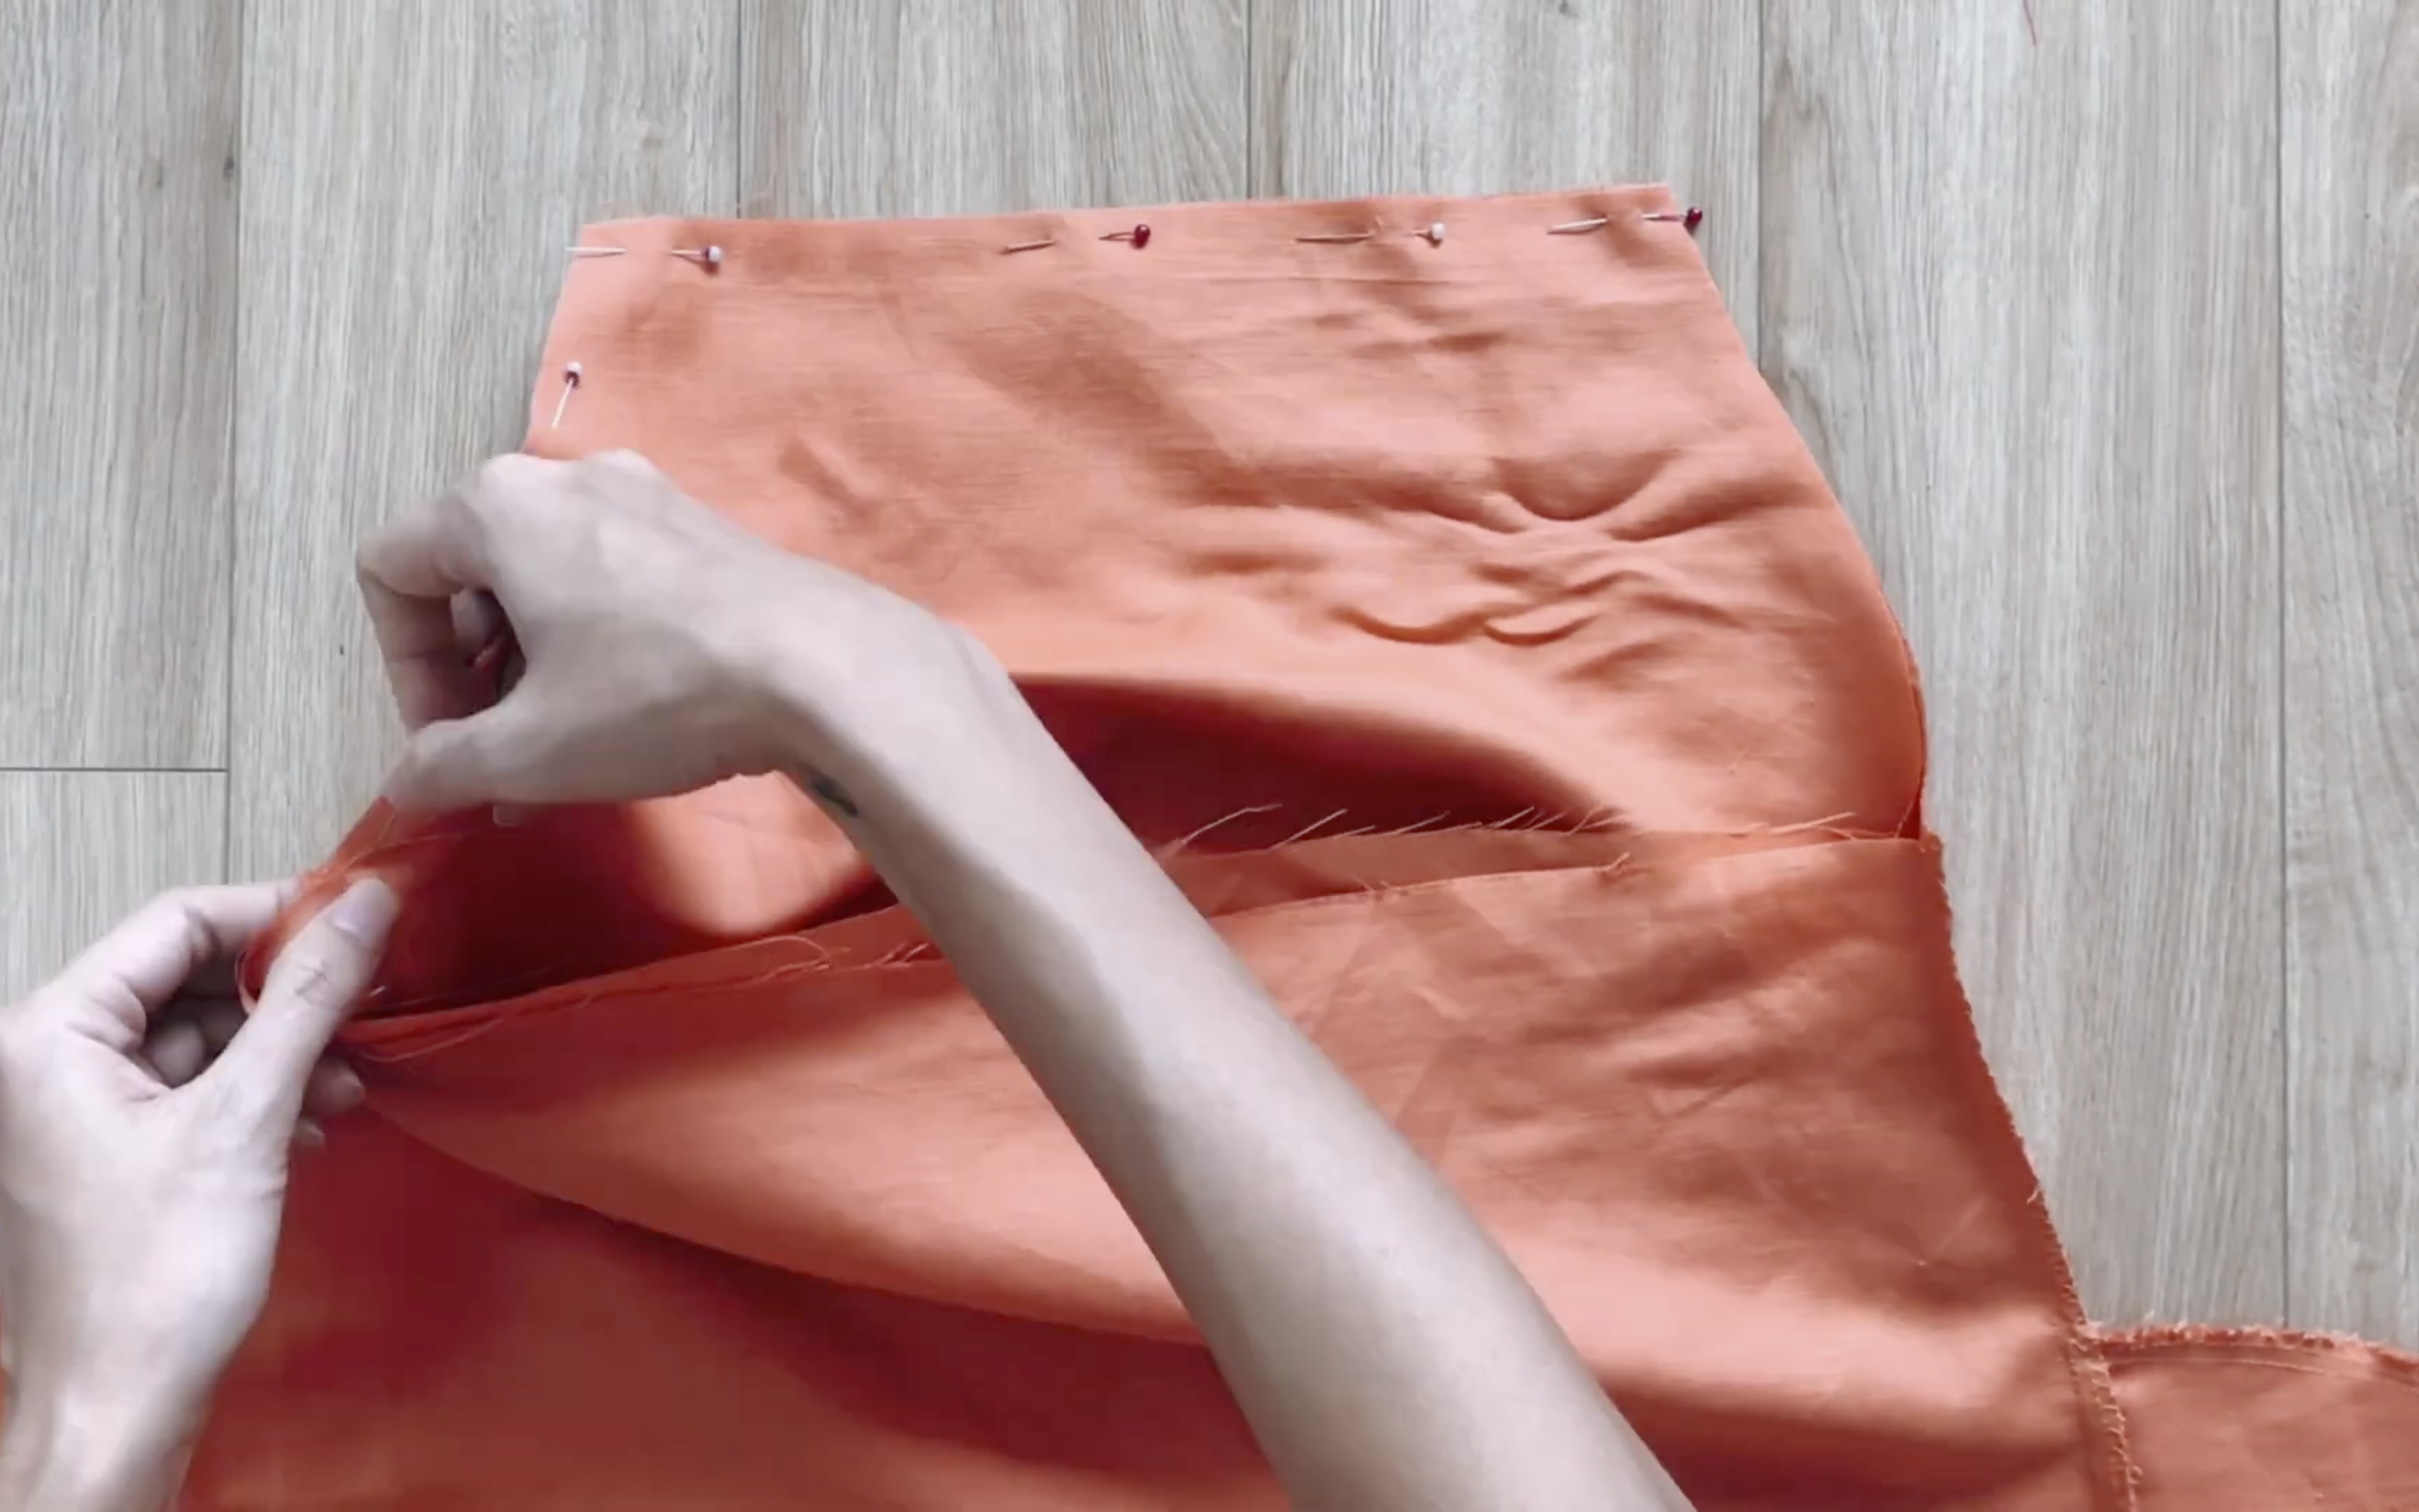
After sewing, put it inside the dress and connect them together using pins.
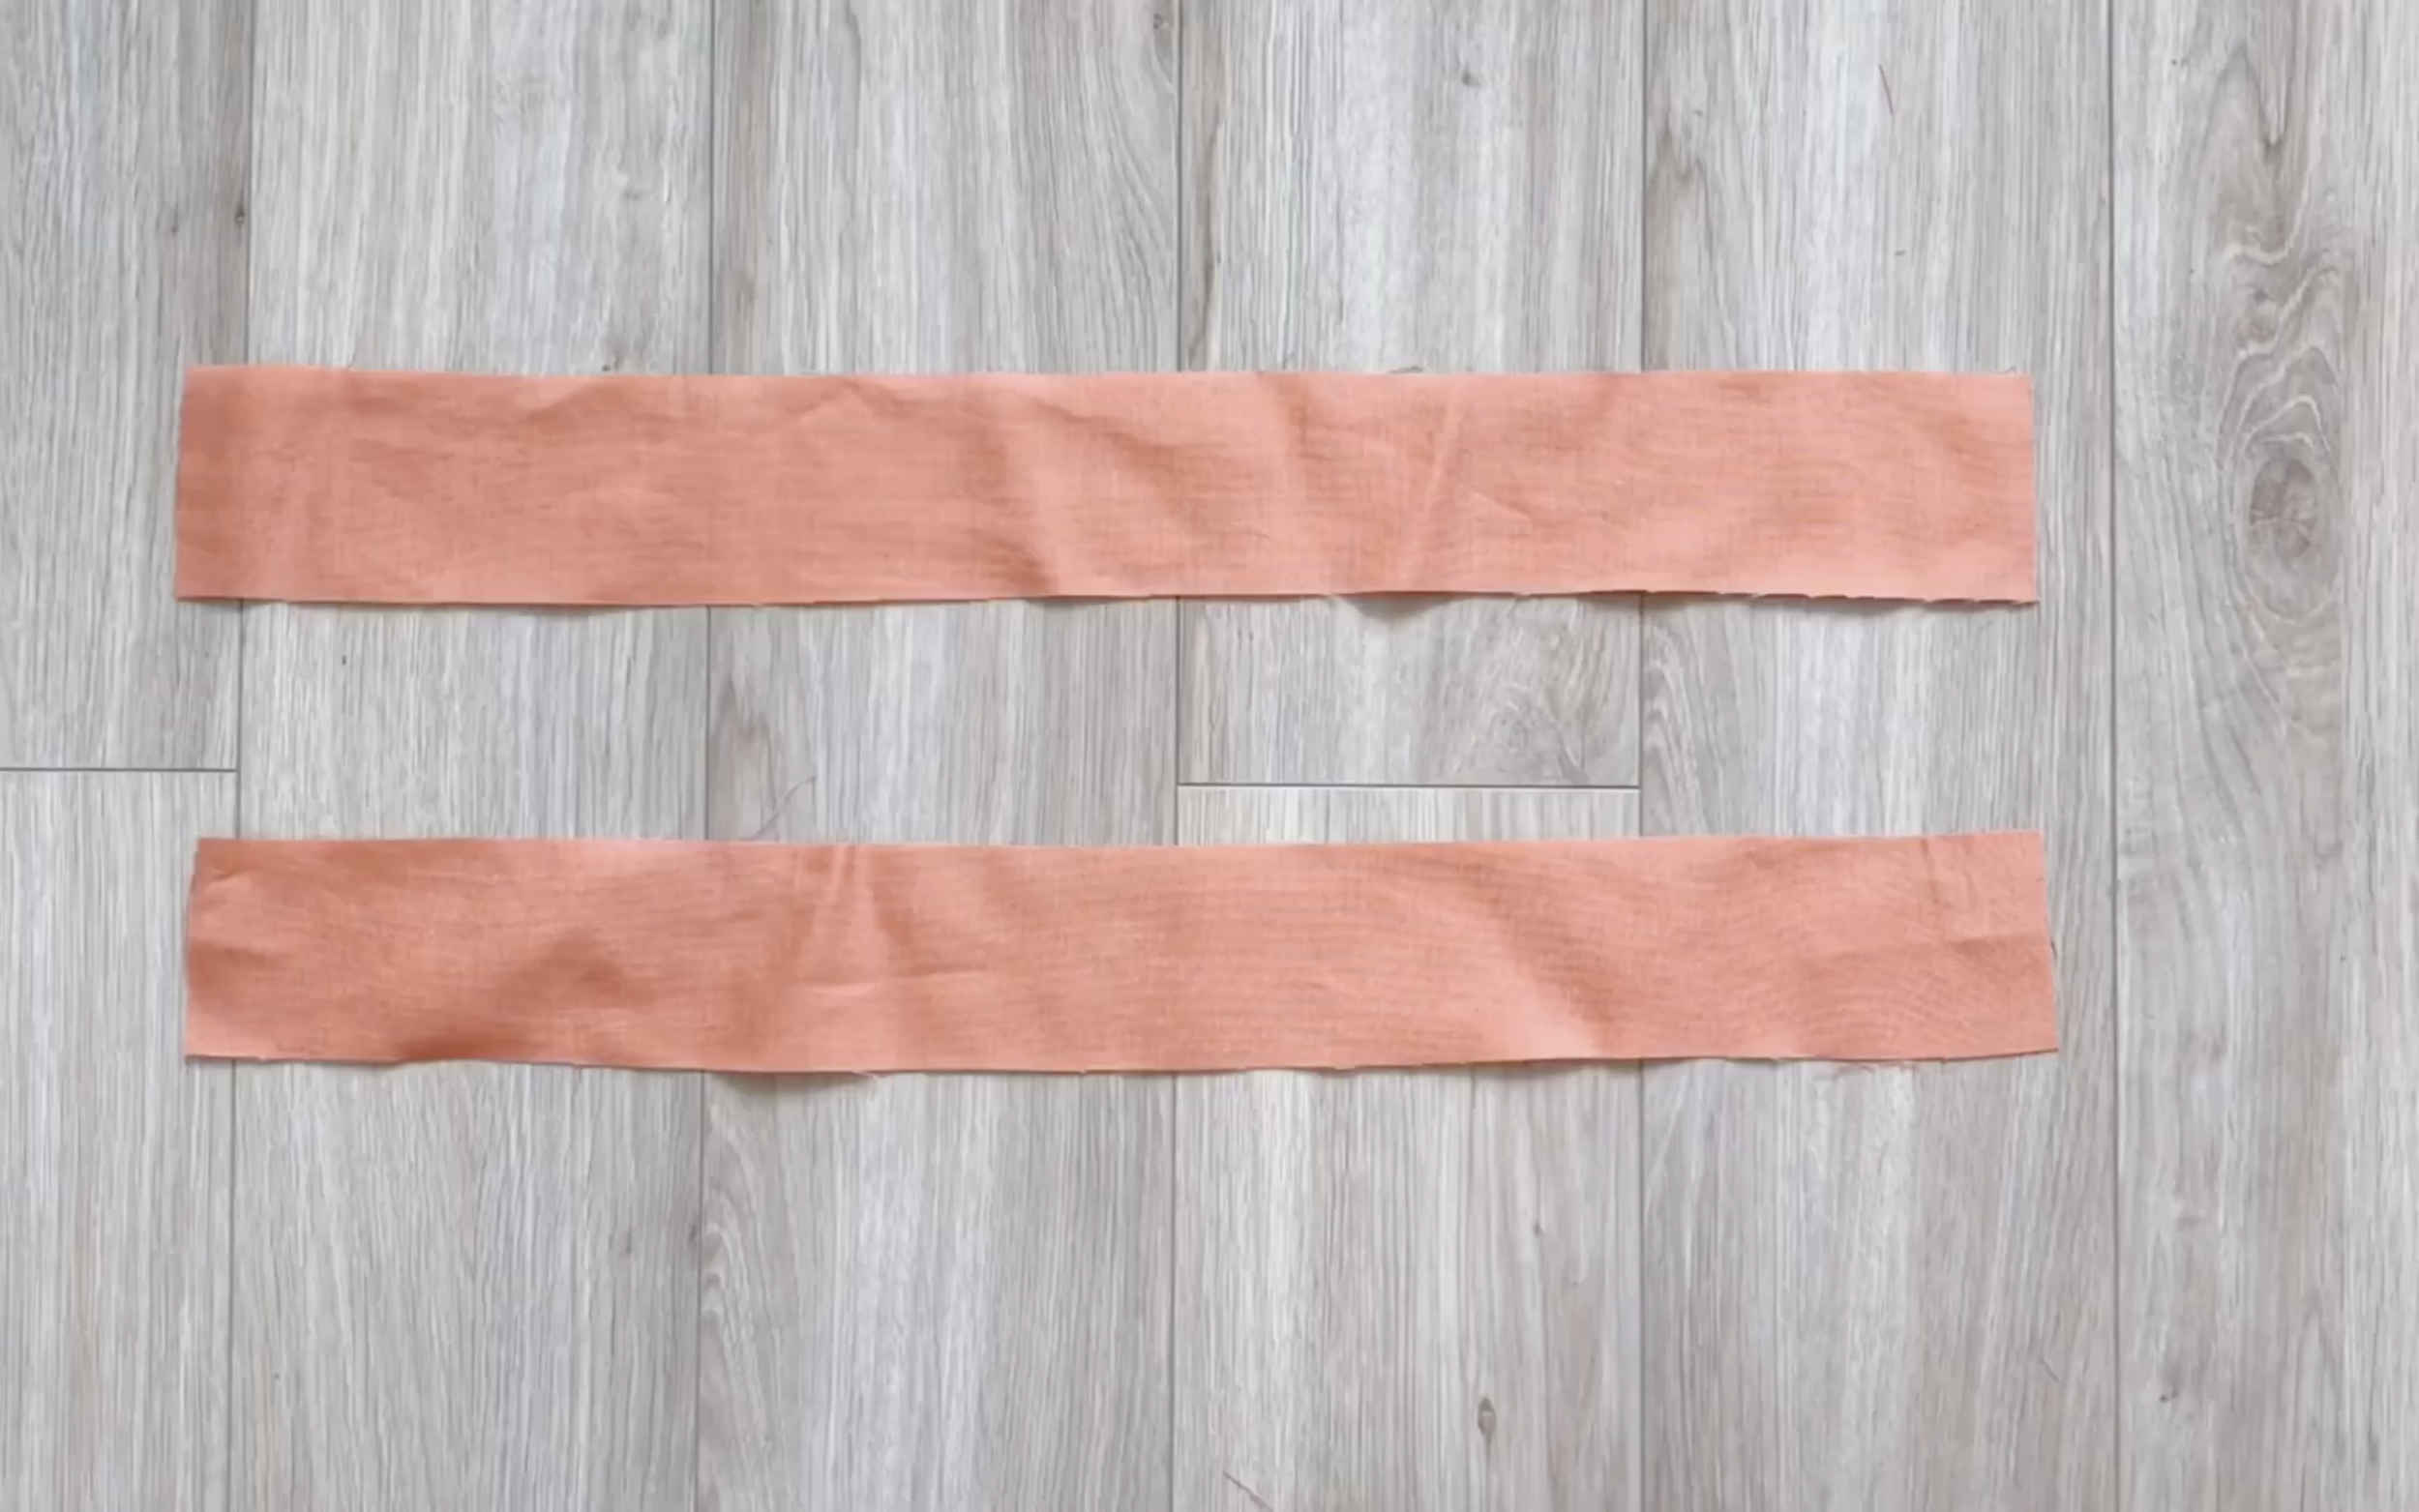
To make the tie for the dress, cut two rectangles with 6 cm width, which is two times the width of the tie plus 2 cm for seam allowance, and 40 cm length, which is the length from above the breast to over the back to under the breast.

Sew two length lines of the rectangle together first.
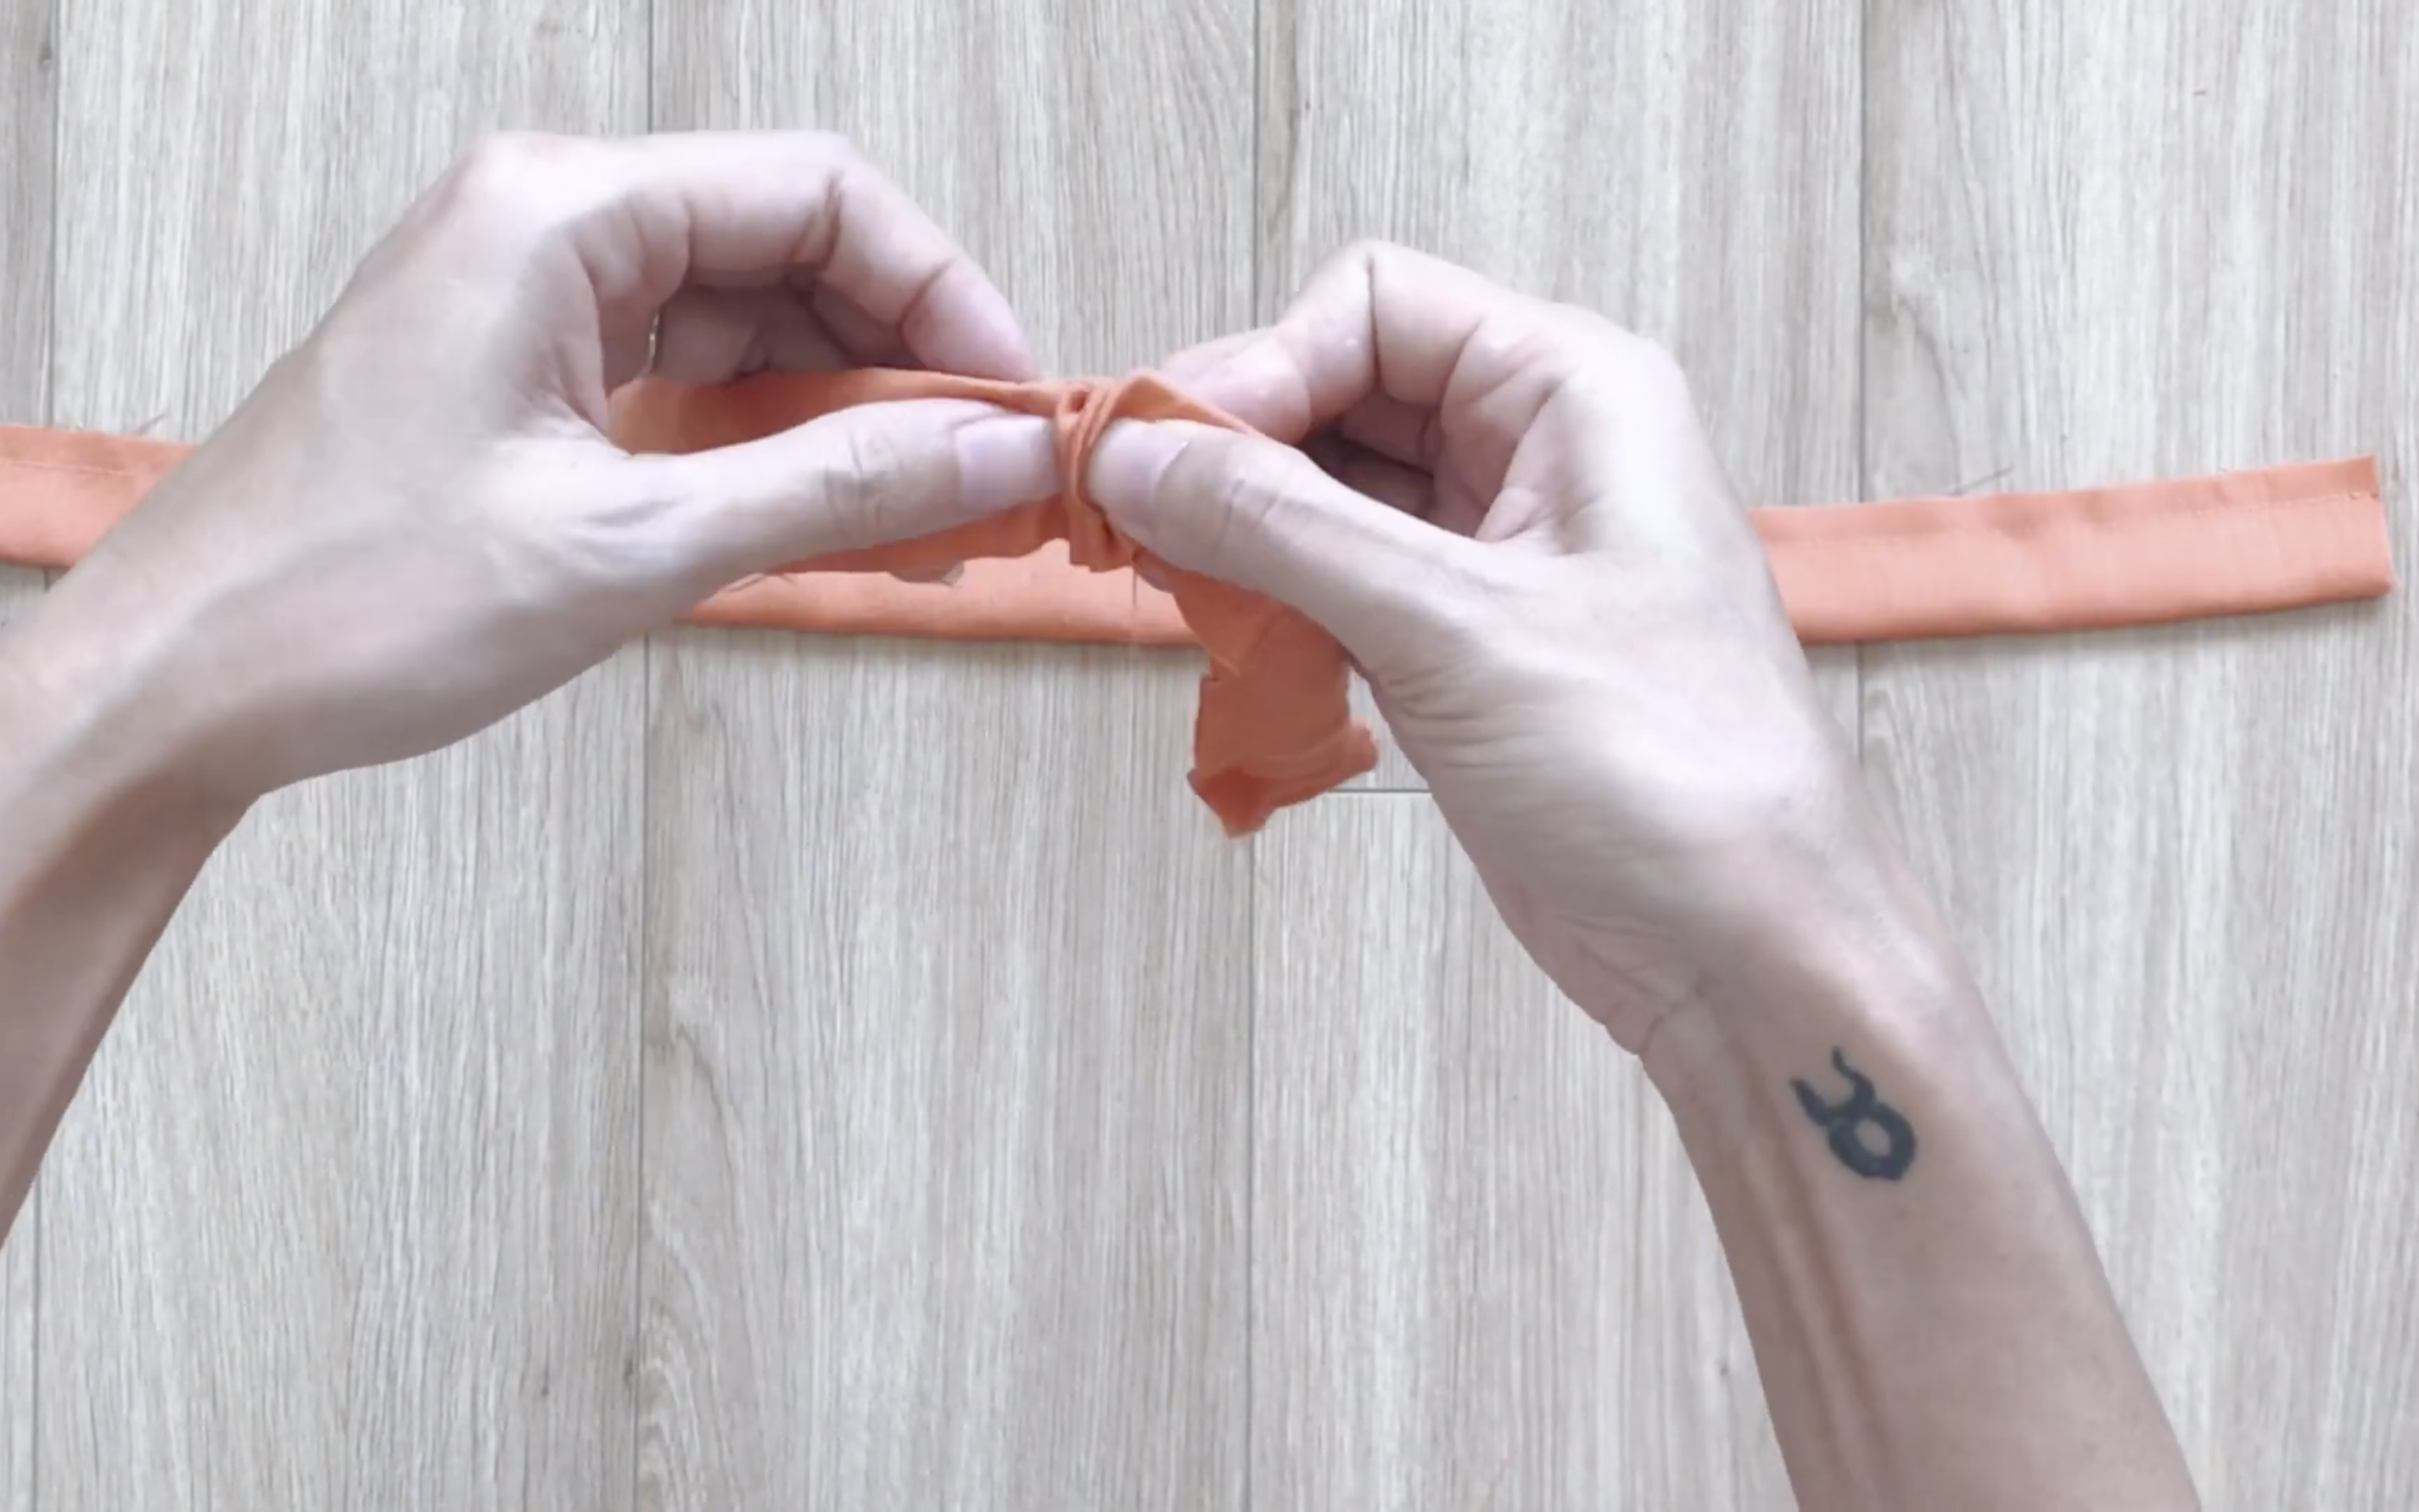
Then, turn it out and iron it to create a tie.
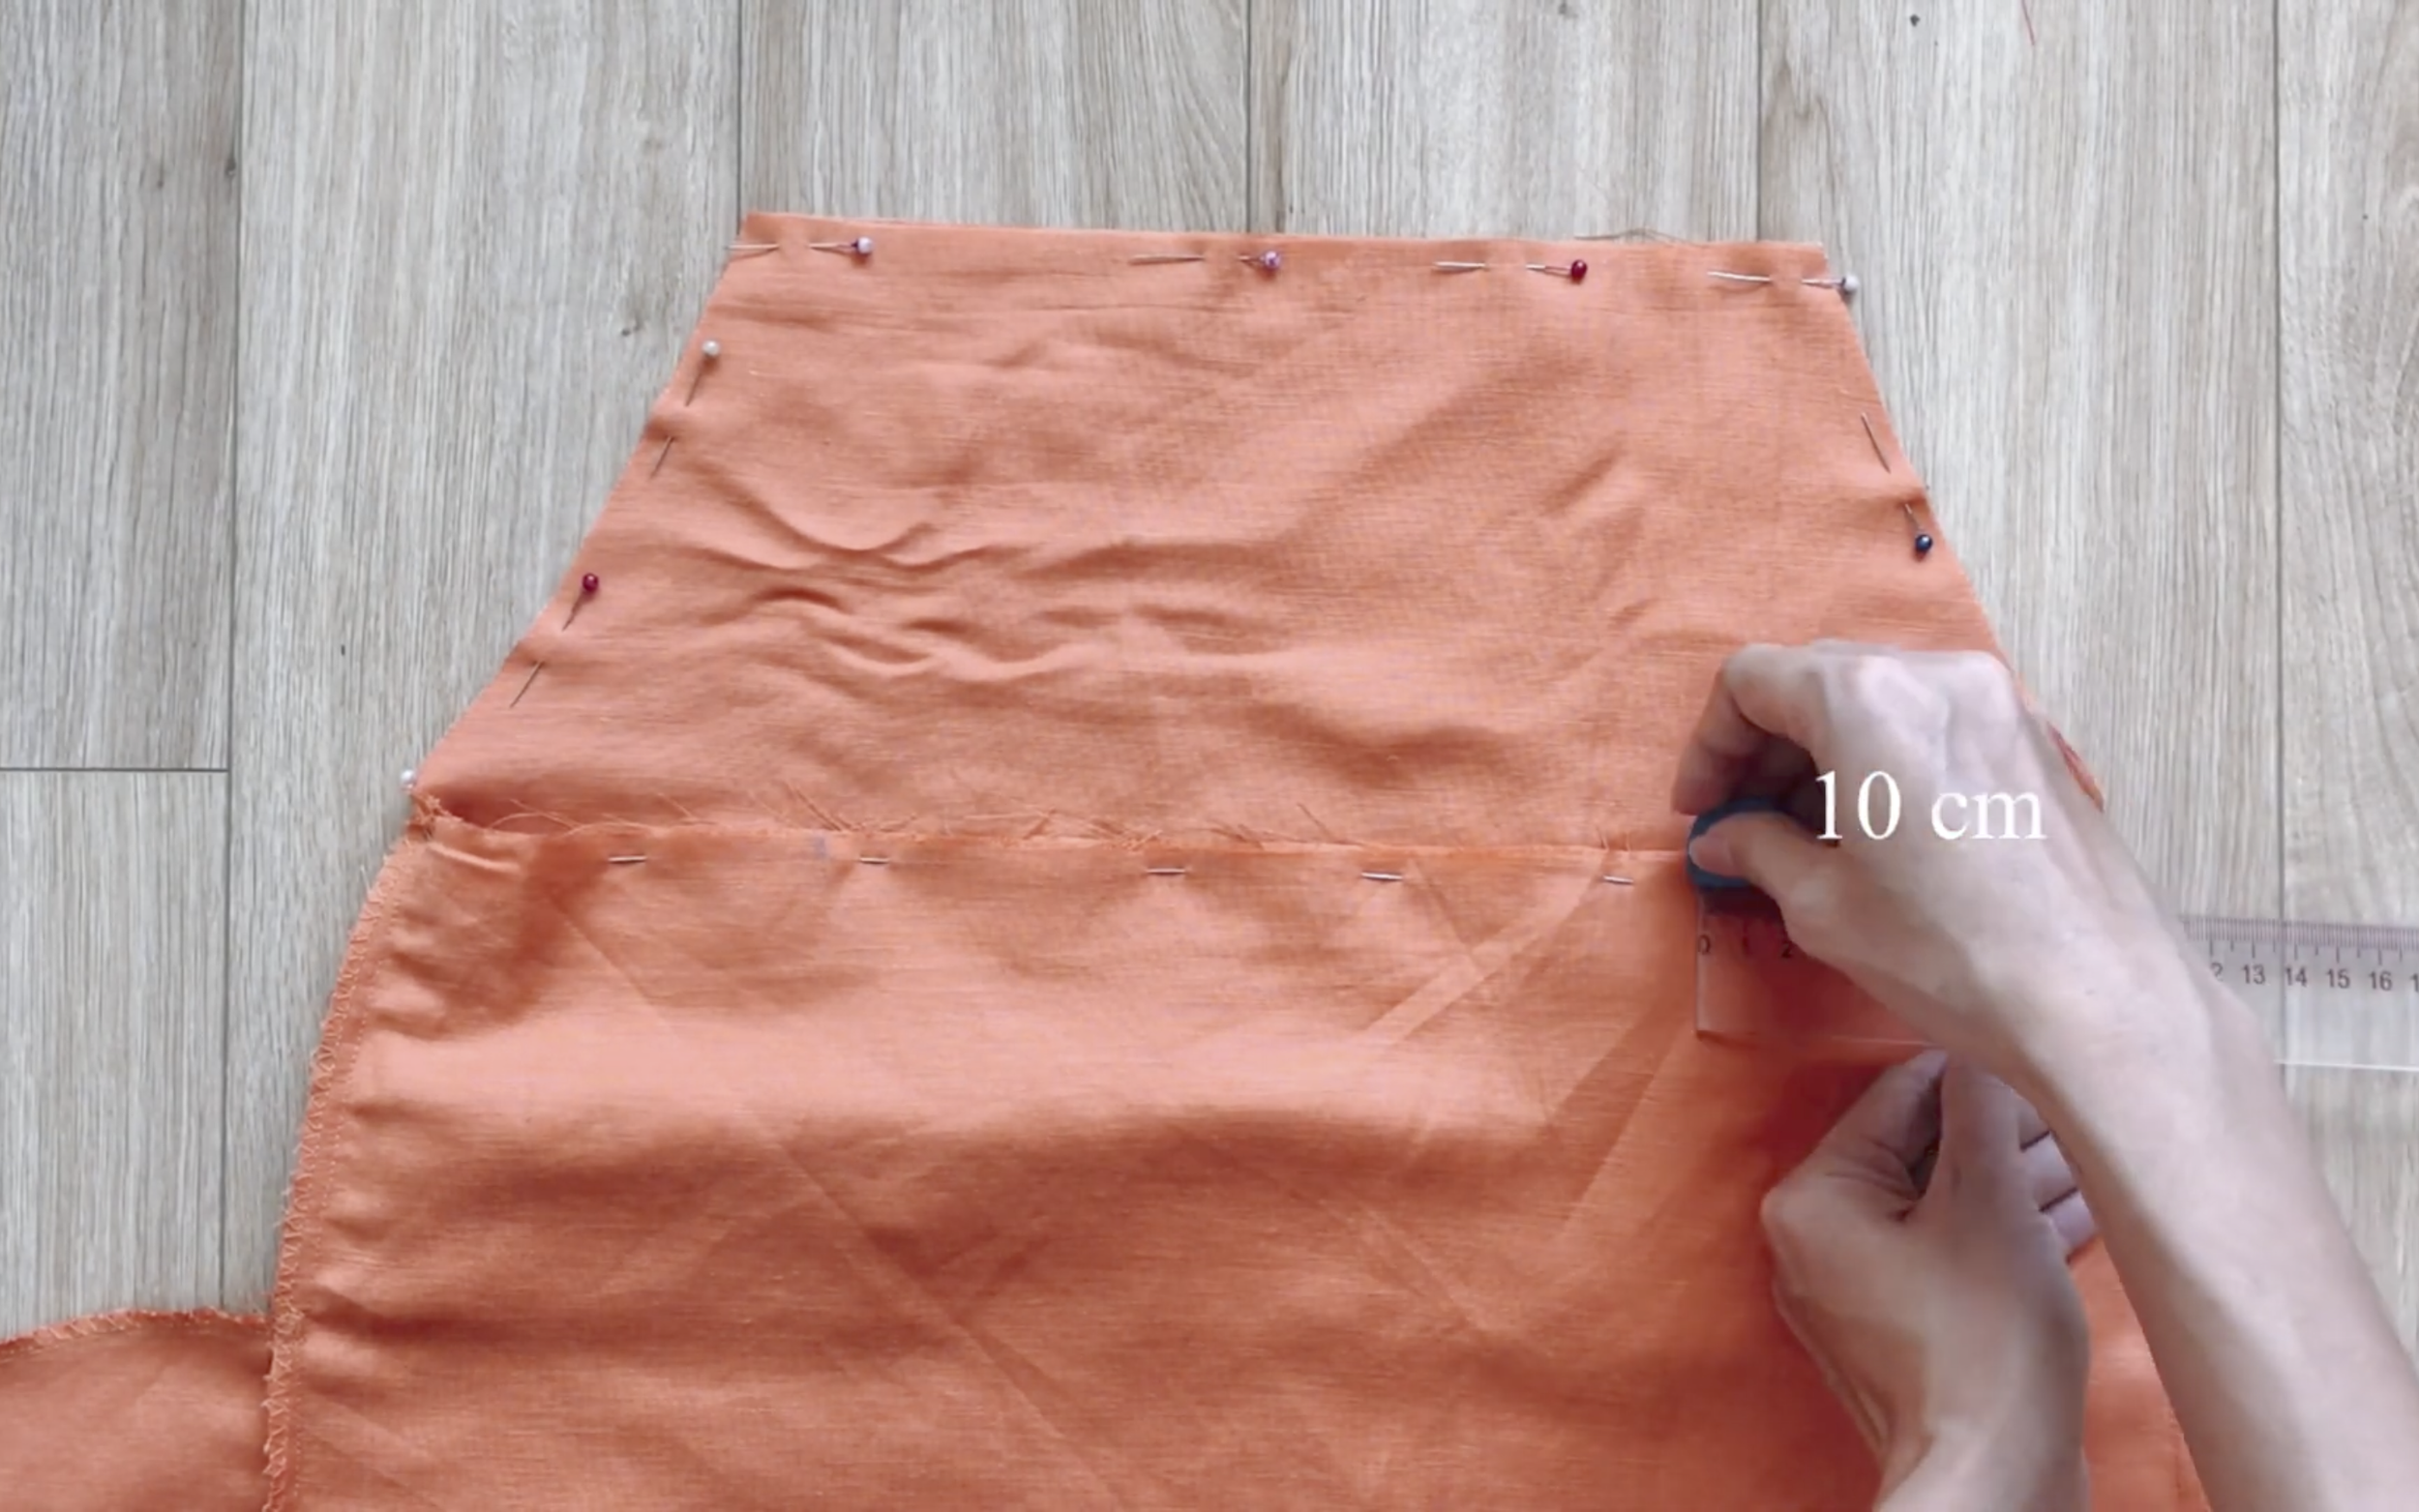
The position for the tie at the back of the dress is 10 cm from the side to inside.
Now, add one end of the tie to the top of the front dress and the other end to the marked position on the back of the dress.
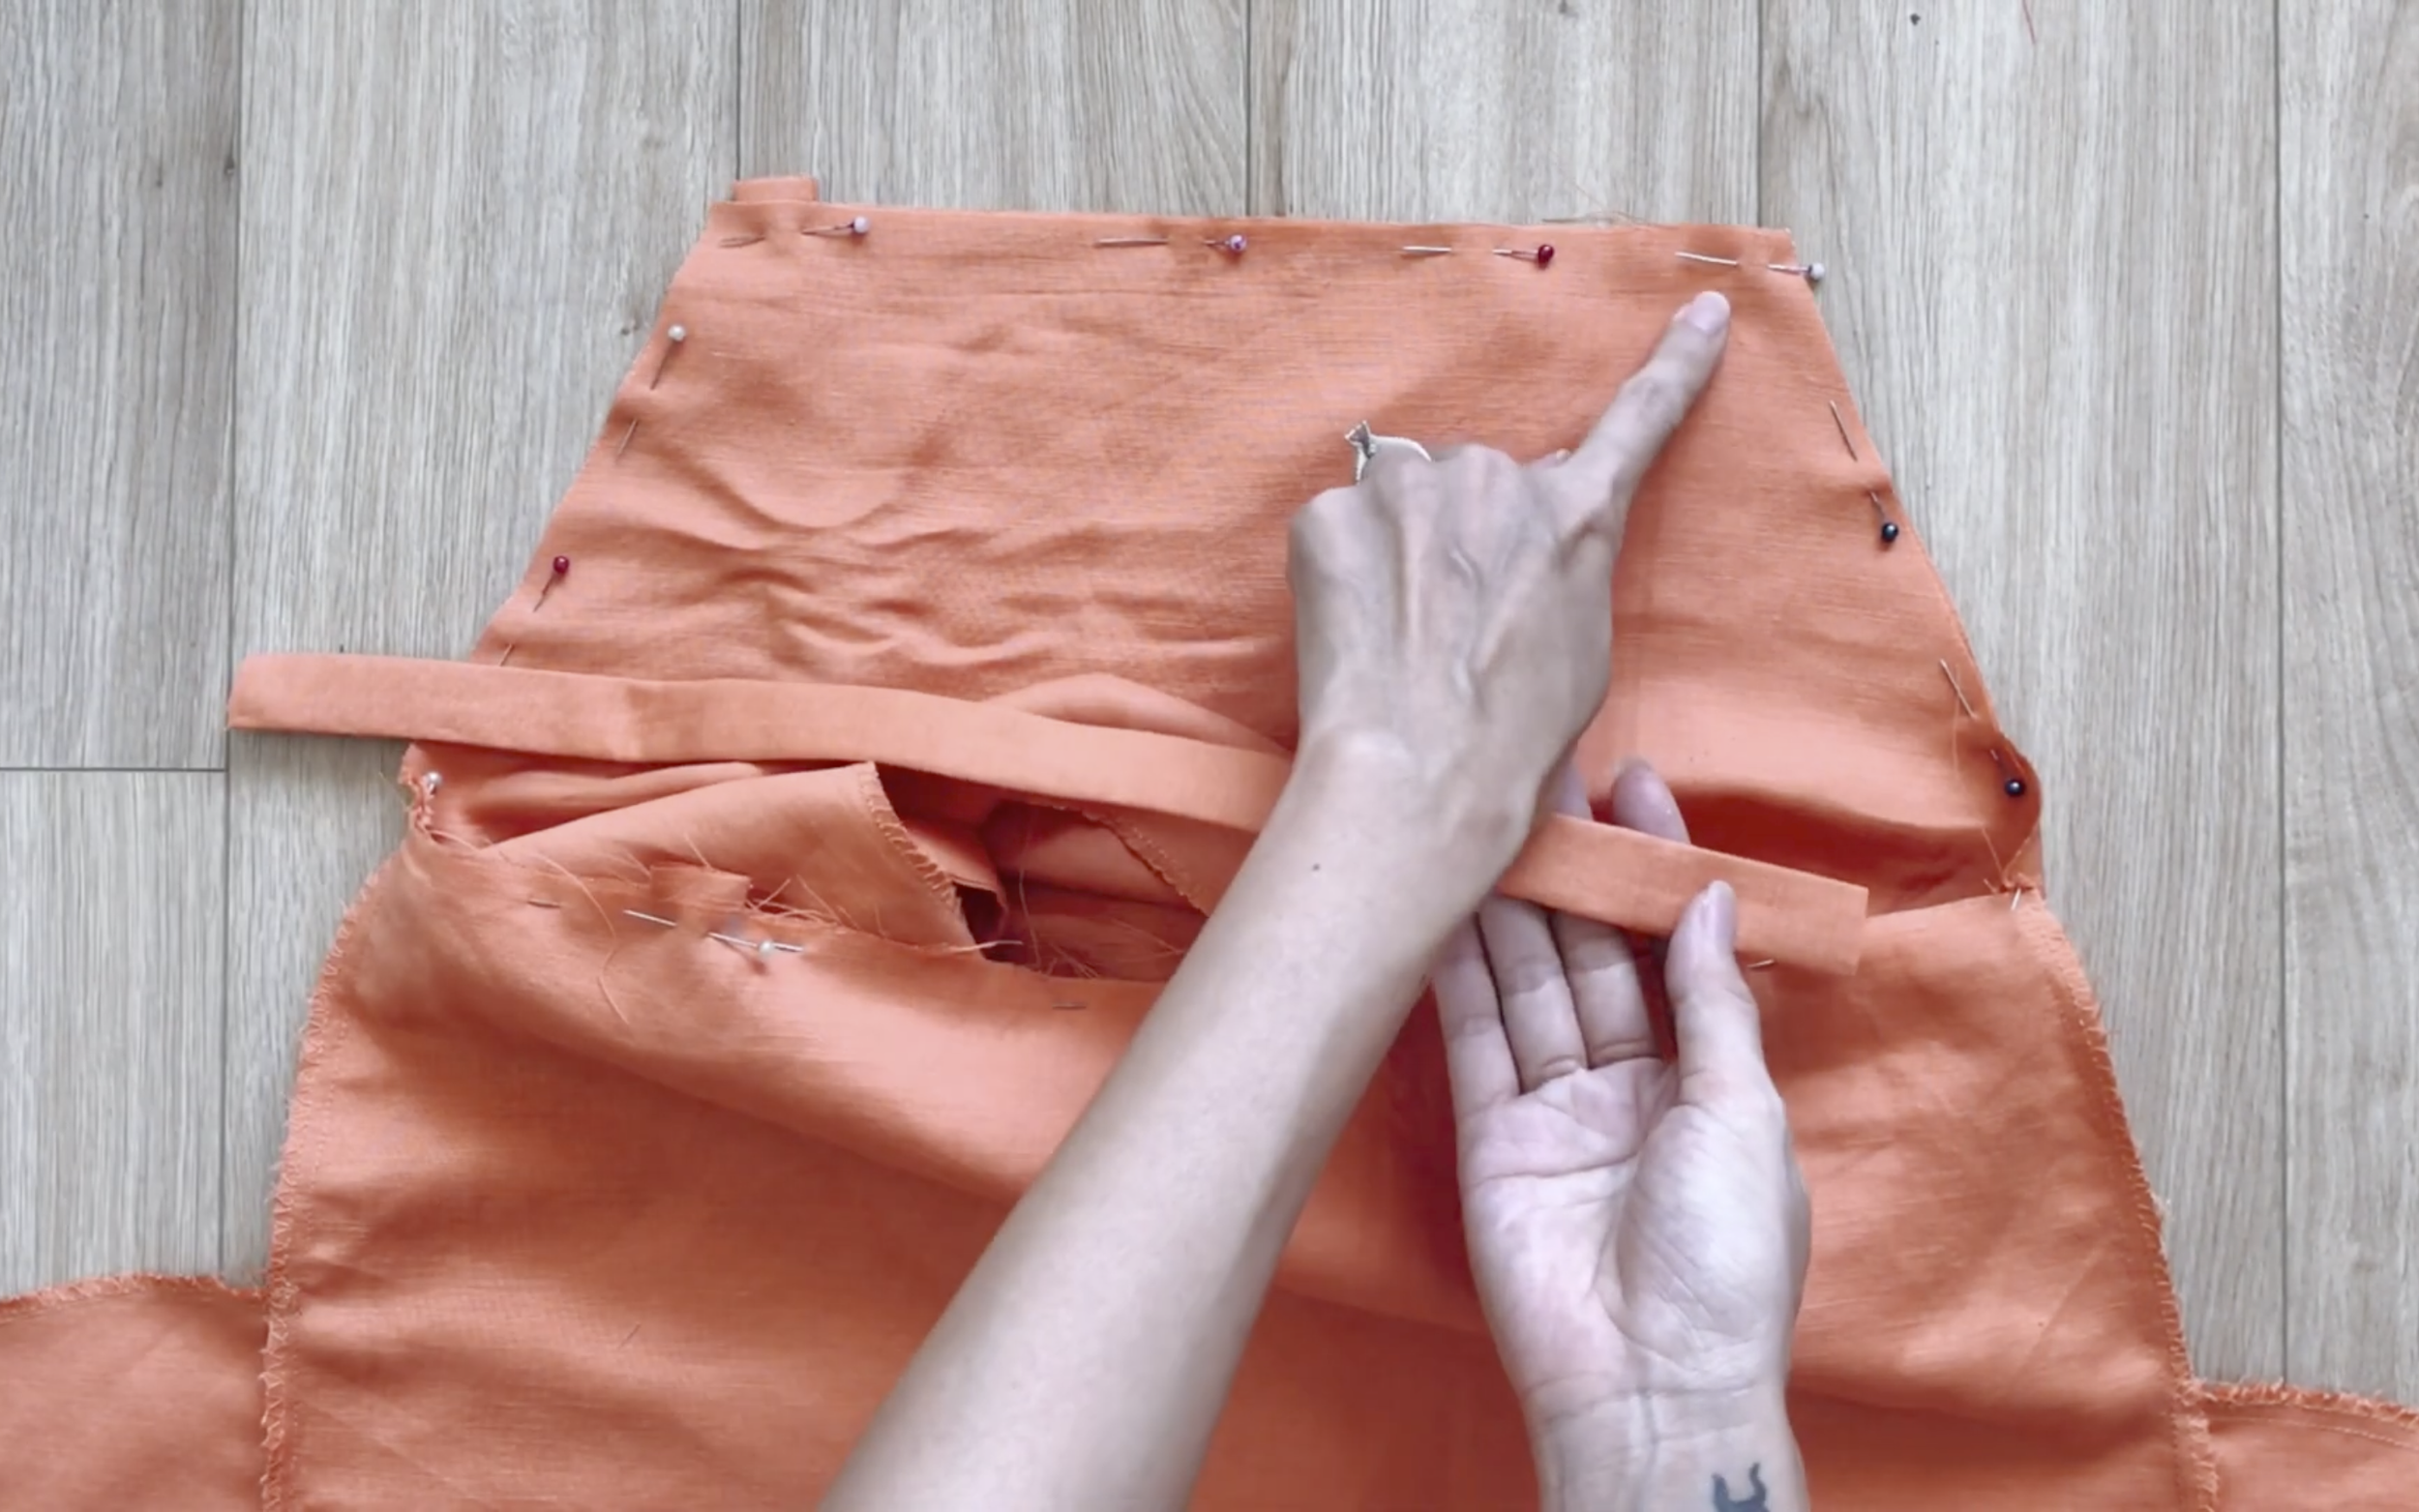
Do the same for the other tie, then sew all of them together.
Then, sew.
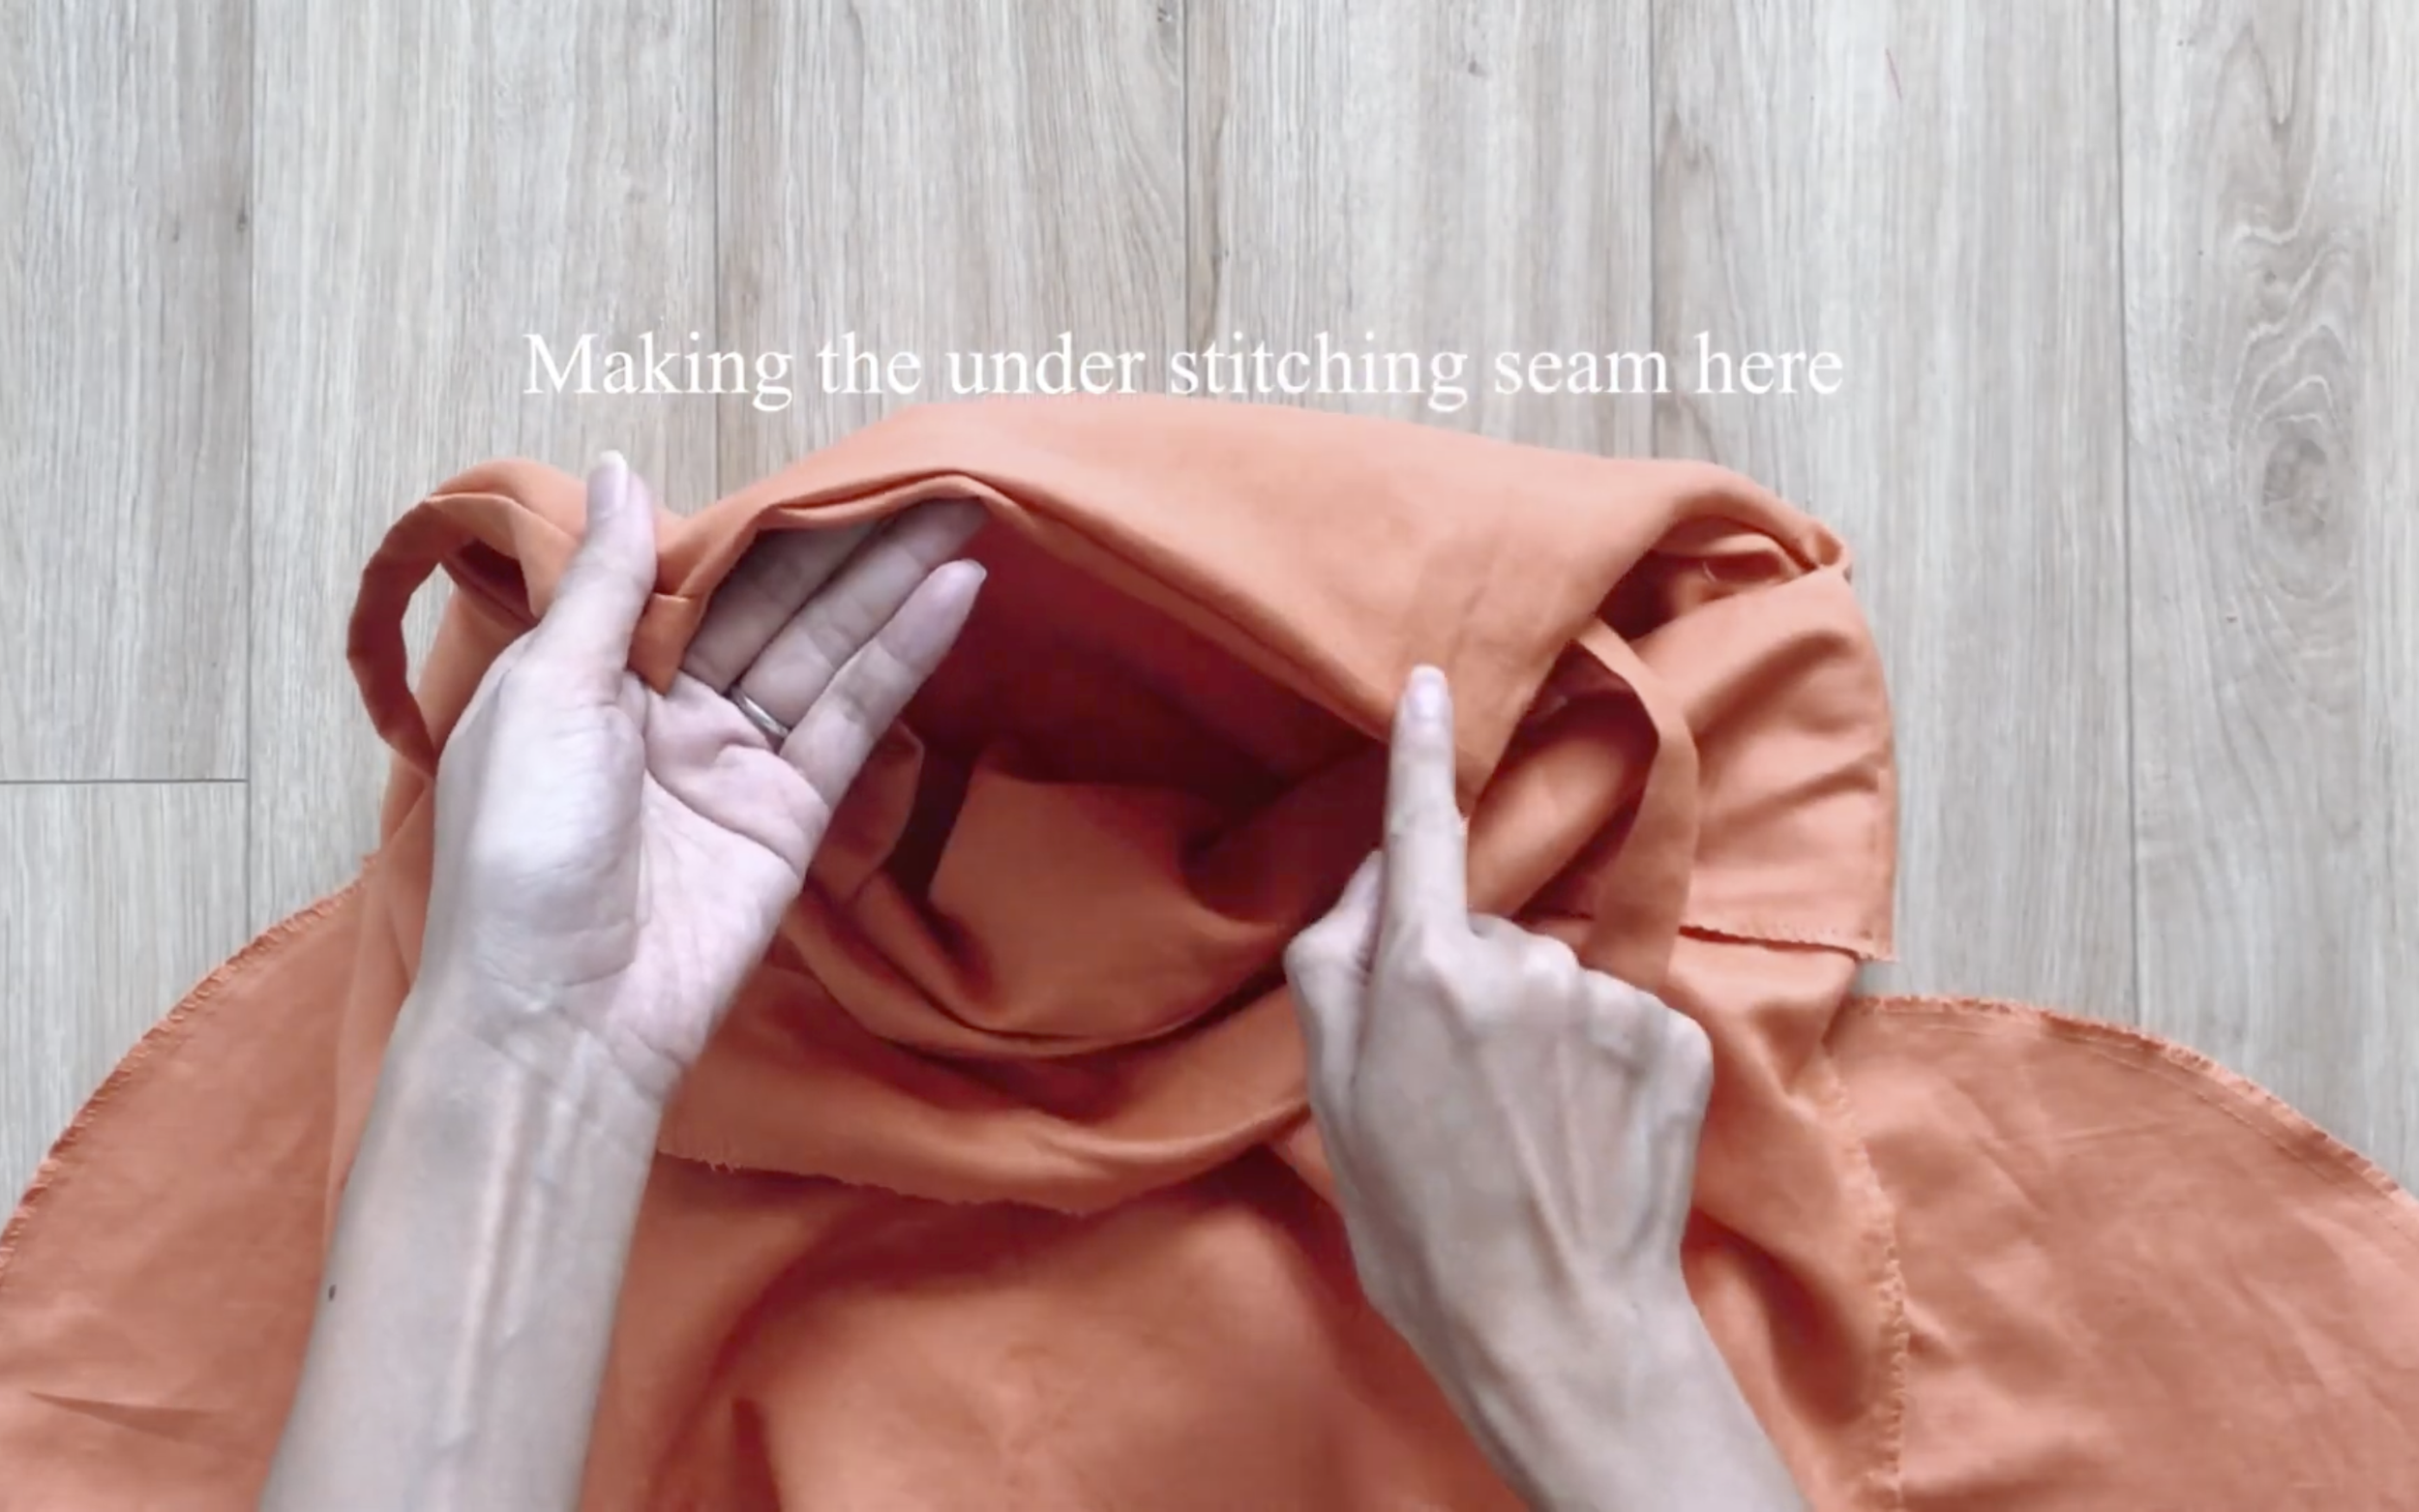
After turning the inside part to the inside, make the understitching seam to keep them from moving.

DIY Slip dress with side slit - Beginner friendly sewing tutorial
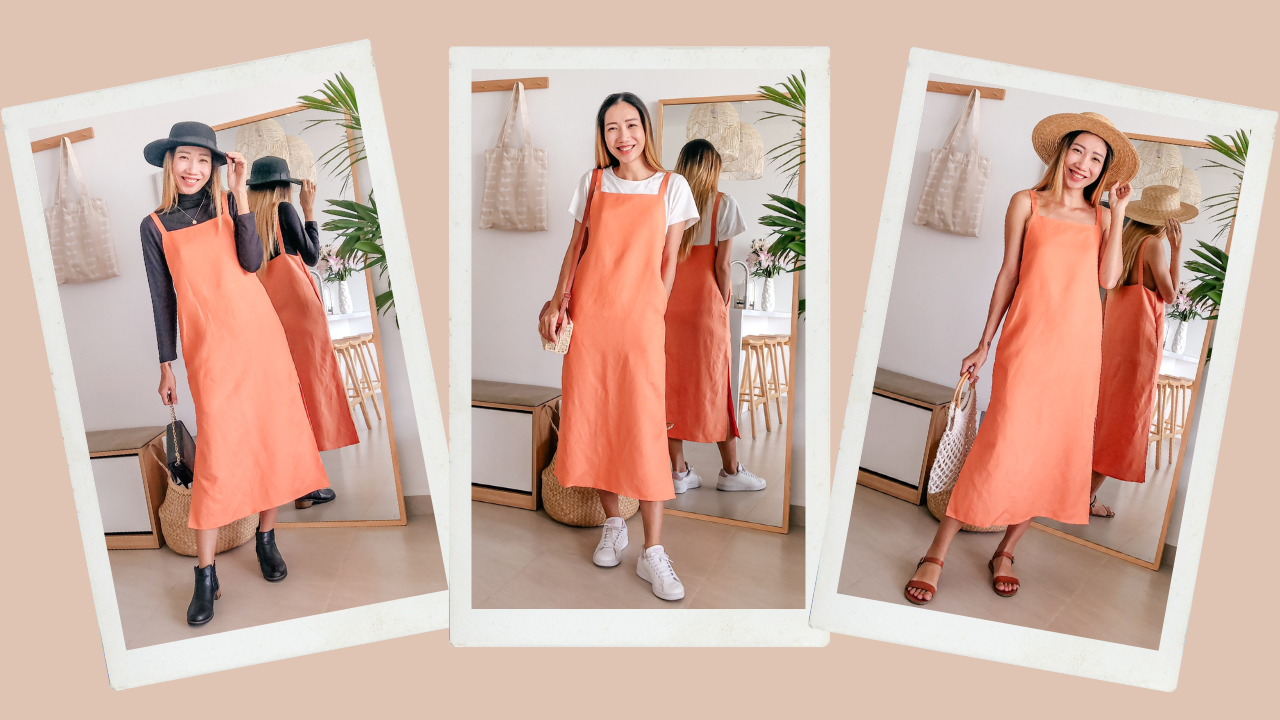
And here’s the final result!
This dress is so comfortable and easy to style for any season.


I hope you found my step-by-step guide helpful and inspiring.
If you’re interested in making your own, give it a try and let me know how it goes!
Until then, happy sewing!