DIY Spring Cottagecore dress (Bustier dress with puff sleeve and button front) | Sewing tutorial

DIY Spring Cottagecore dress (Bustier dress with puff sleeve and button front)
Welcome or welcome back to my channel!
In today's tutorial, I'm going to share with you how I made my Spring Cottagecore dress. This dress comes with a bustier design, puff sleeve with bow tie at the end of the sleeve, button front and side pockets. It's the dress I always want to have in my wardrobe. And finally I can make it.
So I hope you can get come inspiration out of it. Let’s get started!
WHAT YOU’LL NEED
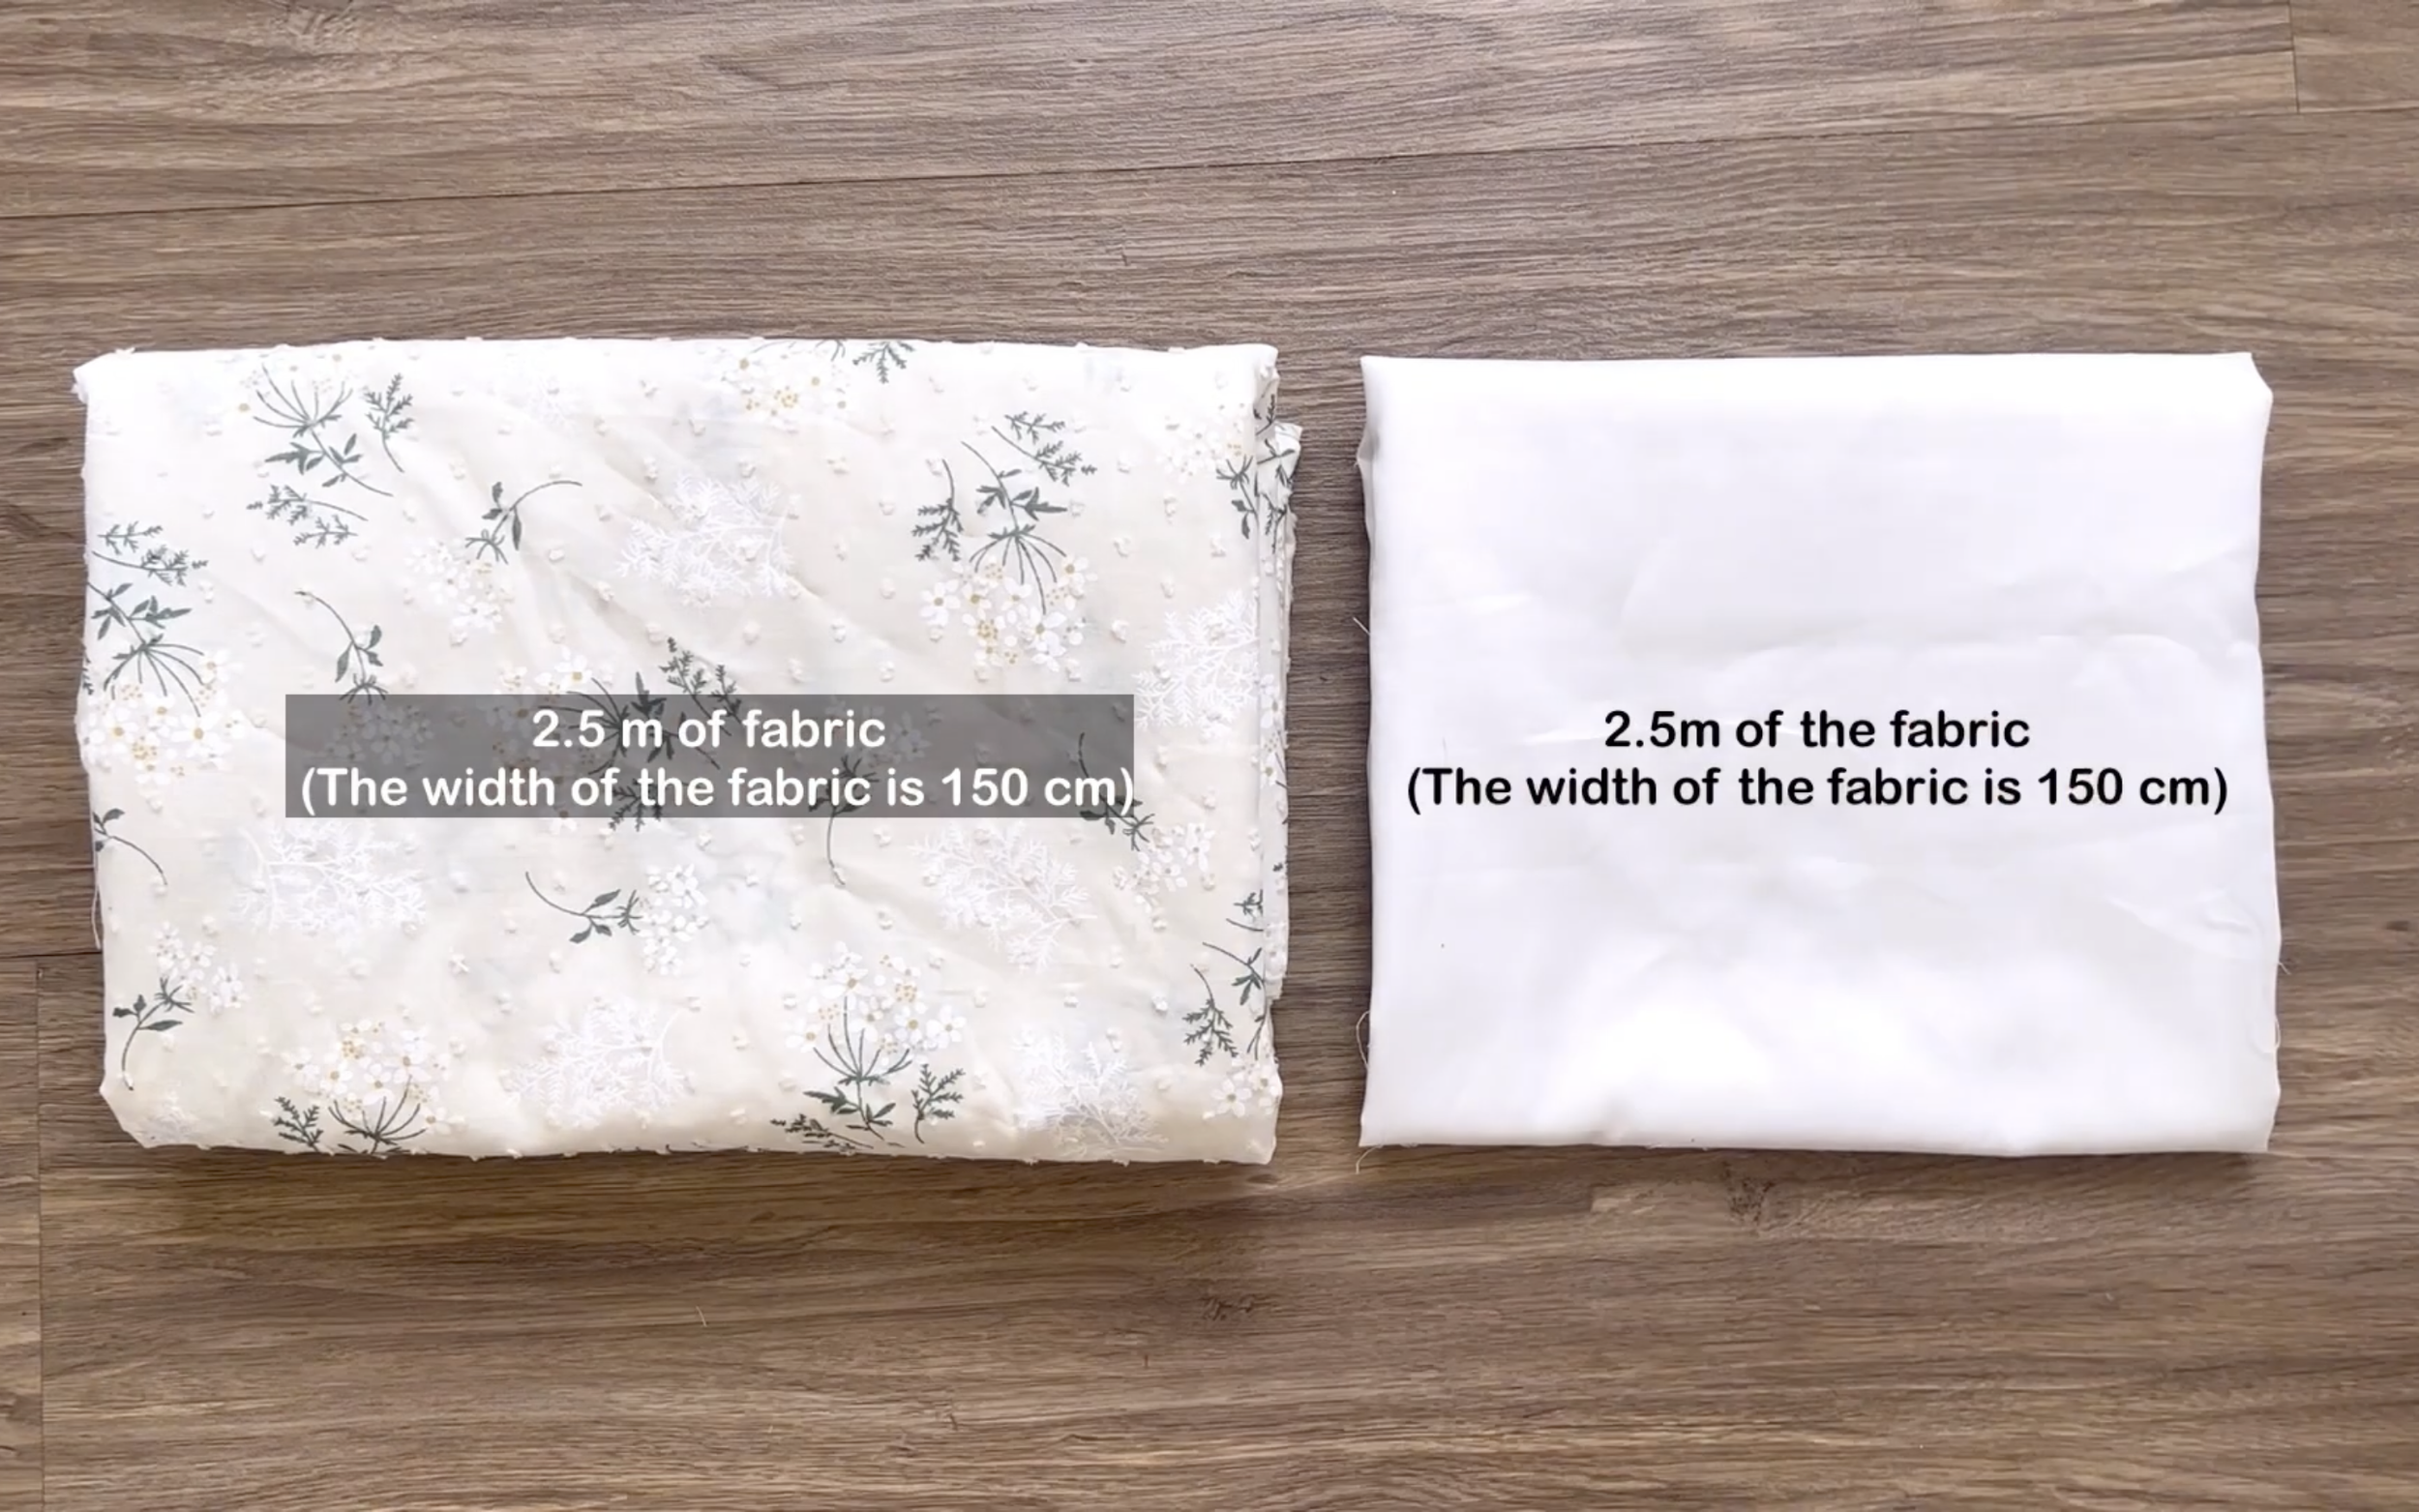
Main fabric: 2.5m of Boil fabric
Lining fabric: 2.5m of soft and thin cotton fabric
Pattern paper
Sewing machine
Pins
Scissors
Ruler
Long stick
Zipper
Buttons
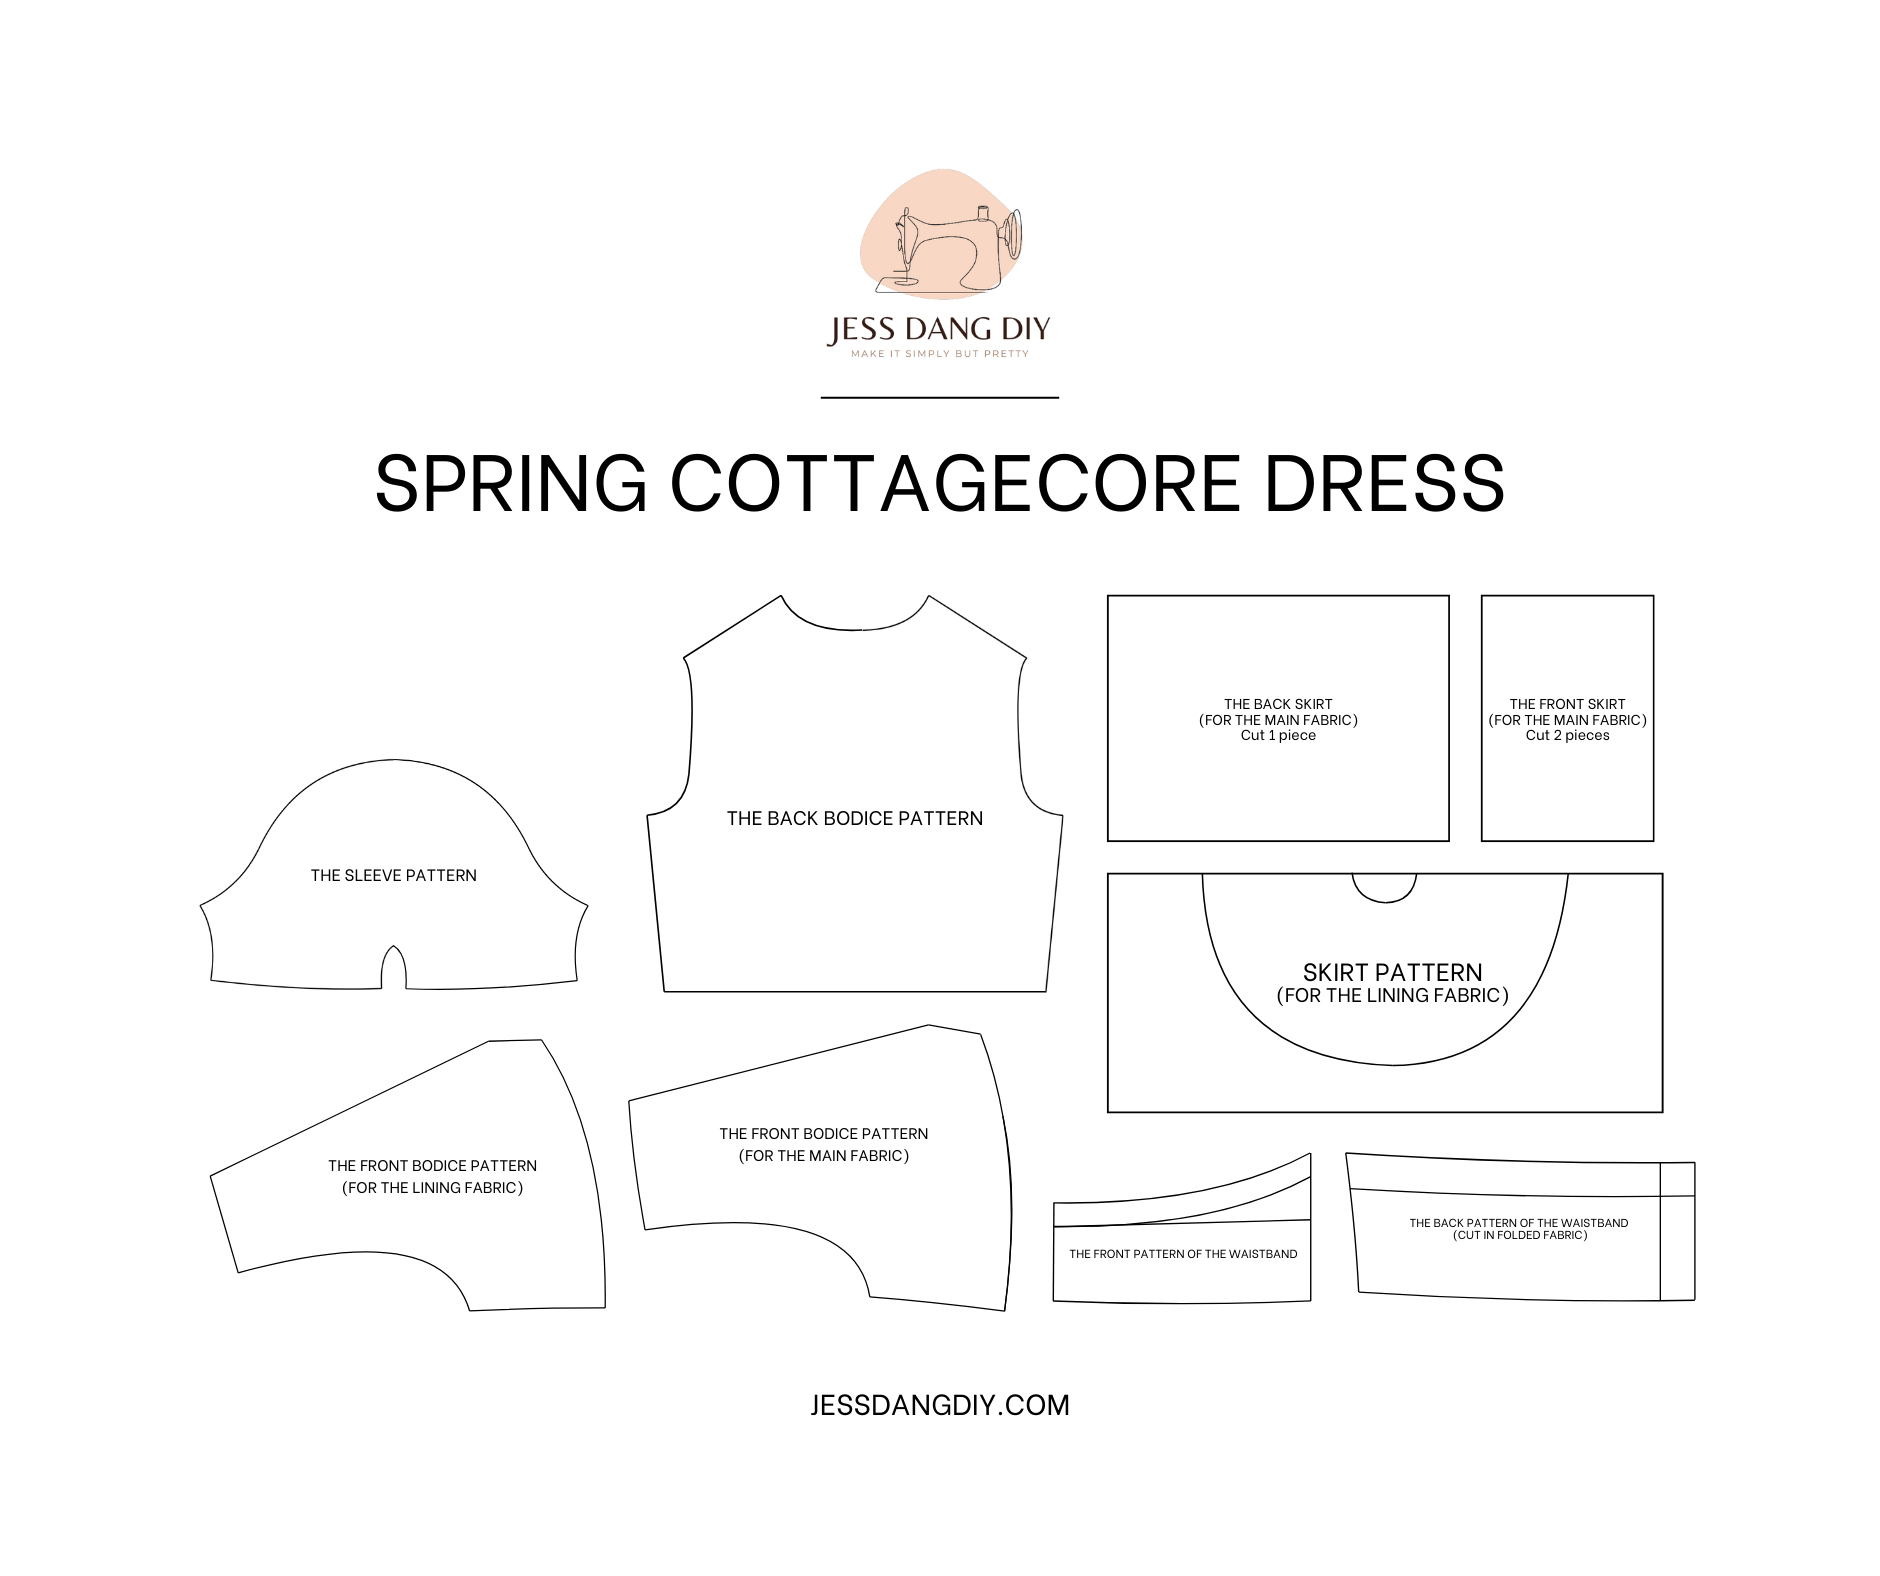
MAKING THE PATTERNS
Here’s the pattern for the project. To get a clear understanding of all the measurements needed for the pattern, watch the video from 1:16 to 6:57.
Remember, you can adjust these measurements to fit your own dimensions!
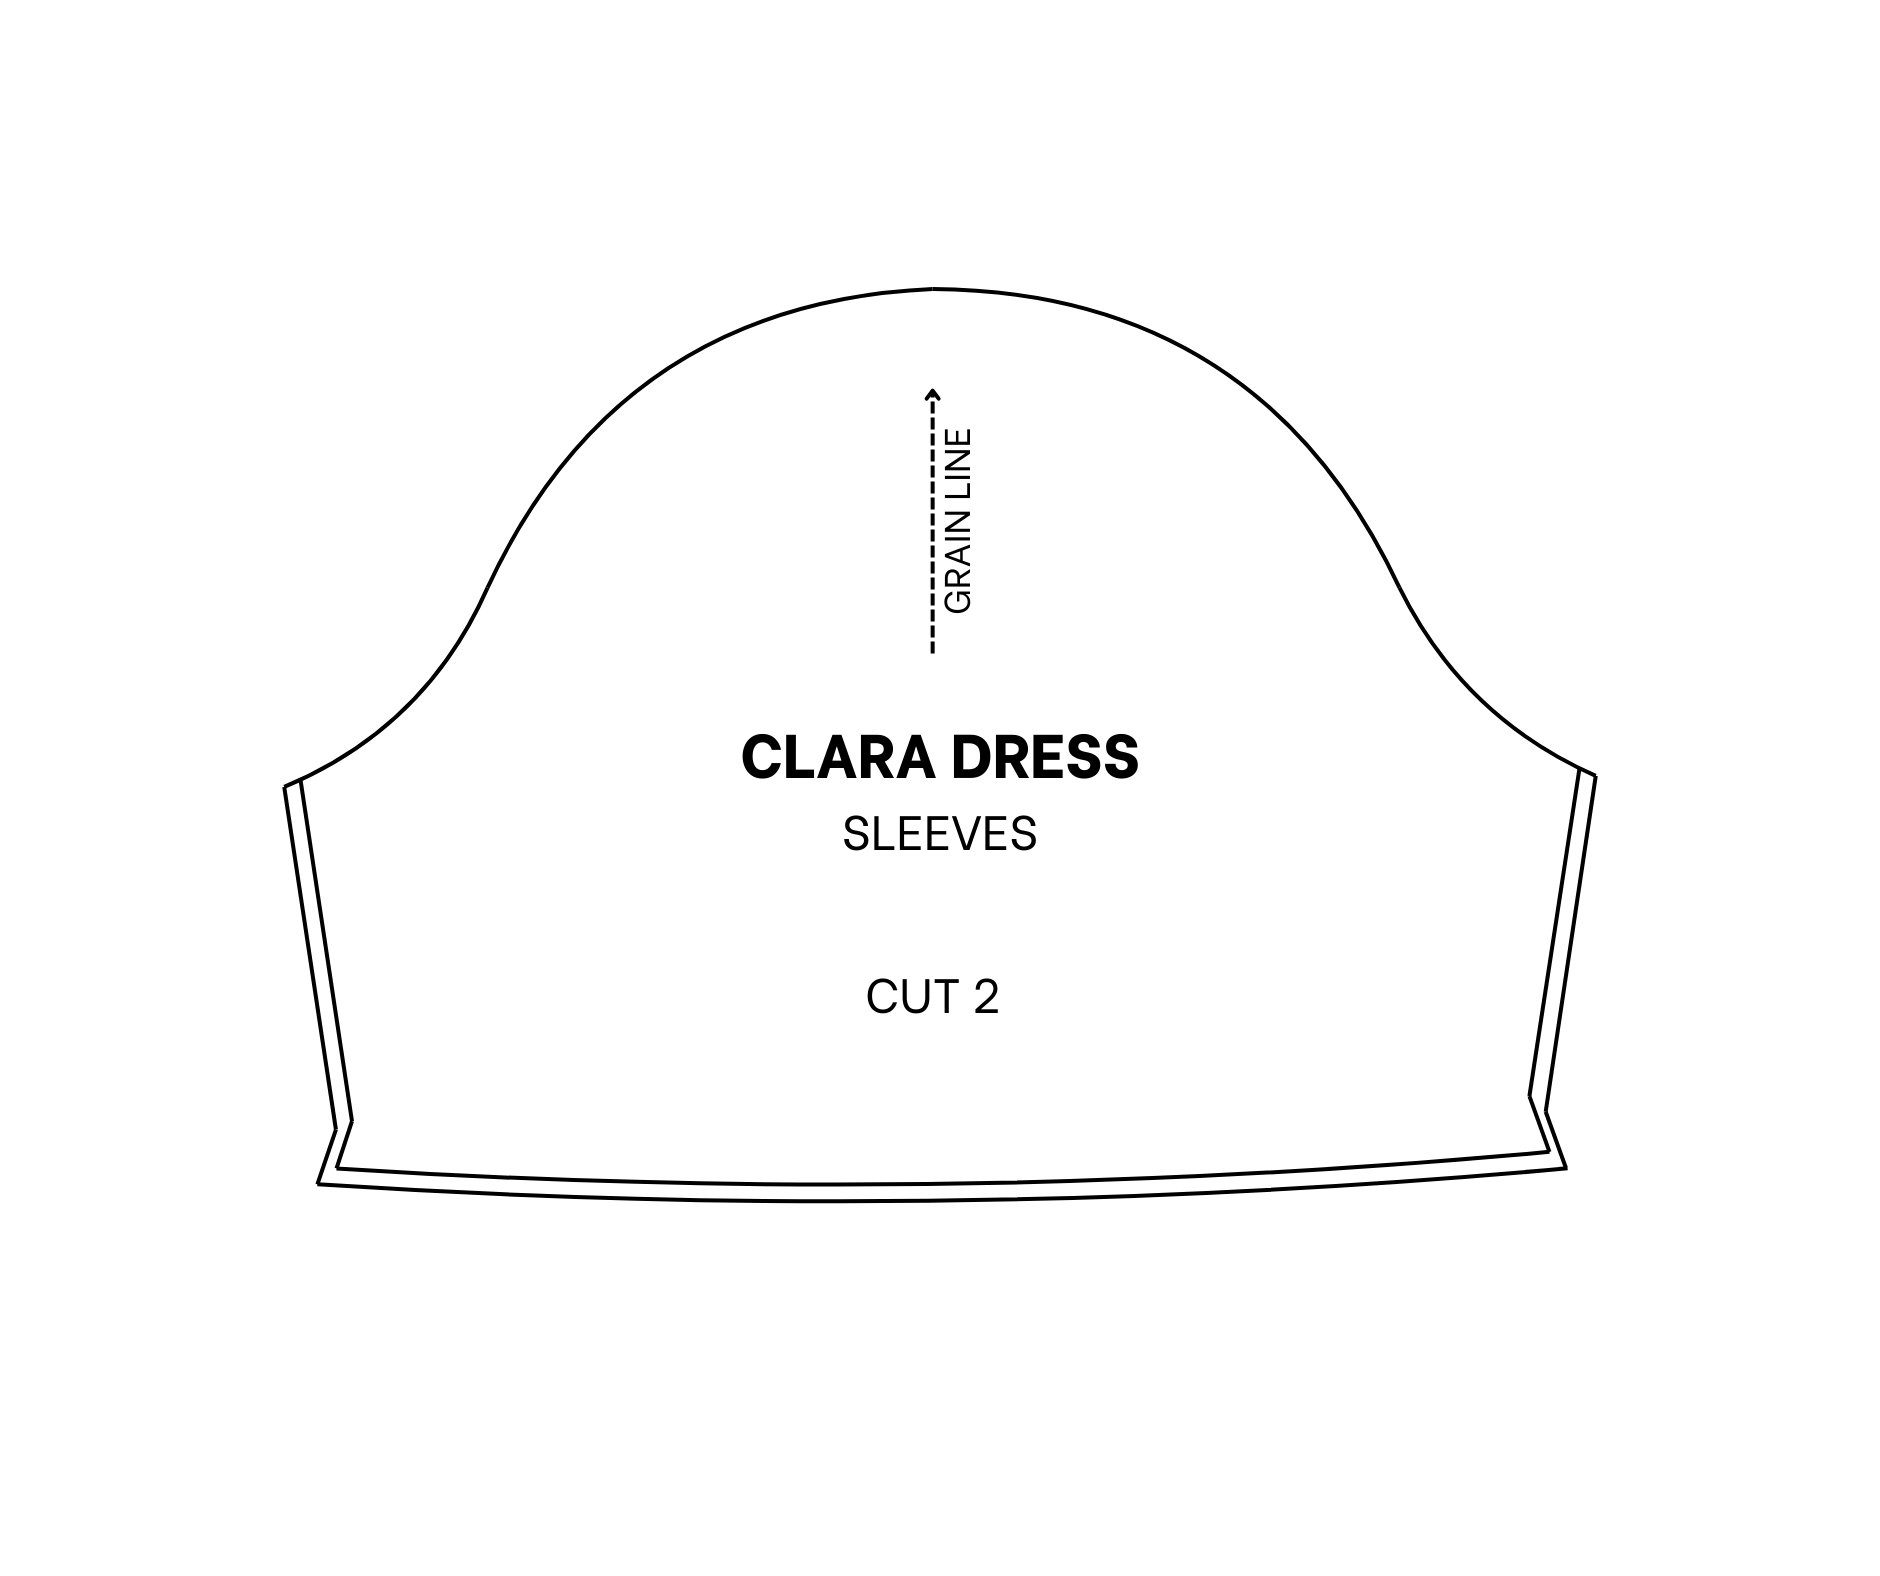
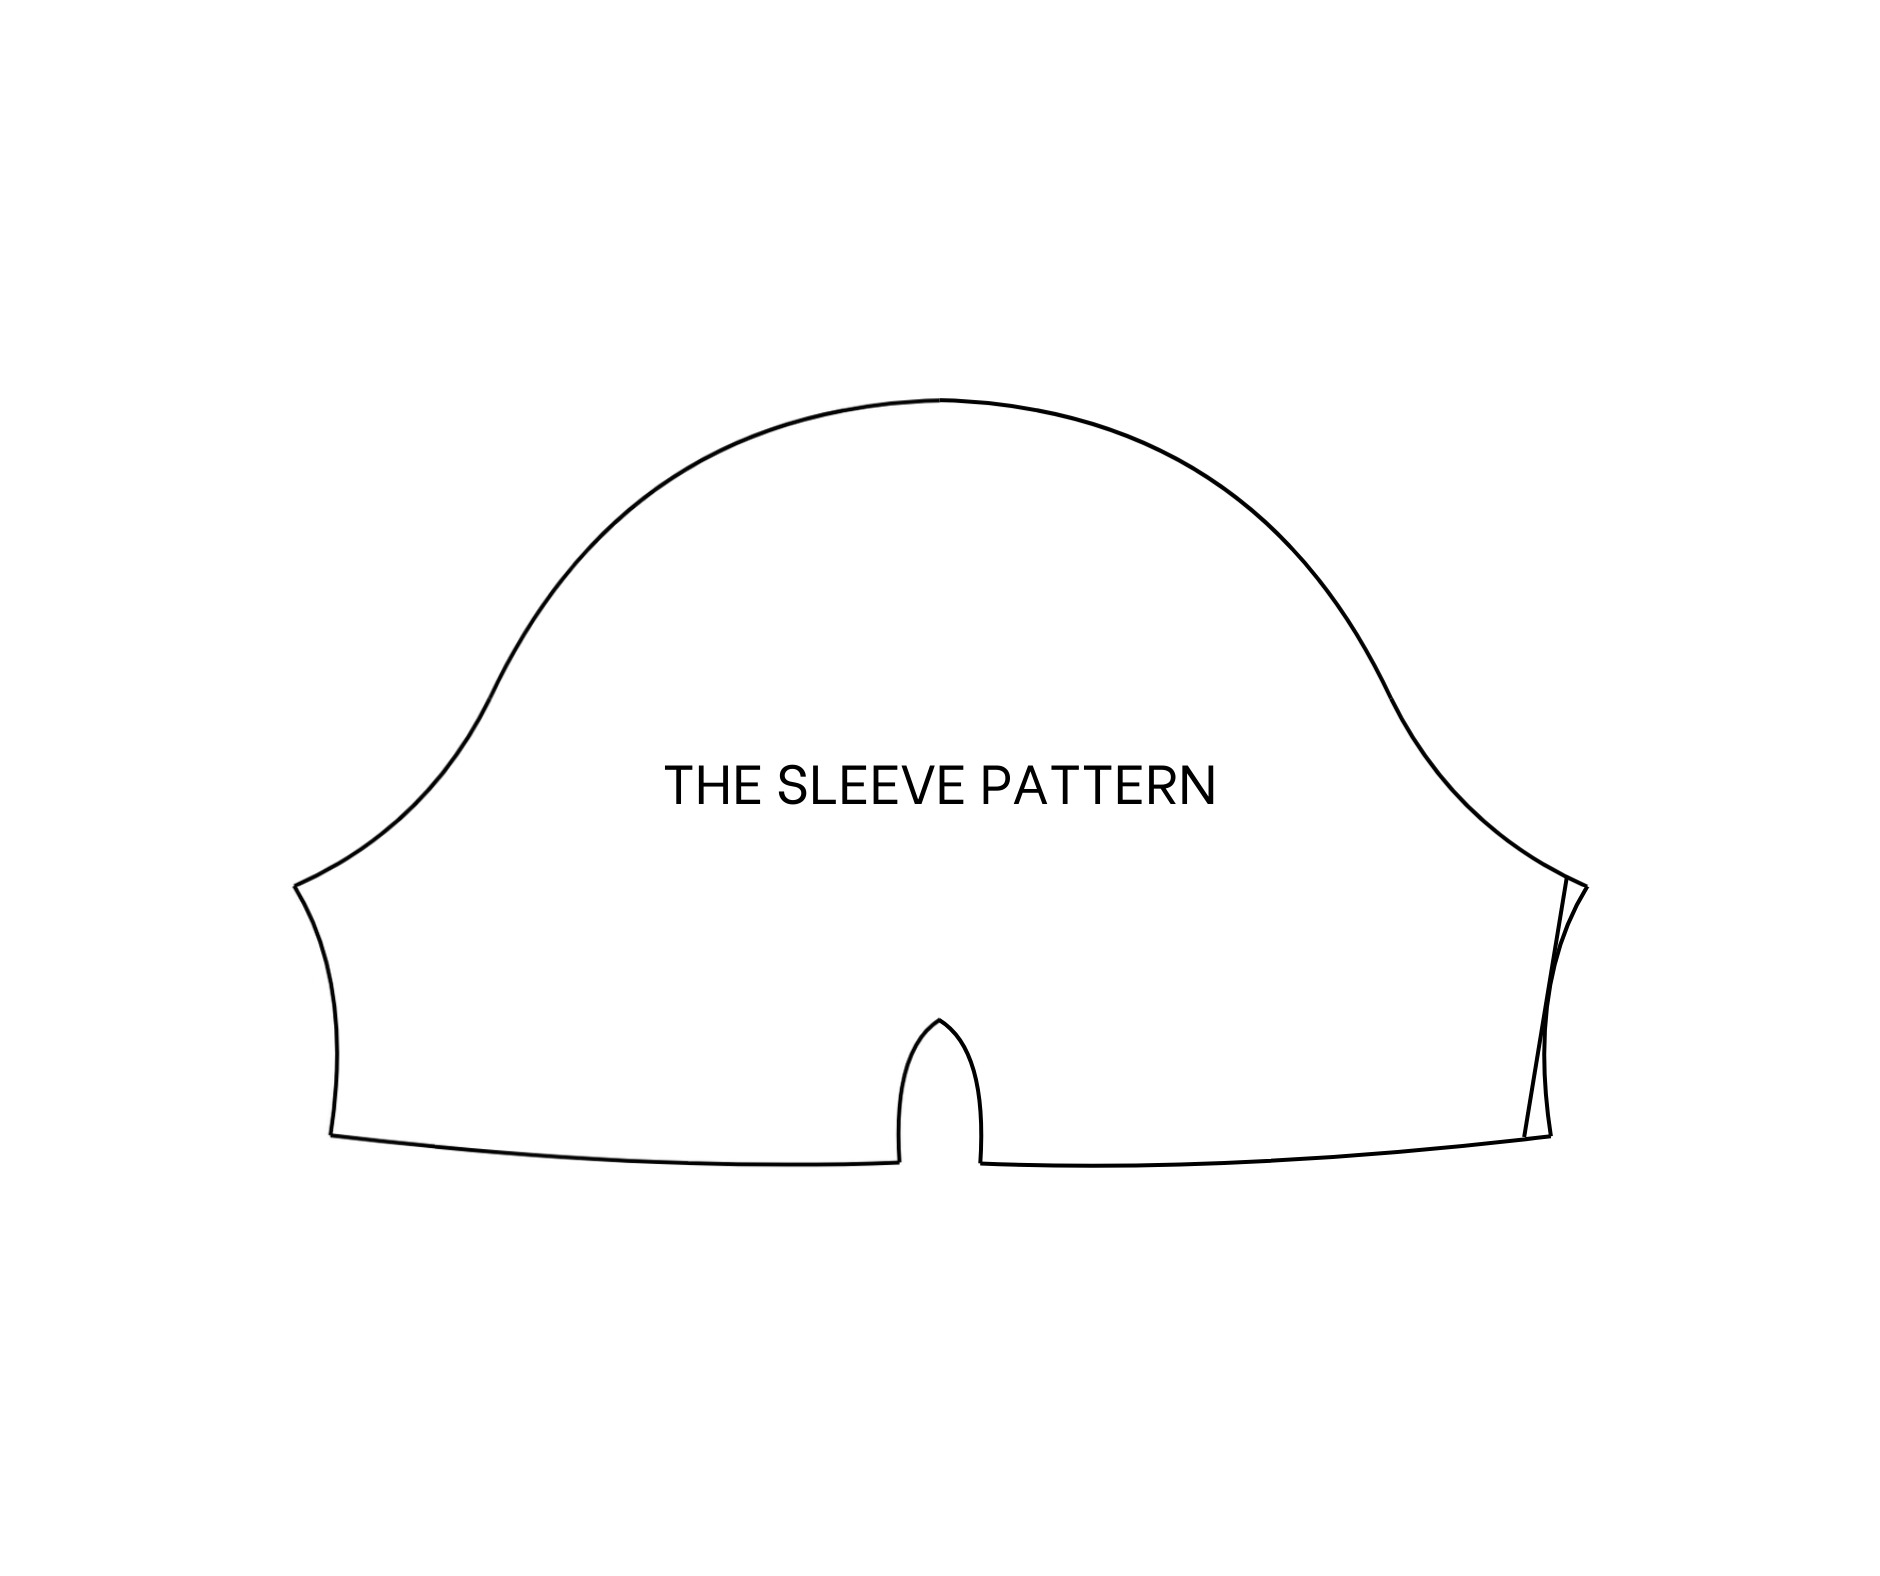
THE SLEEVE PATTERN
To make the pattern, use the pattern from the Clara dress.
If this pattern hasn't been made yet, check out the tutorial for this dress in this link to make one.
To make the sleeve pattern, use a sleeve pattern from the Clara dress.
Fold the pattern in half first.
Cut off the seam allowance at the end of the sleeve.
From the new ending line, draw another line 4 cm above it; this is the length of the bow tie area desired at the end of the sleeve.
Redraw the under-armpit line slightly.
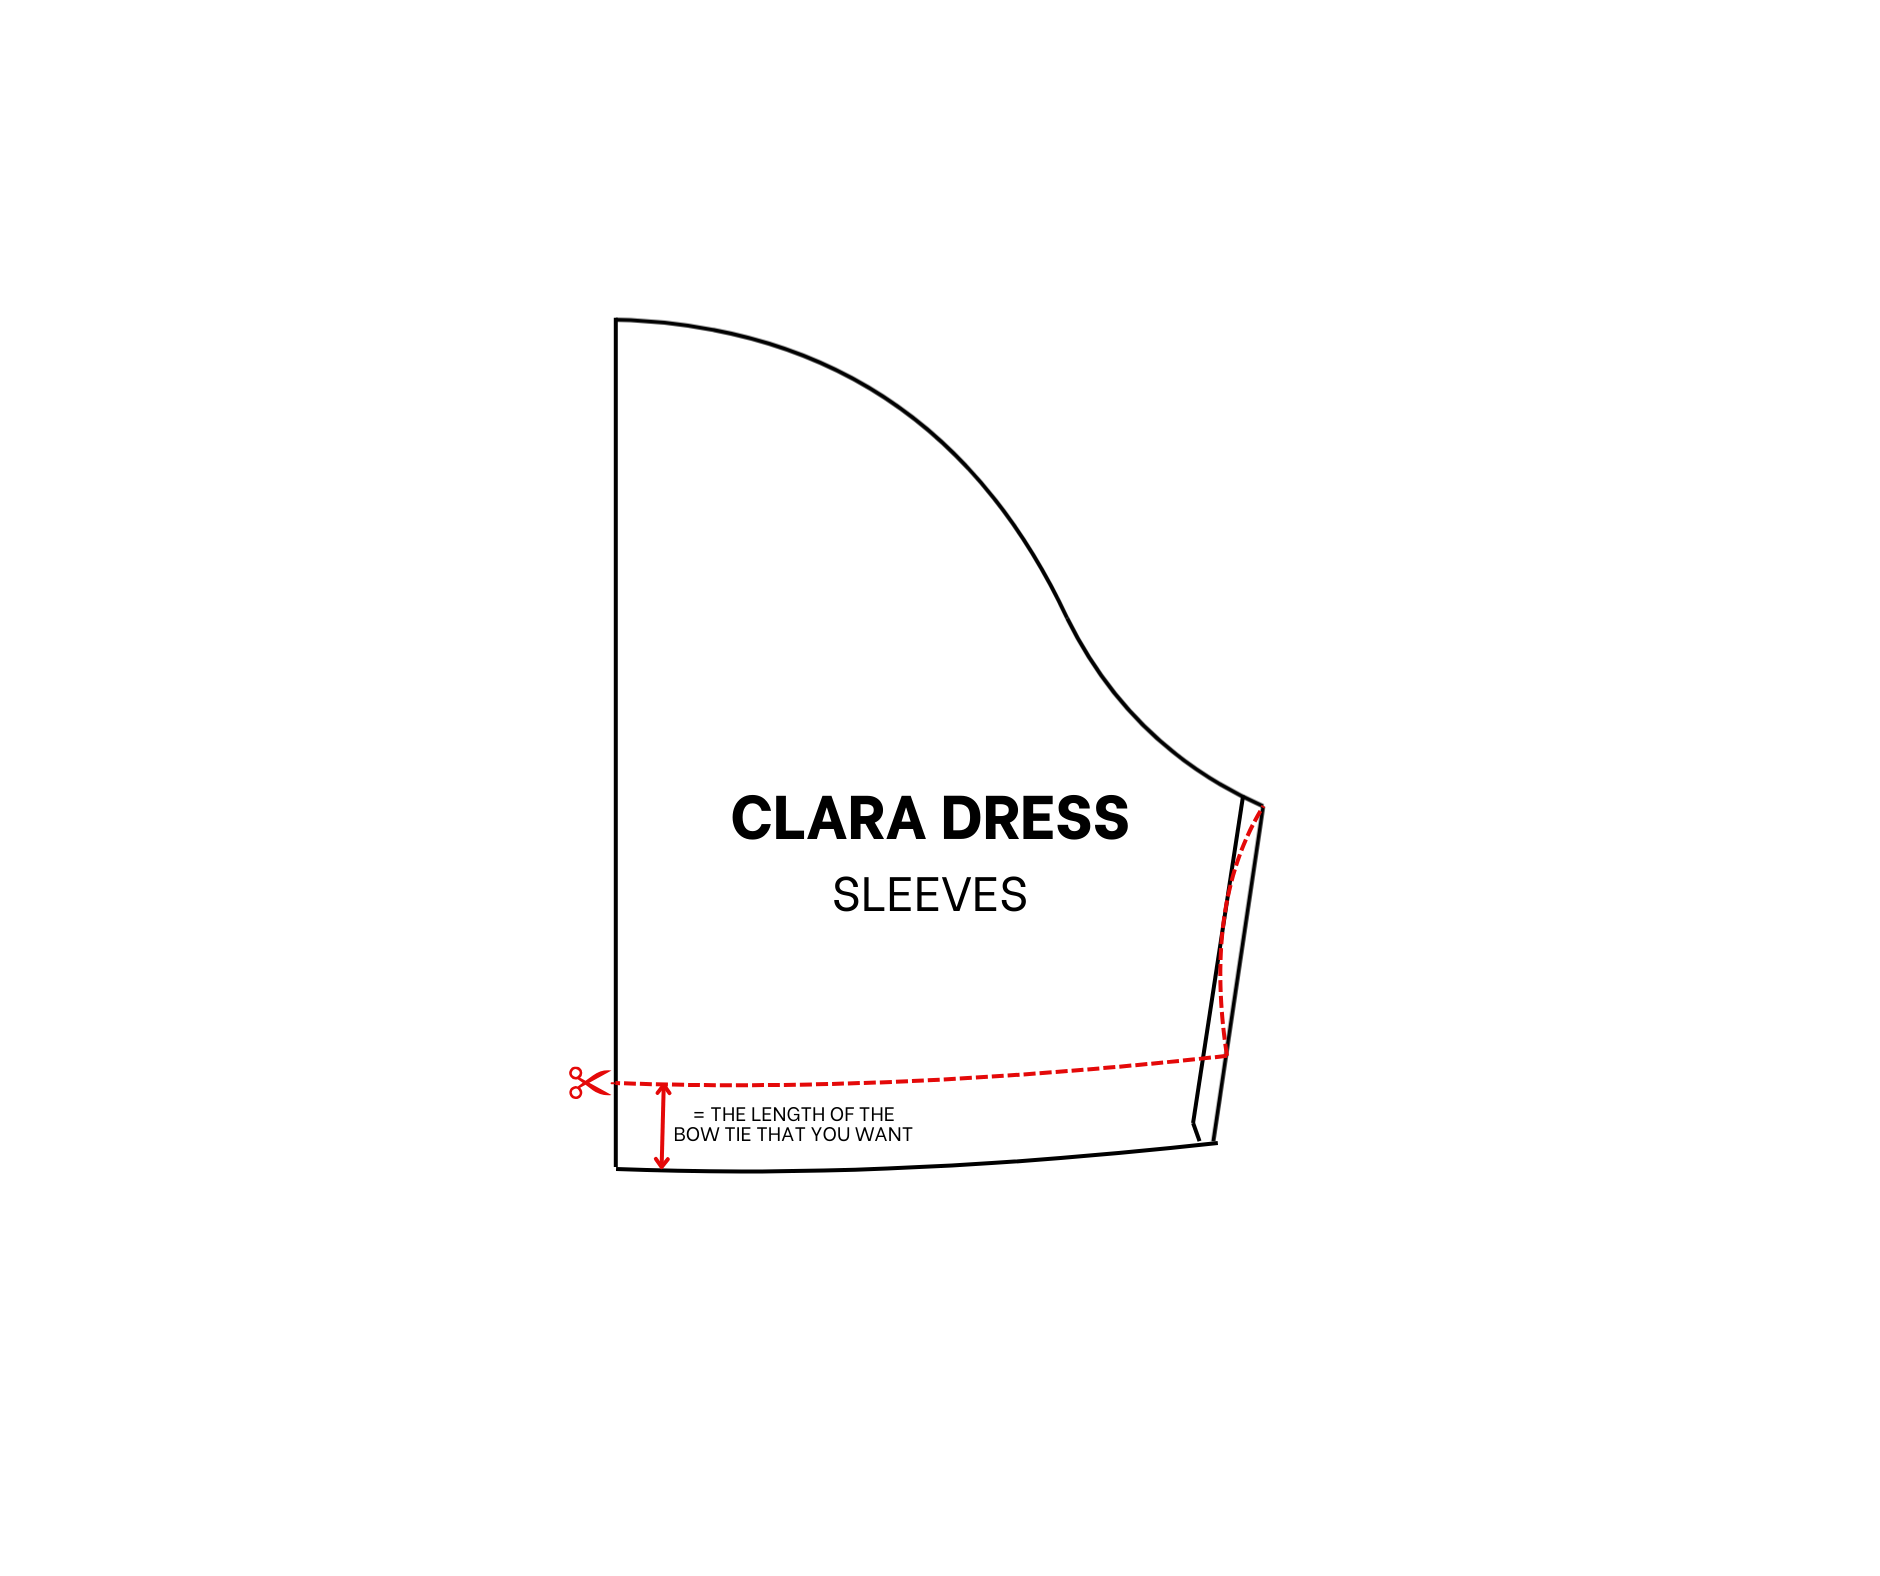

To create the area for the bow tie at the middle of the sleeve's end, mark 5 cm above the end of the folding line. This is the length of the open area for the bow tie.
Mark 1 cm on the ending line from the end of the folding line. This is half the width of the open area for the bow tie minus 1 cm for seam allowance.
Connect the two marks, and the main sleeve pattern is complete after cutting.

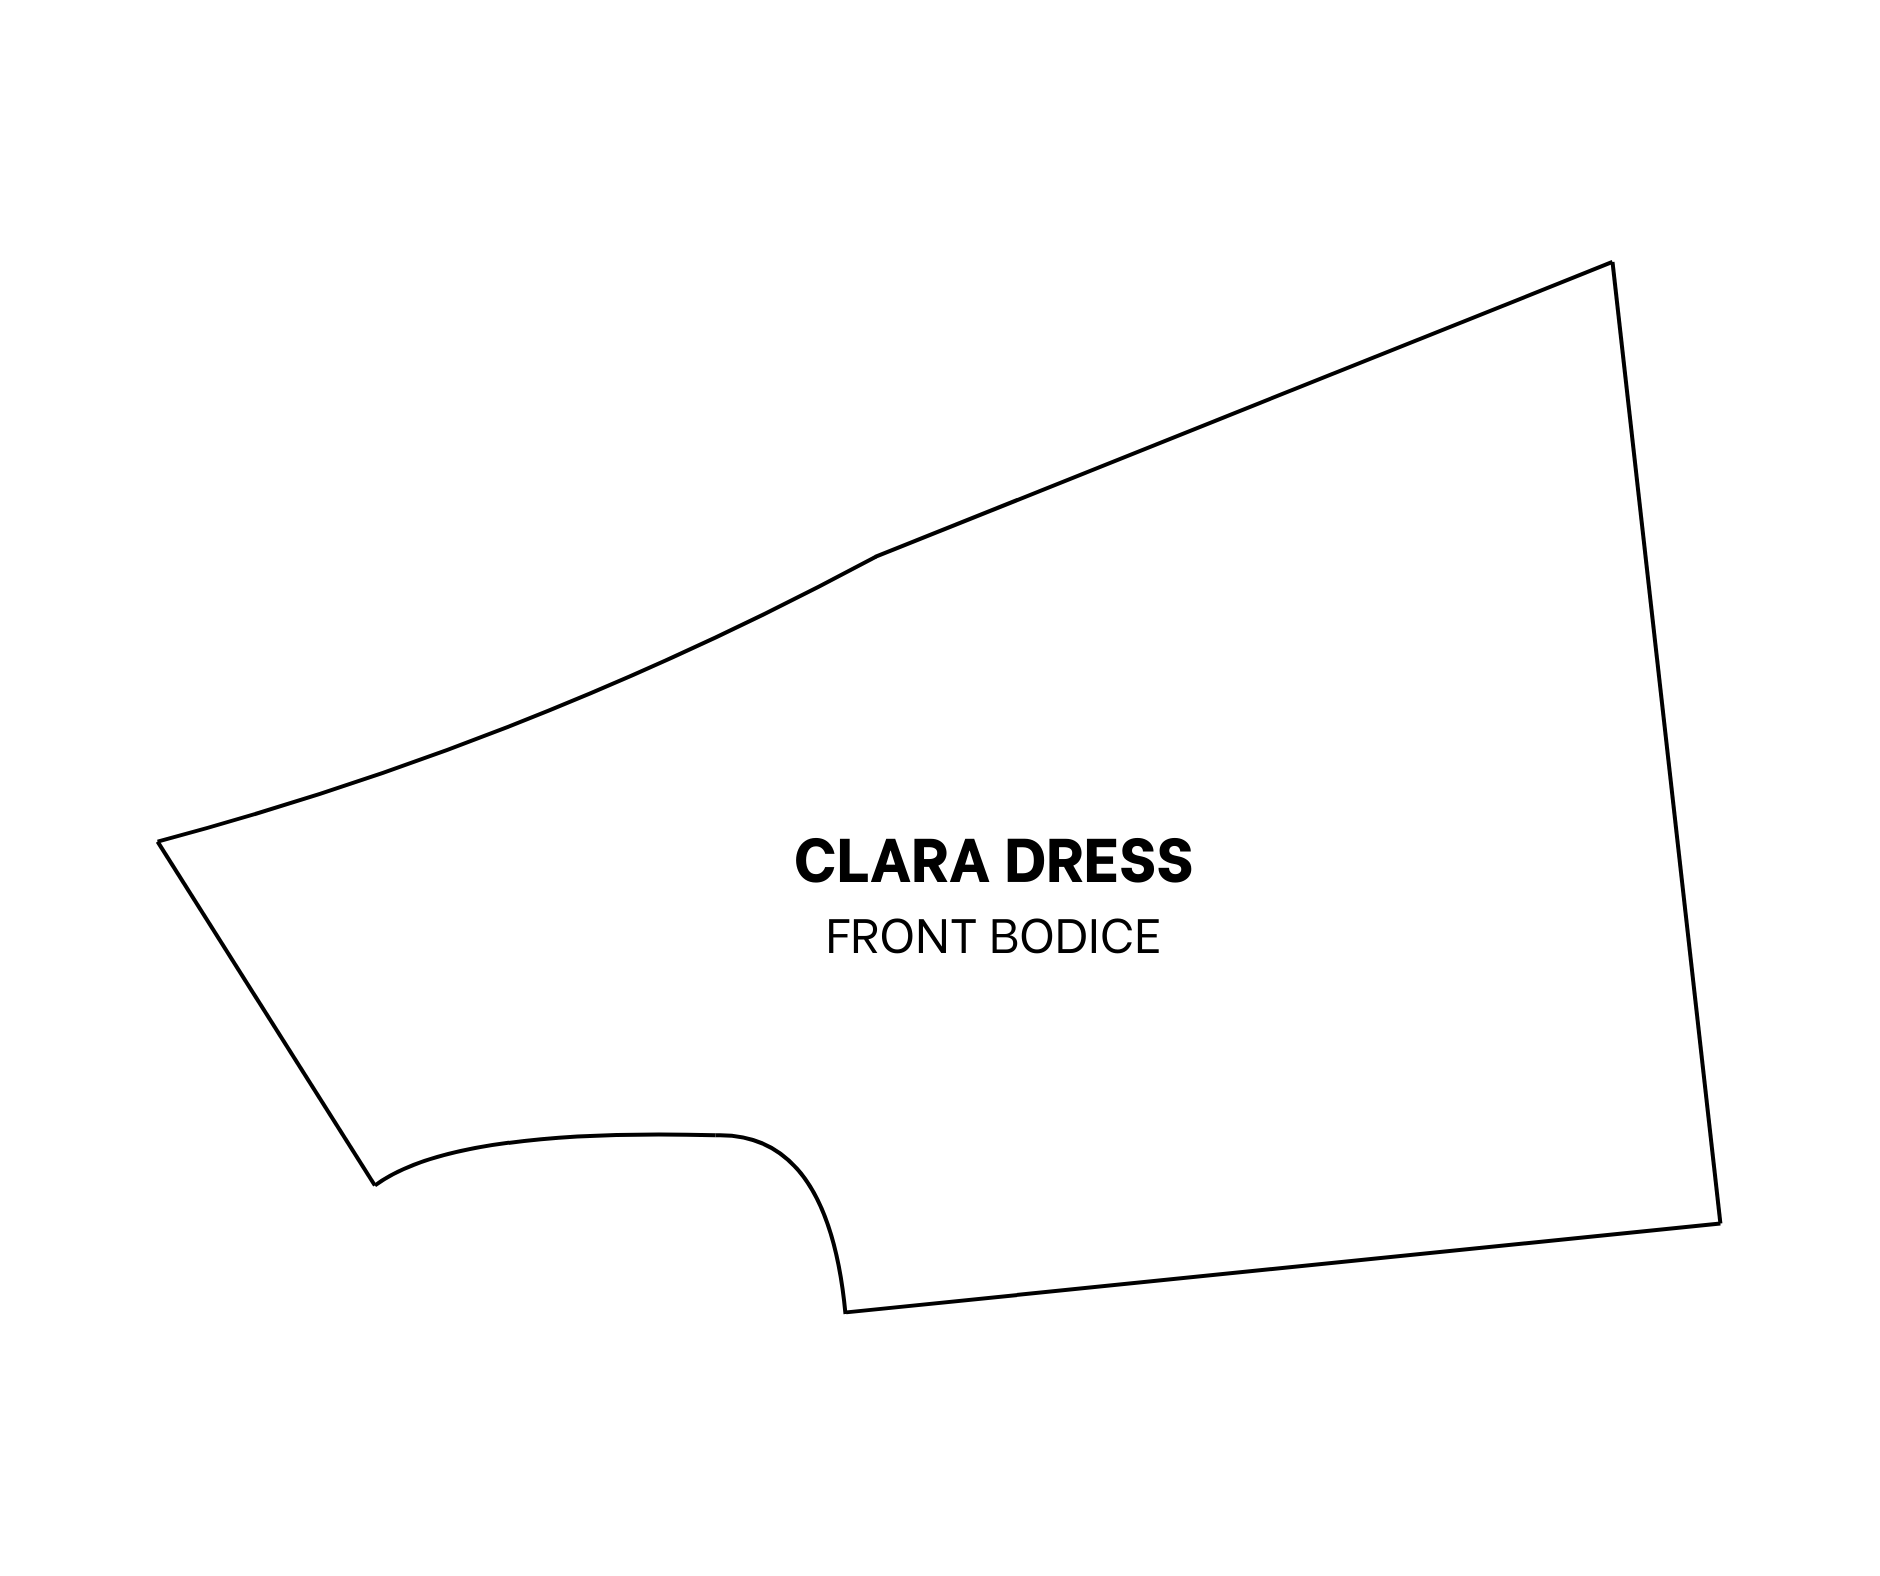
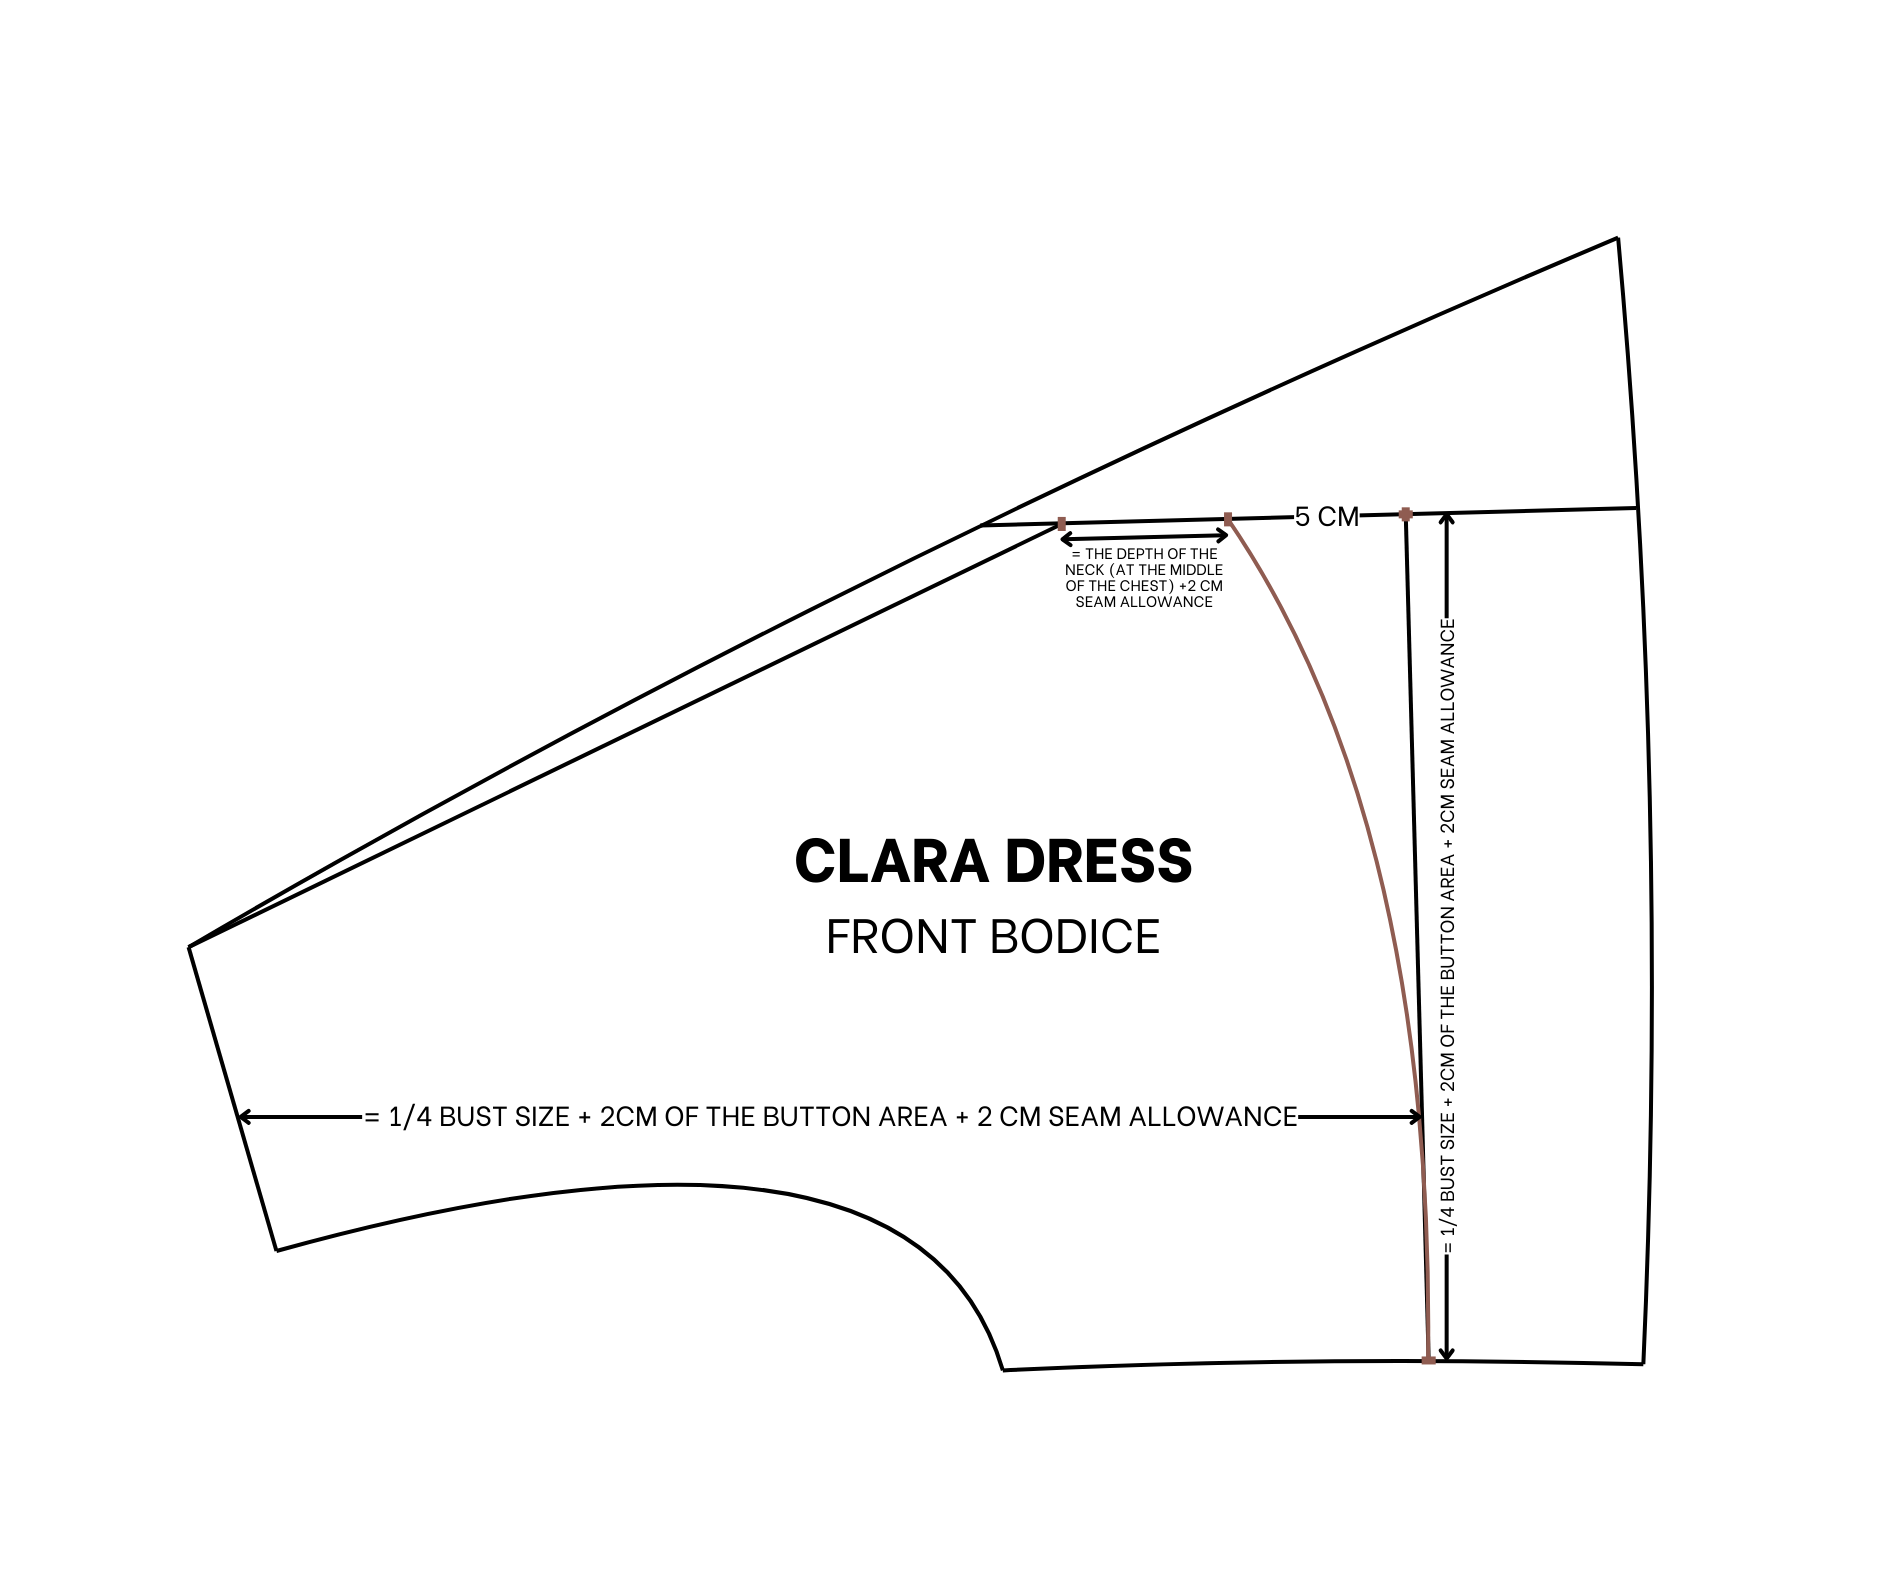
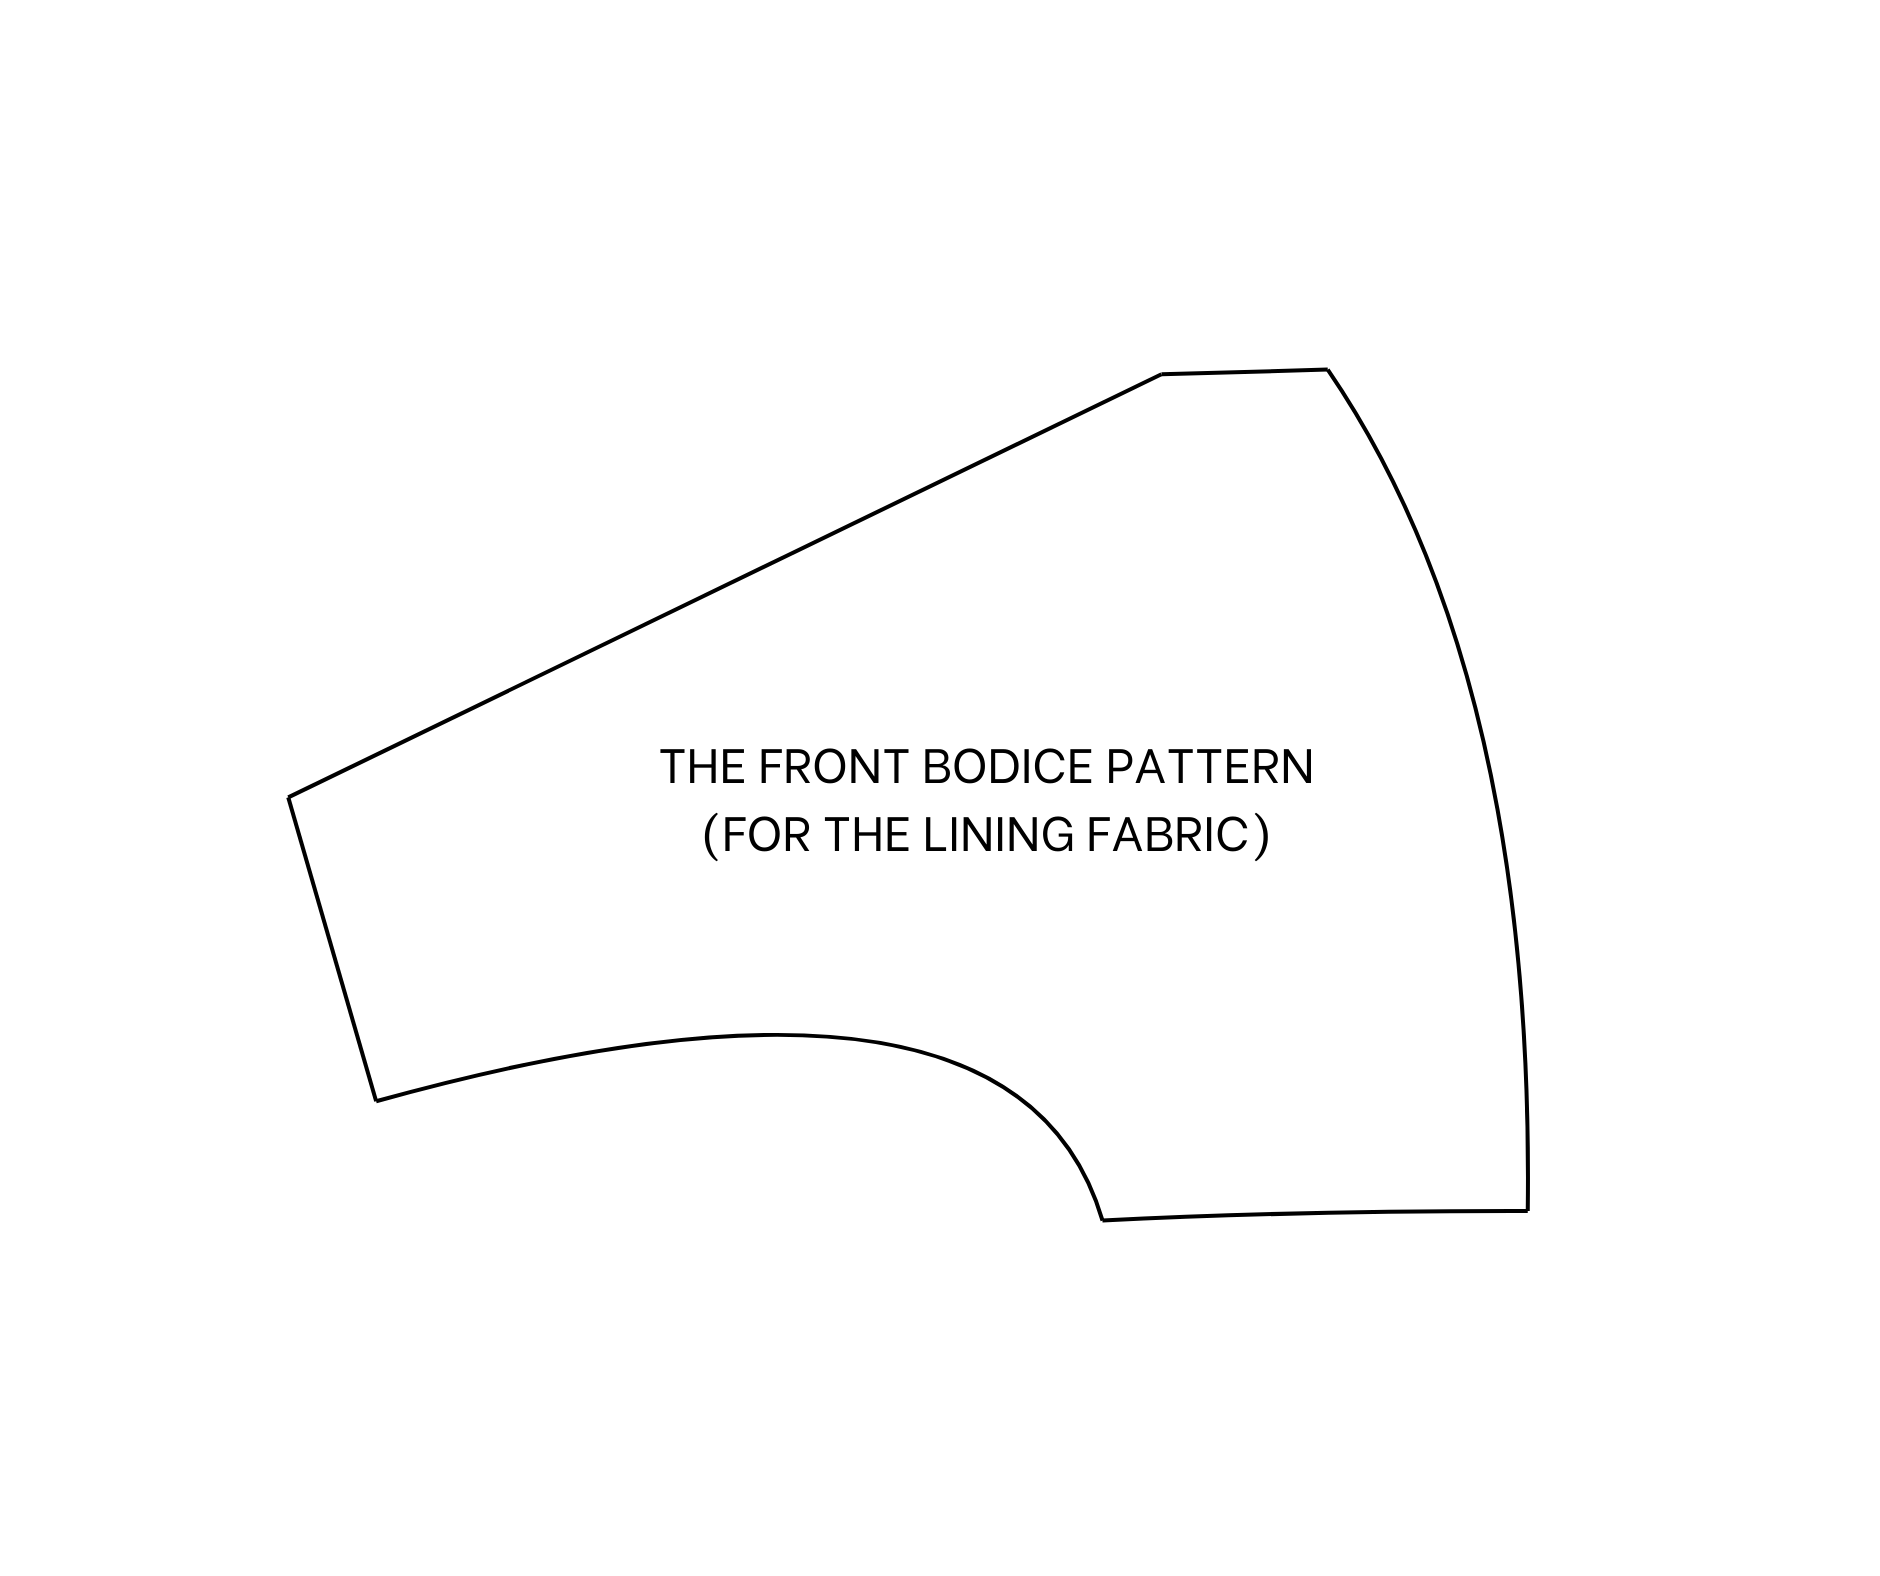
THE FRONT BODICE PATTERN
FOR THE LINING FABRIC
For the front bodice pattern, fold the dart area of the Clara dress's front bodice. Copy that pattern with the folded dart.
From the sideline of the pattern, draw a line 24 cm parallel to it. This is the quarter of the bust size plus 2 cm for the button area and 2 cm for seam allowance.
From the top of the shoulder line, mark down 35 cm, which is the length from the shoulder to under the bust plus 2 cm for seam allowance, and draw a straight line to that mark.
From the cutting point between this straight line and the horizontal line, mark 5 cm up on the horizontal line. This is the length of the curved line desired at the bust area.
Draw a curved line from that mark to meet the straight line.
From this mark, make another mark 5 cm above it for the end of the neckline.
Connect it to the top of the shoulder line to create a new neckline for the front bodice.
The front bodice pattern is complete after cutting. This pattern will be used for the lining fabric.
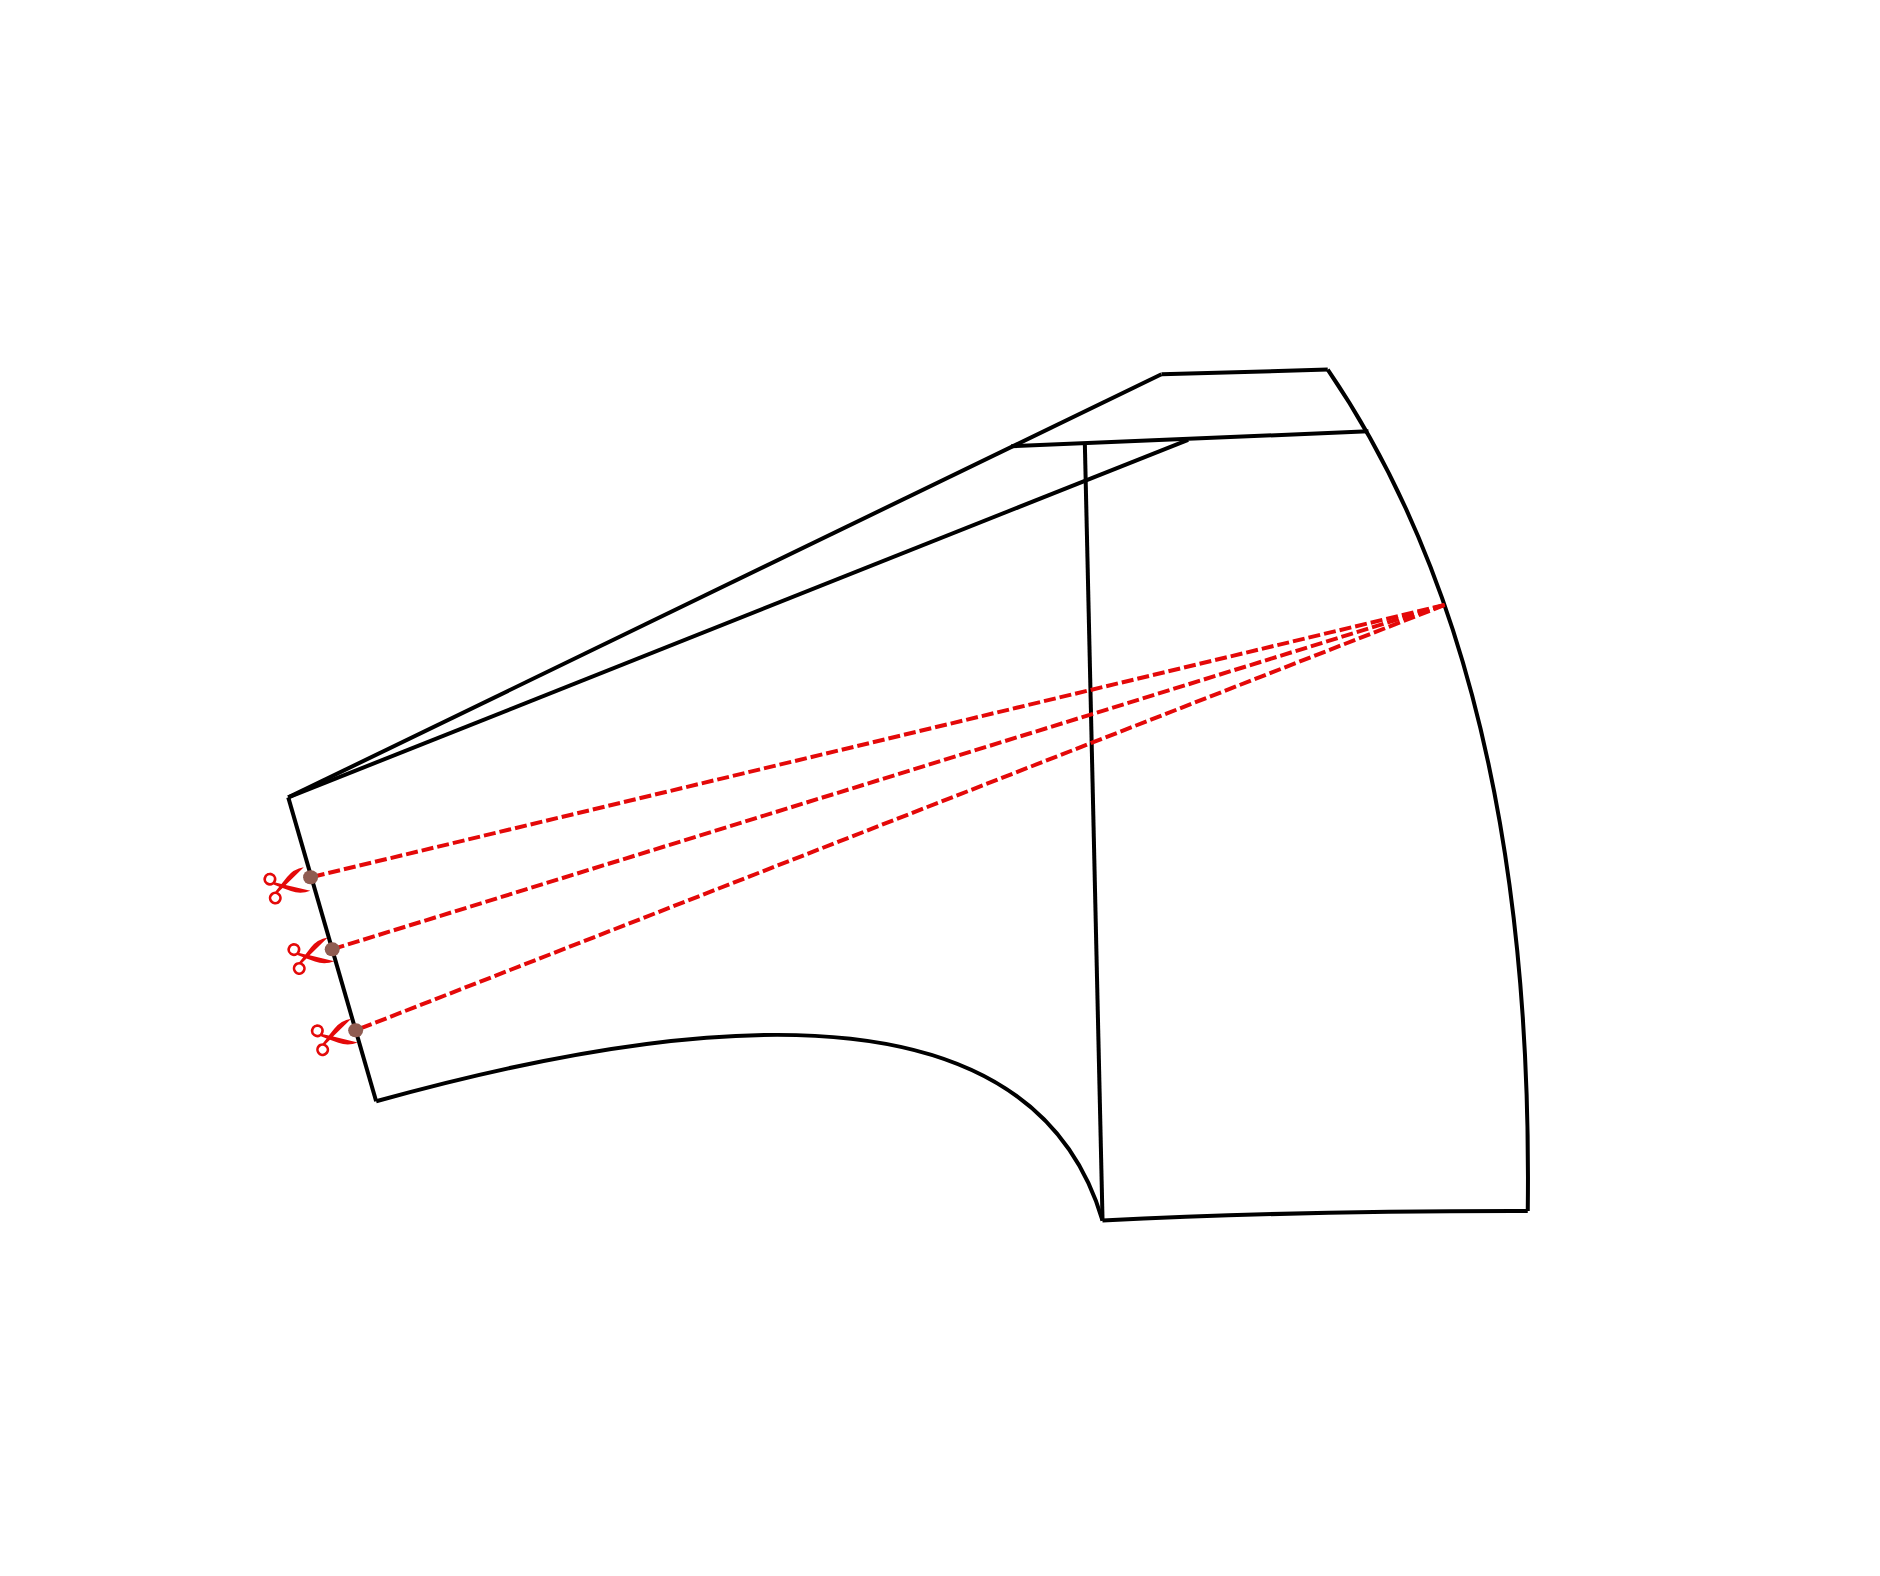
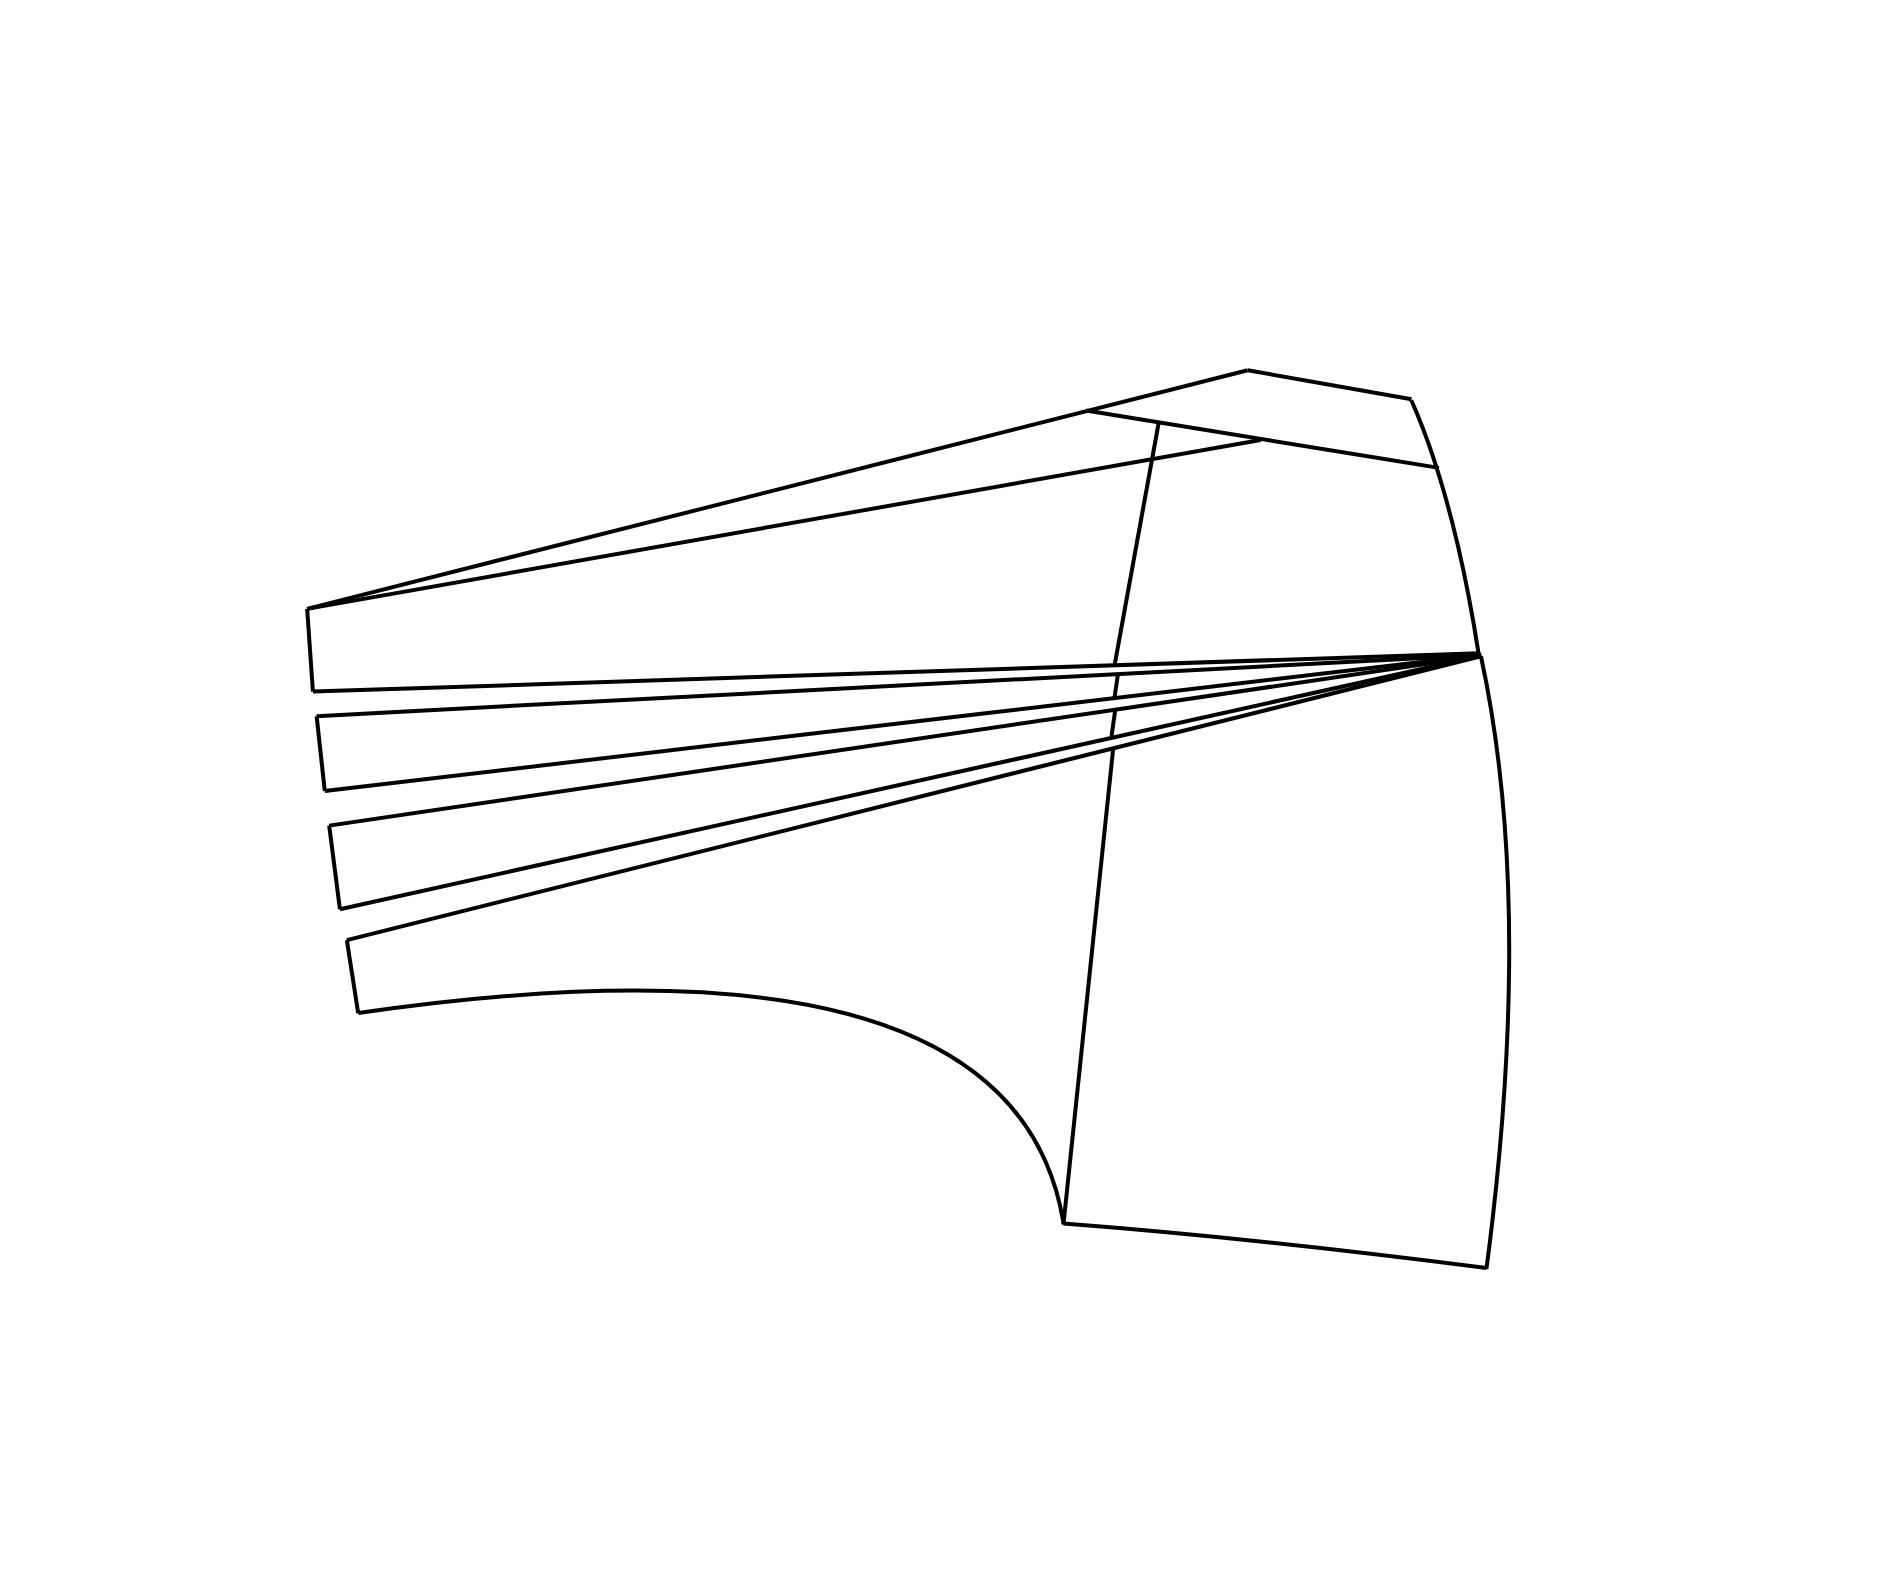
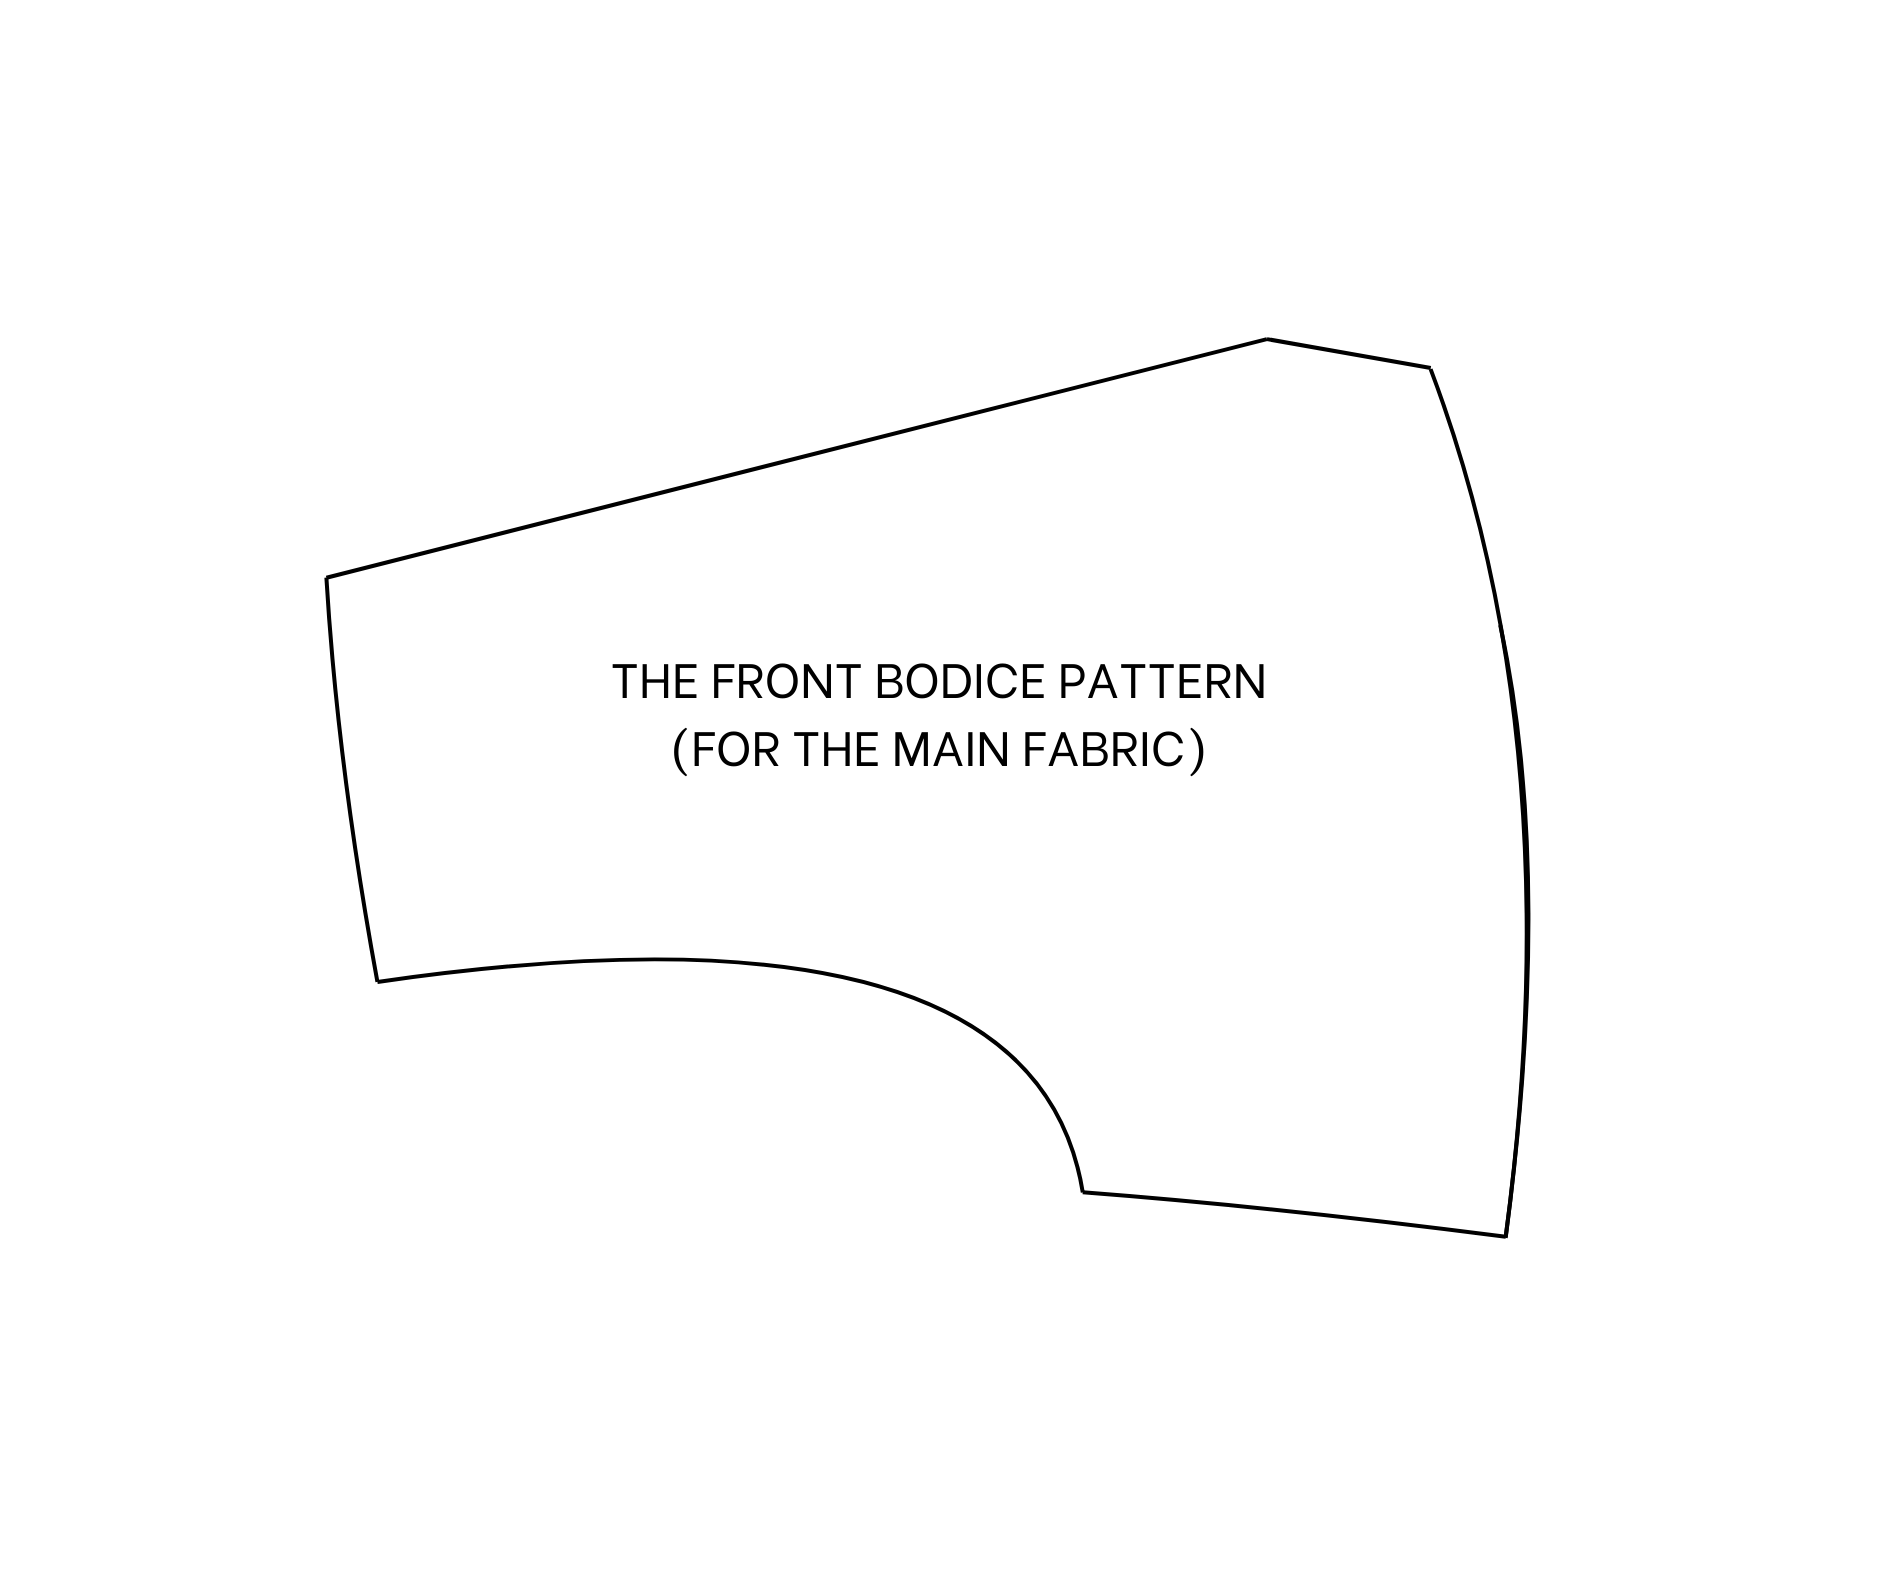
FOR THE MAIN FABRIC
To create the front bodice pattern for the main fabric, make a mark in the middle of the shoulder line and draw a straight line from that mark to the end of the pattern.
Make two additional marks on either side of the first one on the shoulder line.
Create two more lines from these marks to the end of the first one.
When cutting, keep the lines connected at the end to prevent the pattern from falling apart.
Open the shoulder area to make it wider and tape it in place.
Draw to finalize the new front bodice pattern for the main fabric.
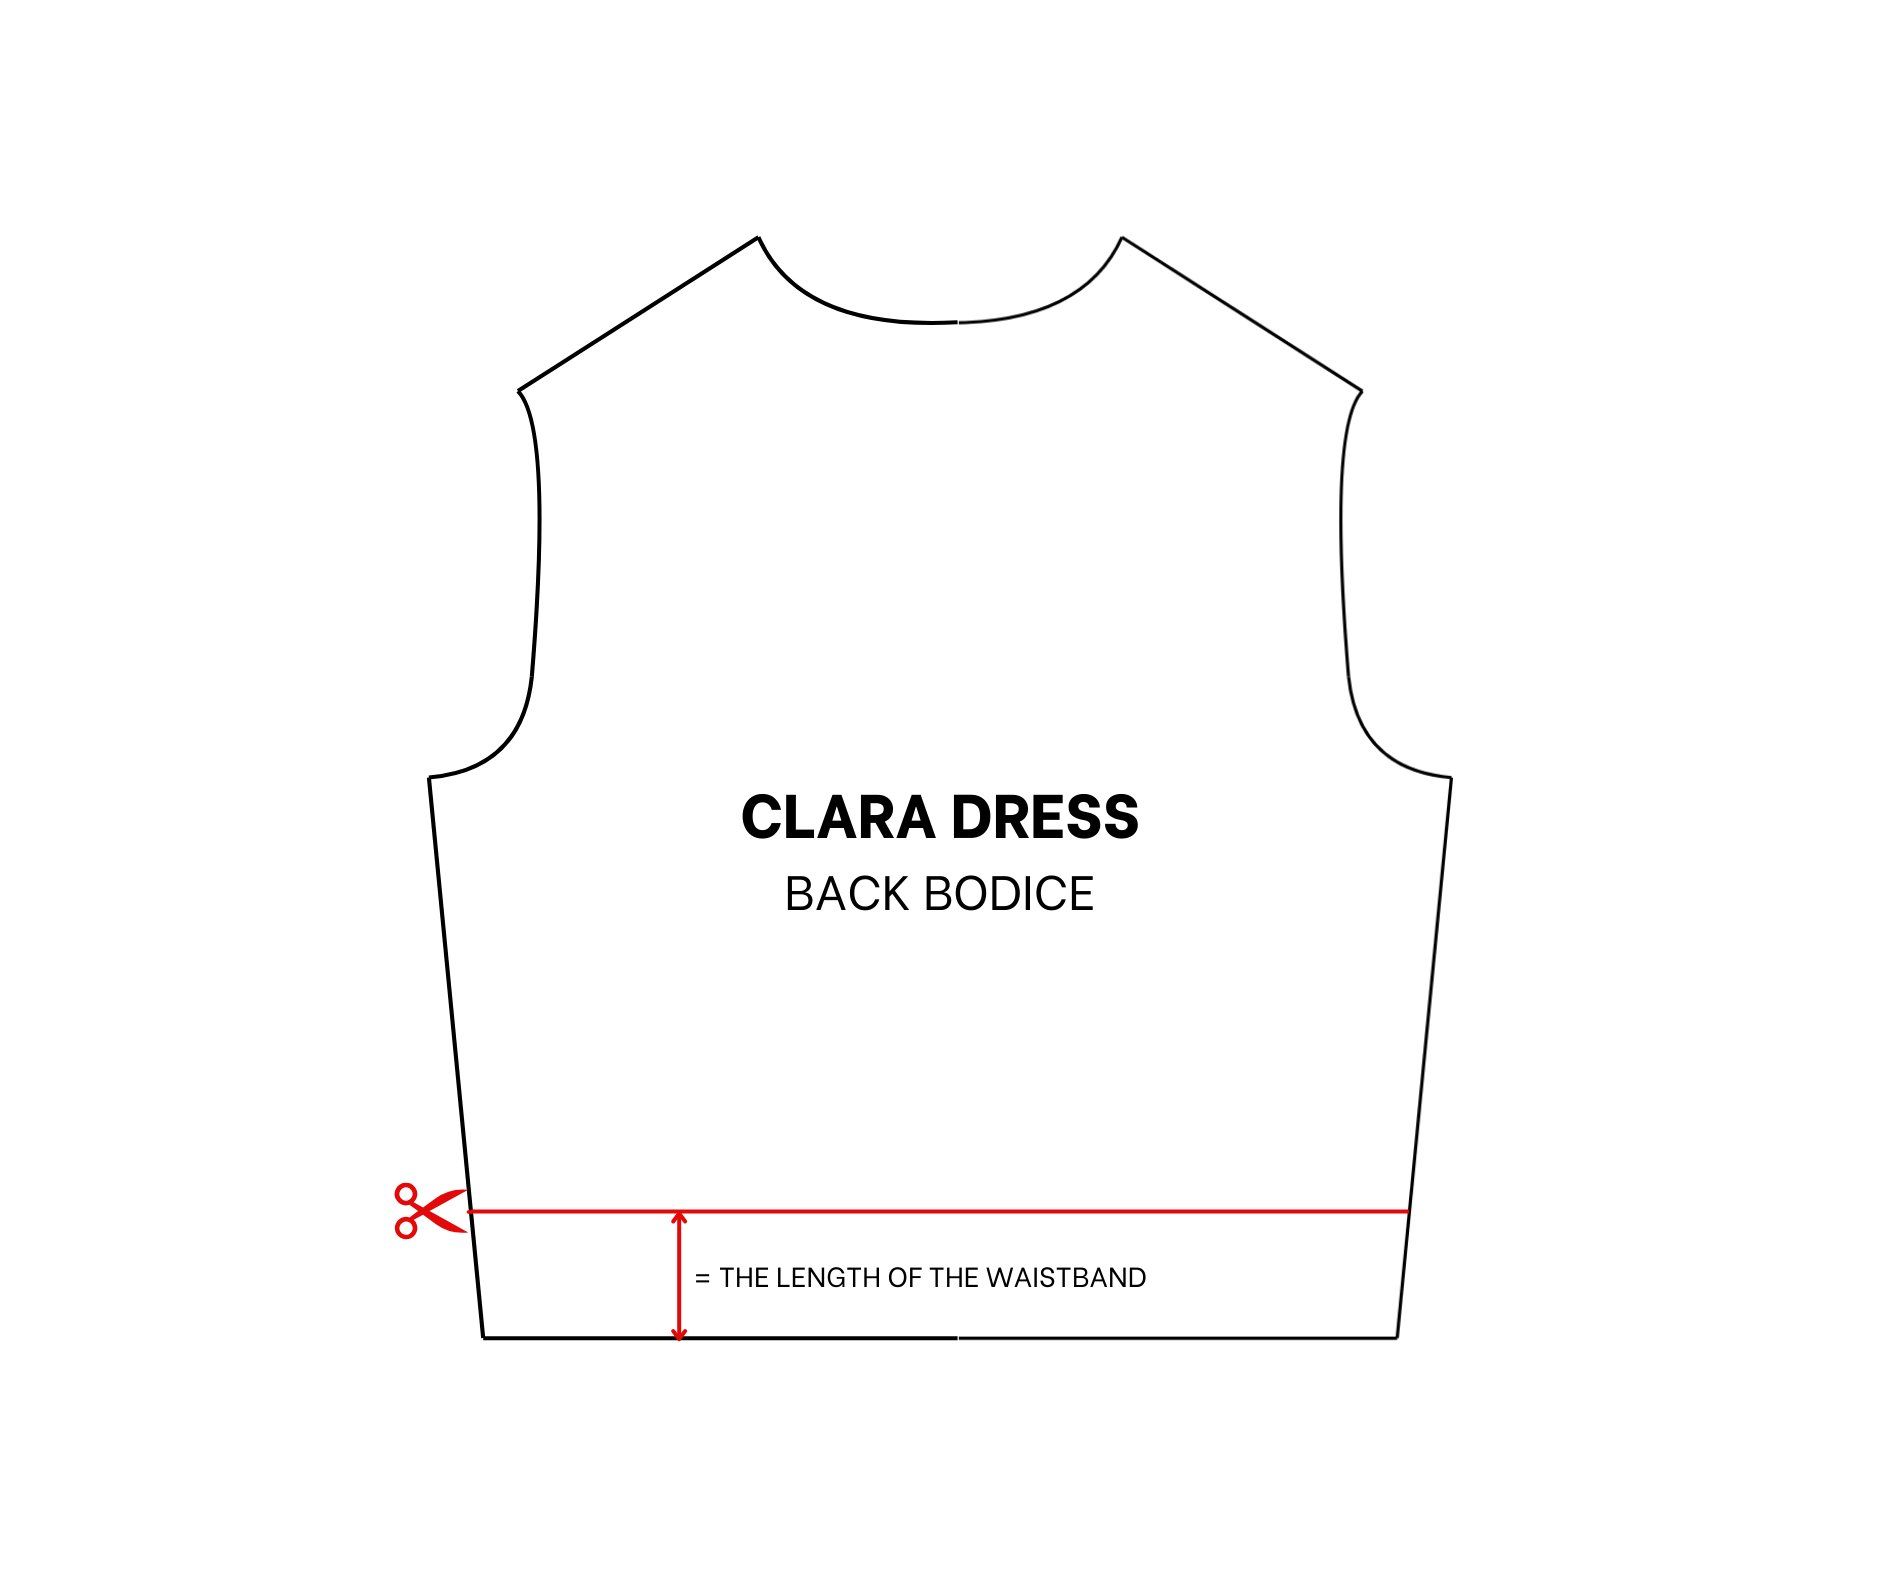
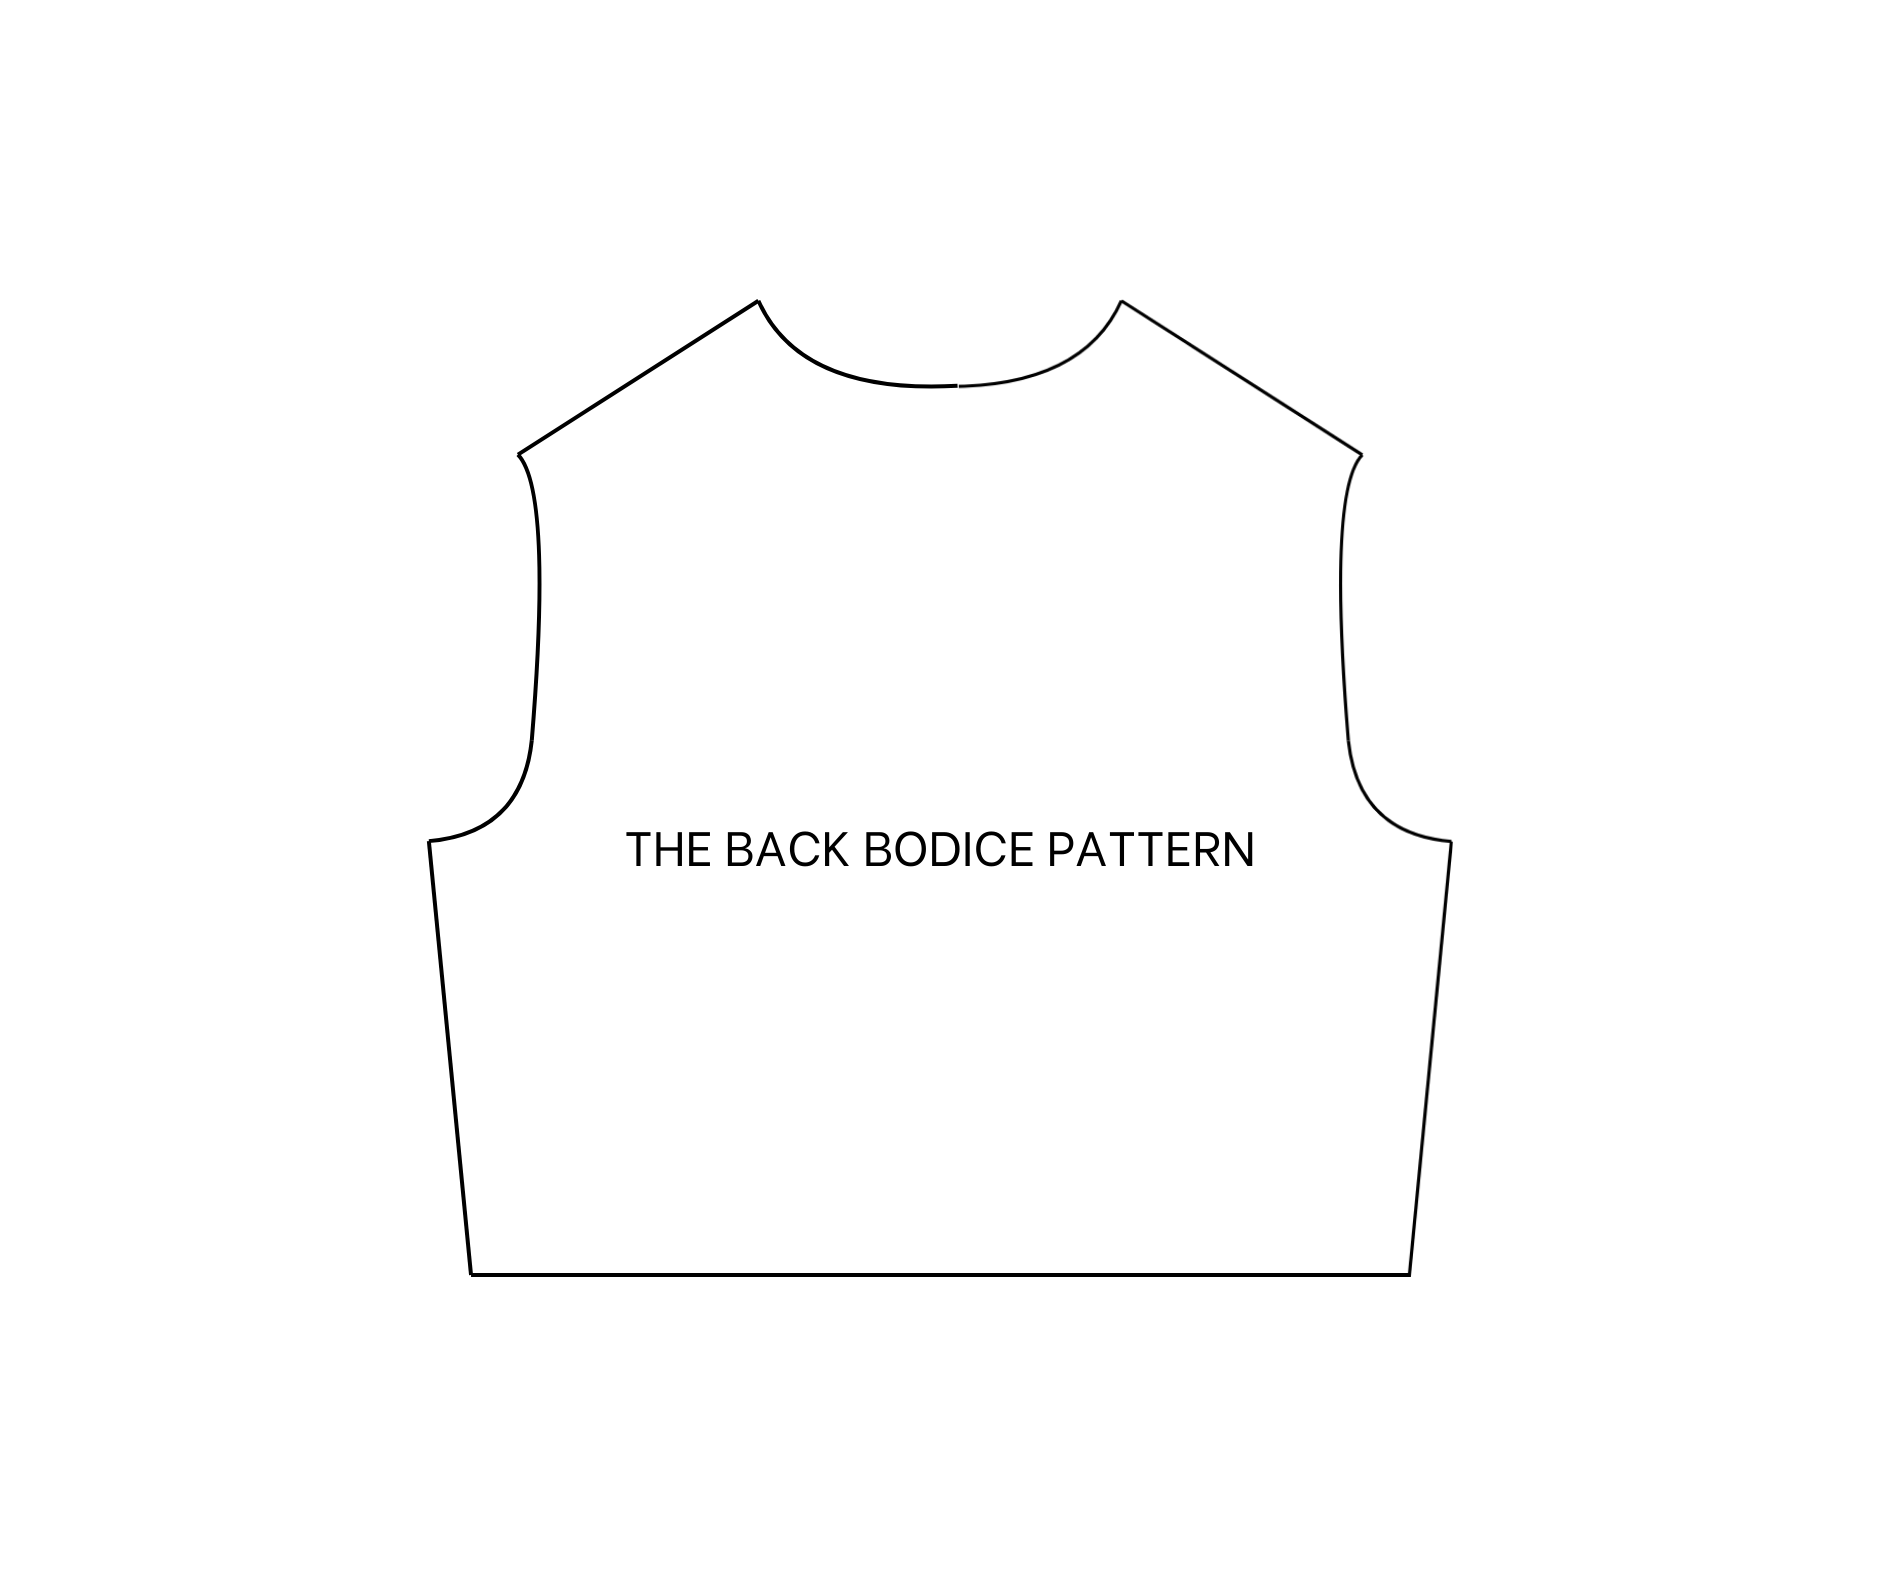
THE BACK BODICE PATTERN
For the back bodice pattern, use the Clara dress's back bodice pattern.
Trim the extra dart area to make the ending line cleaner.
Draw a new line 6 cm above the ending line, matching the waistband length on the front bodice pattern.
The main back bodice pattern is complete after cutting.
THE WAISTBAND PATTERN
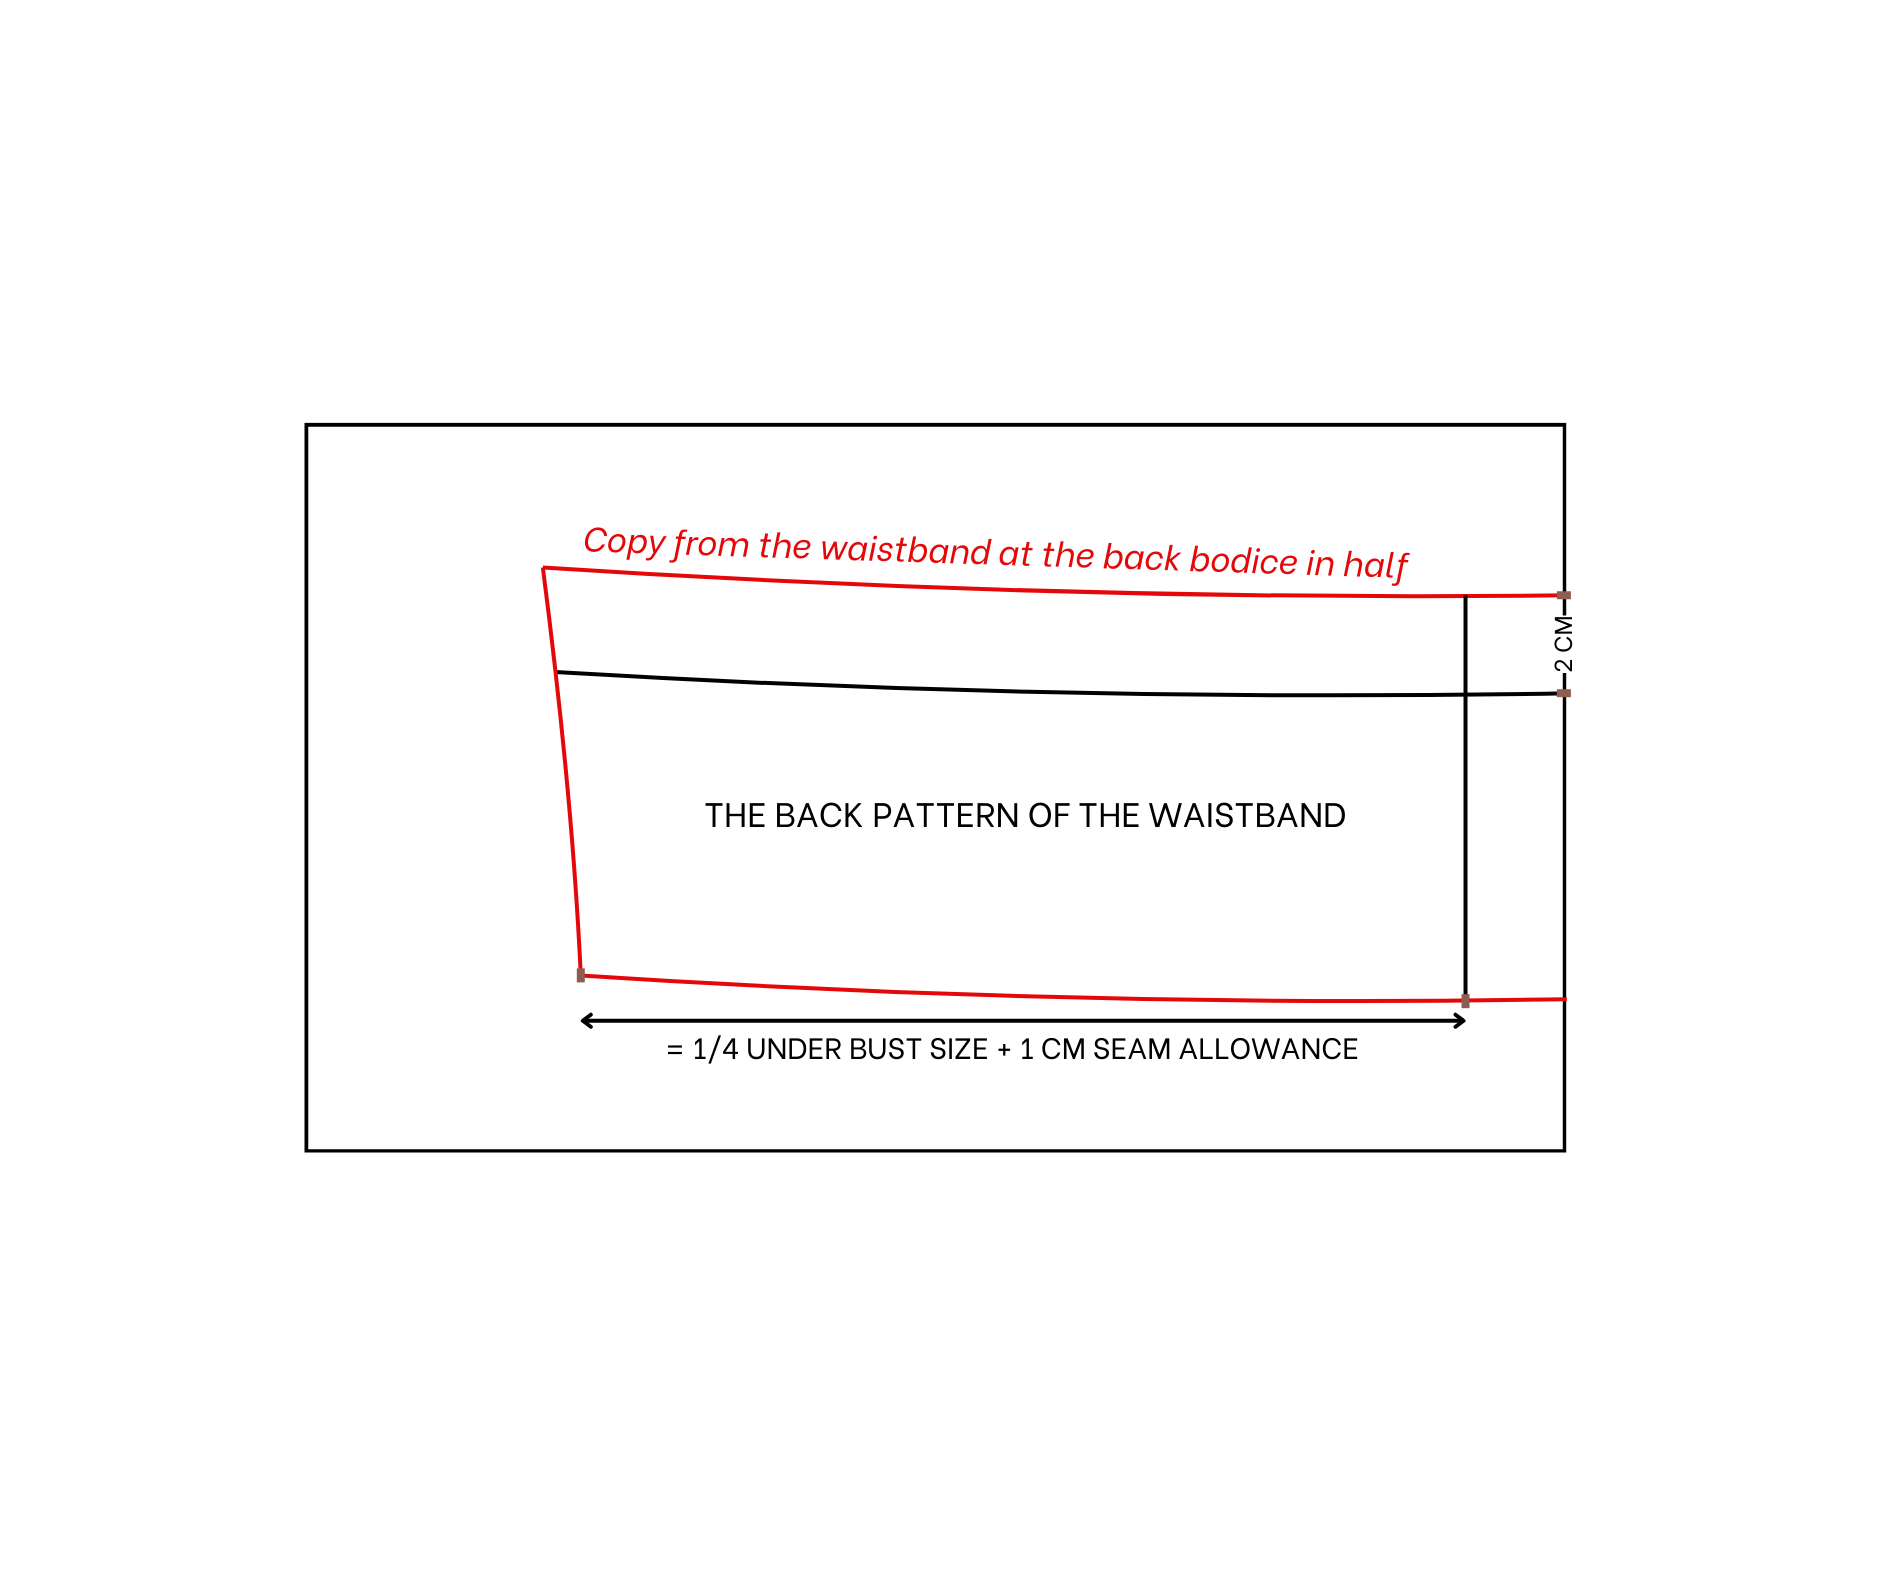
THE BACK WAISTBAND
Fold the leftover back pattern piece that was cut off earlier in half.
Copy the pattern to a new piece of paper.
From the top of the pattern, draw a line 2 cm above it for seam allowance.
From the sideline, mark 18 cm inward. This is the quarter of the under-bust size plus 1 cm for seam allowance.
Draw a straight line to that mark. T
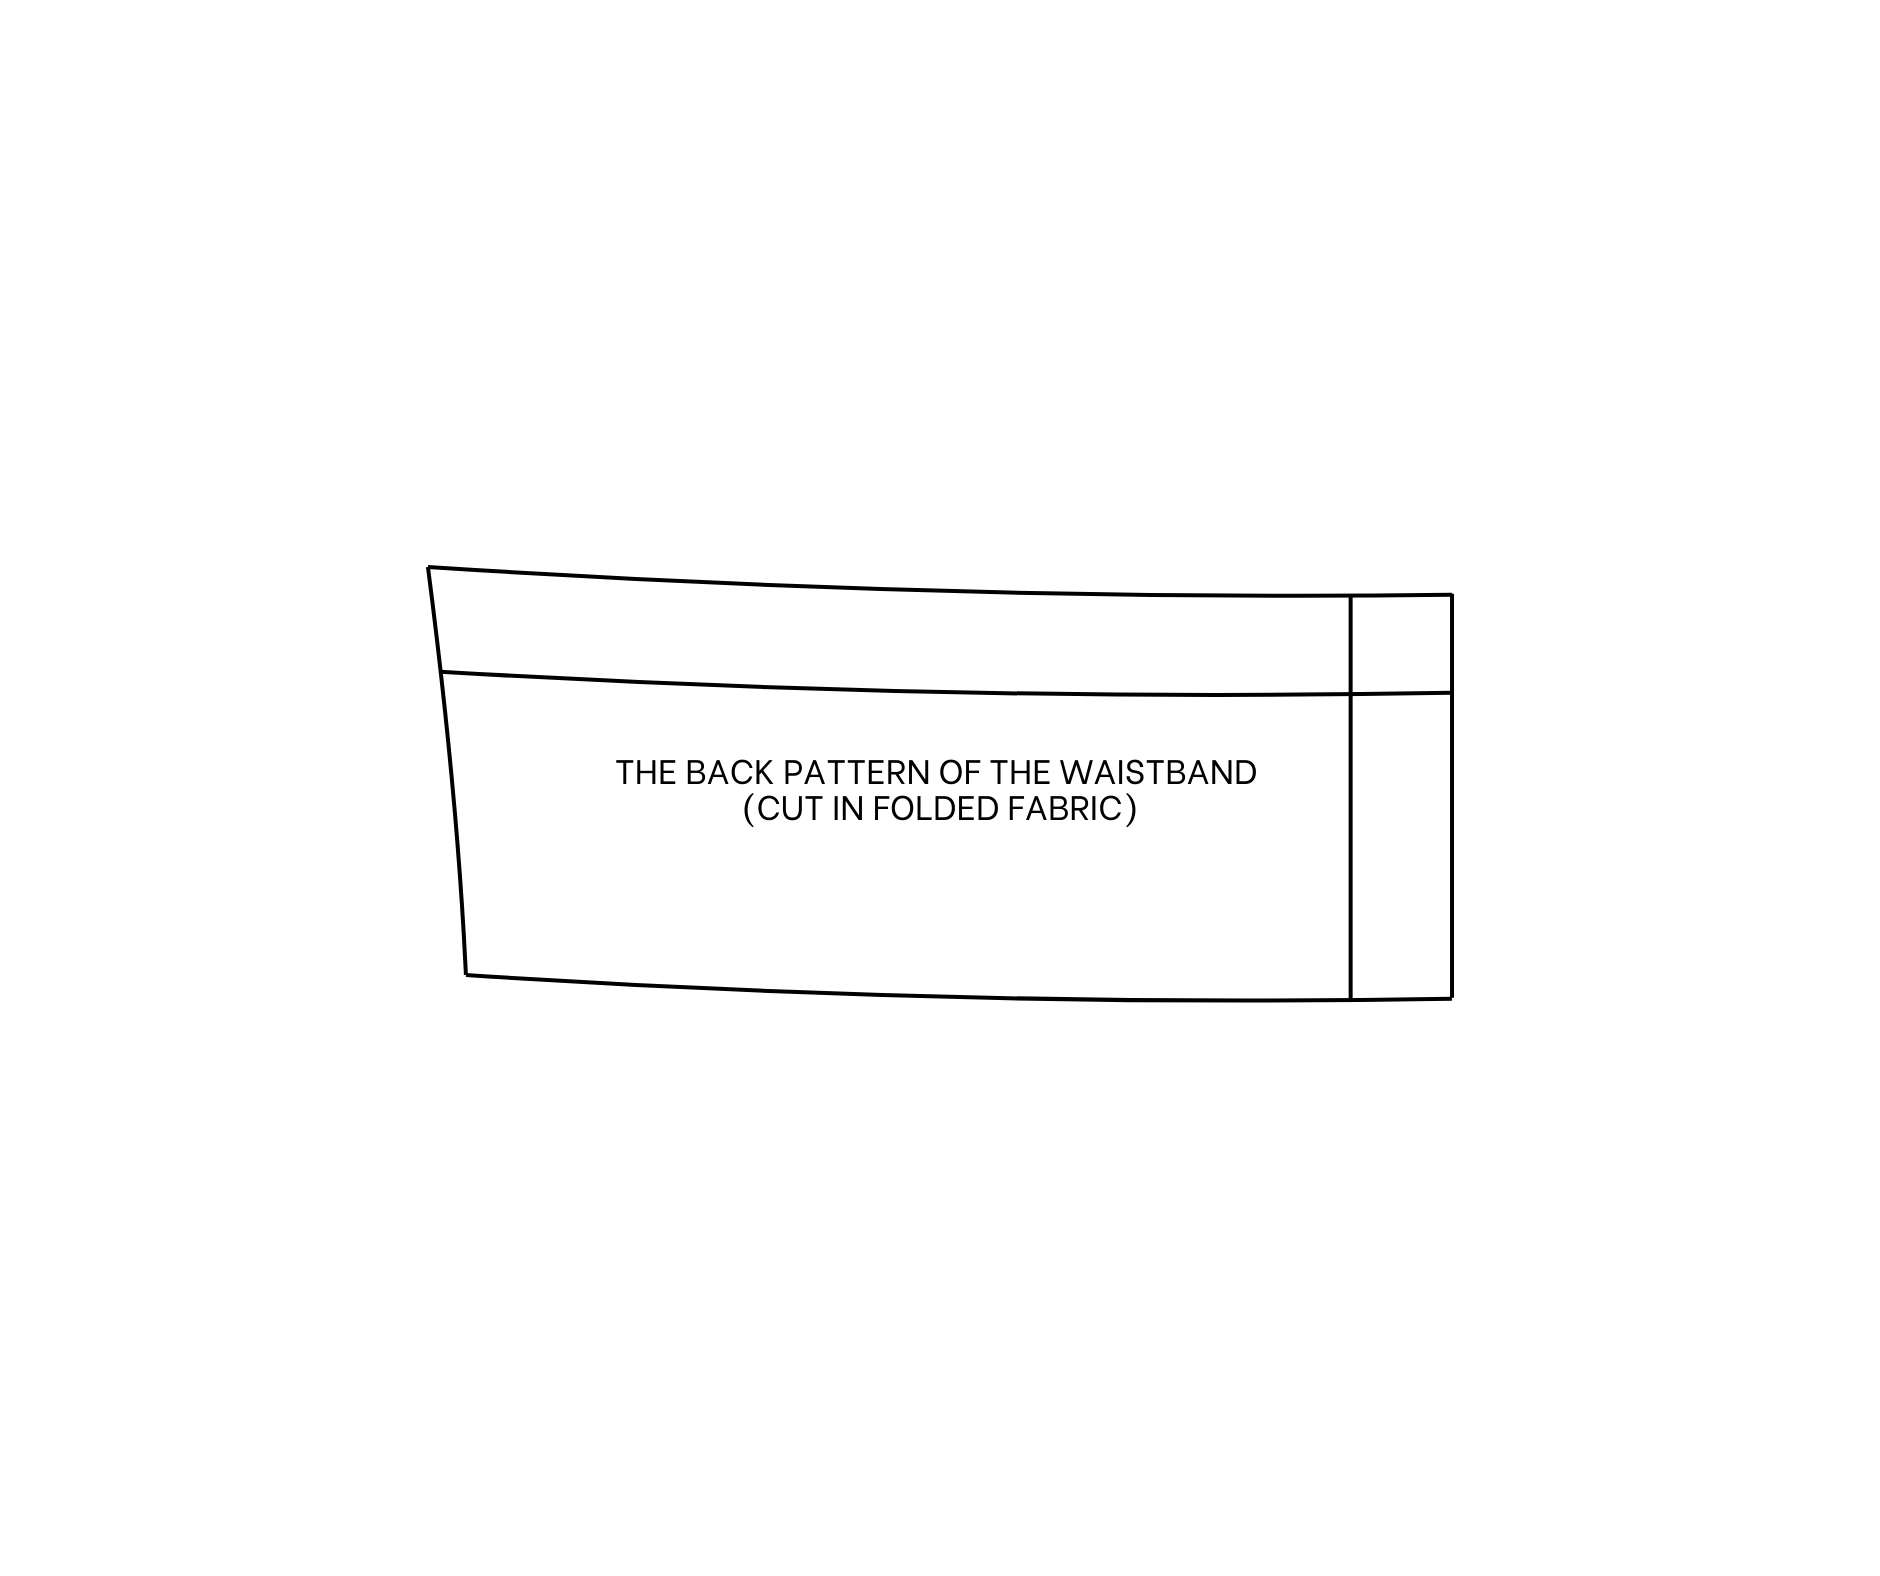
he back waistband pattern is complete after cutting.
Remember to cut it in folded fabric along the straight line.
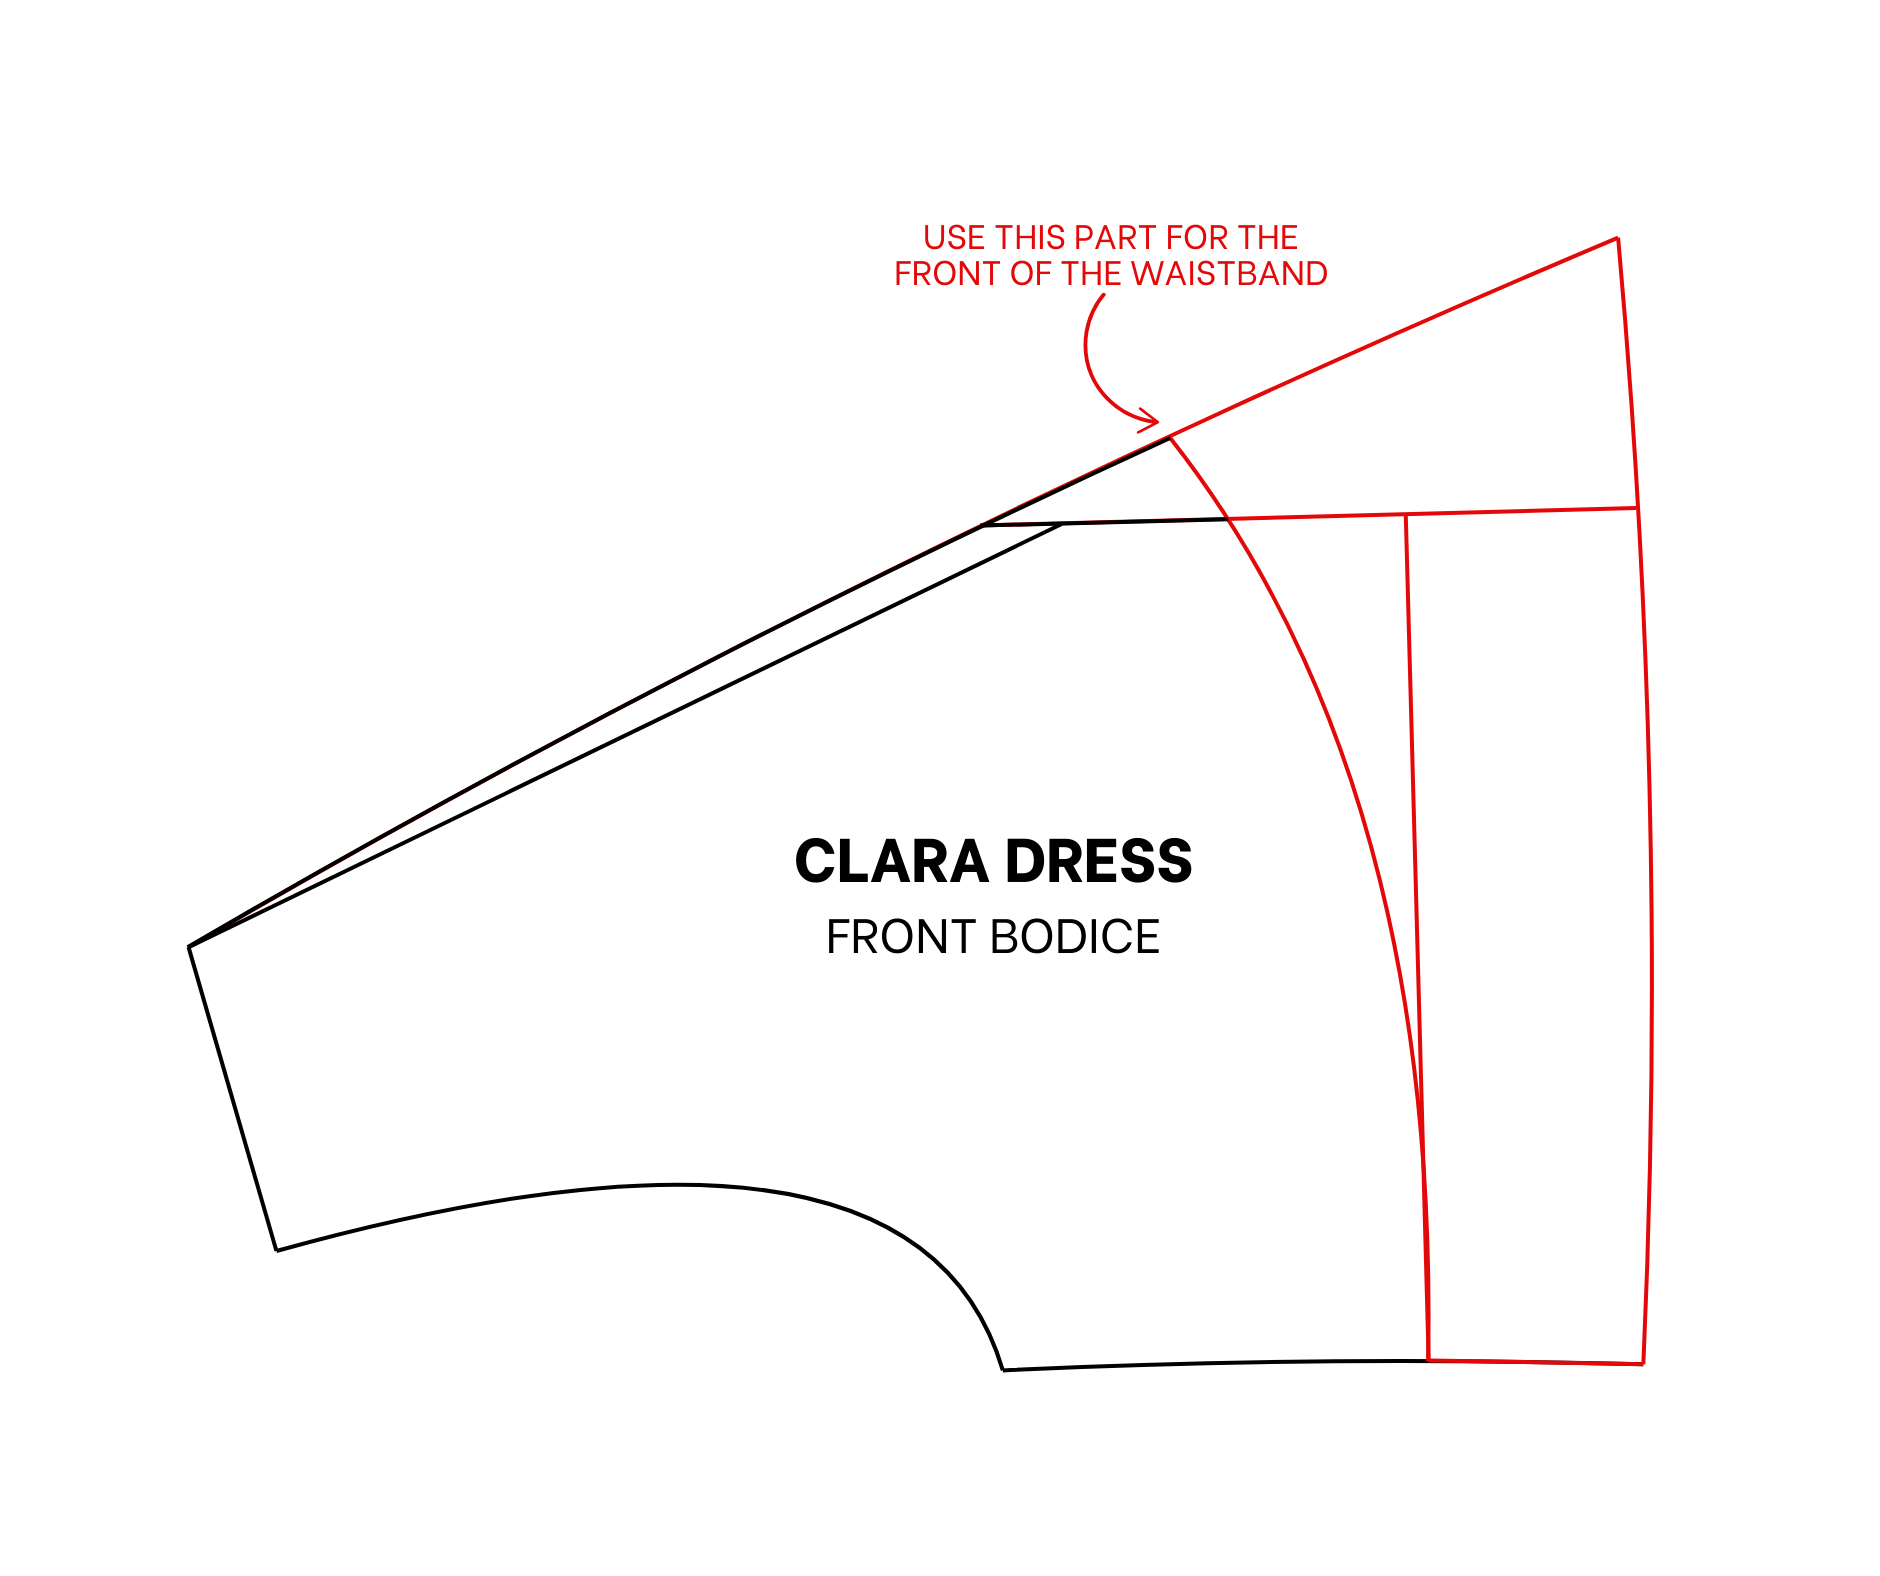
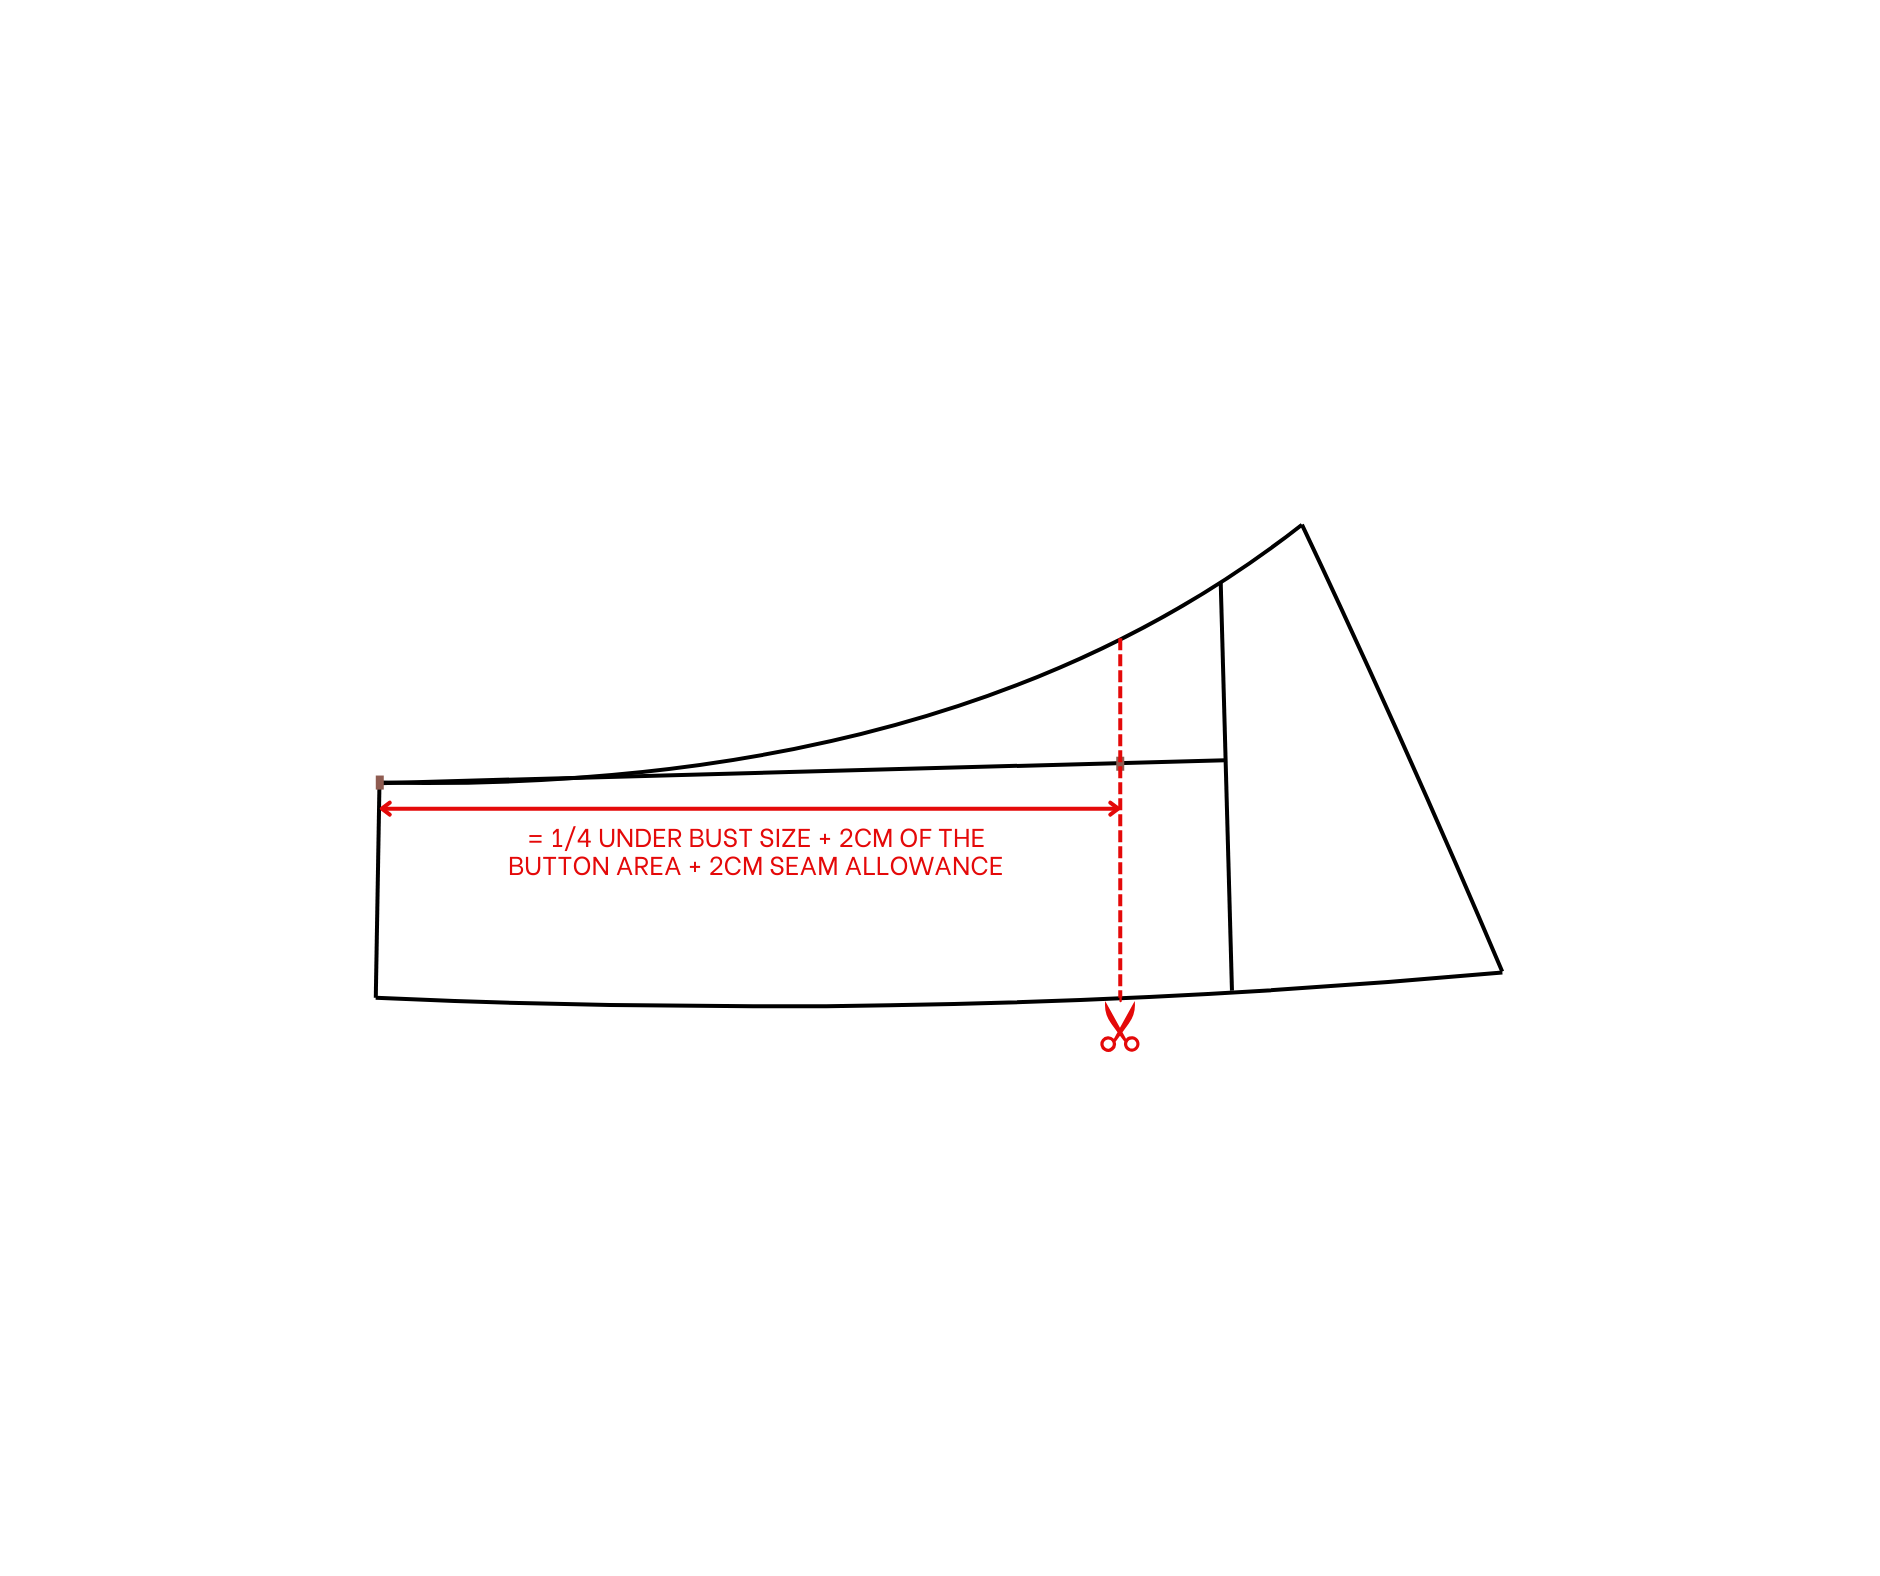
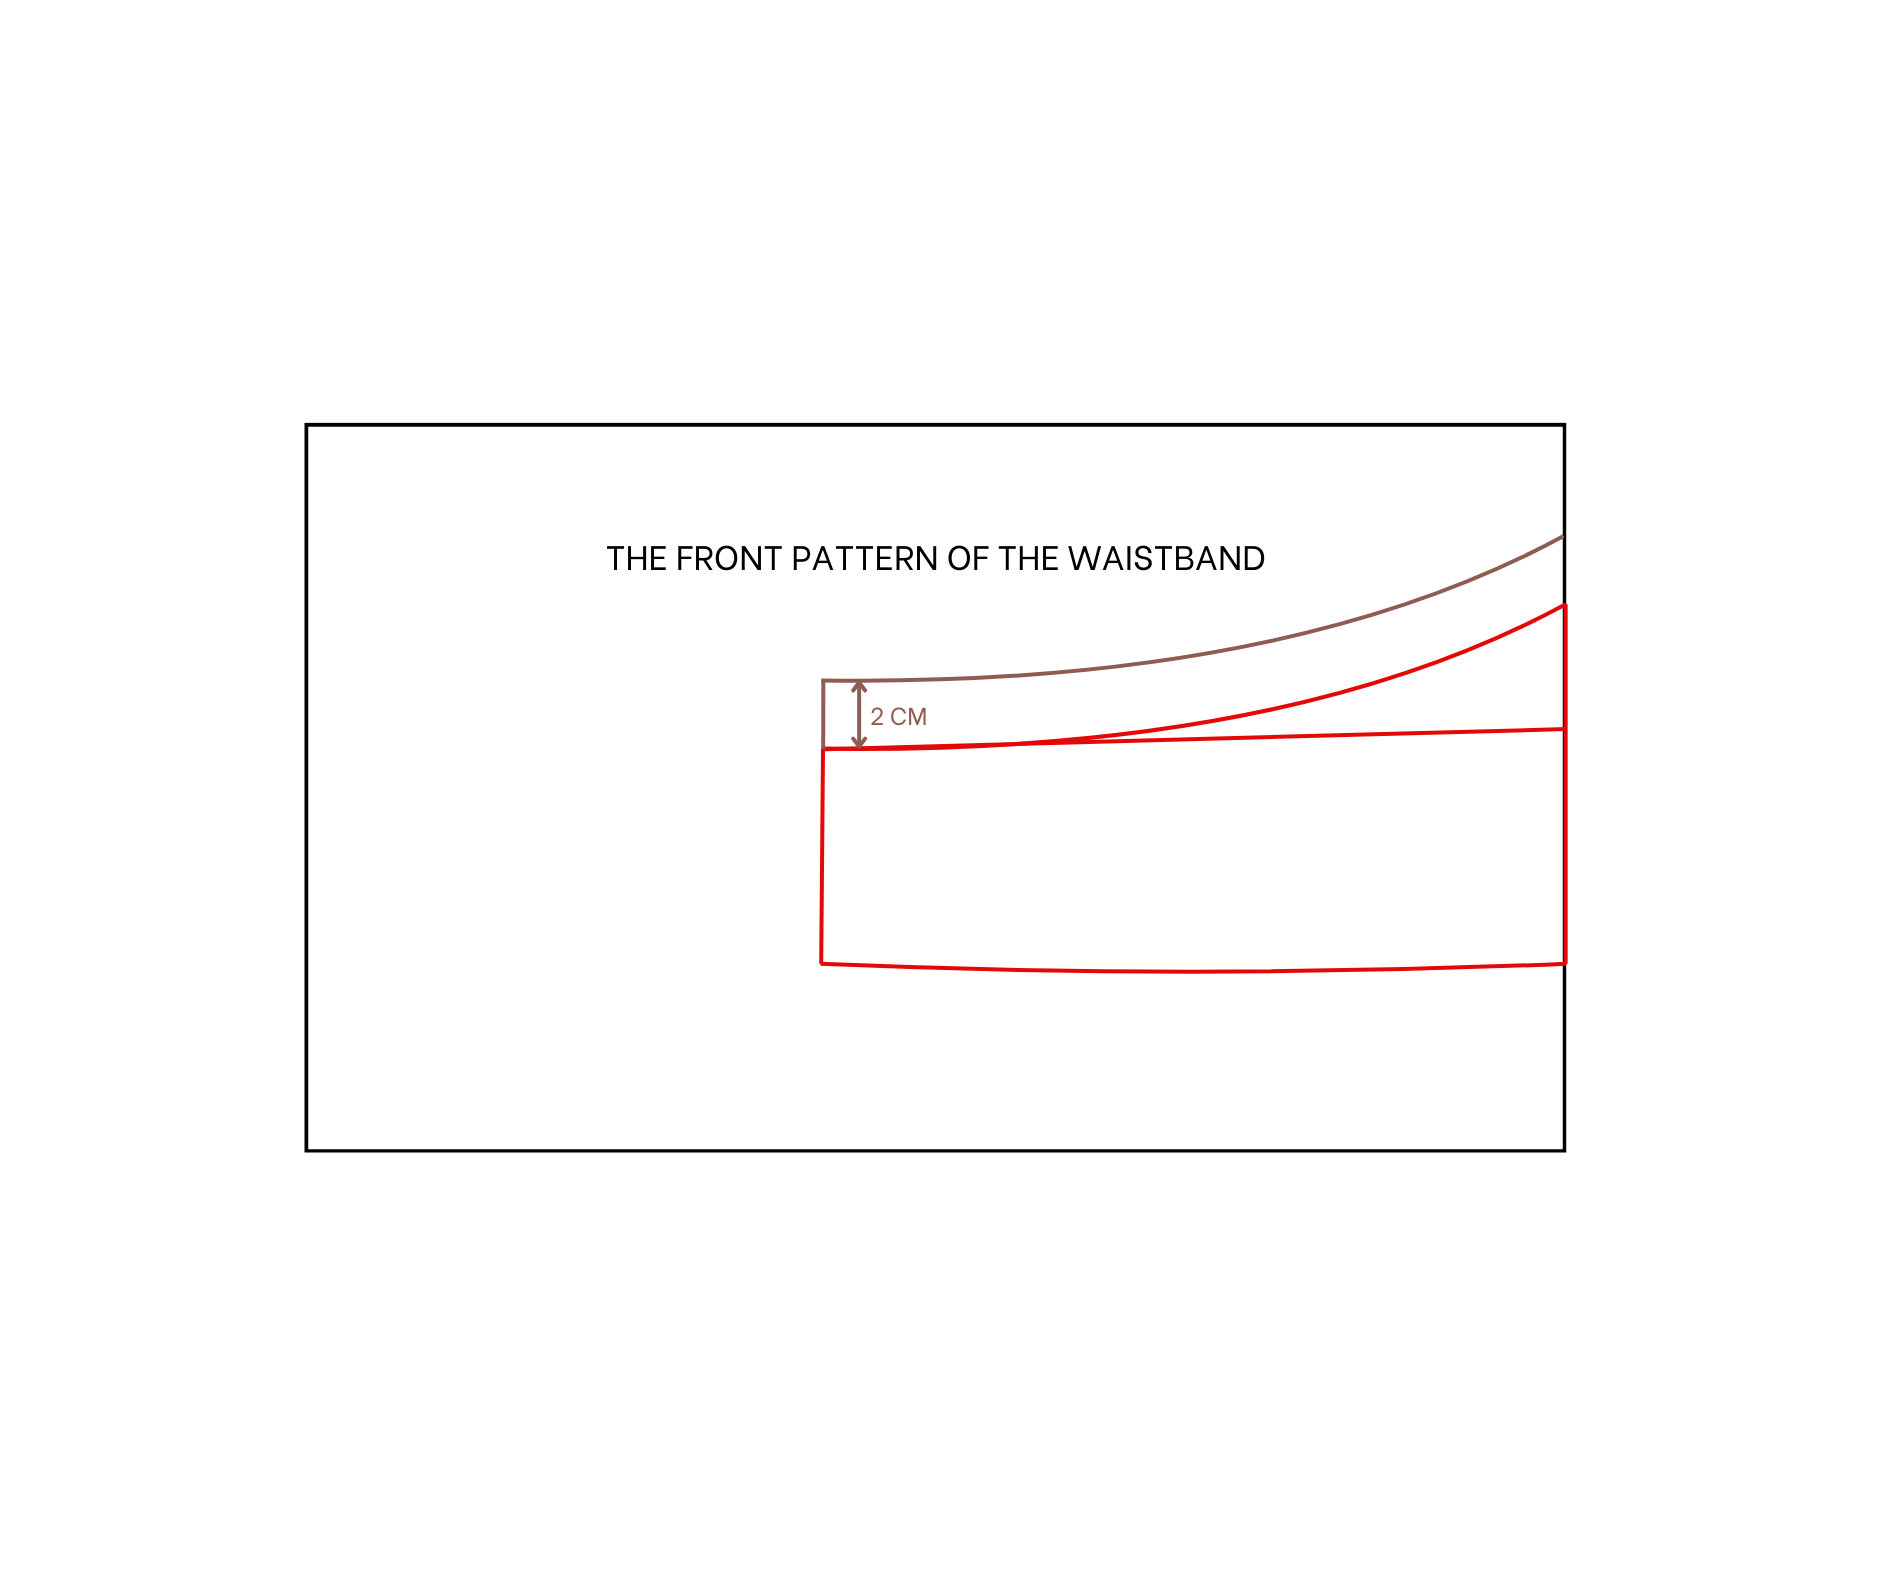
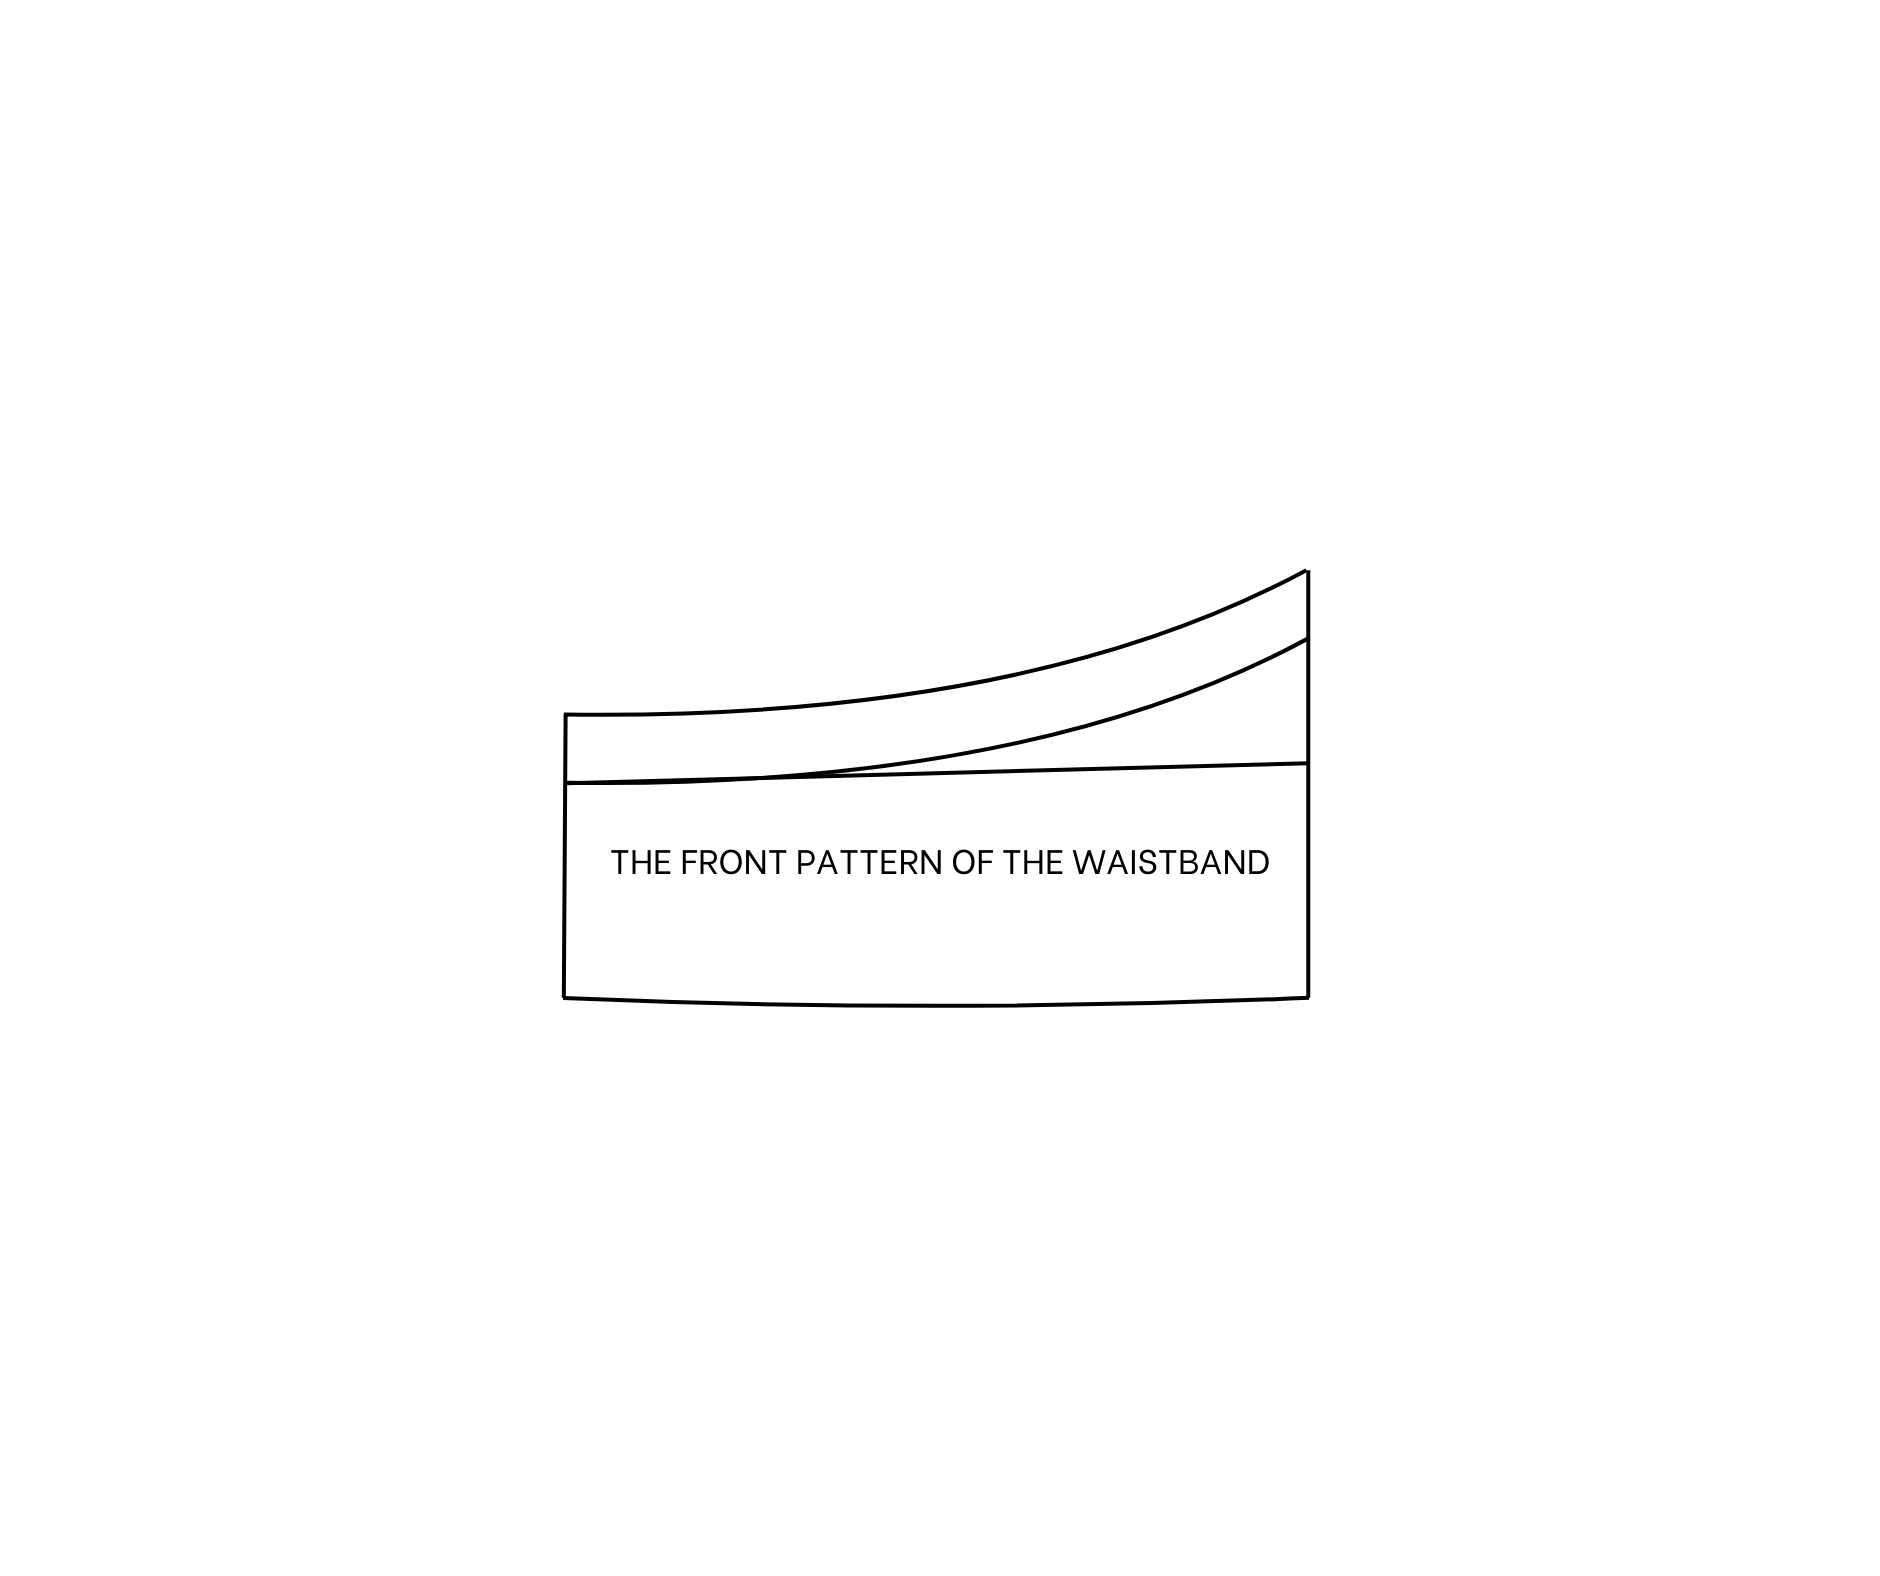
THE FRONT WAISTBAND
For the front waistband, use the leftover front bodice piece that was cut off earlier.
From the sideline, mark 22 cm inward. This is the quarter of the under-bust size plus 2 cm for the button area and 2 cm for seam allowance.
Draw a straight line to that mark.
After cutting, copy this pattern to new paper.
Draw a line 2 cm above the top line for seam allowance.
The front waistband pattern is complete after cutting.
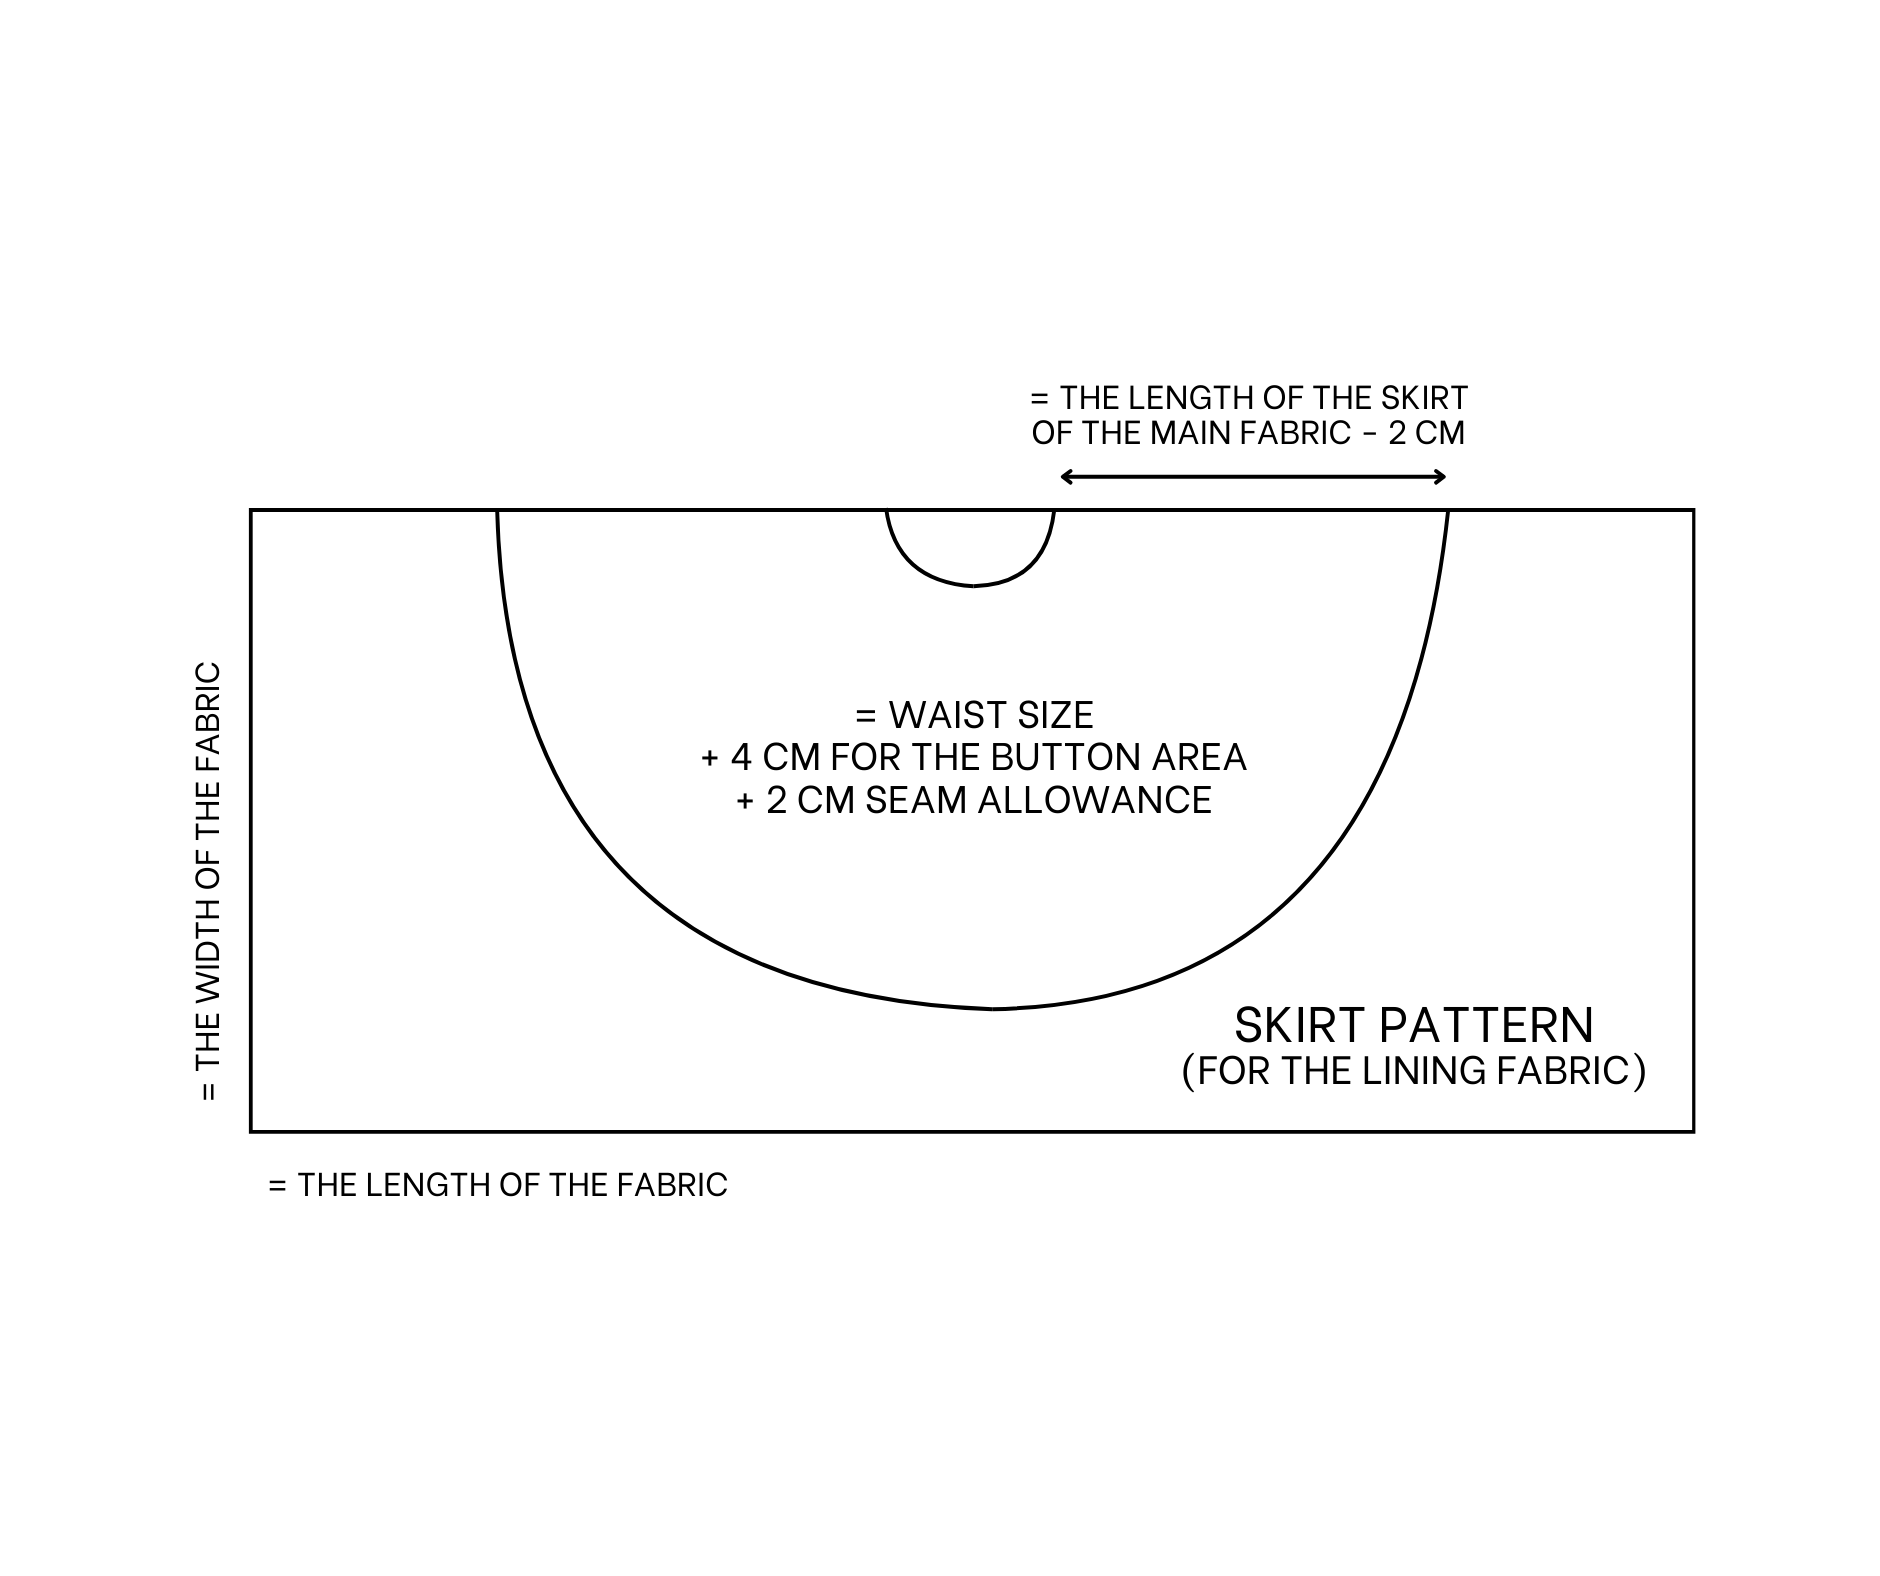
THE SKIRT PATTERN
The skirt pattern for the dress is simple.
Here is the skirt pattern for the main fabric.

Here is the skirt pattern for the lining fabric.
SEWING THE DRESS
THE SLEEVES
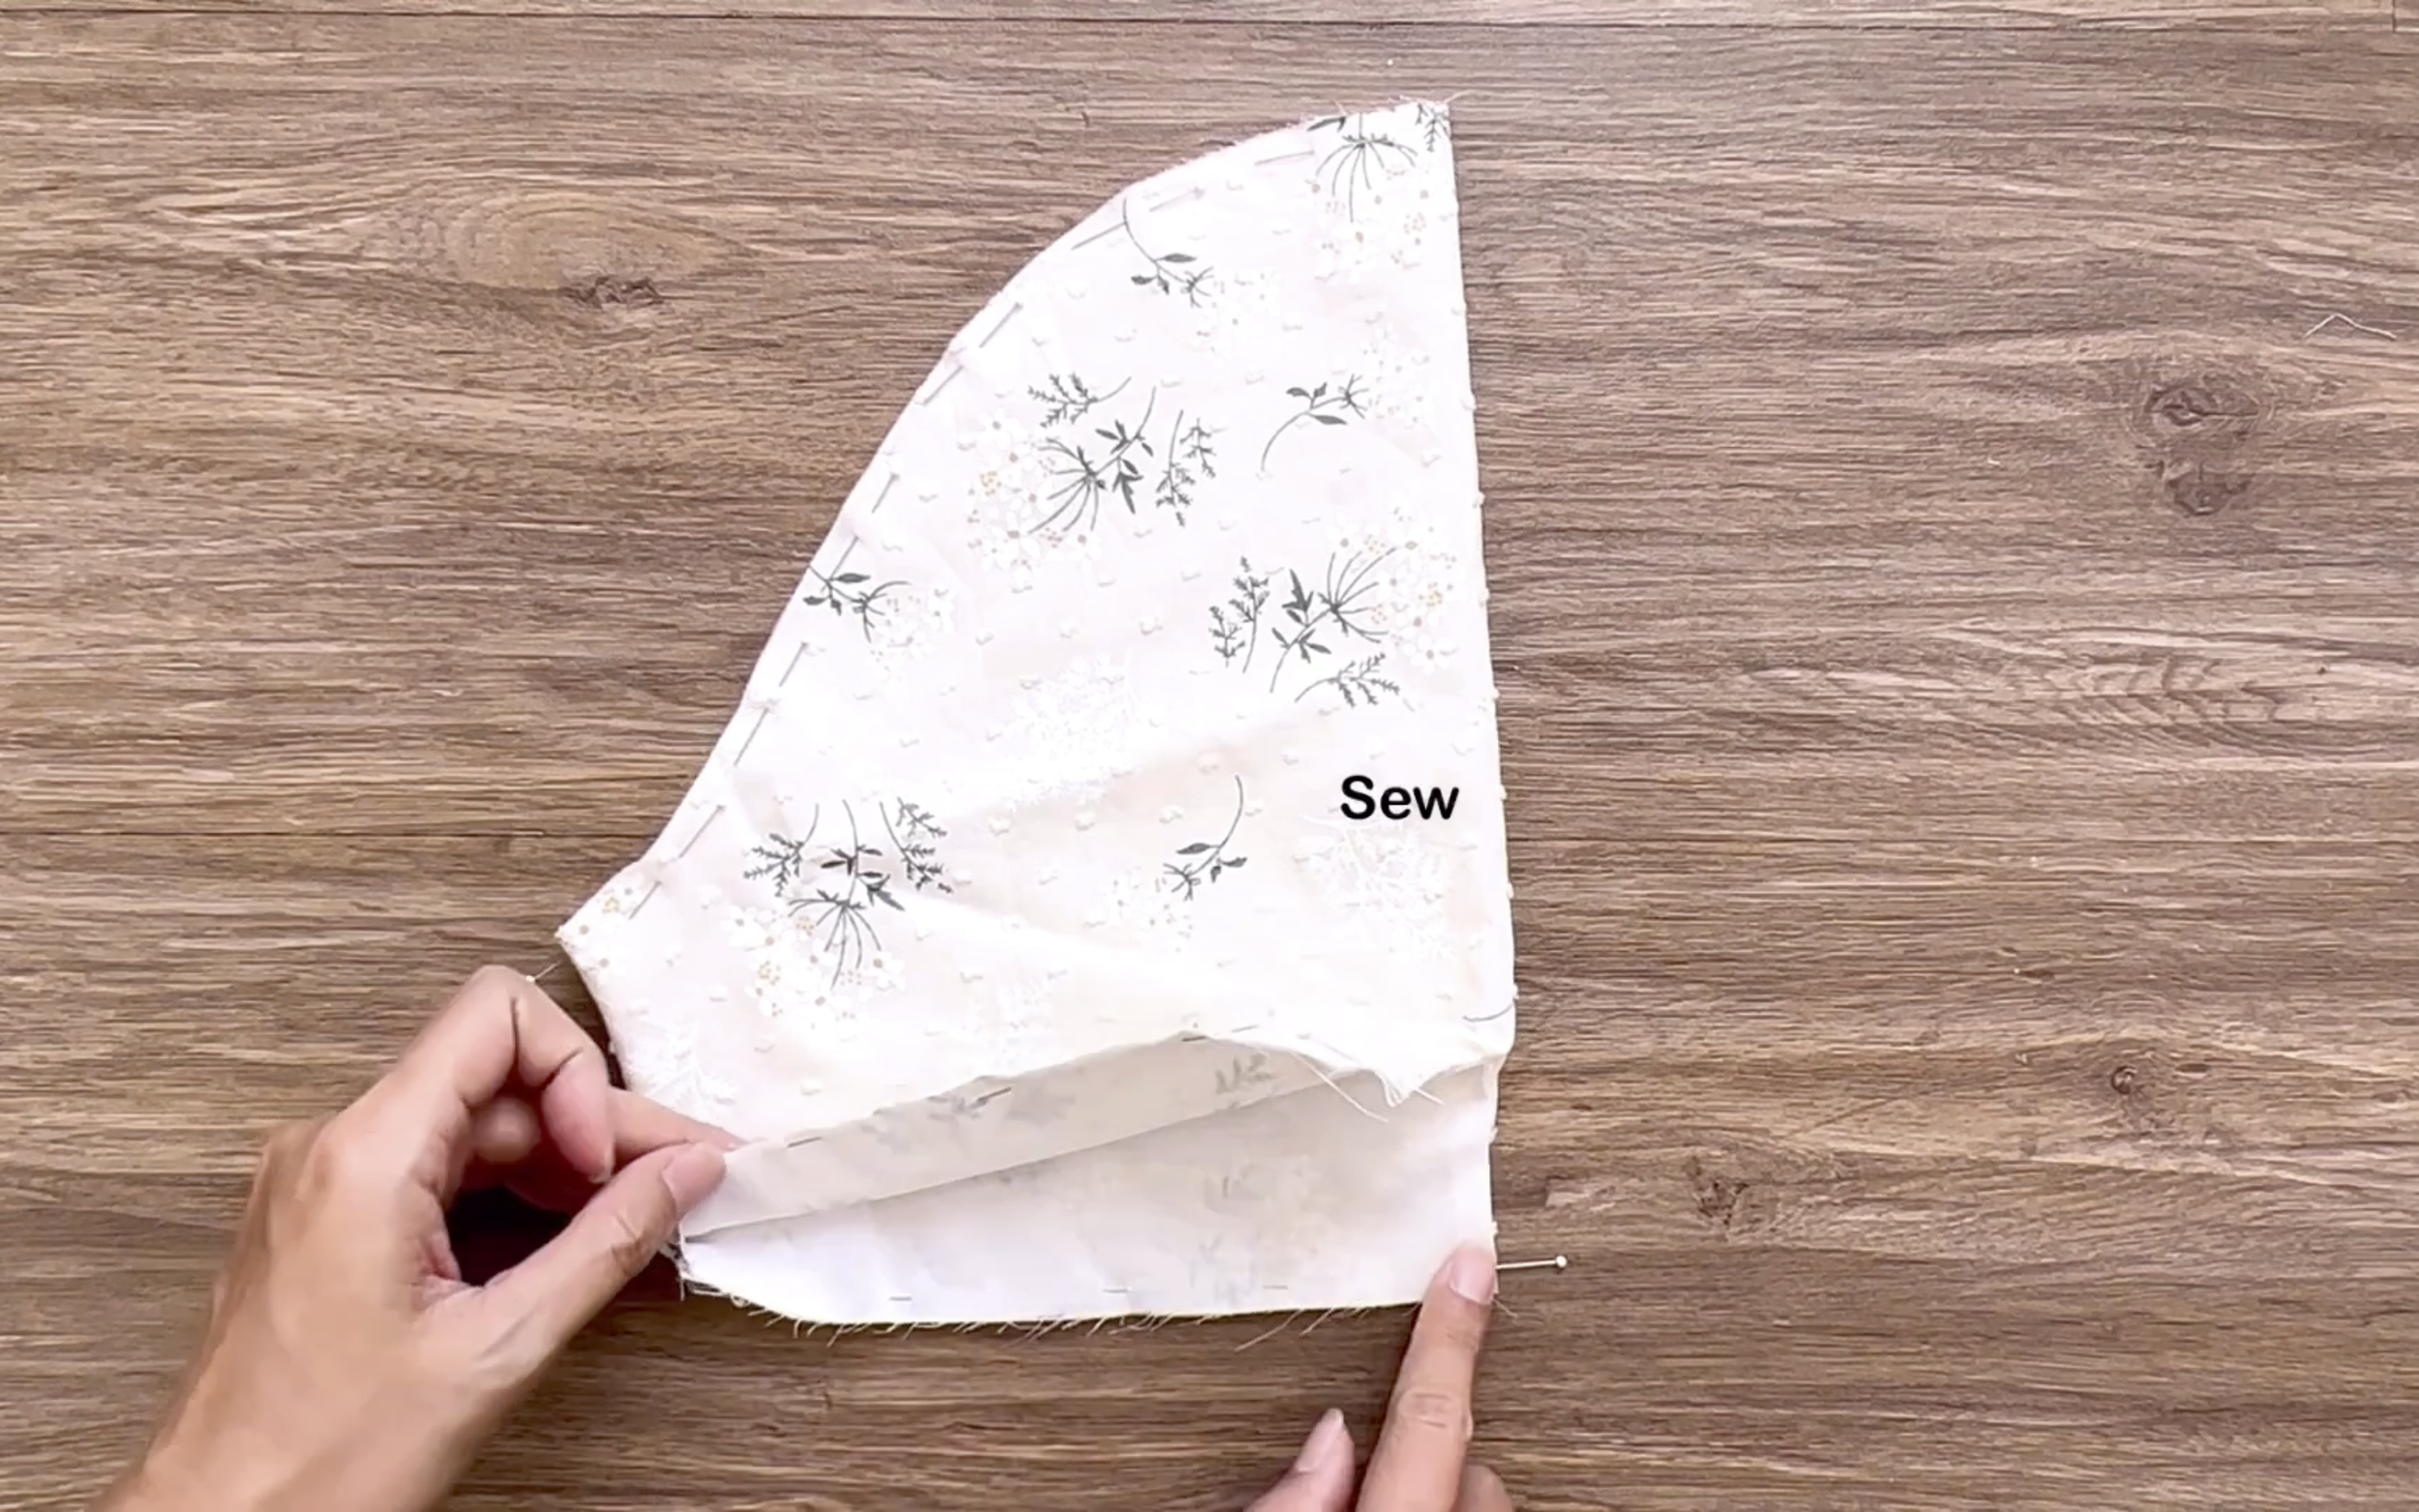
Connect the main fabric and lining fabric of the sleeve together at the middle part at the end of the sleeve.
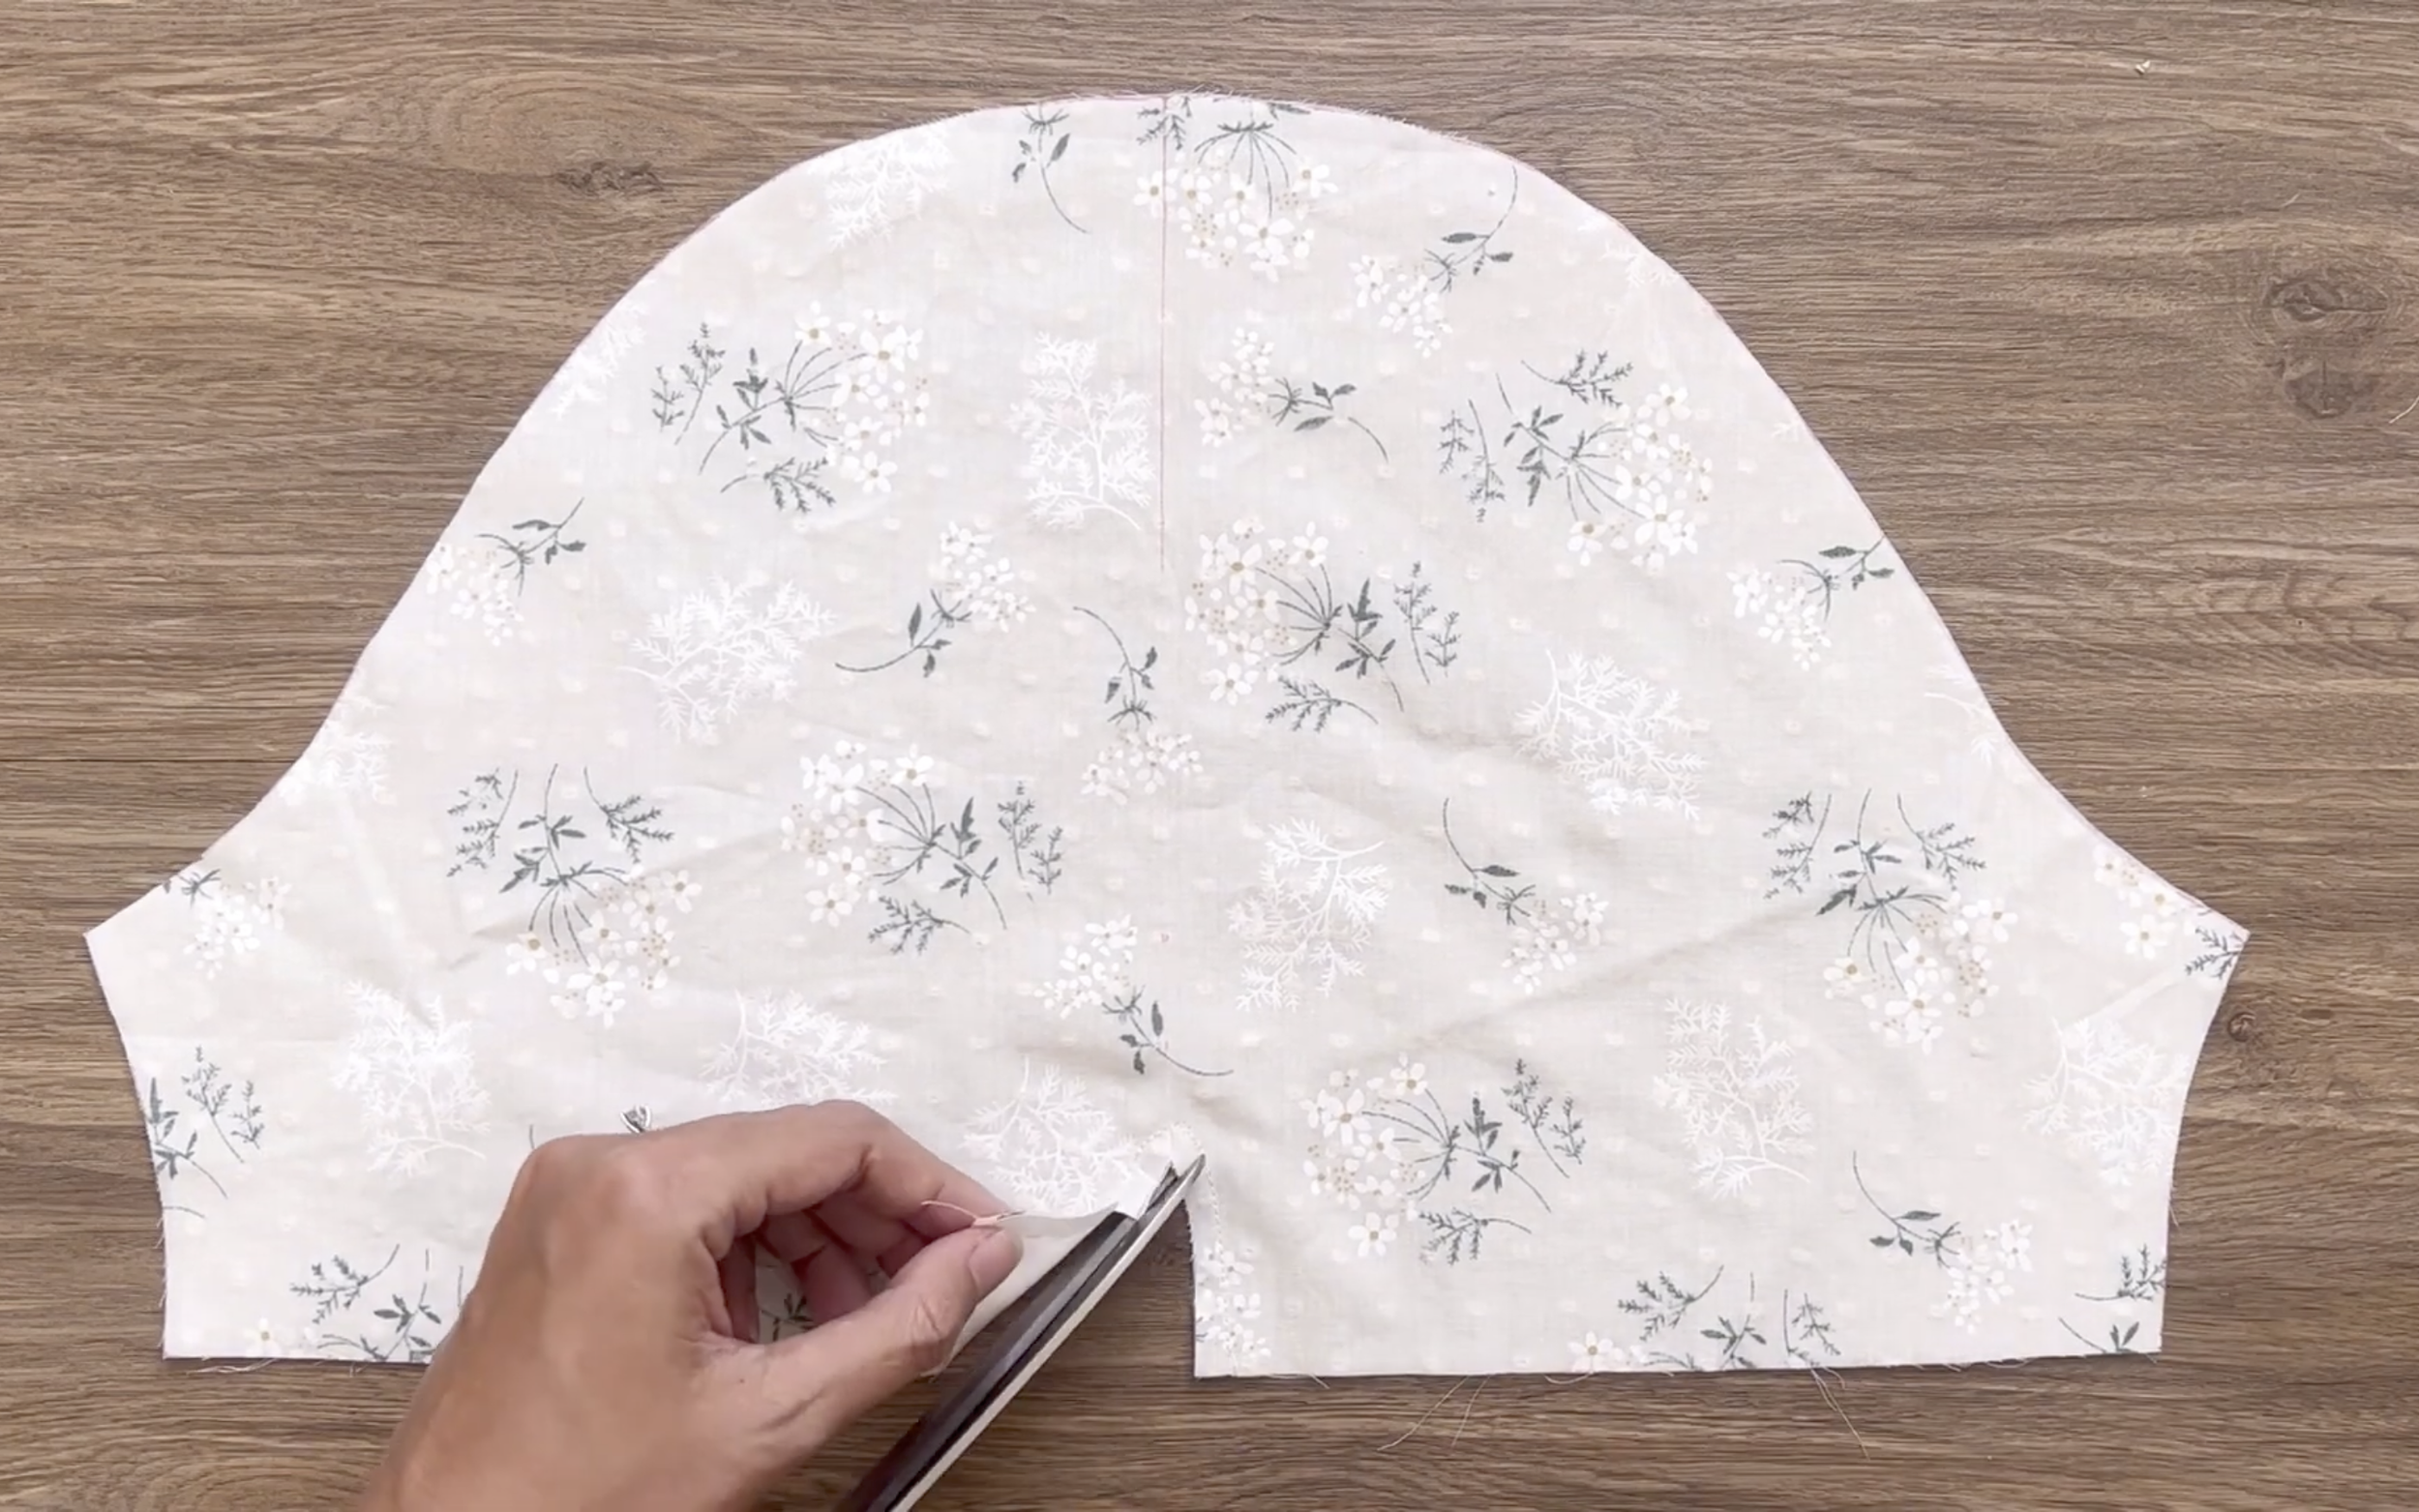
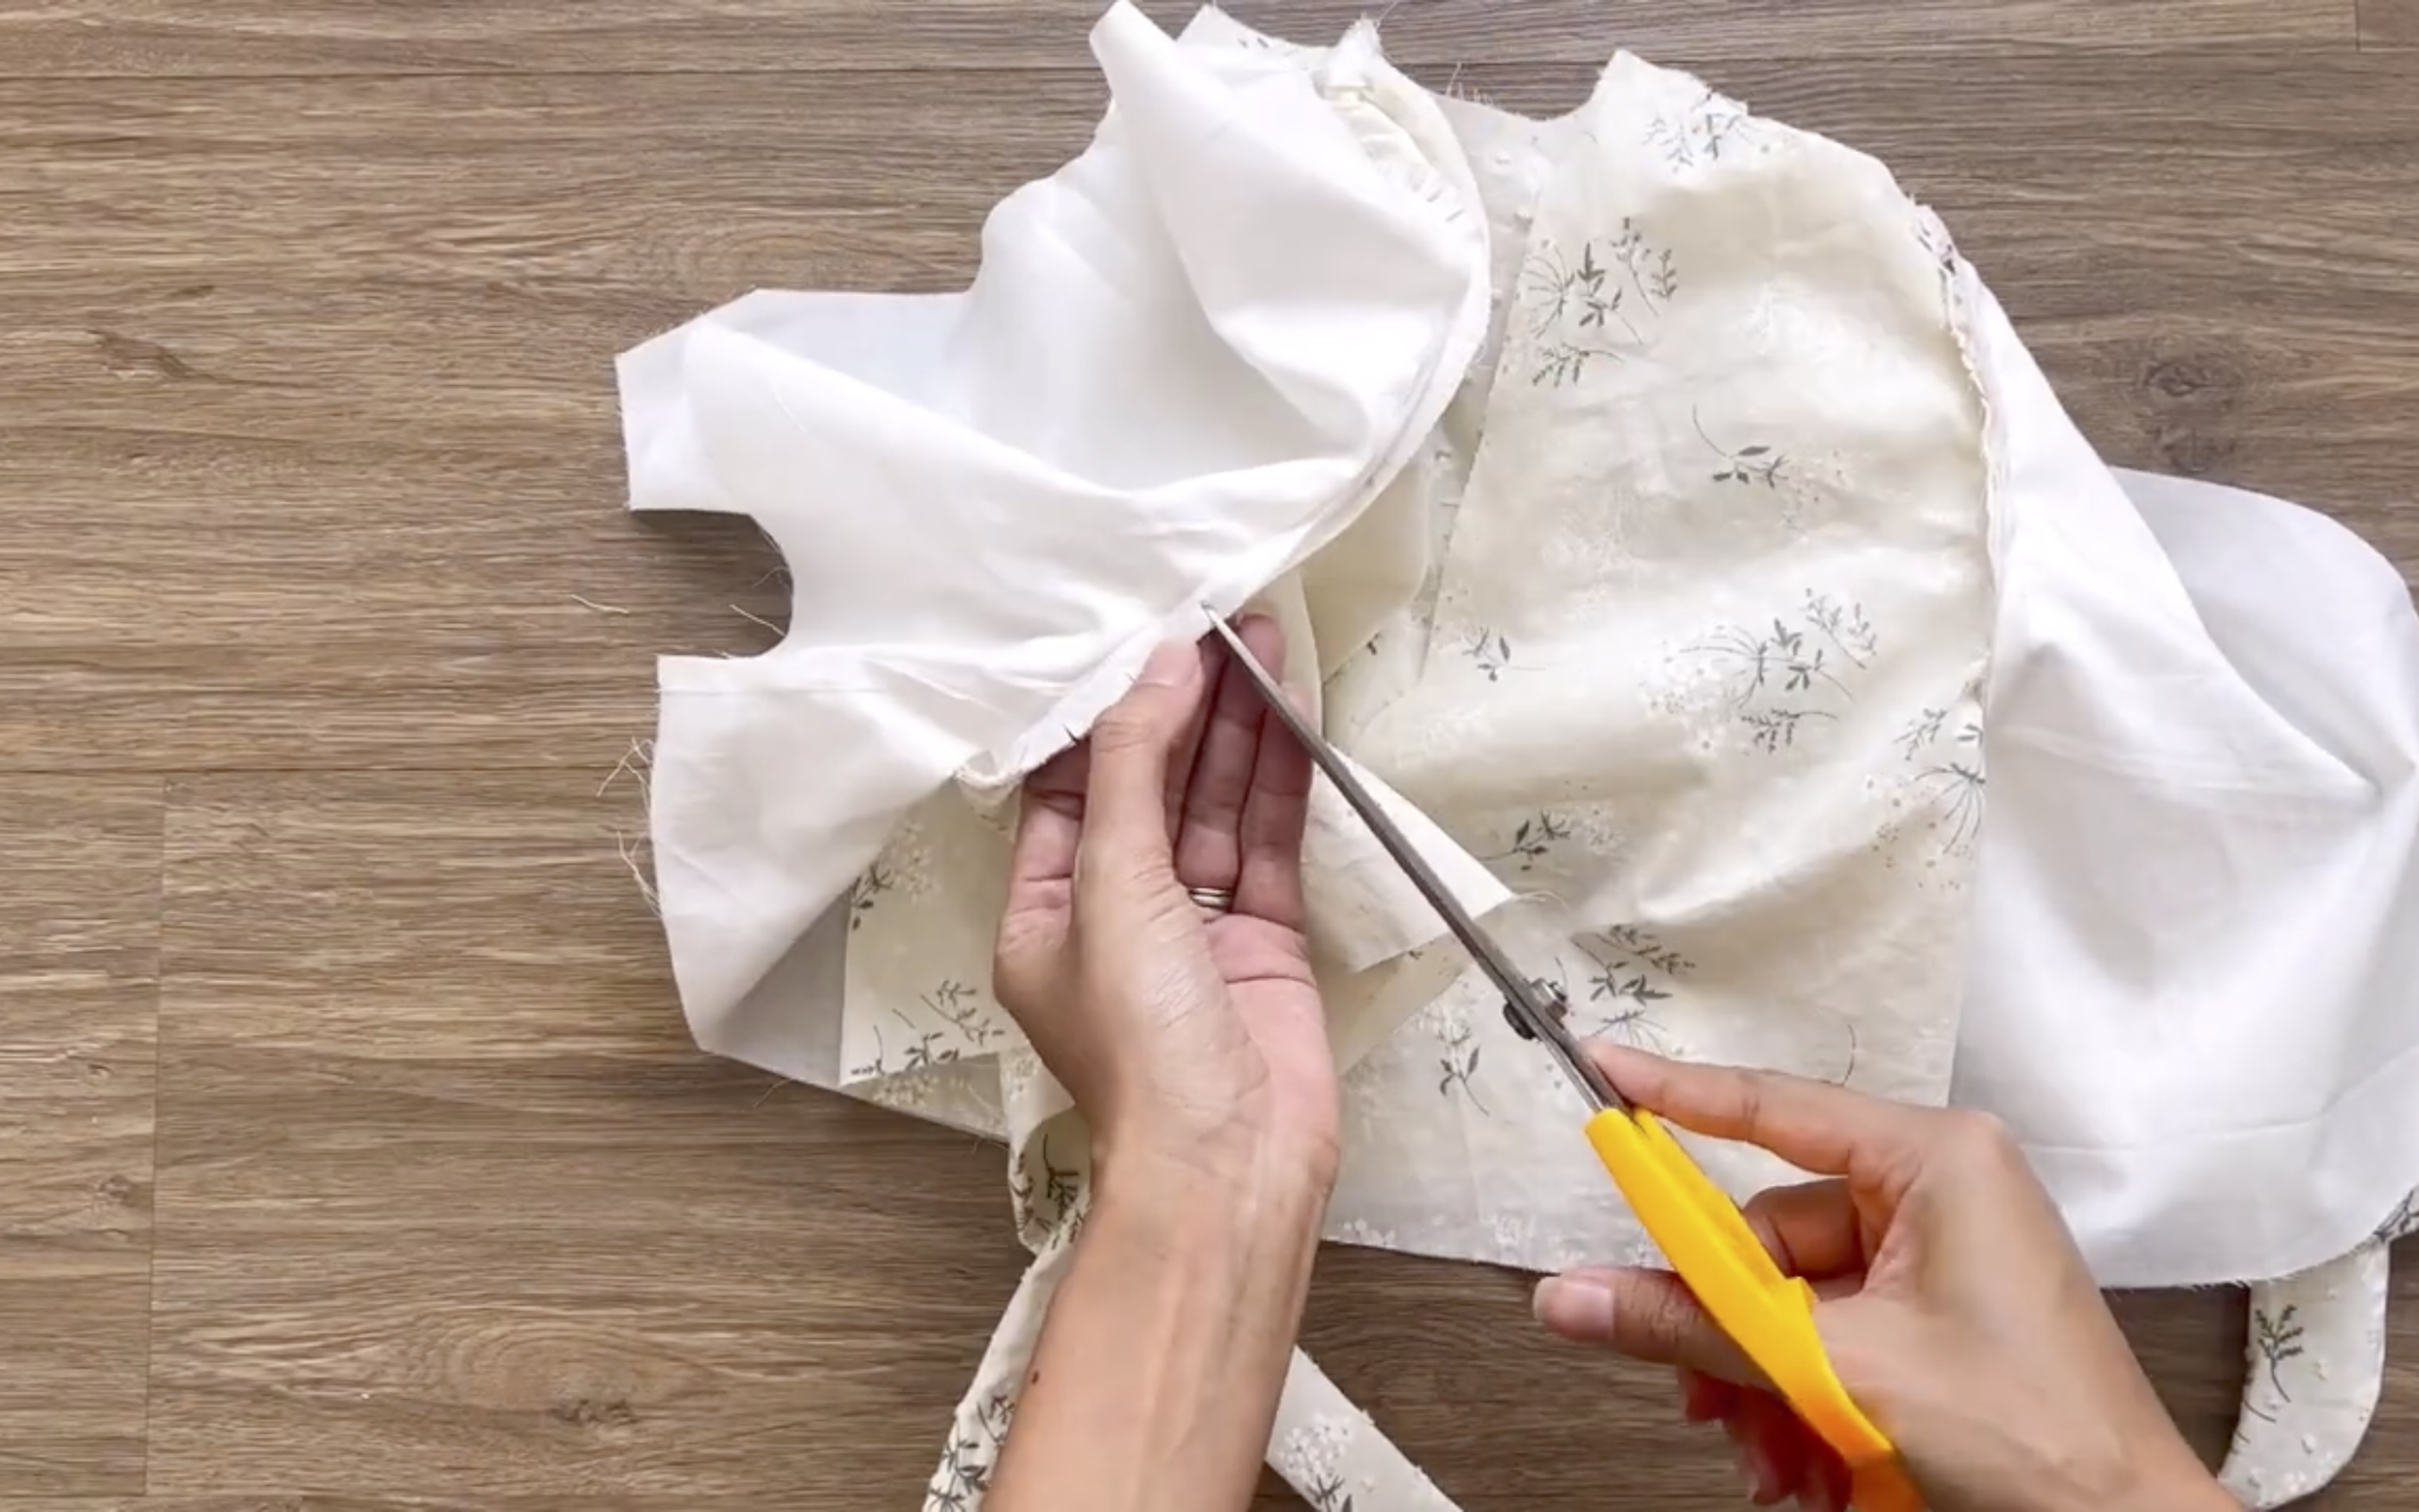
After sewing, make a few small cuts to improve the curve when turning it out.
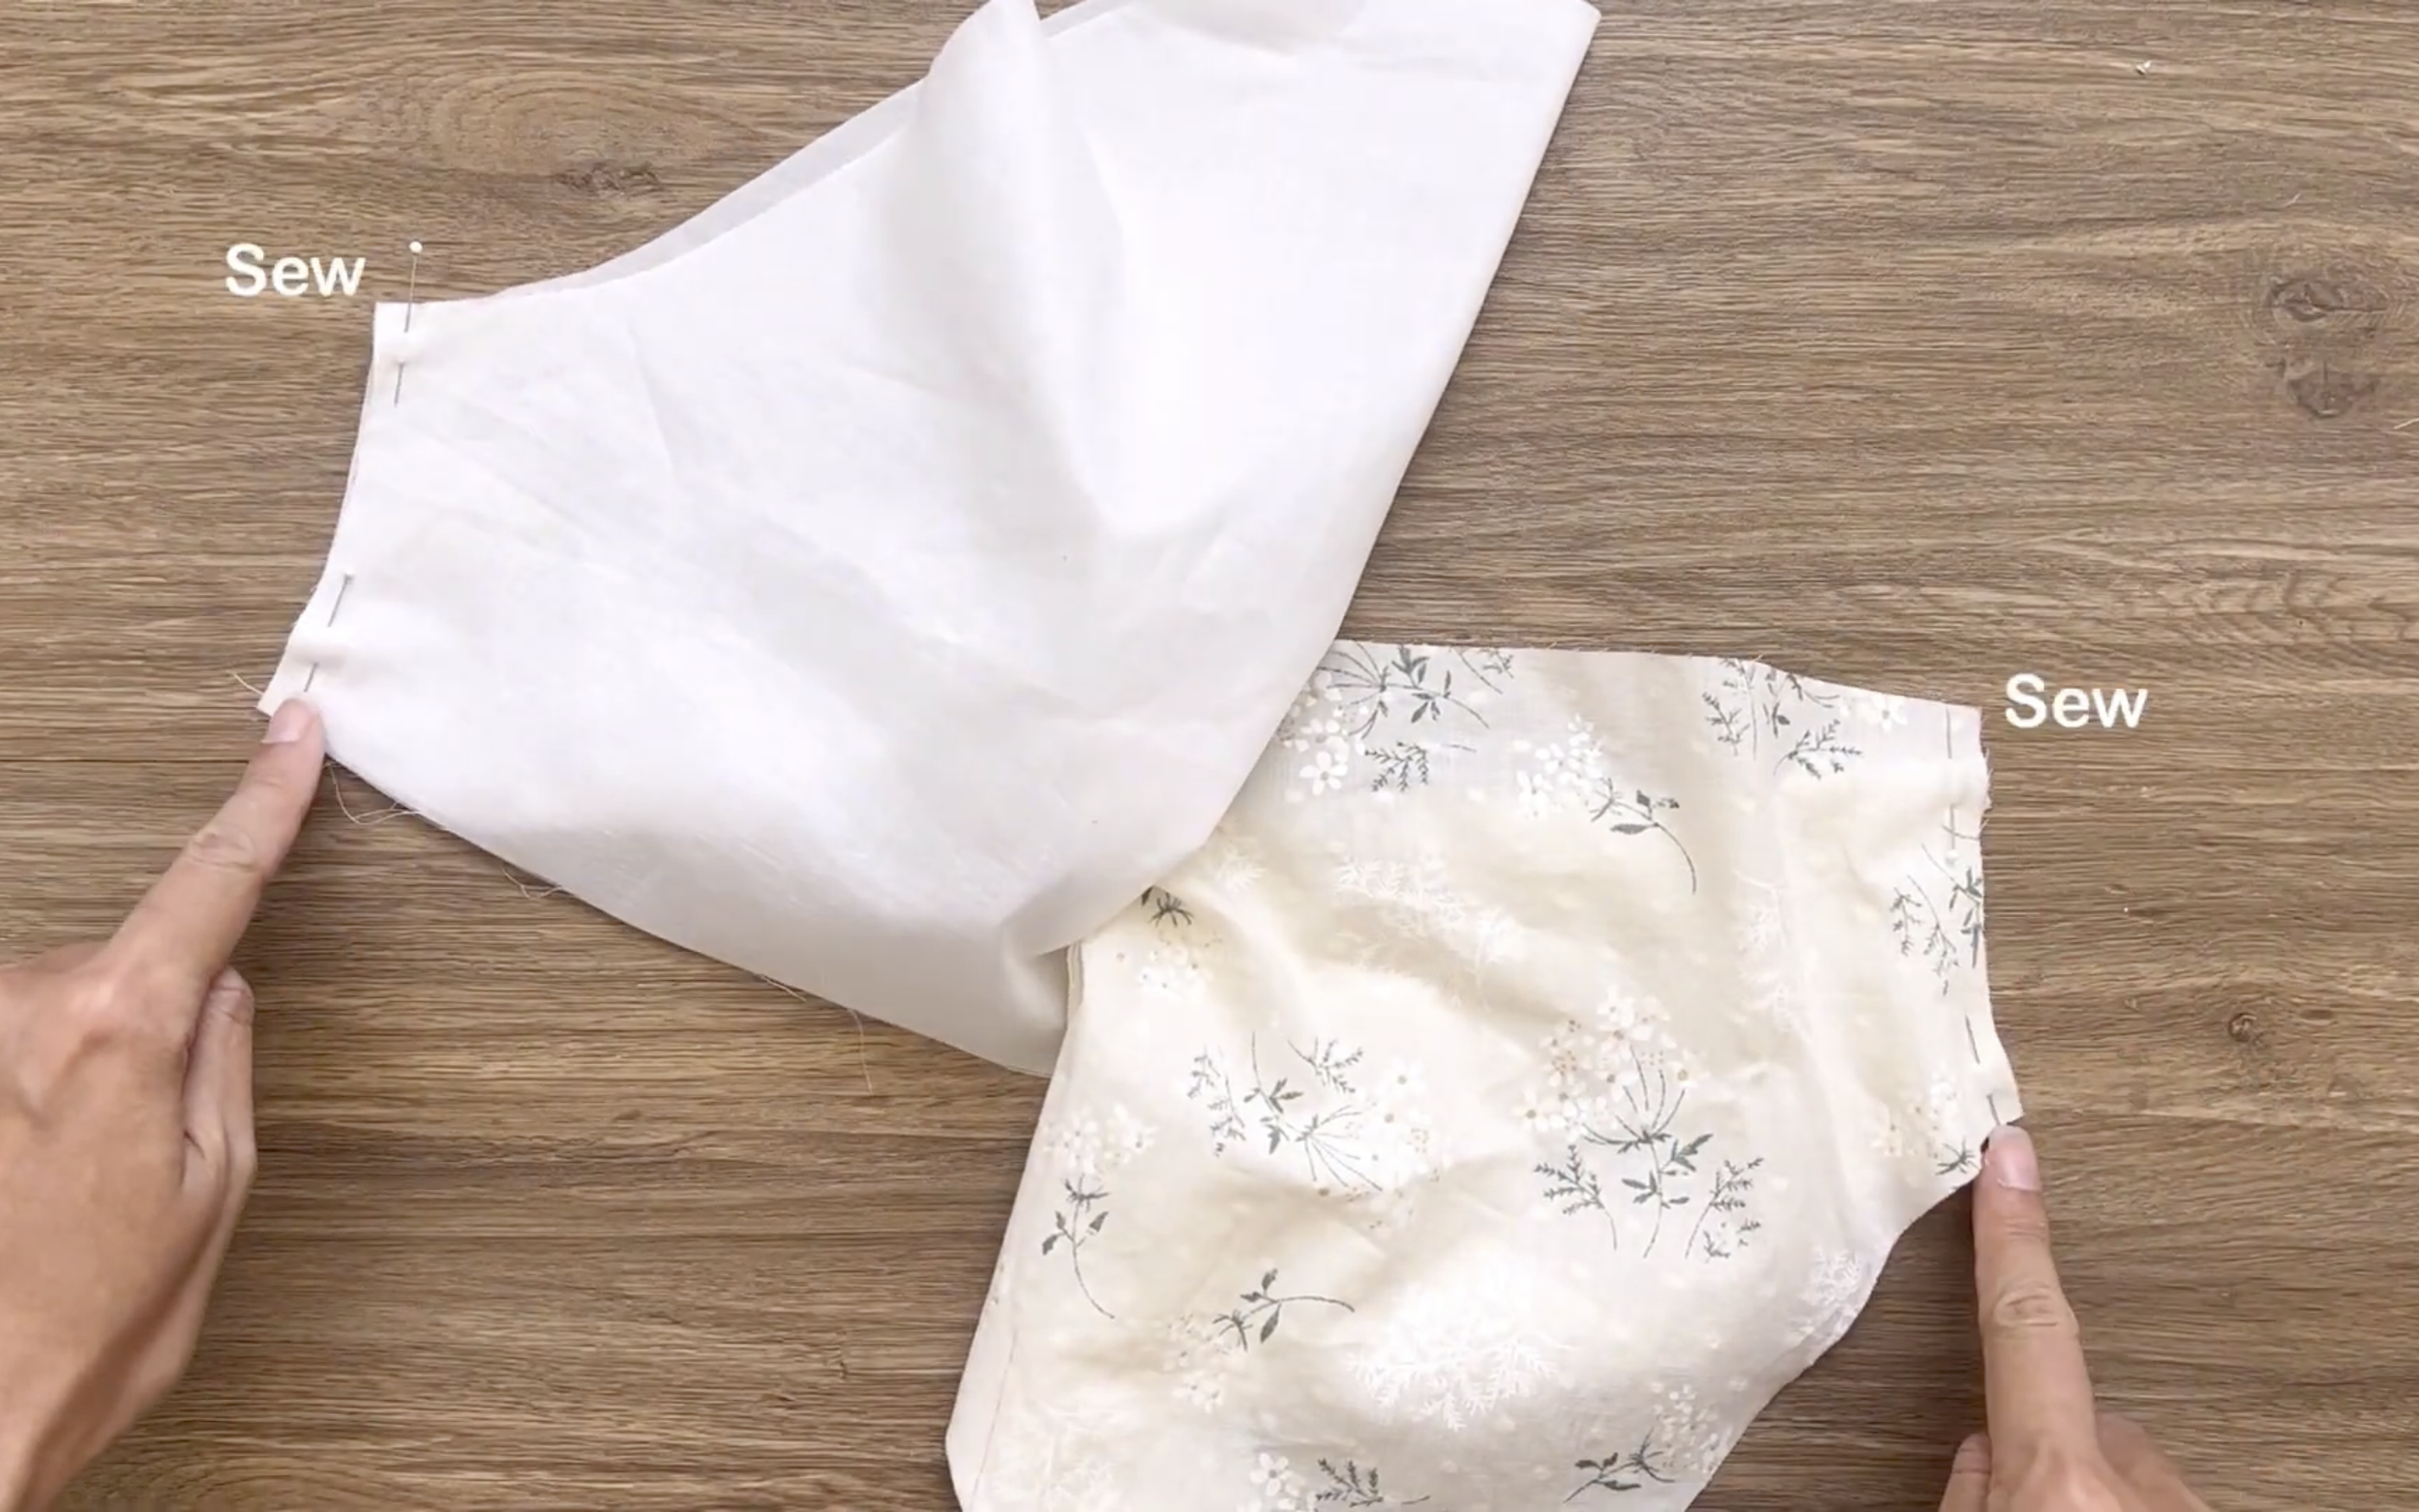
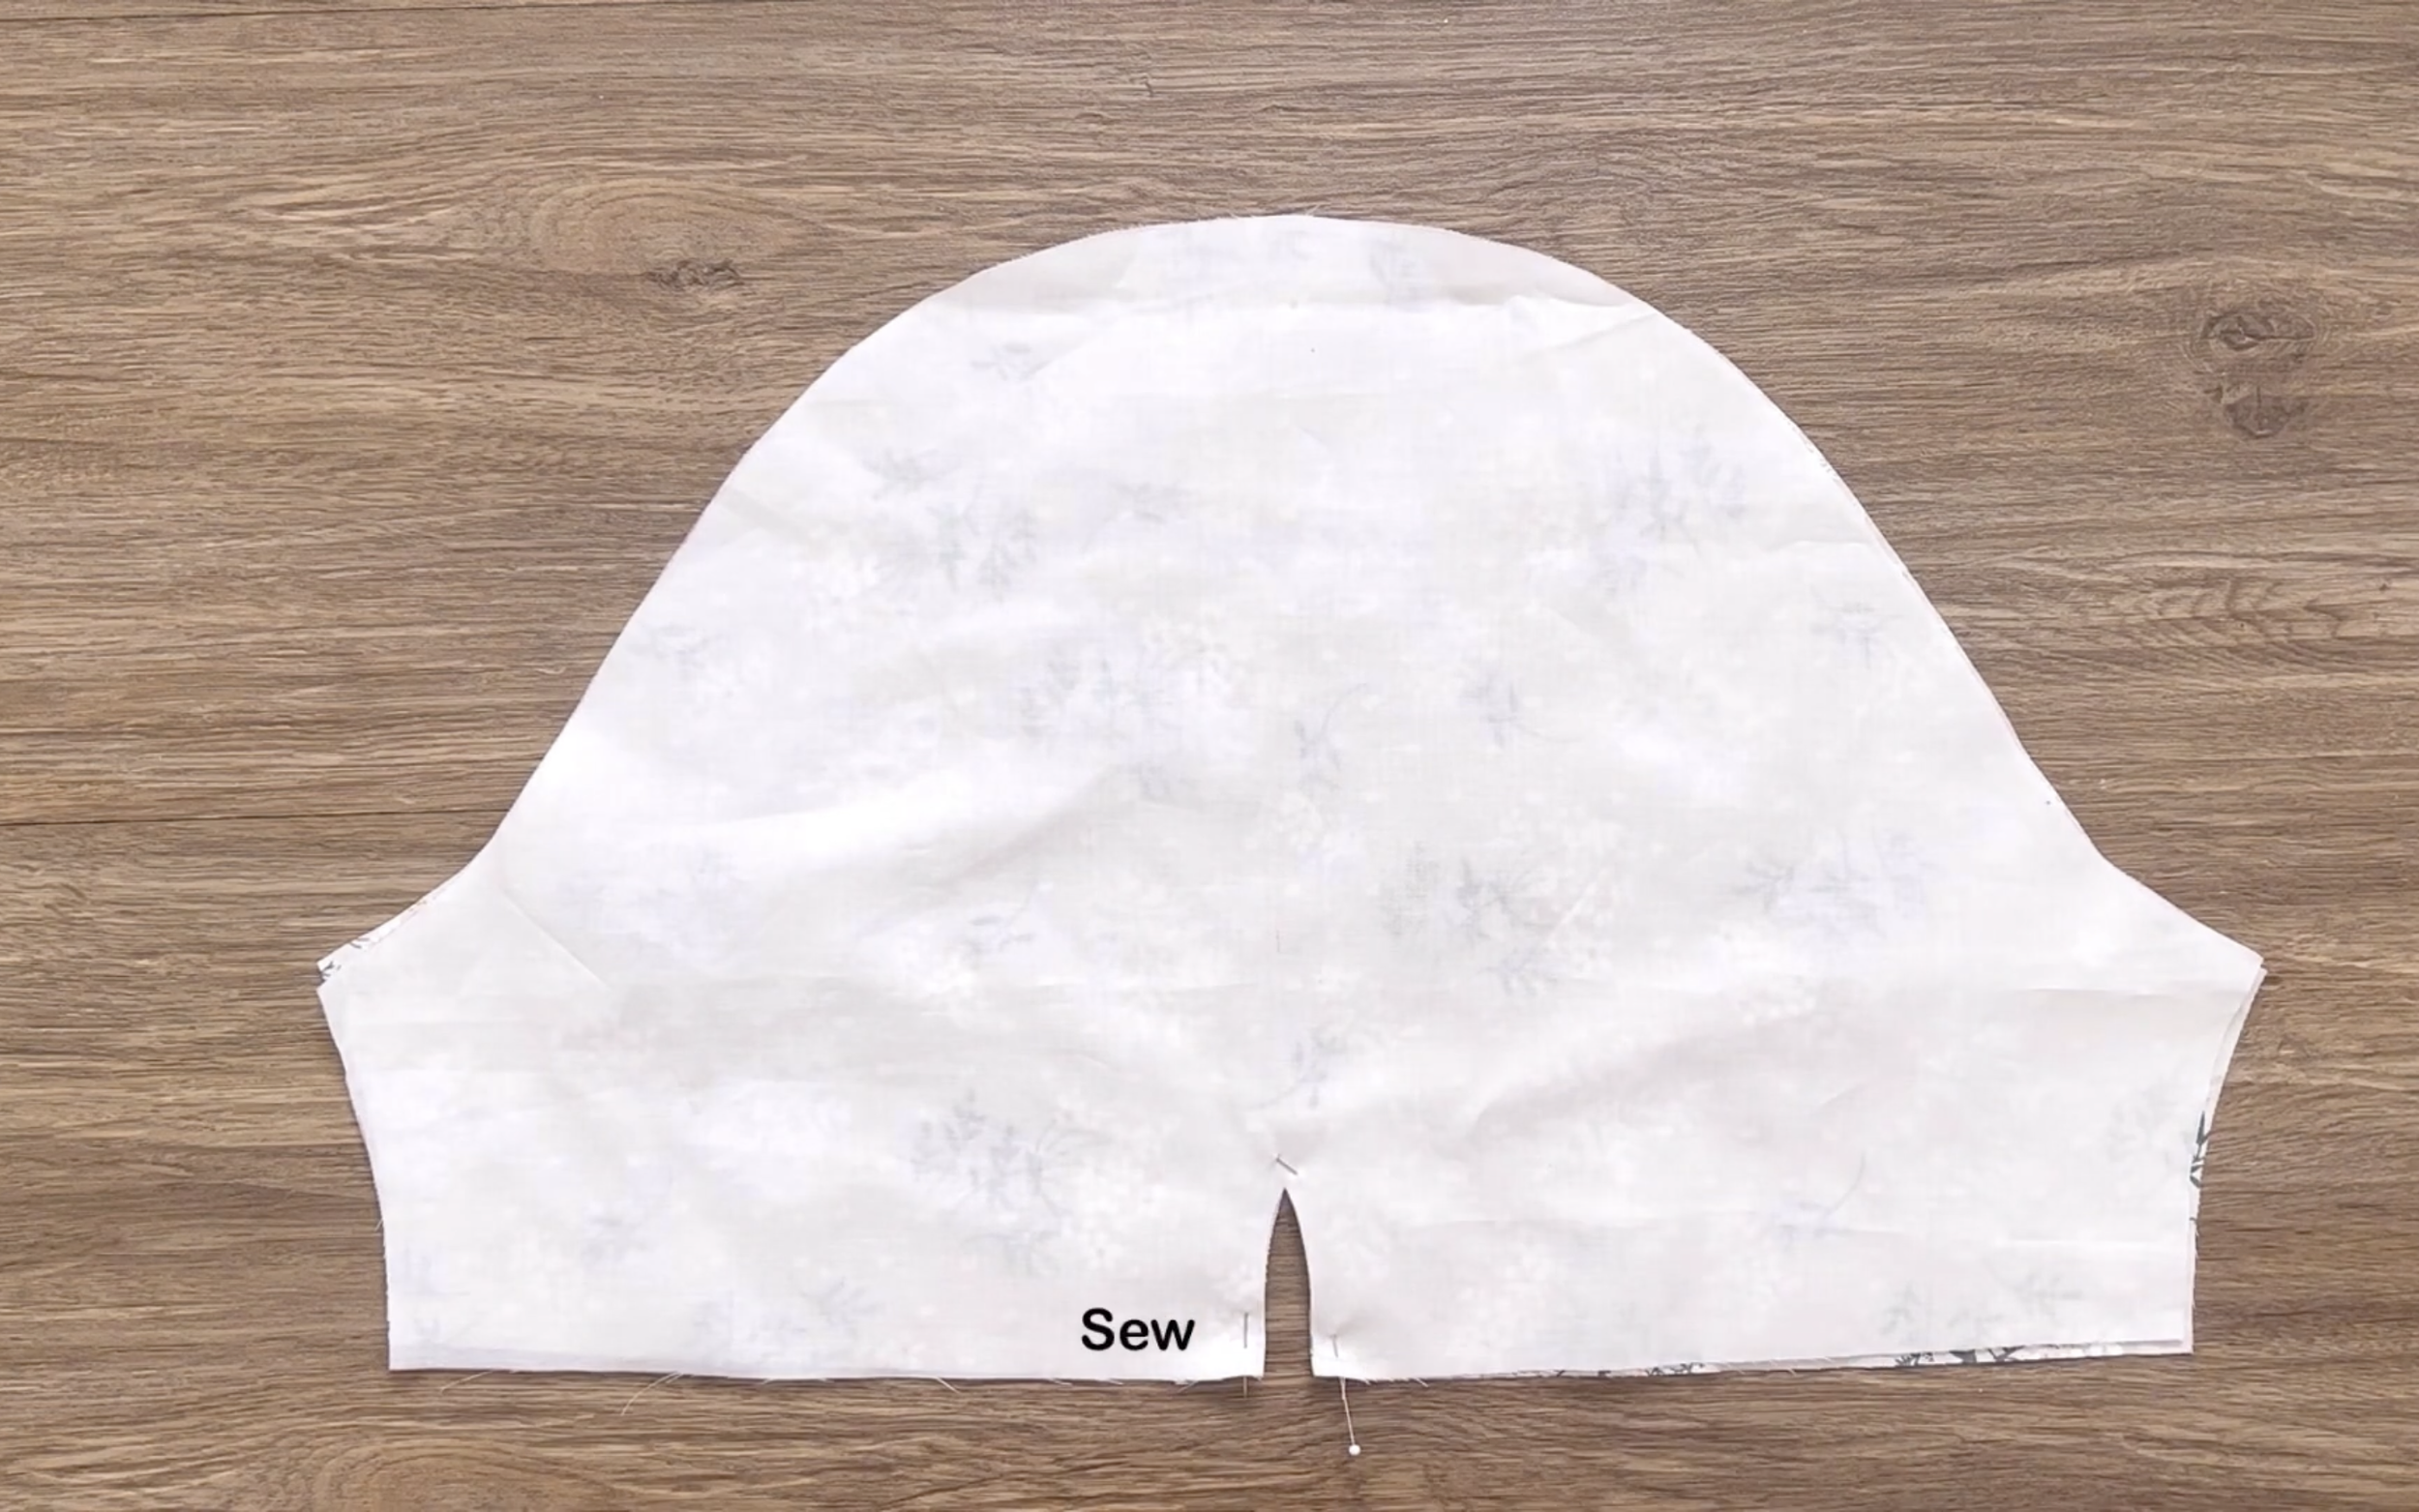
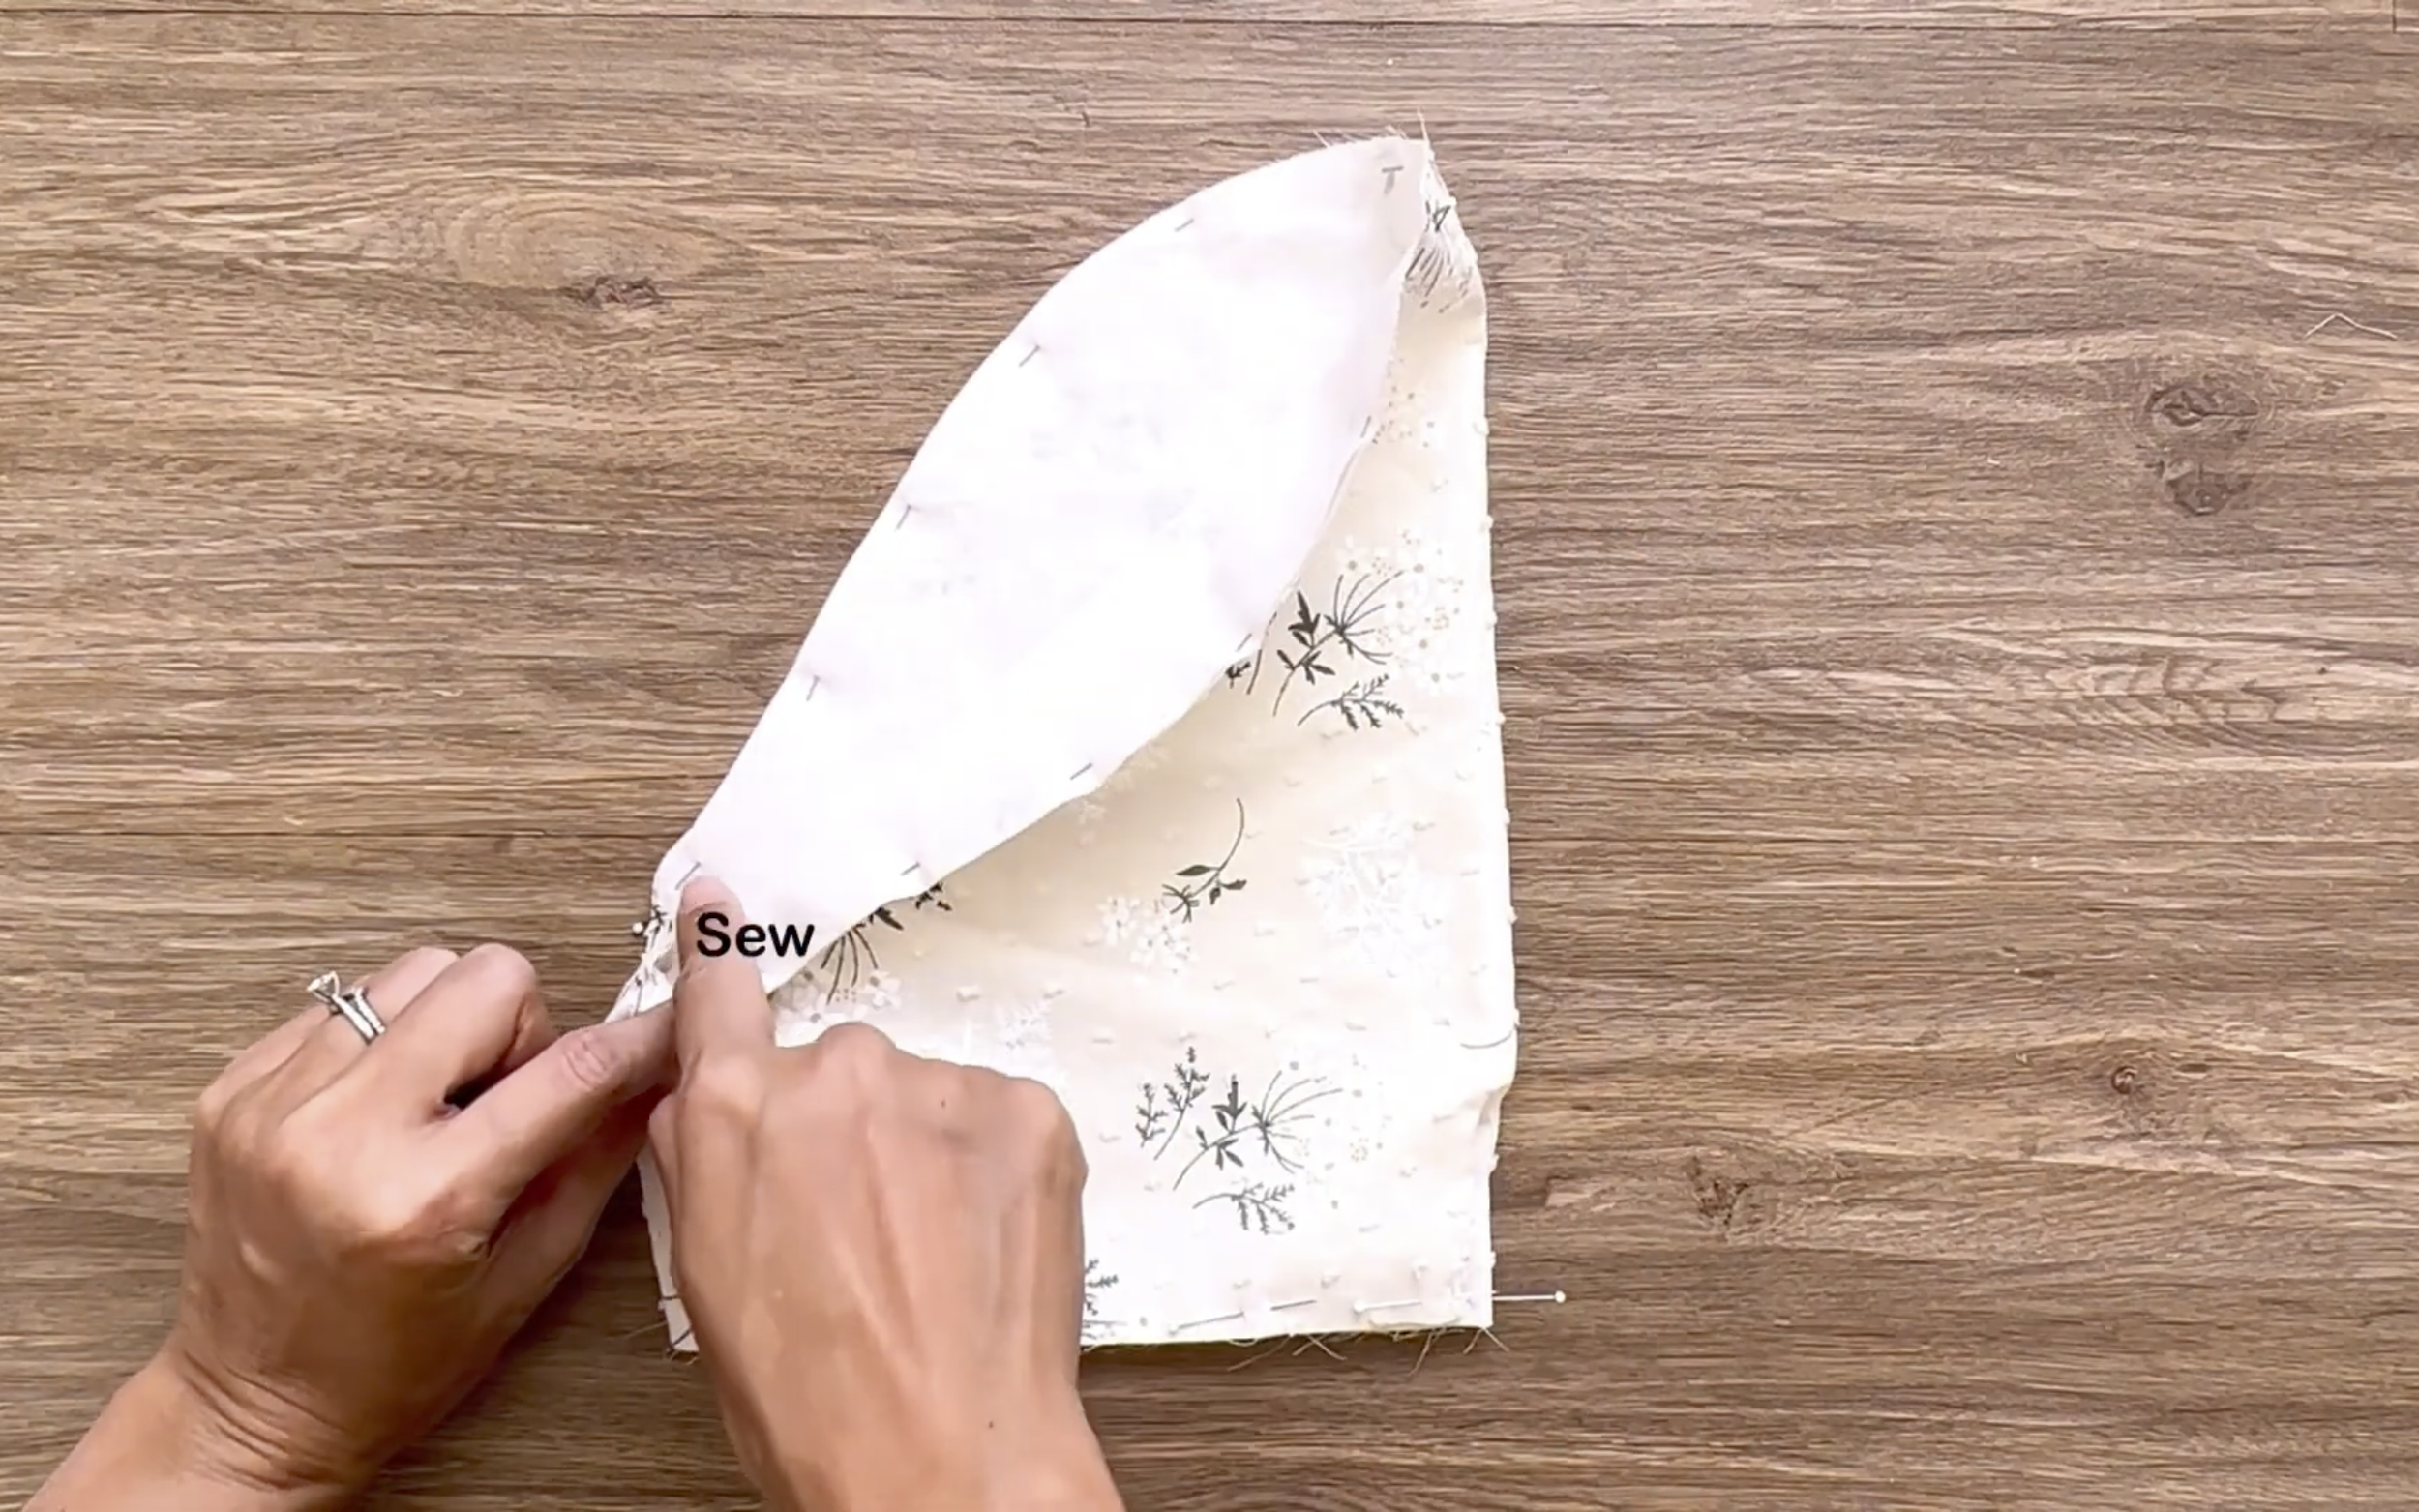
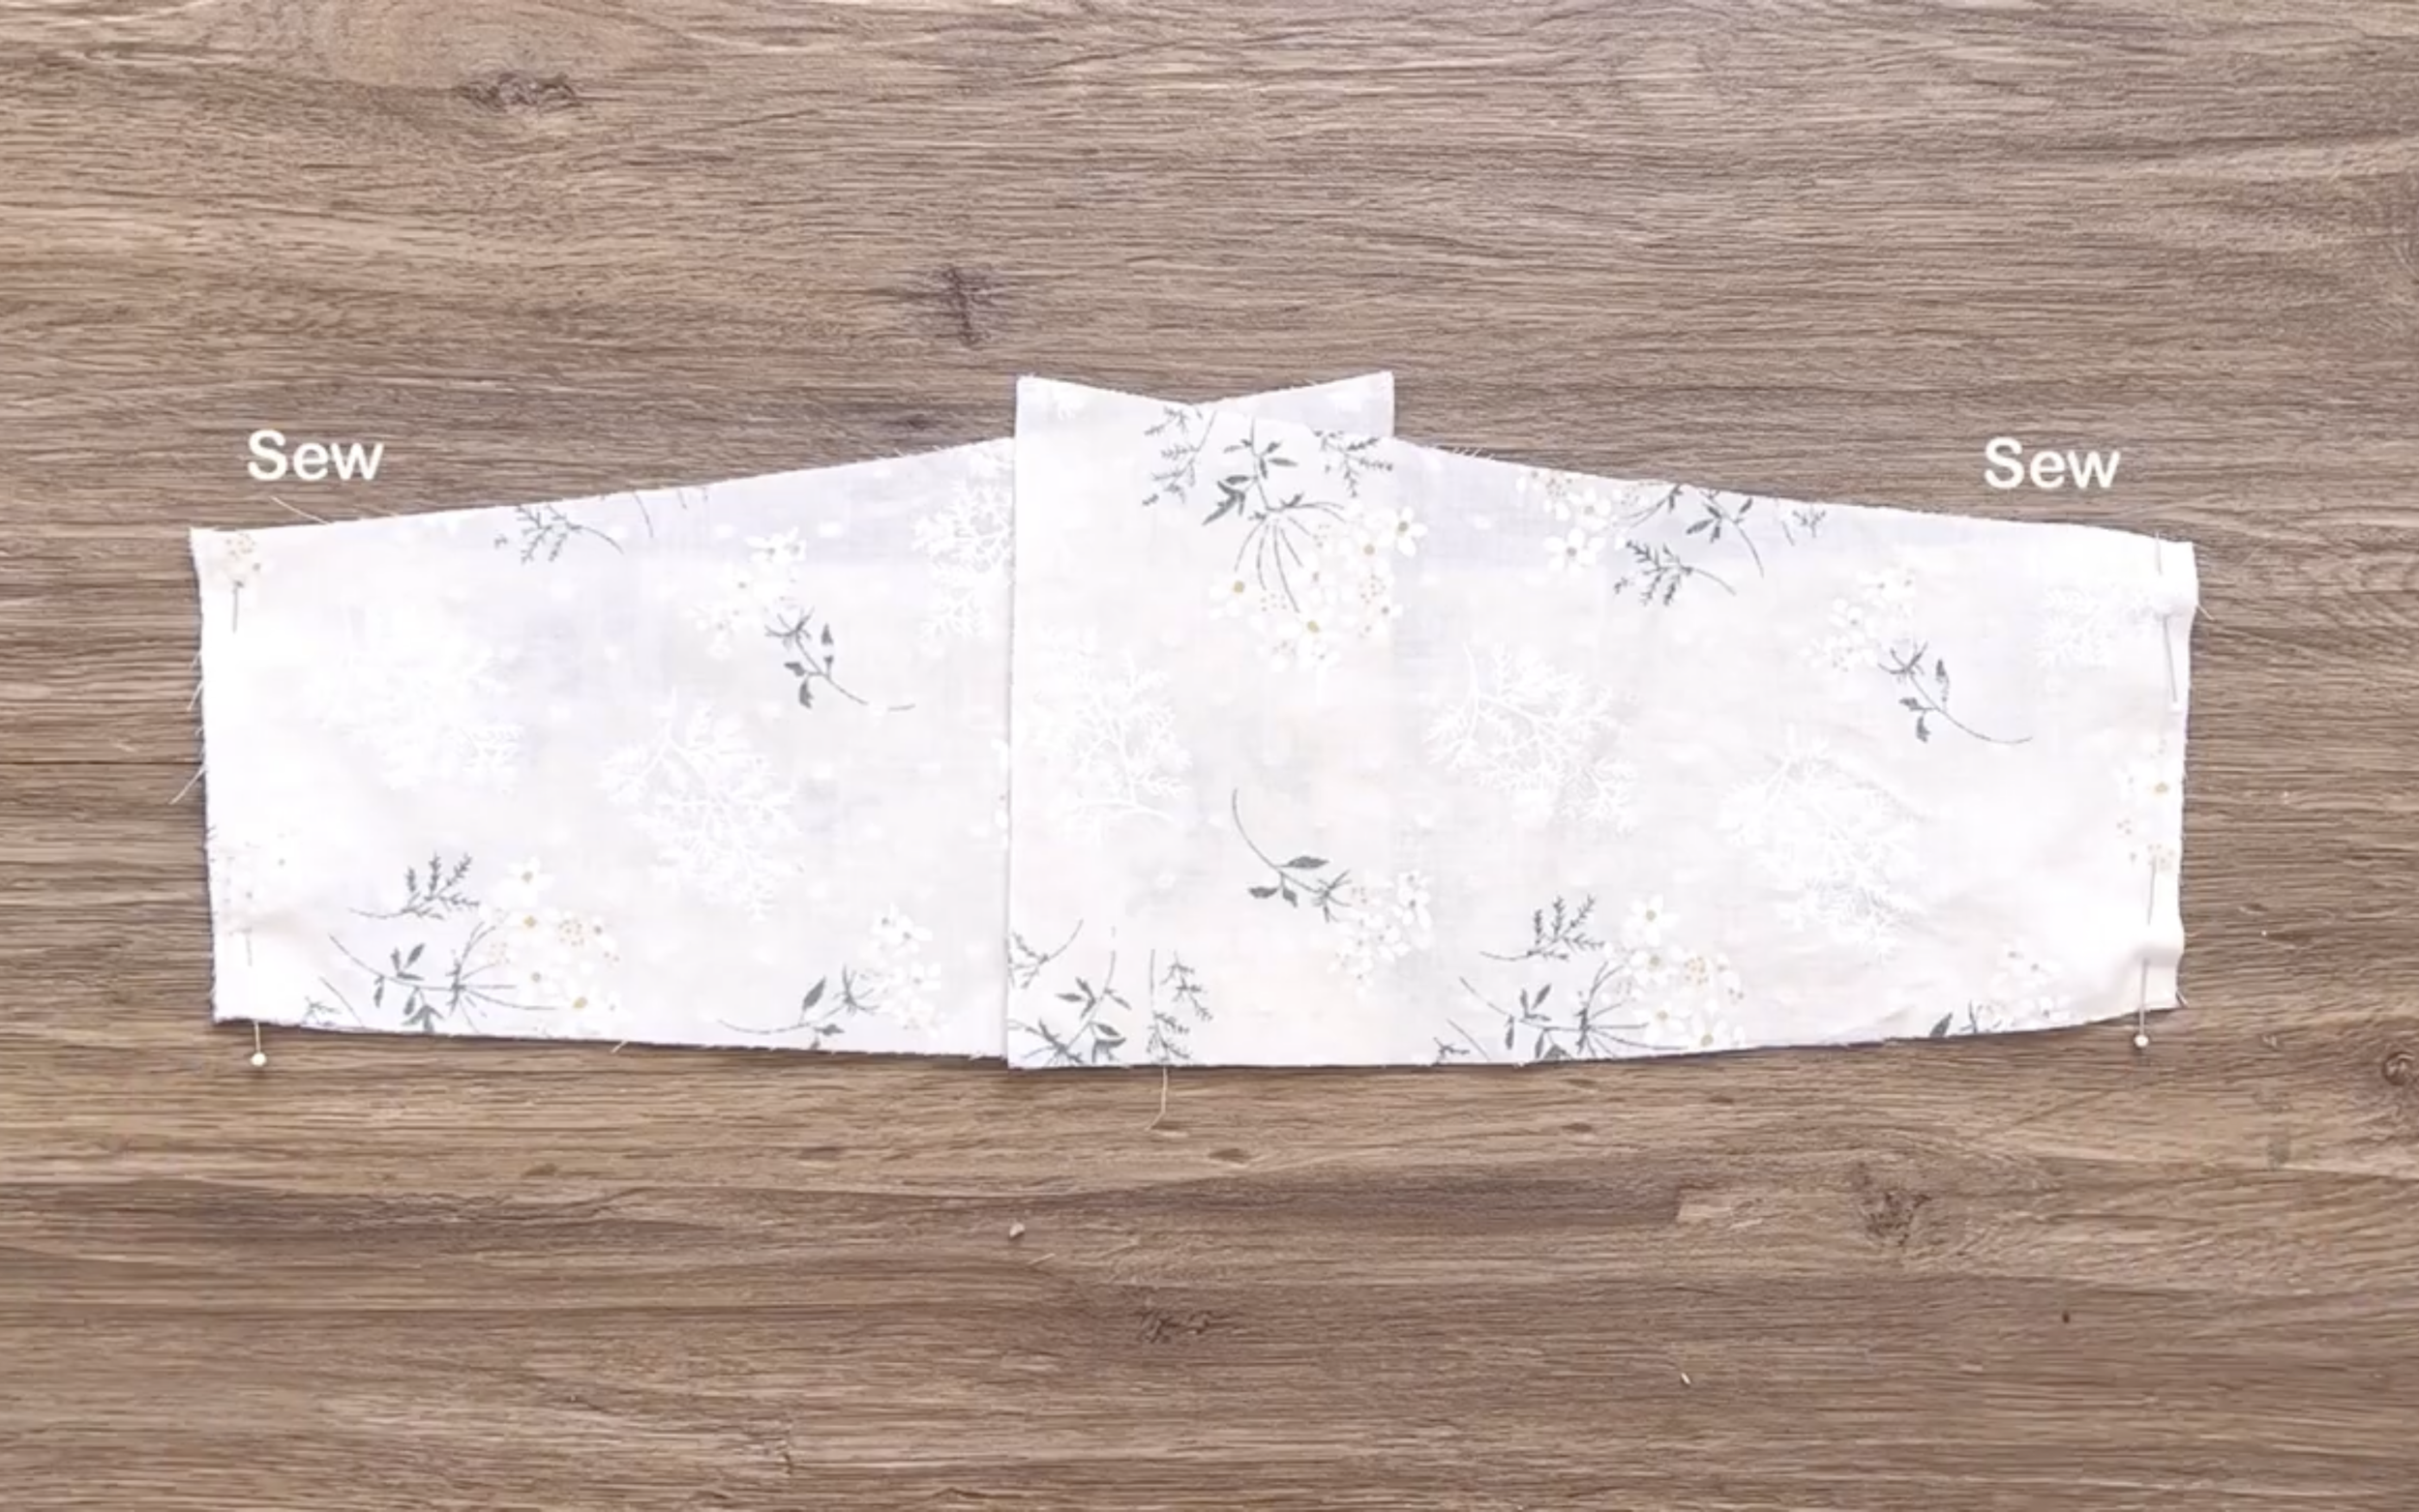
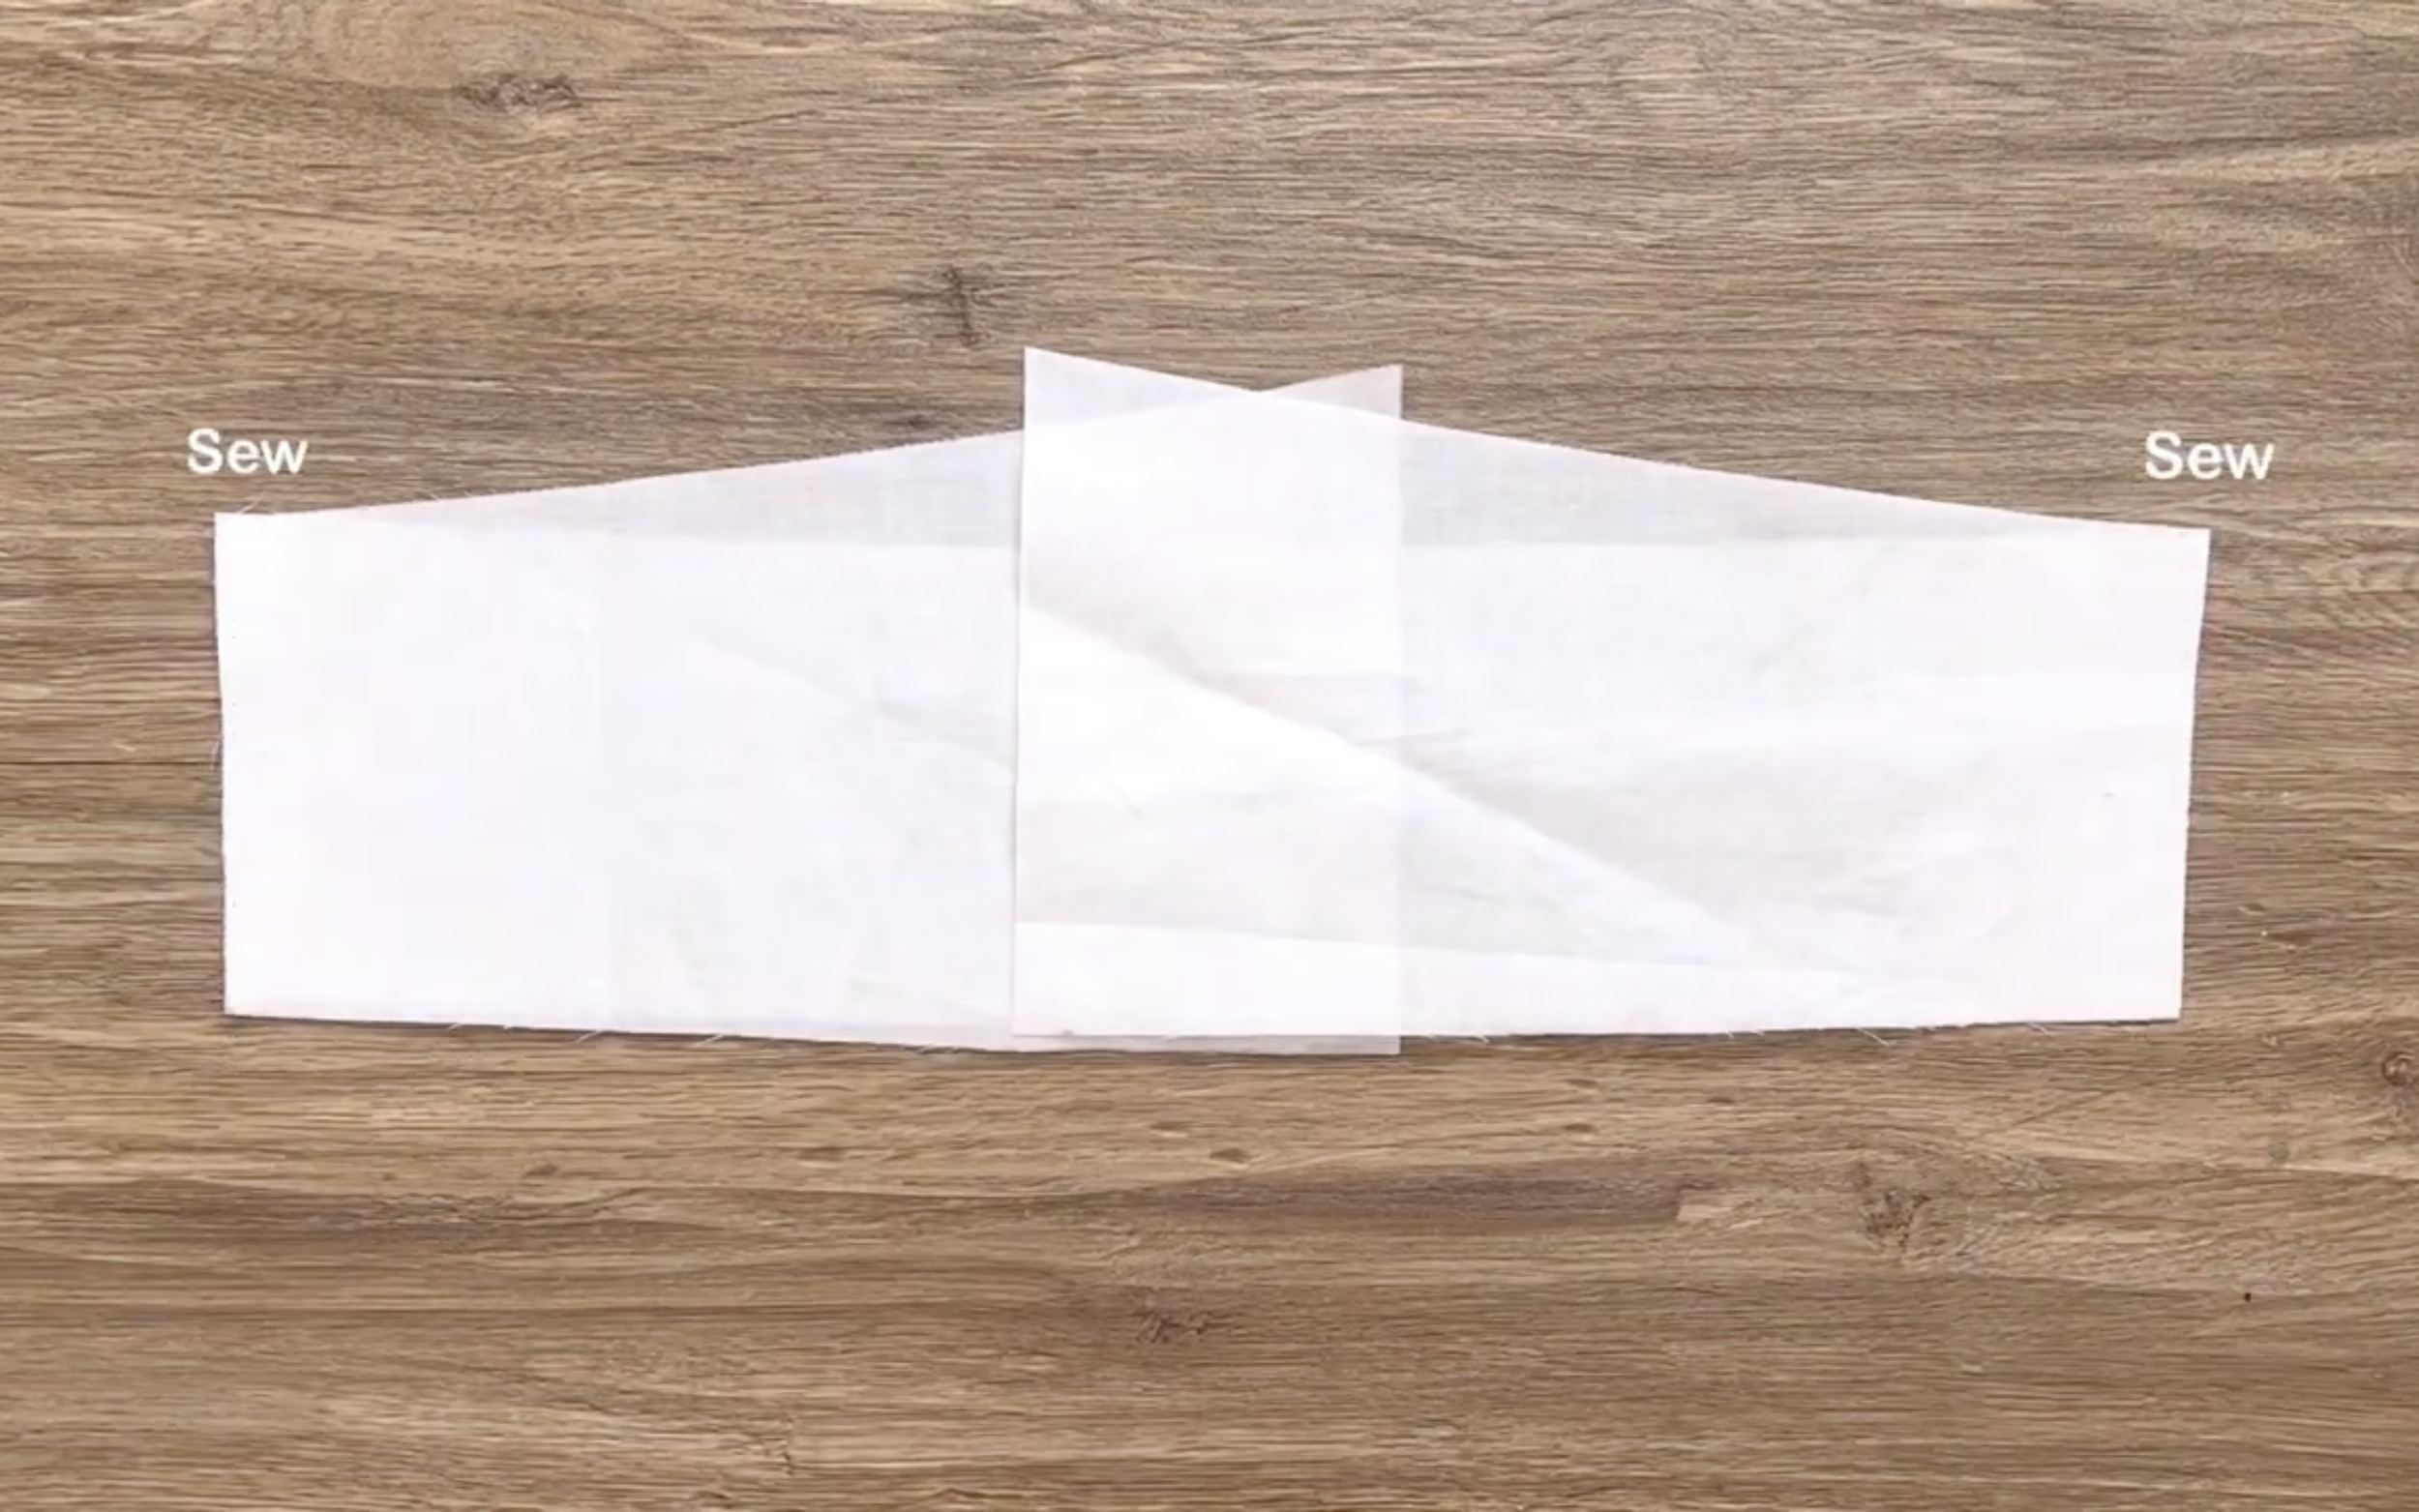
Connect the under-armpit line of the main fabric and the lining fabric separately. Make sure the right sides faced each other, then sew.
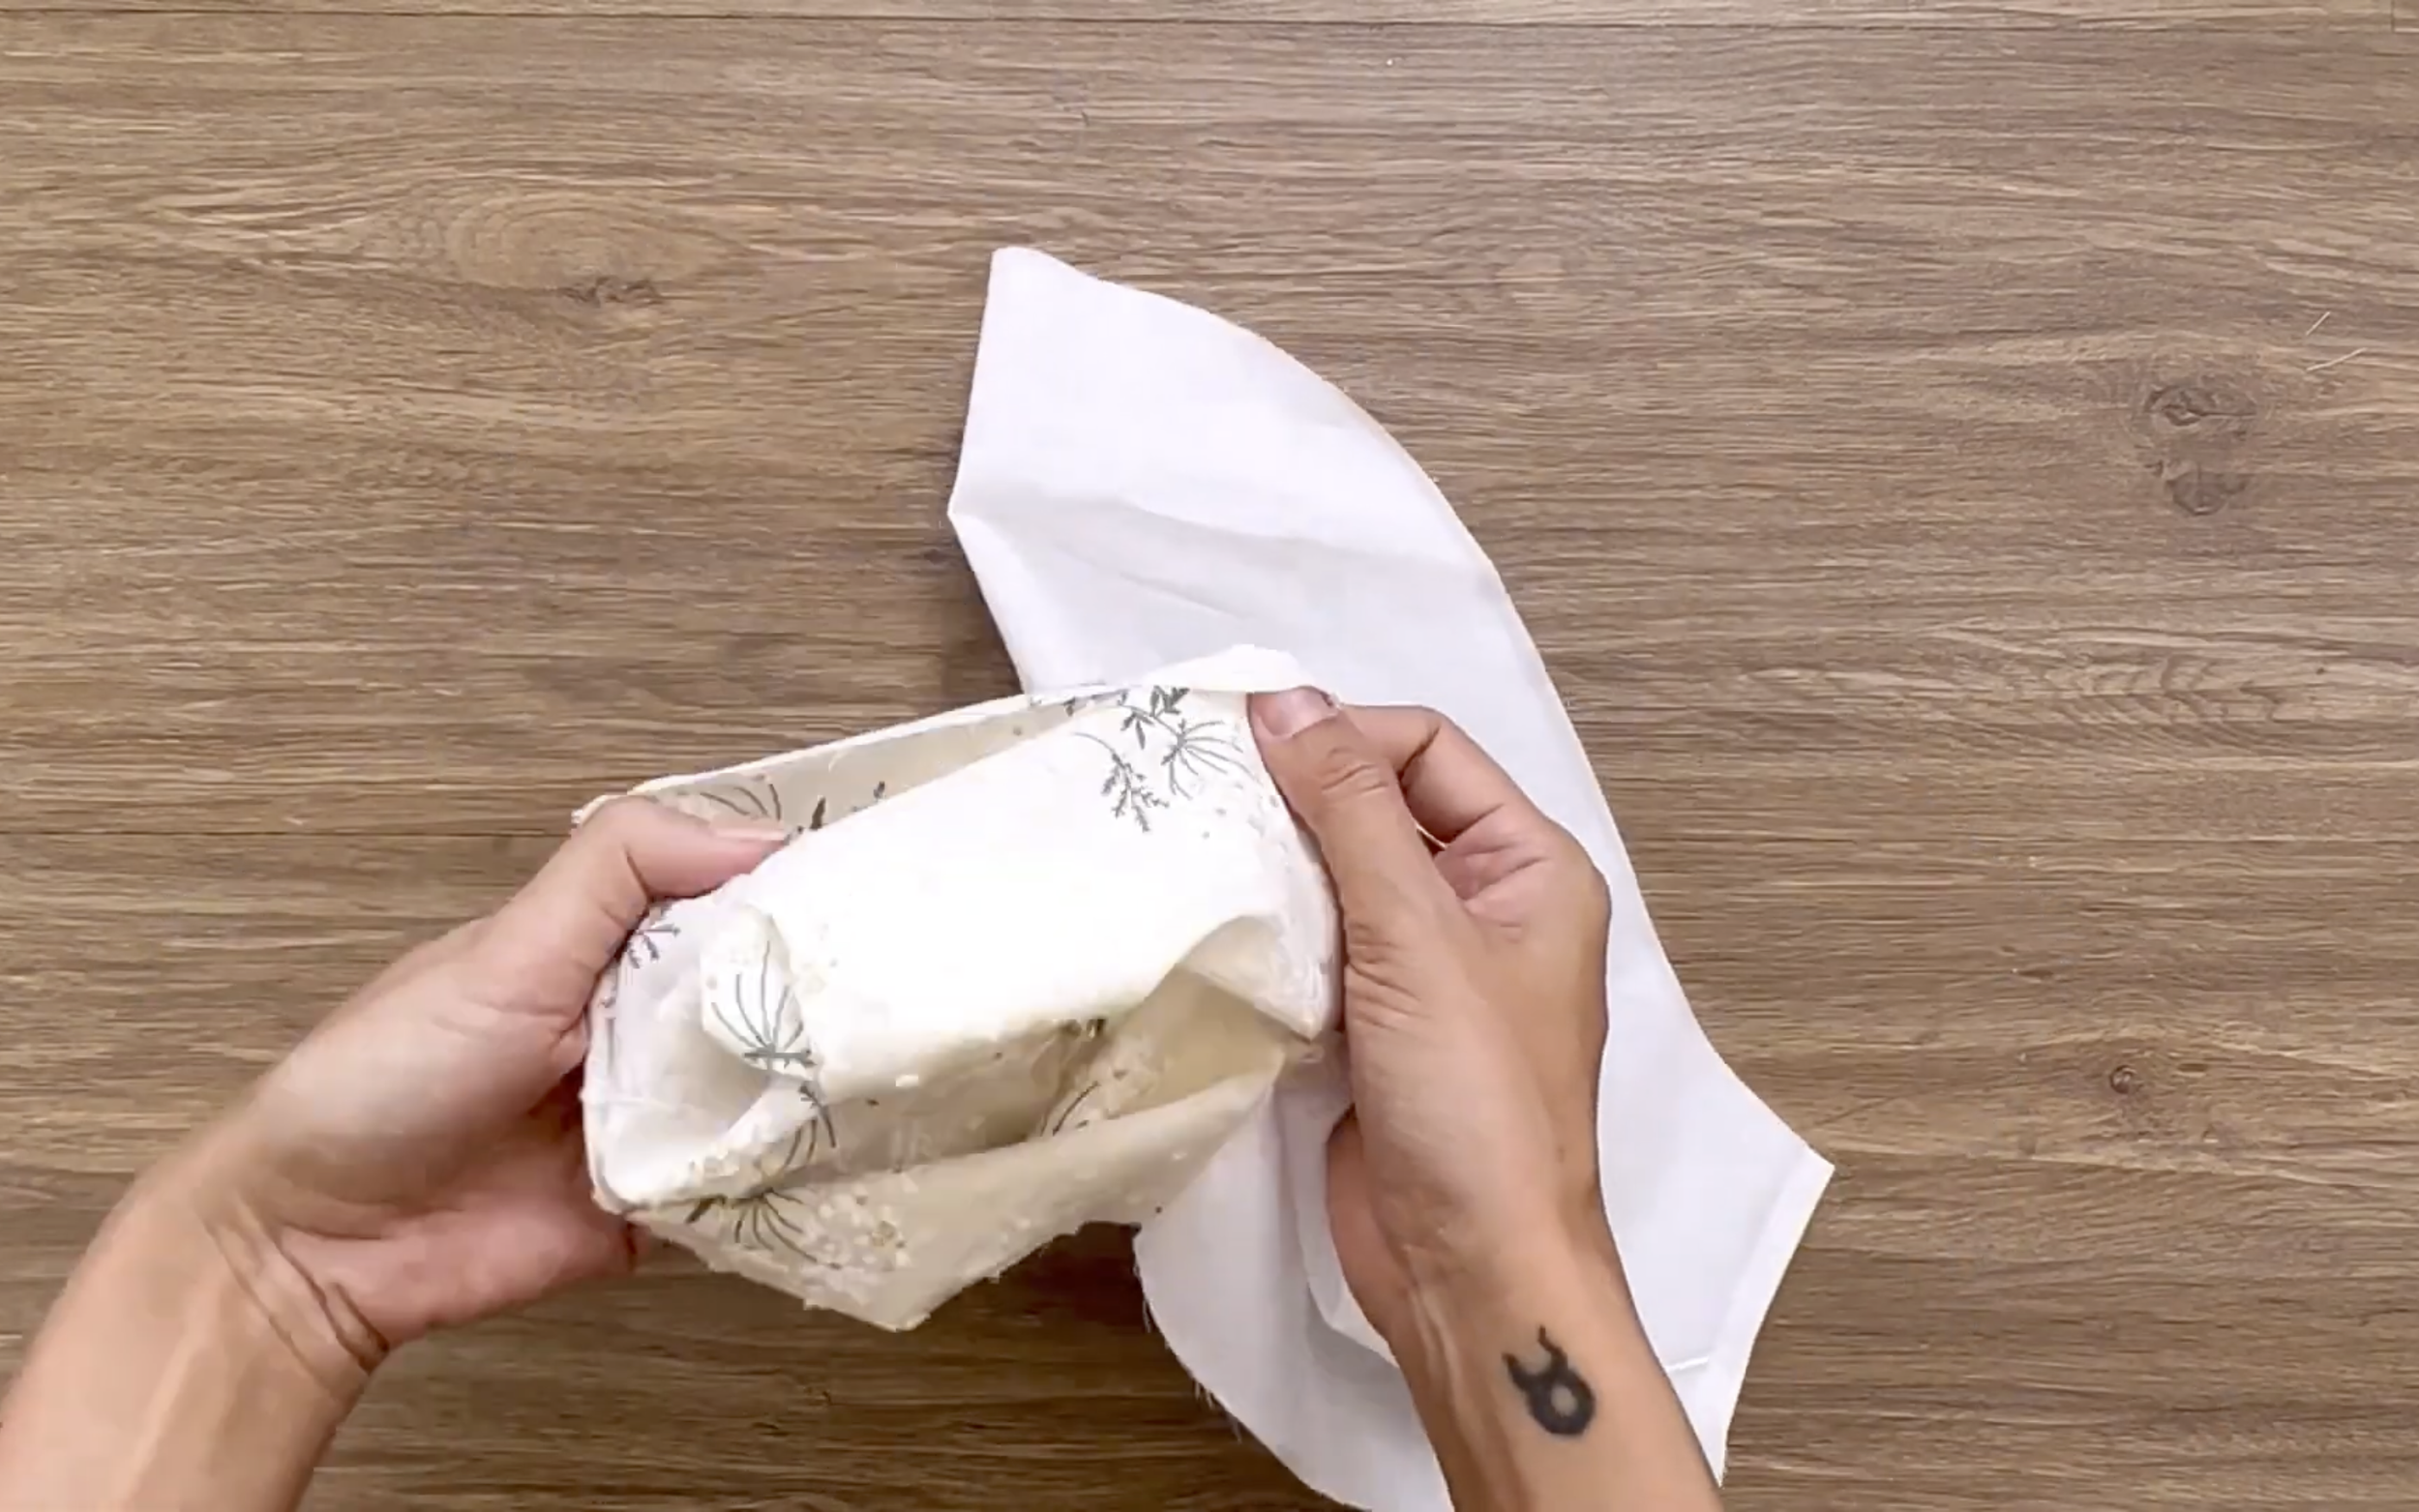
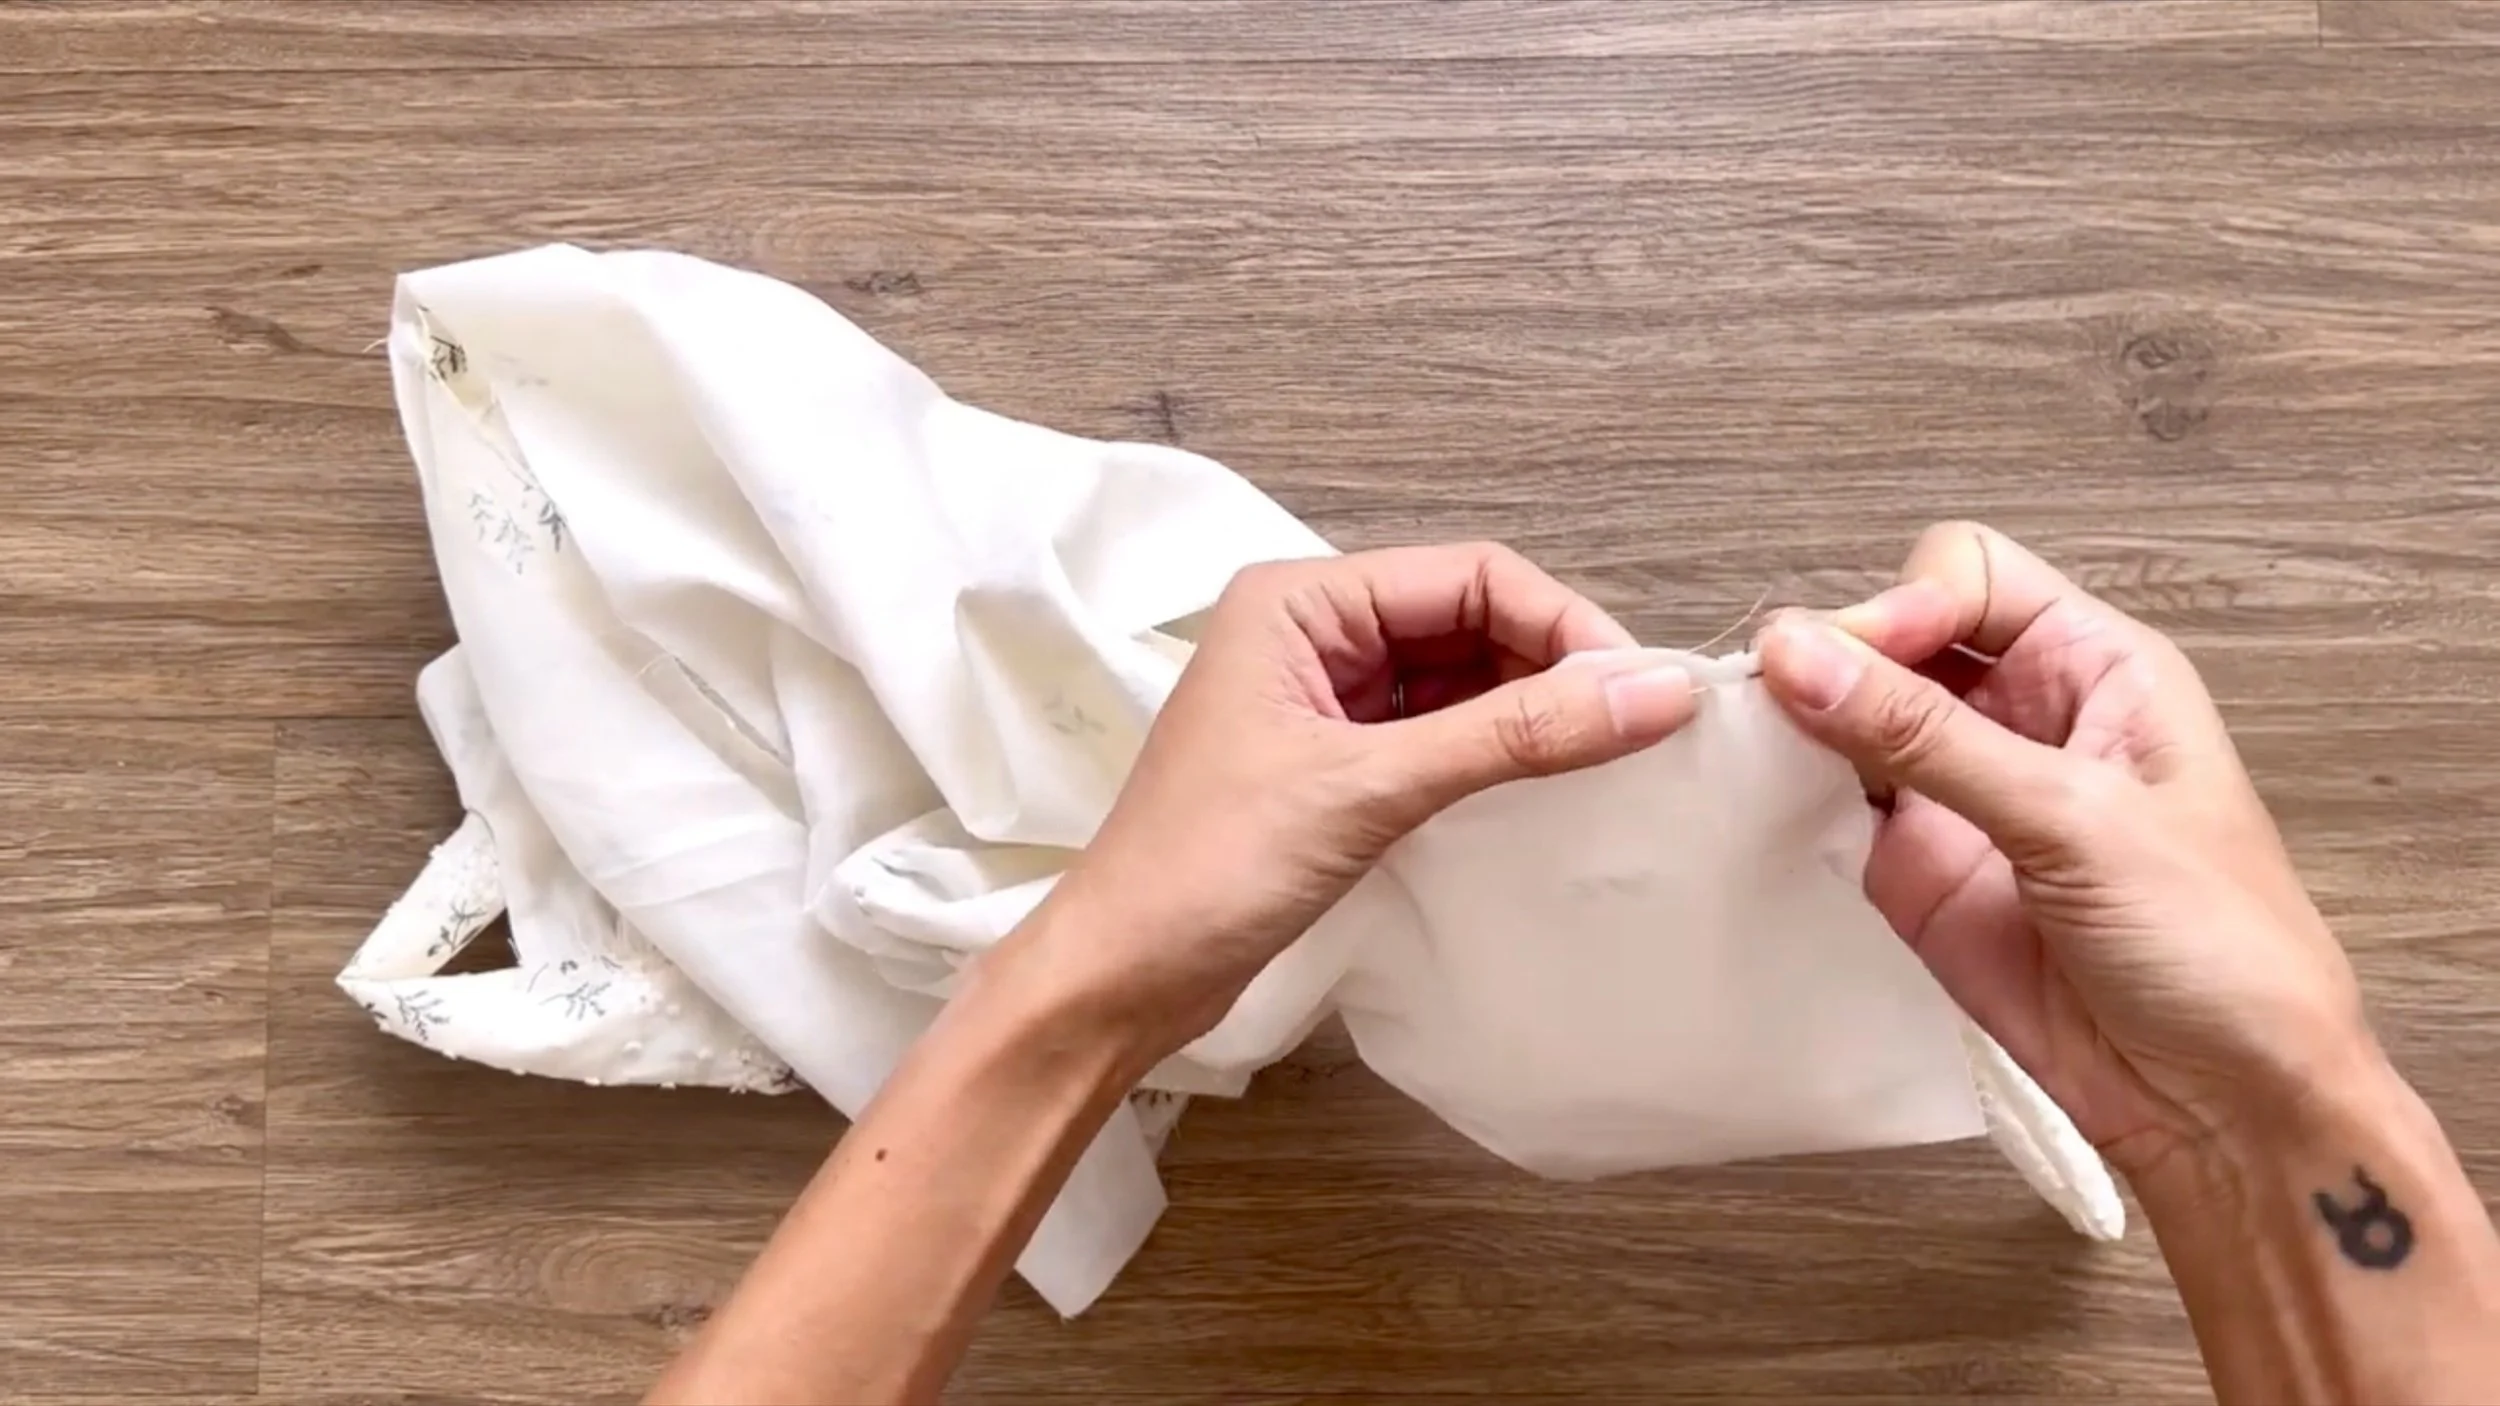
Turn the sleeve inside out to the right side.
Then connect the ending line of the sleeve's main fabric and lining fabric together.
Do the same for the top line of the sleeve to keep them secure.
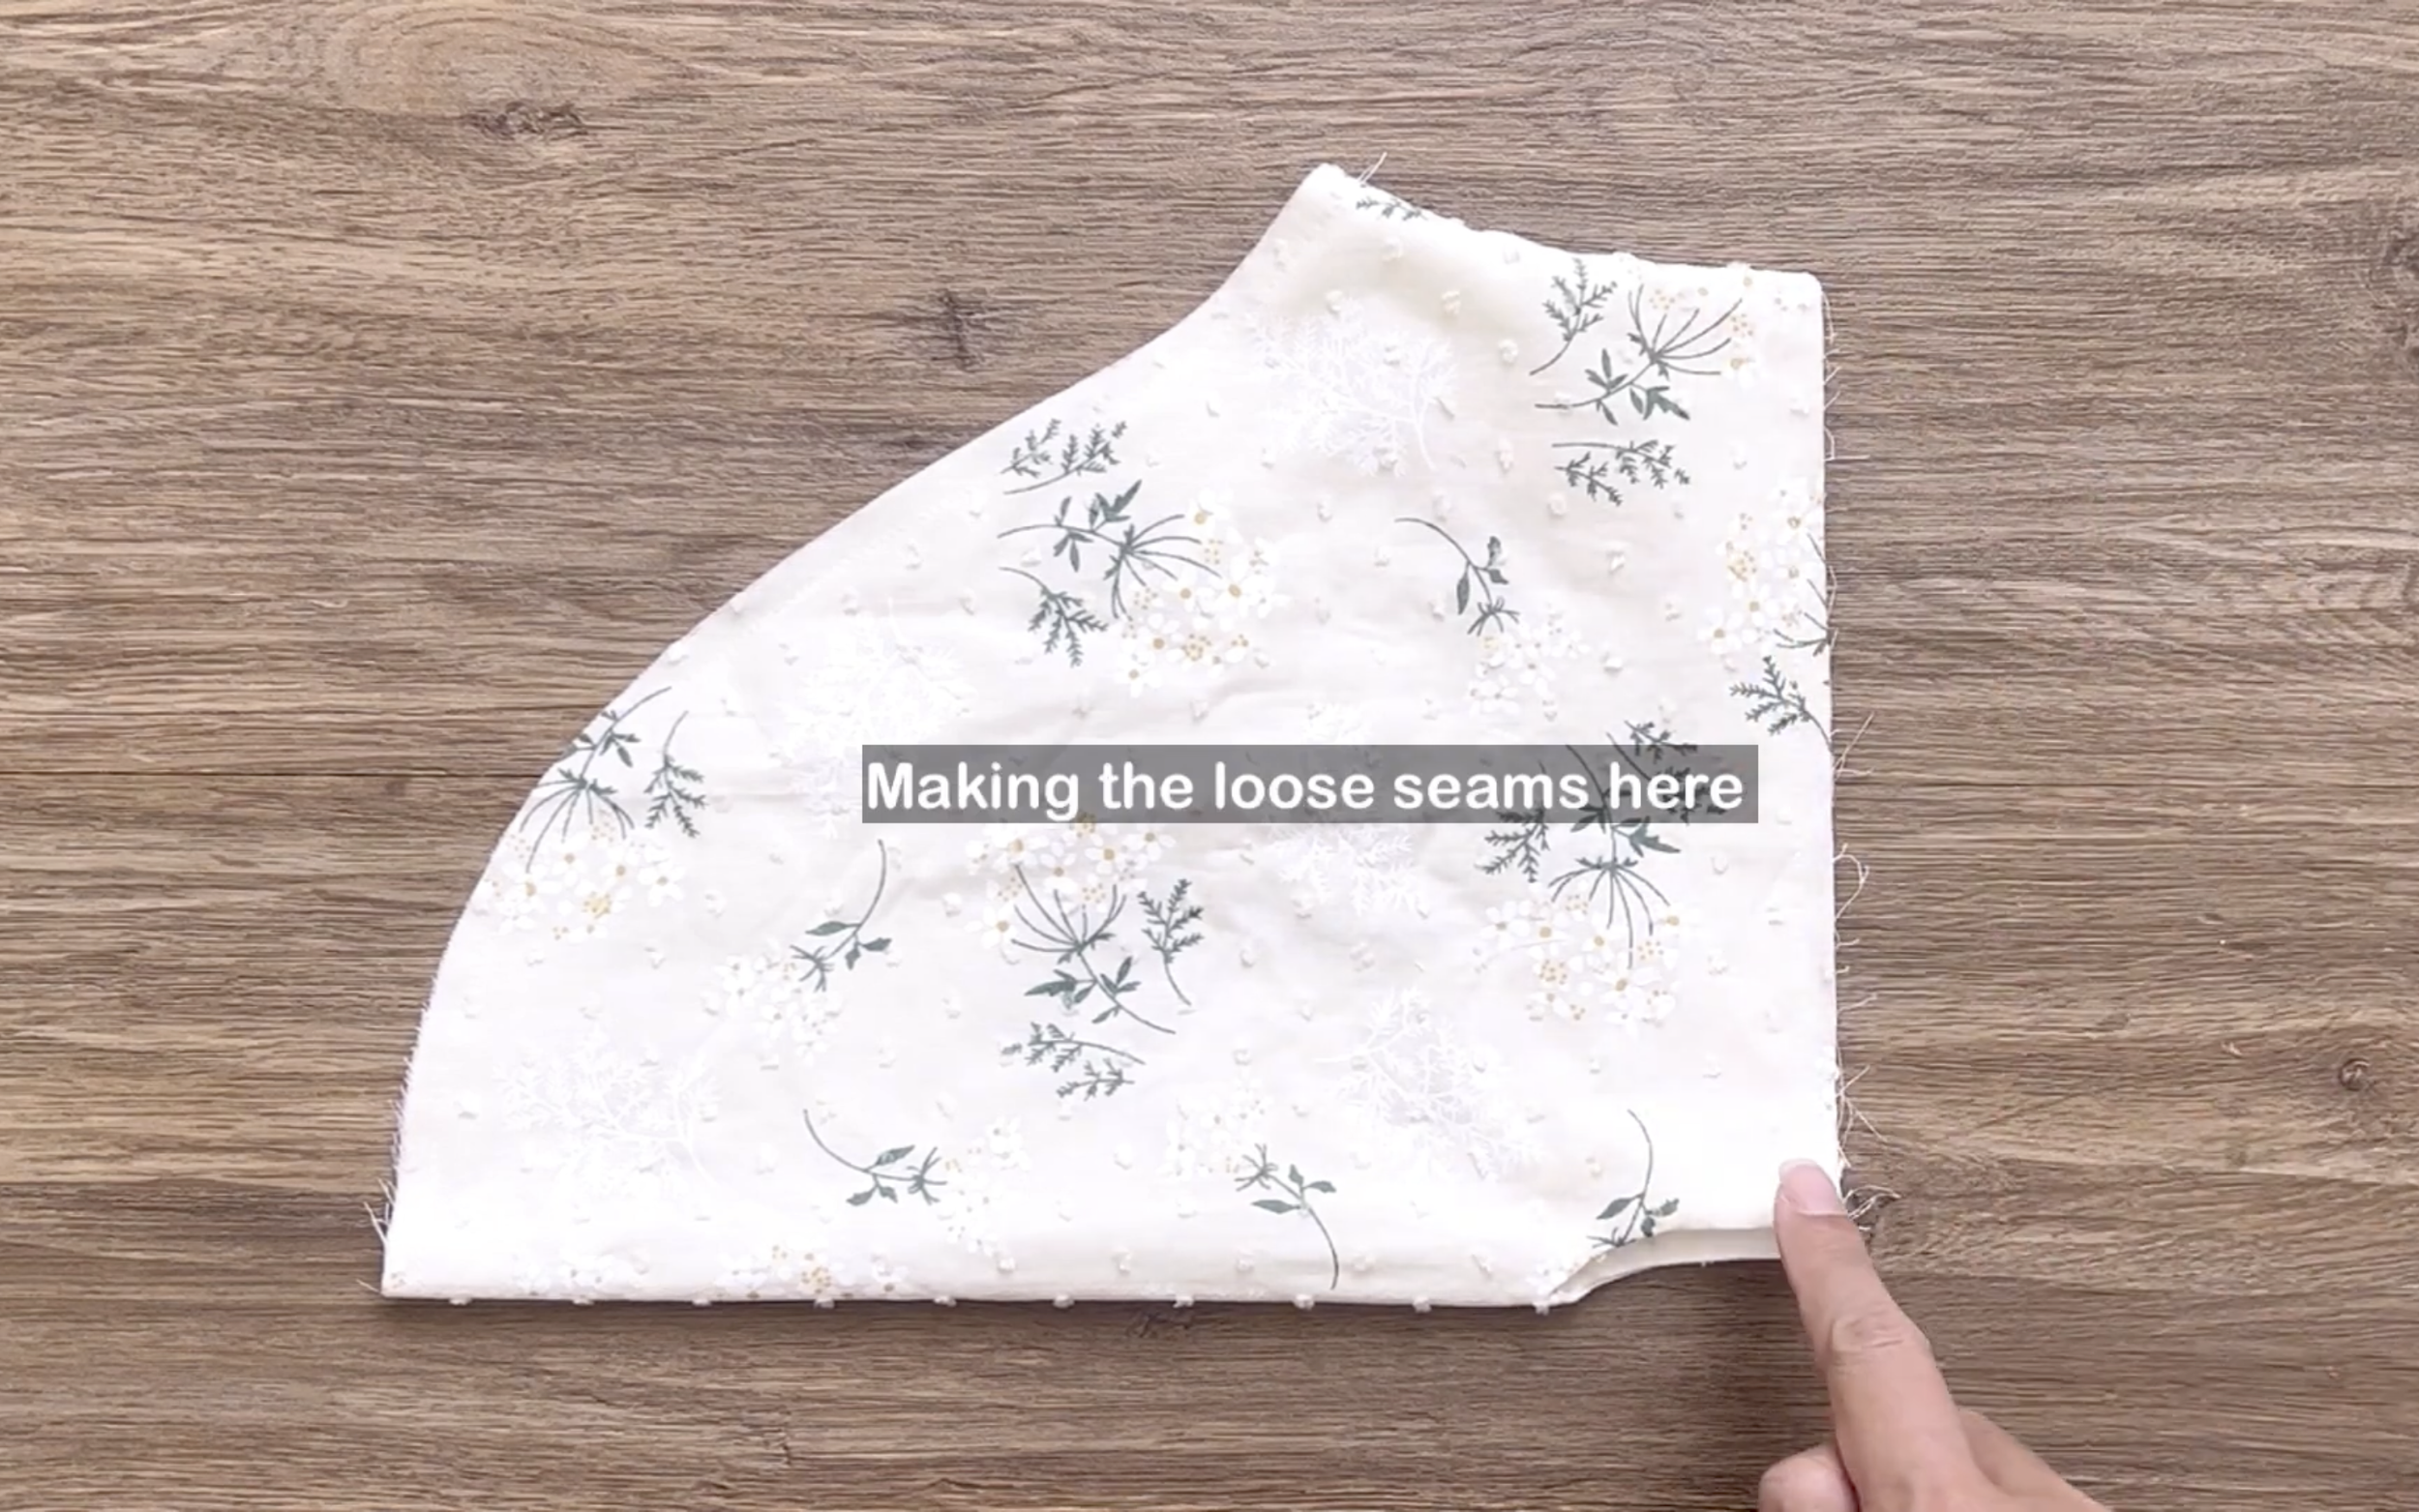
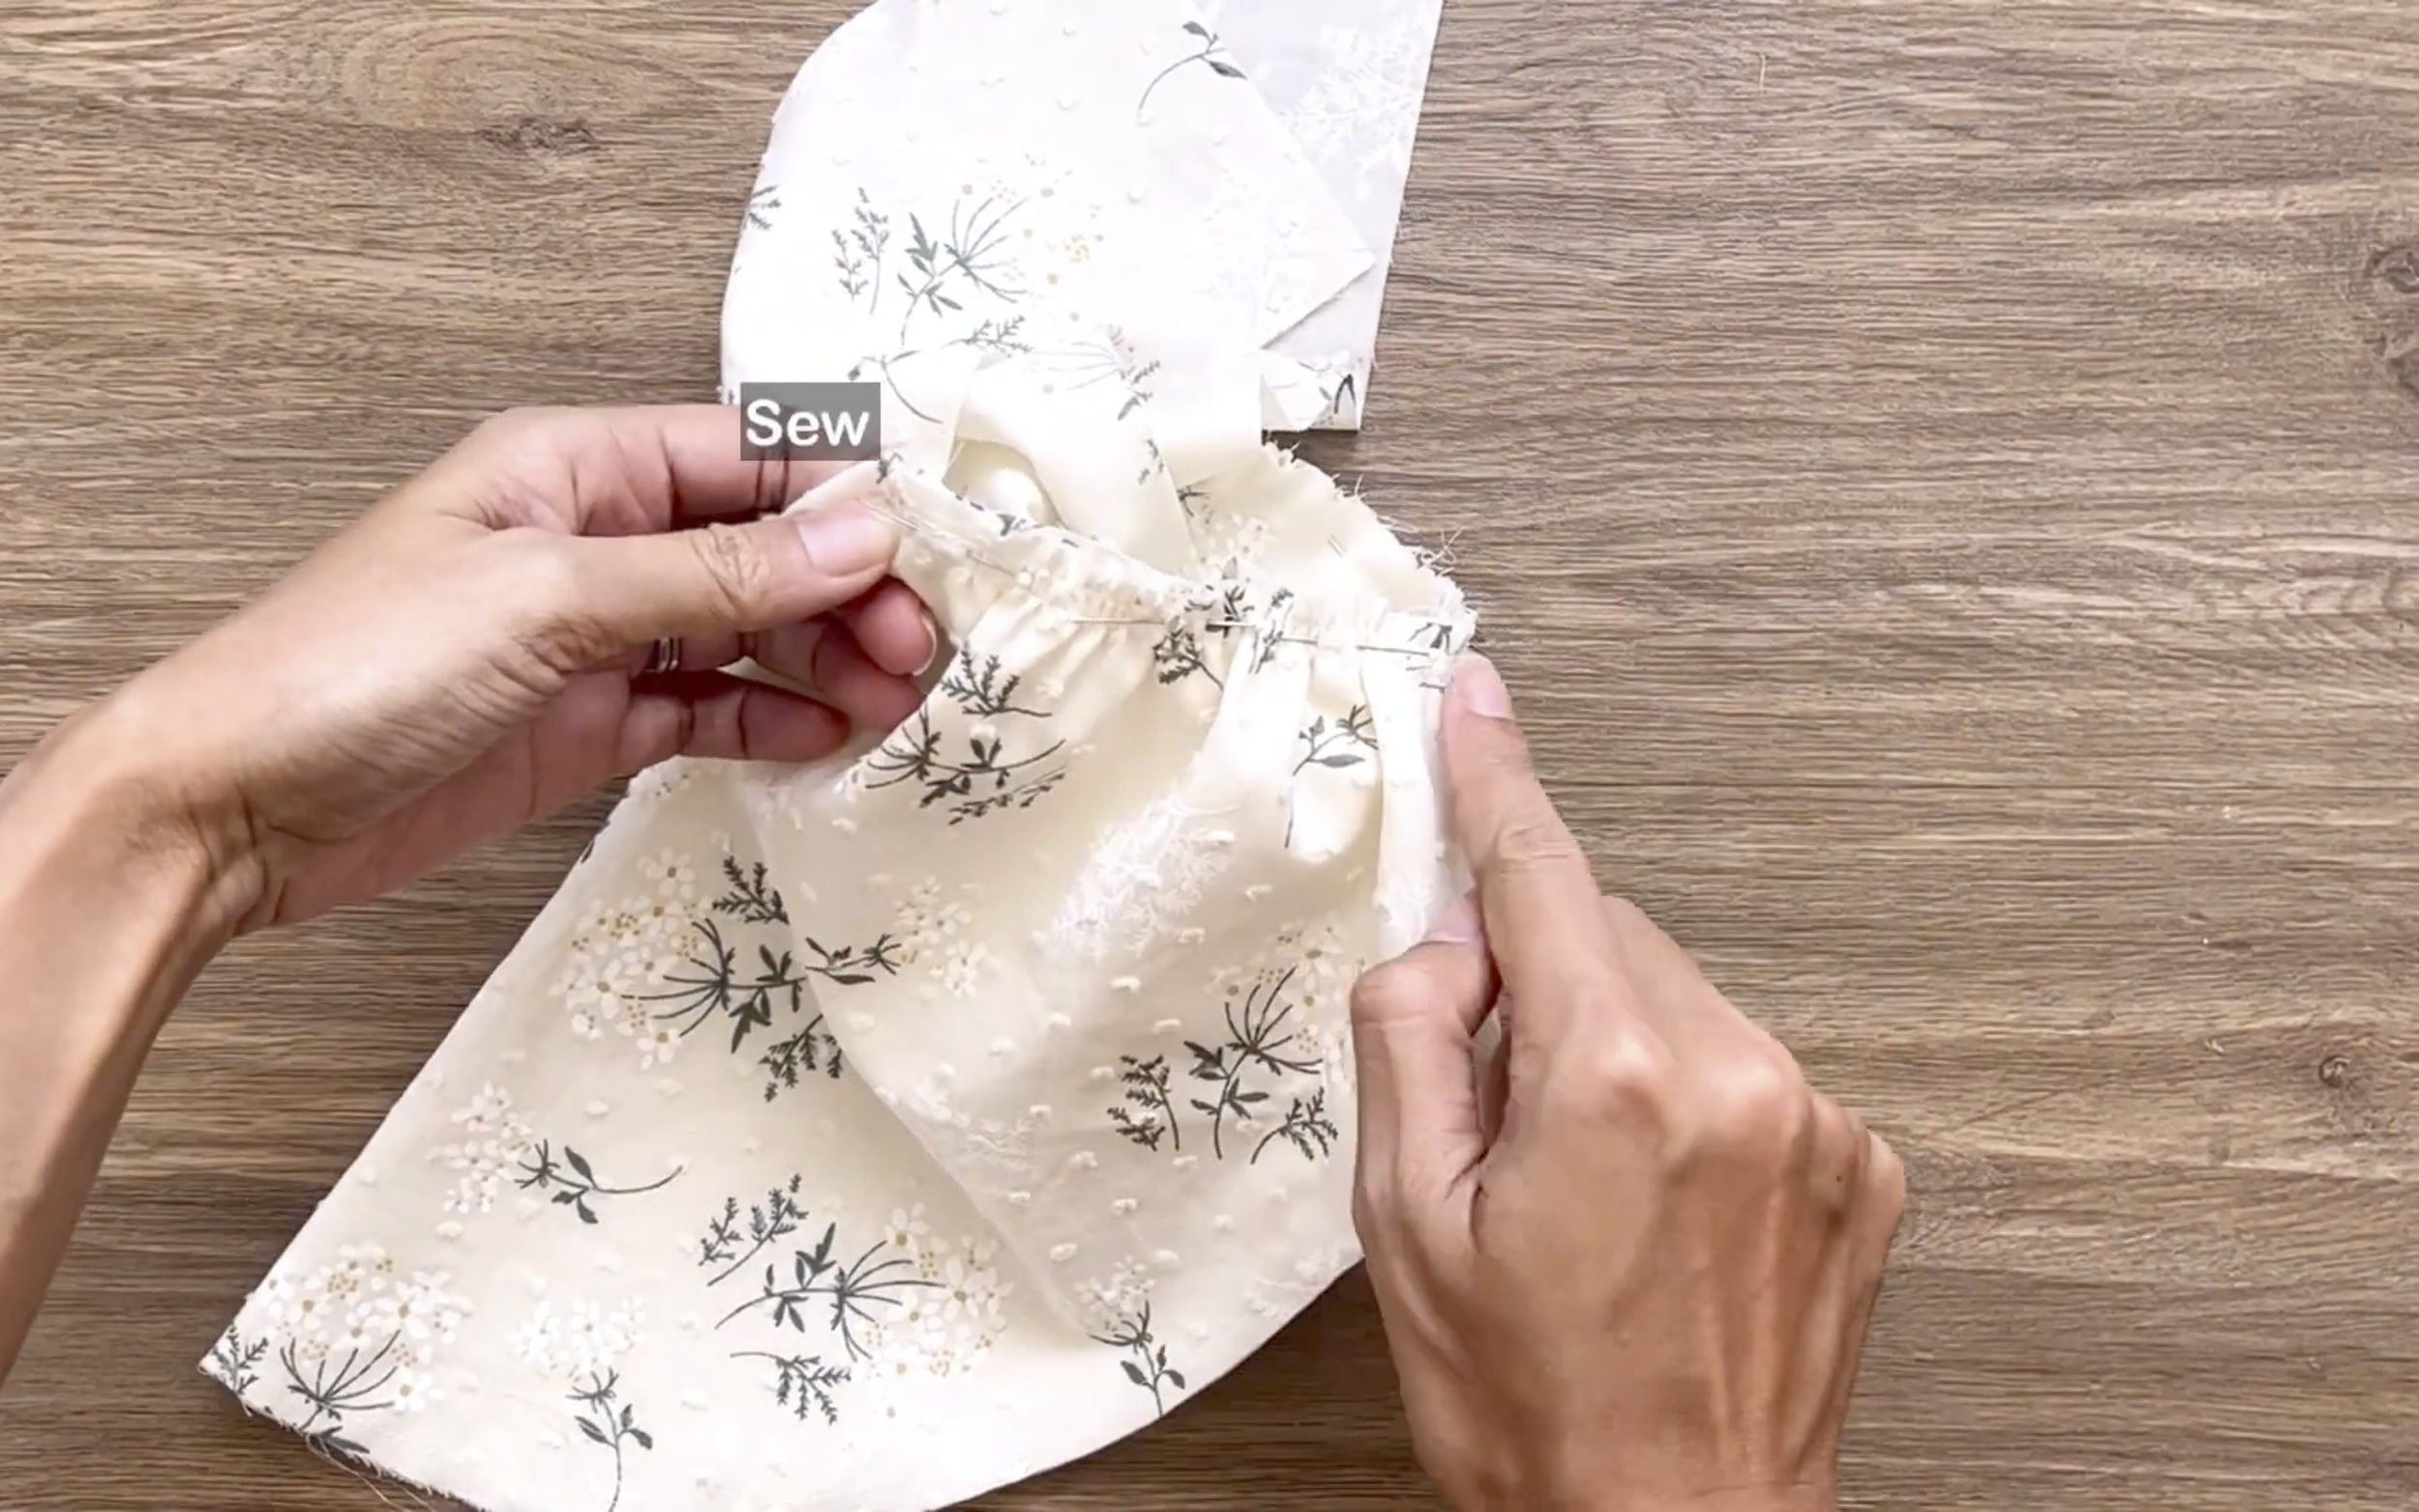
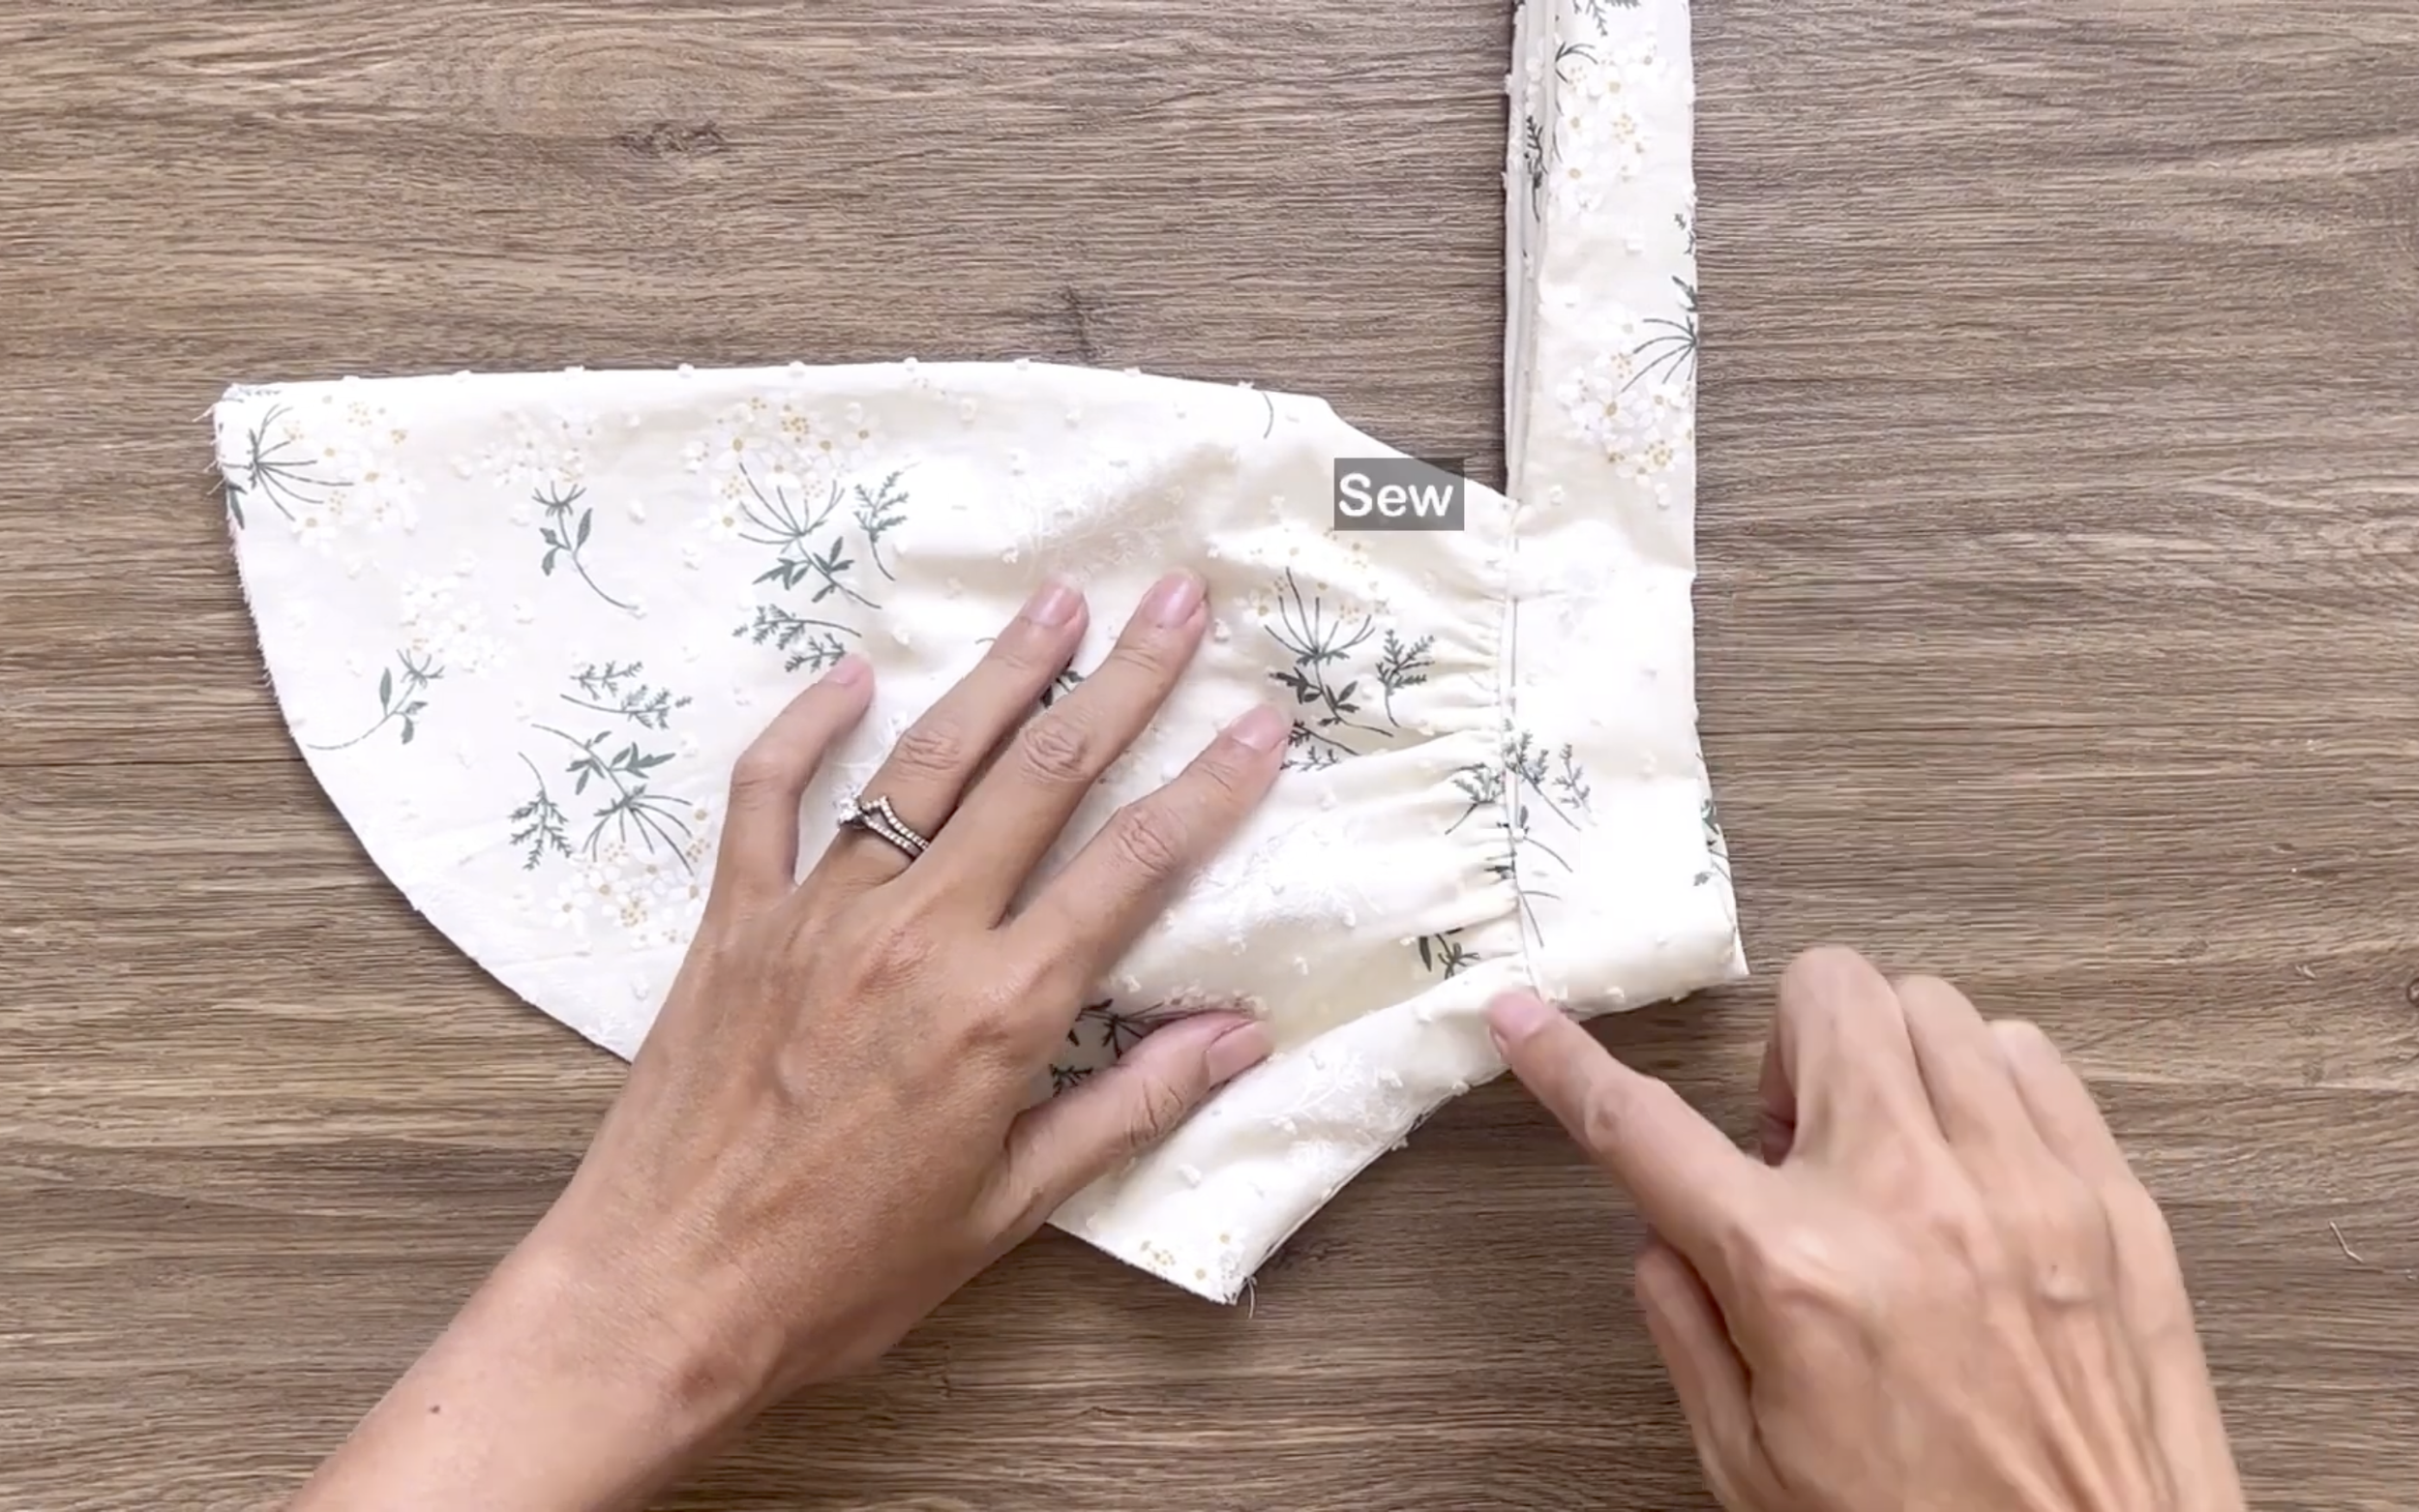
At the sleeve's end, made a loose seam first and created gathered fabric.
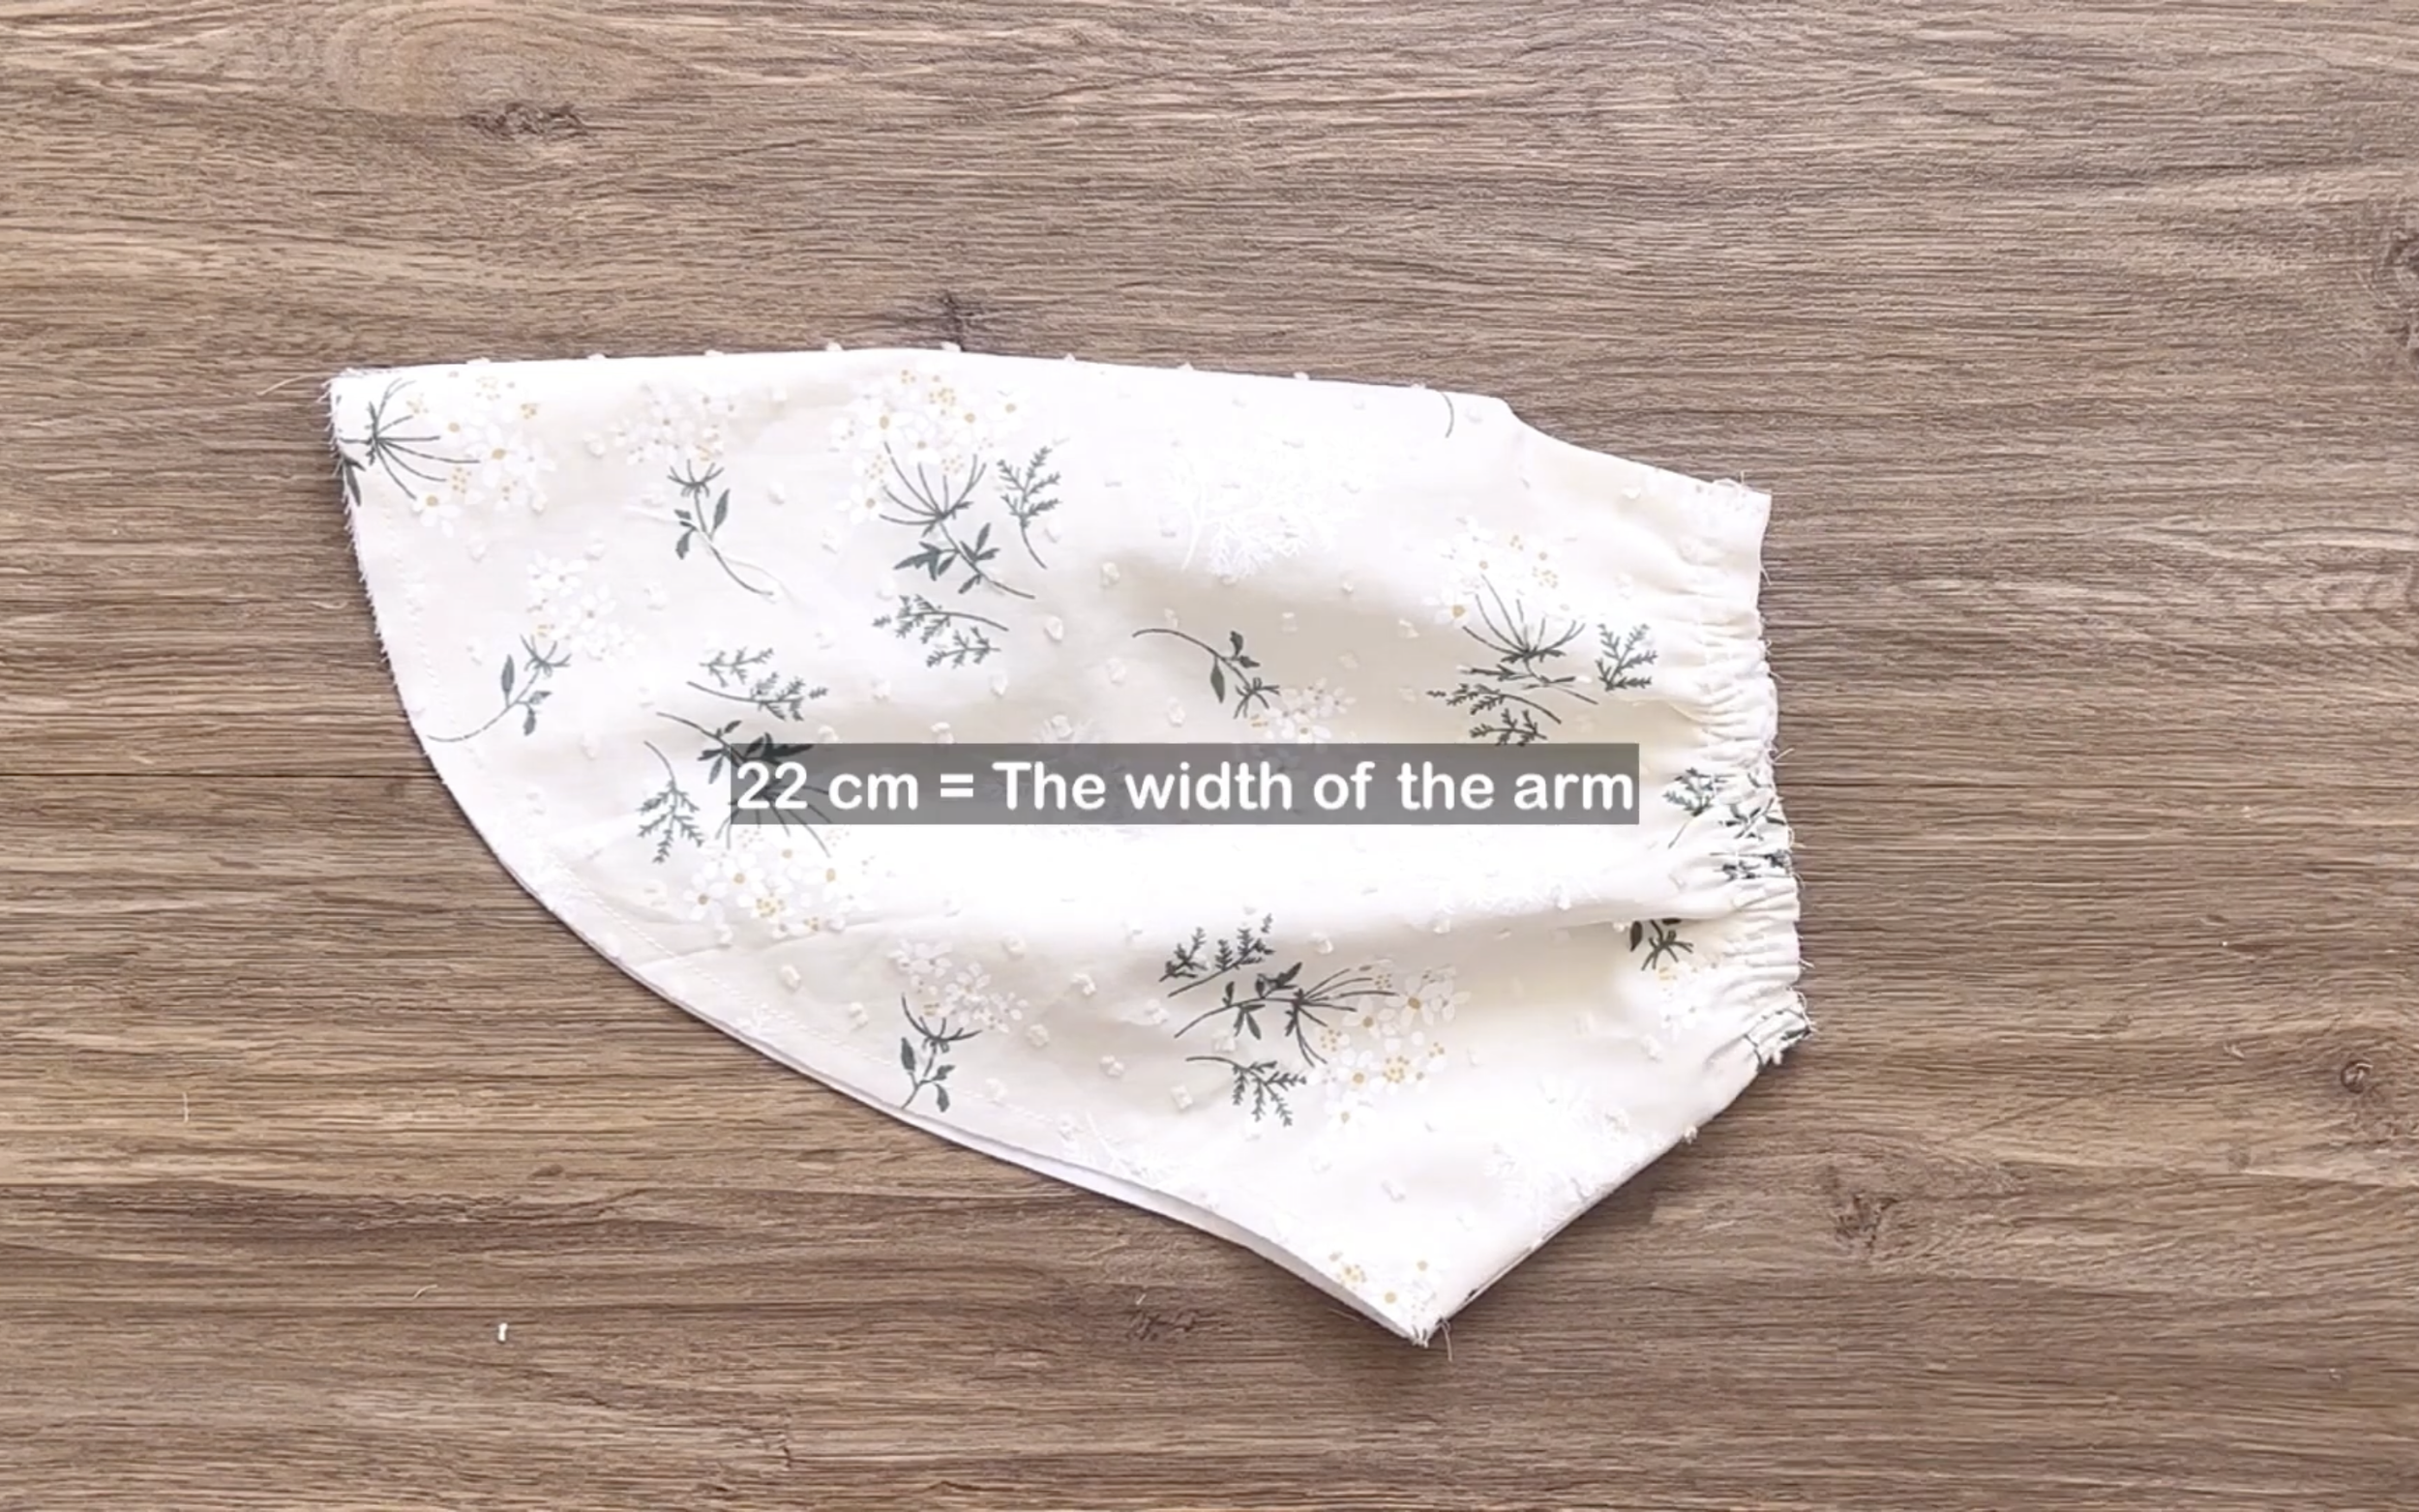
The final width of the gathered fabric is 22 cm, matching the arm's width.
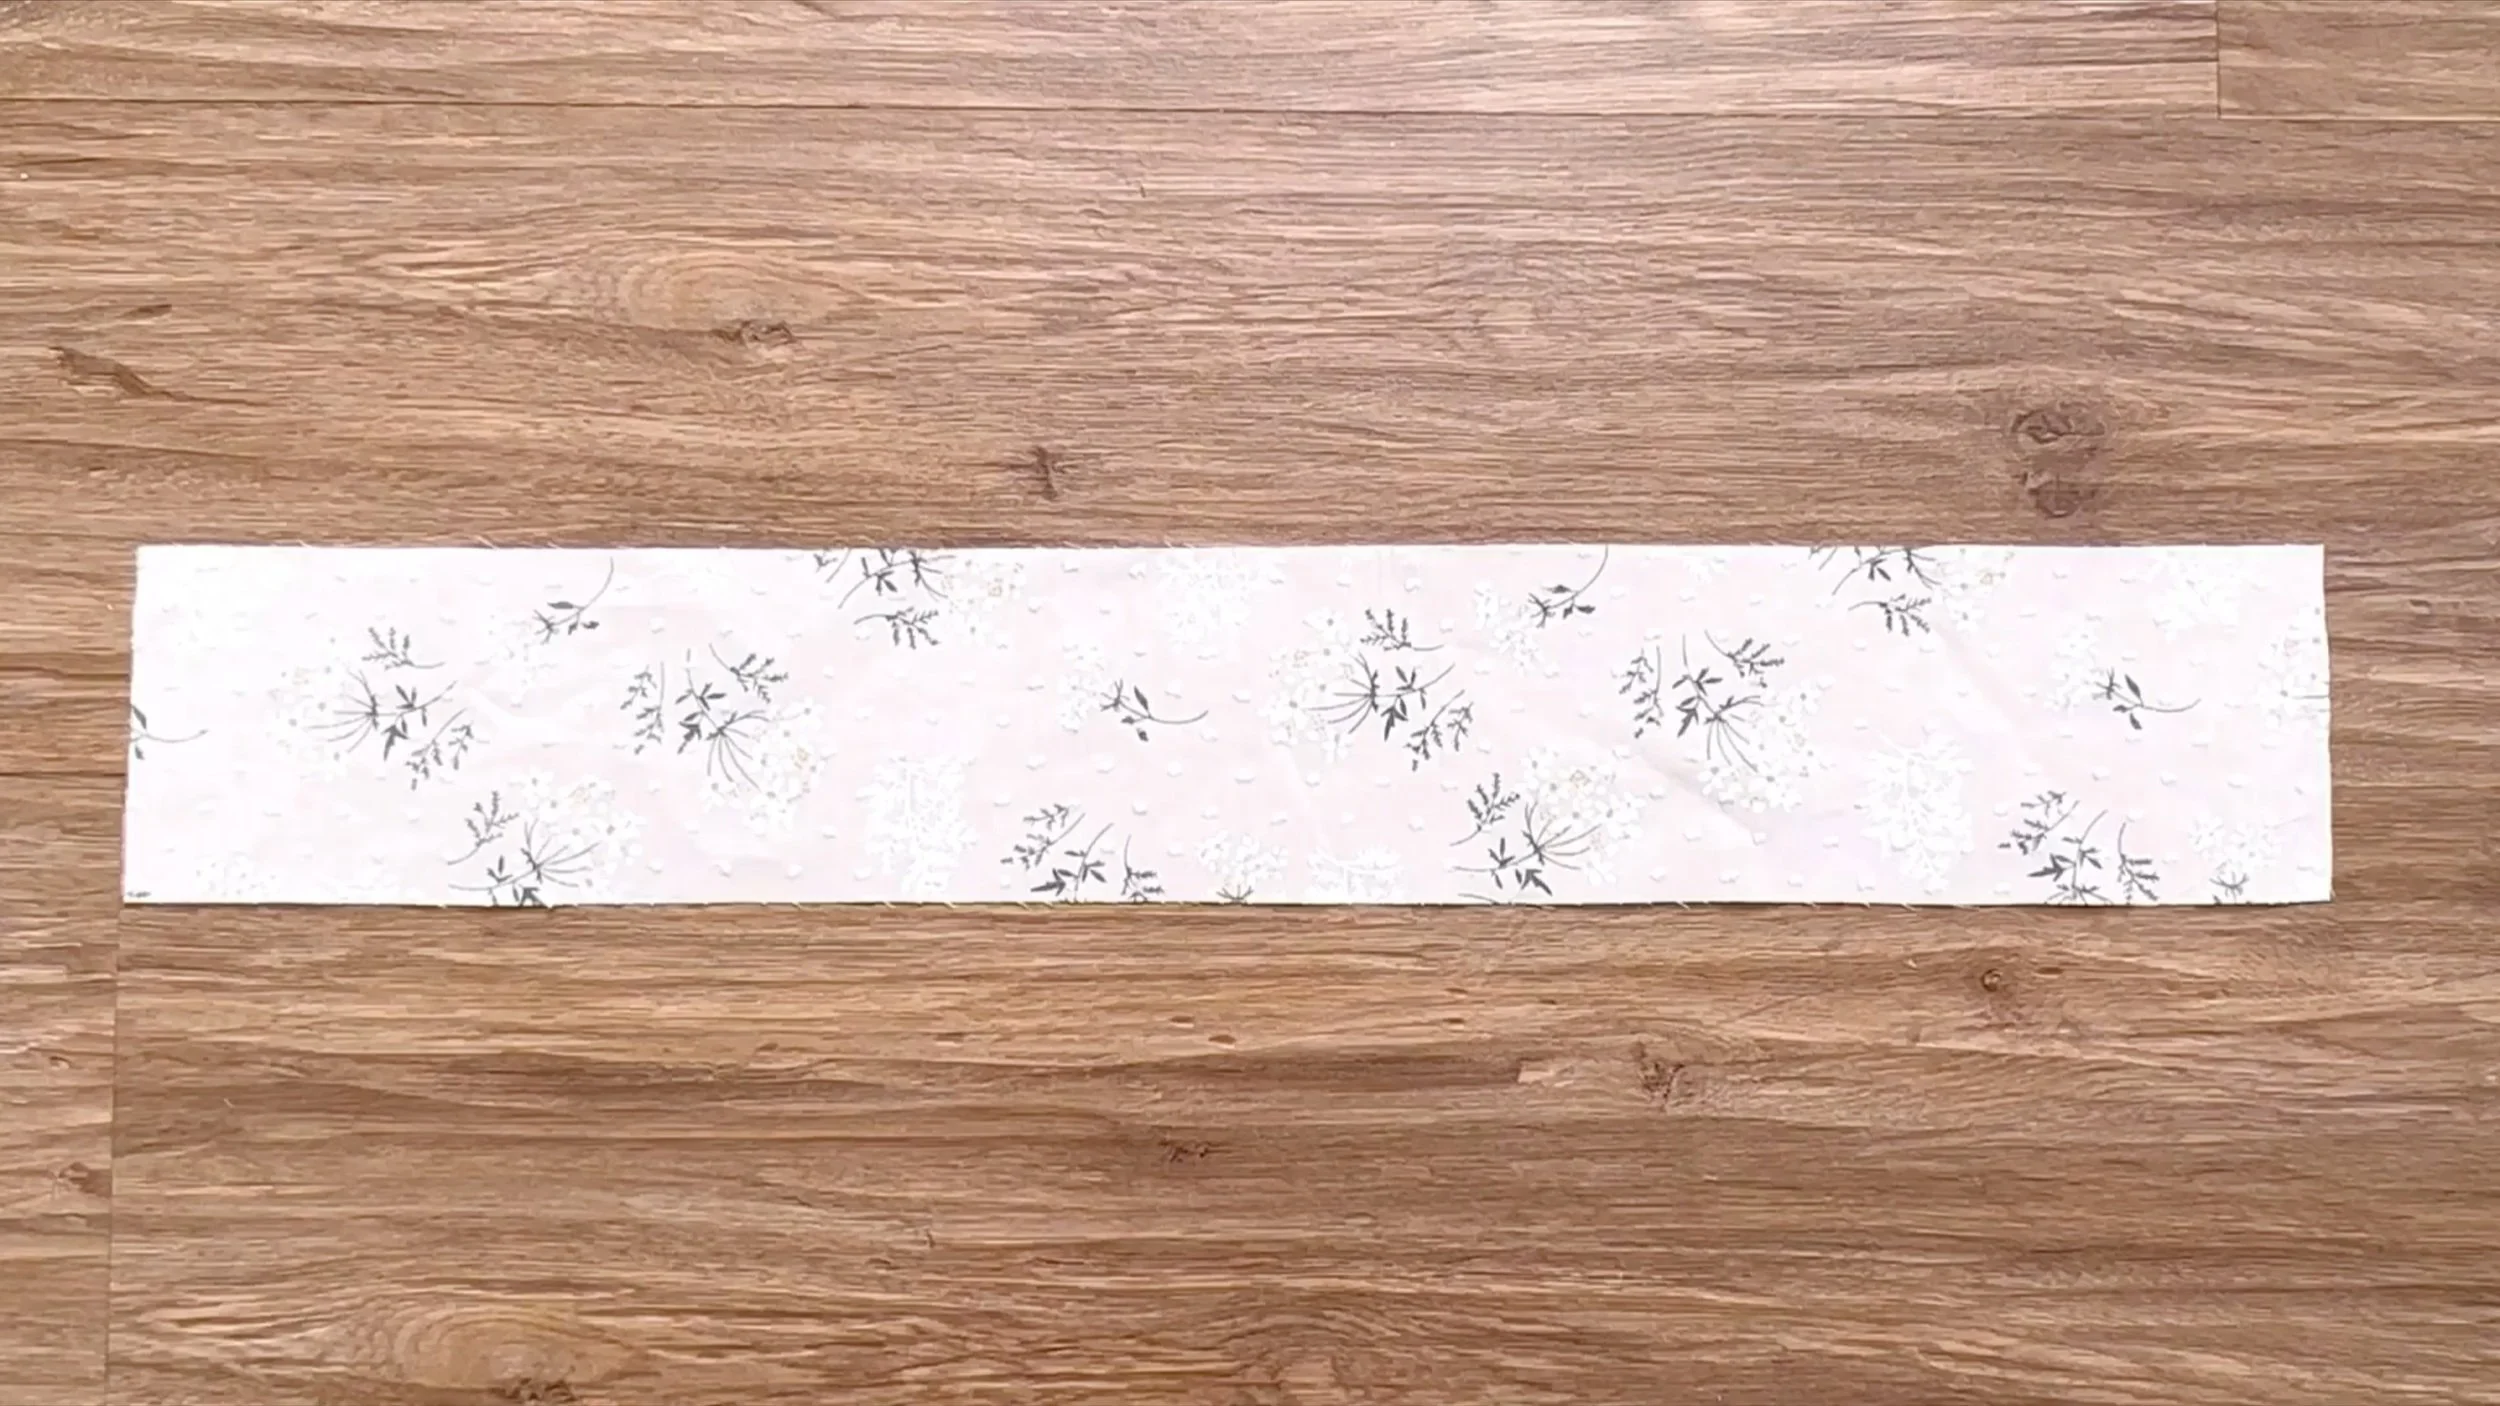
Cut a rectangle fabric 10 cm long (twice the bow tie area length from the pattern plus 2 cm seam allowance) and 66 cm wide (three times the arm's width).
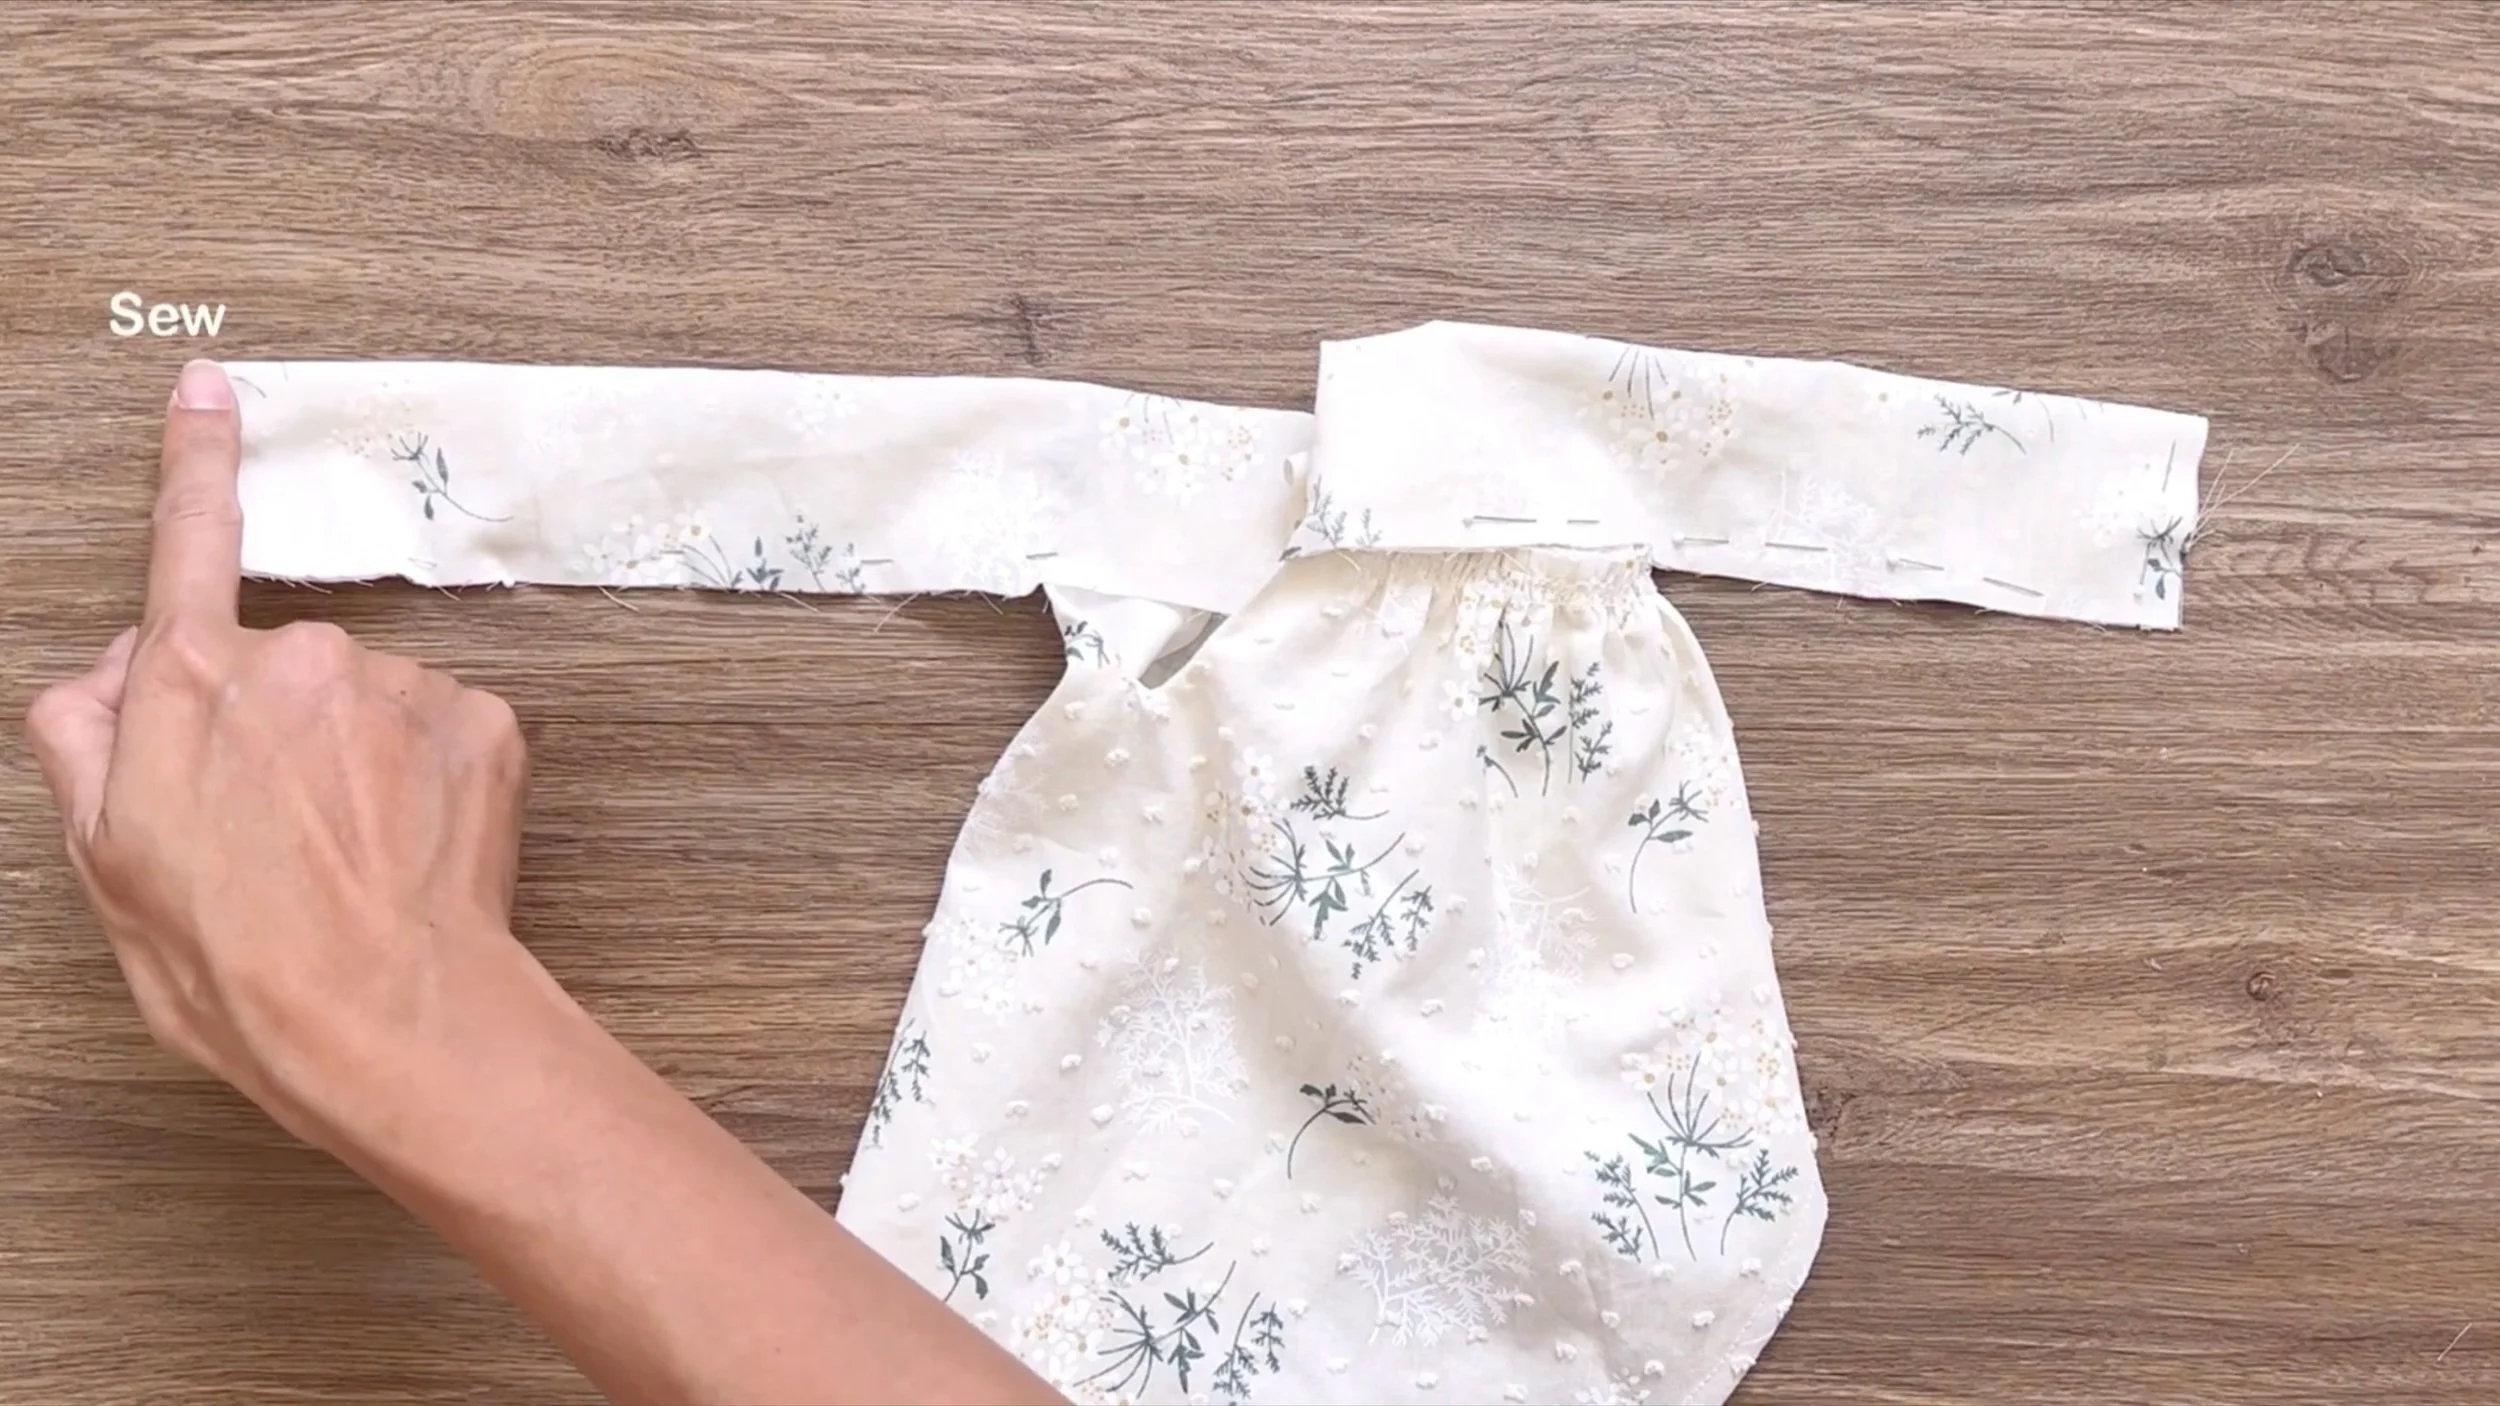
Connect the middle of one width line of the rectangle to the sleeve's end and sew.
Make sure the inside face of the rectangle align with the right side of the sleeve.
Fold the rest of the rectangle together to form the bow tie area, sewing a curved line at the top.
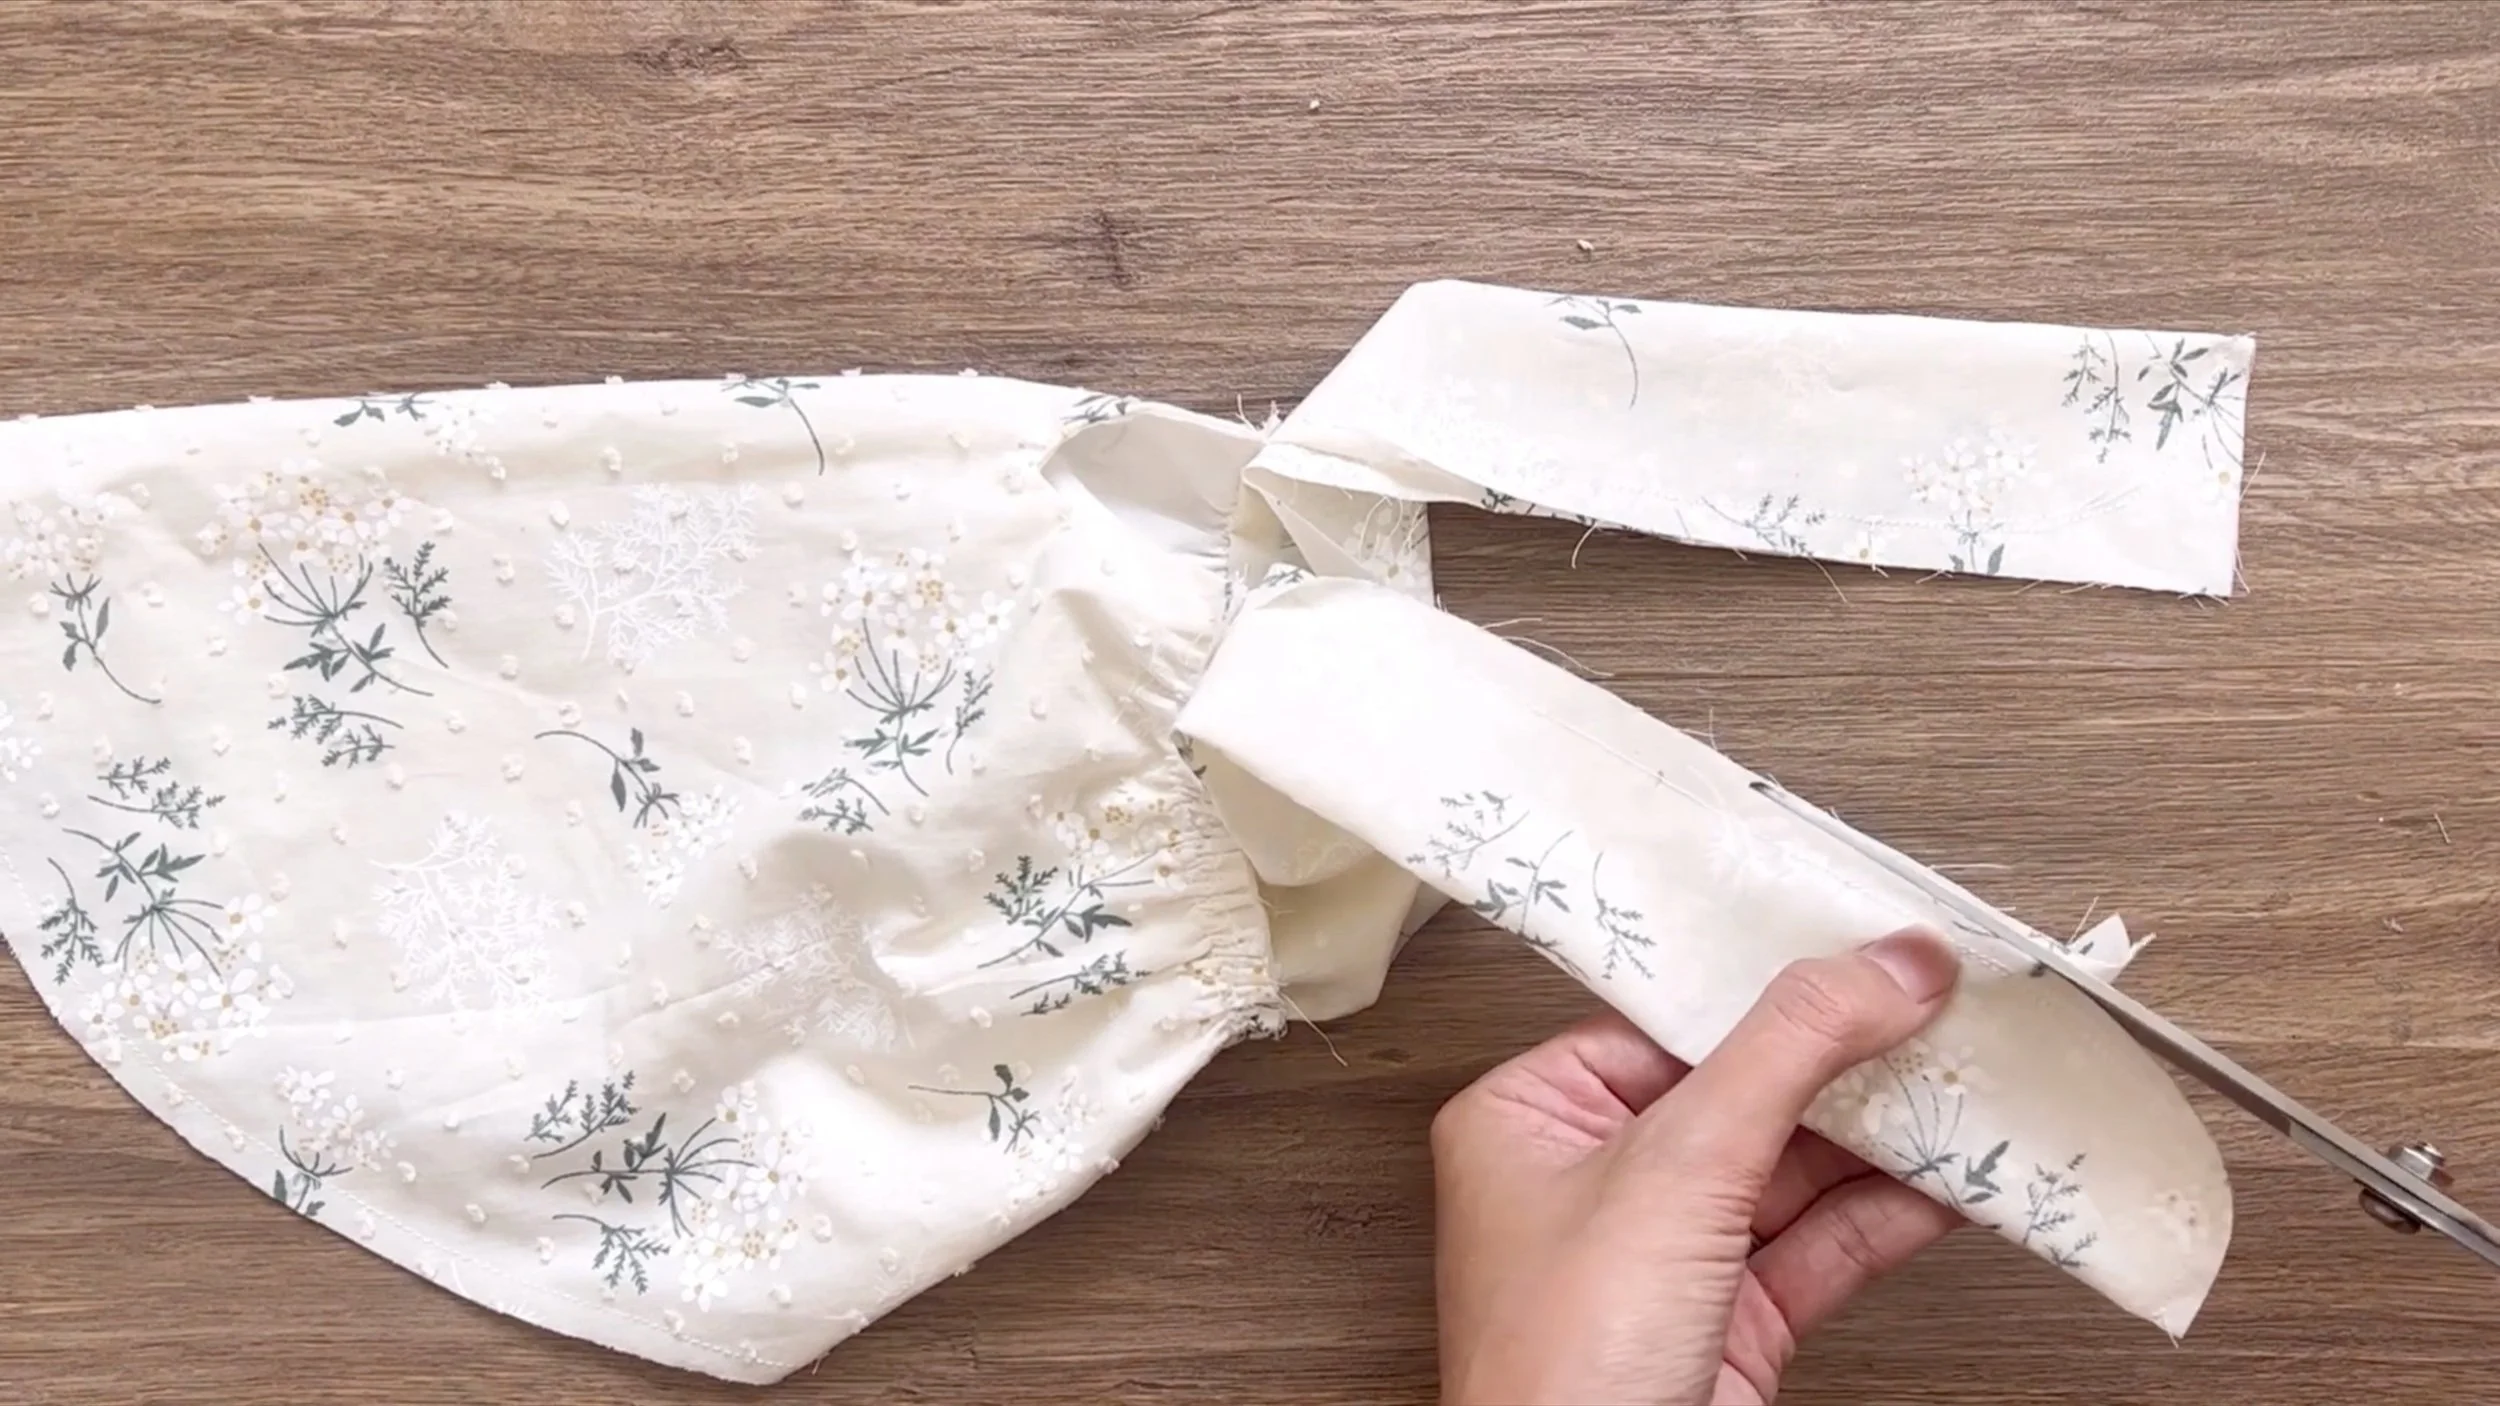
Trim excess fabric before turning it inside out.
At the rectangle's rest, fold the fabric end inside about 1 cm, then fold it over the first seam and made a second seam.
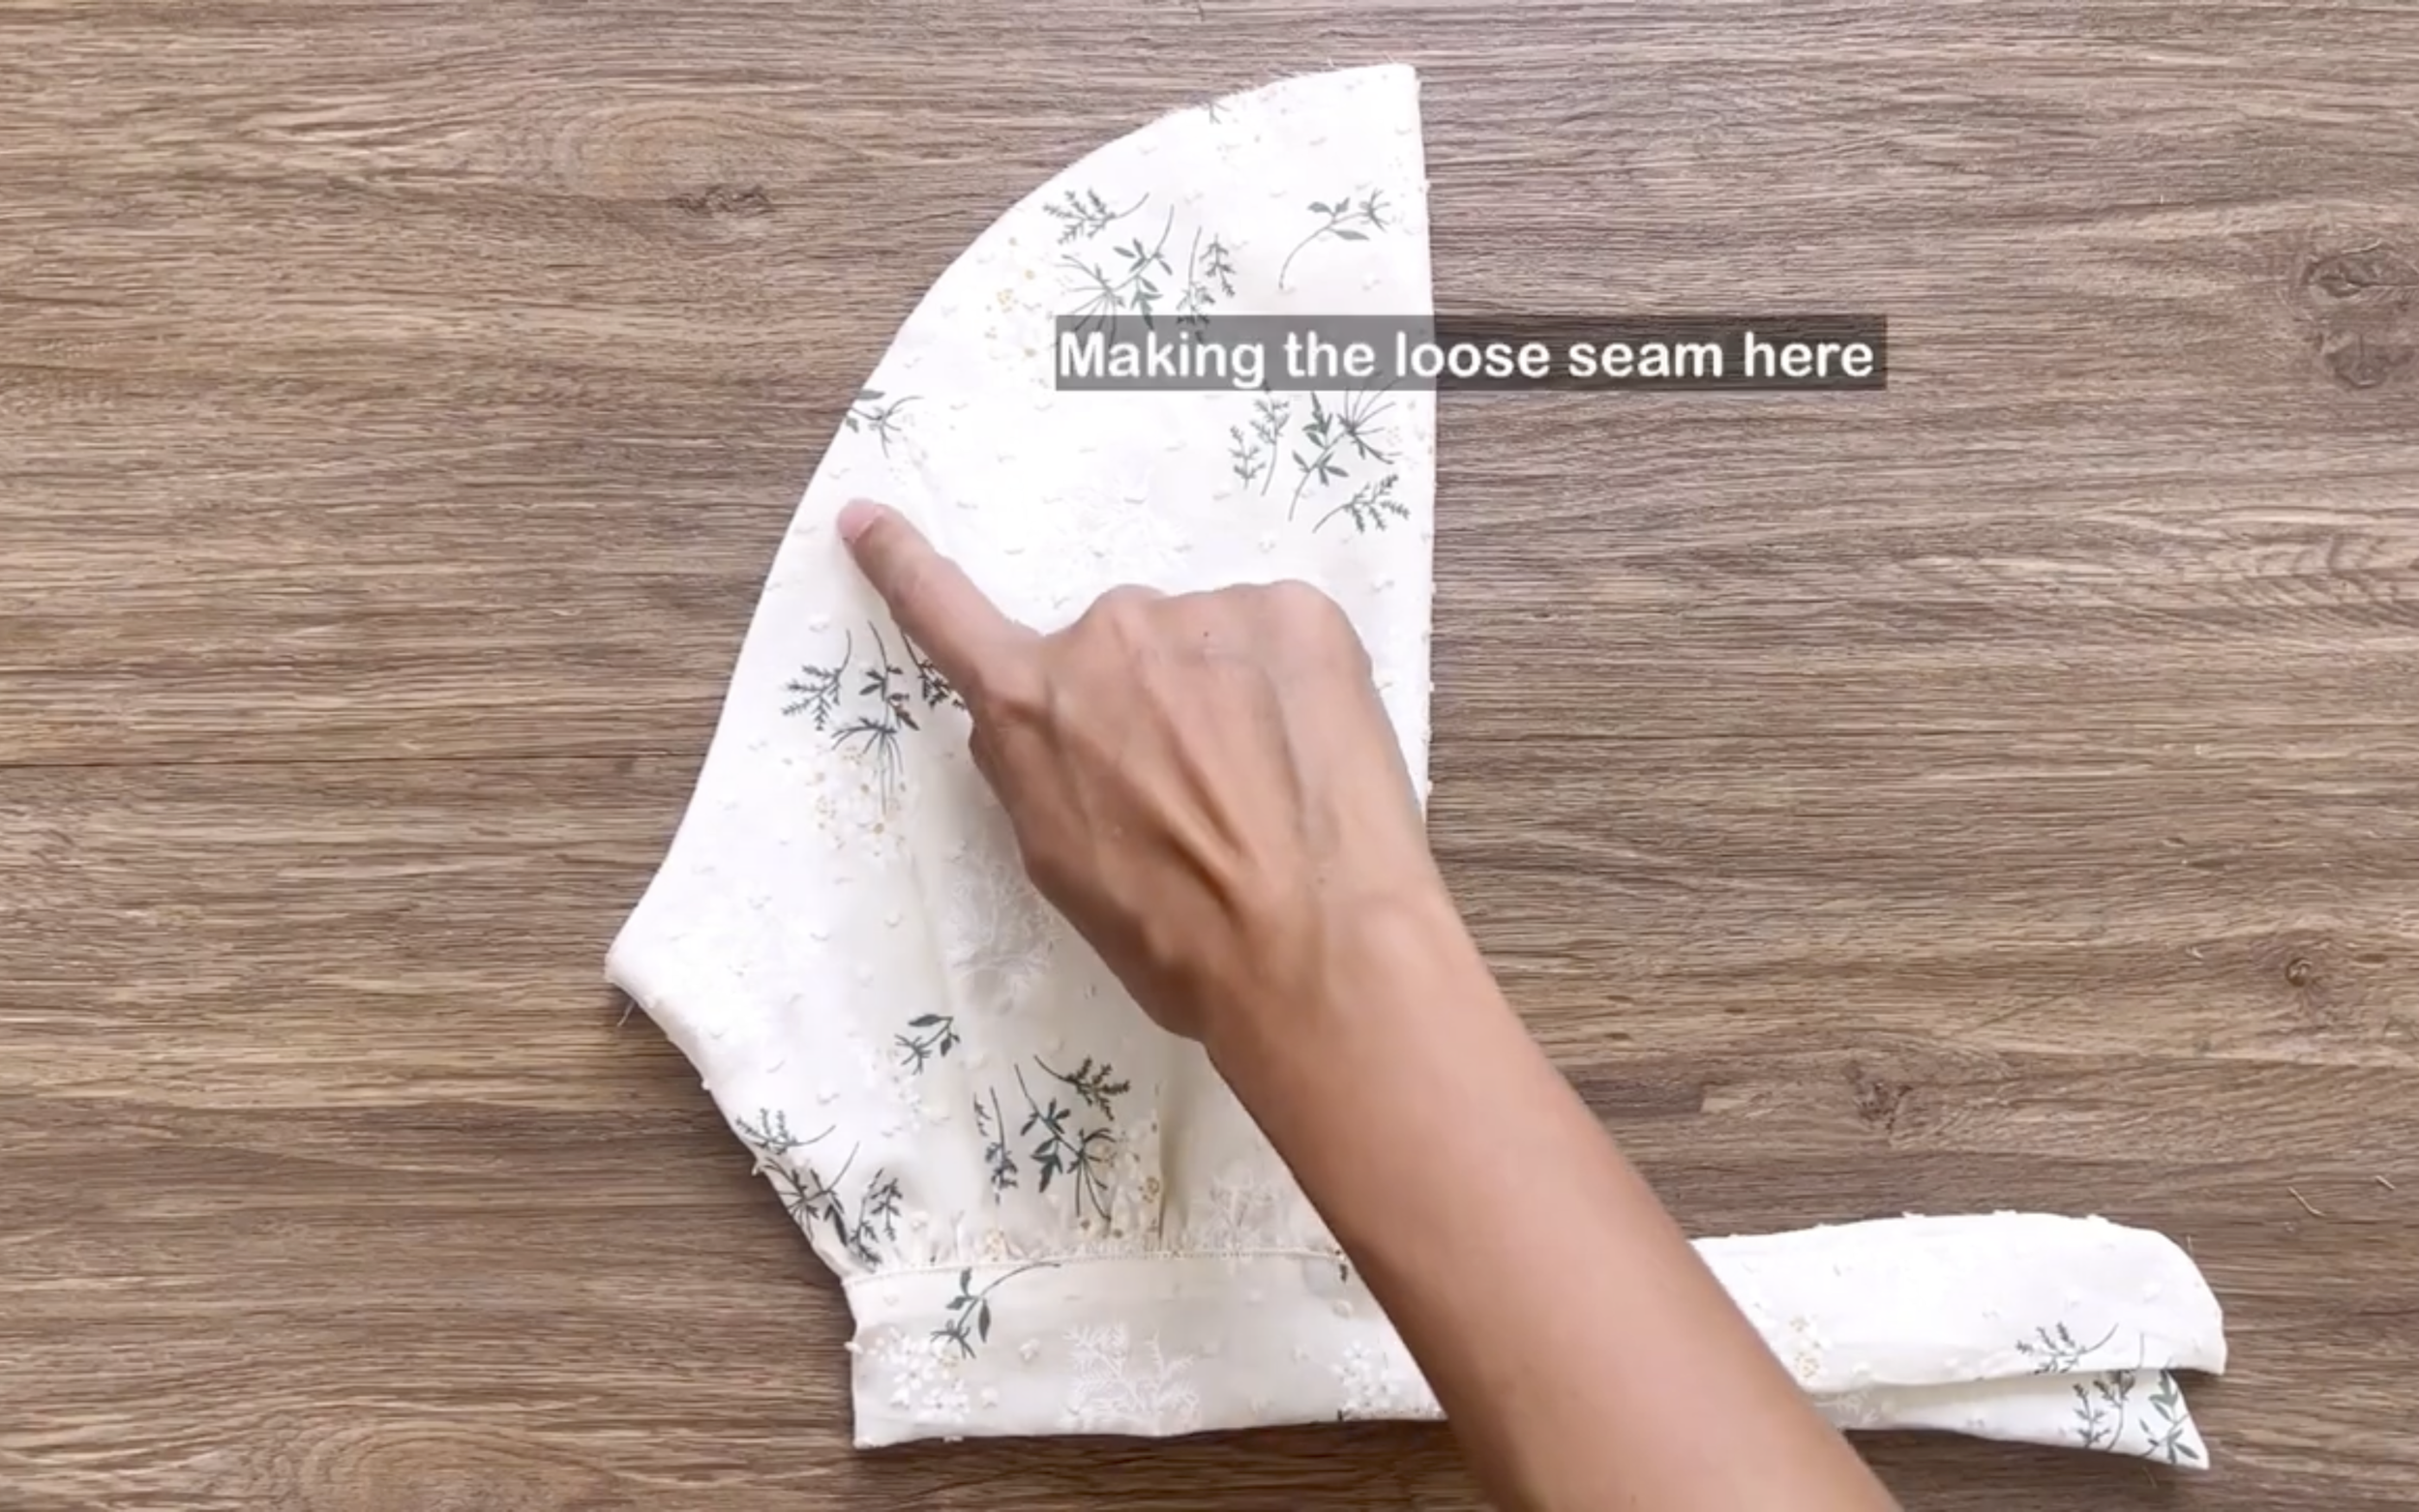
At the sleeve's top, made a loose seam, creating gathered fabric.

Make sure the final sleeve width matched the sleeve line at the bodice to connect them later.
THE BODICE
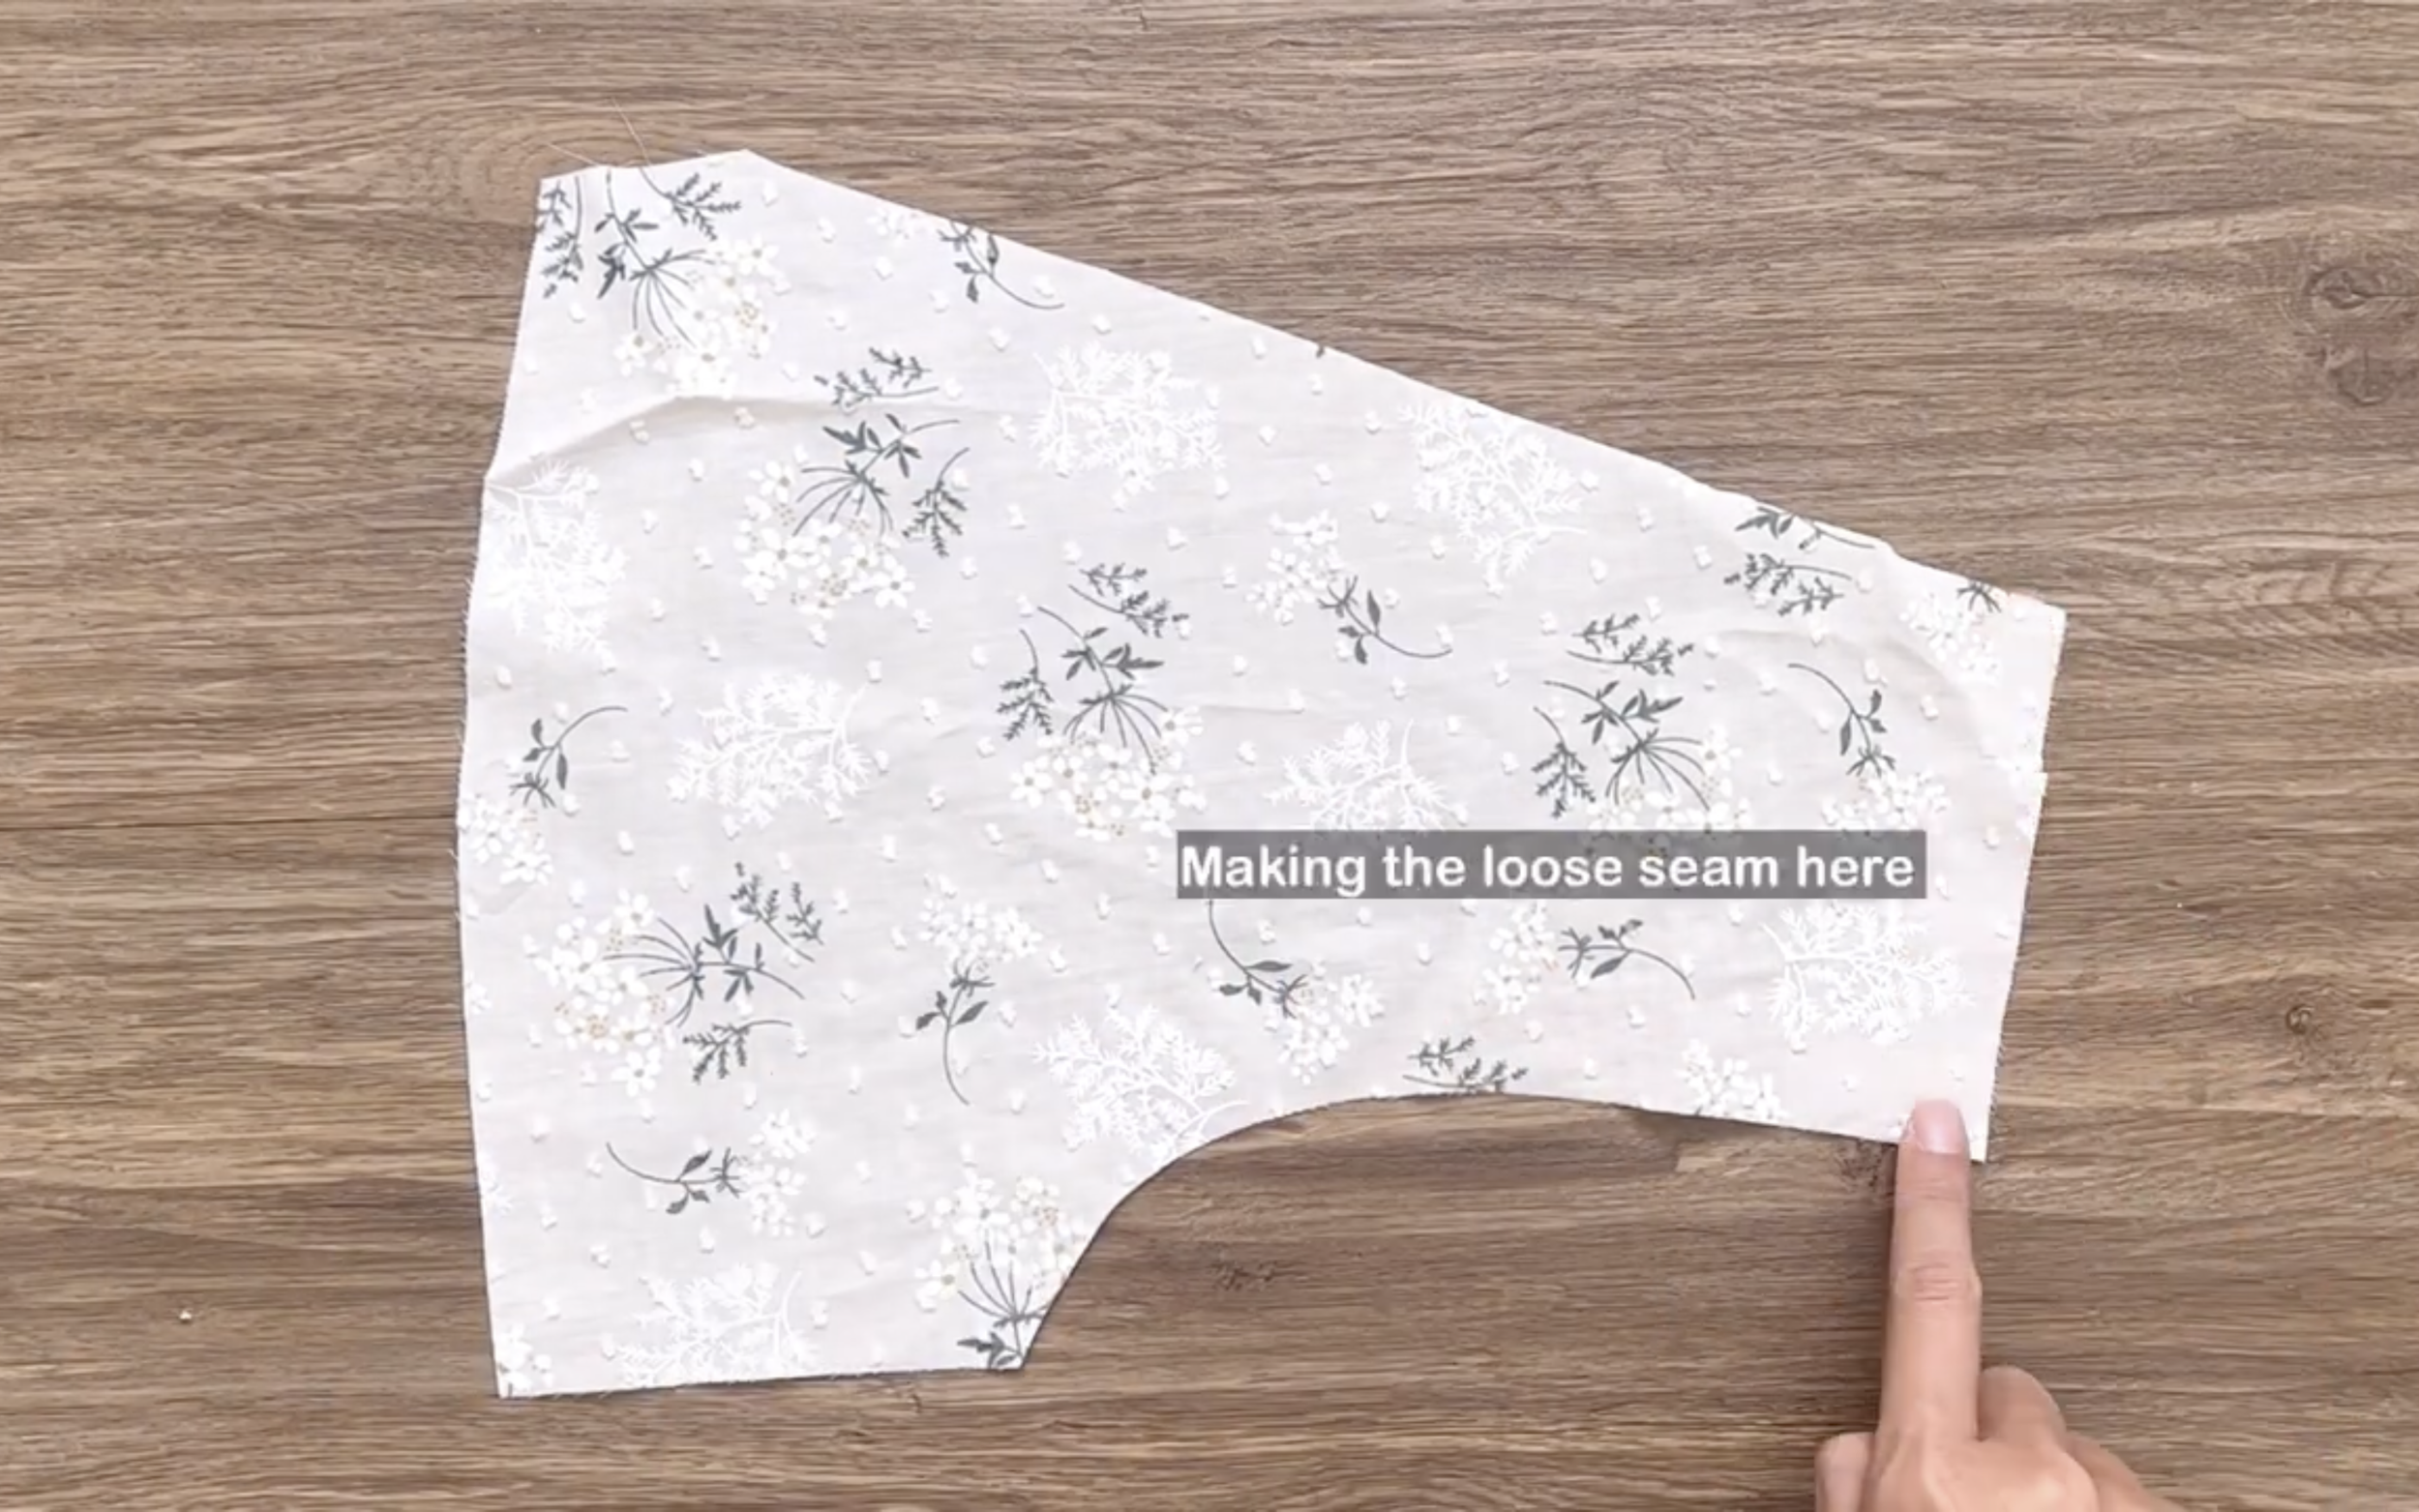
For the bodice, make a loose seam at the shoulder line of the front bodice and create gathered fabric.
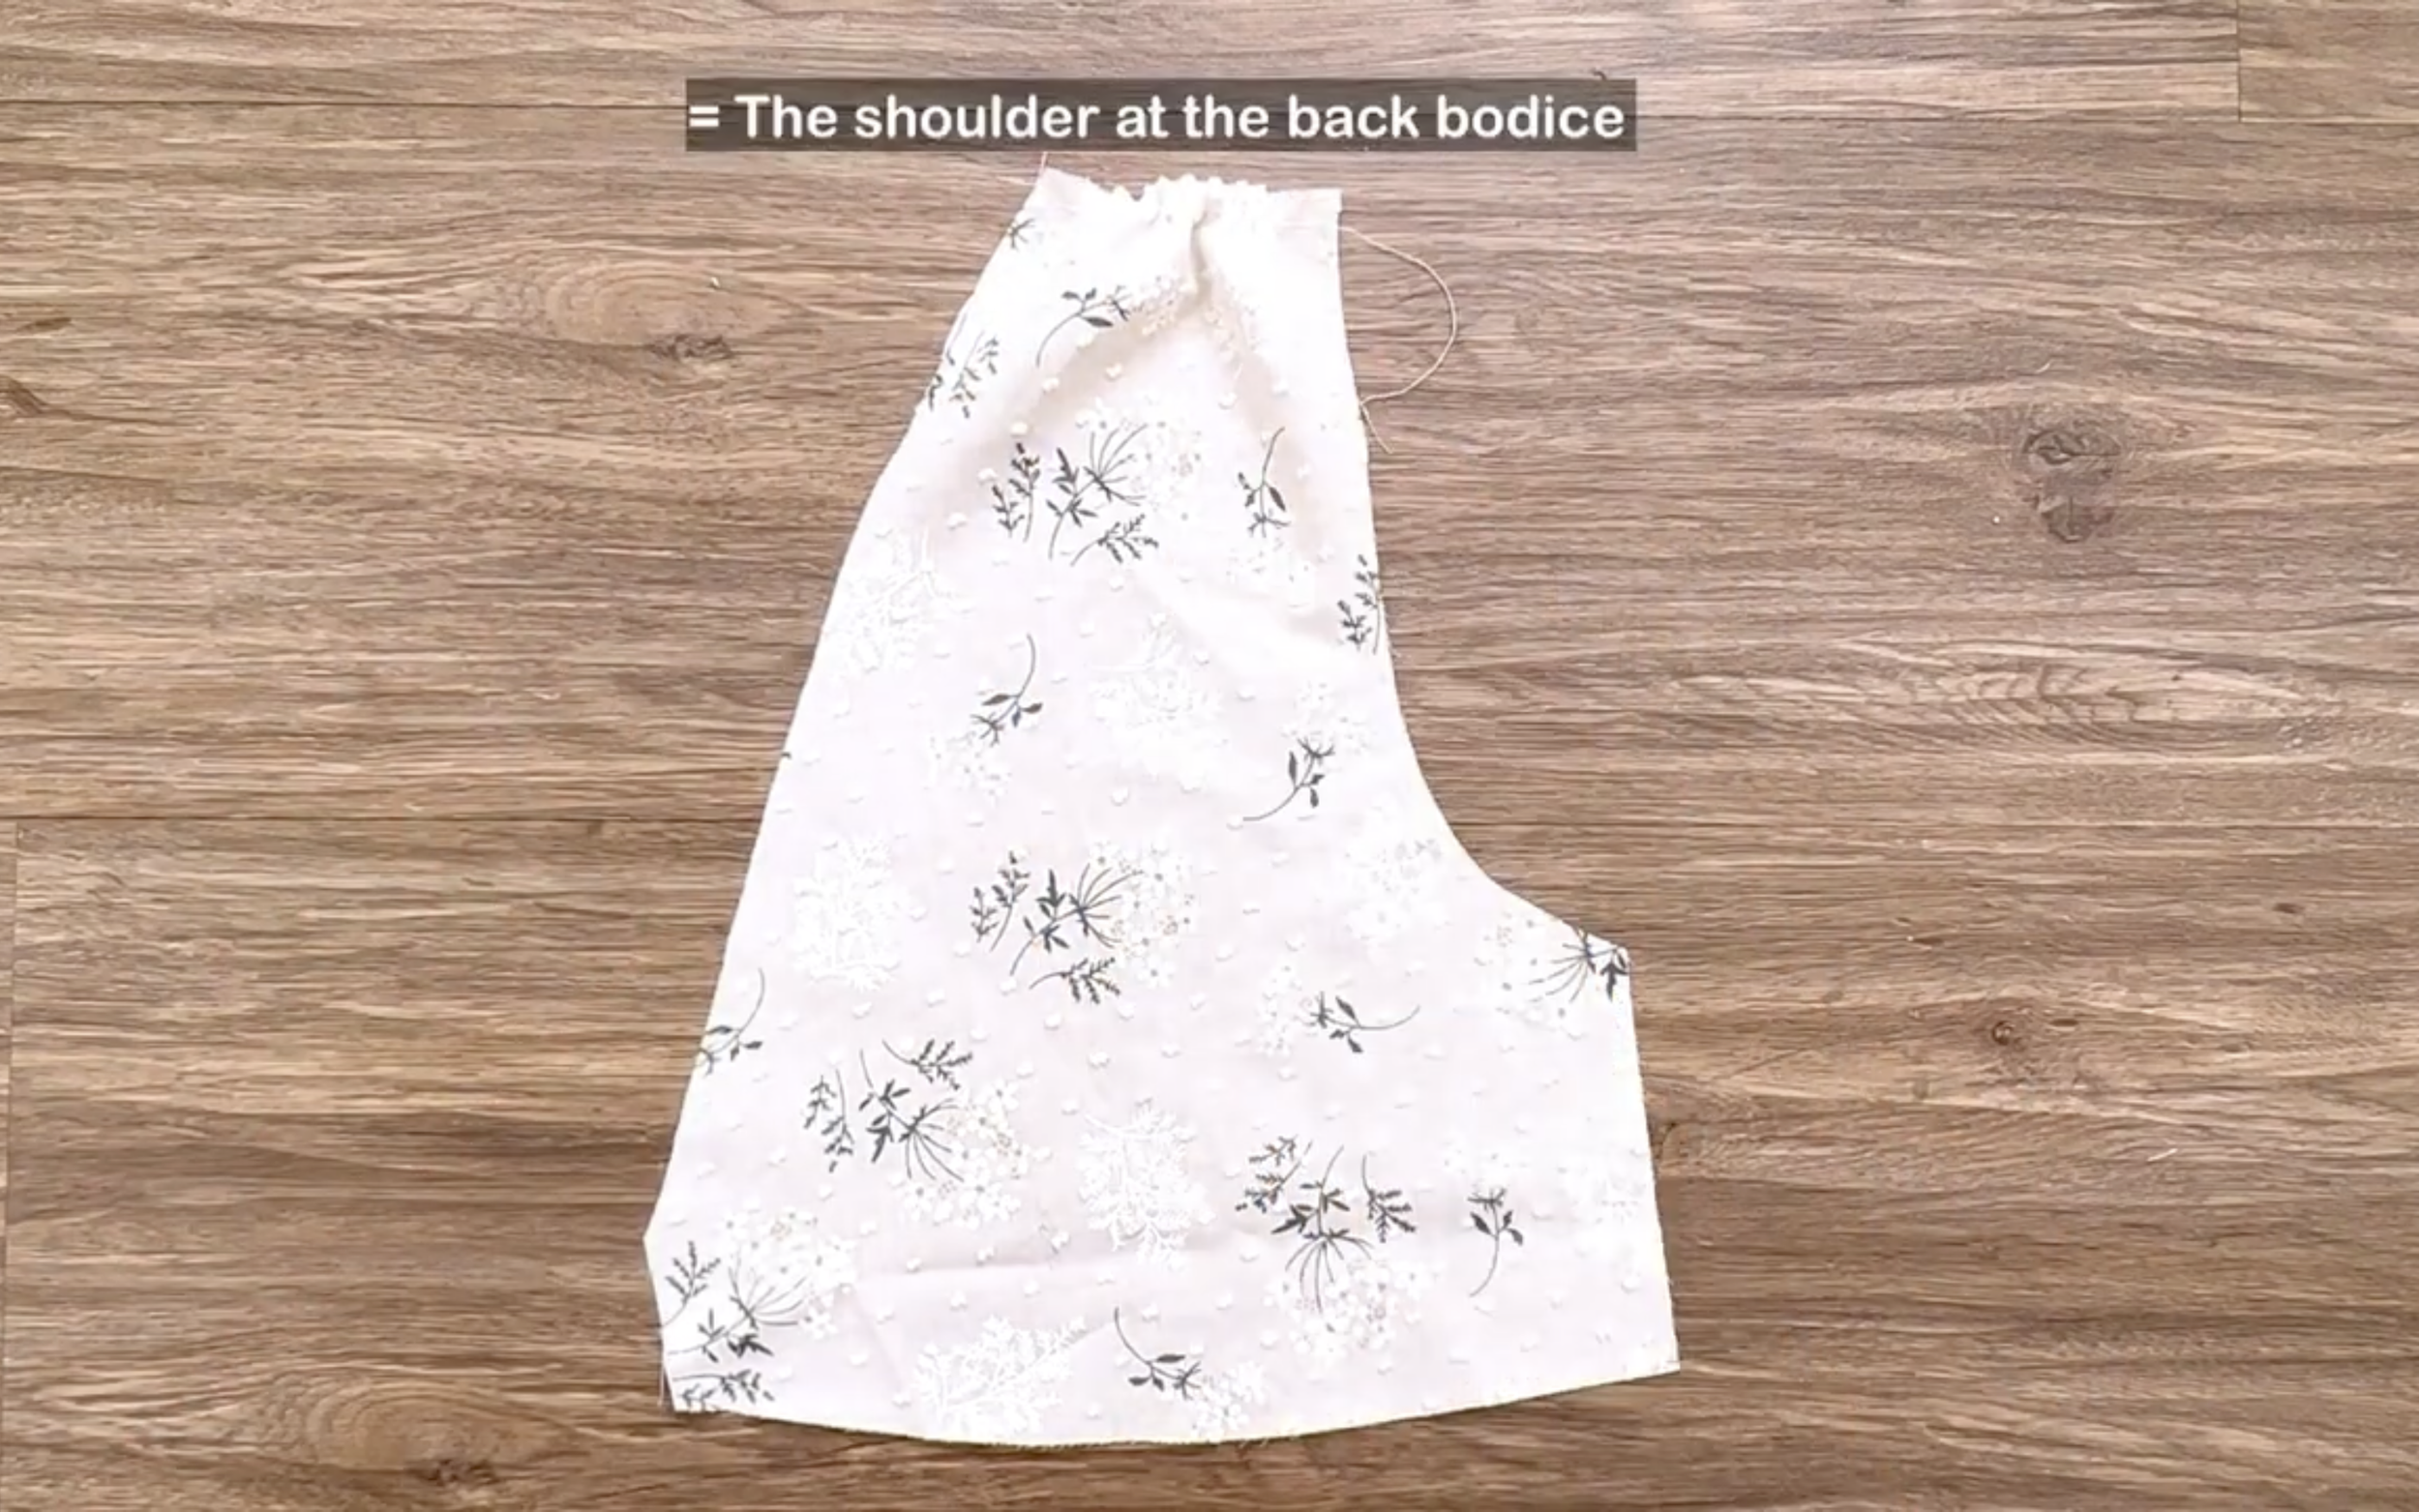
The final gathered fabric width matched the shoulder line of the back bodice to connect them later.
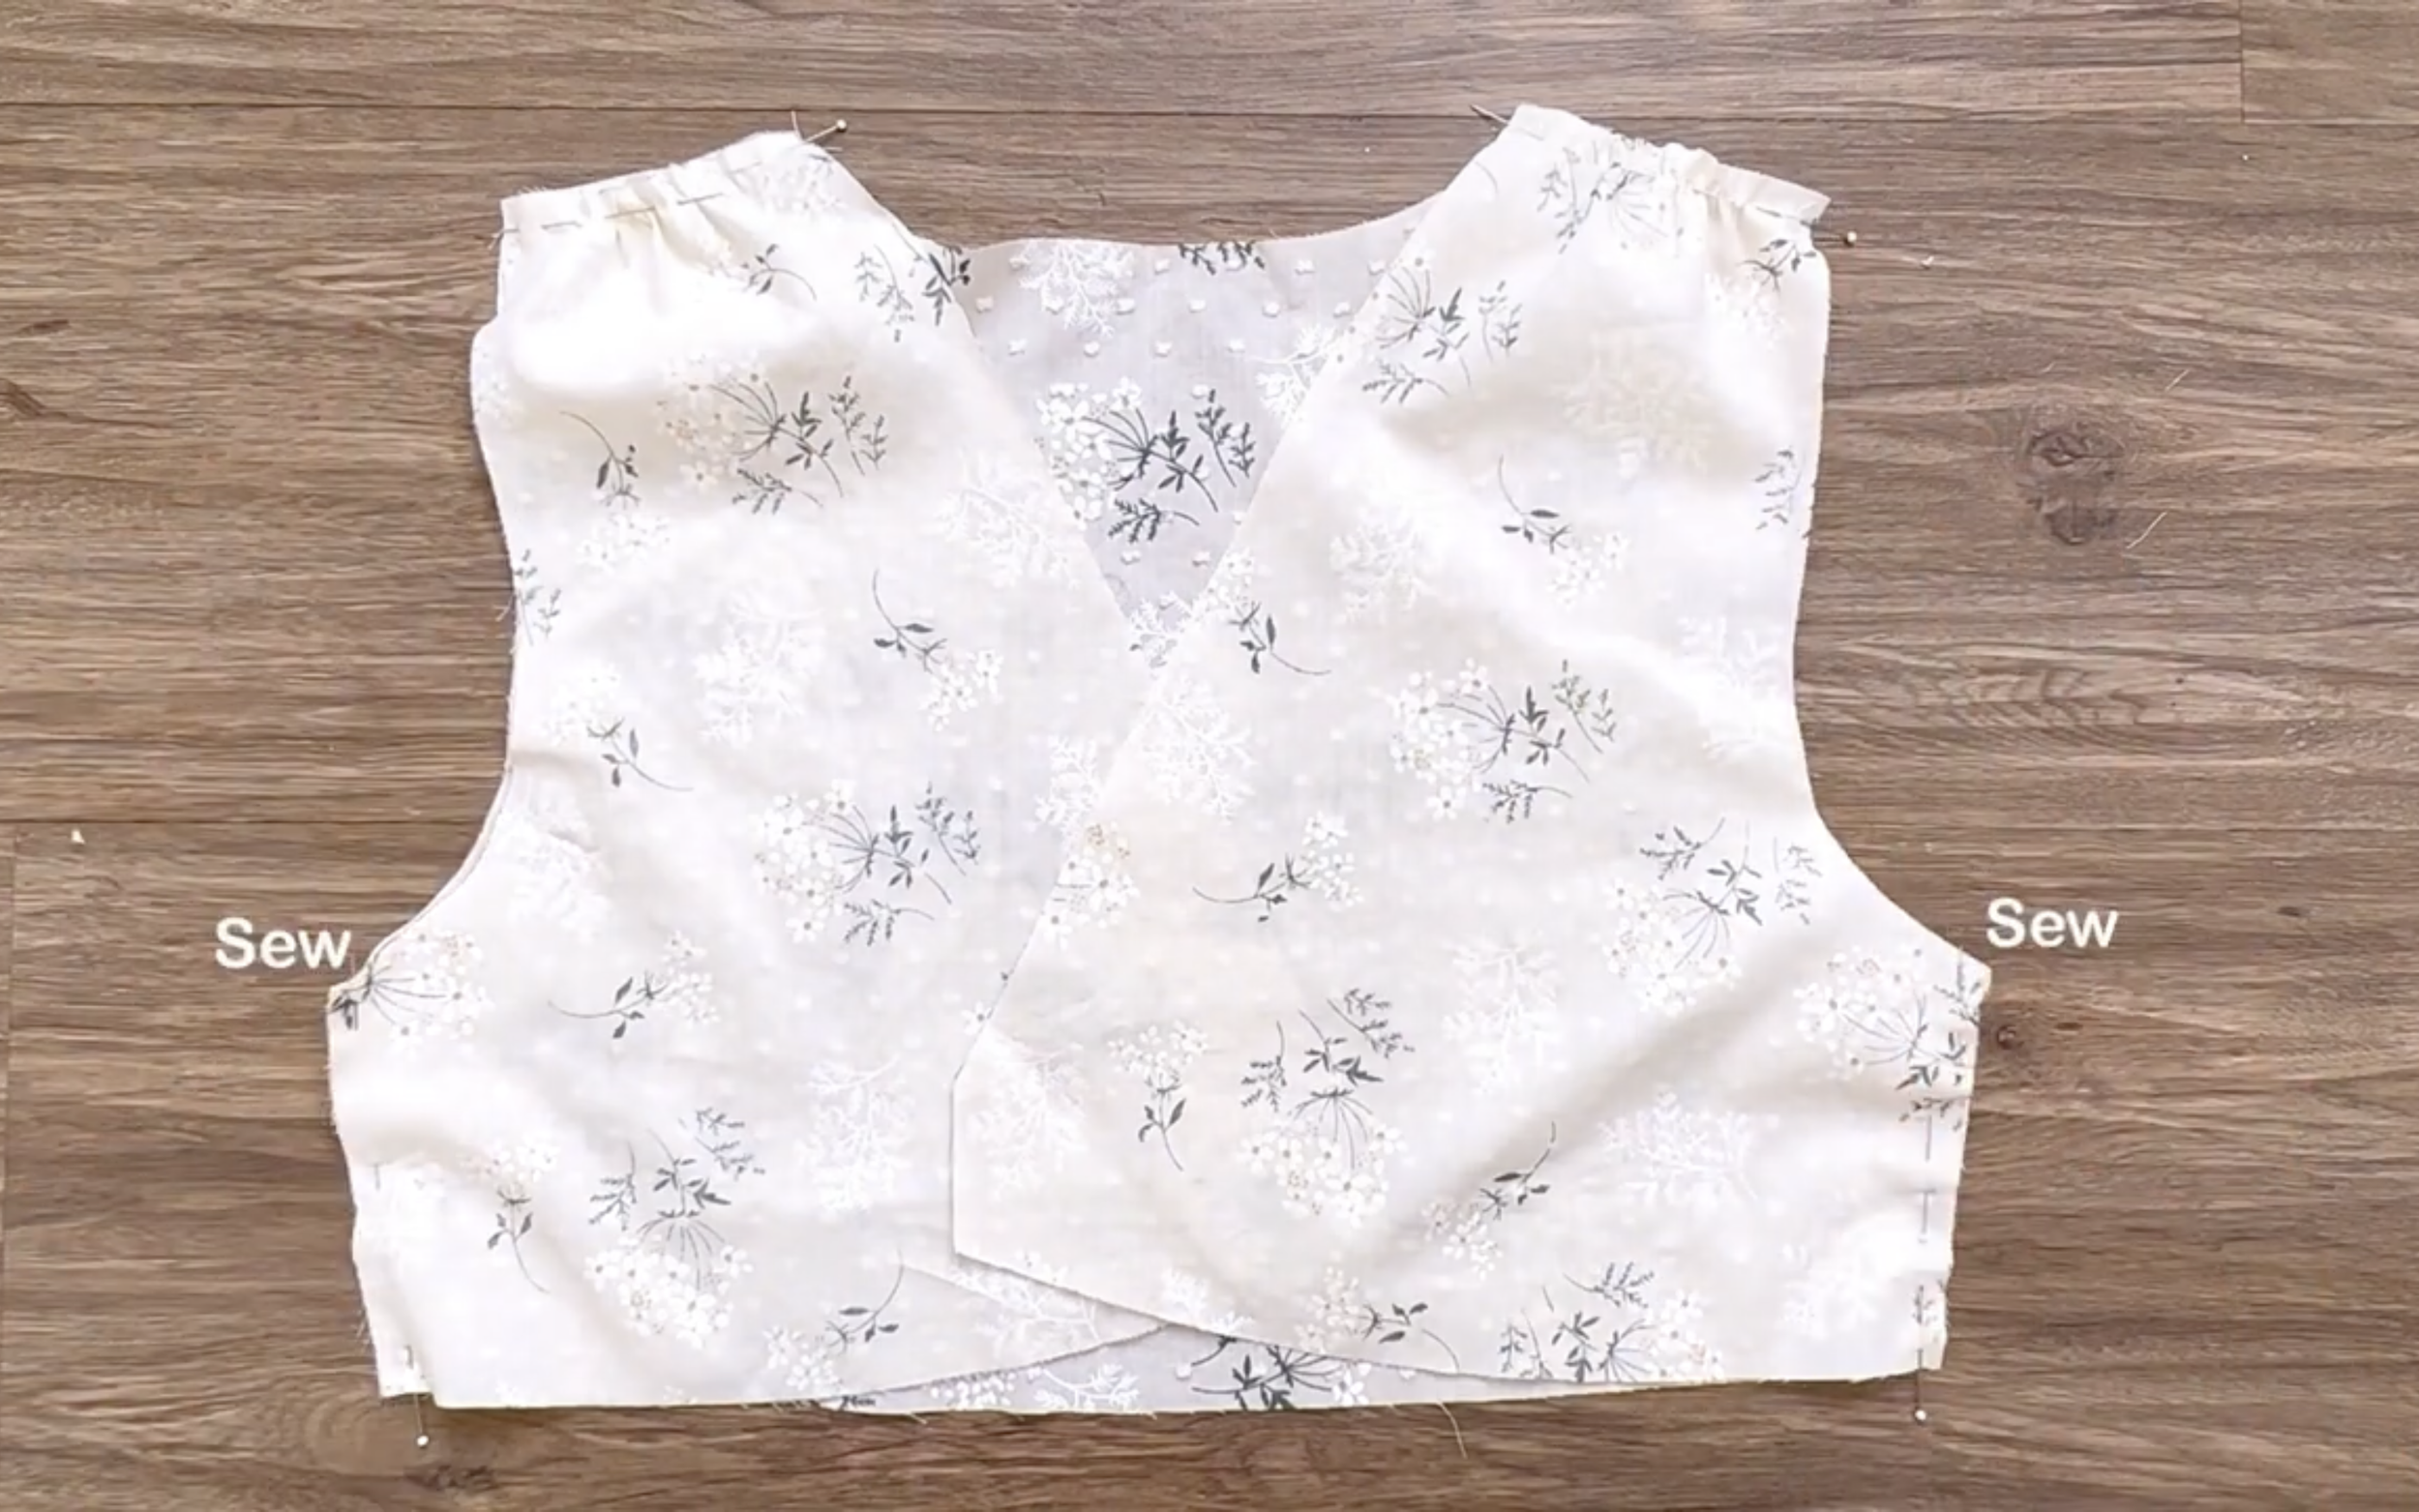
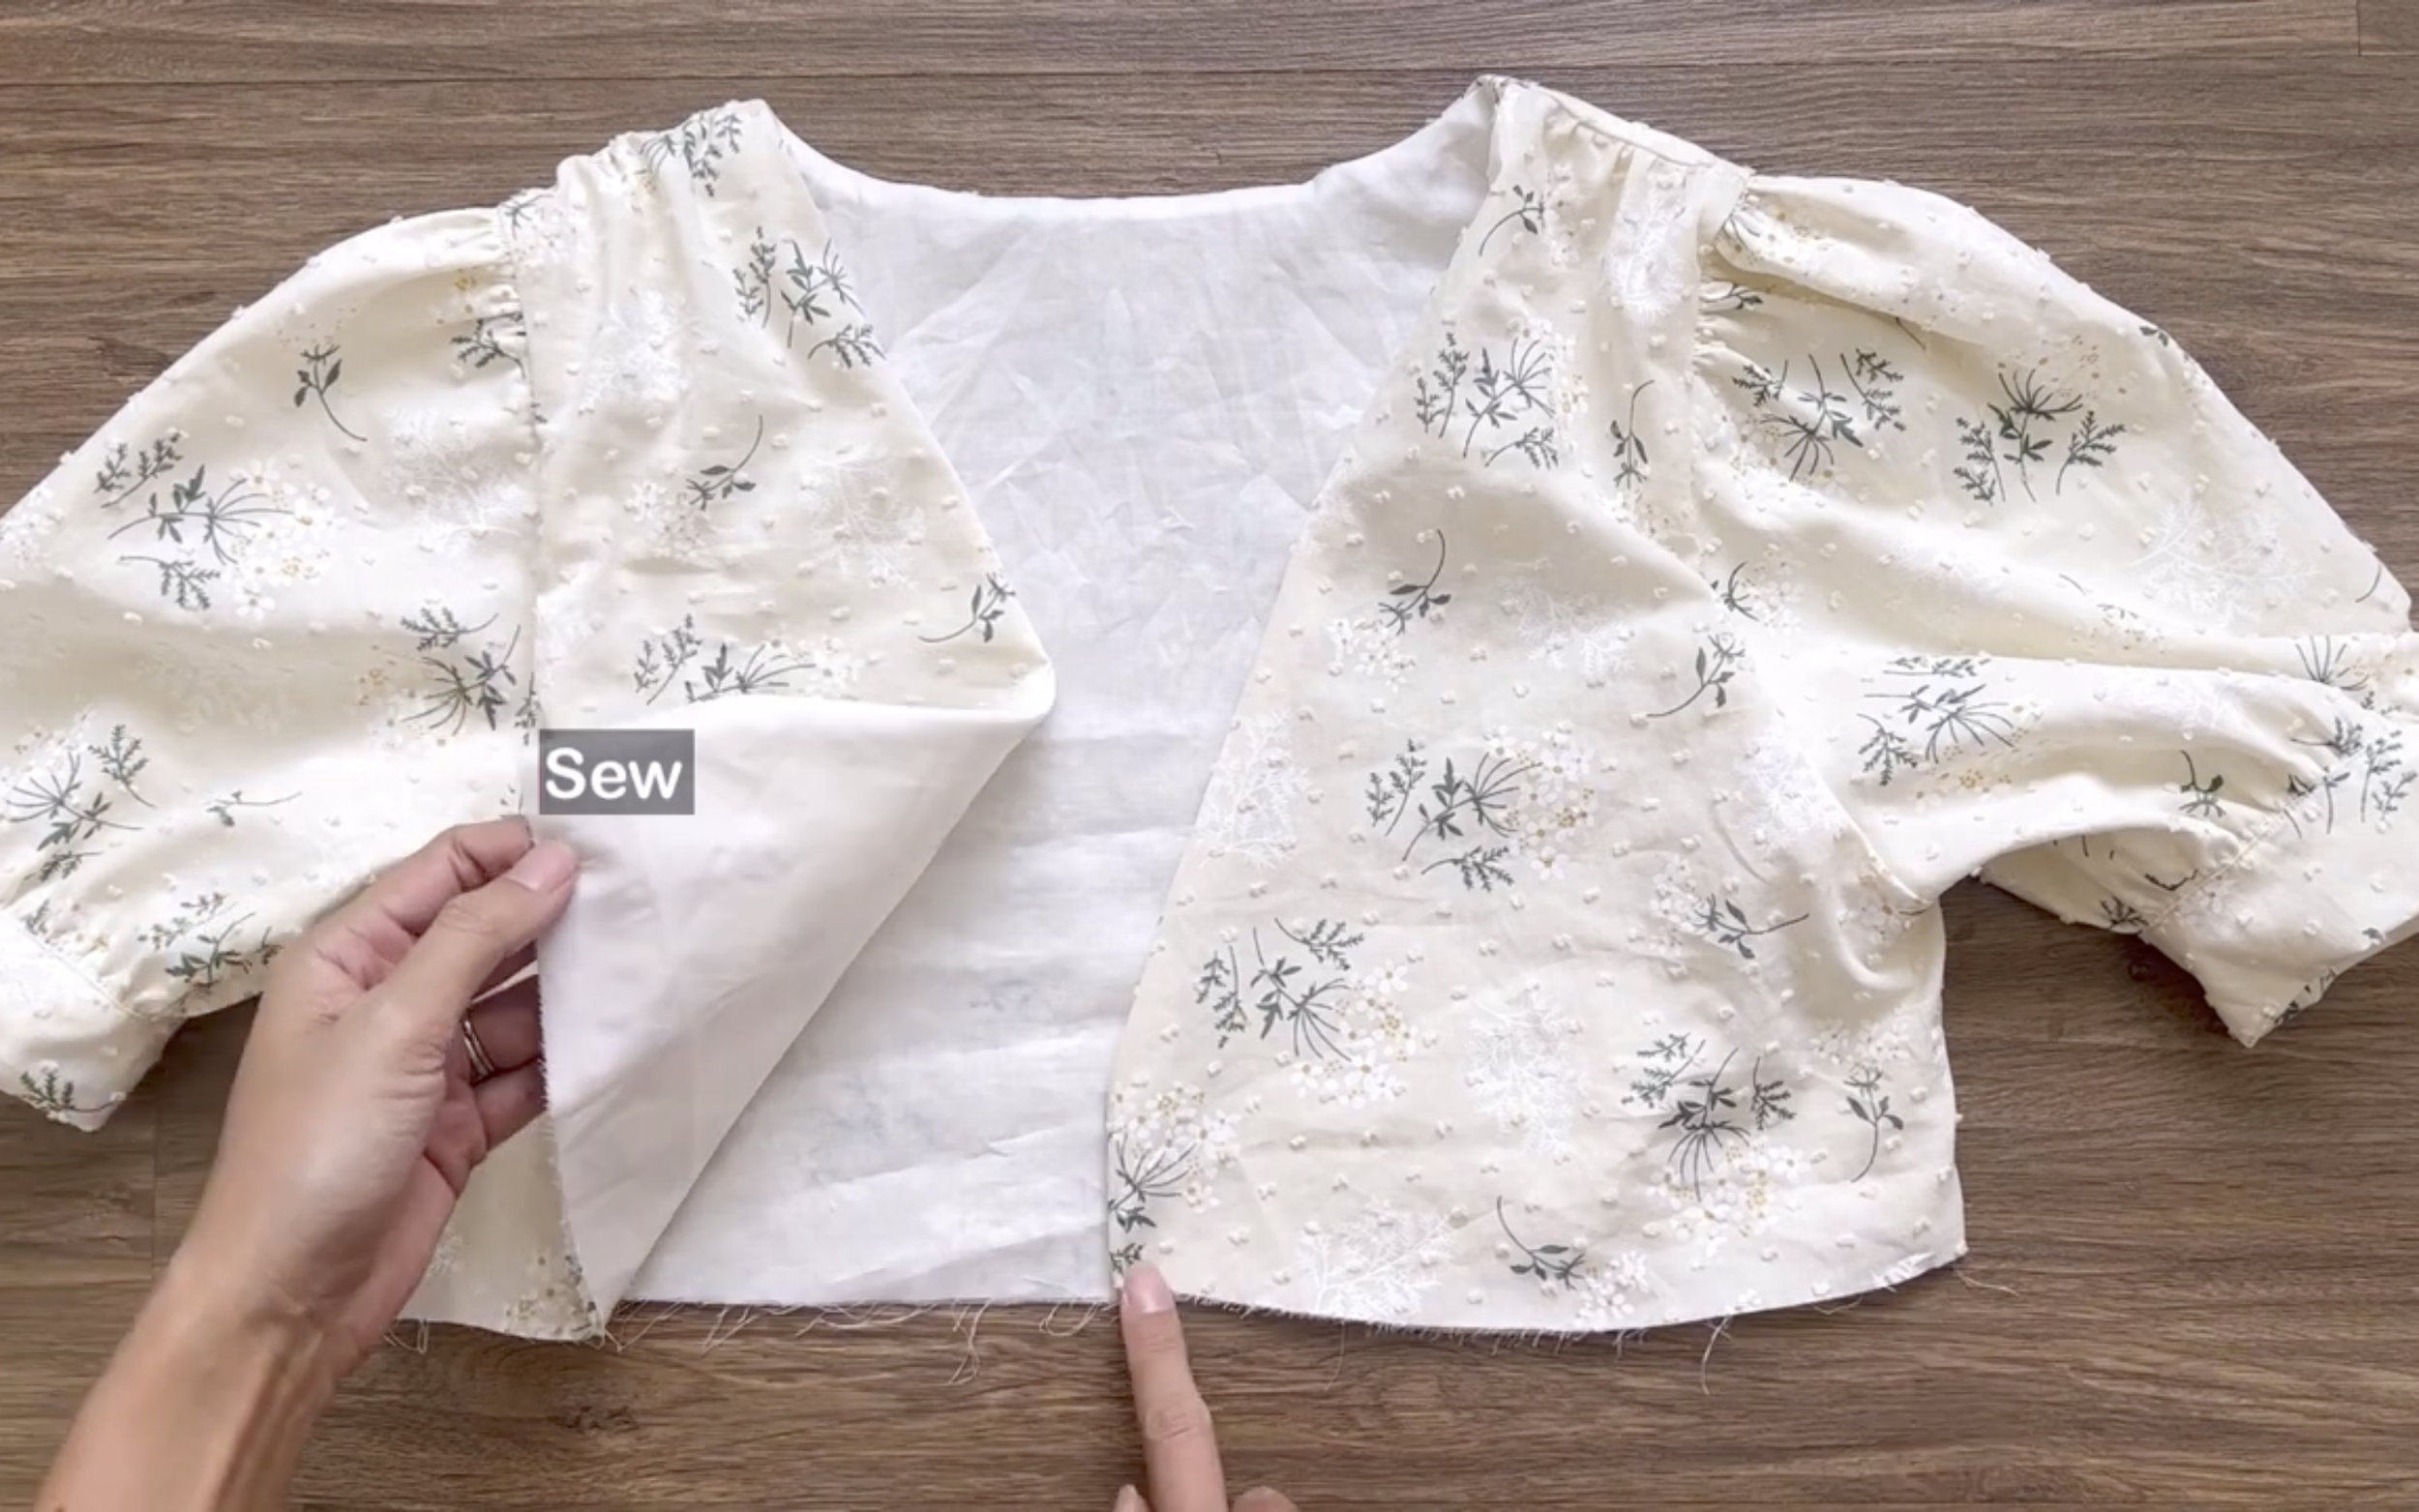
Connect the sideline of the front and back bodice.
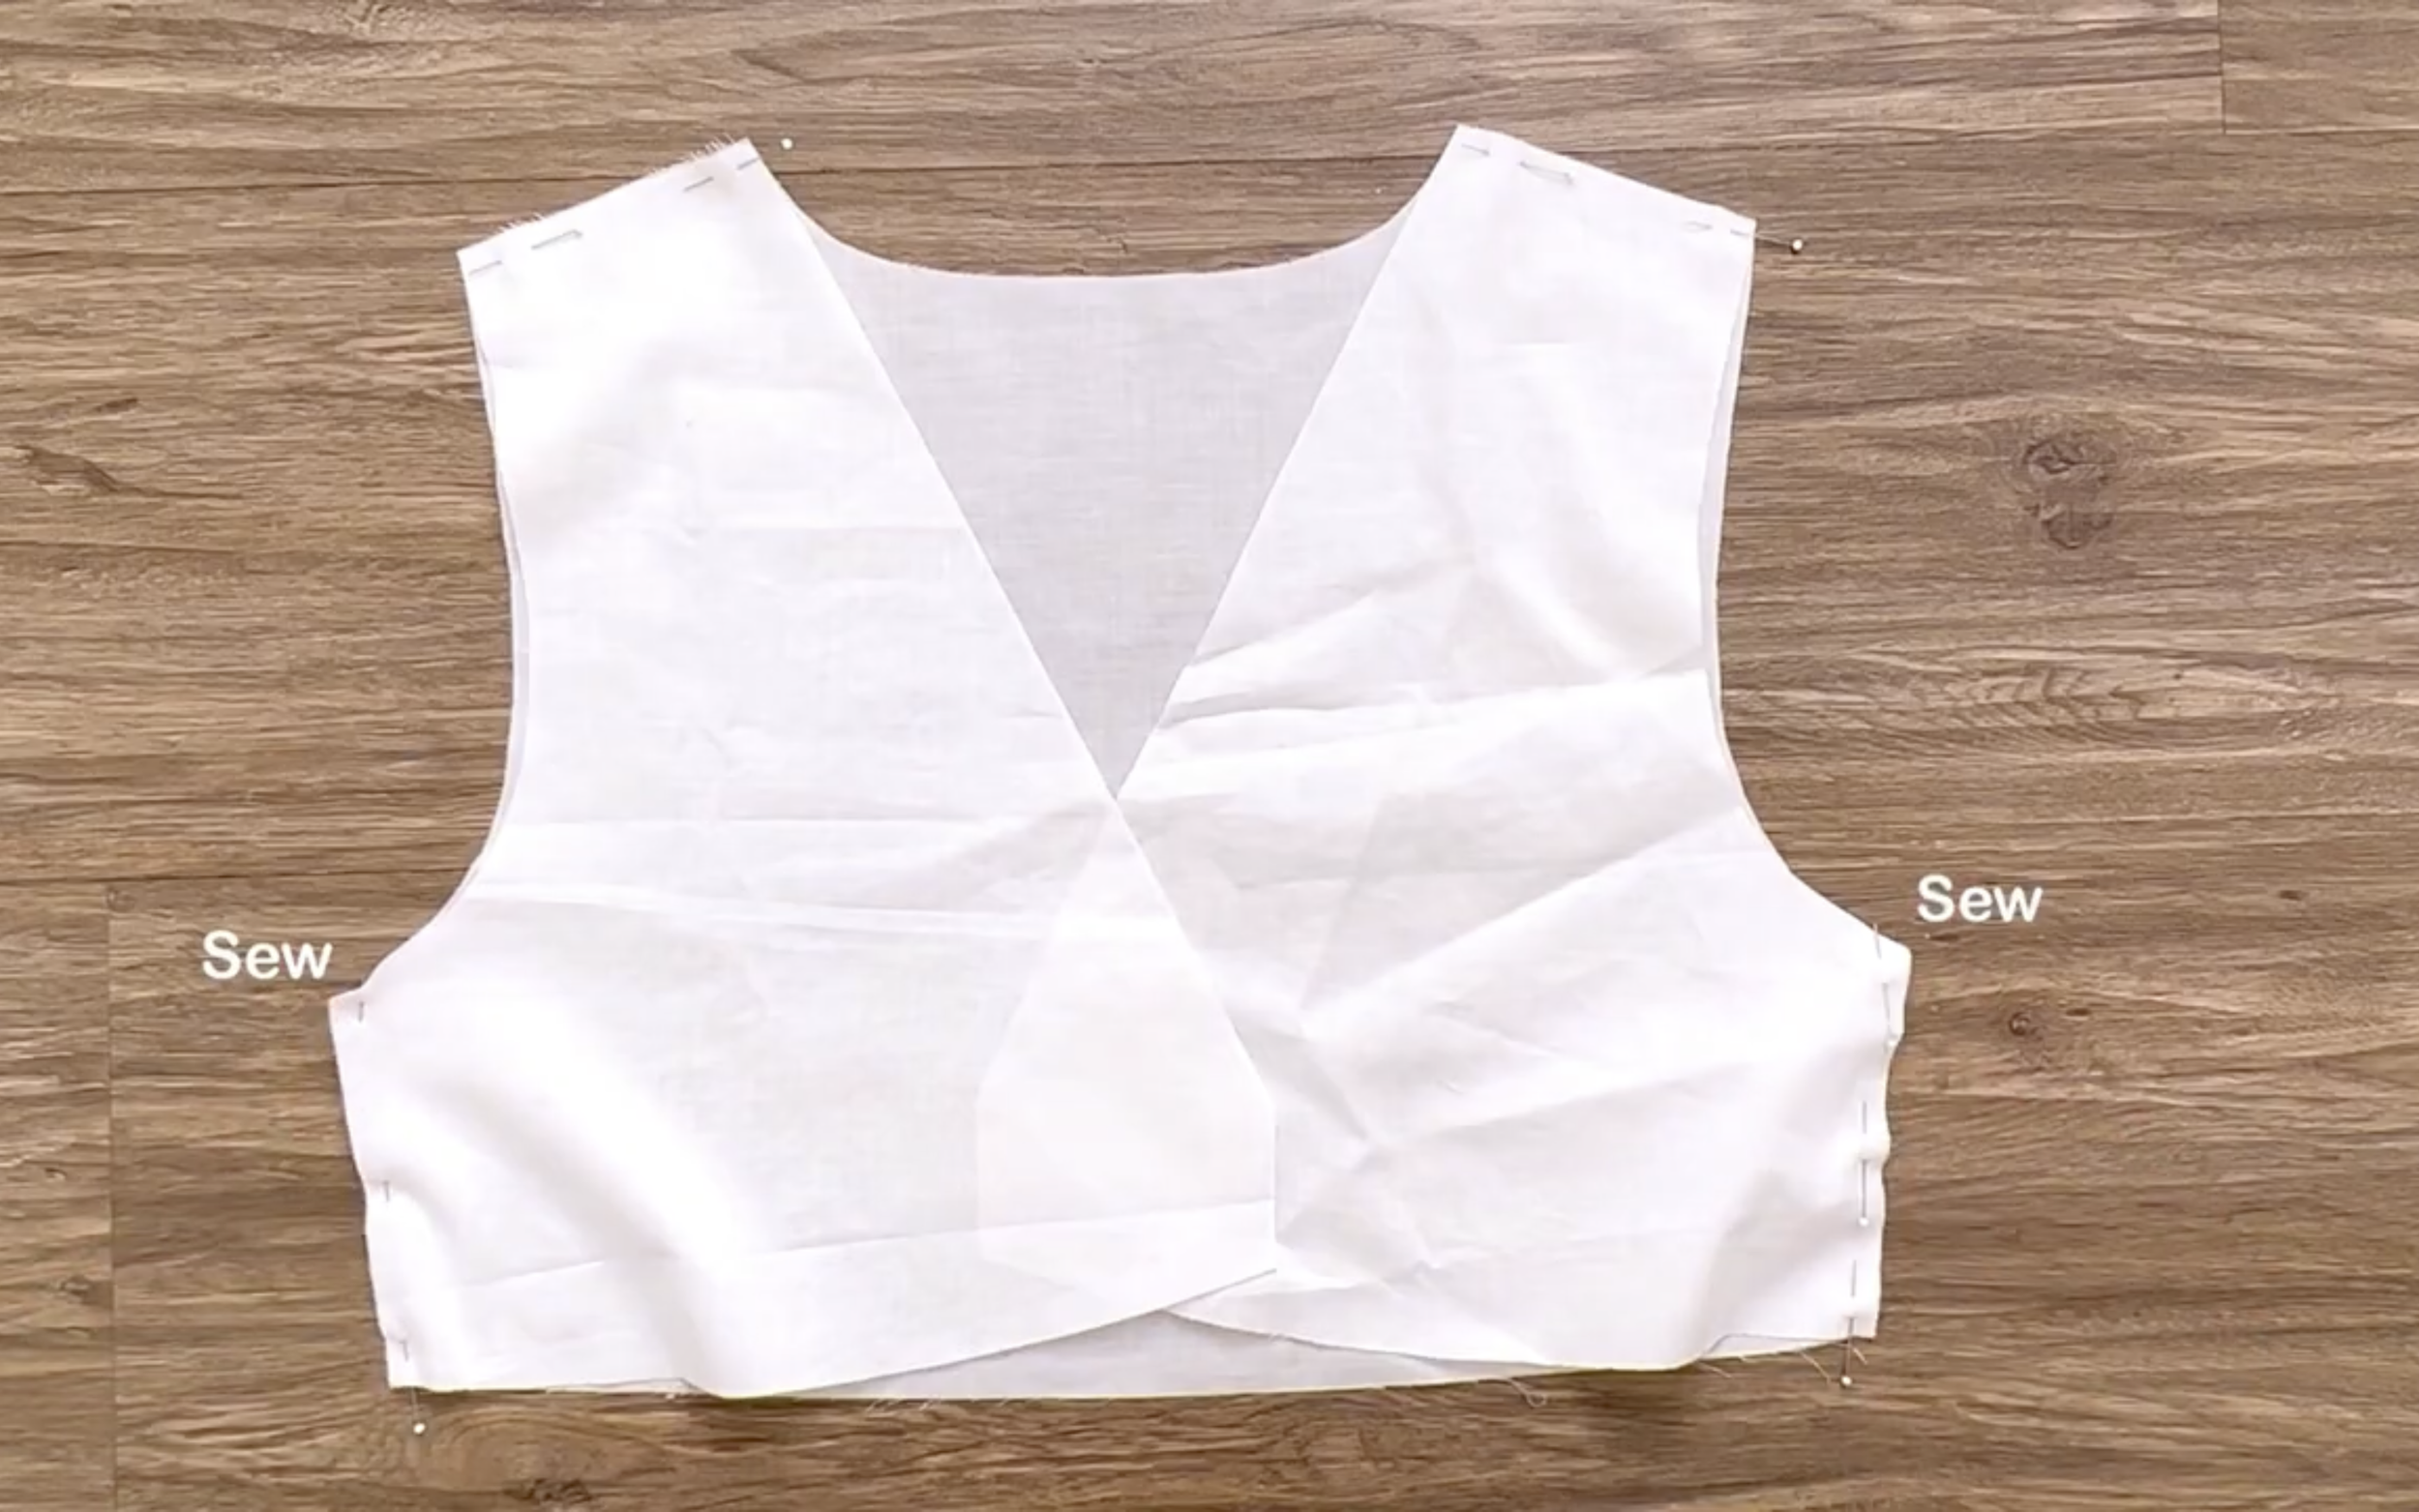
And repeat for the main bodice lining.
CONNECT THE SLEEVES TO THE BODICES
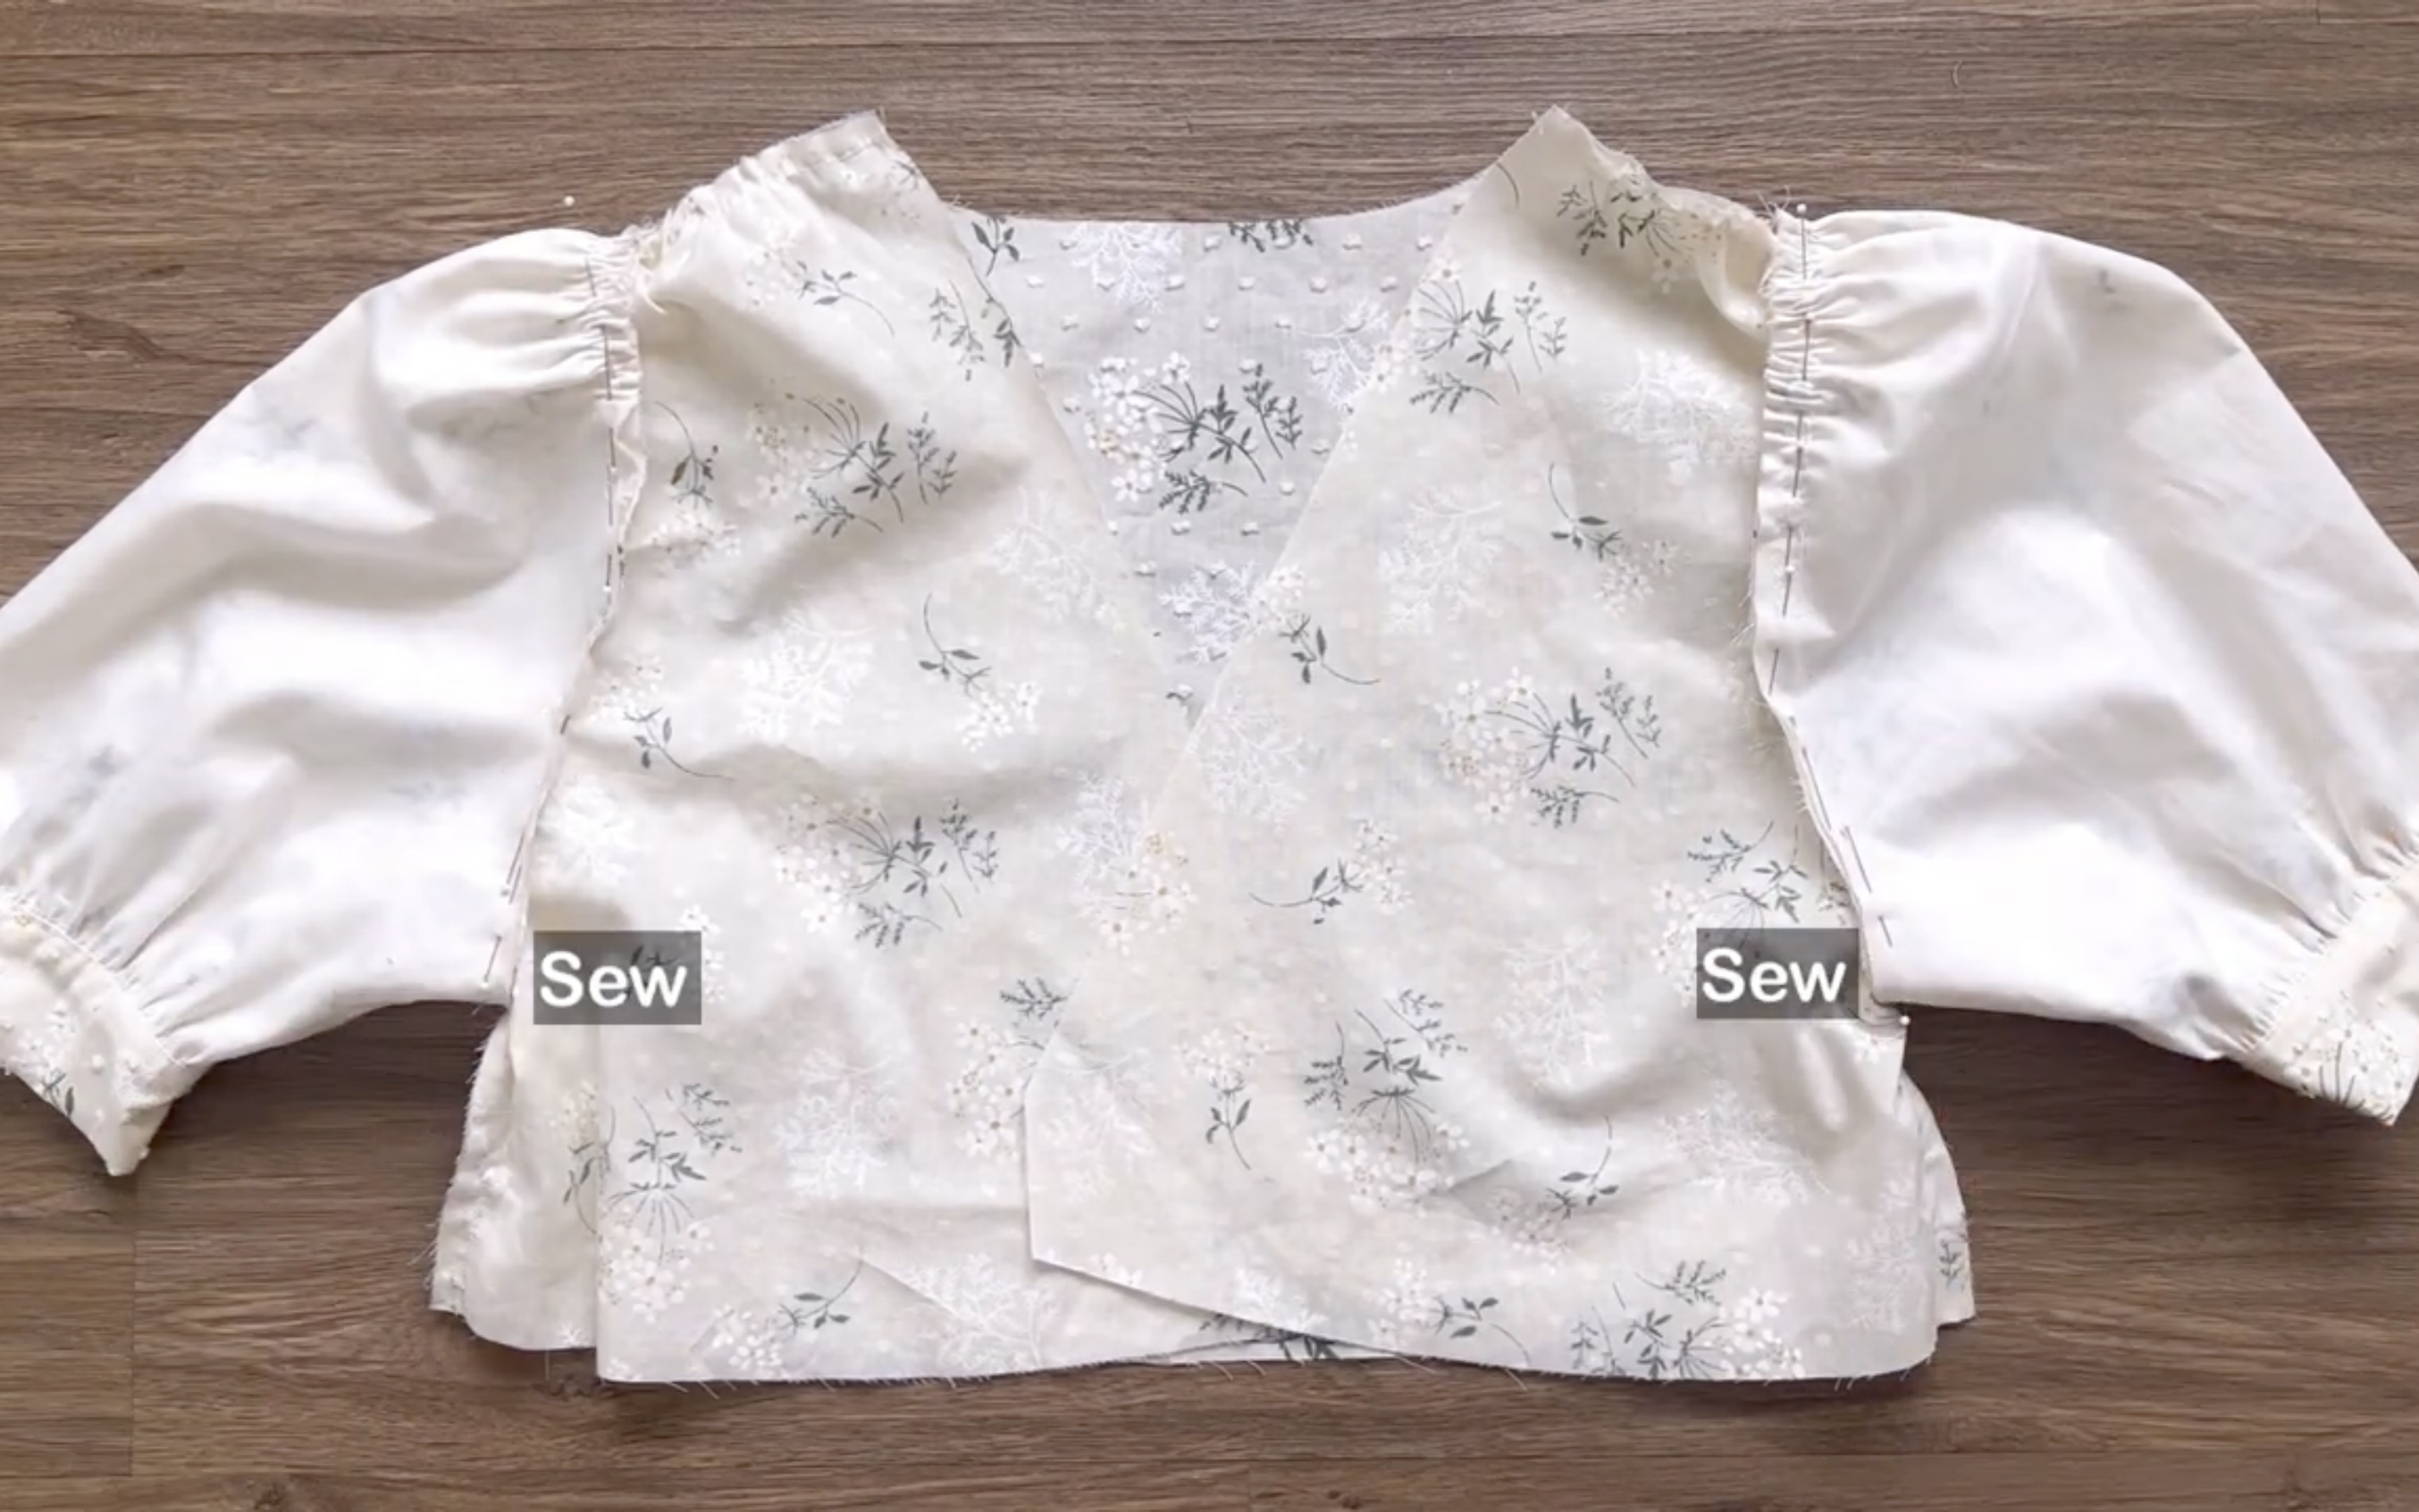
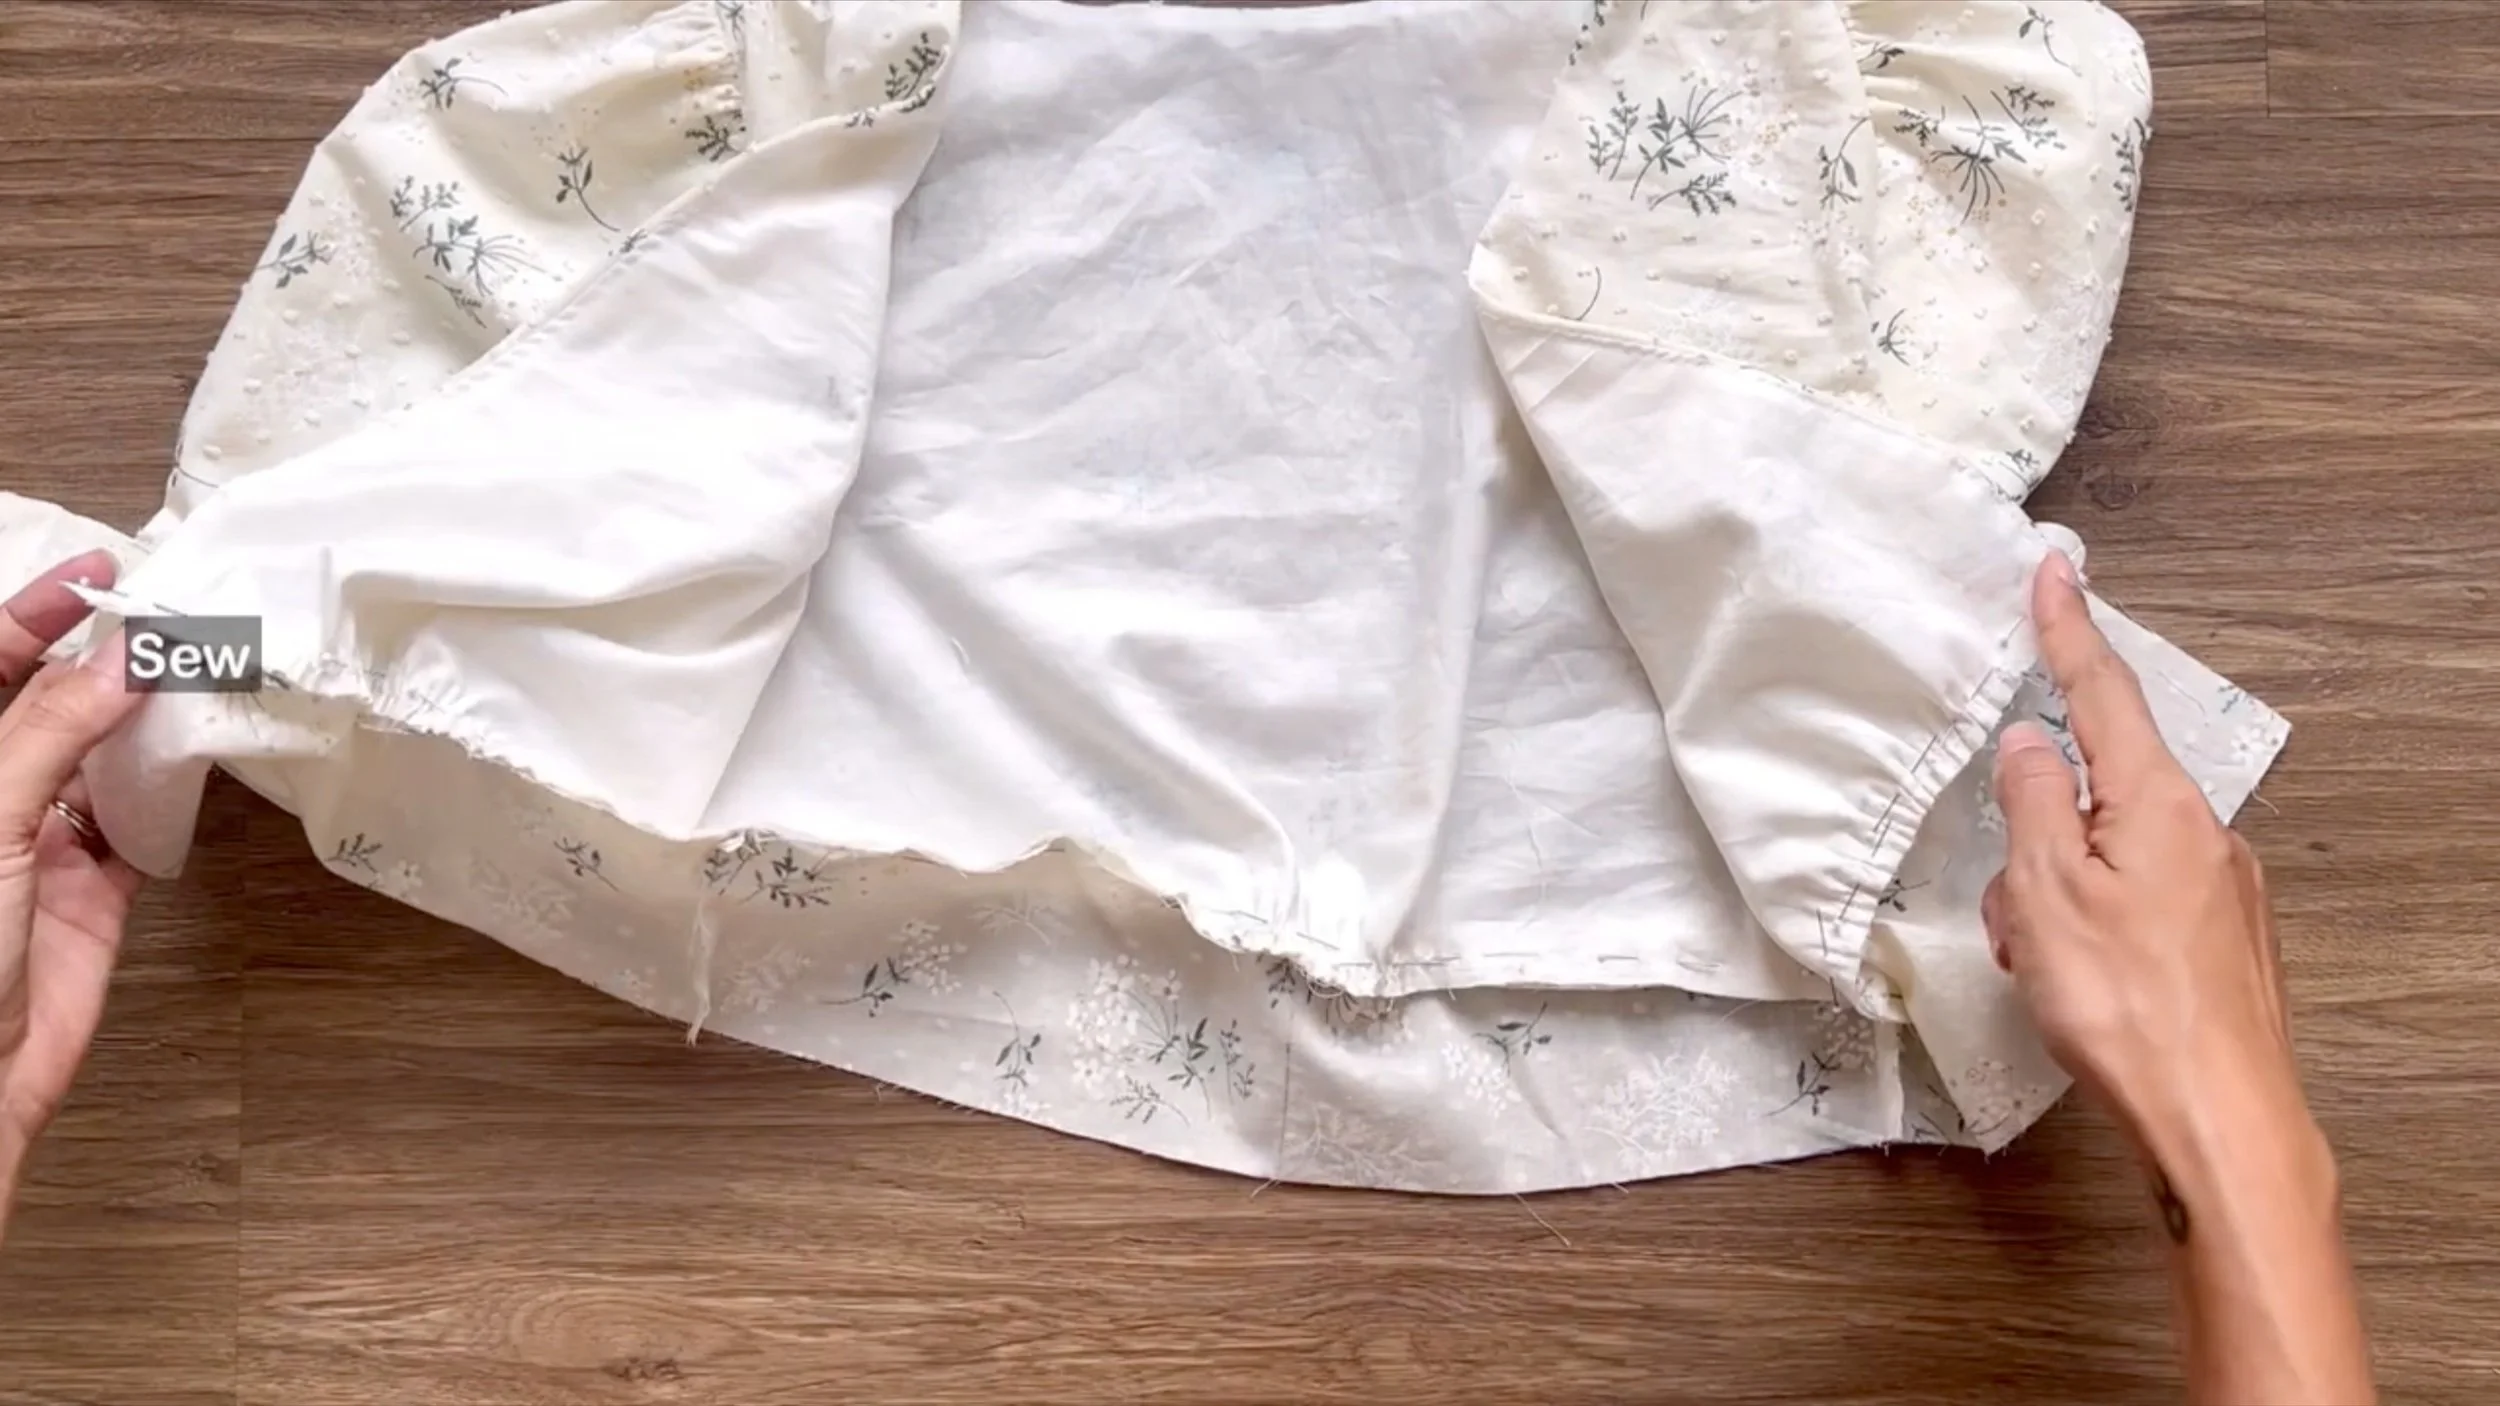
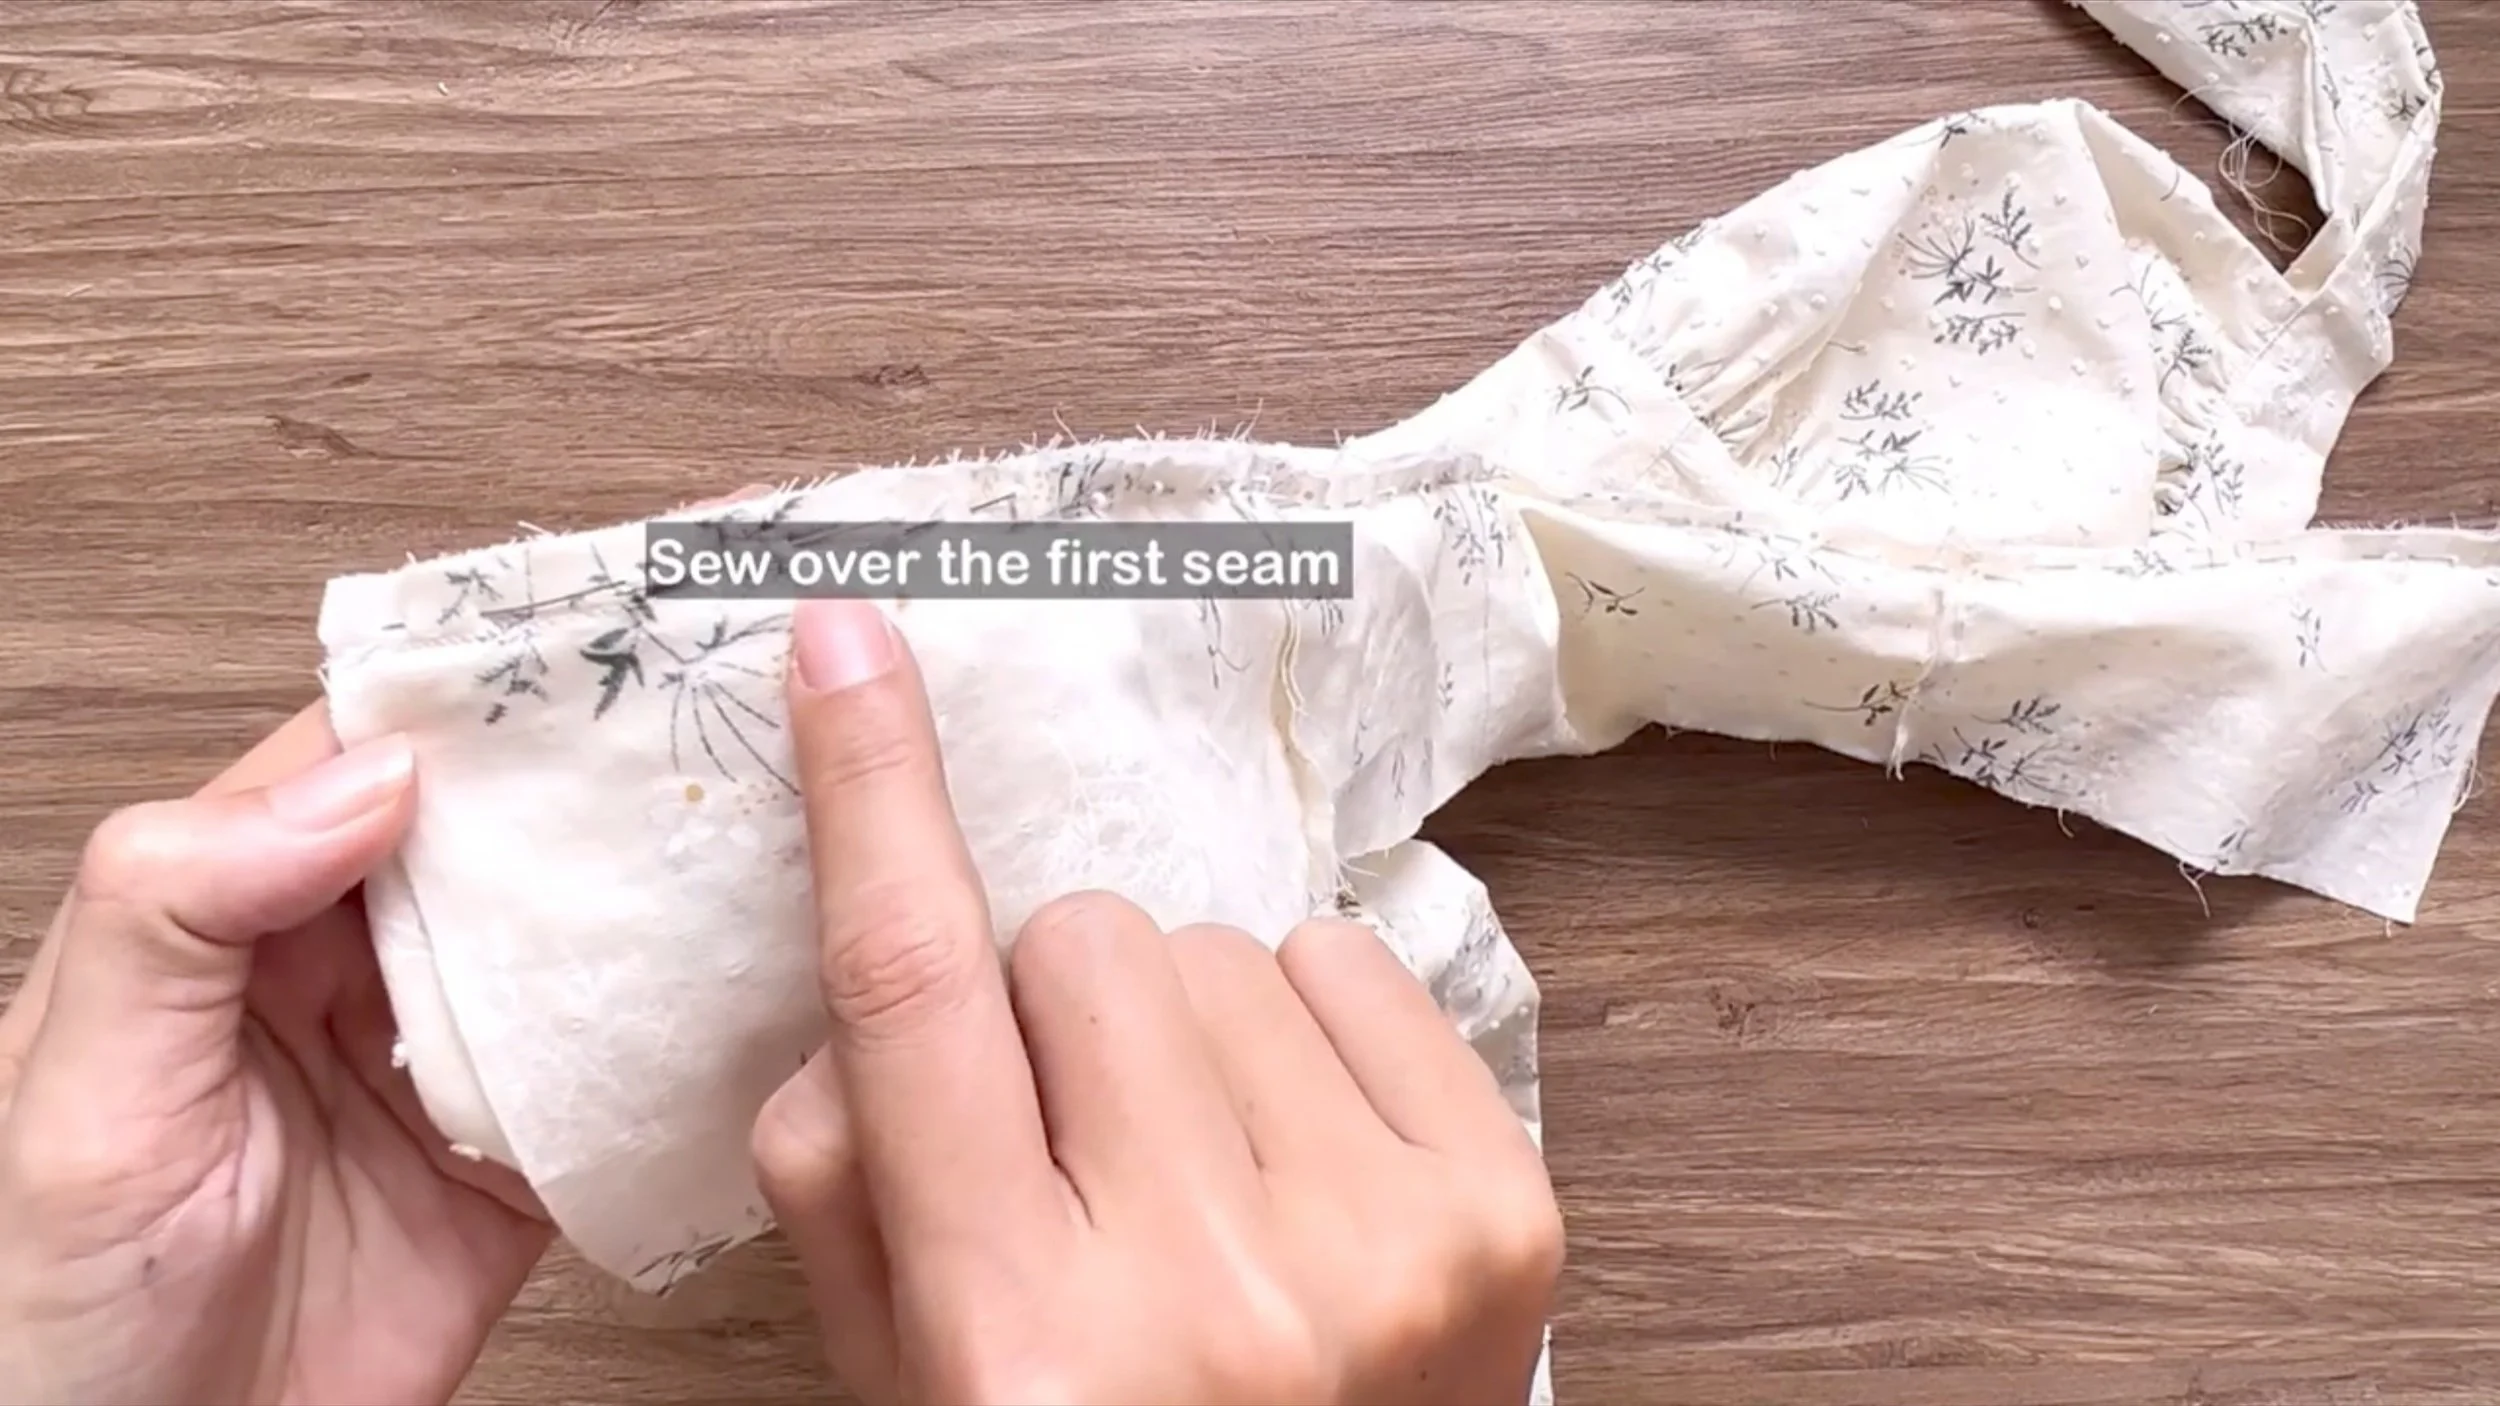
Connect the sleeves to the main bodice first, then the lining part of the main bodice to the sleeve.
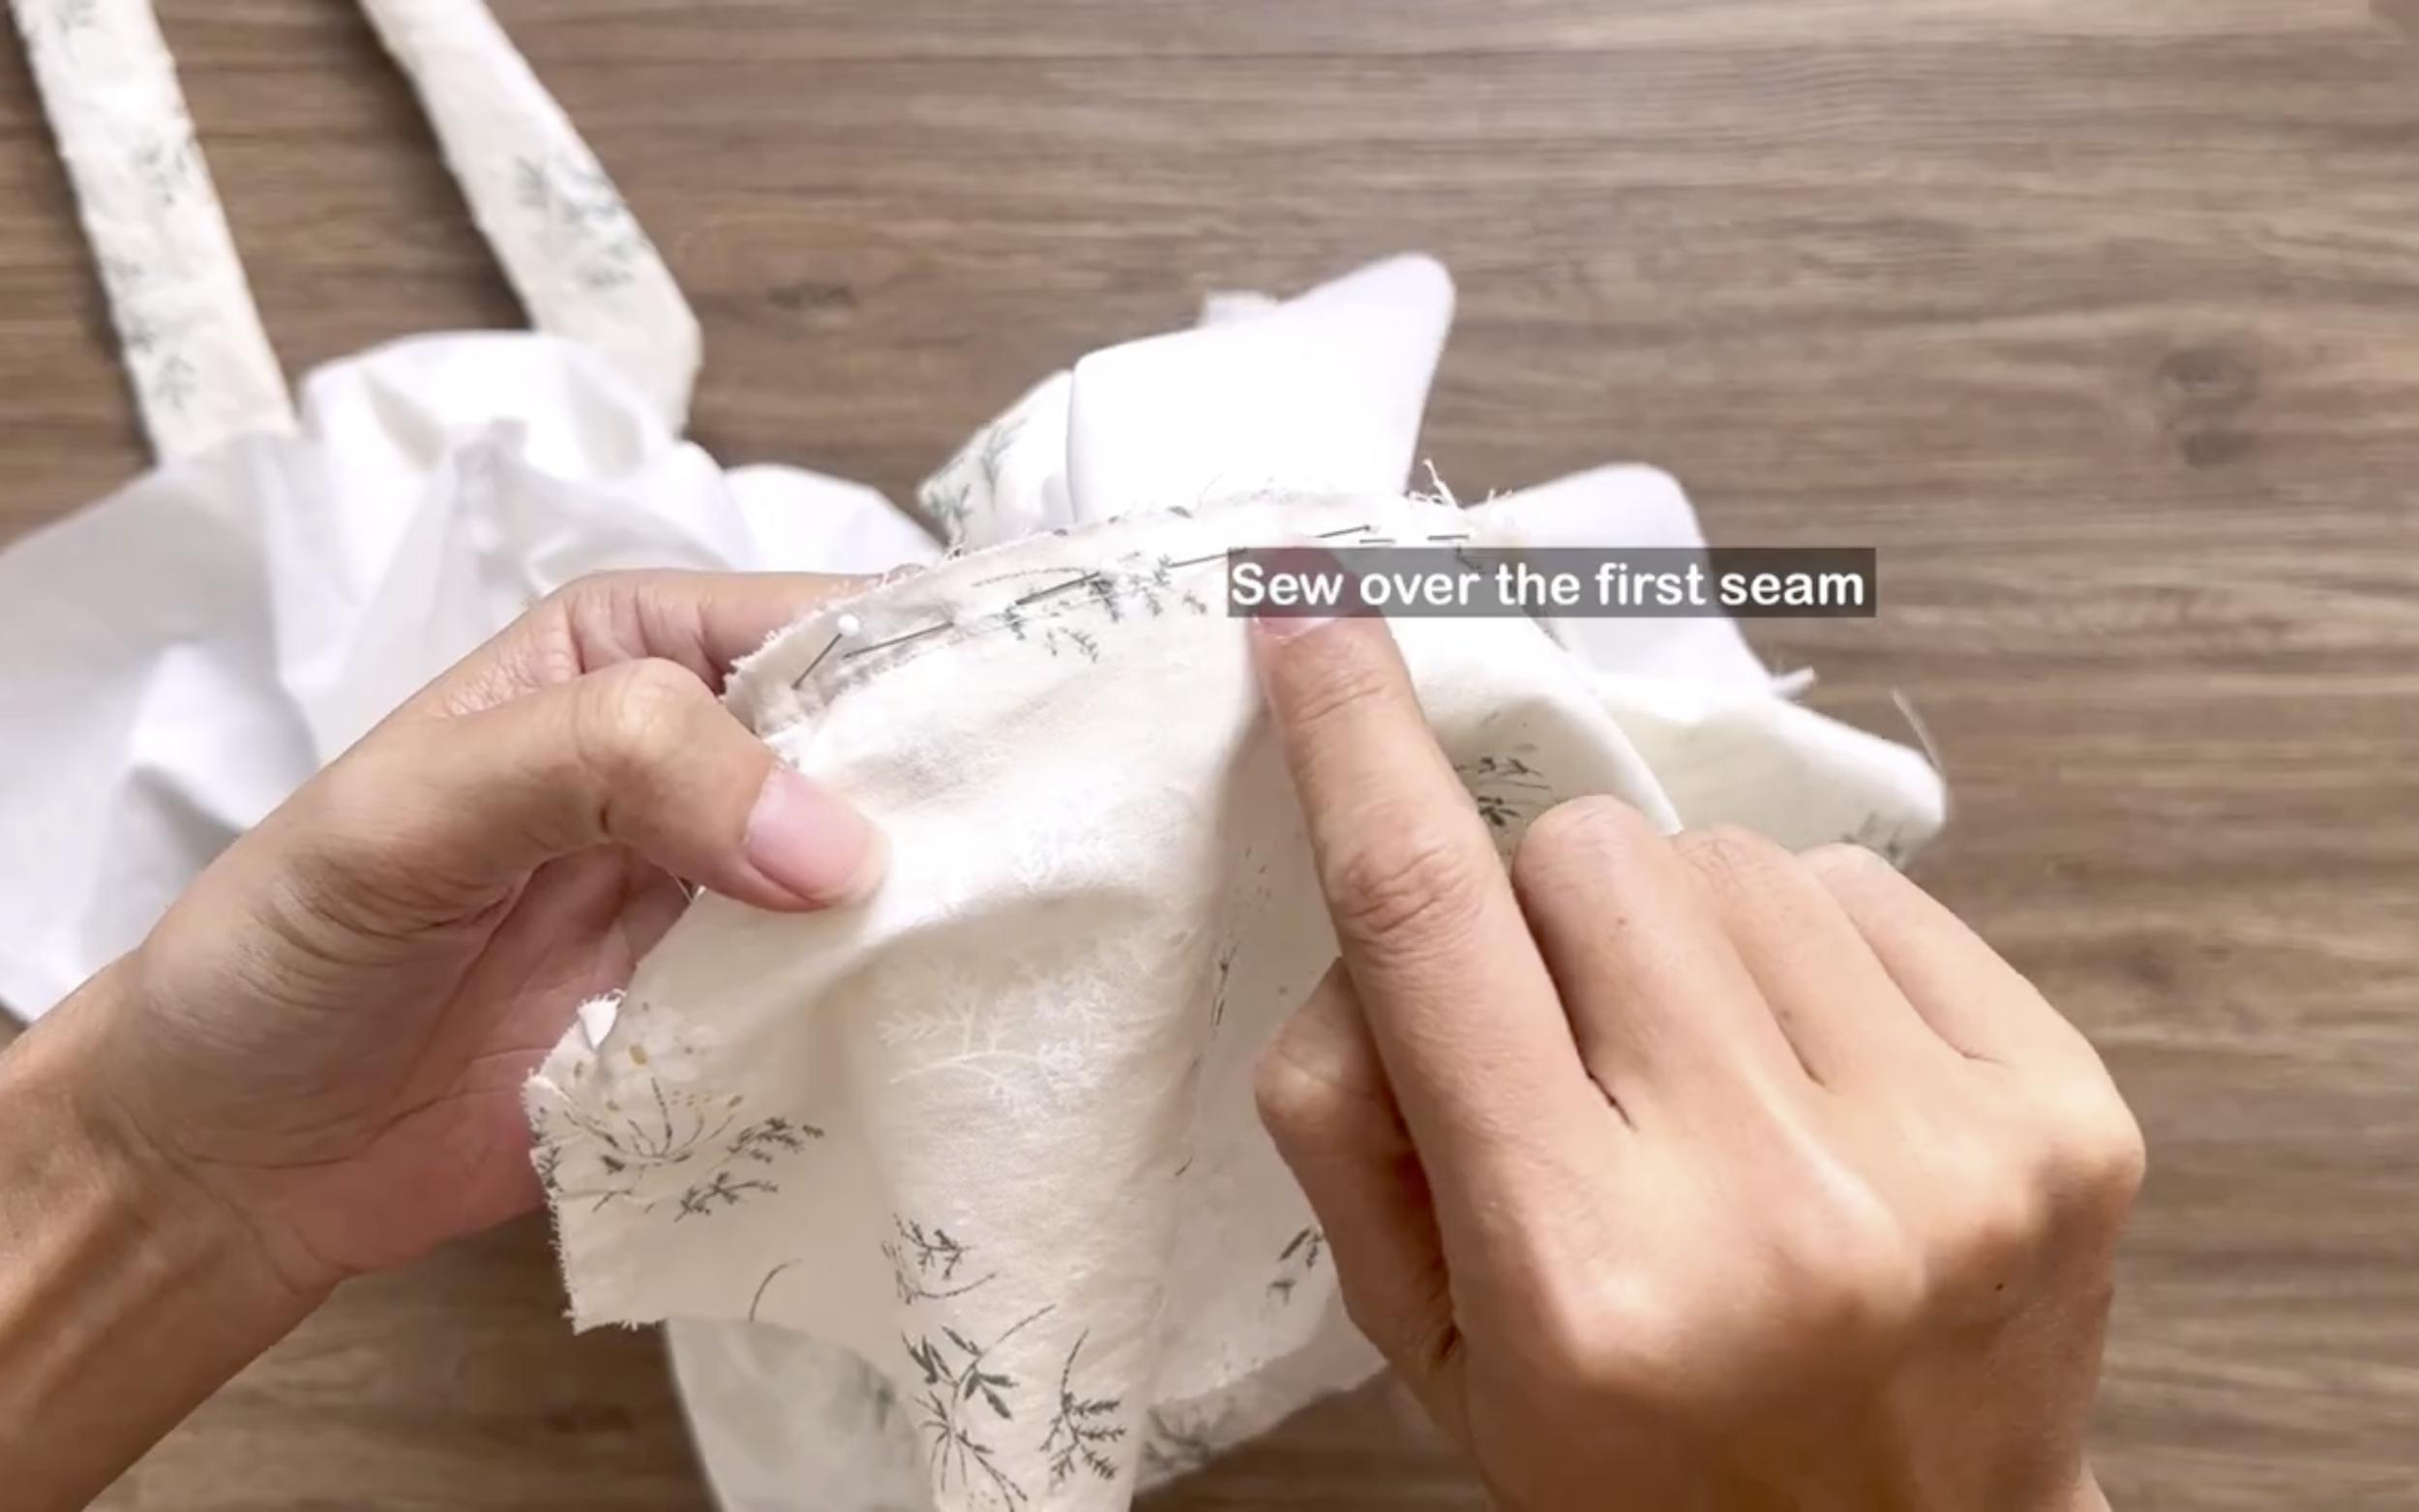
Make sure the sleeve remain in the middle of the two bodice parts and make a second seam over the first. After sewing, make small cuts along the sleeve's curve line before turning it.
After sewing, make small cuts along the sleeve's curve line before turning it.
Connect the two bodice parts at the neckline. Make sure the right sides faced each other.
After turning them to hide the seam inside, sew the ending lines of the main fabric and lining fabric together.

Make two loose seams at the top part's end, creating gathered fabric. Make sure the gathered fabric centered at the bust and back.
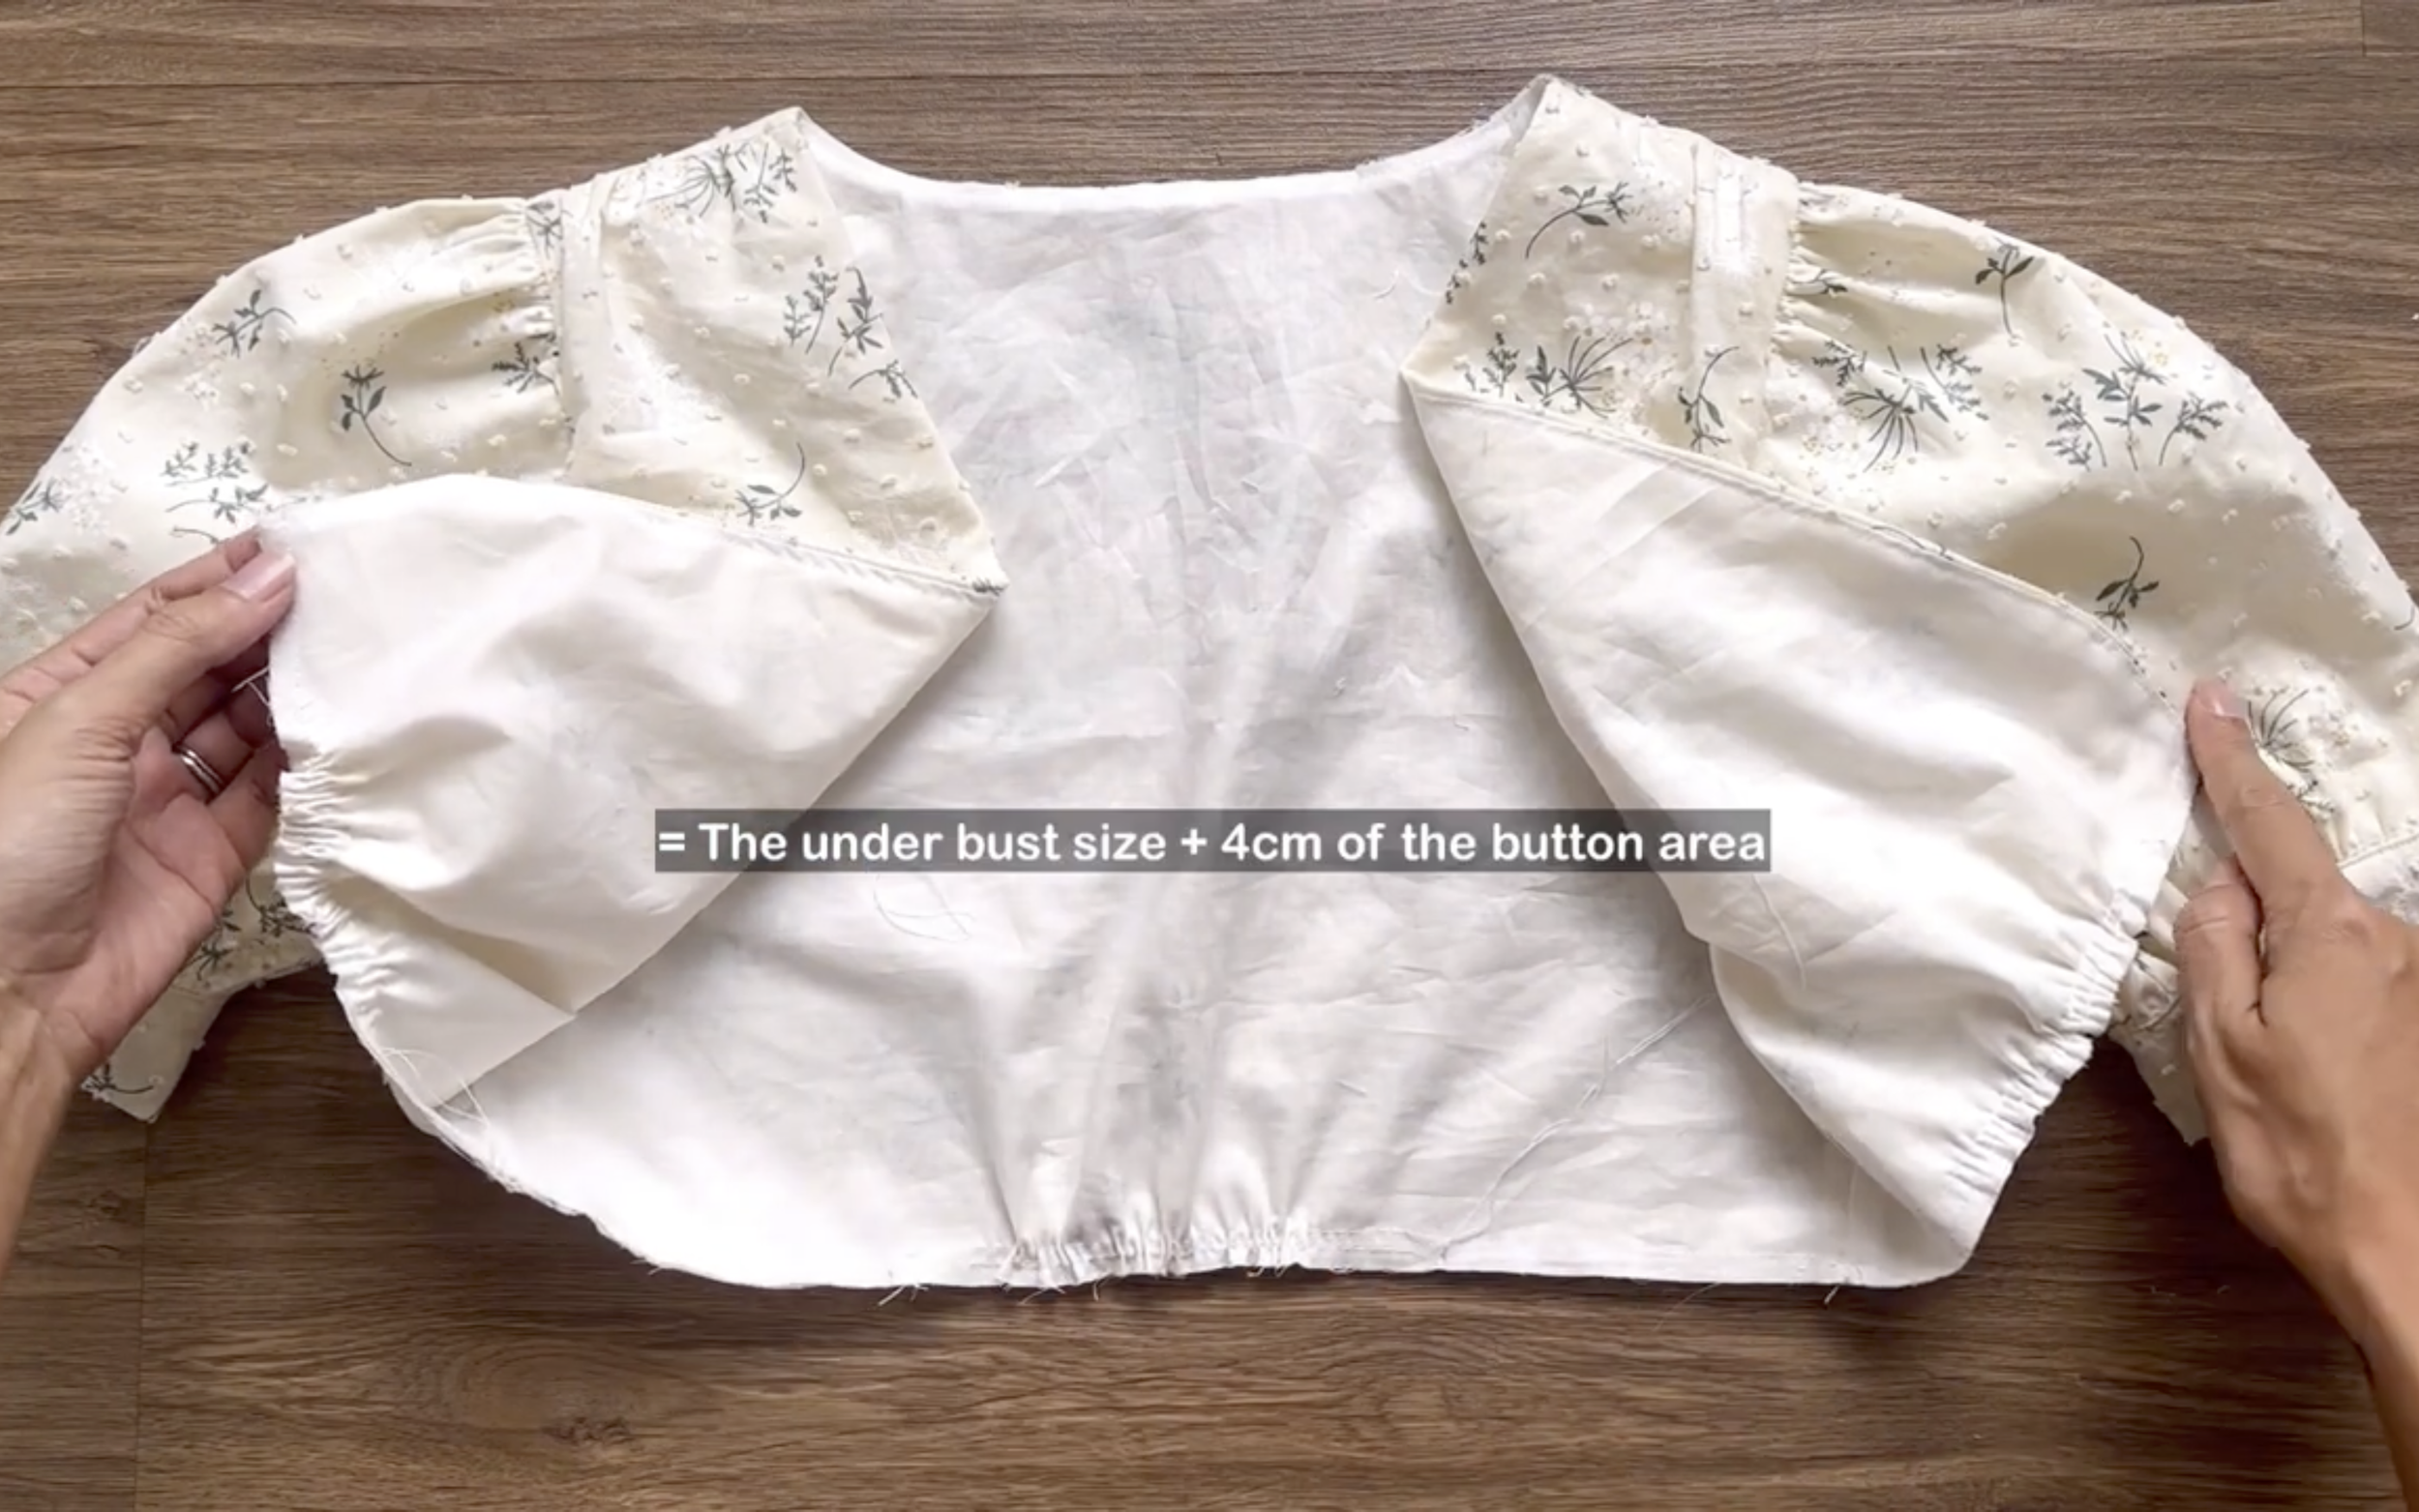
The final width of the top part matched the under-bust size plus 4 cm for the button area.
THE WAISTBAND
For the waistband, connect two front waistband pieces to the back waistband at both sides.
Repeat the same for the waistband lining.
CONNECT THE WAISTBAND TO THE BODICE PART
Connect the waistband's top line to the top part's end first, then connect the lining fabric of the waistband.
Make sure the top part of the dress stay in the middle of the two waistband layers, with a second seam over the first.
THE SKIRT
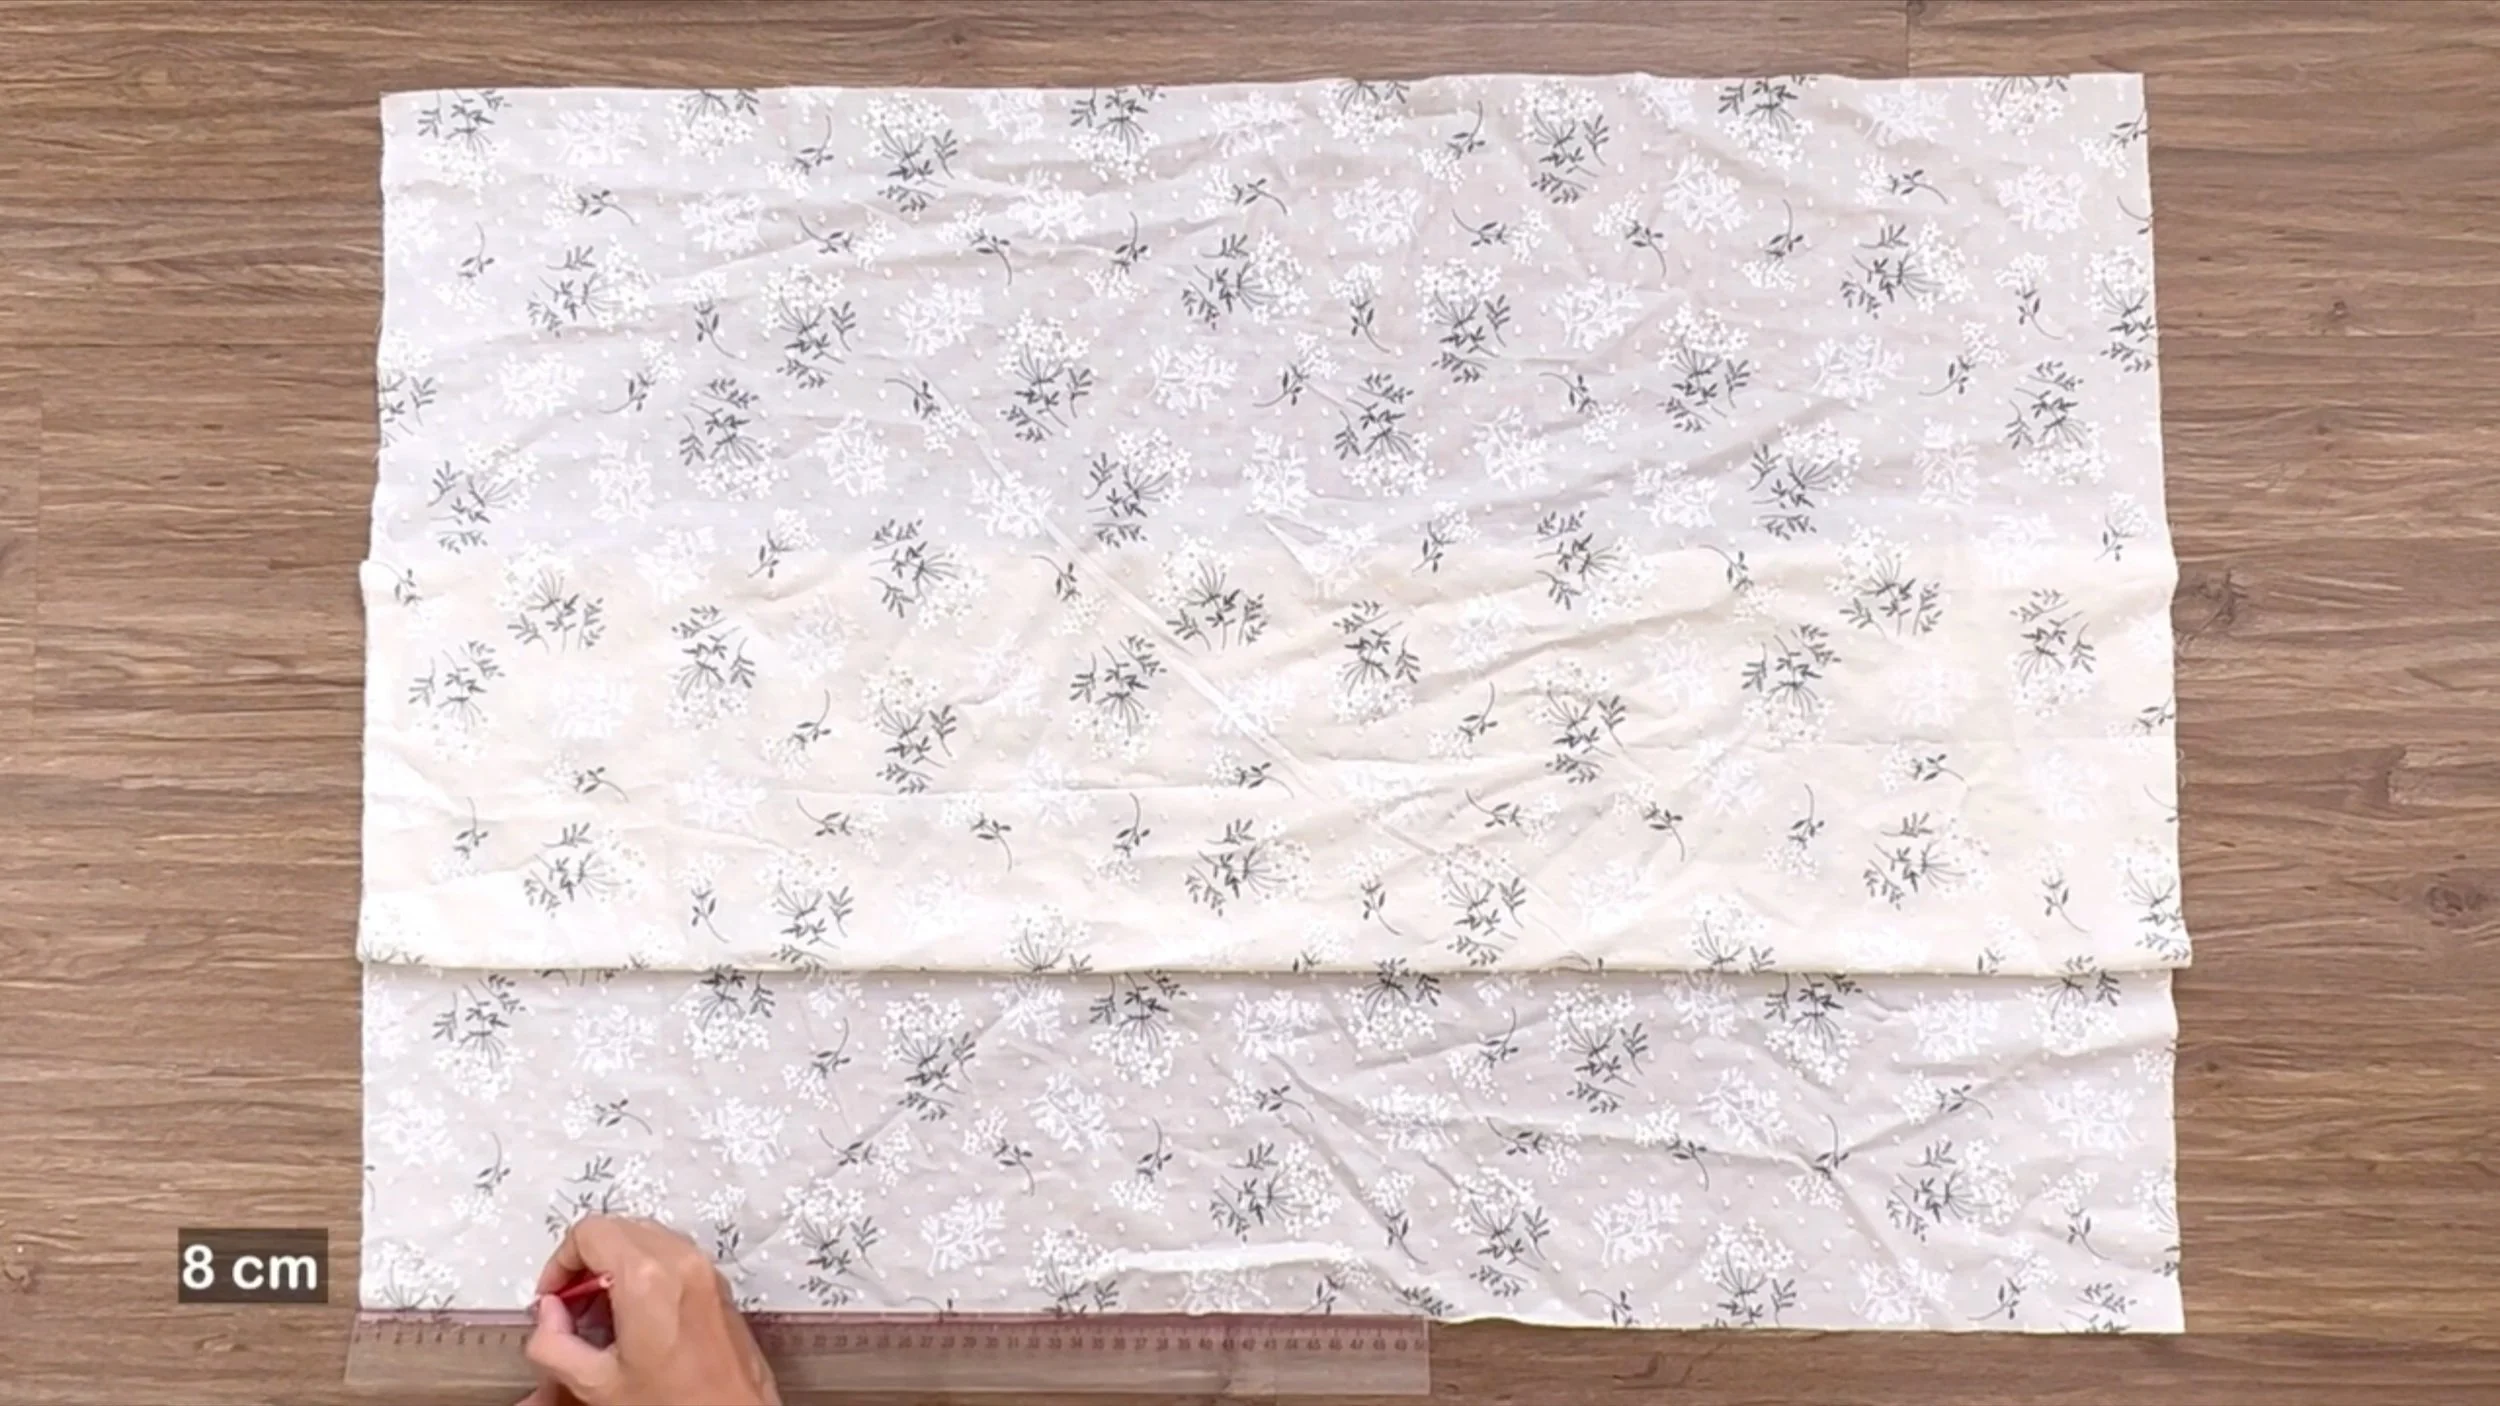
For the skirt, mark 8 cm down from the top of the skirt on two sidelines to position the pockets.
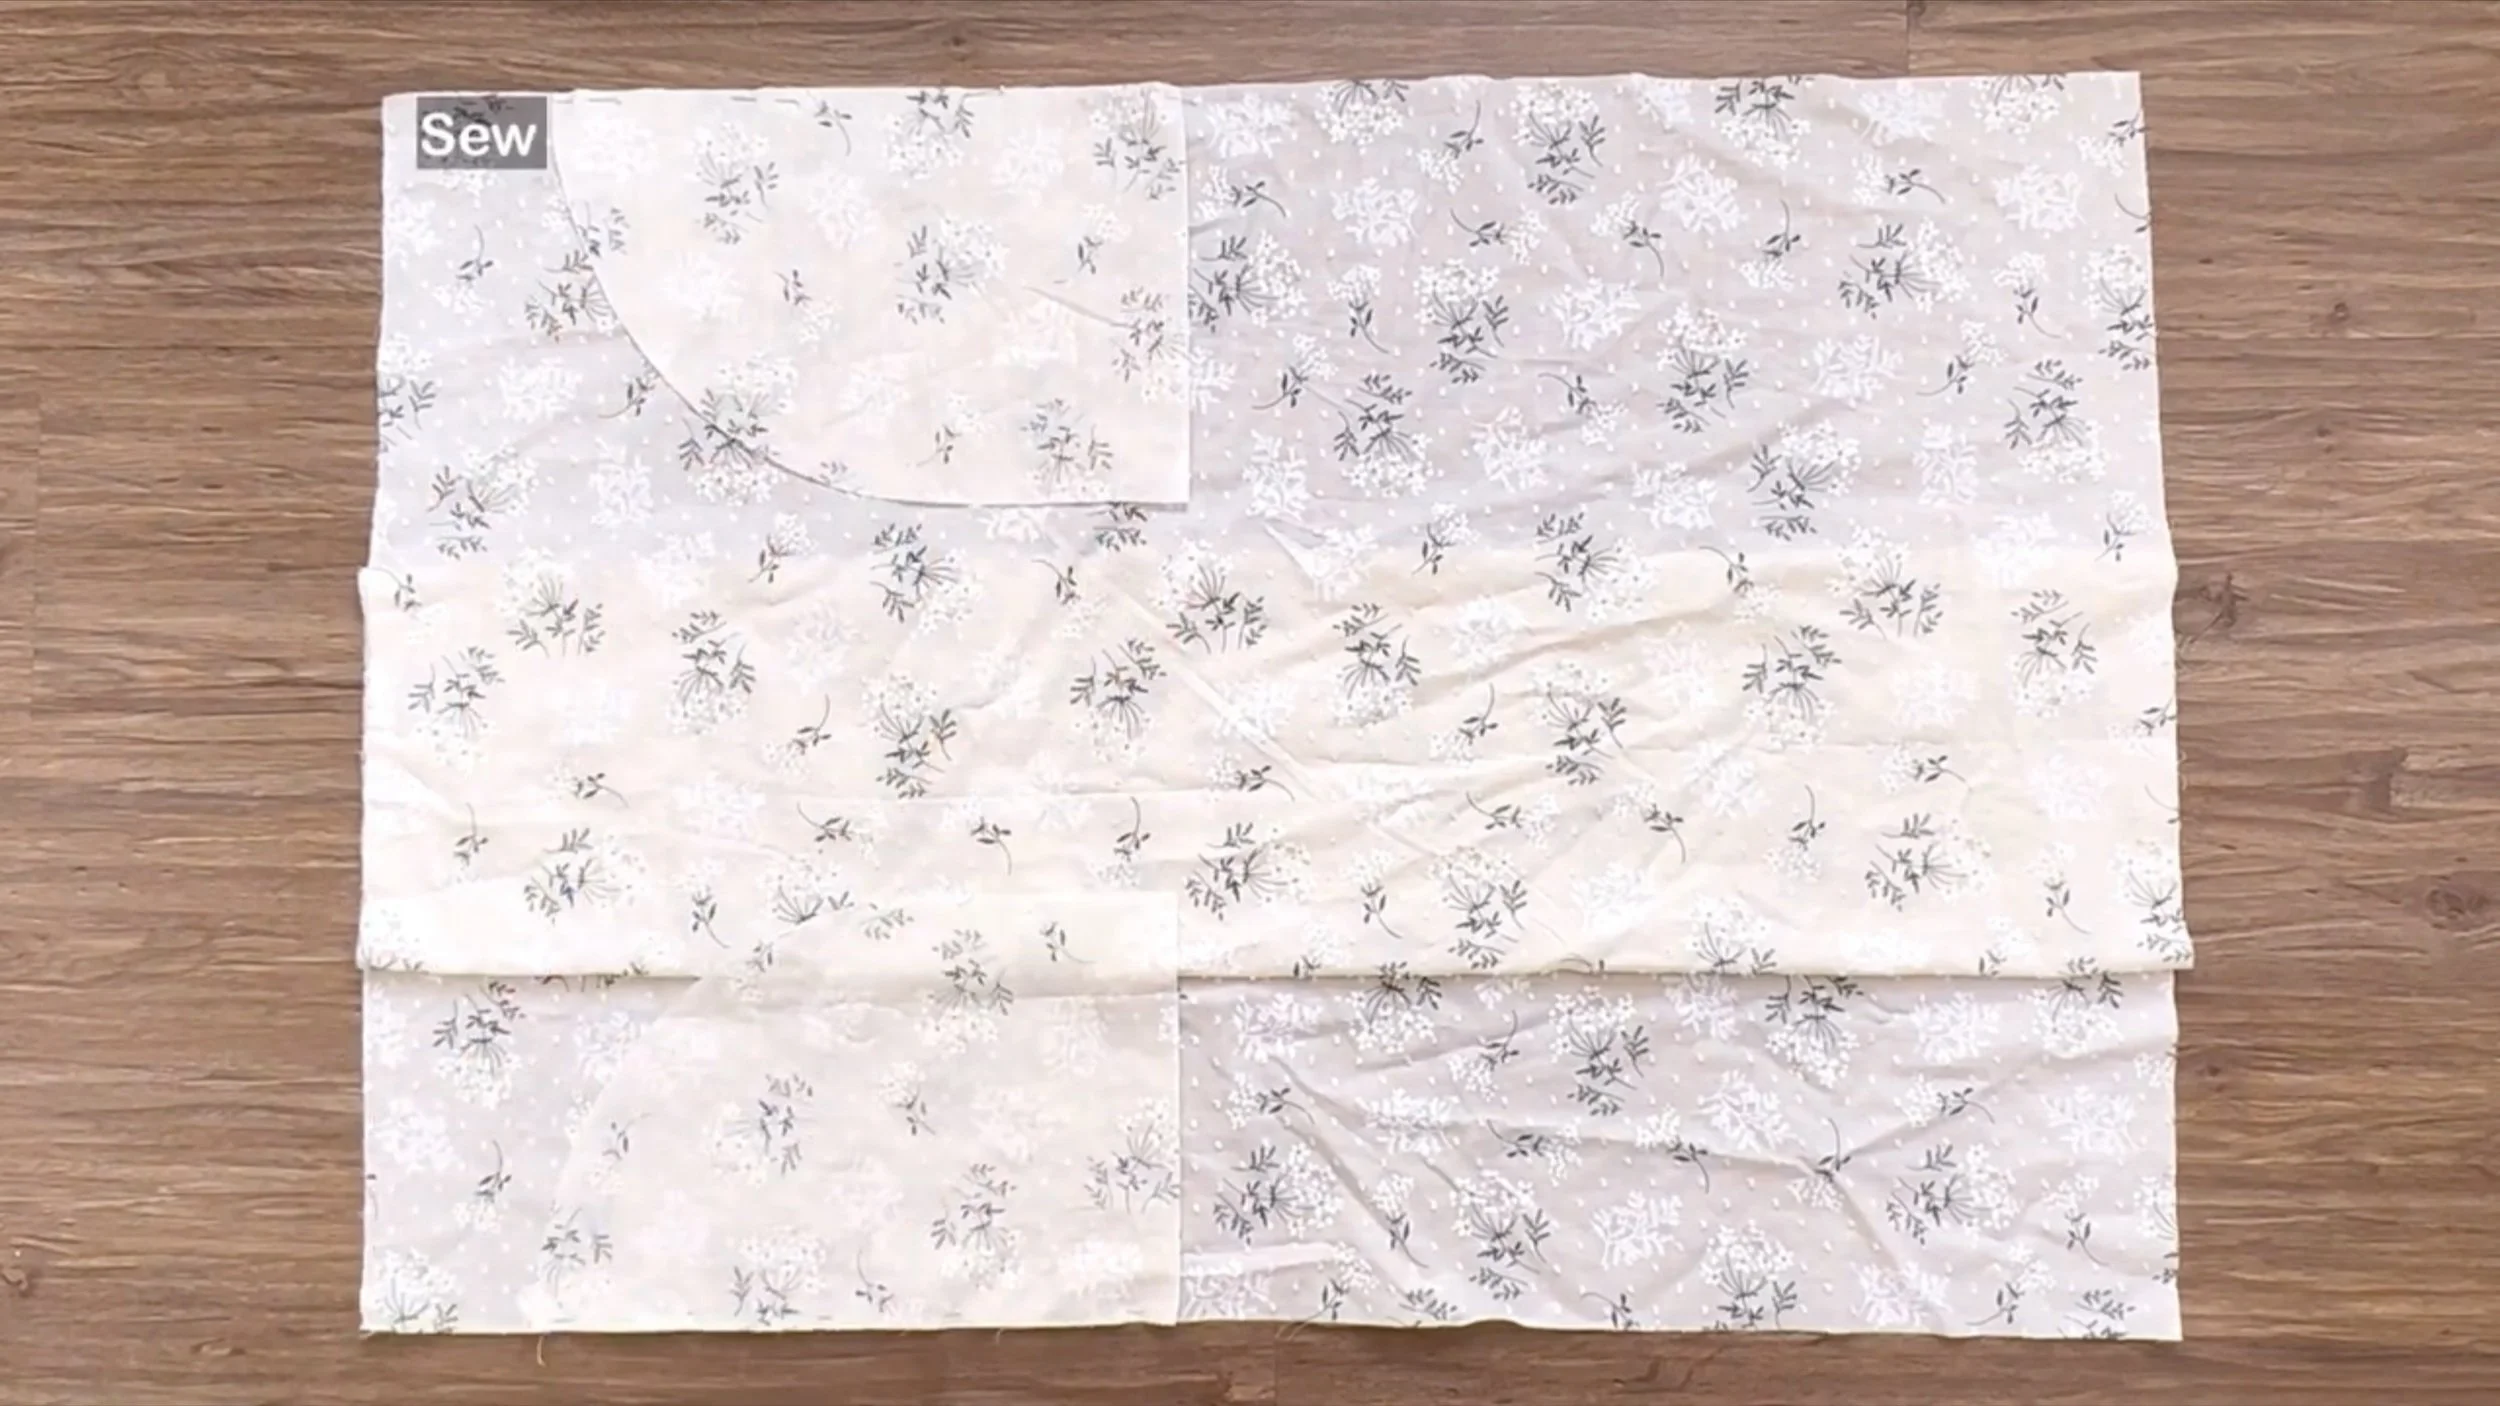
Add the pockets and sew.
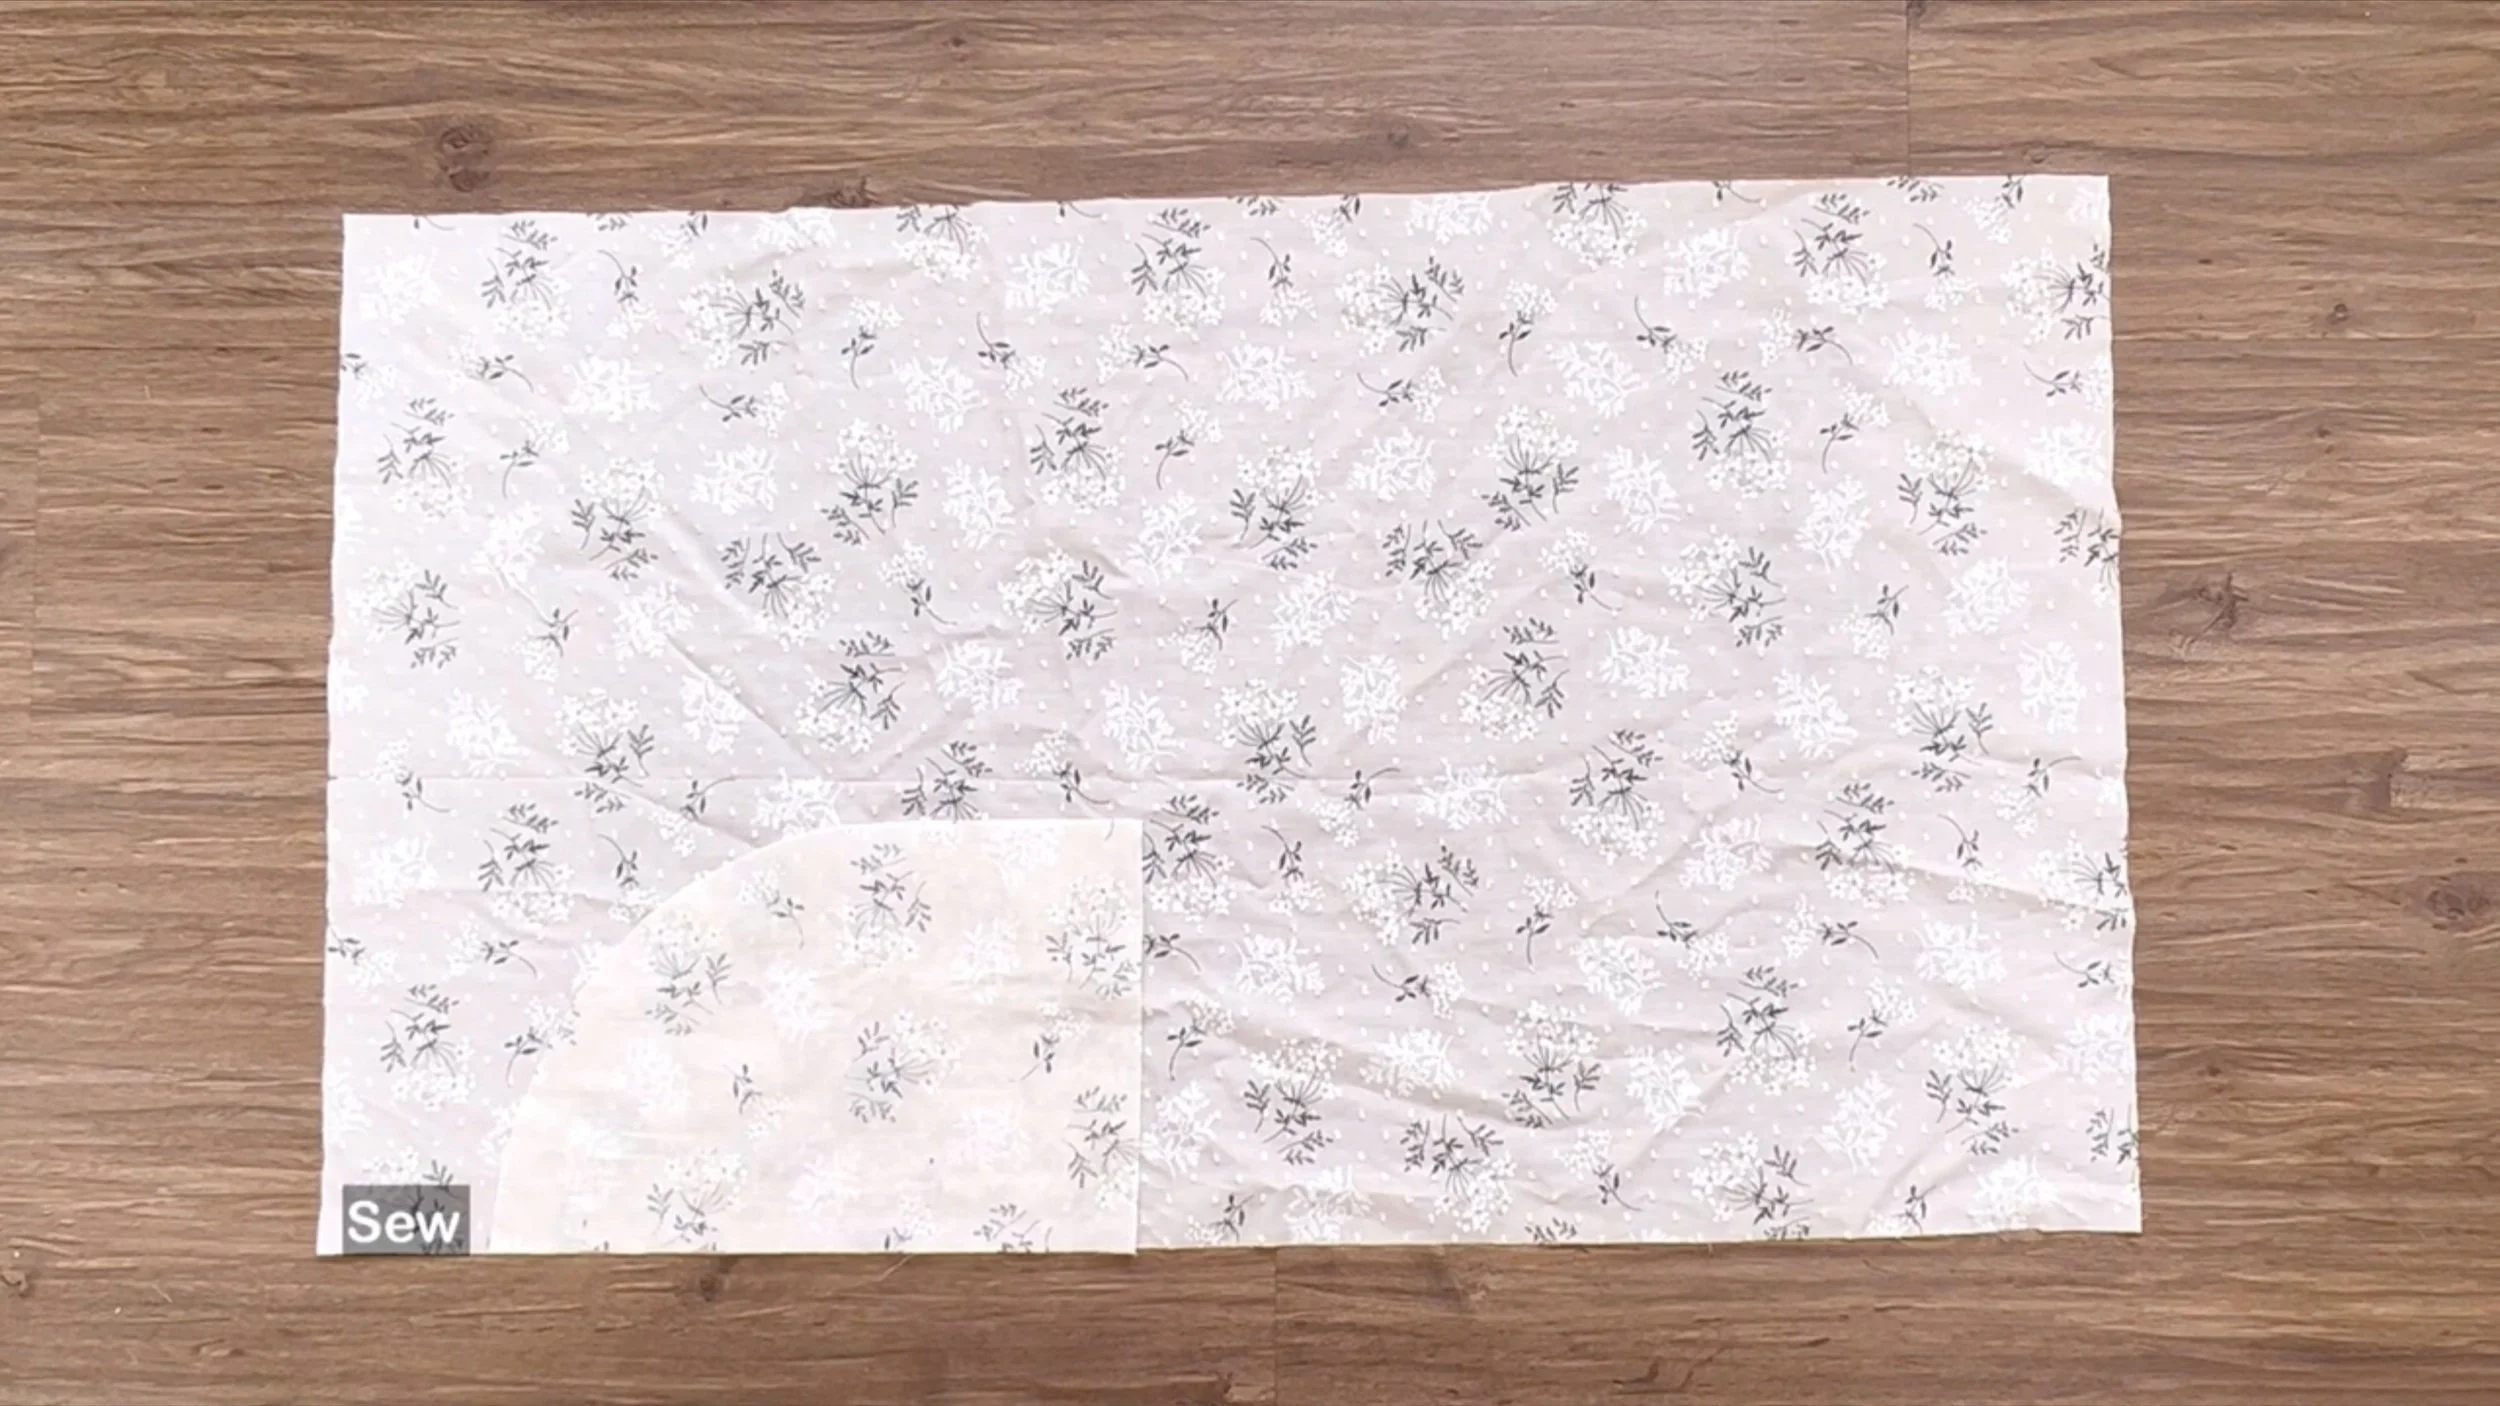
Repeat the process for the front of the skirt.
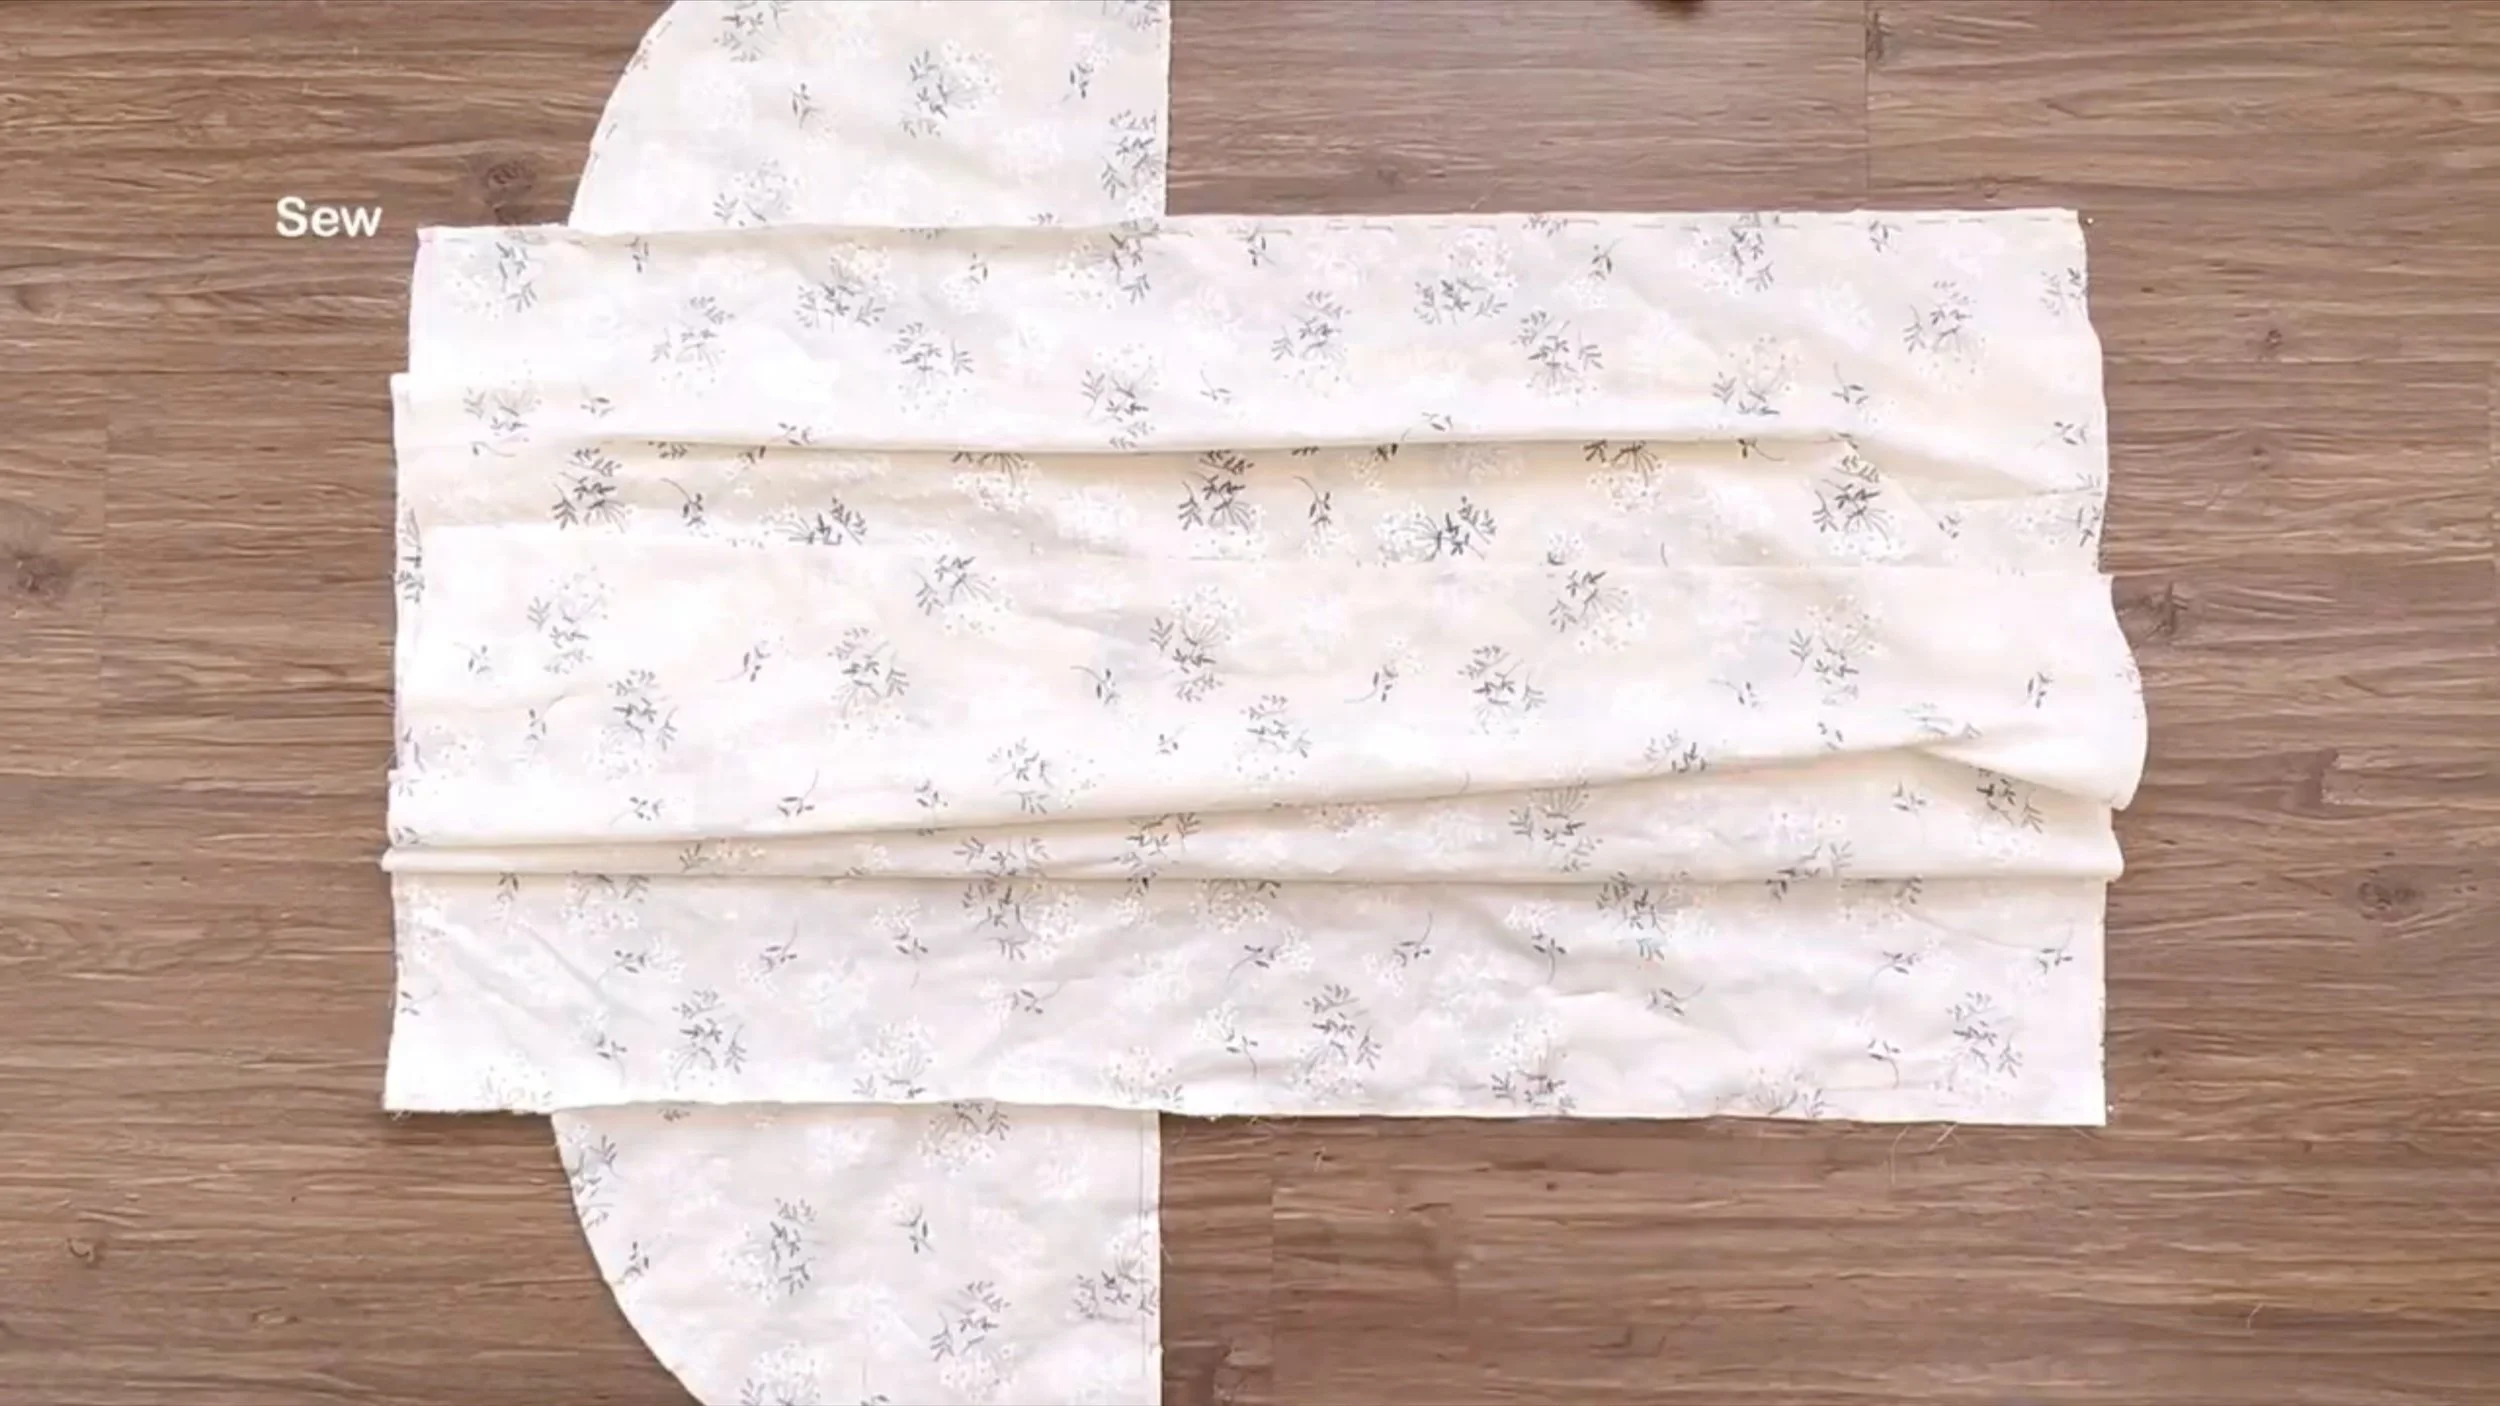
Then connect the front and back pieces at the sidelines.
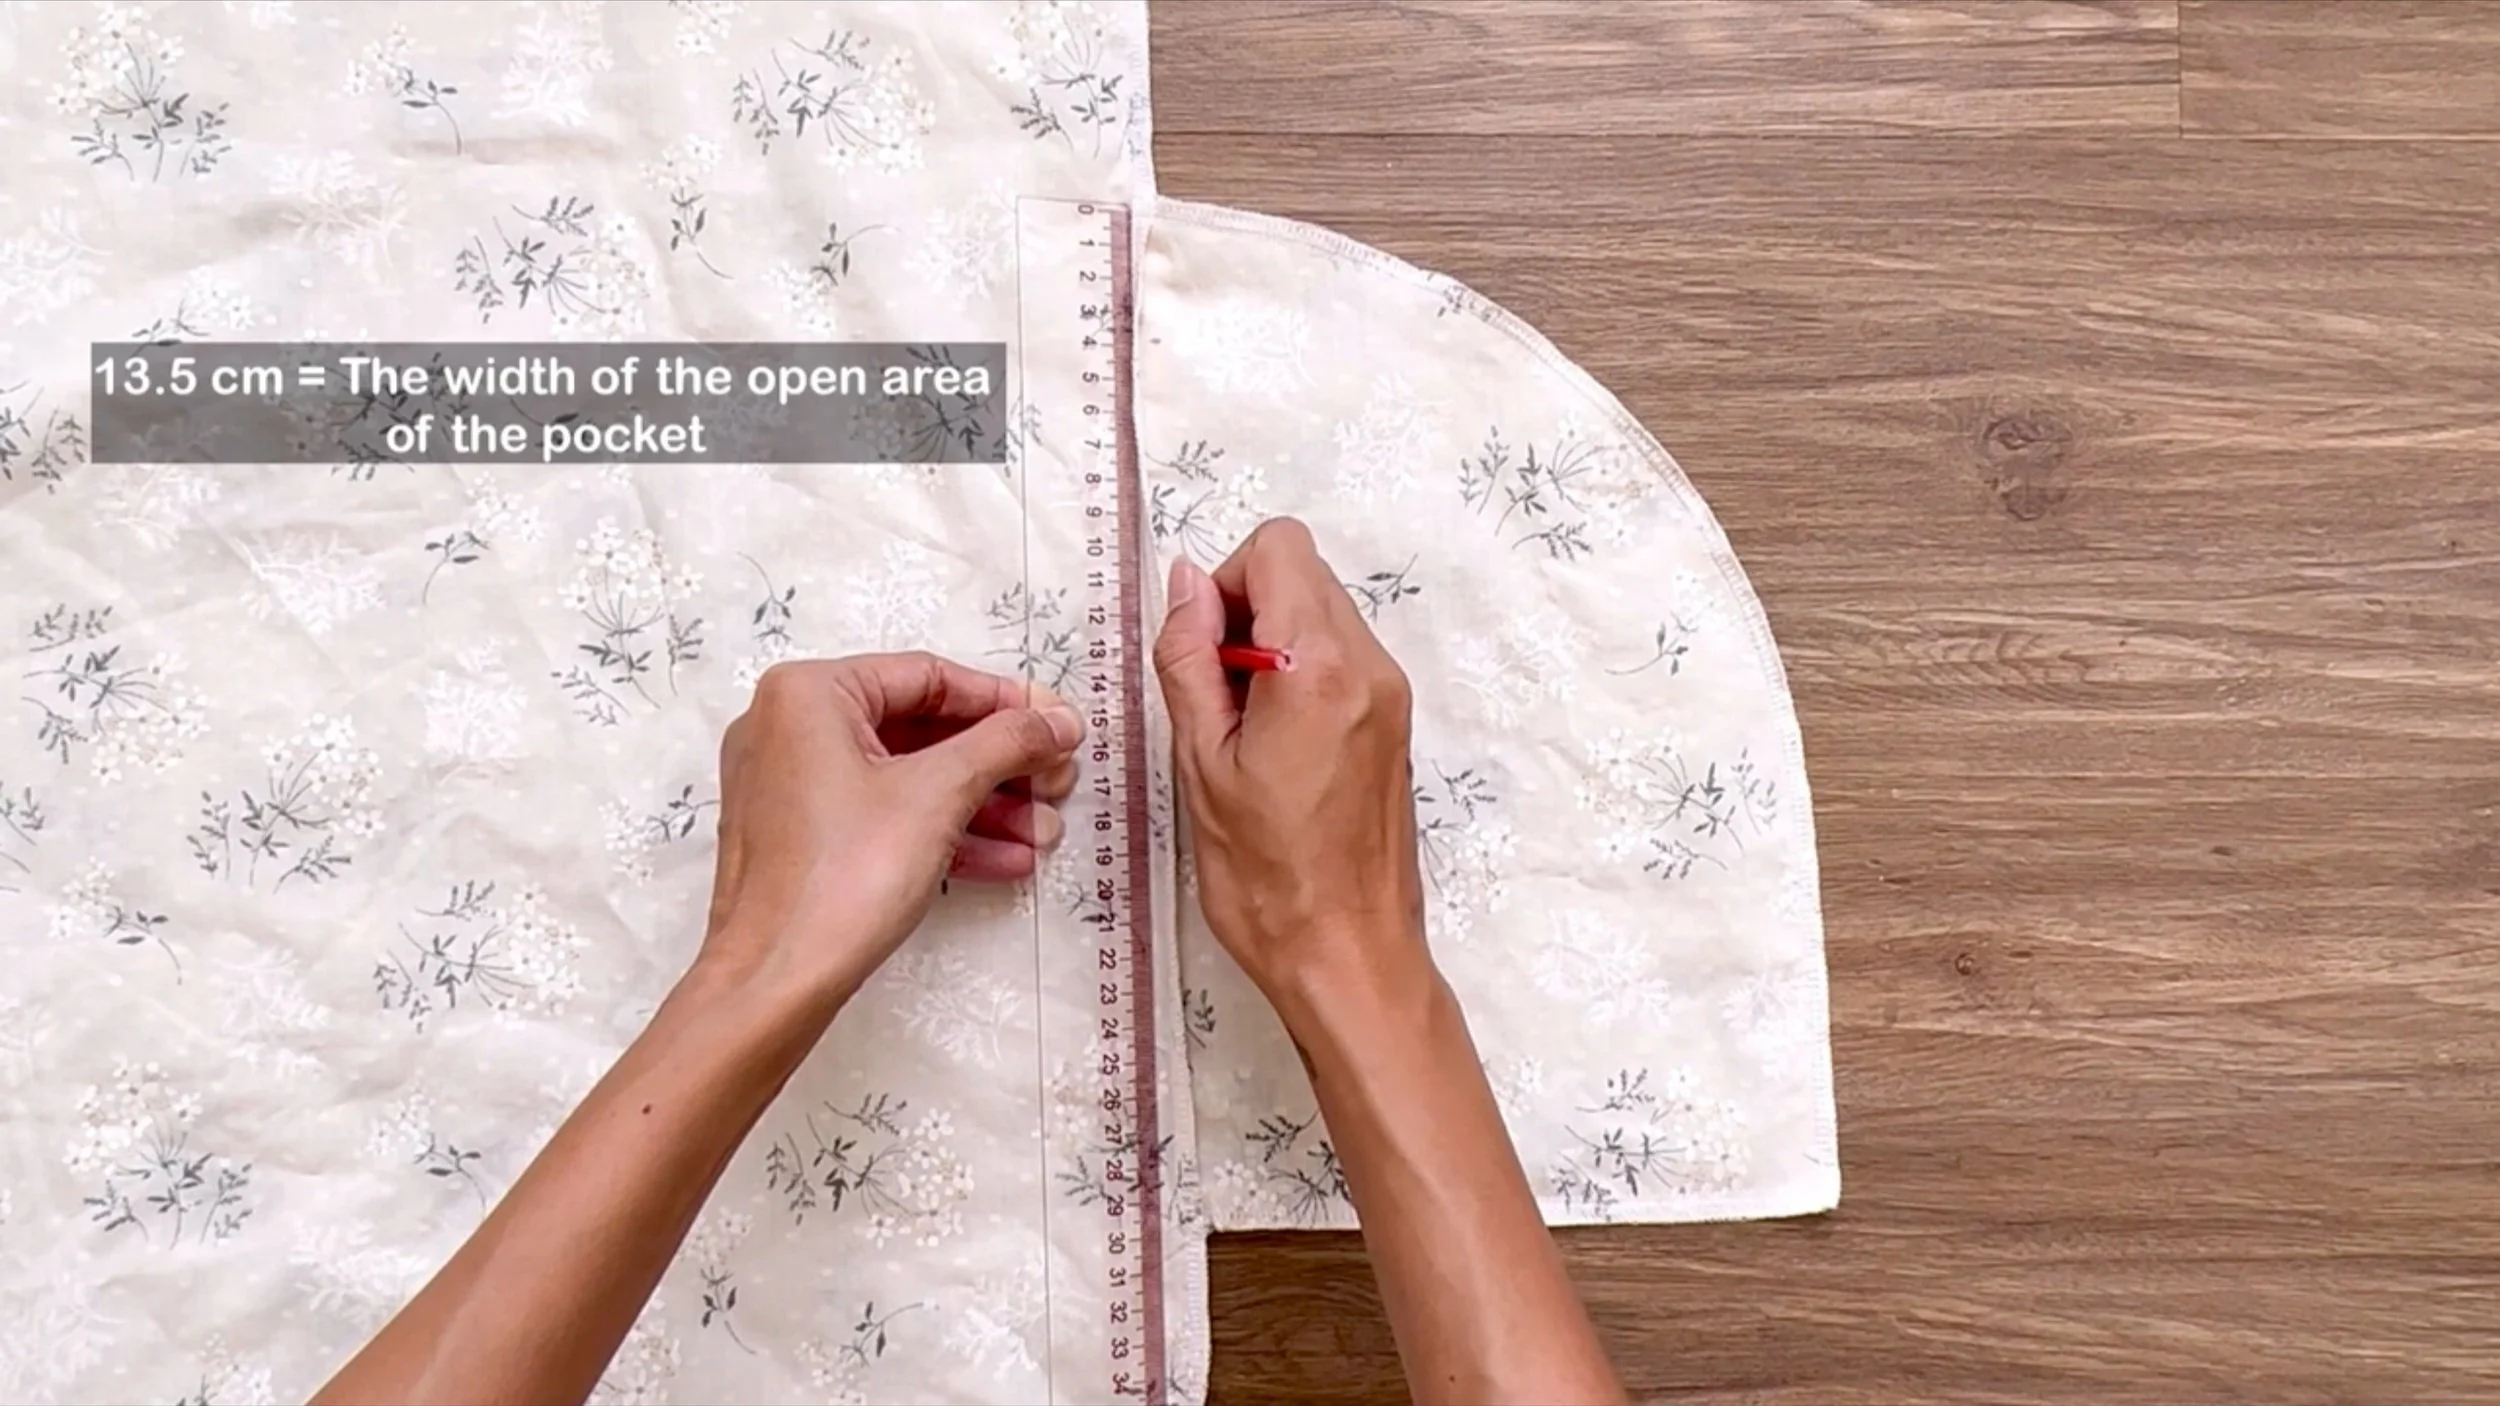
To create pocket depth, mark 13.5 cm from the pocket's top for the hand opening.
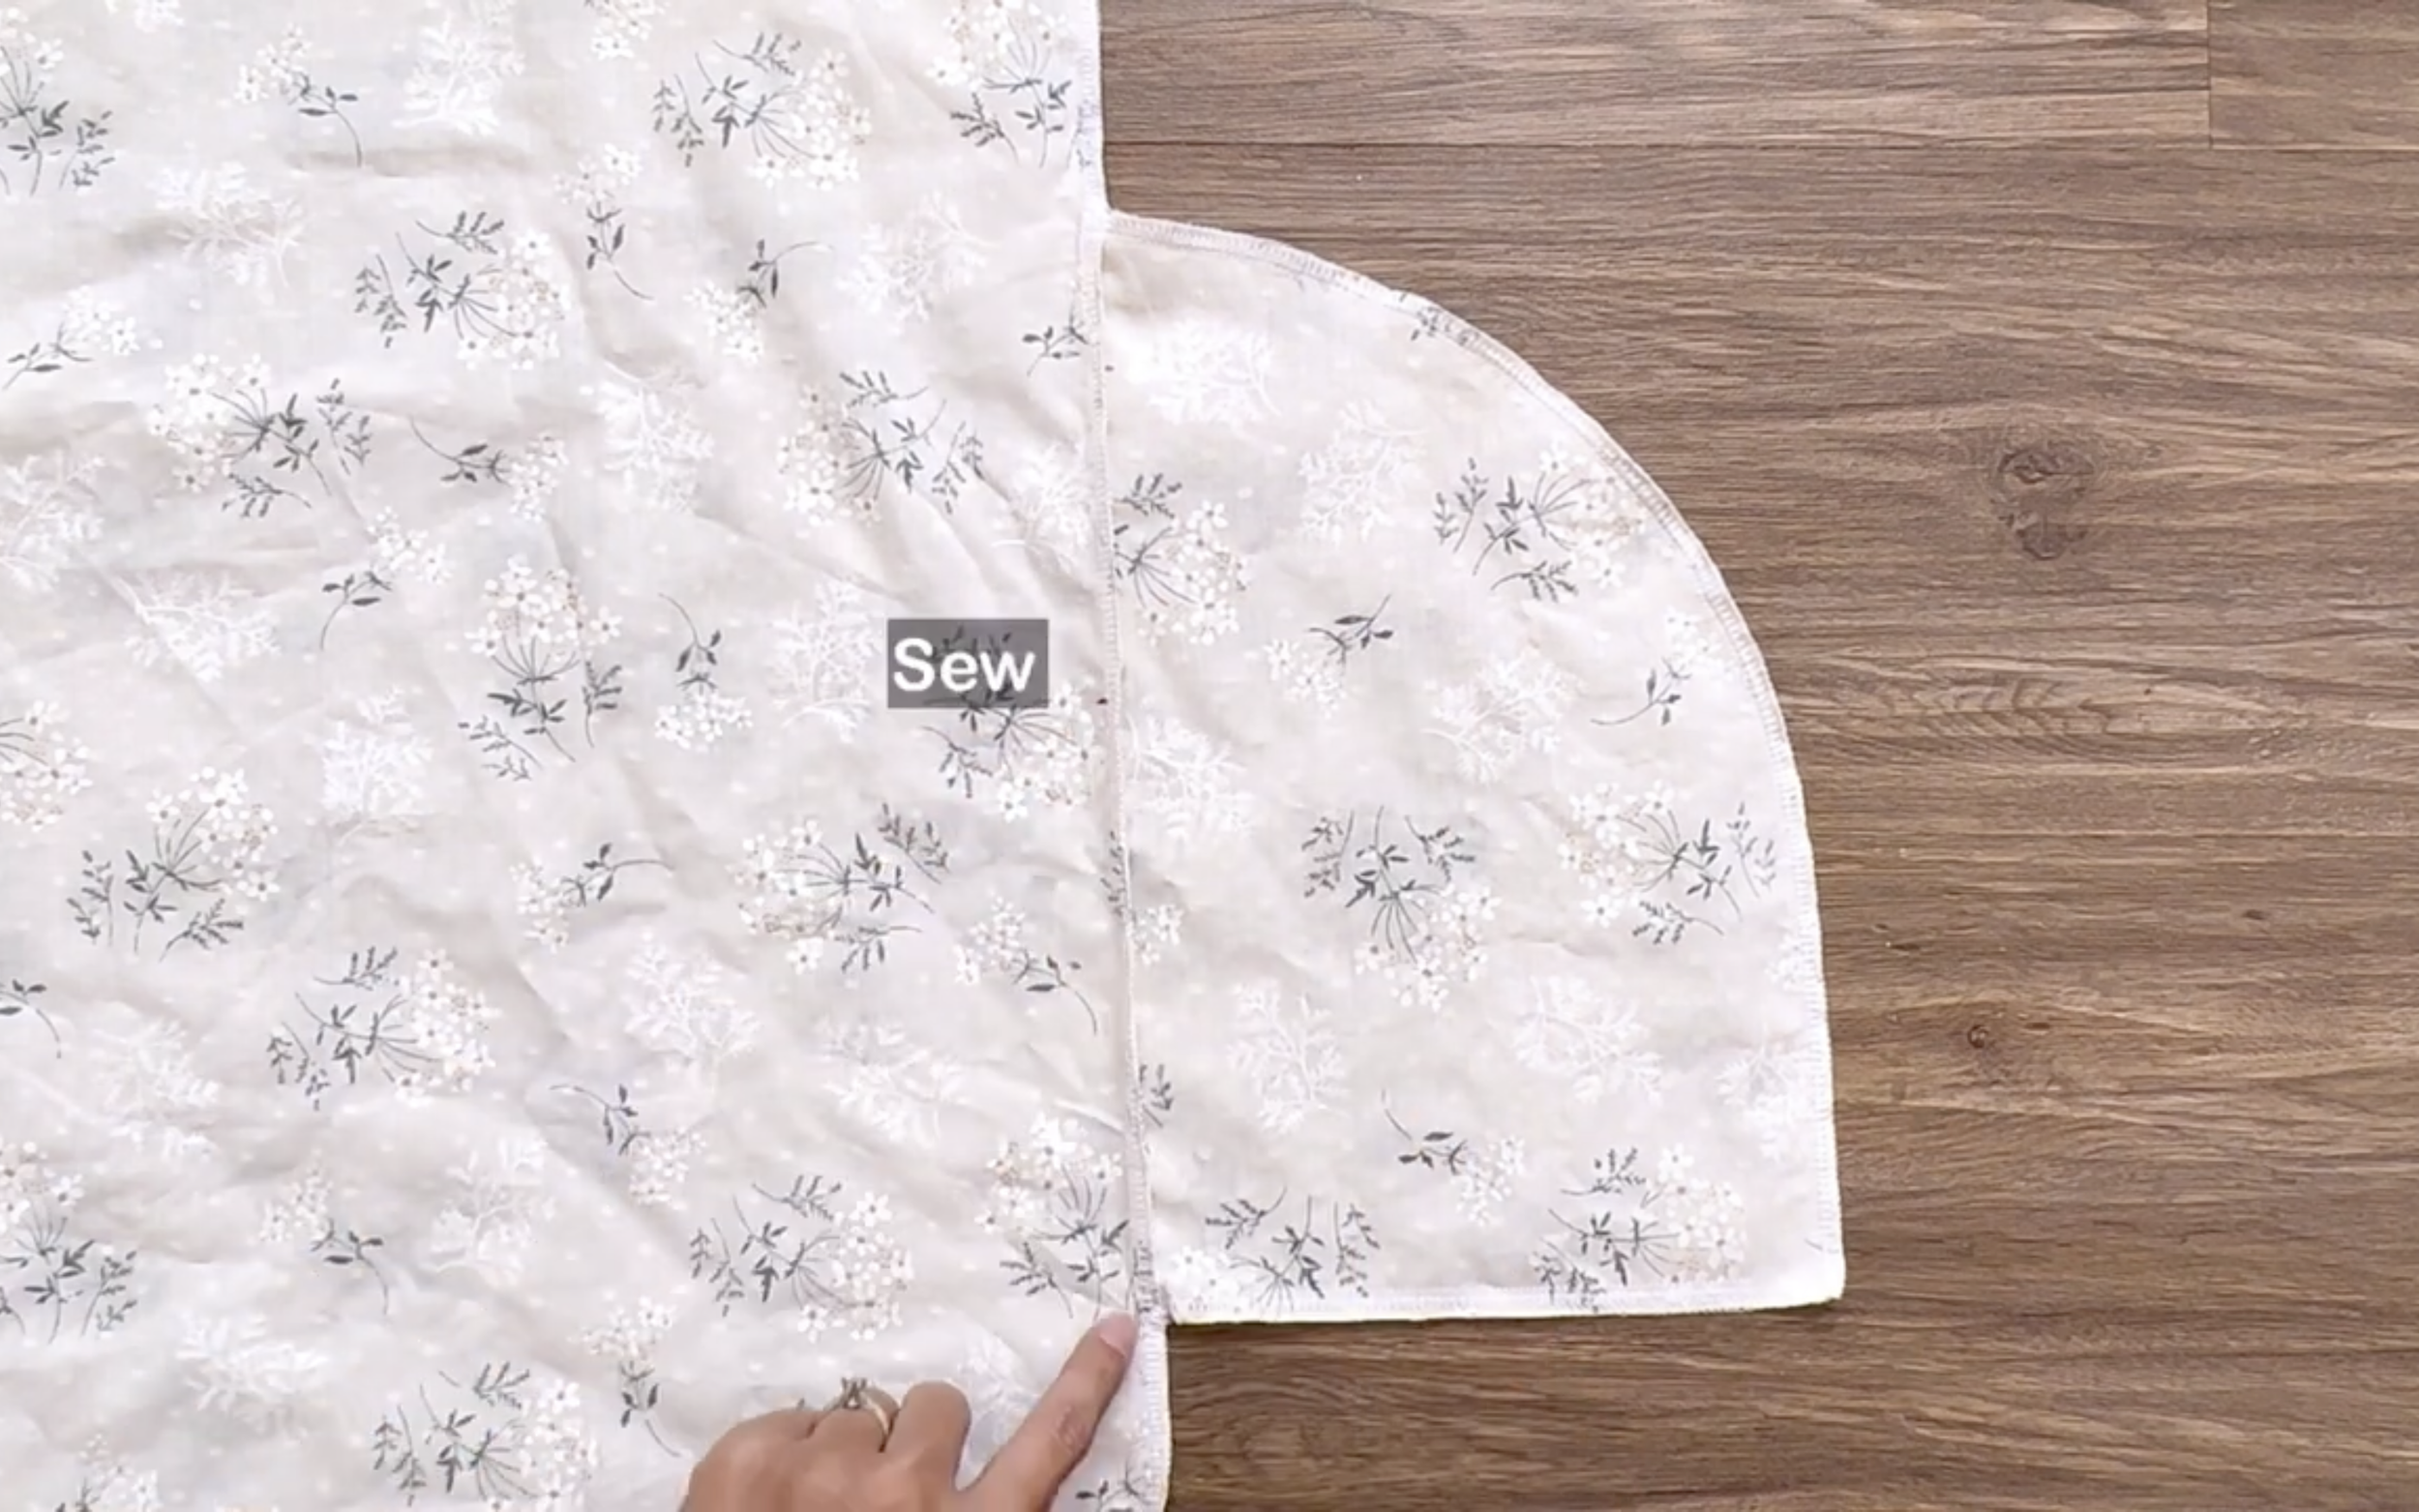
And sew the rest.
At the skirt's end, fold the fabric inside twice, each time by 1 cm, and sew to finish.
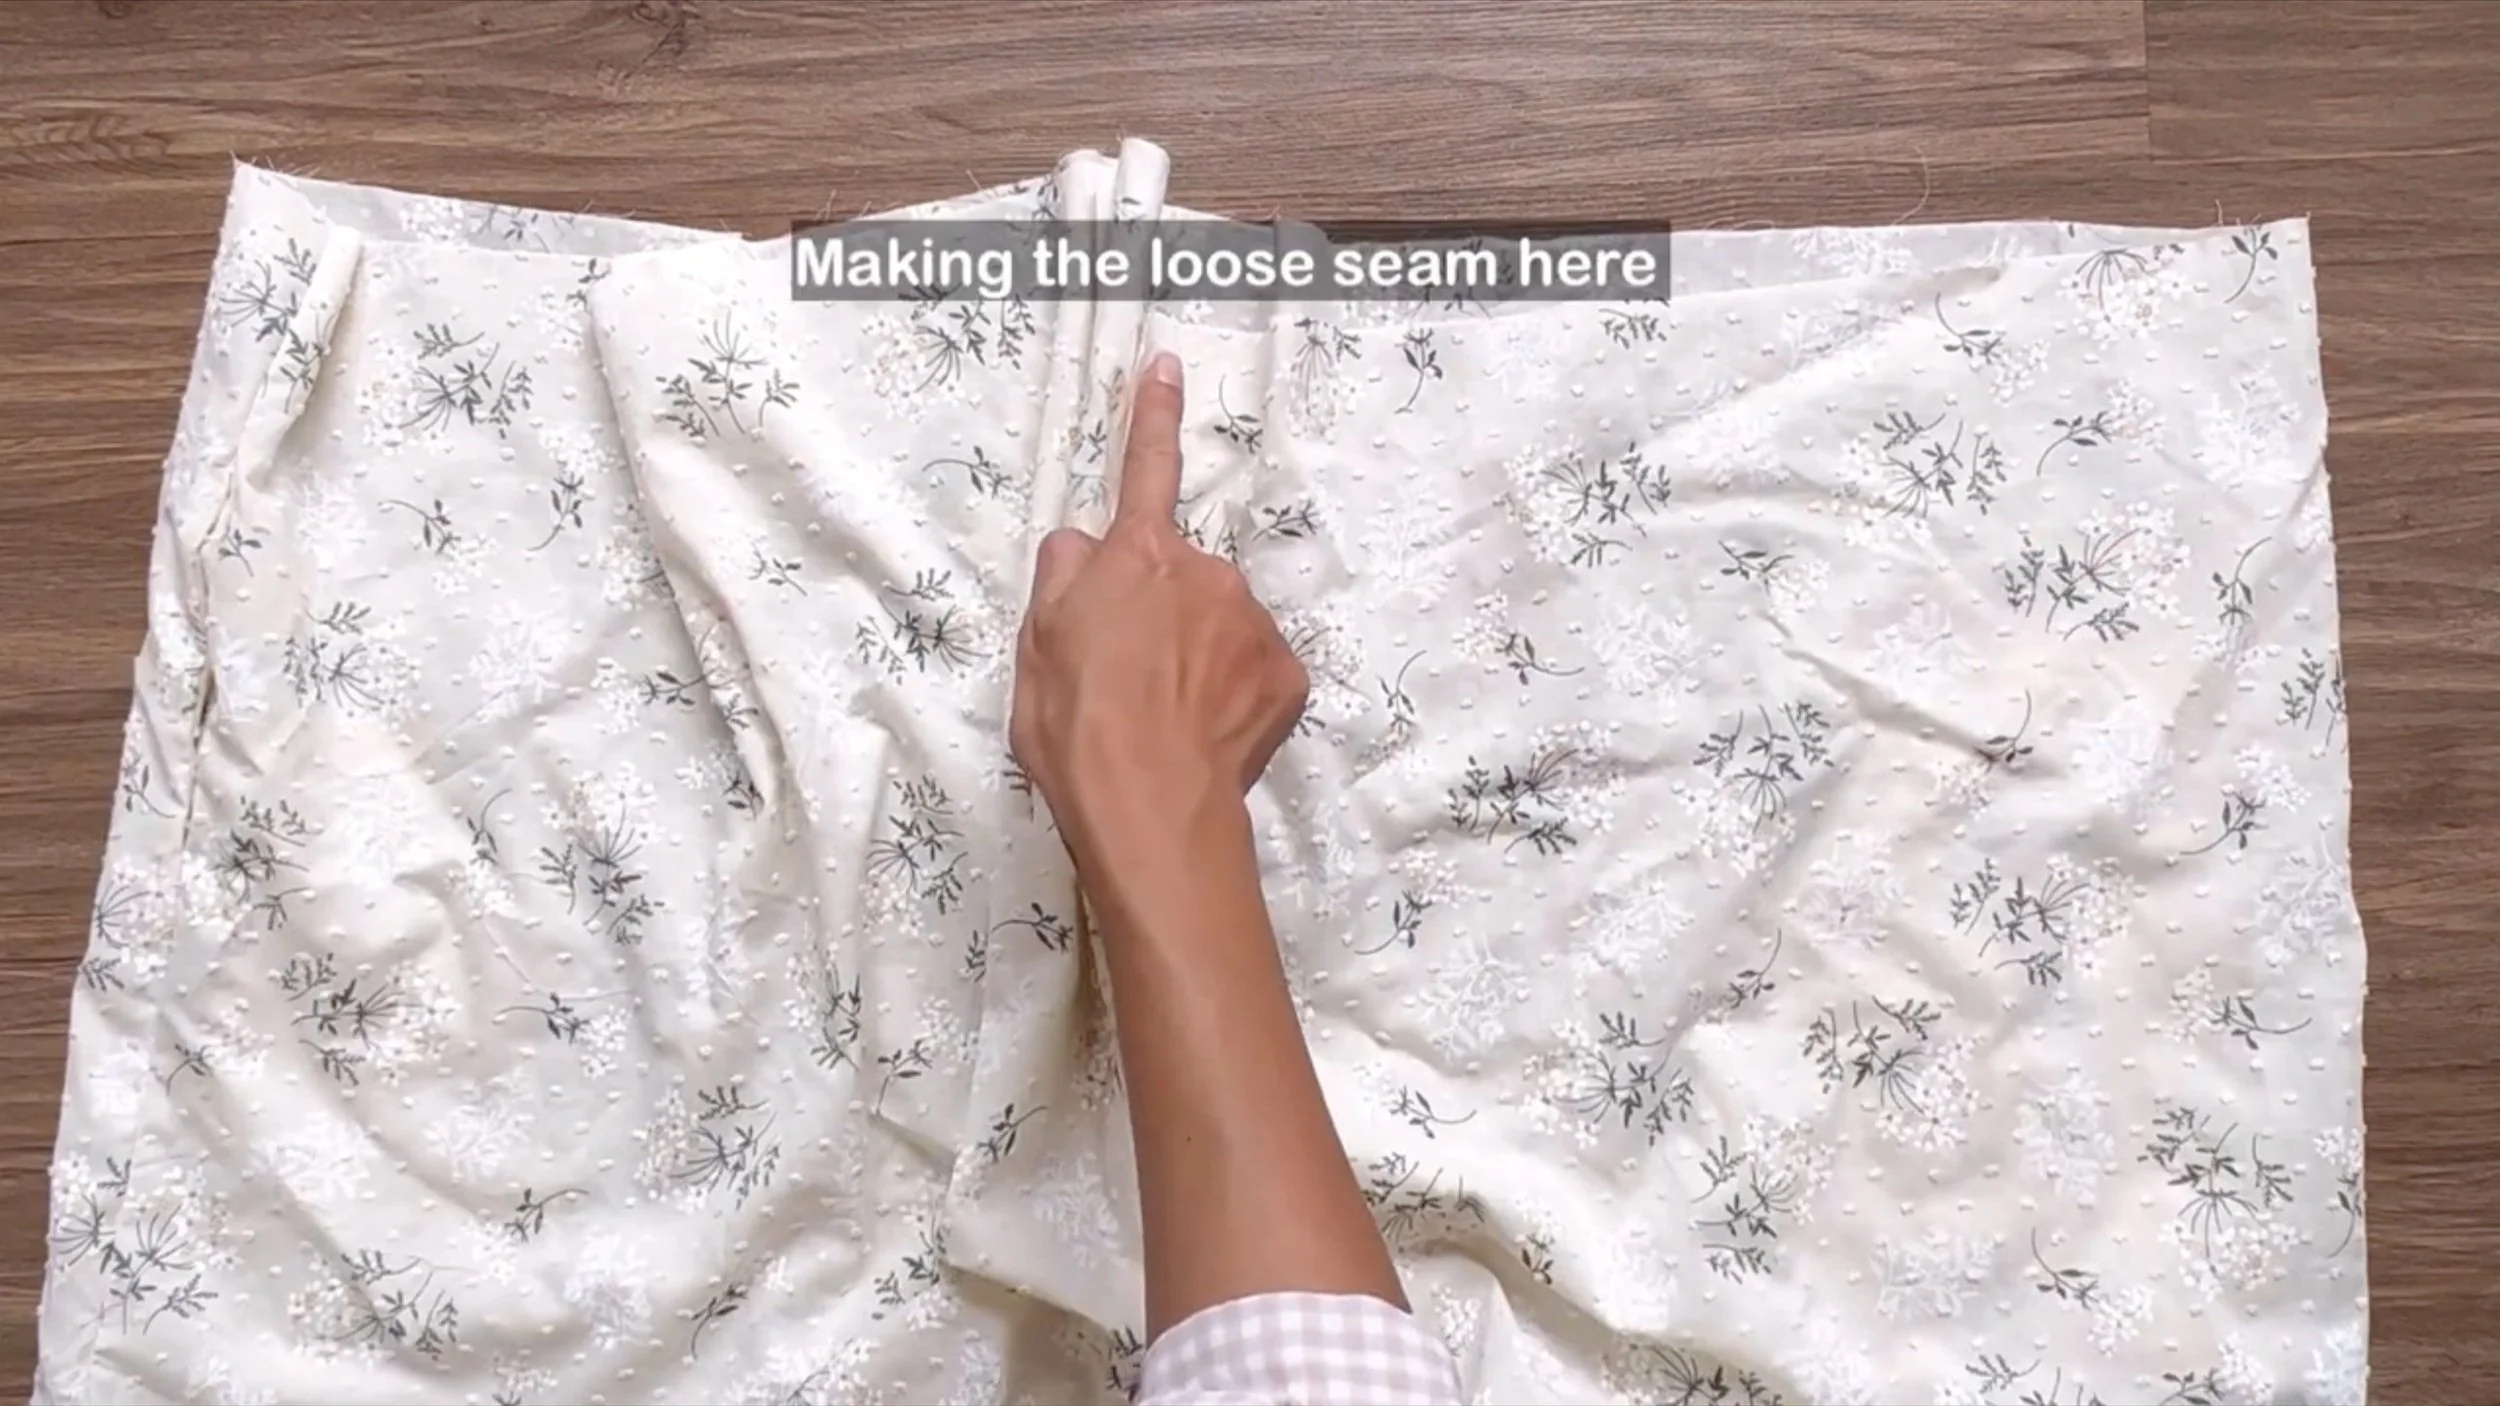
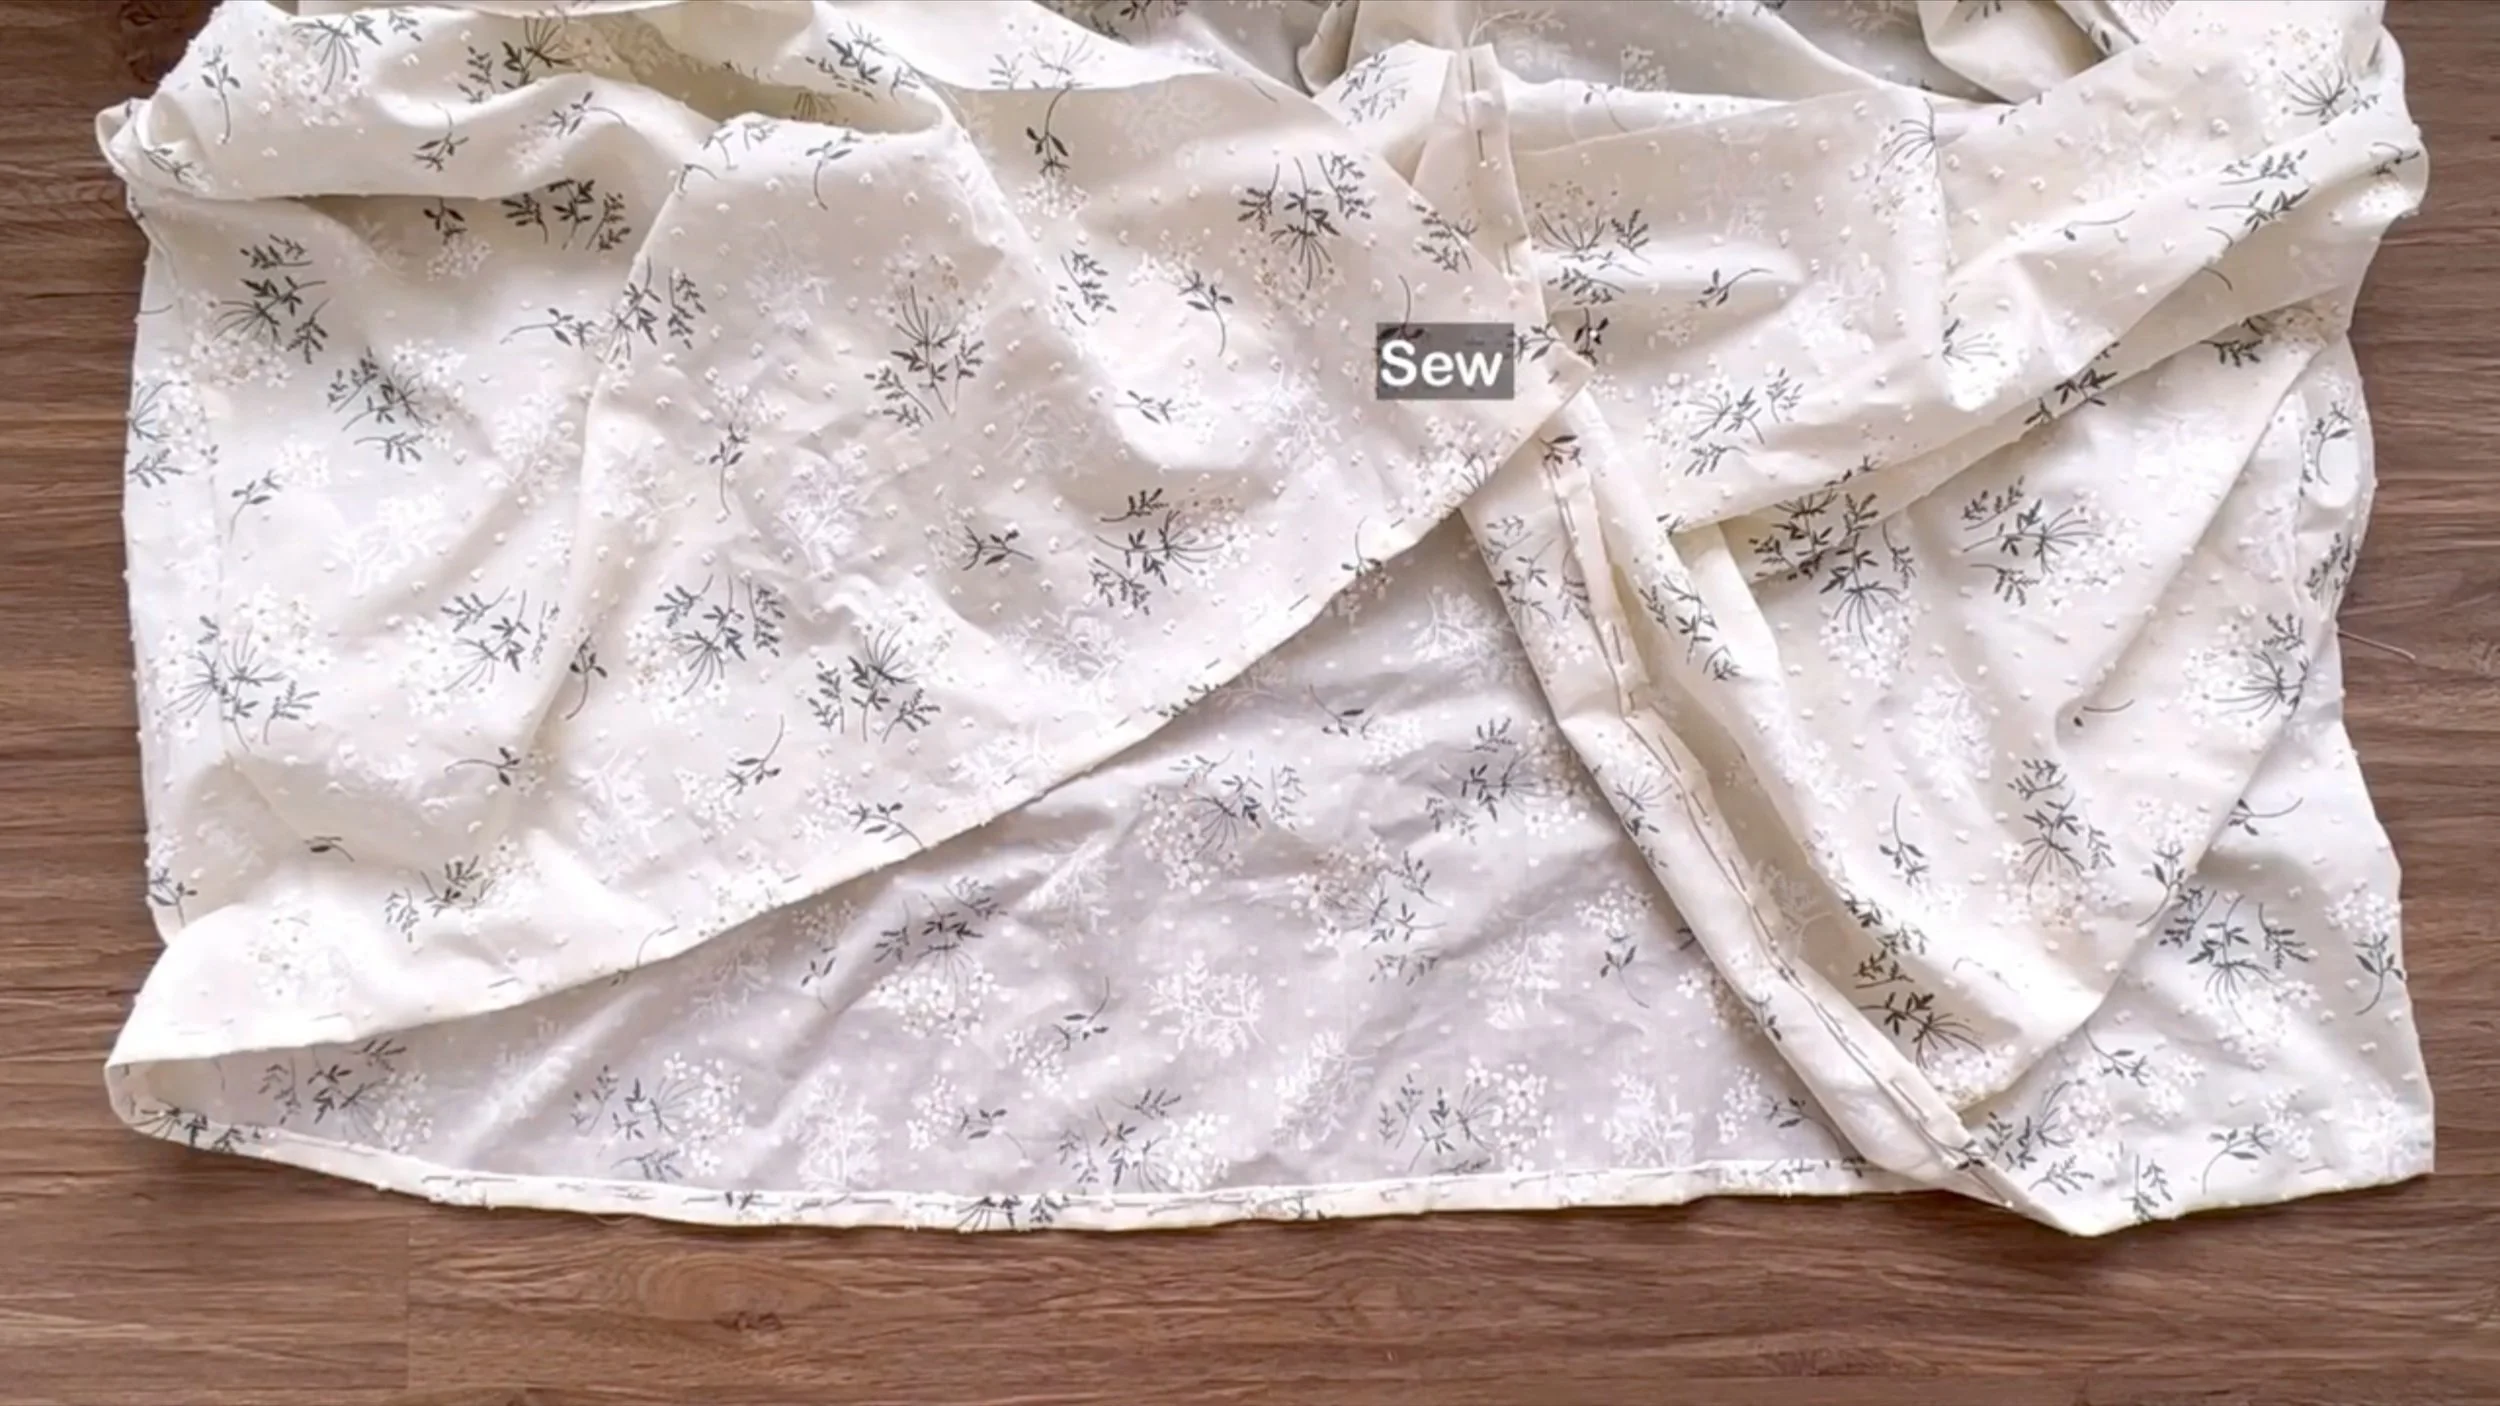
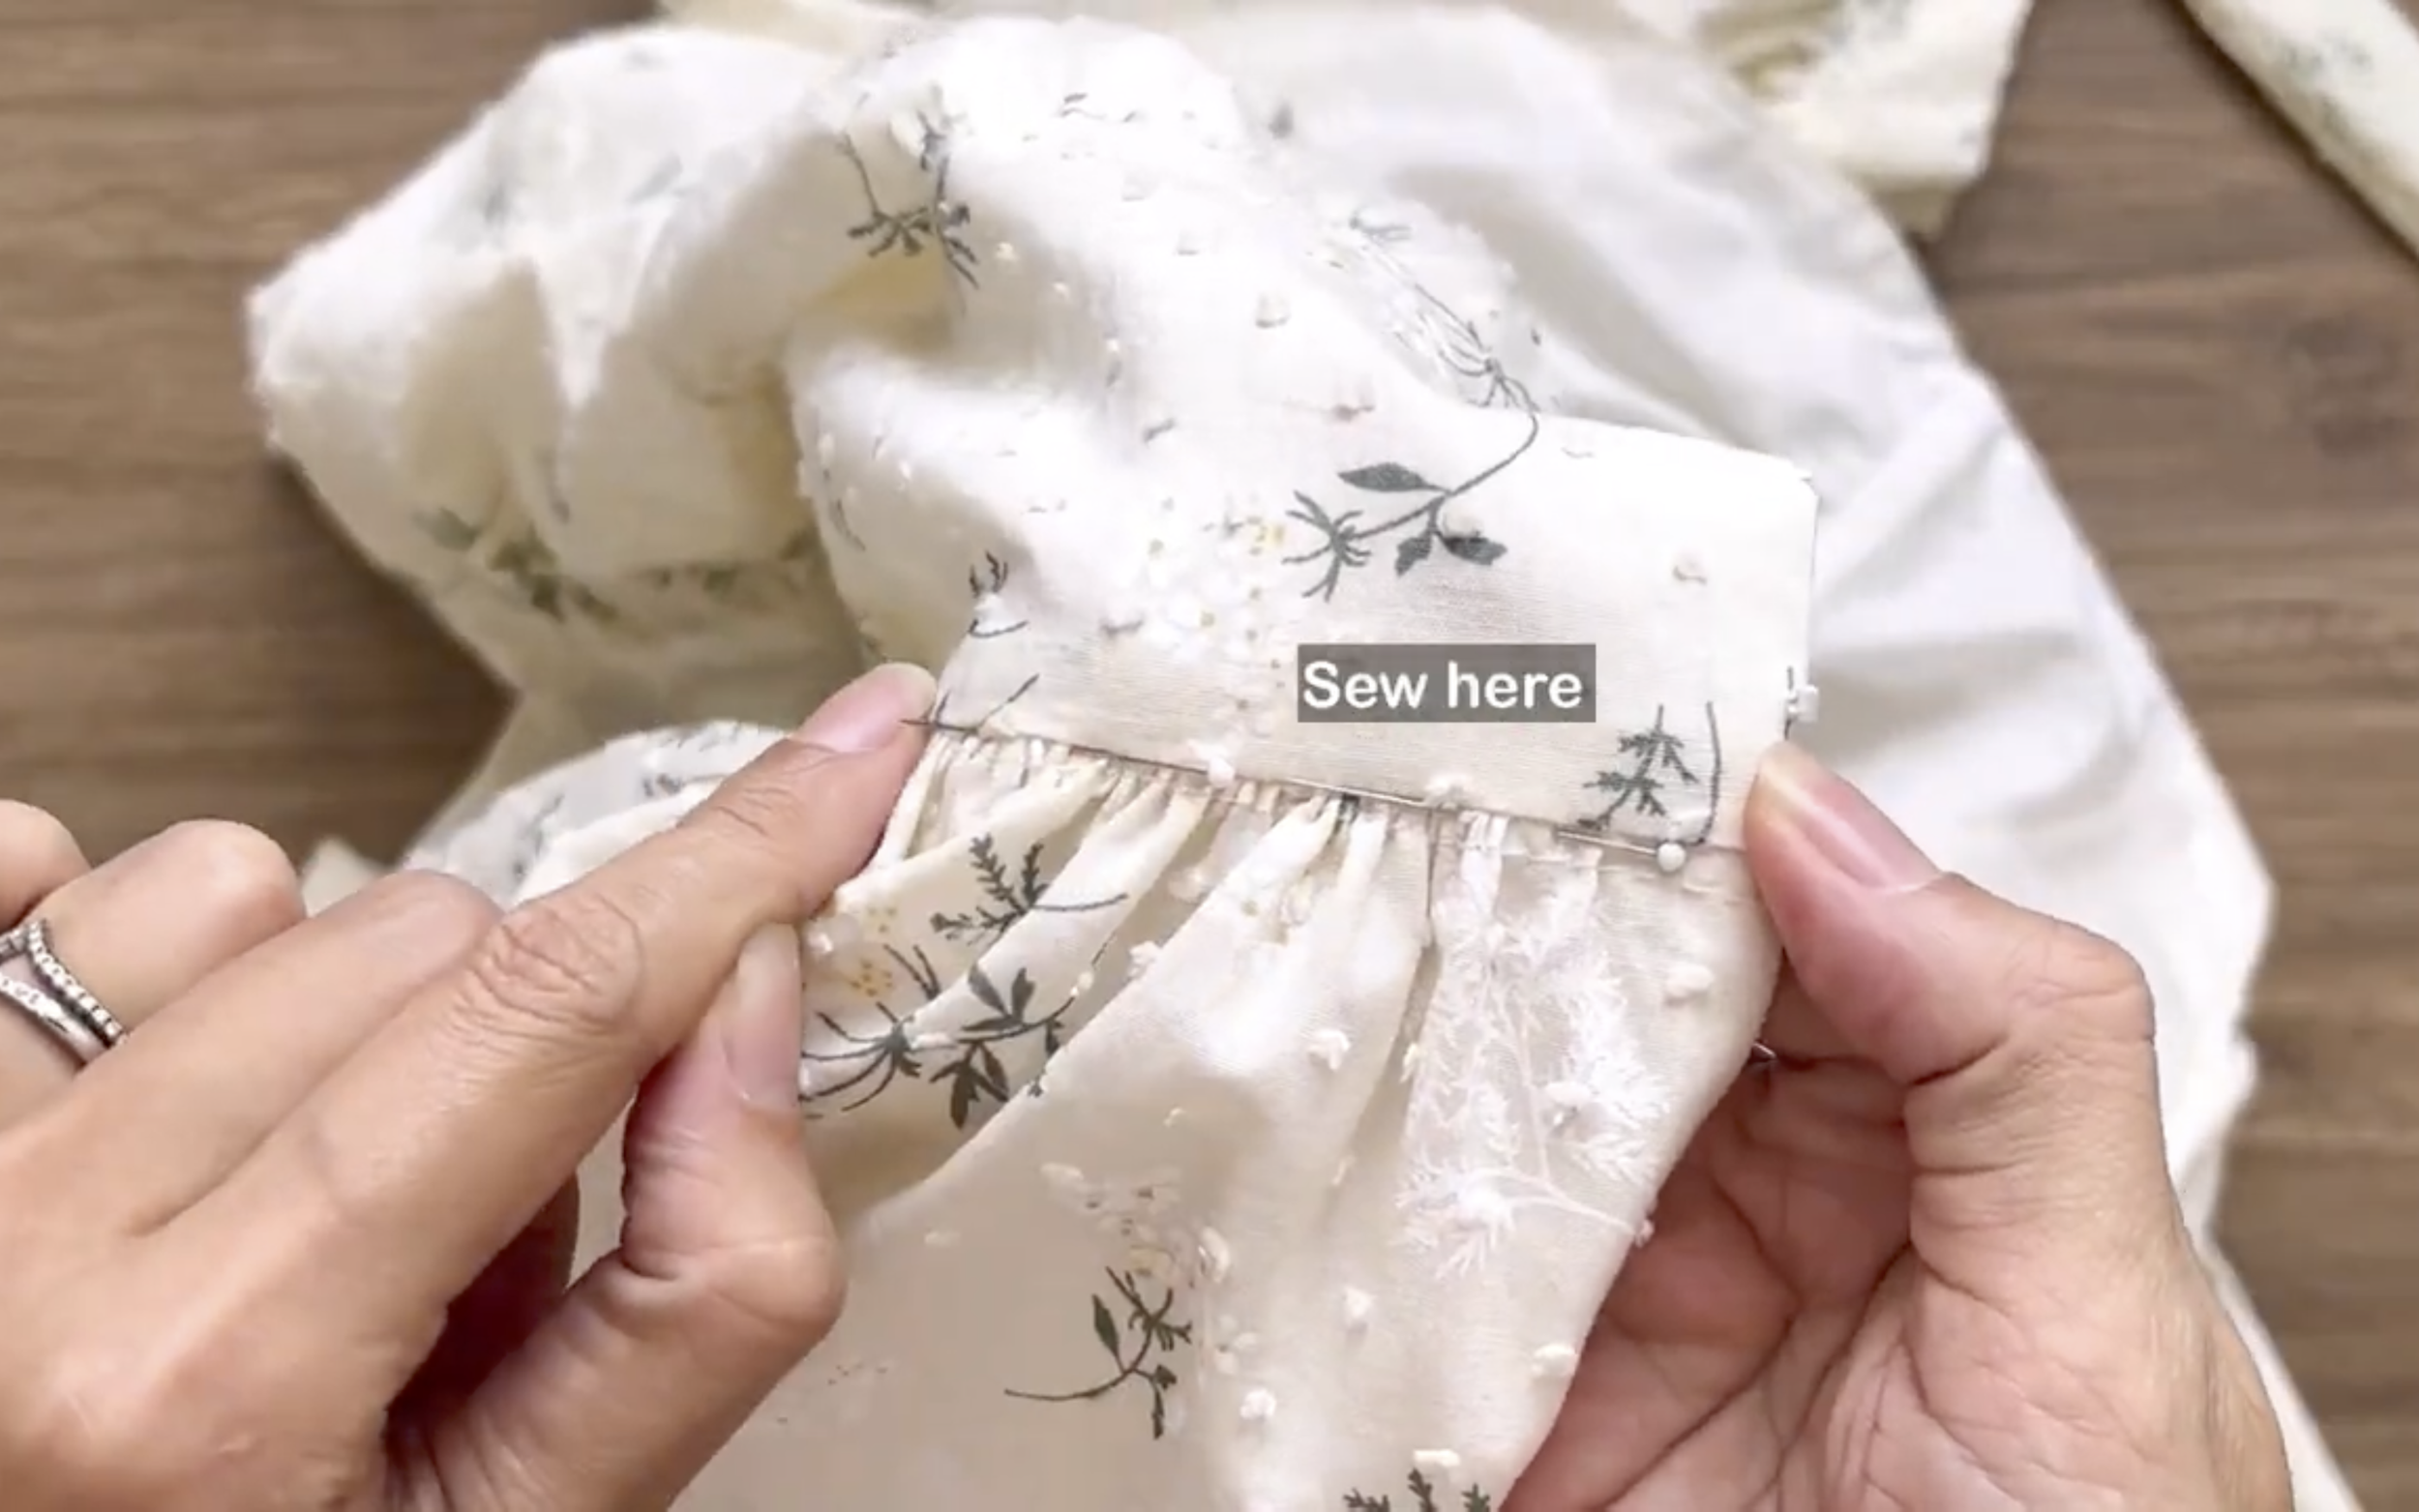
At the skirt's top, make a loose seam, creating gathered fabric.

Make sure the gathered fabric width matched the top part's end width.
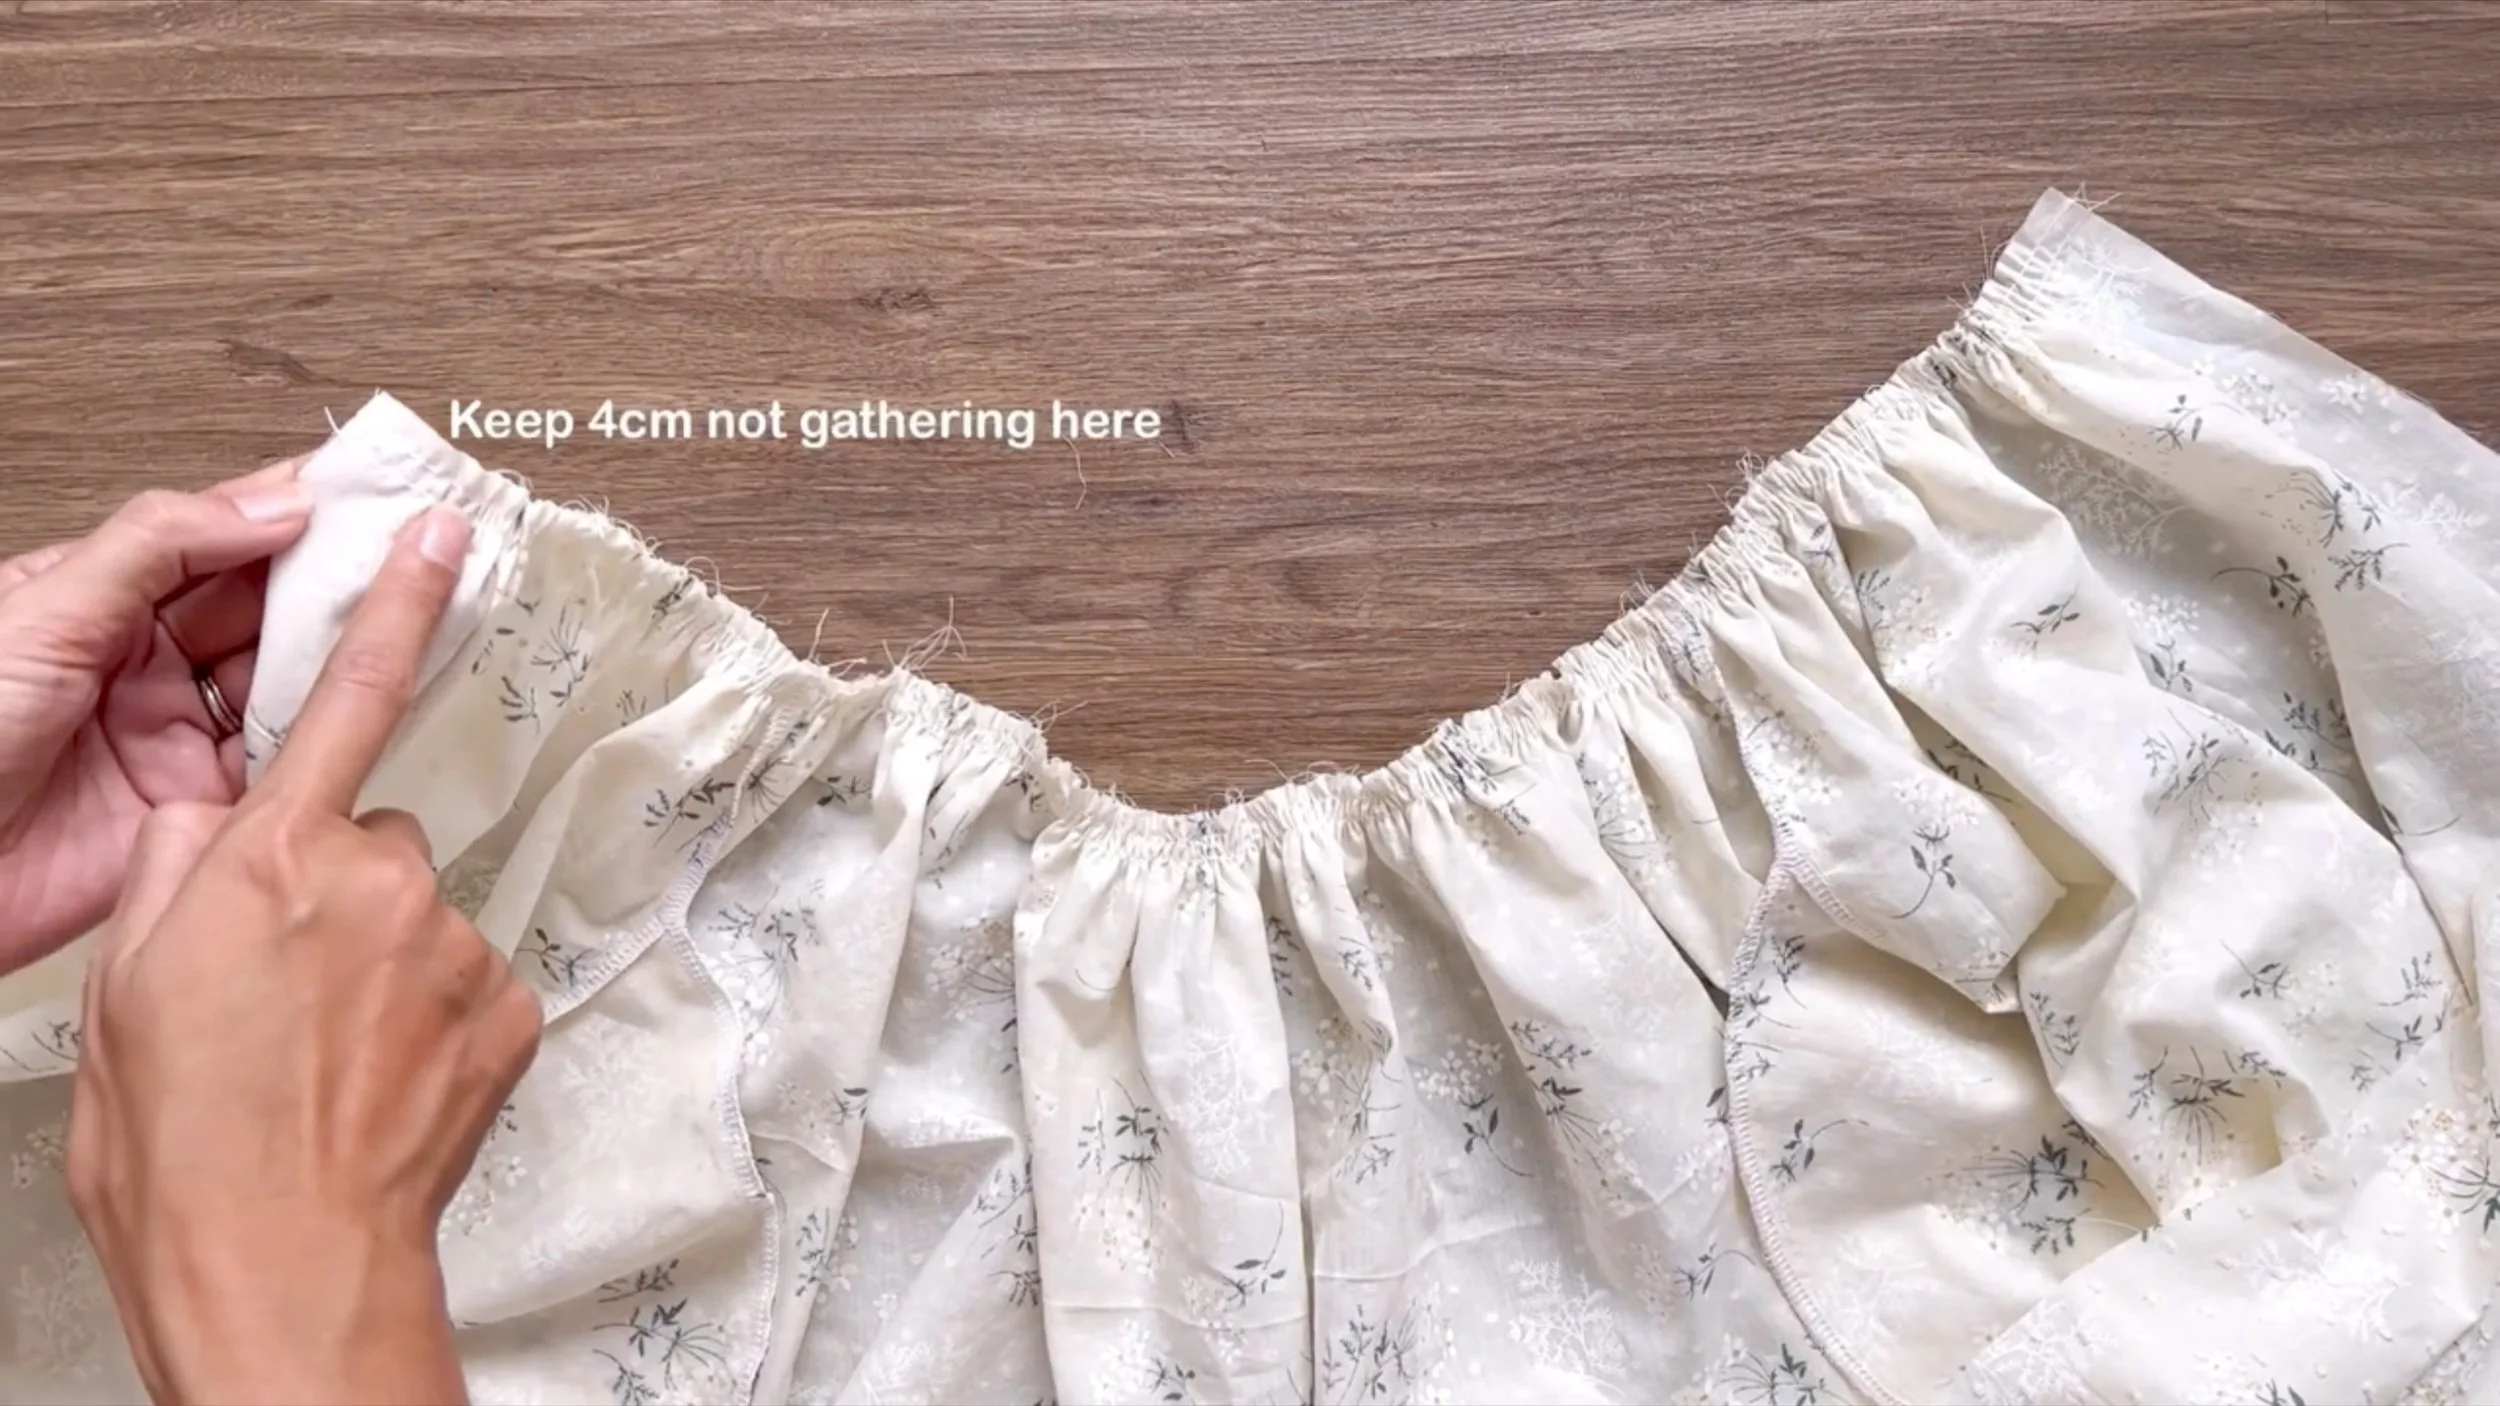
Leave 4 cm ungathered at the front for the button area.
For the lining, finish the skirt's end by folding the fabric inside twice by 0.5 cm each time and sewing.
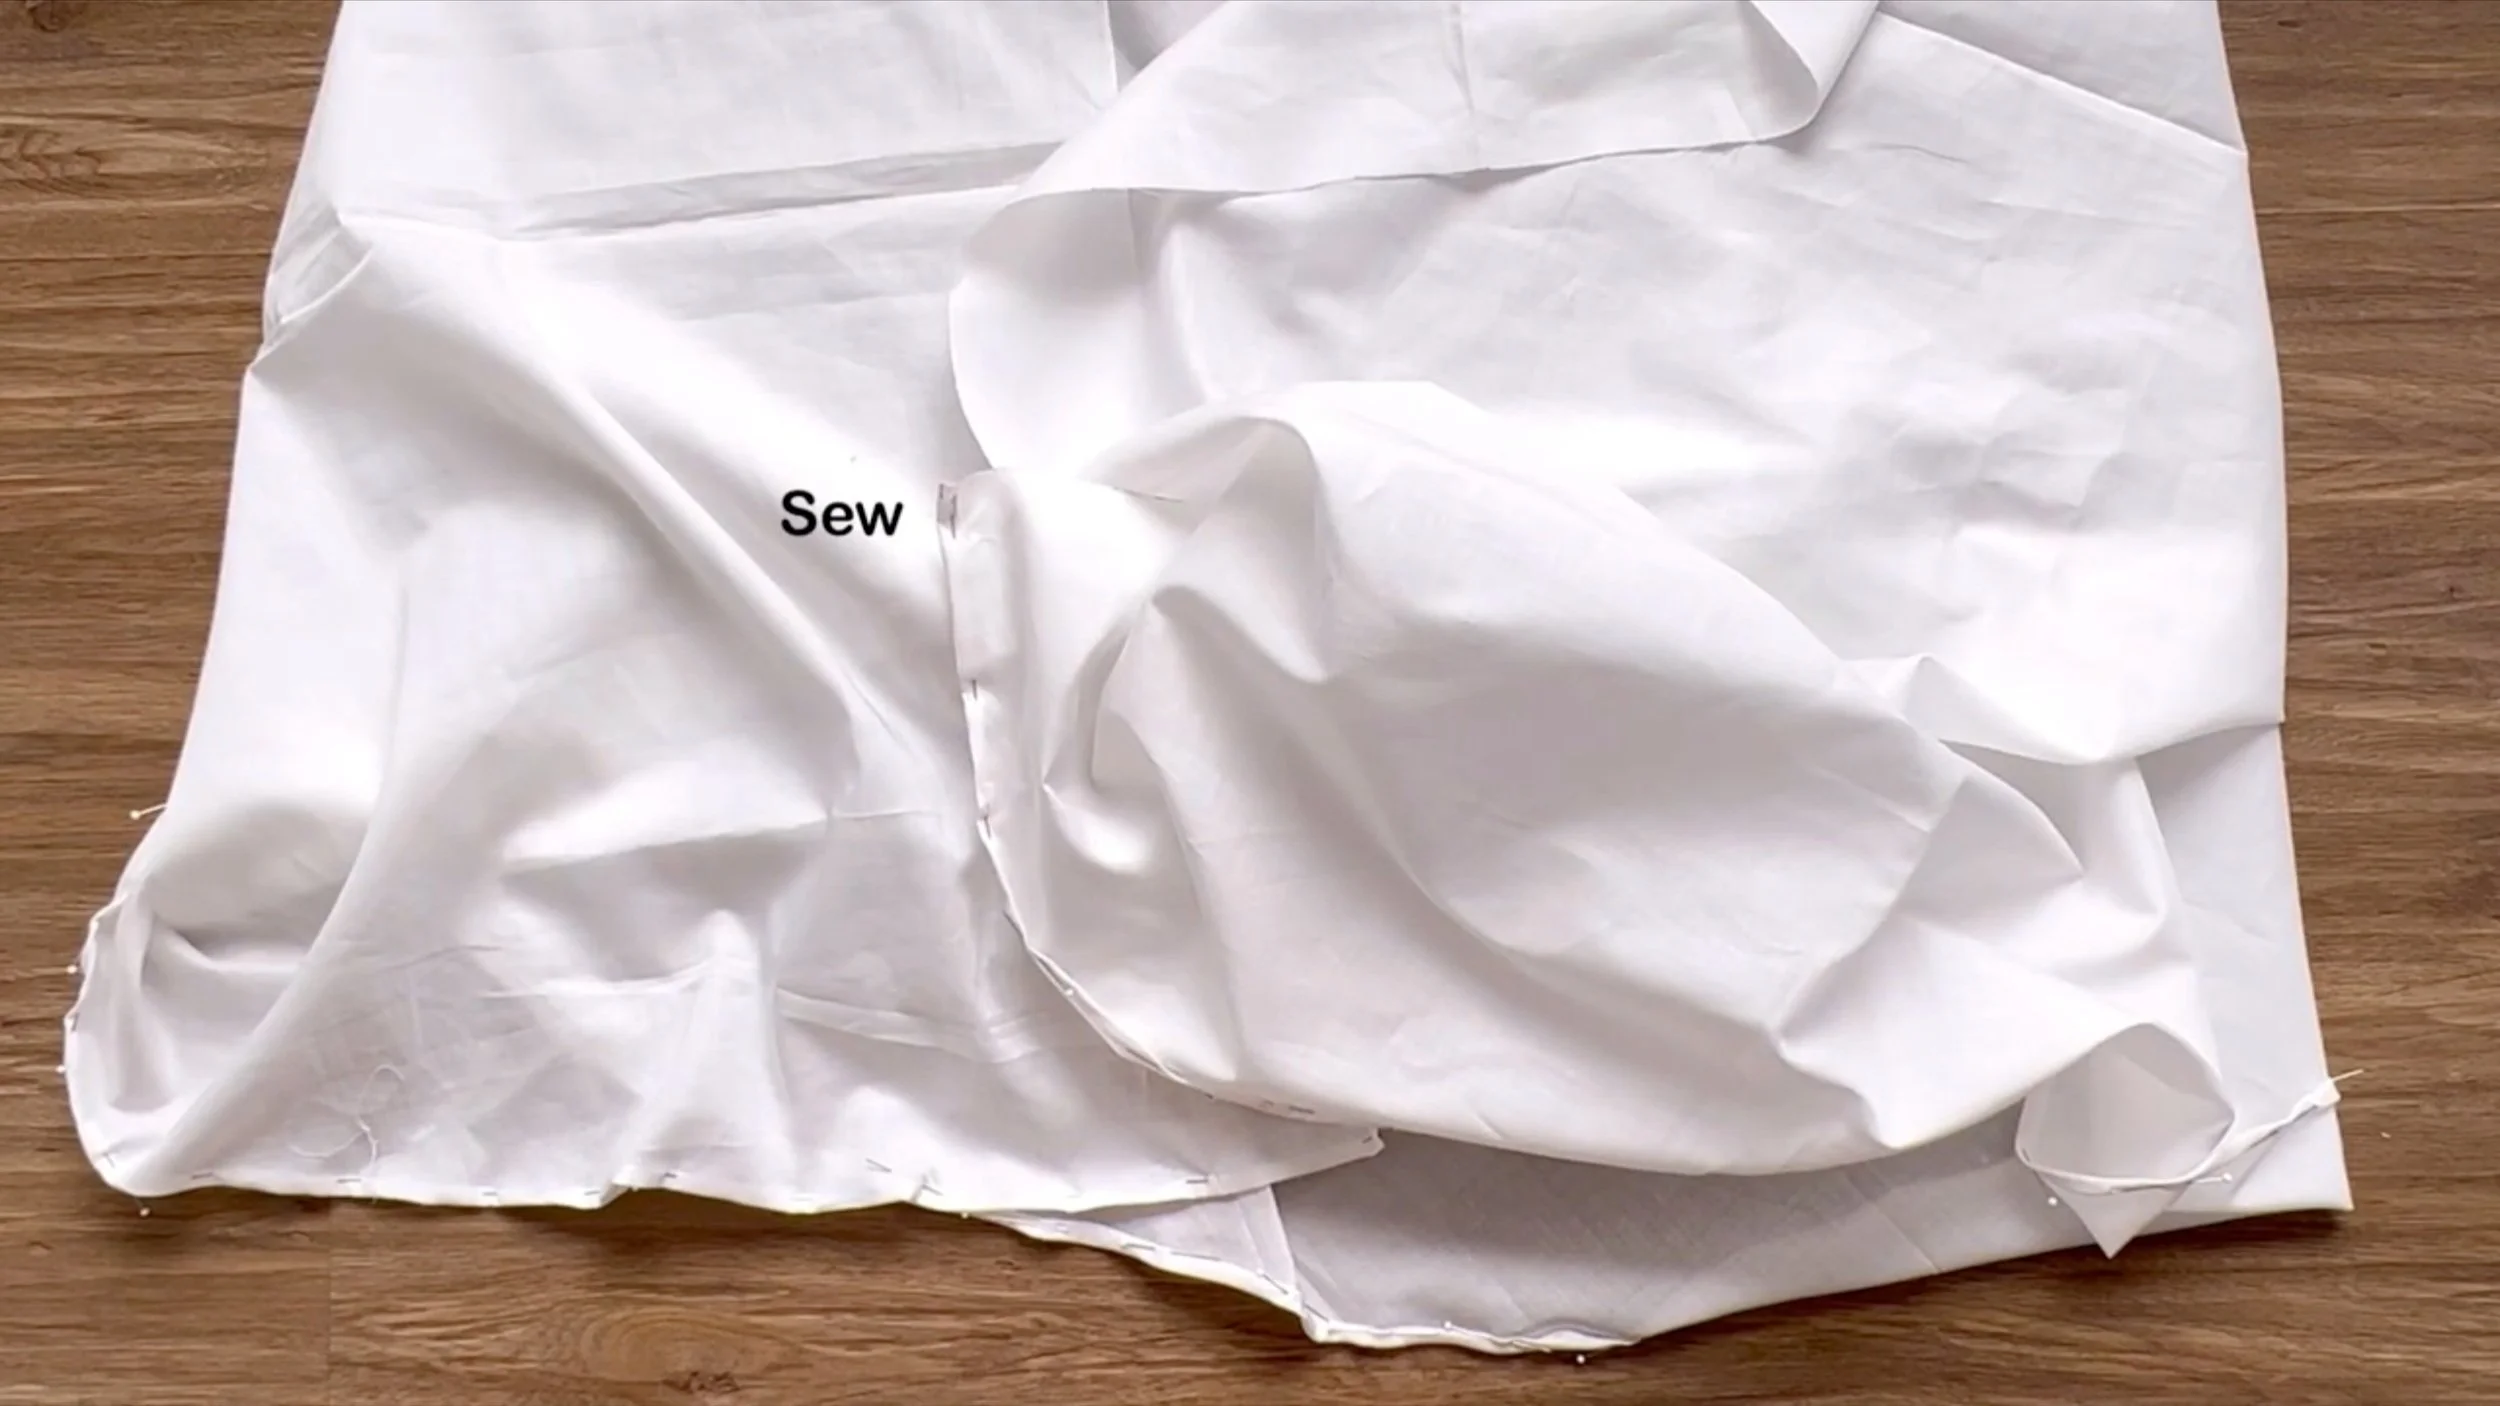
CONNECT THE SKIRT PART TO THE TOP PART OF THE DRESS
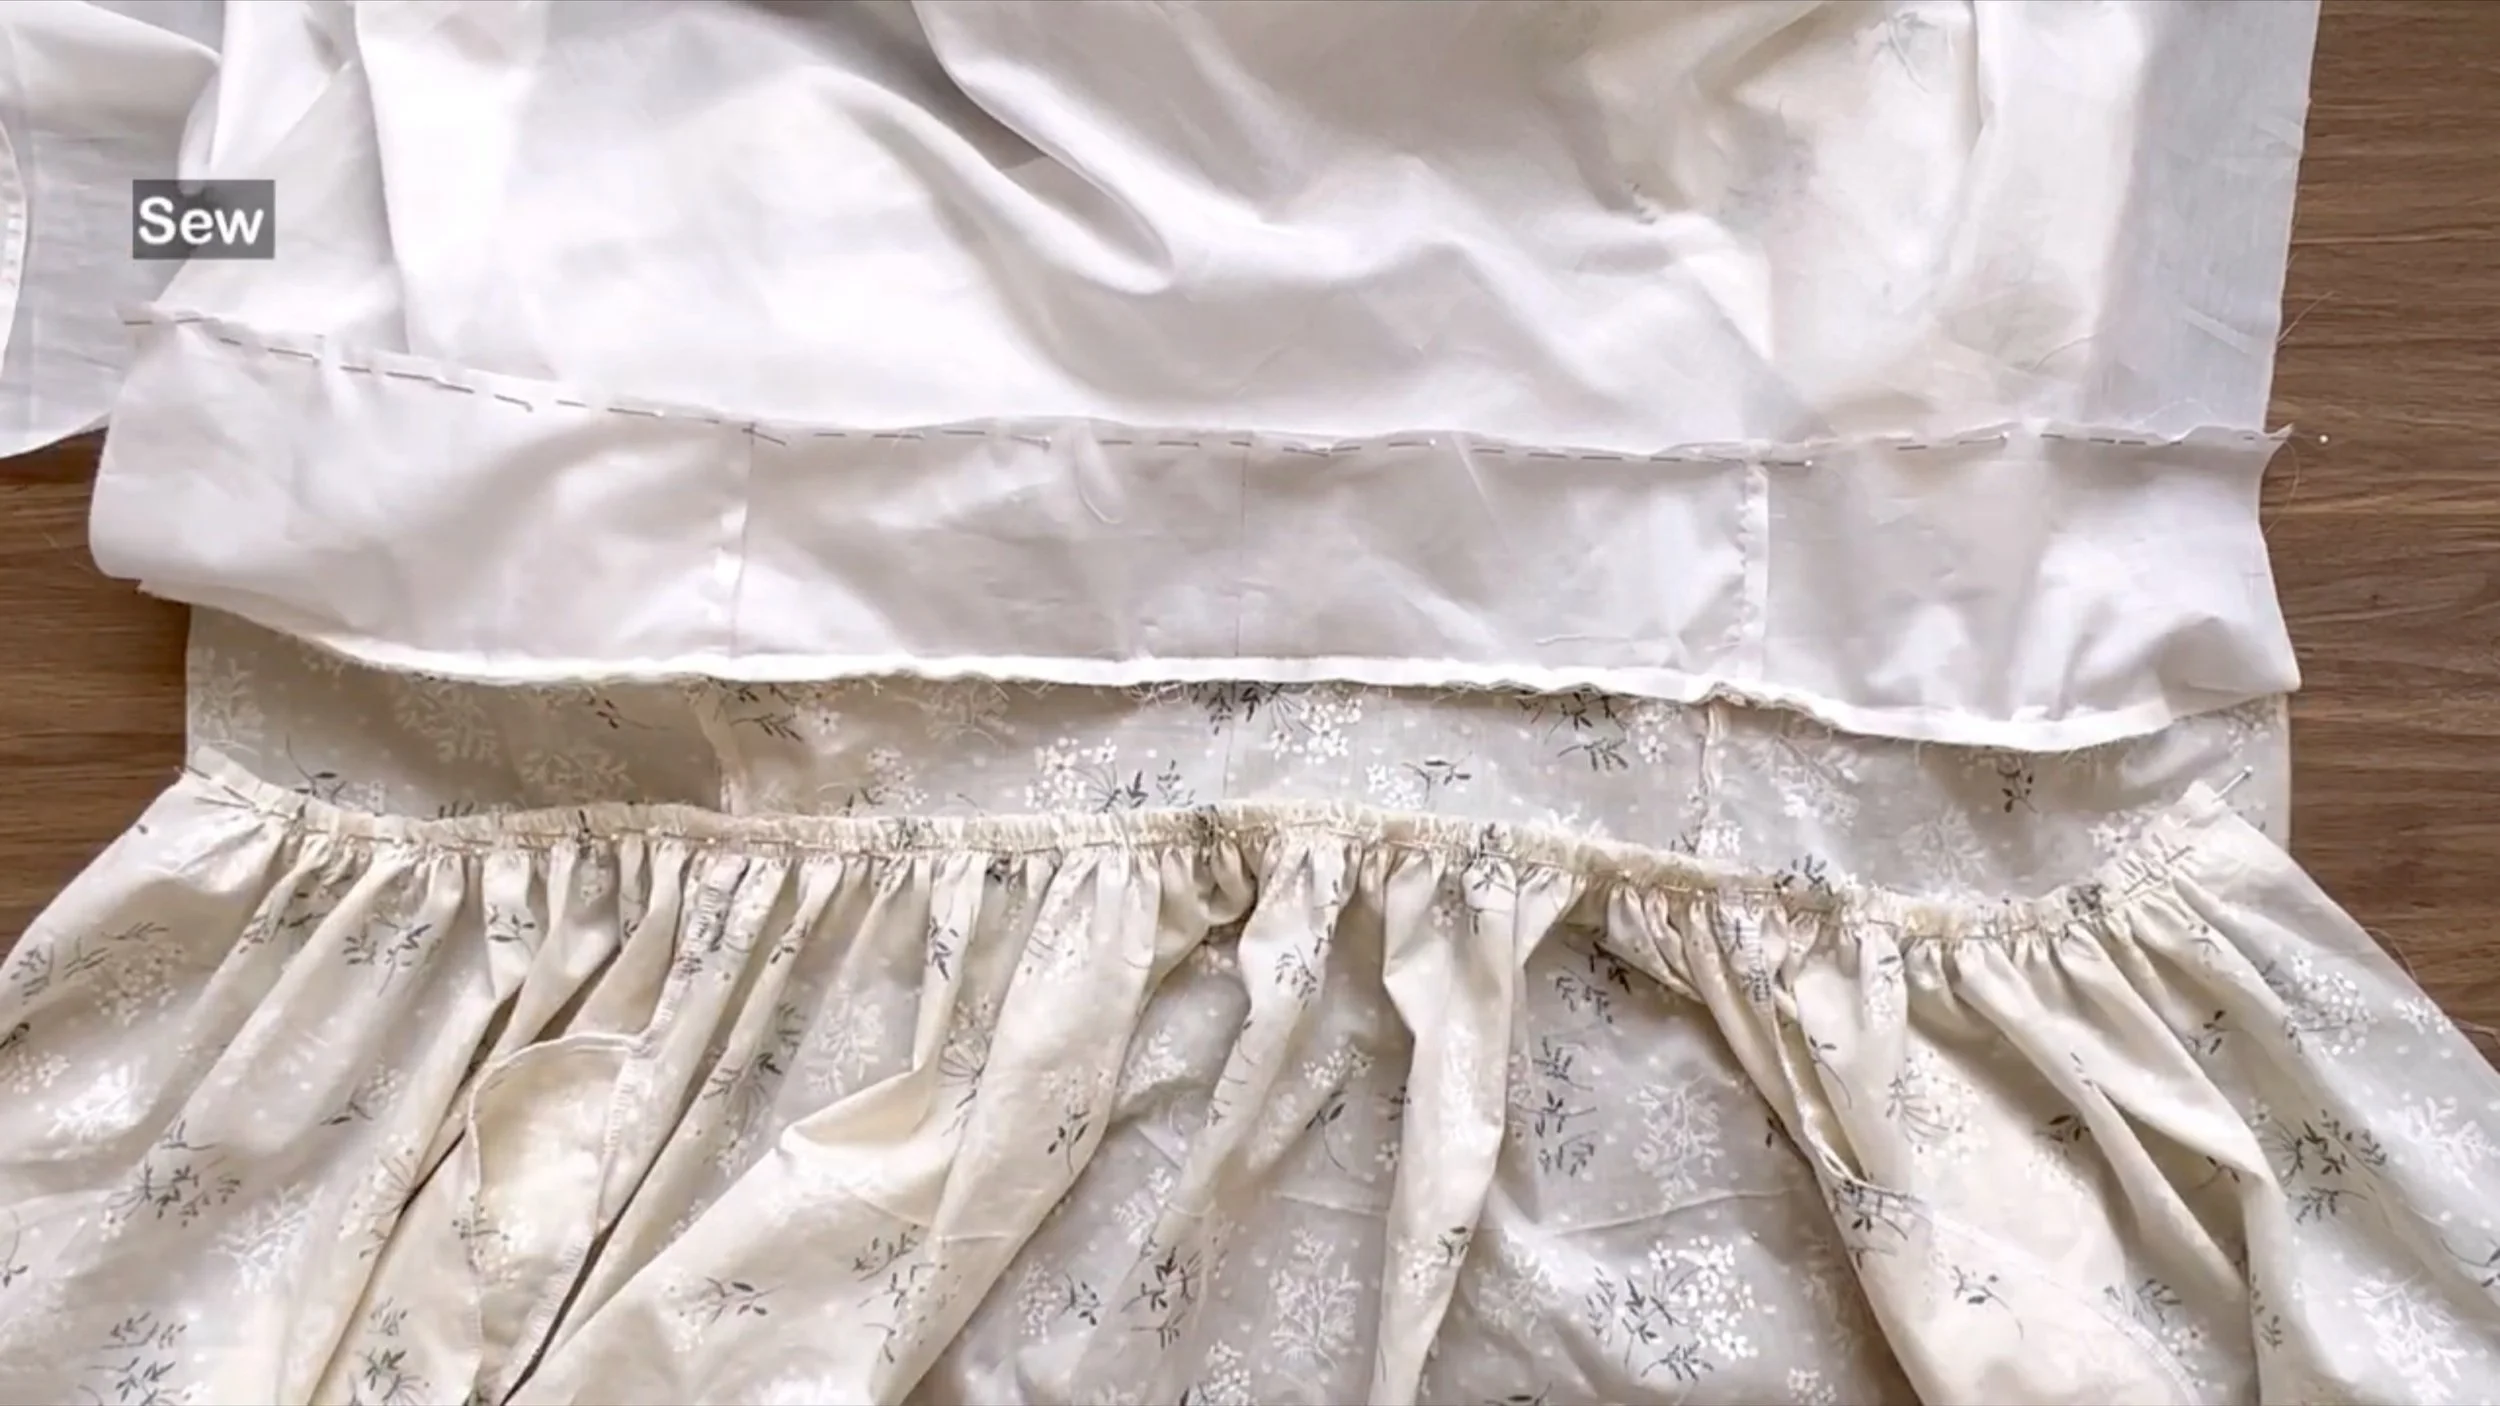
Connect the dress's top and bottom separately for the main fabric and lining.
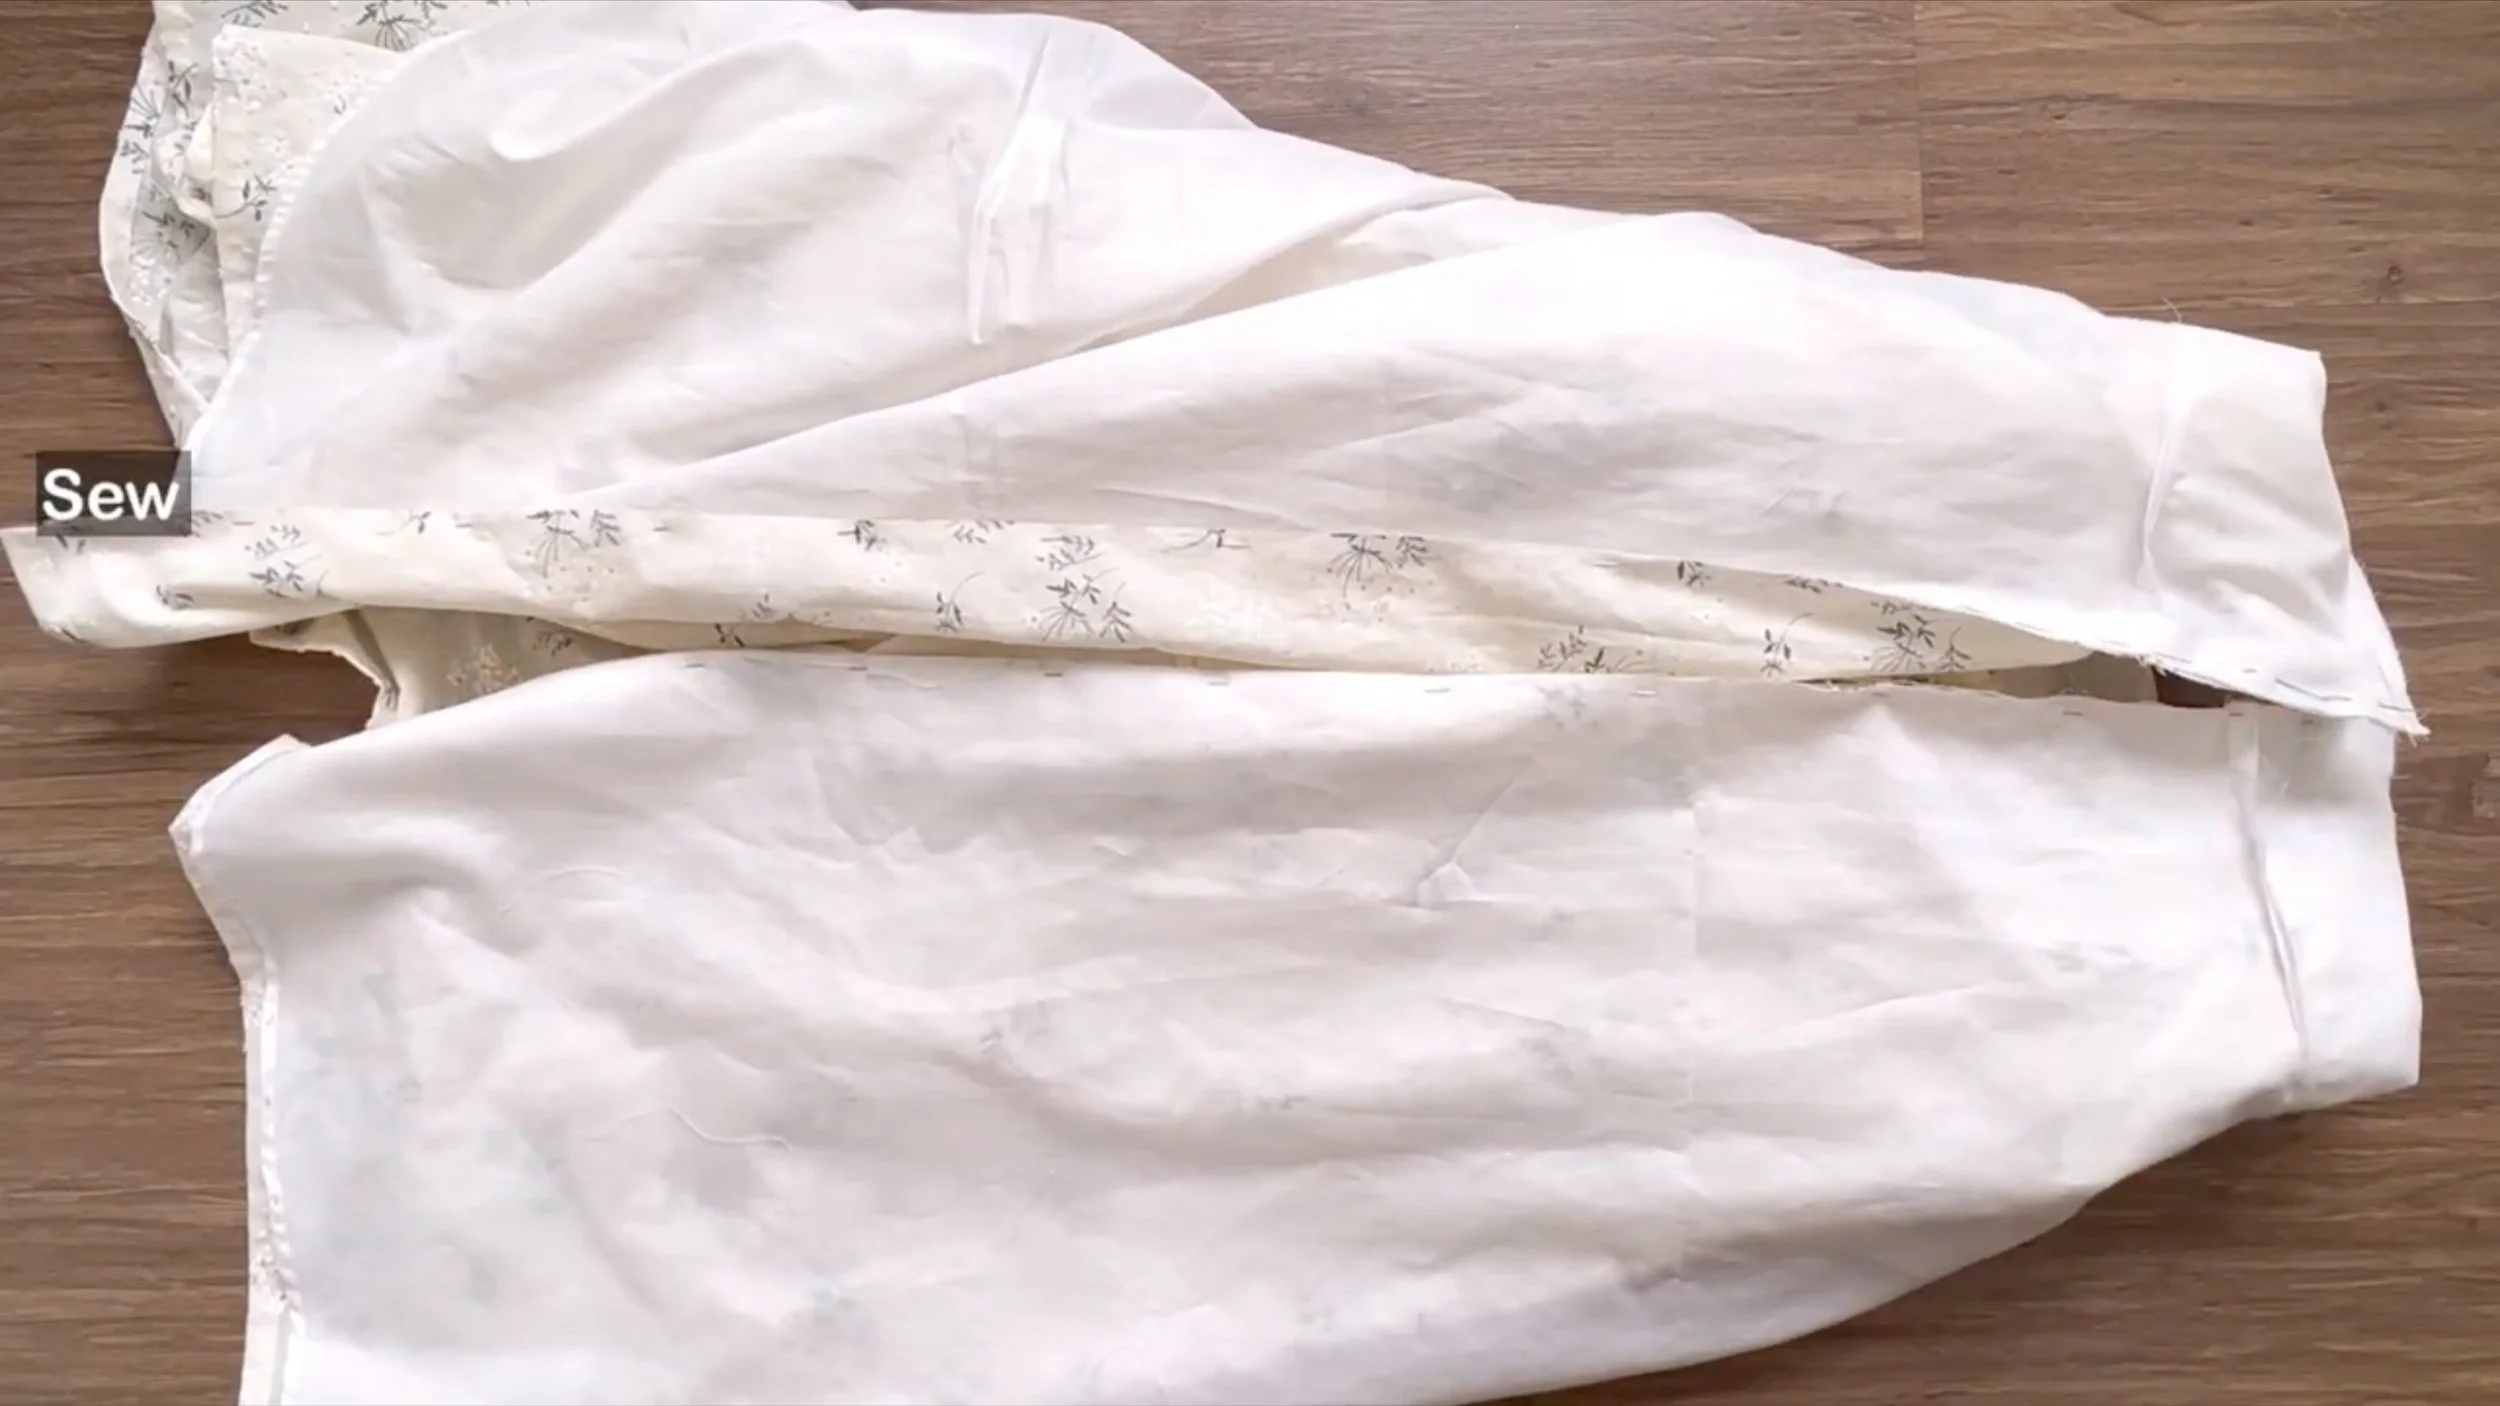
After sewing, connect the middle line of the front skirt's main fabric and lining fabric.
To secure the waistbands together and hide the fabric ends inside, an understitching seam can be added at the front waistband's end, though leaving them free is also an option.
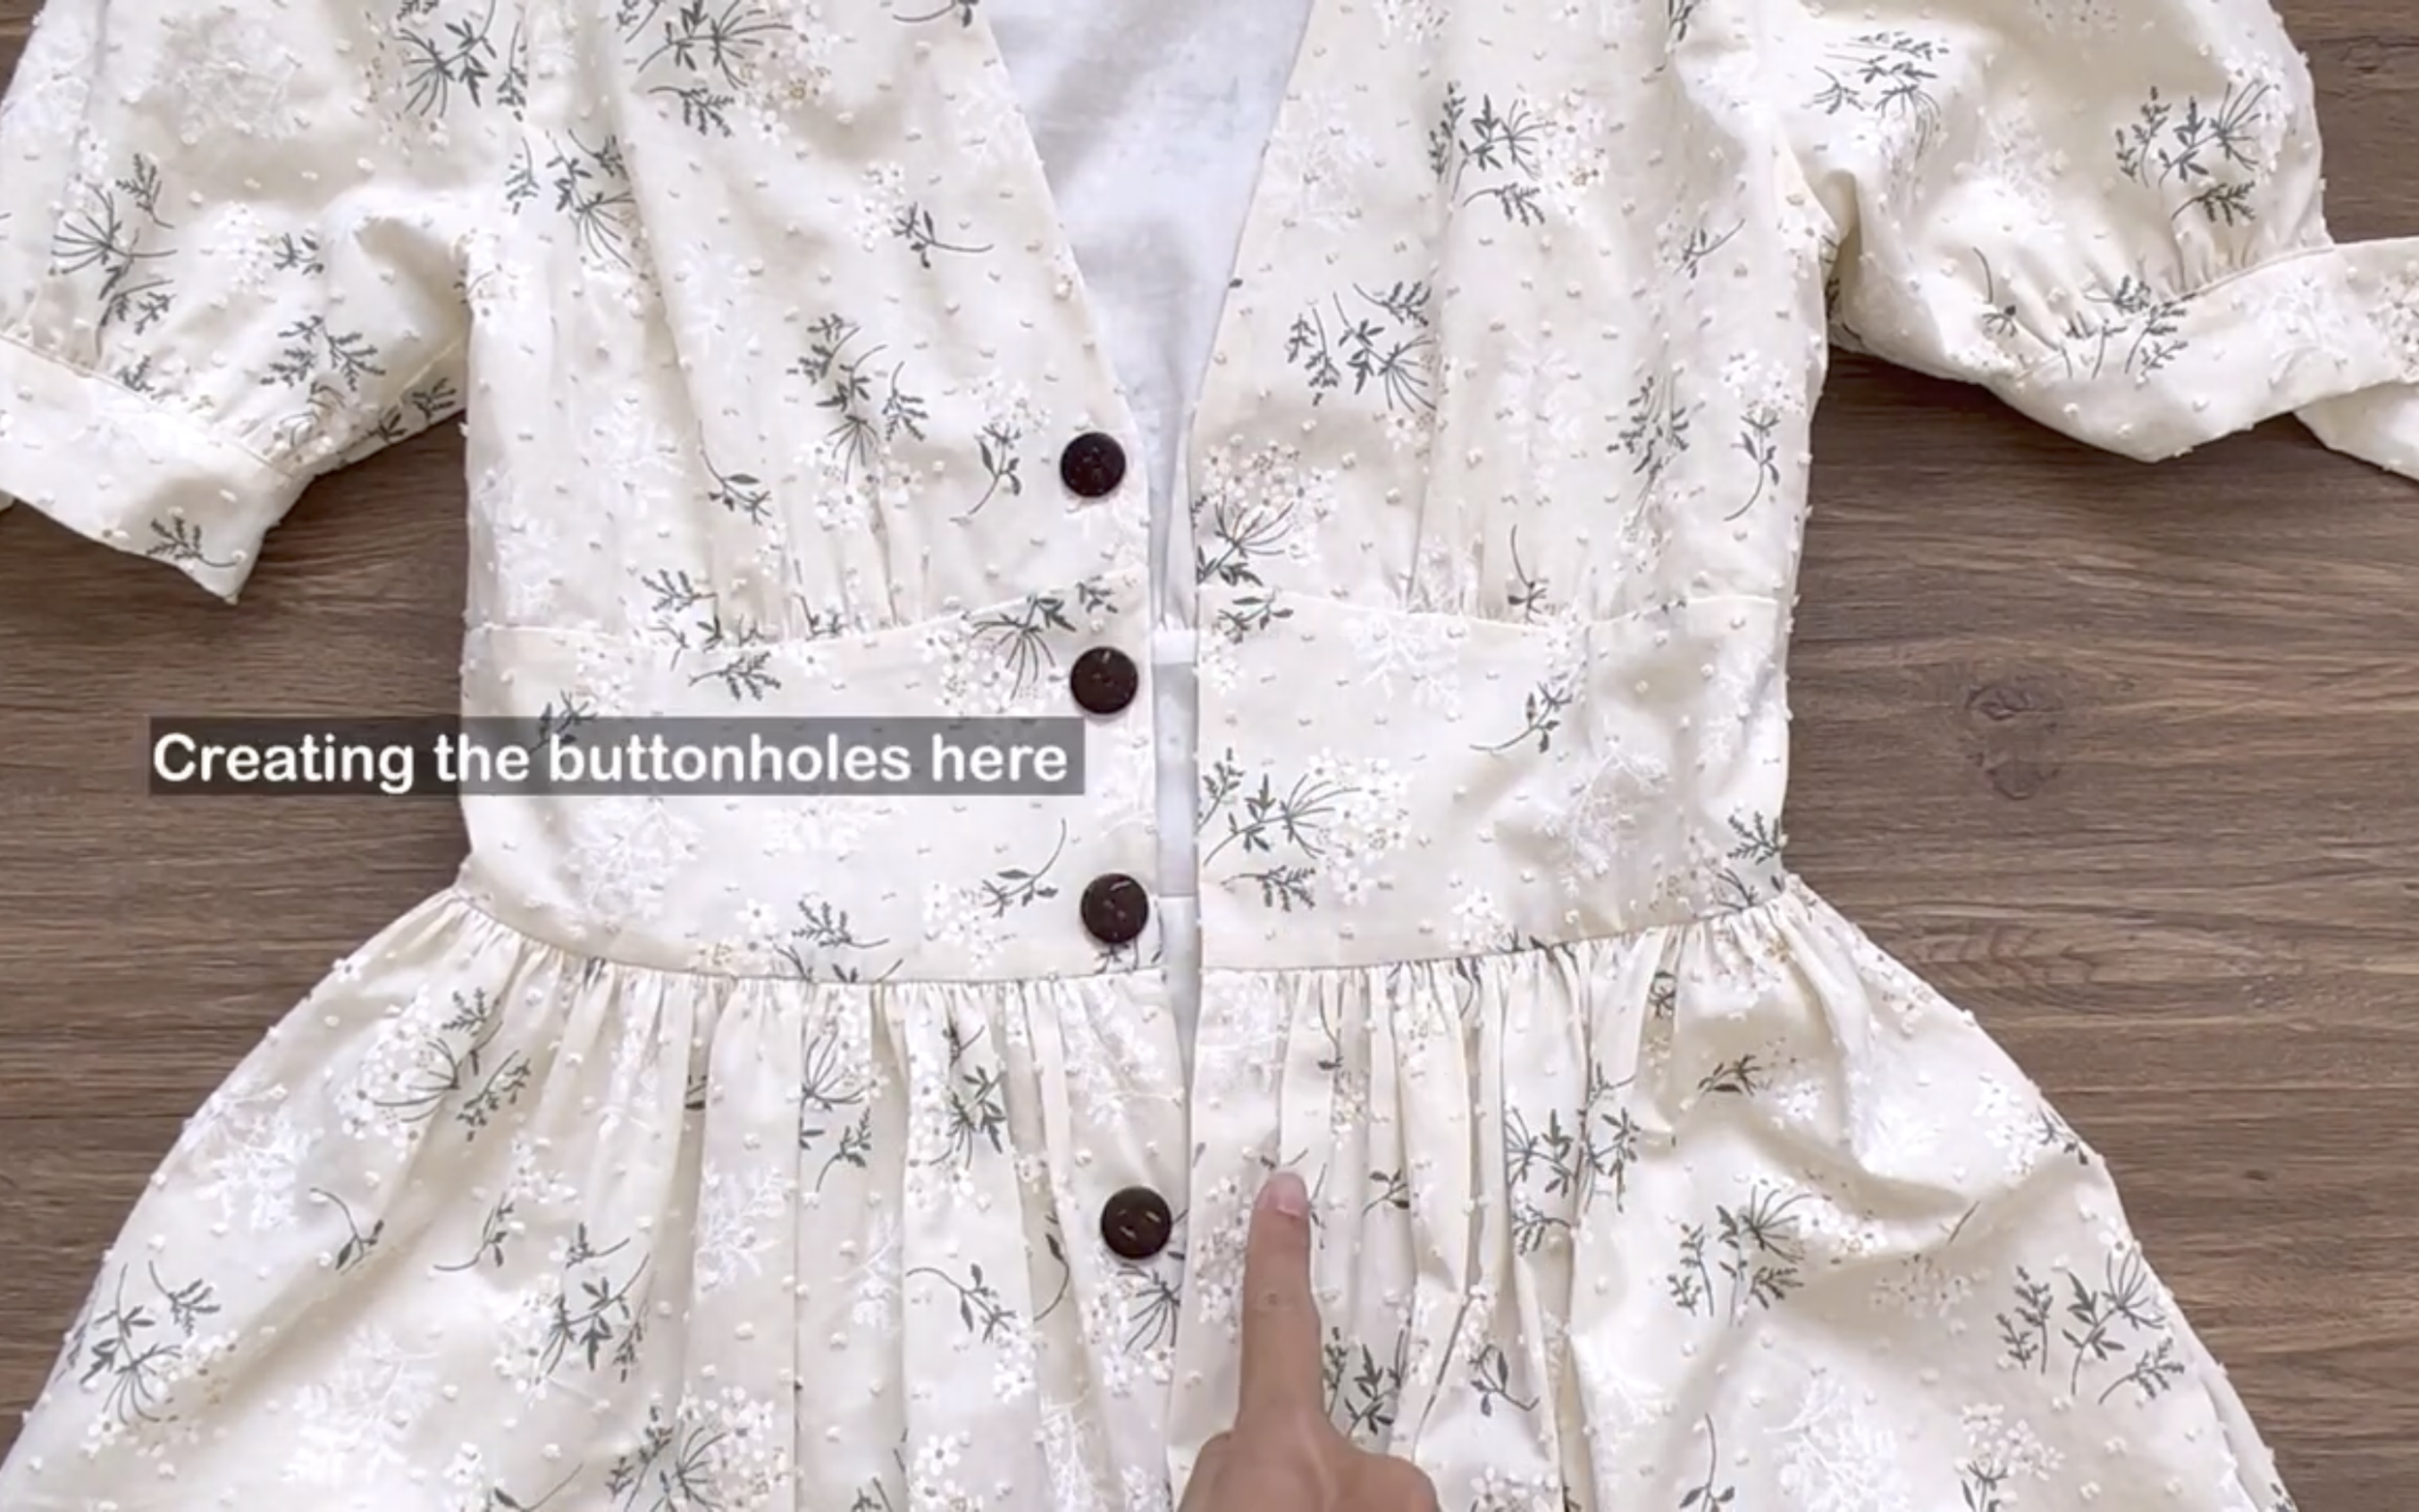
Finally, added buttons and created buttonholes.

DIY Spring Cottagecore dress (Bustier dress with puff sleeve and button front)
And that’s a wrap on this DIY!
Here’s the final result—one of those dreamy cottagecore dresses I’ve always wanted in my wardrobe, and now it’s finally here. It turned out absolutely perfect!
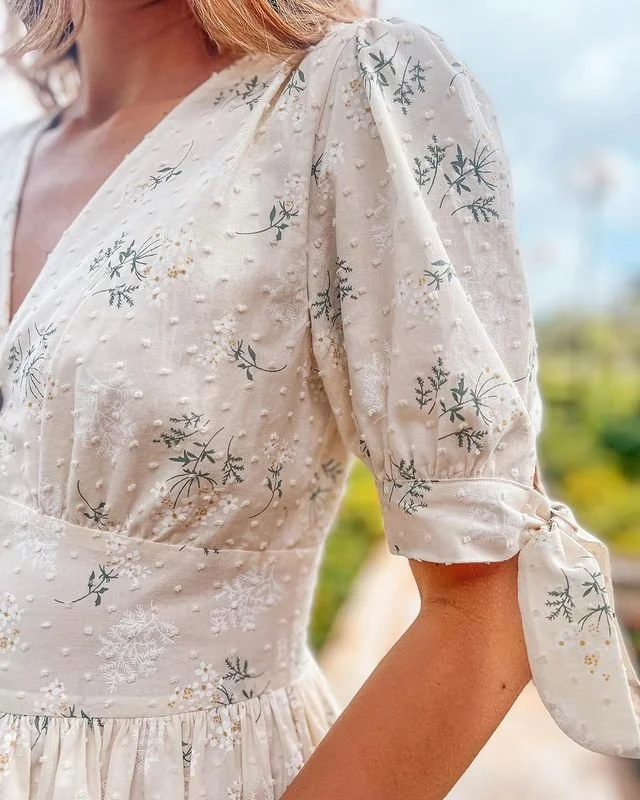
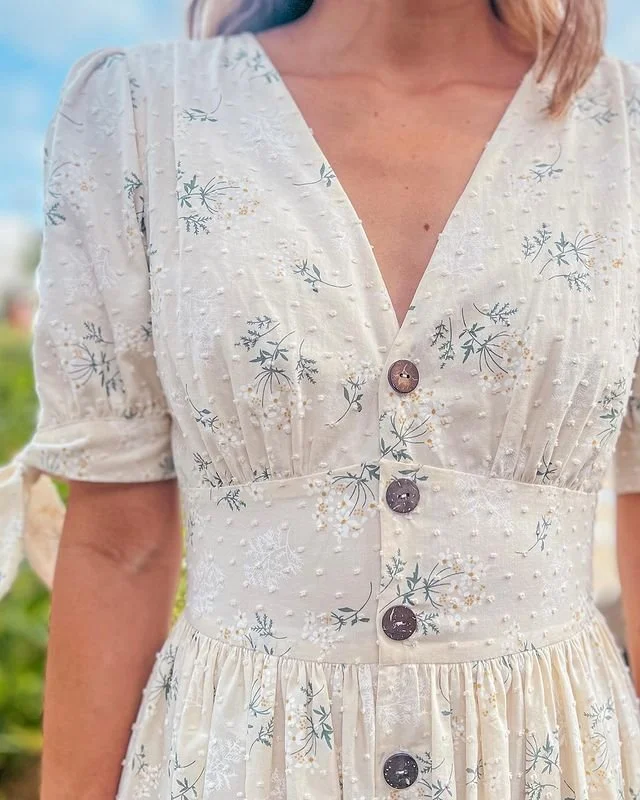

I hope you found my step-by-step guide helpful and inspiring.
If you’re interested in making your own, give it a try and let me know how it goes!
Until then, happy sewing!