DIY Summer blouse/dress | Super easy and beginner friendly sewing project | Step by step tutorial

DIY Summer blouse/dress | Super easy and beginner friendly sewing project | Step by step tutorial
Welcome or welcome back to my sewing blog!
In today's tutorial, I'm going to share with you how I made a Summer blouse. This is a super easy and beginner friendly project. You also can turn it into a cute baby doll dress as well.
So let's get started!
WHAT YOU’LL NEED
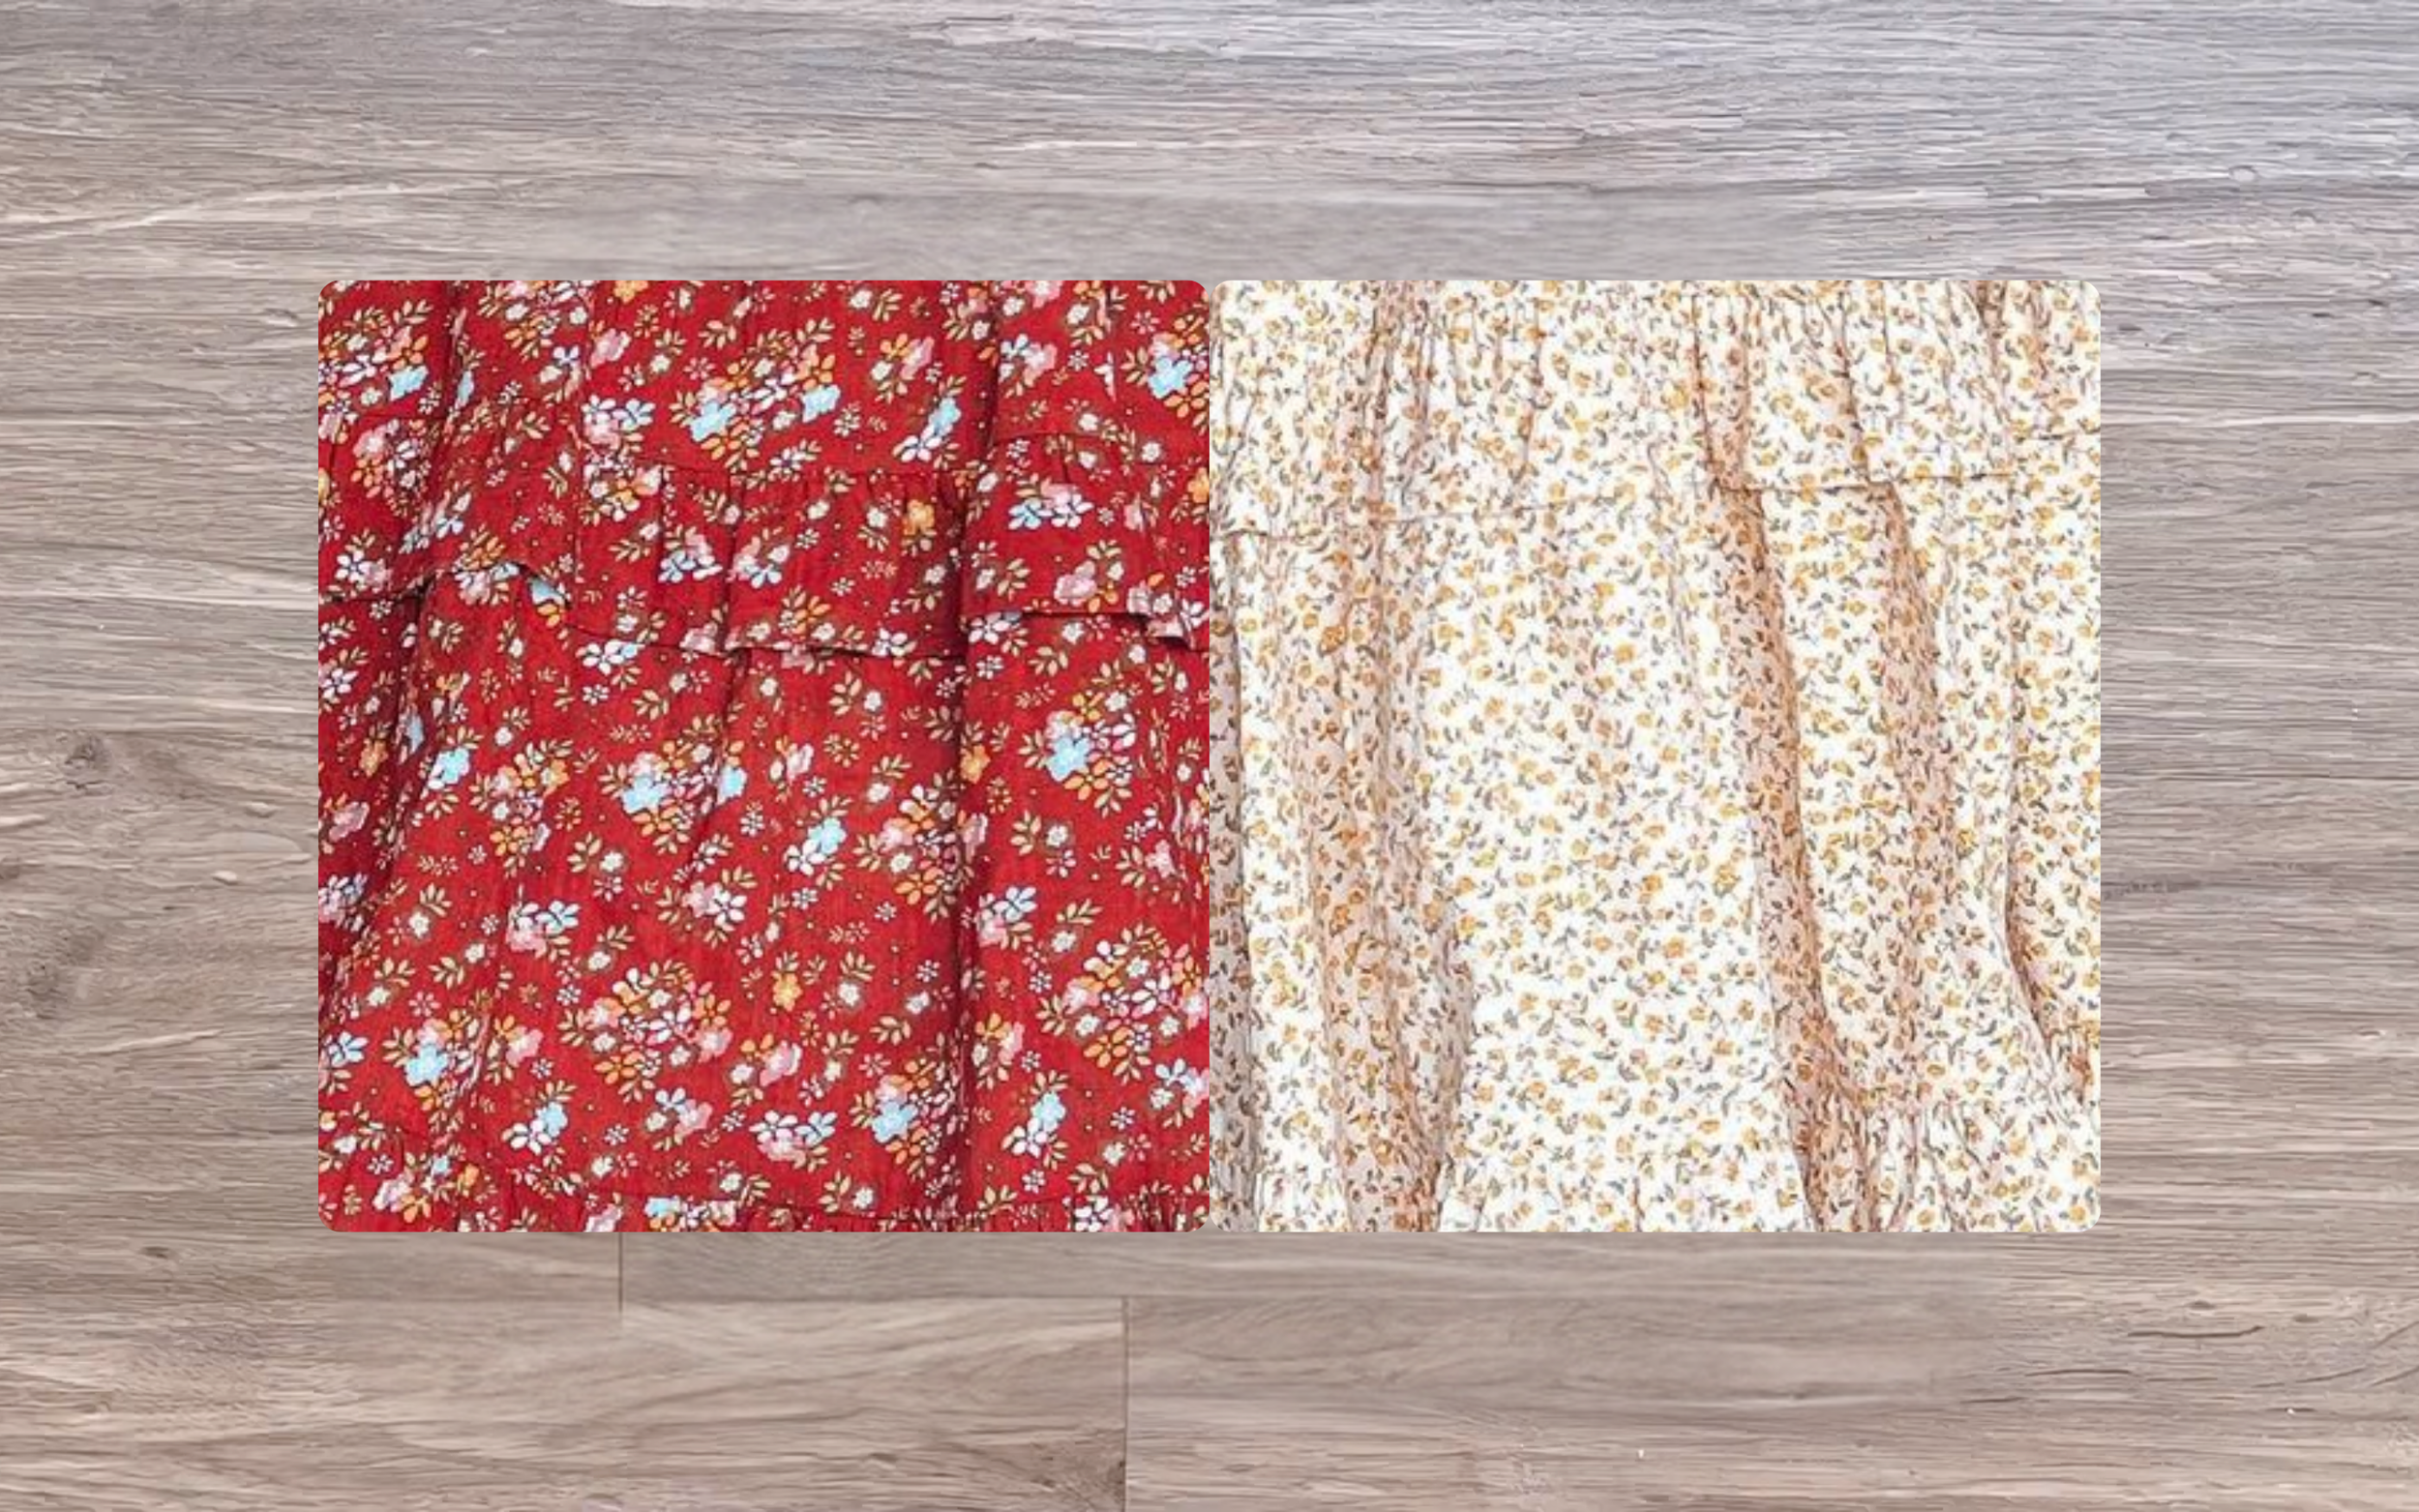
Cotton or linen fabric: 1.5m for the blouse and 3m for the dress
Pattern paper
Sewing machine
Pins
Scissors
Ruler
Long stick
SUMMER BLOUSE
THE PATTERN
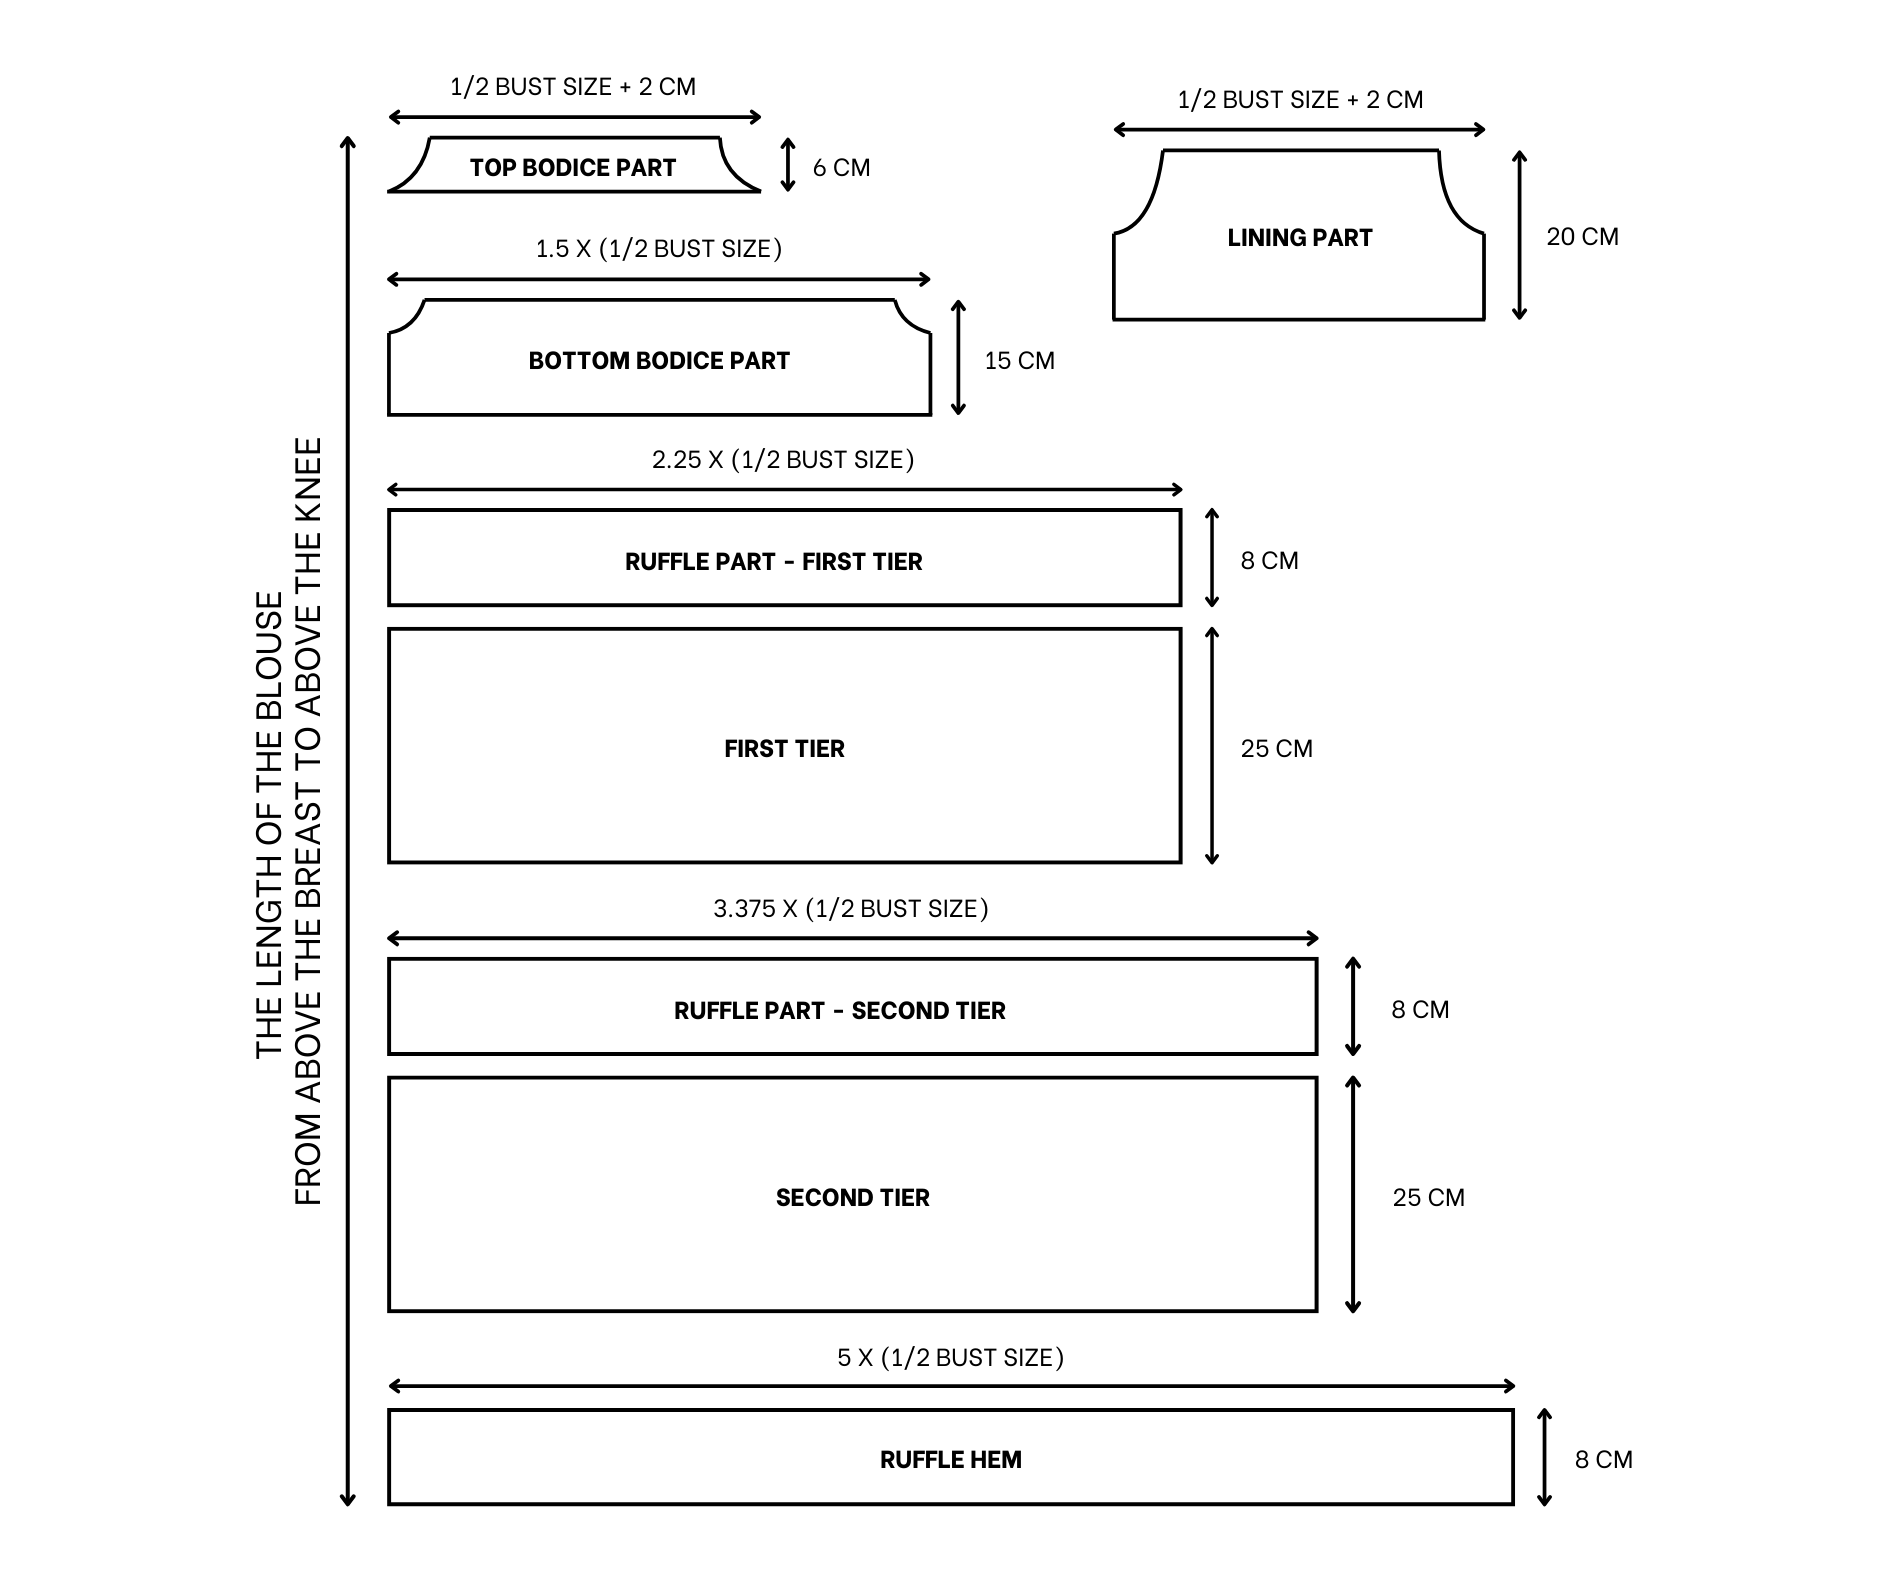
The basic pattern is made from rectangles, so here are the details for creating the top part of the blouse.

THE TOP BODICE PATTERN
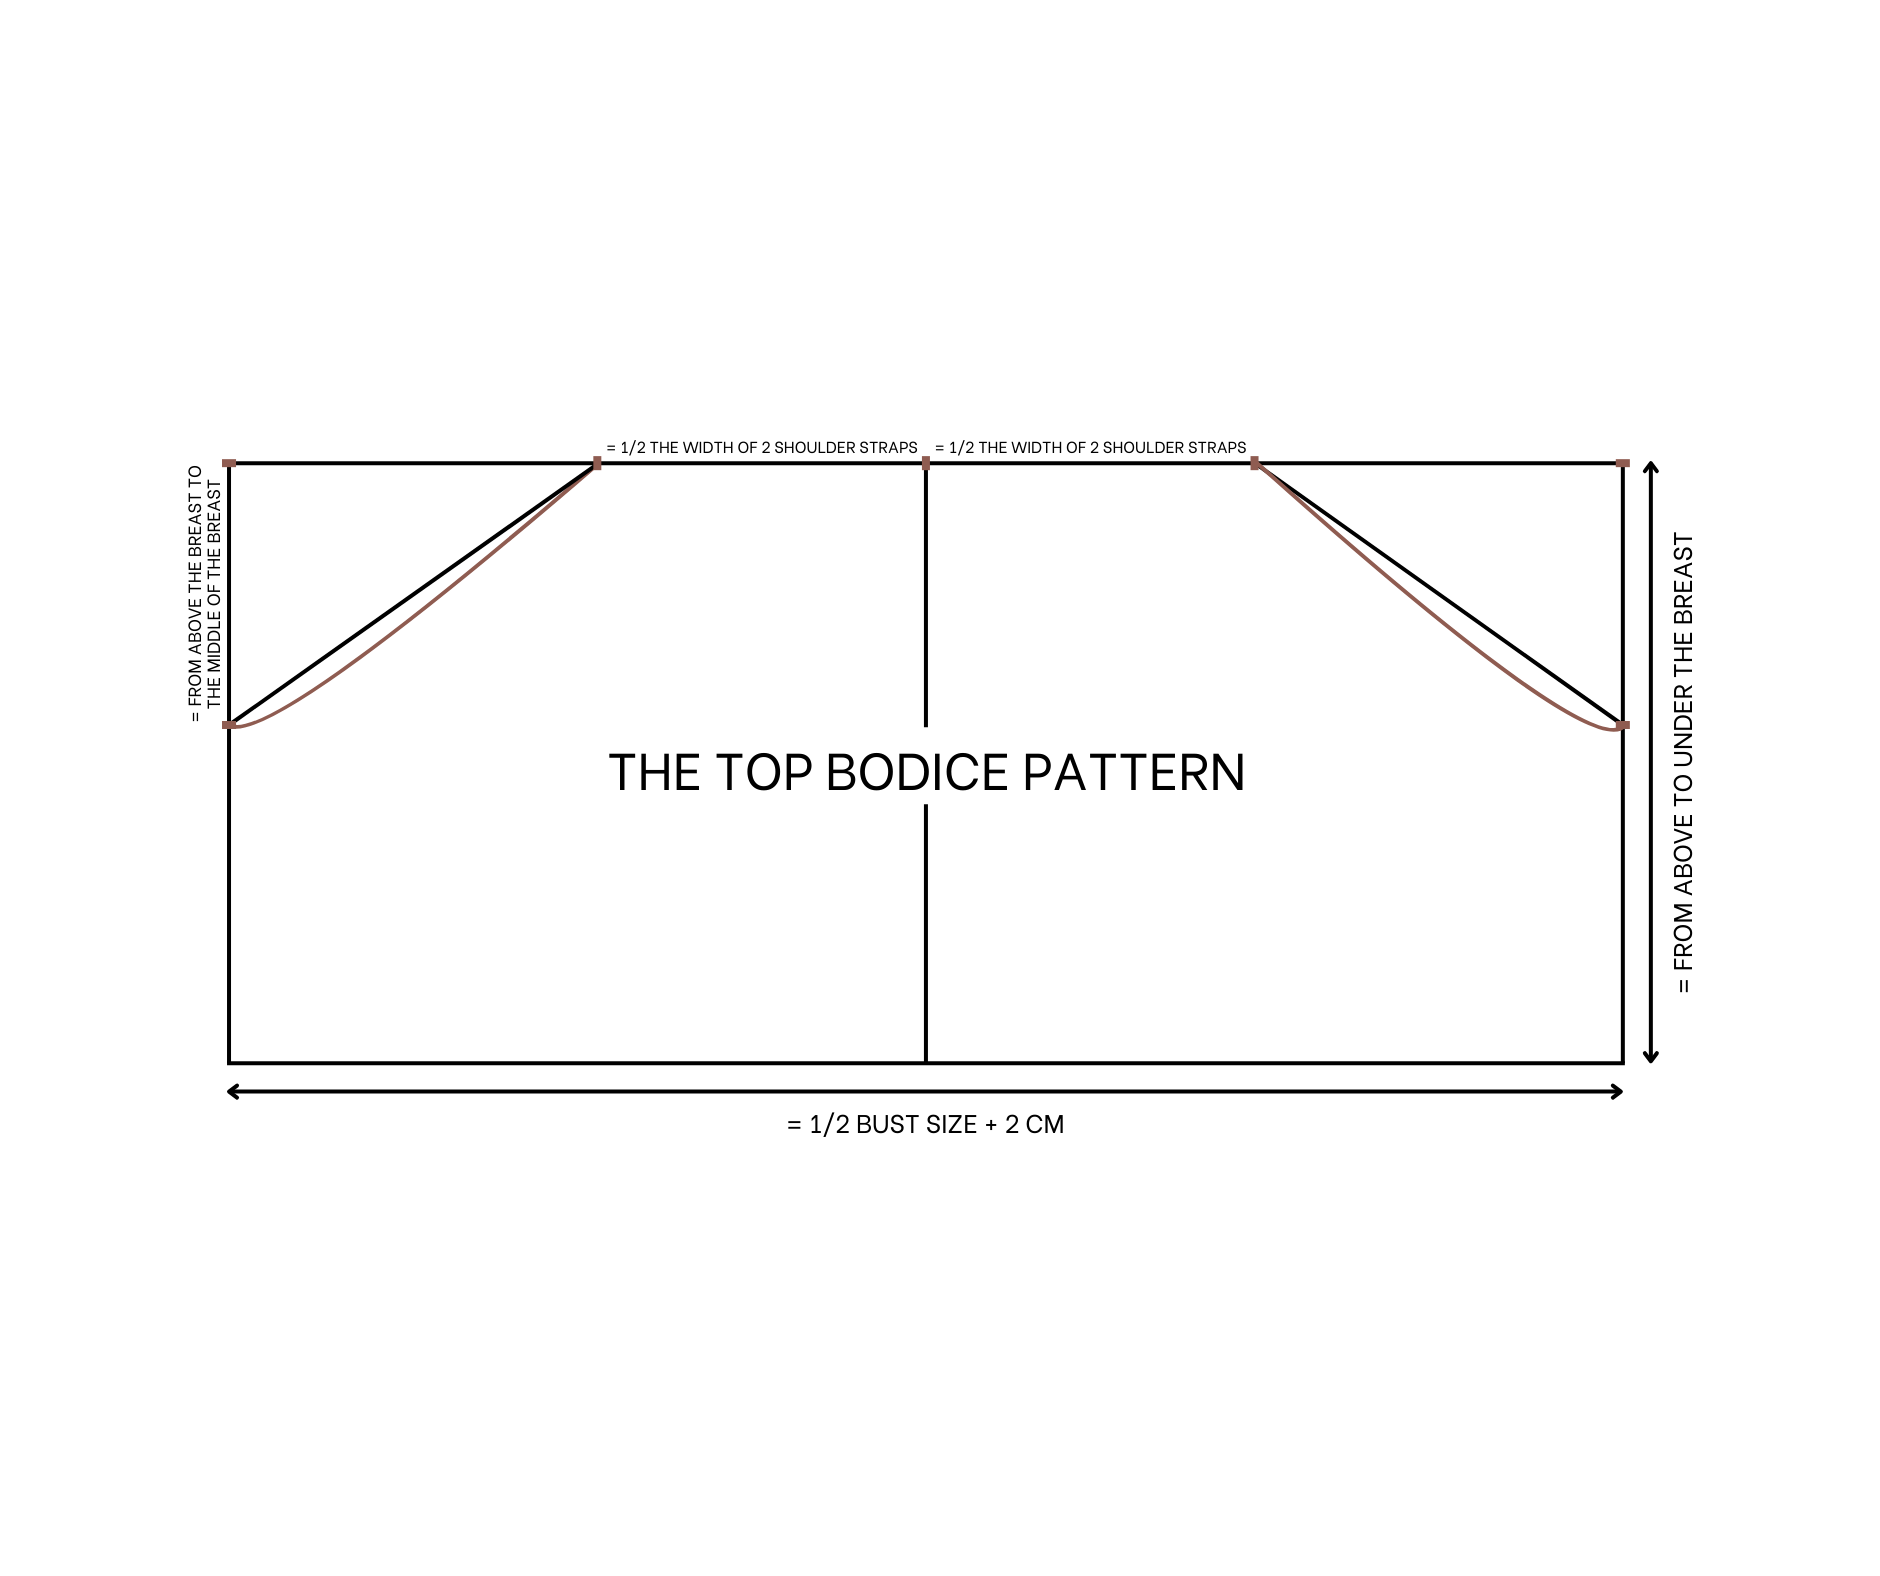
Draw a rectangle with an 18 cm length (from above to under the breast) and 42 cm width (half of the bust size plus 2 cm).
Draw a straight line down the middle of the rectangle to divide it into two equal parts.
From the top of the straight line, make two marks 10 cm apart on either side. The distance between these marks is 20 cm, which is the width between the shoulder straps of the blouse.
From one end of the top width line, mark down 8 cm on the side line, which is the length from above to the middle of the breast. Connect this mark to the mark on the top width line.
Create a slanted line with a curve at the end to form the under-arm line for the blouse. Repeat this process for the other side.
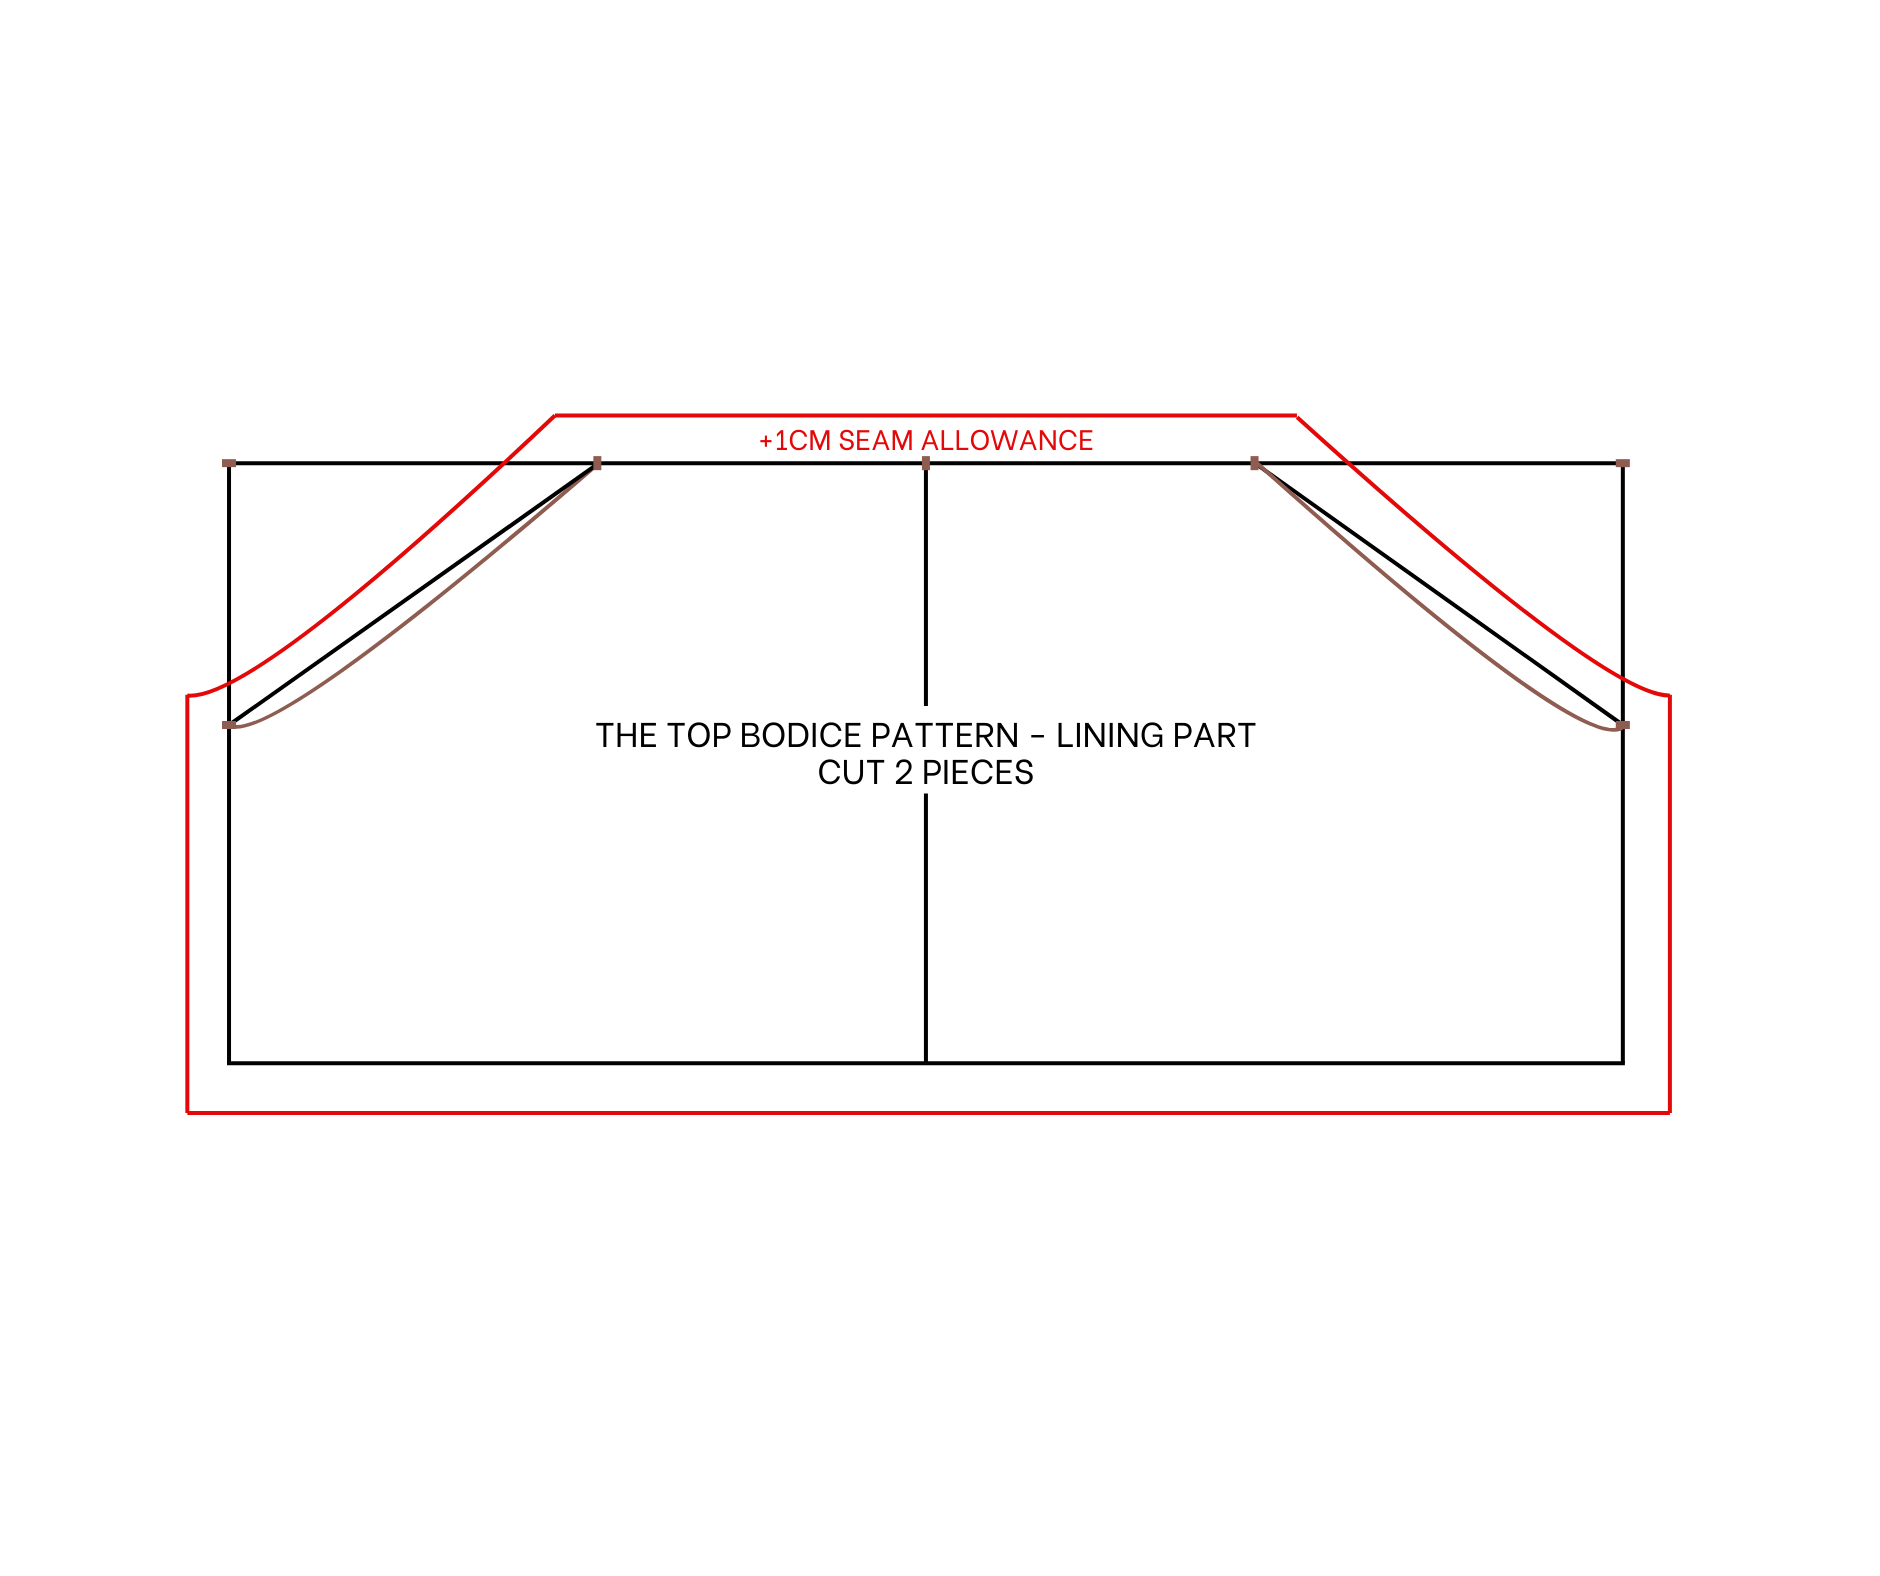
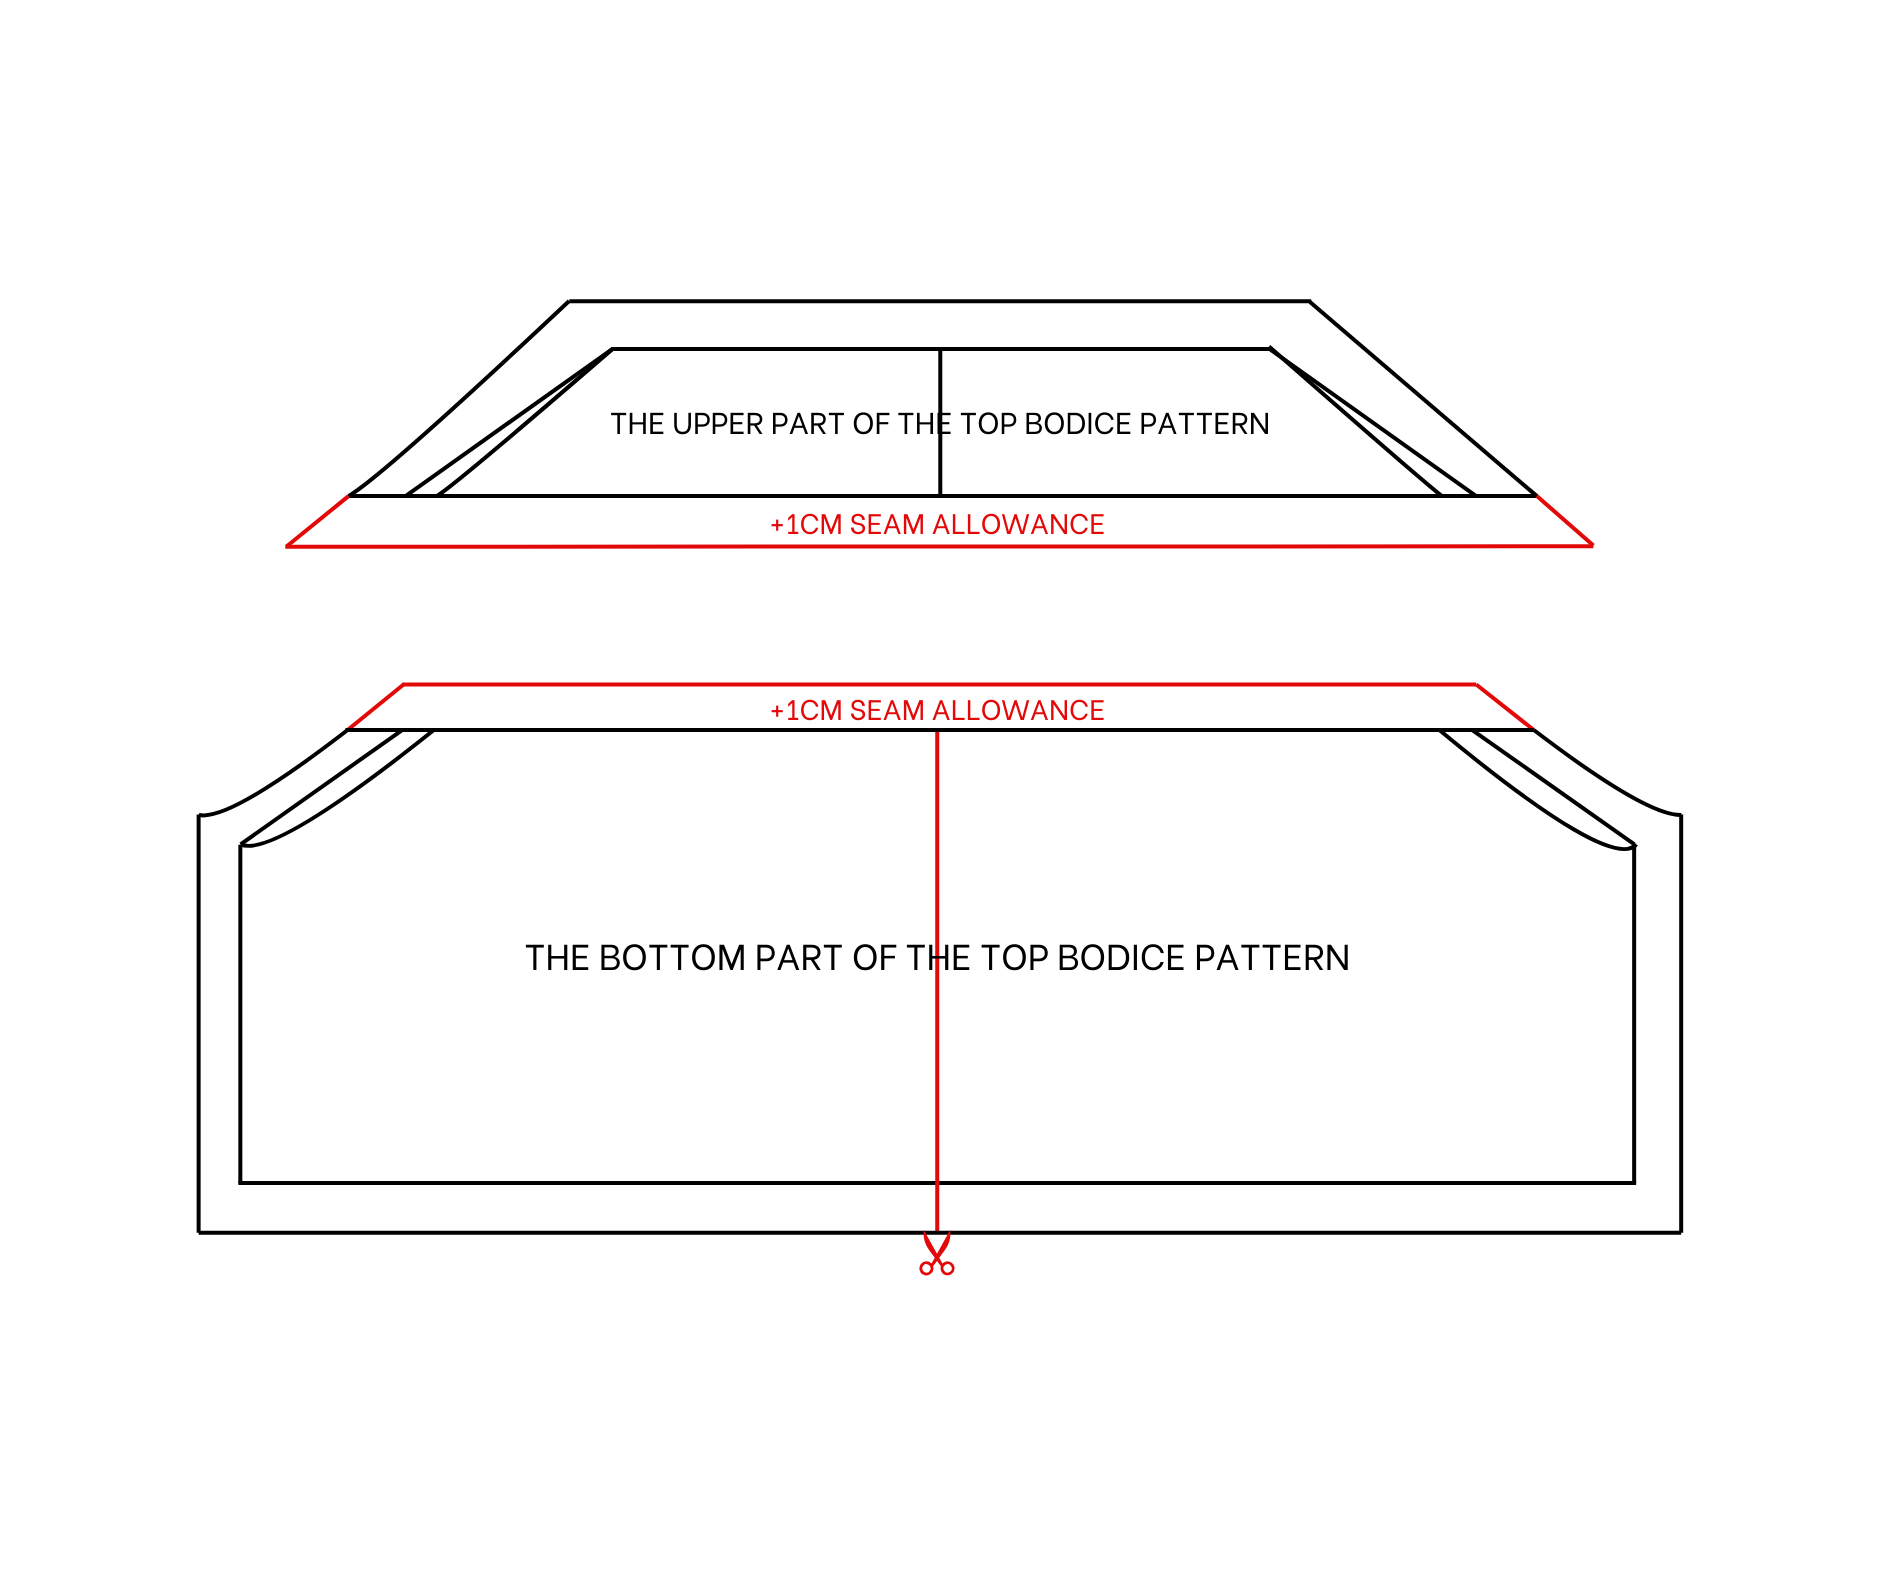
Add 1 cm for seam allowance, and the lining pattern for the top part of the blouse is complete.
Cut two pieces for this pattern.
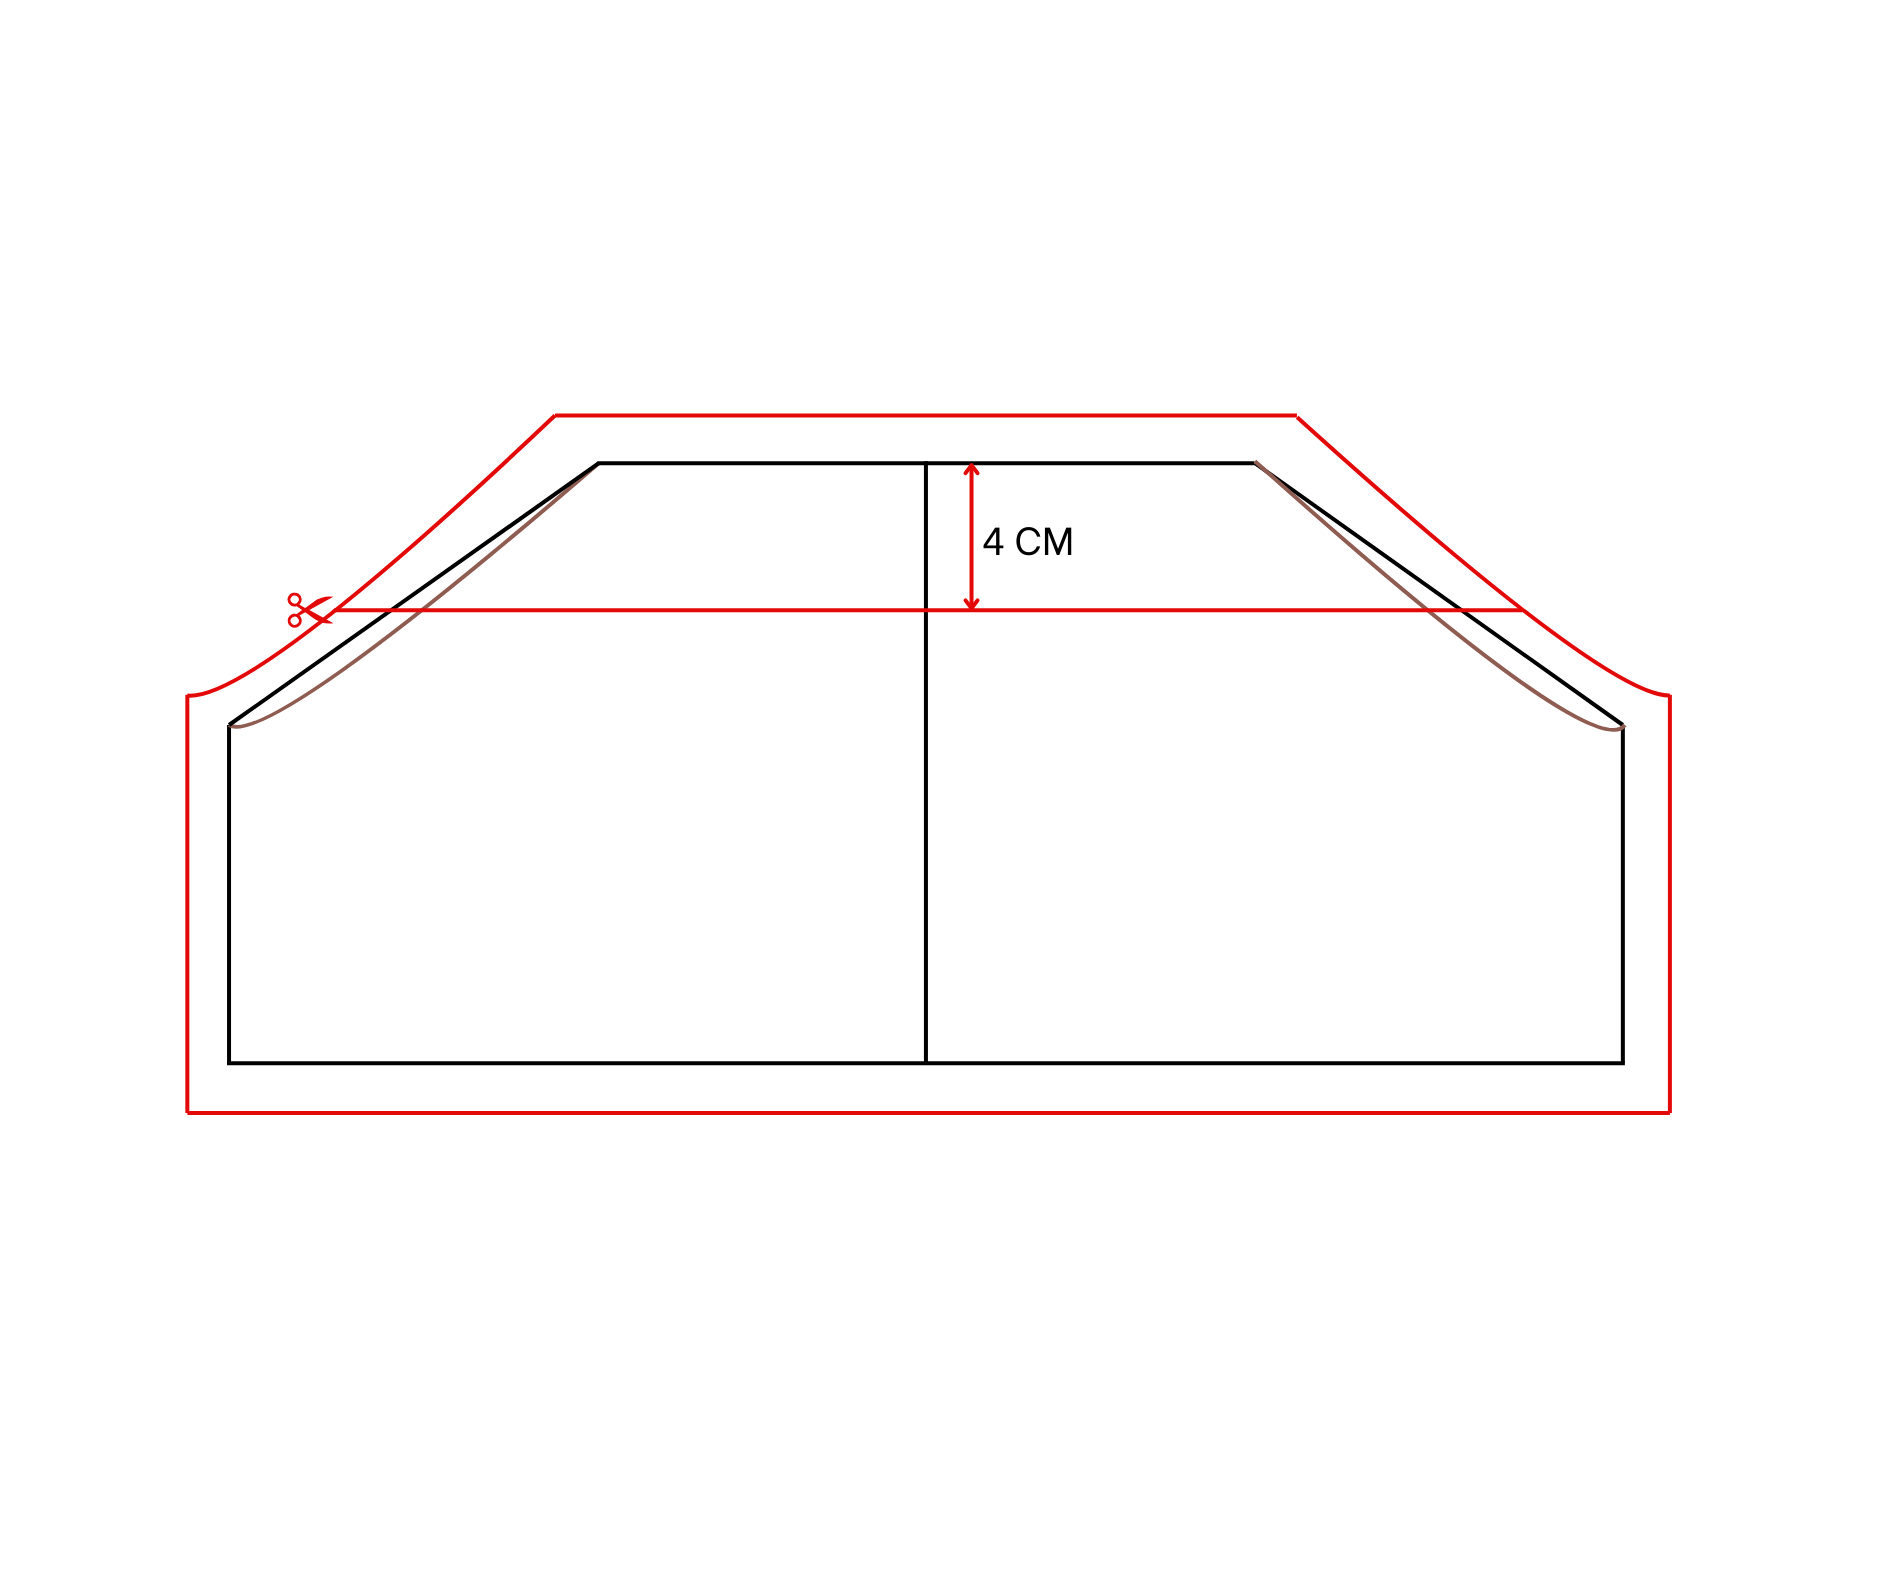
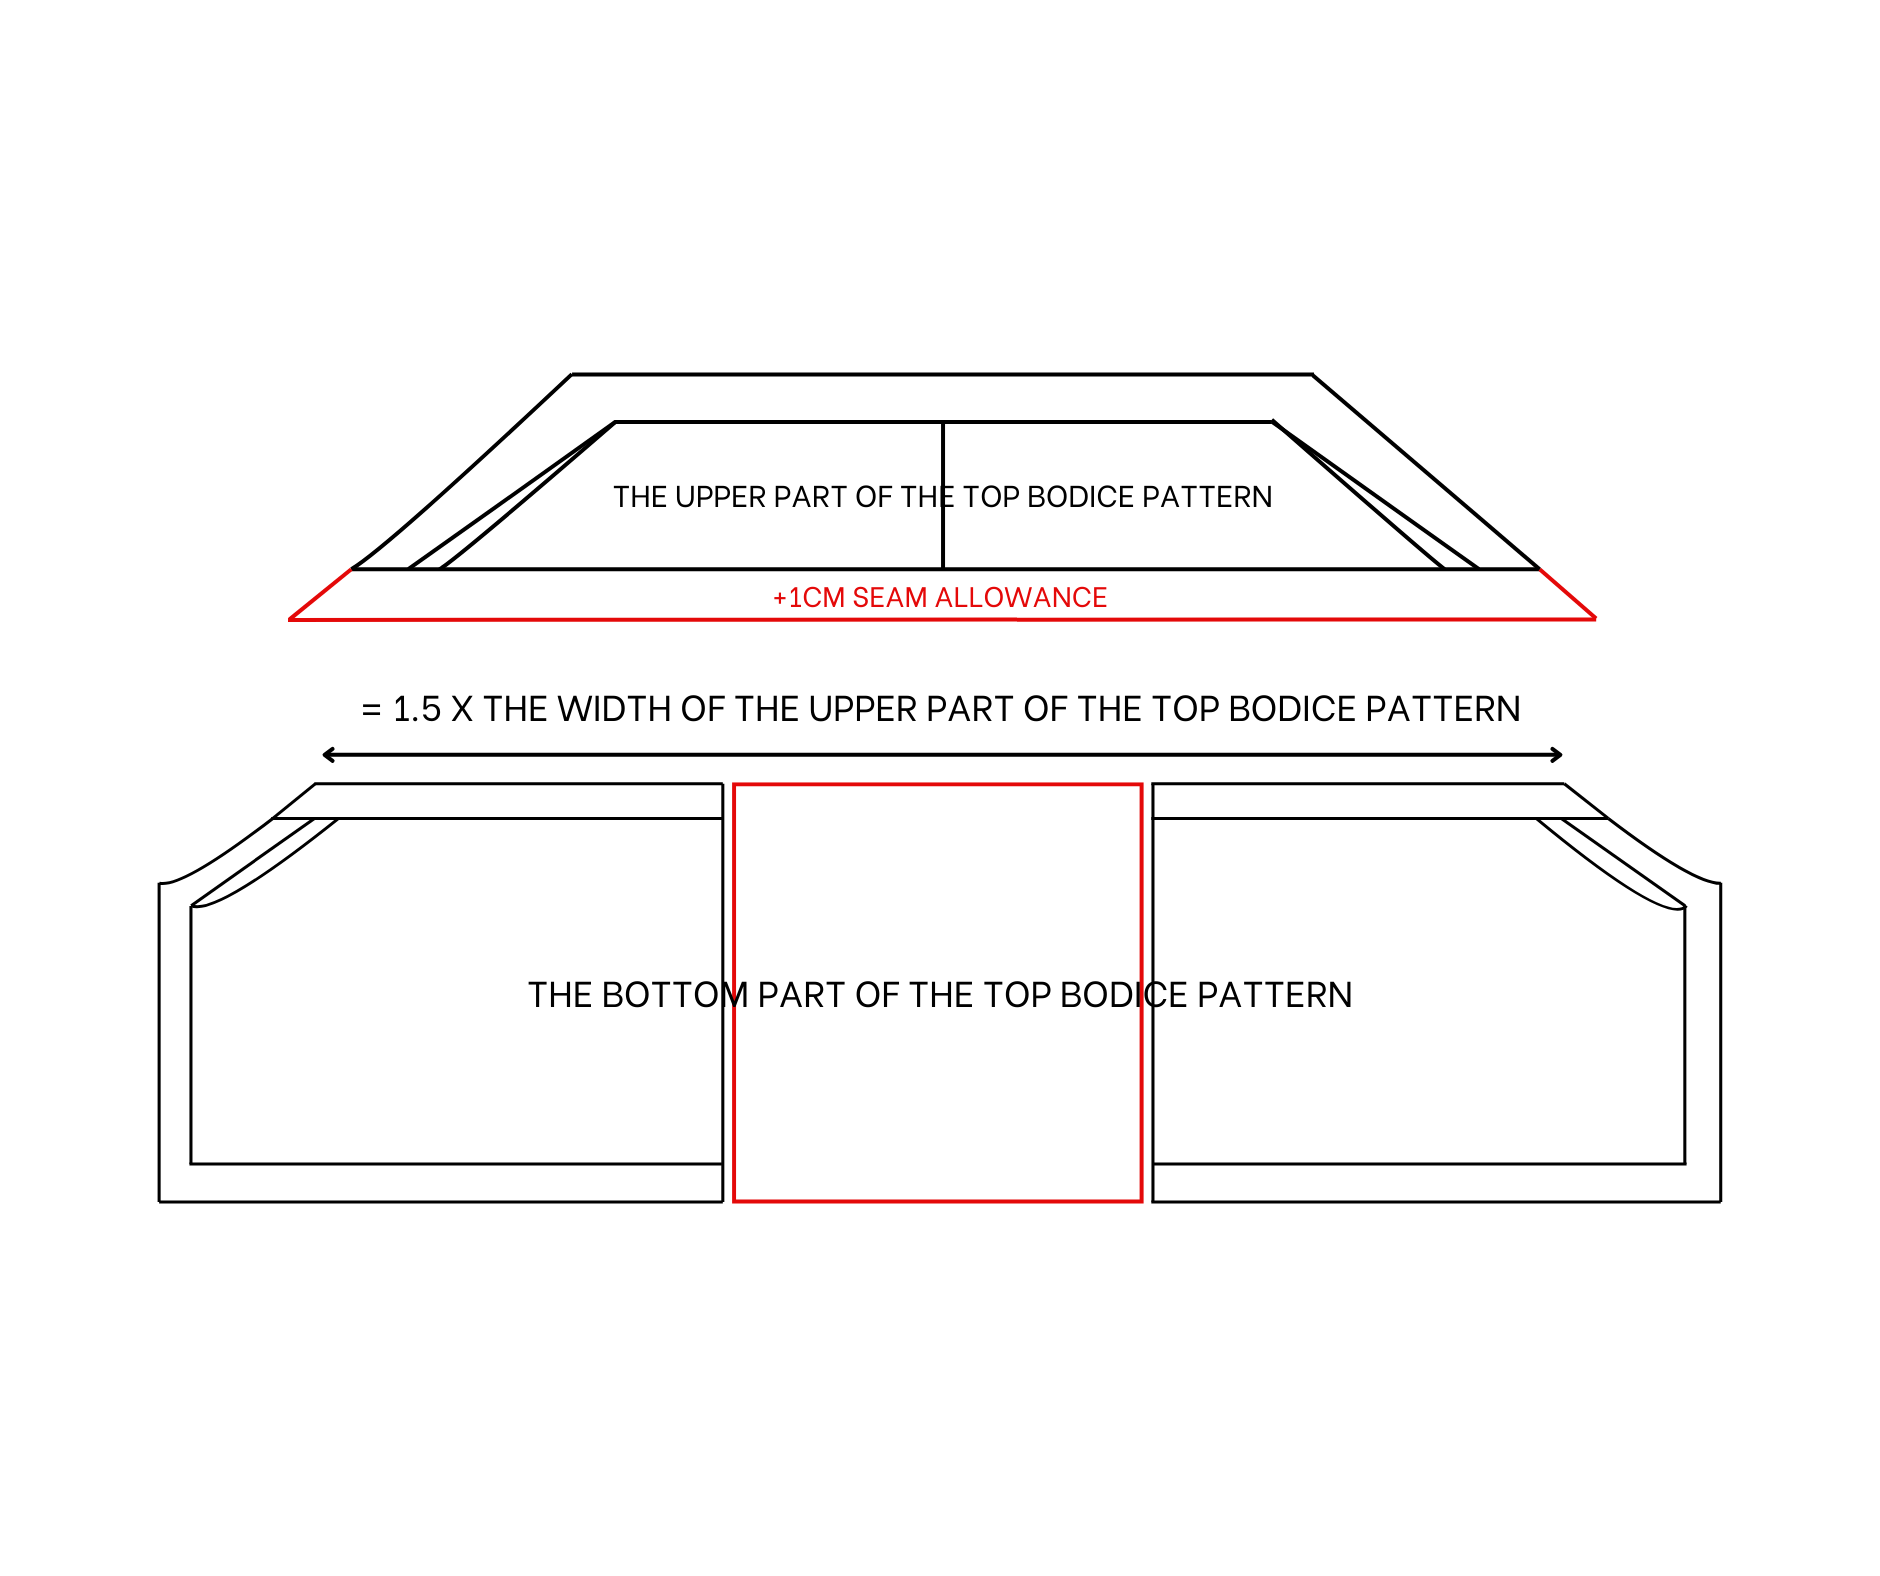
From the top width line, draw another line 4 cm below it.
Cut along this line to create two pieces for the top part of the blouse. Add 1 cm for seam allowance at the cutting line.
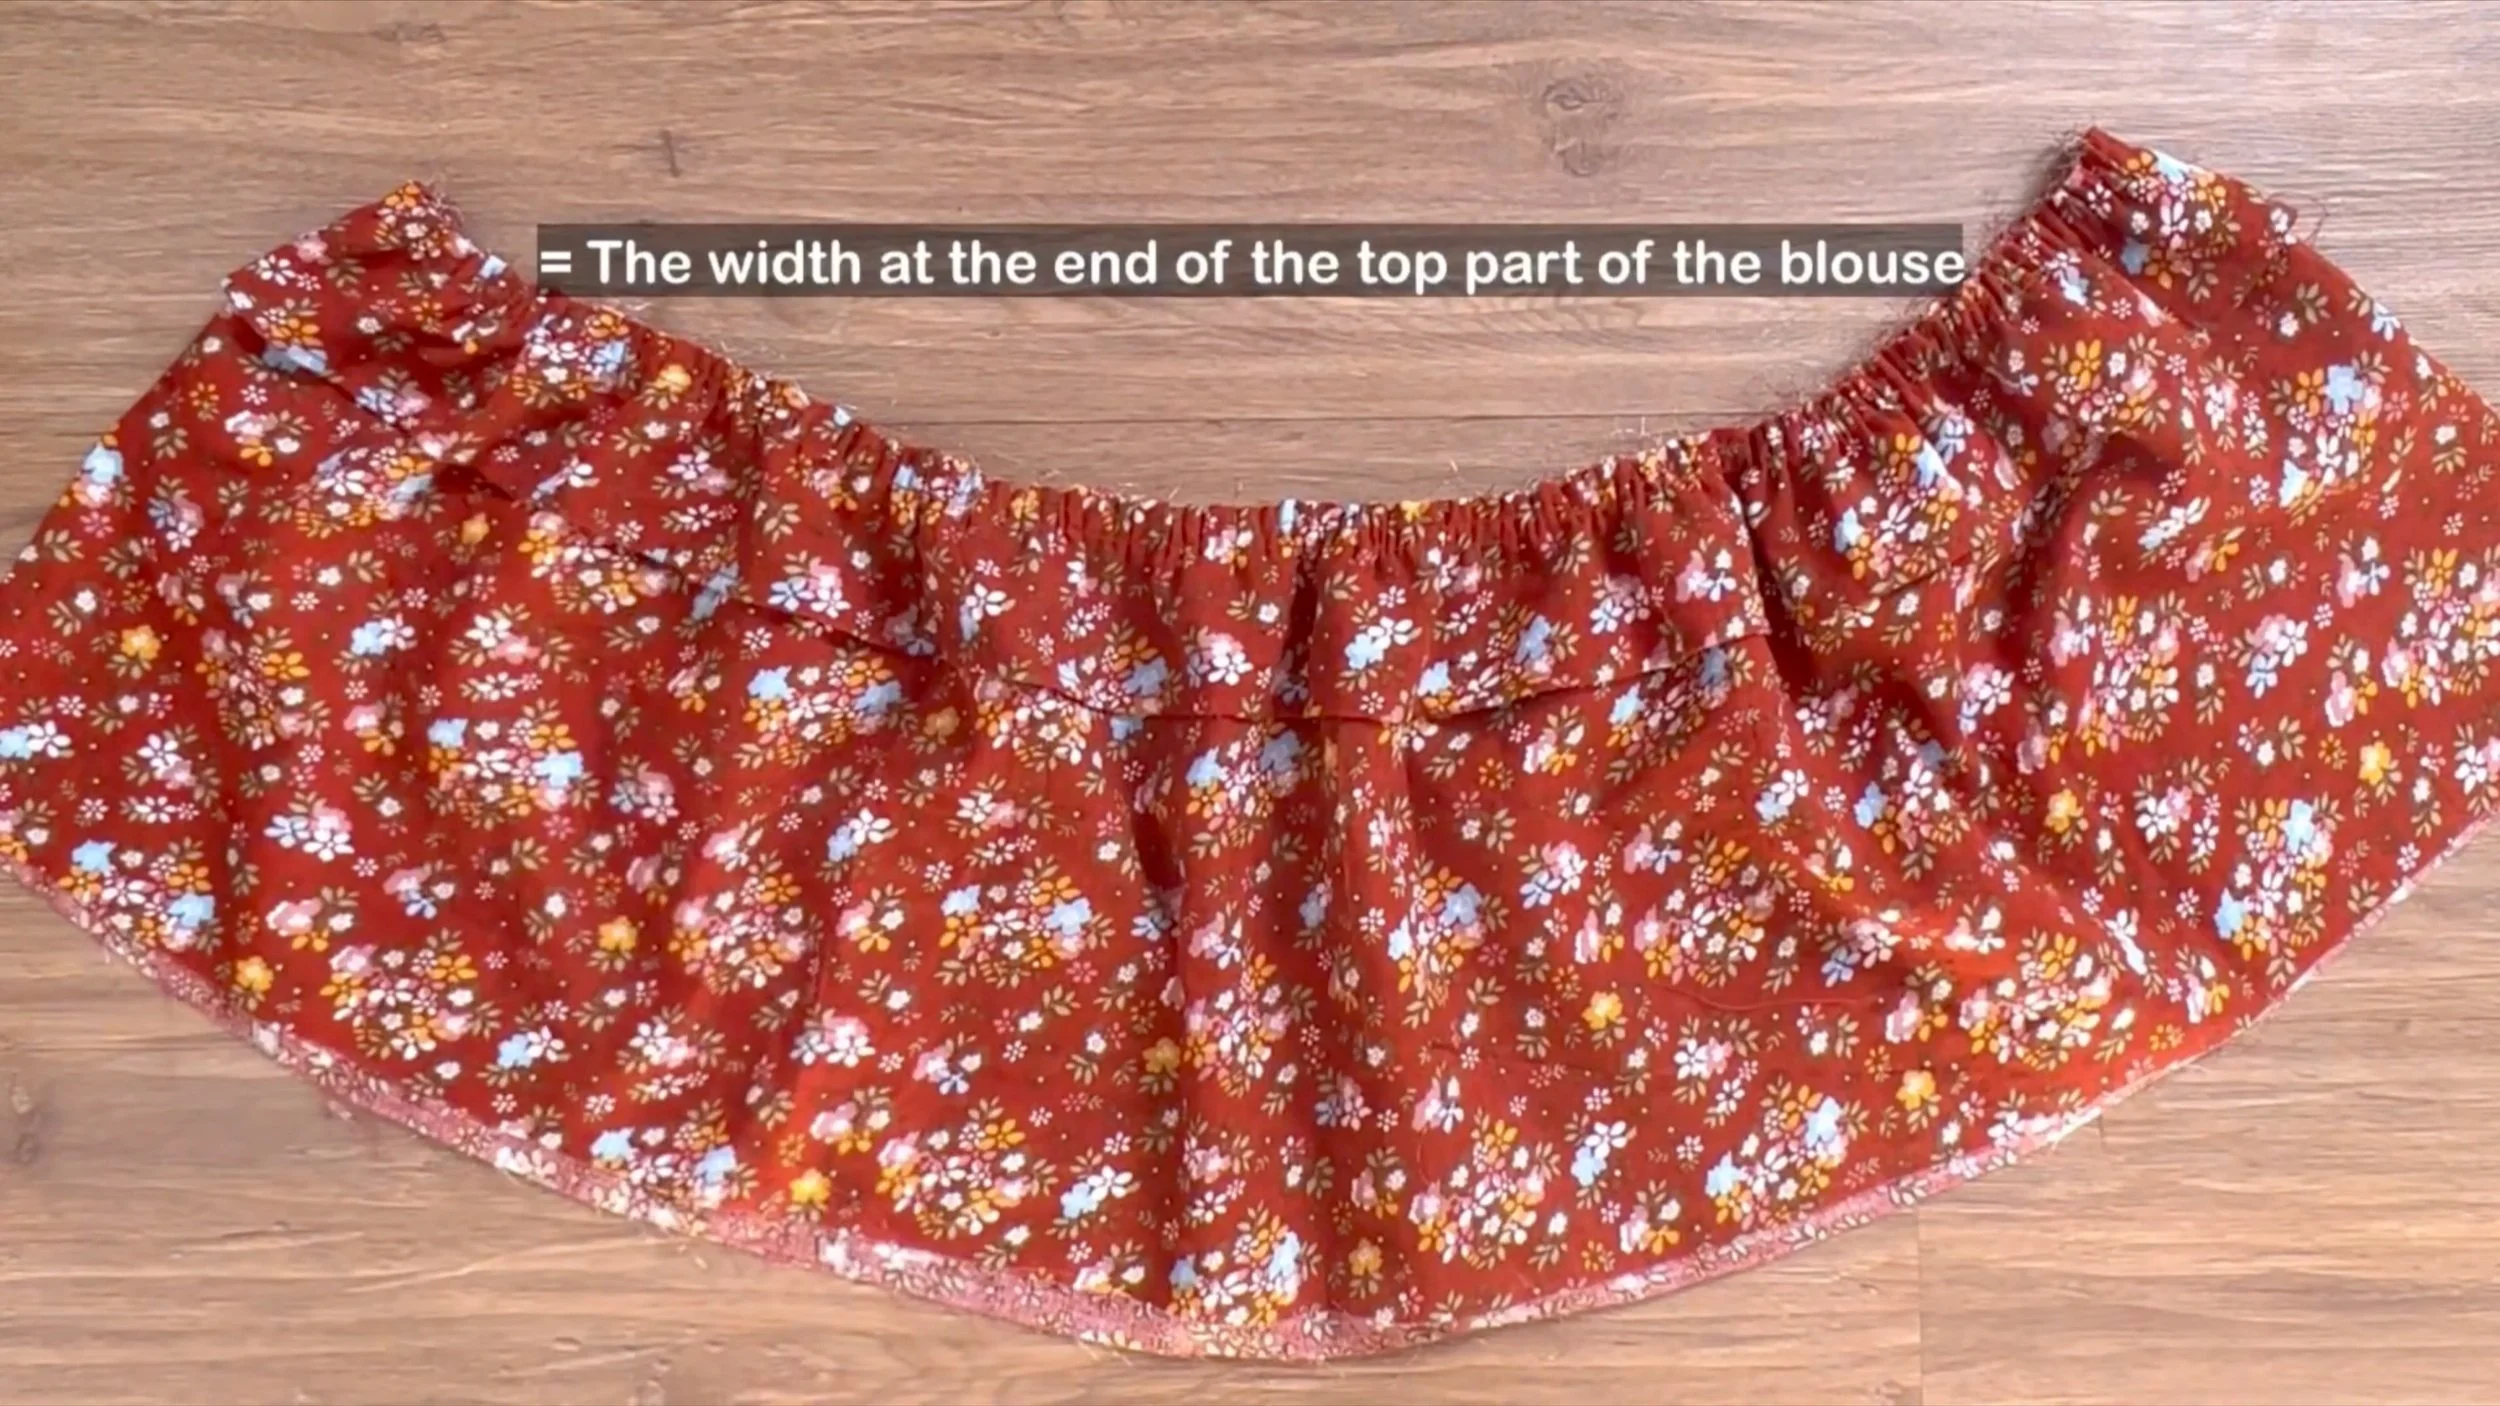
At the bottom part of the top bodice pattern, extend the width of the pattern at the middle. The final width of the pattern will be half the width at the upper part to create gathering fabric there later.
Here are the upper and bottom patterns for the top part of the blouse. Cut two pieces for each pattern. The rest of the blouse is made from basic rectangles.
THE LINING PART
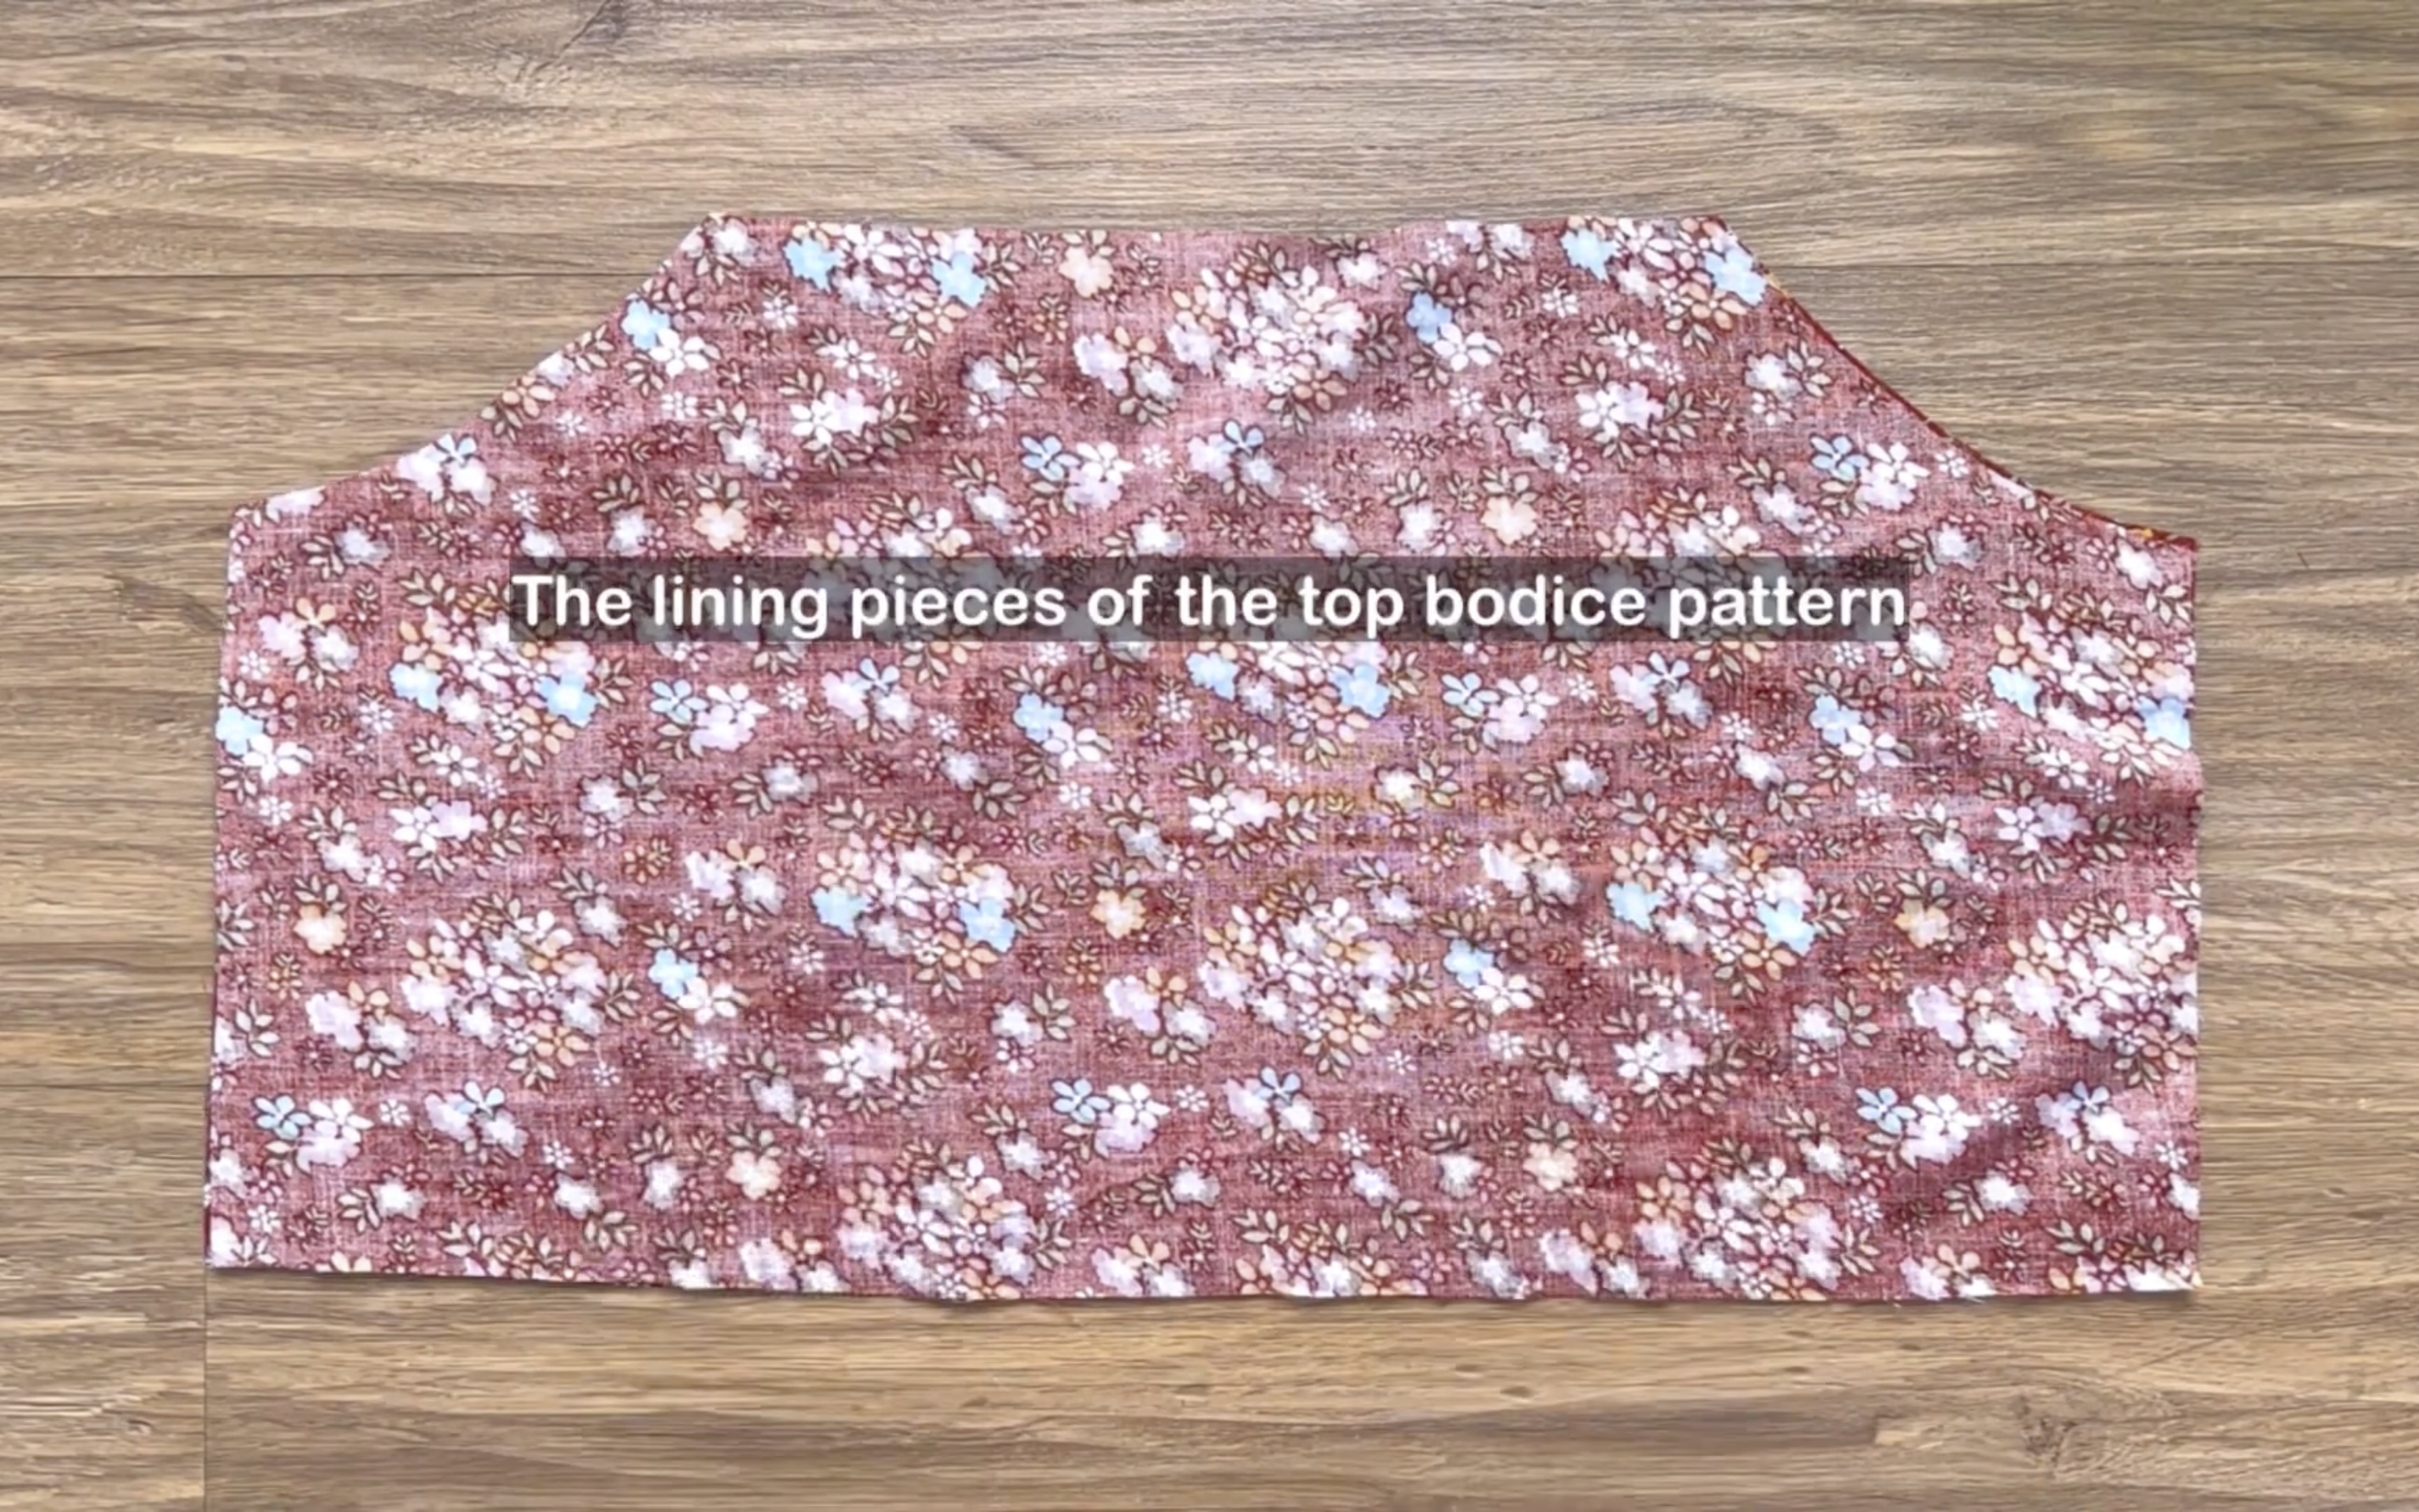
Begin with the lining part.
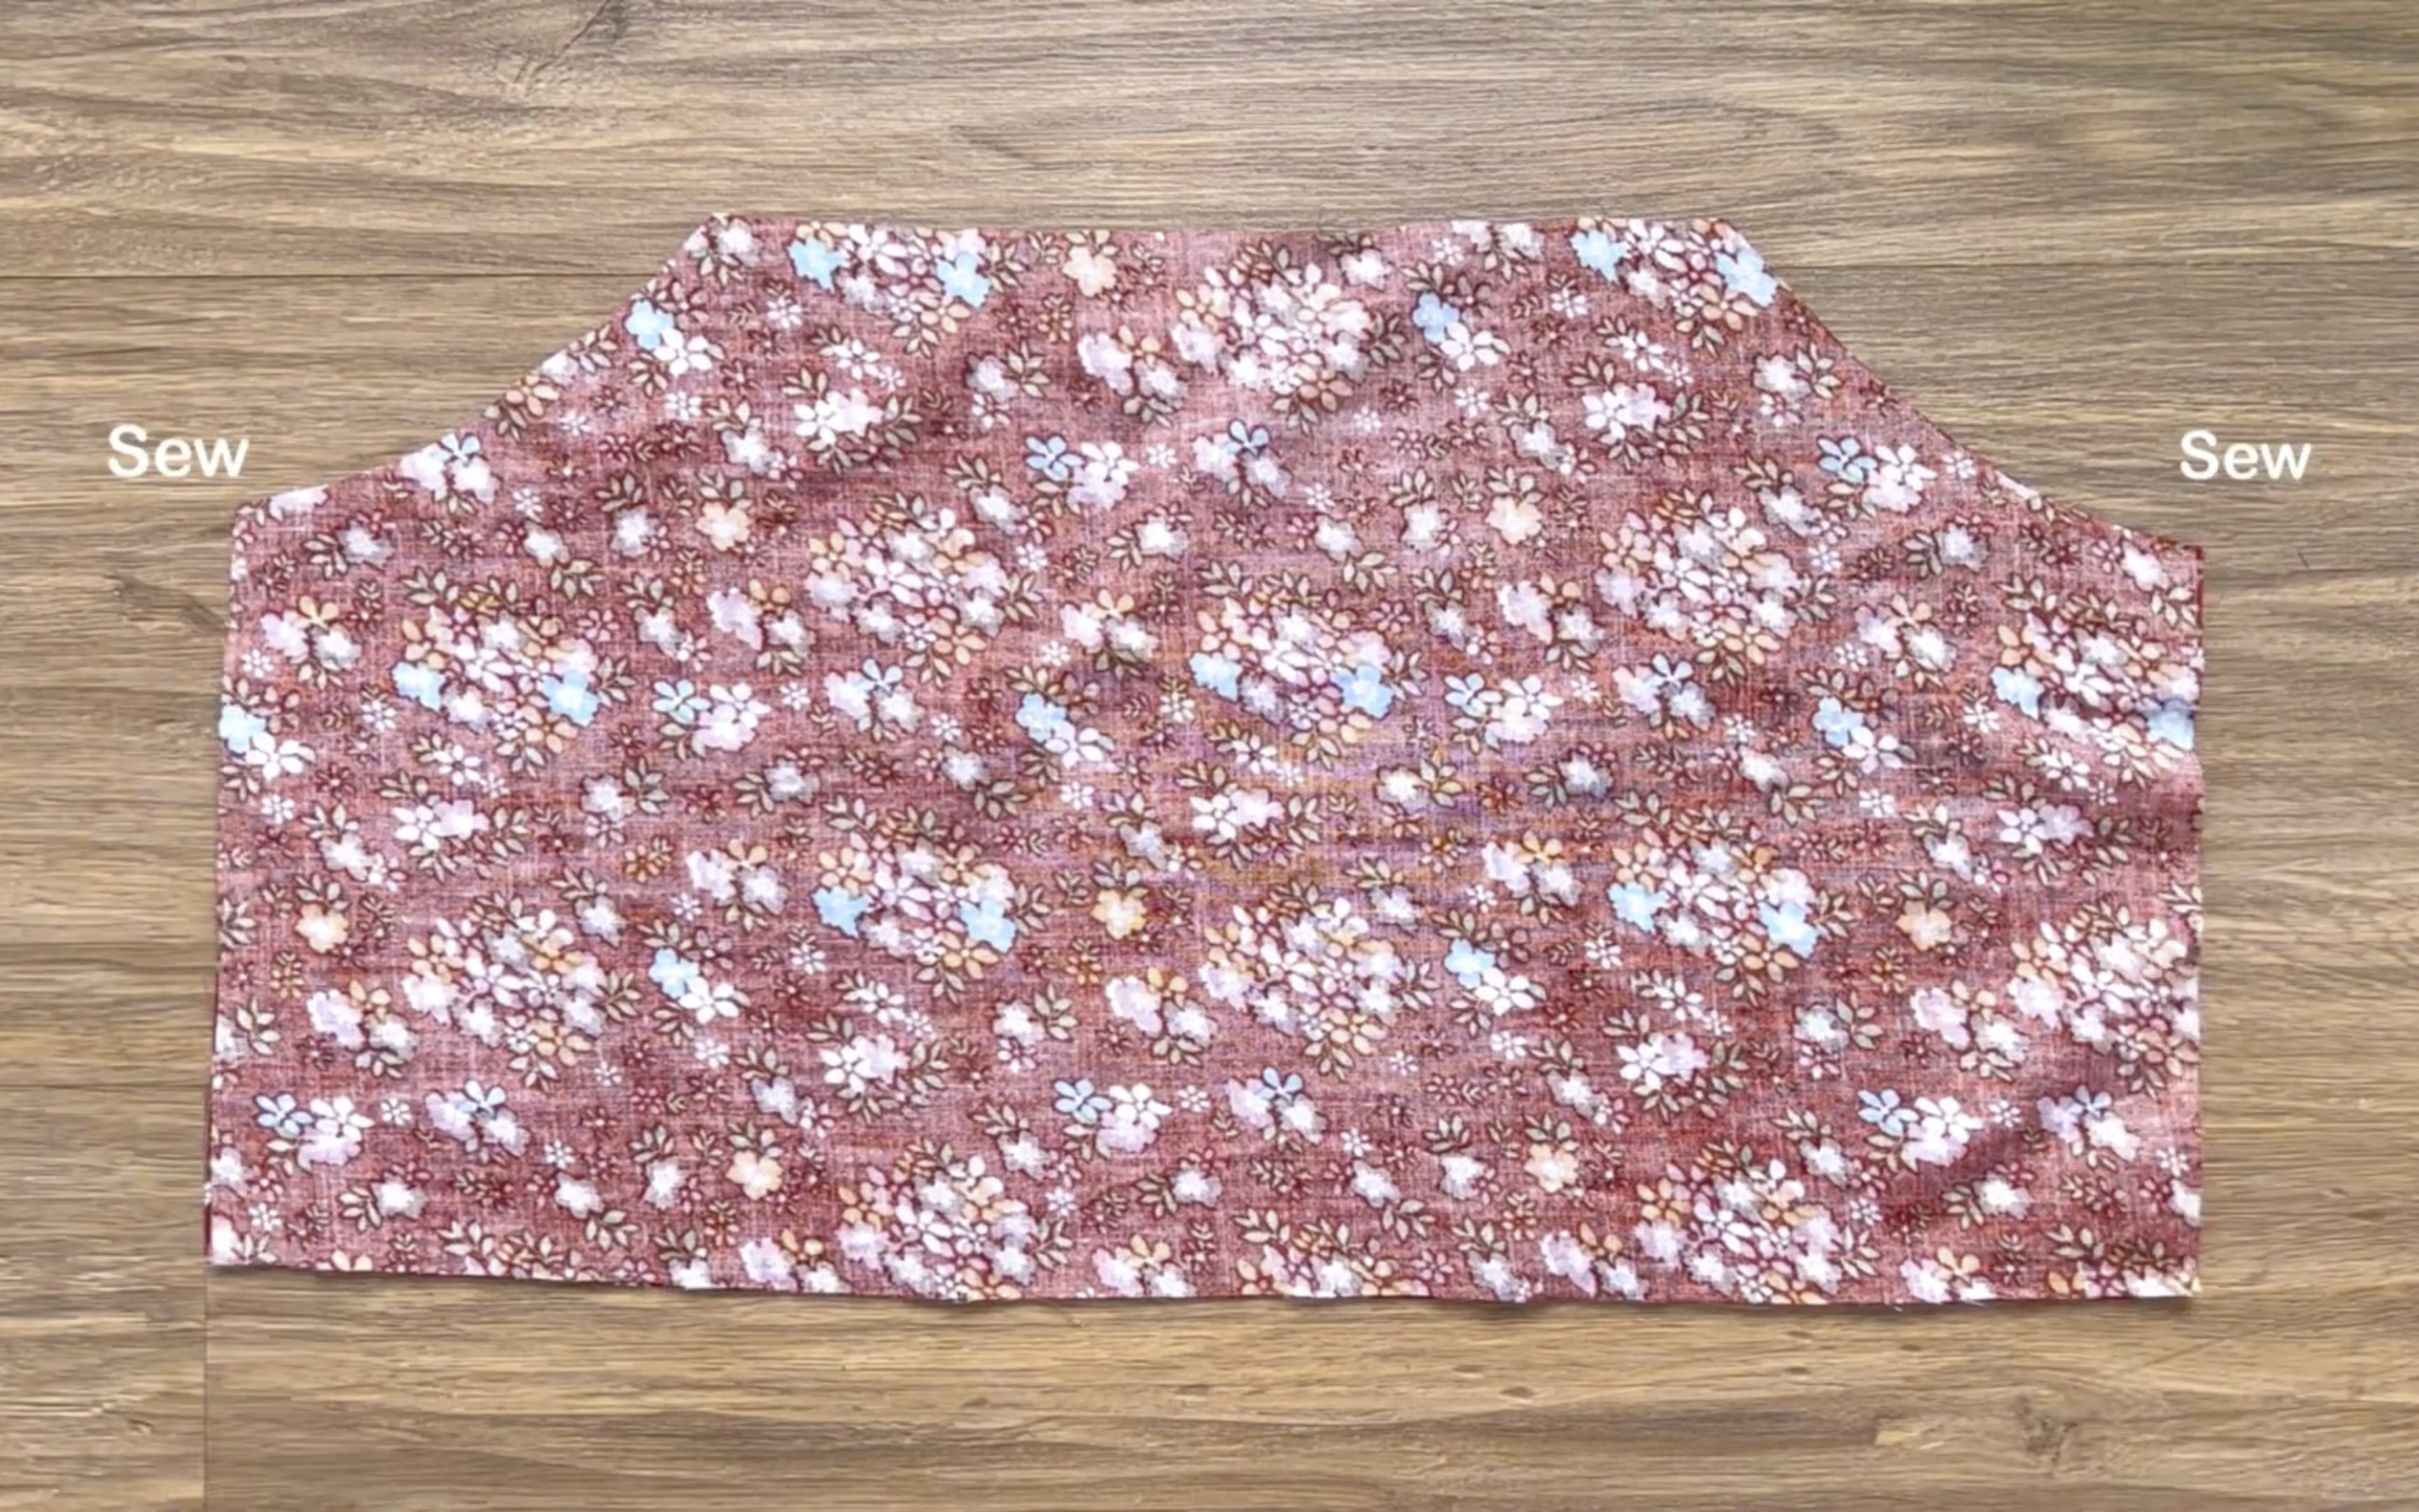
Connect two pieces at the sideline and sewing them together.
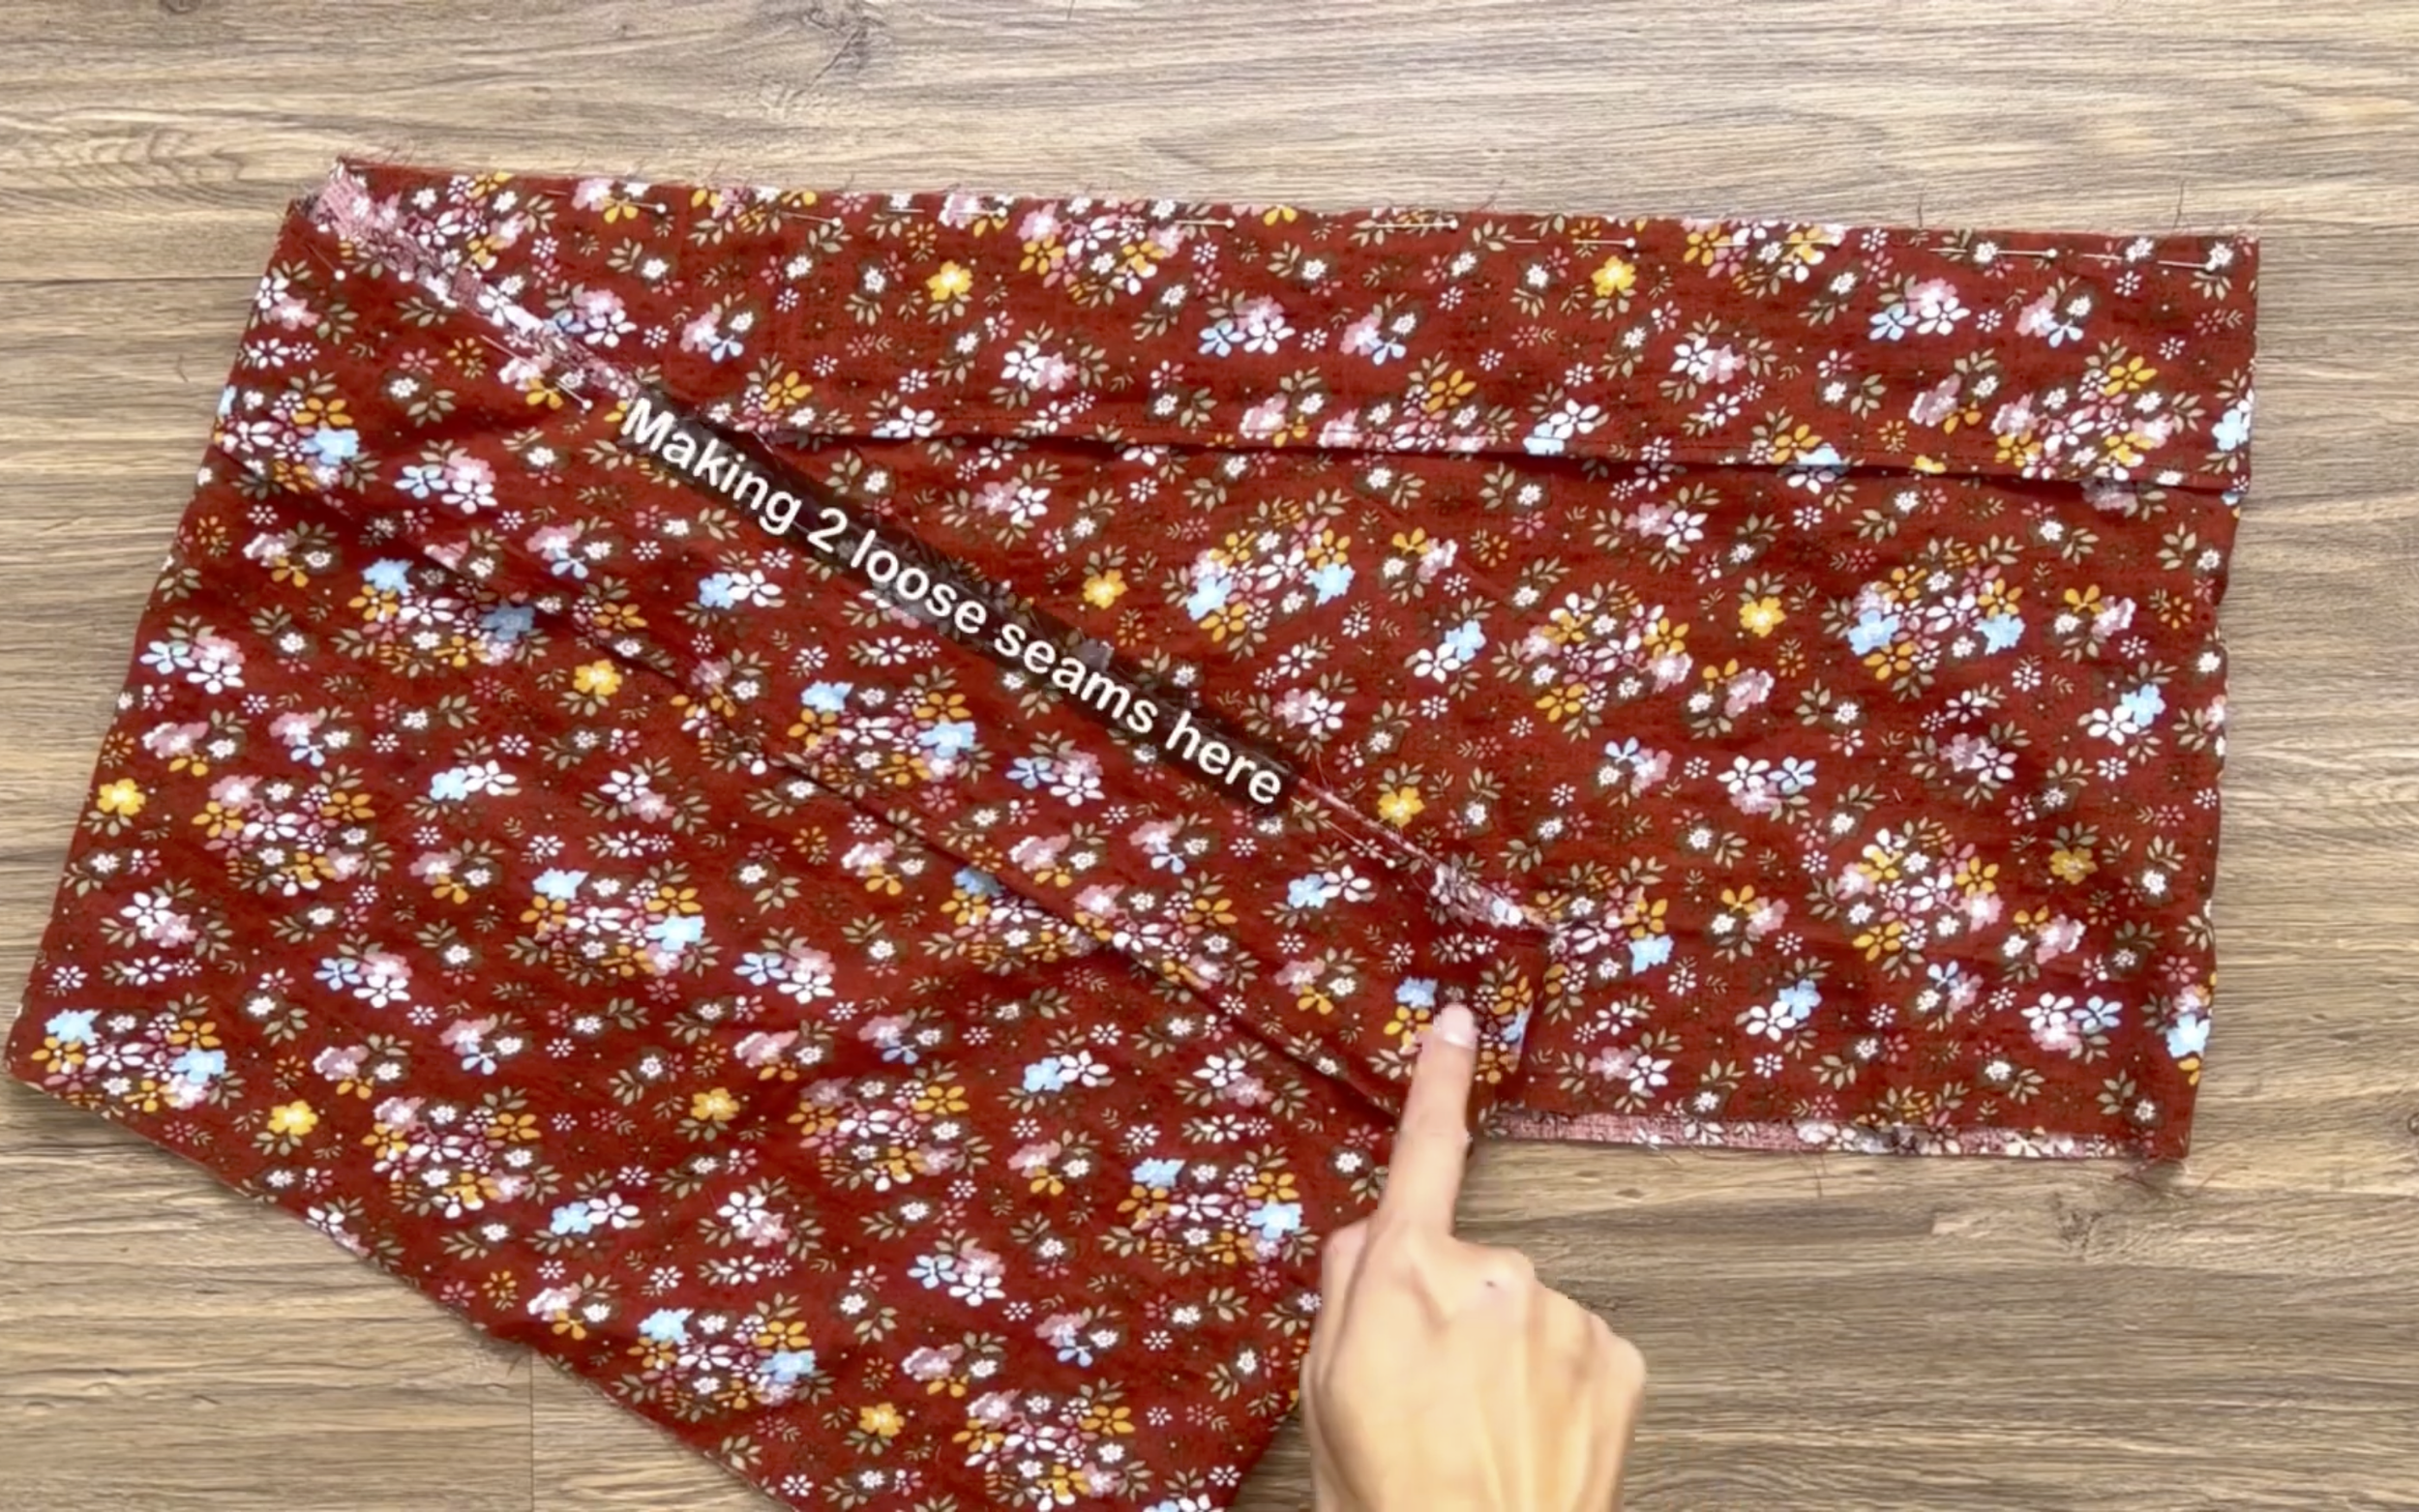
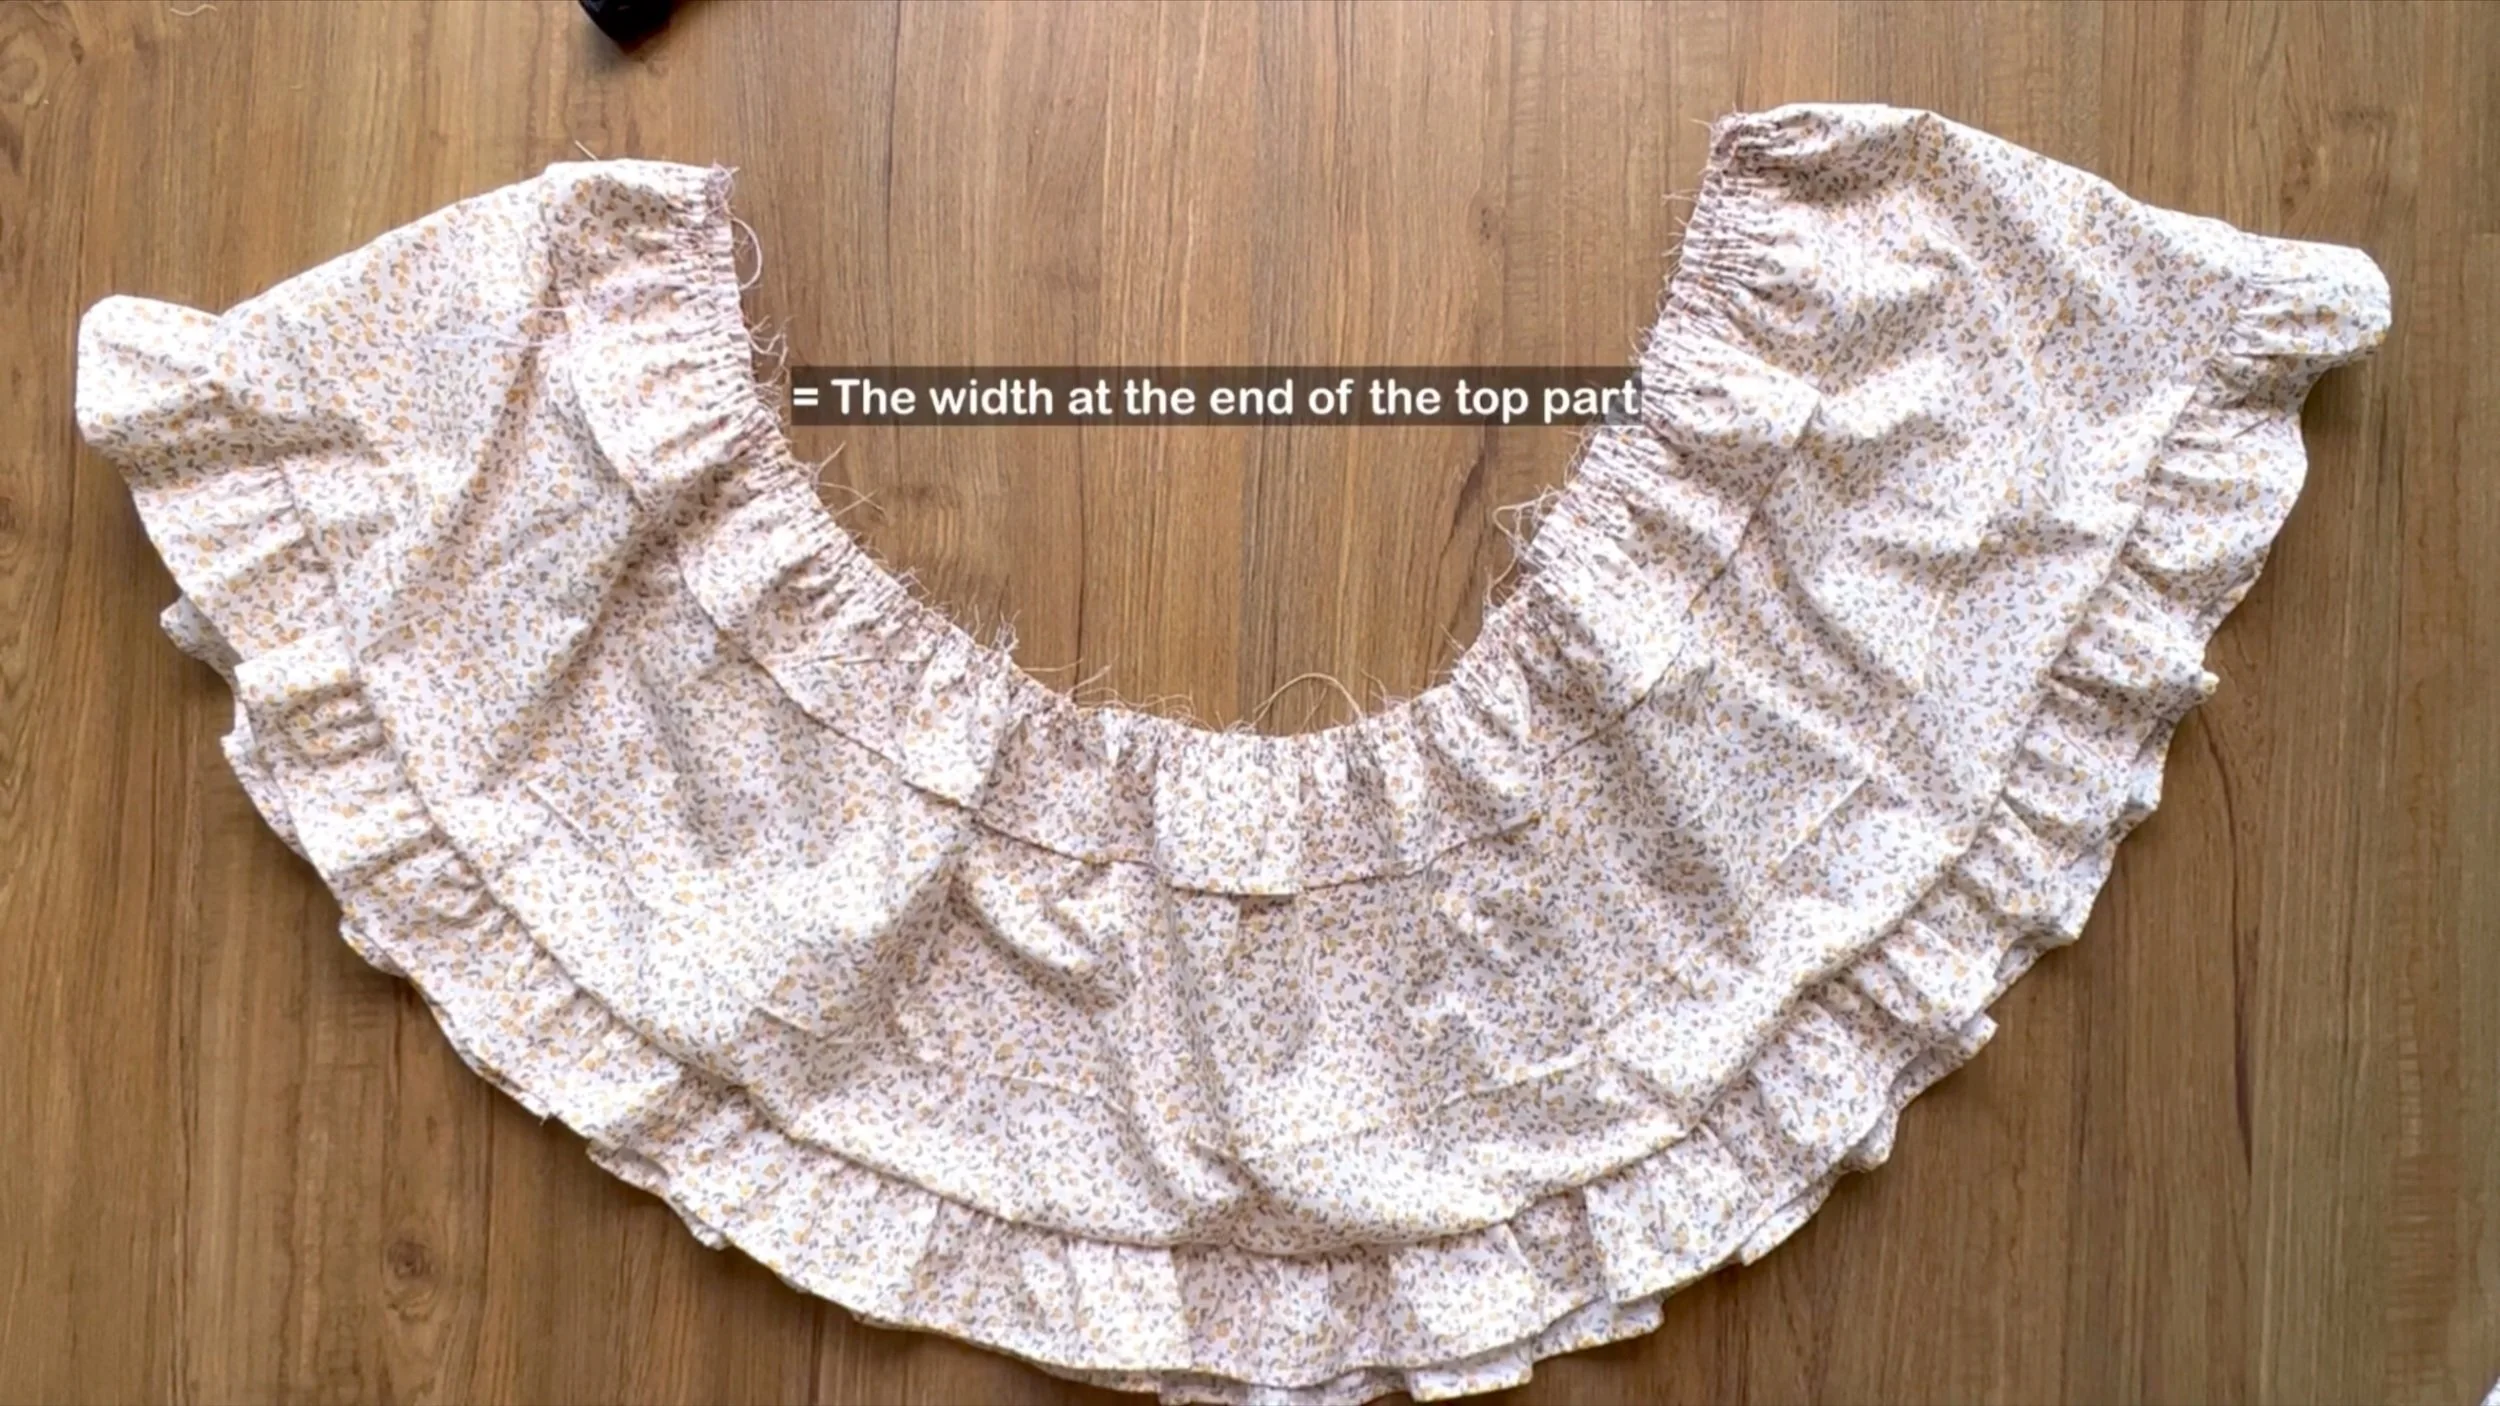
THE TOP PART OF THE BLOUSE
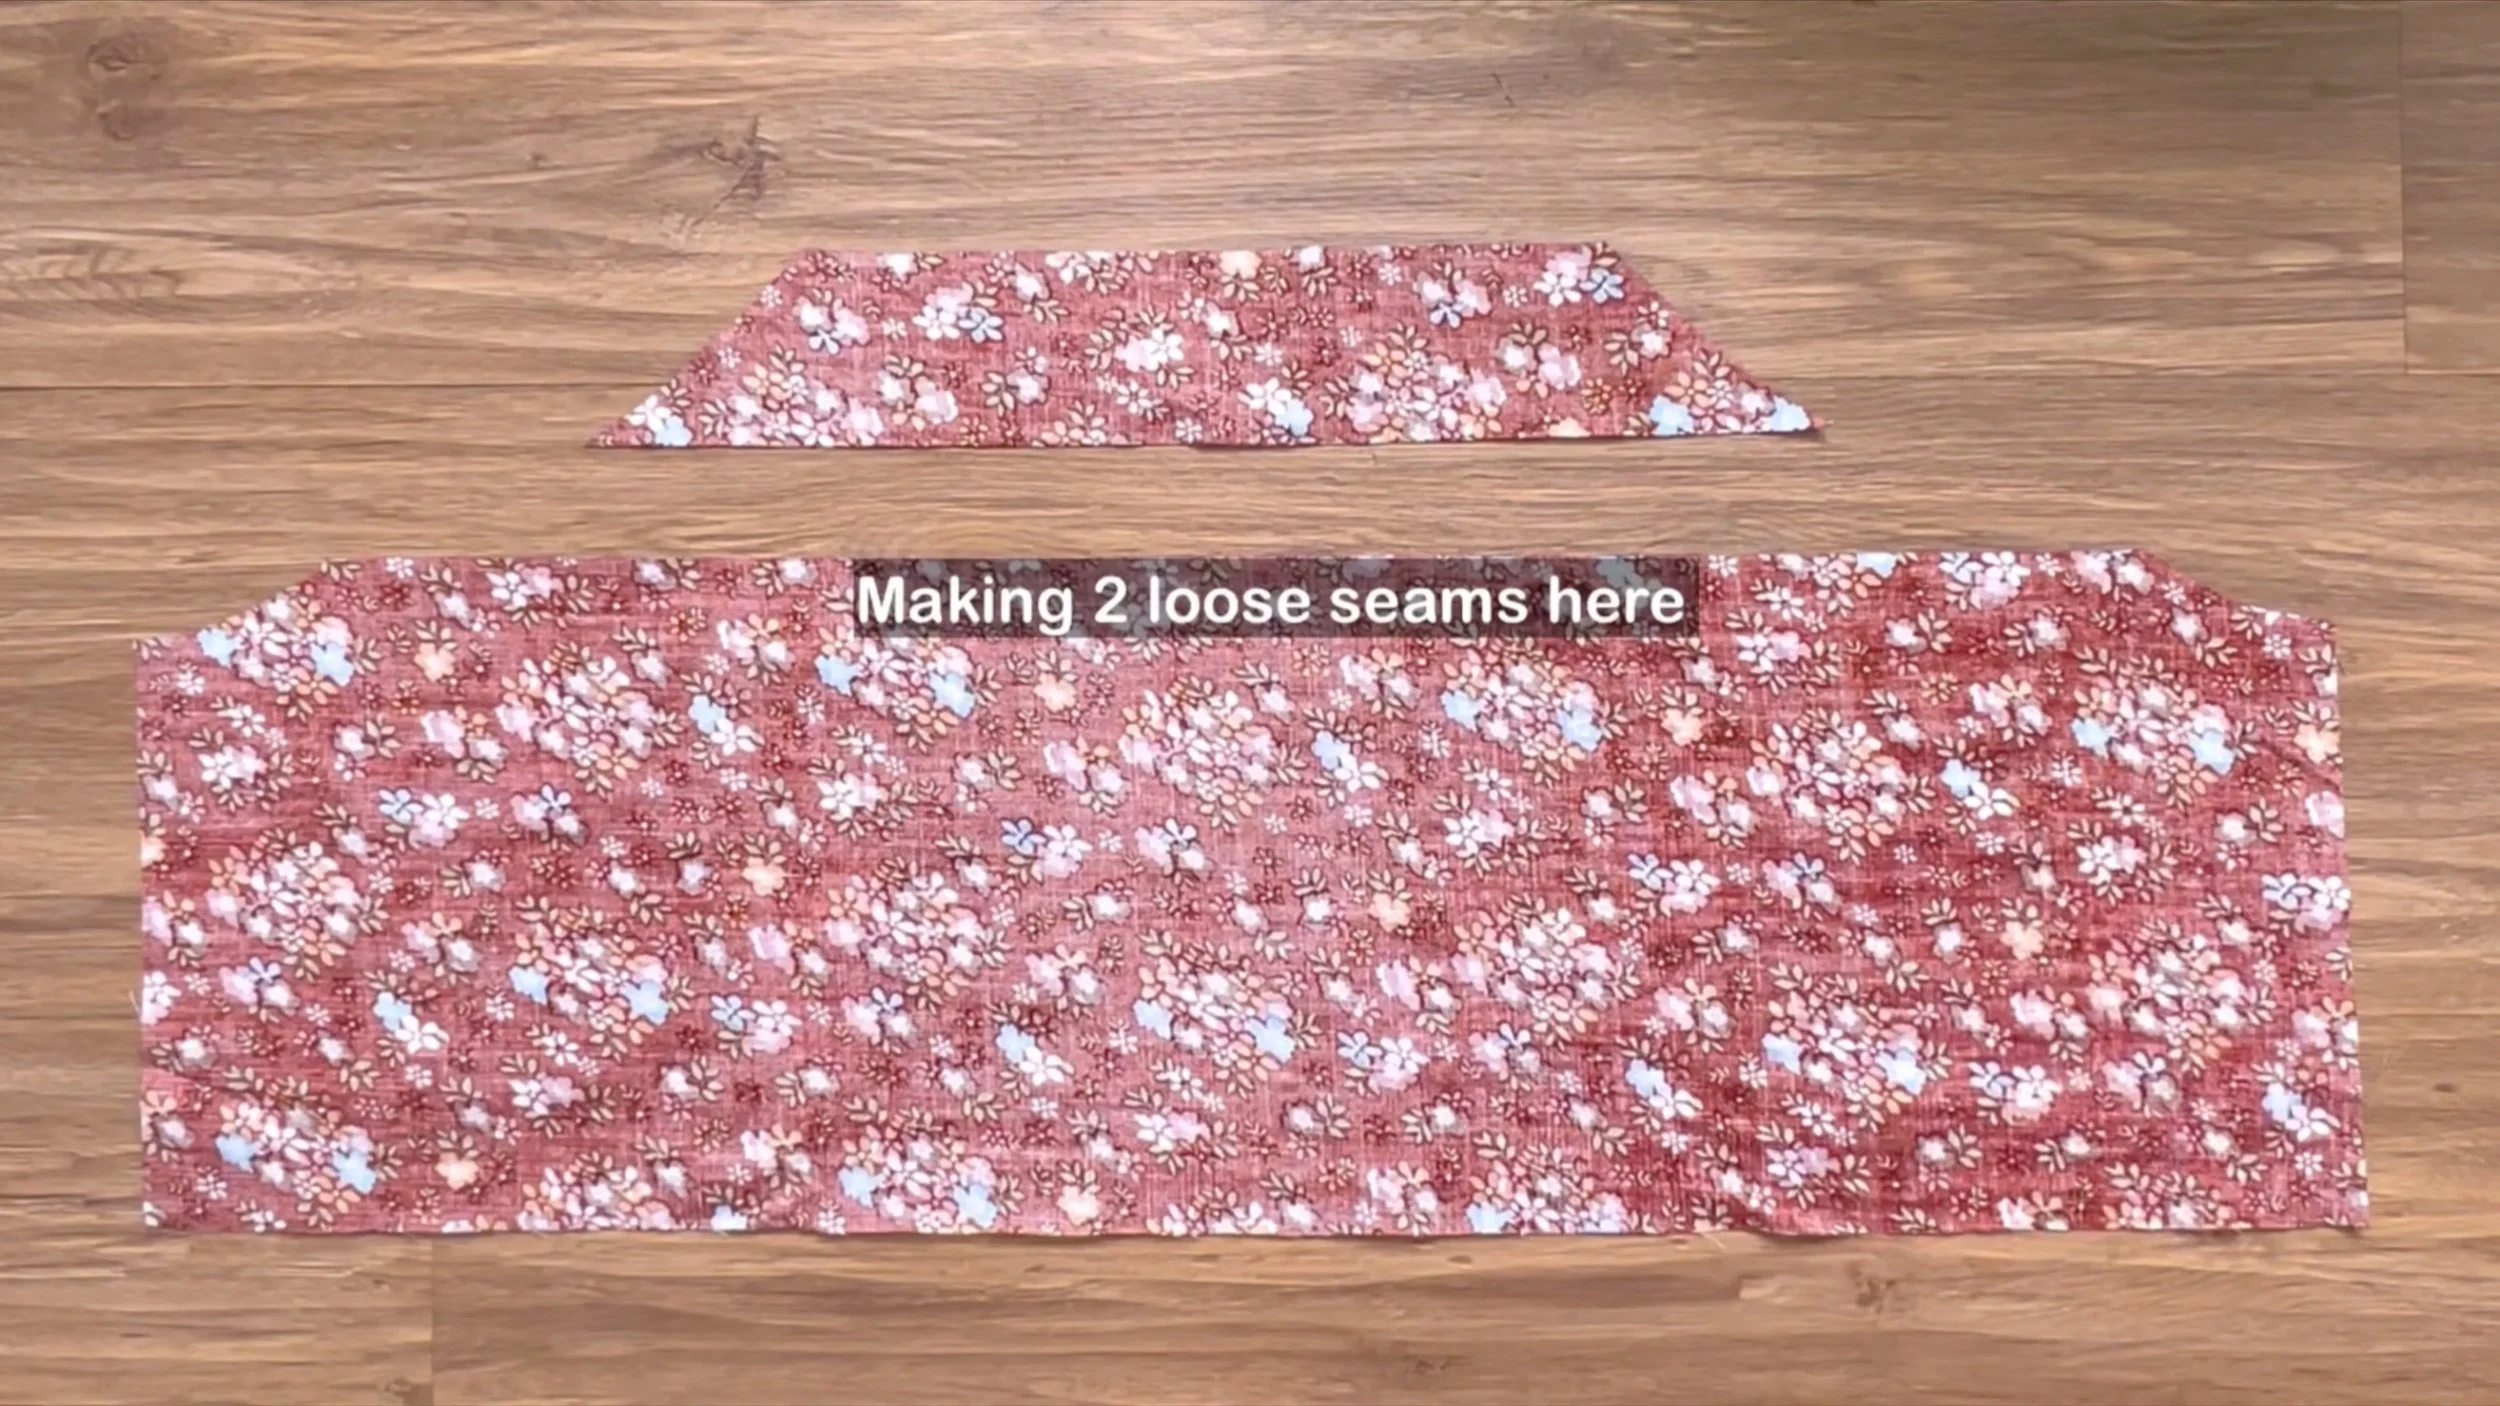
Moving to the top part of the blouse, make two loose seams at the top of the bottom piece.
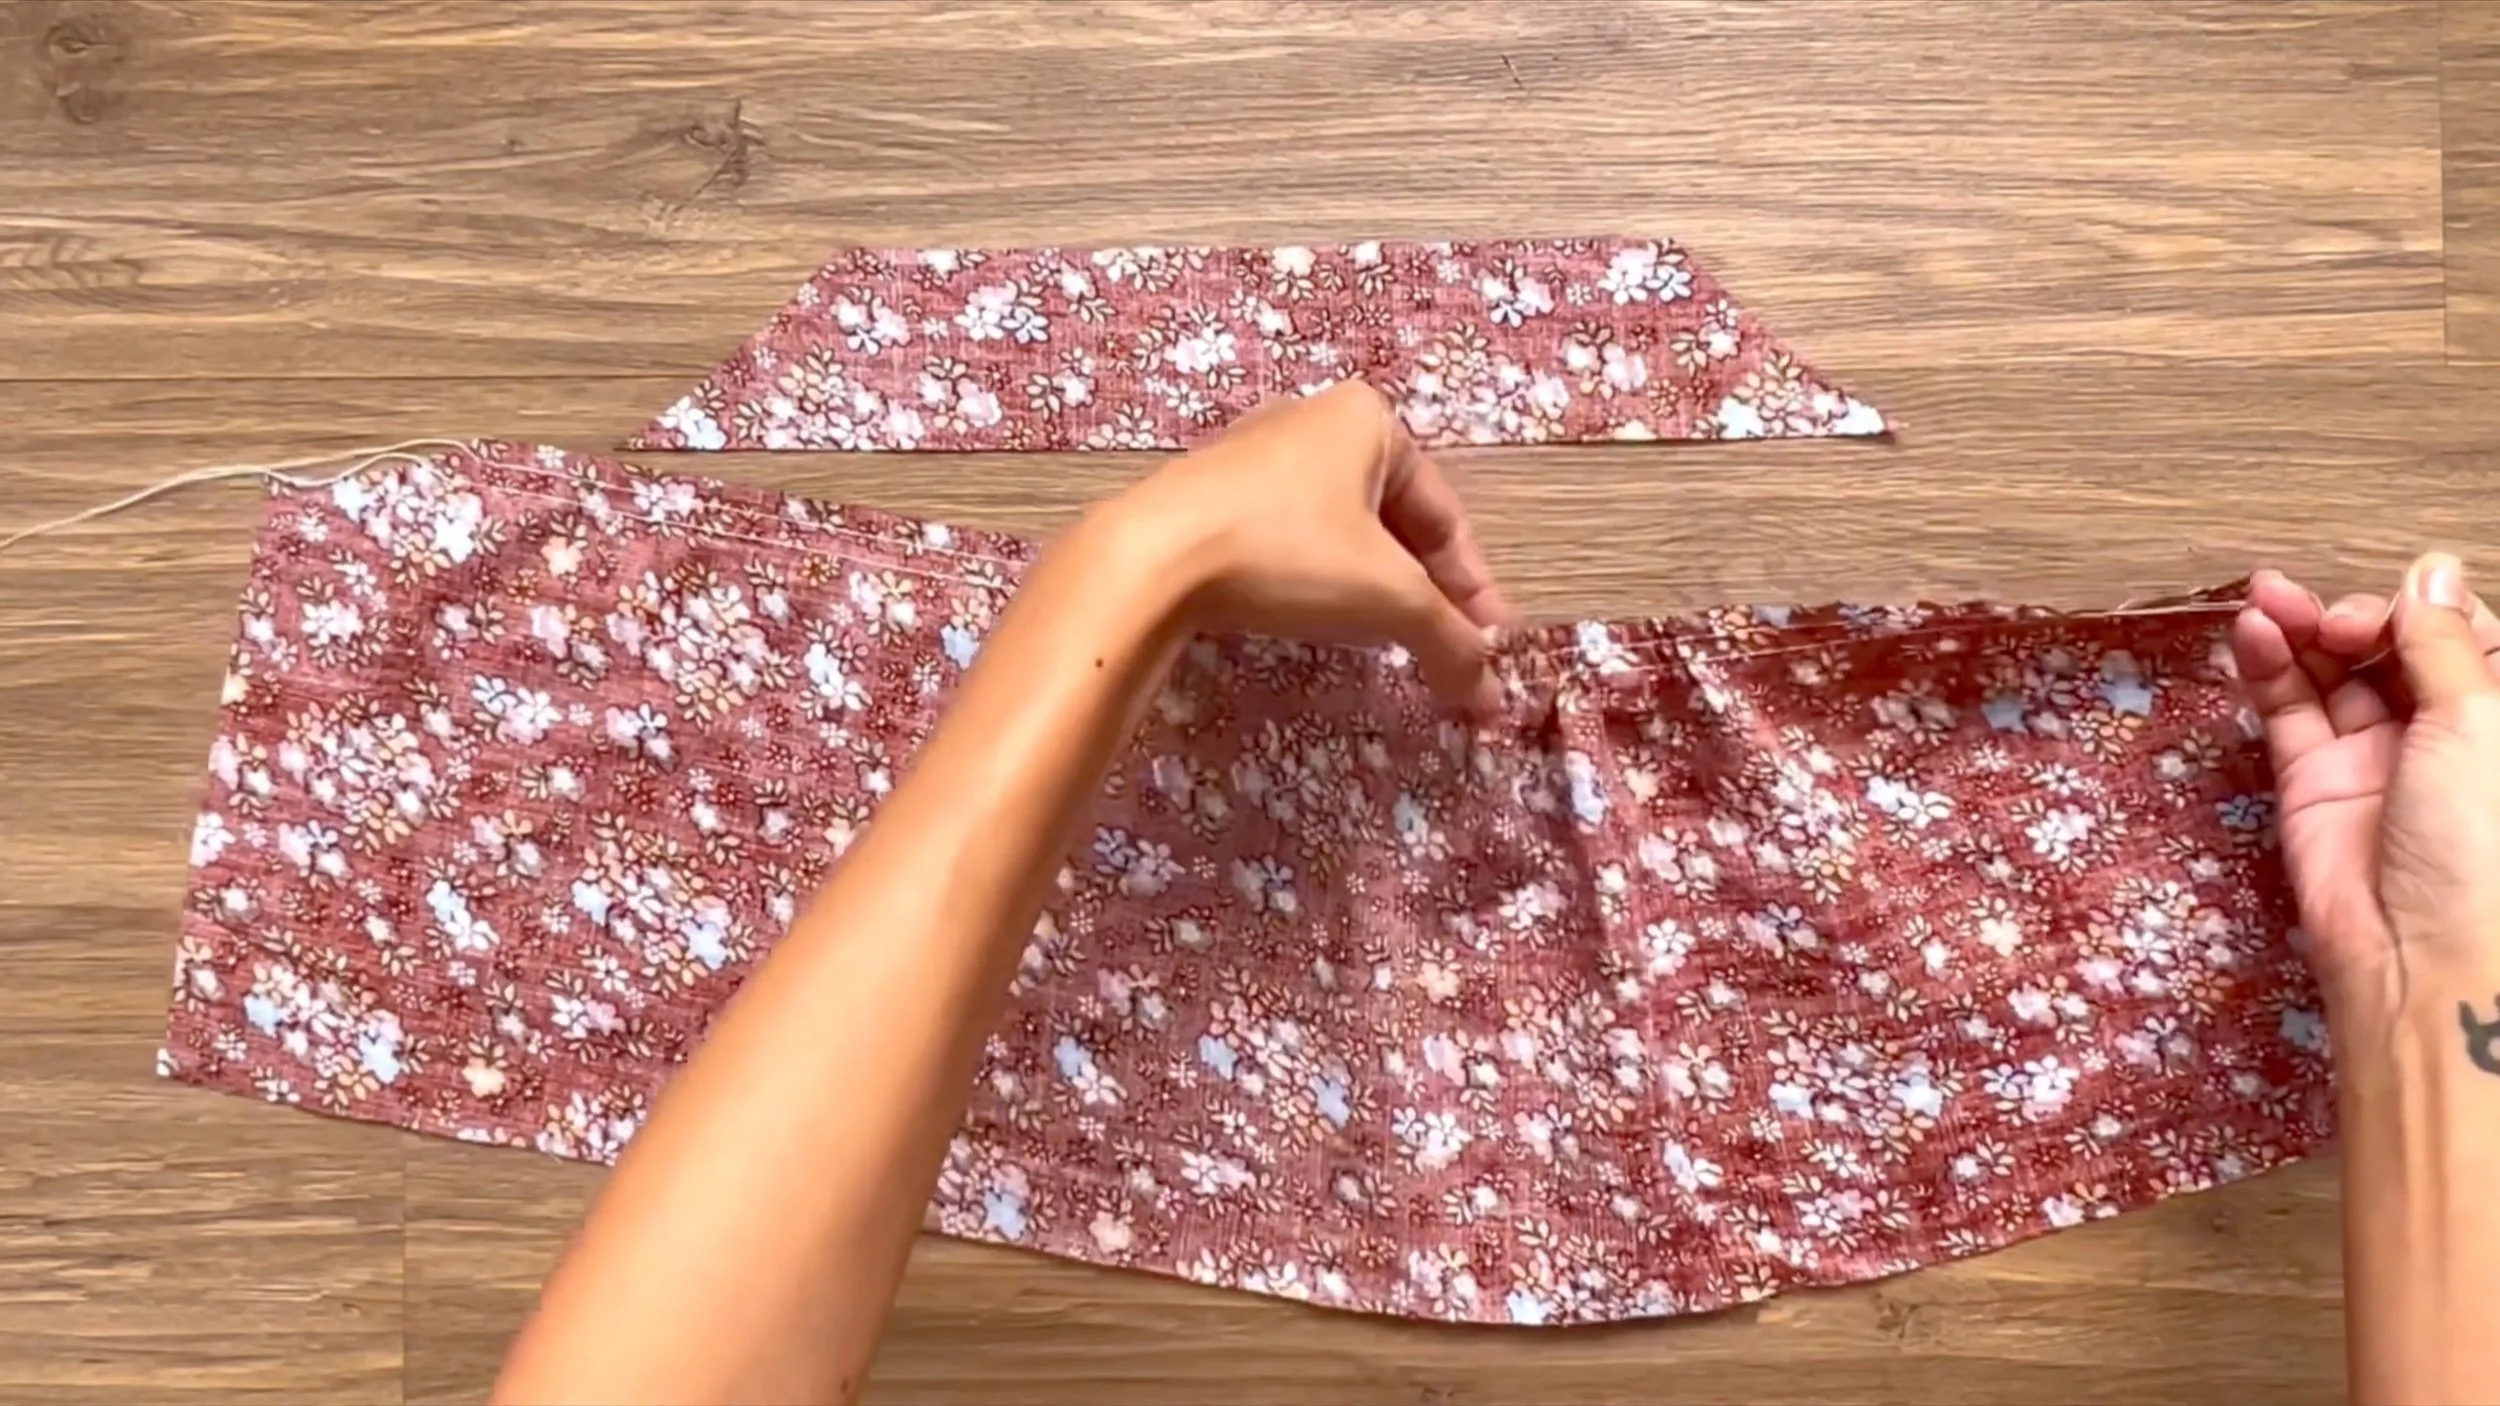
Then create gathering fabric.
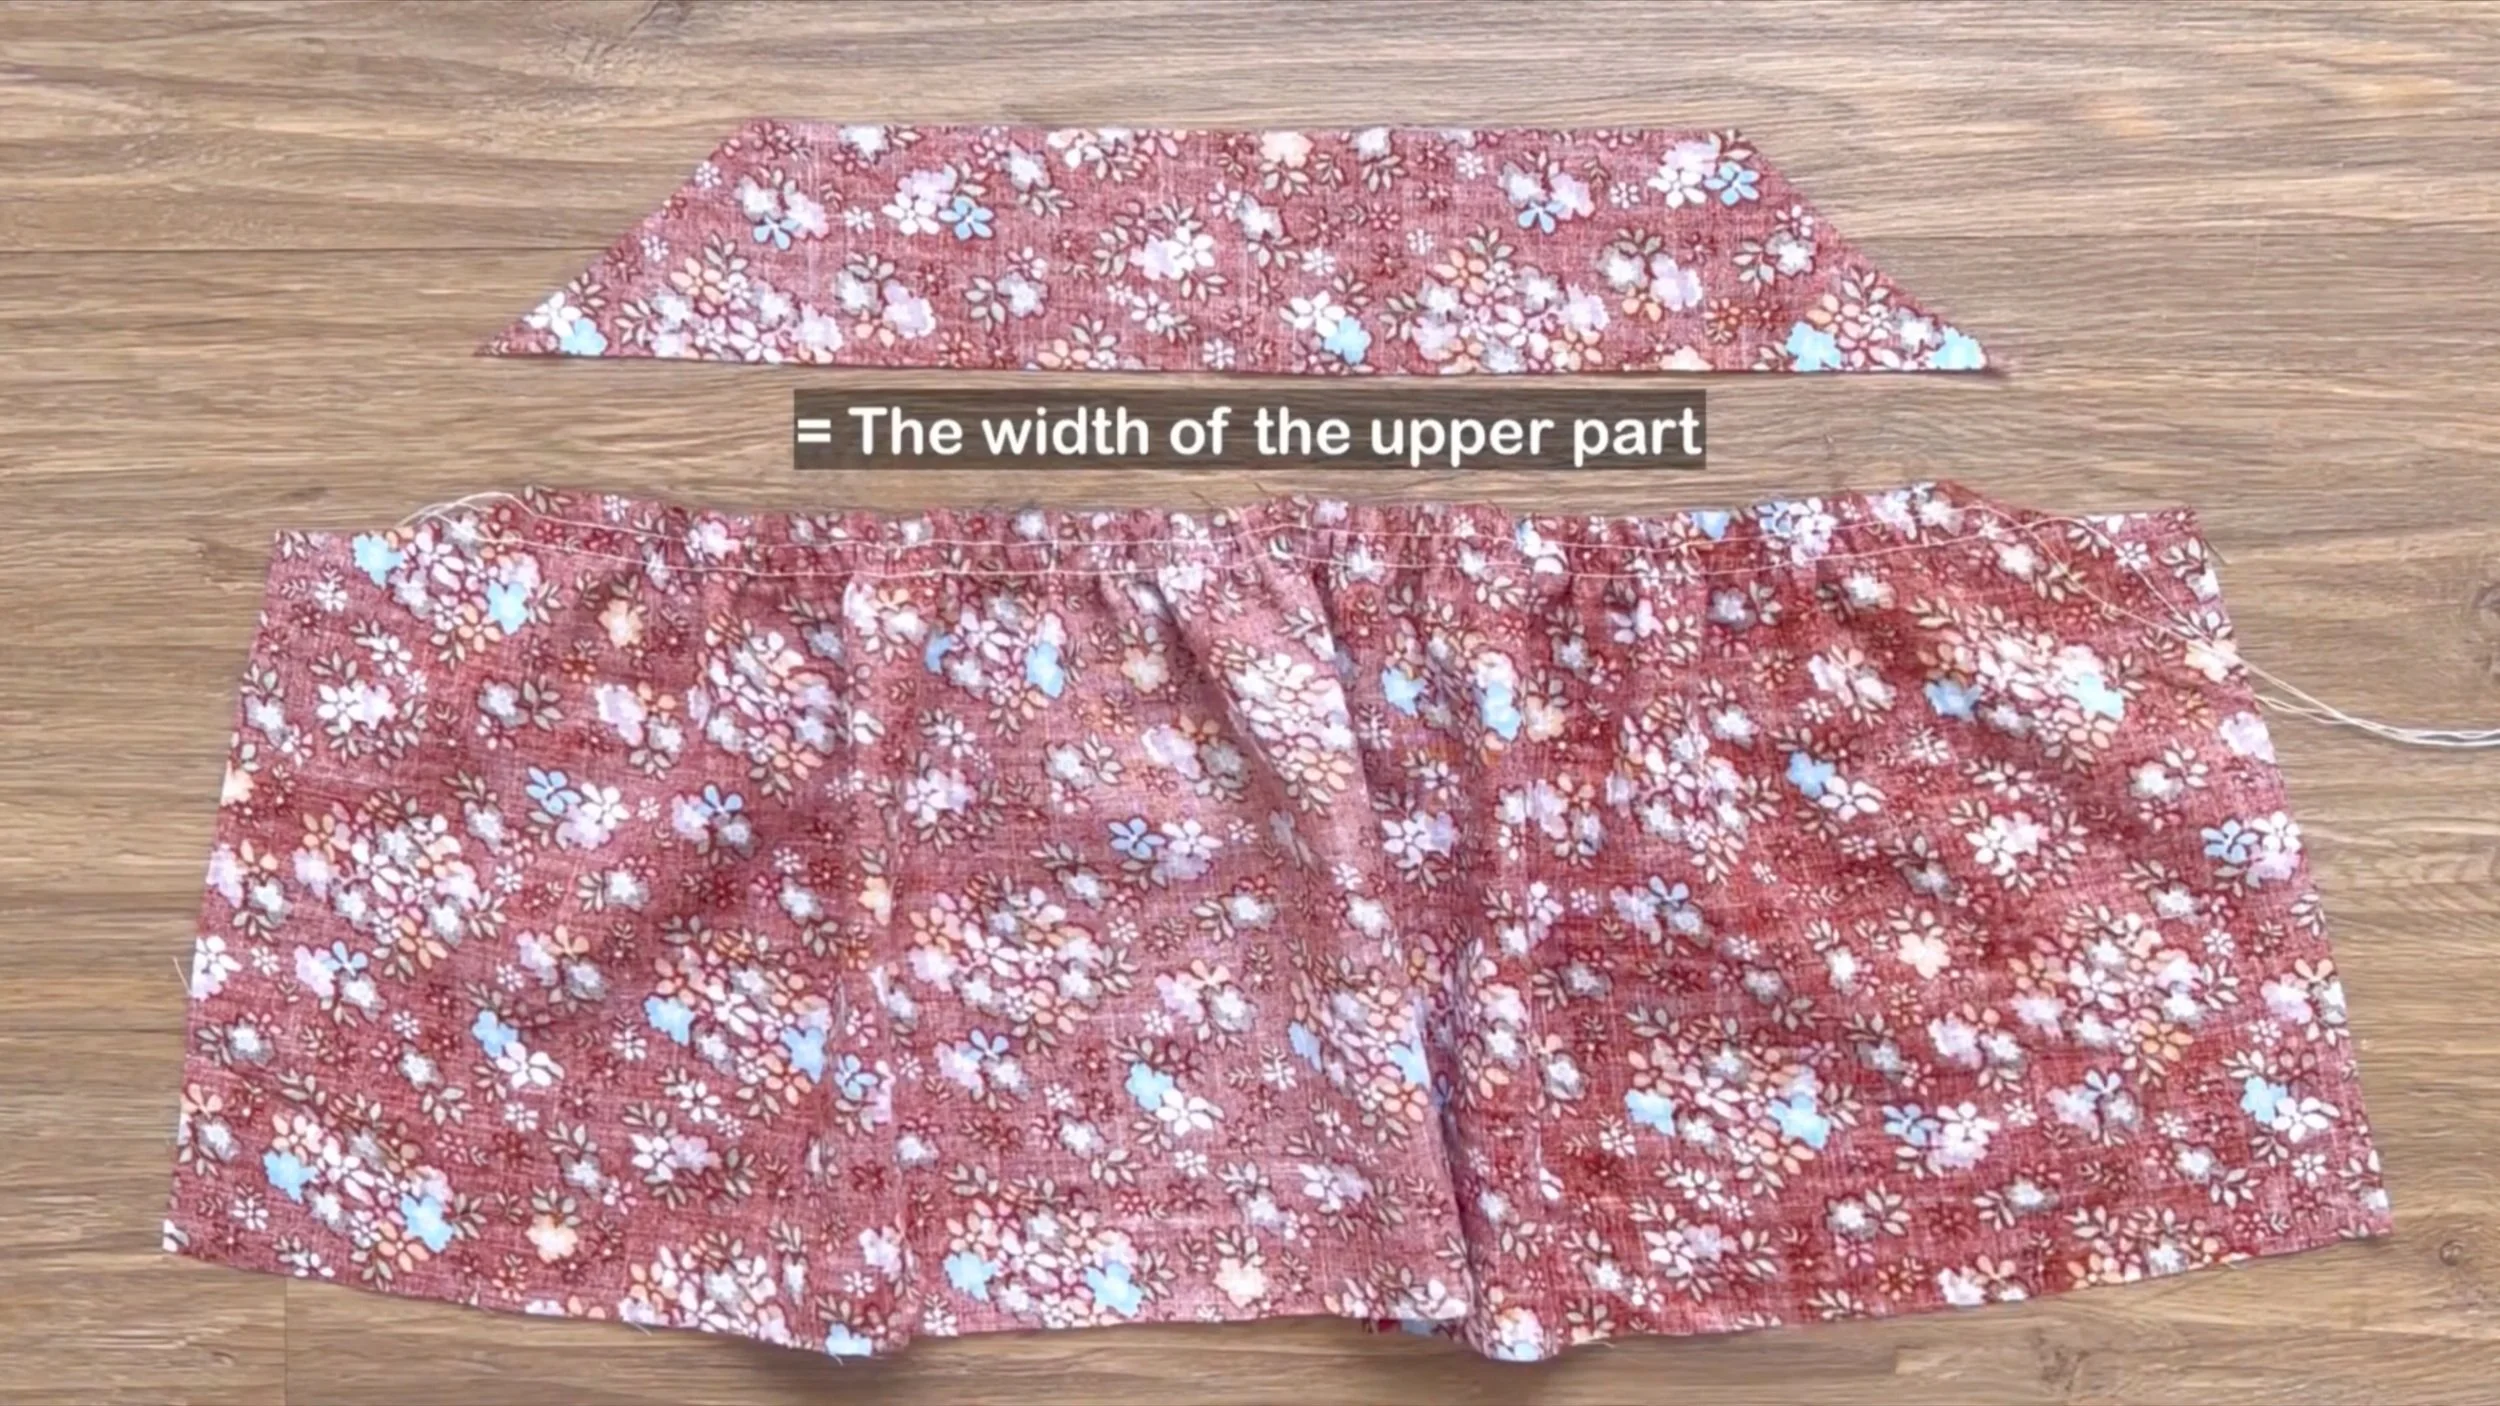
The final width of the gathering fabric should match the end of the upper piece.
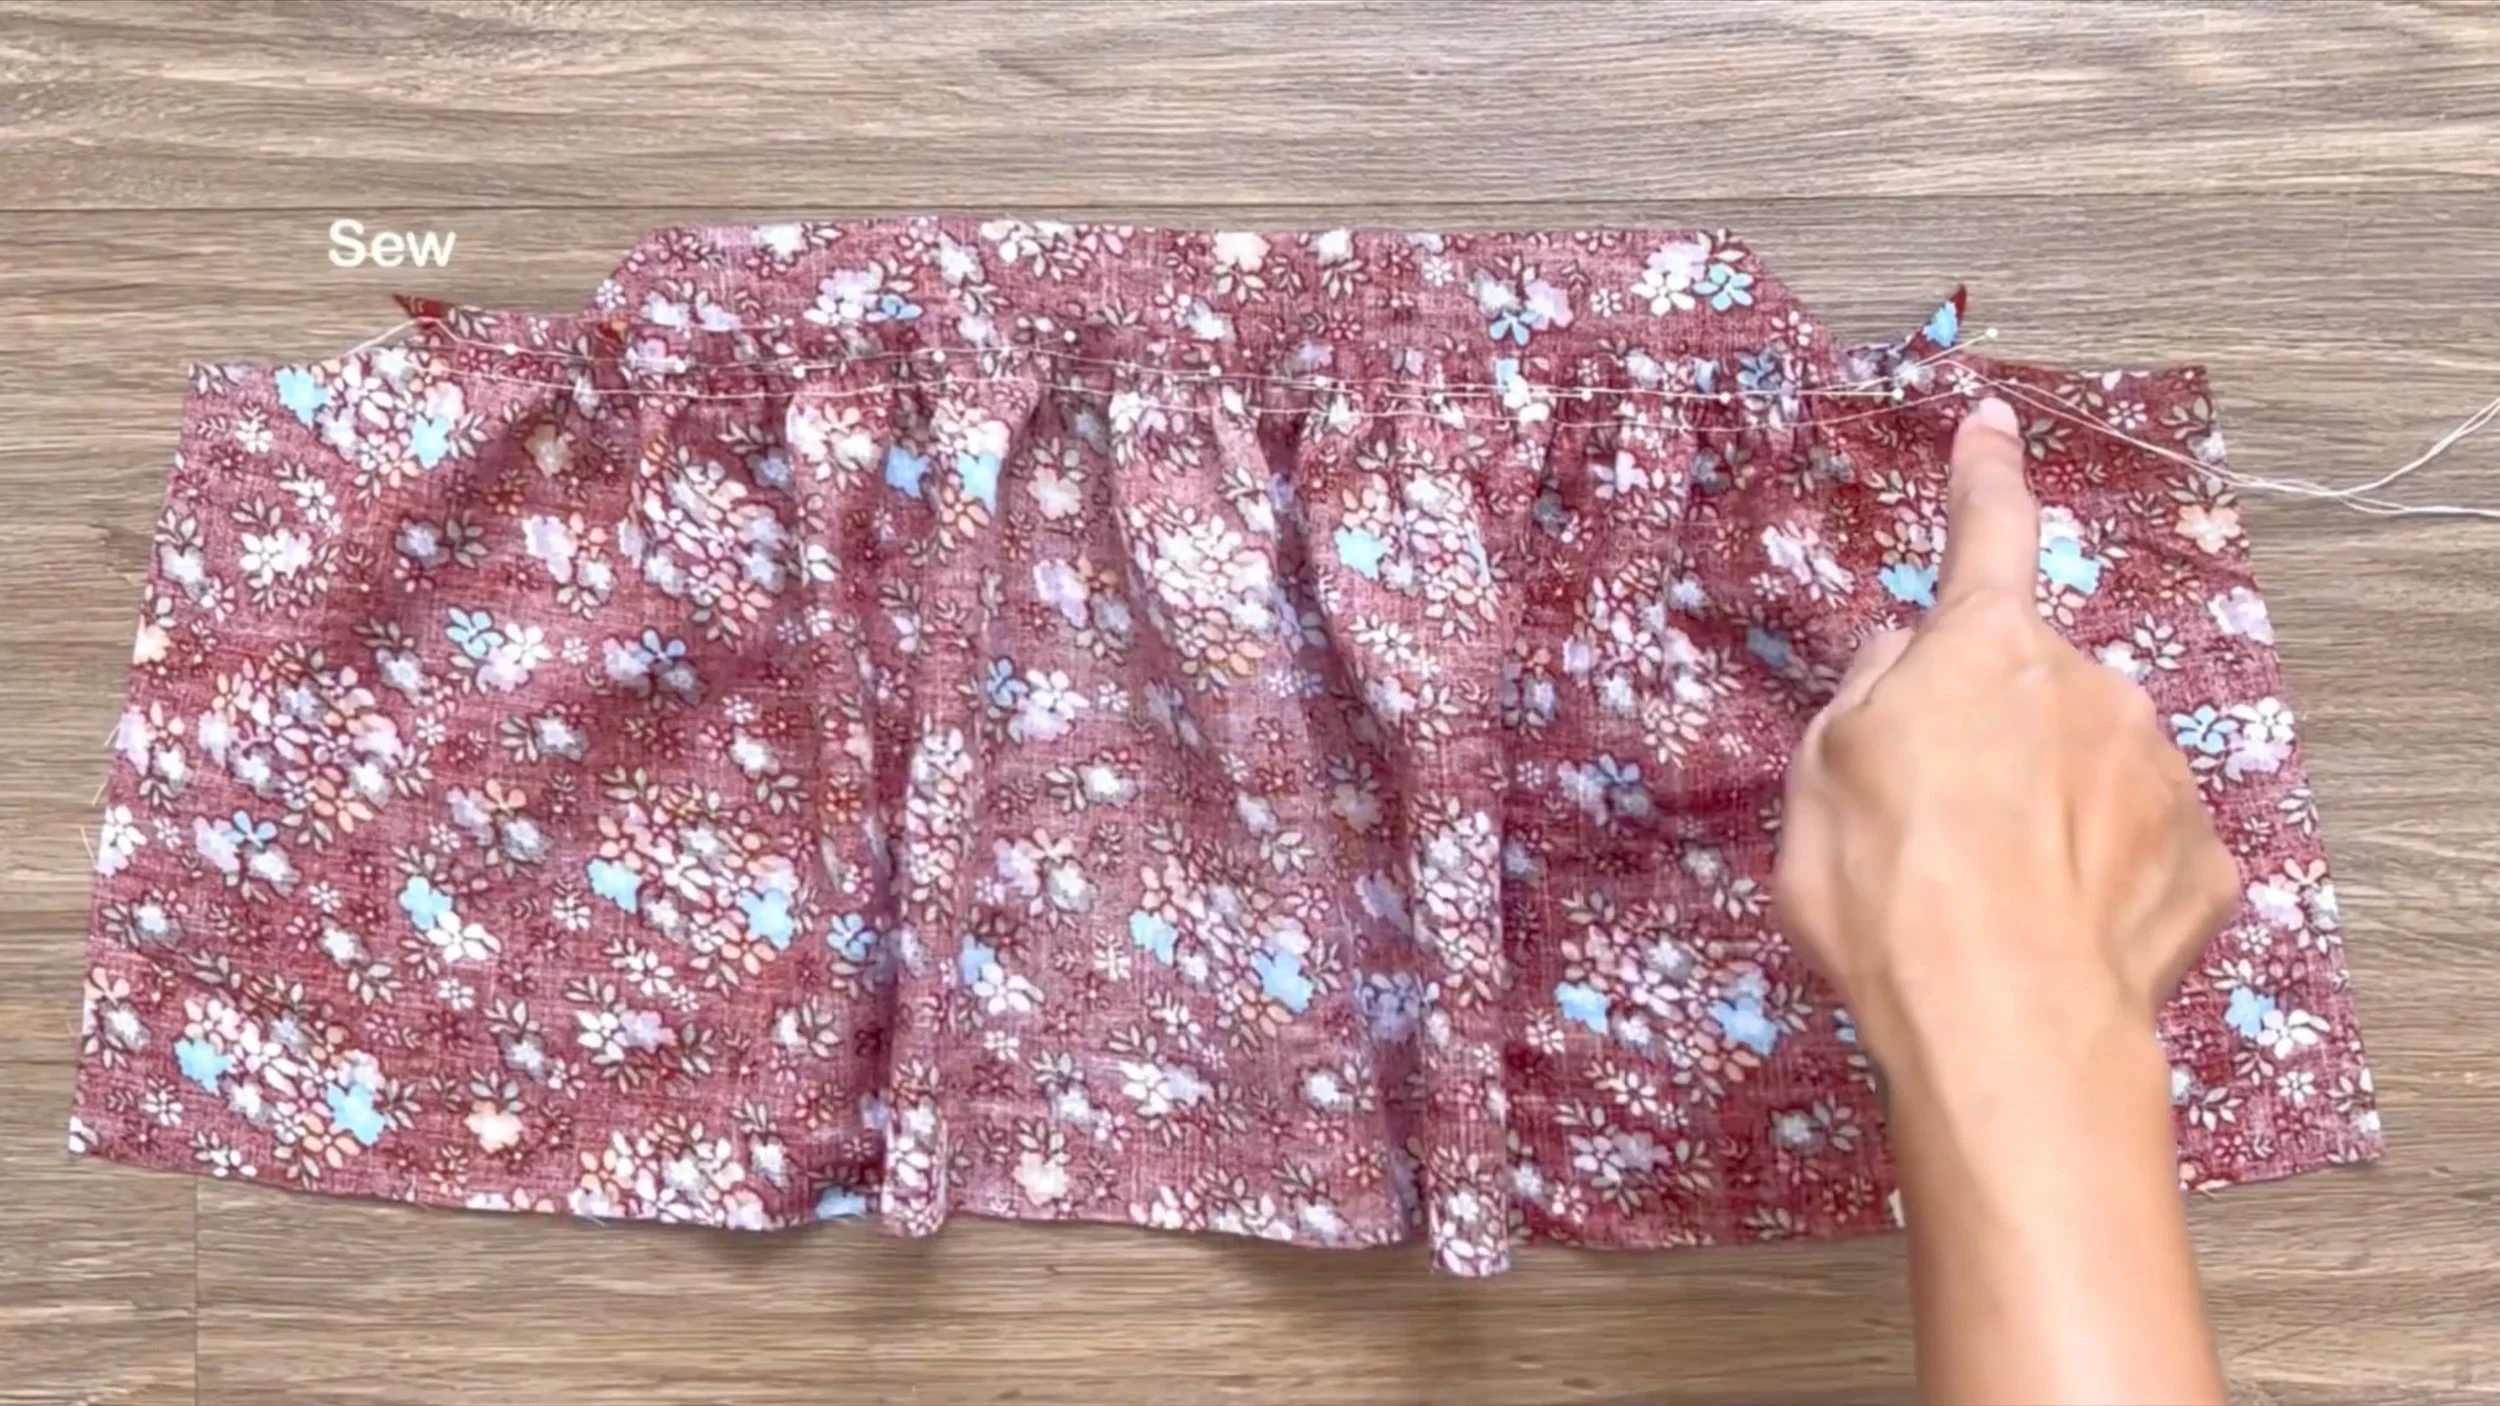
Then connect them together.
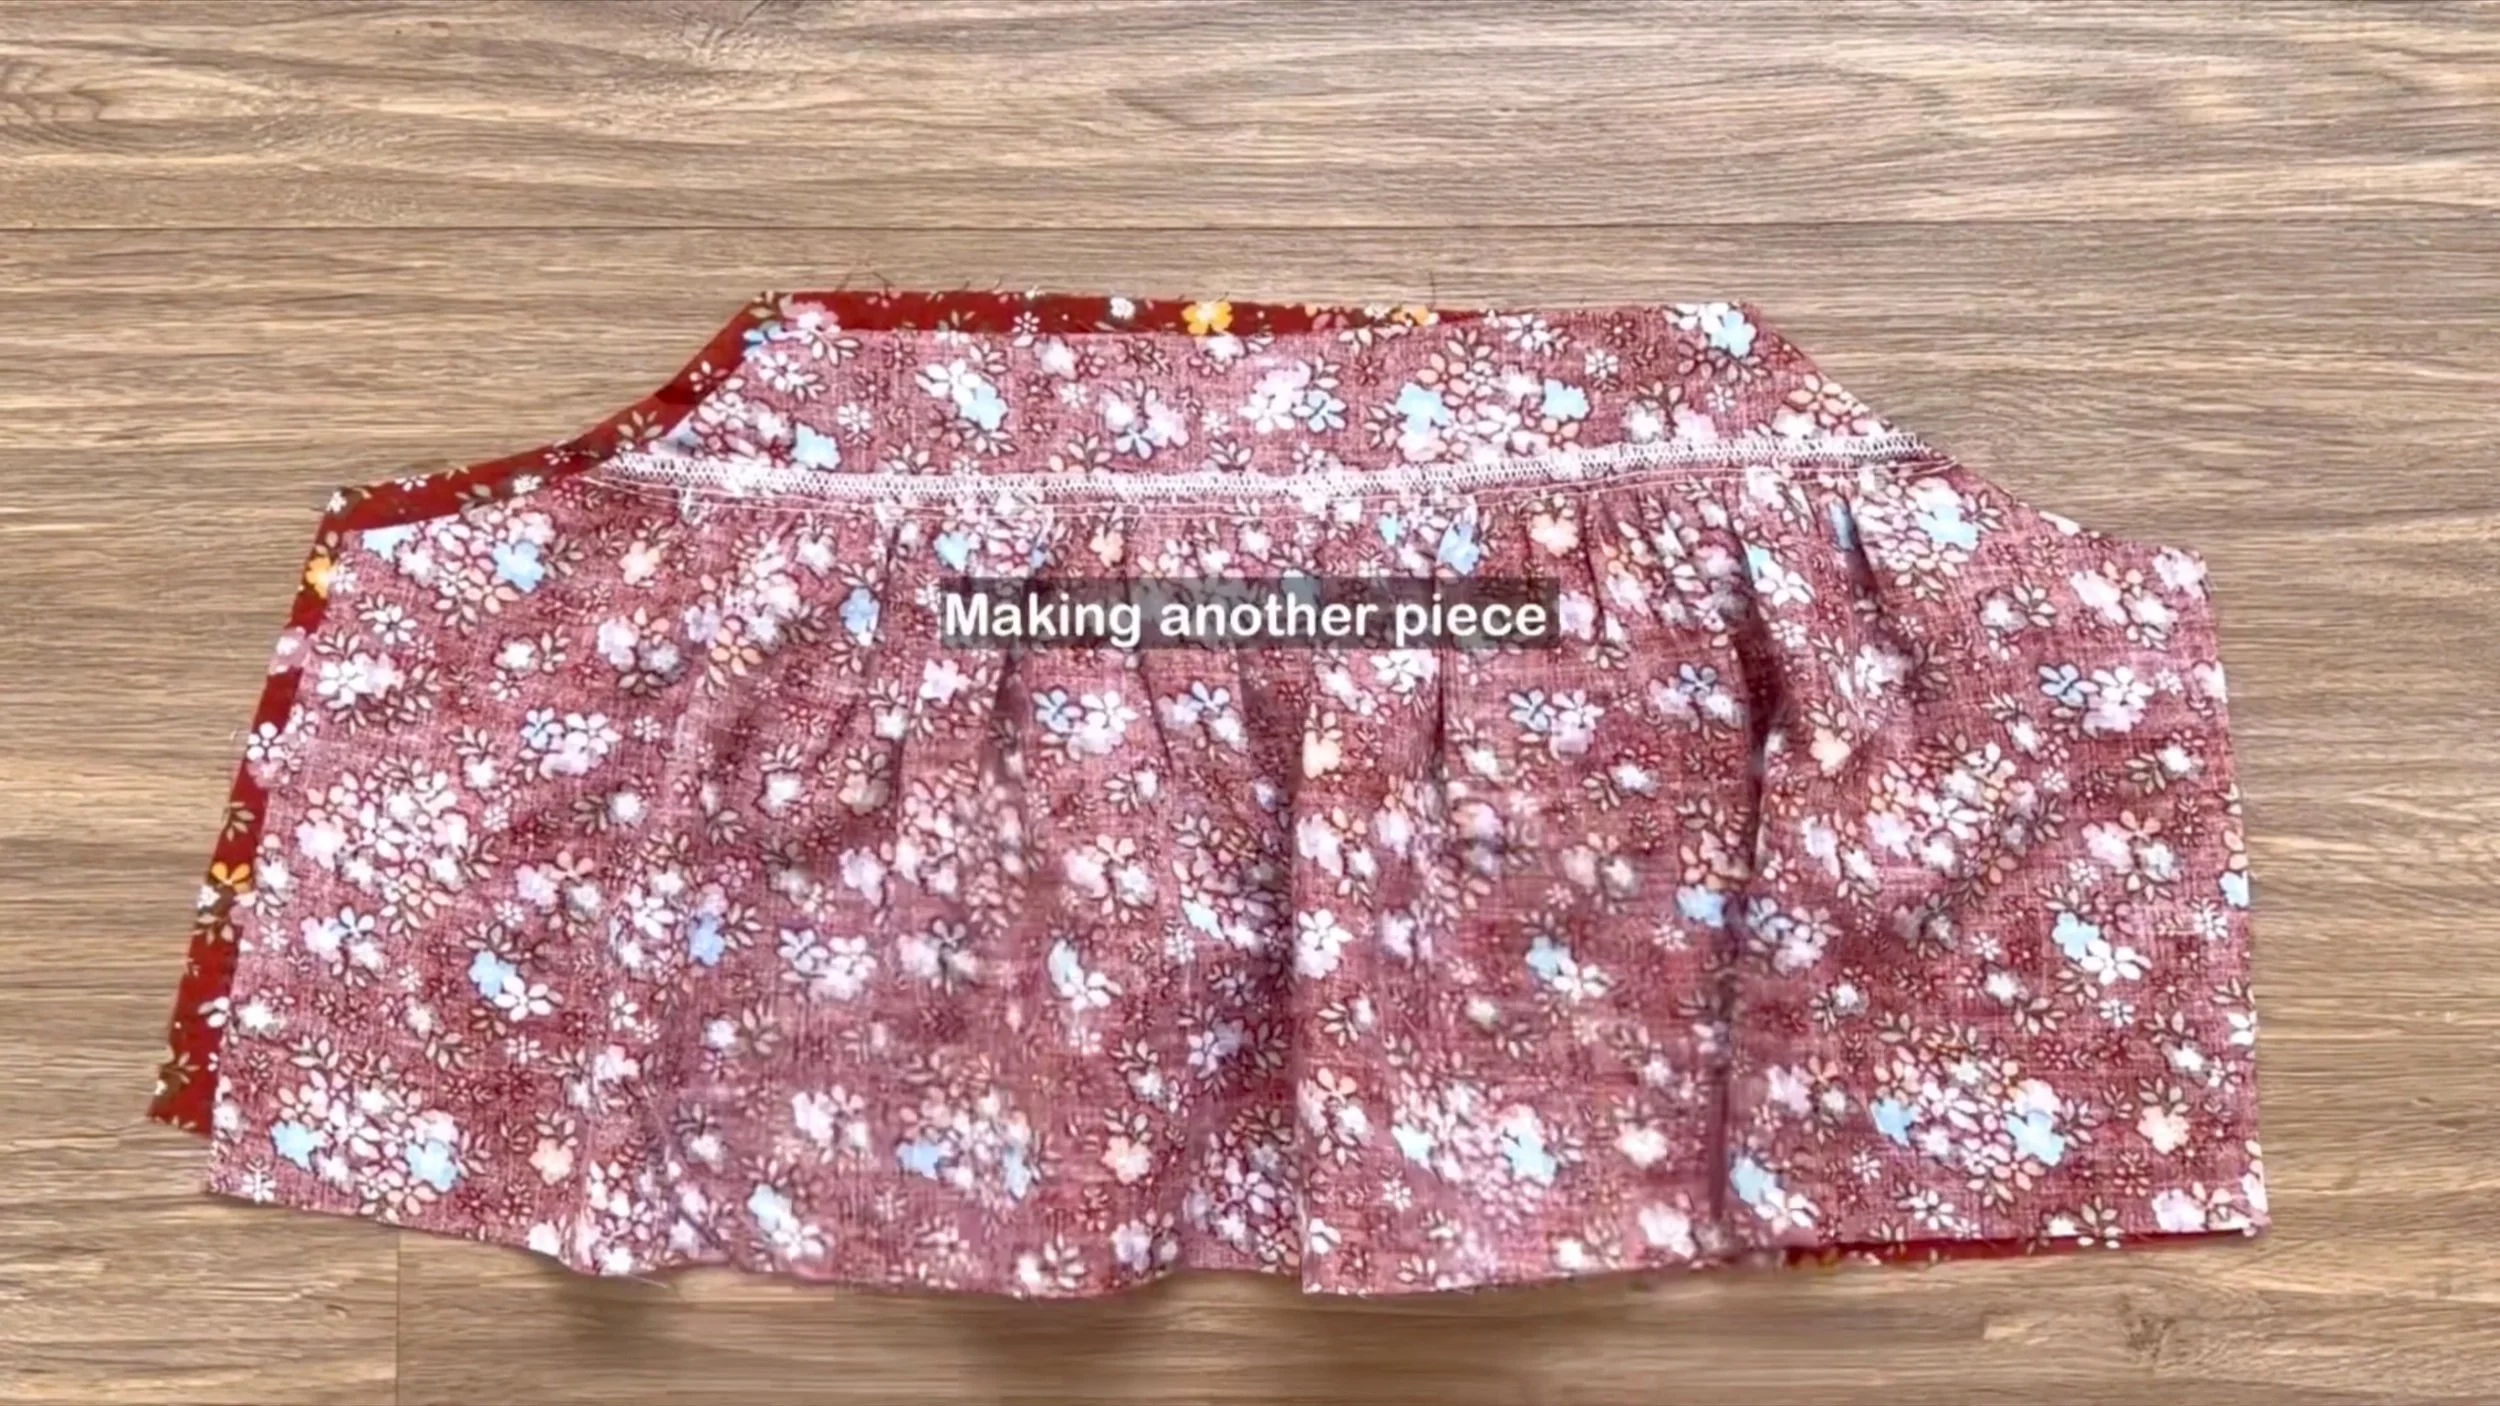
Create another piece like this for the top part of the blouse.
Then connect them together at the sideline.
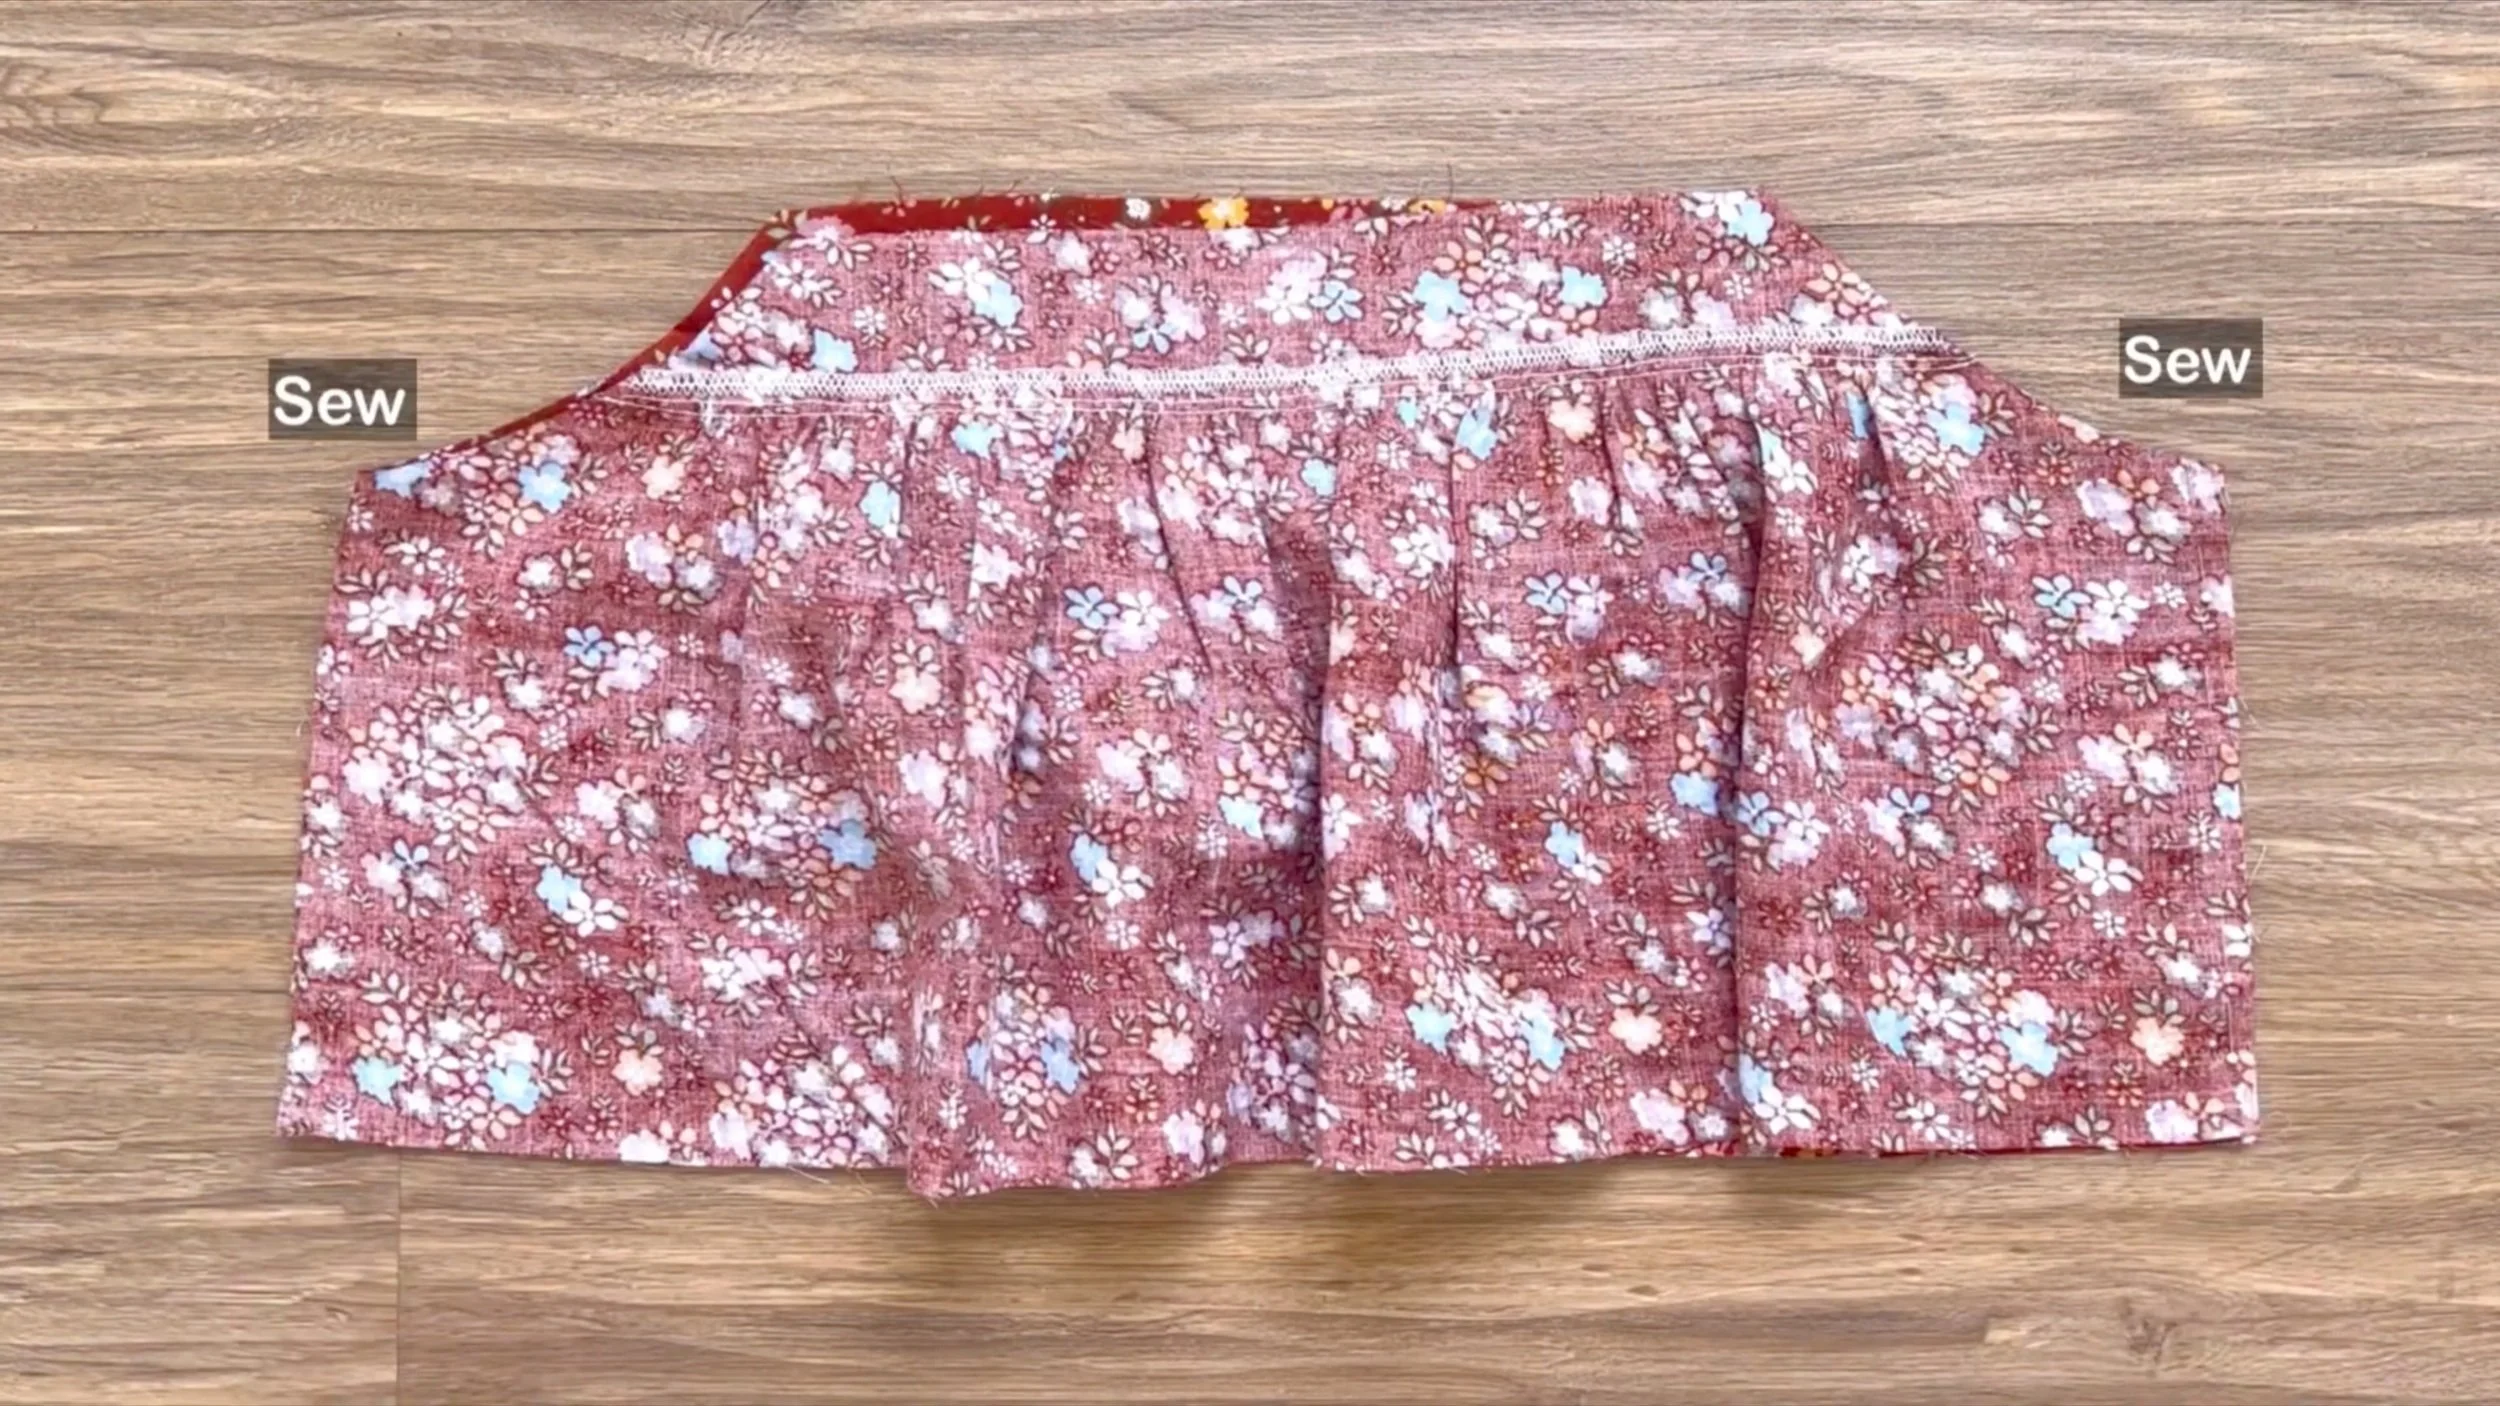
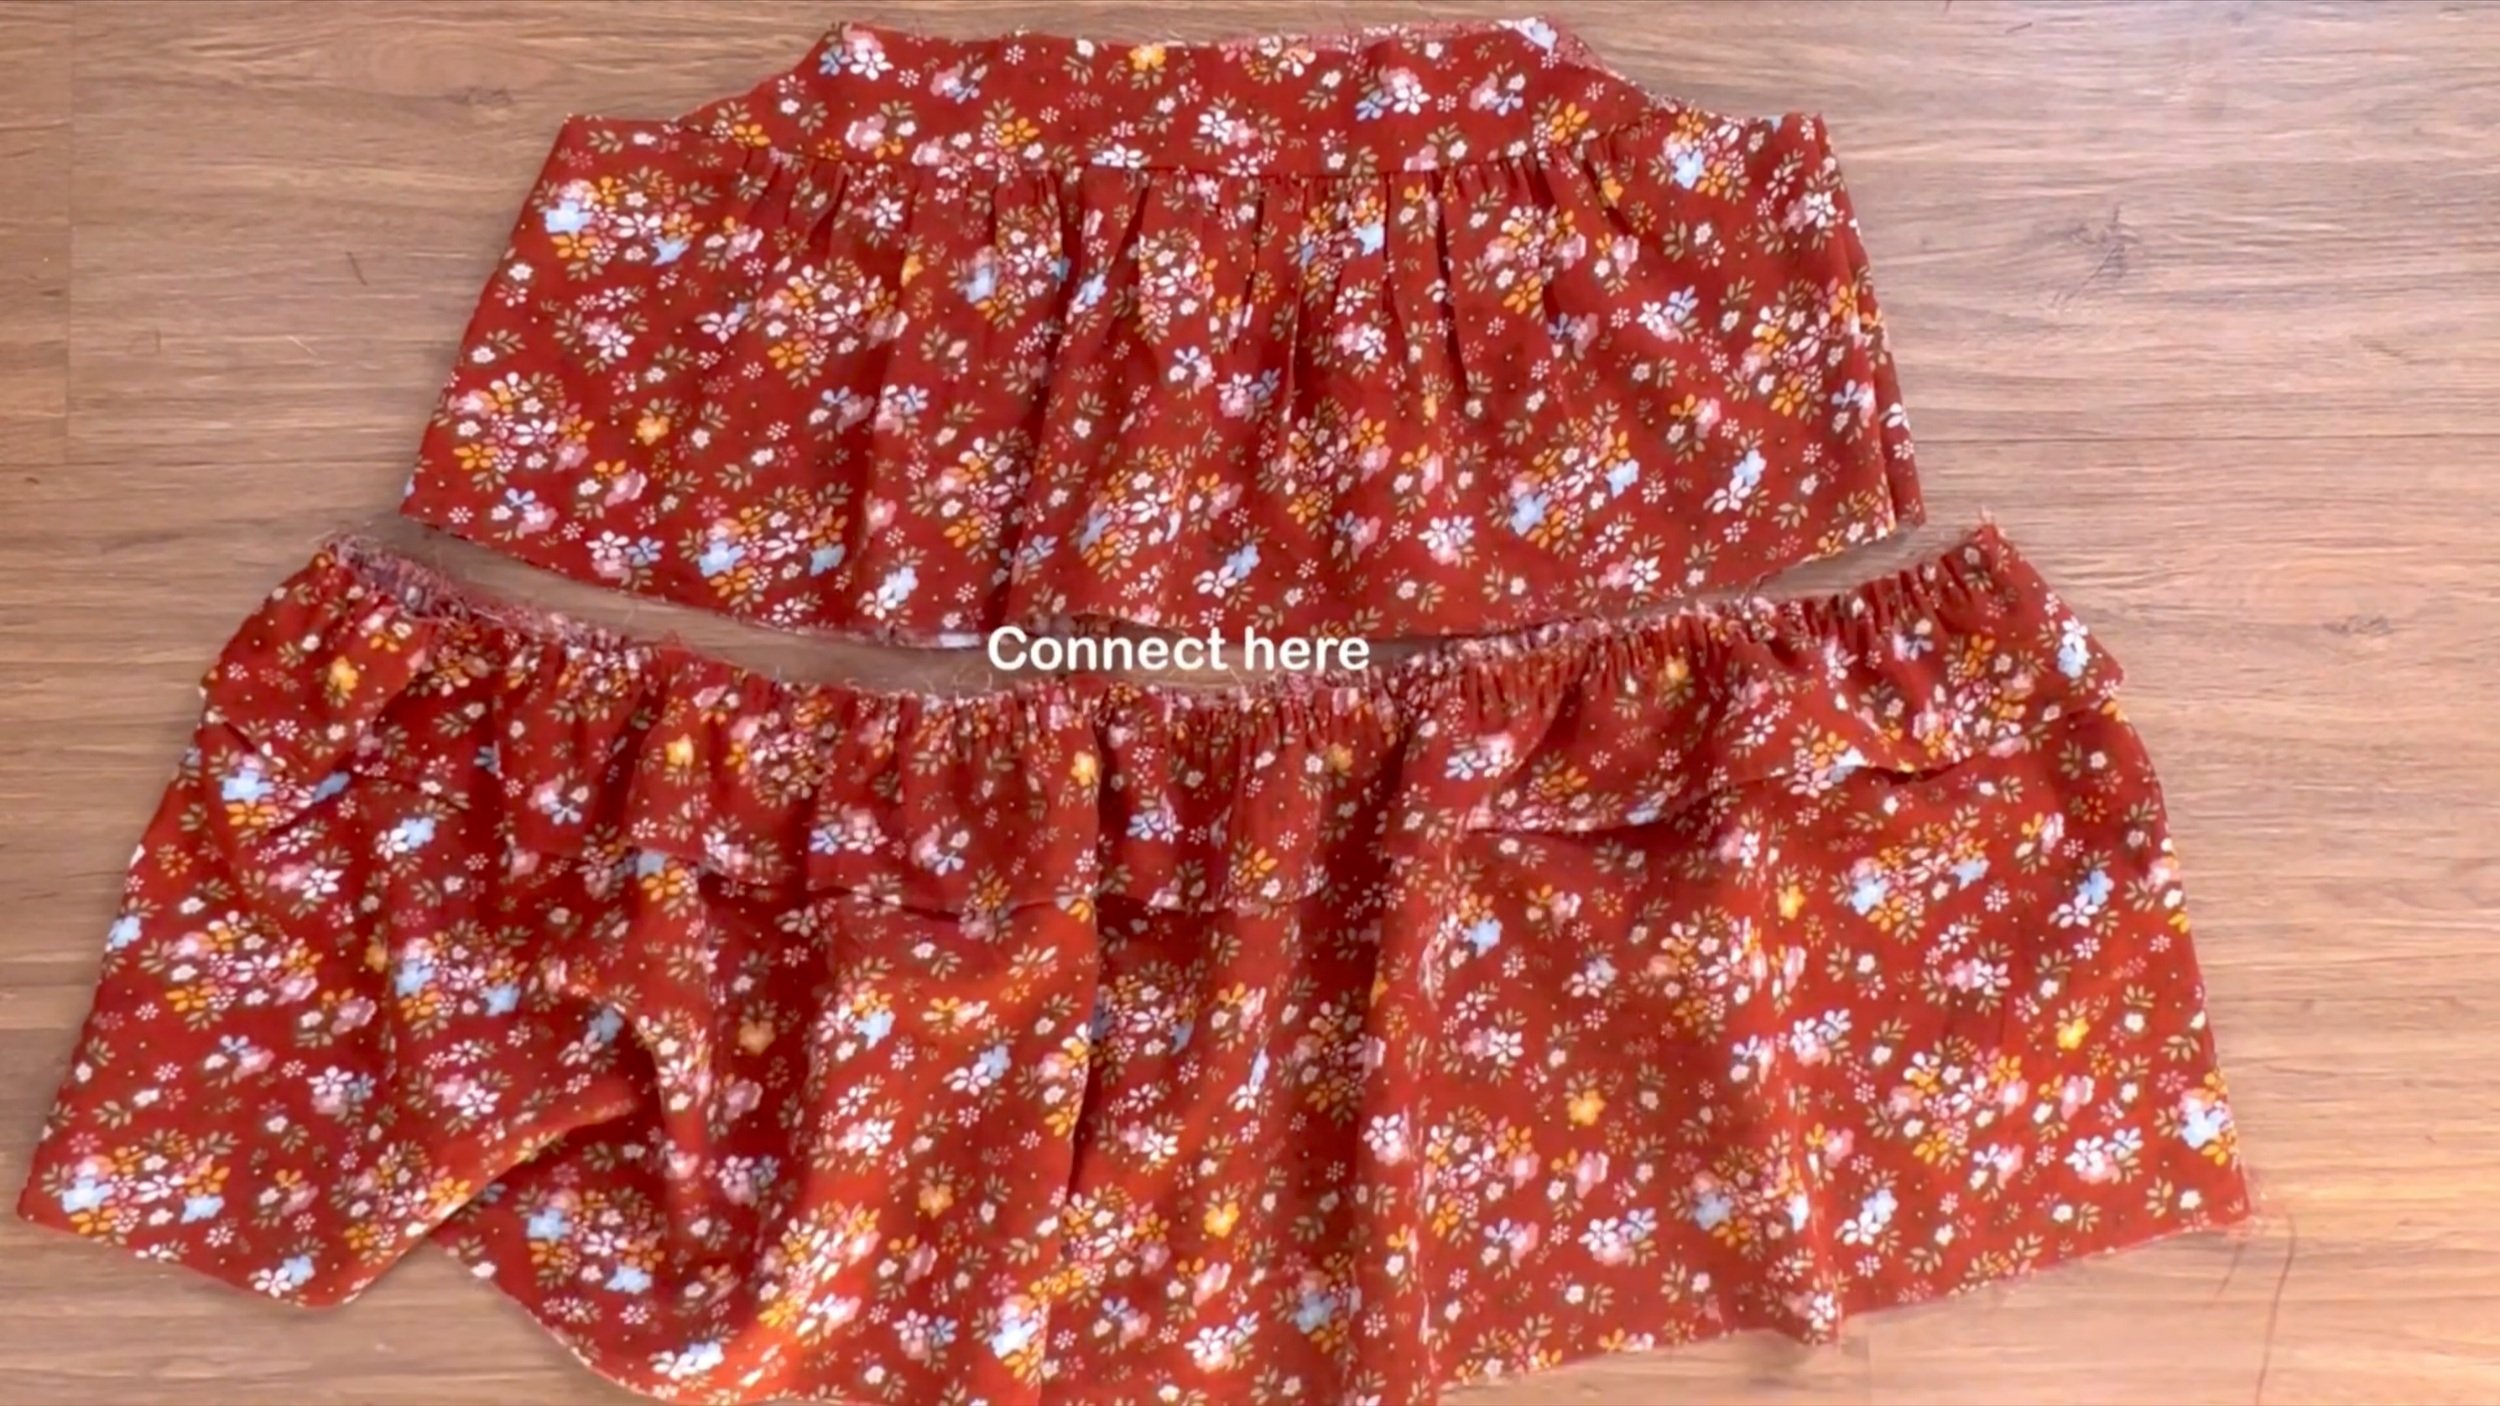
THE BOTTOM PART OF THE BLOUSE
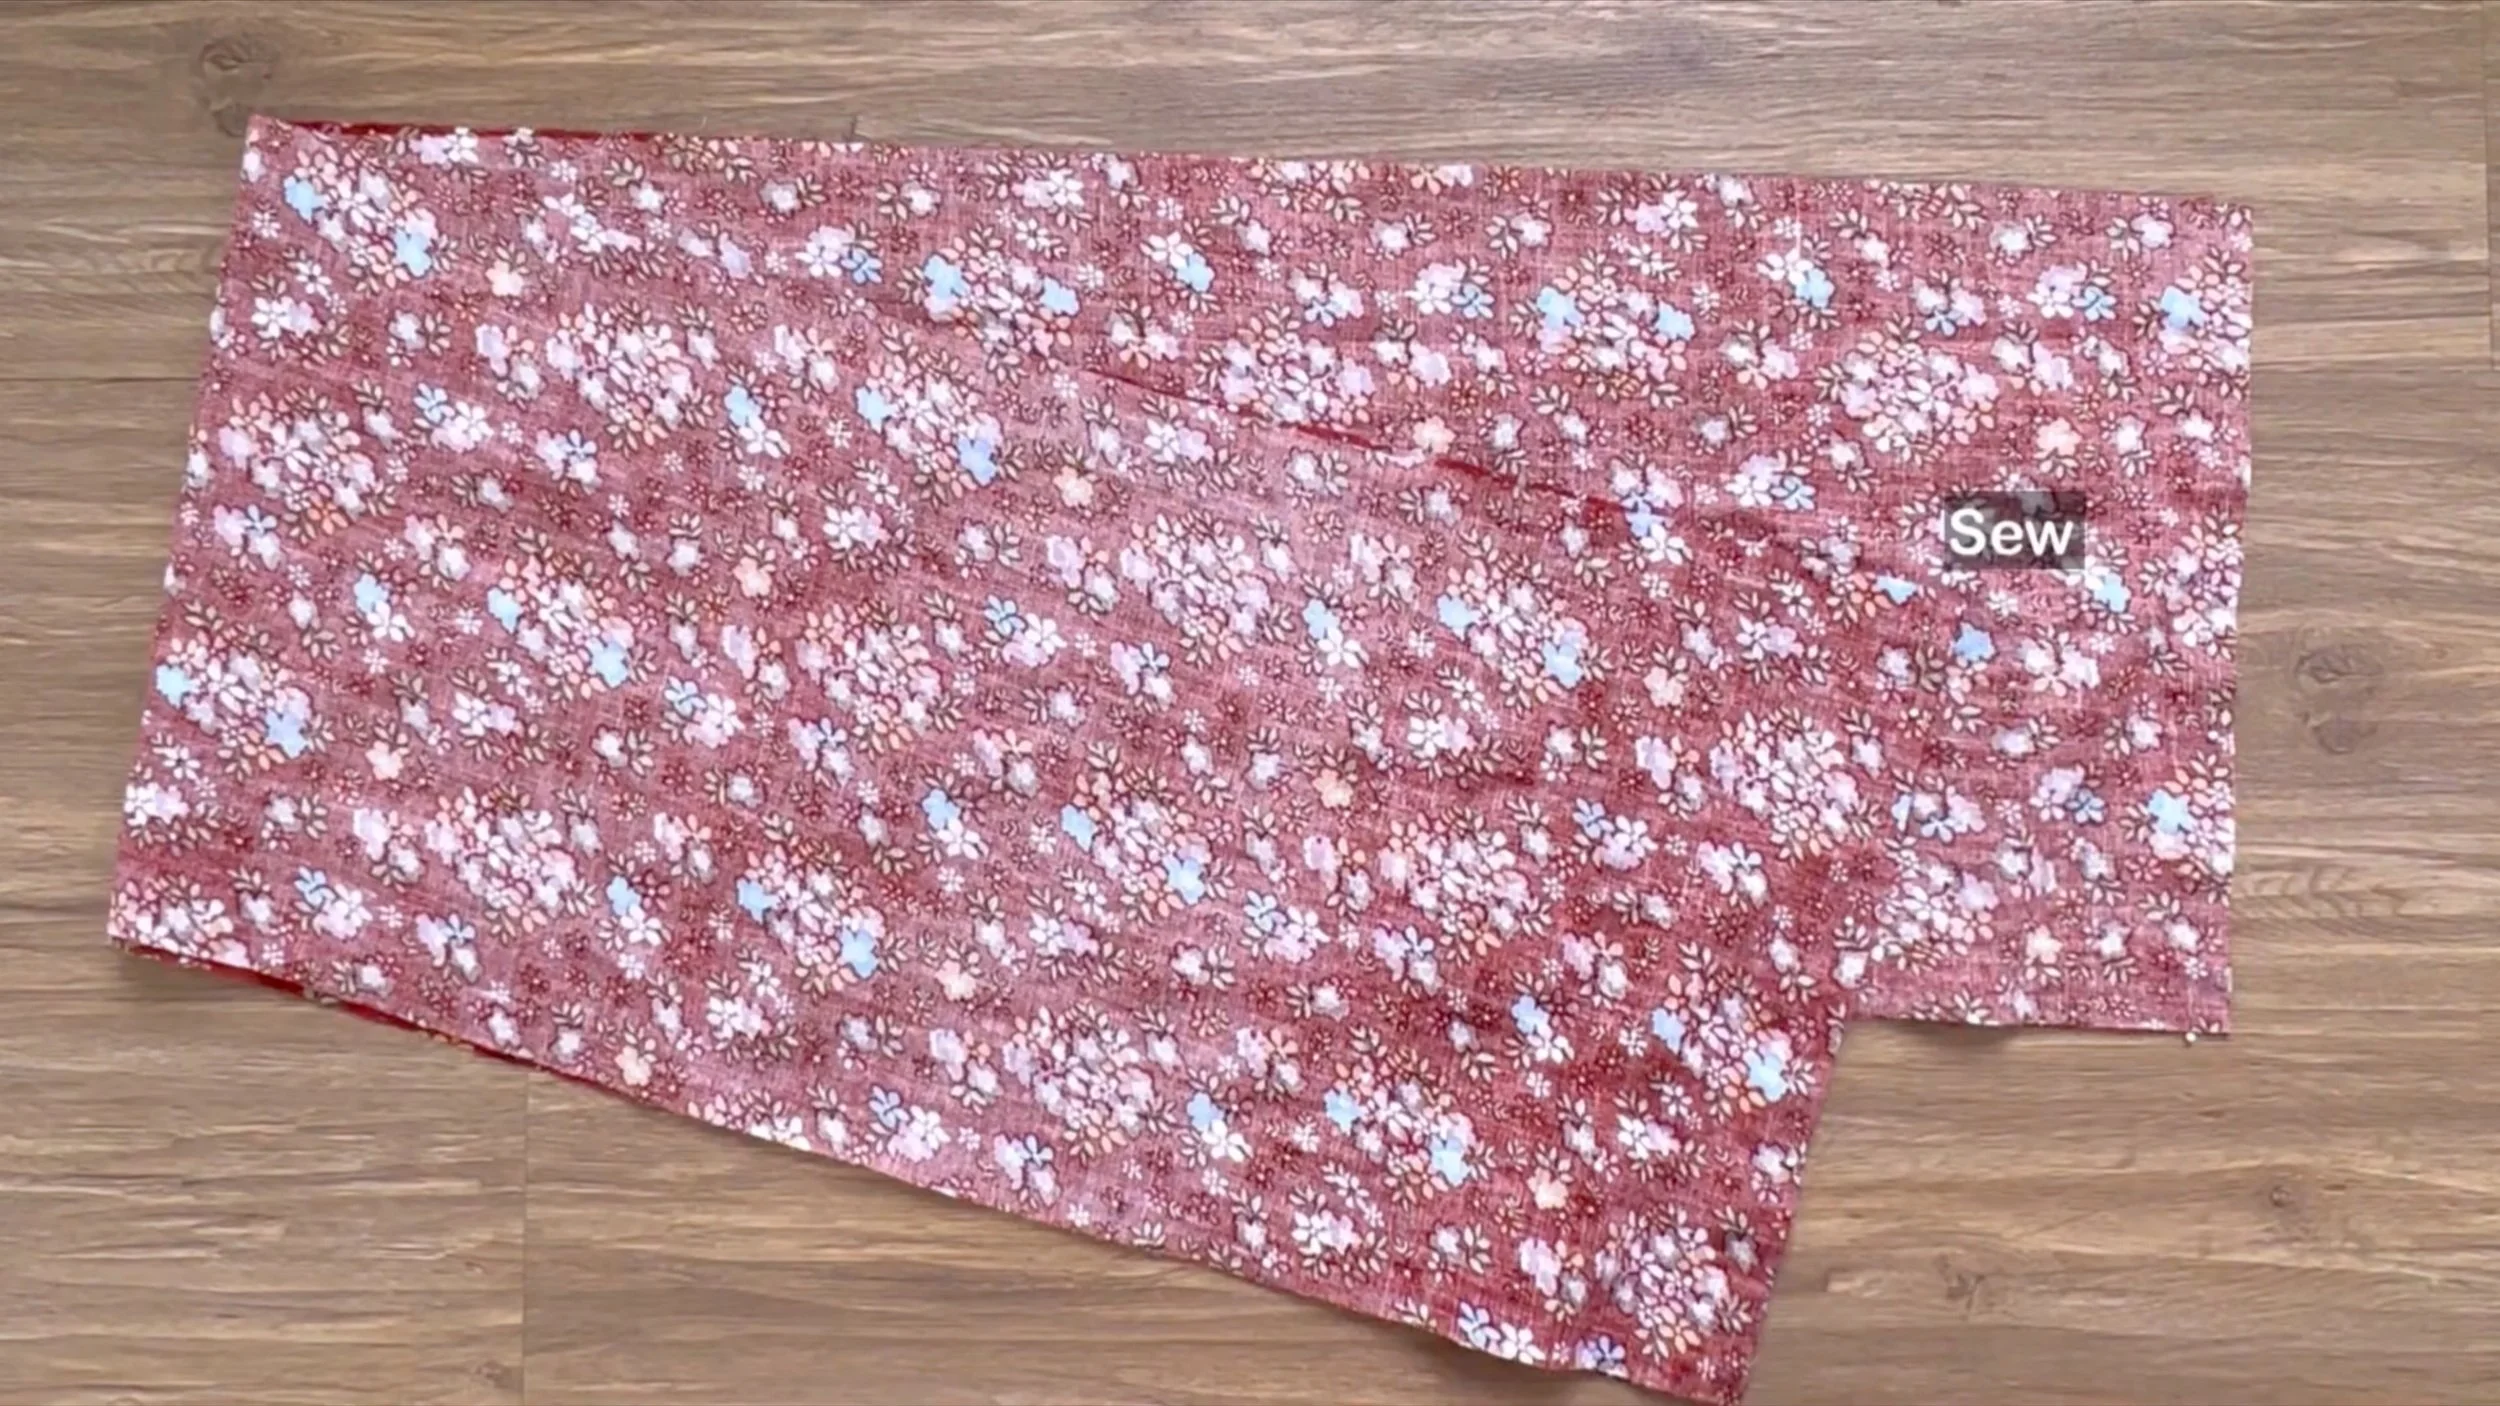
For the bottom part of the blouse, connect the two pieces at the sideline to form a circular fabric.
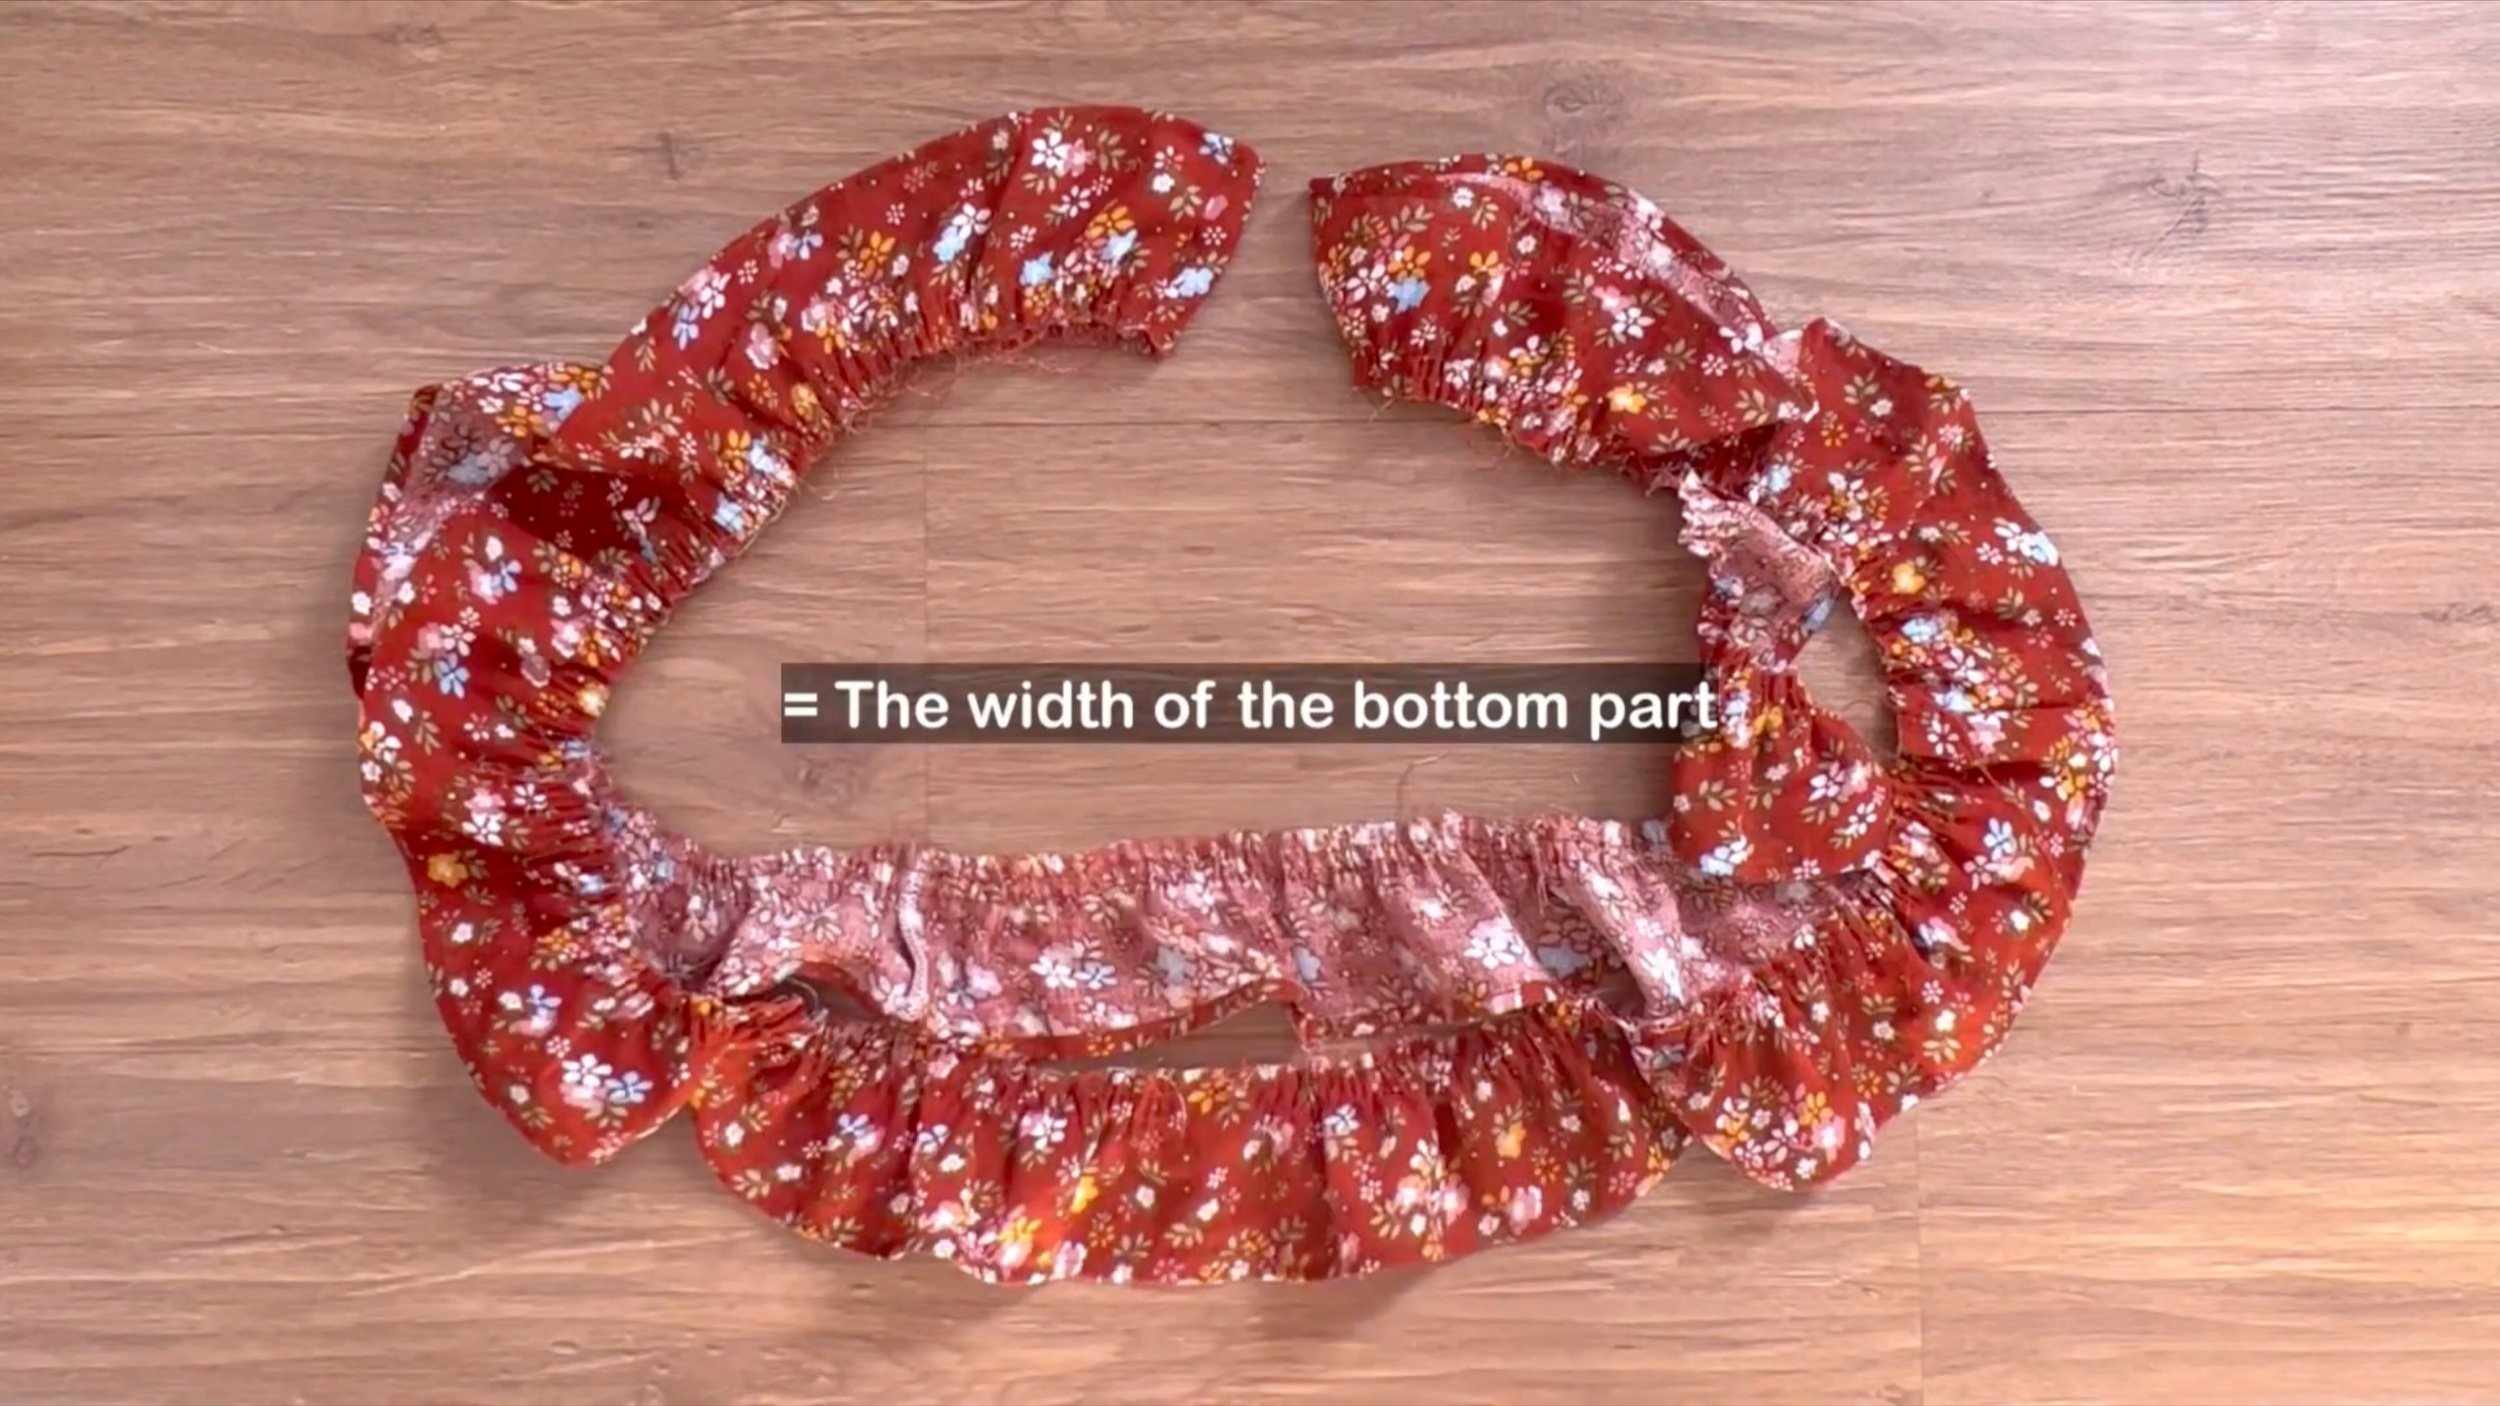
THE RUFFLE AT THE TOP OF THE BOTTOM PART
Do the same for the top ruffle part to create a circle fabric.
Finish one side of the circle fabric by folding the edge twice at 0.5 cm each and sewing.
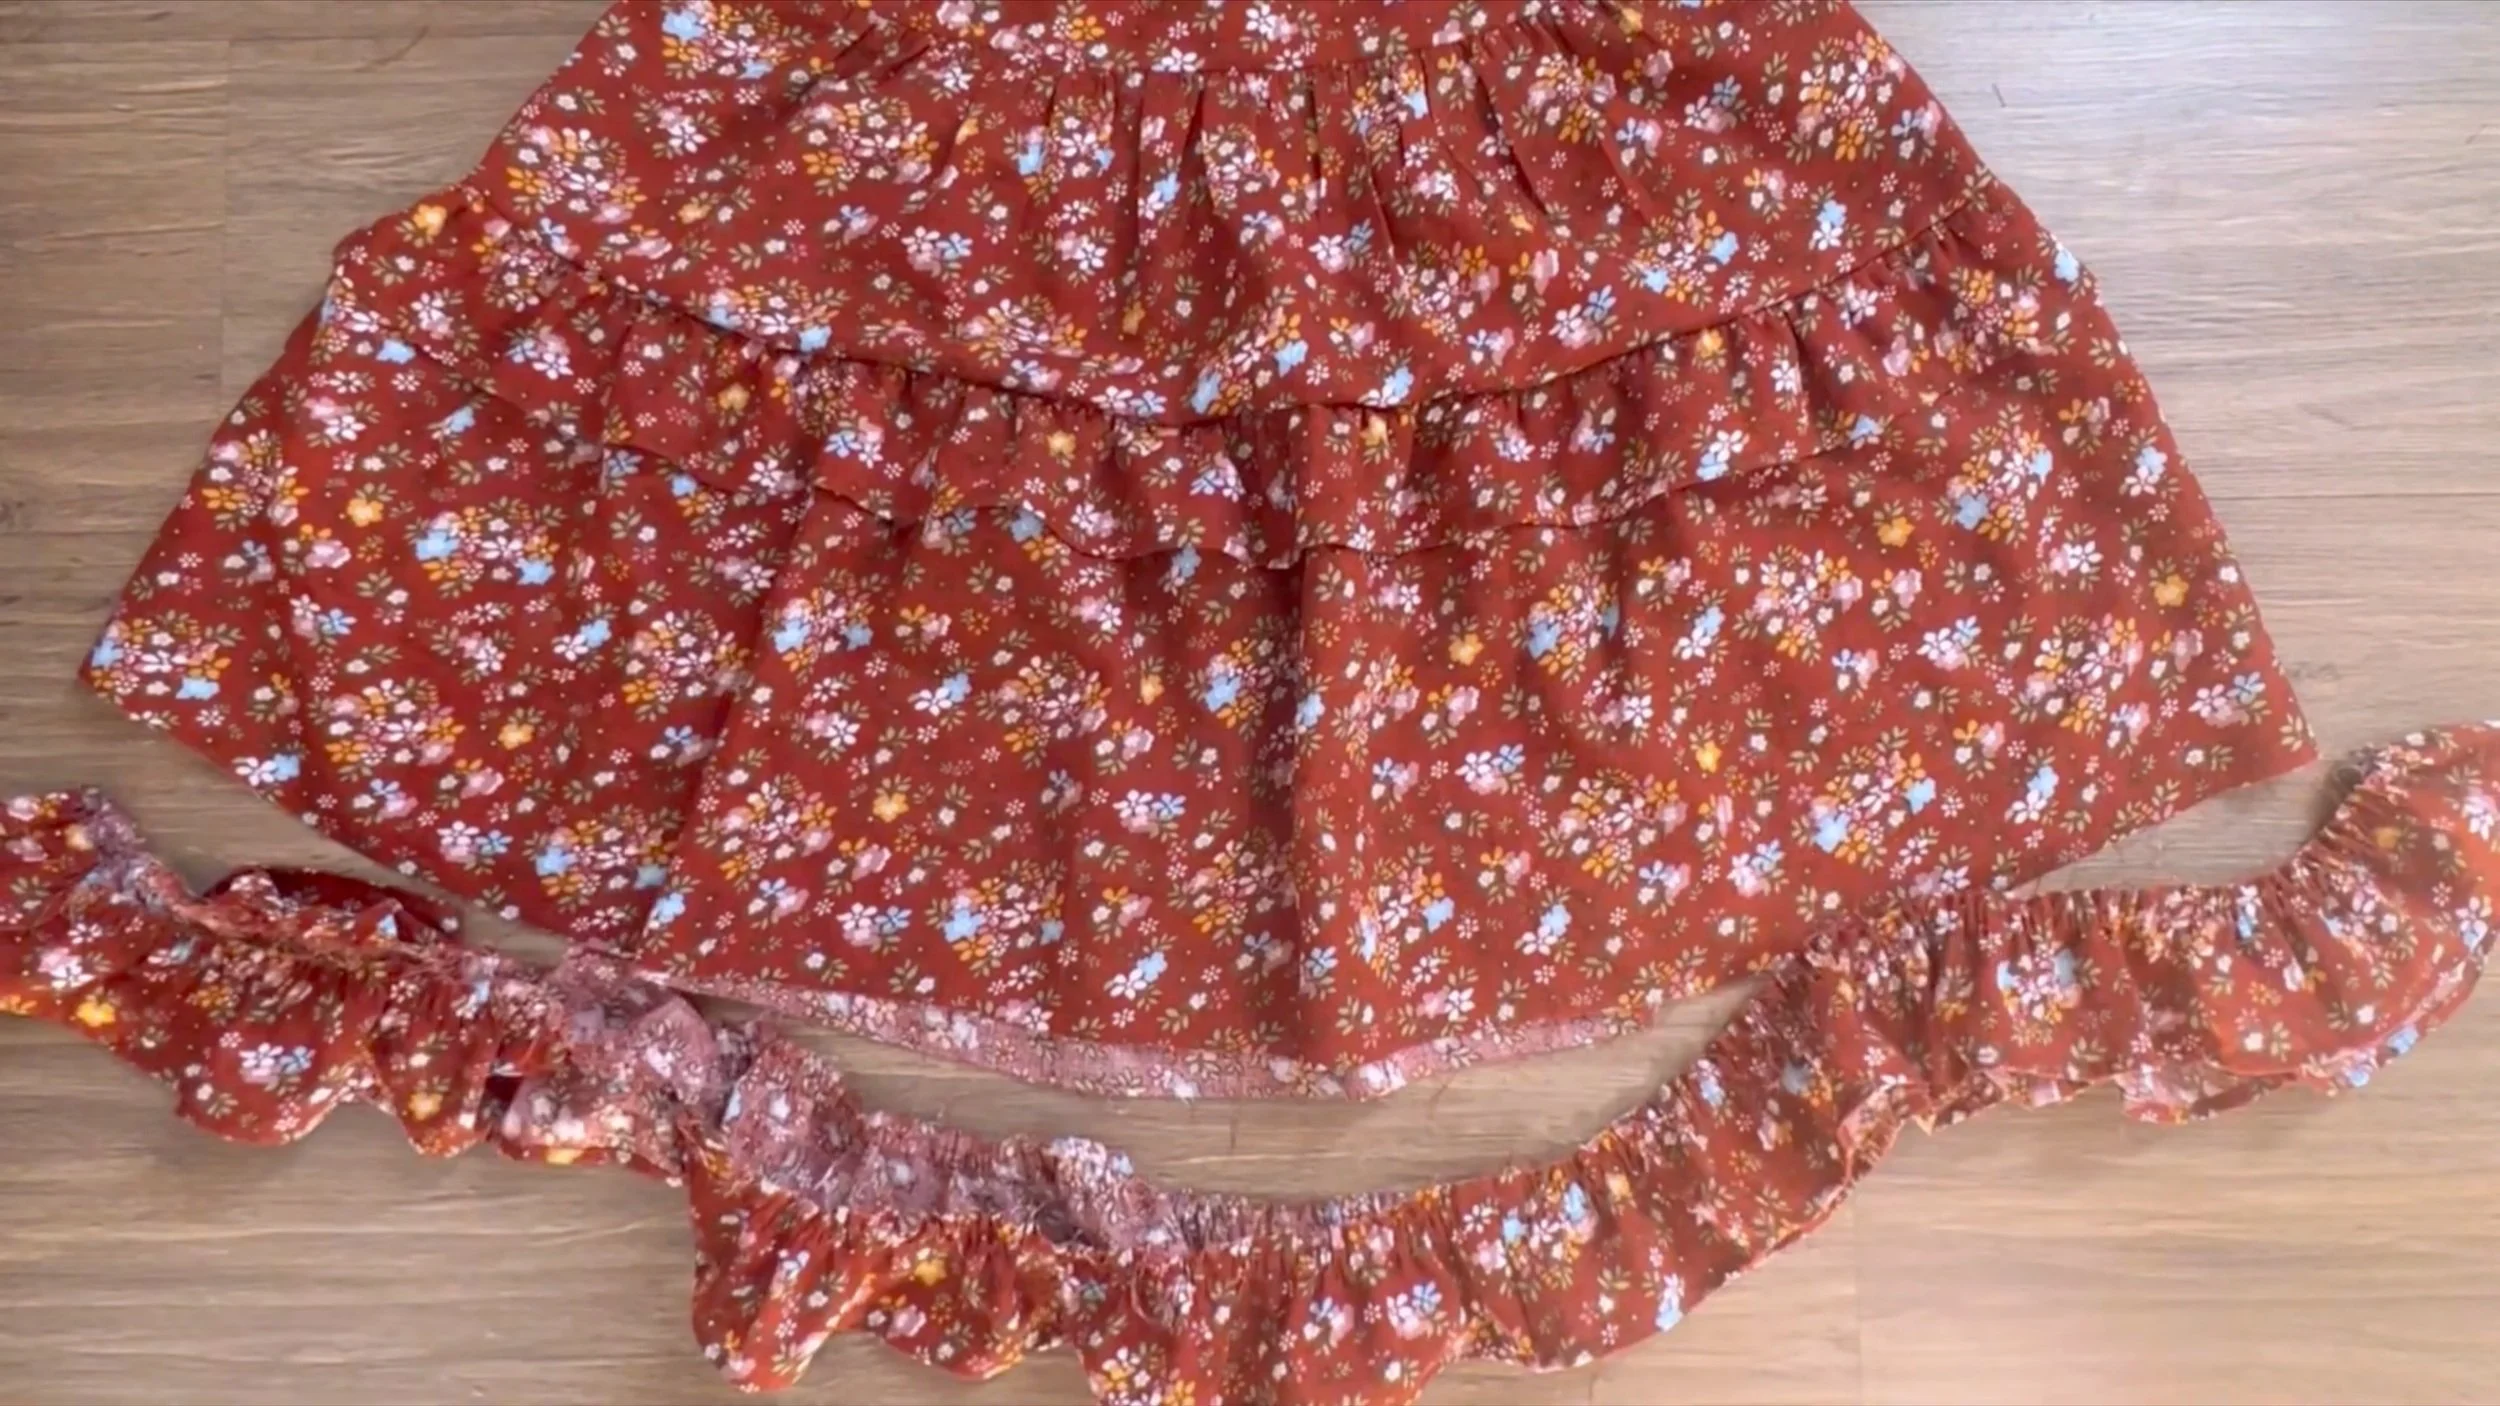
CONNECT THE RUFFLE TO THE TOP OF THE BOTTOM PART
Then, connect the other side of the ruffle part to the top of the bottom part of the blouse.
Make two loose seams first to create gathering fabric.
The final width of the gathering fabric should match the top part.
CONNECT THE TOP PART AND THE BOTTOM PART TOGETHER
Then connect them together.
THE RUFFLE HEM PART
For the ruffle hem, connect the rectangle pieces to create a circle fabric.
Then finish one side by folding the edge twice at 0.5 cm each and sewing.
At the other side, make two loose seams to create gathering fabric.
The final width of the gathering fabric should match the width of the bottom part.
CONNECT THE RUFFLE HEM TO THE BLOUSE
Then connect them together.
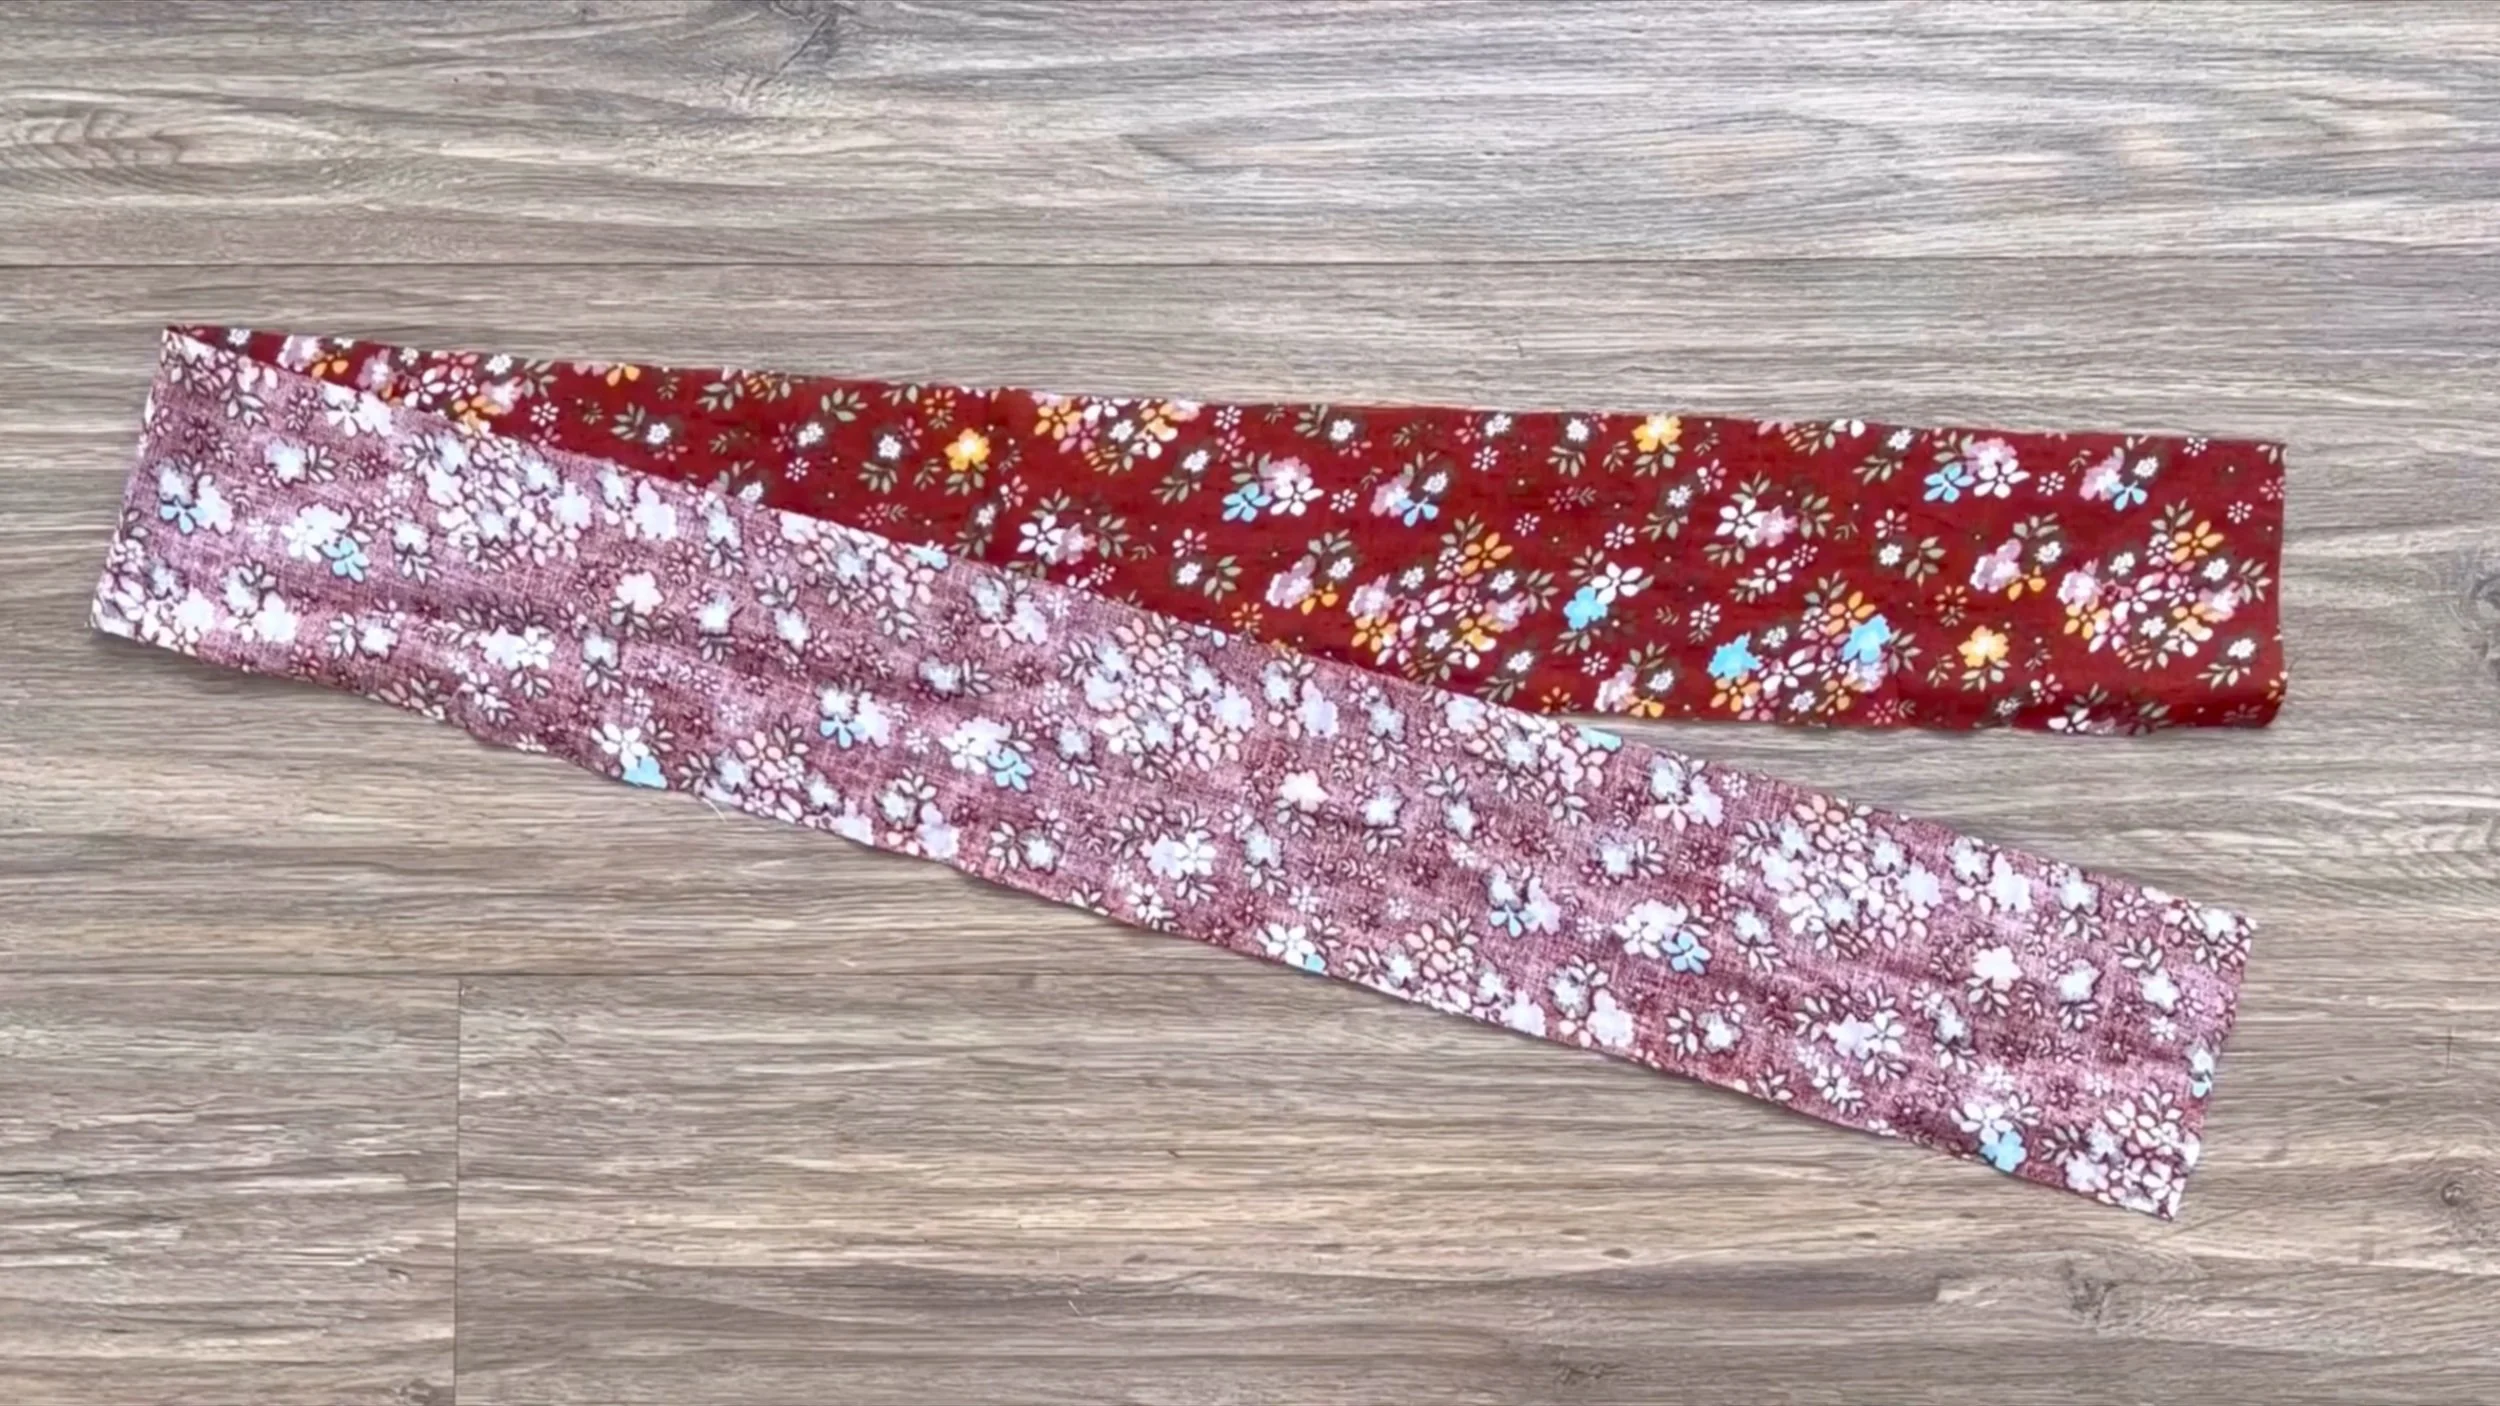
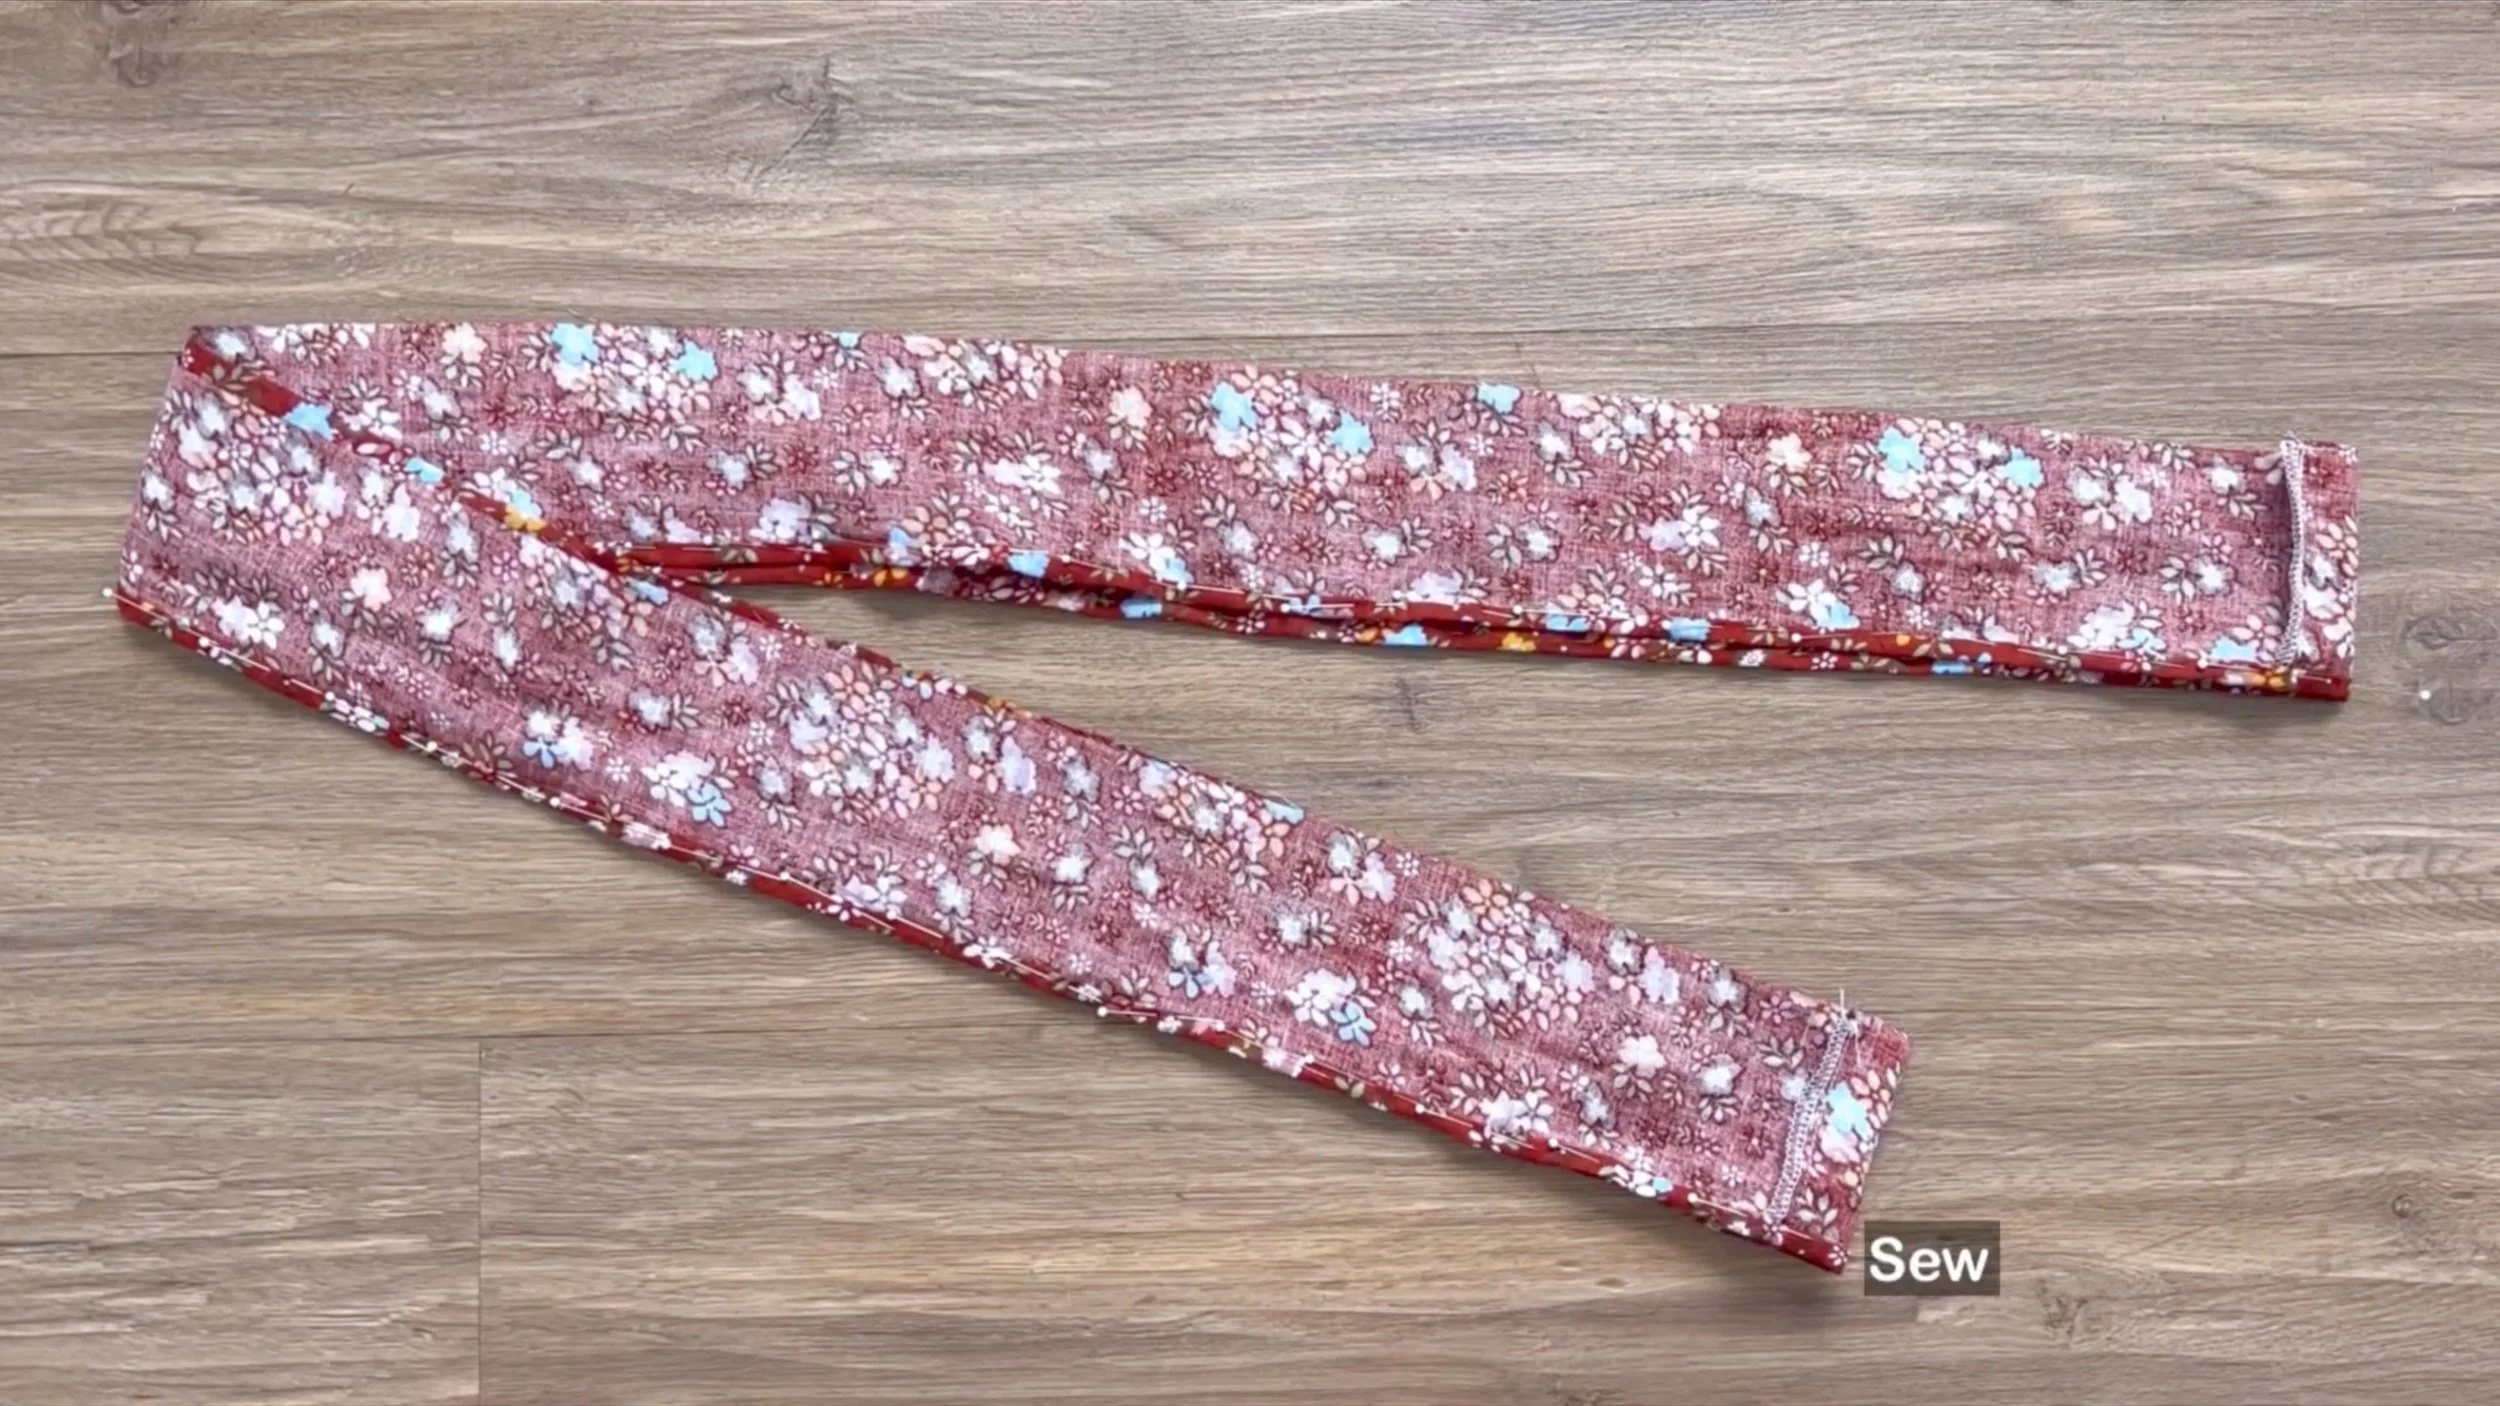
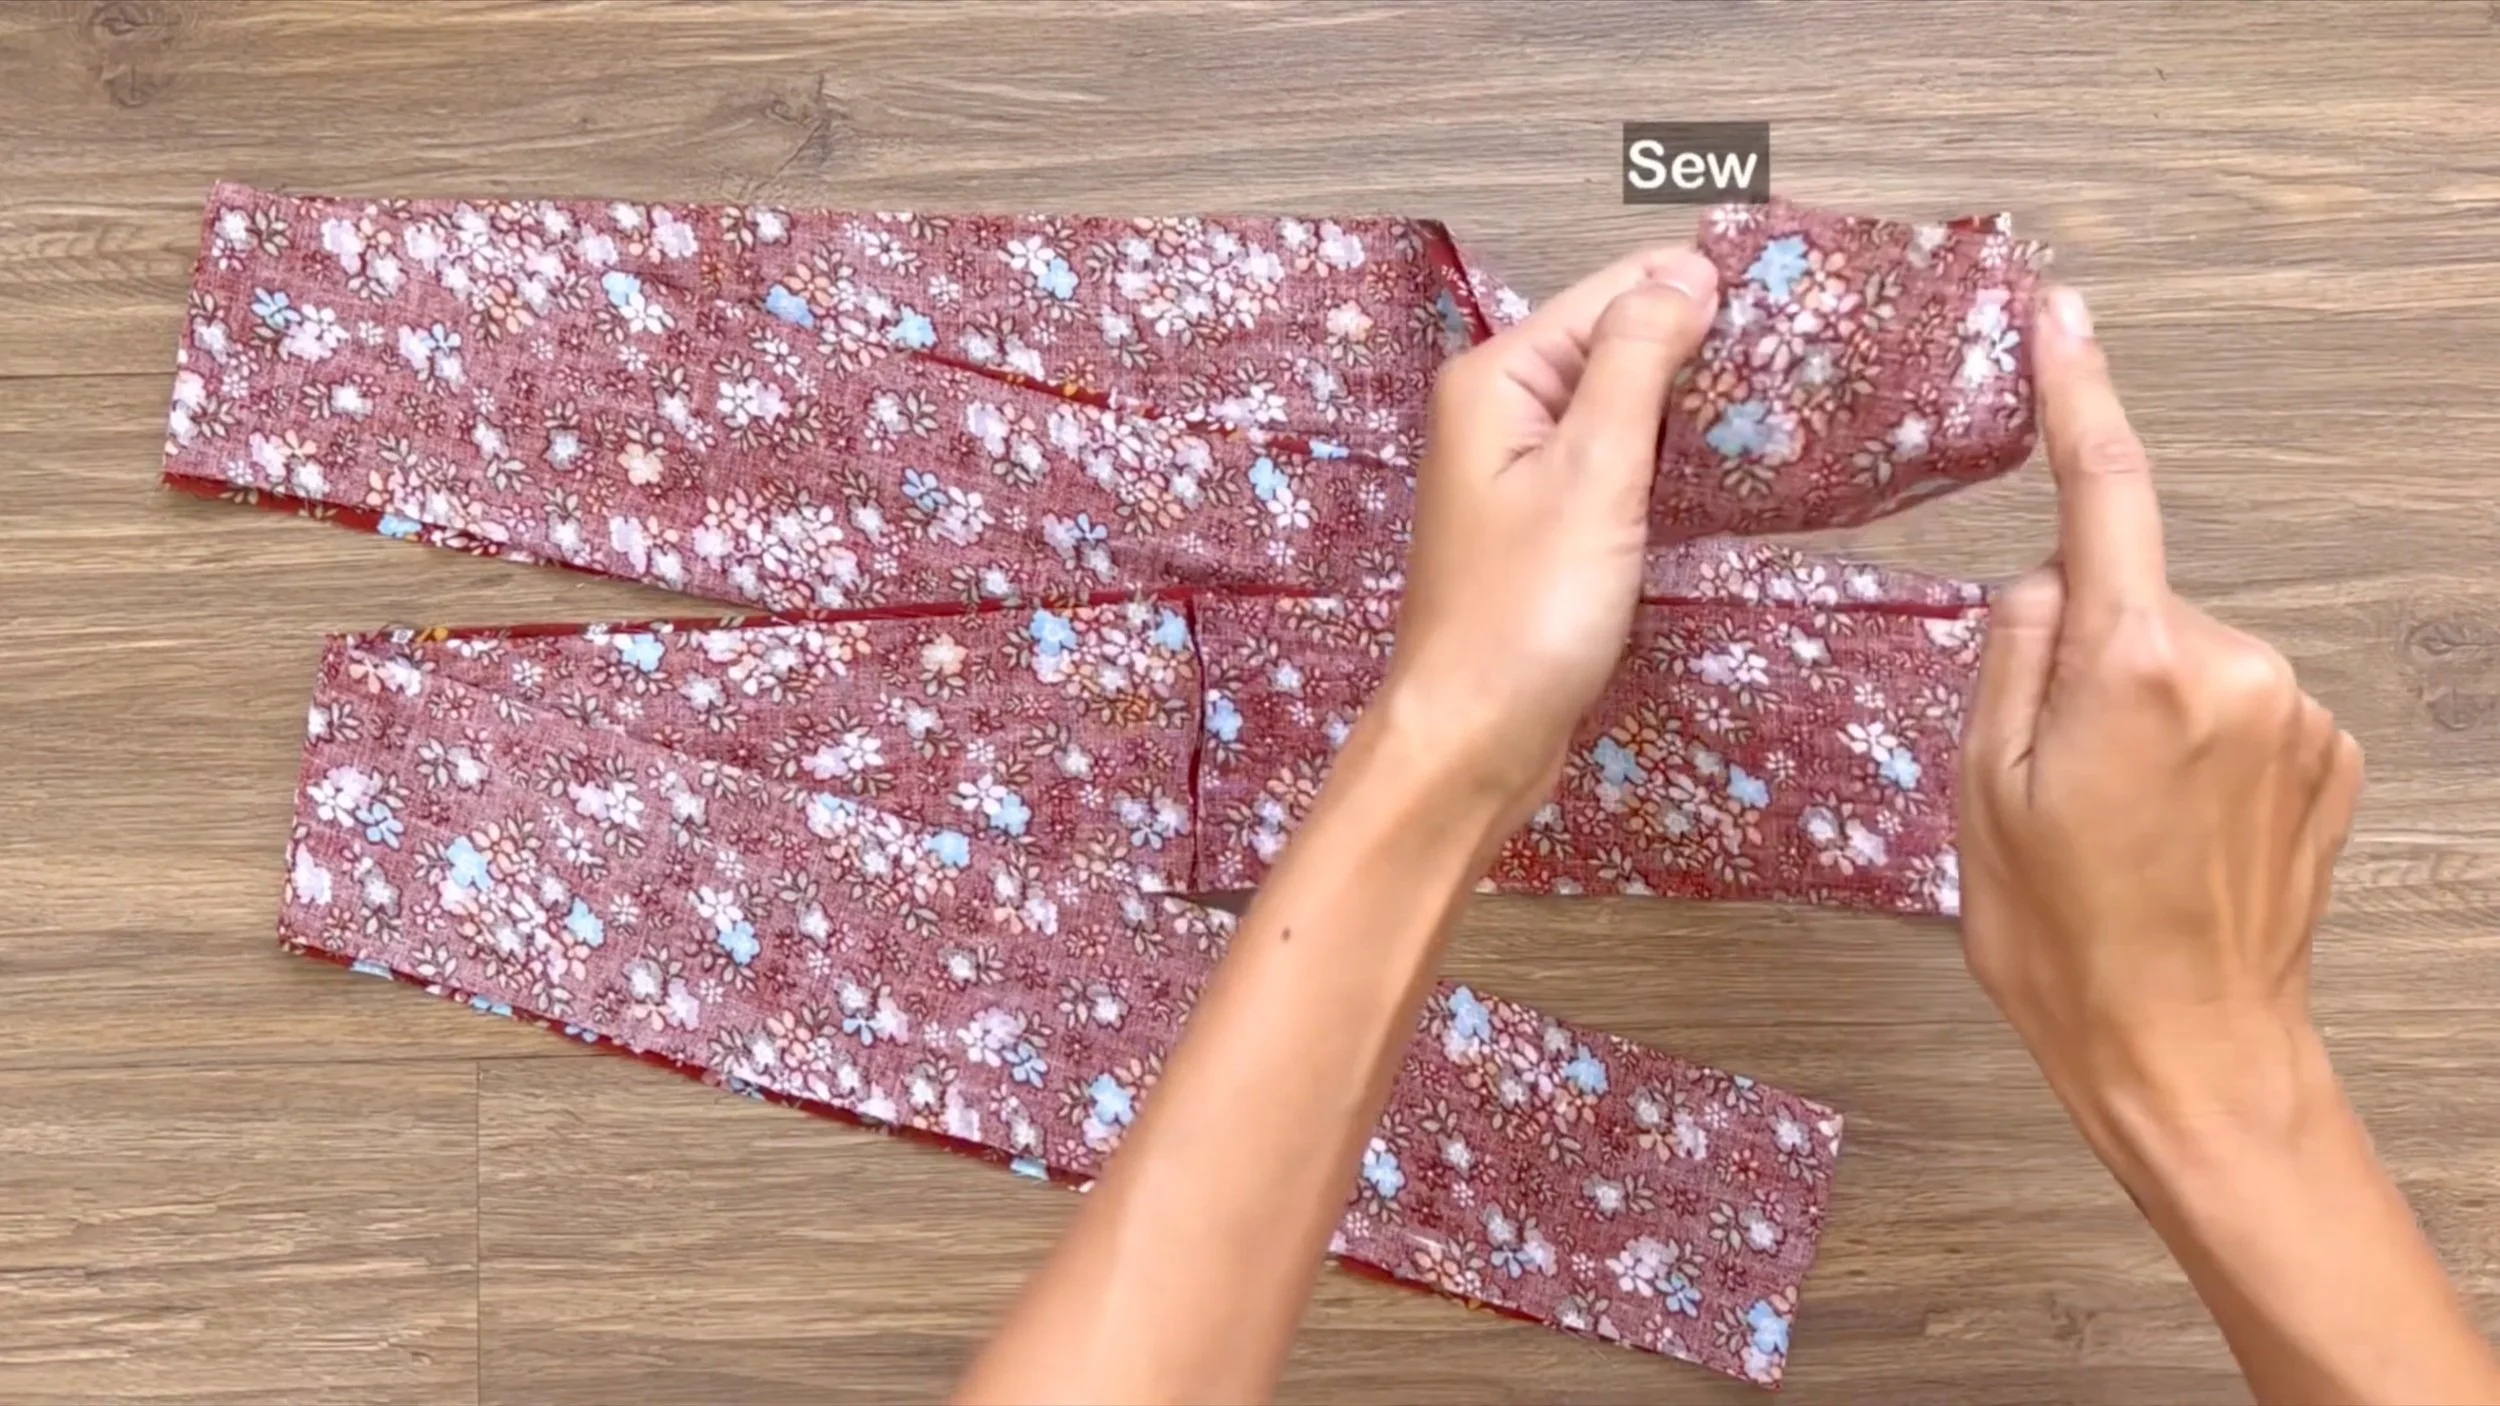
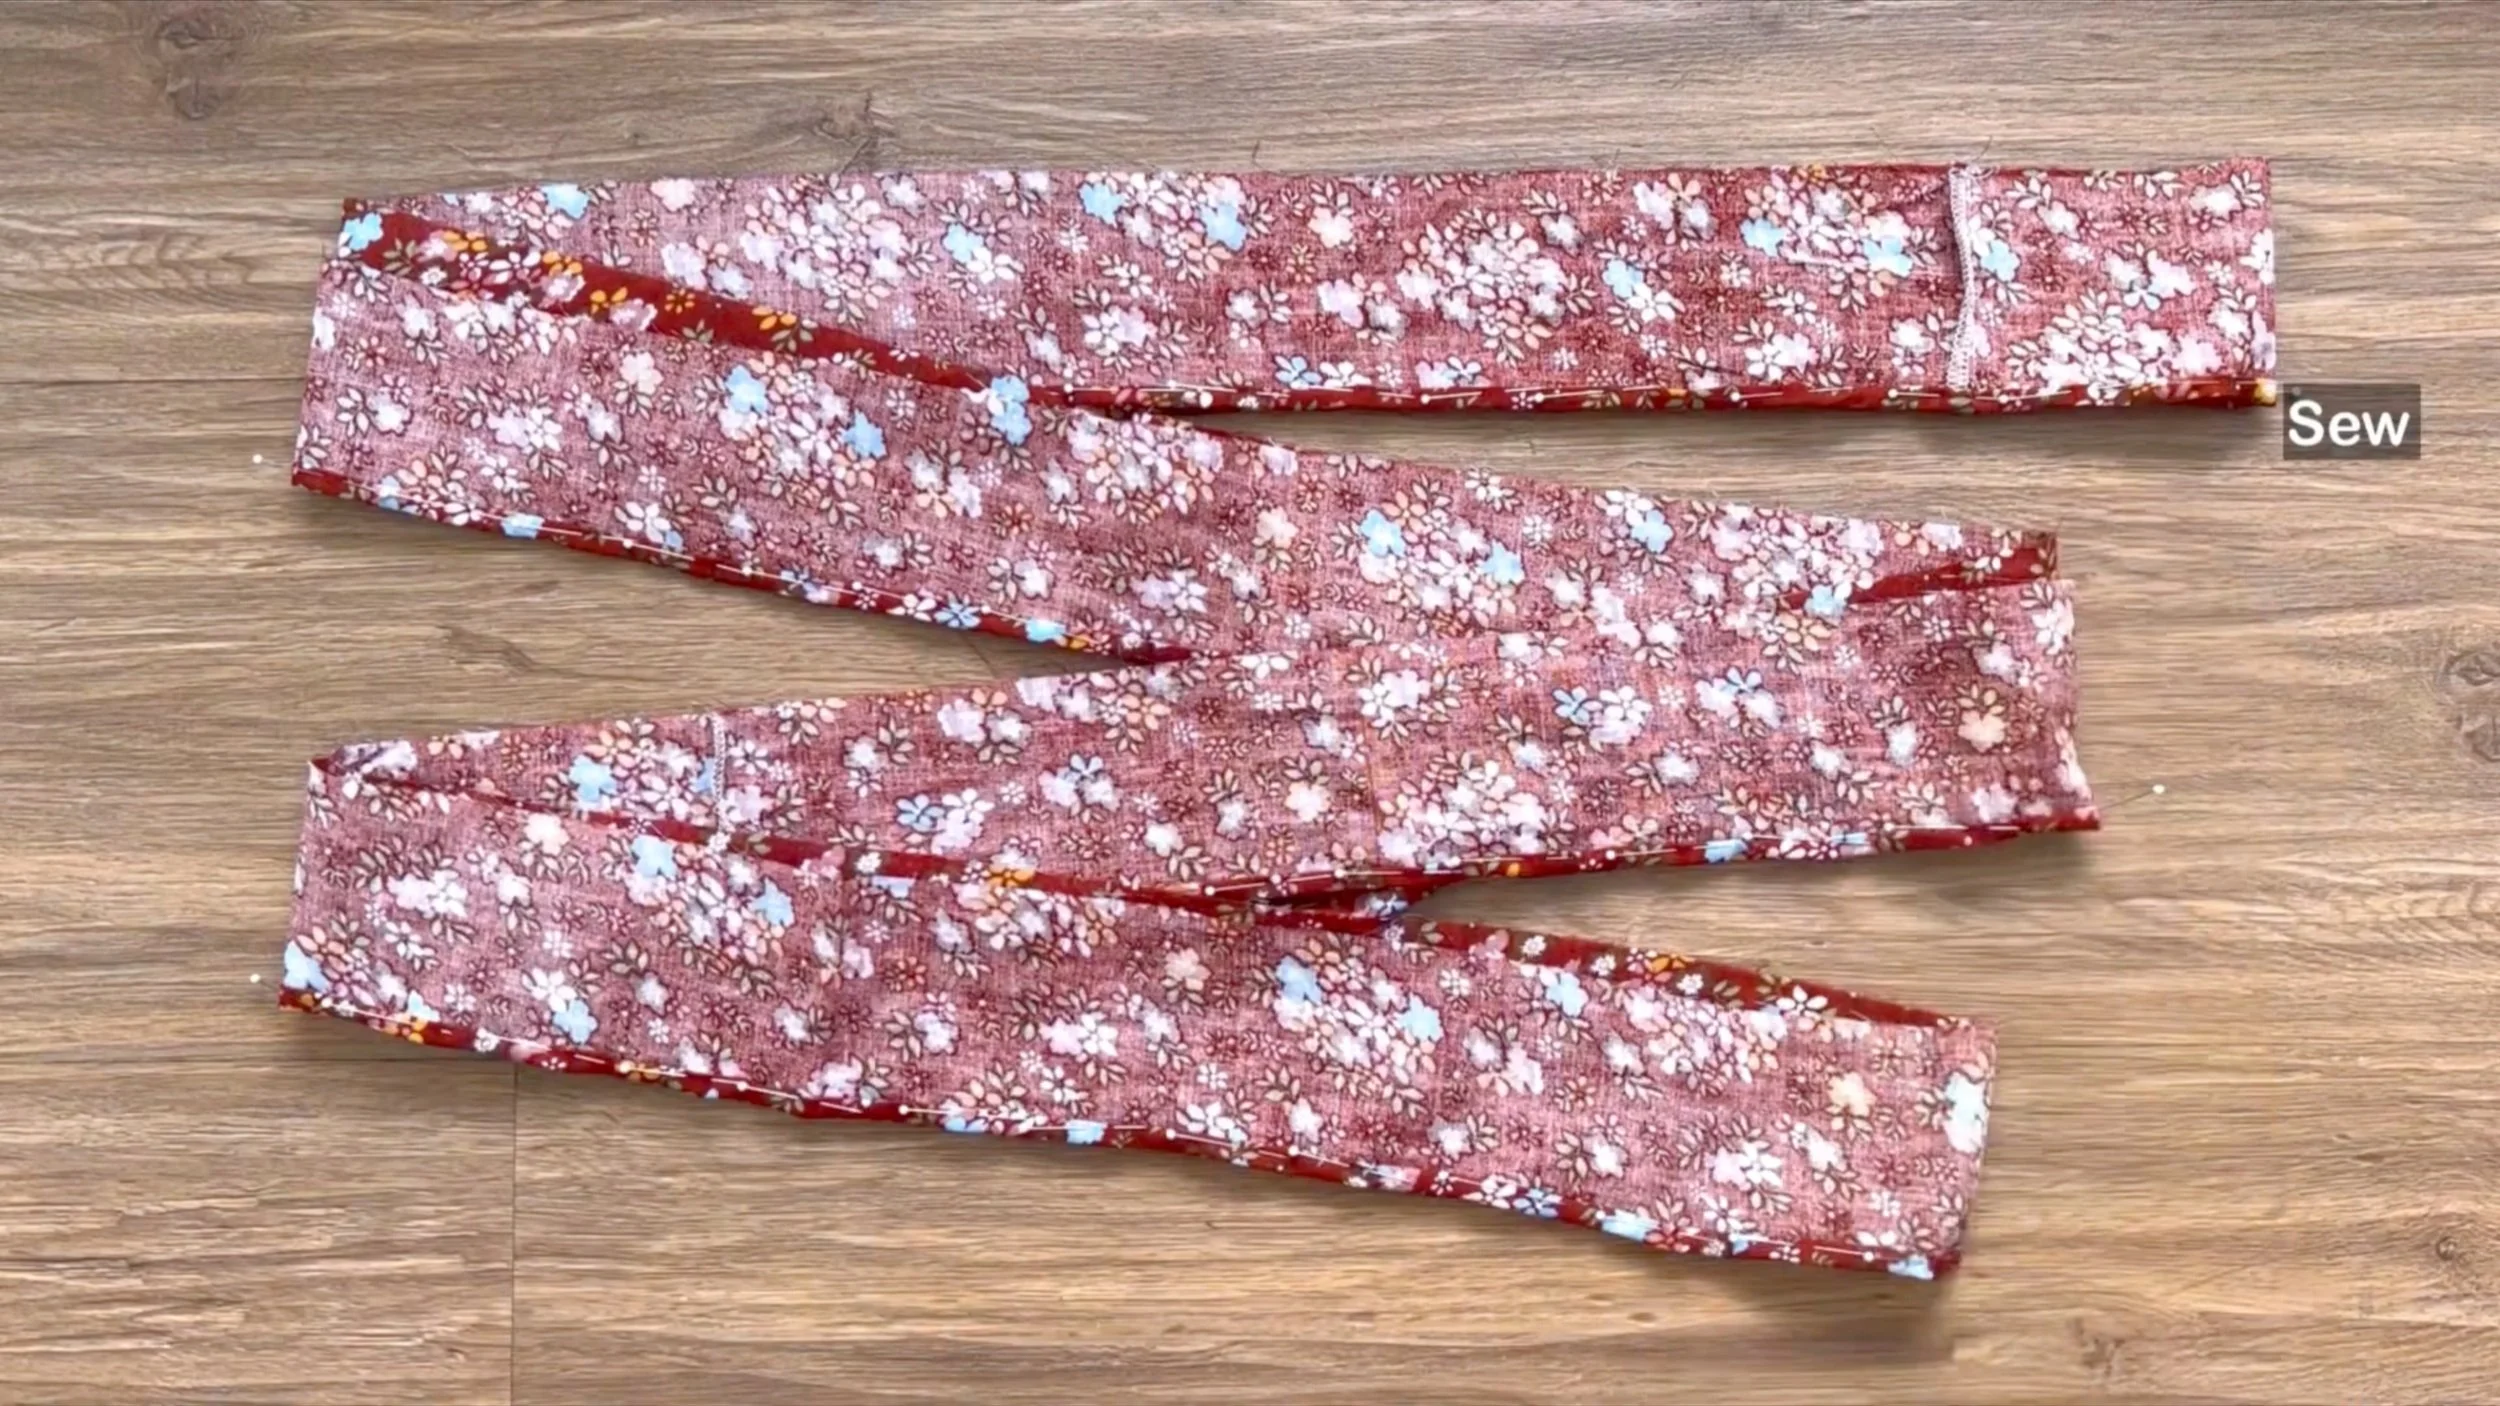
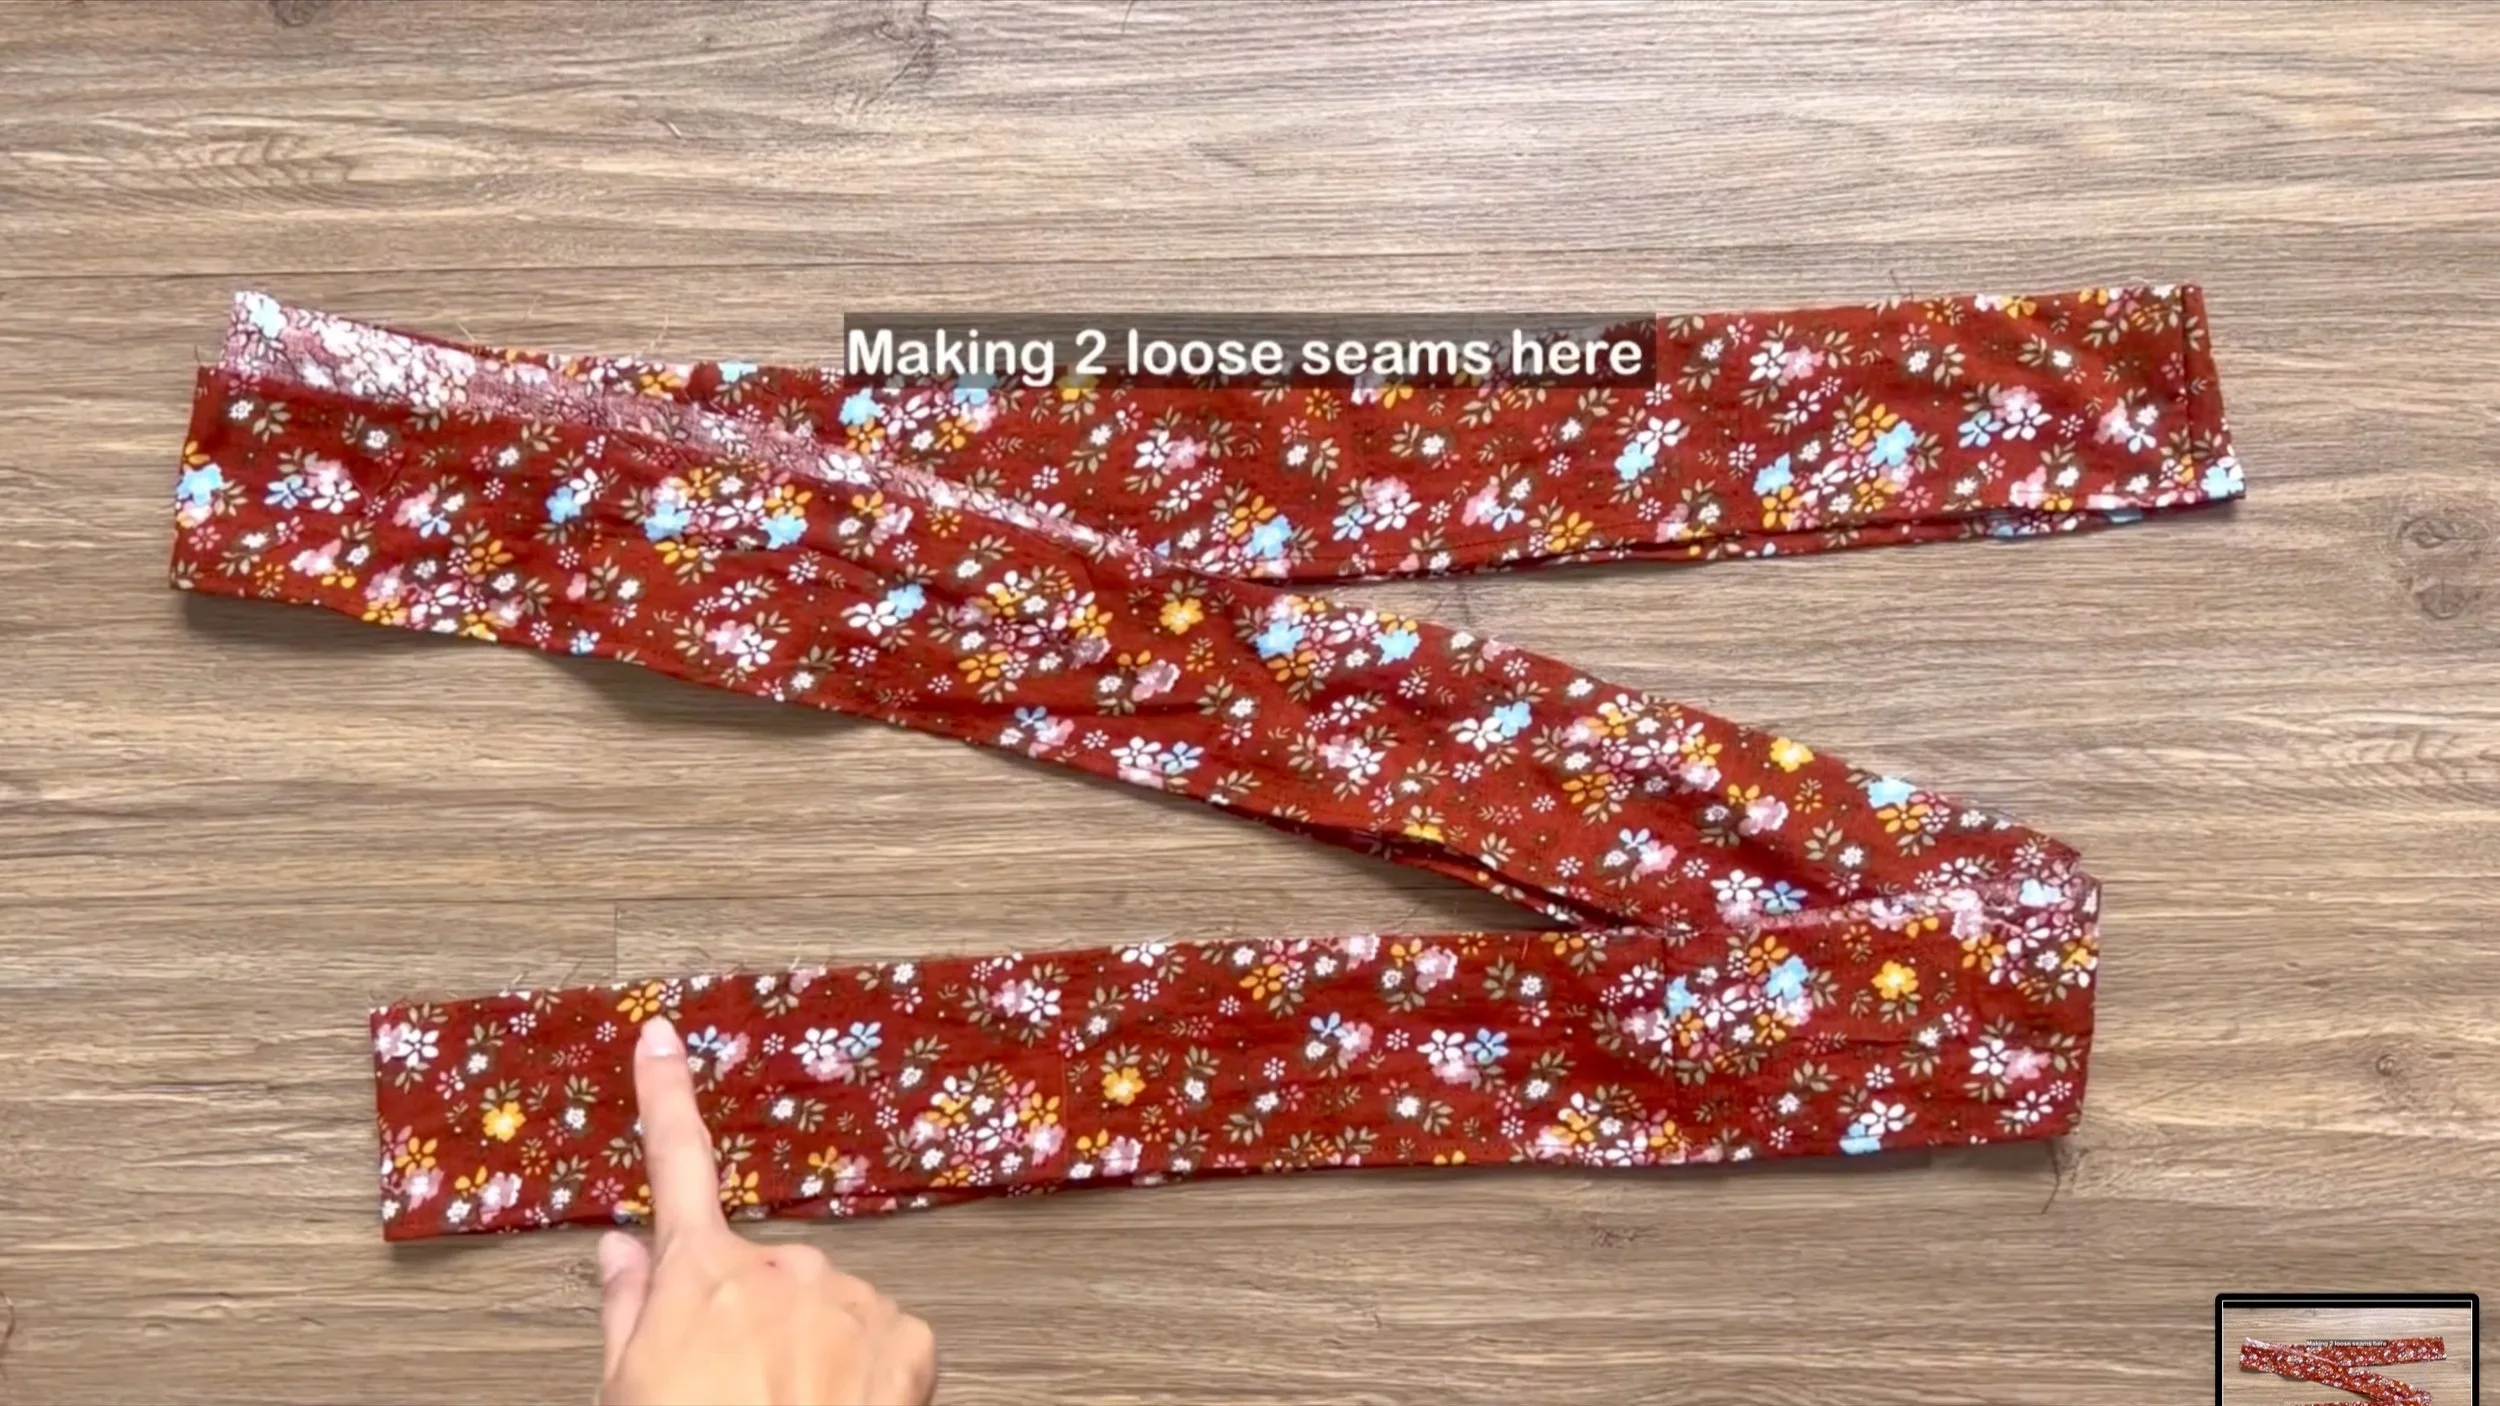
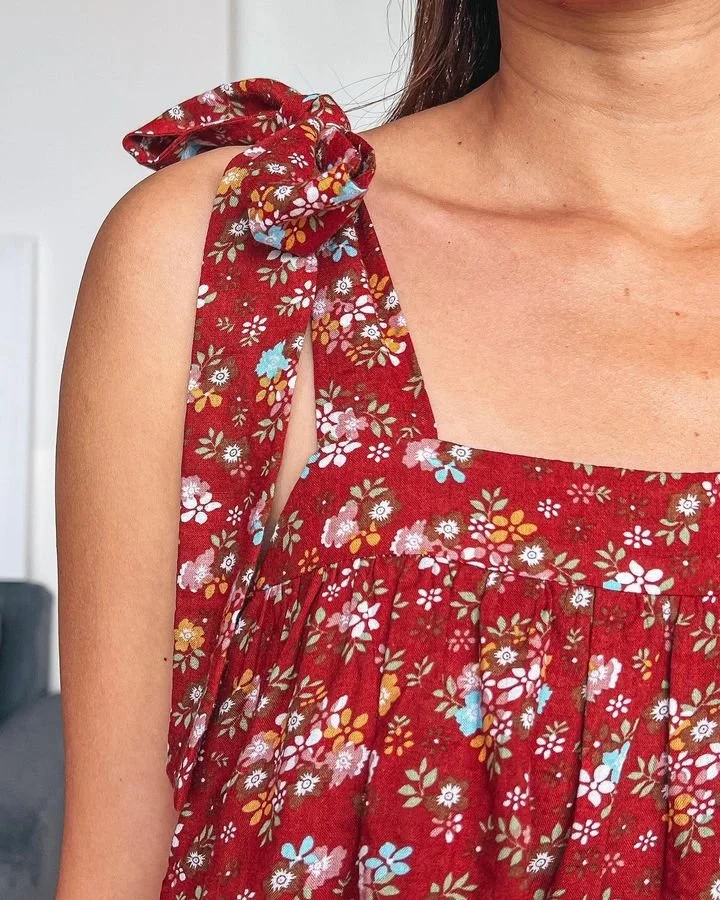
THE SHOULDER STRAPS
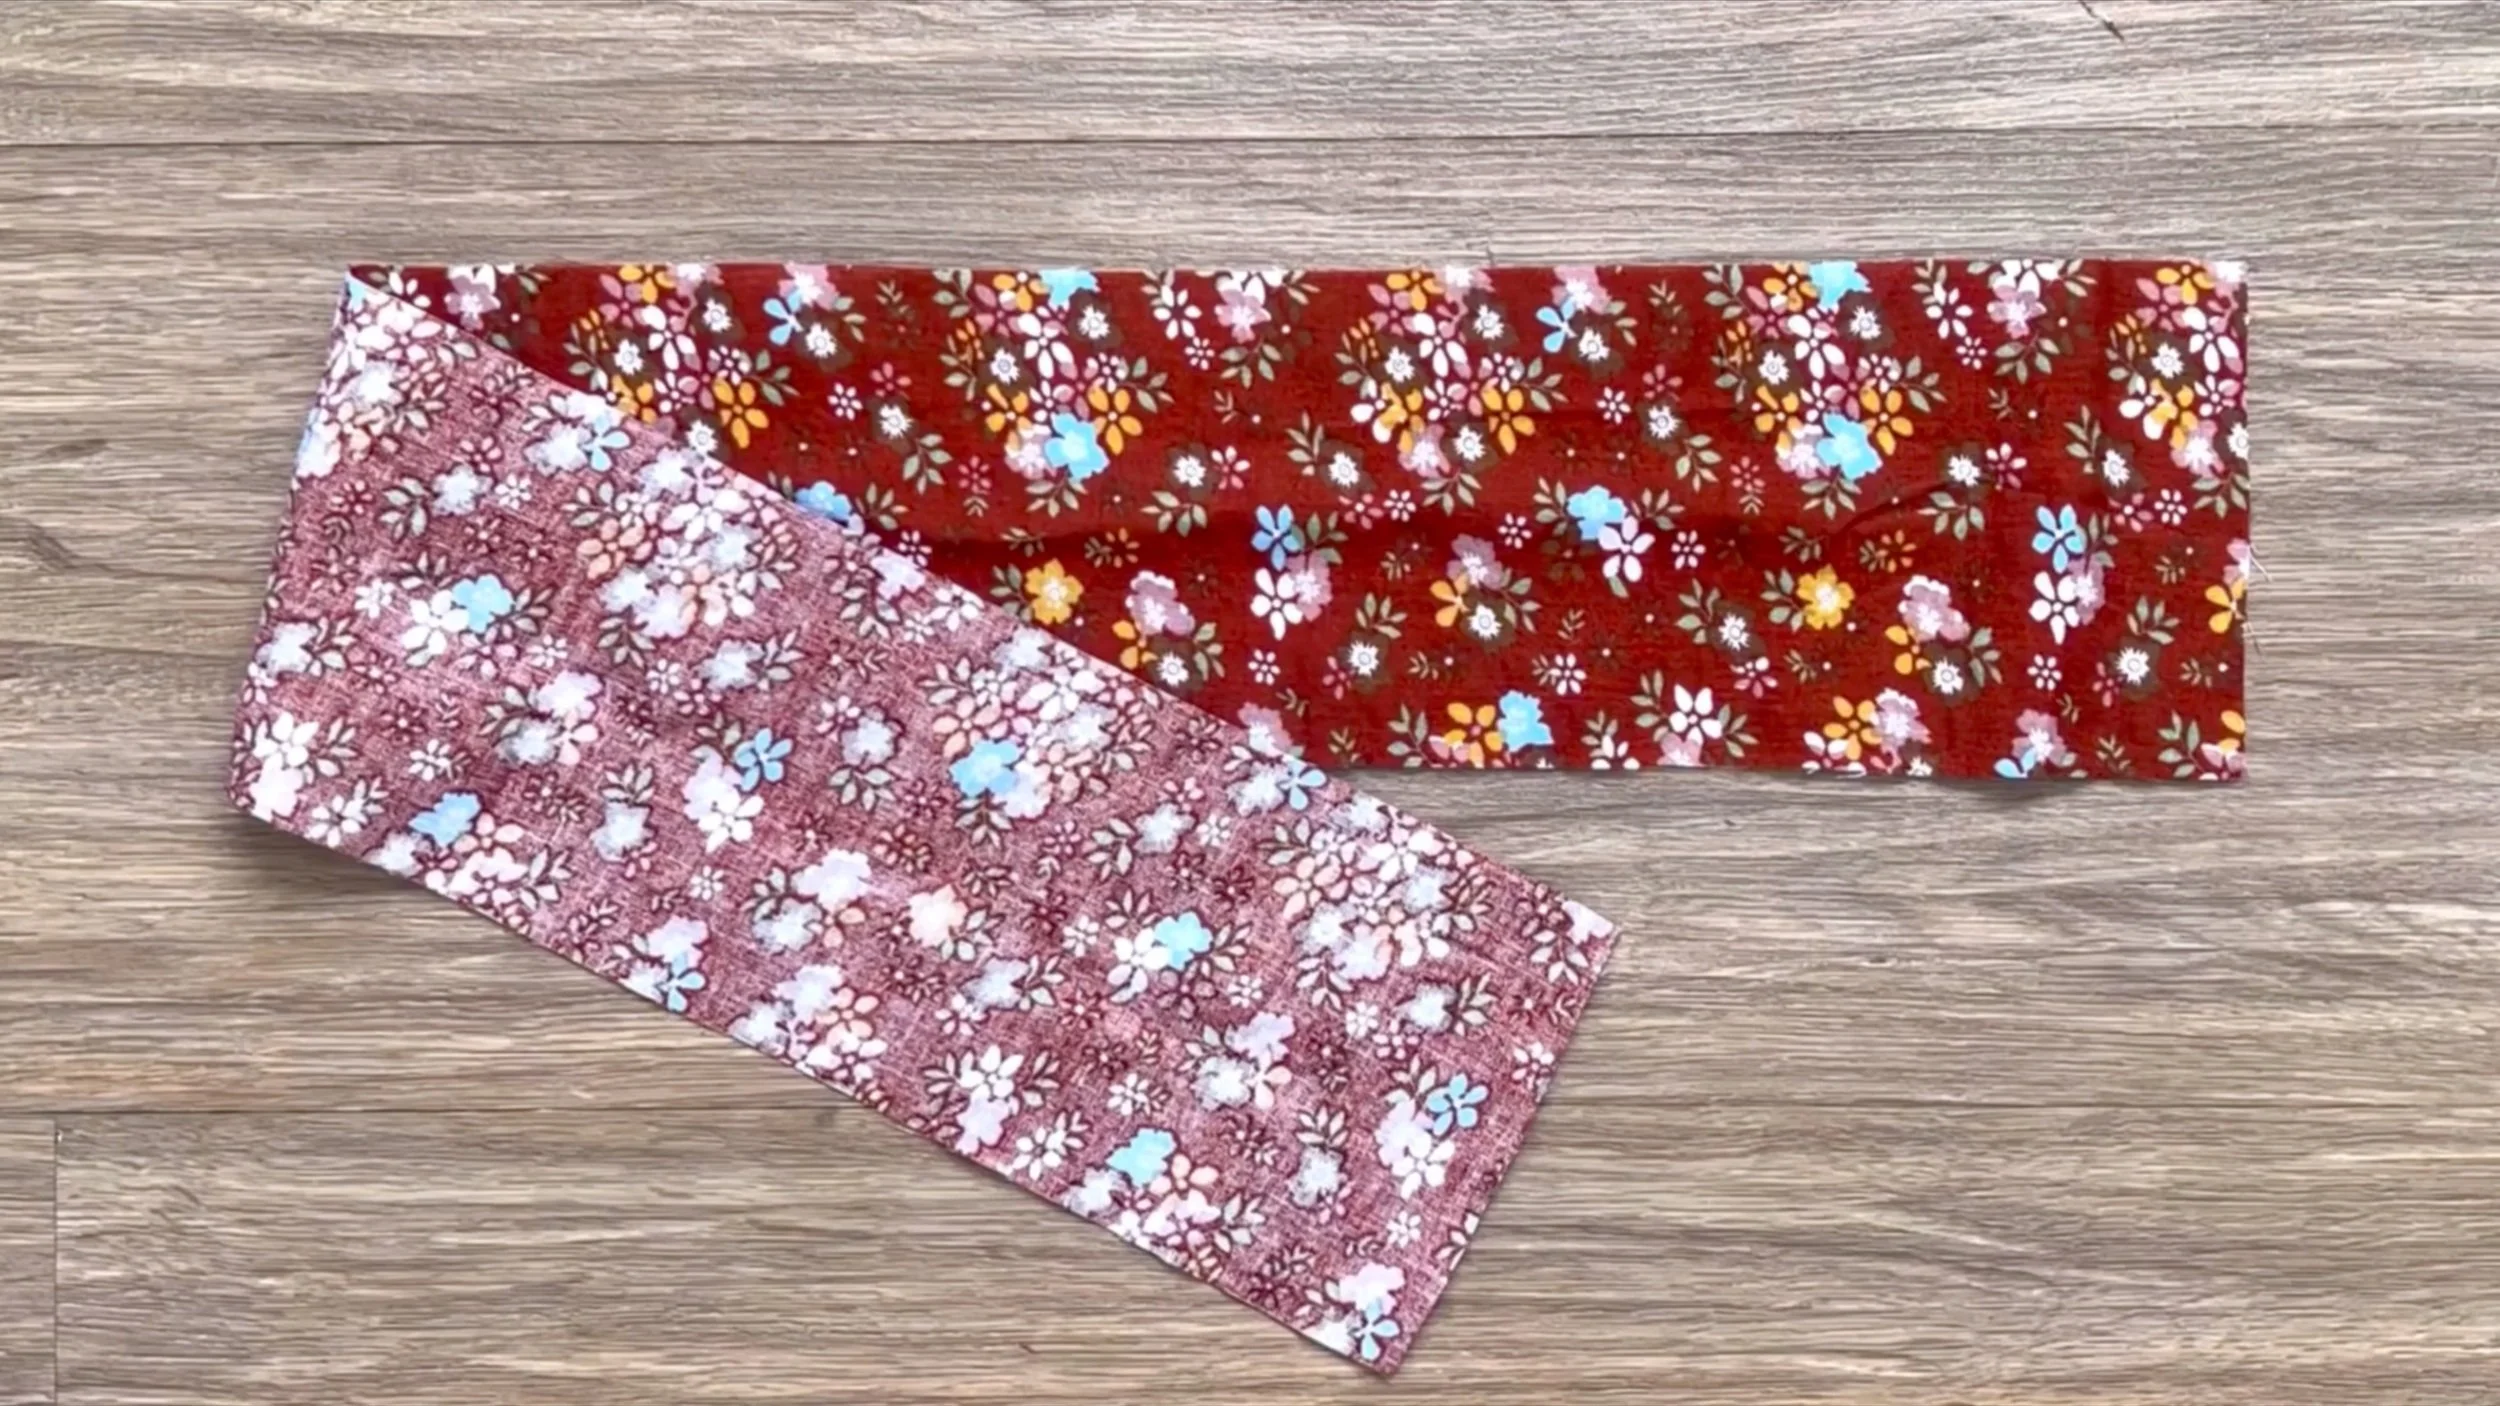
To make the shoulder straps, cut a long rectangle with a 10 cm width (twice the width of the shoulder straps plus 2 cm seam allowance) and 80 cm length (the desired shoulder strap length).
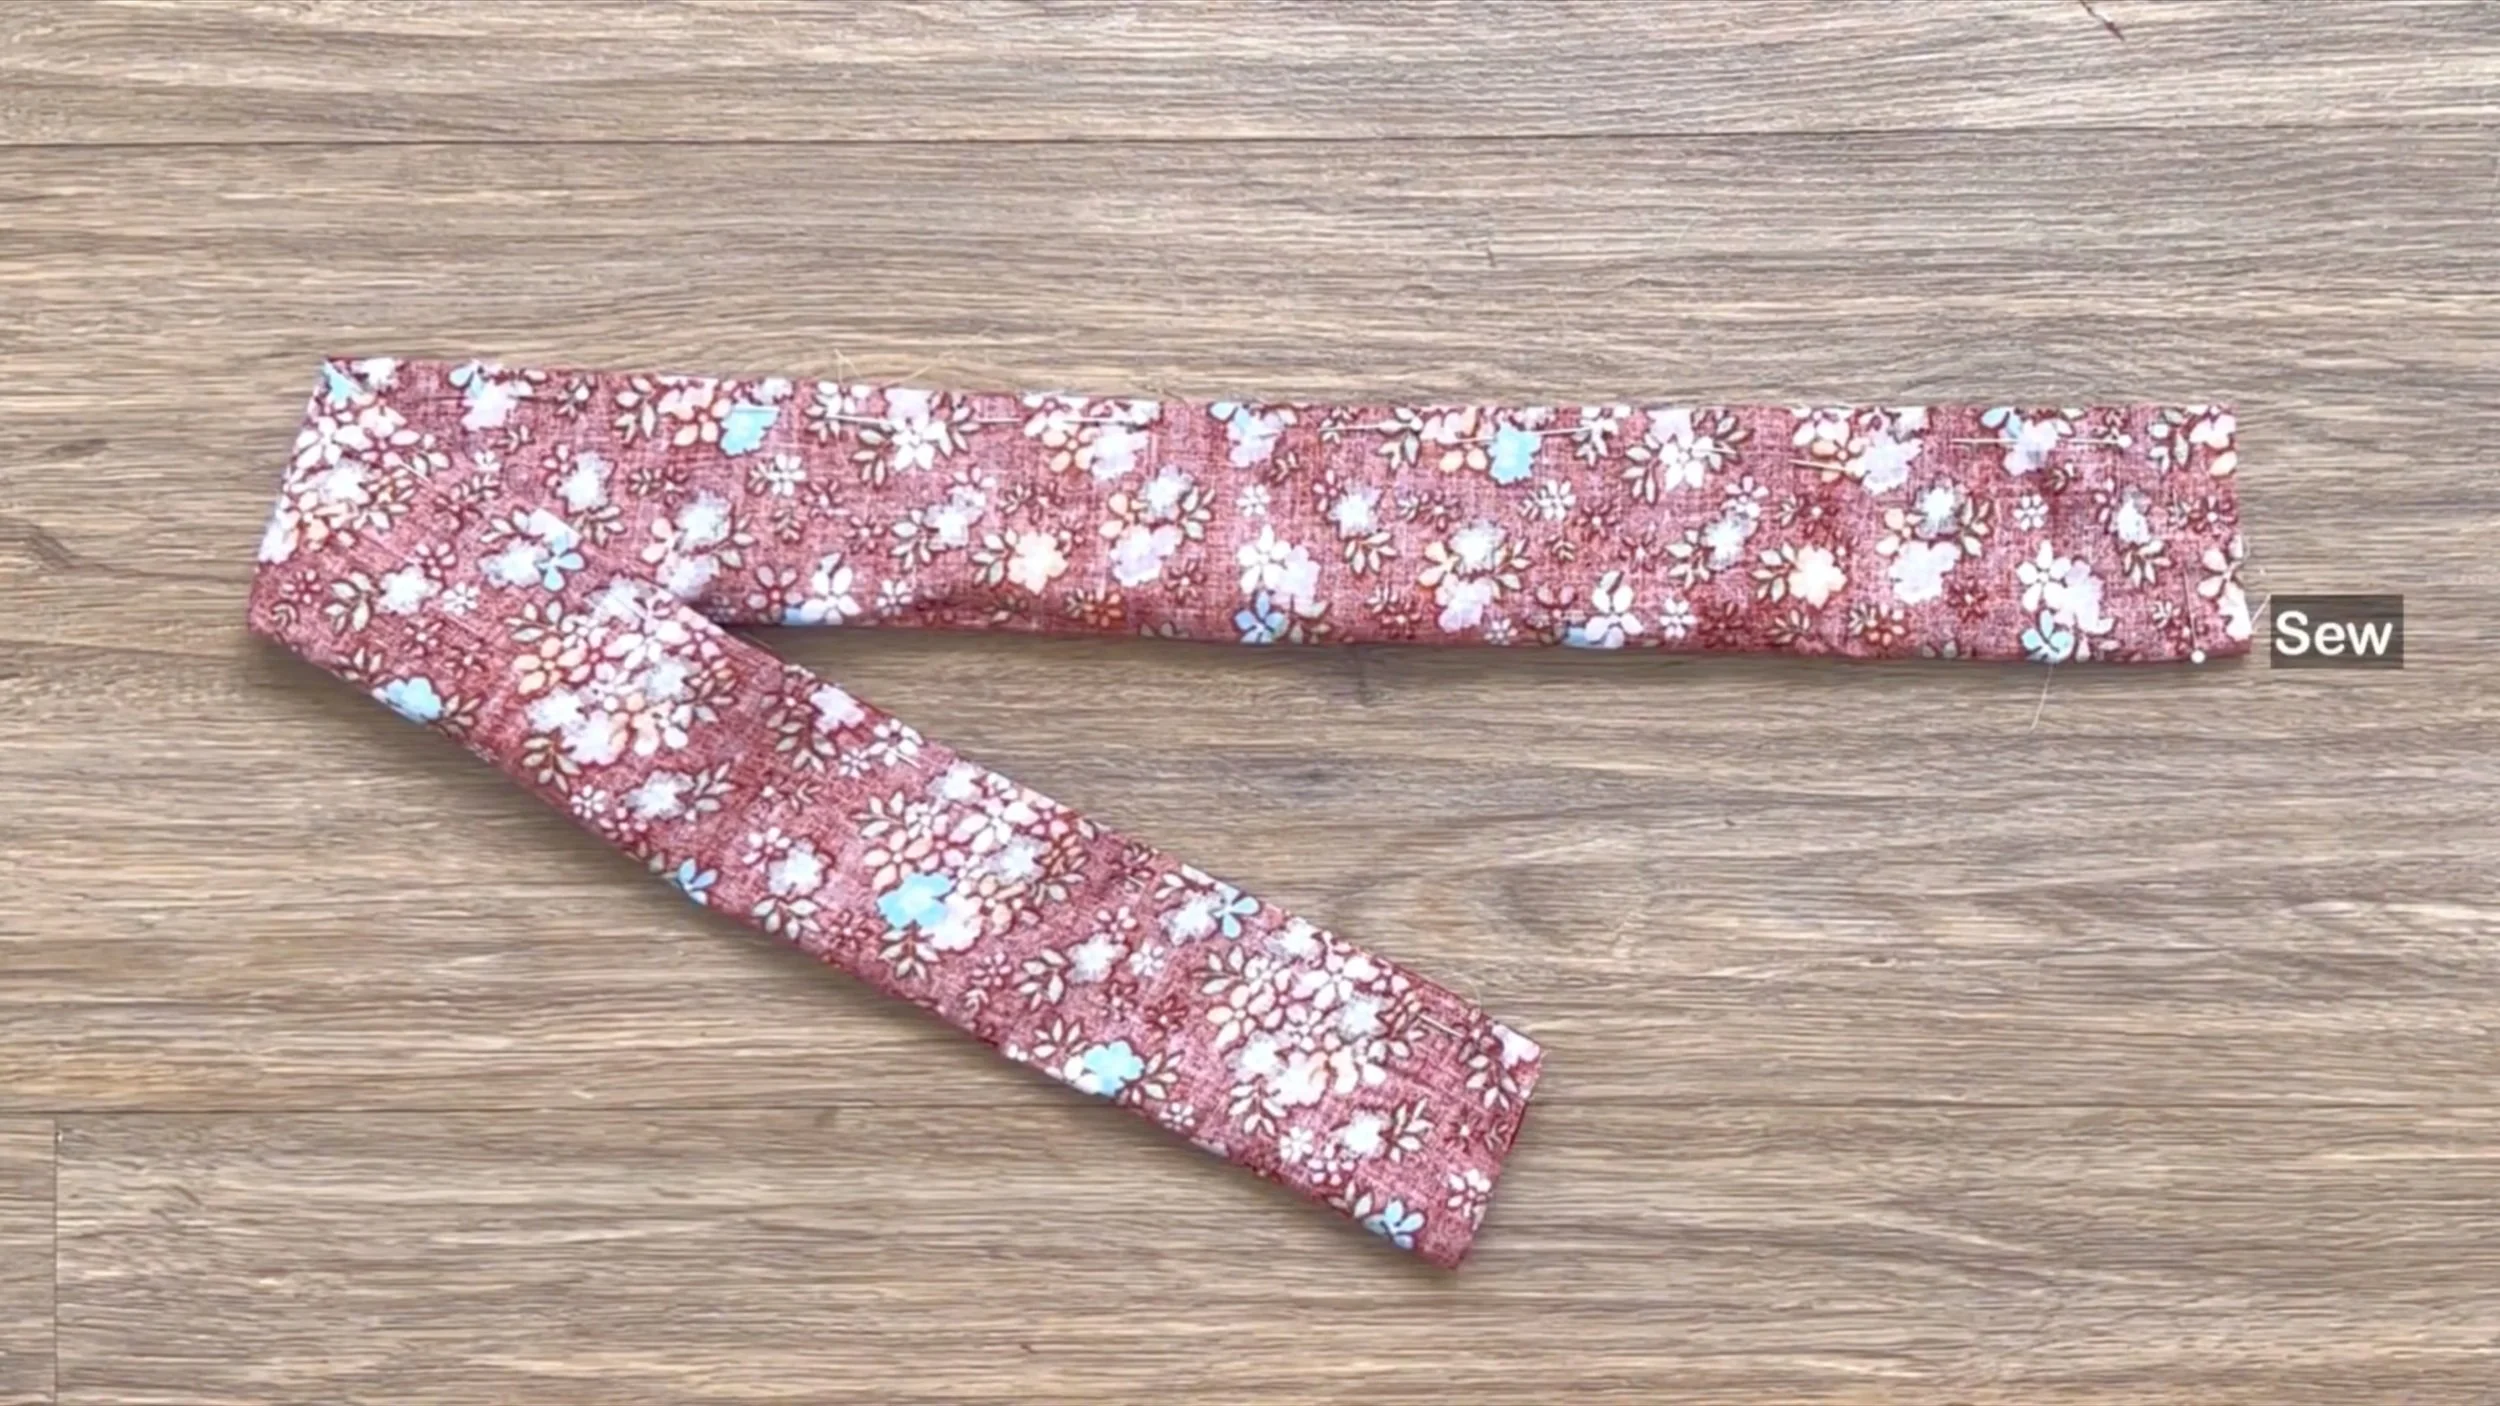
Connect the two lengthwise edges and one width edge of the rectangle to form the shoulder straps.

Then upside out and iron to smooth them.
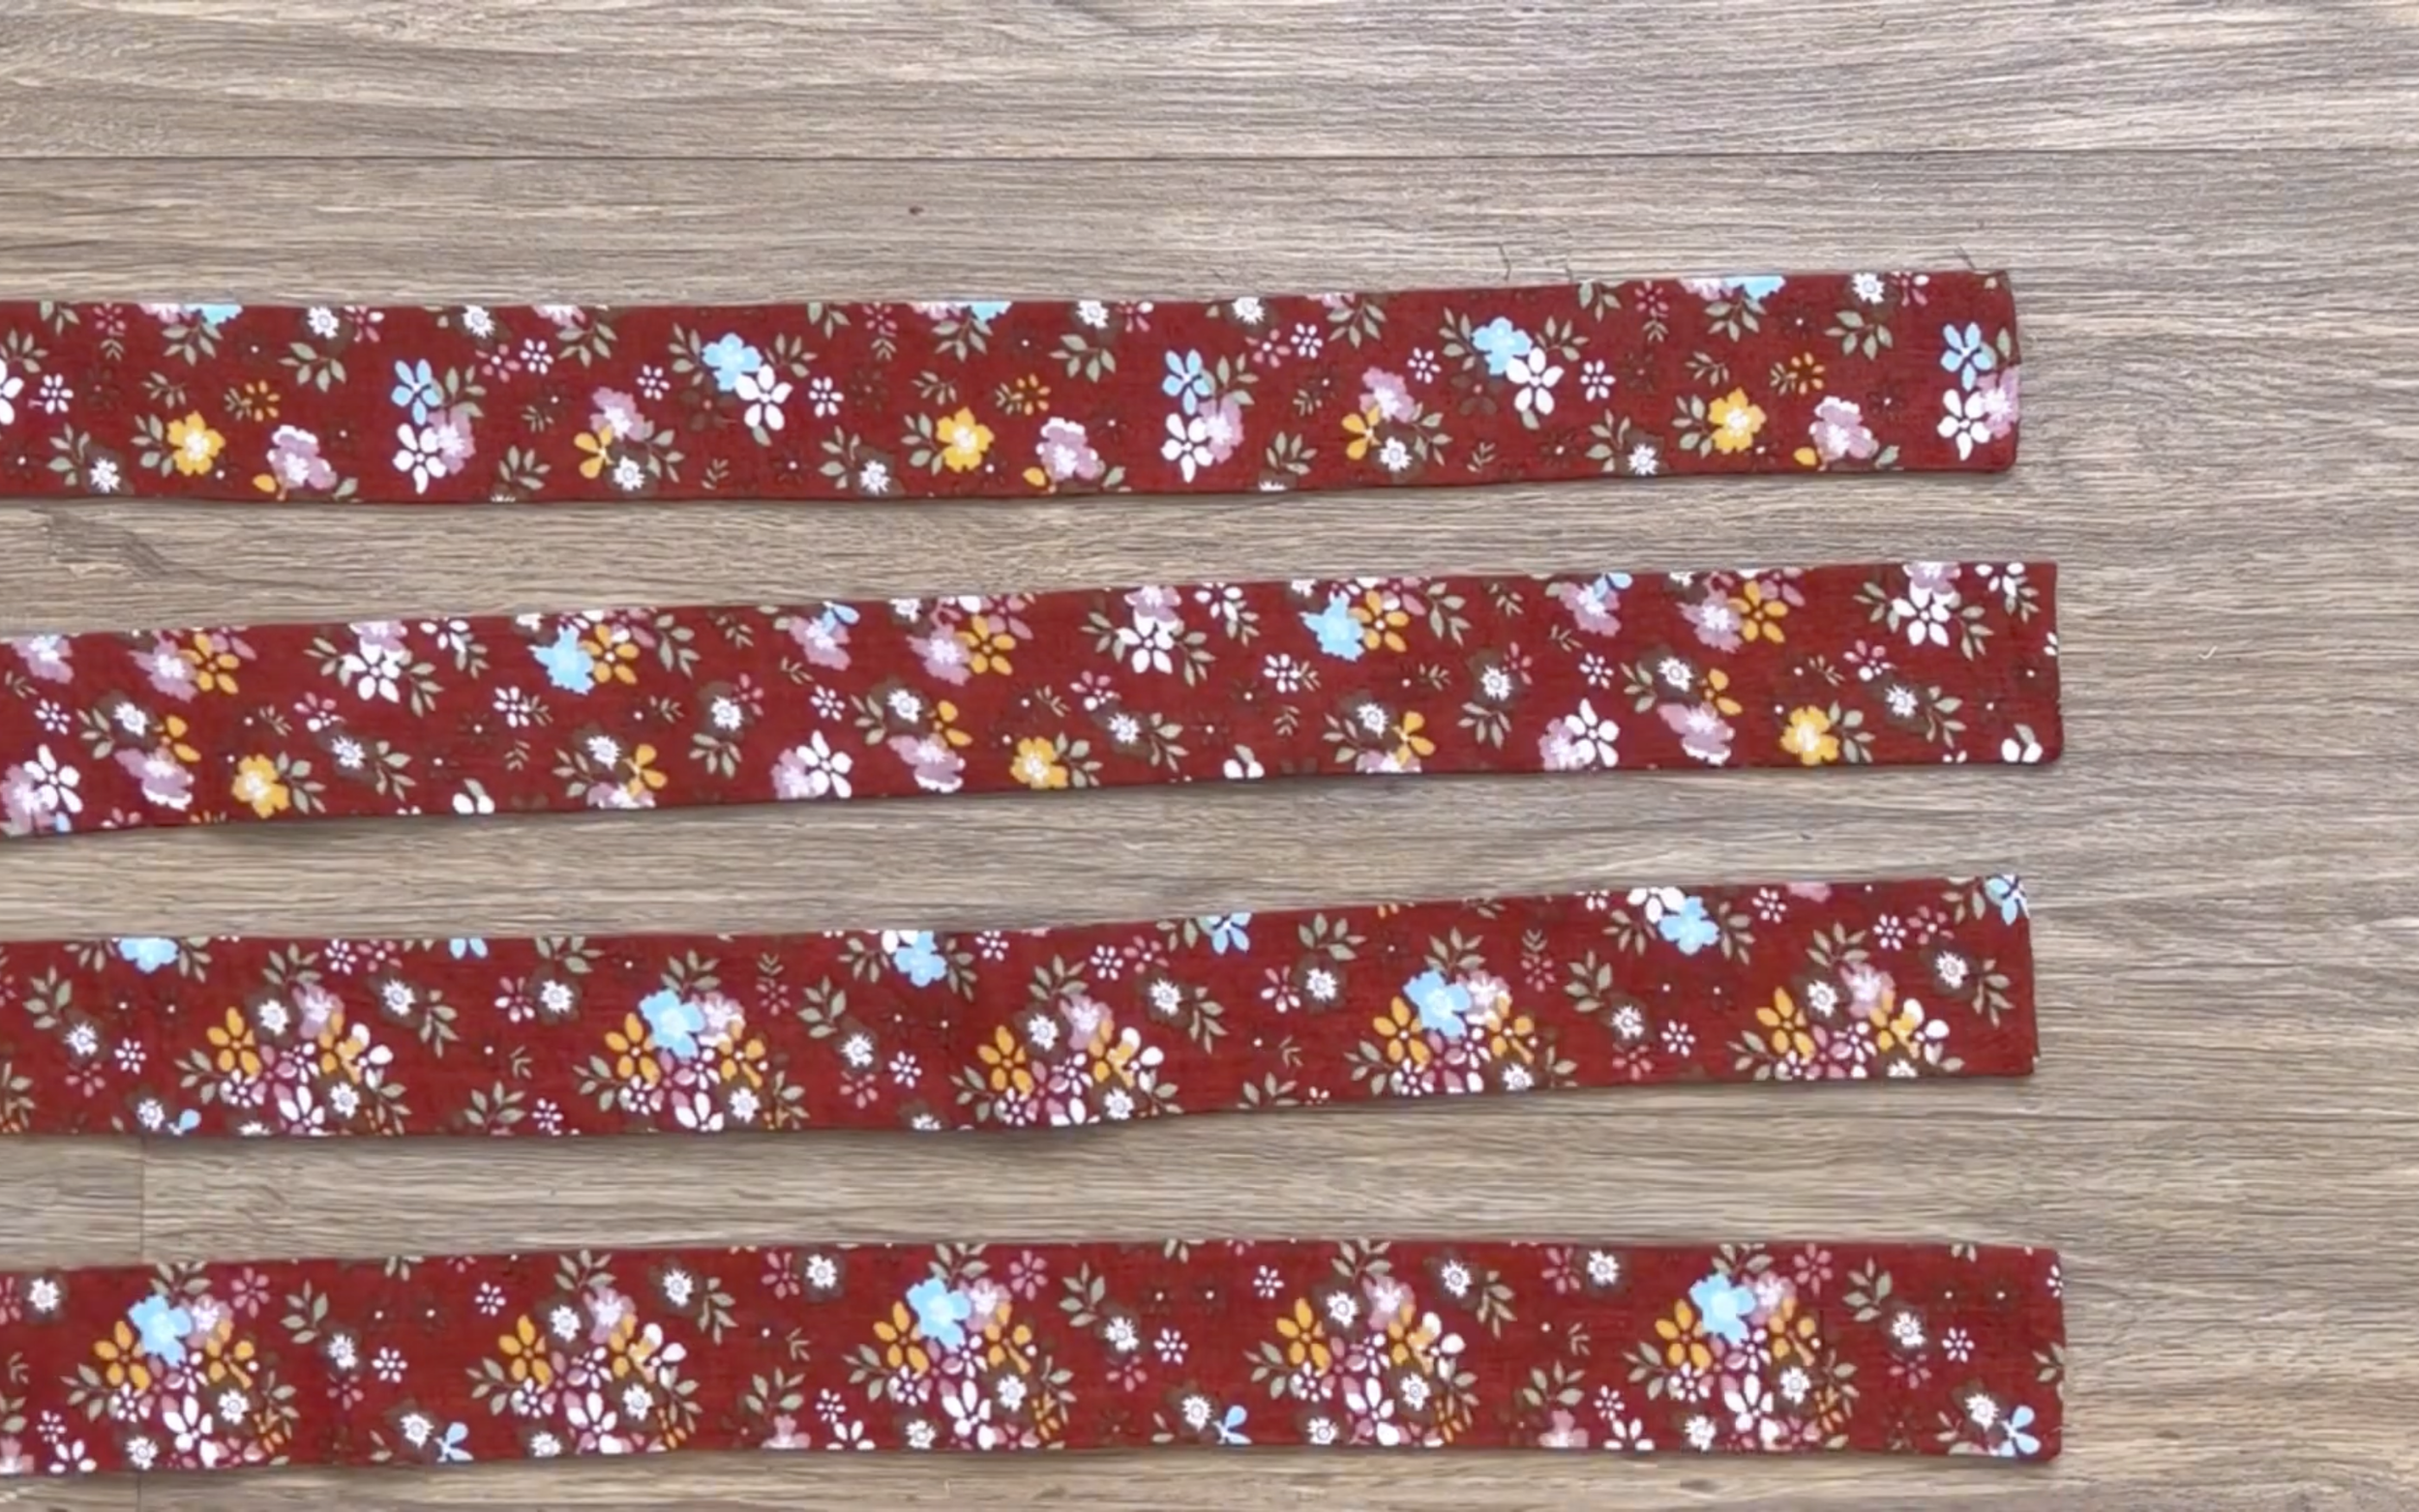
Make four pieces like this.
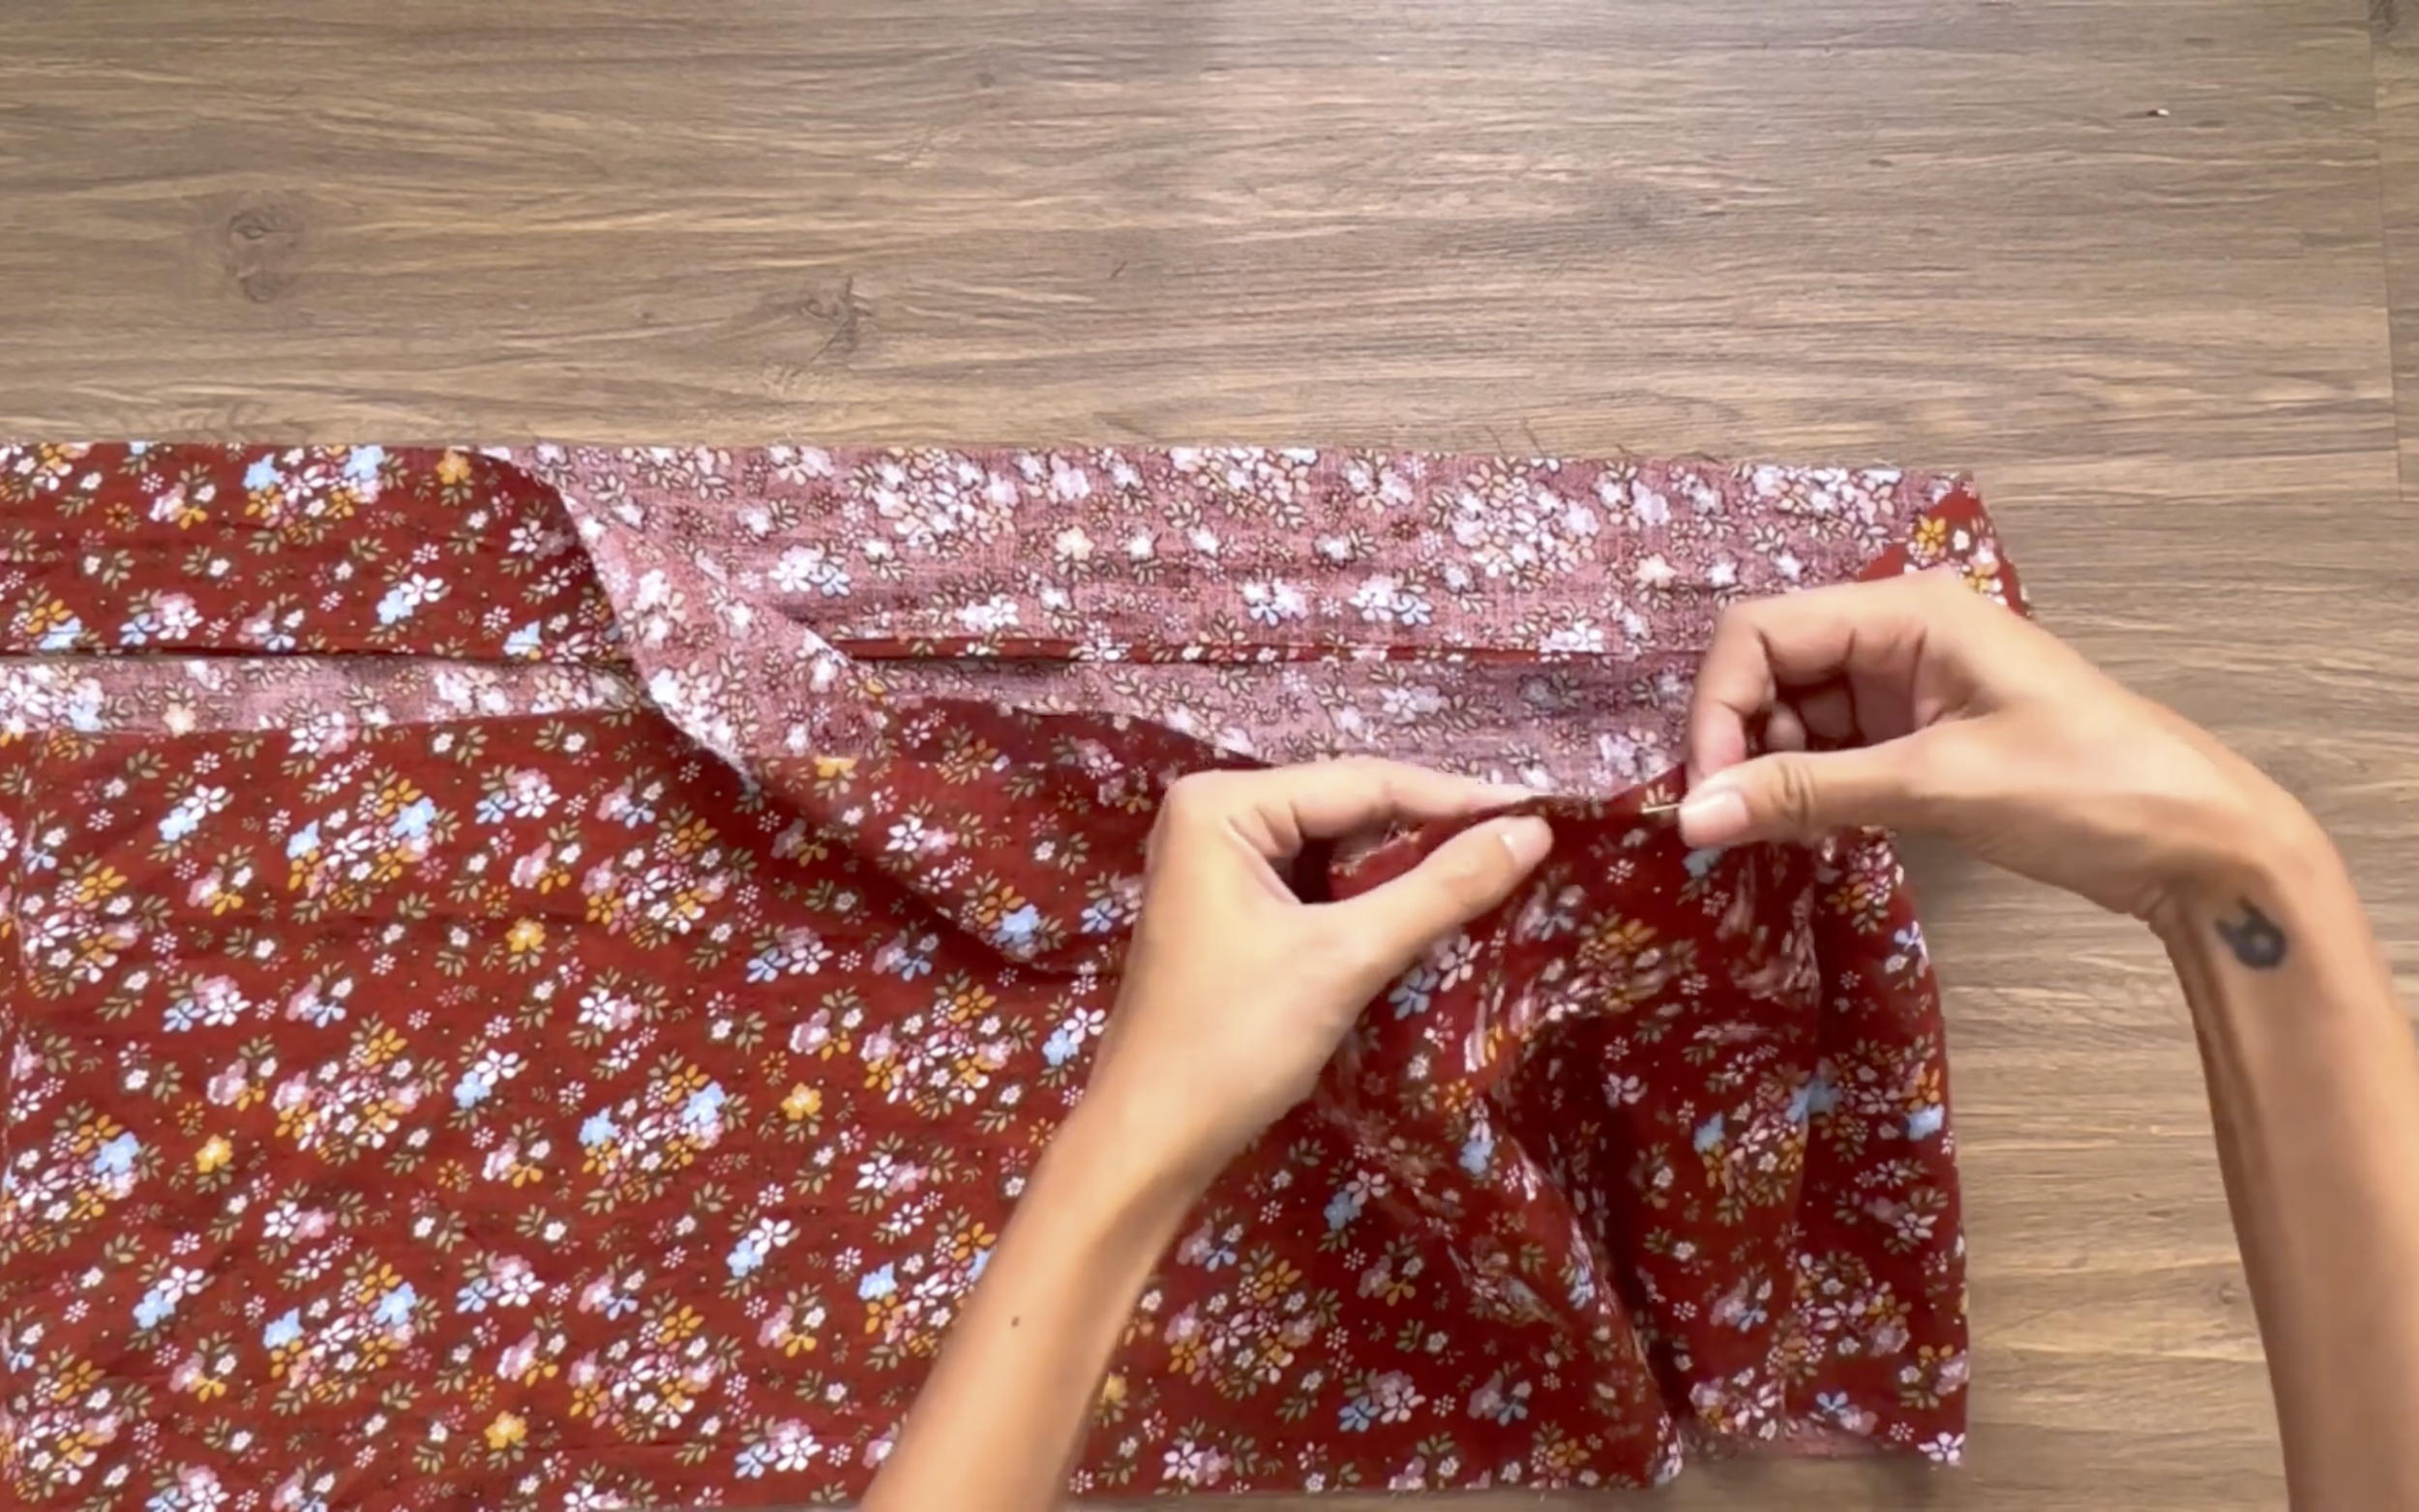
CONNECT THE LINING PART AND SHOULDER STRAPS TO THE BLOUSE
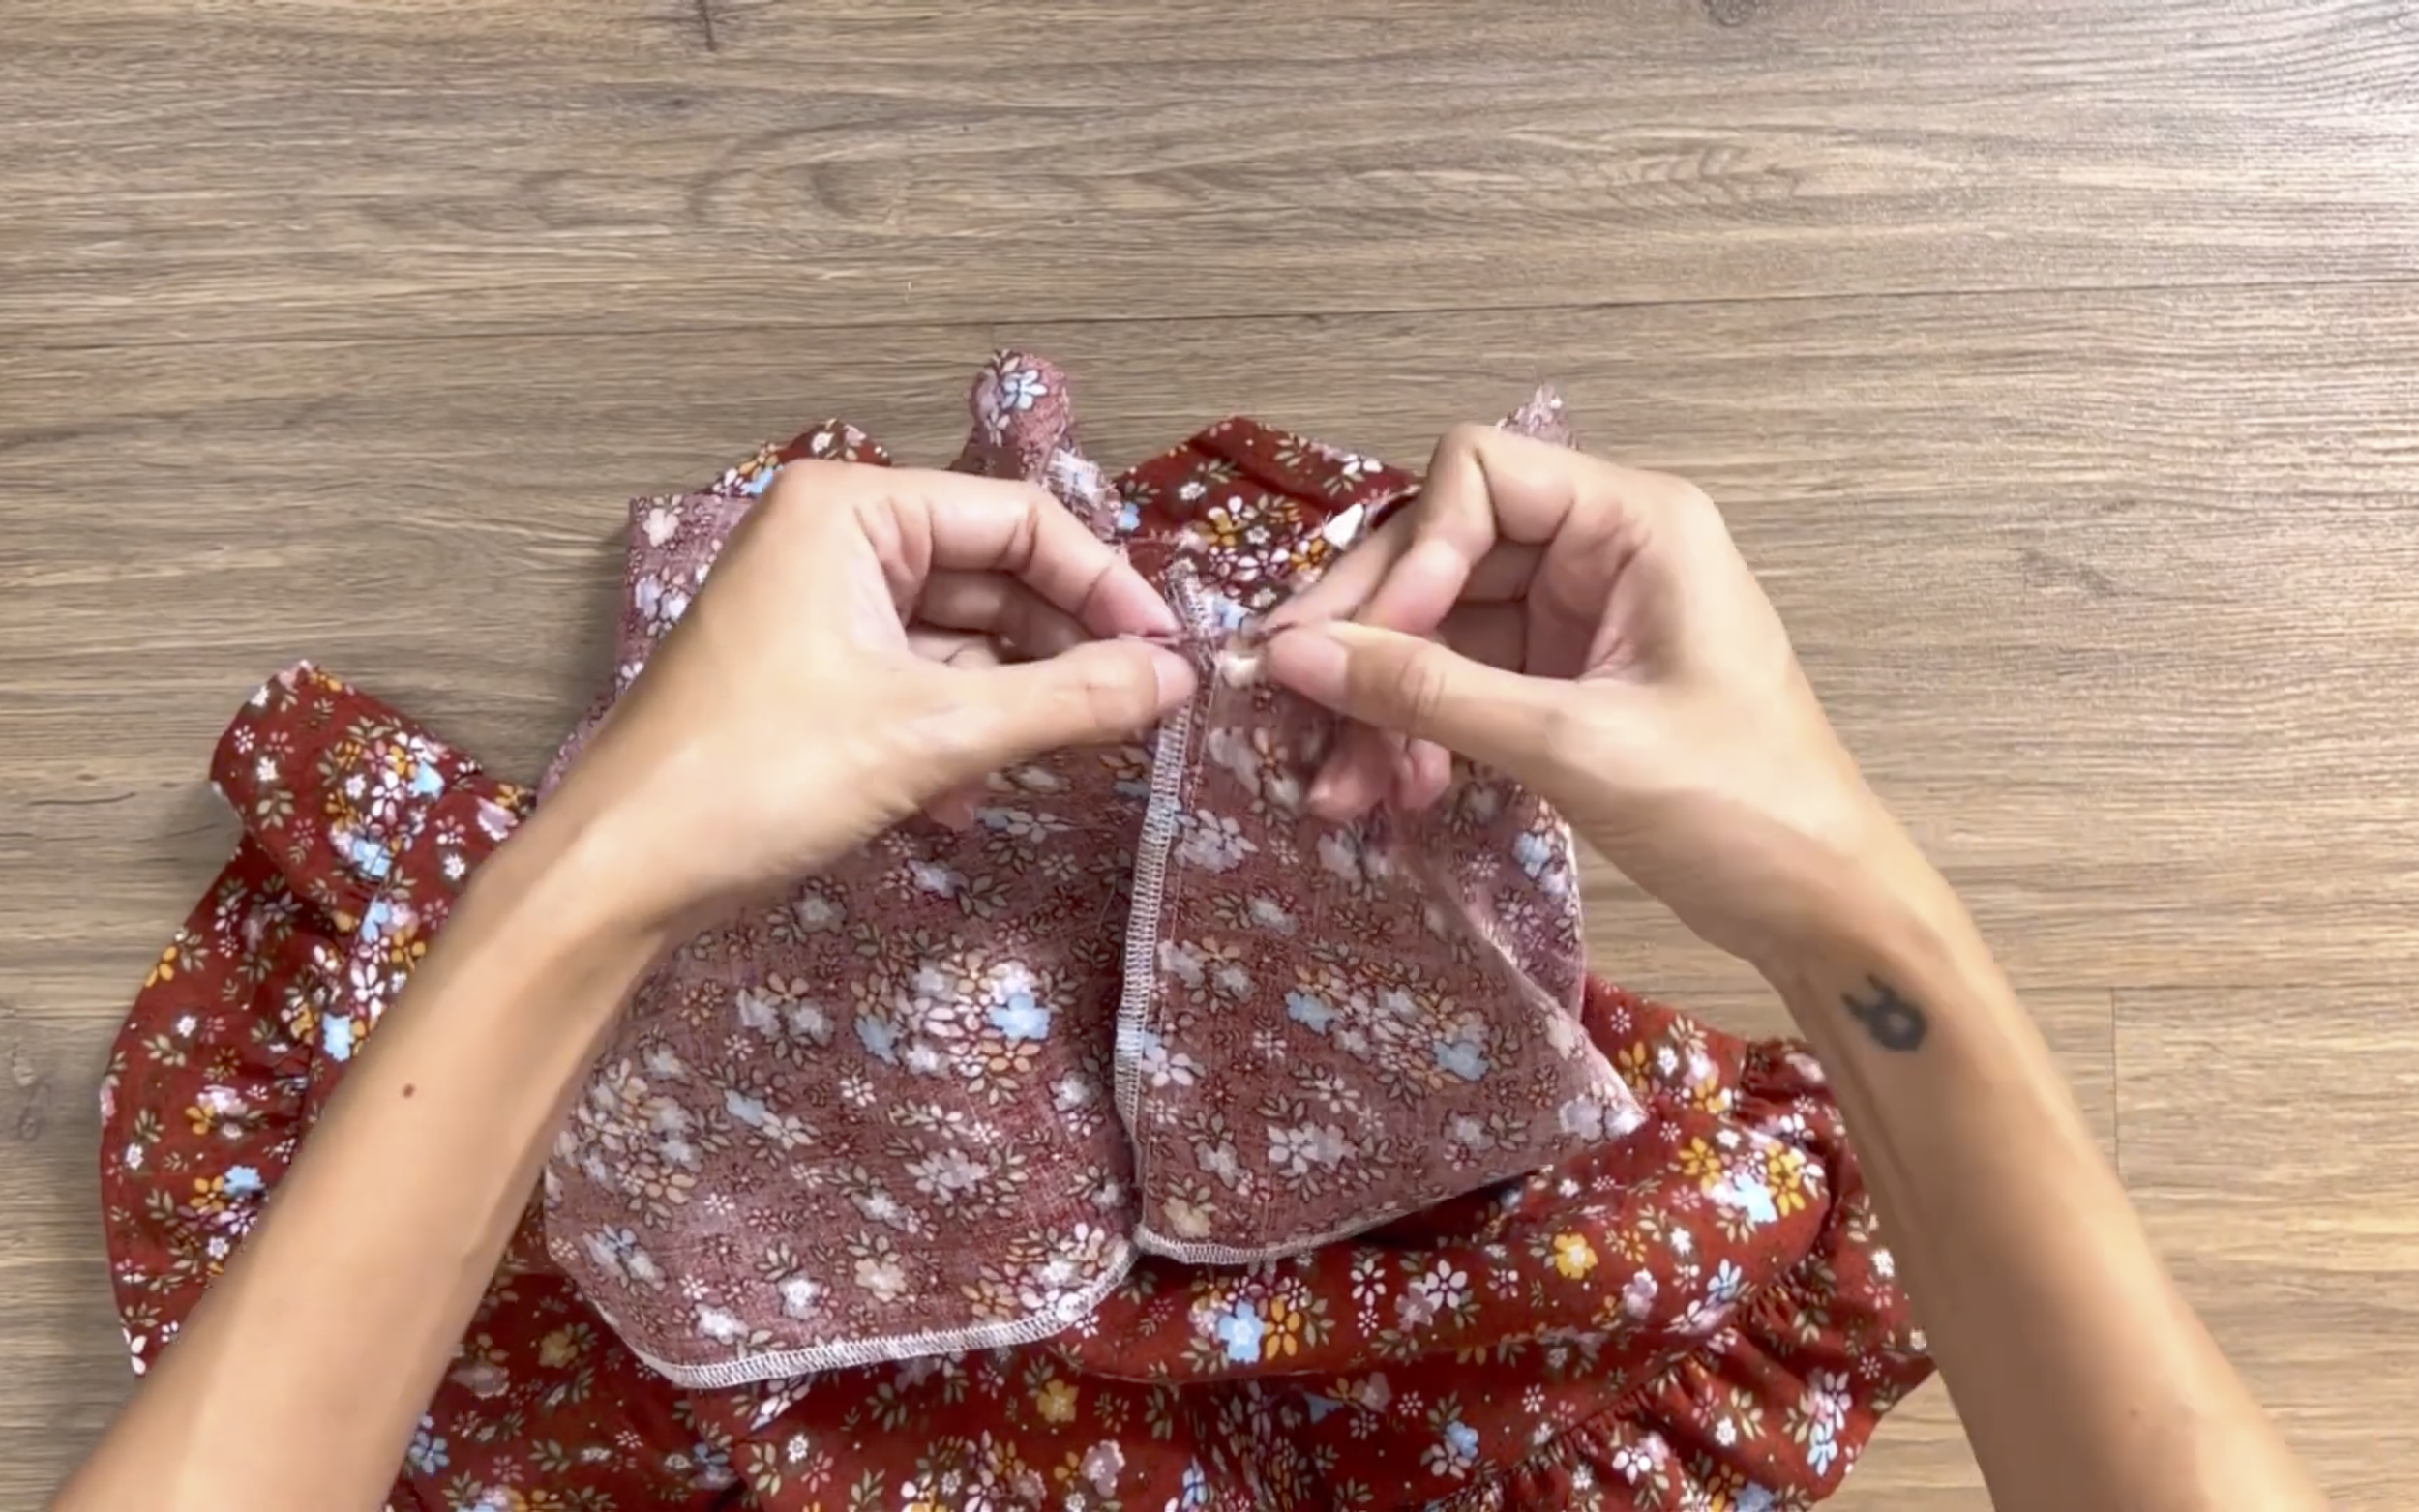
Attach the lining part to the top of the blouse with pins, ensuring the right sides of the fabric face each other.
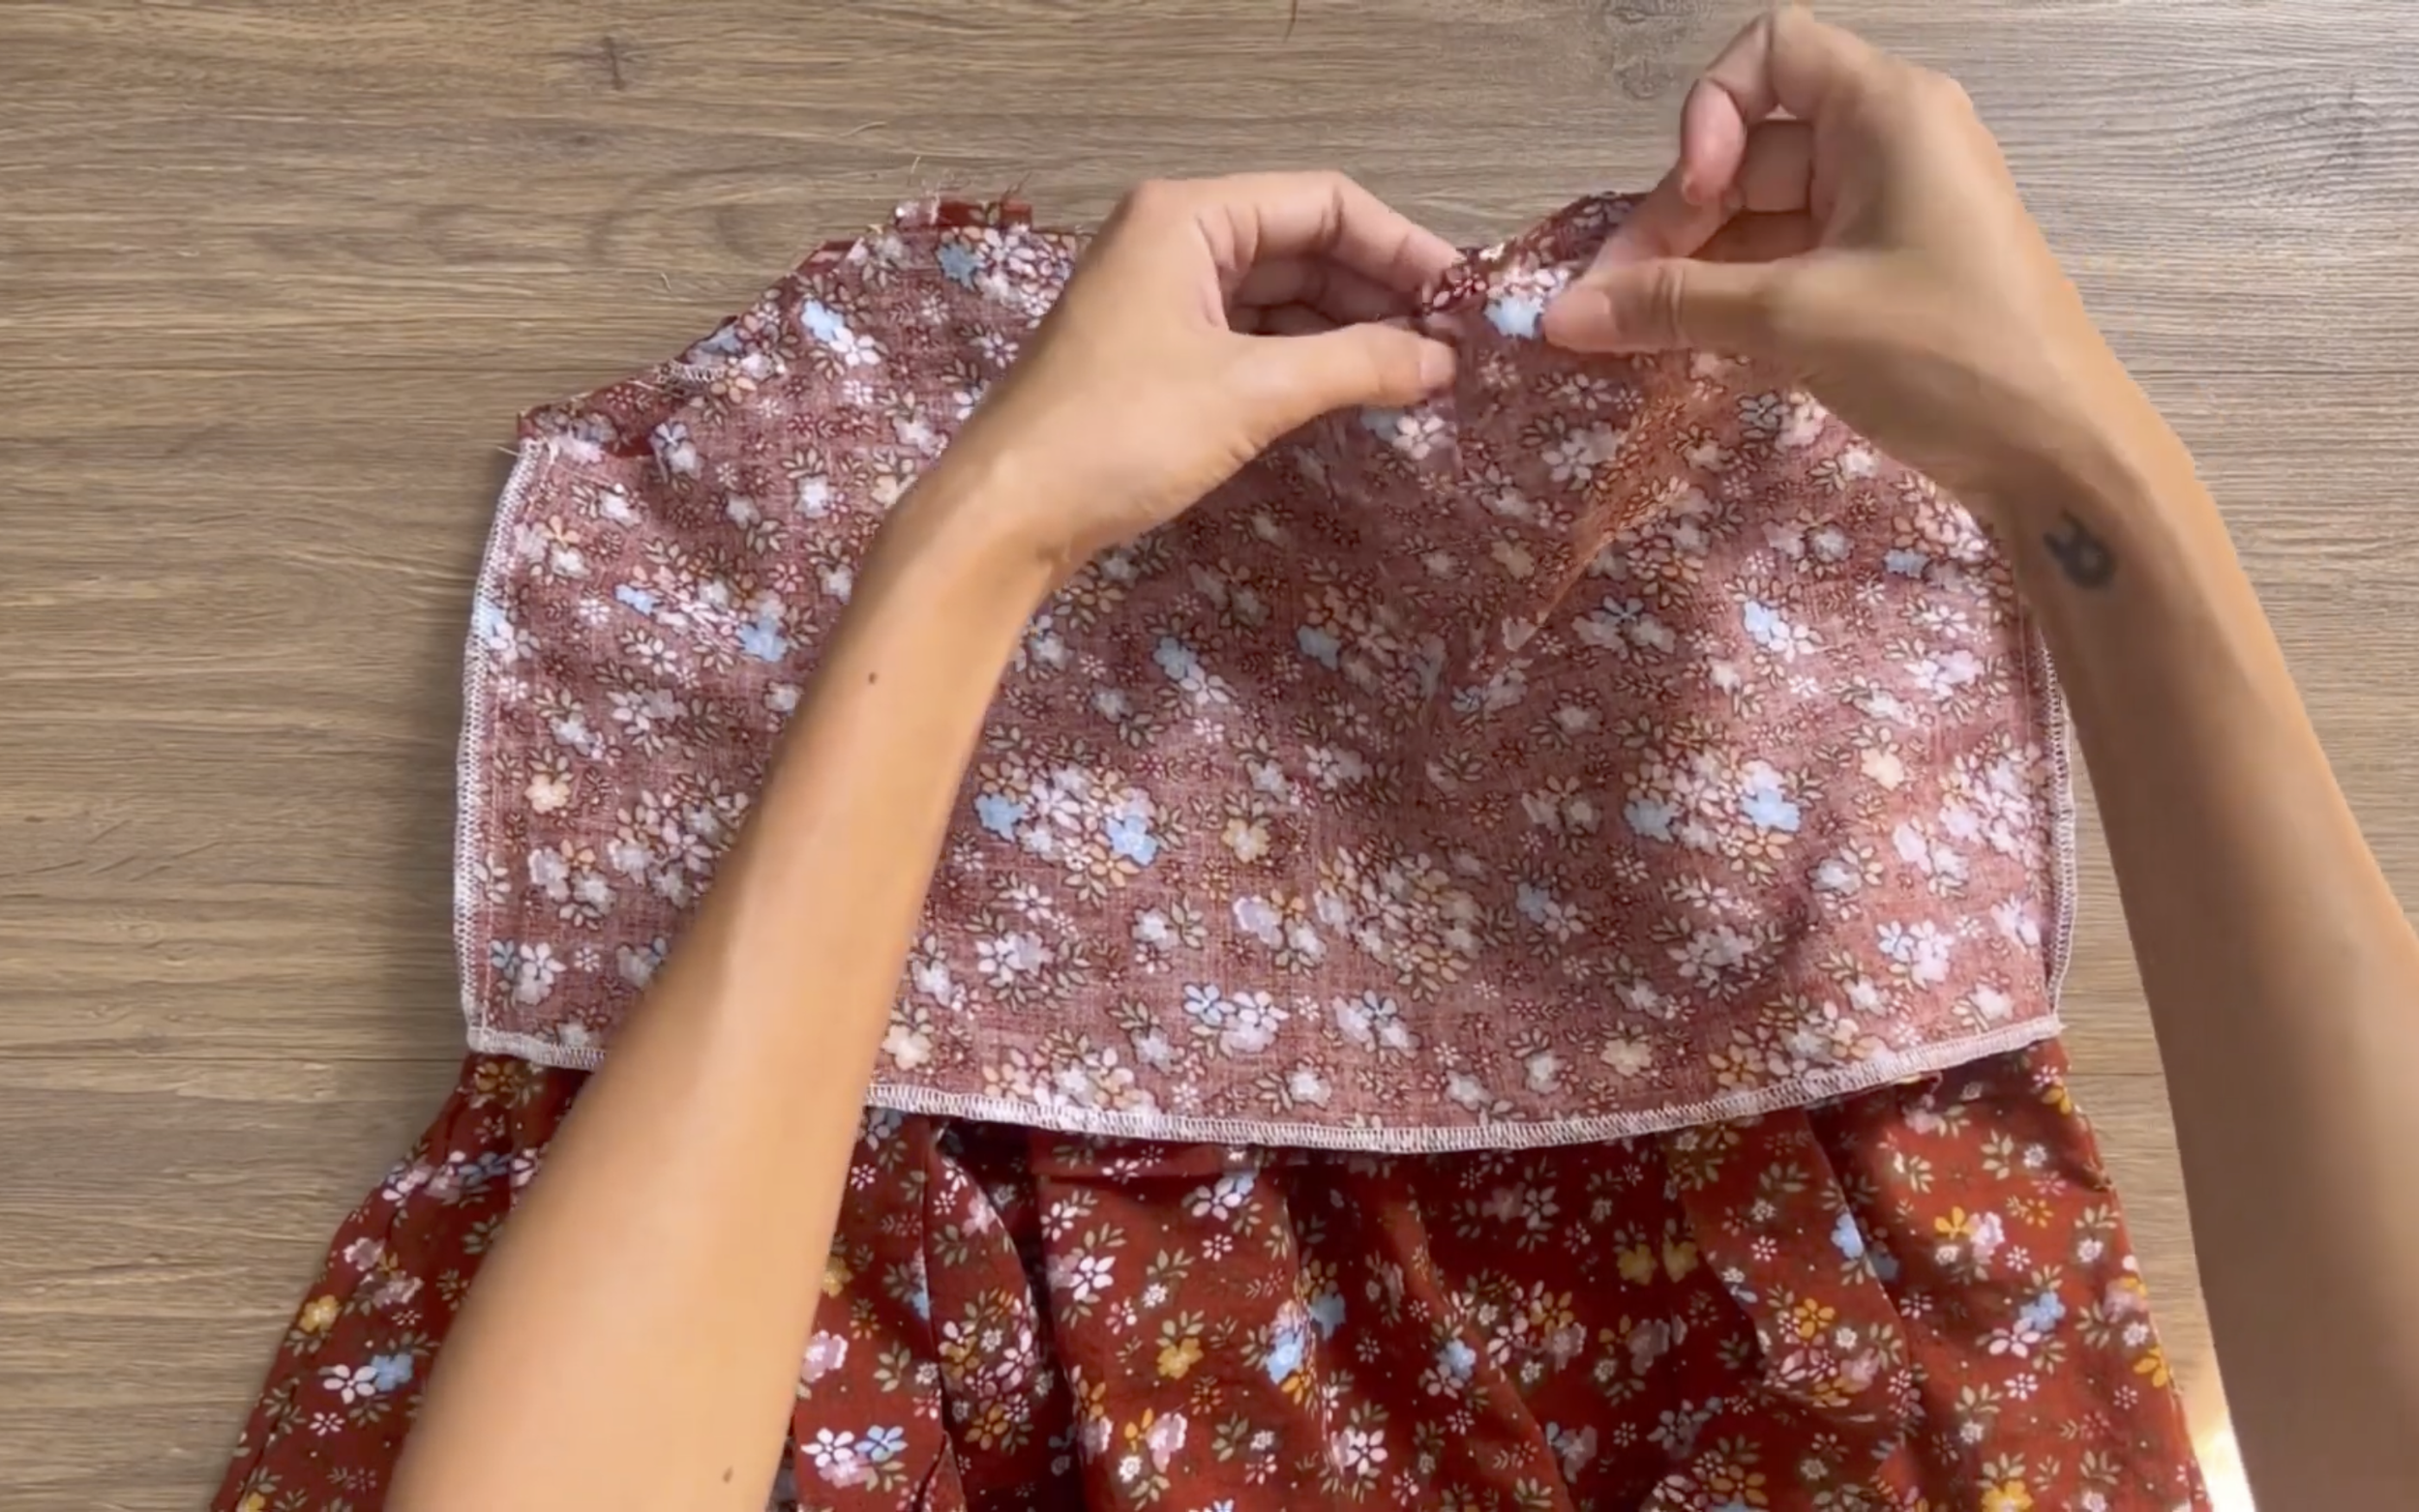
Add the shoulder straps on both sides of the top of the blouse, placing them between the blouse and the lining part.
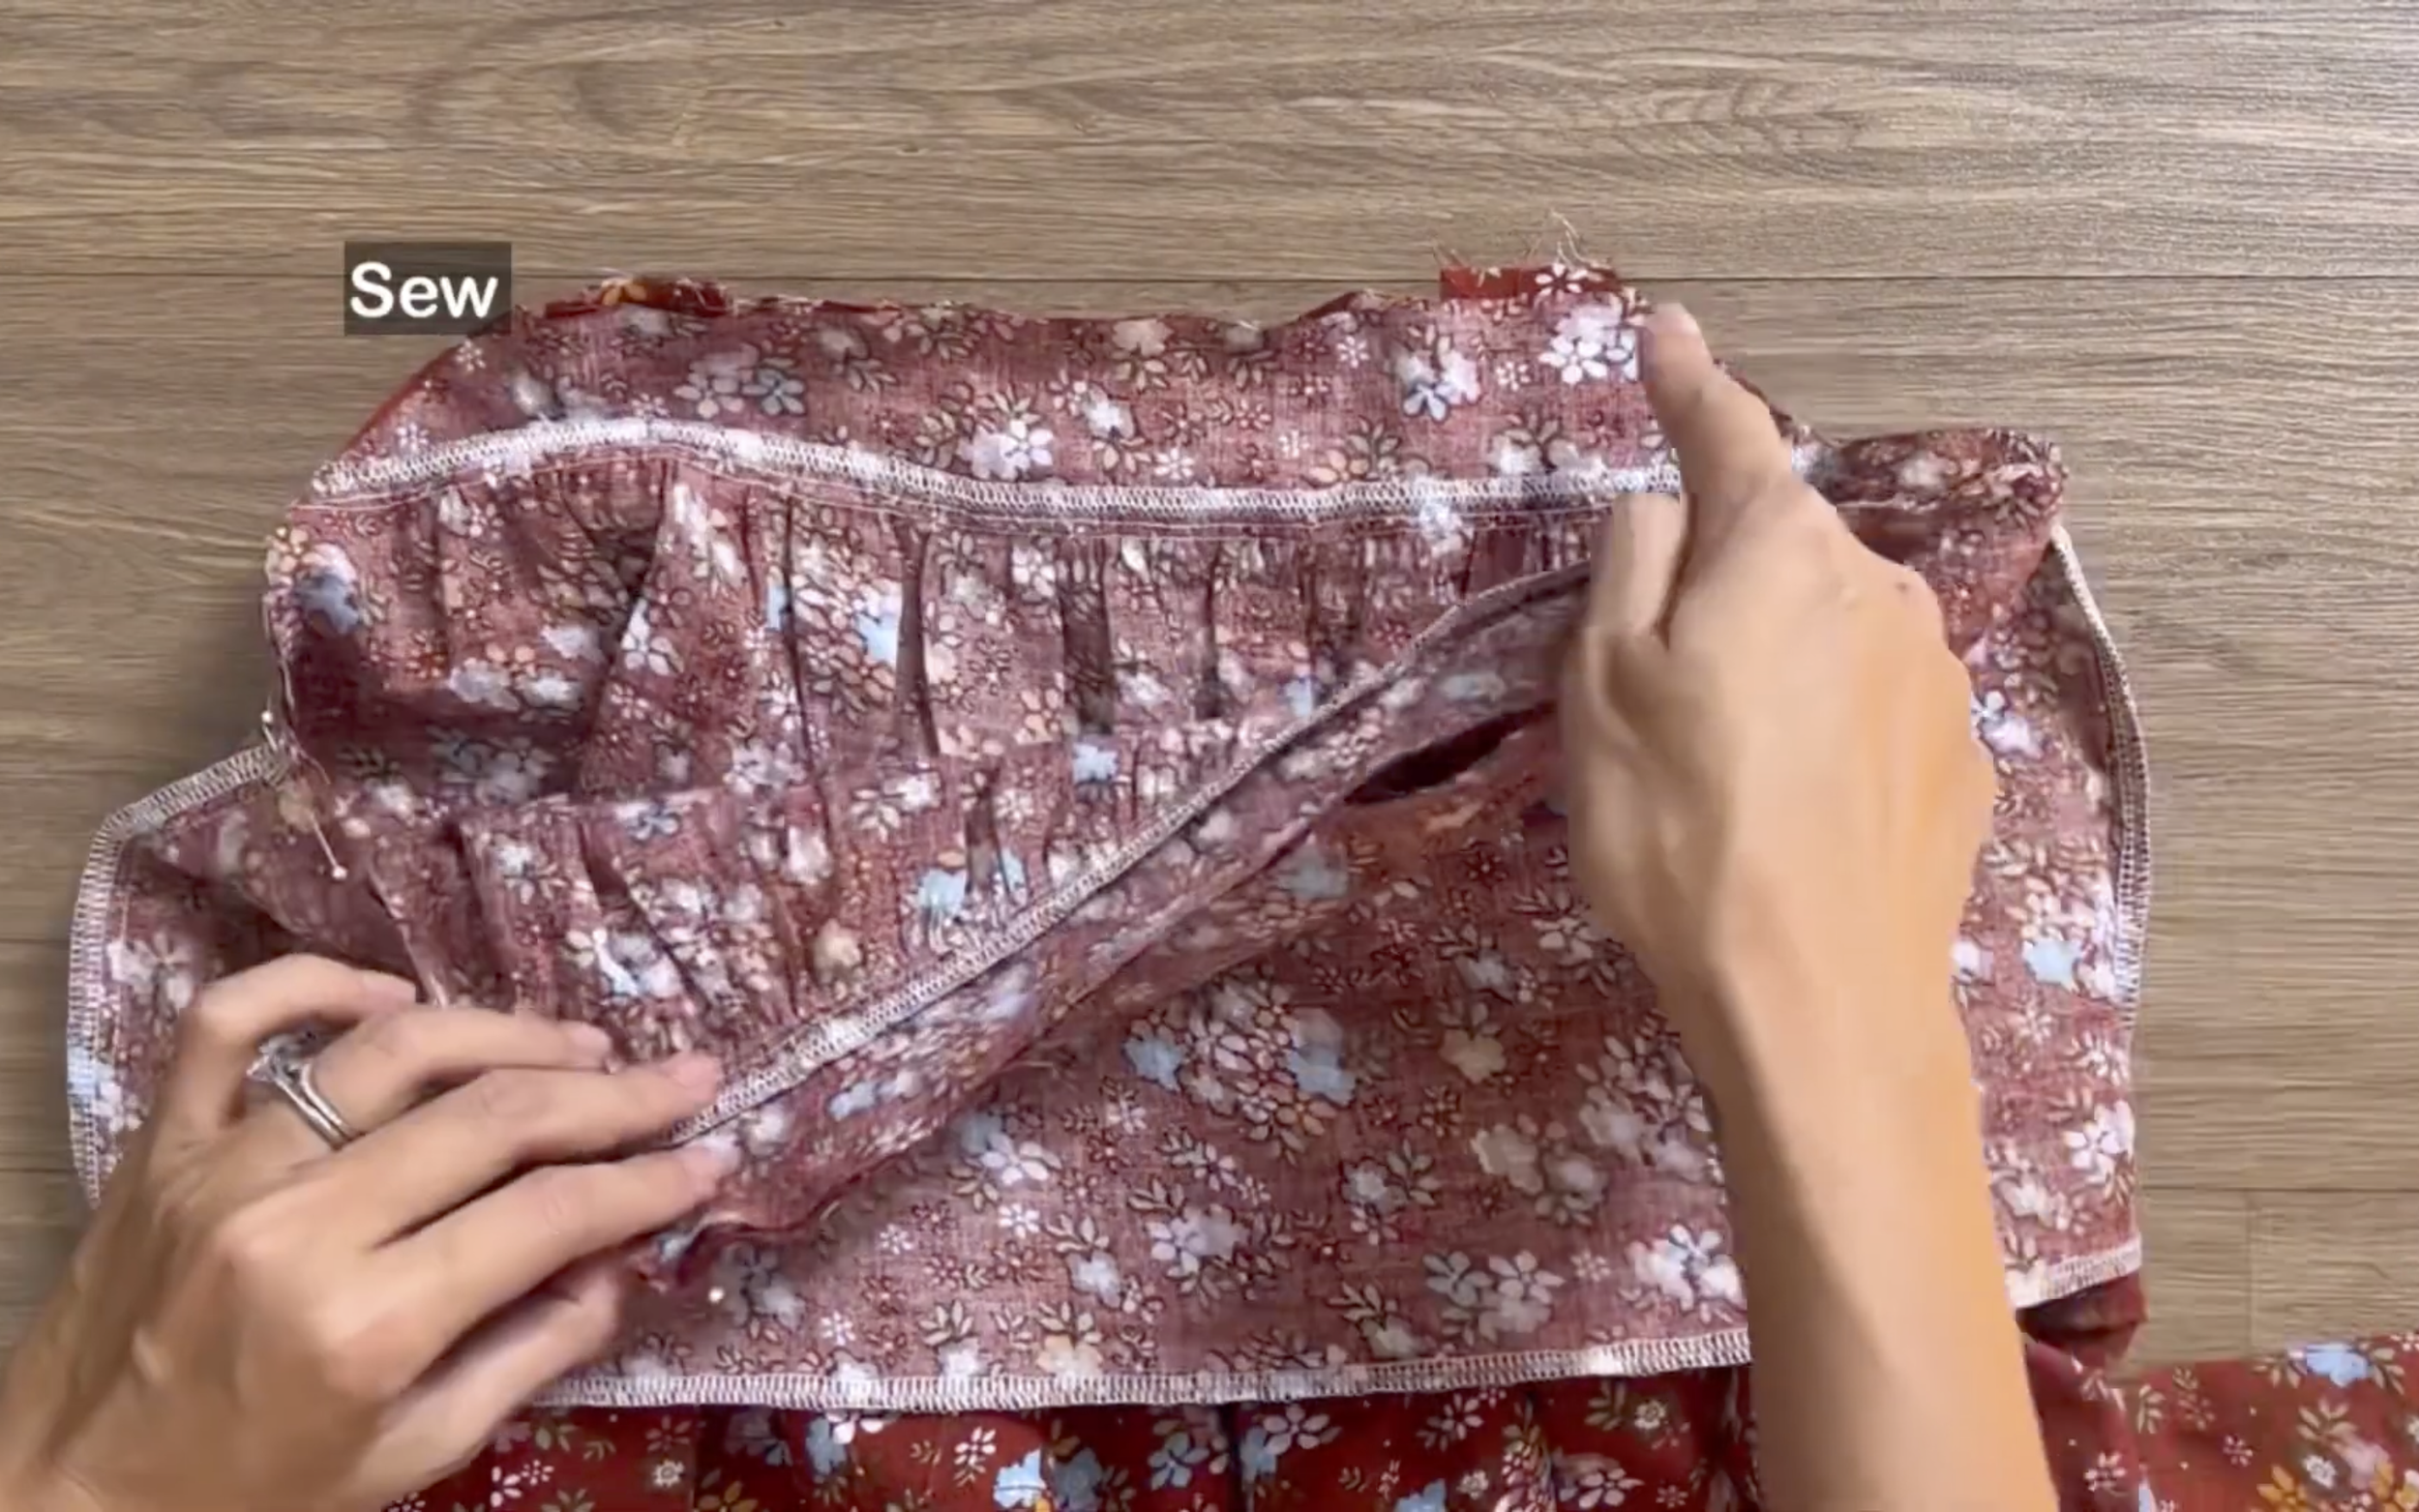
Sew everything together.
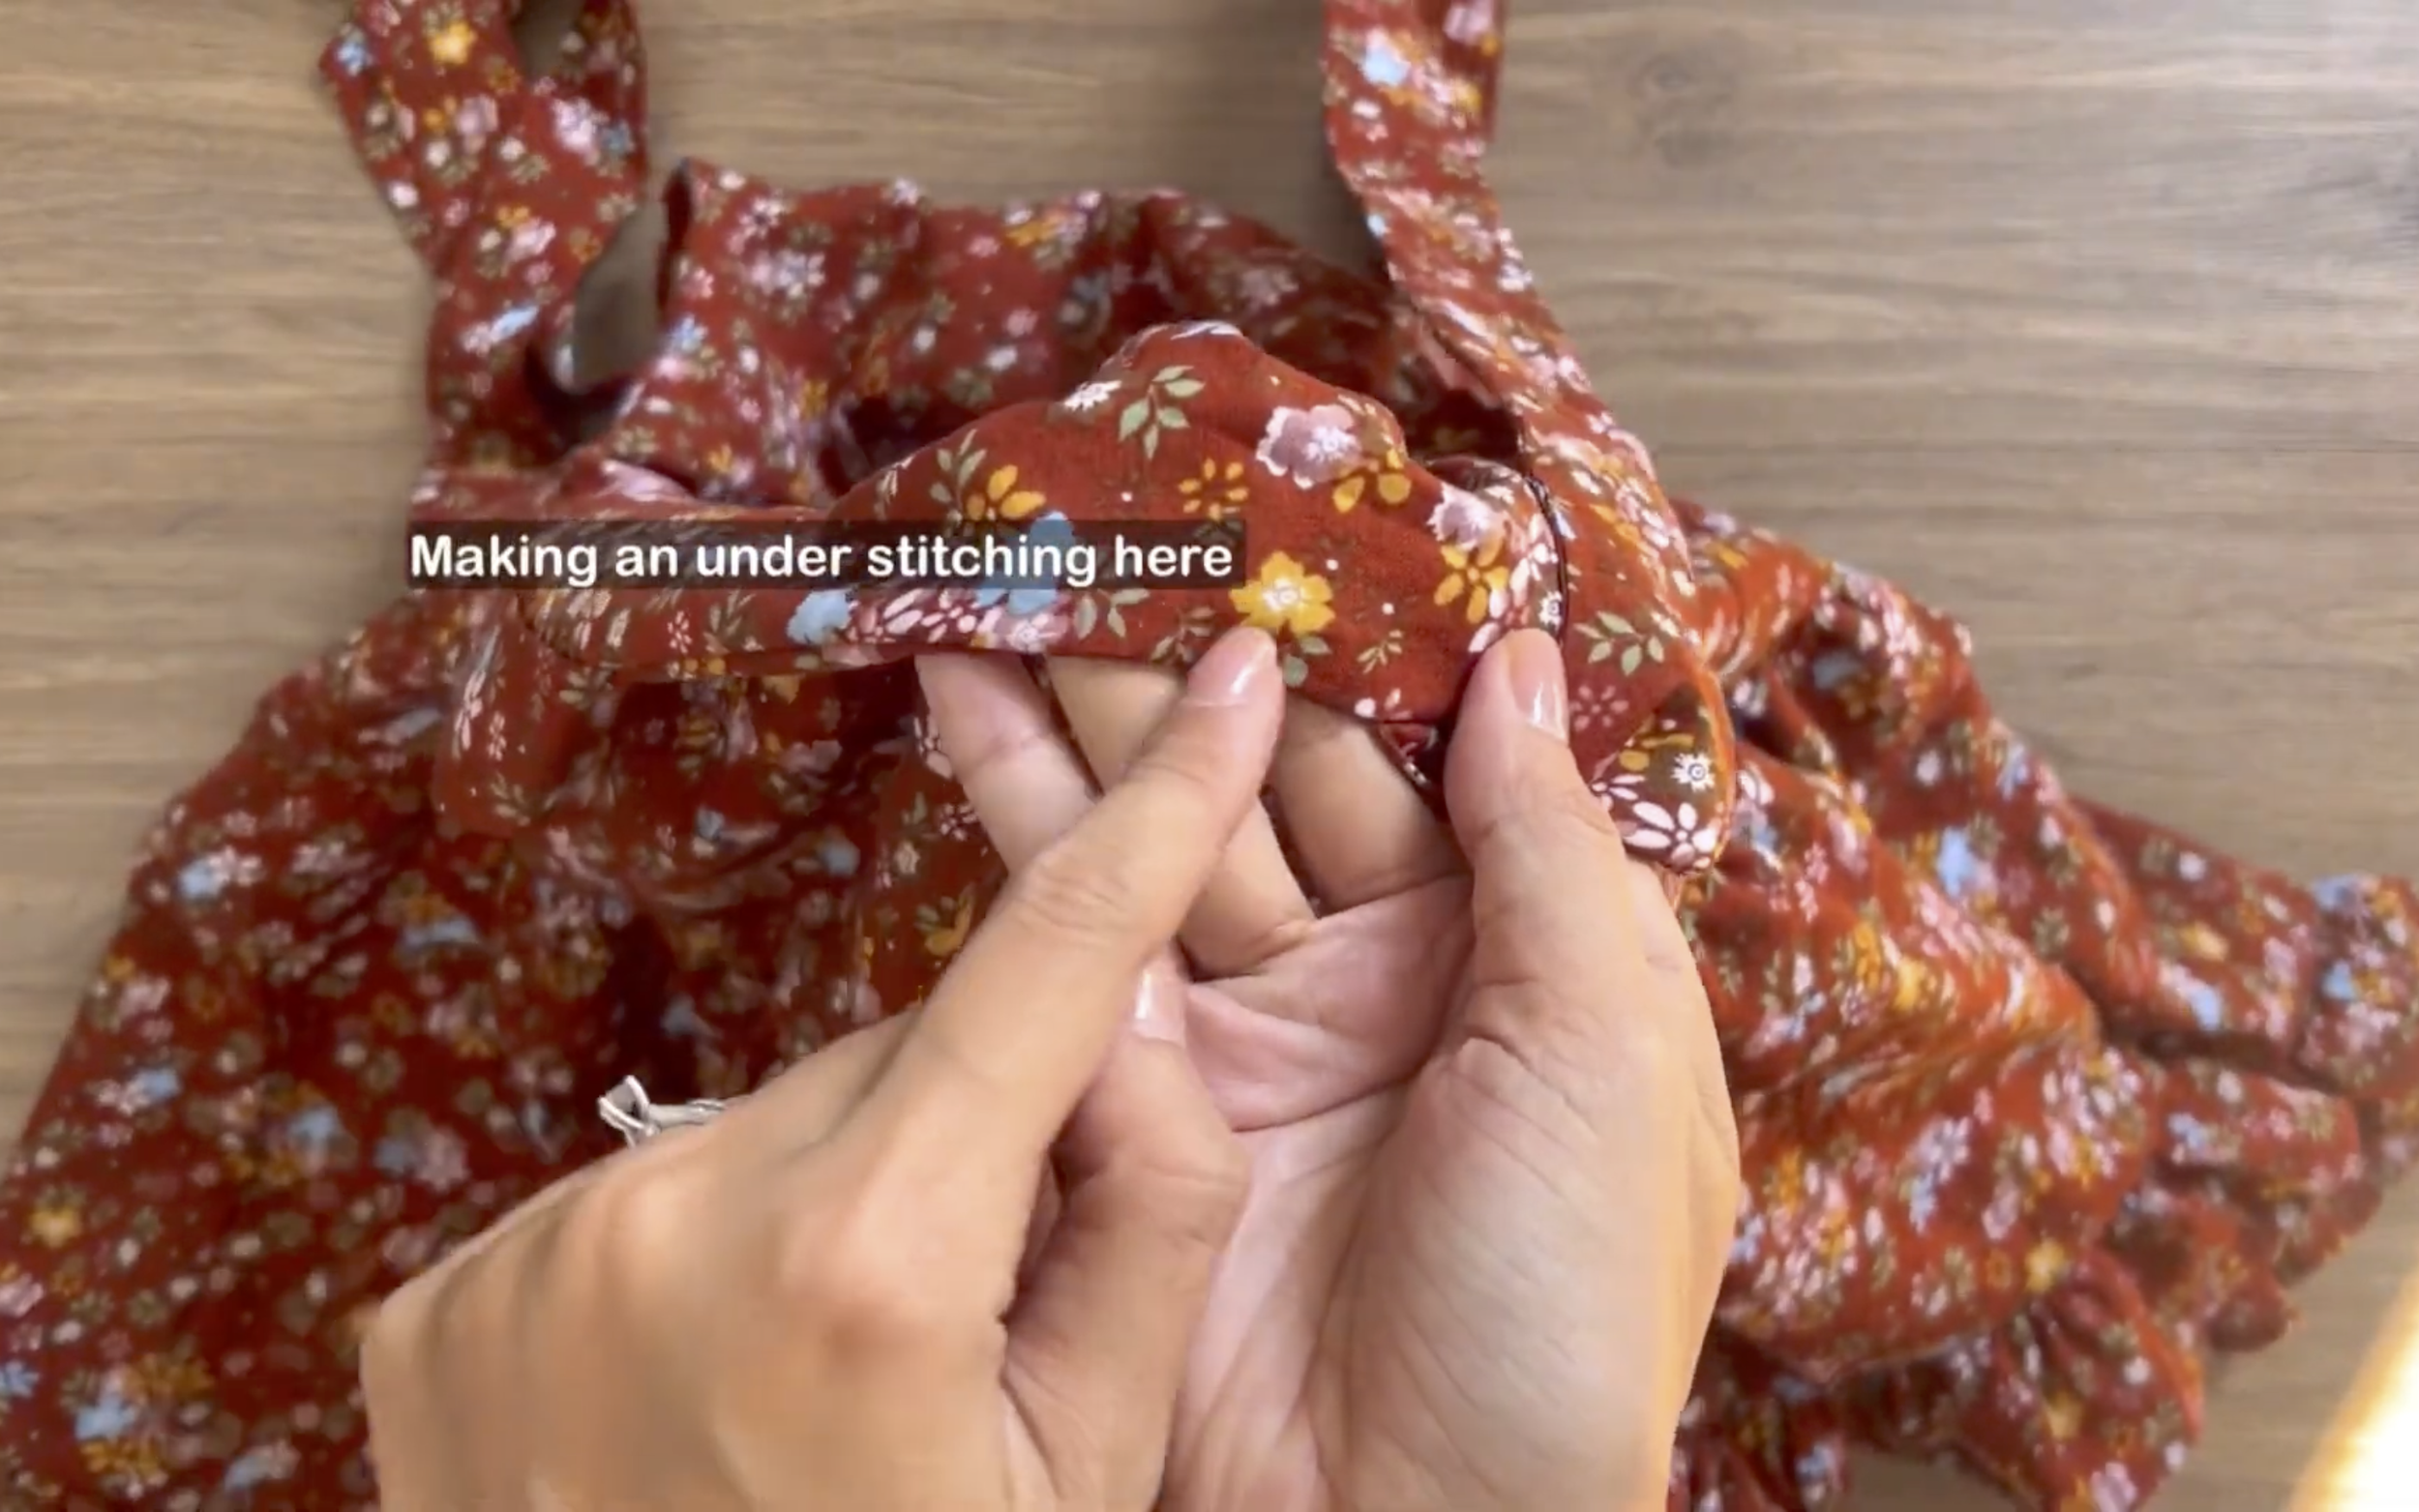
After turning the lining part inside, make an understitching seam at the top of the lining part to keep it in place.

DIY Summer blouse
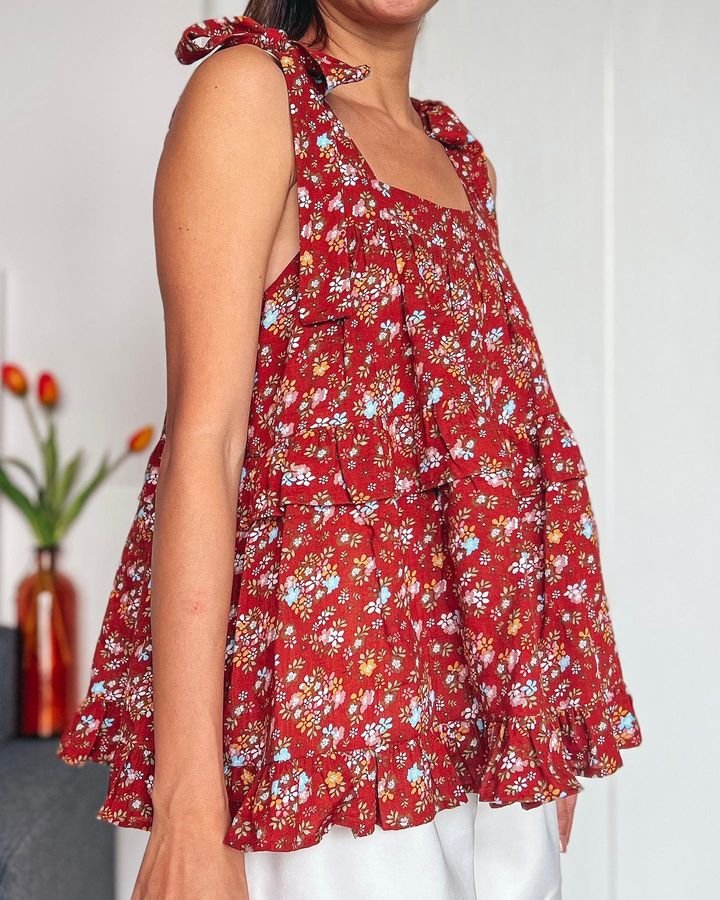
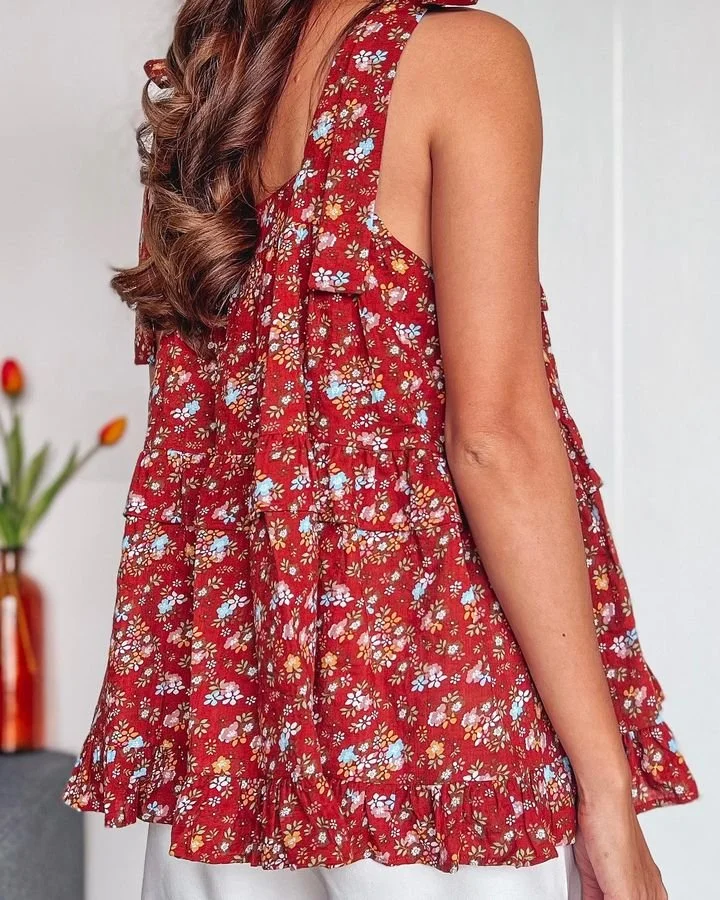
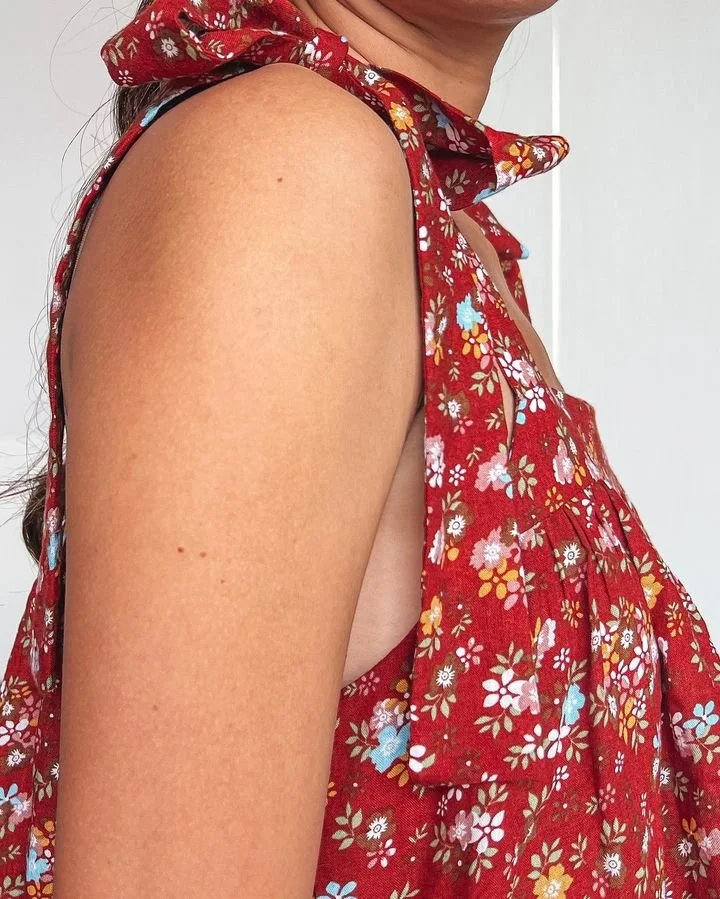
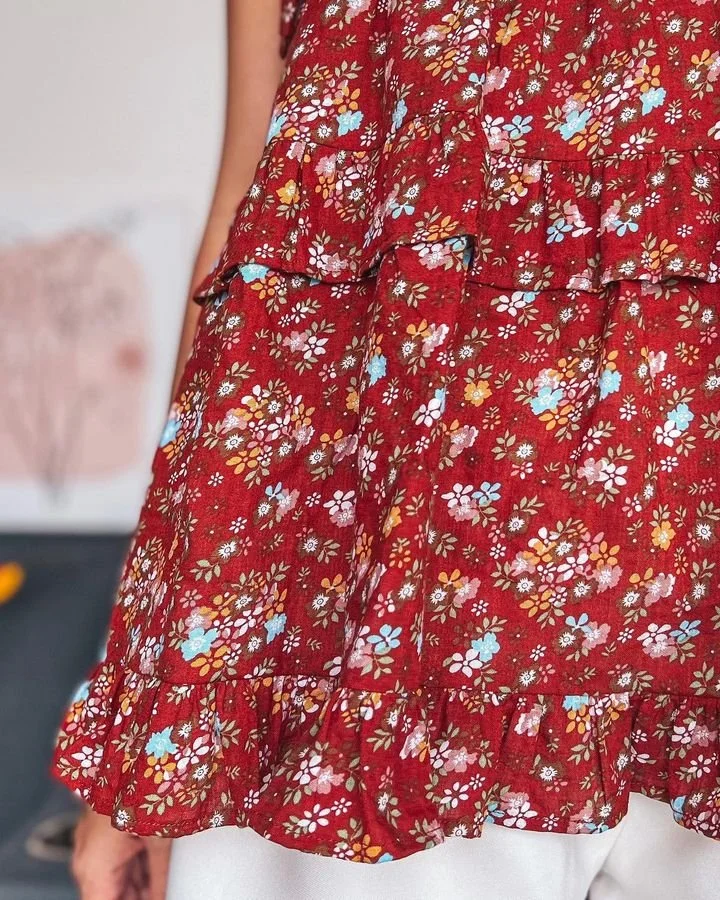
And here’s the final look at my summer blouse!
It’s an easy project, but the result turned out so well. This blouse is perfect to pair with a shorts for an ideal warm-weather outfit, don’t you think?
2. SUMMER DRESS
THE PATTERN
This blouse can be turned into a dress by adding more tiers to extend its length. Here is the pattern for the dress.
At the end of the blouse, instead of the ruffle hem, add an extra tier by following the same method used for the bottom part of the blouse.
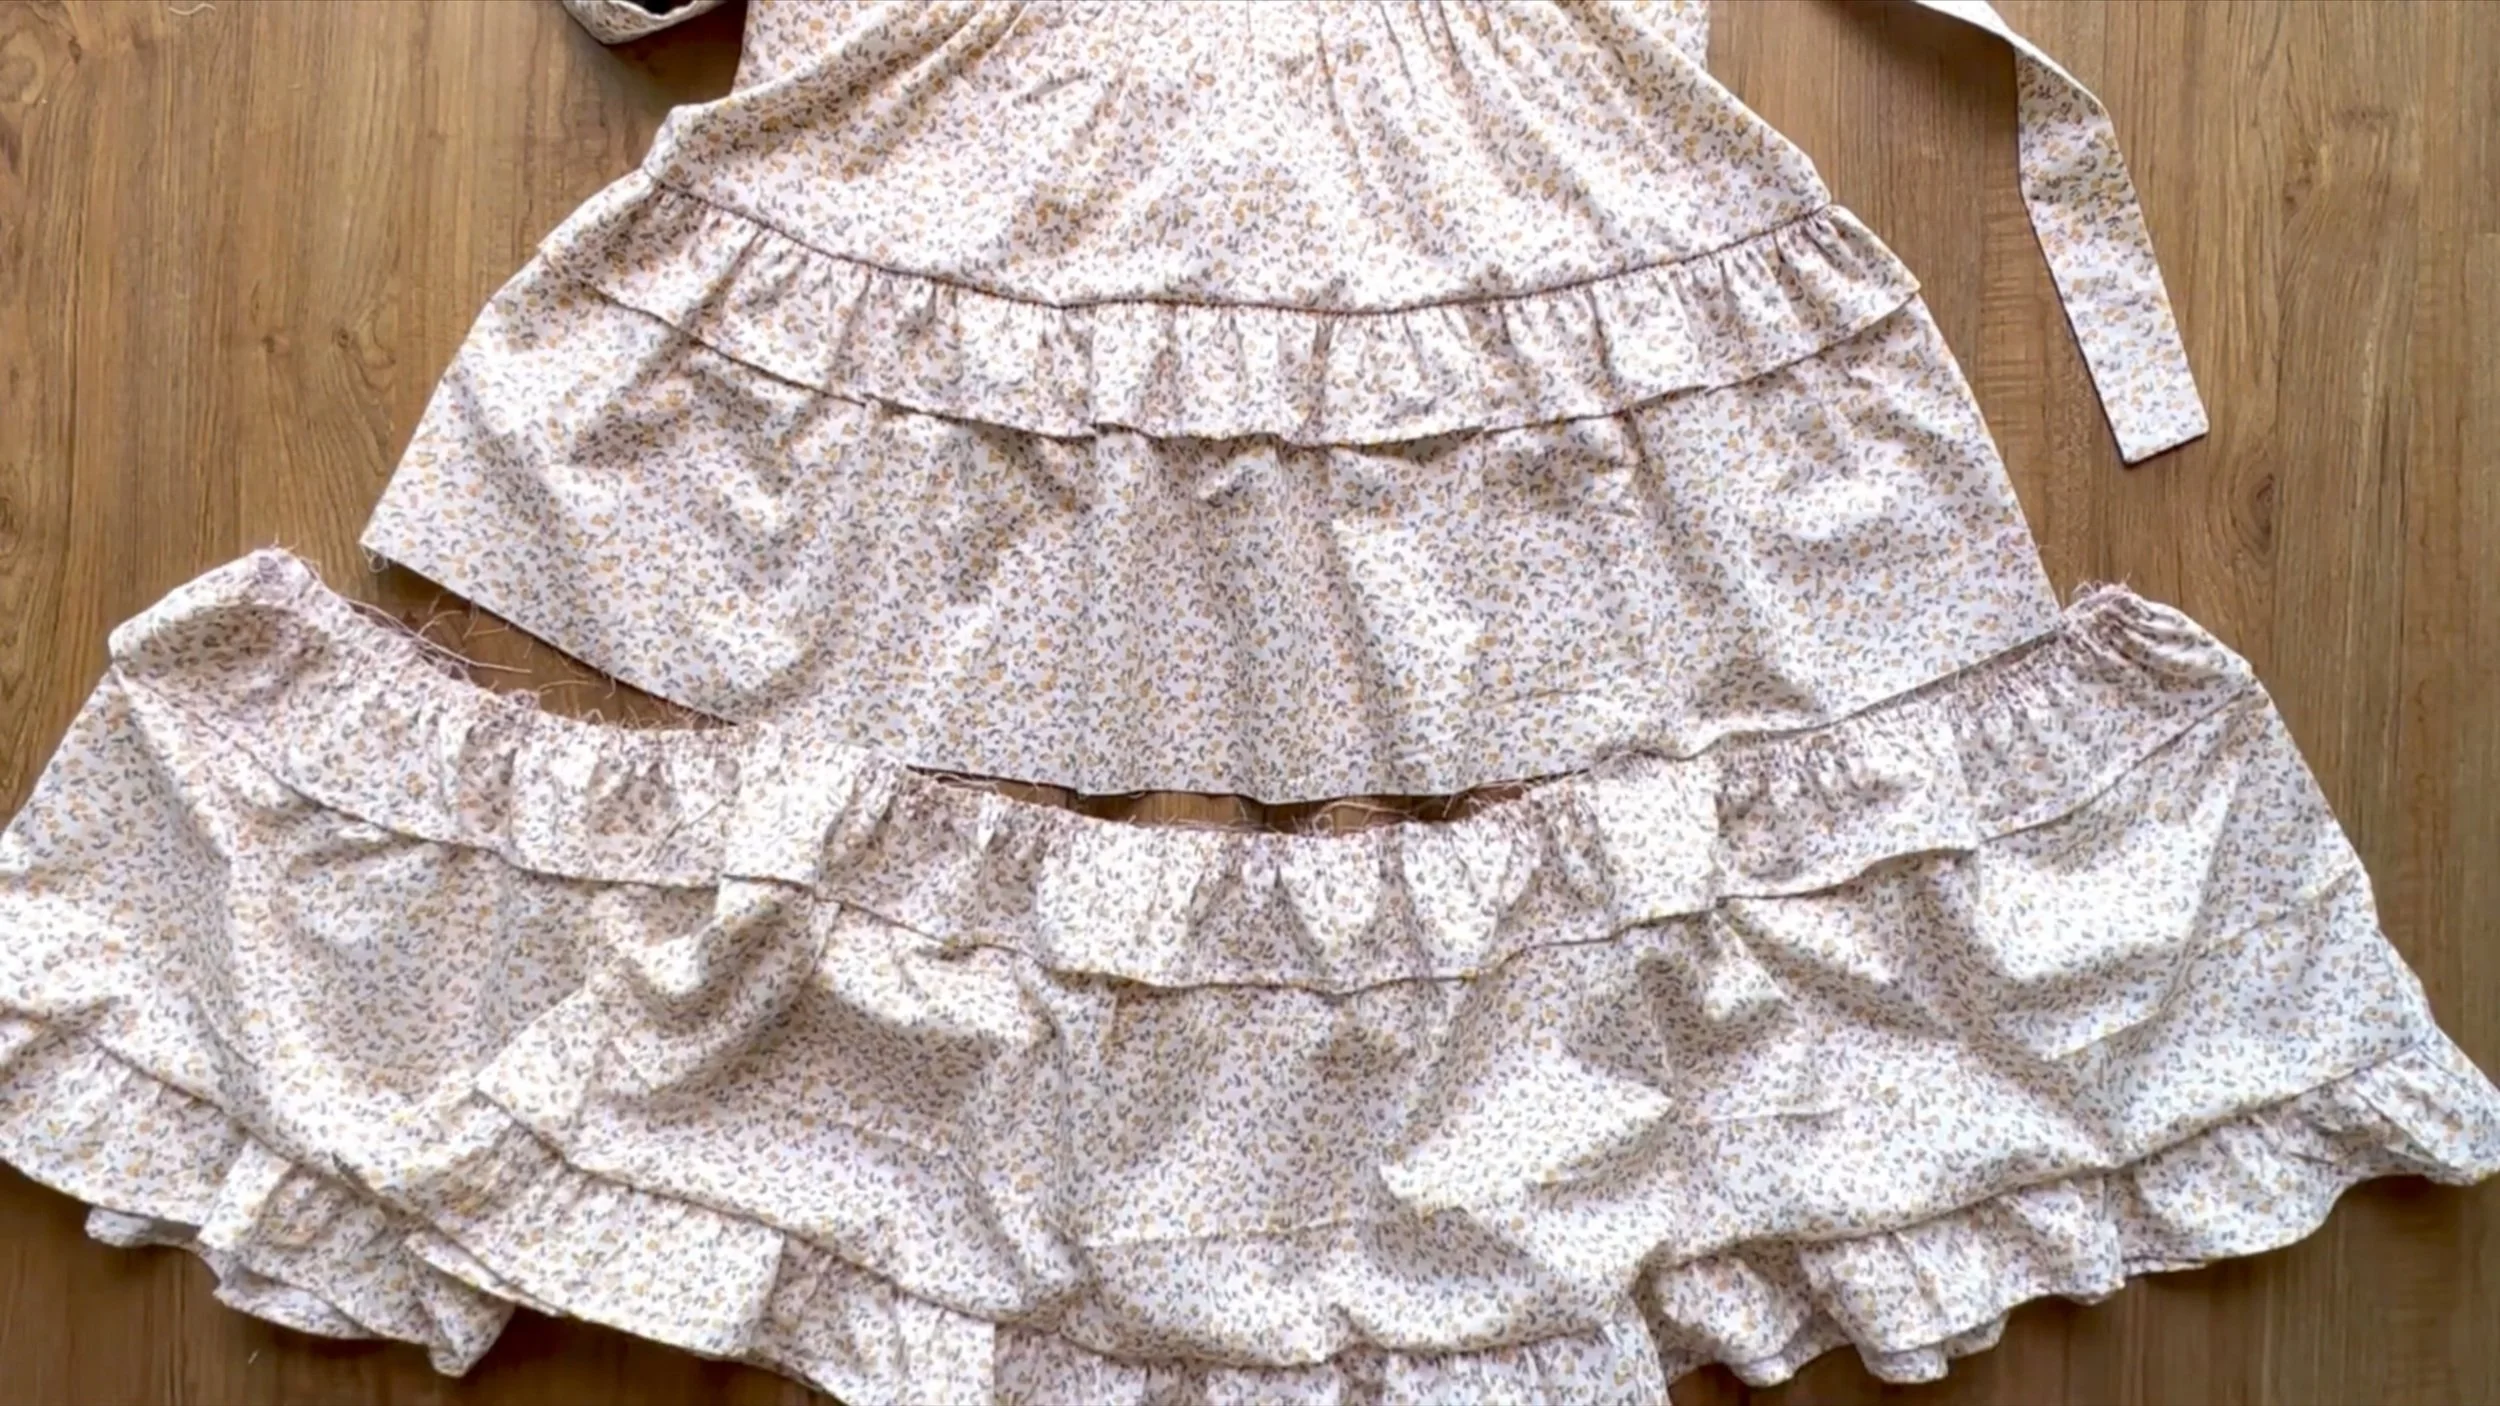
Then, connect this tier to the blouse to create the dress.

DIY Summer dress
And that’s the finished DIY! Here’s the final result—a cute, comfy dress that’s just right for sunny summer days. It’s easy to style and feels so effortless for any outing.
I hope you’ll give both of these tops a try! They’re fun to make and so versatile.
See you next time!