Making my new favorite spring dress | Balloon/Bishop sleeve dress | Step by step sewing tutorial

Making my new favorite spring dress | Balloon/Bishop sleeve dress

Welcome or welcome back to my channel!
Get ready to elevate your spring wardrobe with this DIY balloon sleeve dress. In this video, I'll guide you through the process of creating a romantic, feminine dress with a unique 2-face sleeve detail. Perfect for any occasion!
So I hope you will try it out. Let’s get started!
WHAT YOU’LL NEED
MAKING THE PATTERNS
Here’s the pattern for the project. To get a clear understanding of all the measurements needed for the pattern, watch the video from 1:21 to 9:51.
Remember, you can adjust these measurements to fit your own dimensions!

THE BACK BODICE PATTERN
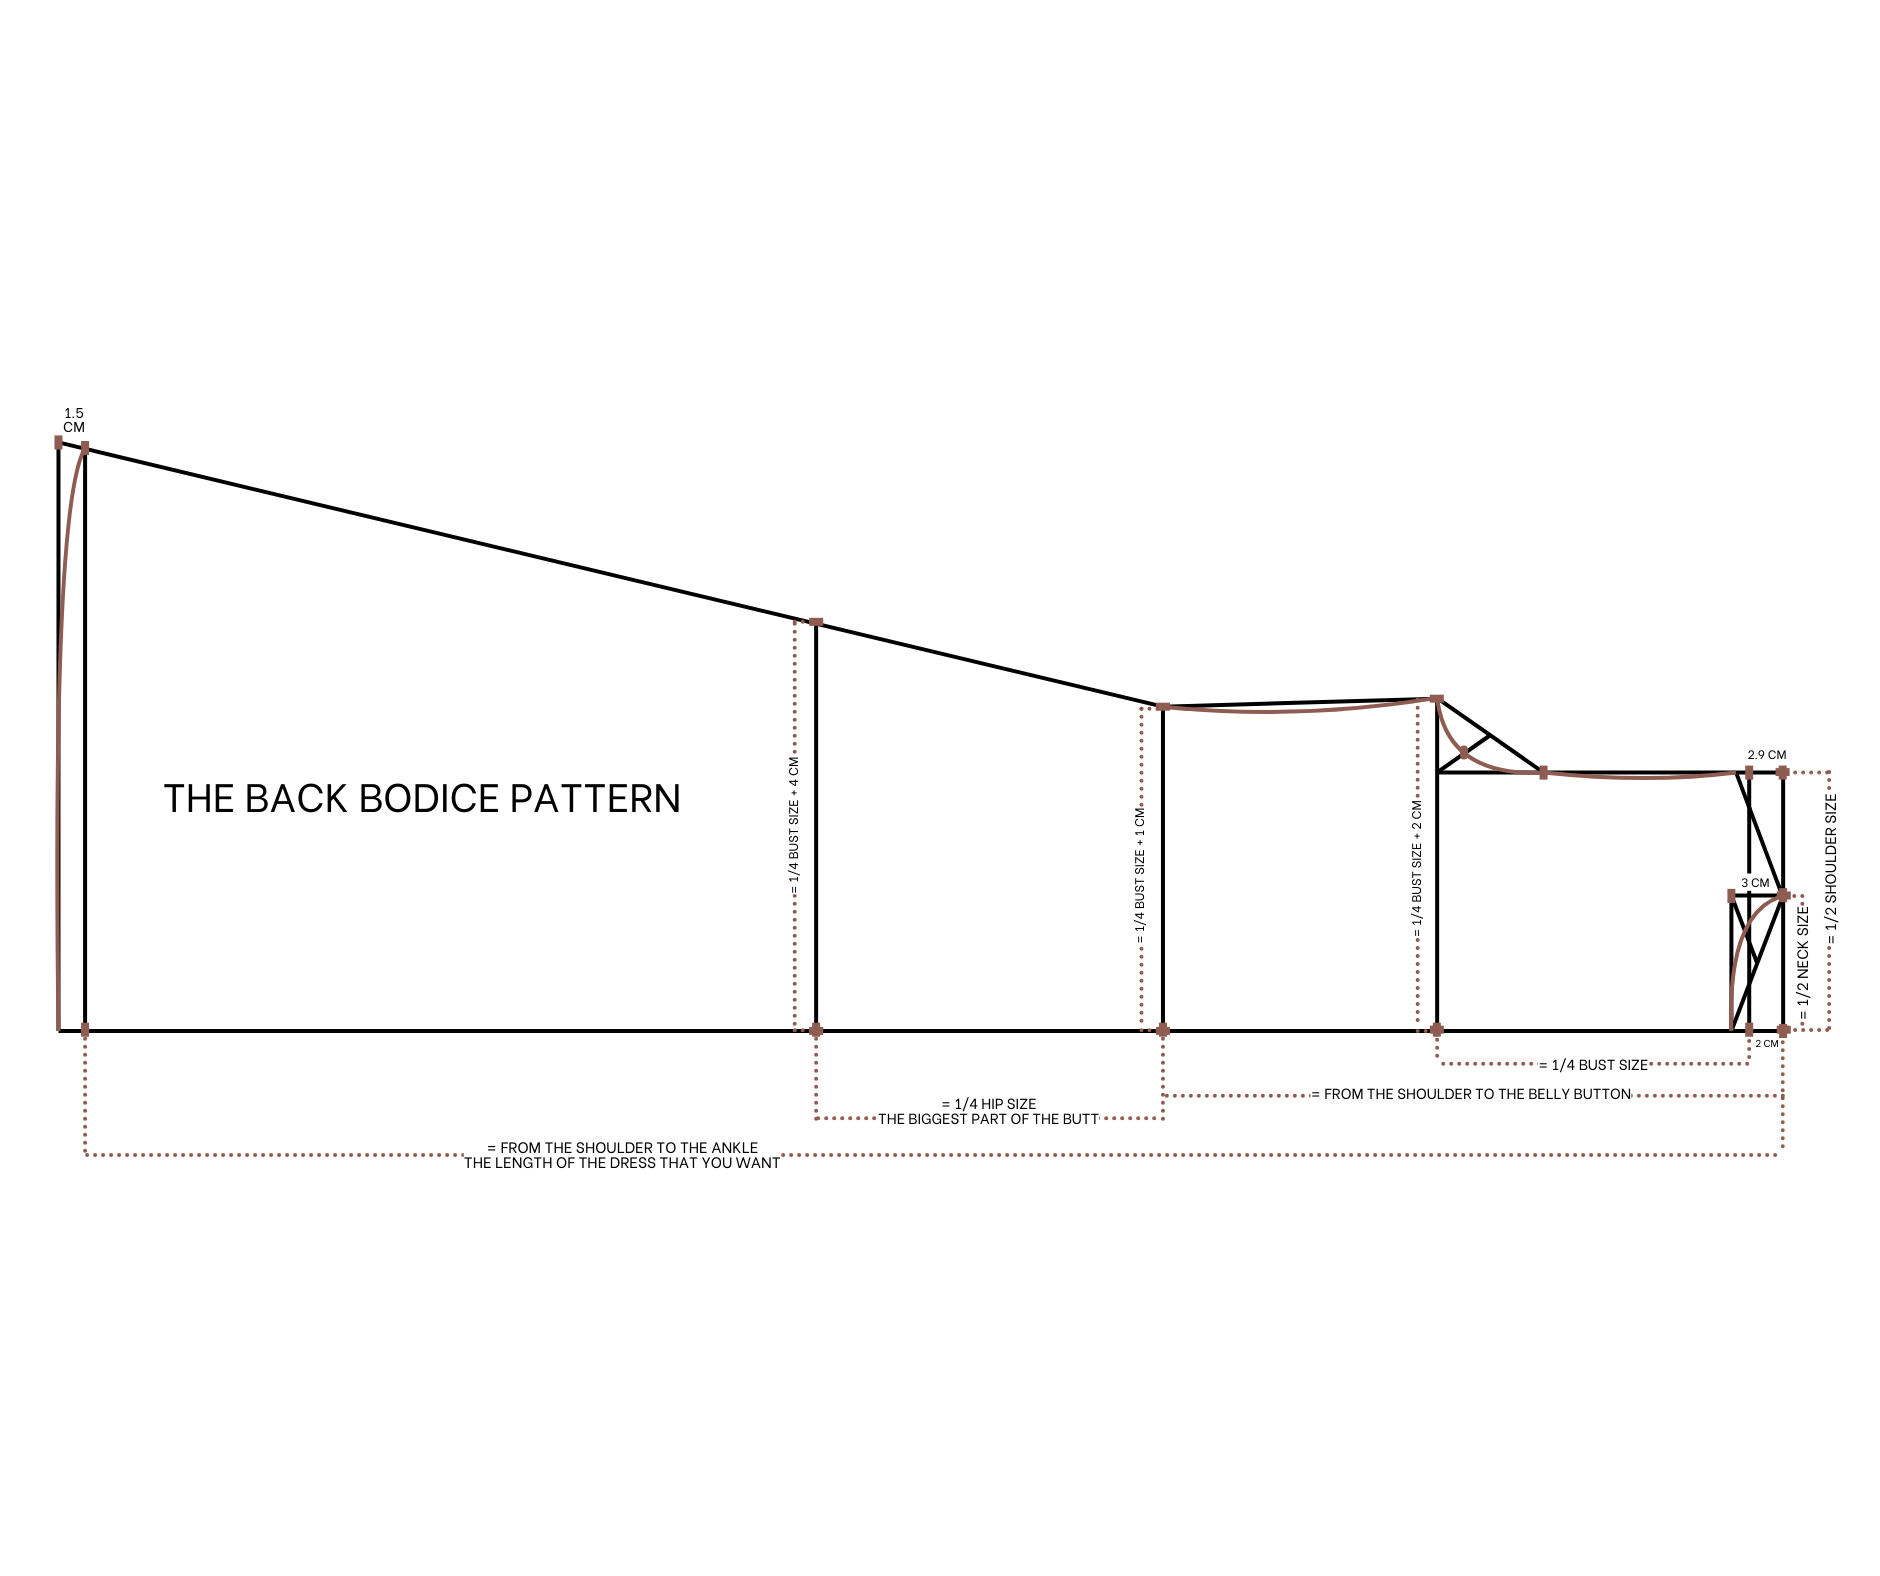
The back bodice pattern
To make the back bodice pattern, draw a straight line cutting a horizontal light first. From the first straight line, draw another one 2 cm next to it.
From the end of the second straight line, mark up 9 cm which is a half of the neck size of the dress that you want then drawing a perpendicular line from that mark. The length of this line will be 3 cm which is the depth at the back of the neck.
After that, draw another straight line from the end of the perpendicular line and cut the horizontal line at one point. Connect that cutting point to the mark on the second straight line by a slanted line. Based on it, draw a curved line to create the neckline of the back bodice.
From the end of the second straight line, keep marking another mark at 17 cm which is a half of your shoulder size. Then draw a perpendicular line from that mark, the length of this line will be 2.9 cm, which is 1 per 10 your shoulder size minus 0.5 cm.
Then connect the end of the perpendicular line to the top of the neckline to create a shoulder line for the back bodice.
From the first straight line, make another one 20 cm next to it, it's a quarter of your bust size, it's also the bust line of the dress.
From the end of the bust line, mark up 22 cm which is a quarter of your bust size plus 2 cm. After that, continue the perpendicular line at the shoulder to cut the bust line.
Then mark at one per three the width of that line before connecting that mark to the mark on the bust line that you make before. Based on it, draw a curved line to create the sleeve line for the back bodice.
From the second straight line, make another one 40 cm from it, it's the length from the shoulder to the belly button. This will be the waistline of the back bodice.
From the waistline, keep drawing another one 23 cm from it, it's a quarter of your hip size, it's will be the hip line of the back bodice.
From the second straight line, draw another one 110 cm from it, it's the length from the shoulder to the ankle, this will be the ending line of the dress.
From the end of the waistline, mark up 21 cm which is a quarter of your bust size plus 1 cm. From the end of the hip line, mark up 27 cm which is a quarter of your hip size plus 4 cm then connect these two marks to the end of the sleeve line. Also continue this line to the ending line to create the sideline of the dress.
At the end of the sideline, mark up 1.5 cm then connect this mark to the other end of the ending line. Based on it, draw a curved line to finish the ending line of the back bodice.
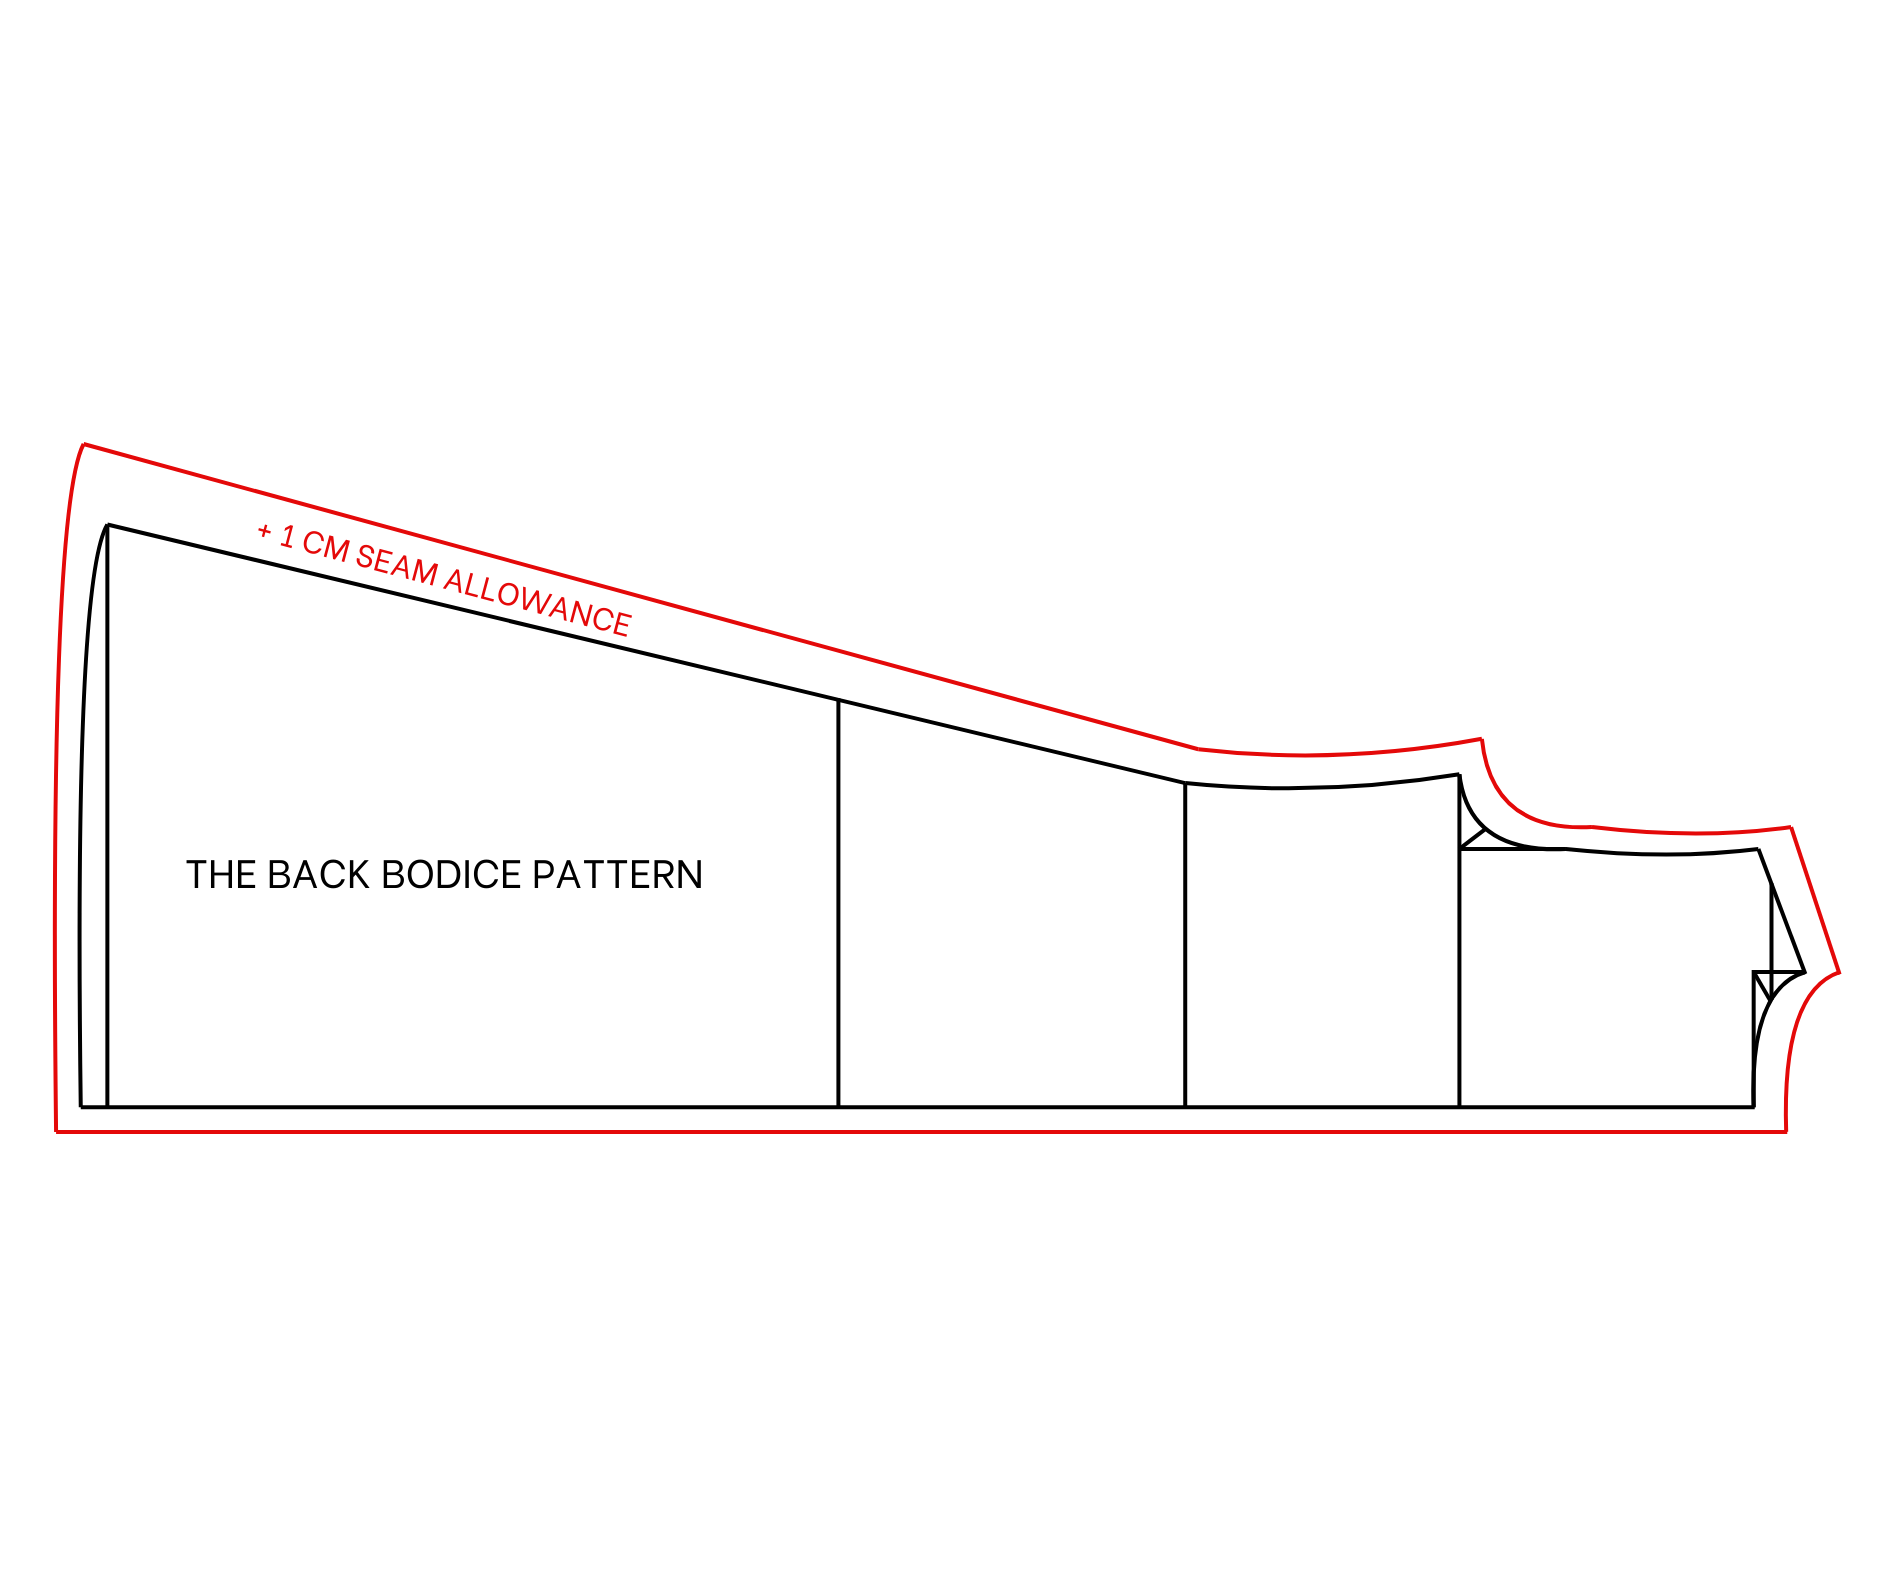
Add 1 cm for seam allowance after that and we will have the back bodice pattern after cutting. You will need to cut two pieces for this pattern.
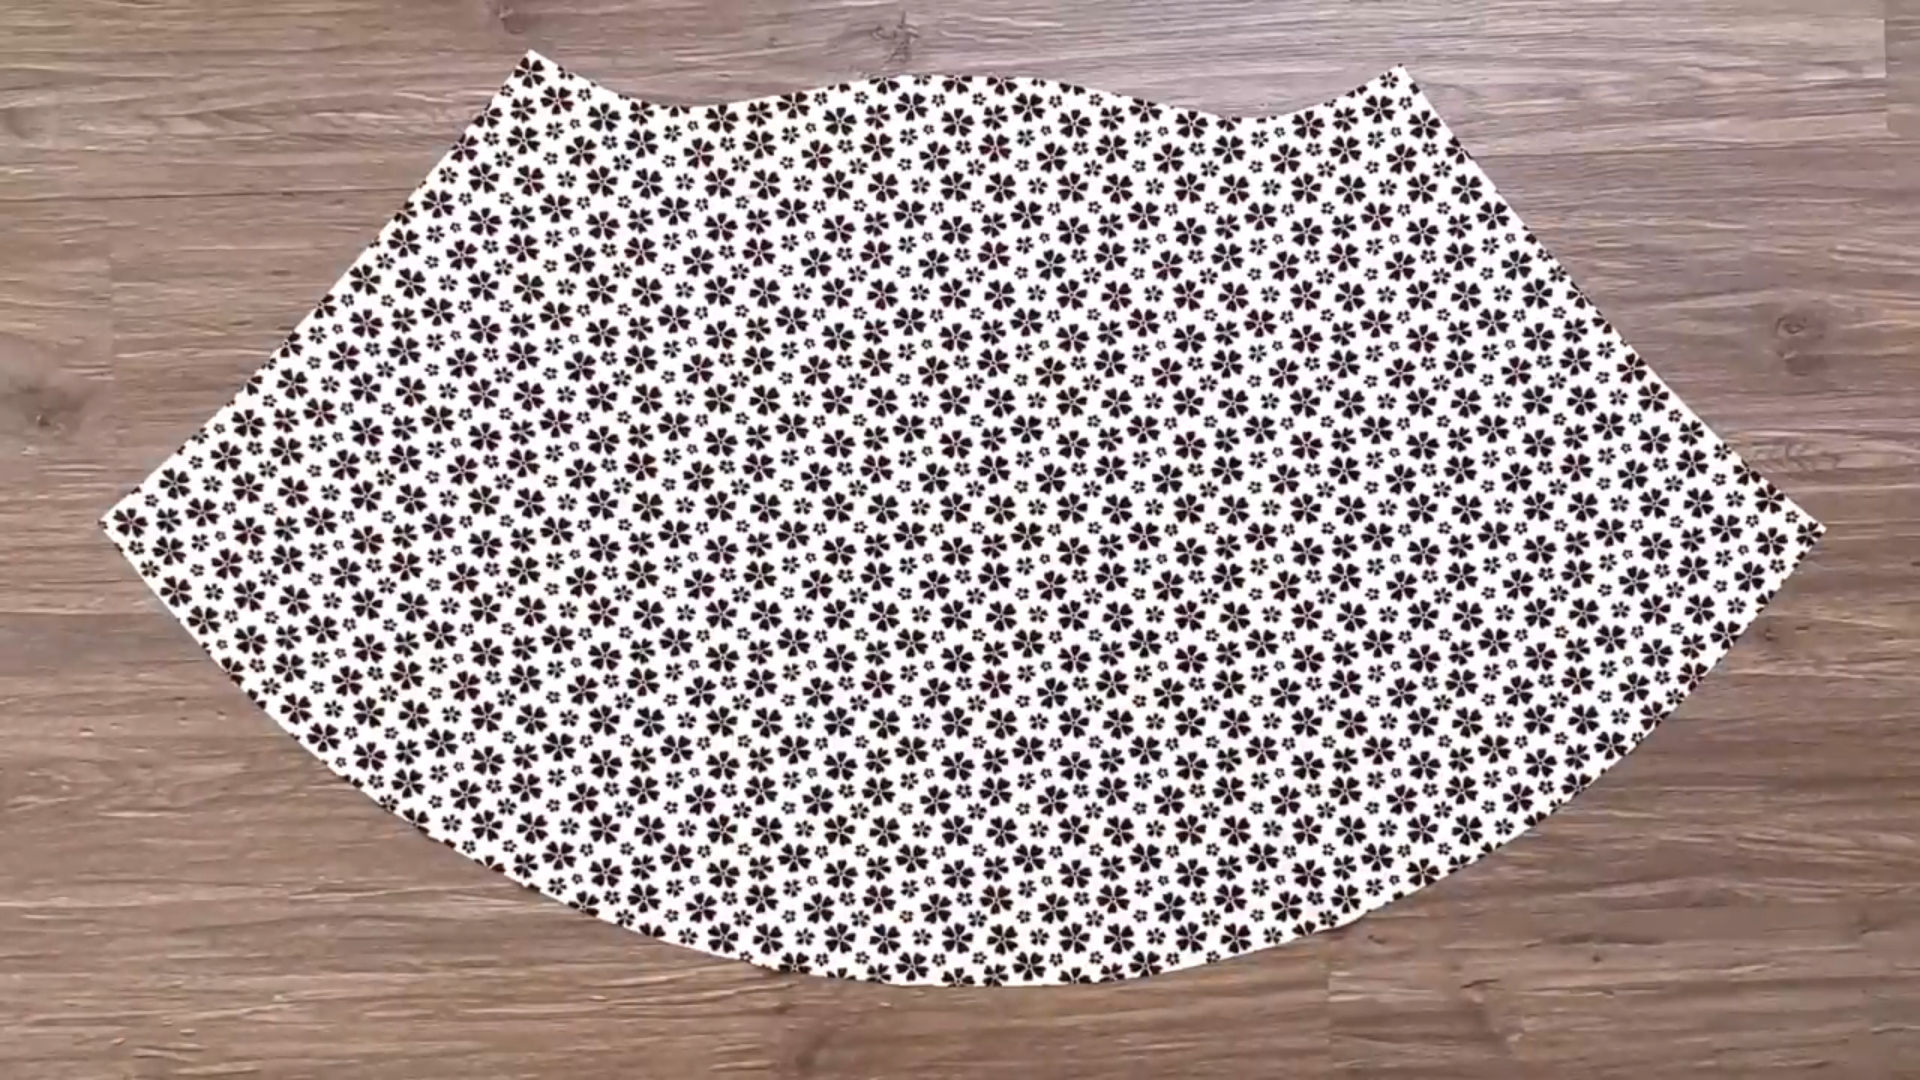
THE FRONT BODICE PATTERN
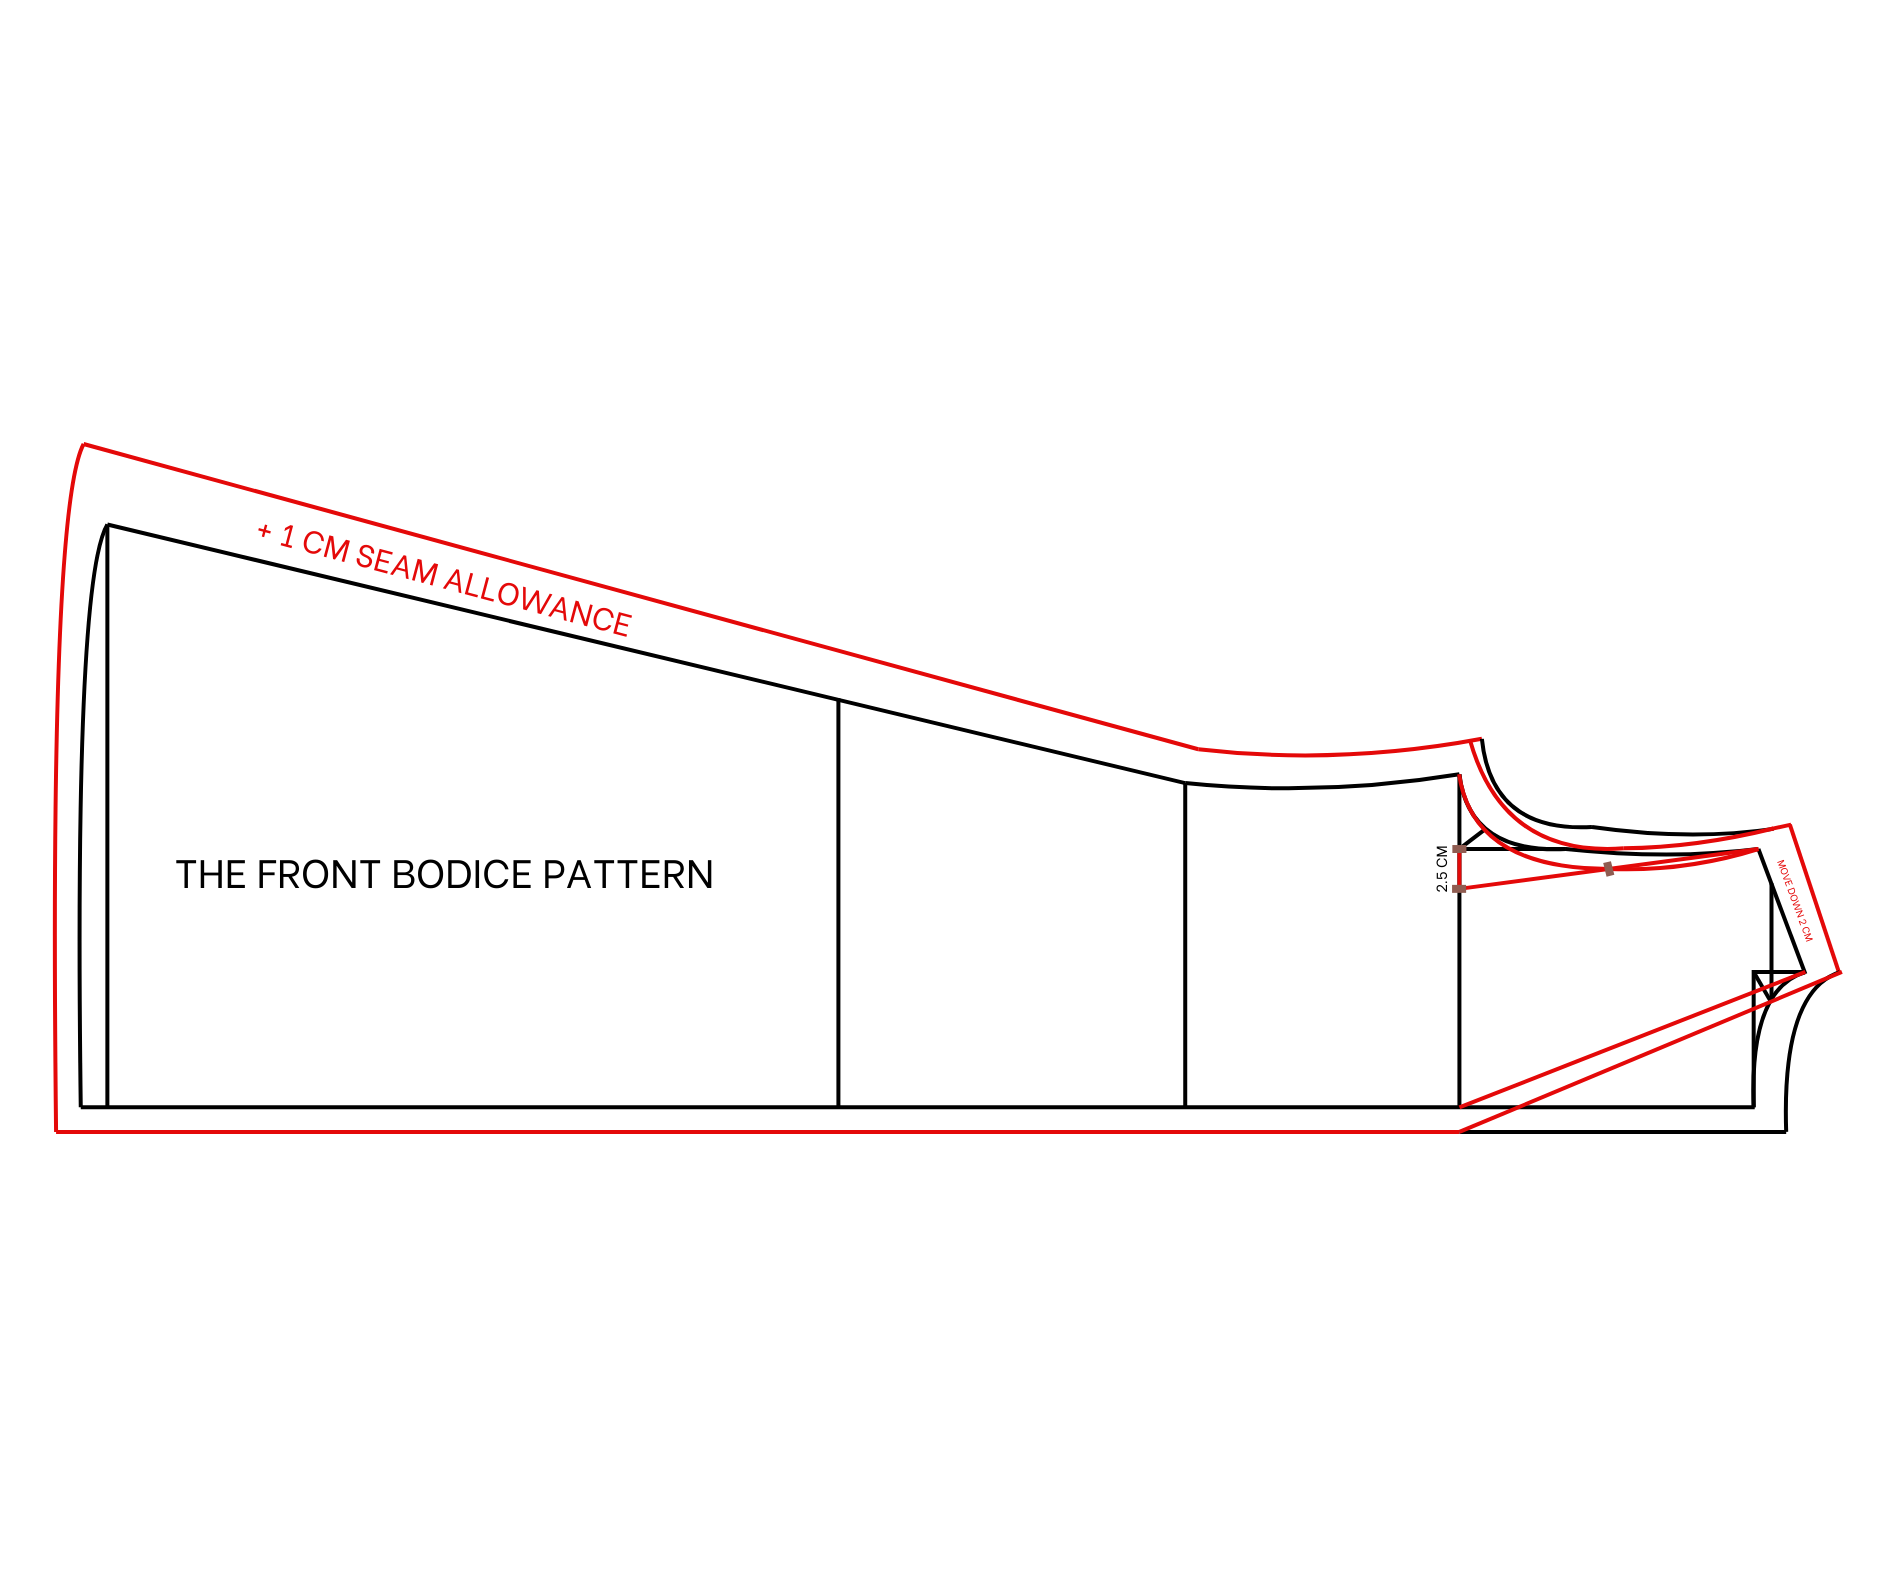
The front bodice pattern
To make the front bodice pattern, you will based on the back bodice.
Connect the end of the bust line to the top of the neckline to create the neckline for front bodice.
From the cutting point between the perpendicular line from the shoulder and the bust line, mark inside 2.5 cm then connect this mark to the end of the shoulder line.
After that, mark in the middle of this new line before connecting it to the end of the sleeve line. Based on it, draw a new sleeve line for the front bodice.
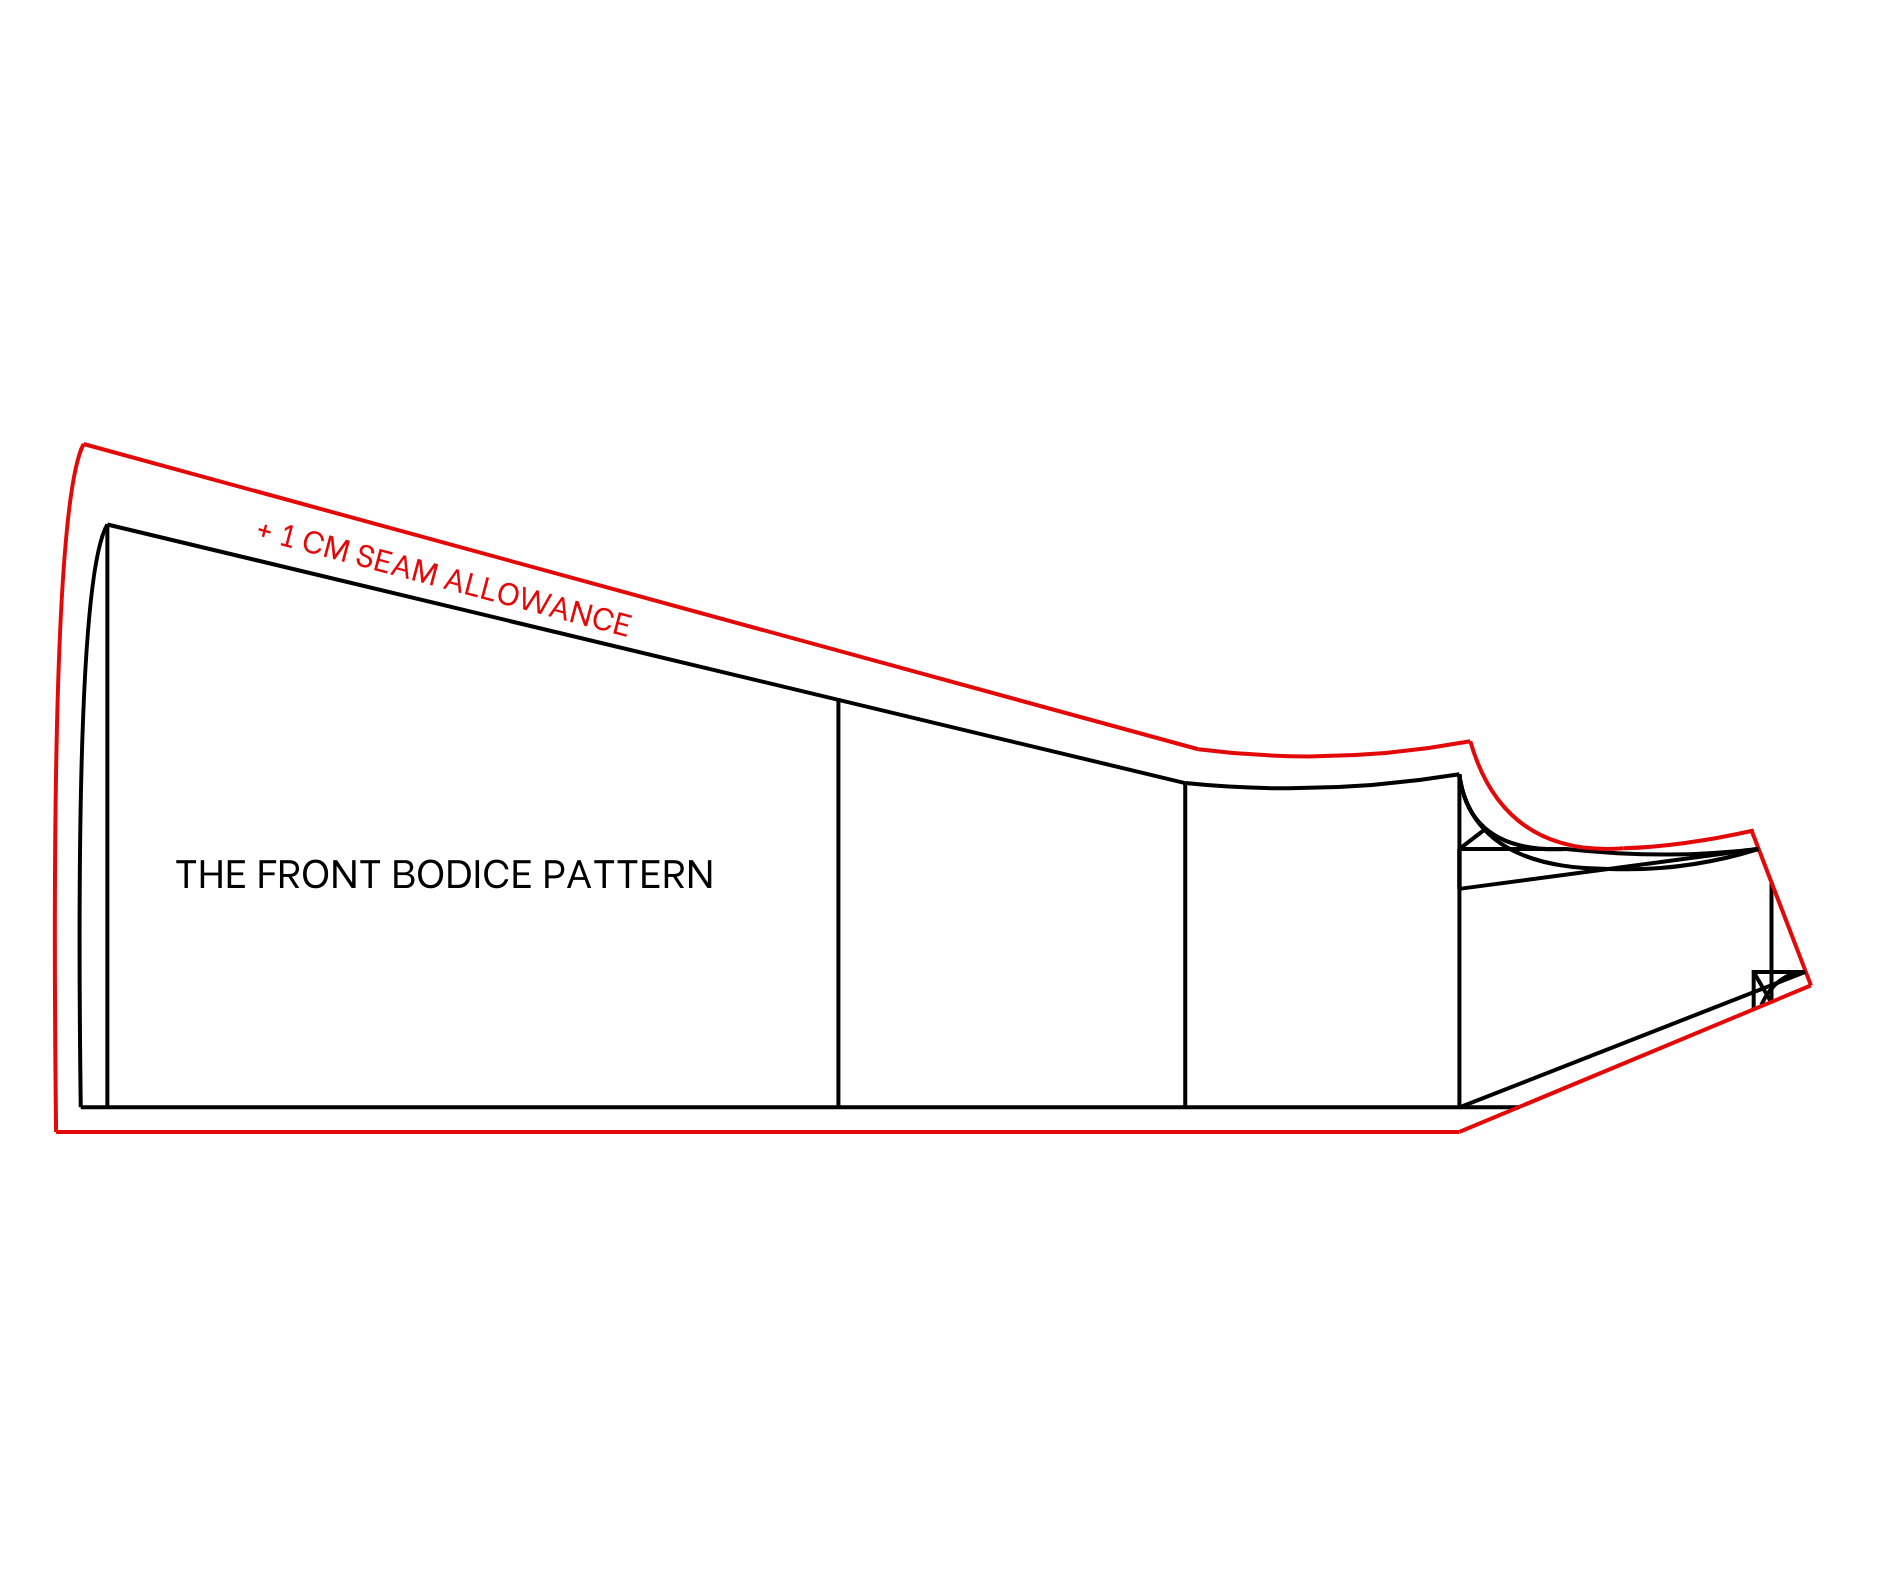
Add 1 cm for seam allowance at the new neckline, also move the shoulder line 2 cm shorter before cutting and we will have the front bodice pattern after all.
THE SLEEVE PATTERN
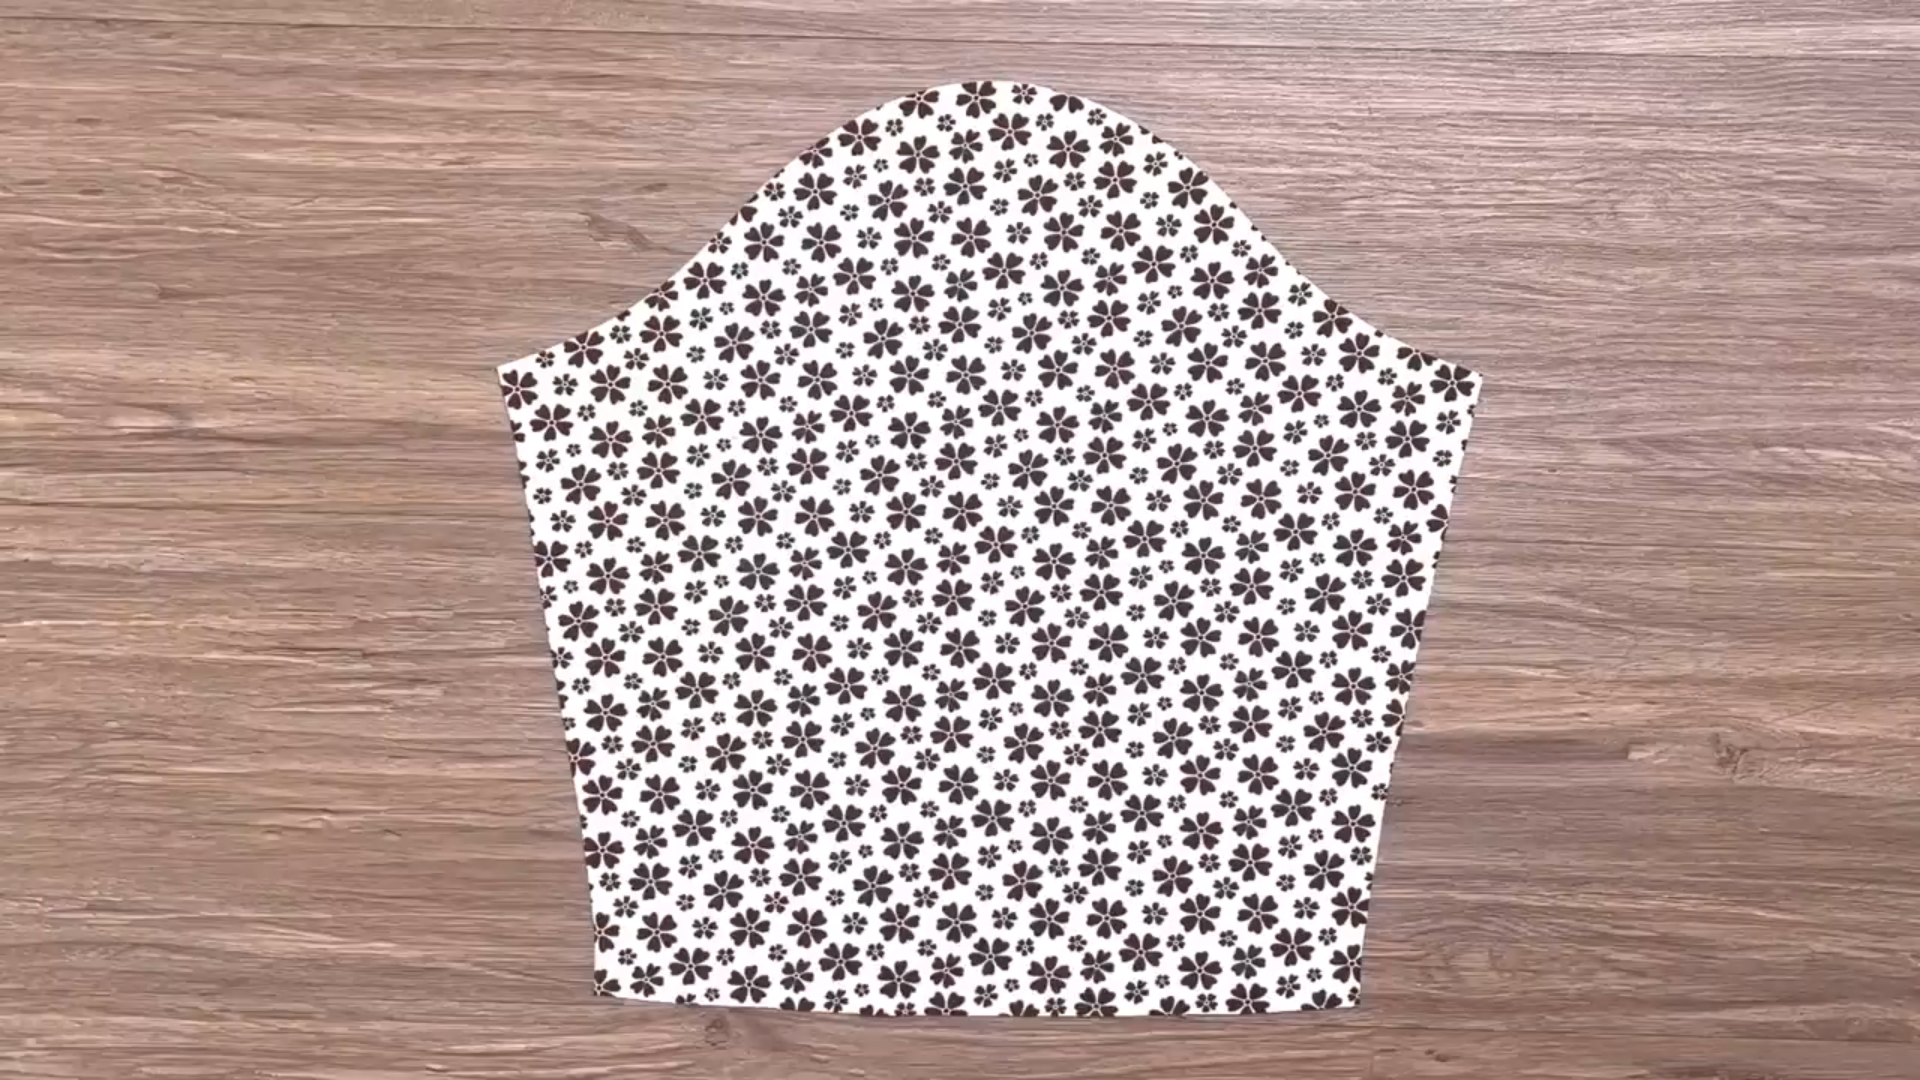
THE INSIDE SLEEVE PATTERN
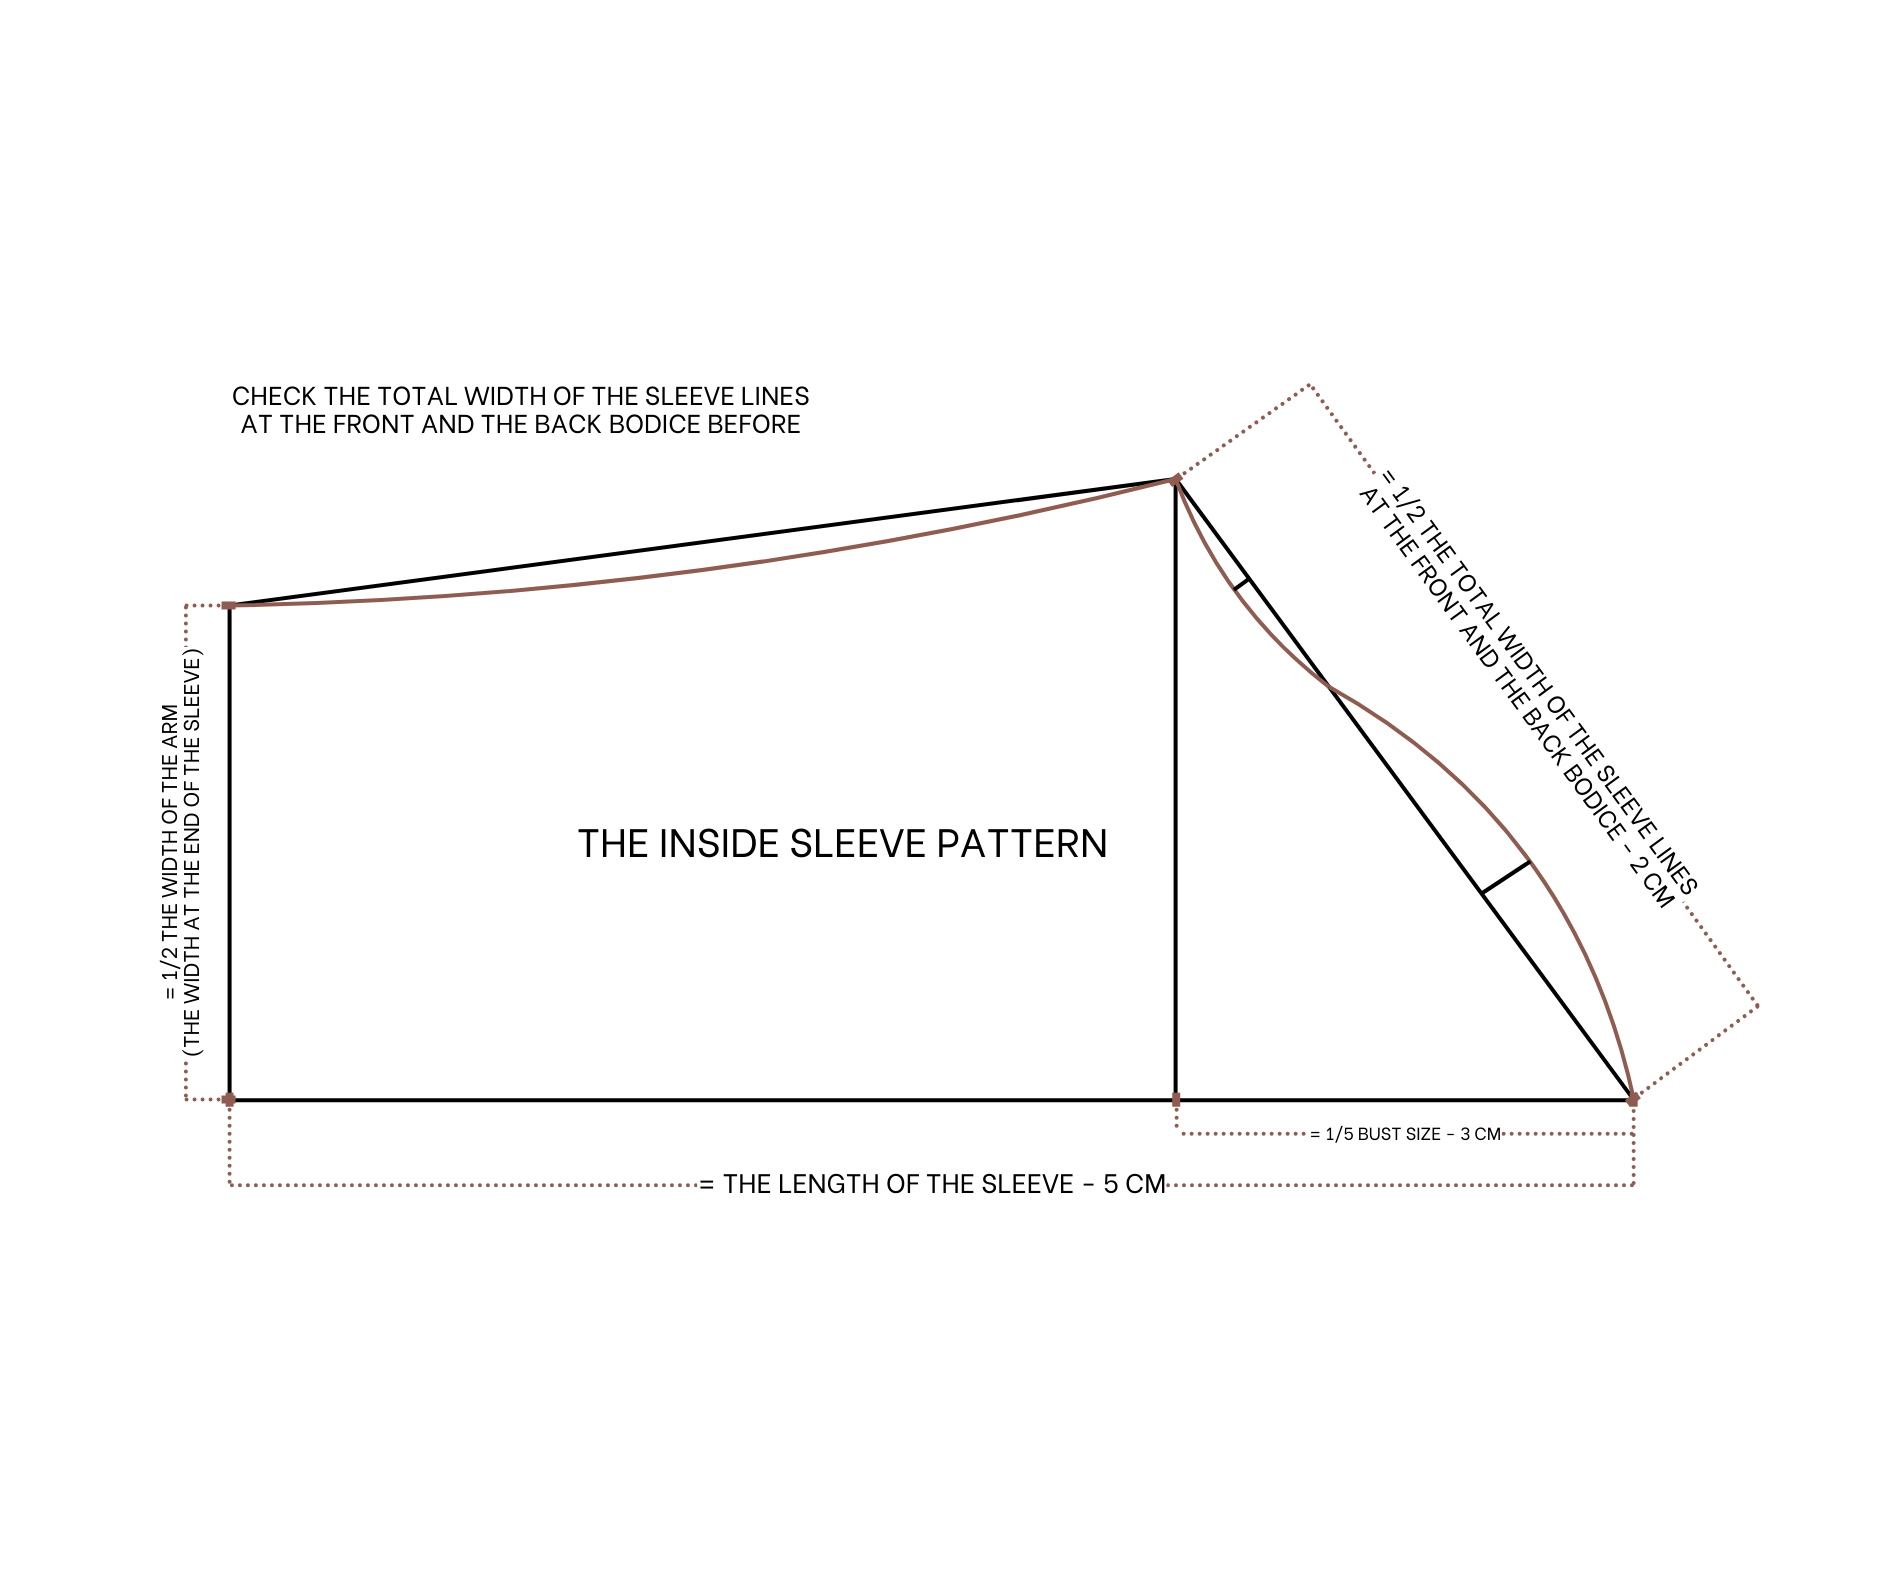
The inside sleeve pattern
To make the sleeve pattern and measure the total width of the sleeve line at the front and the back bodice first. After that, draw a straight line and a horizontal line cutting each other.
From the cutting point, mark at 13 cm on the horizontal line, it's 1 per 5 my bust size minus 3 cm, it will be the top of the sleeve.
From this mark, draw a slanted line with 22 cm and cut the straight line, 22 cm is a half the width of the total sleeve line at the front and the back bodice that you check before minus 2 cm. Divide this slanted line into 3 equal parts.
From the middle between two top parts, draw a perpendicular line with 2 cm length outside the slanted line. From the middle of the third part, draw a perpendicular line with 0.5 cm length inside the slanted line then draw a curved line go through these marks to create the sleeve line for the sleeve.
Recheck the final width of the sleeve line again to make sure it will be a half of the total sleeve line at the front and the back bodice.
From the top of the sleeve, mark out at 40 cm on the horizontal line, it's the length from the shoulder to over your elbow minus 5 cm. Then draw a straight line to that mark.
From the end of this straight line, mark up 19 cm which is a half width of your arm, make sure you add some extra width here for the comfortable sleeve. Then connect that mark to the end of the sleeve line to create the under armpit line of the sleeve.
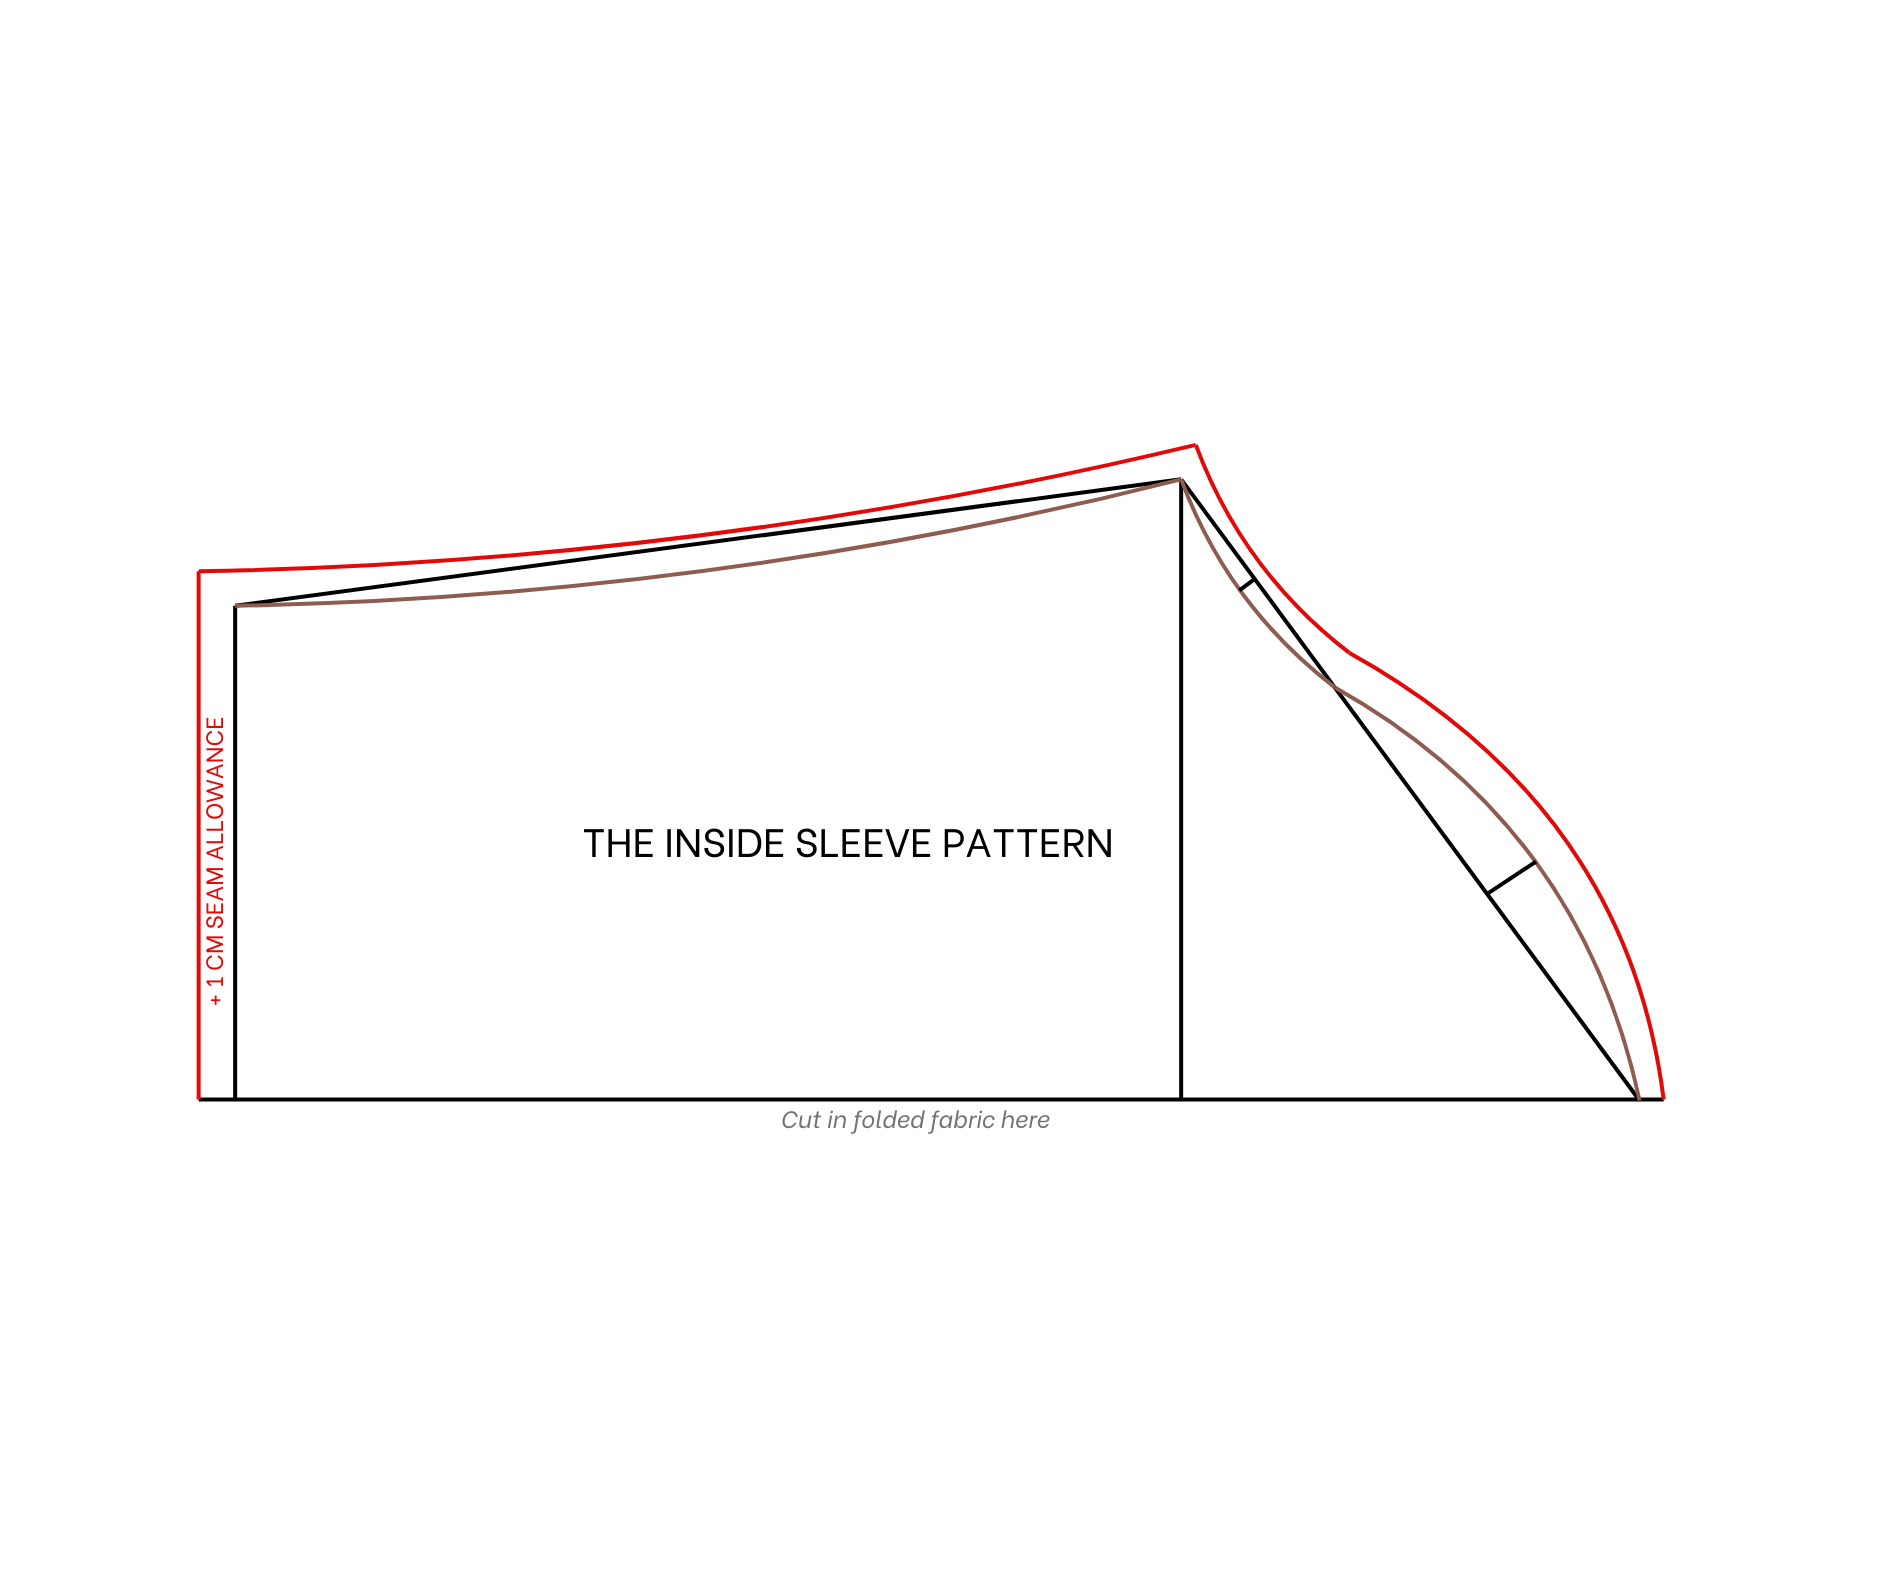
Add 1 cm for seam allowance after that except the horizontal line and we will have the inside sleeve pattern after cutting. You will need to cut this pattern in folded fabric at the horizontal line.
THE OUTSIDE SLEEVE PATTERN
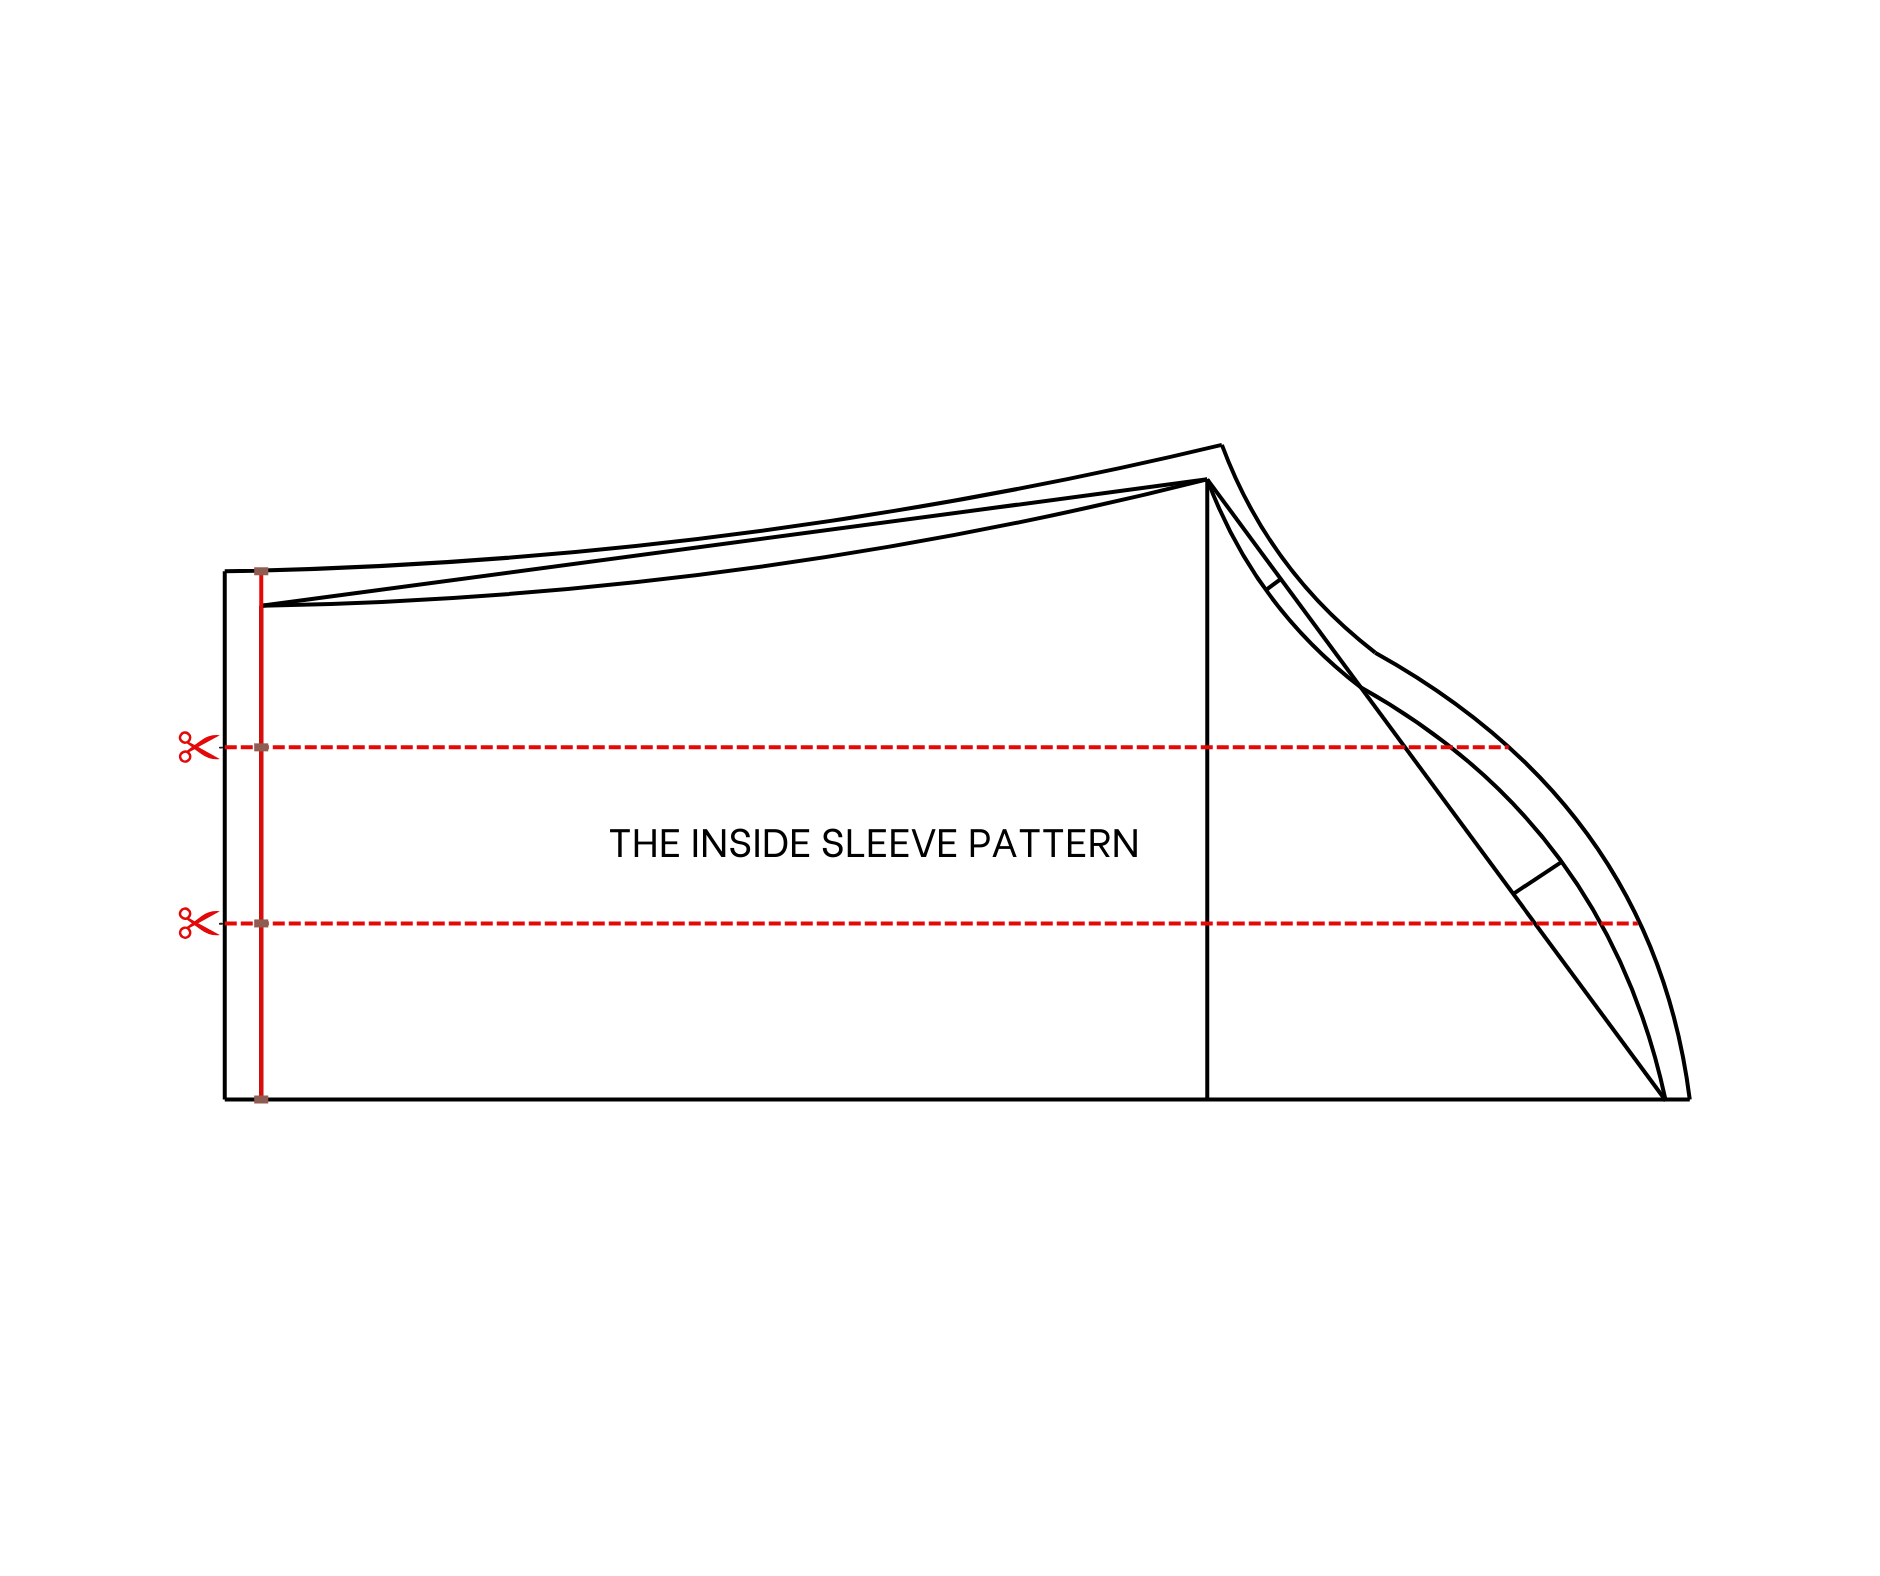
To make the outside sleeve pattern, divide the end of the inside sleeve pattern into three equal parts then draw horizontal lines through these marks later.
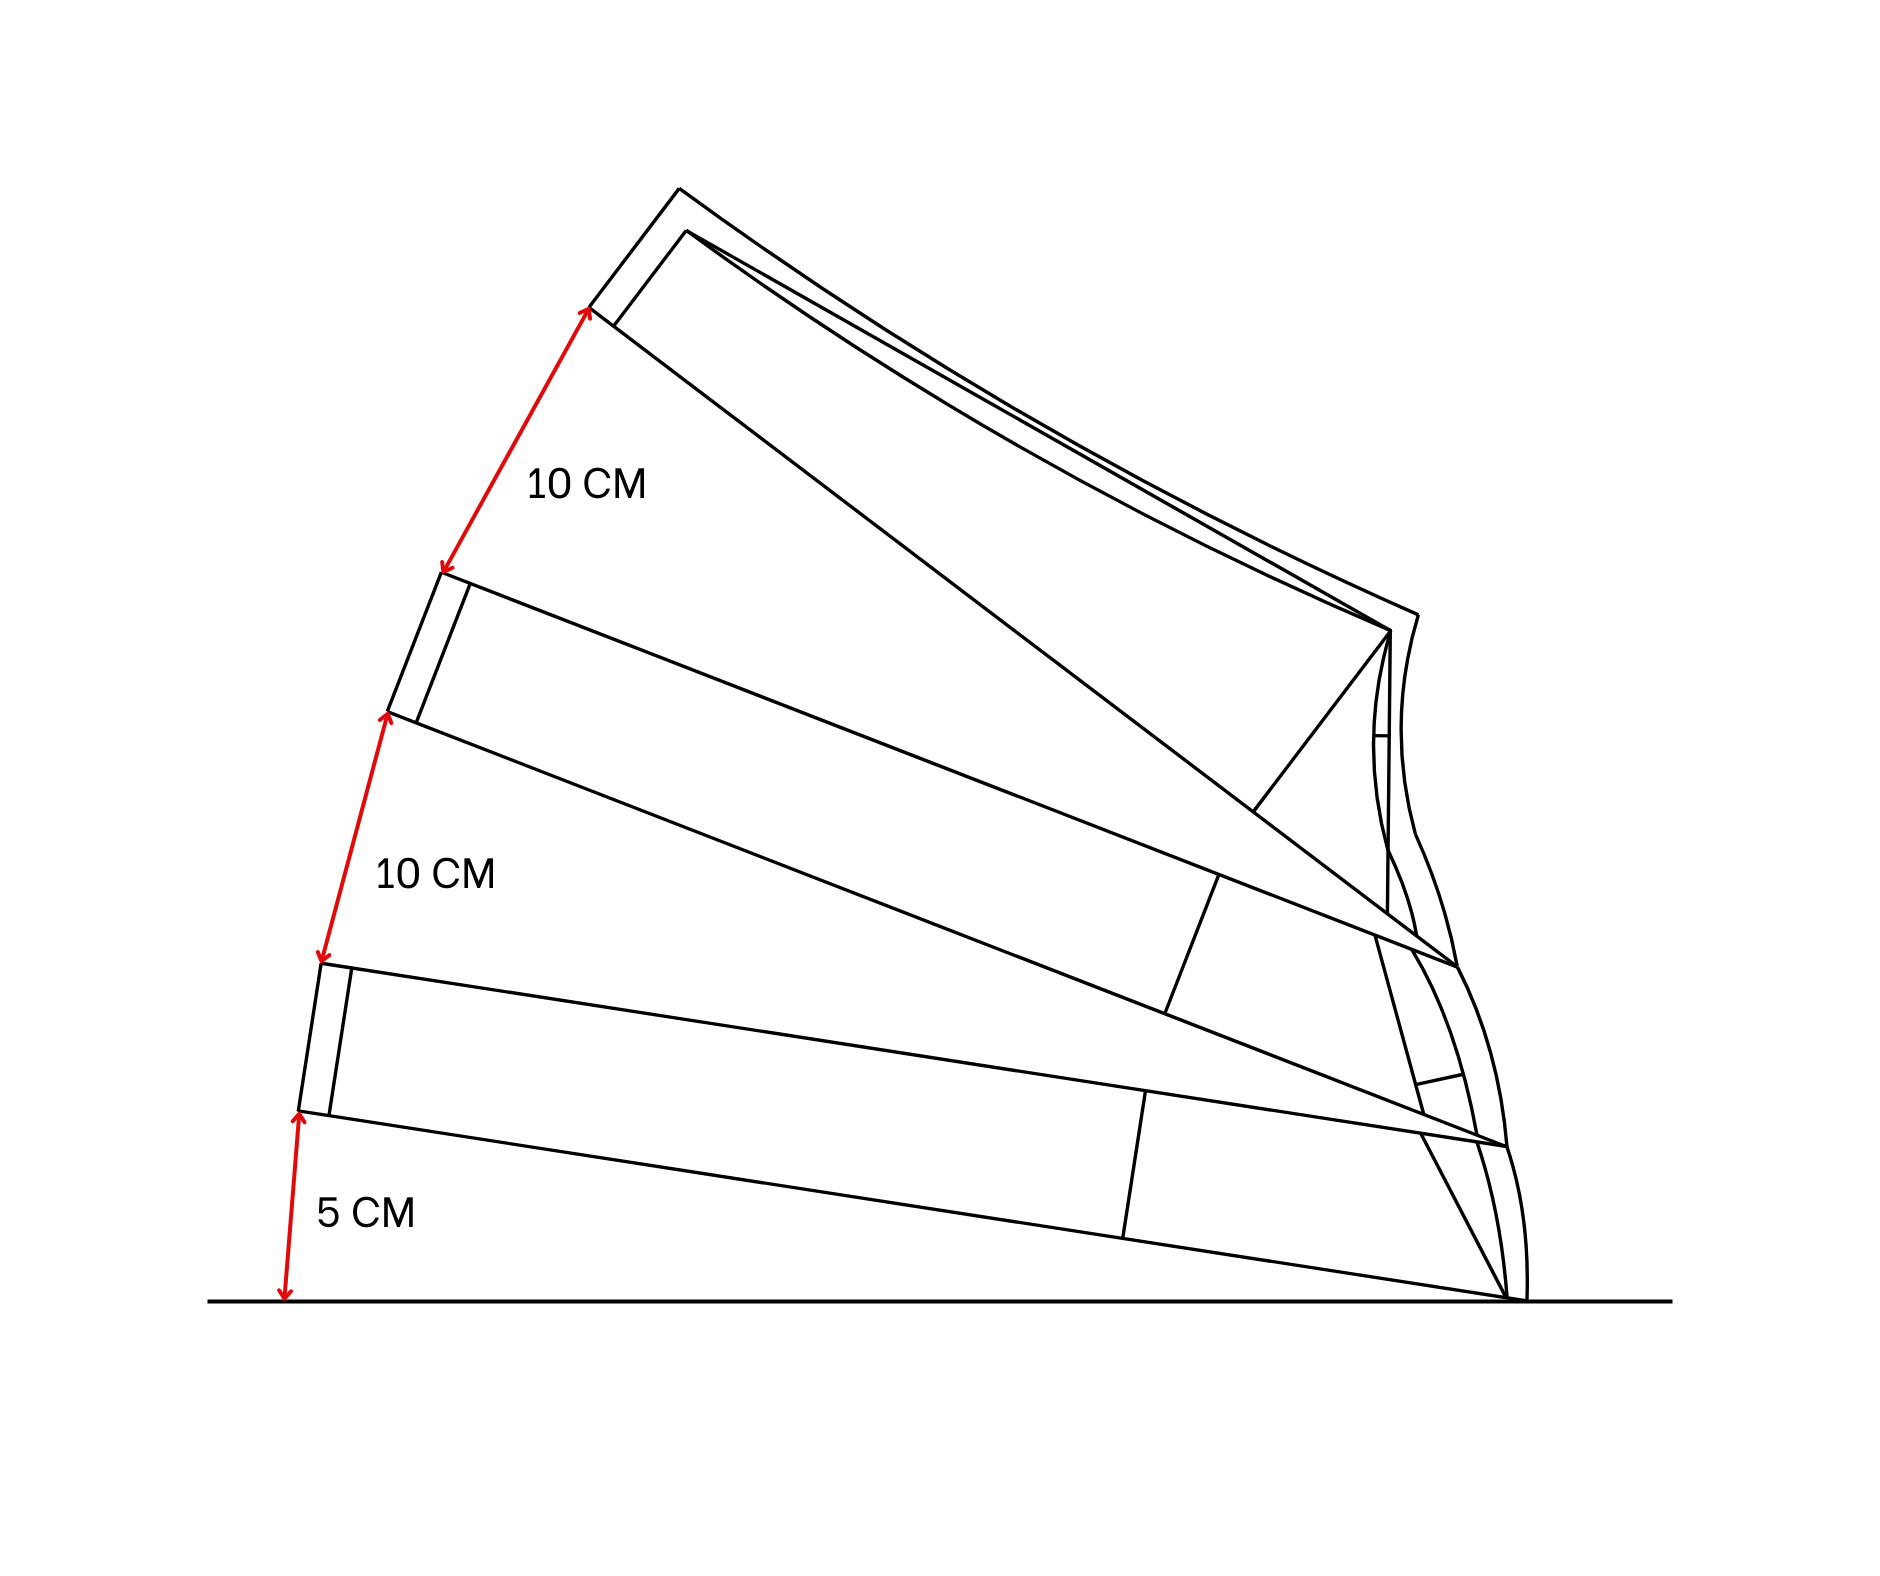
When cutting don't cut it off at the sleeve line, keep the sleeve line and open up three parts of the sleeve to extend the width at the end of the sleeve. The more distance between each part, the bigger the sleeve you will have.
Then copy the sleeve line after that and redraw the new sleeve line to make it smoother. Increase 5 cm for the length of the sleeve after that.
We will have the outside sleeve pattern after cutting. You will need to cut this pattern in folded fabric at the horizontal line.

SEWING THE DRESS
THE BODICE
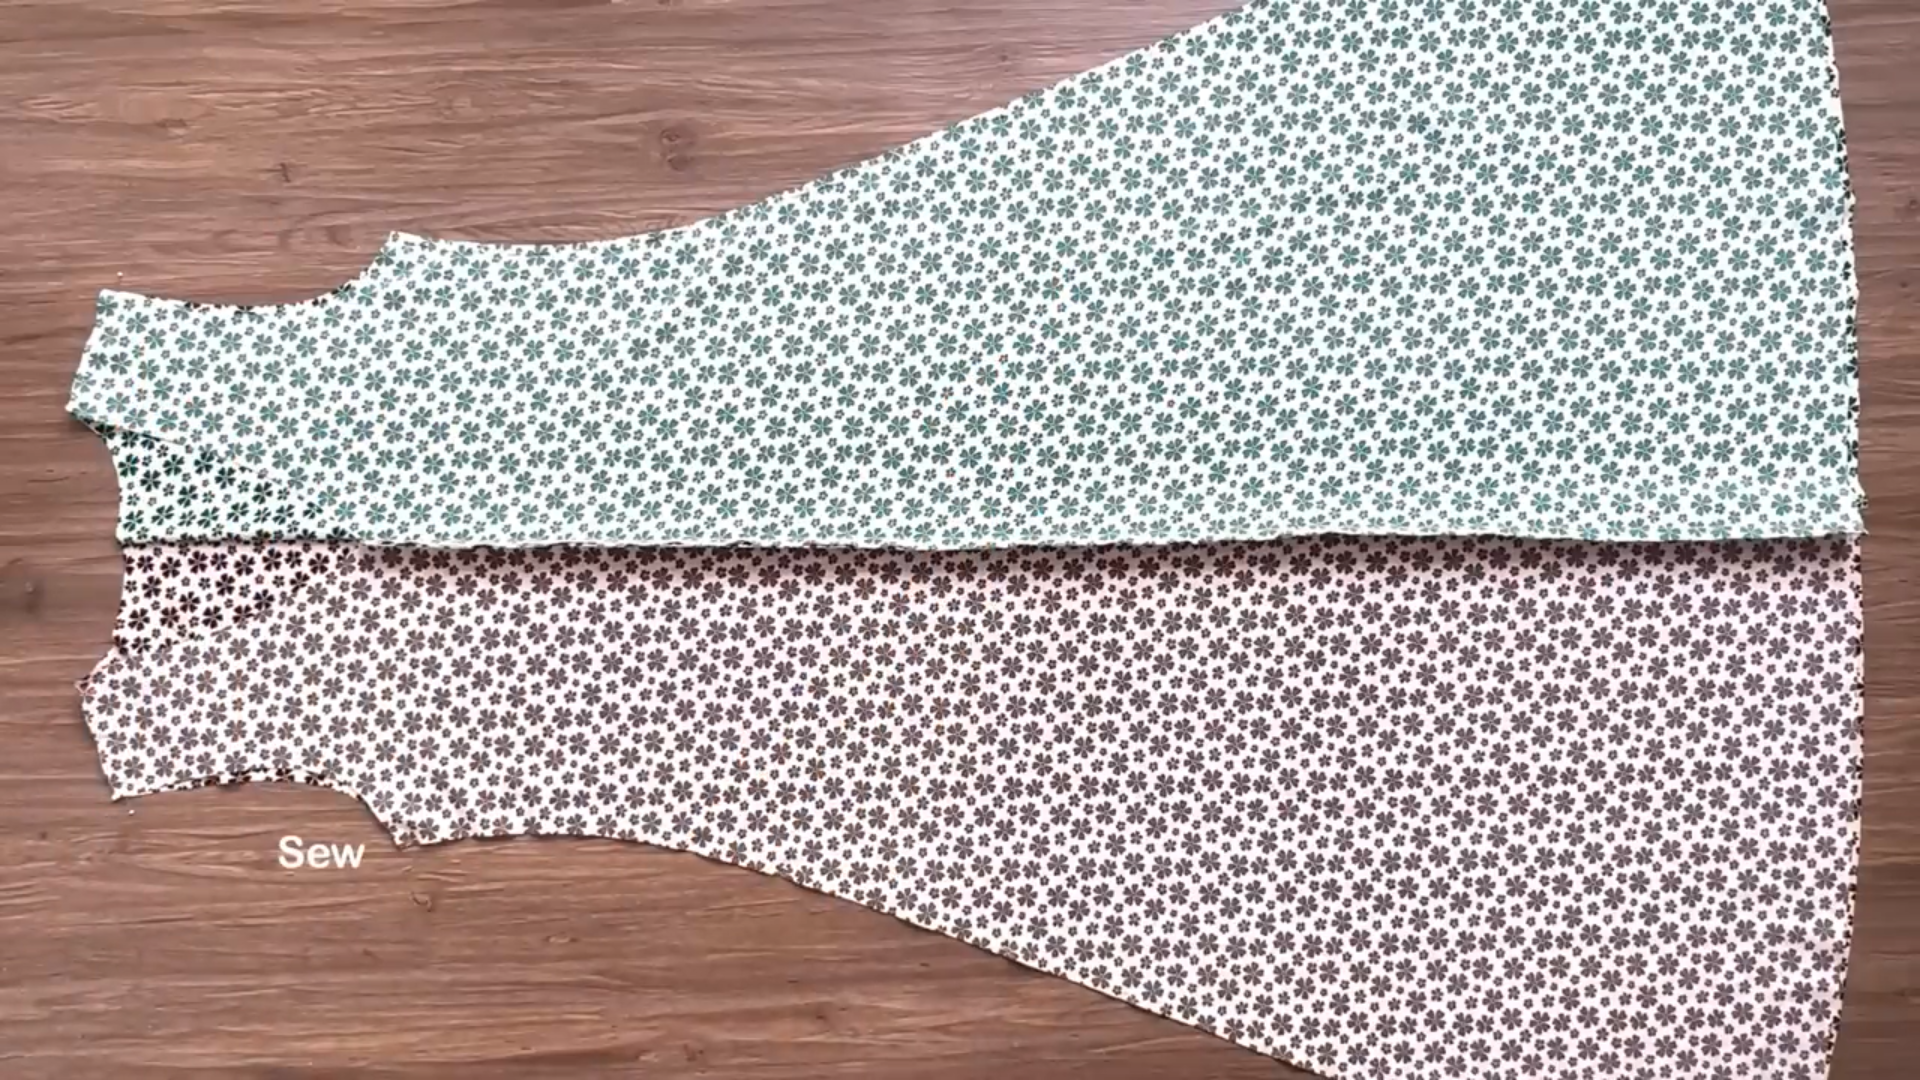
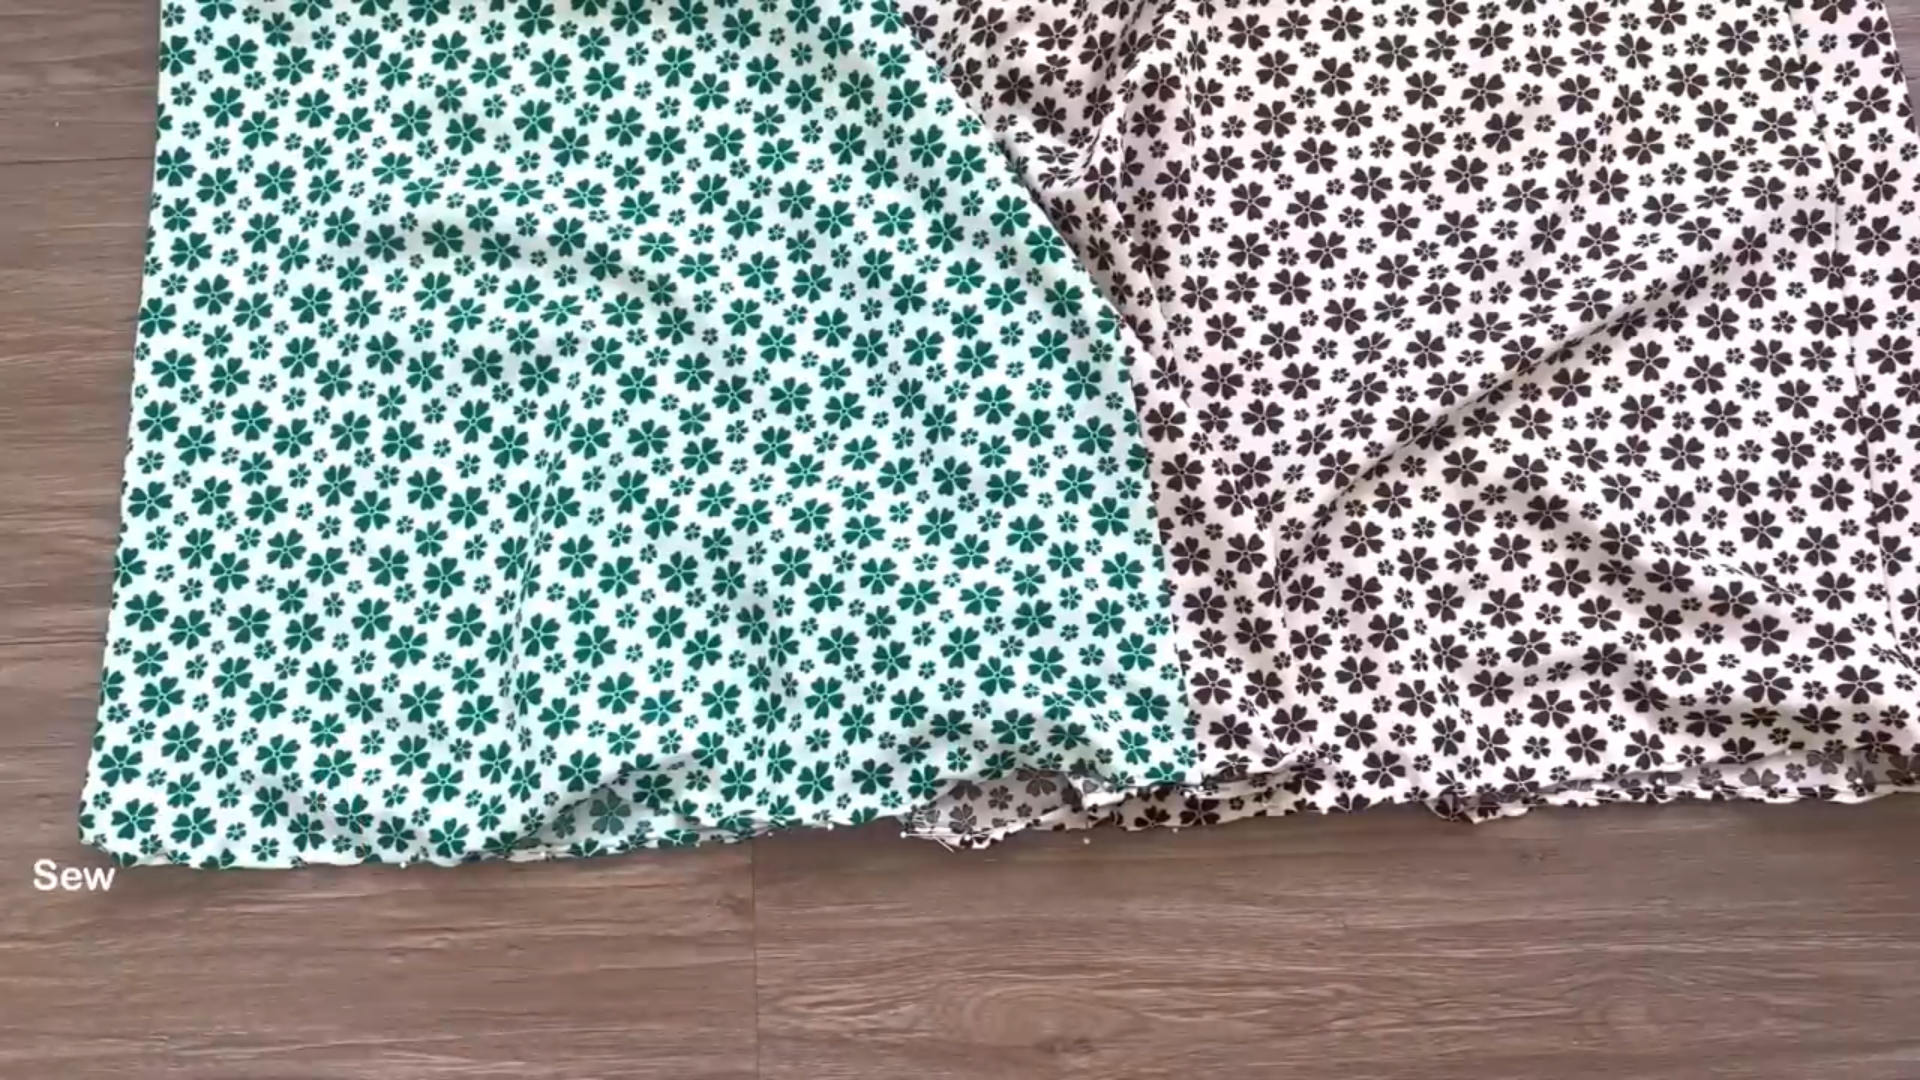
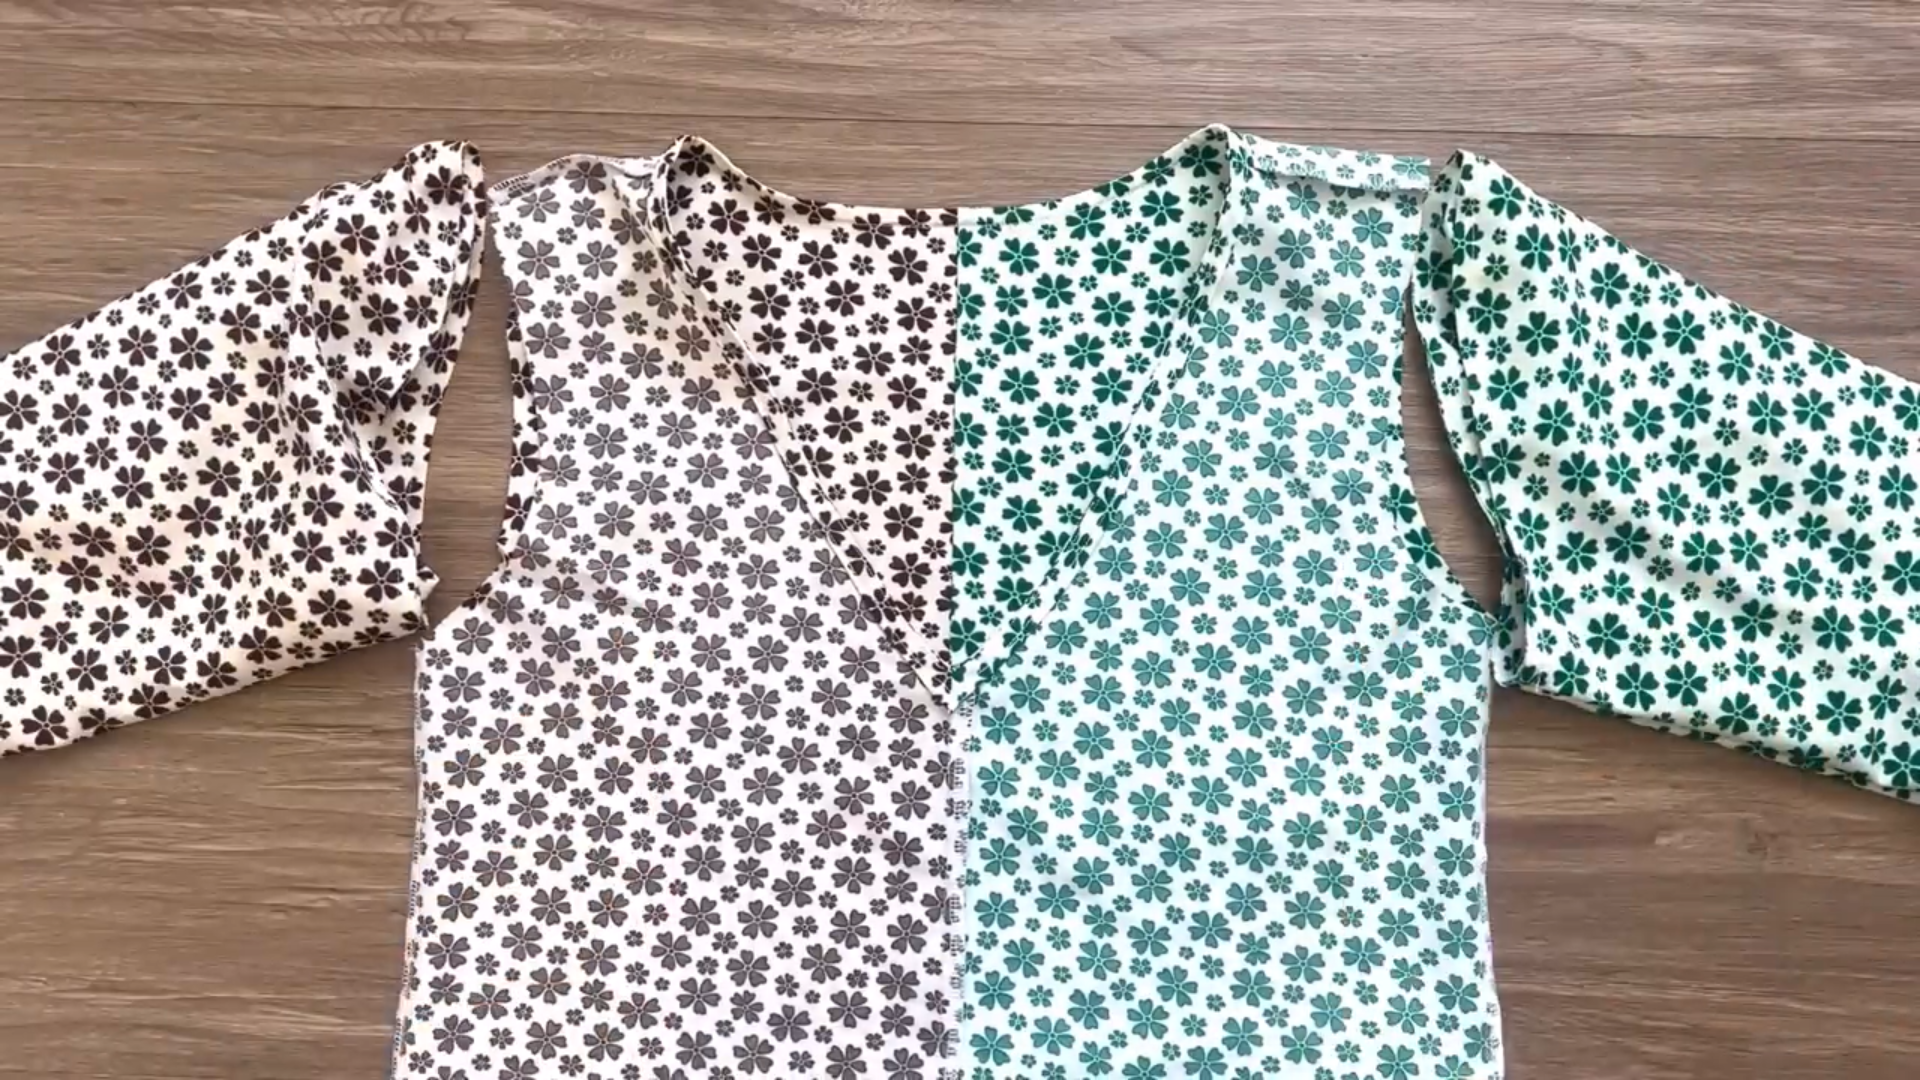
Start by cutting out the two front bodice pieces
Sew the two front bodice pieces together along the center line.
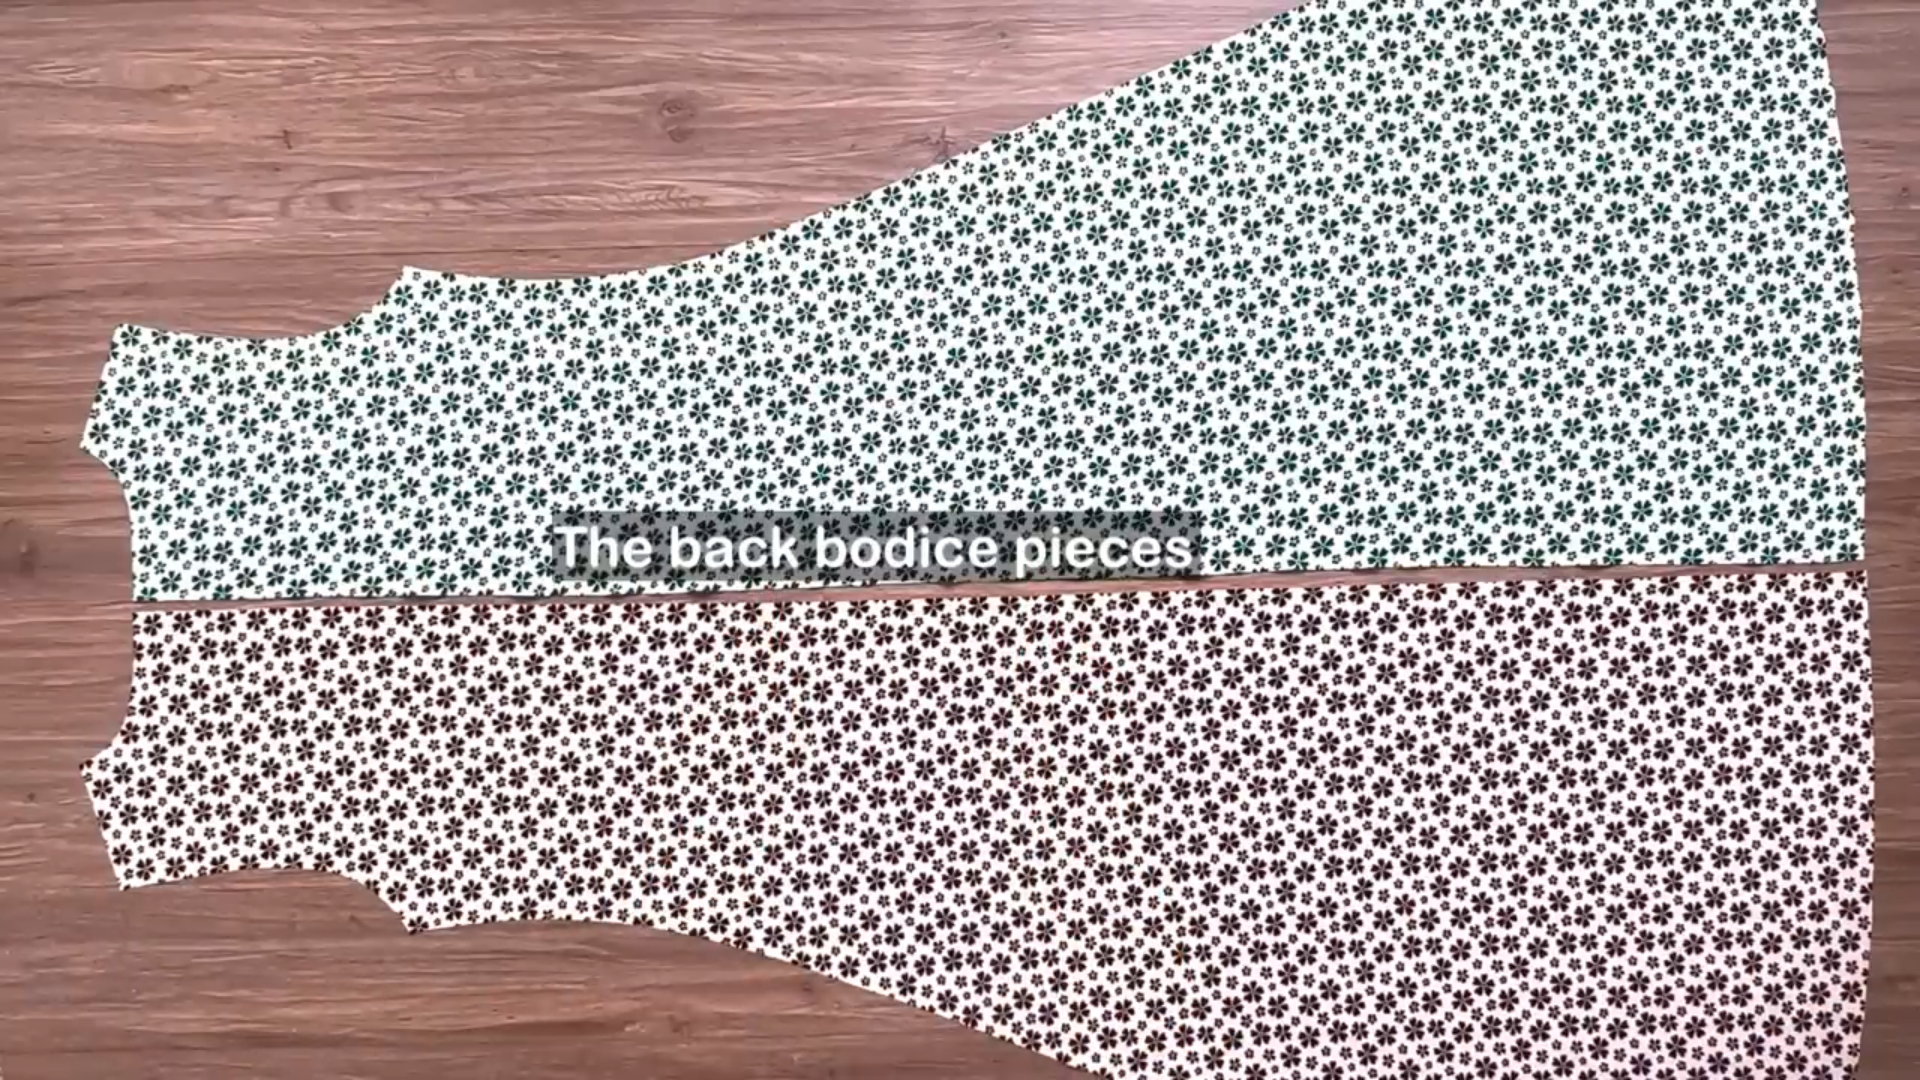
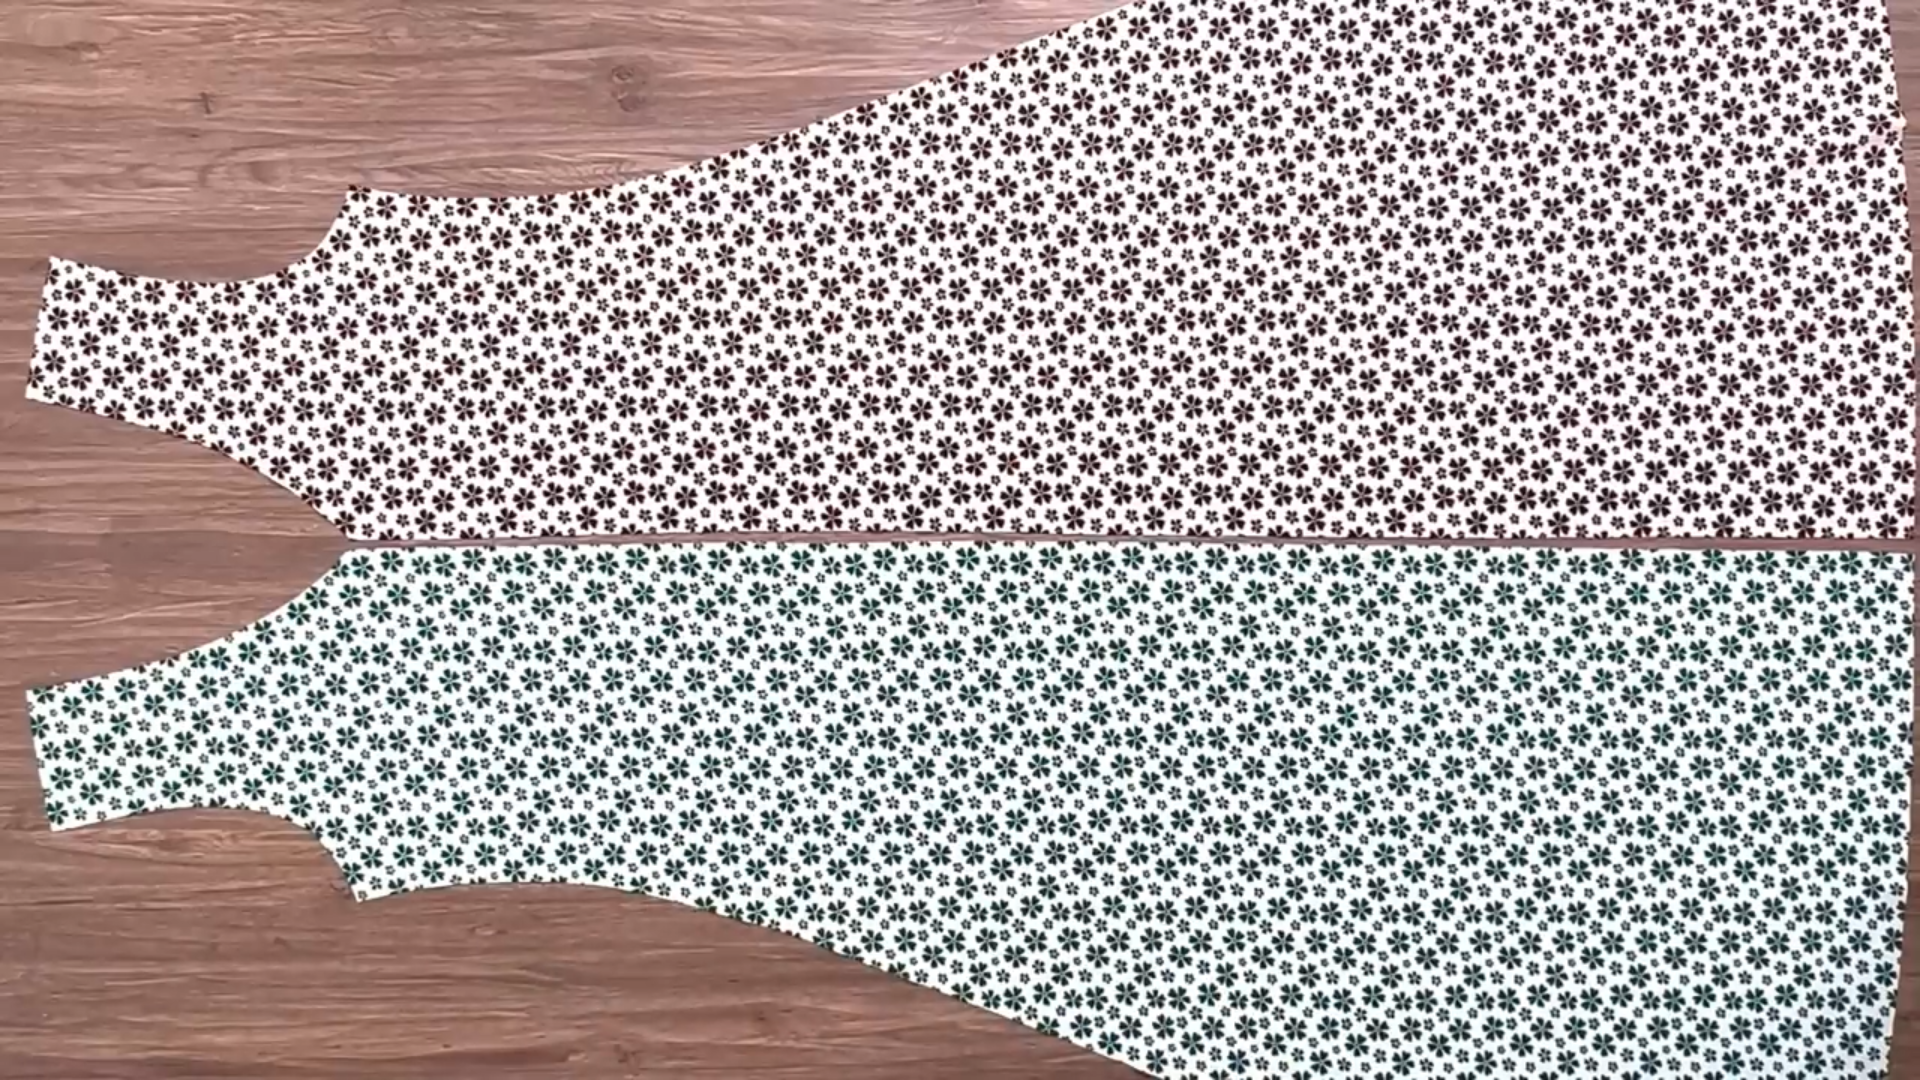
Cut out the two back bodice pieces.
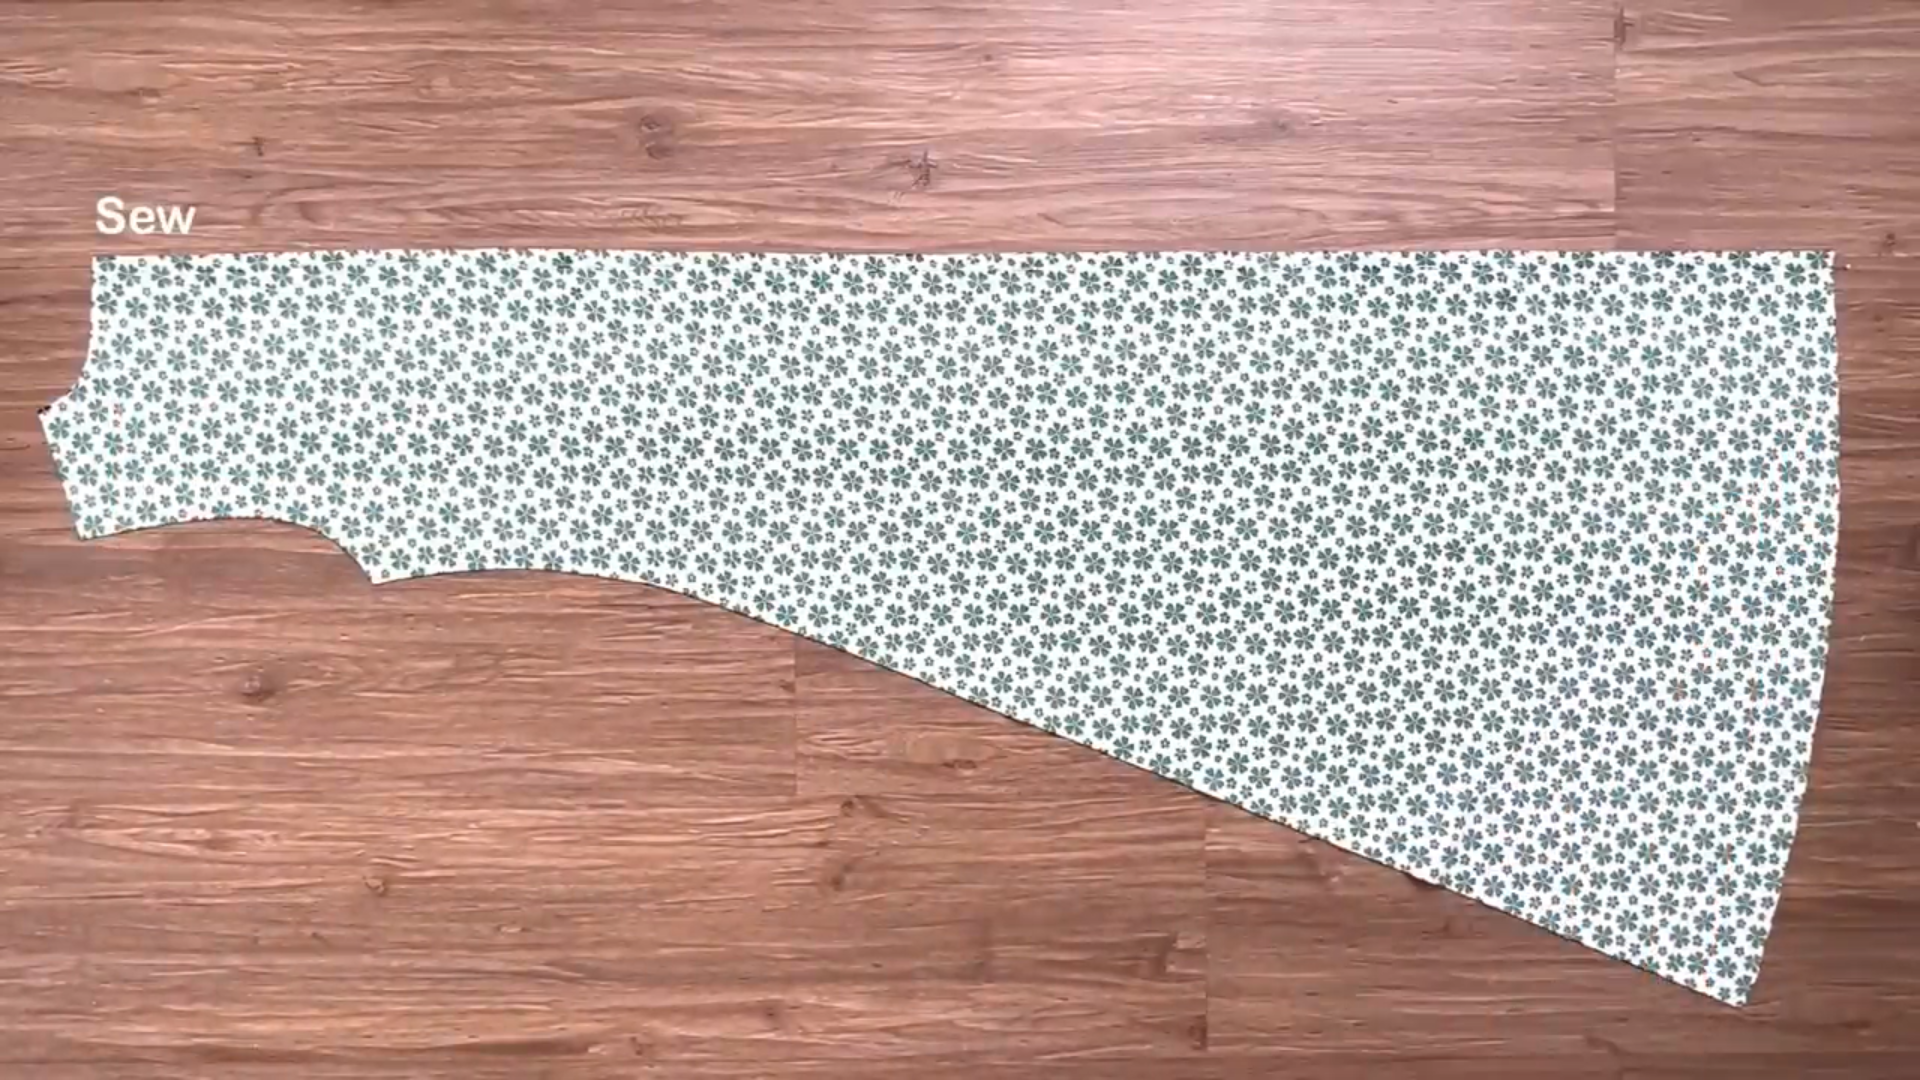
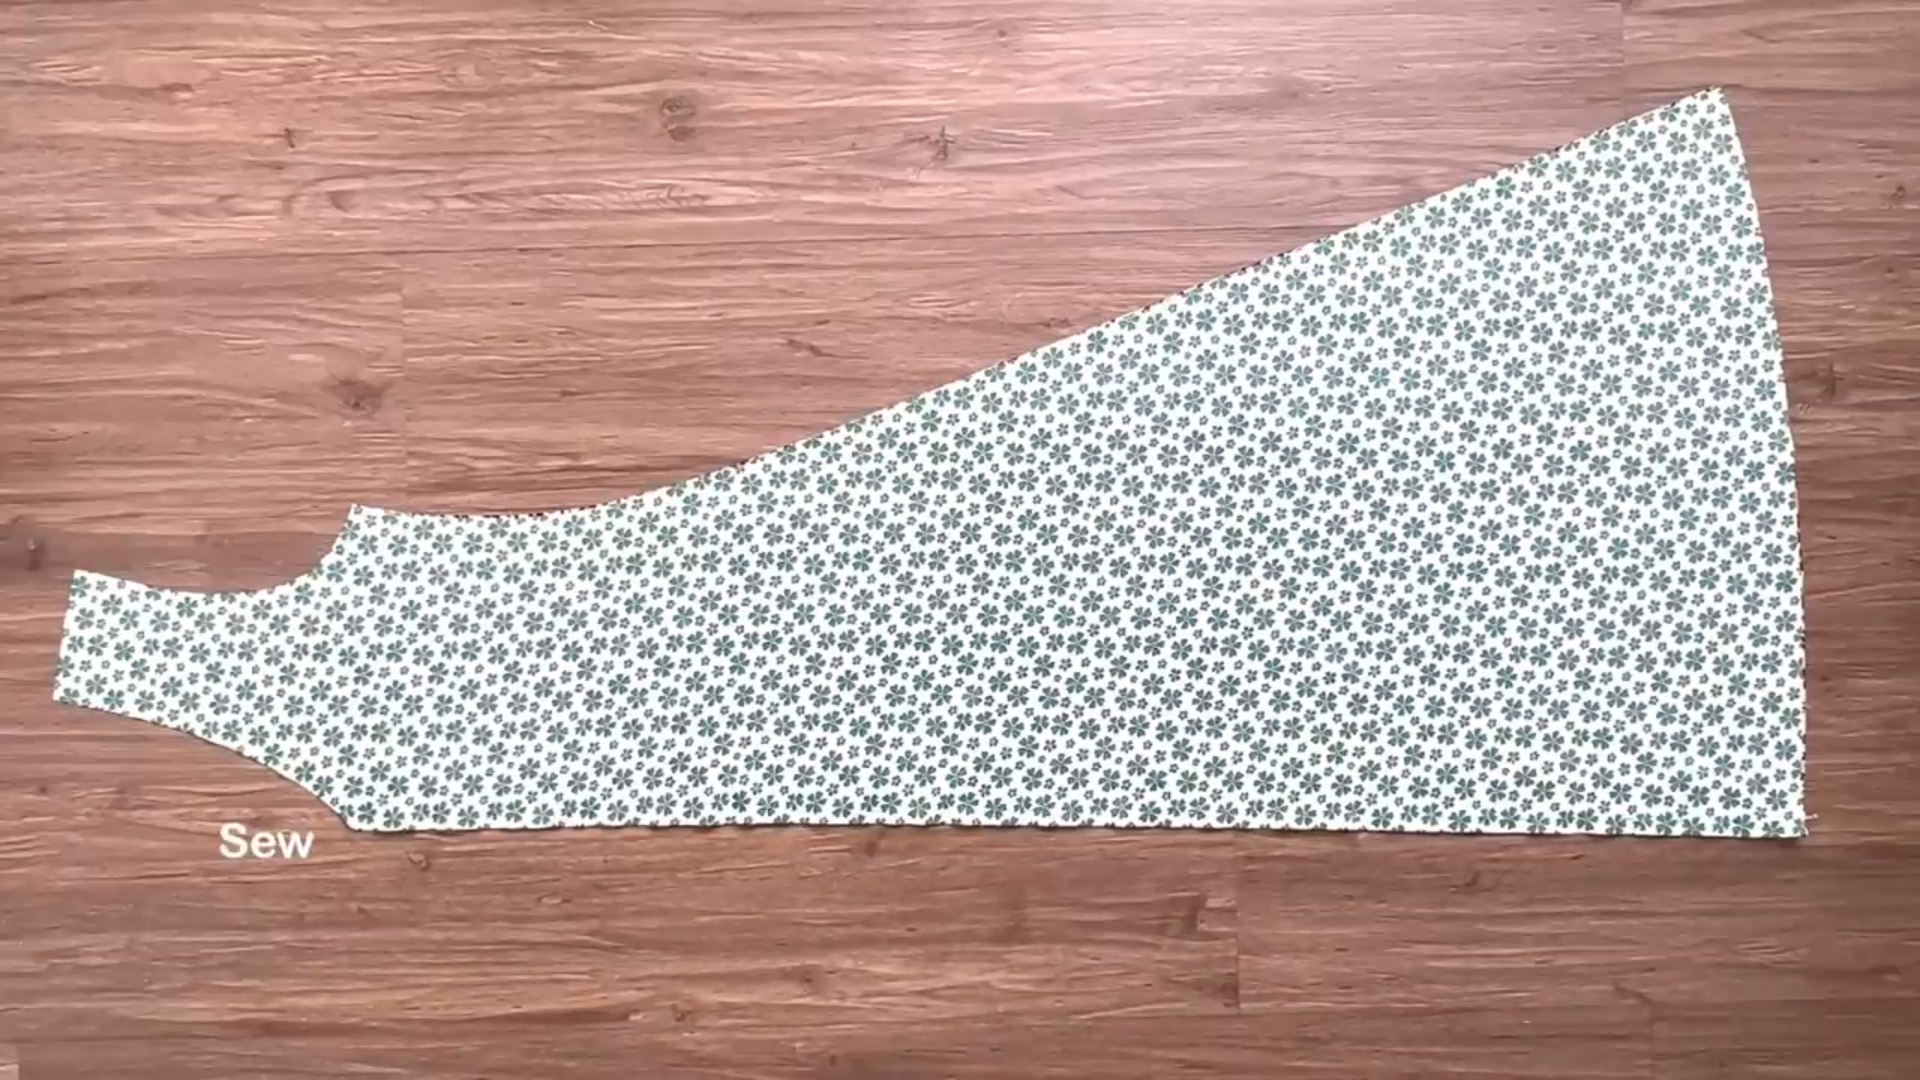
Similarly, sew the two back bodice pieces together along the center line.
Next, sew the front and back bodices together at the shoulders and side seams.
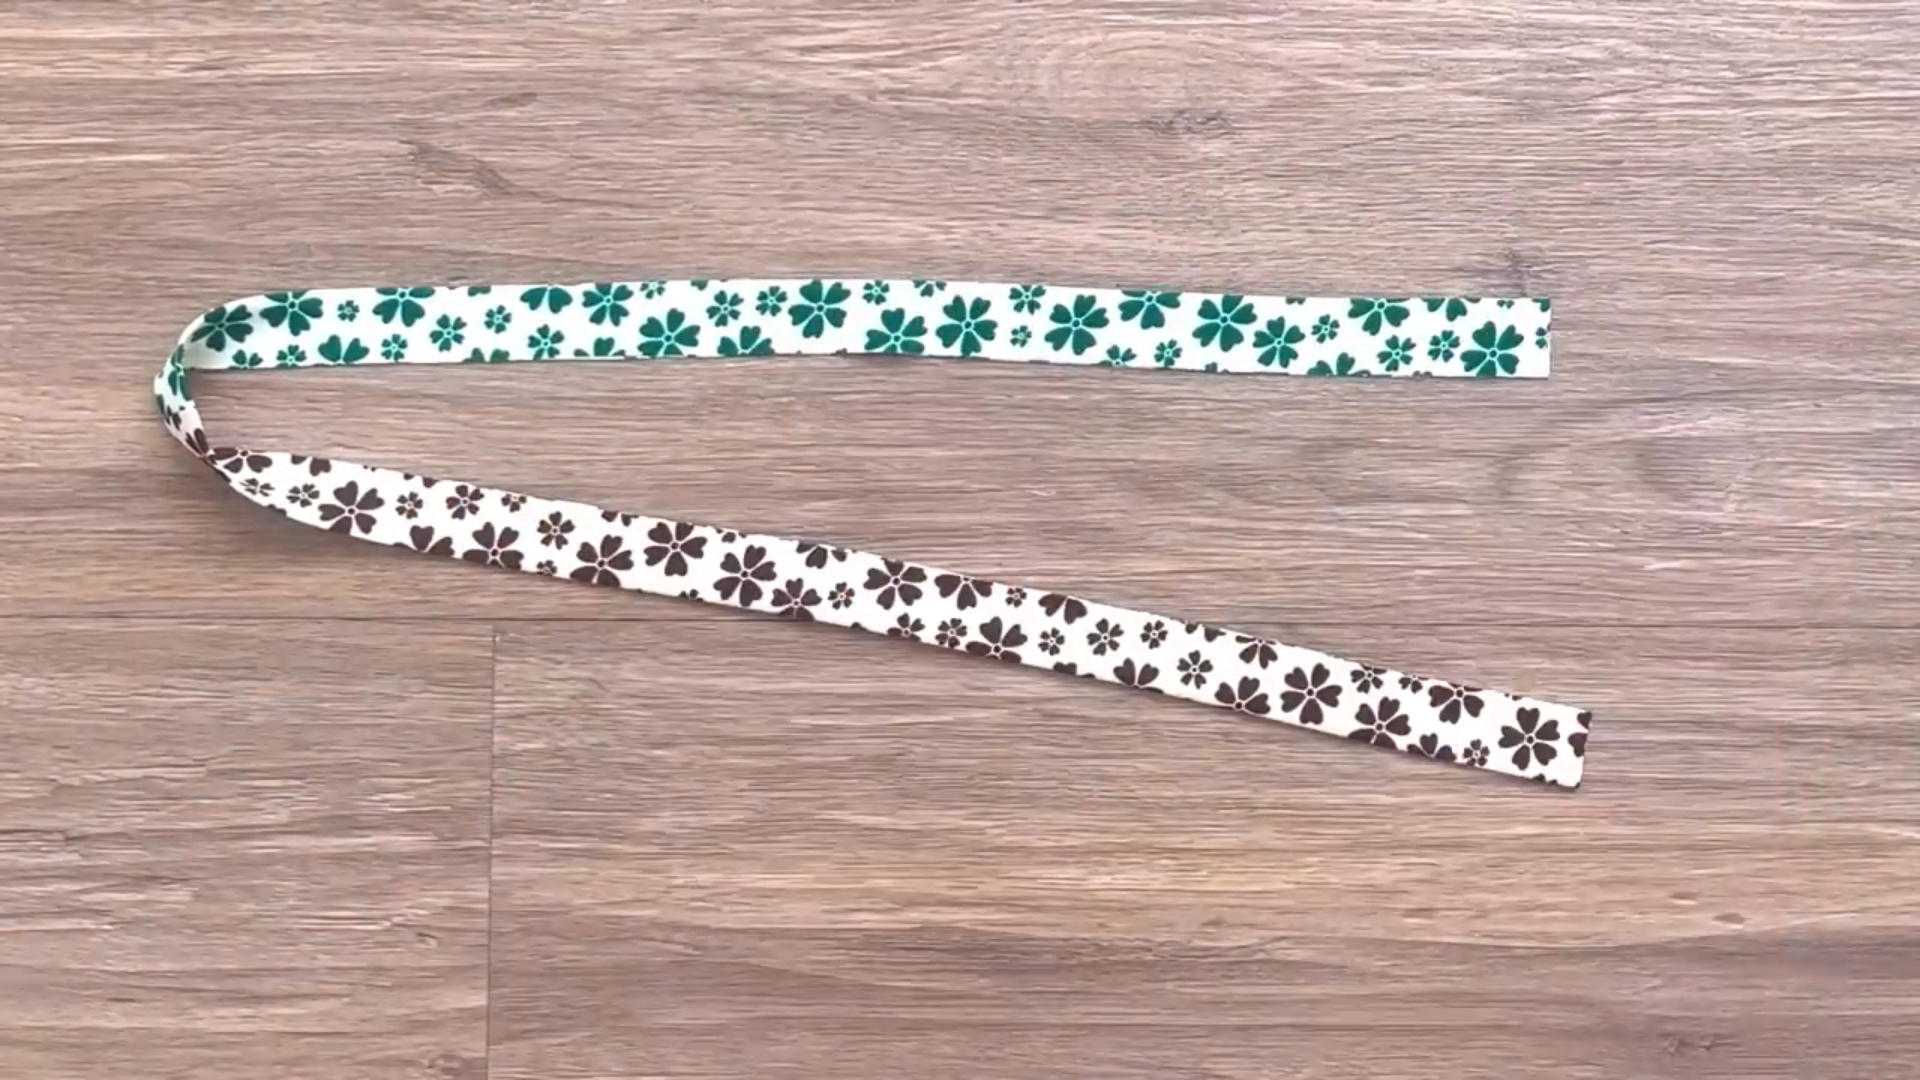
Cut a long strip of fabric, about 4 cm wide. This will be used to finish the neckline.
Fold the fabric strip in half lengthwise and press it flat with an iron.

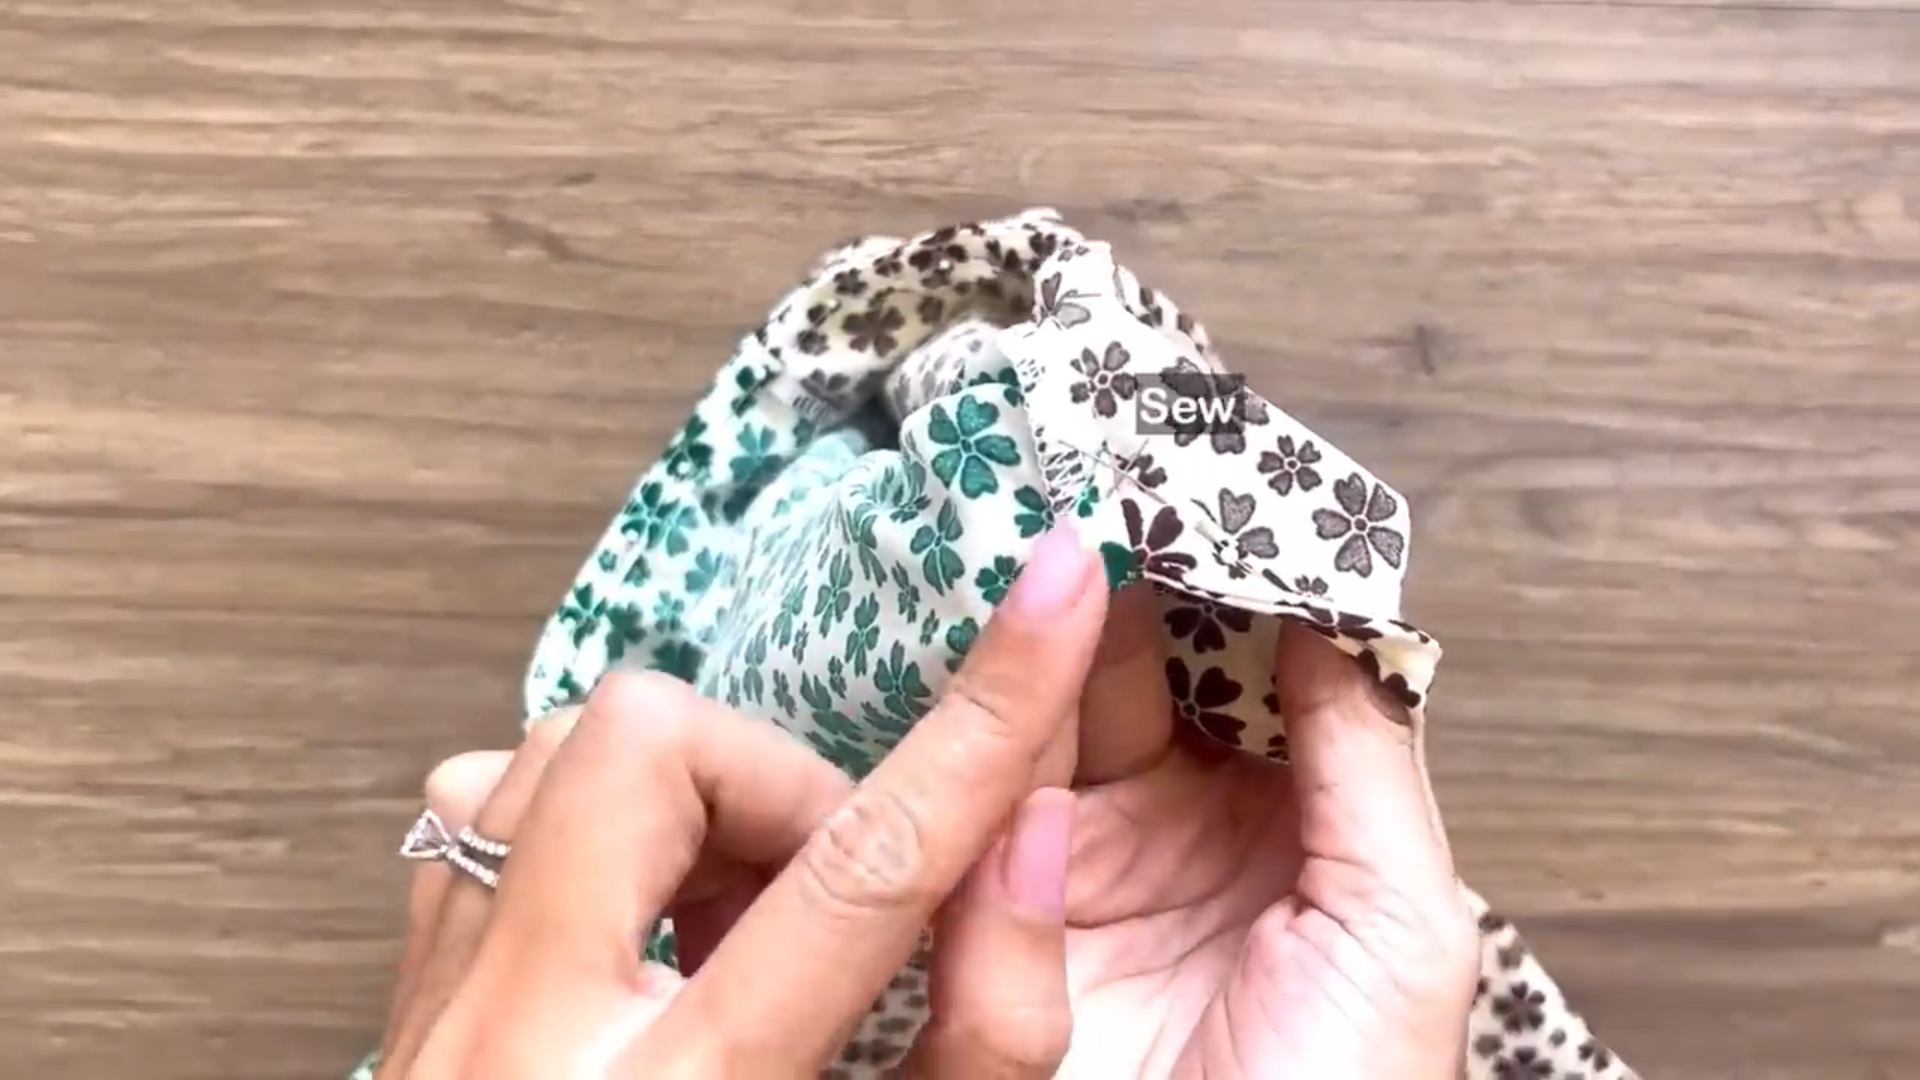
Pin the folded edge of the binding to the neckline, starting at one end.
At the V-neck point, join the two ends of the binding together first.
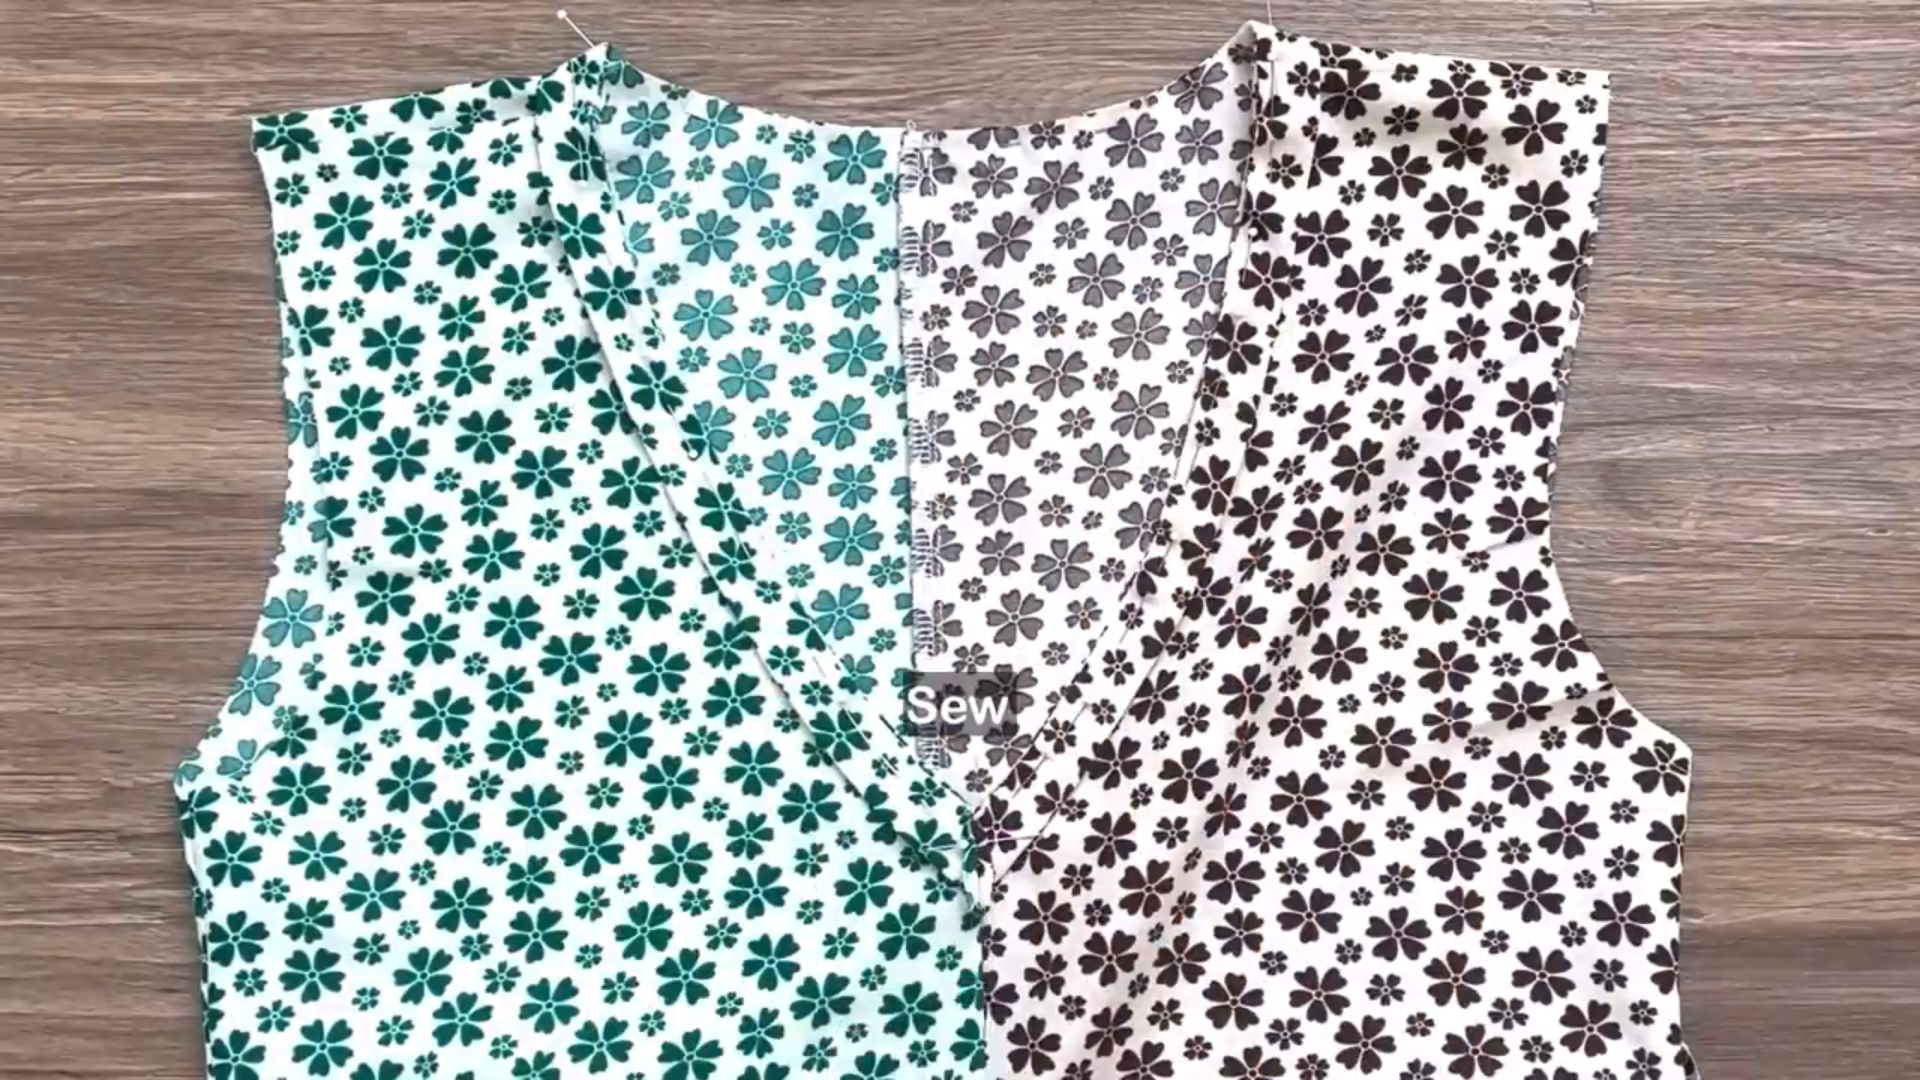
Then, continue sewing the binding to the neckline.
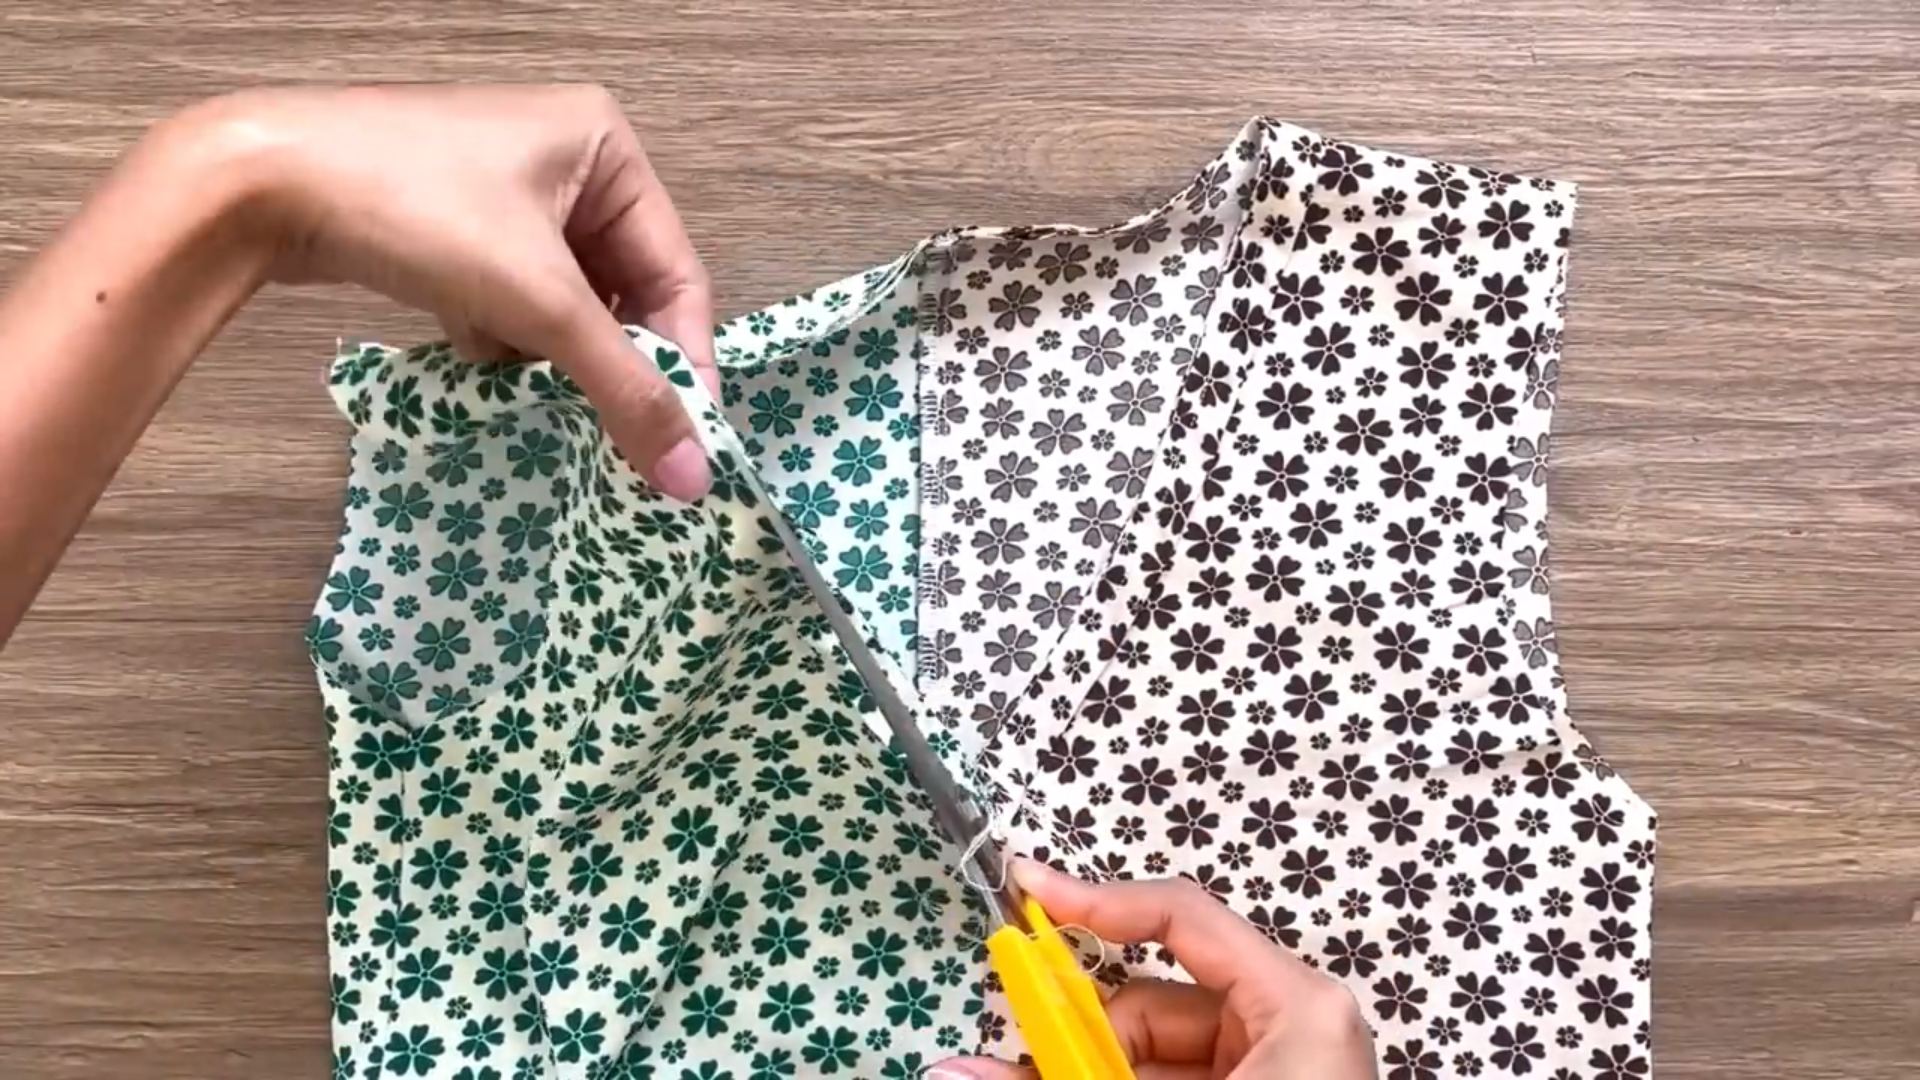
Cut the excess fabric at the end of the binding.
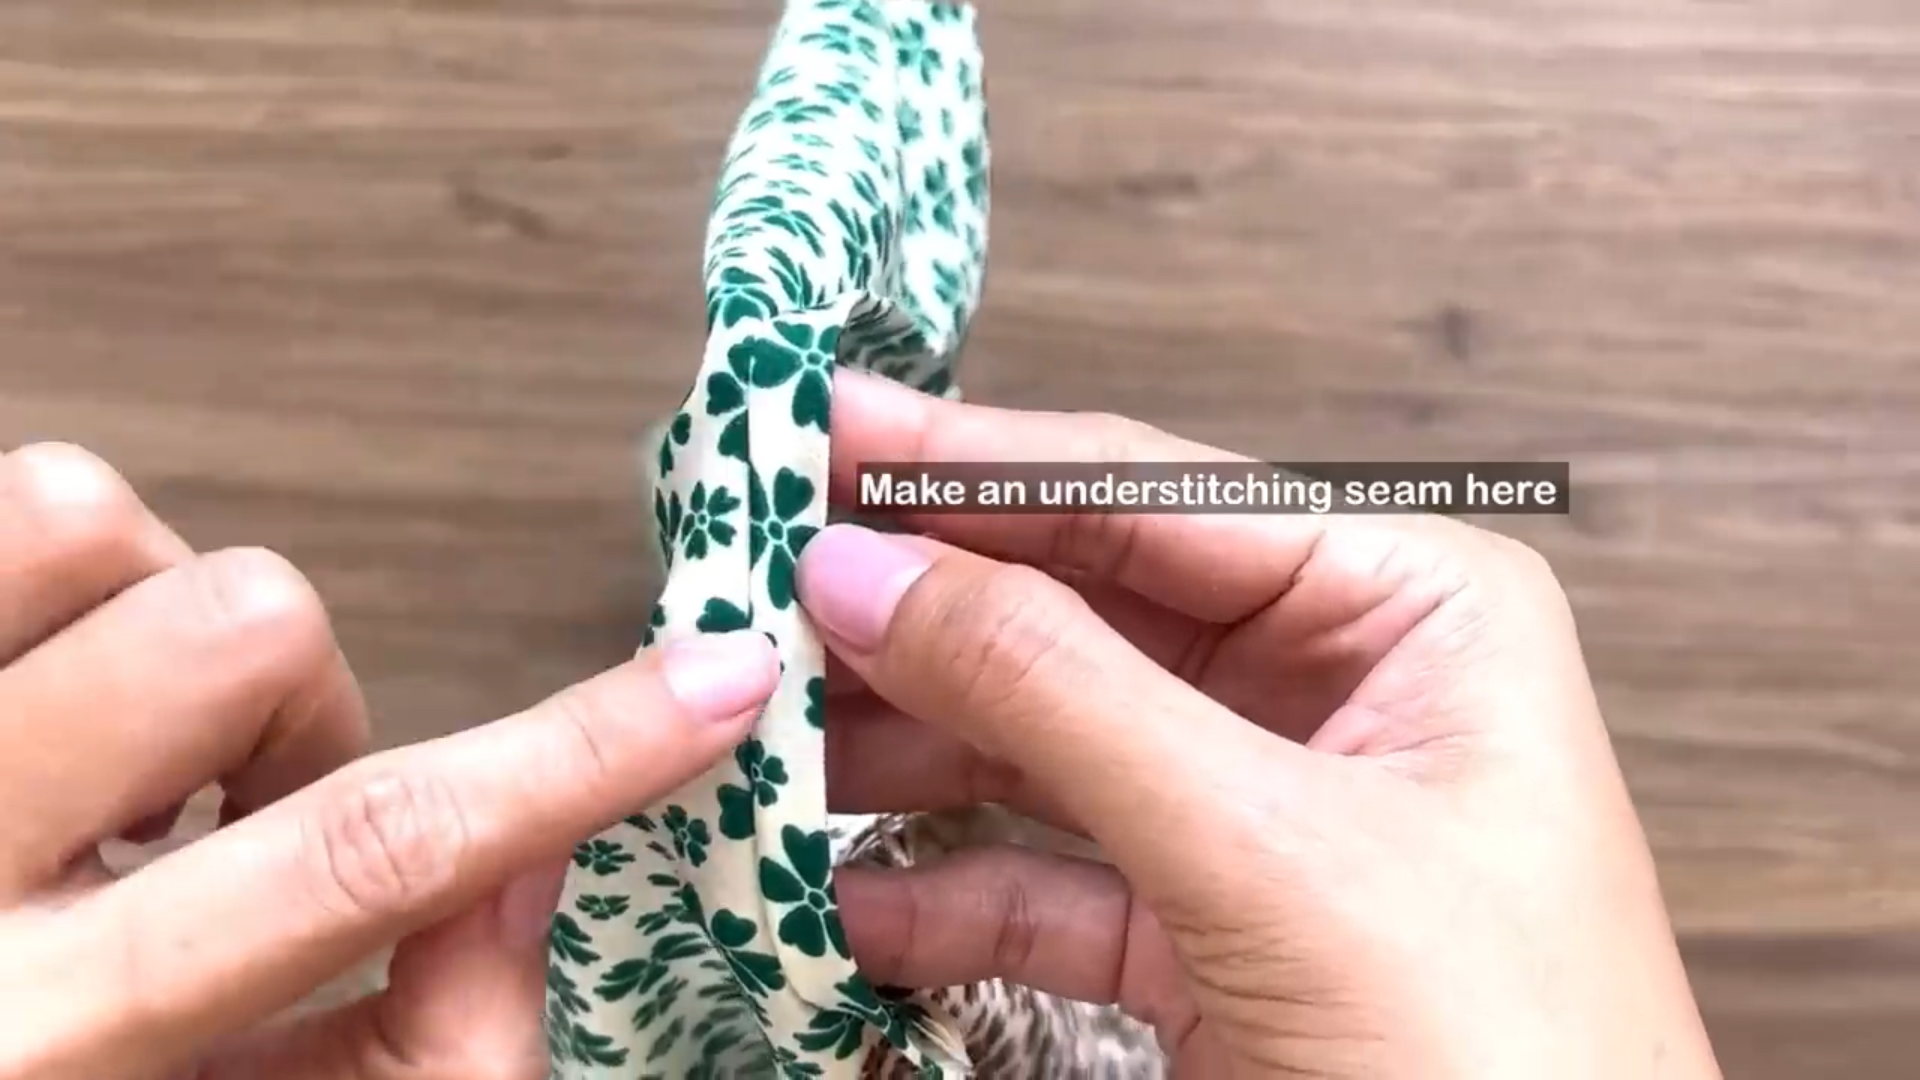
Create an understitching seam to gather the fabric to one side.
Fold the other side of the binding to the inside and sew it in place.
Fold the end of the dress fabric inward twice, about 0.5 cm each time.
Sew the folded hem in place to create a clean finish.
THE SLEEVE
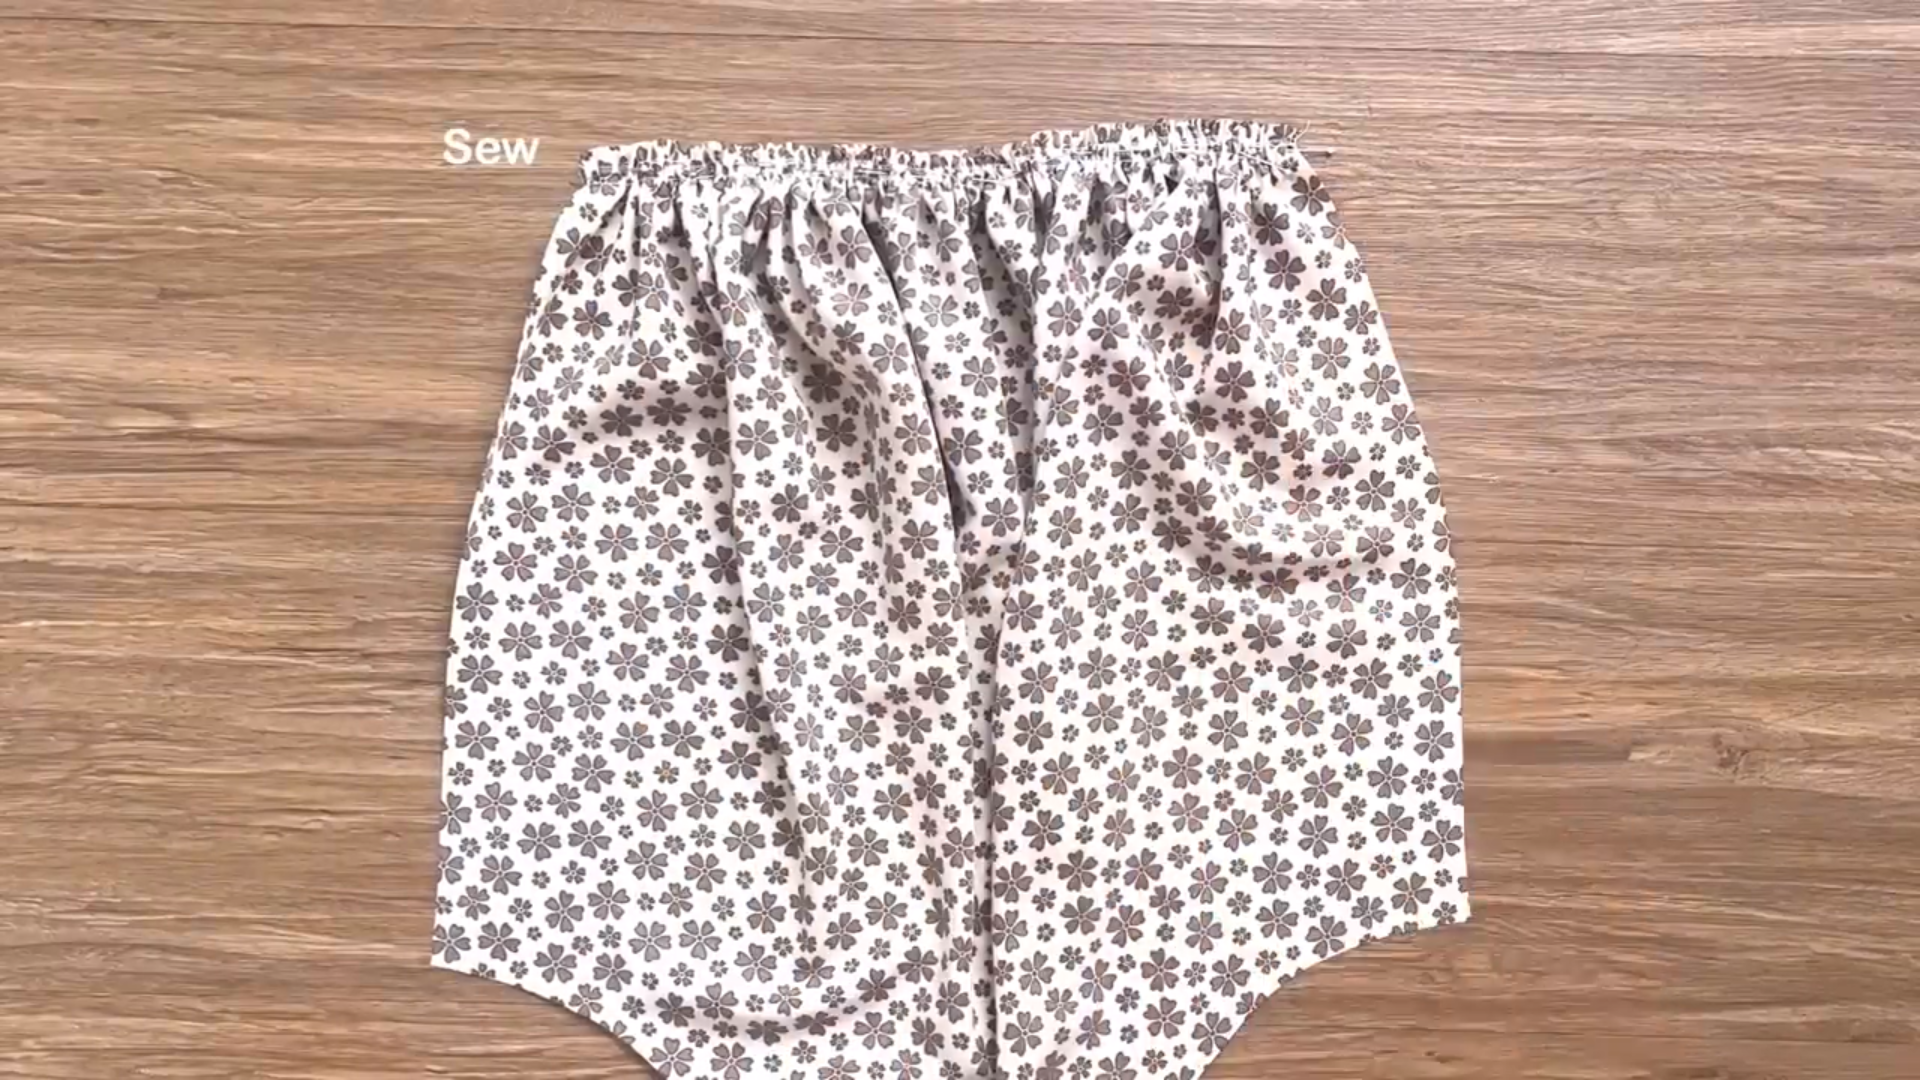
Cut out the outside sleeve piece.
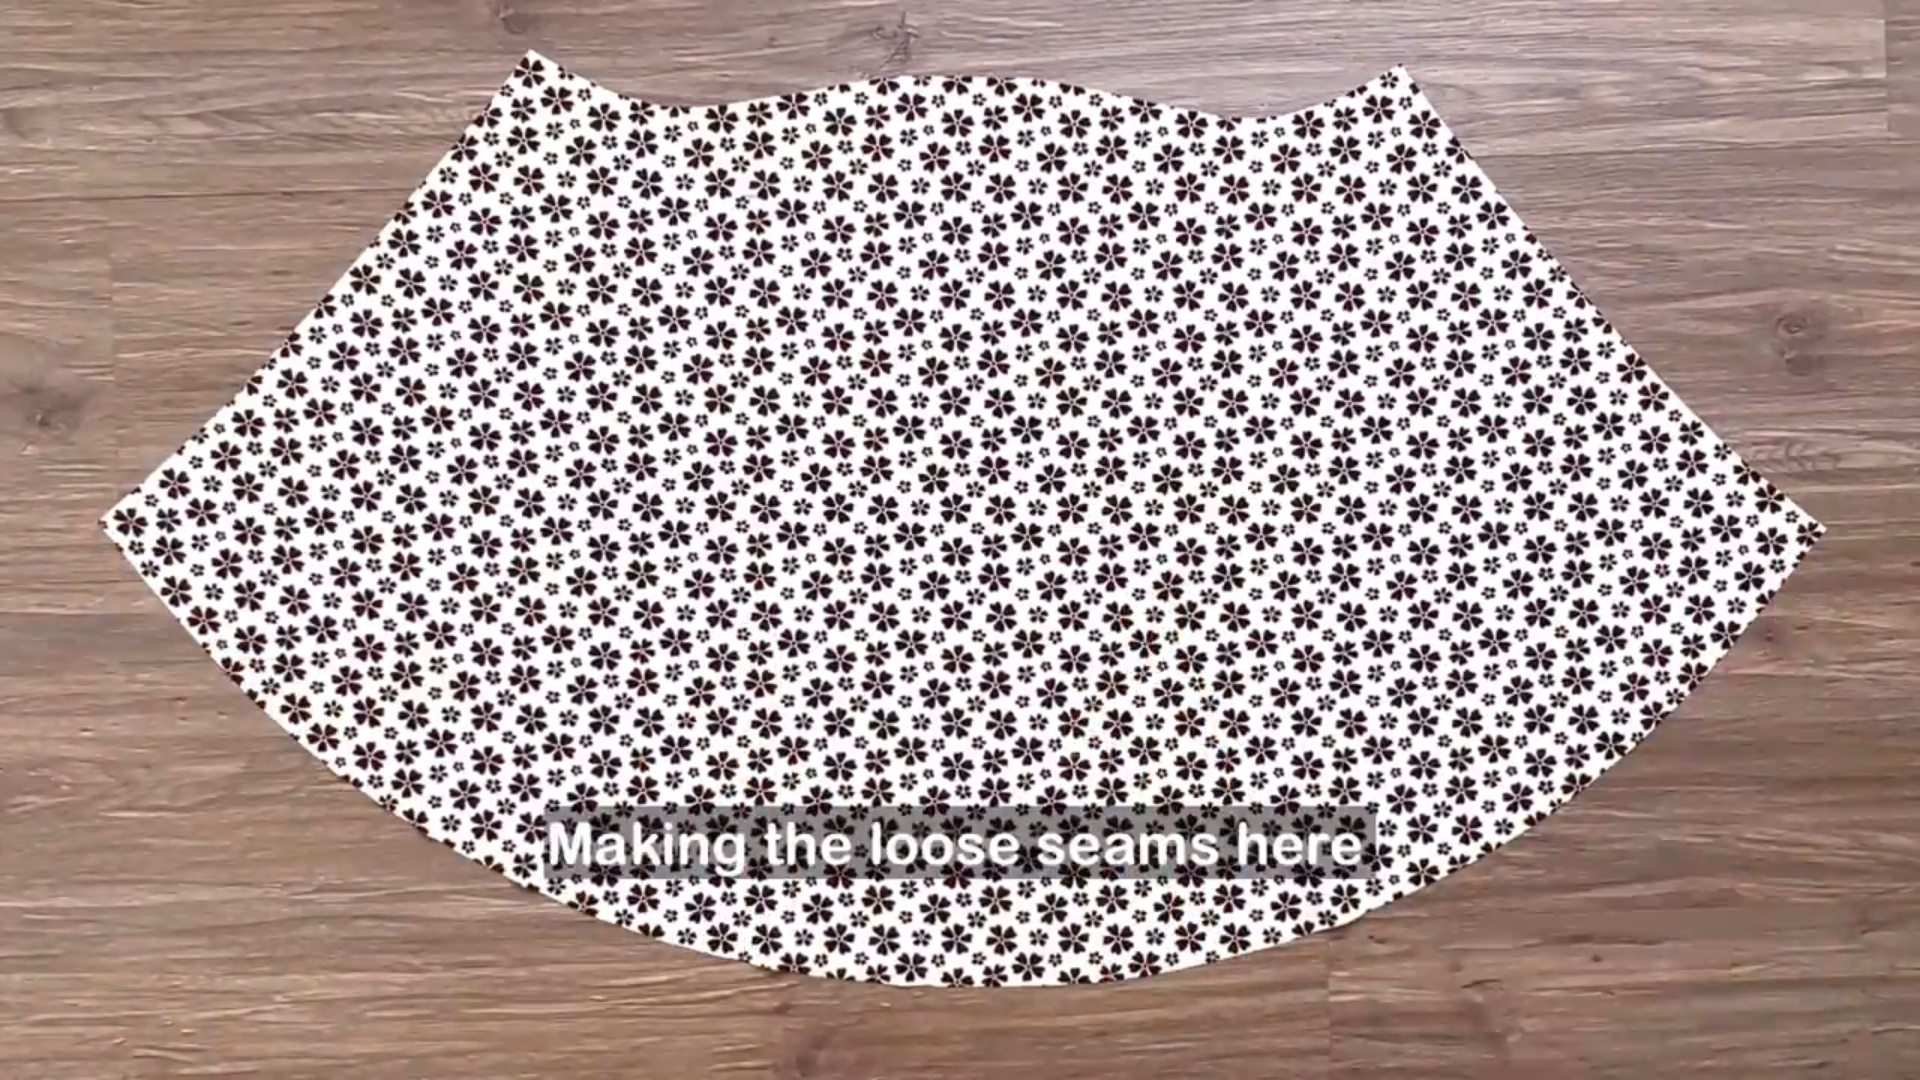
Sew a loose seam at the end of the outside sleeve.
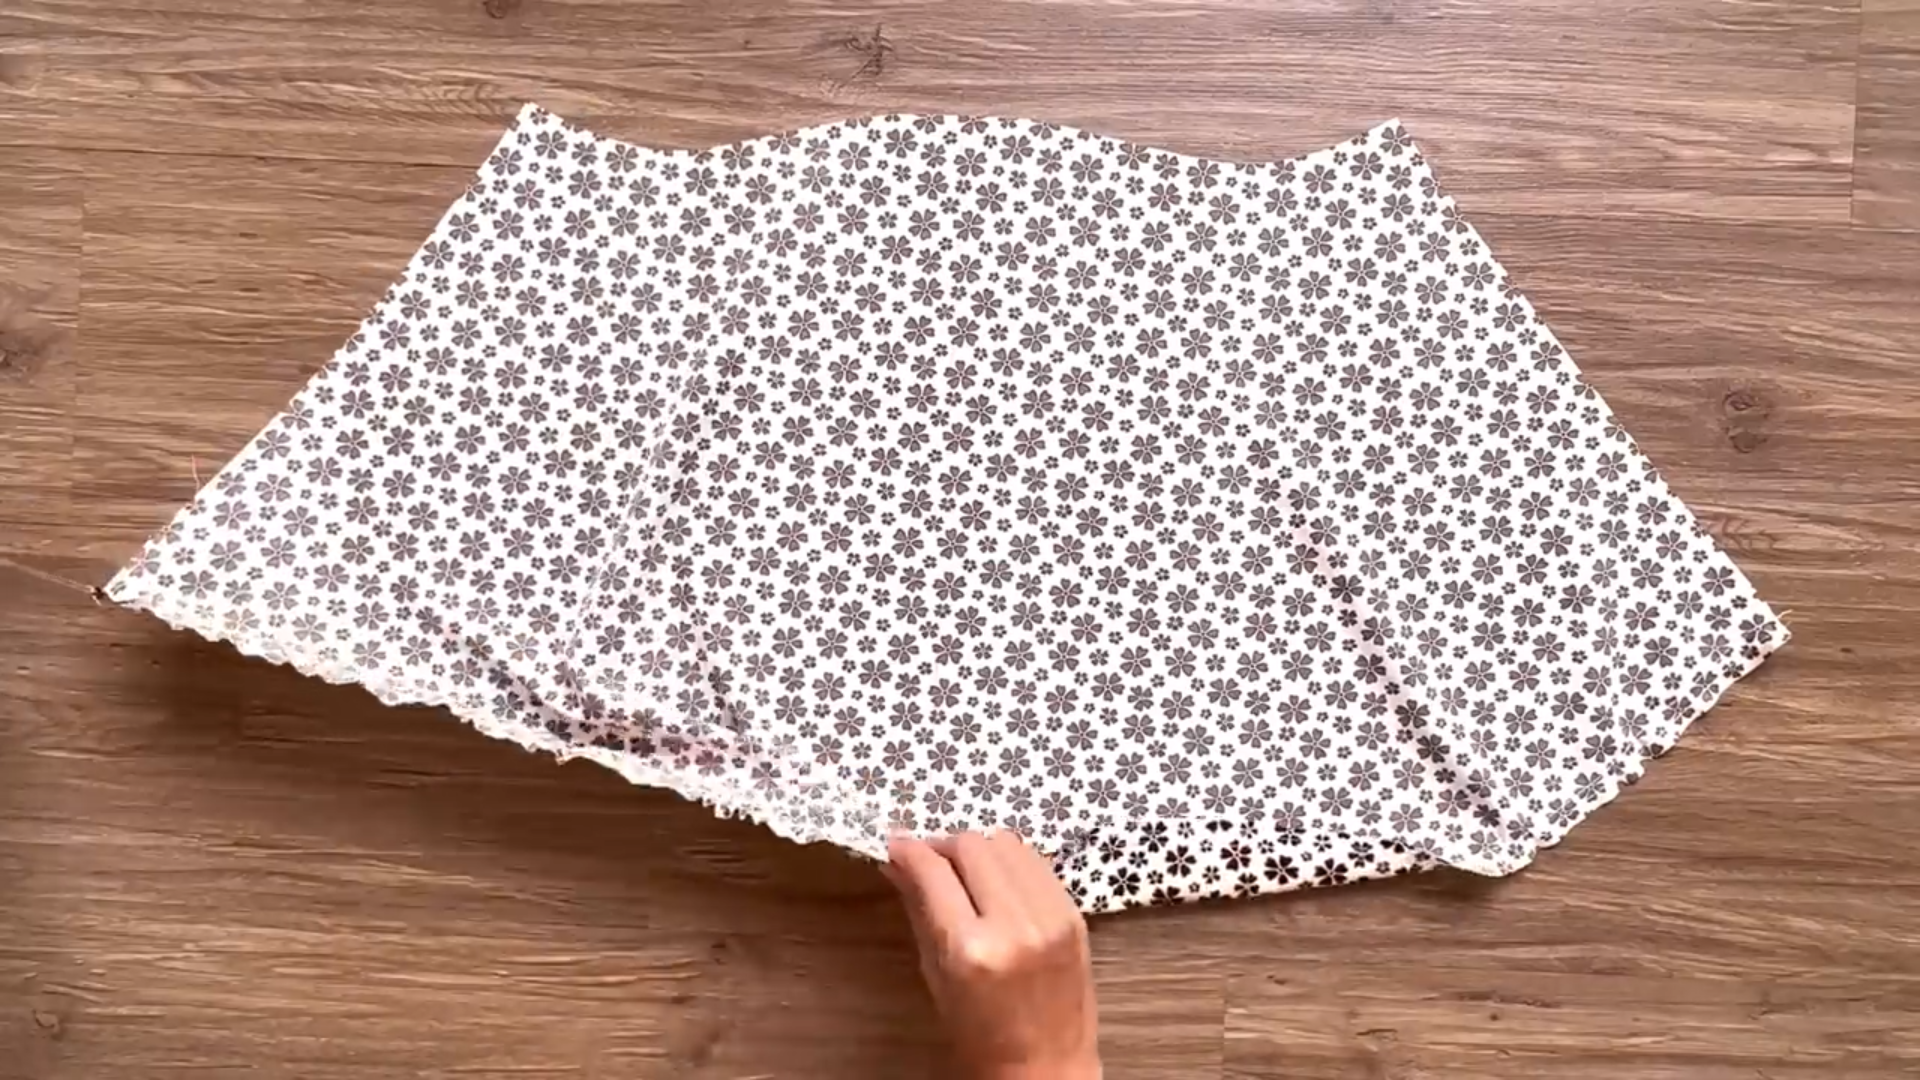
Create a gathering fabric from the loose seam.
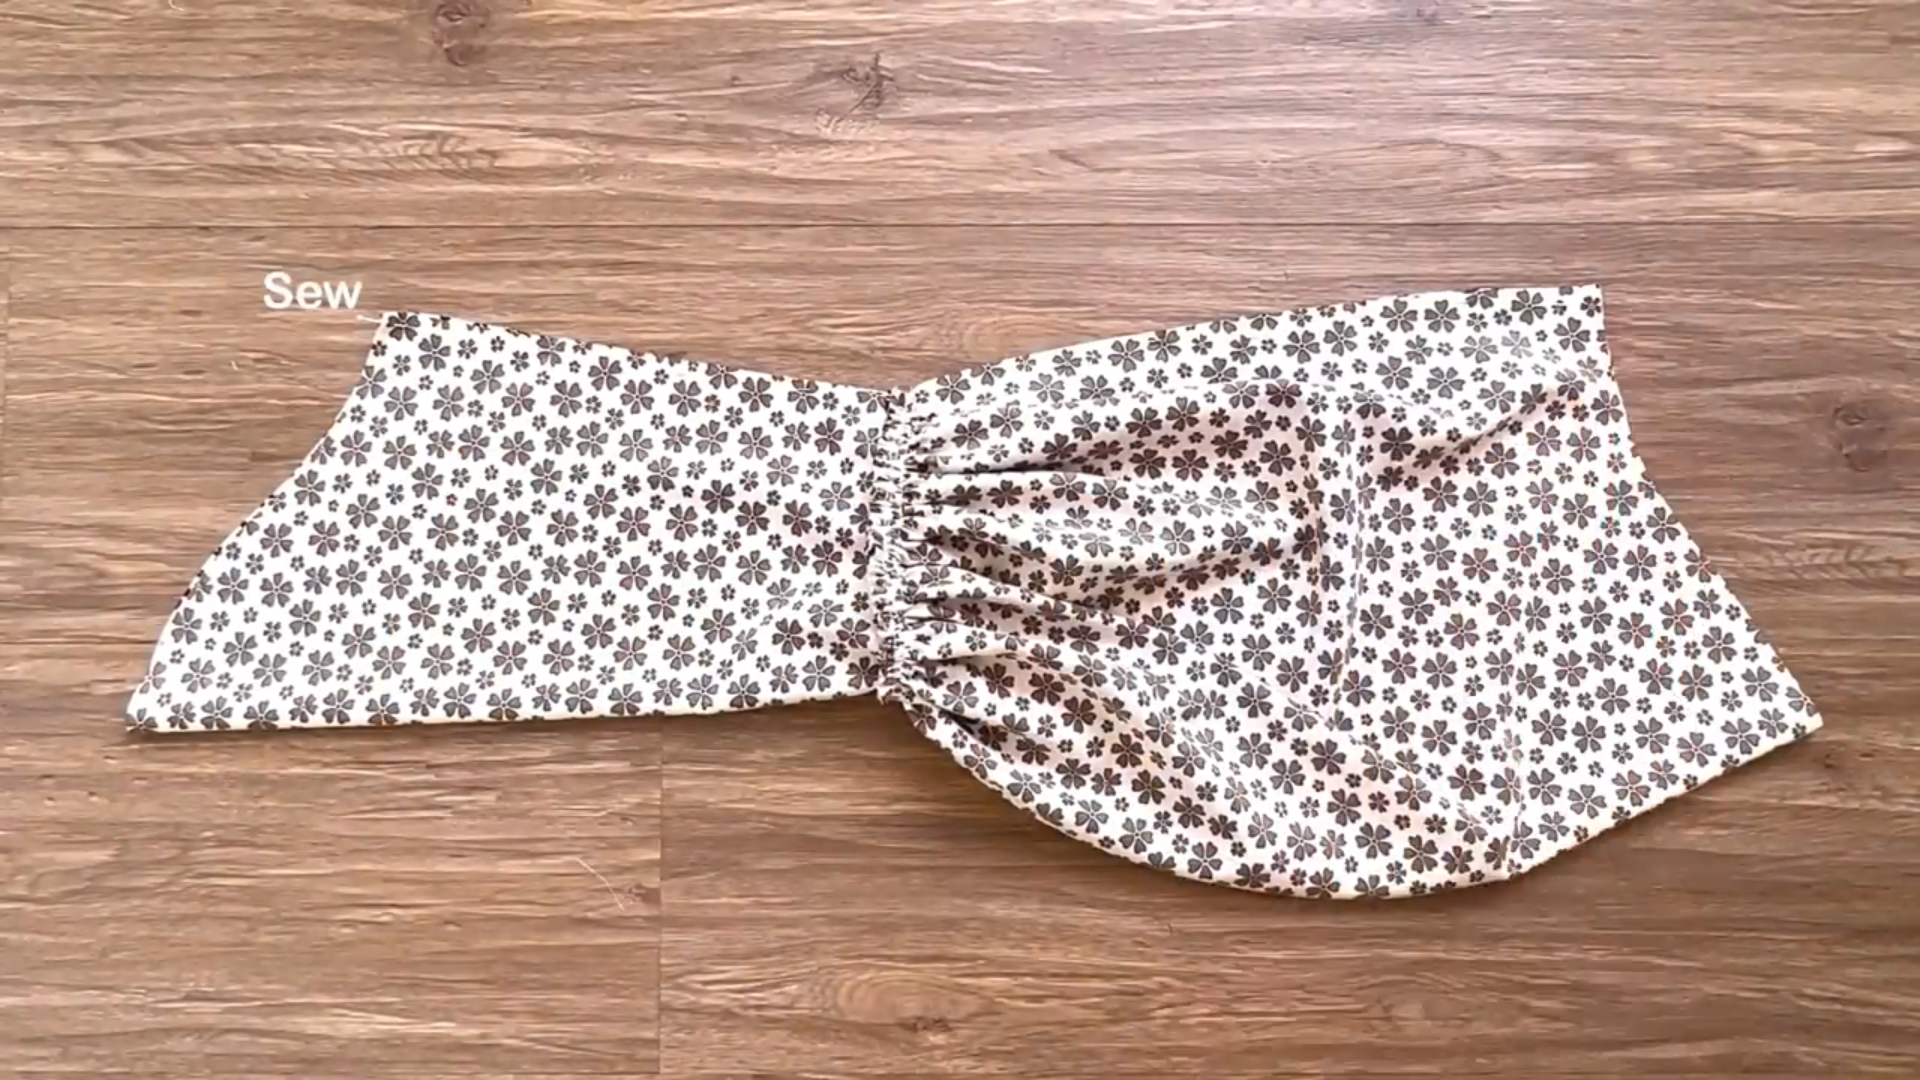
The final width of this fabric should match the width of the inside sleeve's end.
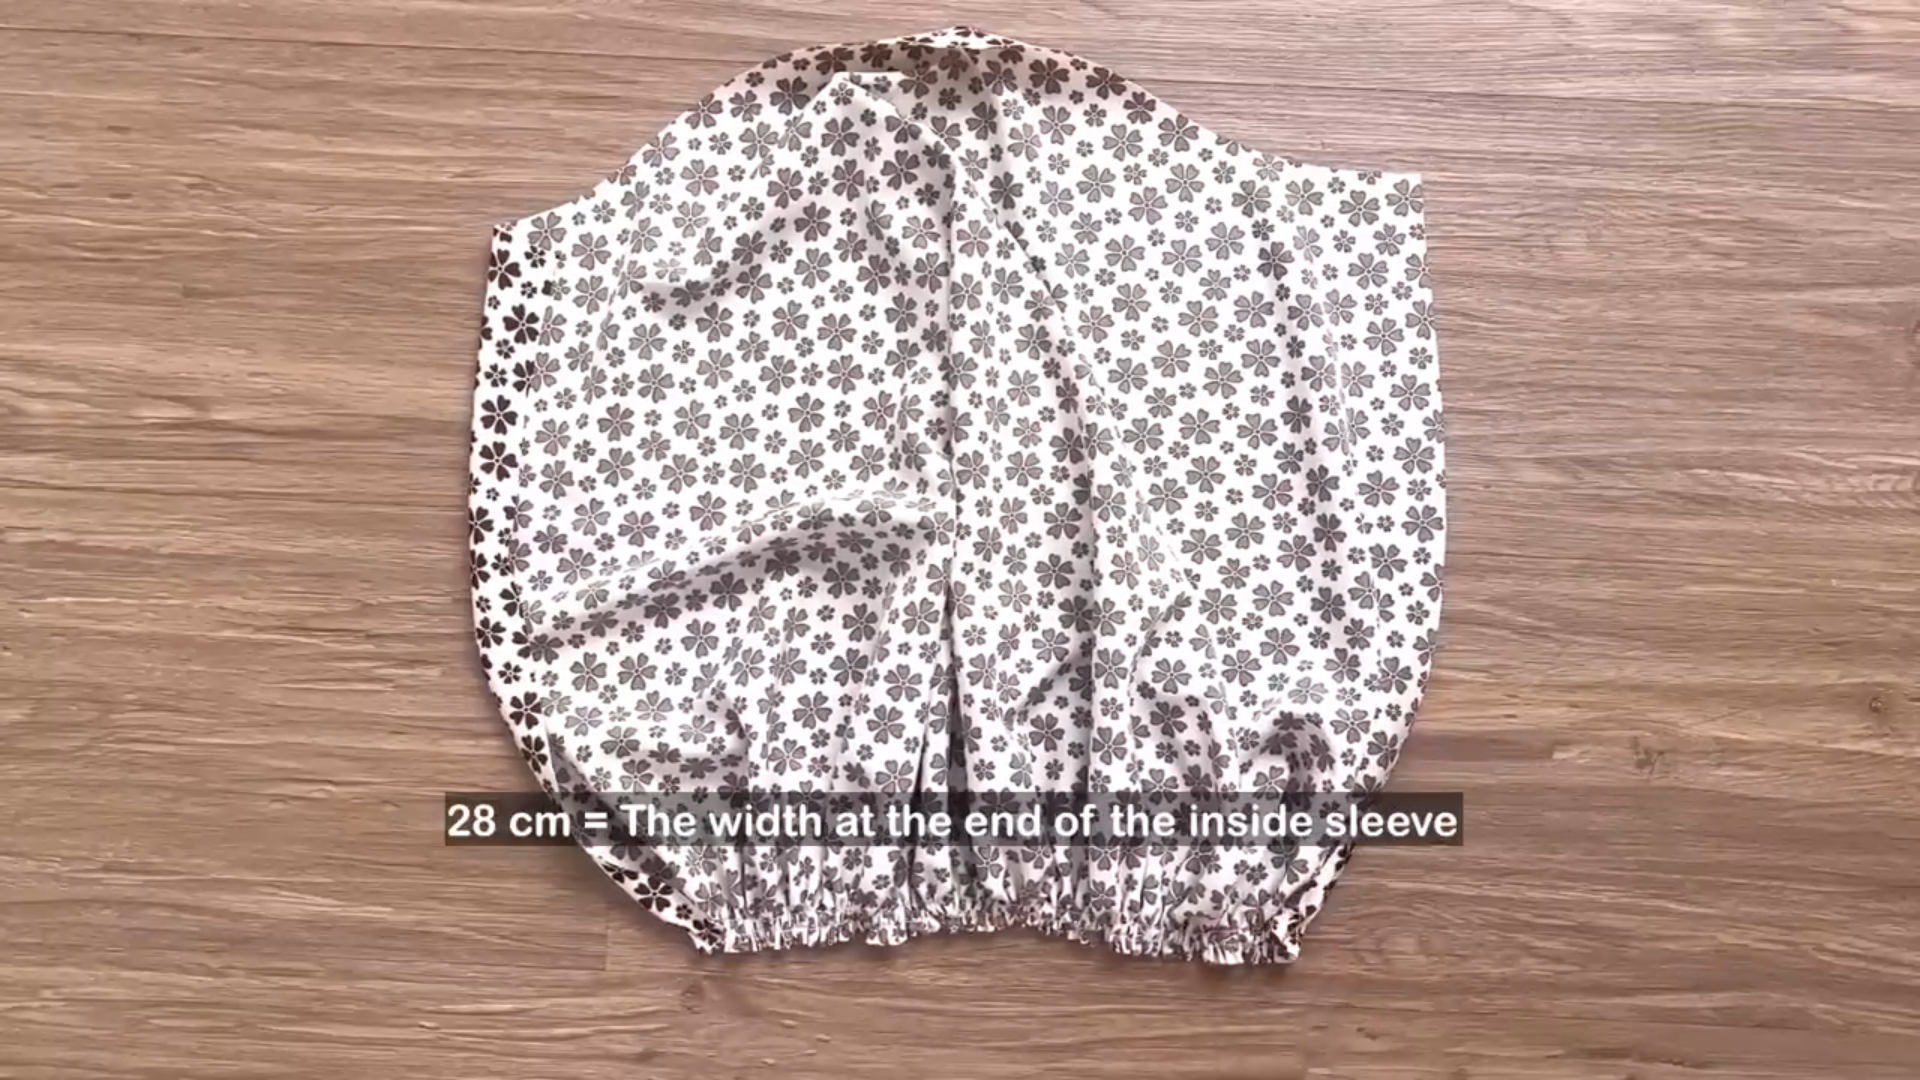
Cut out the inside sleeve.
Sew the gathering fabric to the end of the inside sleeve.
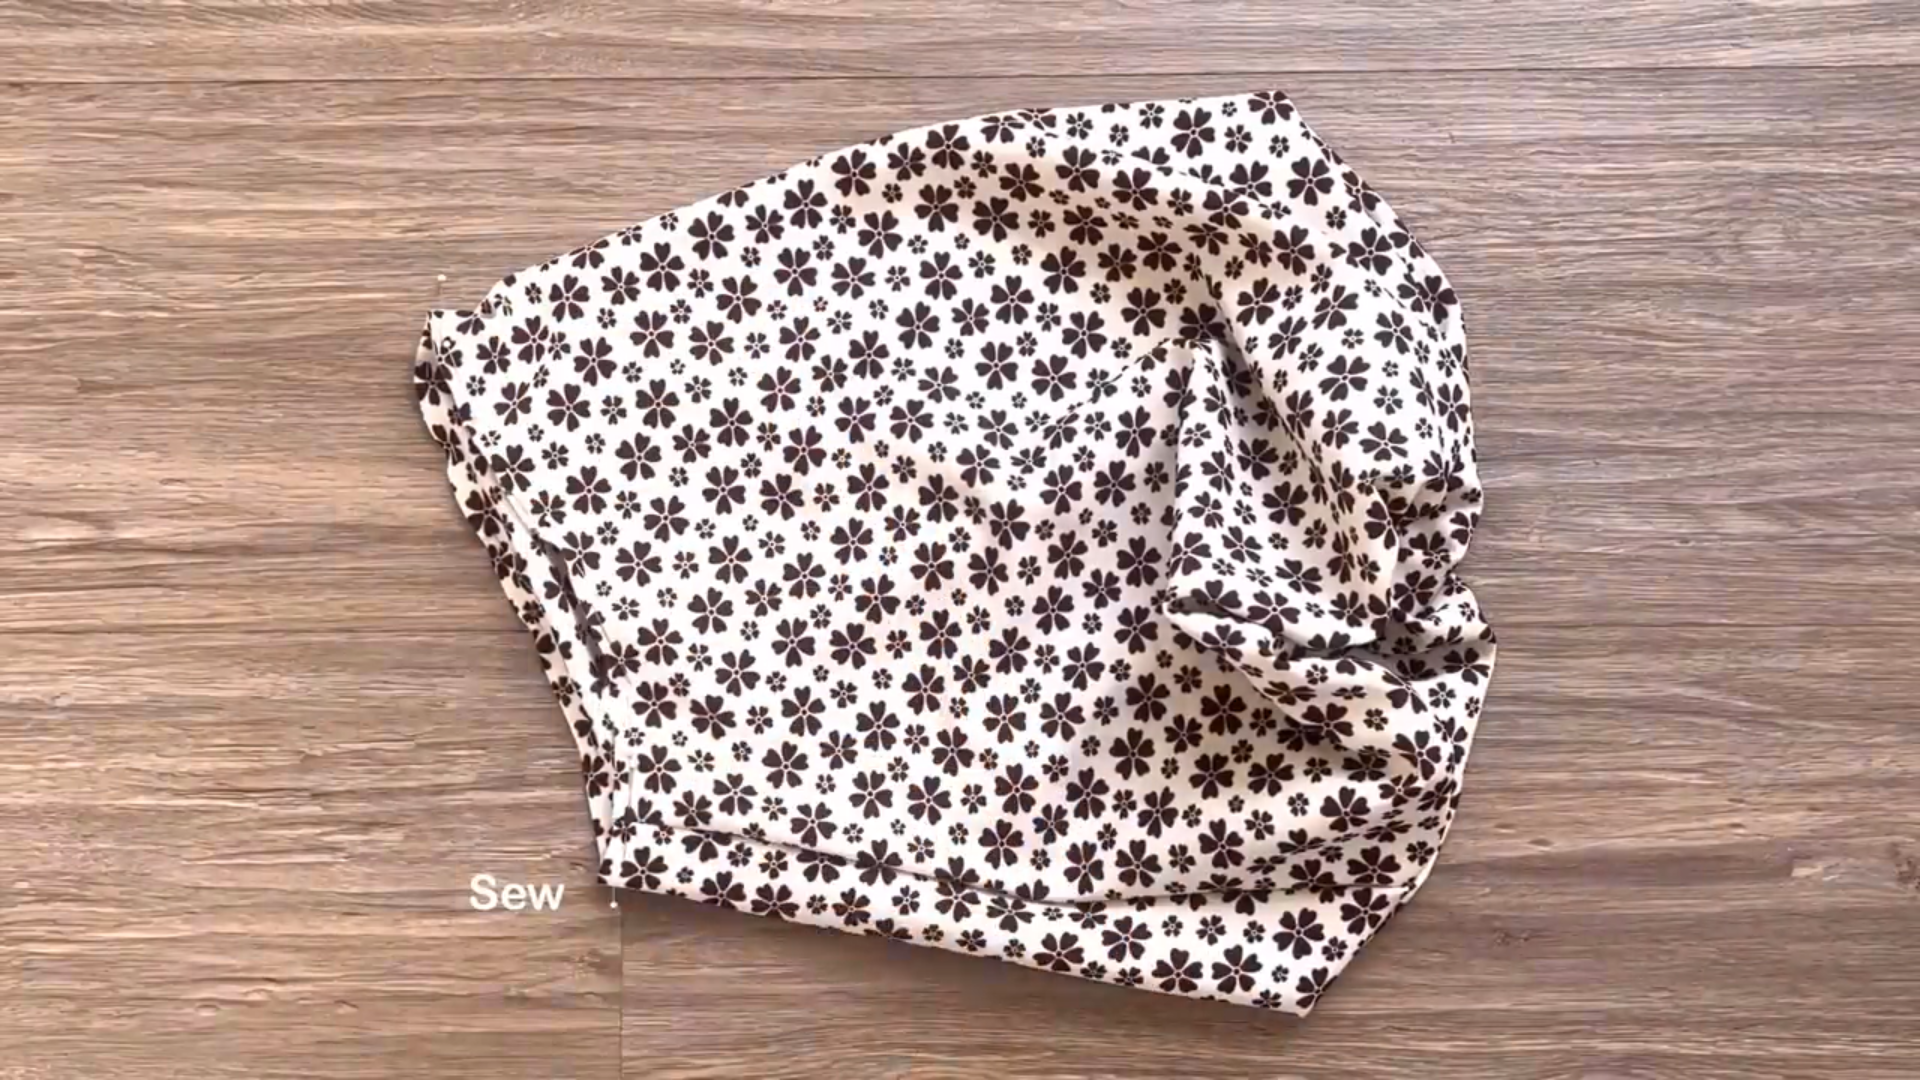
Connect the underarm seam of the inside sleeve and the outside sleeve.
Insert the inside sleeve into the outside sleeve and sew the top seams together.
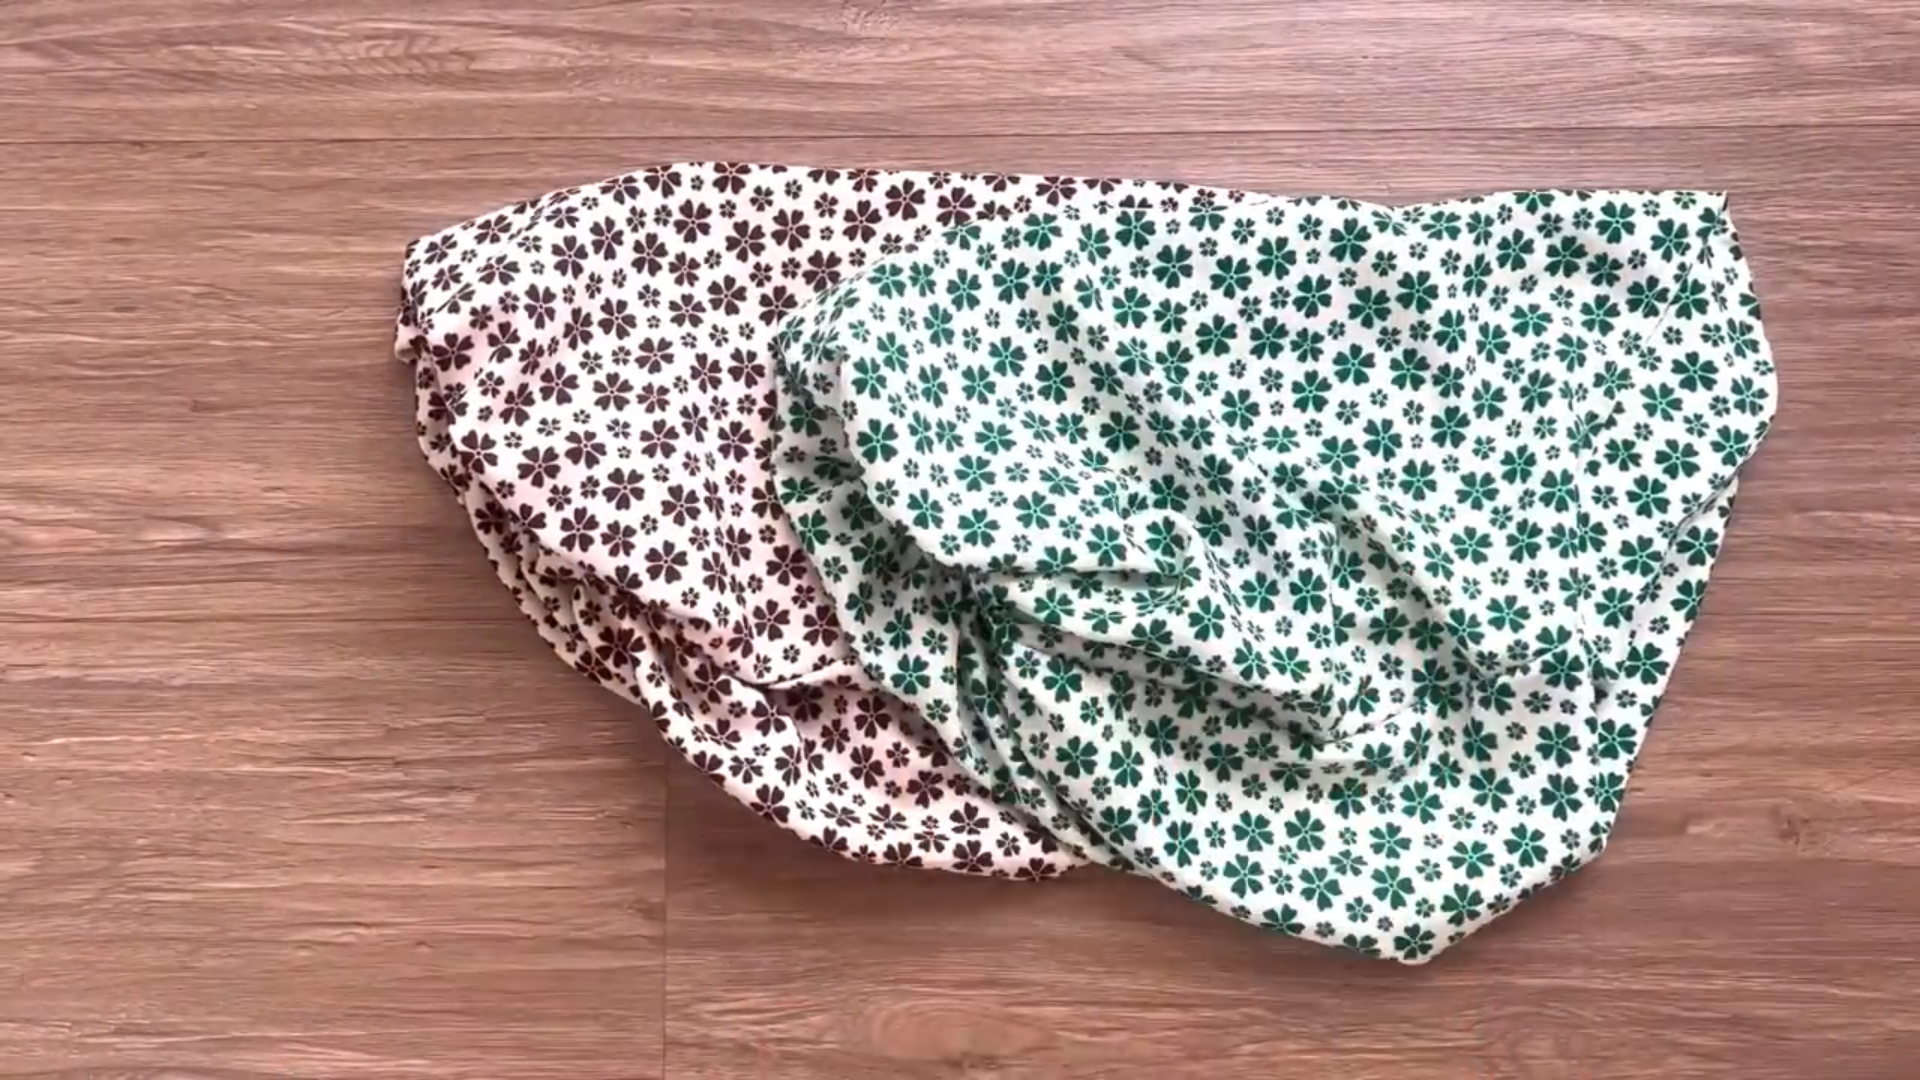
Repeat these steps for the second sleeve.
CONNECT THE SLEEVE AND THE BODICE
Align the sleeve seams with the armhole seams on the bodice.
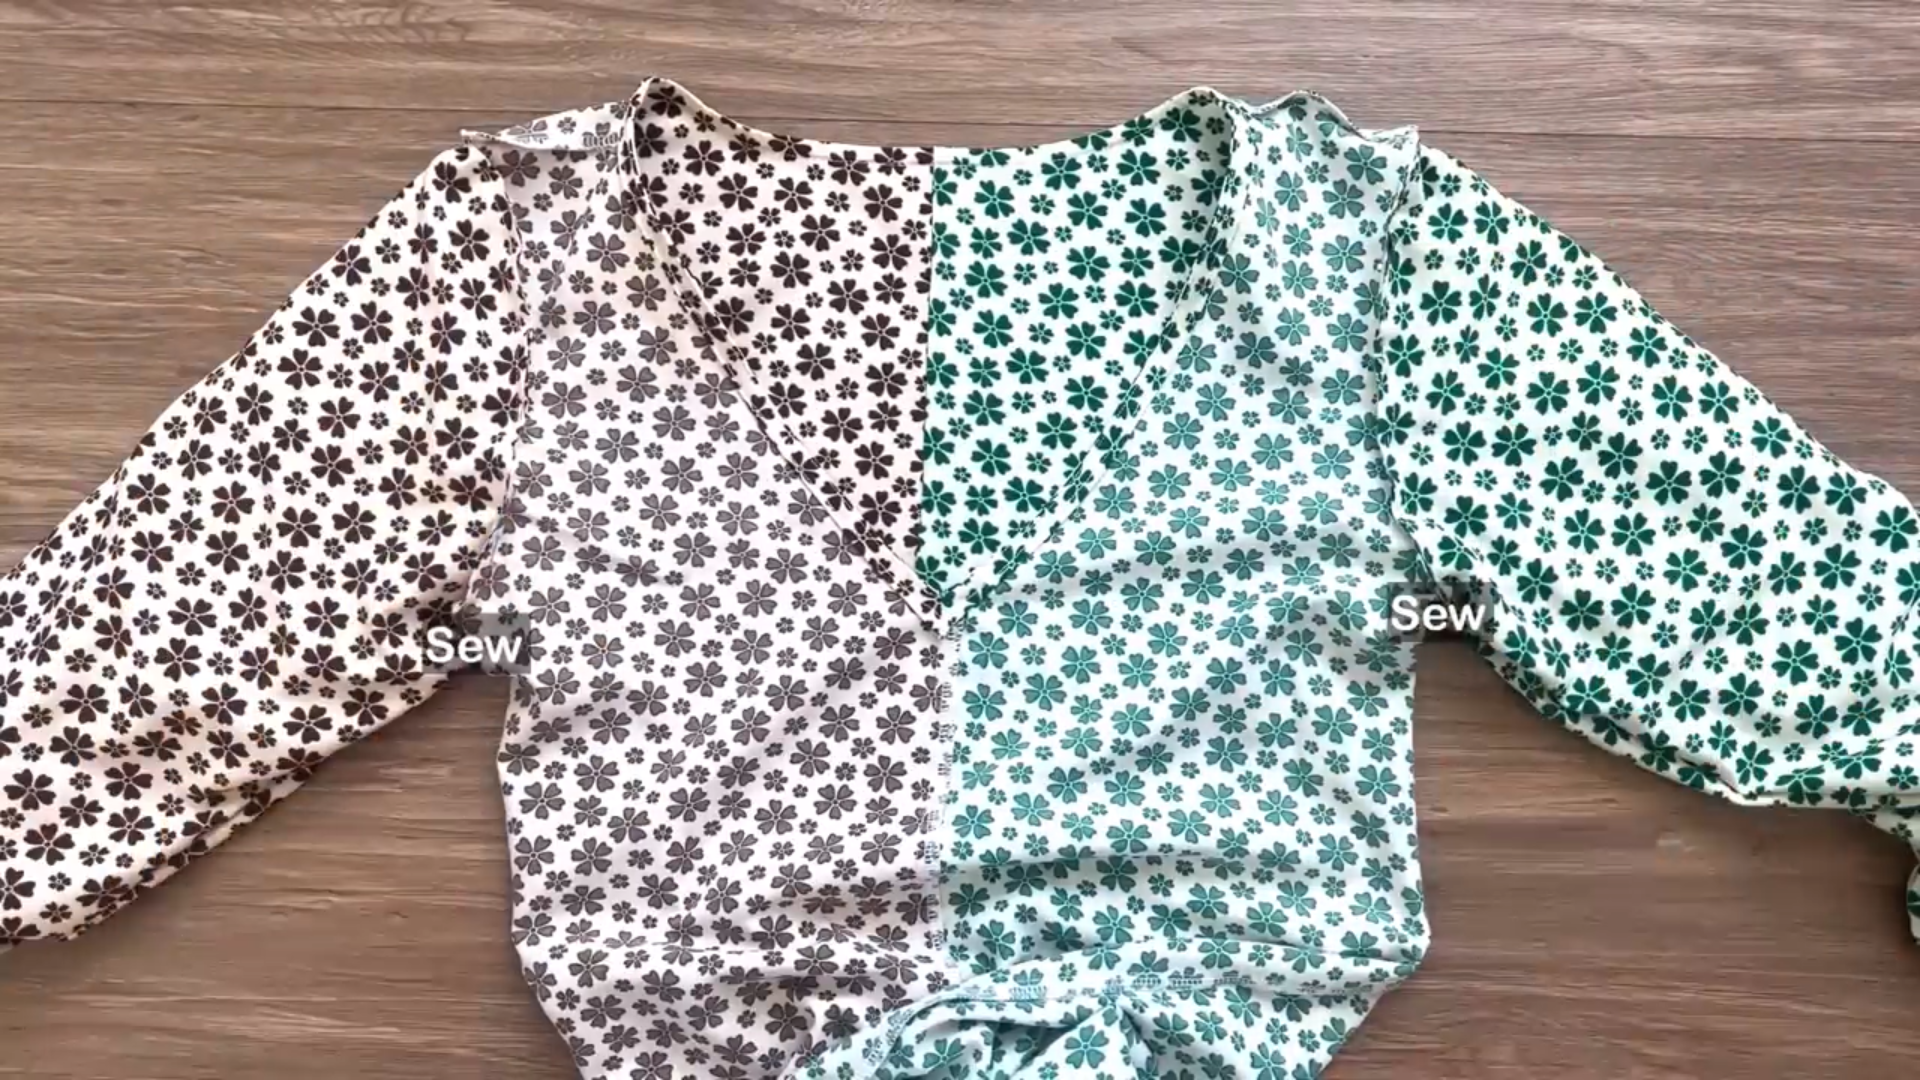
Sew the sleeves to the bodice. Turn the right side of the dress out.

Making my new favorite spring dress | Balloon/Bishop sleeve dress
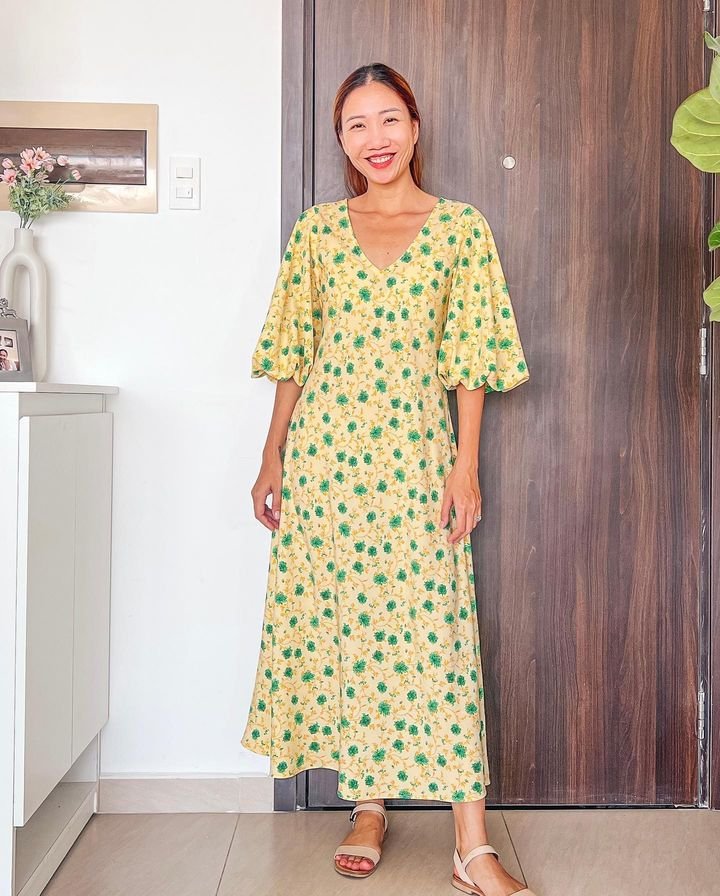
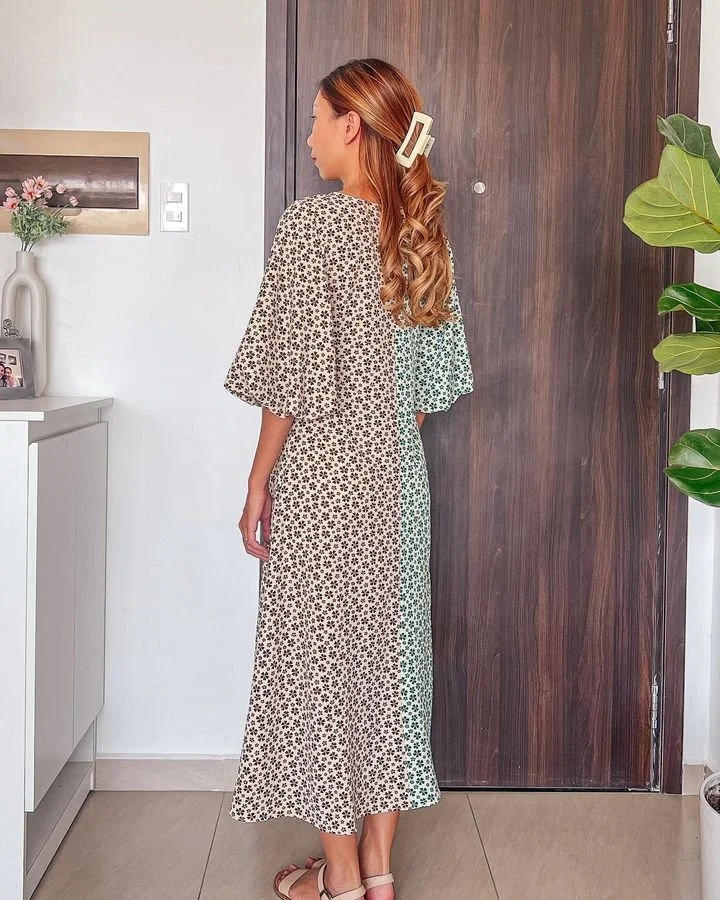
And that’s the finished DIY!
Here’s the final result, and I'm absolutely thrilled with how this balloon sleeve dress turned out! The combination of the romantic, voluminous sleeves and the loose, comfortable fit is simply perfect. I love how the deep V-neck adds a touch of elegance and the midi length is so versatile.
It’s not a complicated project, but the result is stunning and perfect for the season.

I hope you found my step-by-step guide helpful and inspiring.
If you’re interested in making your own, give it a try and let me know how it goes!
Until then, happy sewing!