DIY Summer dress | Simple open back dress for beginner | Step by step sewing tutorial [+ Free Pattern]

DIY Summer Dress

I’m going to show you how to make this fresh and flowy DIY summer dress with a stunning open back. This DIY summer dress tutorial is perfect for beginners, and you don’t need a DIY summer dress pattern for this, just some measuring tape to measure different areas of your body. Simple, huh? So without further ado, let’s get the show rolling and make a DIY summer dress together!
WHAT YOU’LL NEED
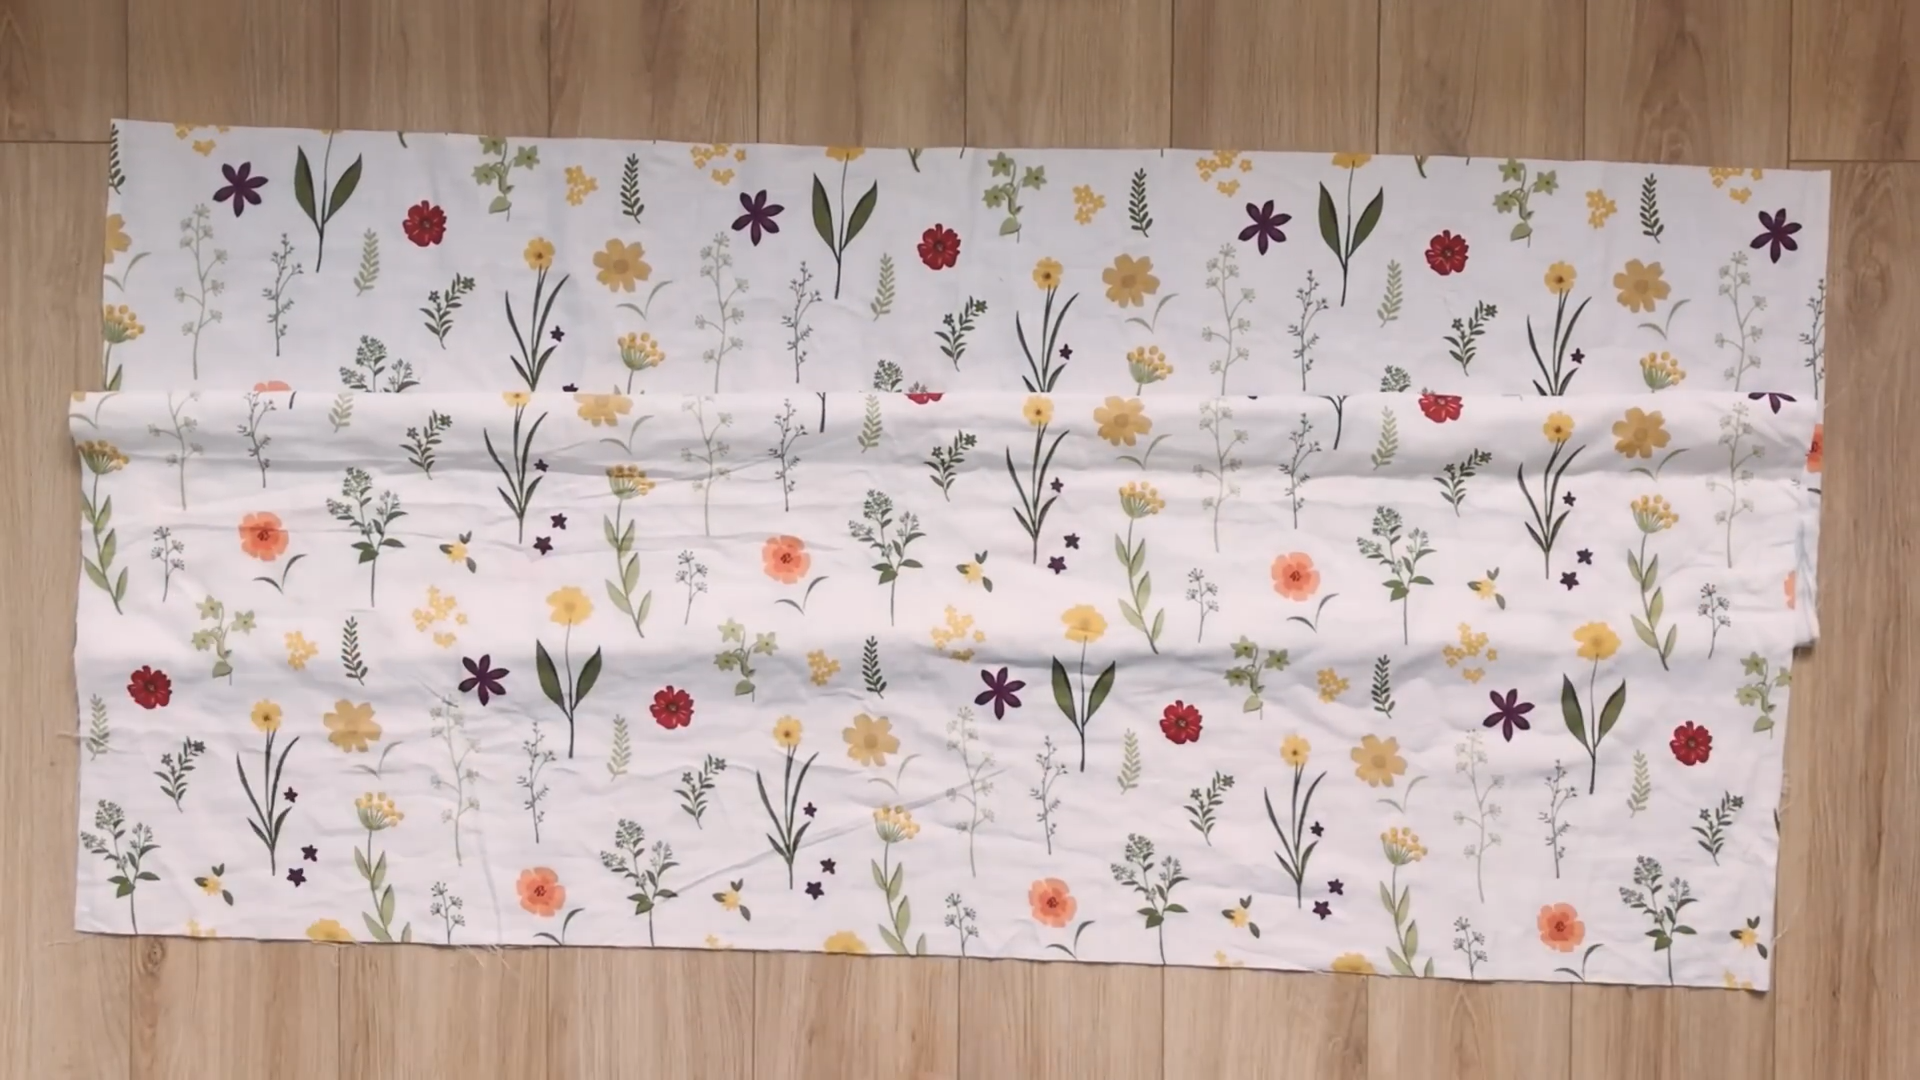
1.5m of cotton fabric
Pins
Sewing machine
Scissors
Measuring tape
Chalk
SEWING THE DRESS
THE TOP
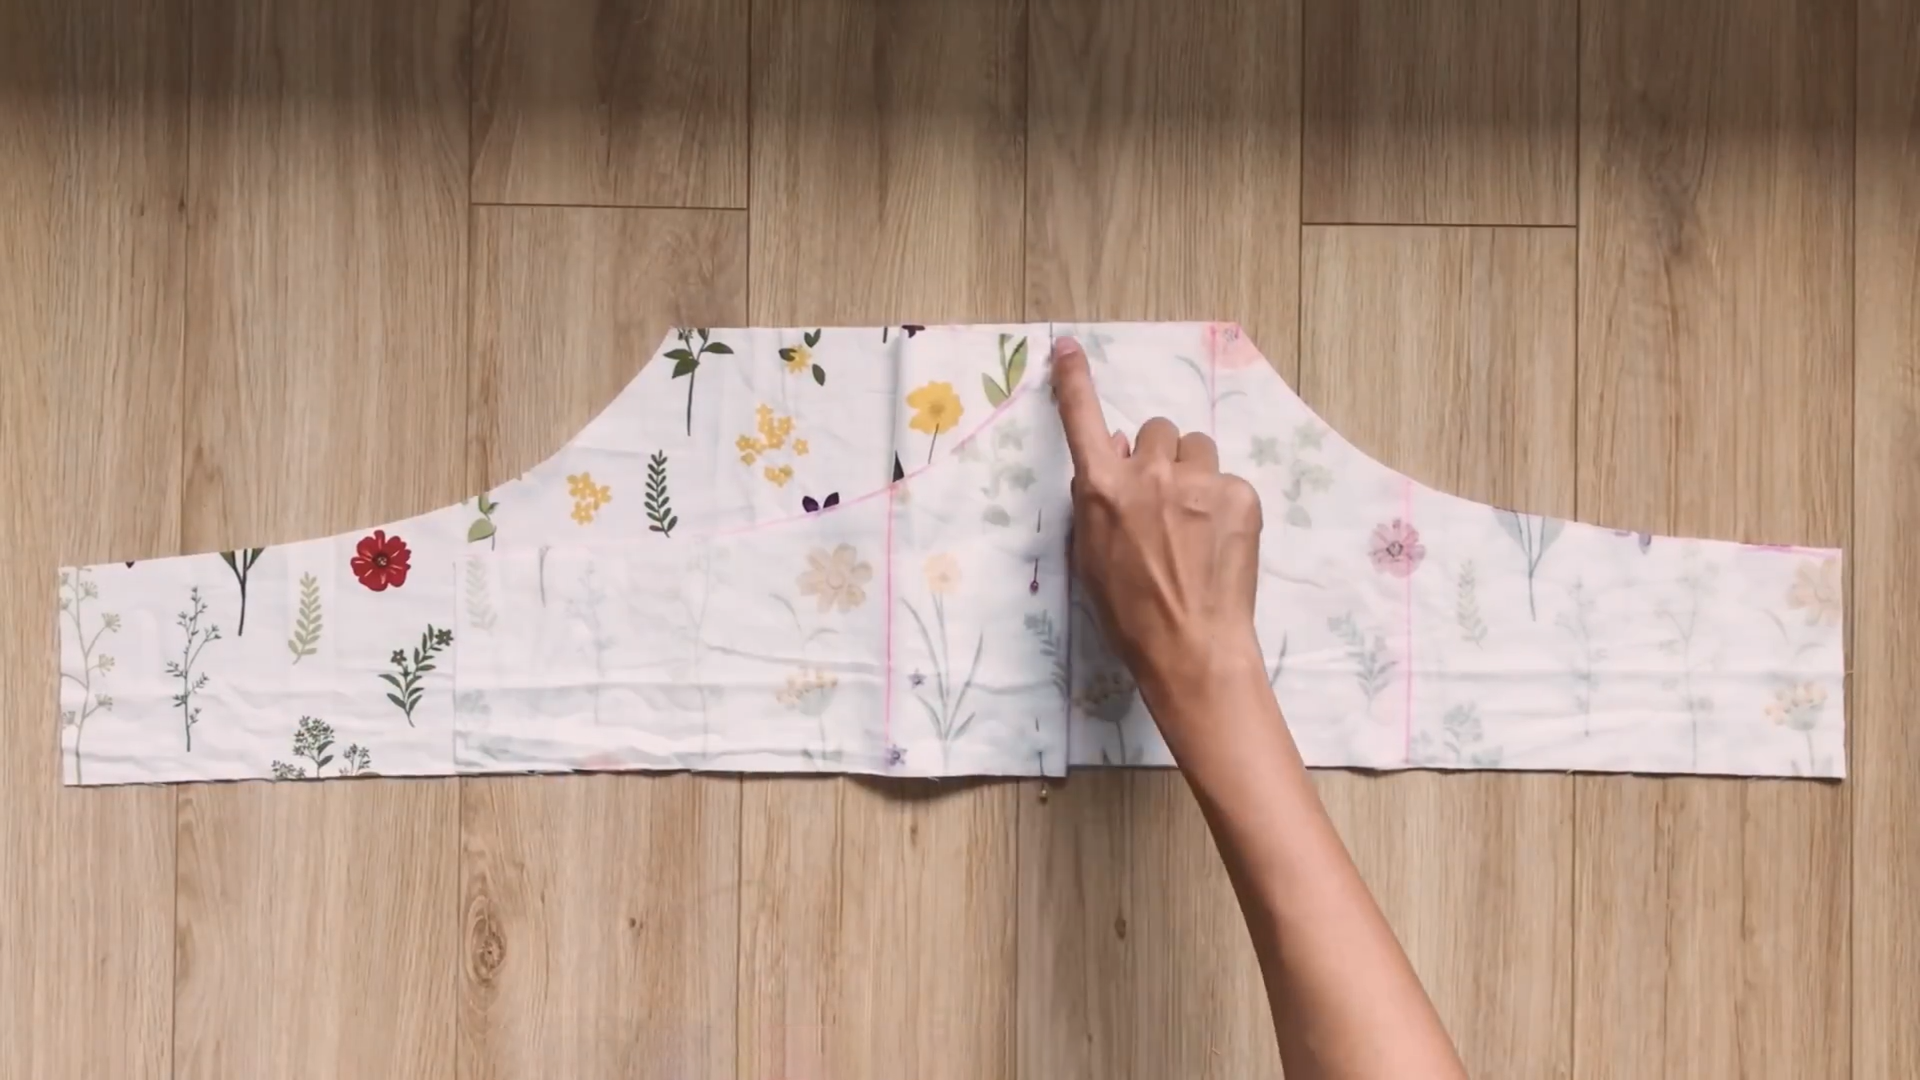
The top pattern
THE TOP PATTERN
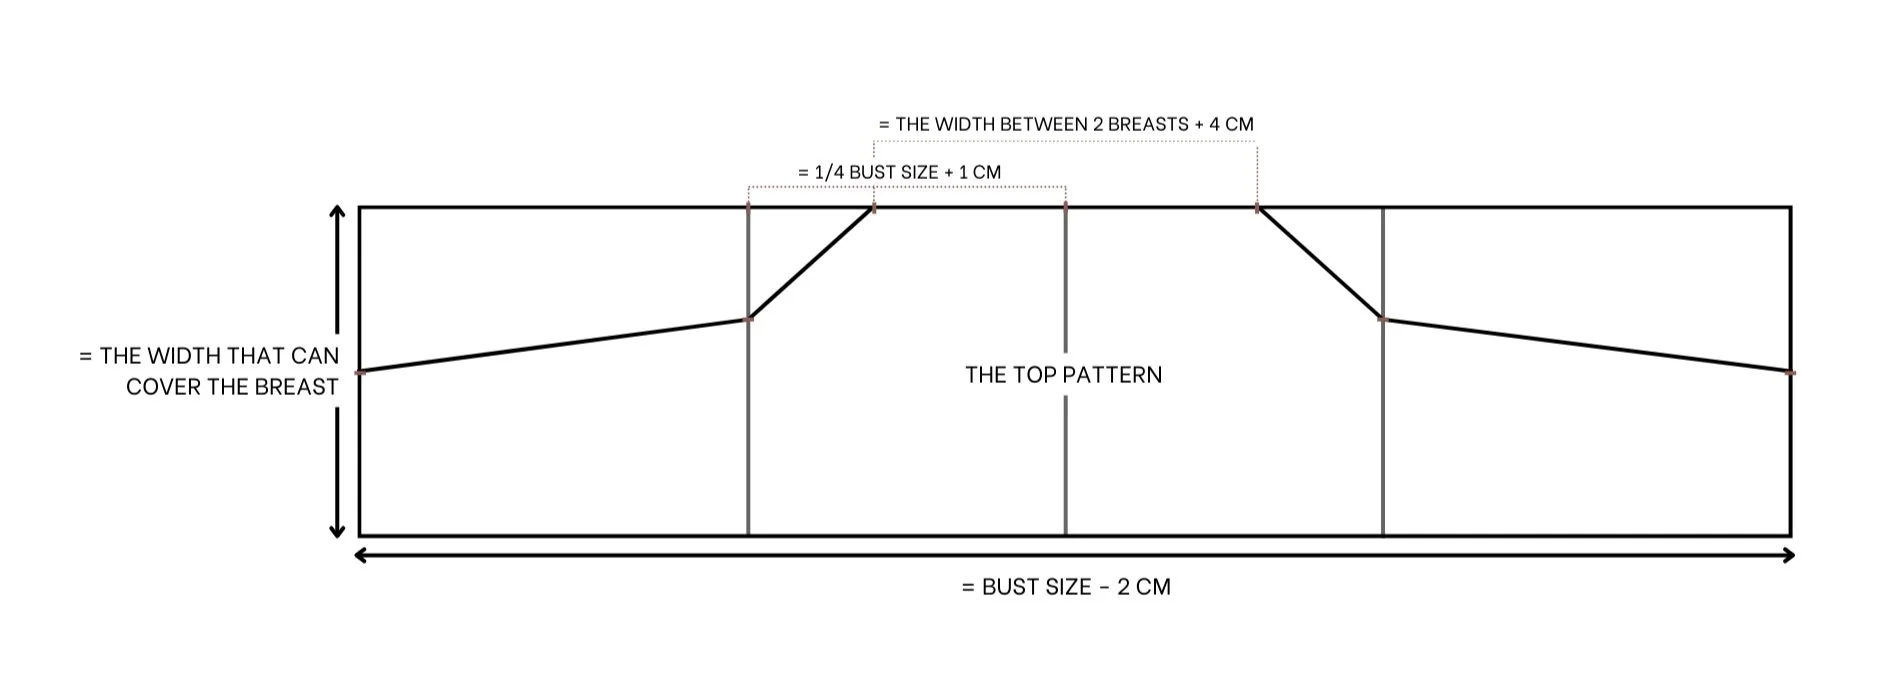
Cut two rectangles, each measuring 20cm in length to cover your bust and 80cm in width, adjusting for your bust size minus 2cm.
Begin by drawing a straight line at the center of the rectangle.
Draw two additional straight lines on either side, each with a width of 21cm, a quarter of your waist measurement plus 1cm for seam allowance.
Establish the width between the two new lines as half of your waist measurement plus 2cm for seam allowance.
Make two marks on either side of the center line, 13cm apart, creating a width of 26cm, corresponding to the distance between your breasts plus 4cm.
Extend two straight lines outward, marking 7cm from the top, and connect them to the marks for the desired shape.
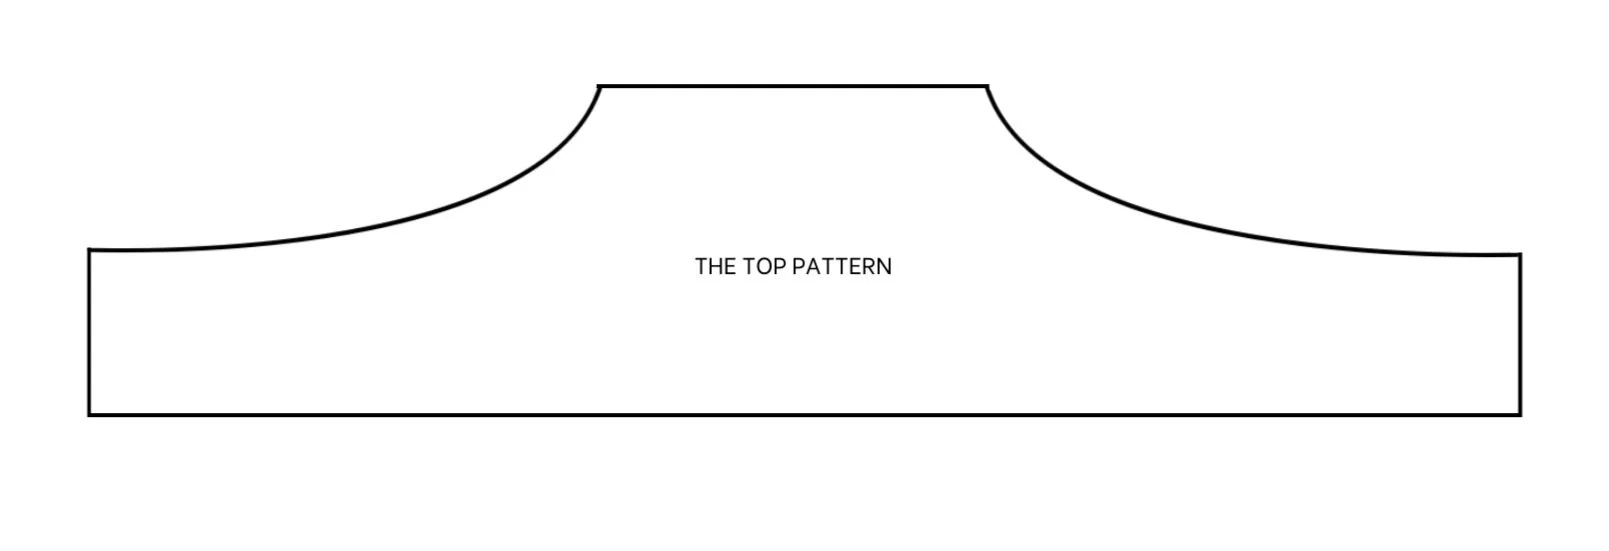
Use the same side to define the underarm line for the top.
On the side lines, mark the midpoint and connect it to the underarm line.
Based on this line, draw a curved line to create the shape from the top to under the armpit and to the back.
Add two new straight lines at 12cm from the center straight line, half the width between your breasts plus 1cm, allowing for easy folding of the fabric after cutting.
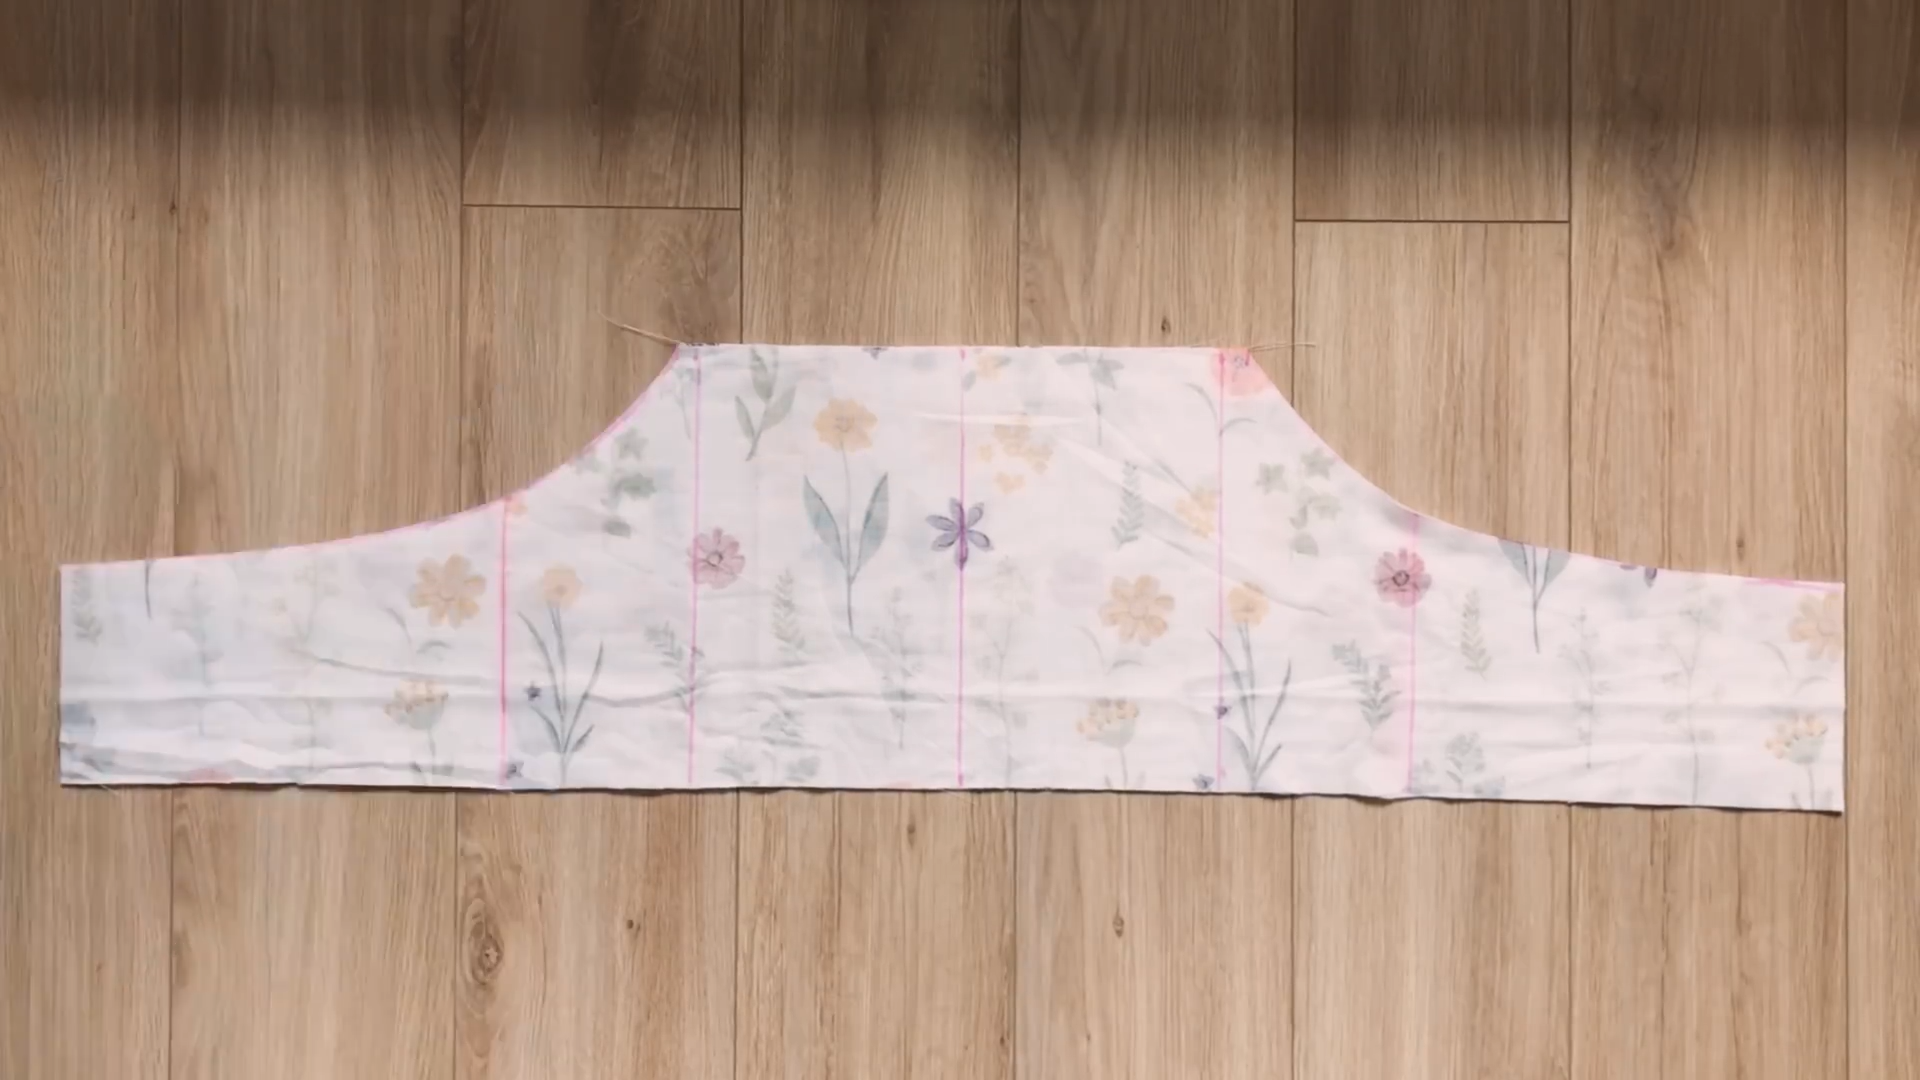
When you’re done creating the bust, go ahead and cut out the outline.
Fold your front bust piece on the second line from the side, pin this line, and fold over to the next line, as shown.
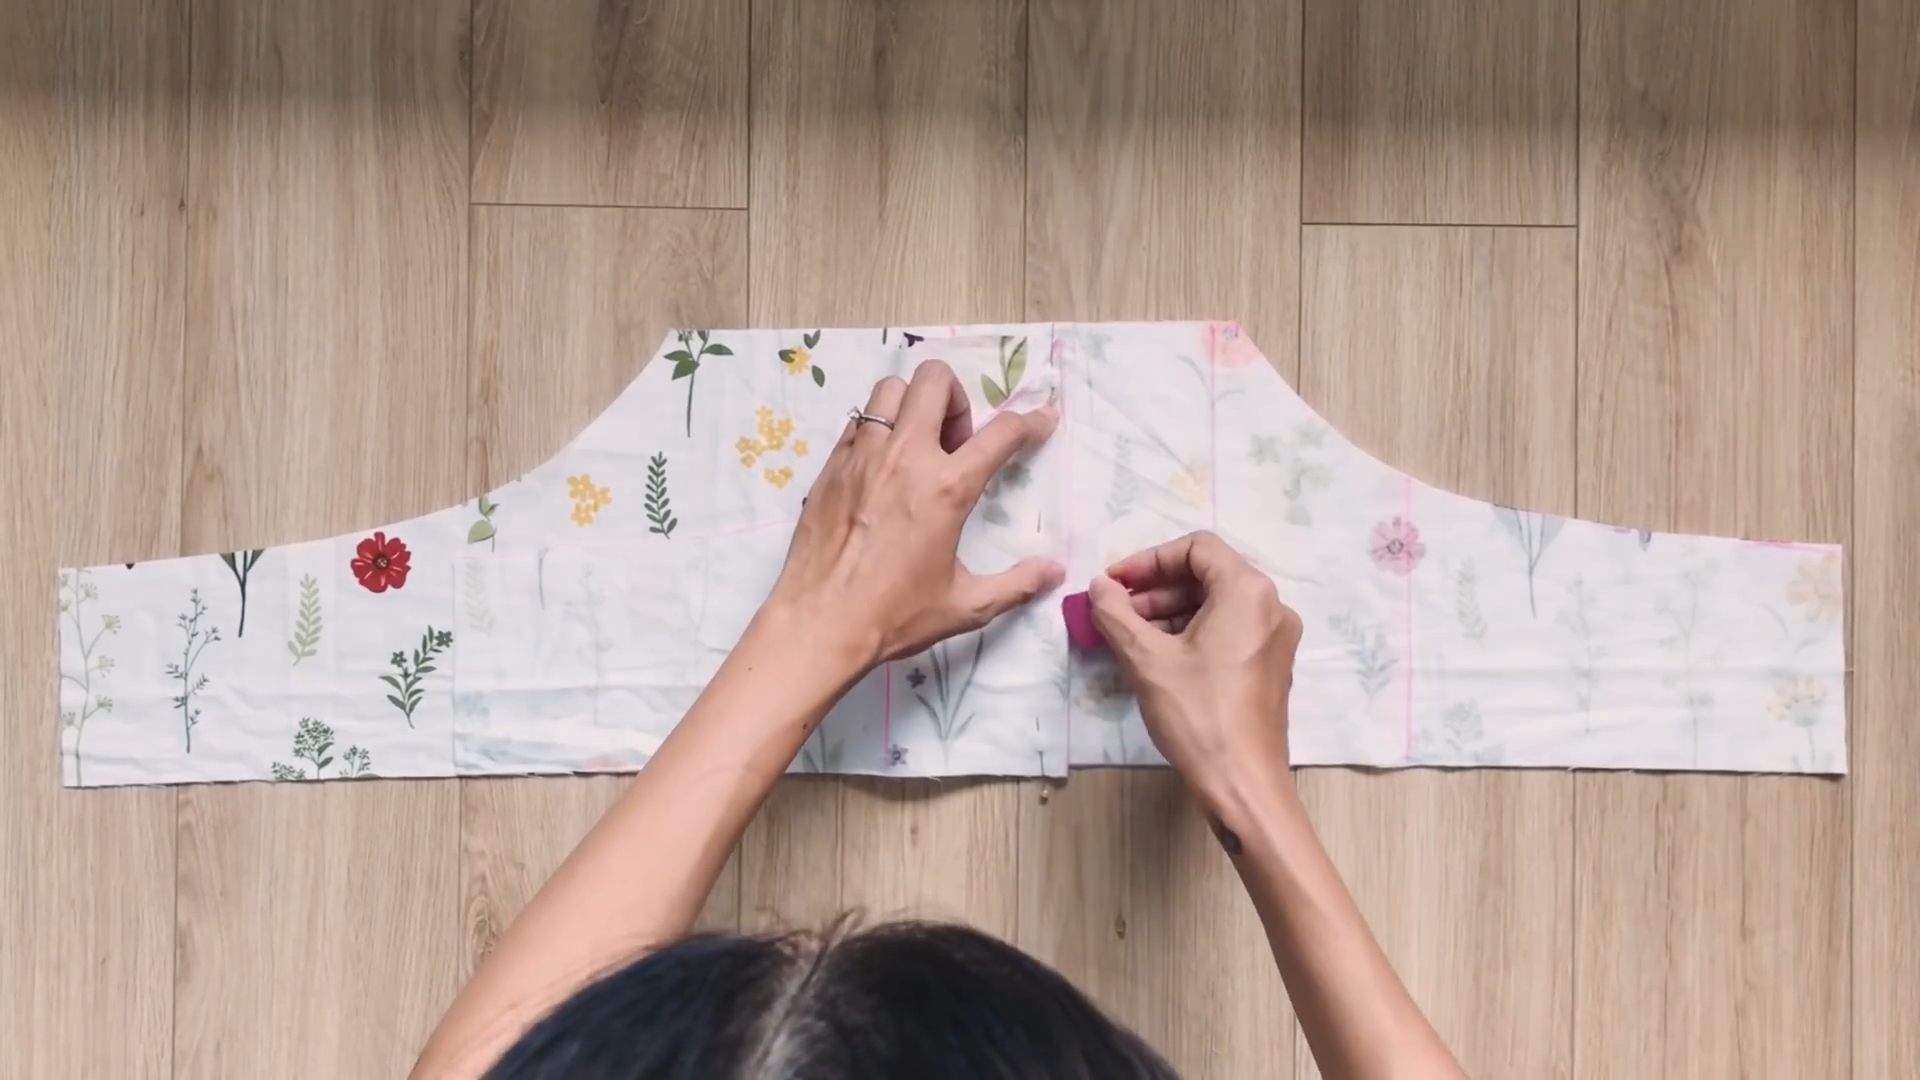
Draw a curved line as shown. This will create the bust area for the top. The curvature of this line will depend on the size of your actual bust; if it’s small, medium, big.
Then, sew it in place and repeat on the second line on the other side of the front bodice.
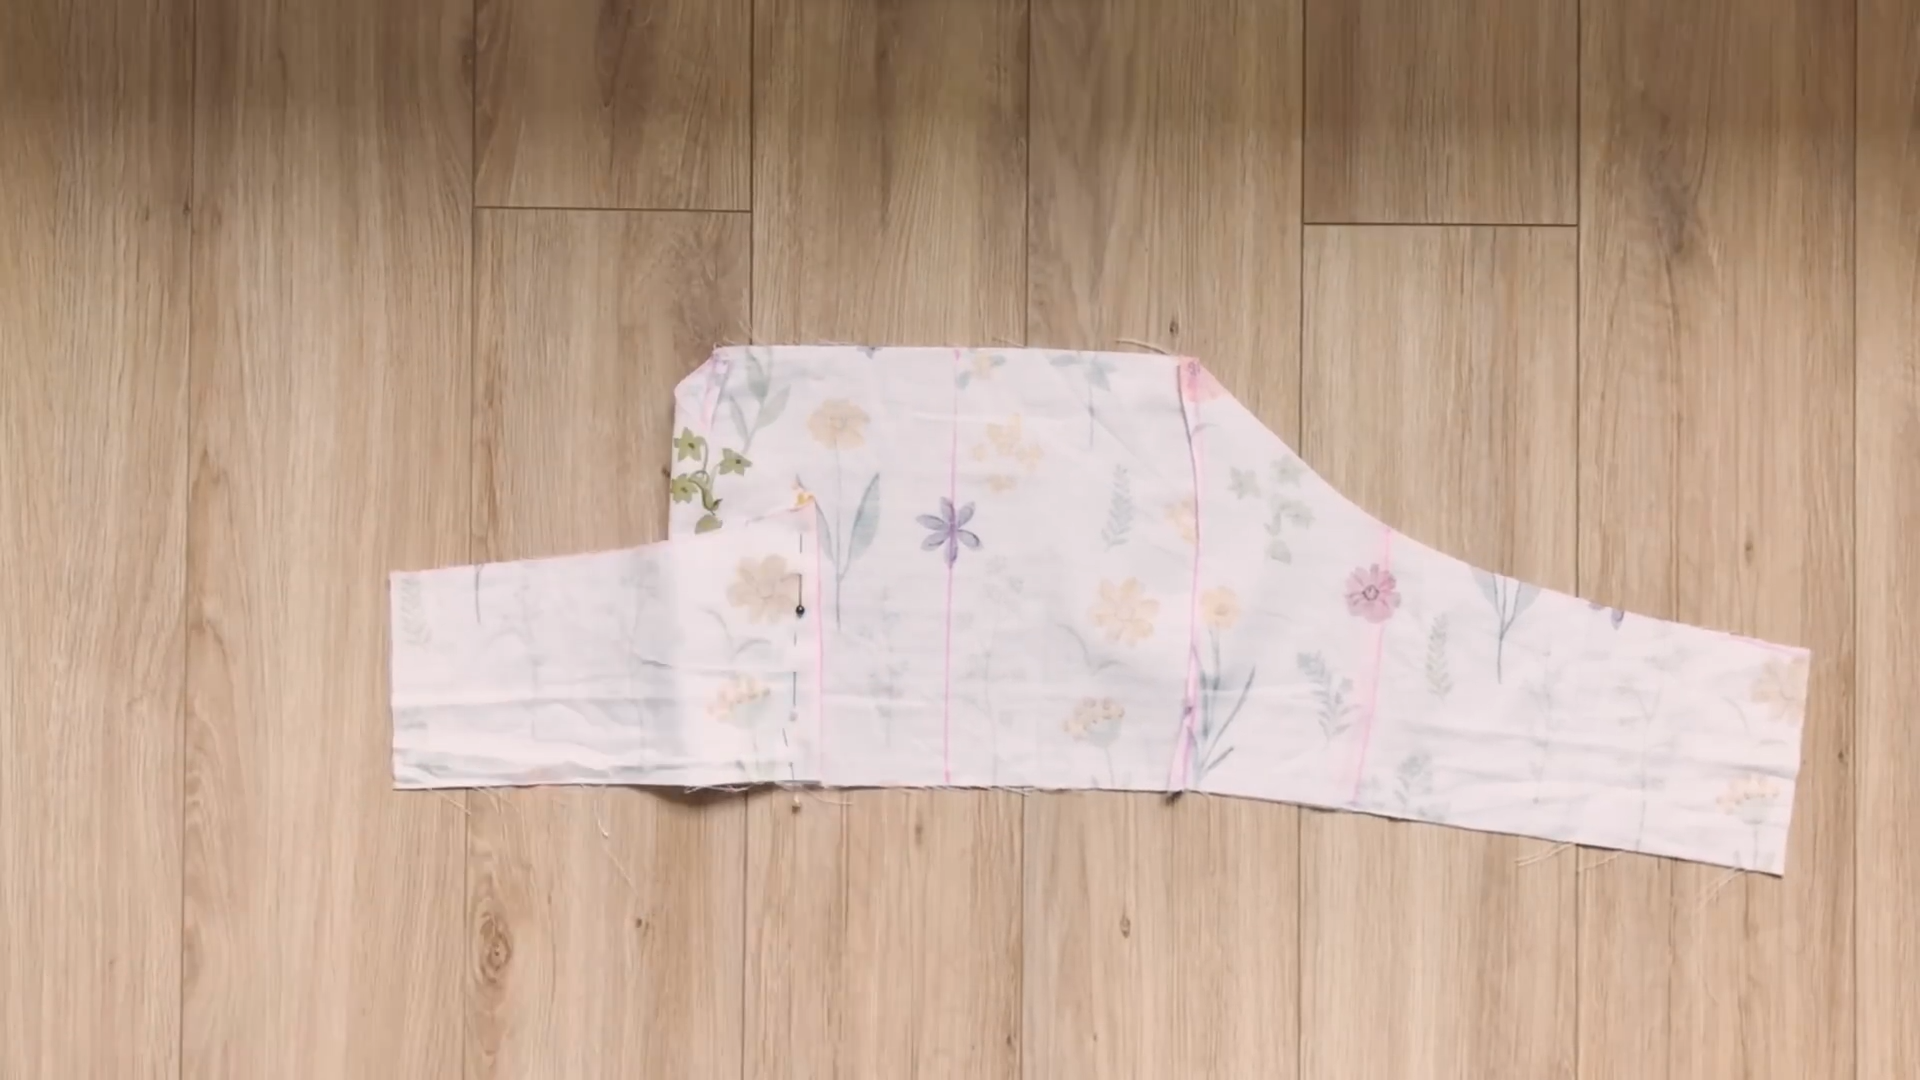
Draw a small triangle starting from the first line on the side. Measure from the top and add a 1 cm (0.4 inches) curve.
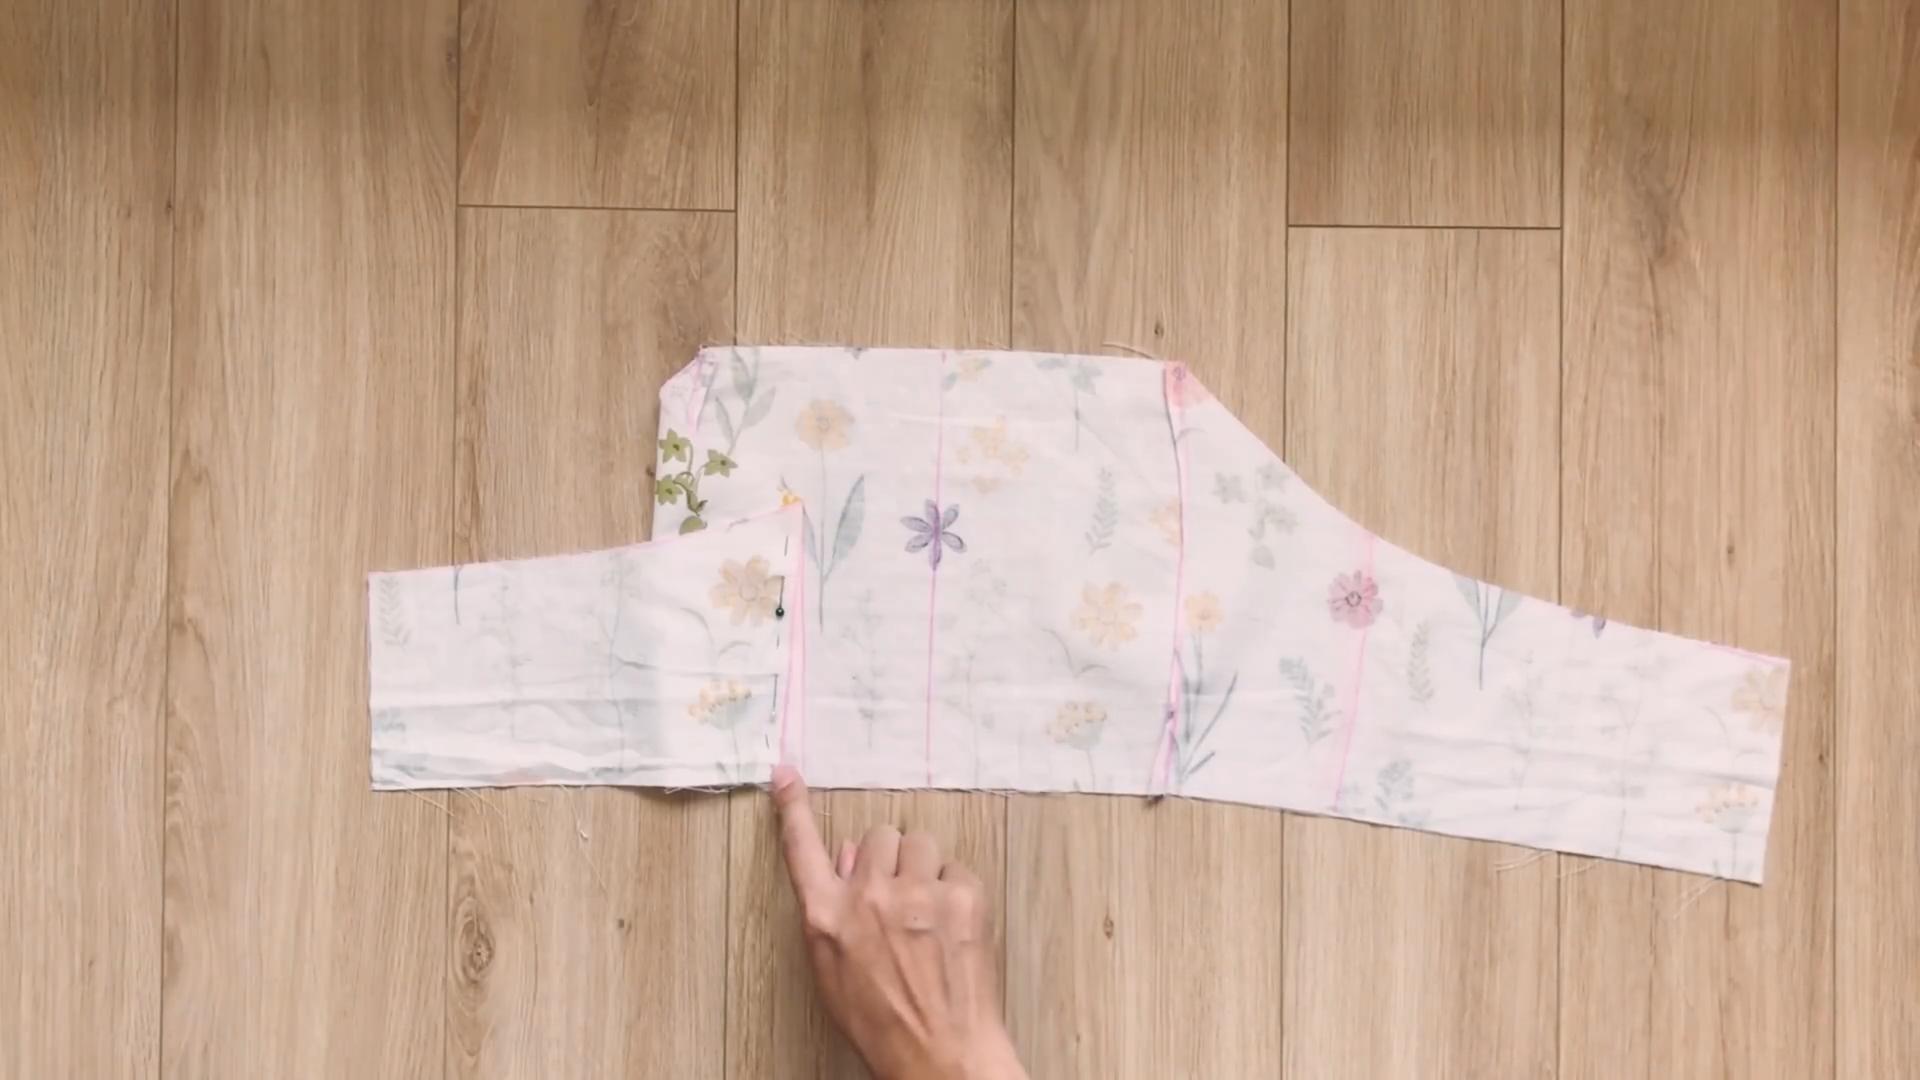
Sew along this curve and repeat this on the other side.
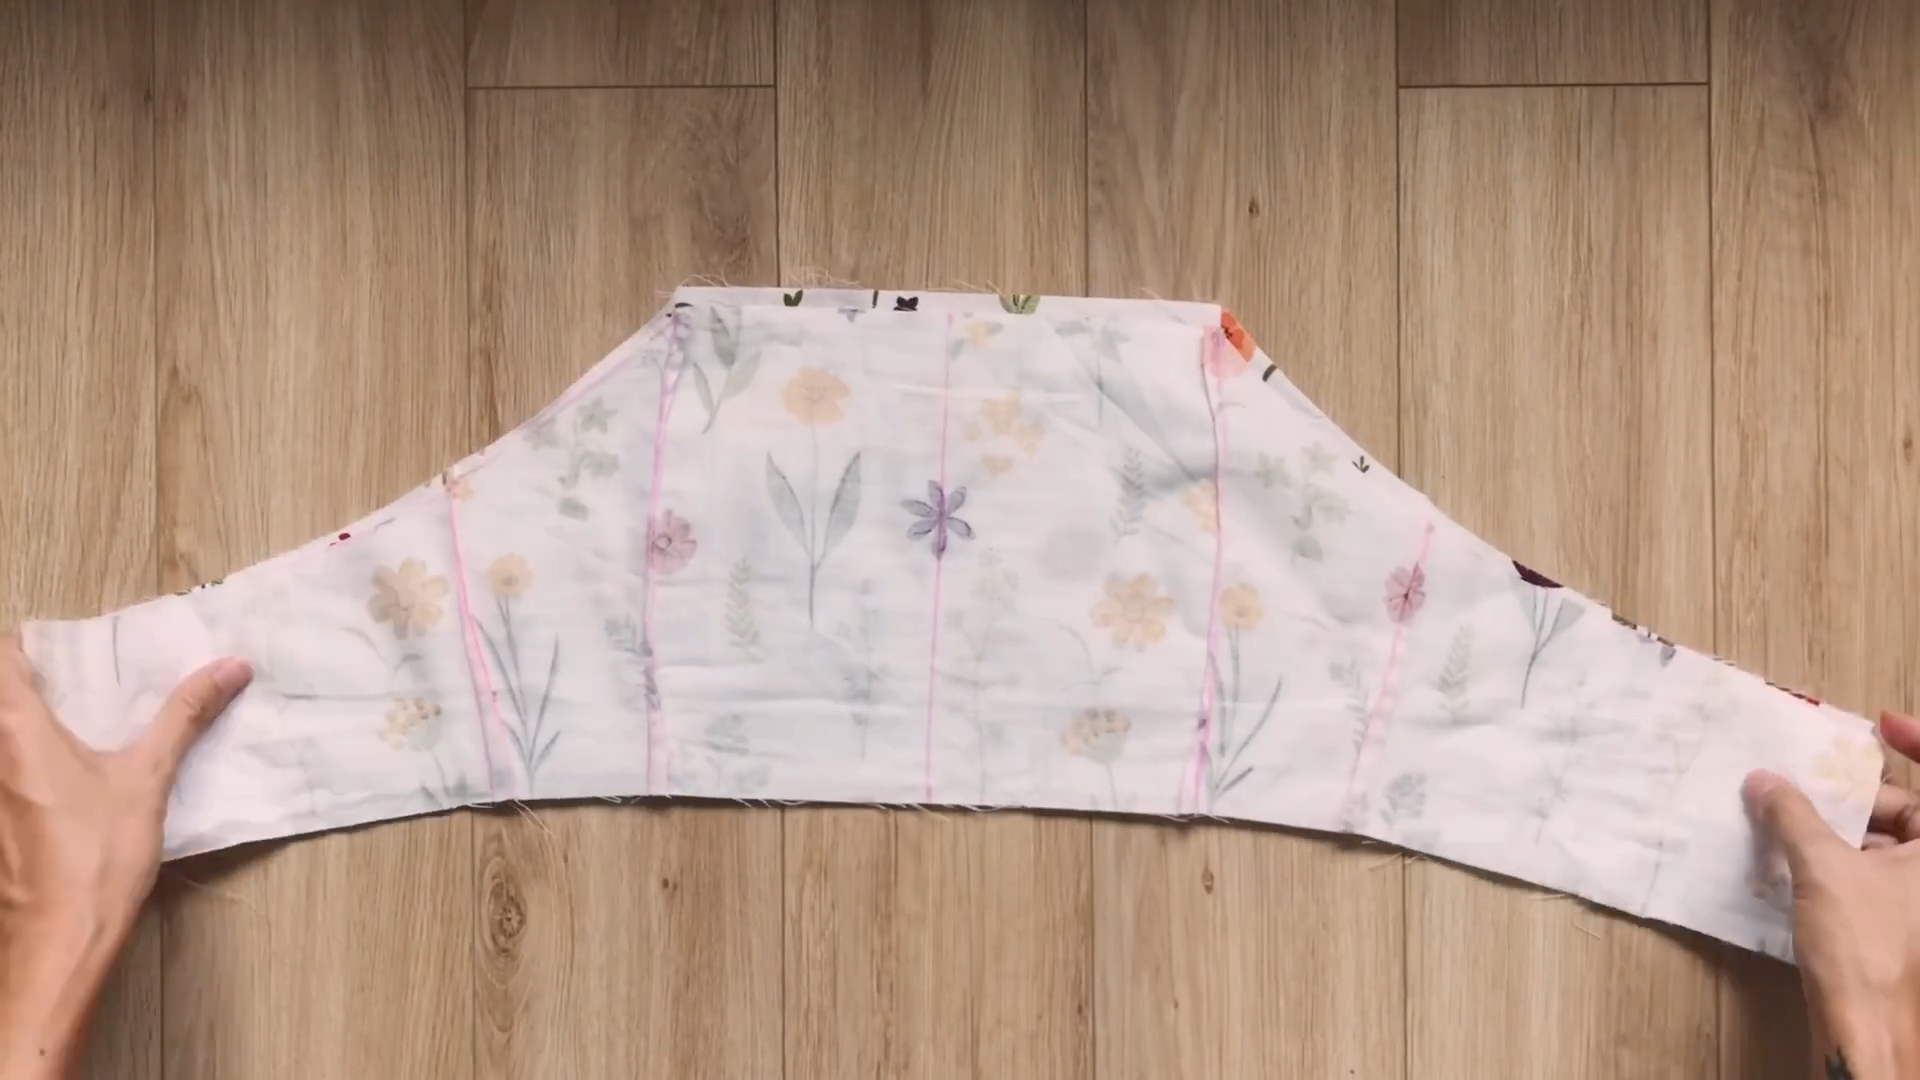
Connect the front and back pieces, pinning down the edges, and making sure the pieces are right sides facing.
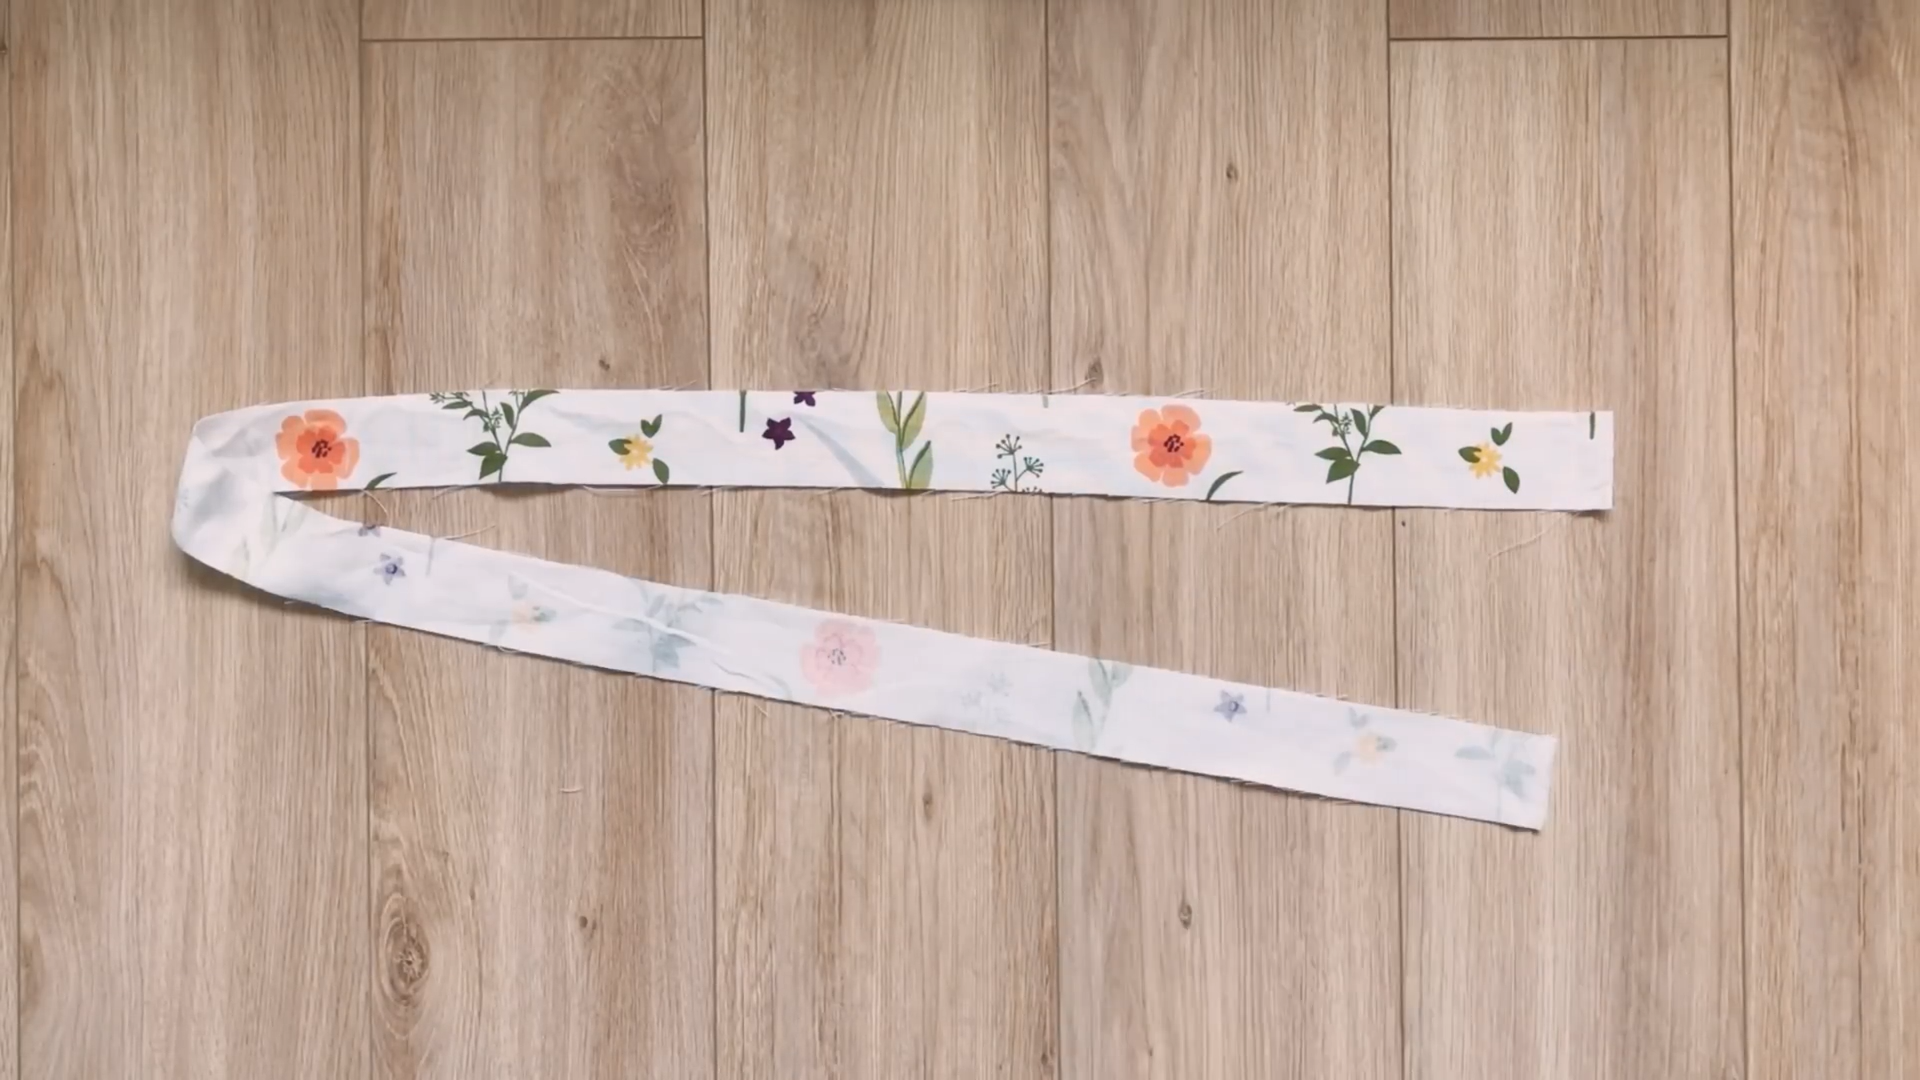
Cut out two strips of 4cm x 70cm fabric.
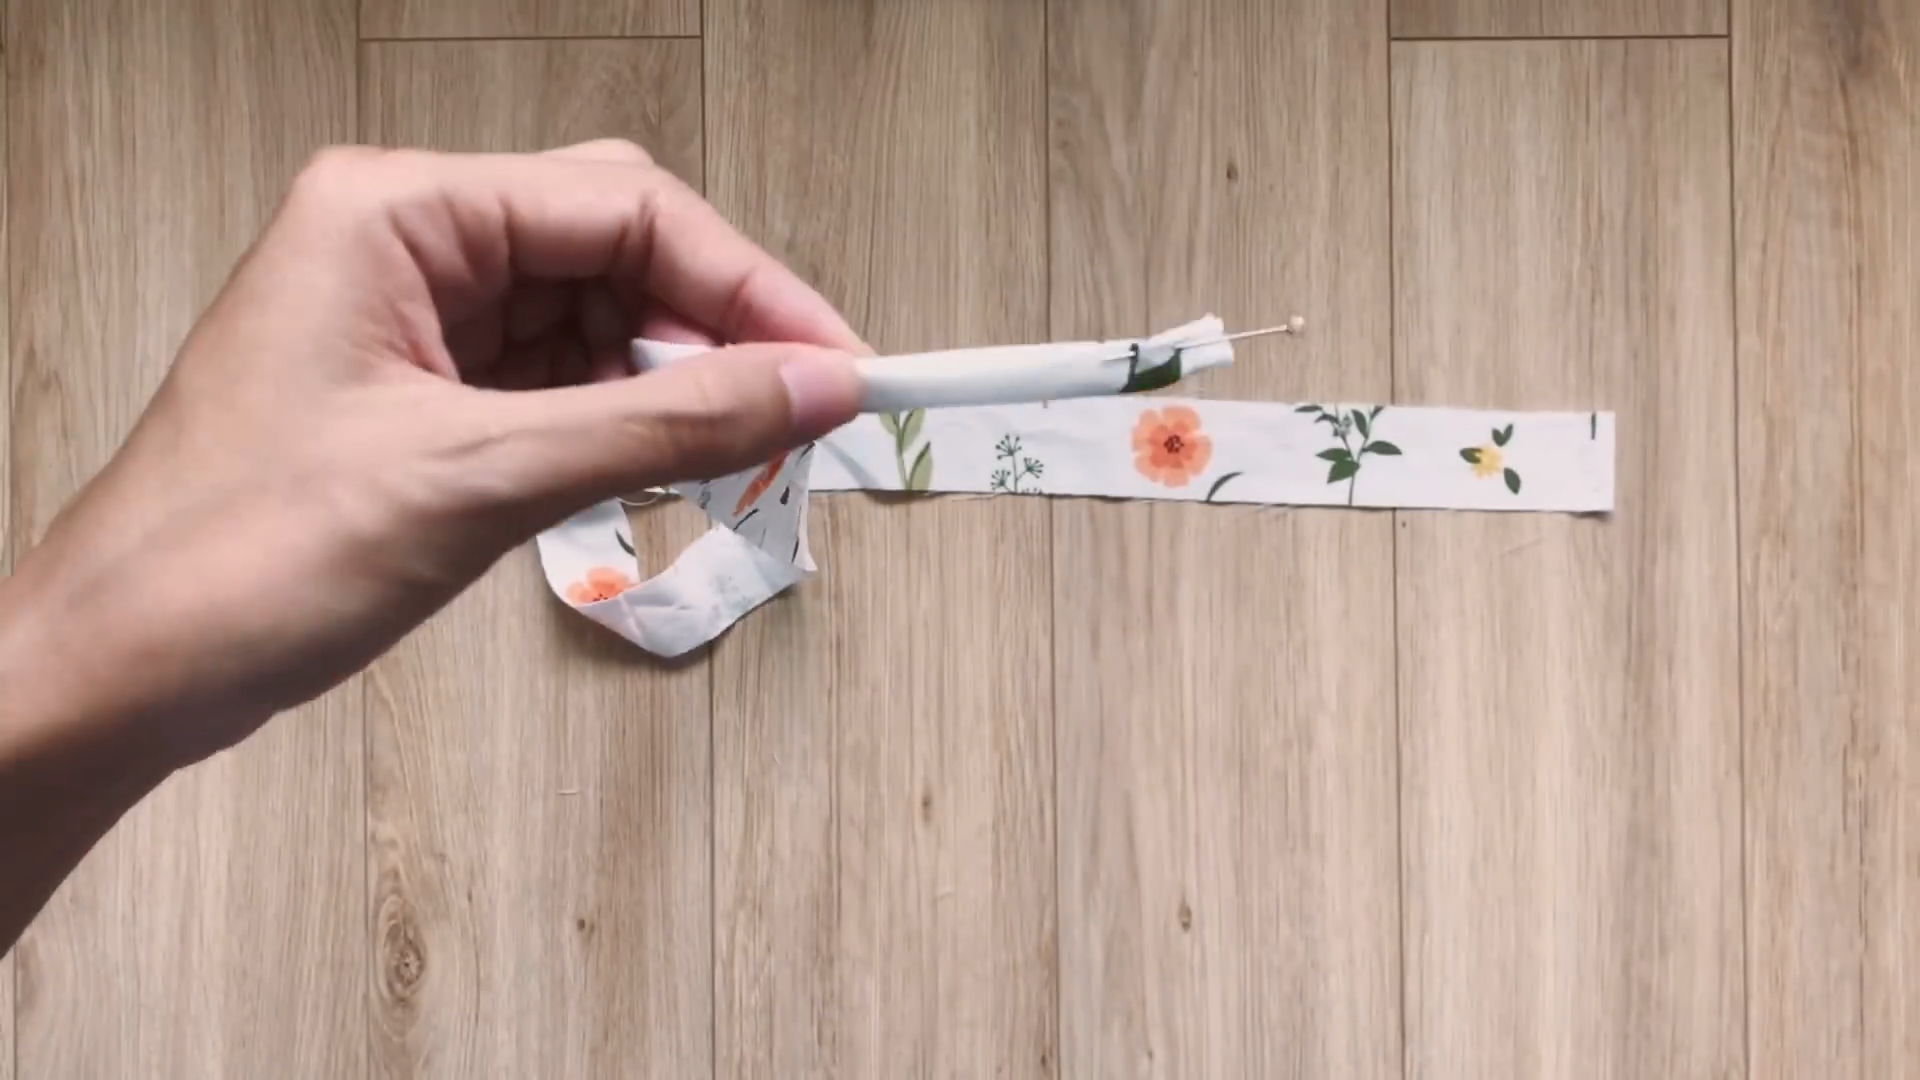
Fold each side inwards and fold in half. Then sew along the edge of the strap.
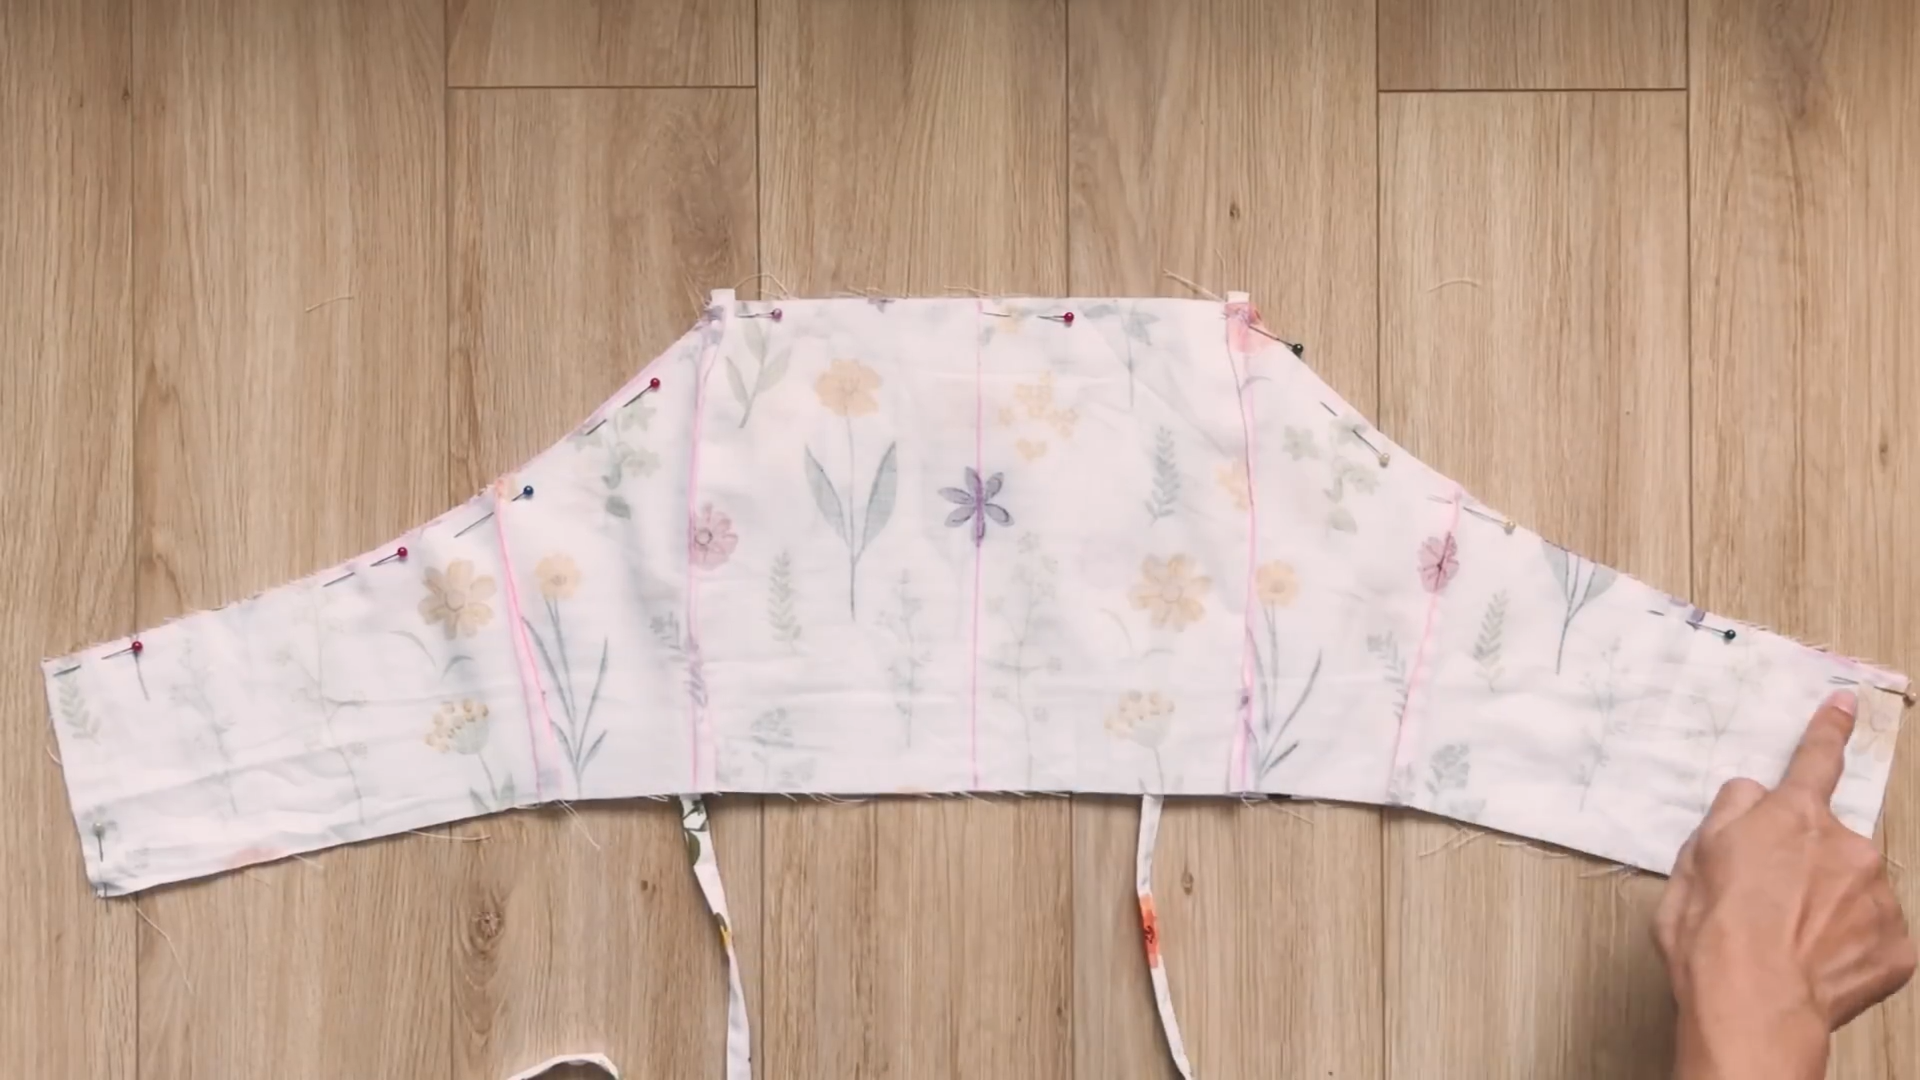
Add the straps, place them in between your bodice pieces, and pin each end to the front and back bodice pieces.
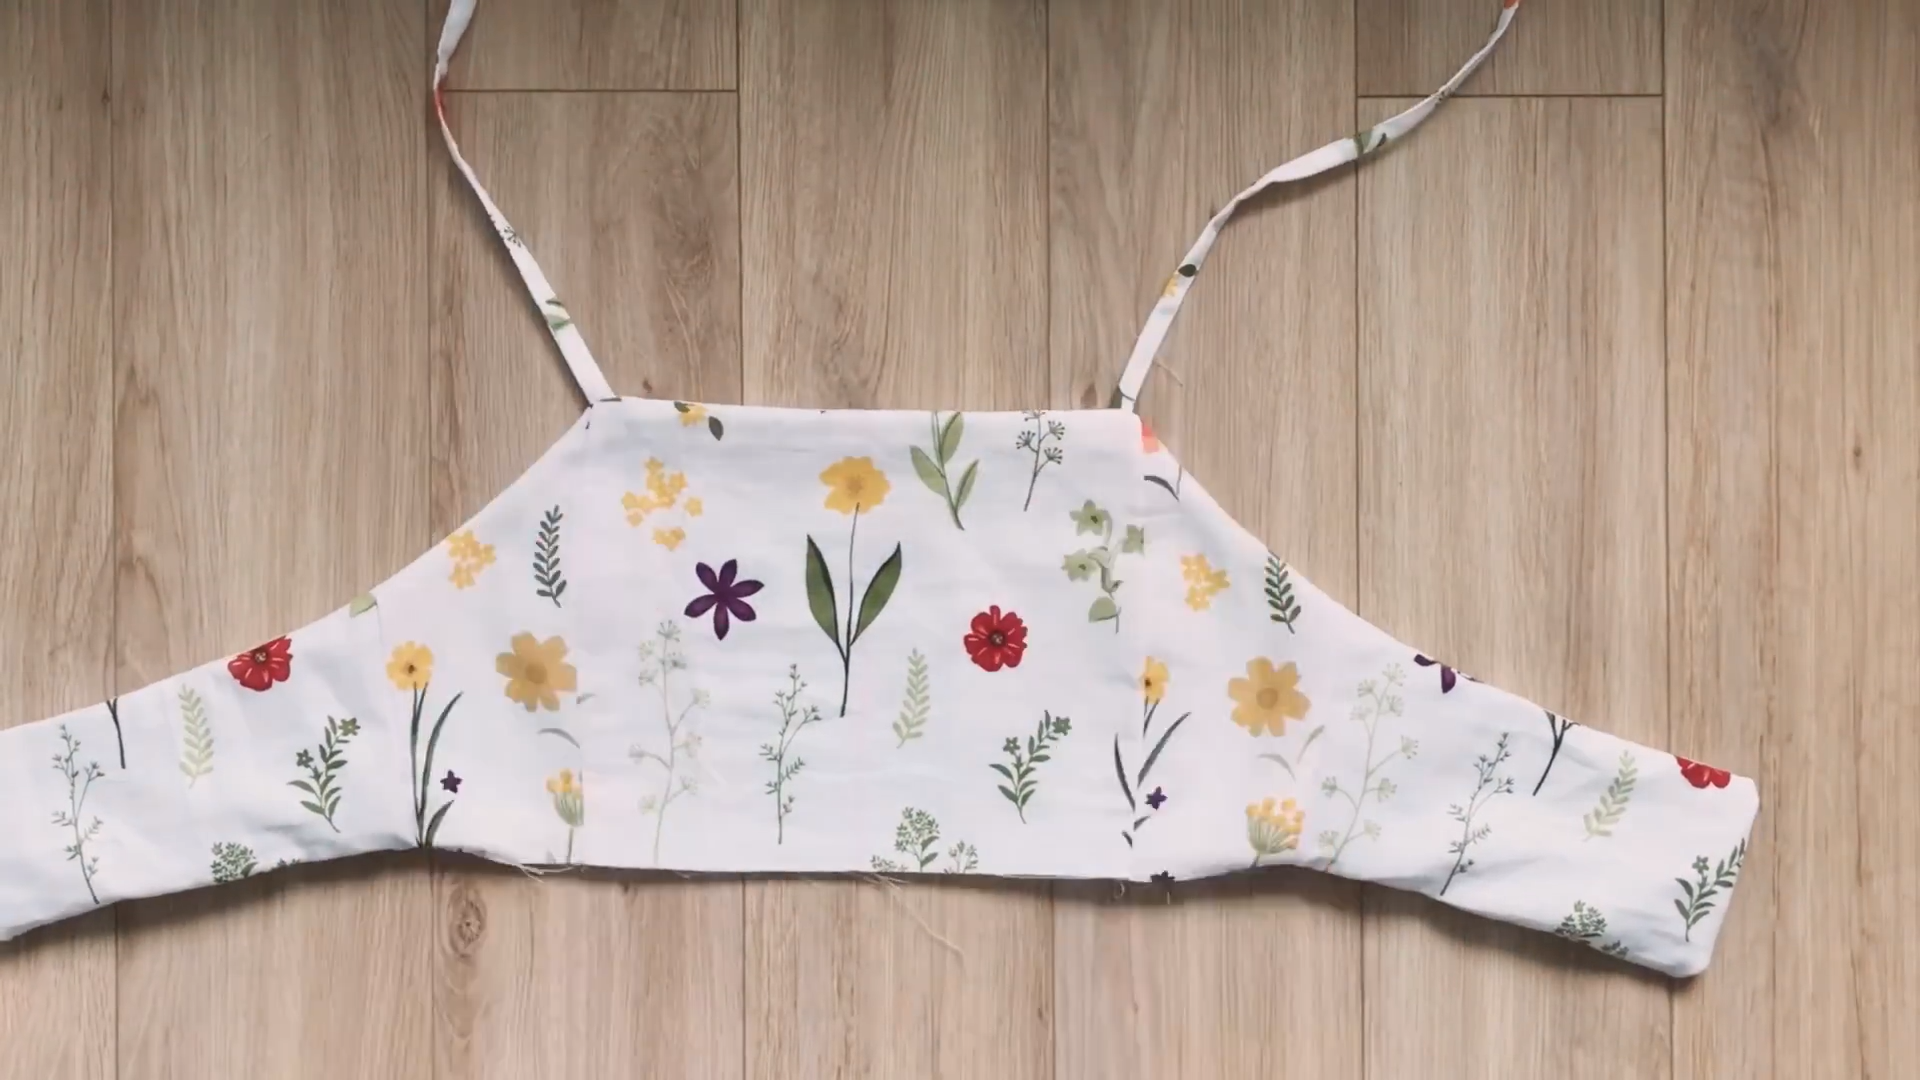
Sew the top of the bodice piece and the bottom side pieces, leaving a gap in the middle.
After upsiding, you will have the top of the dress.
THE BOTTOM
THE FRONT PART
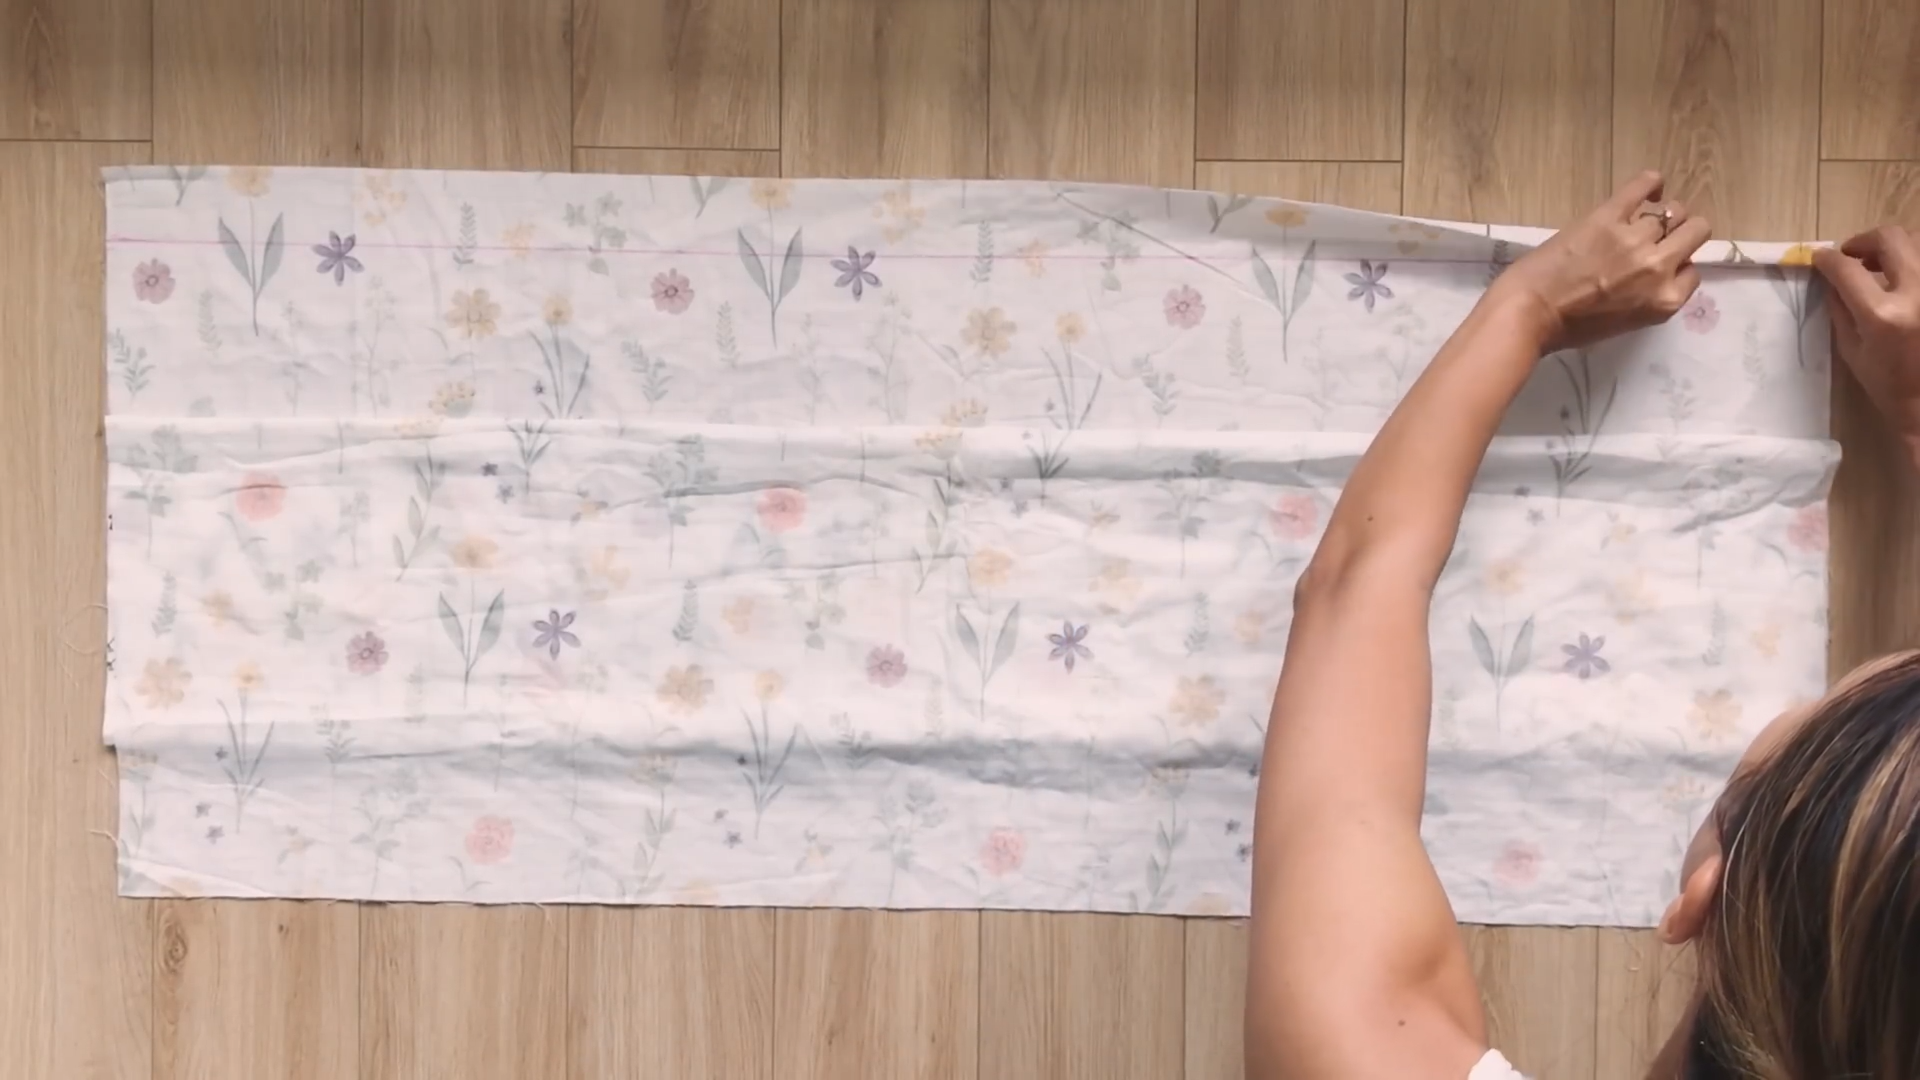
Measure your hip size and the length of the skirt, starting from the under-bust to over the knee. Cut a rectangle.
At one of the edges of the width, sew a loose seam and make gathers that will fit the bottom of your bodice.
THE BACK PART
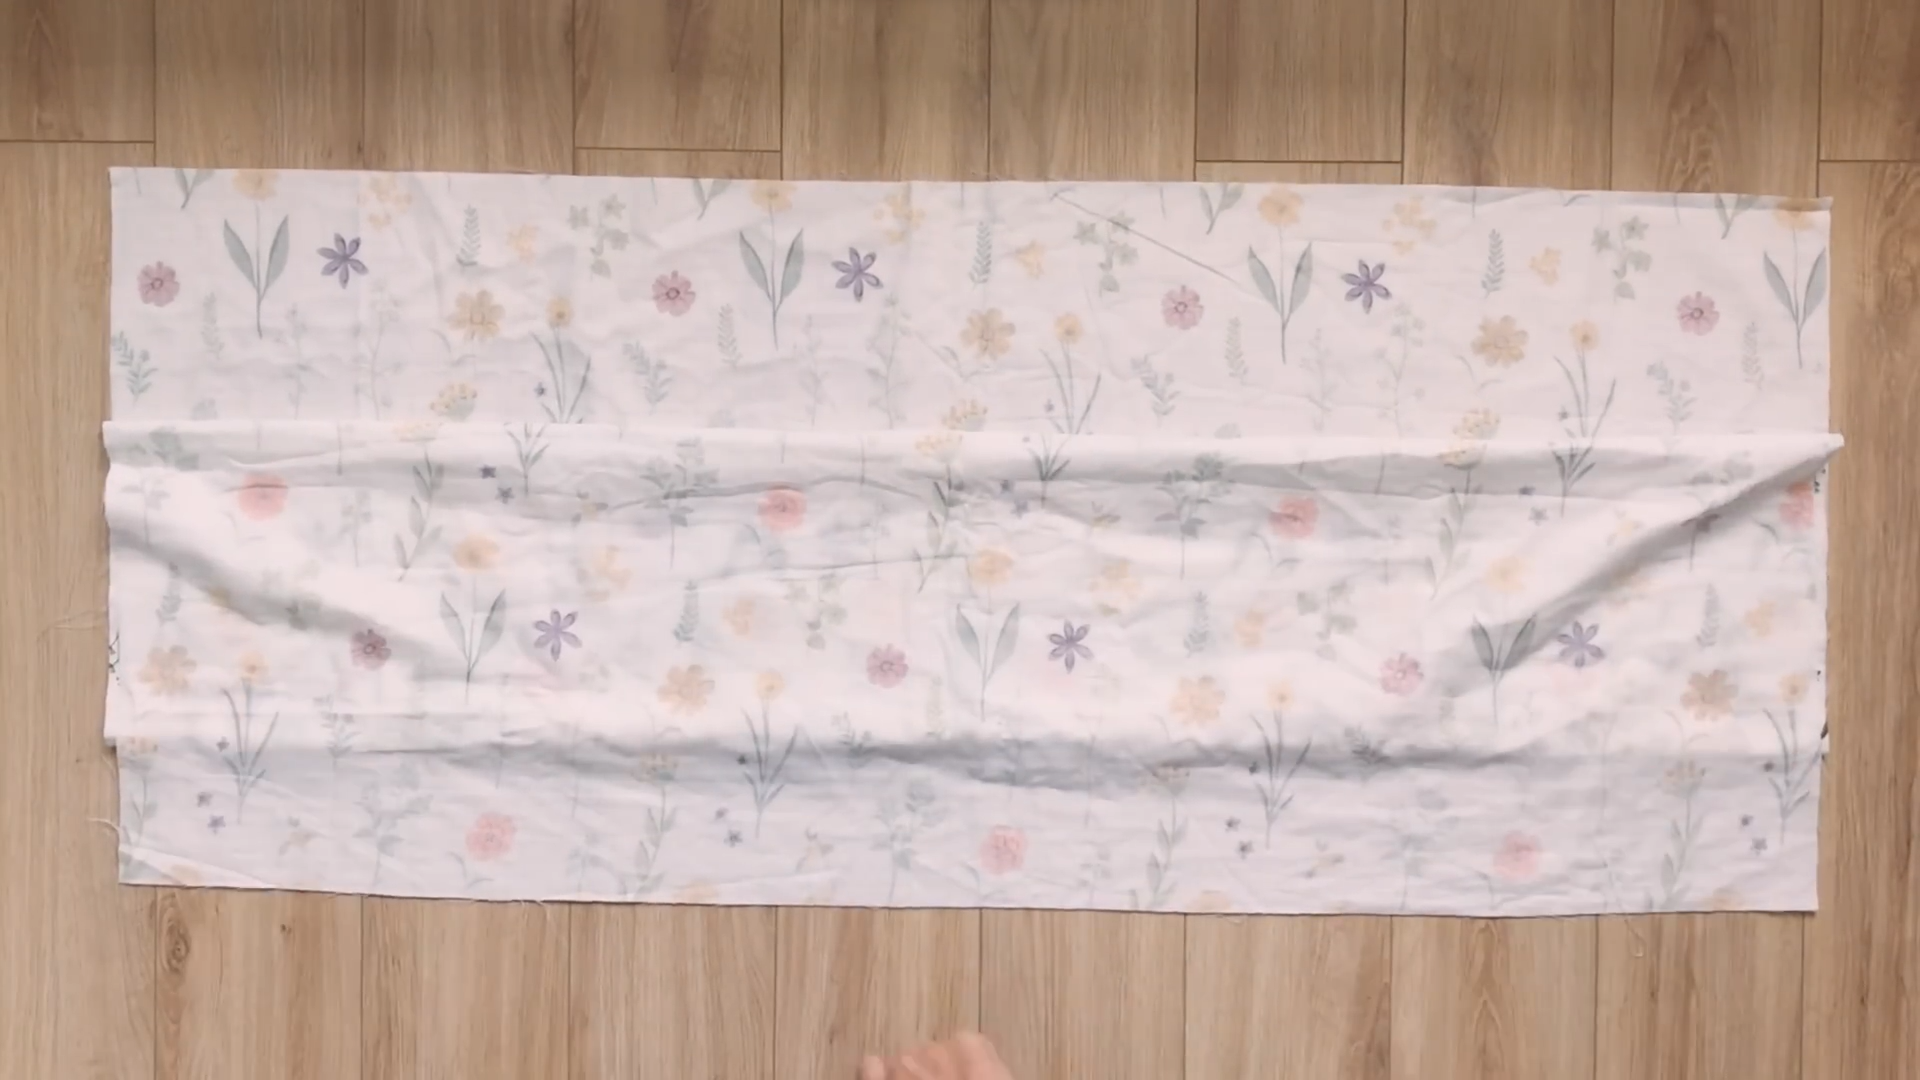
For the back part of your dress, add another 2 cm (0.8 inches) to the length of your skirt and measure out your hip size again. Then, cut another rectangle piece based on these measurements.

At one edge of the width line, measure 4 cm (1.6 inches) down and draw a line straight across; this will be for the fold.
Fold the fabric twice until the edge reaches the line you just drew—pin to secure.

Sew along the line to create an encasing for the elastic.
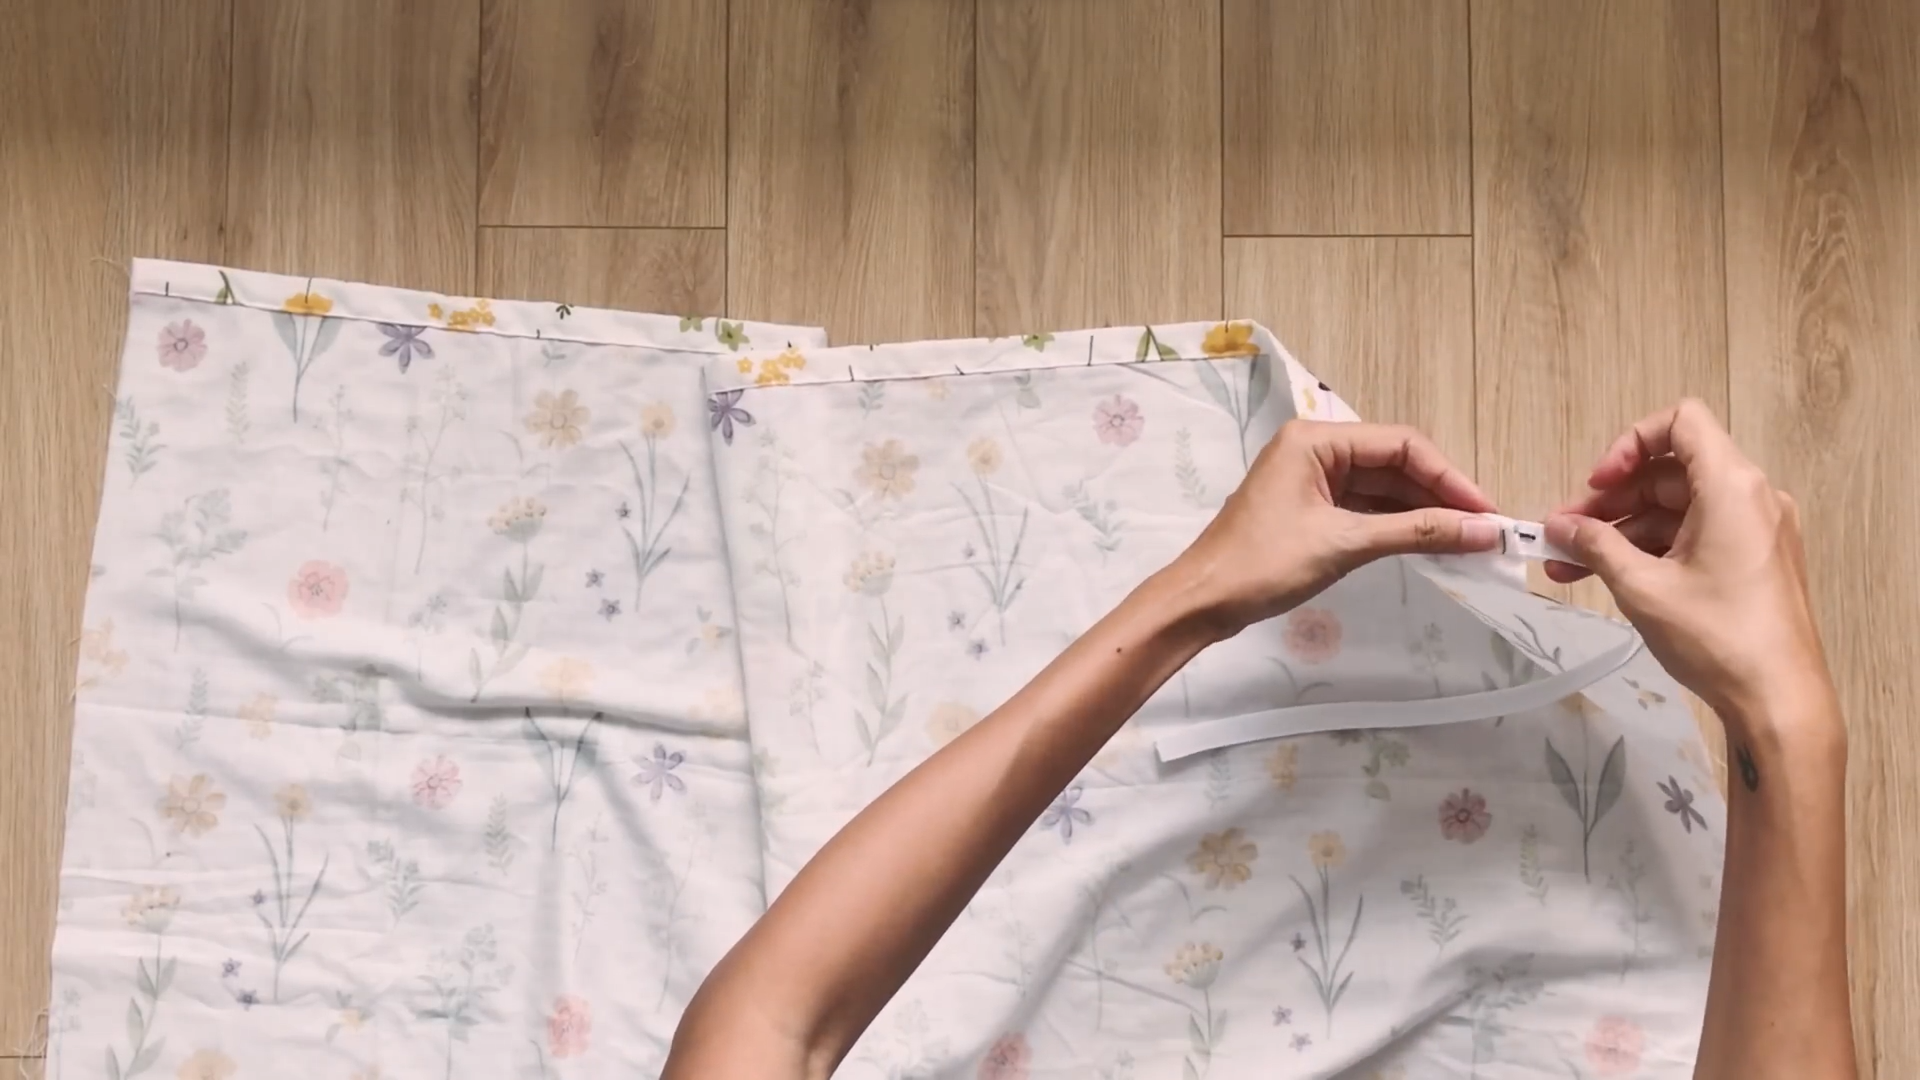
Next, feed through a 1 ½ cm (0.6 inches) elastic through the encasing.
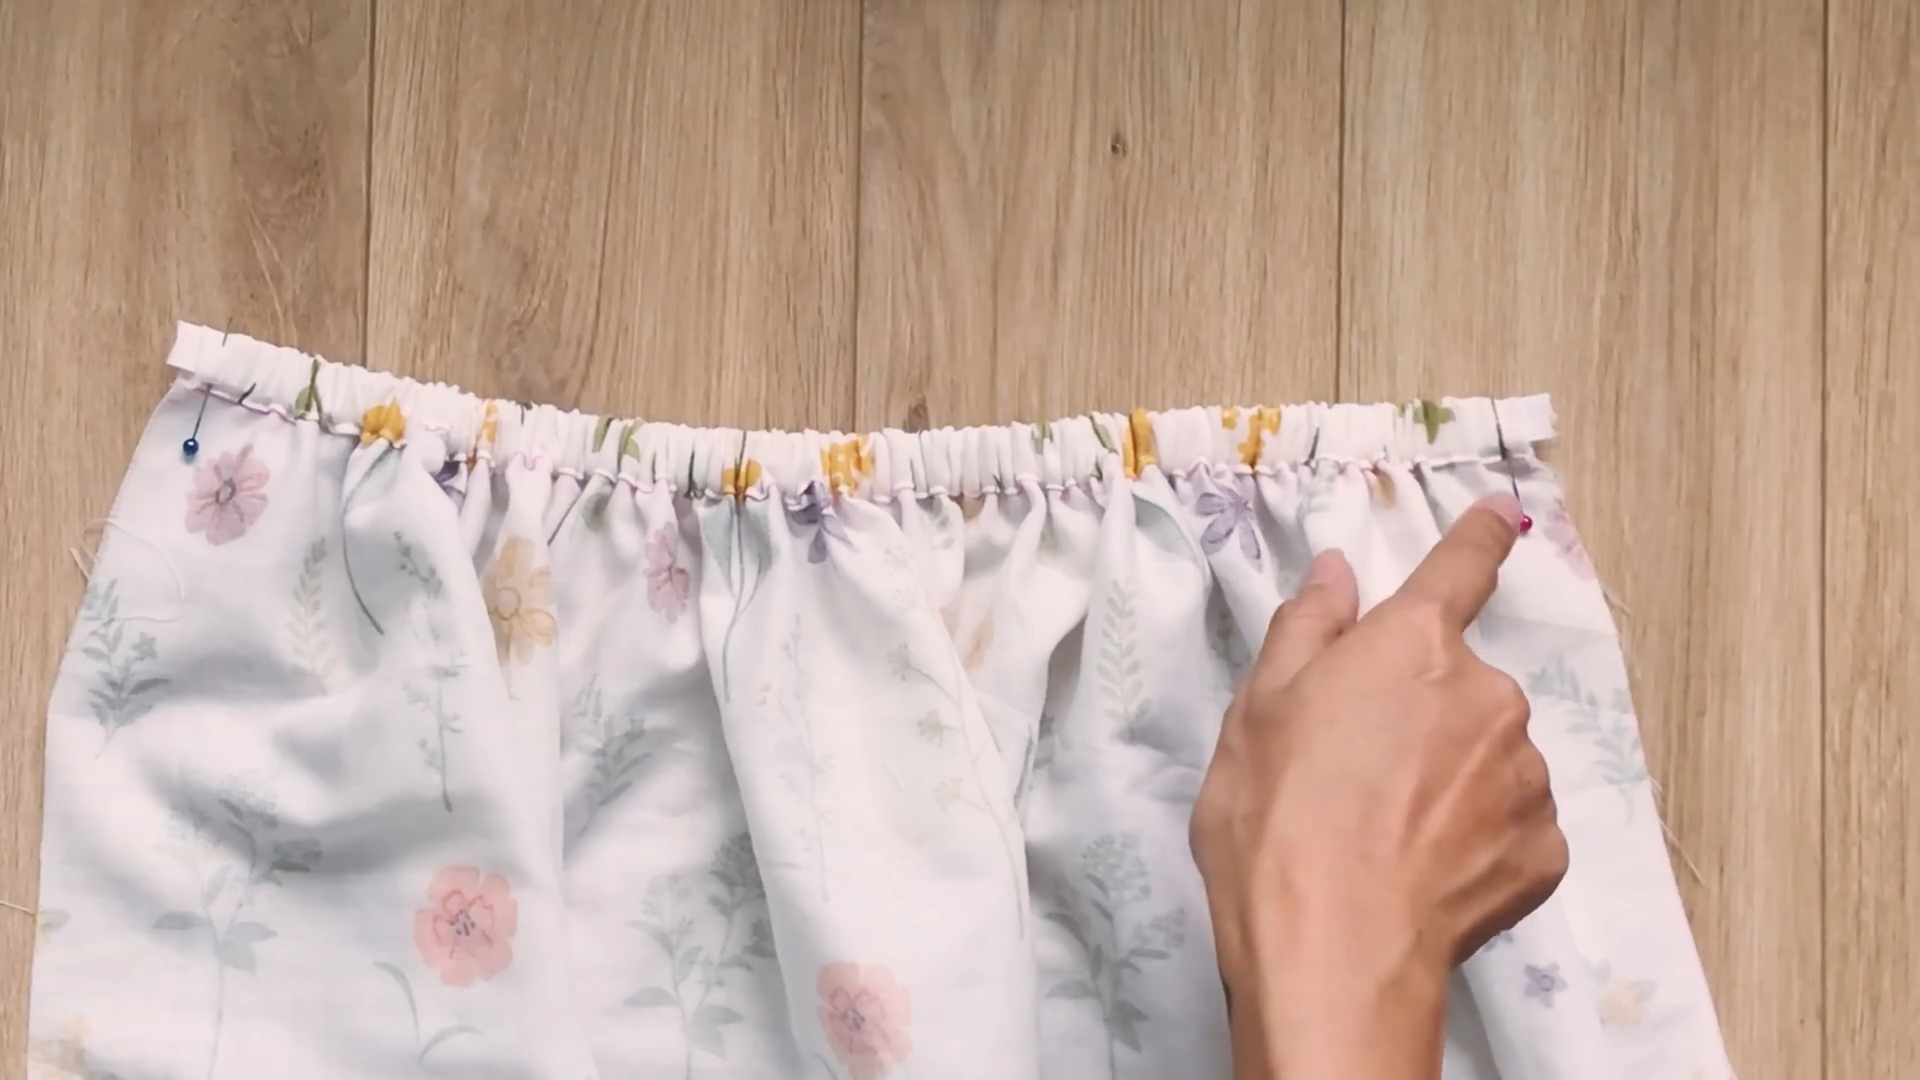
Then, sew the ends of the elastic.
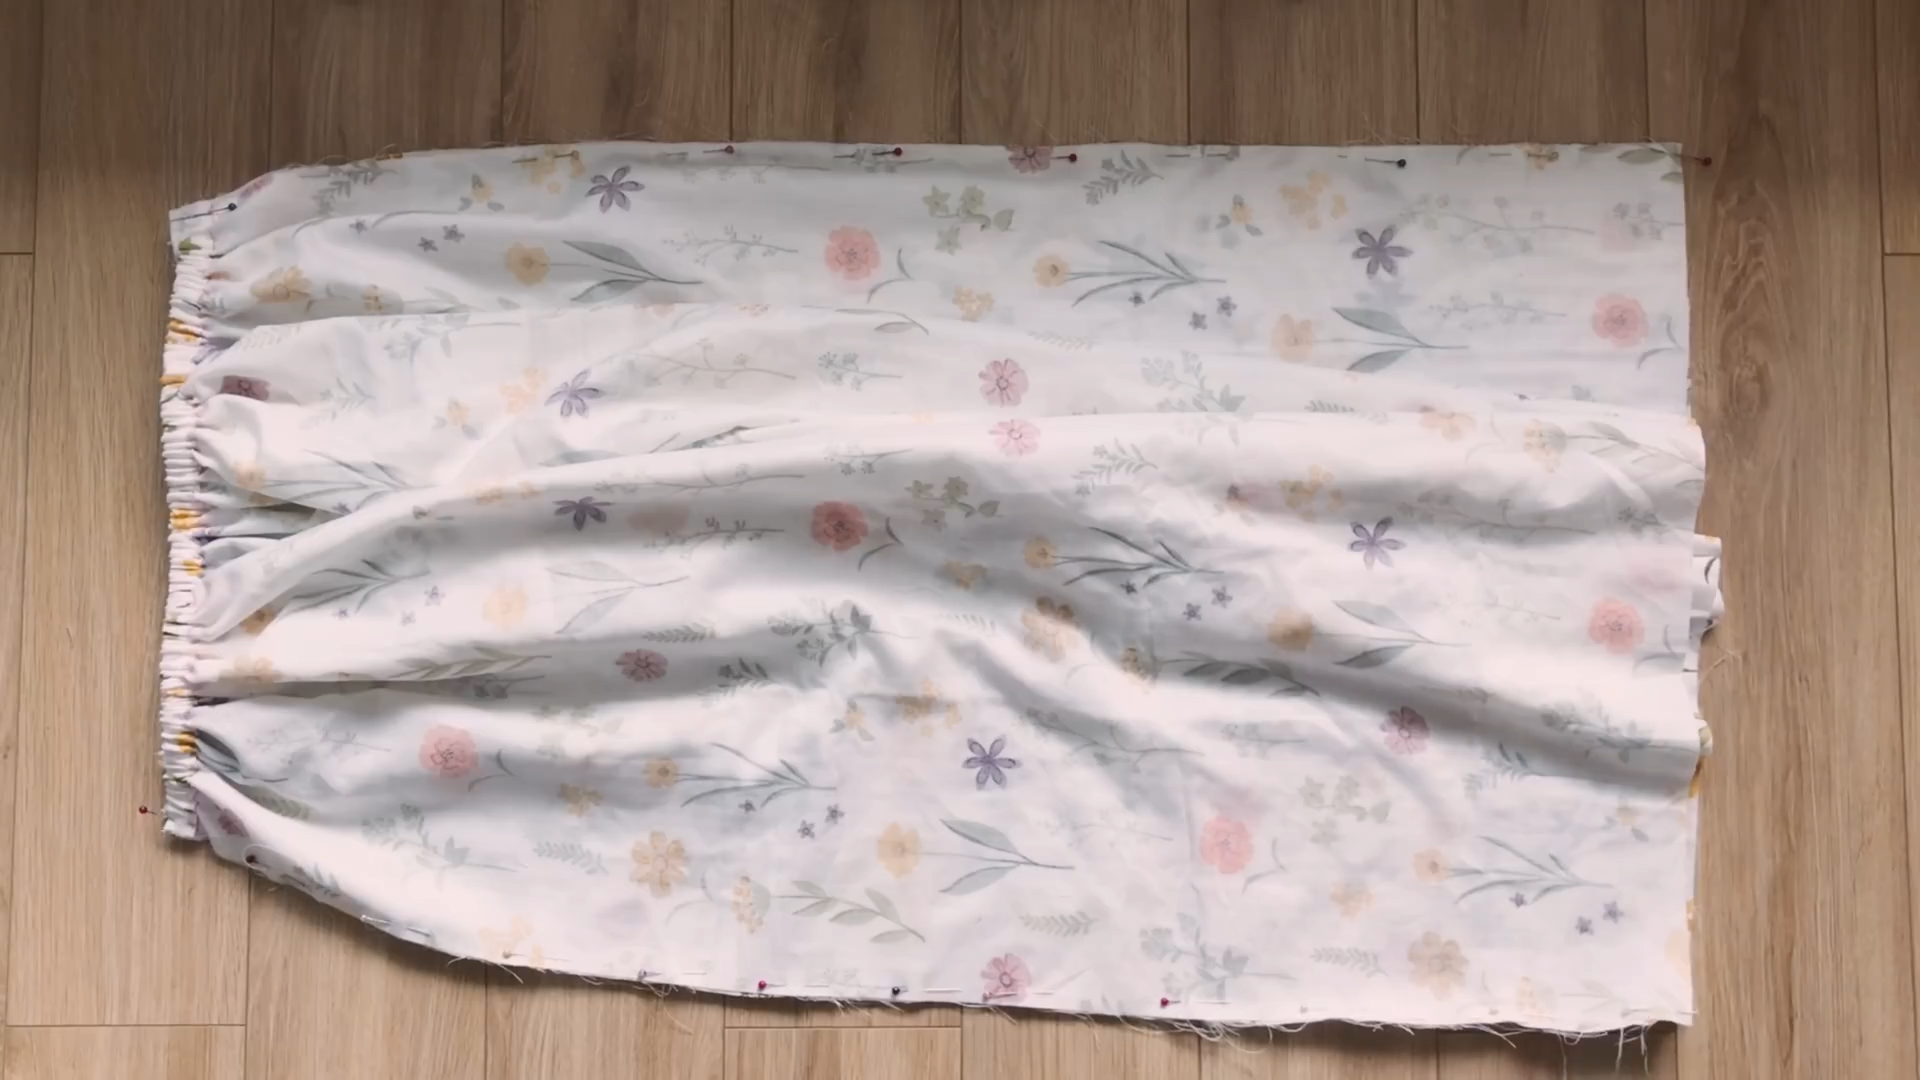
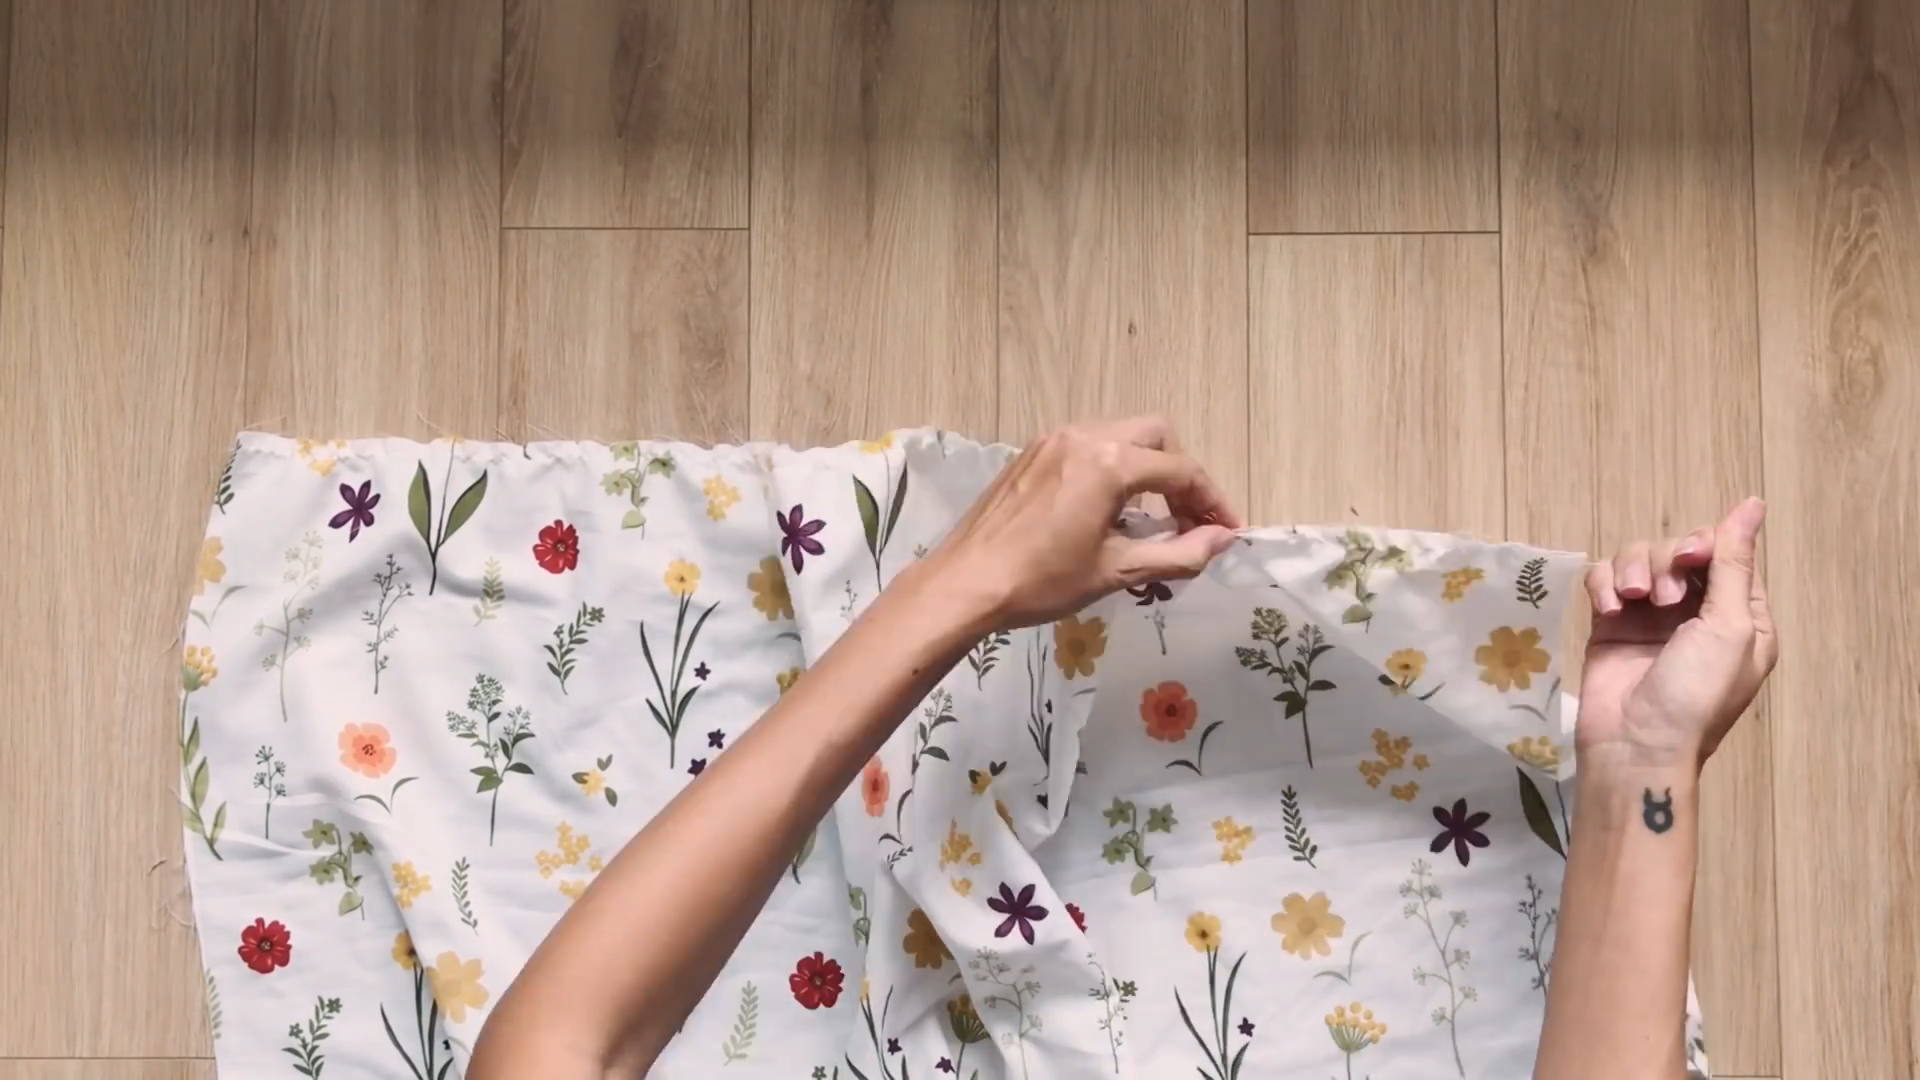
Layer the front and backside of the skirt, right sides facing, and sew the side seams.
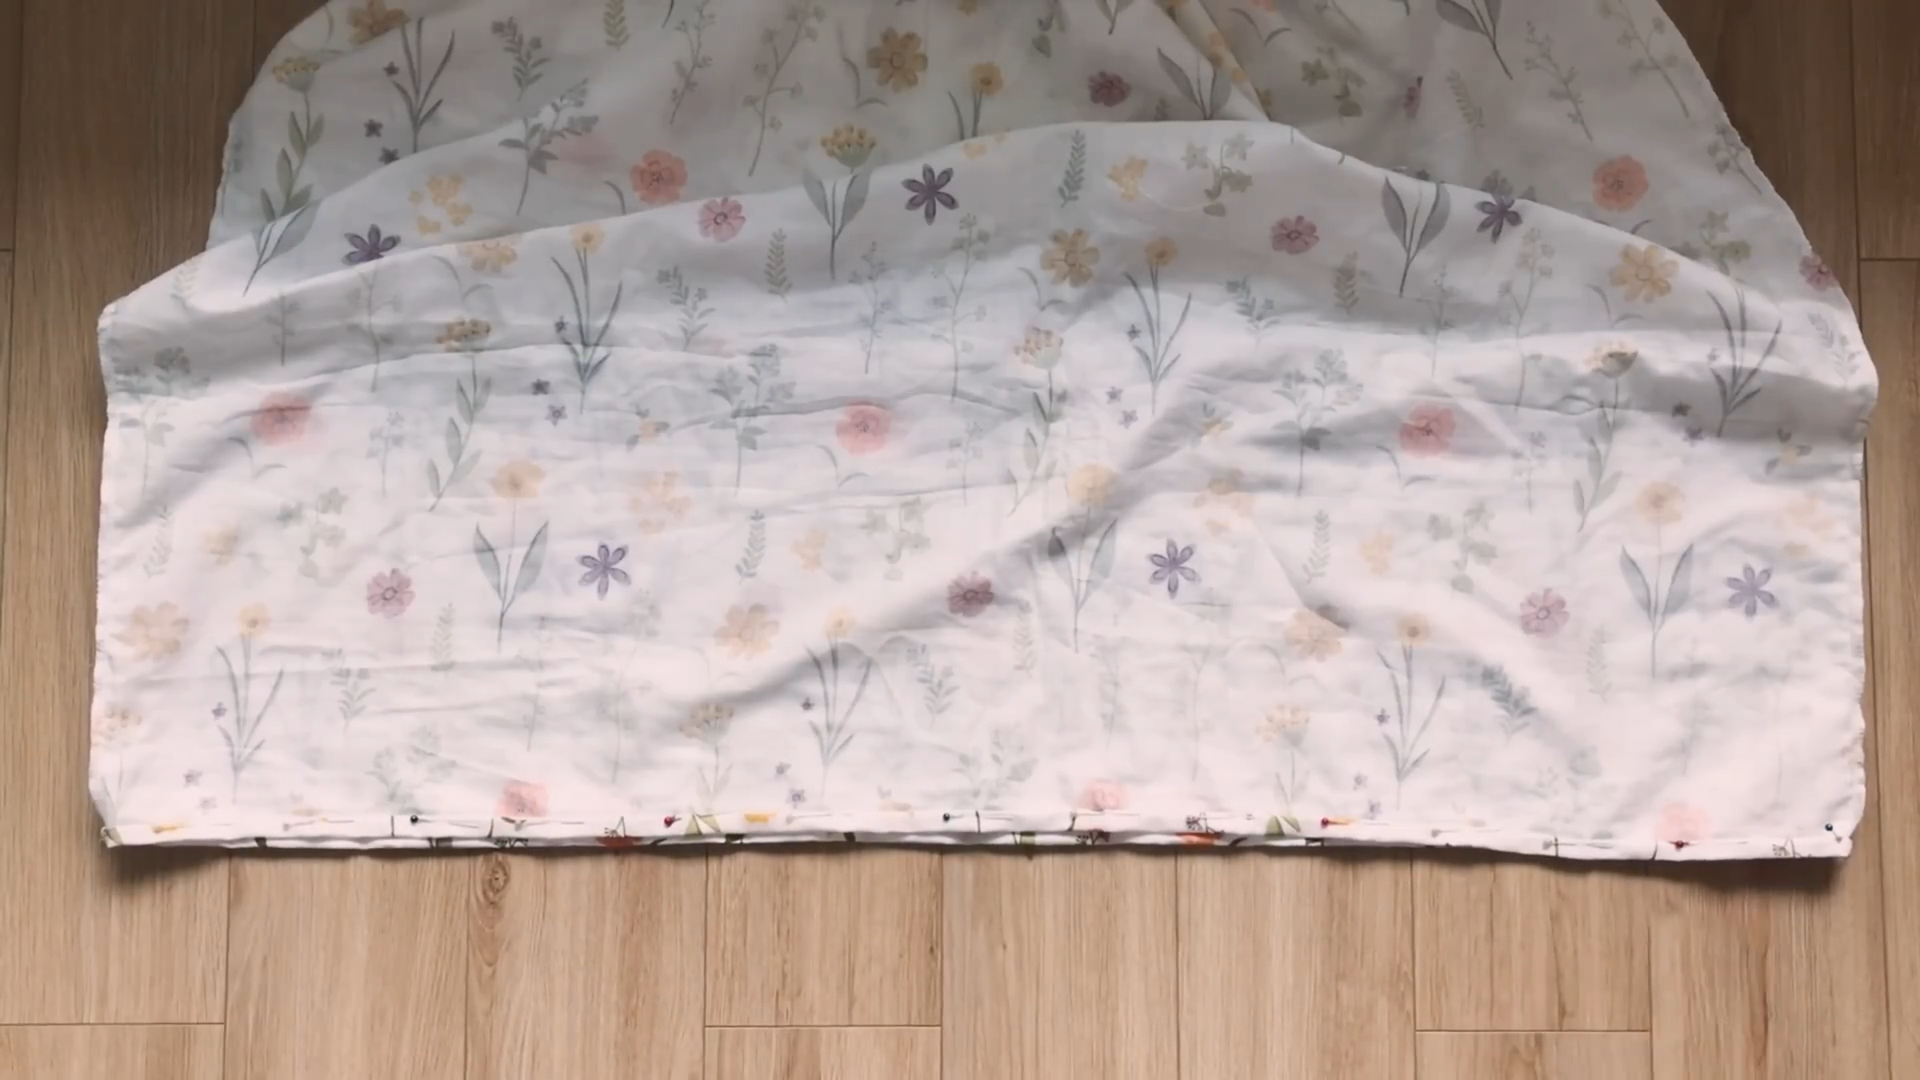
Finish off the skirt by hemming the bottom. Fold it in twice, pin it all around, and sew.
CONNECT THE TOP TO THE BOTTOM
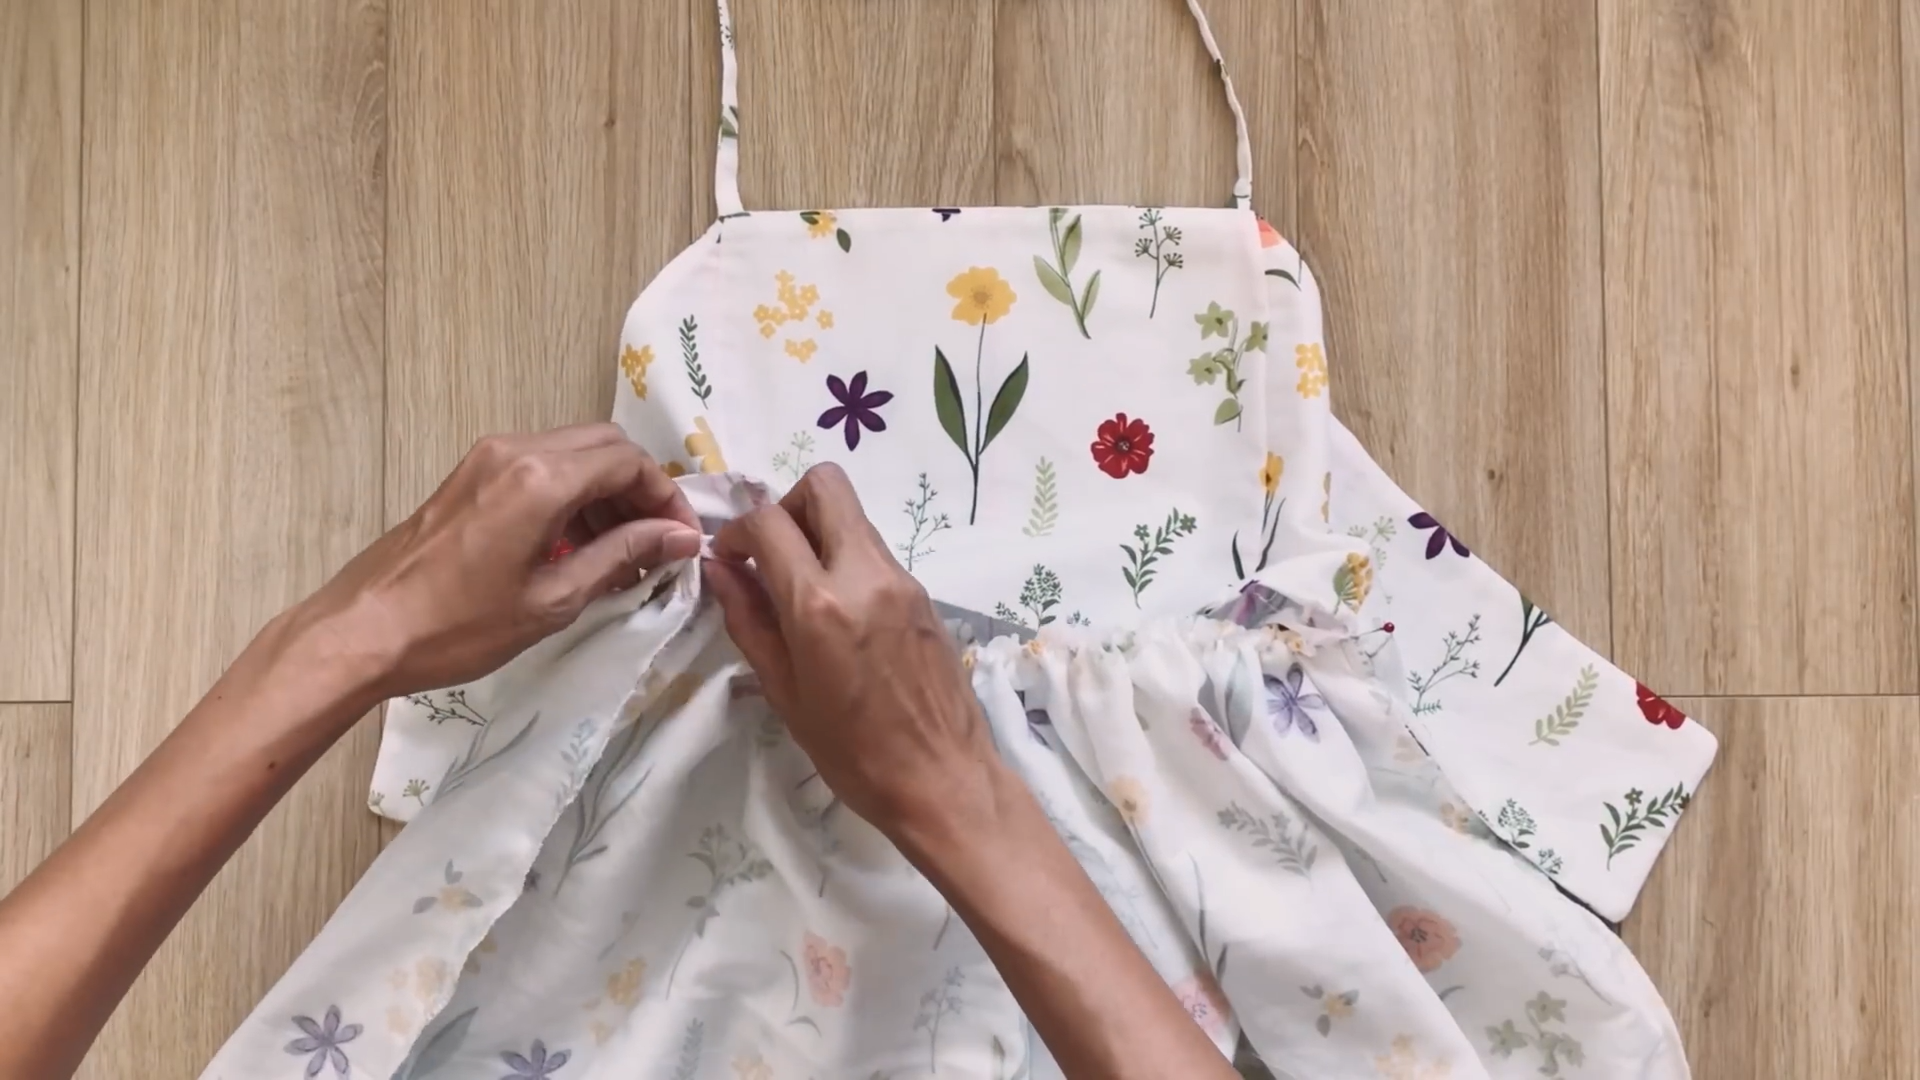
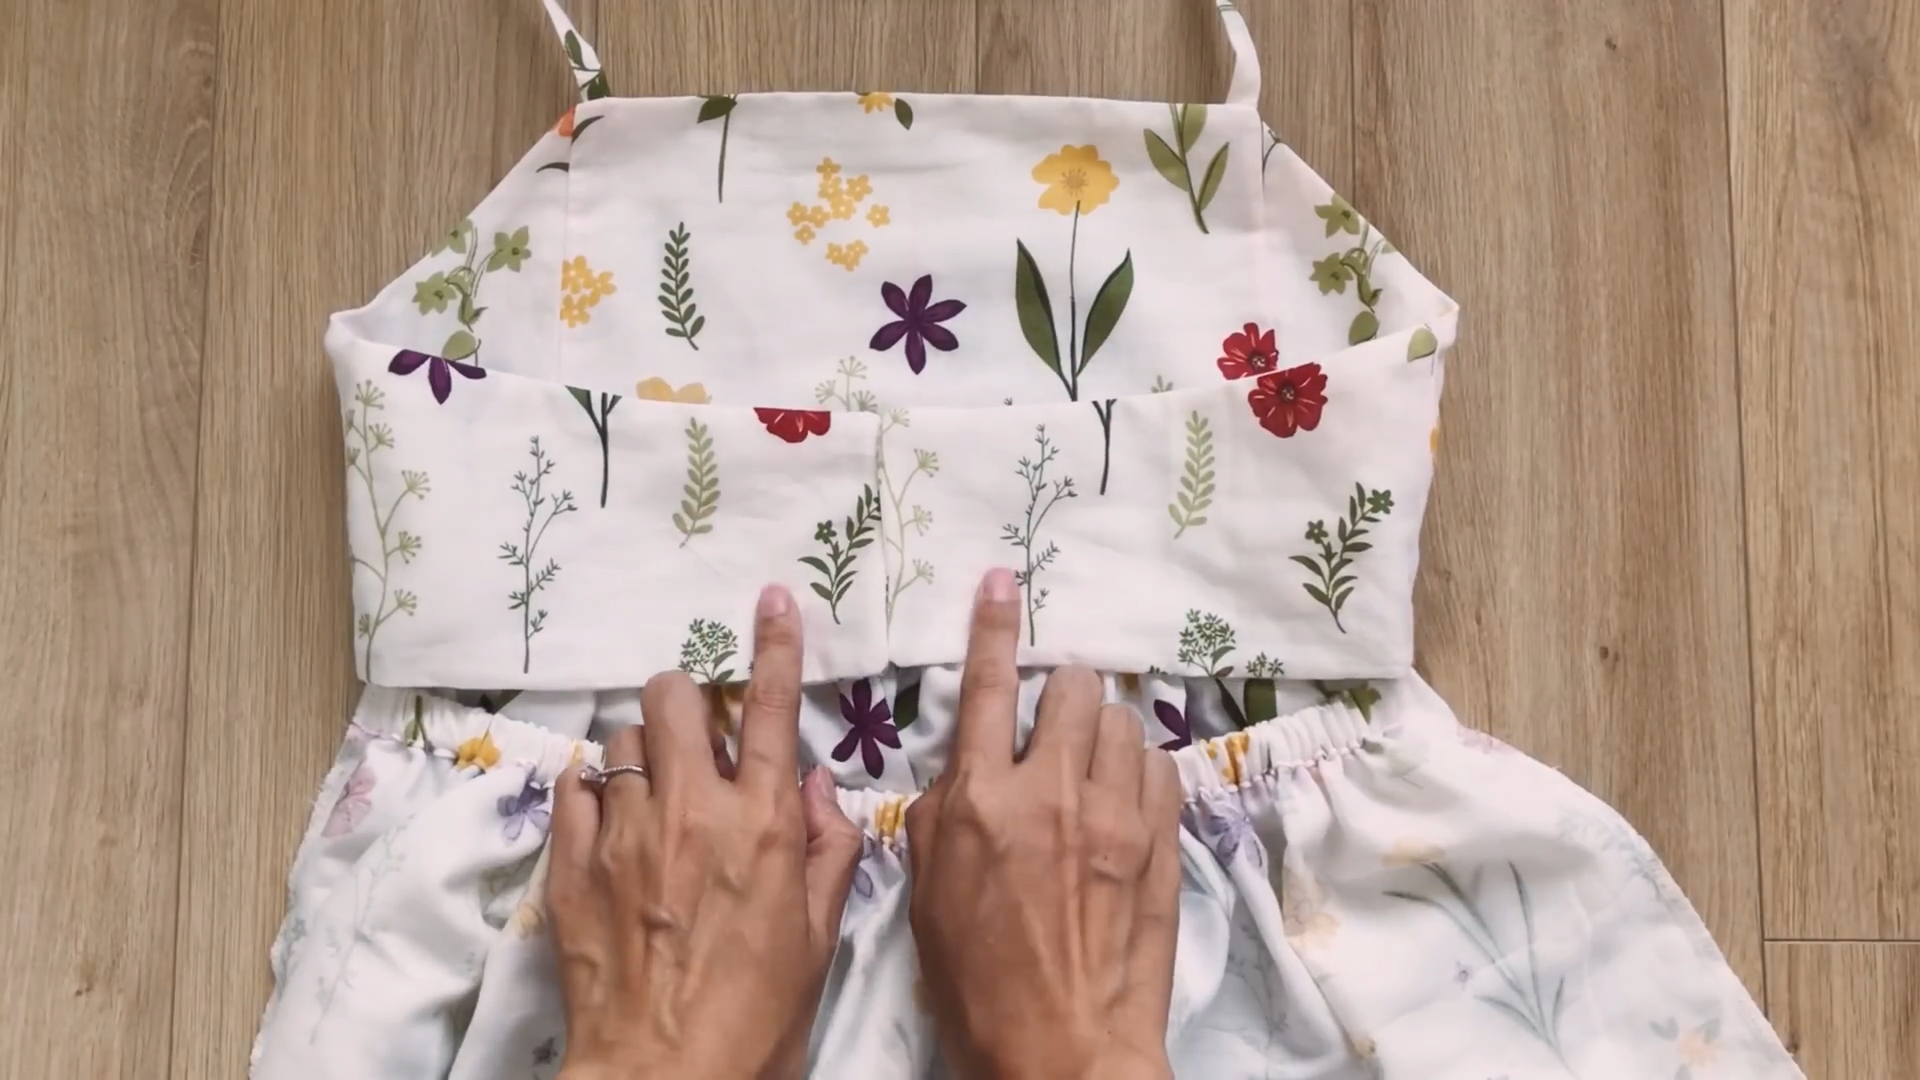
Pin the side seams of the skirt to the side seams of the bodice piece, as shown. Remember to leave the side tails of the bodice loose.
Then, sew all around to secure in place.
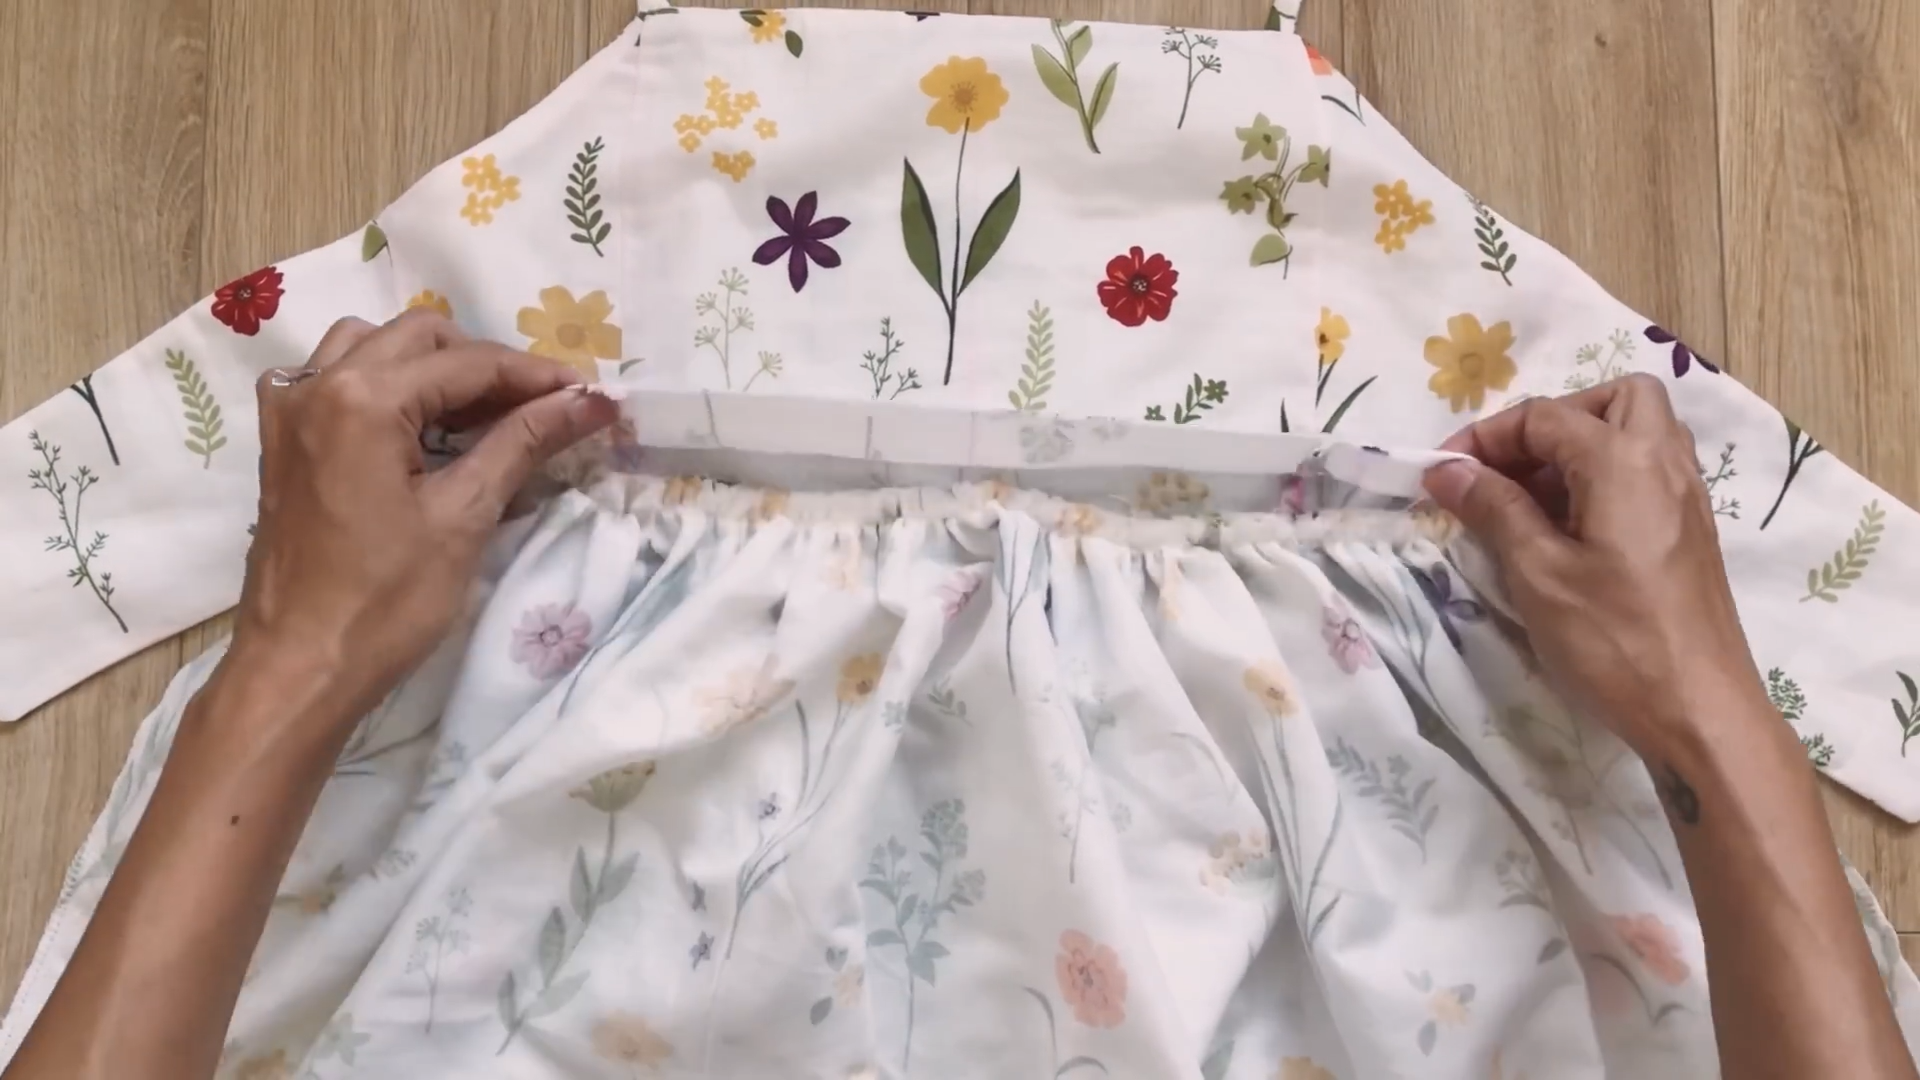
After sewing, fold the second piece of the top dress over the first seam. Create a second seam over the first one to attach the two pieces of the top dress to the front part of the bottom dress. This leaves the back part of the bottom dress open.
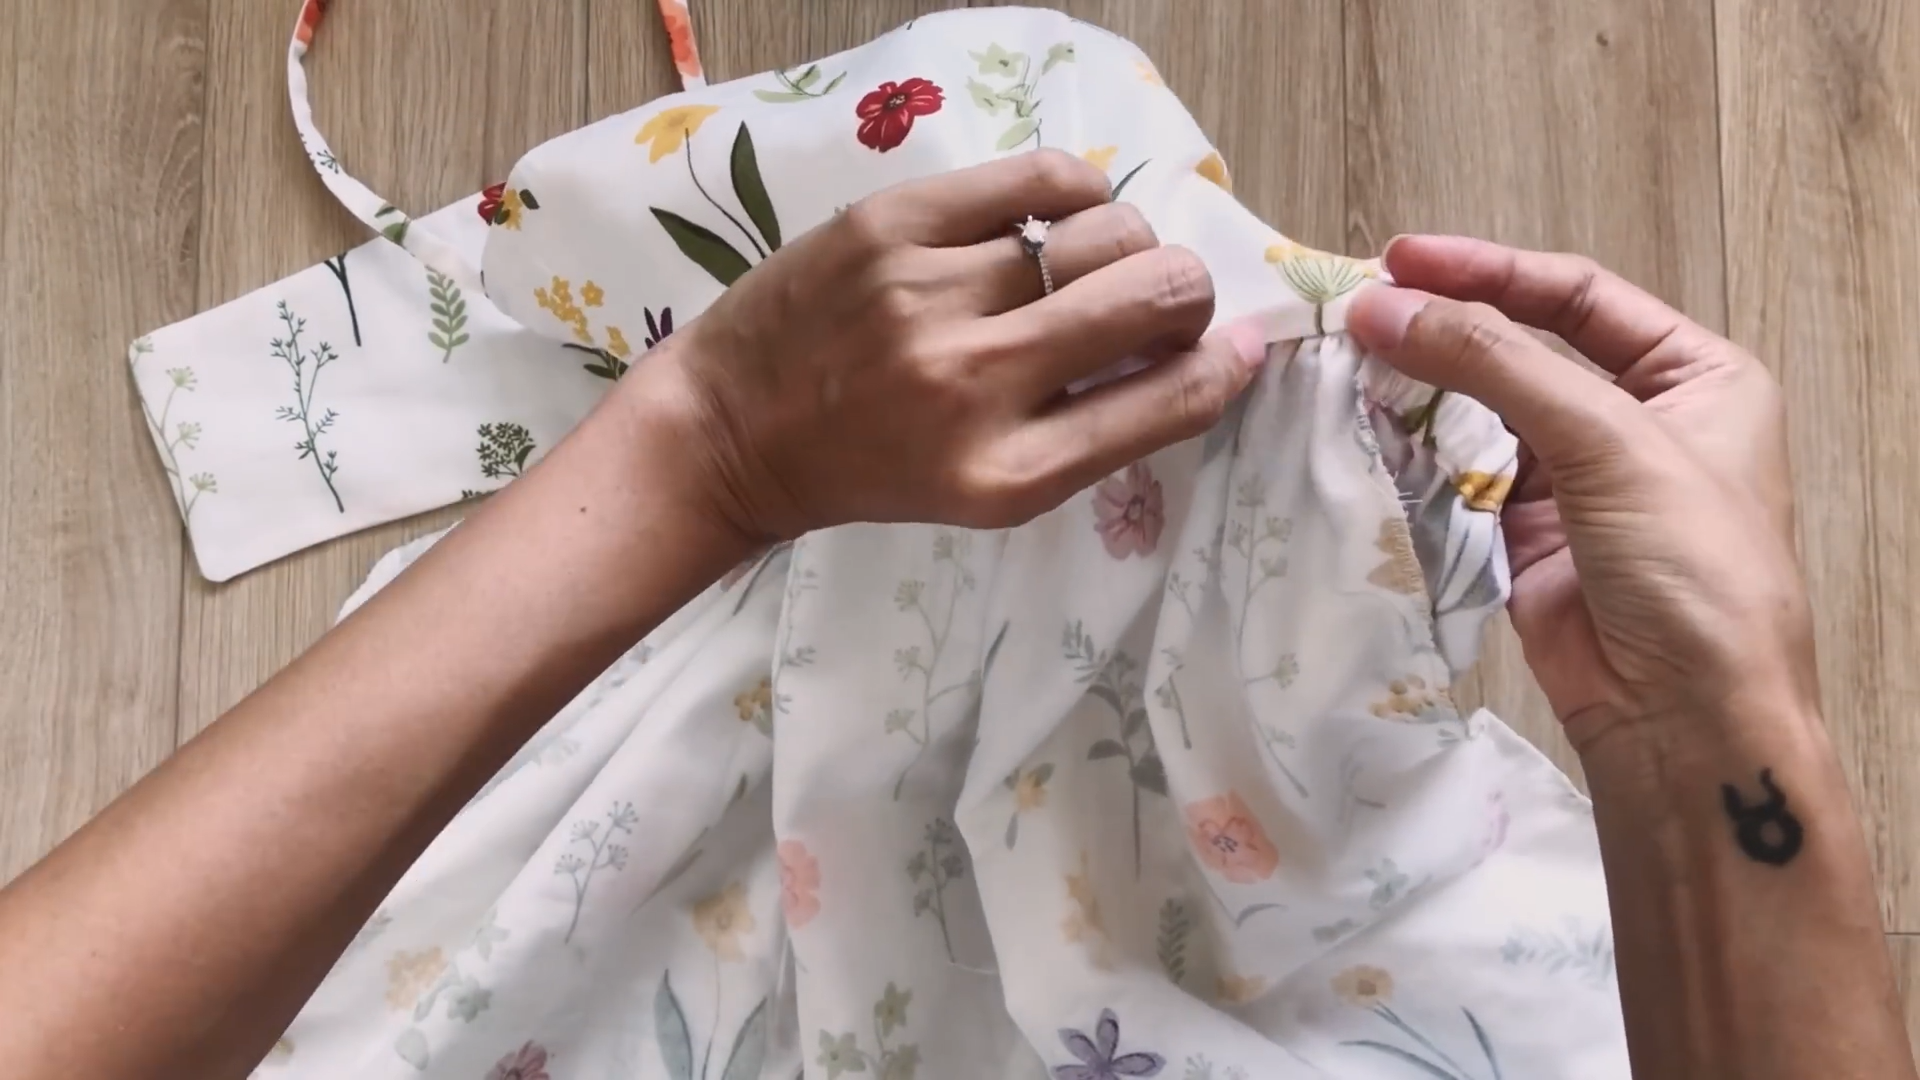
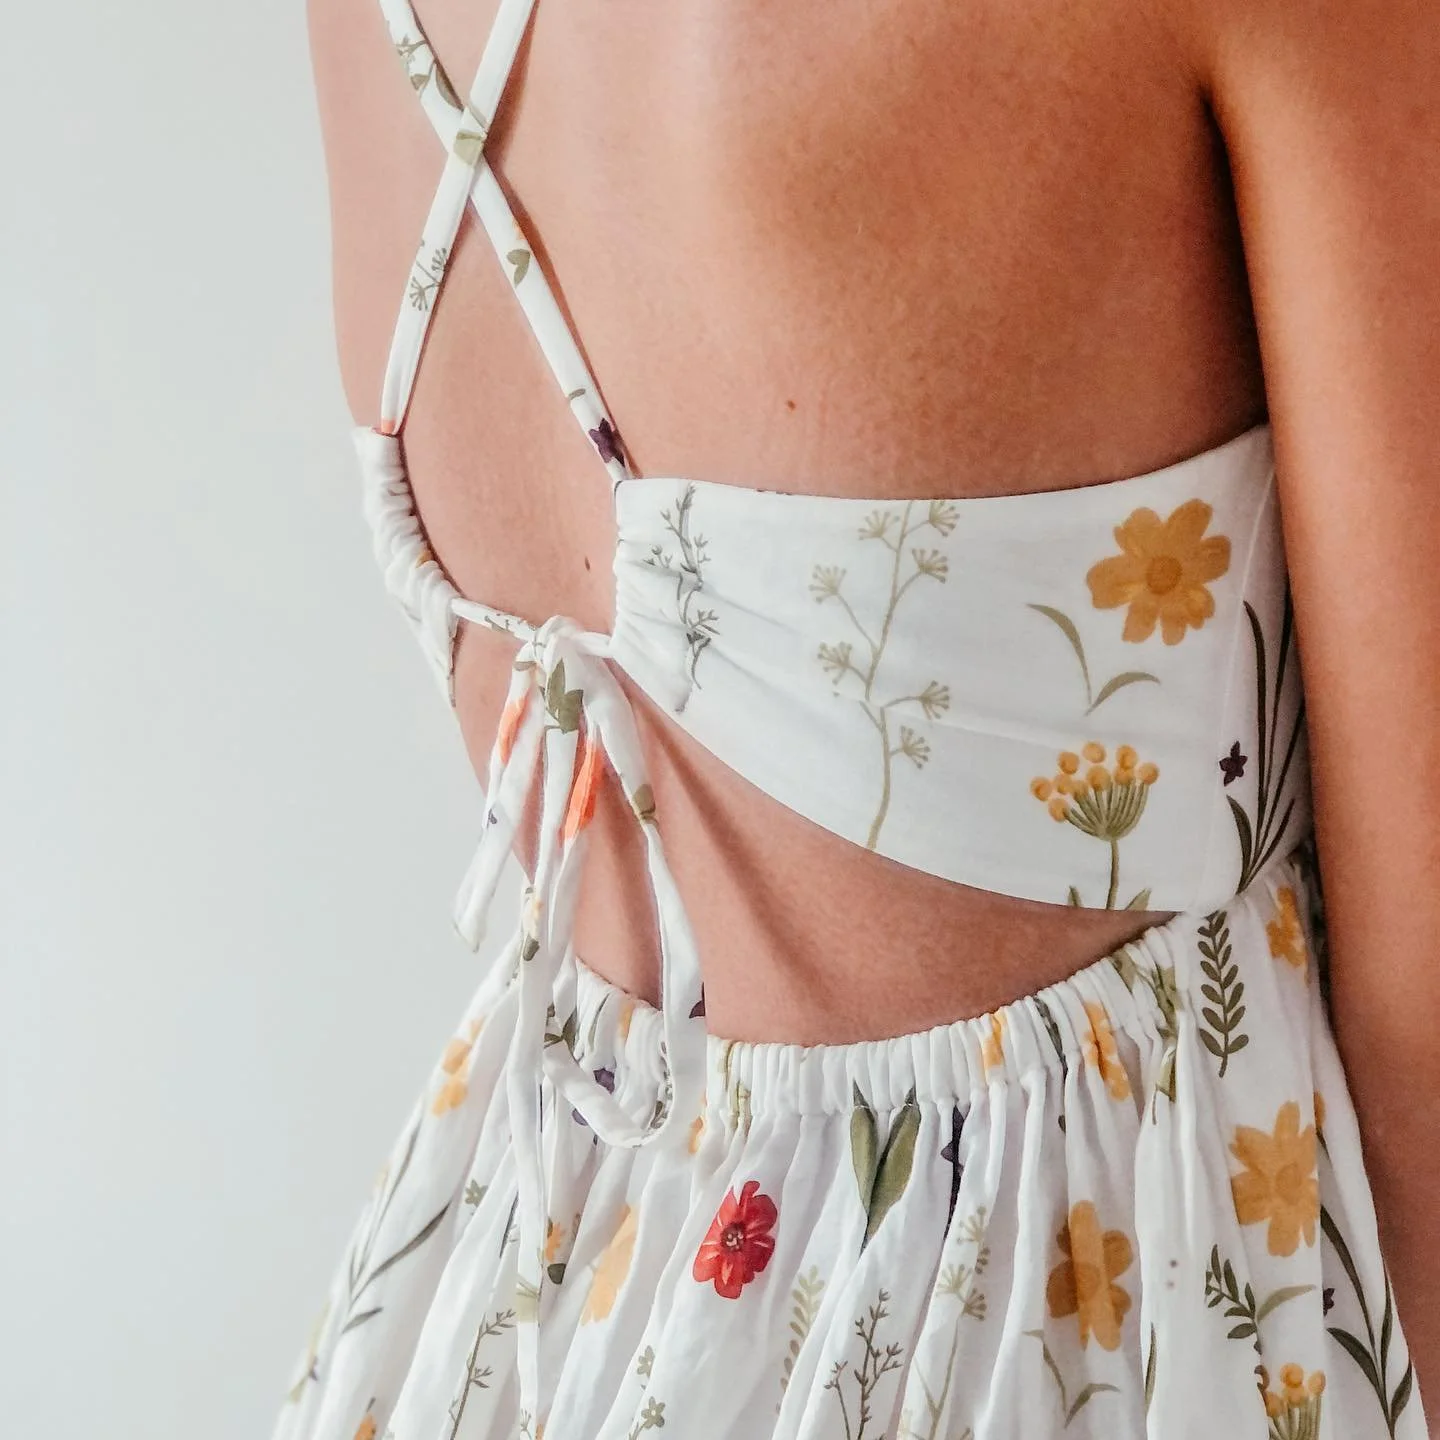
Create fabric holes at two ends of the top part. This will allow the strap to pass through, helping you tie the top of the dress securely around your body when wearing it.


Your DIY summer dress is complete, and it’s absolutely breathtaking, don’t you think? Everything about it is so lovely; it definitely gives off a fun vibe. The back is just gorgeous, too.
So what do you think of this elegant yet simple DIY summer dress?
Thanks for tuning in.