How to Make High Waisted Wide Leg Pants [+ Free Pattern]
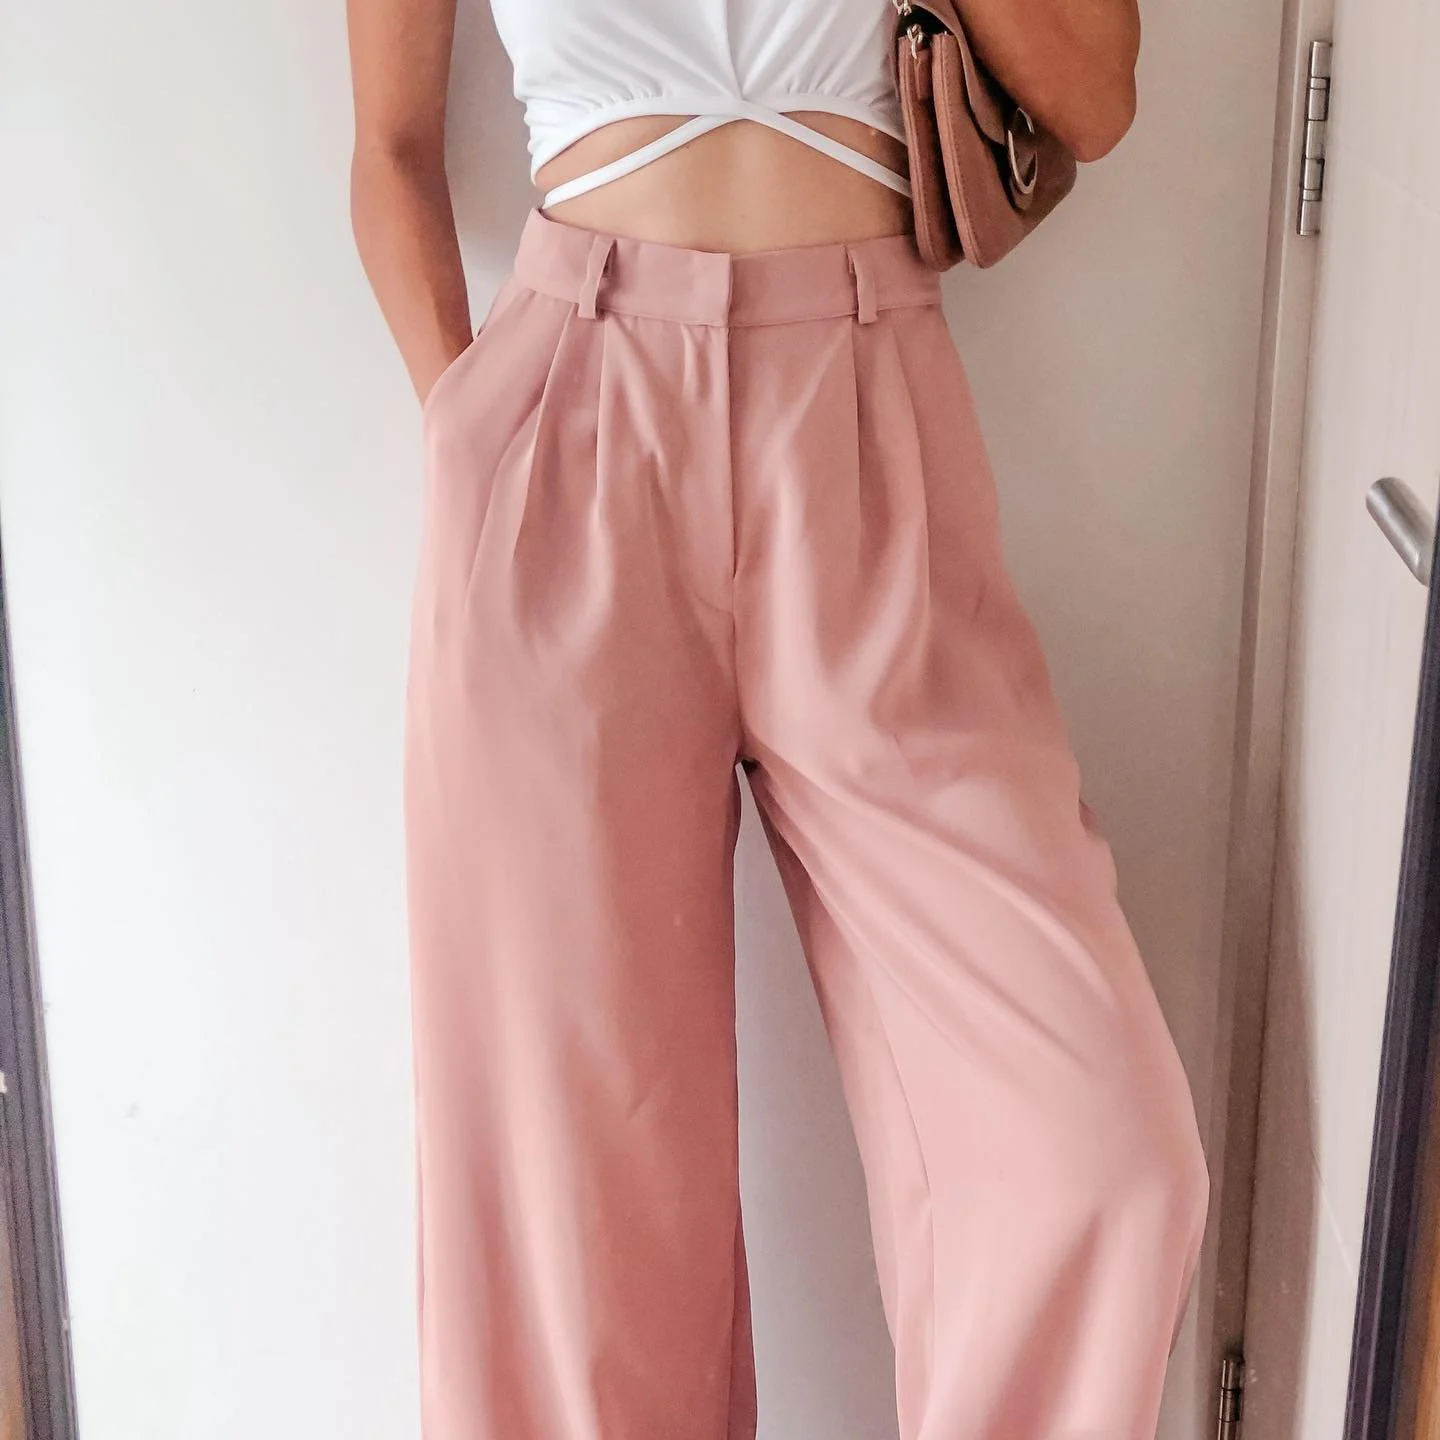
DIY High Waisted Wide Leg Pants

Welcome to sewing guide! Today, I’m going to show a step-by-step guide on how to make your own High waisted wide leg pants. This pant will have a two-fold design at the front and pockets on the sides, perfect for any occasion.
The highlight of this tutorial is the zipper installation. It’s a challenging technique, especially for beginners, but don’t worry! We’ve got you covered. If you’re new to sewing or not quite confident with installing zippers, we provide a detailed walkthrough of how to install an invisible zipper at the back of the pants. Feel free to replay this section as many times as you need until you’re comfortable with the process.
WHAT YOU’LL NEED
2.5m of khaki silk fabric
Pattern paper
Pencil
Sewing machine
Thread
Pins
Scissors
Ruler
Long stick
Iron
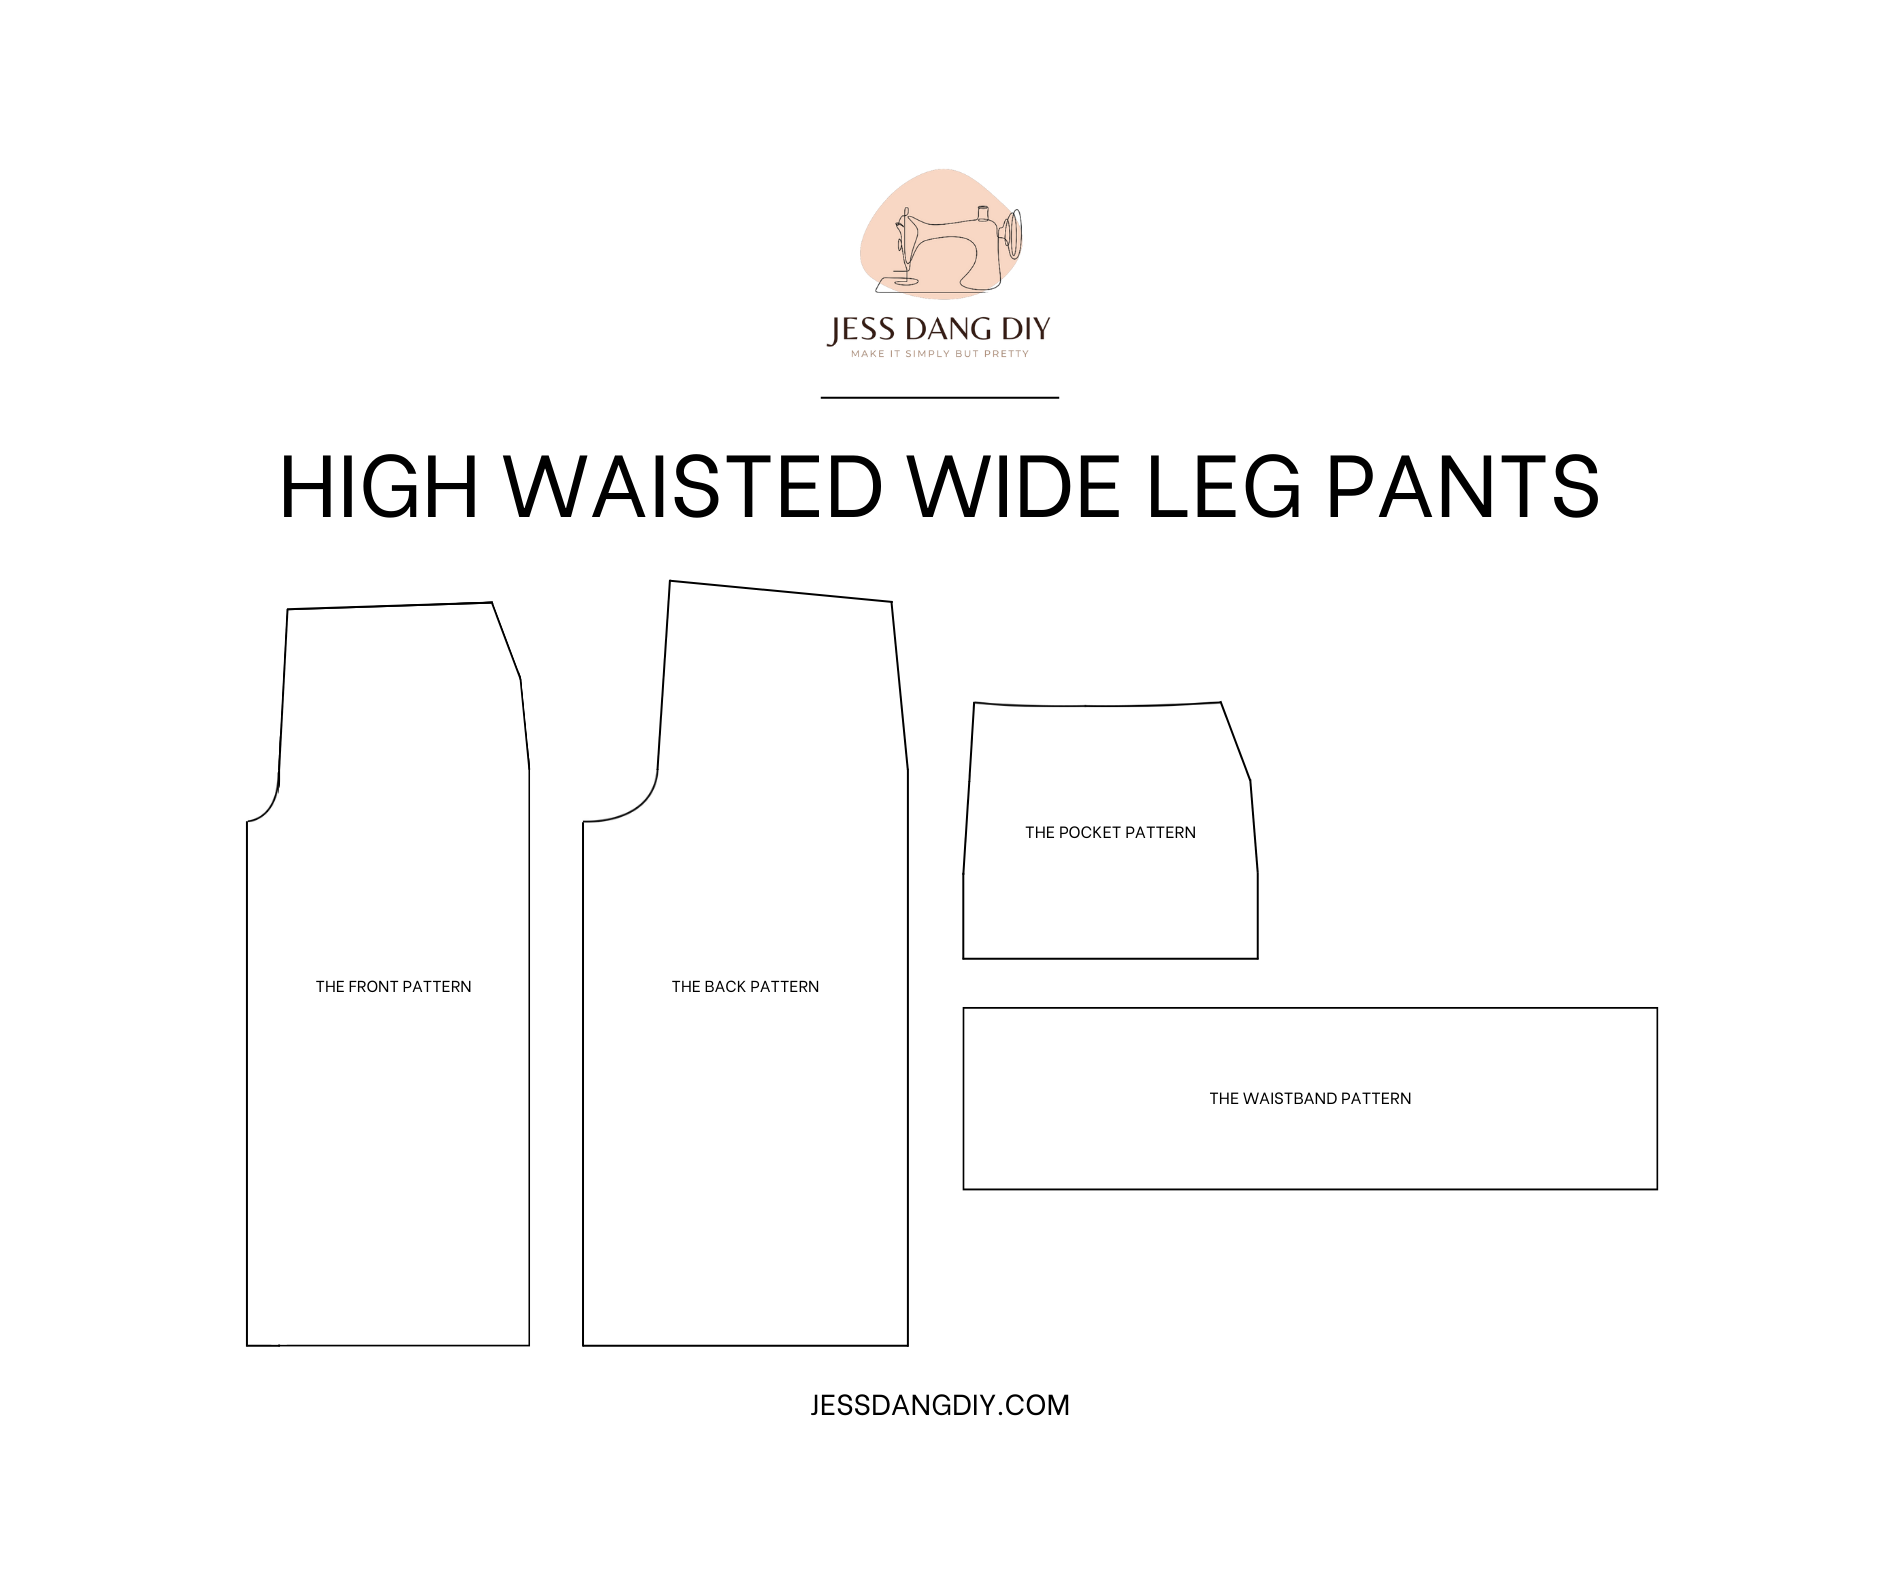
MAKING THE PATTERNS
Here’s the pattern for the project. To get a clear understanding of all the measurements needed for the pattern, watch the video from 1:10 to 6:40. Remember, you can adjust these measurements to fit your own dimensions!
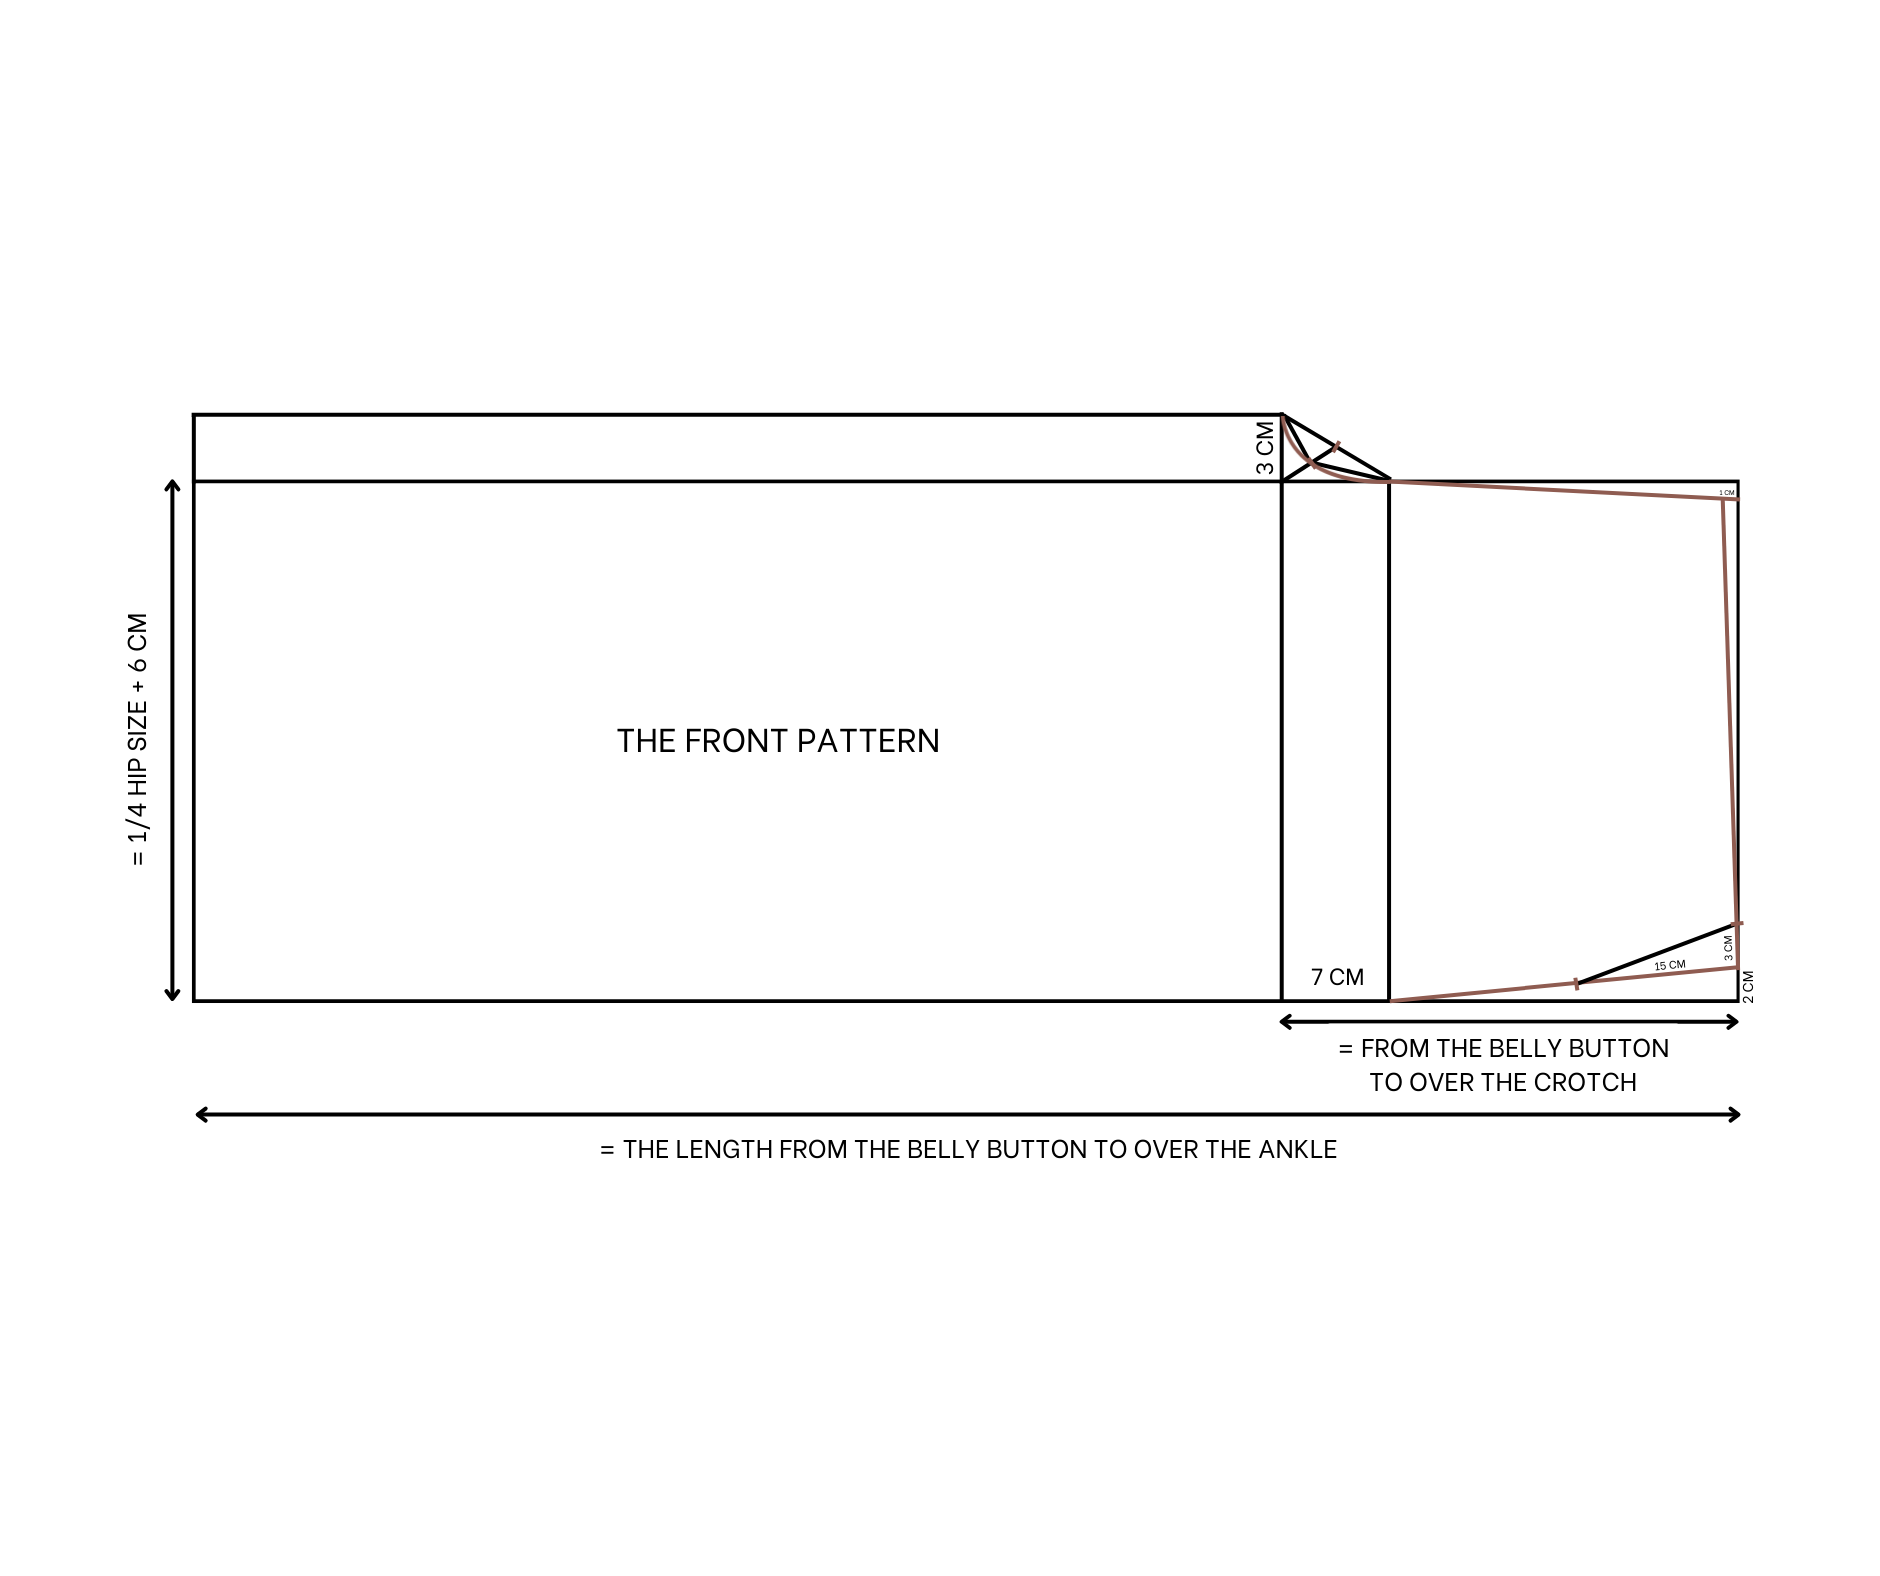
The front pattern
THE FRONT PATTERN
Cut a rectangle with a width of 29 cm (a quarter of your hip size plus six centimeters) and a length of 96 cm (the length from your belly button to just over your ankle).
From one width line, mark down two lines at 28 cm. This is the length from the belly button to just over the crotch.
Draw a new line connecting these two marks. From this new line, draw another line 7 cm next to it and parallel to the first-width line. This 7 cm represents the width from the end of the crotch to the largest part of your buttocks.
Add an extra 3 cm on the first line and connect one end of this line and the extra to one end of the second line. This will allow you to draw a curved line later, which will be the crotch line of the front pants.
At the other end of the top width line (which is the waistline of the front pants), move in 2 cm and connect this to the end of the second line on the length line. This will be the sideline of the front pants.
The front pants will be a bit lower, so move down the waistline by 1 cm at the crotch line. Then, draw a slightly curved line to finish the waistline of the front pants.
To add pockets to the front pattern, cut a bit of the front to create the area for the pocket. This should be 3 cm inside the waistline and 15 cm along the sideline, which is the width of the open area of the pocket that you can put your hand through.
Draw a new inside line of the leg from the end of the crotch line and add the seam allowance to finish the pattern.
Remember to add a 1 cm seam allowance for most of the pattern, except the end of the legs, which should have a 4 cm seam allowance.
THE BACK PATTERN
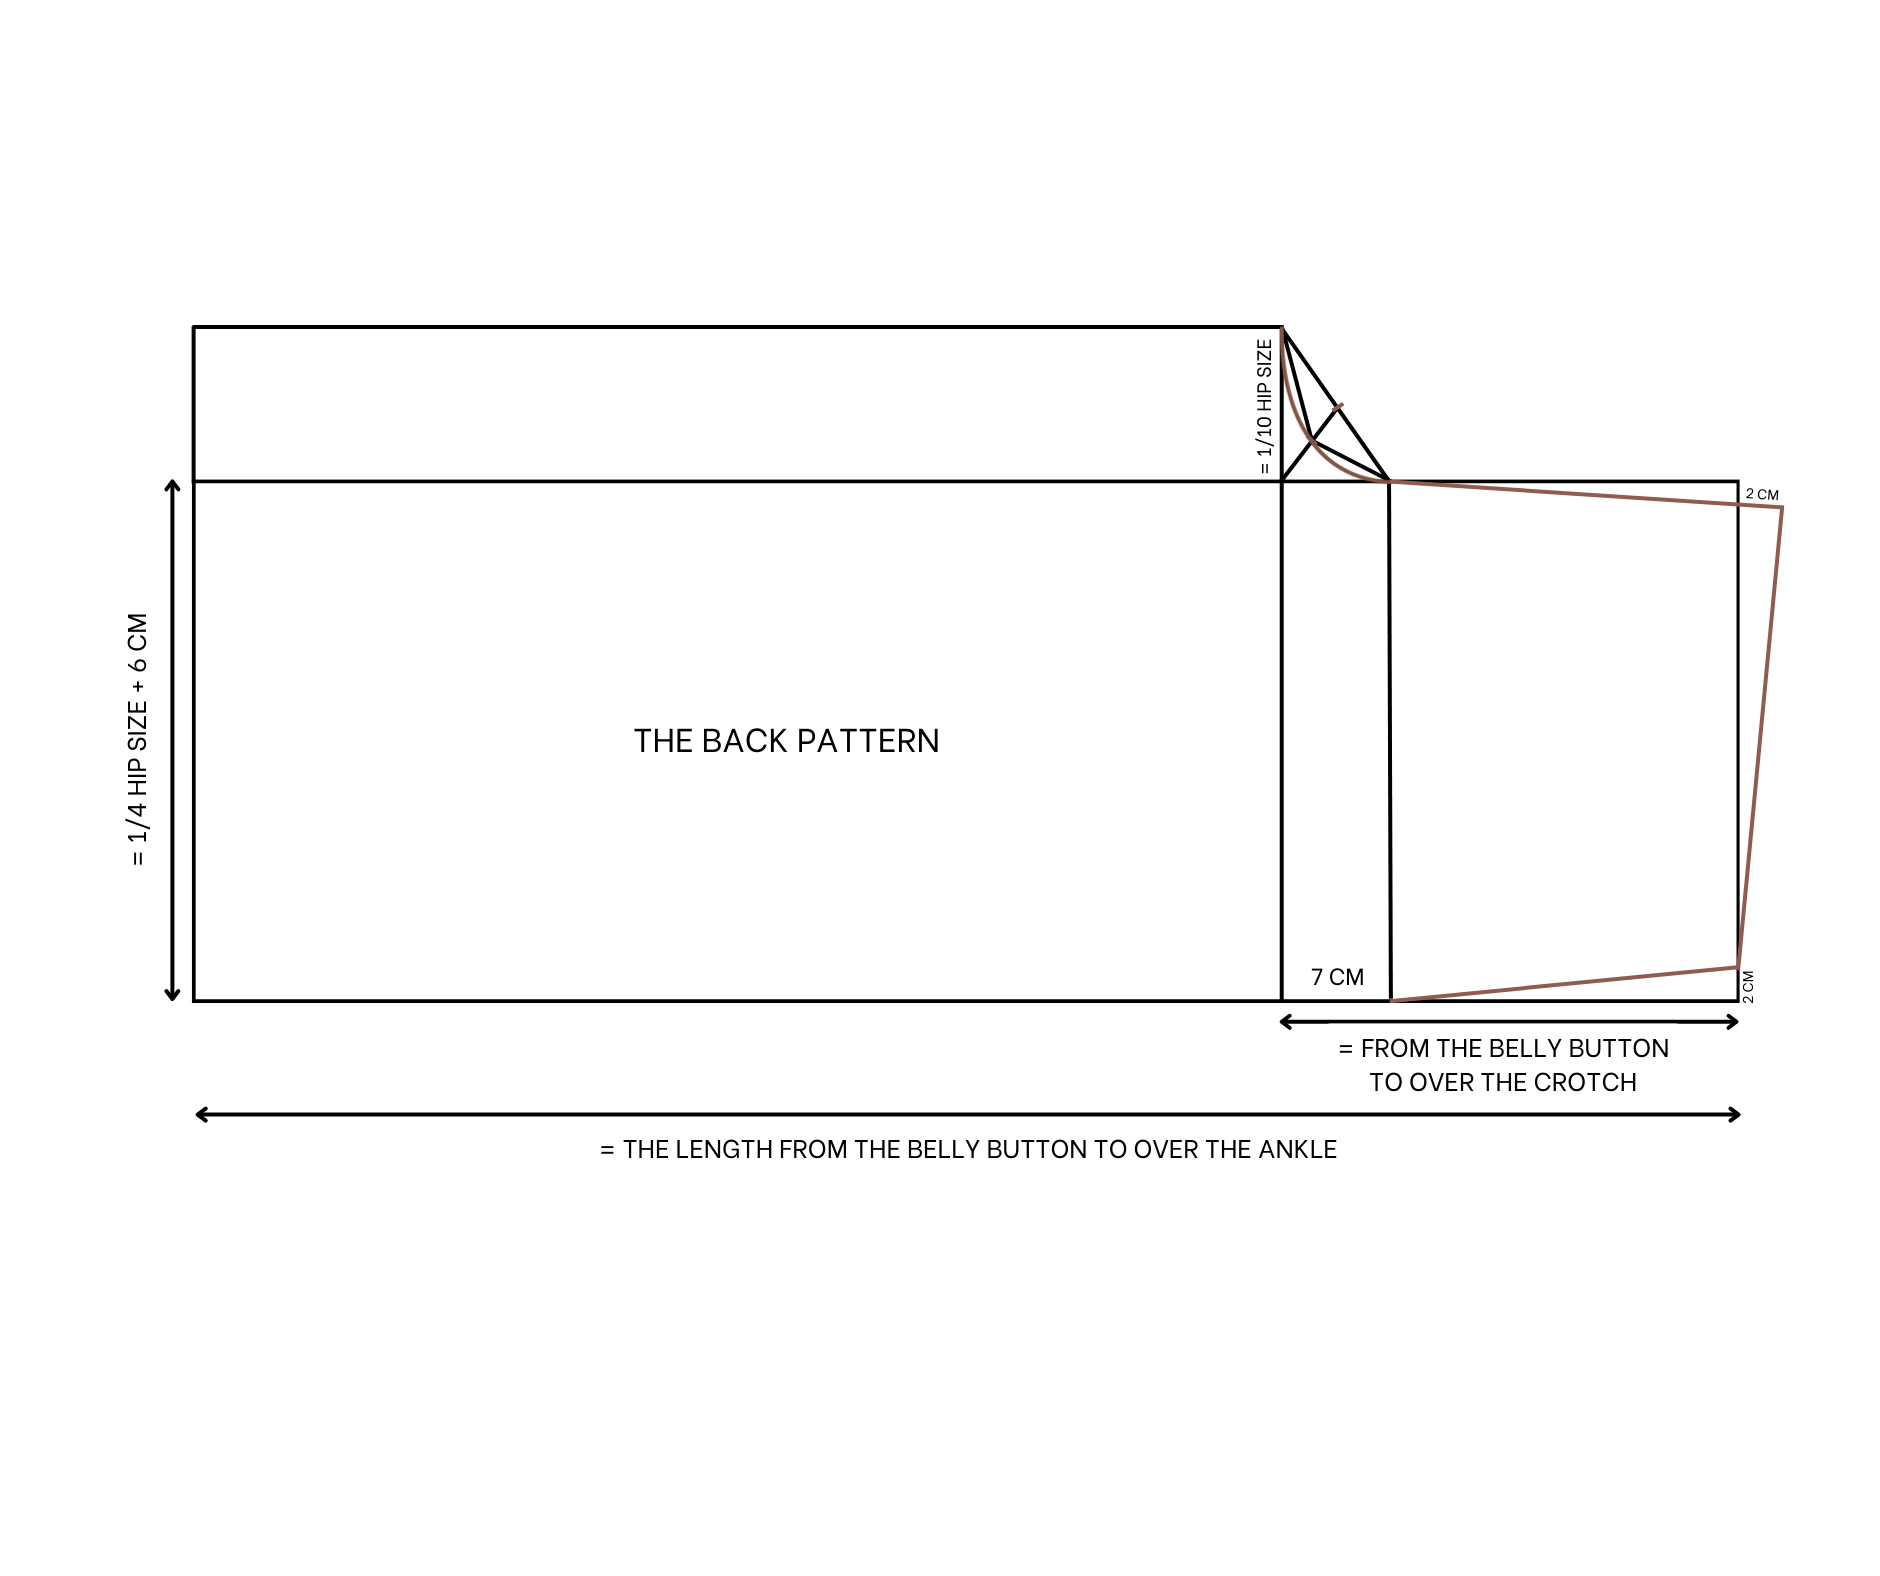
The back pattern
Cut the same rectangle as before, with a width of 29 cm and a length of 96 cm. Draw 2 new straight lines similar to the front pants.
Add an extra 9.2 cm at one end of the first straight line (which is 1/10 of your hip size), then draw the crotch line.
The back pants will sit a bit higher than the front, so add an extra 2 cm at the crotch line. Then, draw a slightly curved line to the other end of the width line to complete the waistline for the back pants.
Draw a new inside line of the leg from the end of the crotch line and add the seam allowance to finish the pattern.
THE POCKET PATTERN
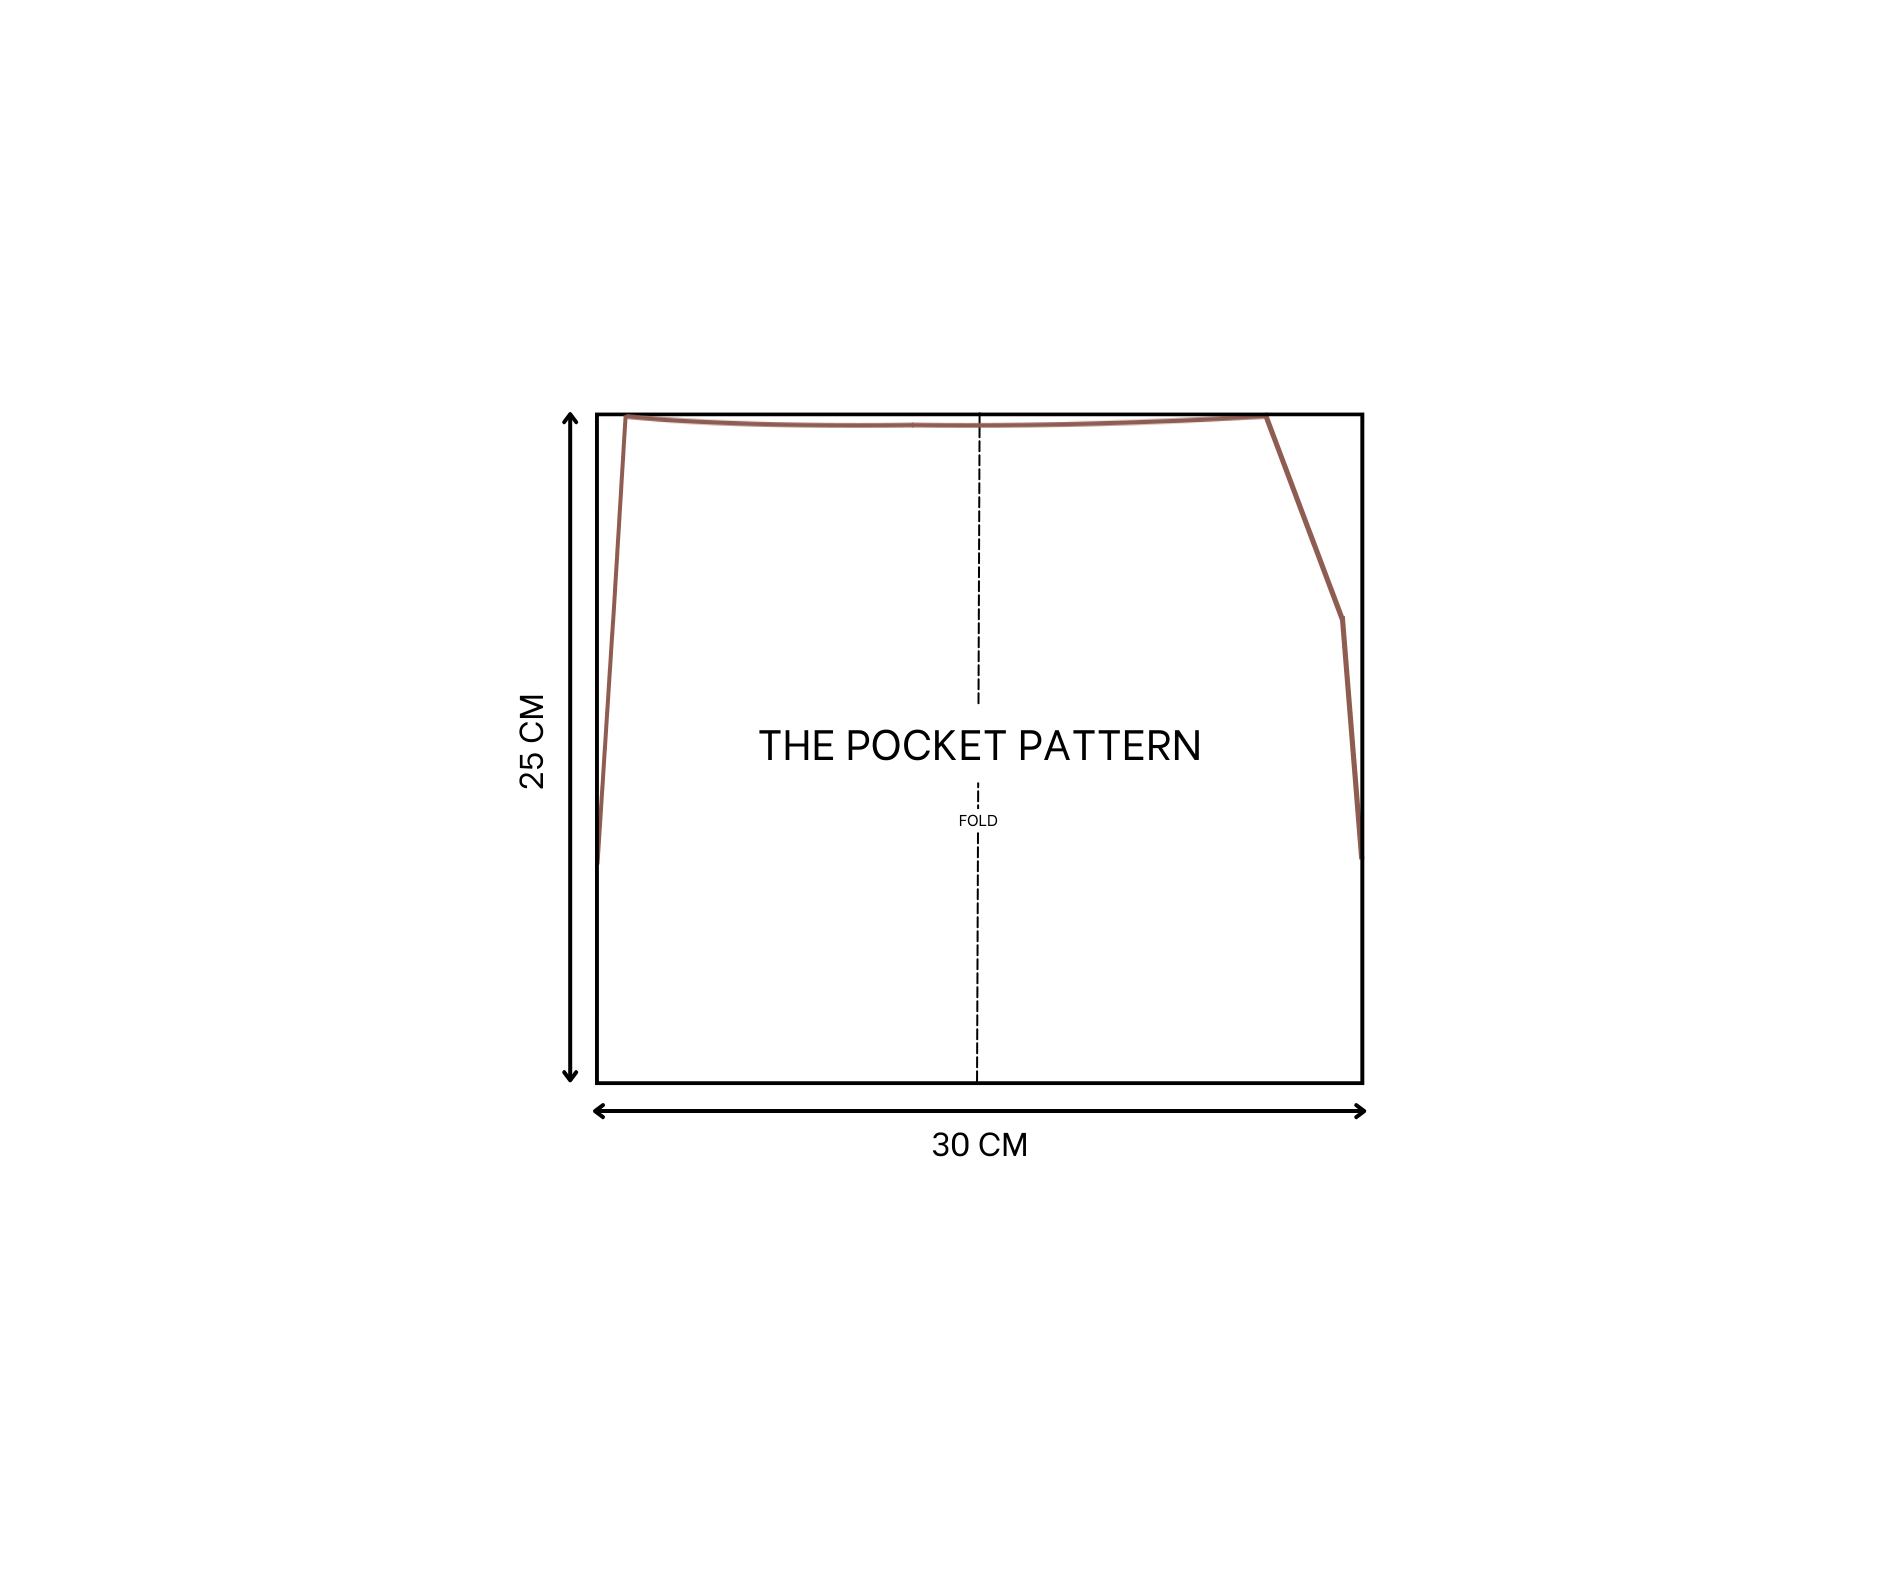
The pocket pattern
Cut a rectangle with a length of 25 cm and a width of 30 cm.
Fold the rectangle in half widthwise.
Use the front pattern to apply at the sideline to one end of the folded rectangle.
Cut along the drawing line.
THE WAISTBAND PATTERN
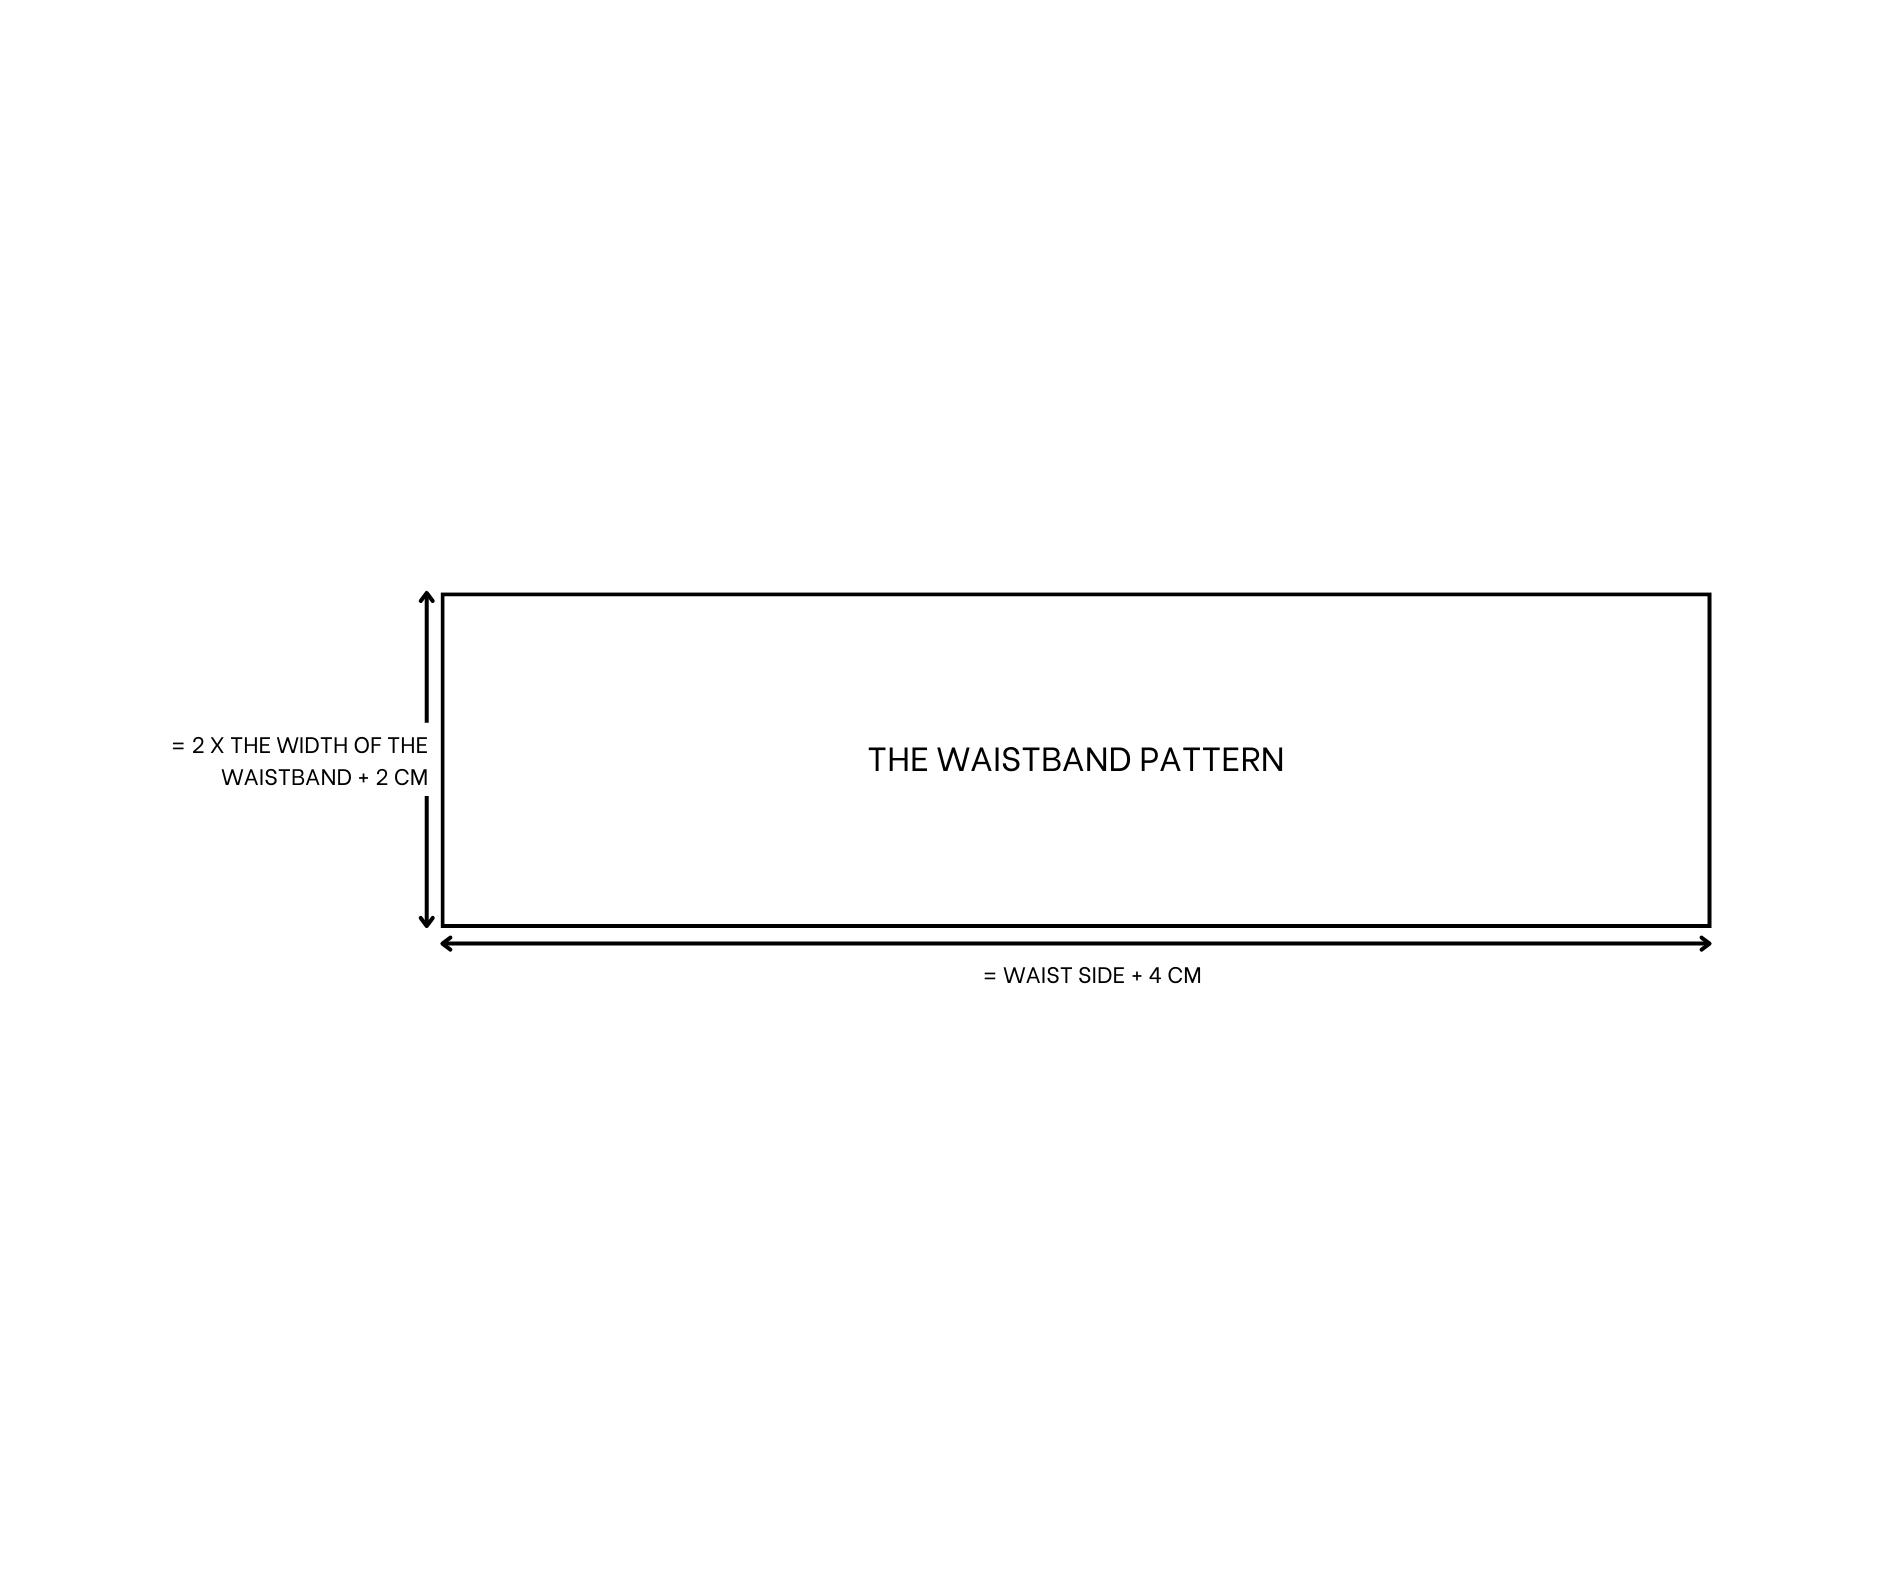
The waistband pattern
The width should be 10 cm, which is double the desired waistband width, with an additional 2 cm for seam allowance.
The length should be 68 cm, equivalent to your waist size plus 4 cm for seam allowance.
SEWING THE PANT
THE FRONT
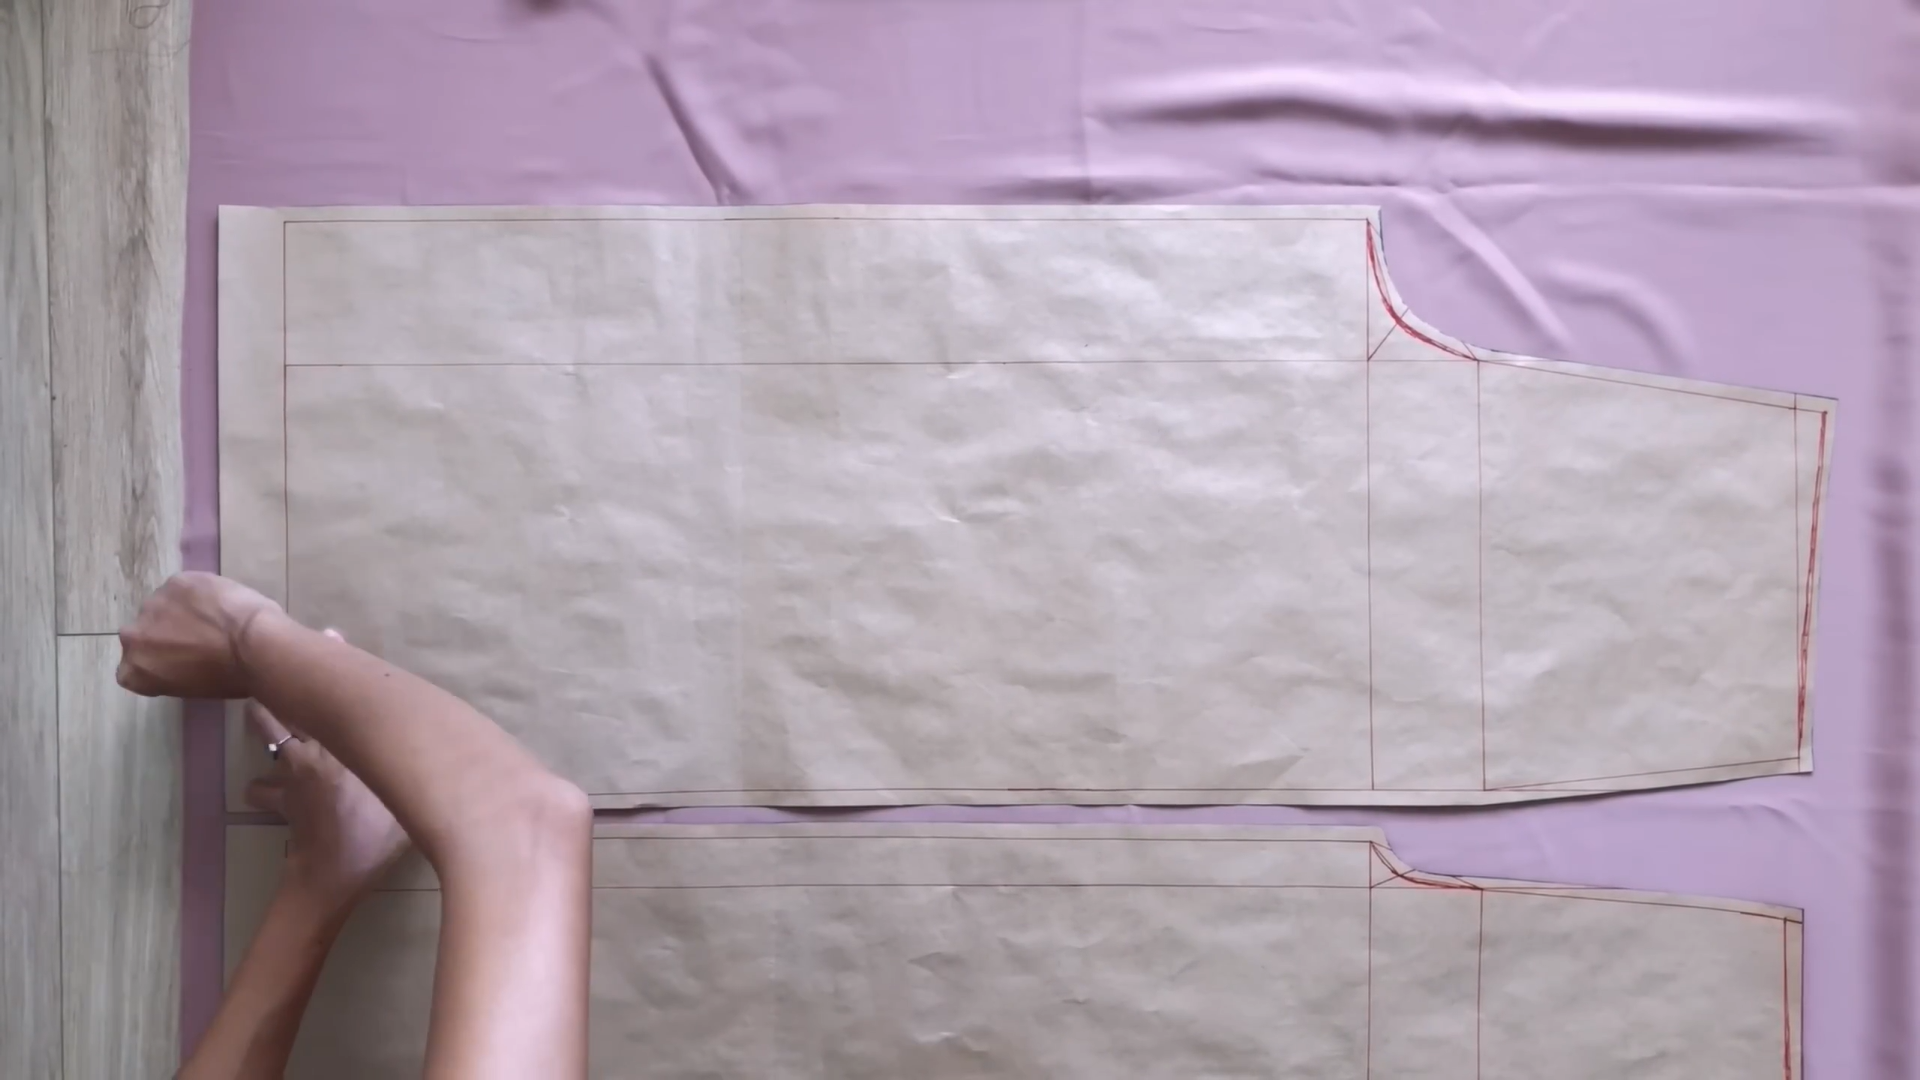
Apply the pattern to the fabric and draw along. You will need two pieces each for the front pattern, back pattern, and pocket pattern.
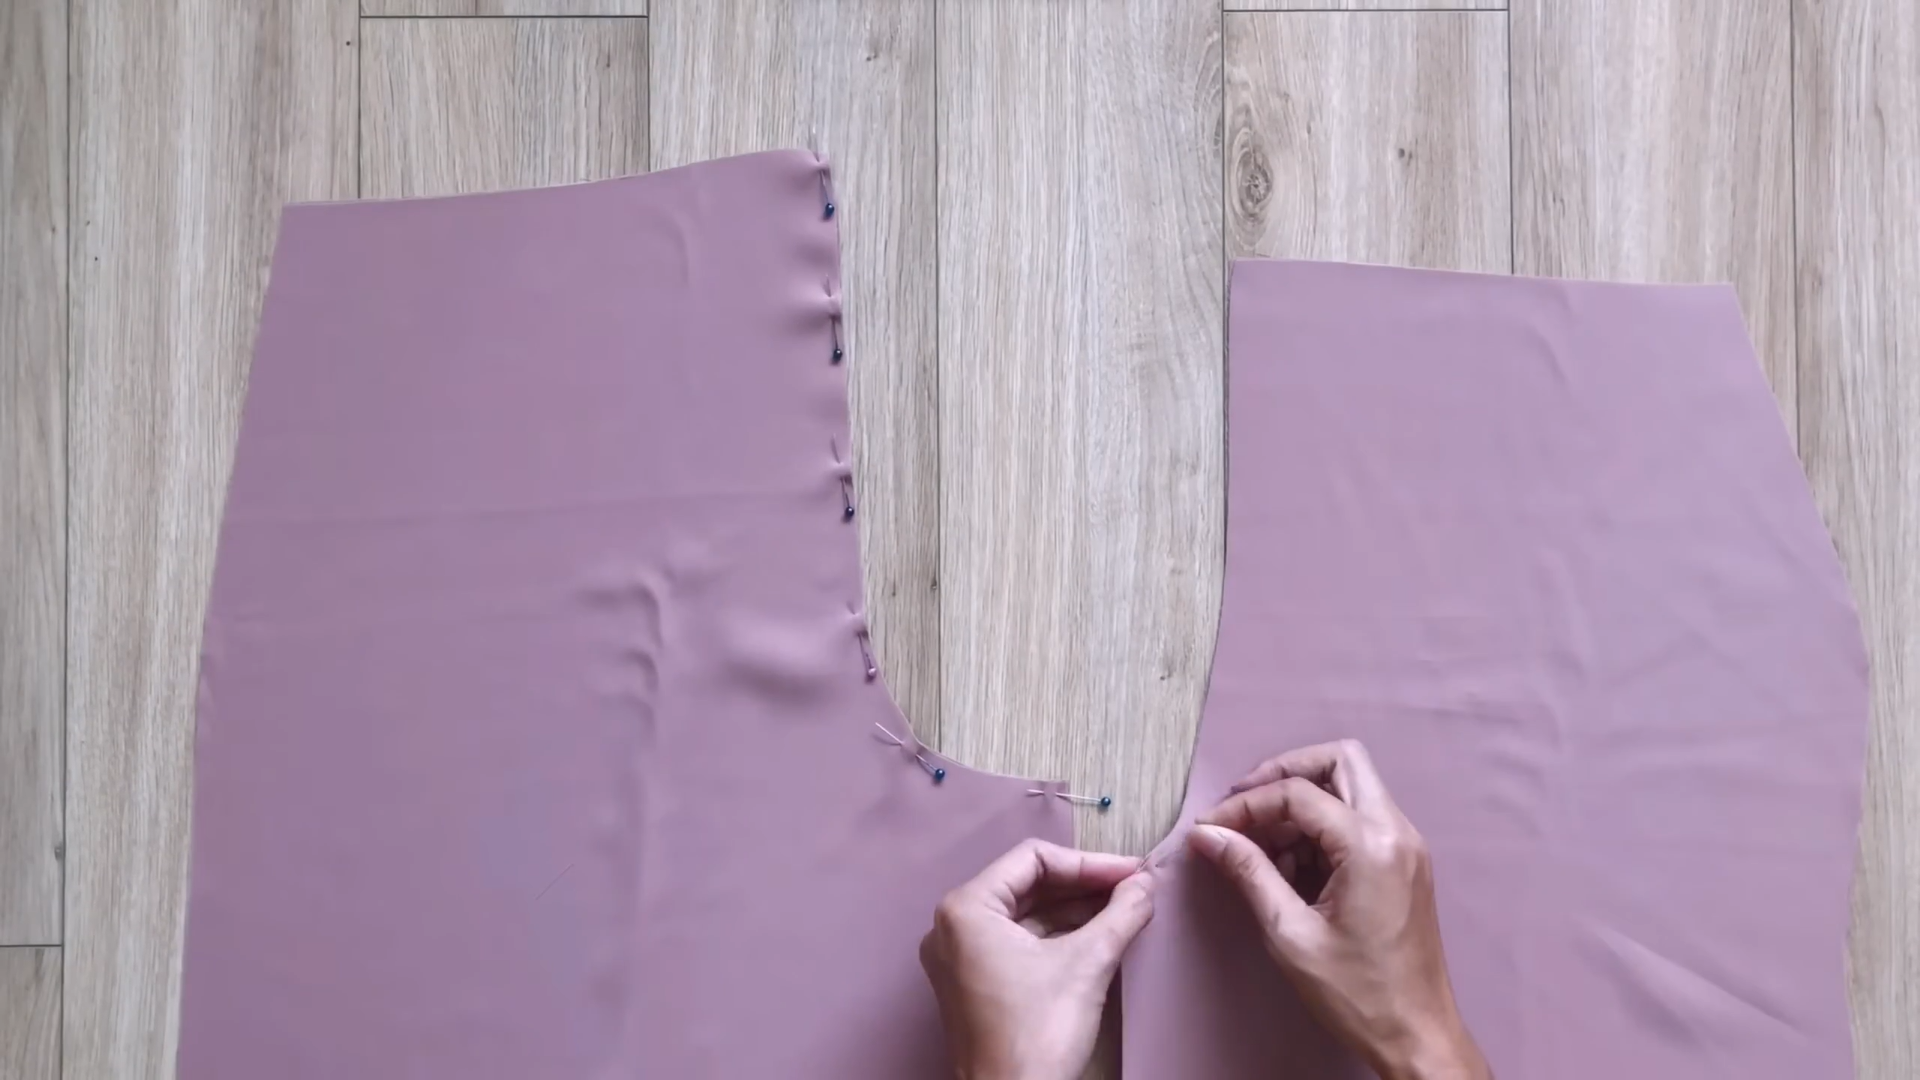
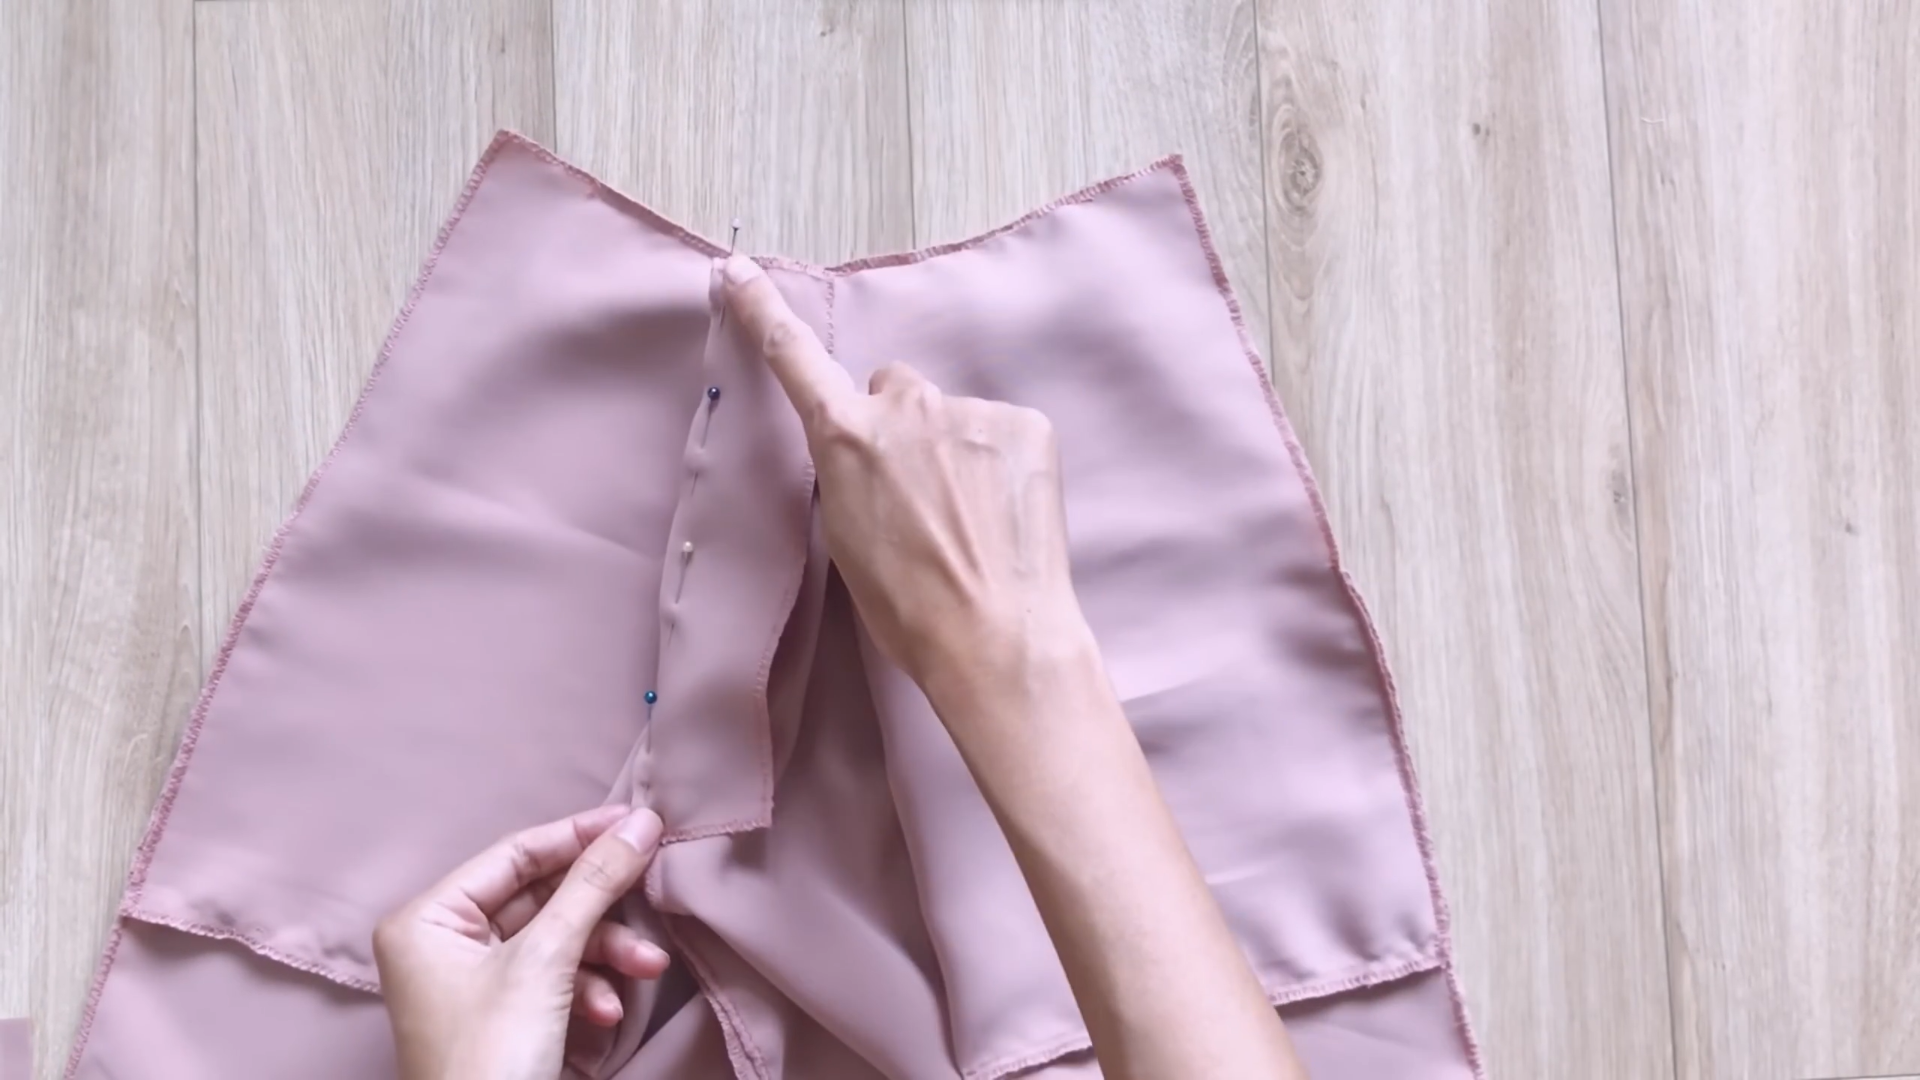
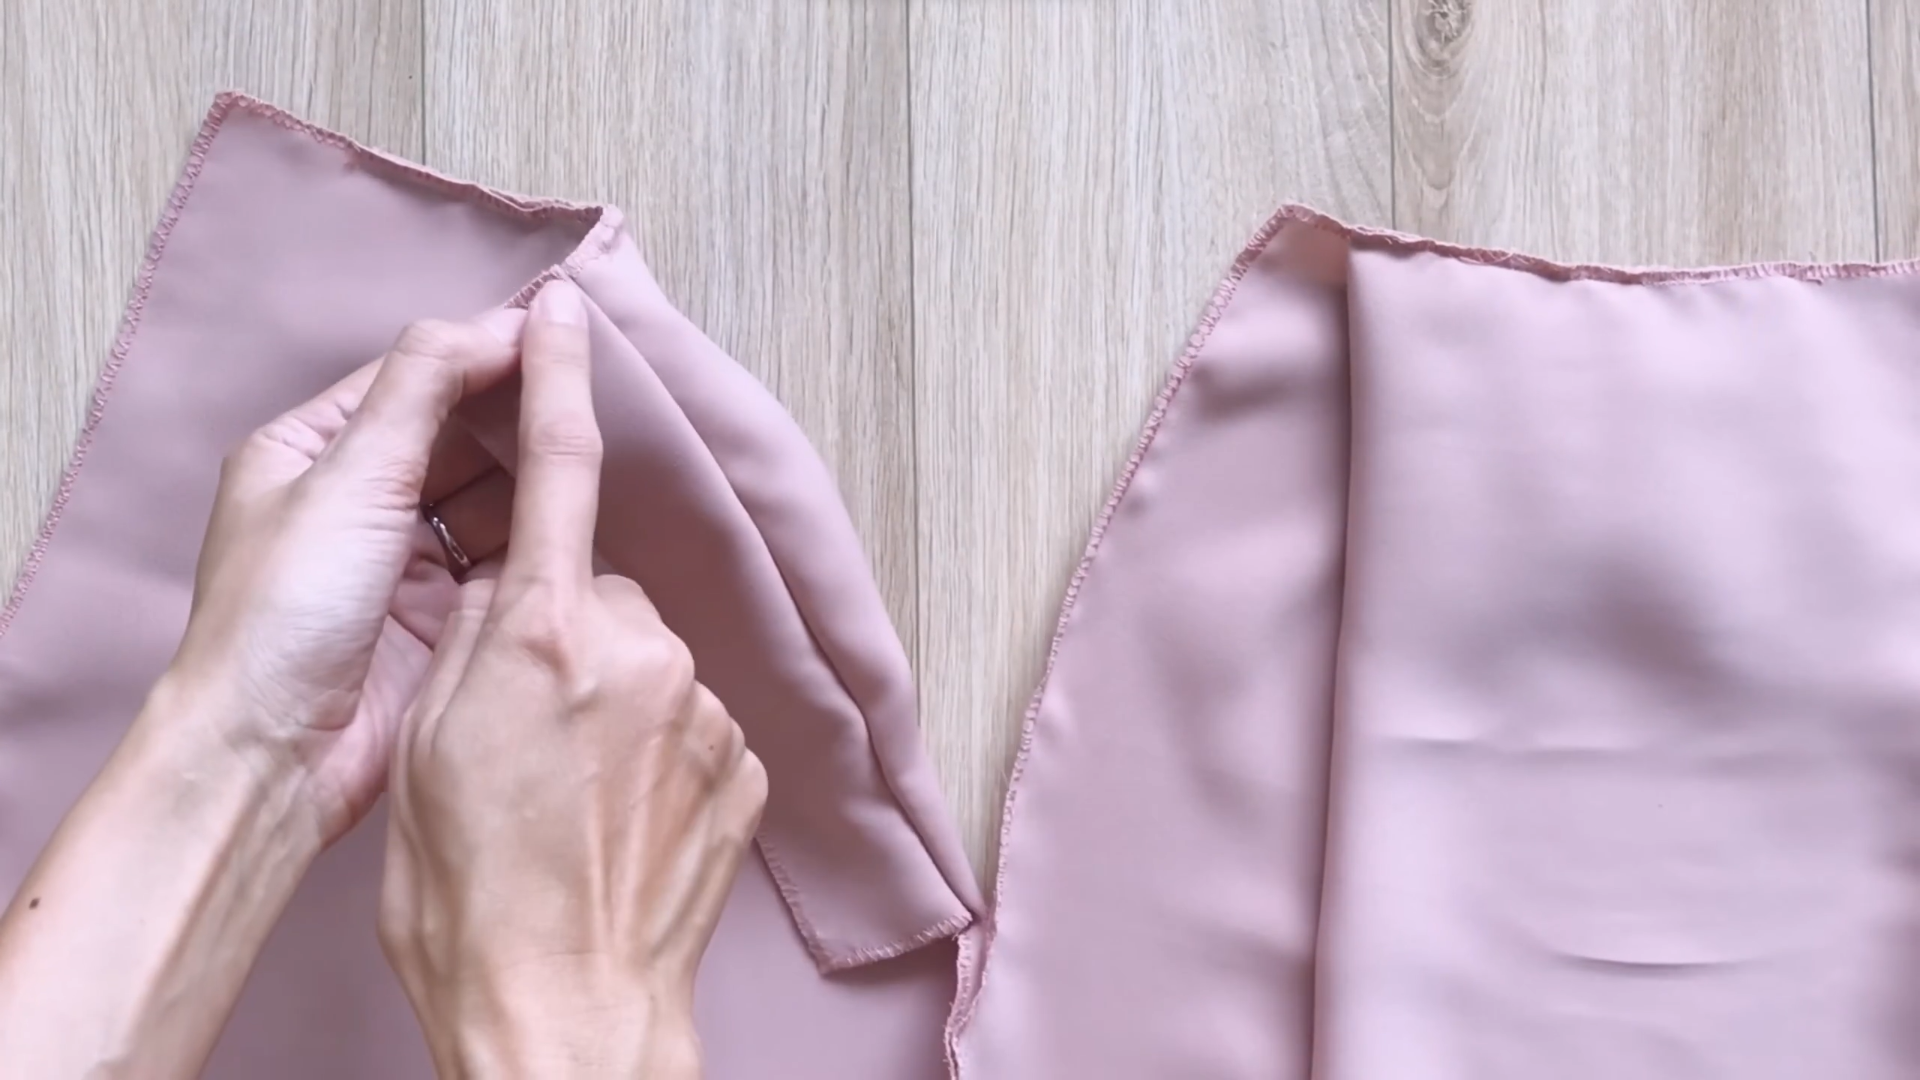
After cutting, connect two pieces of the front and two pieces of the back together at the crotch line.
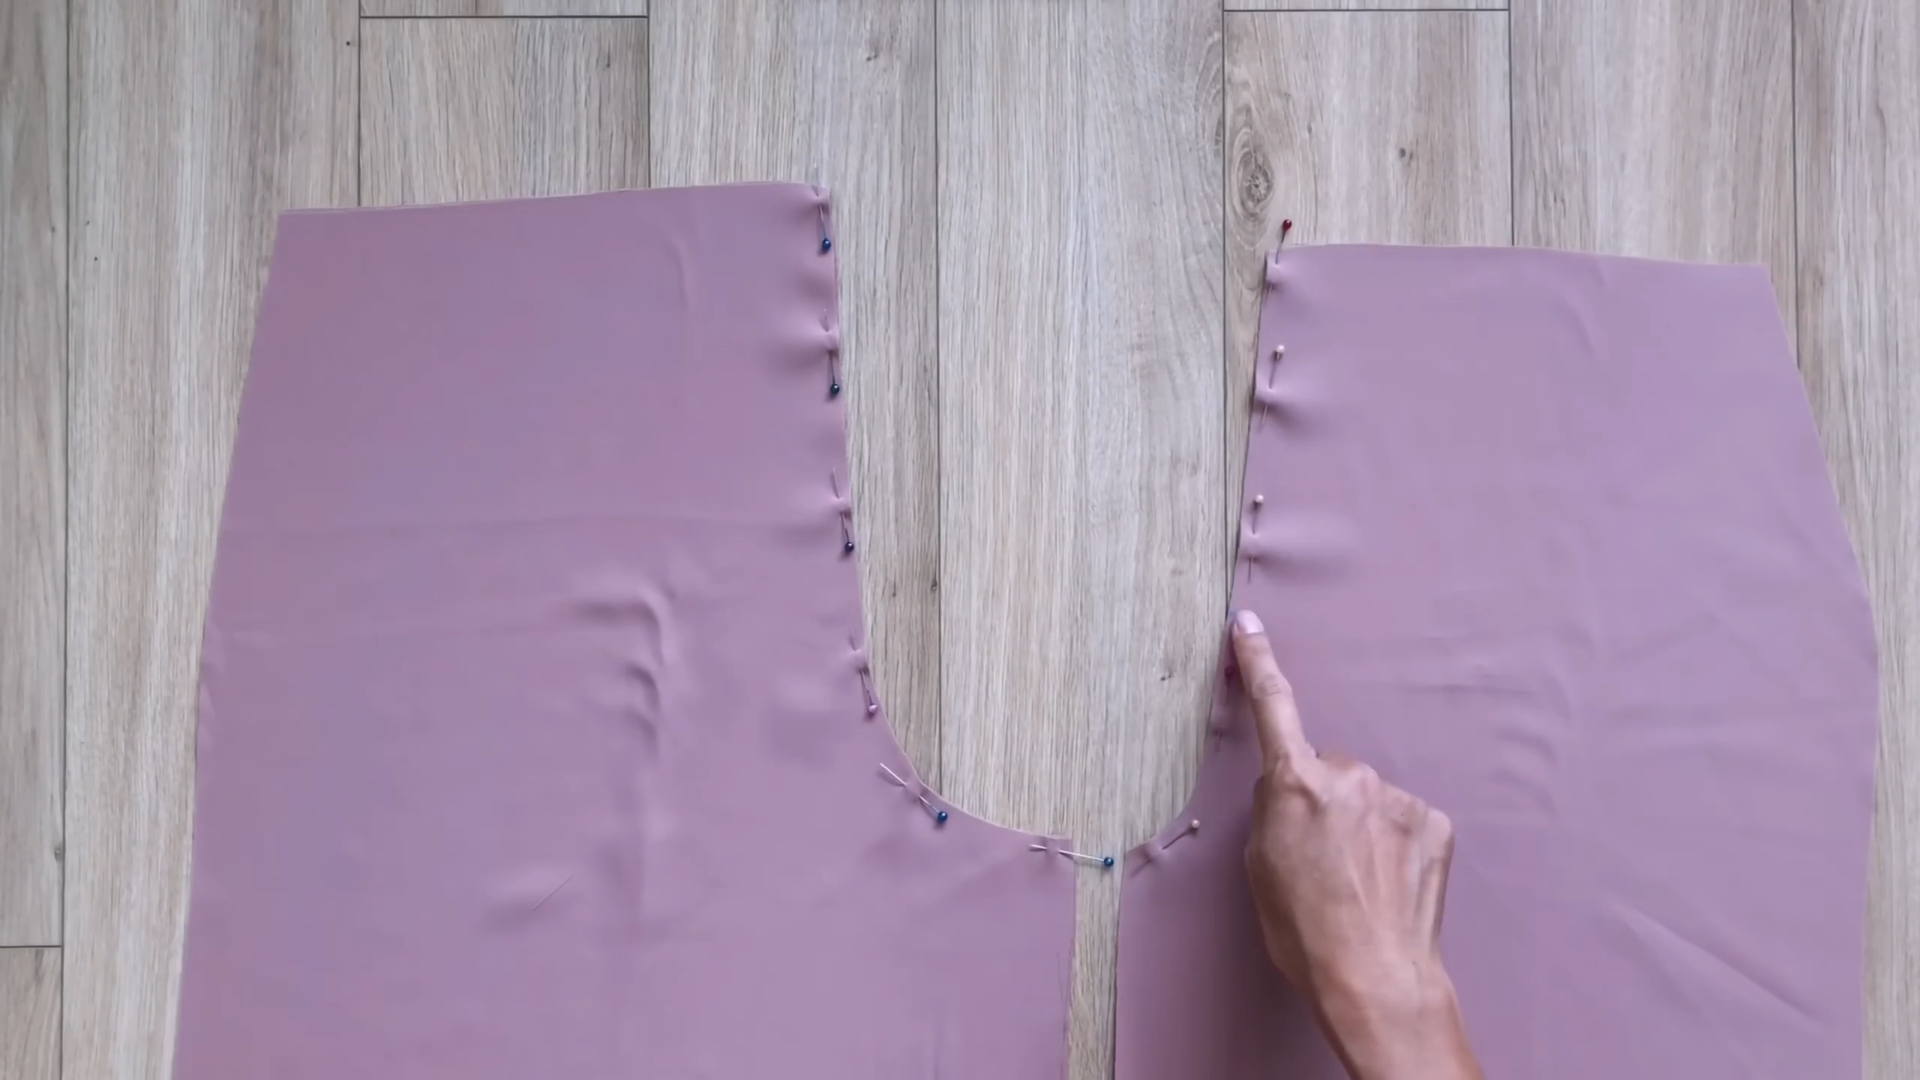
Measure the length of the zipper on the front of the pants, which is approximately 18 cm from the top of the waistline. Once measured, sew the remaining part of the crotch line together.
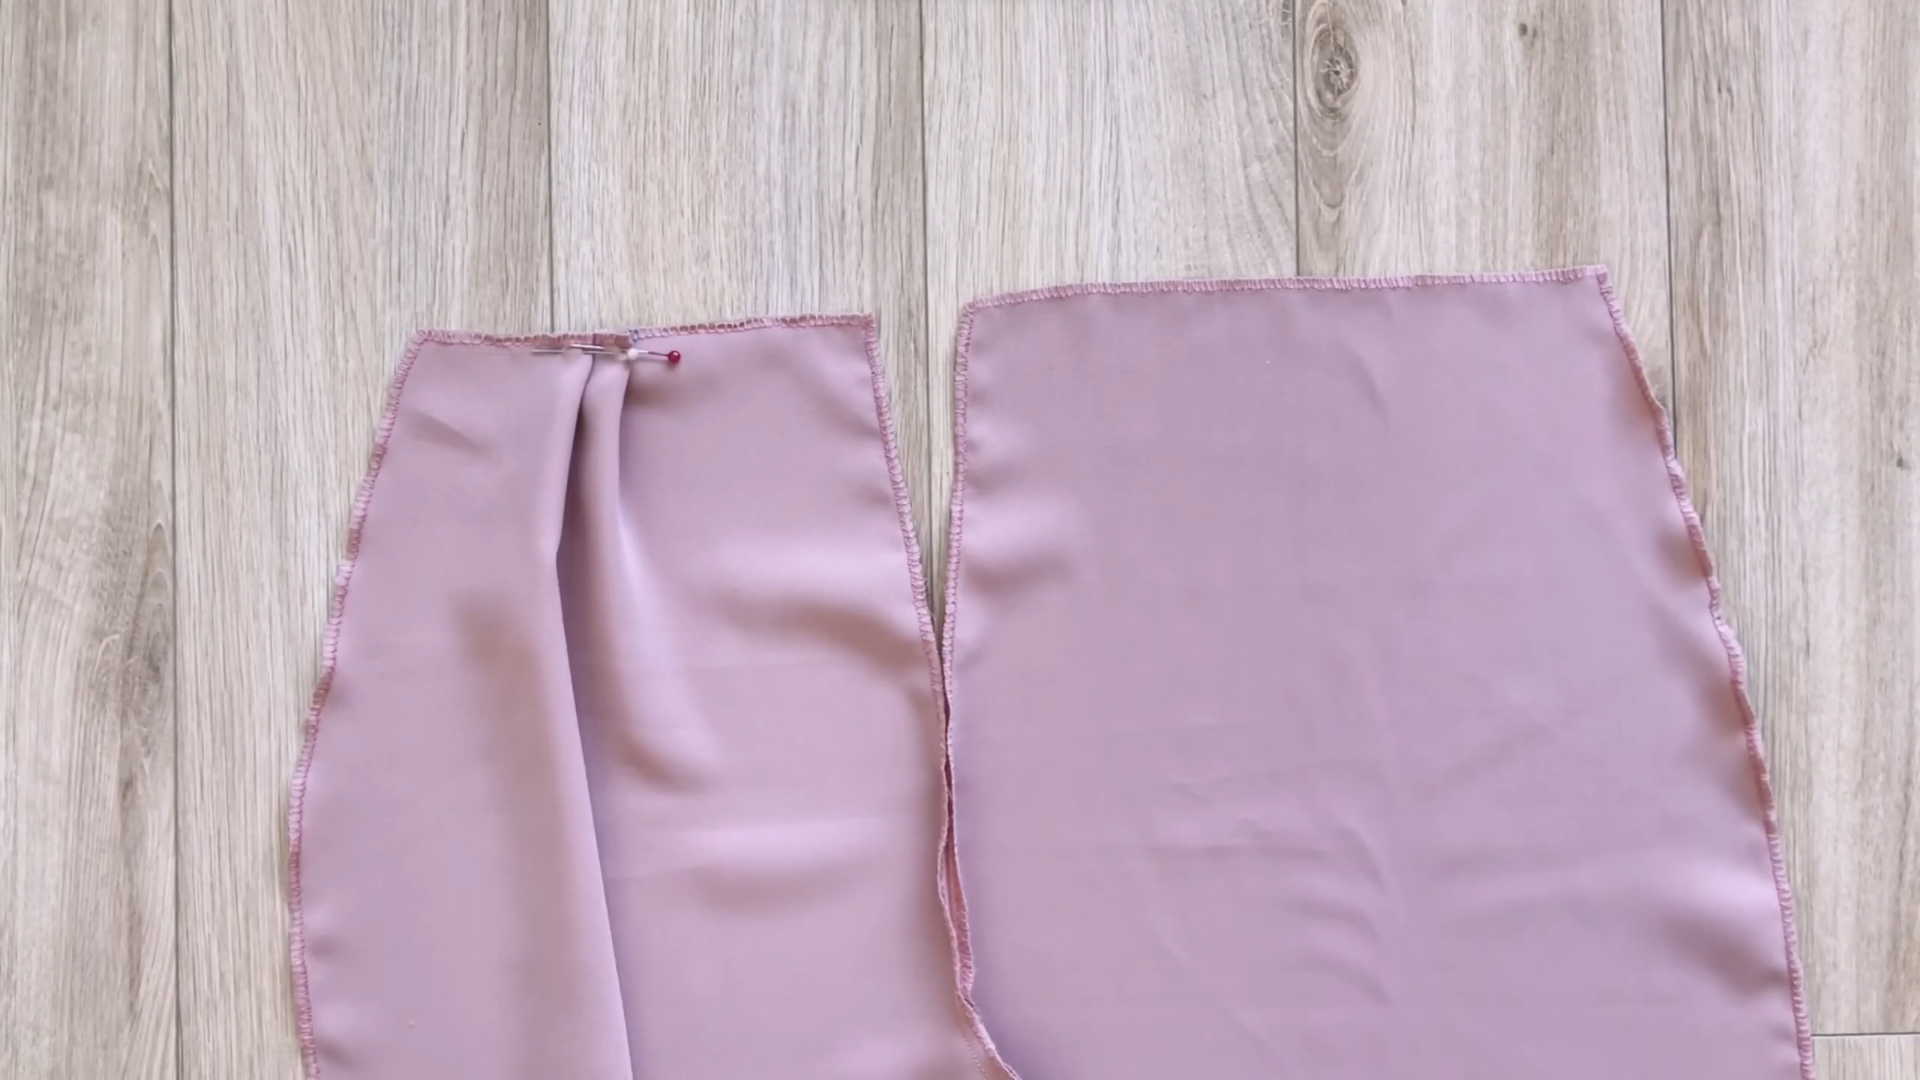
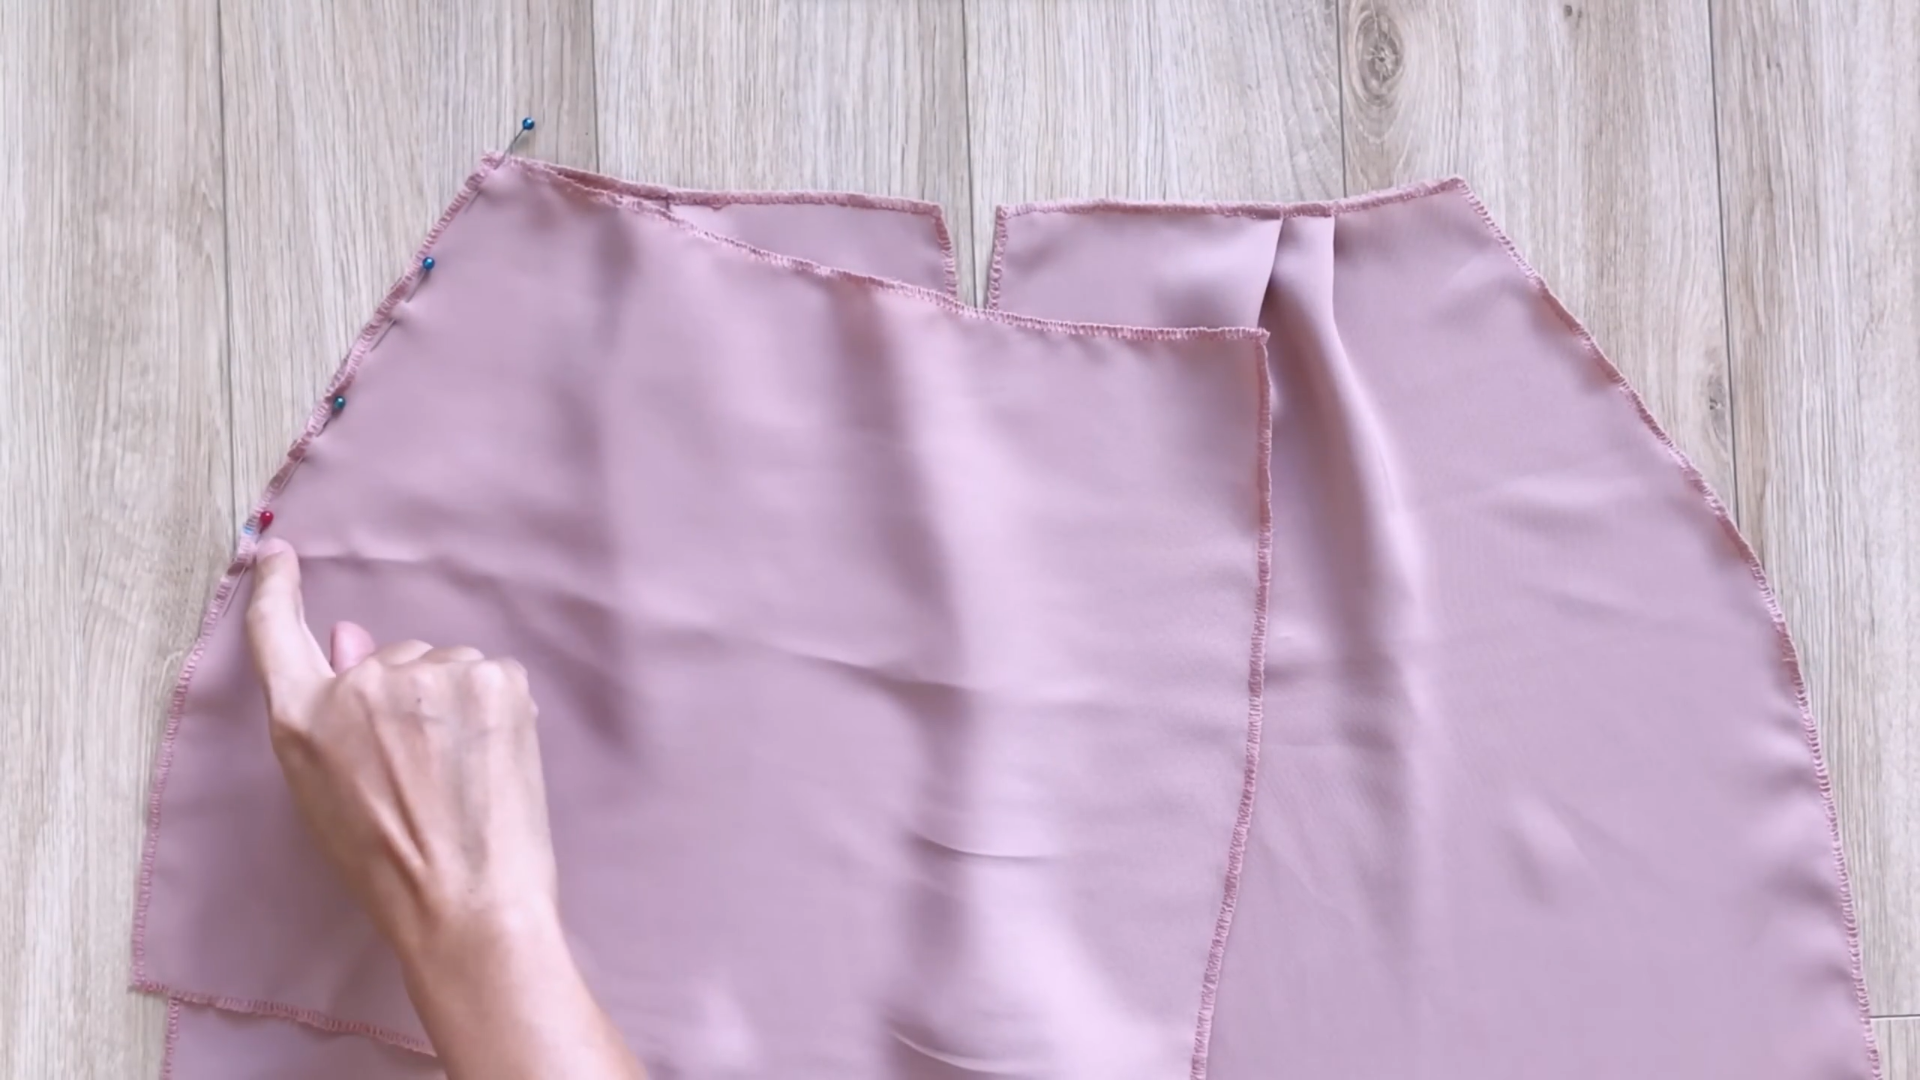
To make the waistline shorter, fold the fabric in the middle and create two folds. The length should be 18 cm, which is a quarter of your waist measurement plus 2 cm for seam allowance. Do the same for the other piece of the front pant.
Connect the front pant to the pocket at the top of the sideline.
Remember, the length of this connecting part will be 16 cm, which is the width of the open area of the pocket plus 1 cm for seam allowance.
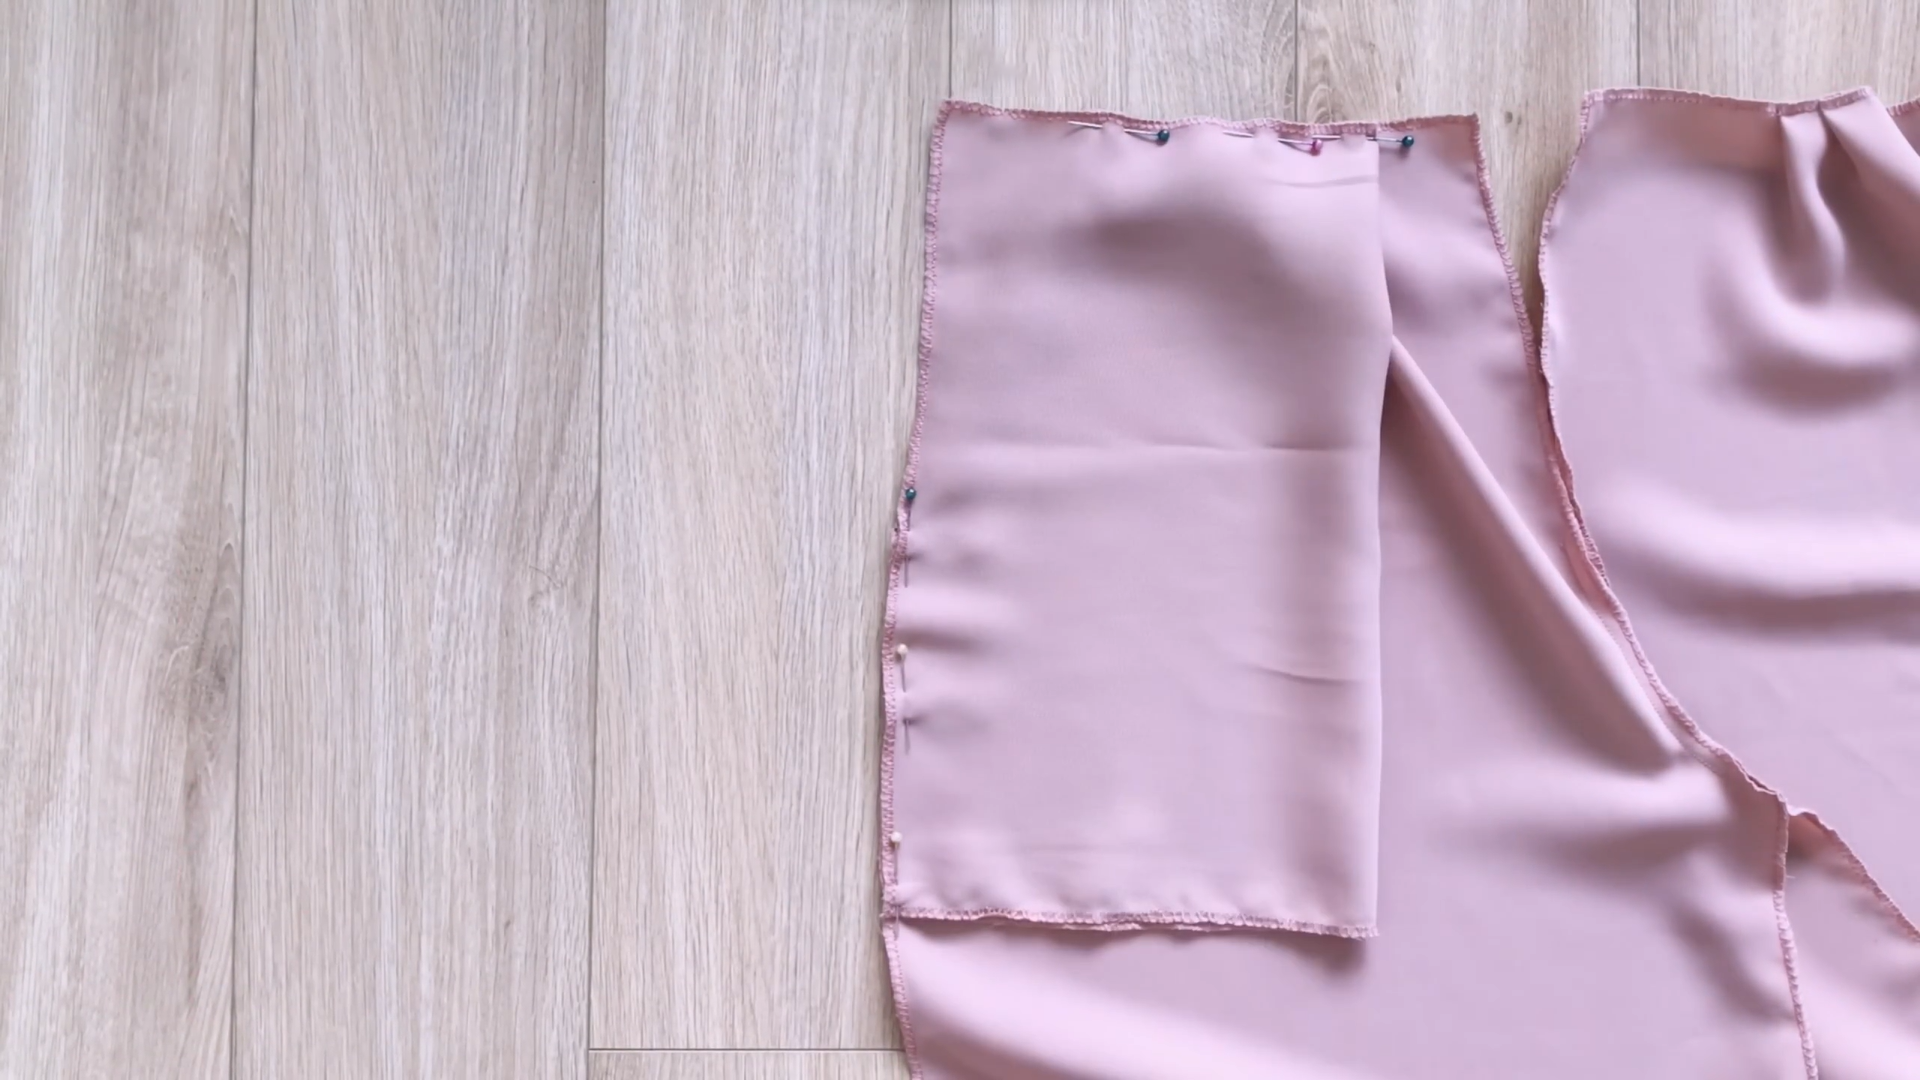
After sewing, connect the rest of the pocket to the front pant and the waistline to the sideline. Don’t forget to connect the end of the pocket together as well.
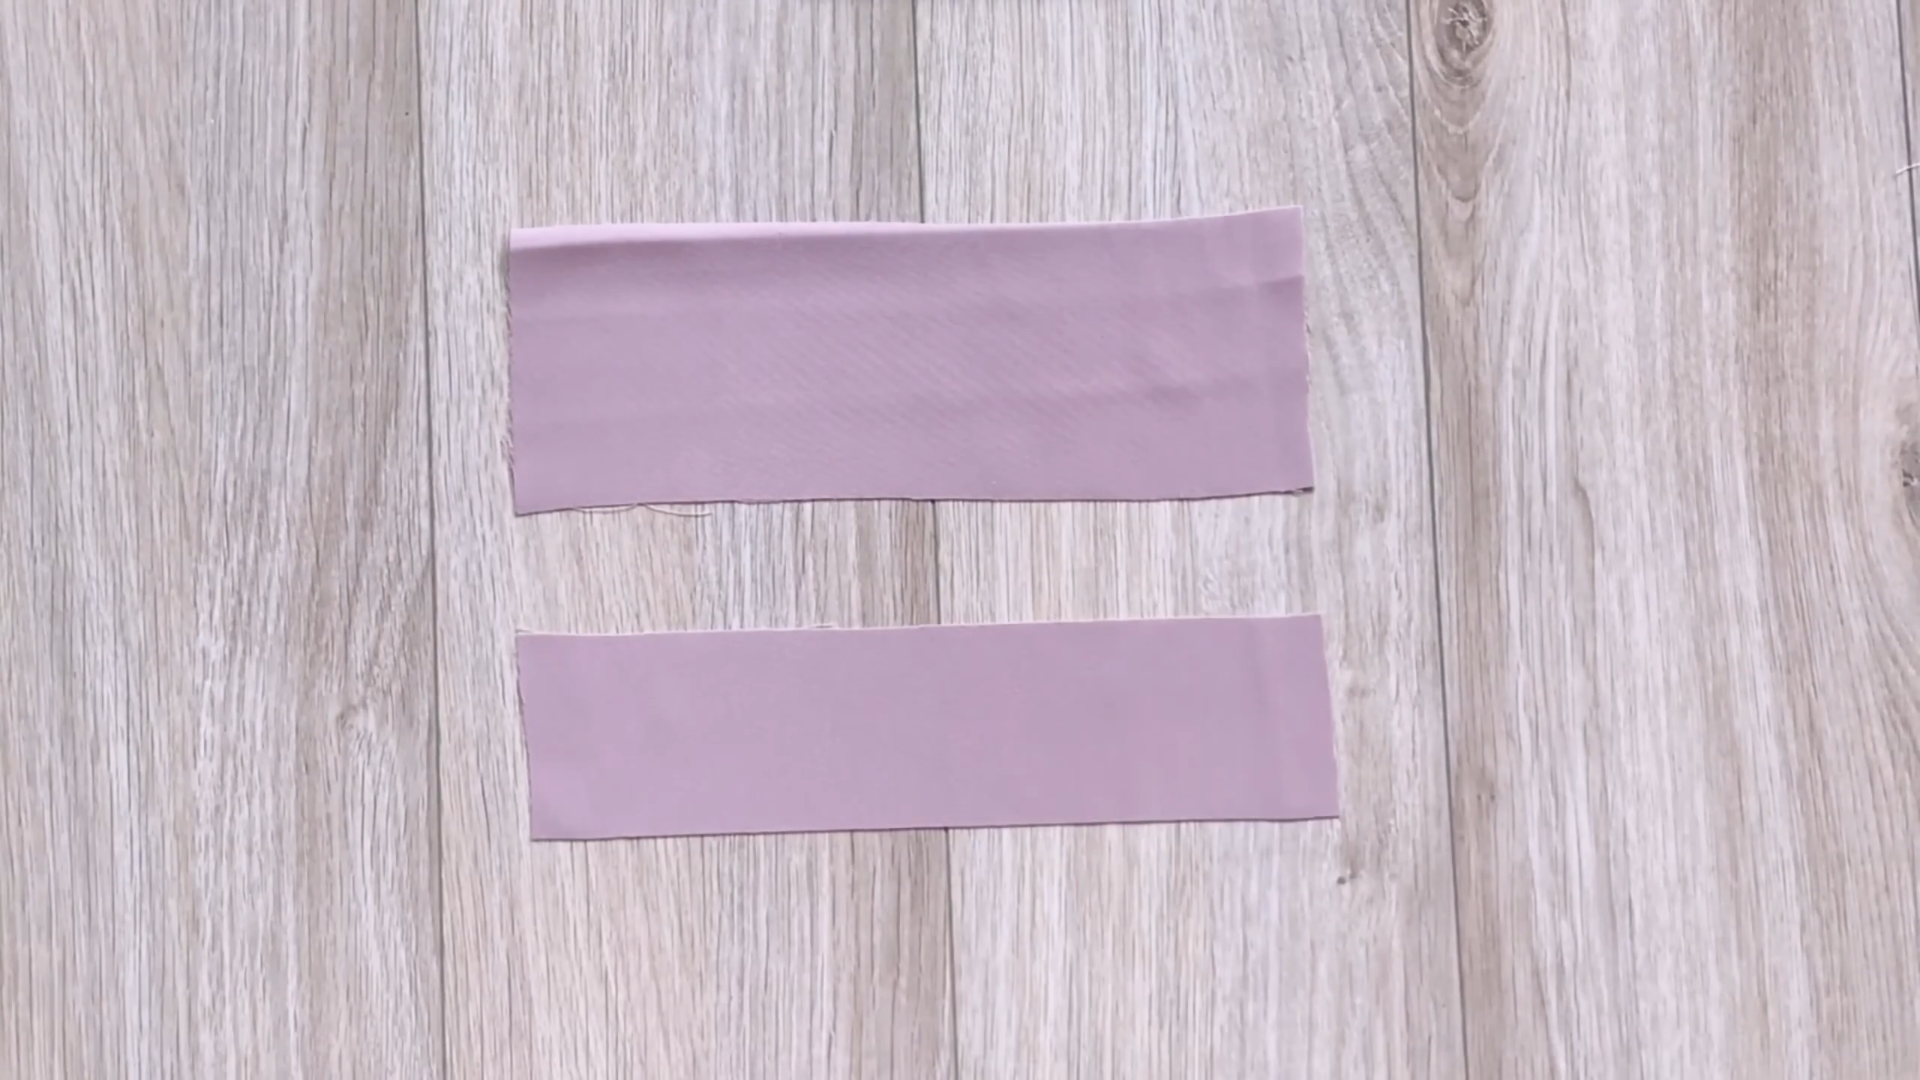
To make the zipper area, cut two rectangles. The first rectangle is 8 cm wide and 20 cm long. The second one is 5 cm wide and 20 cm long.

Fold the larger rectangle in half on the width line first, then overlock the ends of them later.
Connect the smaller rectangle to the right of the front pant at the crotch line.
After the first seam, make another seam to fix the fabric to one side.
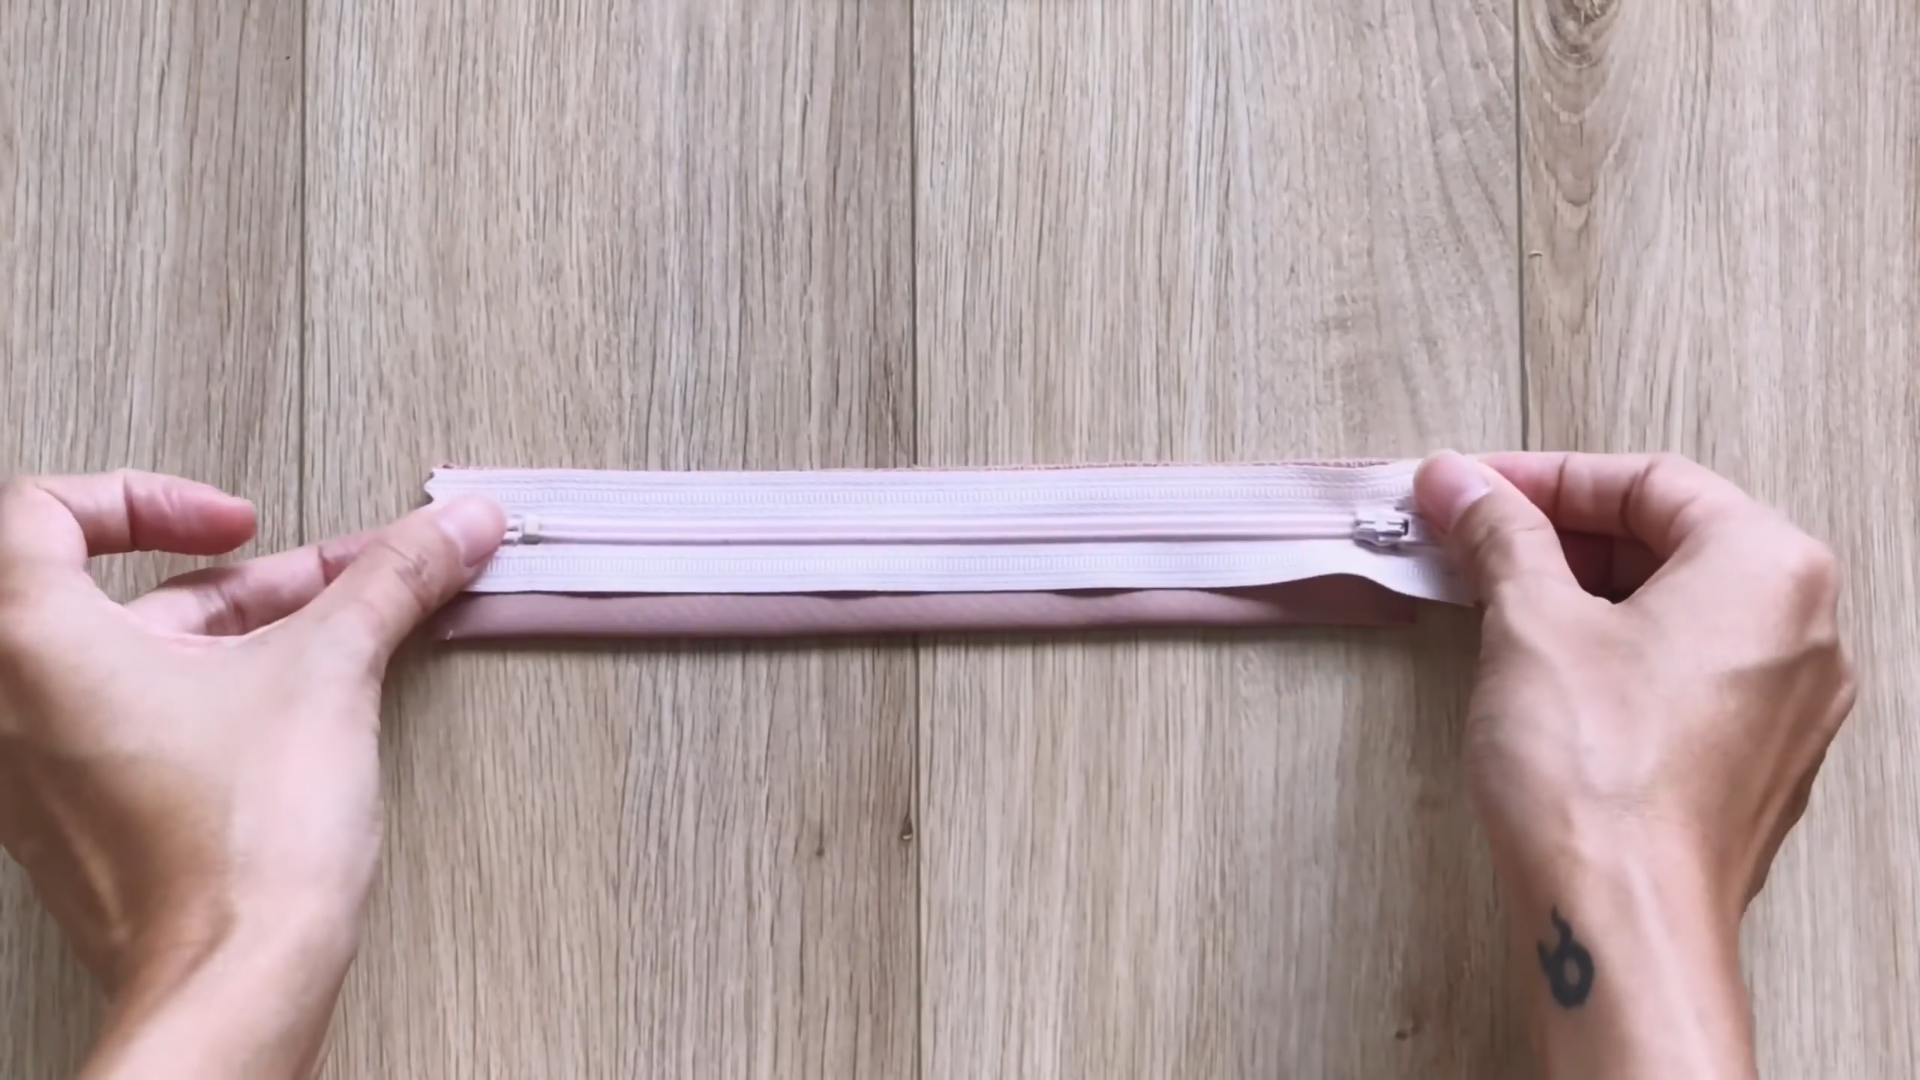
Add one side of the zipper to the large folding rectangle.
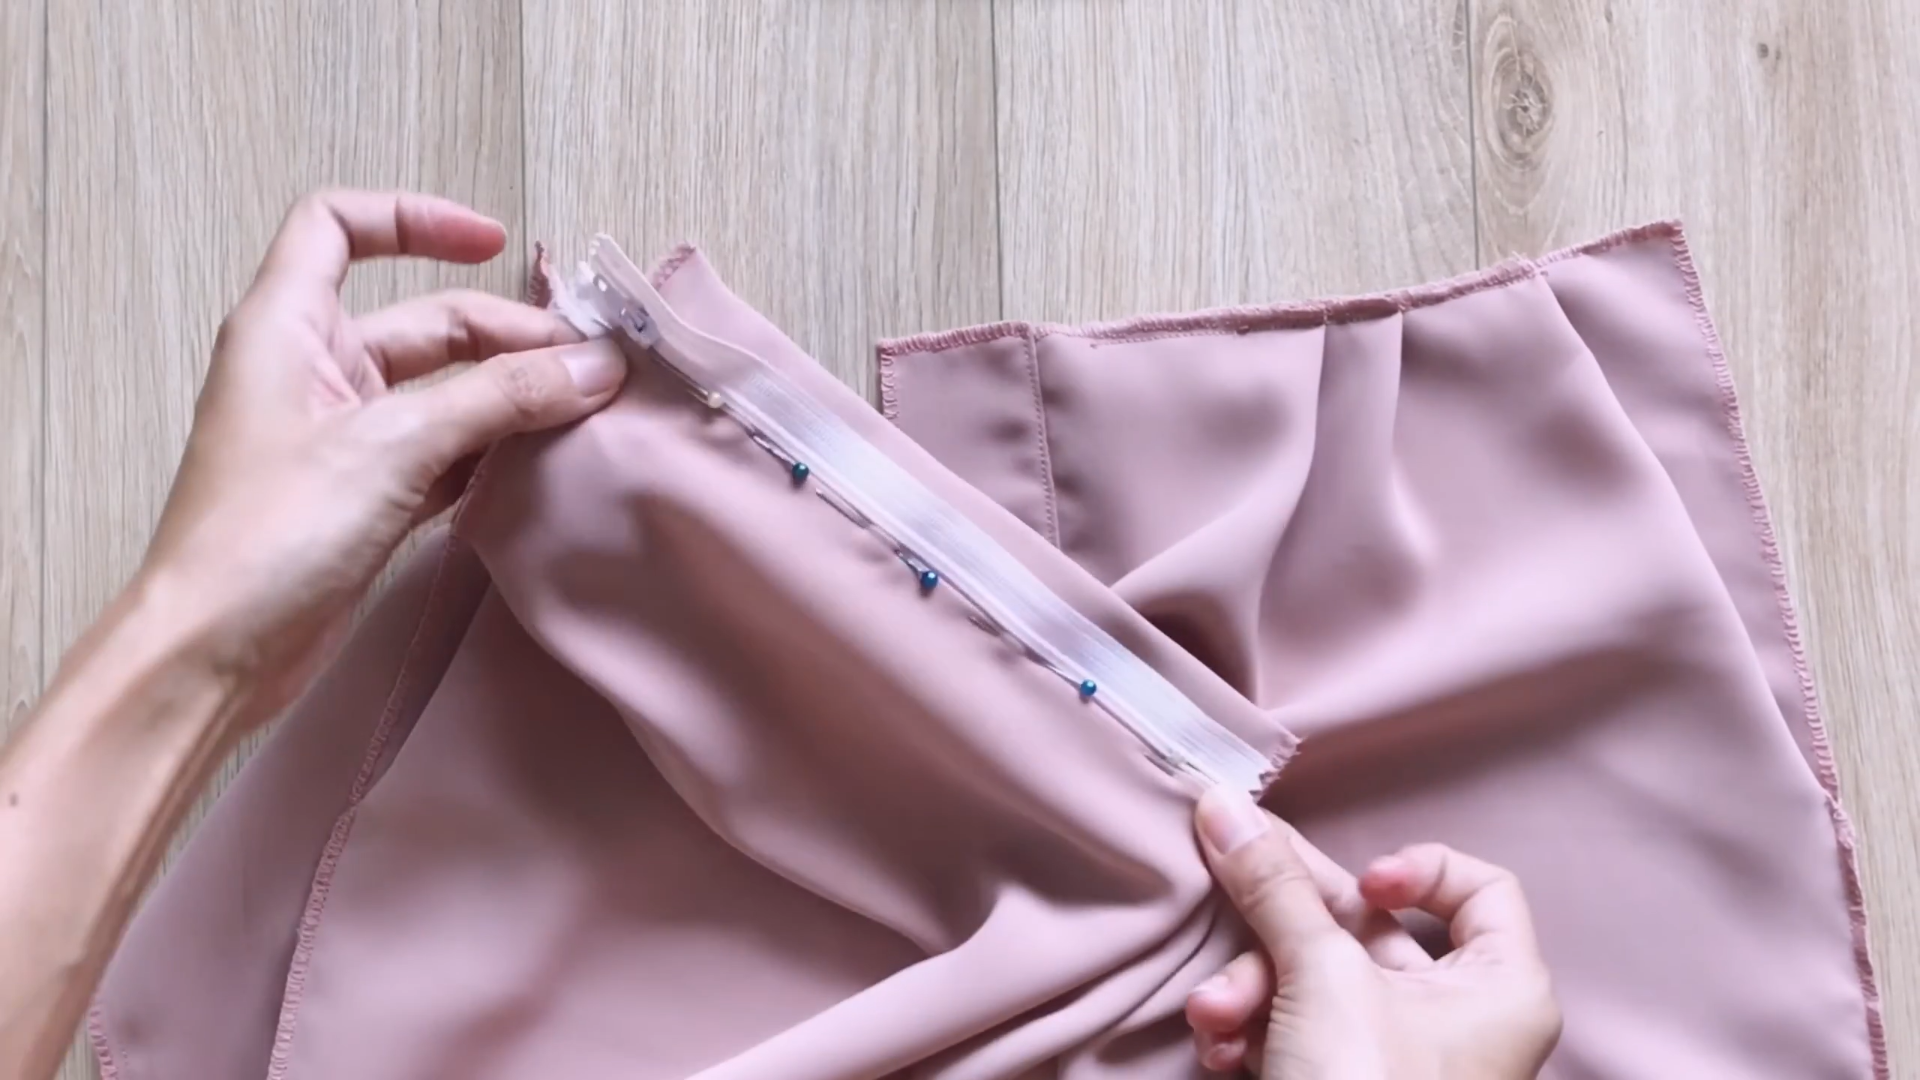
Connect it to the other side of the crotch line.
Close the zipper to know where you should connect it to the other side of the crotch line and sew to keep them together.
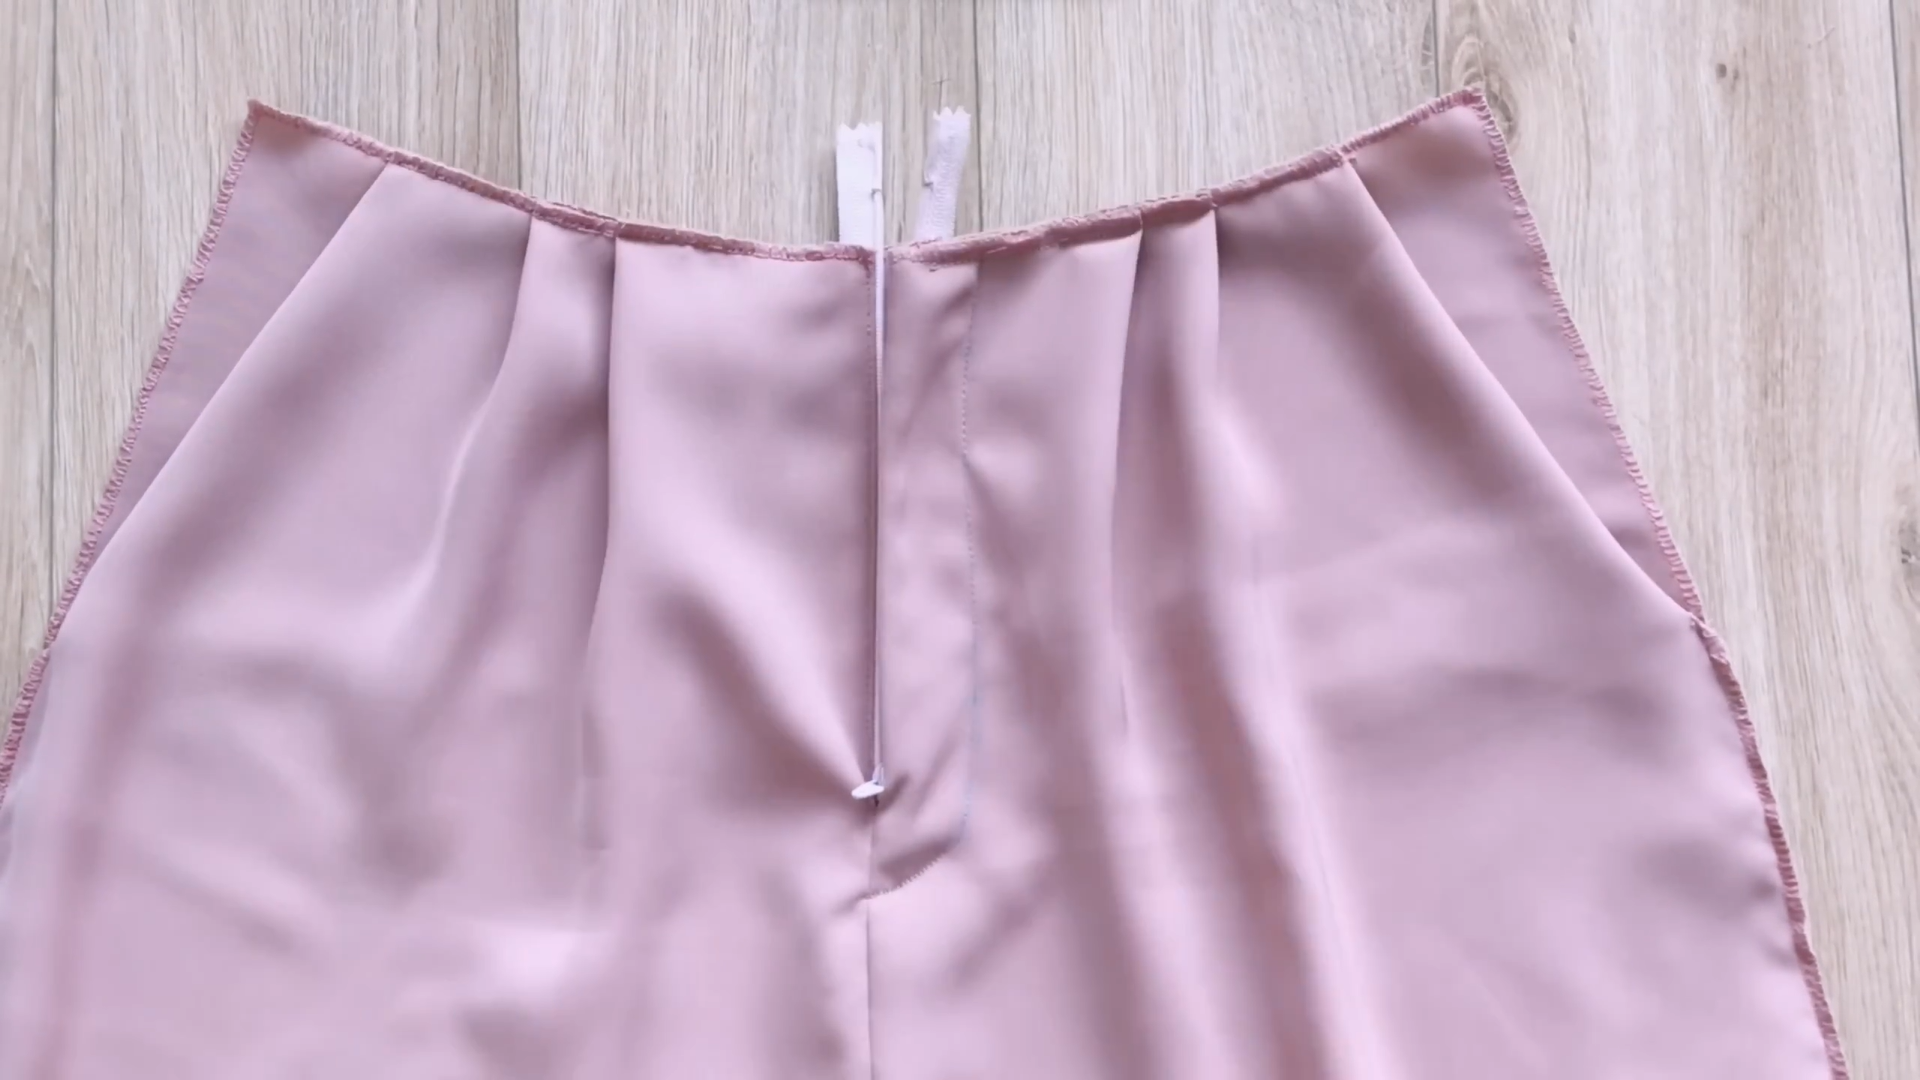
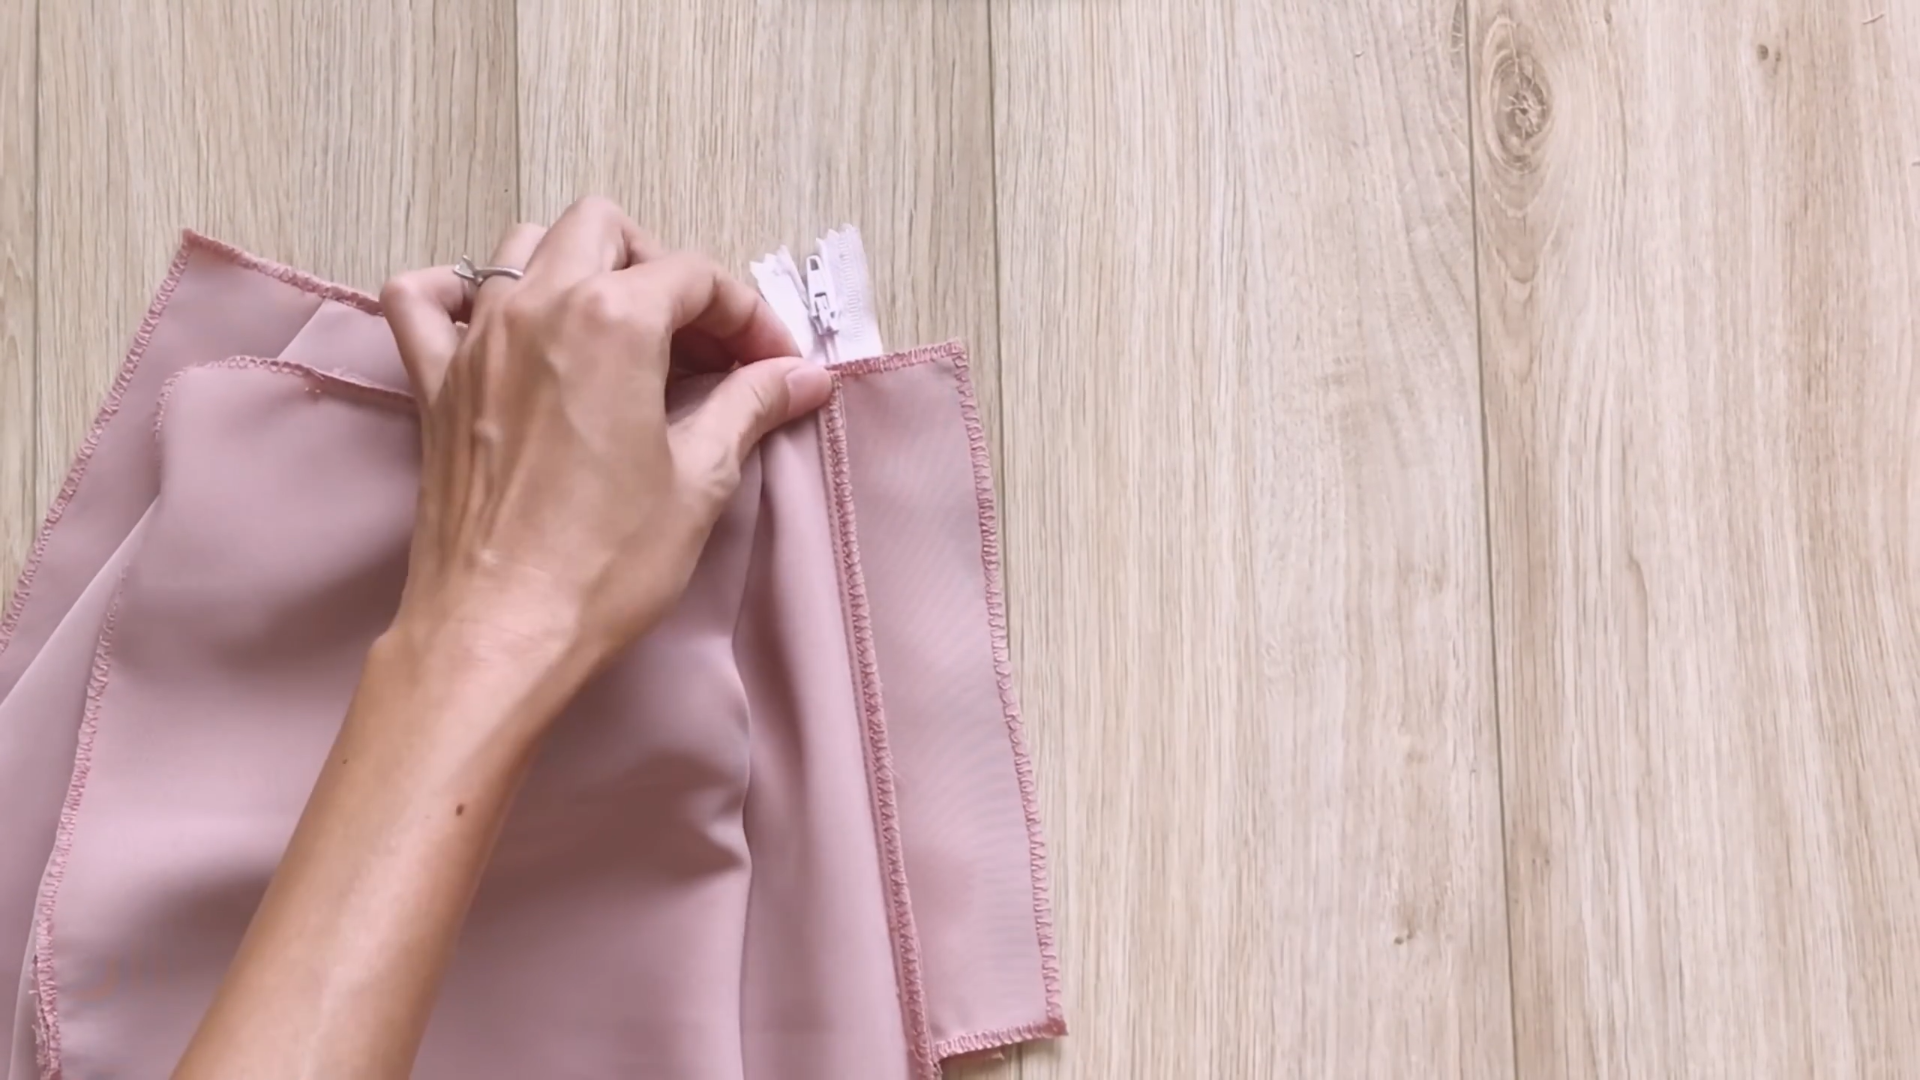
Make the seam to connect the front pant to the smaller rectangle, and we finish the front pant.
THE BACK
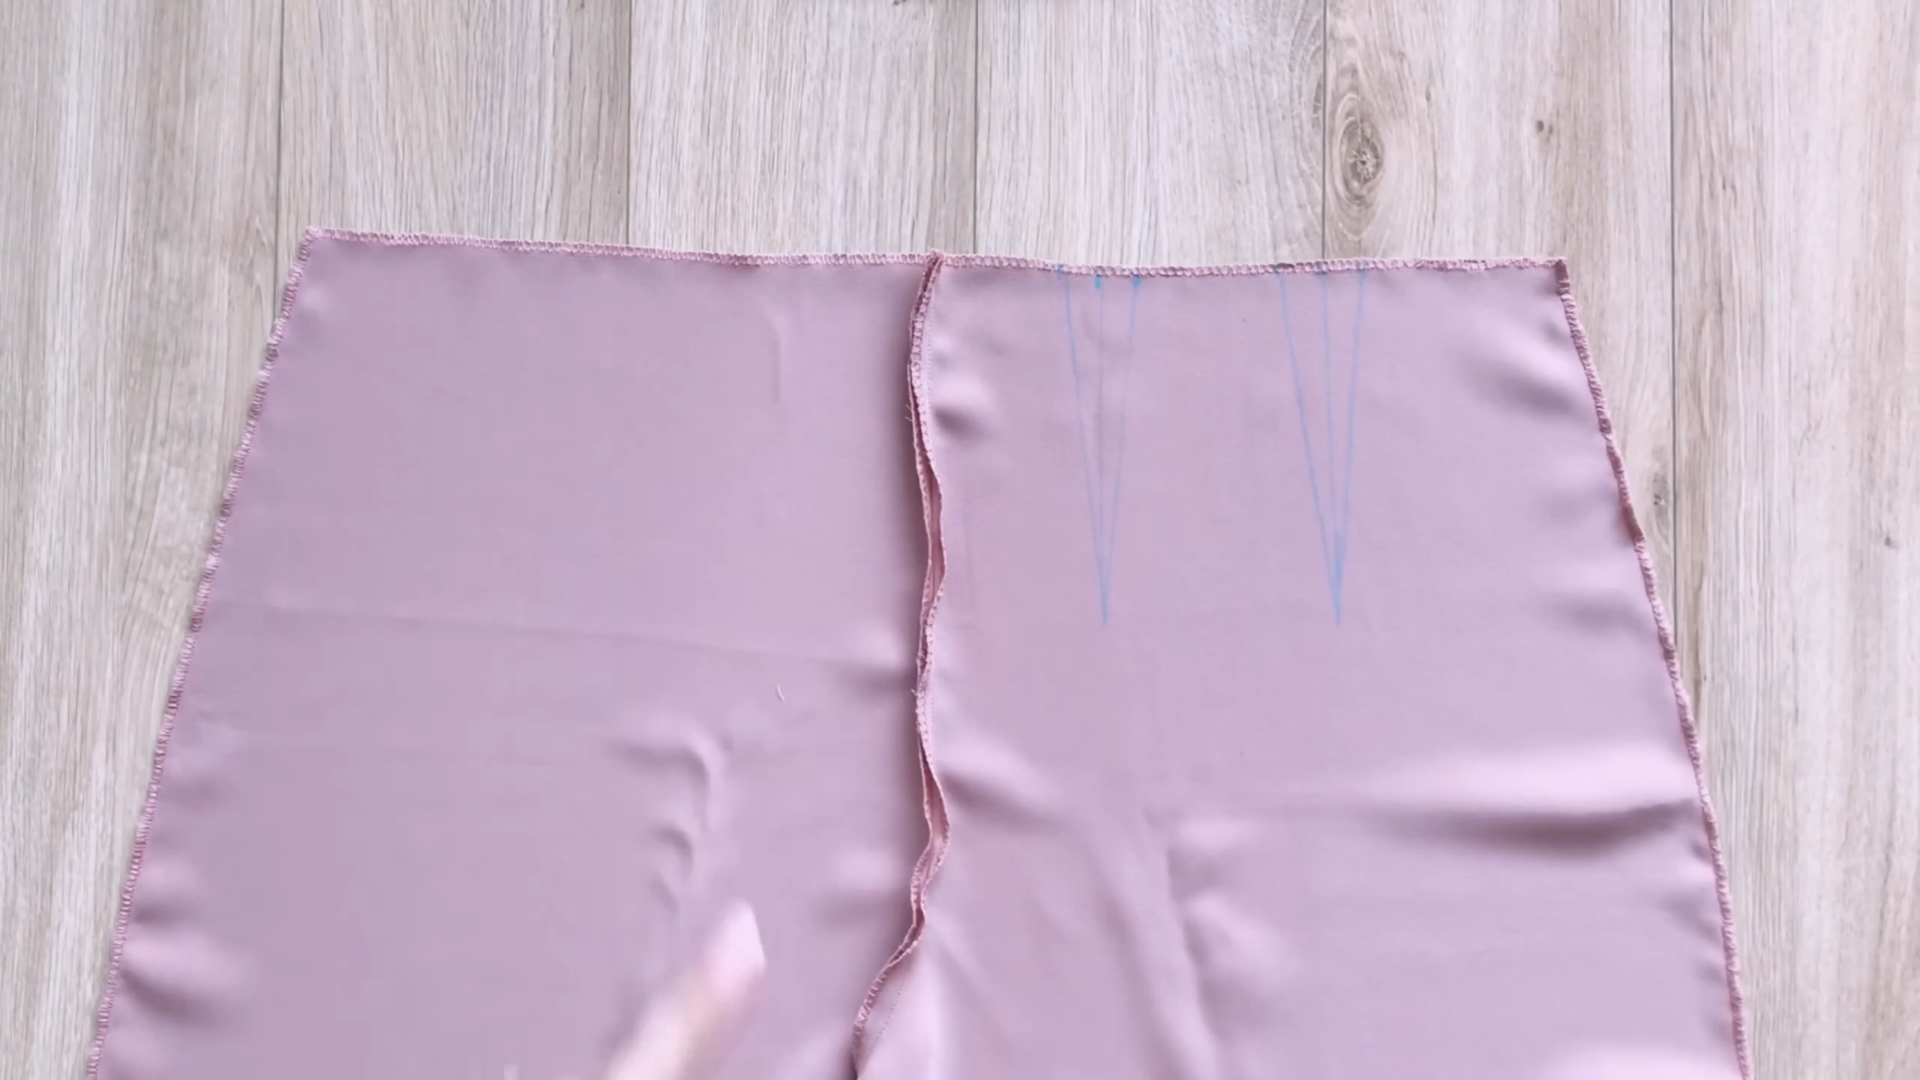
Add two darts on one side to match the back waistline to your waist size. Each dart should be approximately 13 to 15 cm long, equivalent to the distance from your belly button to the widest part of your buttocks. Make sure the final waistline width is half of your waist size, plus an extra 2 cm for seam allowance.
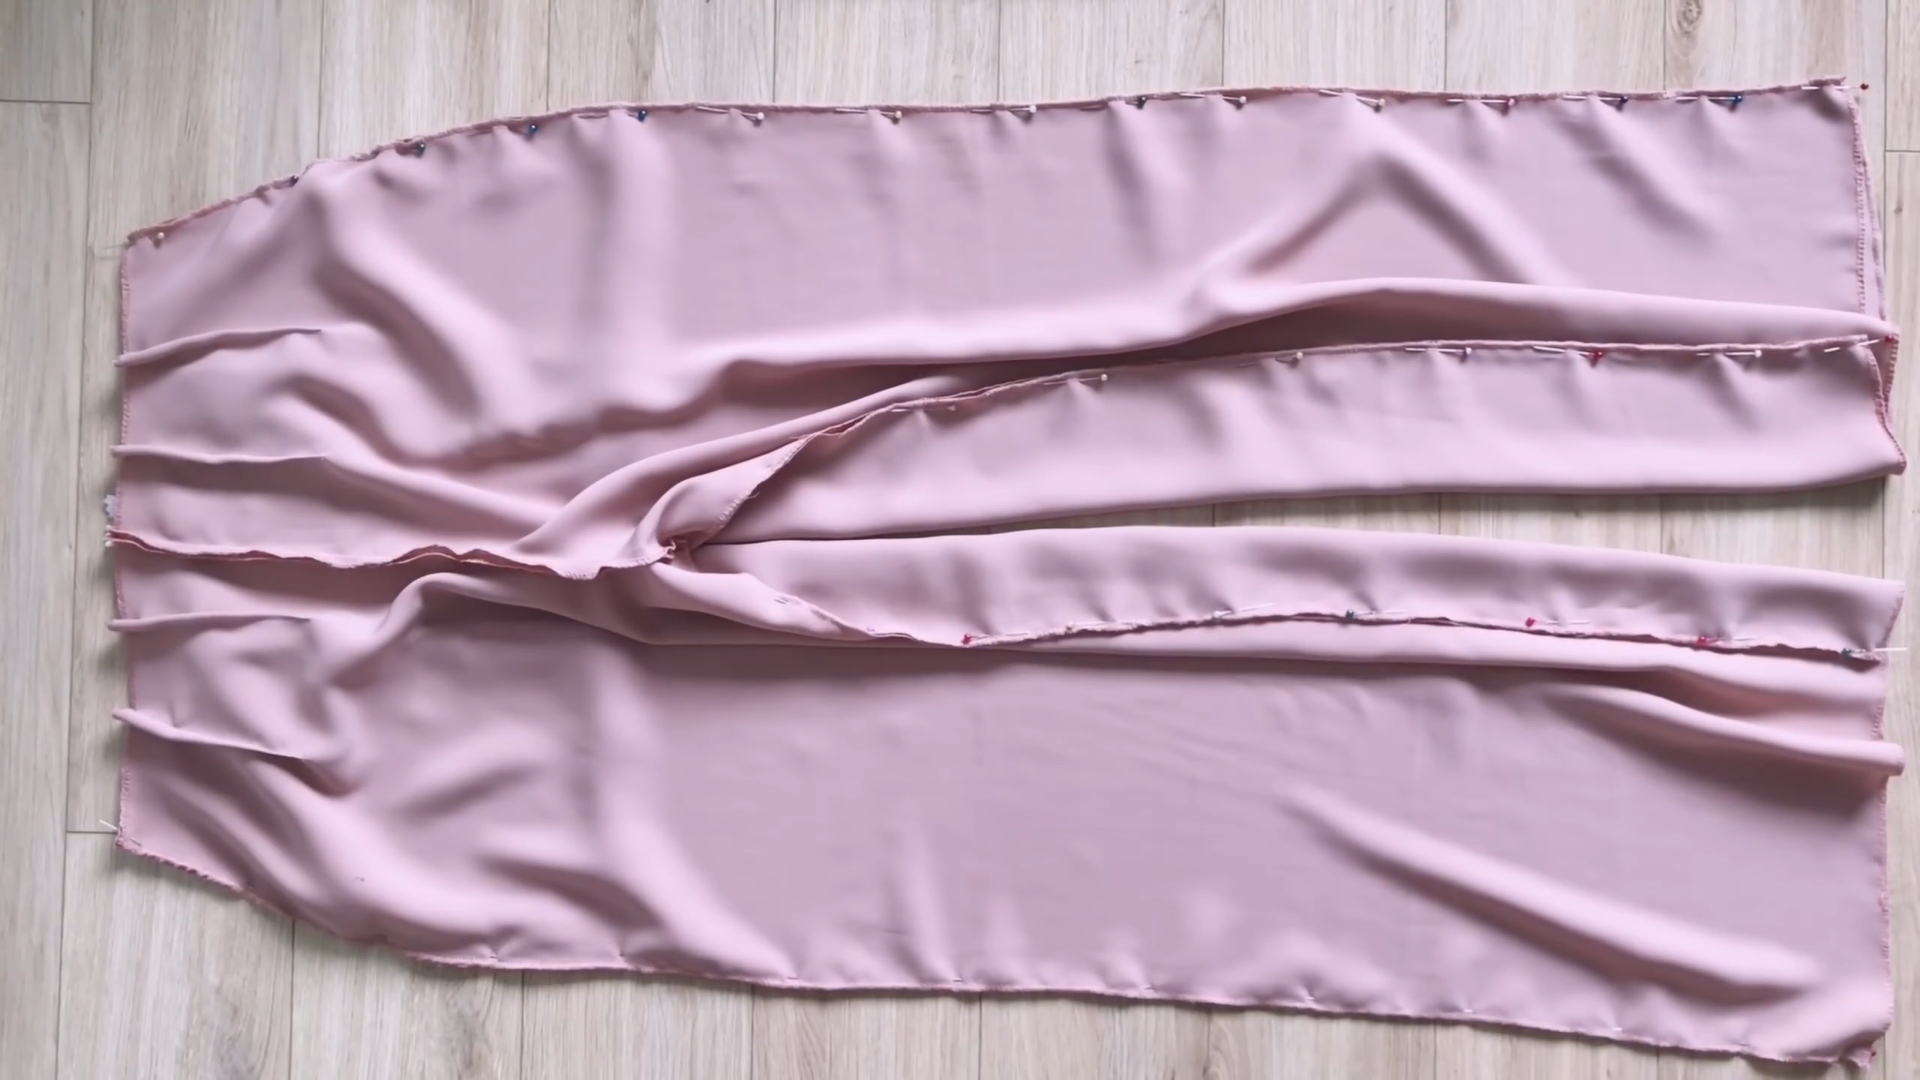
Connect the front and the back of the pant together at the sideline and the inside leg line.
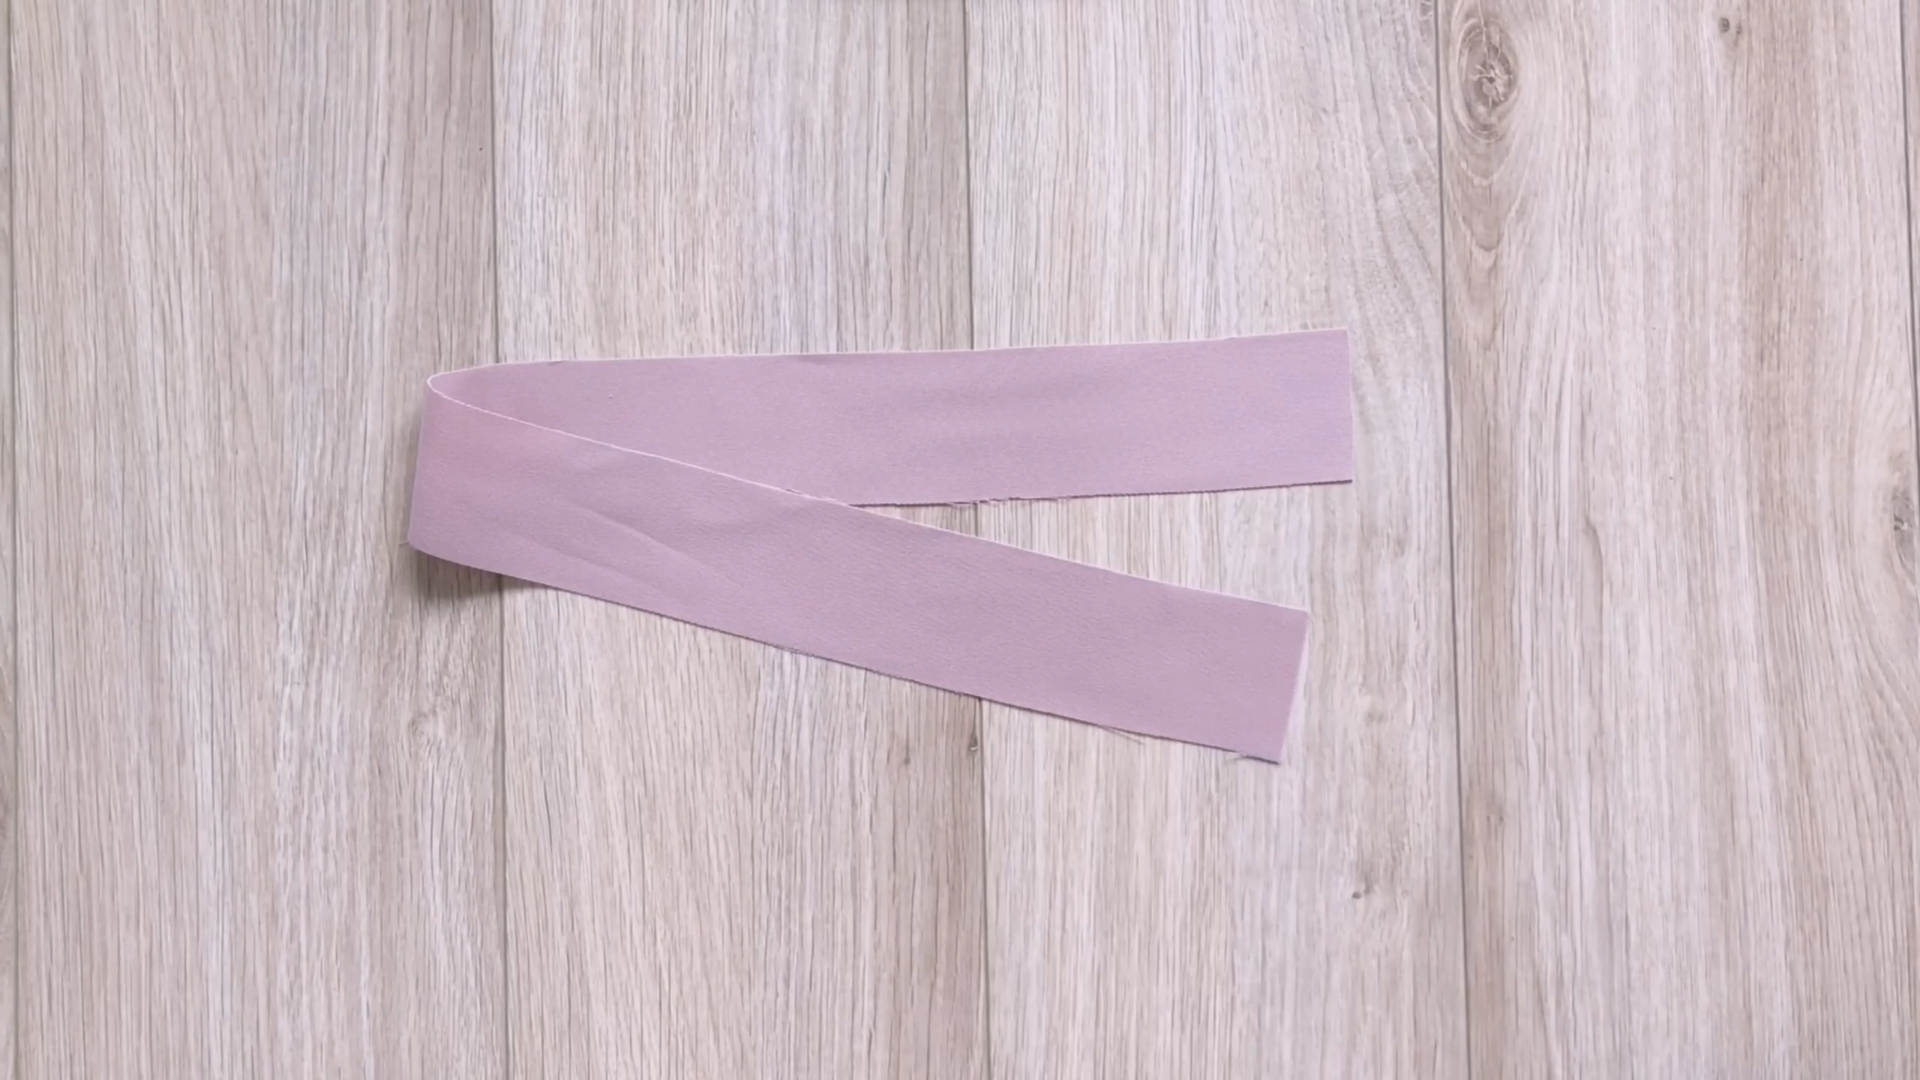
To make the belt loop, cut a rectangle with 4 cm width and around 35 cm length.
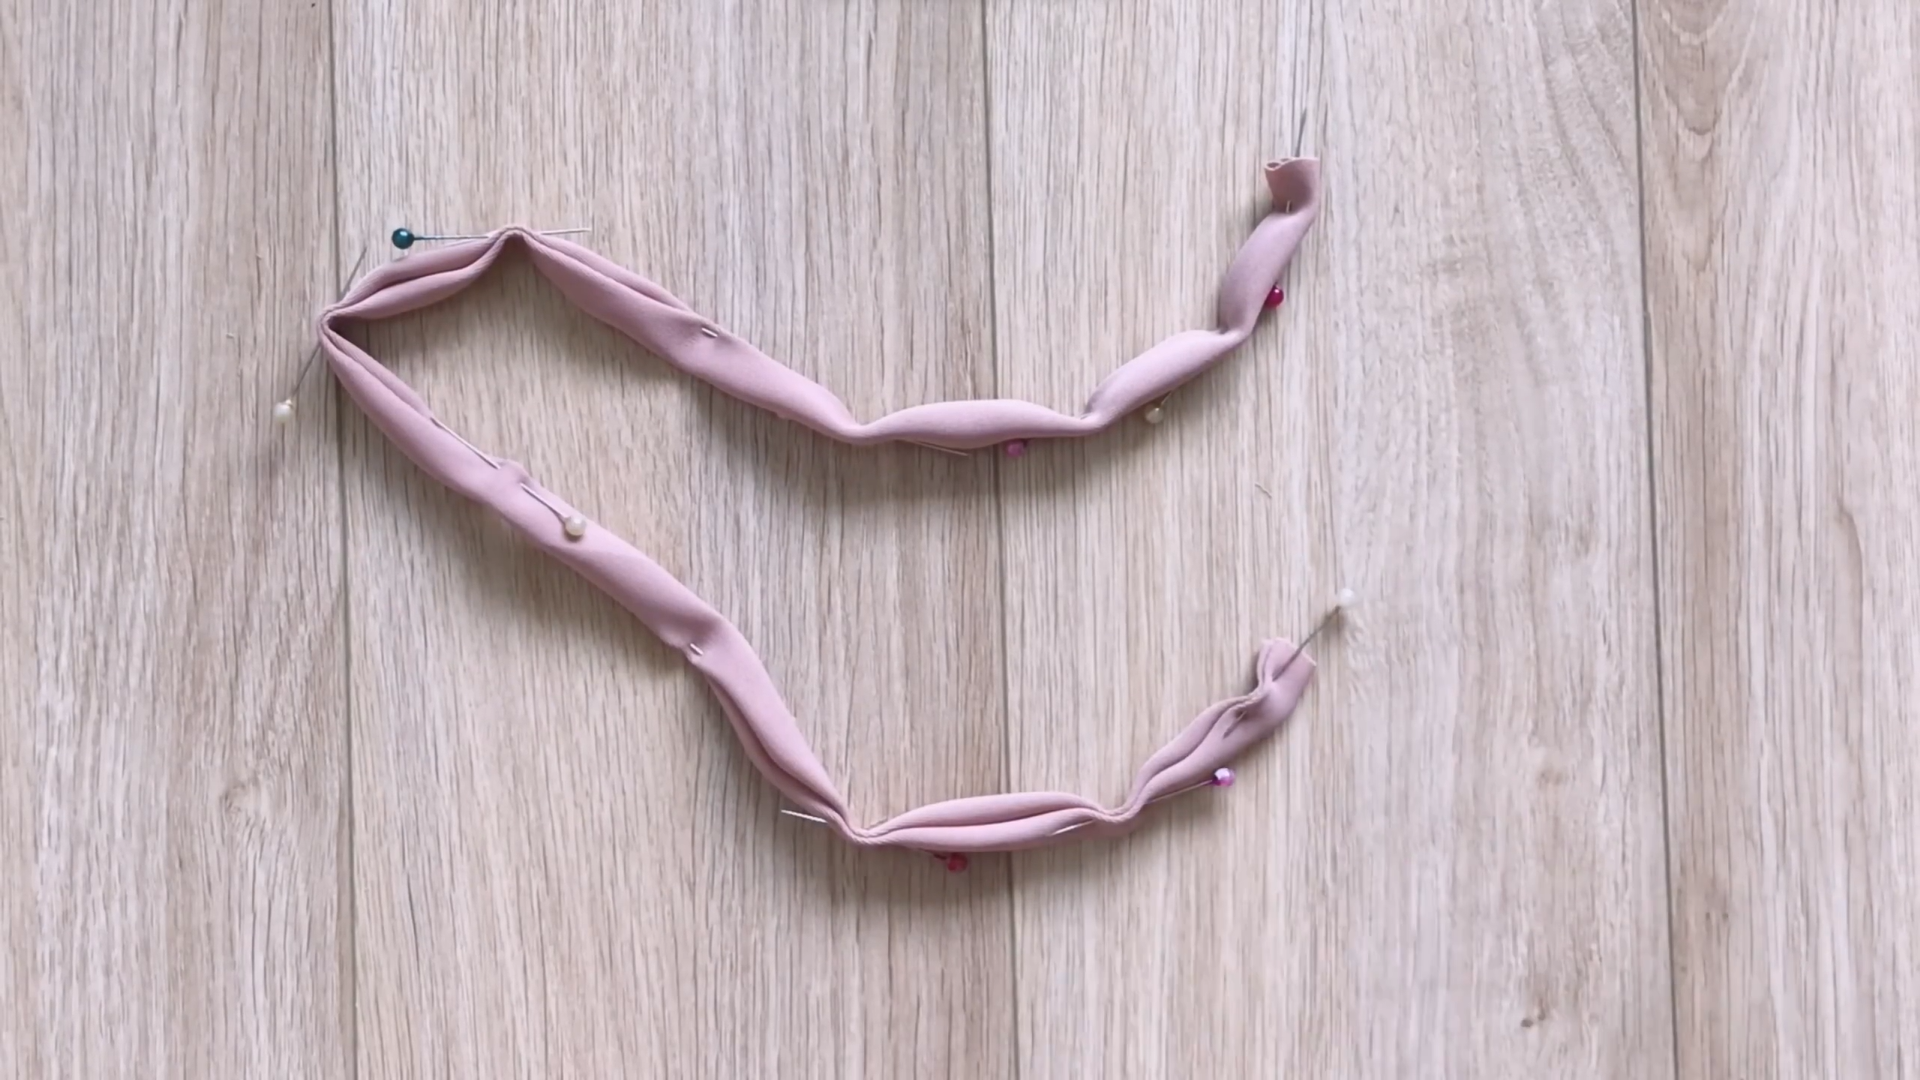
Fold two lane lines inside around 1 cm then fold it again to create a belt loop.
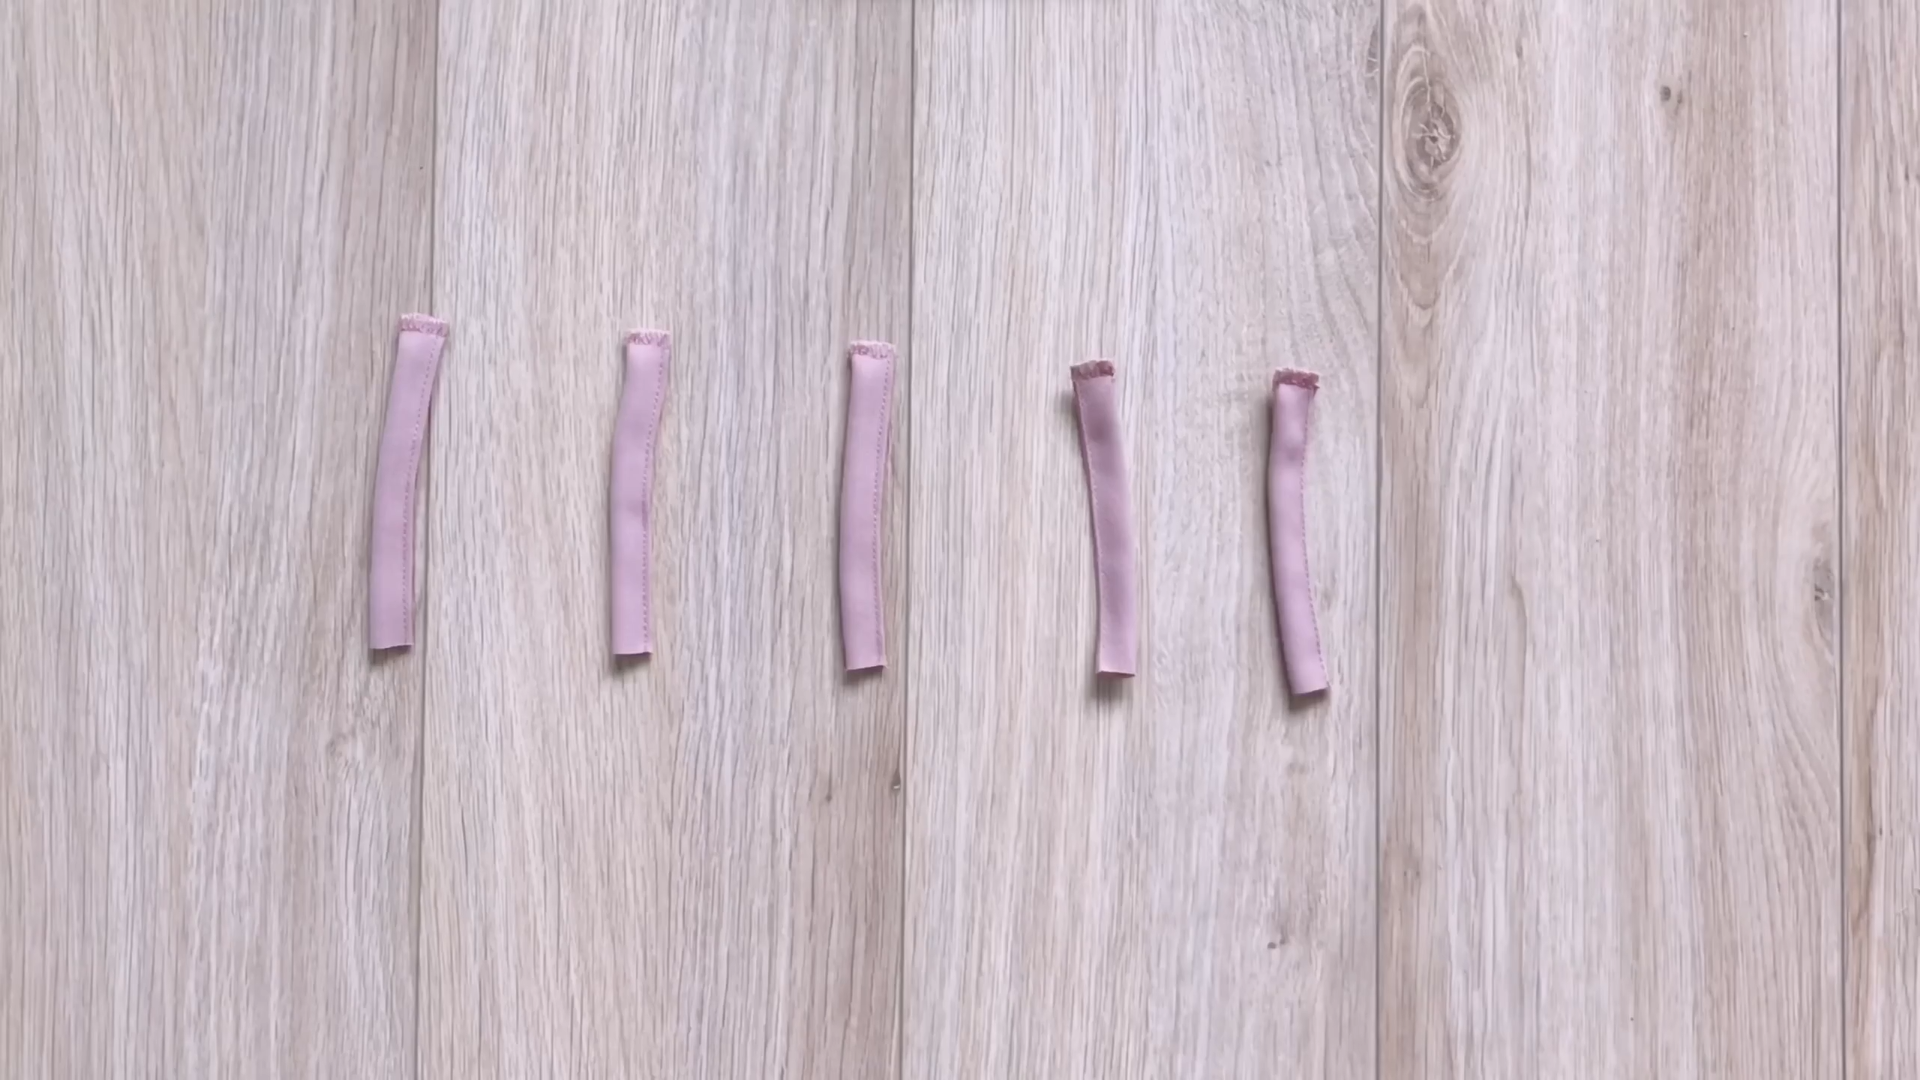
After sewing, cut it into five pieces of 7 cm each.
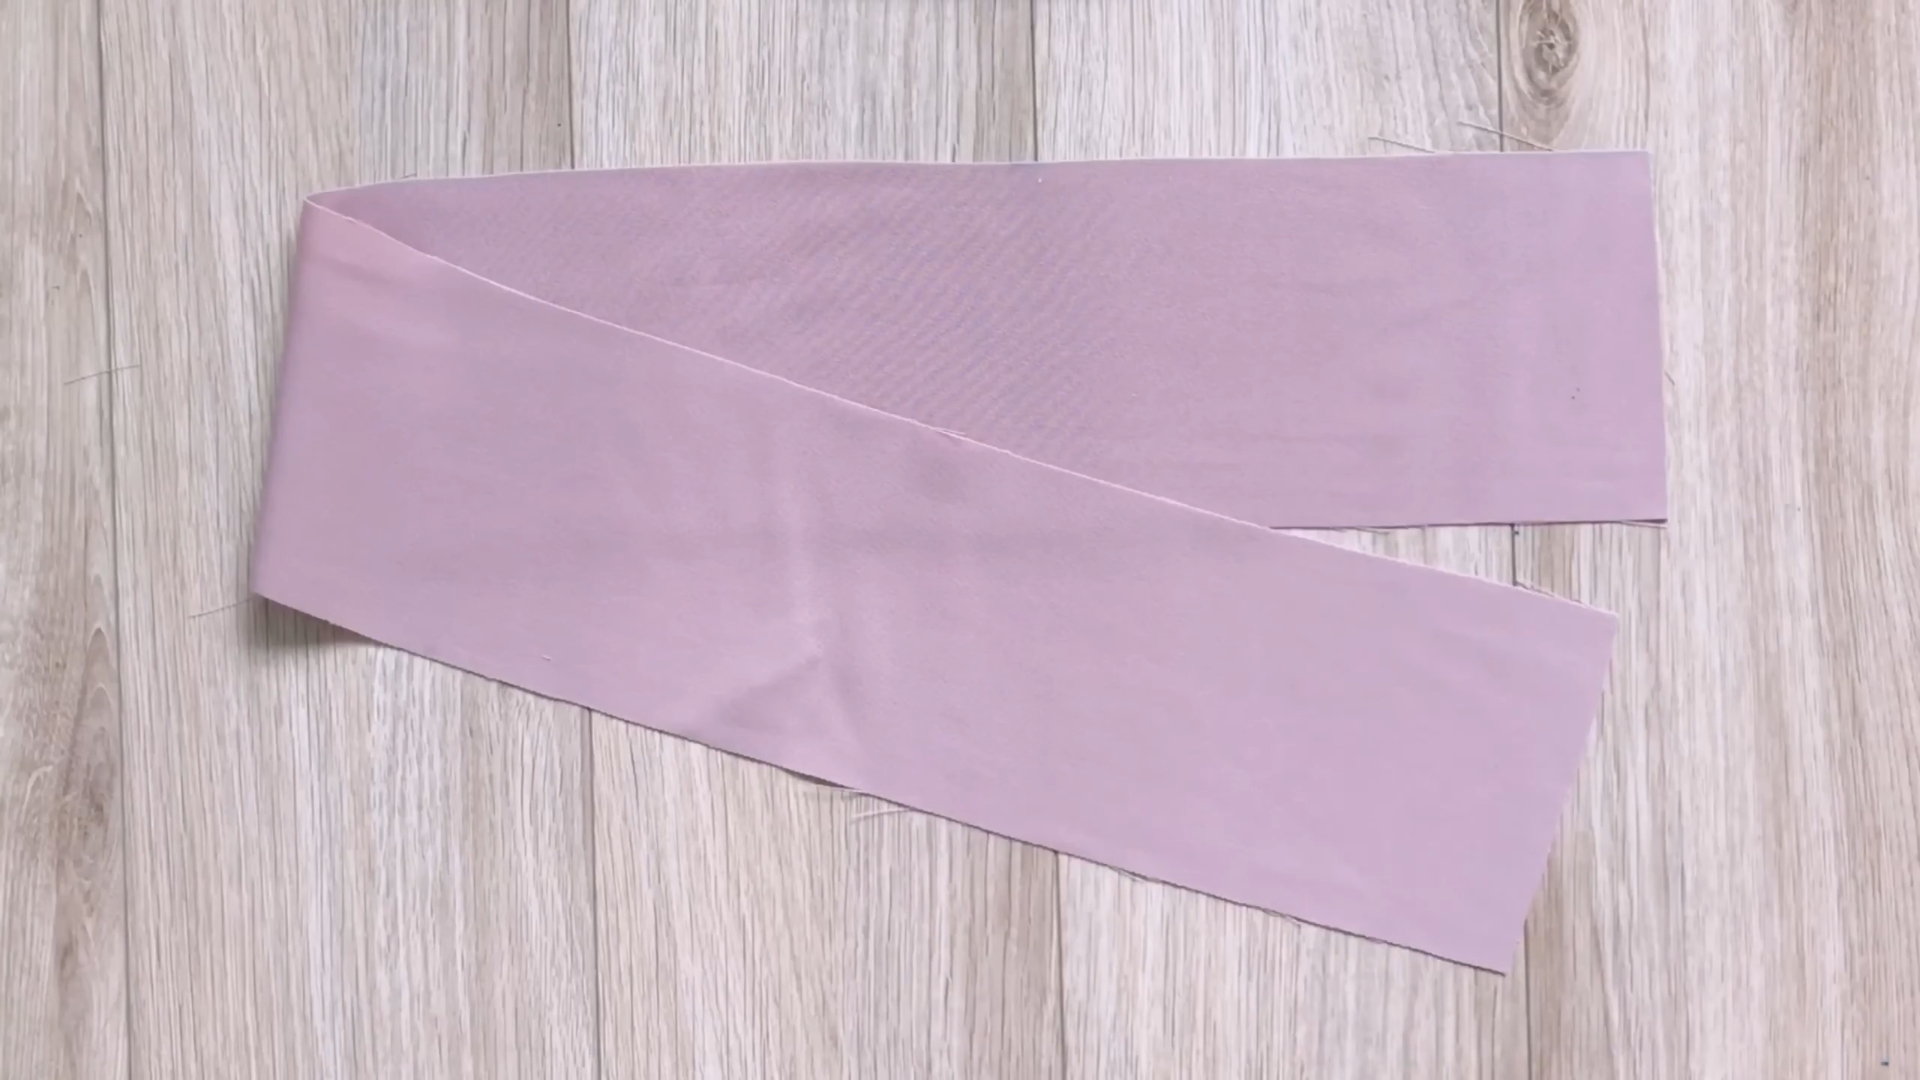
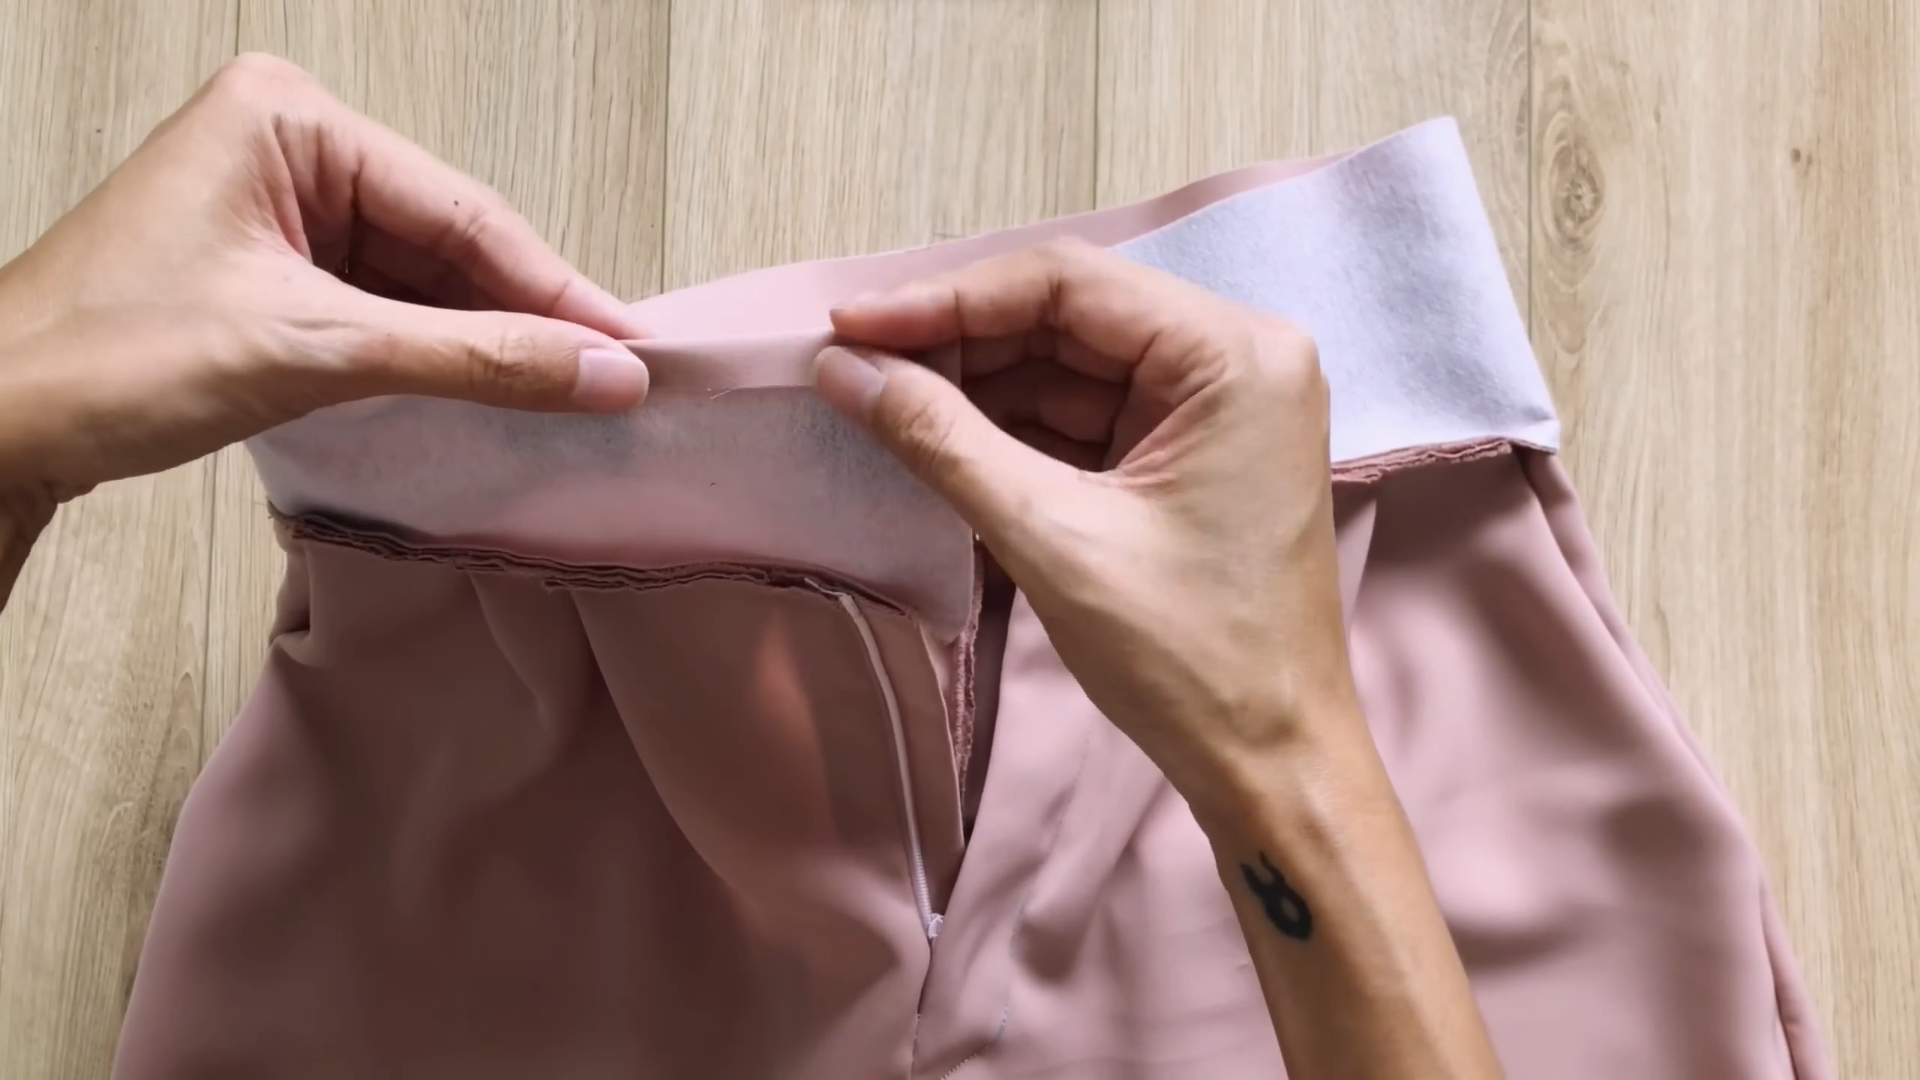
To make the waistband for the pant, cut a rectangle with 10 cm width and 68 cm length.
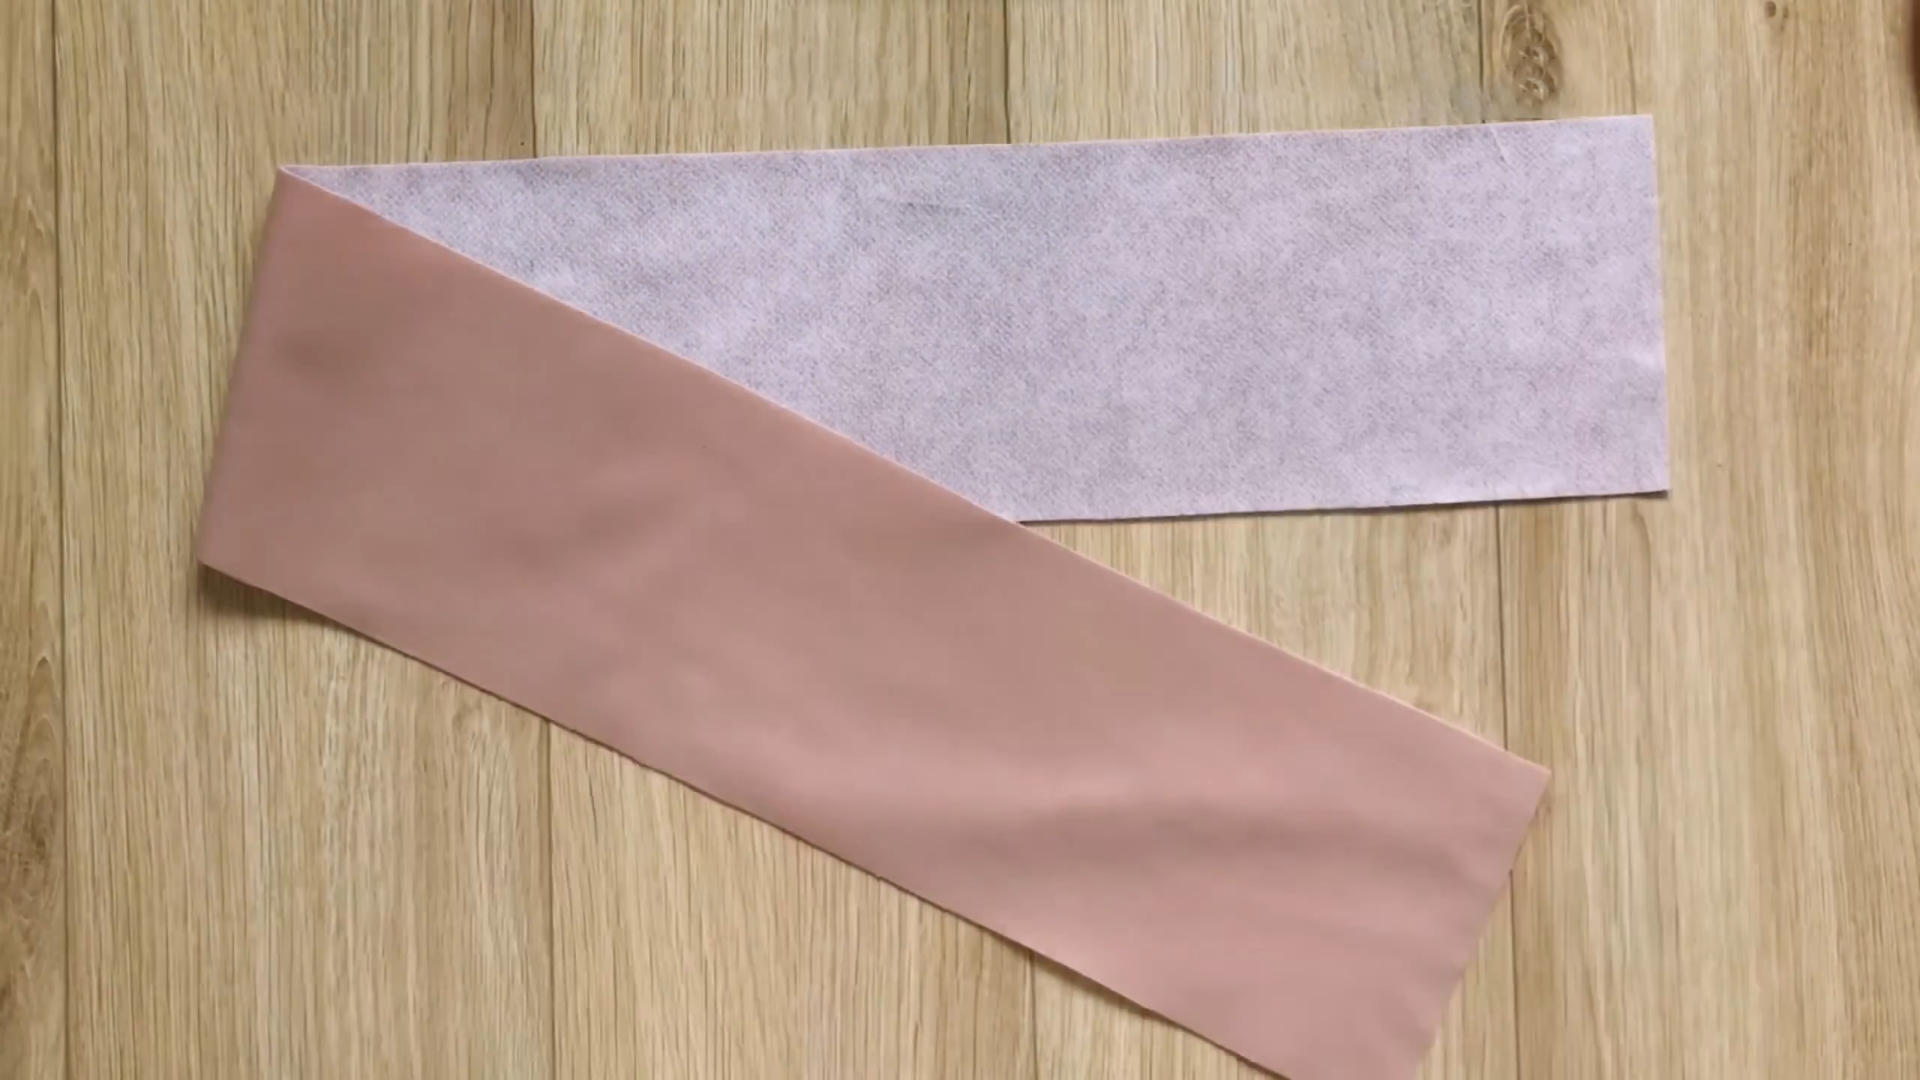
Use the inter facing fabric to make the waistband thicker.
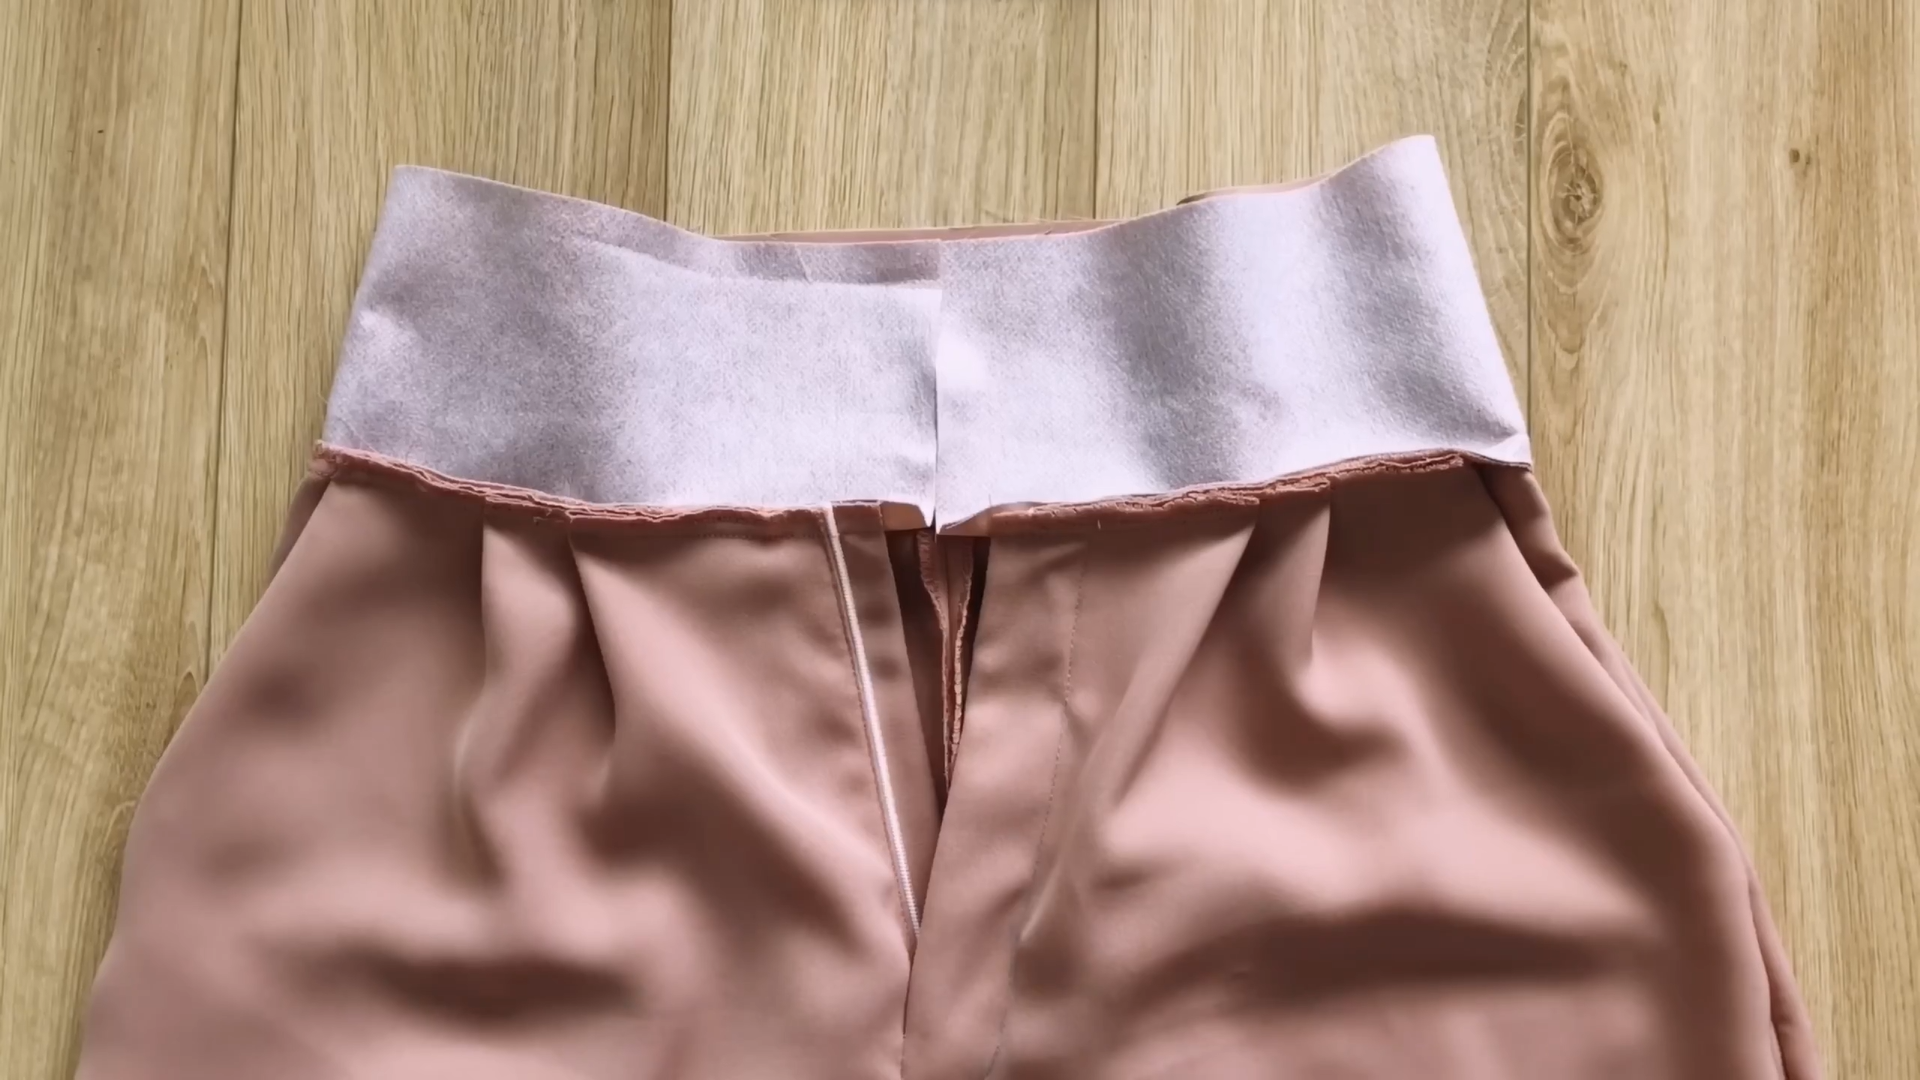
When connecting the waistband to the waistline of the pant, remember to have an extra 2 cm on each side of the waistline.
After the first seam, fold the other side of the waistband inside 1 cm first, then keep folding it over the first seam.
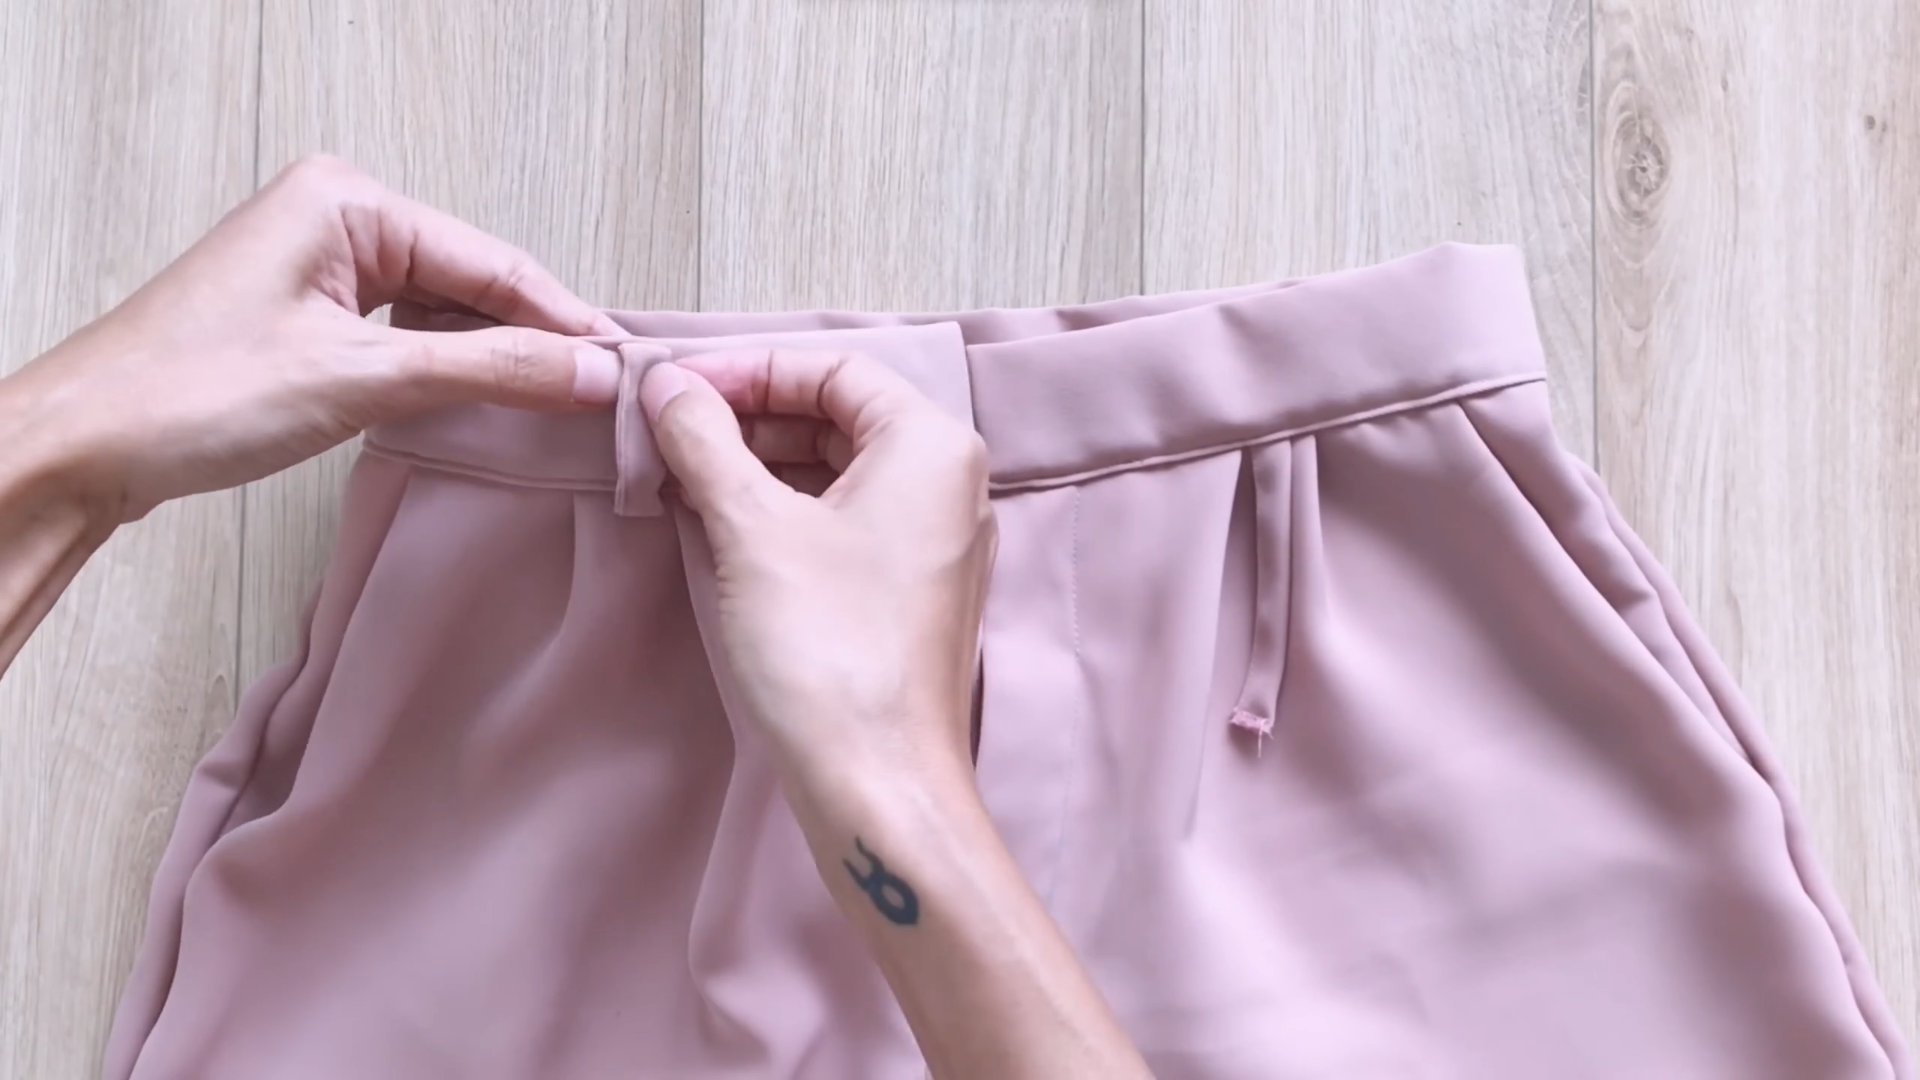
Before sewing, don’t forget to add one end of the belt loop to the waistband and fit the other end of the belt loop to the top of the waistband.
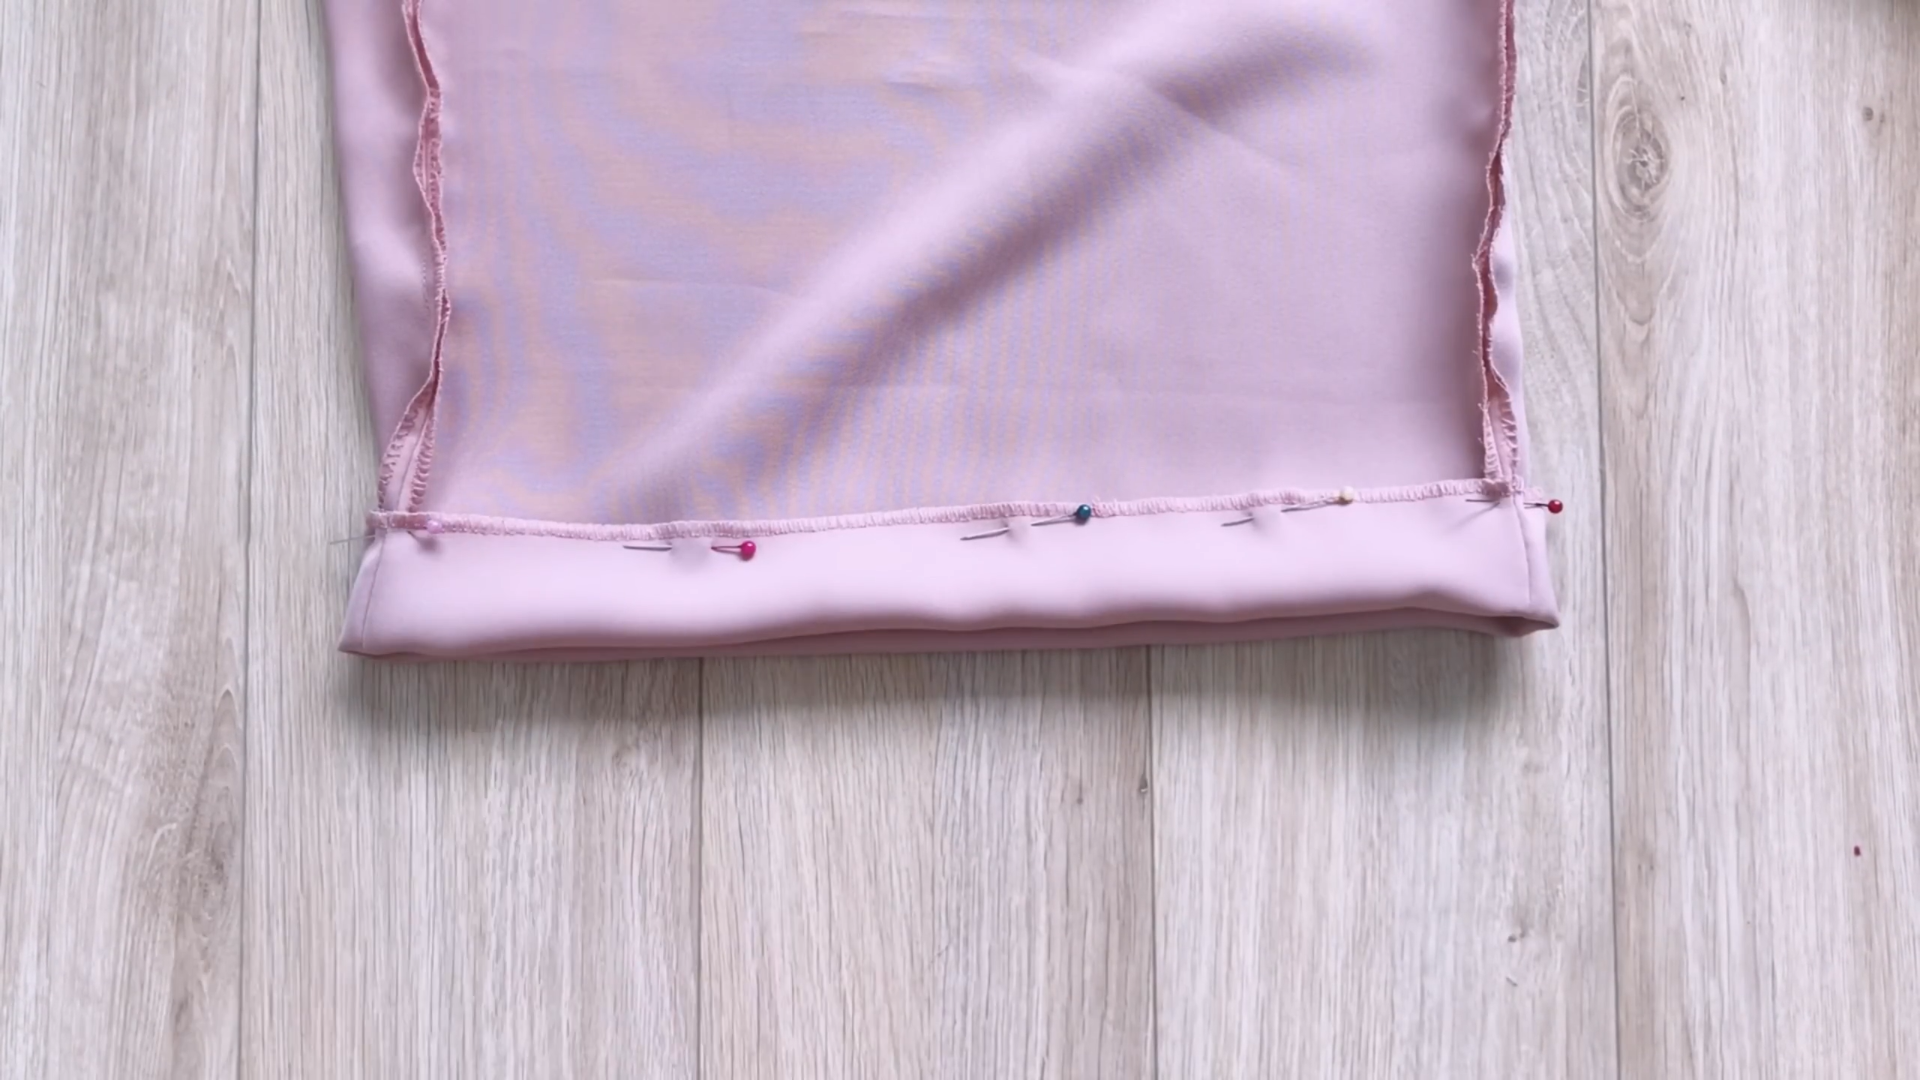
The last step is finishing the end of the pant. Draw a line 8 cm above the ending line, then fold the end fabric to that line and sew in.

DIY High Waisted Wide Leg Pants
And there you have it!
We’ve reached the end of this DIY project, and the final result is truly rewarding. It was a bit complex, but the outcome is absolutely worth the effort.


I hope this inspires you to give it a try.
Please let me know your thoughts in the comments below. I would love to know more from you guys to improve my skills.