Making an outfit in a day (Puff sleeve batwing top & Overall dress) | Beginner sewing projects

Making an outfit in a day (Puff sleeve batwing top & Overall dress) | Beginner sewing projects
Welcome or welcome back to my sewing blog!
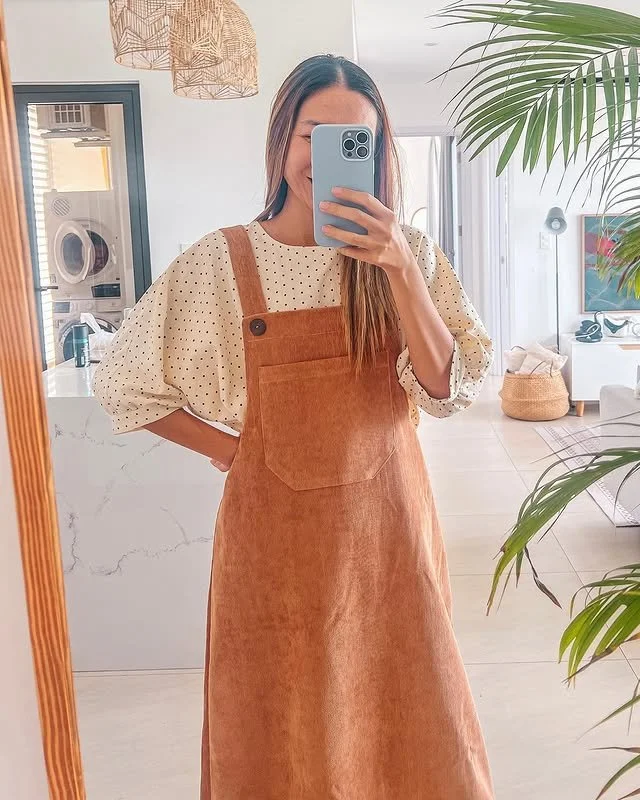
In today's tutorial, I'm going to share with you how to make an outfit just in a day. They are puff sleeve batwing top and overall dress in midi length. They're very easy to make. But I promise a super cute result. So I hope you will try them out.
Let's get started!
WHAT YOU’LL NEED
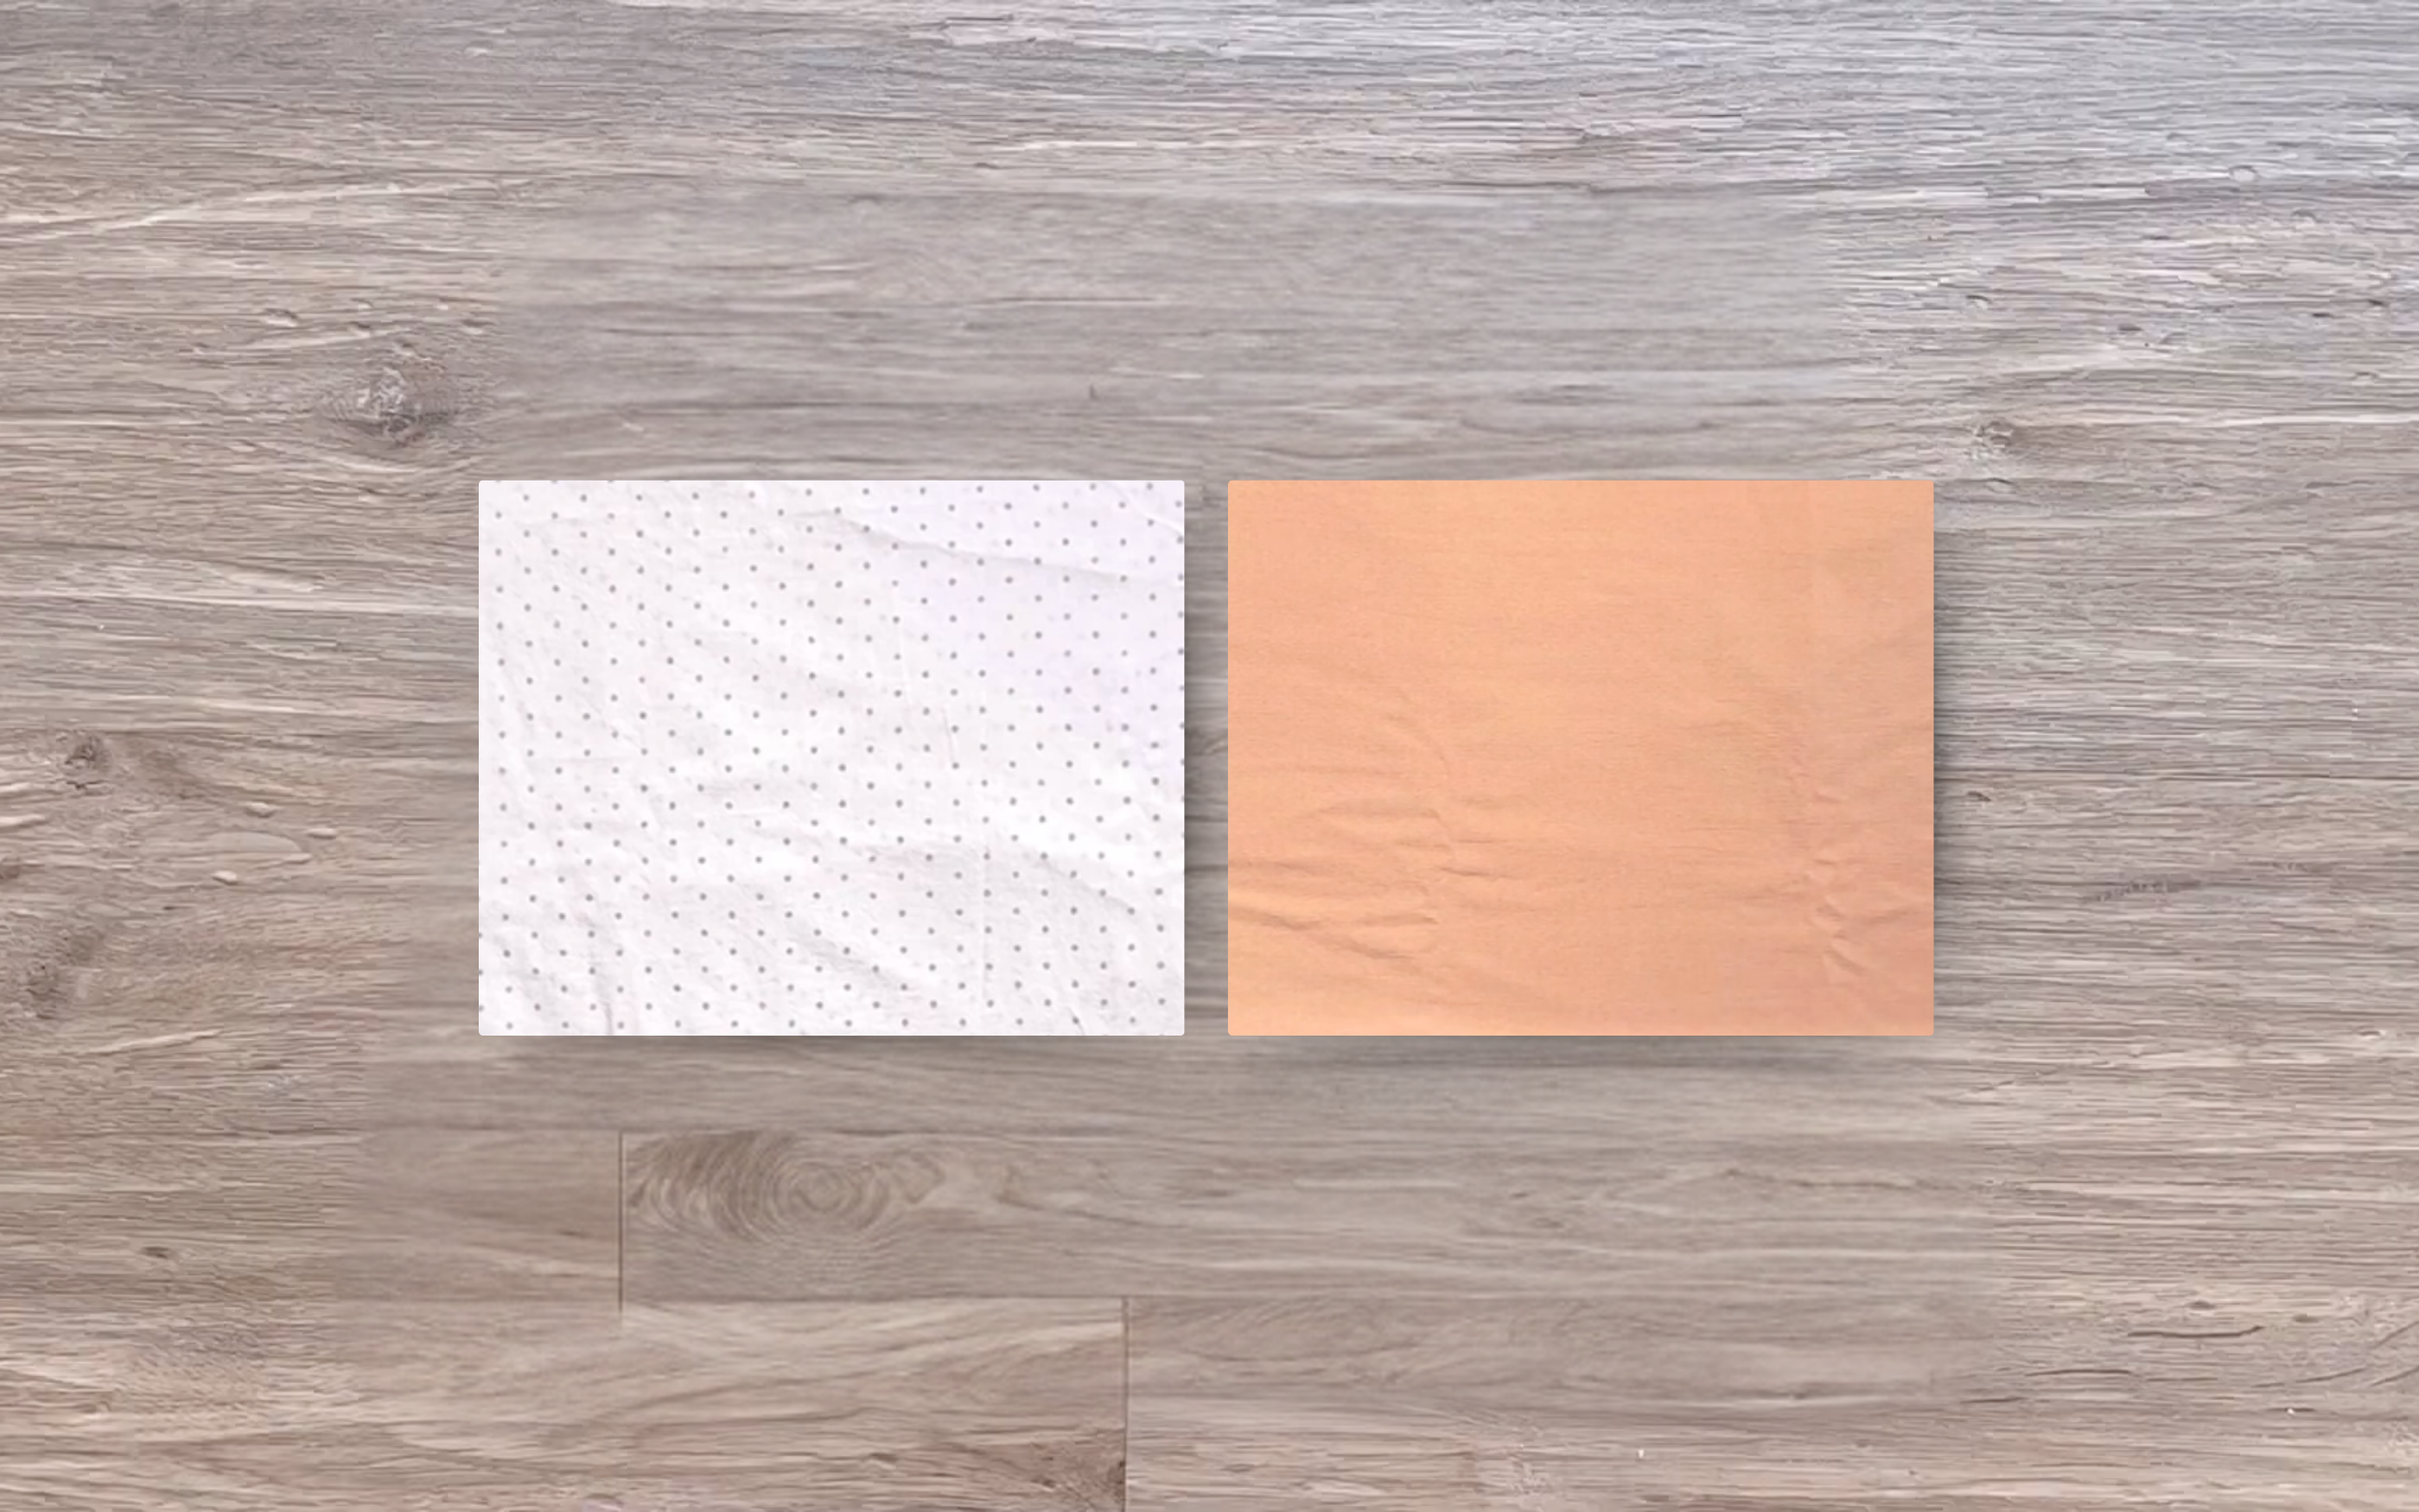
Puff sleeve batwing top: 0.7m of rayon fabric
Overall dress in midi length: 1.2m of corduroy fabric
Pattern paper
Sewing machine
Pins
Scissors
Ruler
Long stick
PUFF SLEEVE BATWING TOP
THE BACK PIECE


Cut two rectangles with 65 cm length, which is the length from the shoulder to the hip plus 5 cm seam allowance, and 120 cm width, which is 1.5 times the bust size.
Fold two rectangles in half along the width line first.
From the top of the folding line, mark 10 cm on the top width line. This is half the desired neck width for the top minus 1 cm for seam allowance.
From the top of the folding line, mark down 4 cm, which is the desired depth of the back neckline.
Draw a curved line to connect these two marks to create the neckline for the top.
From the top of the folding line, continue marking on the top width line at 17 cm, which is half the shoulder width.
Draw a perpendicular line from that mark. The width of this line will be 1/20 of the shoulder width.
Draw a line from the end of the neckline through the end of this perpendicular line to create the shoulder line for the top.
Continue the shoulder line and mark it at 45 cm, which is the length from the shoulder to over the elbow. This is also the desired sleeve length.
Then draw another perpendicular line from that mark. The width of this line will be 27 cm, which is the desired width at the end of the sleeve plus 2 cm for seam allowance.
From the end of the folding line, draw a straight line 31 cm away from it. This is 1.5 times a quarter of the bust size plus 1 cm for seam allowance. This is also half the desired width of the top.
Draw a curved line to connect this mark to the mark on the perpendicular line just made to create the sideline of the top.
After cutting, there will be two pieces for the back of the top. Keep one piece for the back and modify the other piece to create the front of the top.
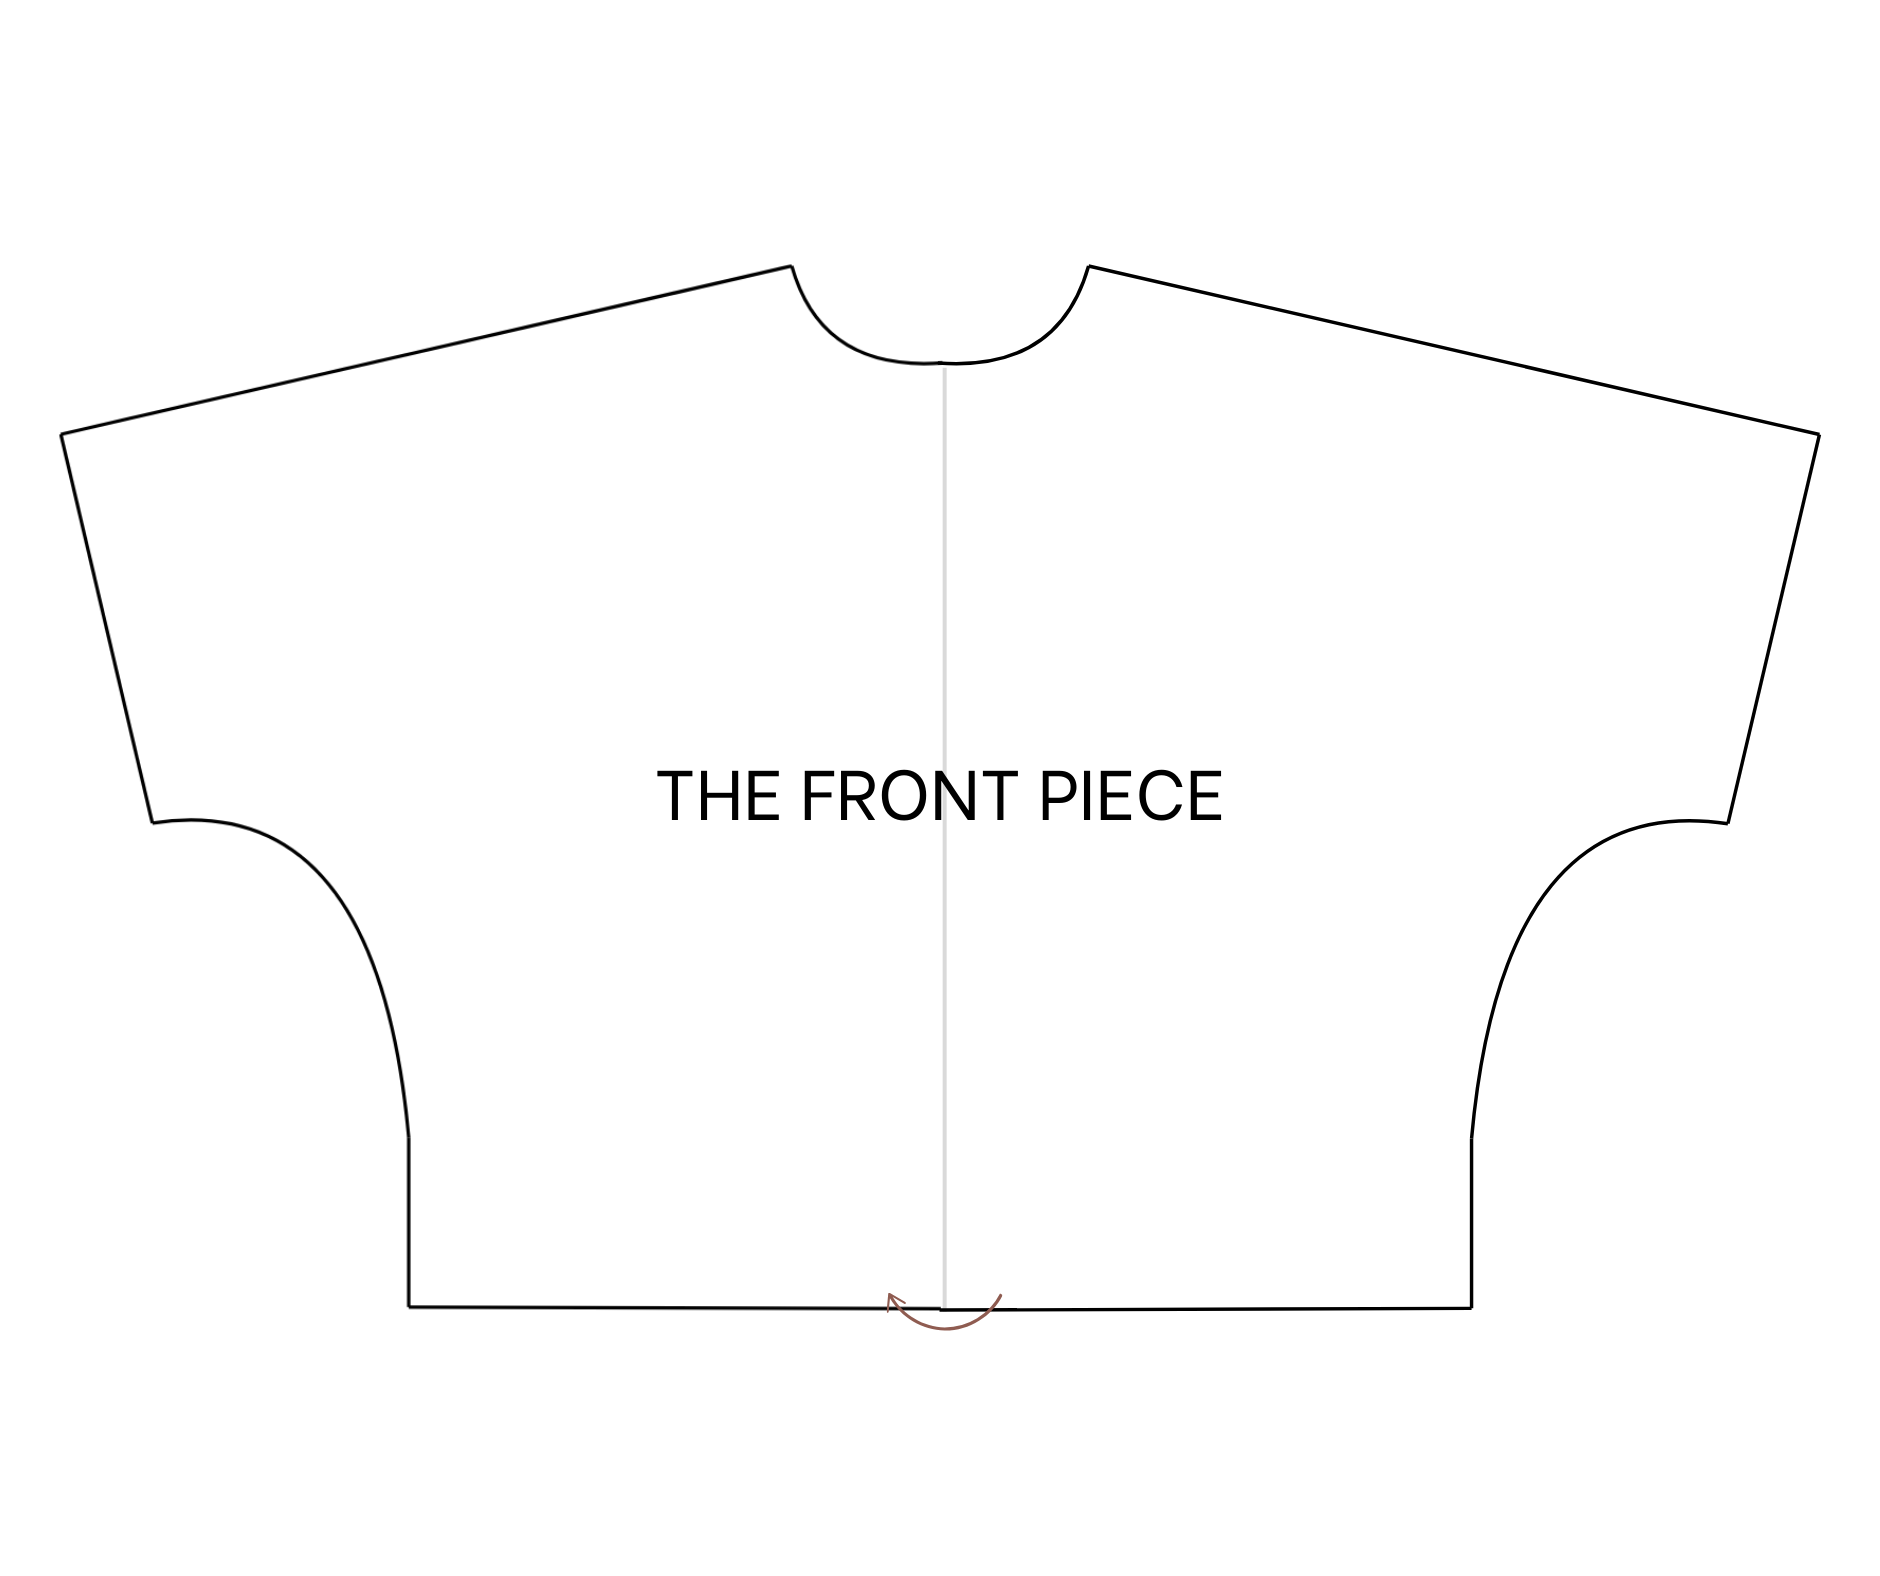
THE FRONT PIECE
Fold the back piece in half first.
Draw a new shoulder line 2 cm below the current one.
From the top of the folding line, mark down 5 cm, which is the desired depth of the front neckline.
Draw a curved line from that mark to connect to the end of the new shoulder line to create the front neckline for the top.

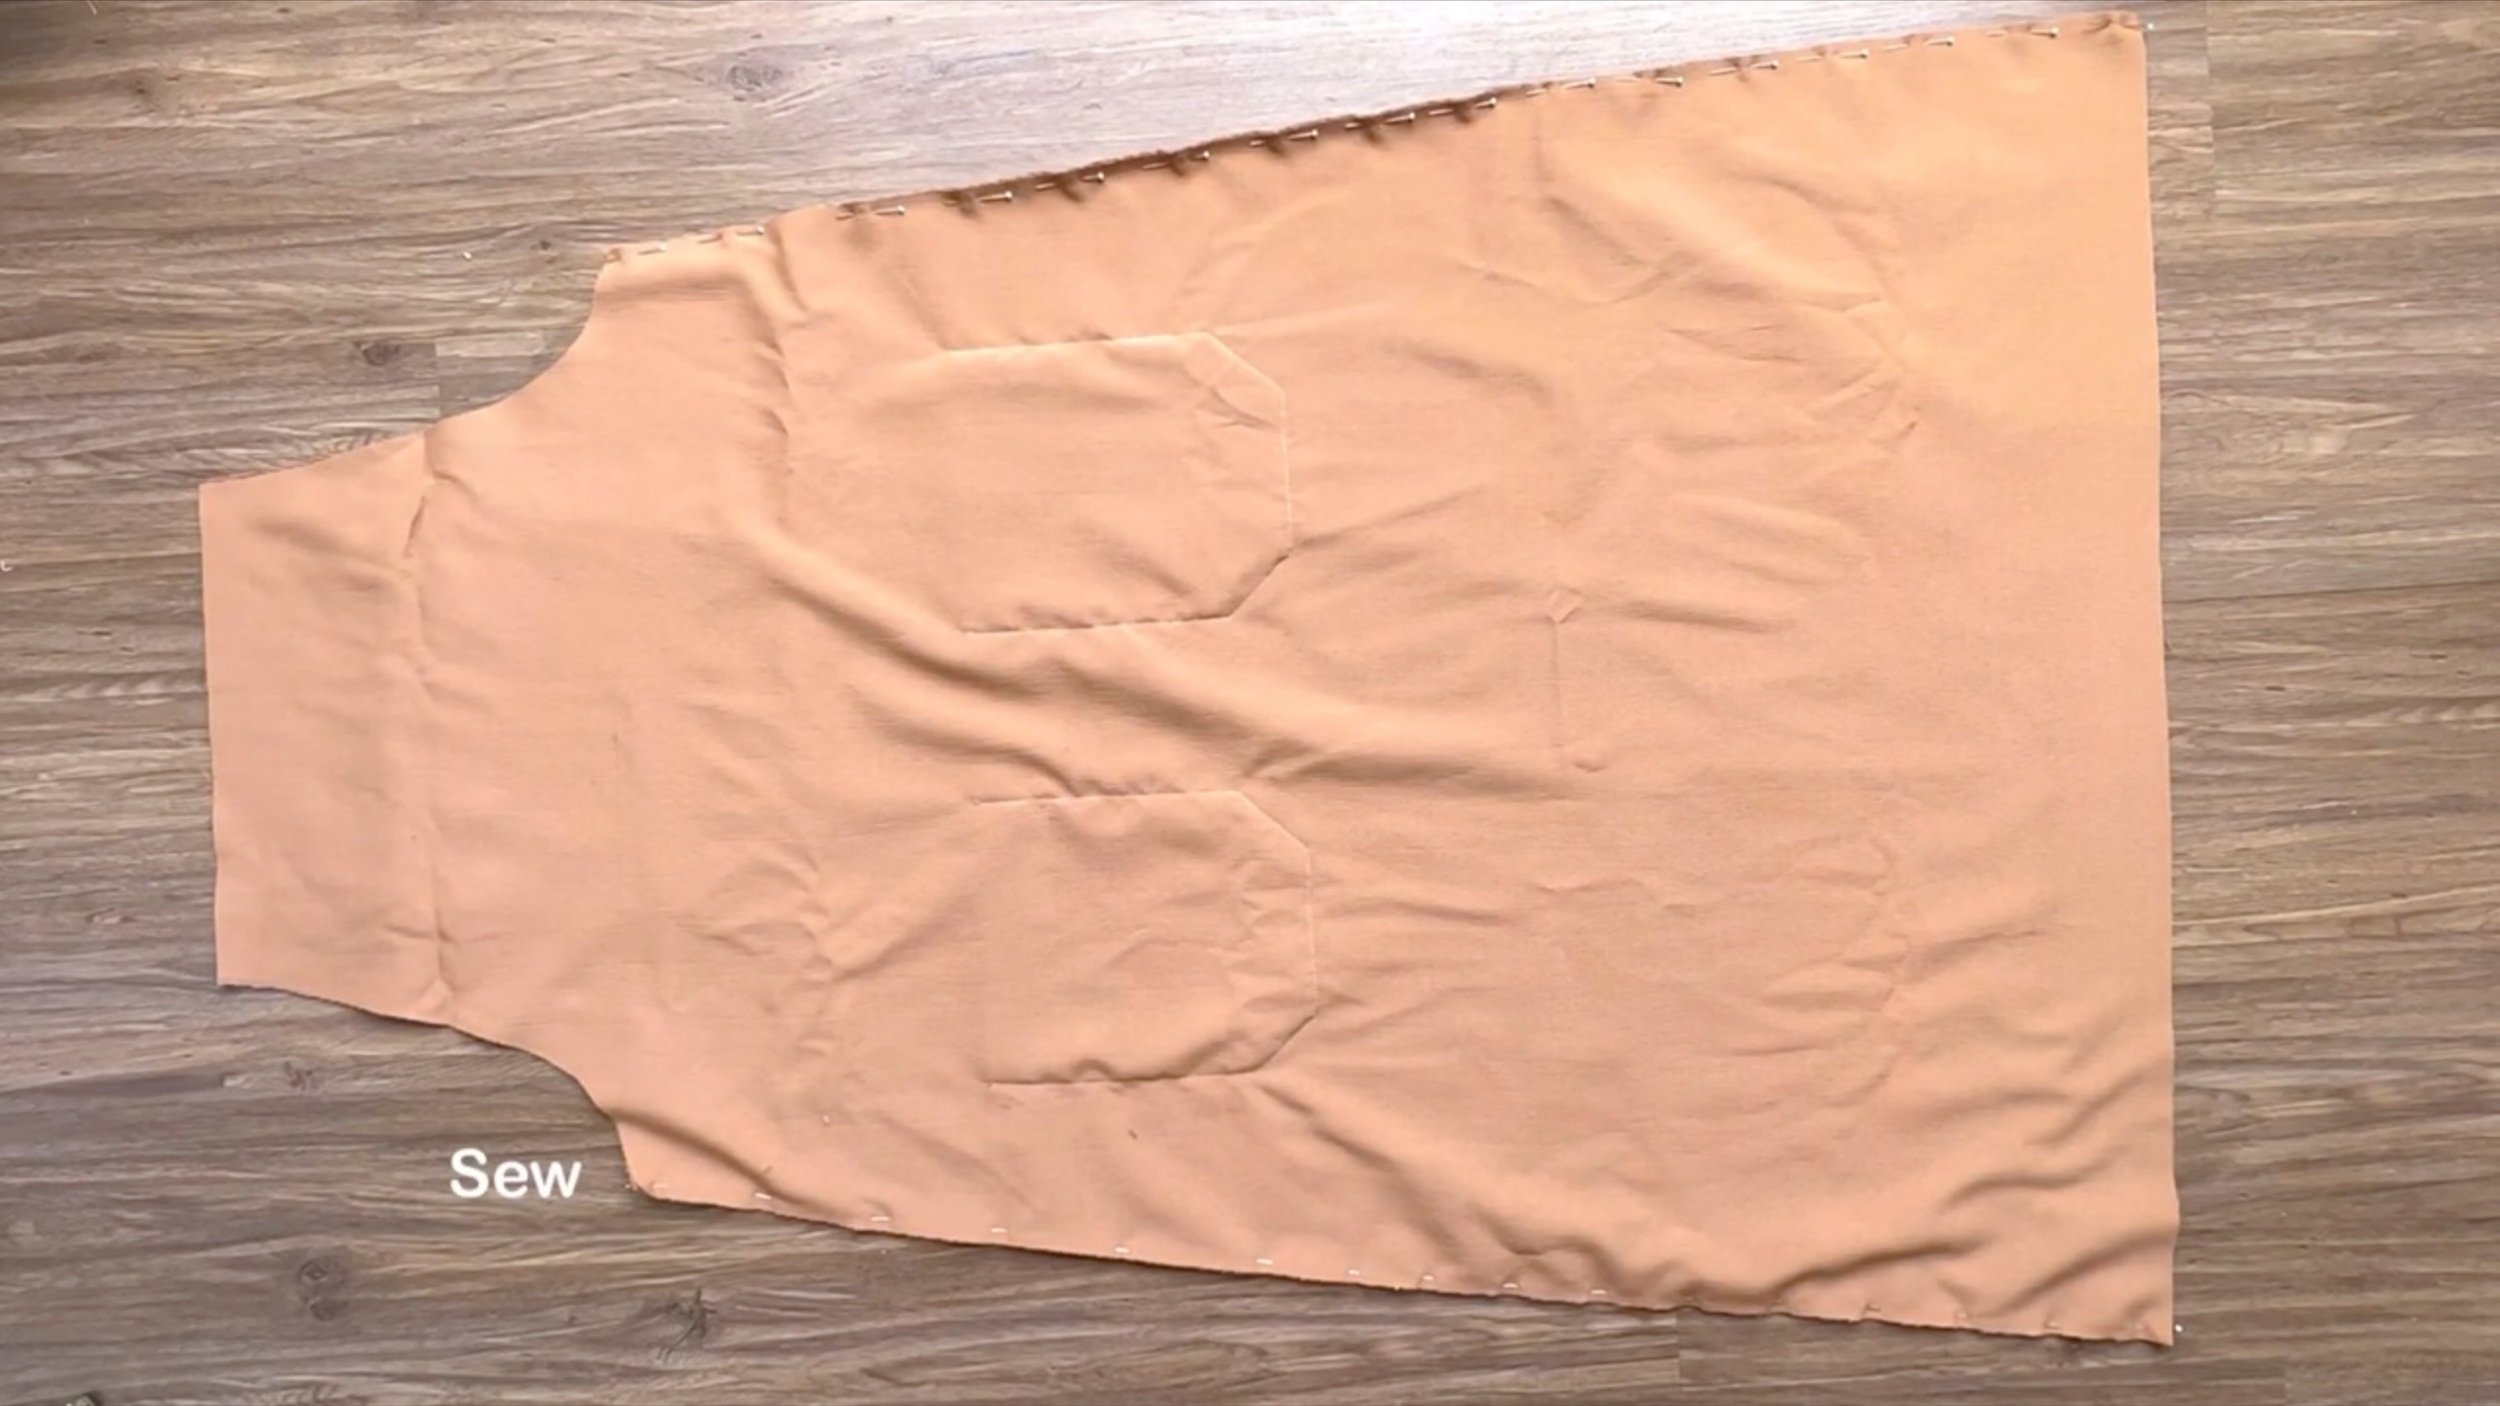
SEWING THE TOP
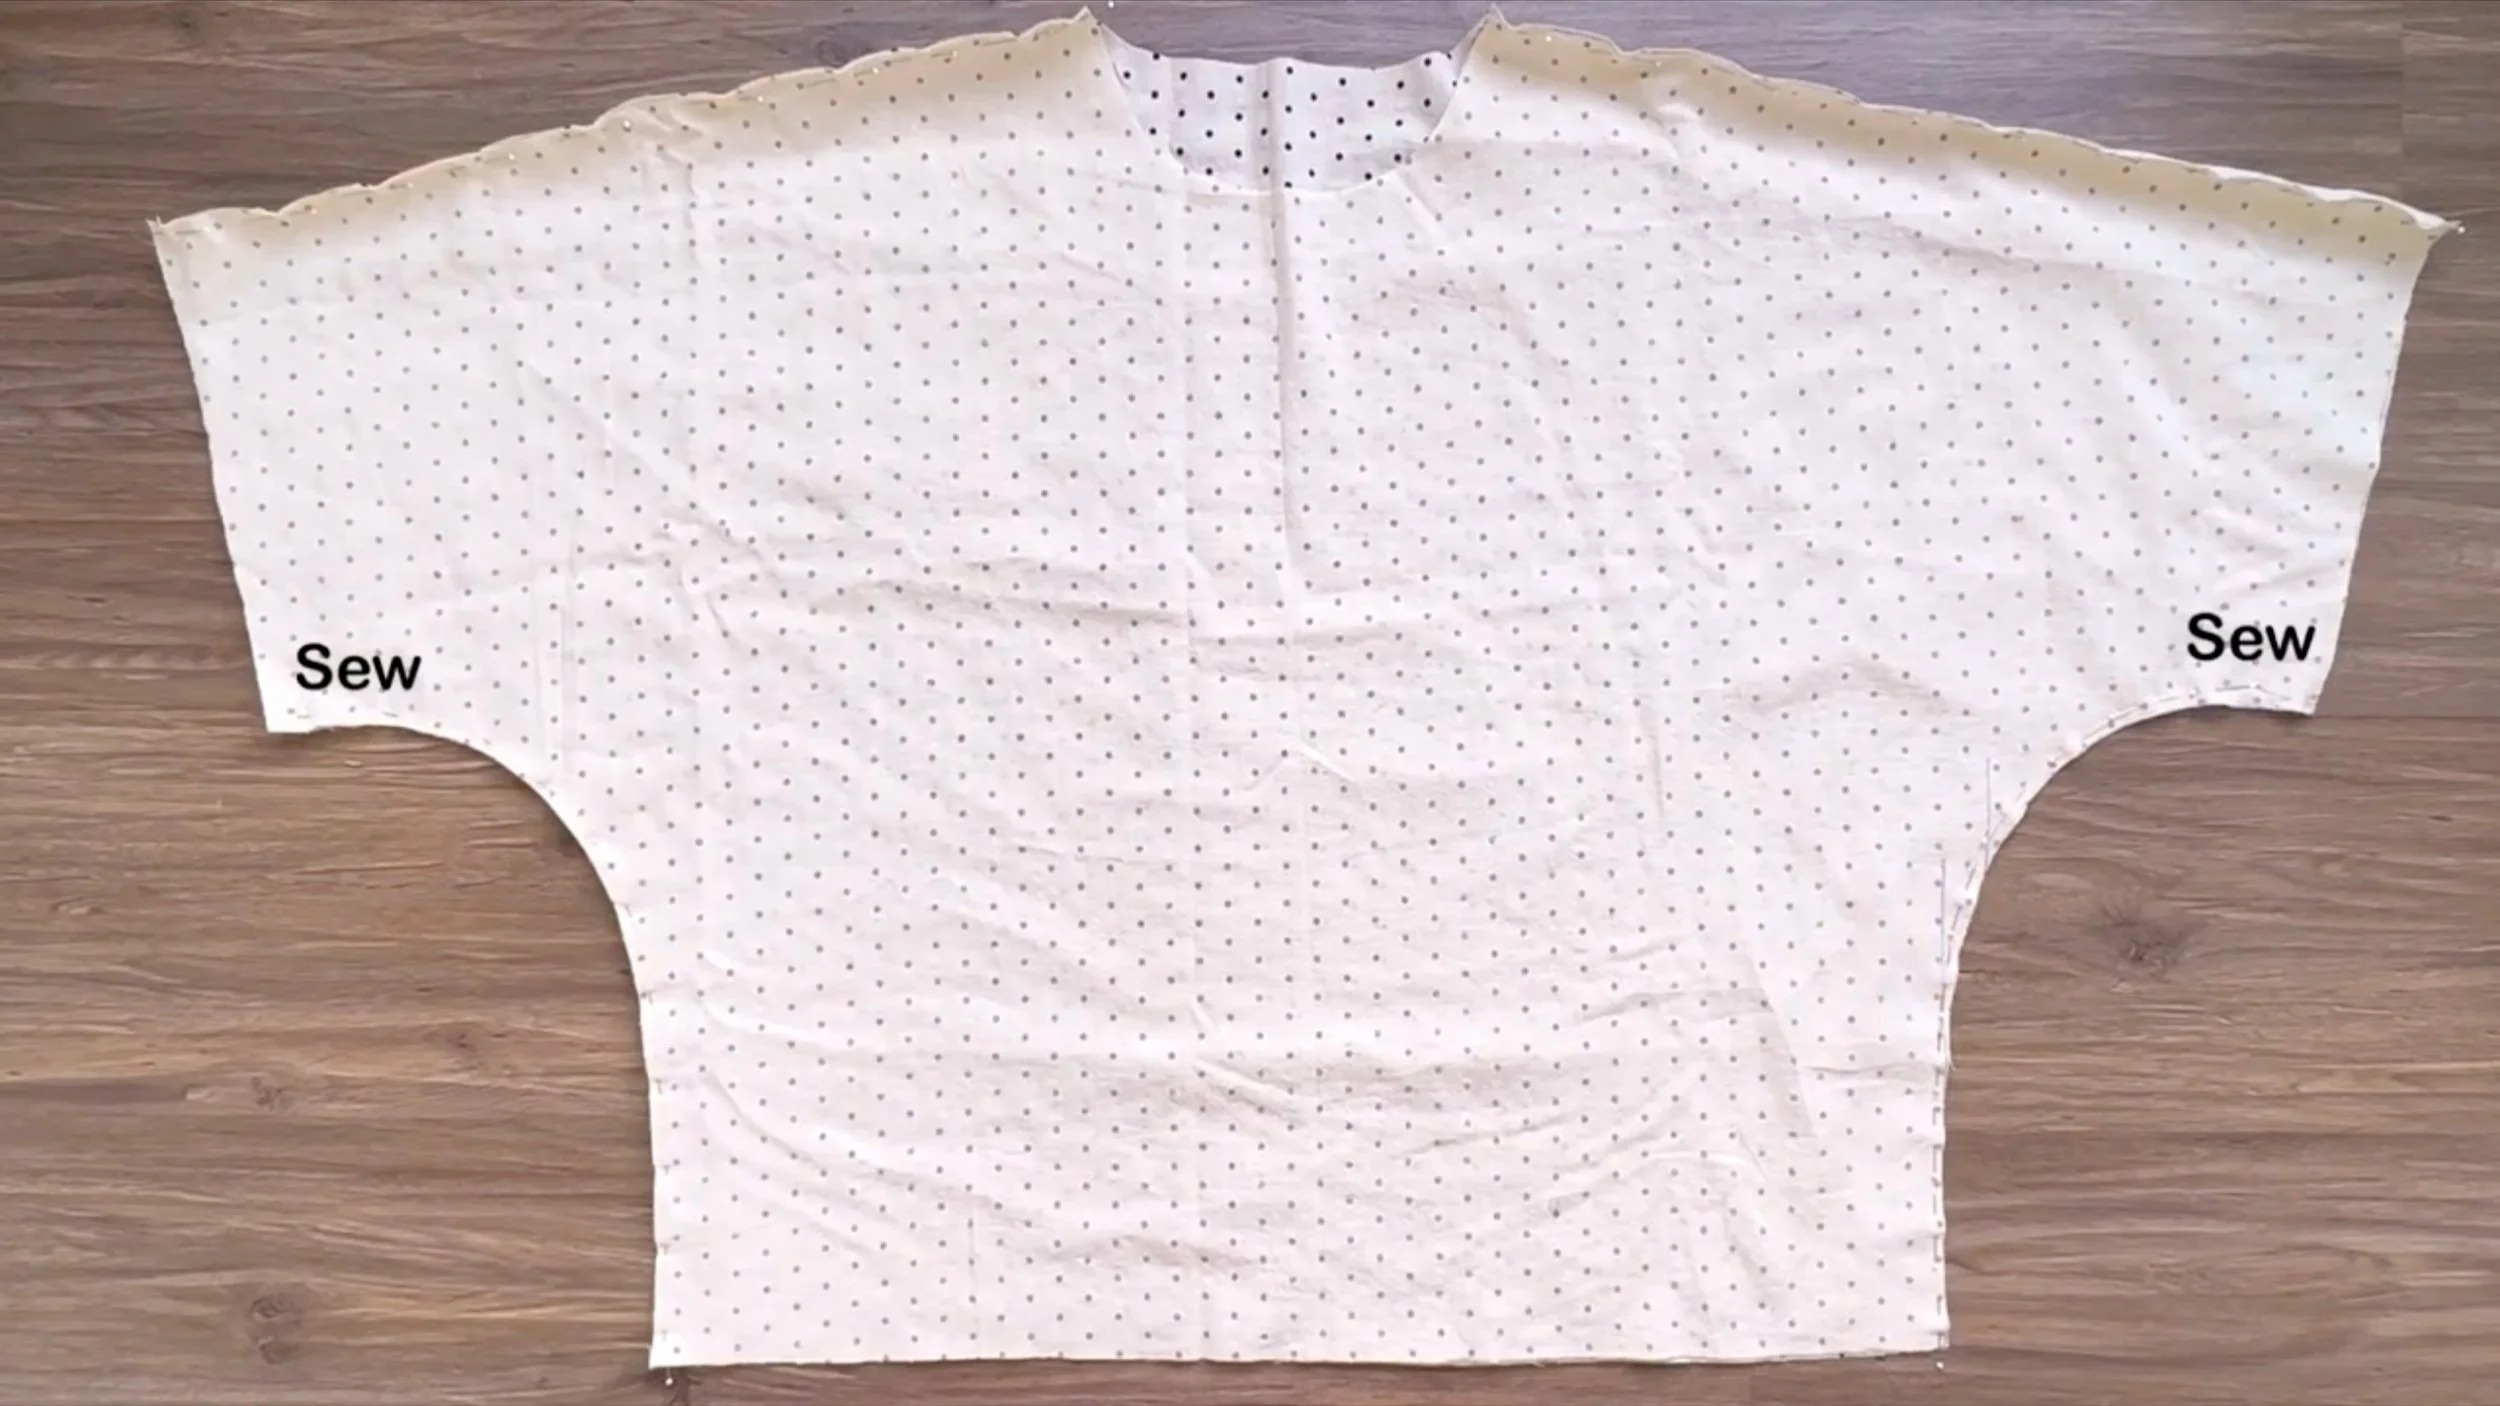
After that, connect the front and back of the top together at the shoulder line and two sidelines.
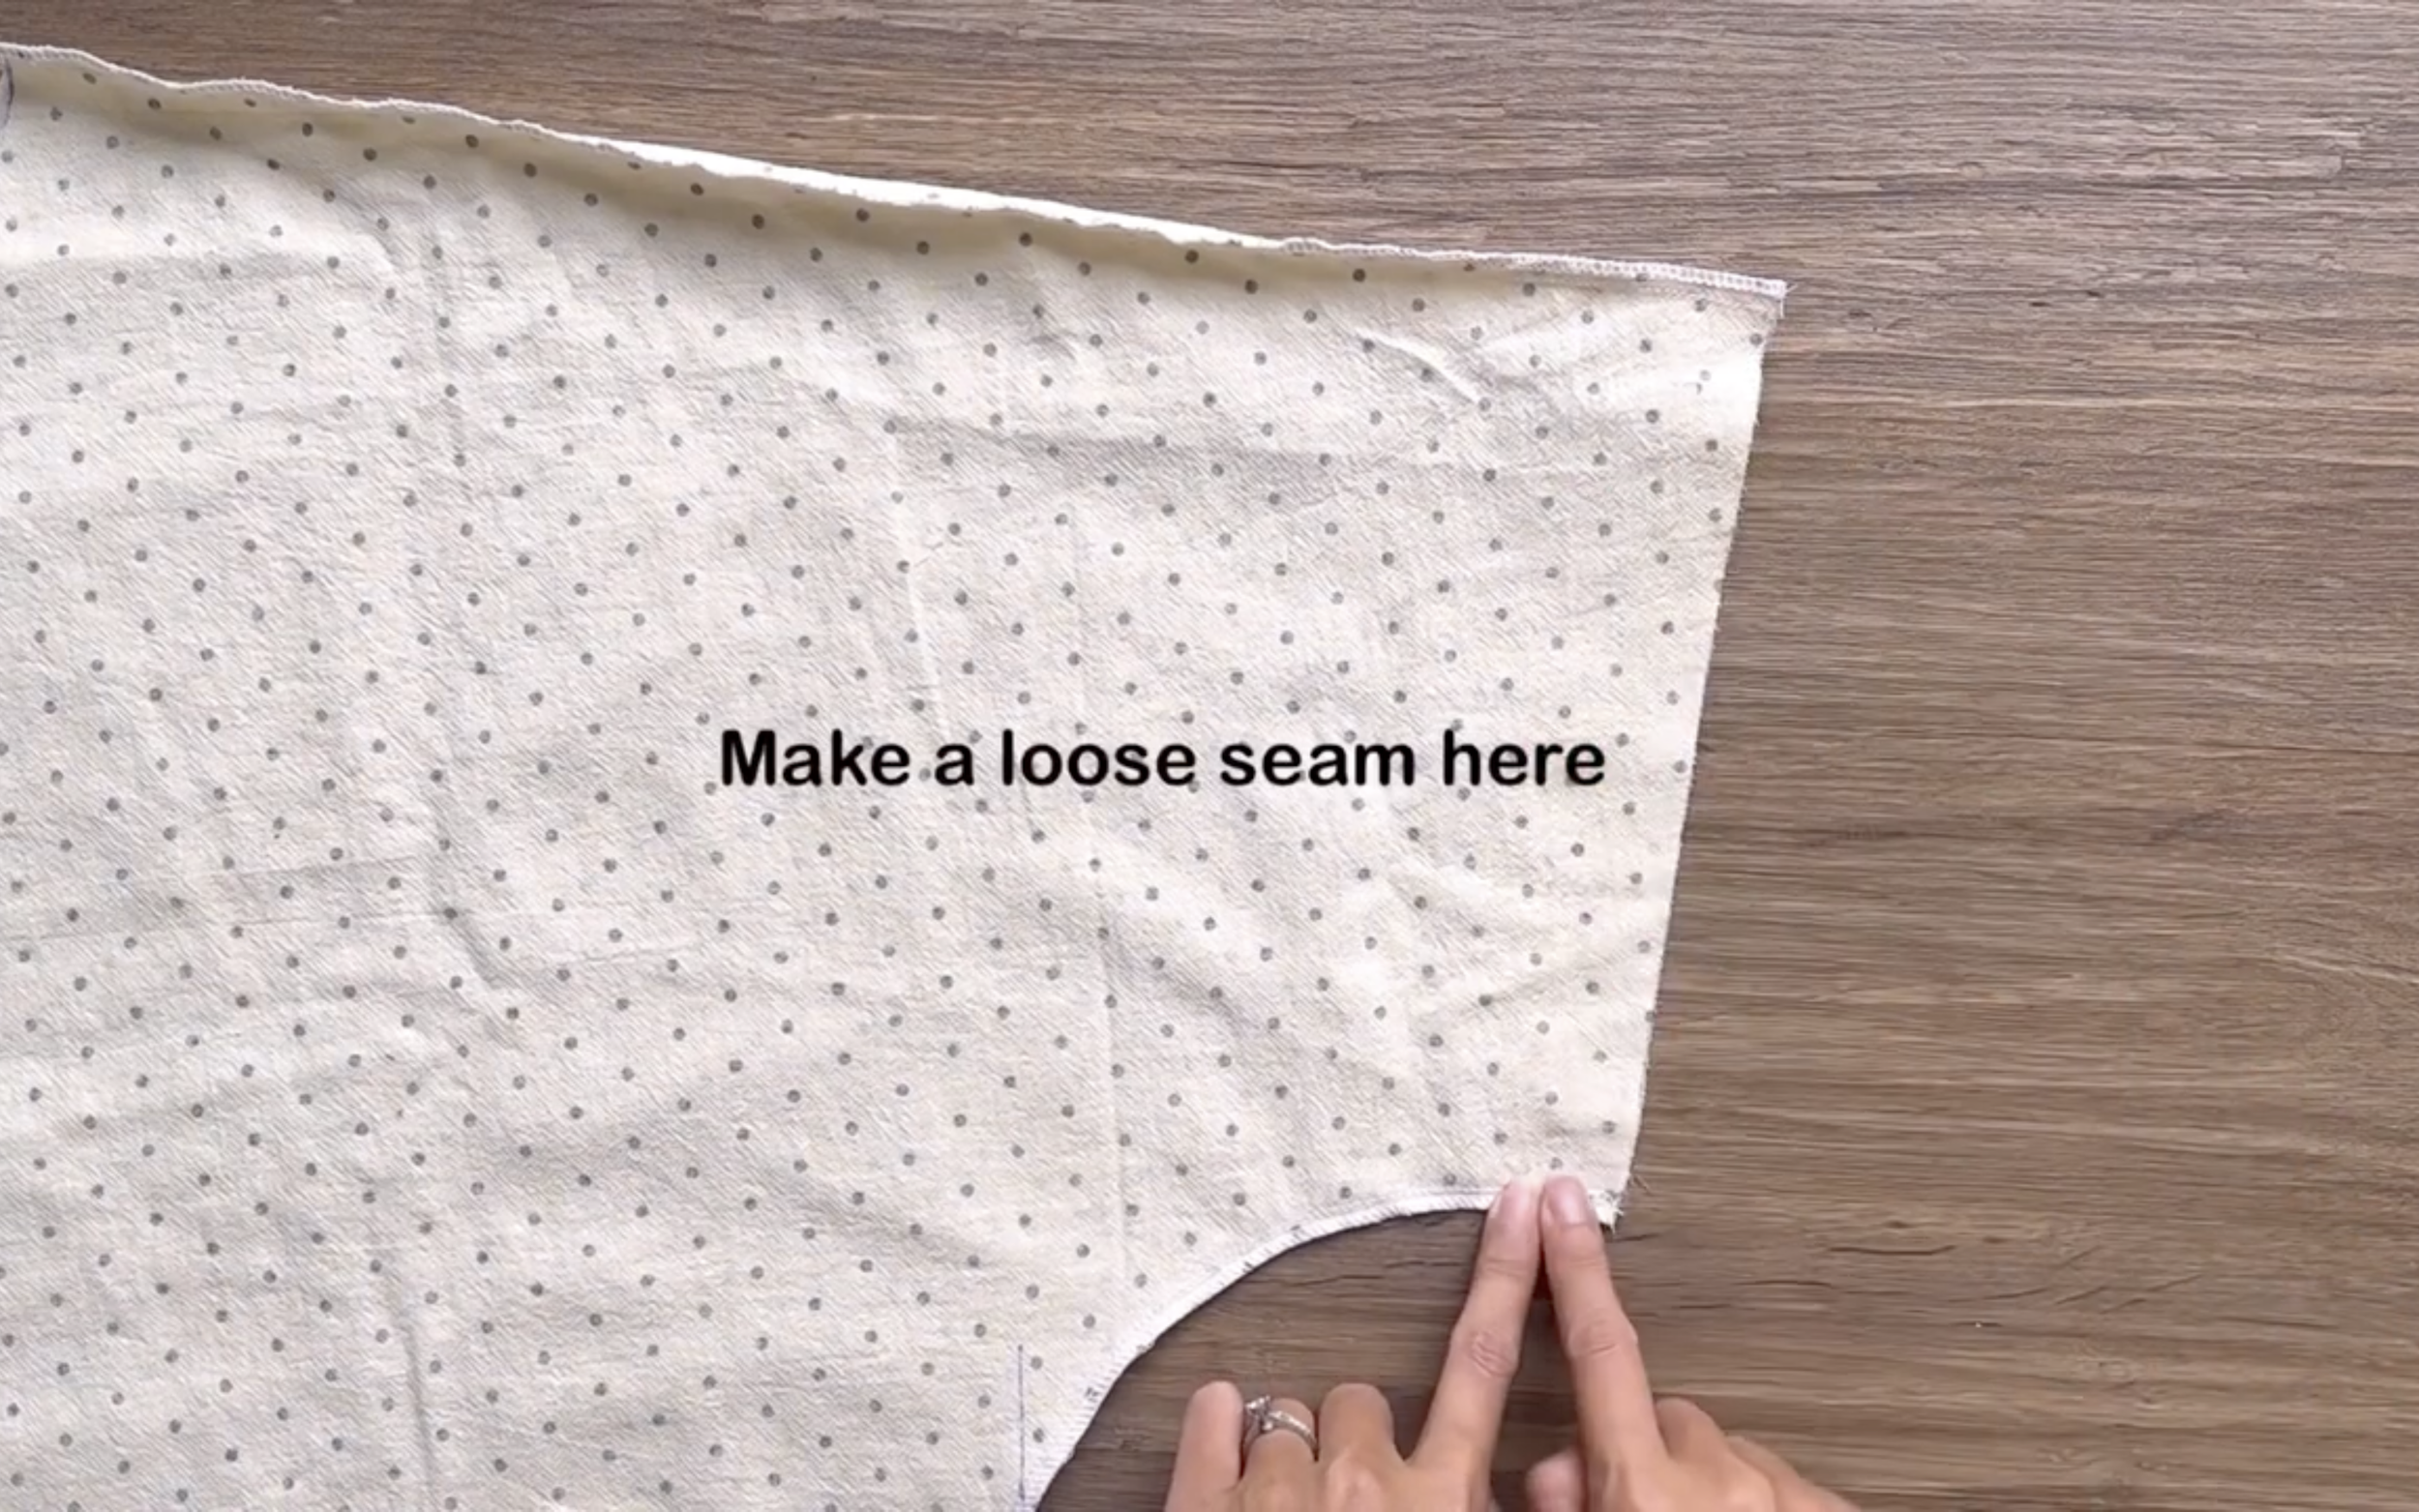
At the end of the sleeve, make a loose seam first, then create the gathered fabric there.

The final width of the gathered fabric will be 25 cm, which is the desired width at the end of the sleeve.
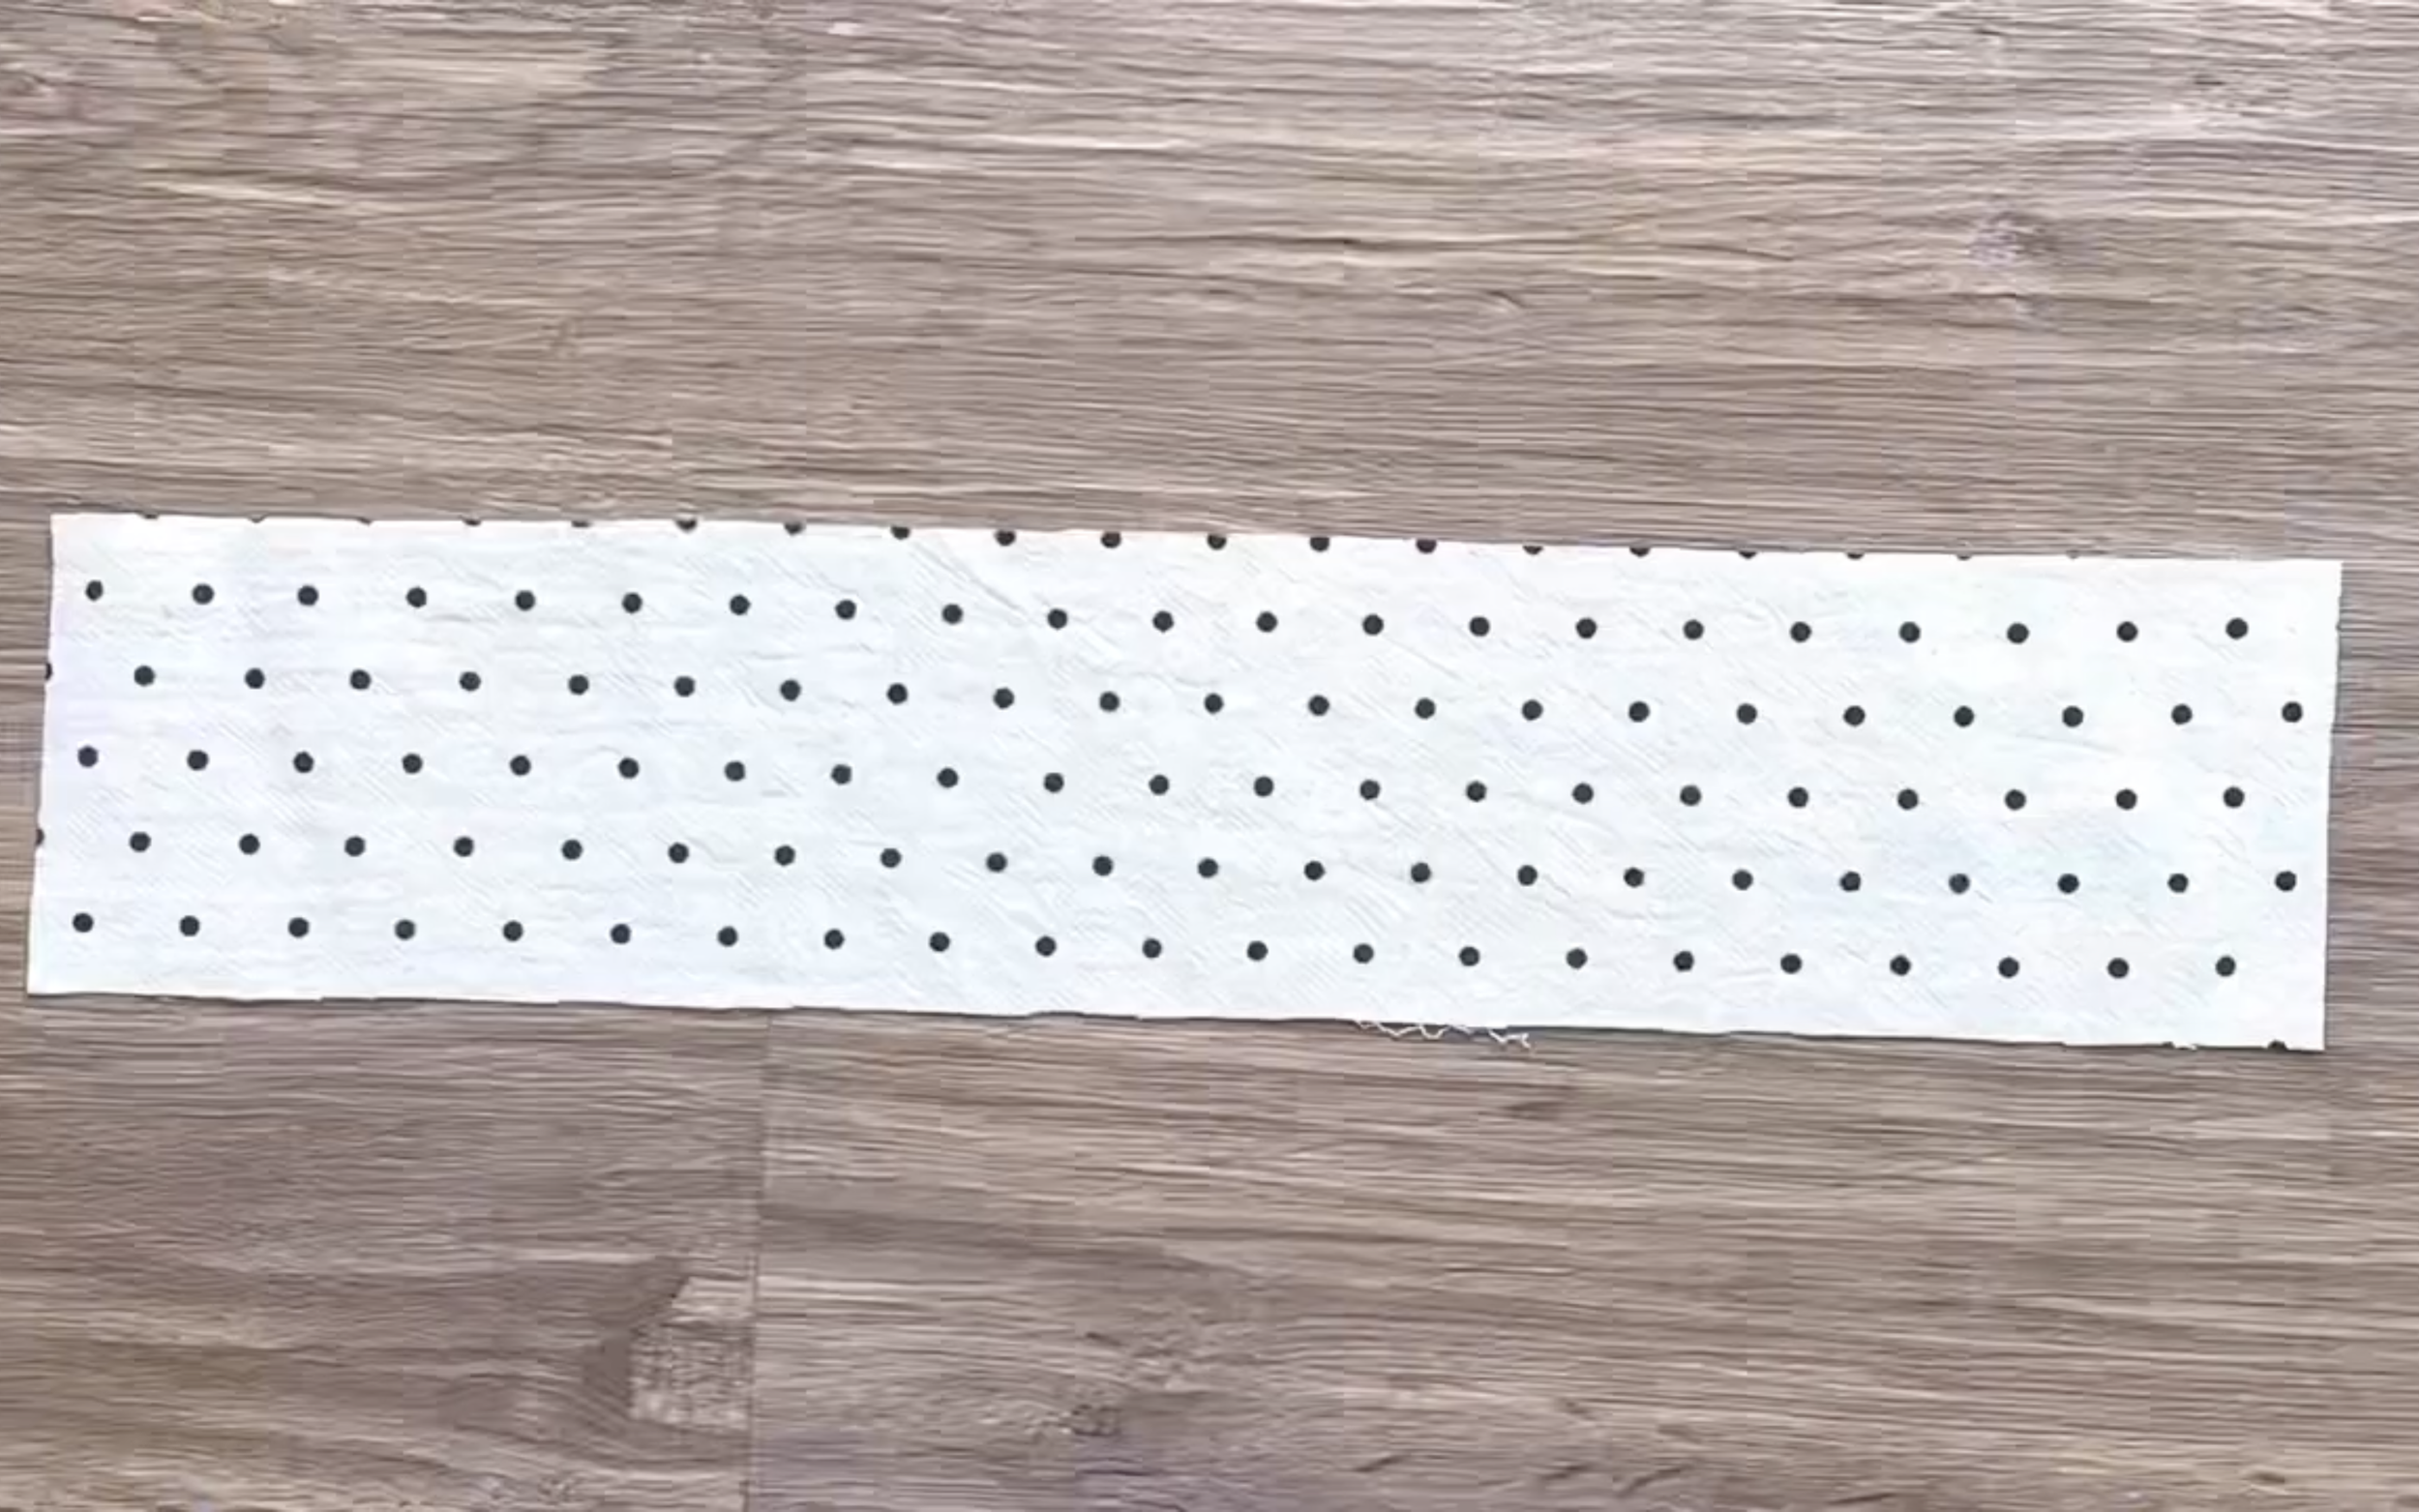
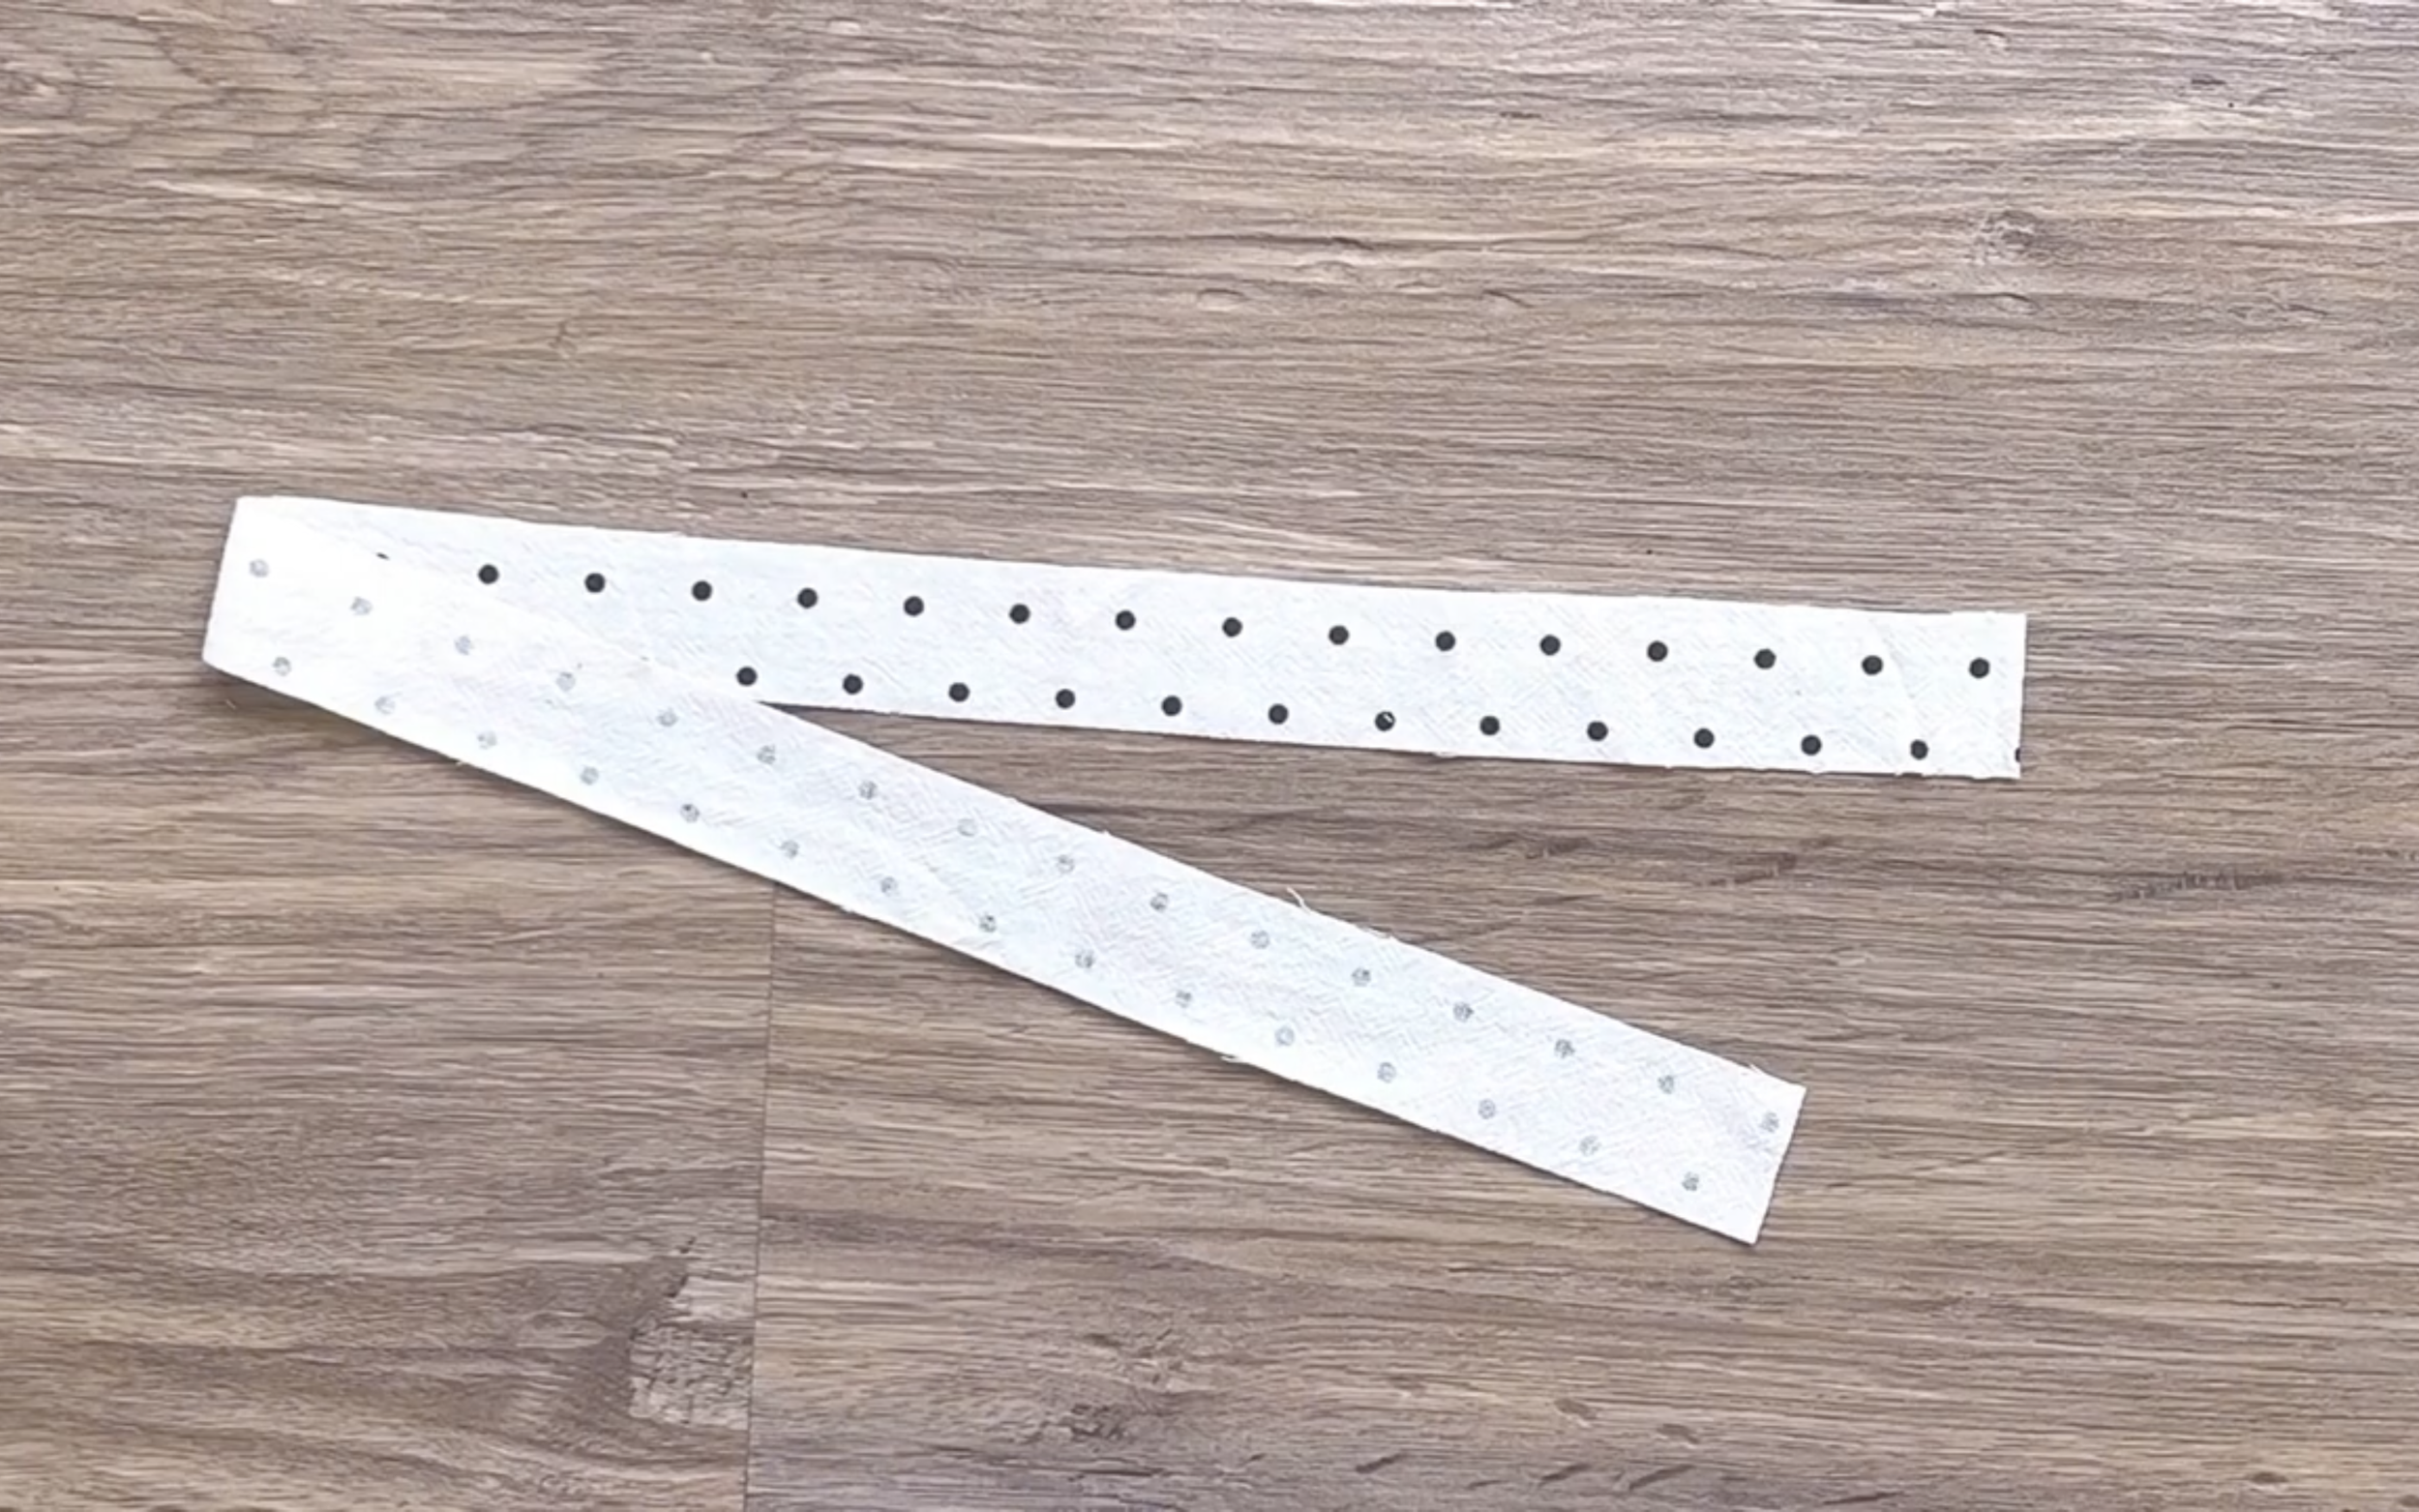
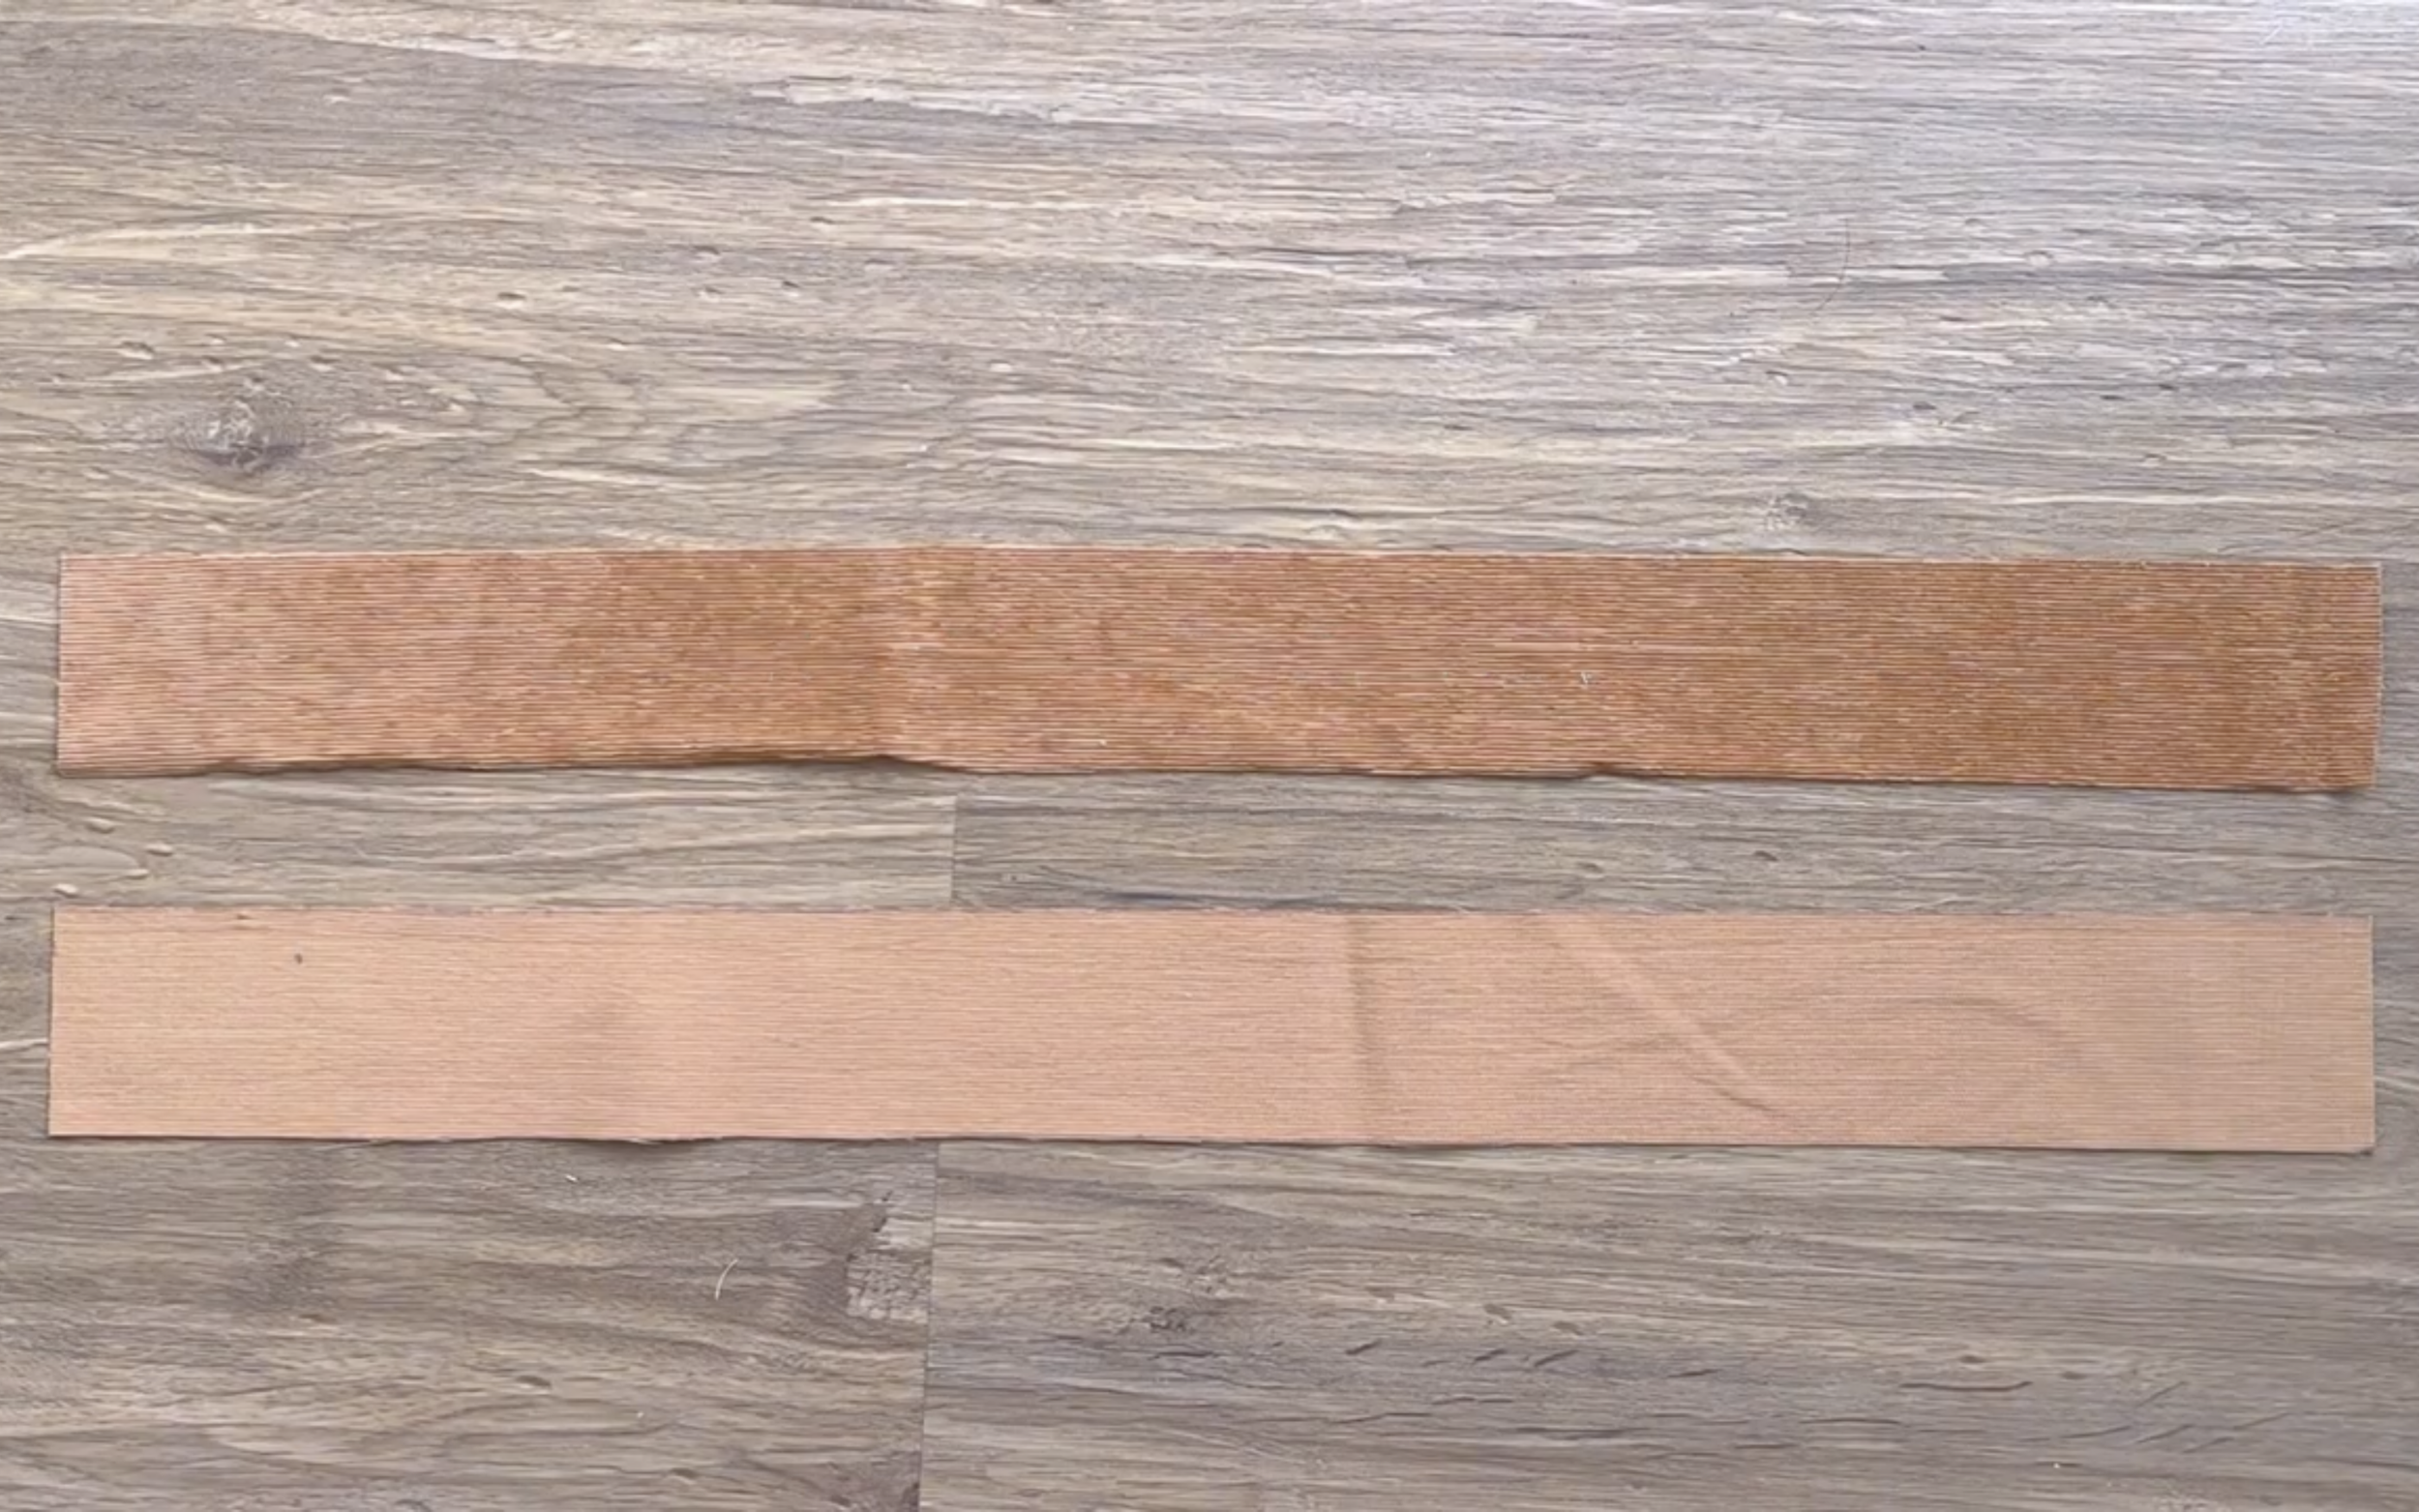
Cut a long fabric strip with 8 cm length, which is twice the length of the binding plus 2 cm for seam allowance, and 27 cm width, which is 2 cm longer than the width at the end of the sleeve.
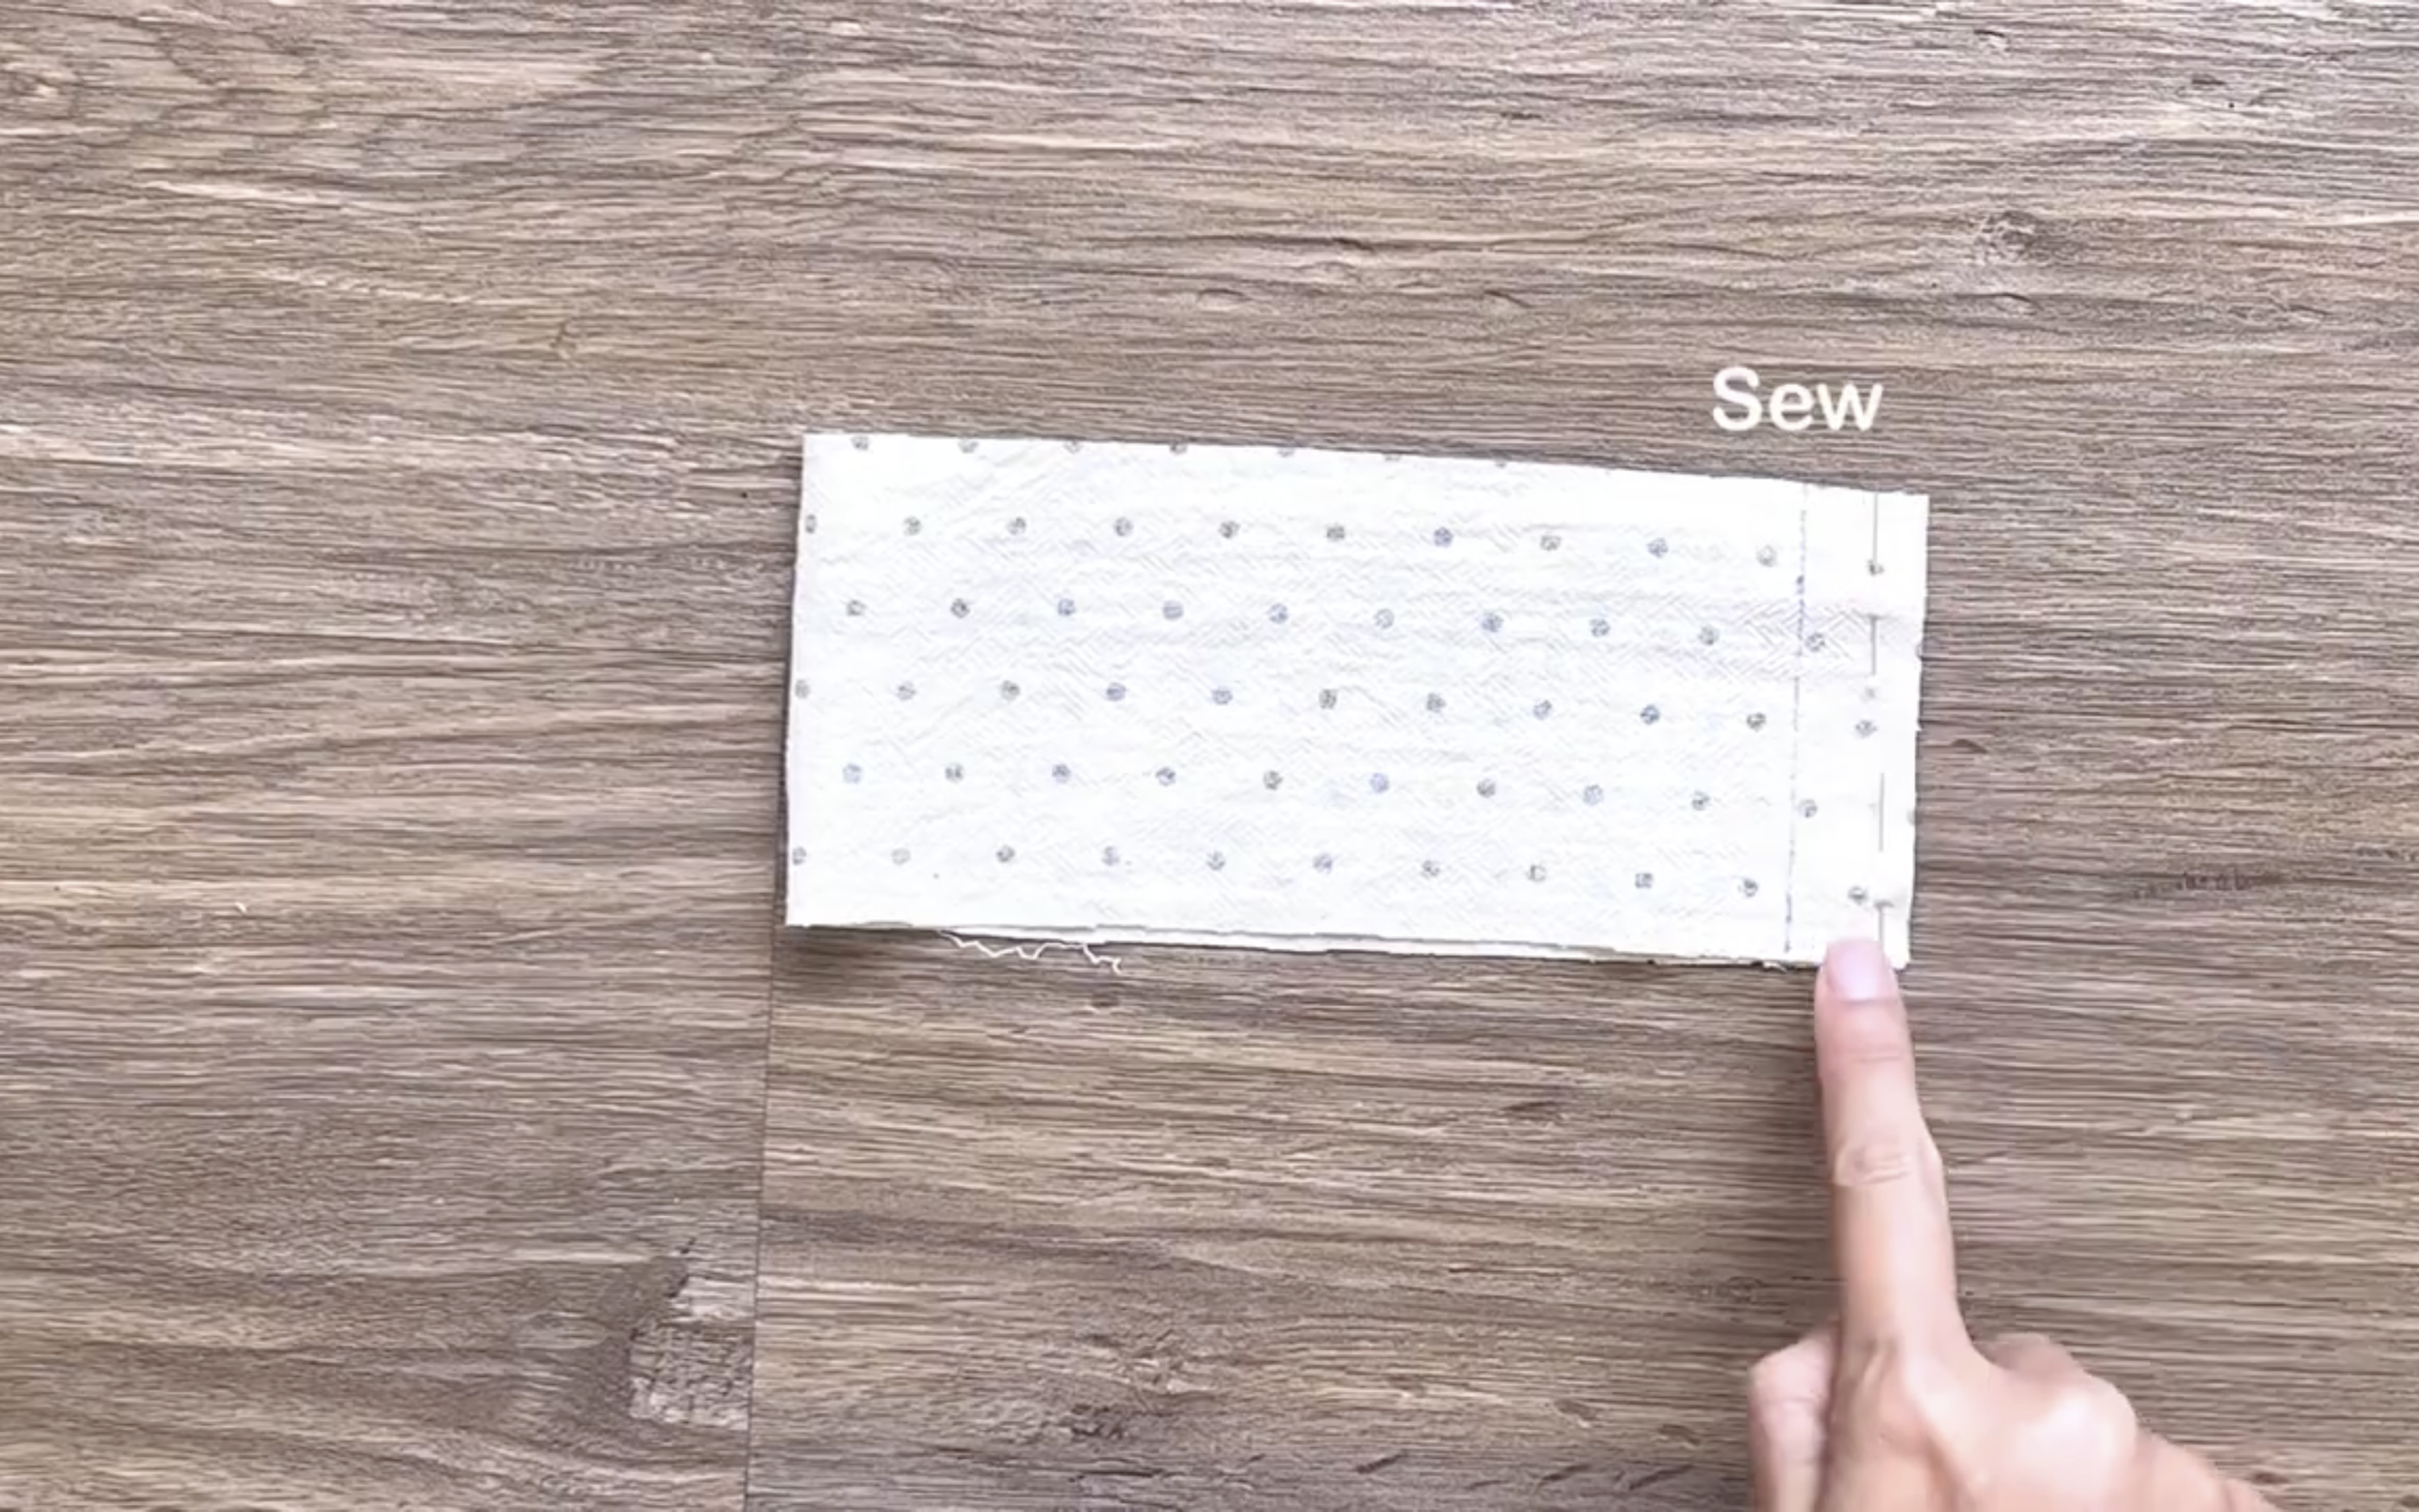
Connect the long fabric strip along the length to create a circle with the same width as the end of the sleeve.
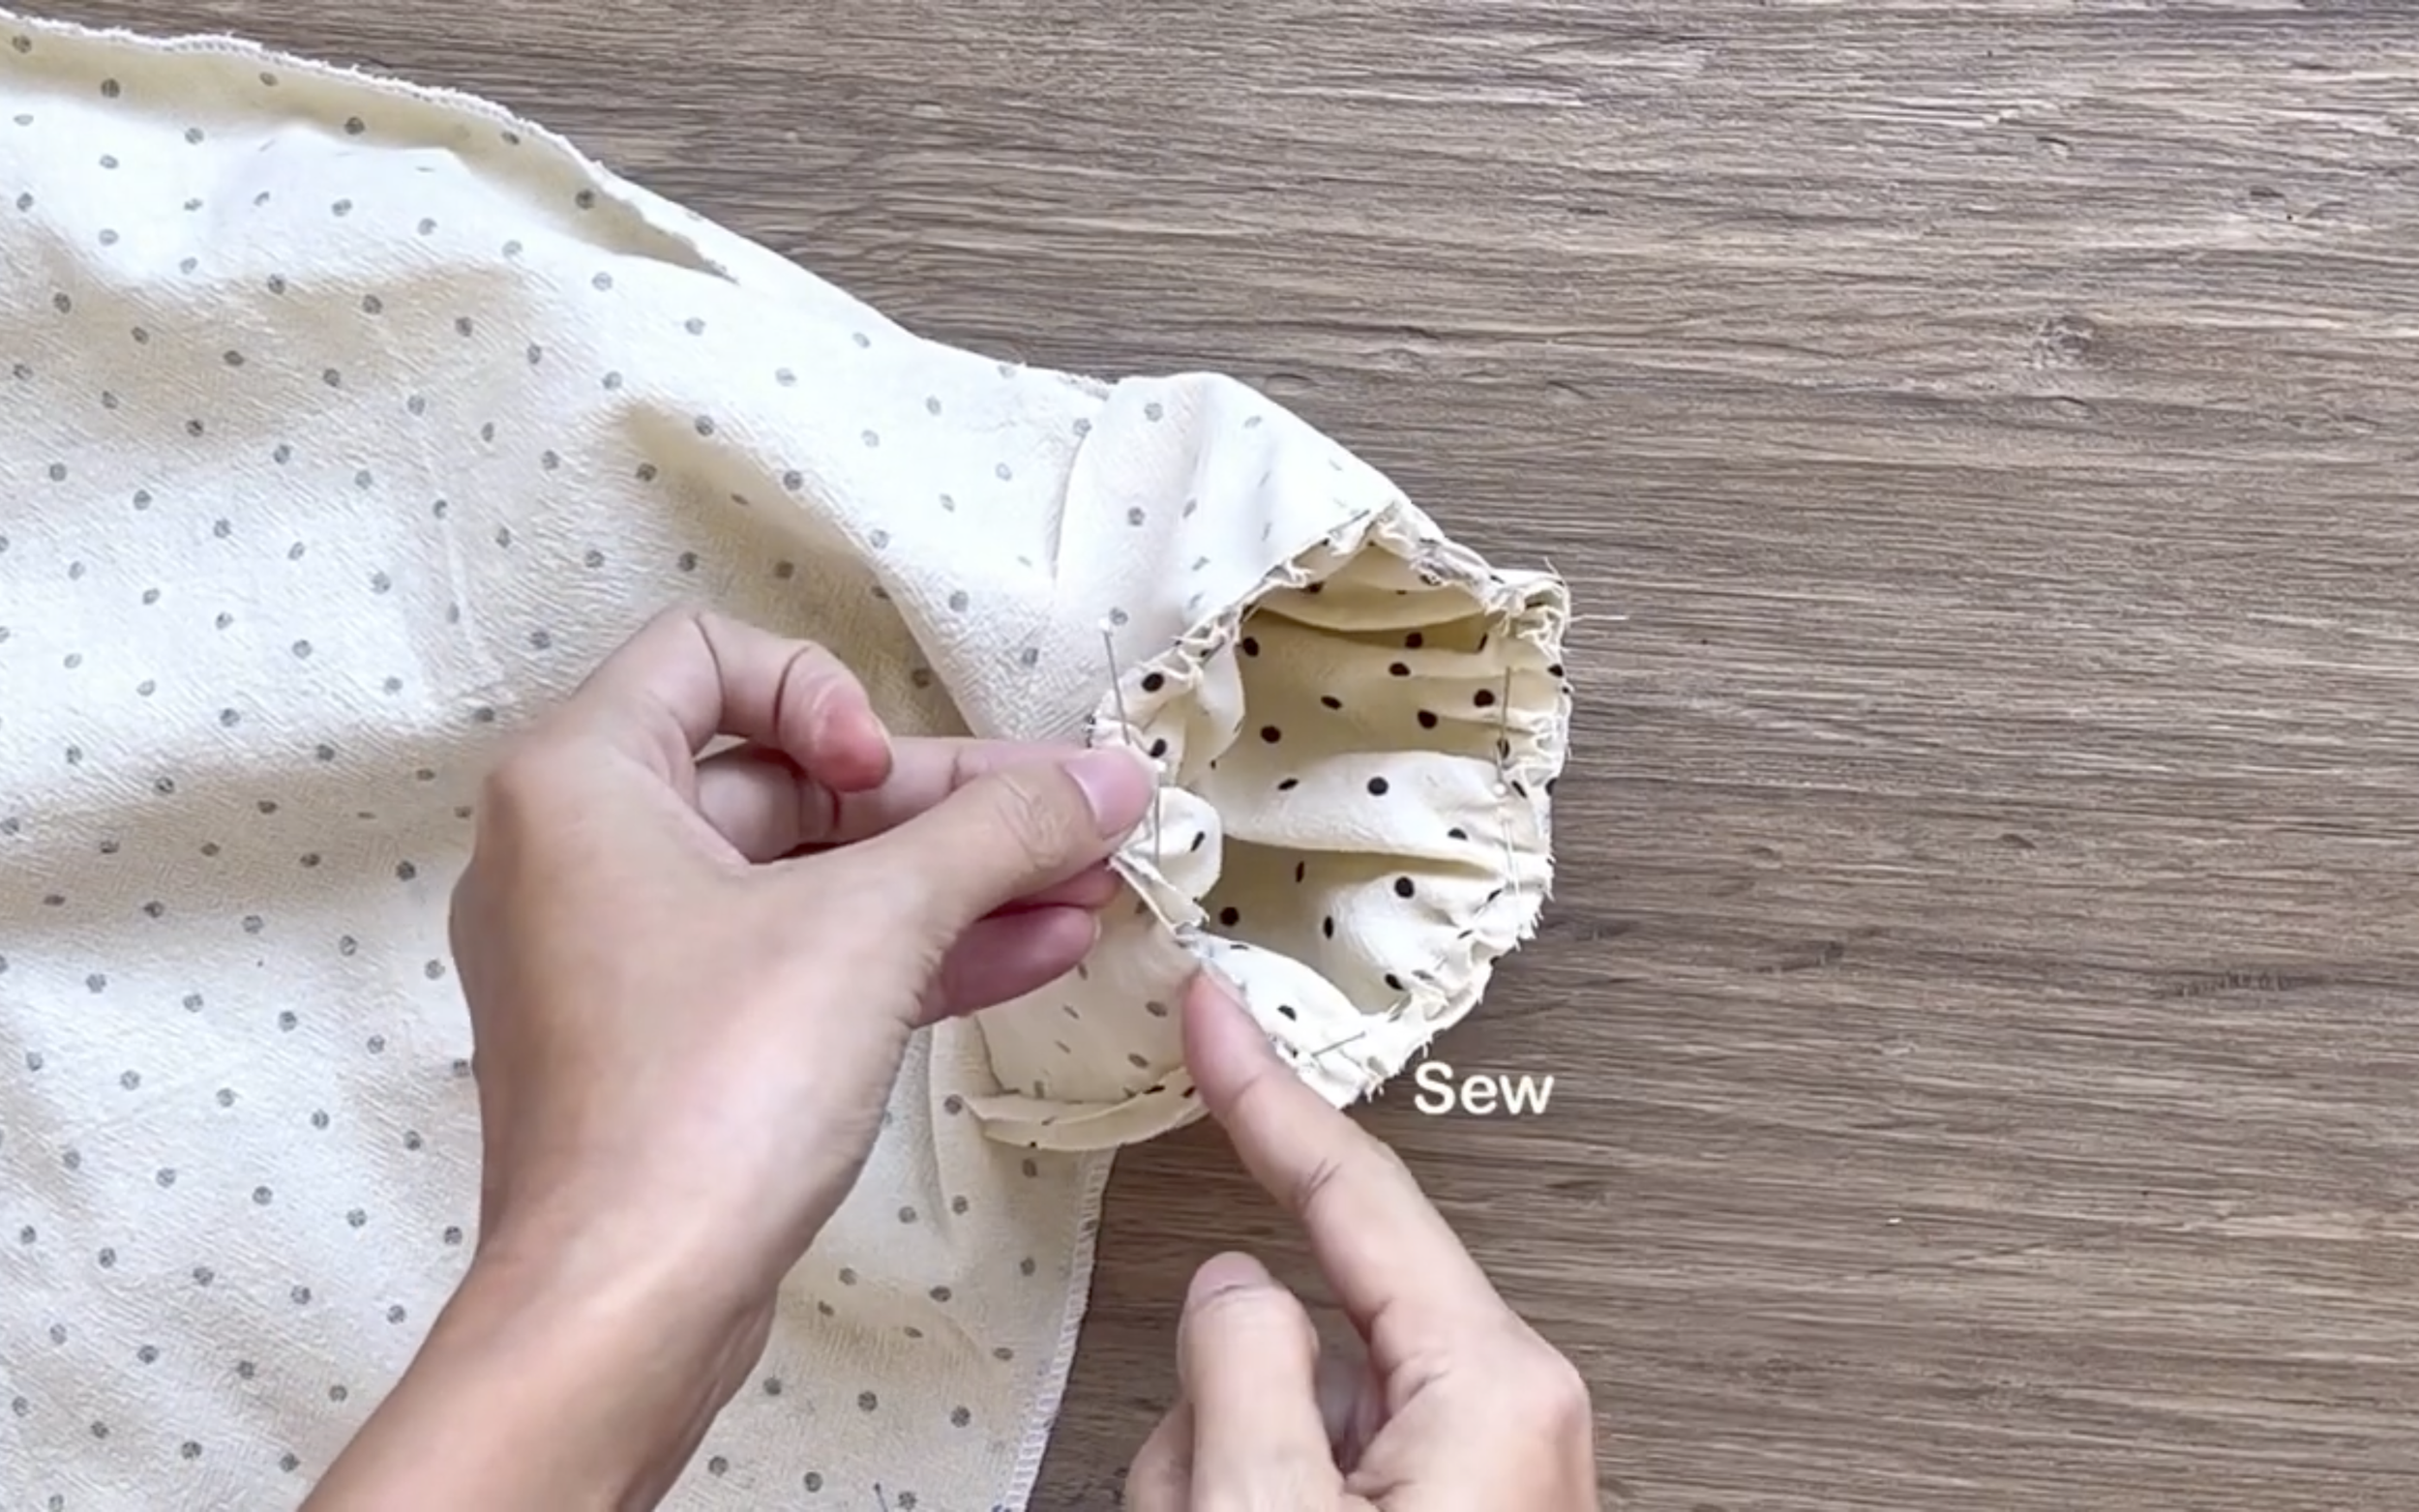
Connect one side of the circle fabric to the end of the sleeve.
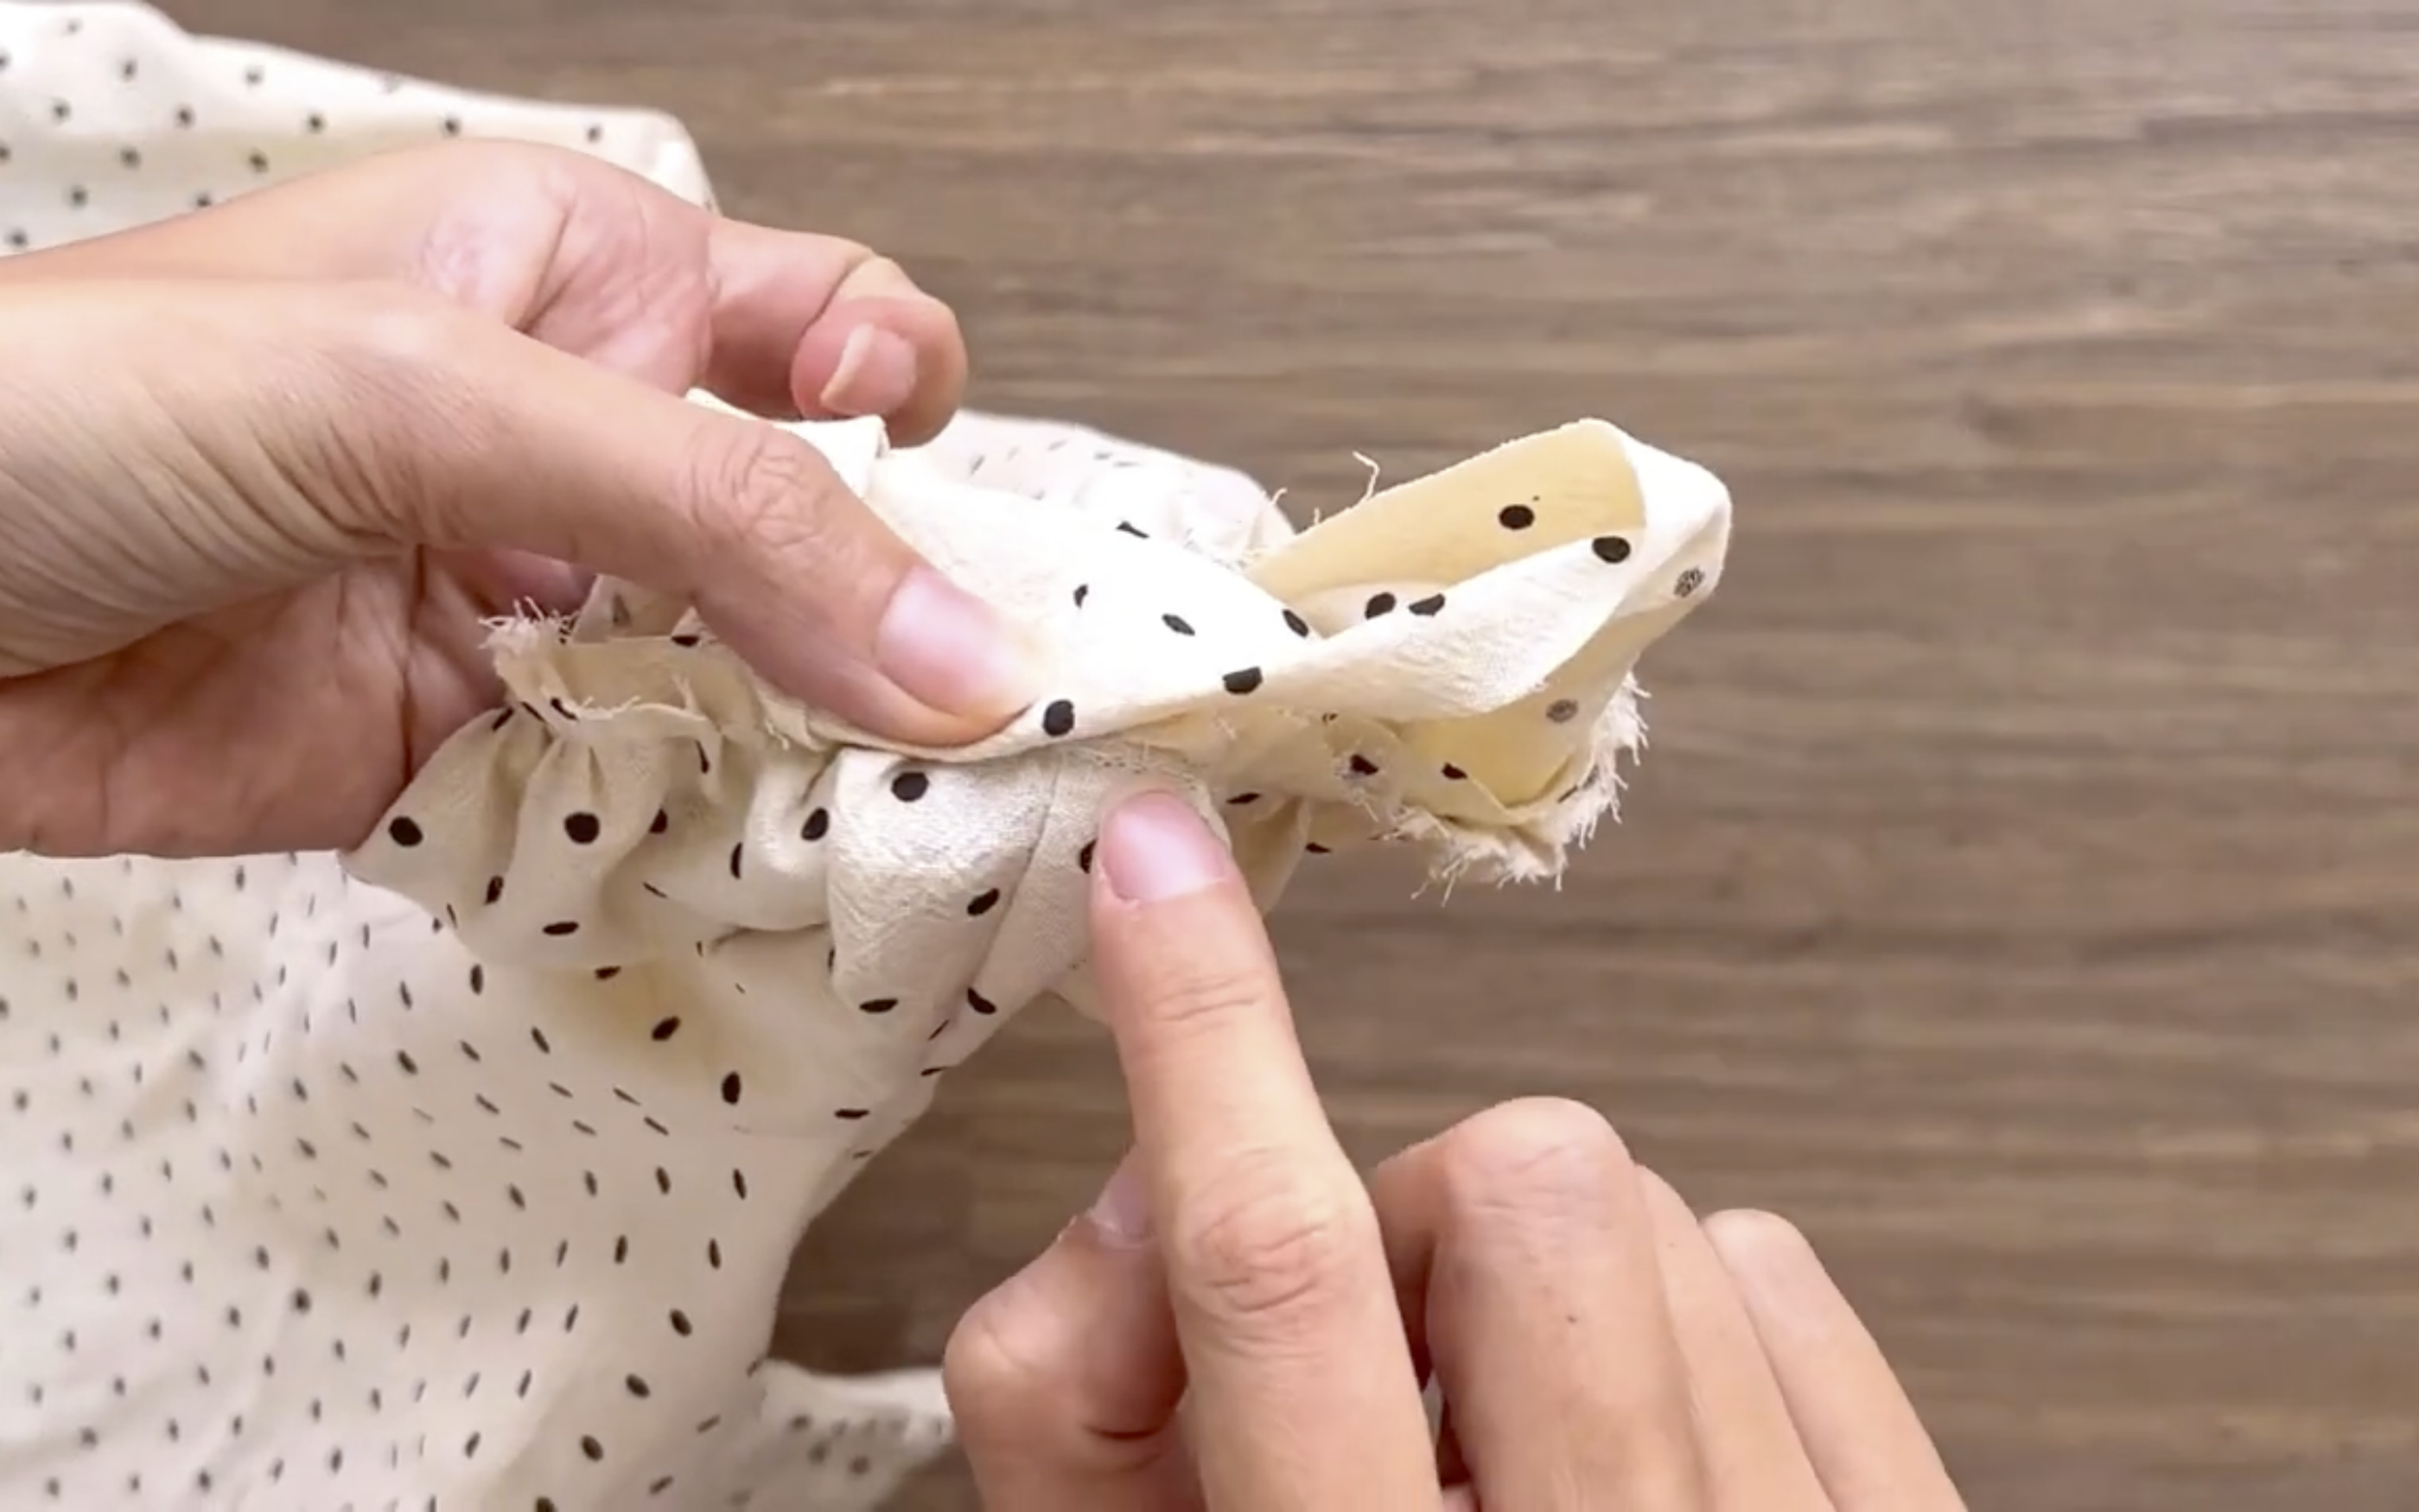
After the first seam, fold the other side of the circle fabric inside around 1 cm, then fold it over the first seam and make the second seam.

This will finish the sleeve of the top after sewing.

Moving to the neckline of the top, measure the total width of the neck from the front to the back.
Make sure the width of the neck is larger than the head's width so the top can be worn comfortably.
At the top of the sleeve, make a loose seam first, then create gathering fabric.
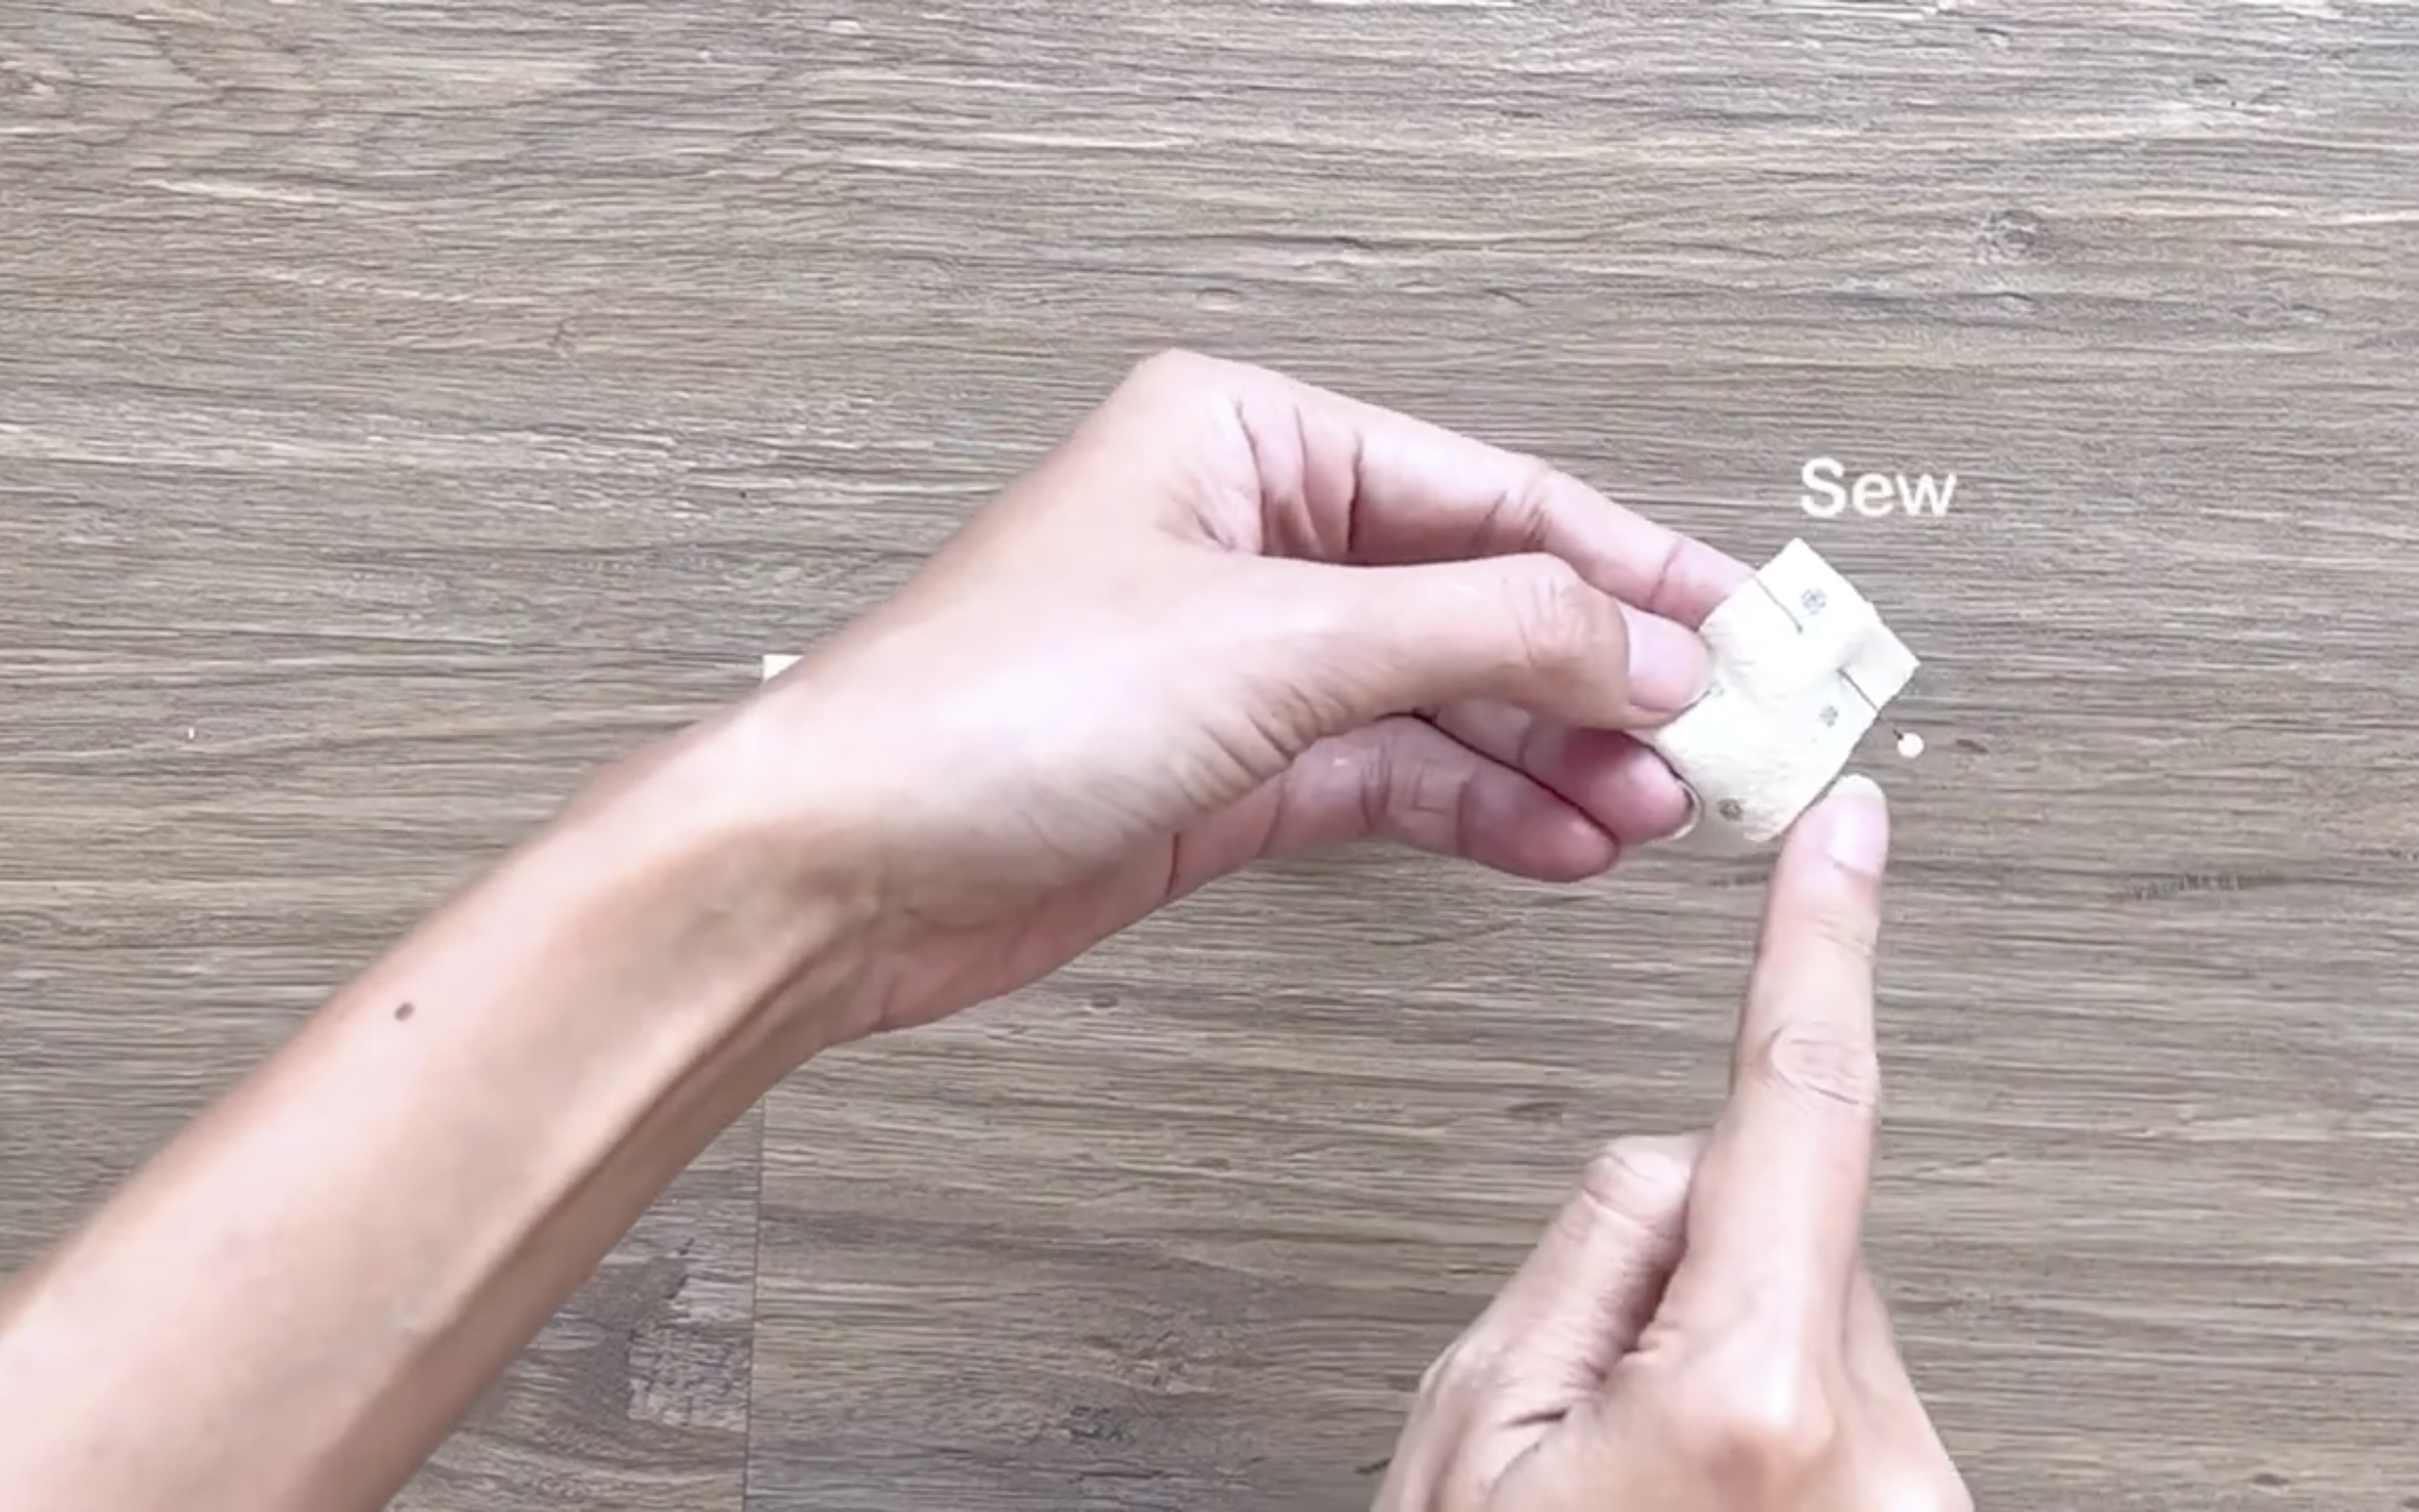
Connect the two ends of the fabric strip to create a circle with the same width as the neckline.
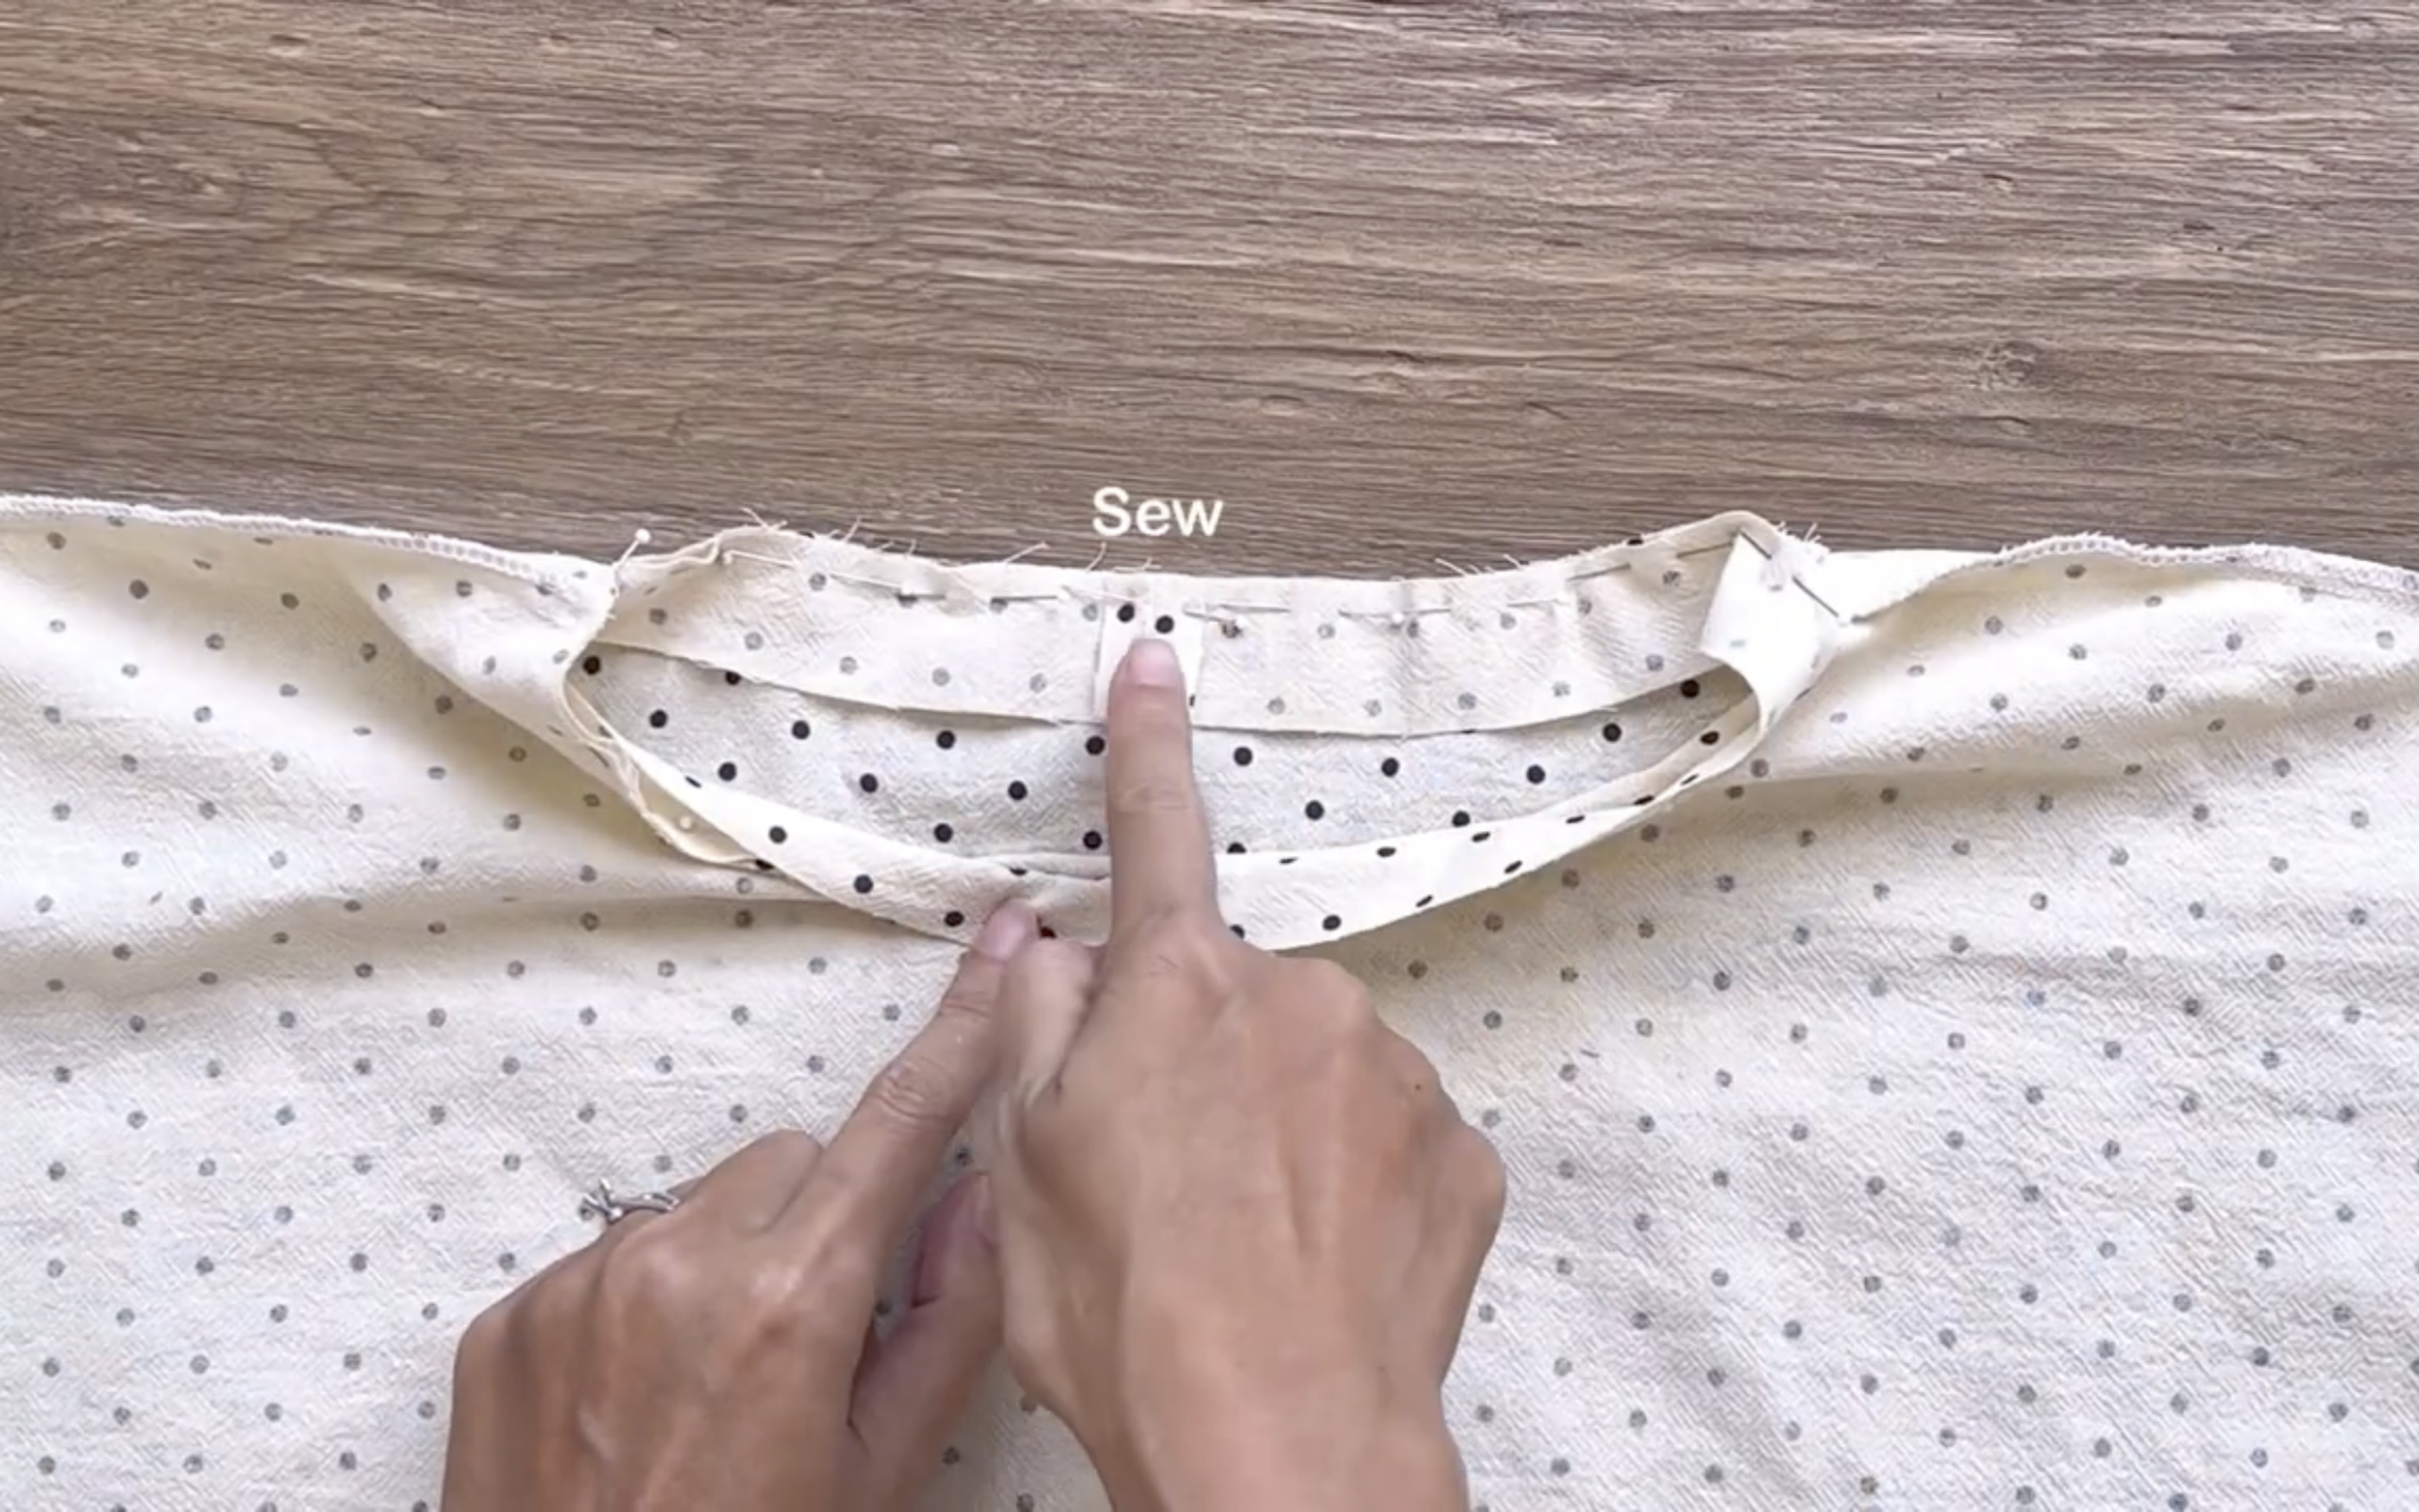
Attach one side of the circle fabric to the neckline.

After sewing, fold the other side of the circle fabric inside to the first seam, then fold it again over the first seam and make the second seam.
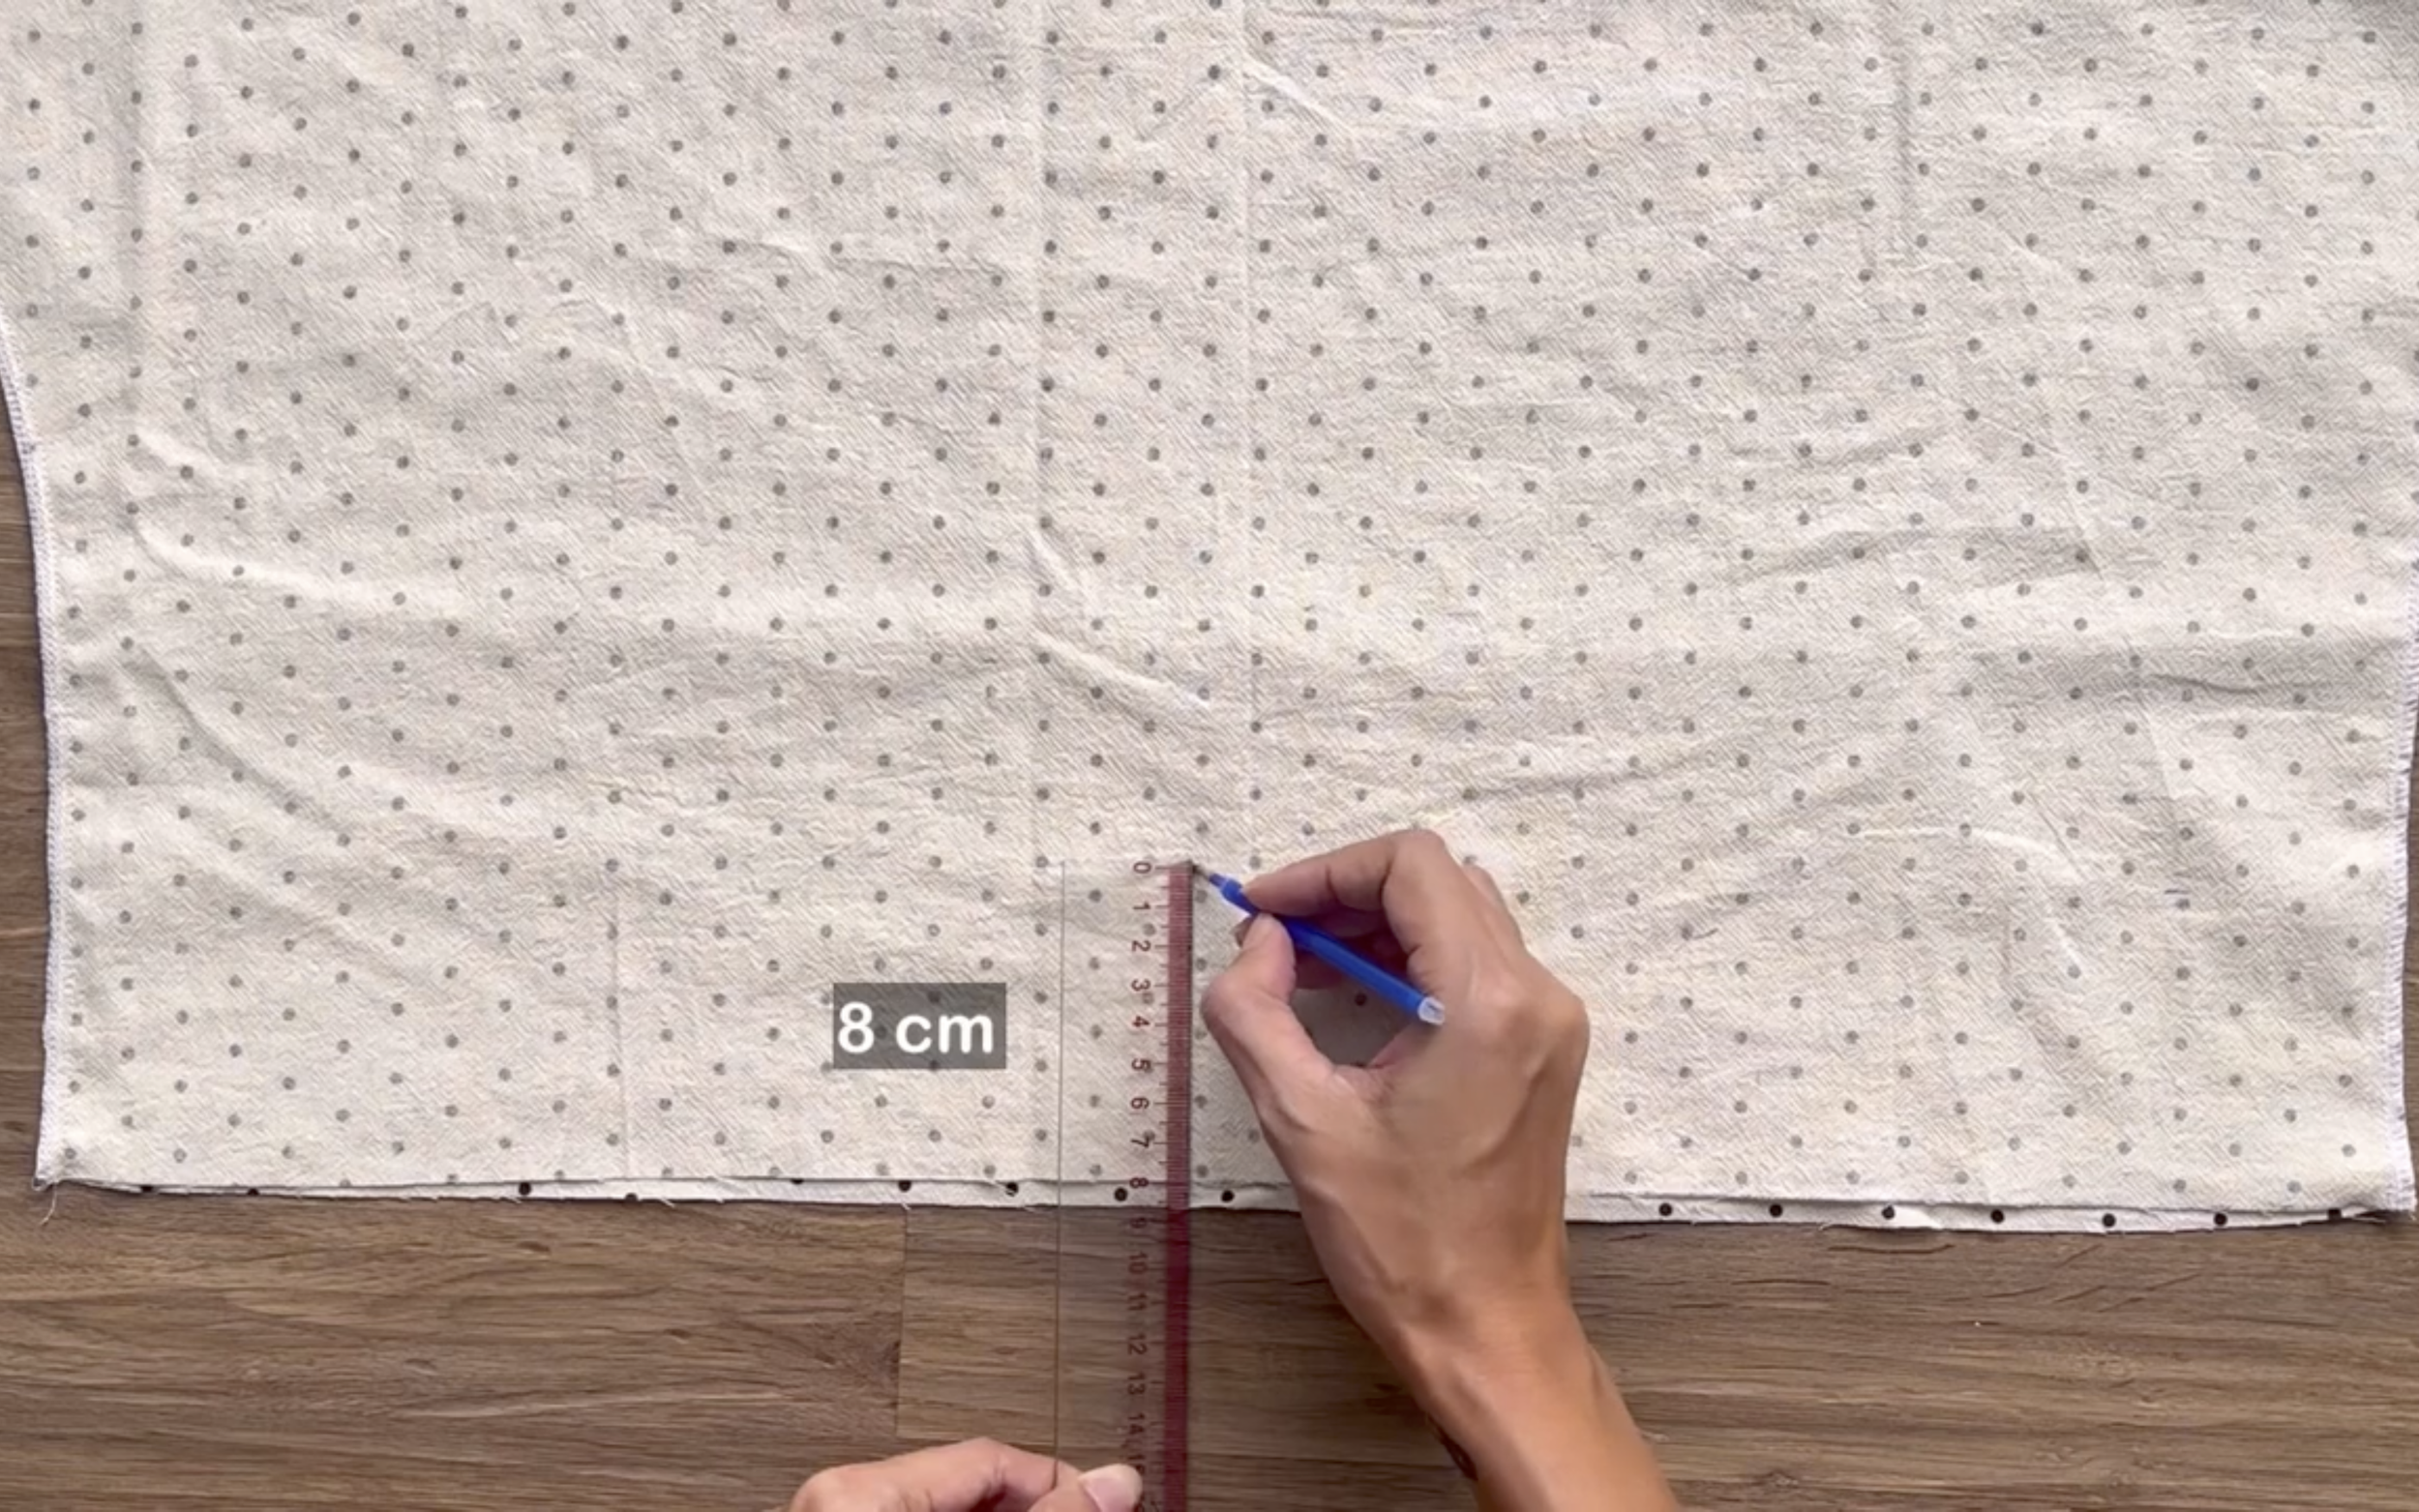
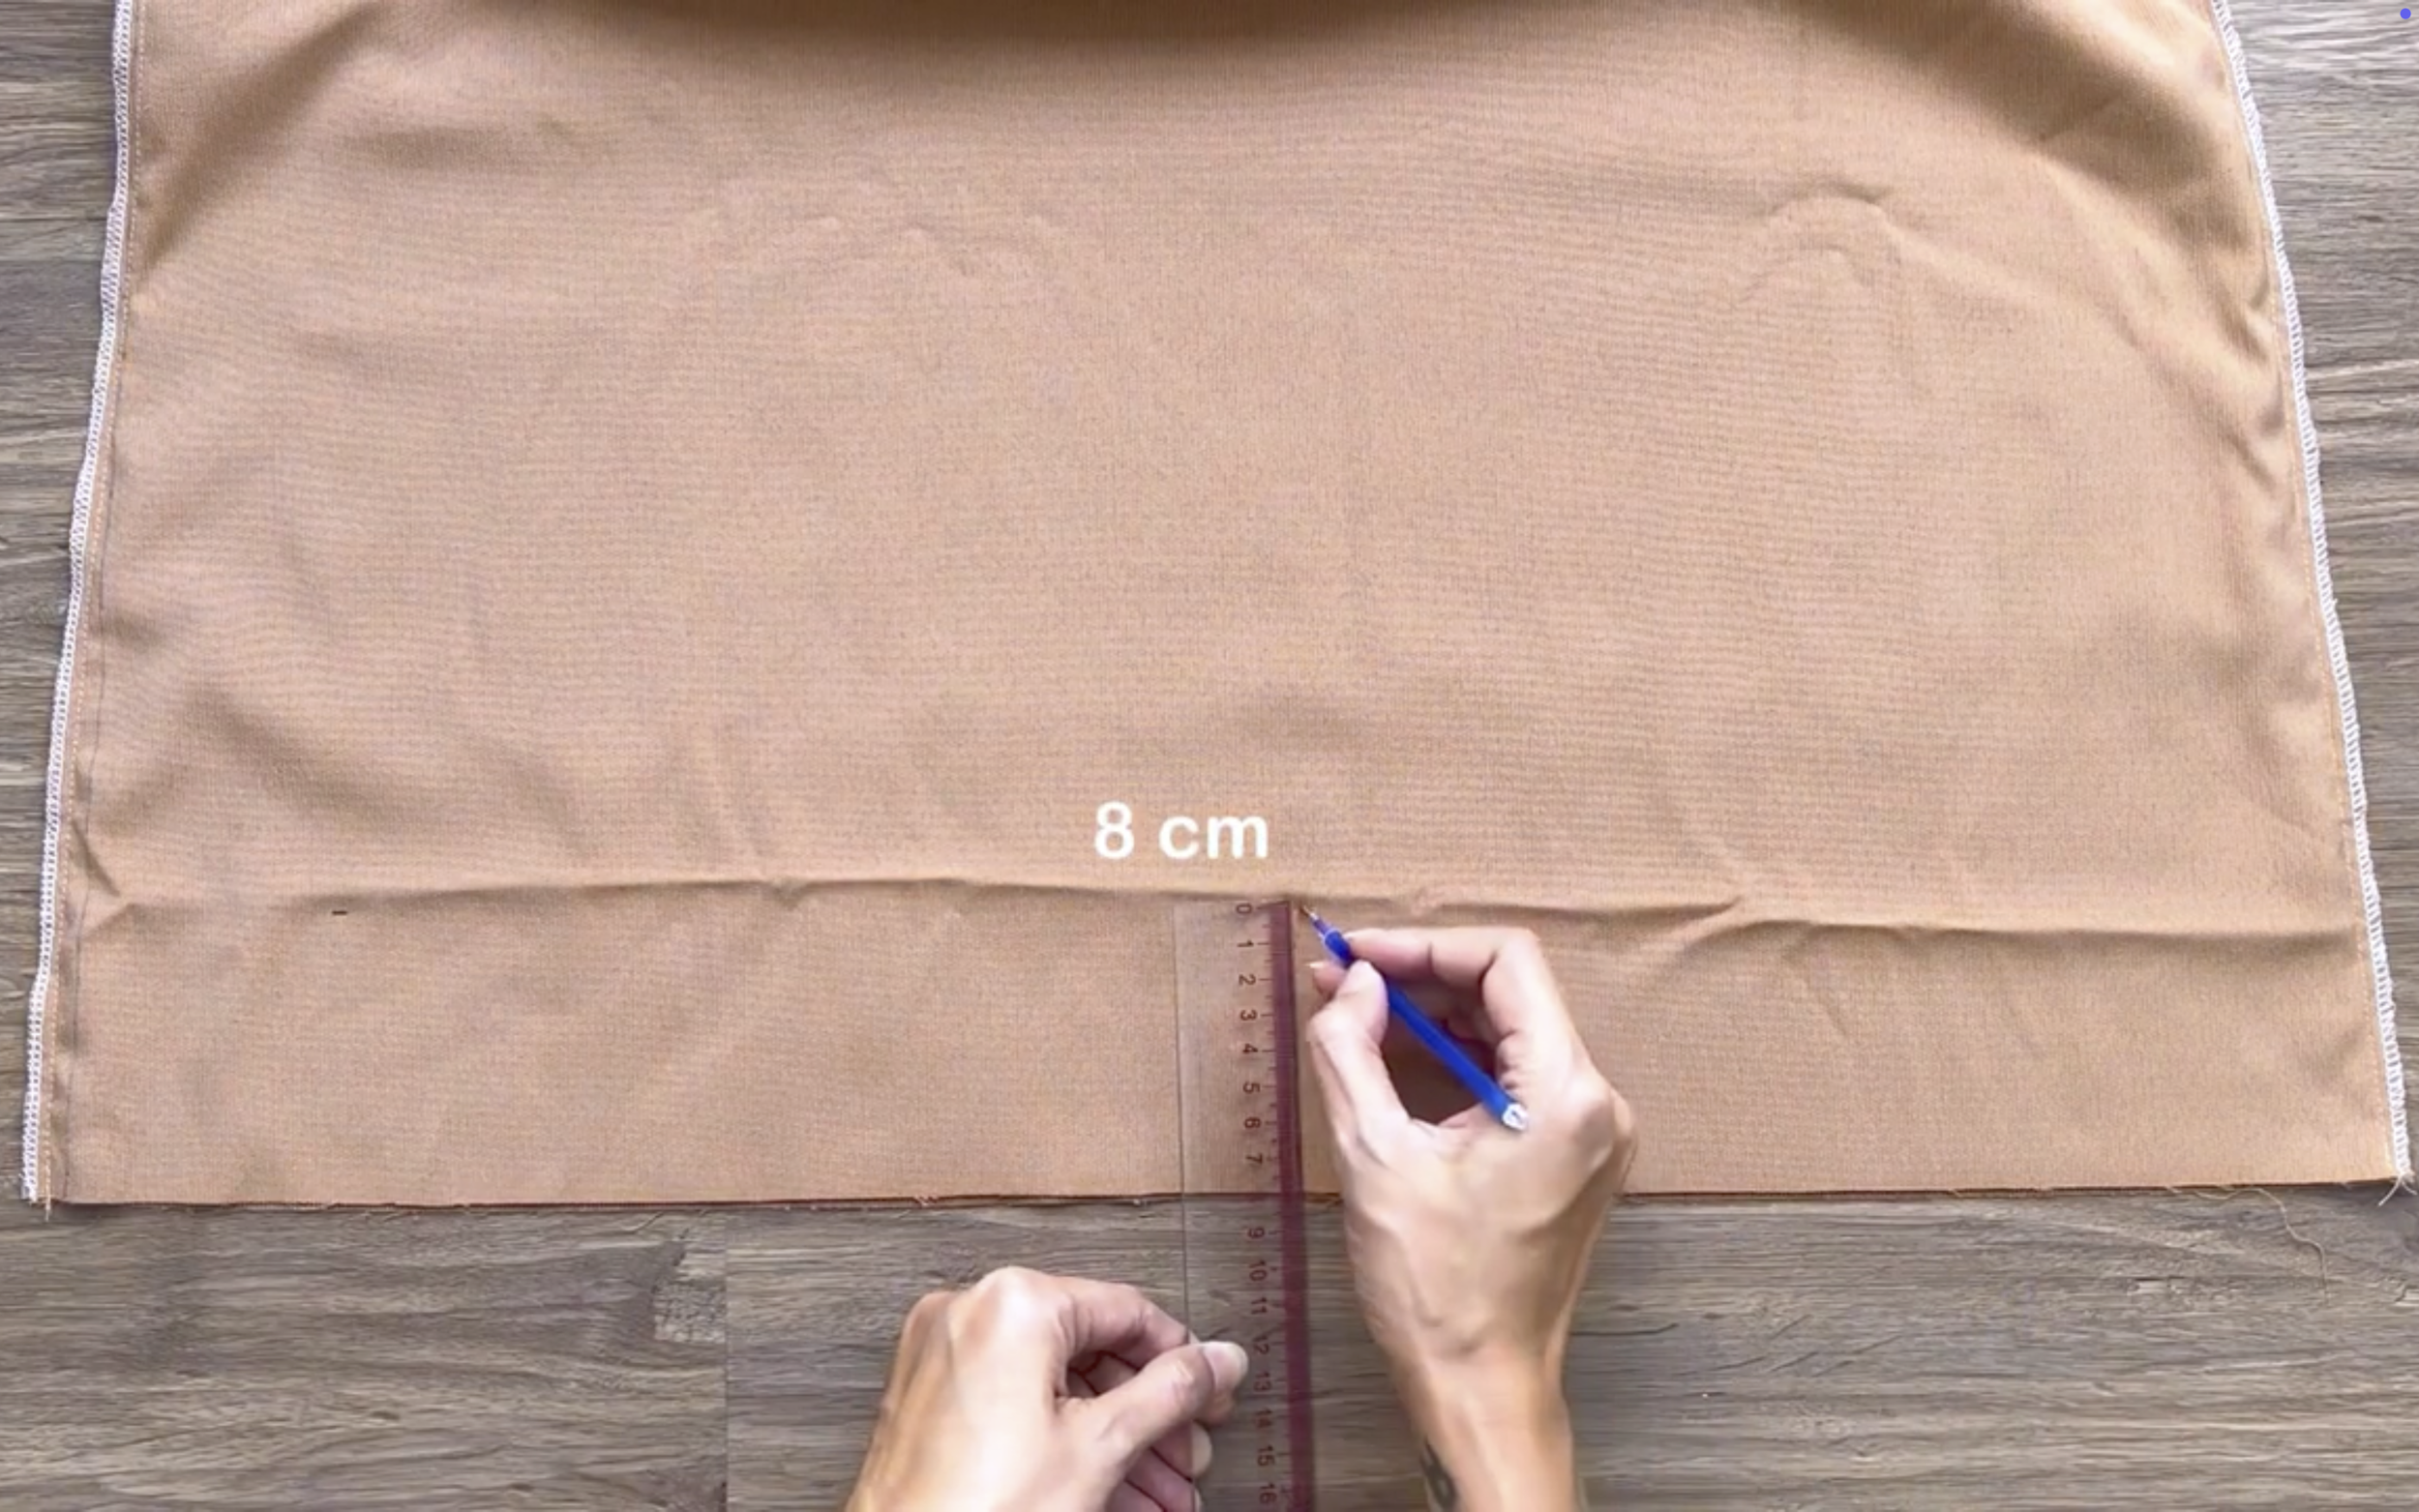
Moving to the end of the top, draw a line 8 cm above the ending line first.
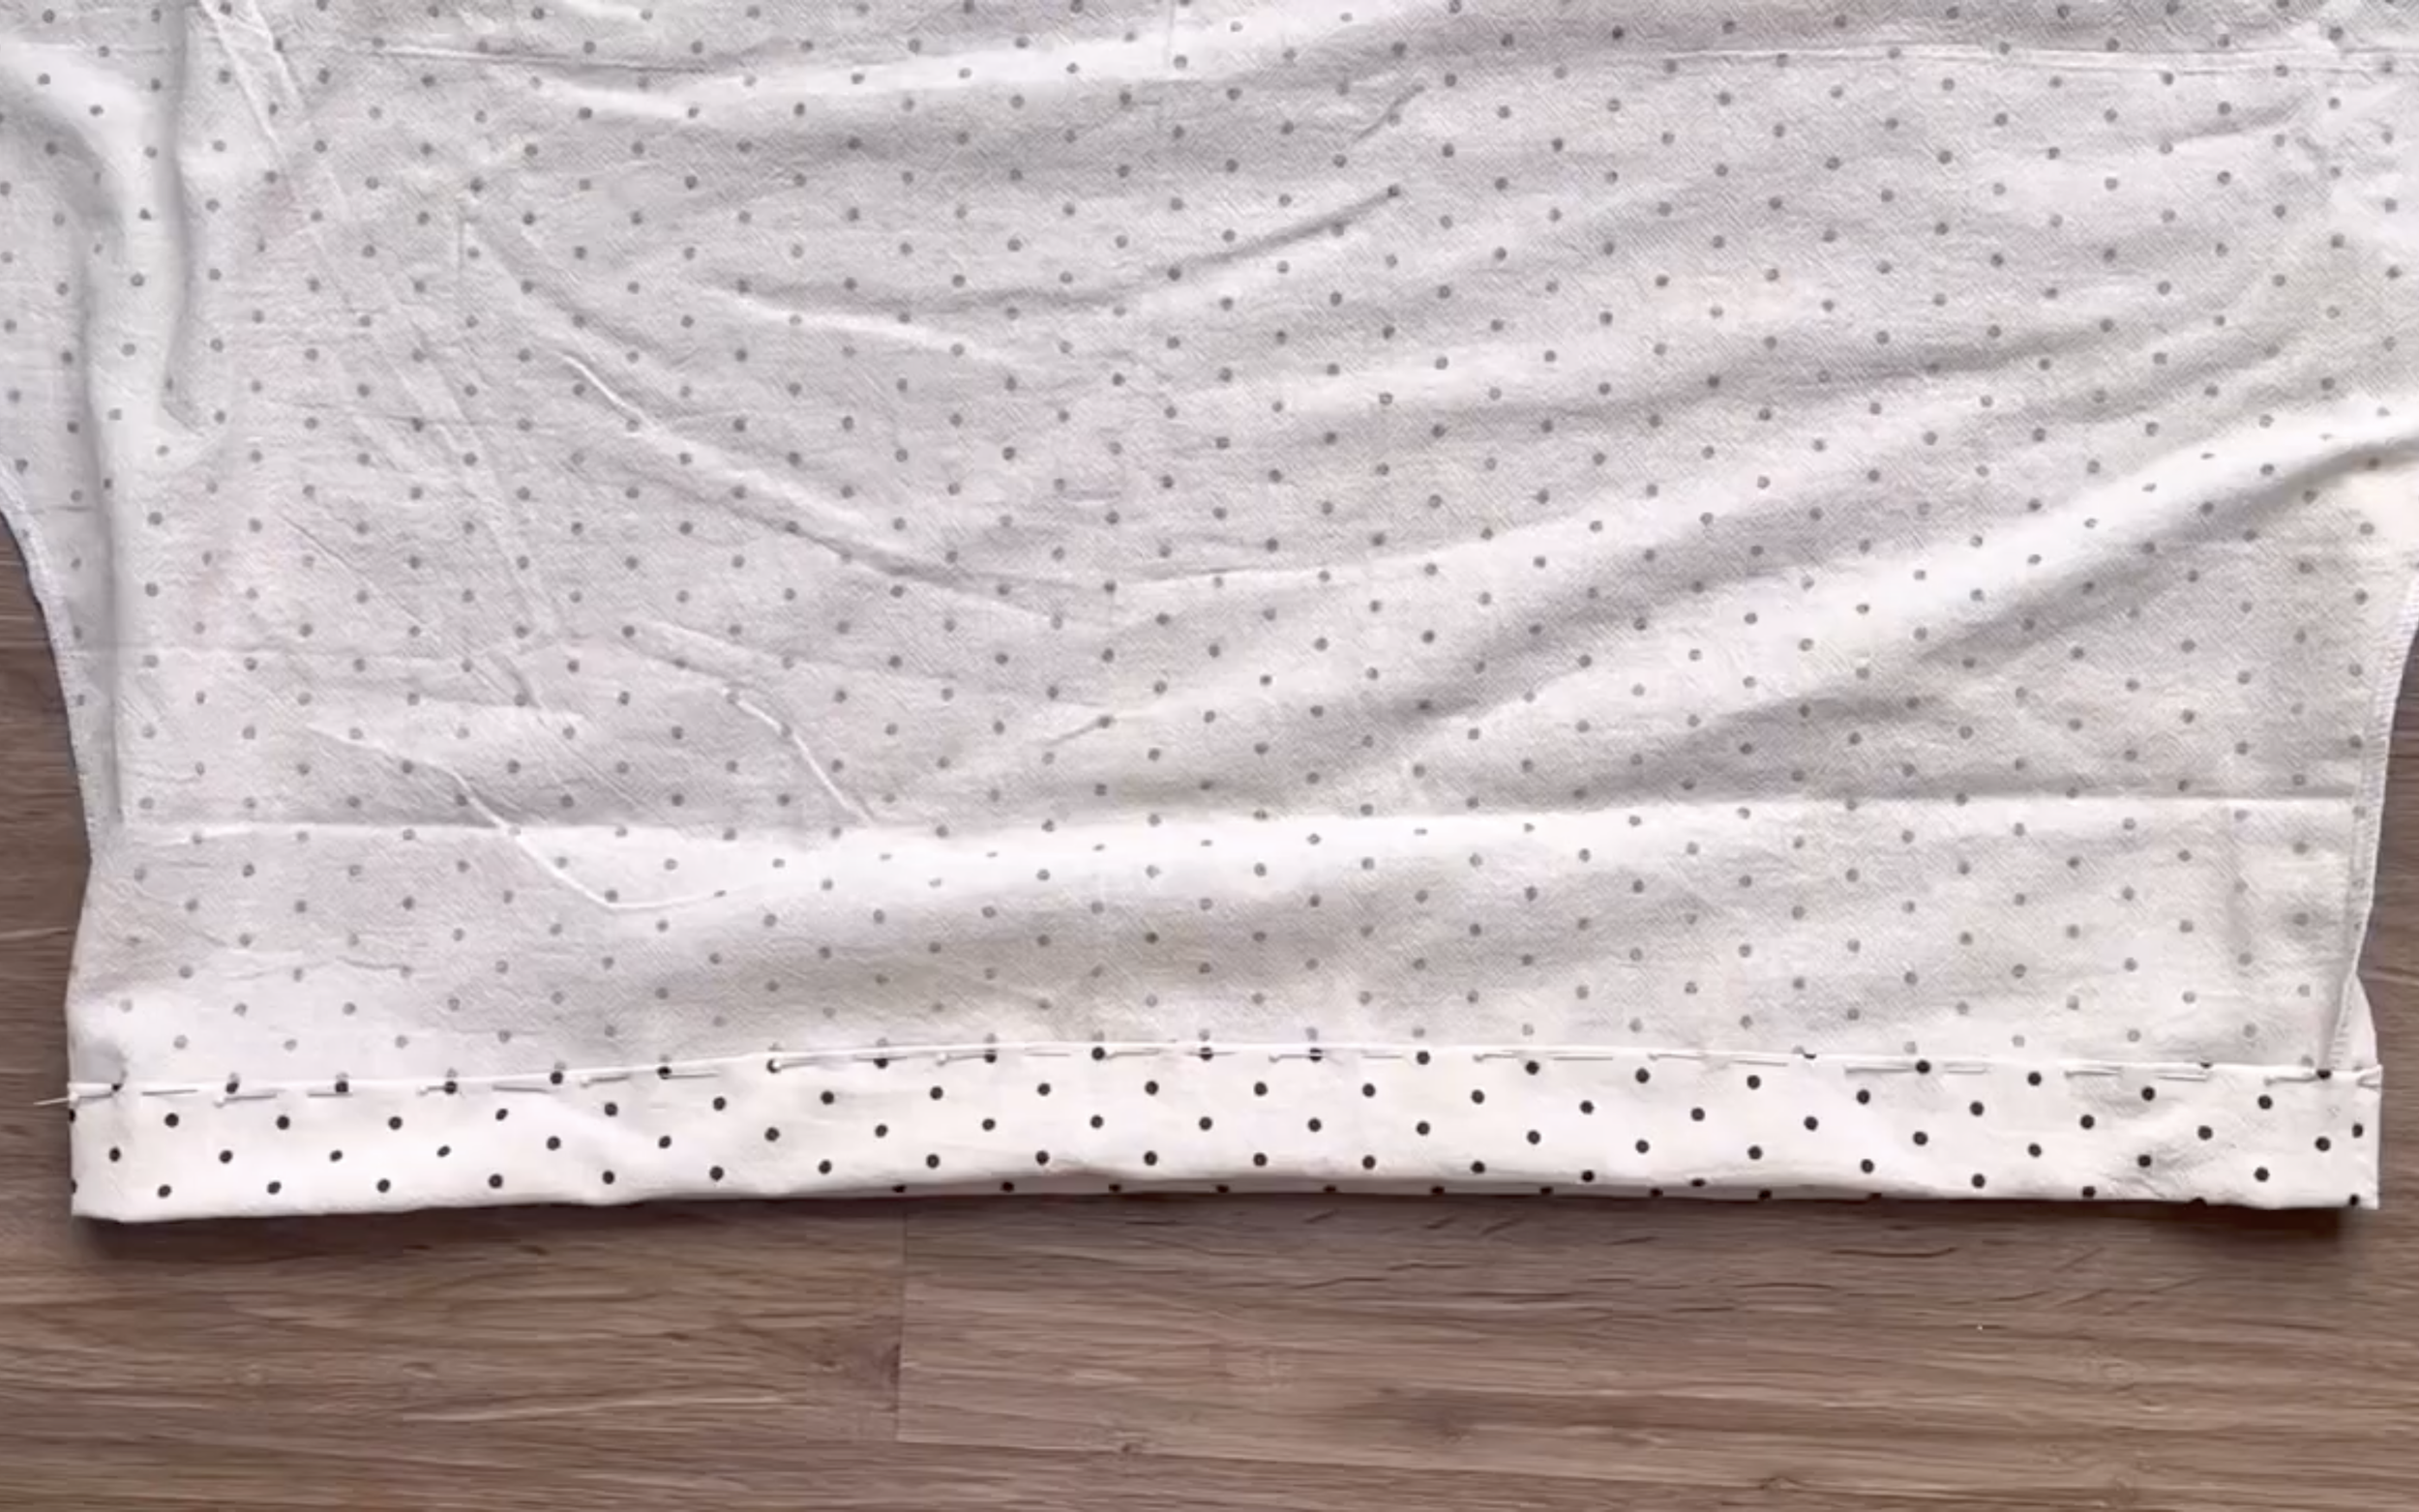
After that, fold the edge of the fabric inside 1 cm first, then fold it to the line drawn earlier and sew.
2. OVERALL DRESS IN MIDI LENGTH
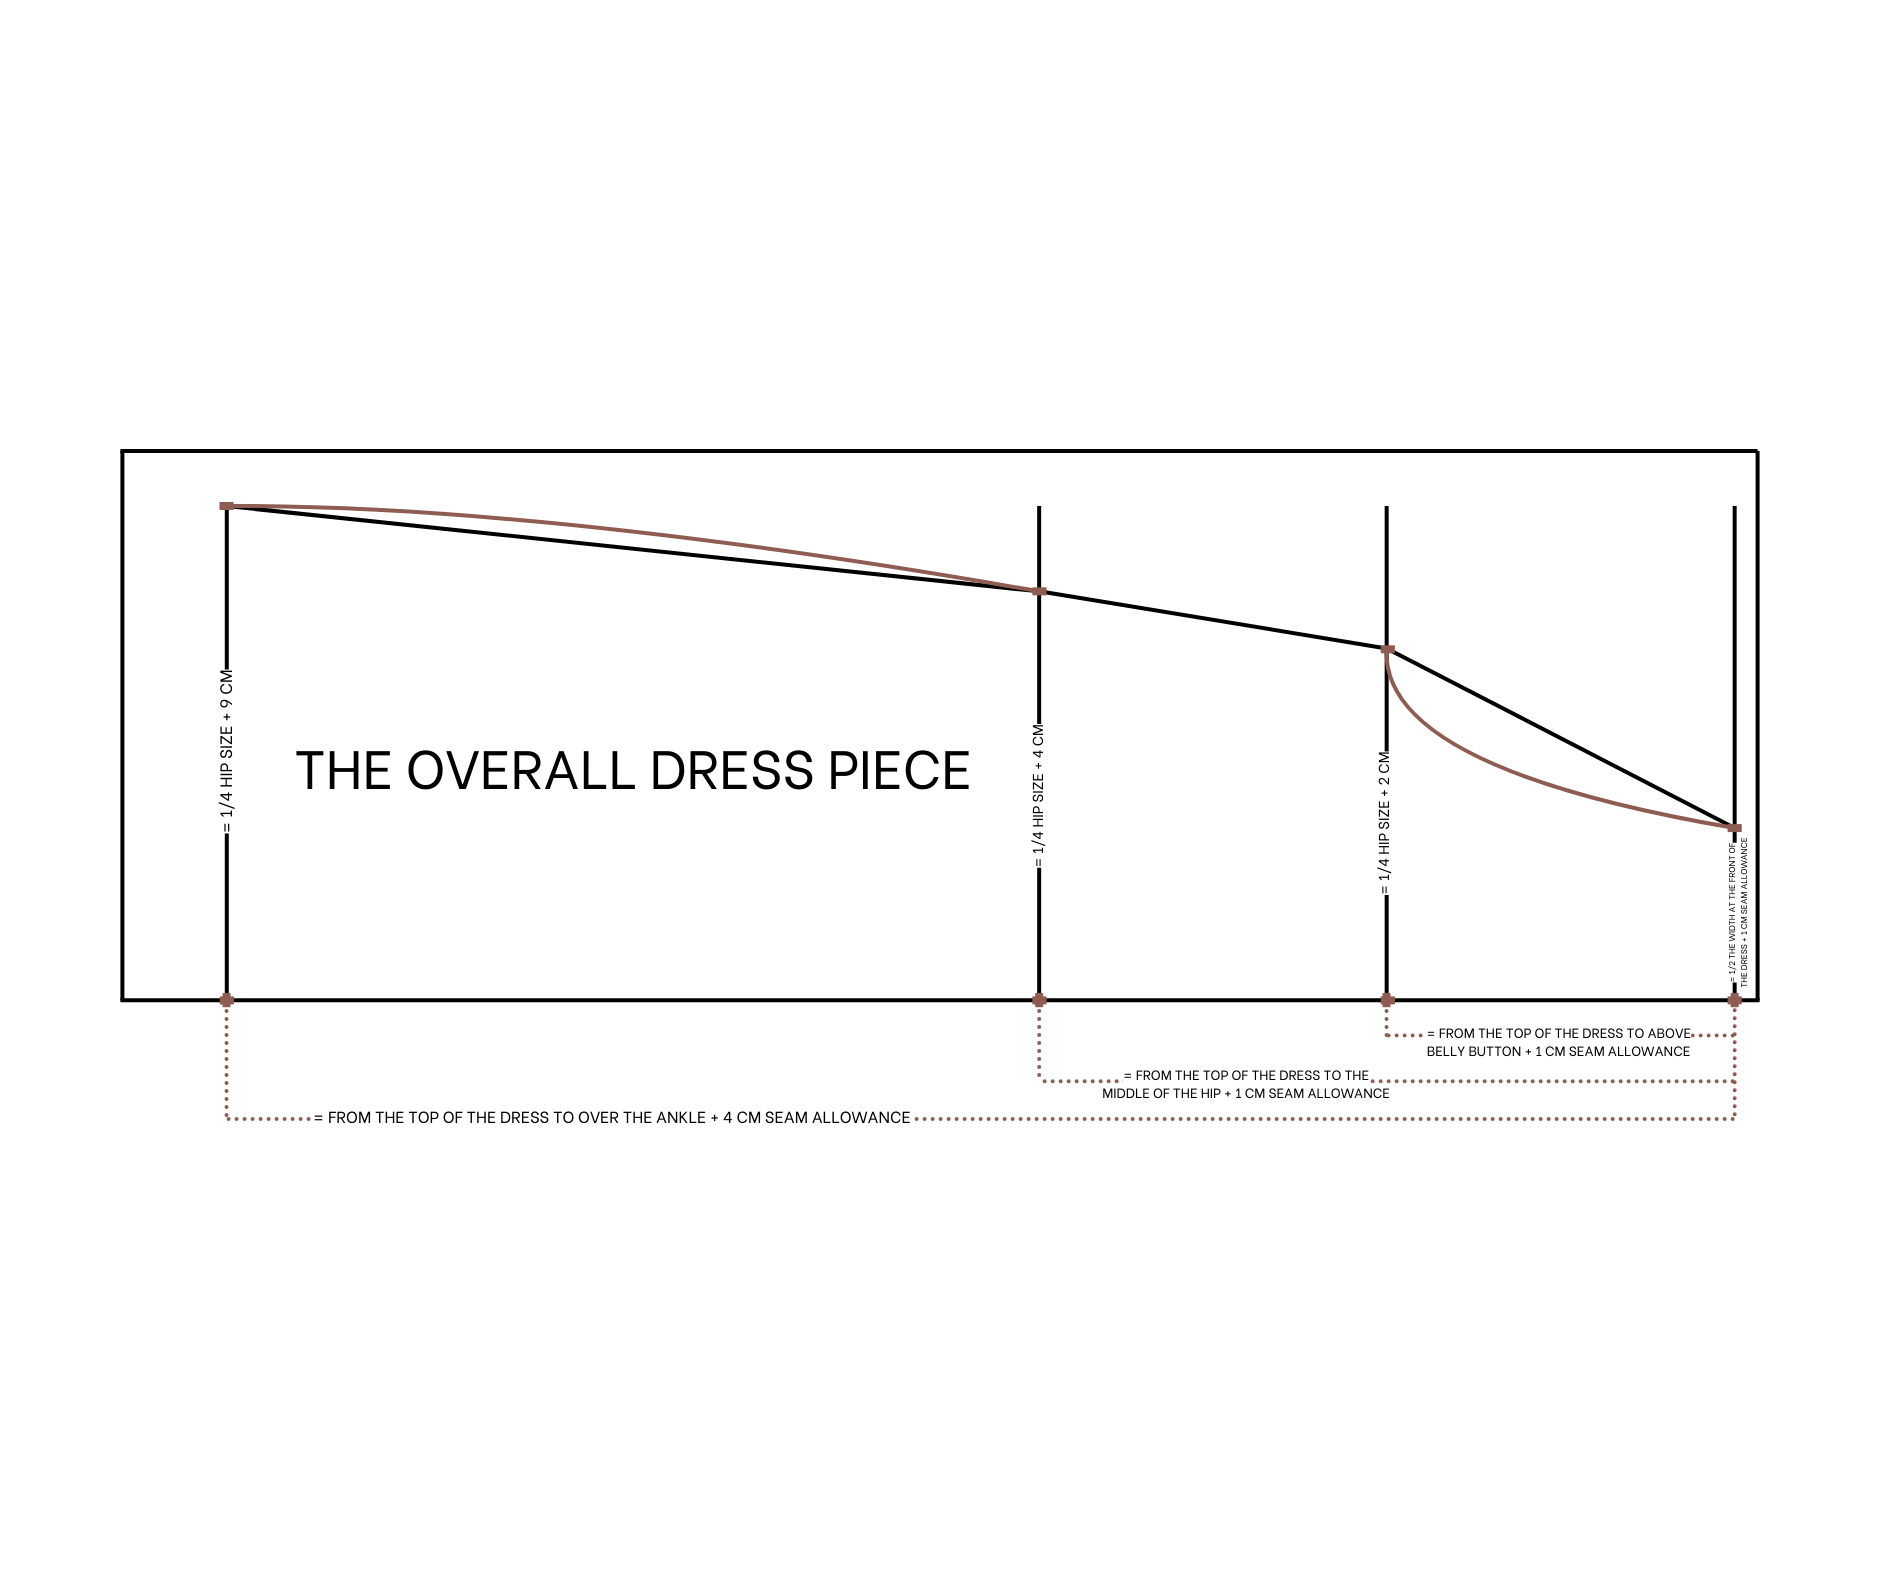
THE OVERALL DRESS PIECE

Fold the fabric in half first.
From the top of the folding line, draw a straight line which will be the top of the dress.
From the first straight line, draw another one 23 cm below it. This is the length from the top of the dress to above the belly button plus 1 cm for seam allowance.
Draw another straight line 45 cm from the first one. This is the length from the top of the dress to the biggest part of the butt.
From the first straight line, draw another one 100 cm from it. This is the length of the dress from the top to over the knee plus 4 cm for seam allowance.
From the end of the first straight line, mark up 12 cm, which is half the width at the top of the dress plus 1 cm for seam allowance.
From the end of the second straight line, mark up 25 cm, which is a quarter of the hip size plus 2 cm.
Connect these two marks together and draw a curved line to finish the sideline at the top of the dress.
From the end of the third straight line, mark up 27 cm, which is a quarter of the hip size plus 4 cm.
From the end of the last straight line, mark up 32 cm, which is a quarter of the hip size plus 9 cm. This is also a quarter of the desired width at the end of the dress.
Connect these marks together to create the sideline of the dress.
SEWING THE DRESS

And there will be one piece of the dress after cutting. Make another piece like this.
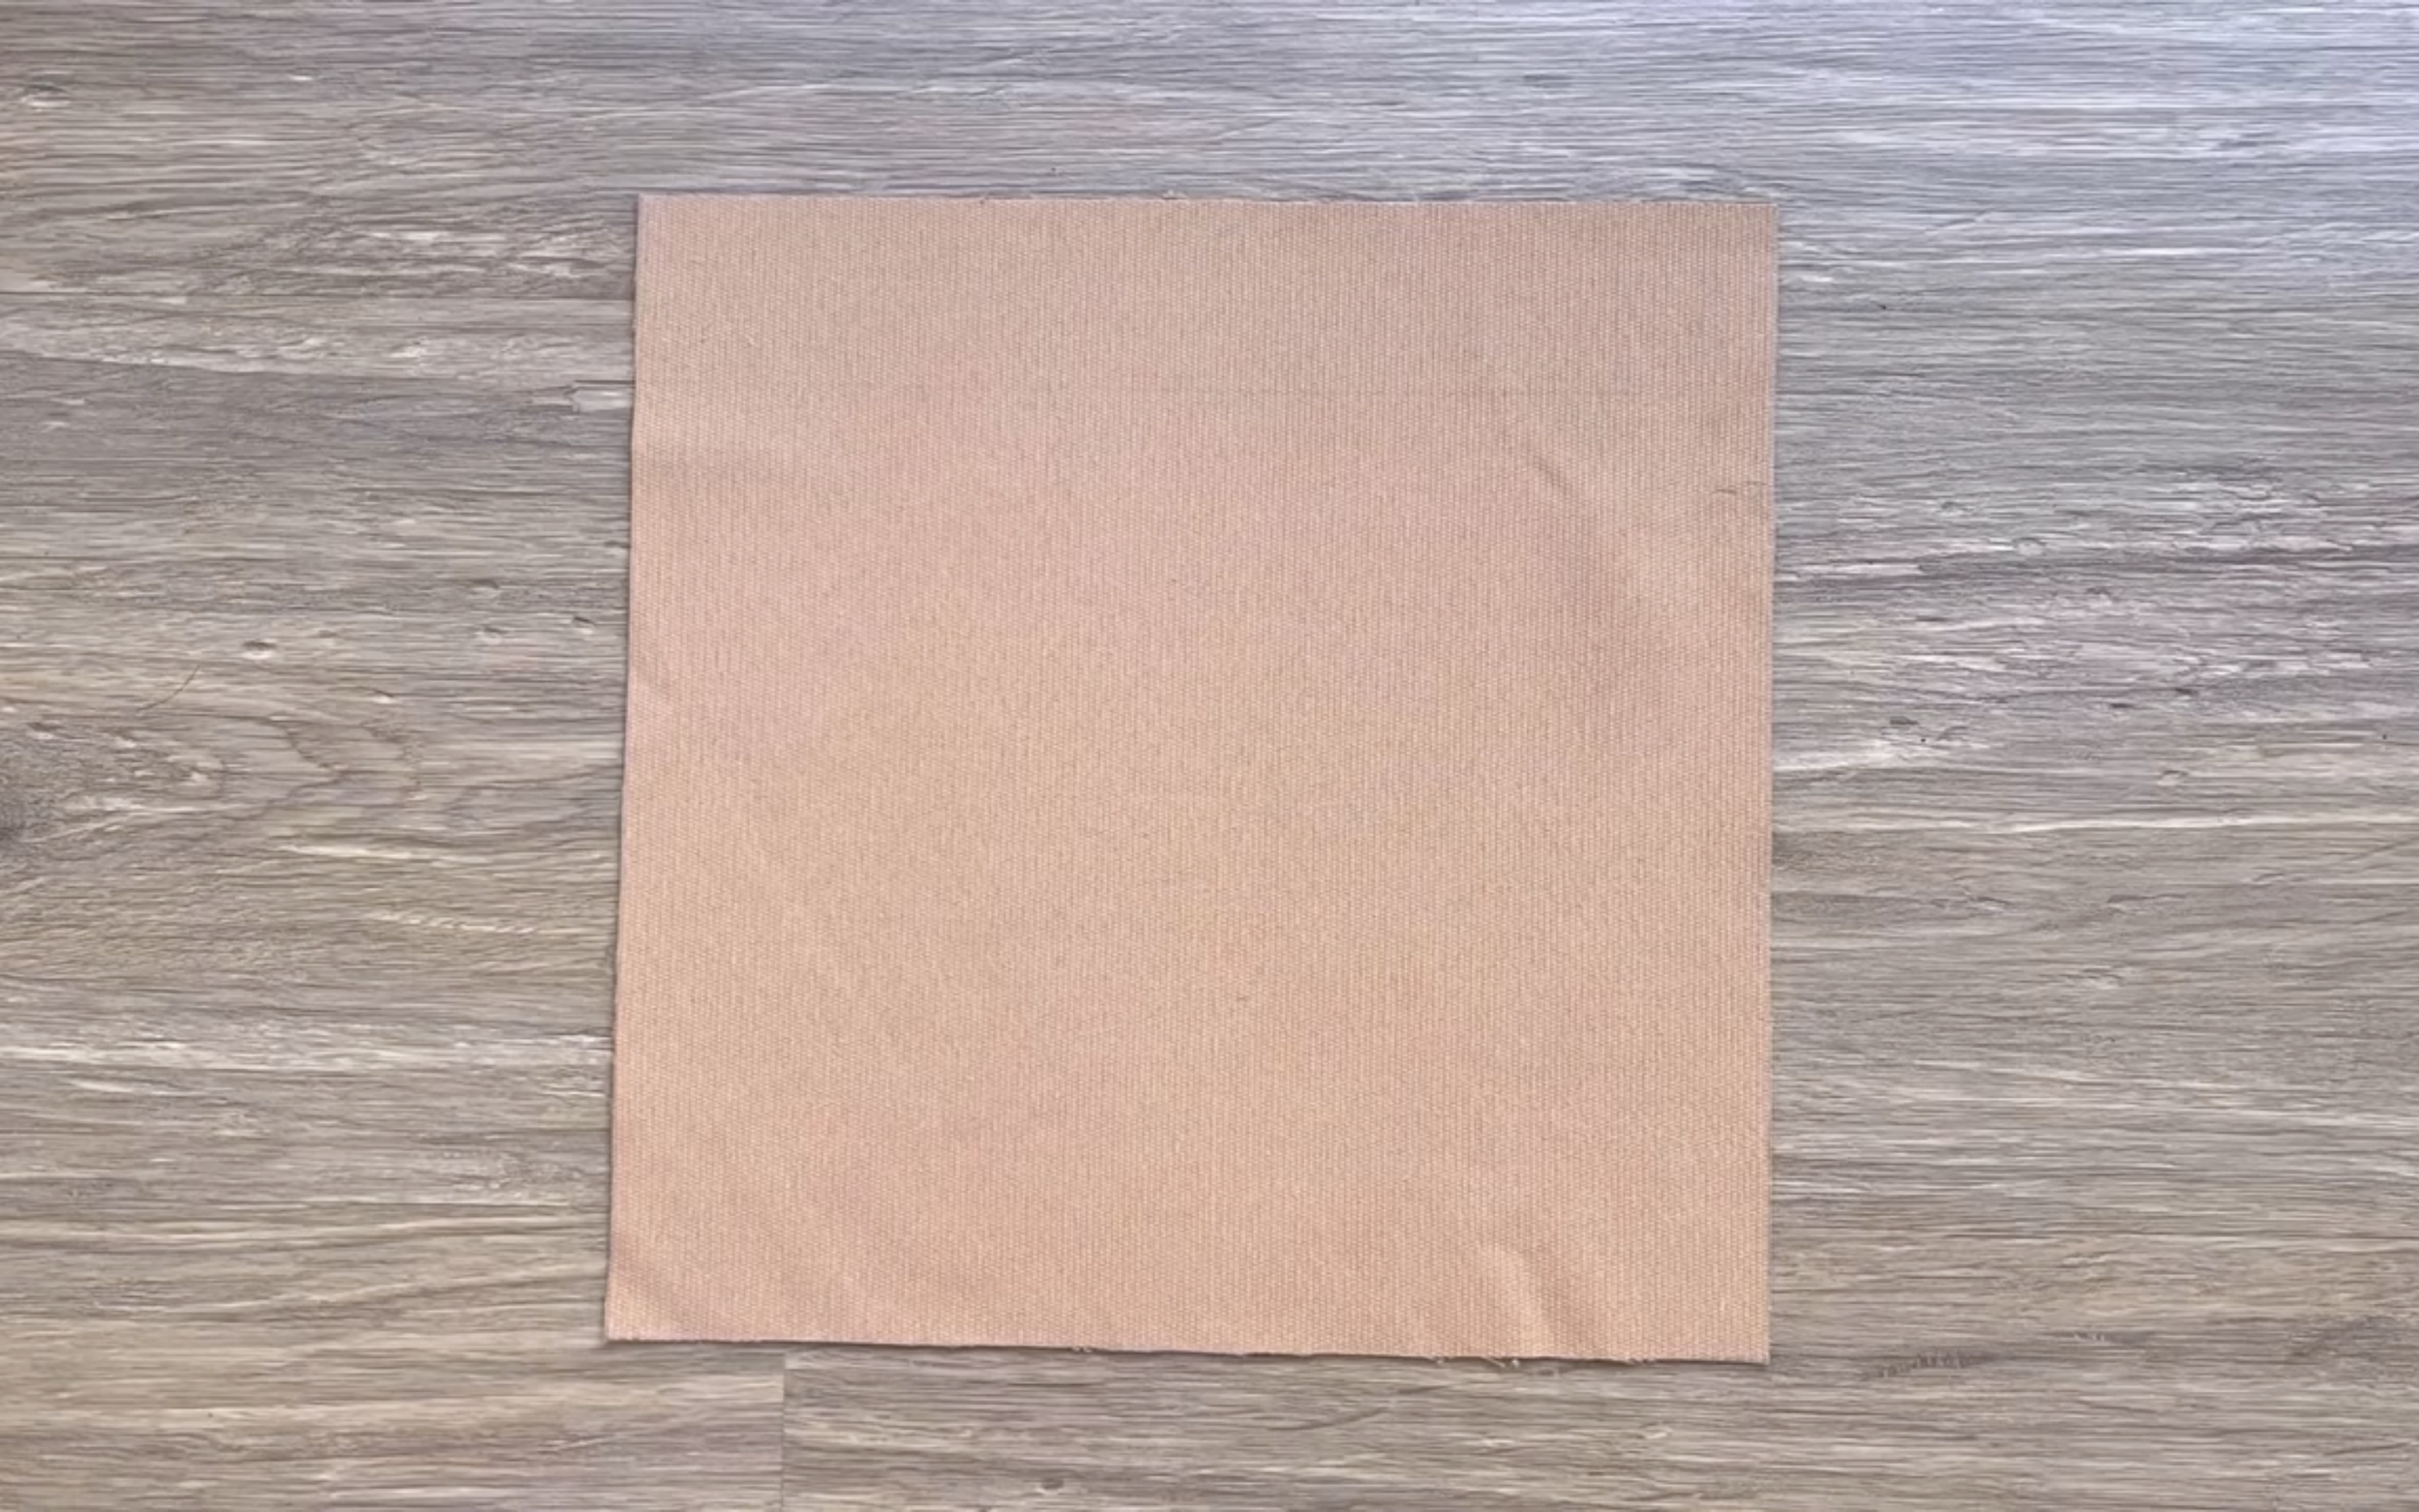
To make the pocket at the top of the dress, cut a rectangle with 24 cm width, which is the width of the front pocket, plus 3 cm, and 22 cm length, which is the length of the front pocket, plus 4 cm.
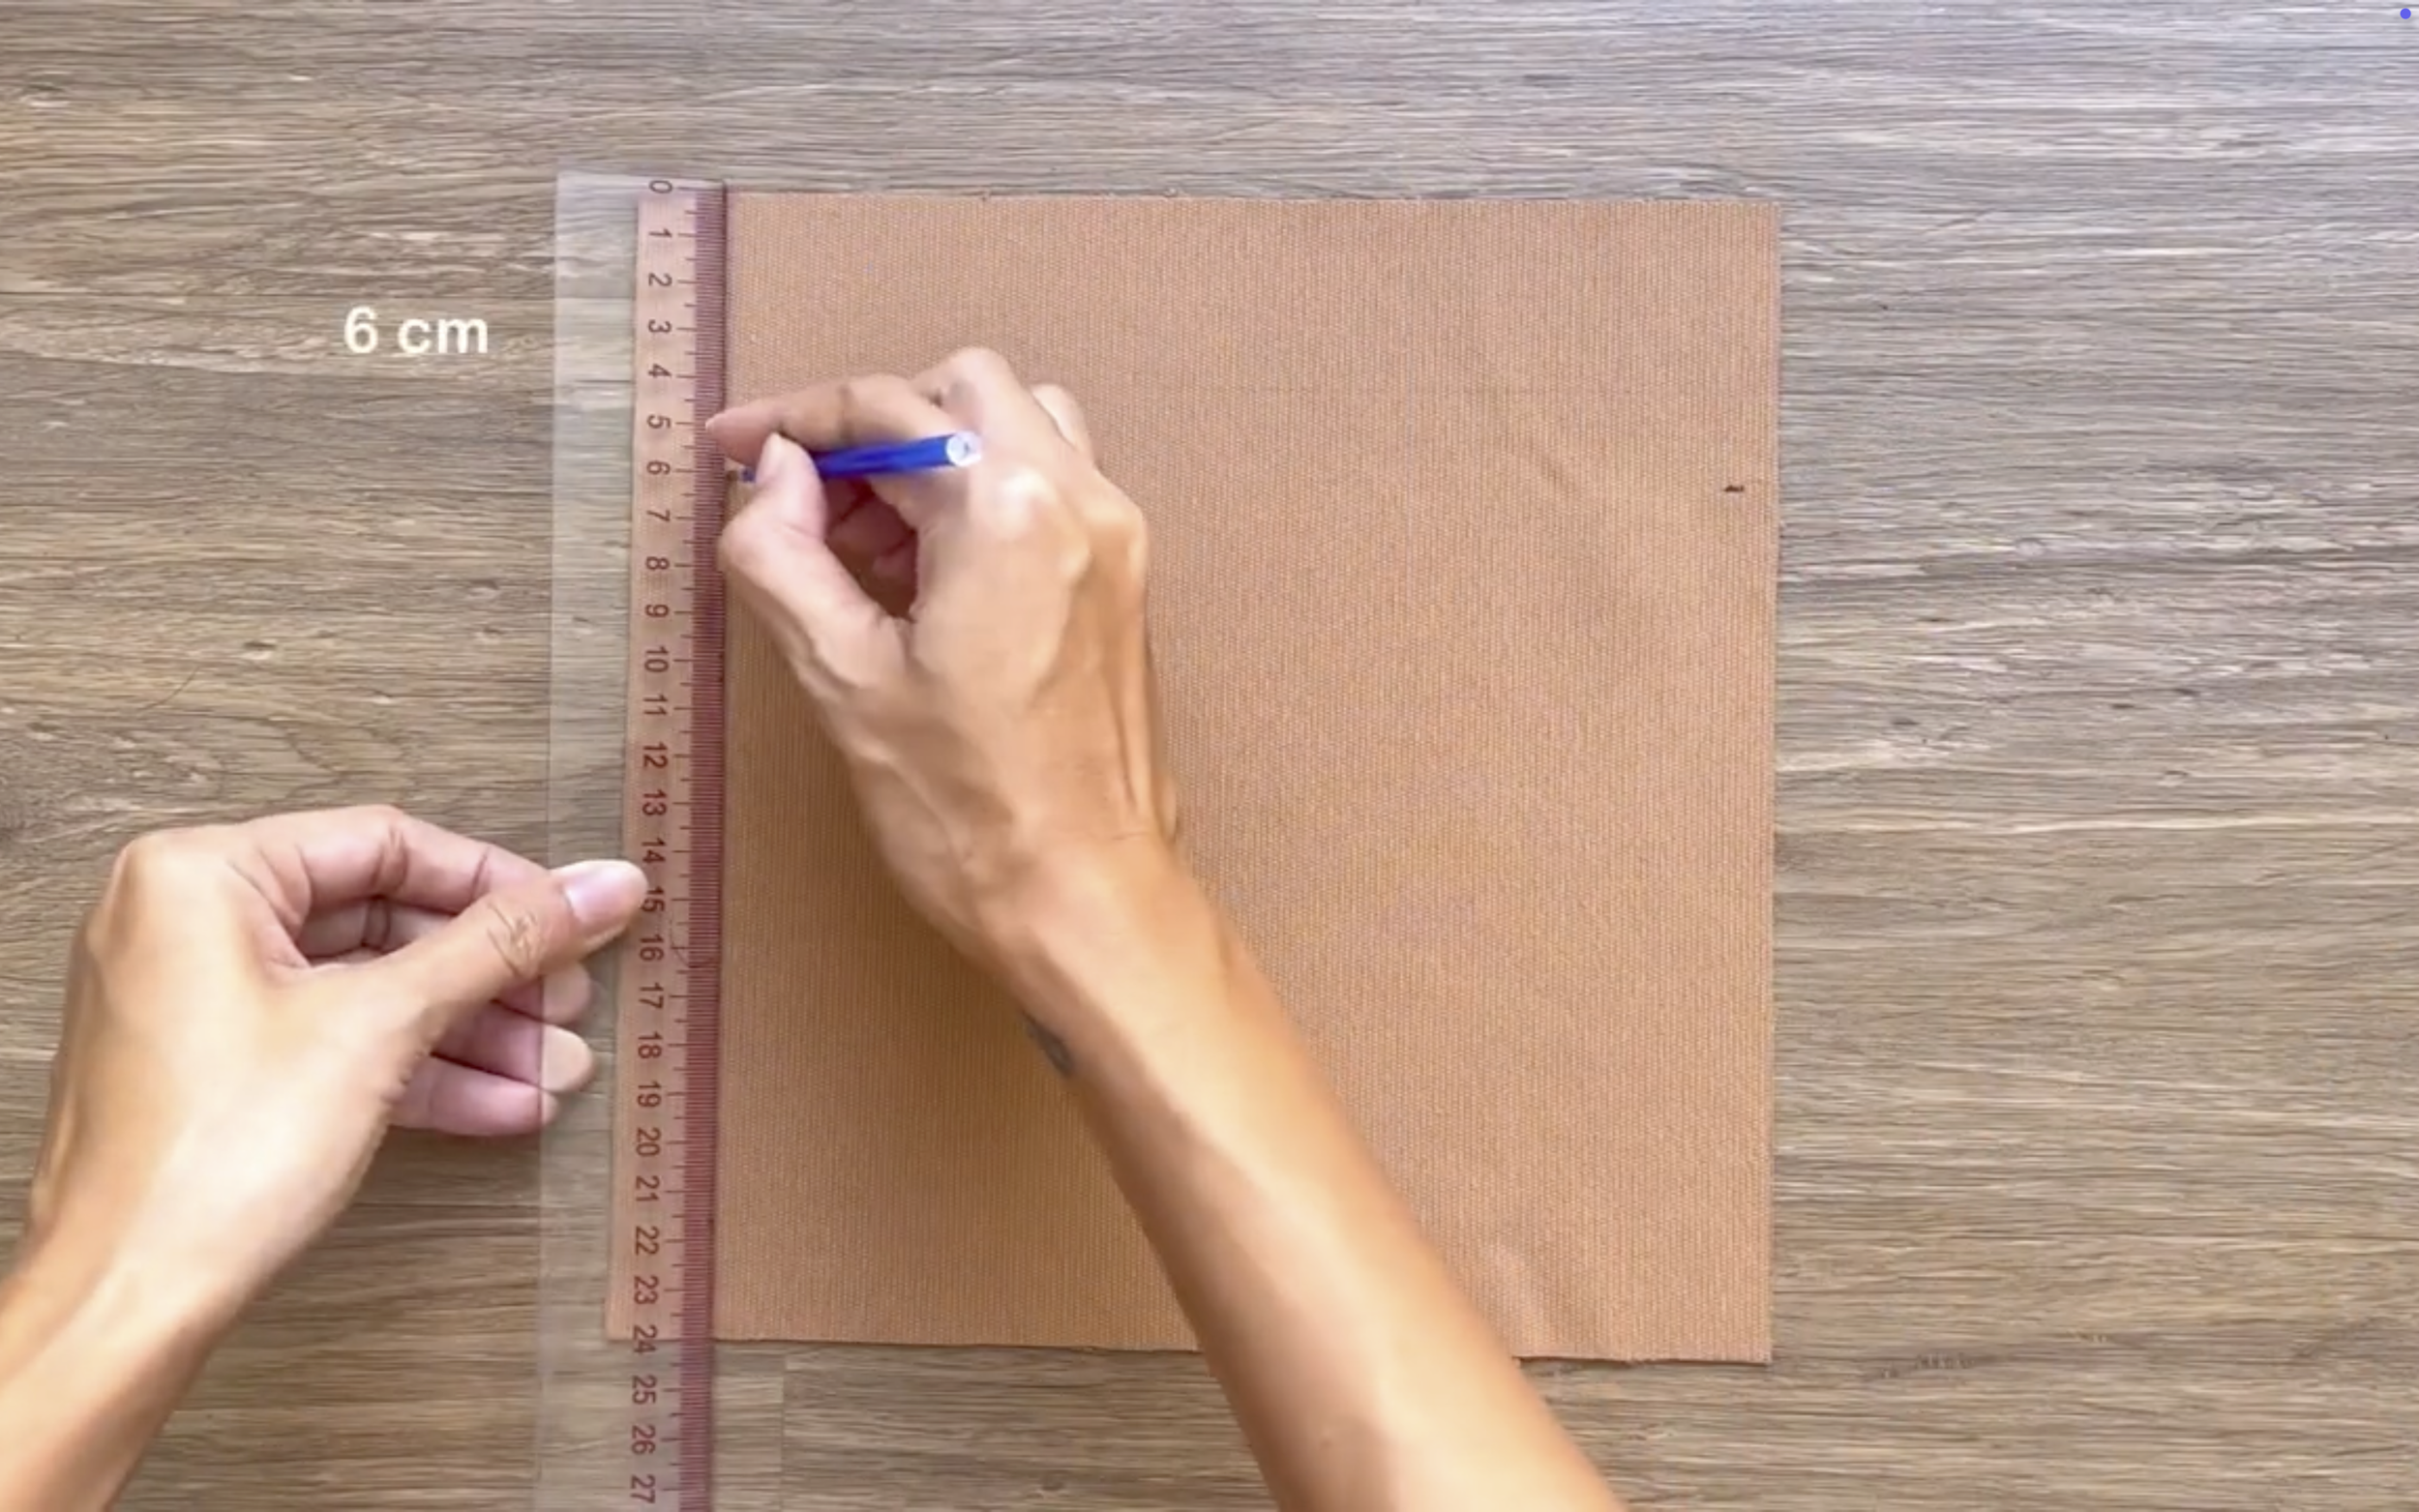
From the top width line, draw a line 6 cm below it.
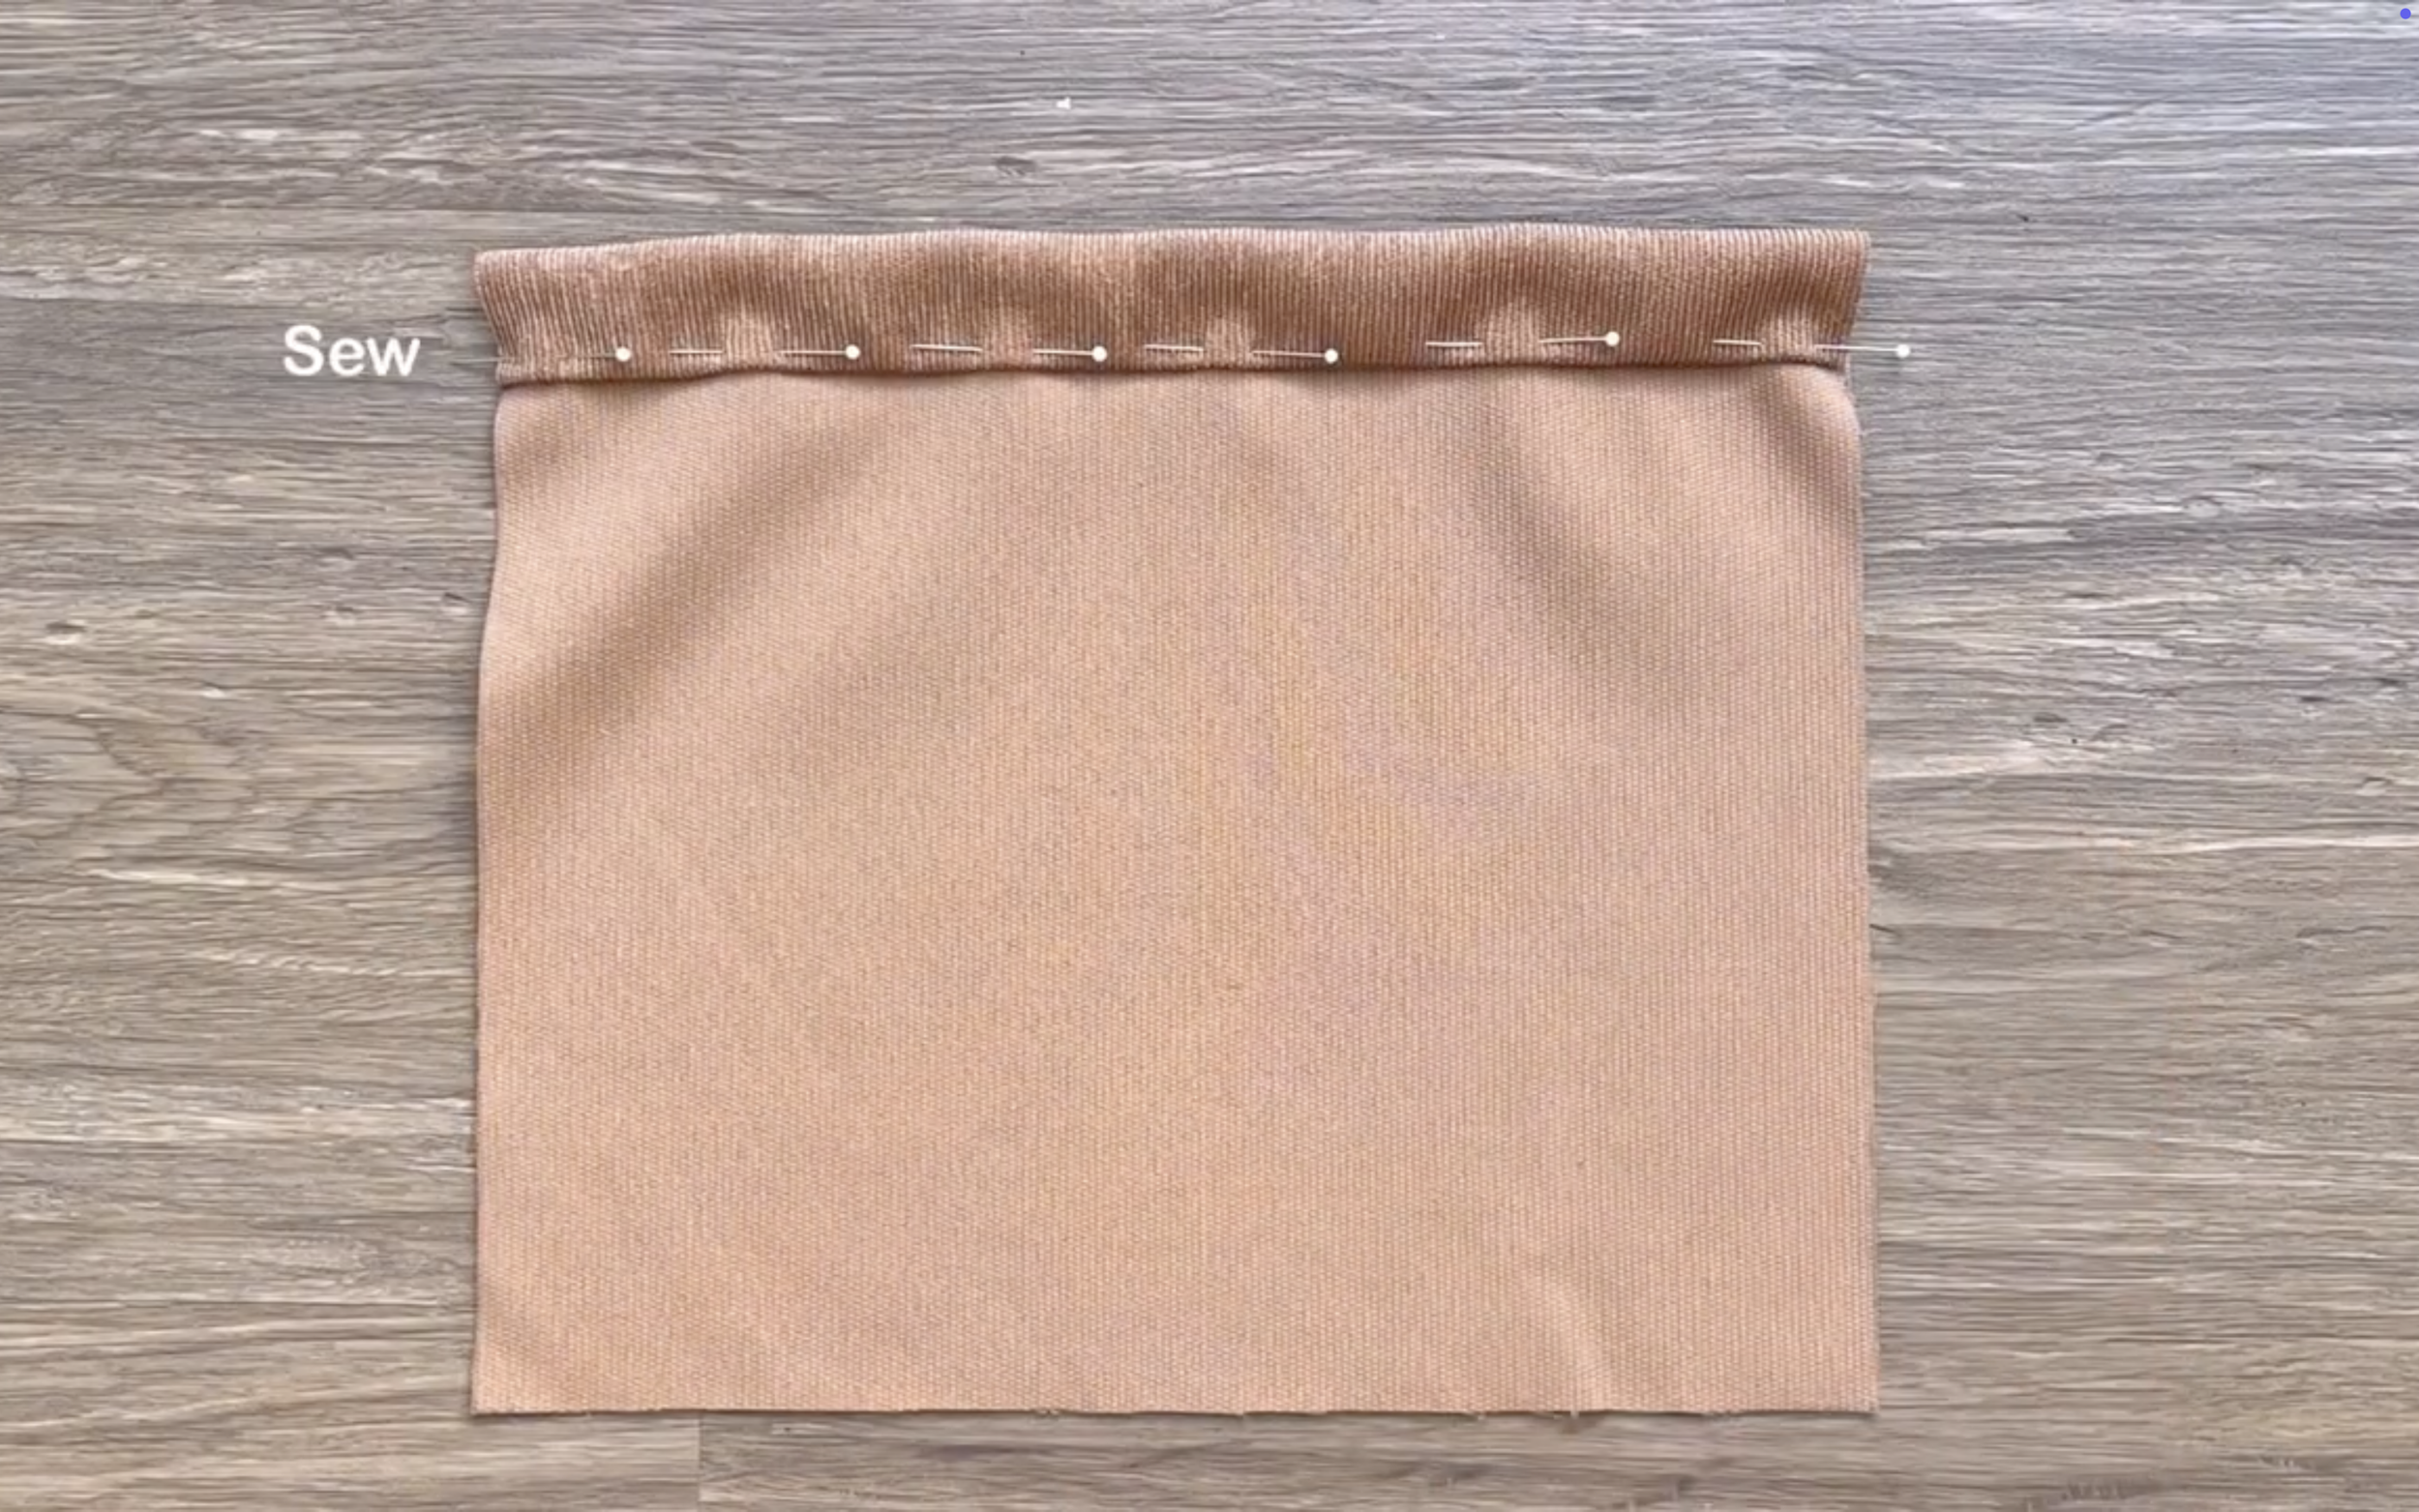
Fold the end of the fabric at the top width line inside around 1 cm first, then fold it to the line drawn earlier and sew.
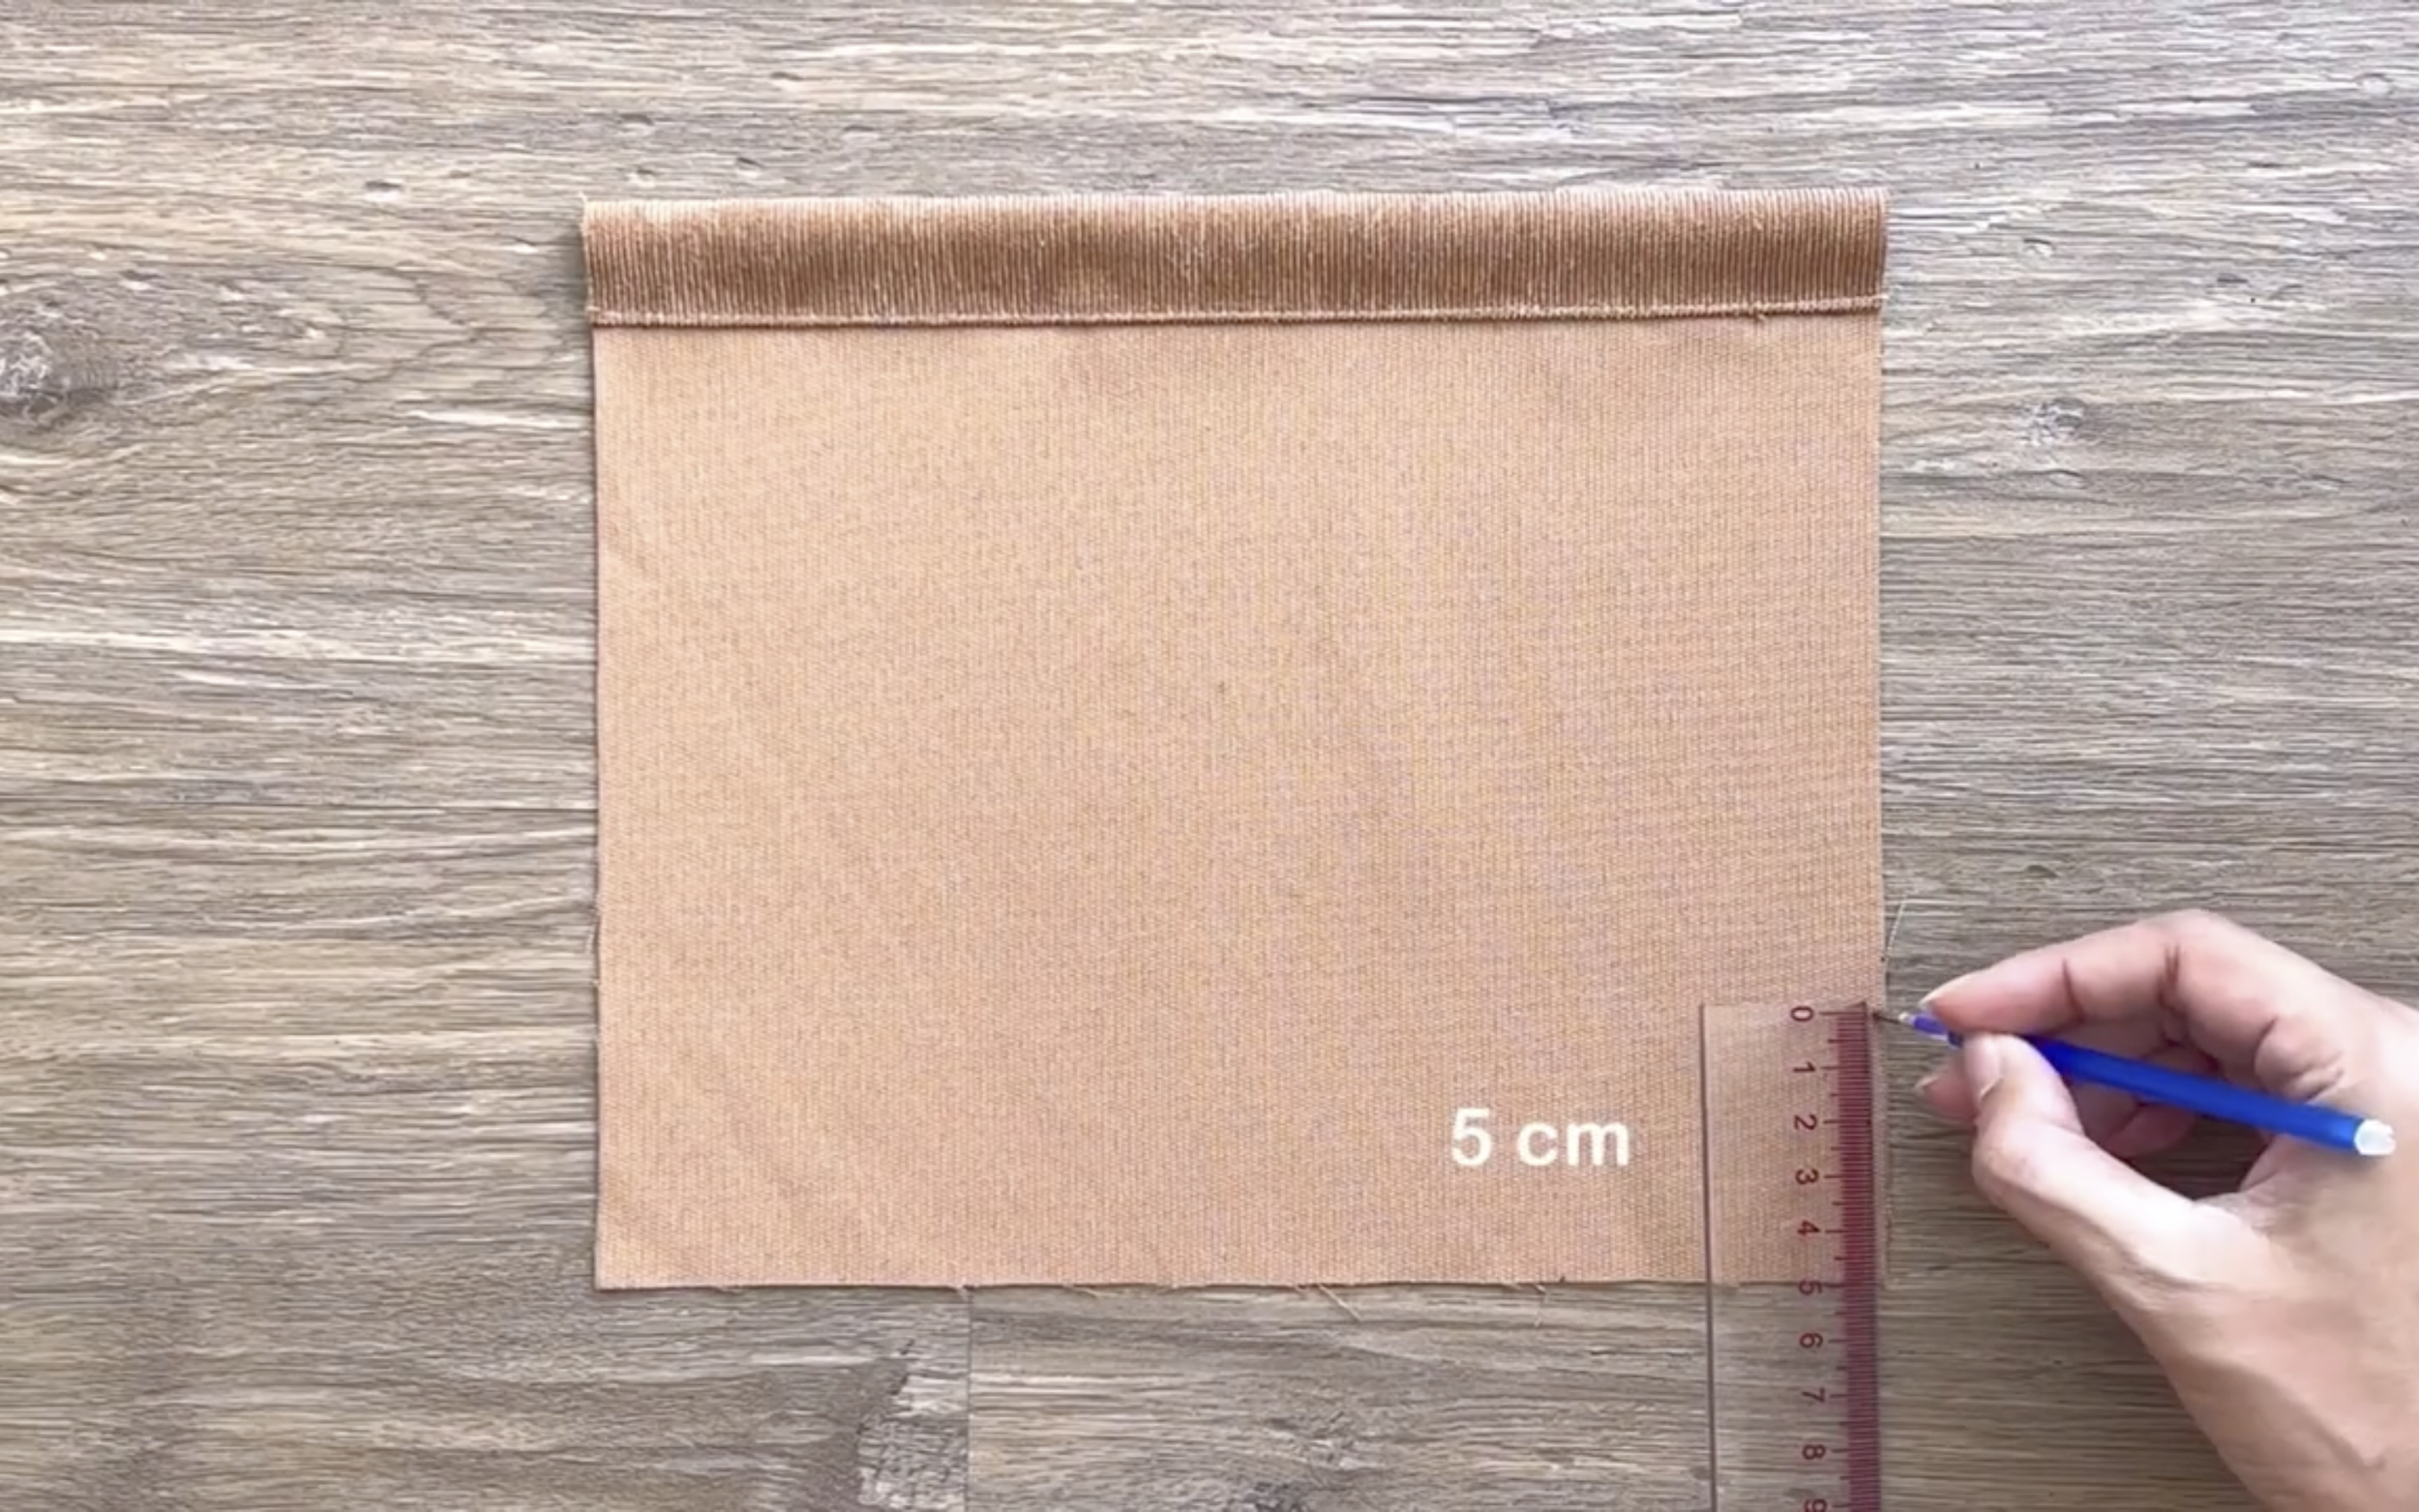
To create a cut shape at the two sides of the pocket, mark up 5 cm from the end of the length line.
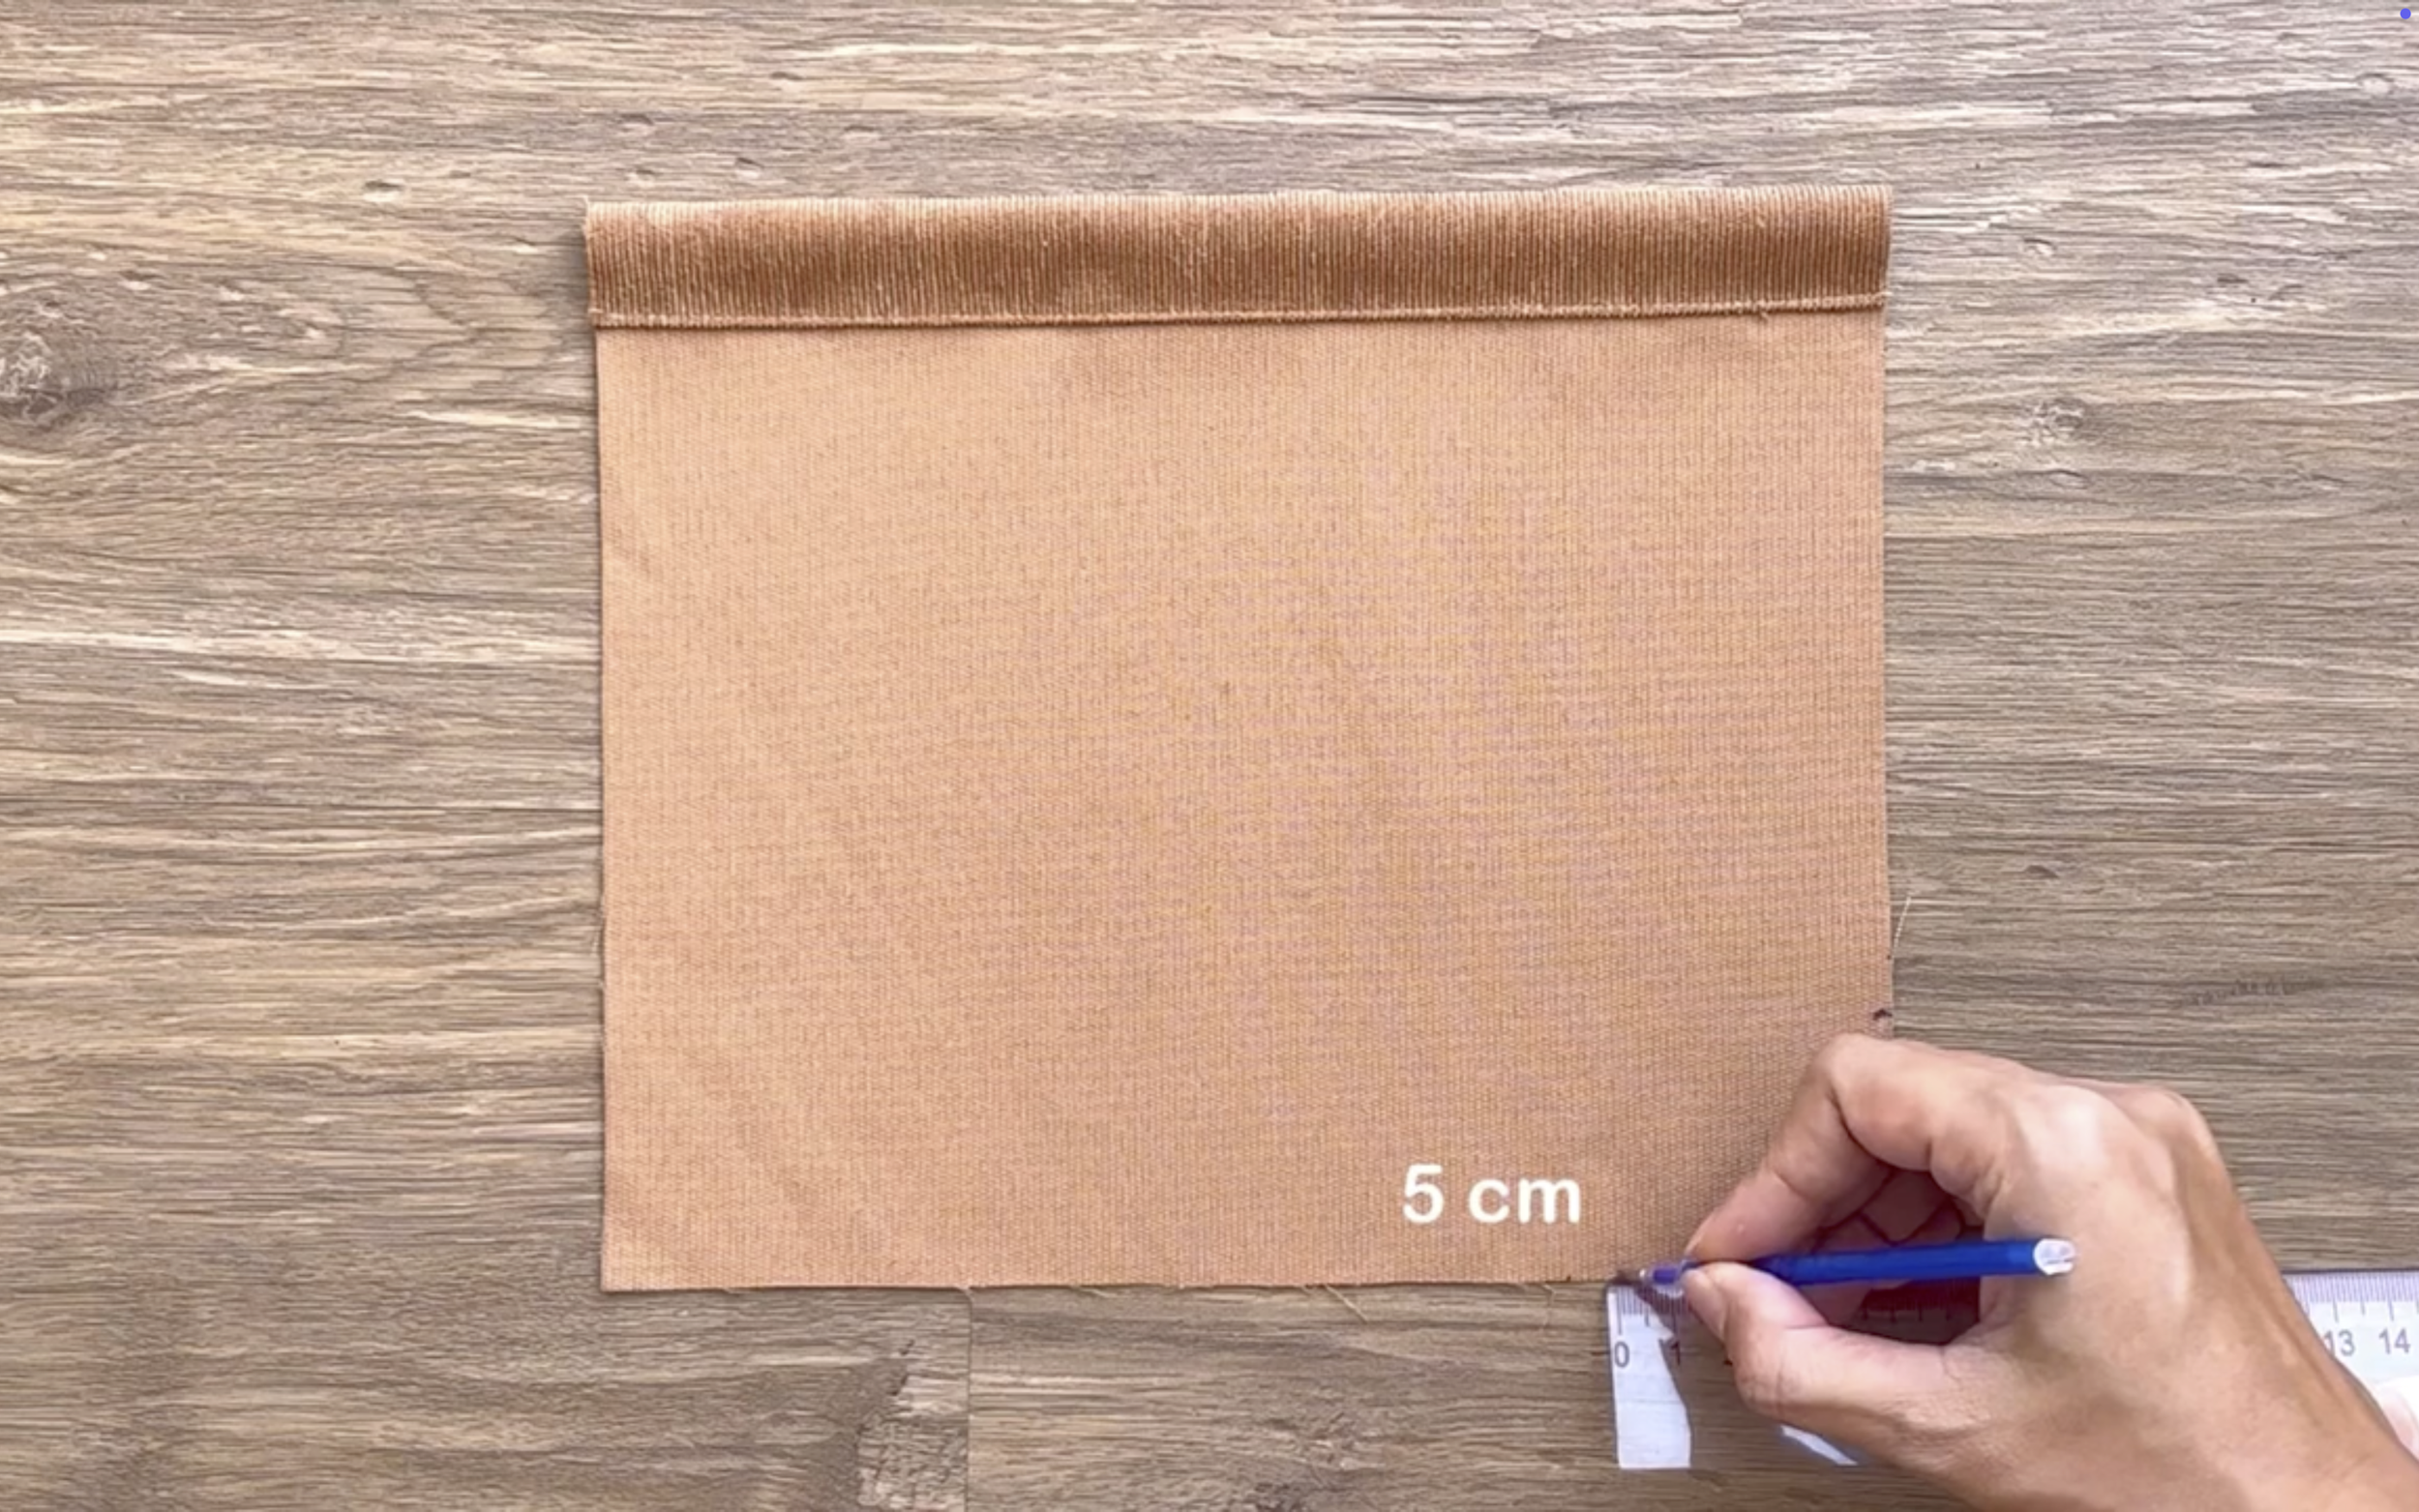
Also, mark at the same width on the width line next to it, then connect the two marks together.
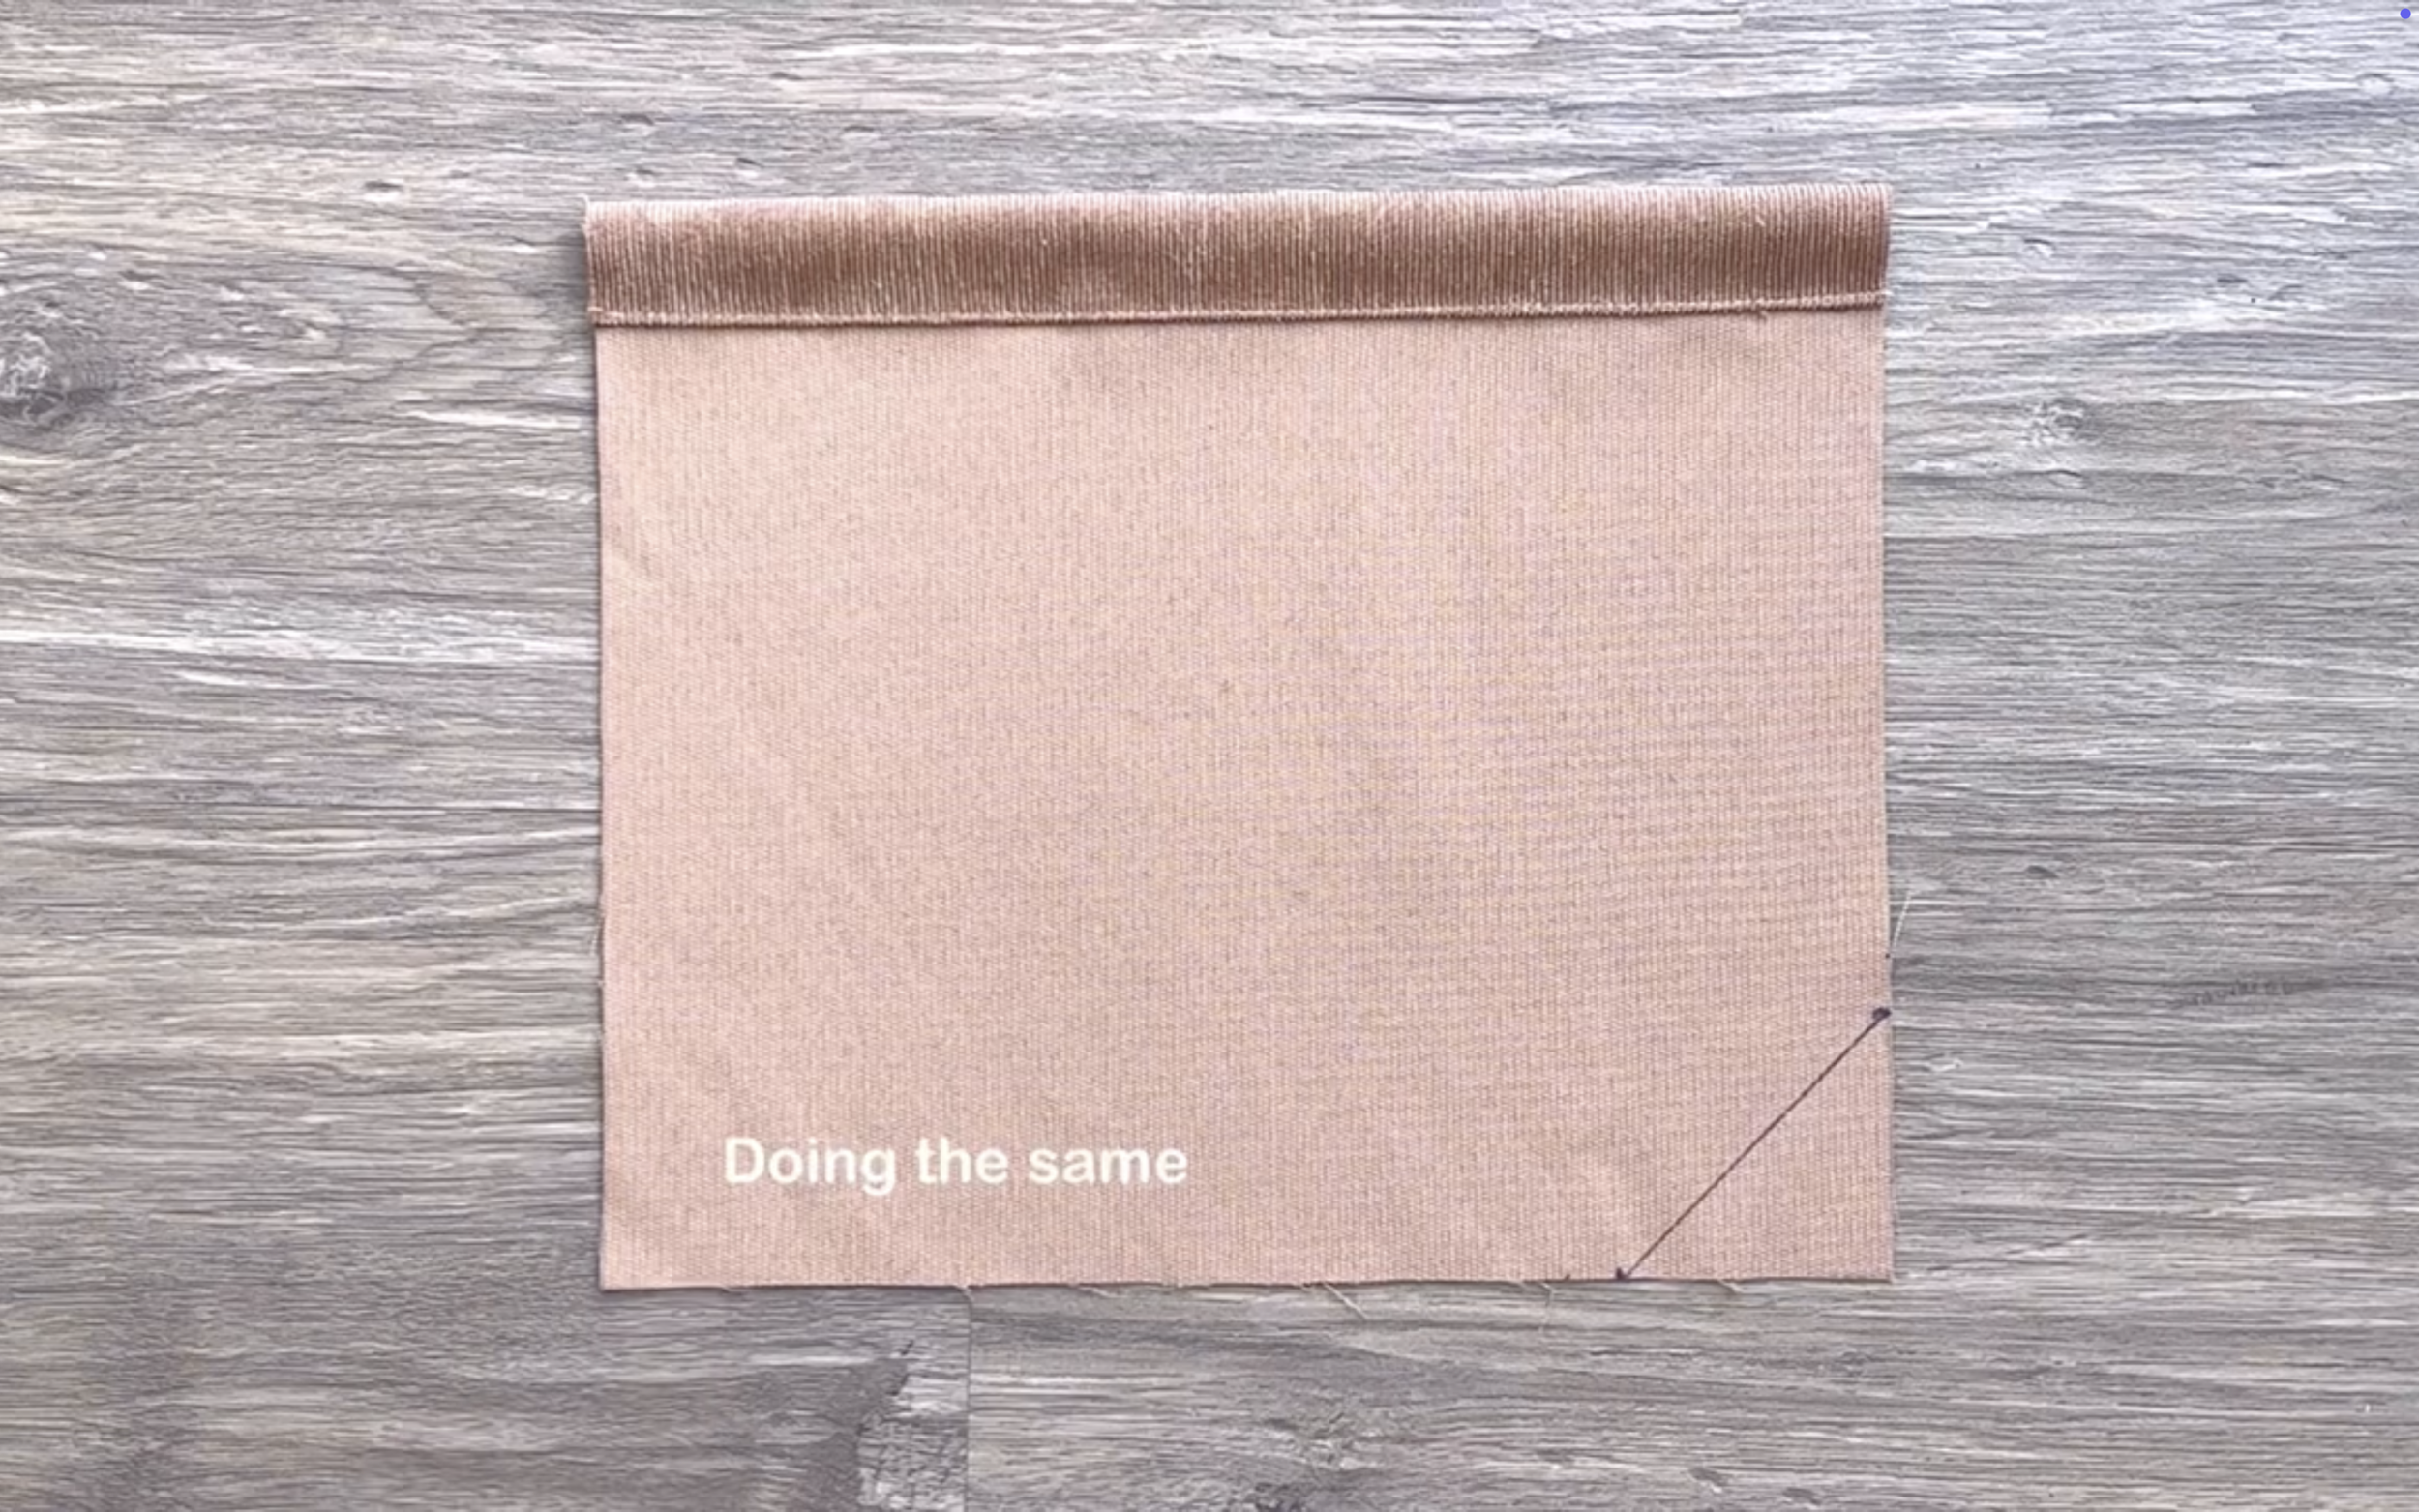
Repeat the same process for the other side of the pocket.
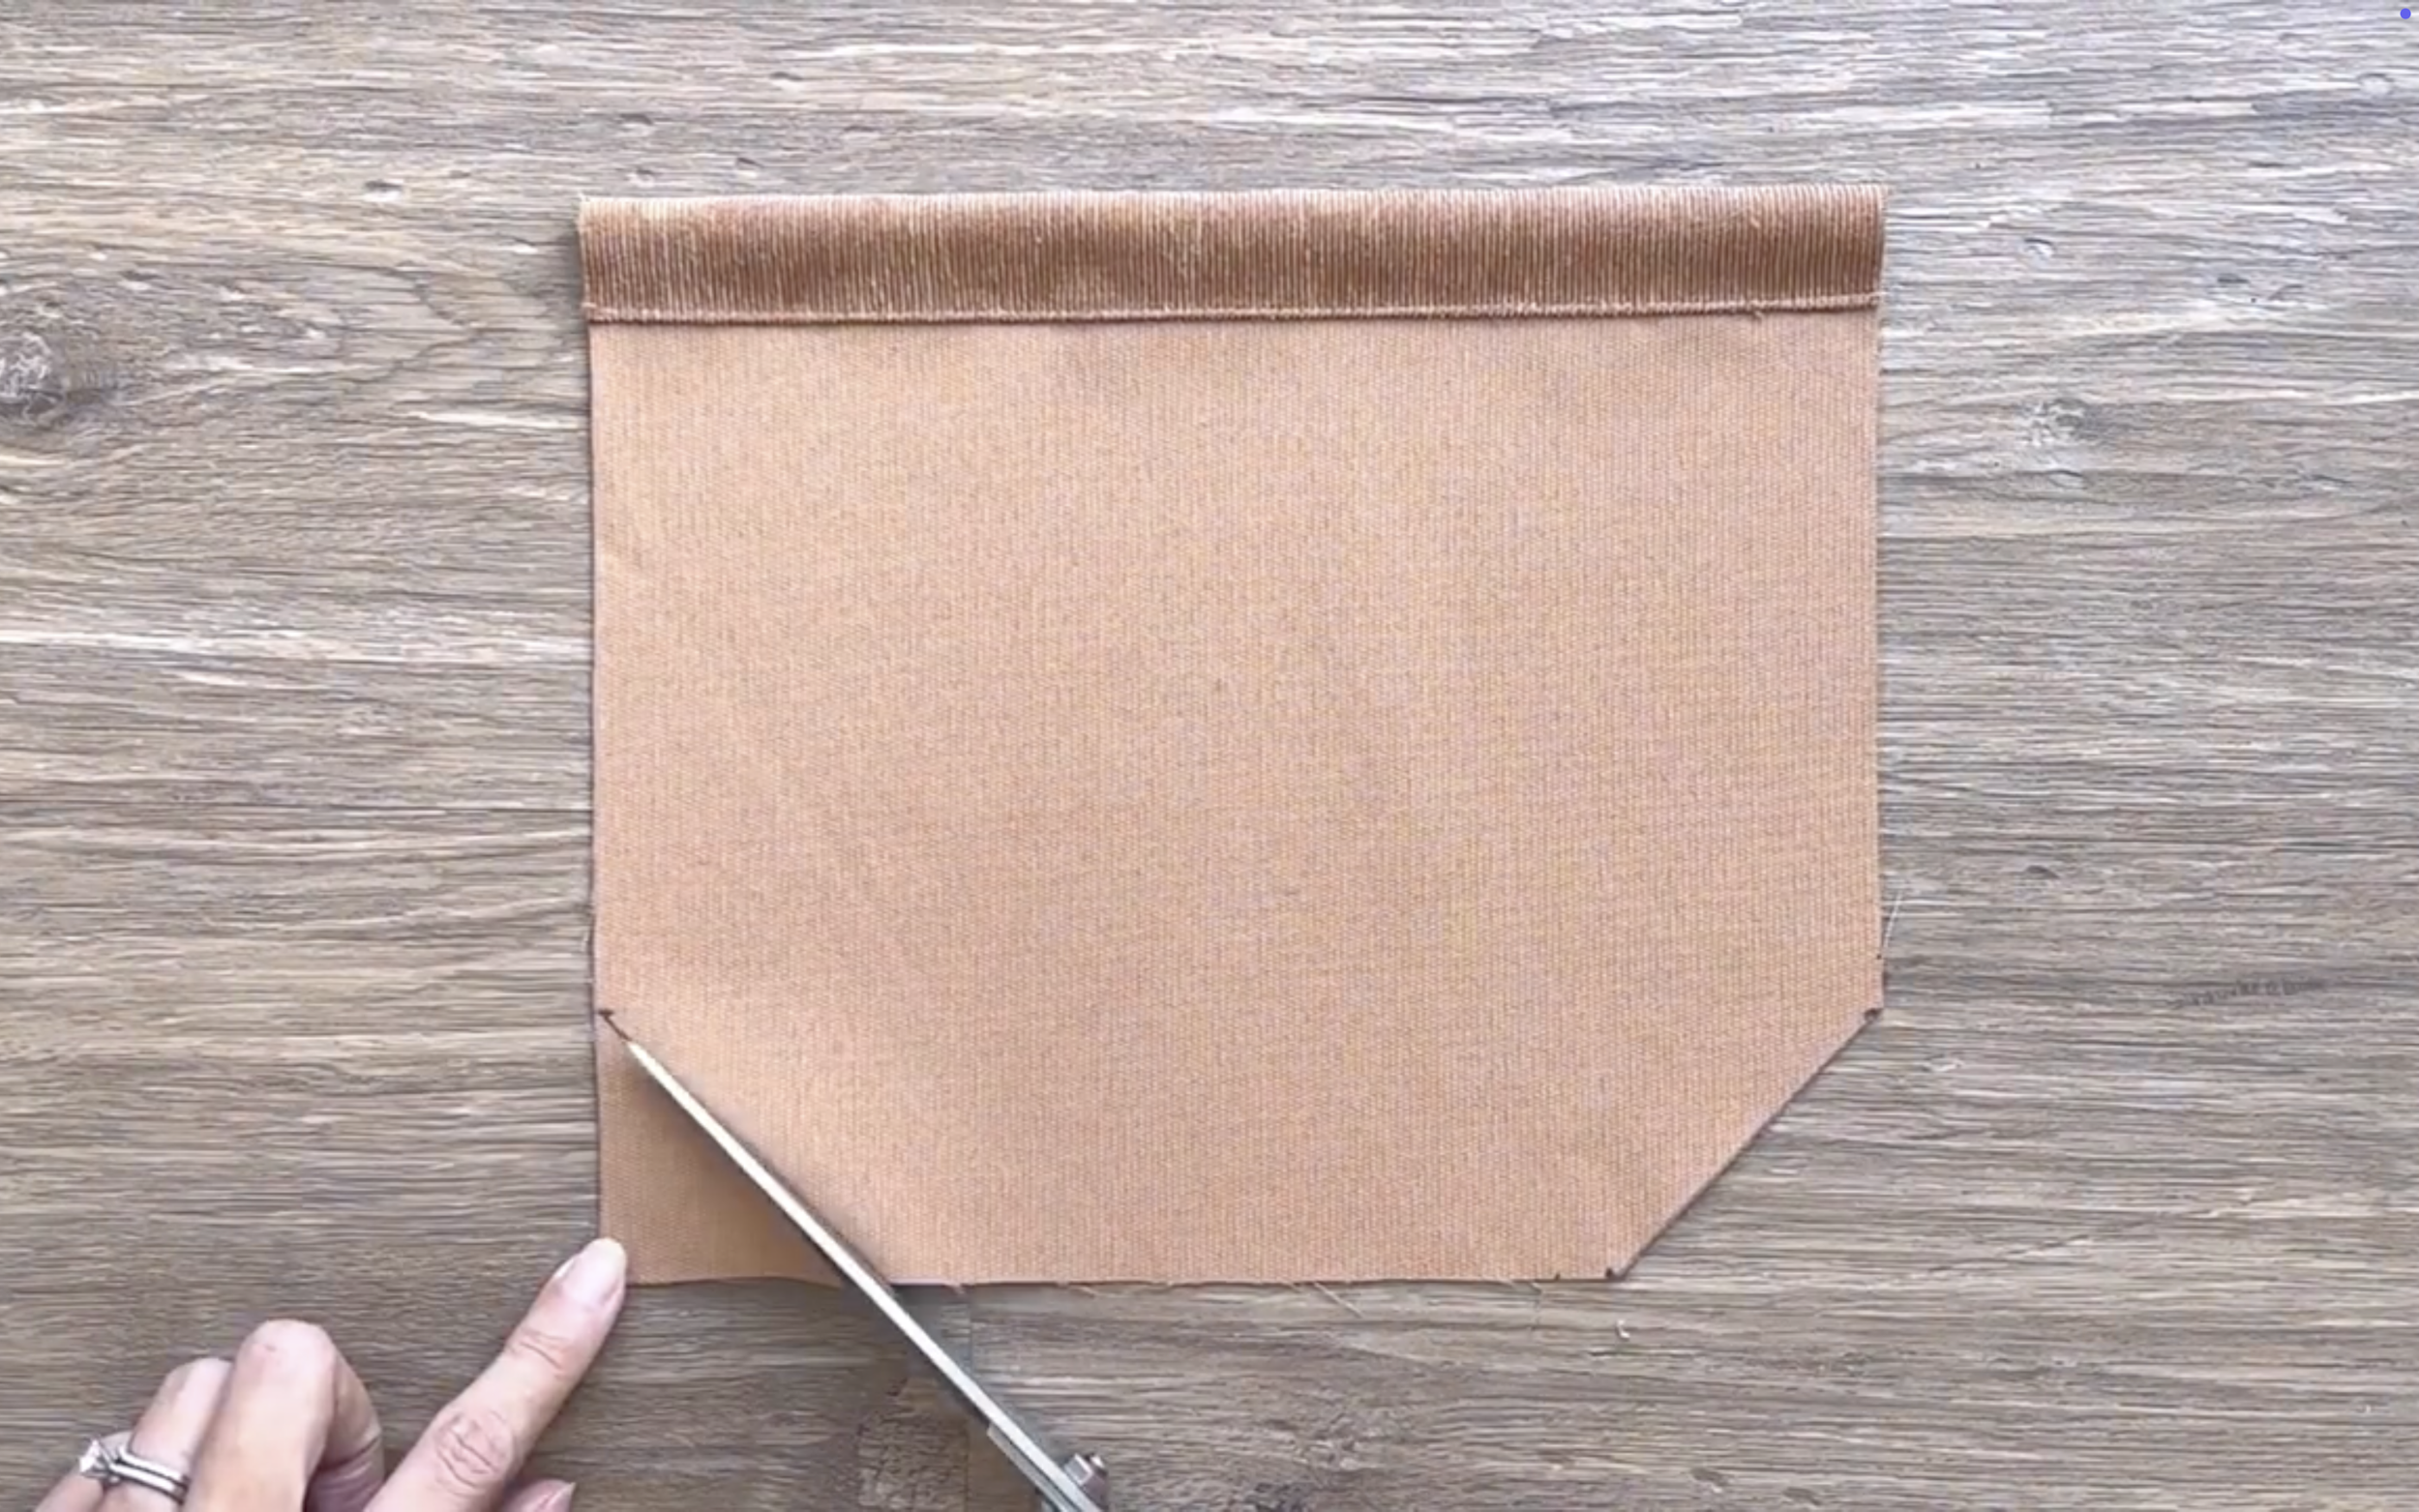
This will create the front pocket after cutting.
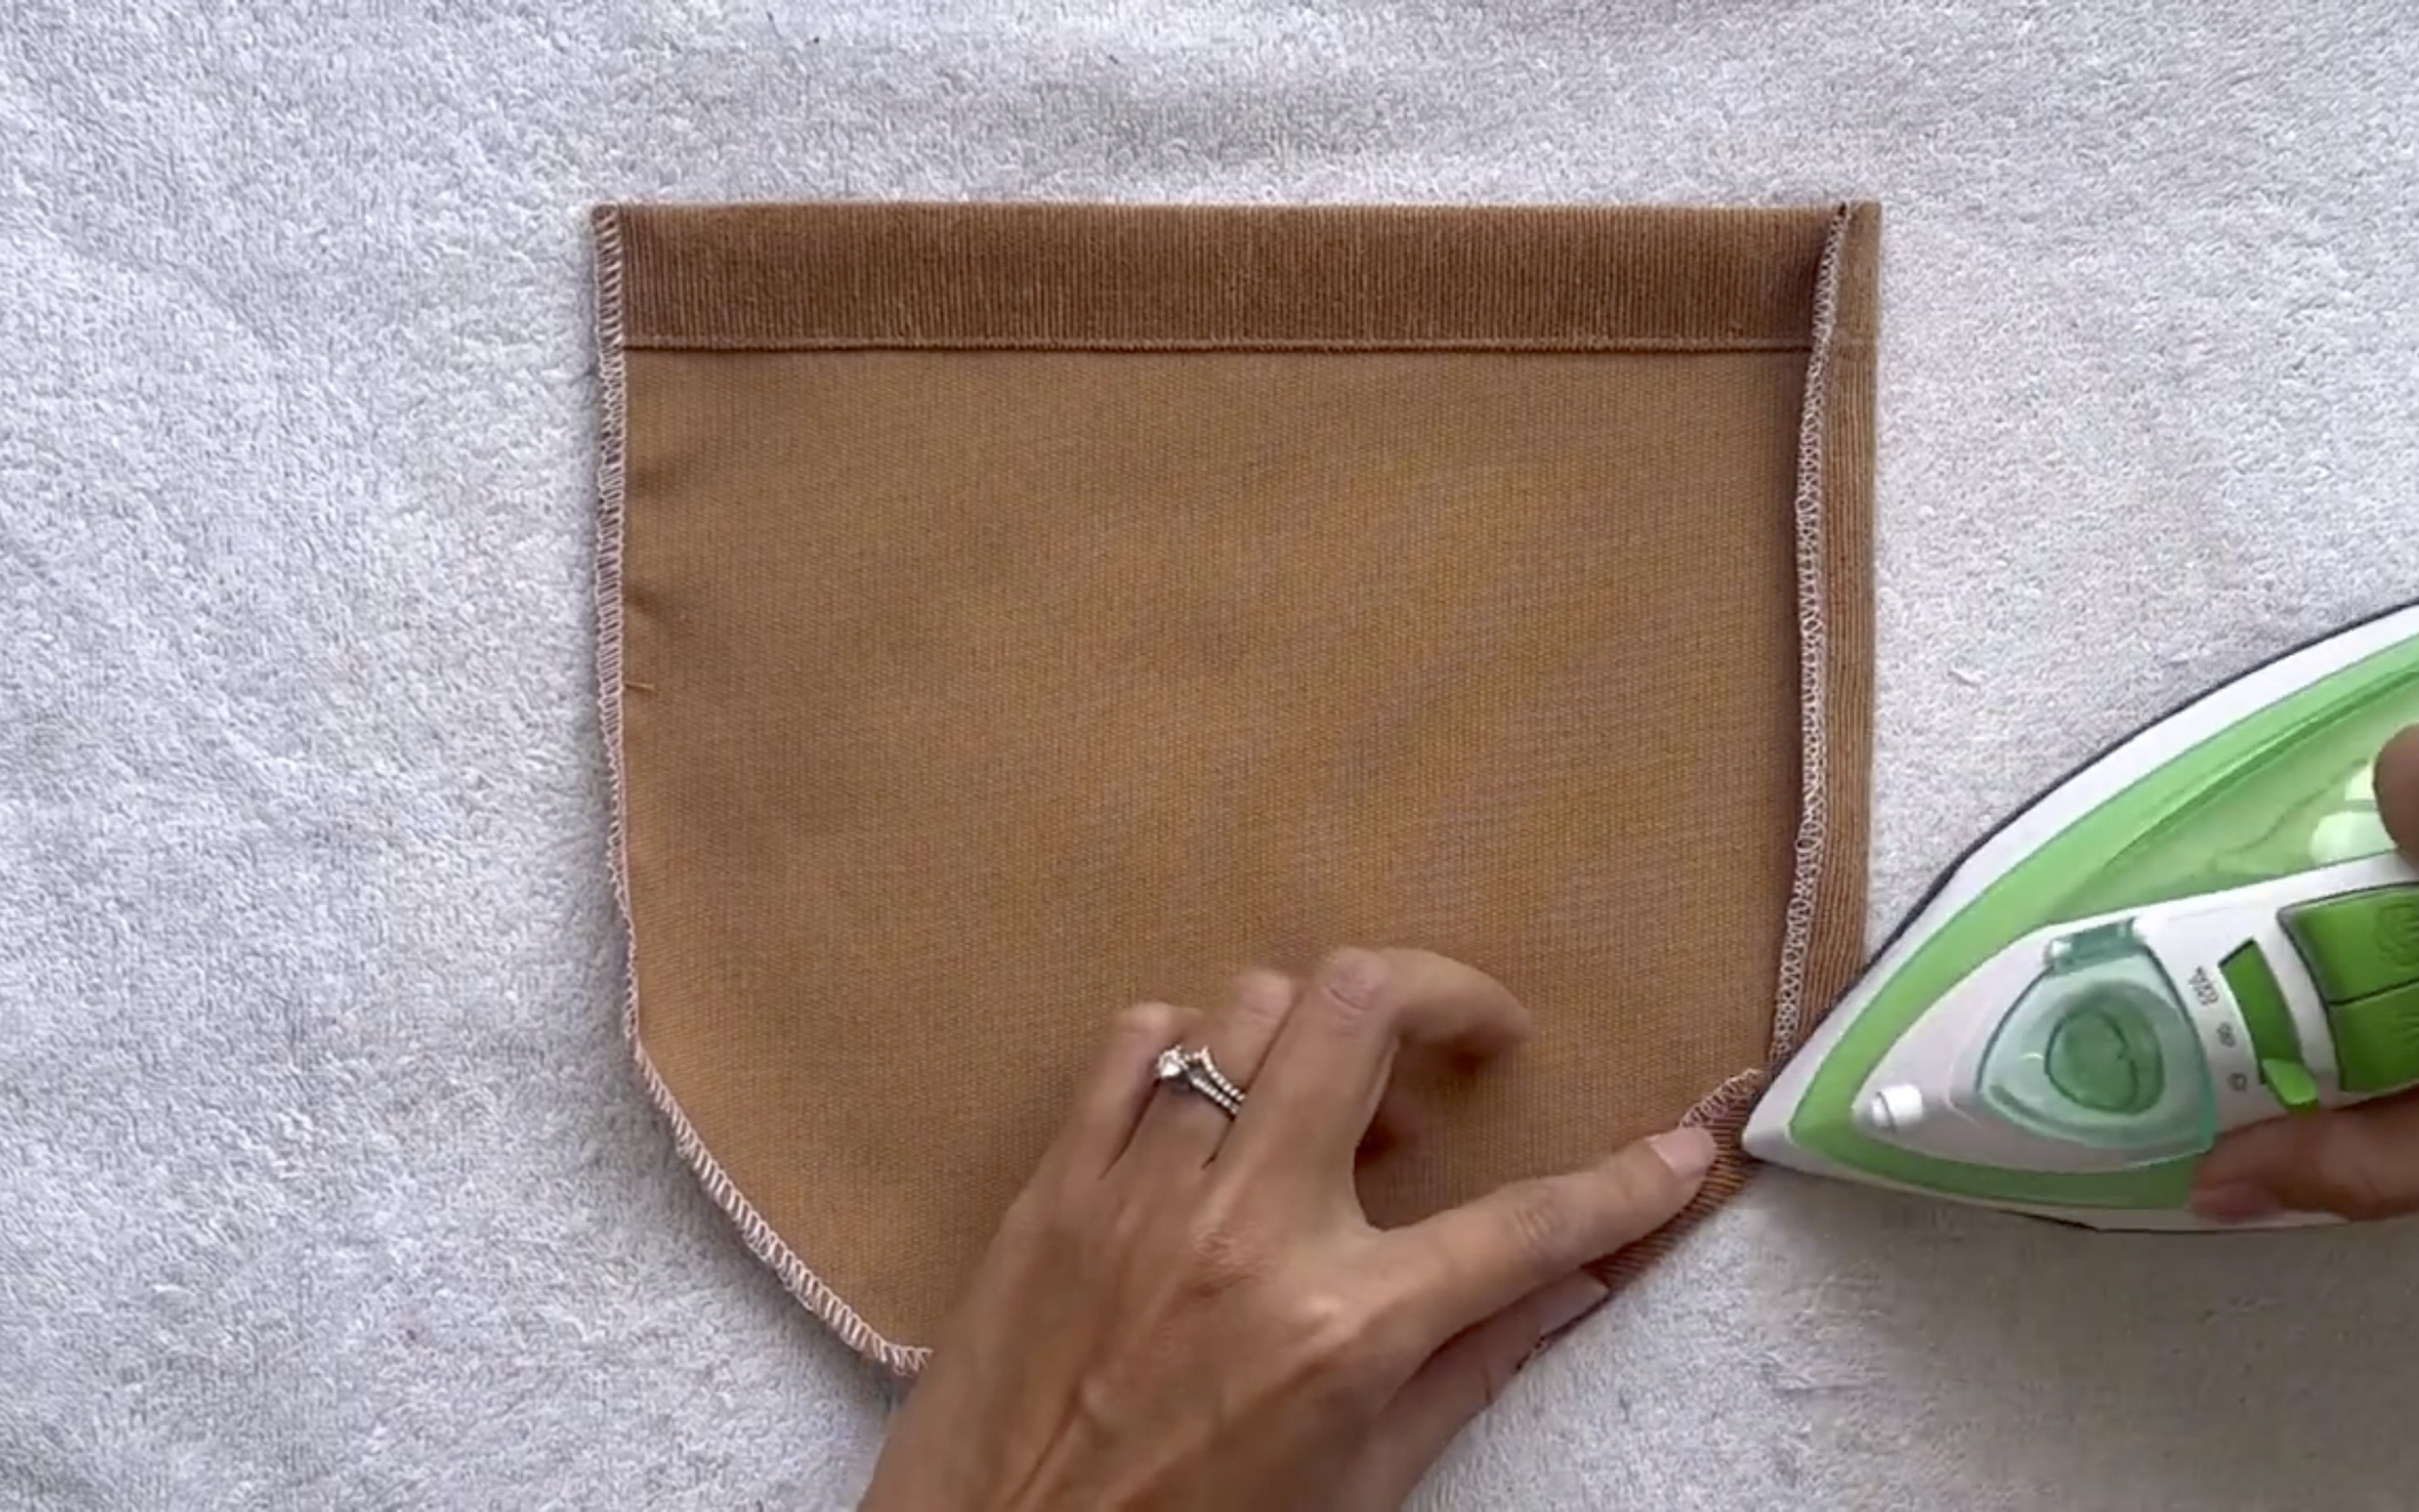
Overlock the edge of the fabric to prevent moving, then use an iron to create the fold.
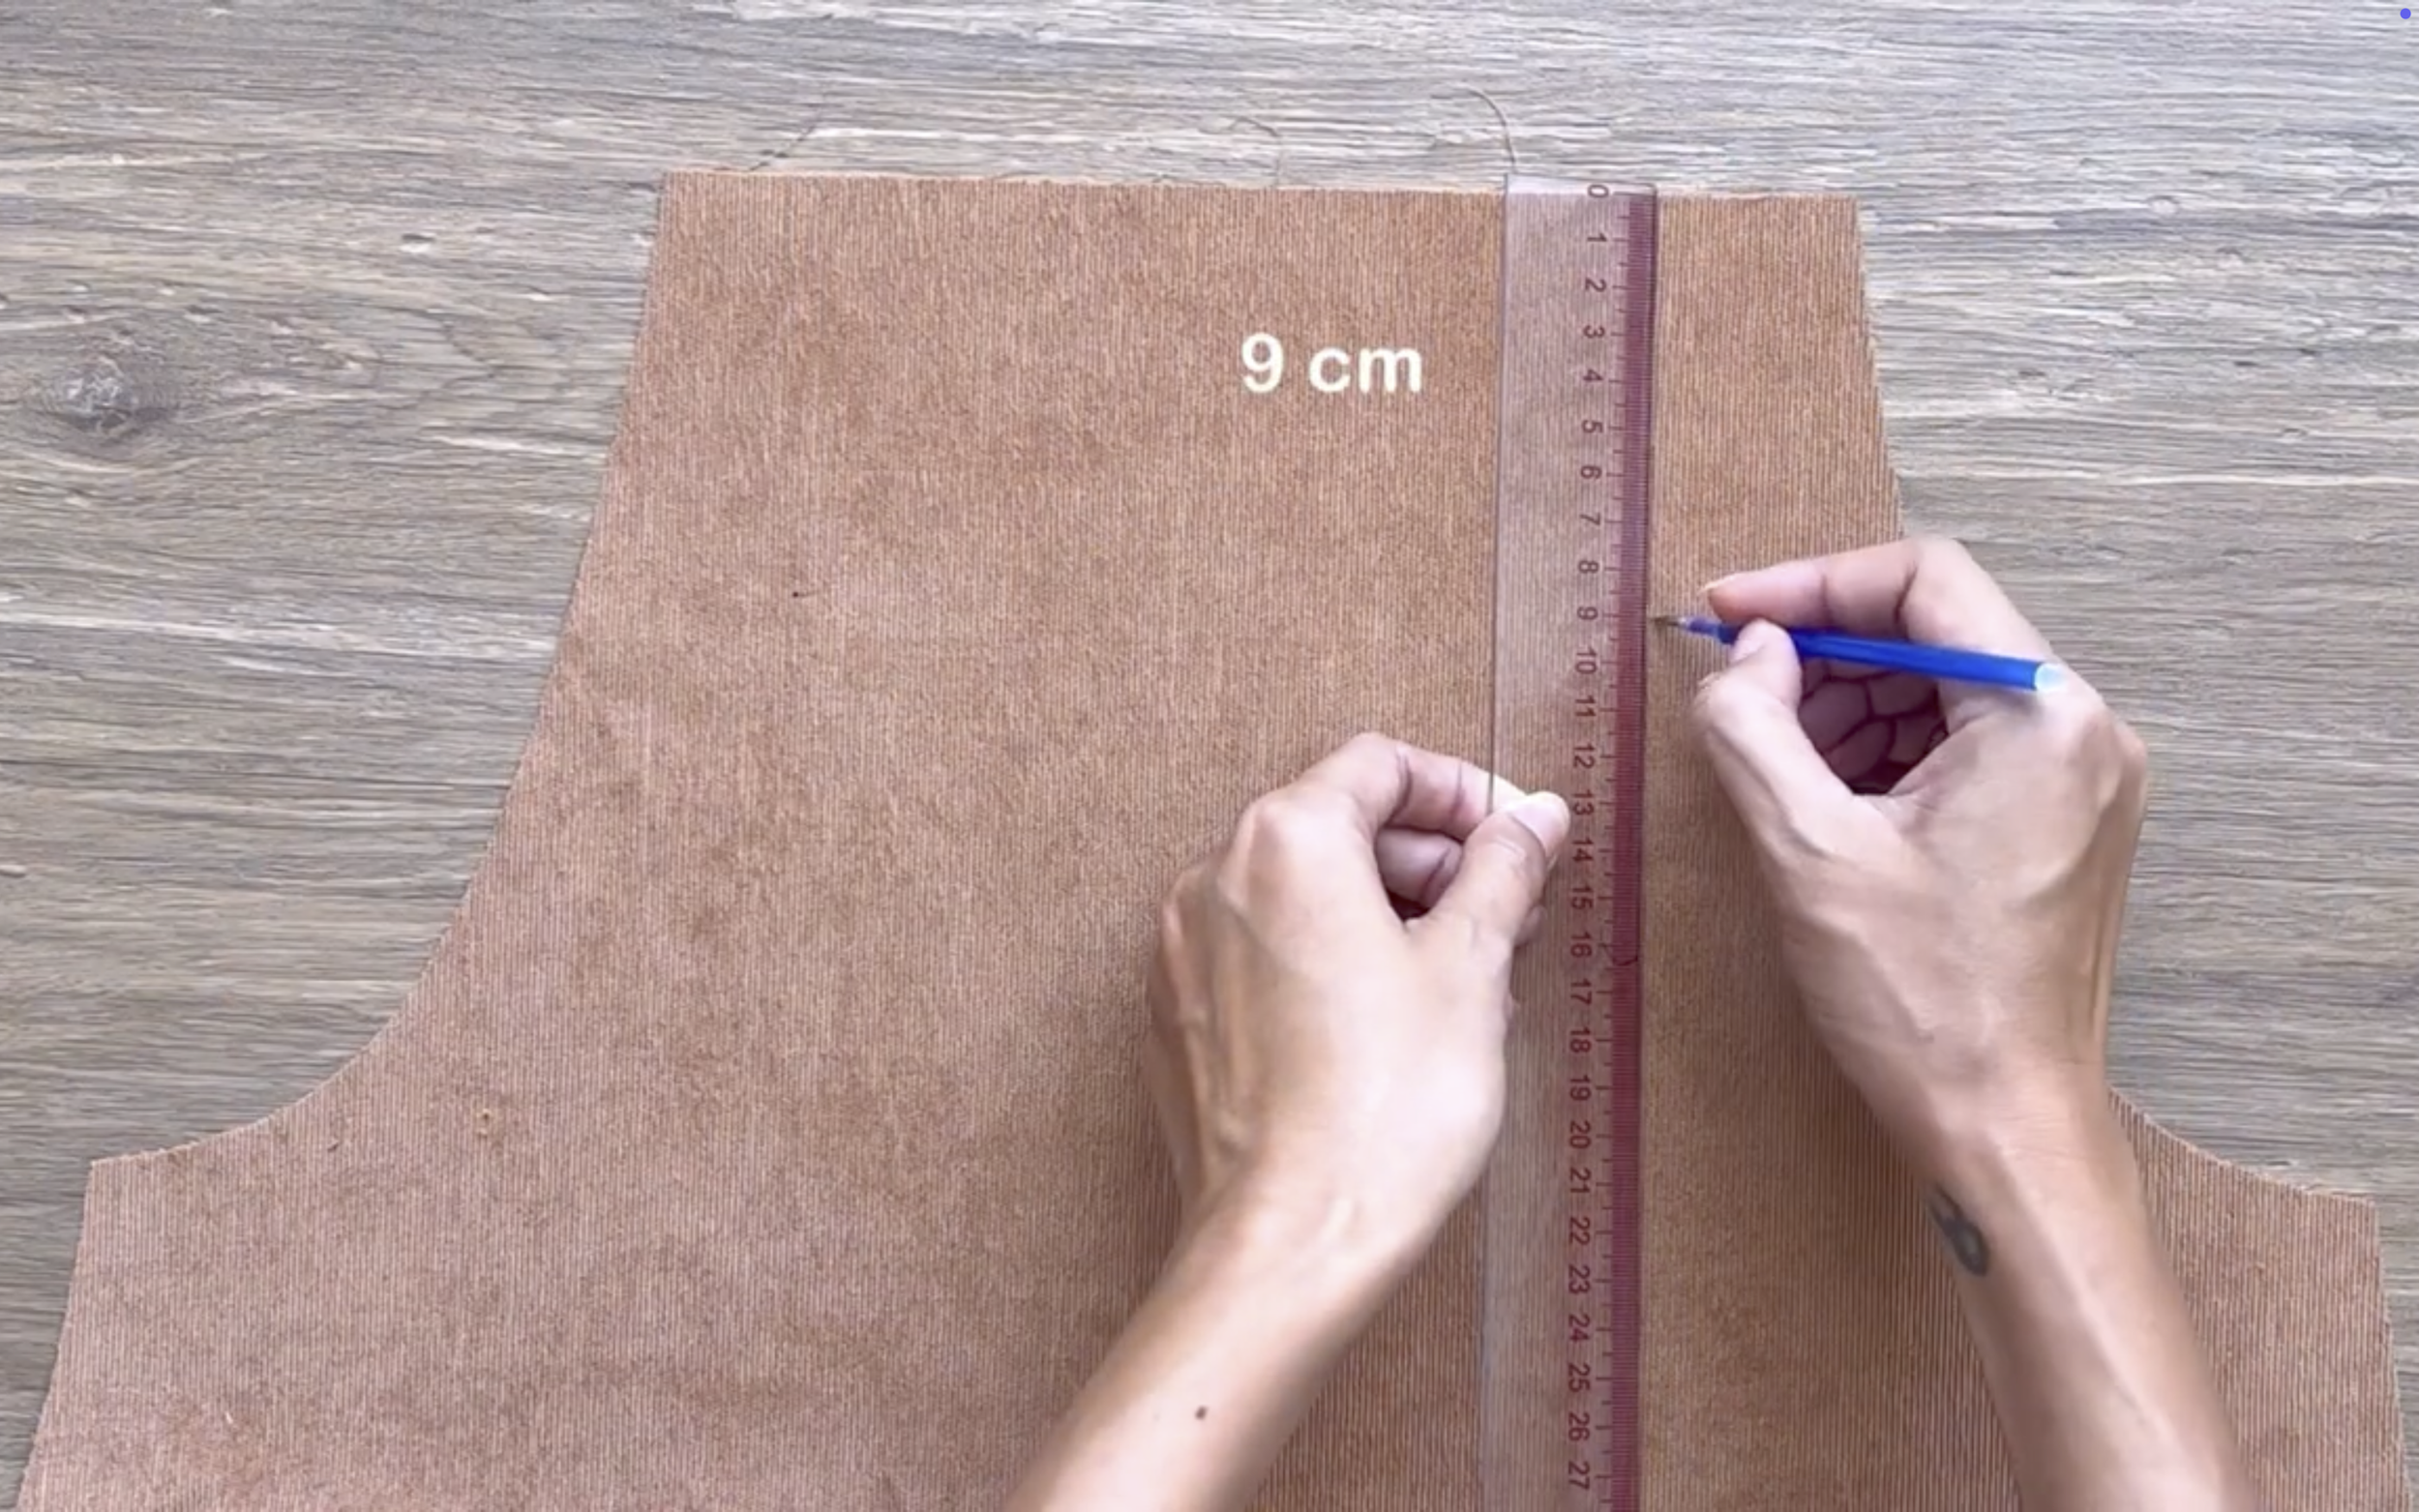
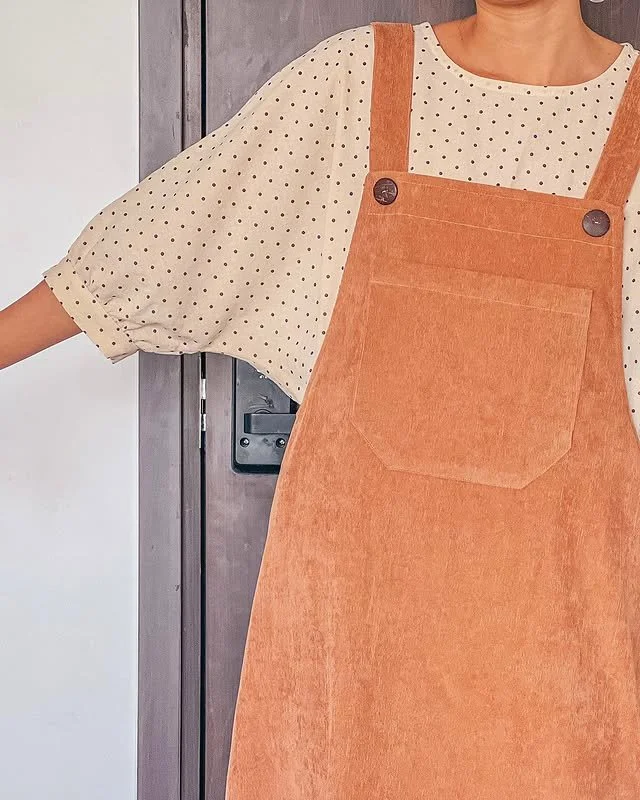
On the front piece of the dress, draw a line 9 cm below the top line. This will be the position for the front pocket.
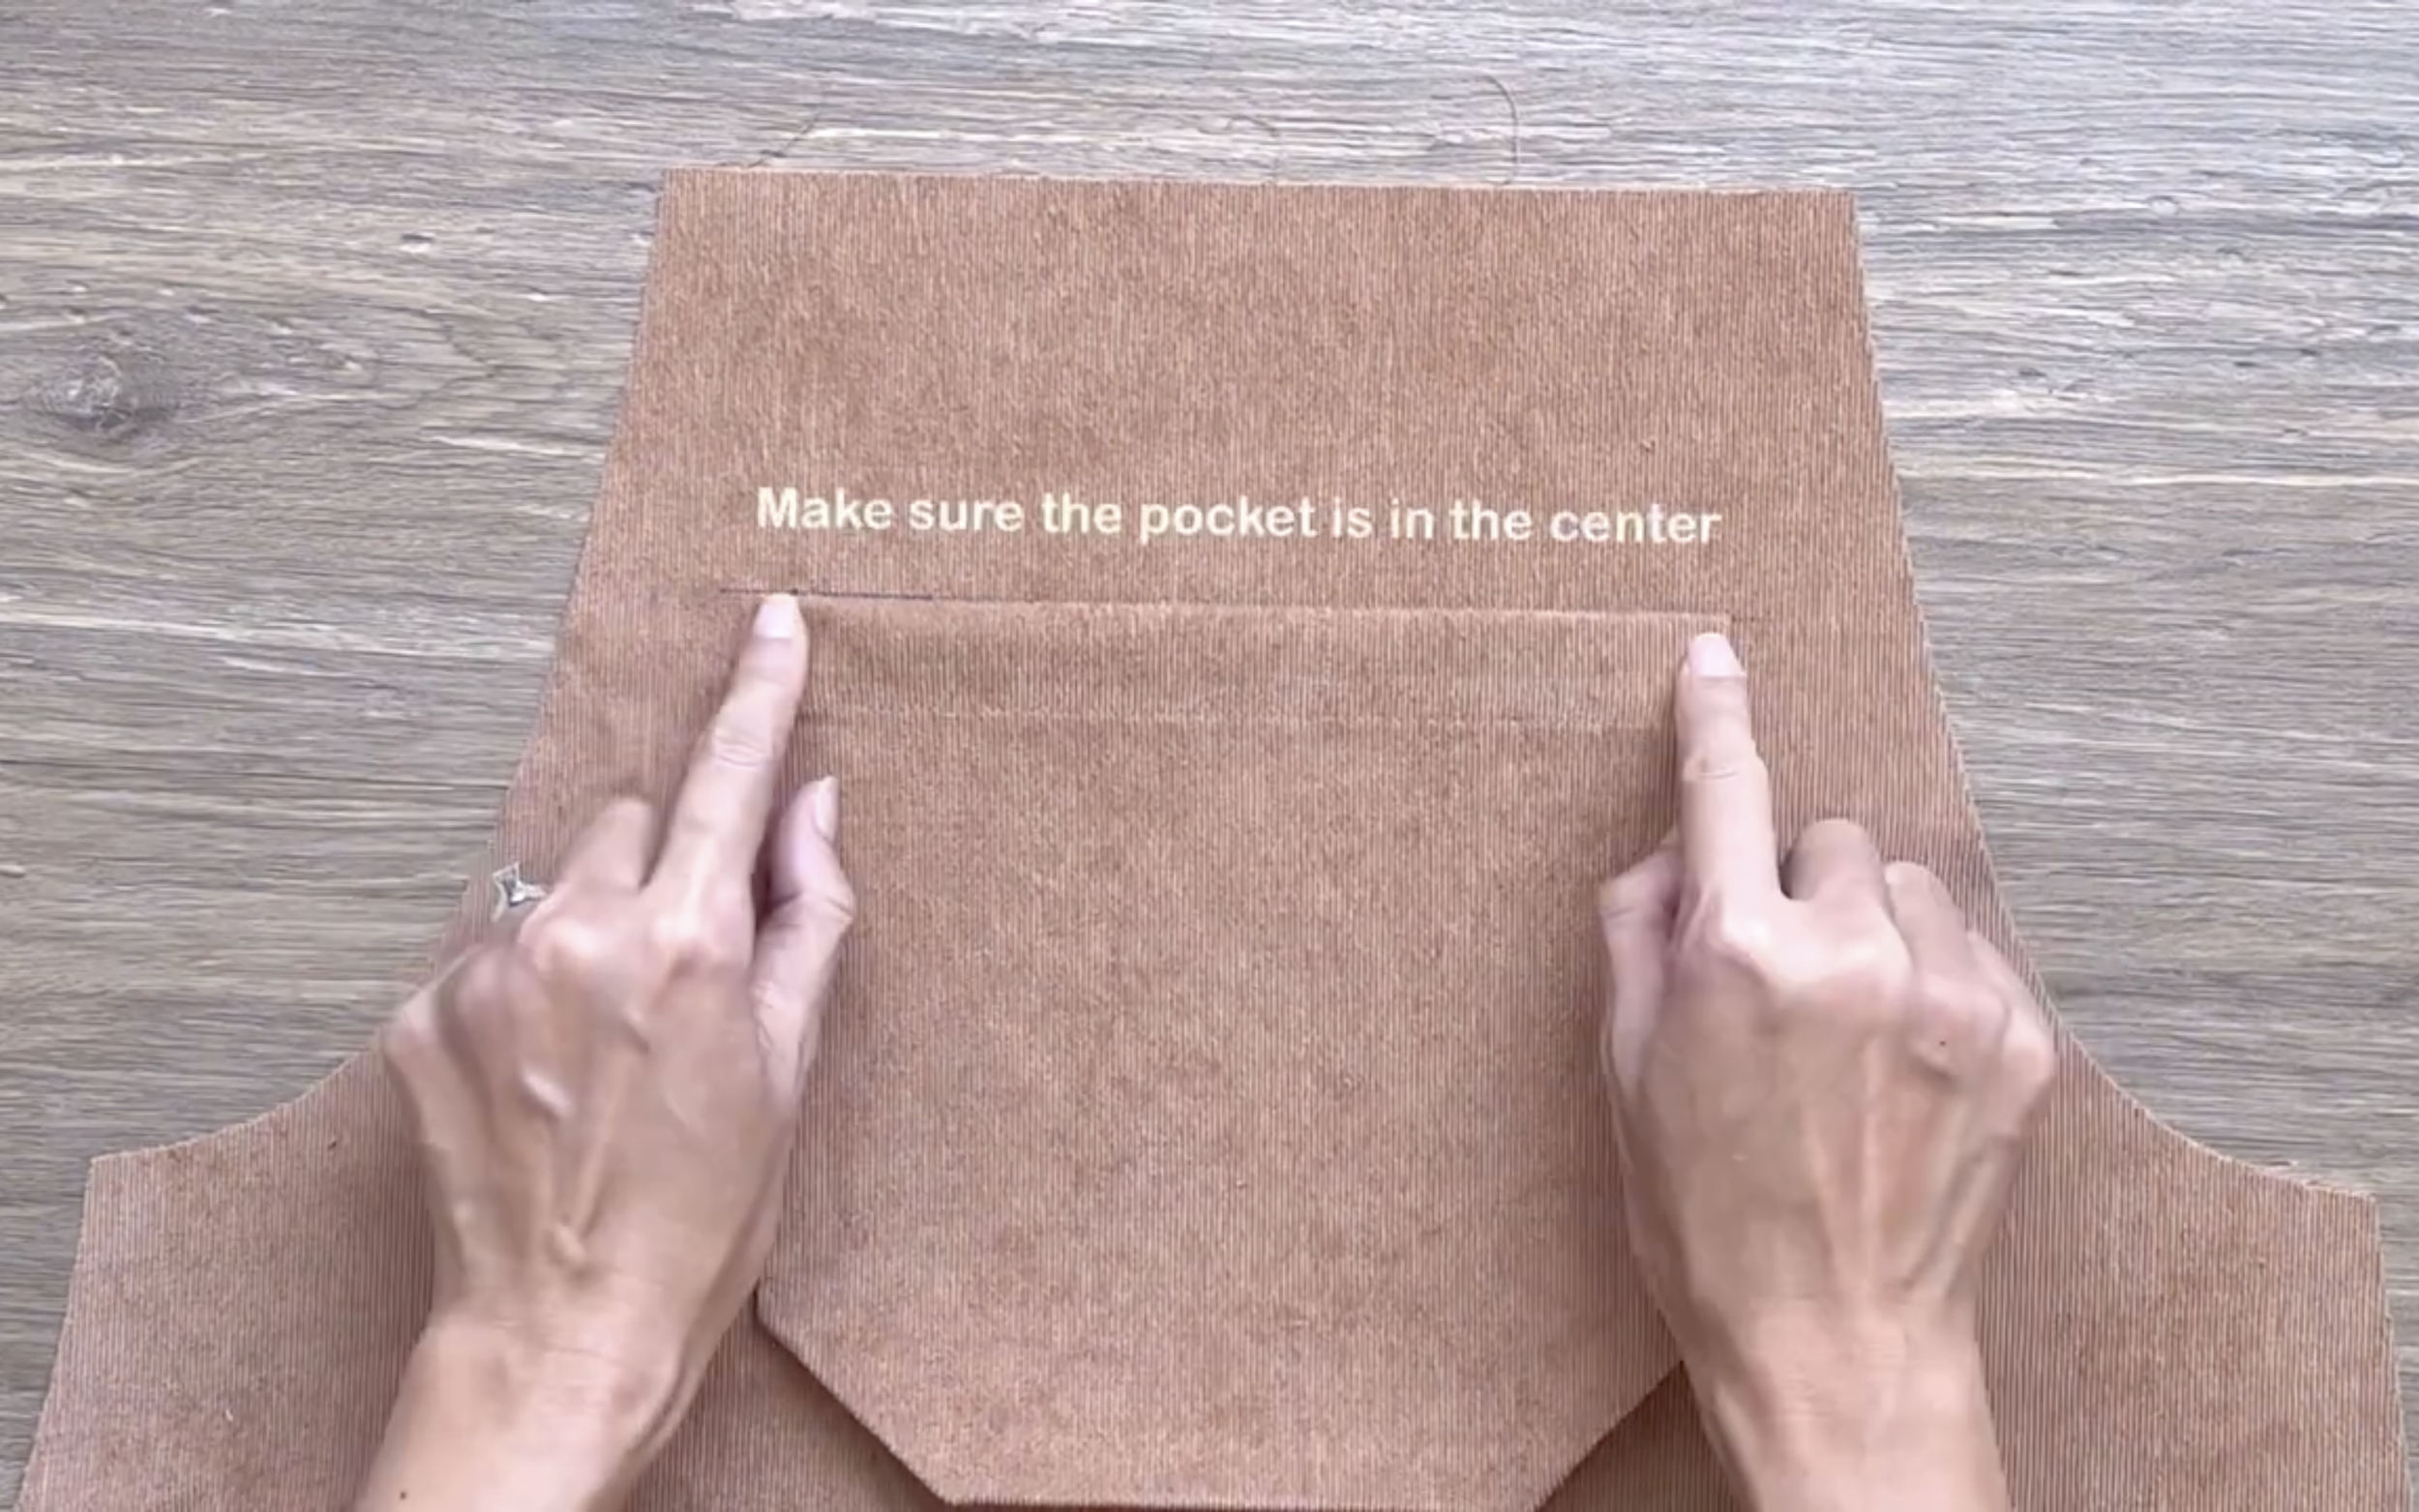
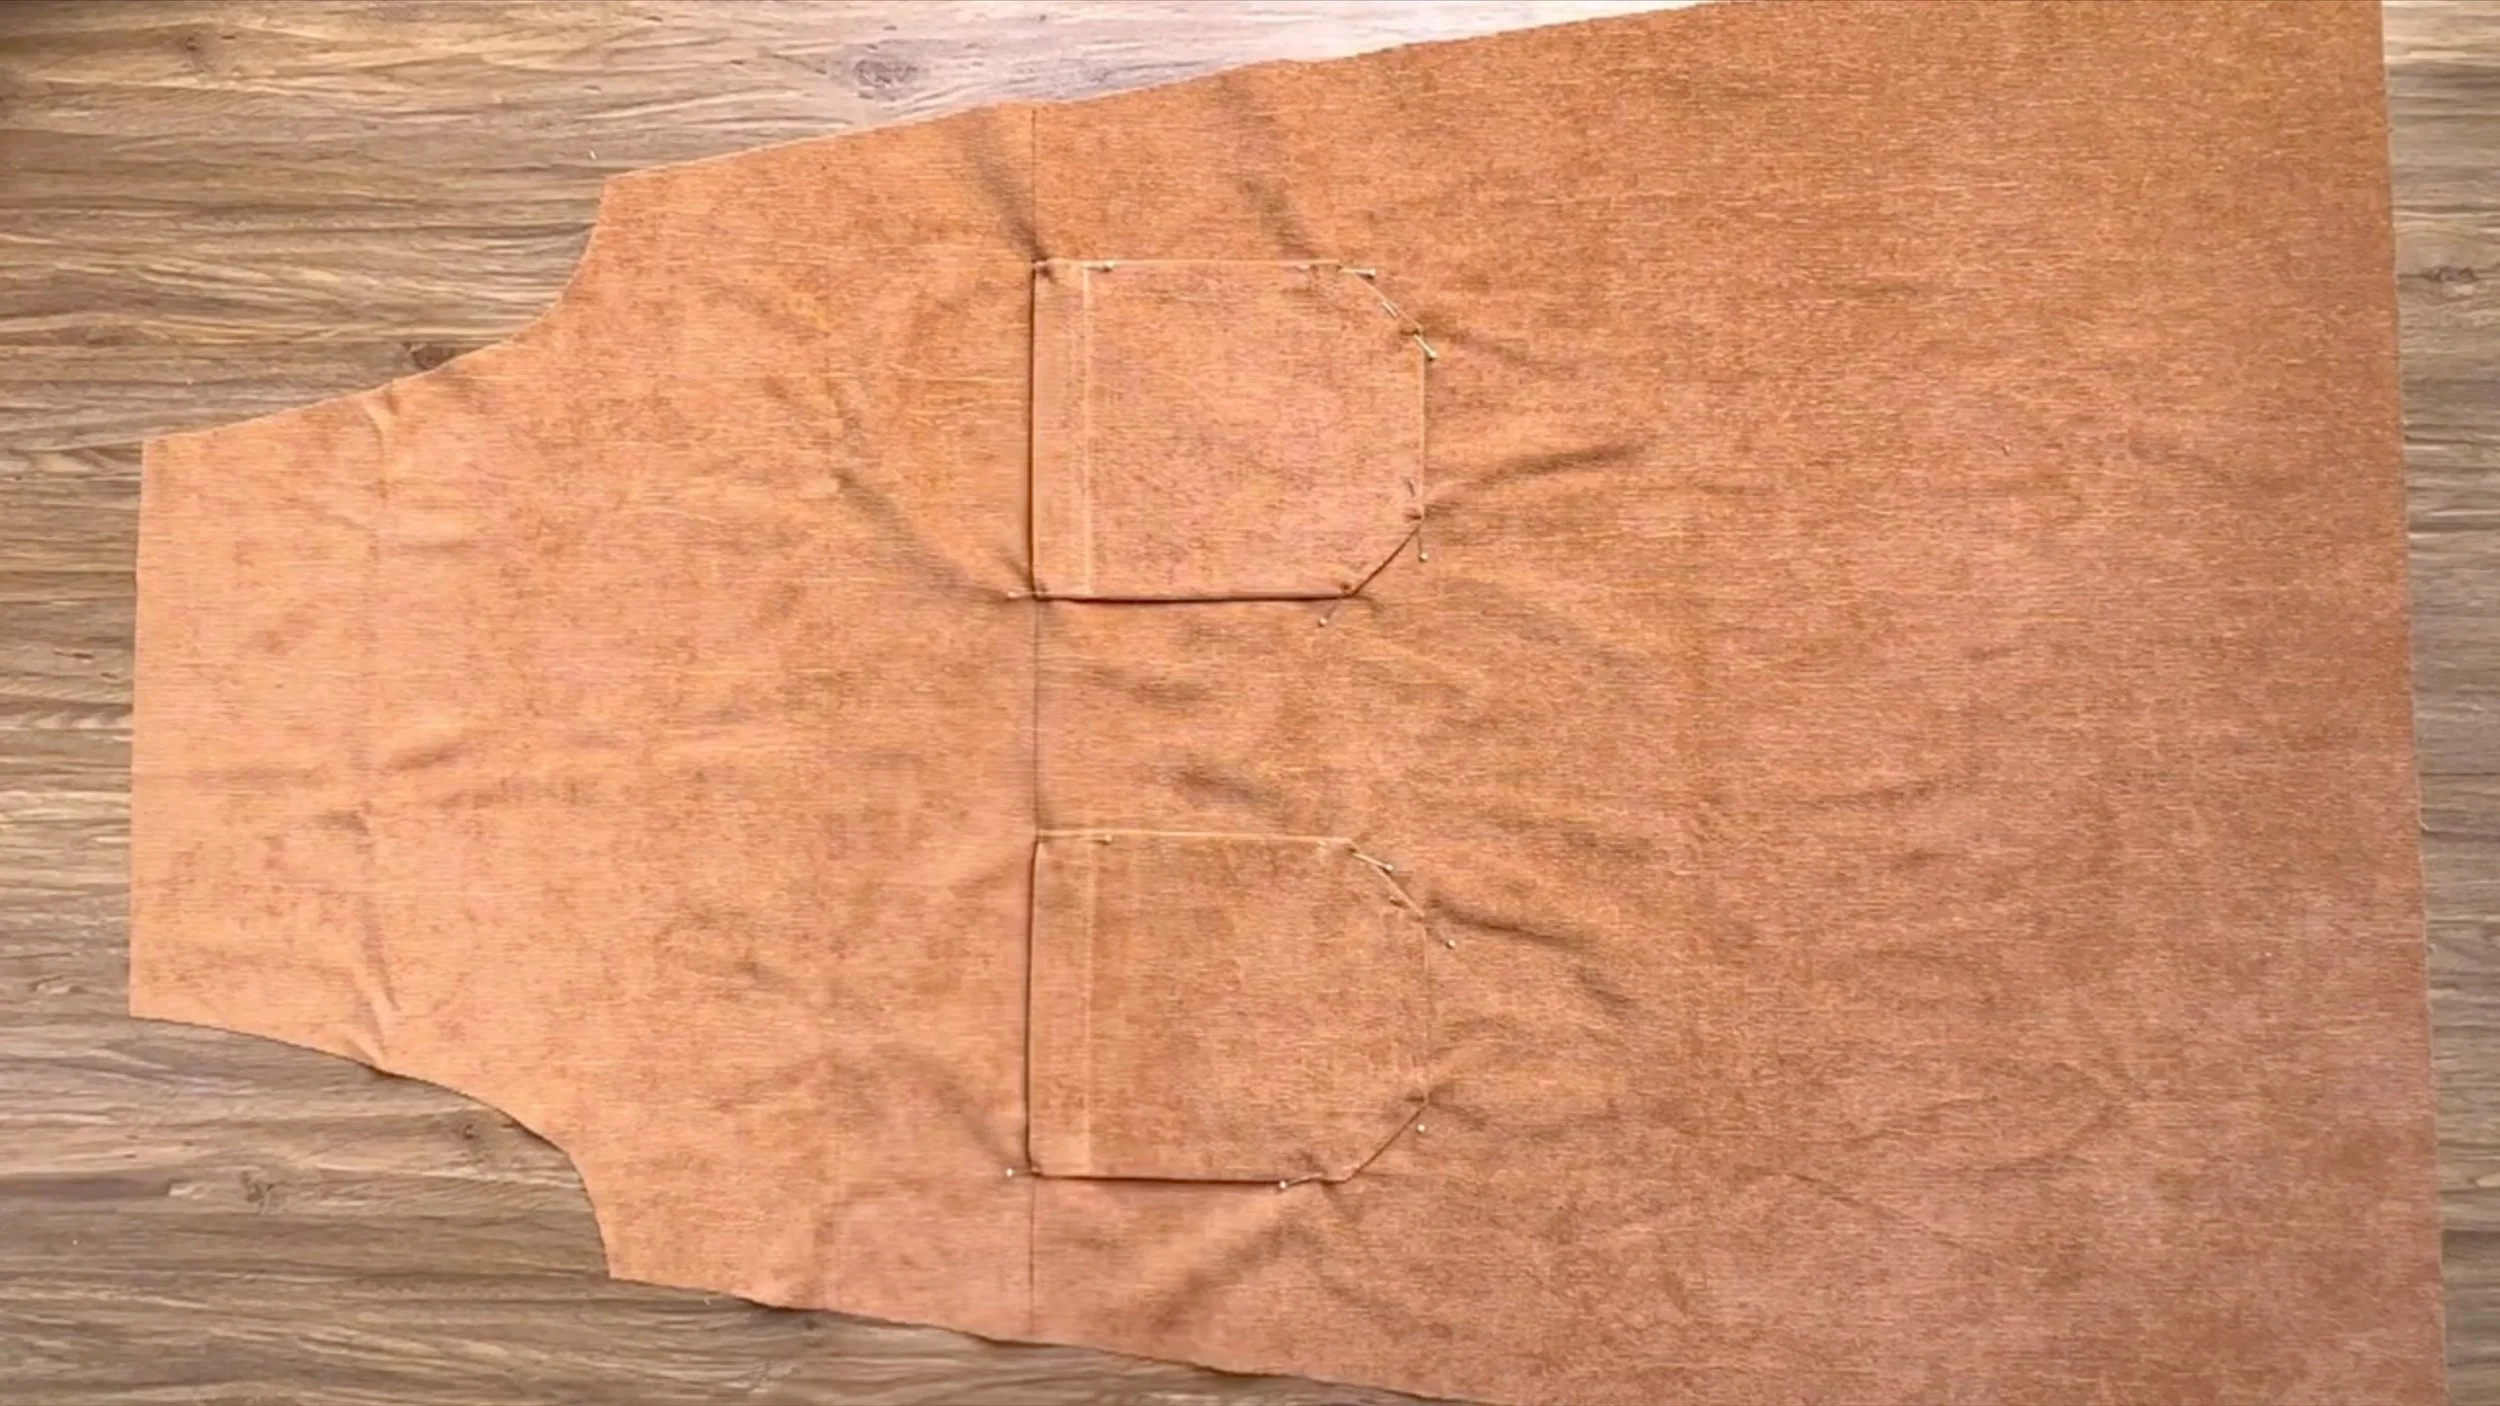
Add the pocket to this position.
Make sure it is centered, and sew it in place.

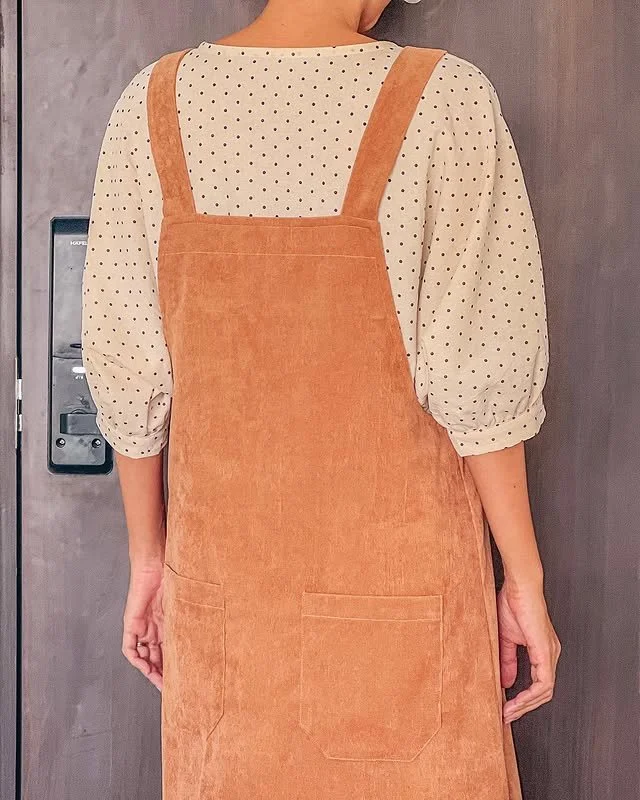
Use the same method to create the back pocket of the dress, but make the back pocket slightly smaller than the front.
Cut a rectangle 22 cm in length and 18 cm in width.
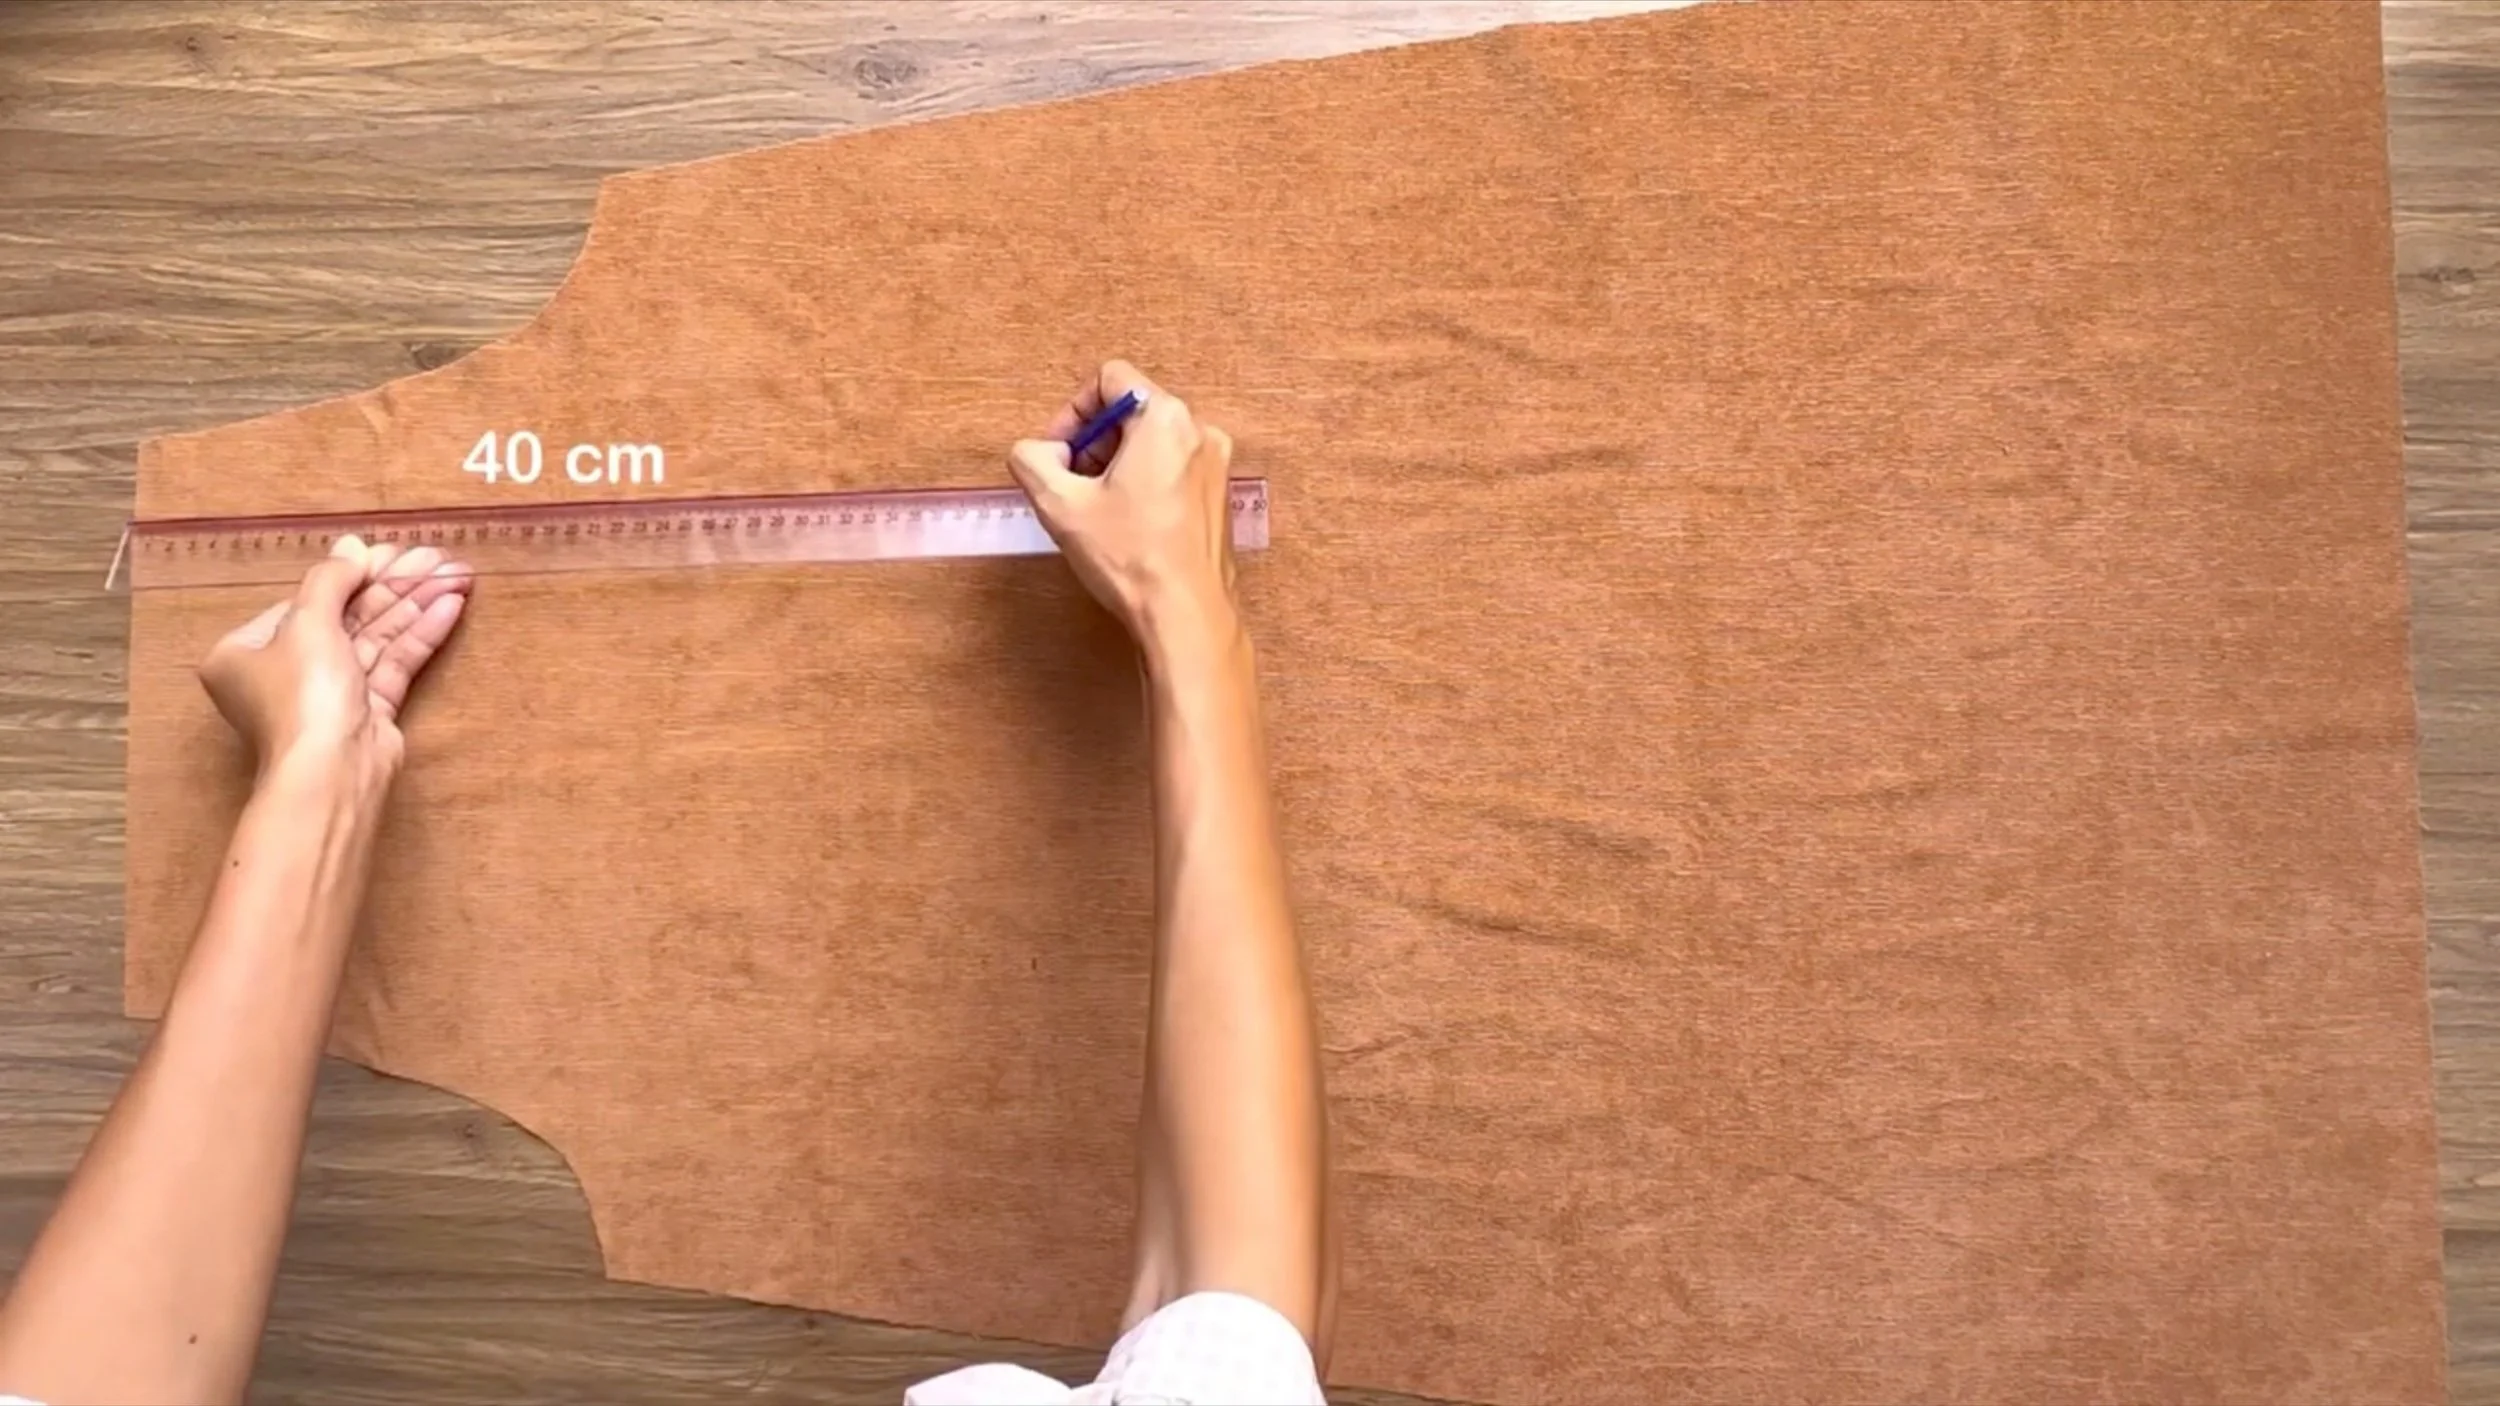
From the top of the back piece, draw a line 40 cm below it. This is the position for the back pocket, aligned with the butt.
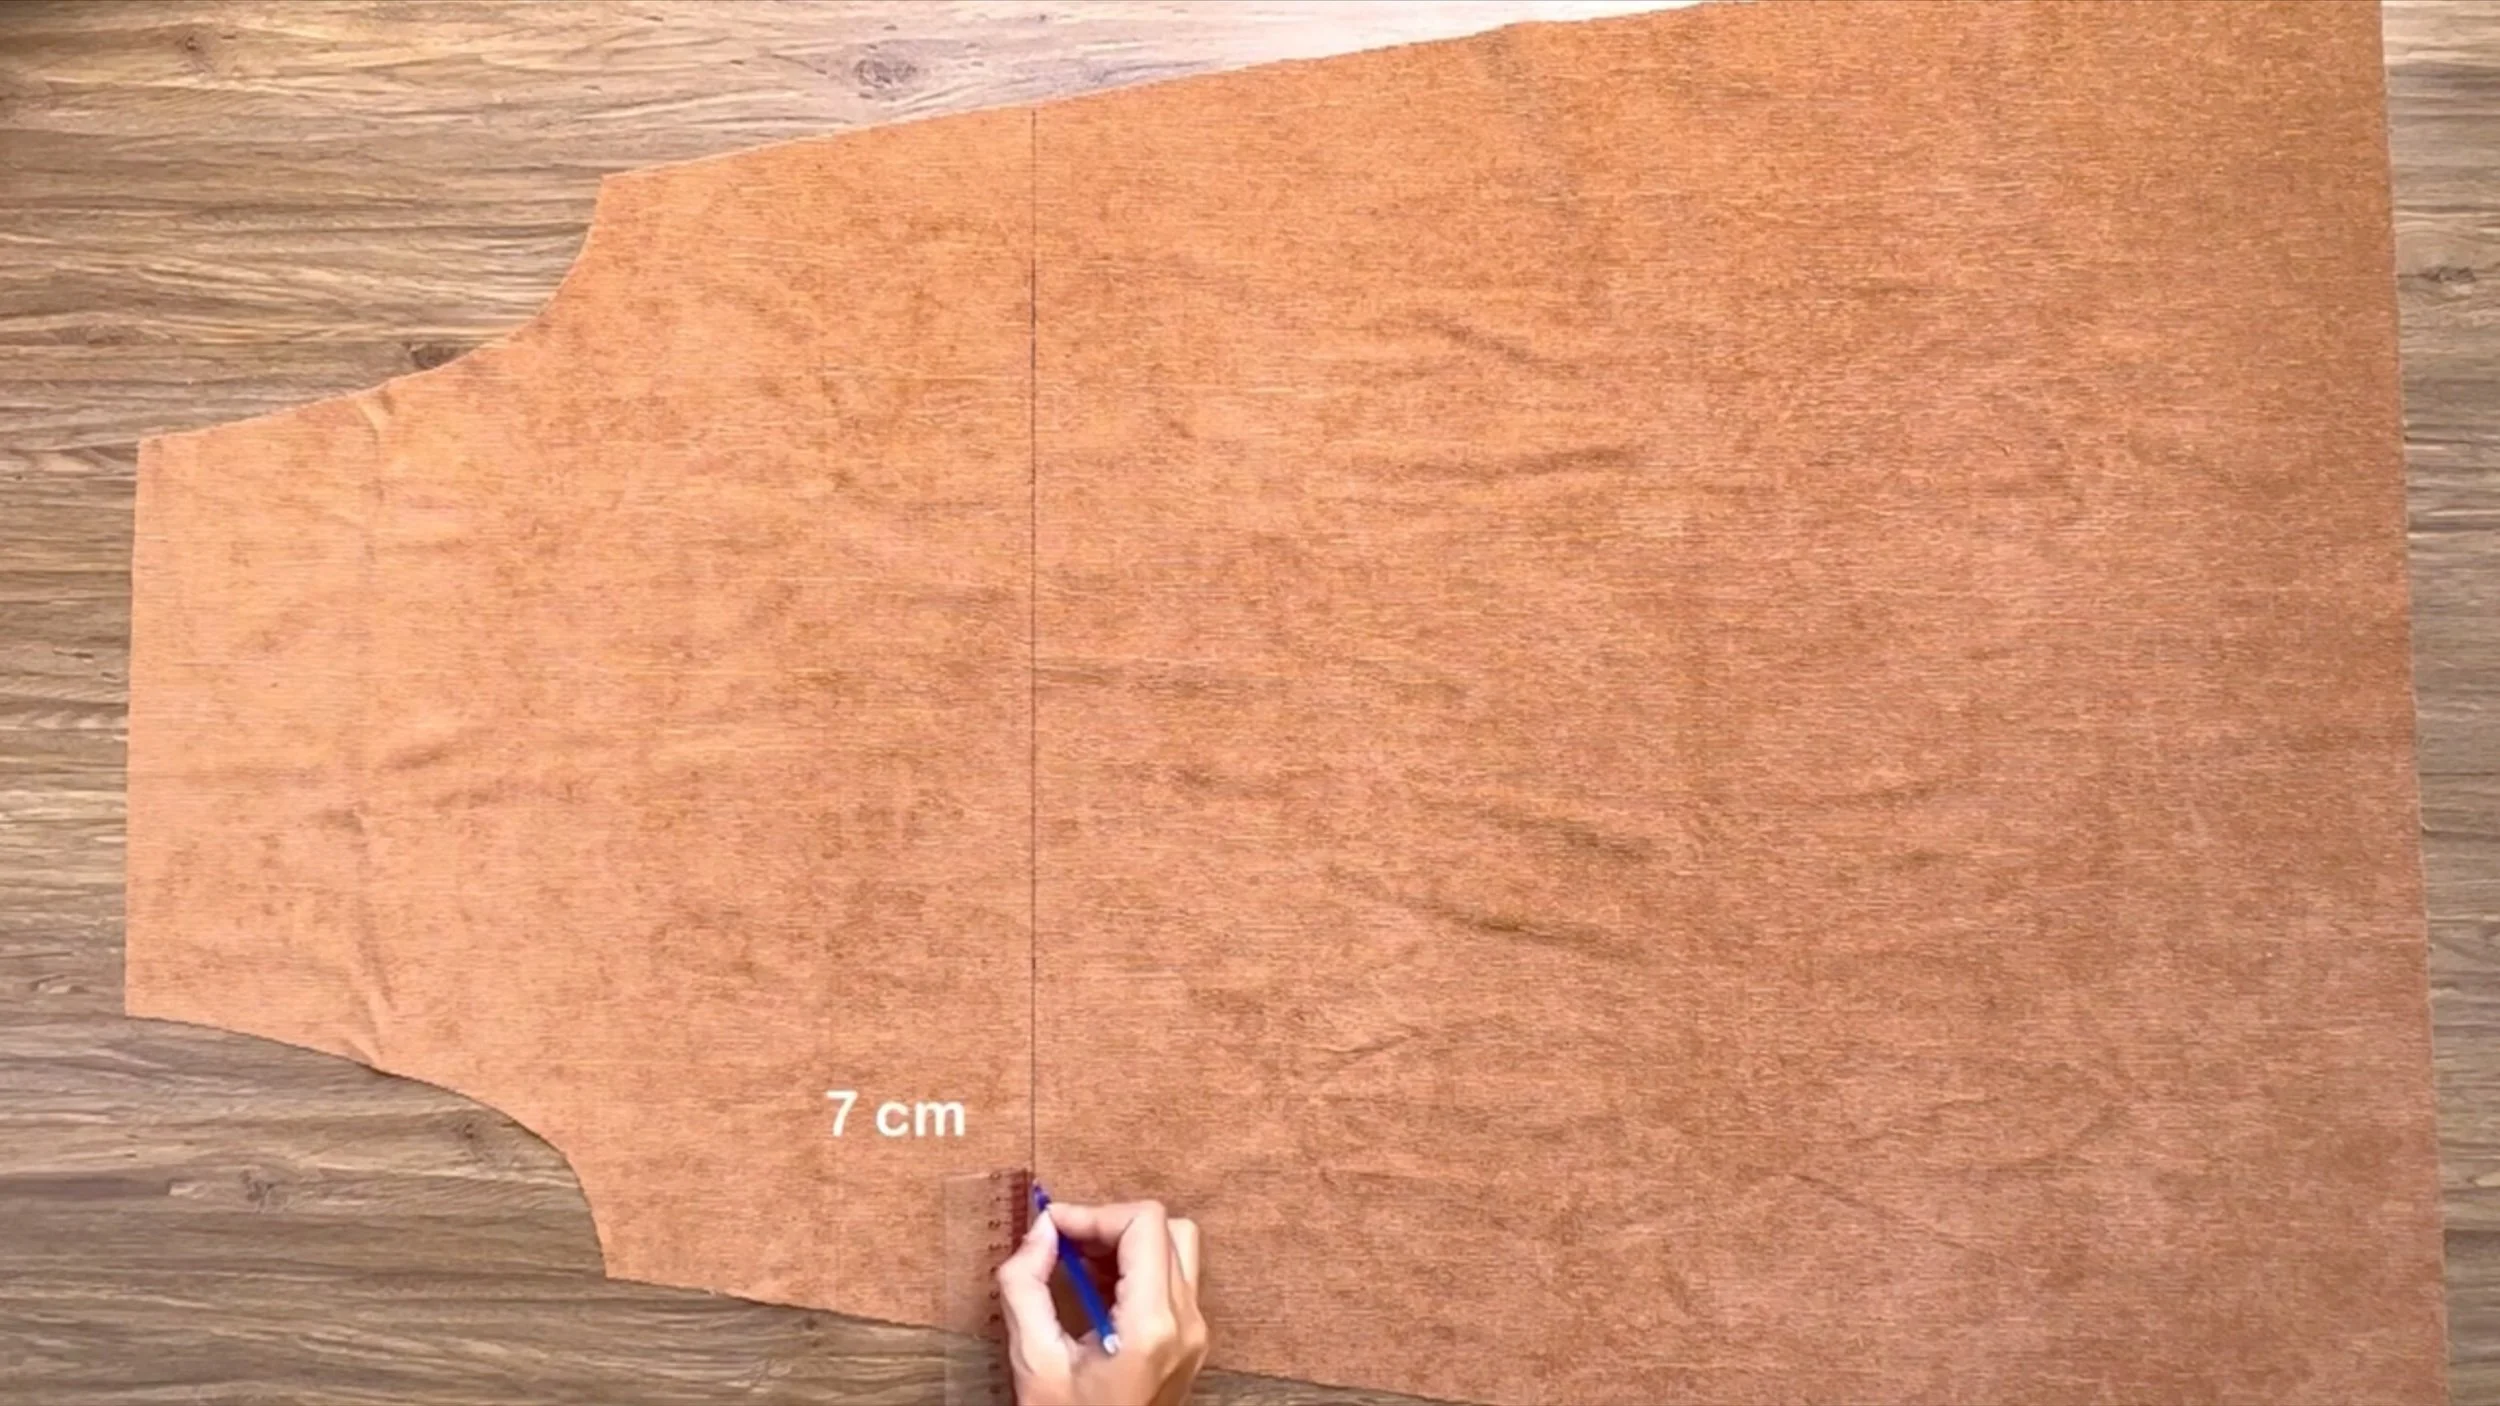
From the sideline, mark 7 cm inward along this line. Add the pocket to the position and sew it in place.
Fold the end fabric inward by 0.5 cm first, then fold it up to the drawn line and sew.
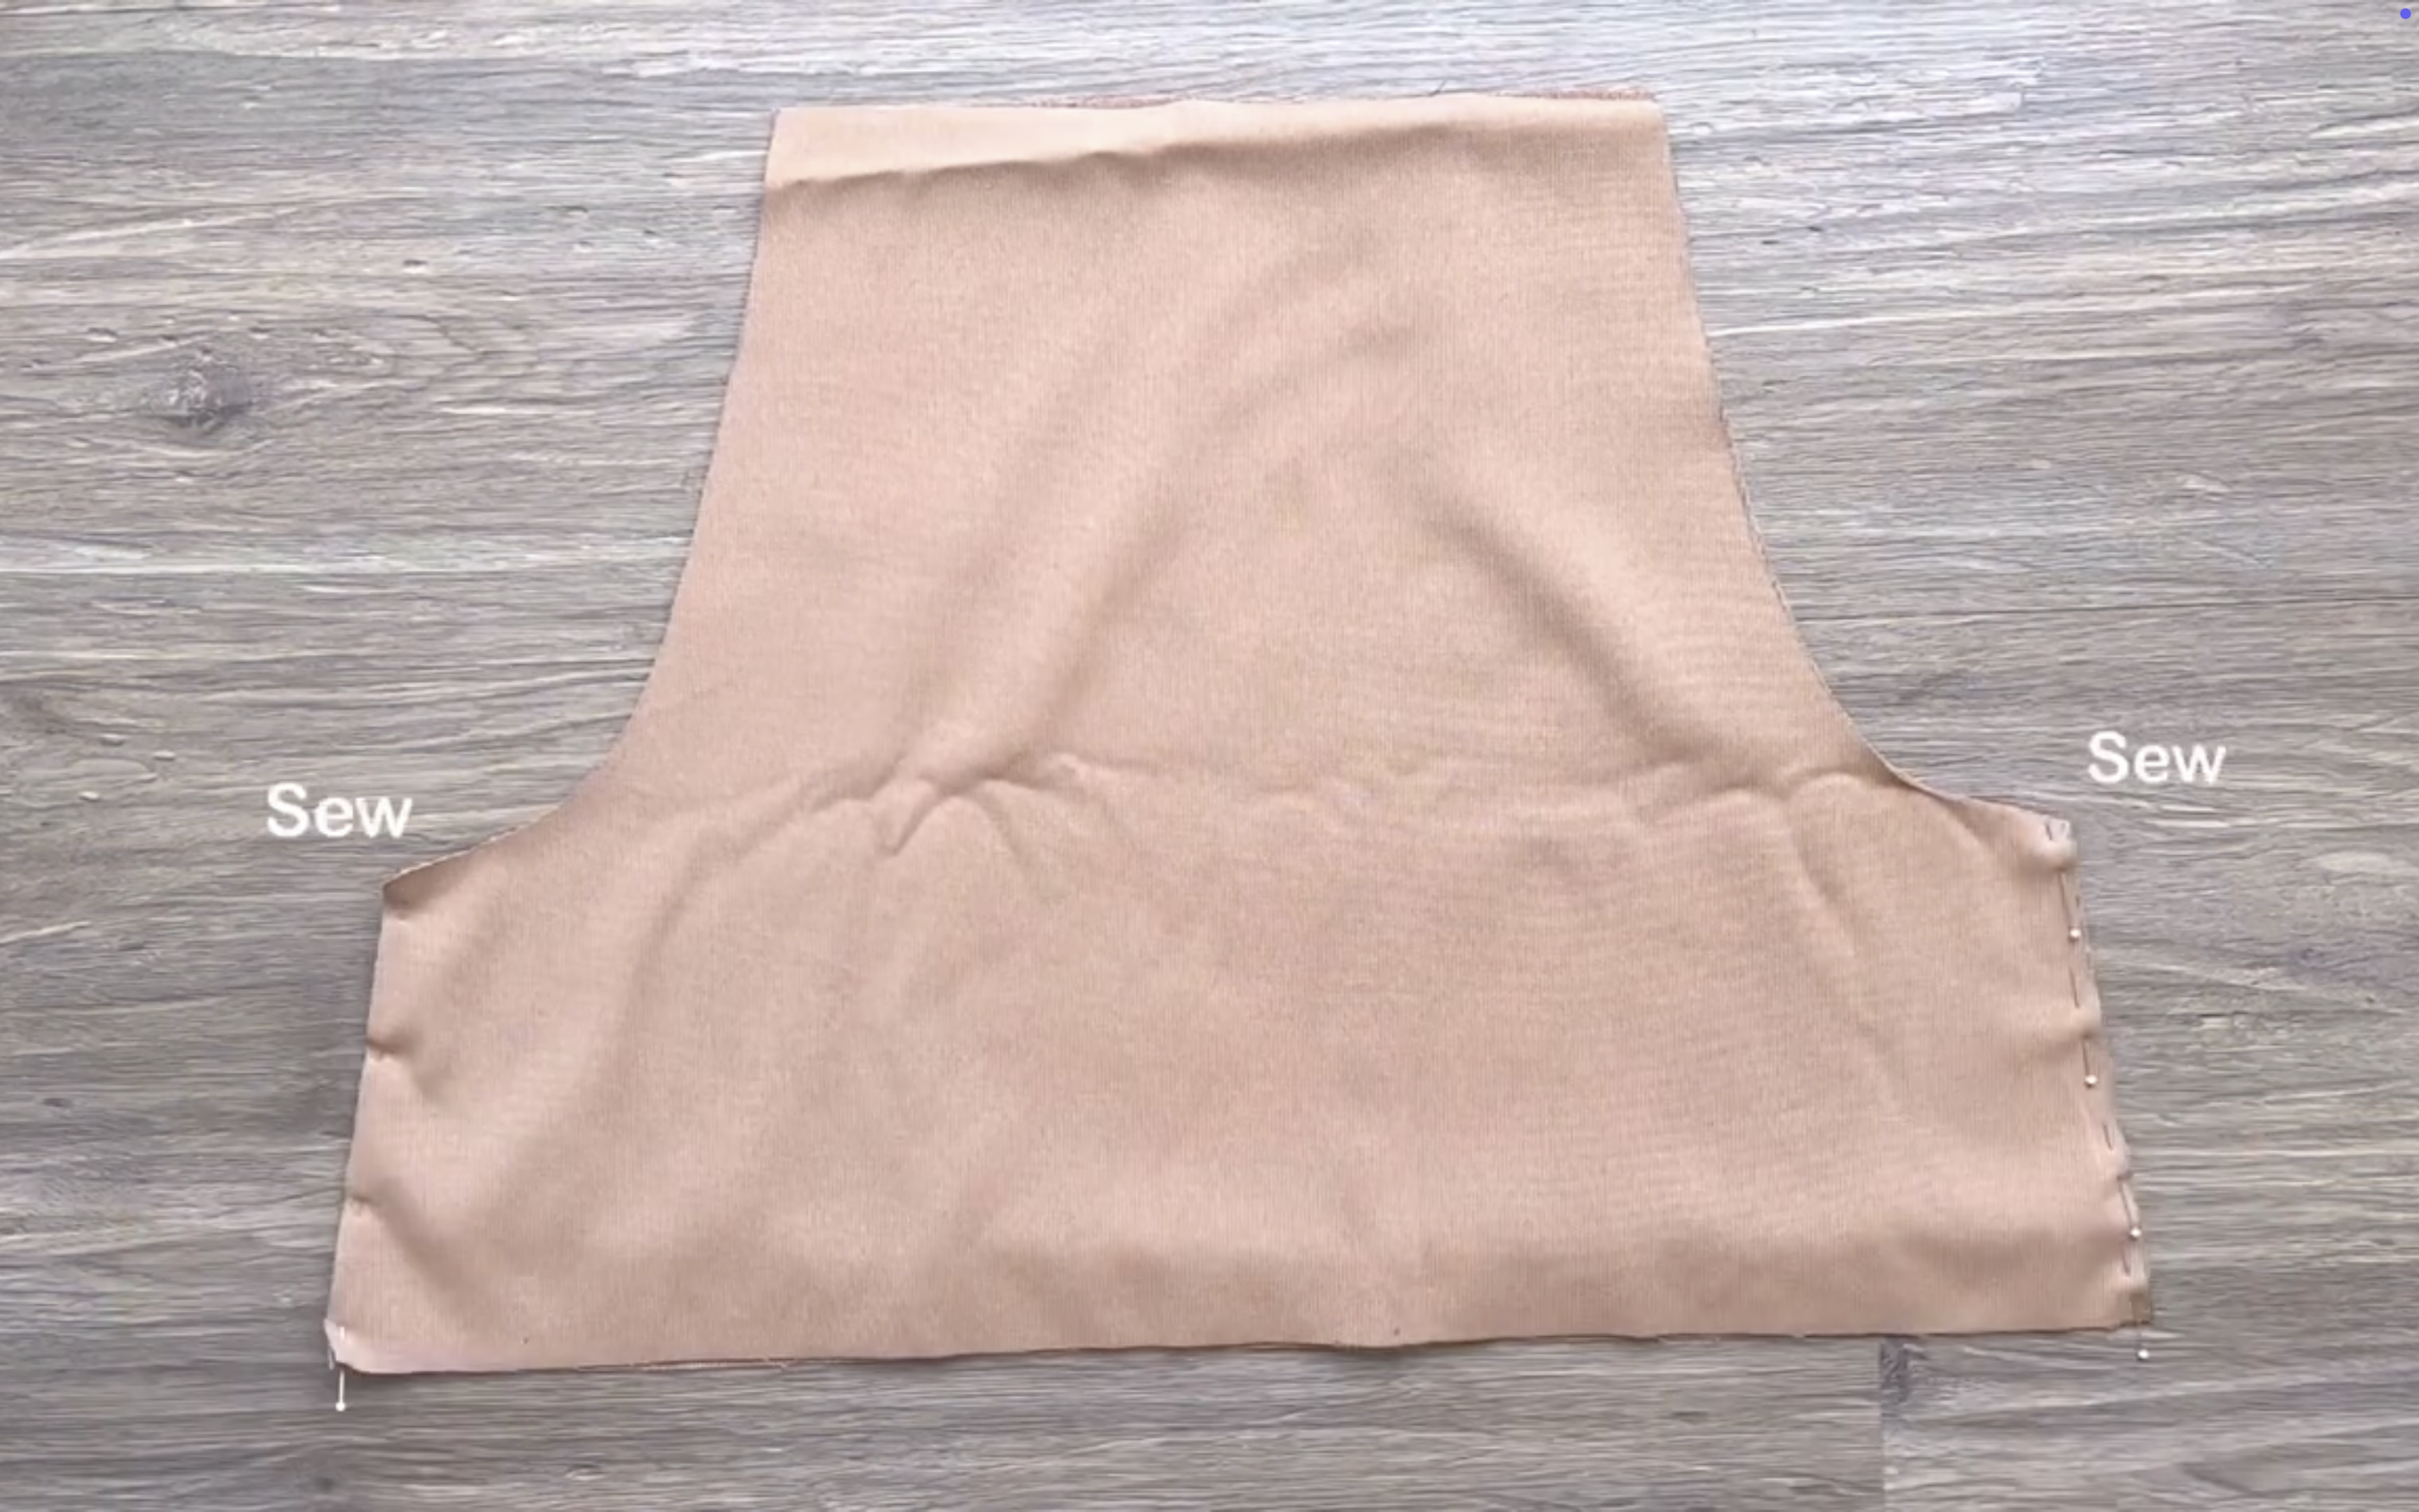
Connect the front and back pieces of the dress together along the two sides.
At the end of the dress, draw a line 8 cm above the edge.
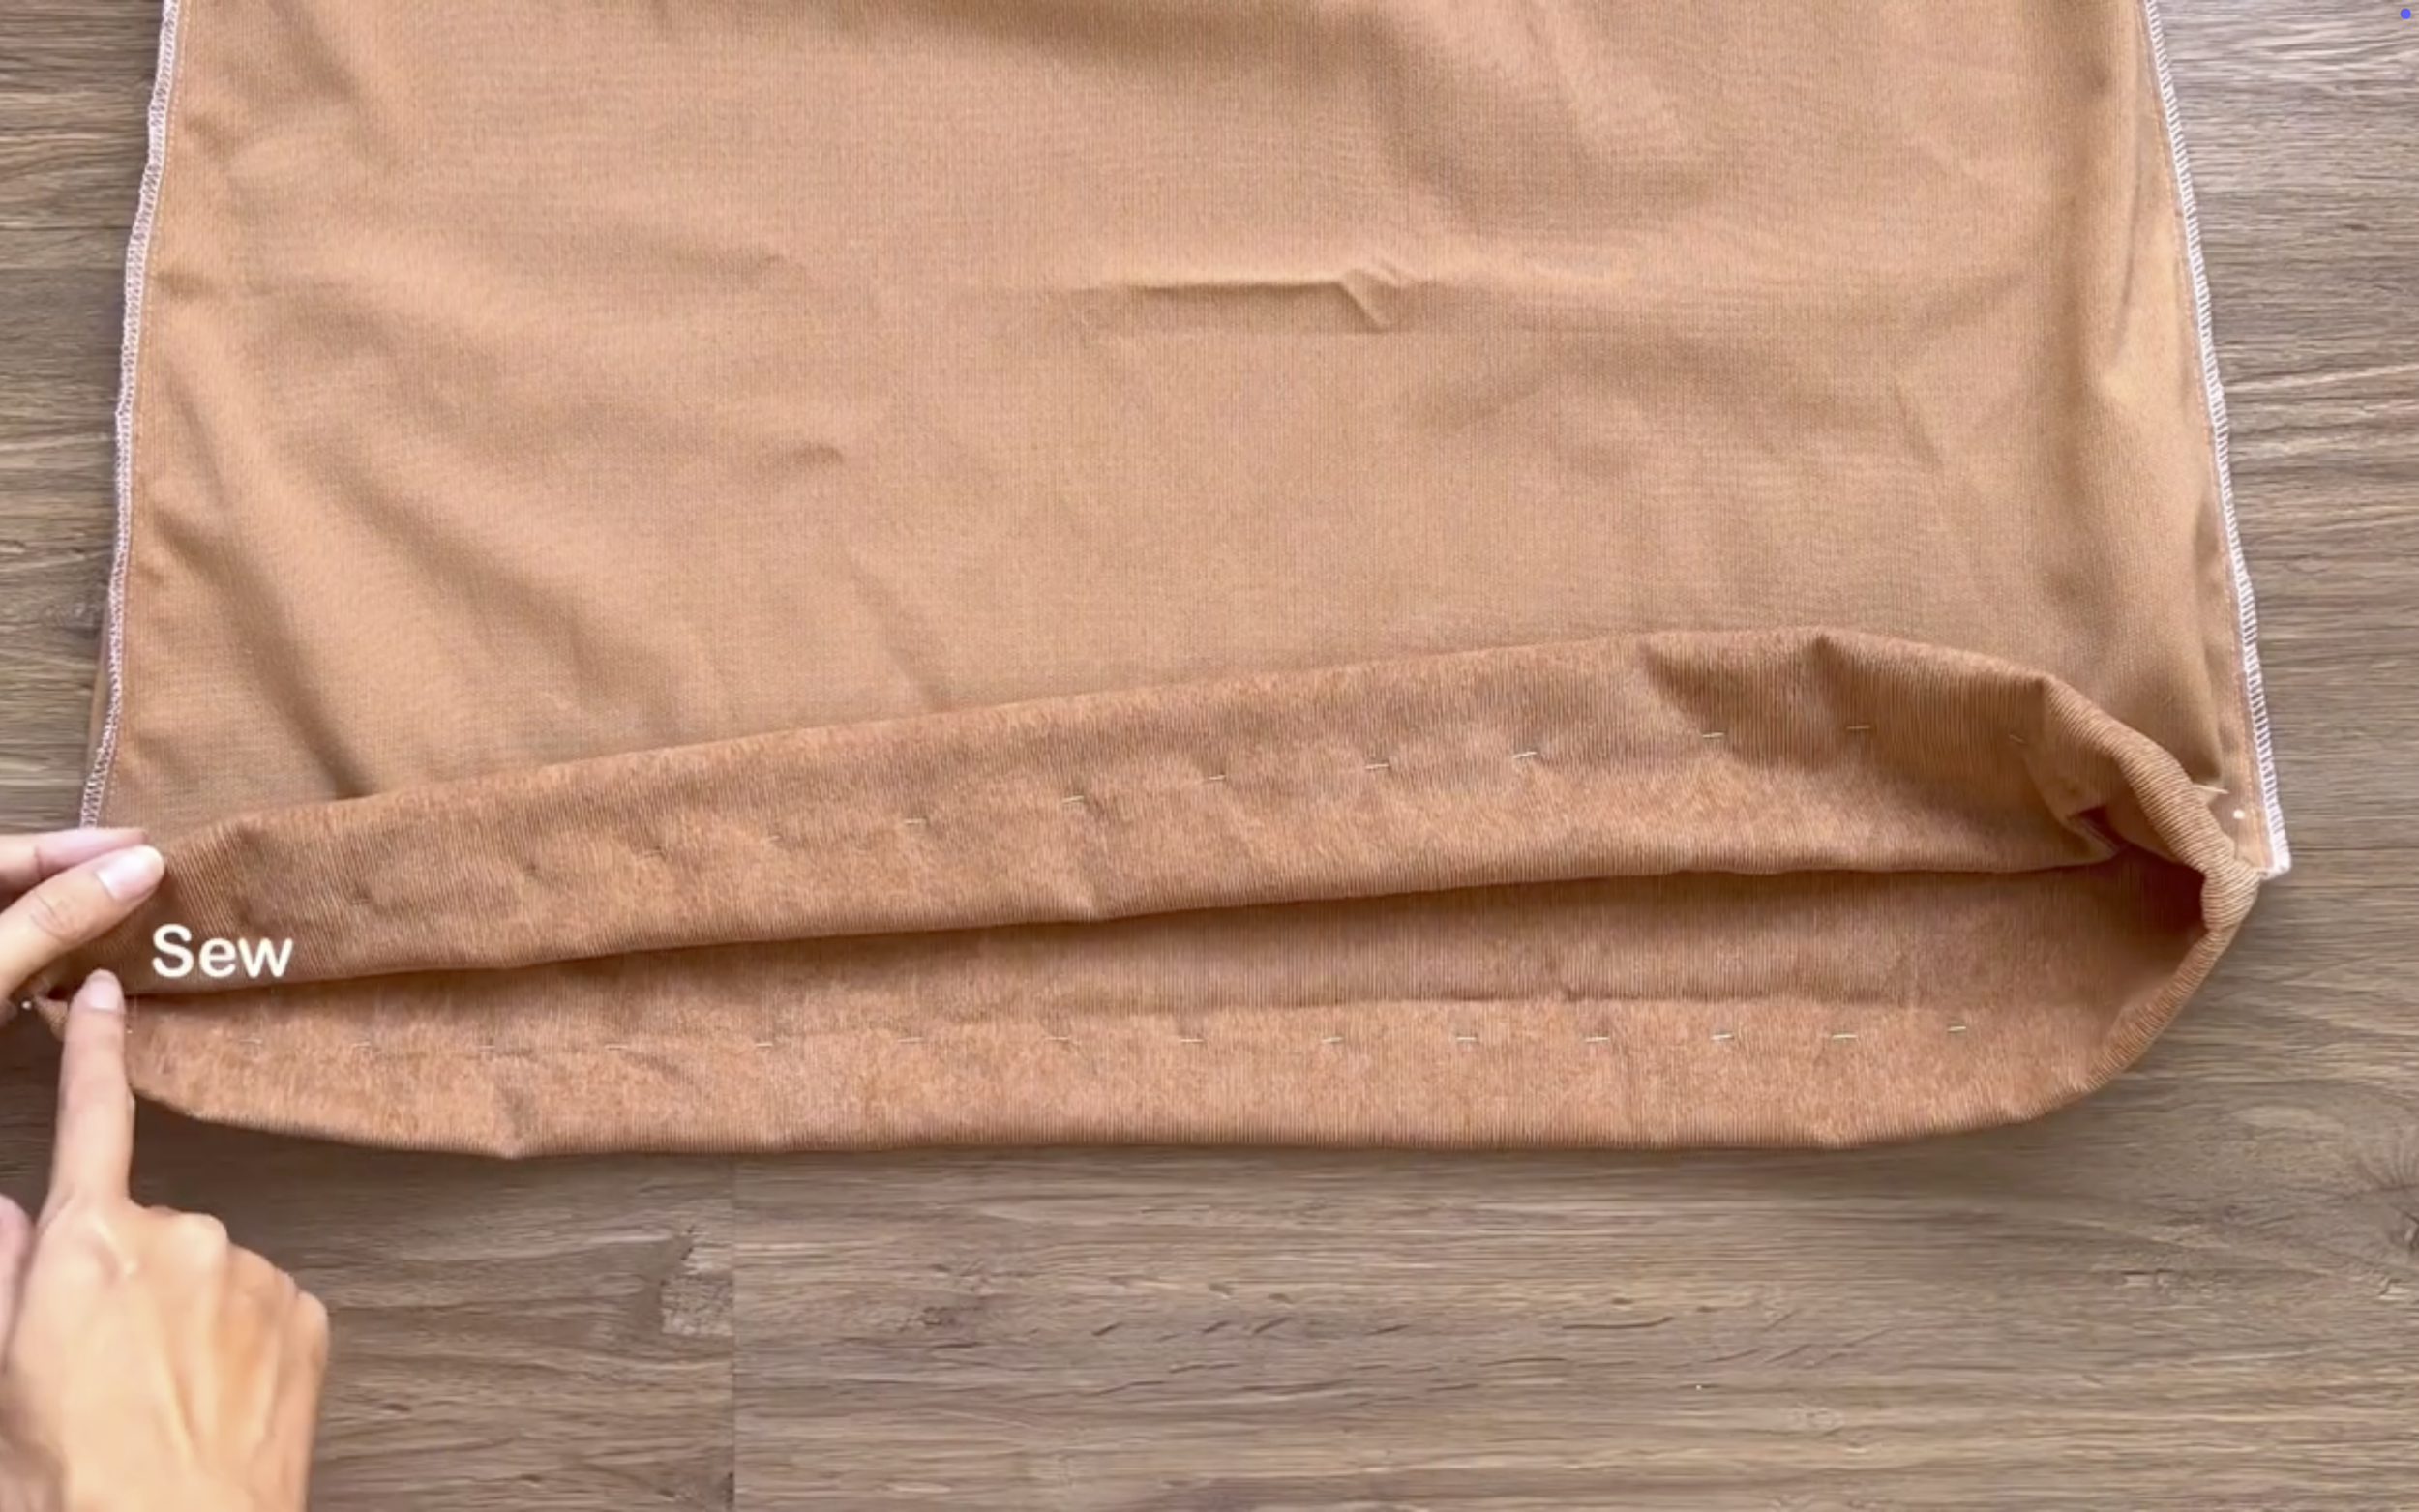
Fold the edge of the fabric inside around 1 cm first, then fold it to the line drawn earlier and sew to finish the edge of the dress.

Cut two pieces similar to the main dress but shorter to create the lining part of the dress. The length of these pieces will be 40 cm.
Connect the two sidelines of the lining part together and overlock the edge of the lining after that.

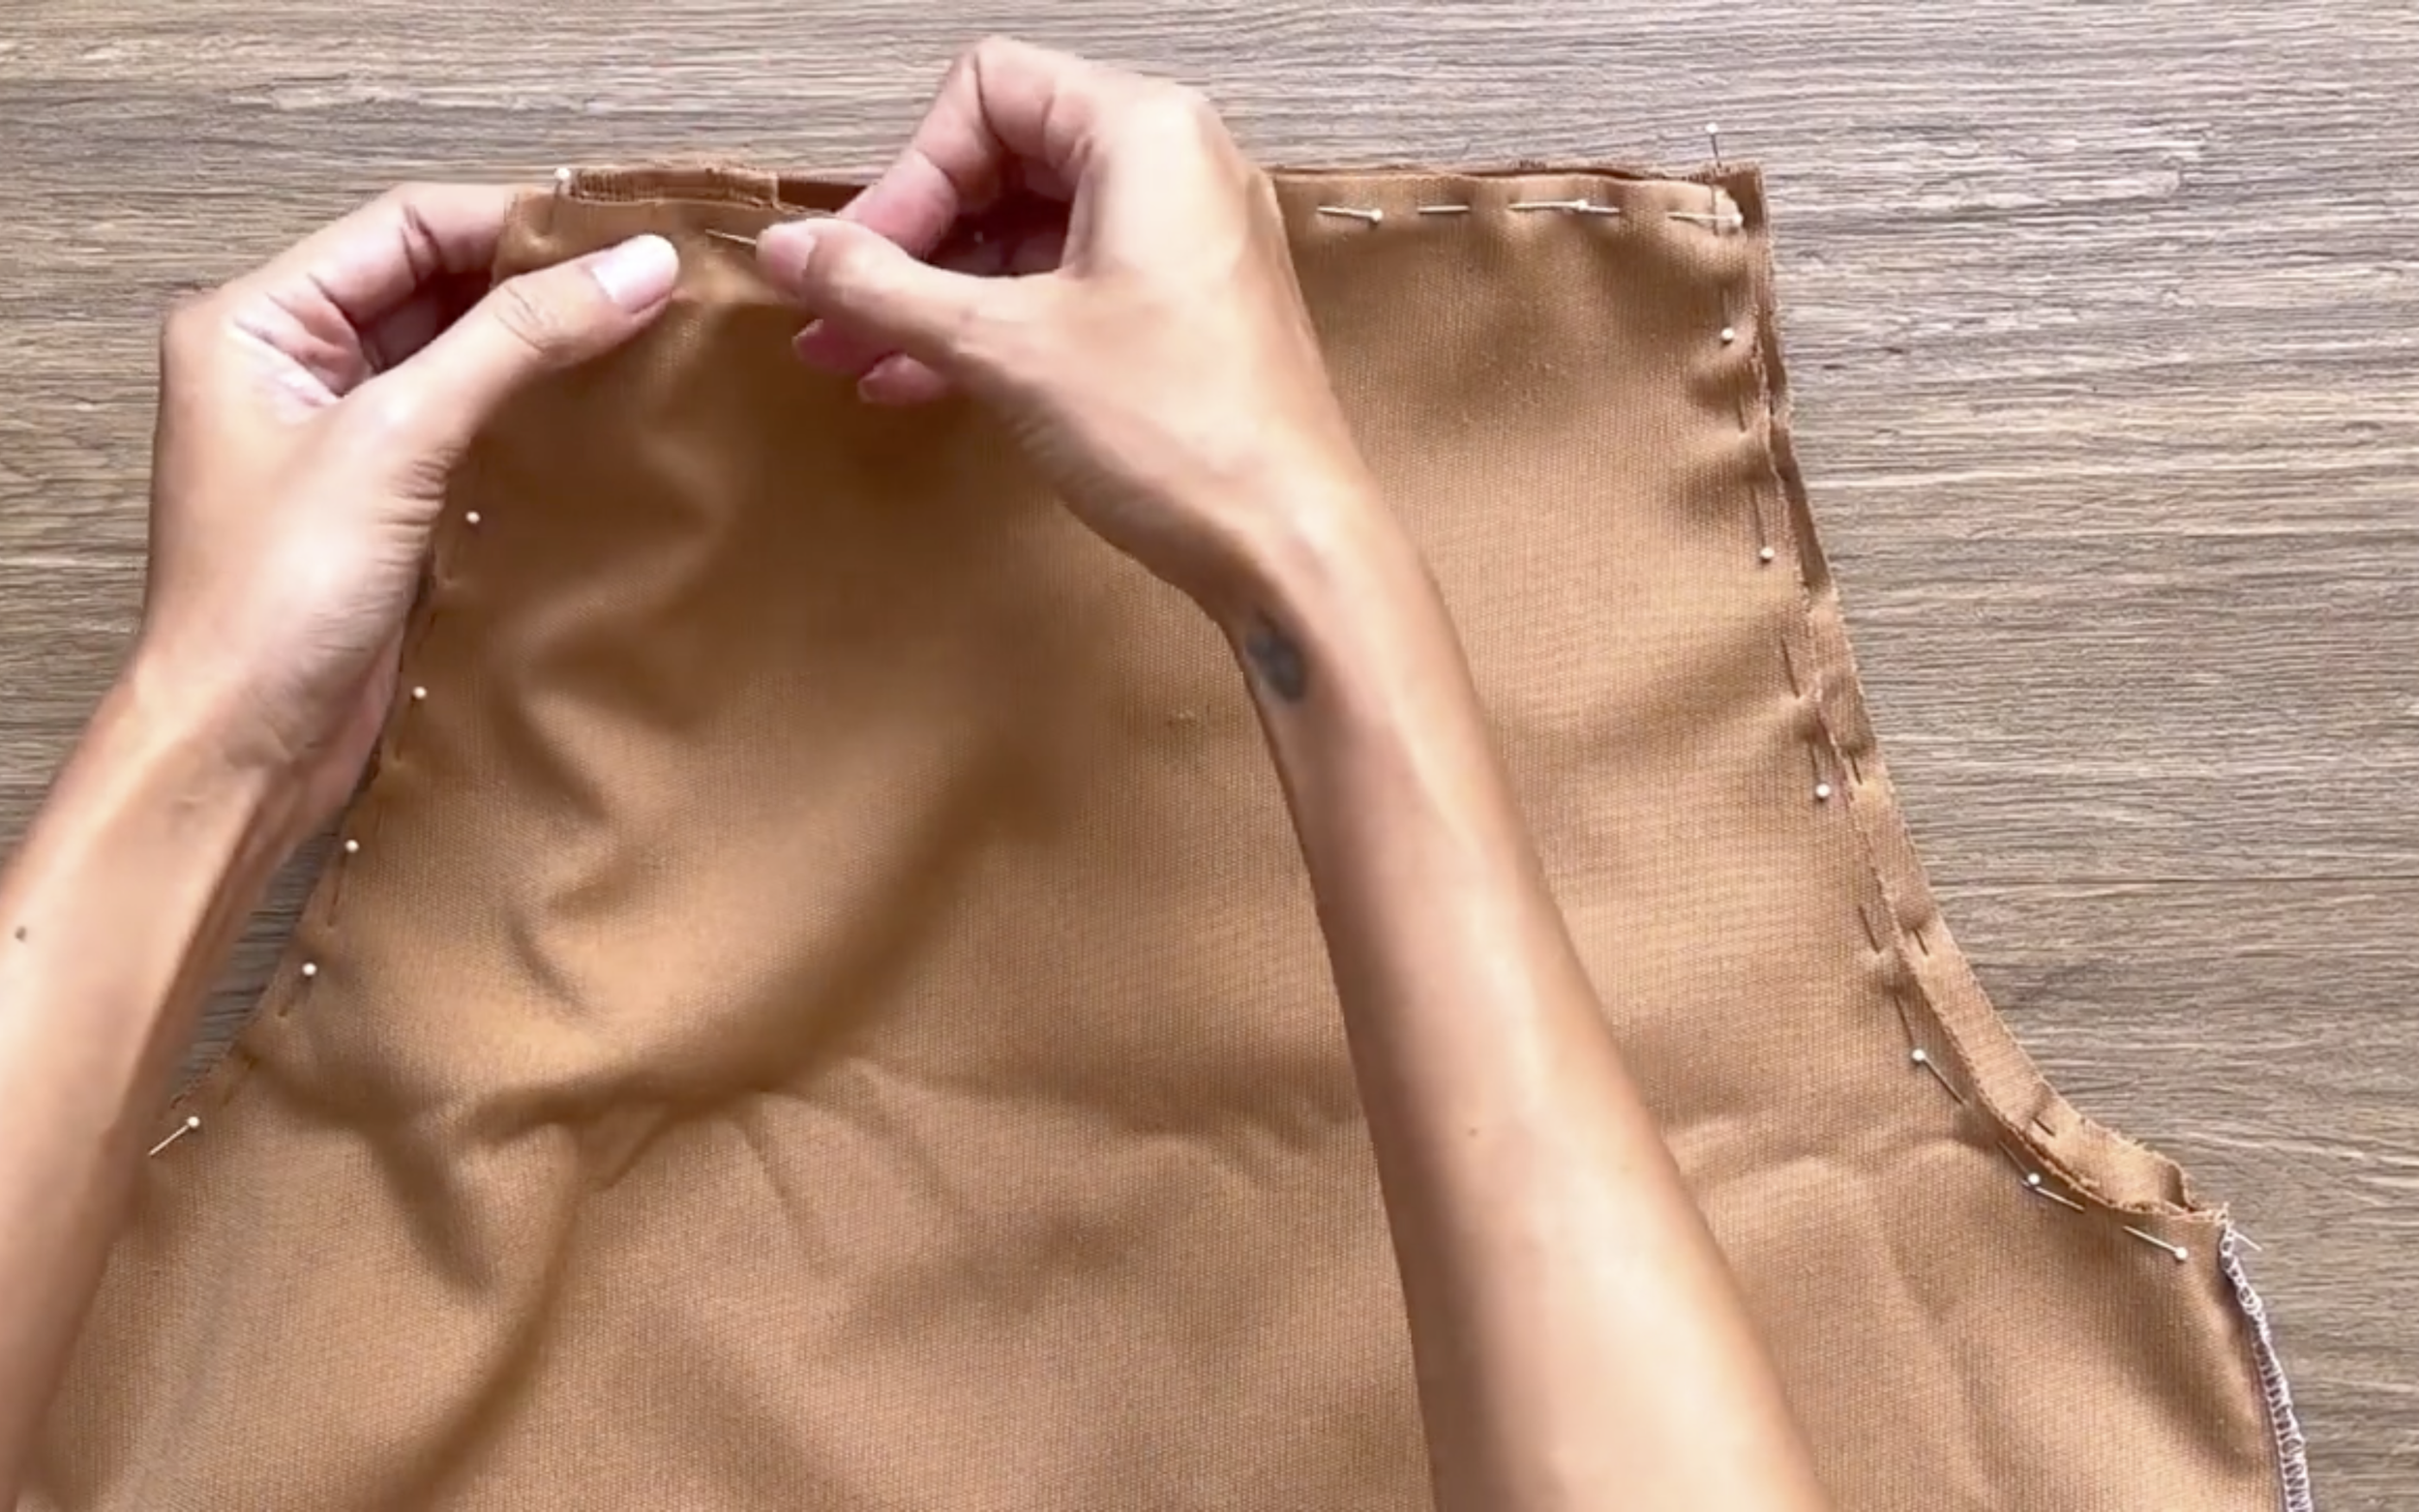
Connect the right side of the lining part to the right side of the dress at the top edge and the two top sidelines.
Before sewing, add the shoulder straps.
Cut two rectangles with 6 cm width, which is the width of the strap plus 2 cm for seam allowance, and 45 cm length, which is the length of the strap from the front to the back plus 5 cm.
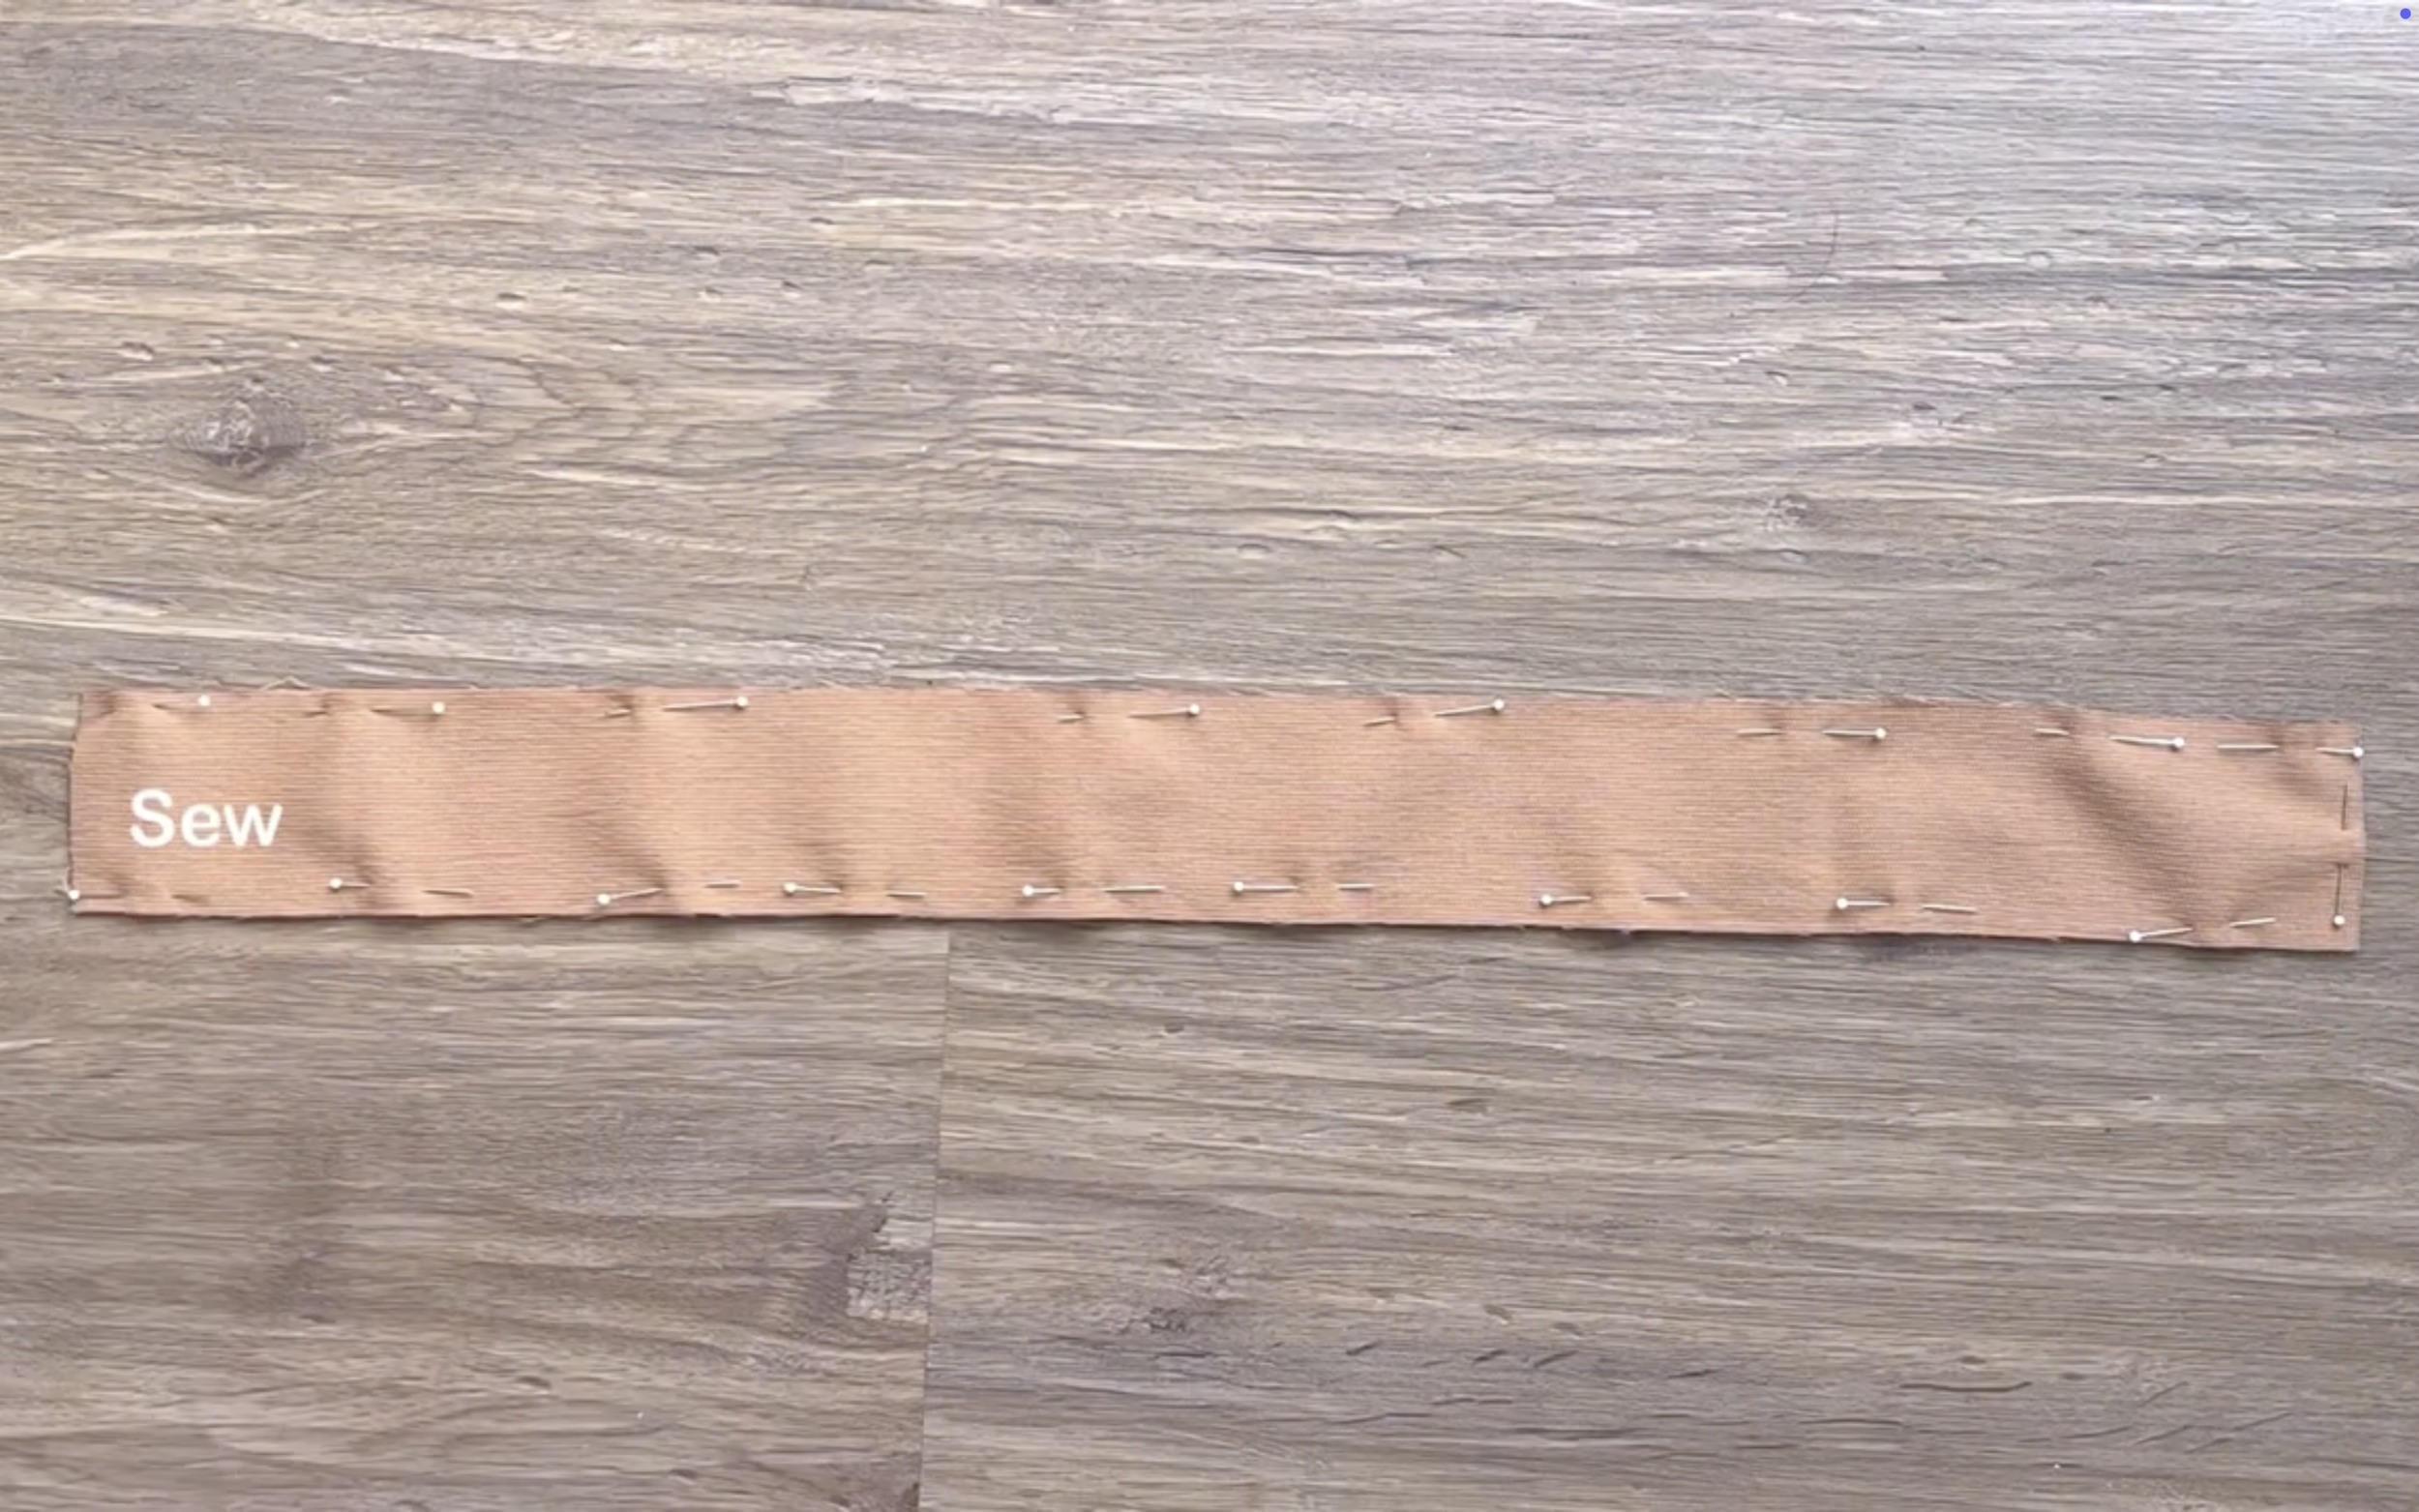
Connect the two rectangles along their length and one width side first.
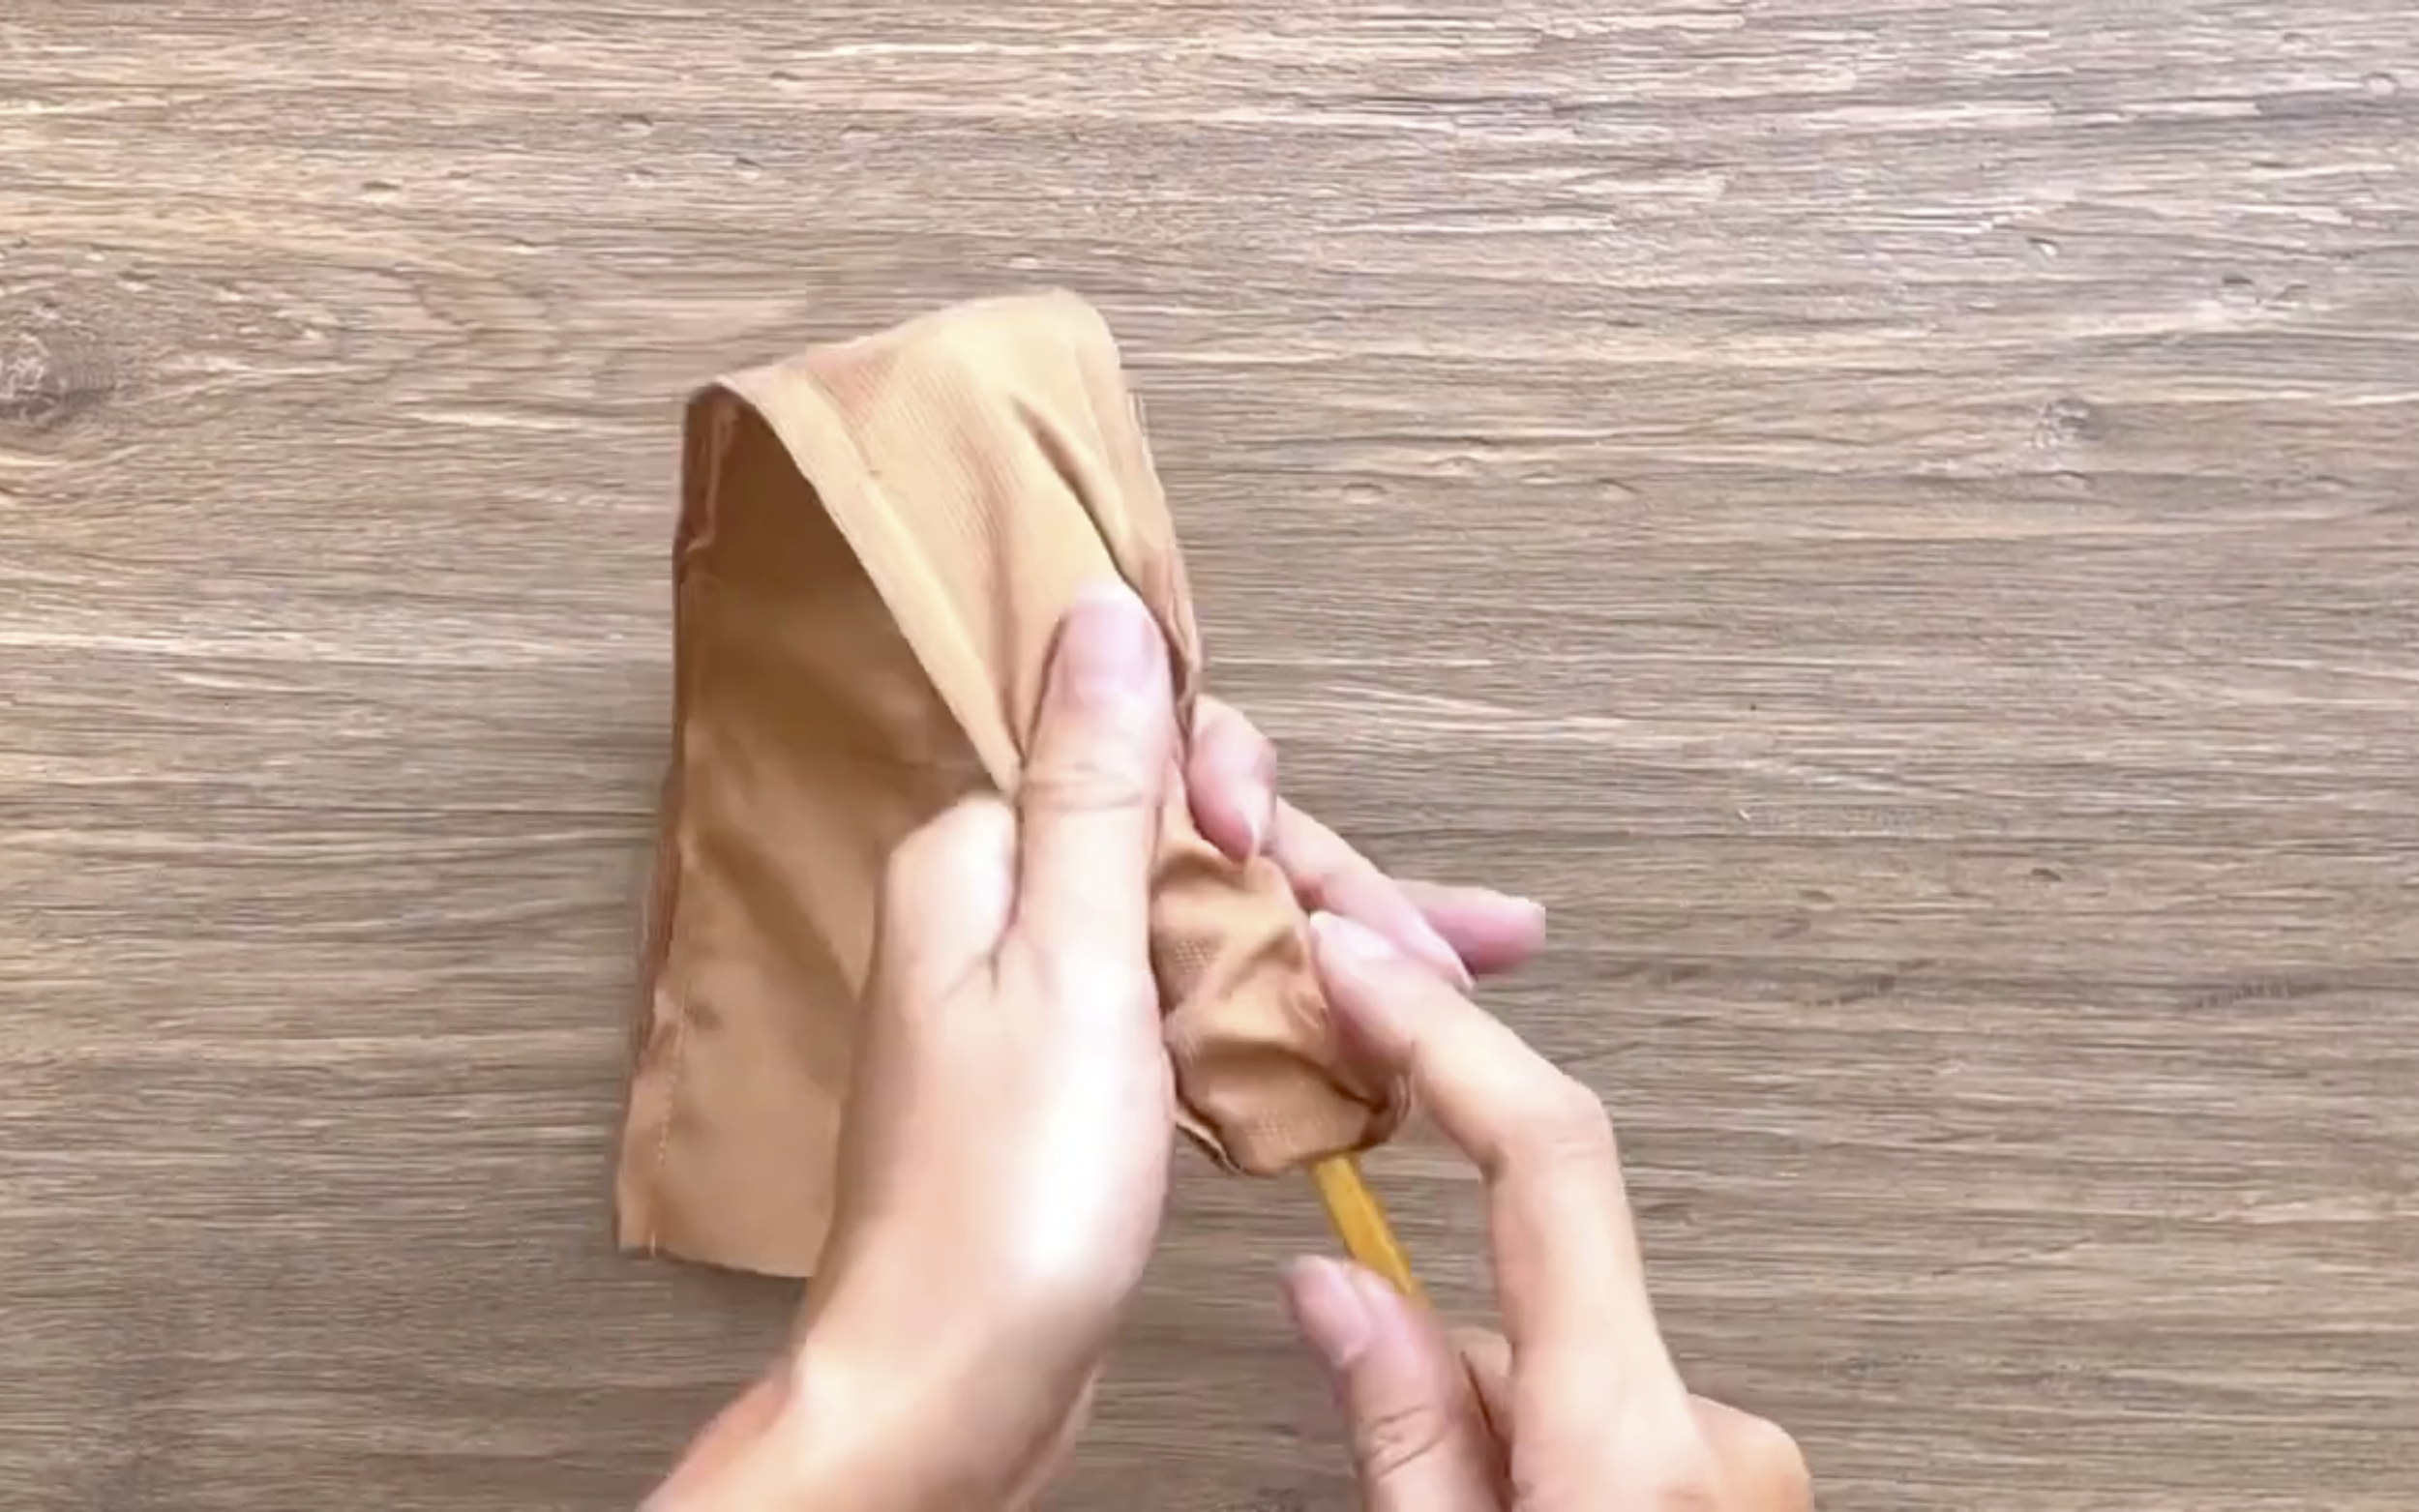
After sewing, turn the straps to hide the seams inside.
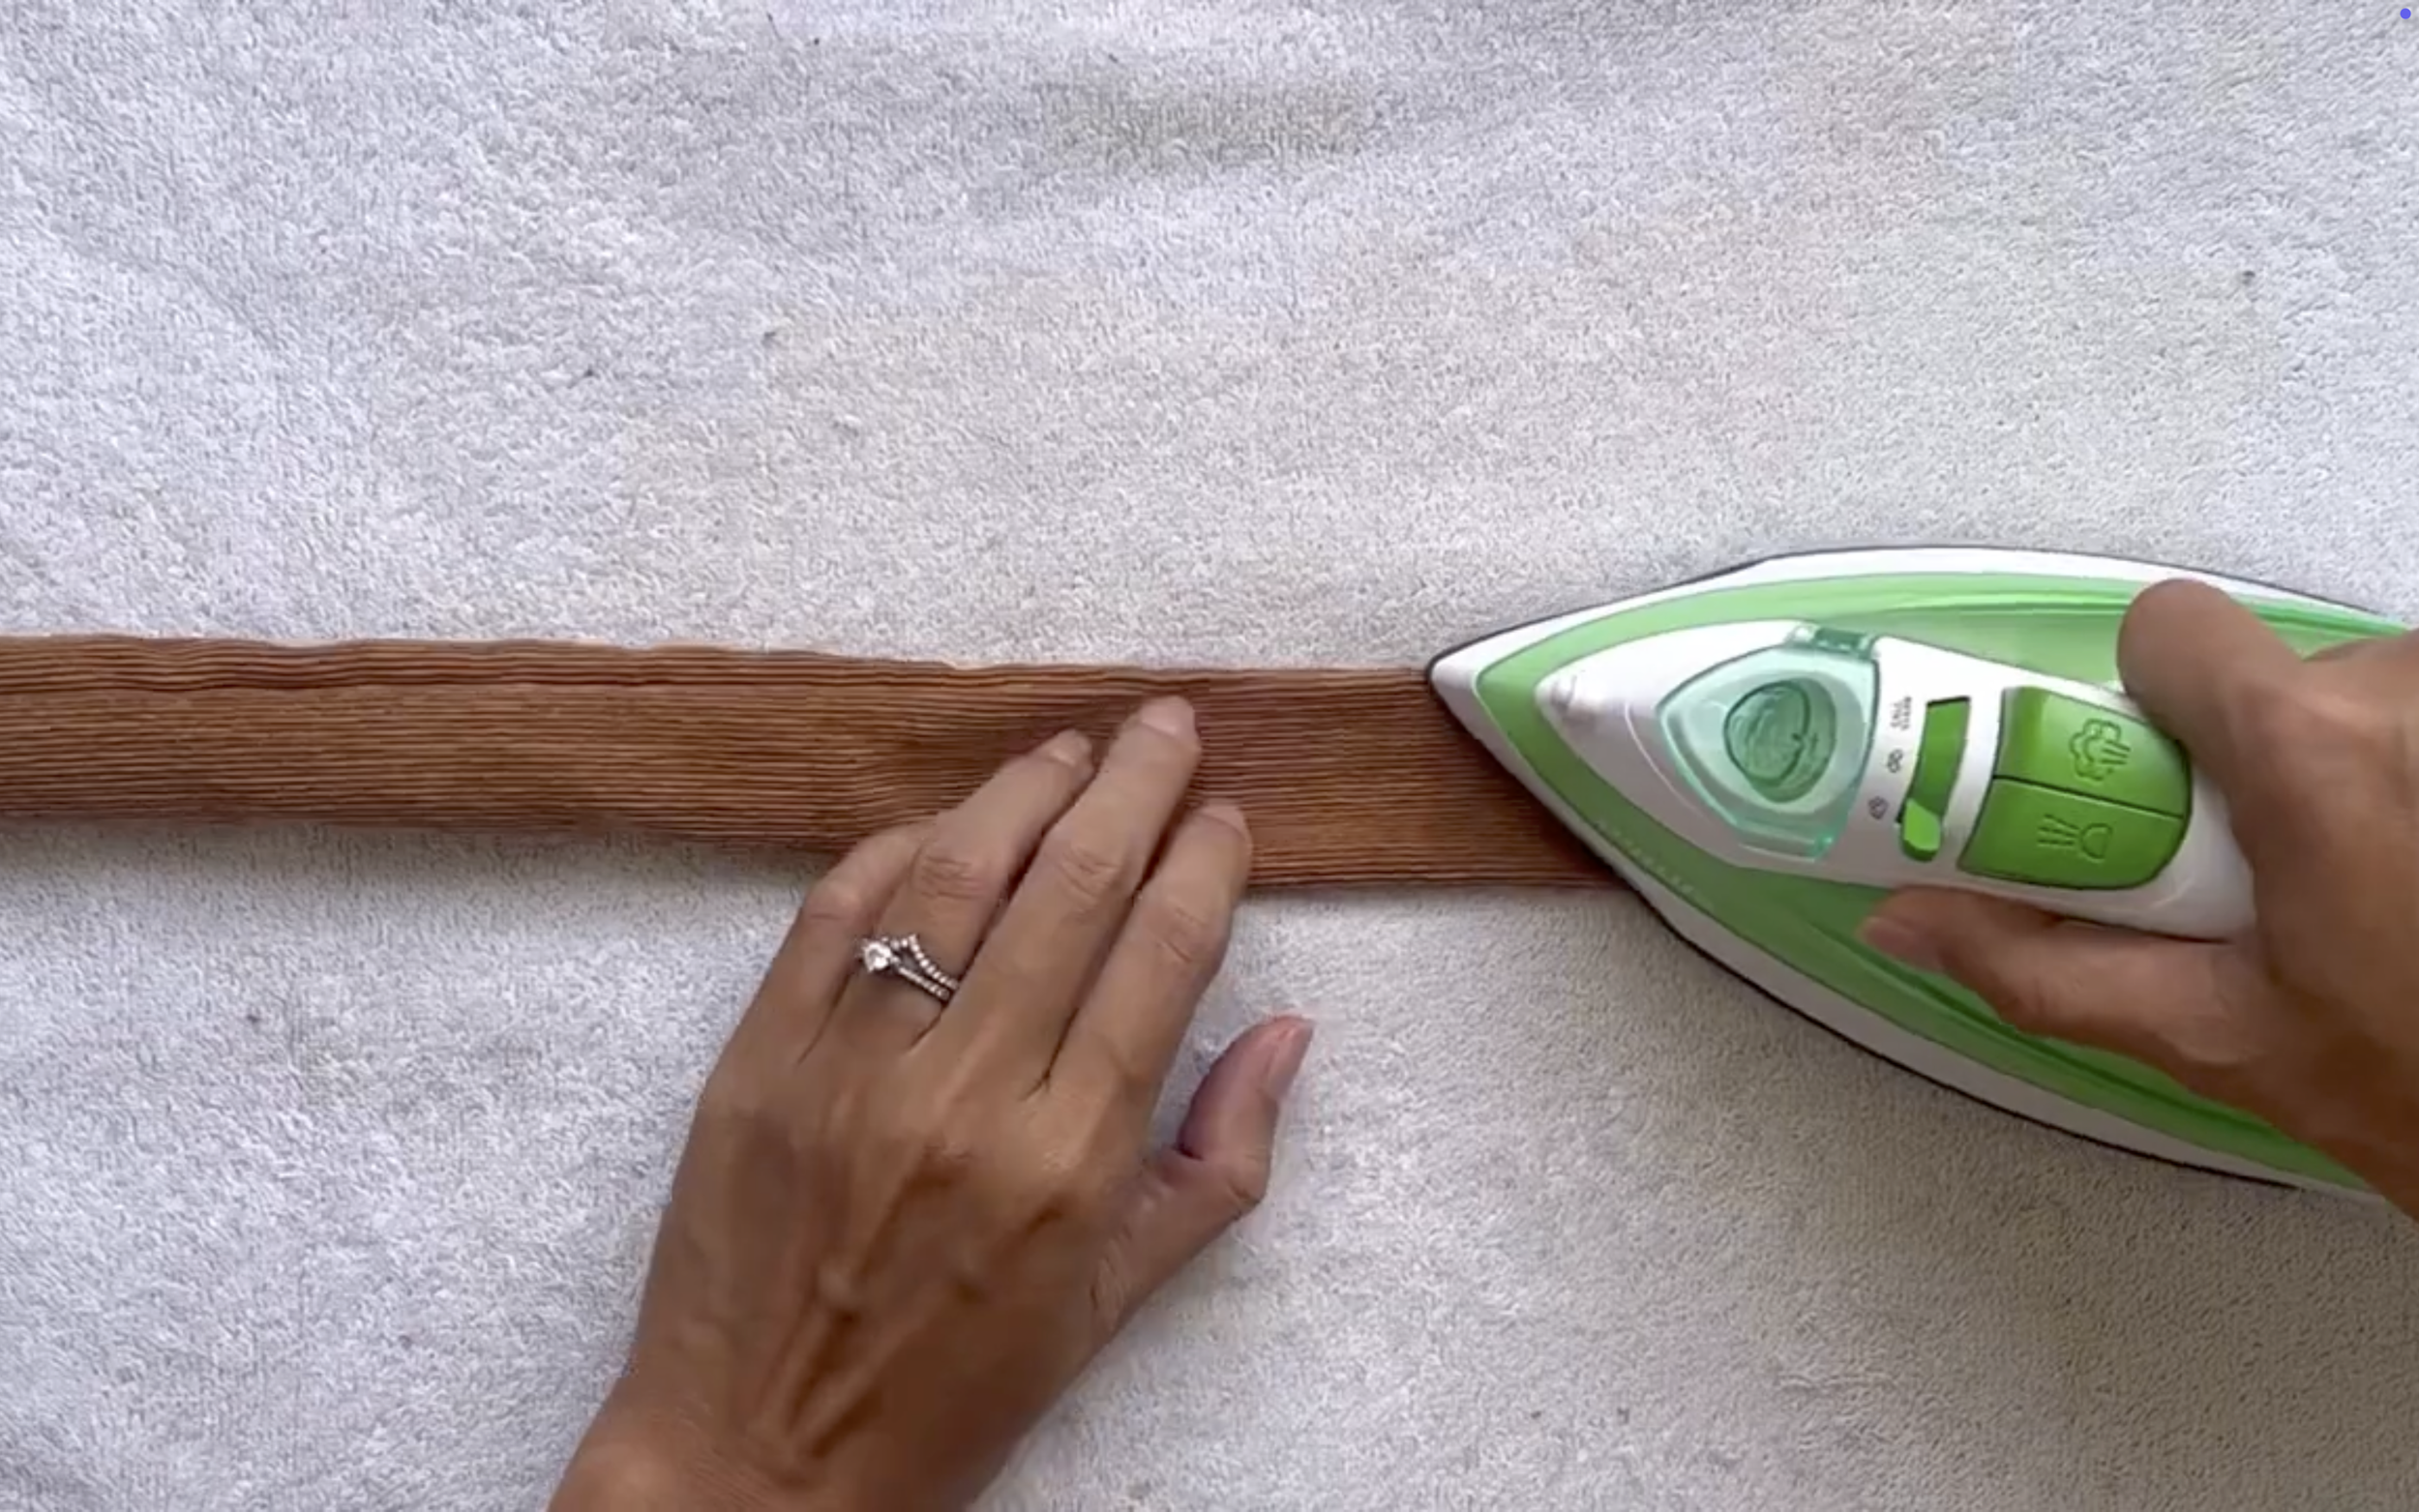
Use an iron to set the folds and make the straps neater.
Make two straps like this.
At the back of the dress, add one end of the strap to one end of the top edge of the dress.
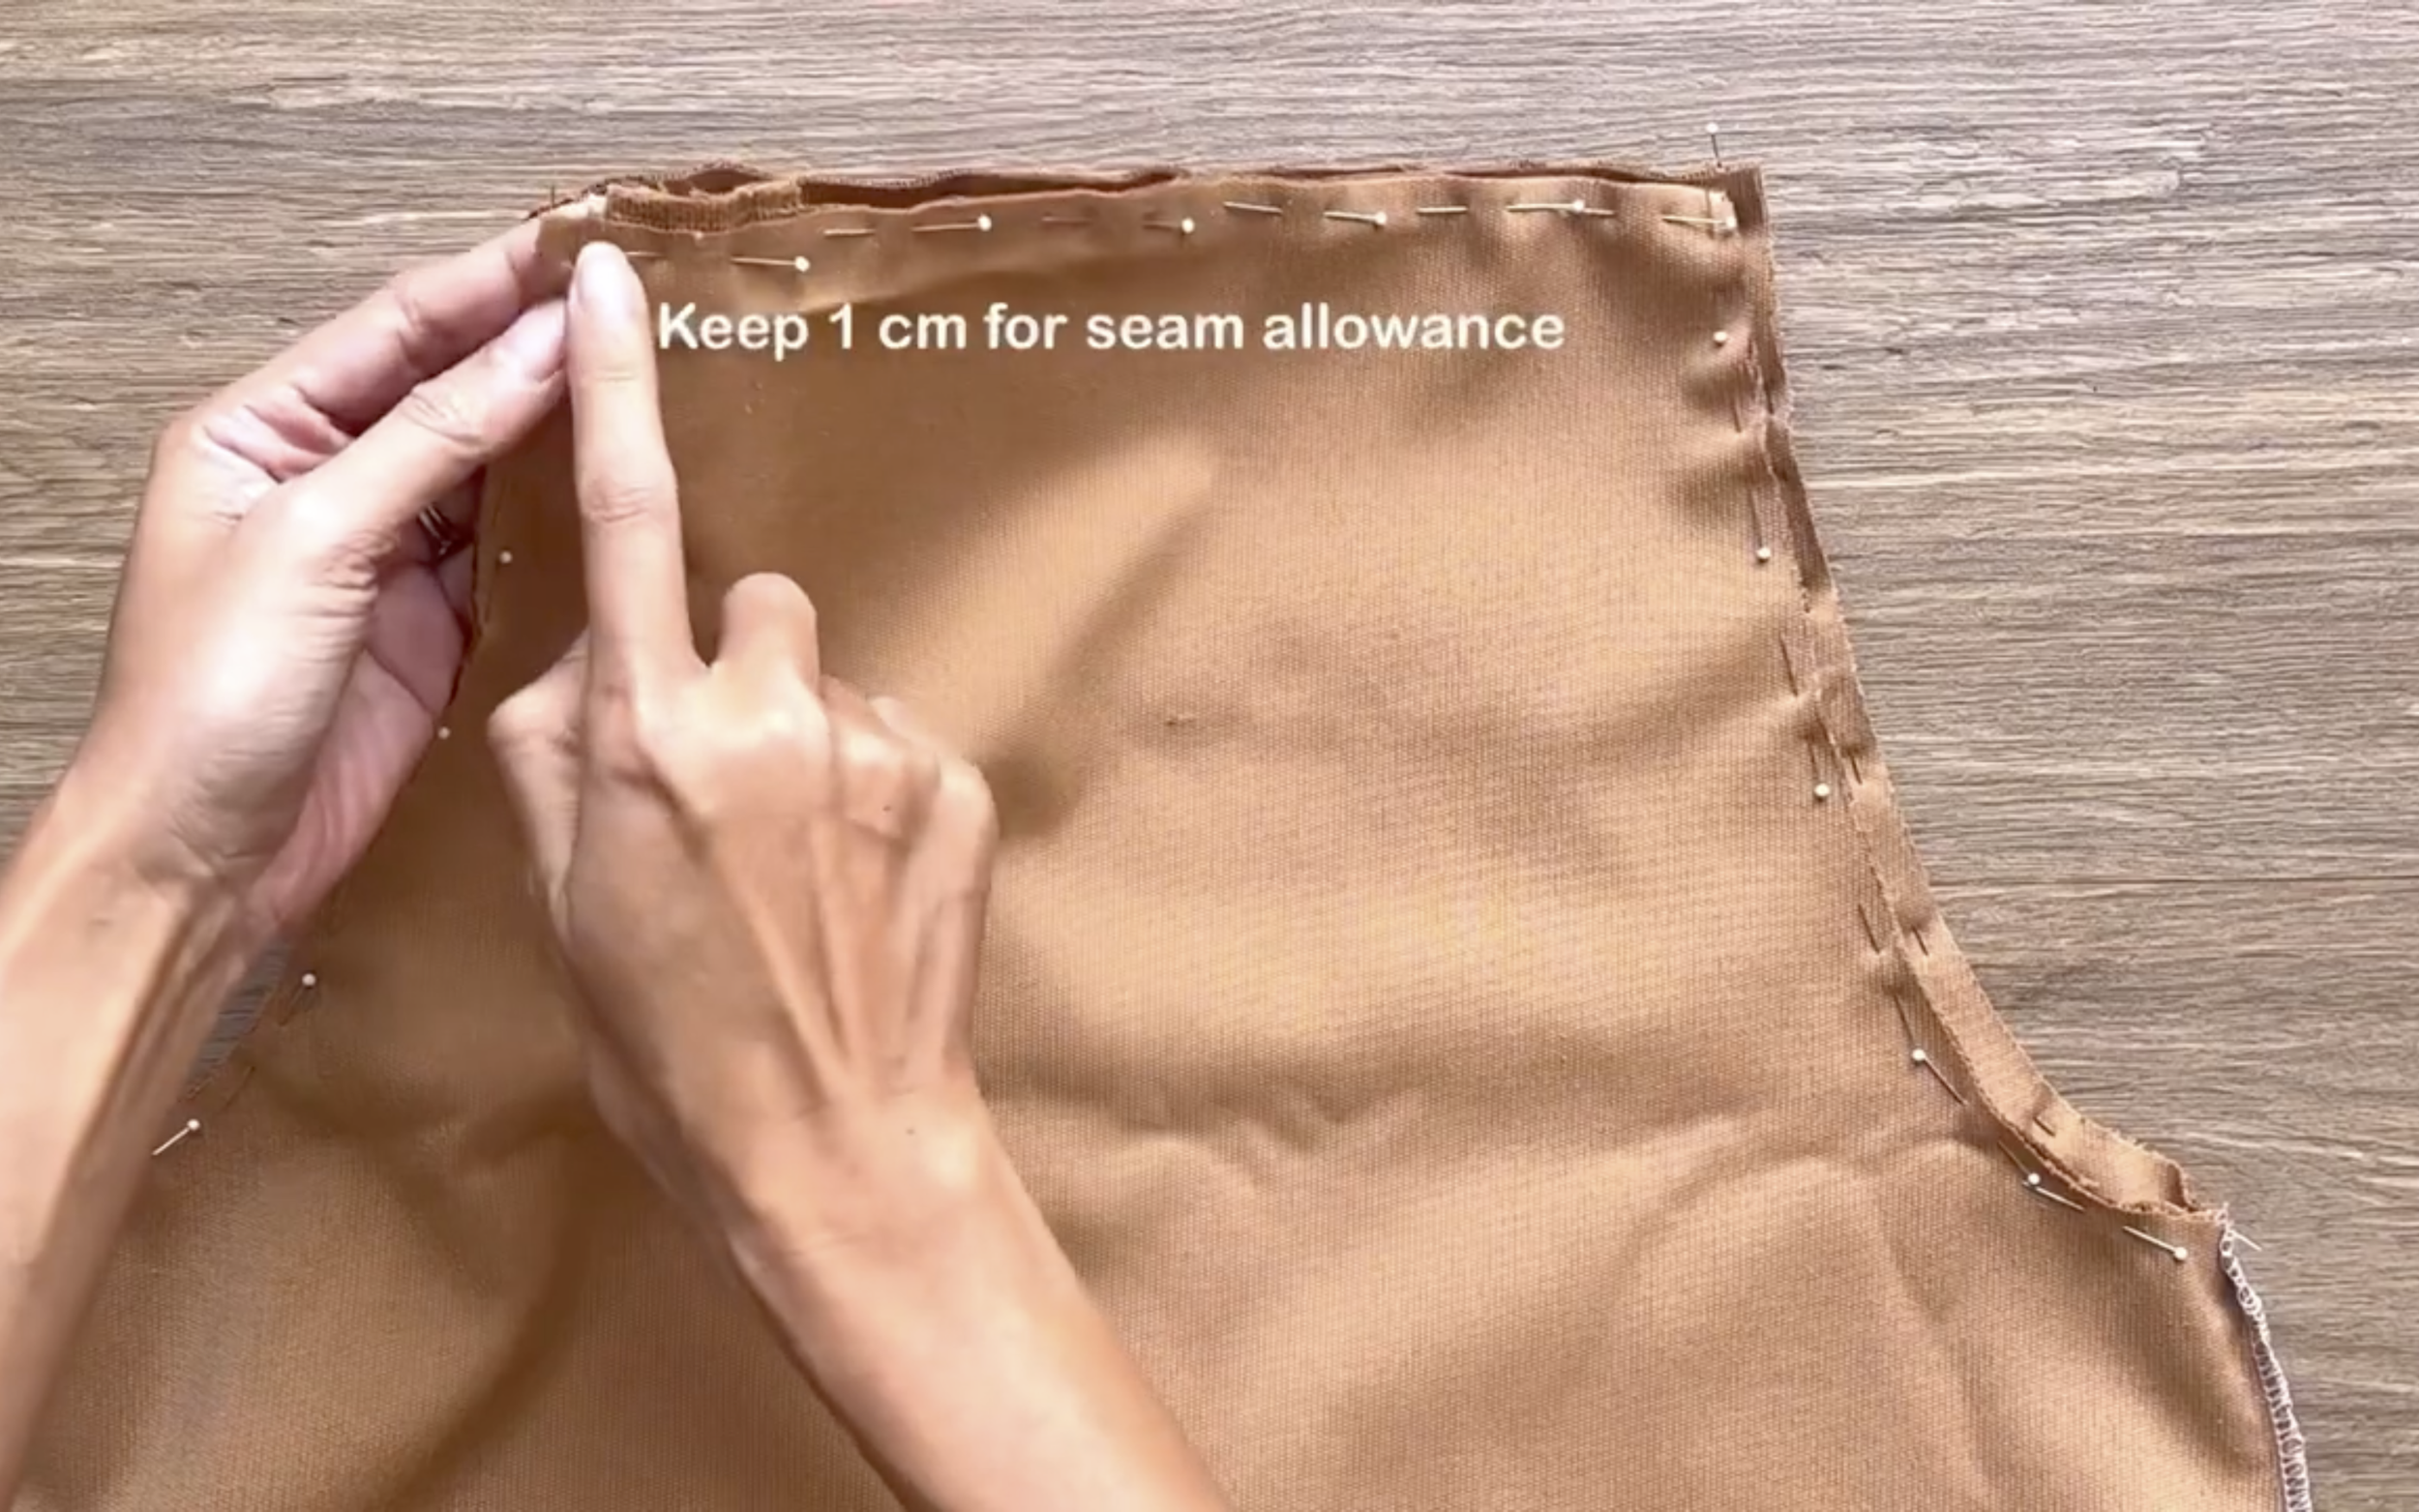
Leave 1 cm extra for seam allowance, and ensure the strap is positioned between the dress and the lining.
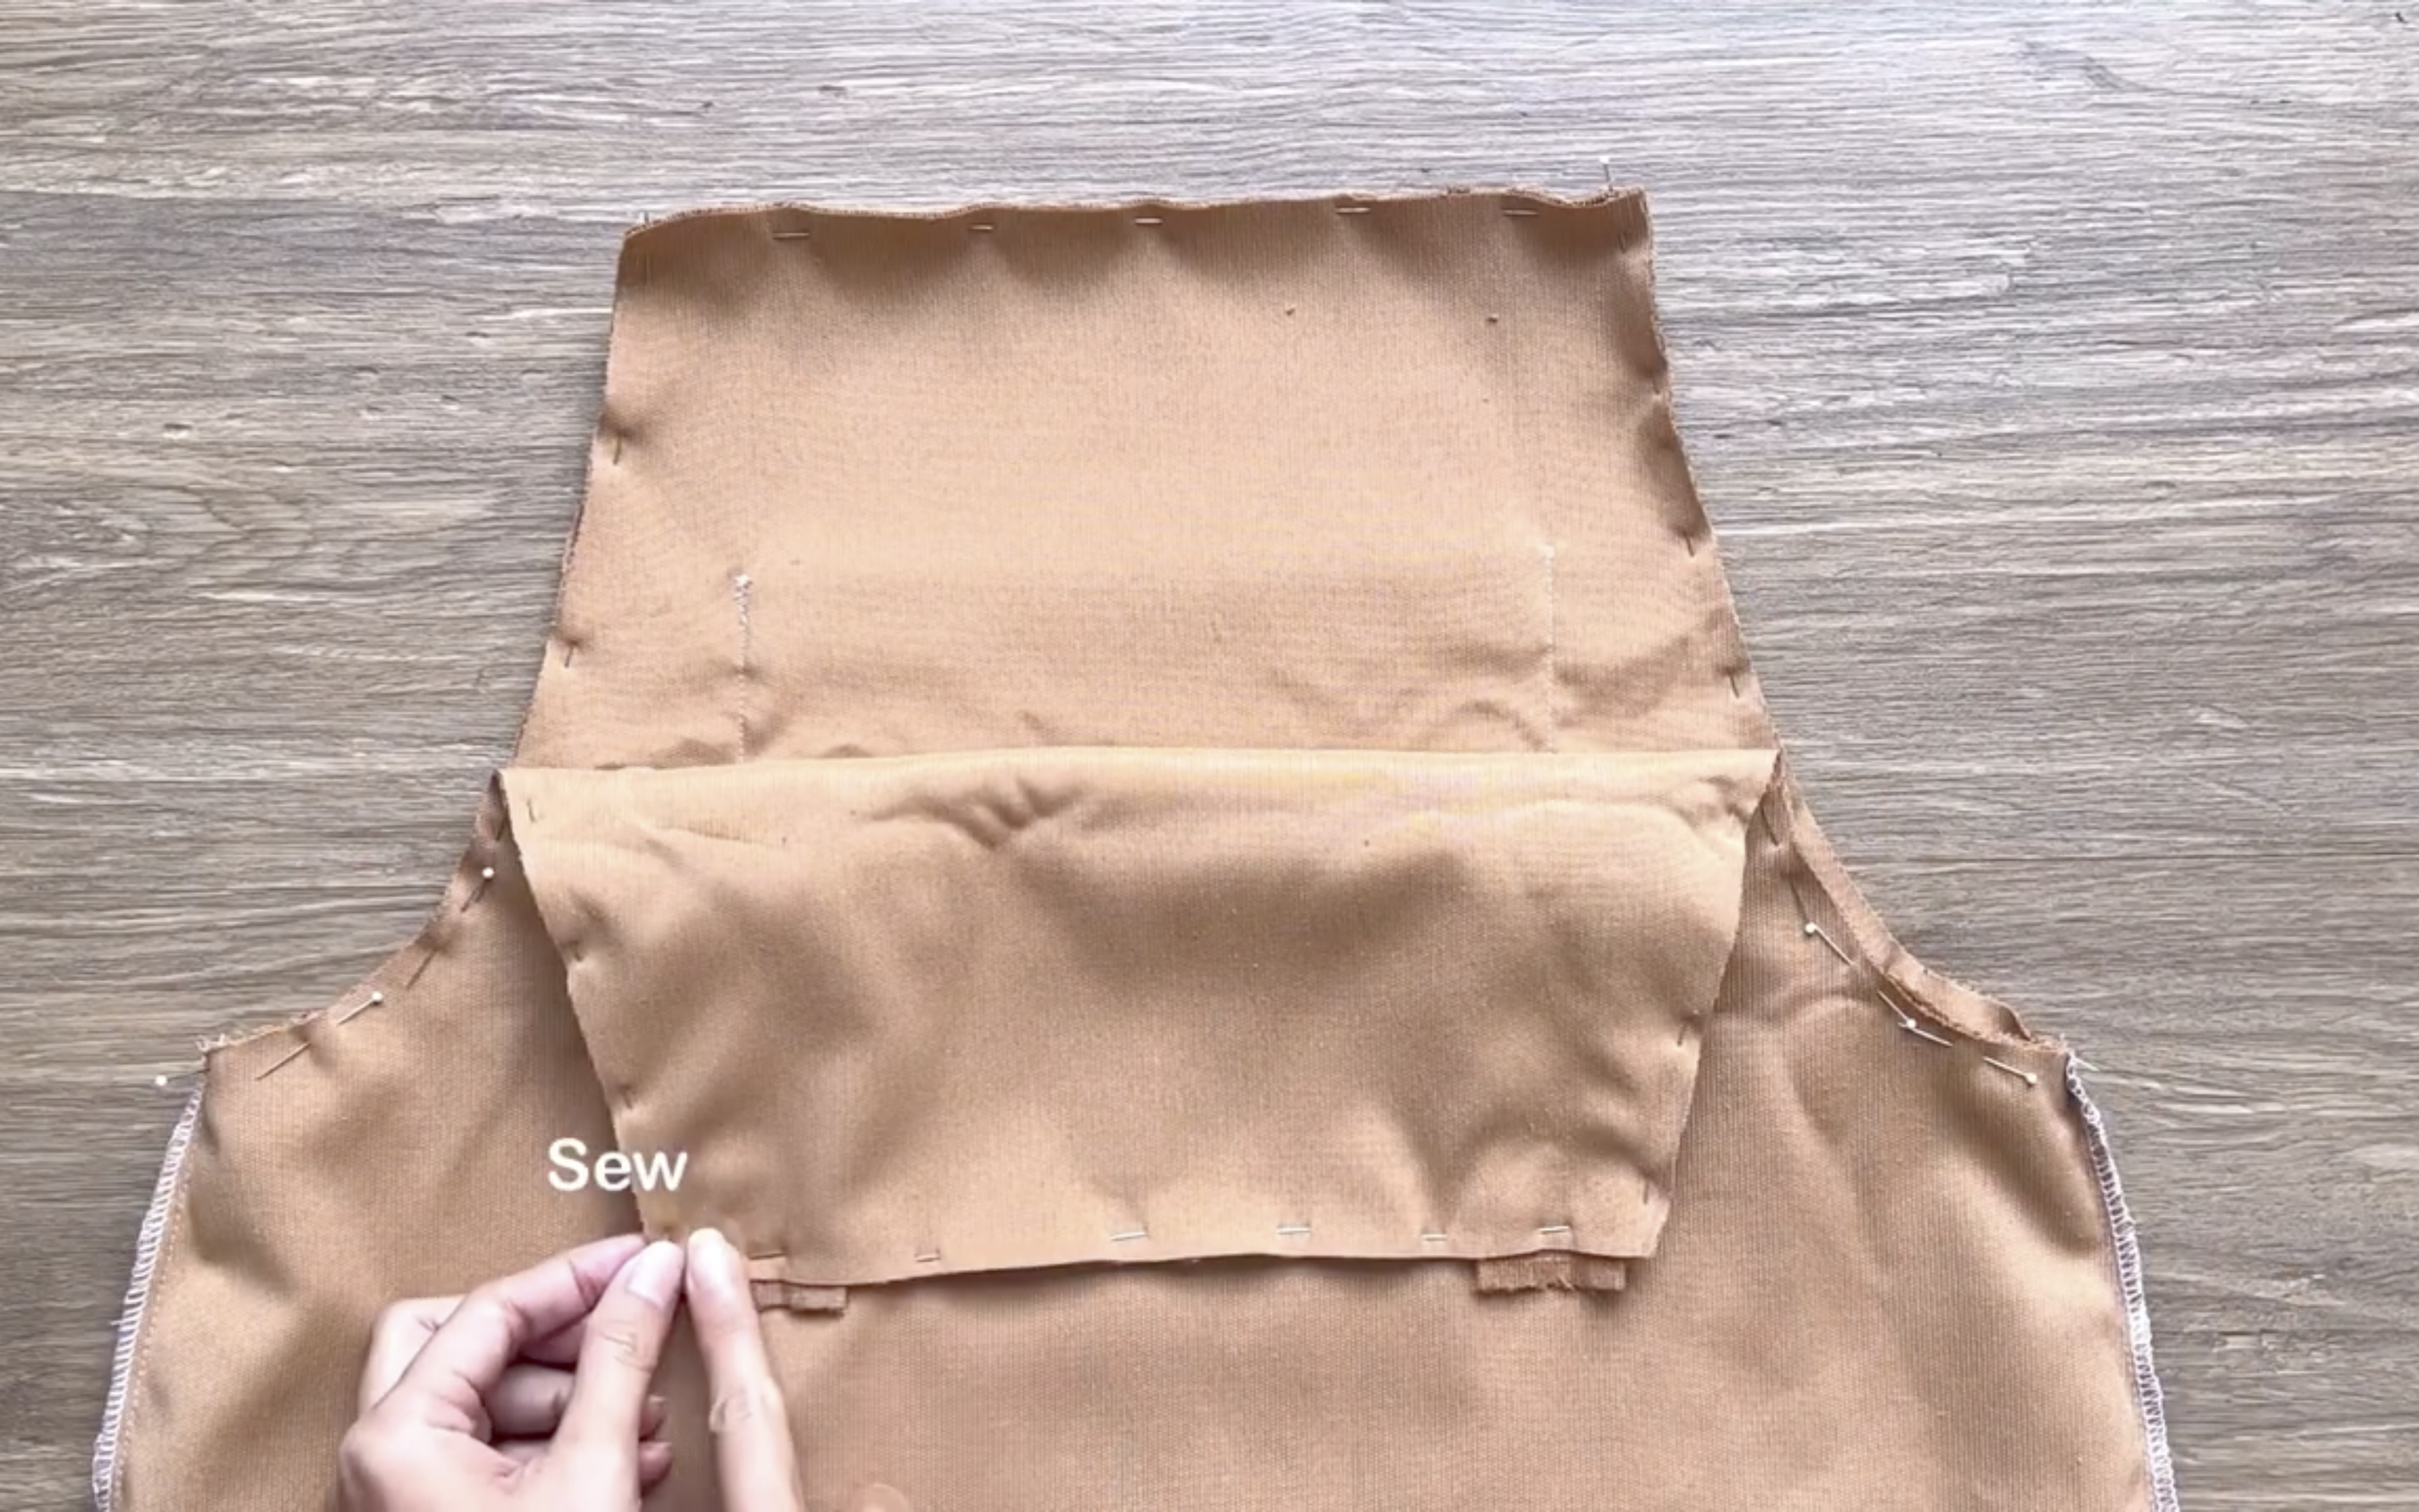
Sew them together.
After sewing, turn the lining part inside out and make an over-stitch seam to secure everything and hide the edges.
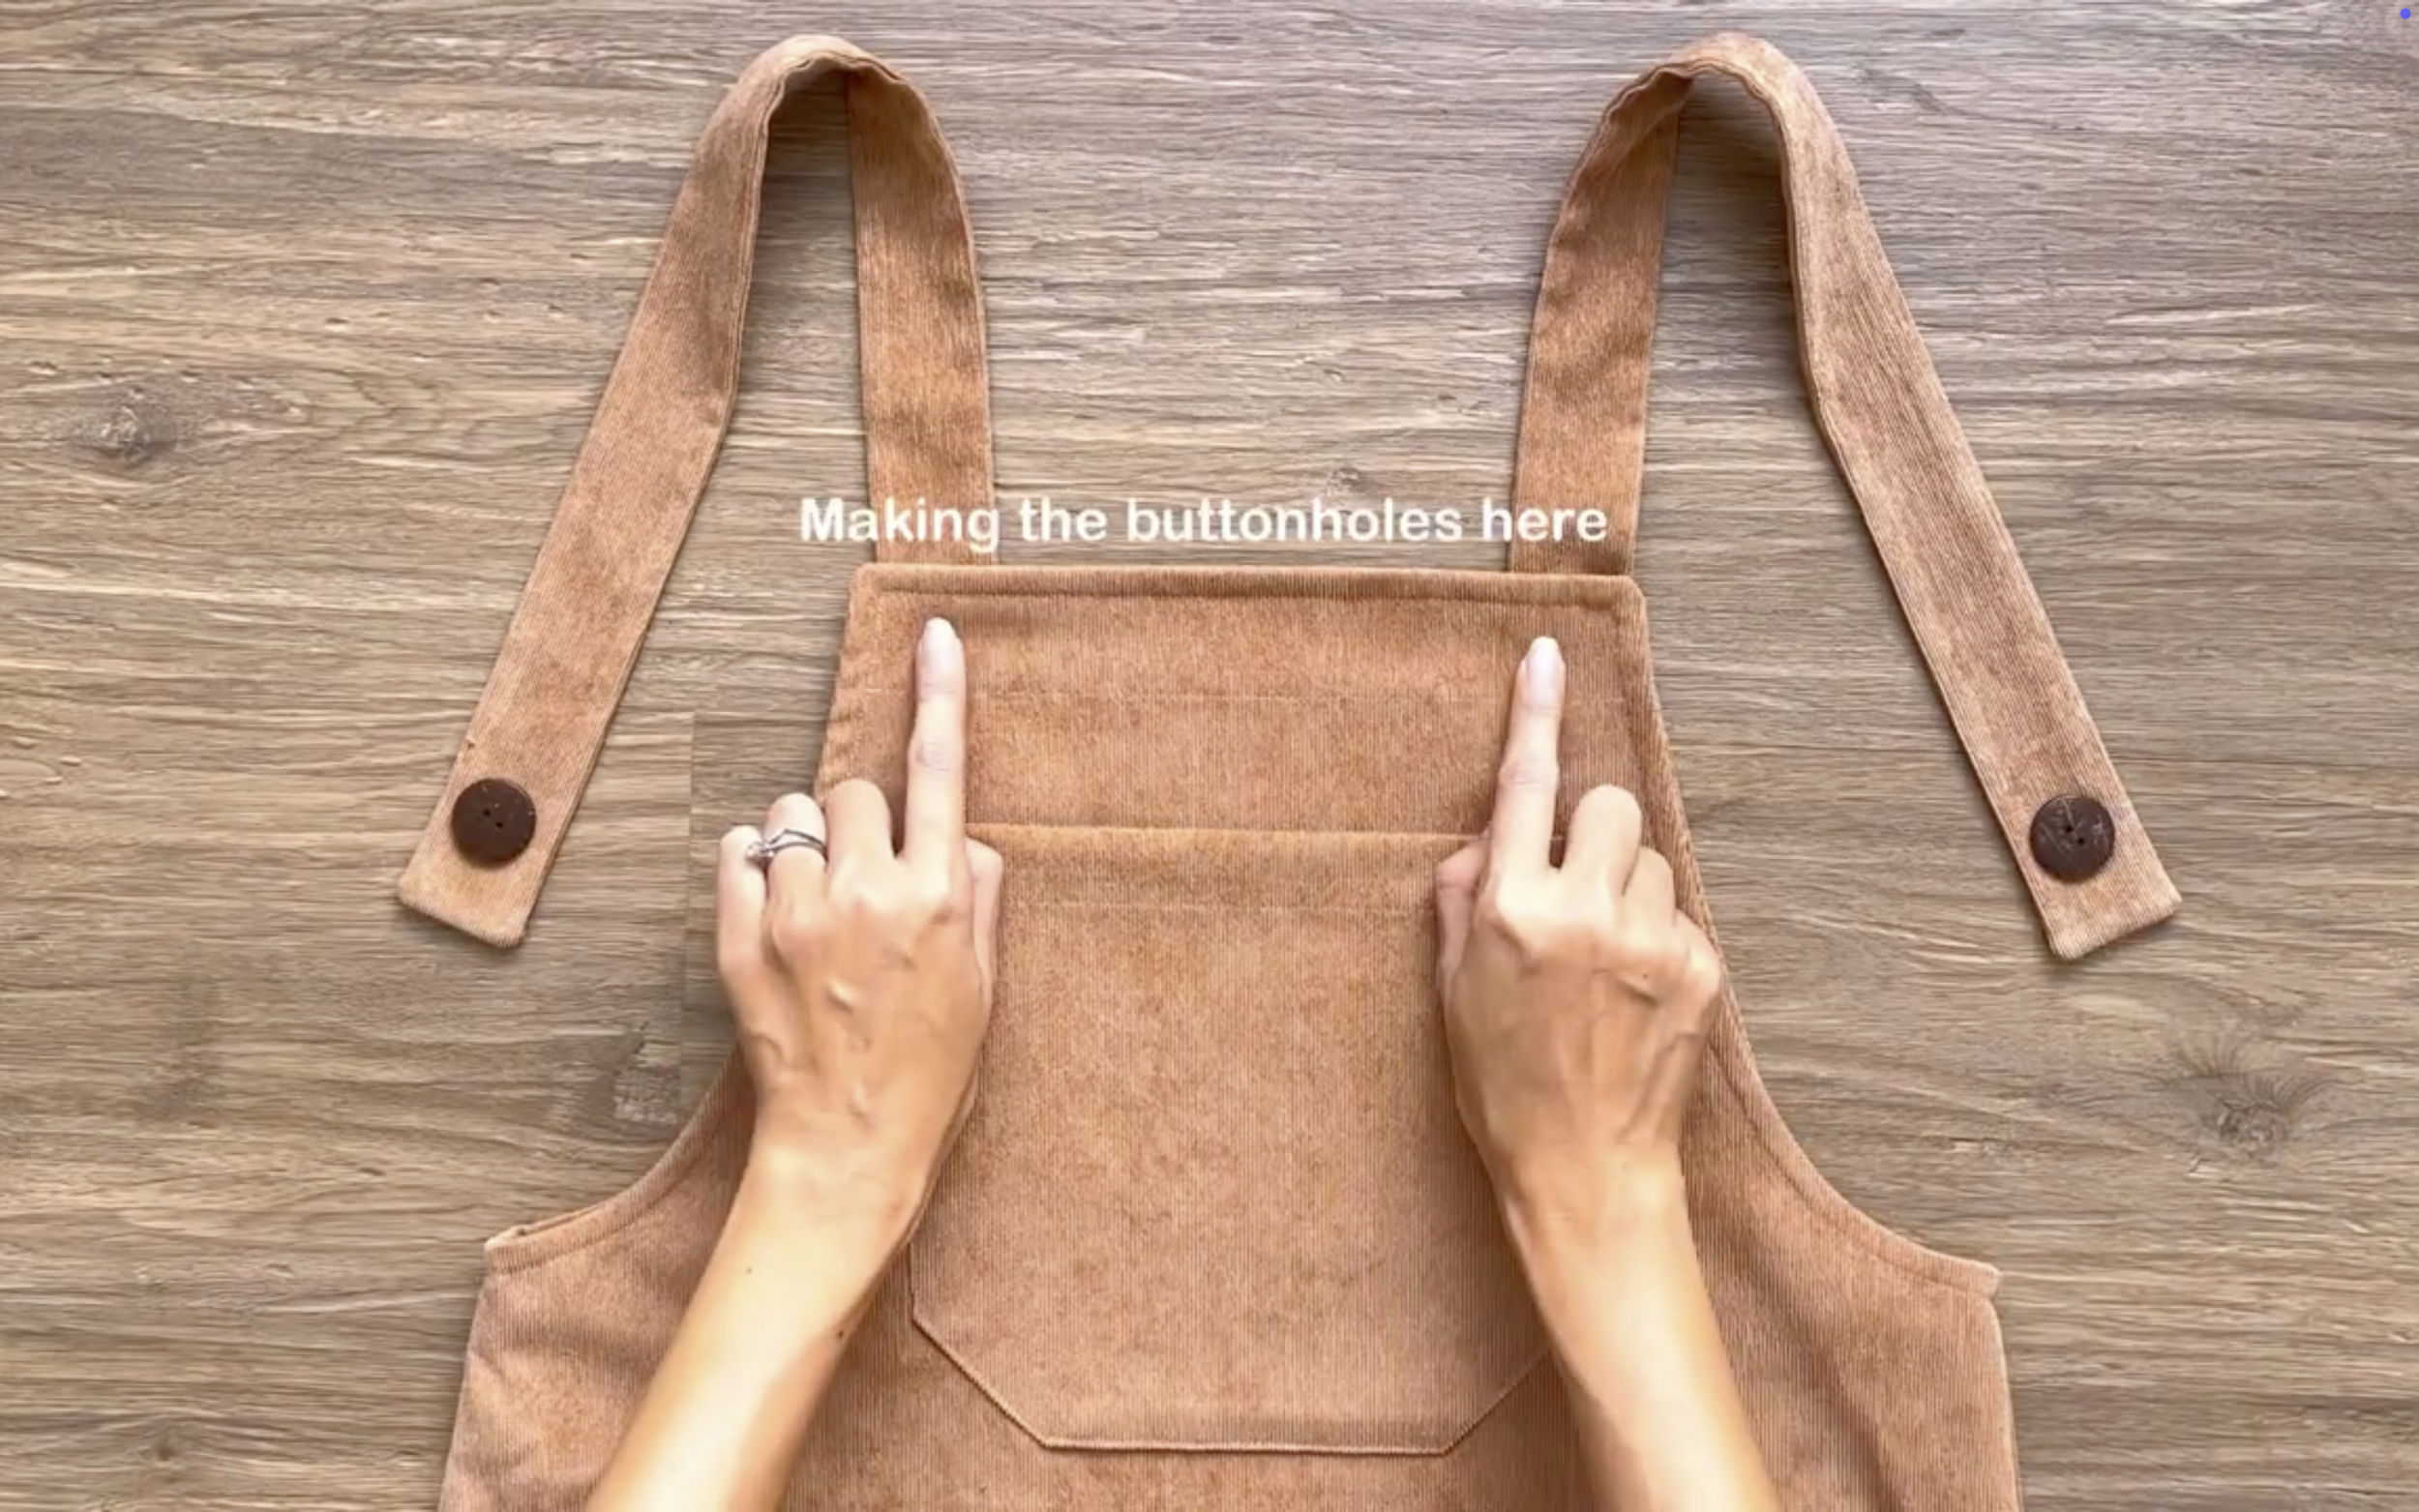
The final step is adding a button at the end of the strap and creating a buttonhole at the top of the front of the dress.
Making an outfit in a day (Puff sleeve batwing top & Overall dress) | Beginner sewing projects
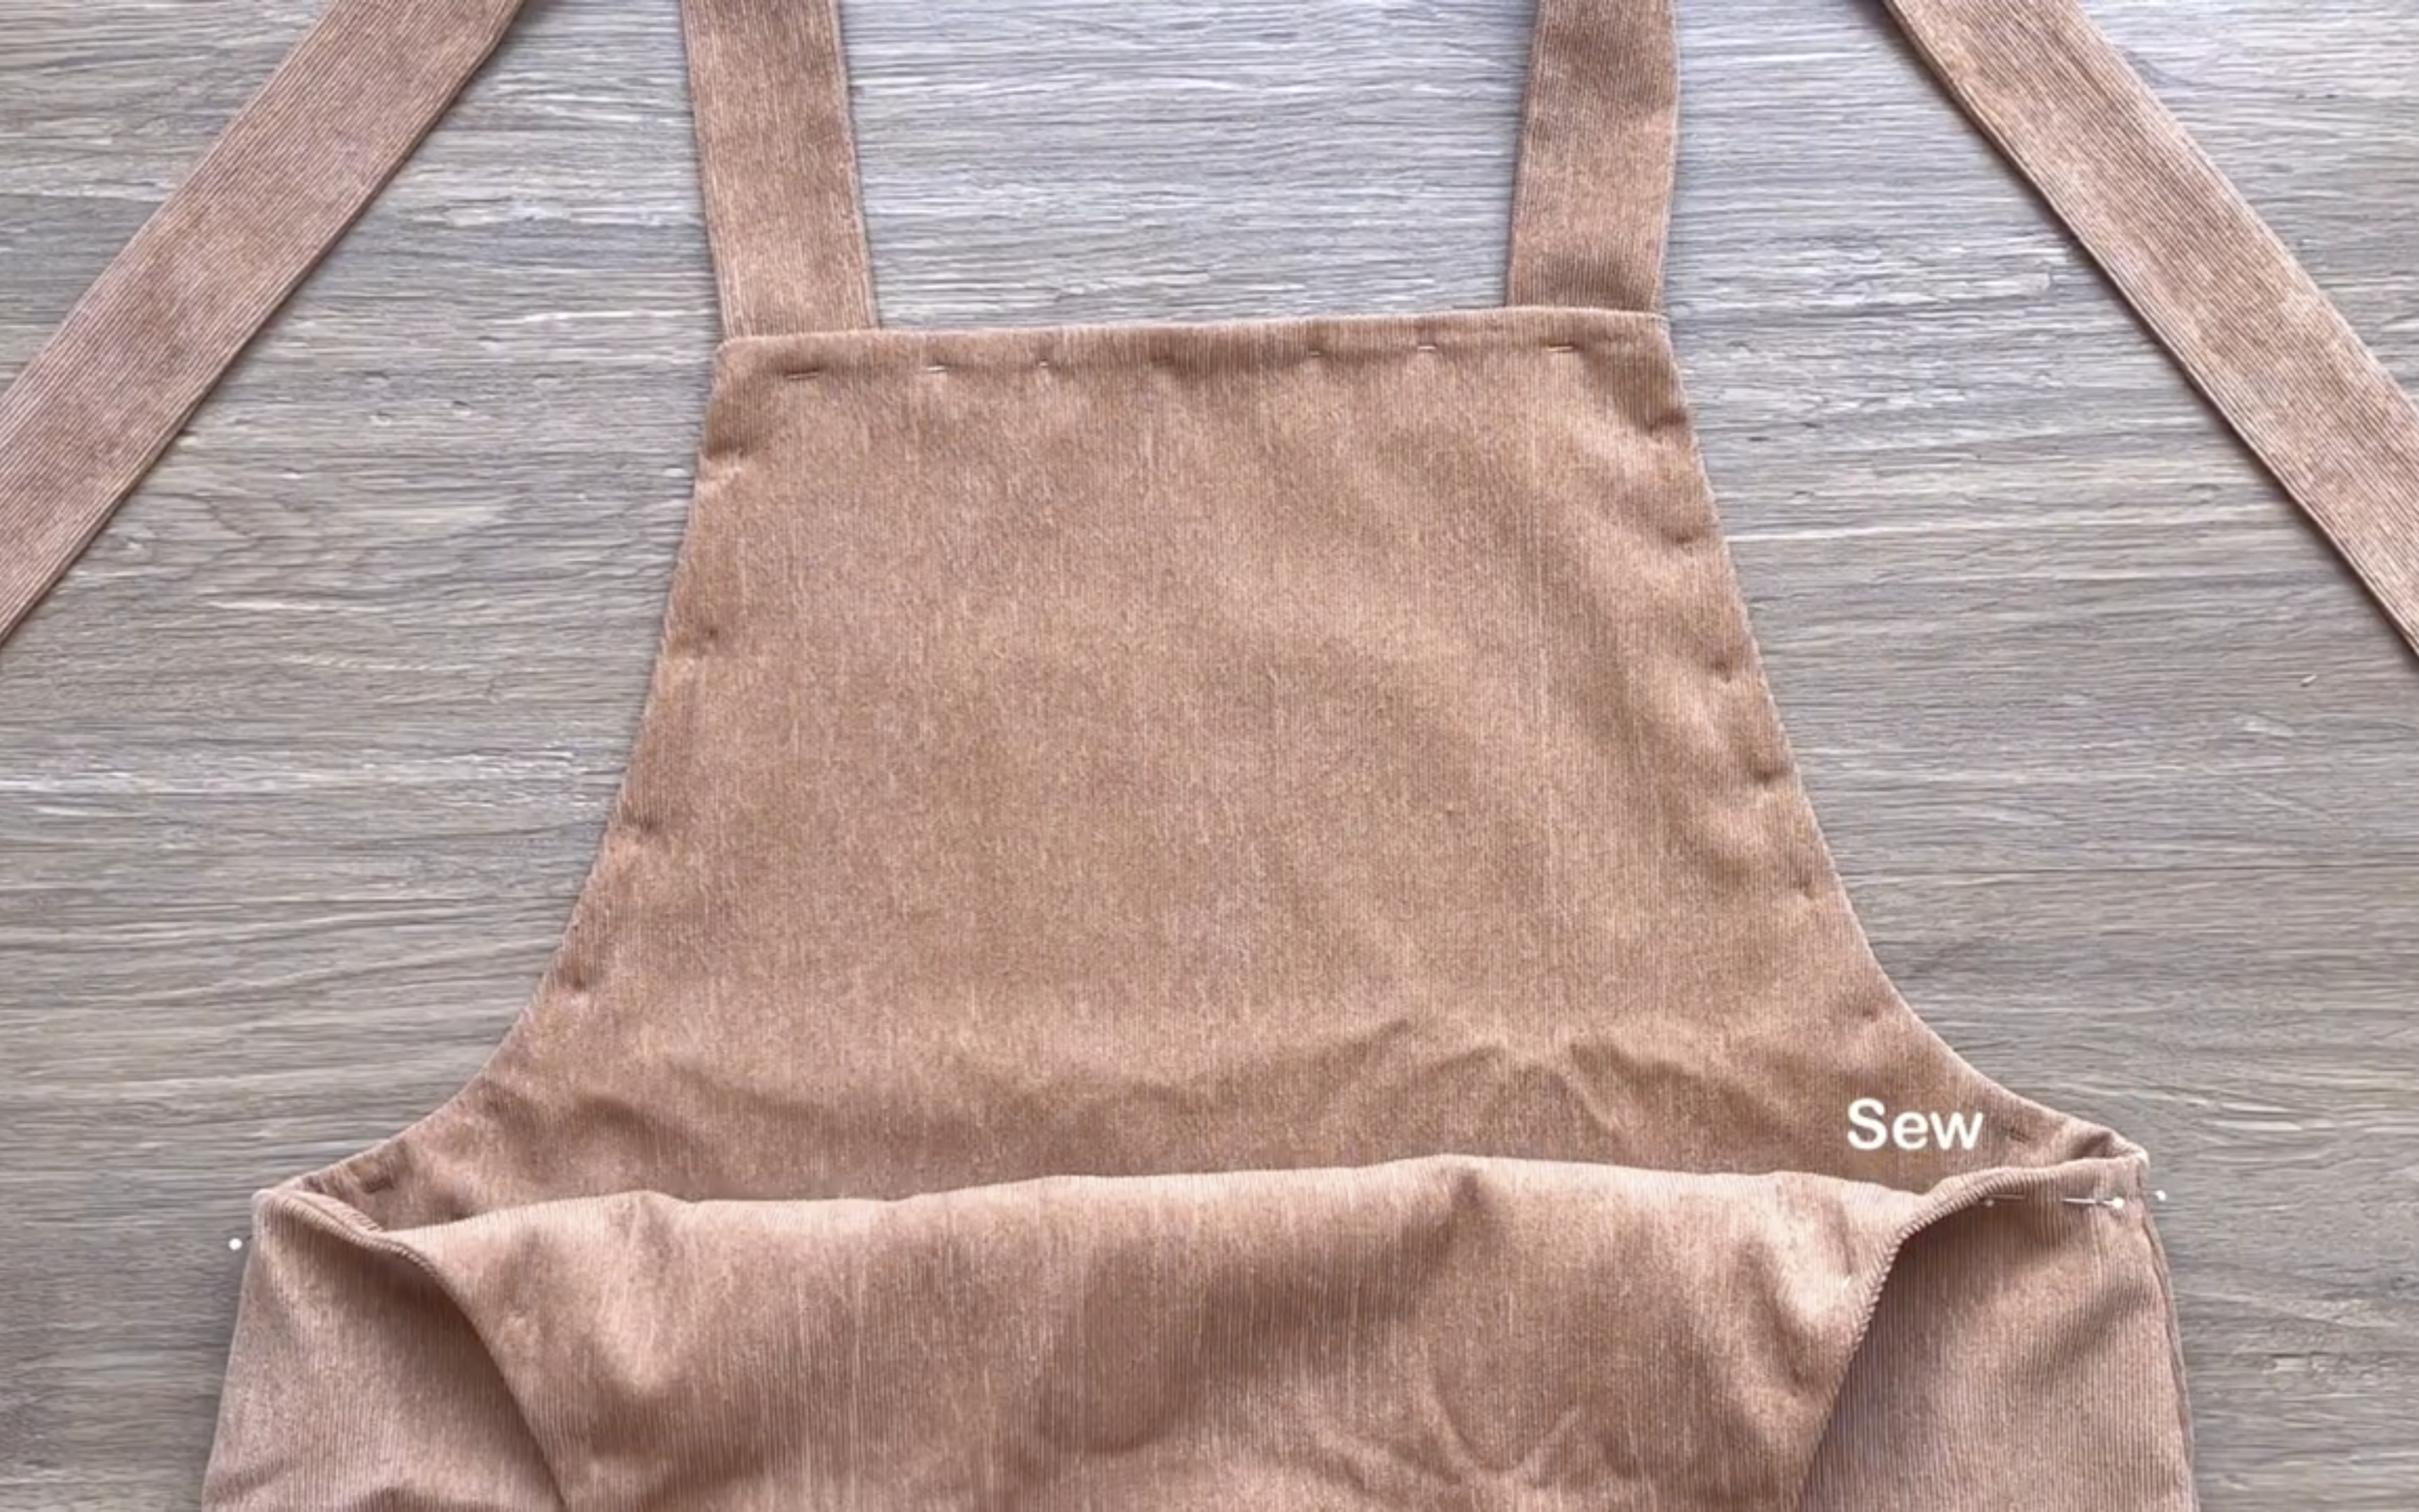
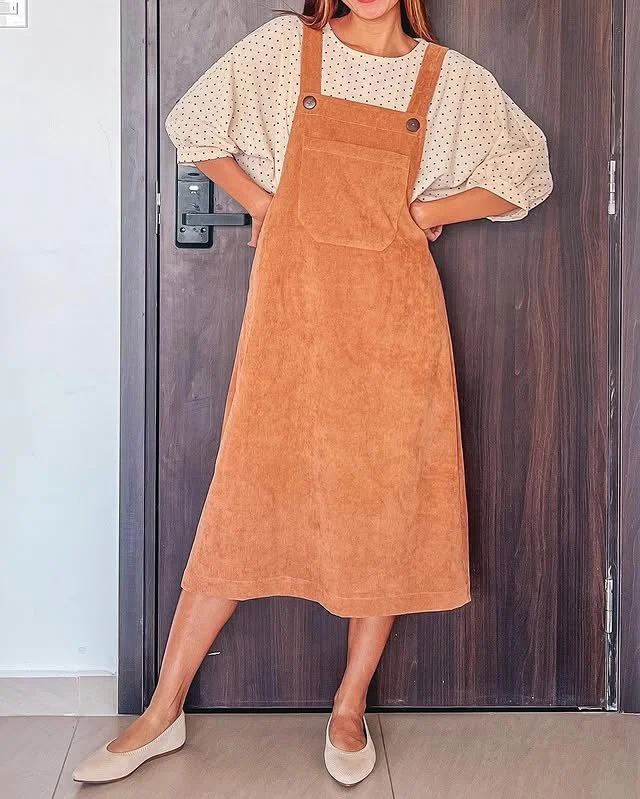
And that’s the final look for this outfit!
With its vintage-inspired charm and simplicity, it’s a piece I truly adore. It’s so easy to make and perfect for any day.

I hope you found my step-by-step guide helpful and inspiring.
If you’re interested in making your own, give it a try and let me know how it goes!
Until then, happy sewing!