Making Puff sleeve Selkie dress | Finding my perfect Spring dress - Episode 1

Making Puff sleeve Selkie dress | Finding my perfect Spring dress - Episode 1
Welcome or welcome back to my channel. My name is Jess and I love doing DIY, making clothes in a "simply but pretty" way.
It's going to Vietnamese Lunar New Year that is called Tết. So I've been so excited for this season and decided to make a series named "Finding my perfect Spring dress". This series will be all about puff sleeve dress . But I'll make it in the different ways.
Today's tutorial is the first Episode of this series. I'm going to share with you how I made this Puff sleeve Selkie dress that a lot of you have been asking me to make. But I made it less puffy than the original one. So it has more vintage or cottage vibe that I want.
So let’s get started!
WHAT YOU’LL NEED
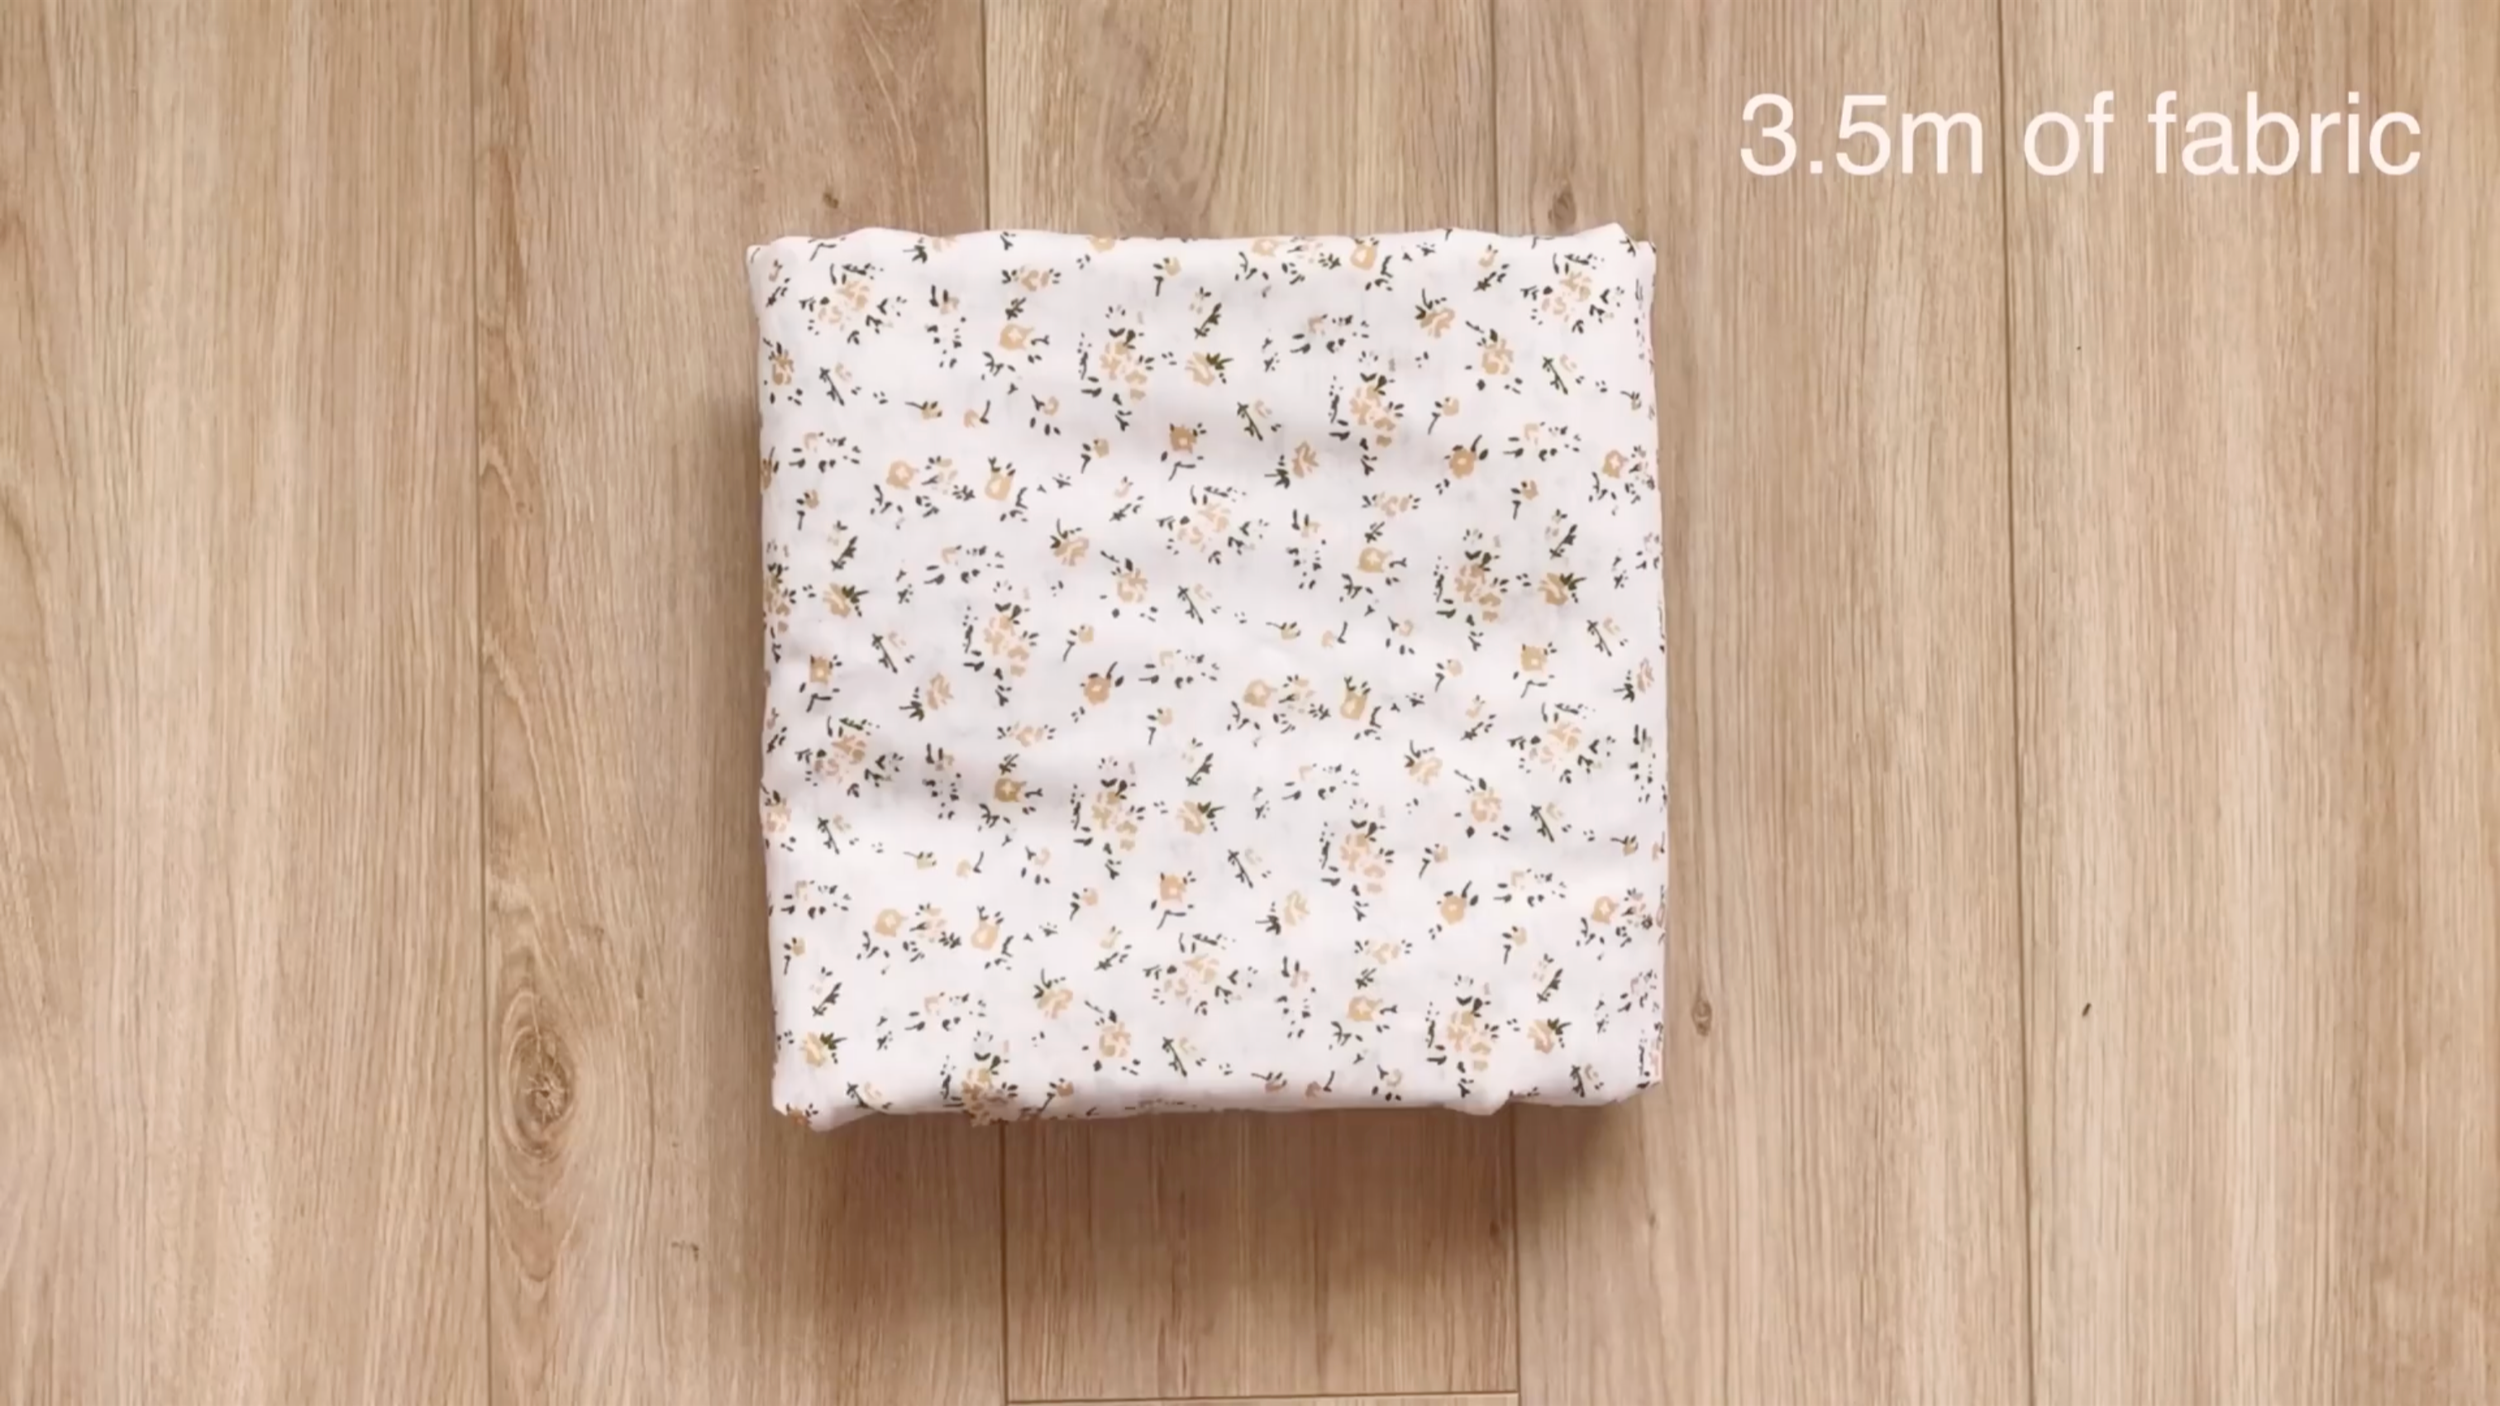
3.5m of Mix Chiffon fabric
Pattern paper
Sewing machine
Pins
Scissors
Ruler
Long stick
Zipper
SEWING THE DRESS
THE SLEEVE
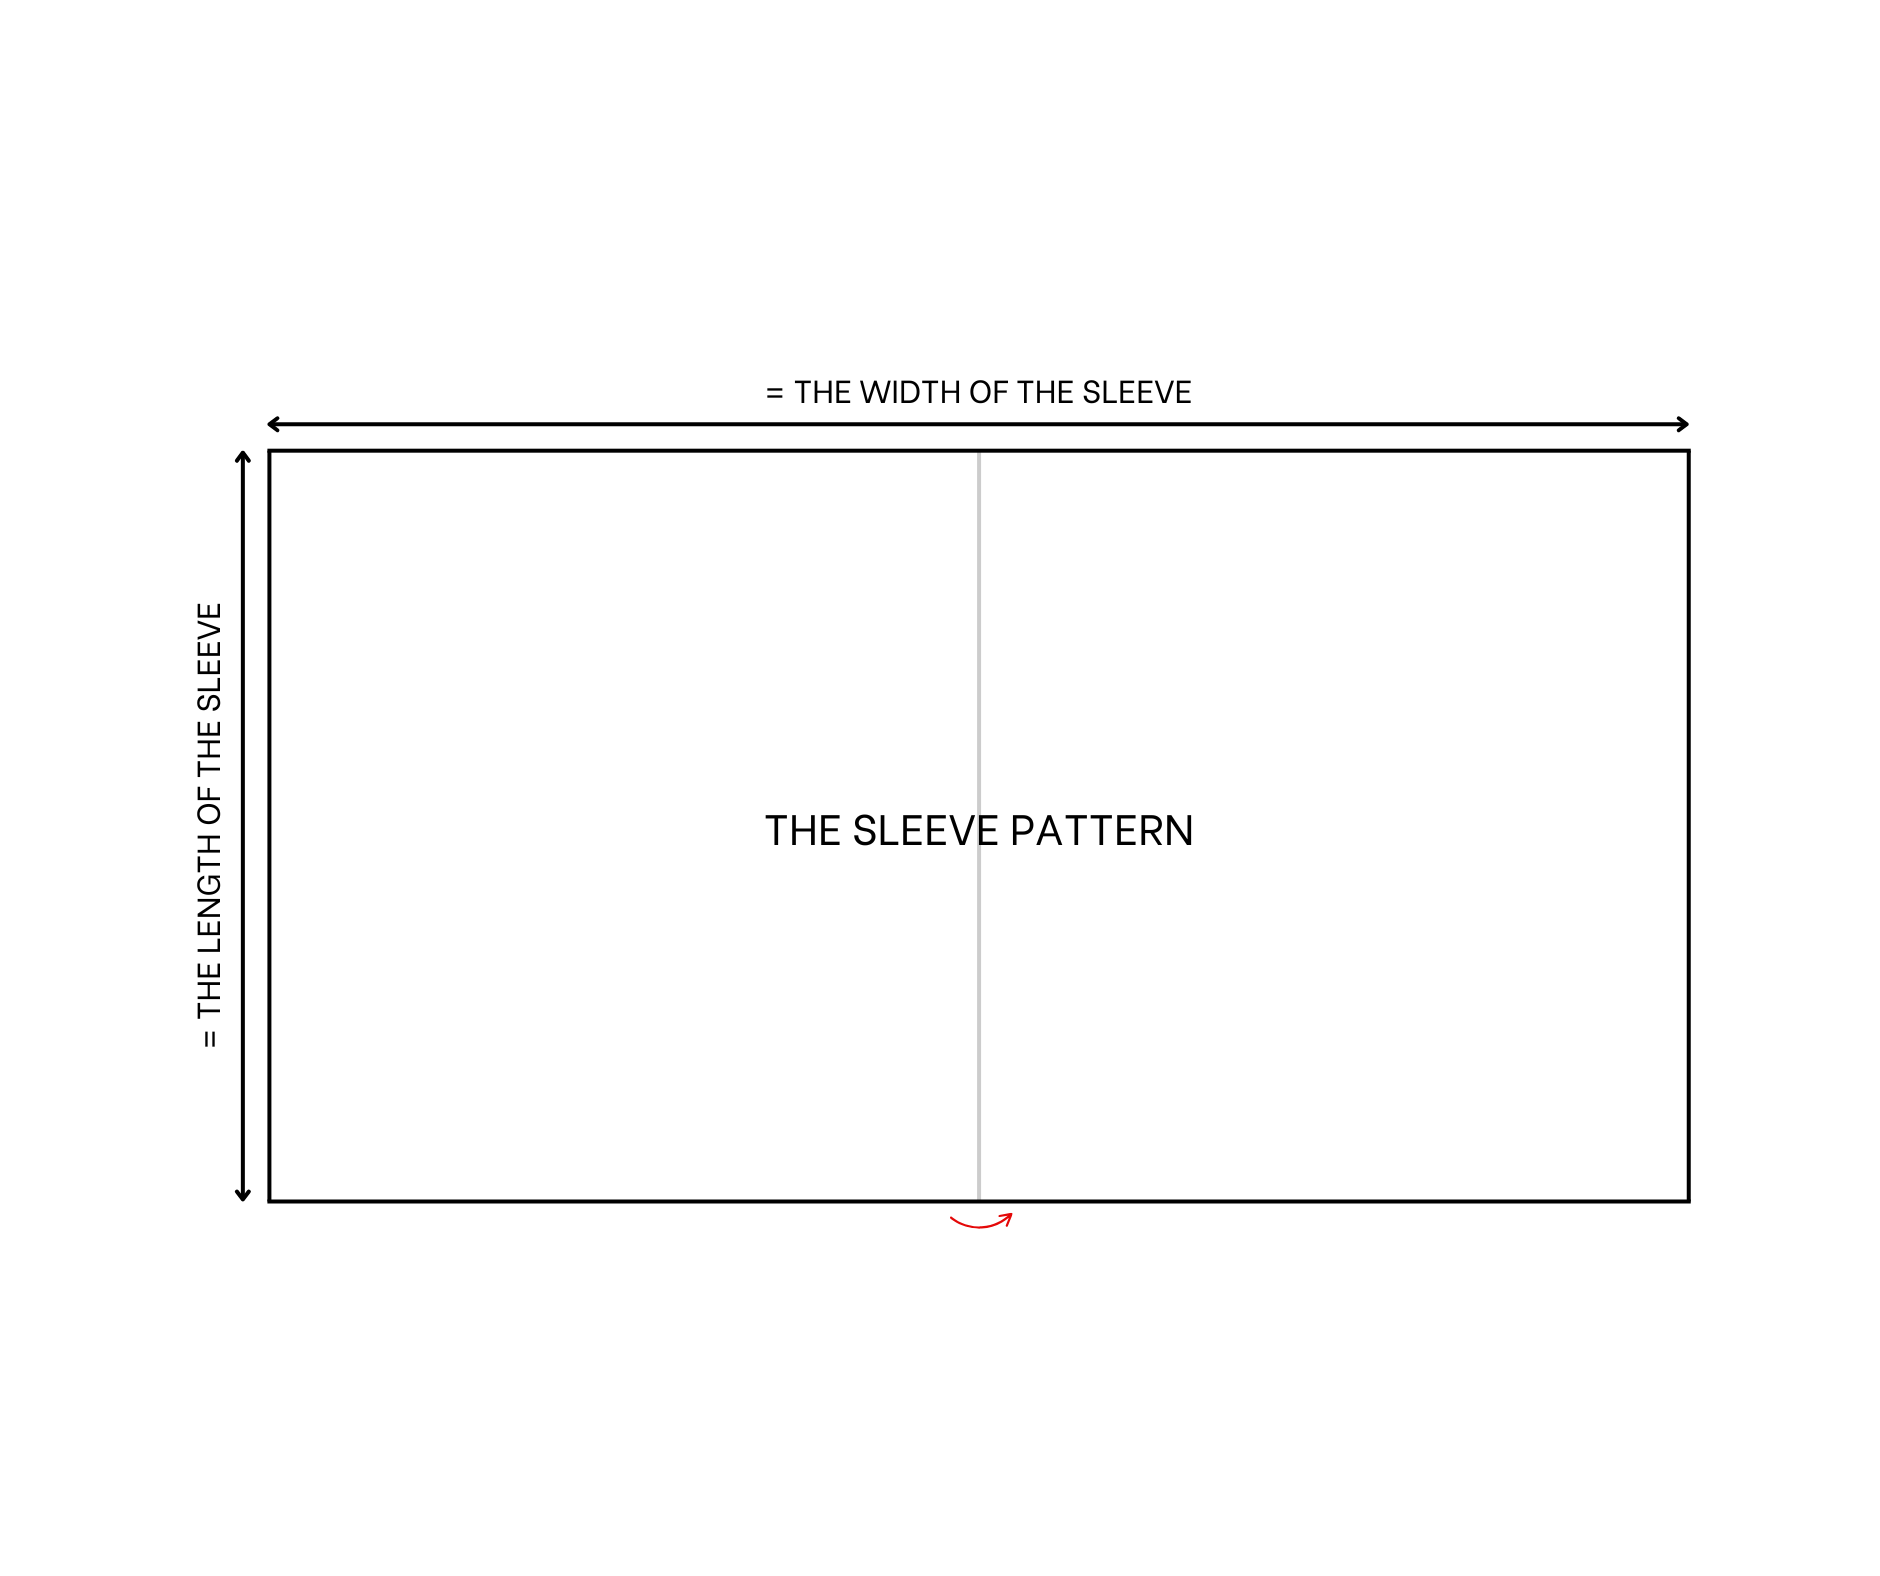
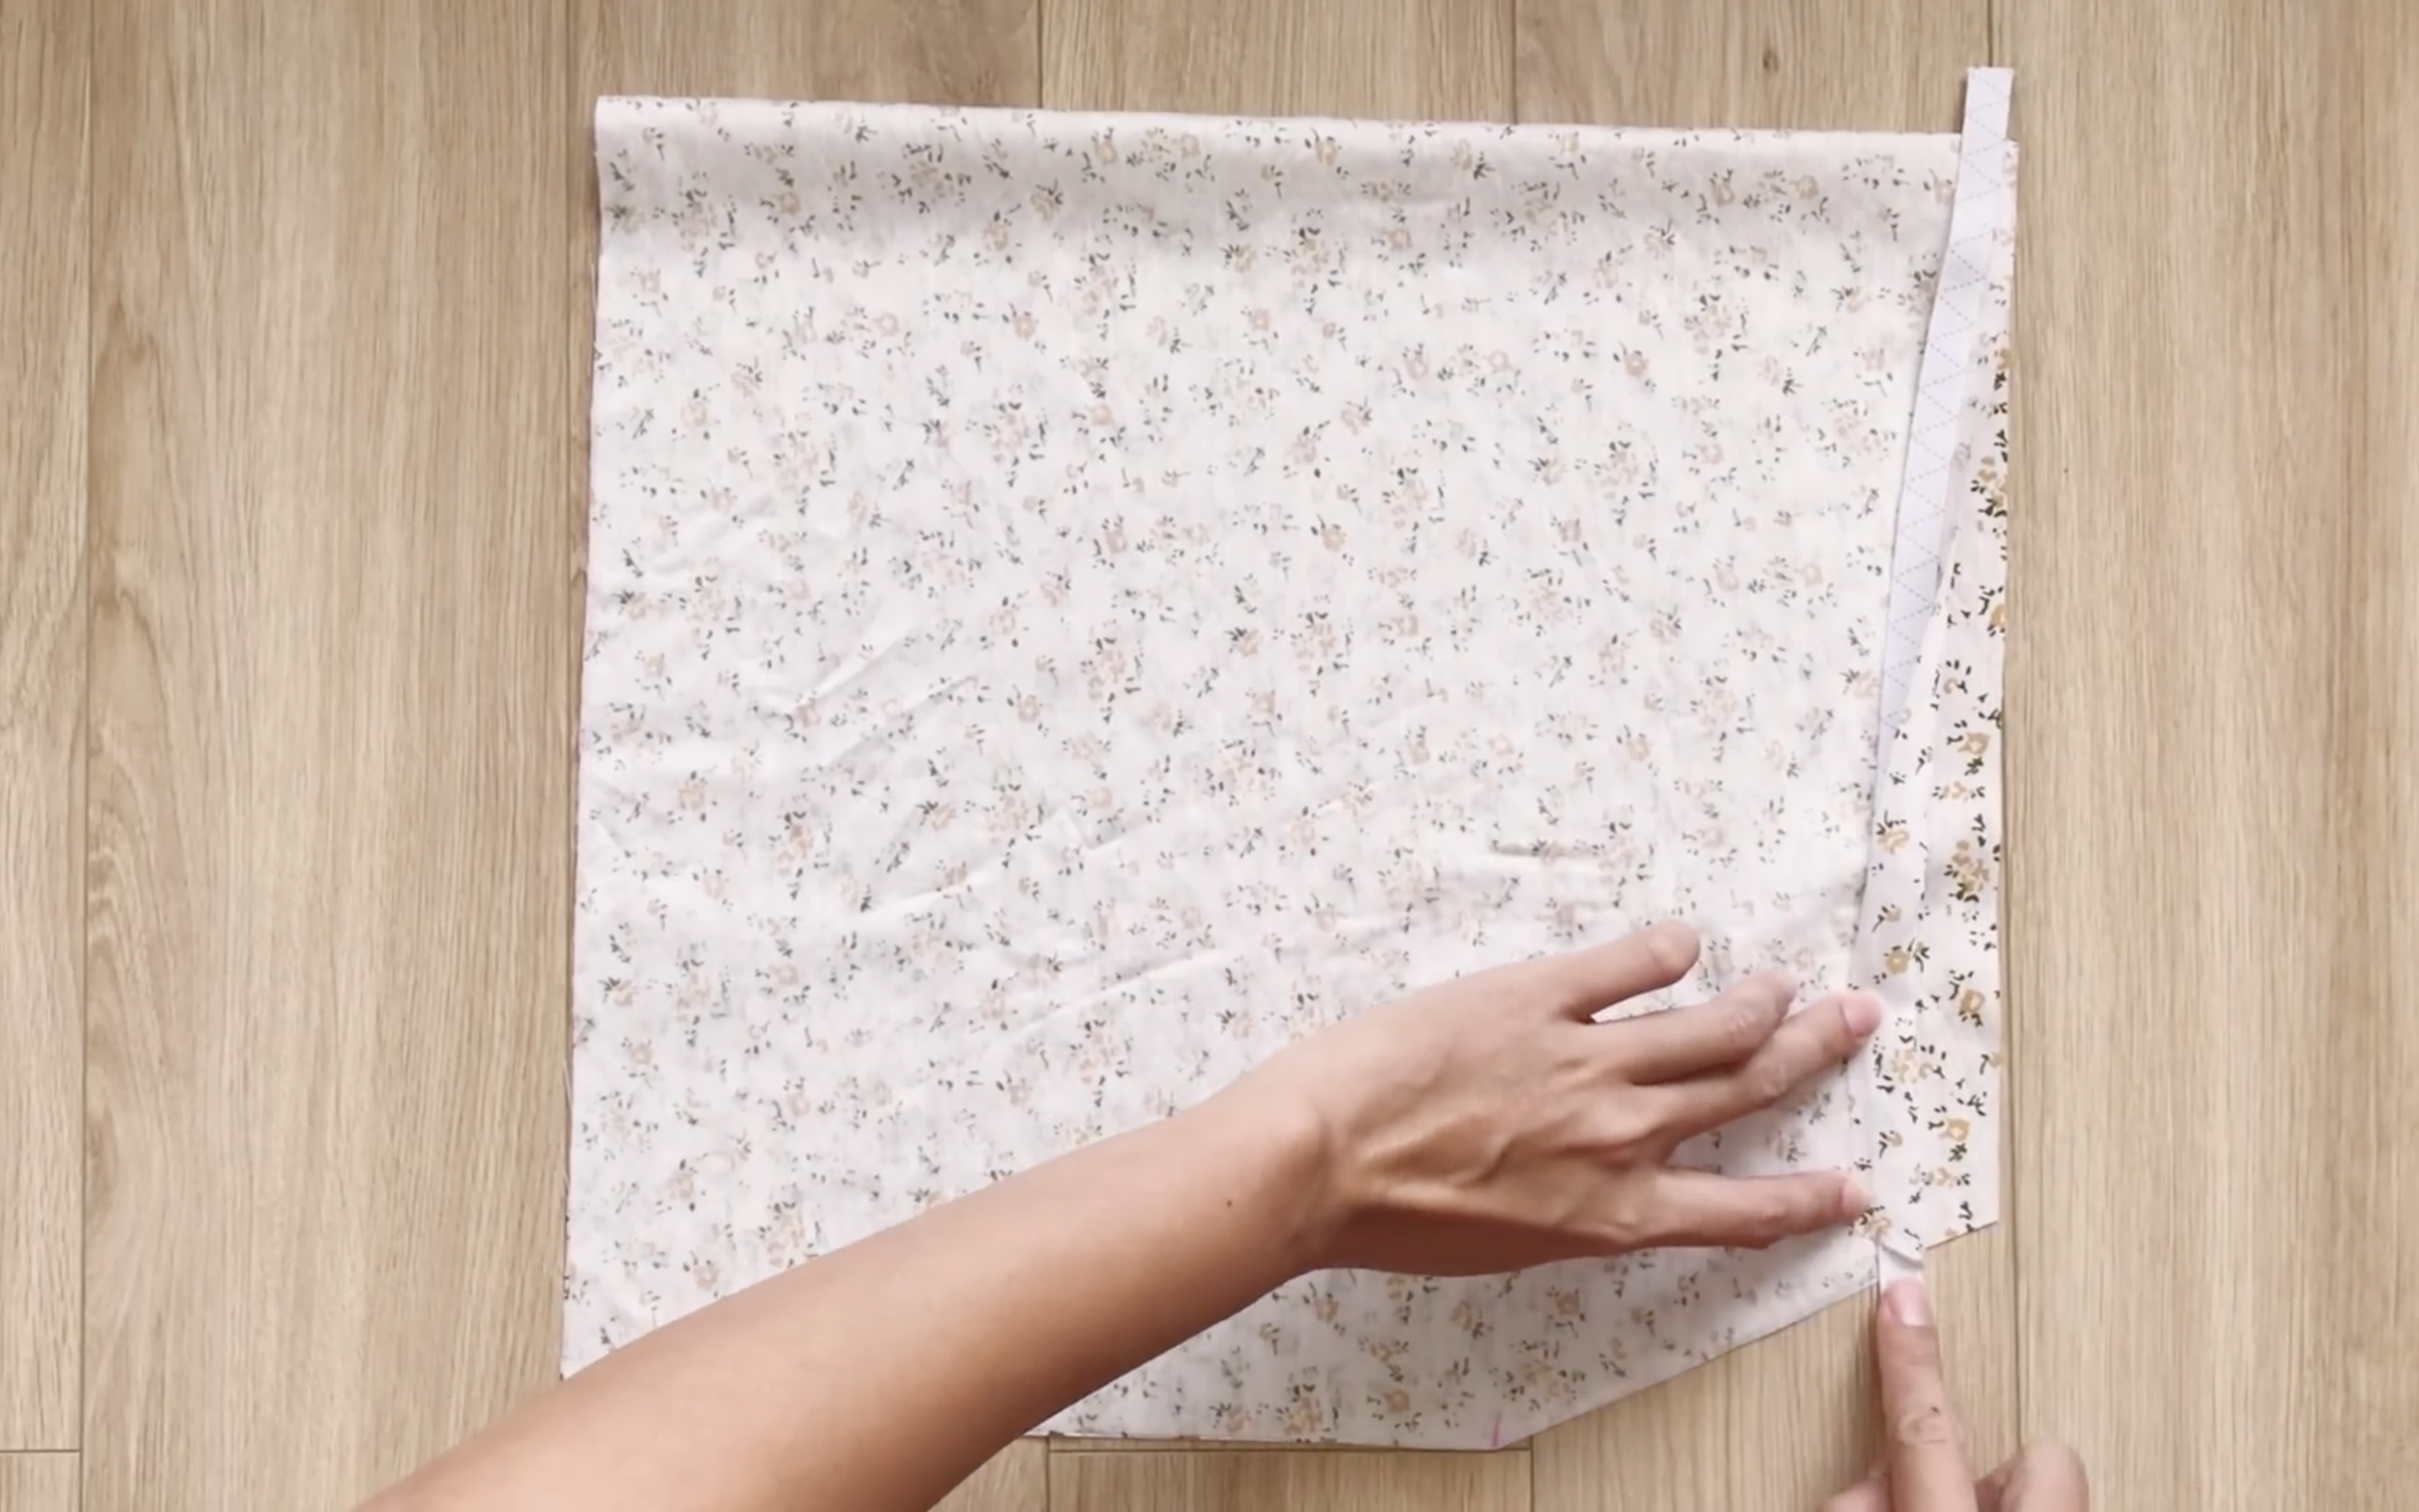
Cut a rectangle with 50 cm length and 100 cm width to make the sleeve for the dress. If you want a more puffy sleeve, make the width bigger.
After that, fold the rectangle at the width line.
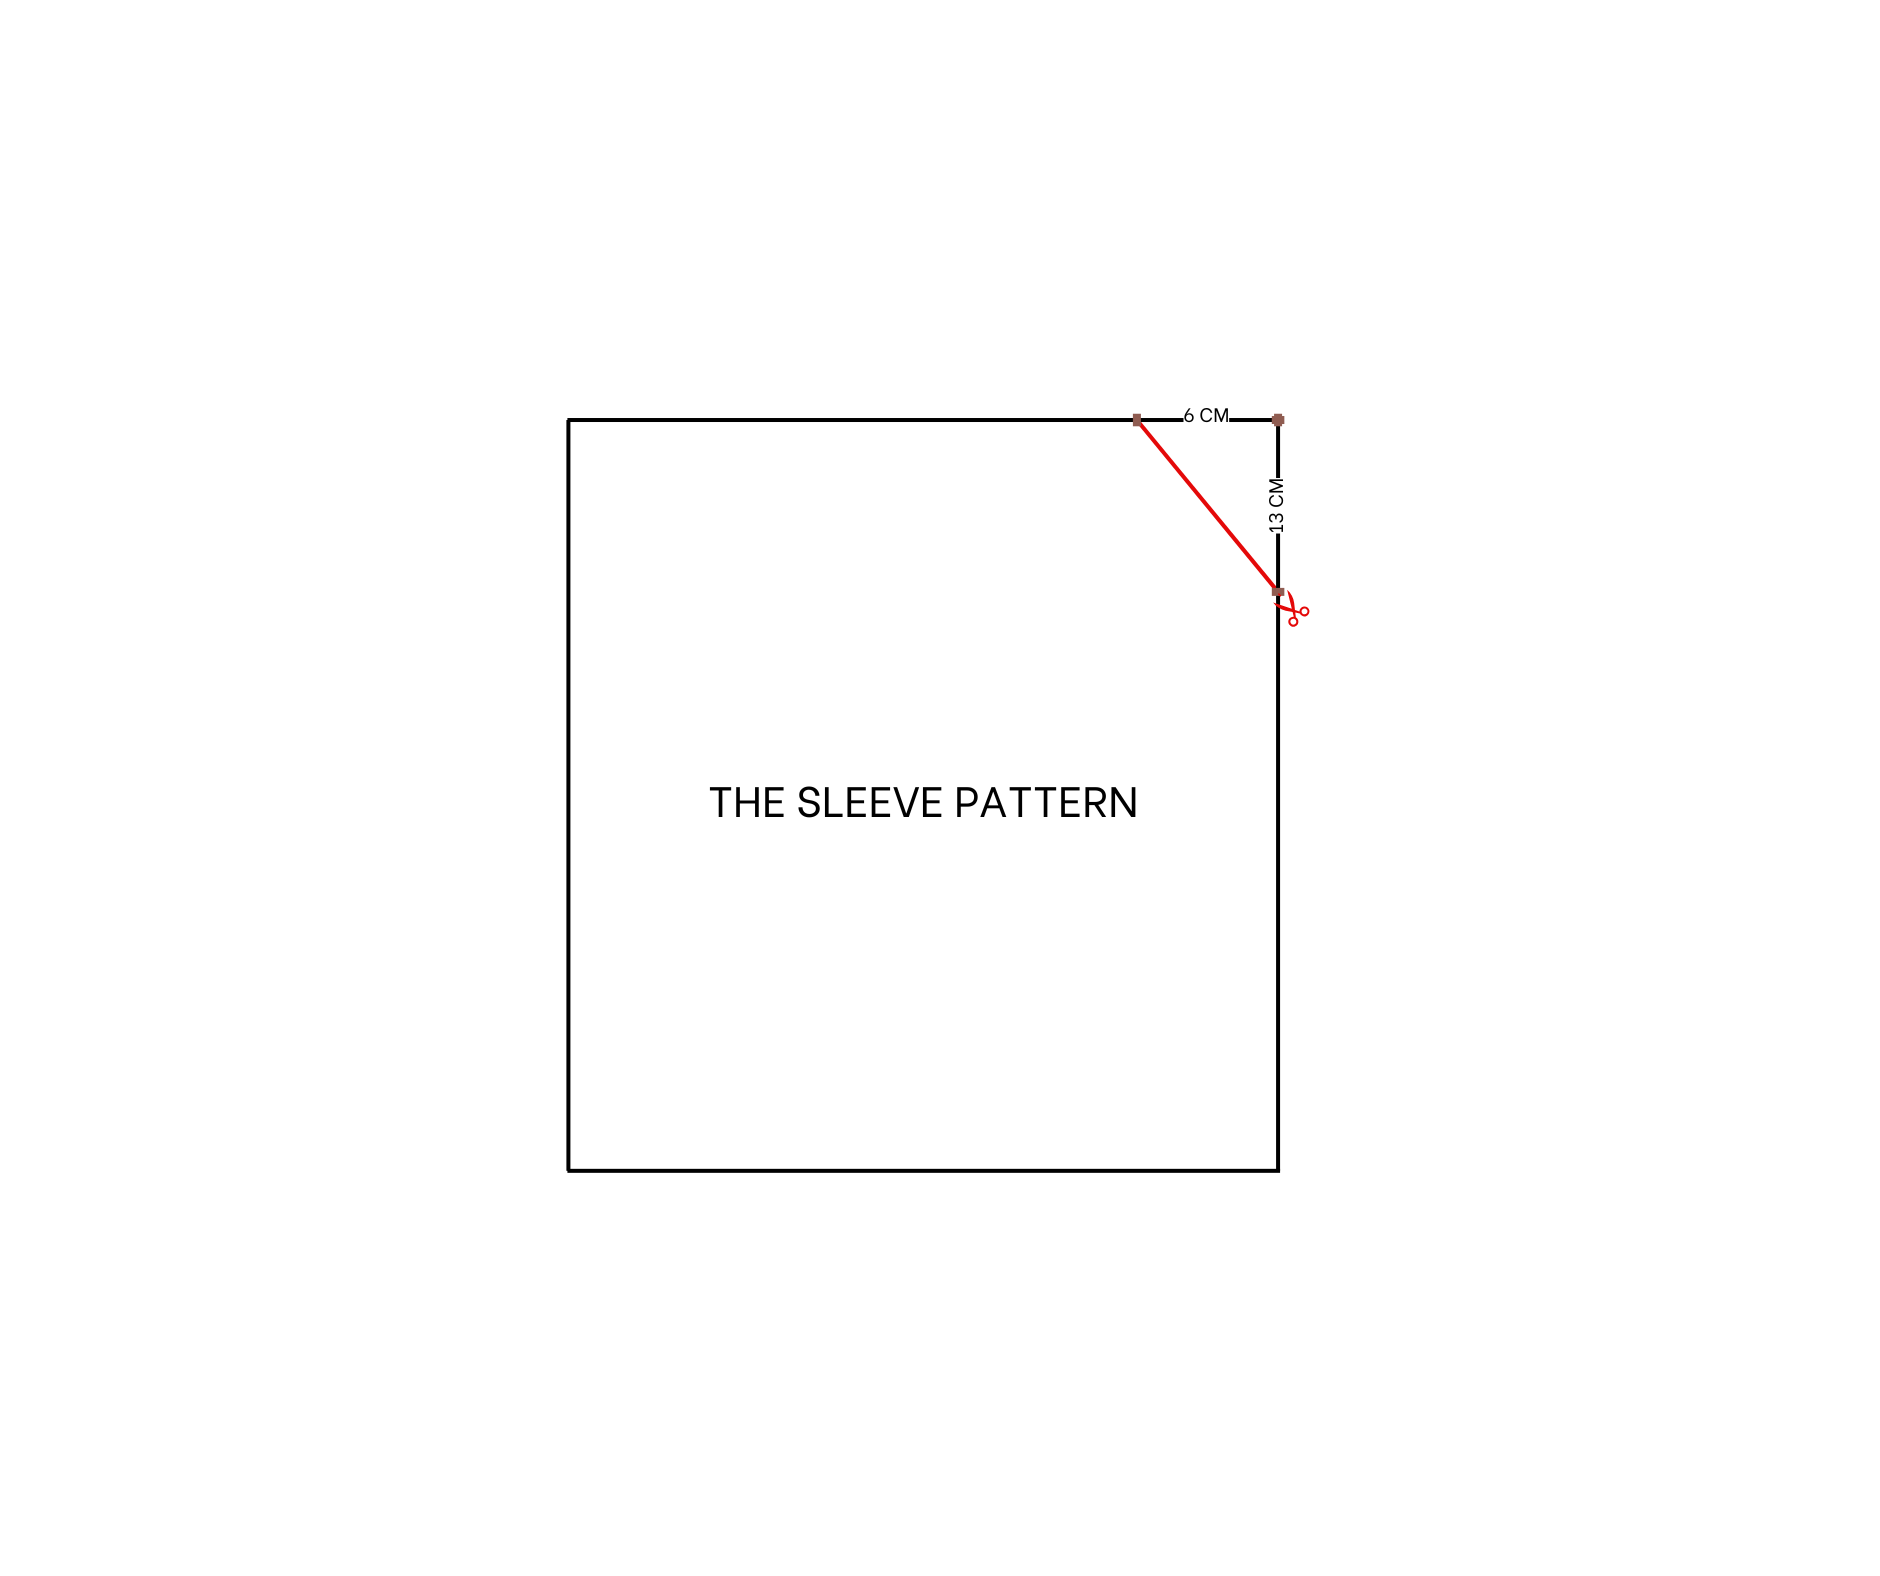
At the end of the sleeve, mark at 13 cm from the right to the inside. Make another mark at 6 cm upper after that, then connect two marks together.
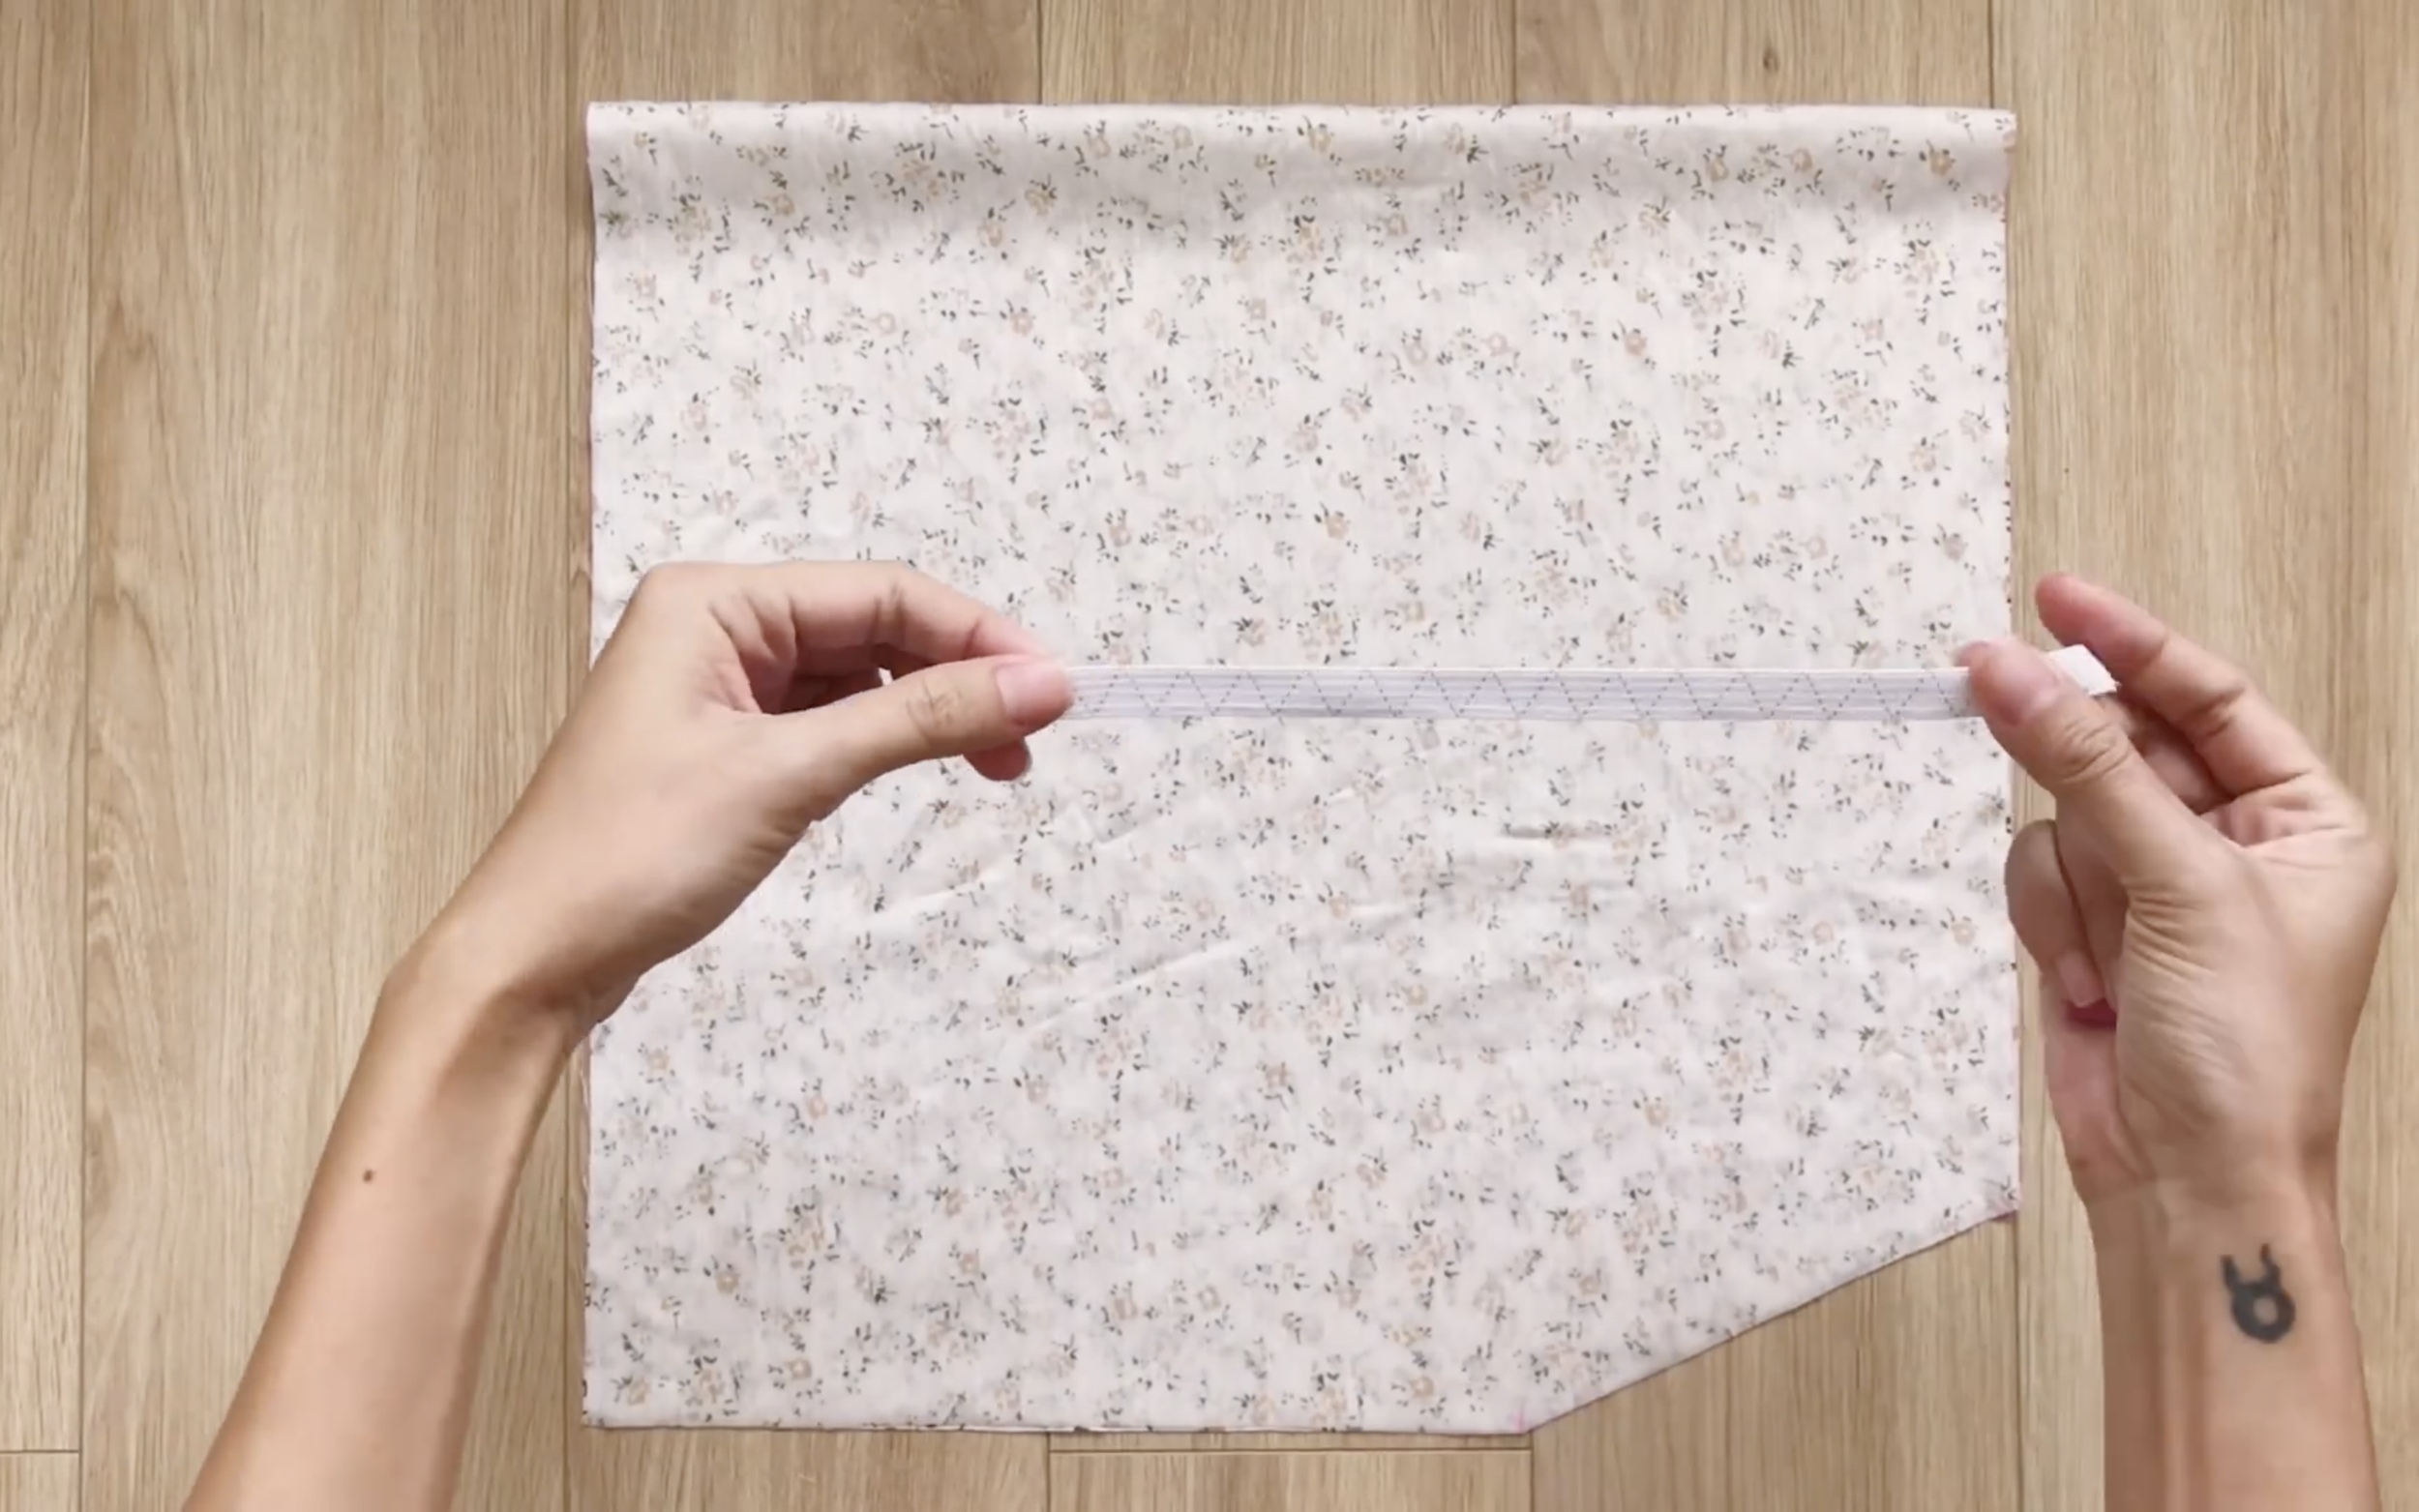
Use the elastic band with 1 cm width for the shoulder band.
Measure the width of the fabric you need to fold in to create a fabric hole for the elastic band first.
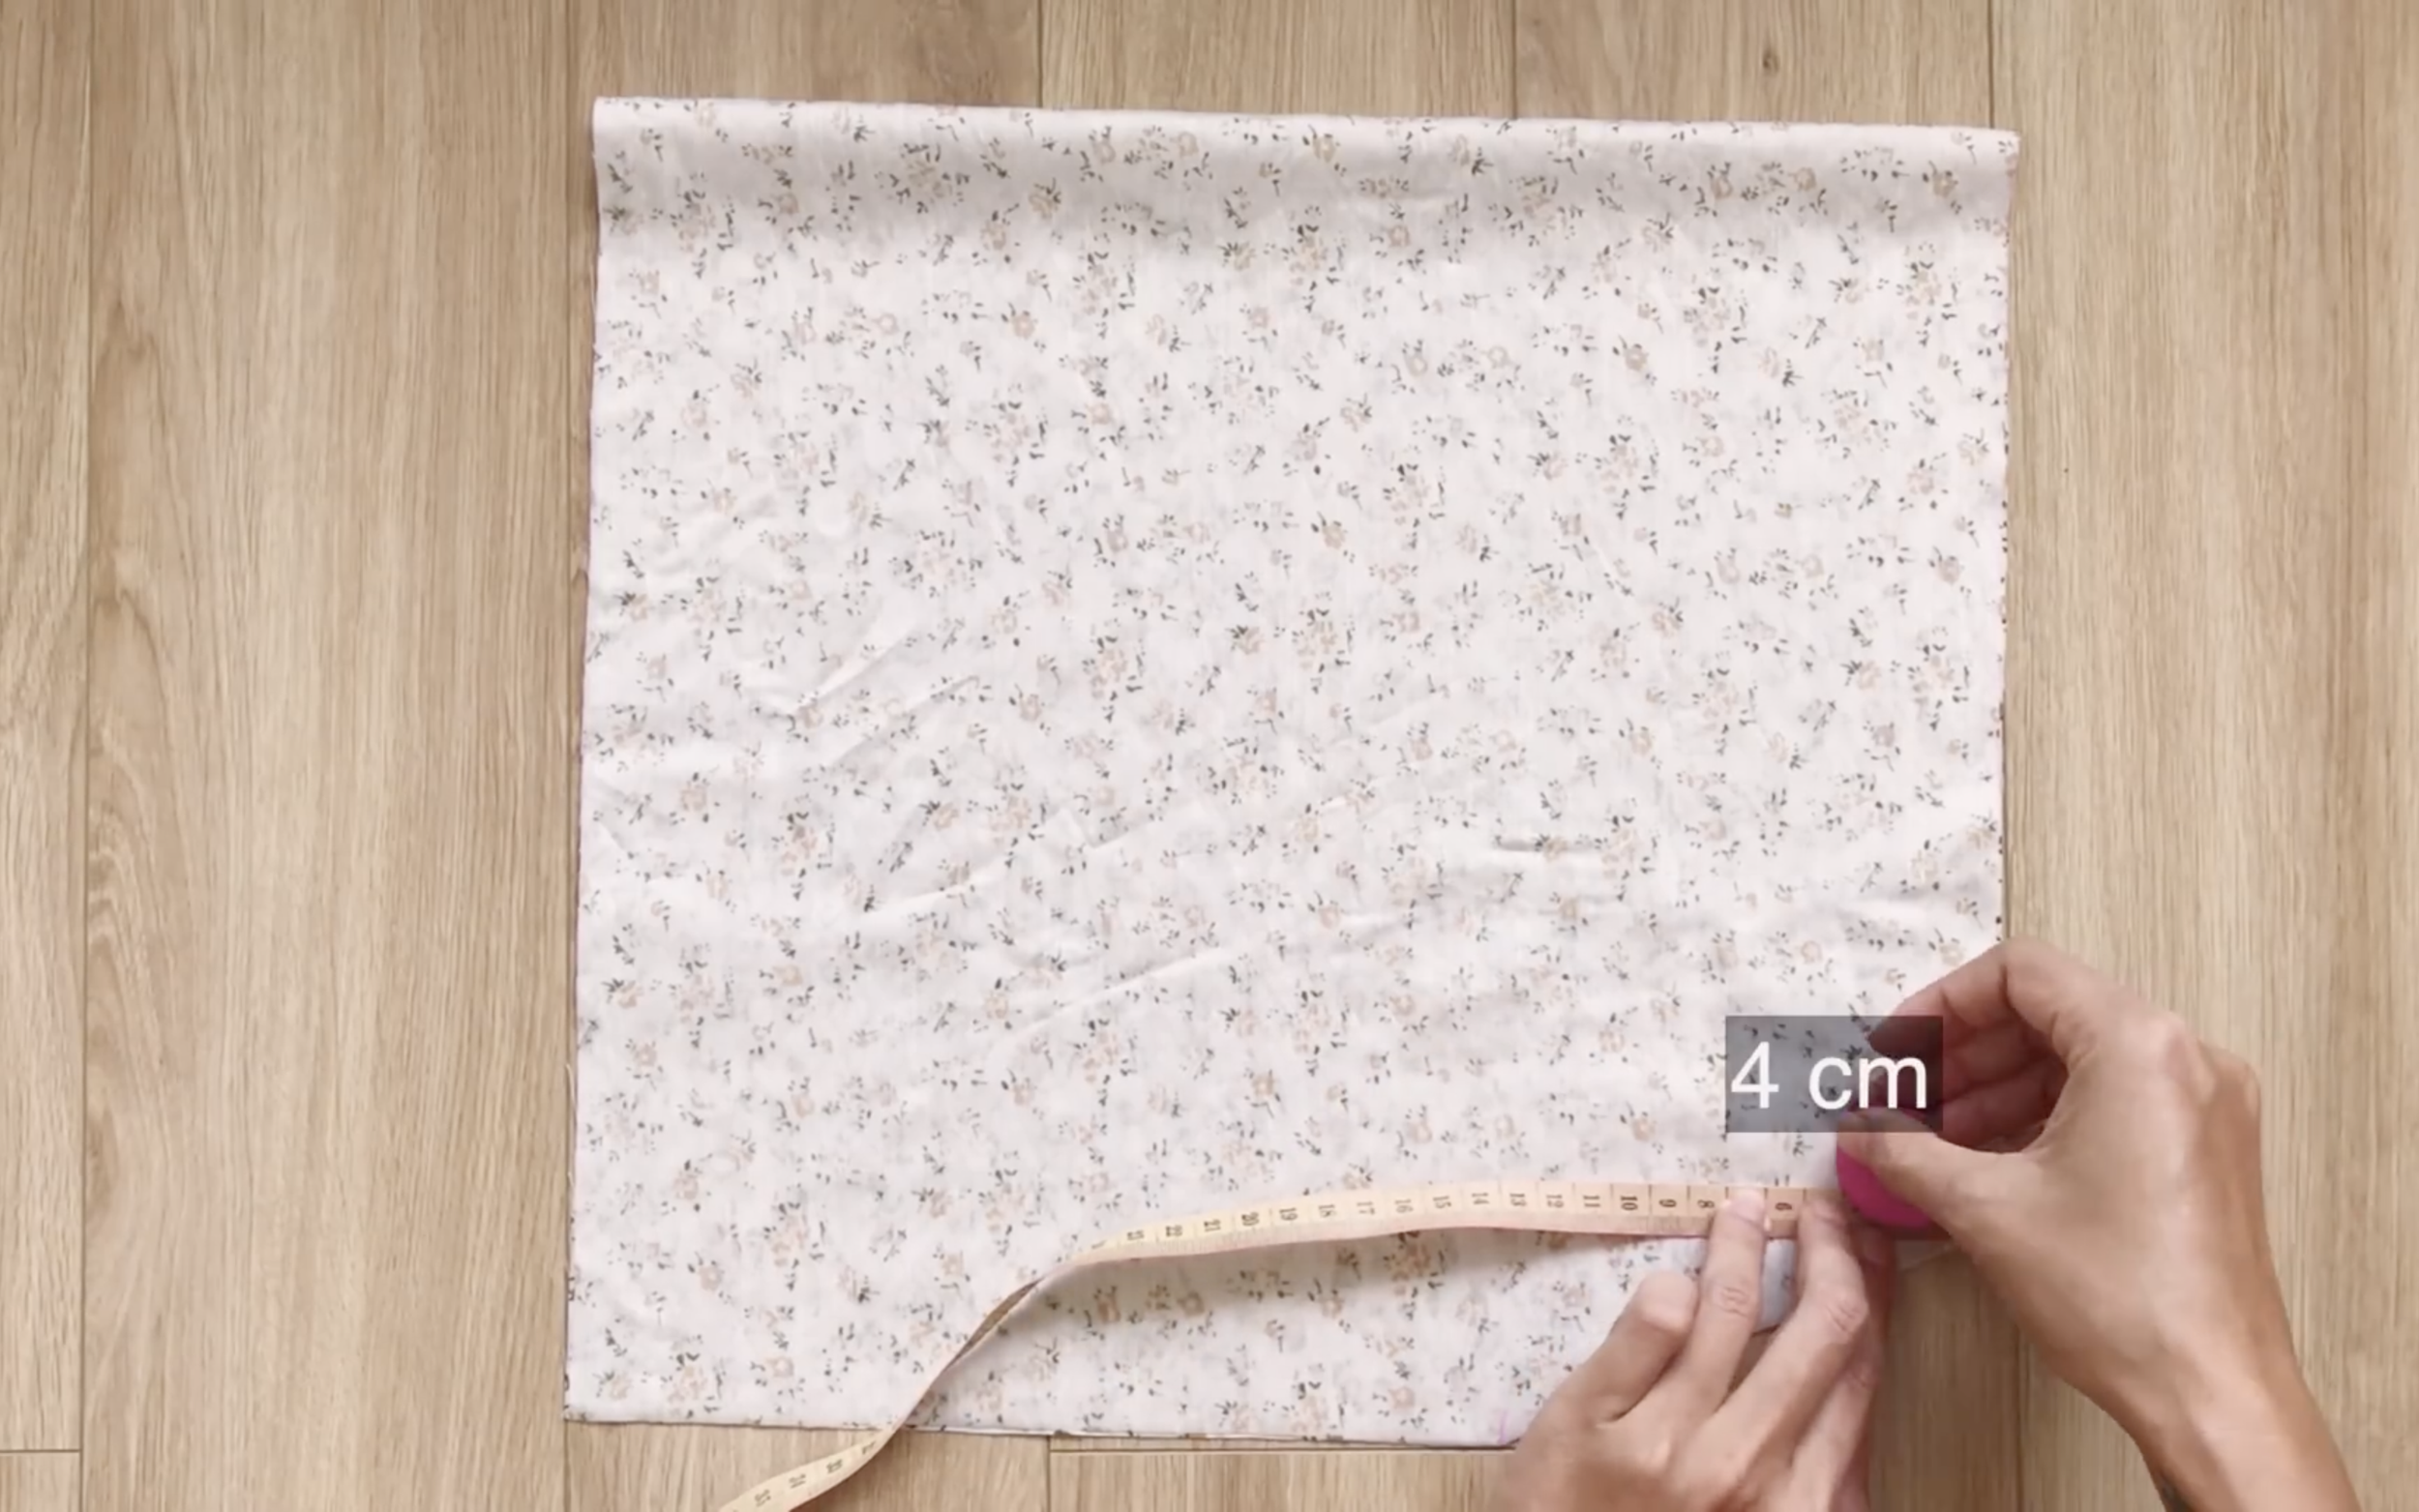
Then, draw a line at 4 cm inside the outside line later.
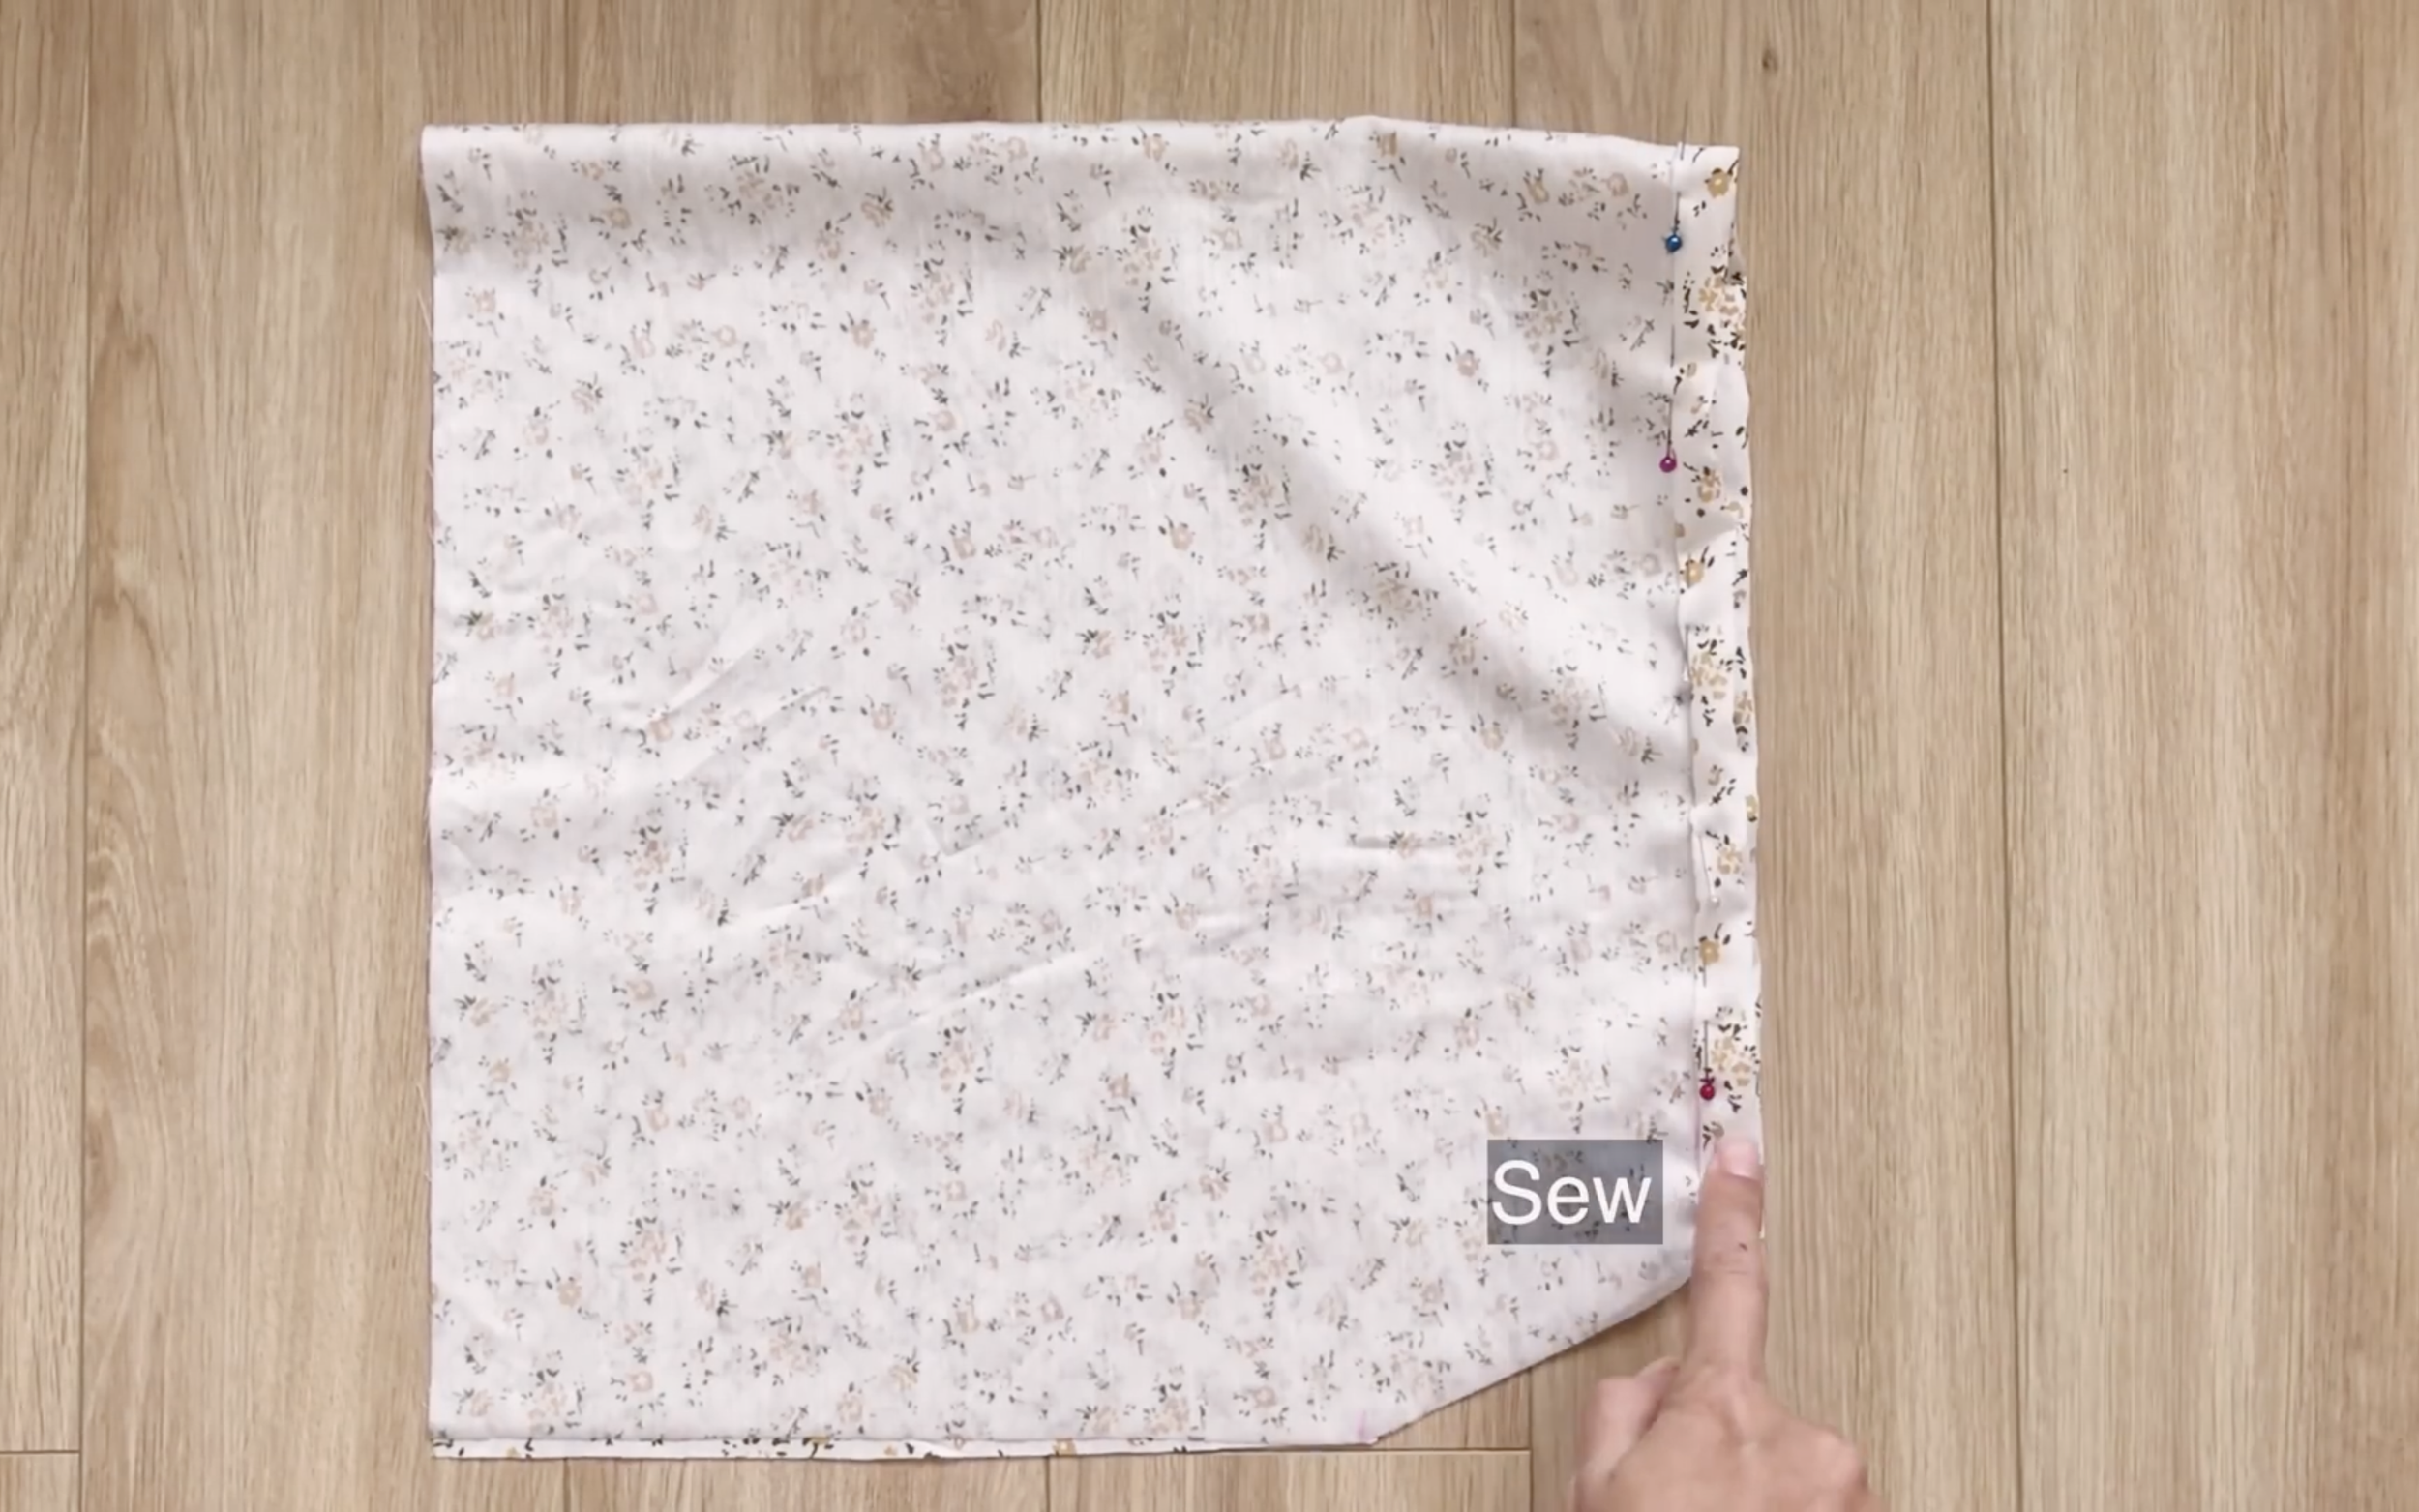
Fold the edge of the fabric inside around 0.5 cm to hide the cutting line first, then keep folding it to the line drawn before that and sew.
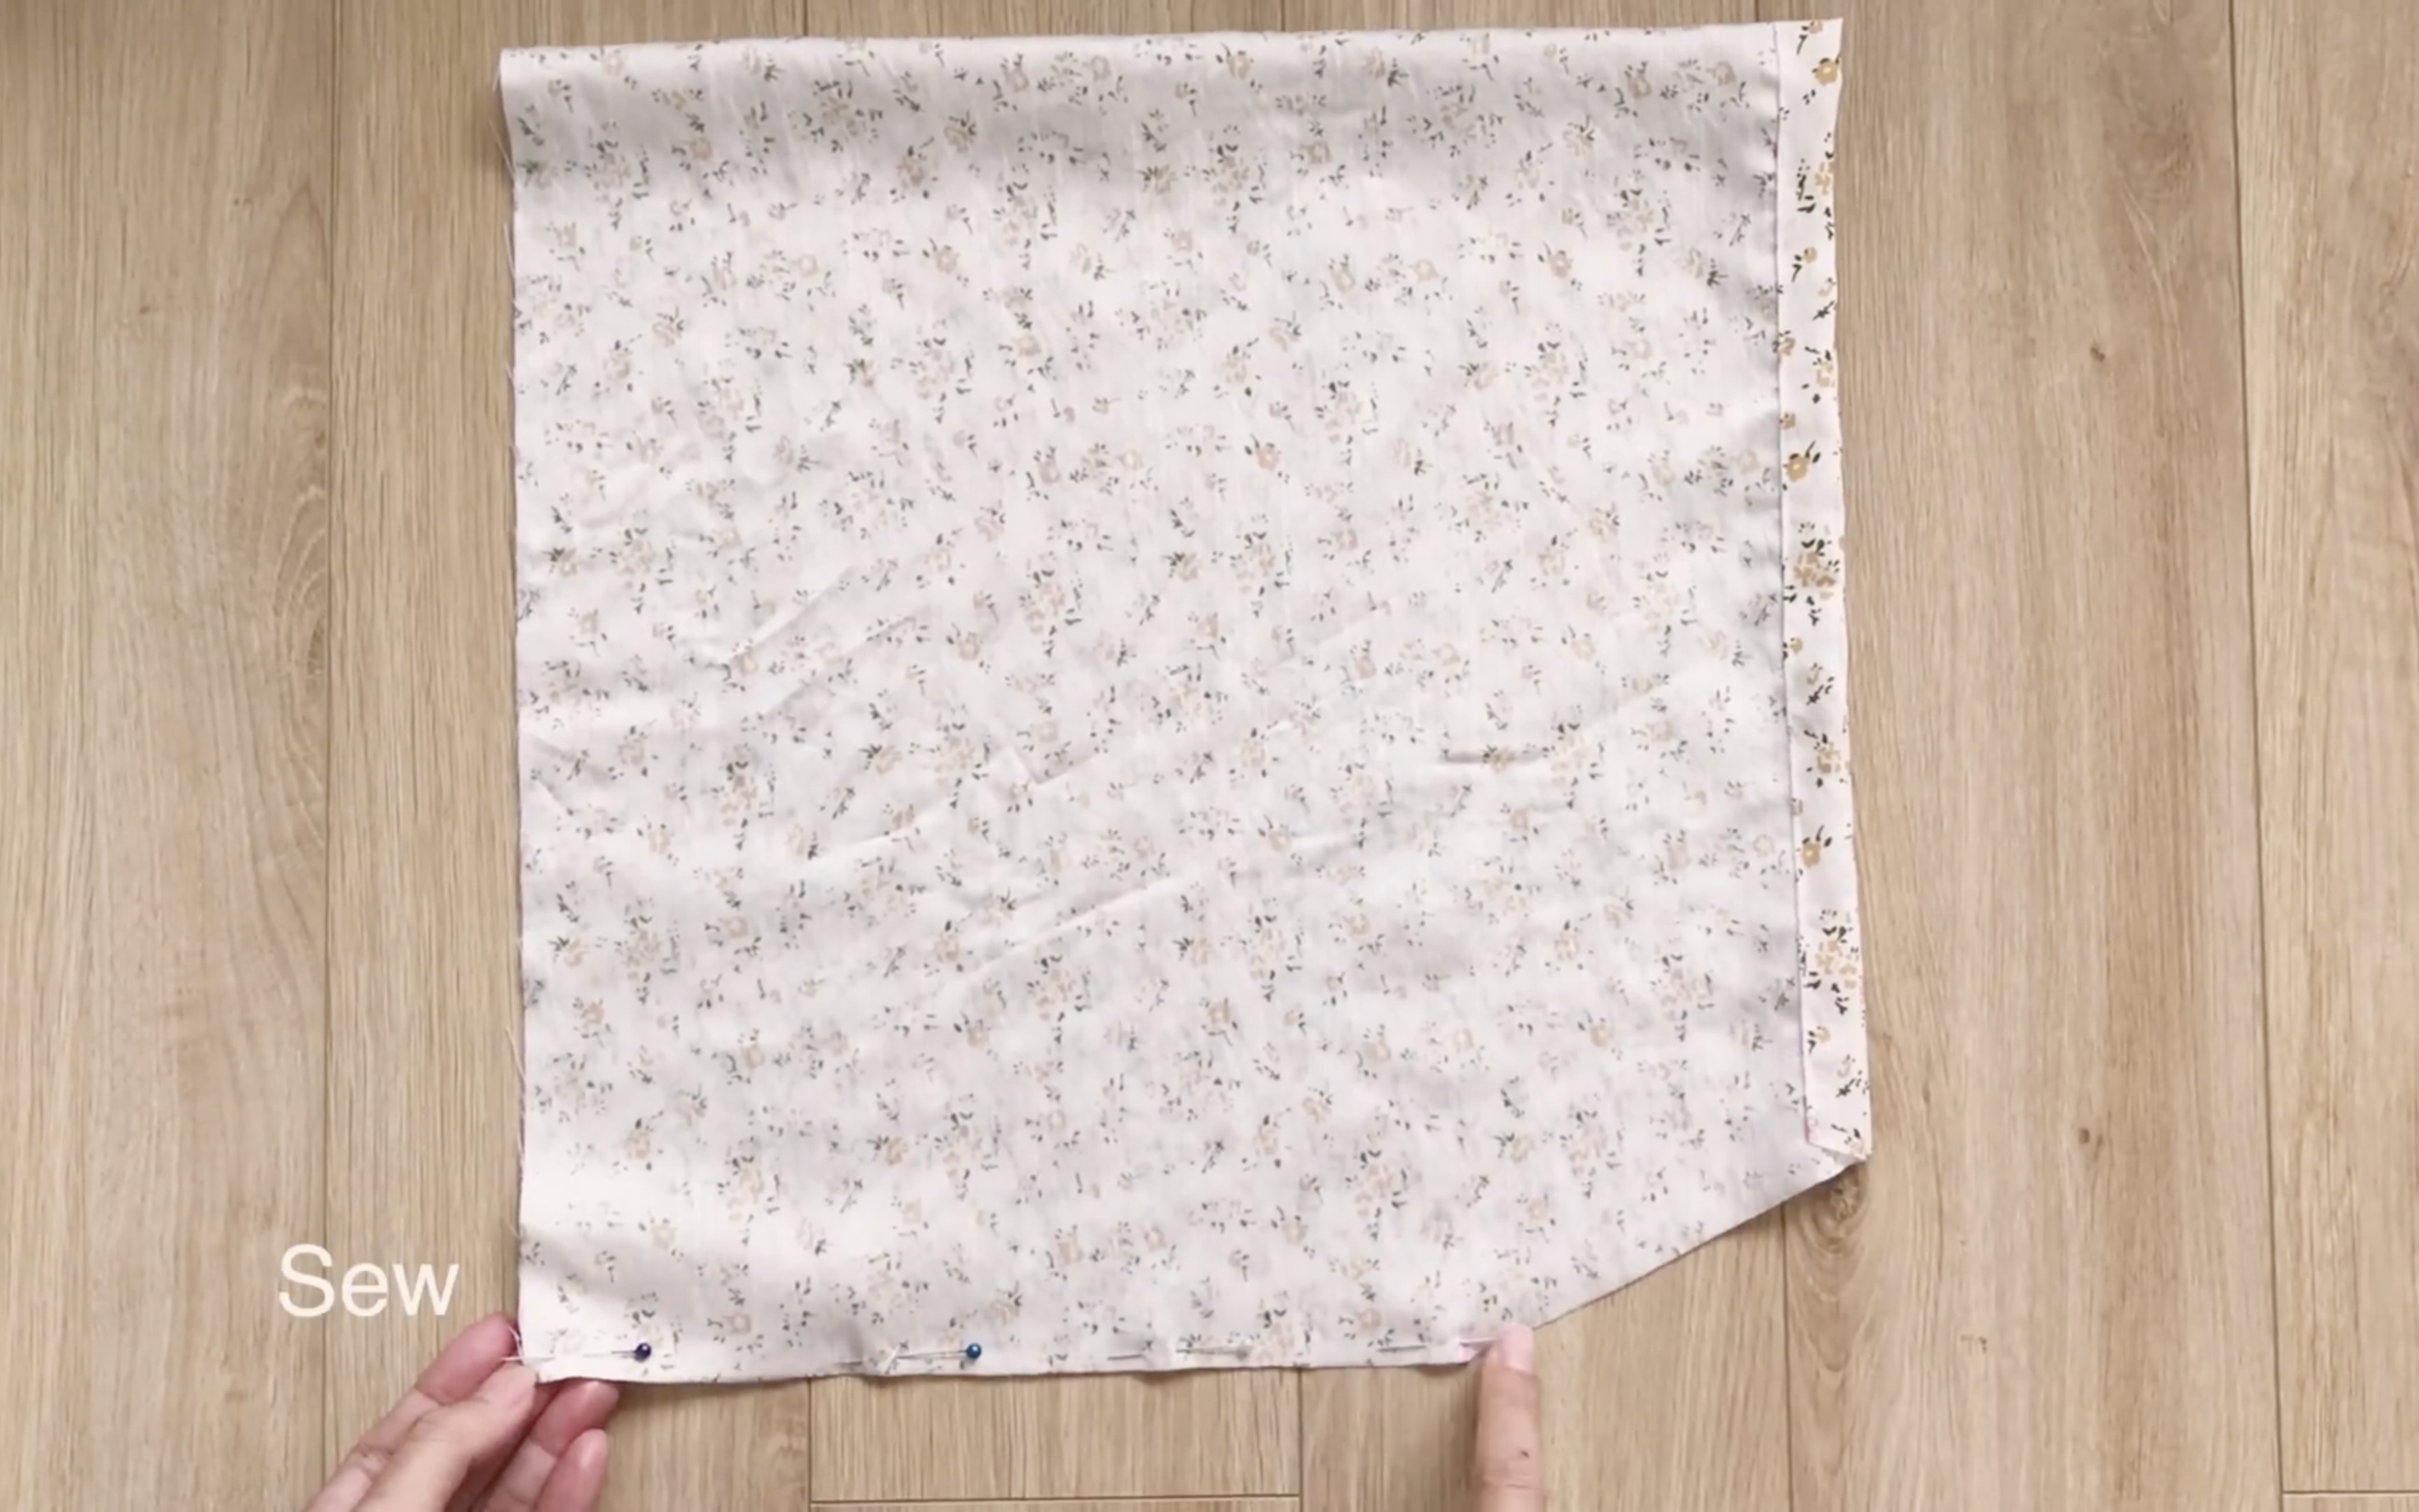
After that, sew two lines under the armpit together.
At the end of the sleeve, fold the edge fabric two times to finish the end, then sew.
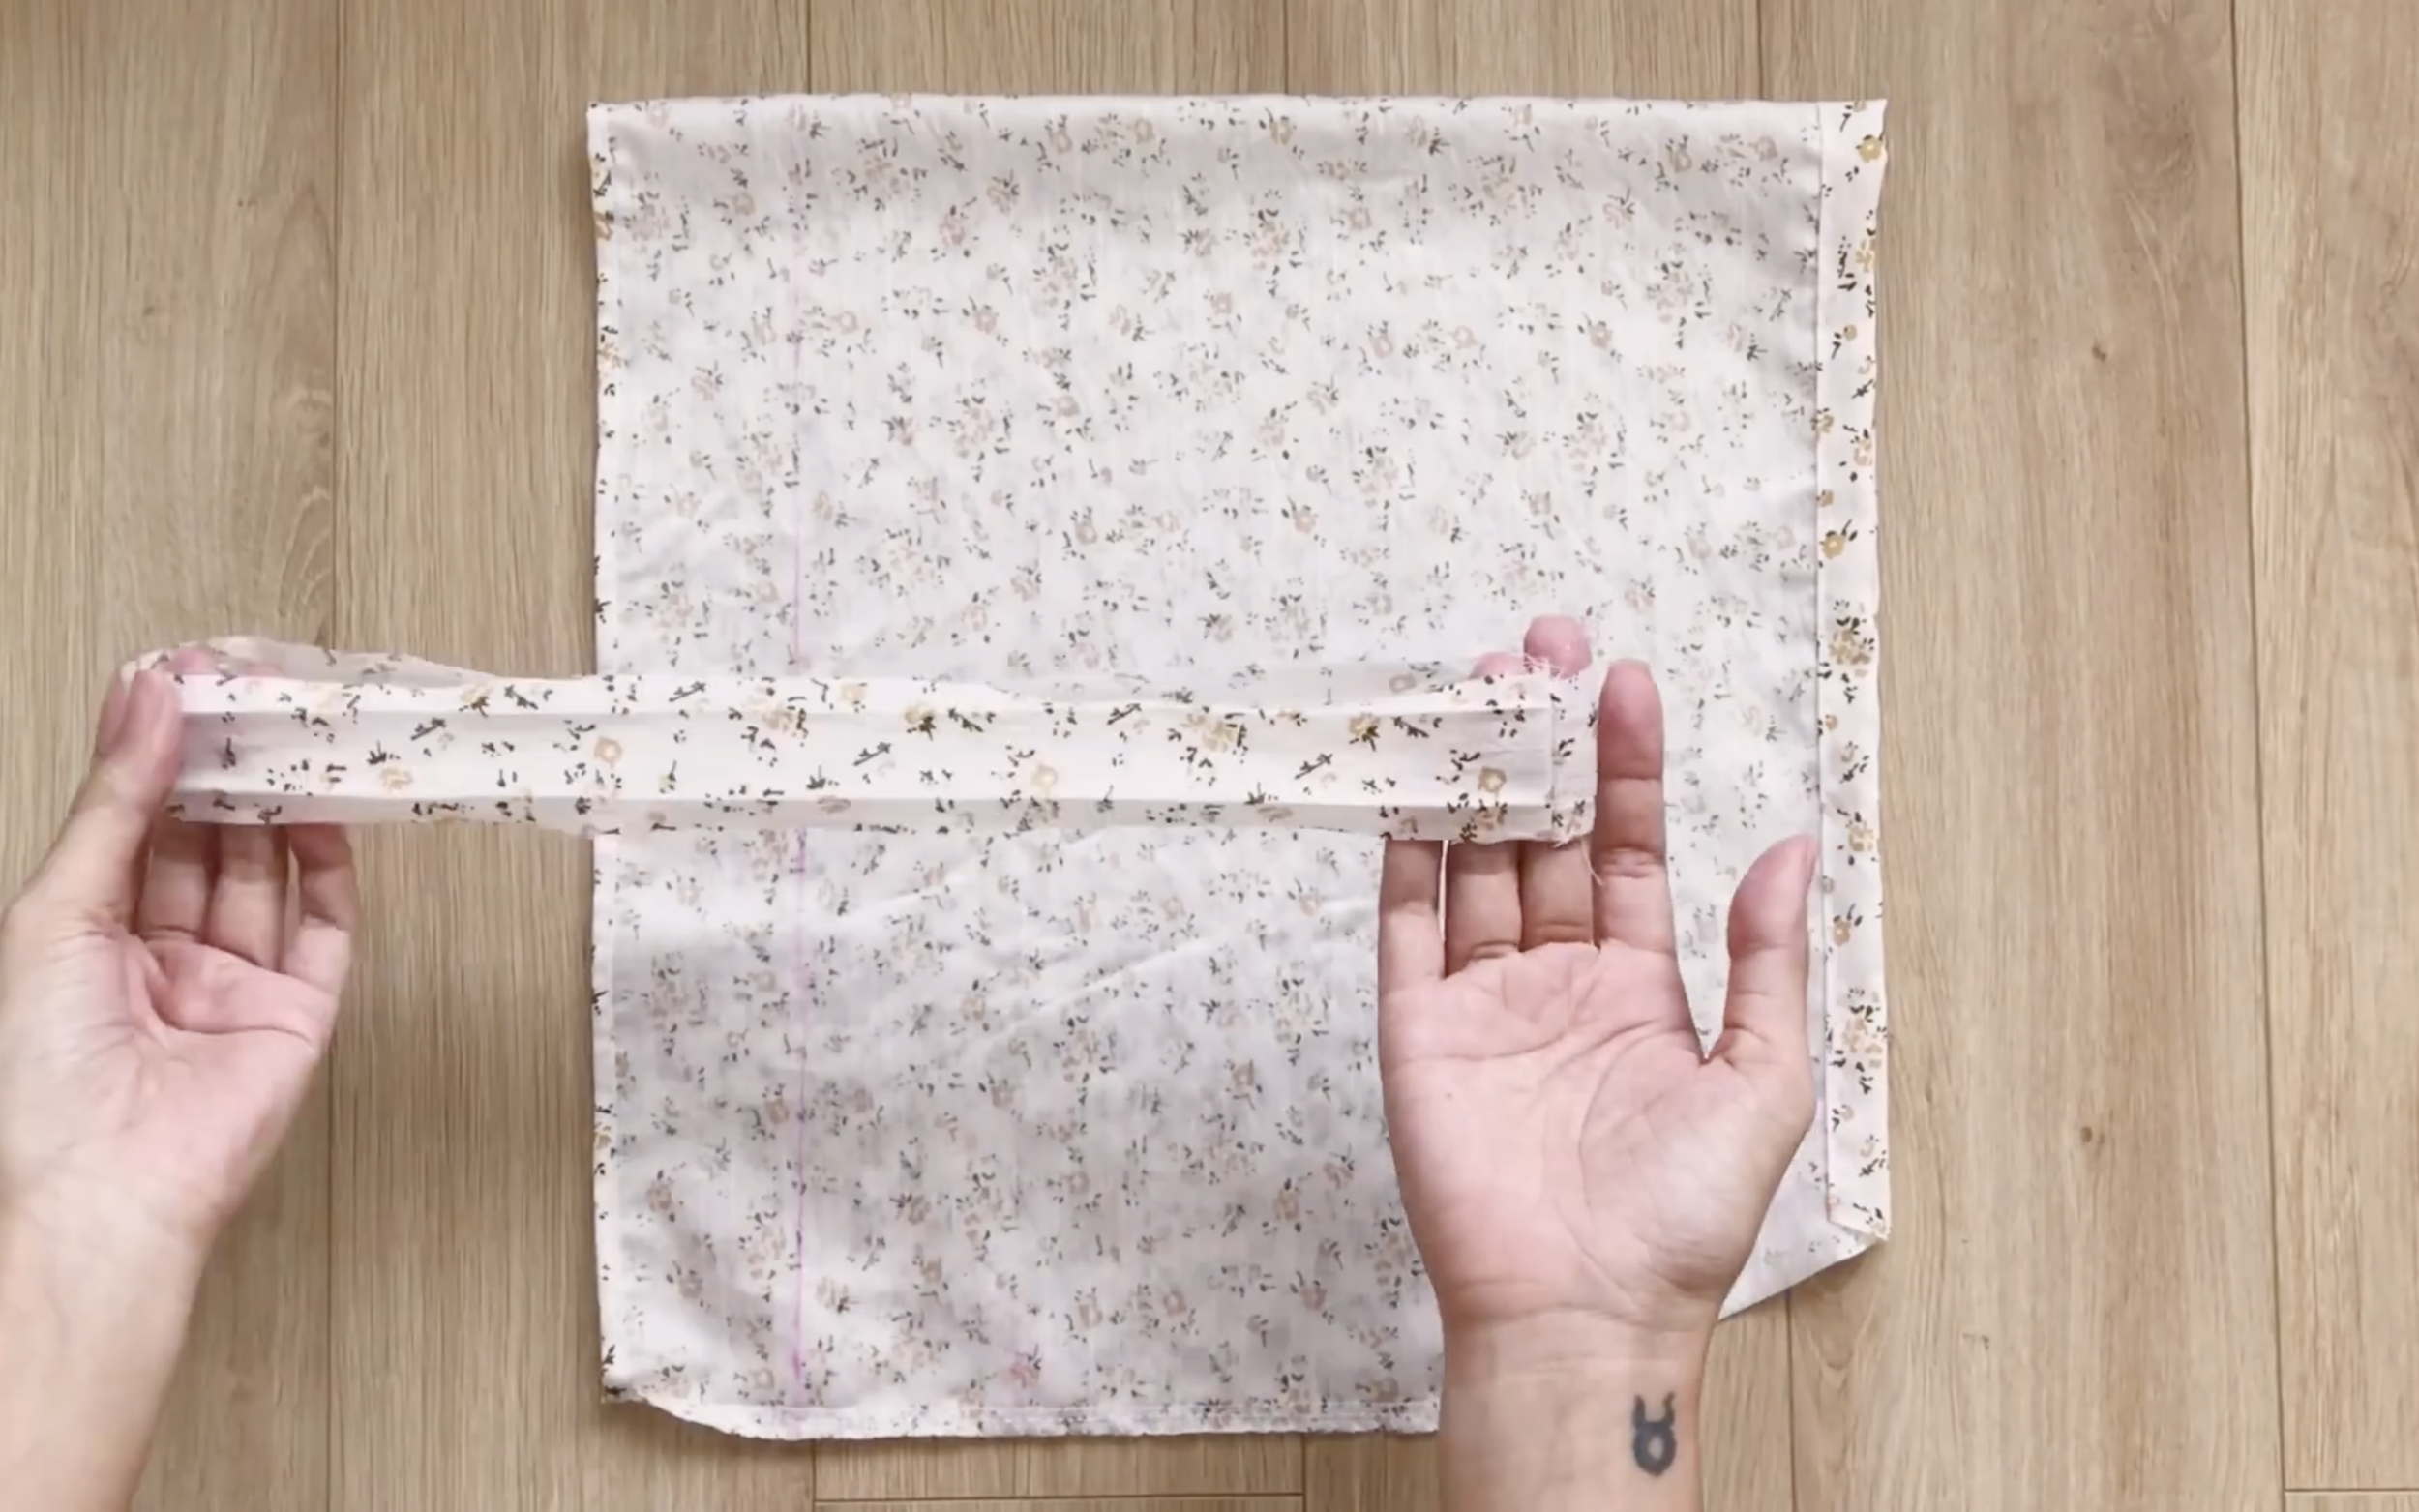
From the end of the sleeve, draw a line at 5 cm inside it. It will be the area for another elastic band to create the puffy sleeve there.
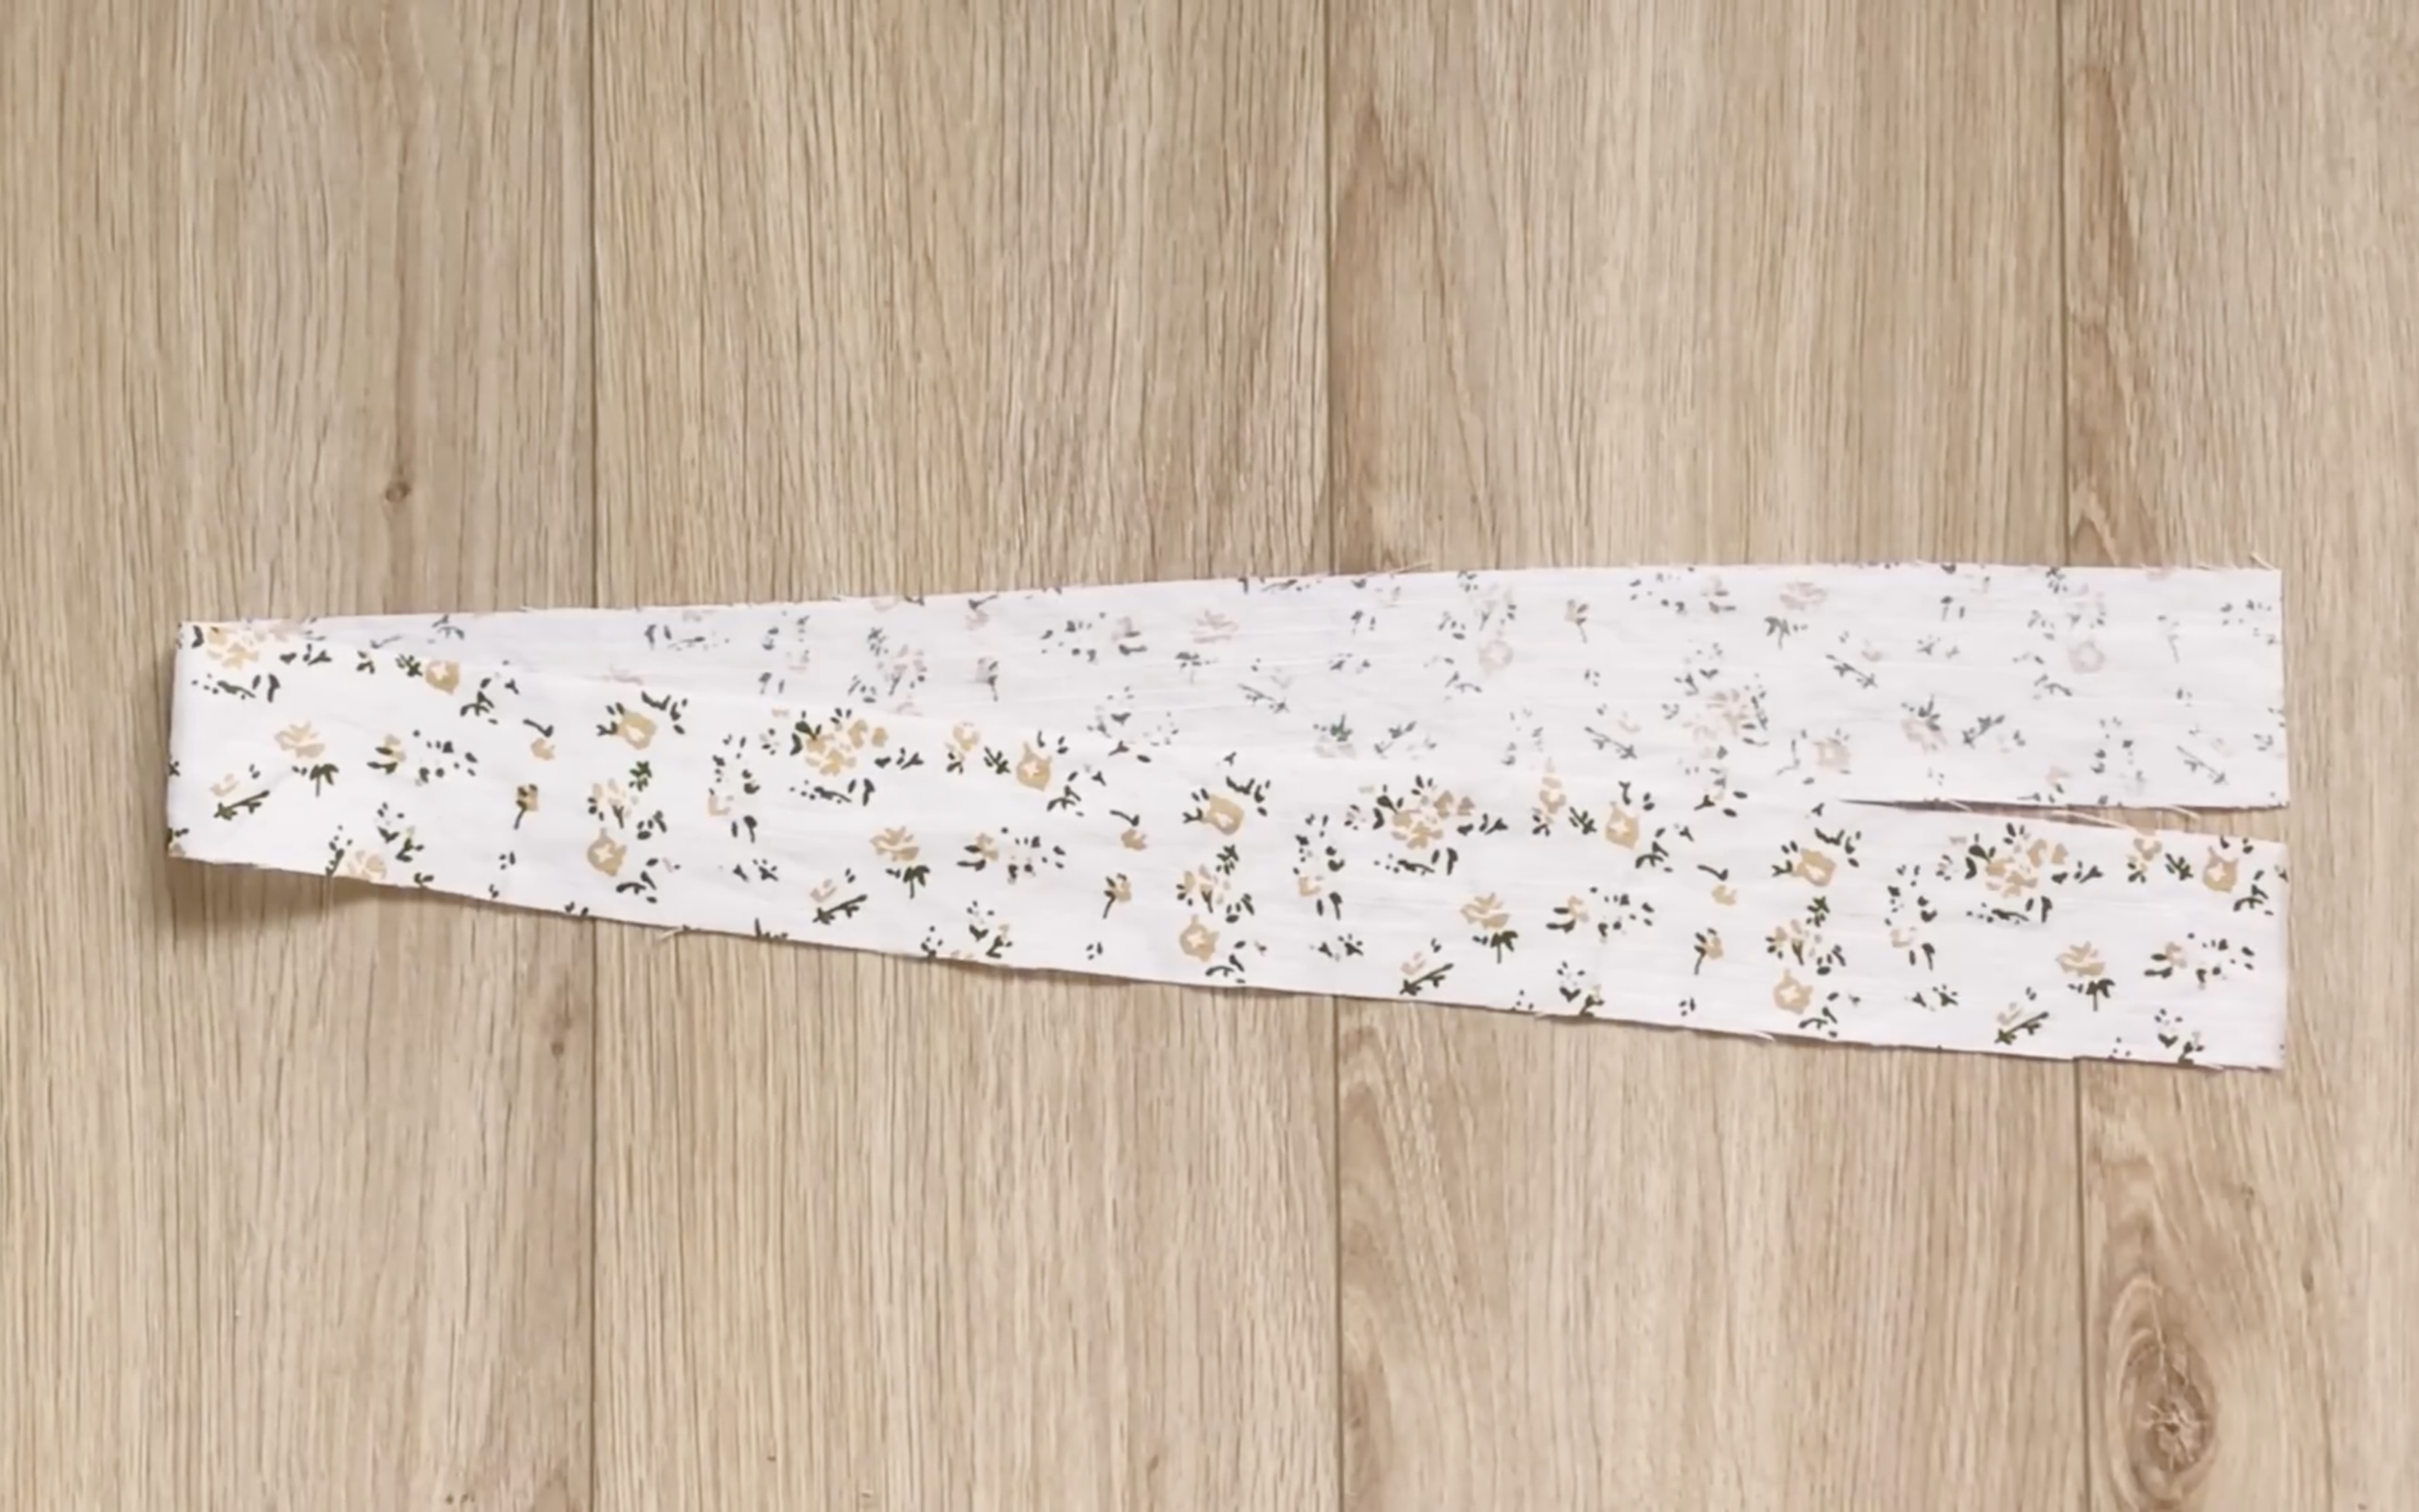
Cut a long rectangle with 4 cm width and 100 cm length.
Then, connect two ends of this rectangle together to have a circle fabric.
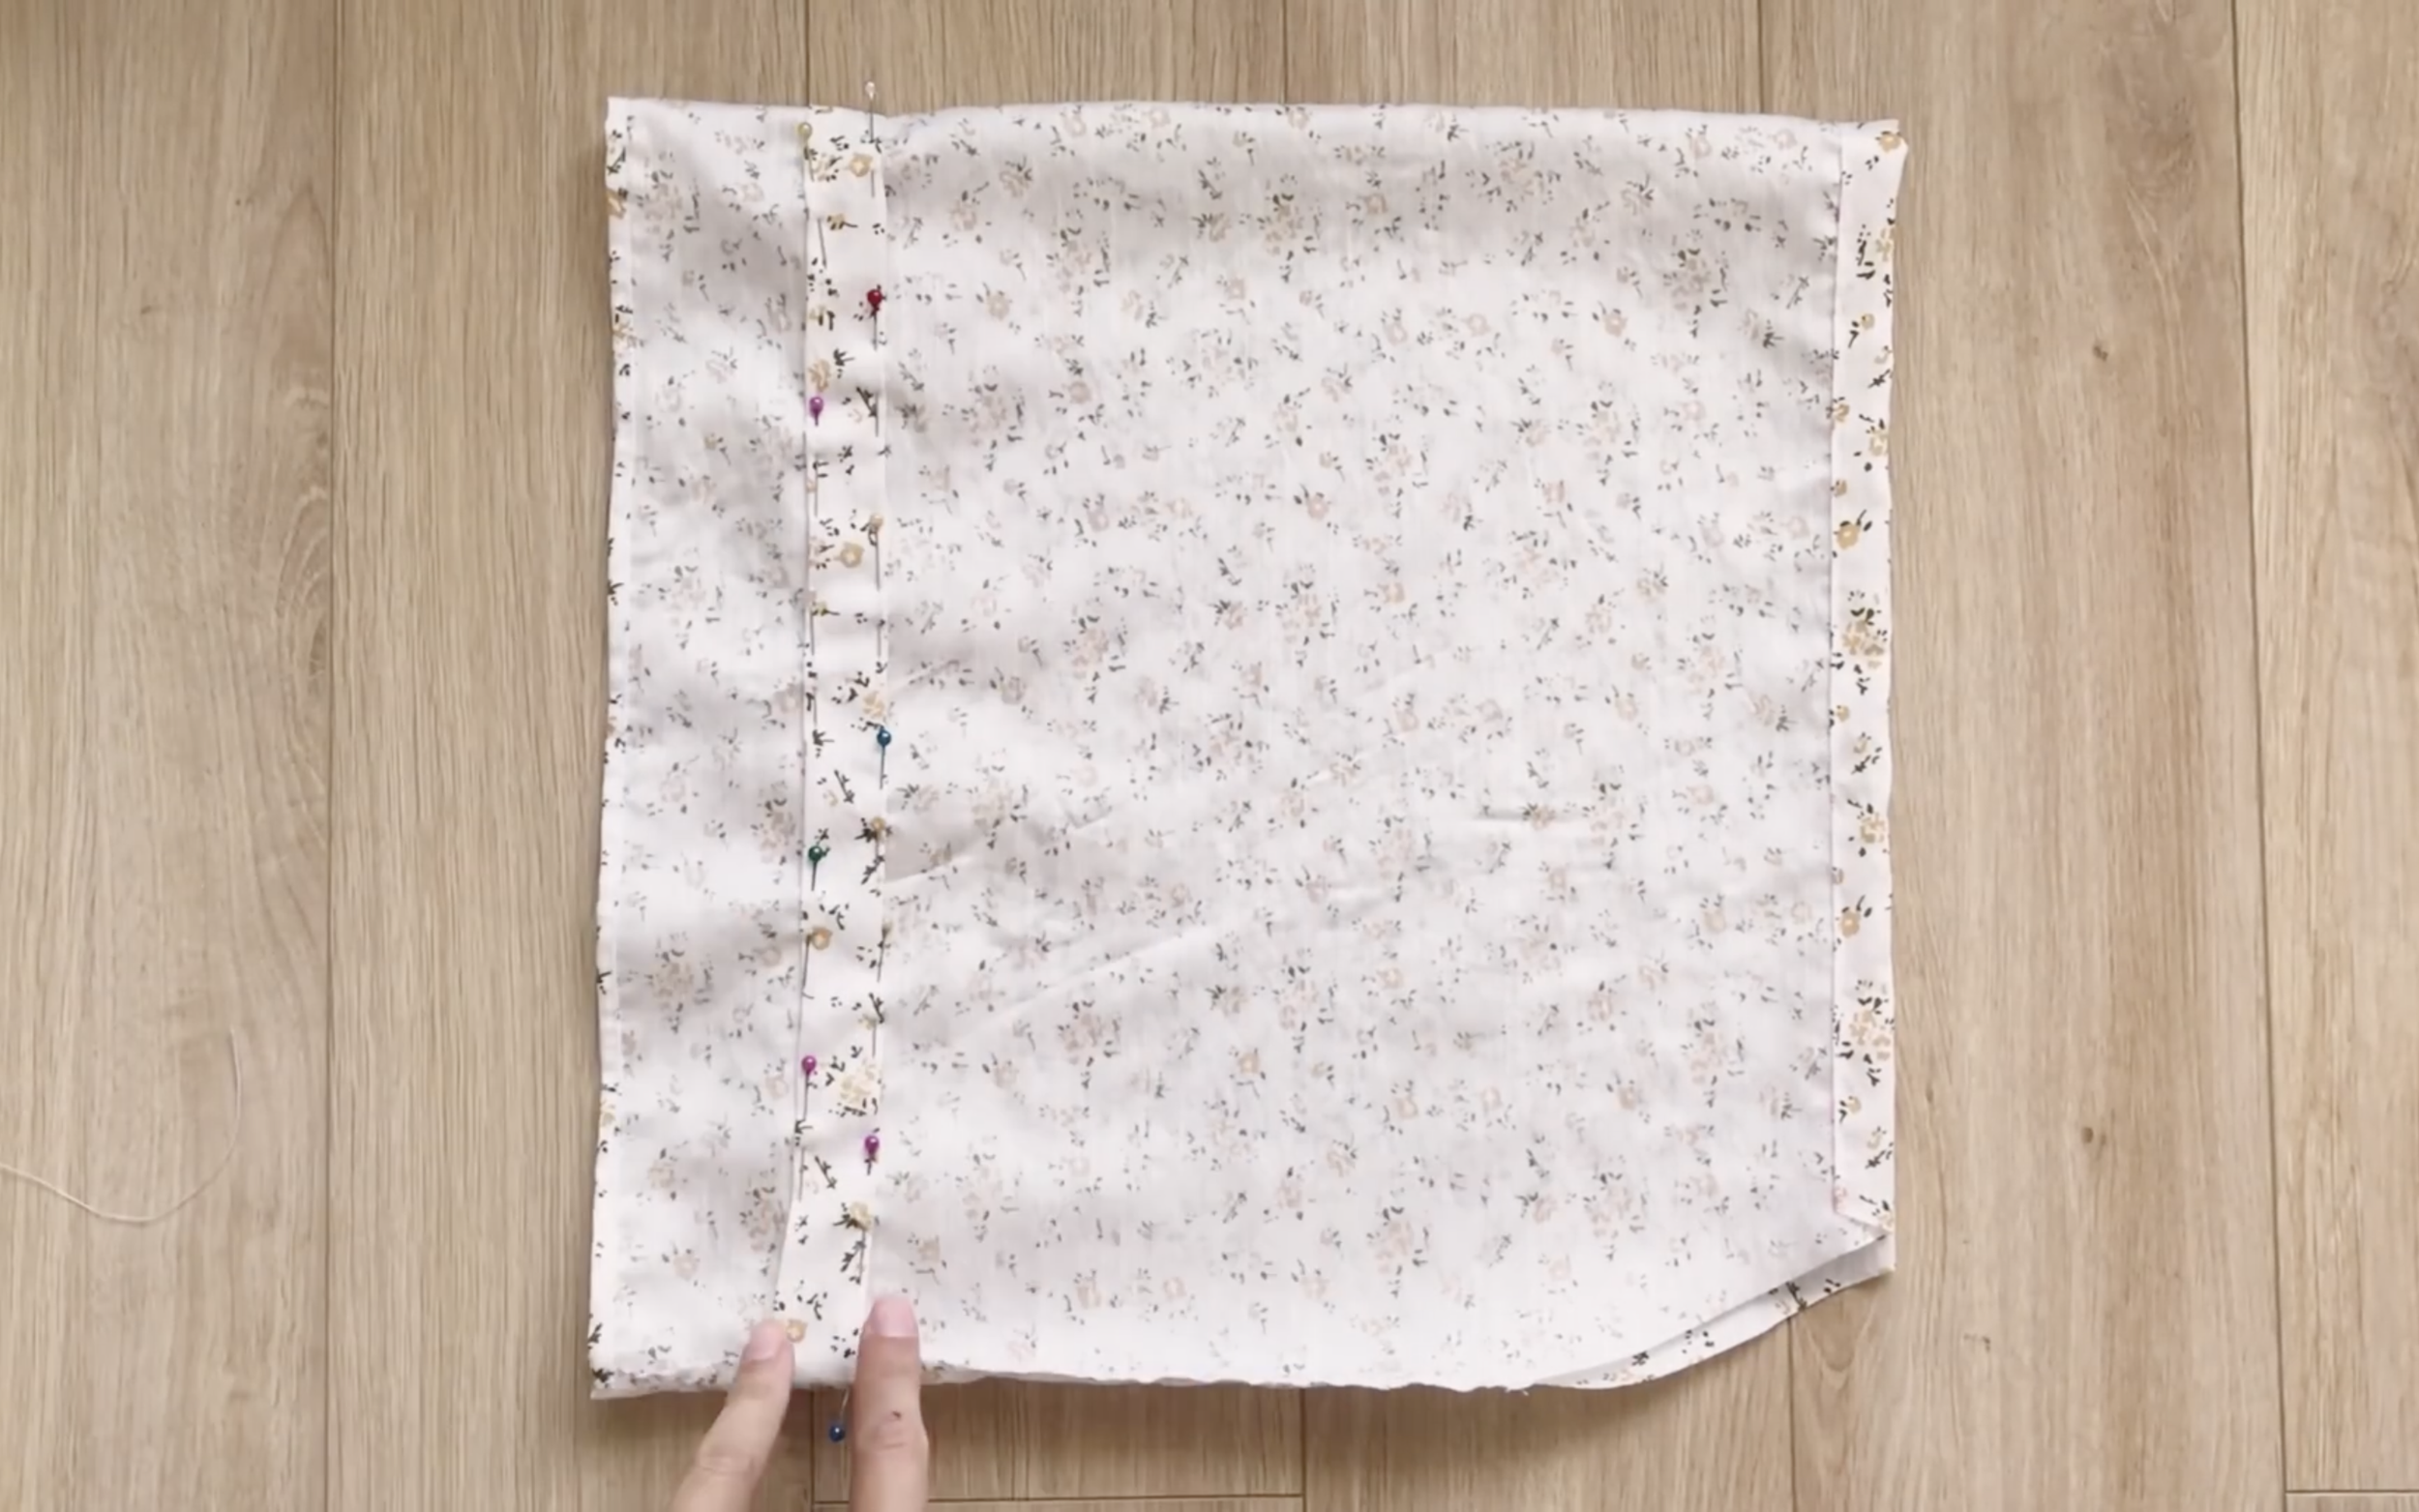
Connect the circle fabric to the sleeve at the line just drawn before that and sew.
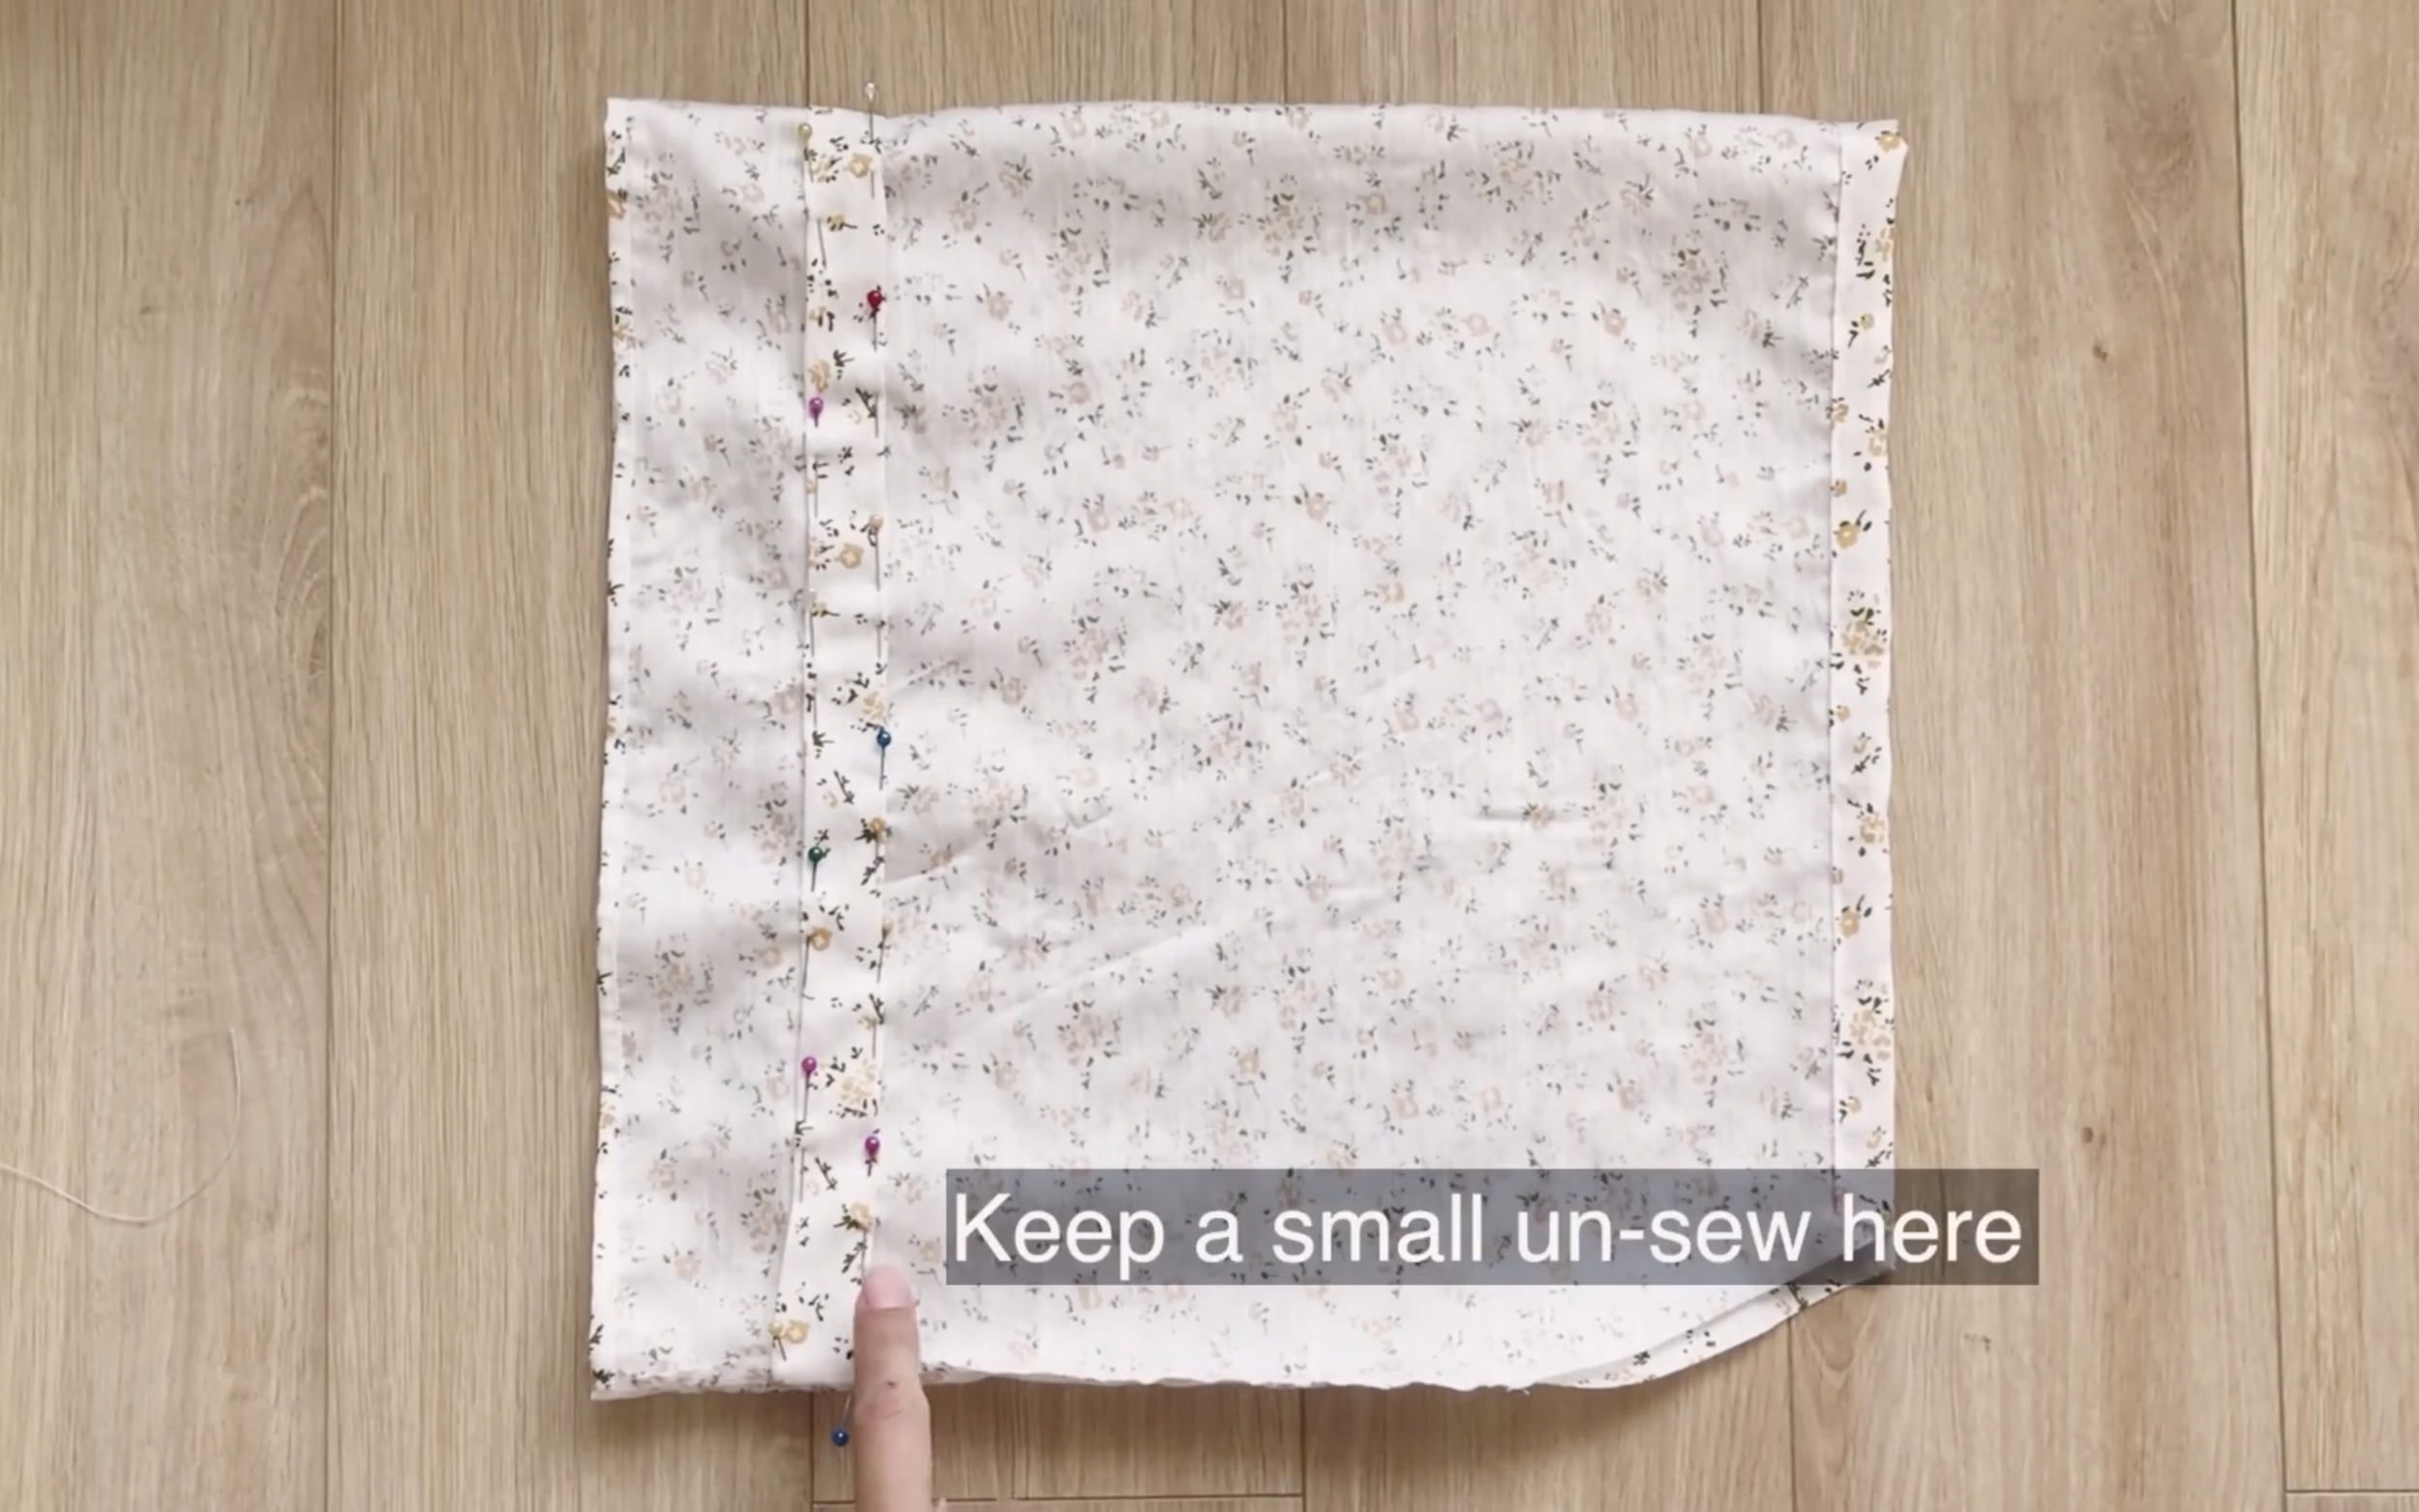
But keep a small unsewn space at one seam to put the elastic band inside later.
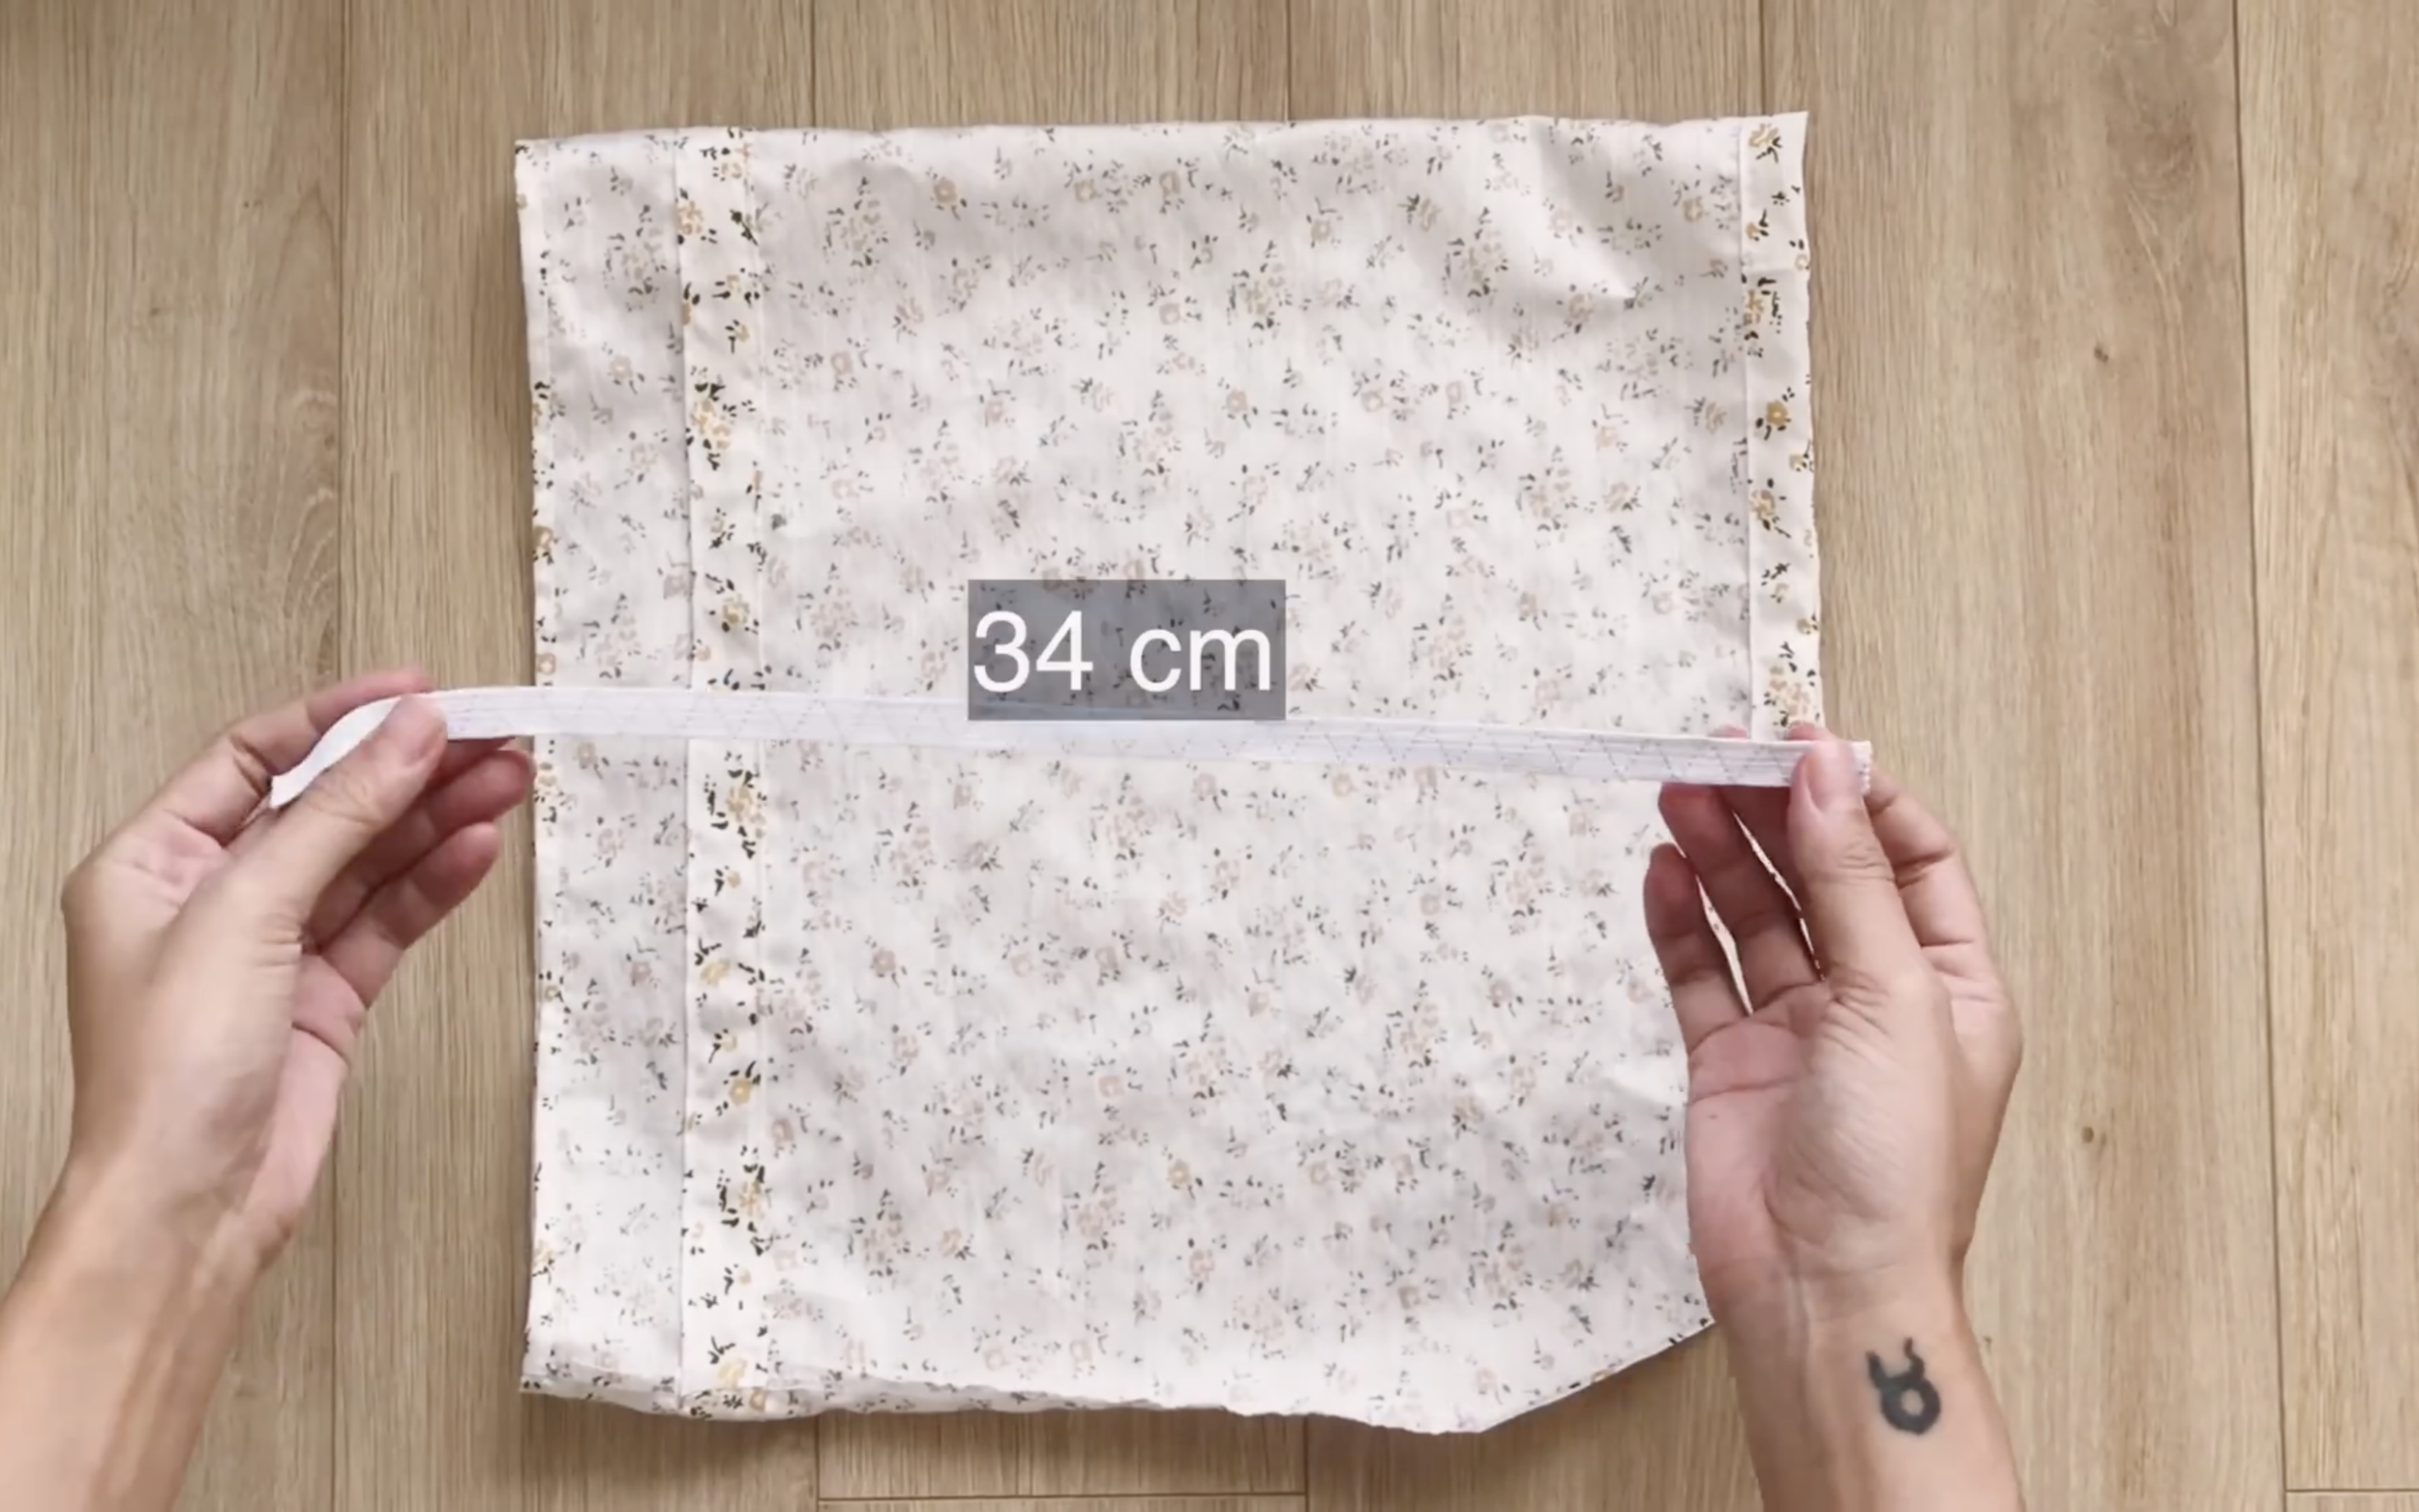
Now it's time for the elastic band. The length of the elastic band at the shoulder is around 34 cm, which is two times the width from the shoulder to the upper breast.
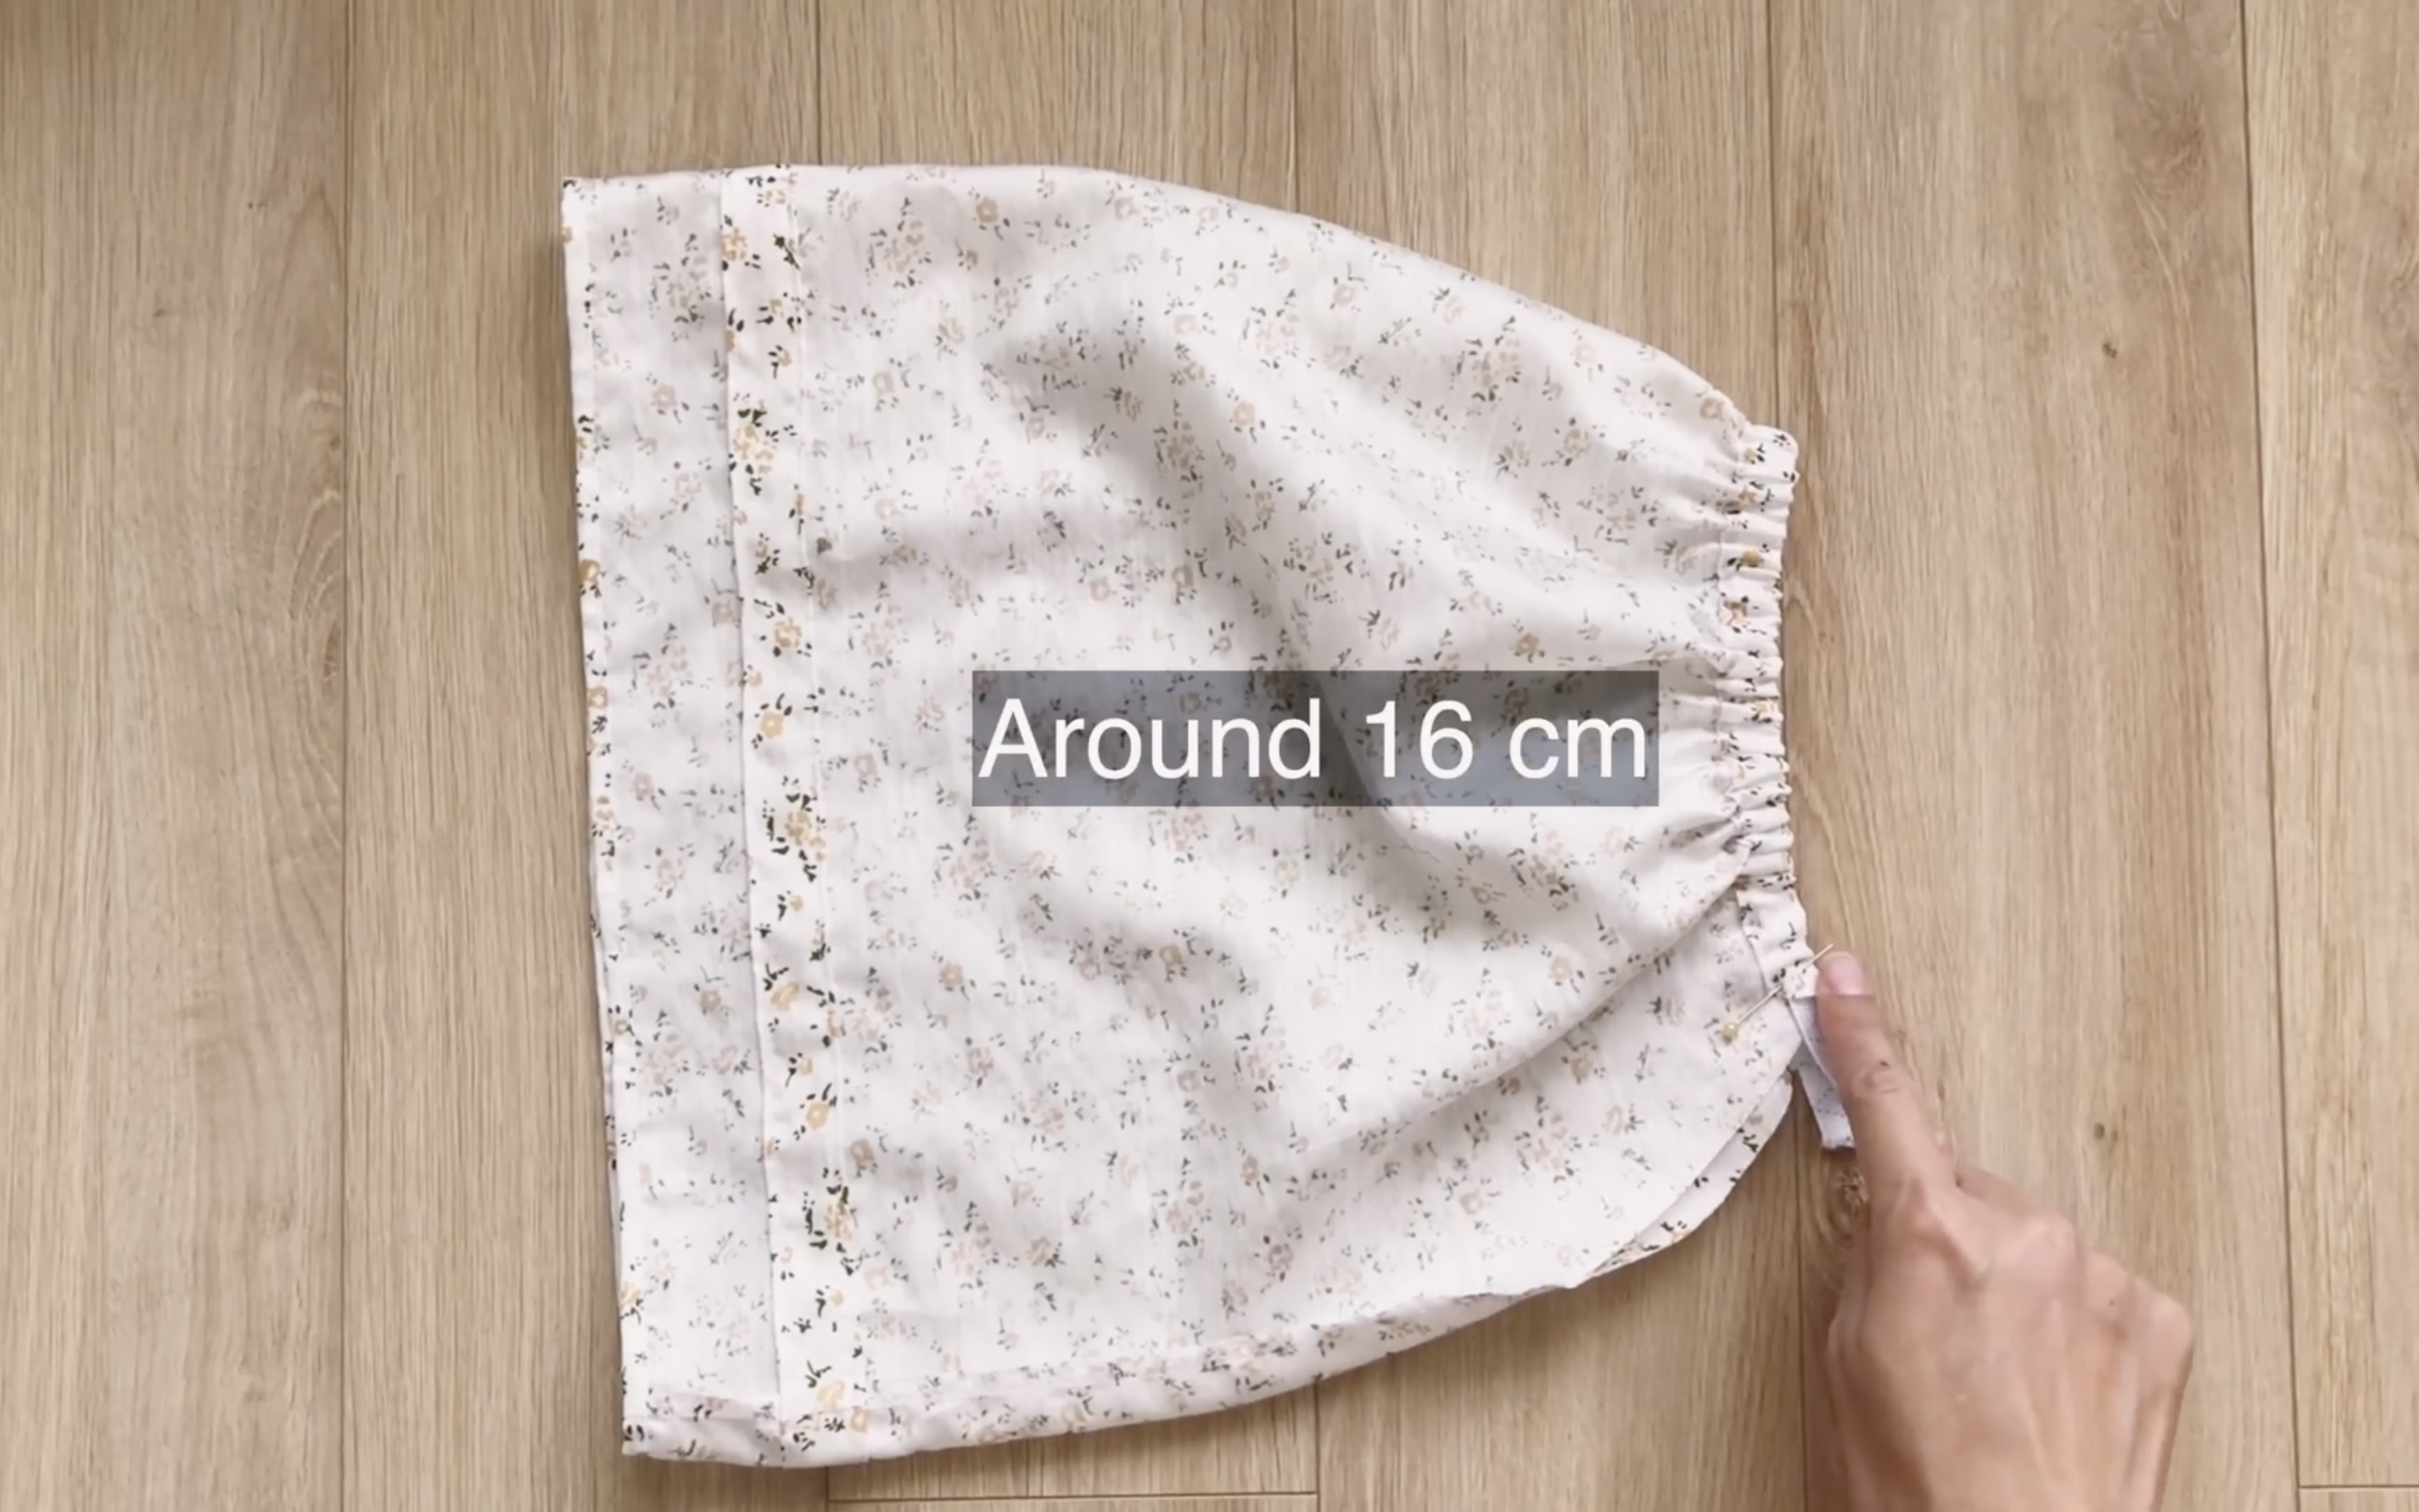
Once you put the elastic band through the hole in the sleeve, check to make sure the gathered part is 16 cm.
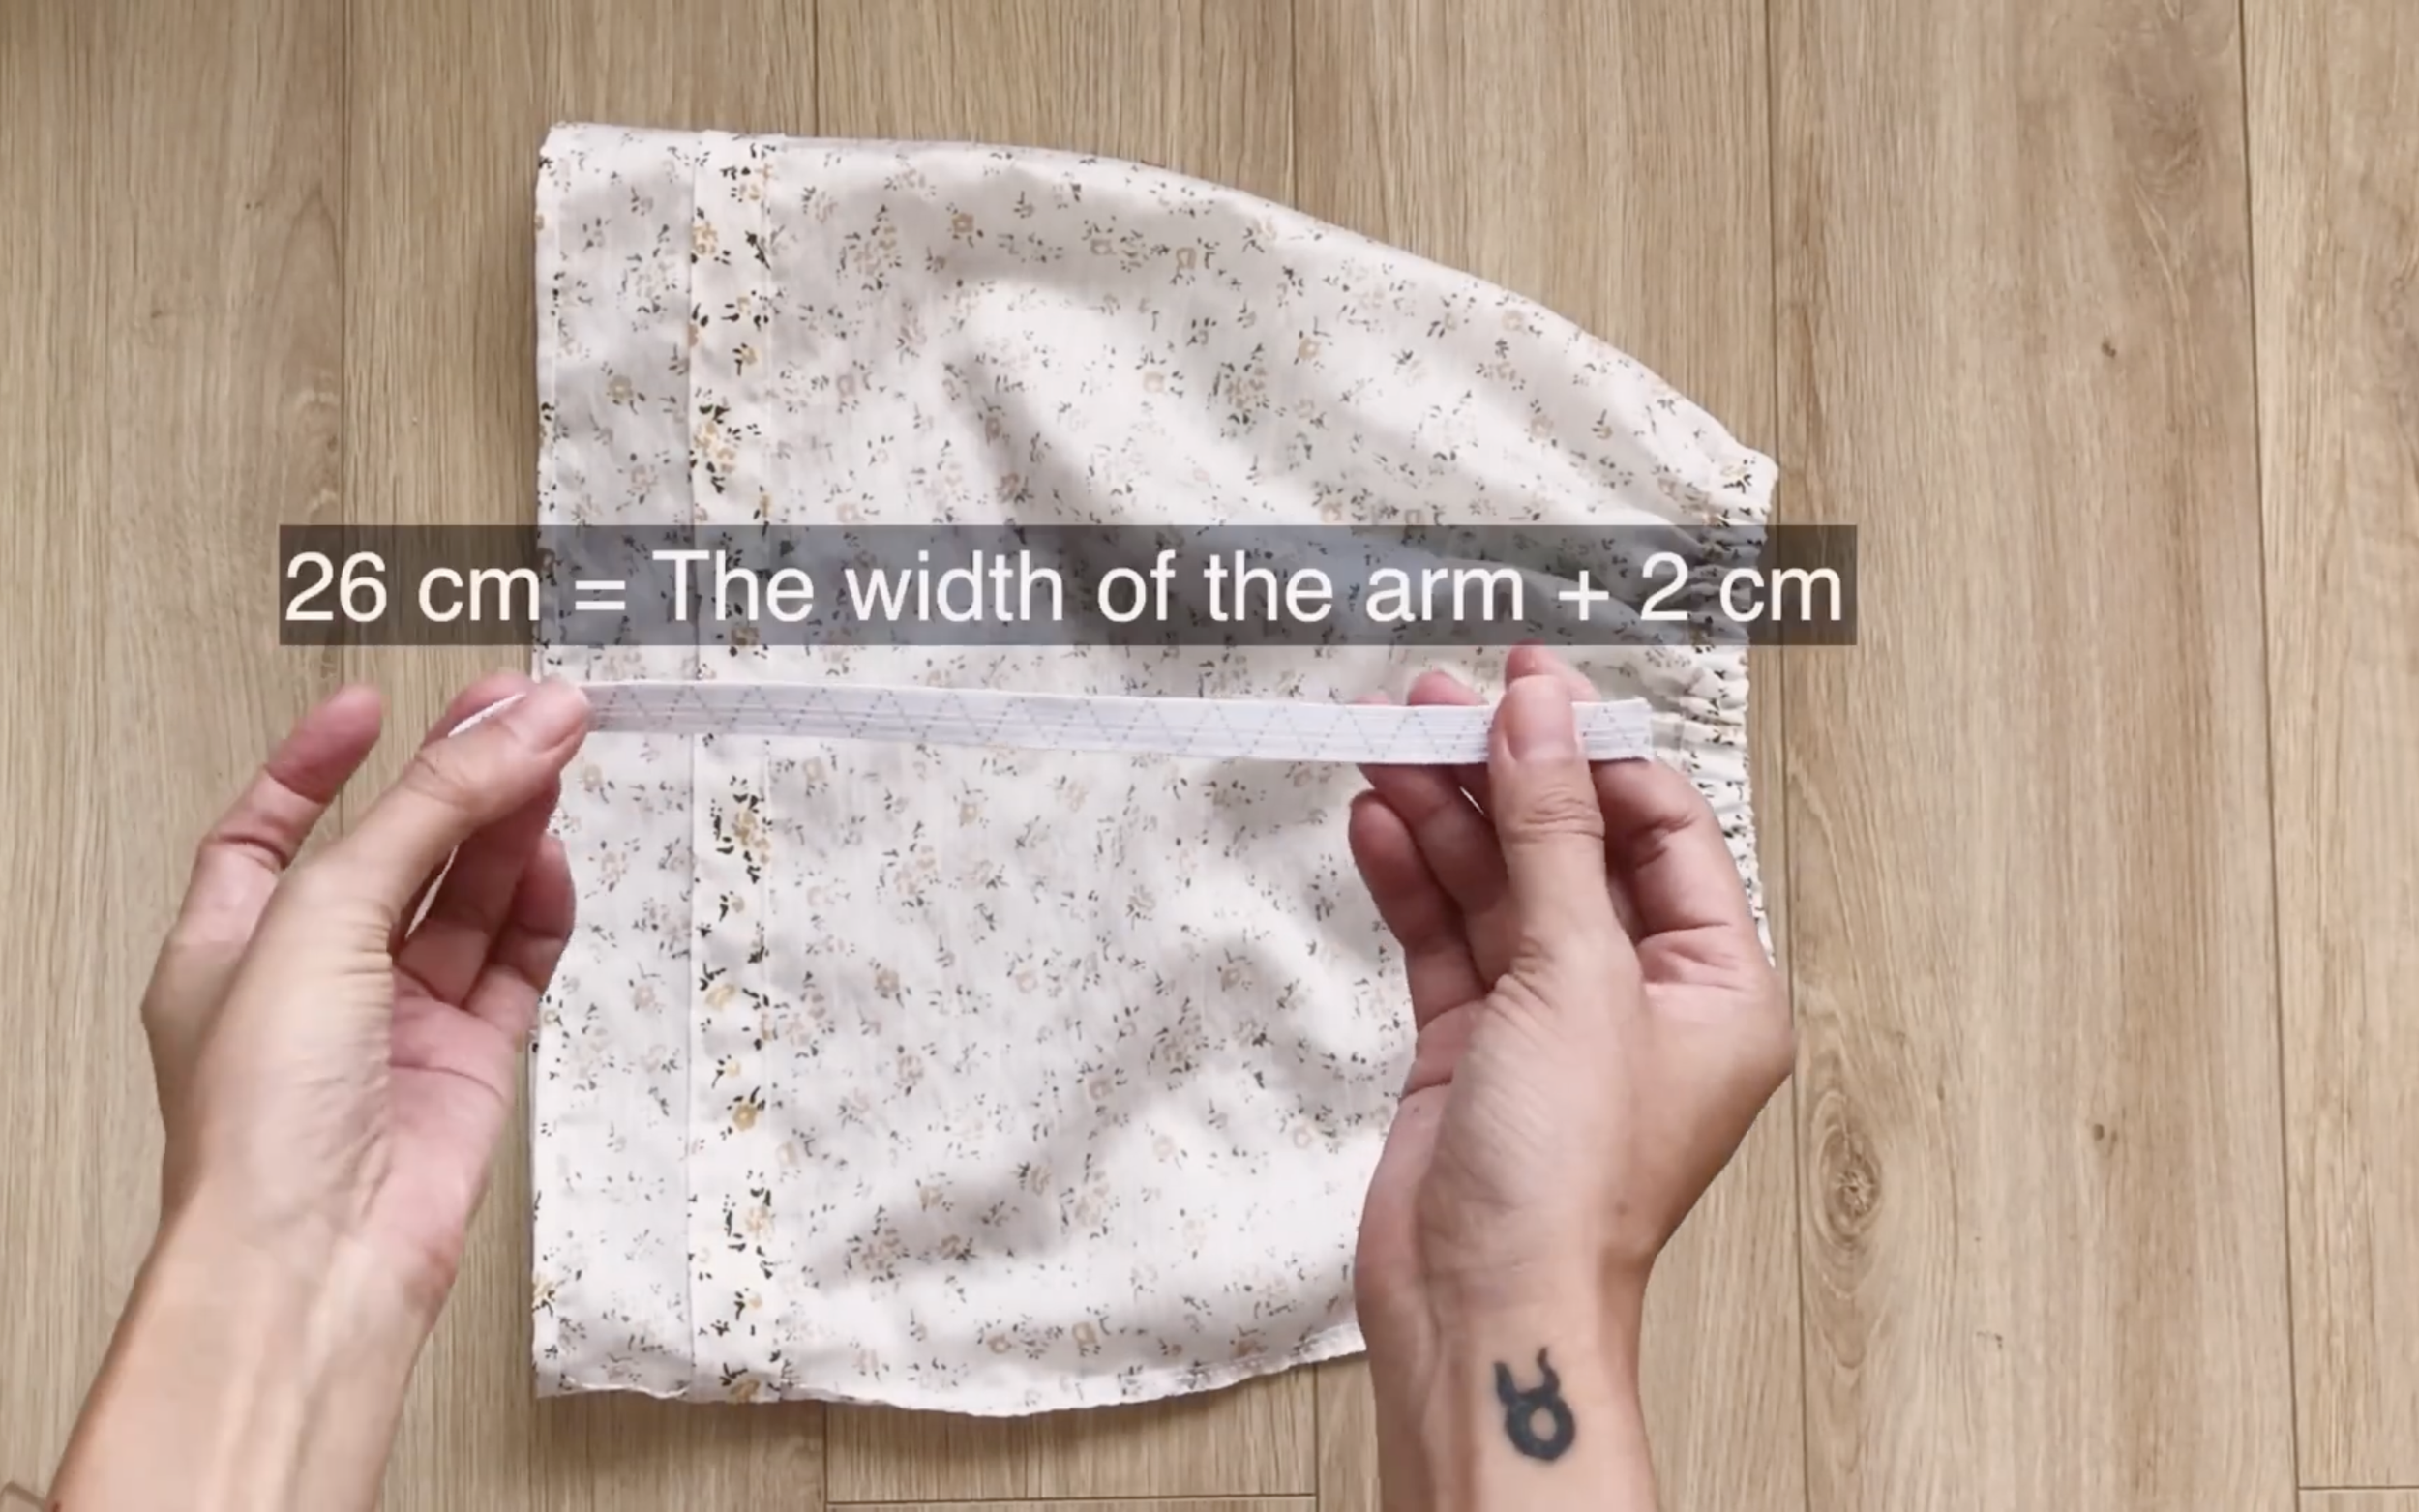
Use an elastic band that is 26 cm long for the end of the sleeve. This length is the width of your arm plus 2 cm.
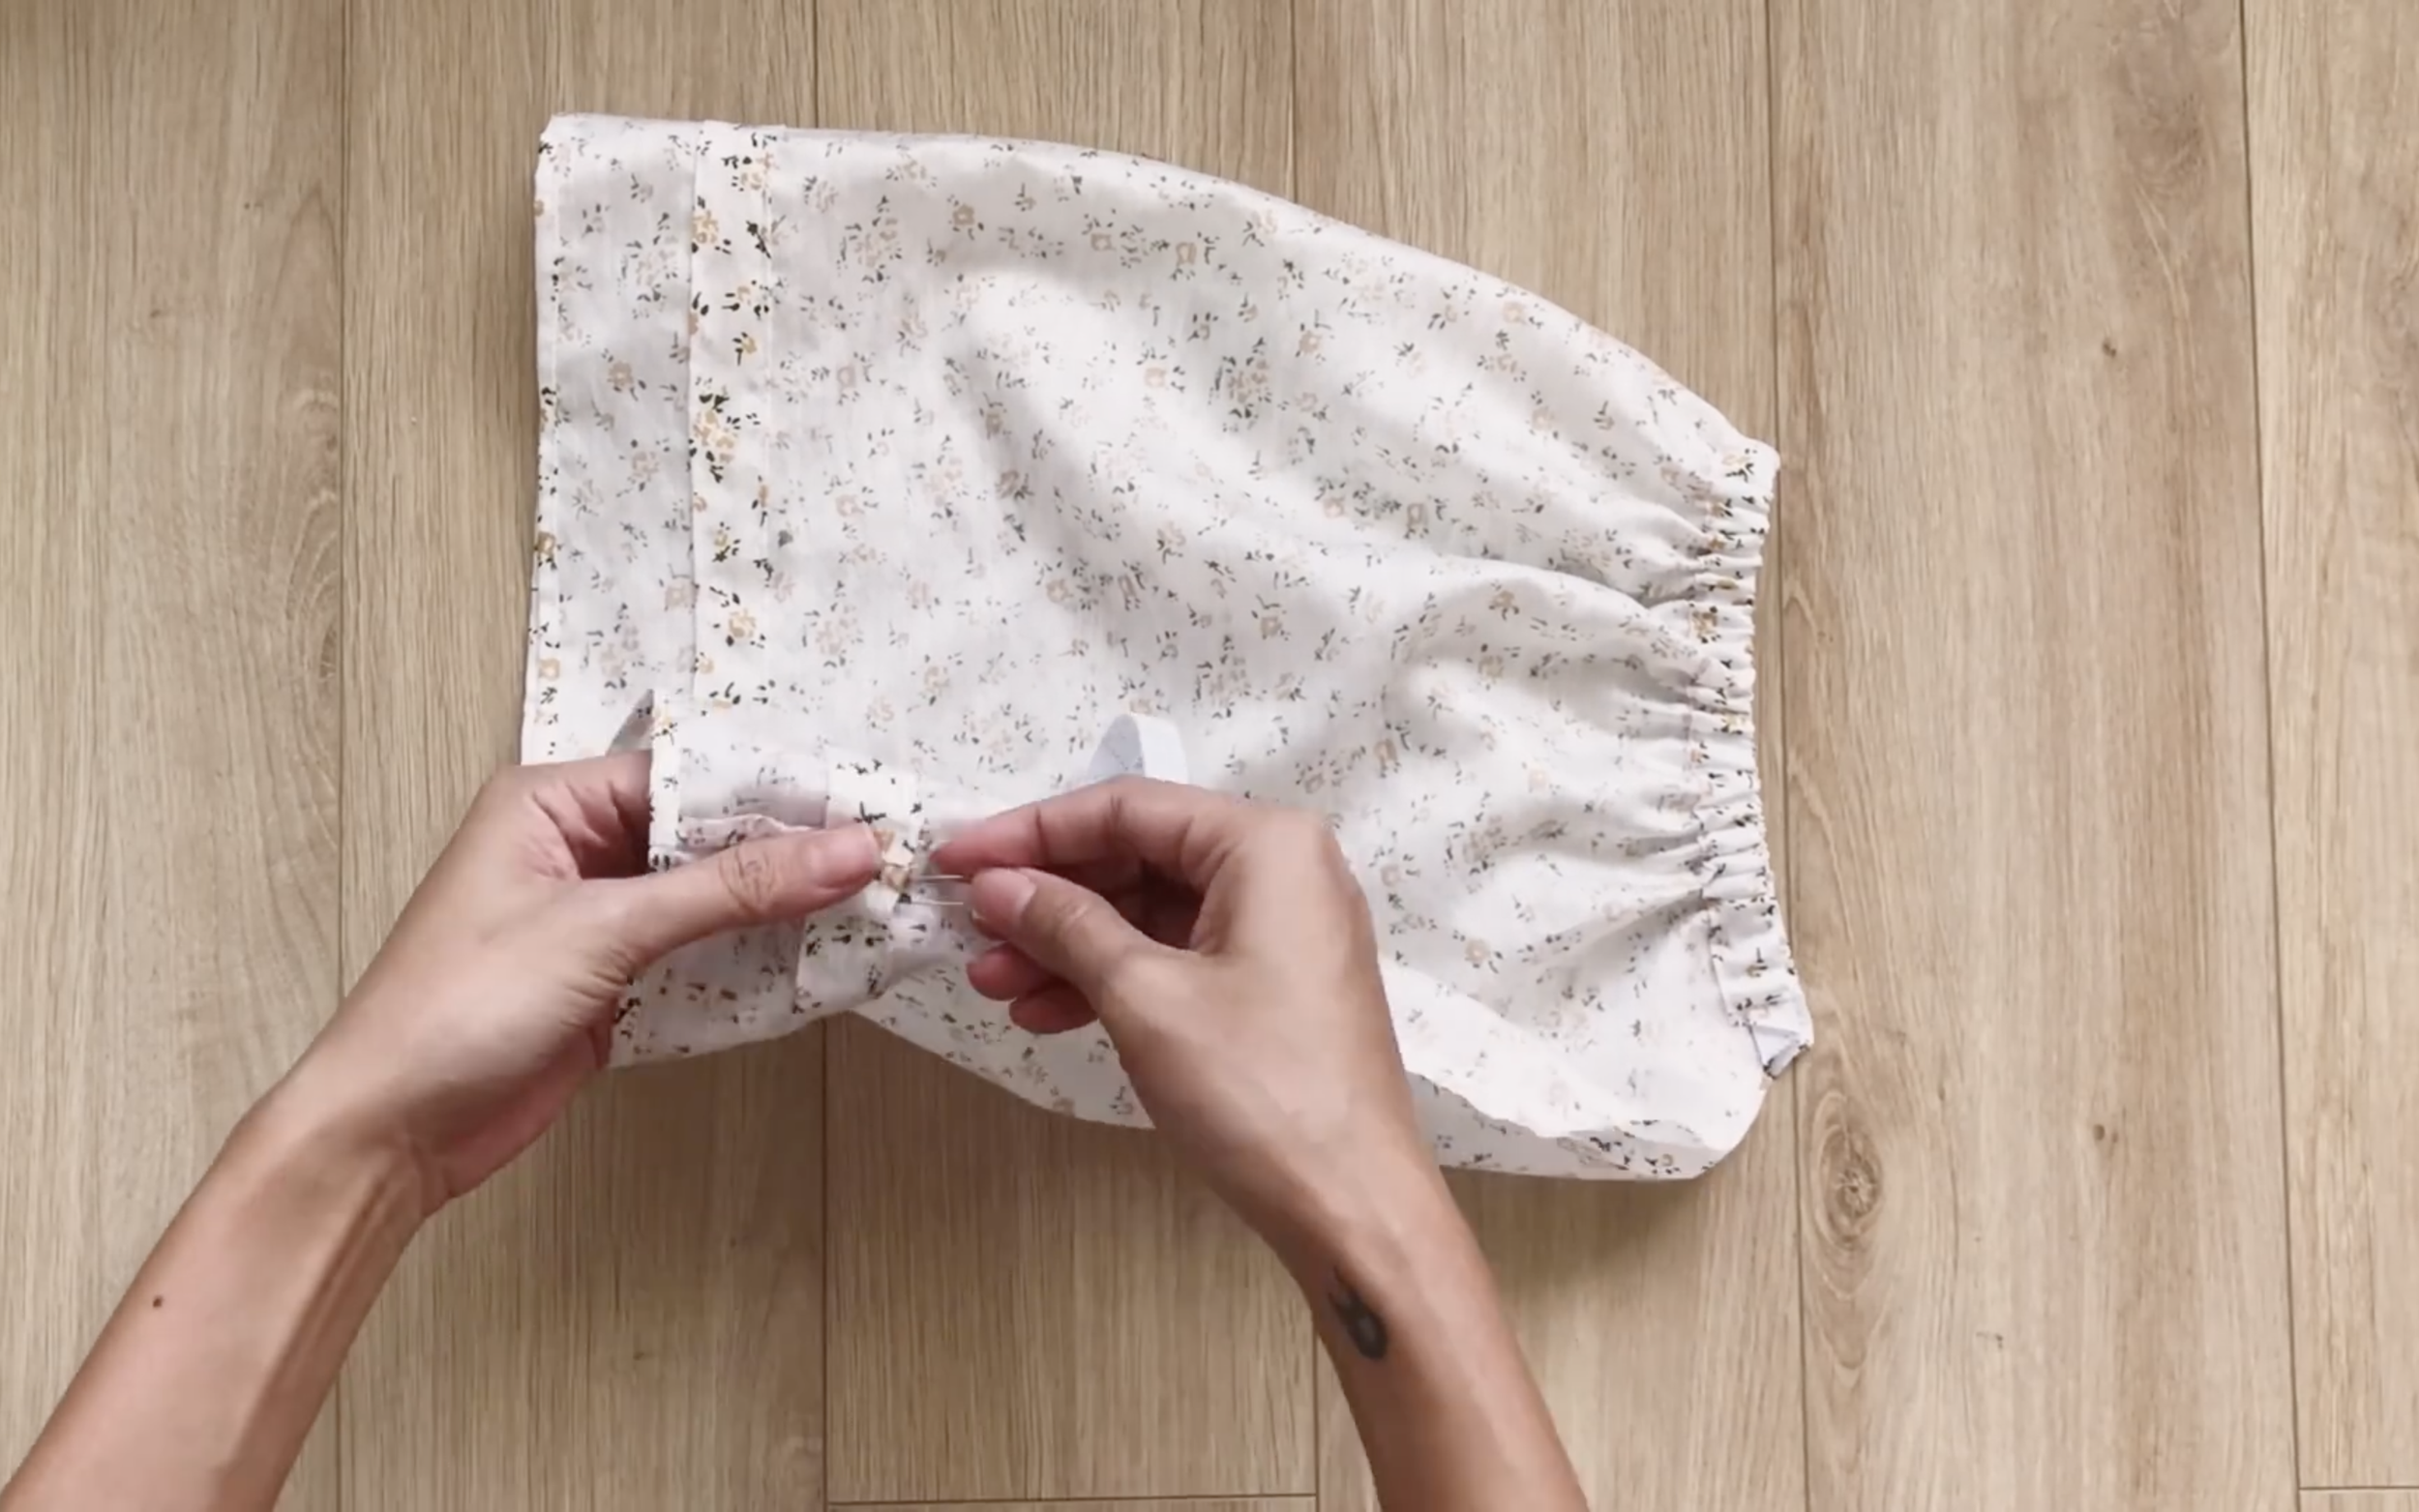
Then, put the elastic band through the hole that just made before at the end of the sleeve.
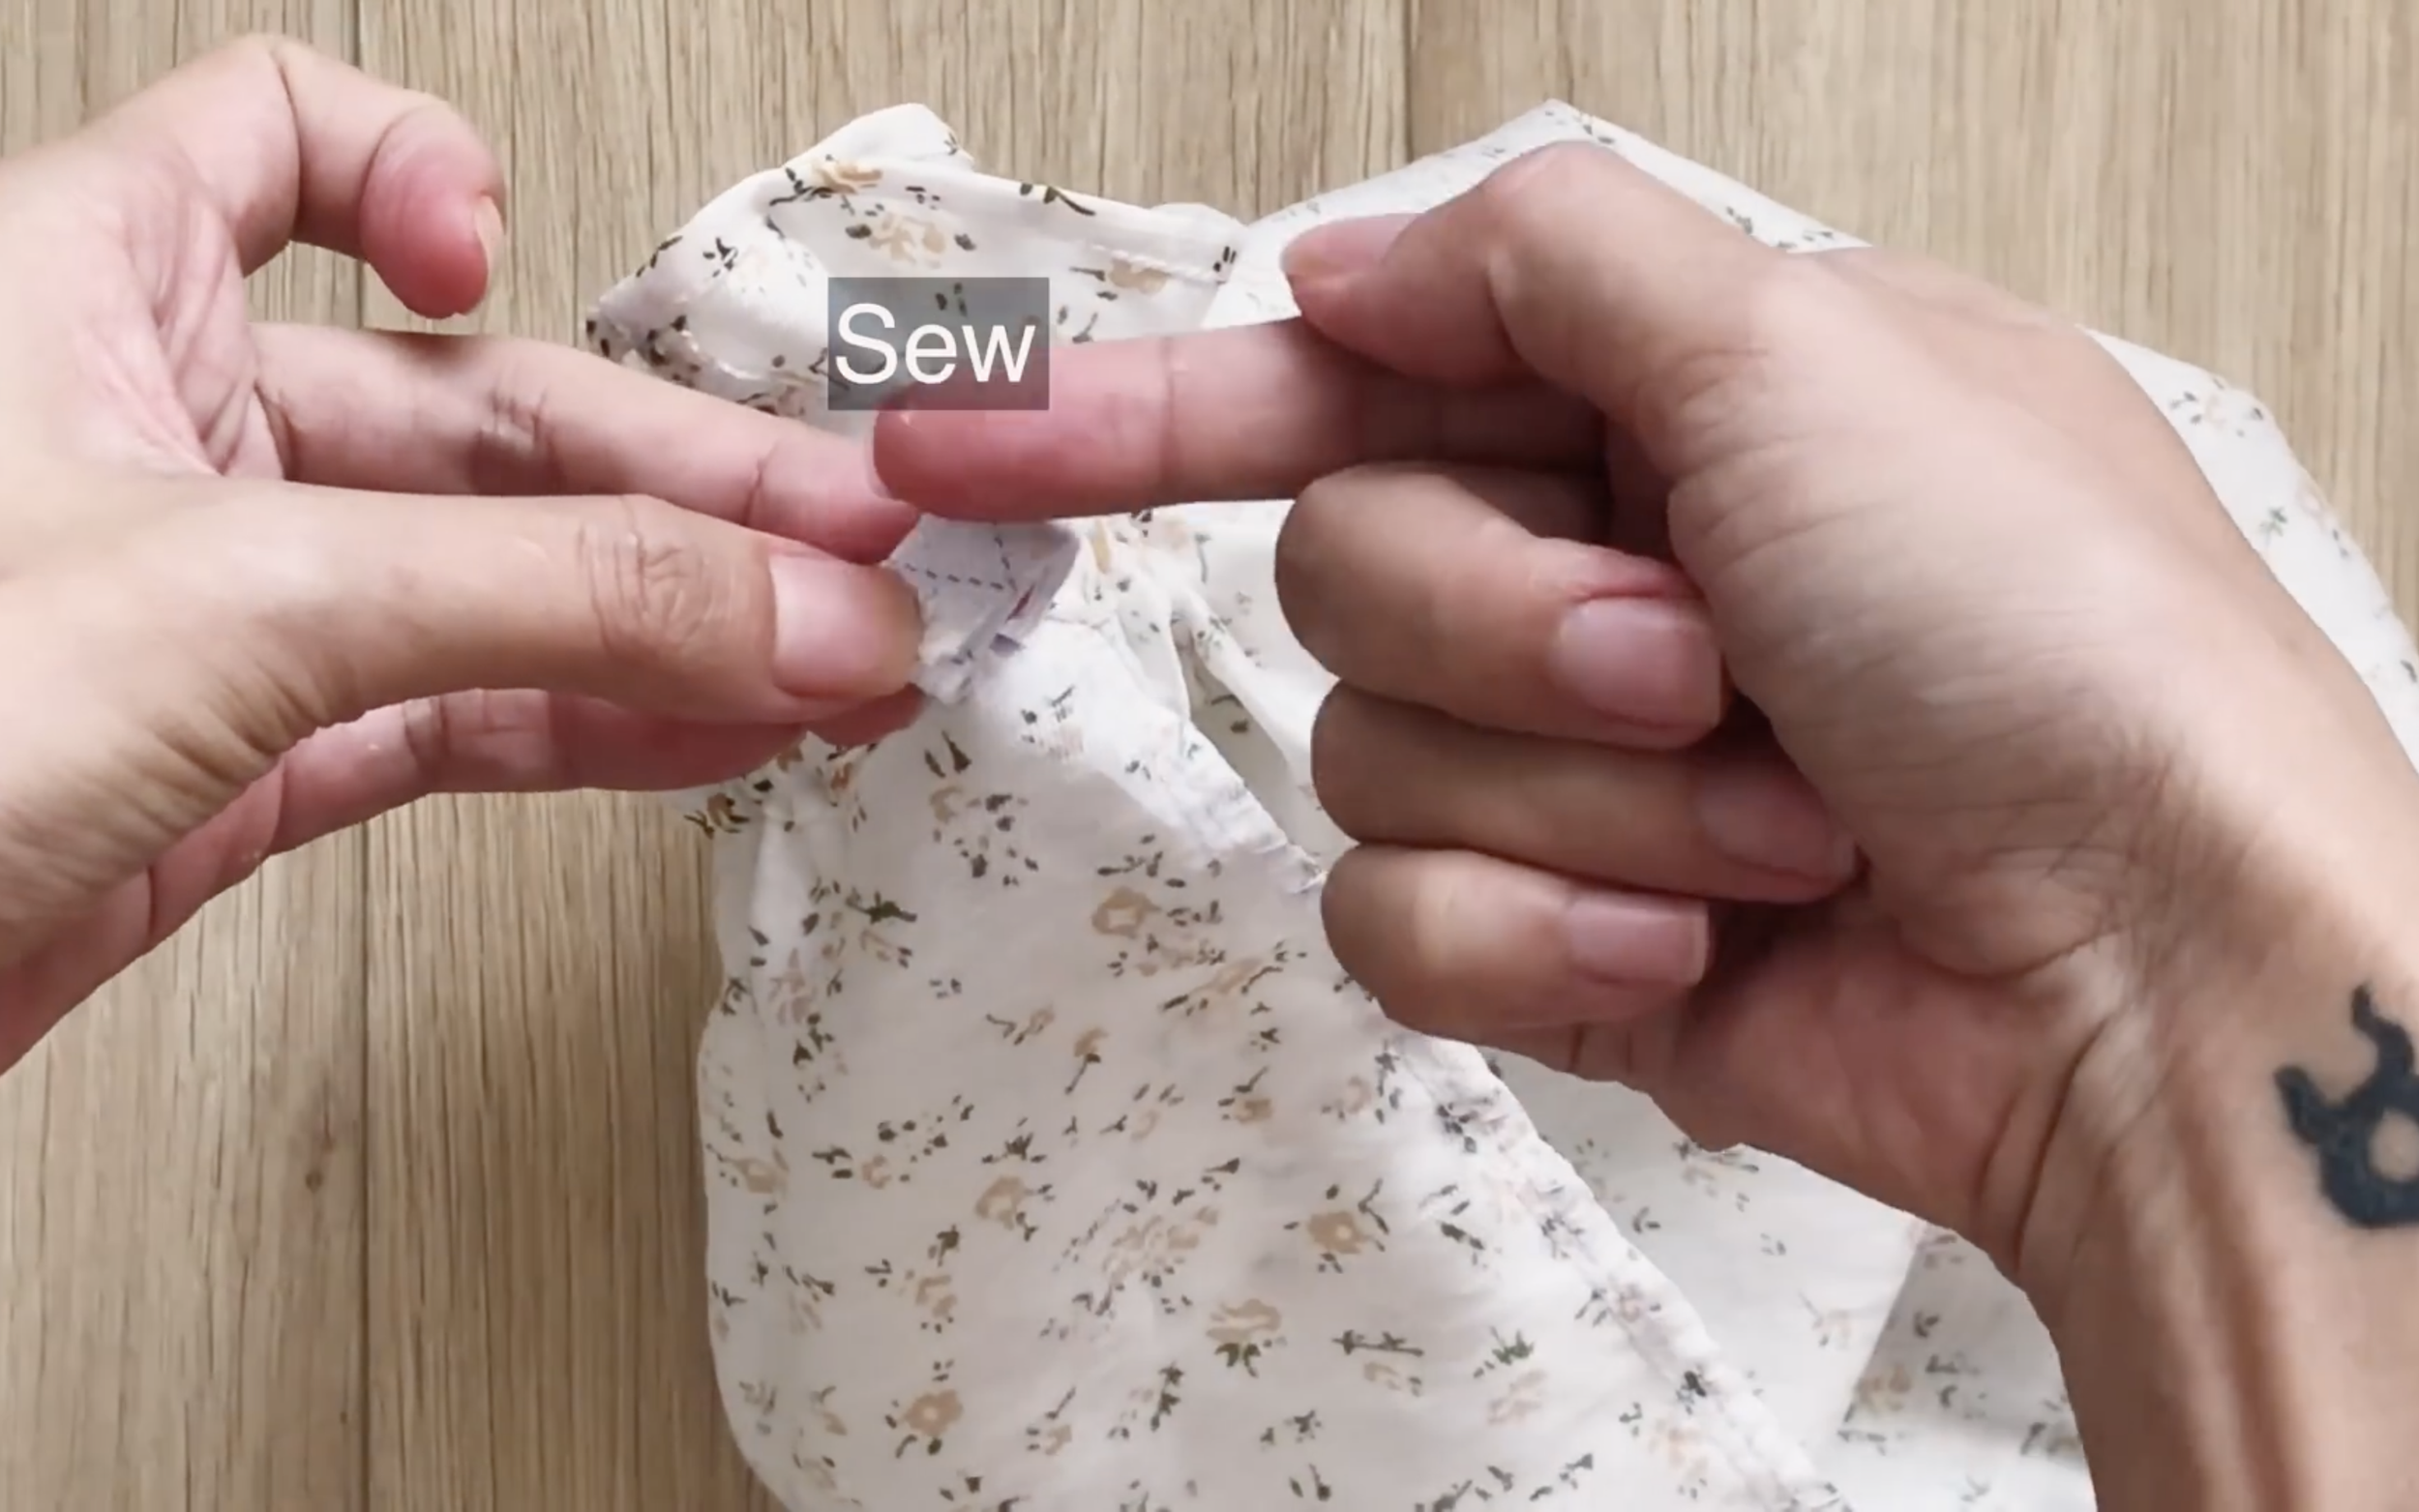
Remember to sew the end of the elastic band and close the un-sew space.
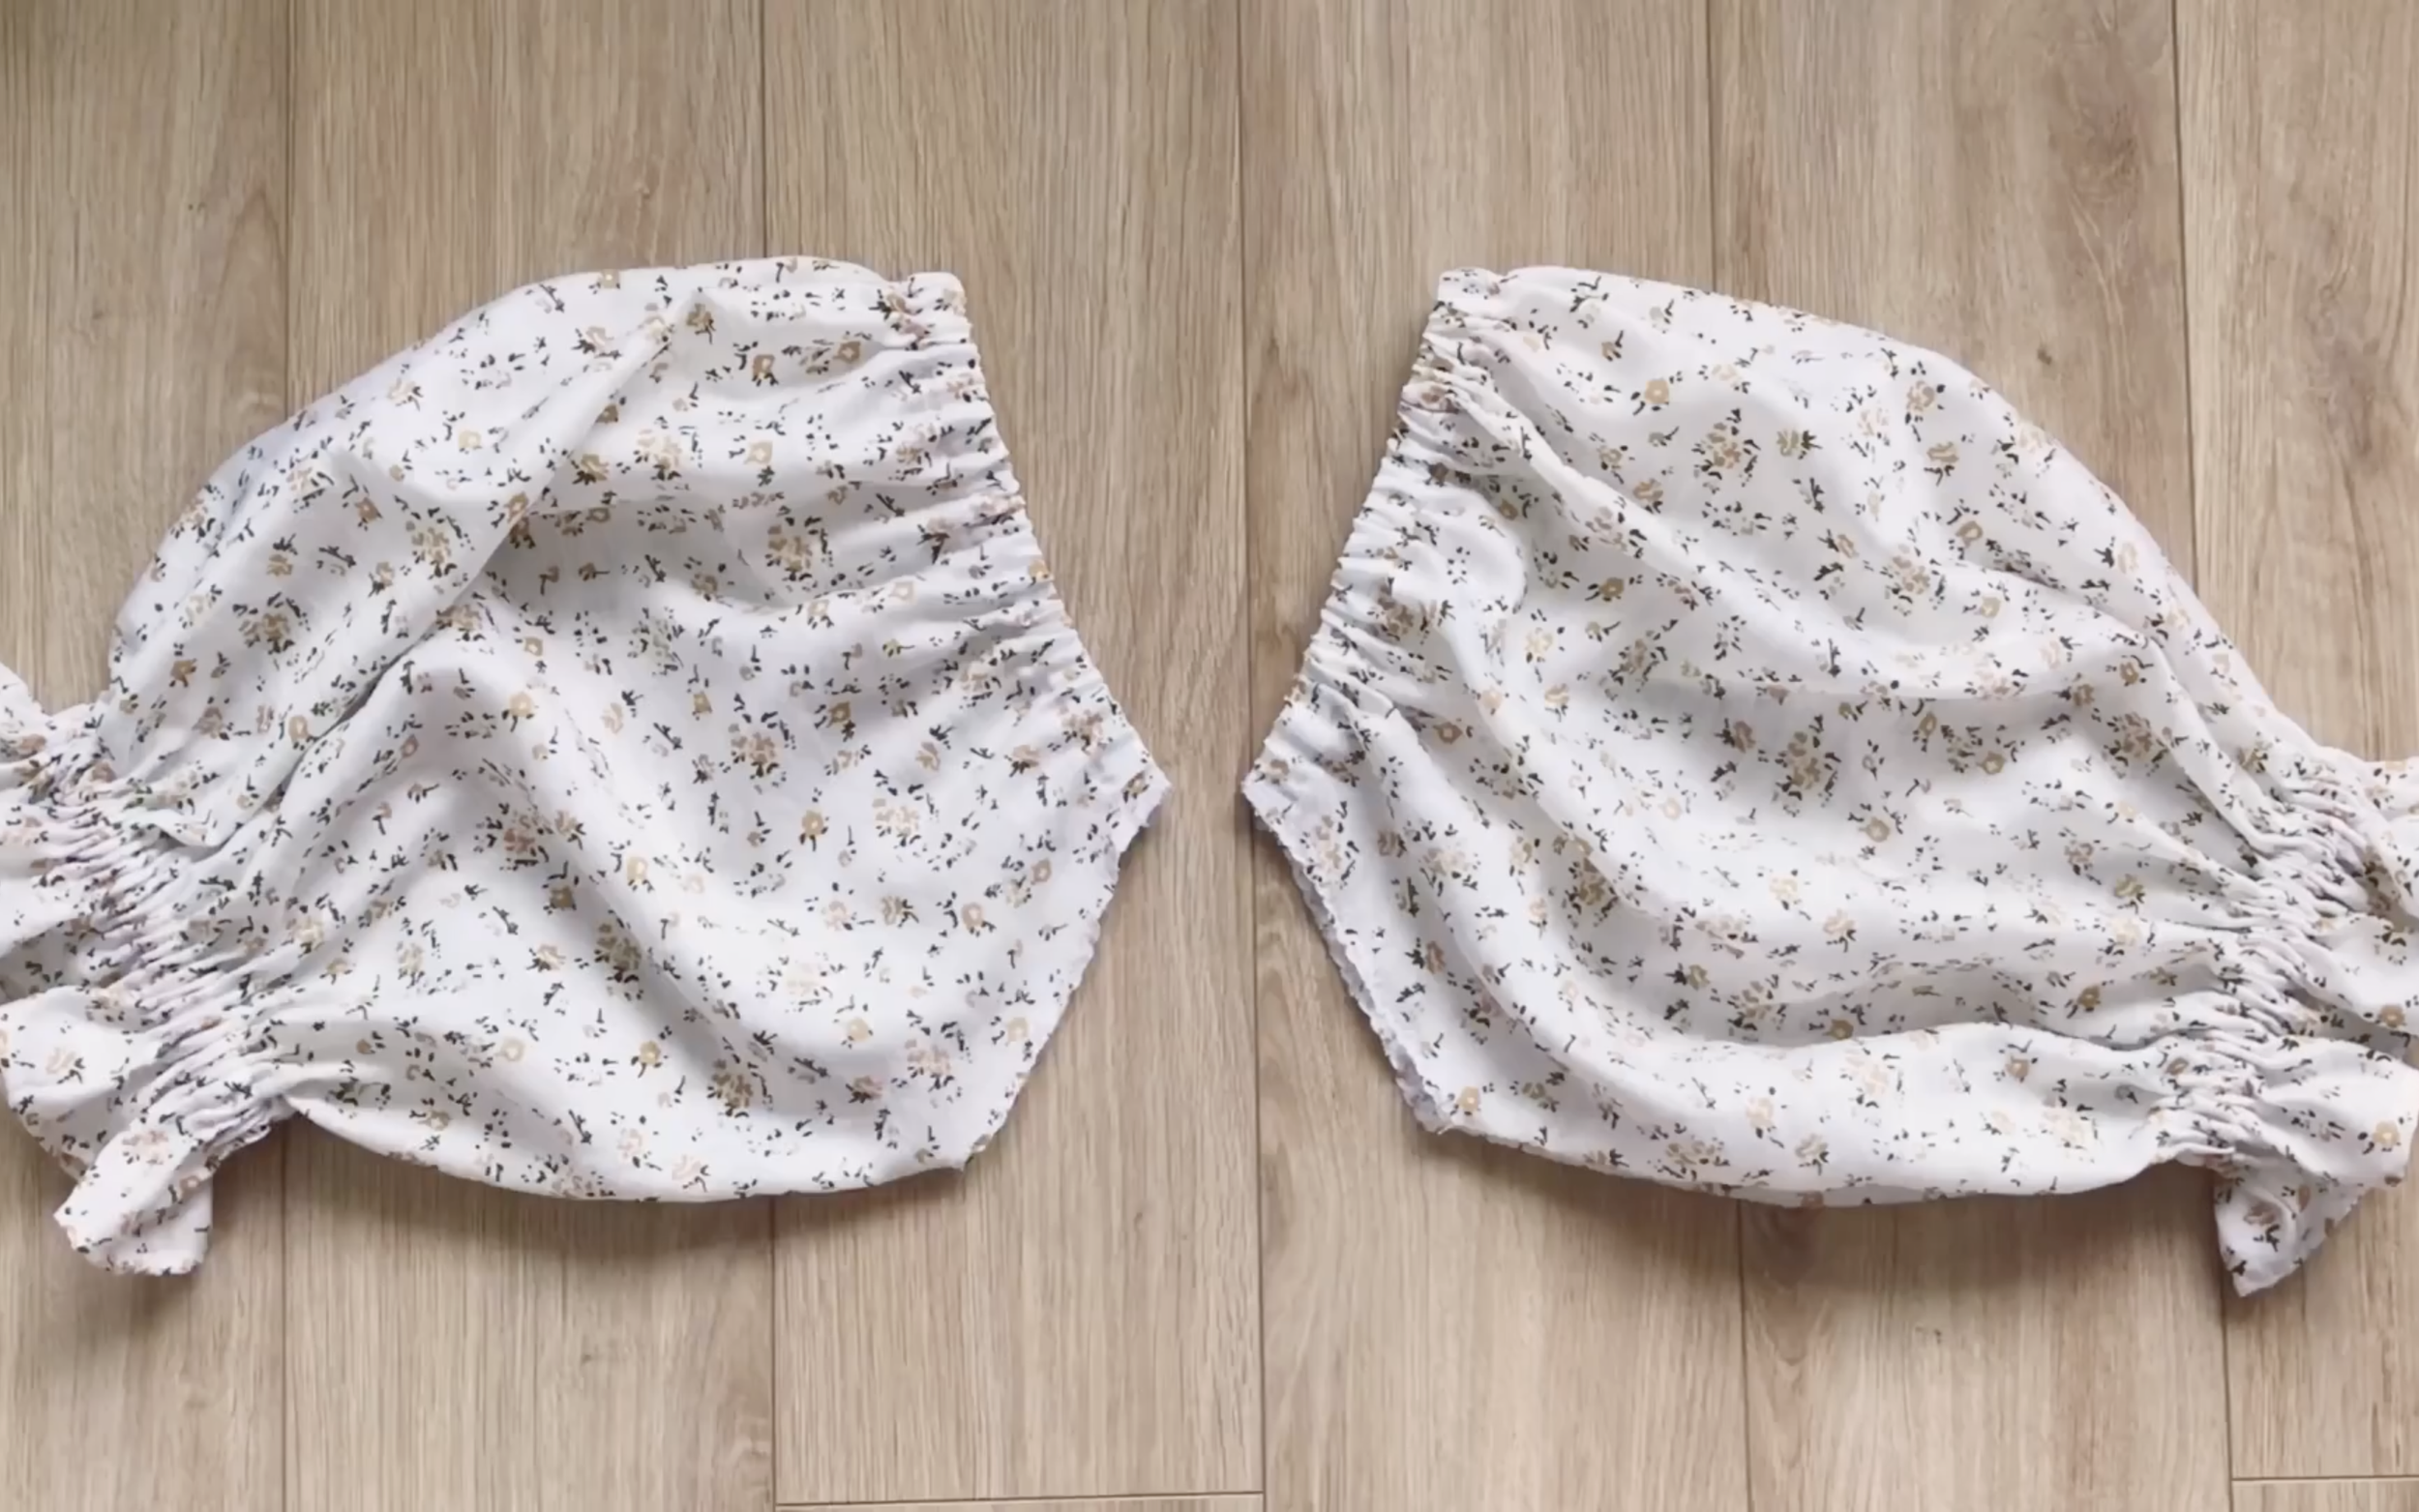
Here are the sleeves.
THE BODICE
THE FRONT BODICE PATTERN
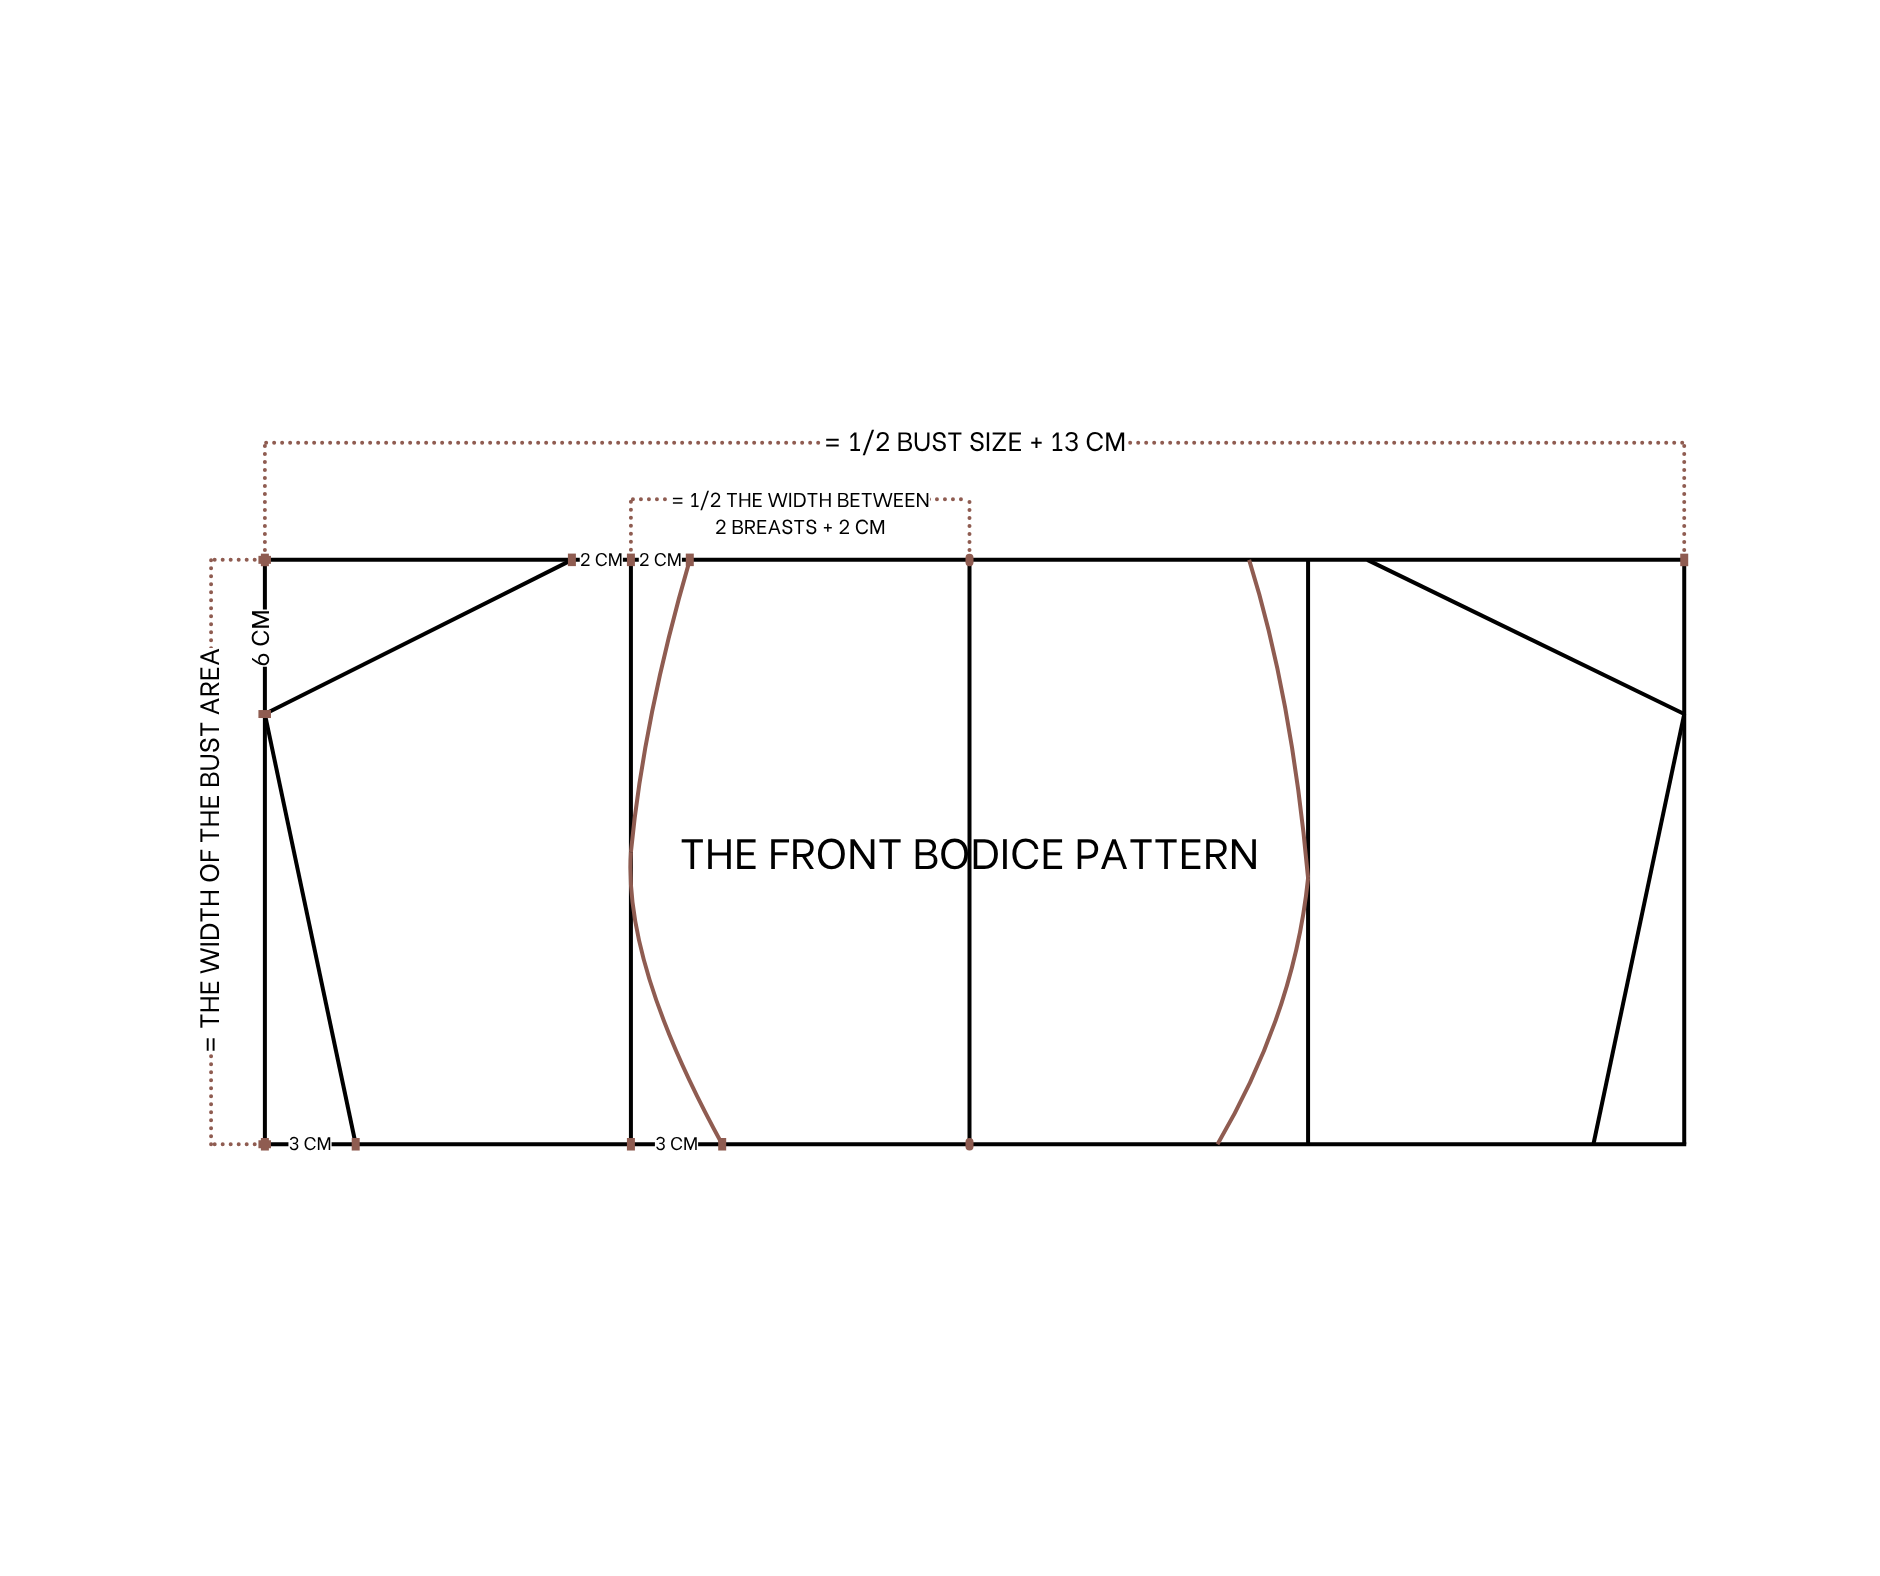
Moving to the bodice of the dress, cut a rectangle with 15 cm length, which is the width of the breast, and 54 cm width, which is a half of the bust size plus 13 cm.
Draw a straight line at the middle of the rectangle first.
From that line, draw another straight line at two sides 12 cm, which is a half the width between two breasts plus 2 cm.
At the top of this line, mark at 2 cm at one side.
At the bottom of this line, mark at 3 cm at the same size with the top mark.
Then, draw a curved line to connect two marks together. This will be the bust area of the bodice. So if you have a big breast, make this line more curved.
At the top of the left, move down 6 cm and mark there.
Then, connect that mark to the mark at the width line made before that.
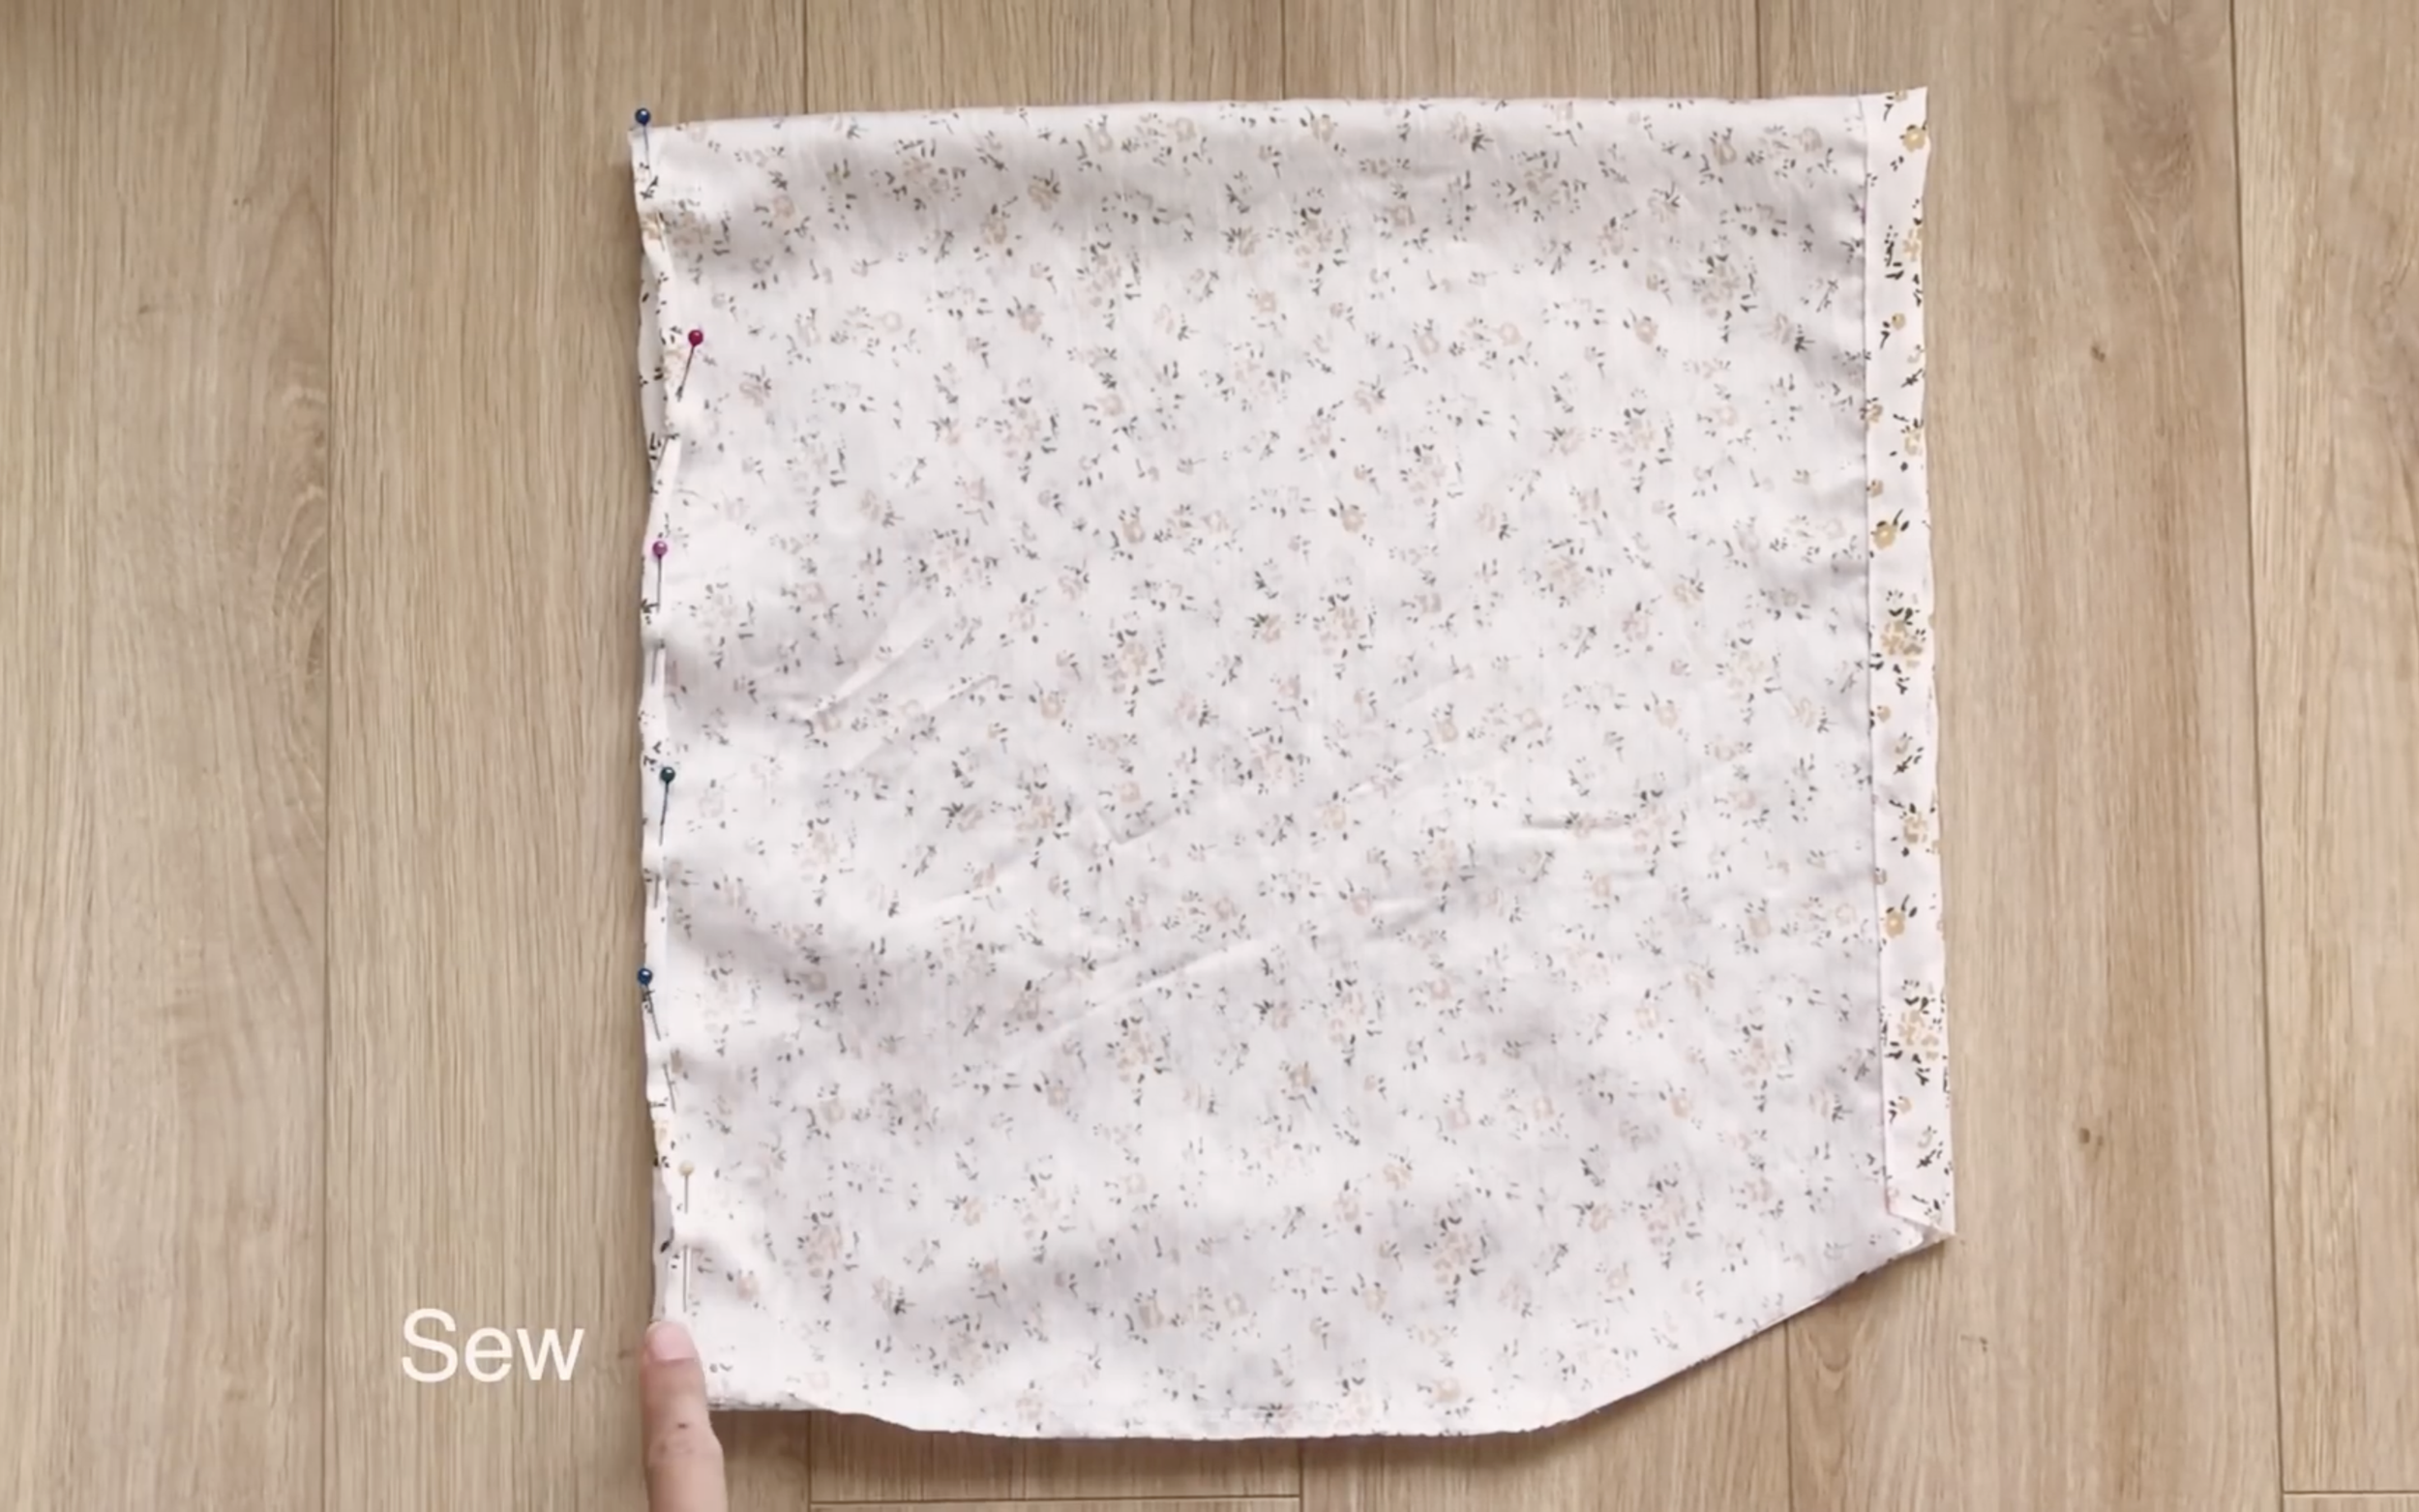
To make the end of the bodice fix your waist size, mark at two sides 3 cm inside.
Just make sure the total width at the end of the bodice in the end is a half of your under breast size plus 2 cm.

Here is the front bodice of the dress pattern after cutting.
Then fold two straight lines at the front bodice first, then sew by the curved line later.
Remember to make two pieces like that for the front bodice.
THE BACK BODICE PATTERN
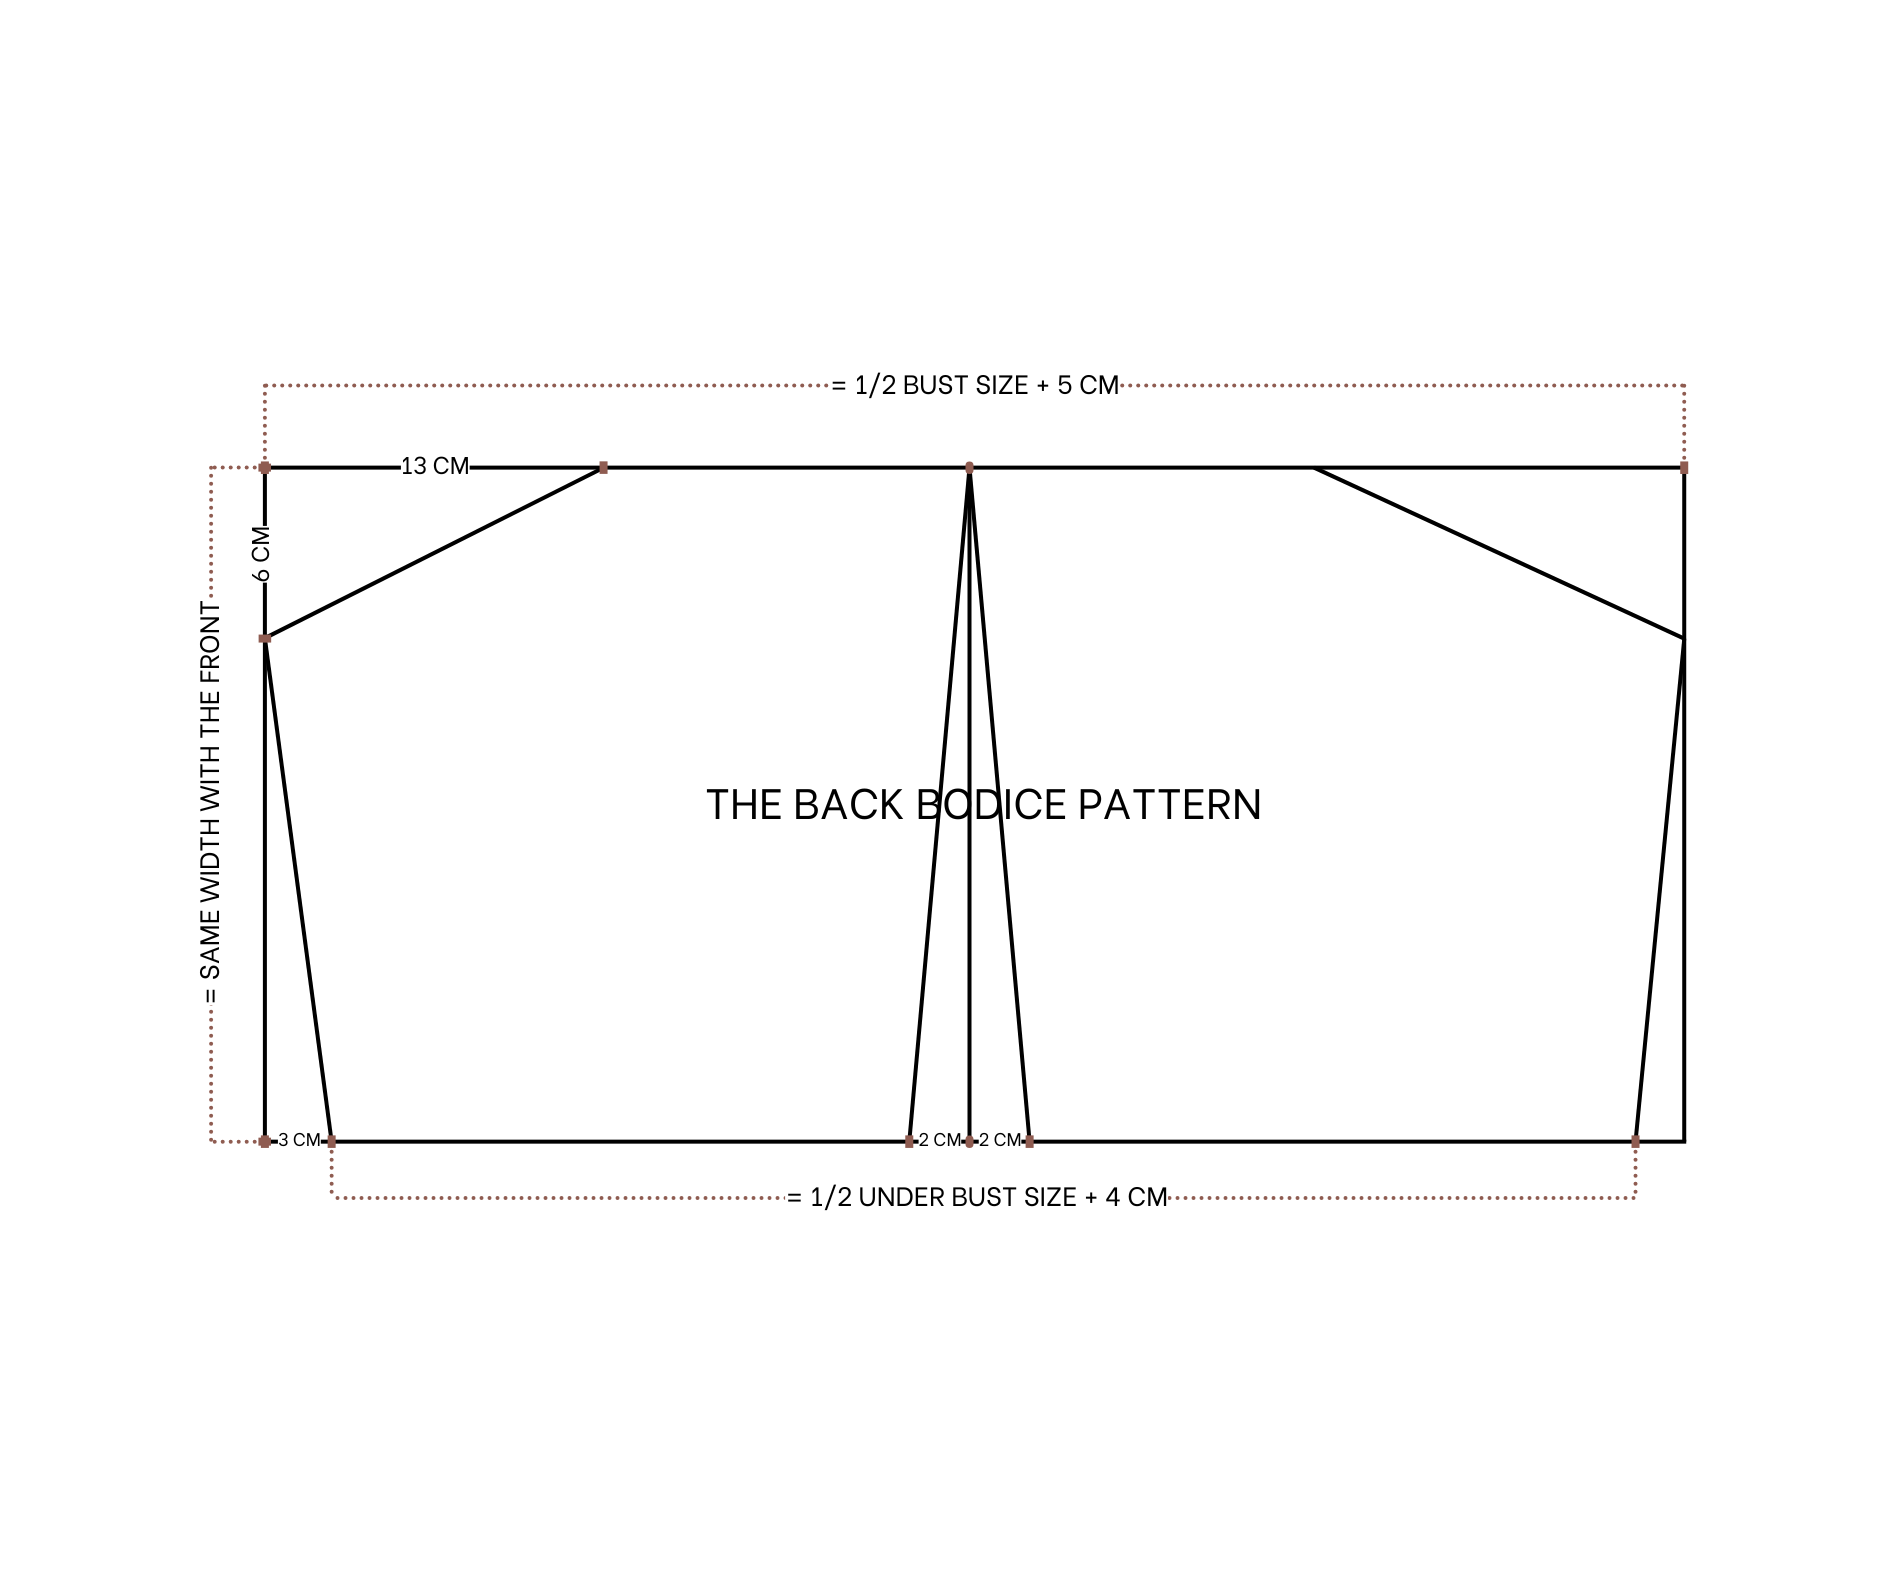
For the back pattern, cut two rectangles with 15 cm length, which is the same length with the front bodice, and 46 cm width, which is a half of the bust size plus 5 cm.
From the top, move down and mark at 6 cm on the length line.
Then, make another mark at 13 cm on the width line.
After that, draw the other line from the mark on the length line to the width line at 3 cm inside. So this part will be the same with the front bodice.
Draw a straight line at the middle of the rectangle to divide it into two parts.
At the end of the straight line, mark at 2 cm at two sides.
Then, connect these marks to the top of the straight line. So the final width at the end of the back bodice will be 36 cm, which is a half of the under bust size plus 4 cm for seam allowance.
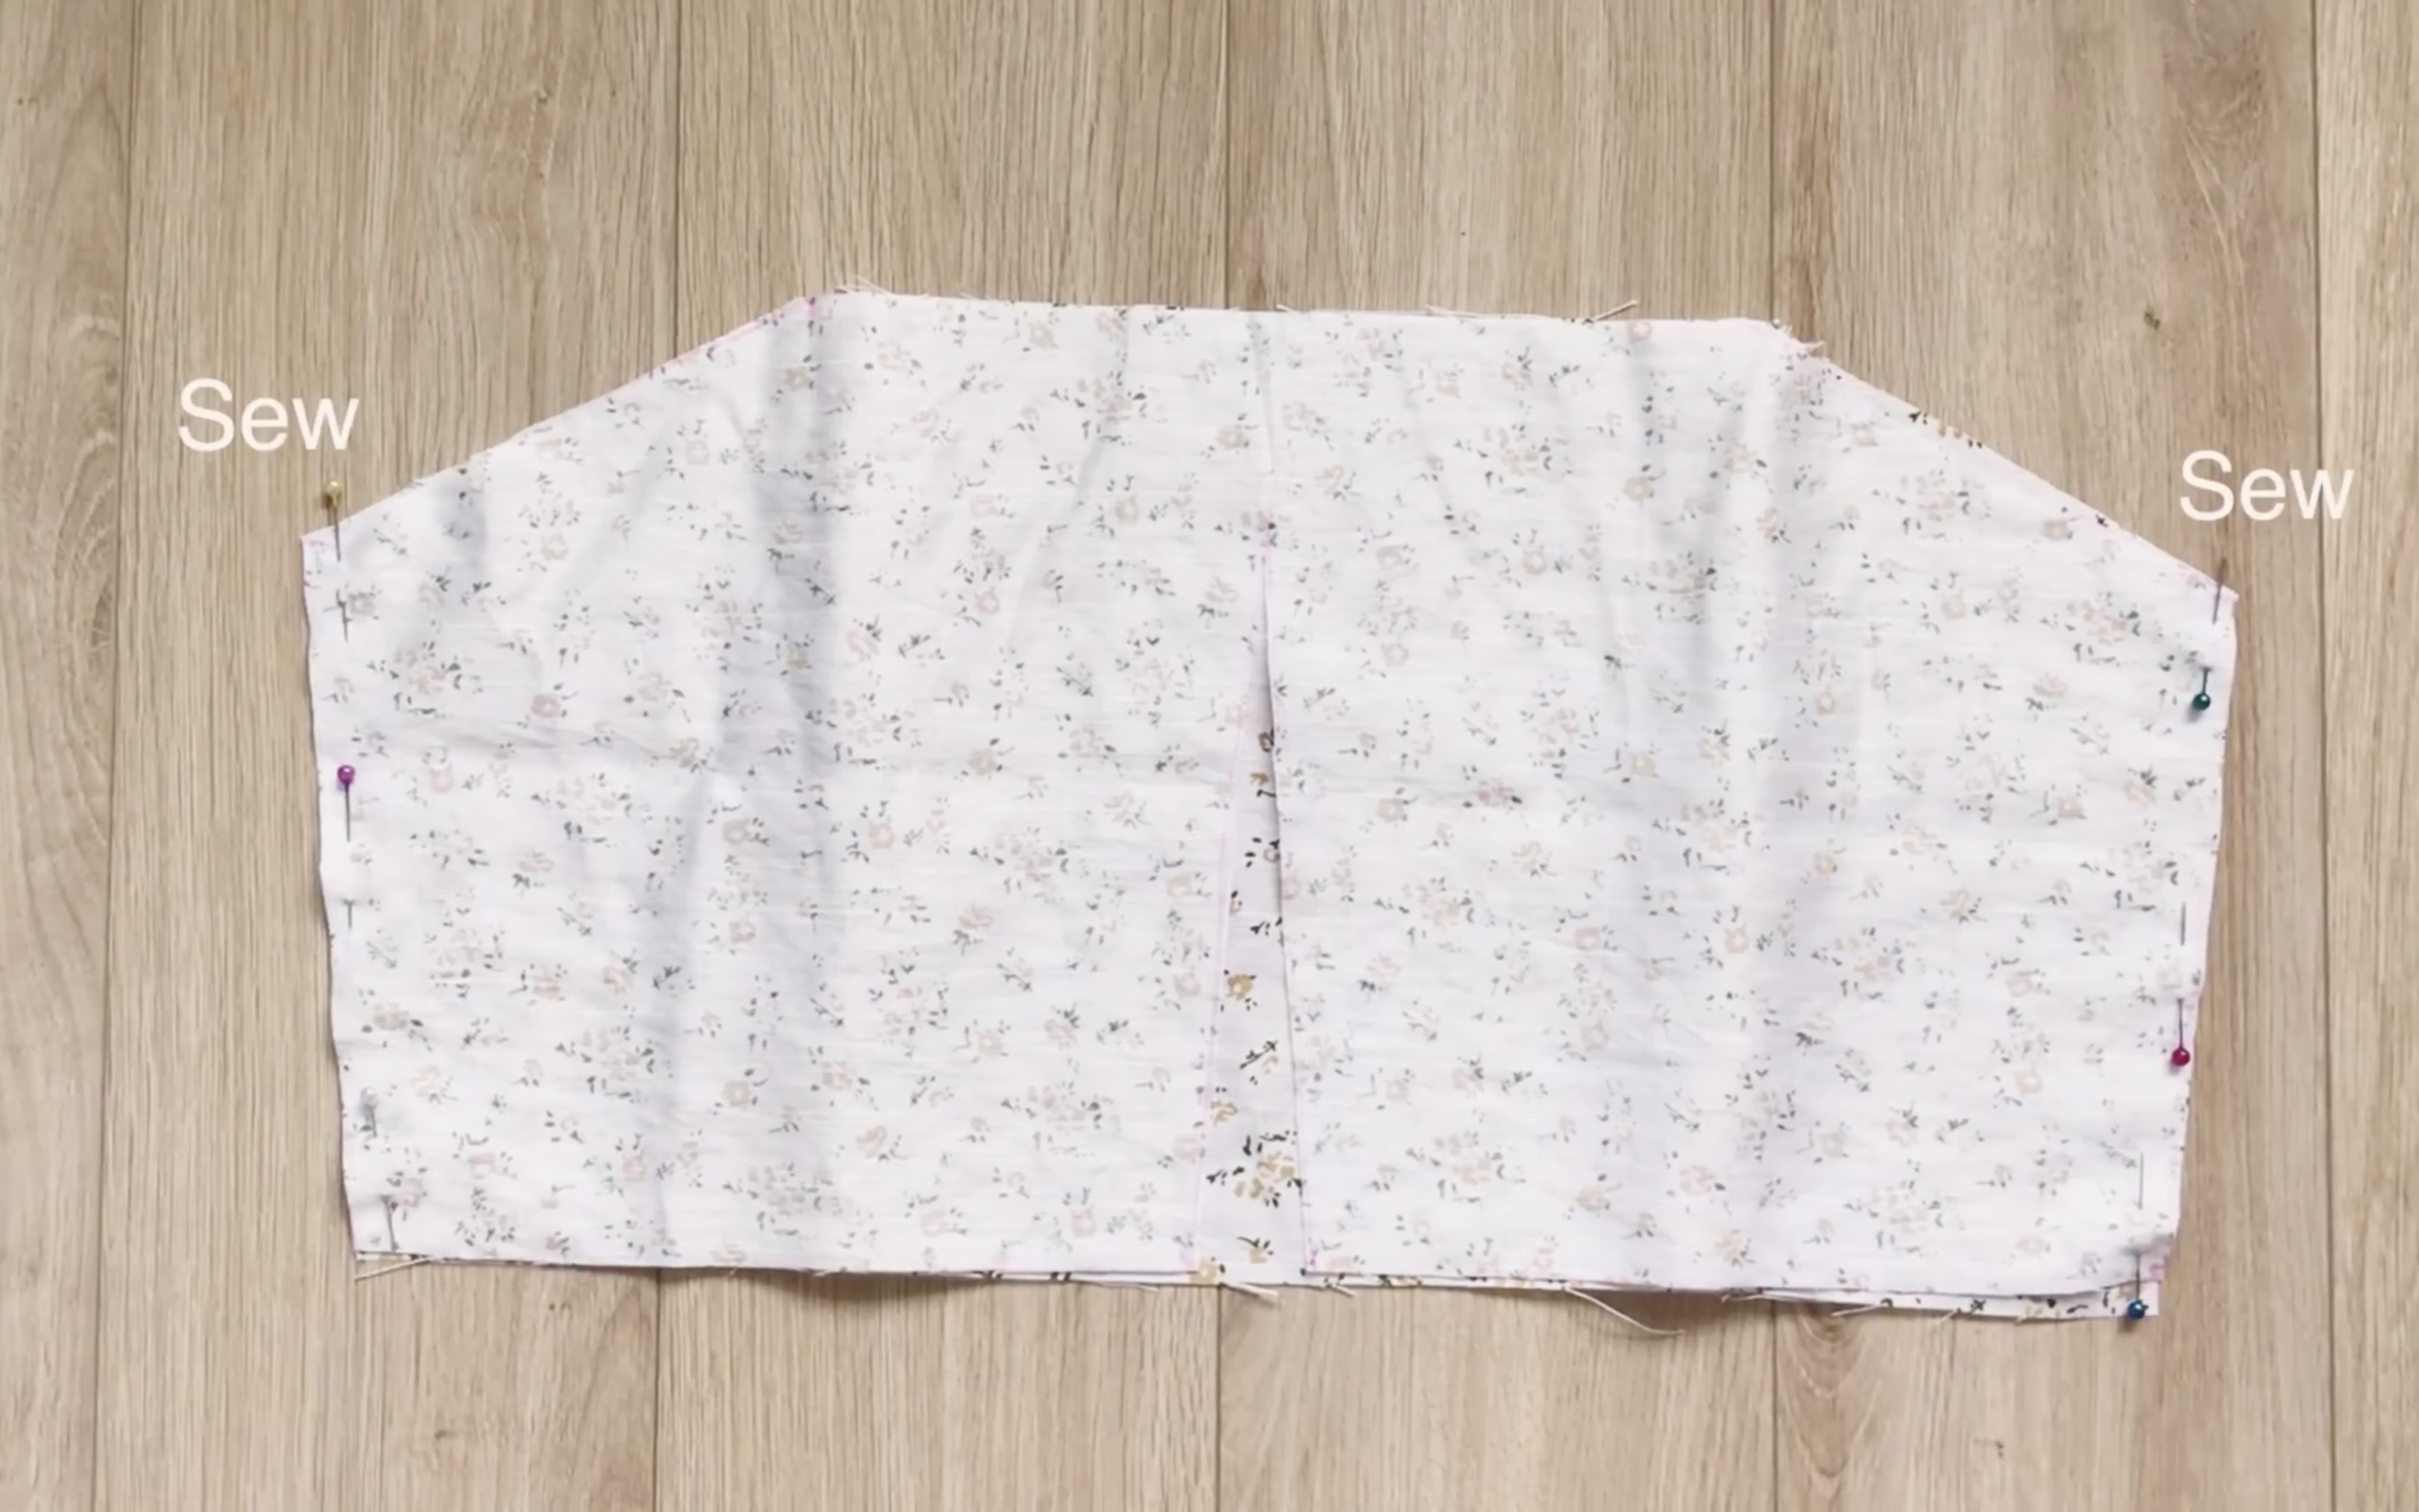
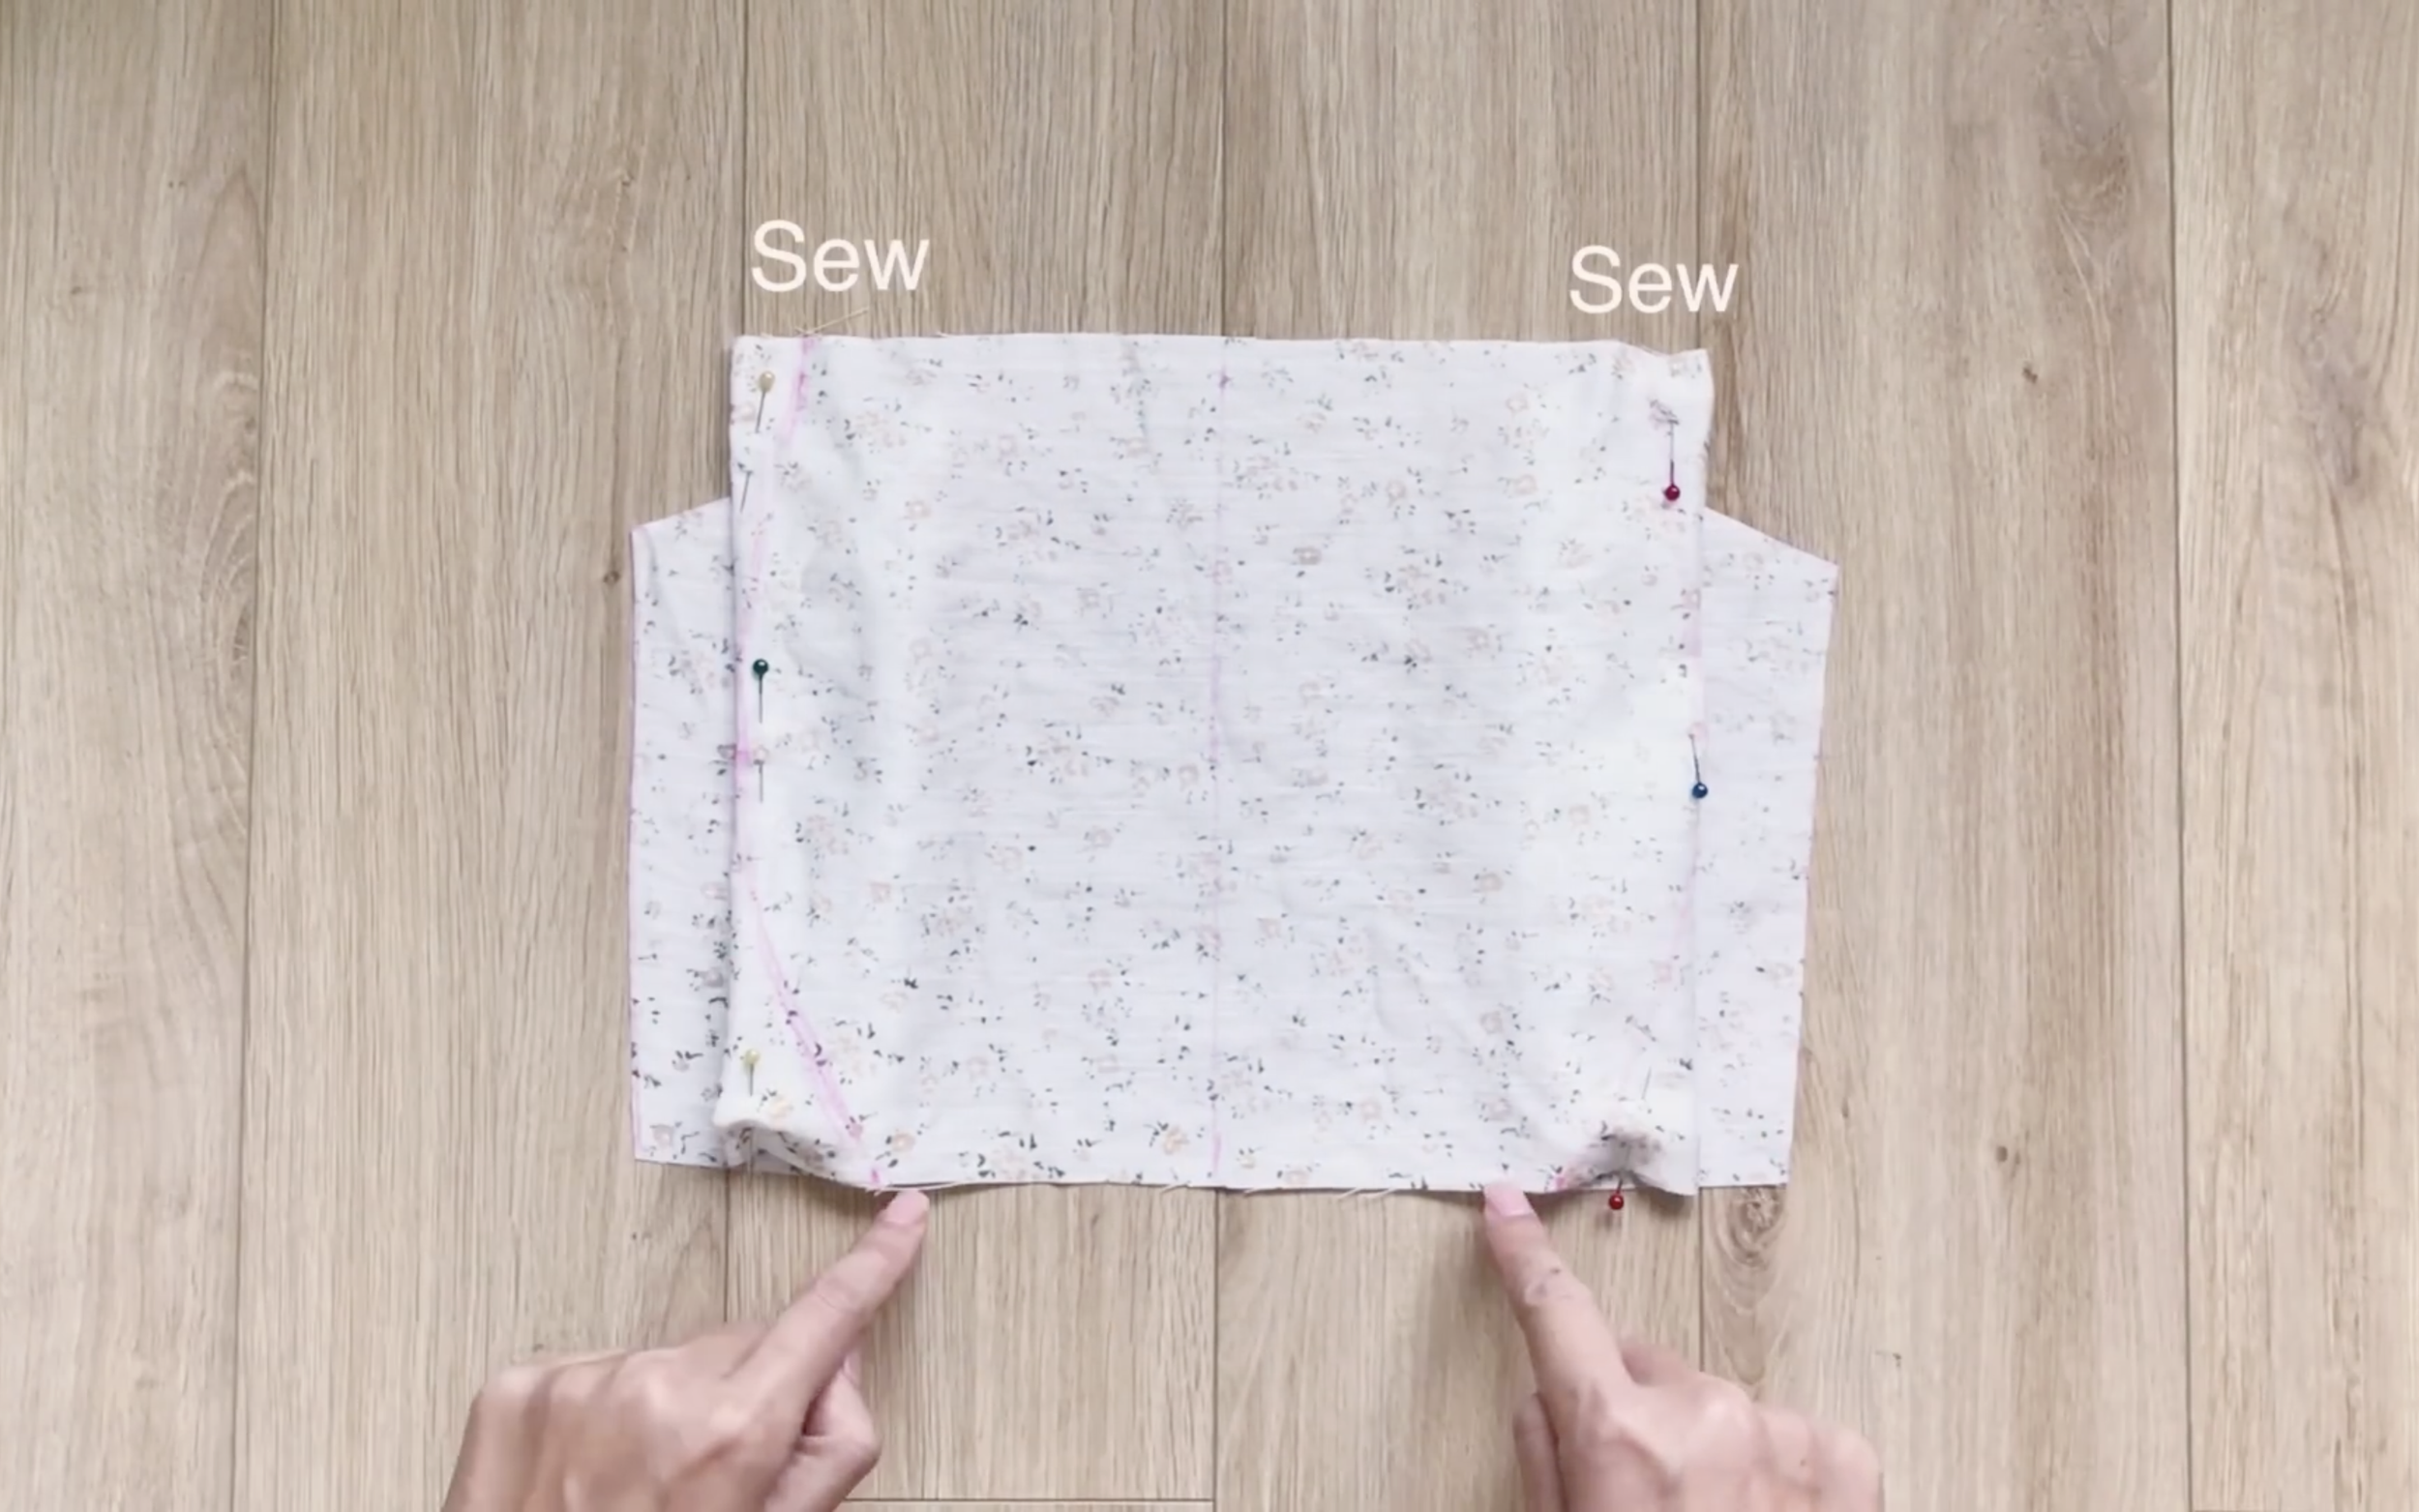
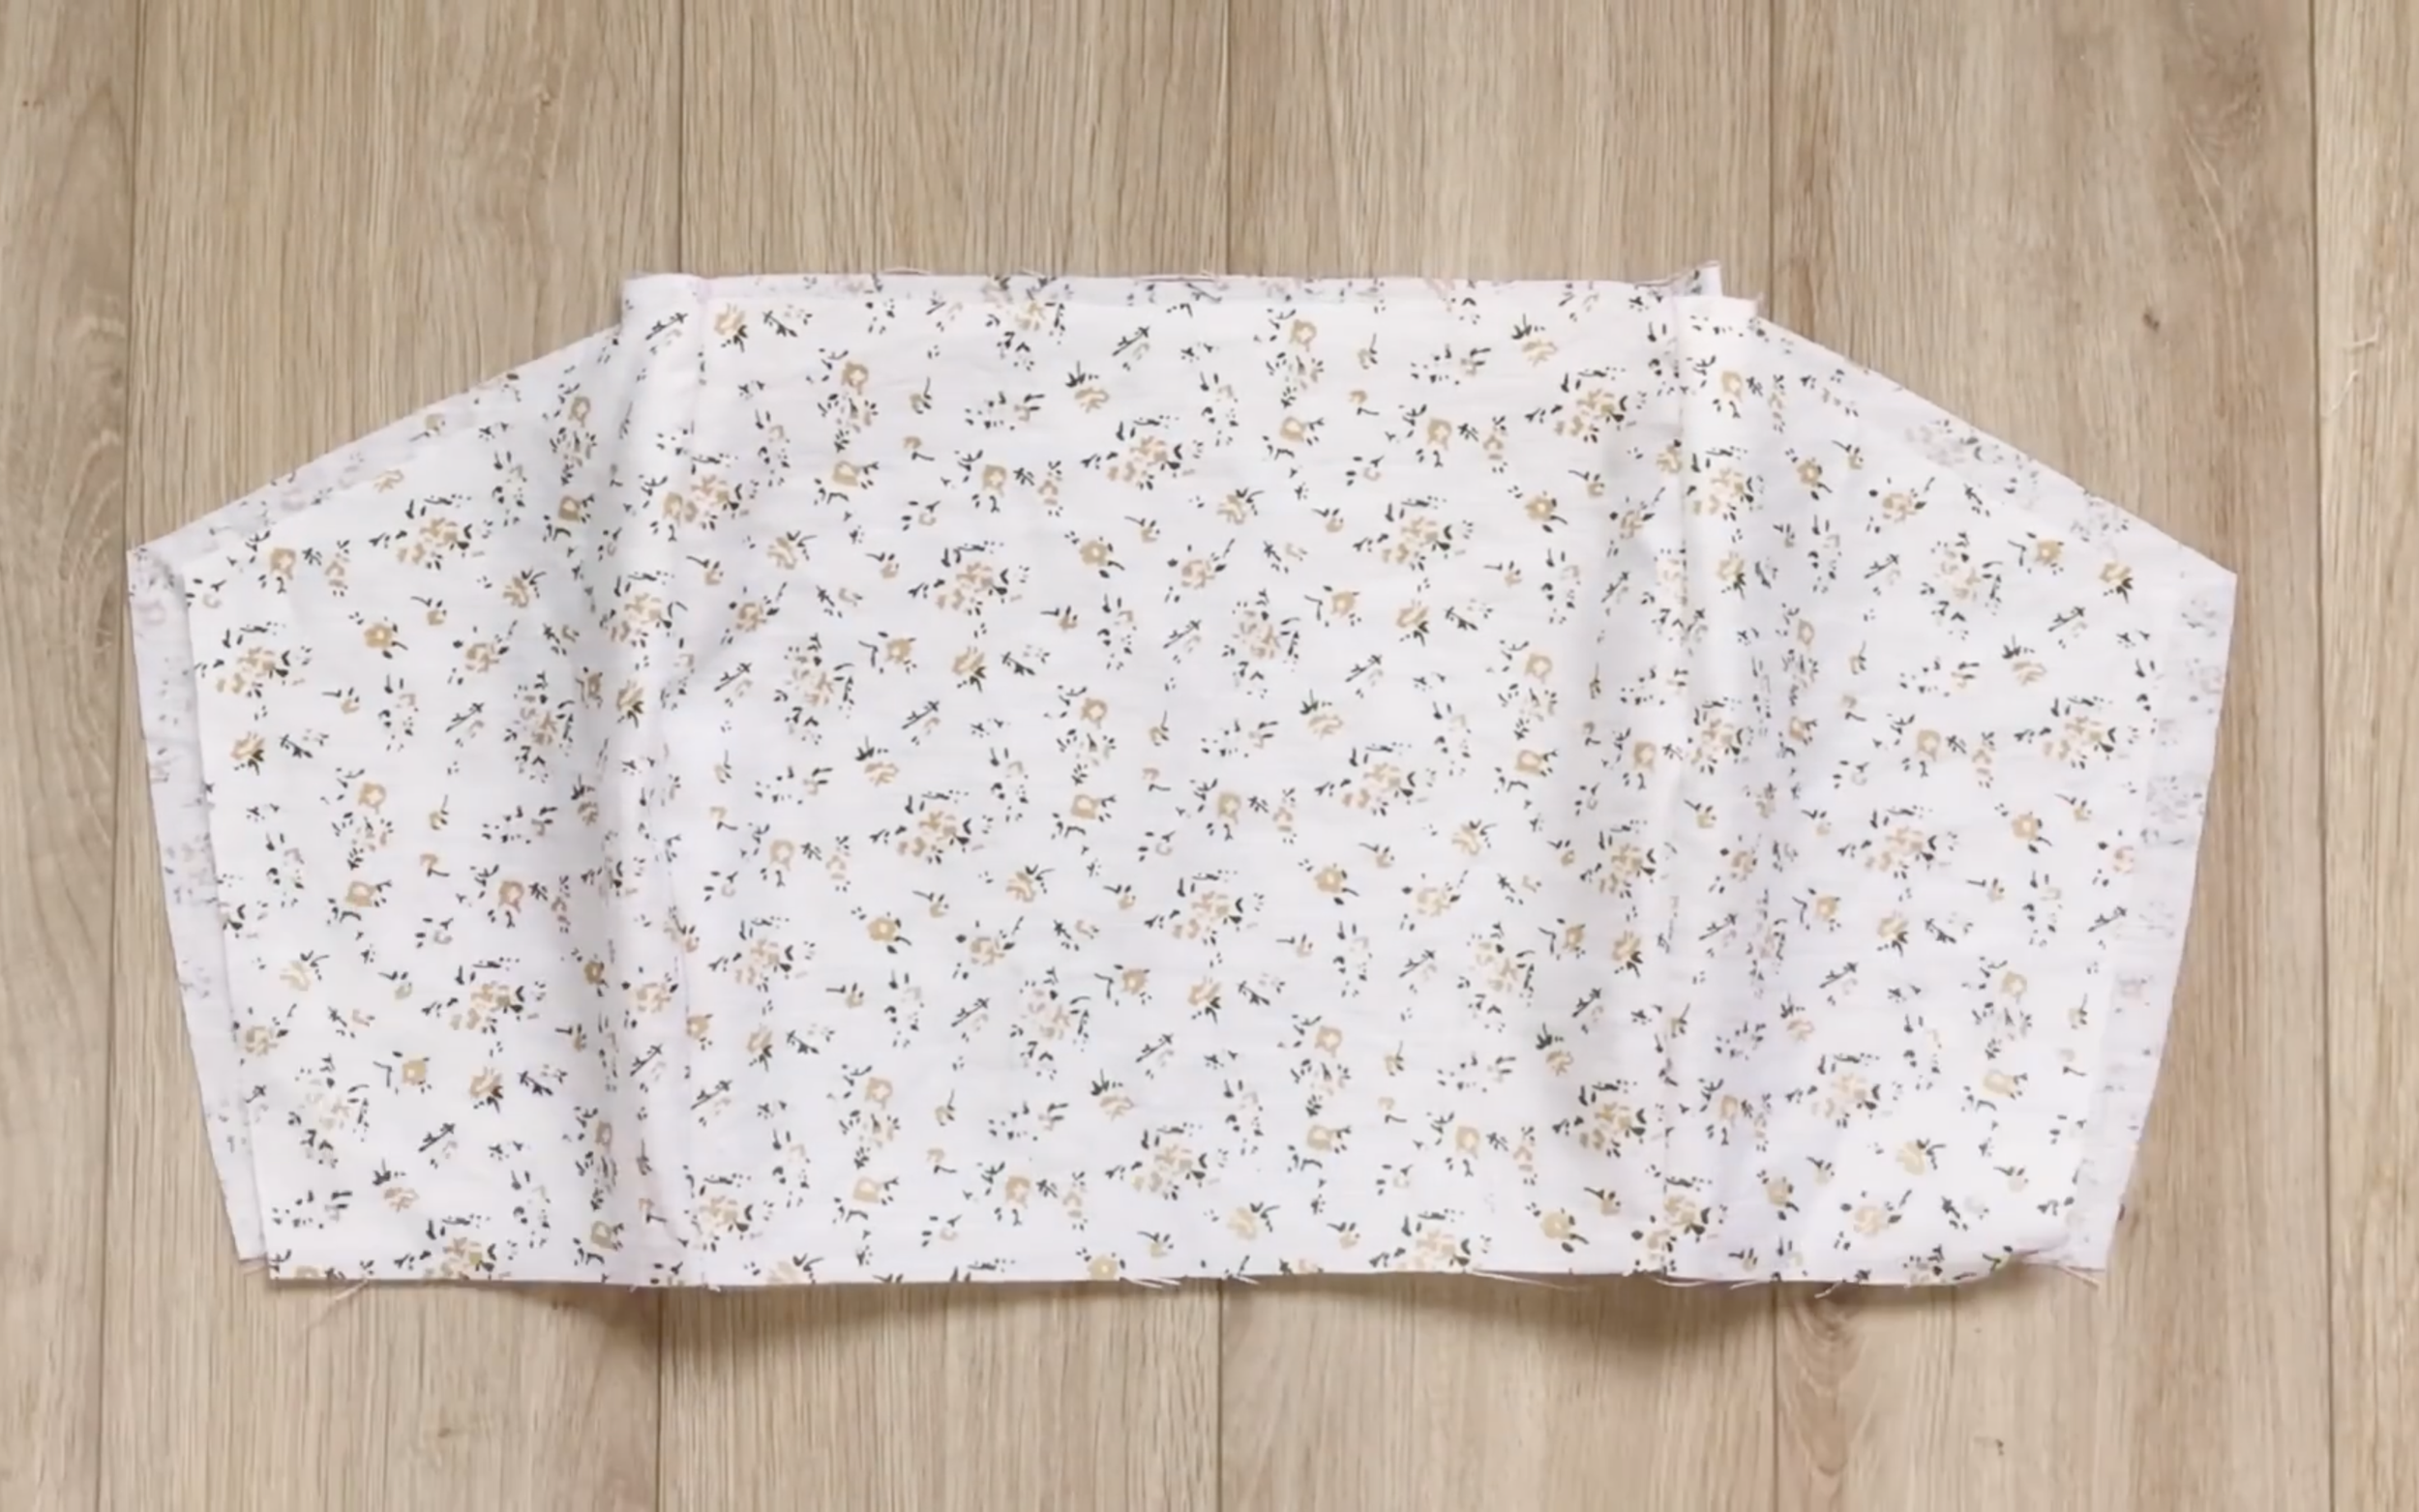
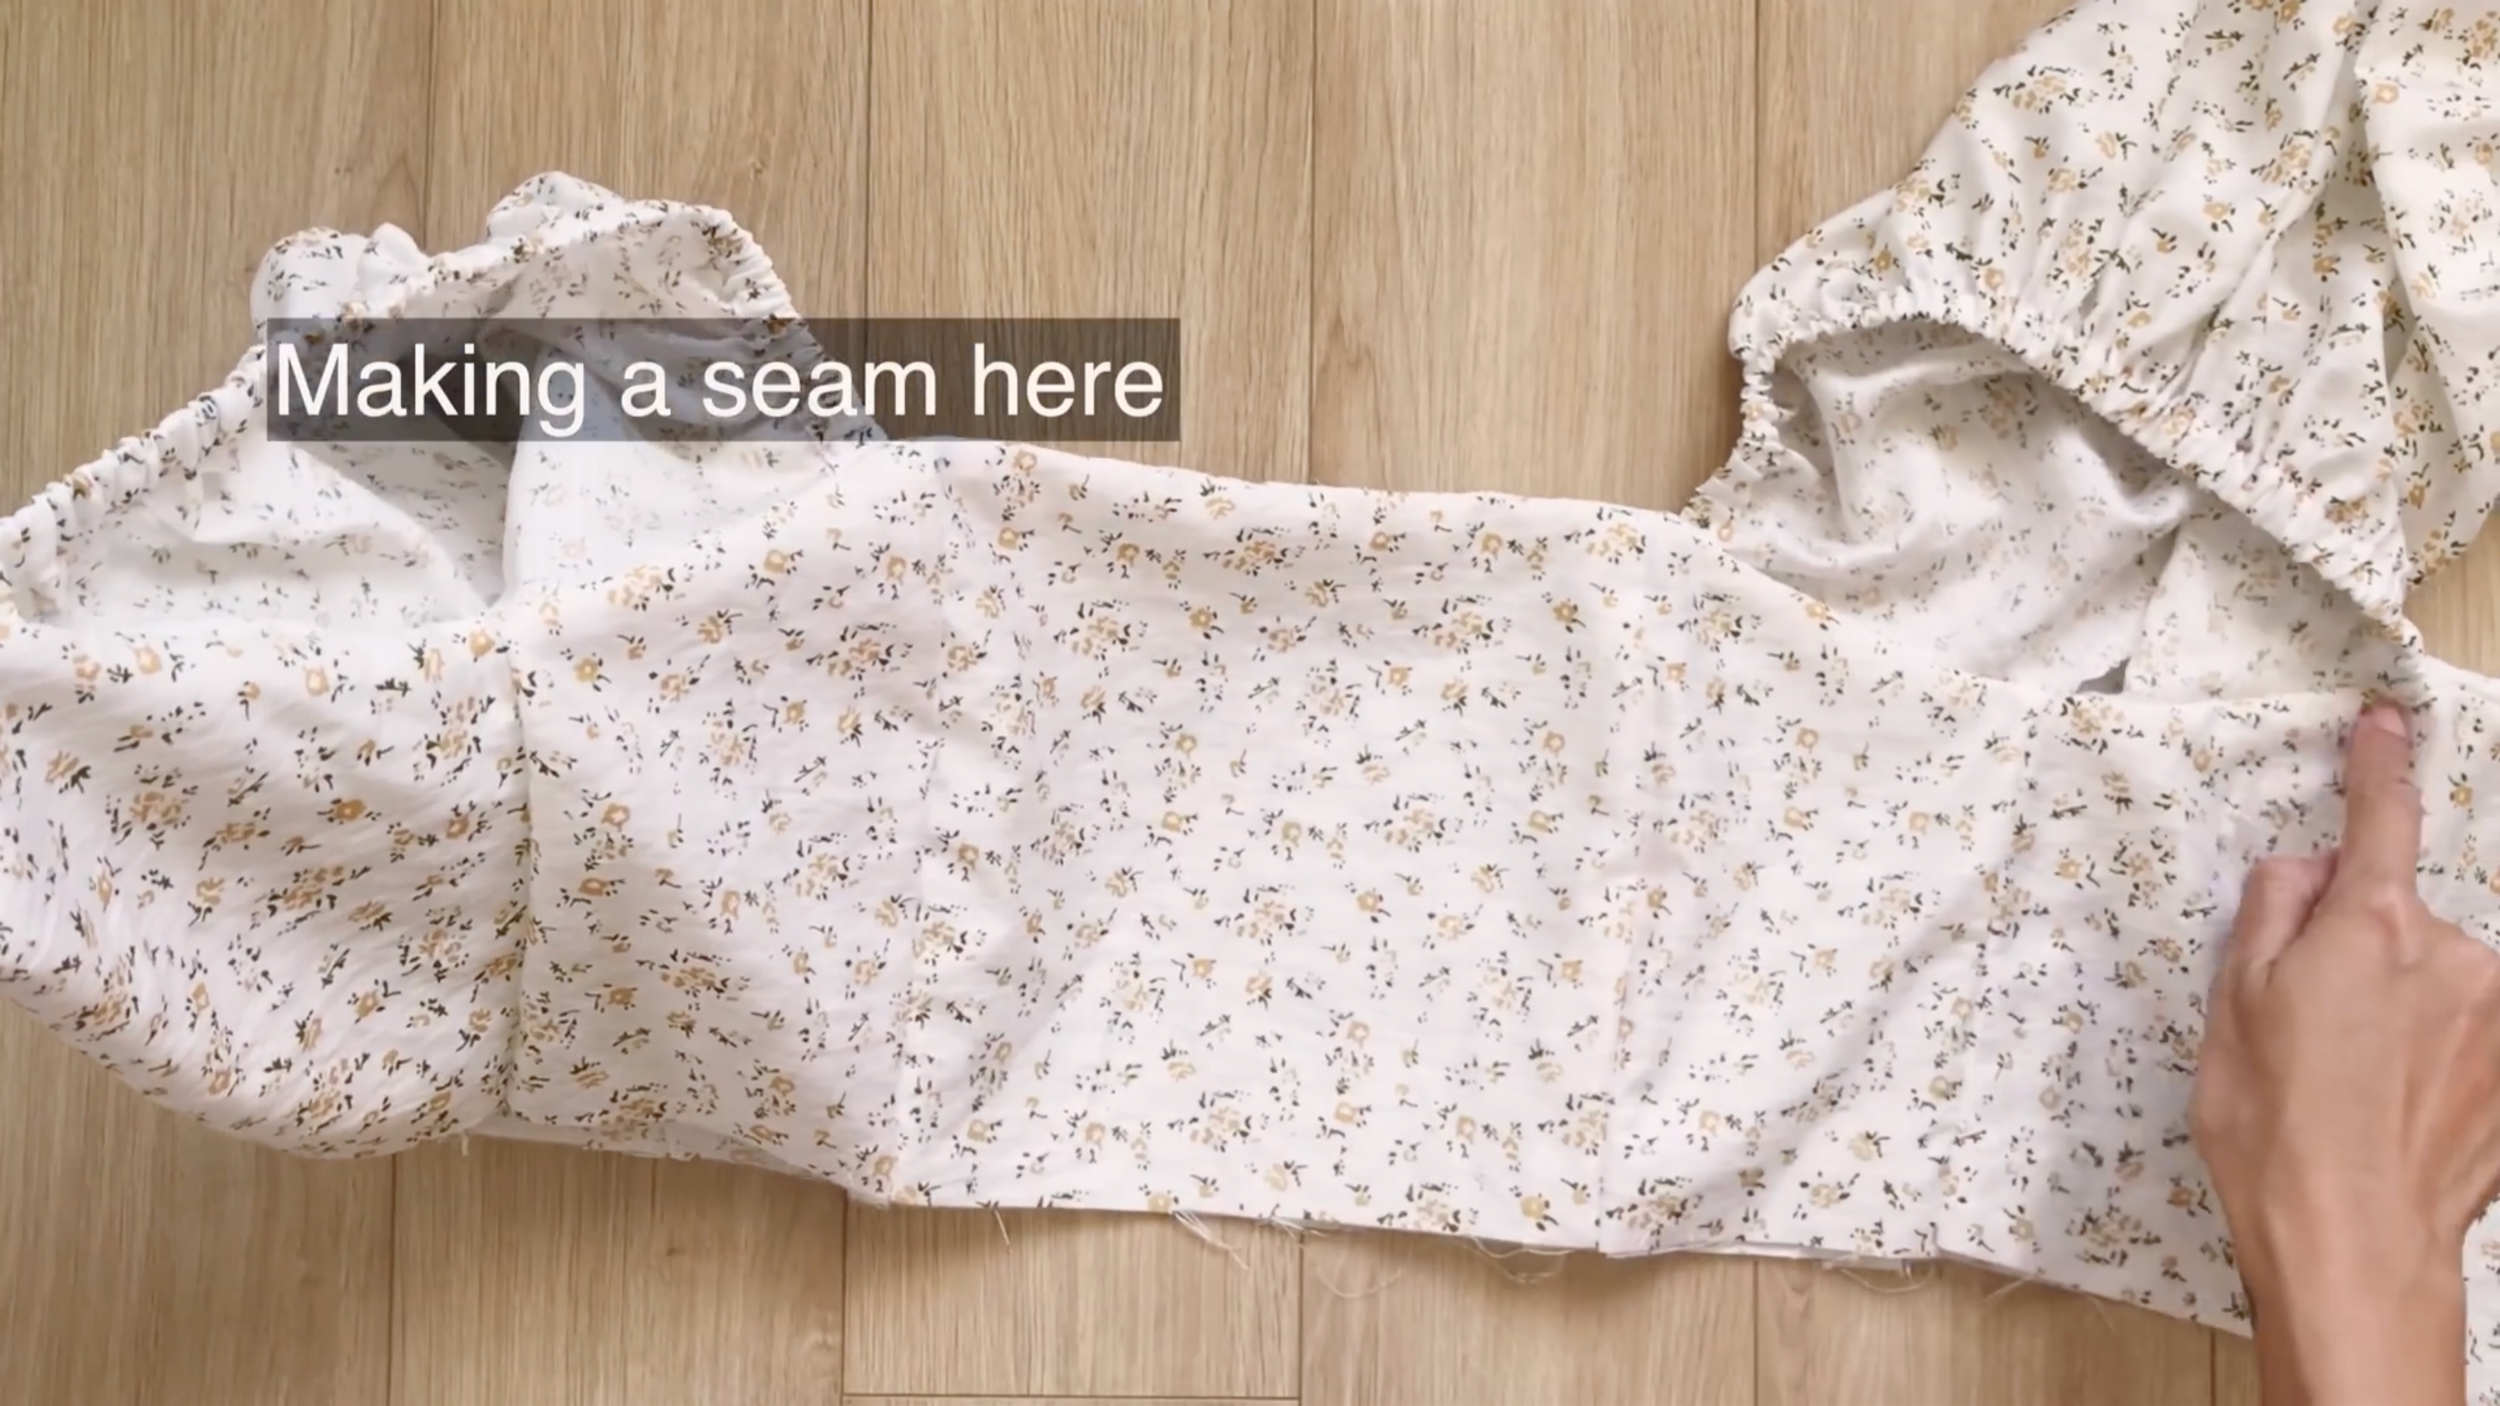
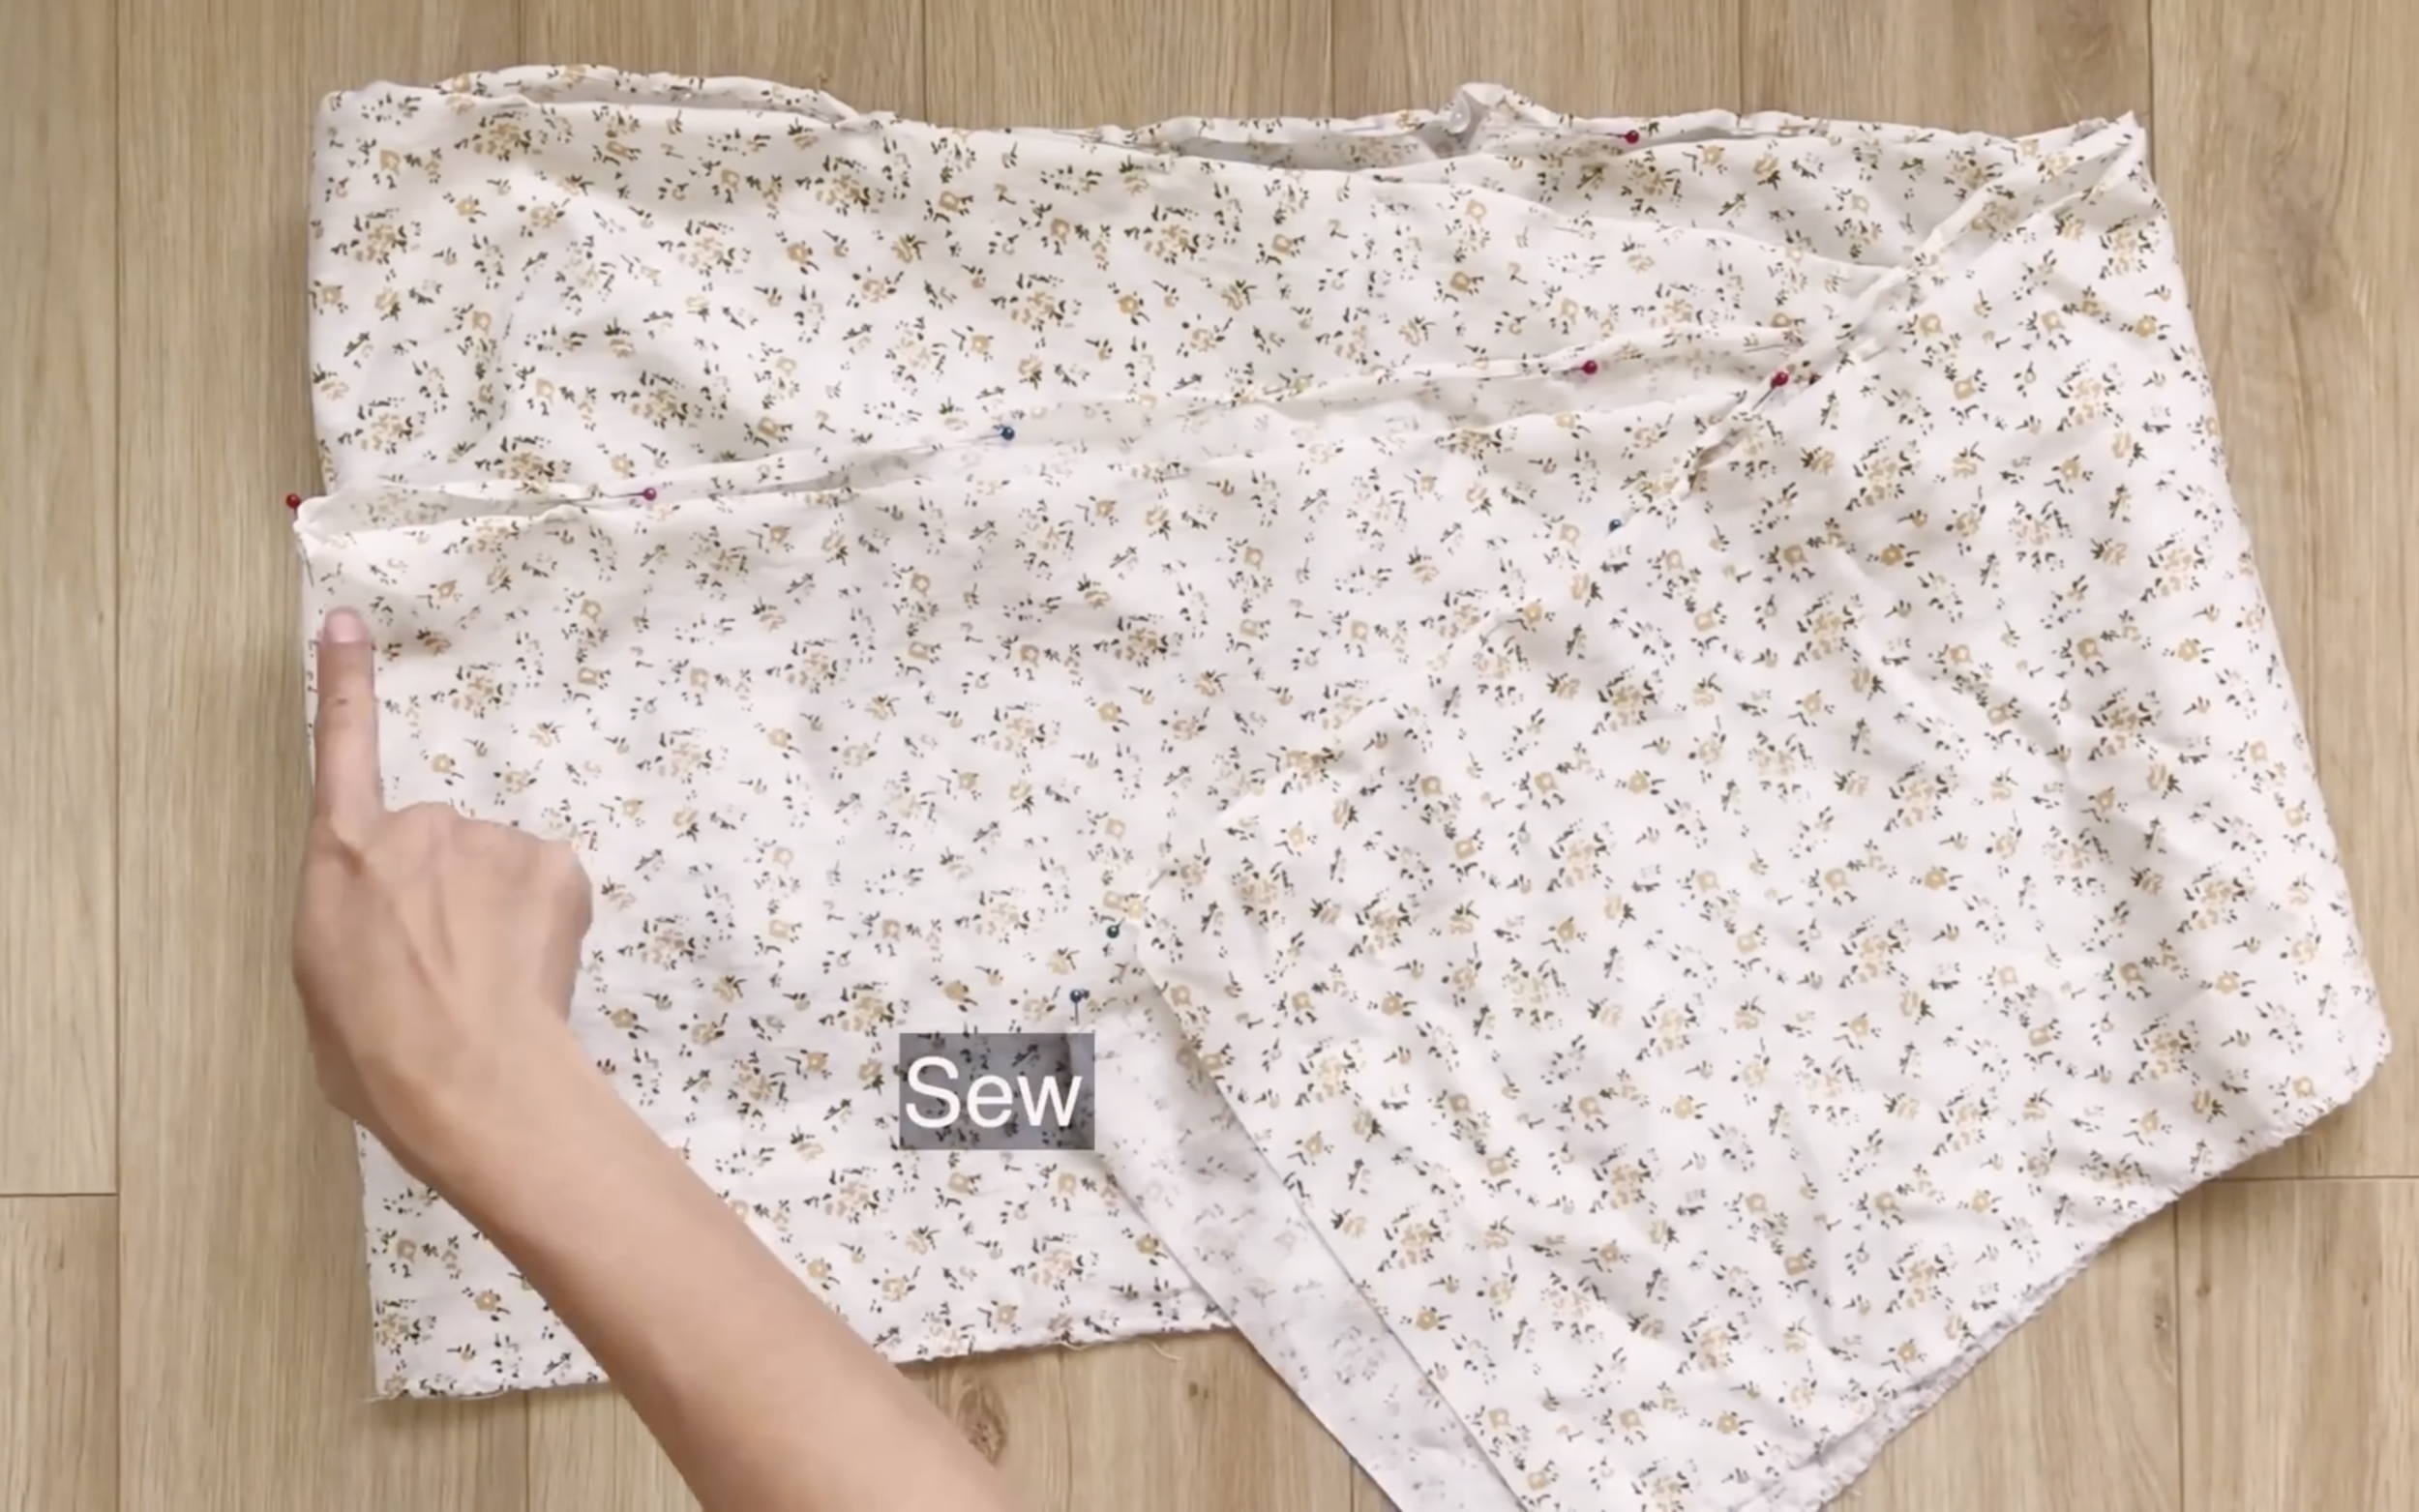
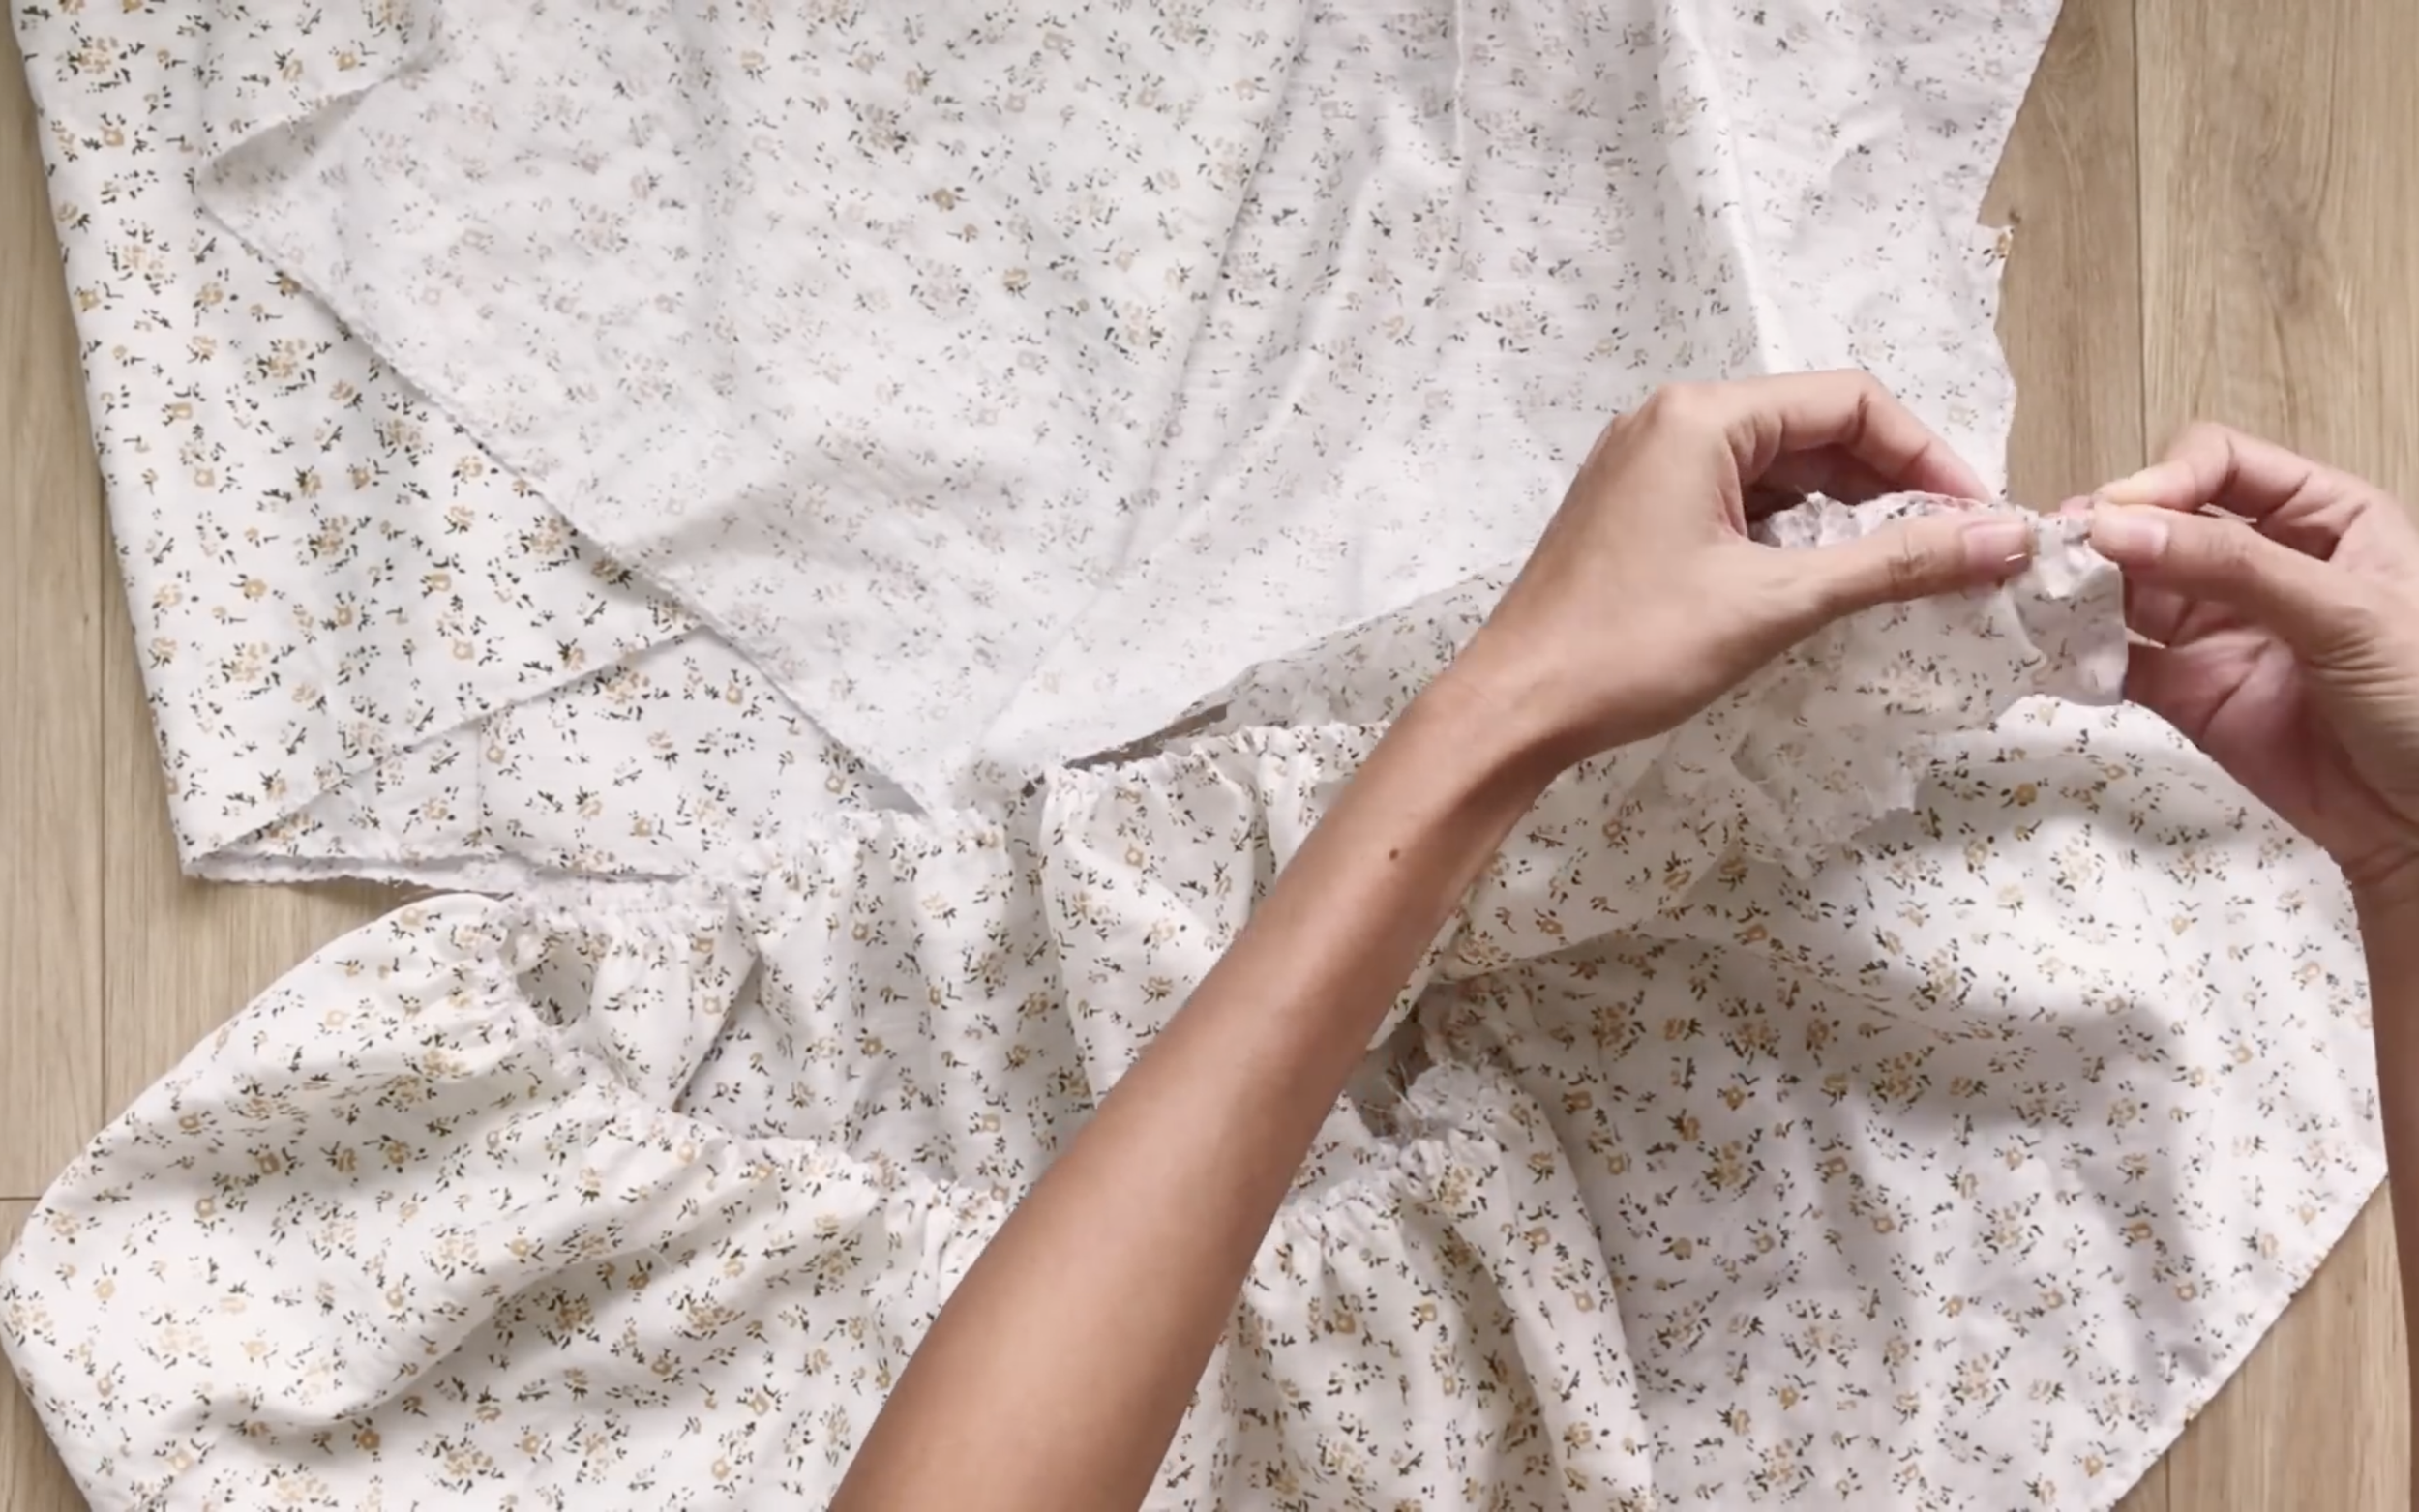
After cutting, connect two parts of the back bodice to the front bodice, then sew.
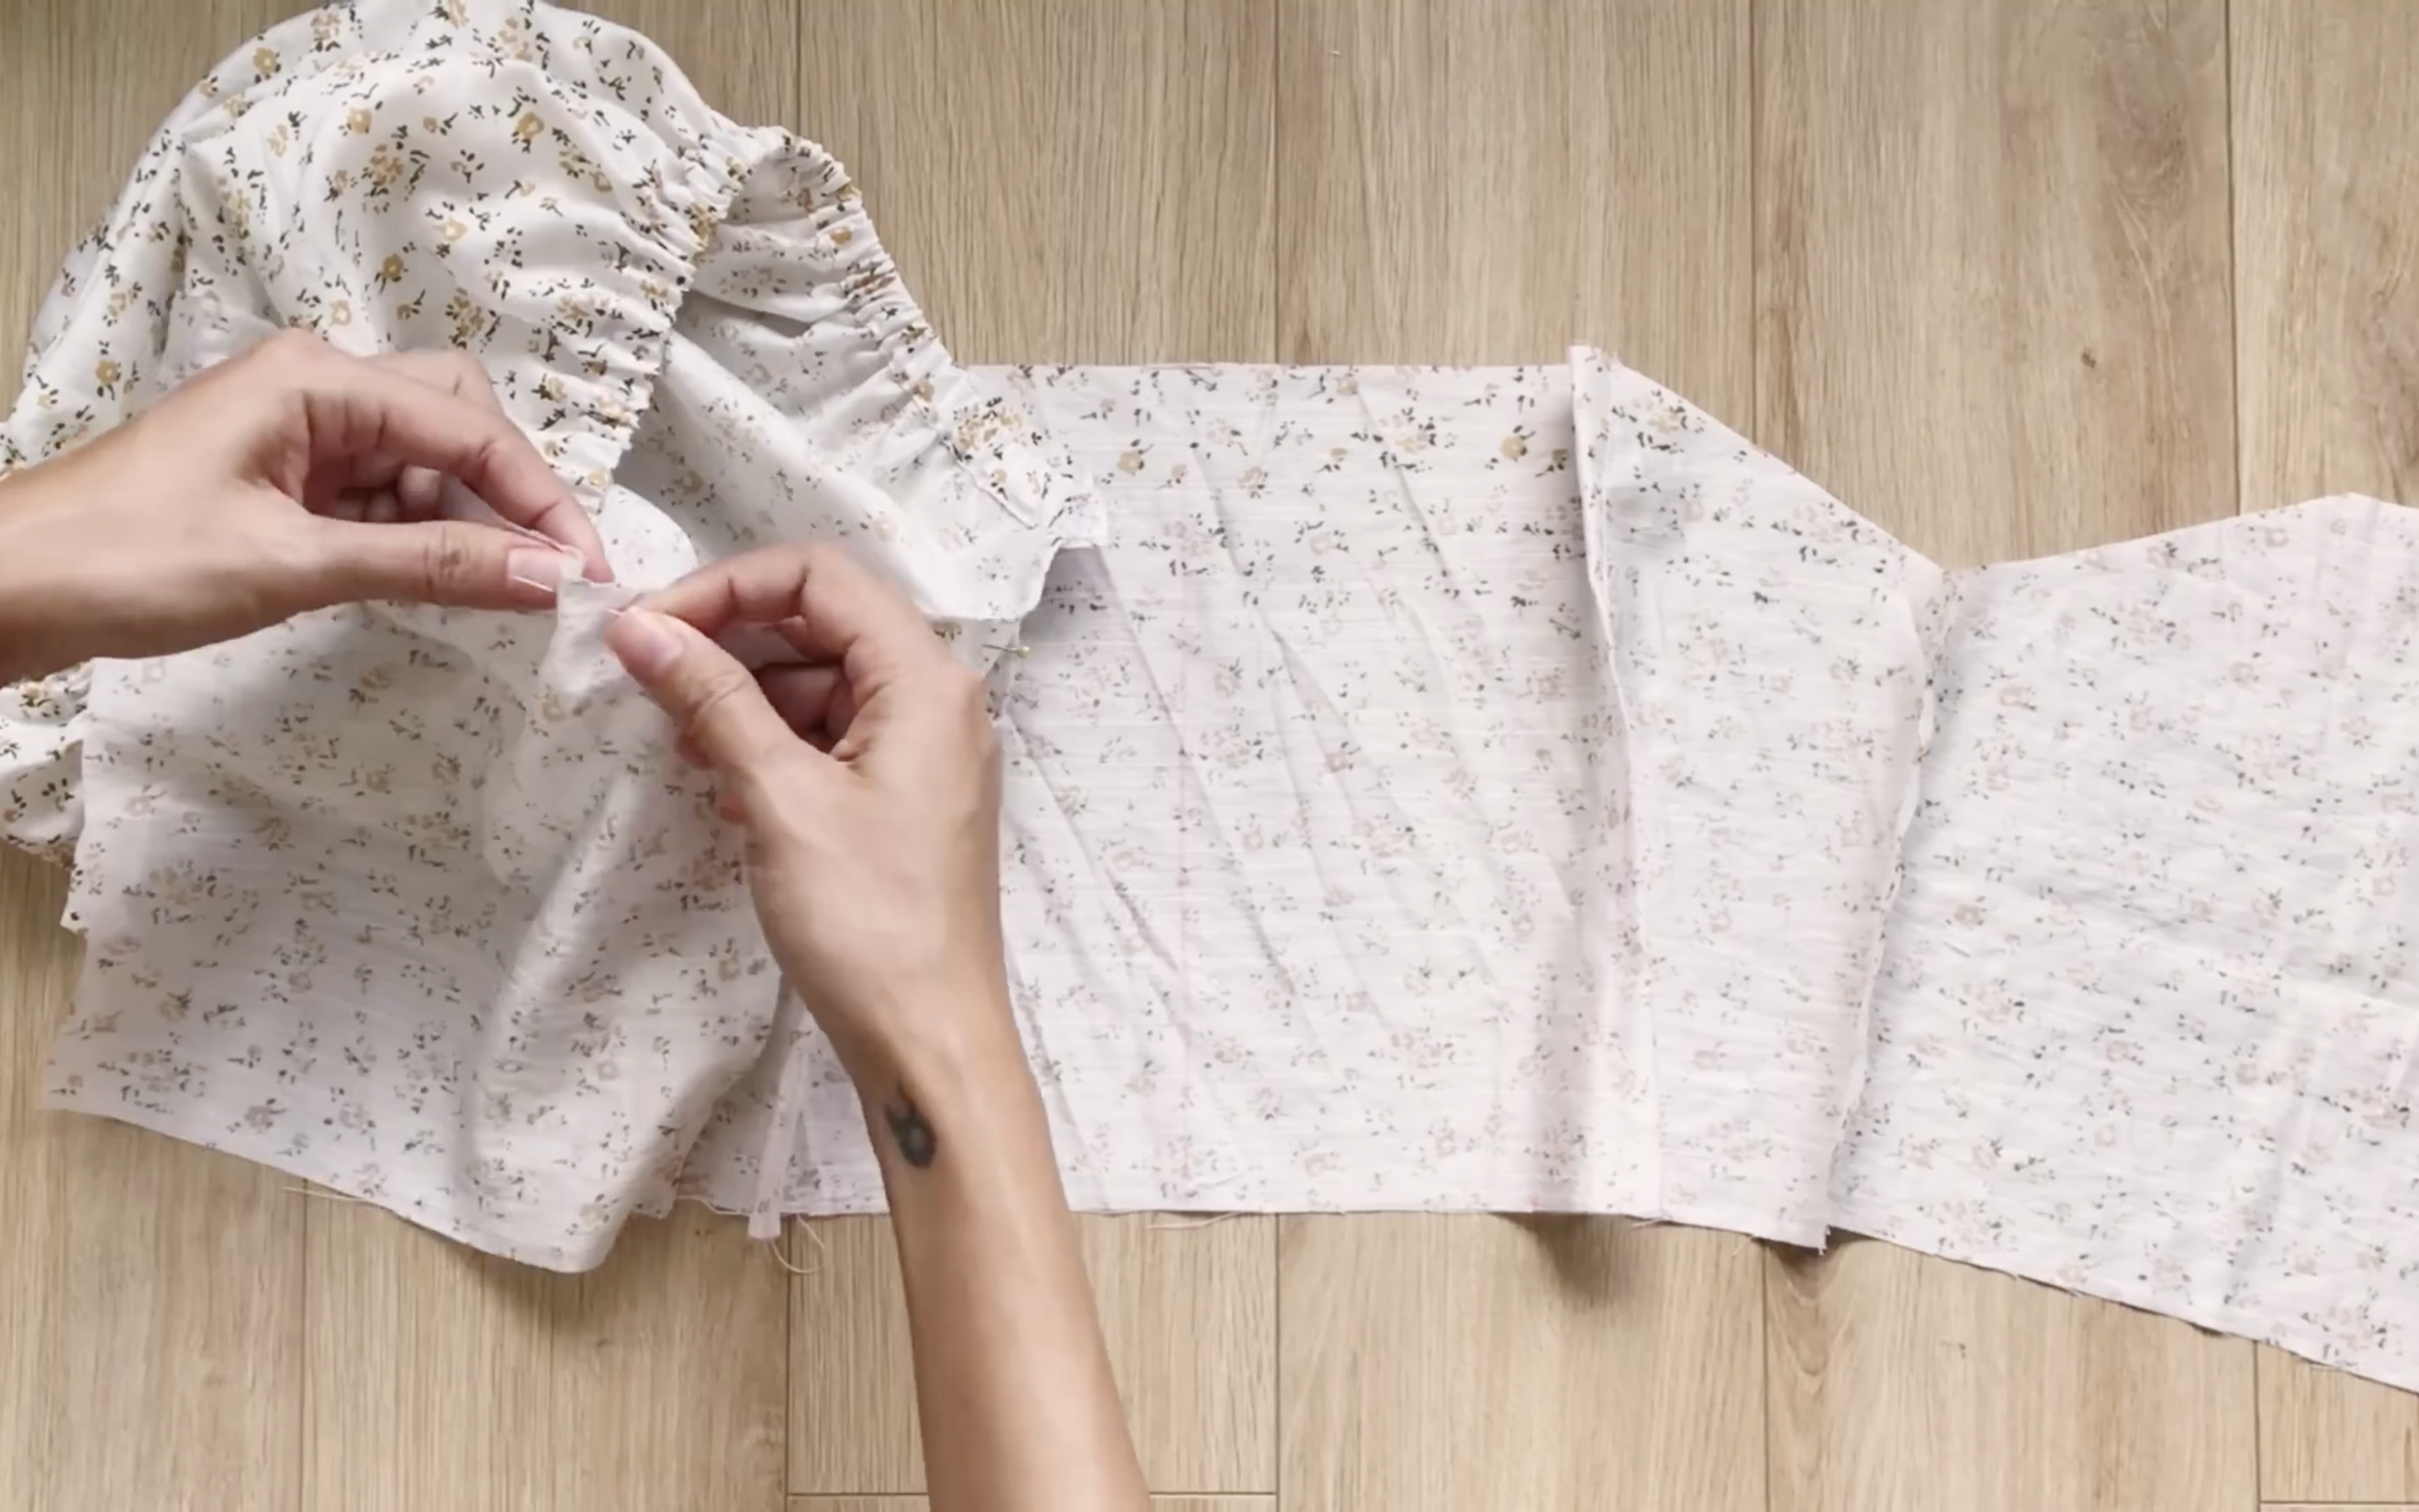
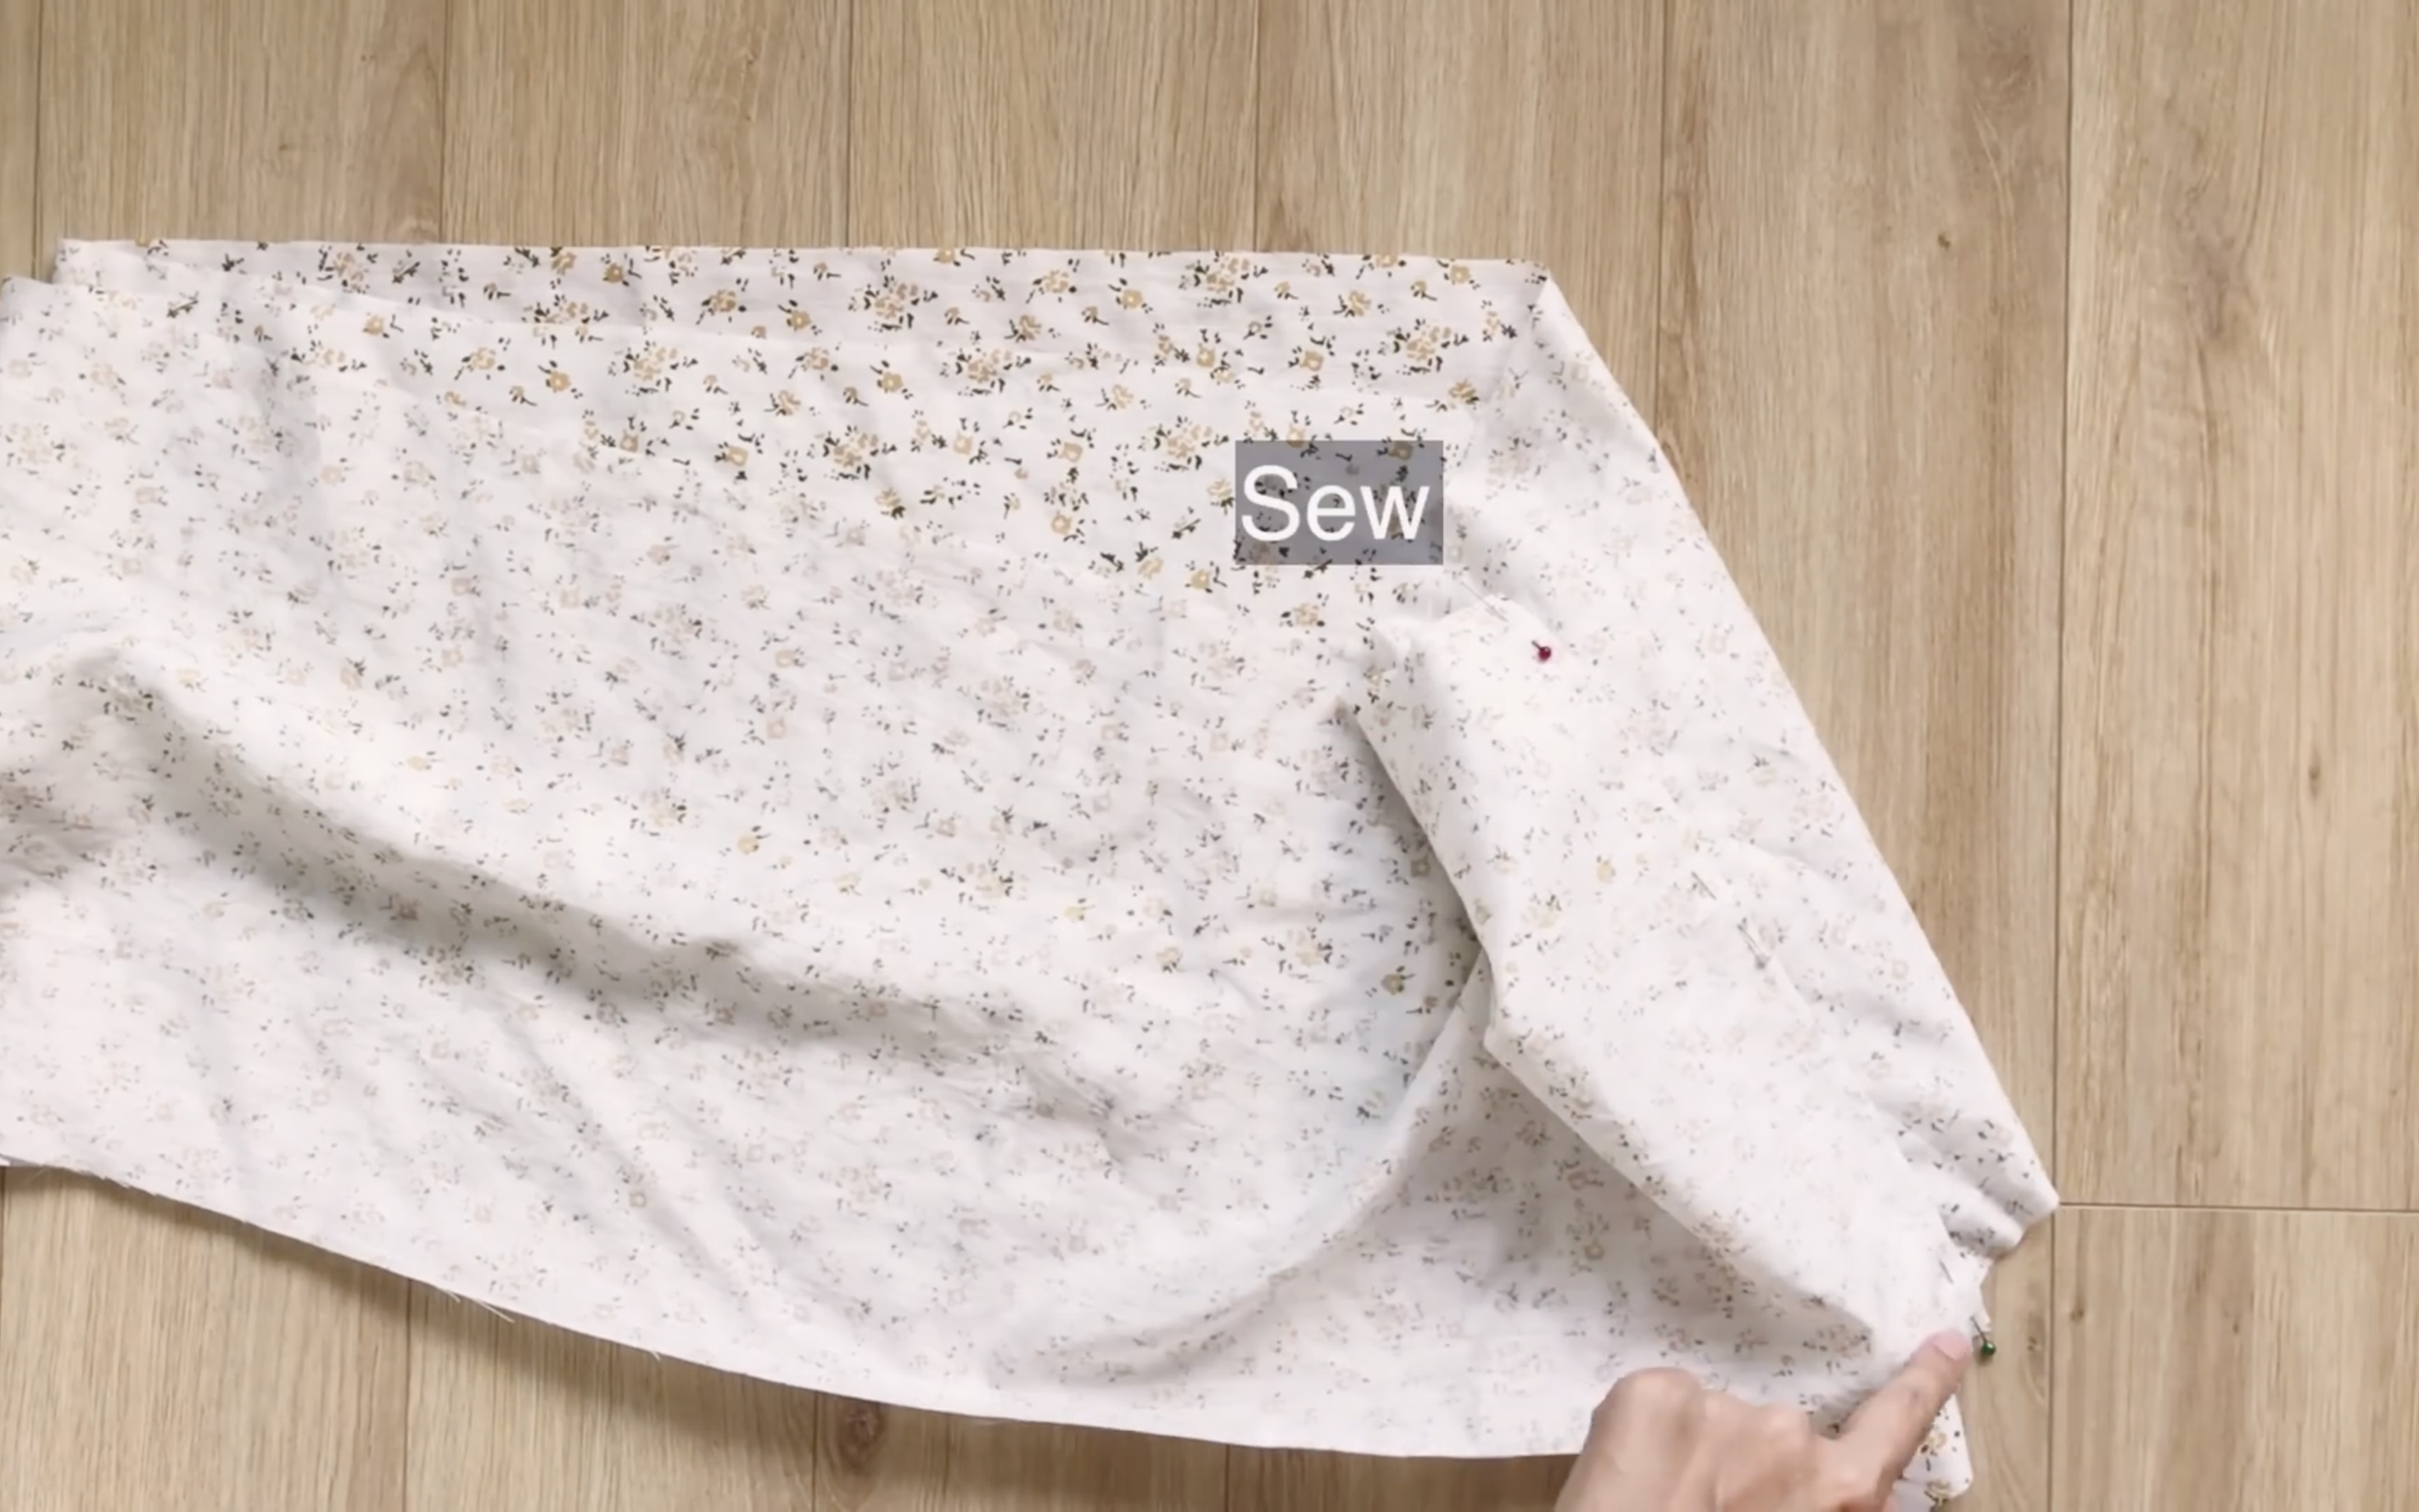
Now, connect the sleeve to the bodice. Connect the sleeve to one piece of the bodice first.
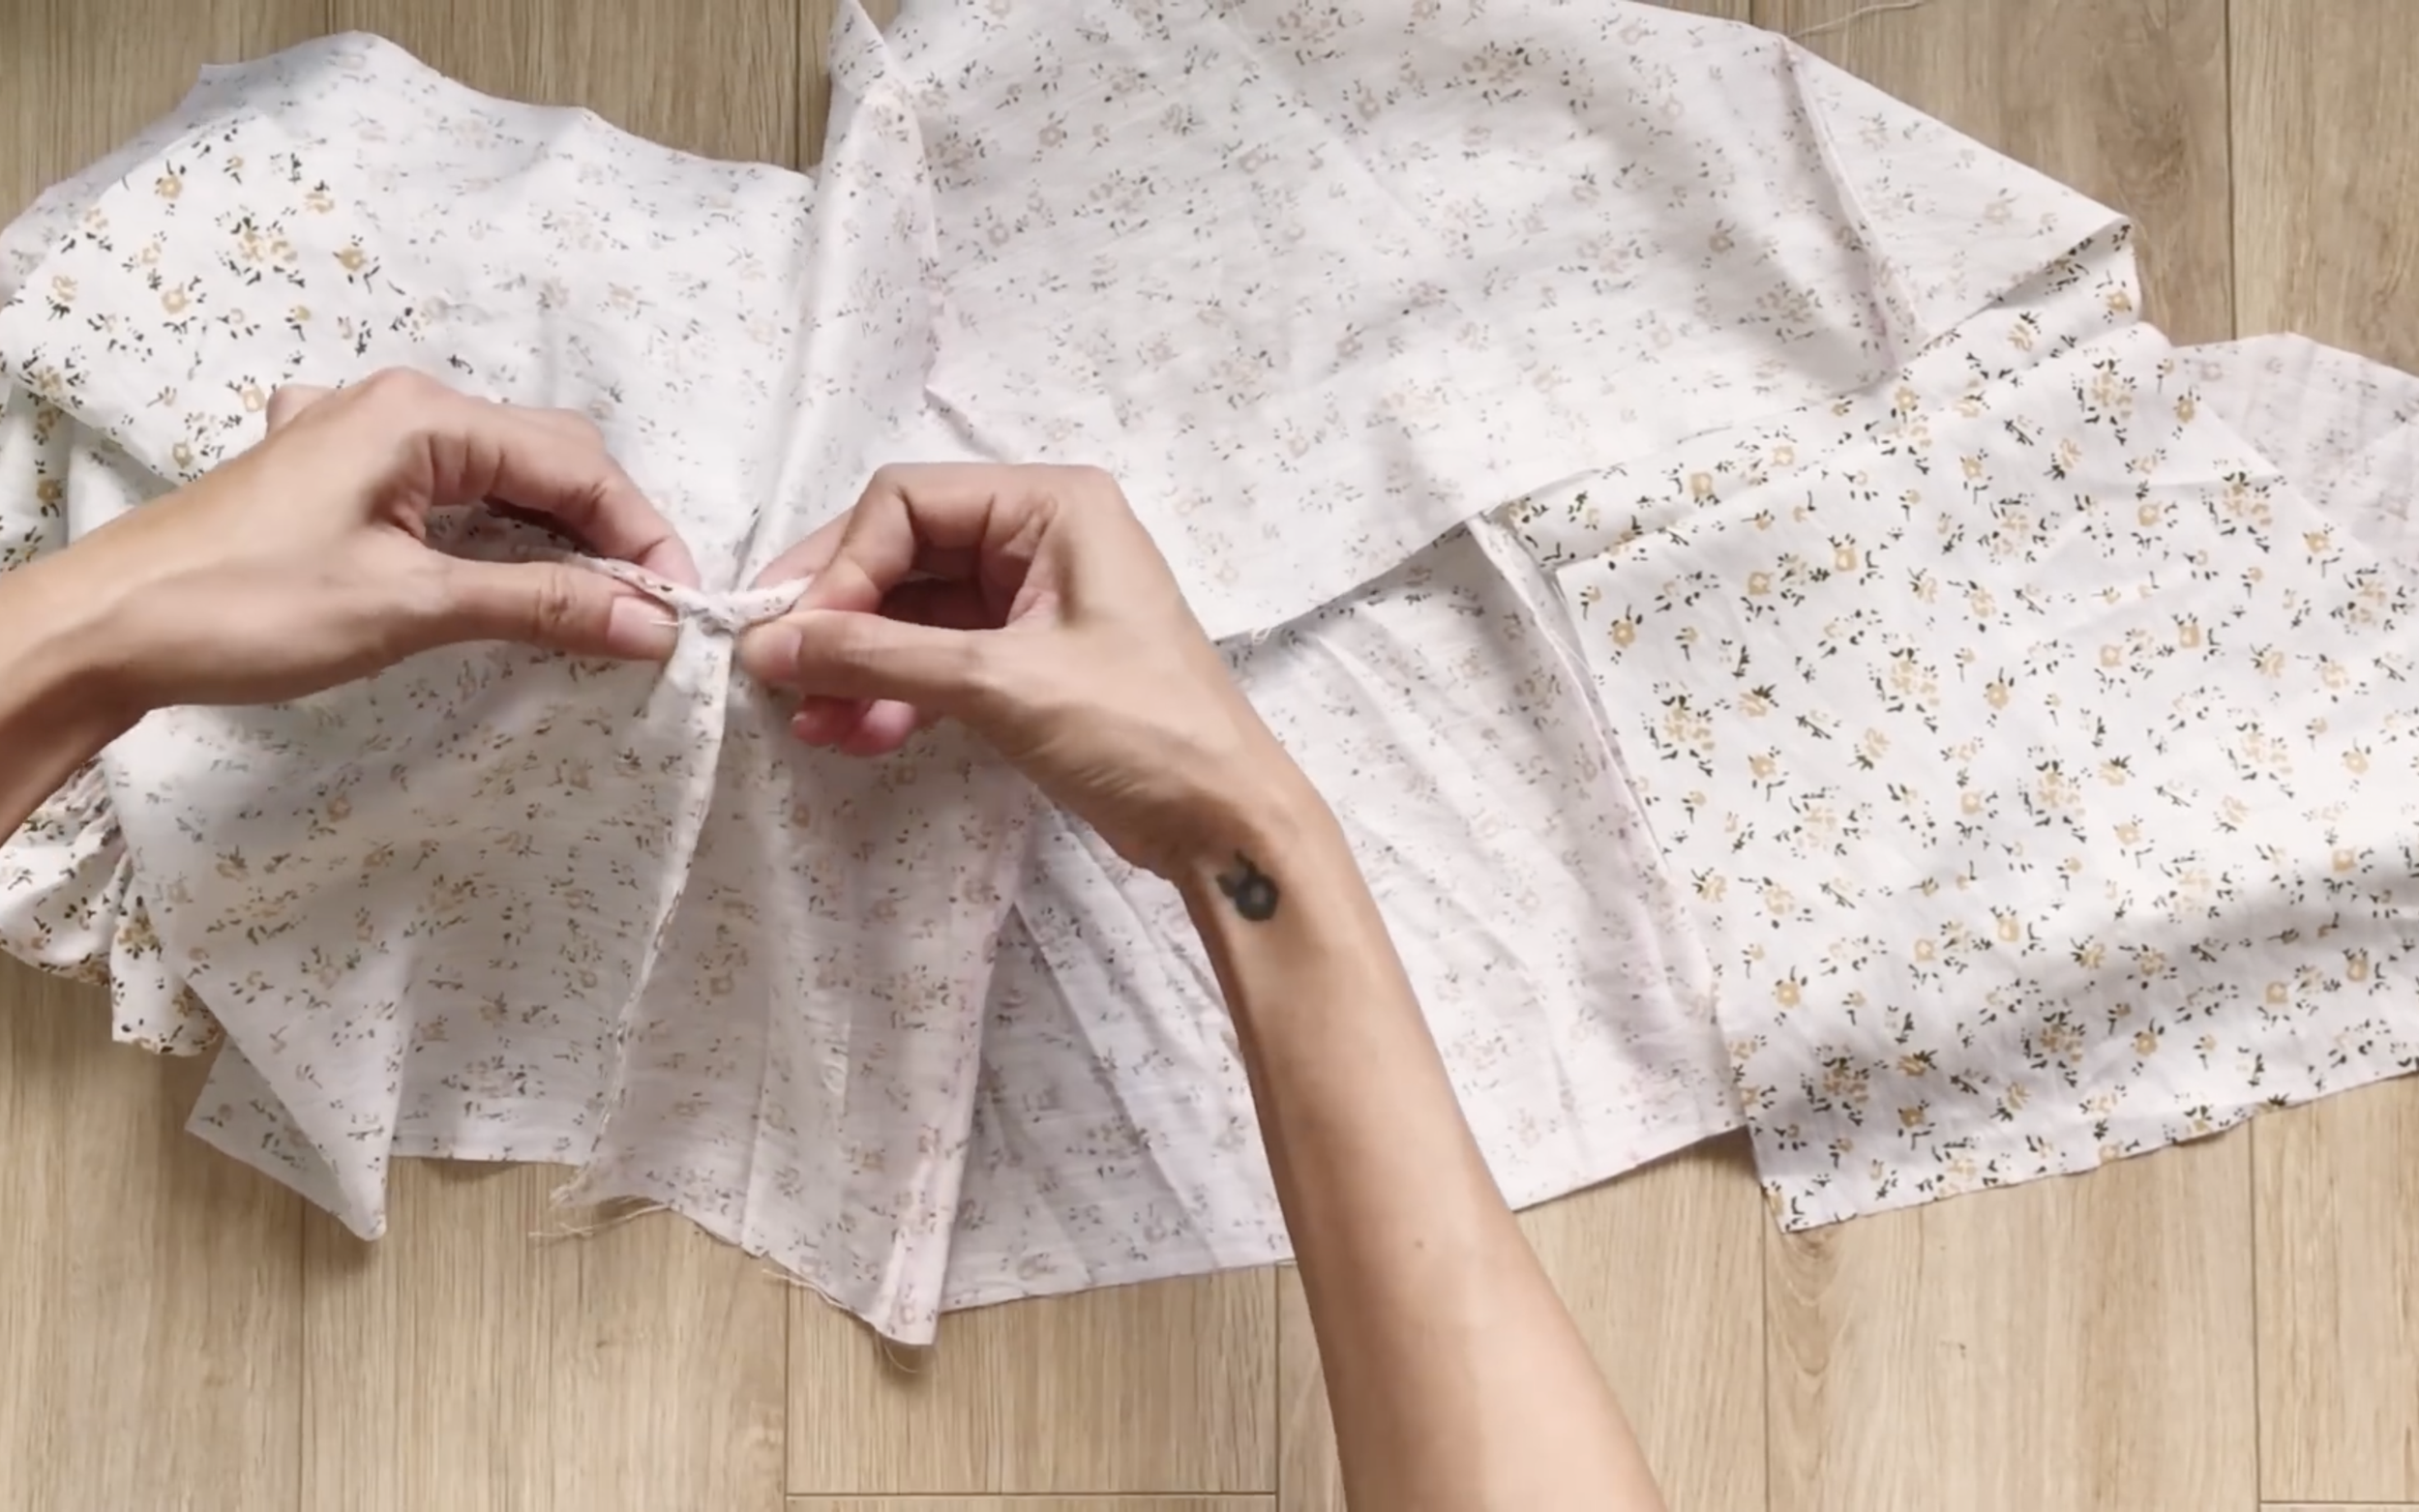
Then, connect them to the other piece of the bodice later. Make sure the sleeve has to be at the middle between two bodices.
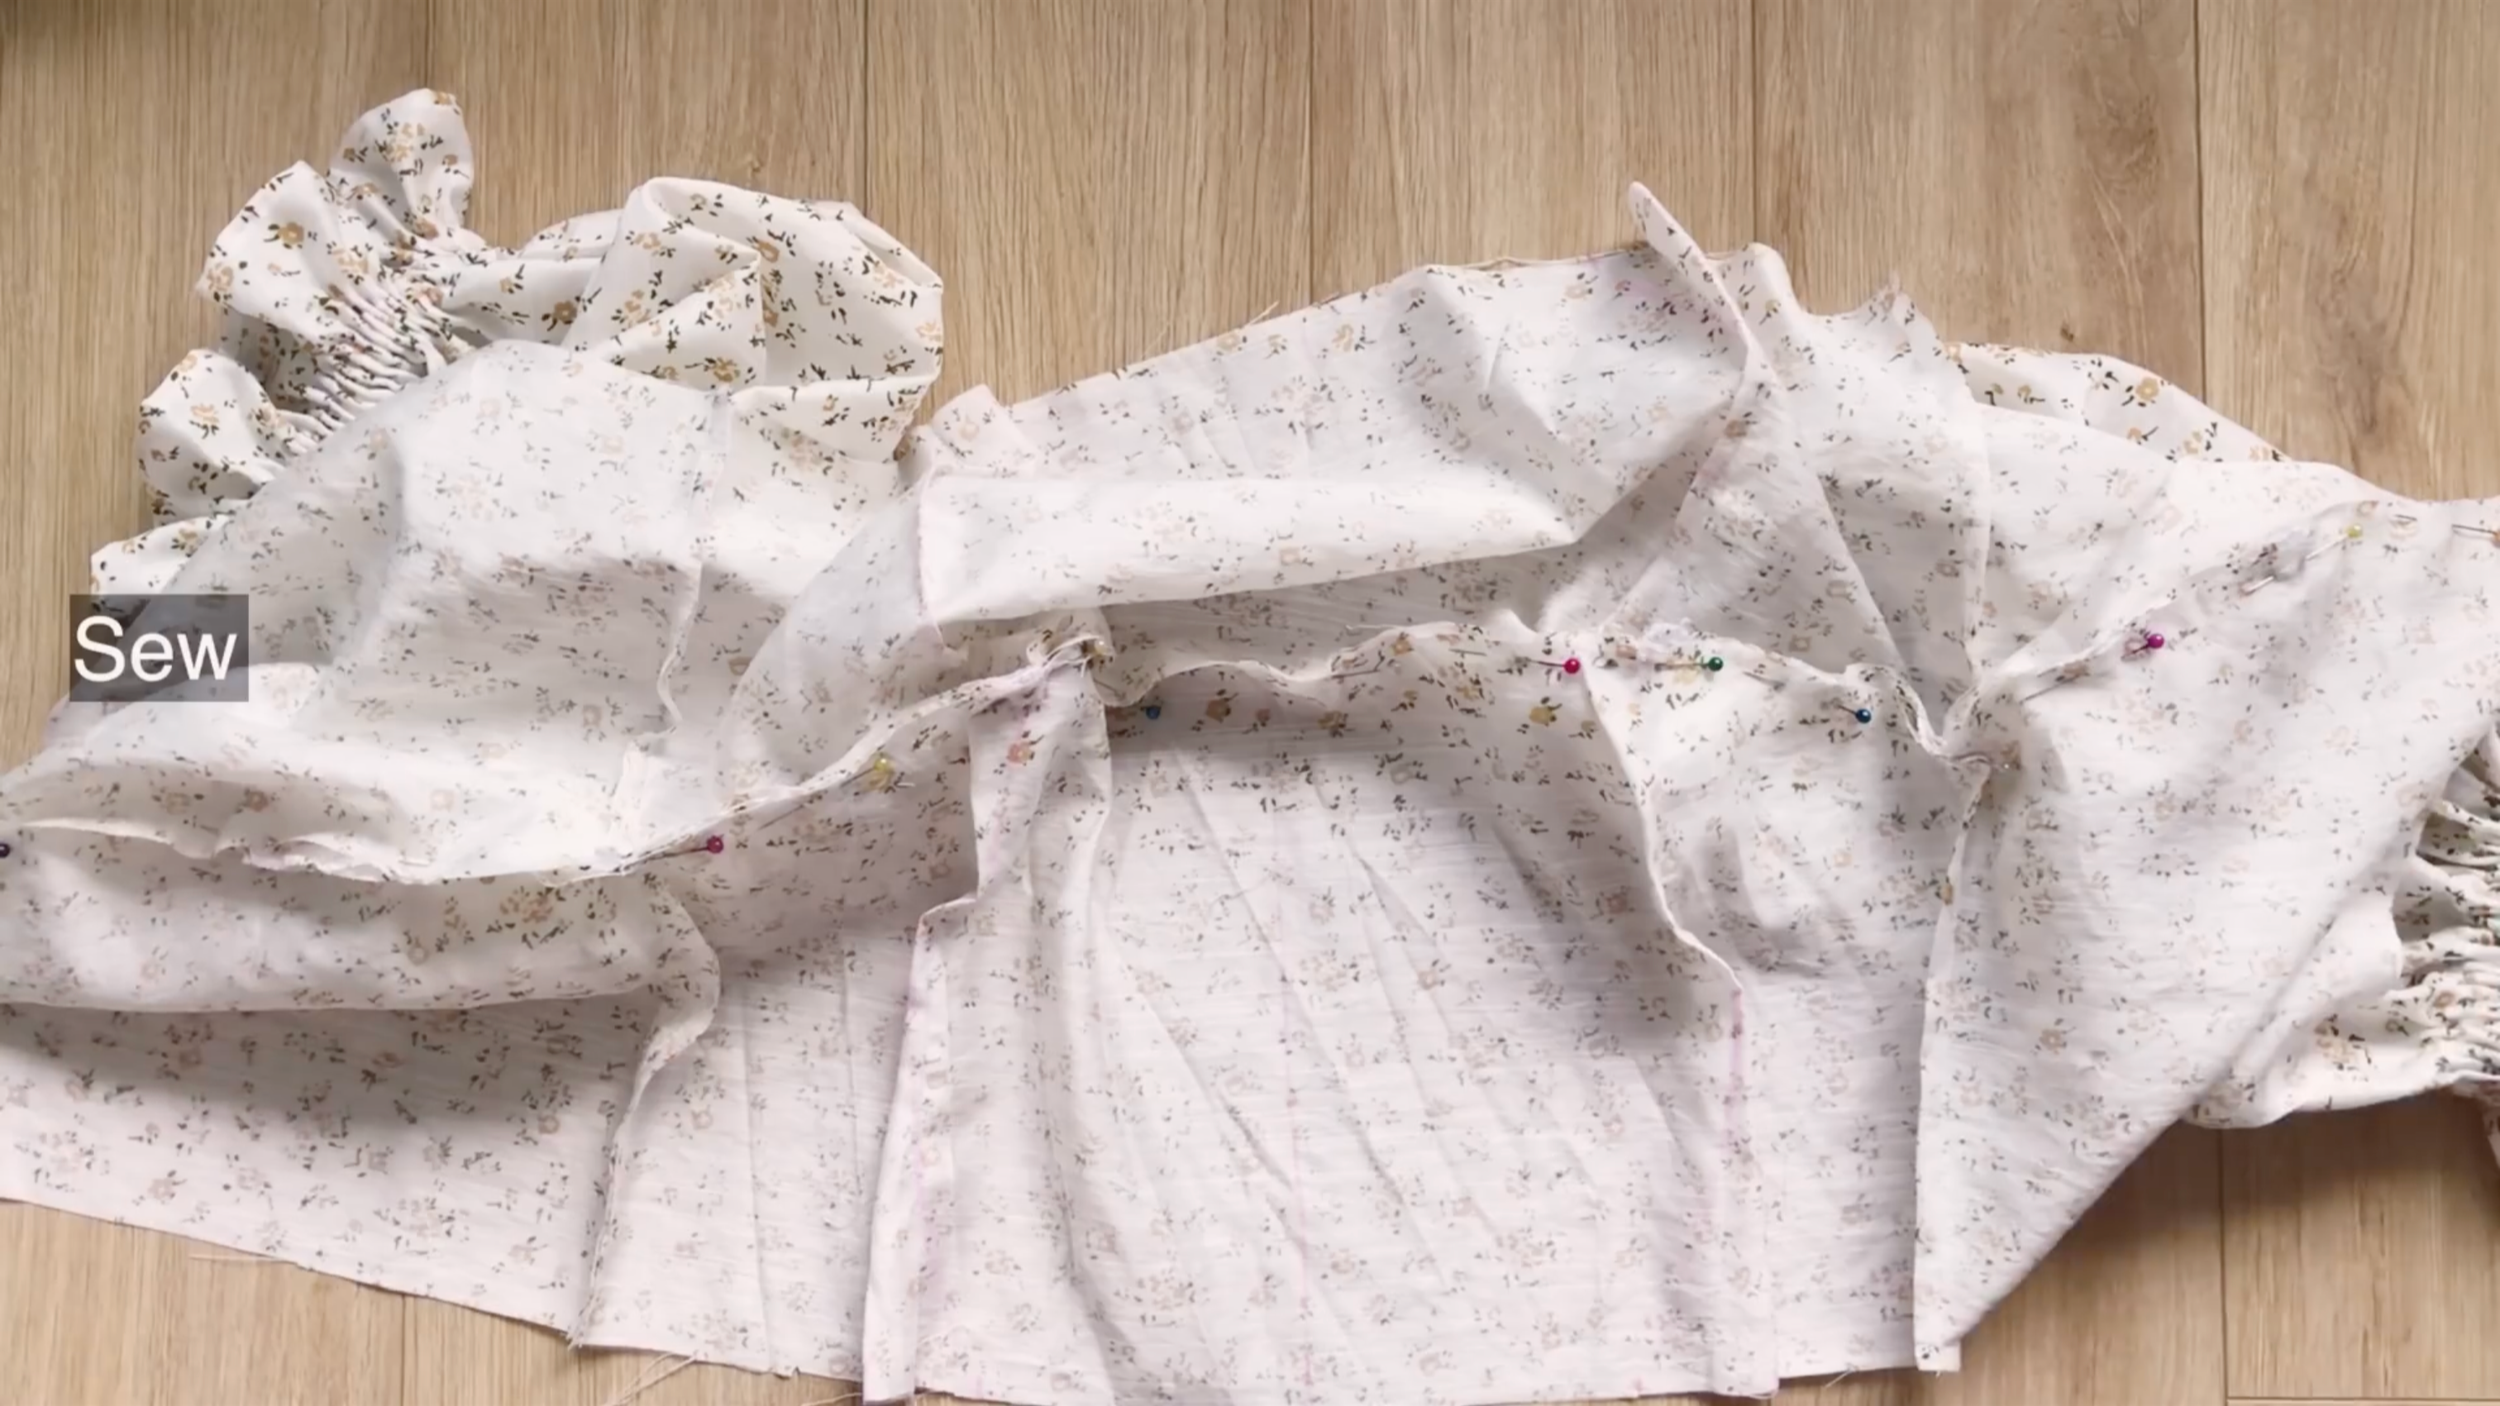
Then, sew to connect them all together.
After the first seam, make the second seam outside to gather the fabric to one side.
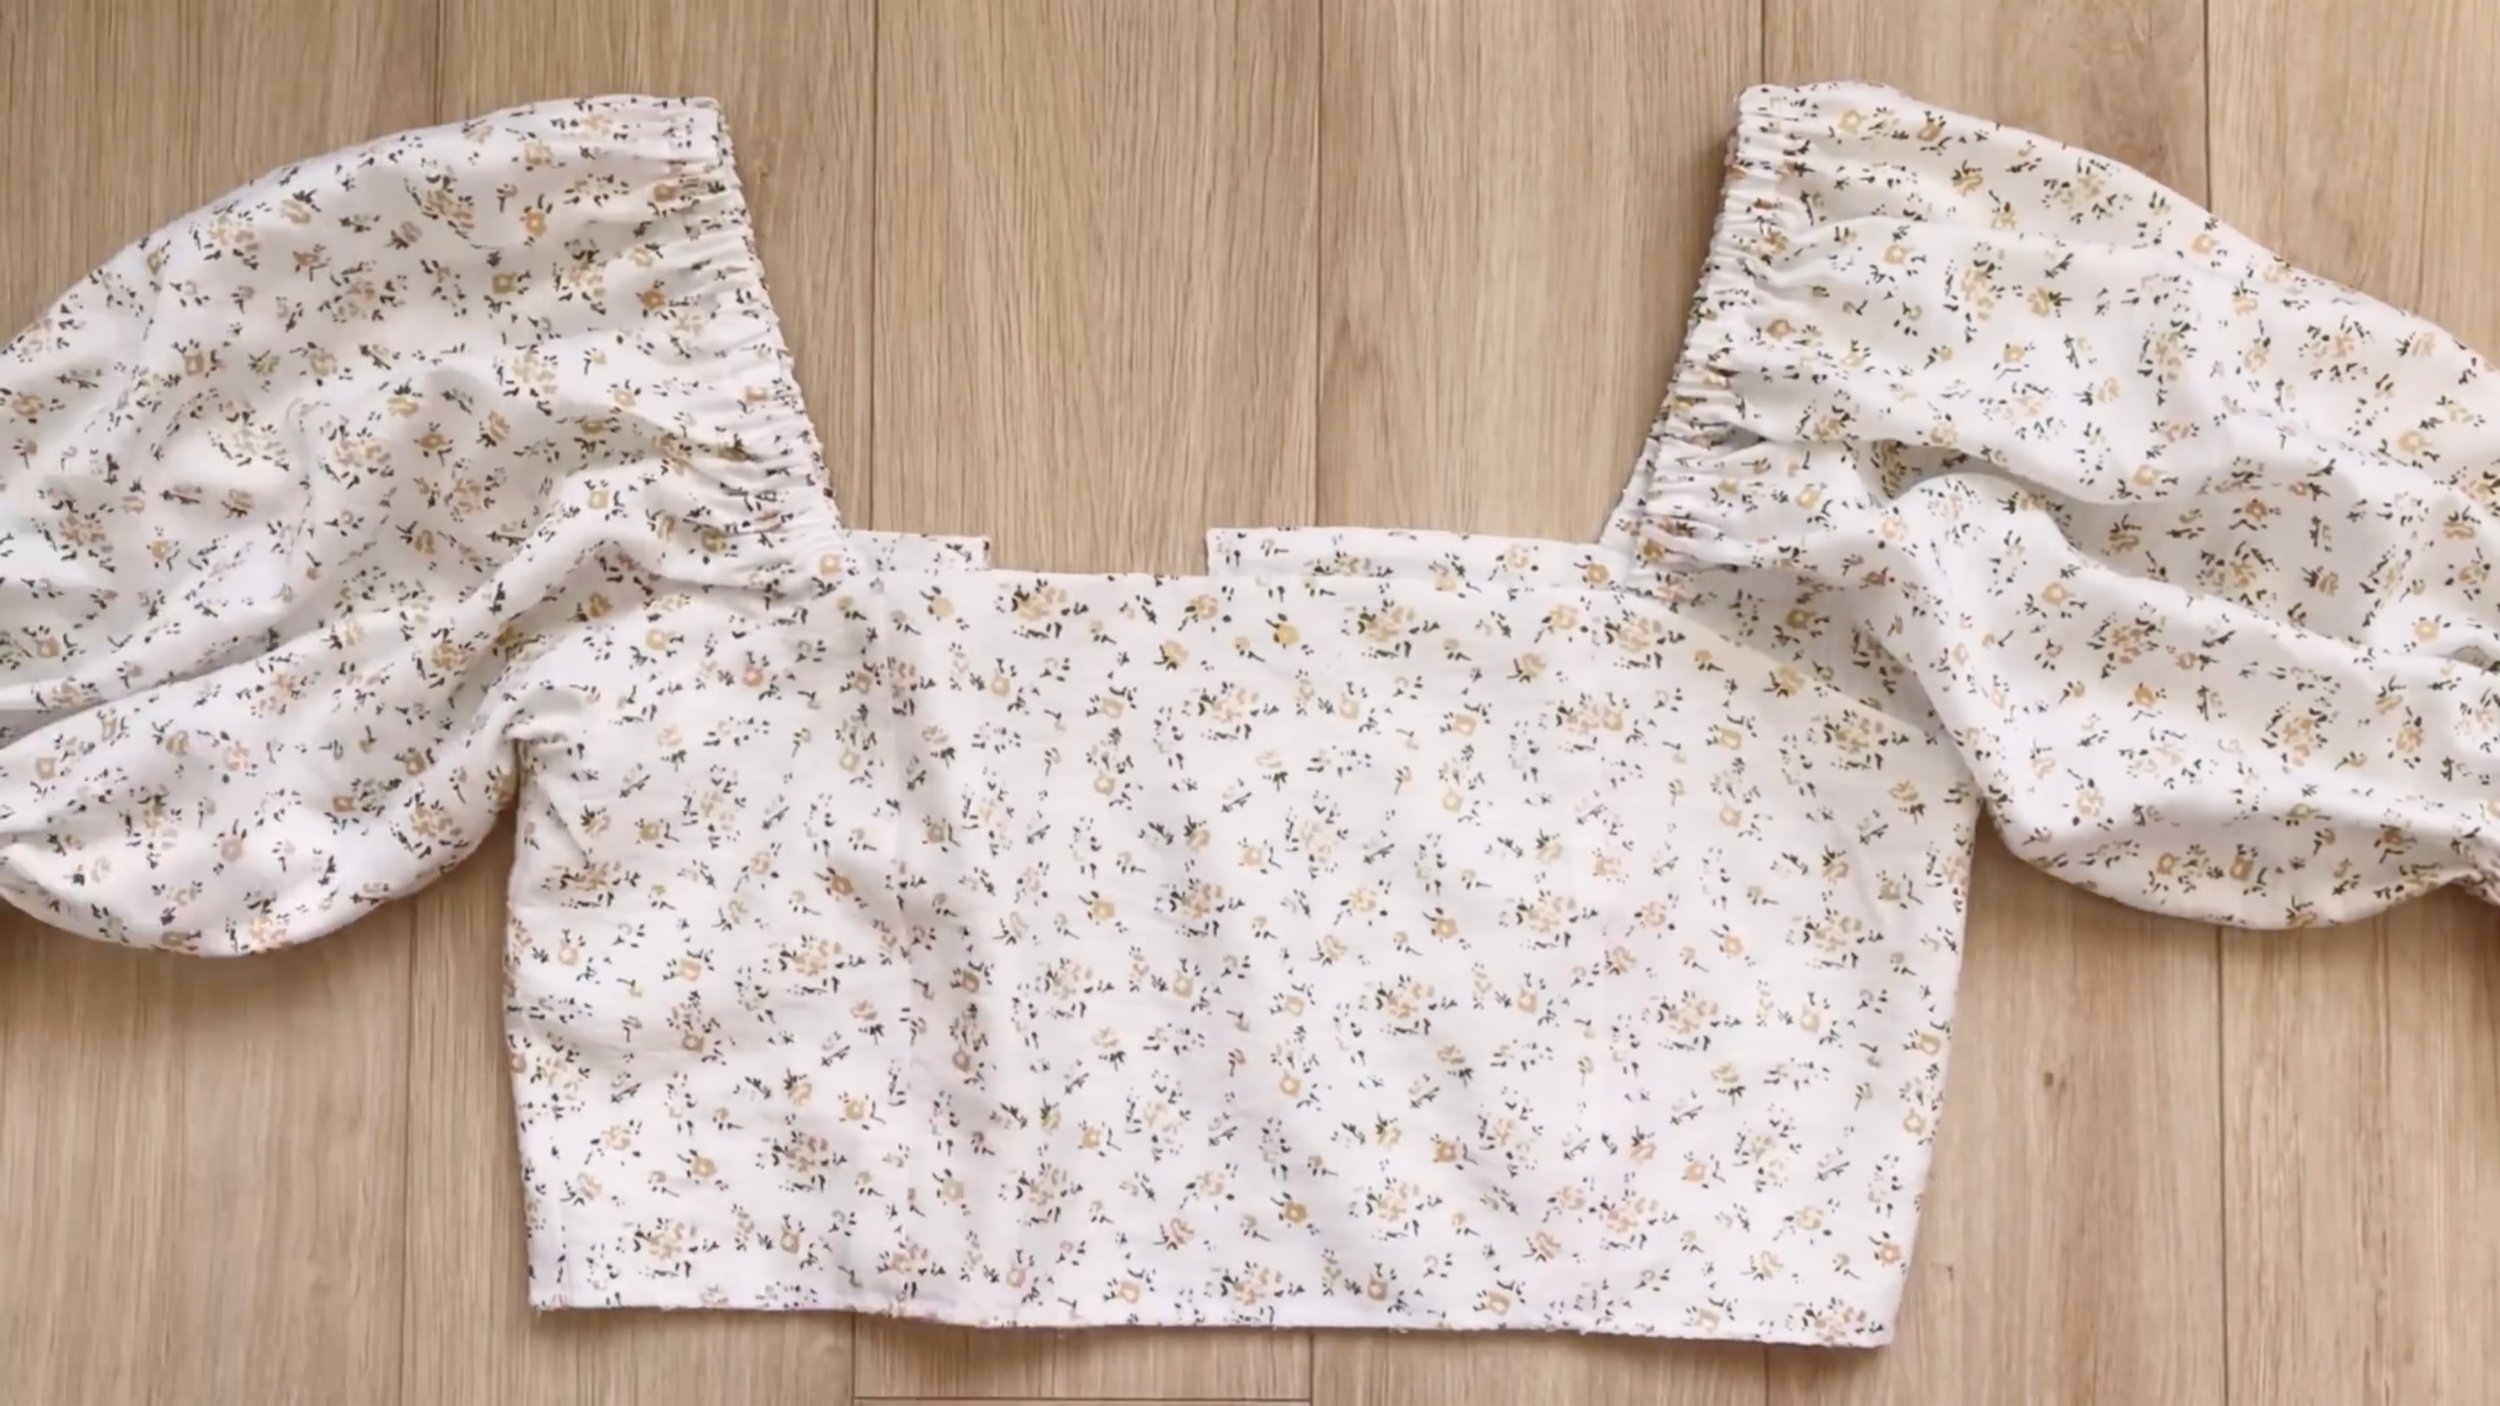
And here is the top of the dress.
THE SKIRT
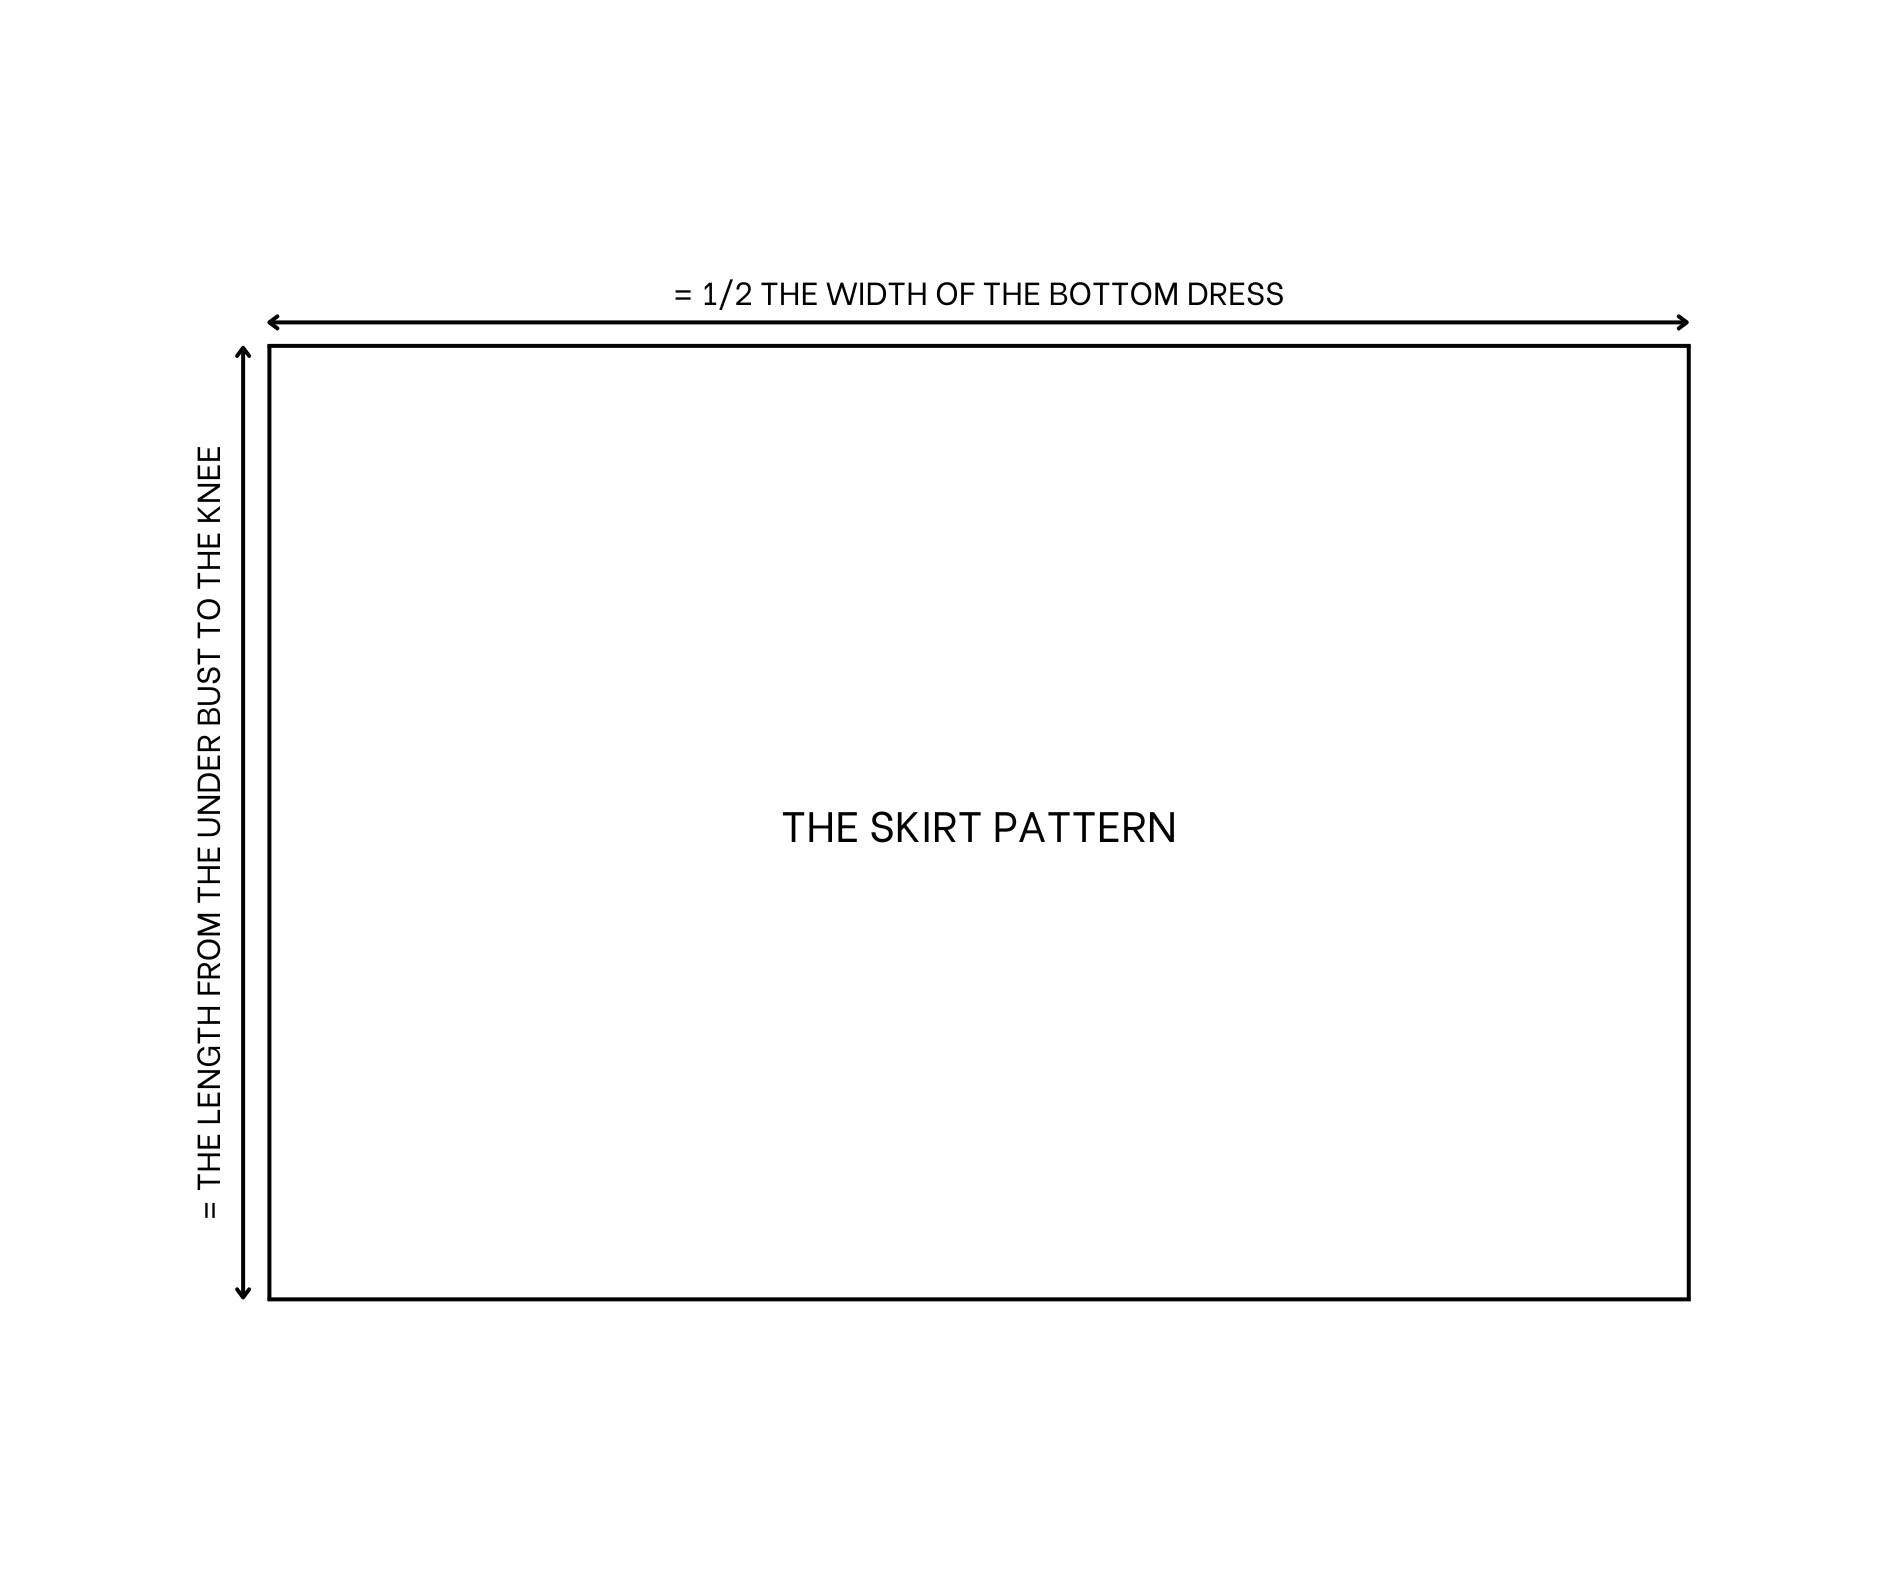
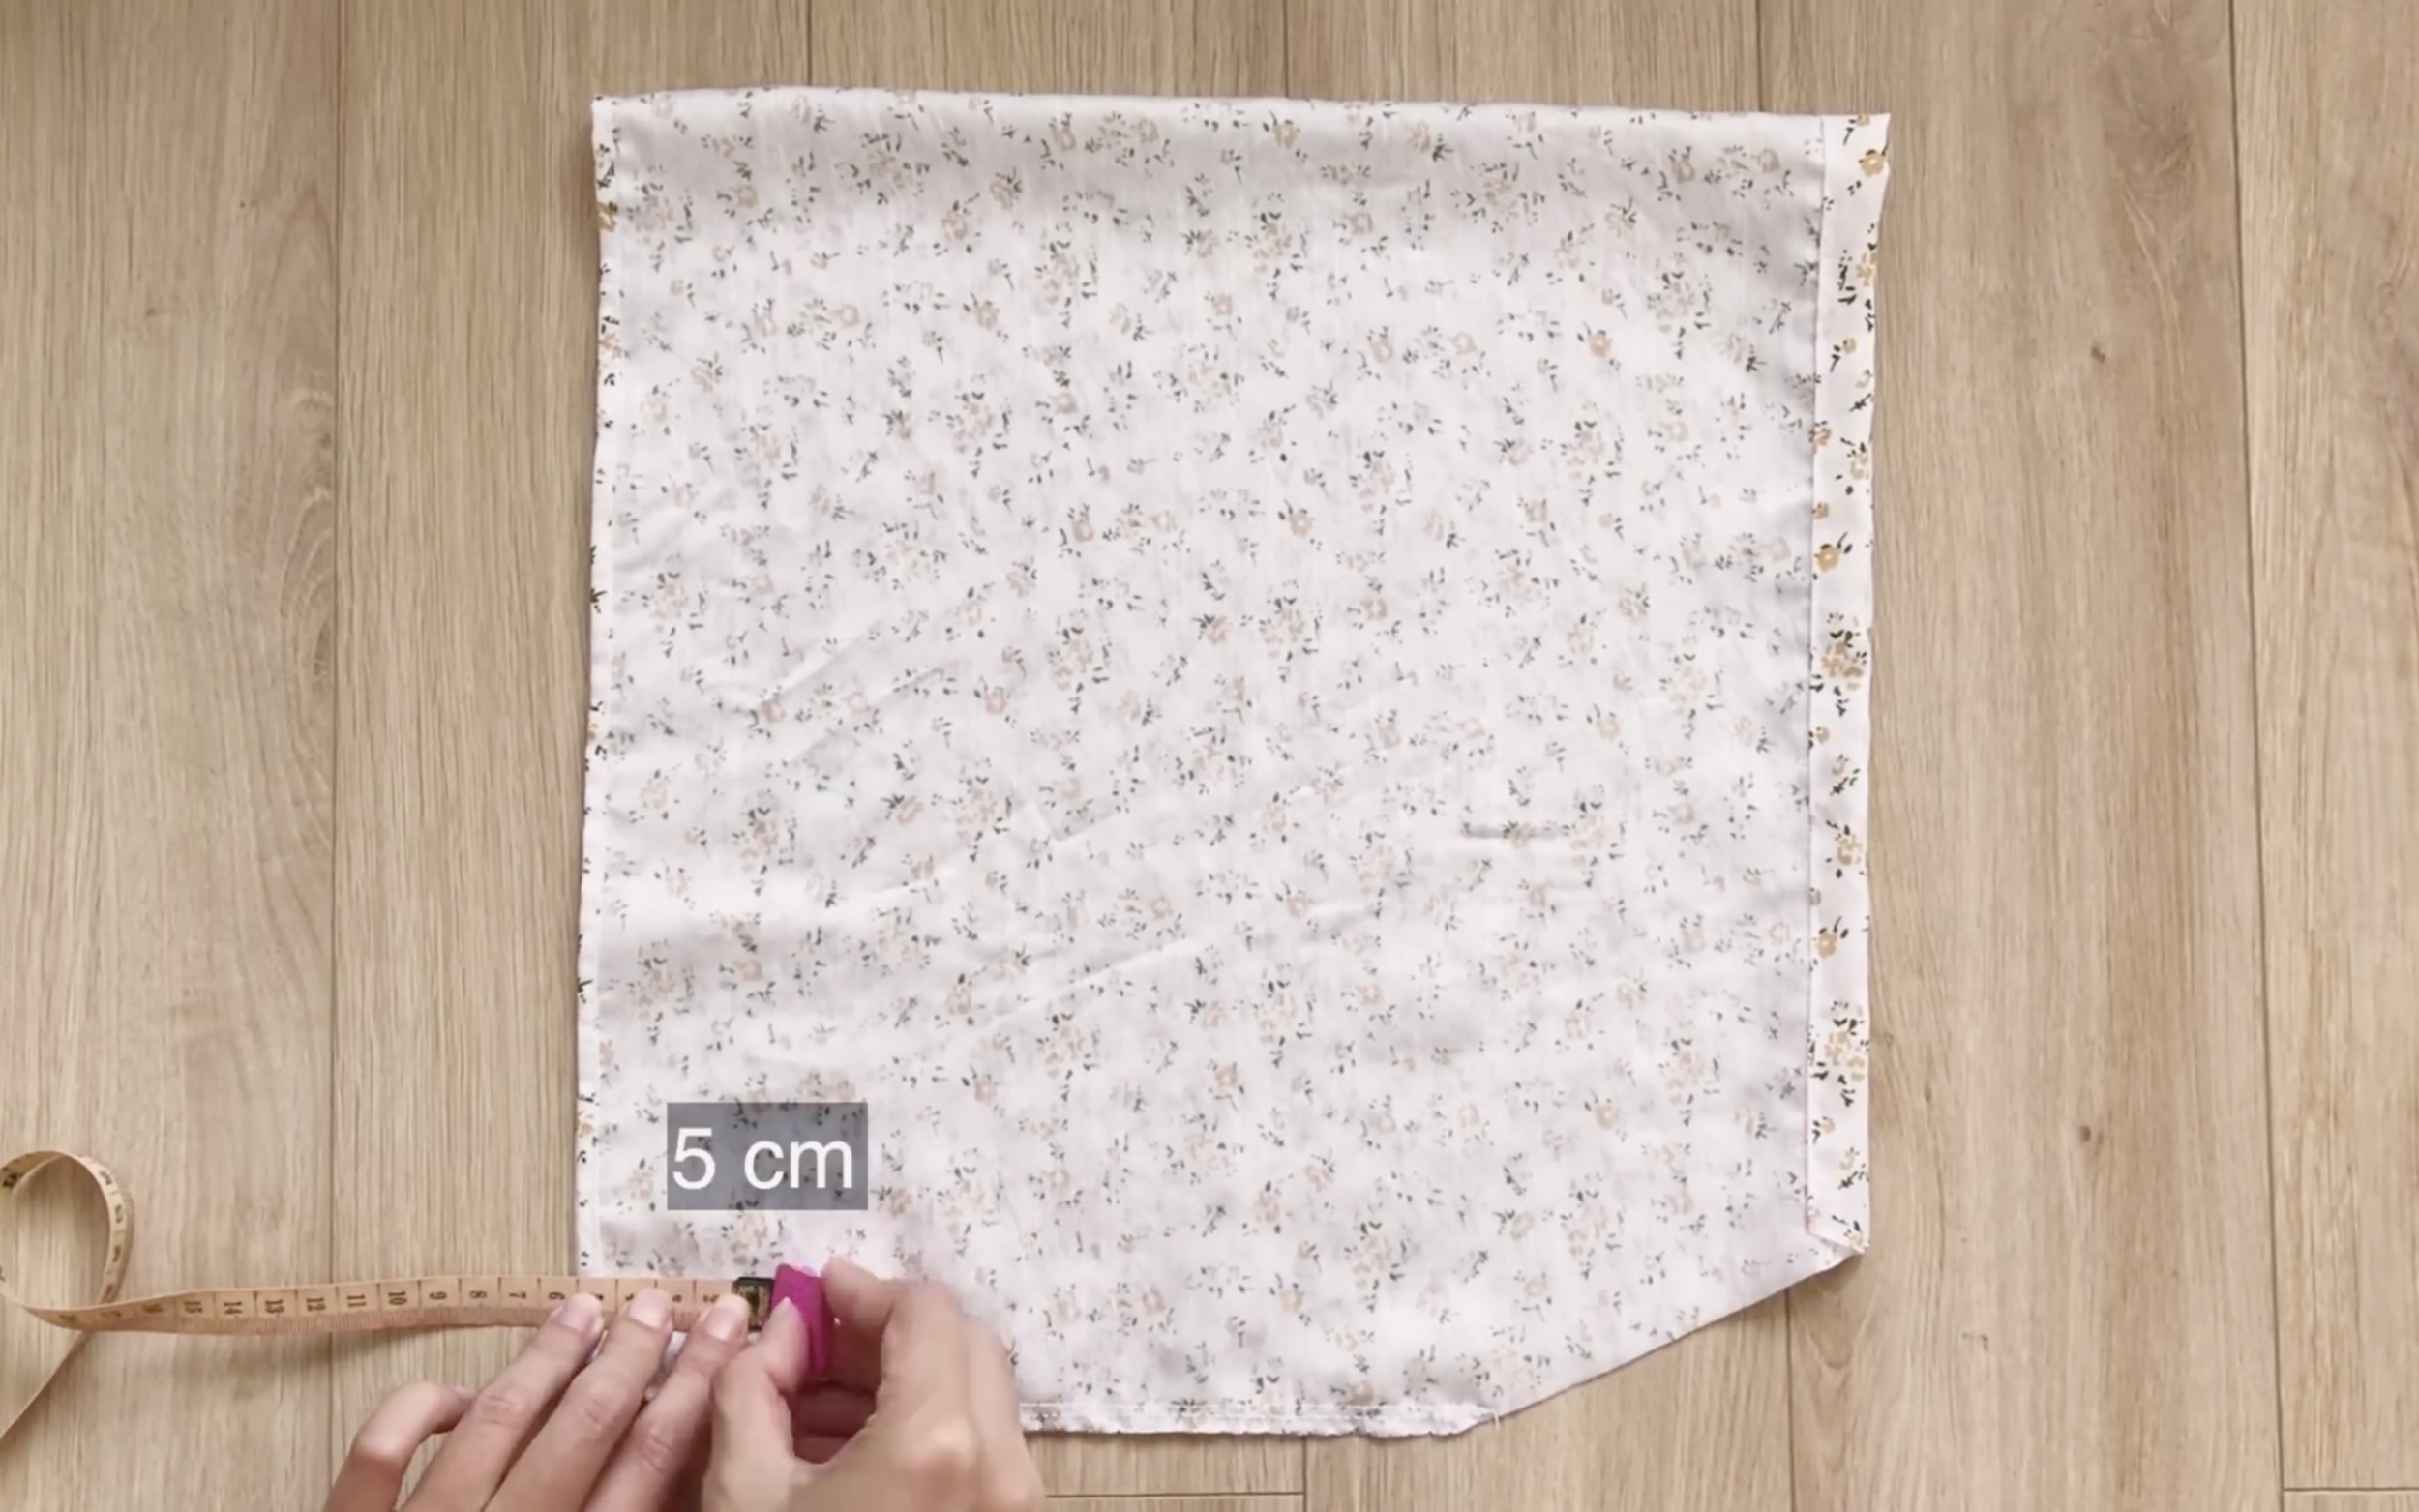
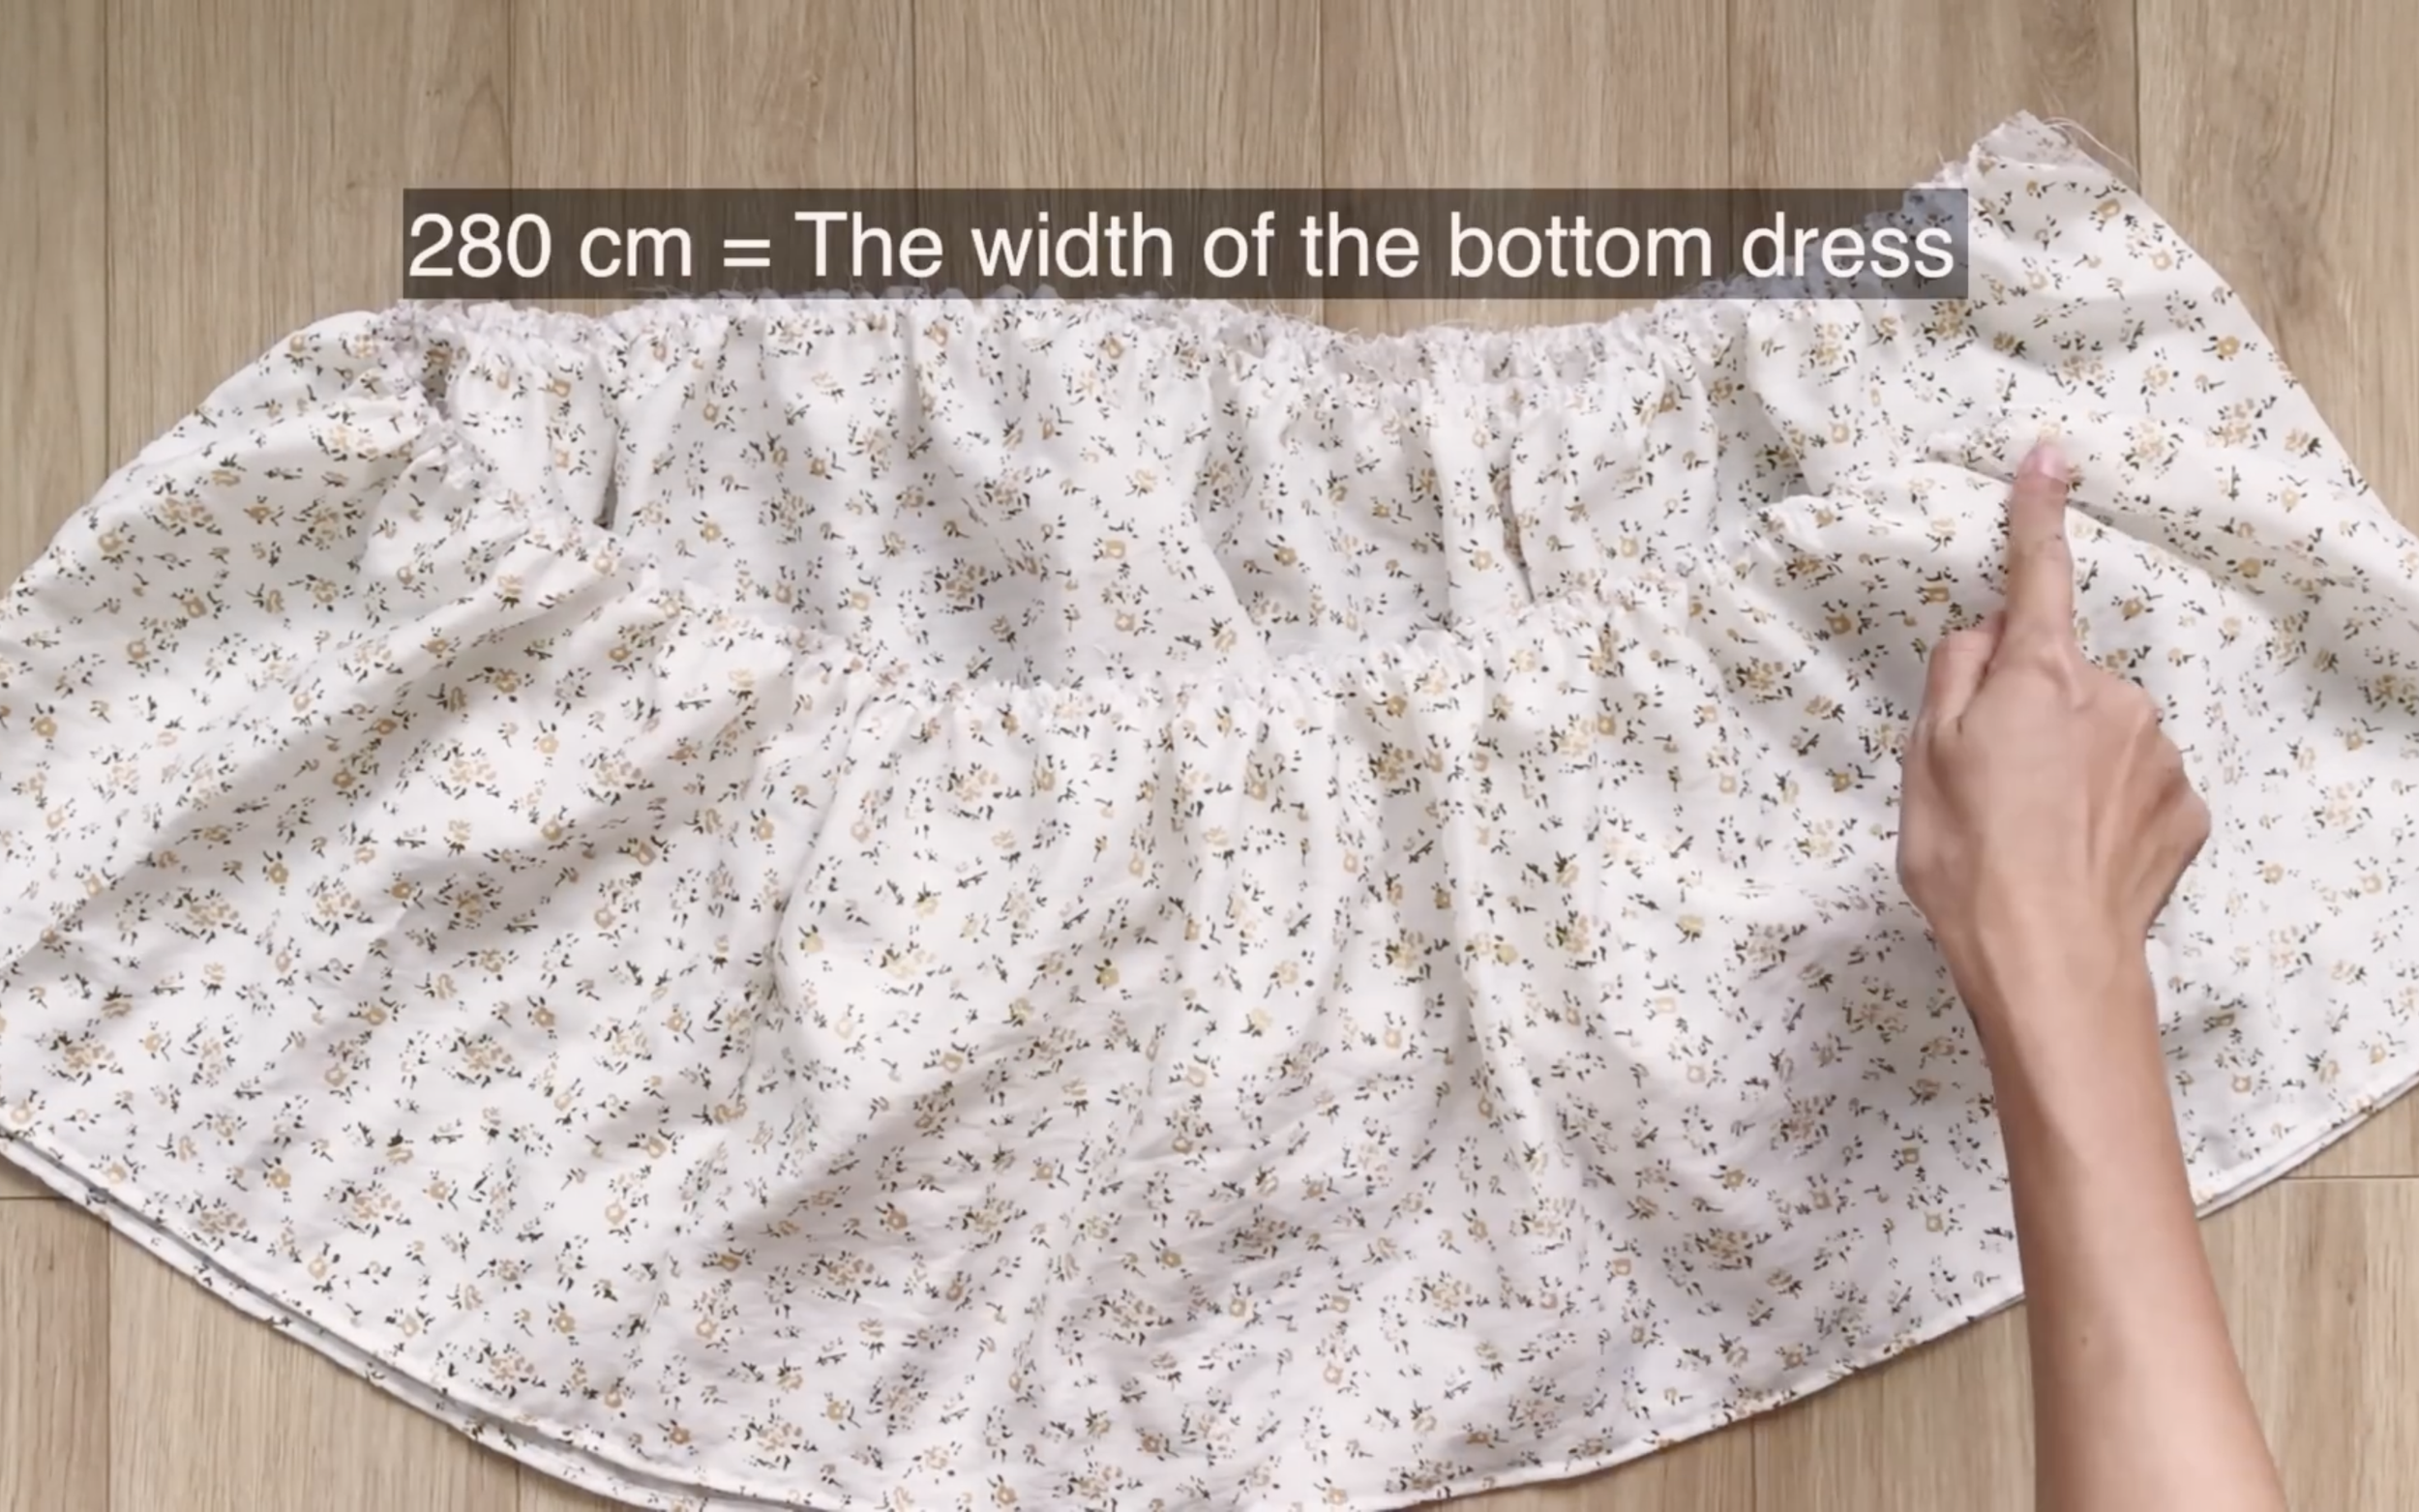
Moving to the bottom of the dress, cut two rectangles with 50 cm length, which is the width from the under bust to the knee, and 140 cm width, which is a half of the width of the bottom dress that is wanted. If you want puffier for your dress, make it longer.
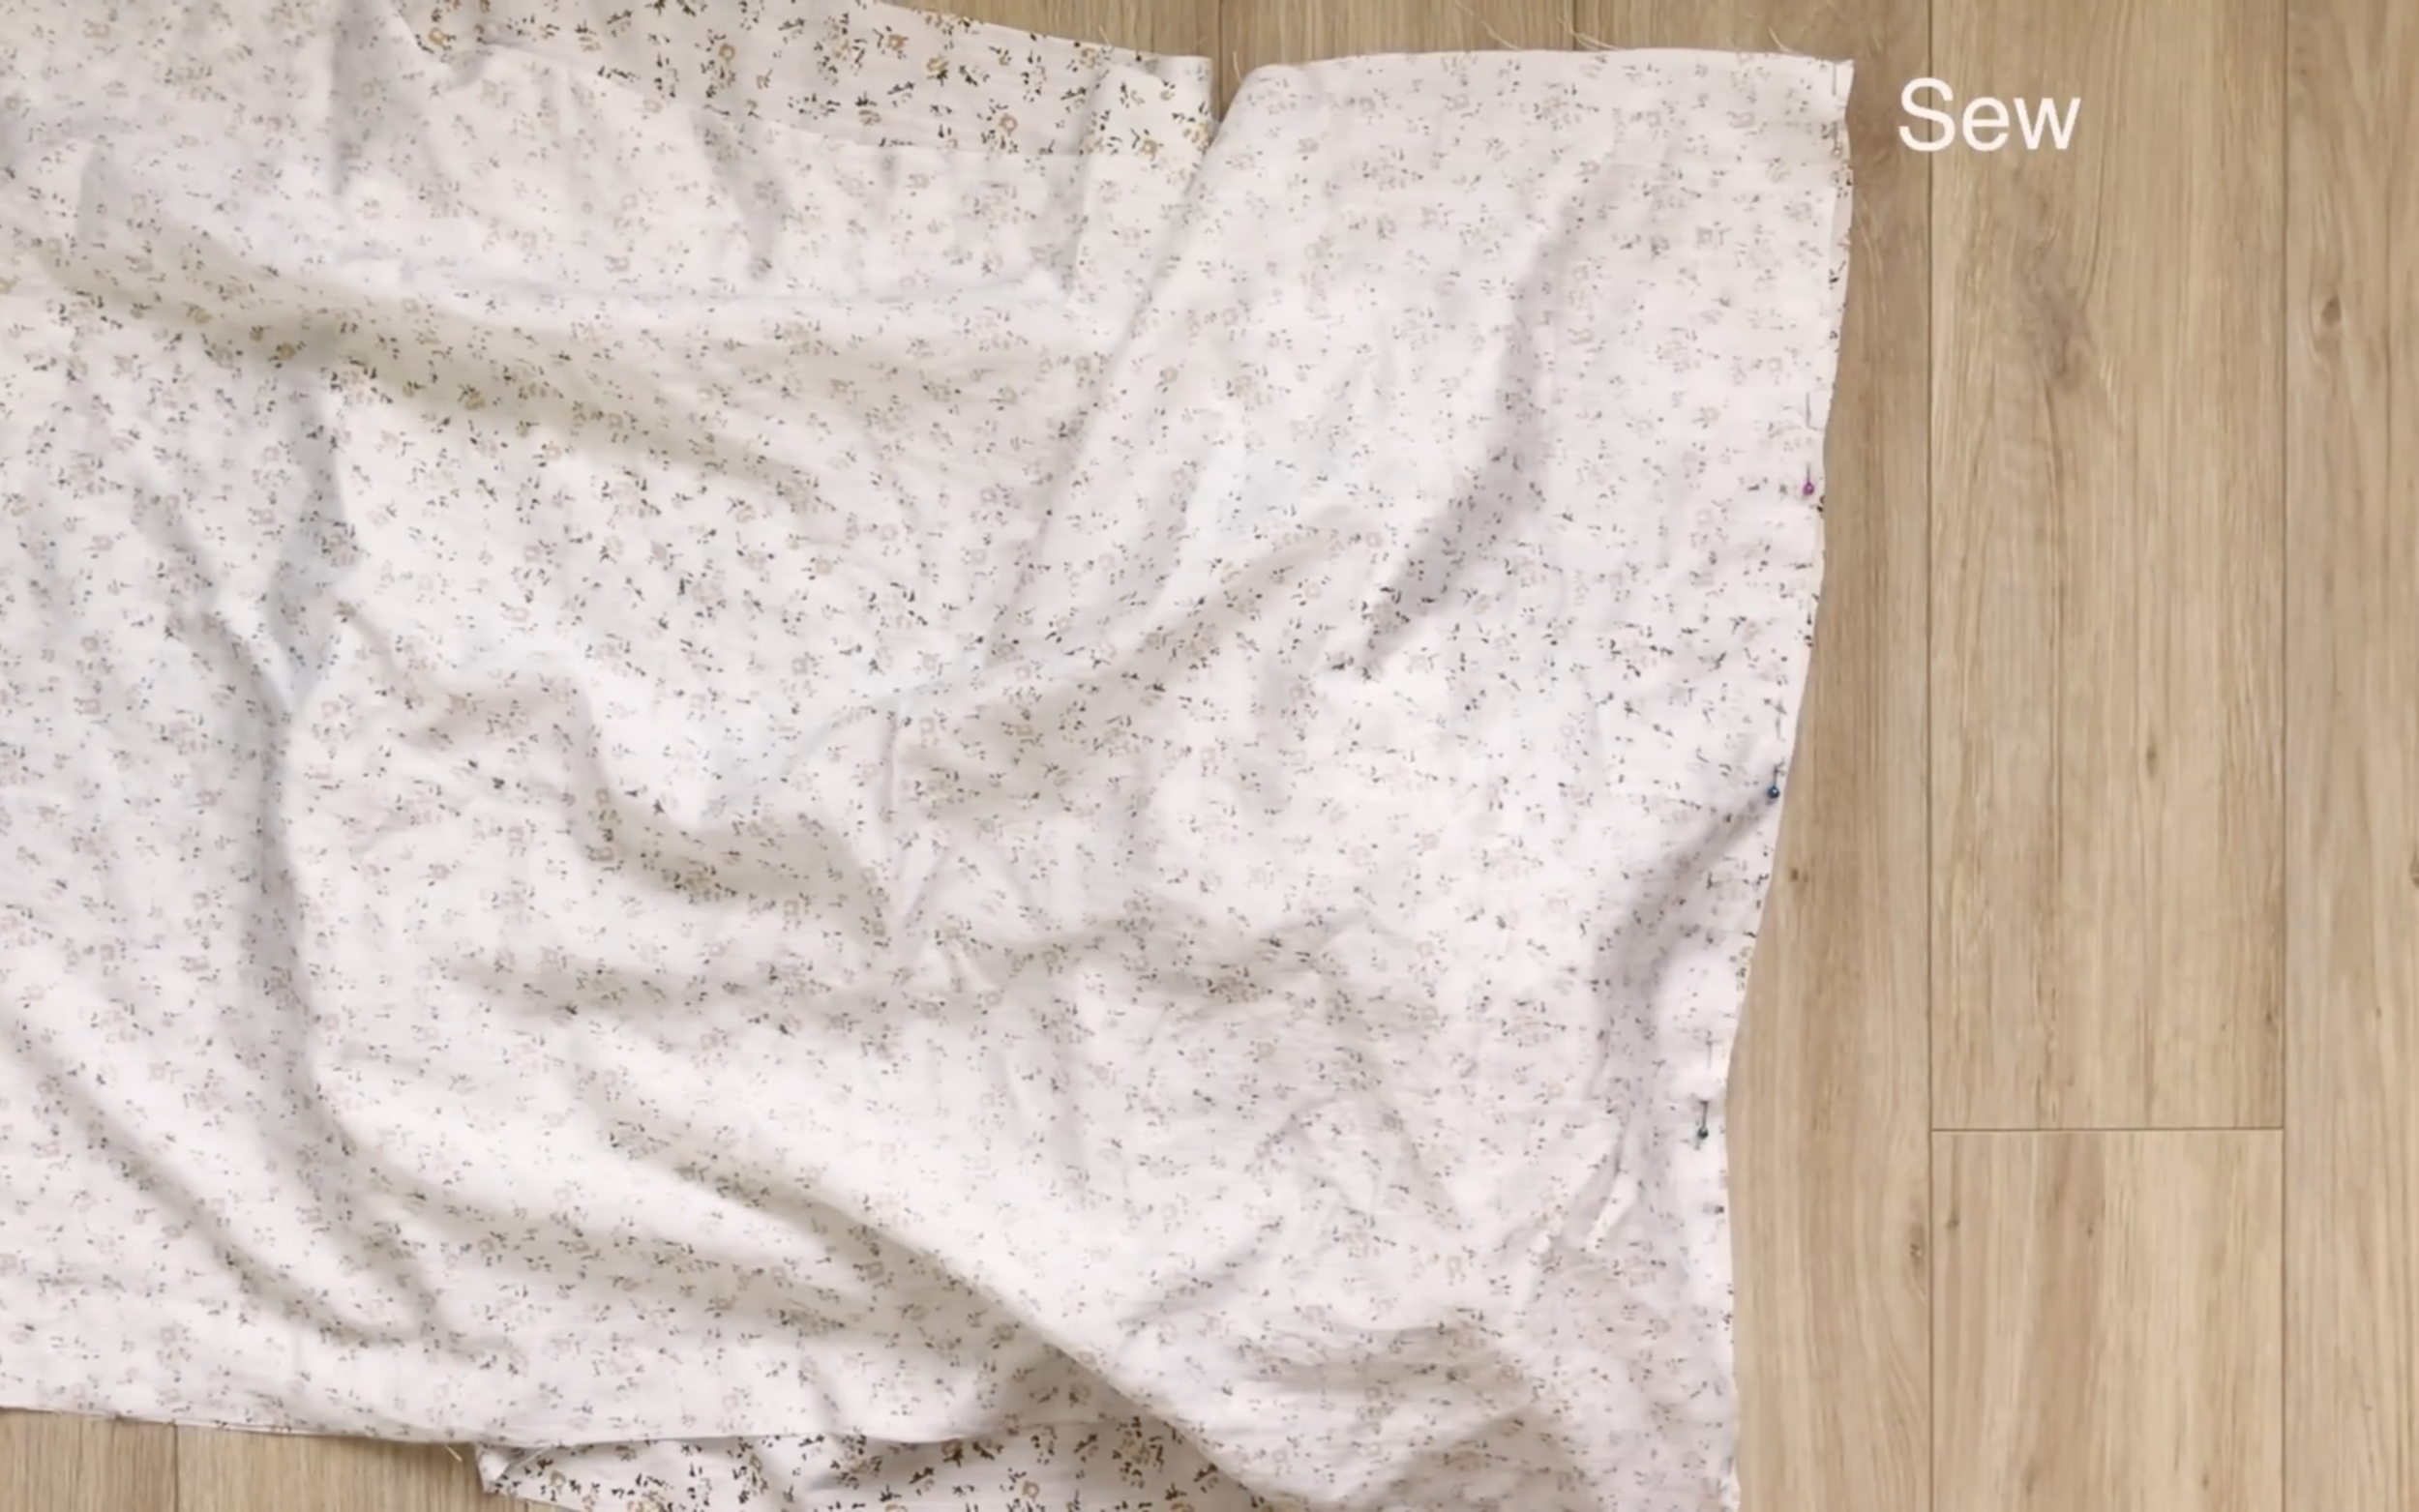
Connect two rectangles together to have a long rectangle.

After that, cut two other rectangles with 25 cm length and 200 cm width to create the layer at the end of the bottom dress.
Connect two rectangles together at two sides to create a long rectangle.
At one edge of the rectangle, fold the end fabric inside two times to finish it.
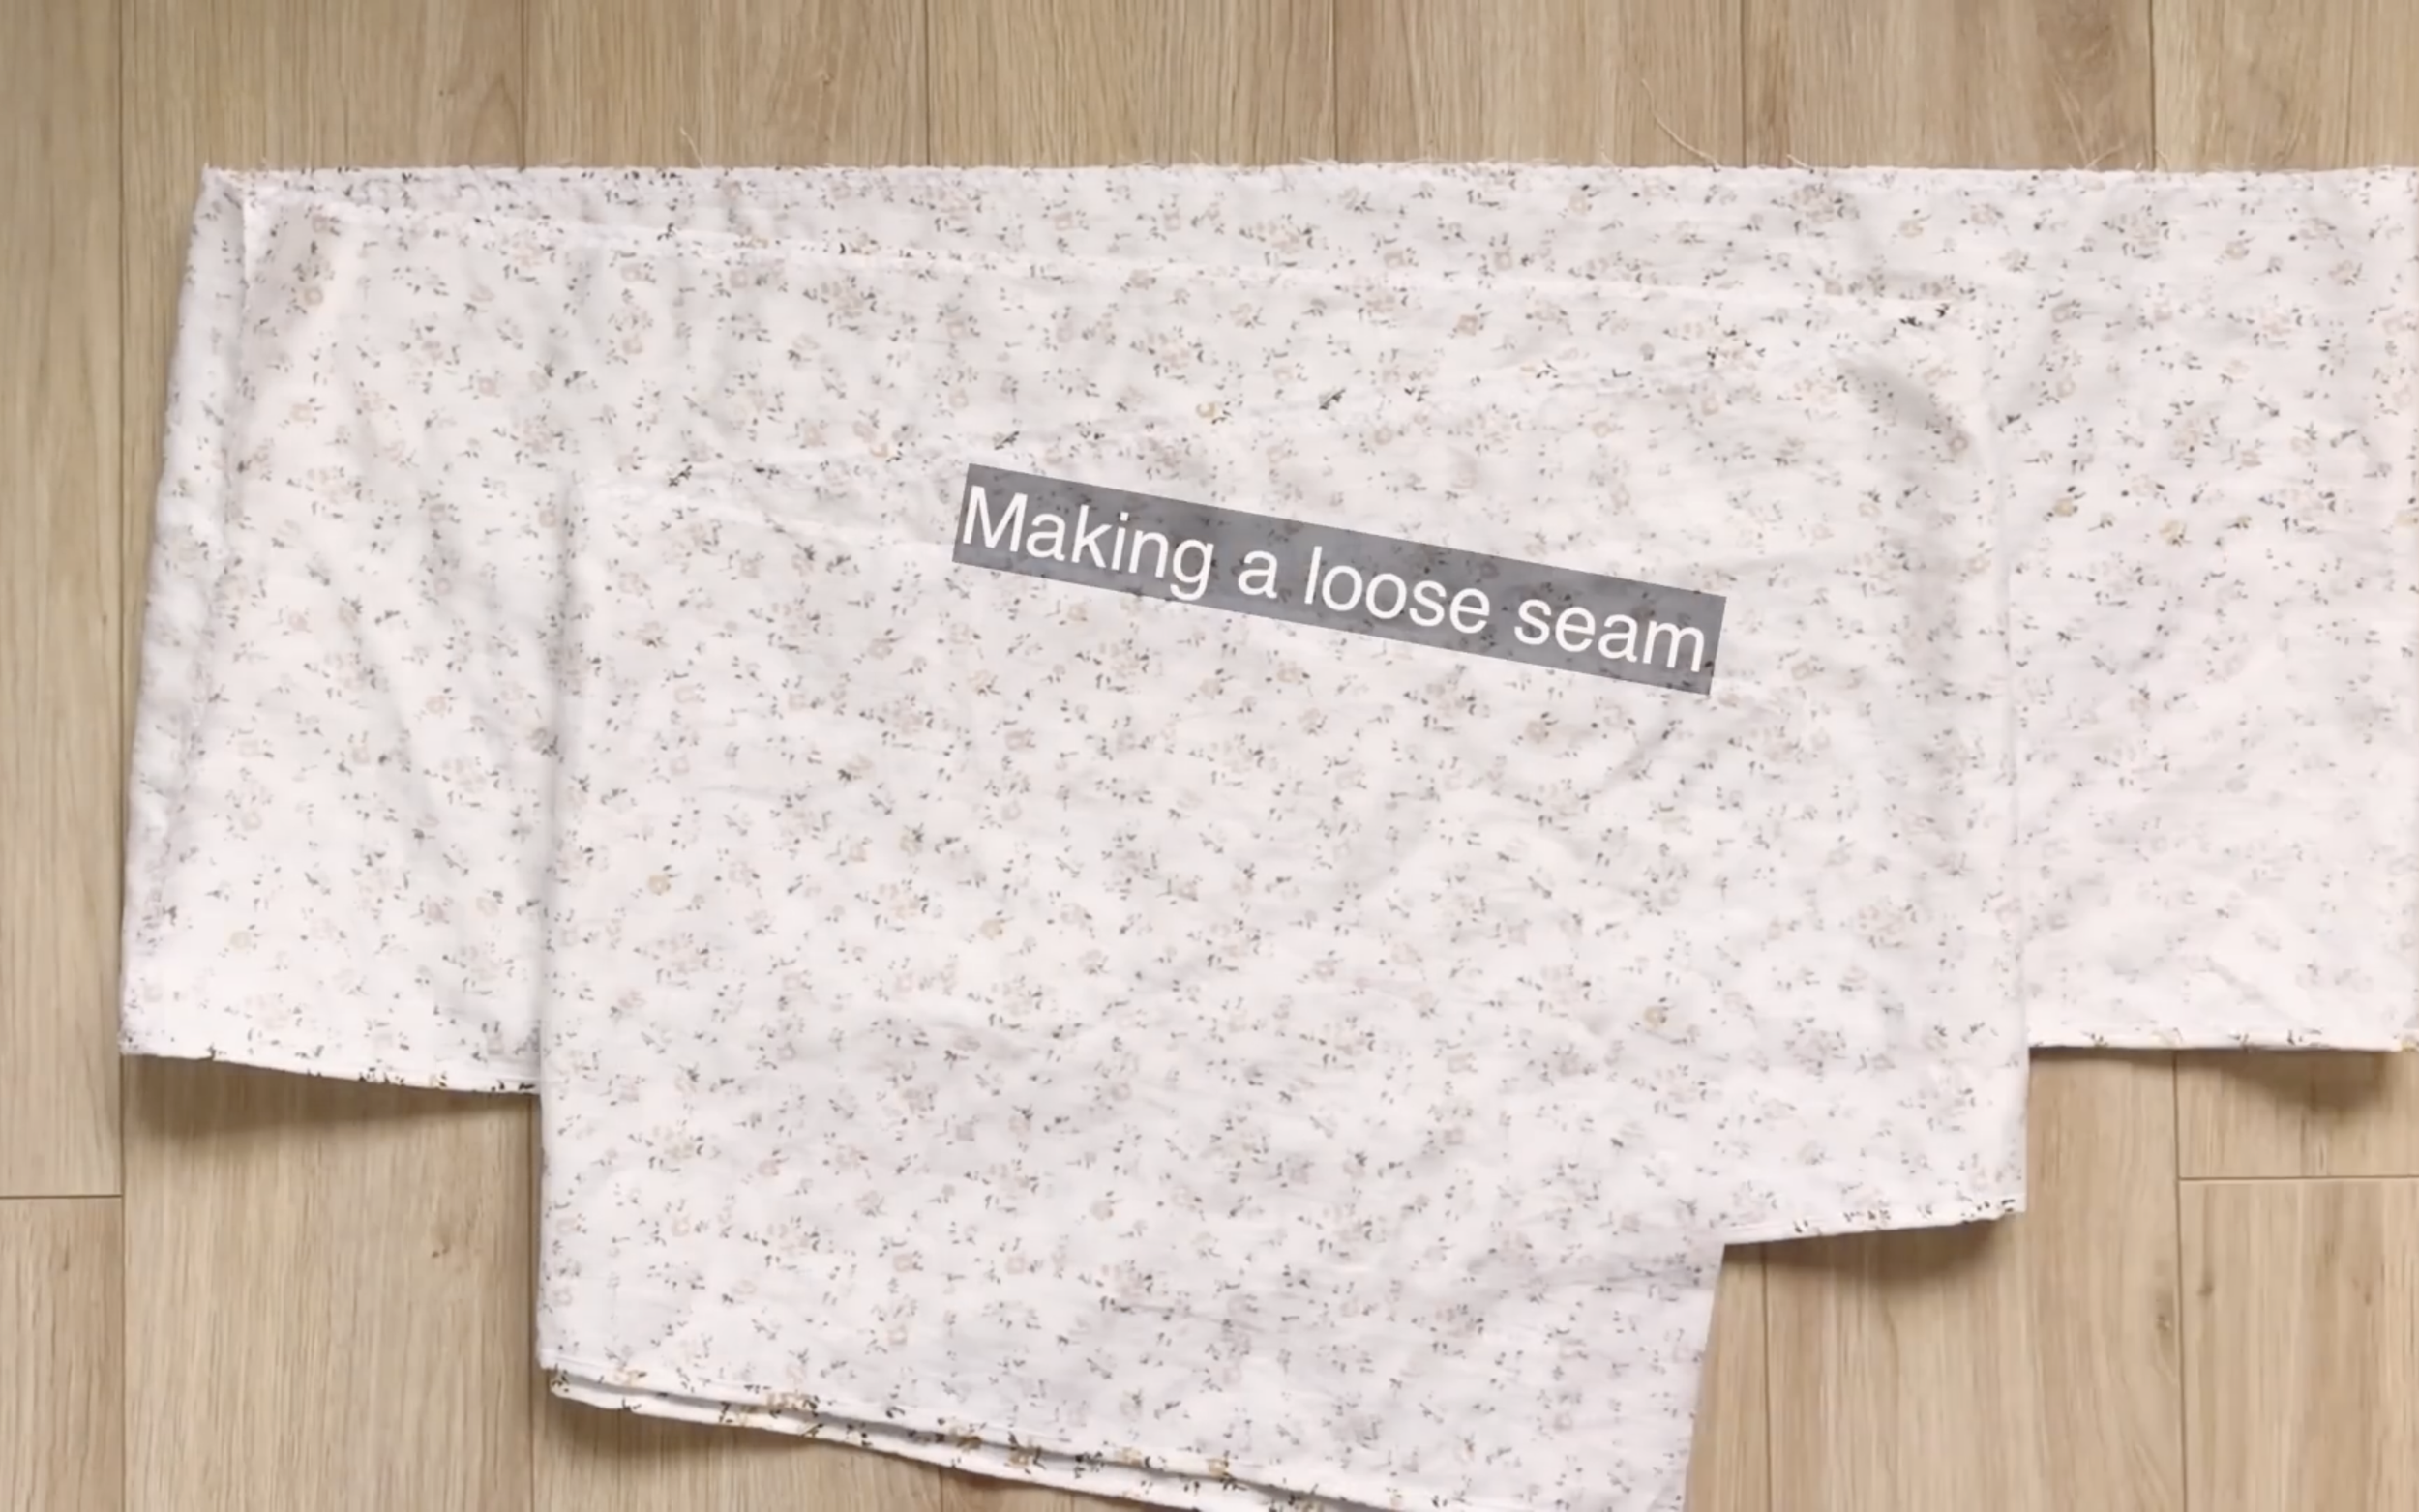
On the other end, make a loose seam first, then pull the thread to create a ruffle there.
Make sure the width in the end has to be the same with the width of the first long rectangle created before that.
Now, connect the ruffle layer to the end of the first long rectangle and sew.
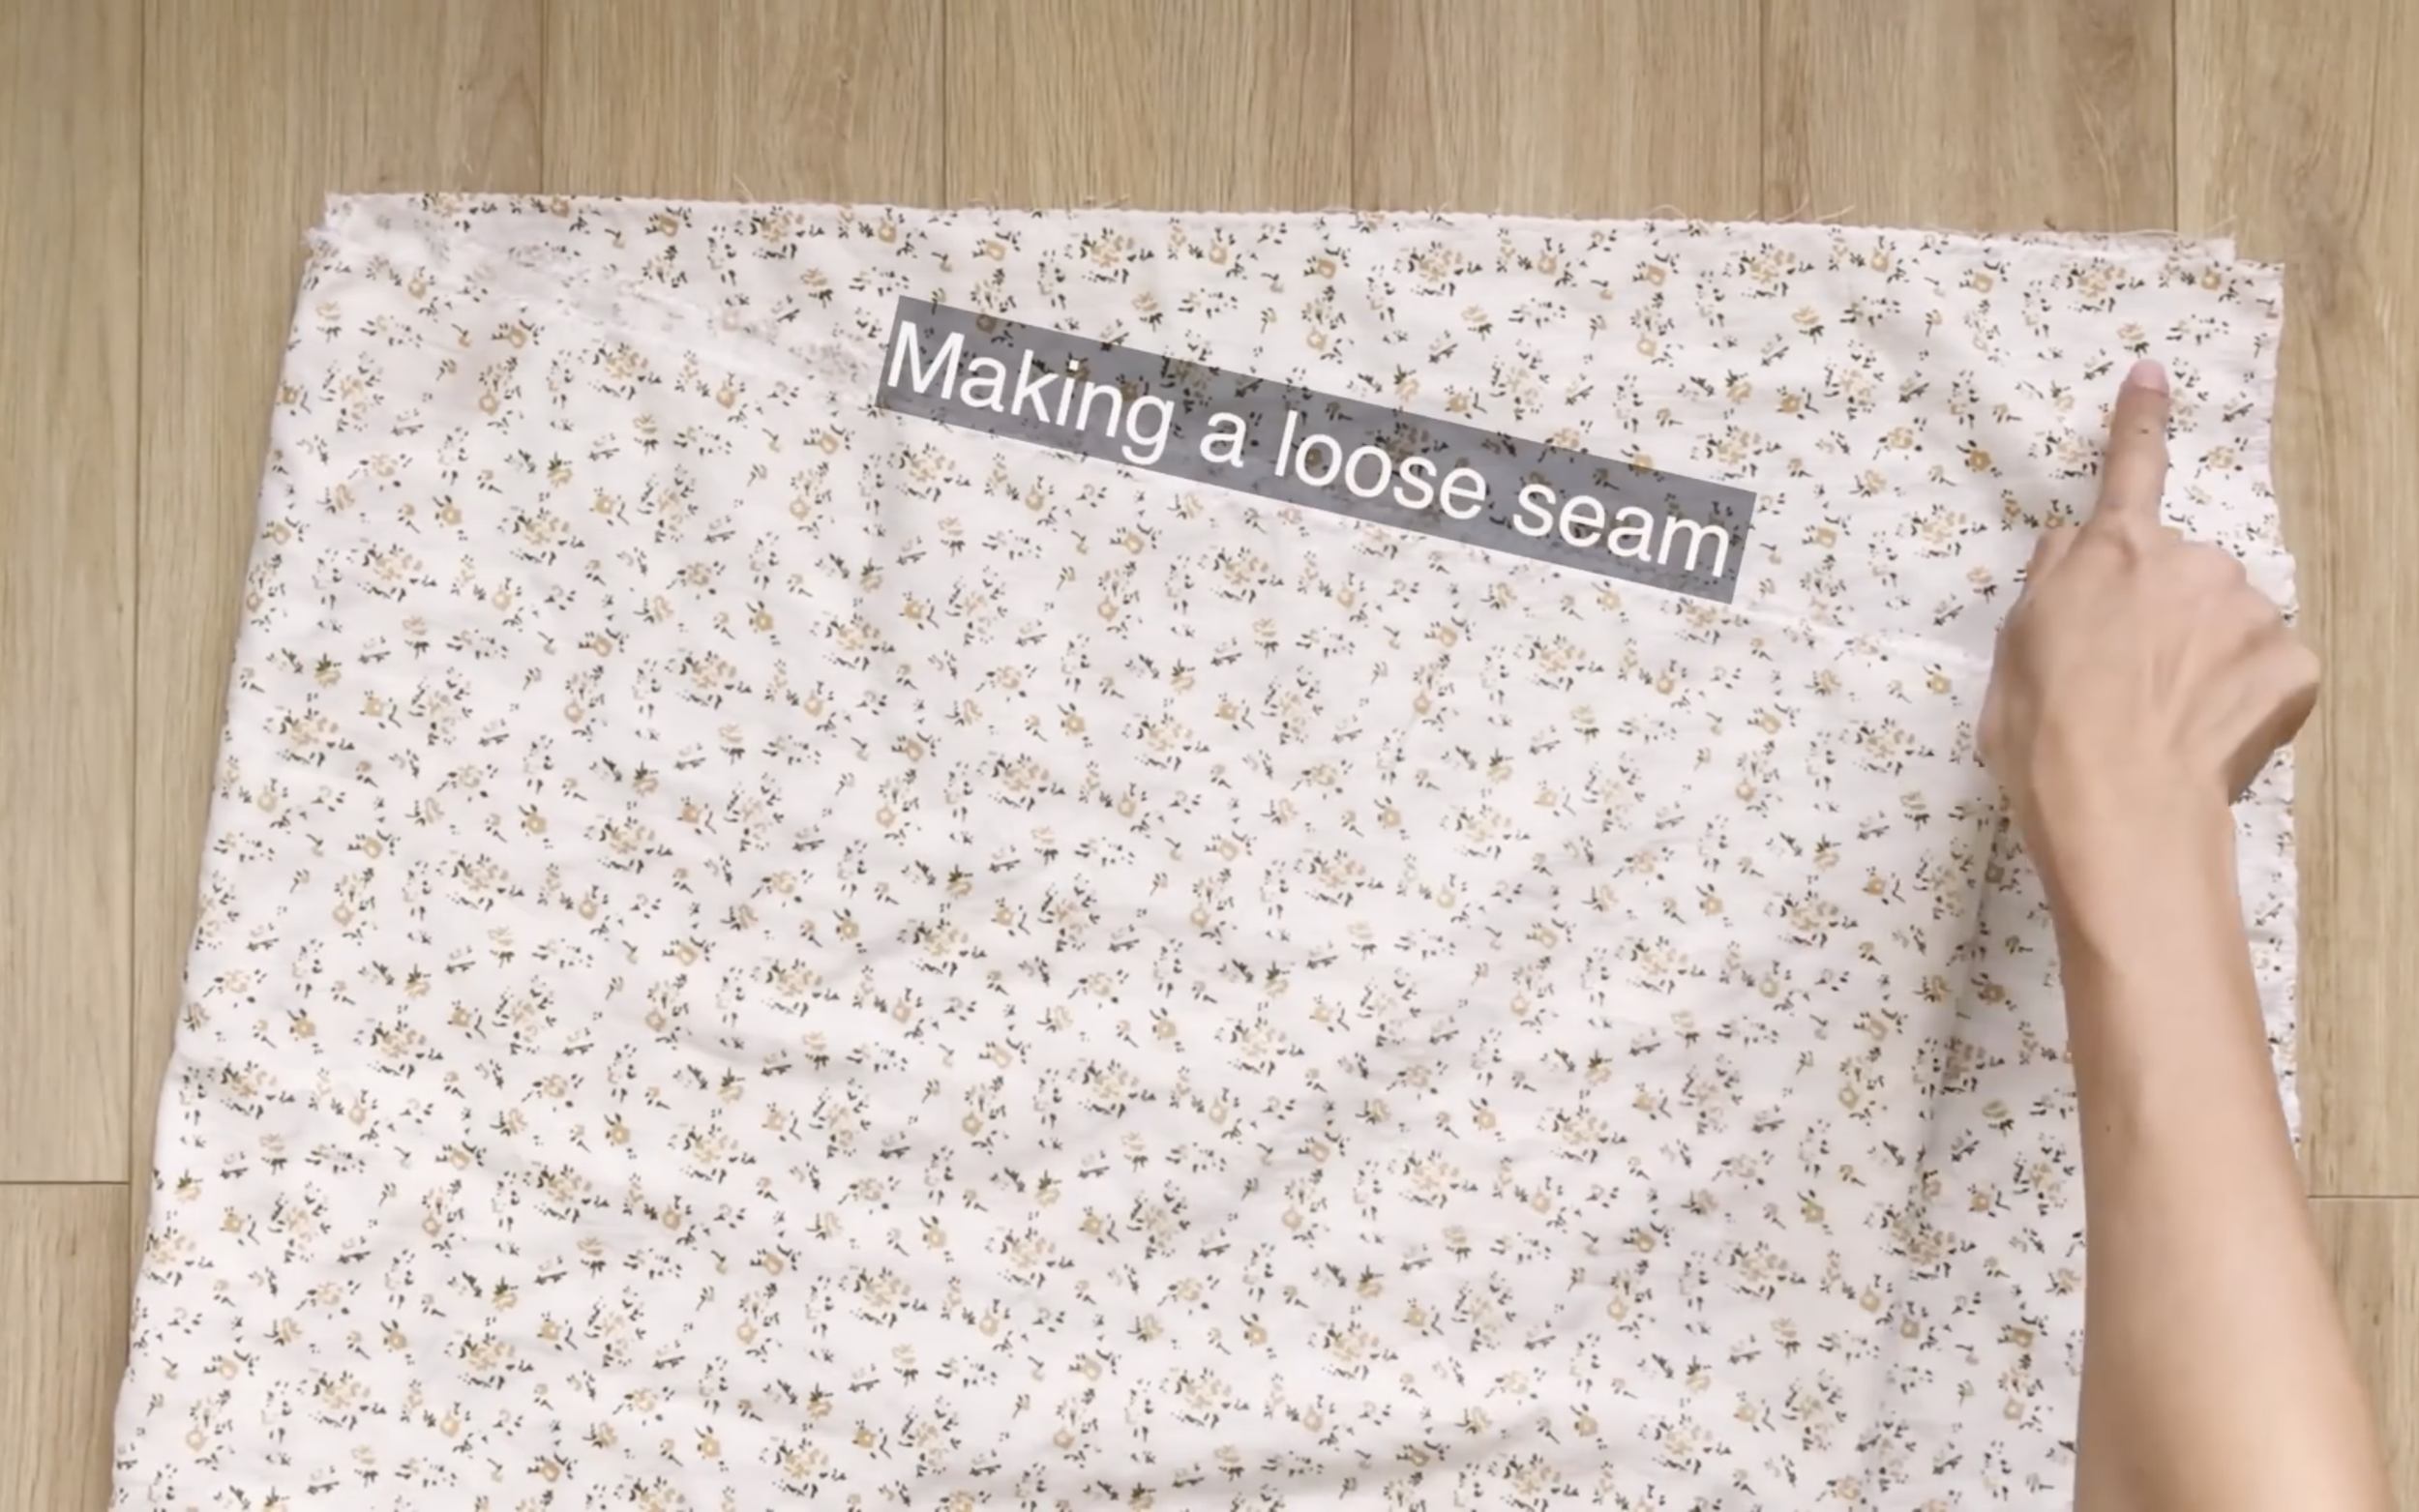
Moving to the top of the bottom dress, make a loose seam first, then create a ruffle later.
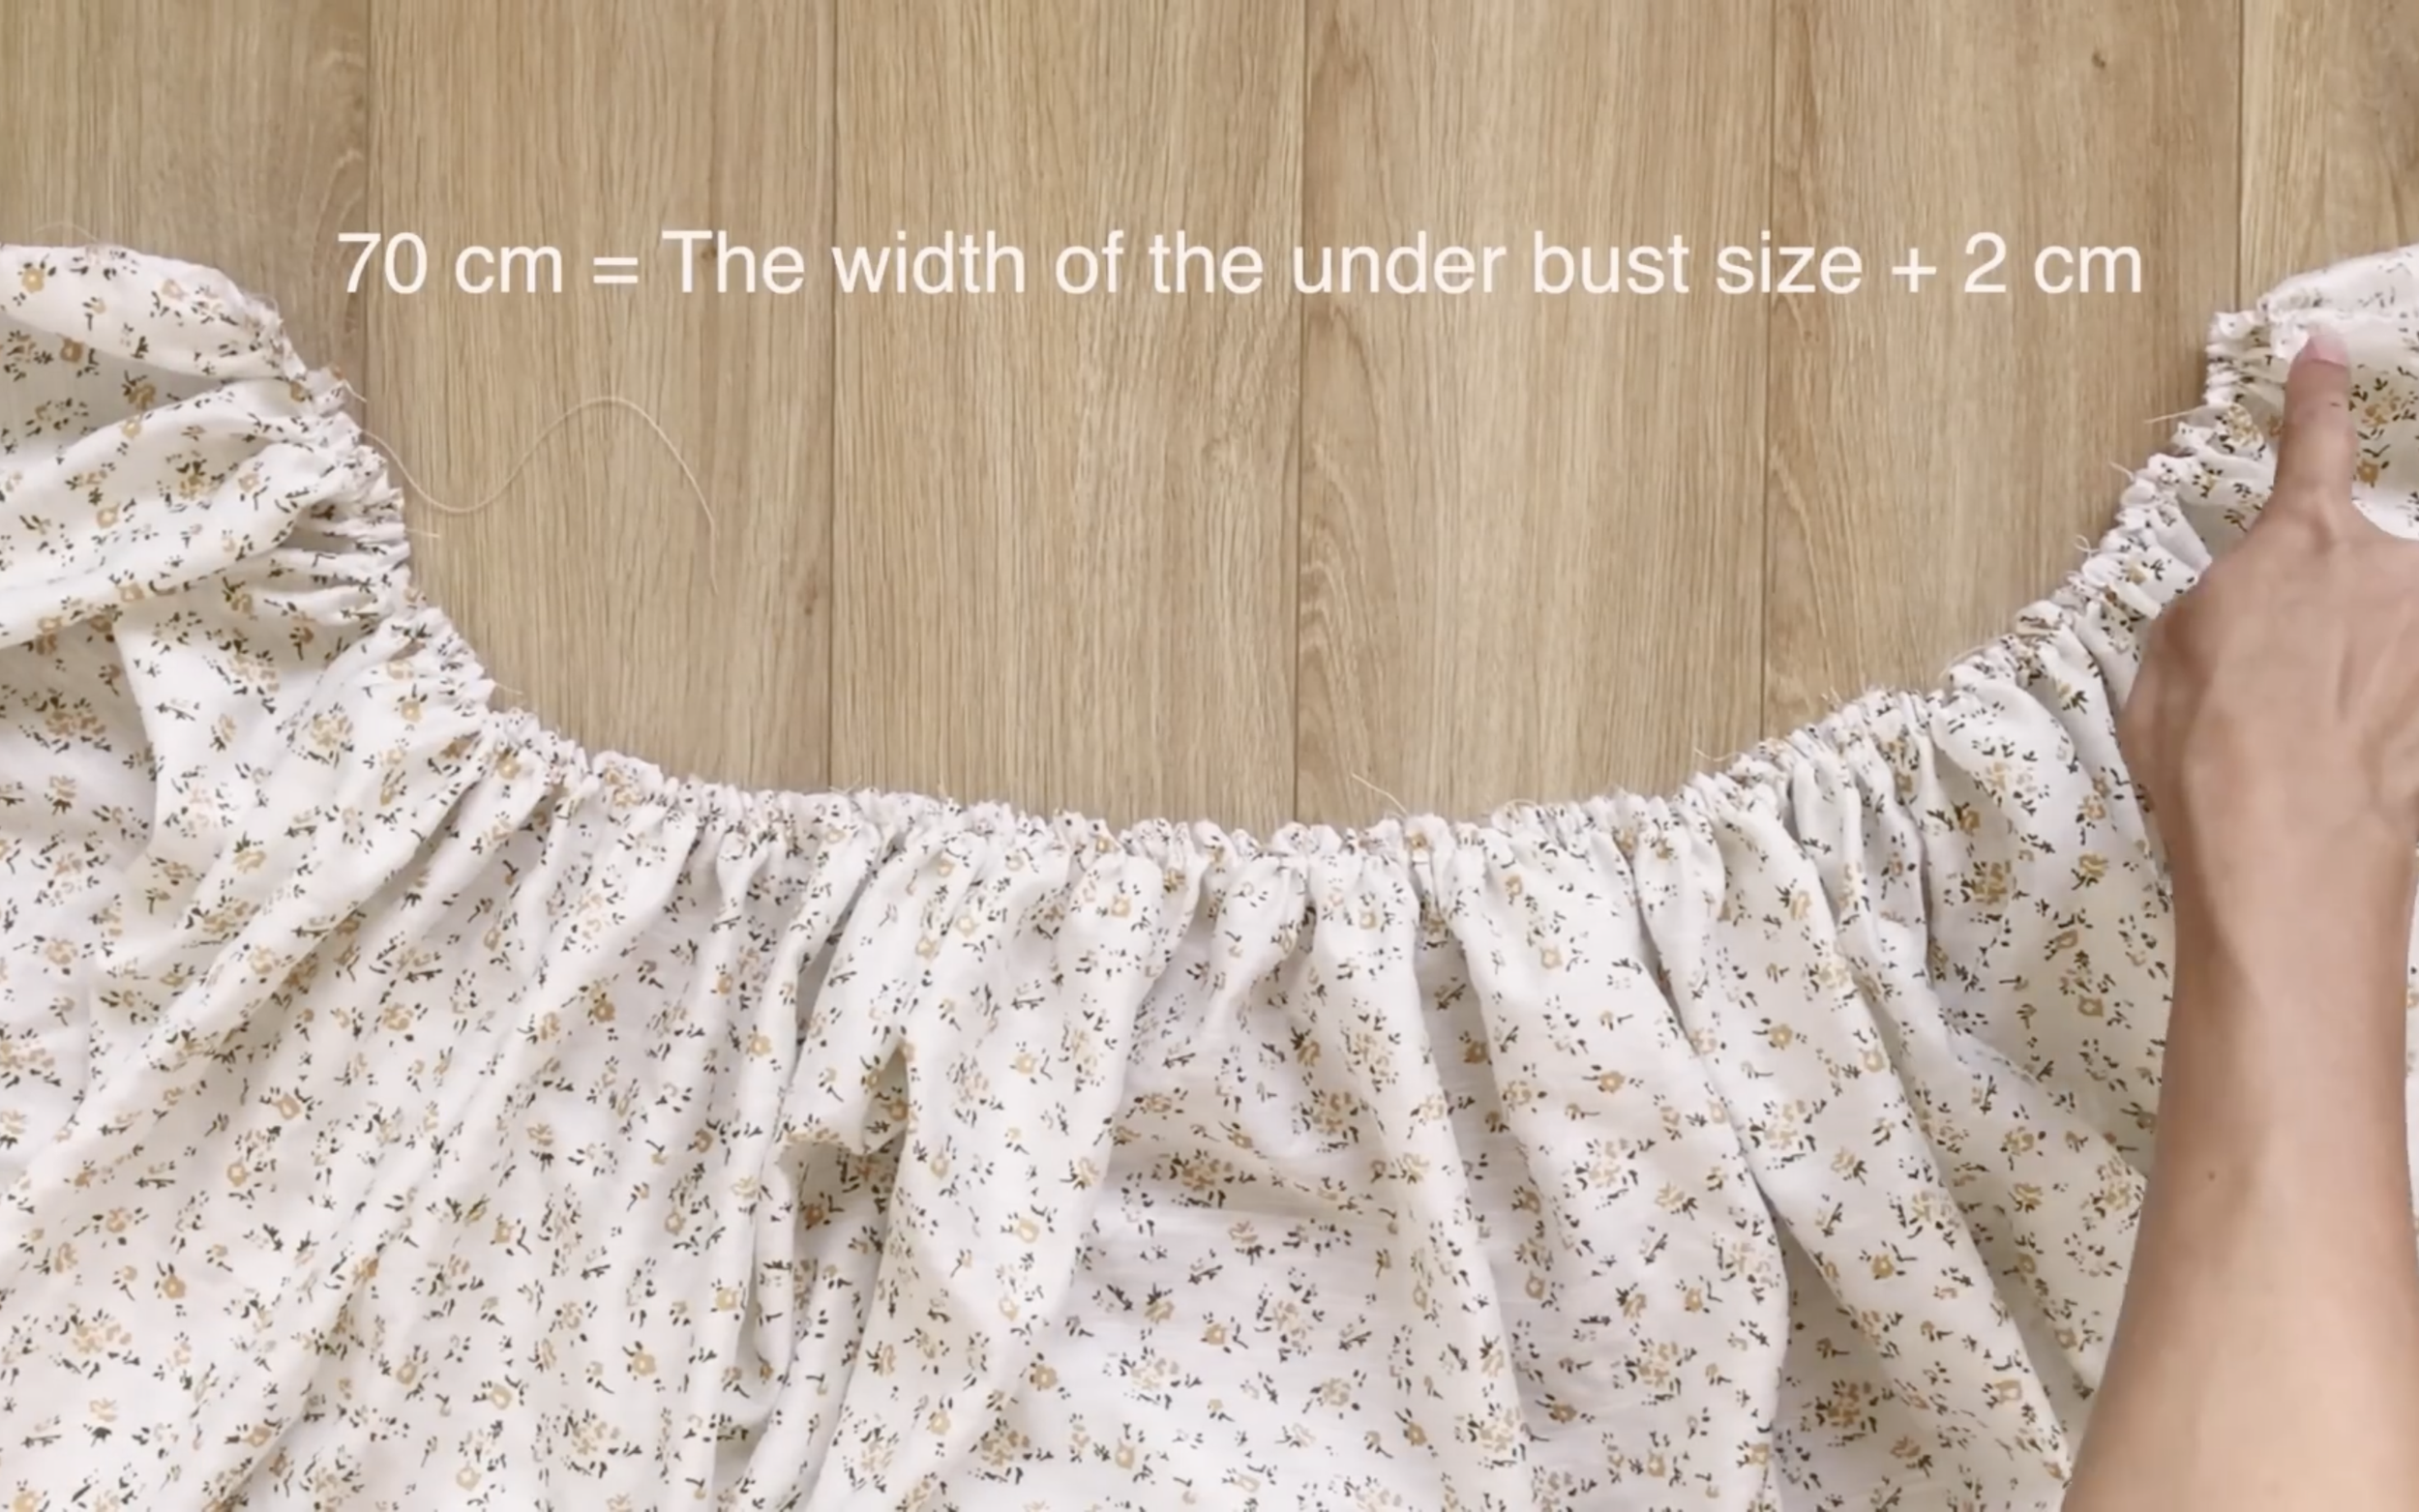
Make sure the final width of the ruffle has to be the same with the width of the end bodice.
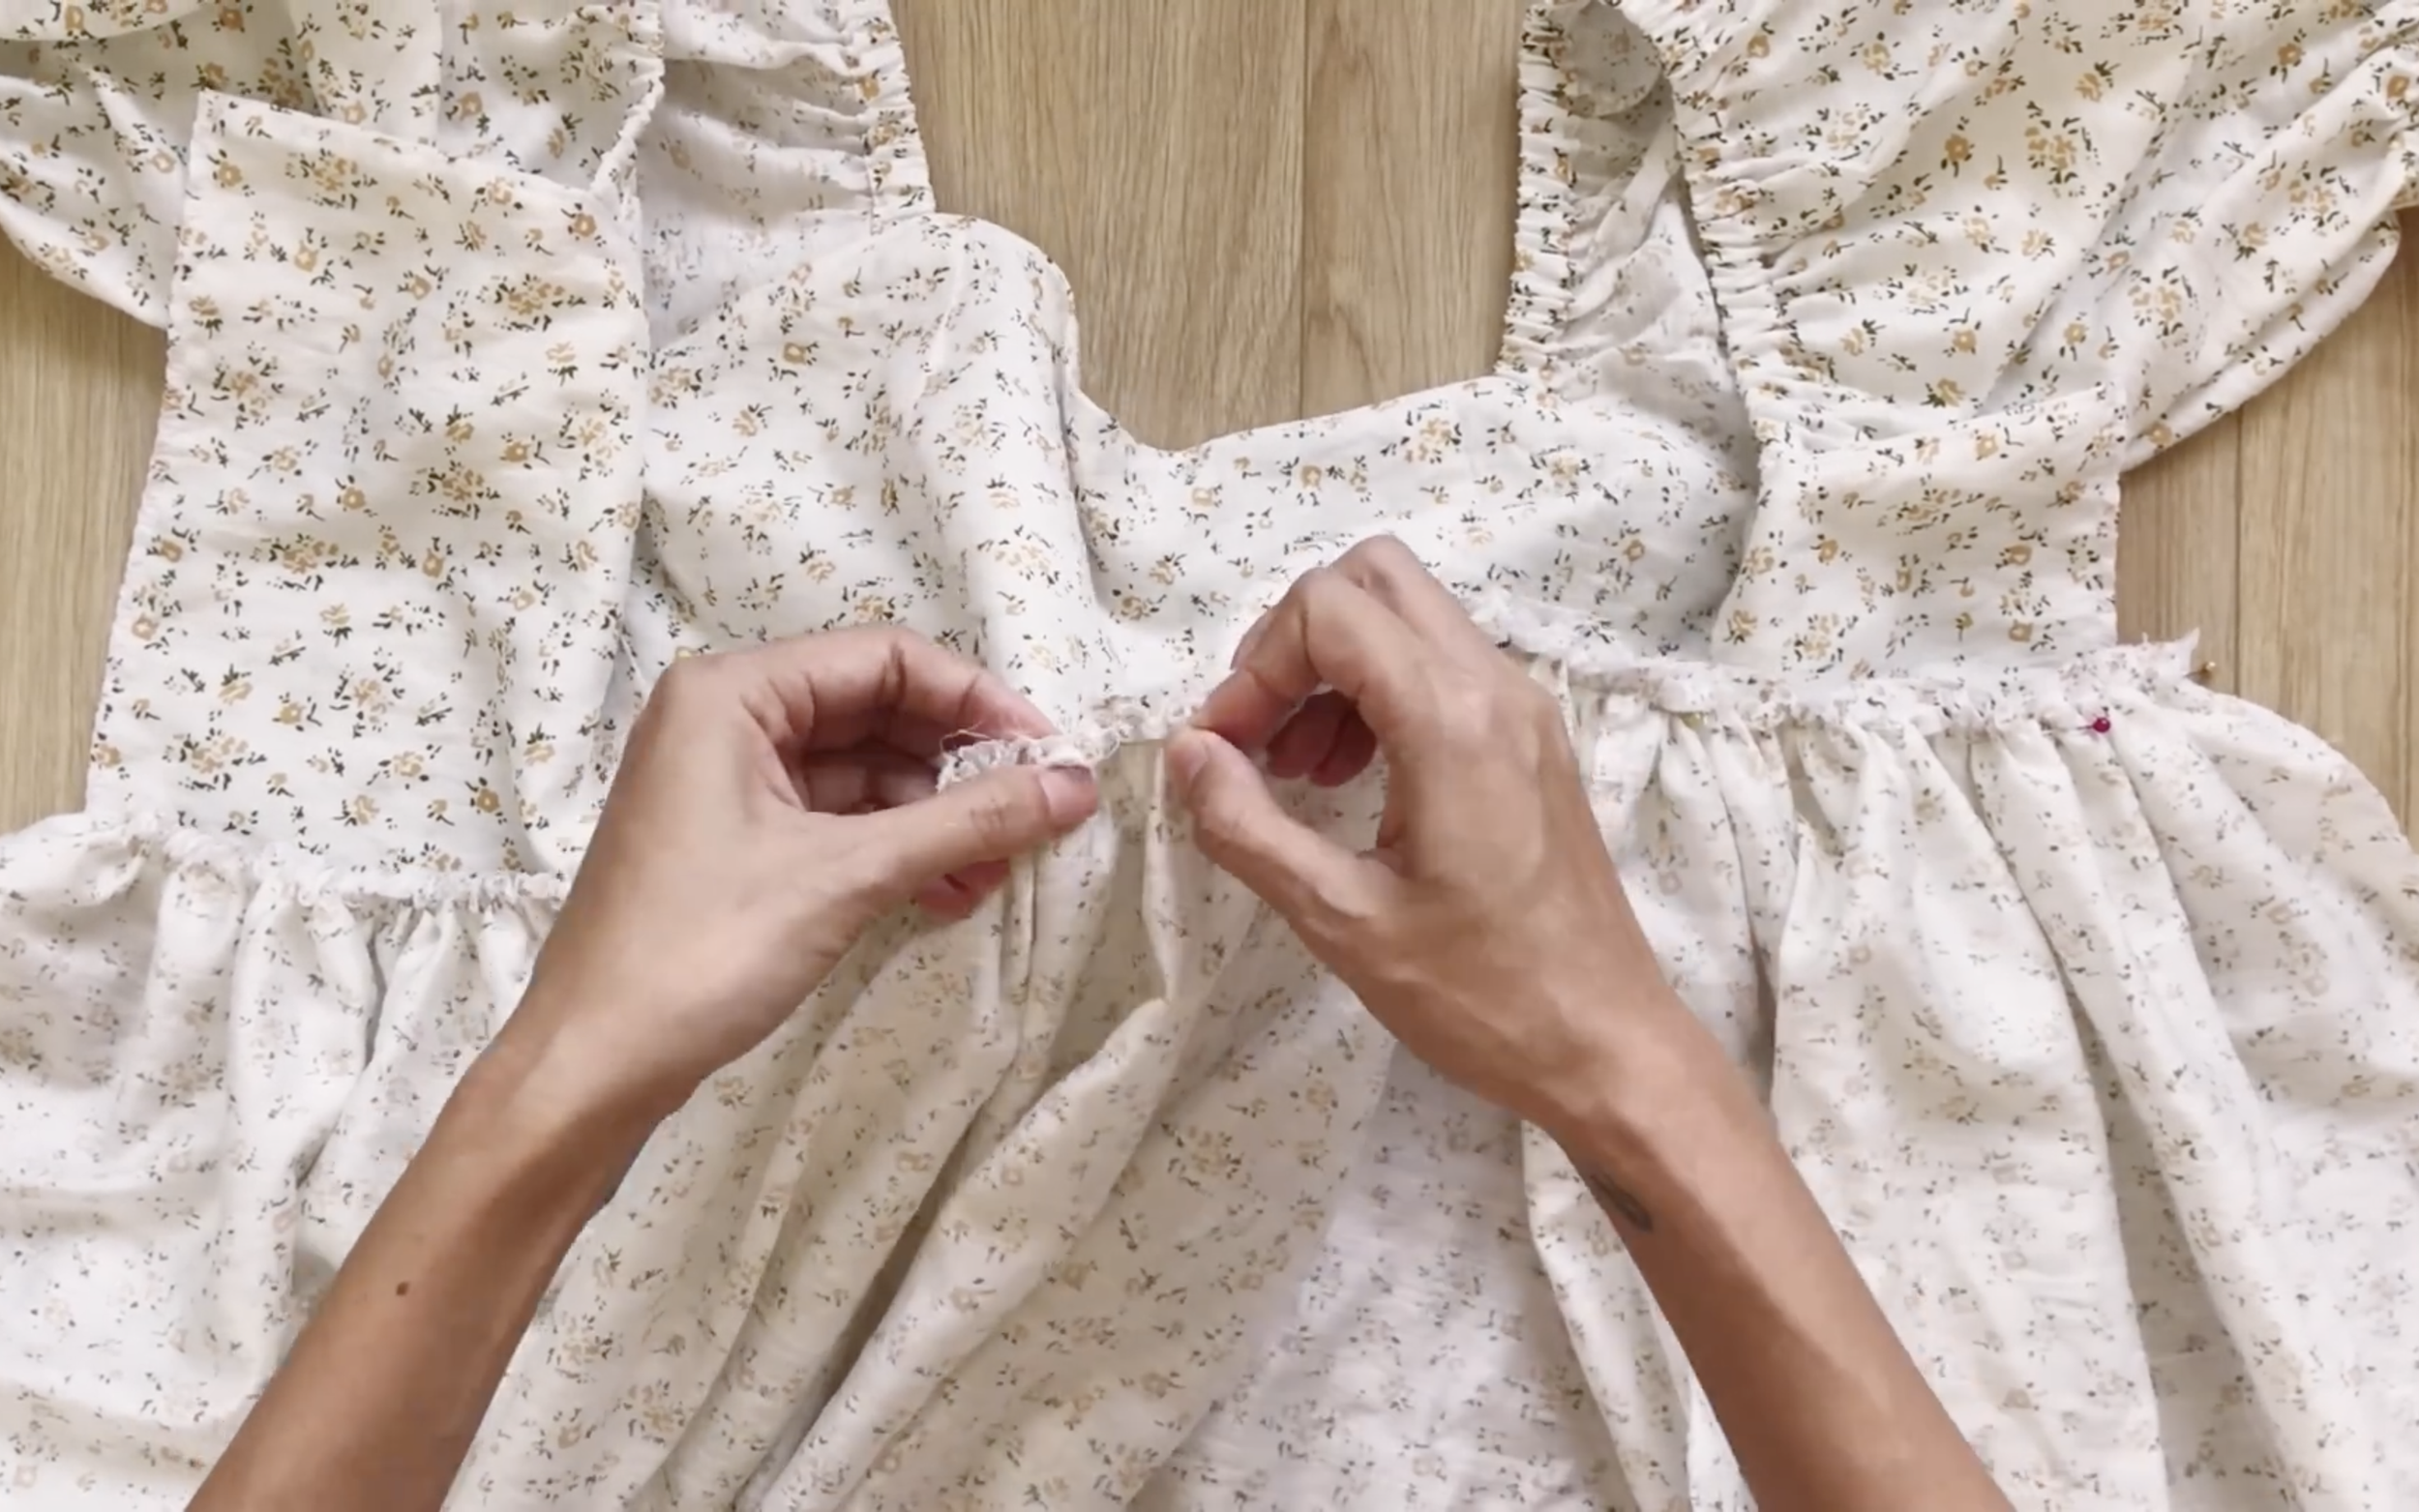
Now, connect the top and the bottom of the dress together, then sew.
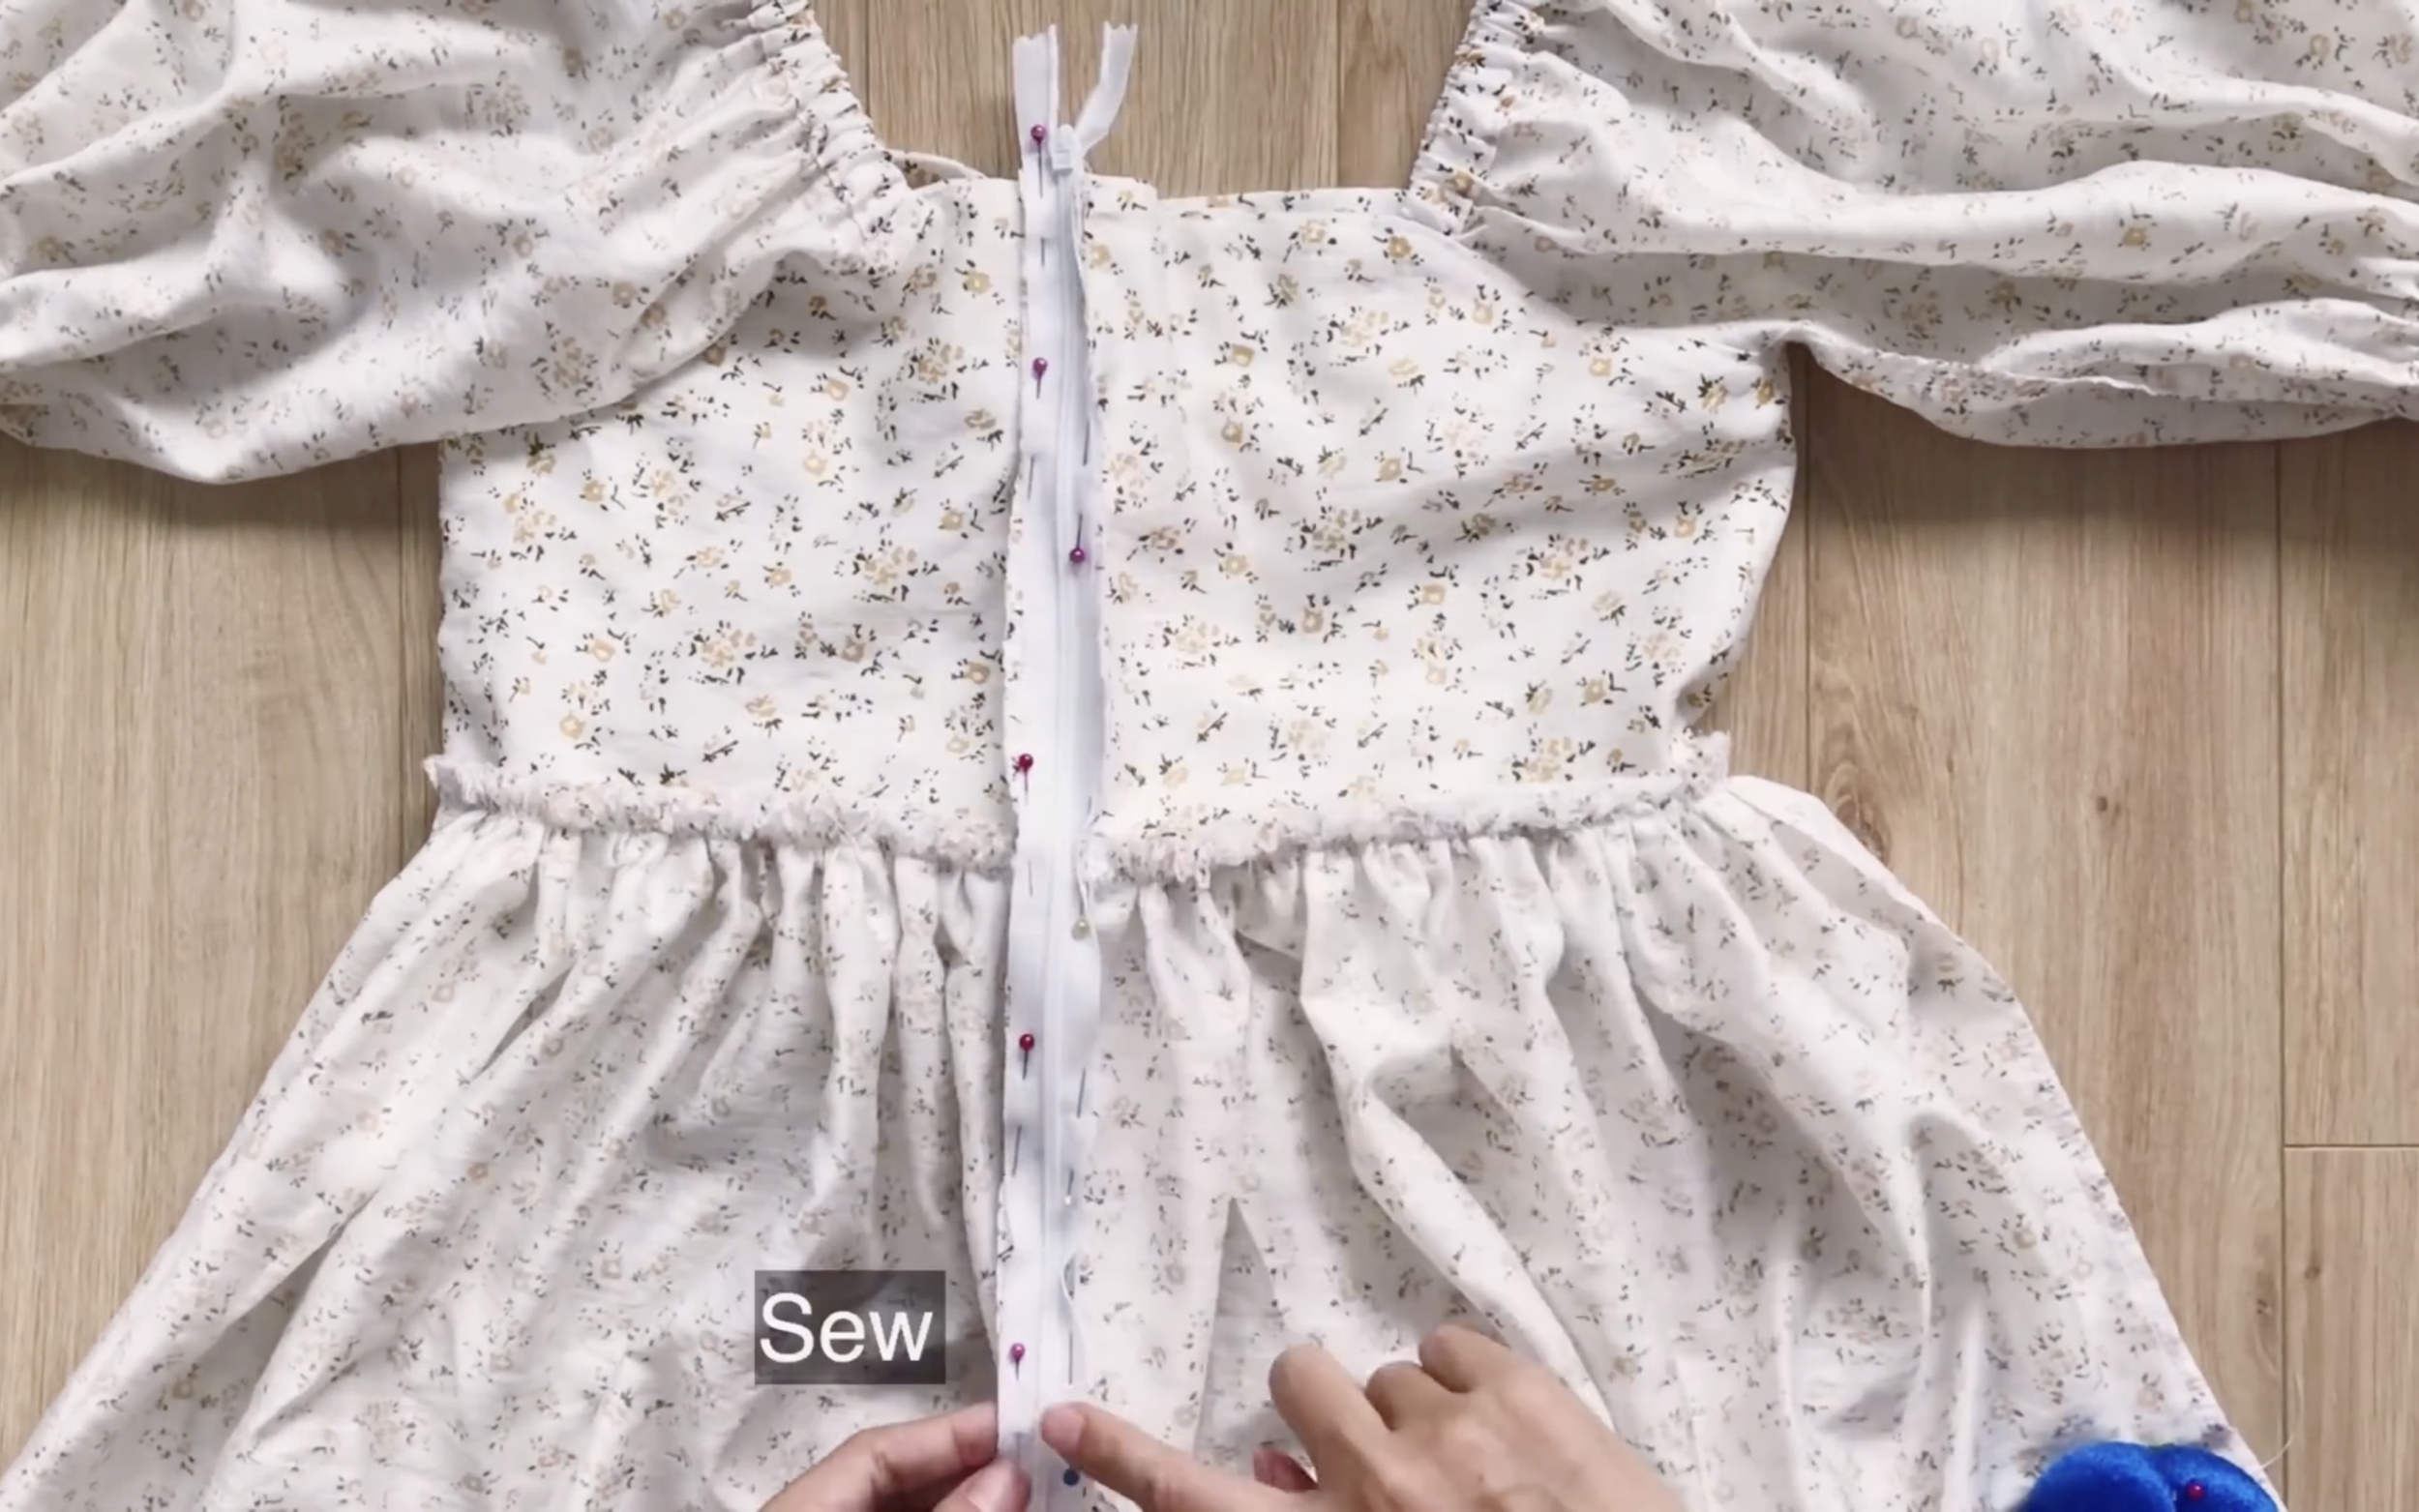
The last step is putting the invisible zipper at the back of the dress.

Making Puff sleeve Selkie dress | Finding my perfect Spring dress - Episode 1
And finally, I finished this DIY! Let's see the final result.
While it might not be quite as puffy as a traditional Selkie dress, I absolutely still feel like a princess wearing it!

Making Puff sleeve Selkie dress | Finding my perfect Spring dress - Episode 1
I hope you found my step-by-step guide helpful and inspiring.
If you’re interested in making your own, give it a try and let me know how it goes!
Until then, happy sewing!