Transform Men's shirt into Overall dress - DIY Overall dress
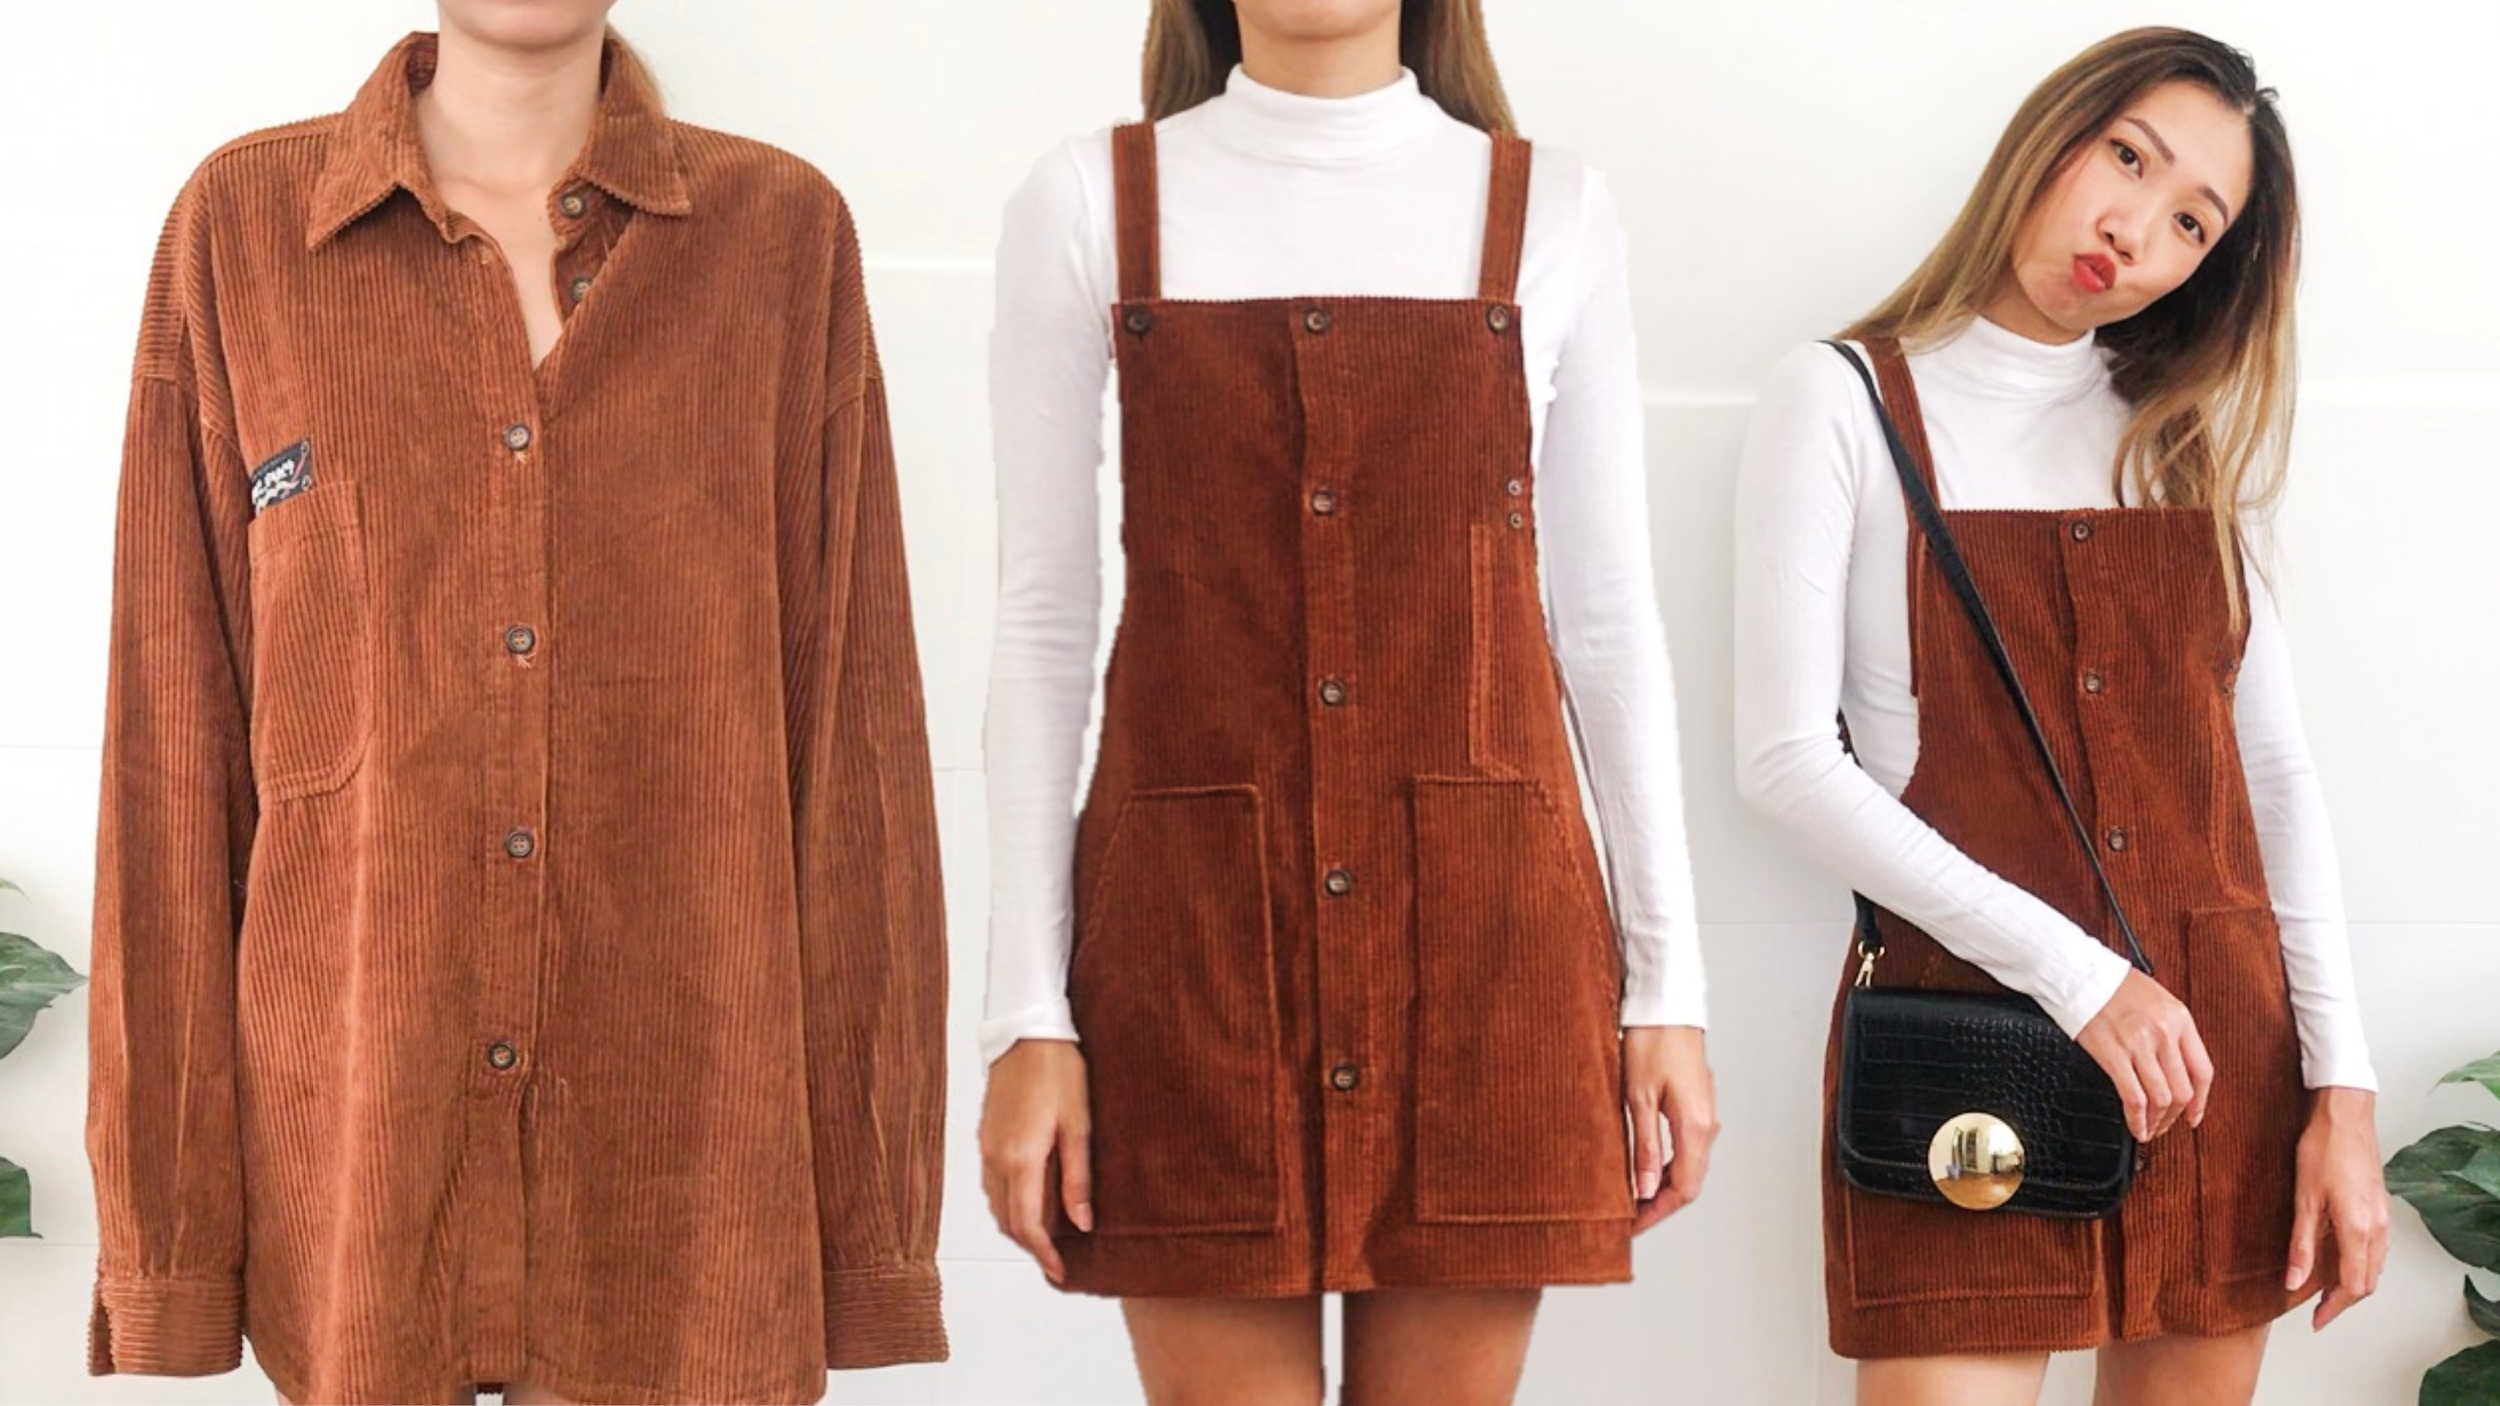
DIY Overall Dress
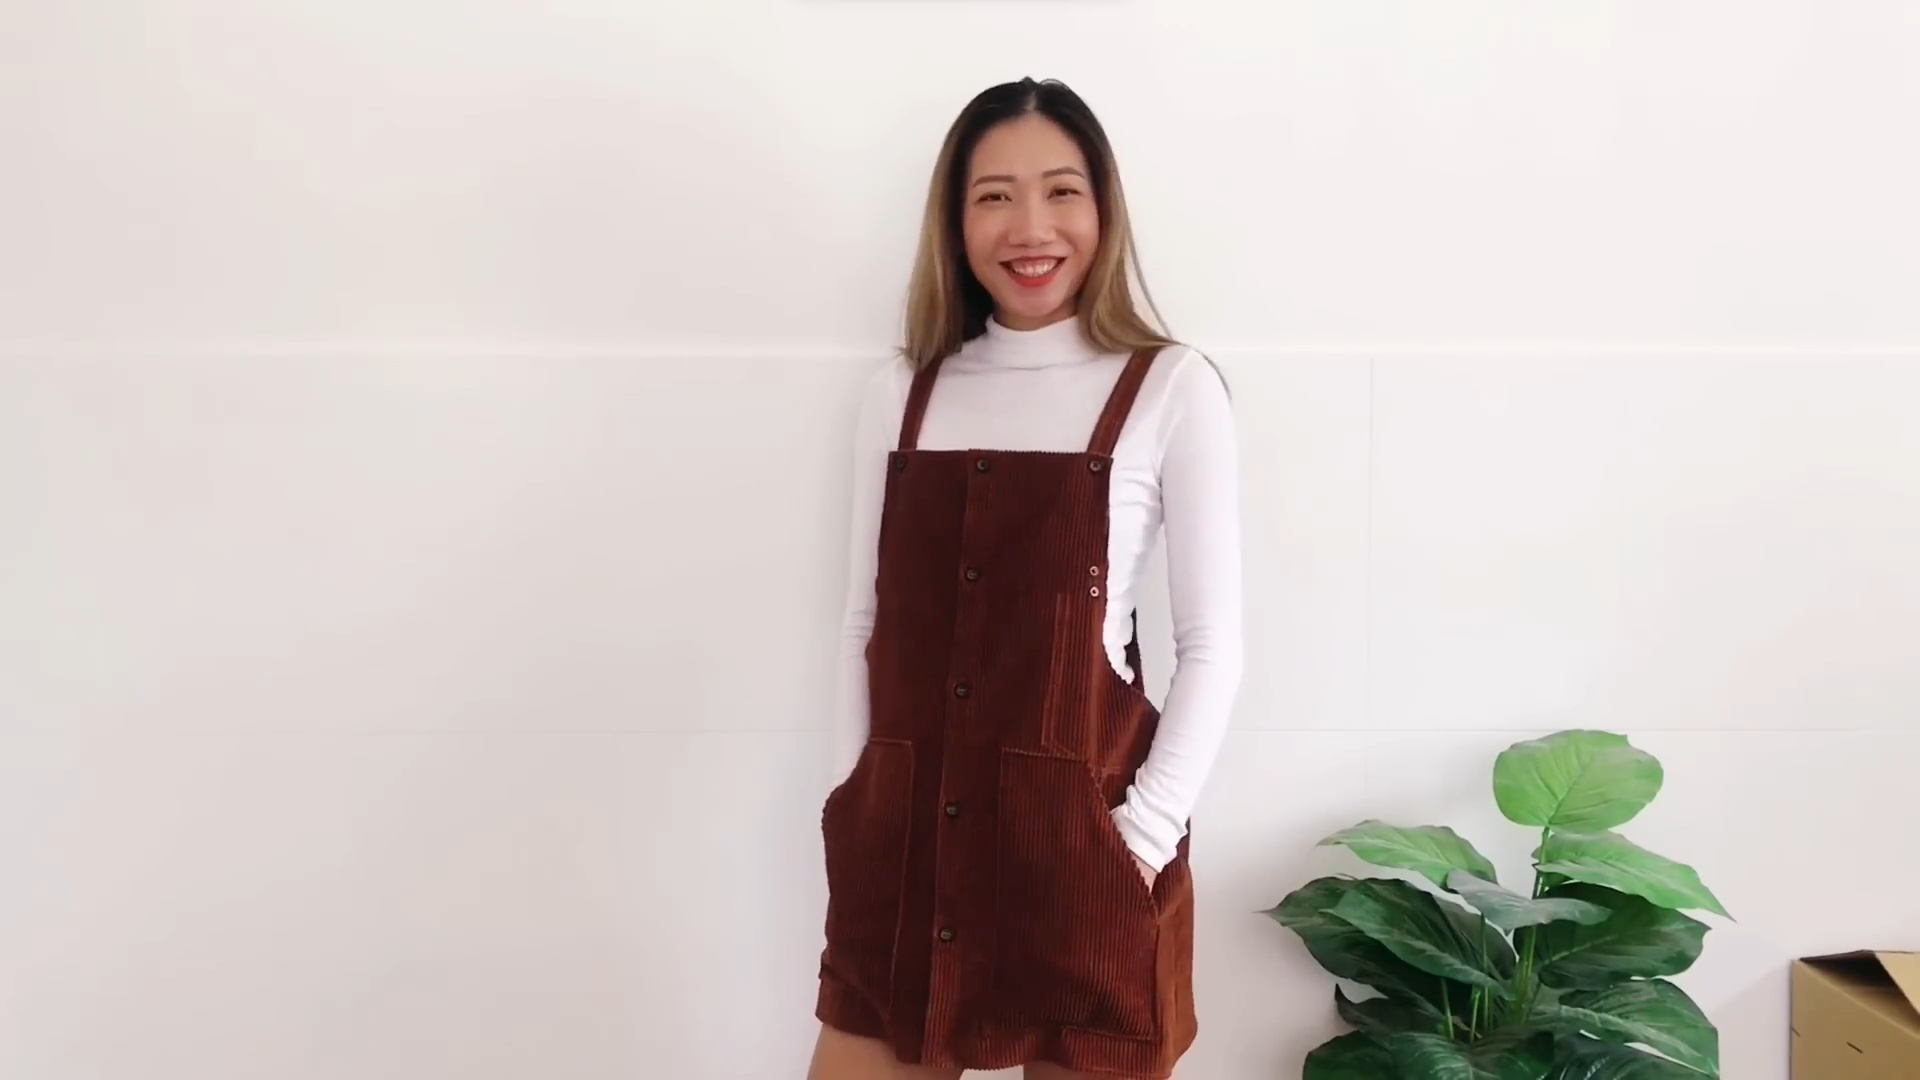
With autumn upon us, it’s the perfect time for layering, and what better way to do it than with a self-made overall dress from a men’s shirt? I’m thrilled to share with you the process of this transformation.
The shirt, with its perfect autumn color and fabric, was a joy to work with. So, if you’re ready to turn the old into chic, you’re in the right place.
Let’s get started!
WHAT YOU’LL NEED
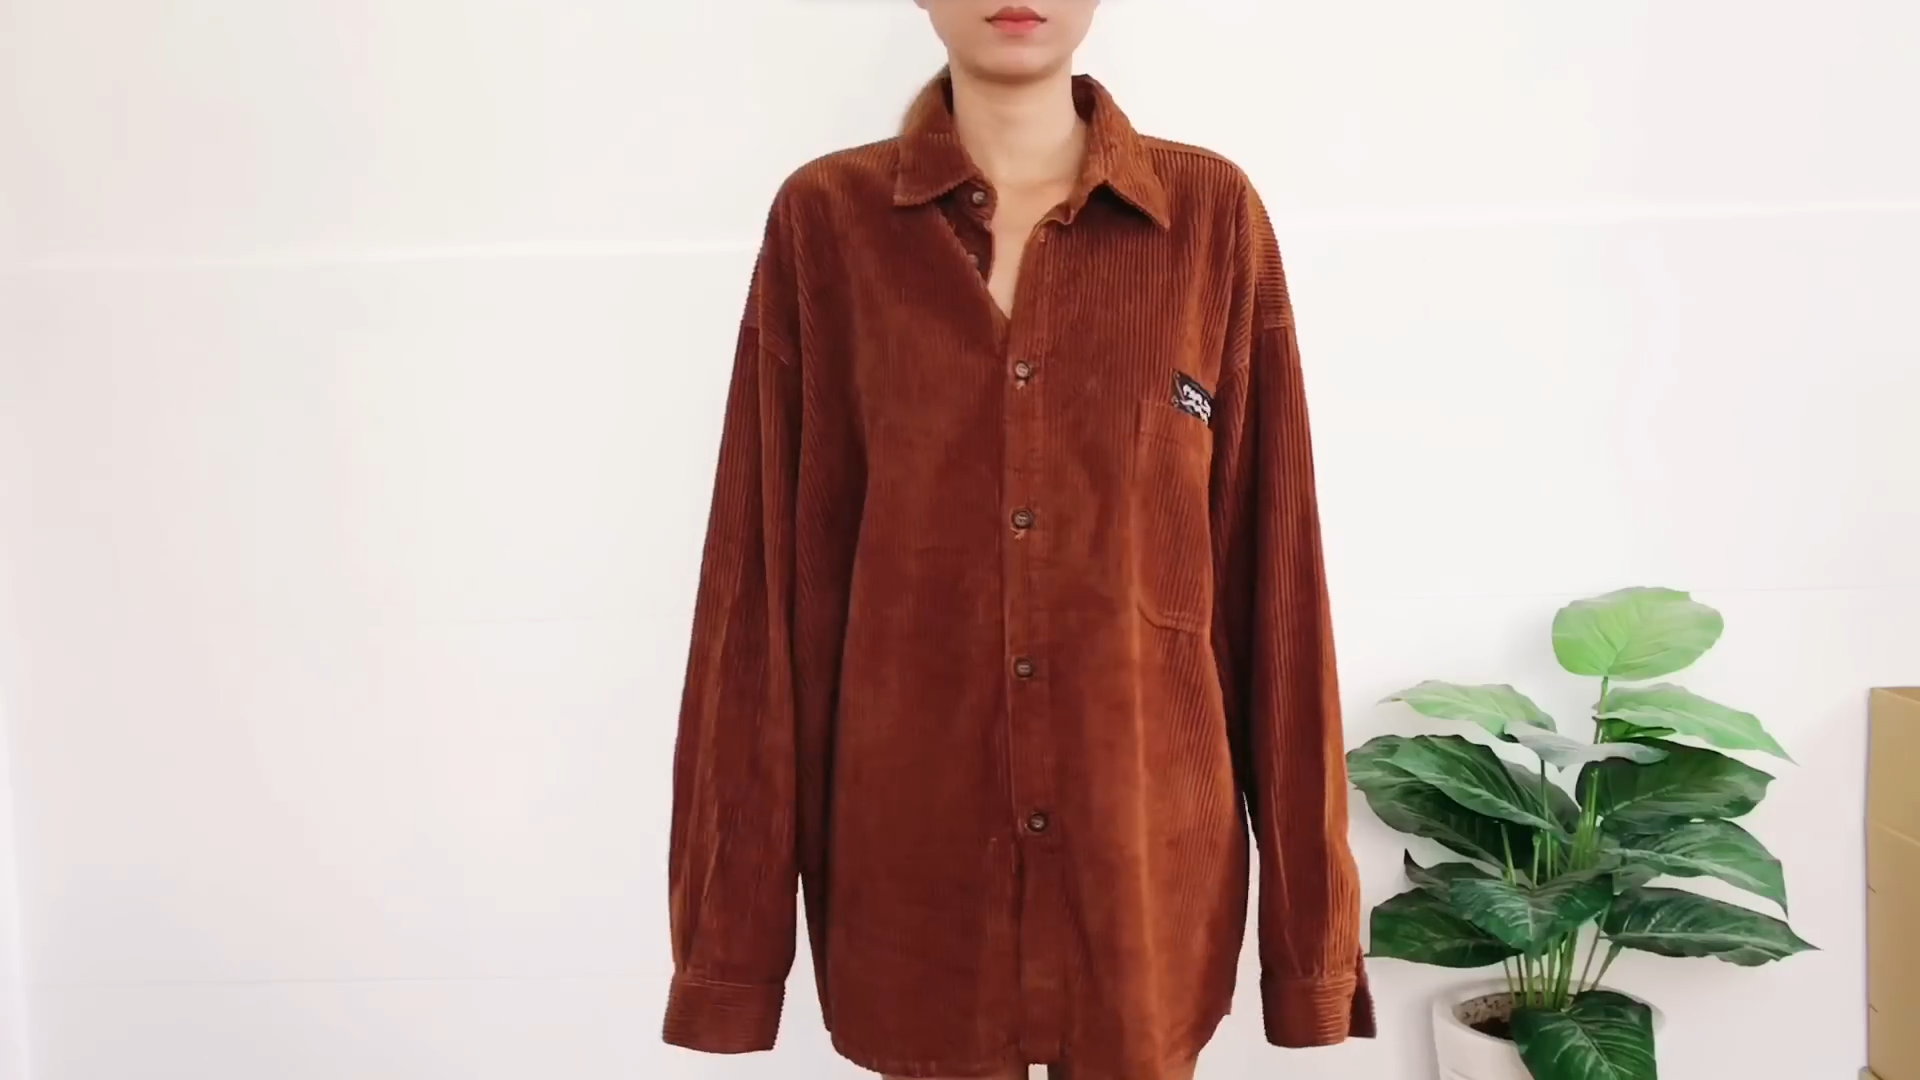
Men’s shirt
Fabric scissors
Seam ripper
Tape measure
Chalk
Sewing machine
Elastic
Pins
SEWING THE DRESS
THE MAIN BODICE
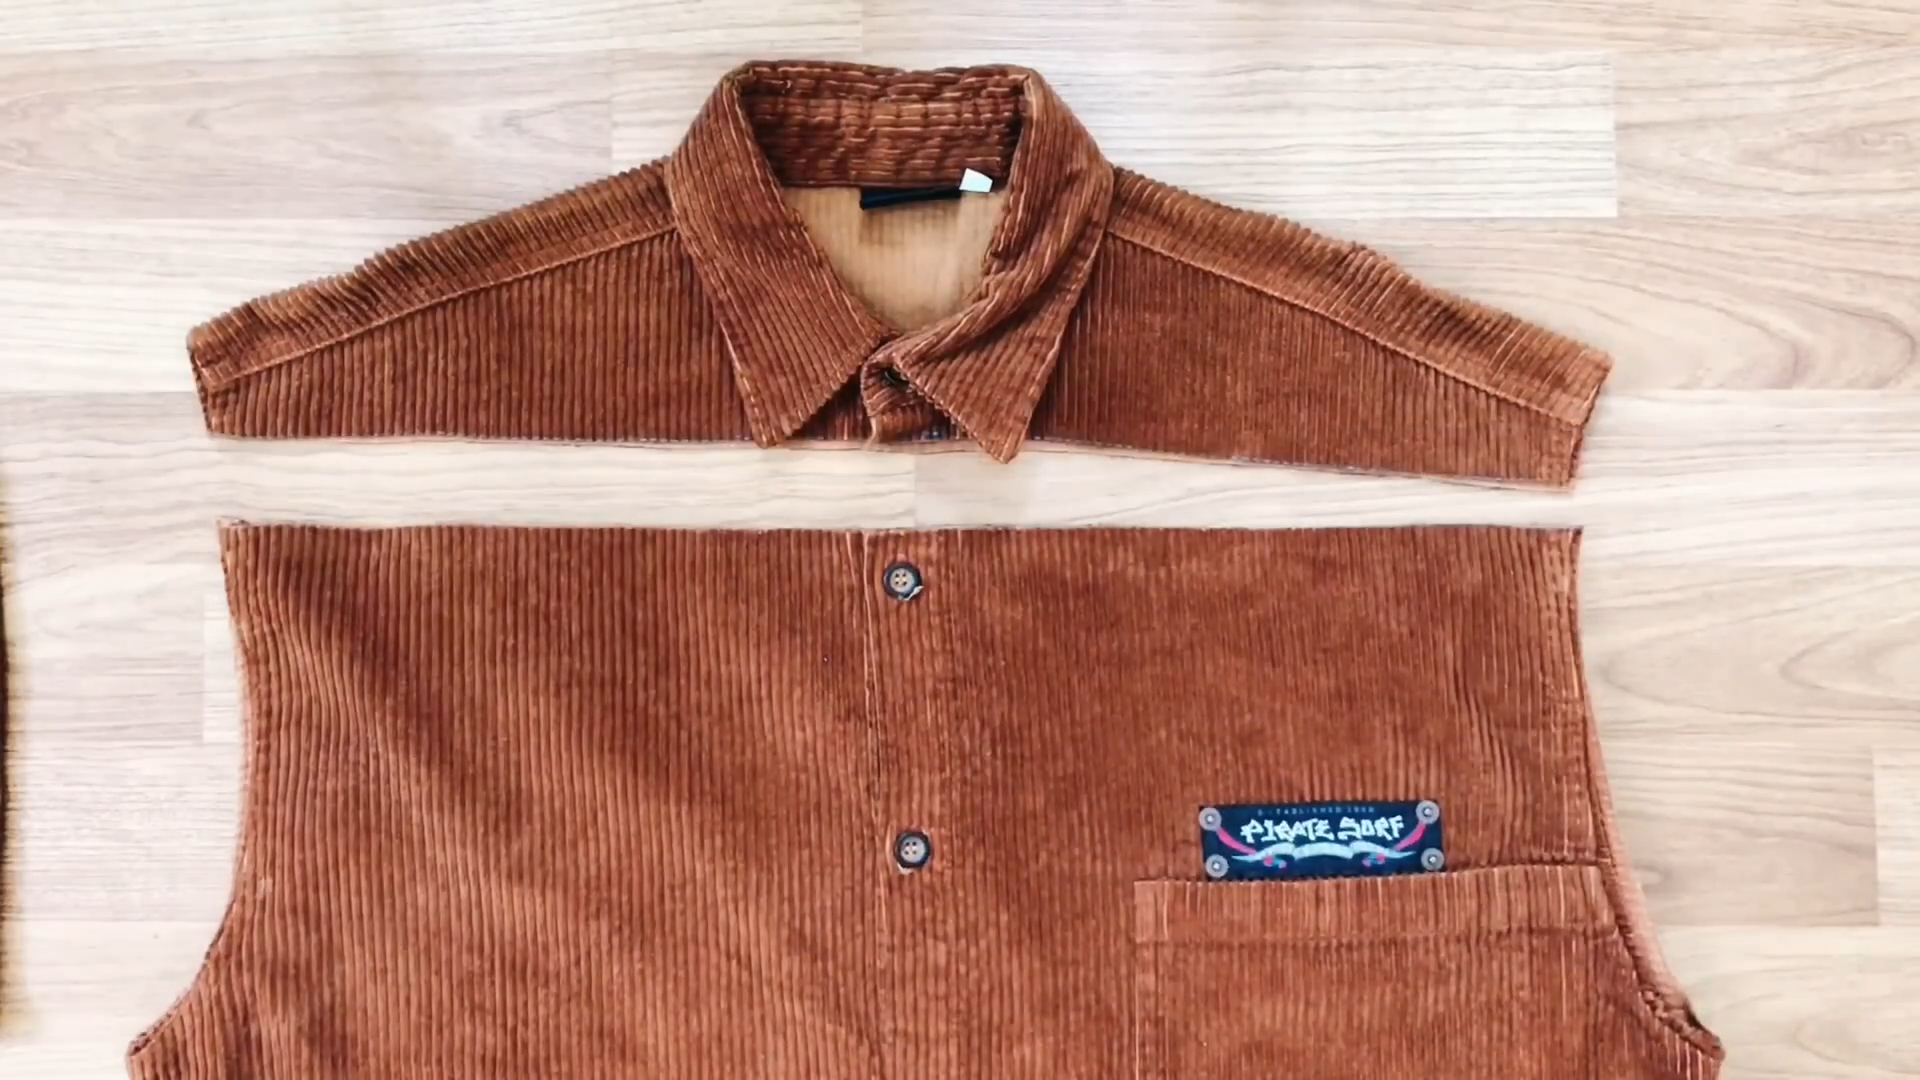
Draw a straight line at the top of the shirt, right under the button neck. Then, cut from the hand to that drawing line. This will give you the main part of the overall dress.
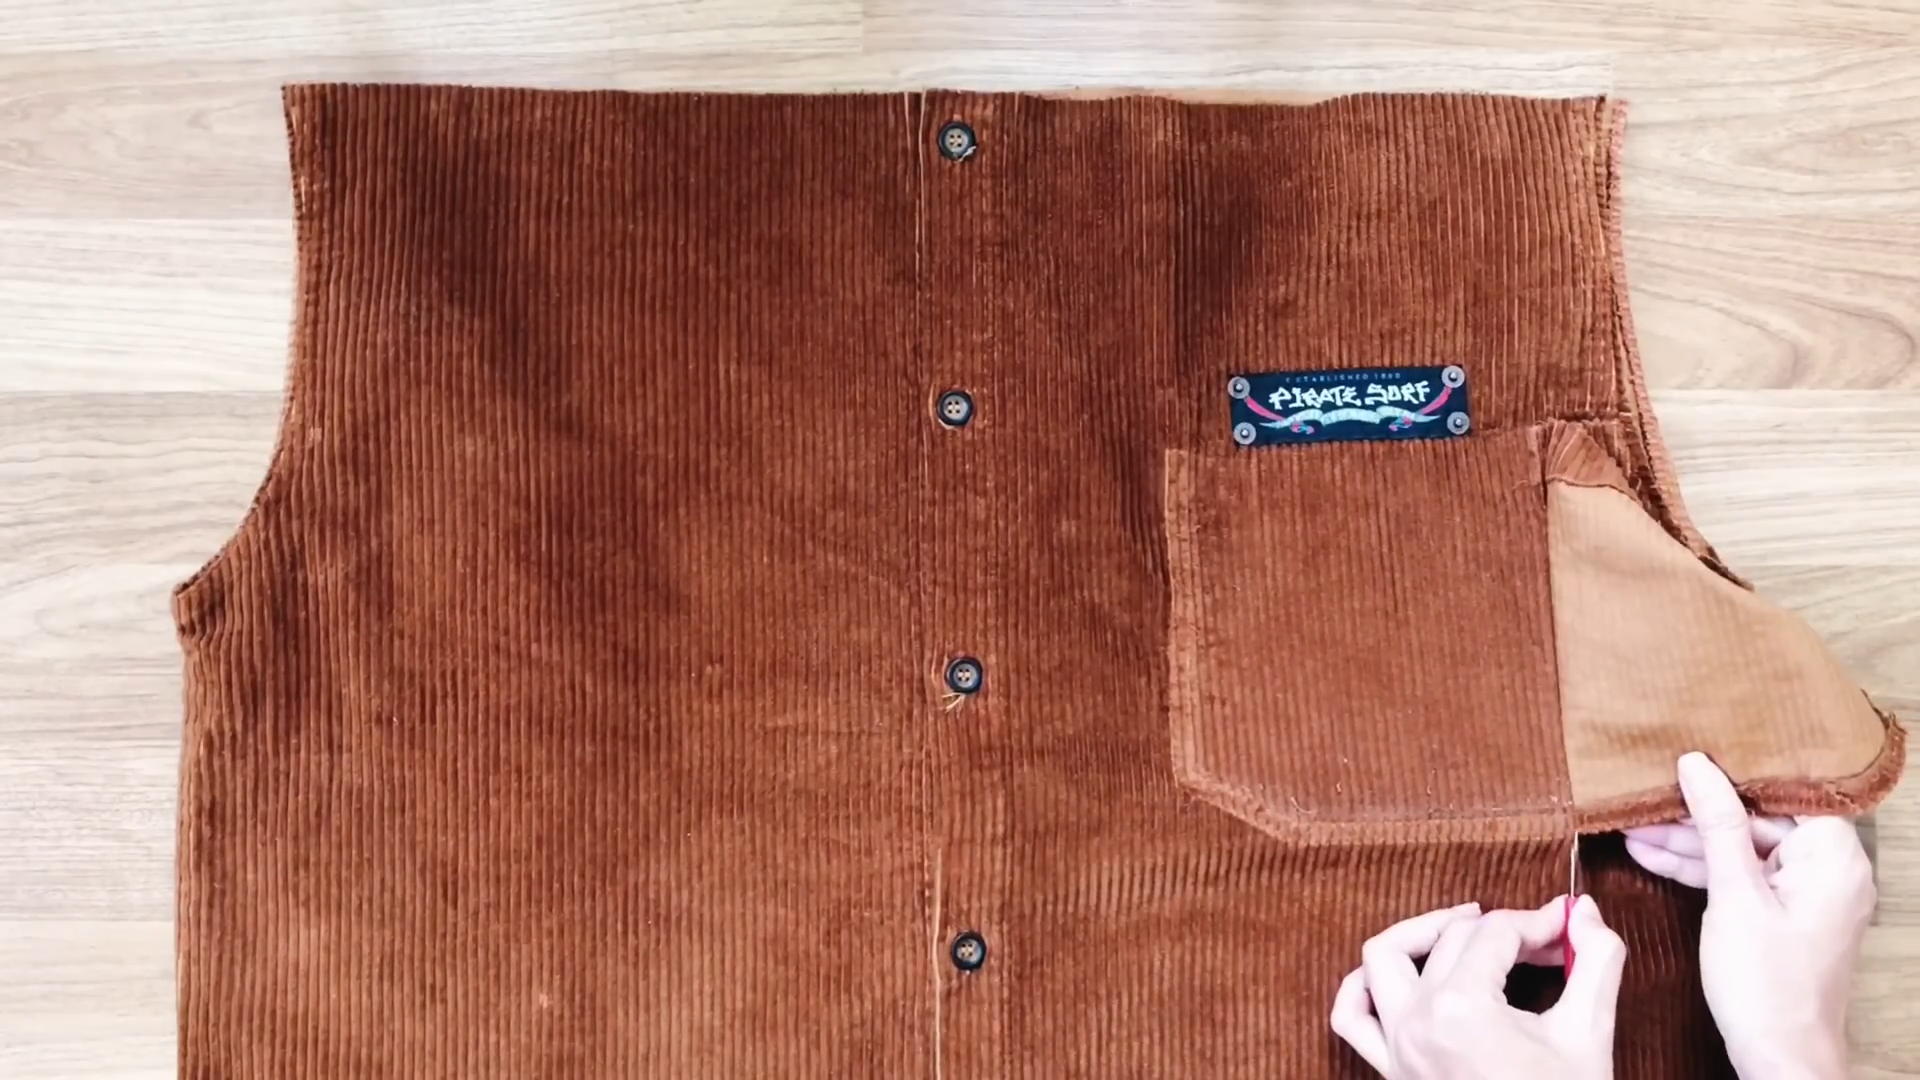
Next, un-sew the front pocket of the original men’s shirt.
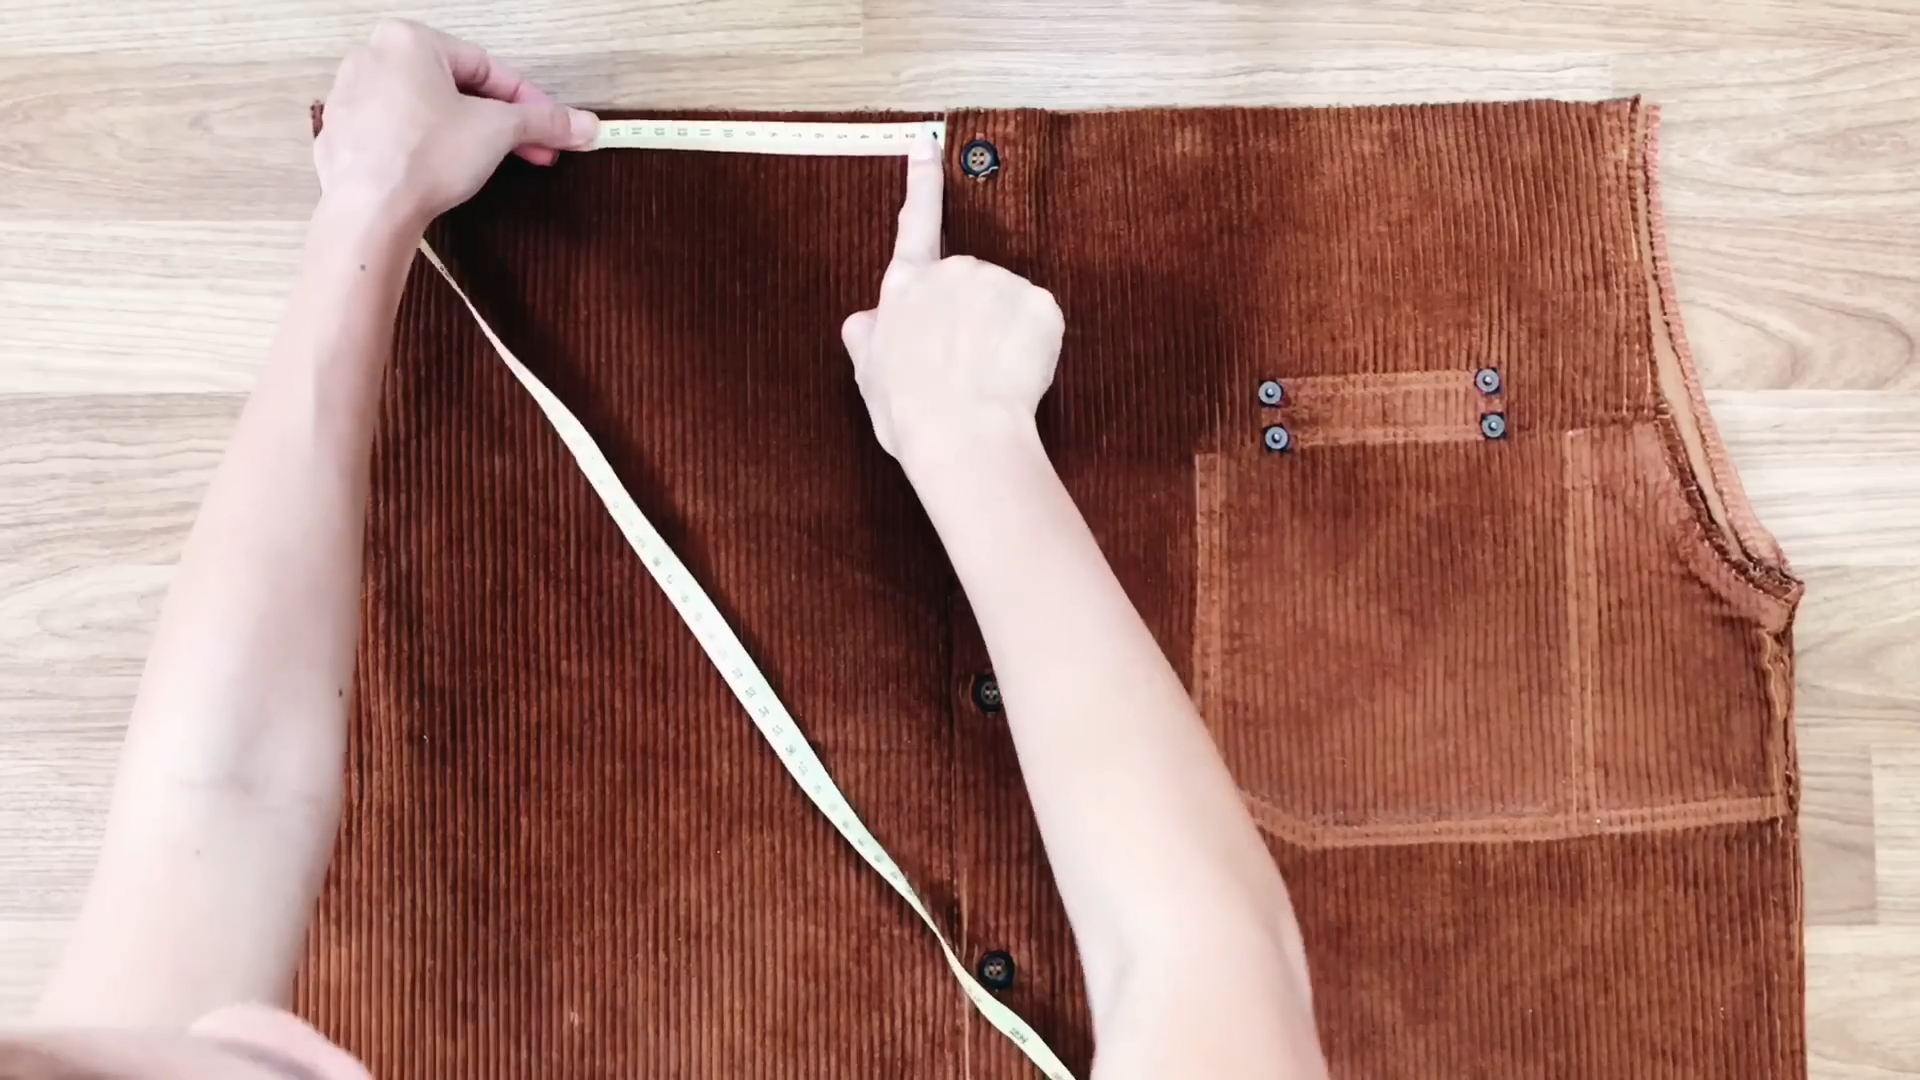
At the border of the button area, go to the left 15 cm and mark there. Do the same for the right.
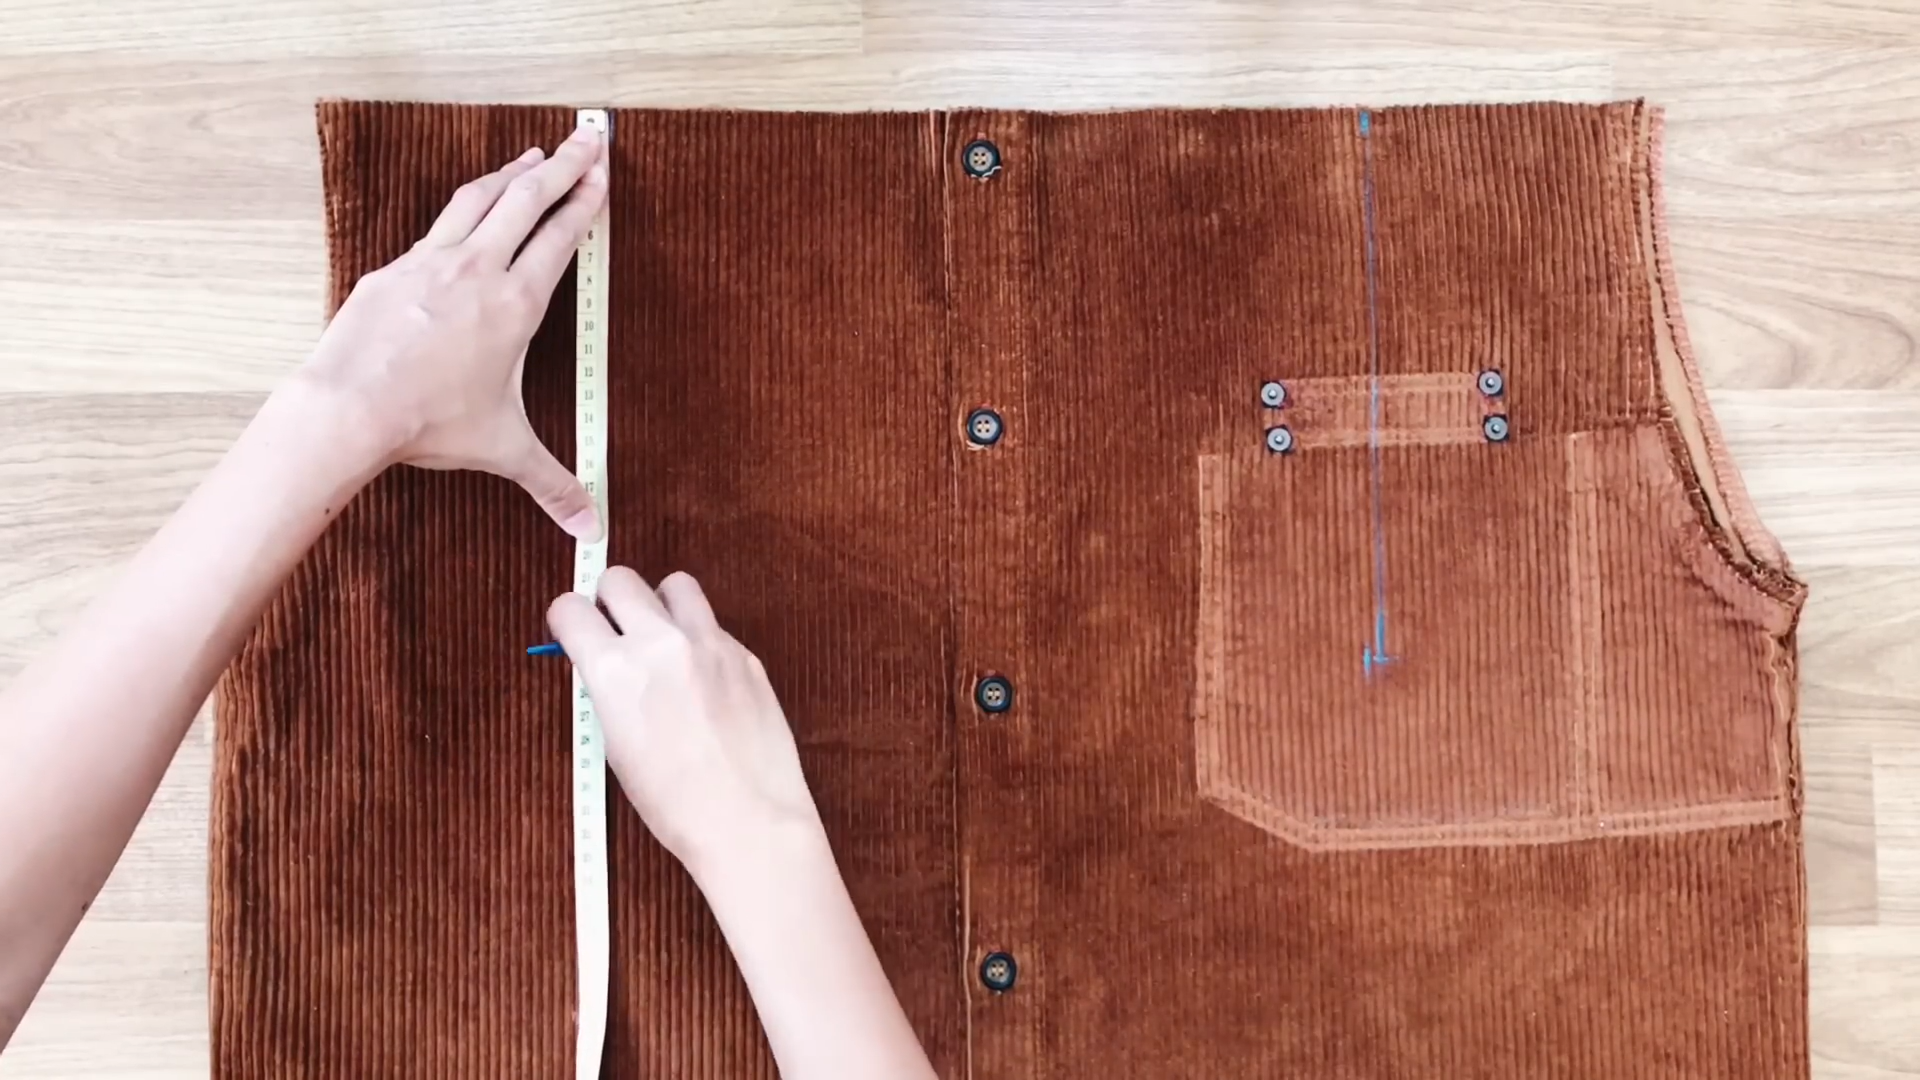
From the first mark, go down 24 cm and mark the second one.
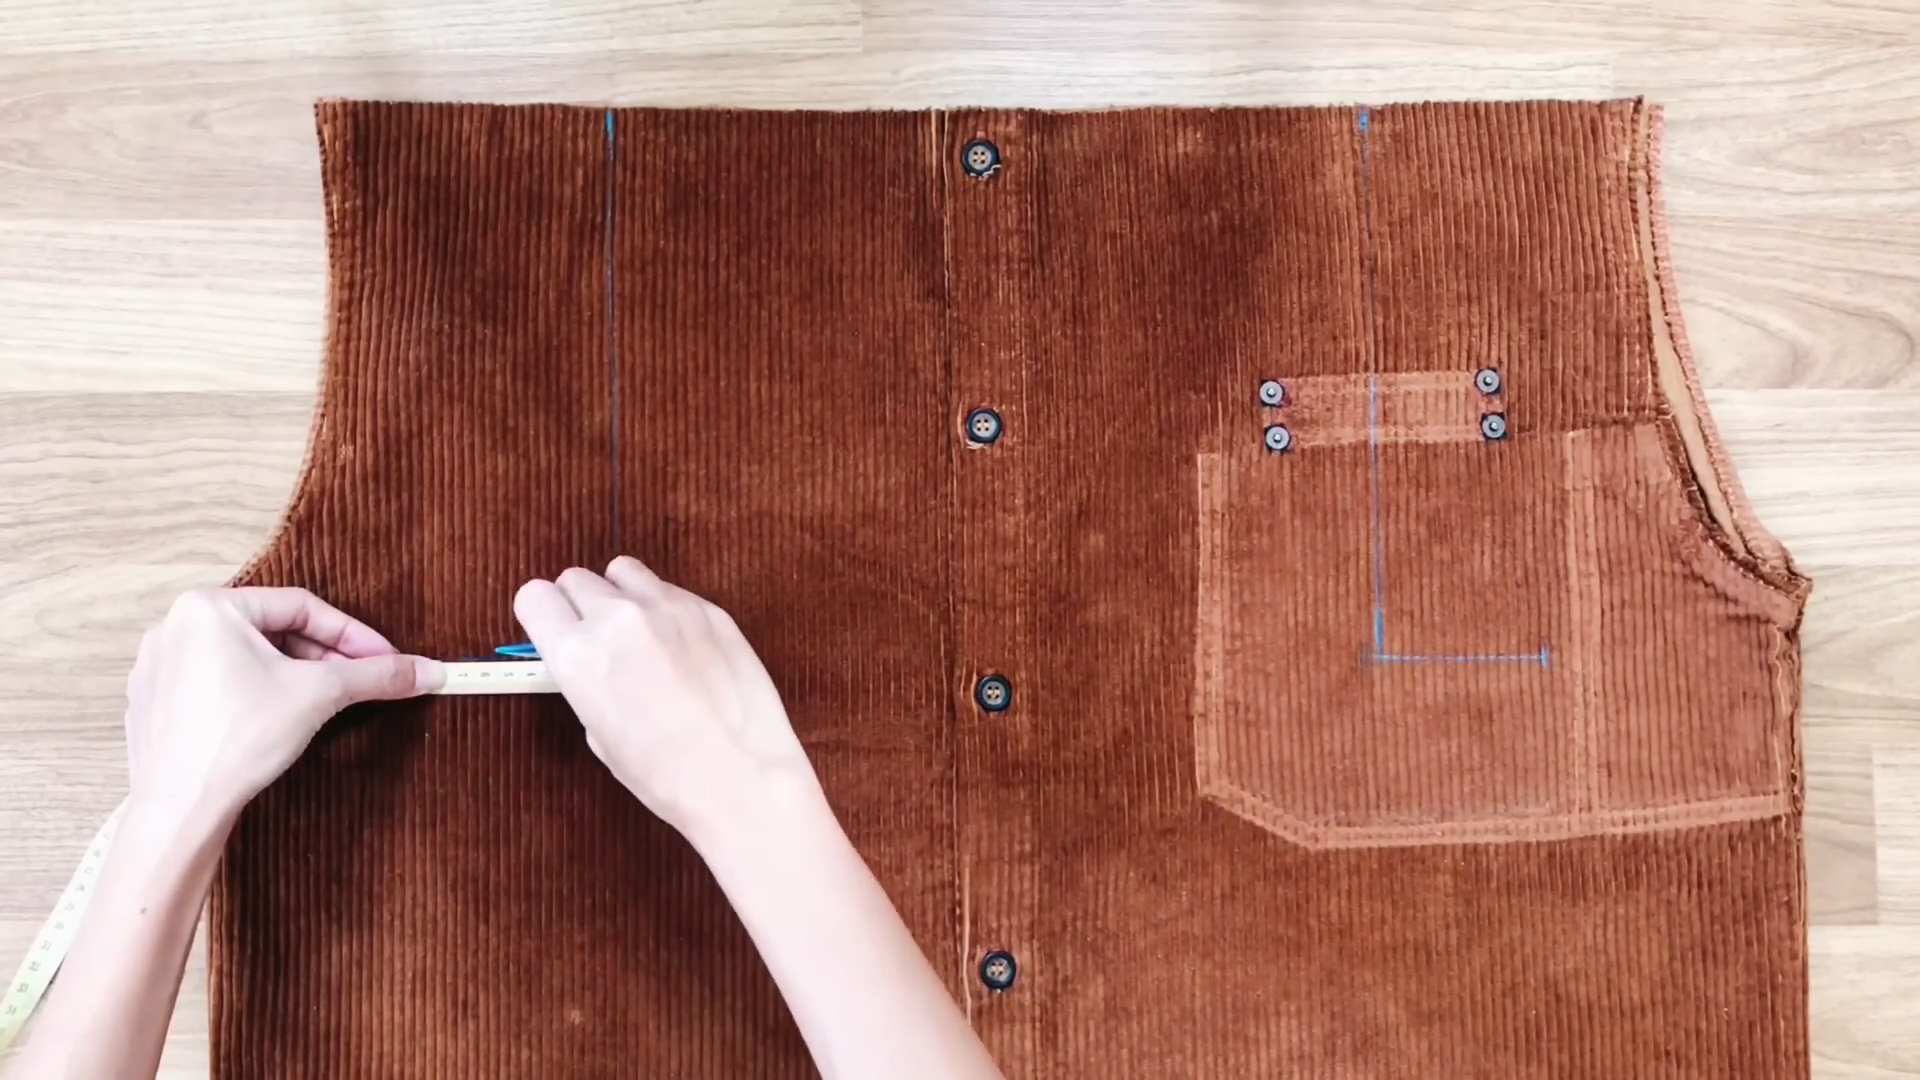
Then from there, go out 7 cm to mark the third one.
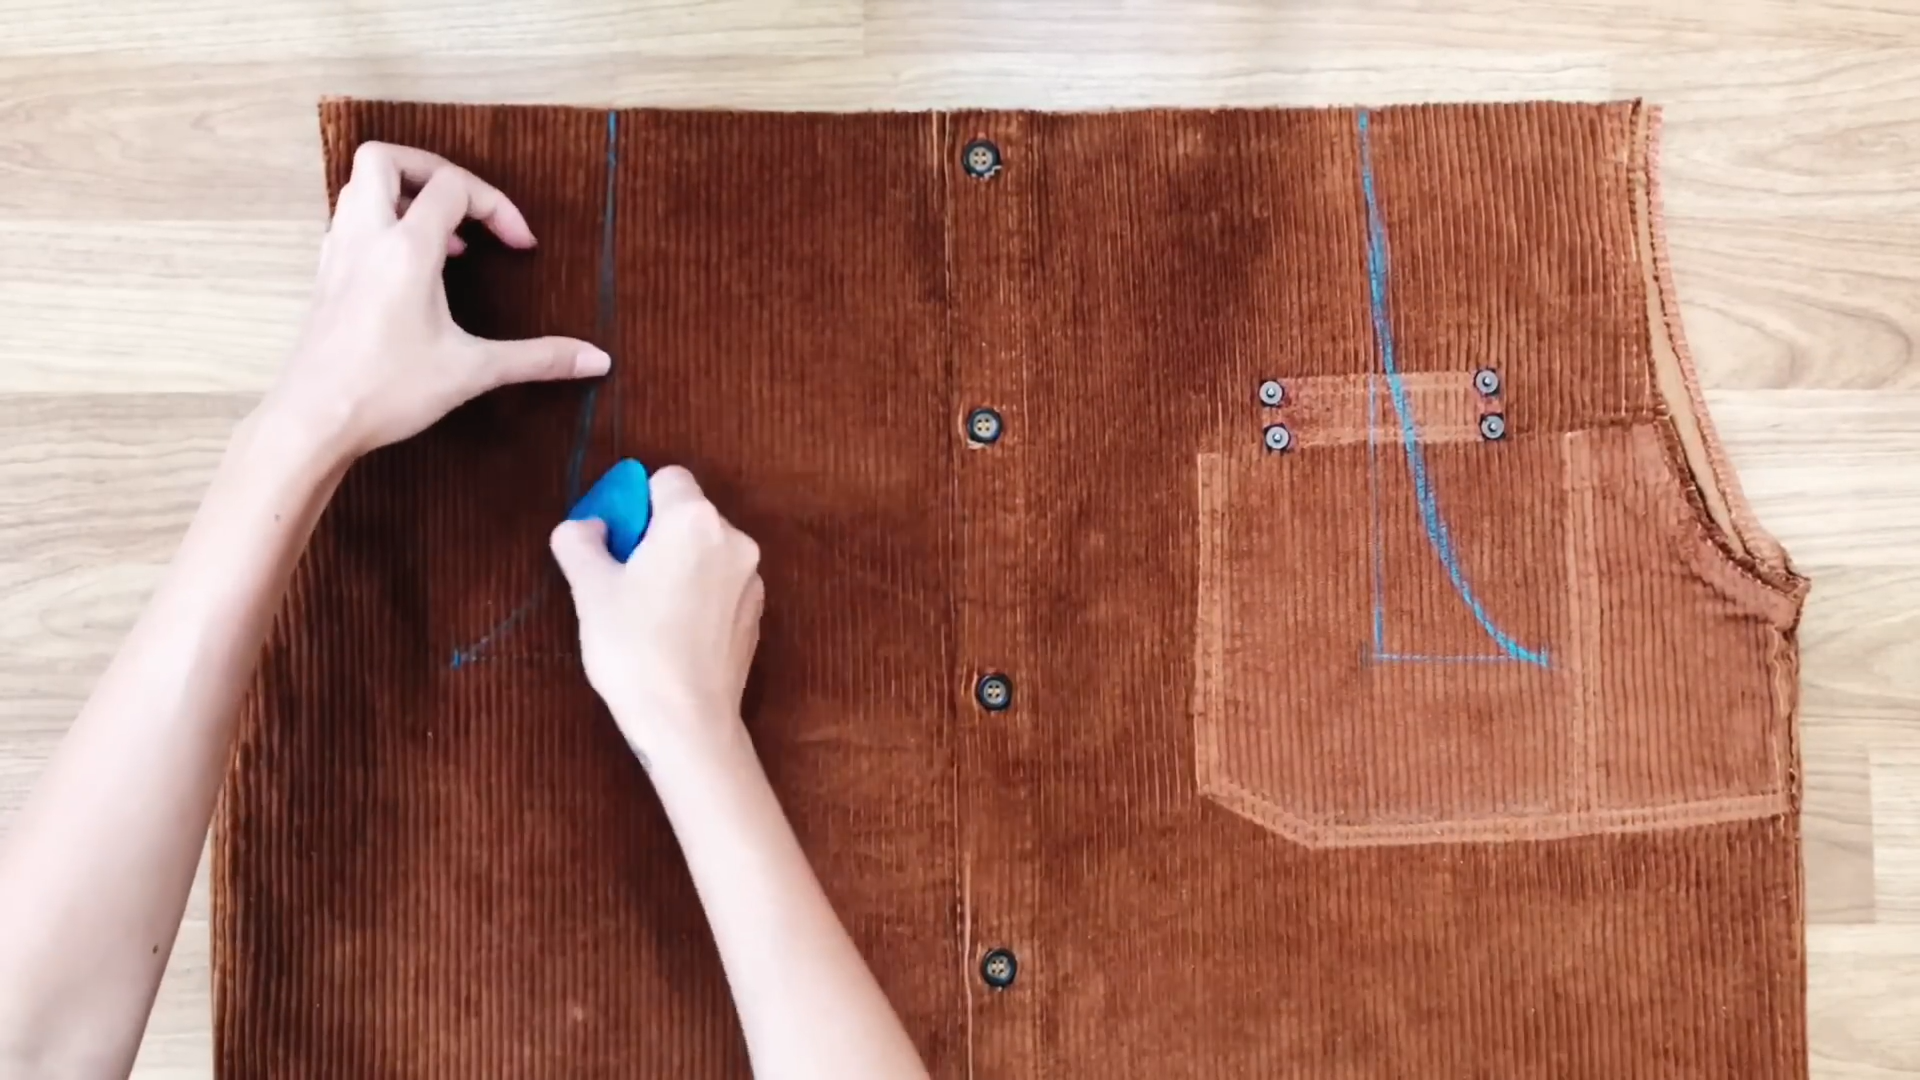
Now, draw an arc line from the first mark to the third one.
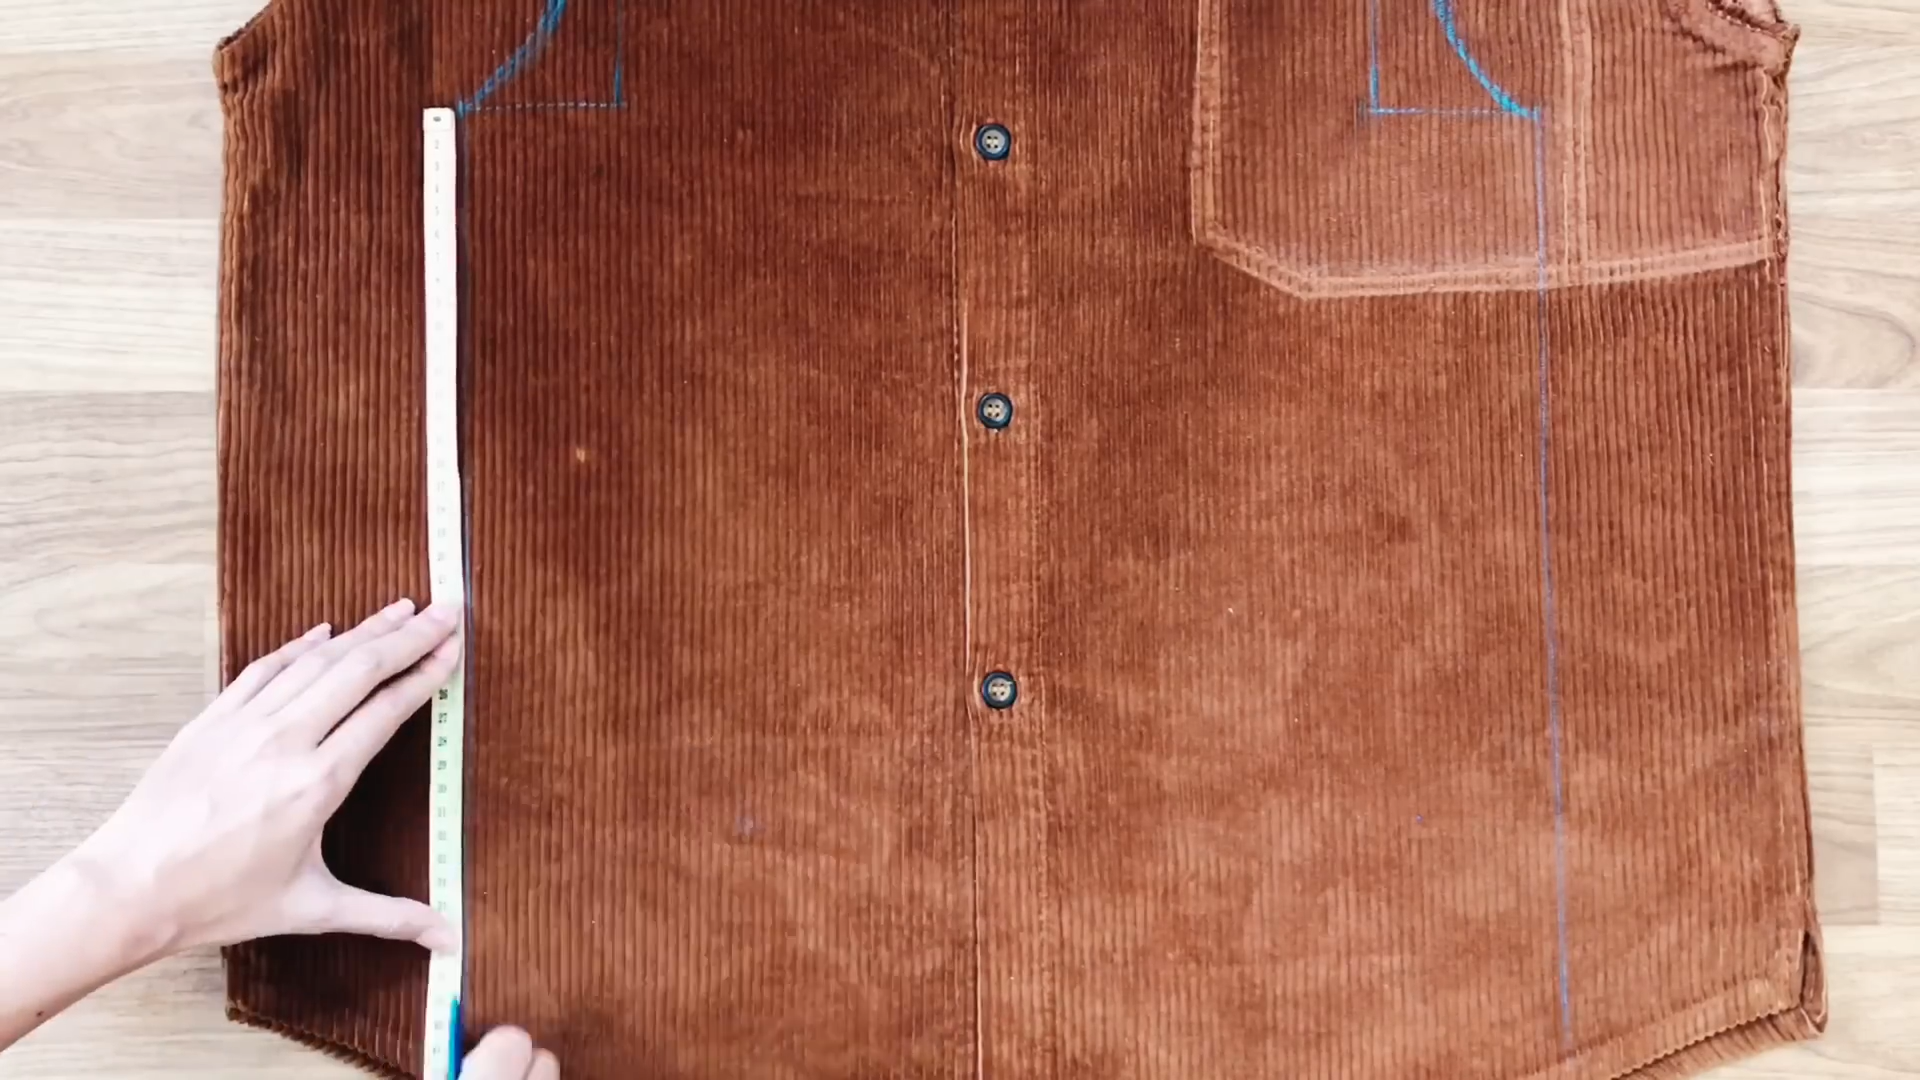
From the third mark, draw straight down to the end of the shirt.
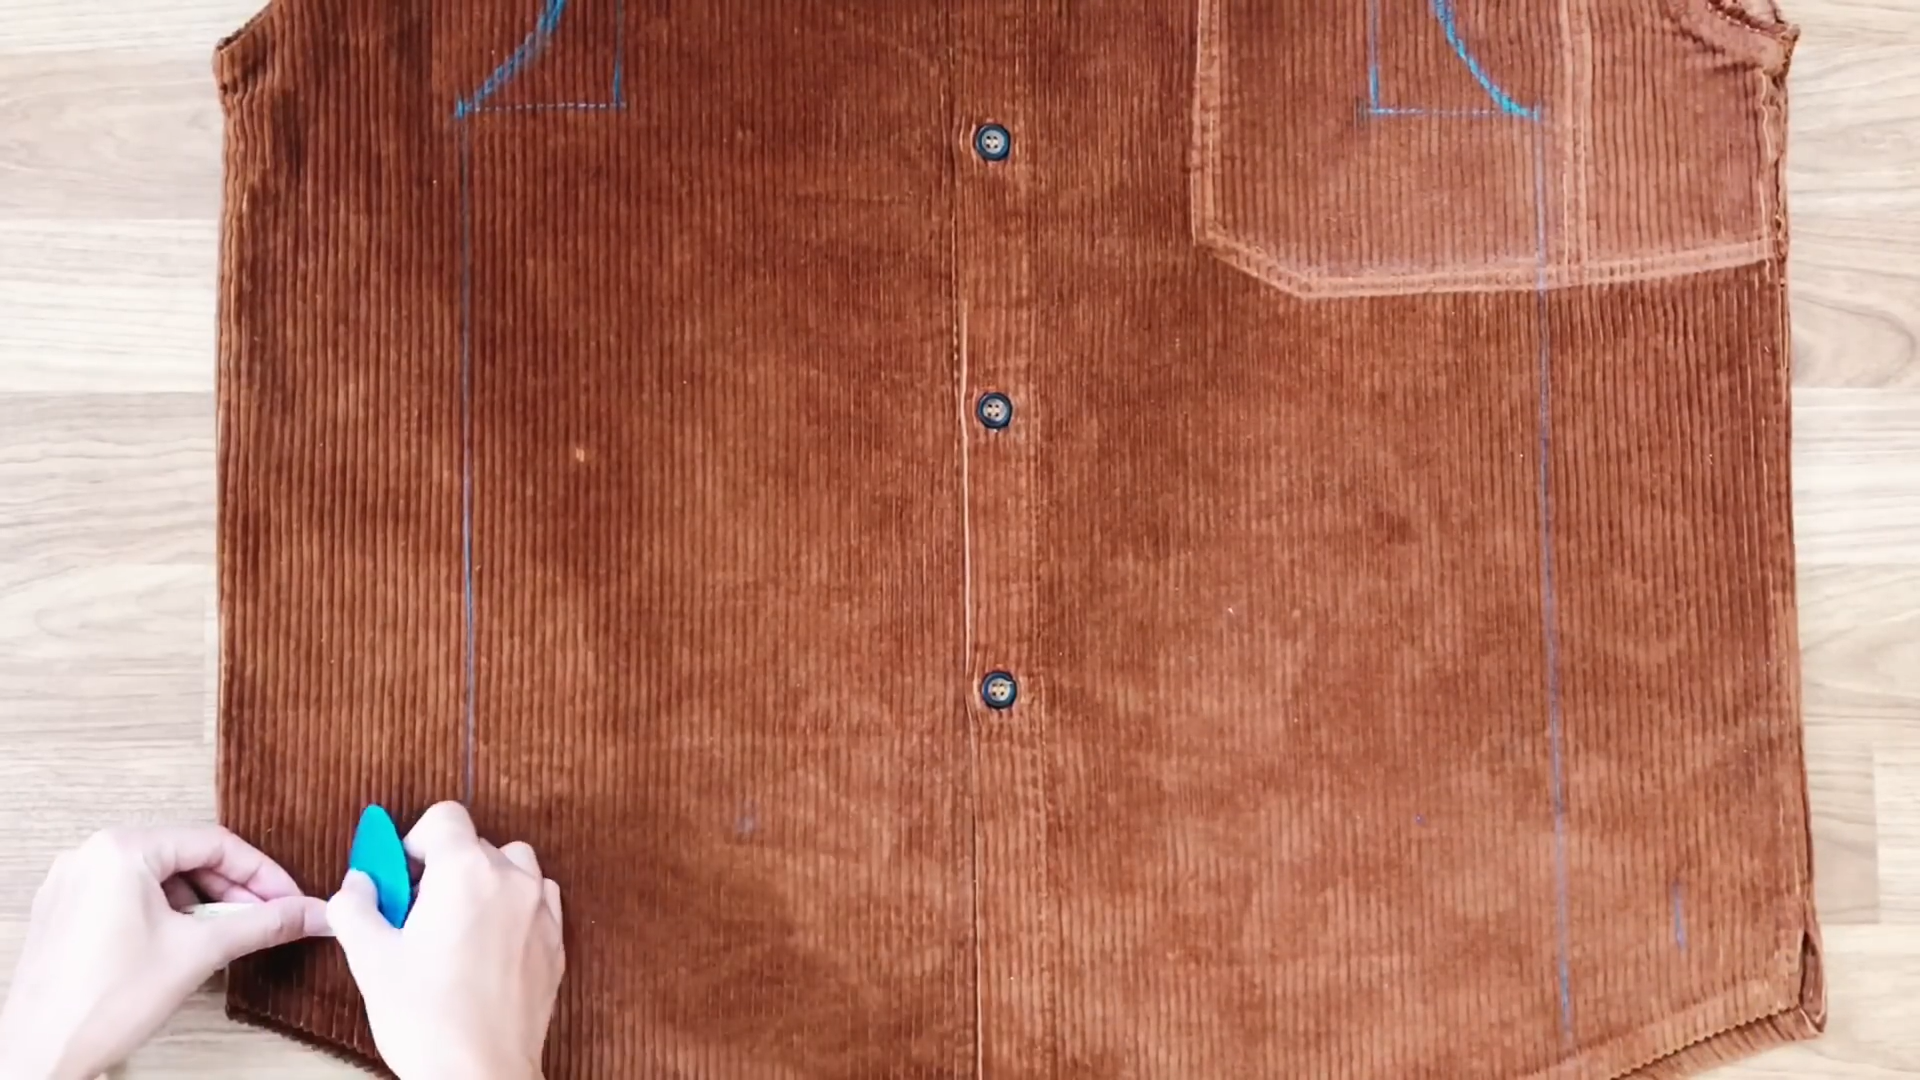
From the drawing line, go out 5 cm each side.
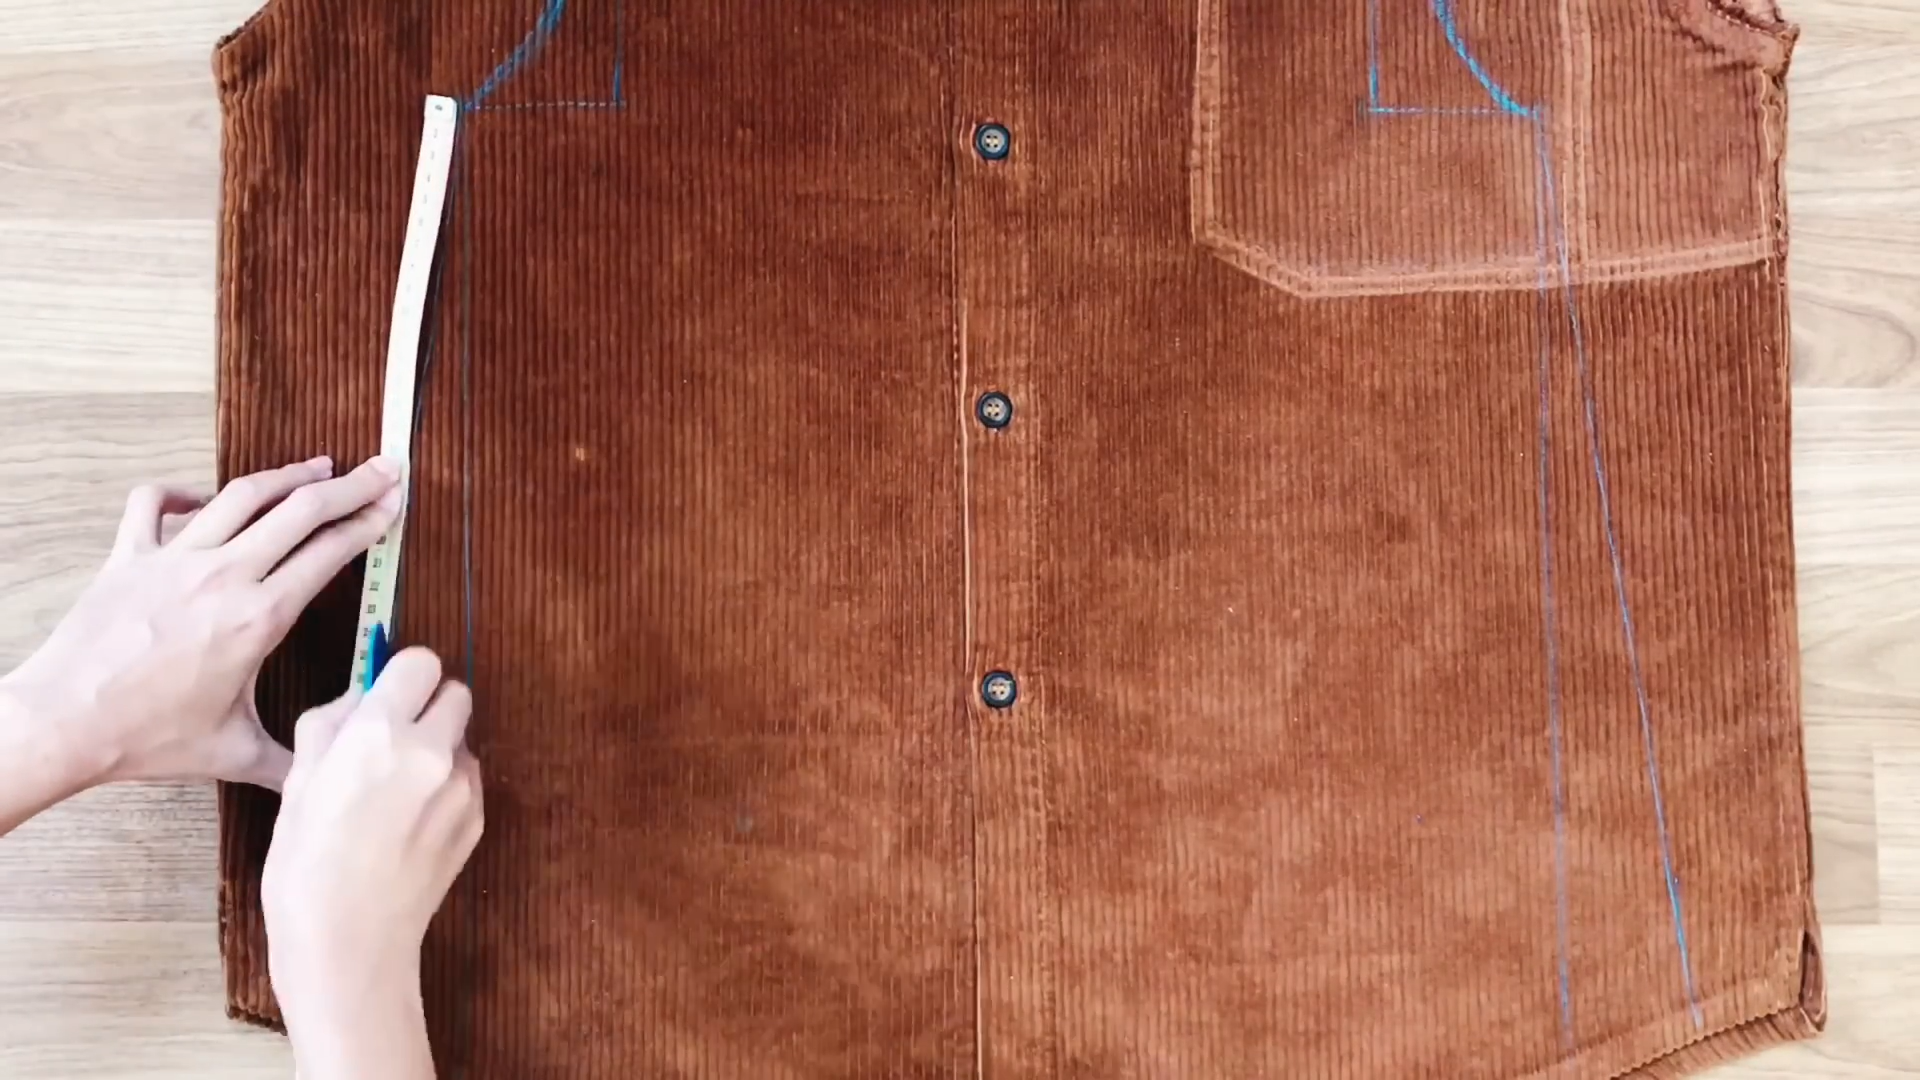
Then draw the line from the third mark to the end.
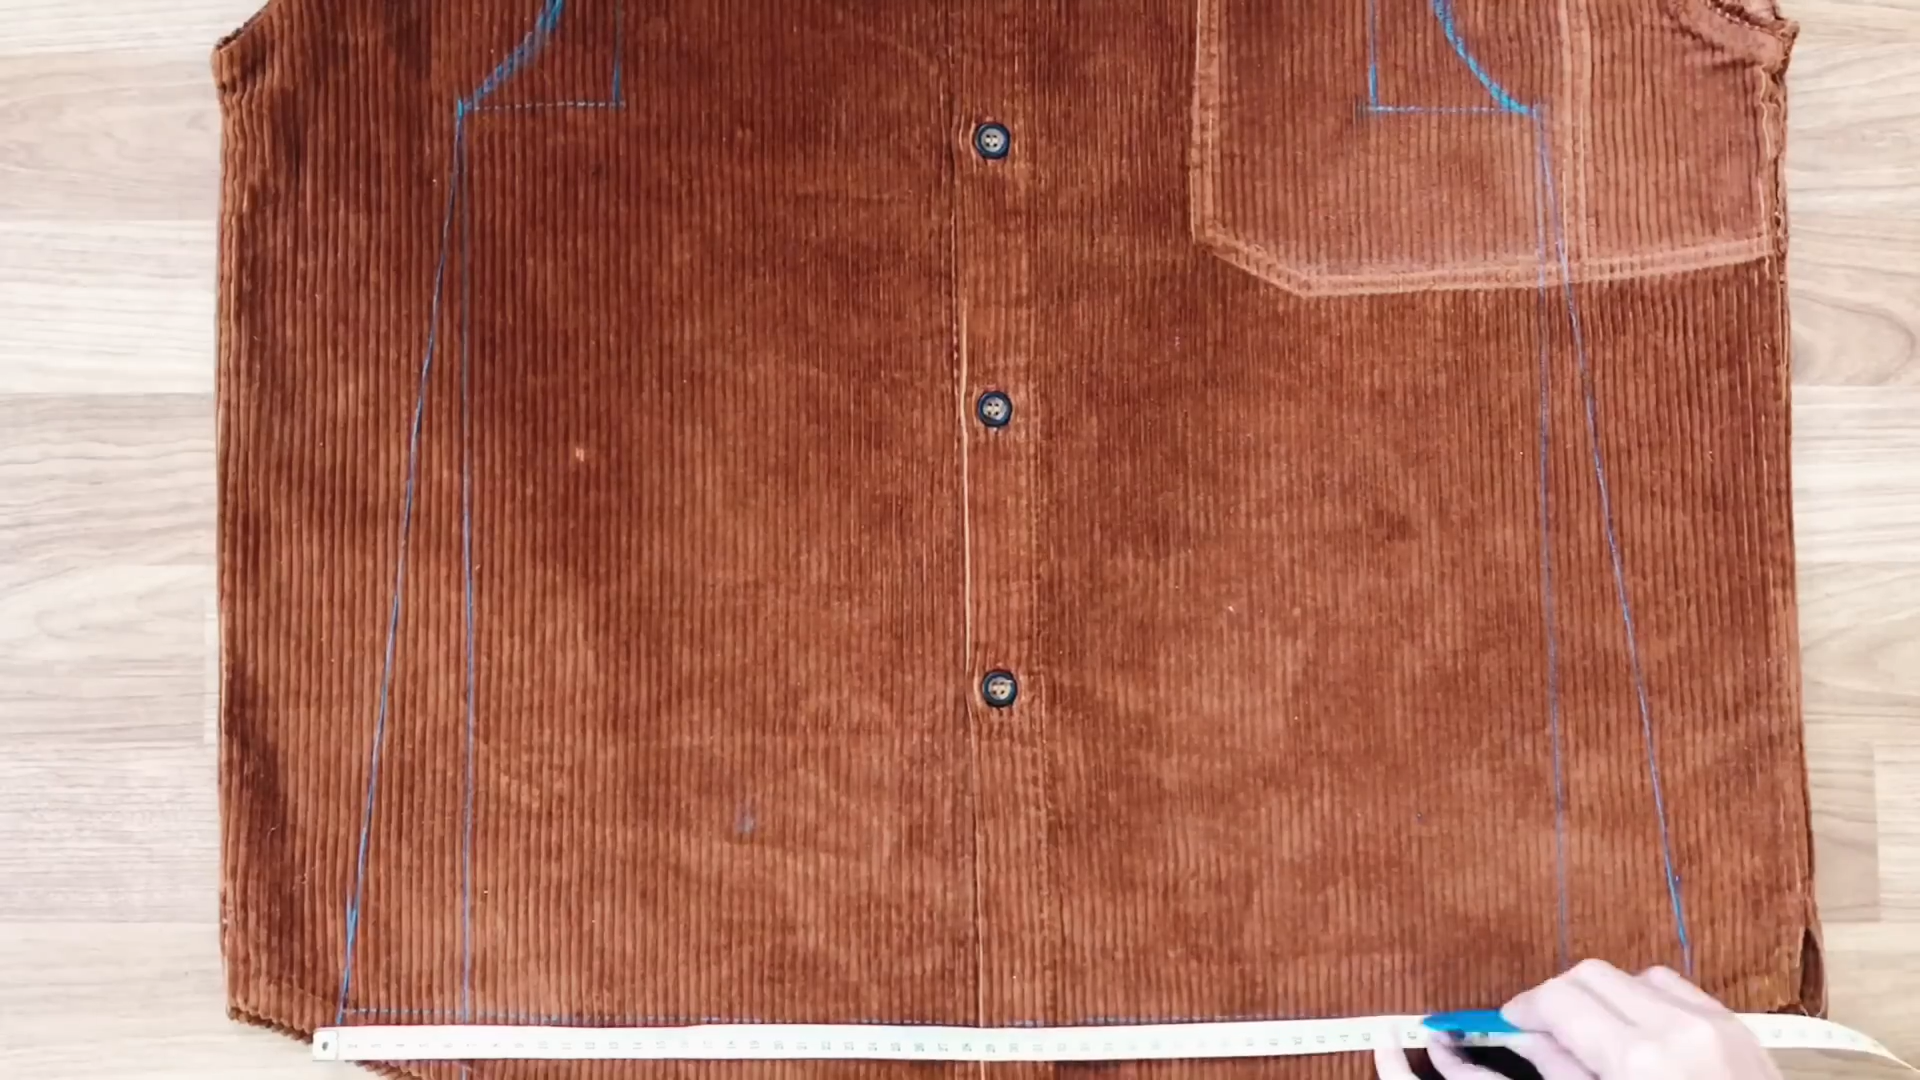
After that, draw the line to connect two ends at two sides together.
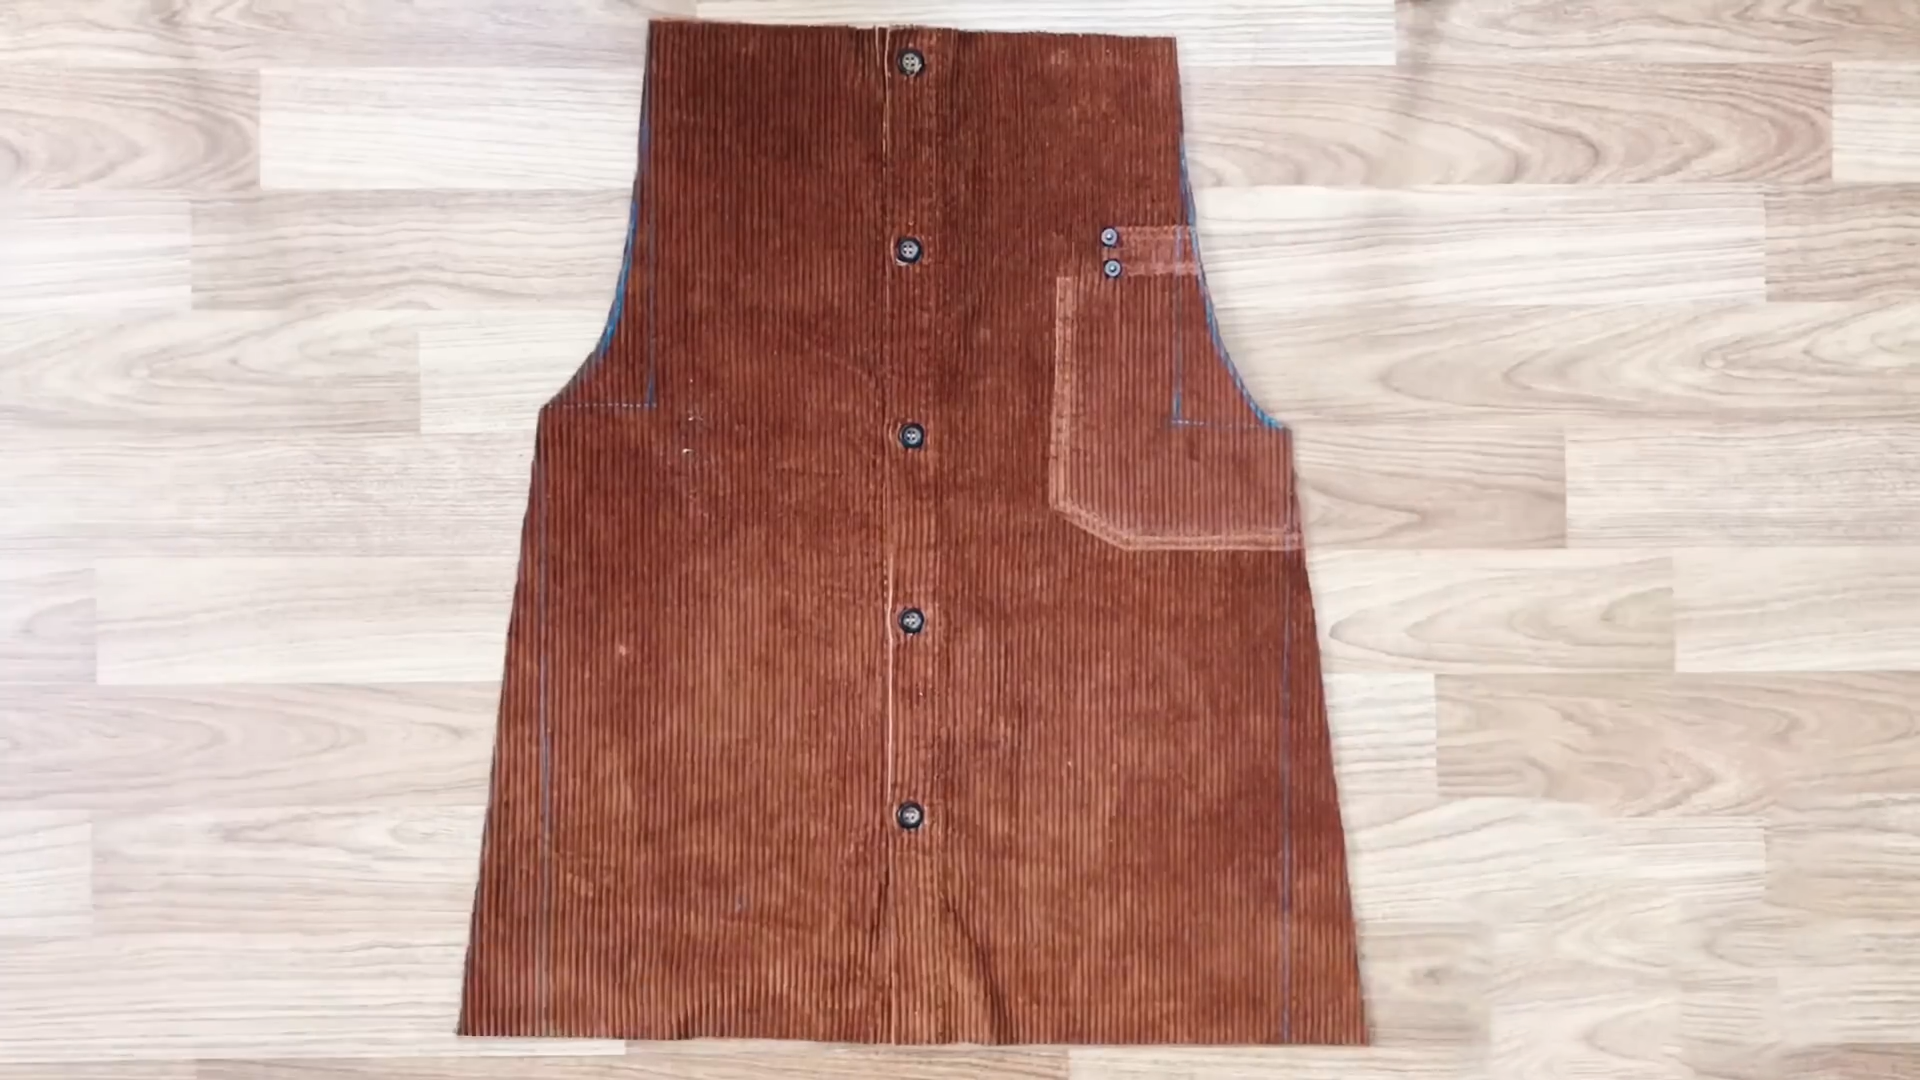
After cutting by the drawing line, you will have the main part, the front and the back of the overall dress.
THE BACK
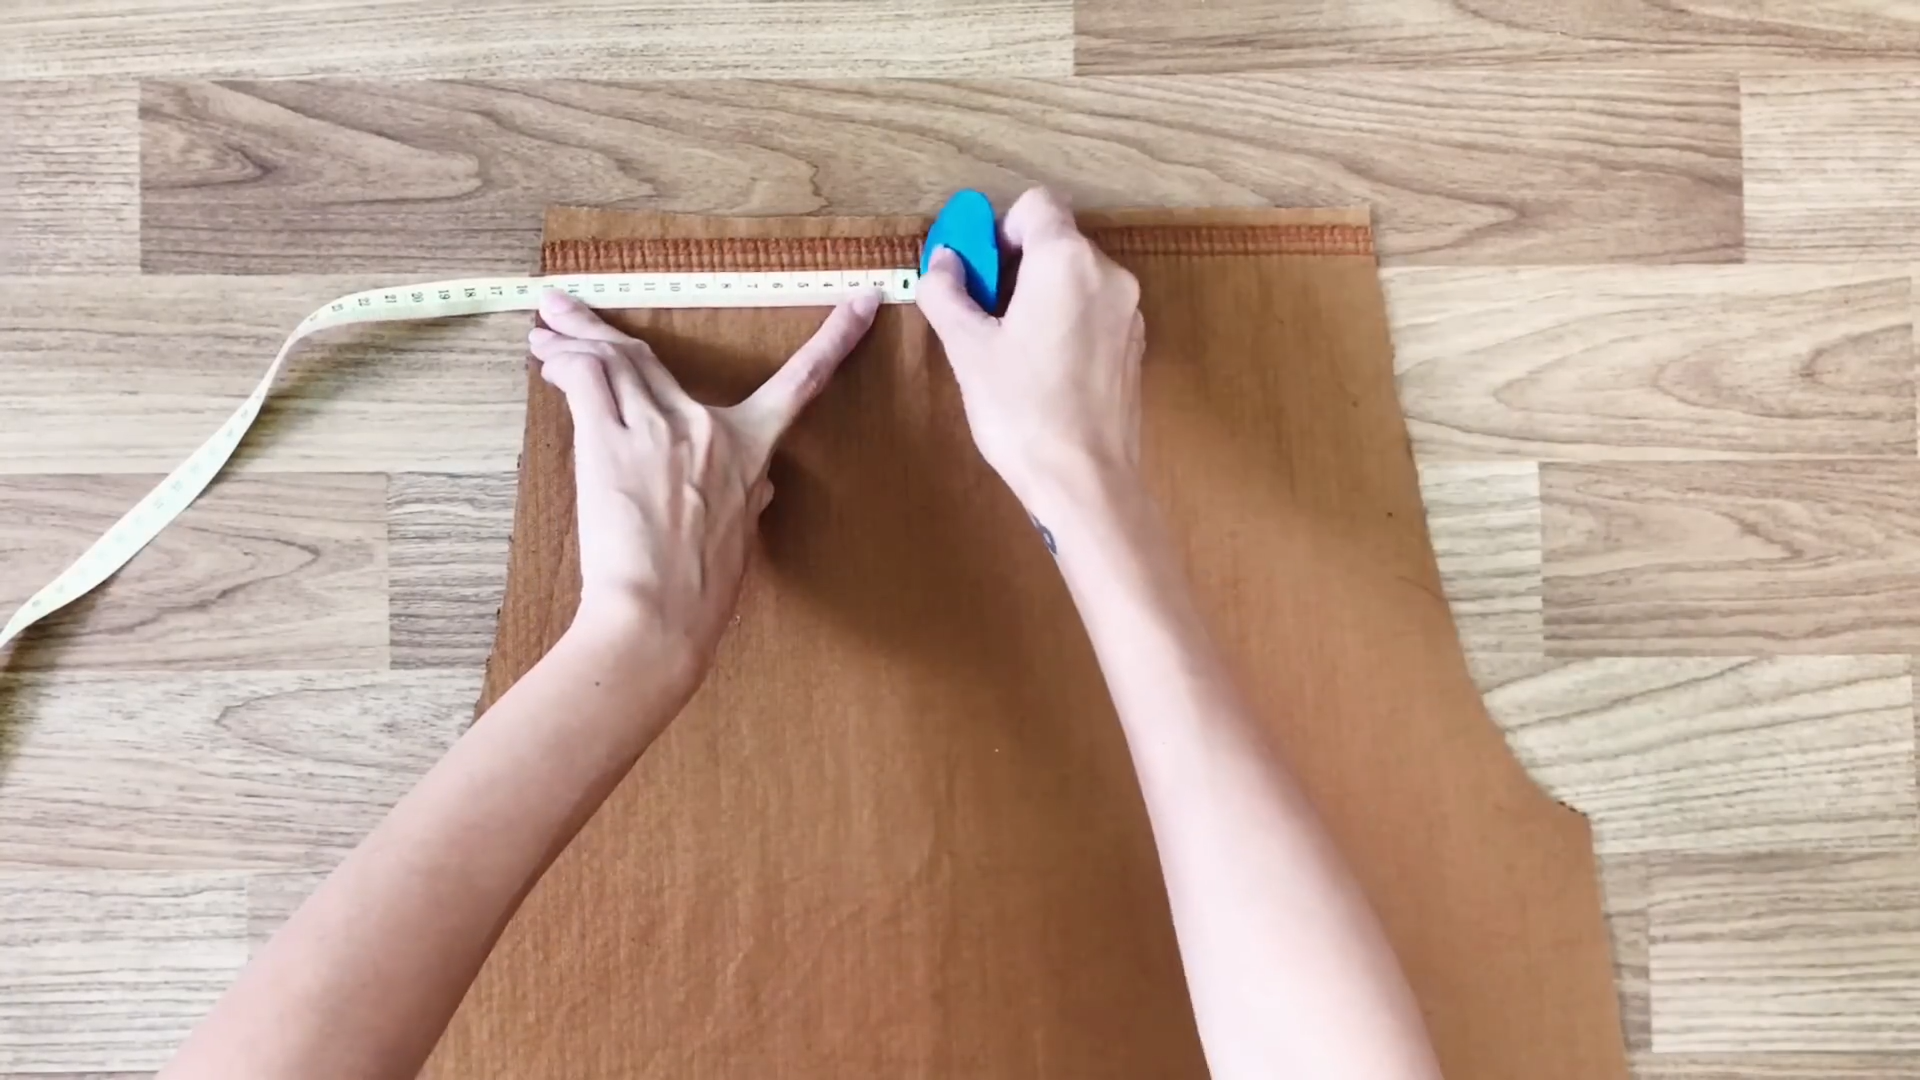
From the border at each side, go inside 15 cm and mark there.
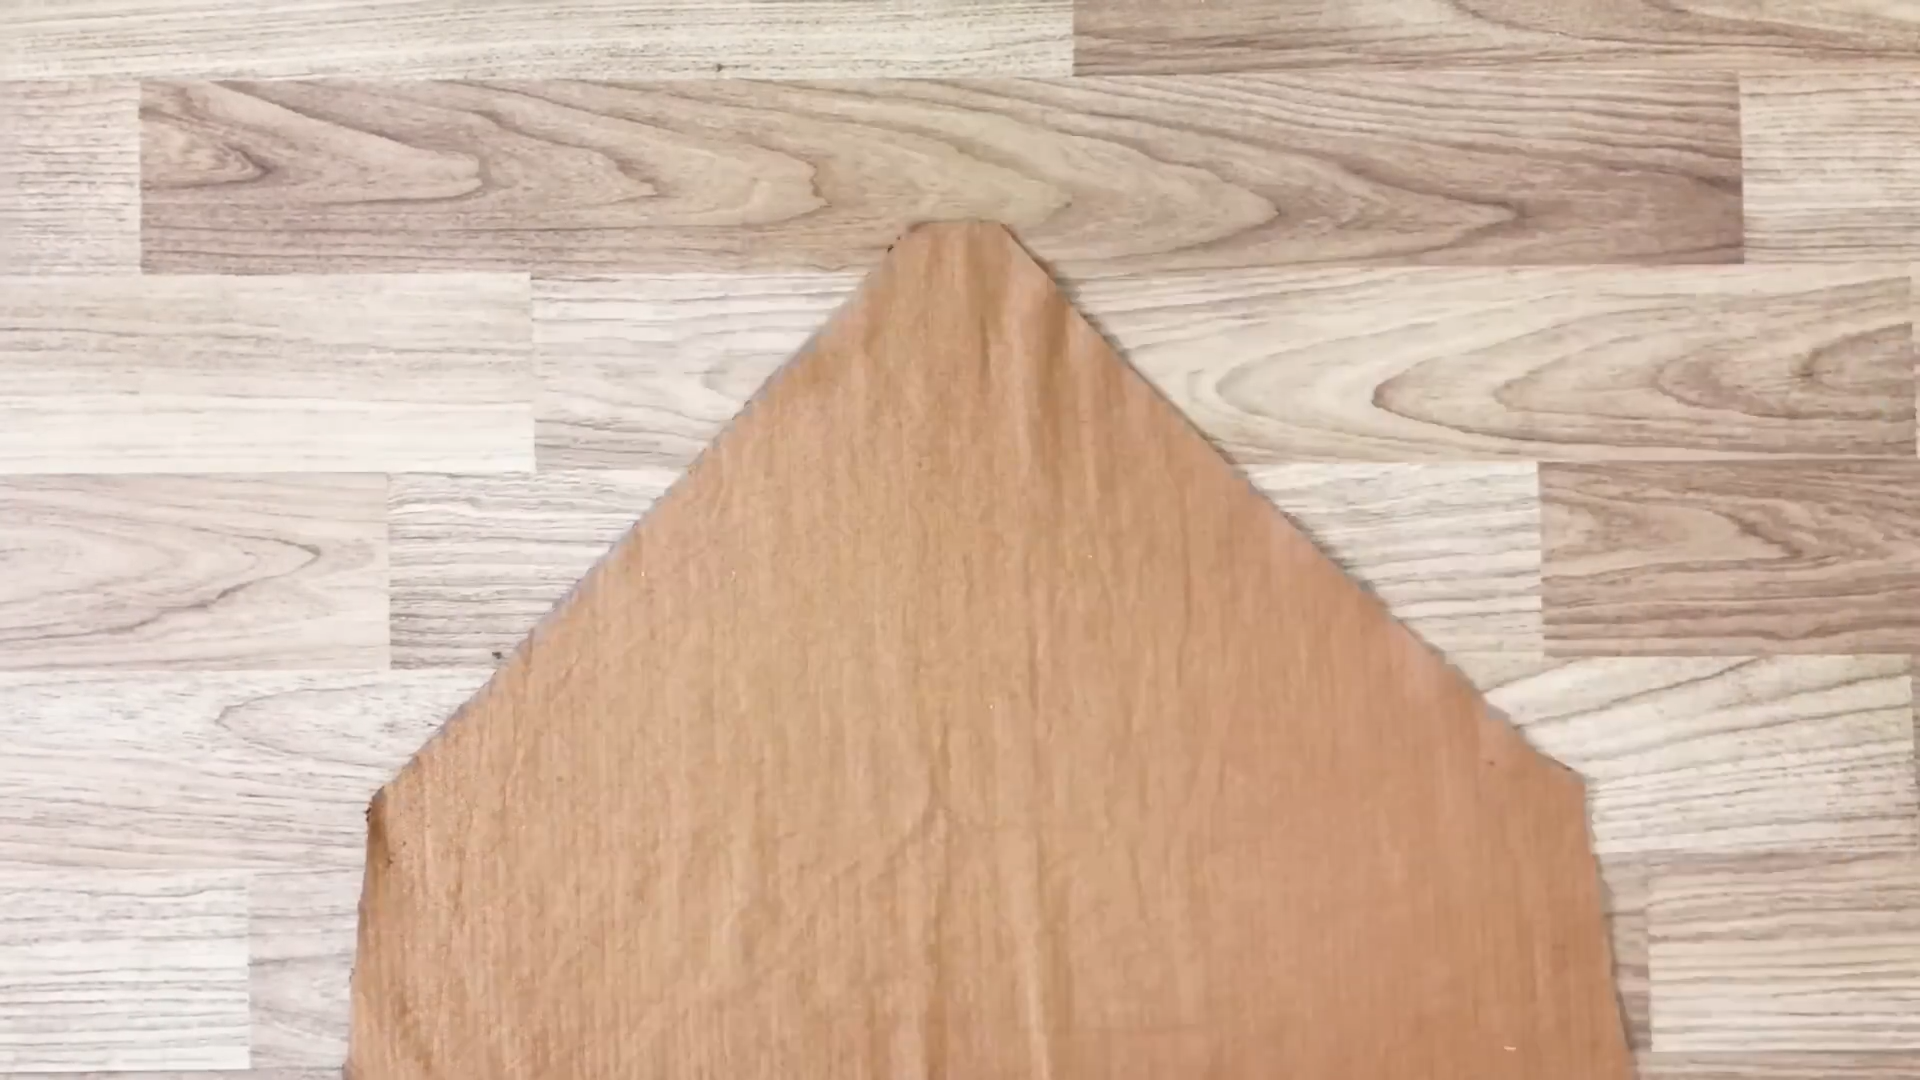
Then draw the line from there to the third mark. This will create a triangle at the top of the back.
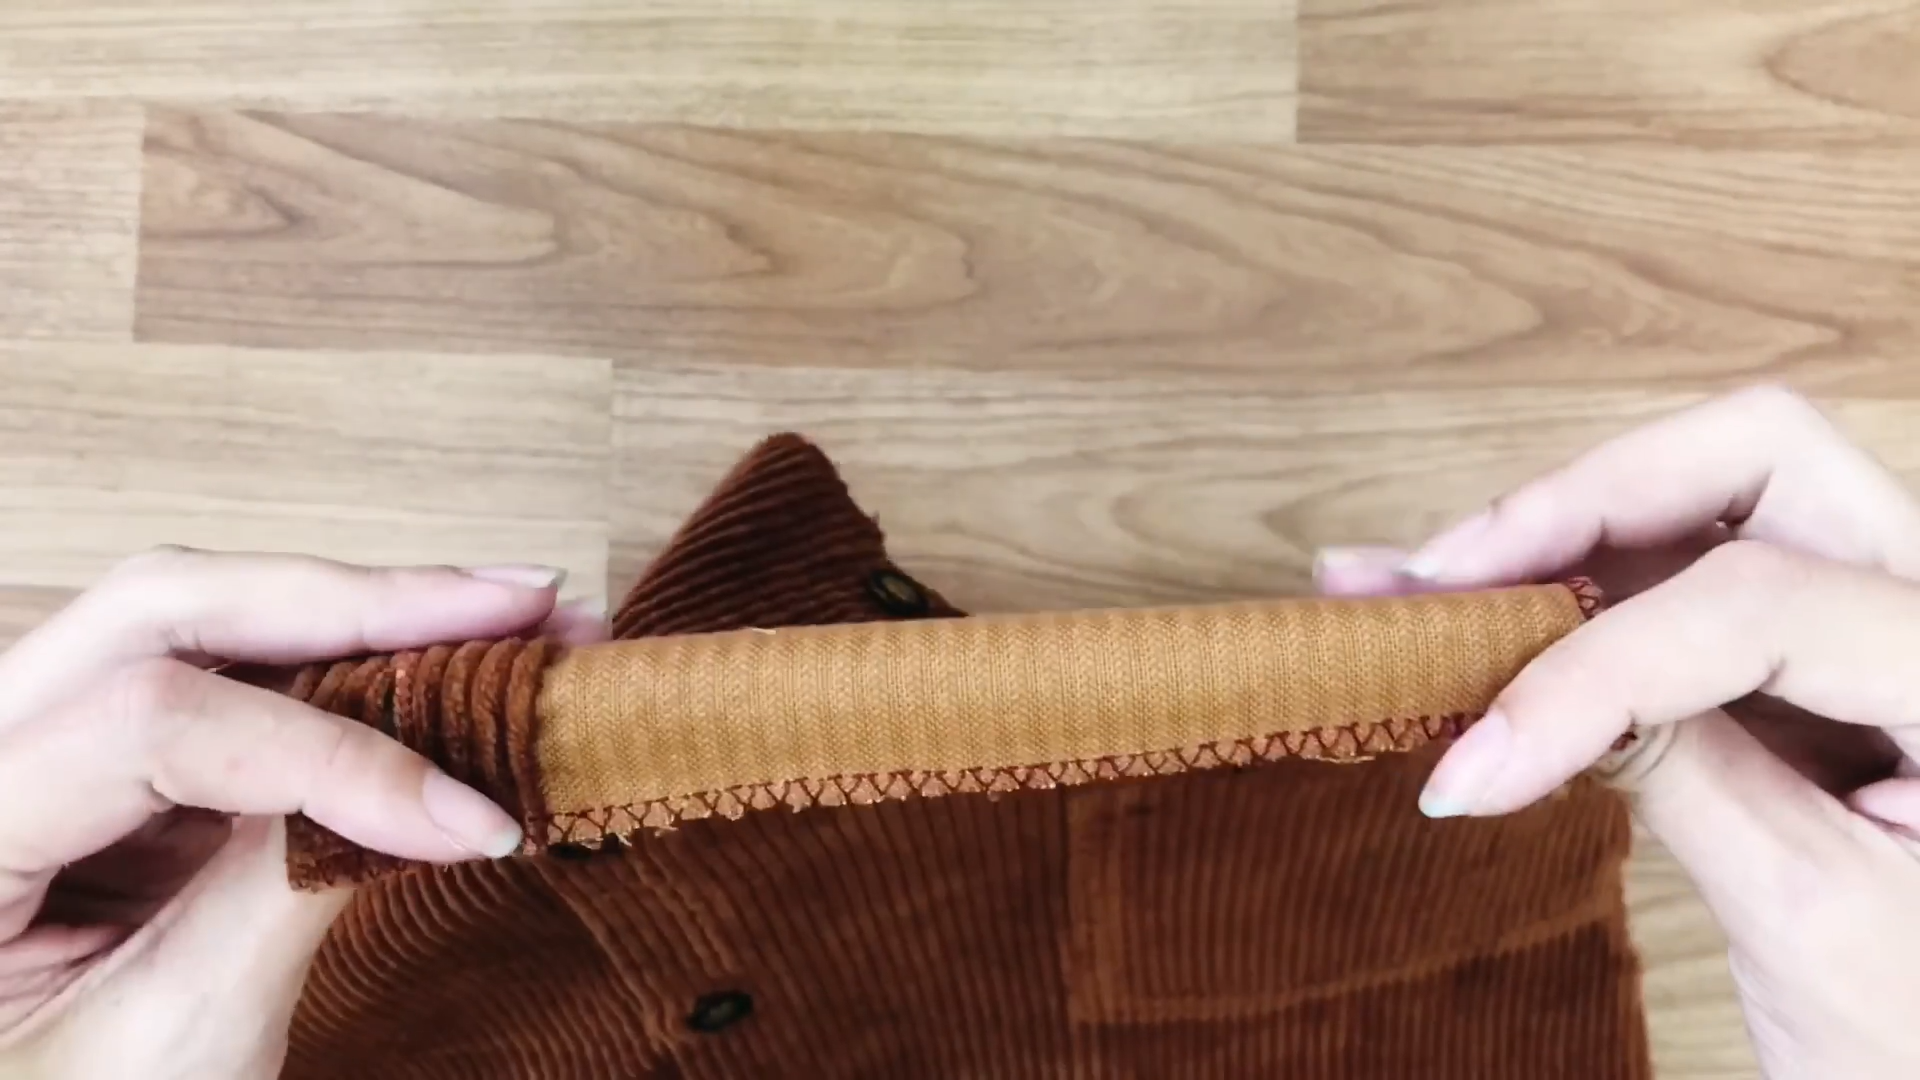
Overcast the front and the back of the dress to protect the fabric and your cutting.
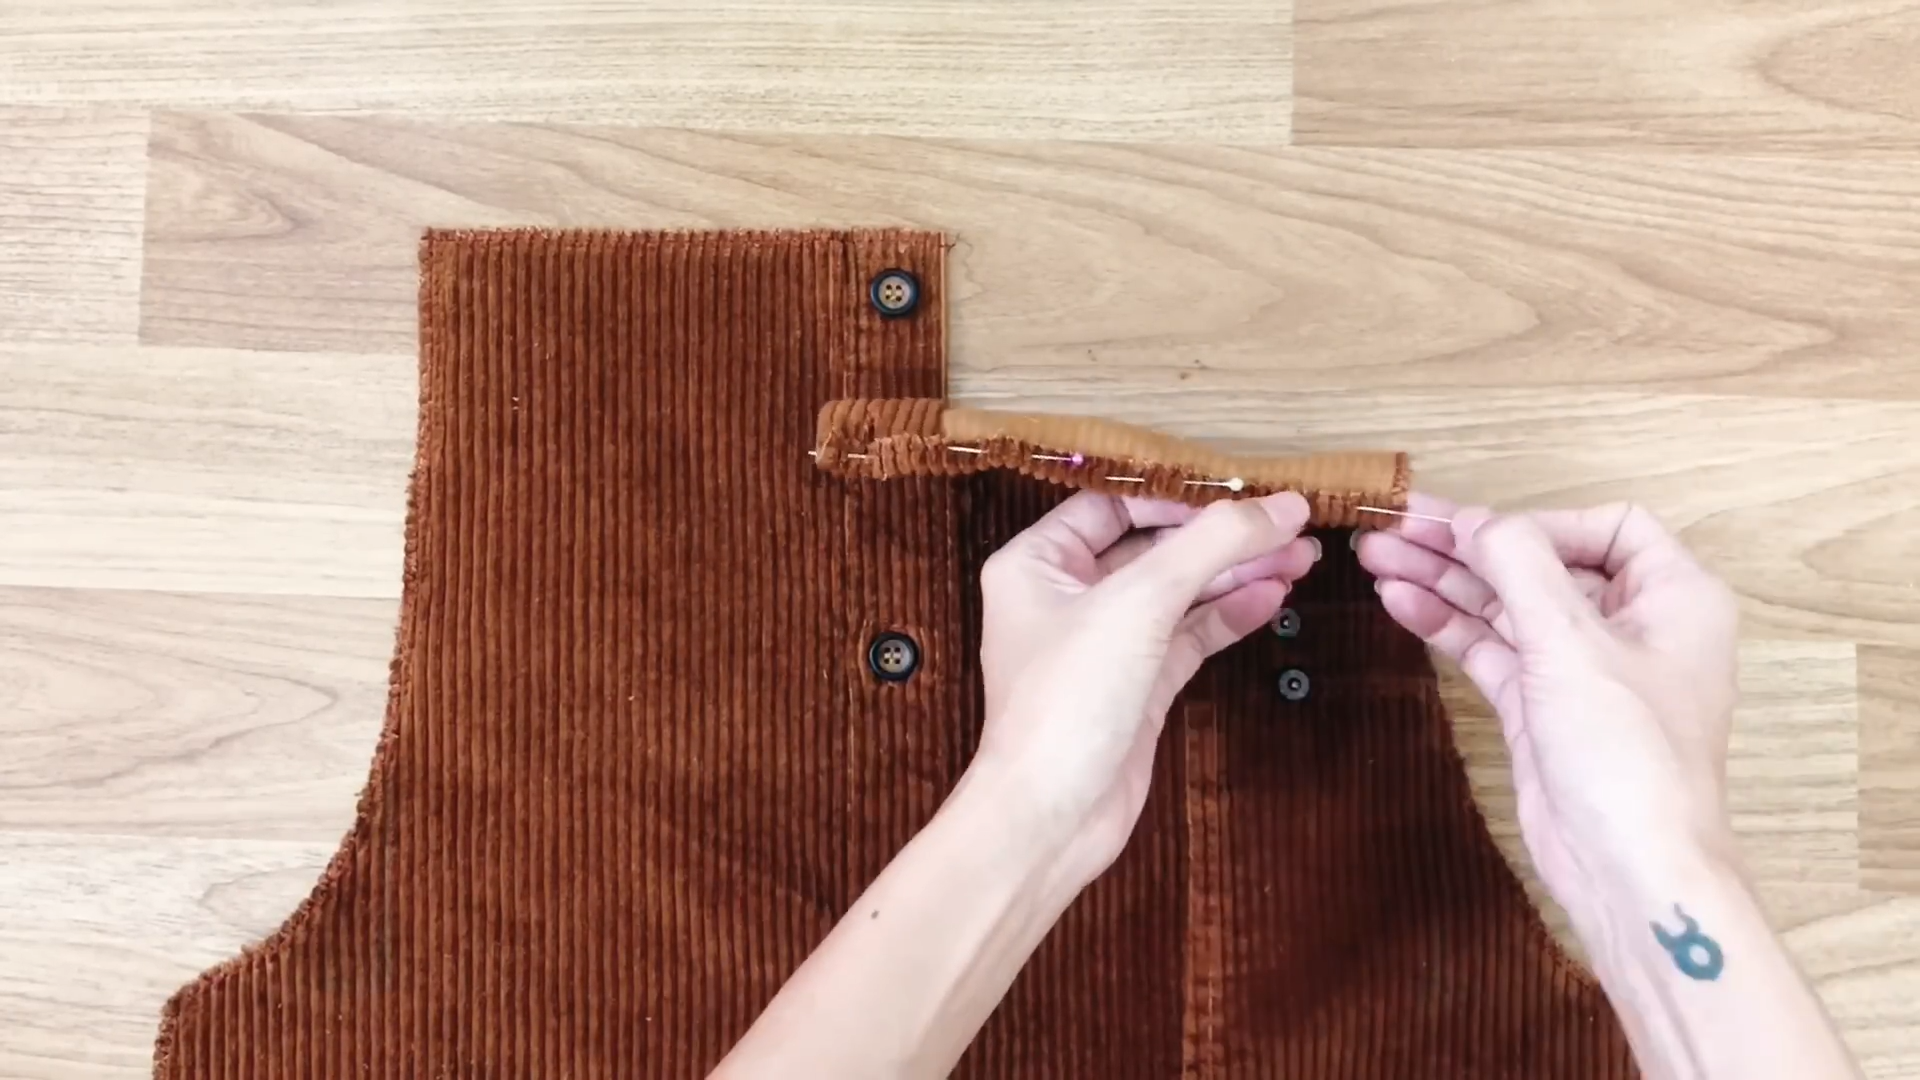
At the top of the front, fold the fabric inside to hide the cutting and use pins to hold your folding. Remember not to fold too much fabric inside as it could hide a button hole.
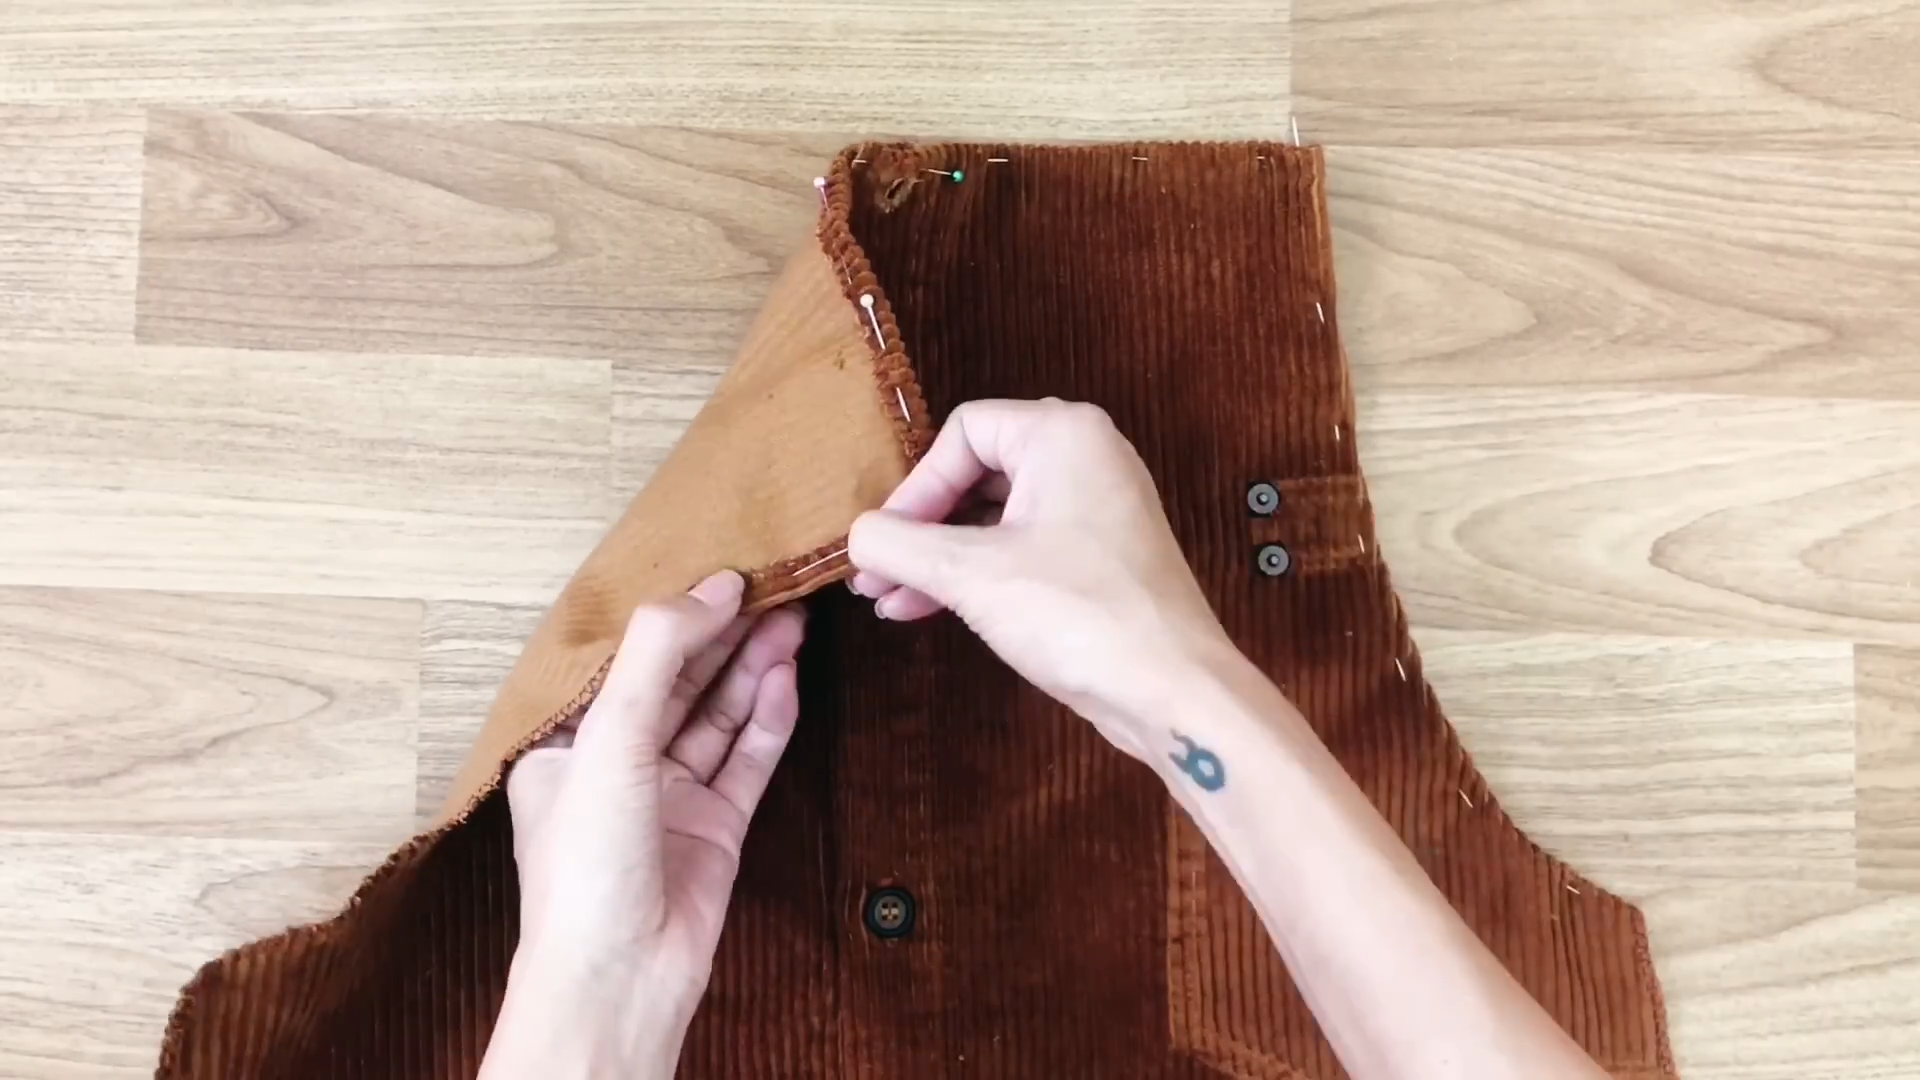
Do the same at two sides of the hand part and sew together.
THE POCKET
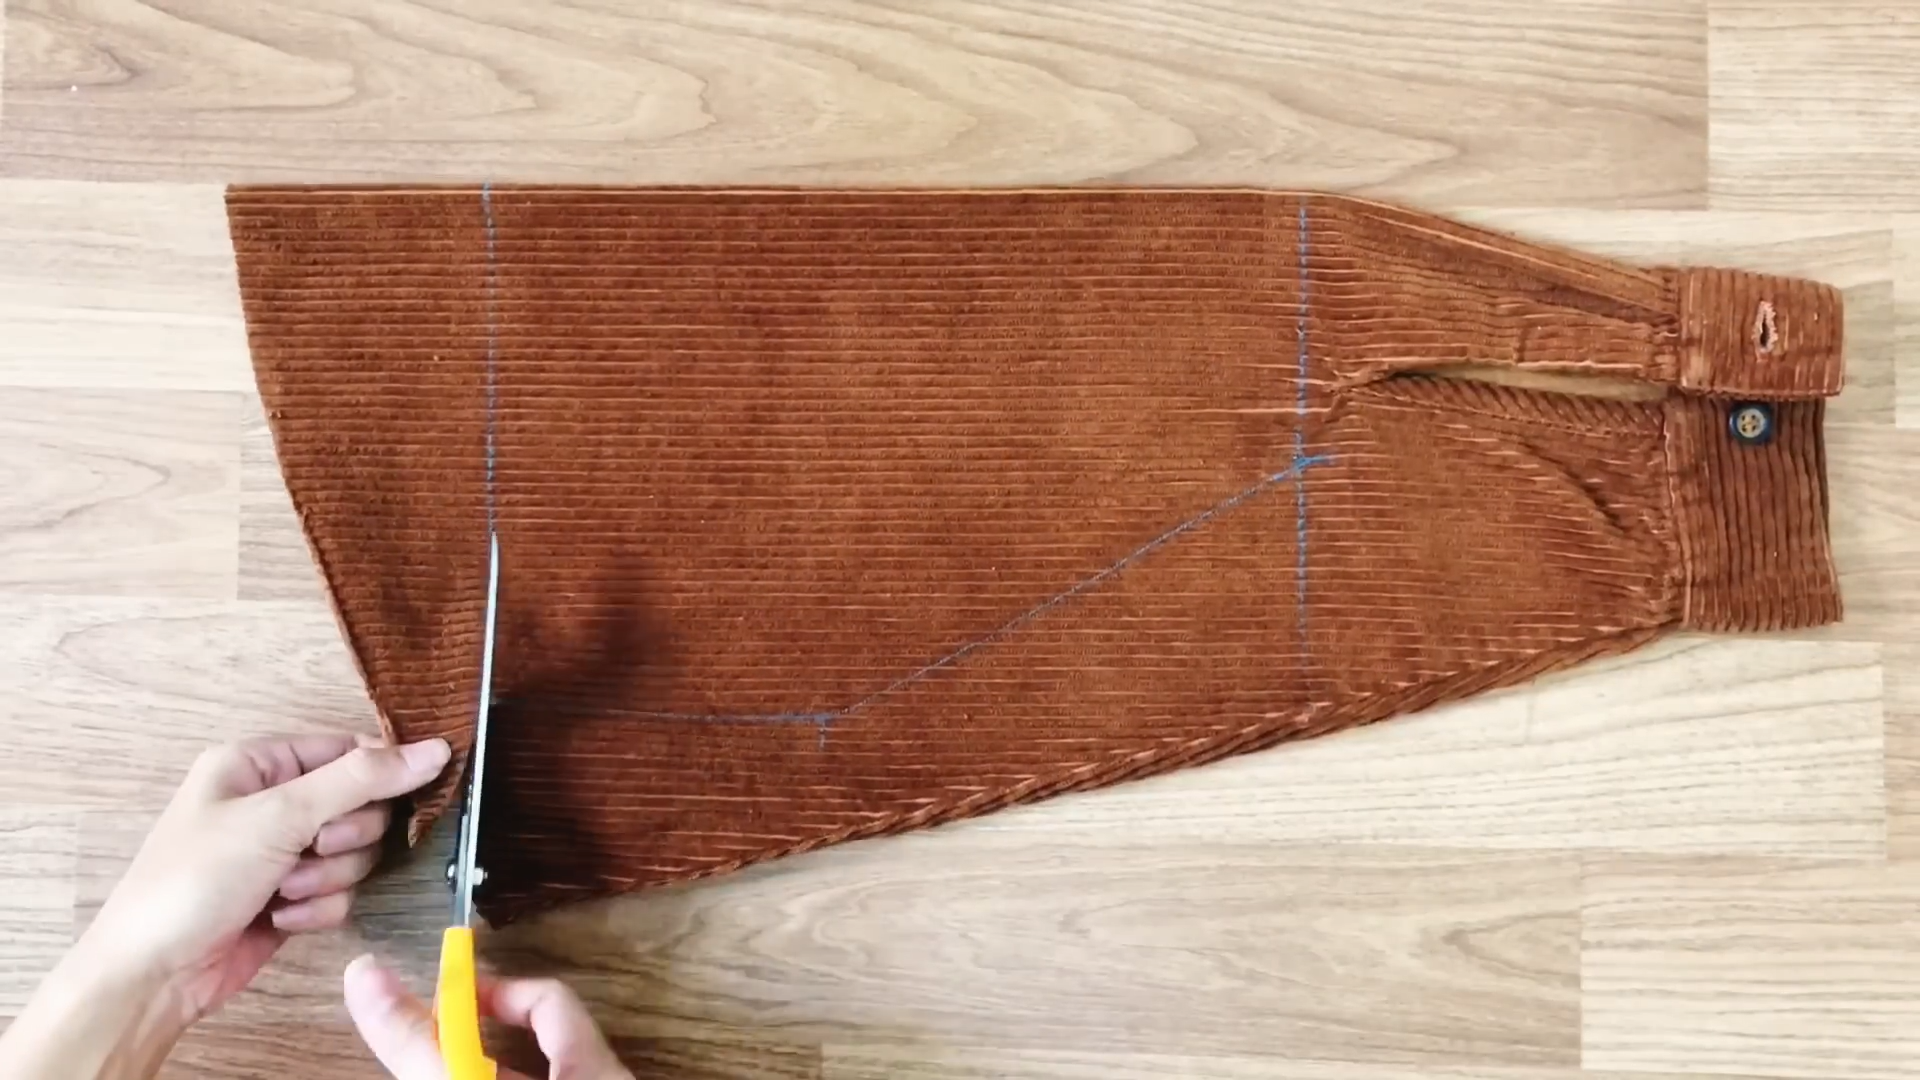
Draw a trapezium on the fabric from one hand of the dress. The trapezium should be 30 cm high and 20 cm wide.
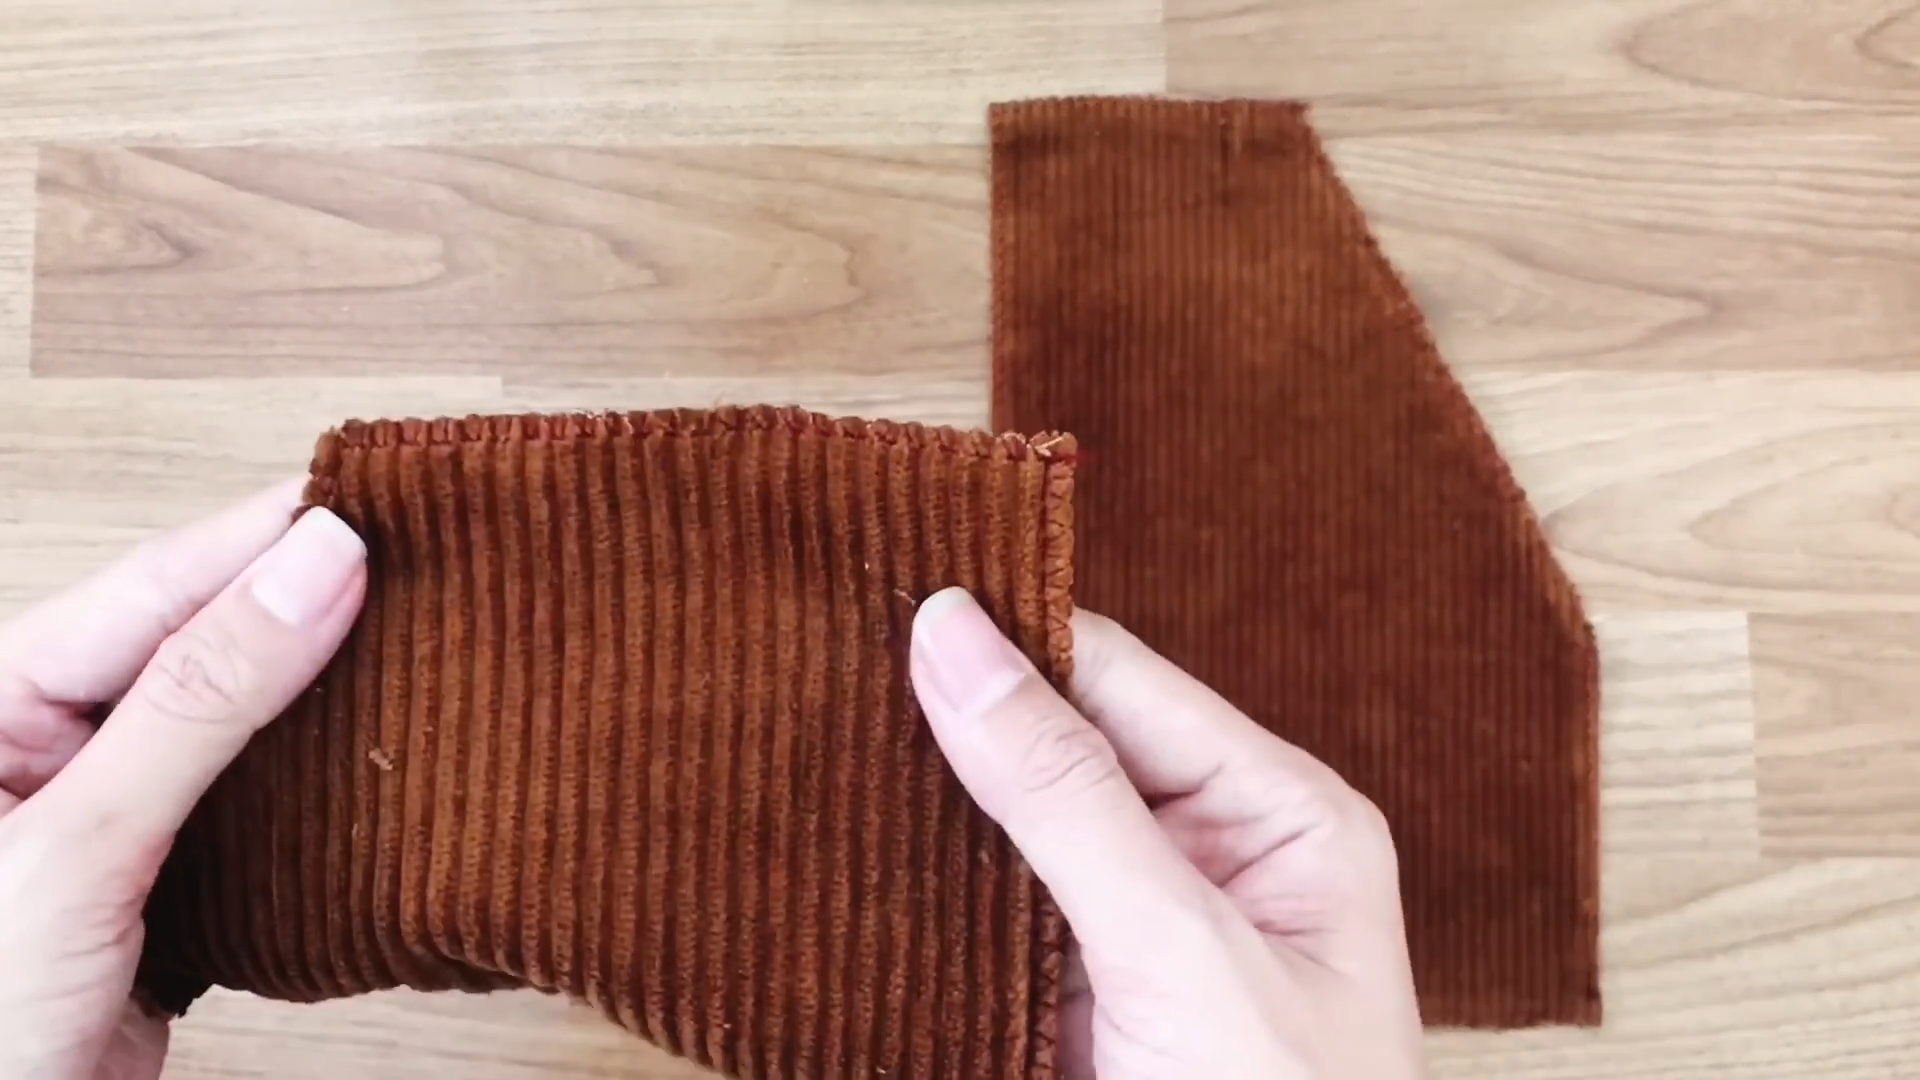
After cutting, overcast the pockets to protect the fabric.
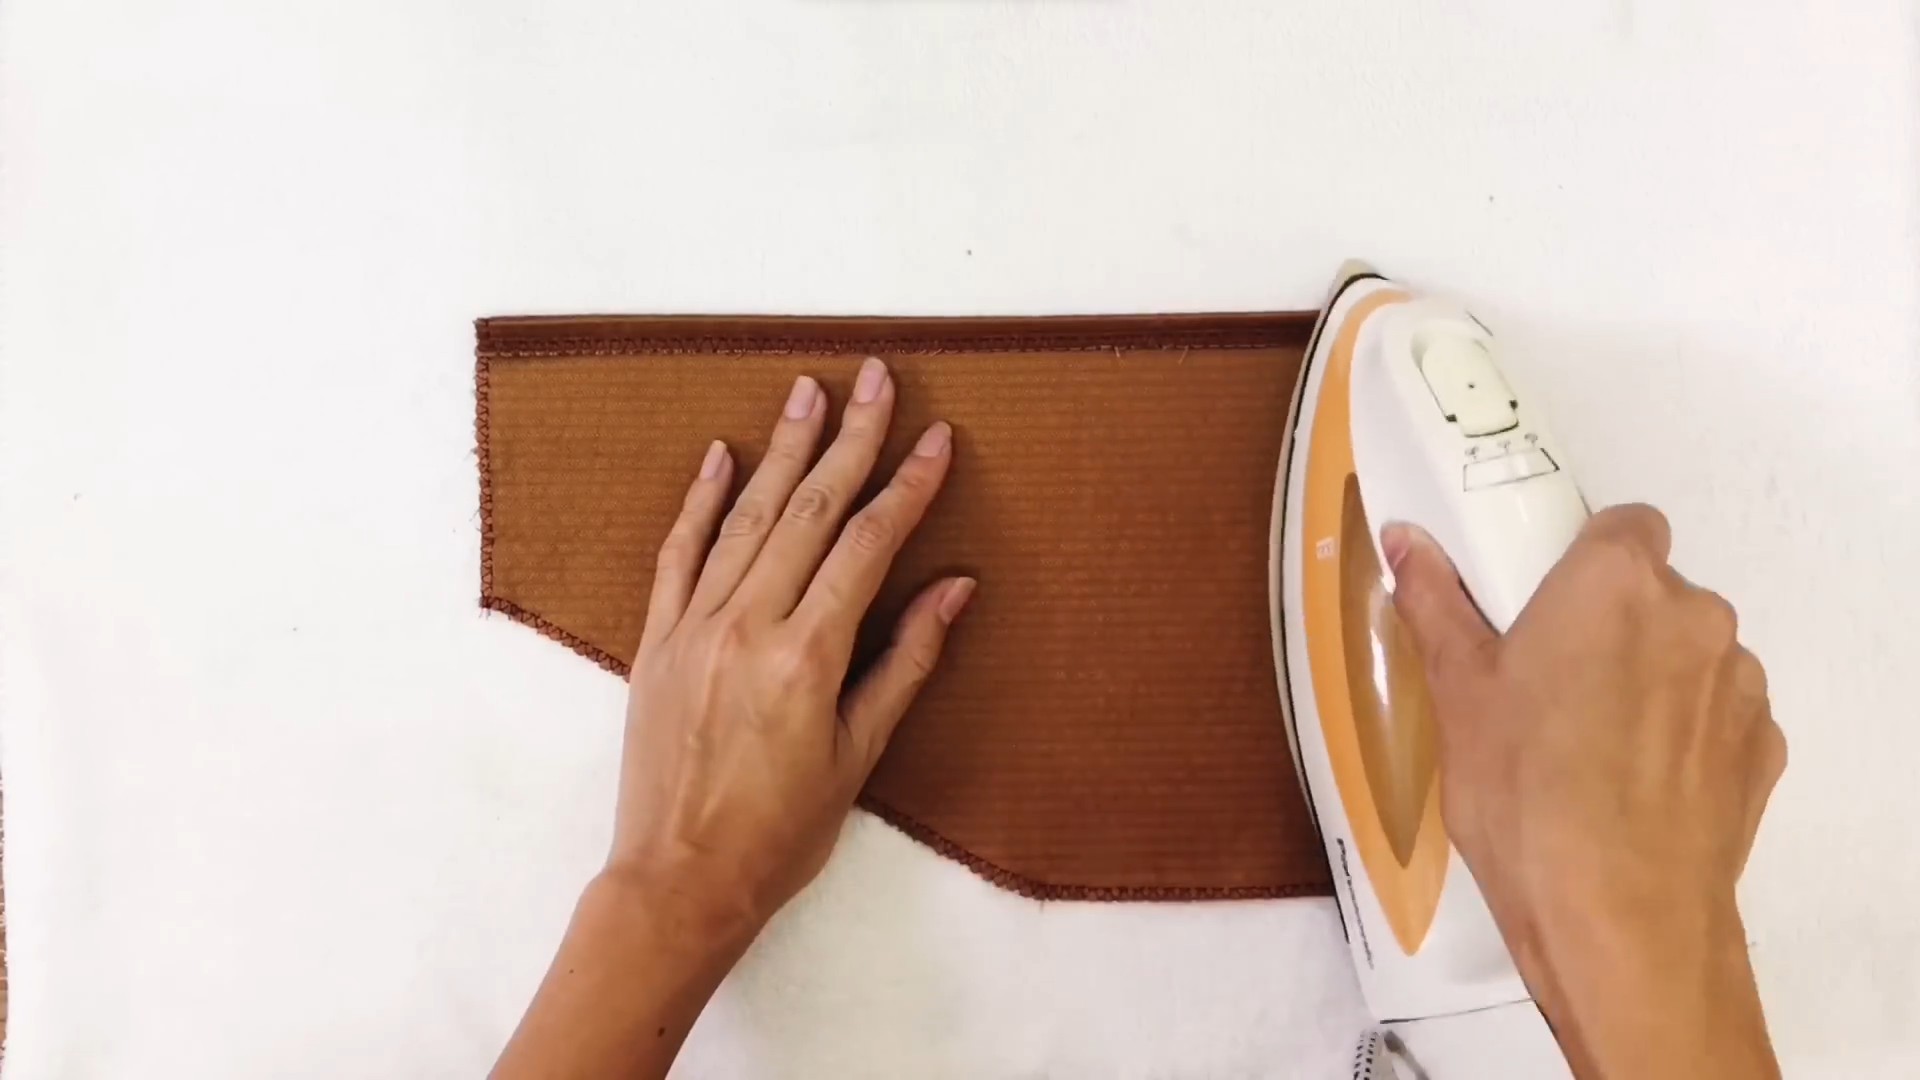
Use an iron to help keep the folding of the pockets.
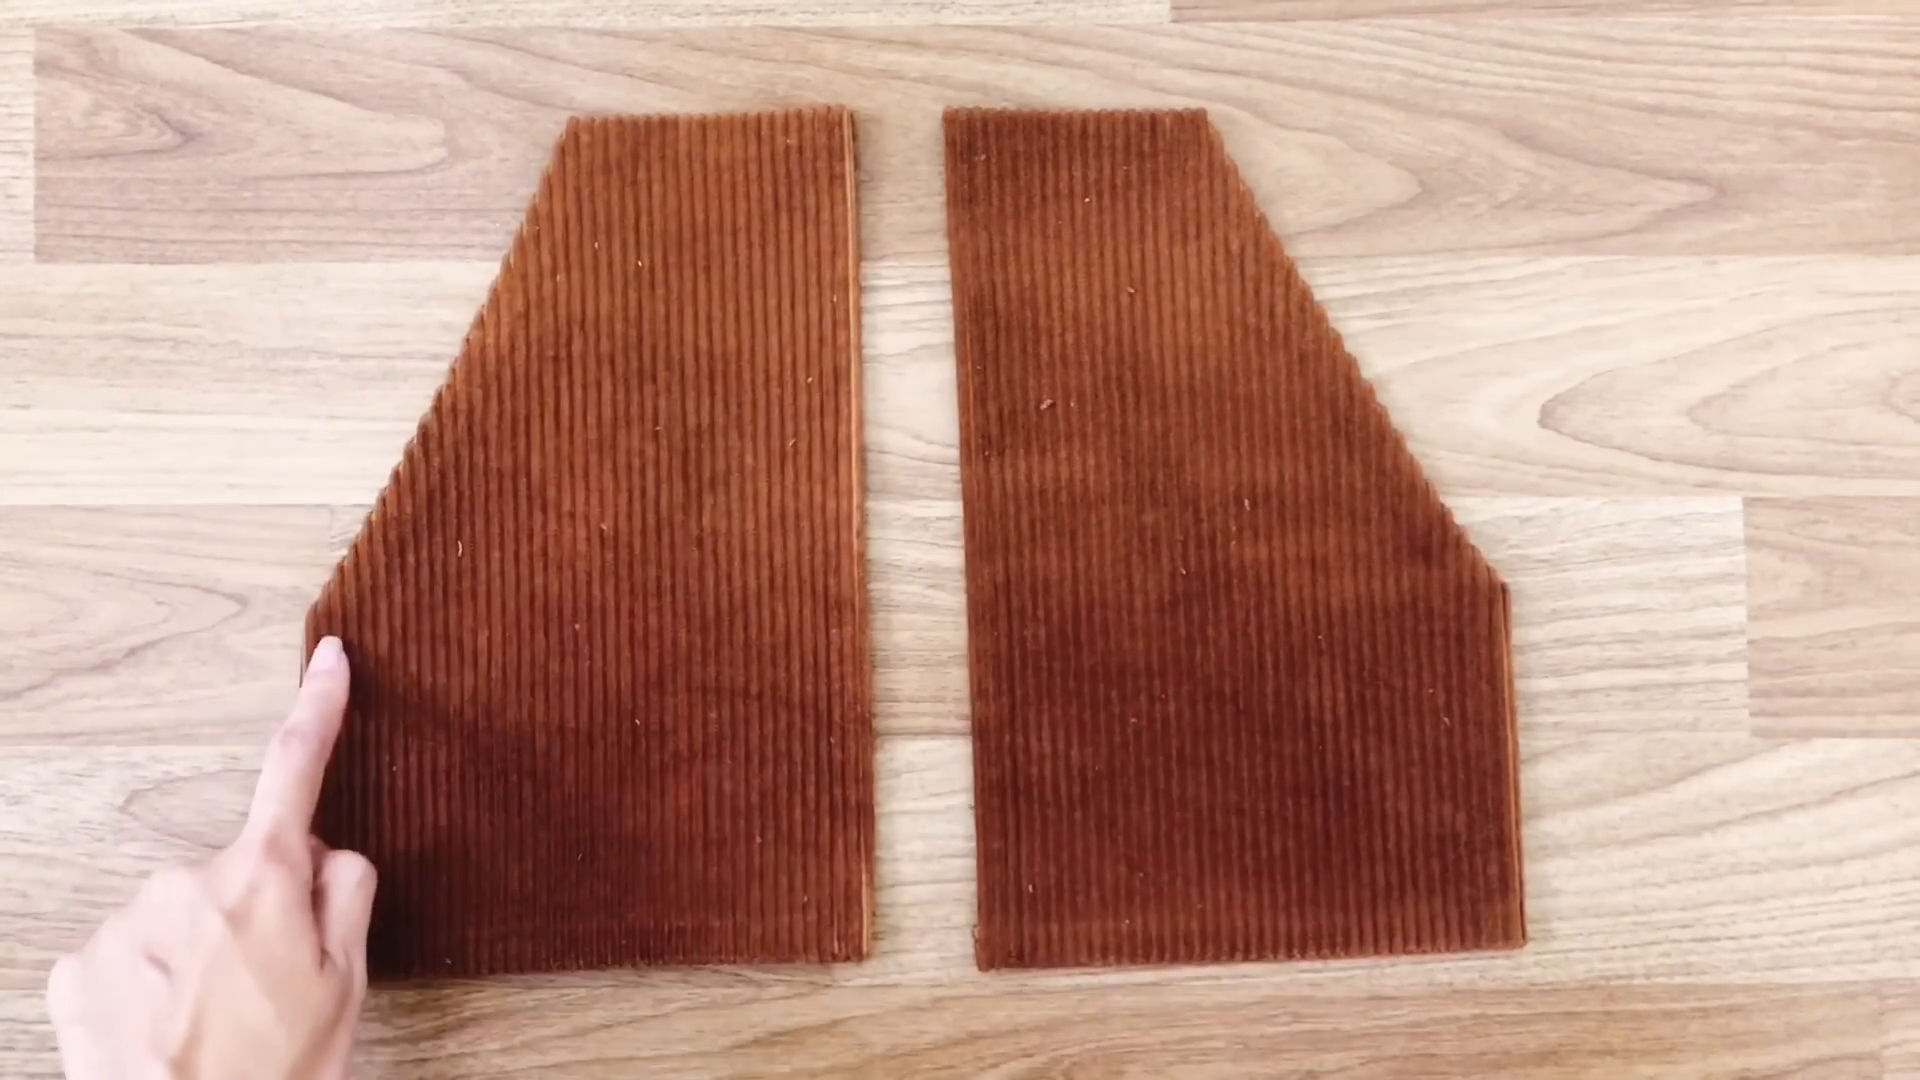
Sew one side of the pocket that will be the open area before fixing the pockets to the front of the dress.
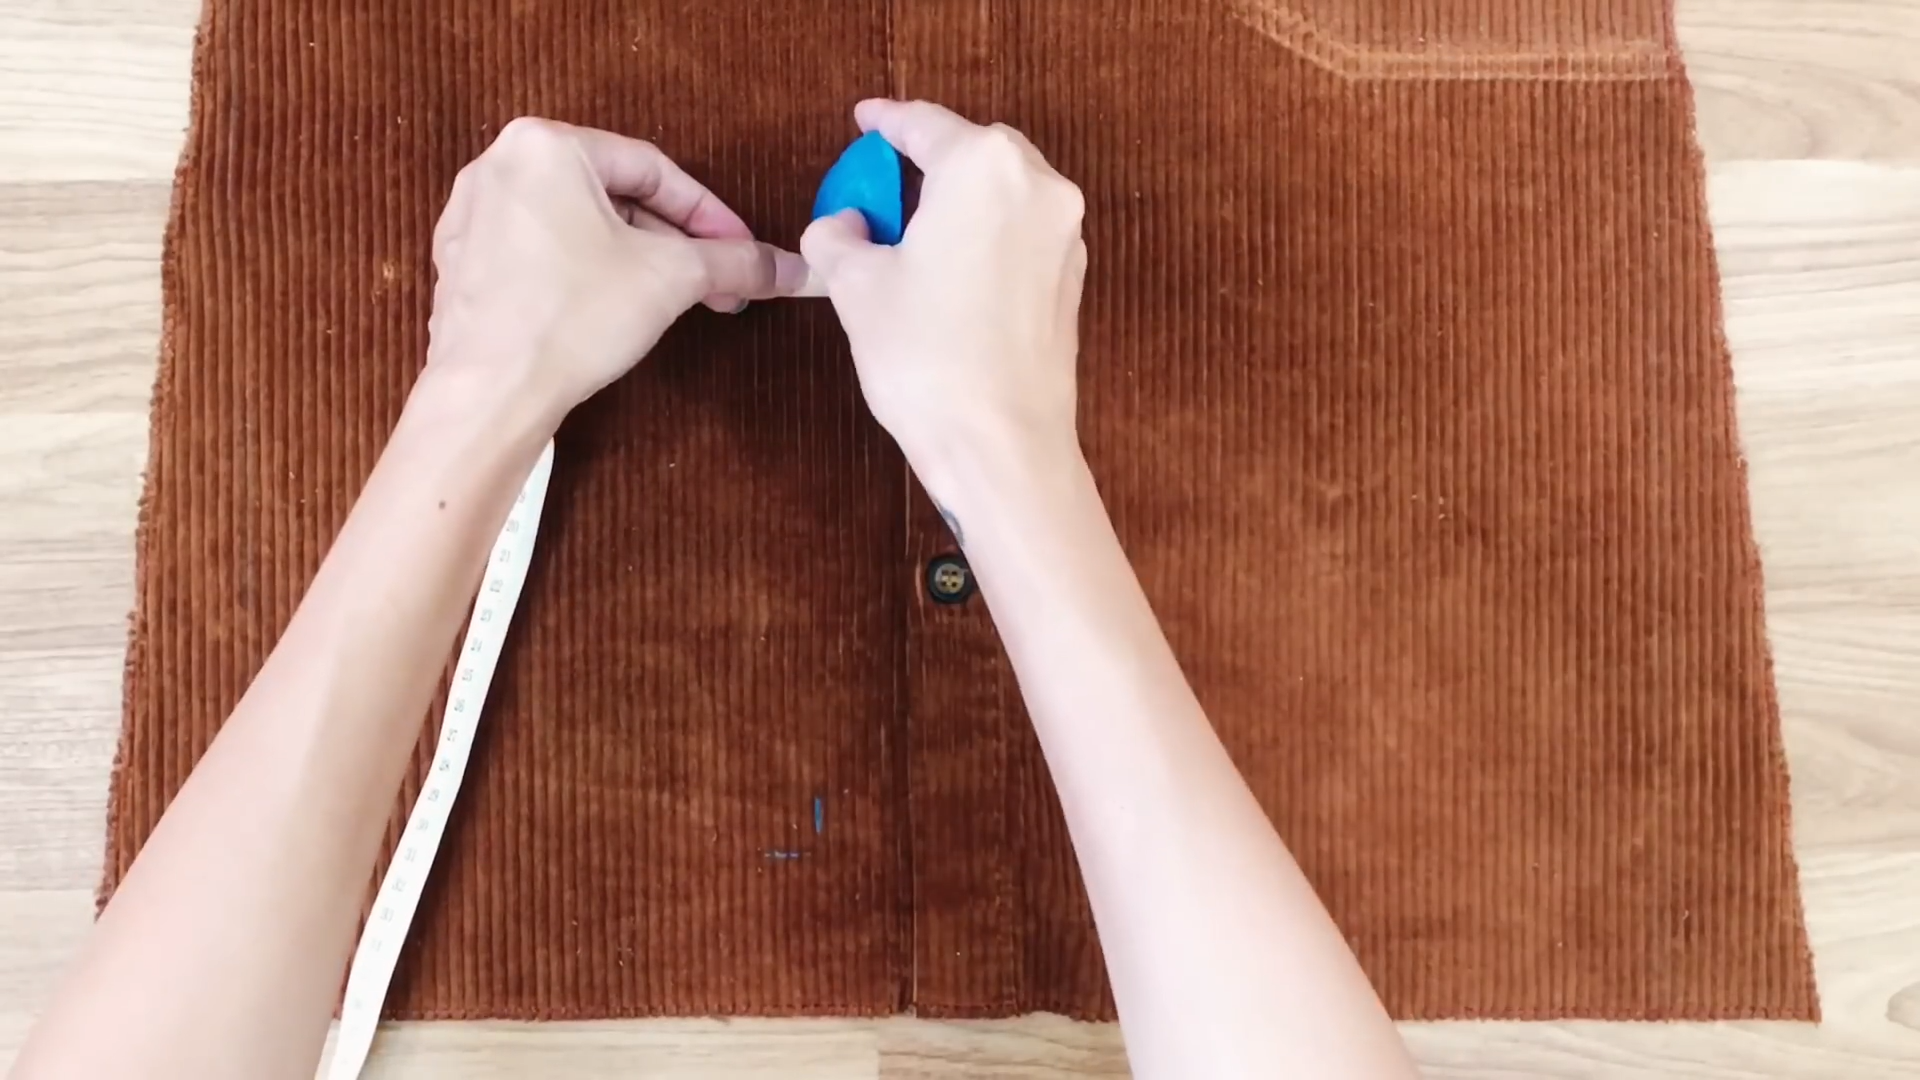
From the end of the dress, go up 5 cm. And from the body of the button area, go to the left or right 3 cm. The pockets will be 5 cm higher than the end of the dress and 3 cm away from the button area. Use pins to fix the pockets to the front of the dress, then sew them together.
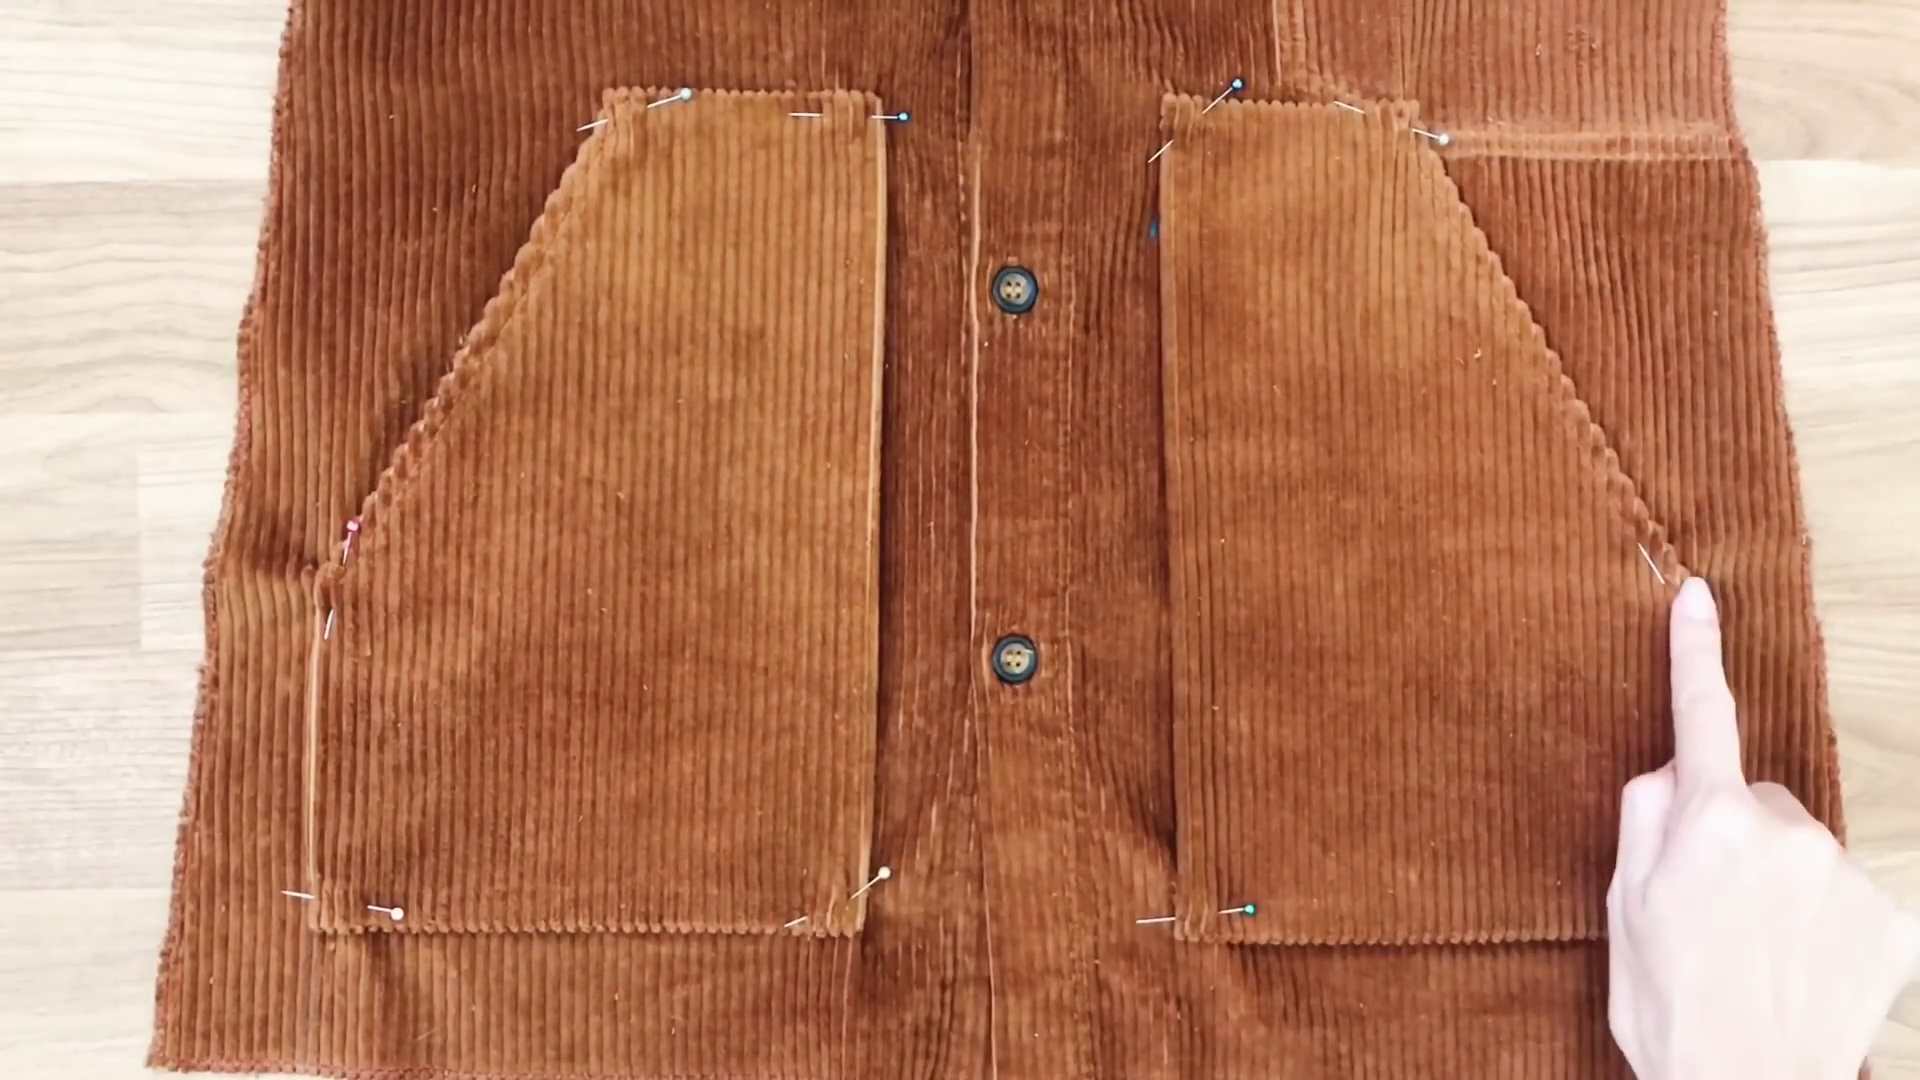
Use pins to fix the pockets to the front of the dress, then sew them together
THE BAND
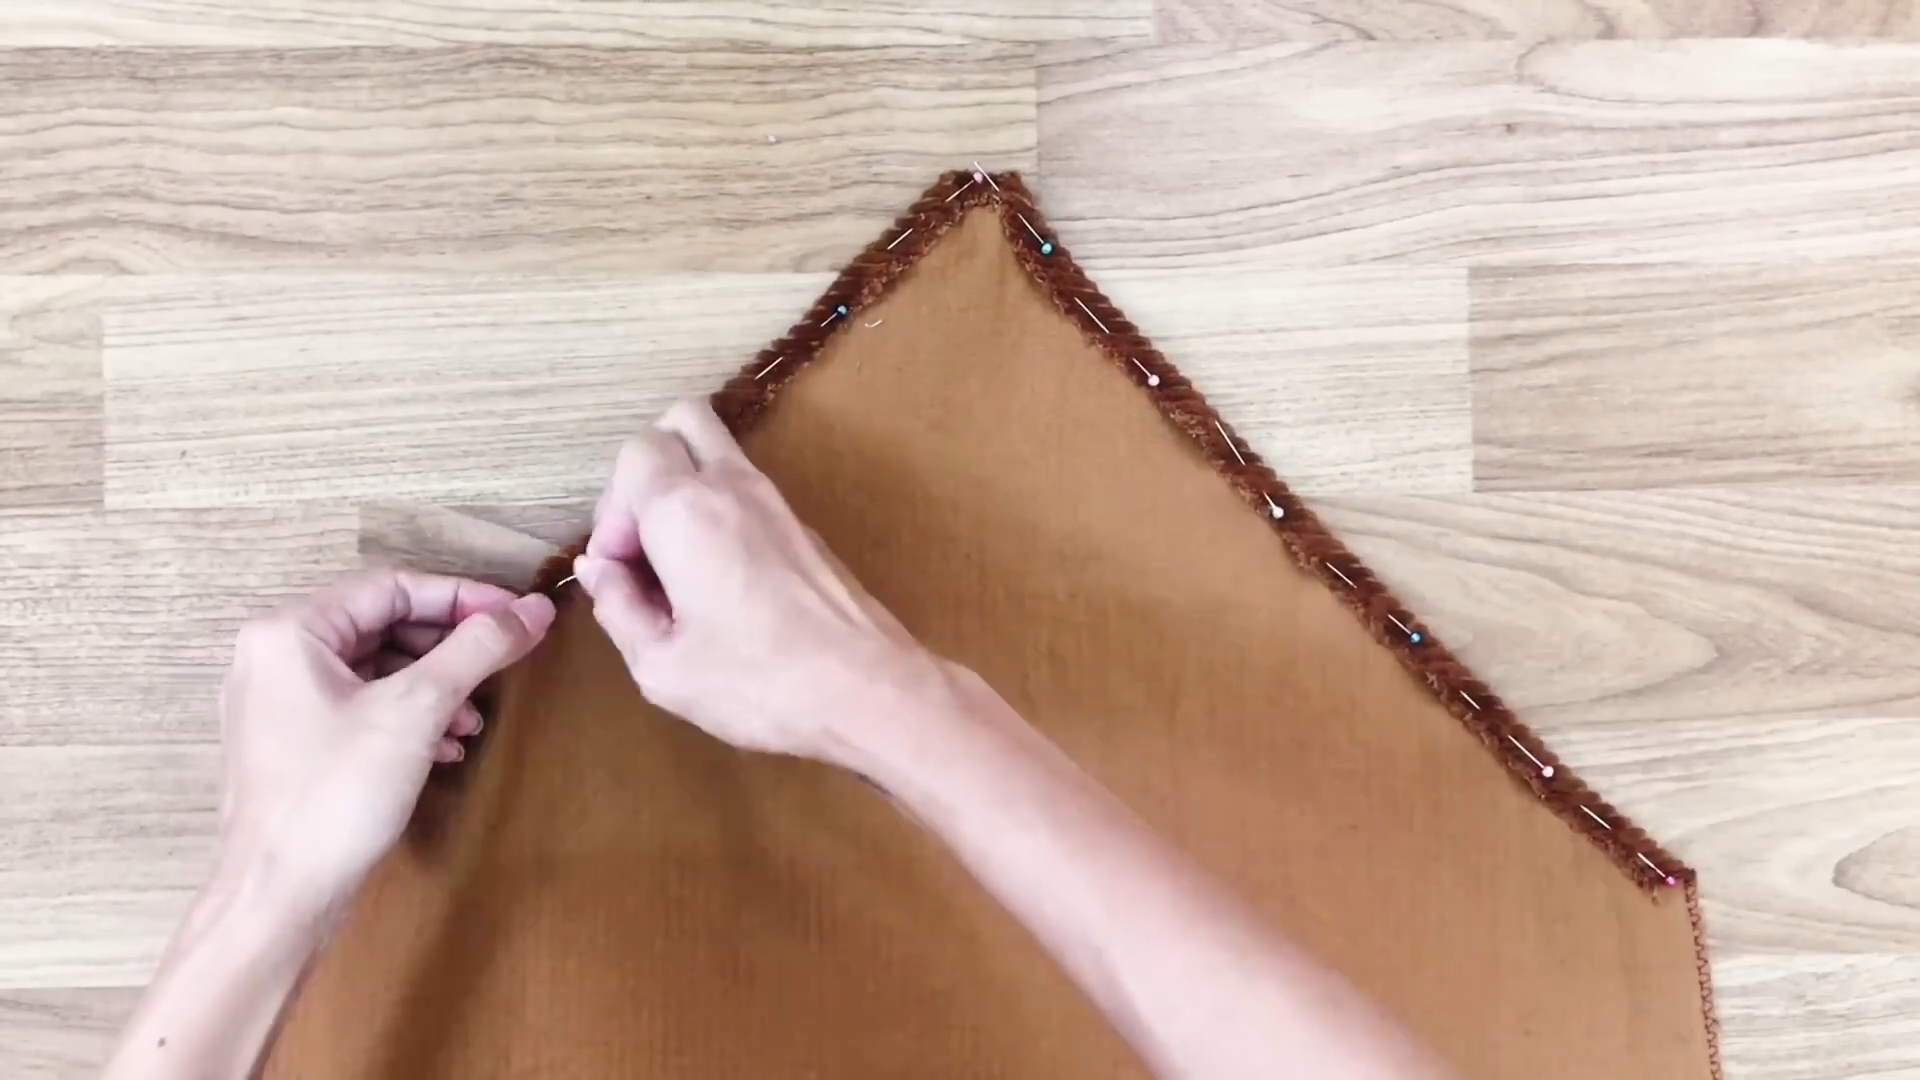
Move to the back of the dress. Fold the fabric inside and use pins to hold the folding before sewing.
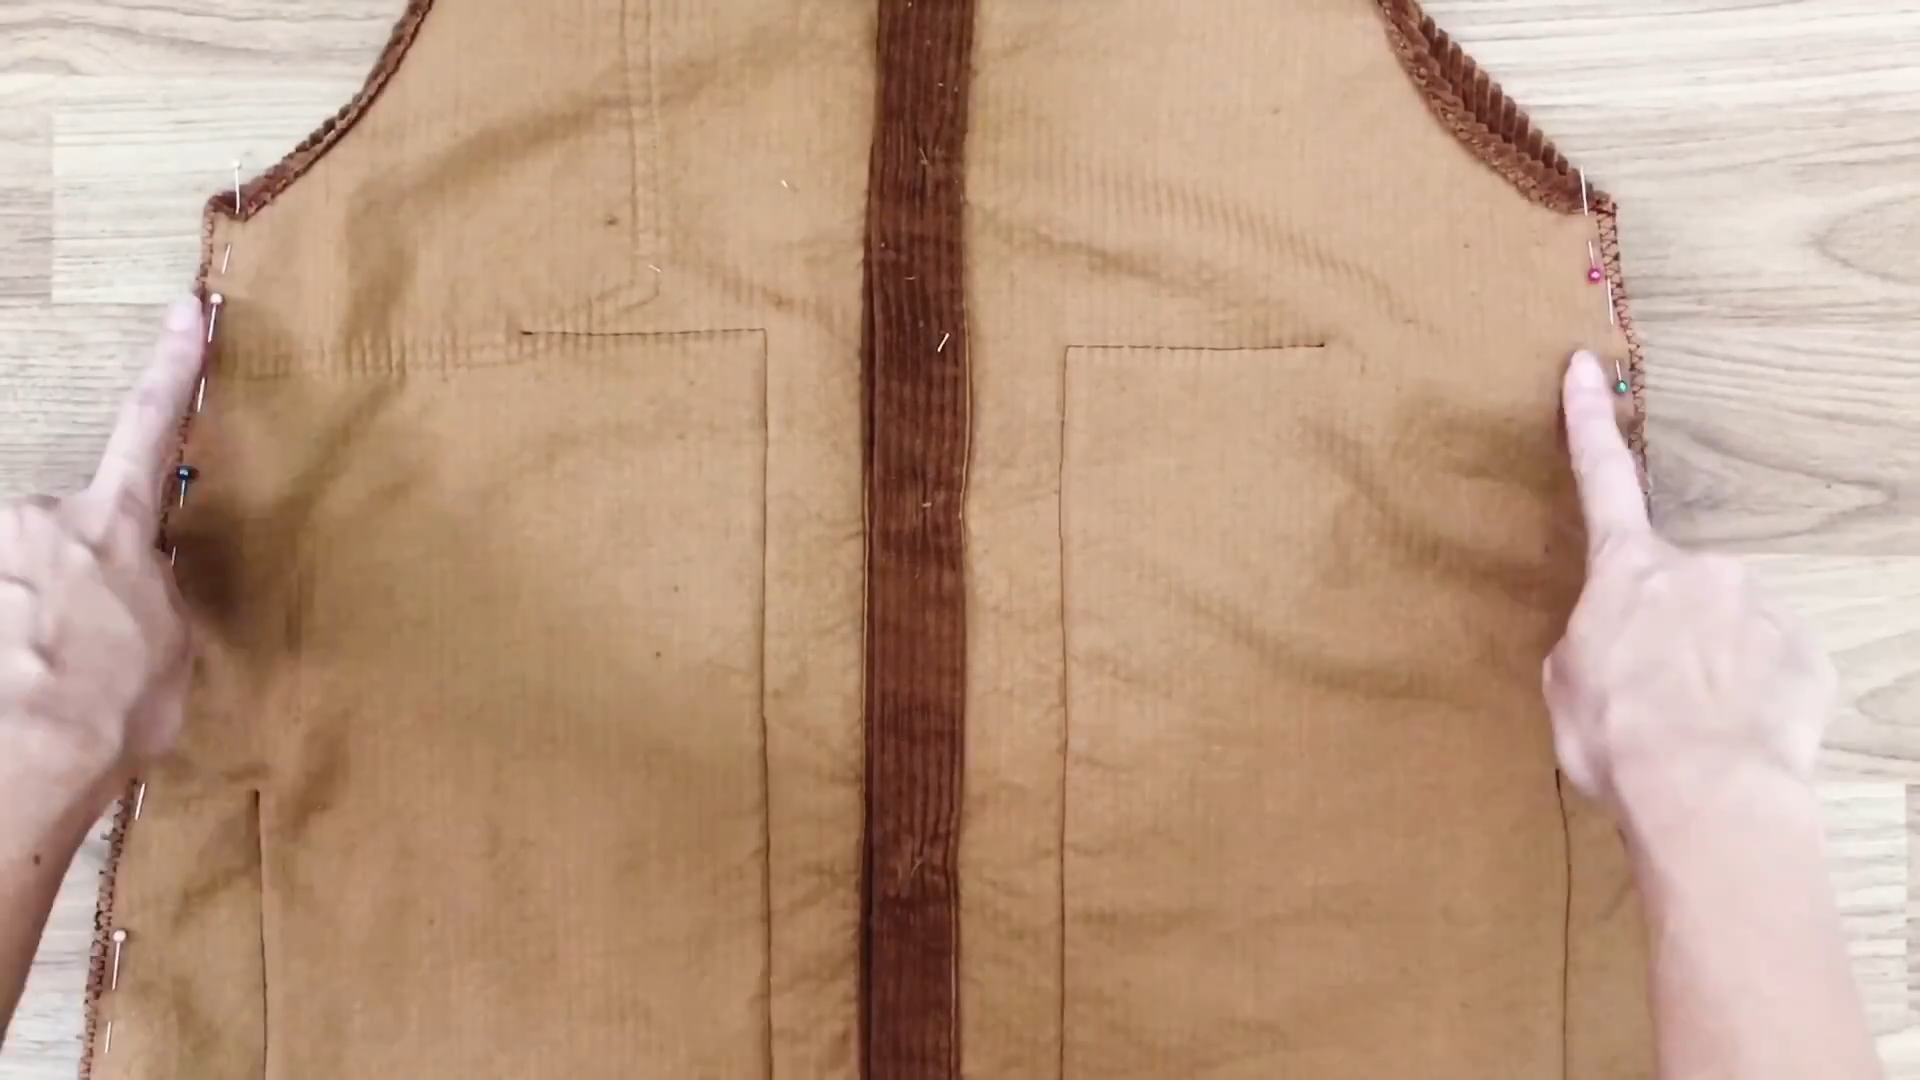
After sewing, connect the front and the back together.
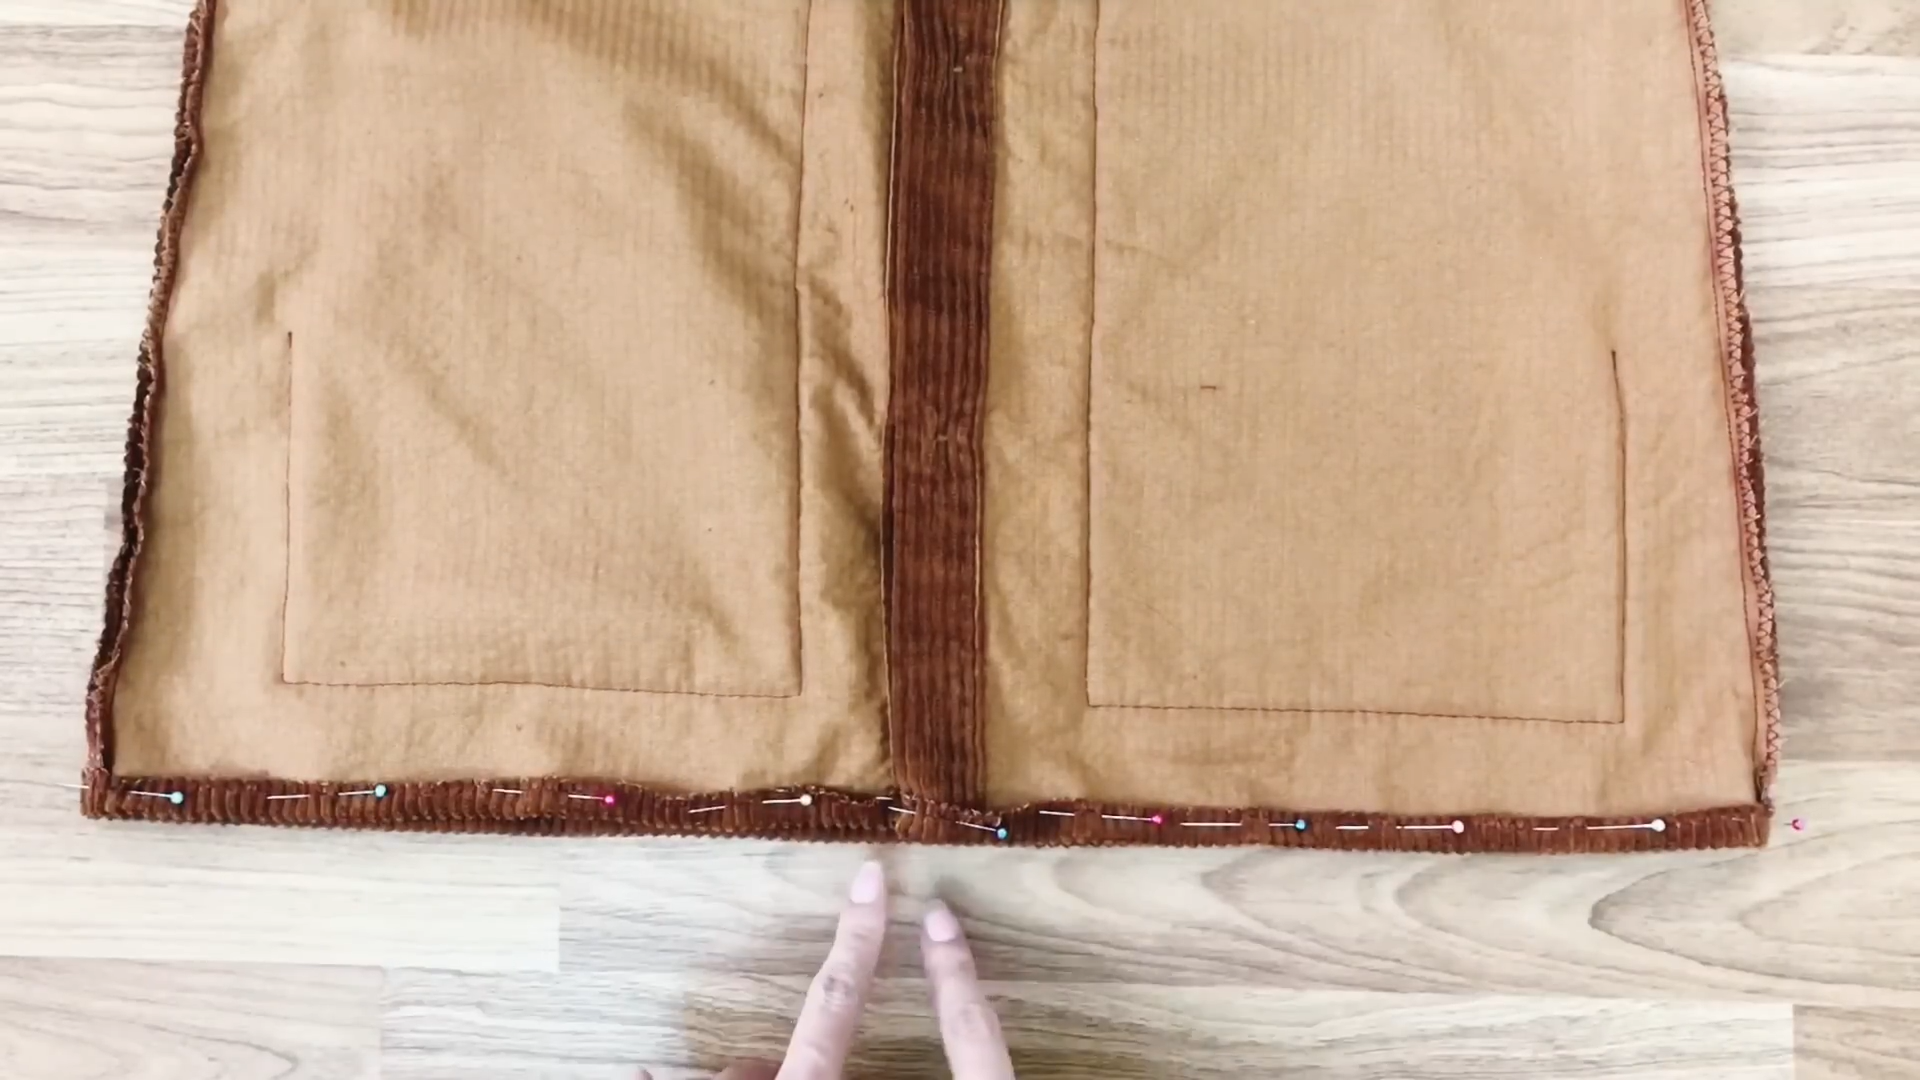
Then, move to the end of the dress. Fold the fabric inside to hide the cutting. Use pins to hold the folding and sew.
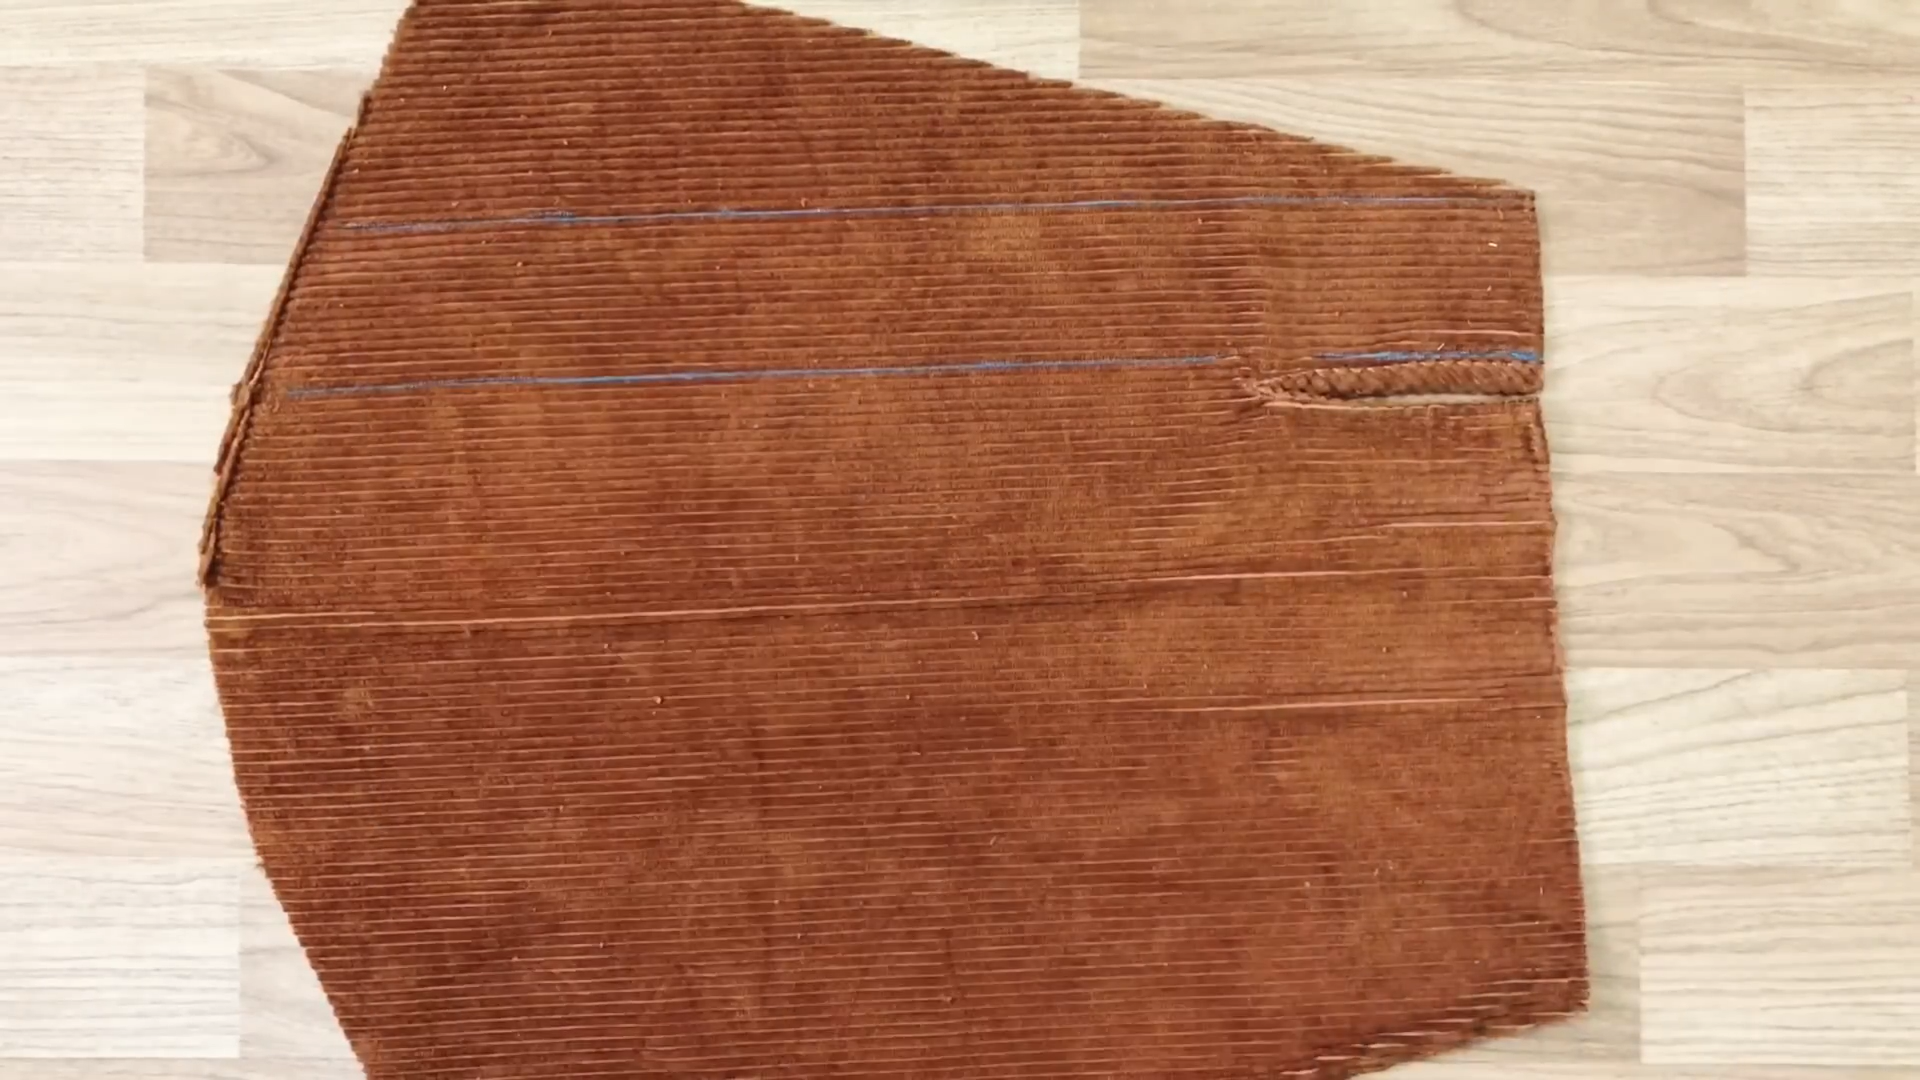
Next, make the bands for the overall dress by using the fabric from the hand part.
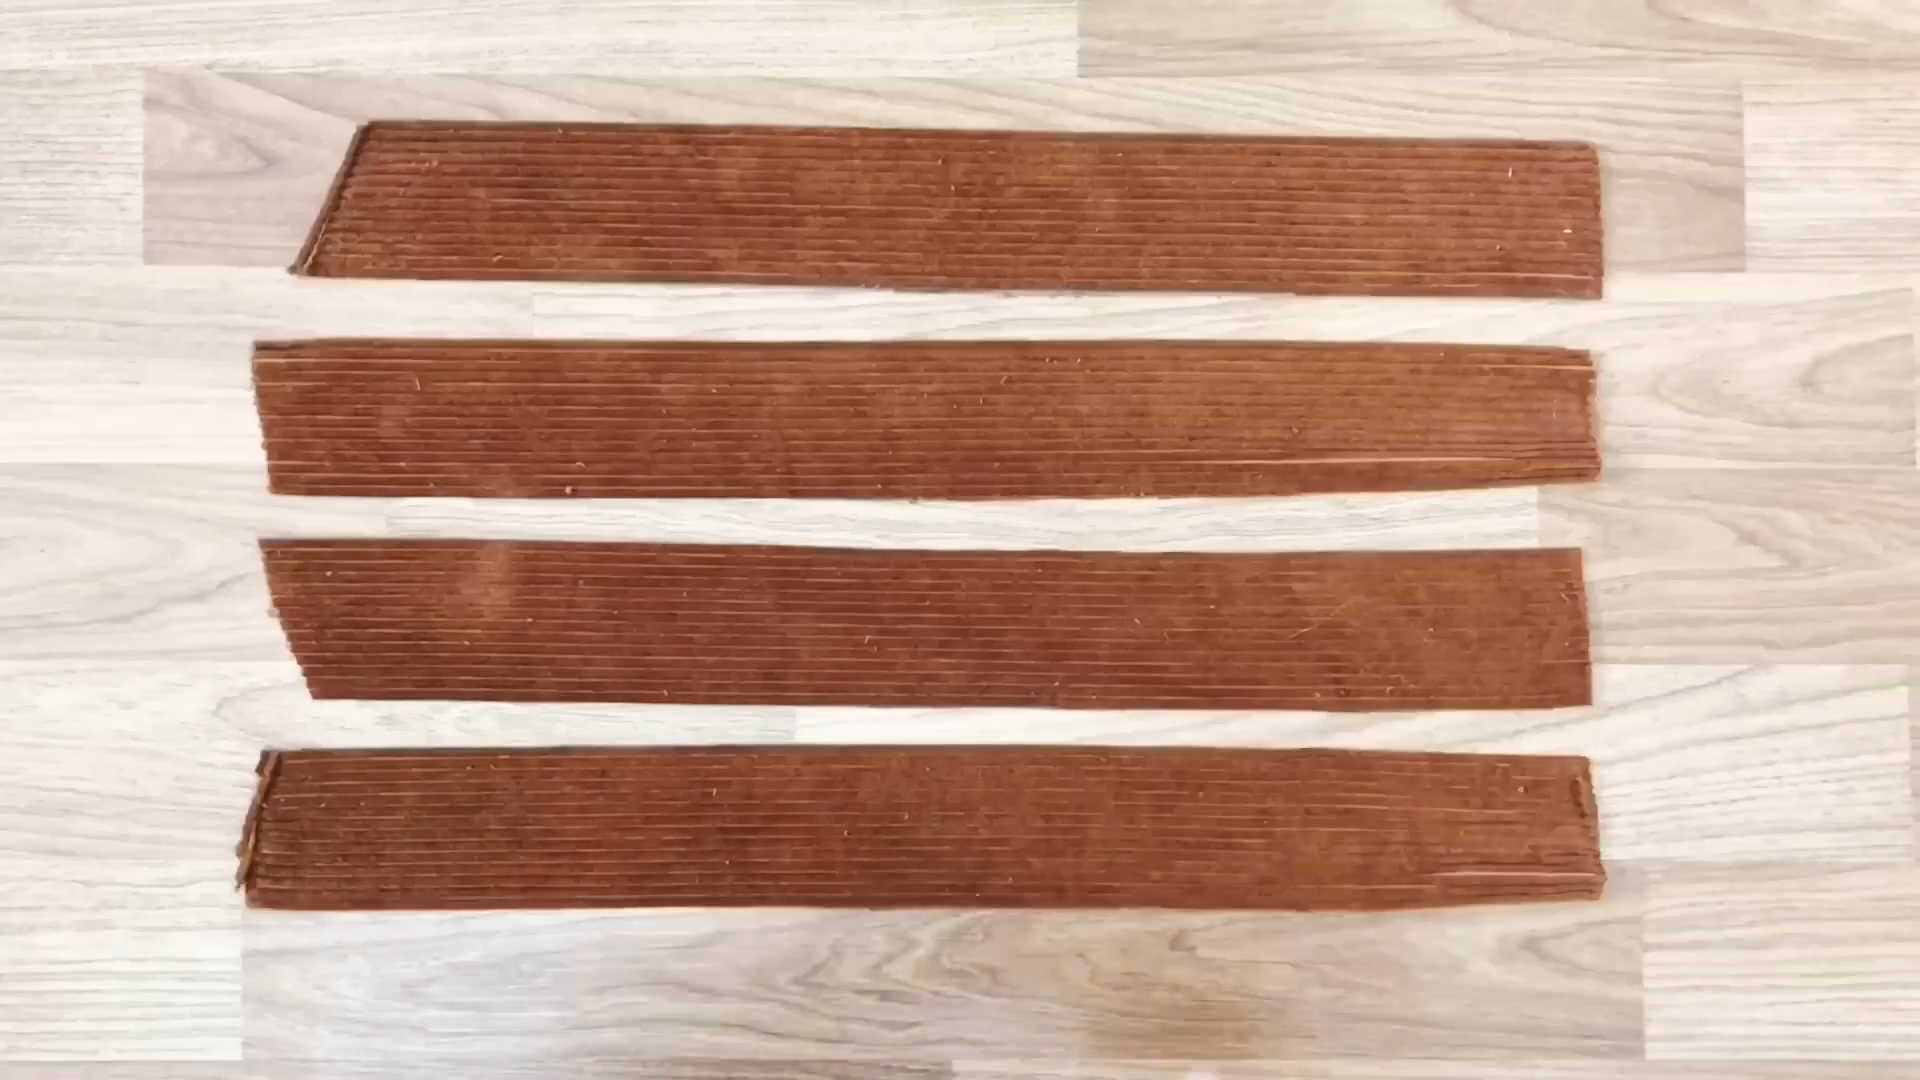
Make 4 pieces of the fabric with a size of 7 cm high and about 30 cm width.
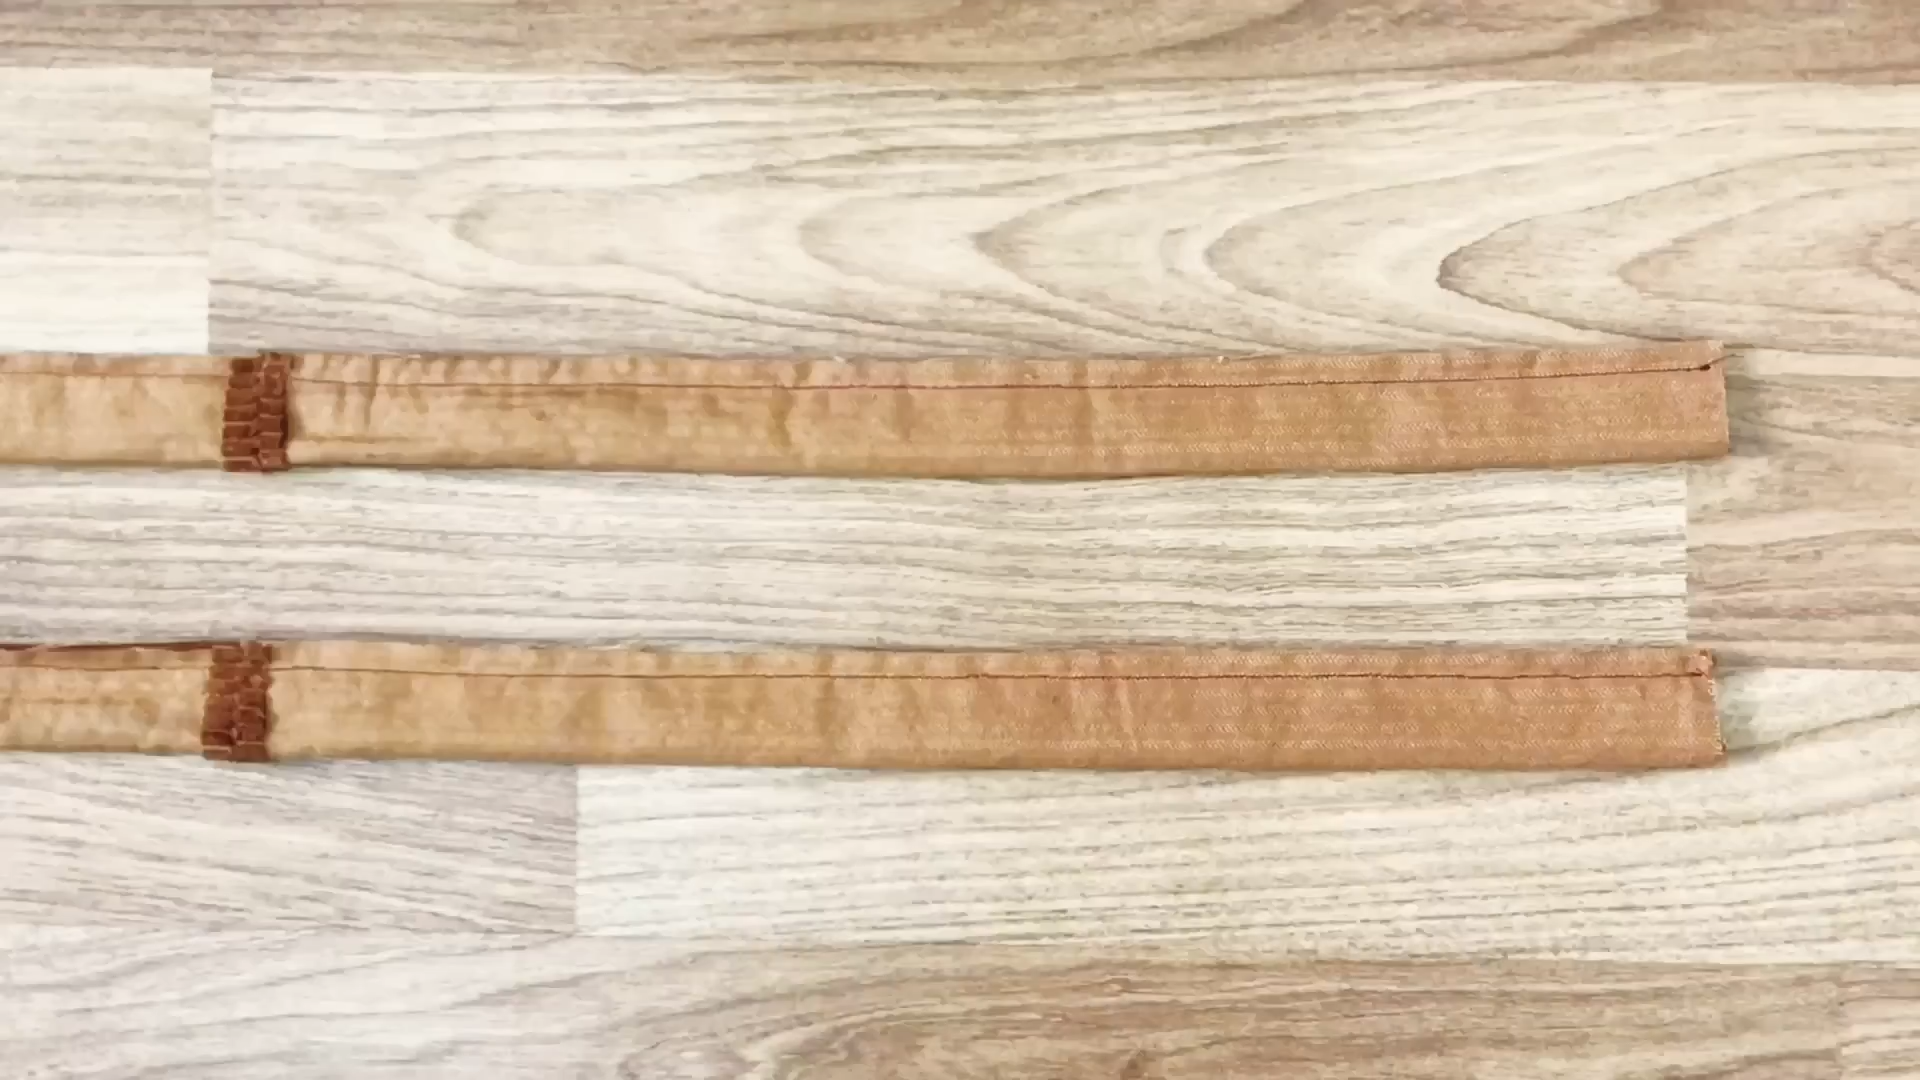
Connect two pieces together at one end by sewing, then fold the fabric together to make the band.
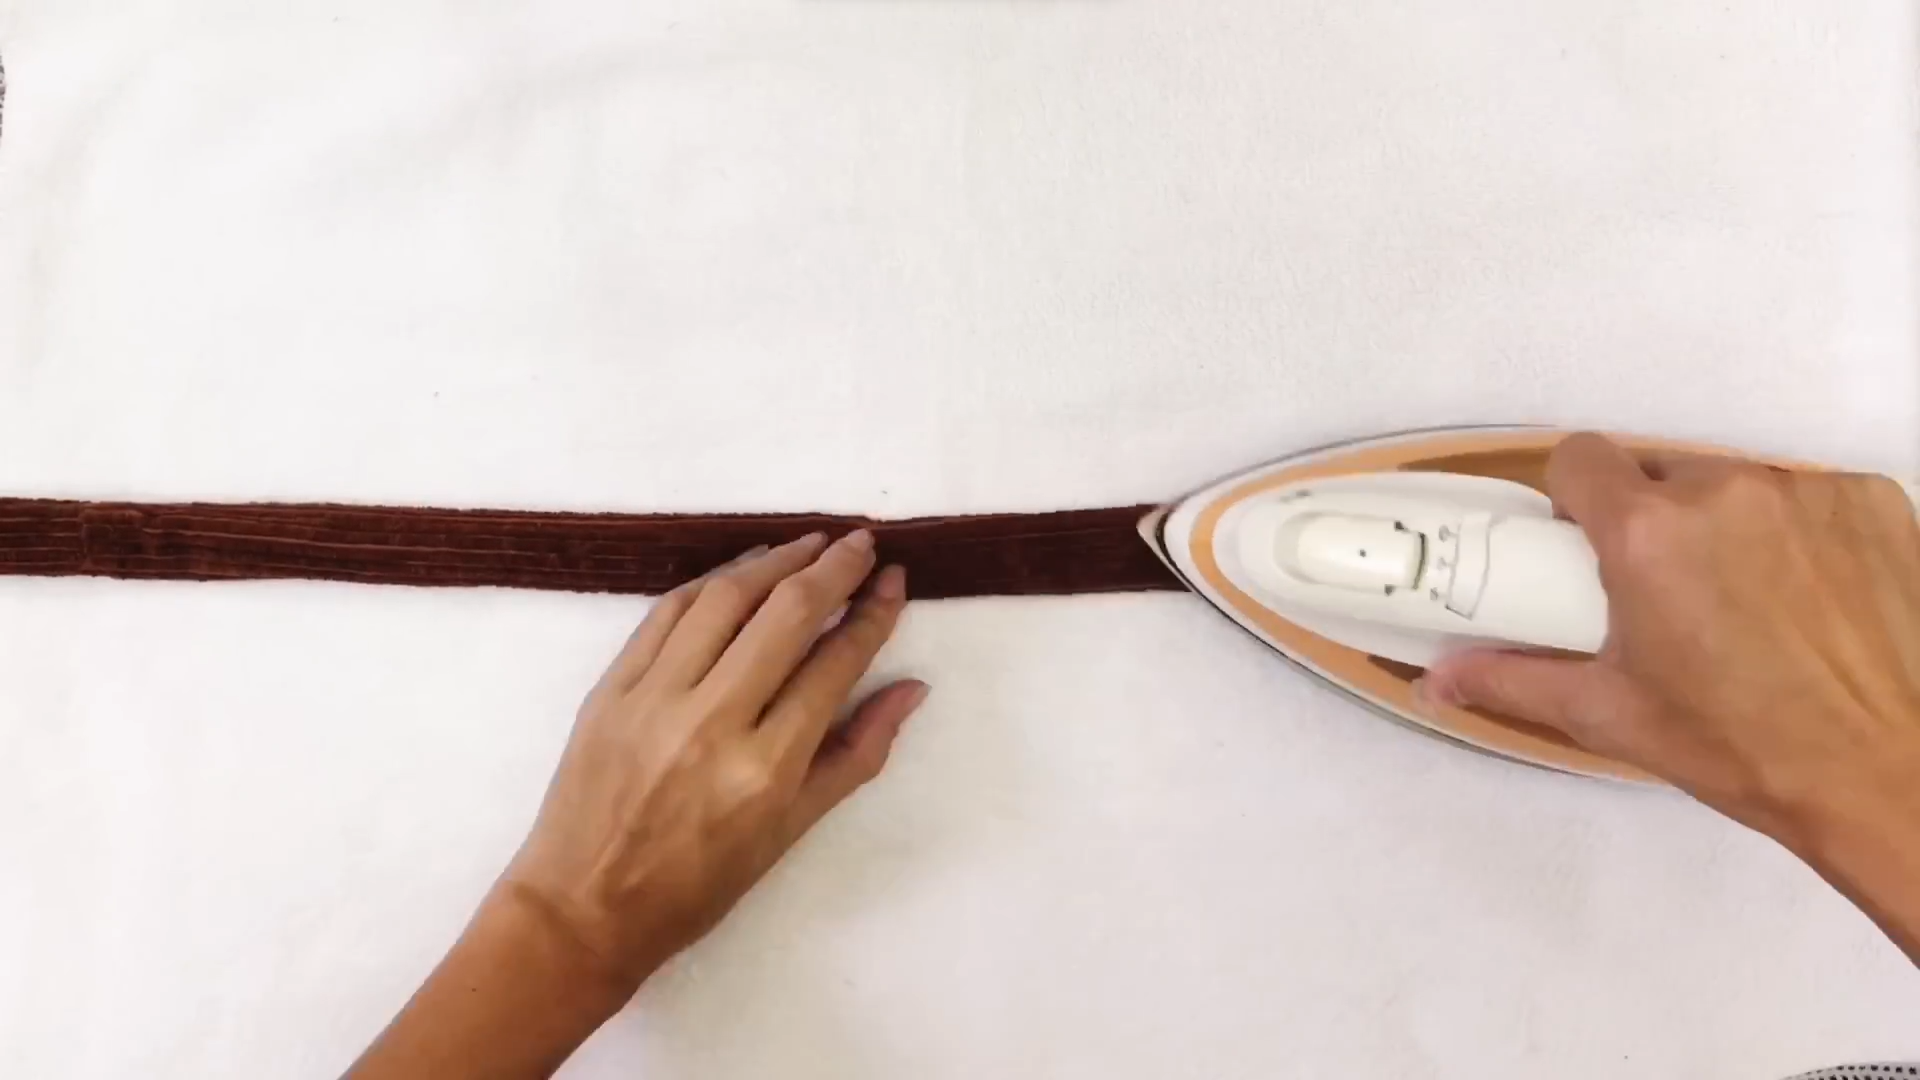
Use a safety pin to turn the band right side out. Then, iron it to keep it straight.
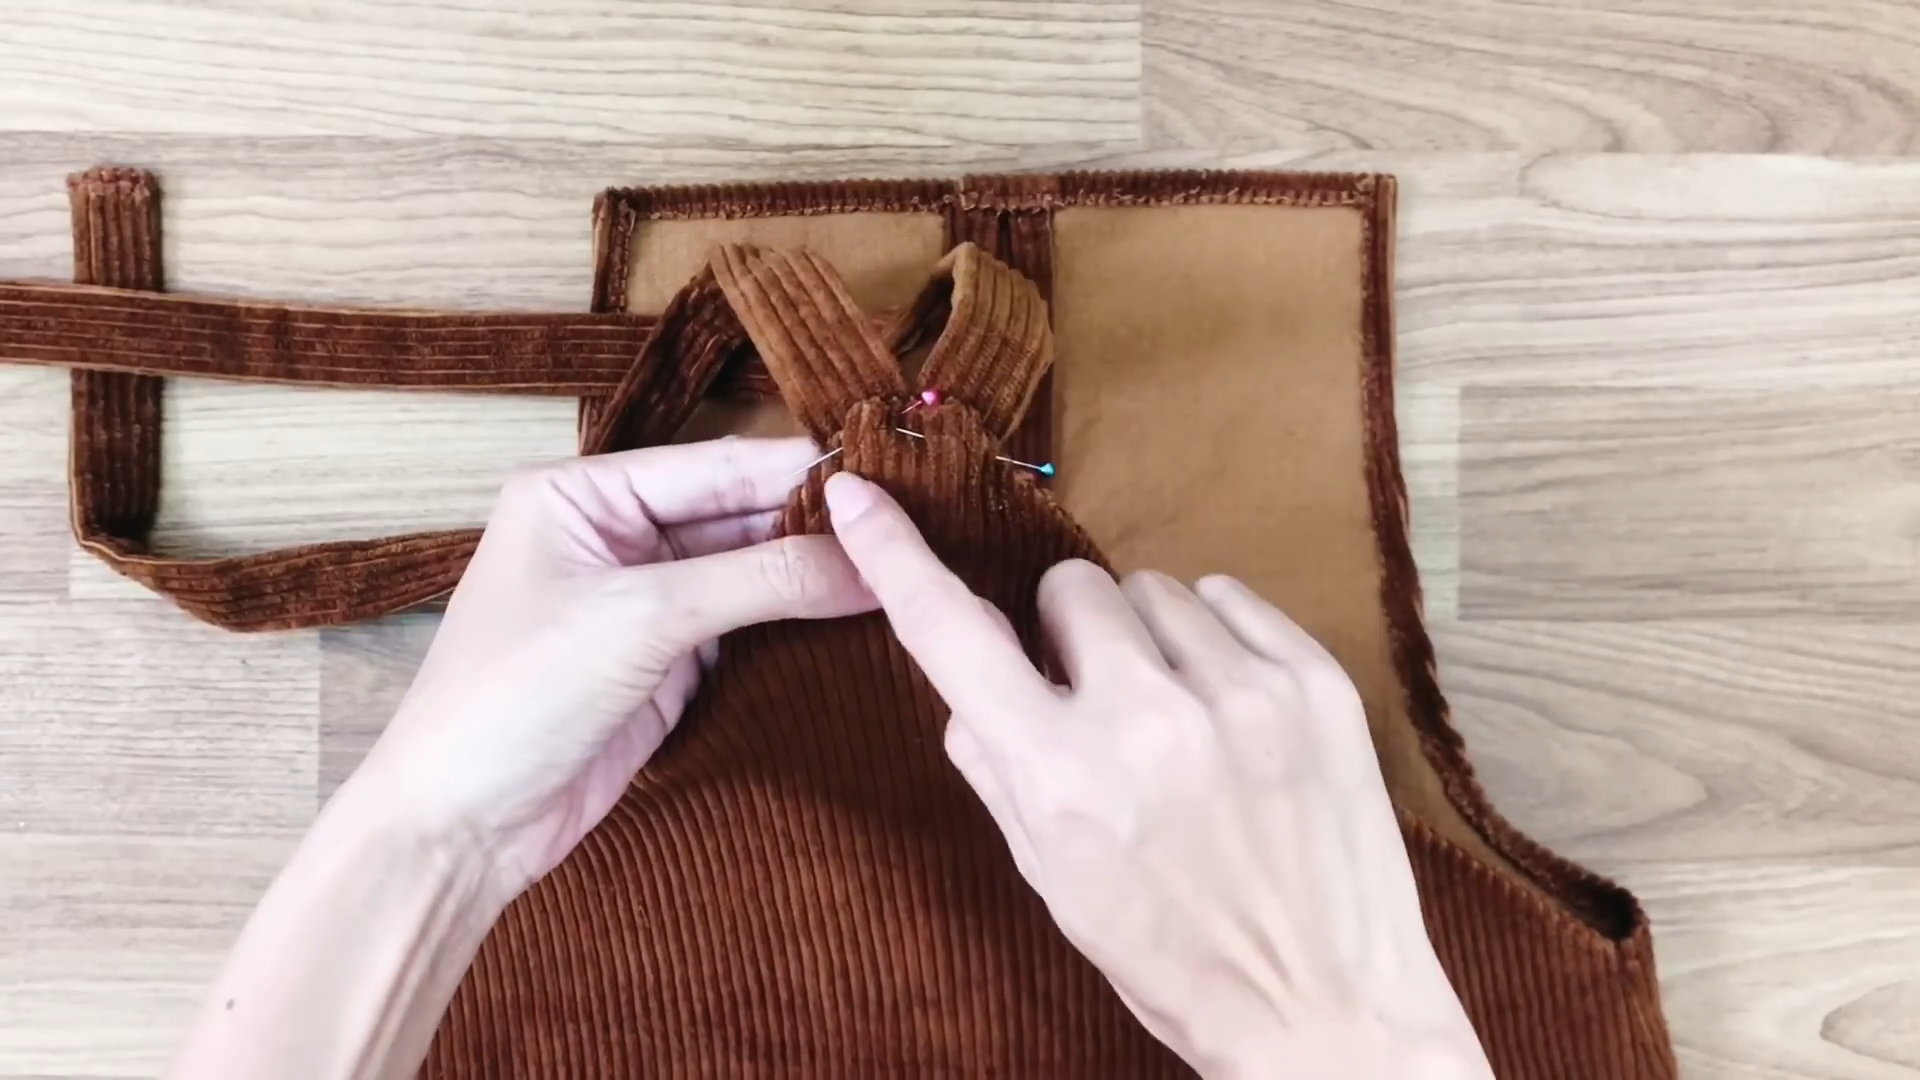
Now, connect the bands to the dress. Connect the bands to the top of the back first, then connect them to the front. Note: don’t put the bands straight up to the back. Keep them inclined to two sides of the back so it will be easy to reach to the front of the dress.
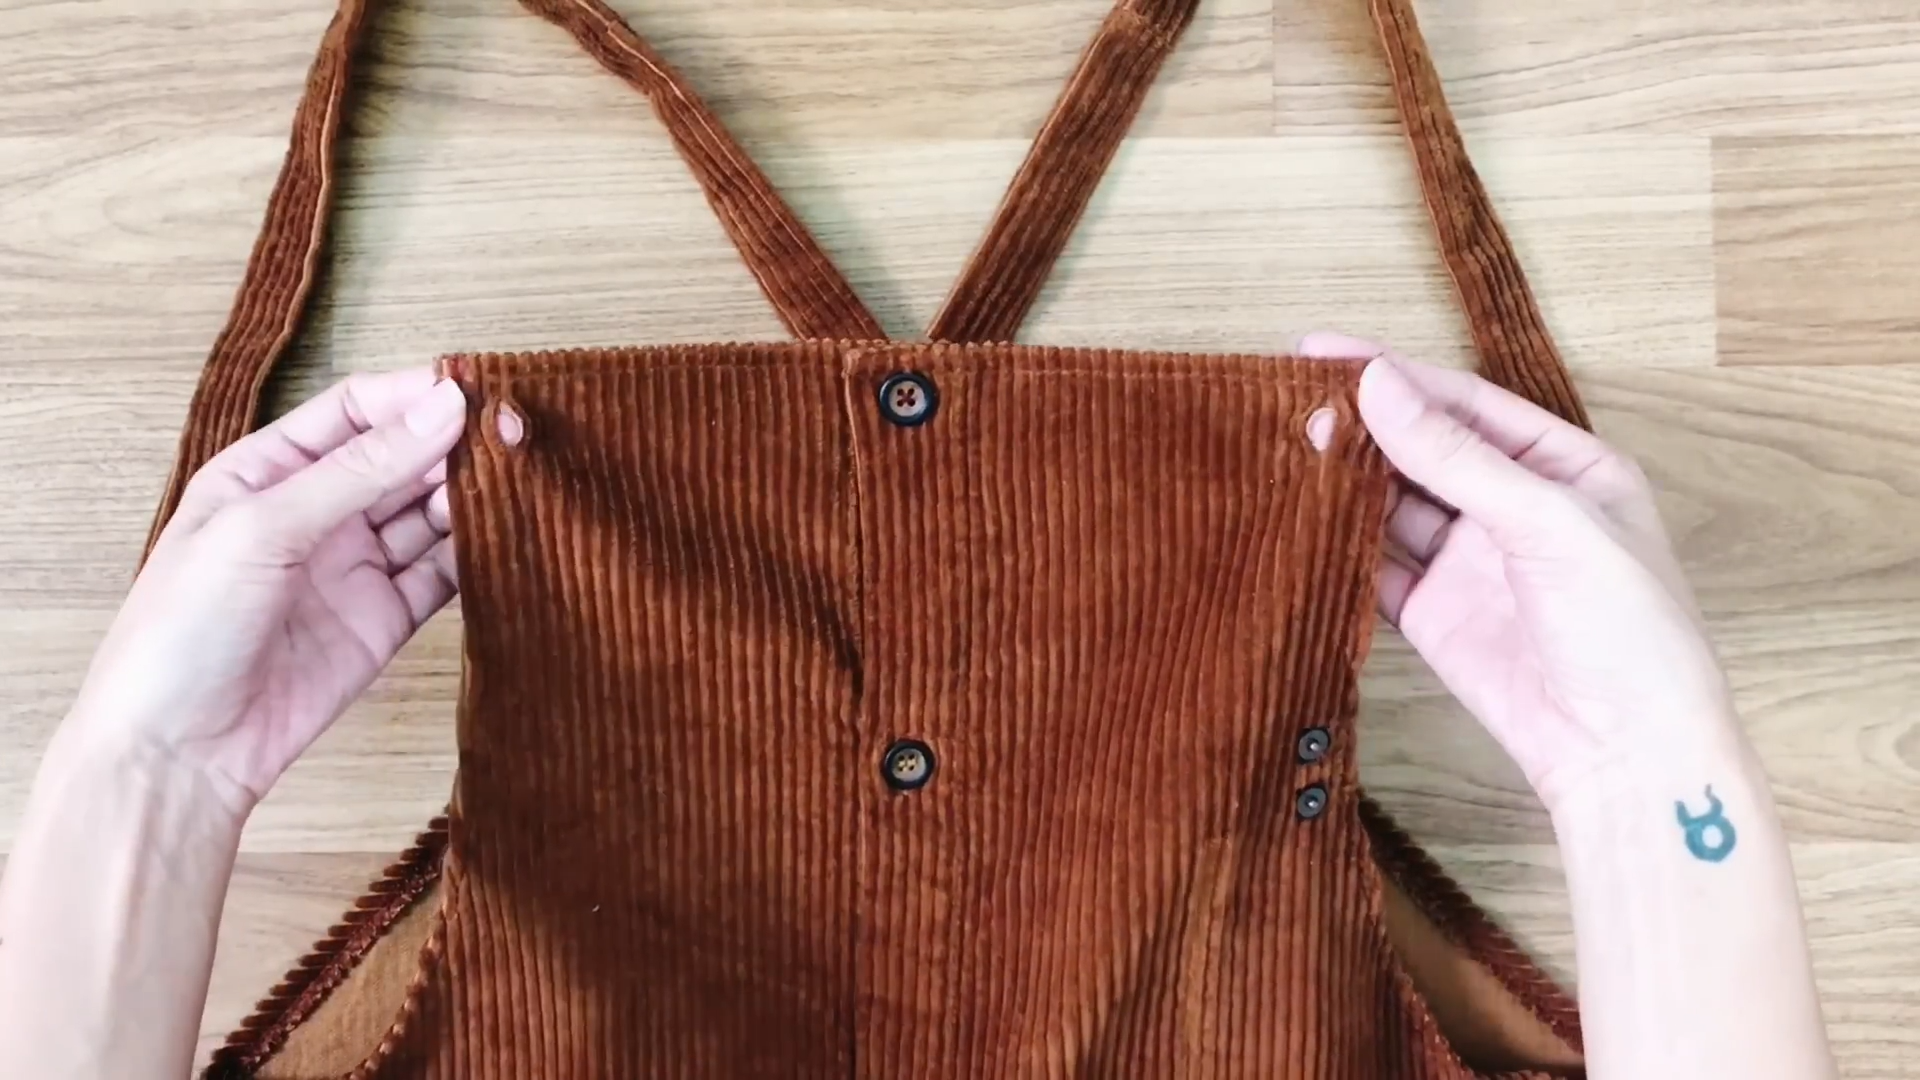
At the front of the dress, make two button holes at two sides of the top. Then, hand-sew them.
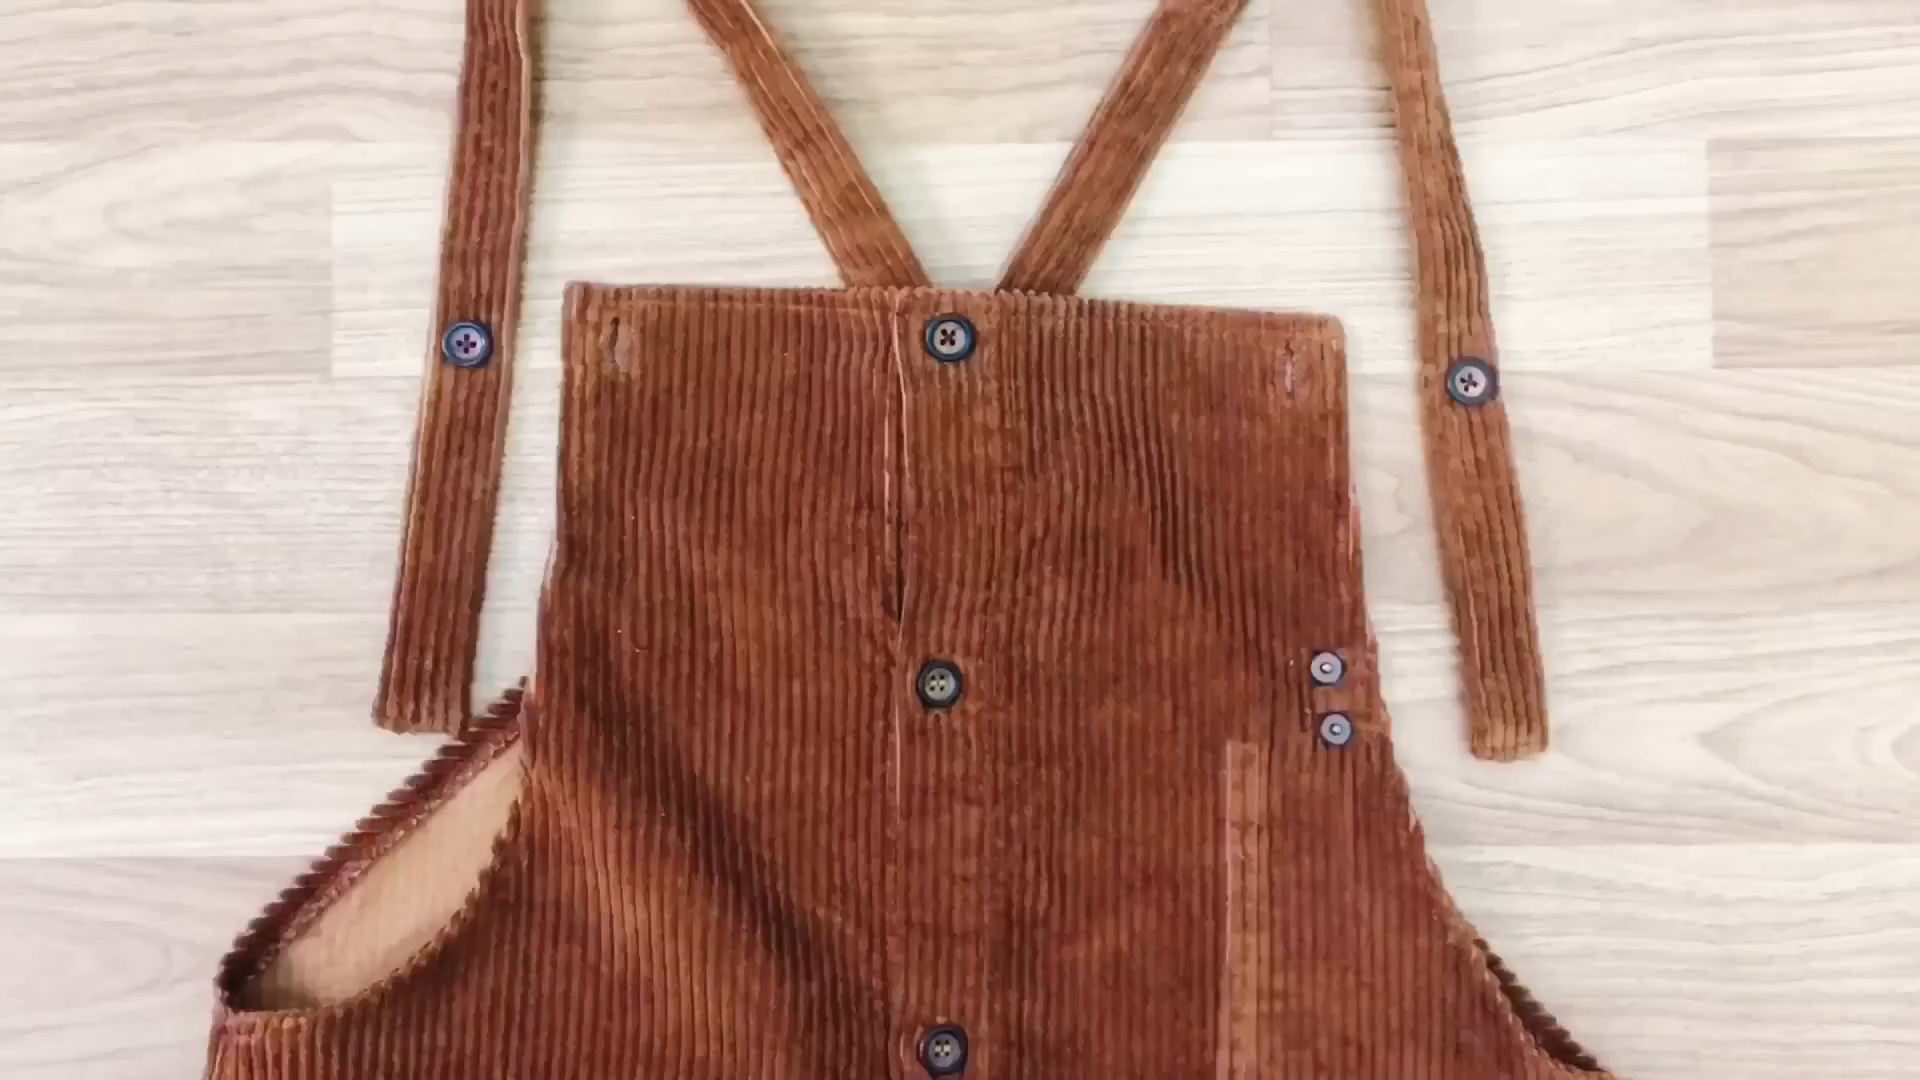
After that, install the button to the bands. Because the bands are a little longer than needed, the buttons will be higher than the end of the band. You can wear the dress to check where you can put the button on the bands before installing.
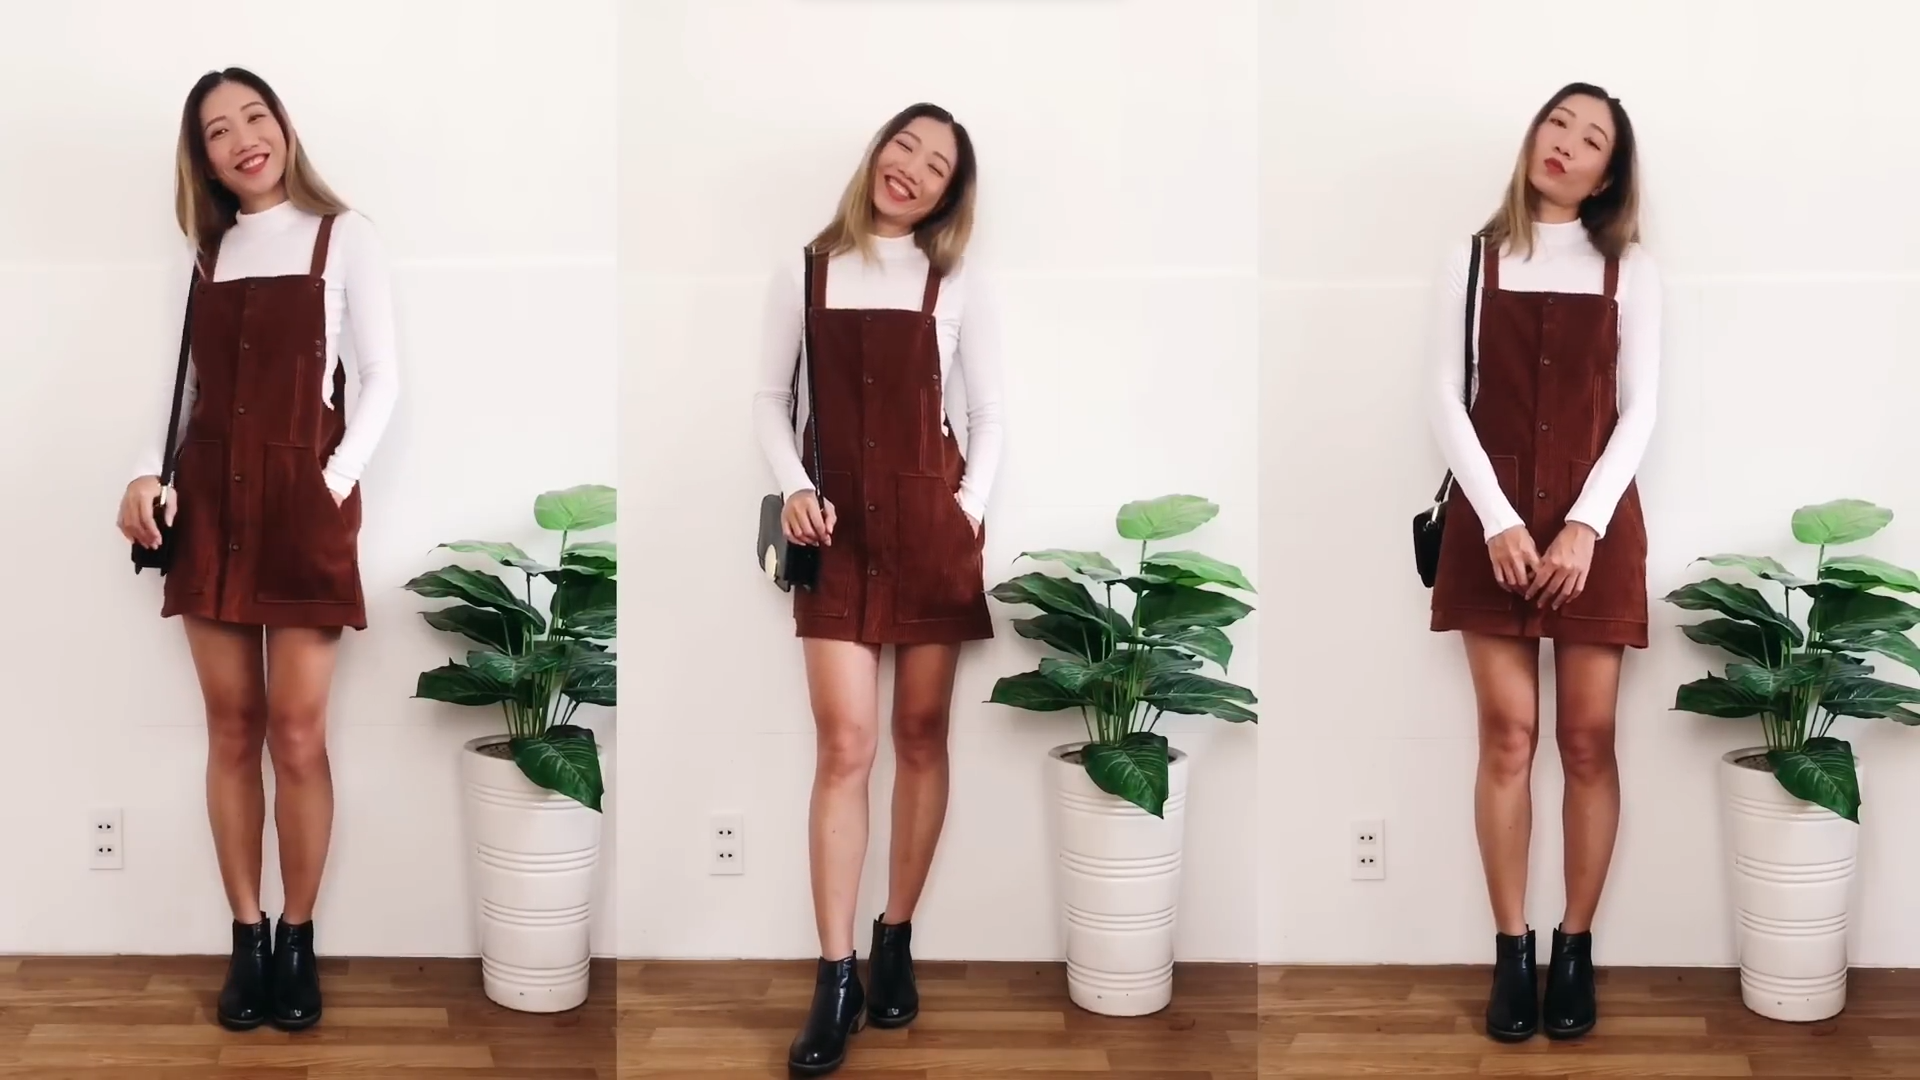
DIY Overall Dress
And that’s it!
Our DIY project is complete, resulting in a versatile and comfortable overall dress that’s perfect for any season.
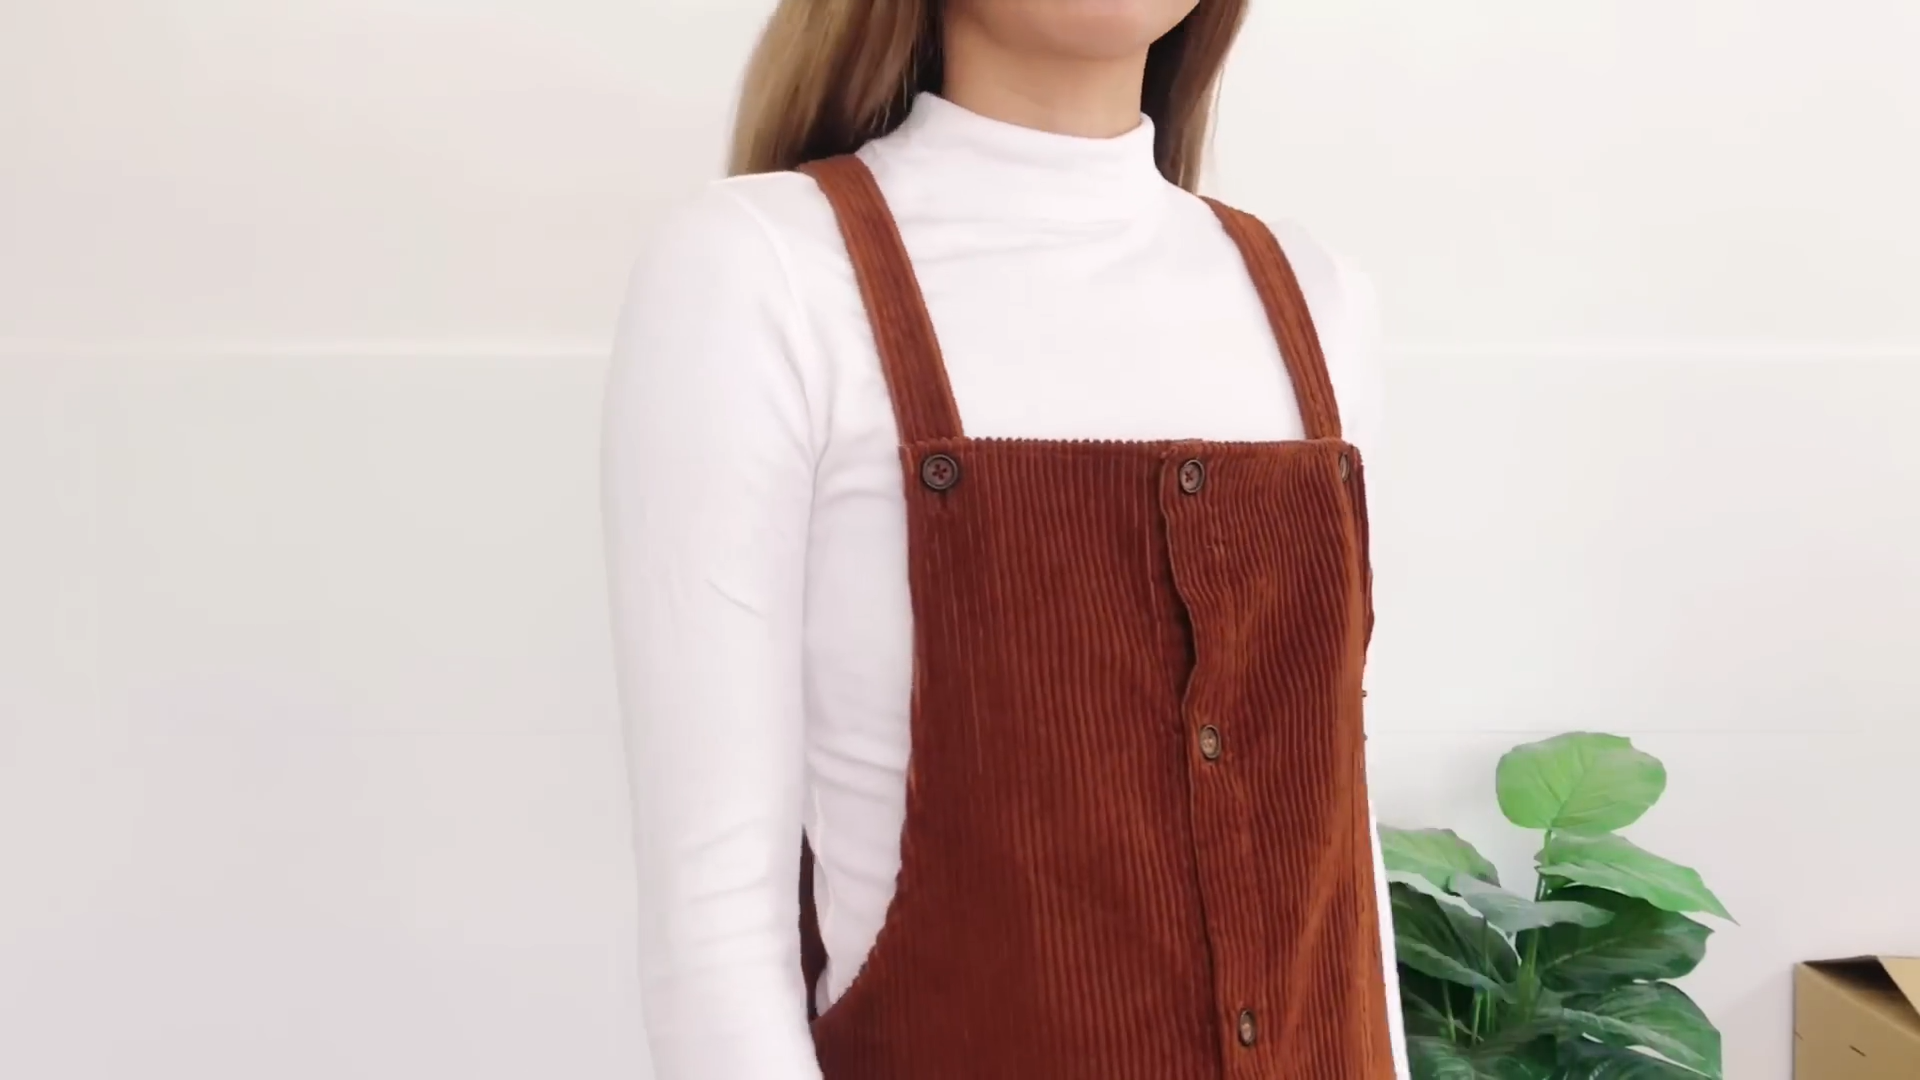
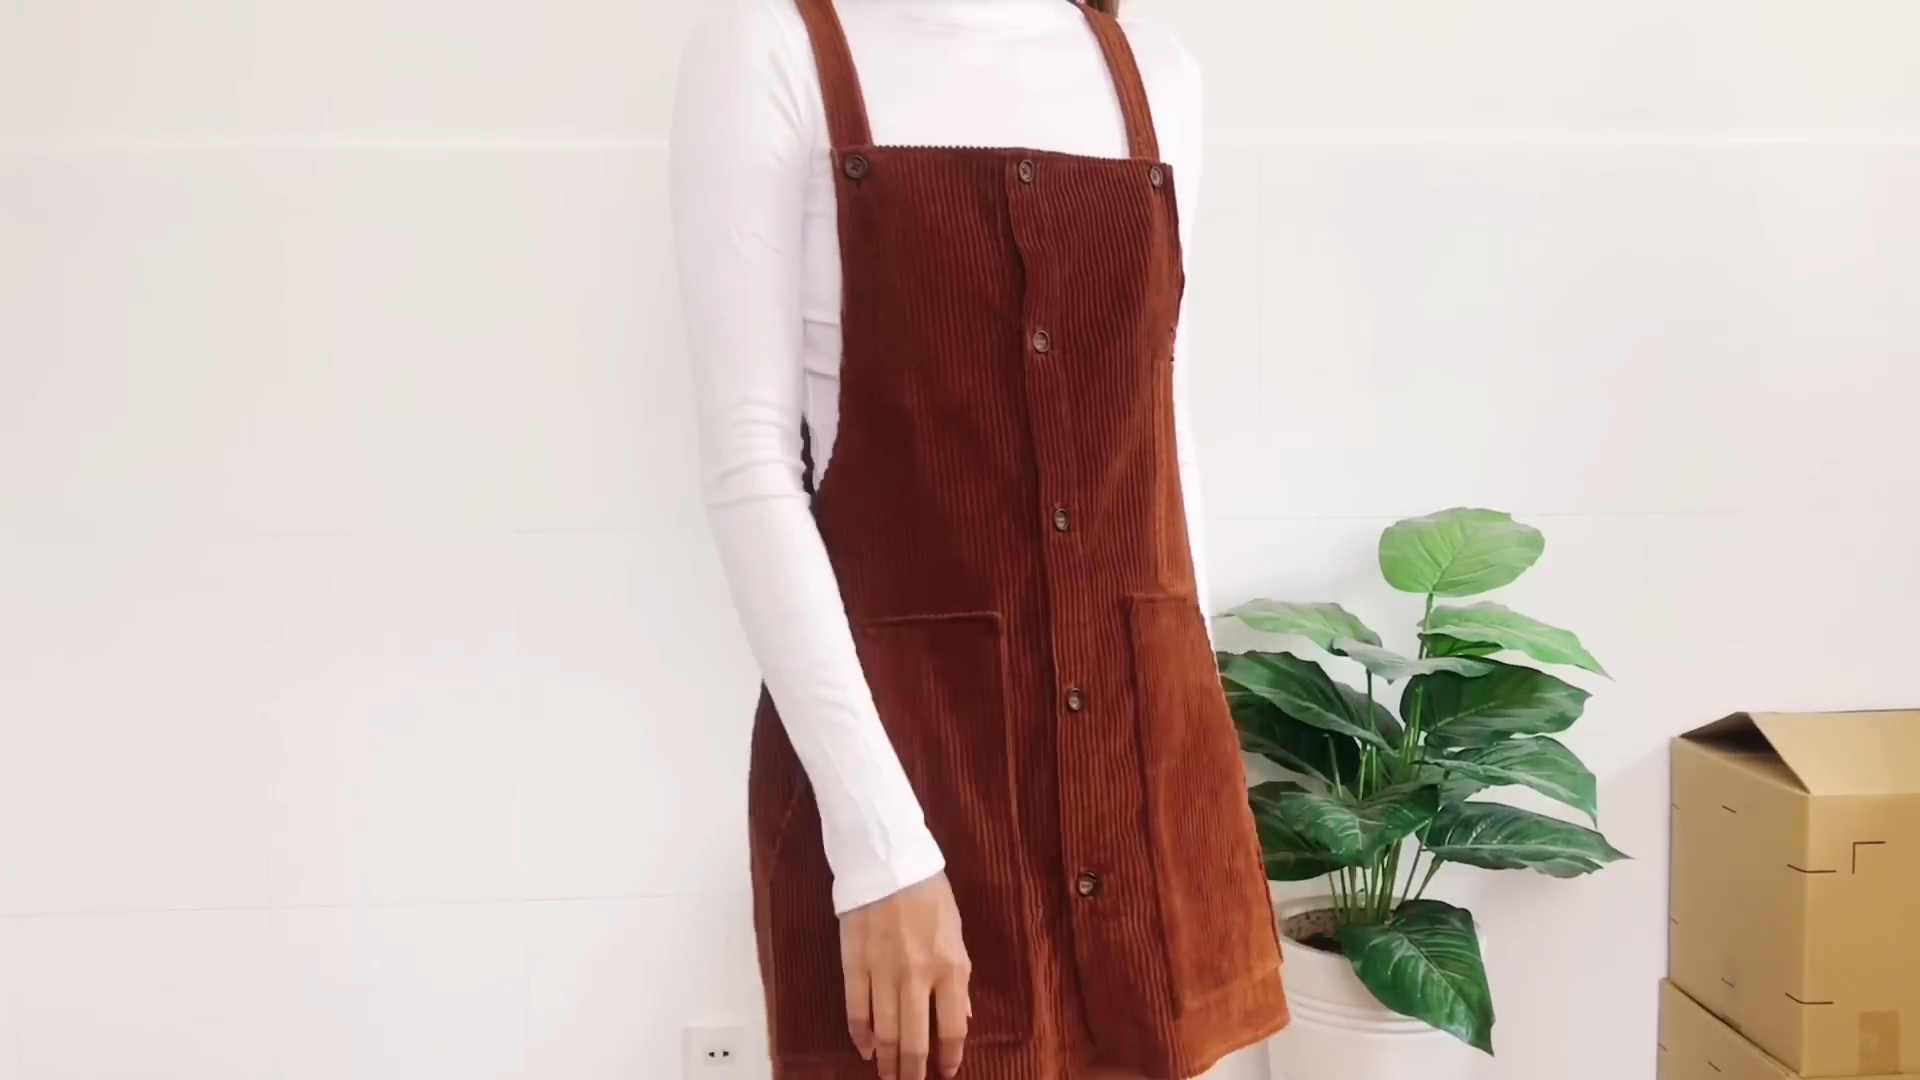
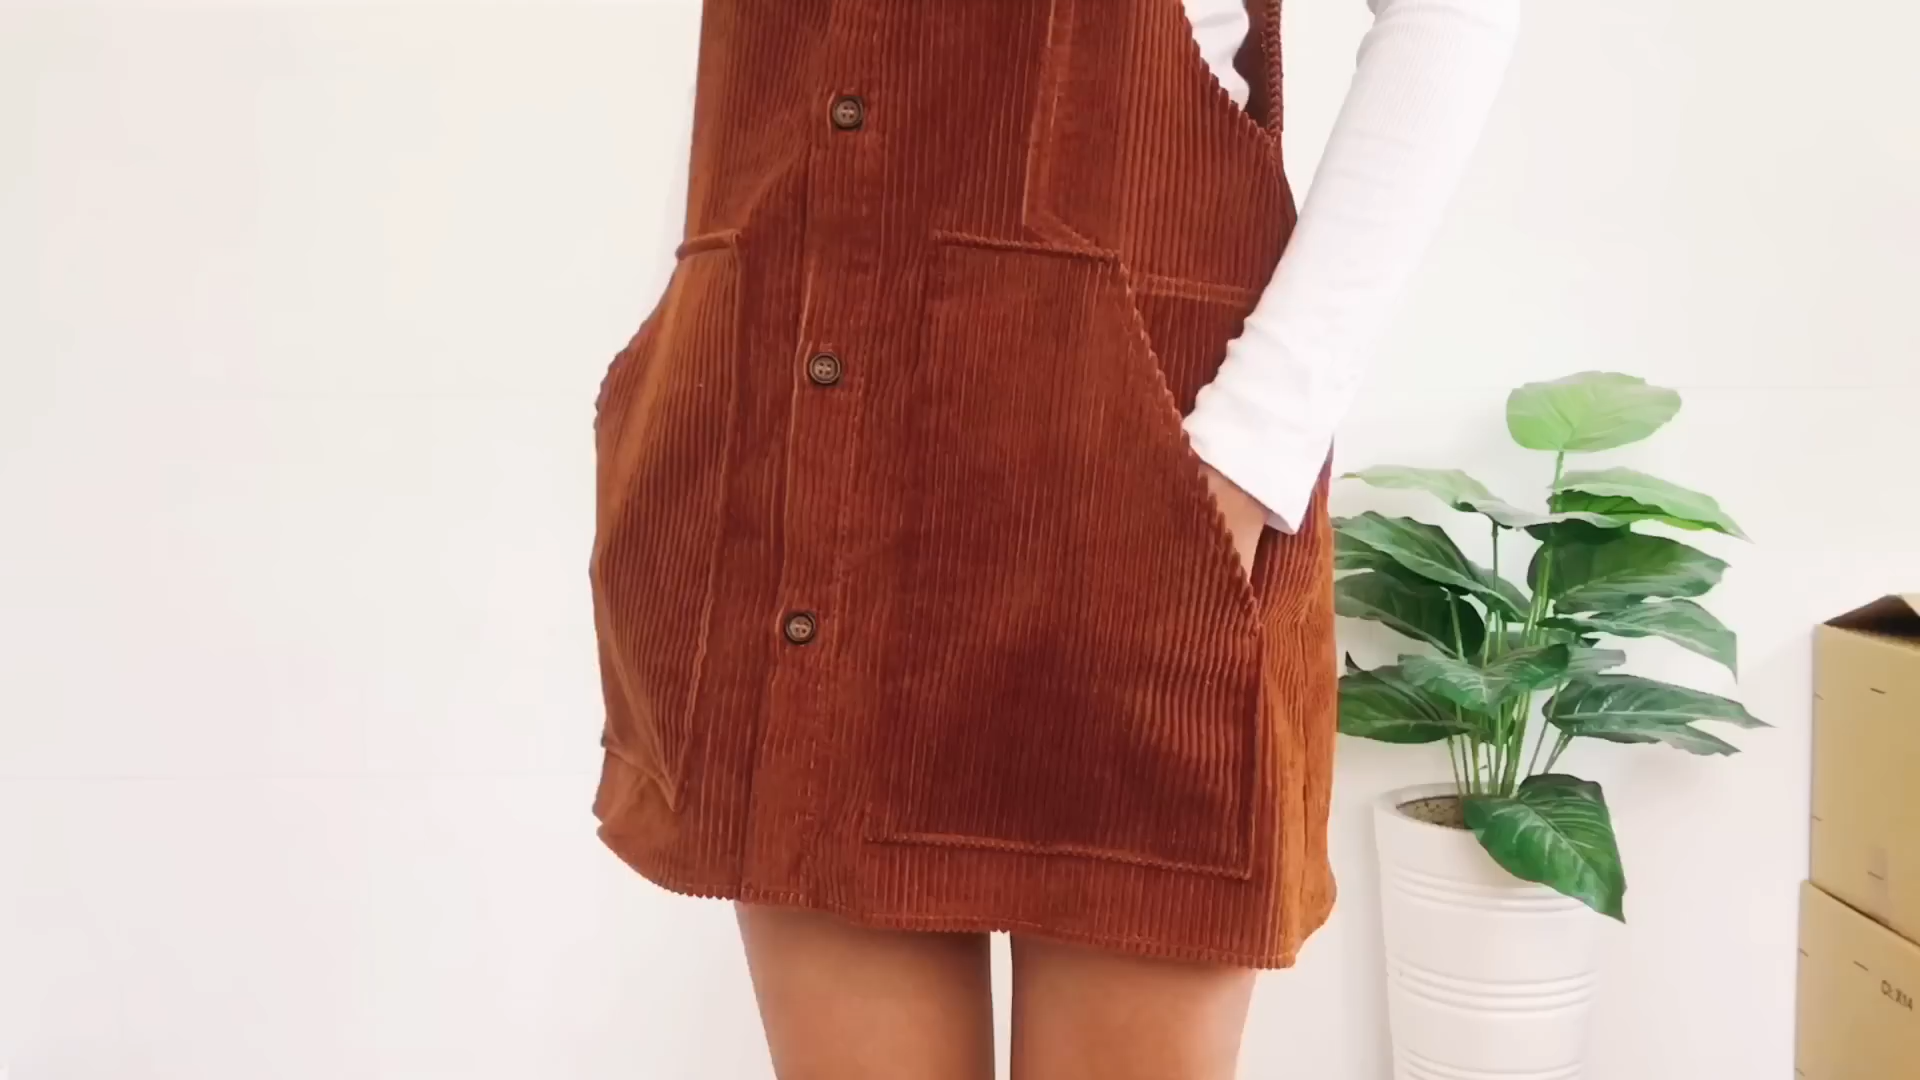
I love pairing it with a small handbag and boots. If you enjoyed this video, please give it a like.
Until next time, happy sewing!