Asian vs. American - CELEB REFASHION CHALLENGE ft. BlueprintDIY l Lisa Blackpink

Asian vs. American - CELEB REFASHION CHALLENGE ft. BlueprintDIY l Lisa Blackpink
Welcome and welcome back to my sewing blog!
Today video is a very special one. Because it's my first collaboration video with Angelina from BlueprintDIY. We did a challenge called Asian vs. American Celeb Refashion Challenge. And I choose Lisa Blackpink for this challenge. She is not only talented K-Pop star, but also one of the most beautiful person. I really love her style and her personality.
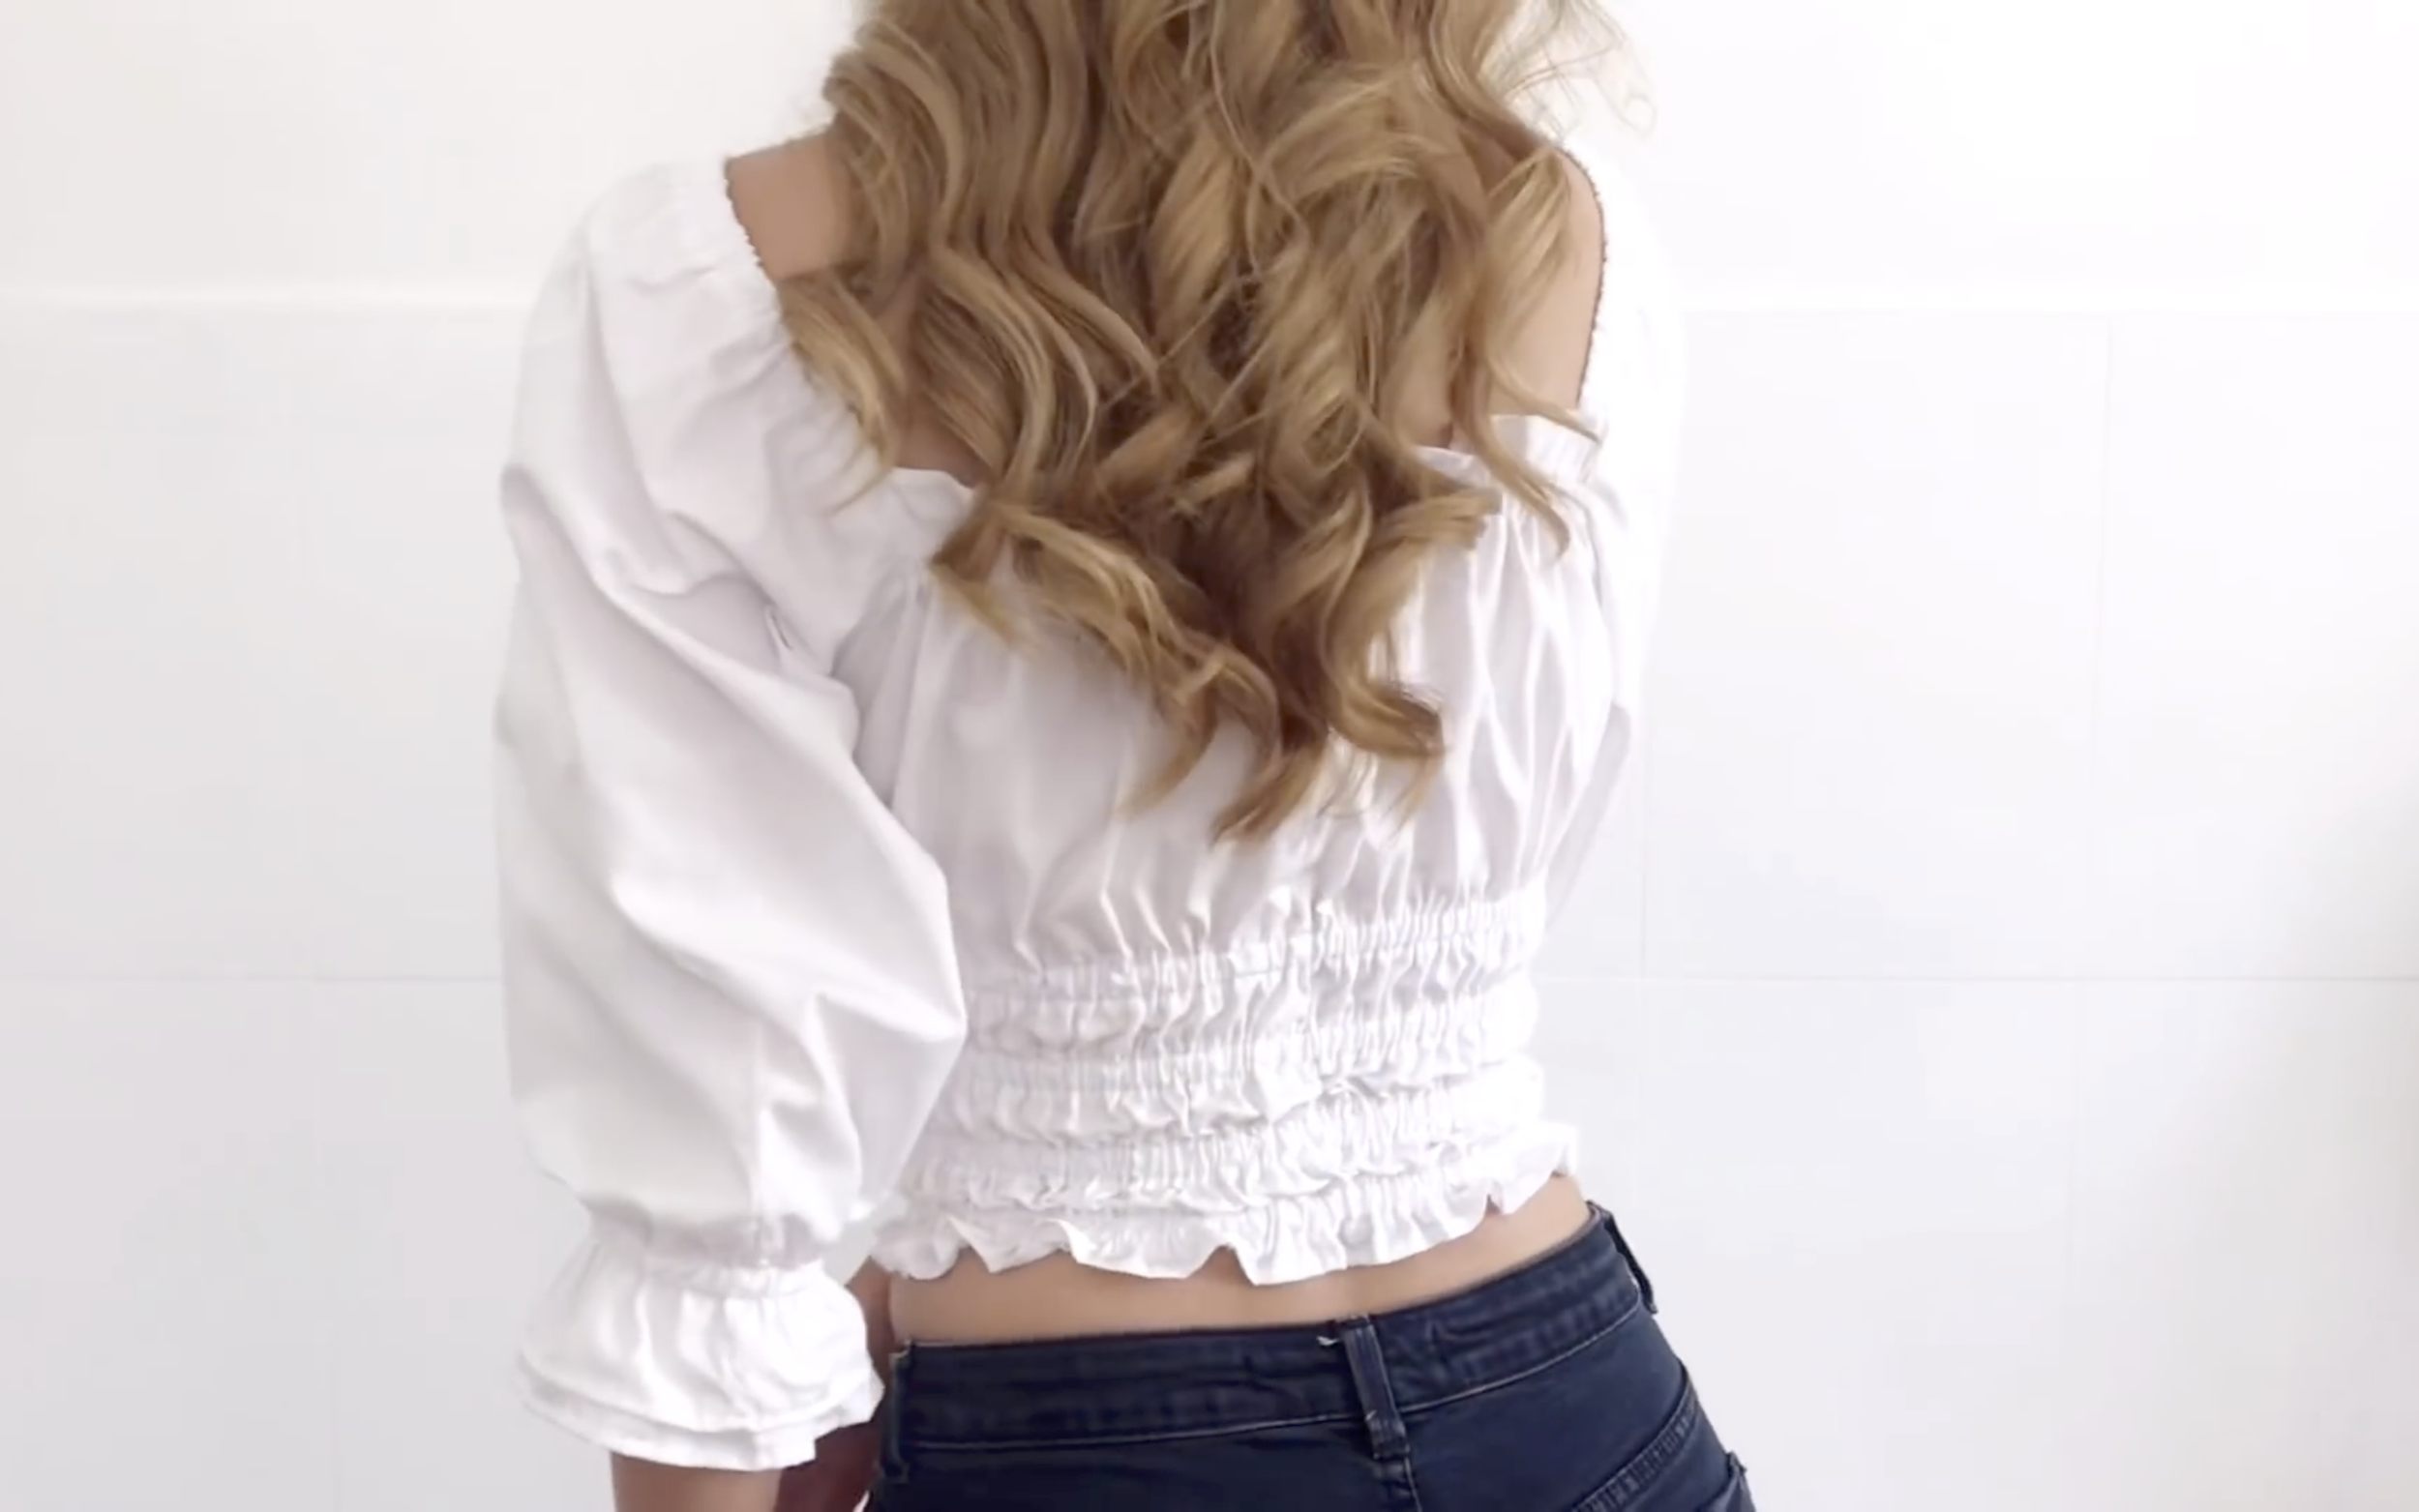
This DIY is puff sleeve crop top that I refashioned from a men's shirt. And I got inspired from one of Lisa's outfit on her Instagram. This crop top is just super cute and also a little sexy when you wear with skinny jeans, just like Lisa.
So, let’s get started!
WHAT YOU’LL NEED
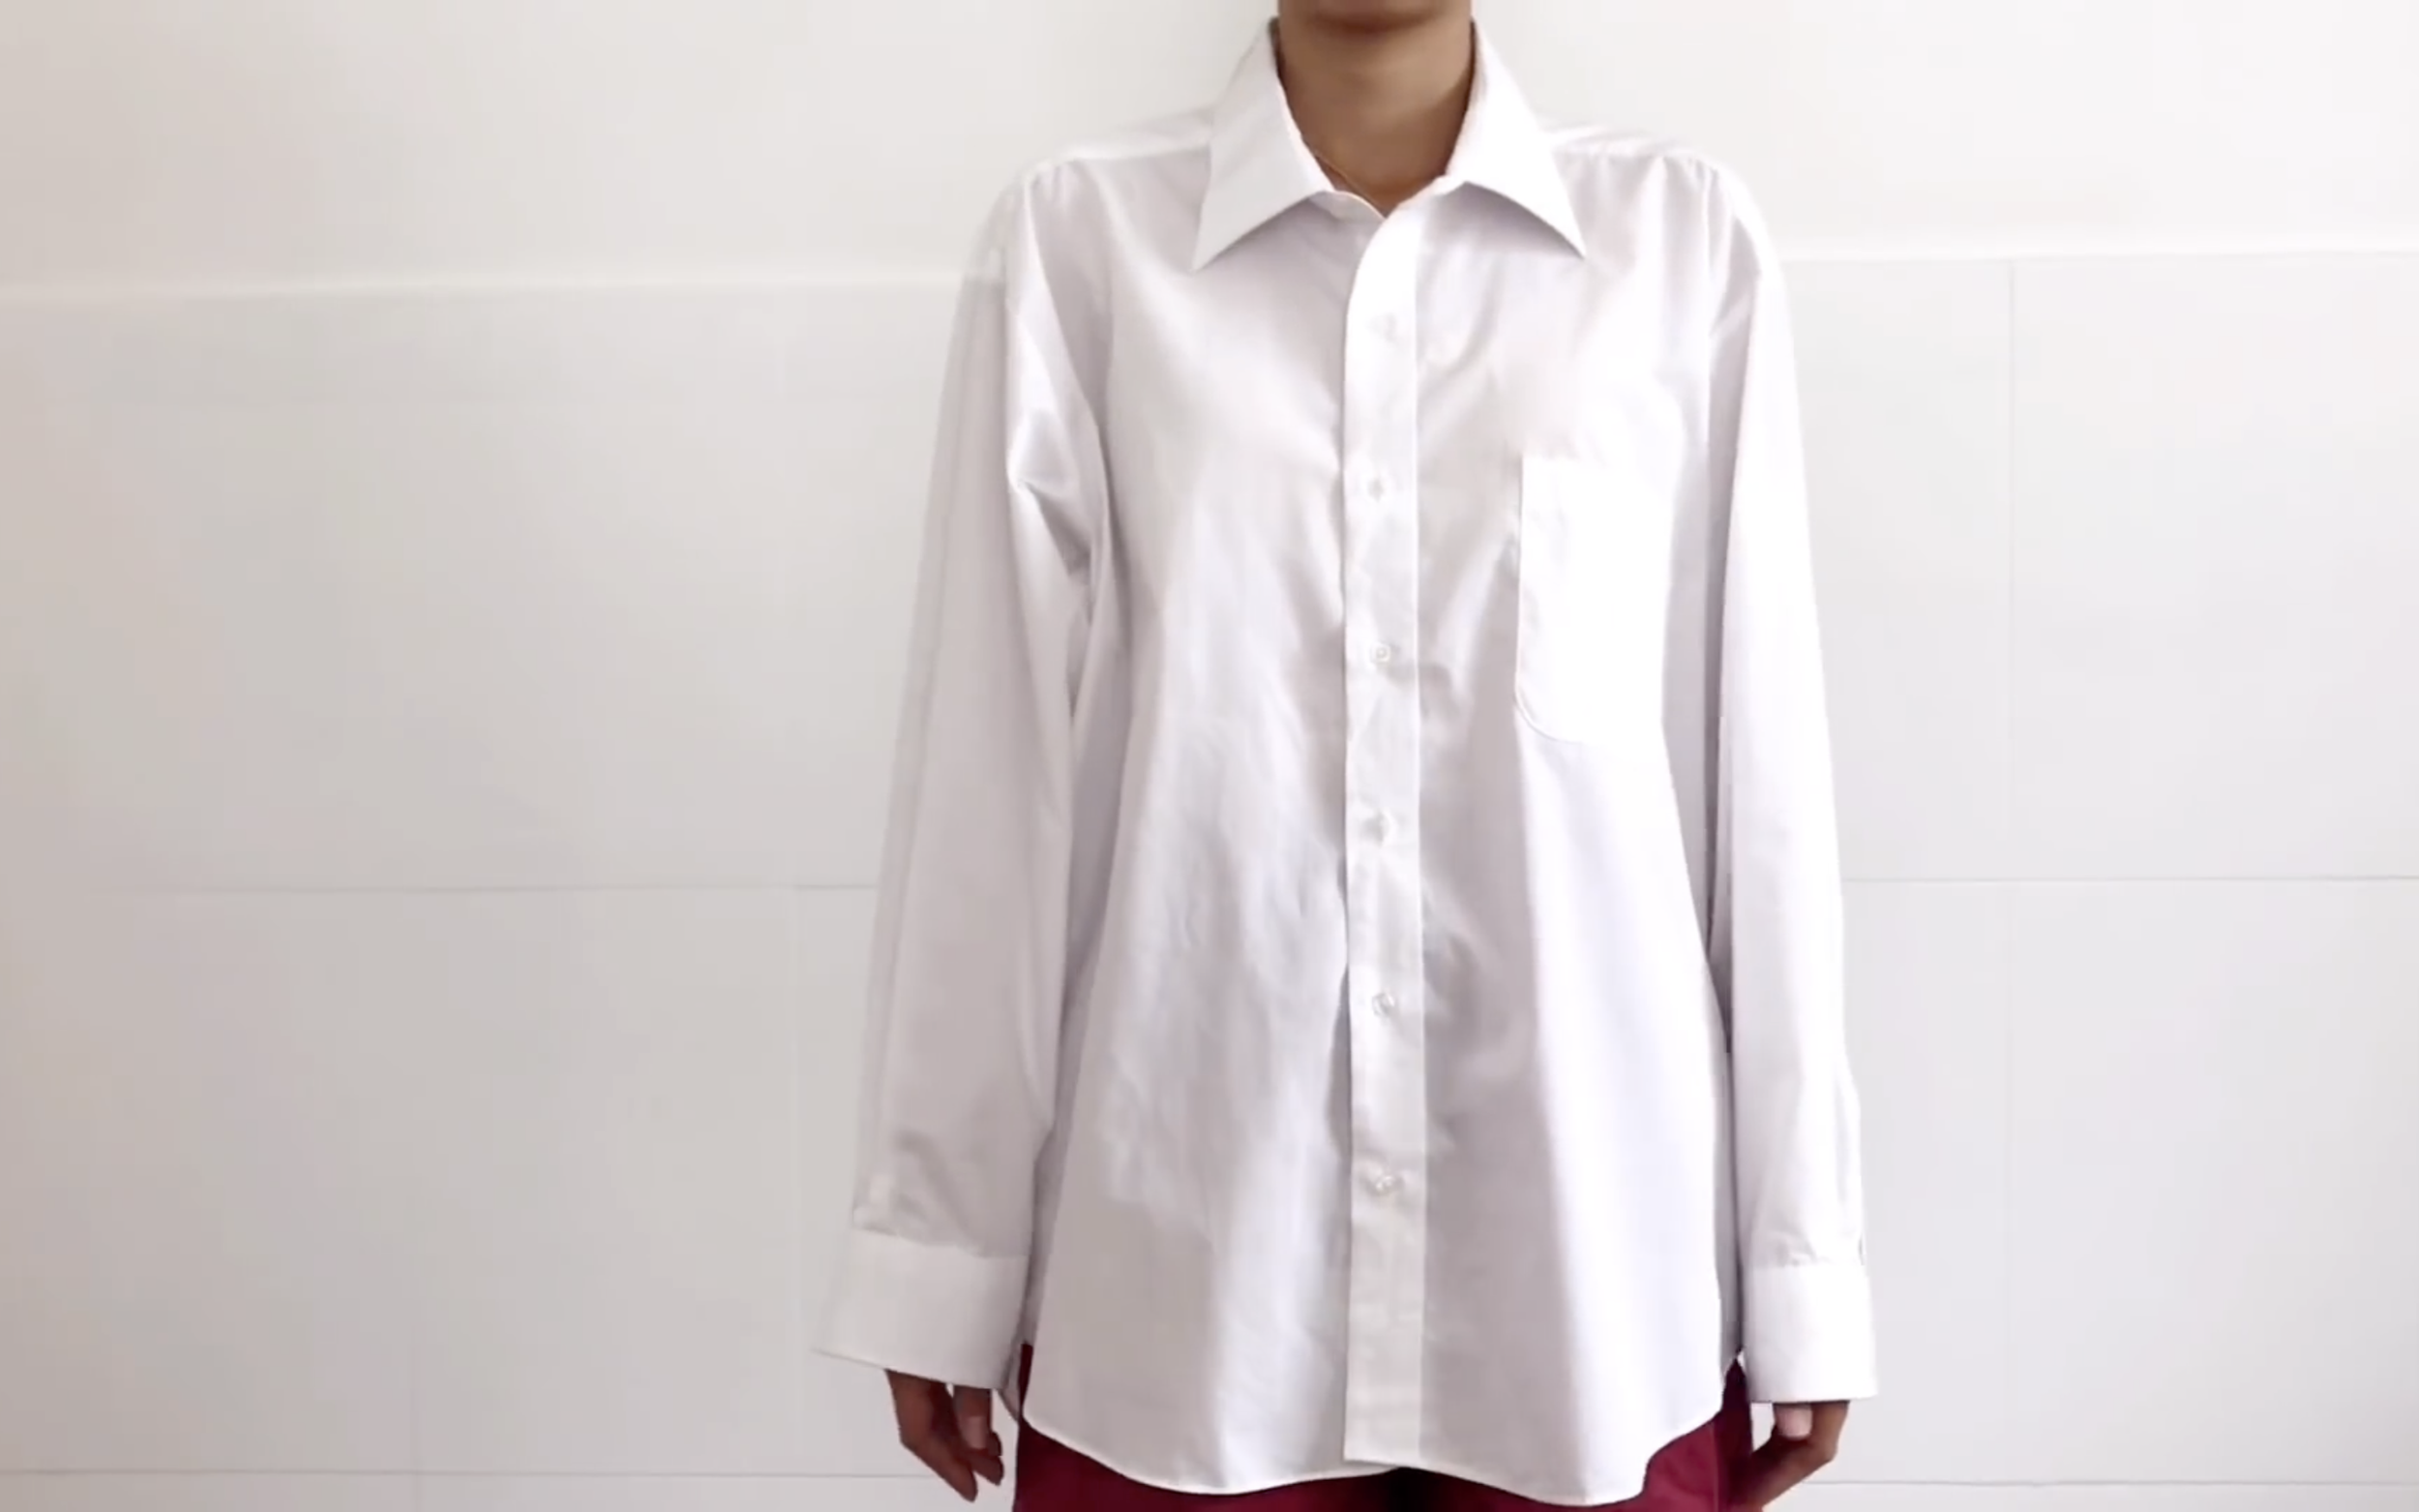
White men's shirt (2XL size)
Measuring tape
Chalk
Scissors
Pins
Sewing machine
Overlocker (optional)
SEWING THE TOP
THE BODY
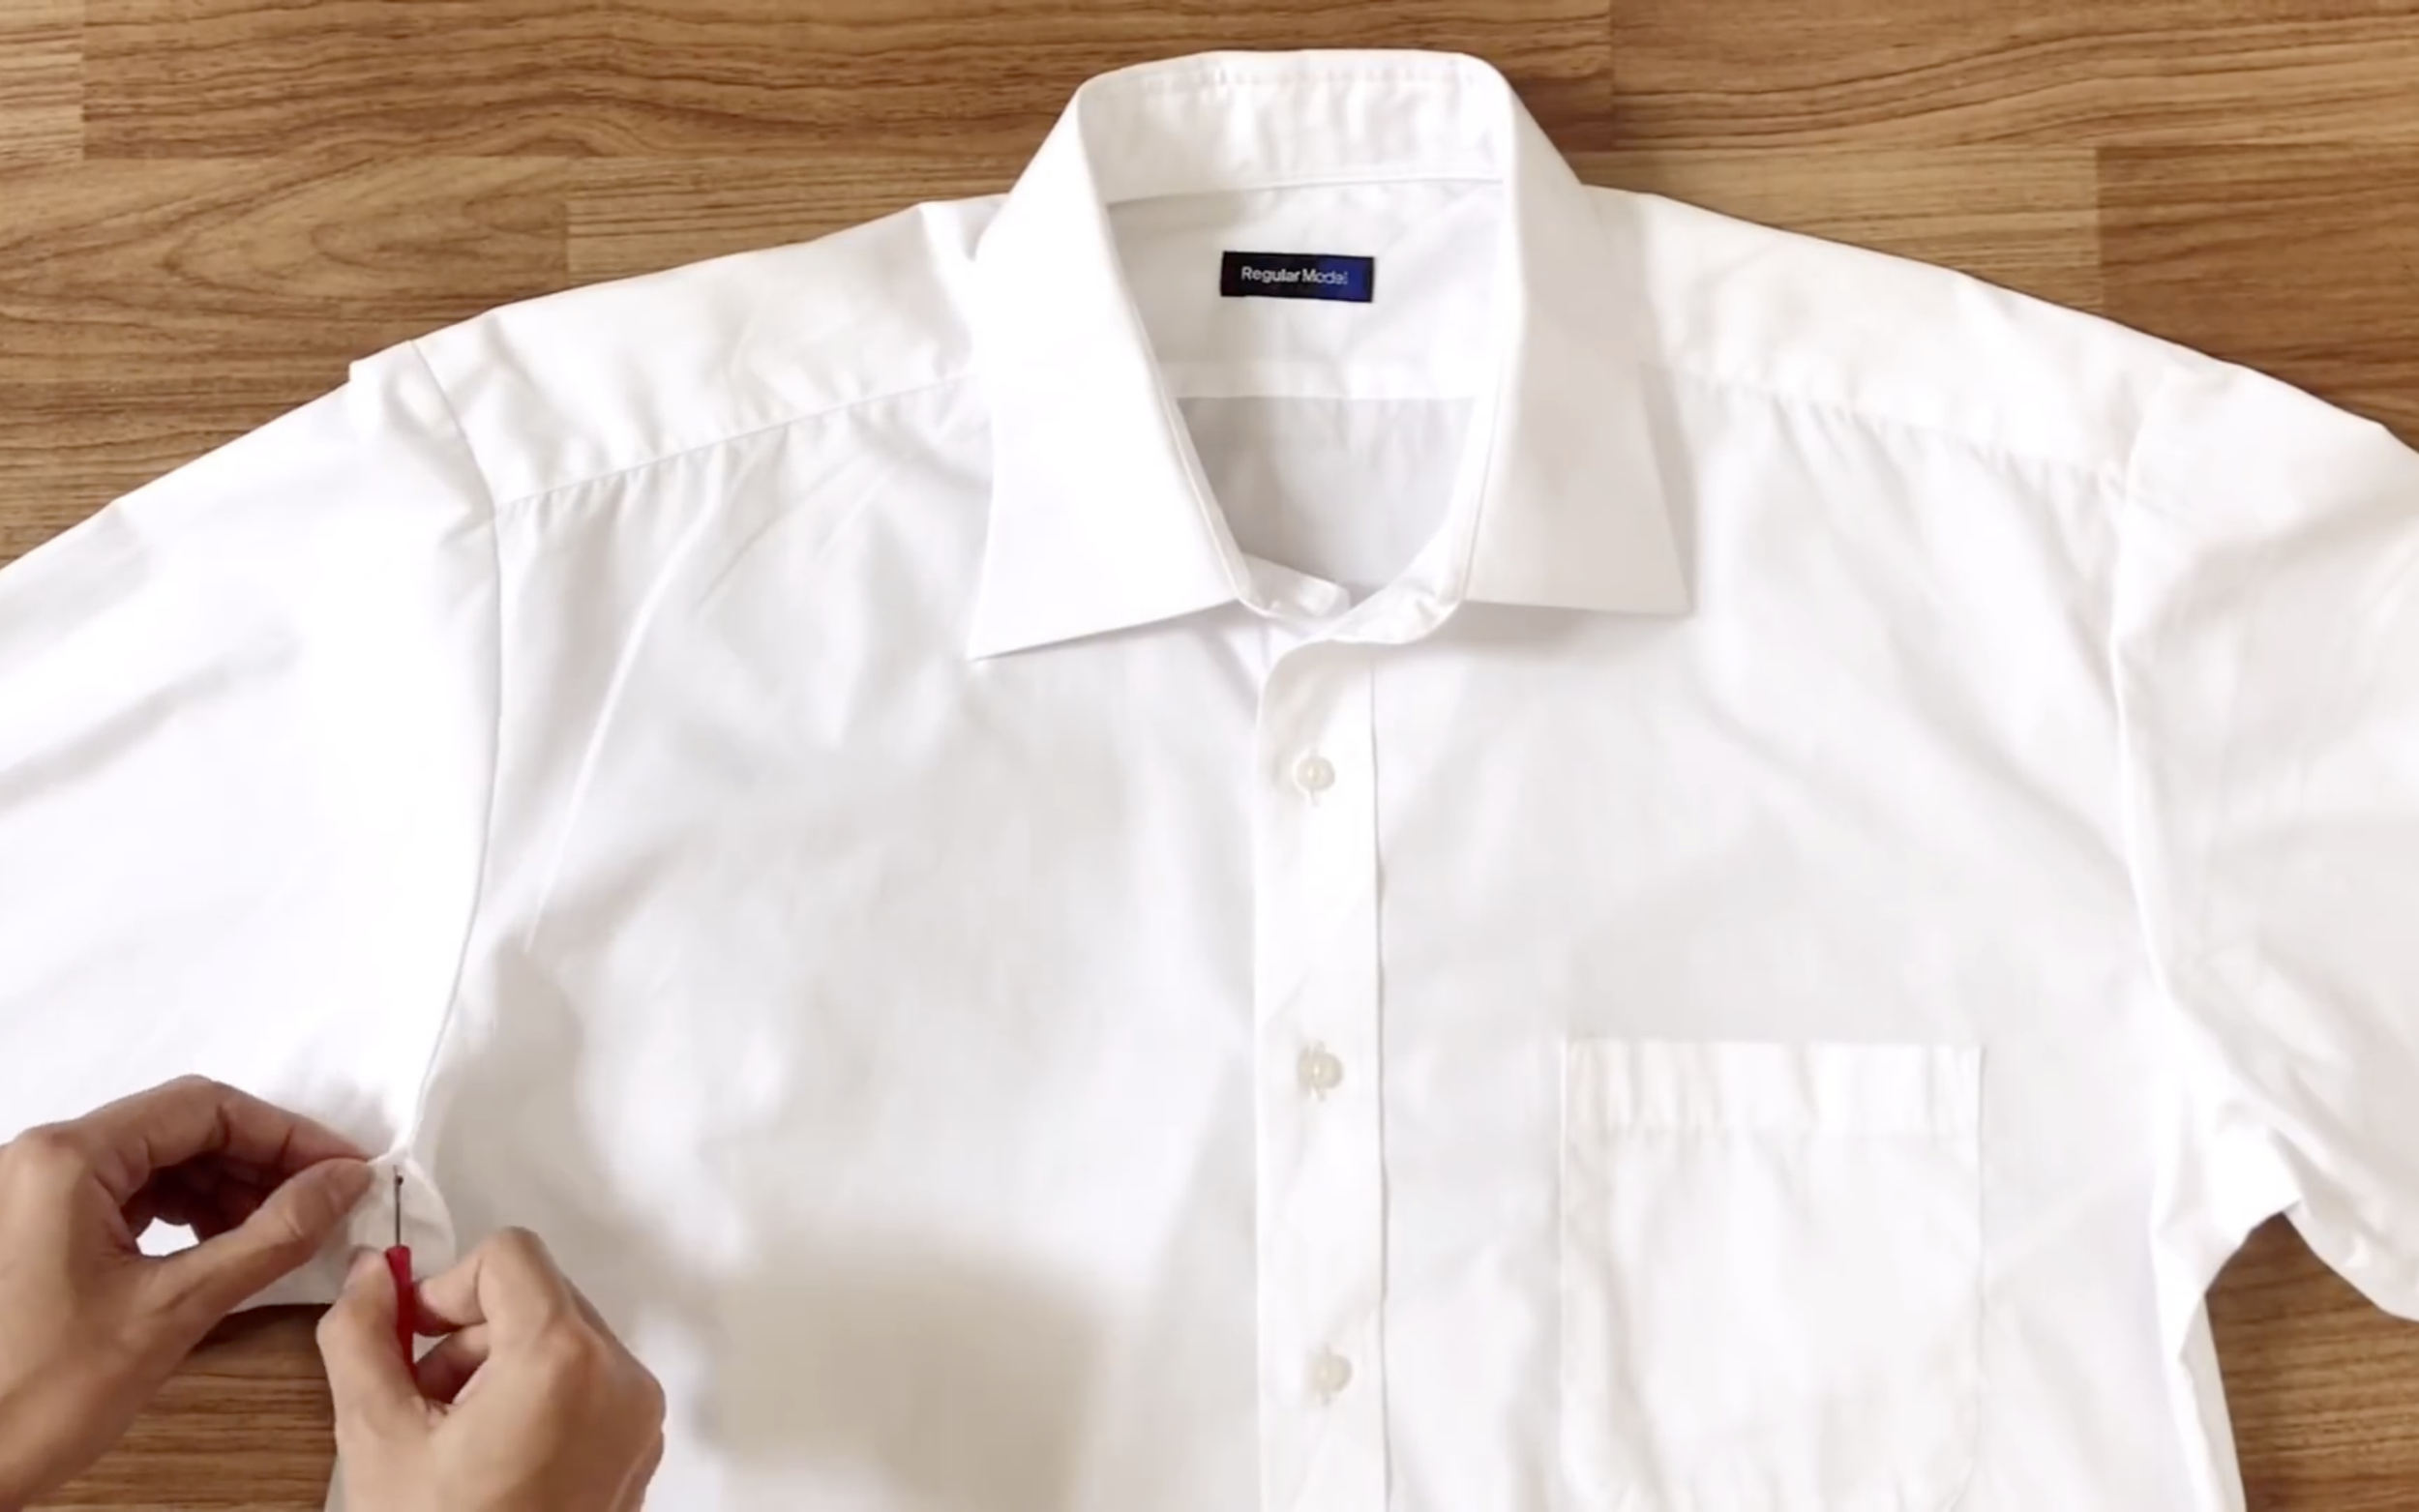
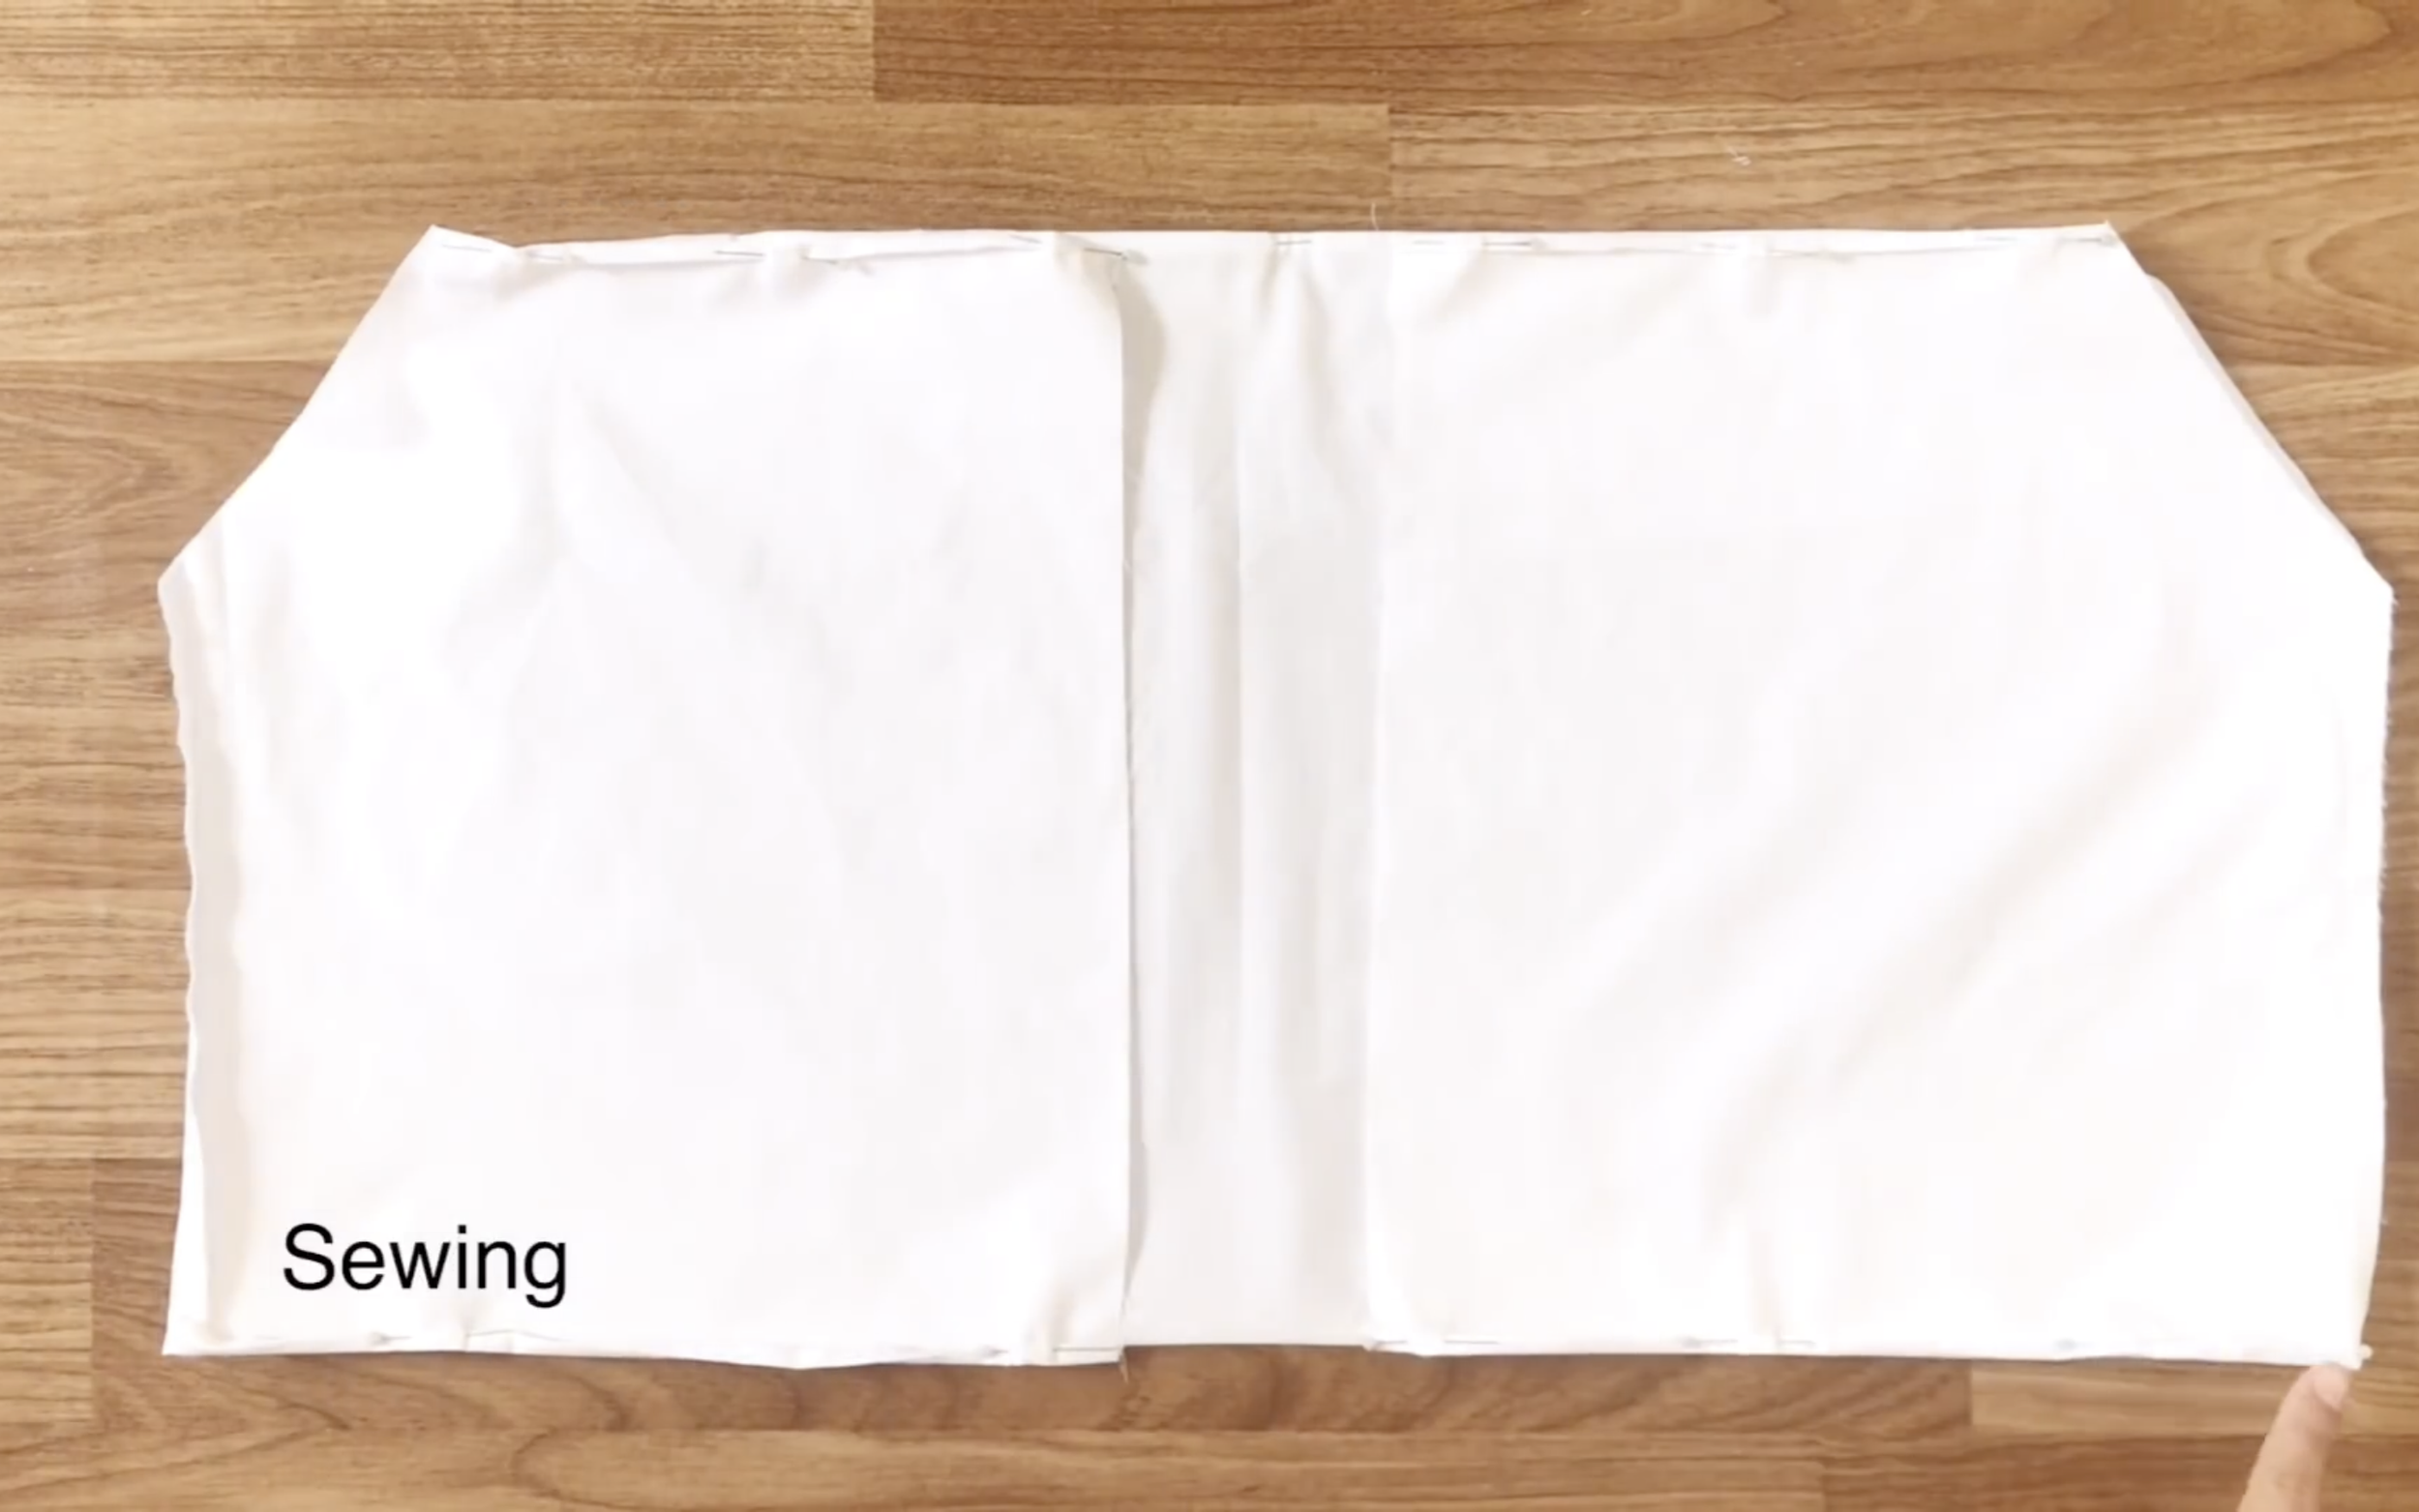
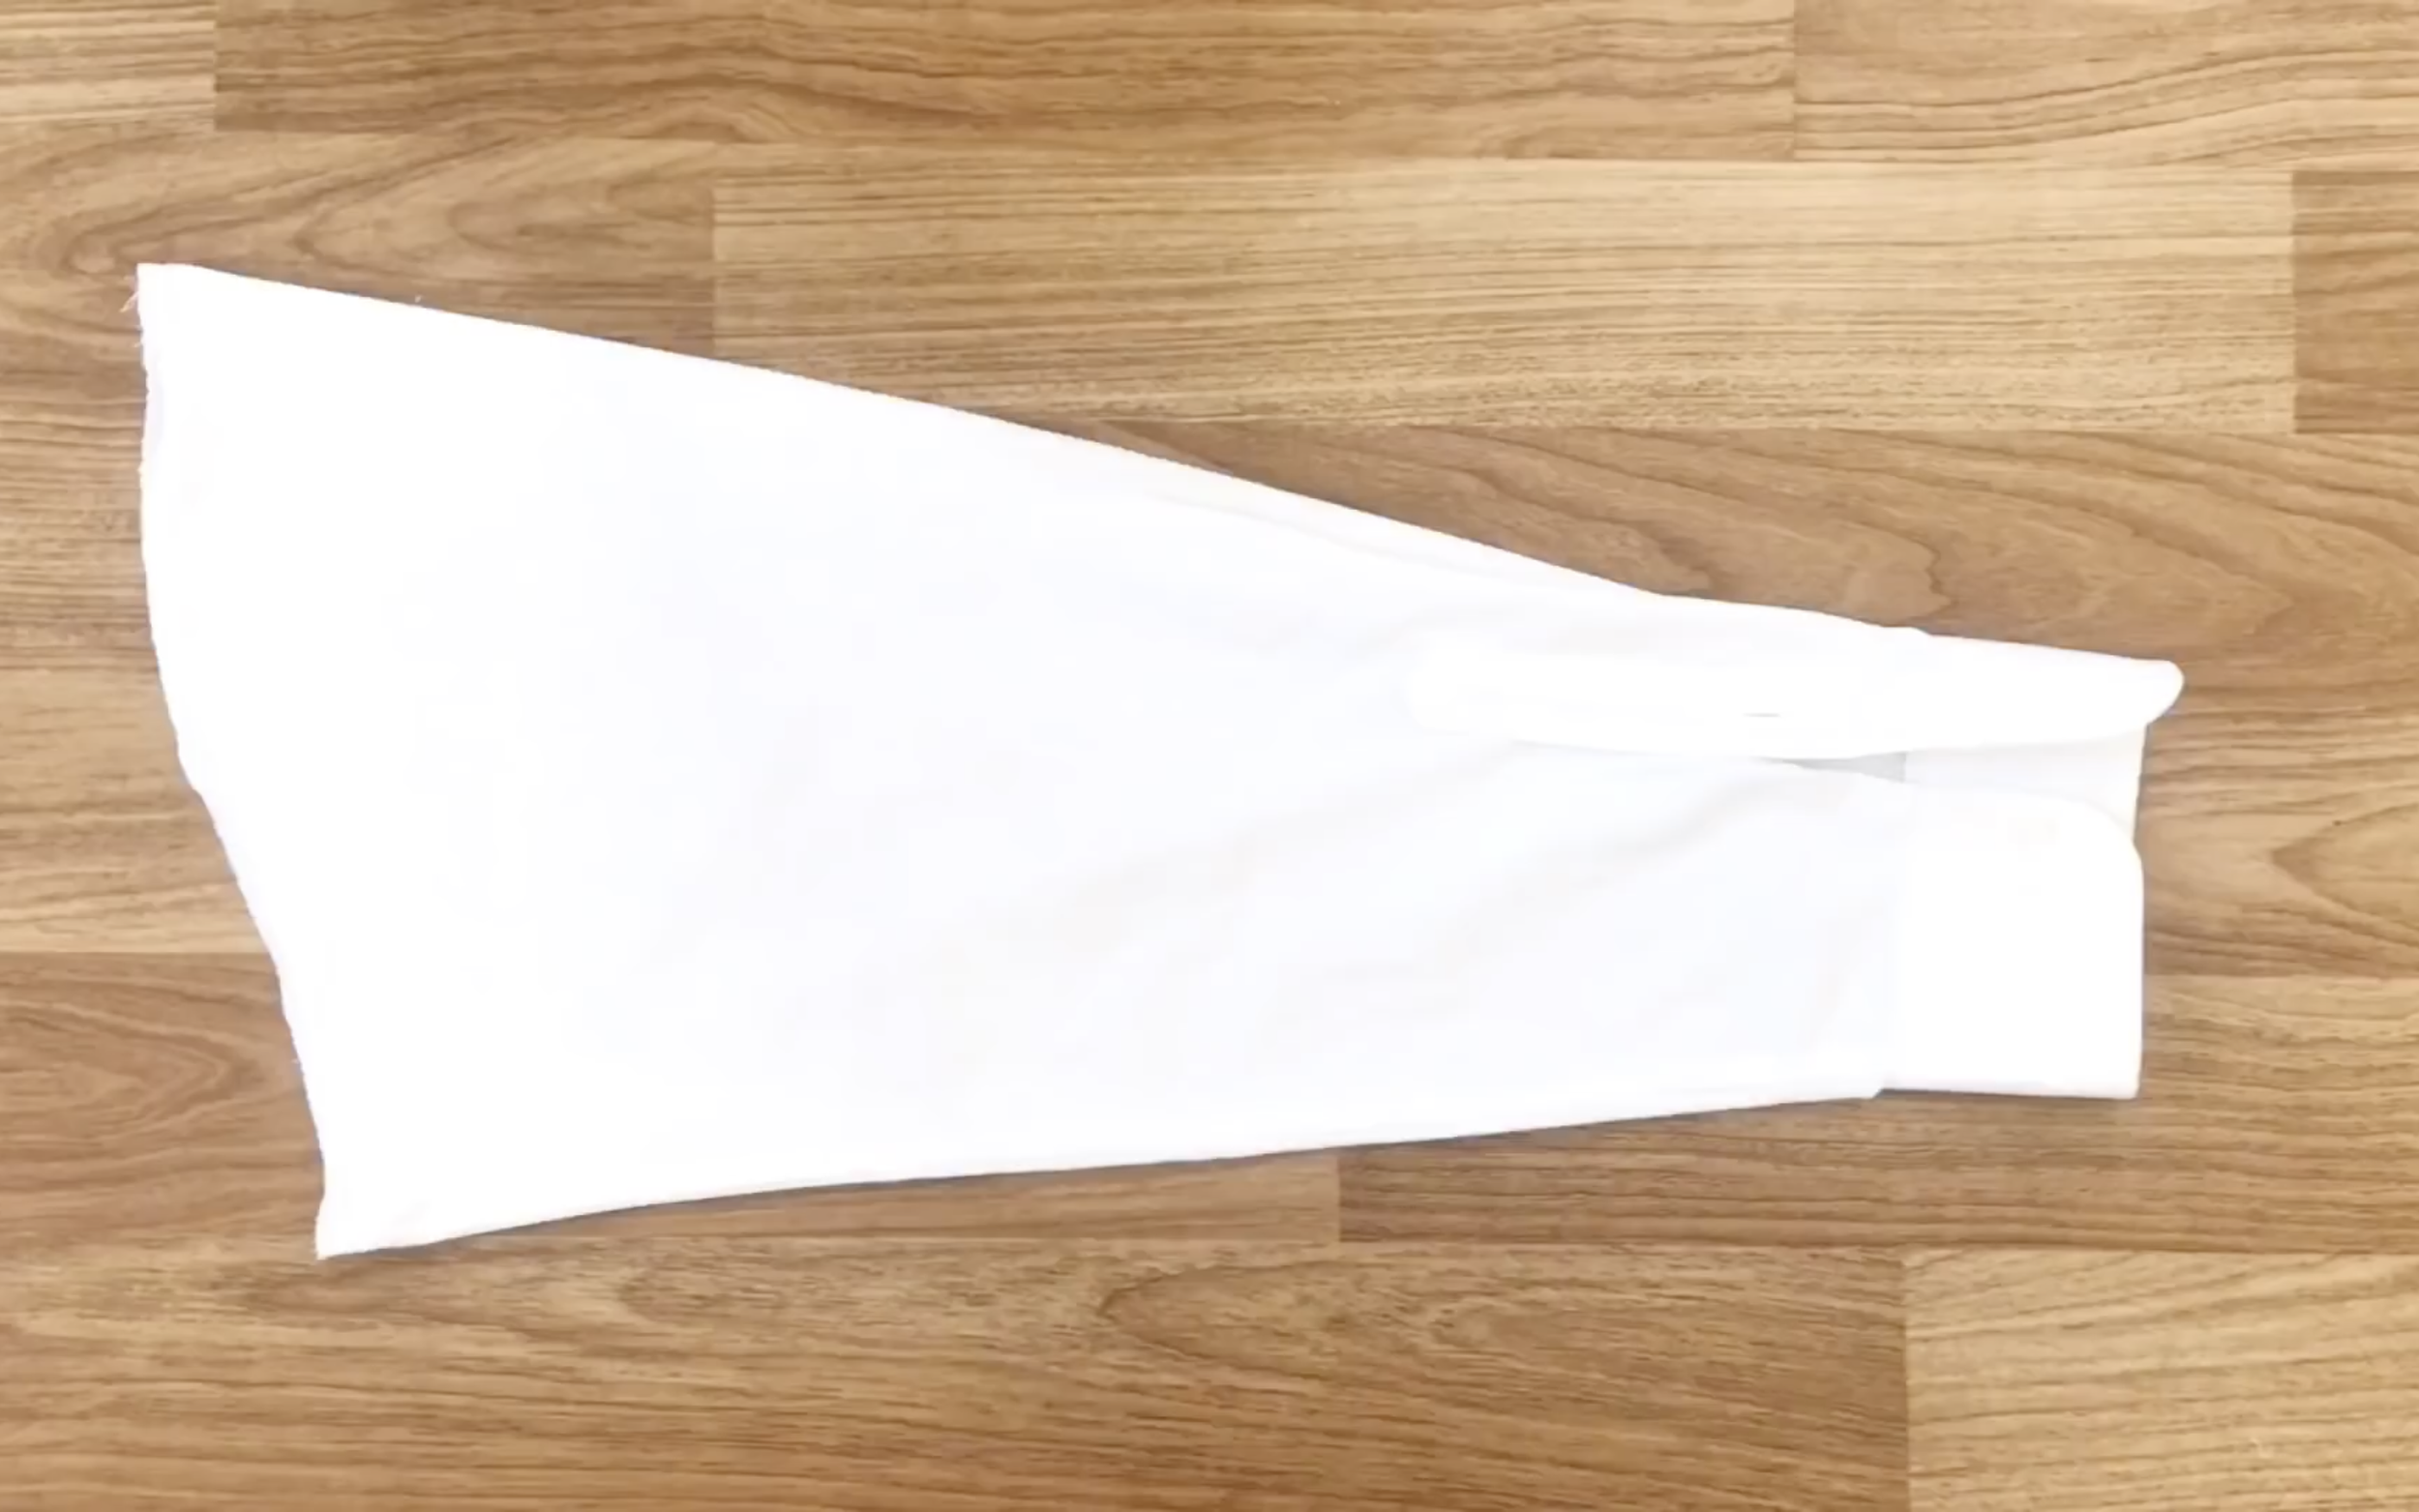
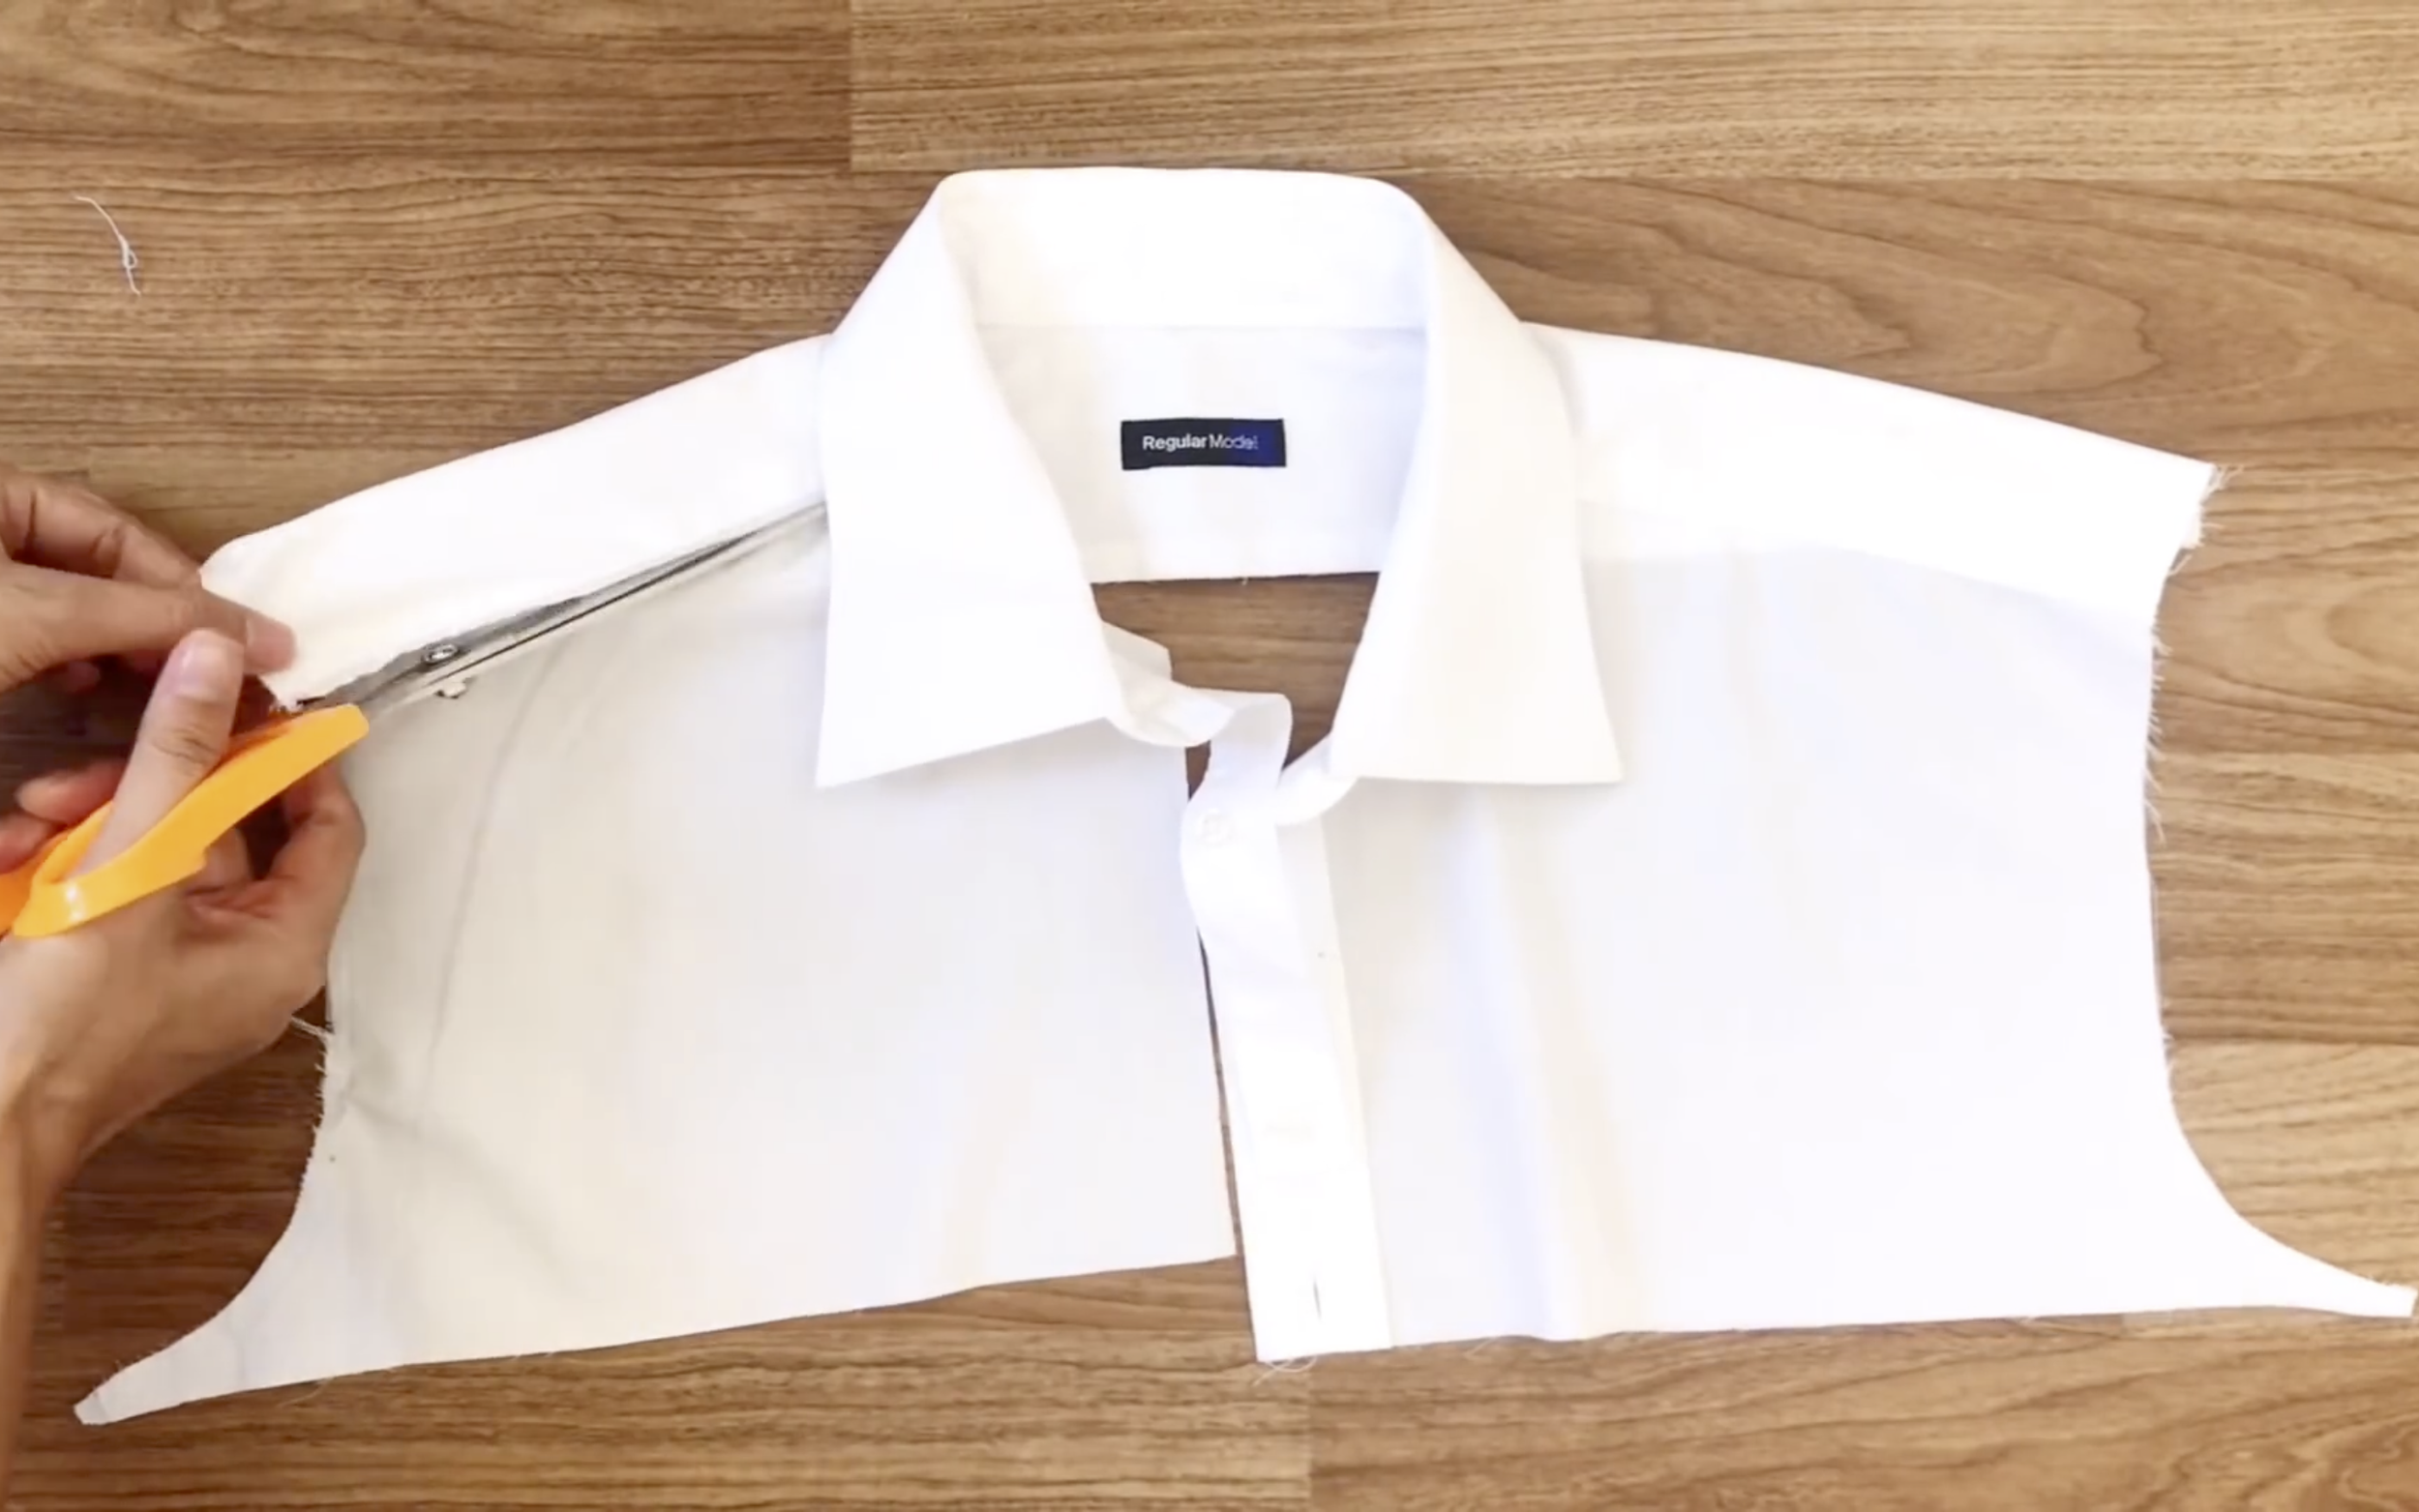
First step is un-sewing 2 sleeves of the shirt.
After that, remove the front pocket.
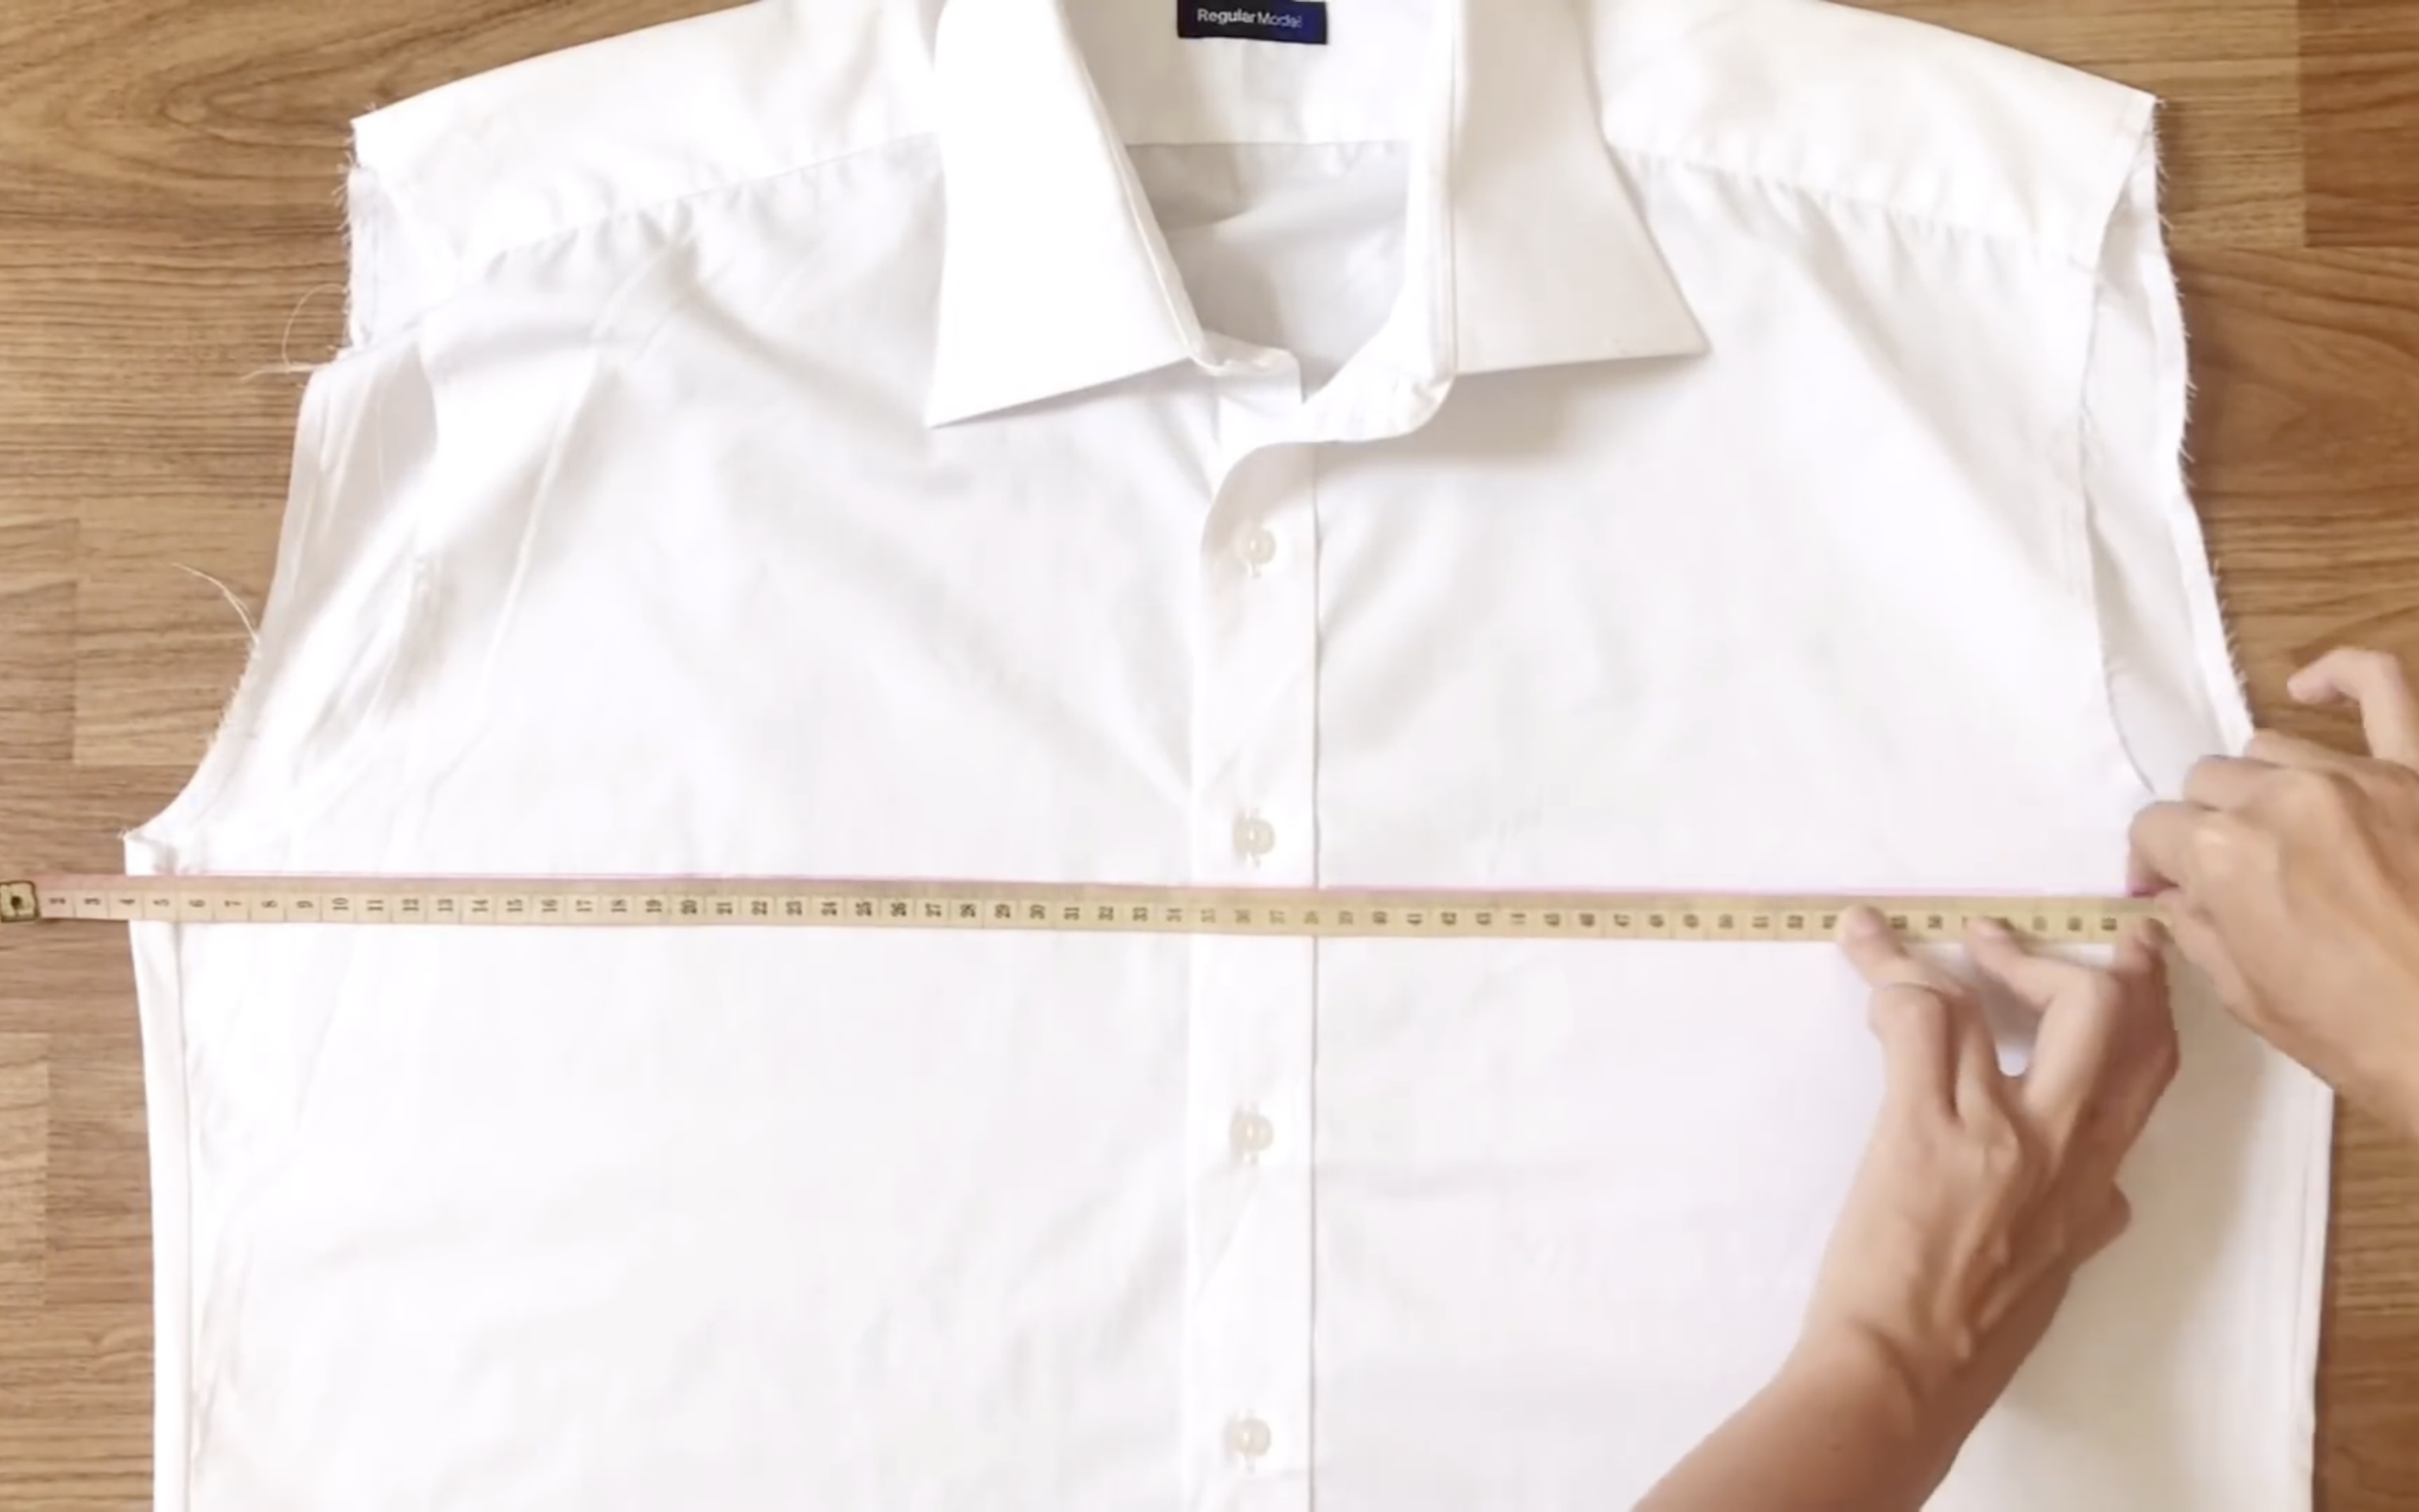
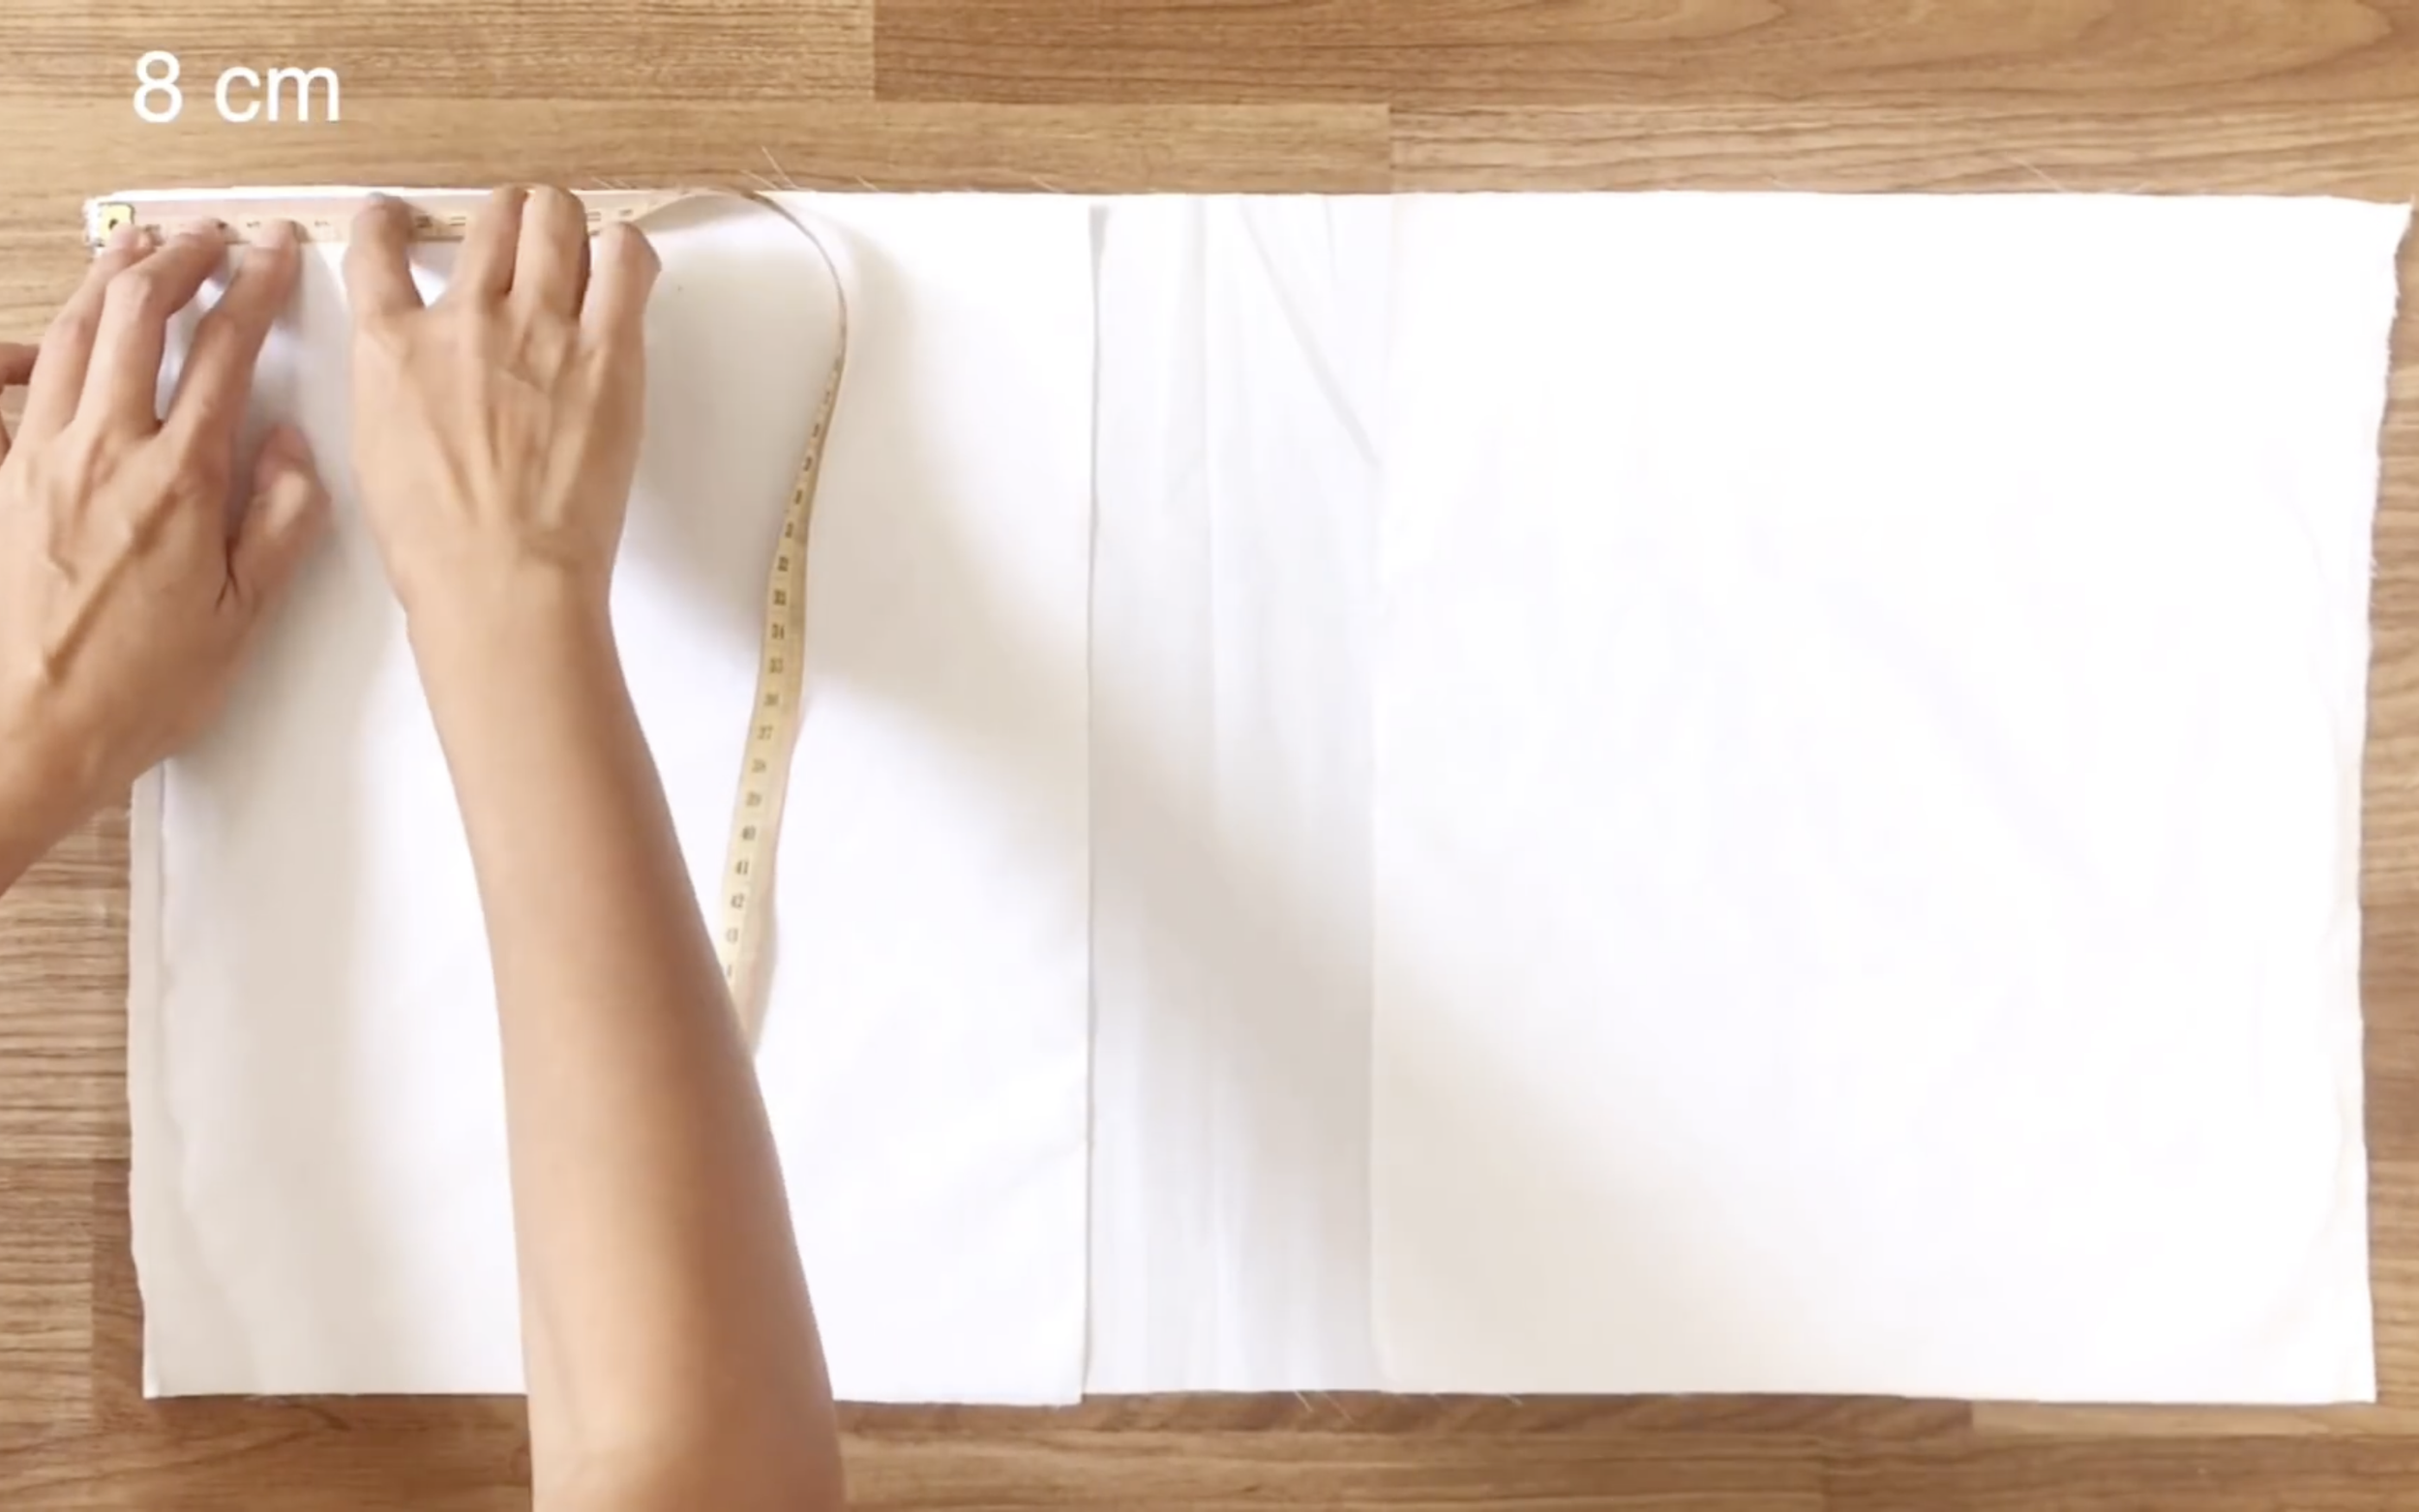
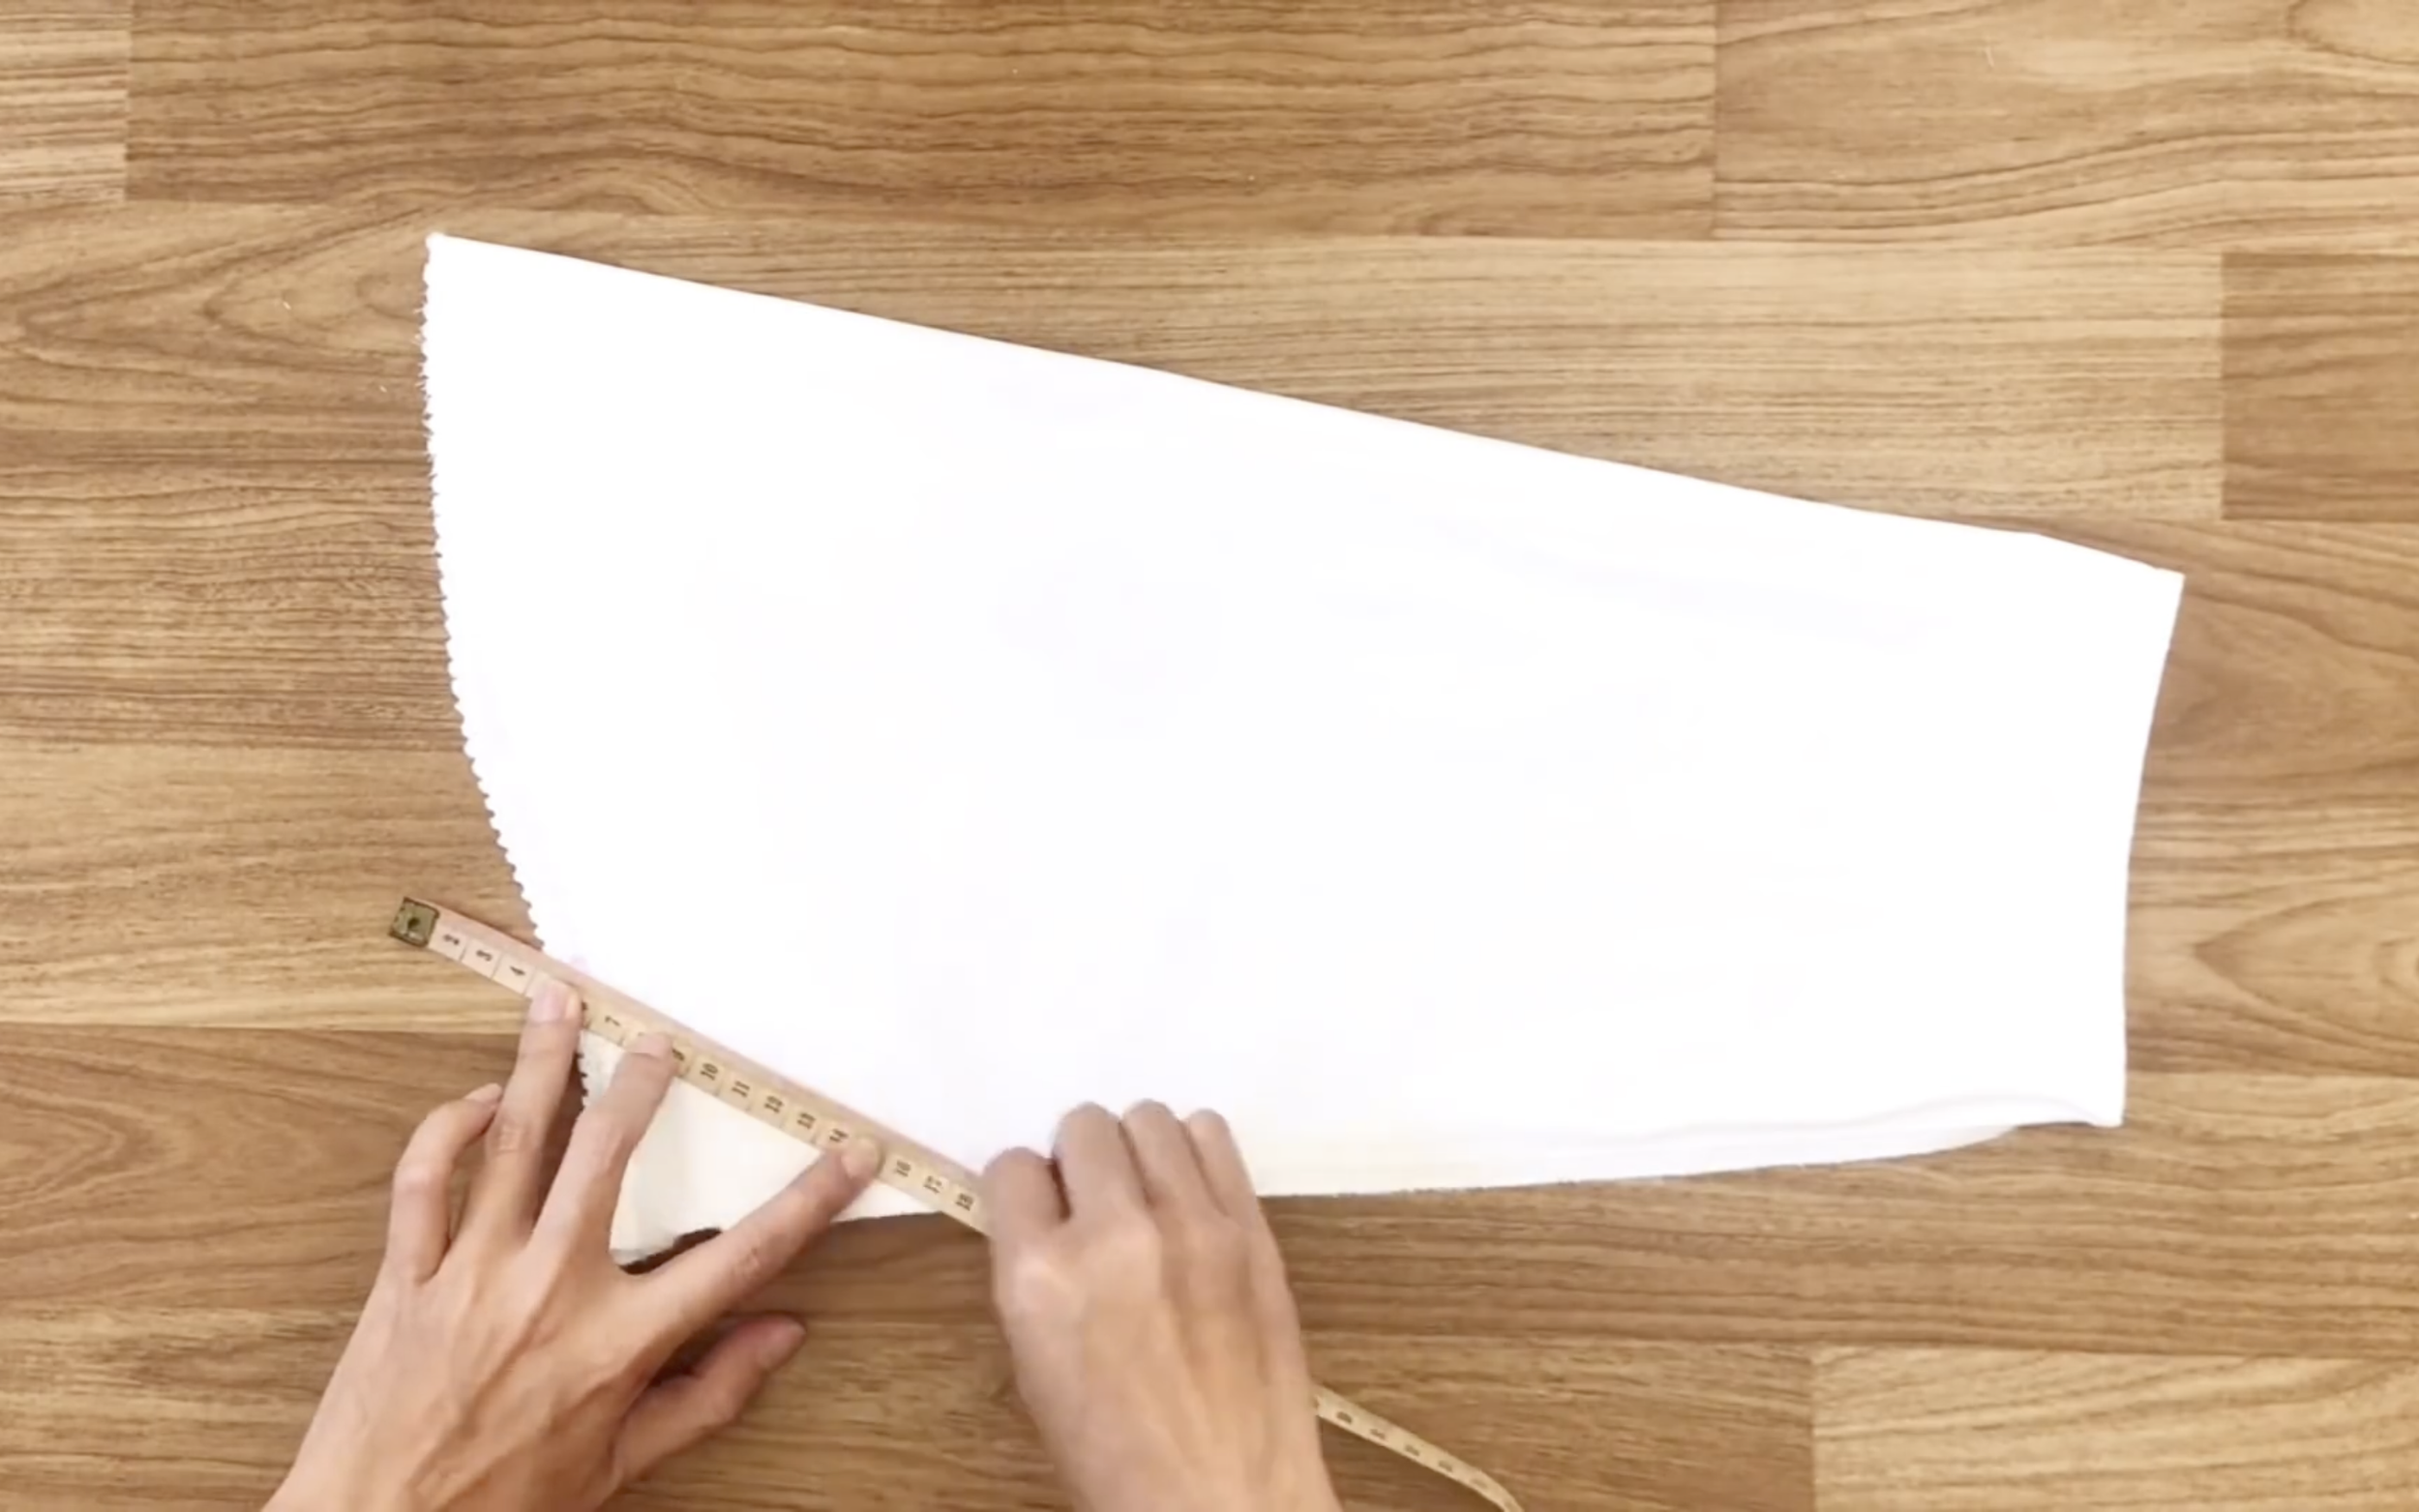
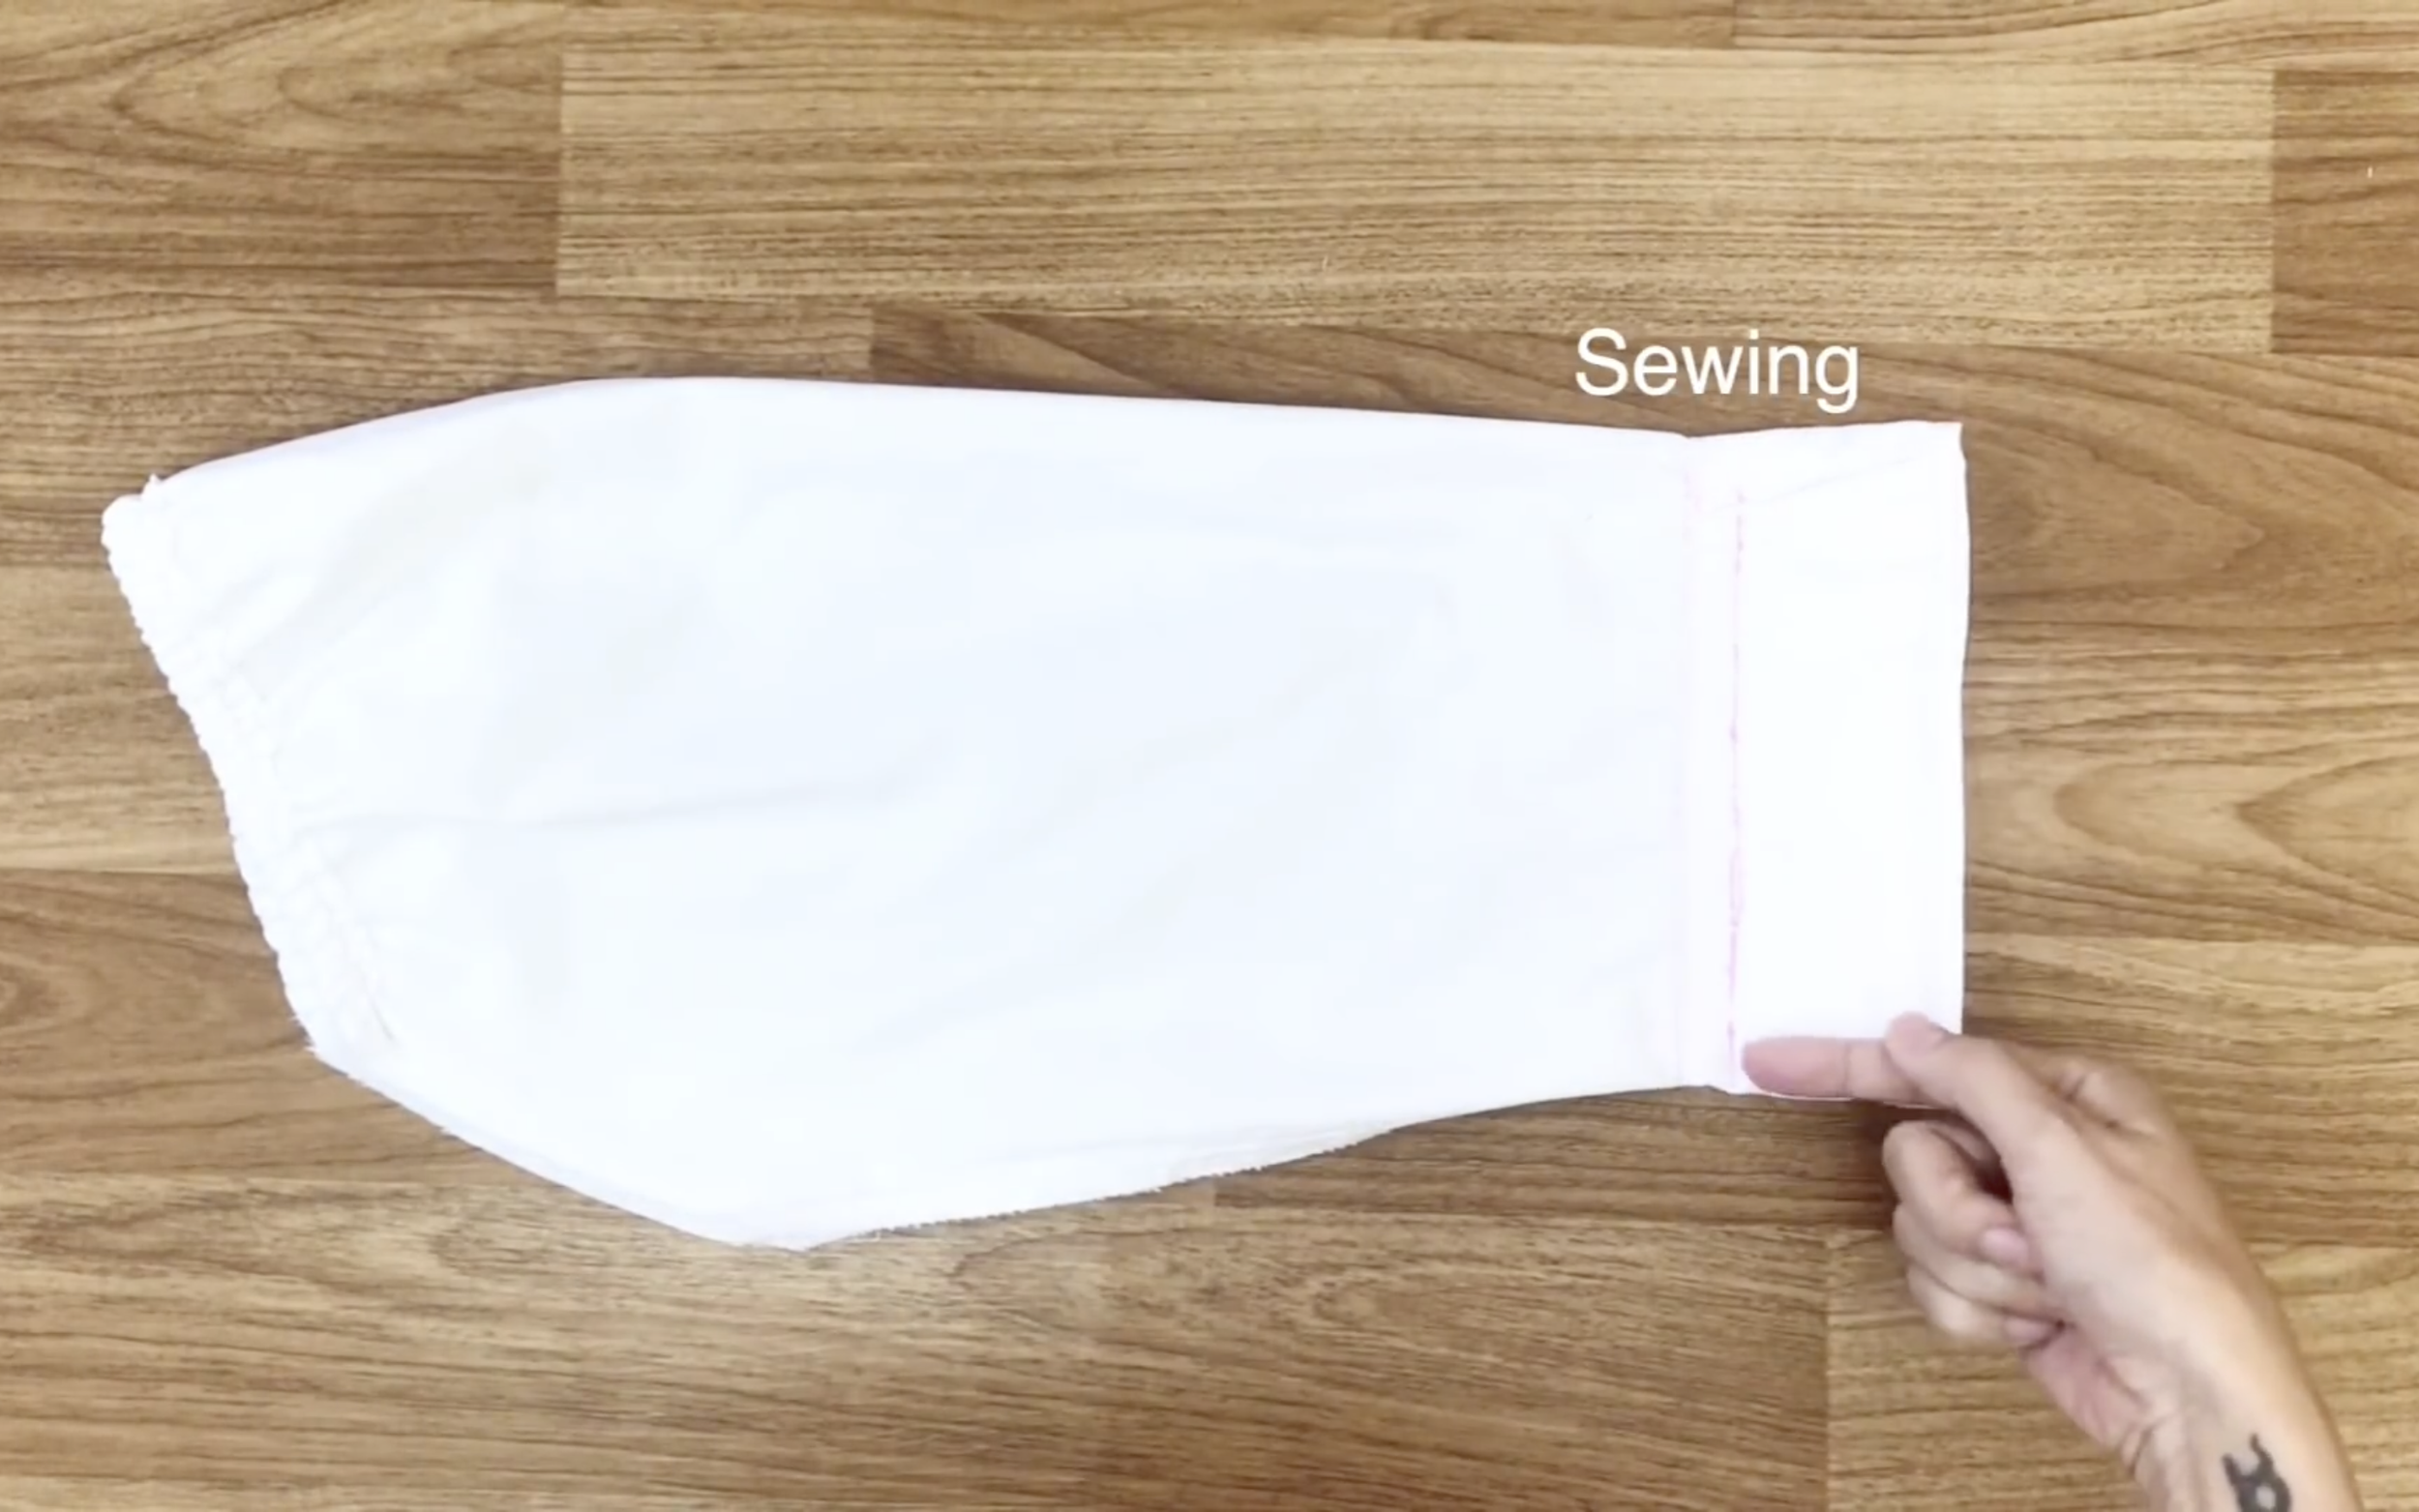
At the end of the sleeves, draw a horizontal line.
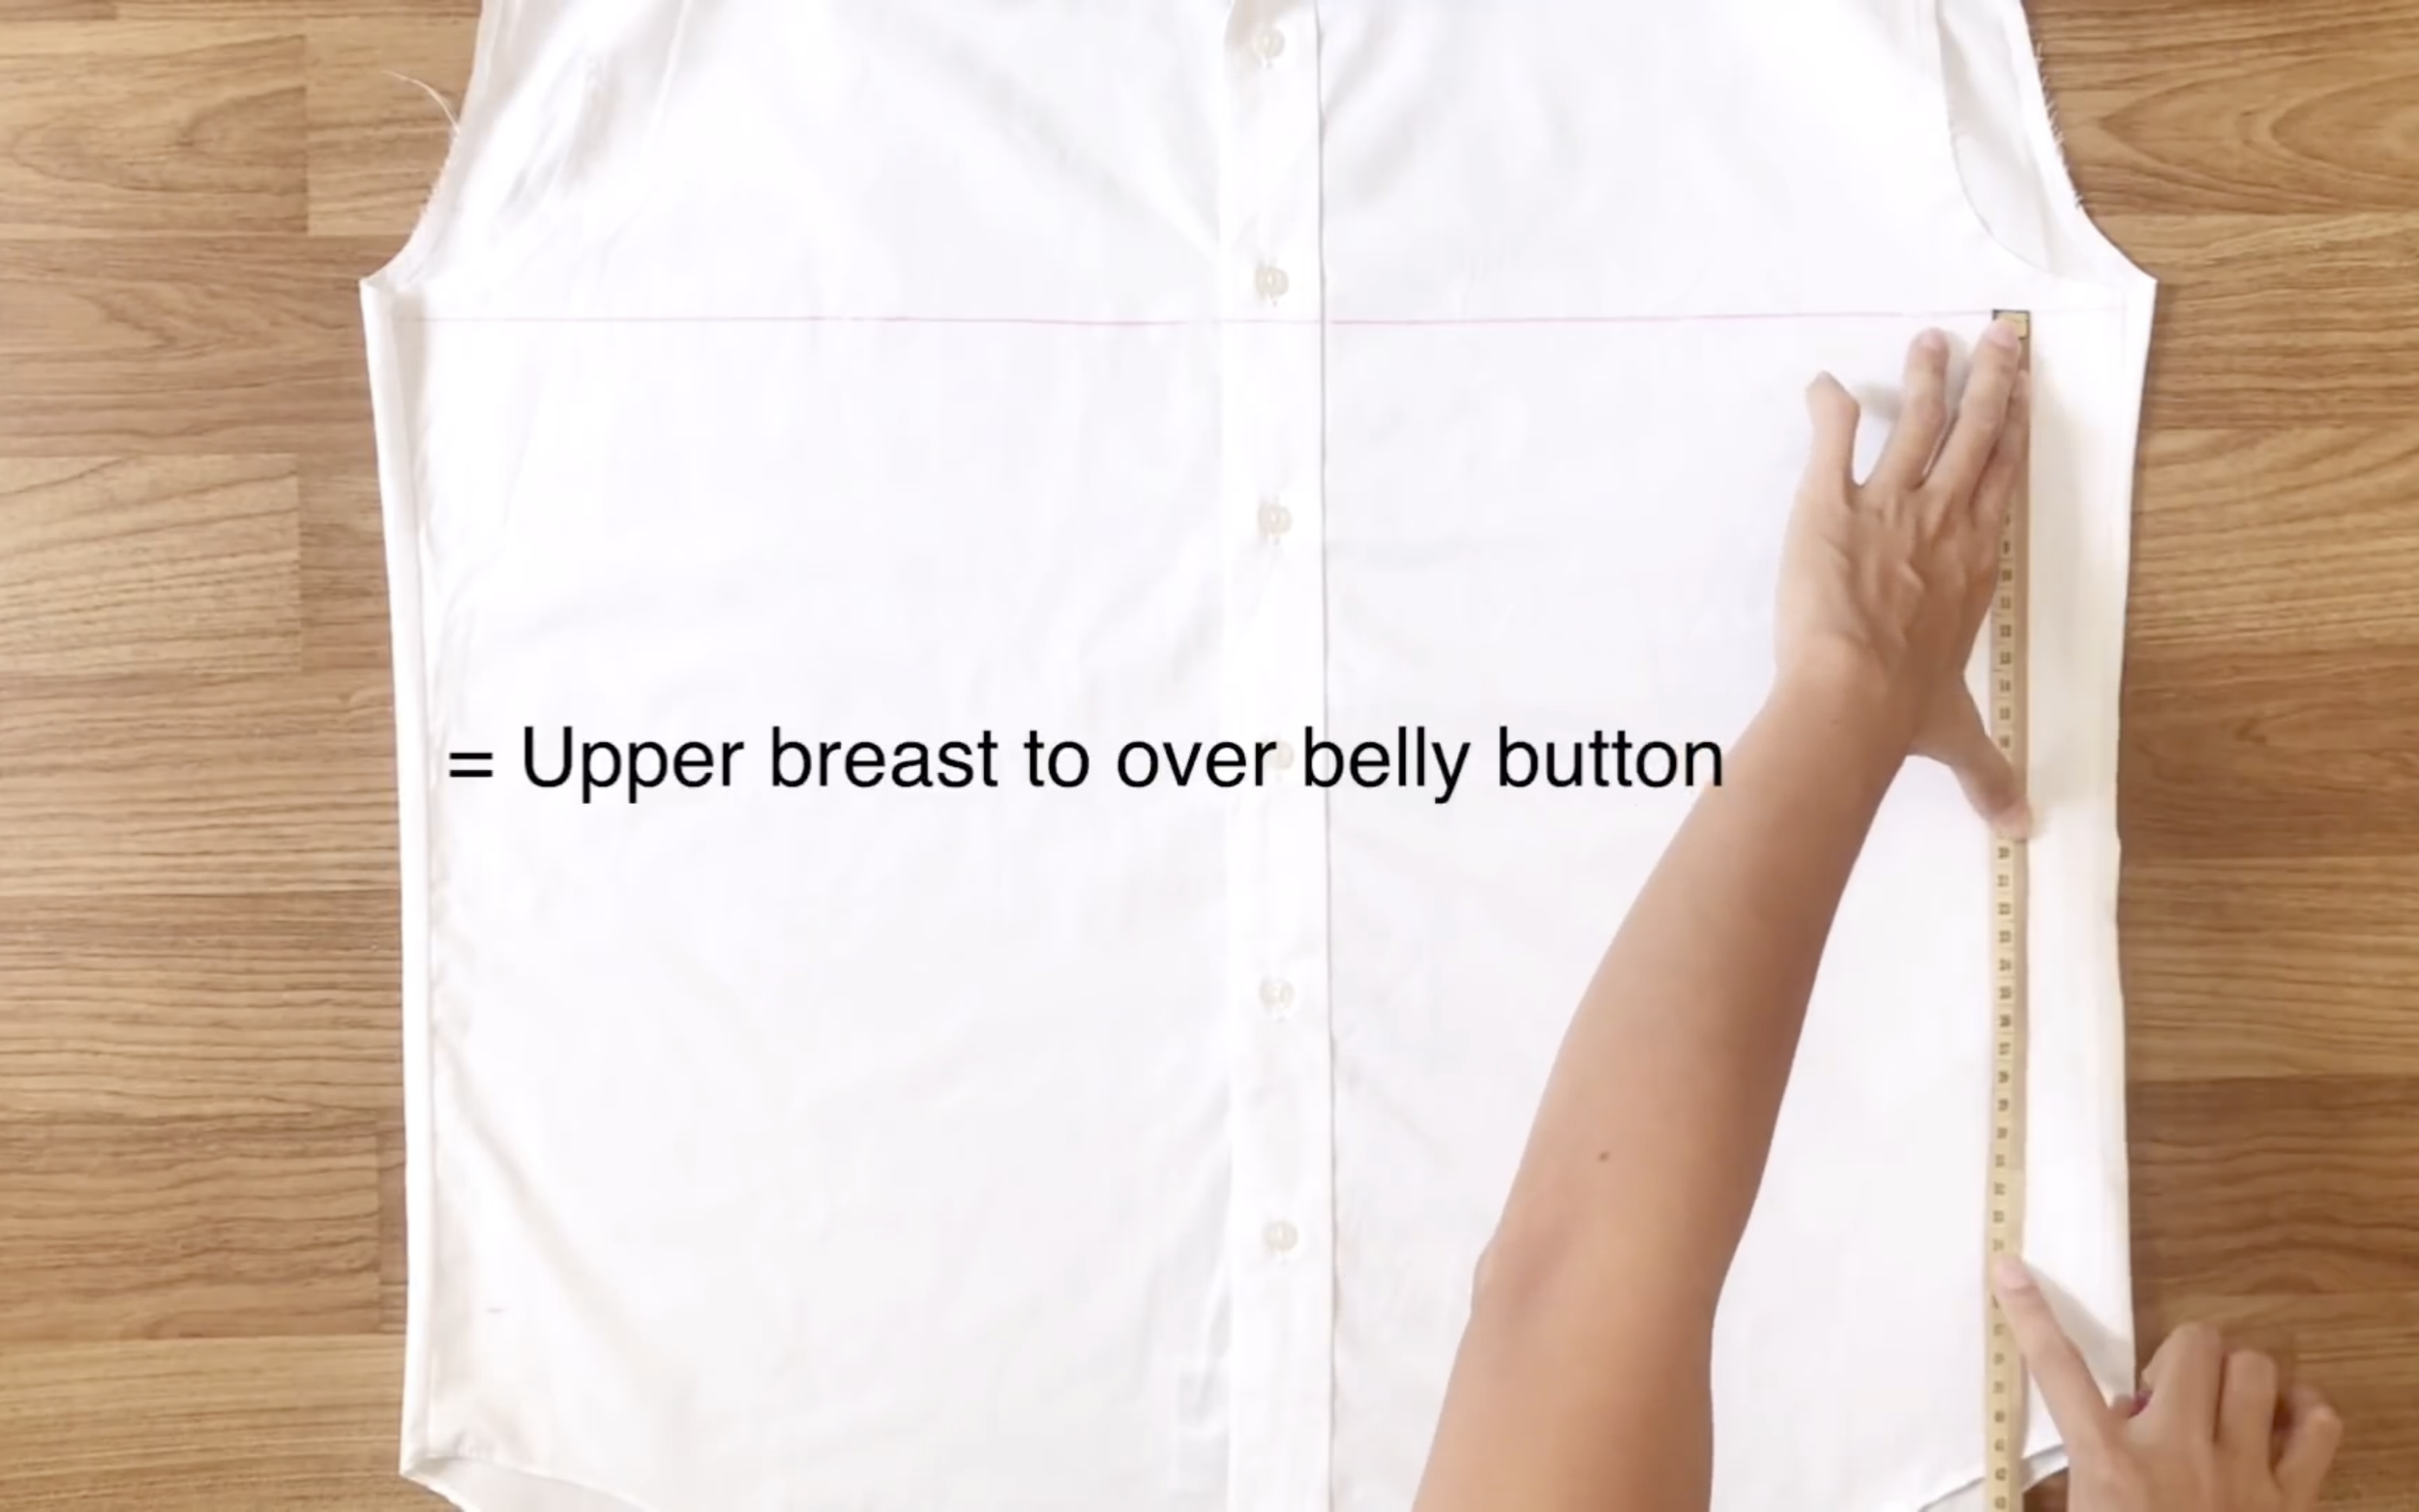
From there, go down 35cm, which is the width from the upper breast to over the belly button.
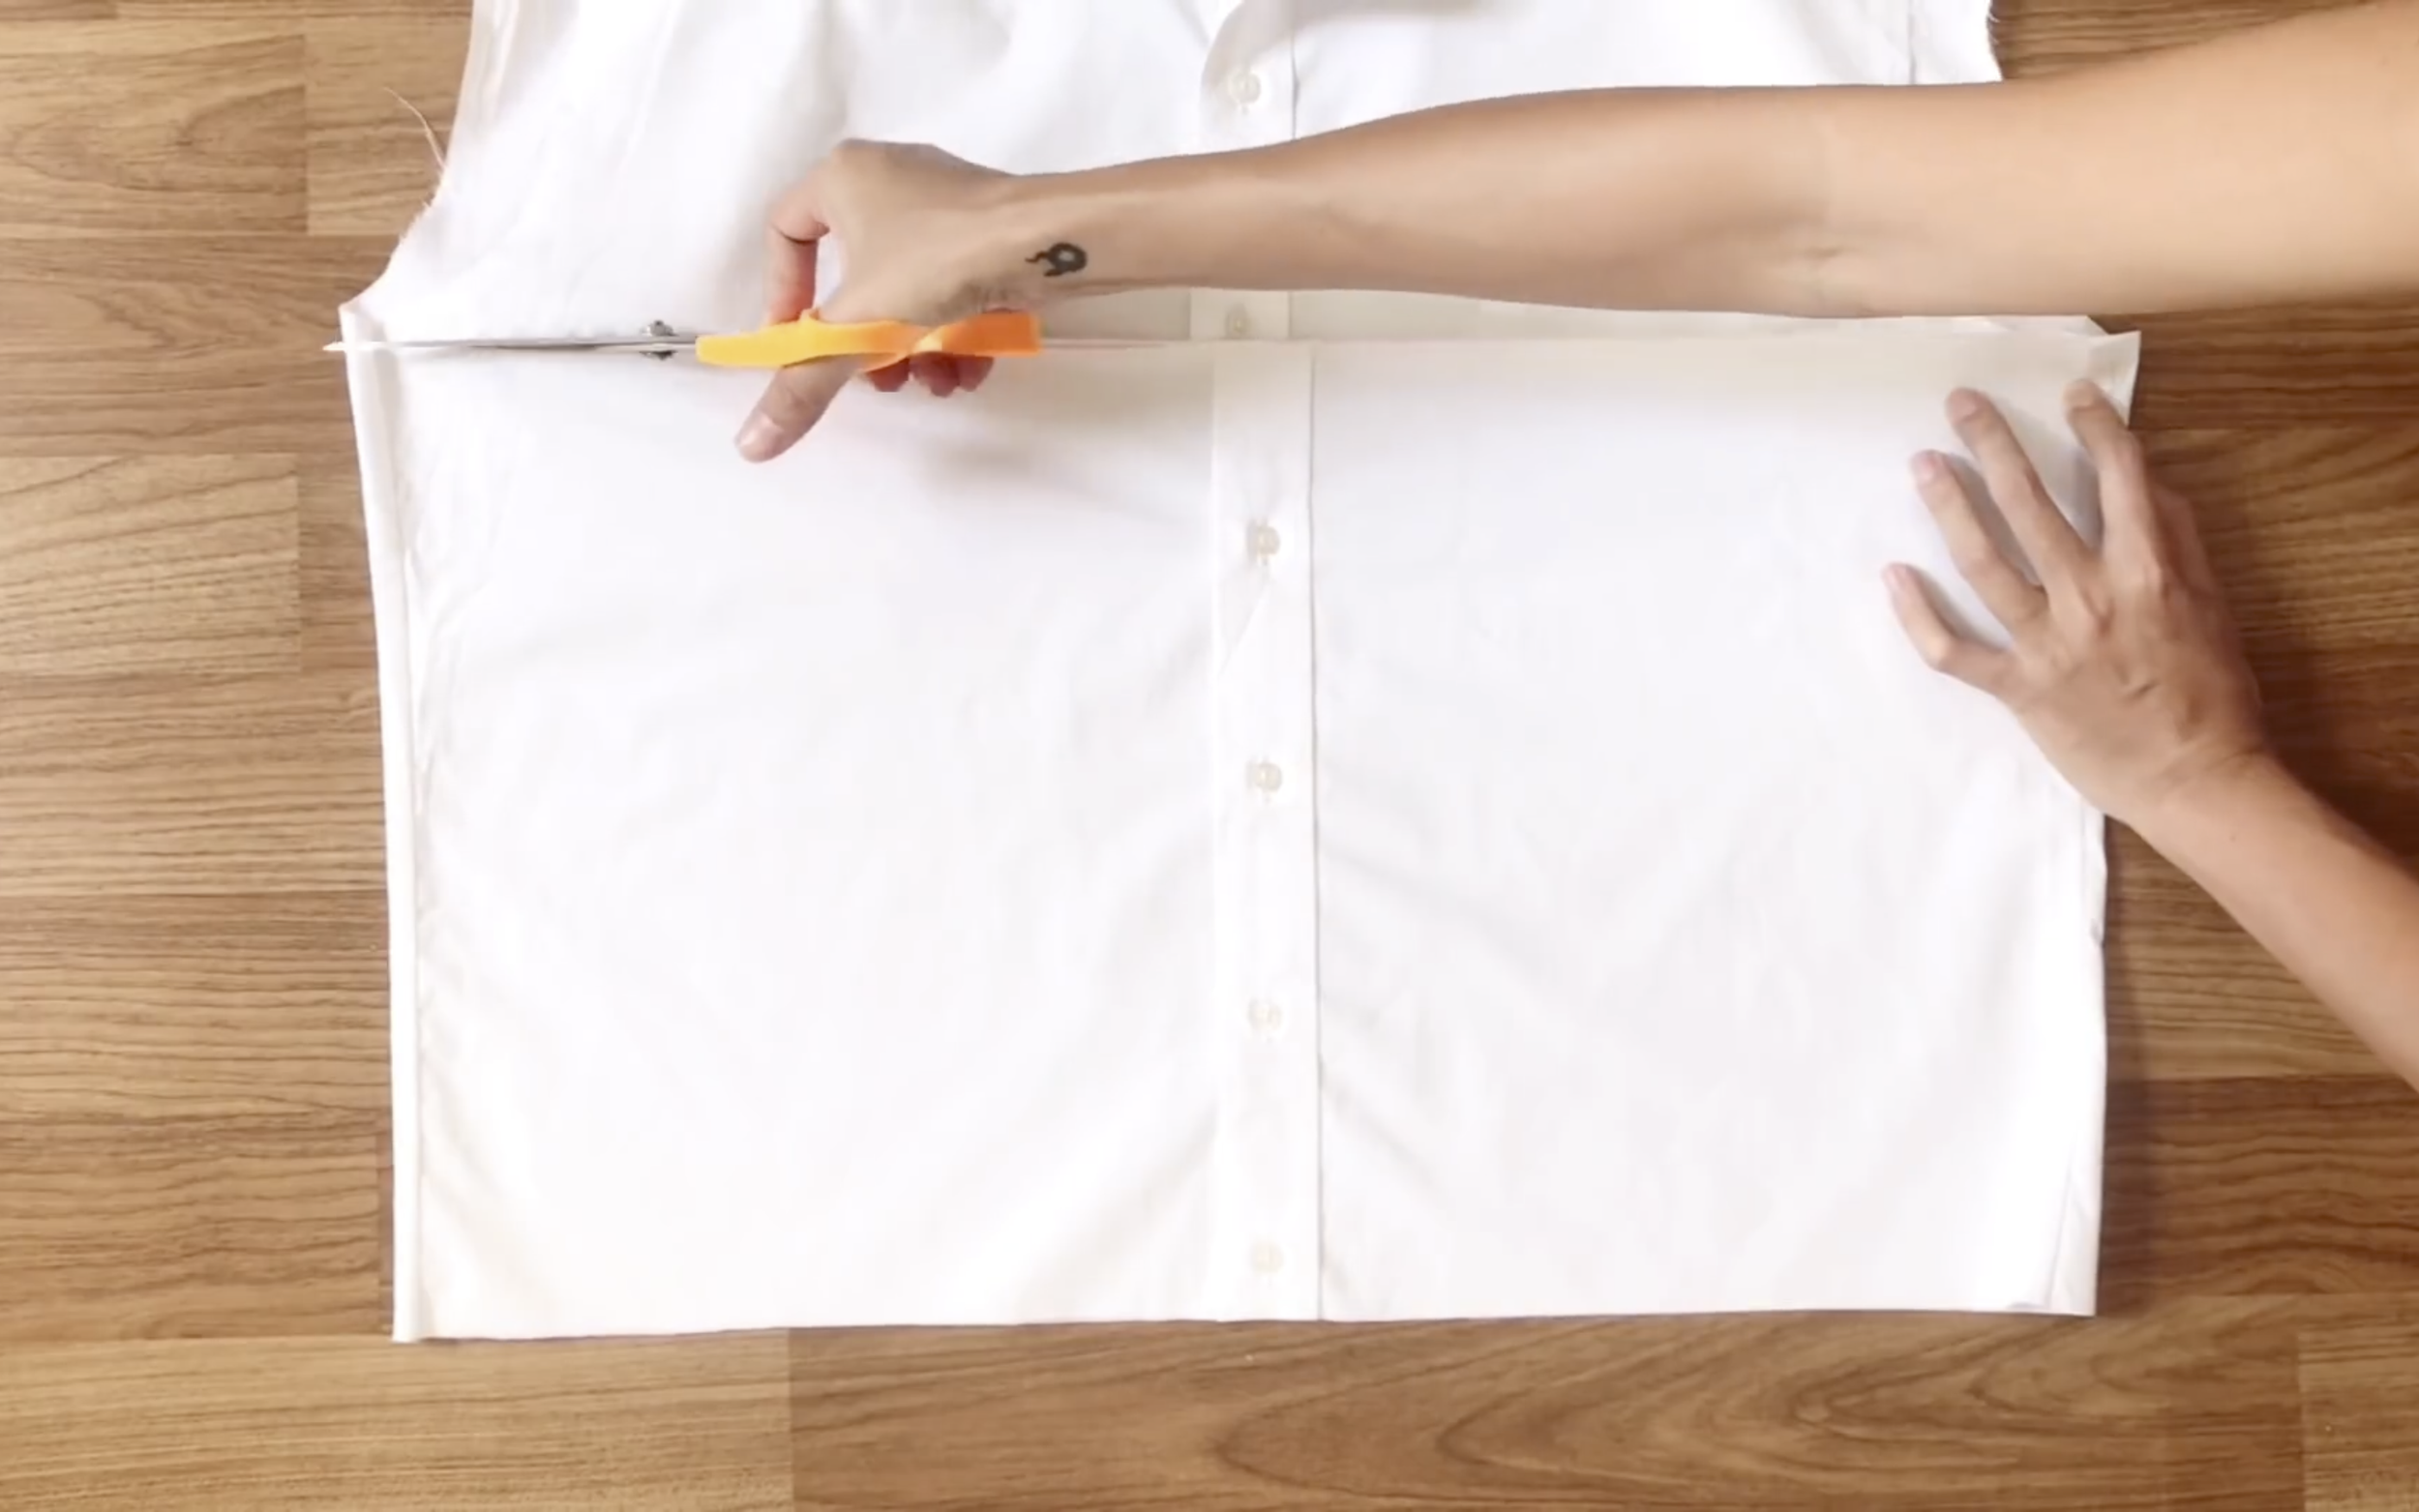
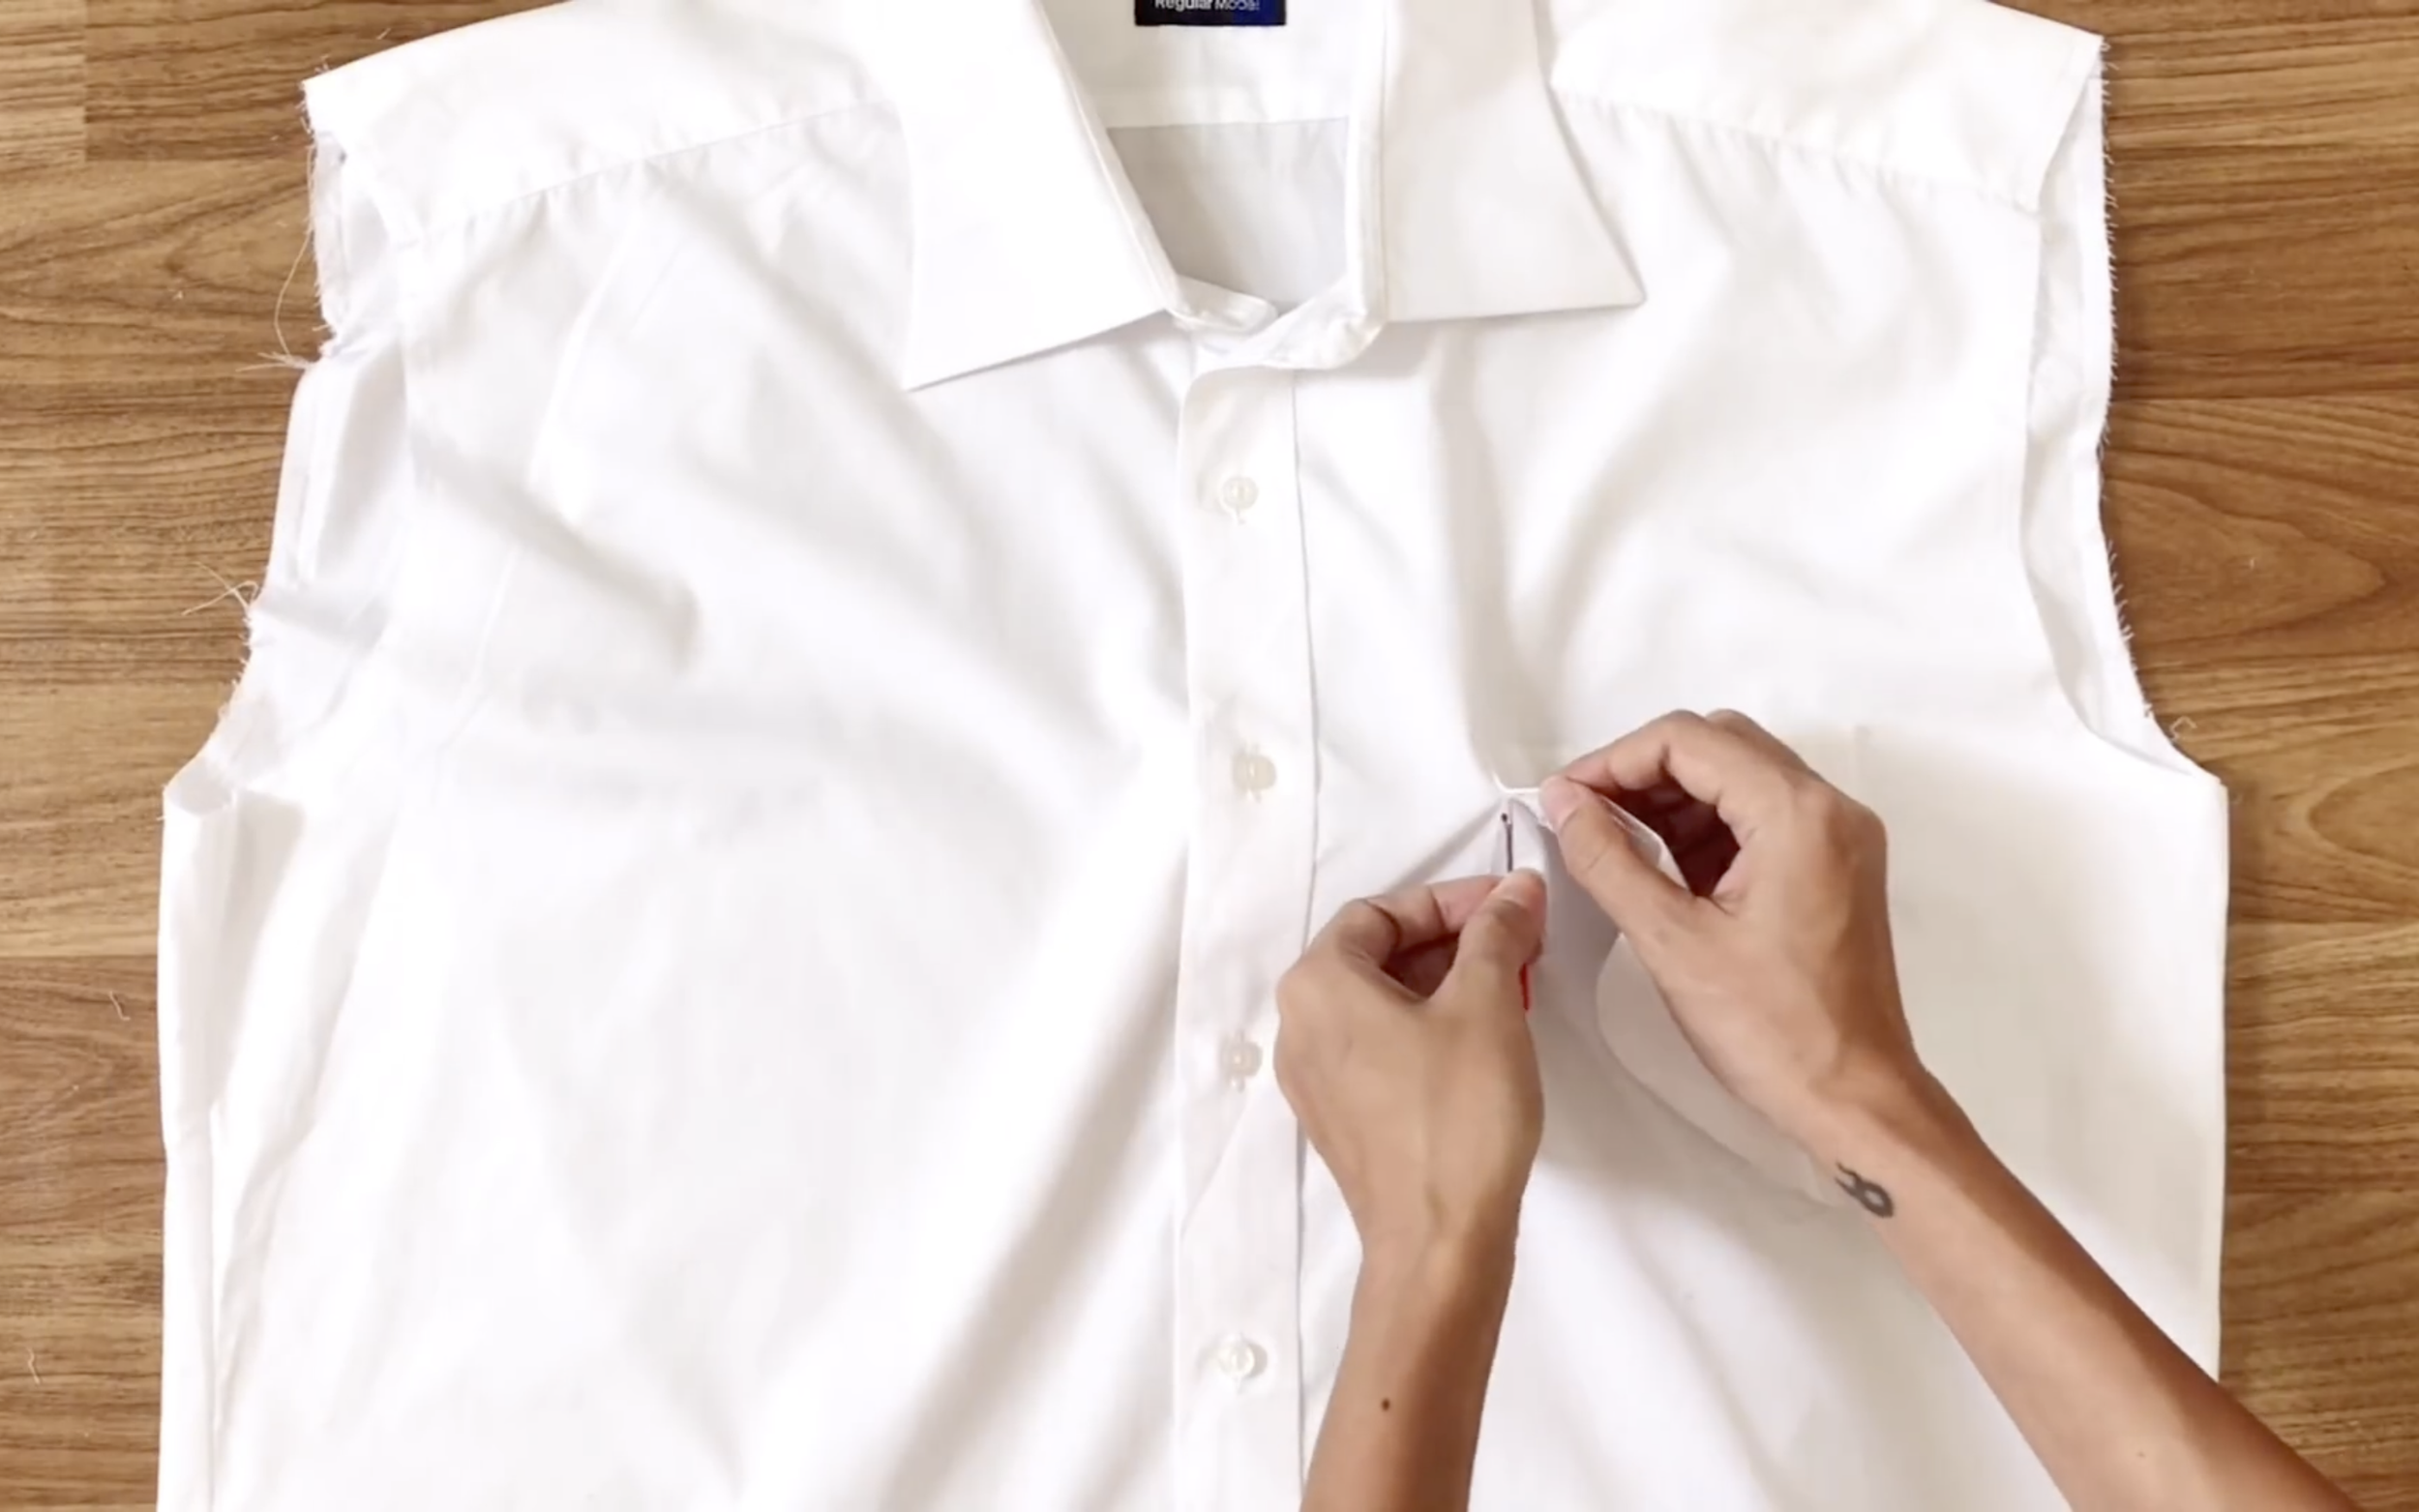
Then, cut along the drawn lines.
Don't forget to cut the button area as well.
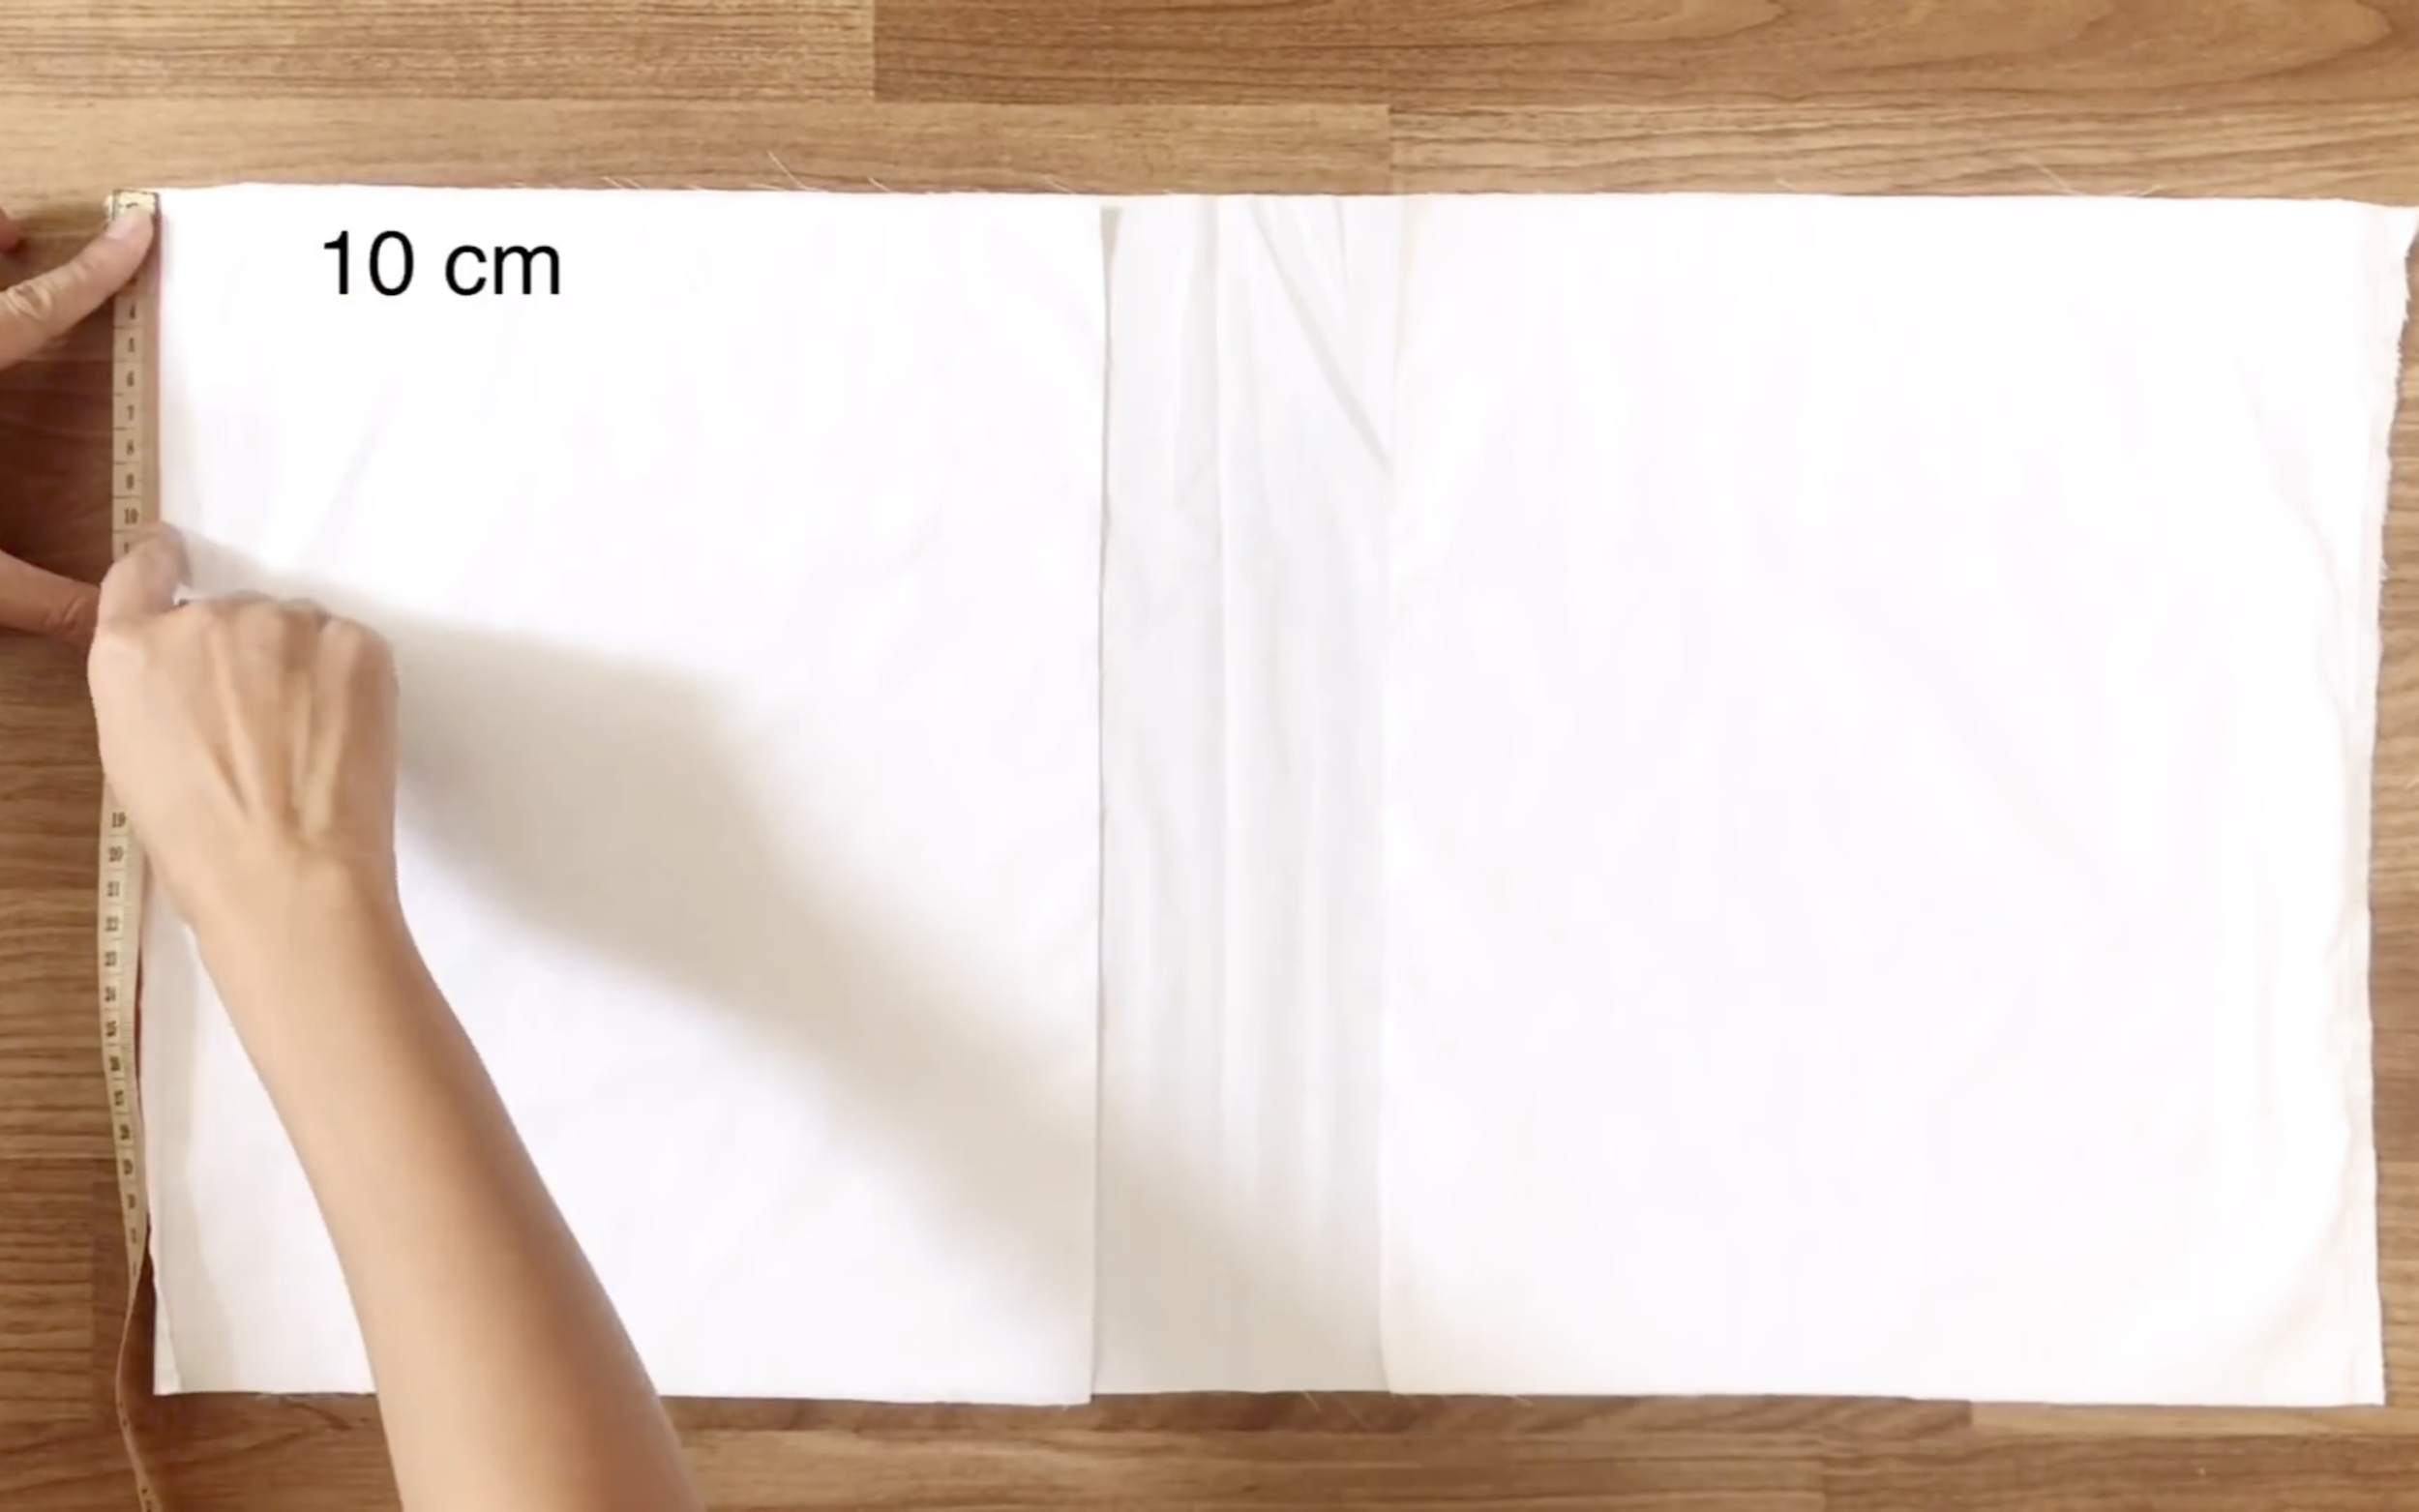
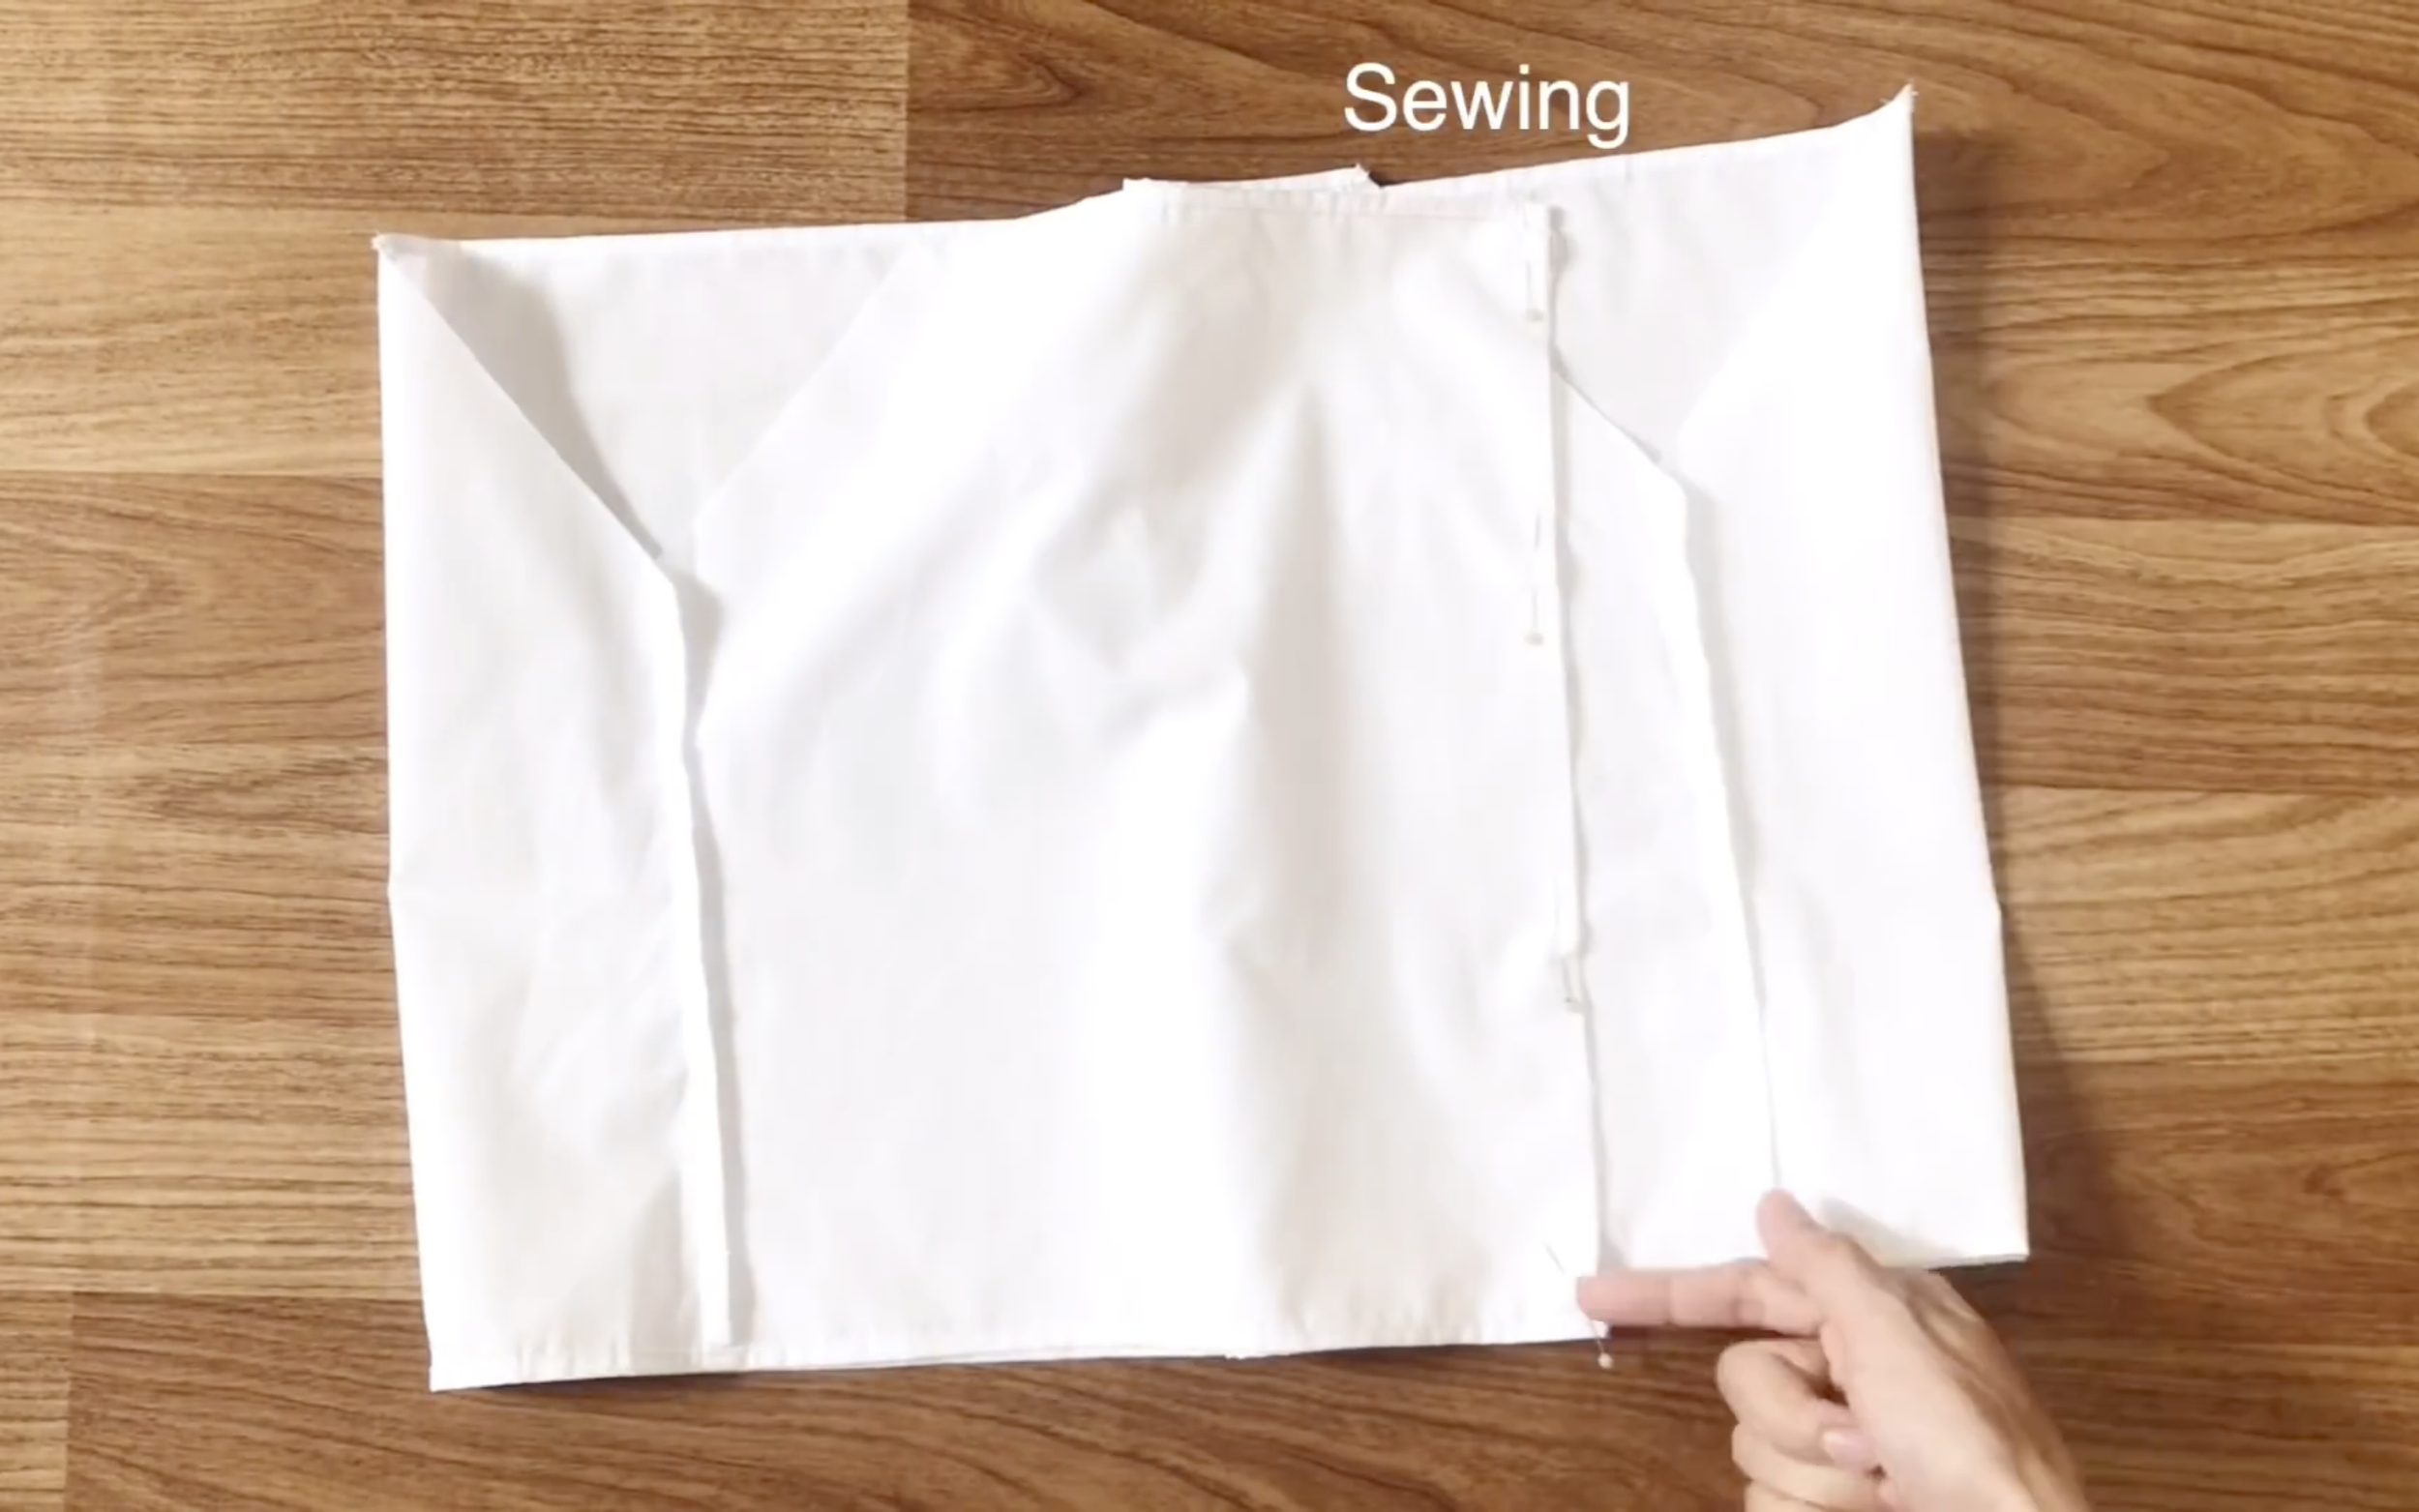
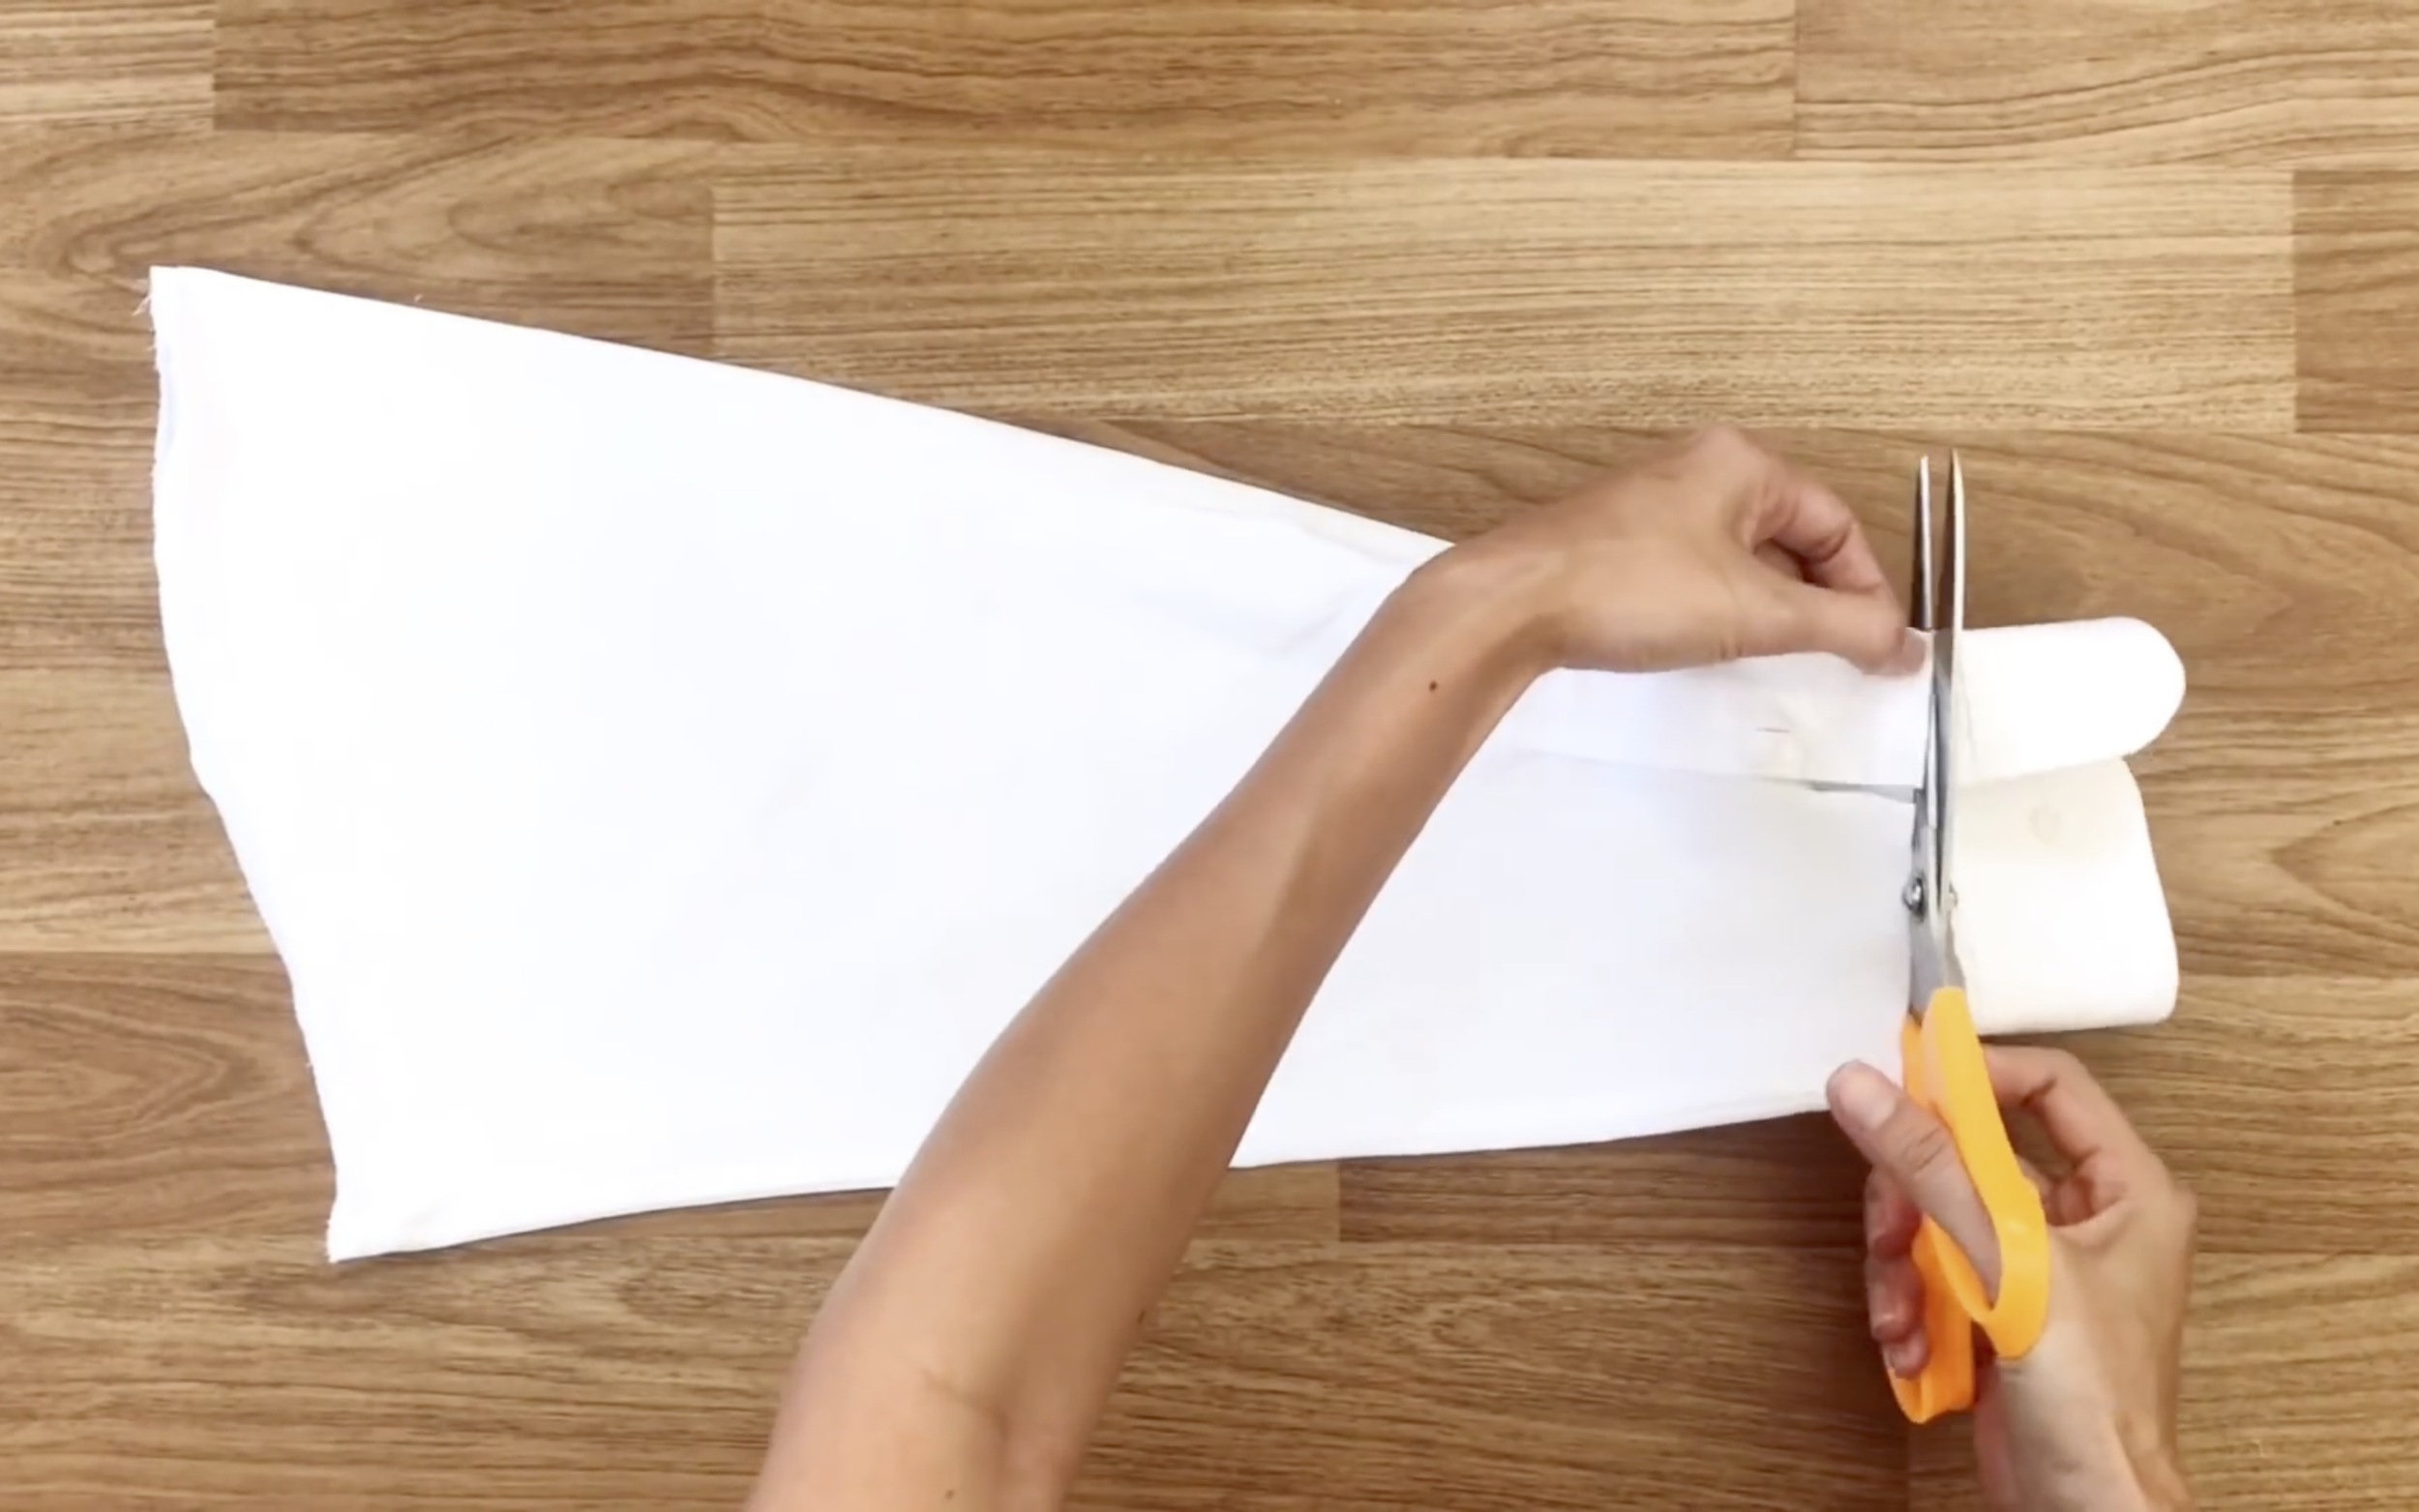
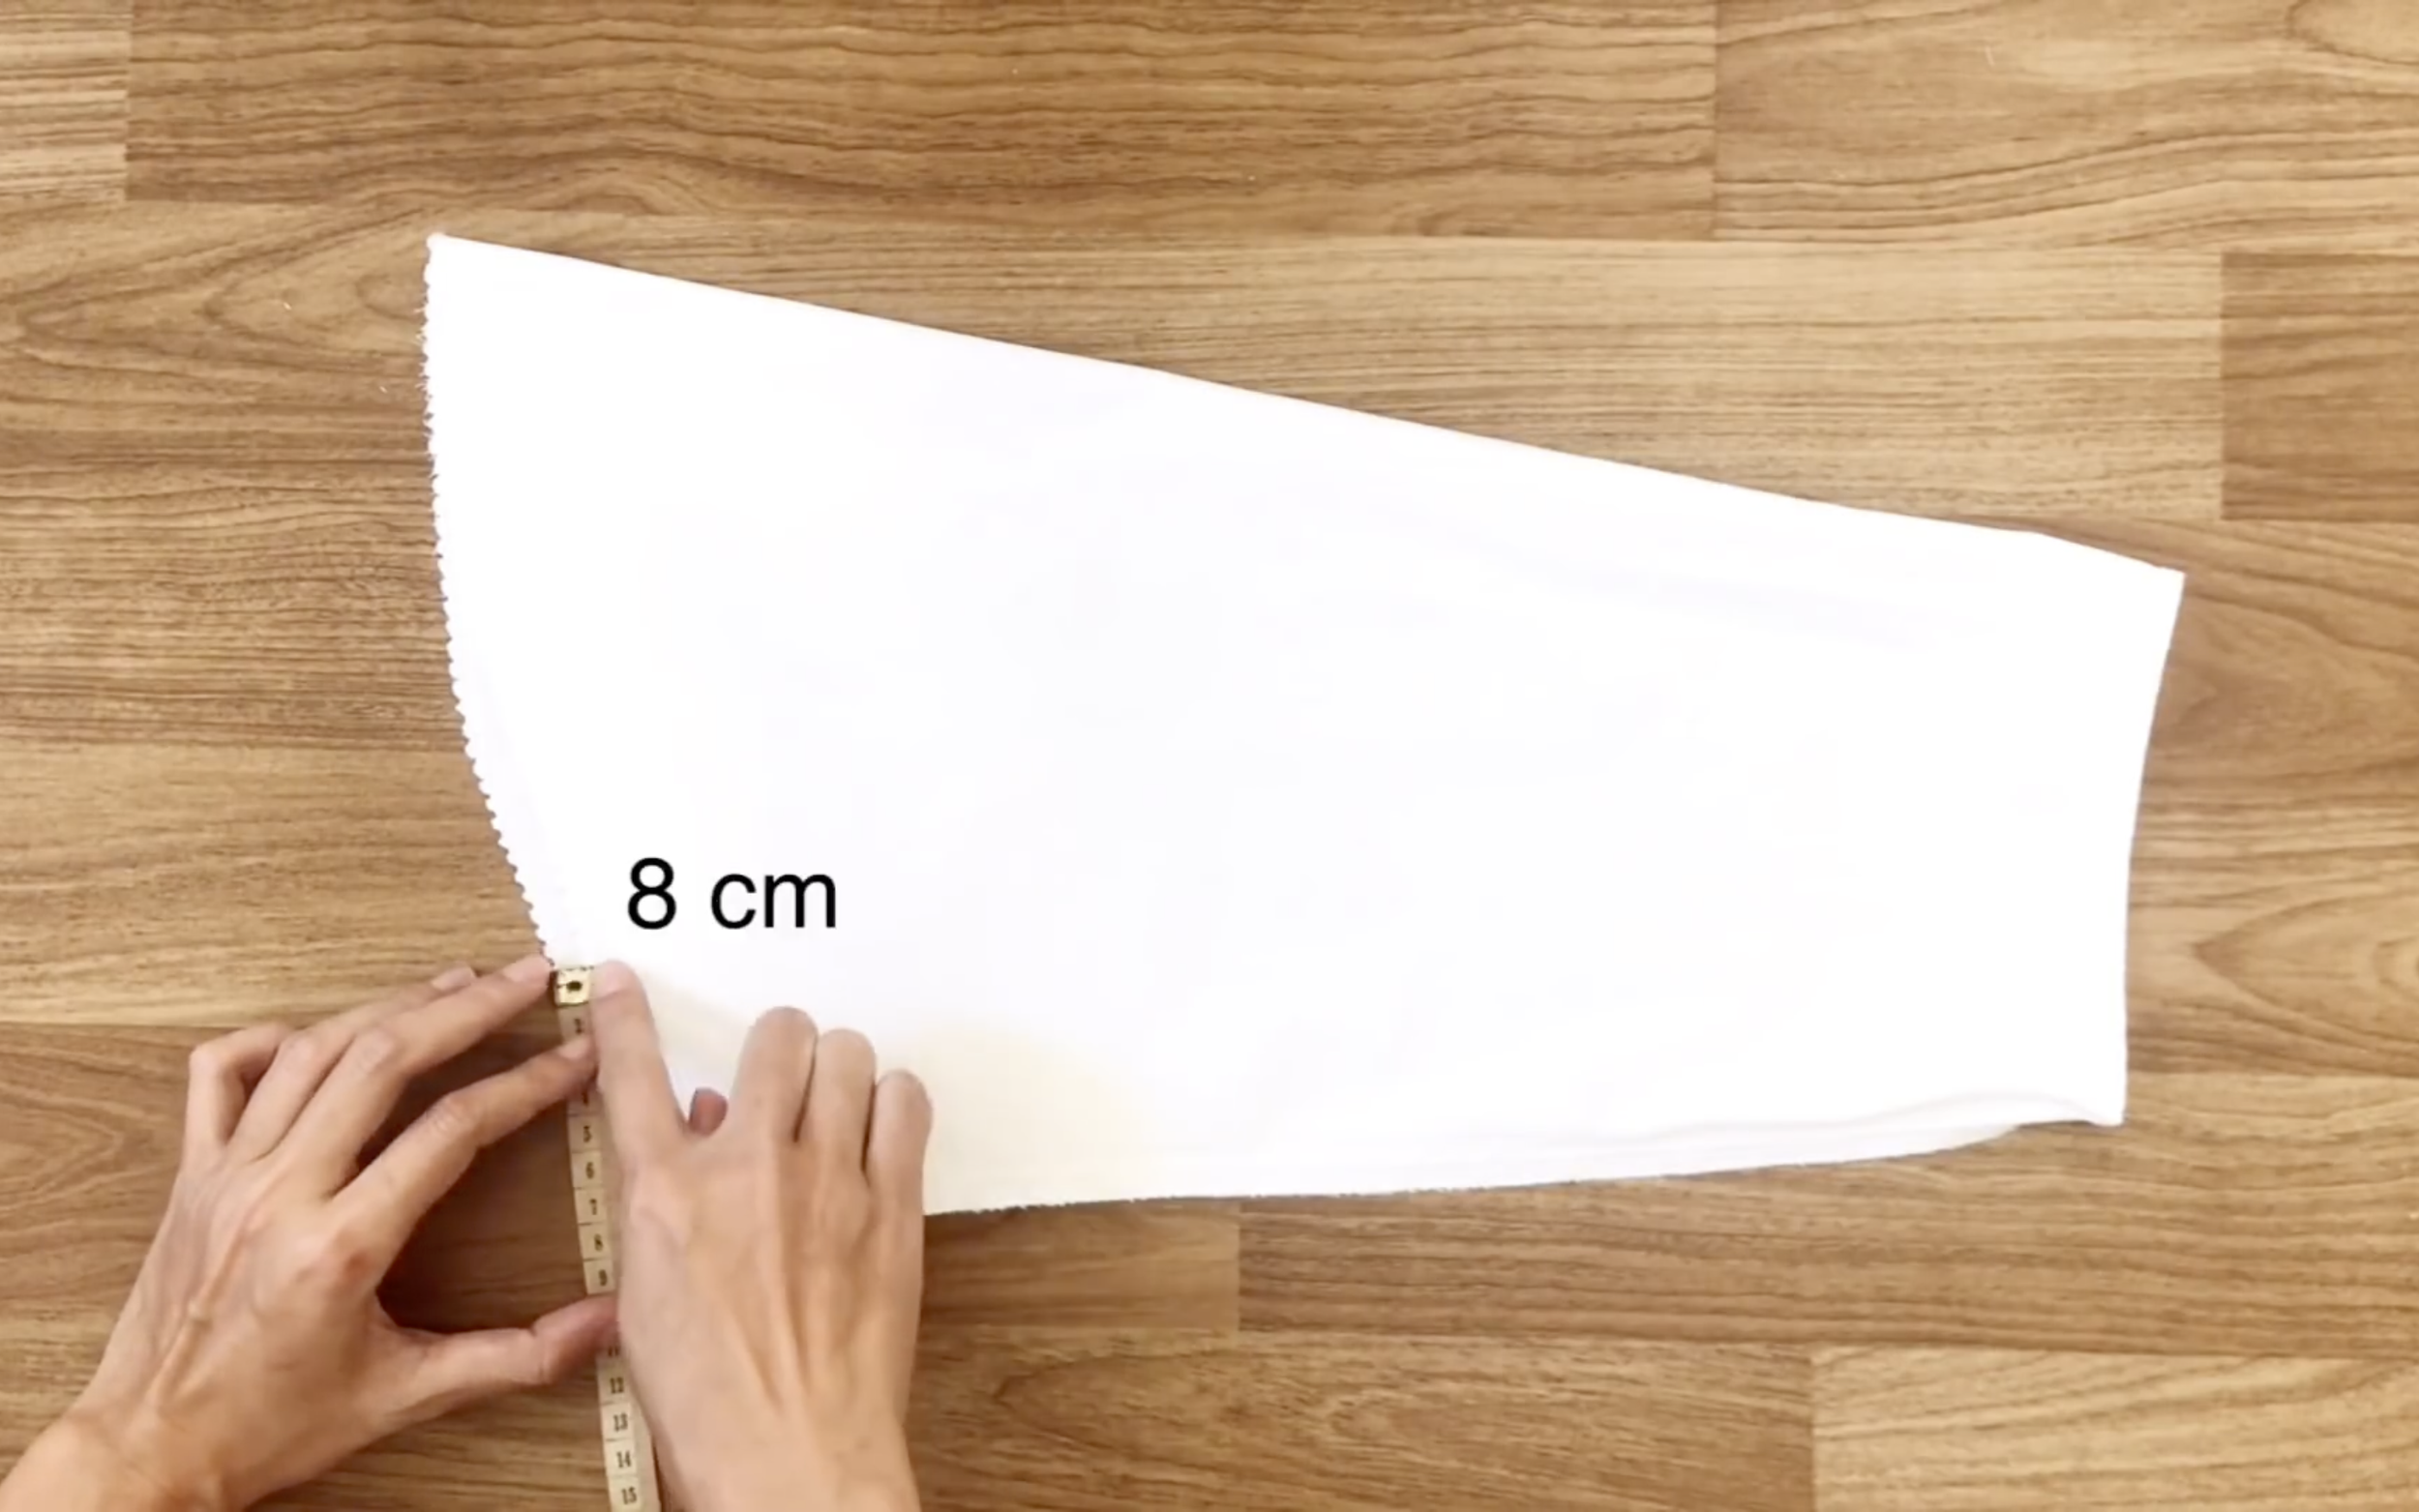
After that, make the new sleeve area for the crop top.
From the top of the left side, go down 10cm and mark there.
Also, mark 8cm from there inward.
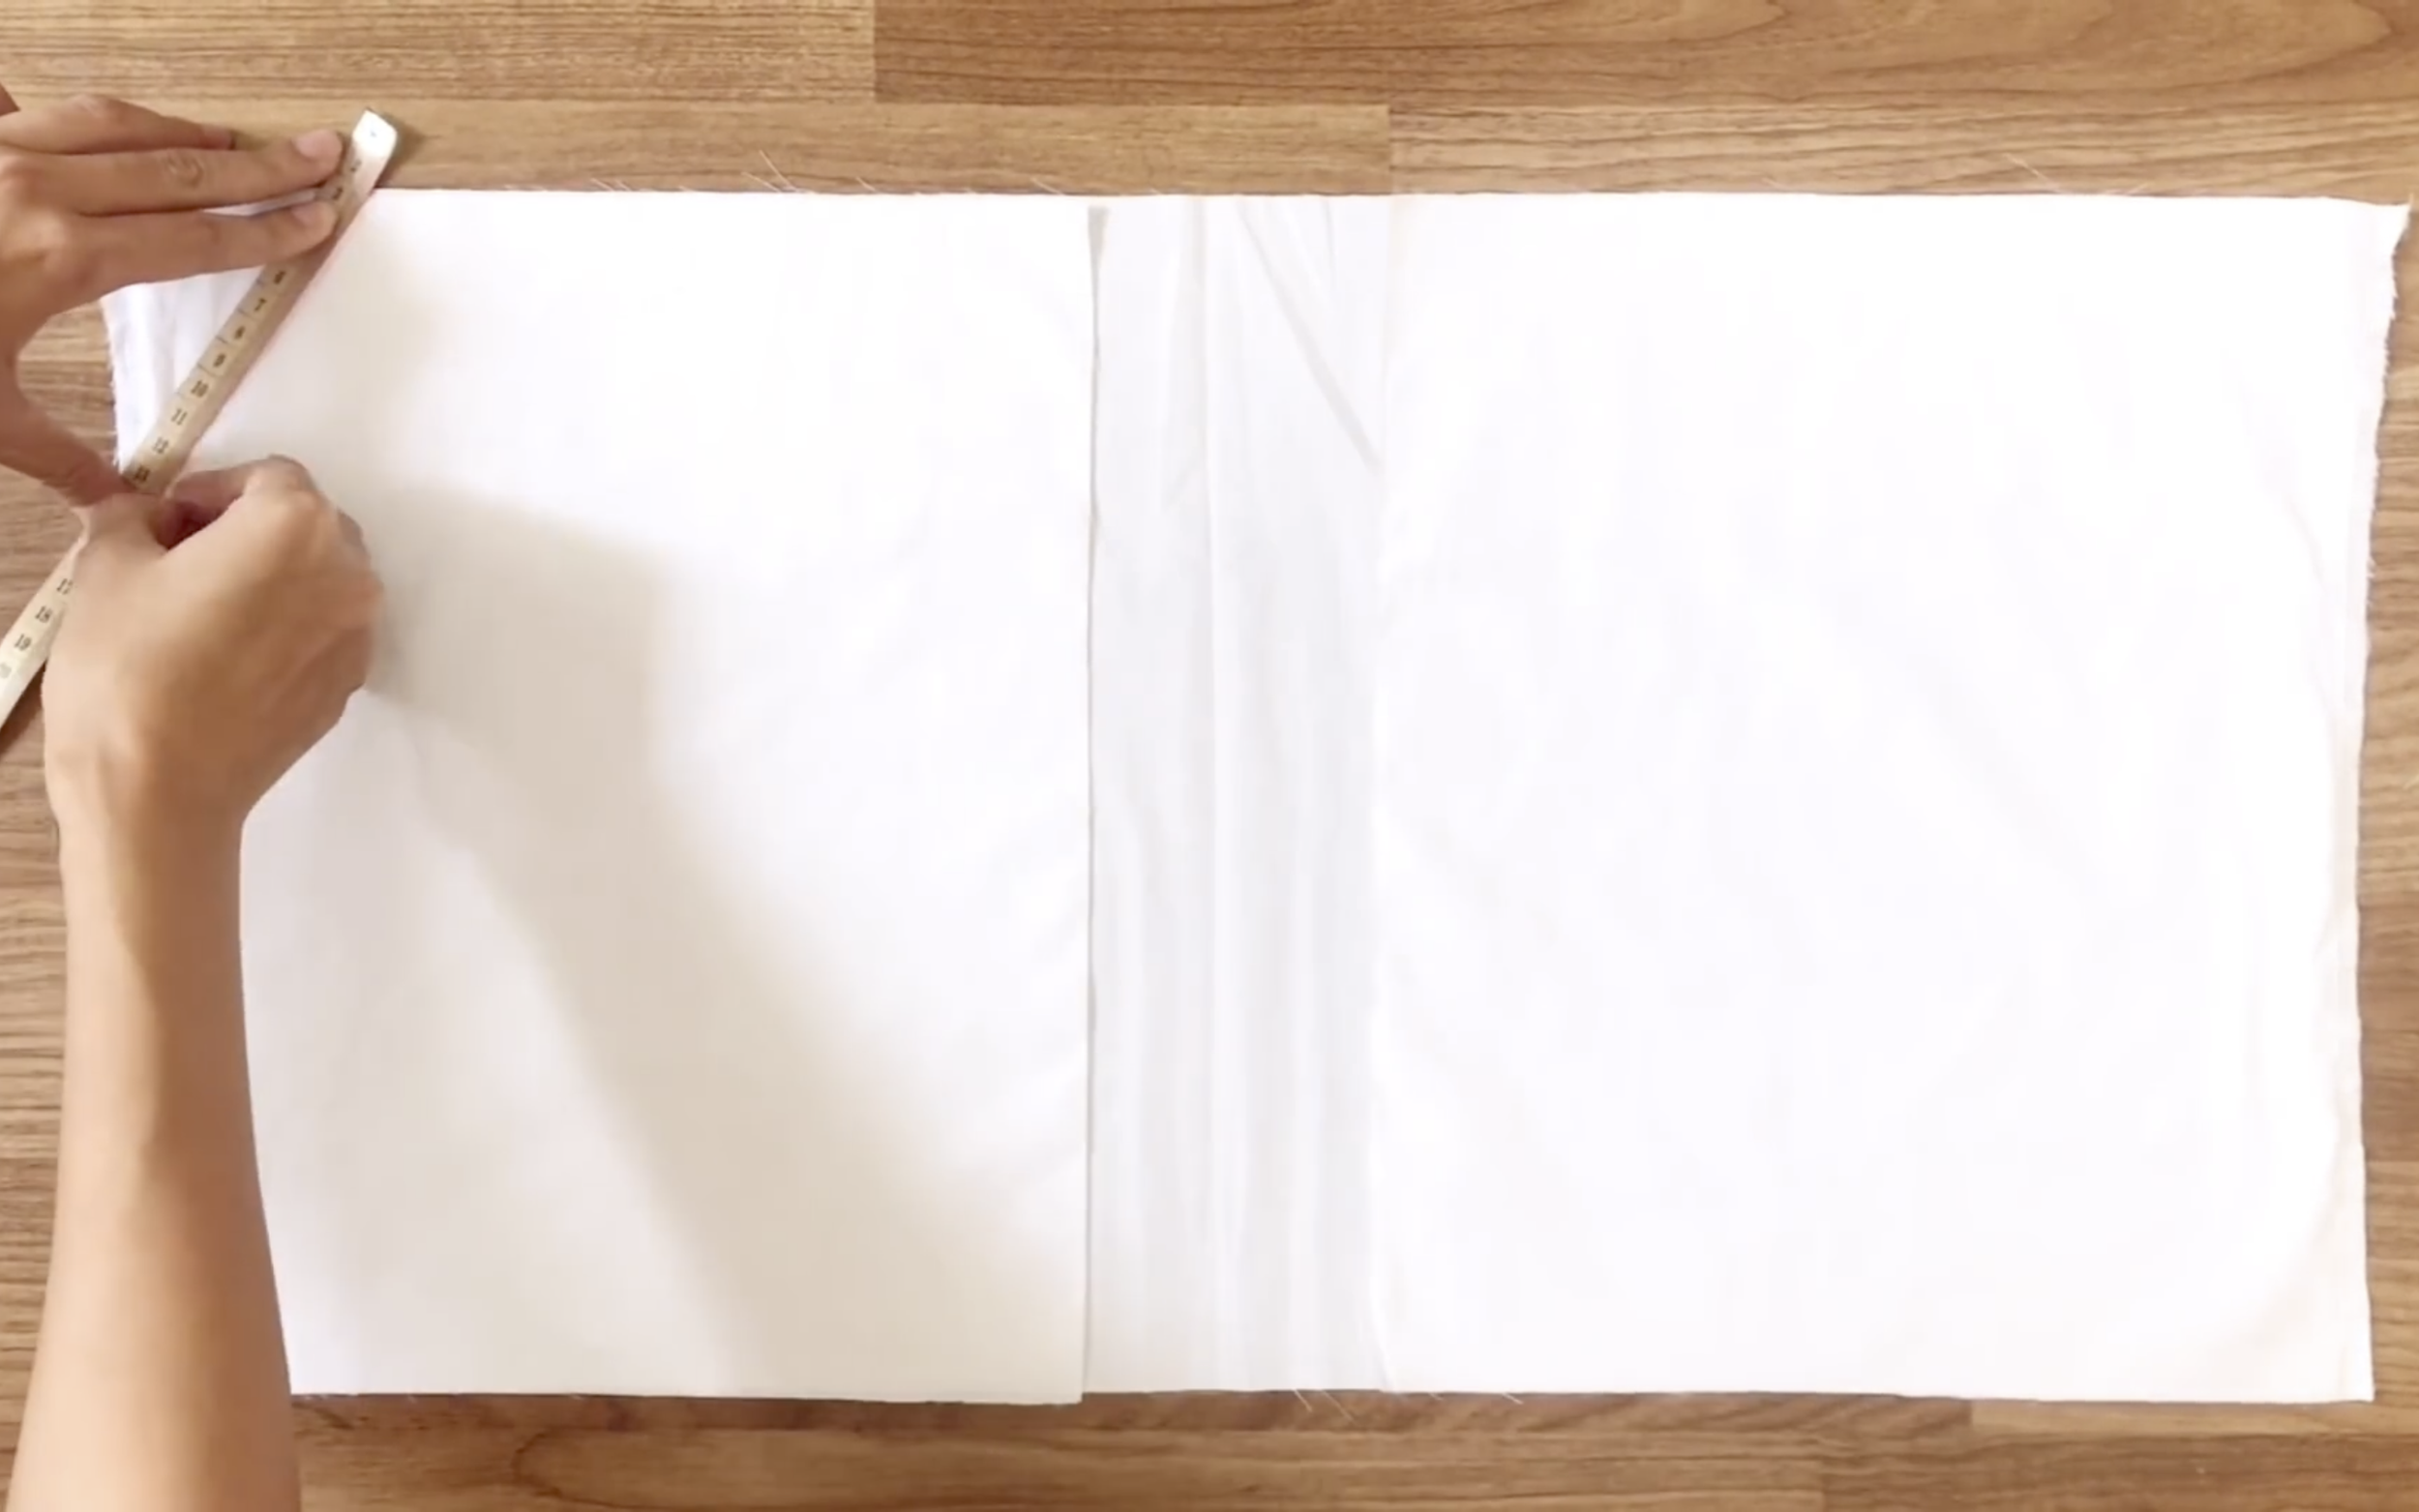
Then, connect the 2 marks together.
Do the same for the right side.
And, the sleeves for the new crop top will be ready after cutting.
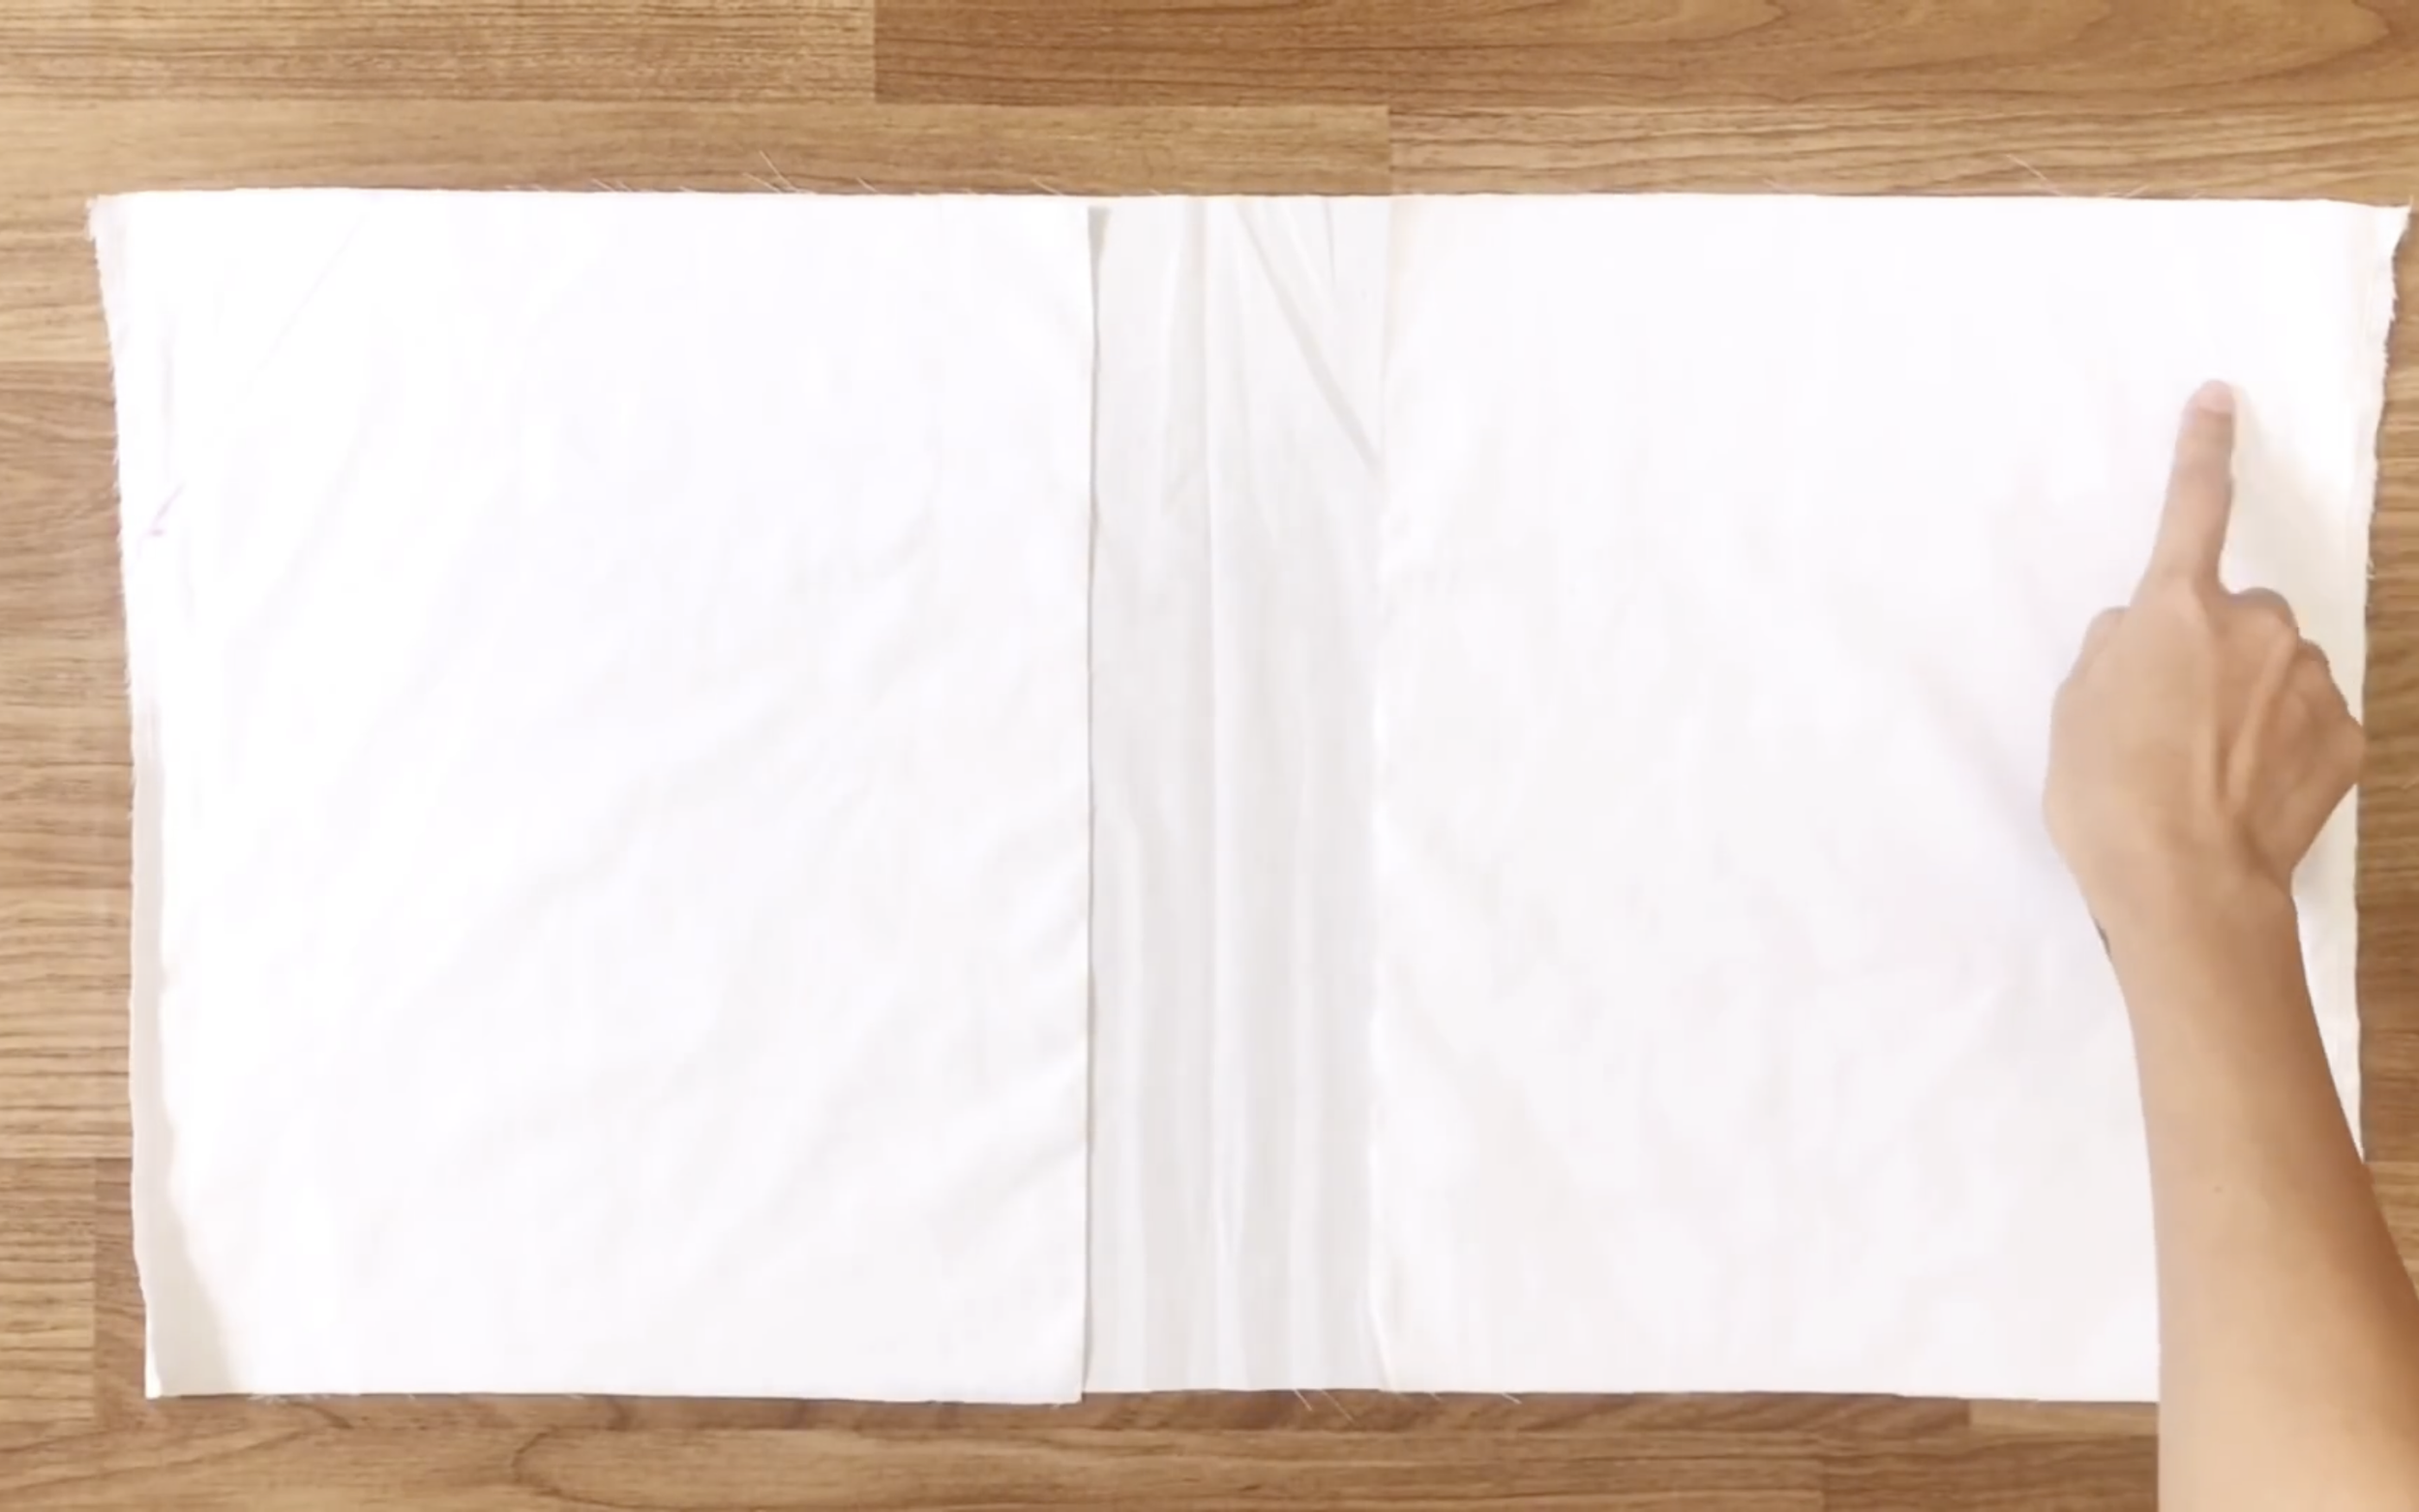
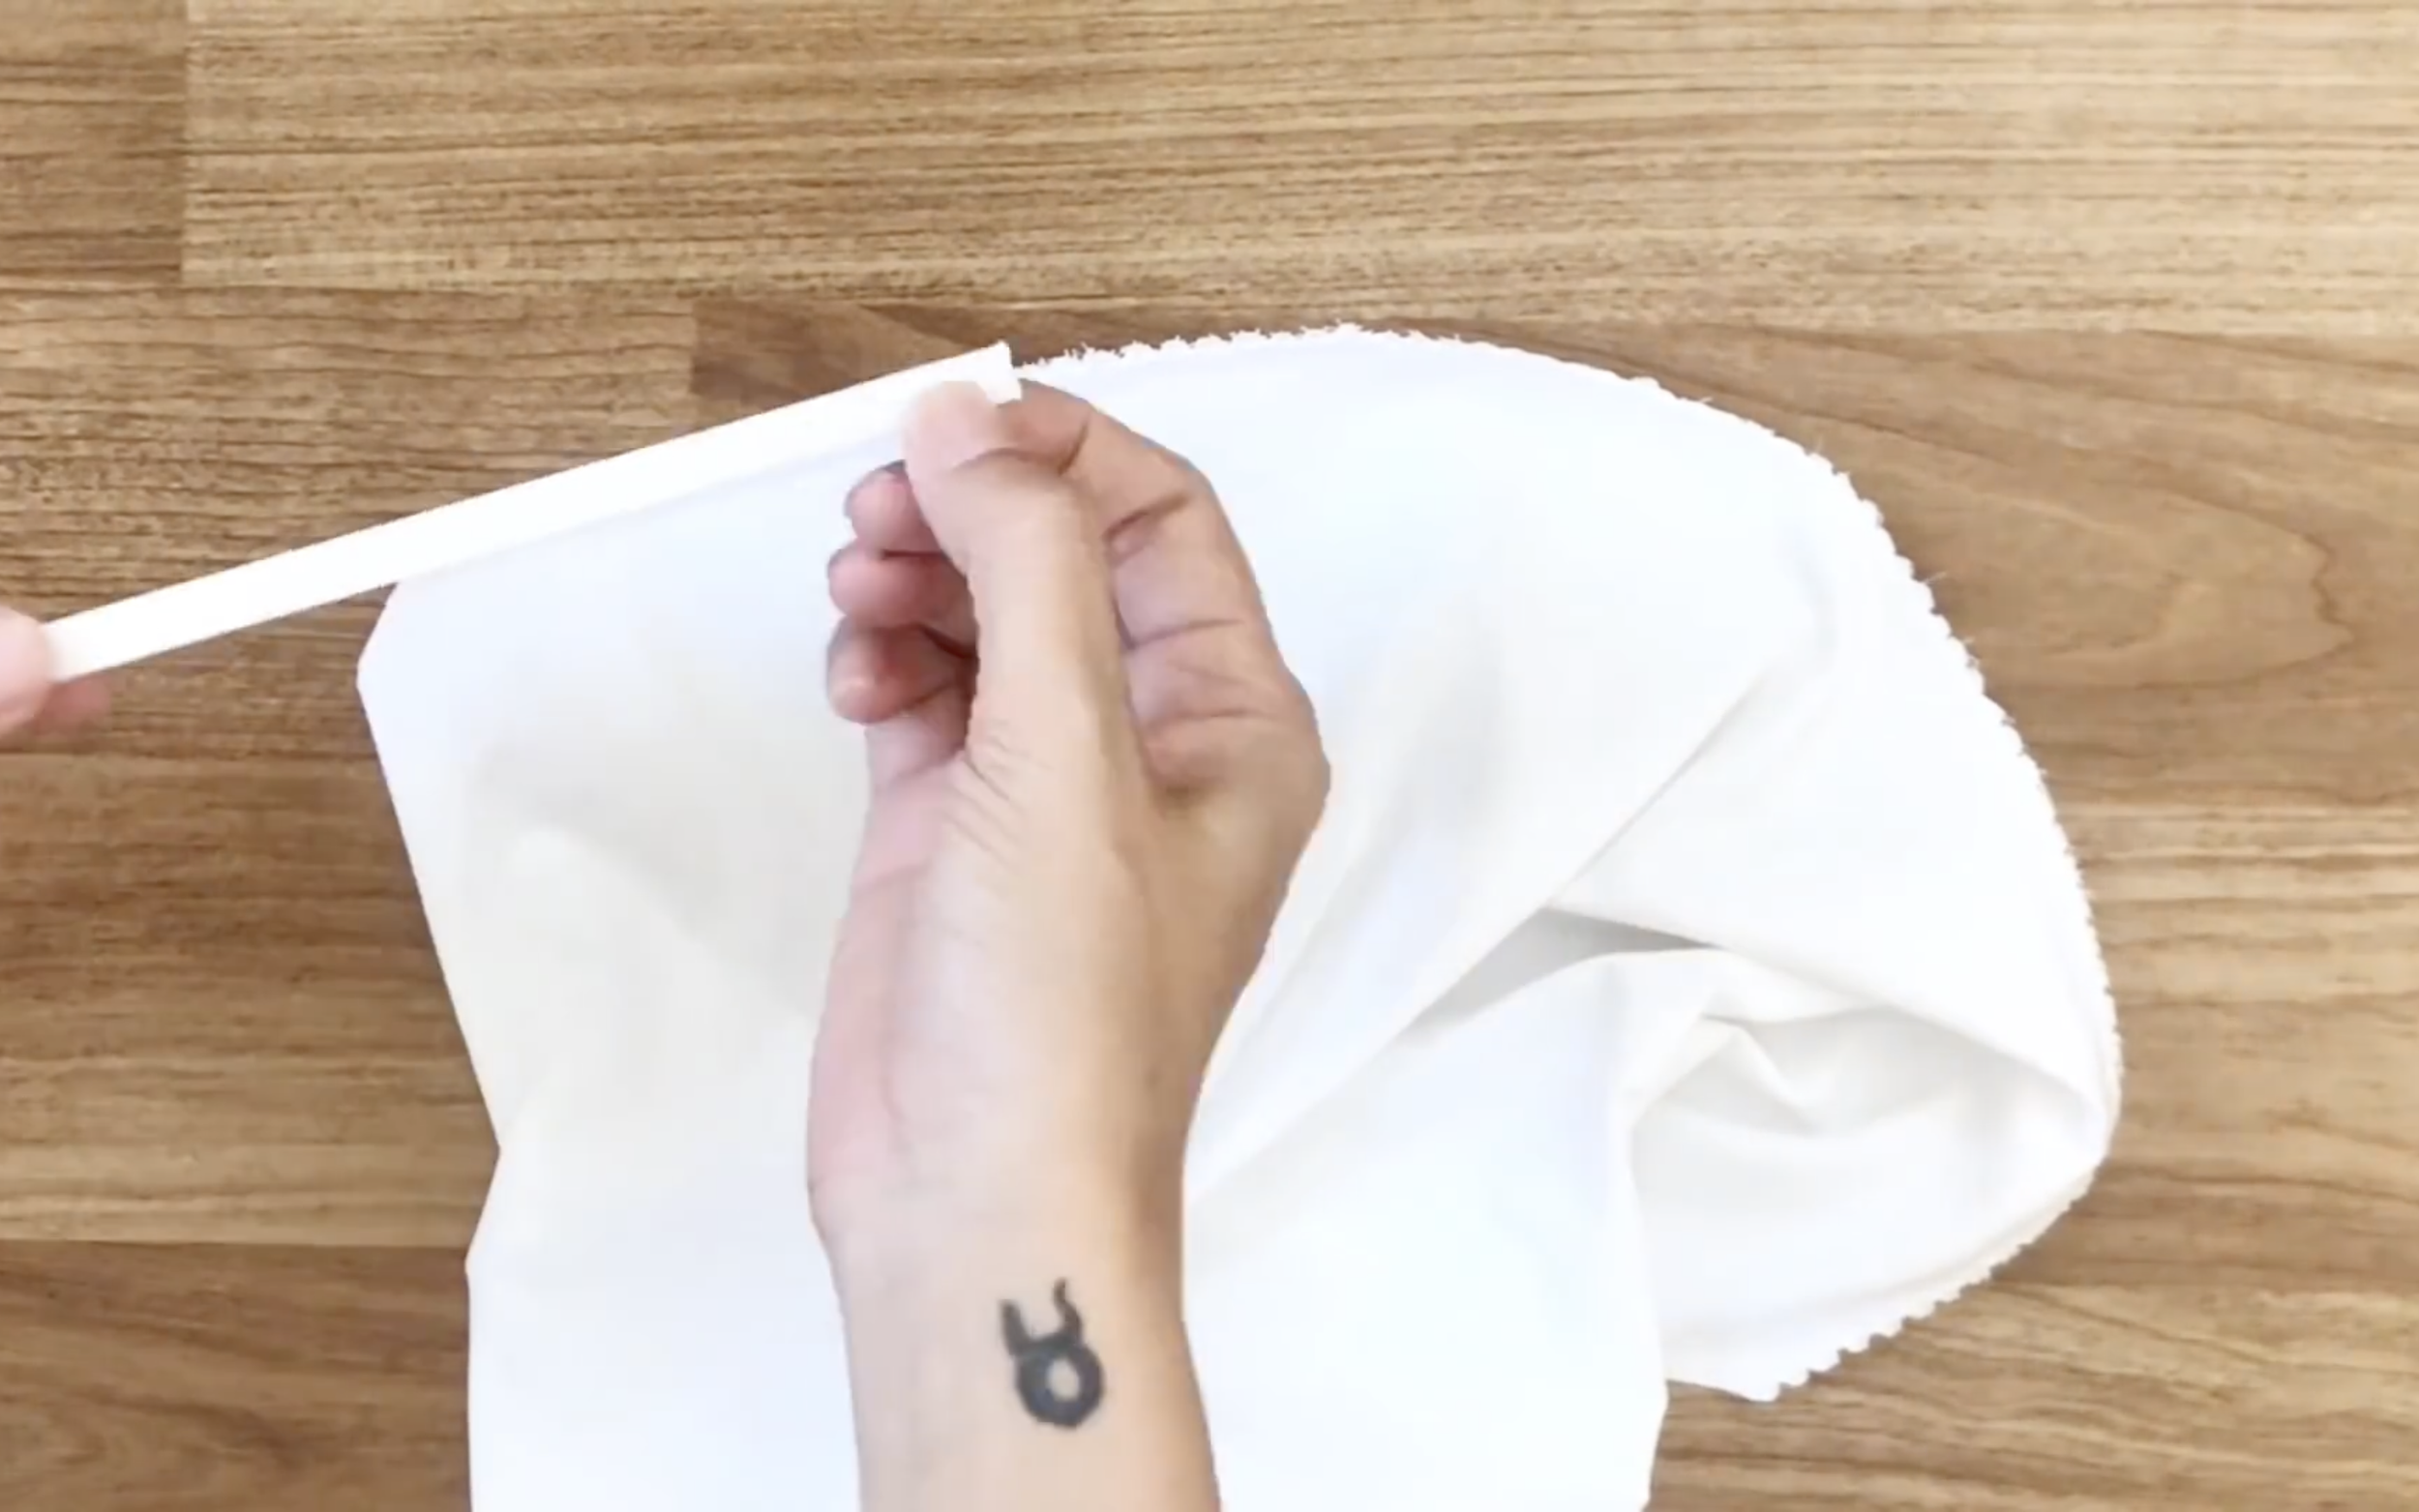
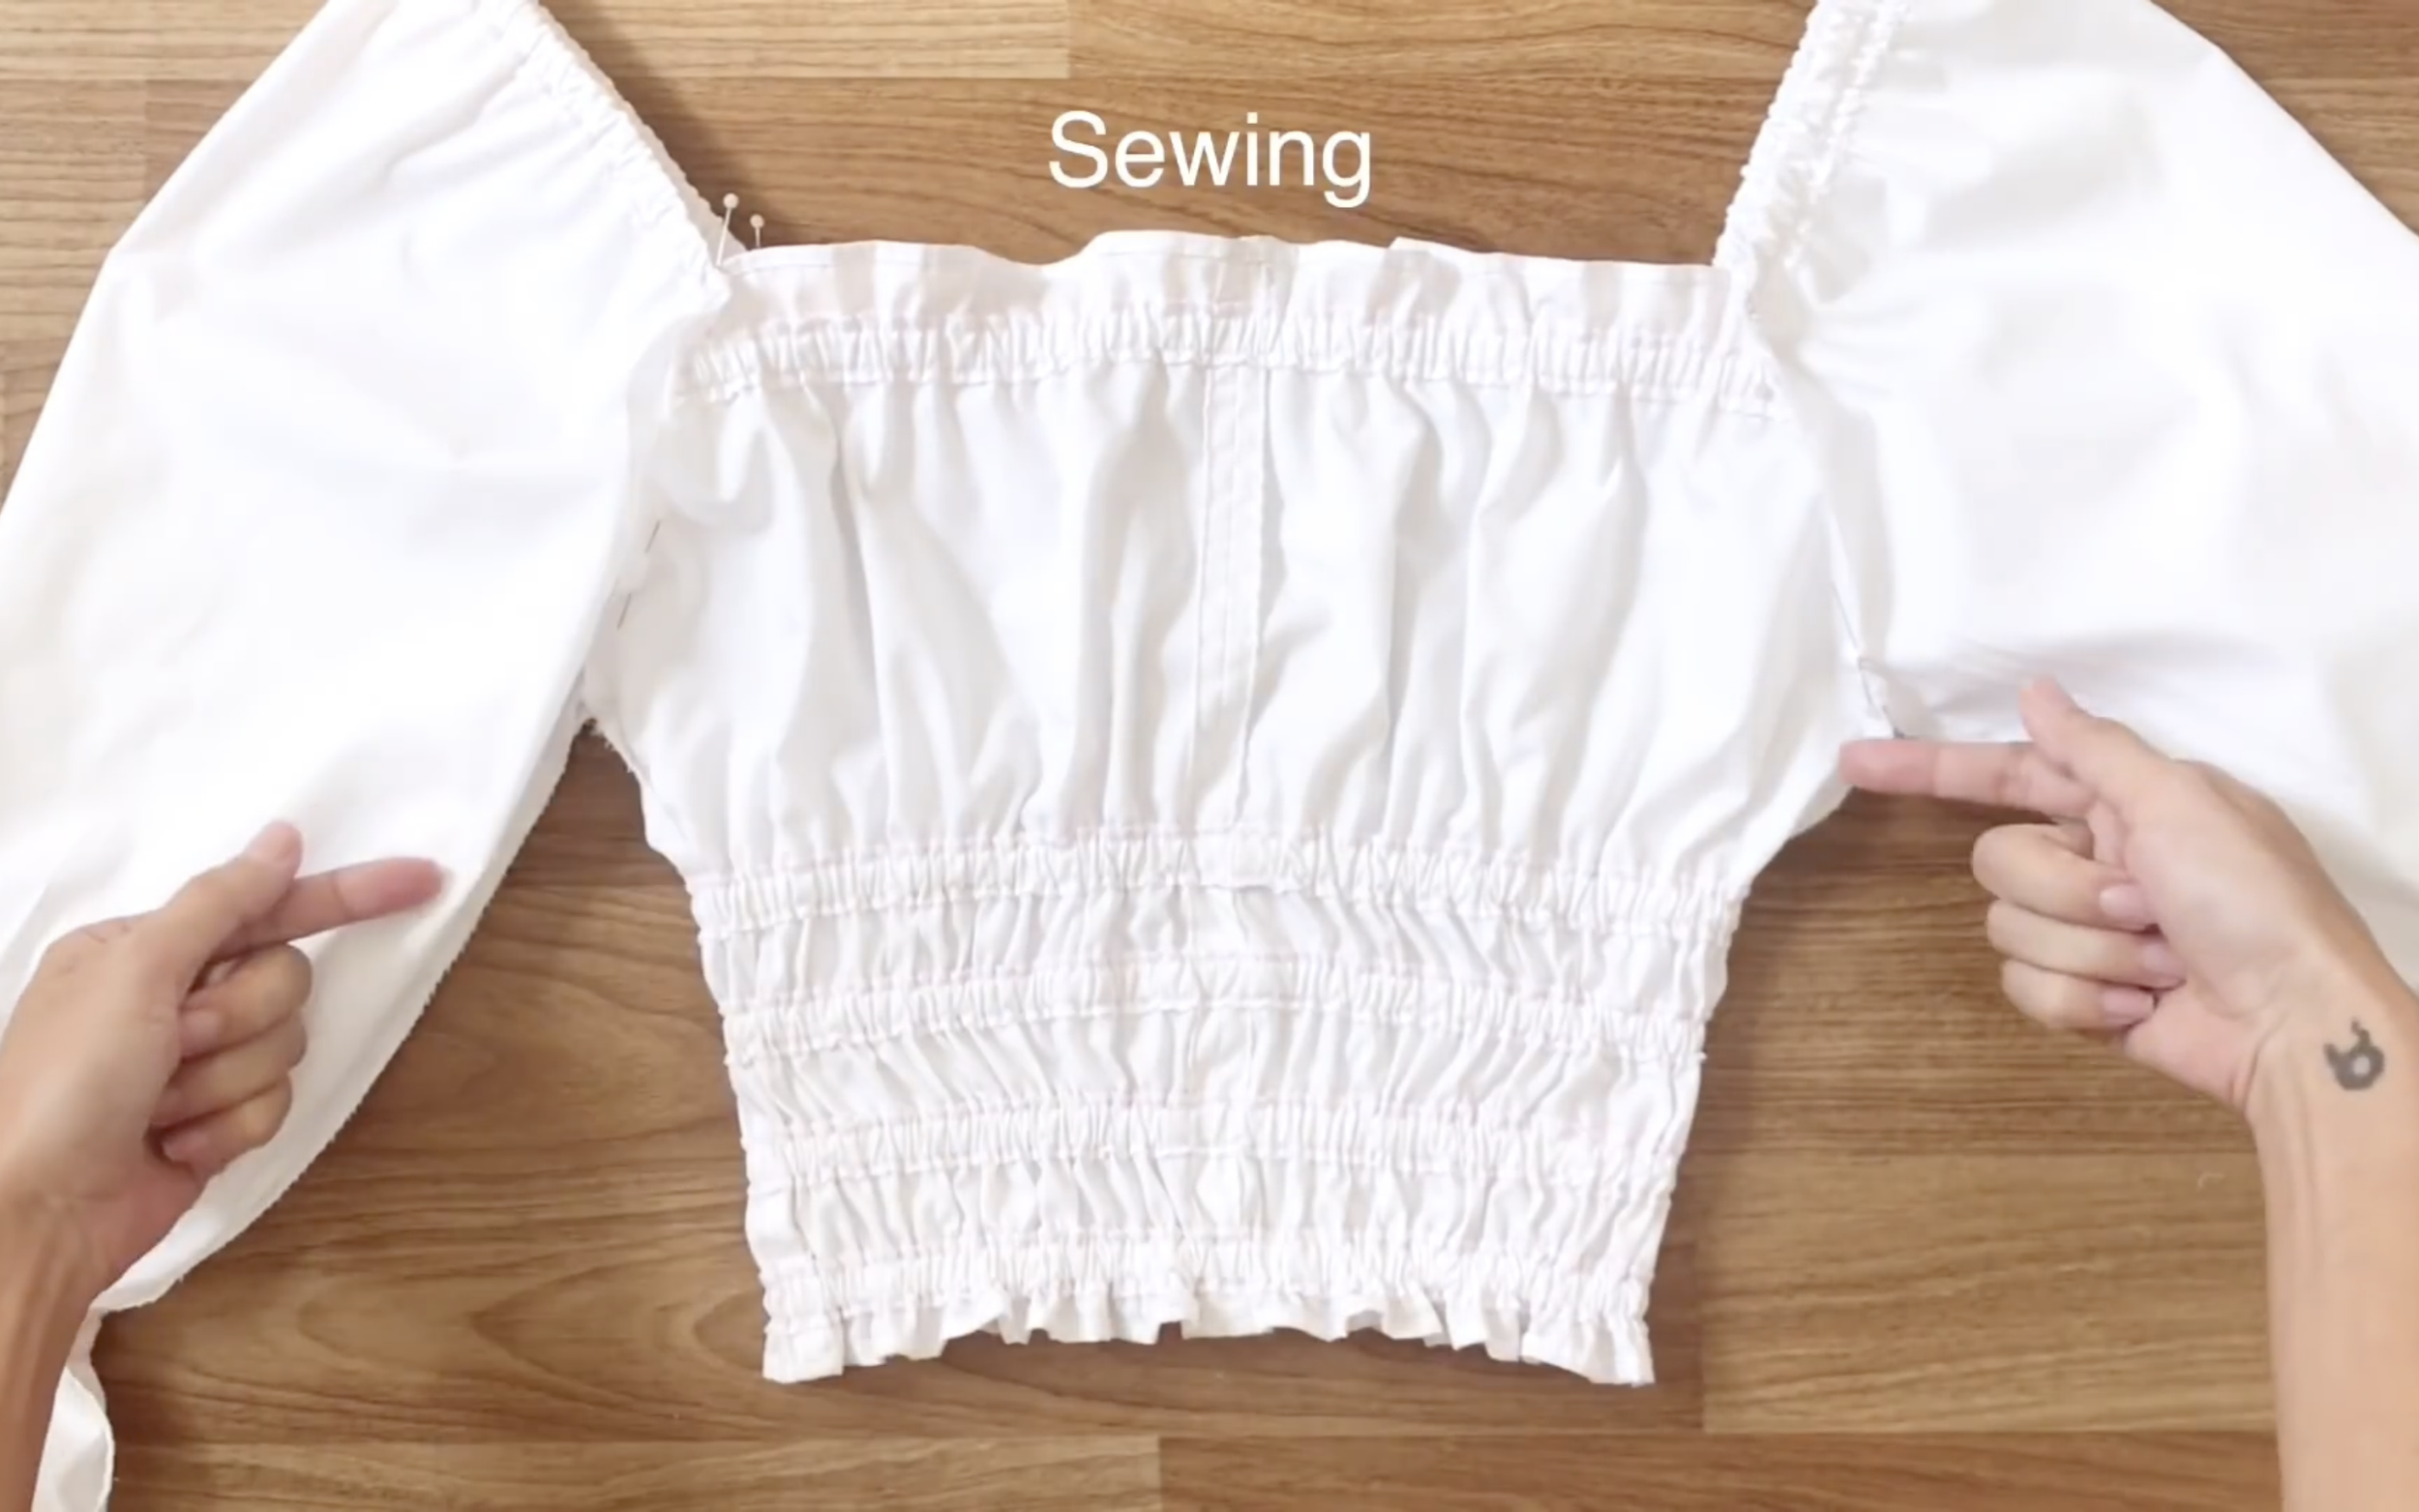
THE BACK

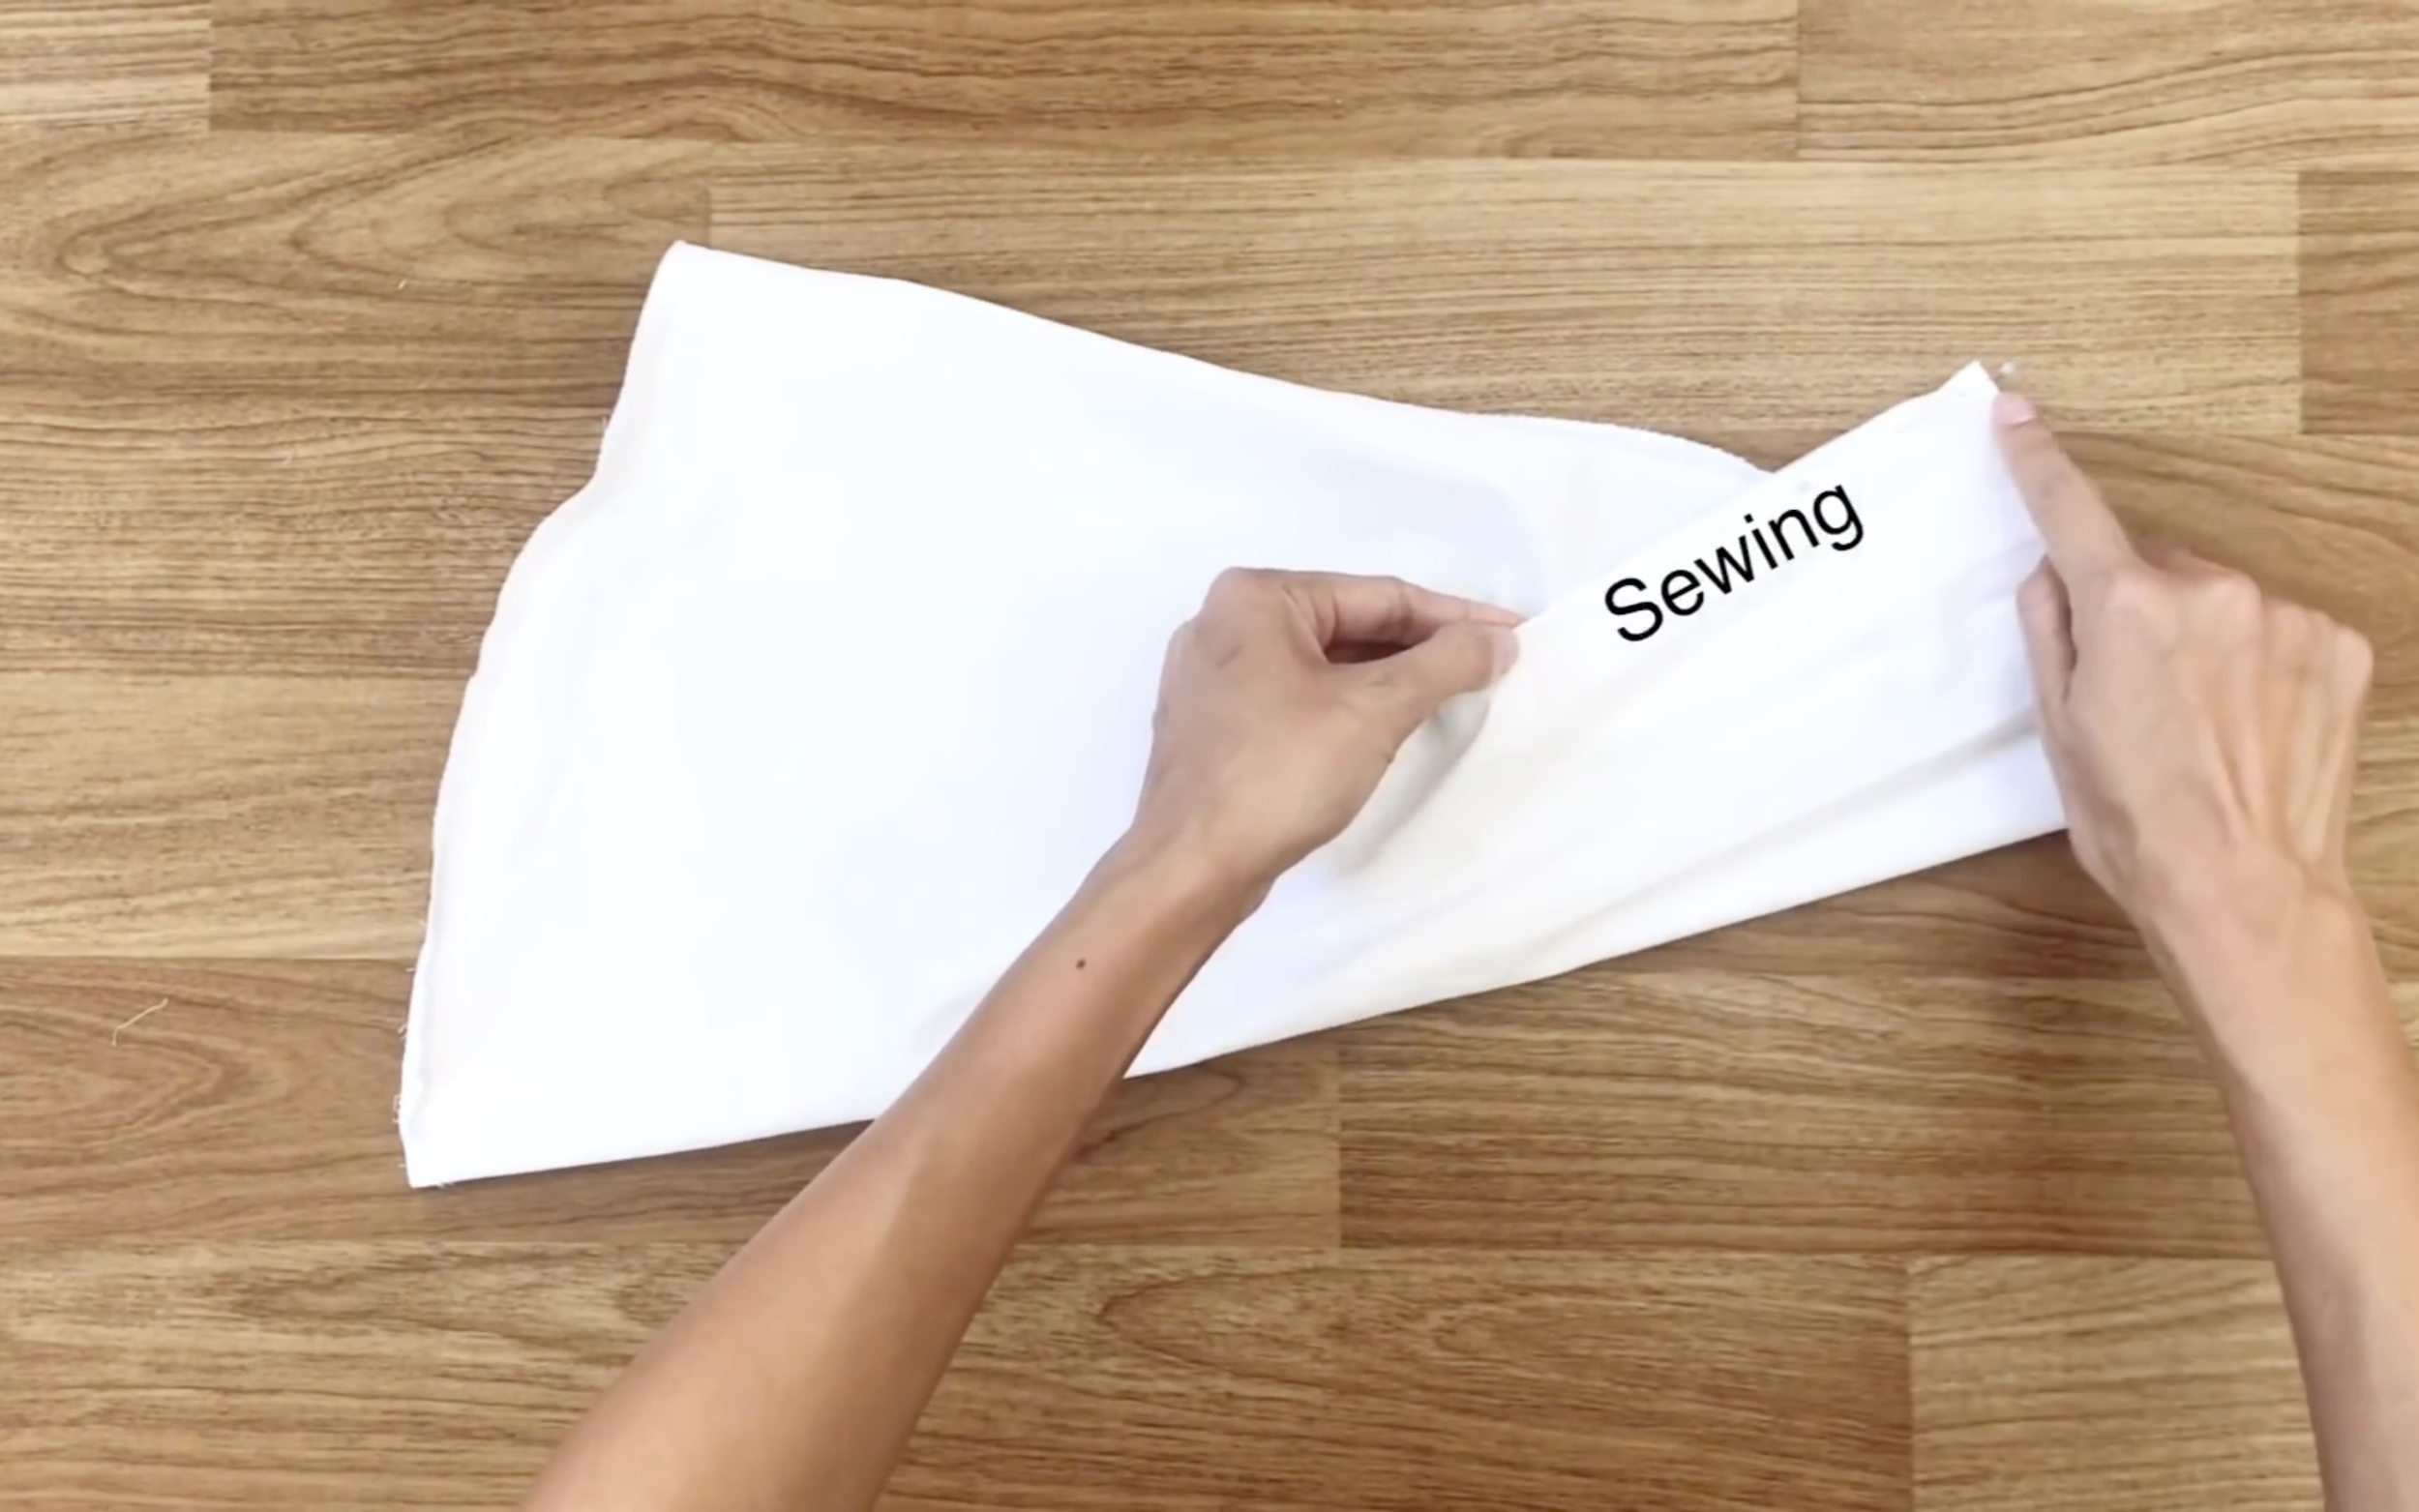
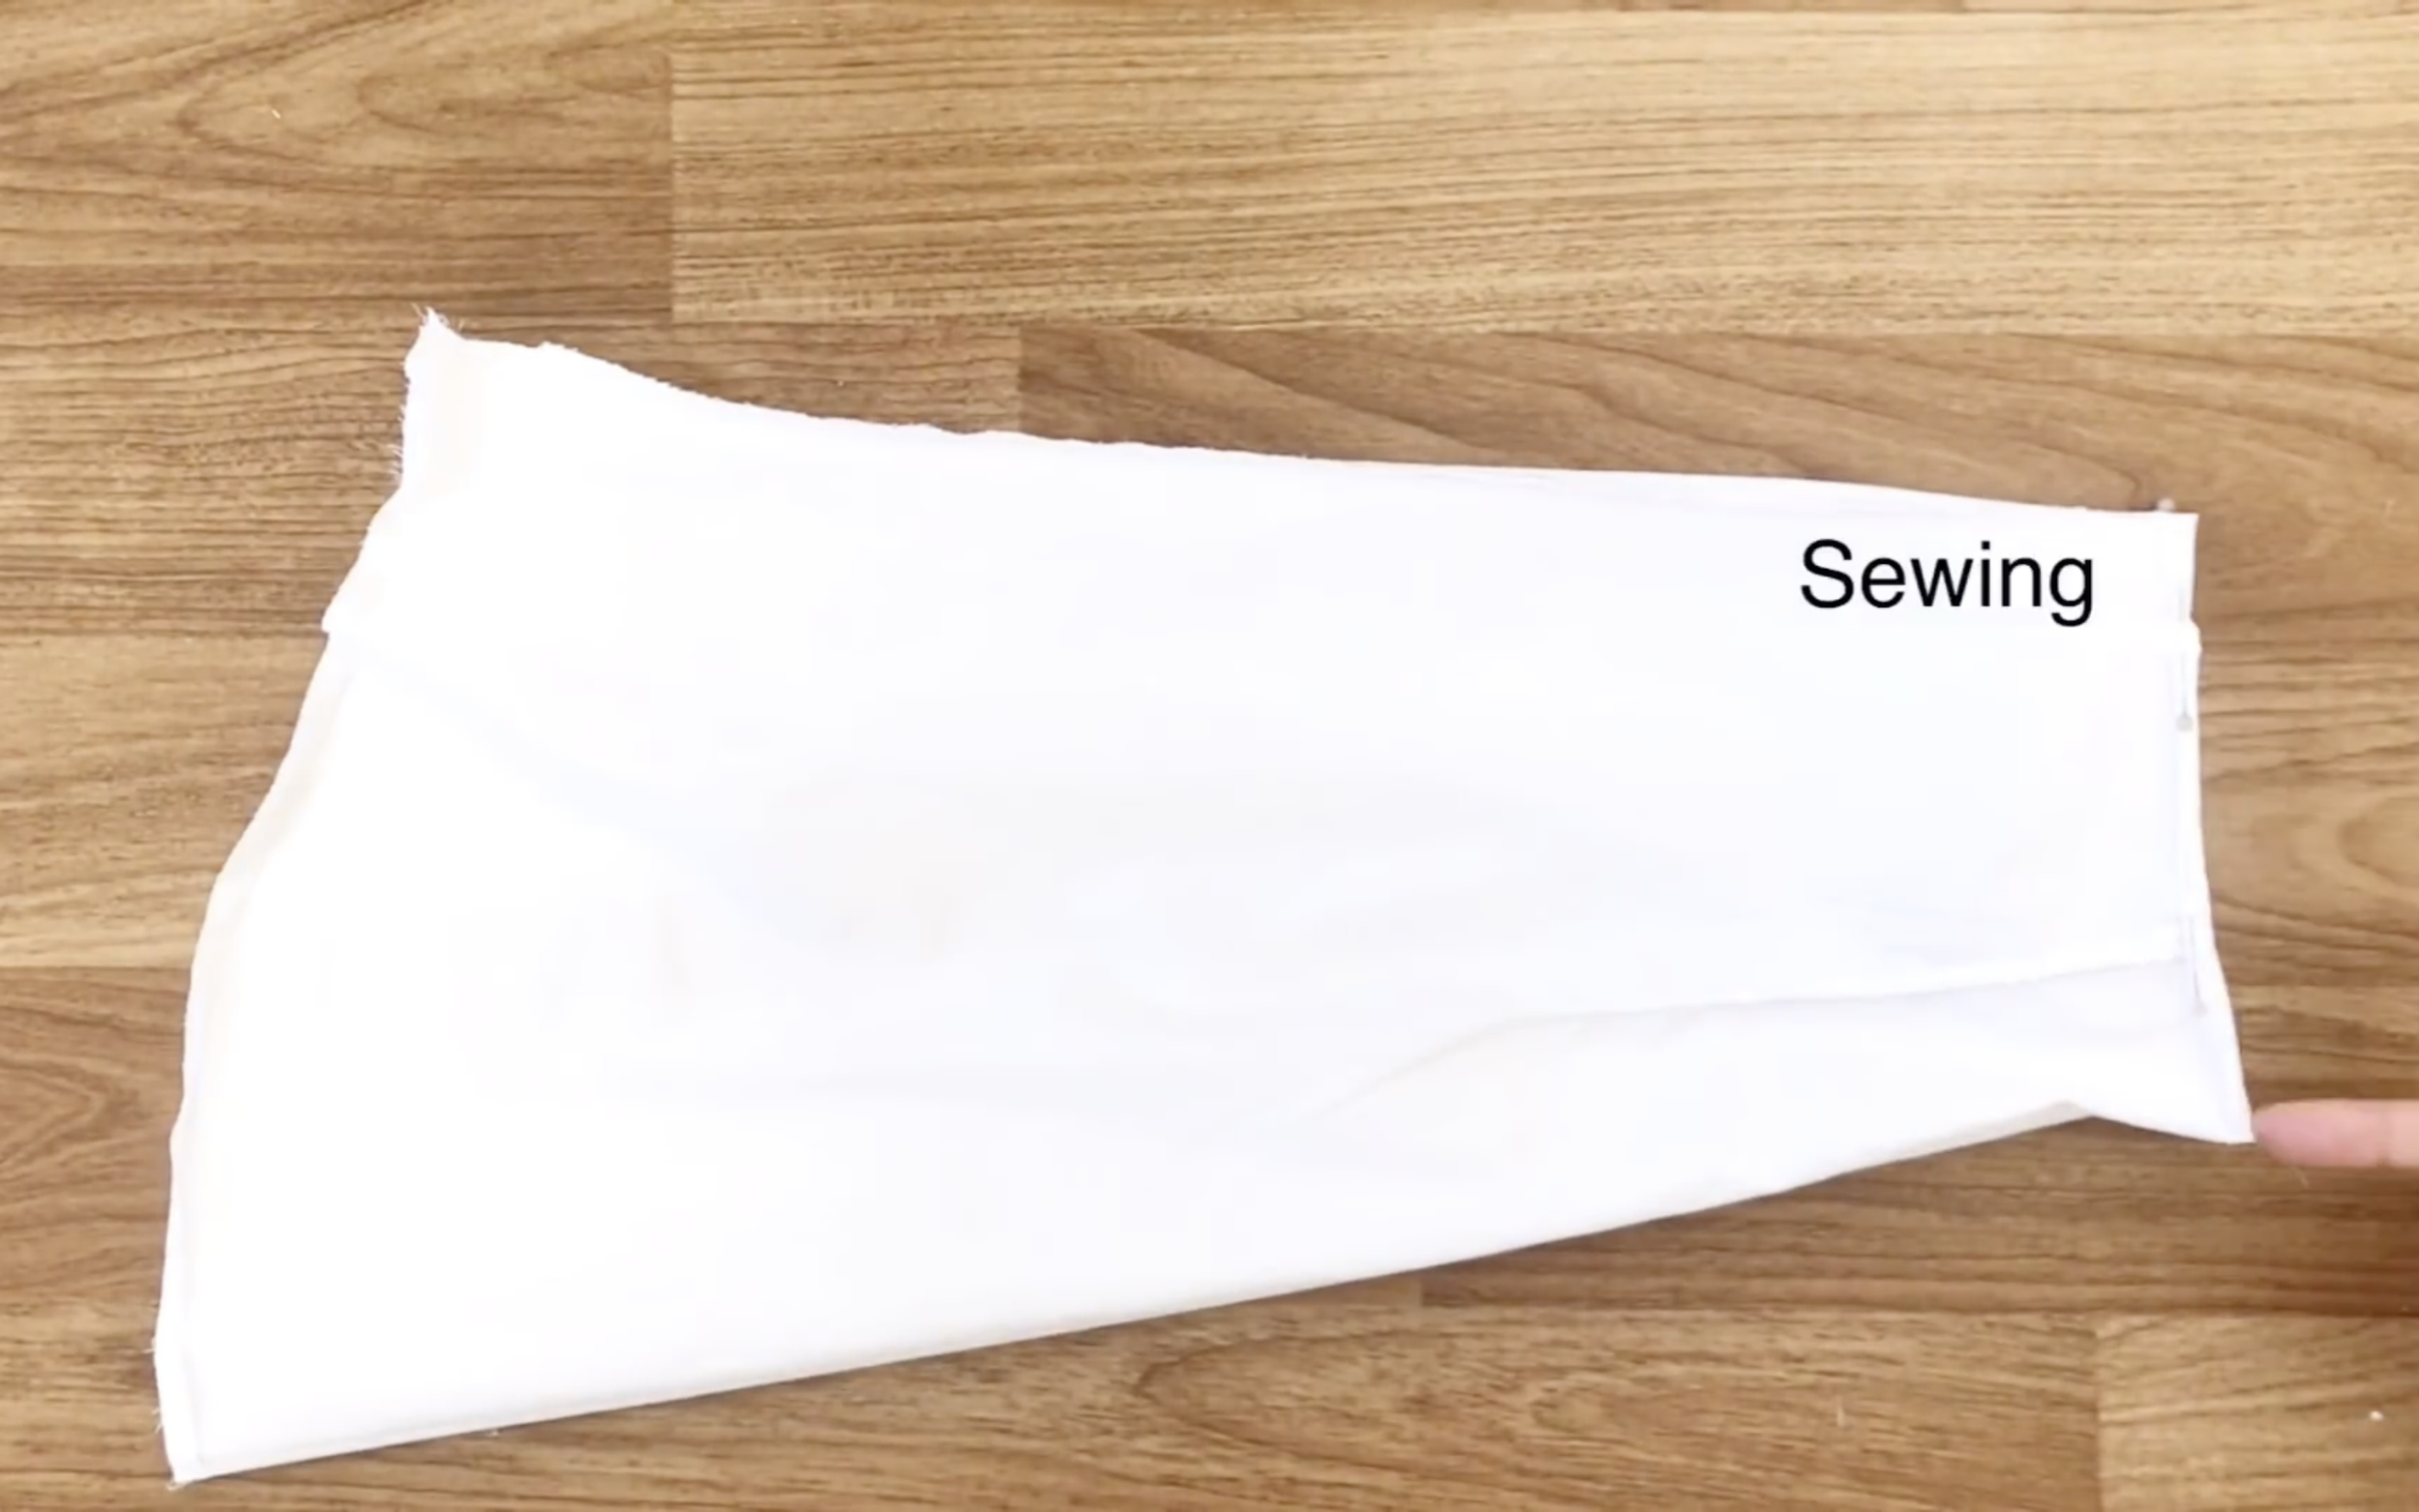
Next step, finish the ends of the top and bottom of the crop top by folding them twice.
Use pins to hold the folds, then sew.
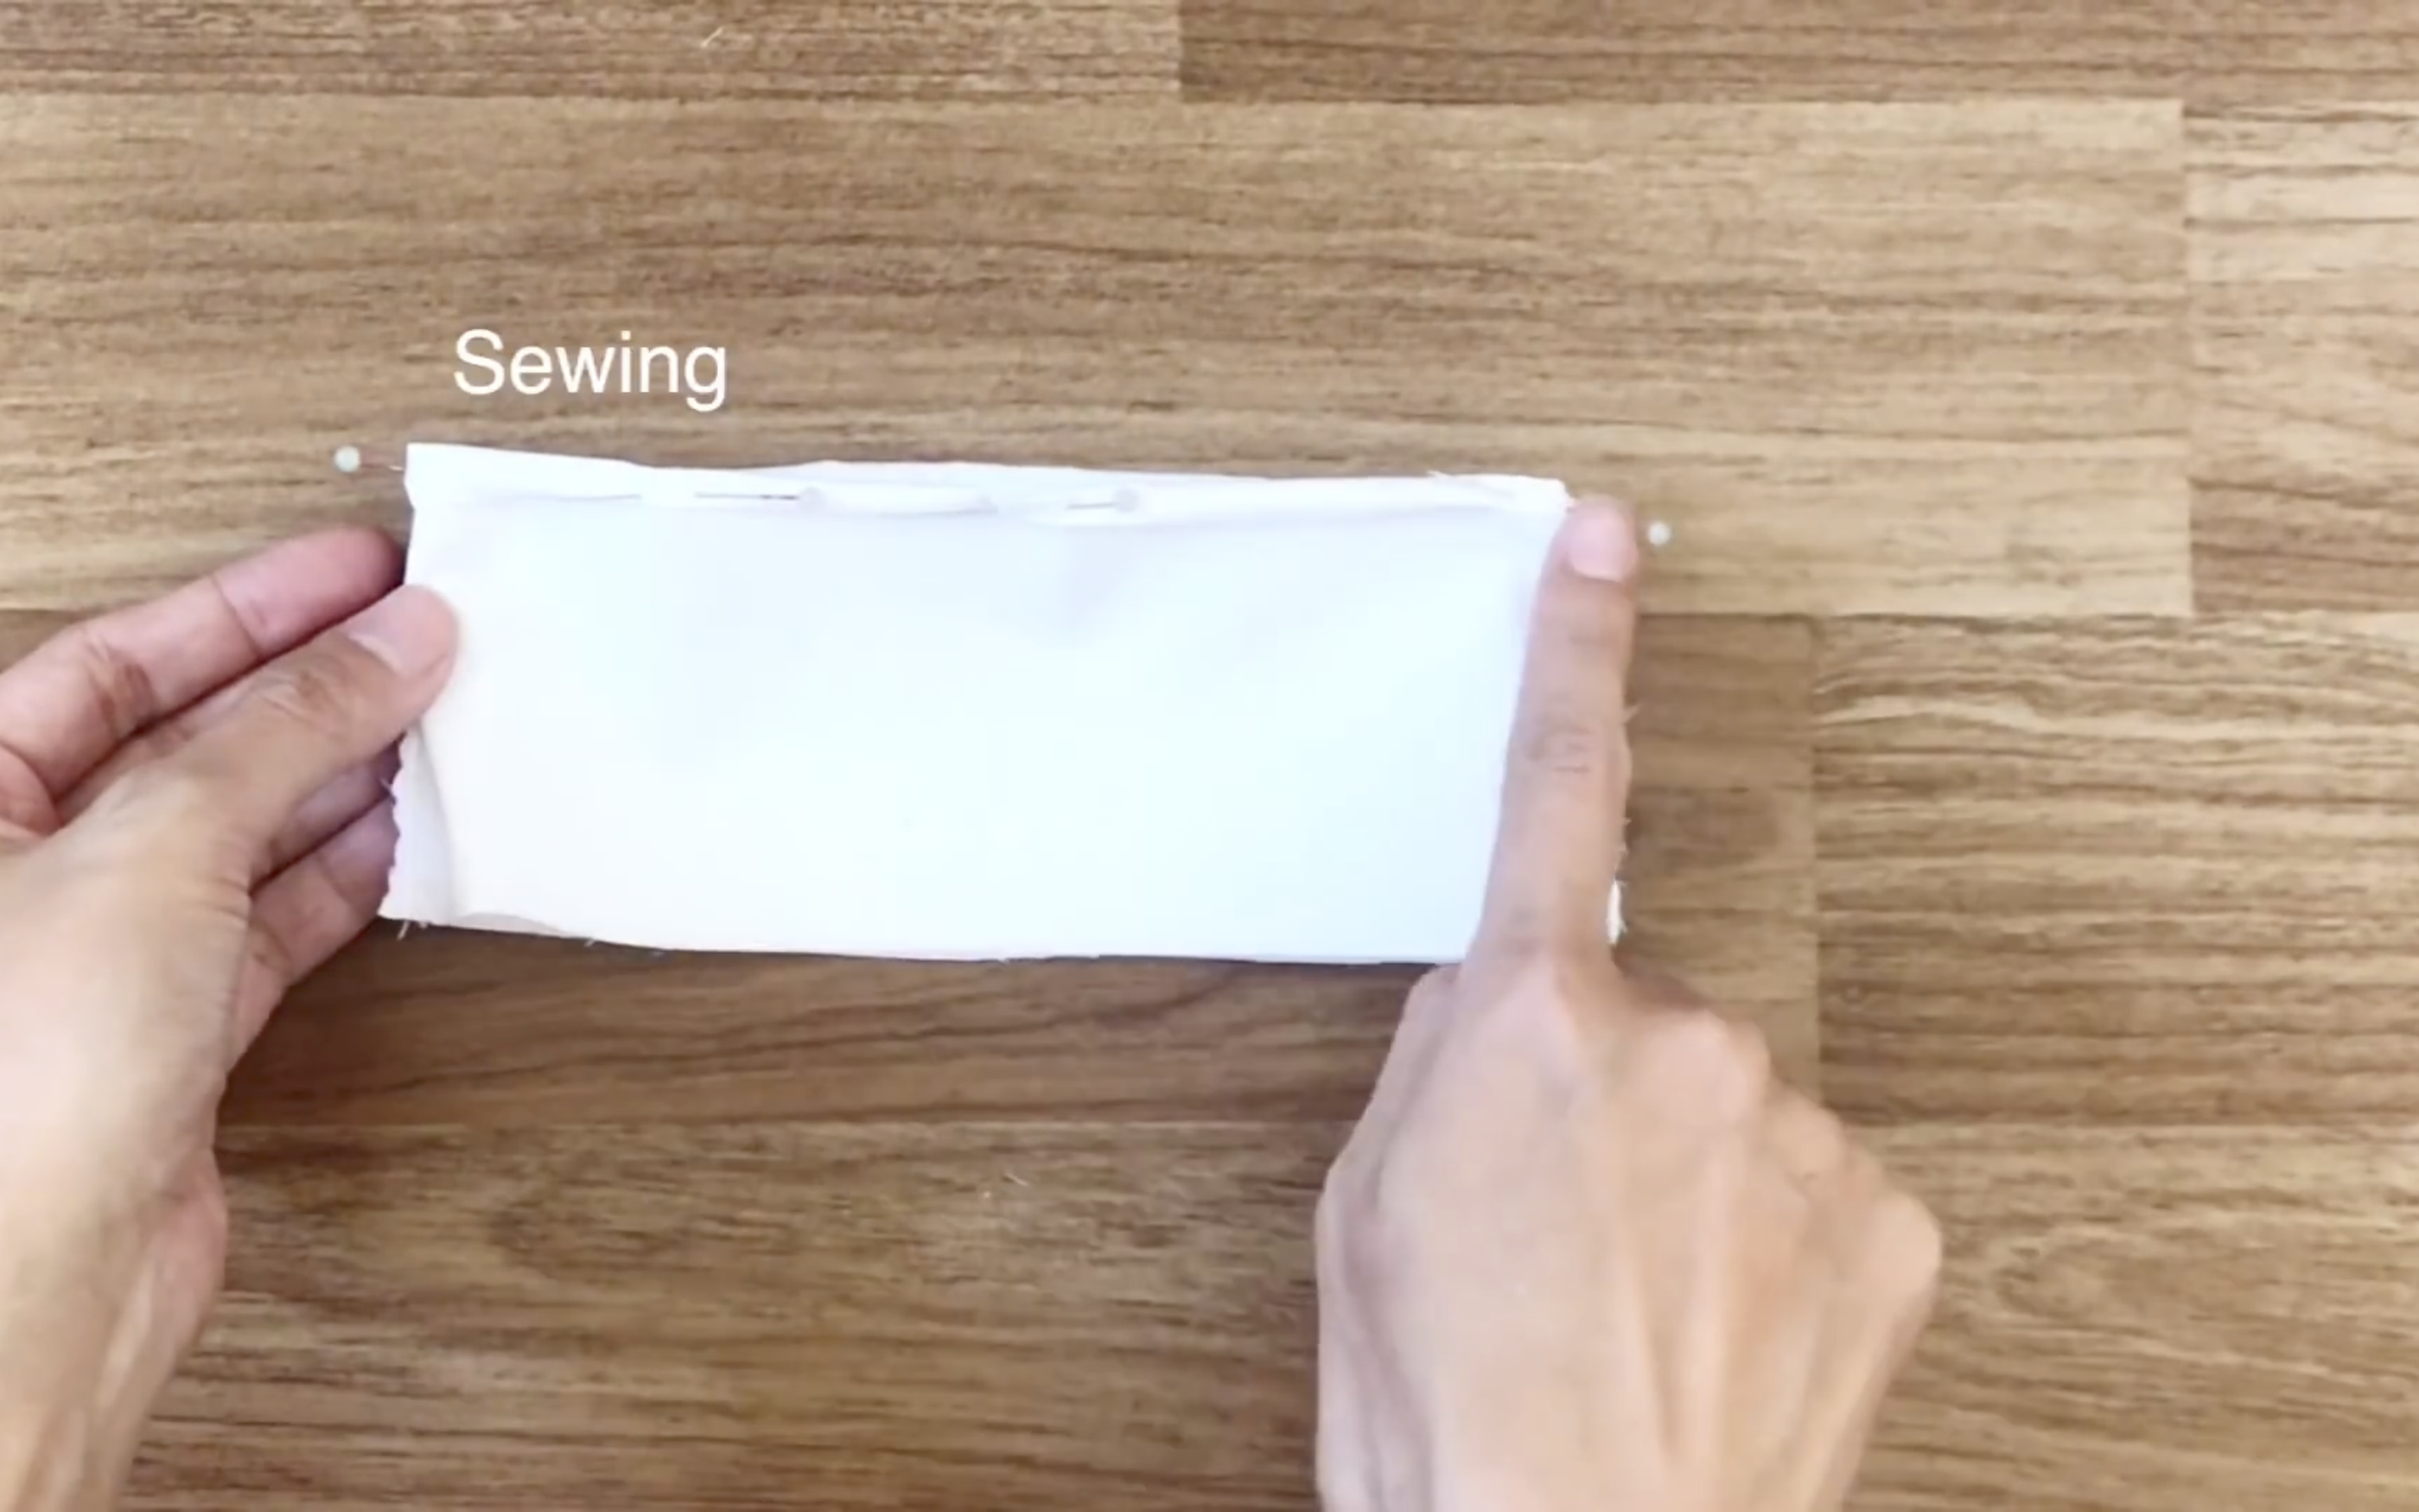
After that, connect two sides of the button area together with pins and sew, which will become the back of the crop top.
THE BAND
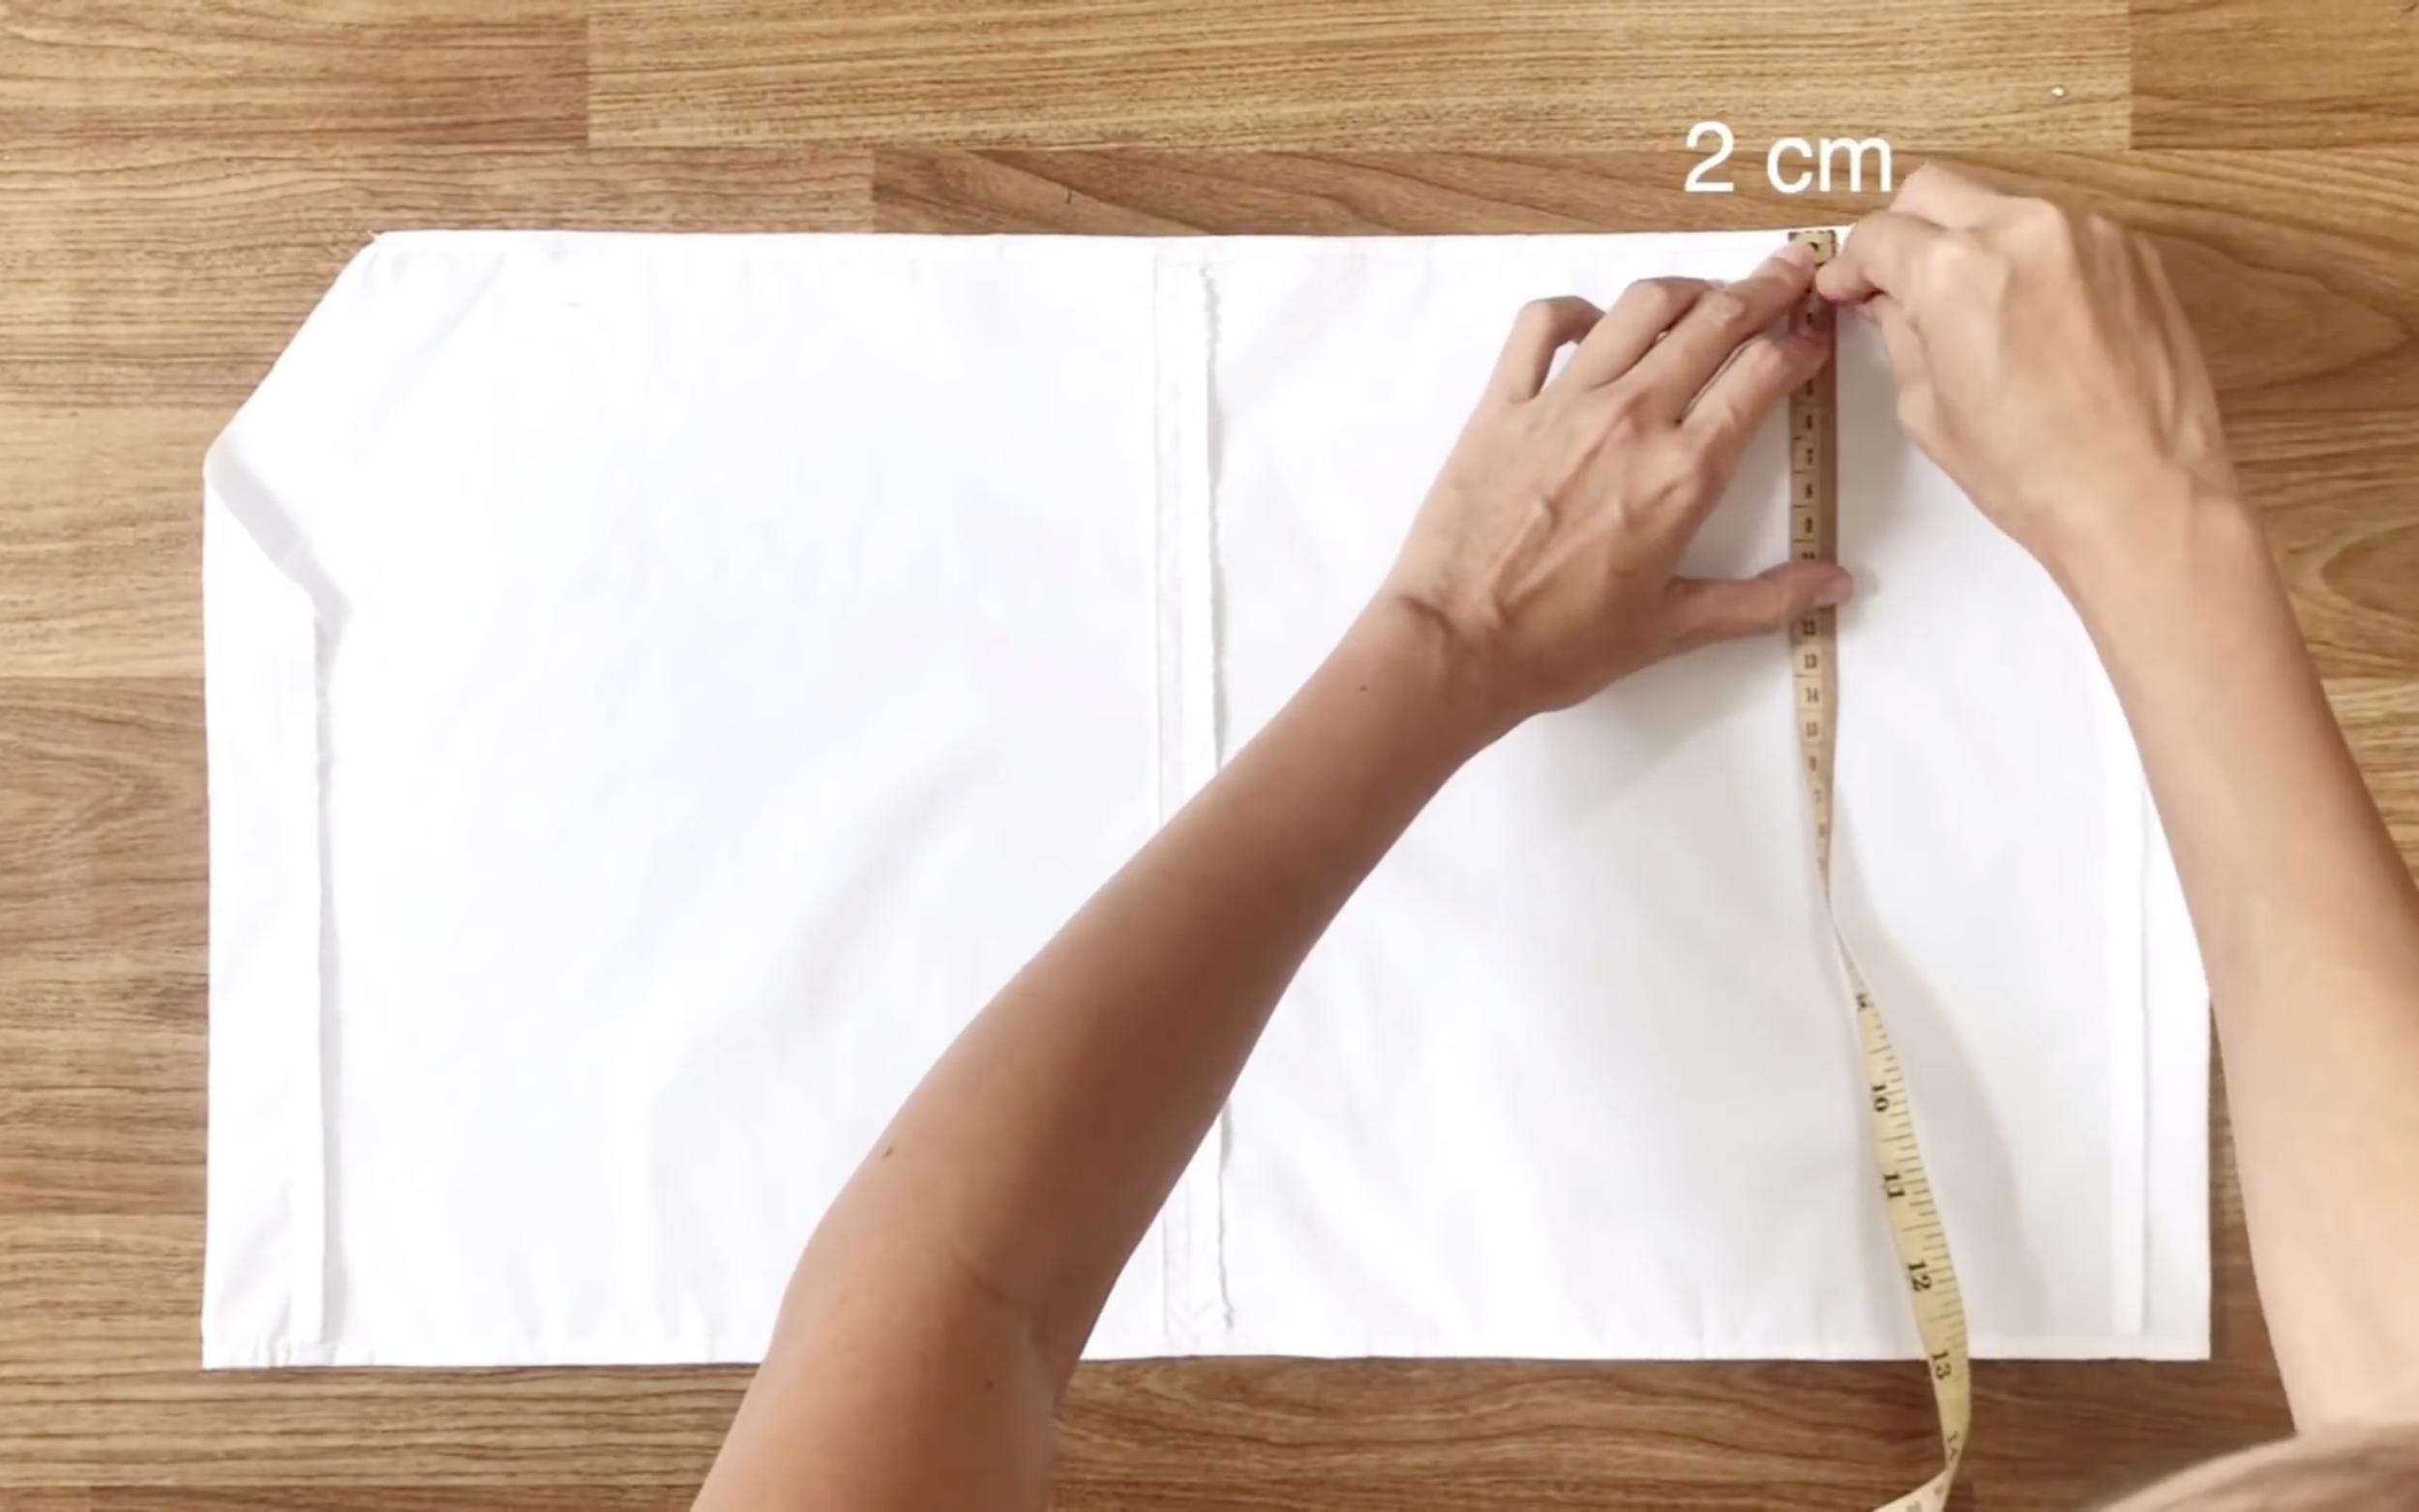
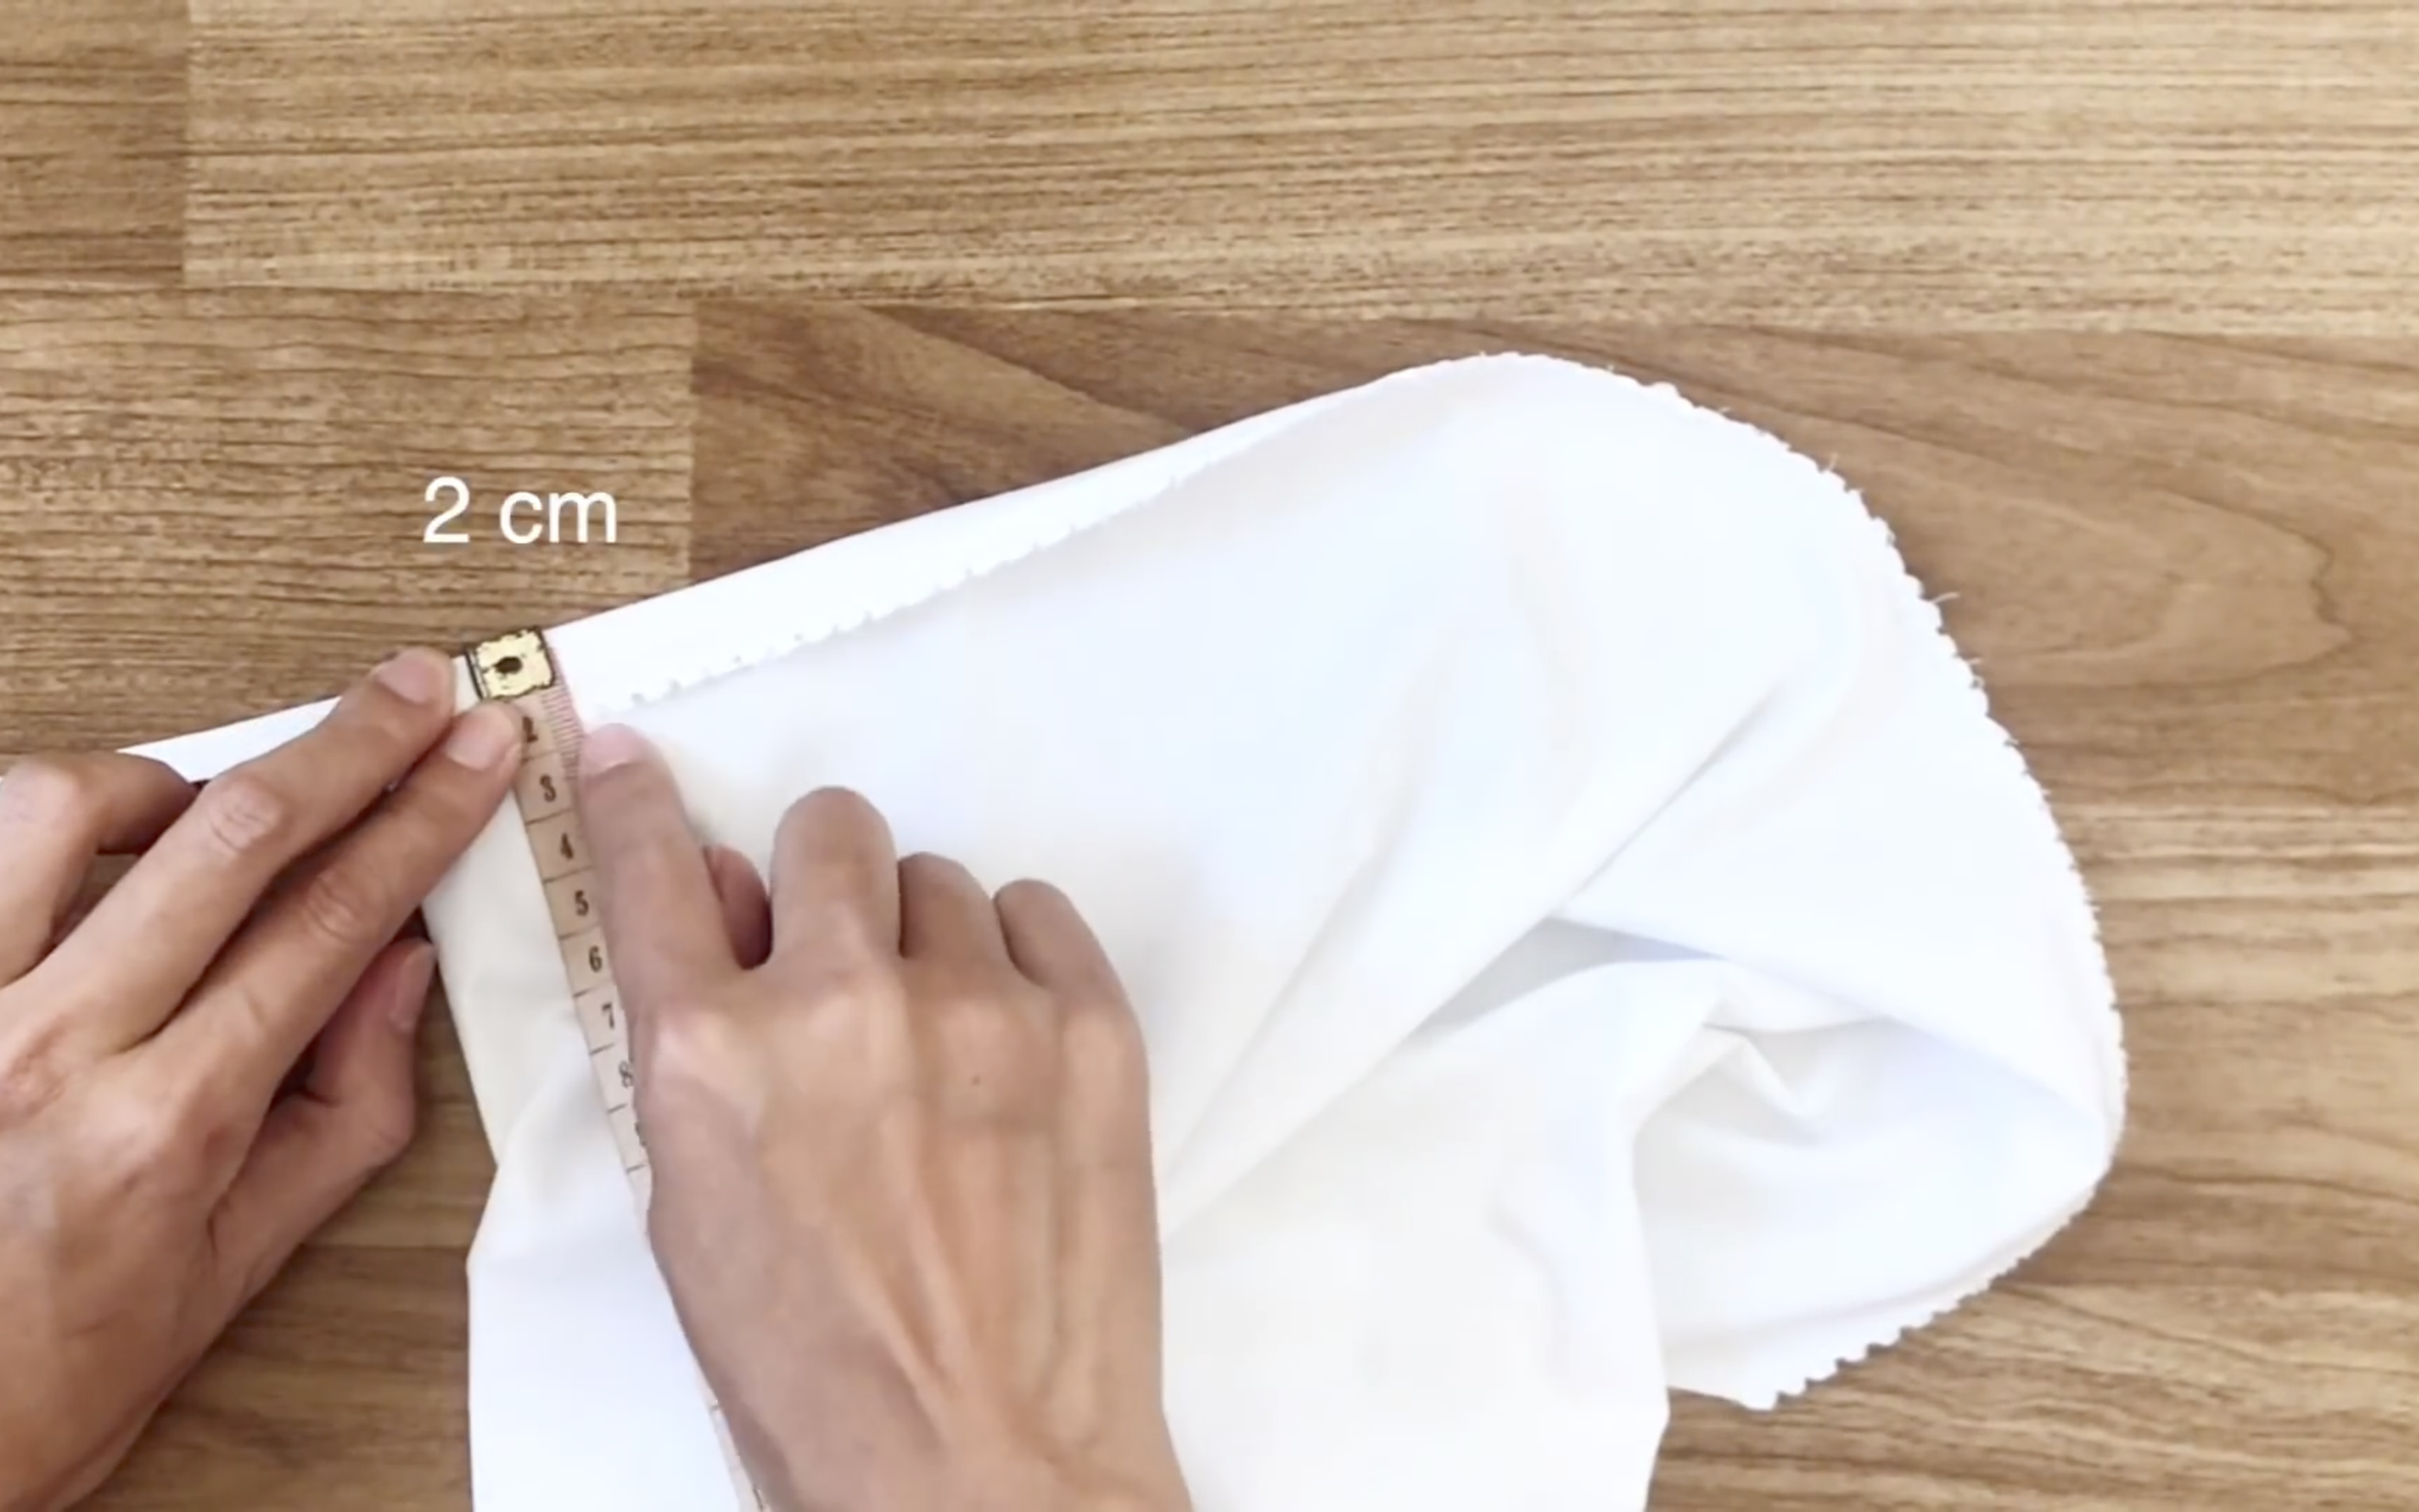
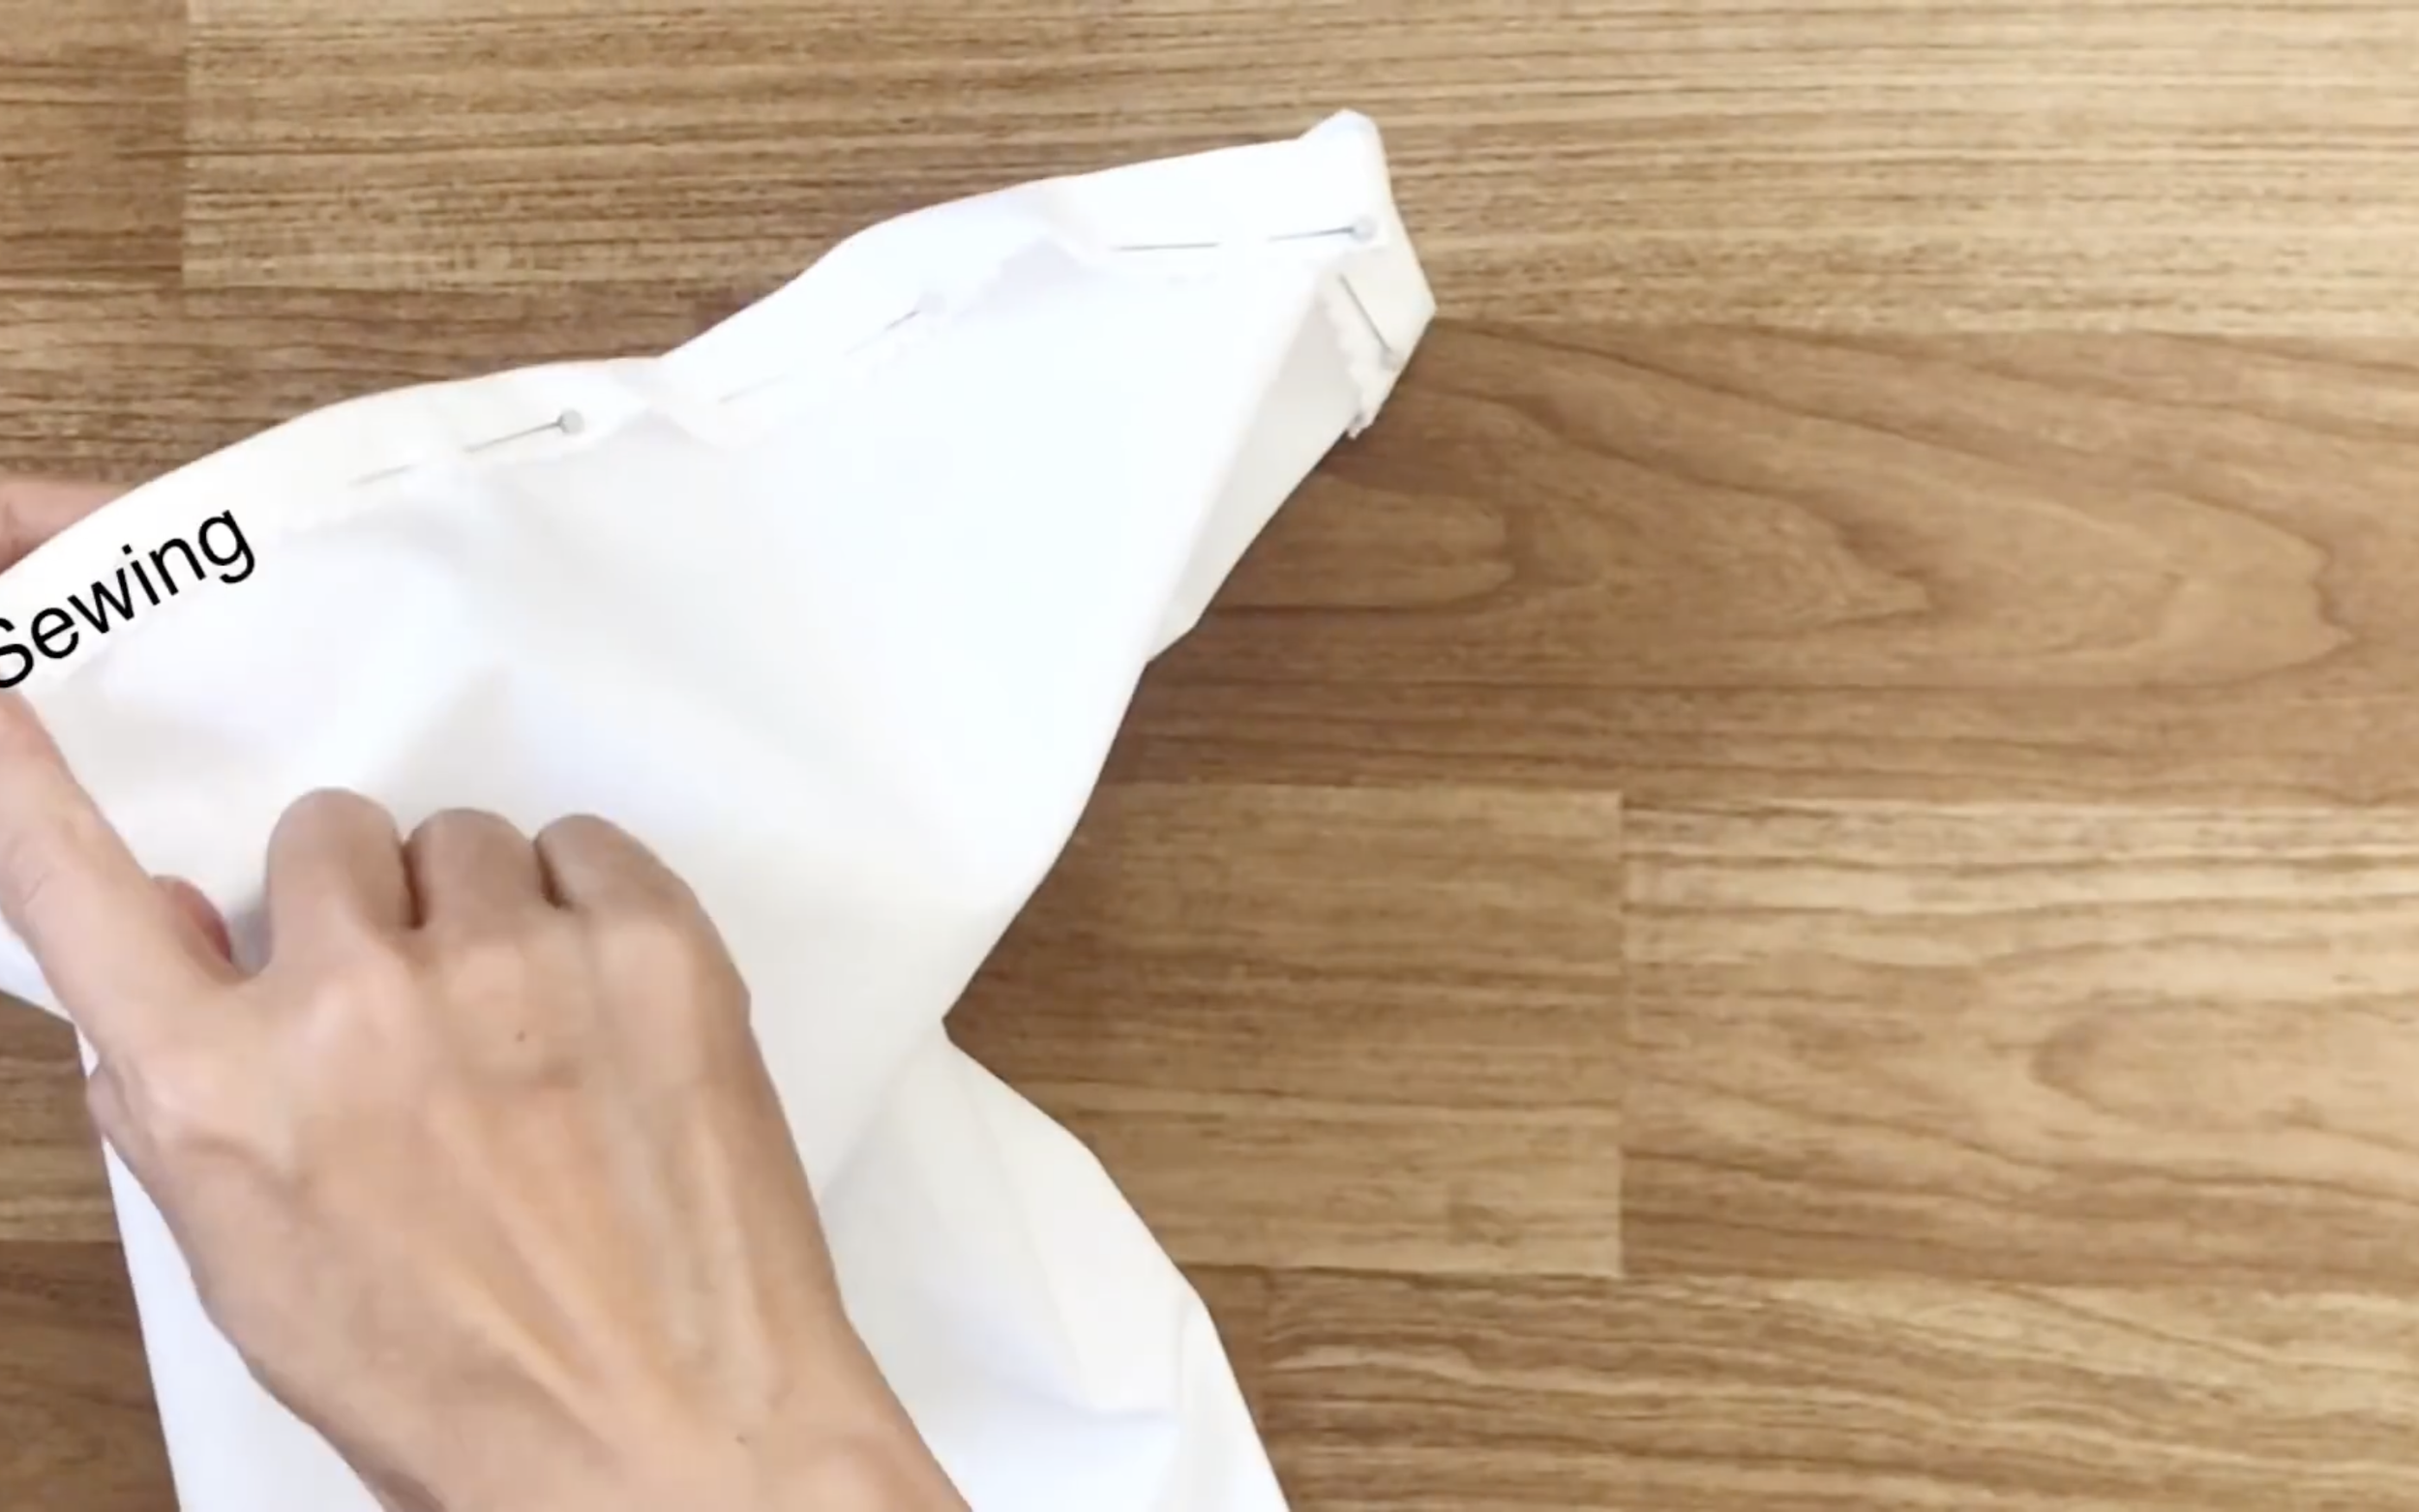
Now, create positions for the elastic bands.
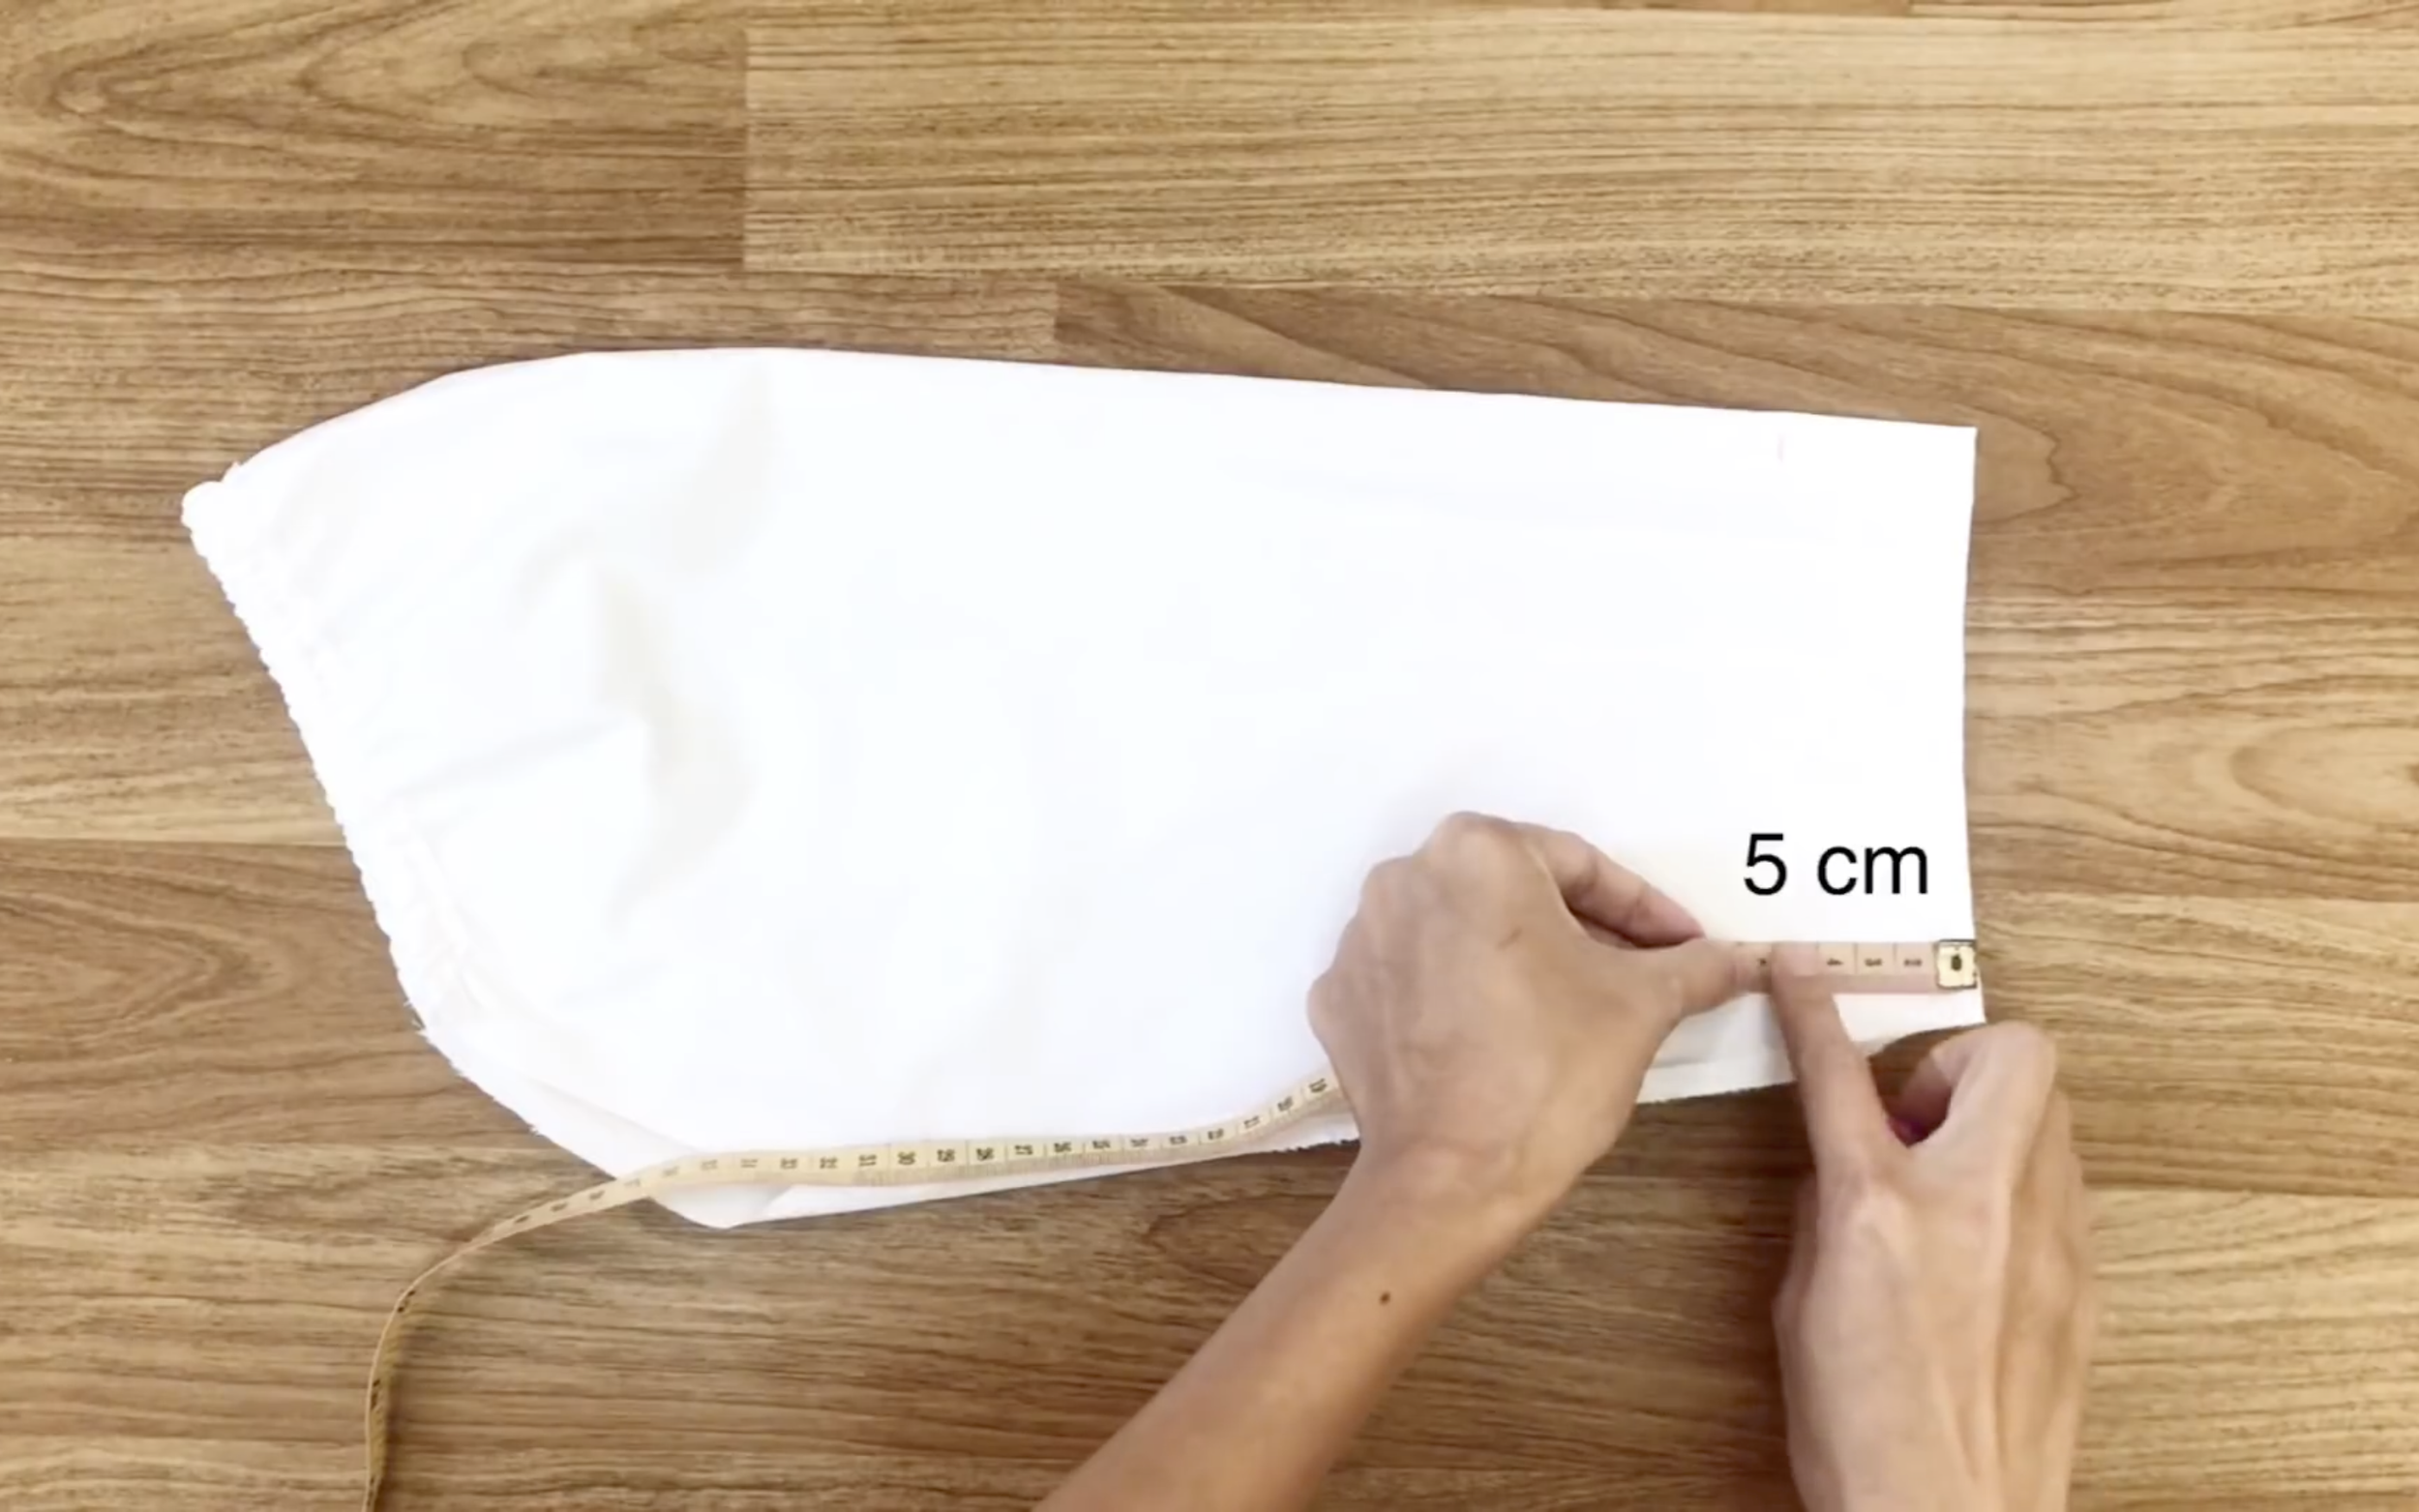
From the top, go down 2cm and draw a horizontal line.
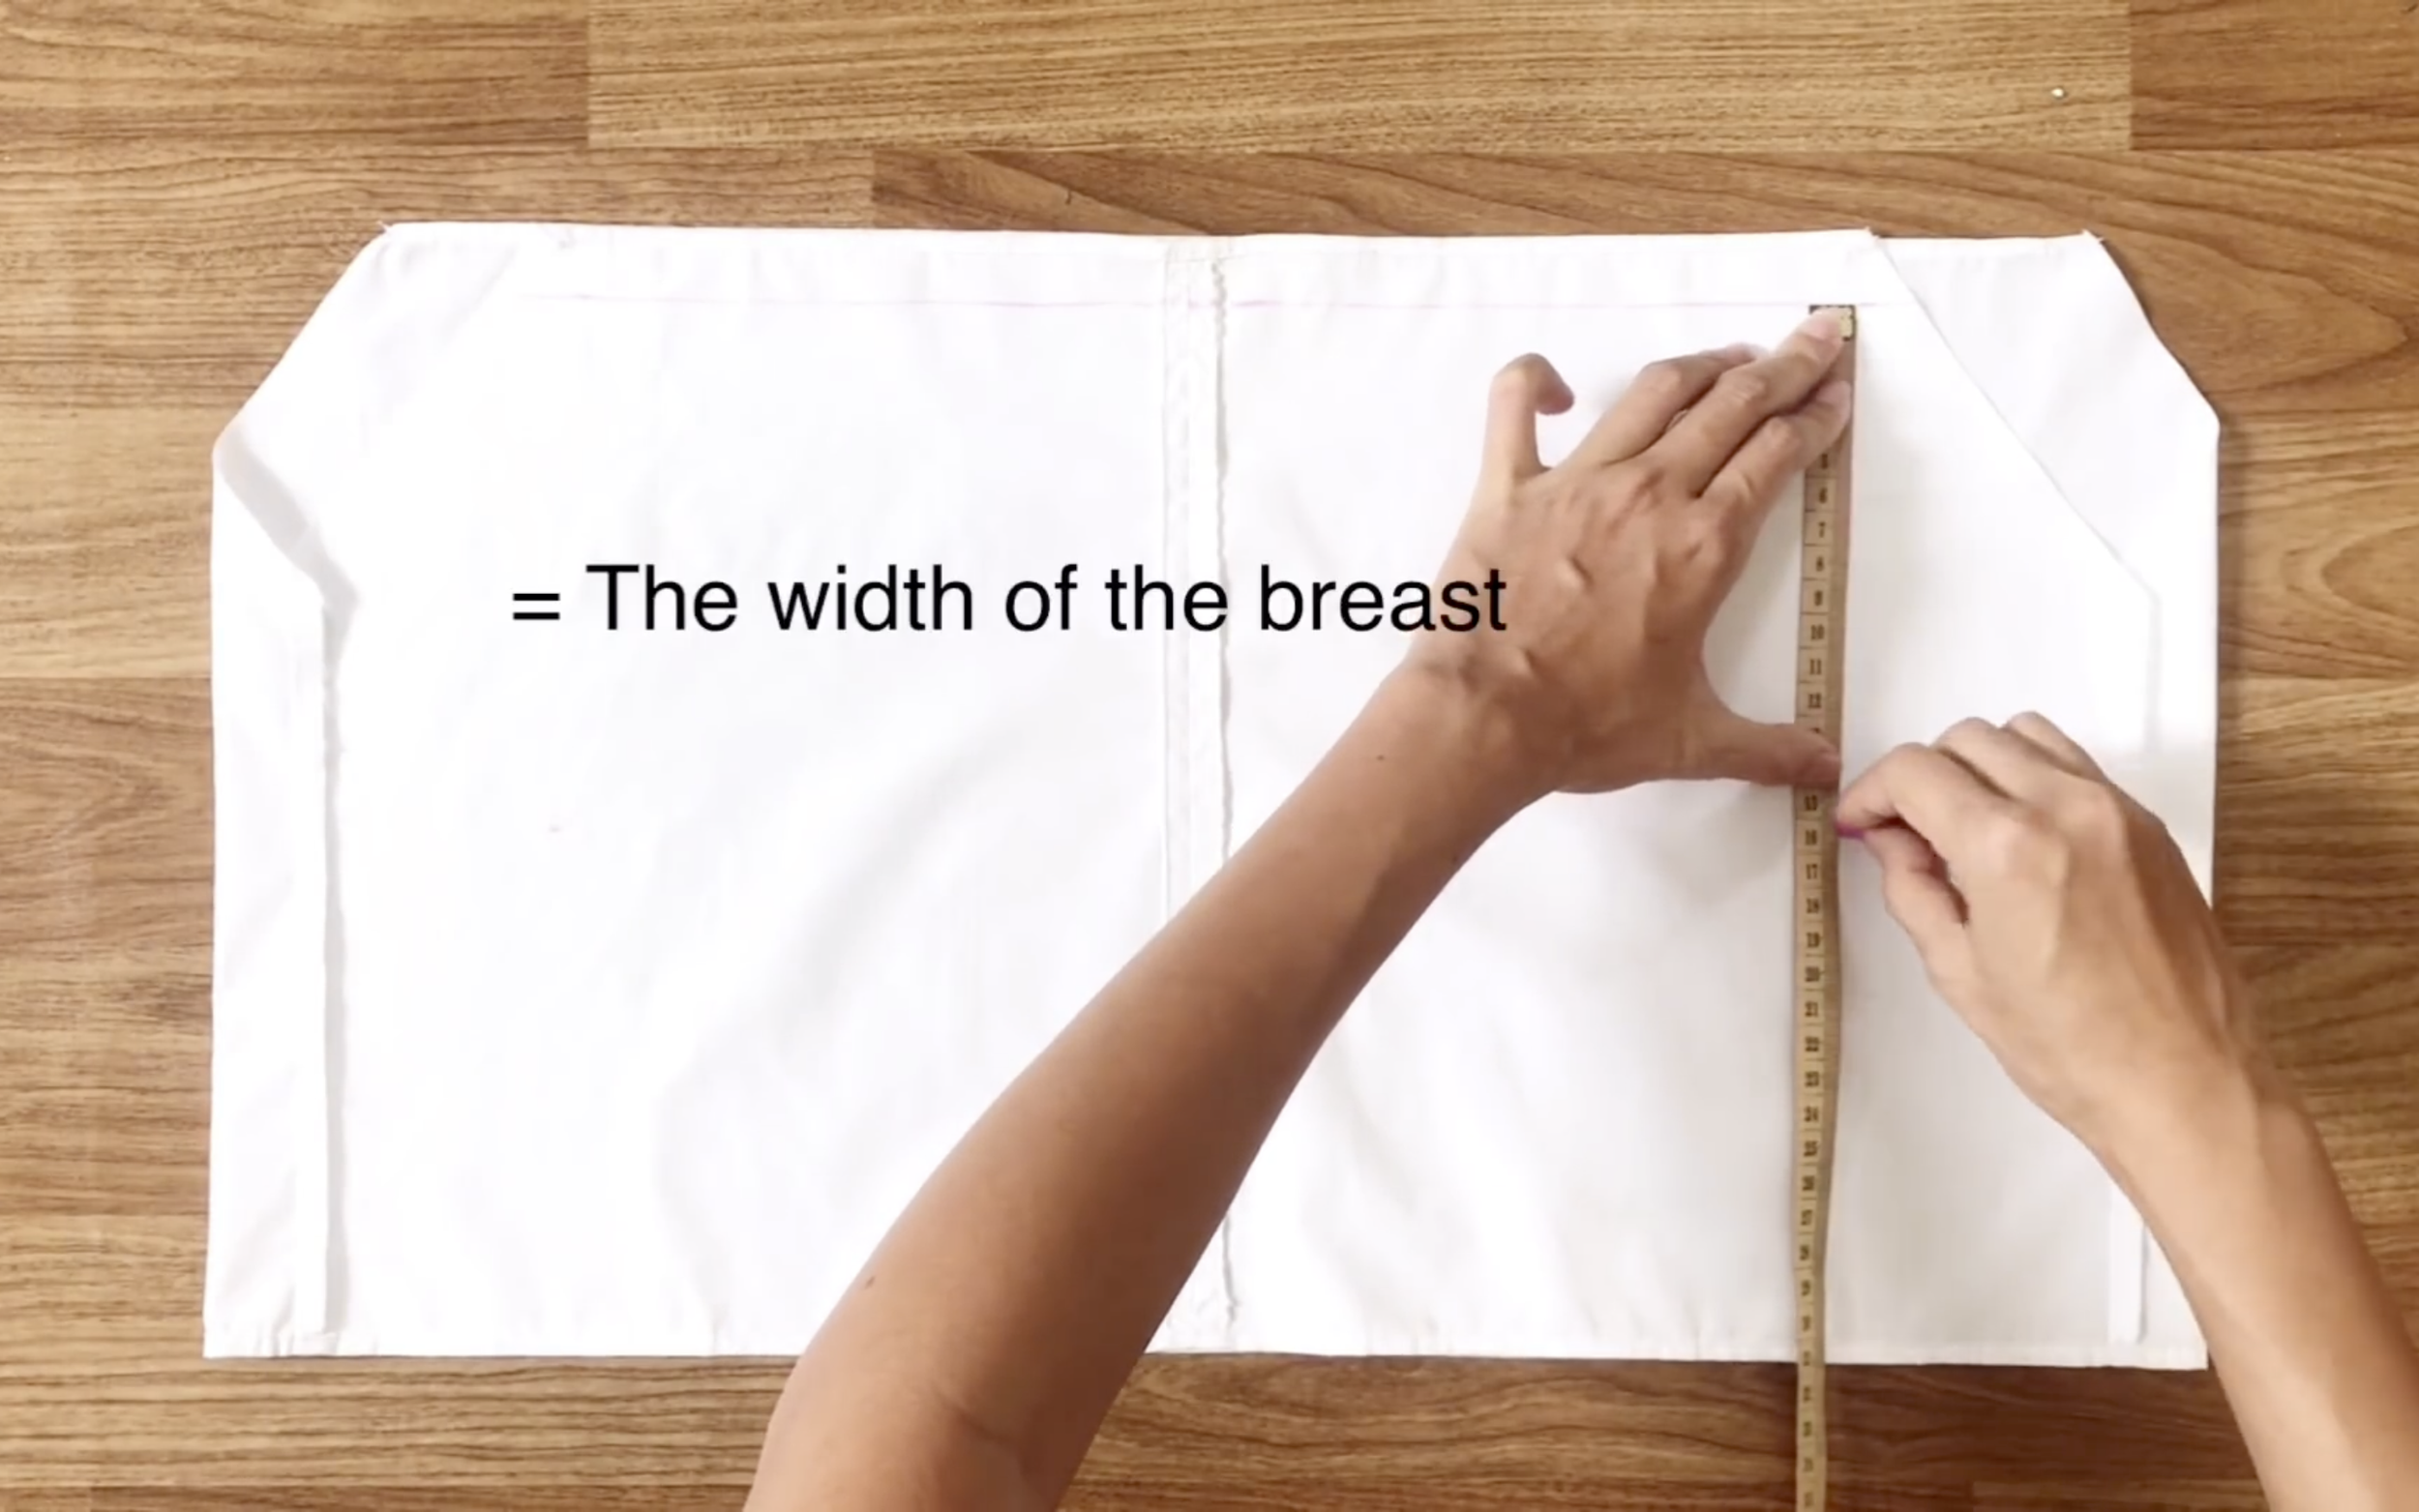
Then from that line, go down 16cm, which is the width that could cover the breast, and draw another horizontal line.
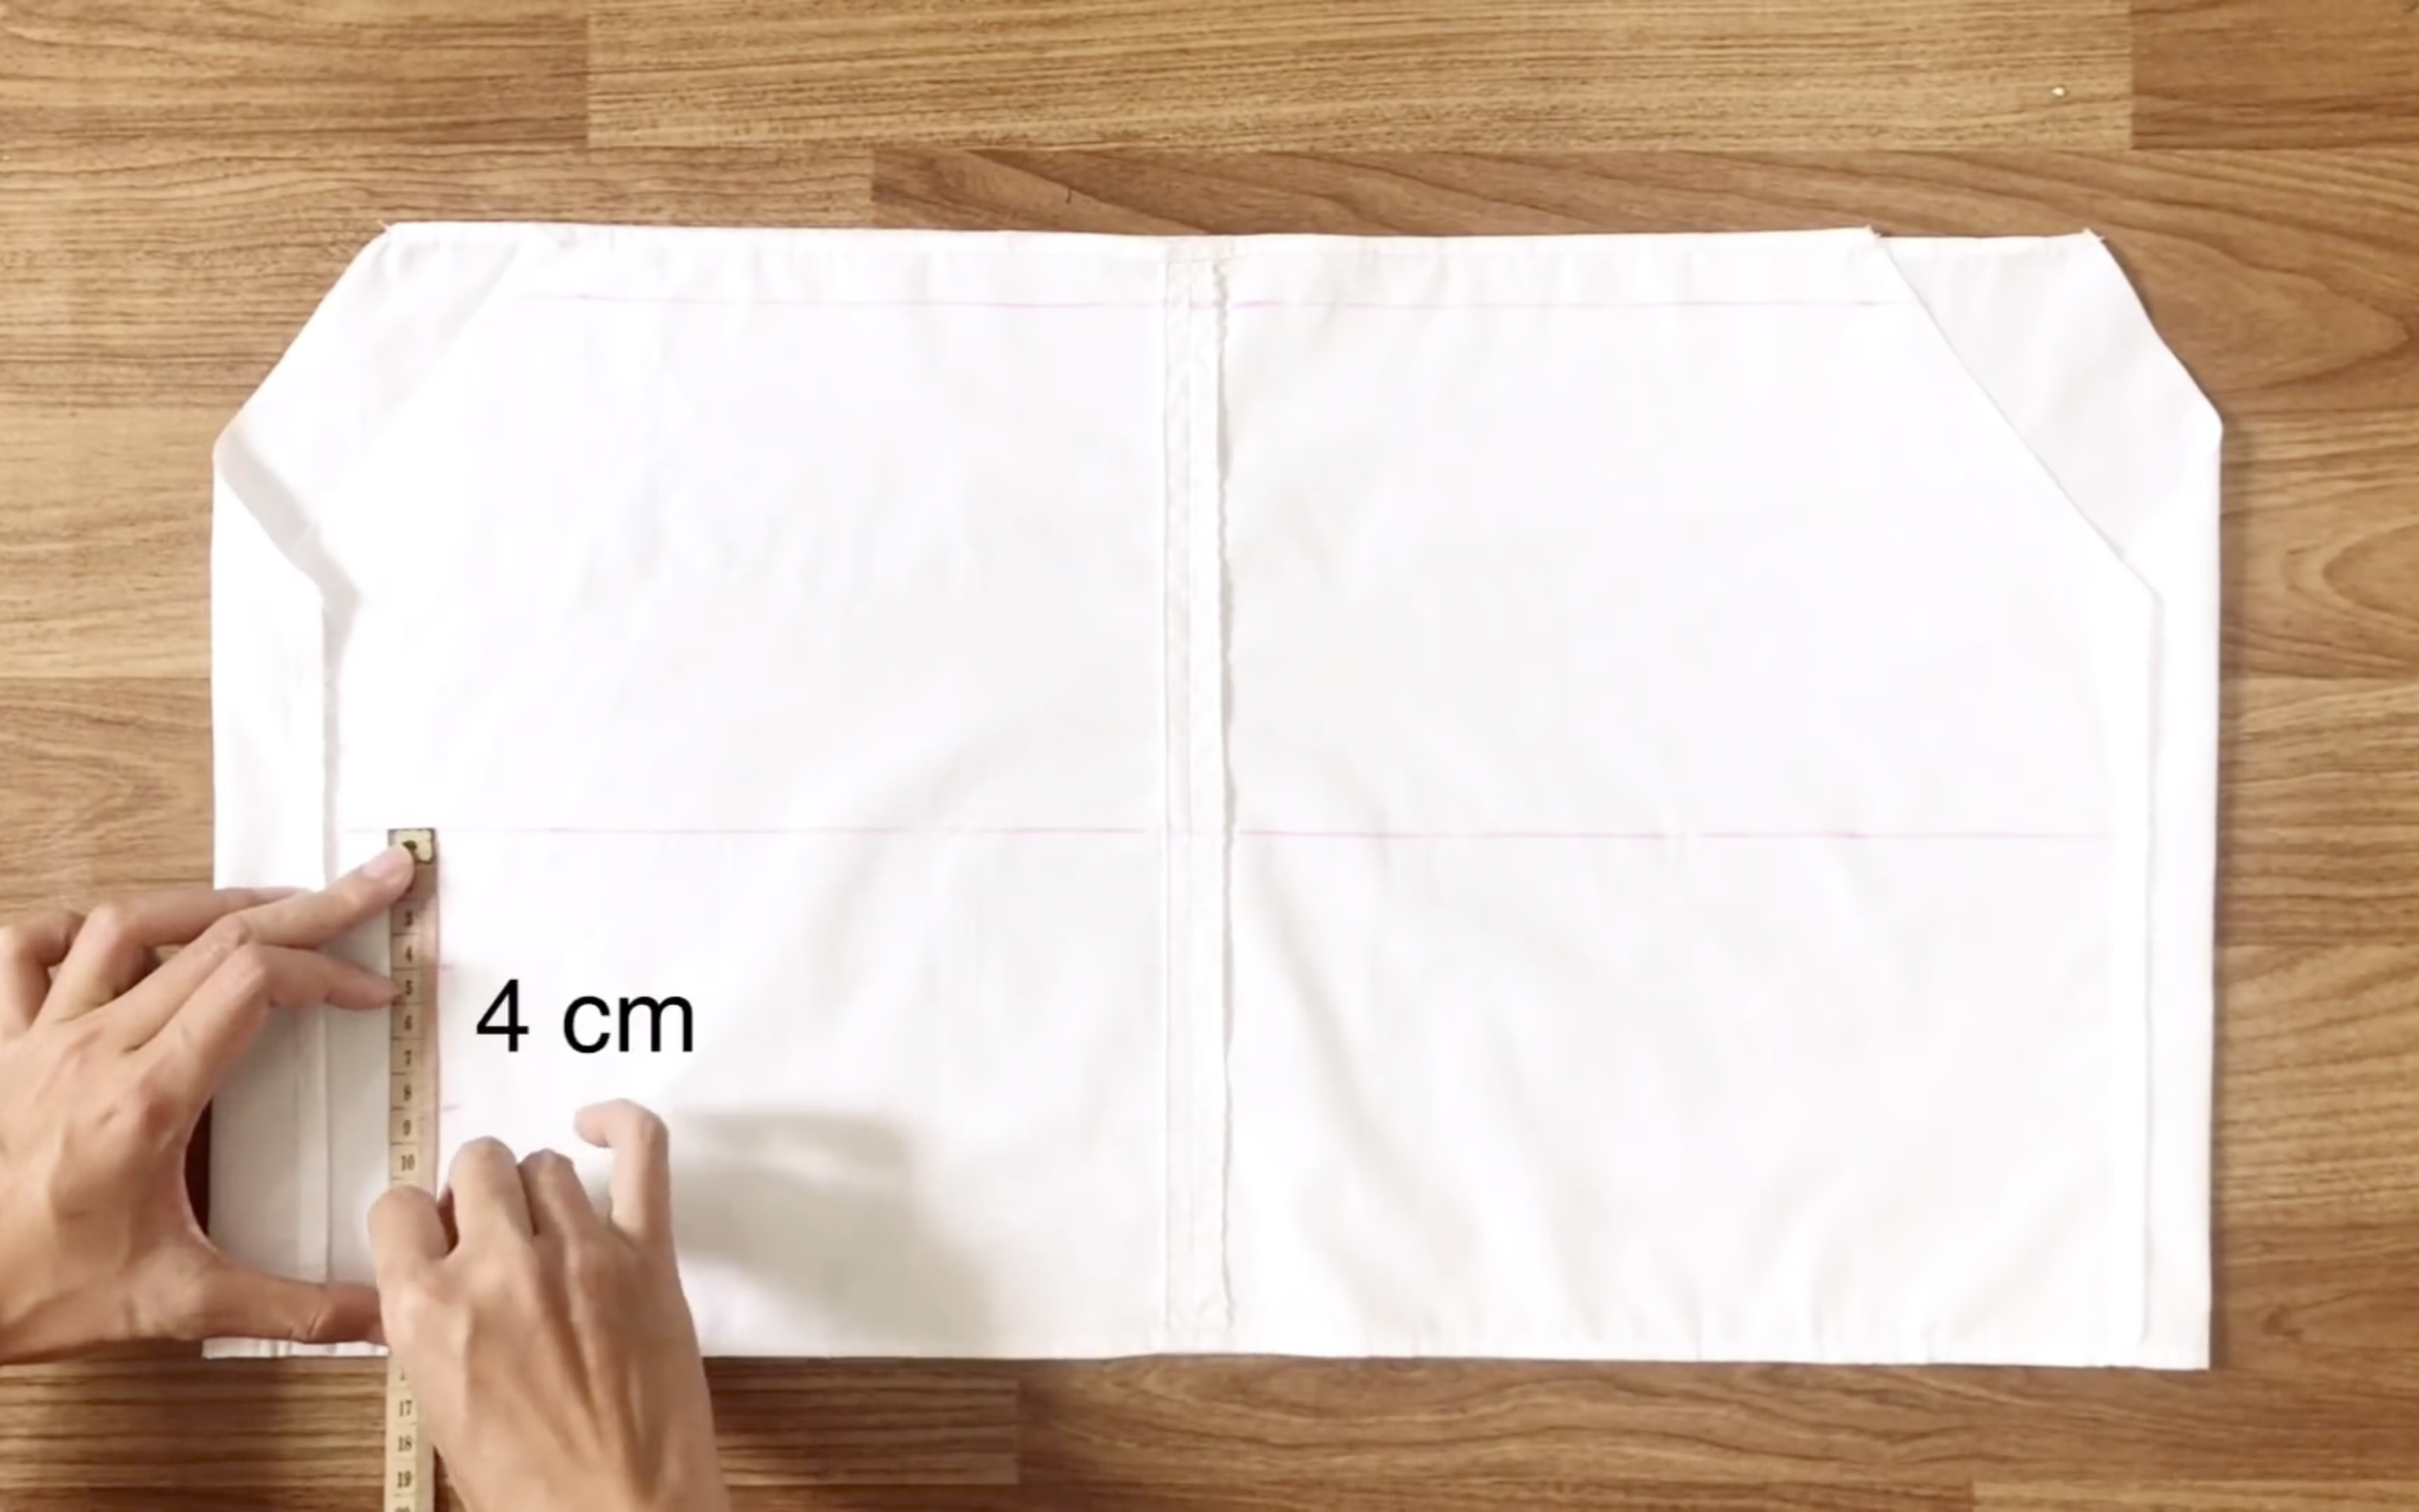
Below that line, draw additional lines, each 4cm apart.
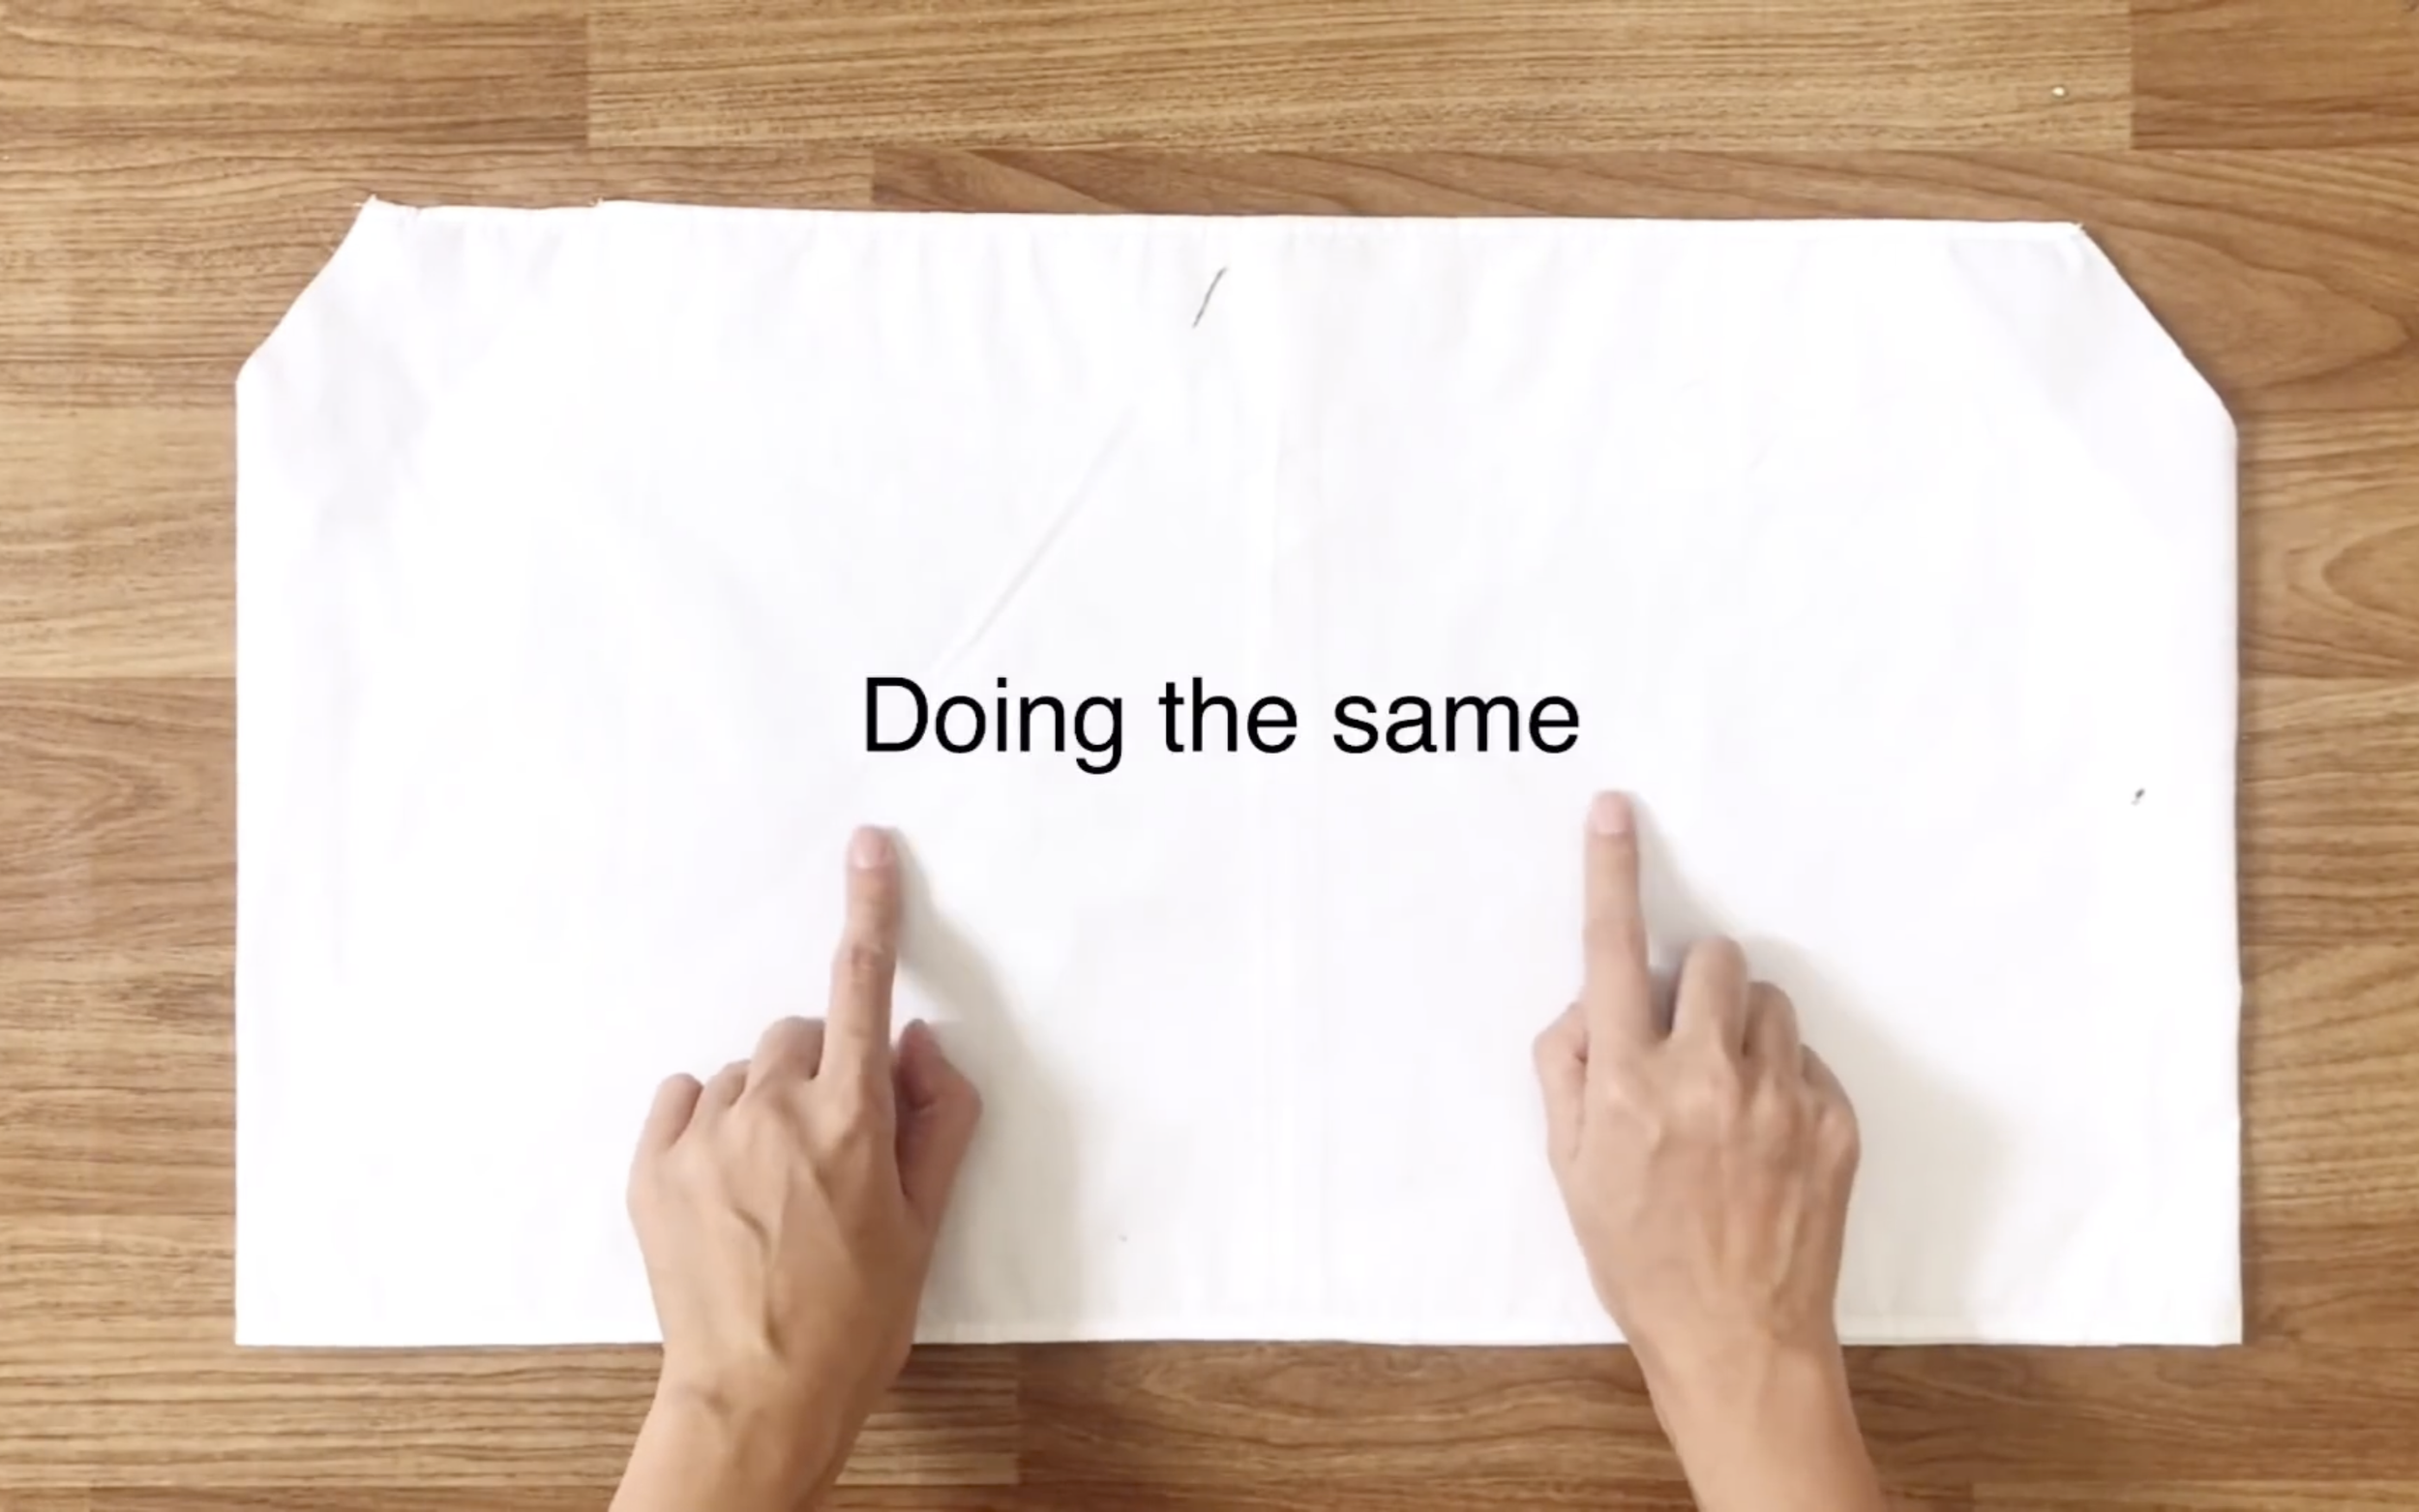
Do the same for the front and back of the crop top.
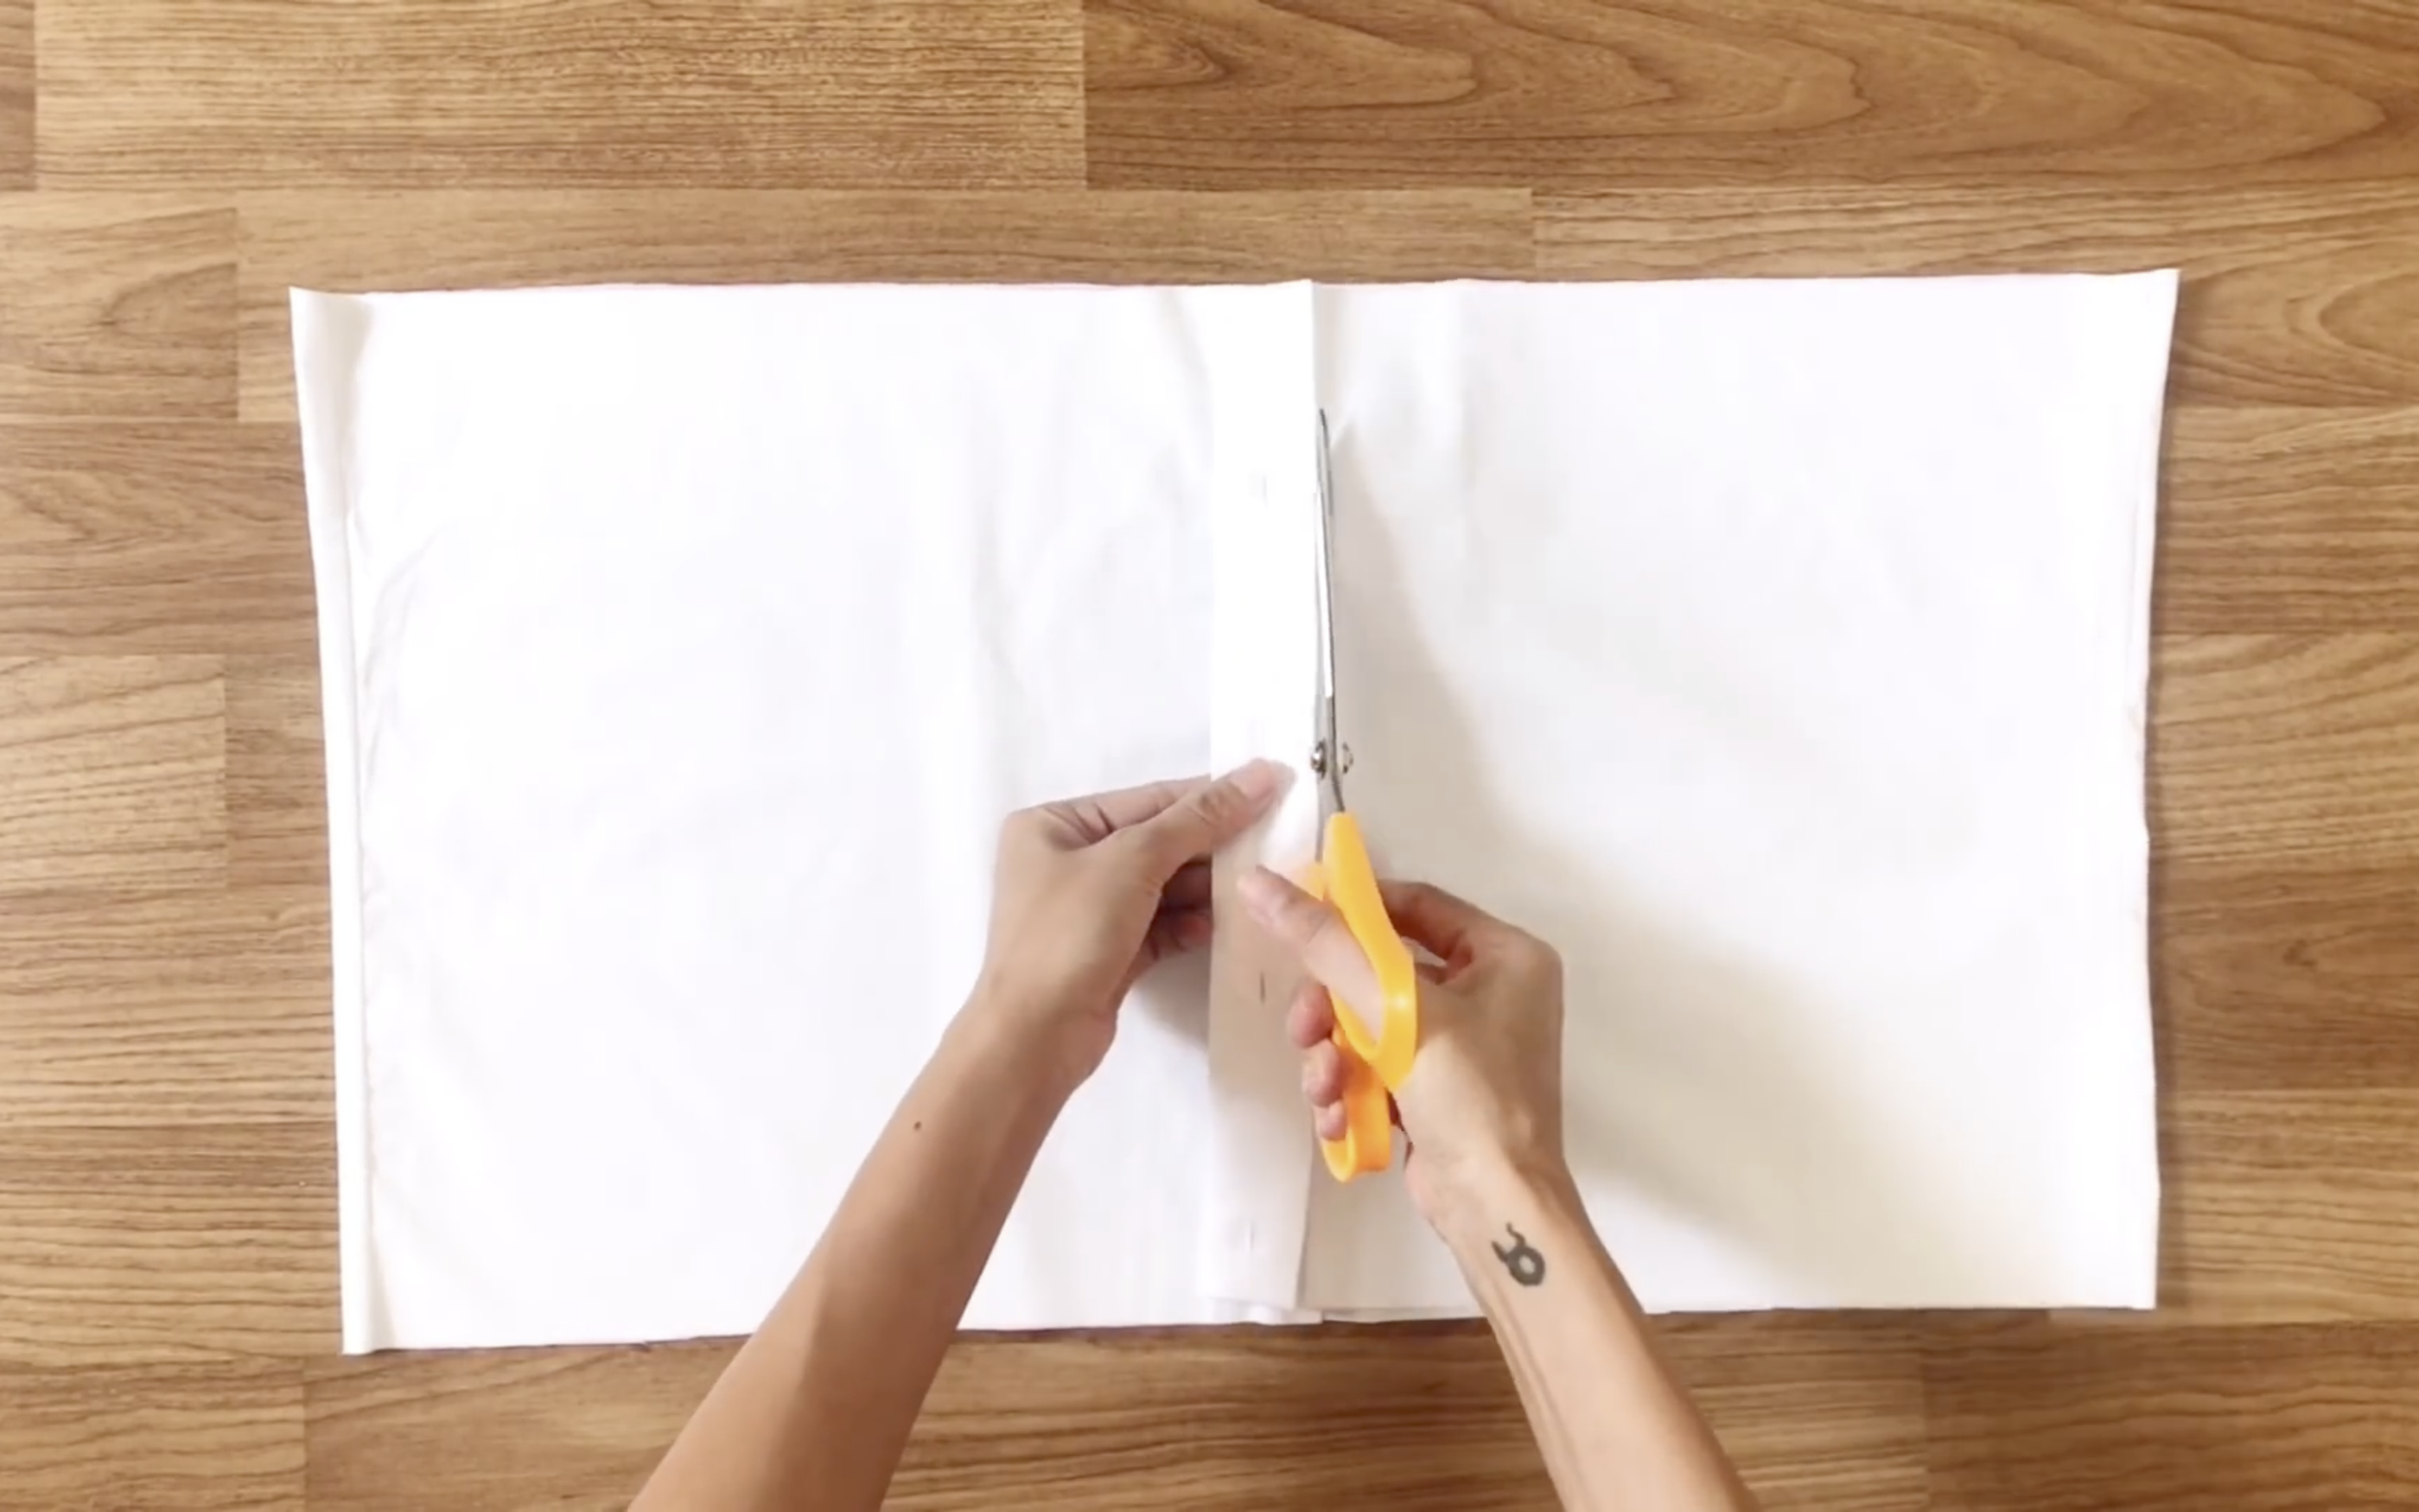
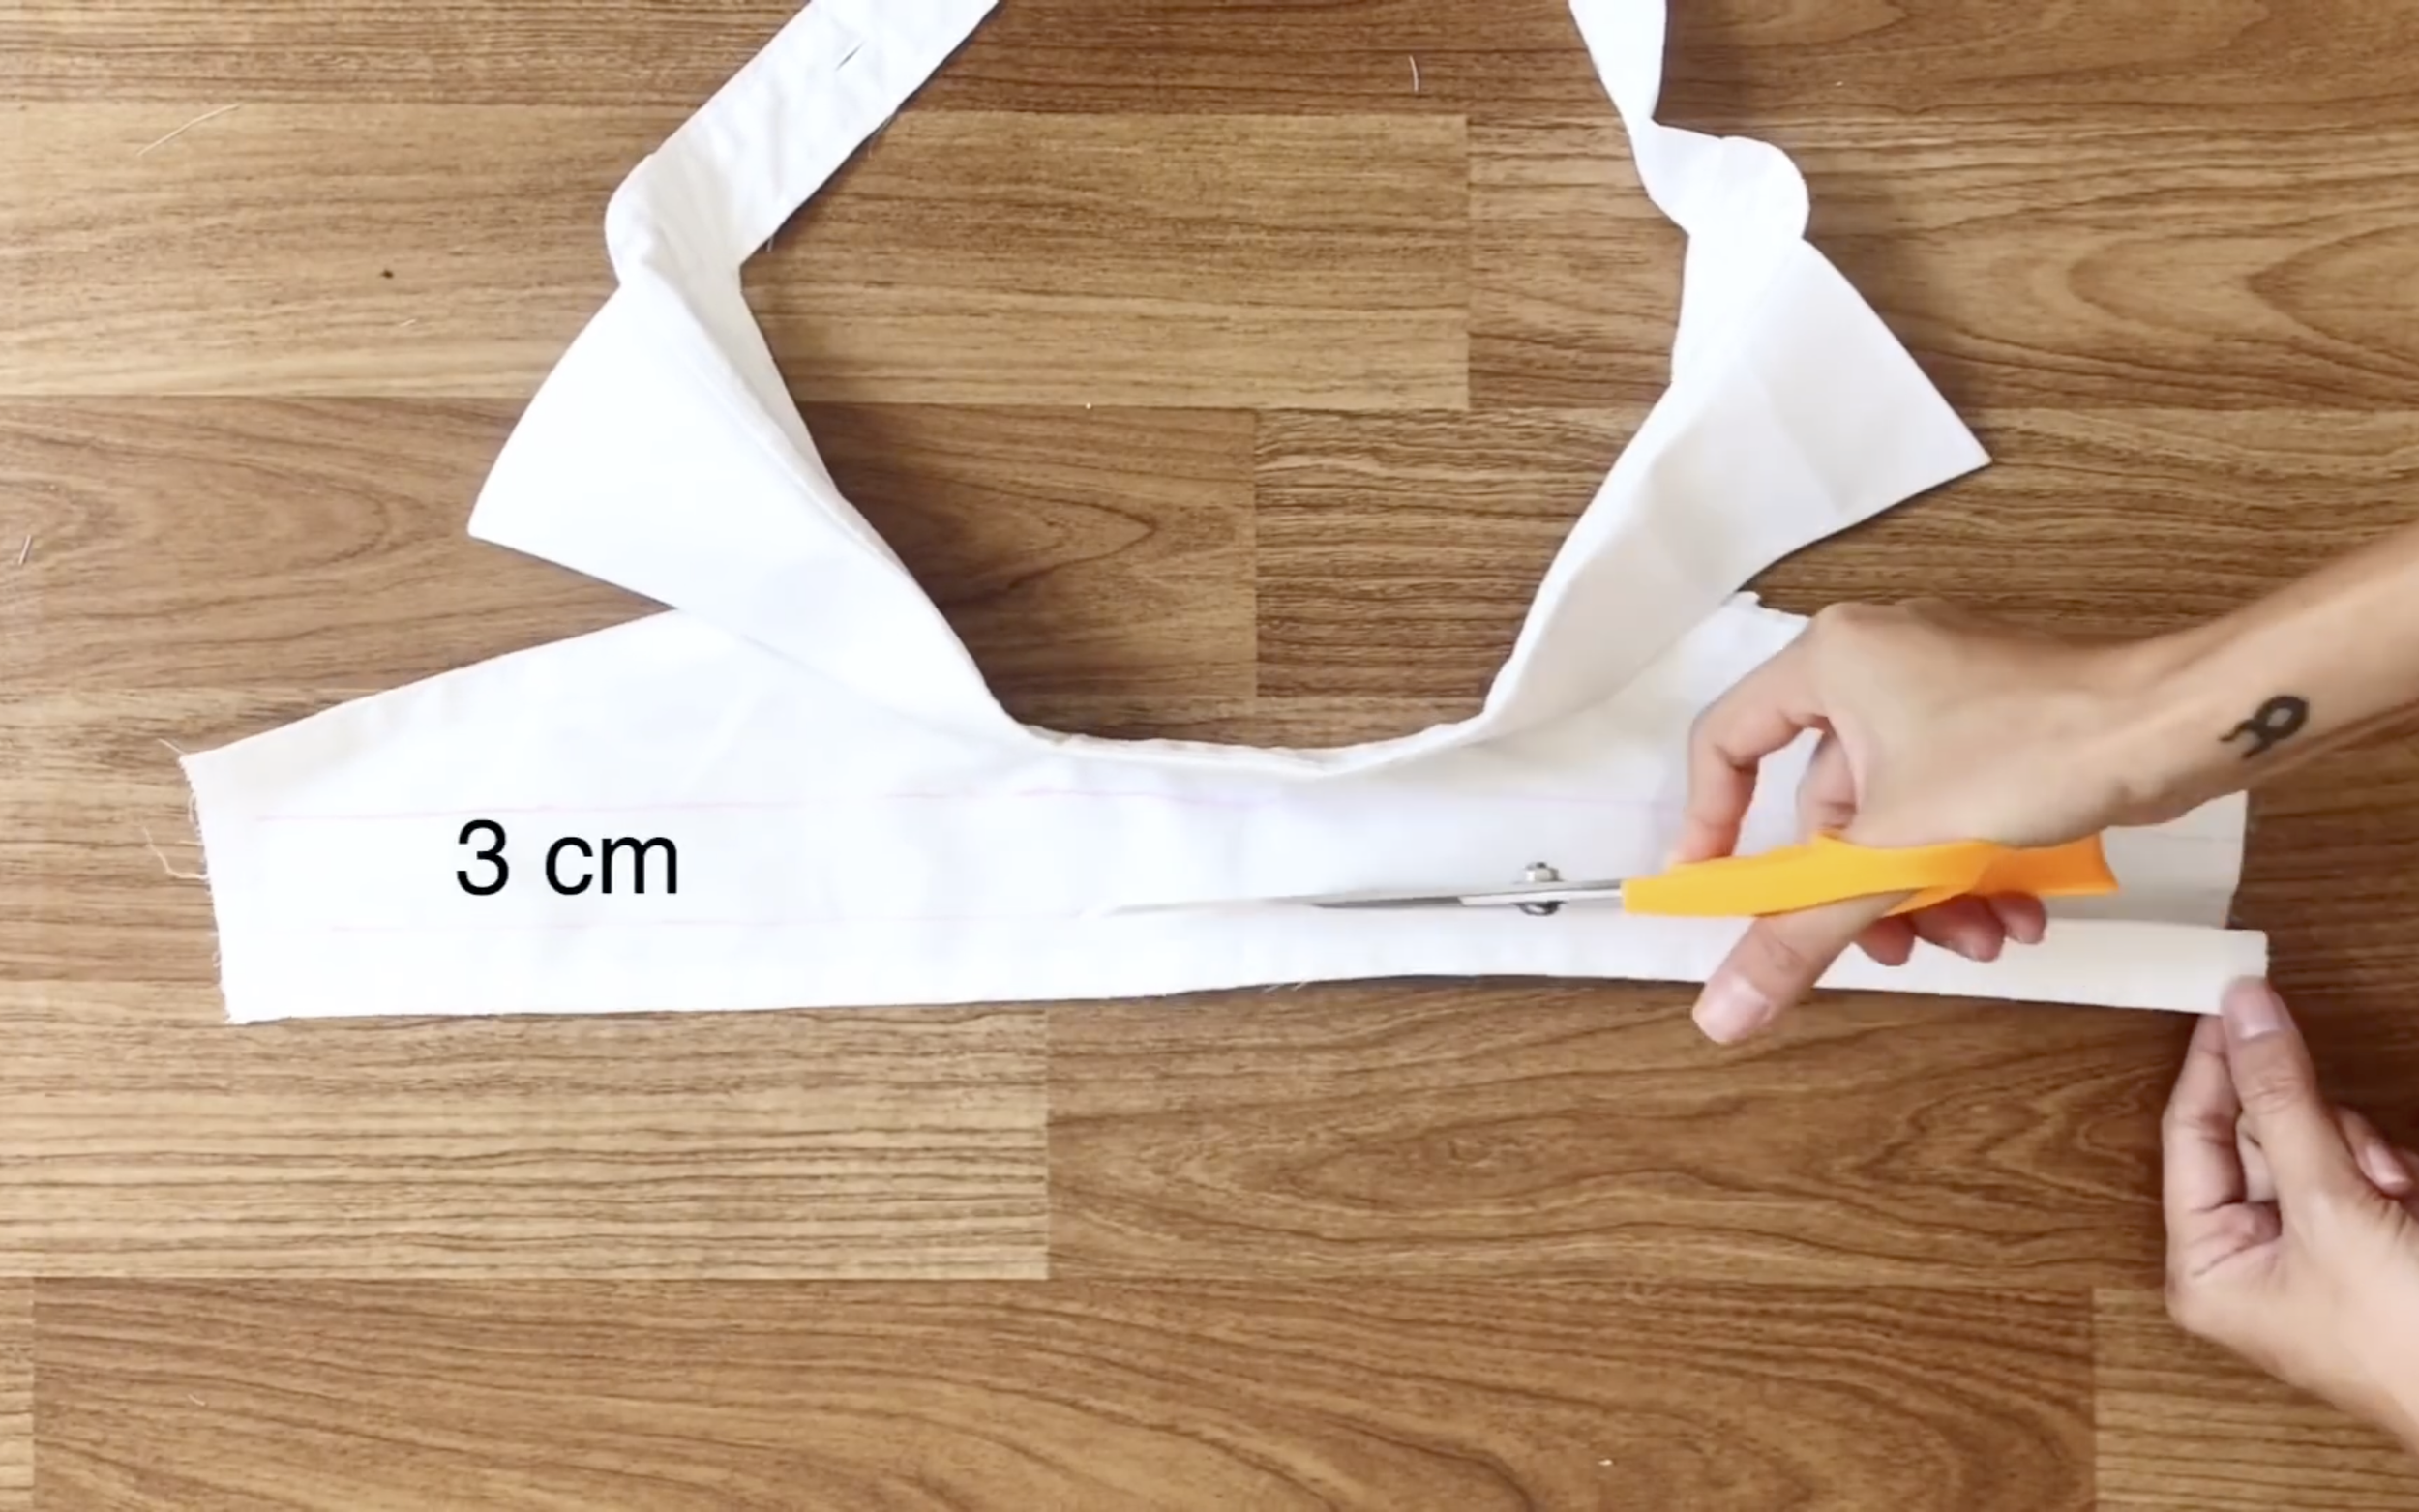
Use fabric from the back of the men's shirt to create fabric bands.

Cut 10 fabric bands, each 2.5cm wide.
Make sure the length of each fabric band is longer than the width of the crop top.
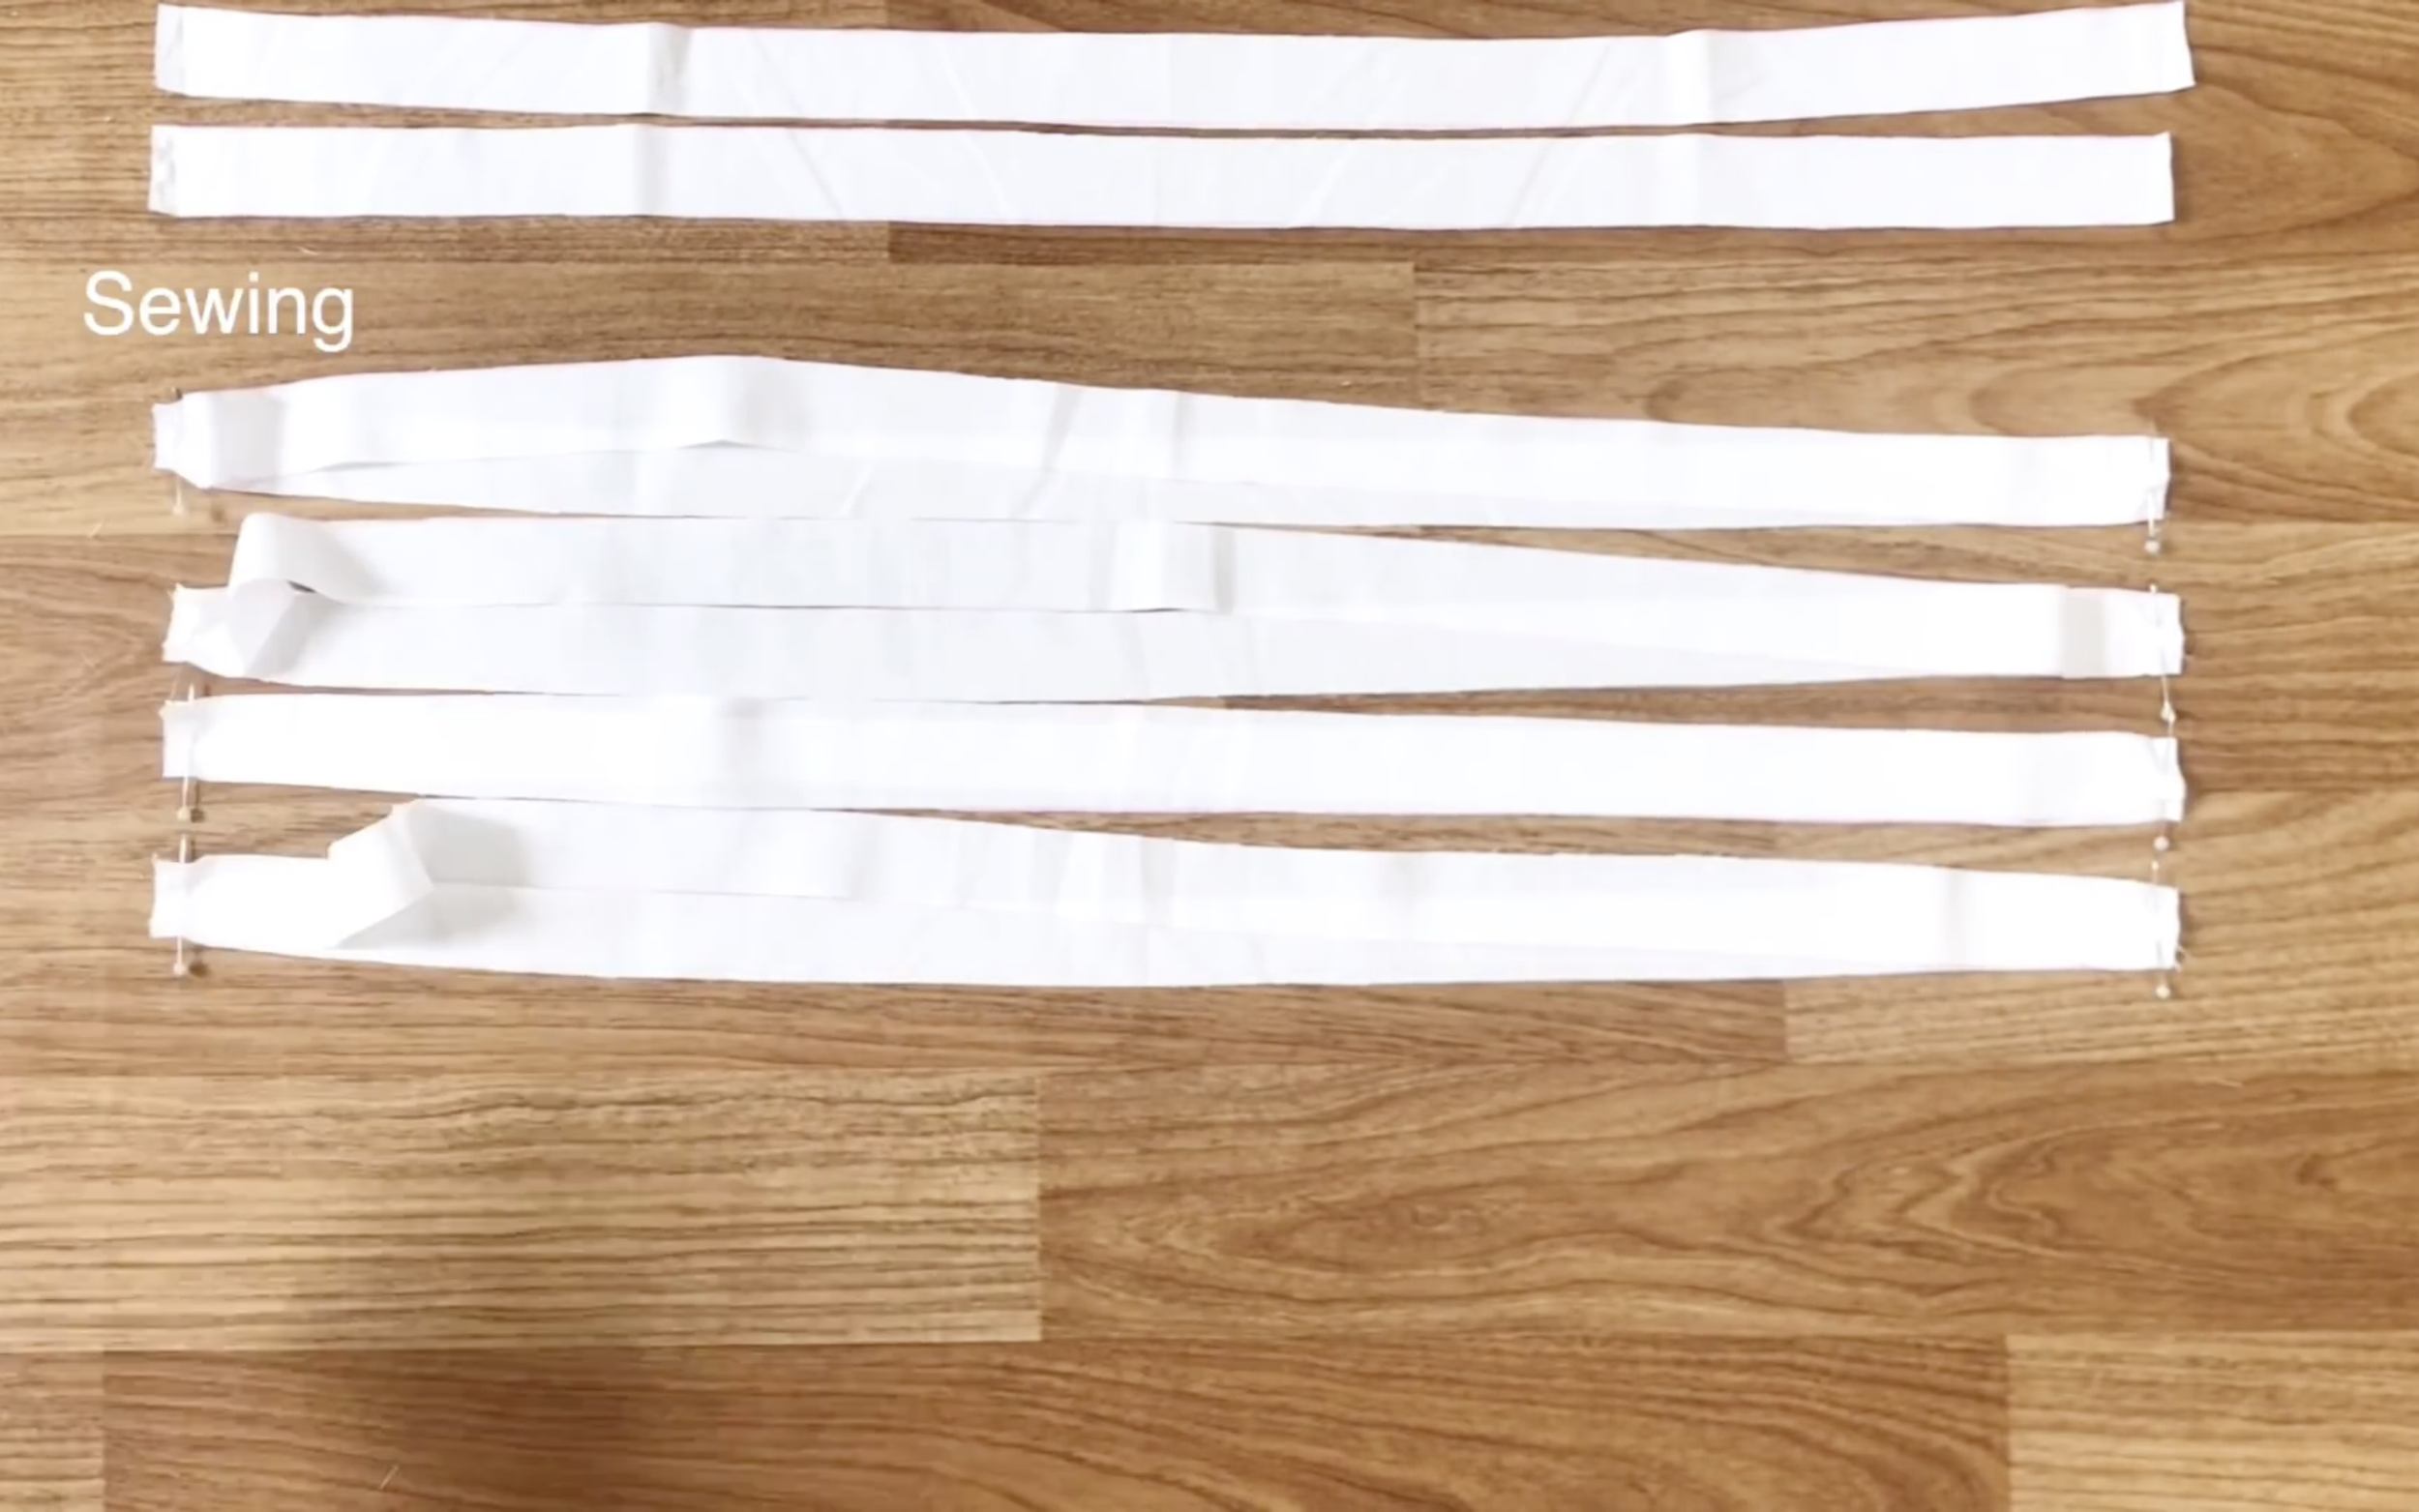
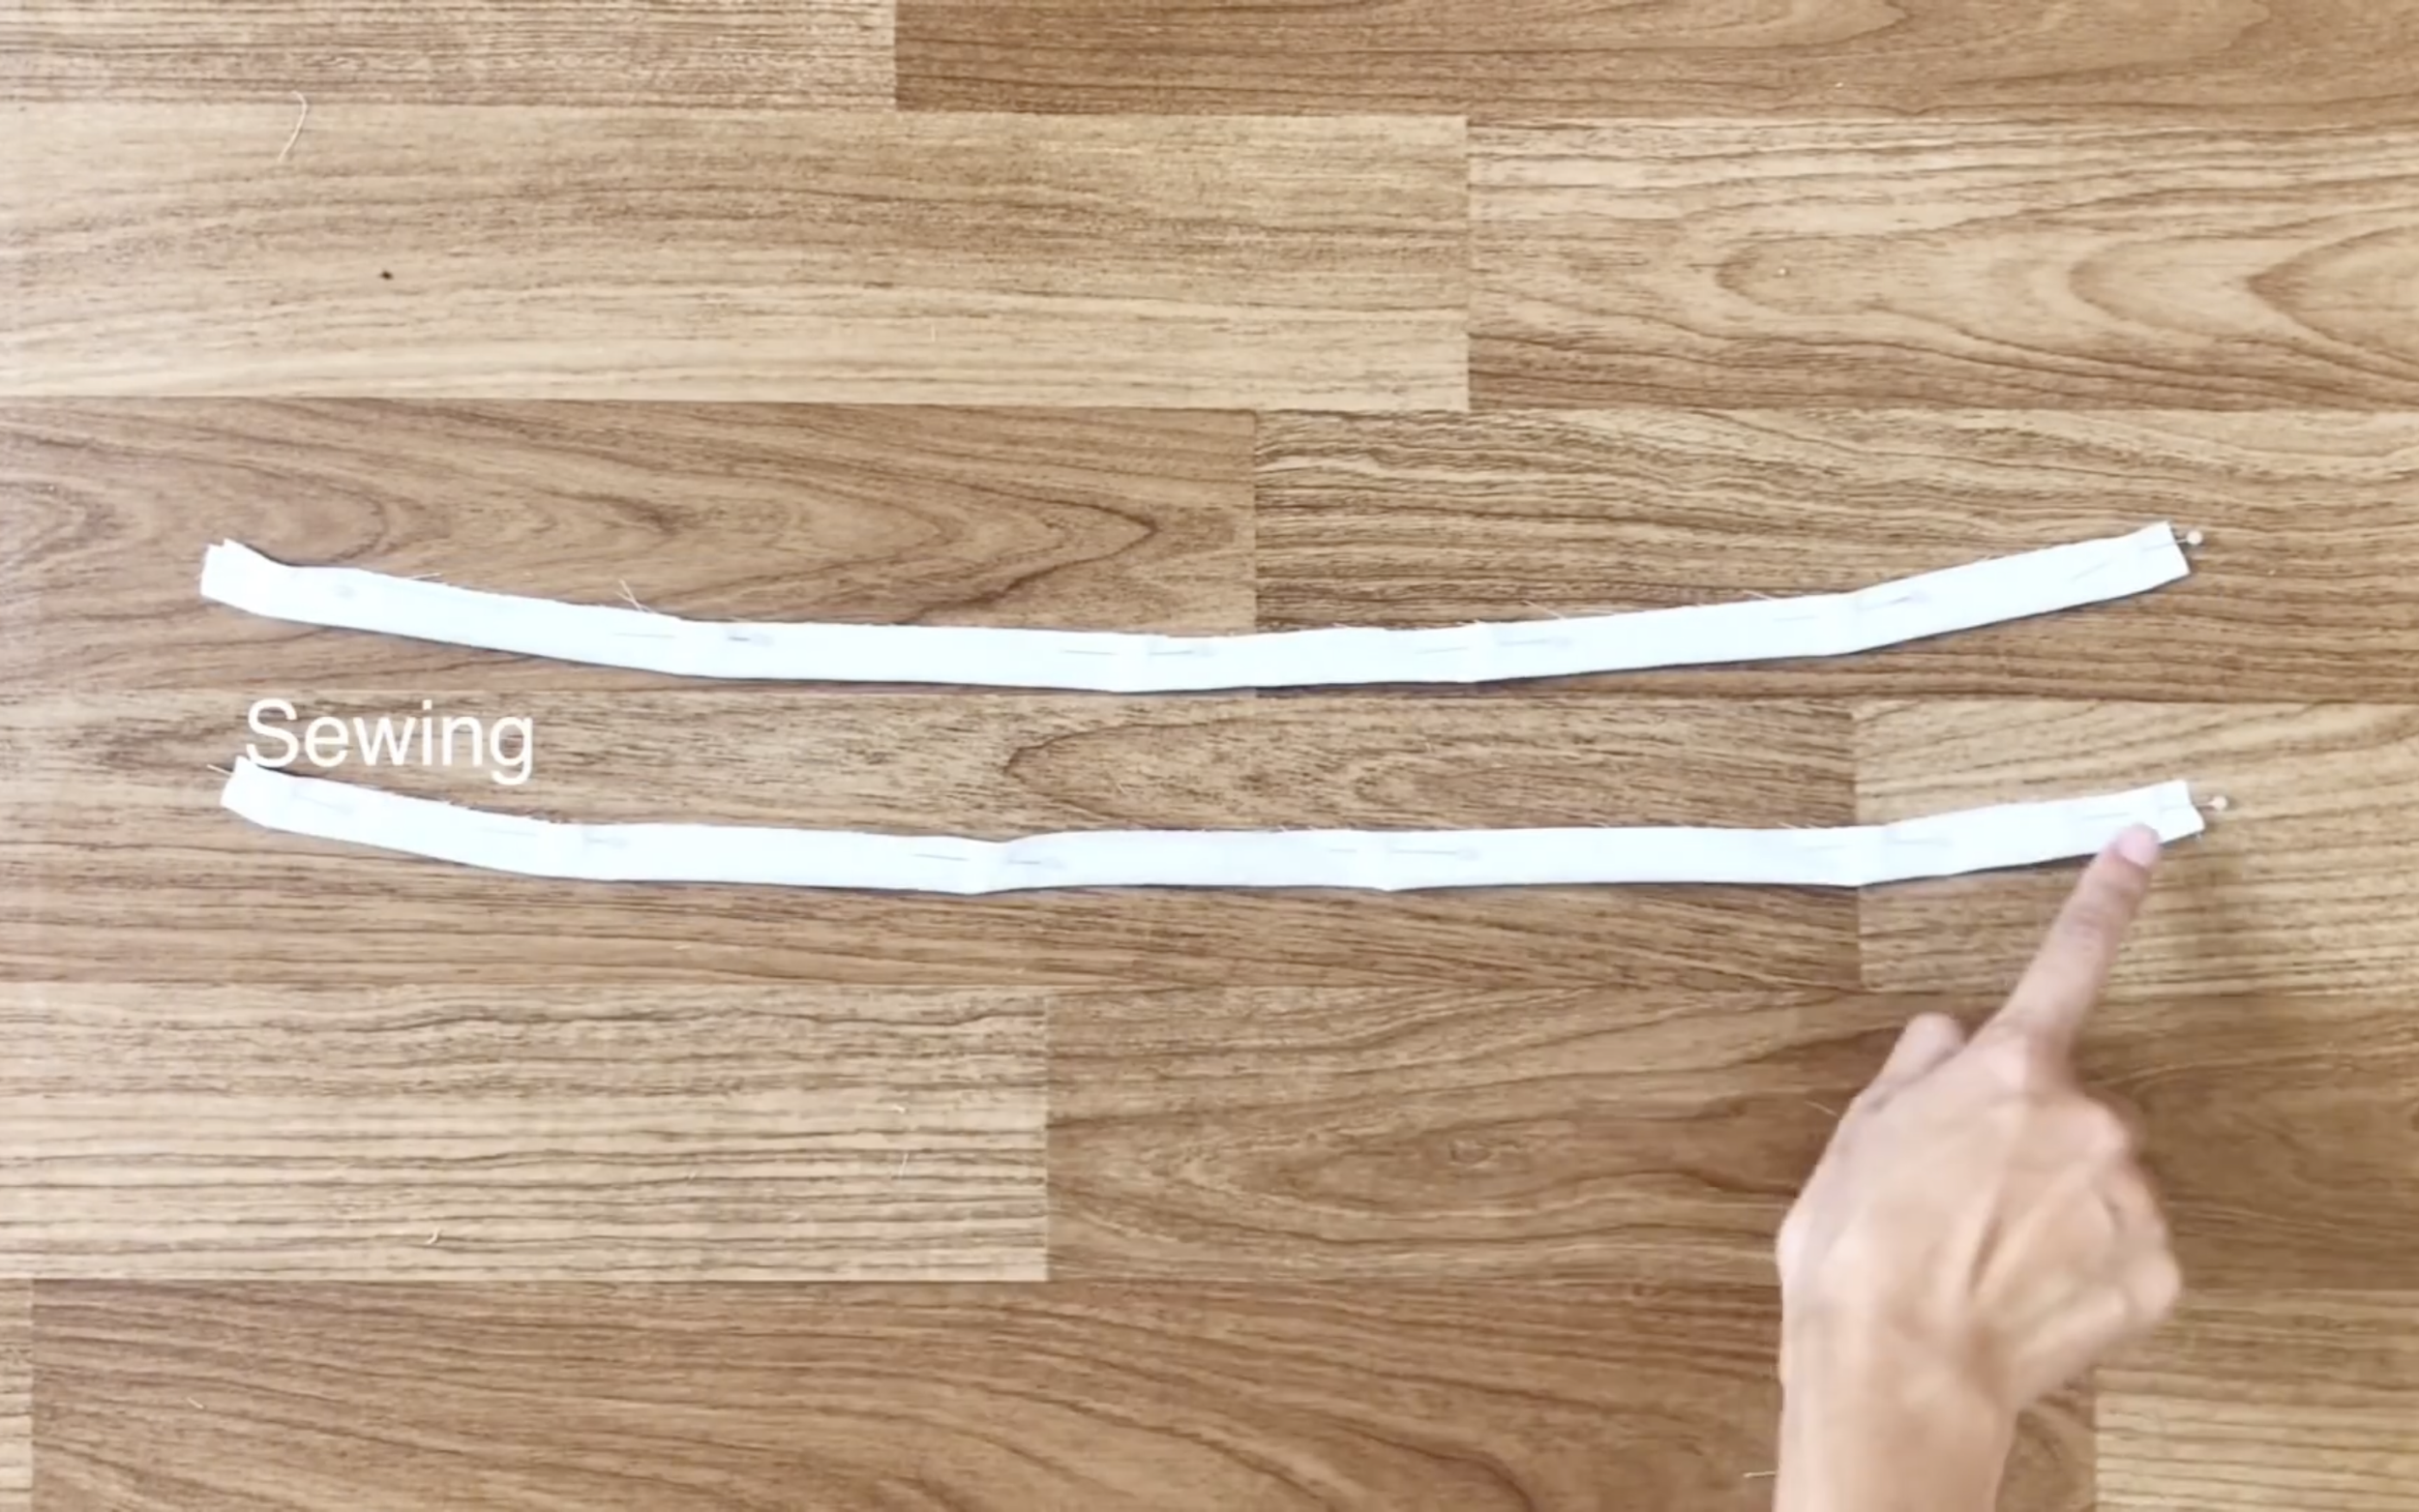
After cutting, set aside 2 single fabric bands and connect the remaining fabric bands together at 2 sides to create circular fabric bands.
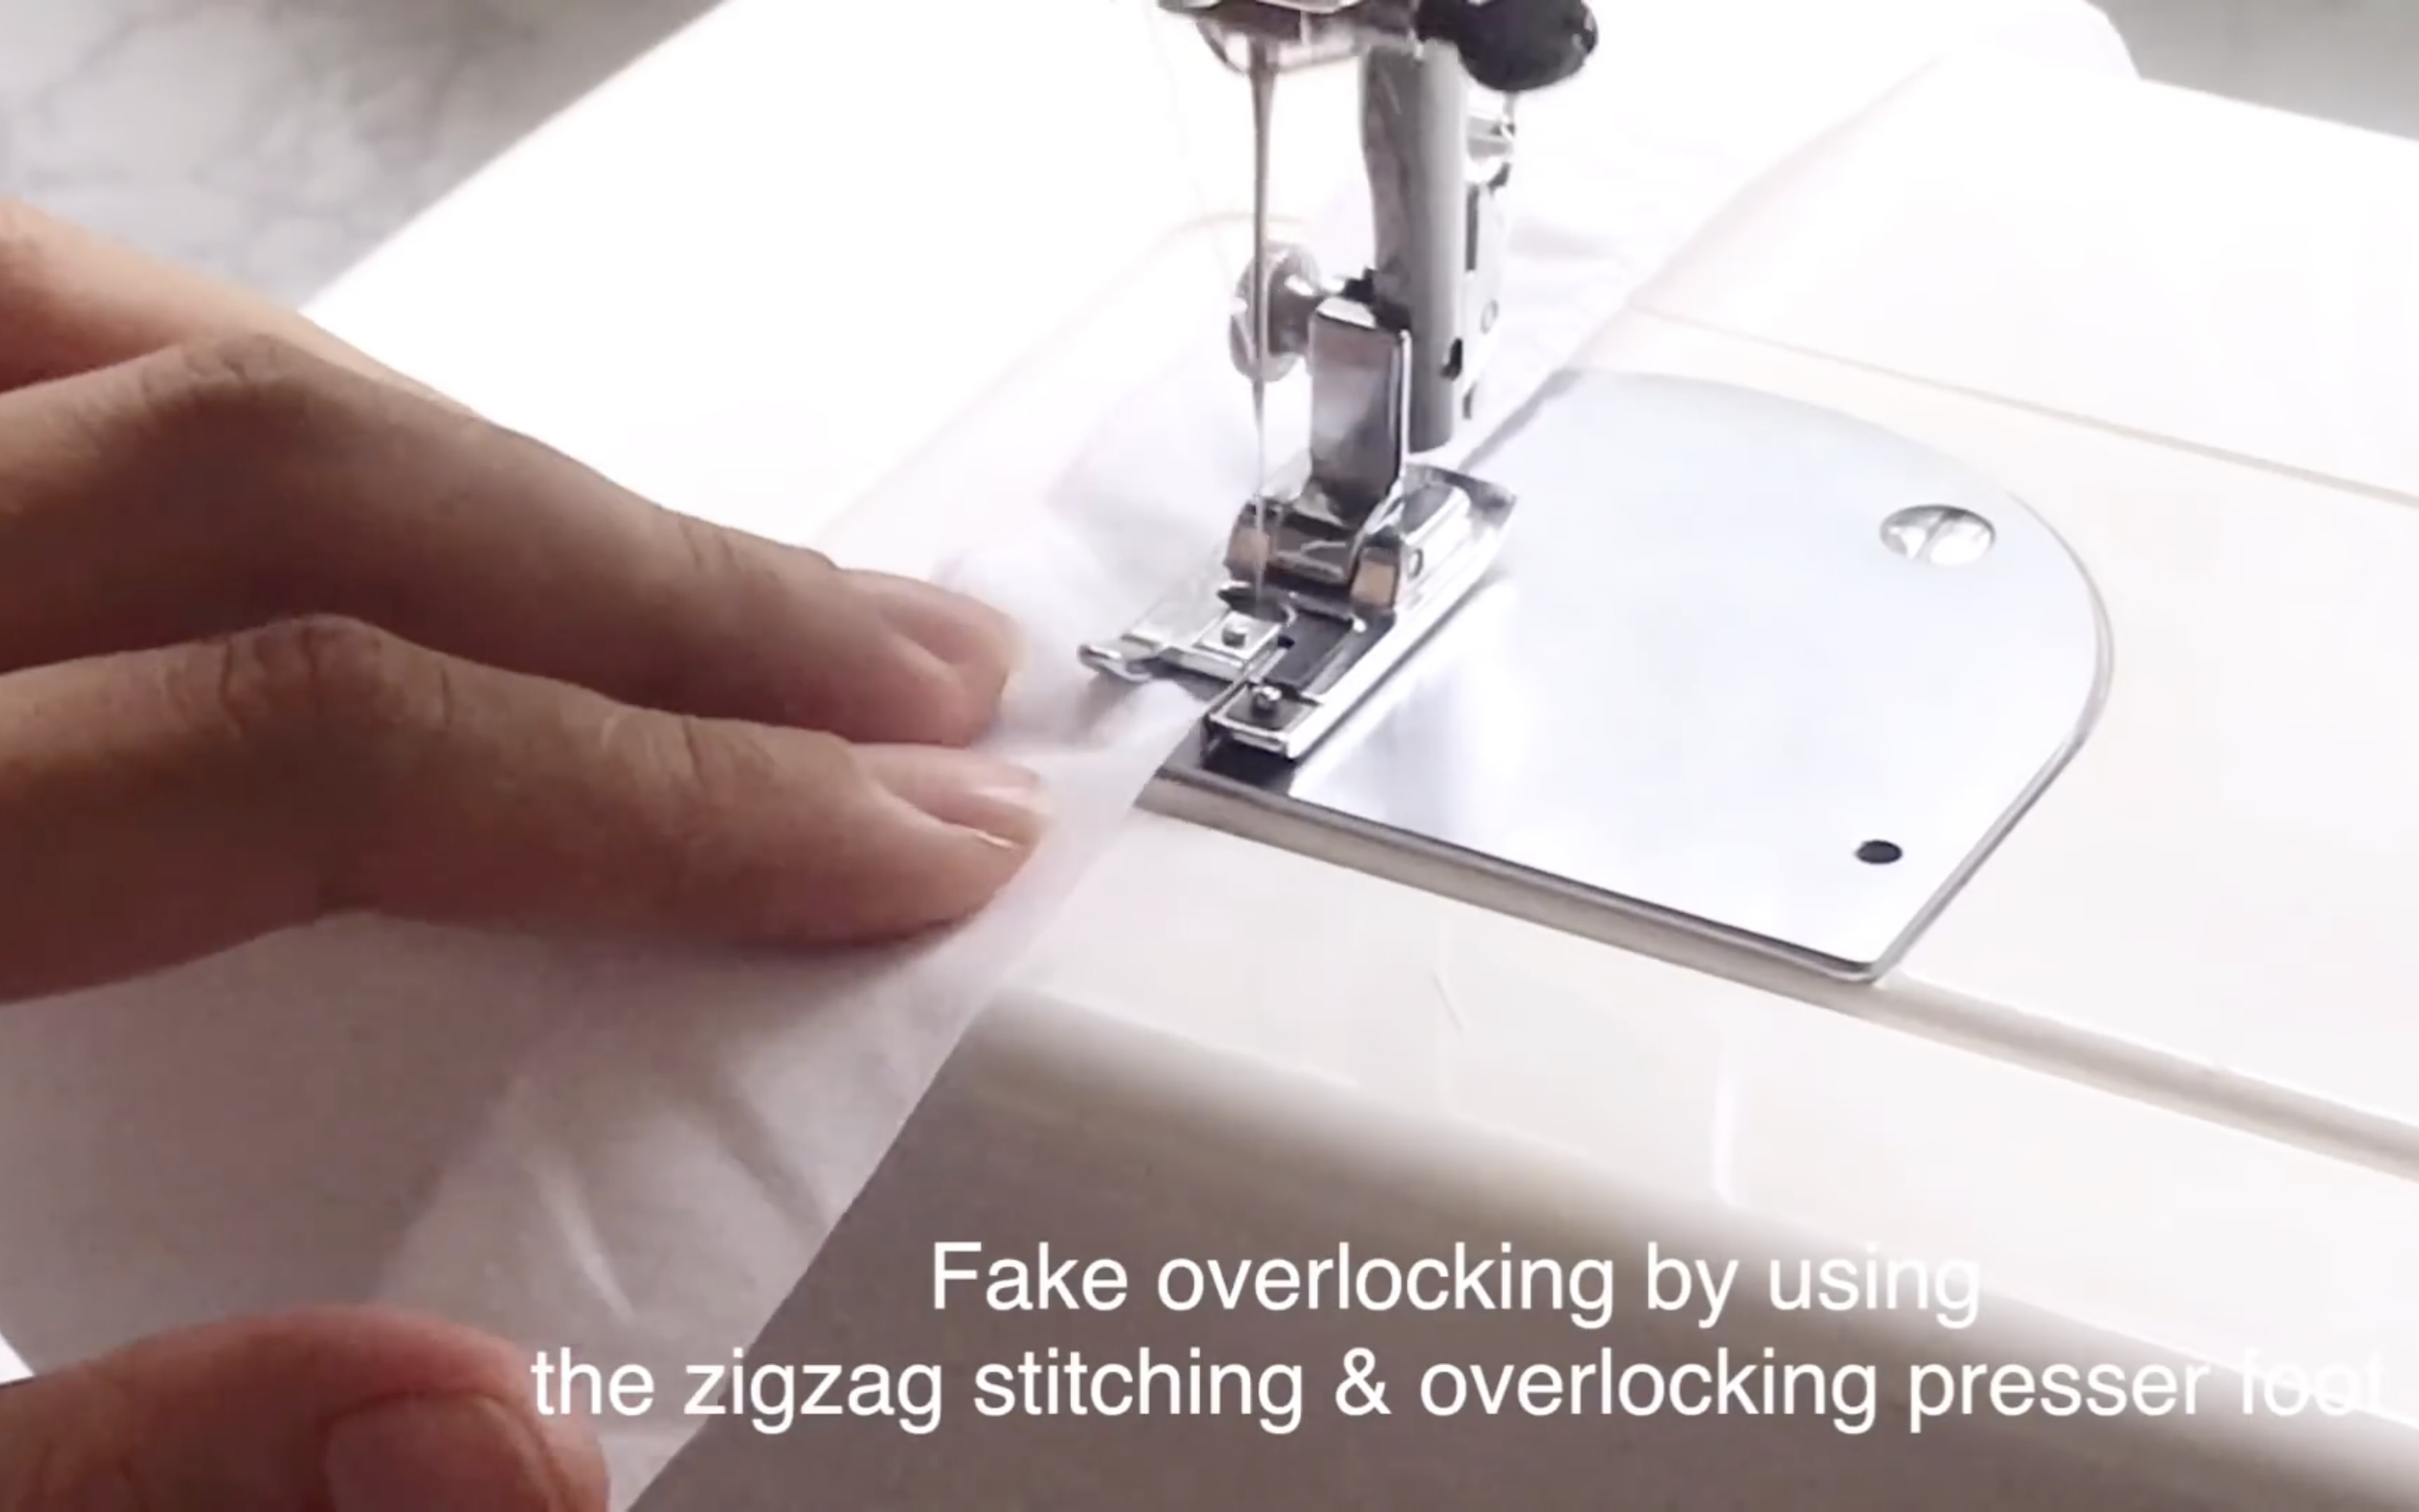
After sewing them together, use zigzag stitching and the overlock presser foot to create a fake overlock seam on the 2 edges of the fabric bands.
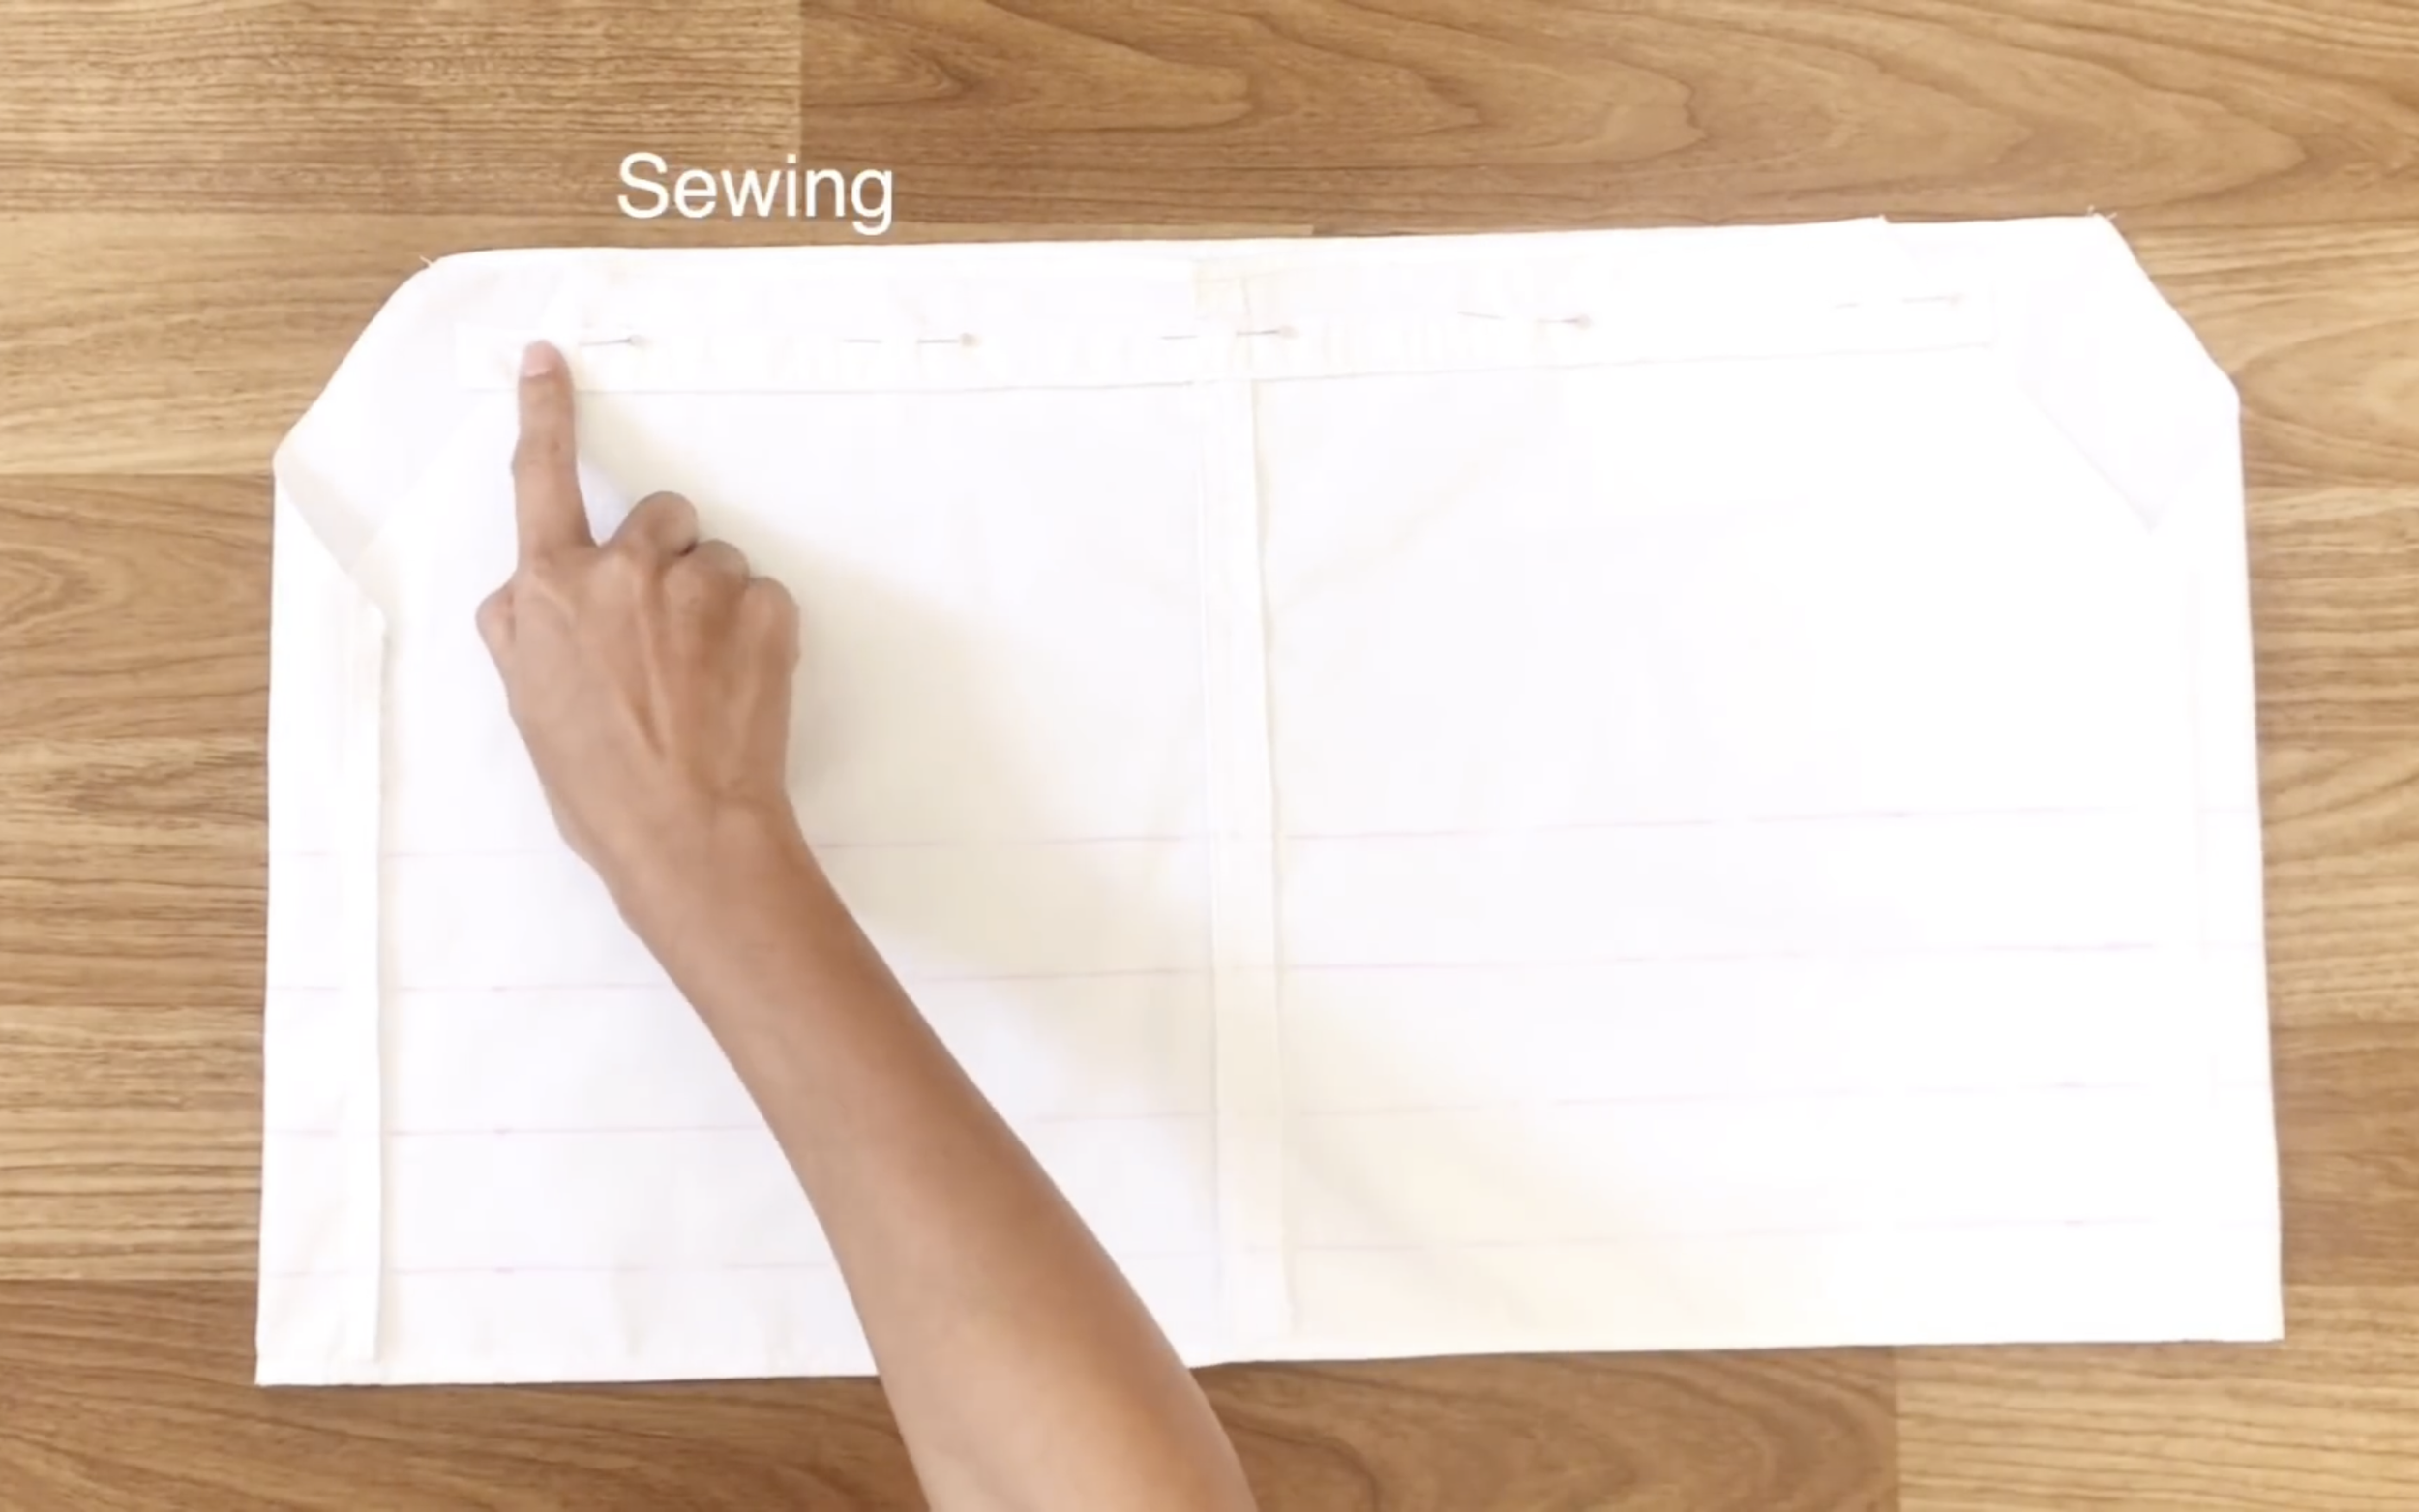
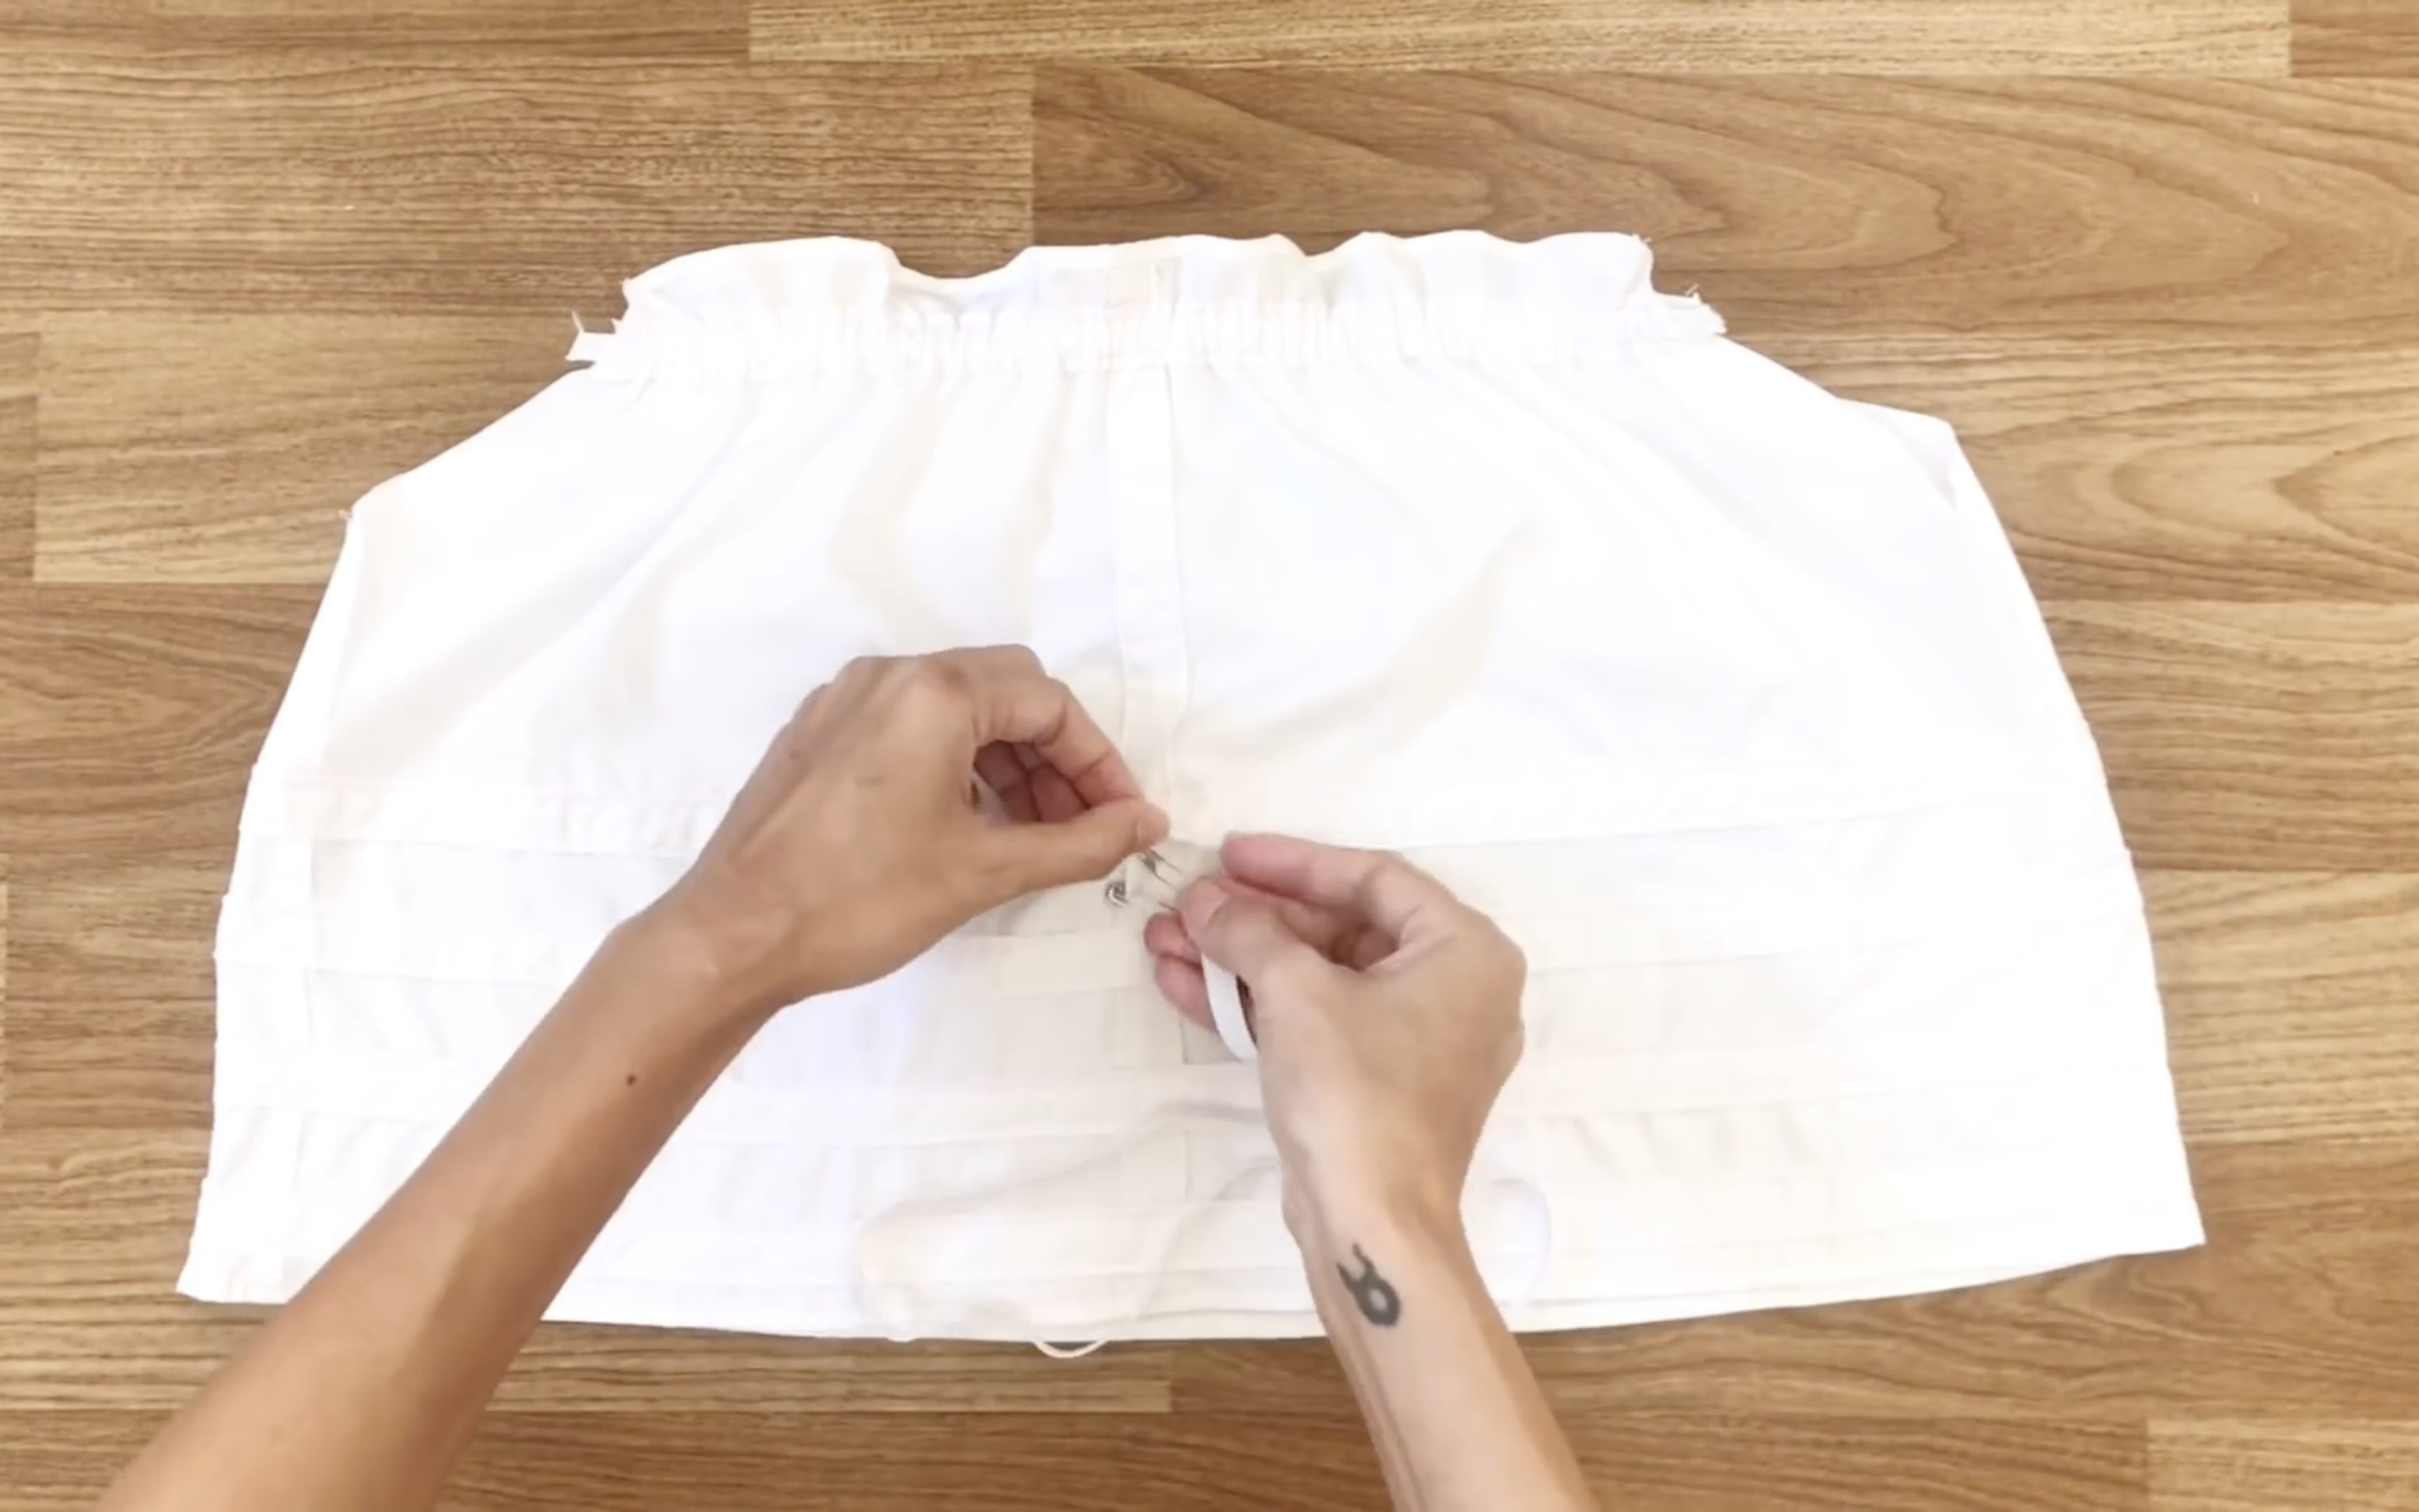
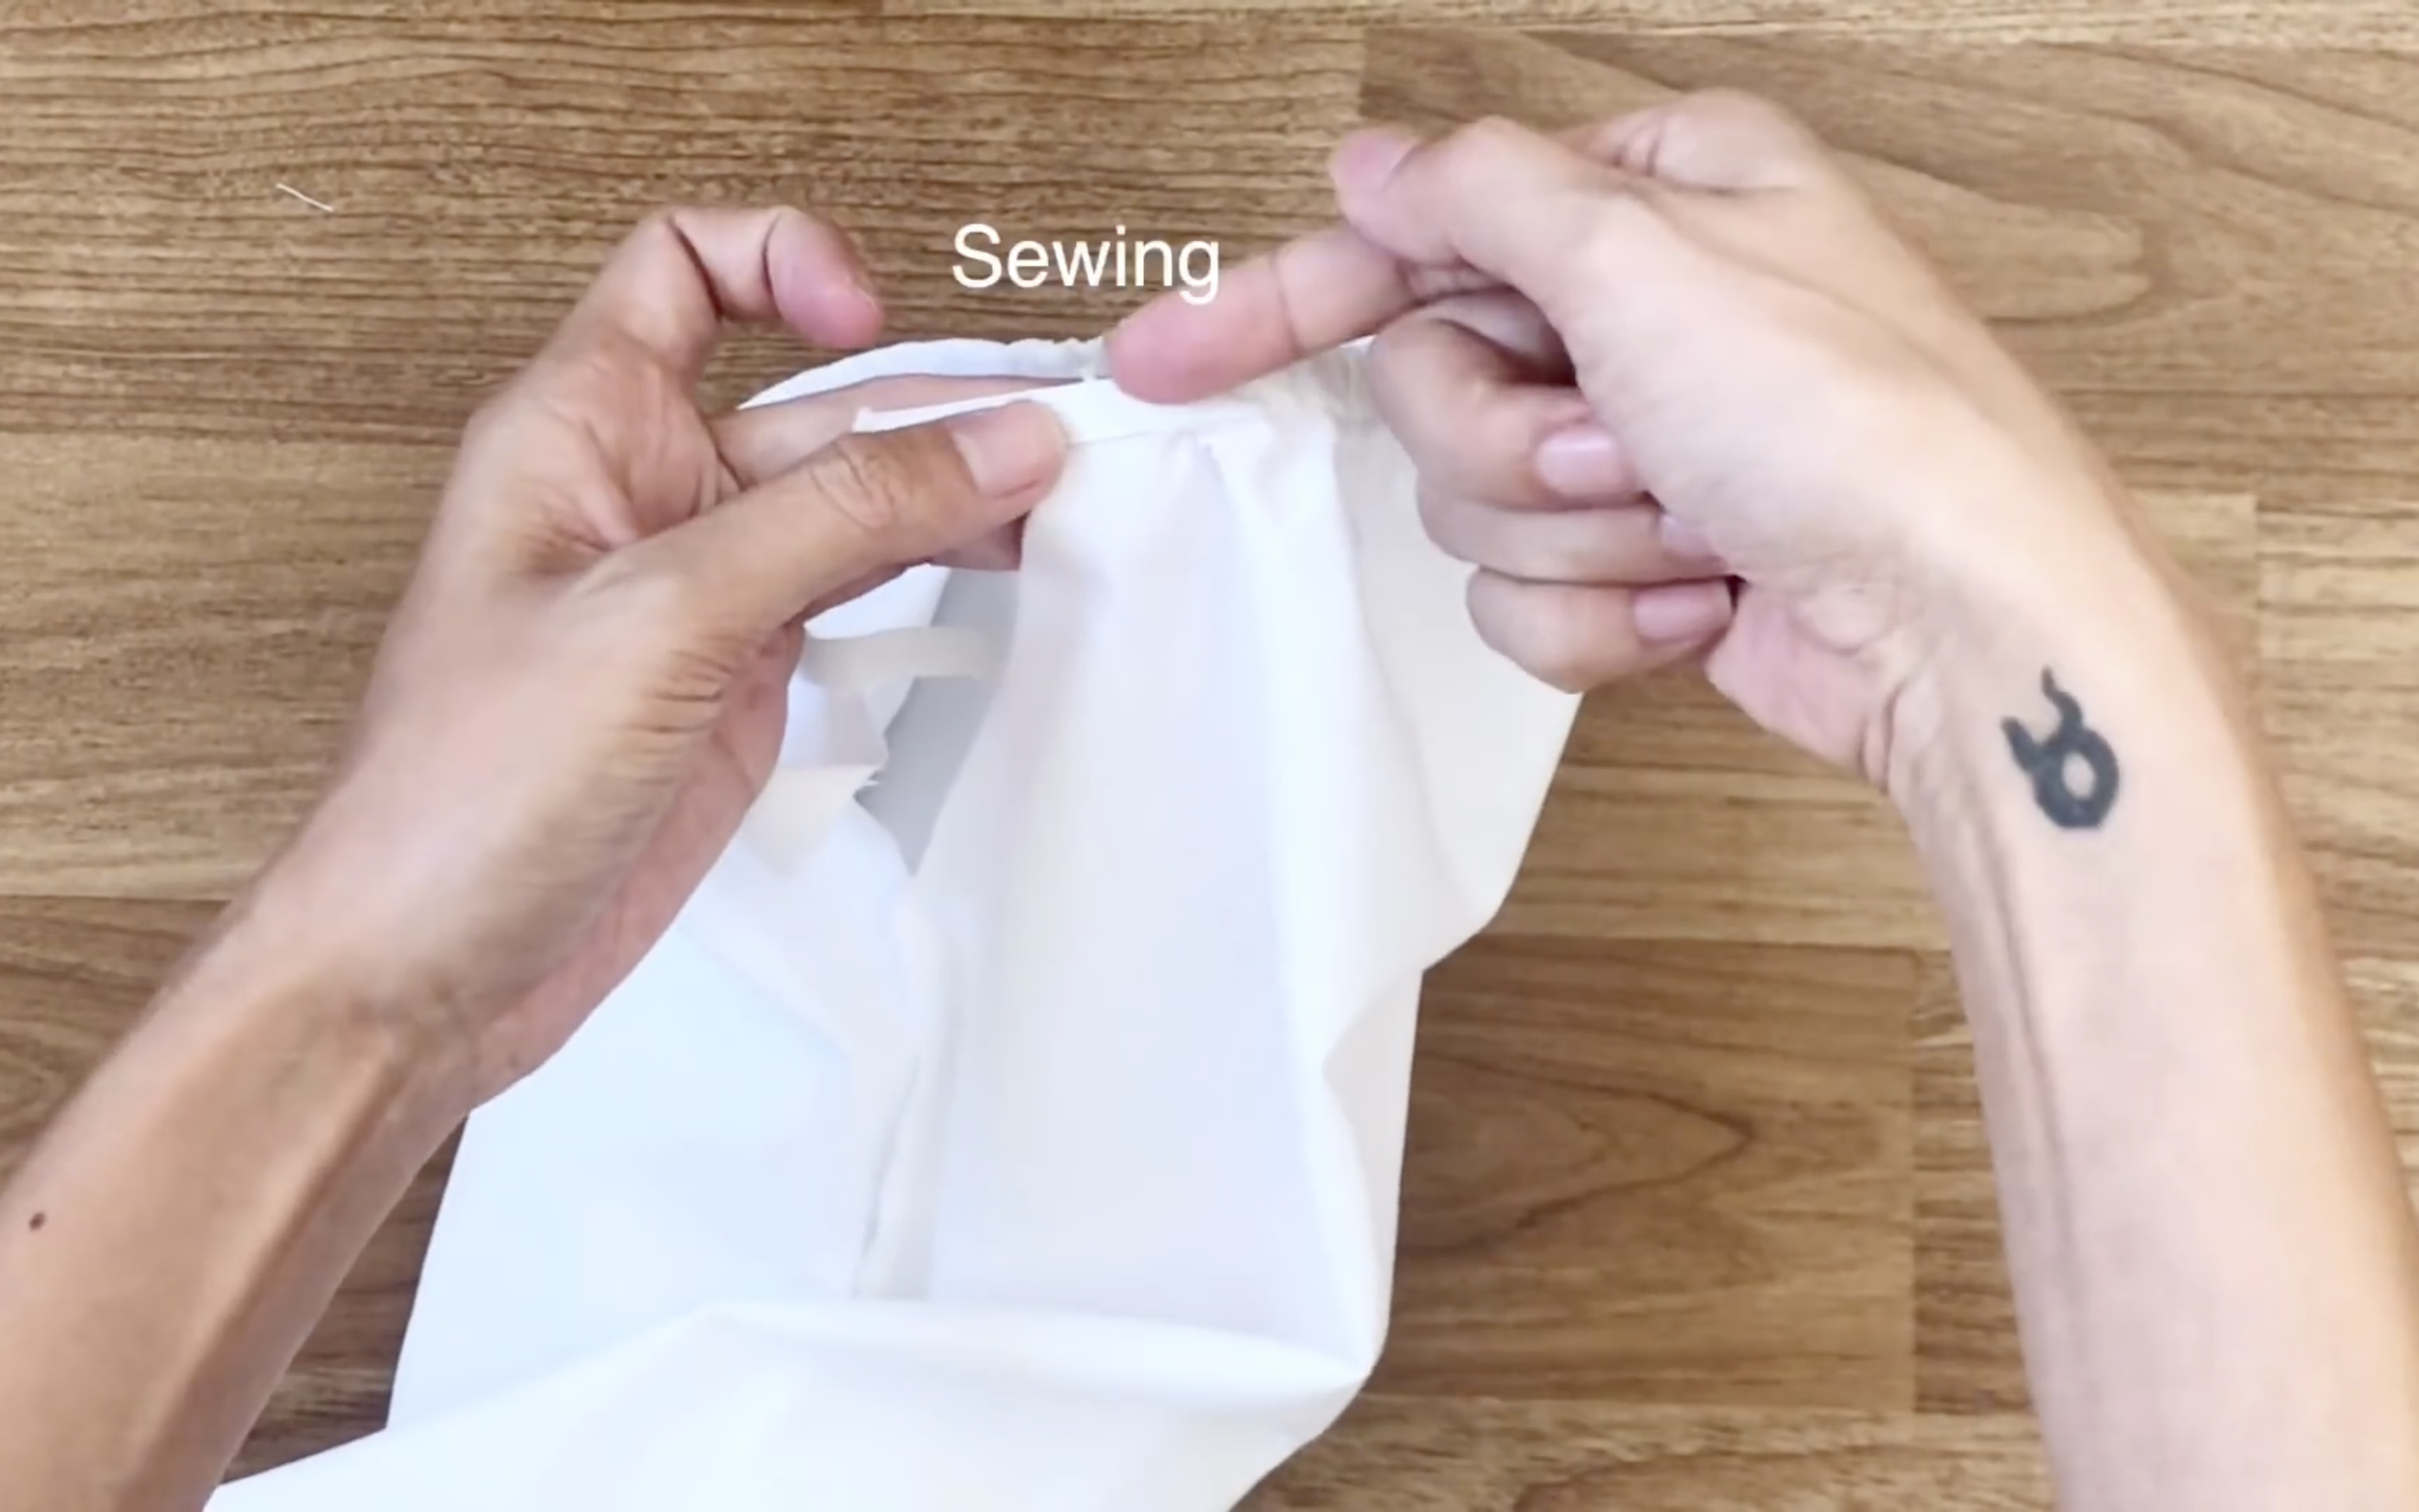
Now, fix one single fabric band to the top of the crop top at one edge, using pins to hold them together, then sew.
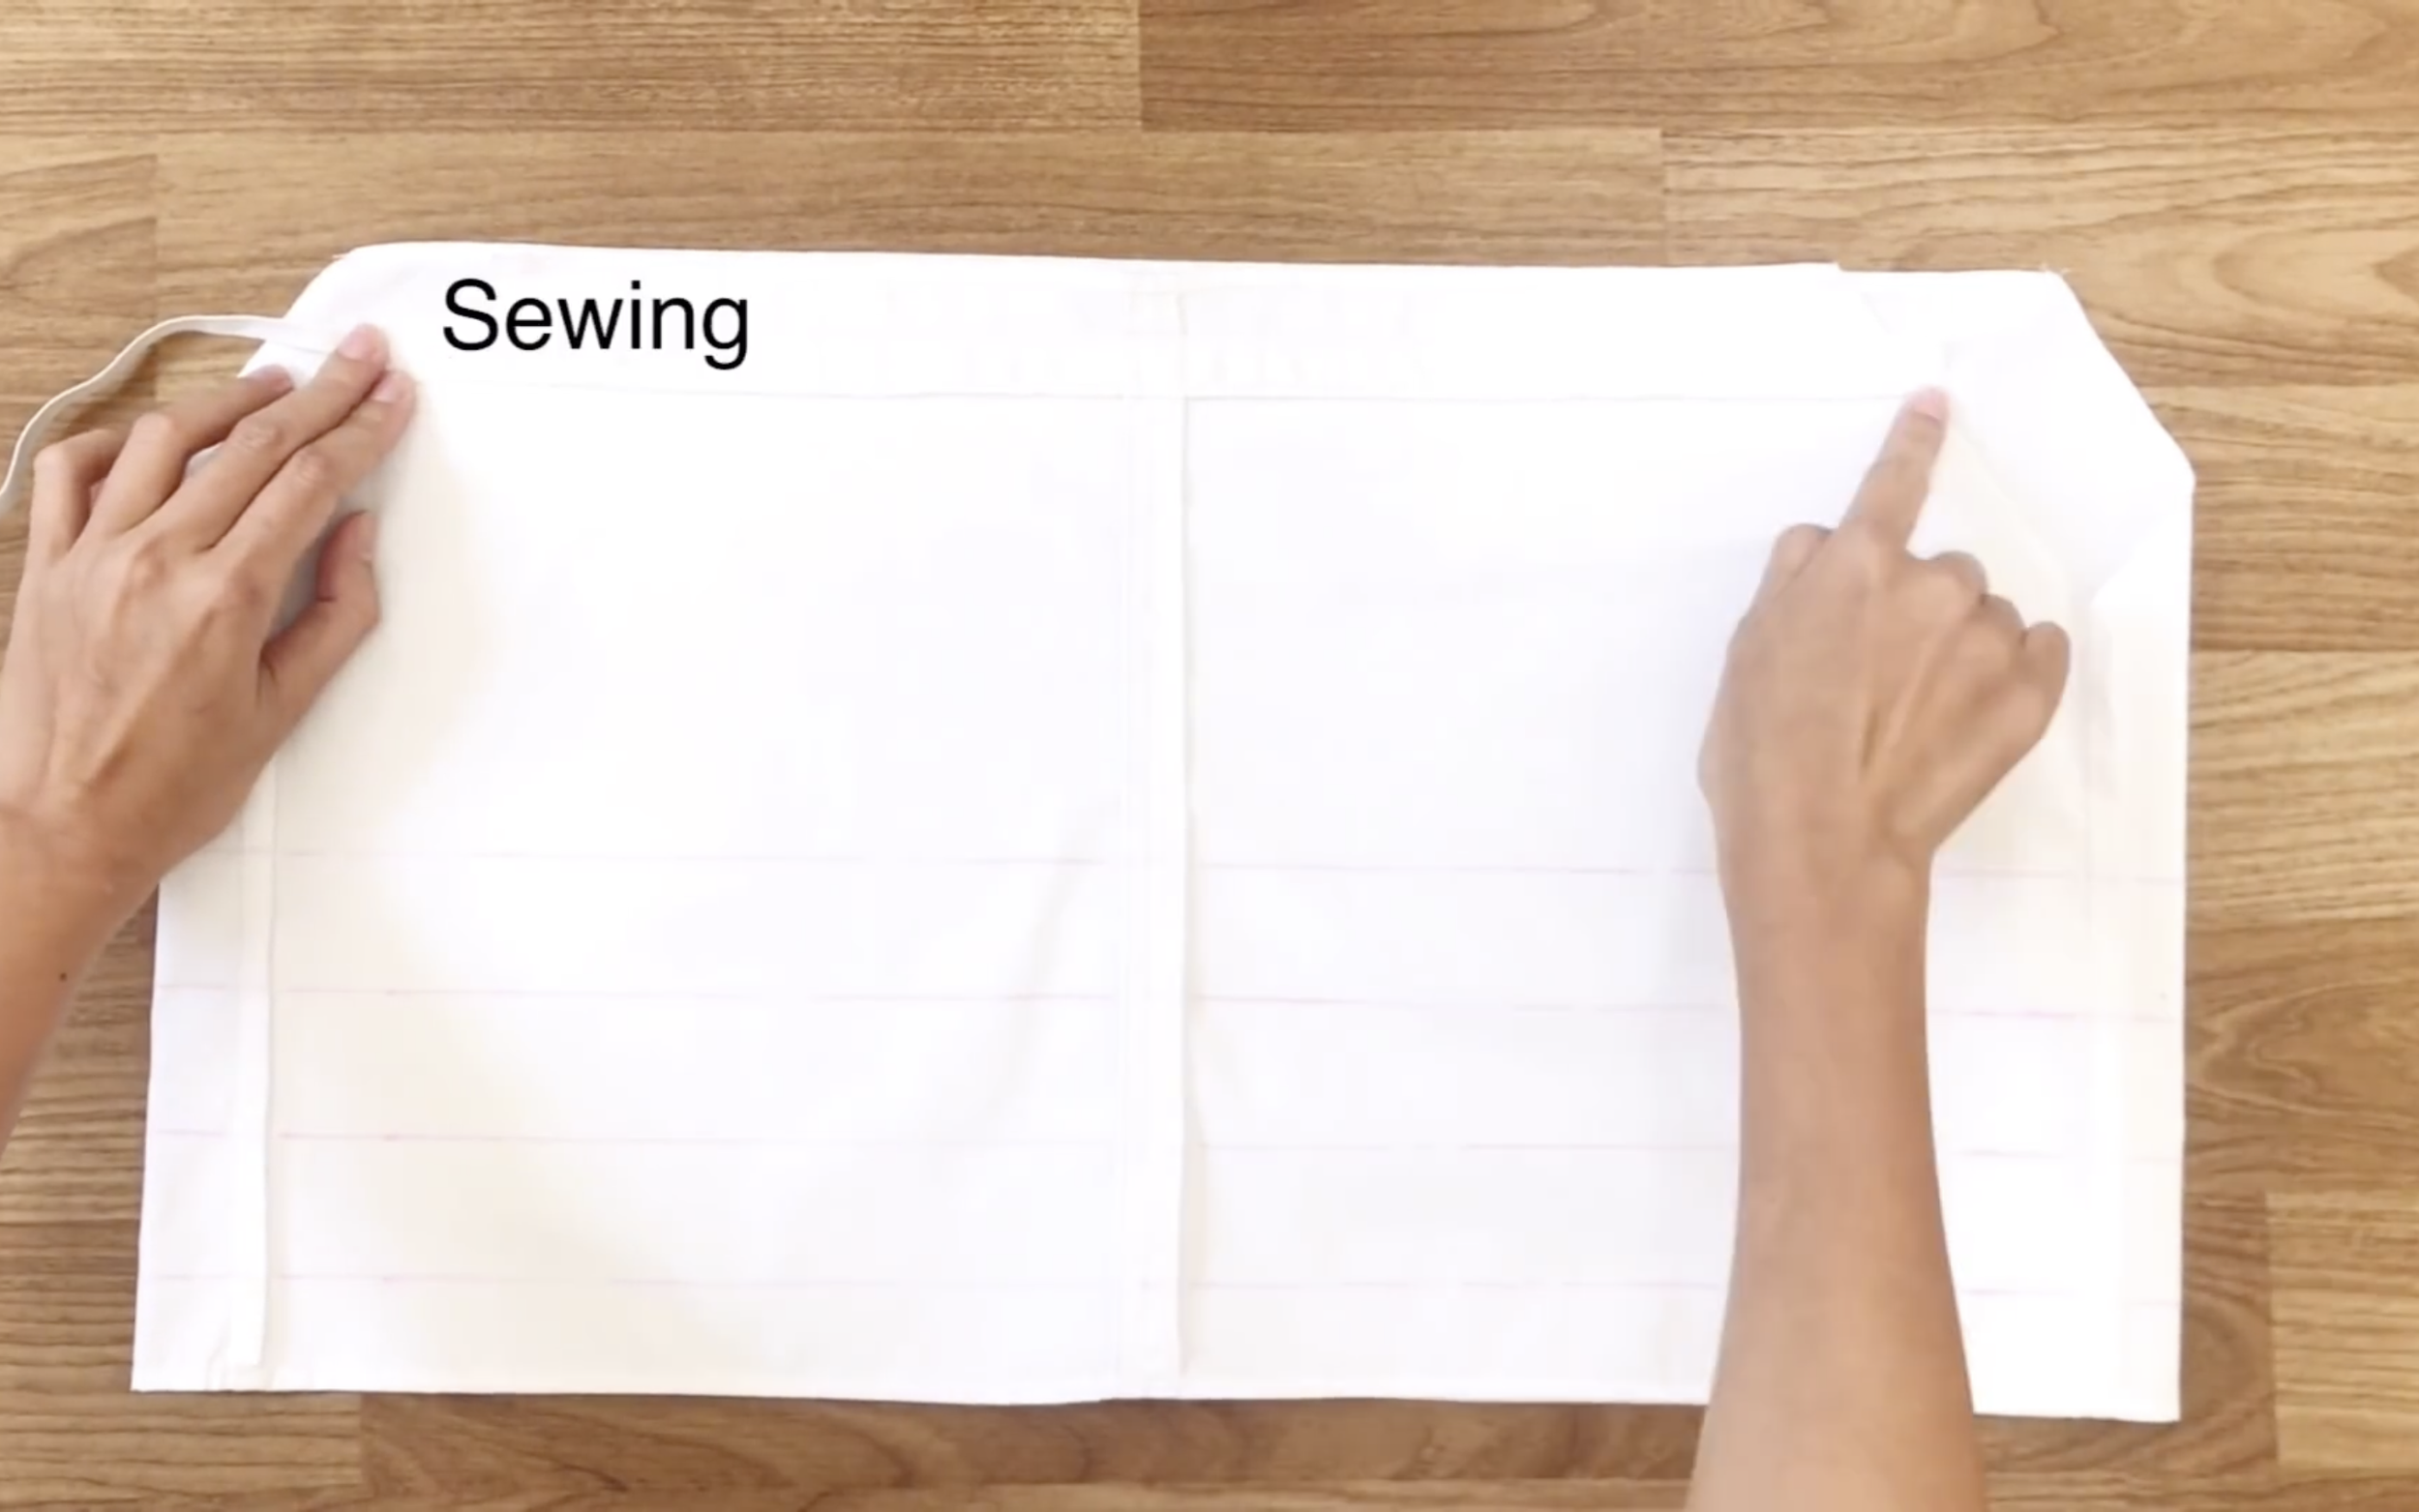
Use the elastic band to measure the position for the second seam before sewing to ensure the elastic band can pass through later.
Repeat the same process for the other side of the crop top.
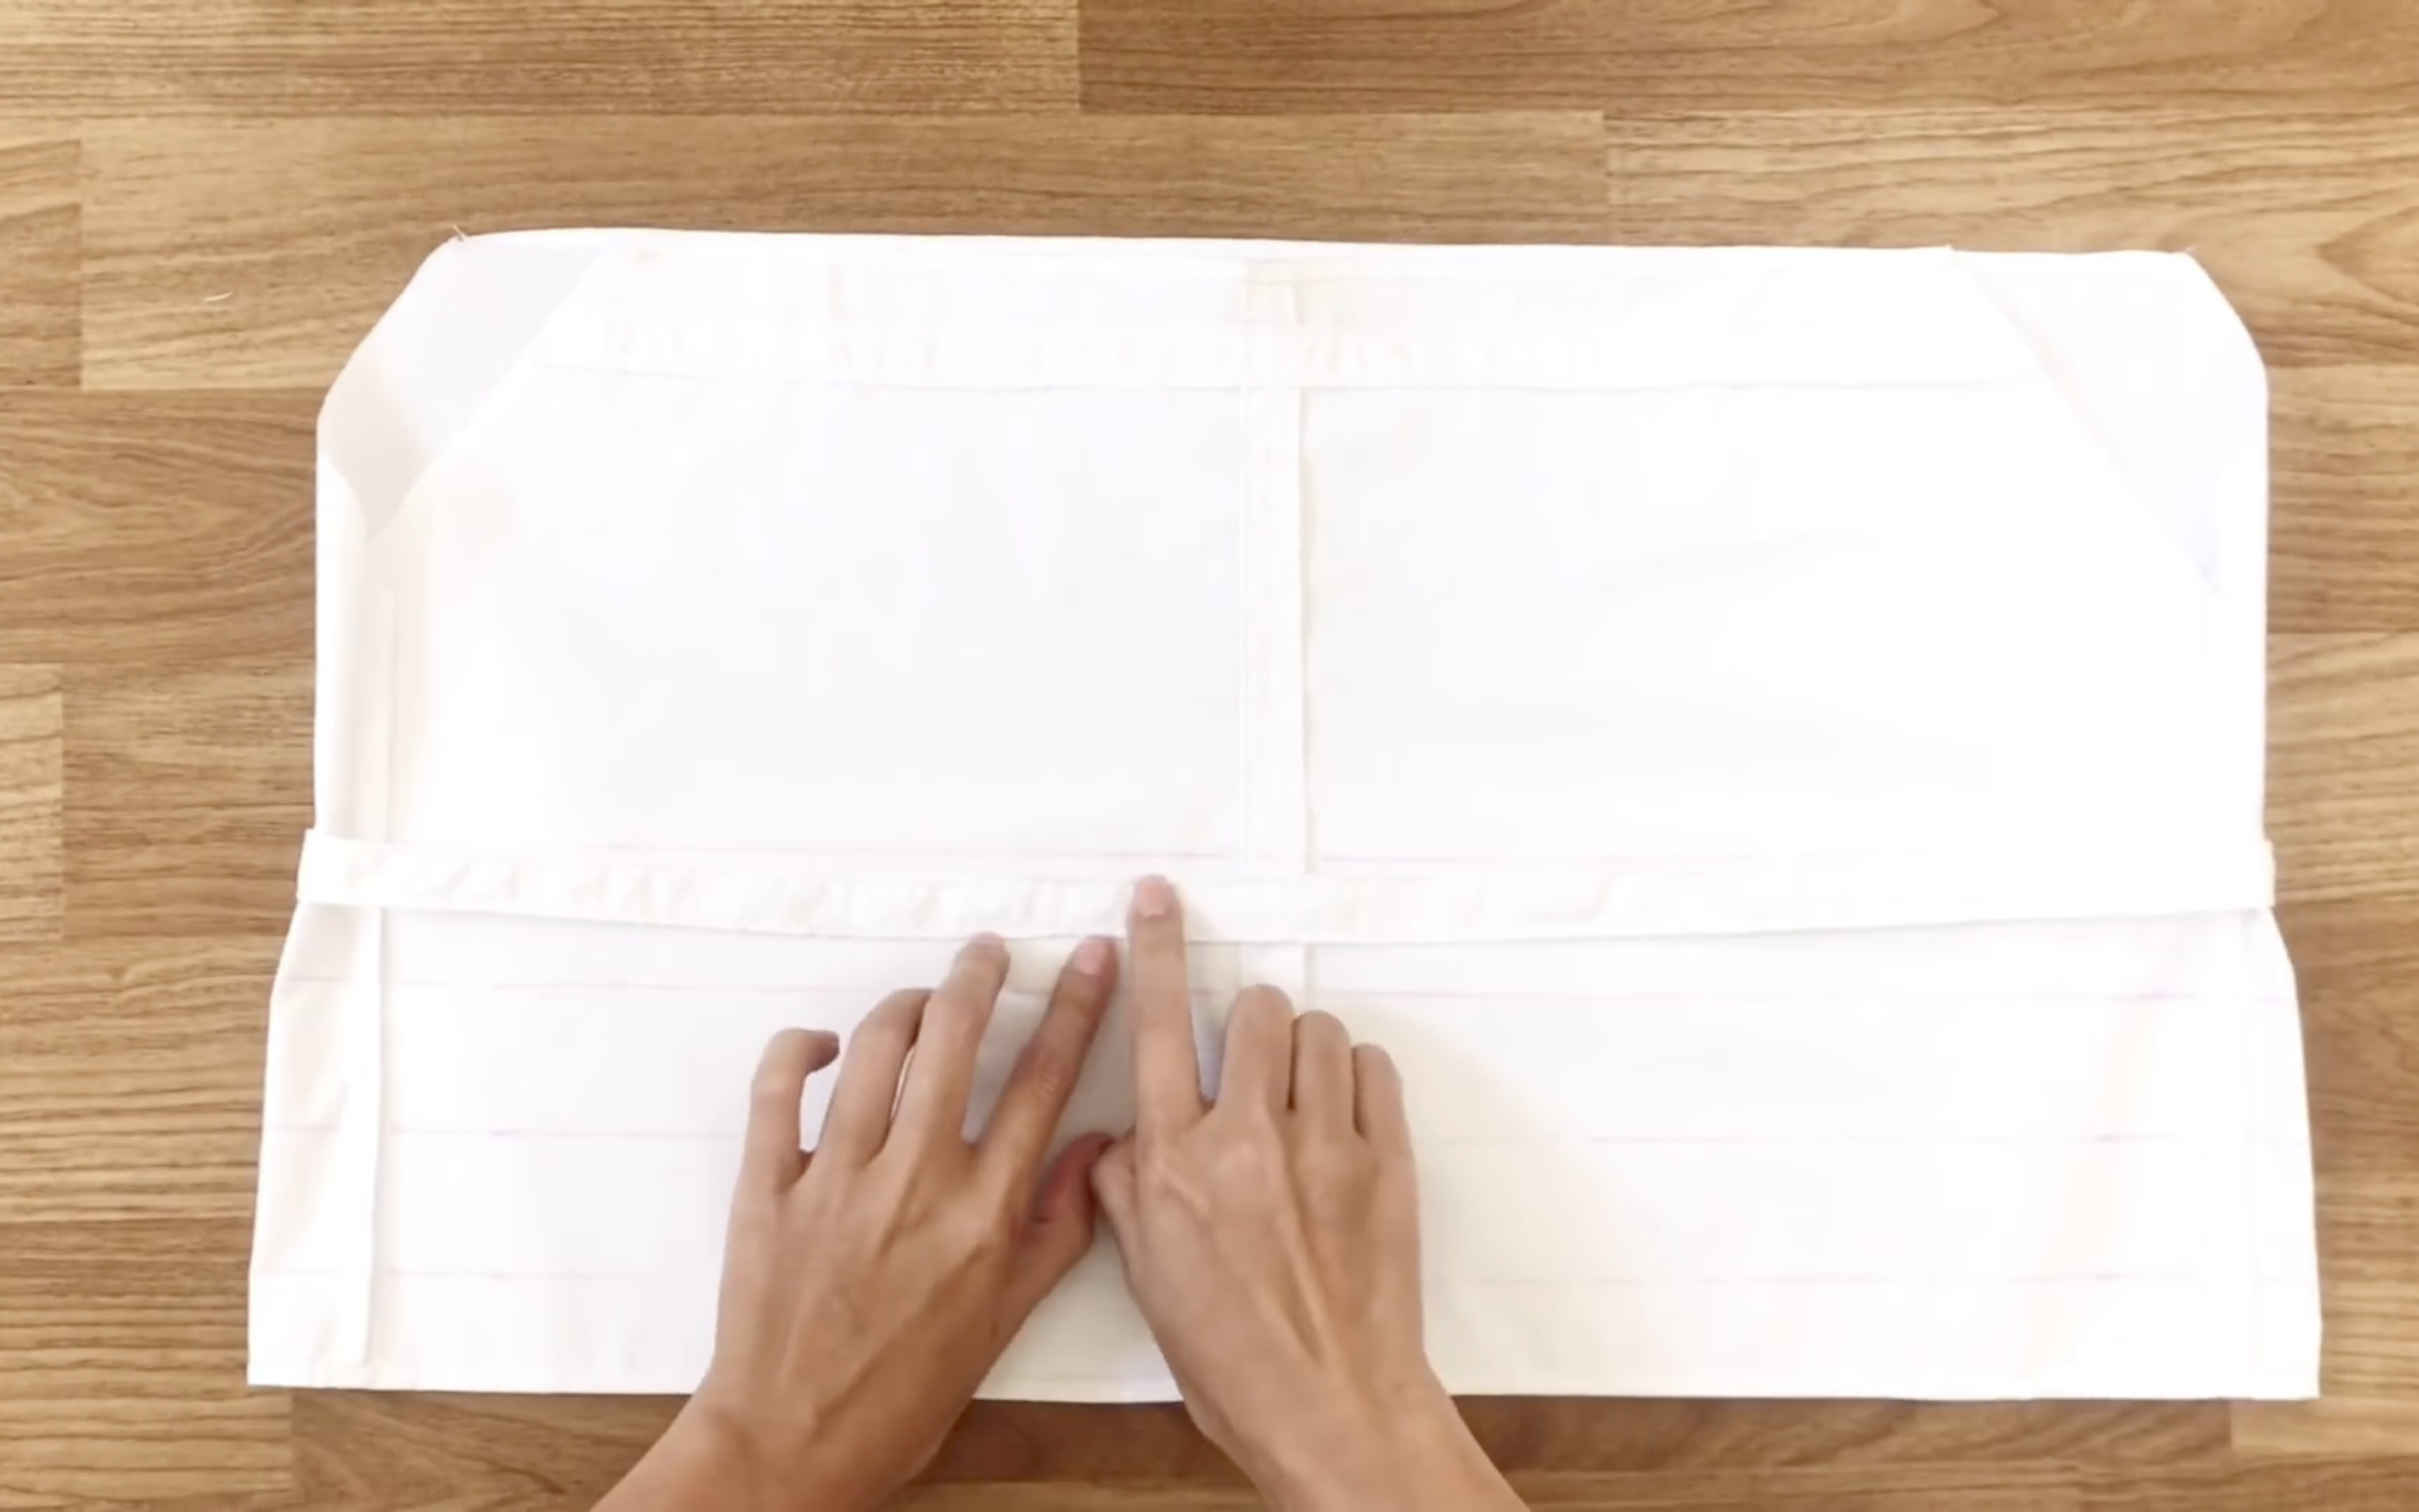
Now, fix the circular fabric band to the lower part of the crop top.

Pin it to the drawn line first, then sew along one edge of the fabric band.
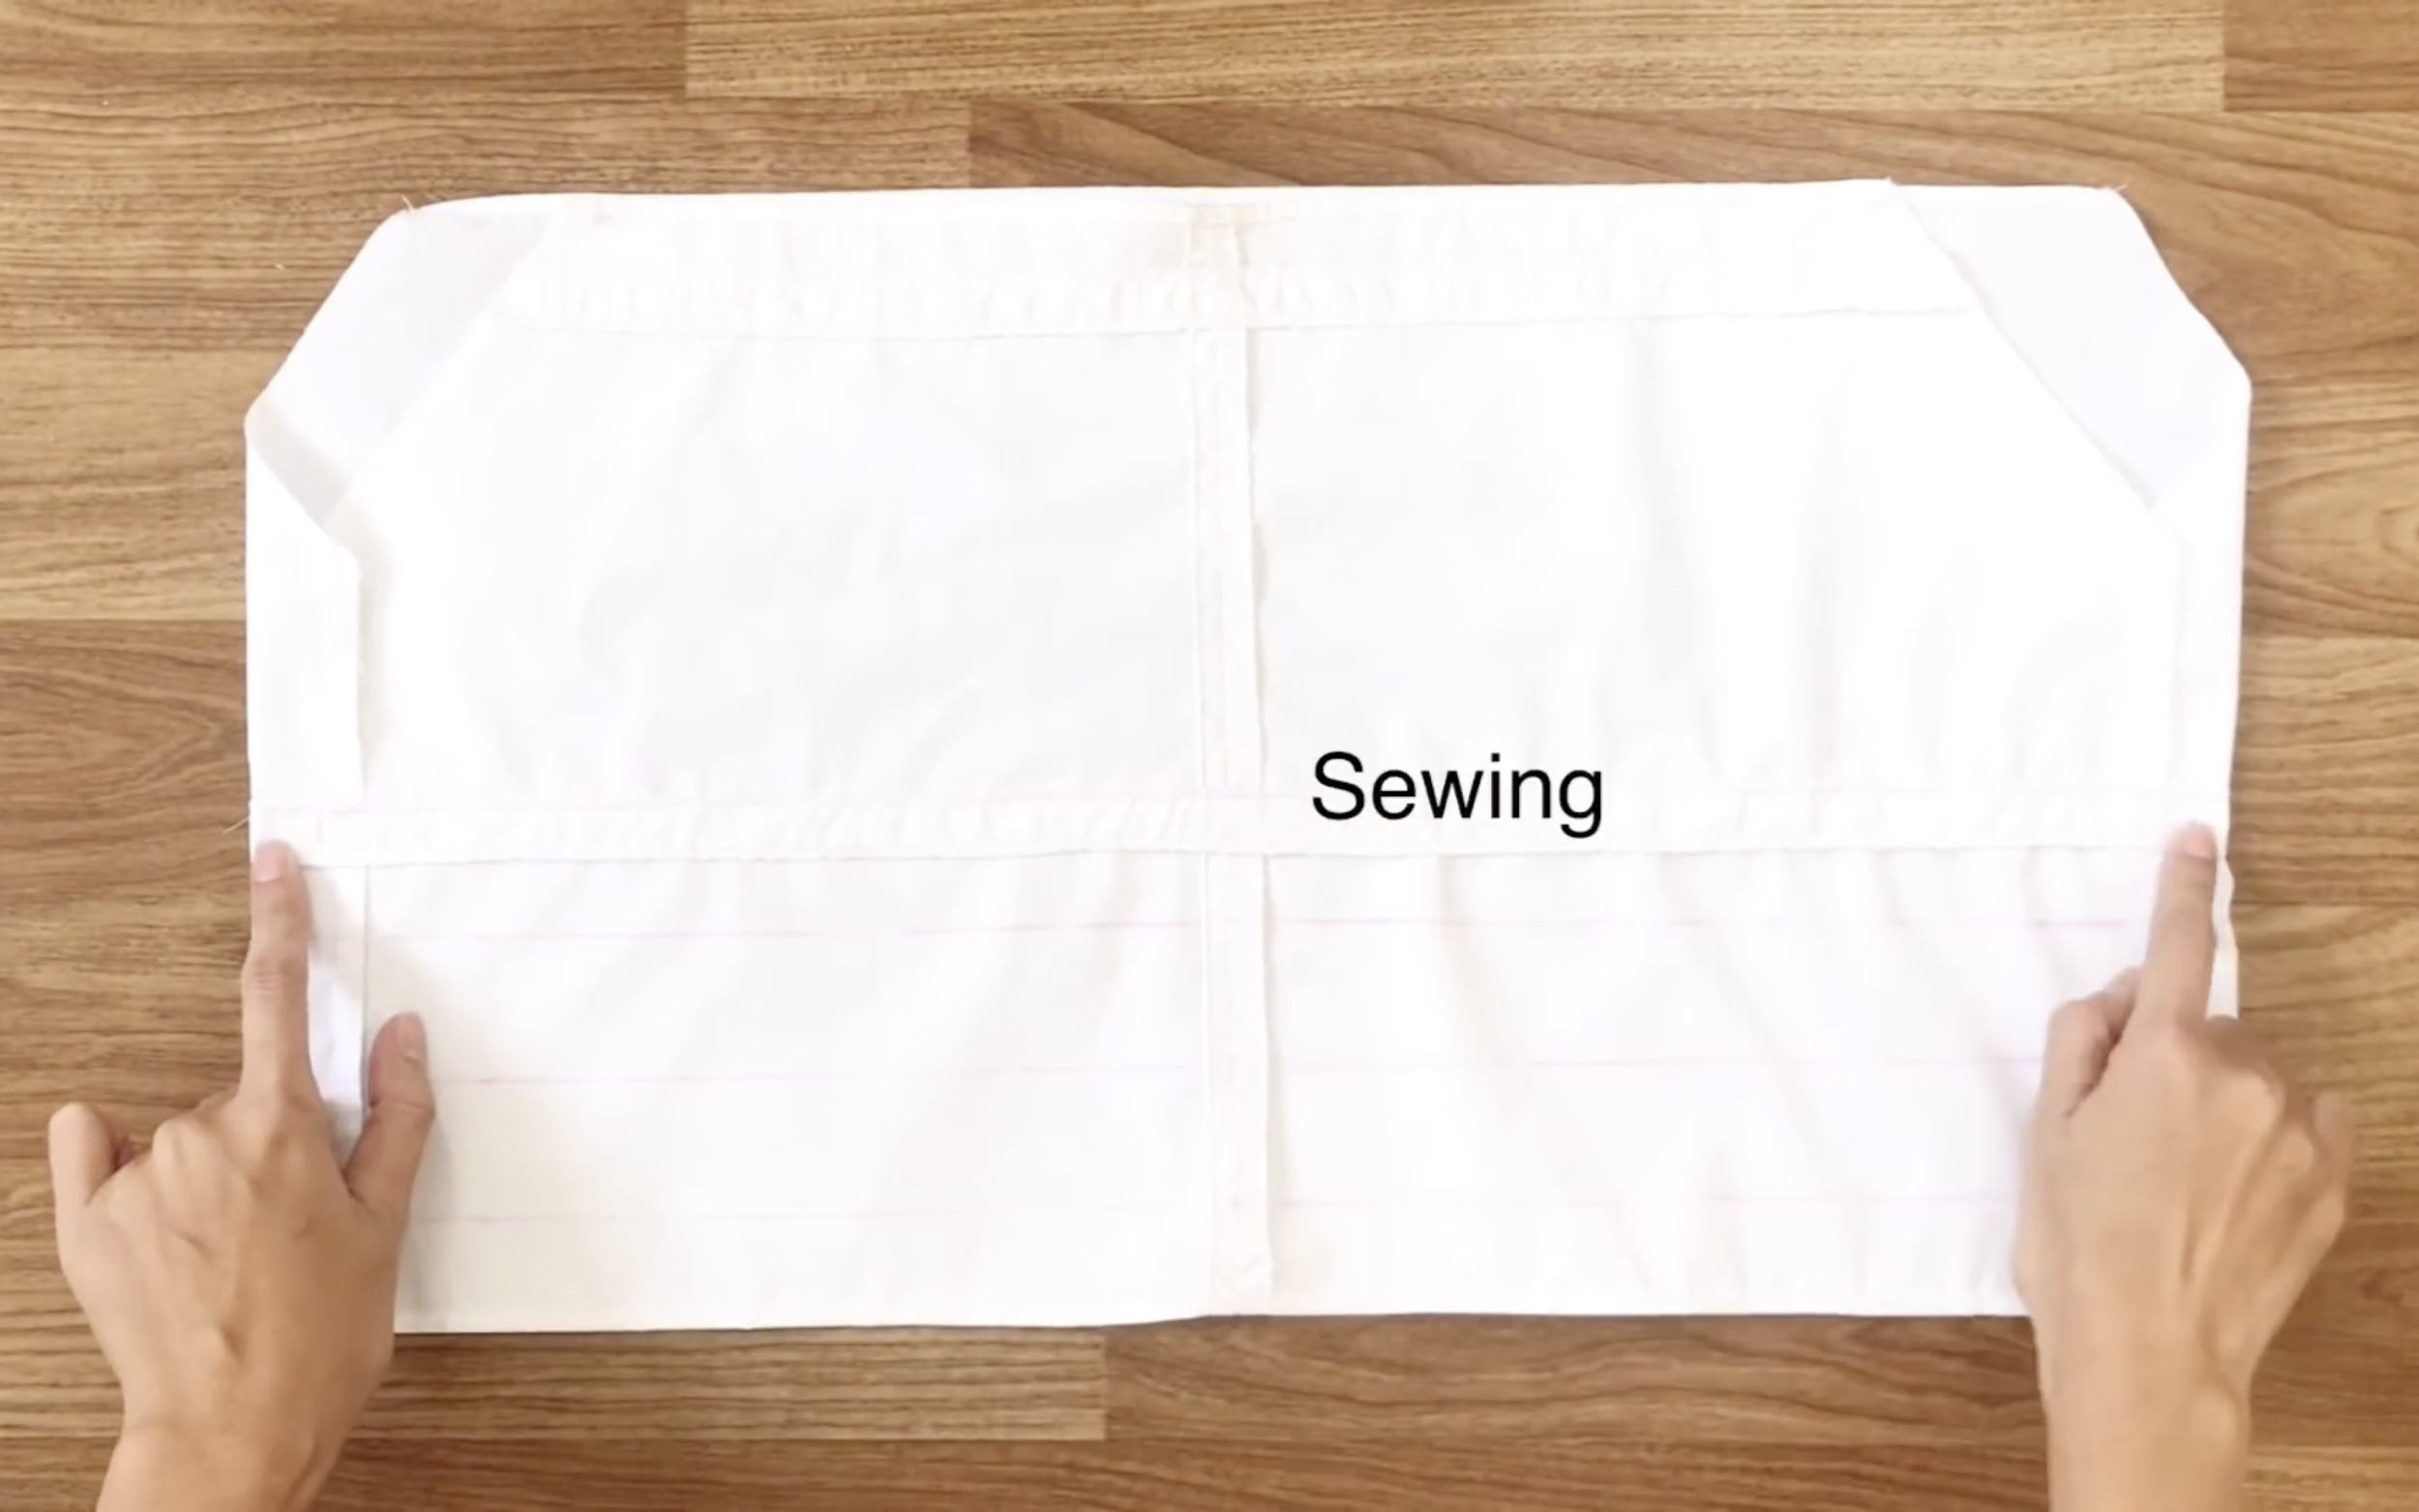
After that, use the elastic band to measure the position for the second seam and sew.
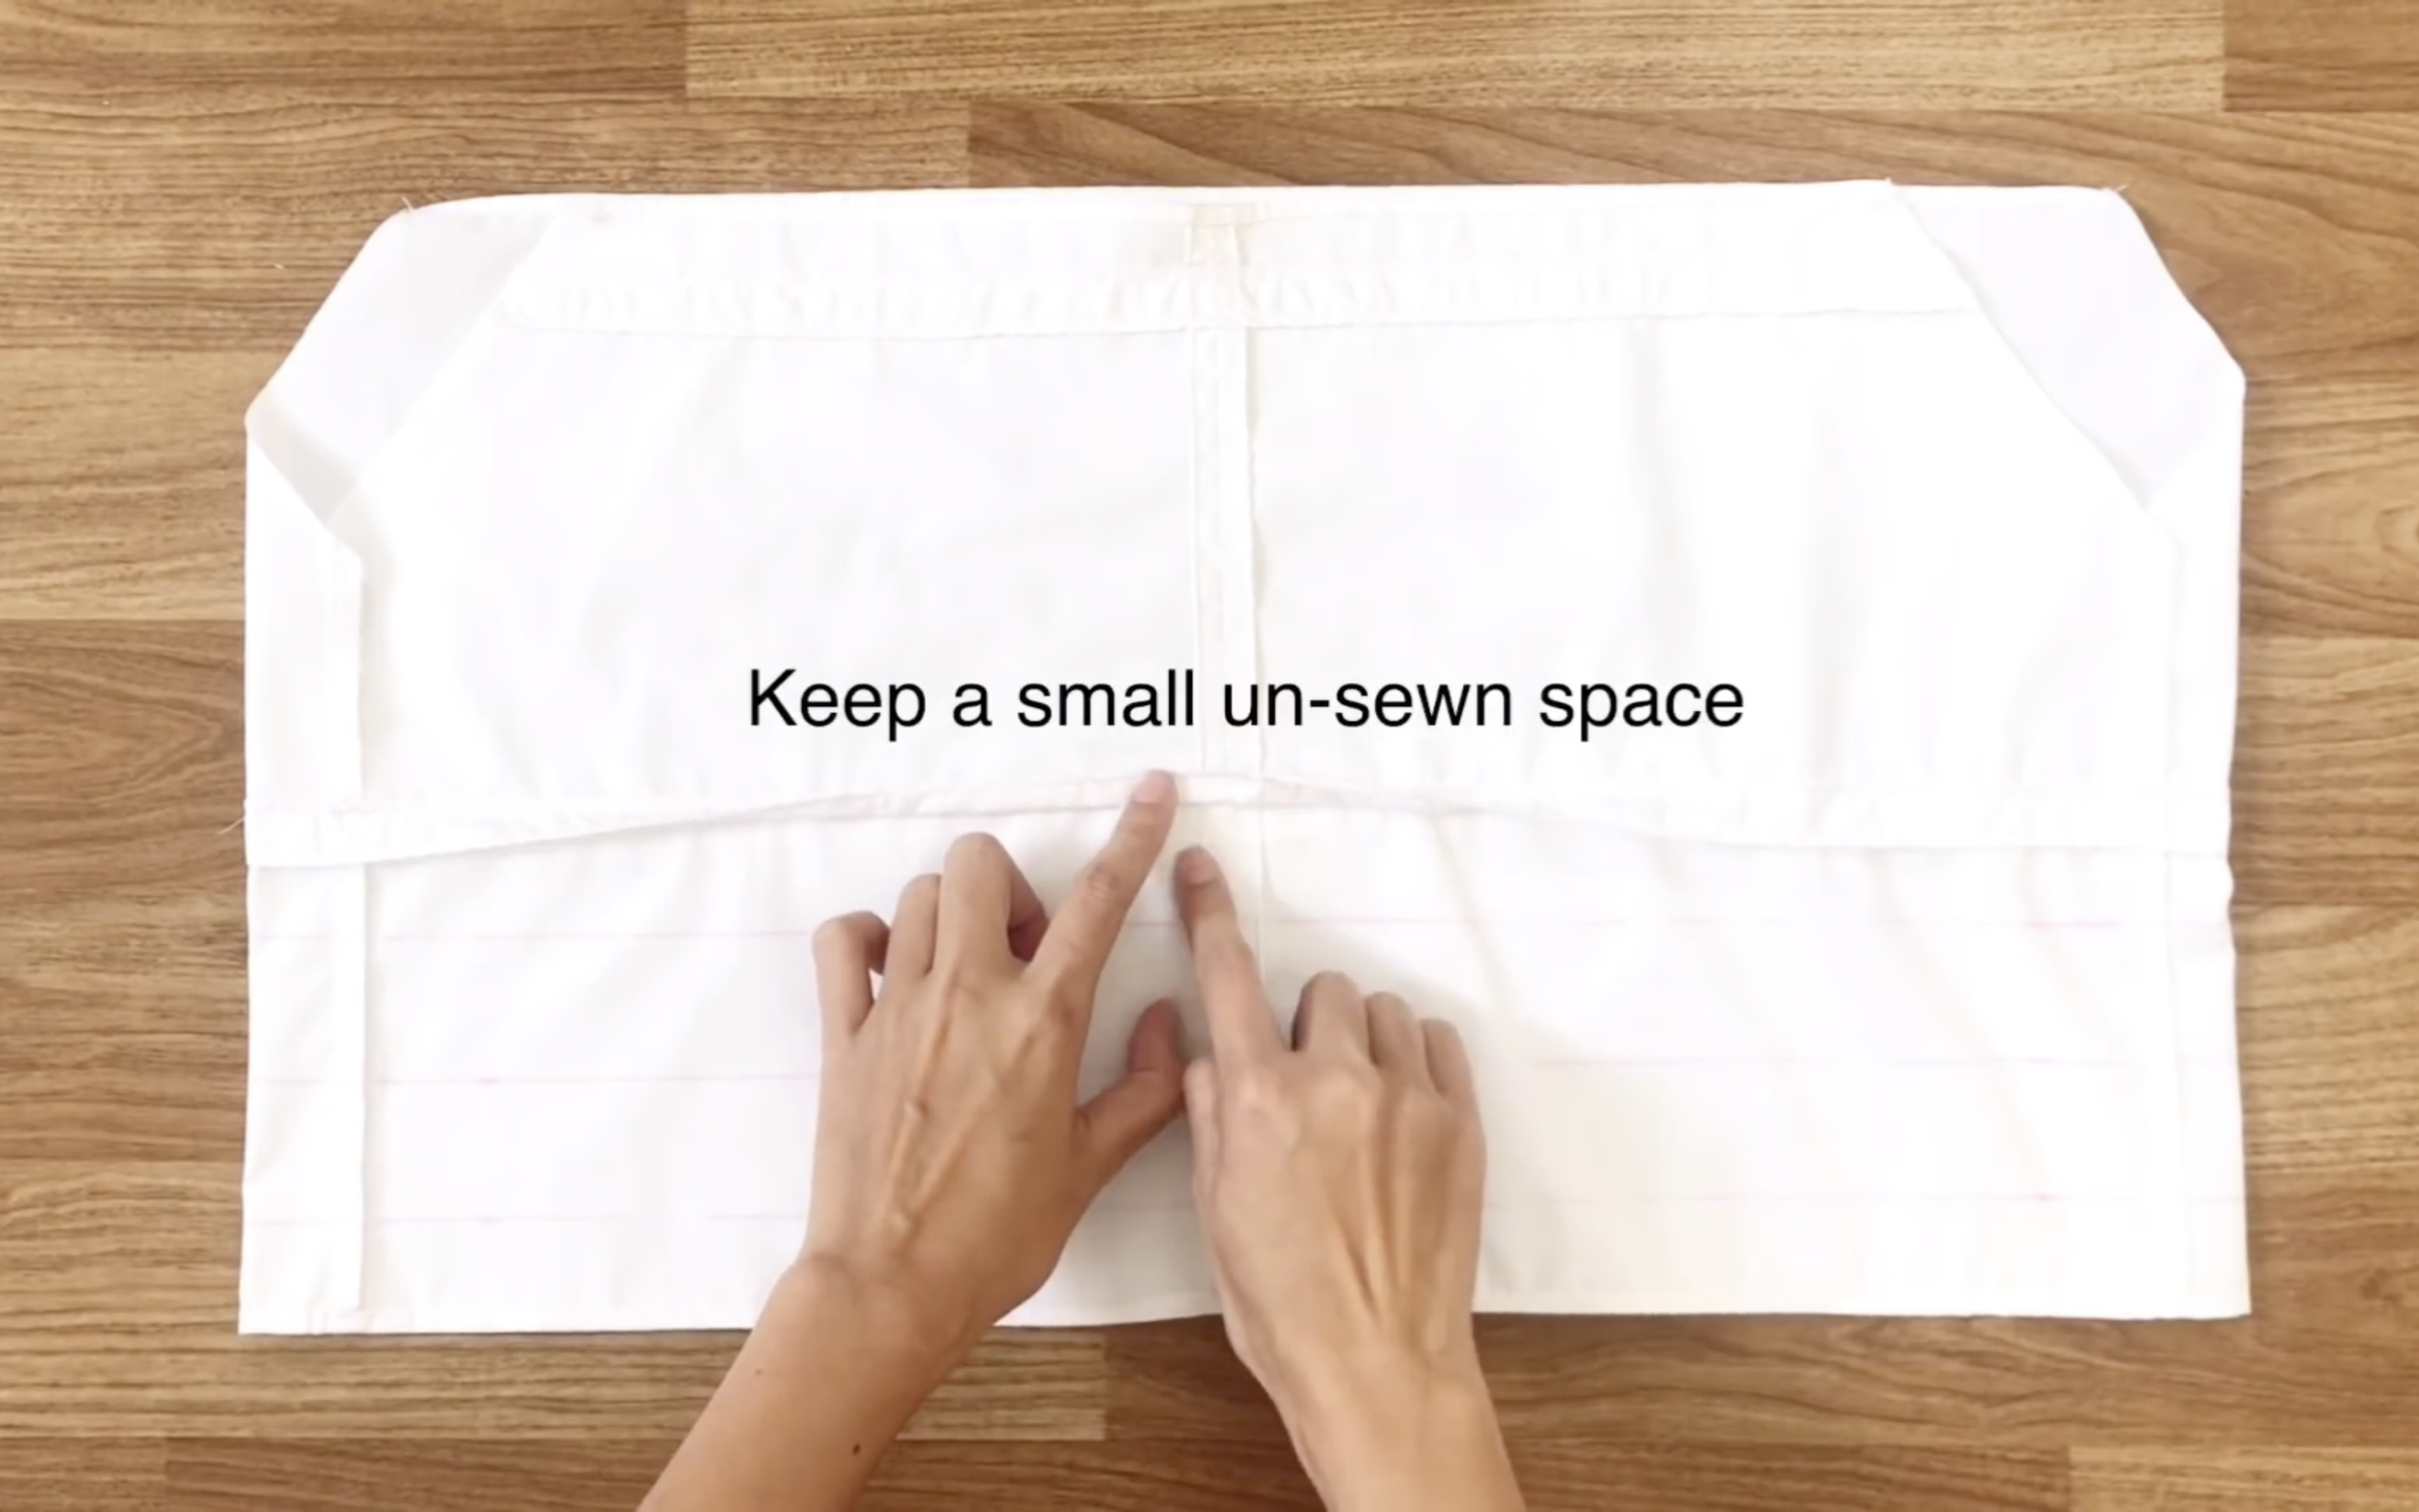
Remember to leave a small unsewn space in the middle to insert the elastic band later.
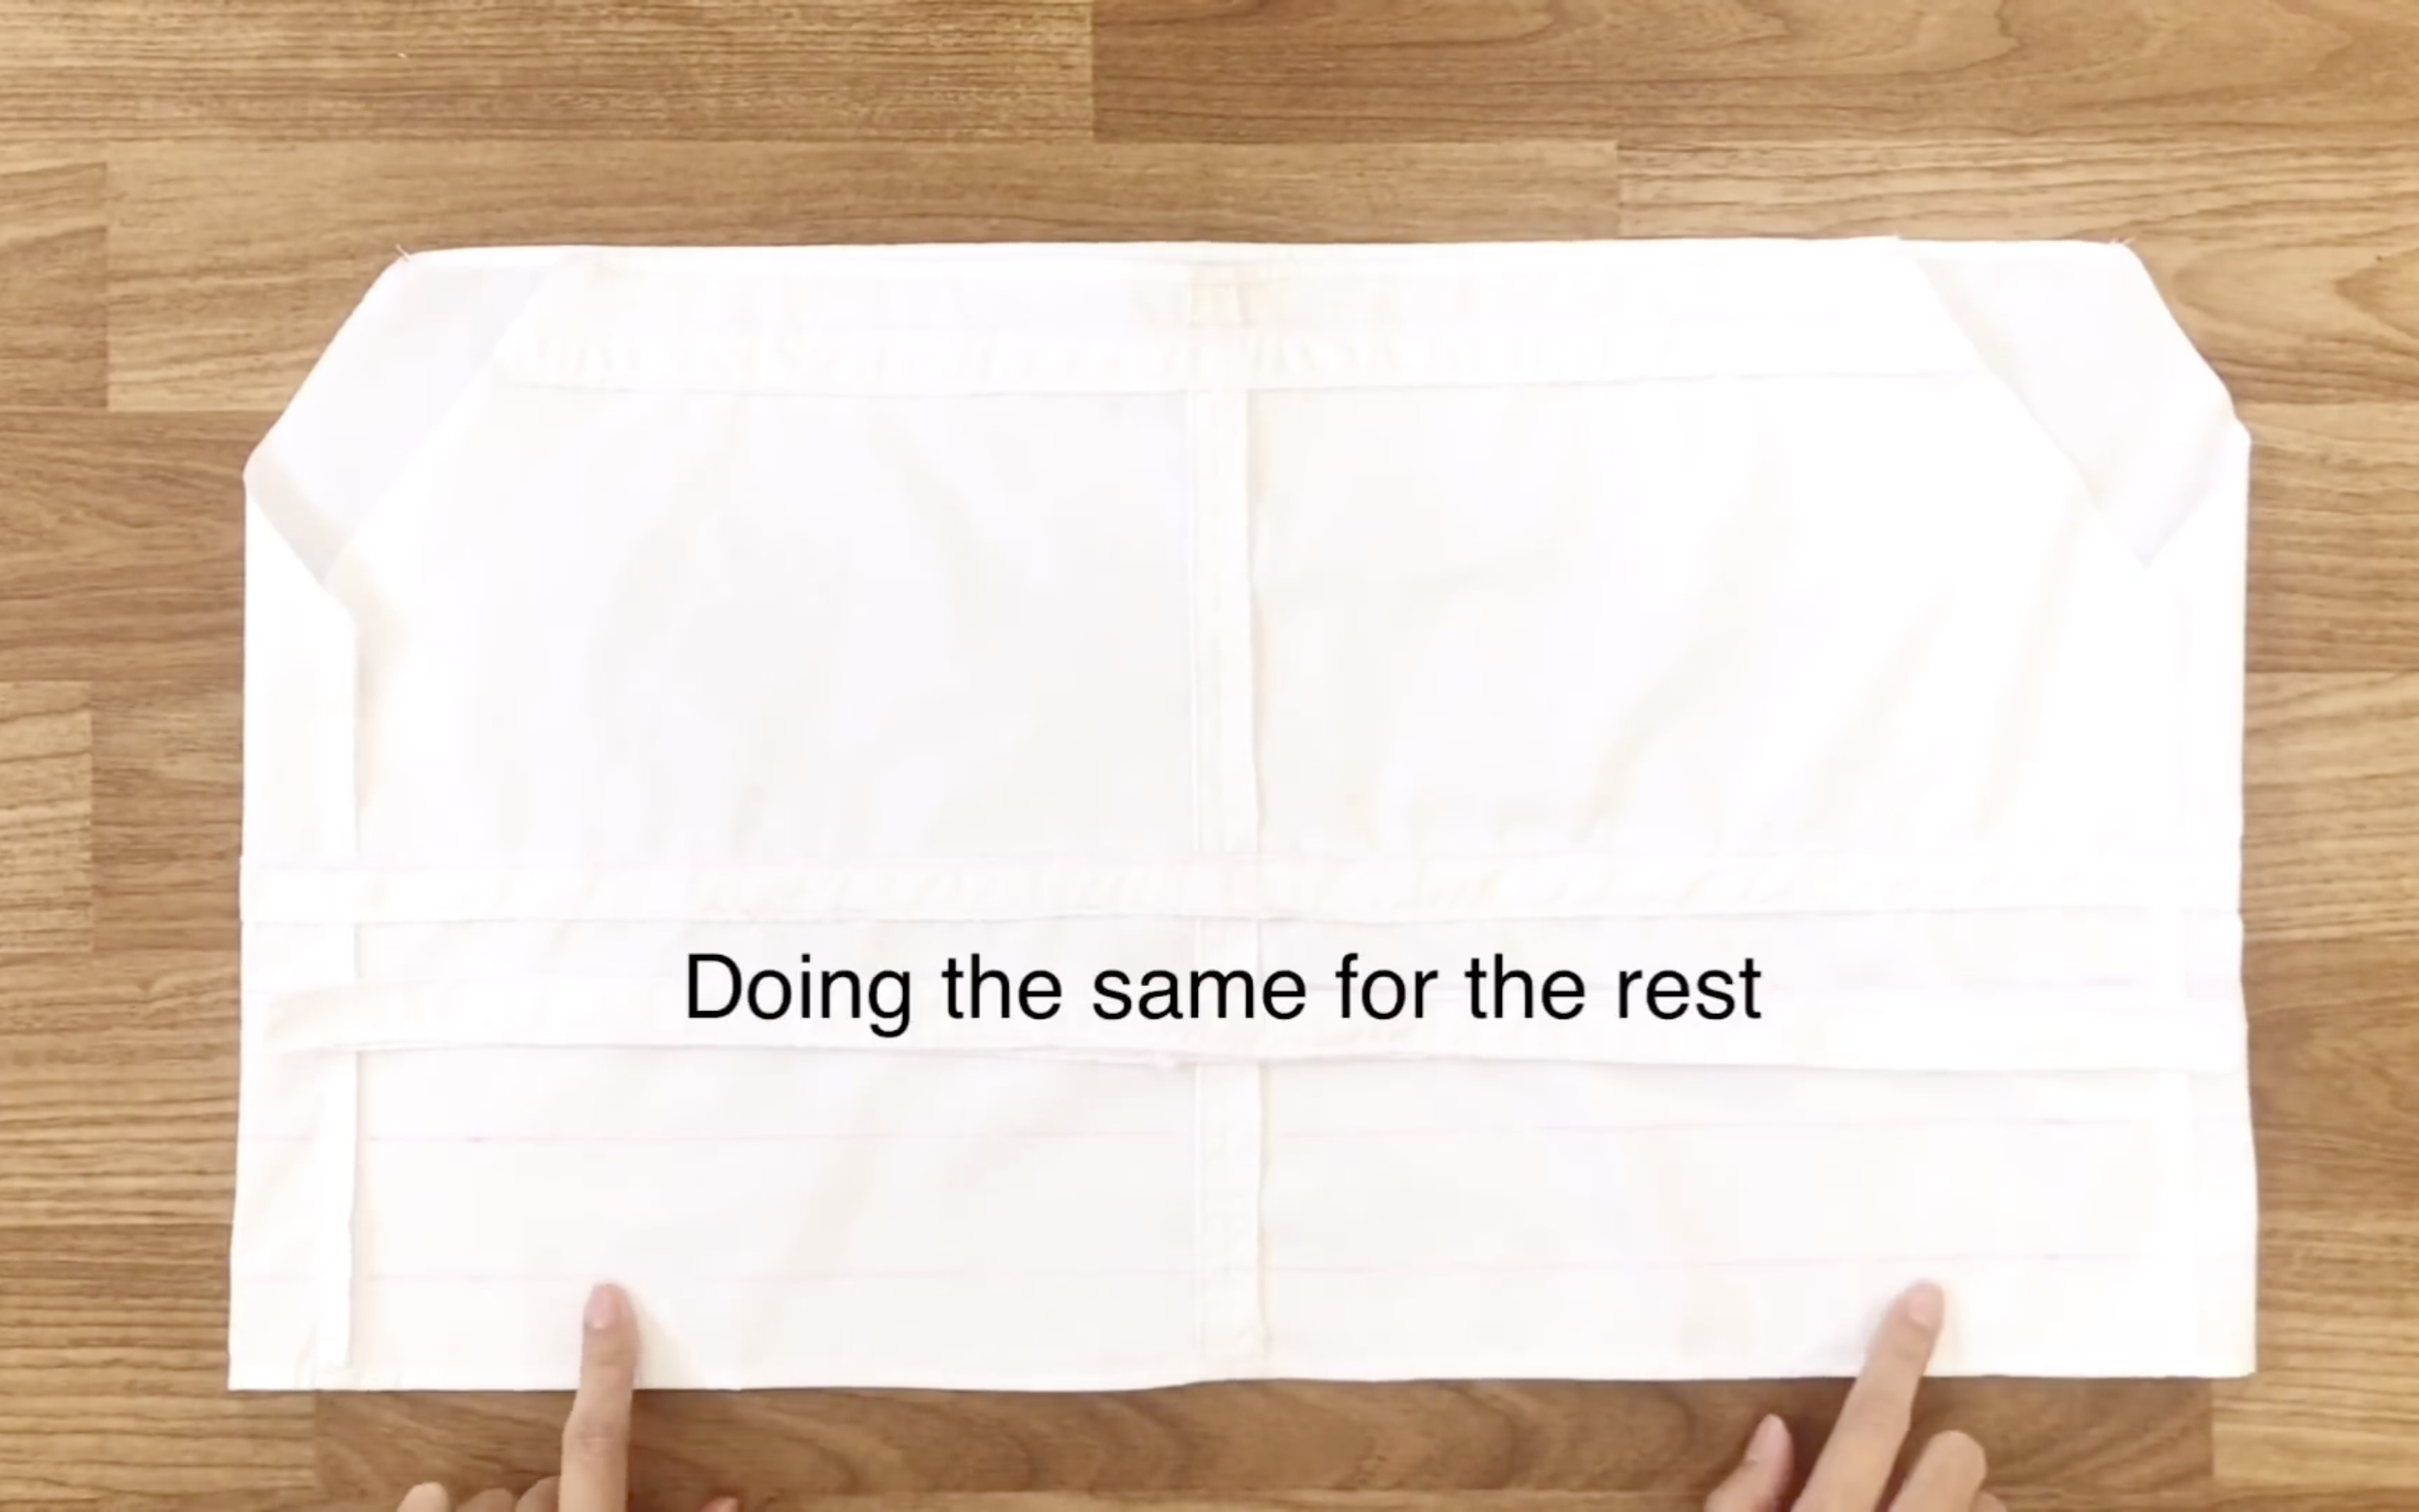
Repeat this process for the rest of the bands.
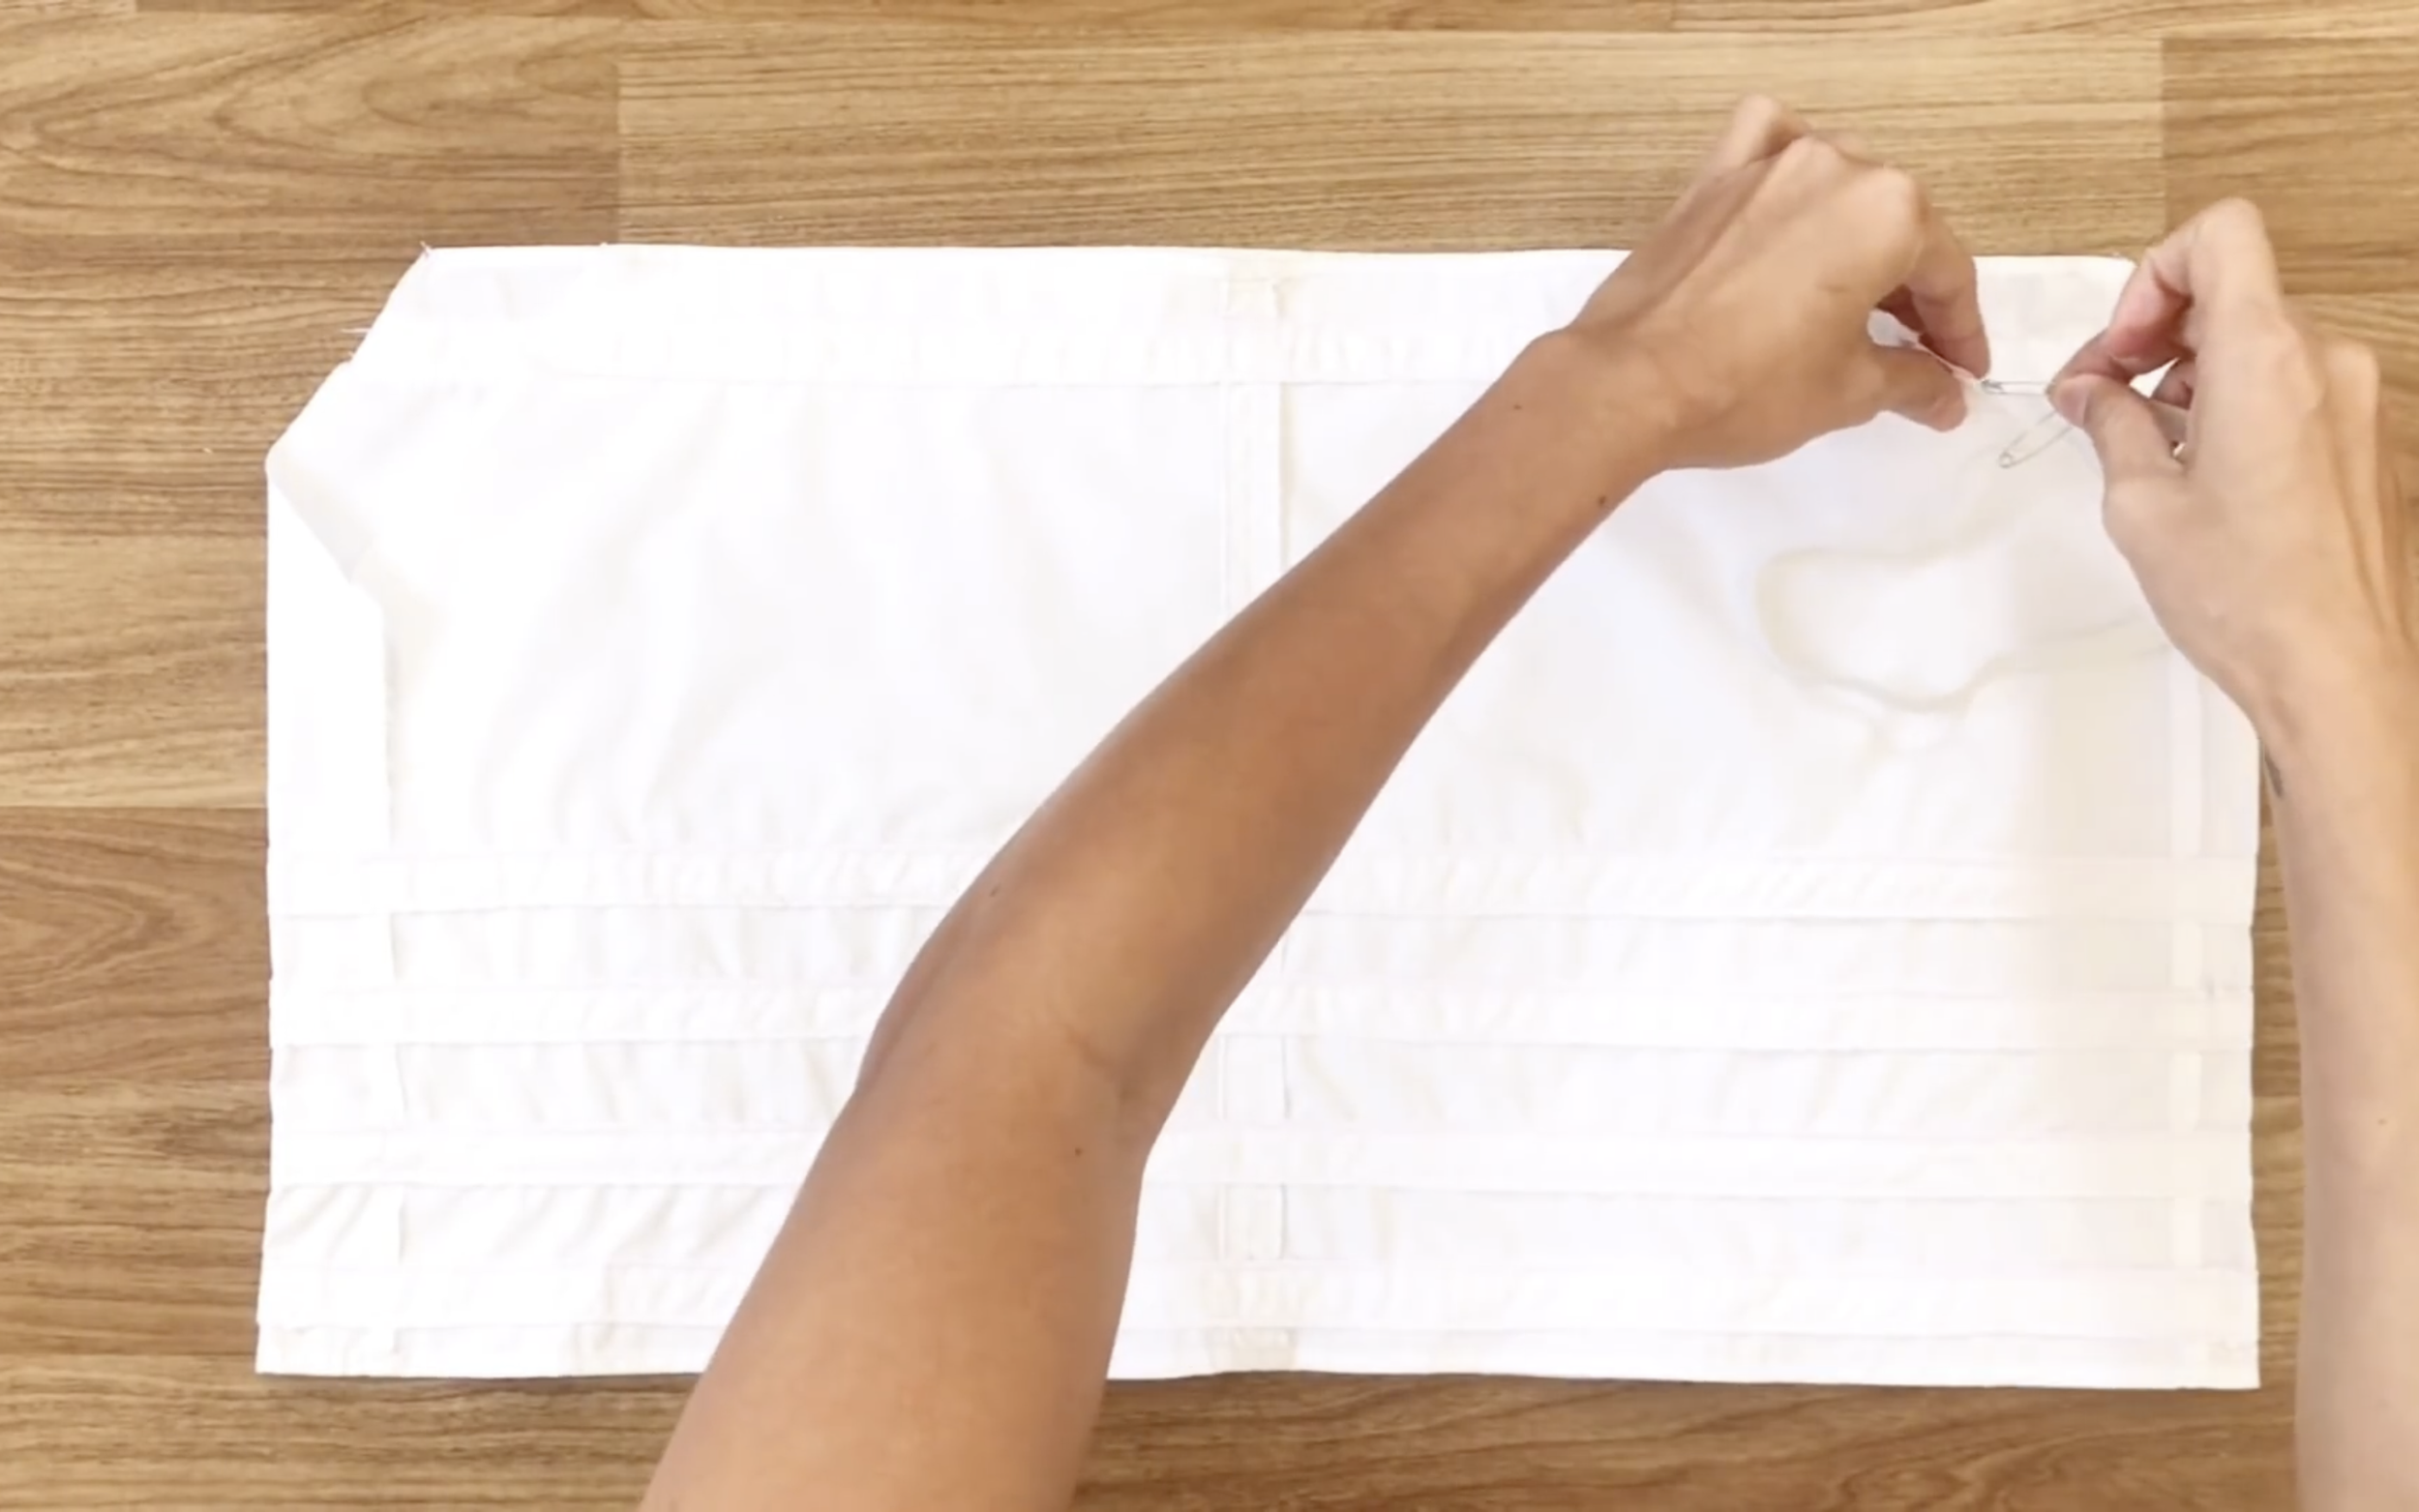
Once all bands are done, insert the elastic bands into the fabric bands. Use 2 safety pins for this step.
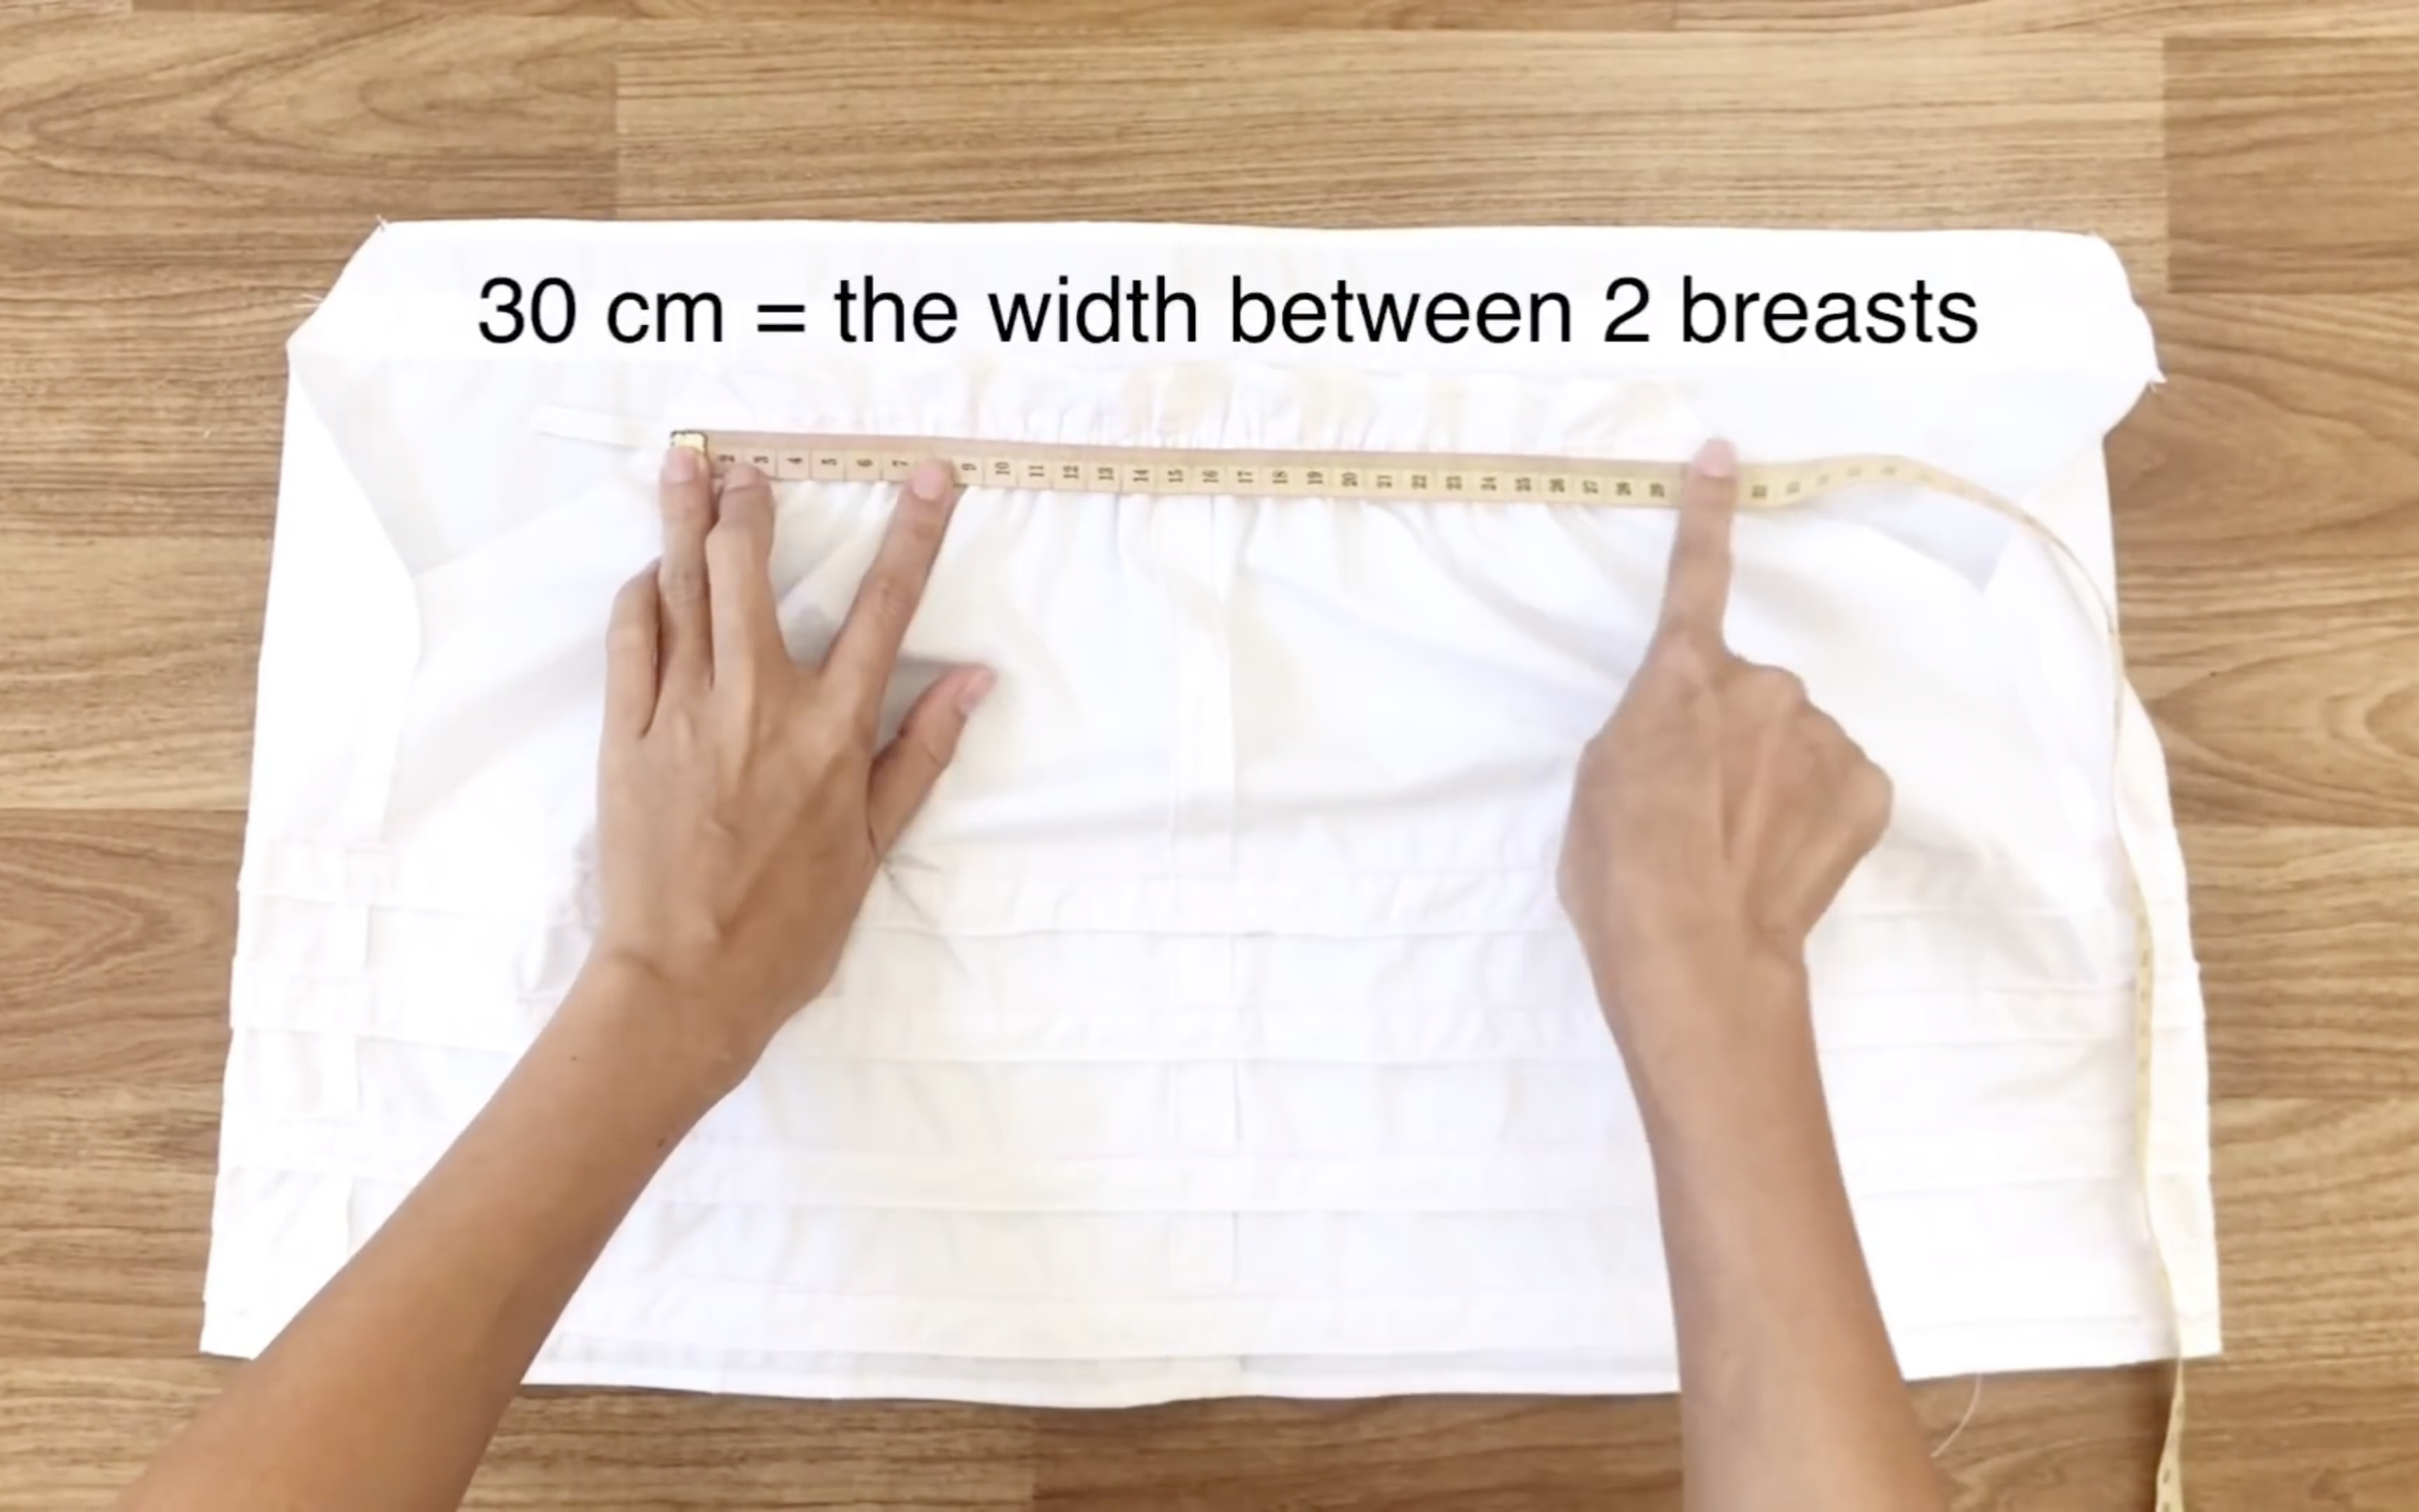
Before sewing to close the ends of the elastic band, check the width of the elastic band to ensure it's the width between the breasts.
Do the same for the lower parts of the crop top, just measuring the elastic band around the belly before inserting it.
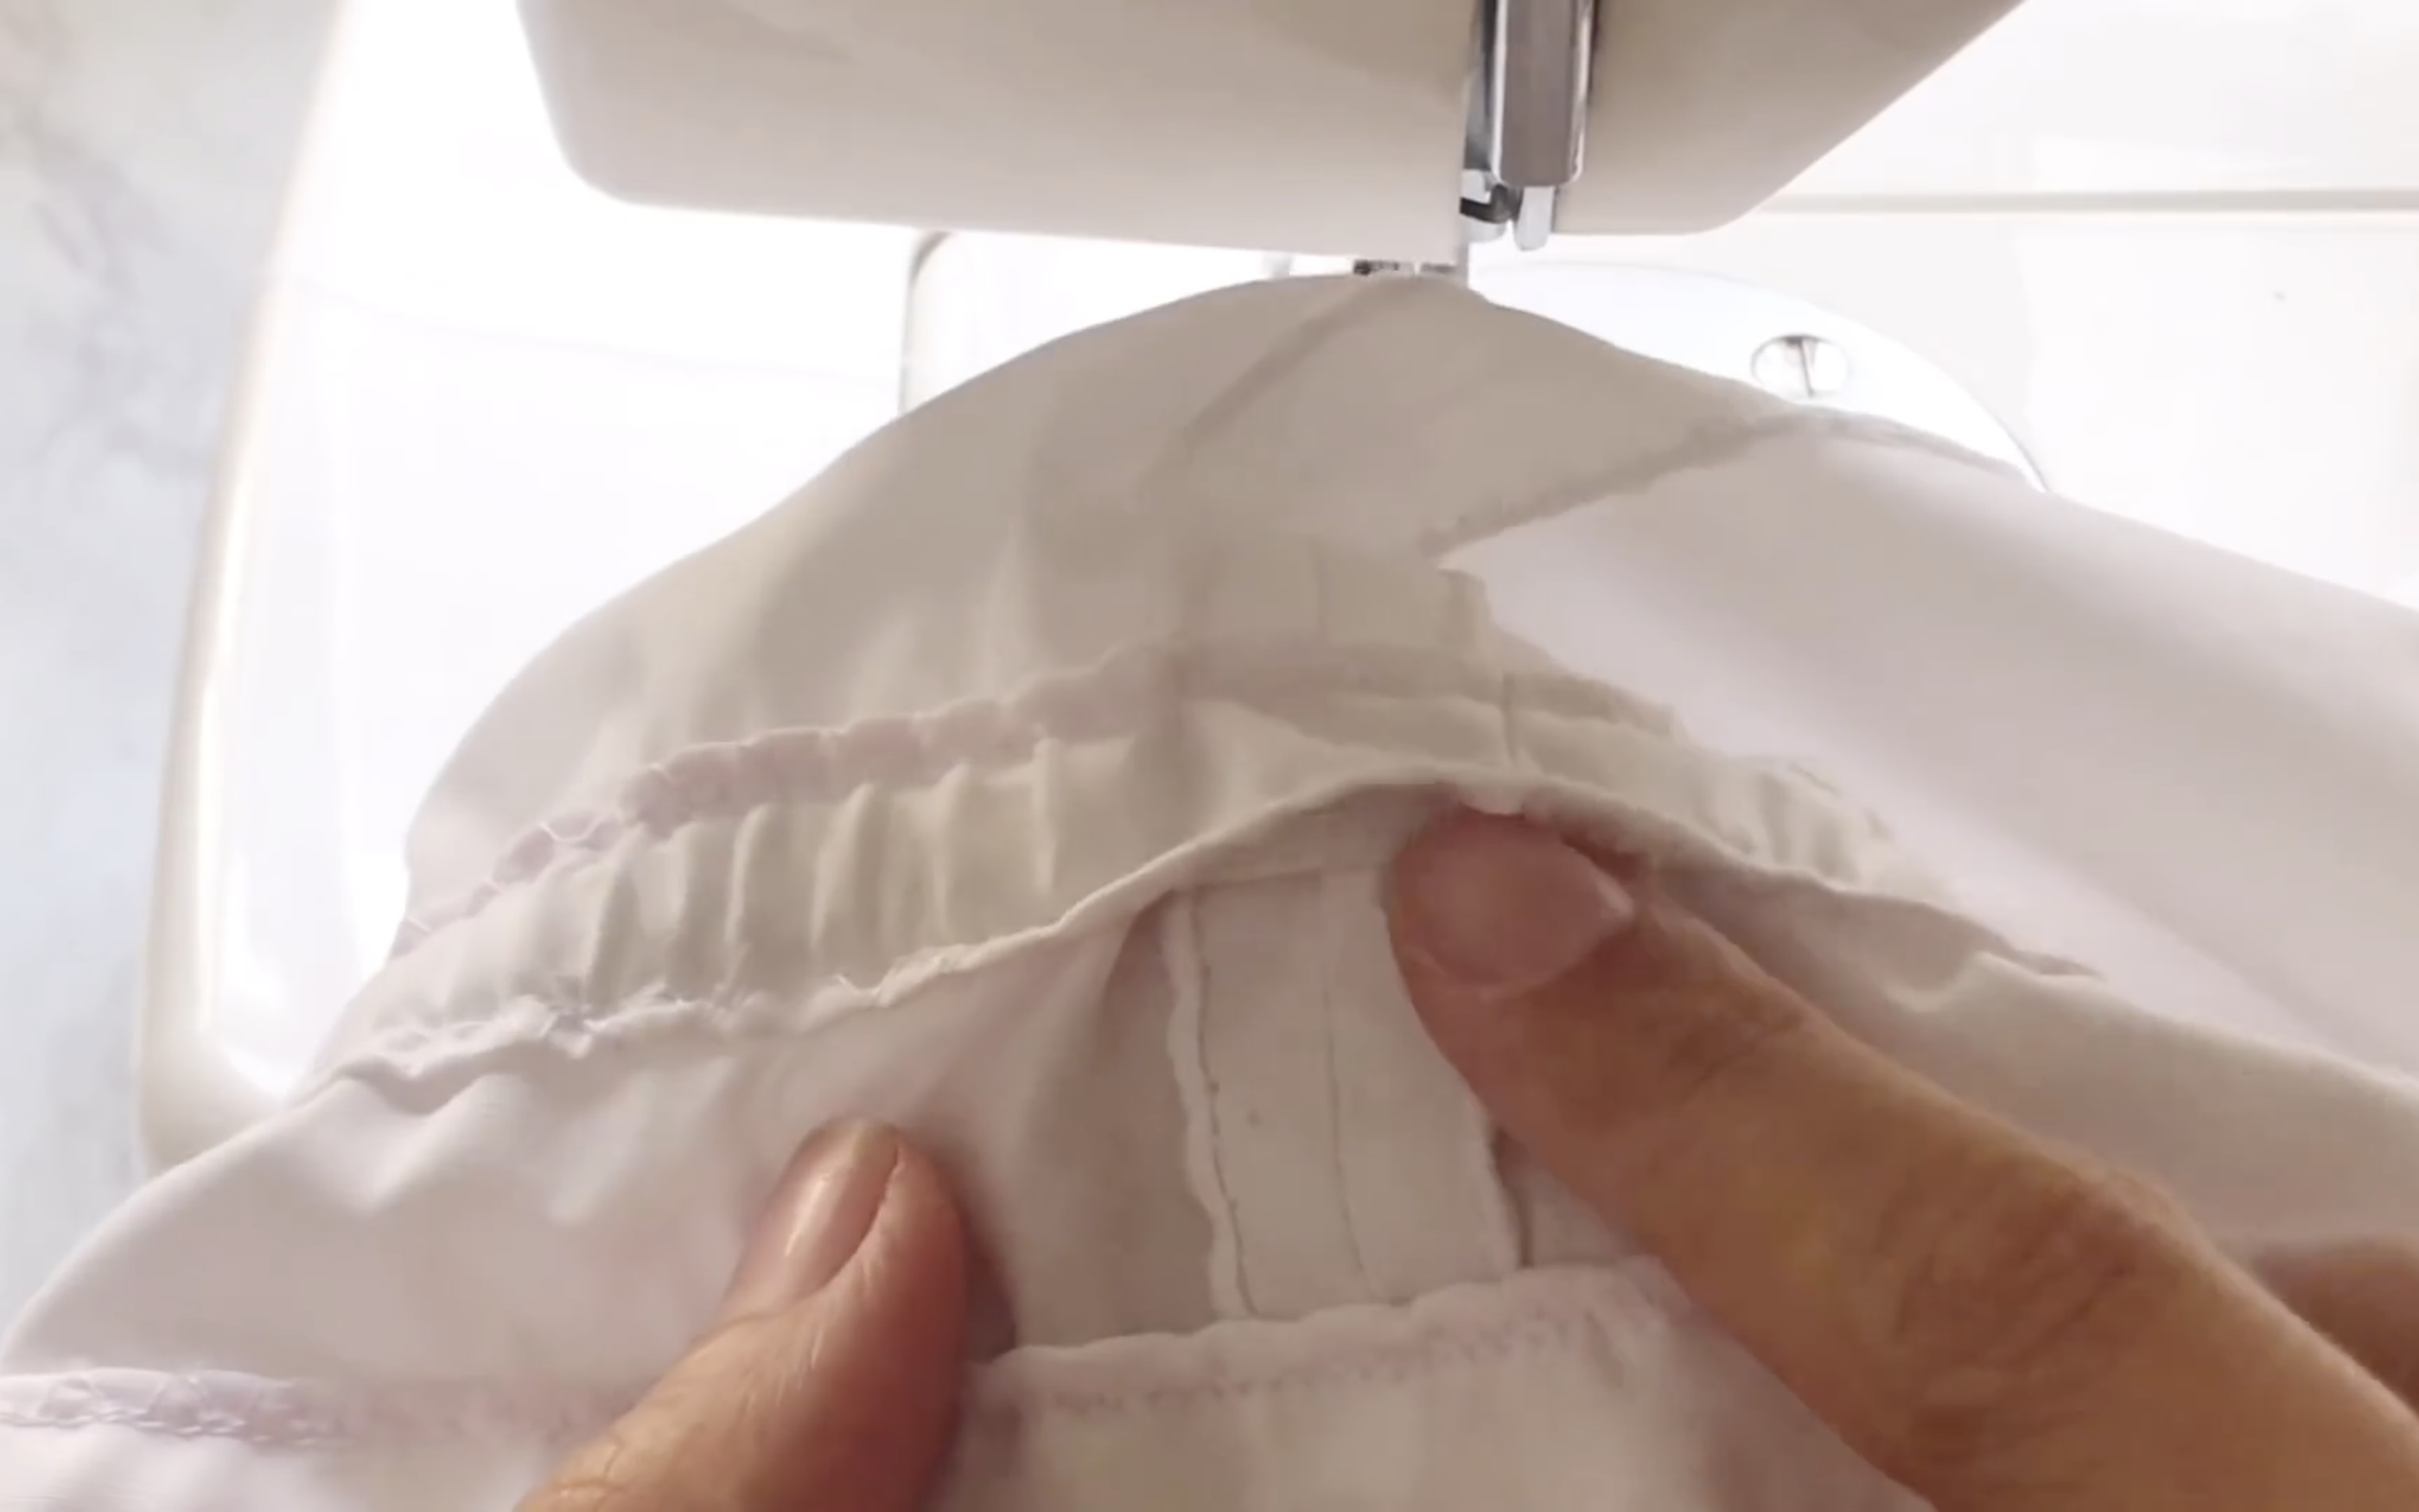
Remember to close the un-sewn space.
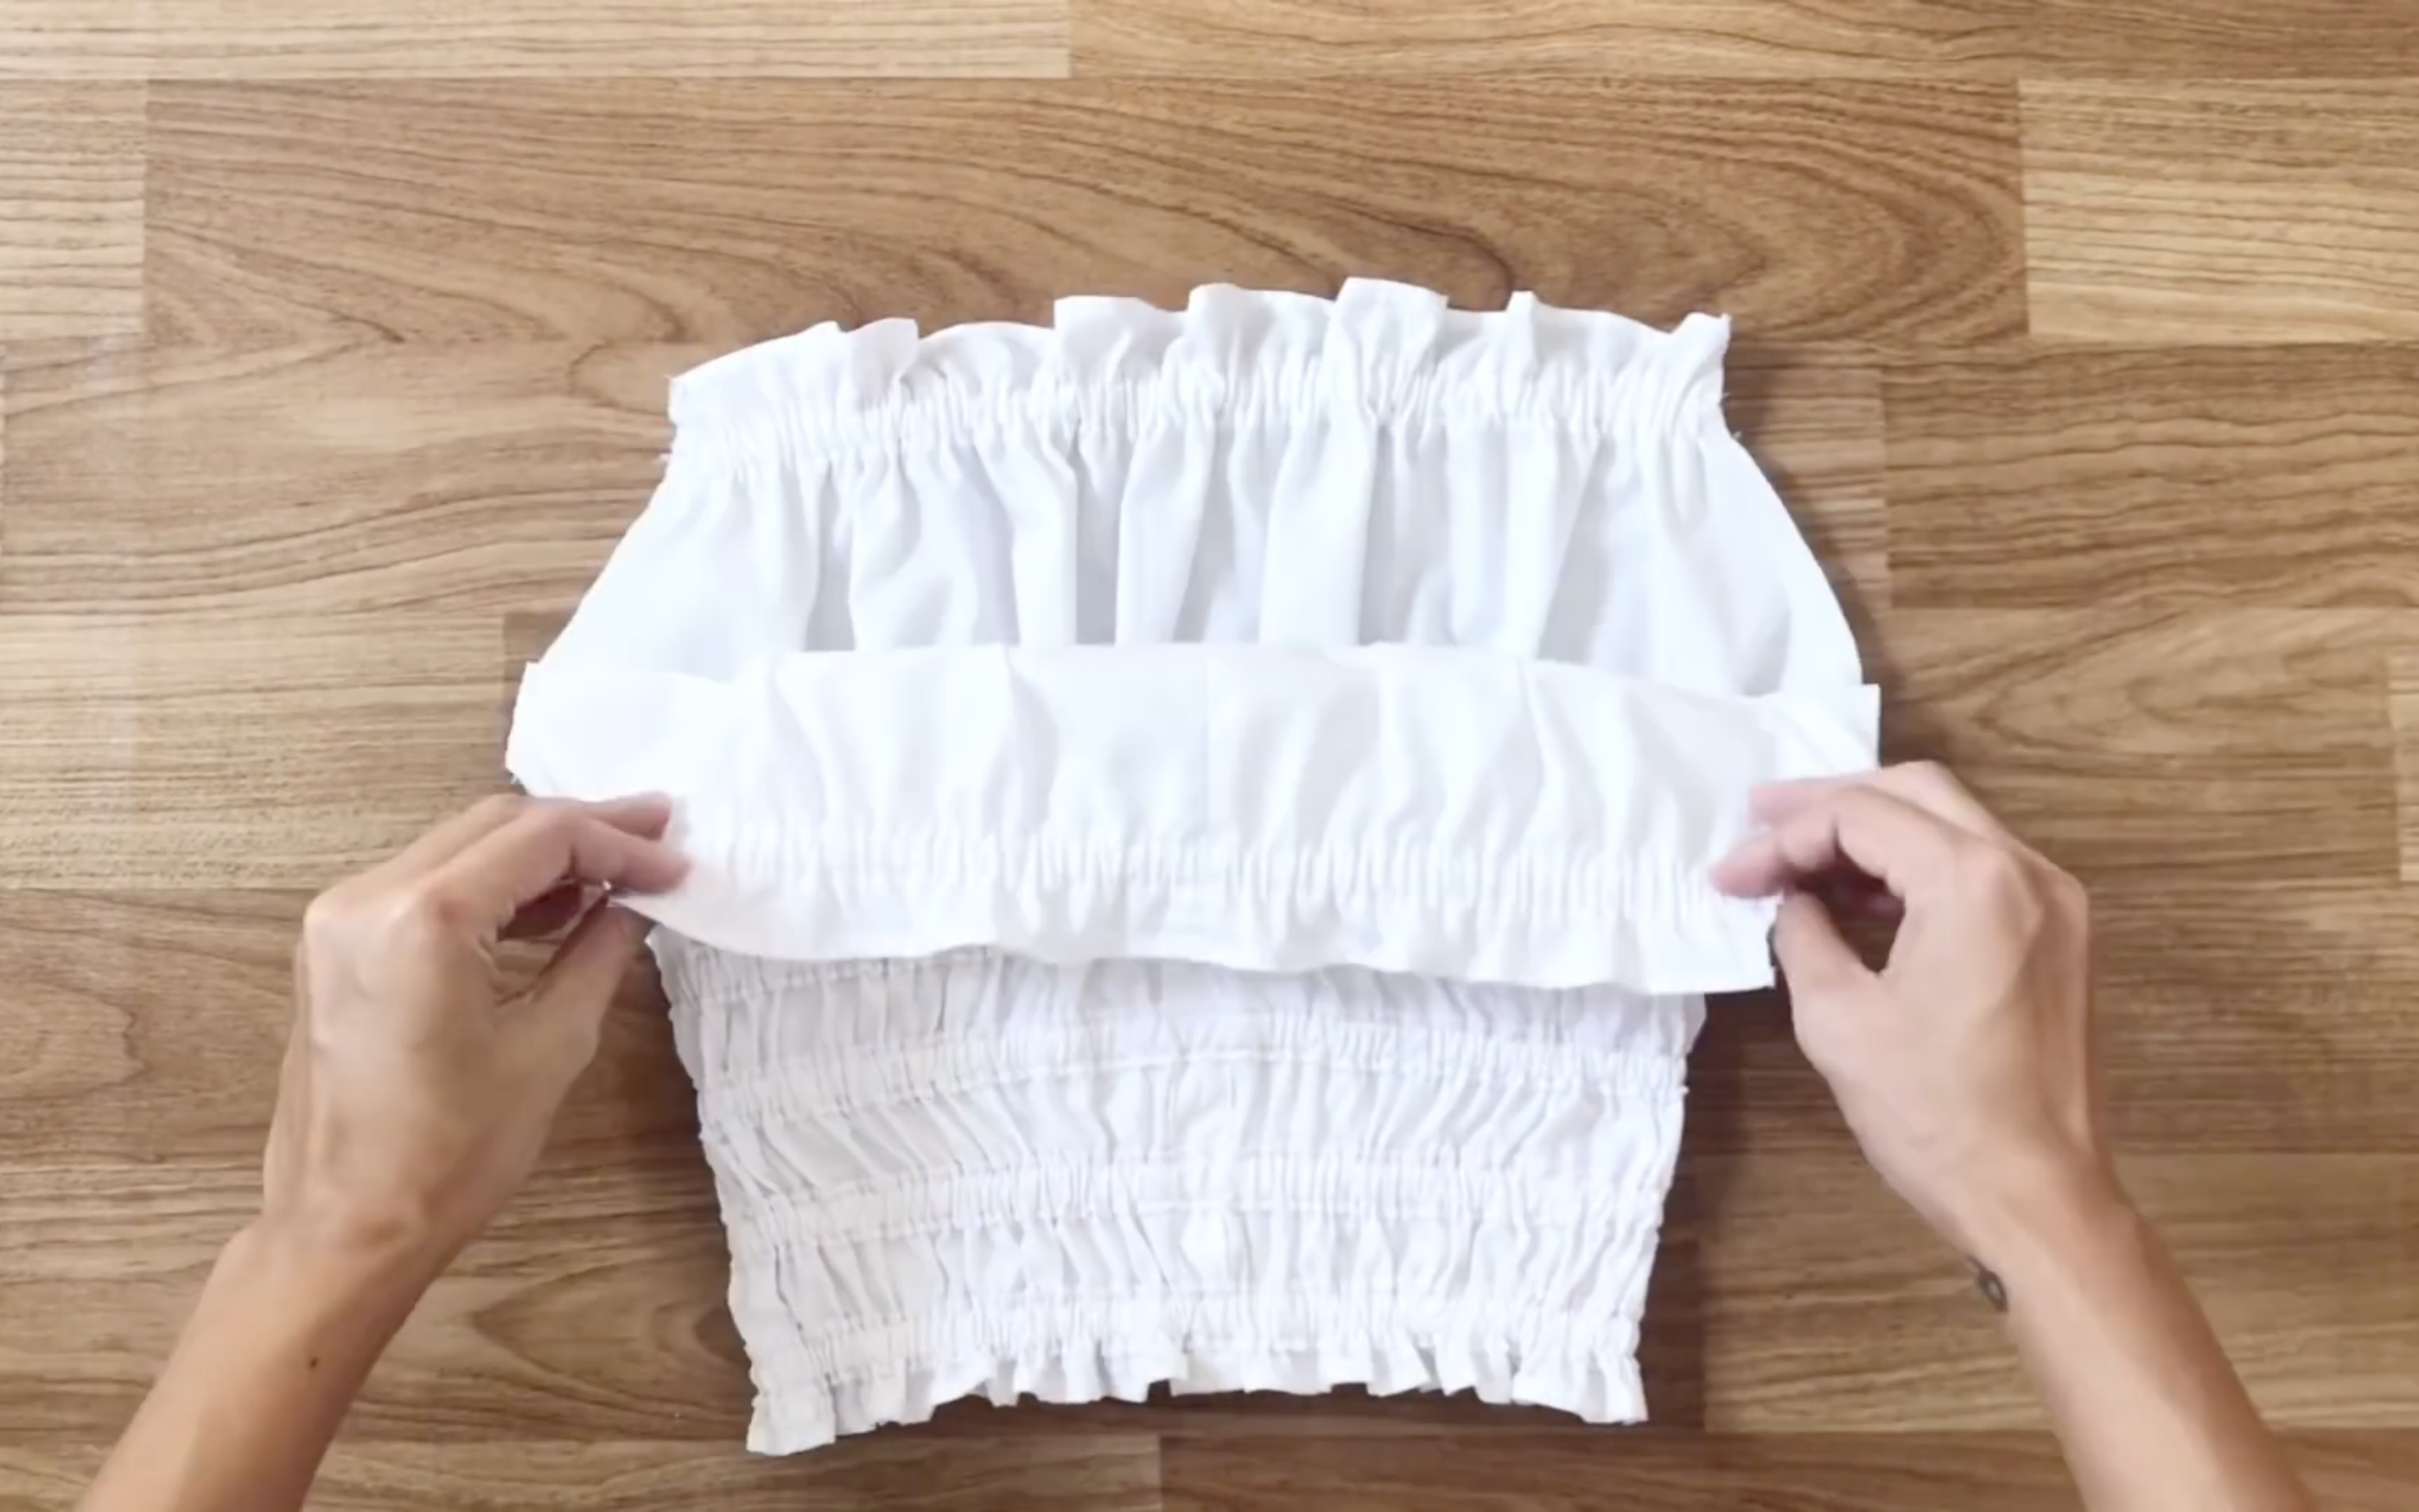
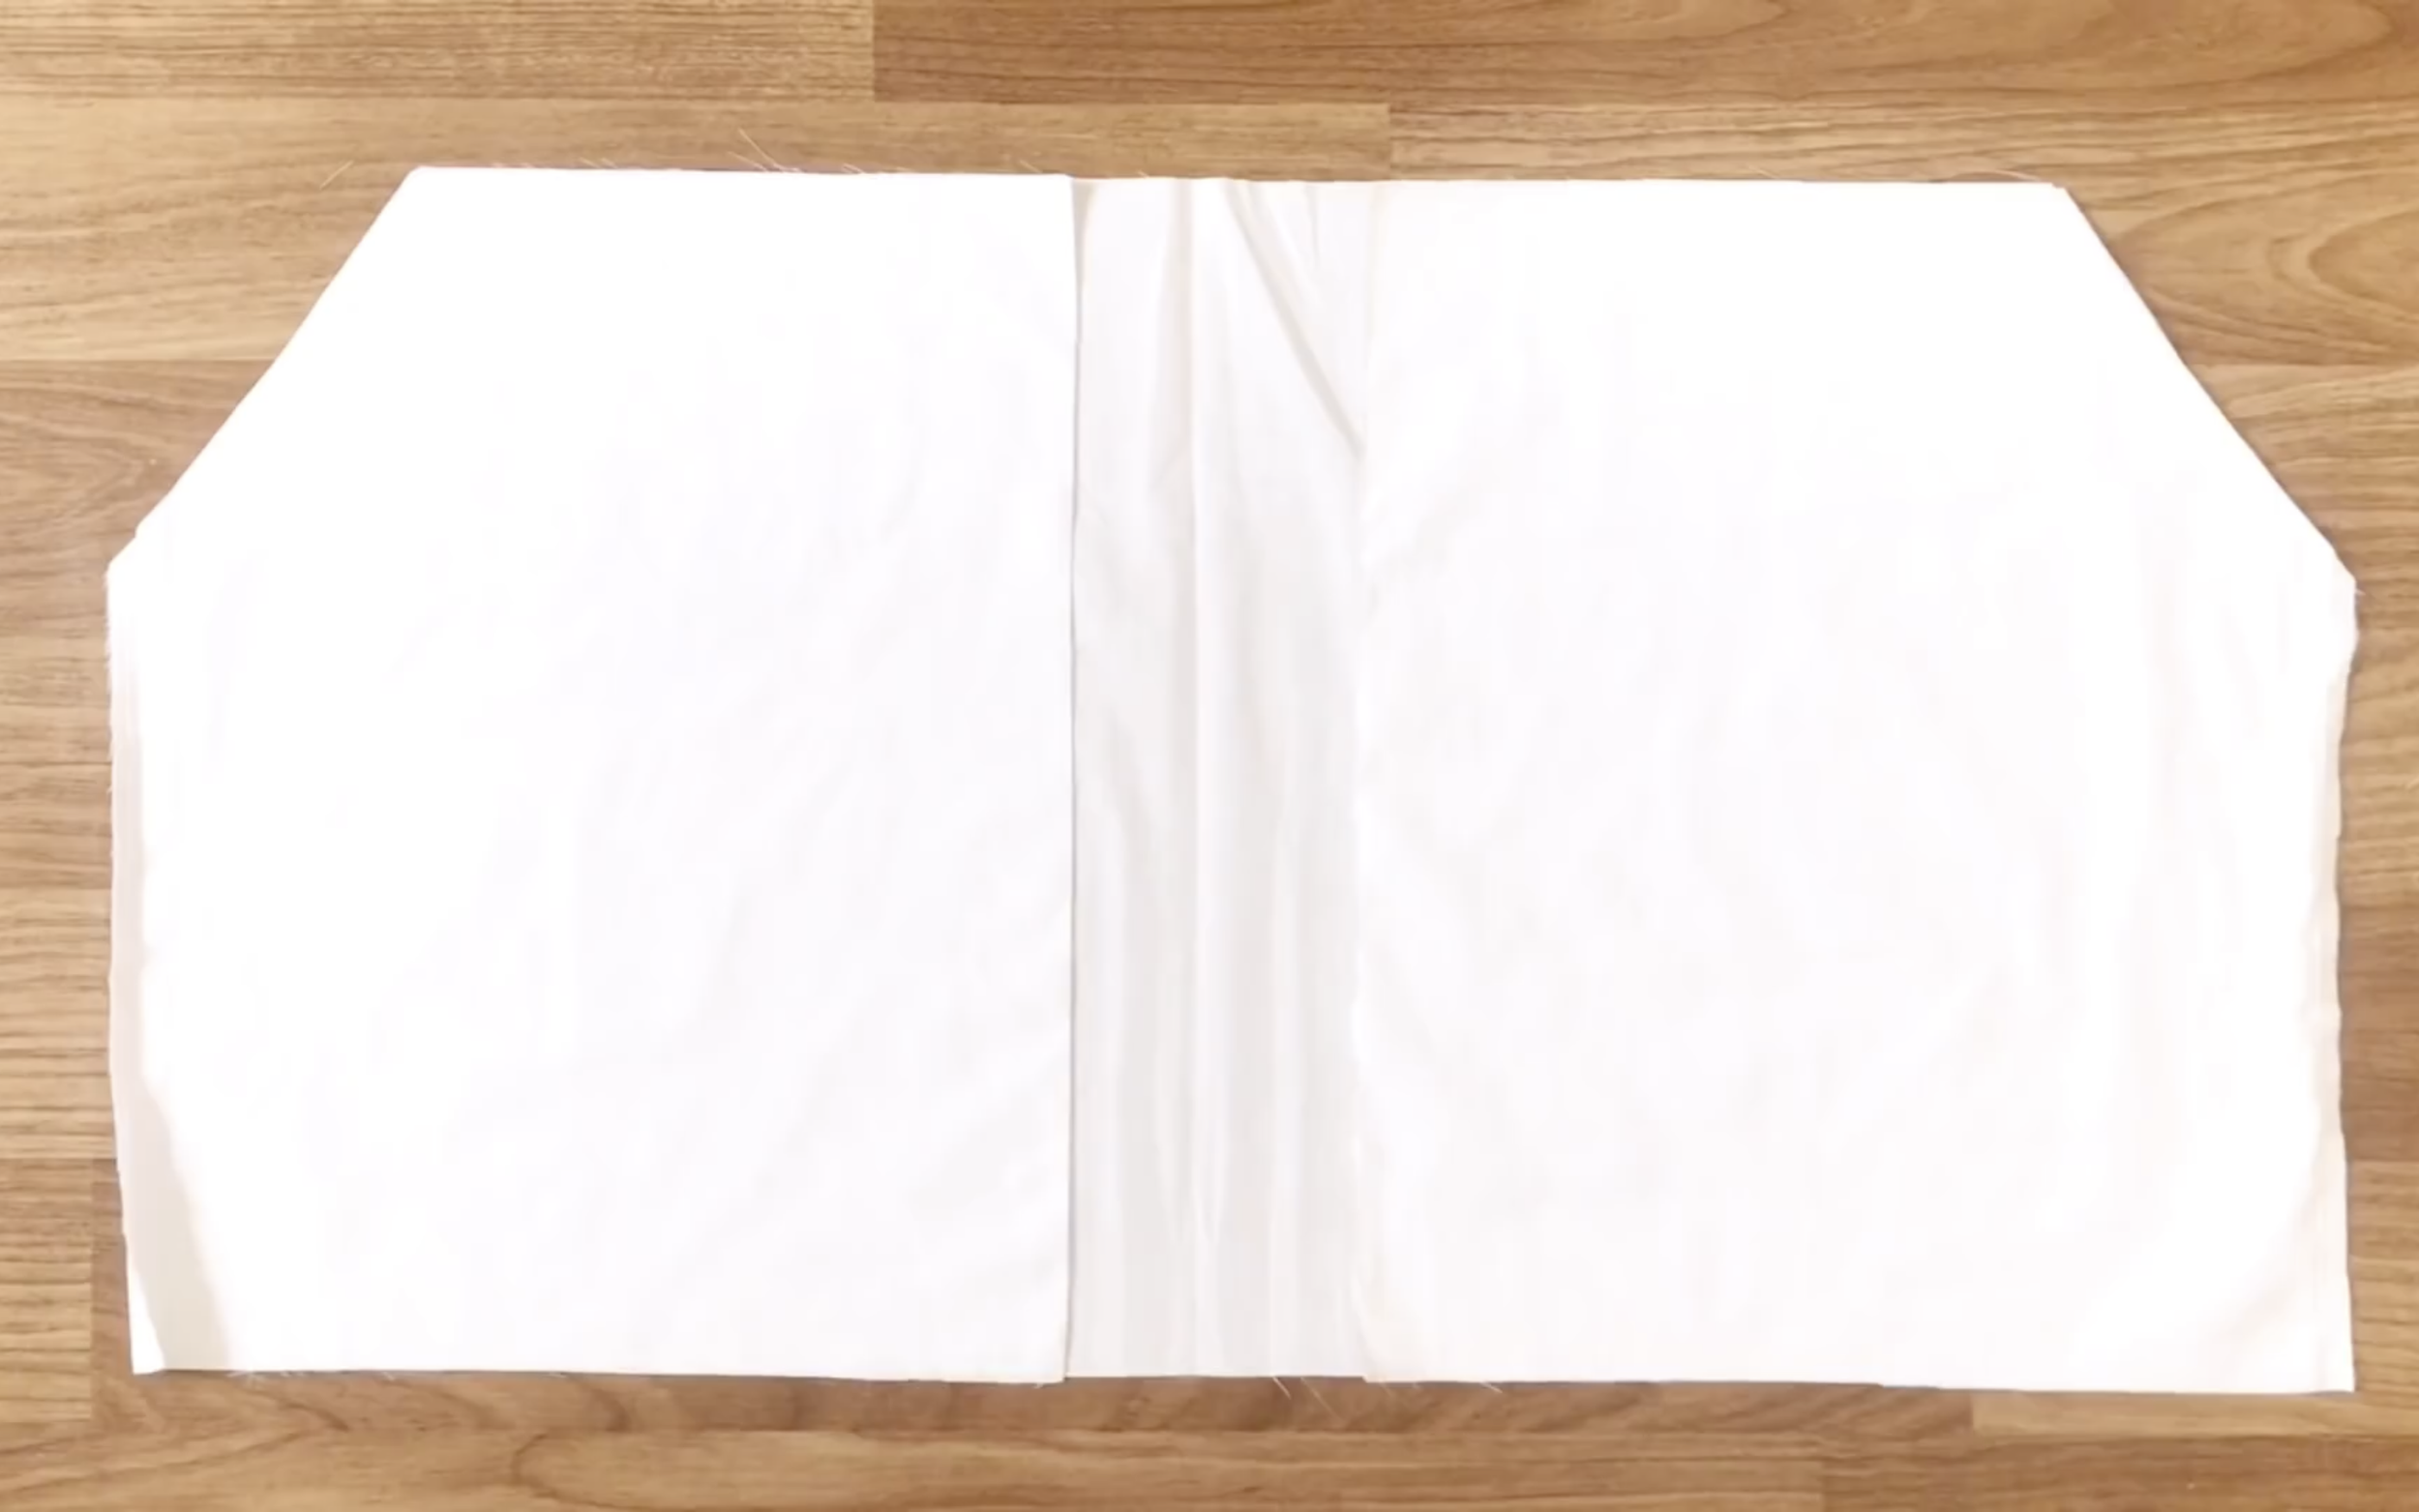
After completing these steps, the main body of the crop top is ready.
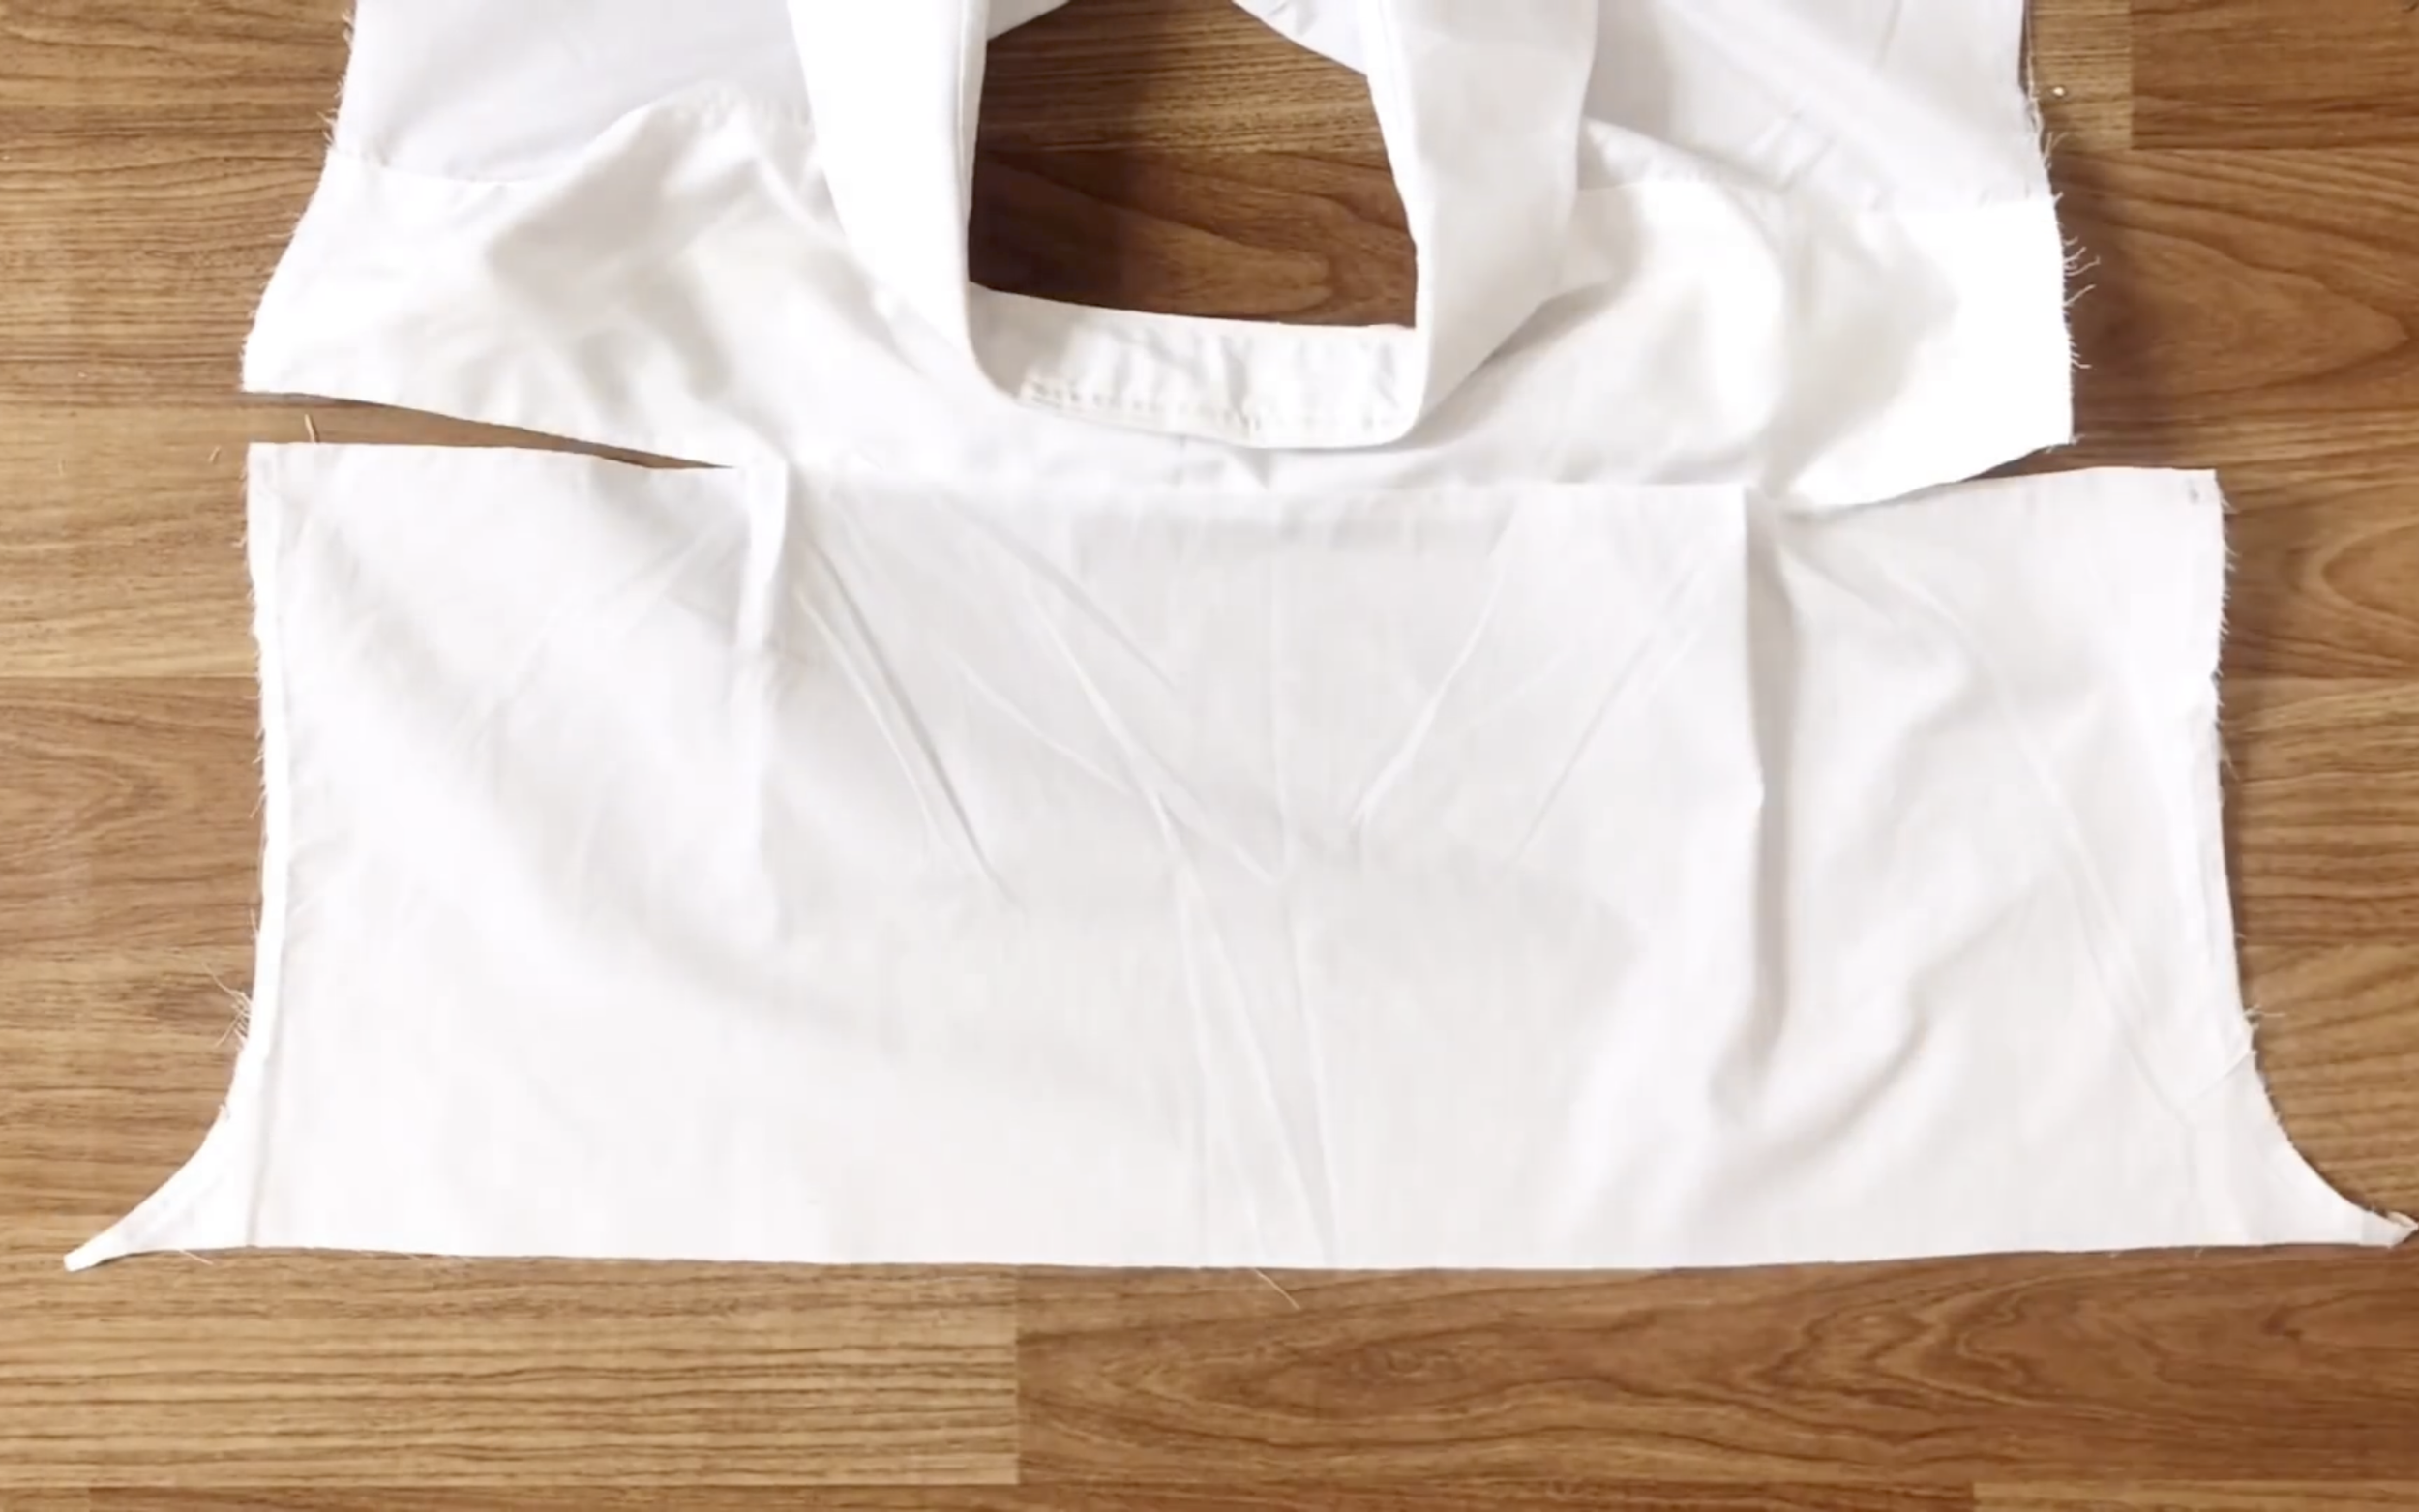
THE SLEEVE
Moving on to the sleeves of the crop top, use the sleeves from the men's shirt.
First, remove the cuff and the button area.
Then, sew it together to close the sleeve.
Finish the end of the sleeve by folding the fabric twice, similar to how the main body was finished.
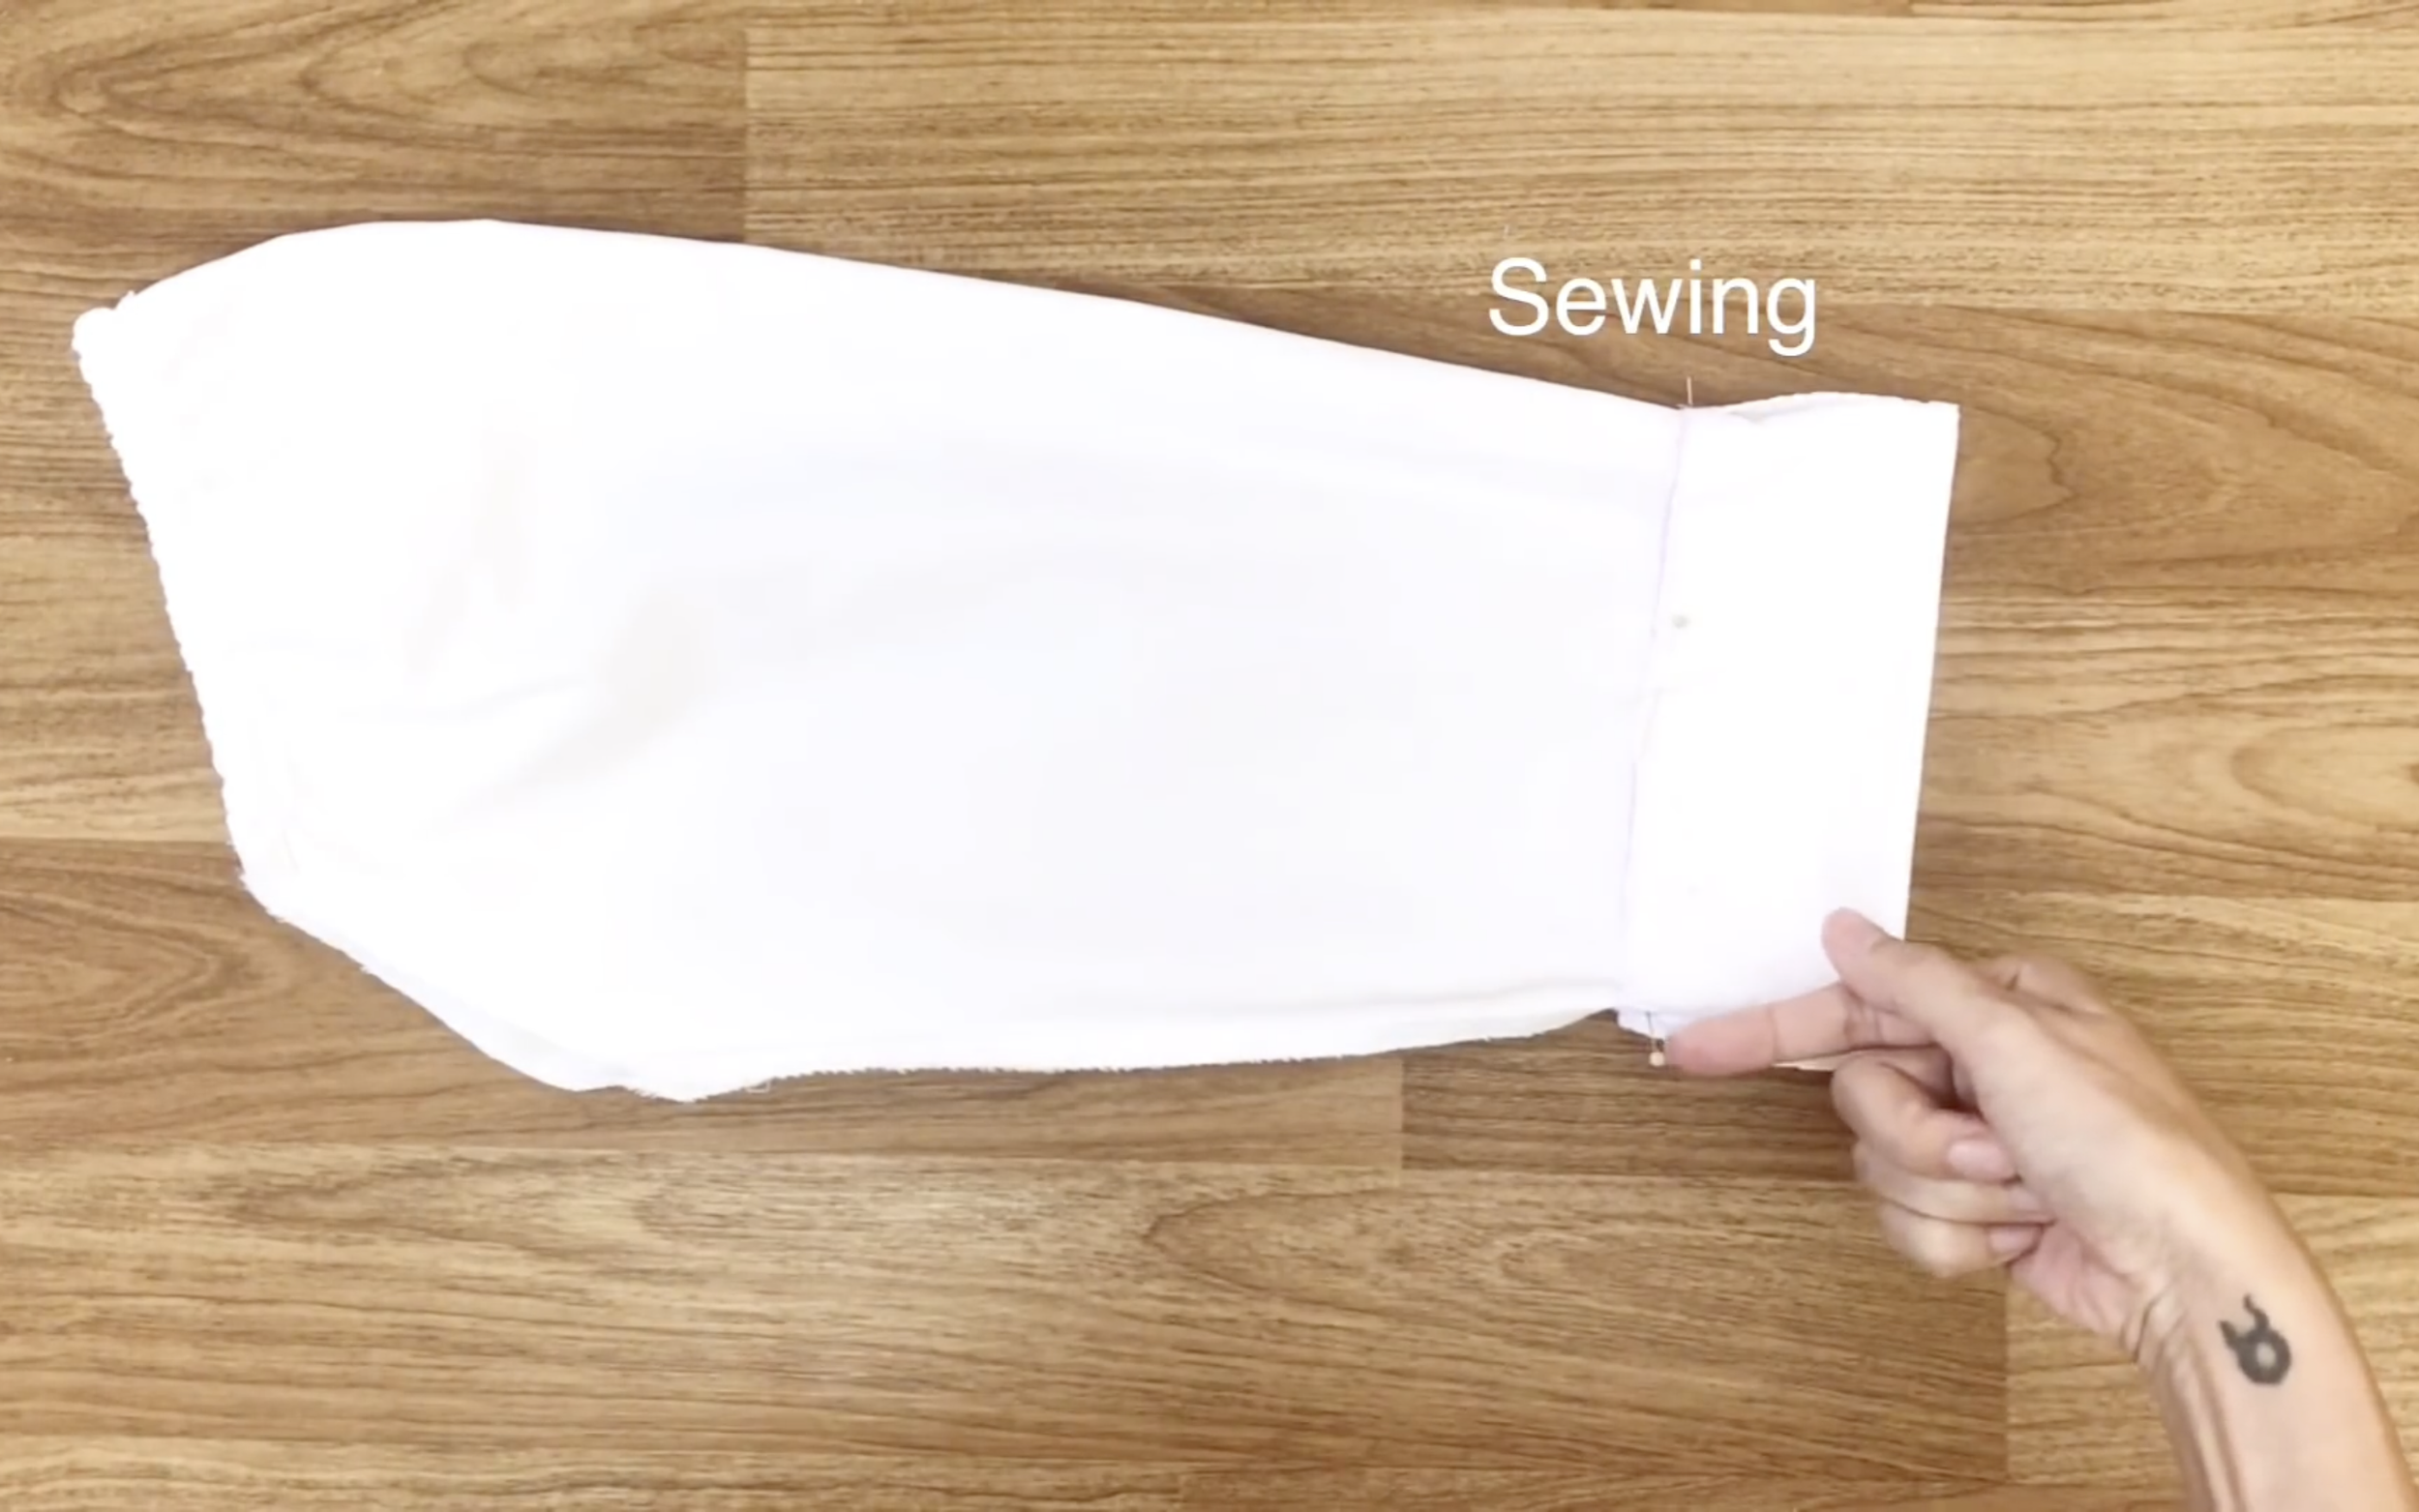
At the top of the sleeve, create the new sleeve area to connect to the main body later.
From the end of the sleeve, go up 8cm and mark it.

Also, mark 10cm to the right from that point.
Then, connect the two marks together.

After cutting along the drawn line, the new sleeve area is ready.
To make the sleeve puffy, use the elastic band.
First, measure the fabric width needed for the fold.
Then, pin the fabric together and sew.
After that, insert the elastic band and sew the ends to close it.
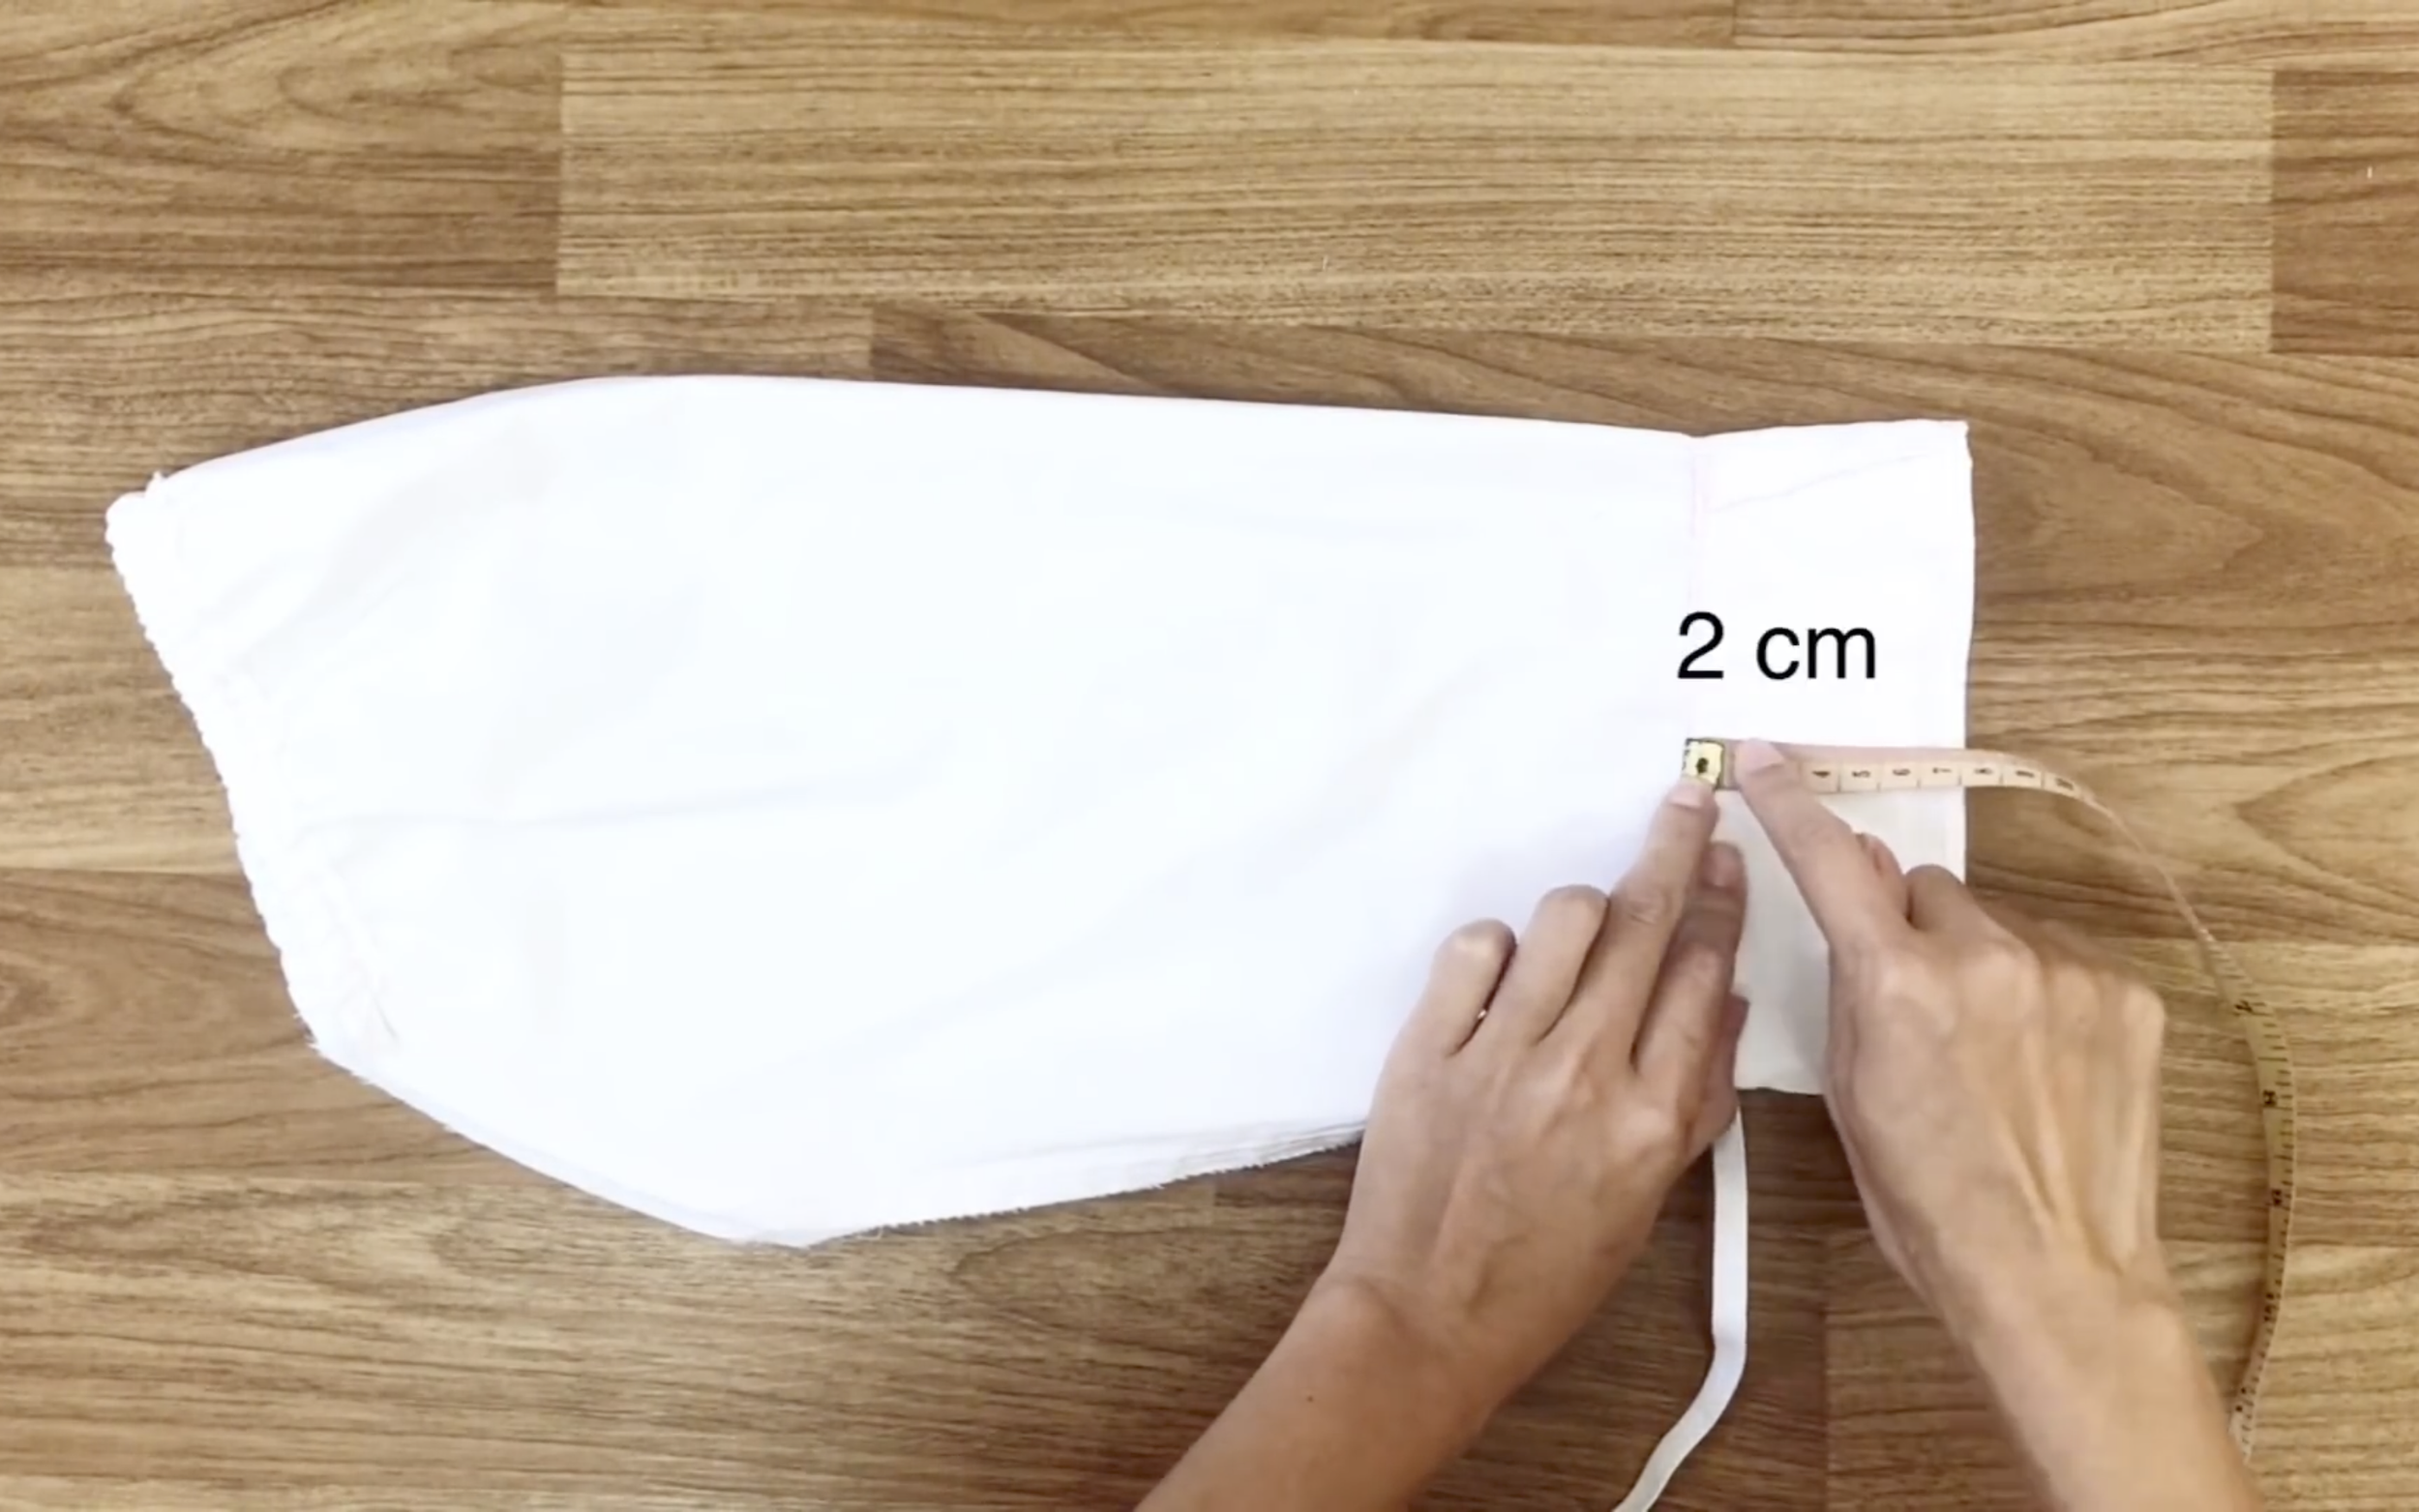
Because the sleeves of the crop top have a puffy detail at the end, use leftover fabric from the top of the men's shirt to create it.
Cut 2 rectangles with an 8.5cm width and a 20cm length.

Then, connect them to form a circle. Make sure the circle length matches the sleeve length.
After that, double fold one edge of the circle fabric to finish the end of the puffy sleeve.
Because the circle fabric is 8.5cm wide, measure 5cm inward from the sleeve end, which will be the meeting point between the sleeve and the circle fabric.
Pin them together, then sew.
After the first seam, measure the elastic band width and draw a line for the second seam.
Then, sew along the line.

Insert the elastic band afterward, and the sleeve for the crop top will be complete.
CONNECT THE SLEEVE AND THE BODY
Now, connect the sleeves to the main body of the crop top on both sides, aligning them with the sleeve area, and sew.
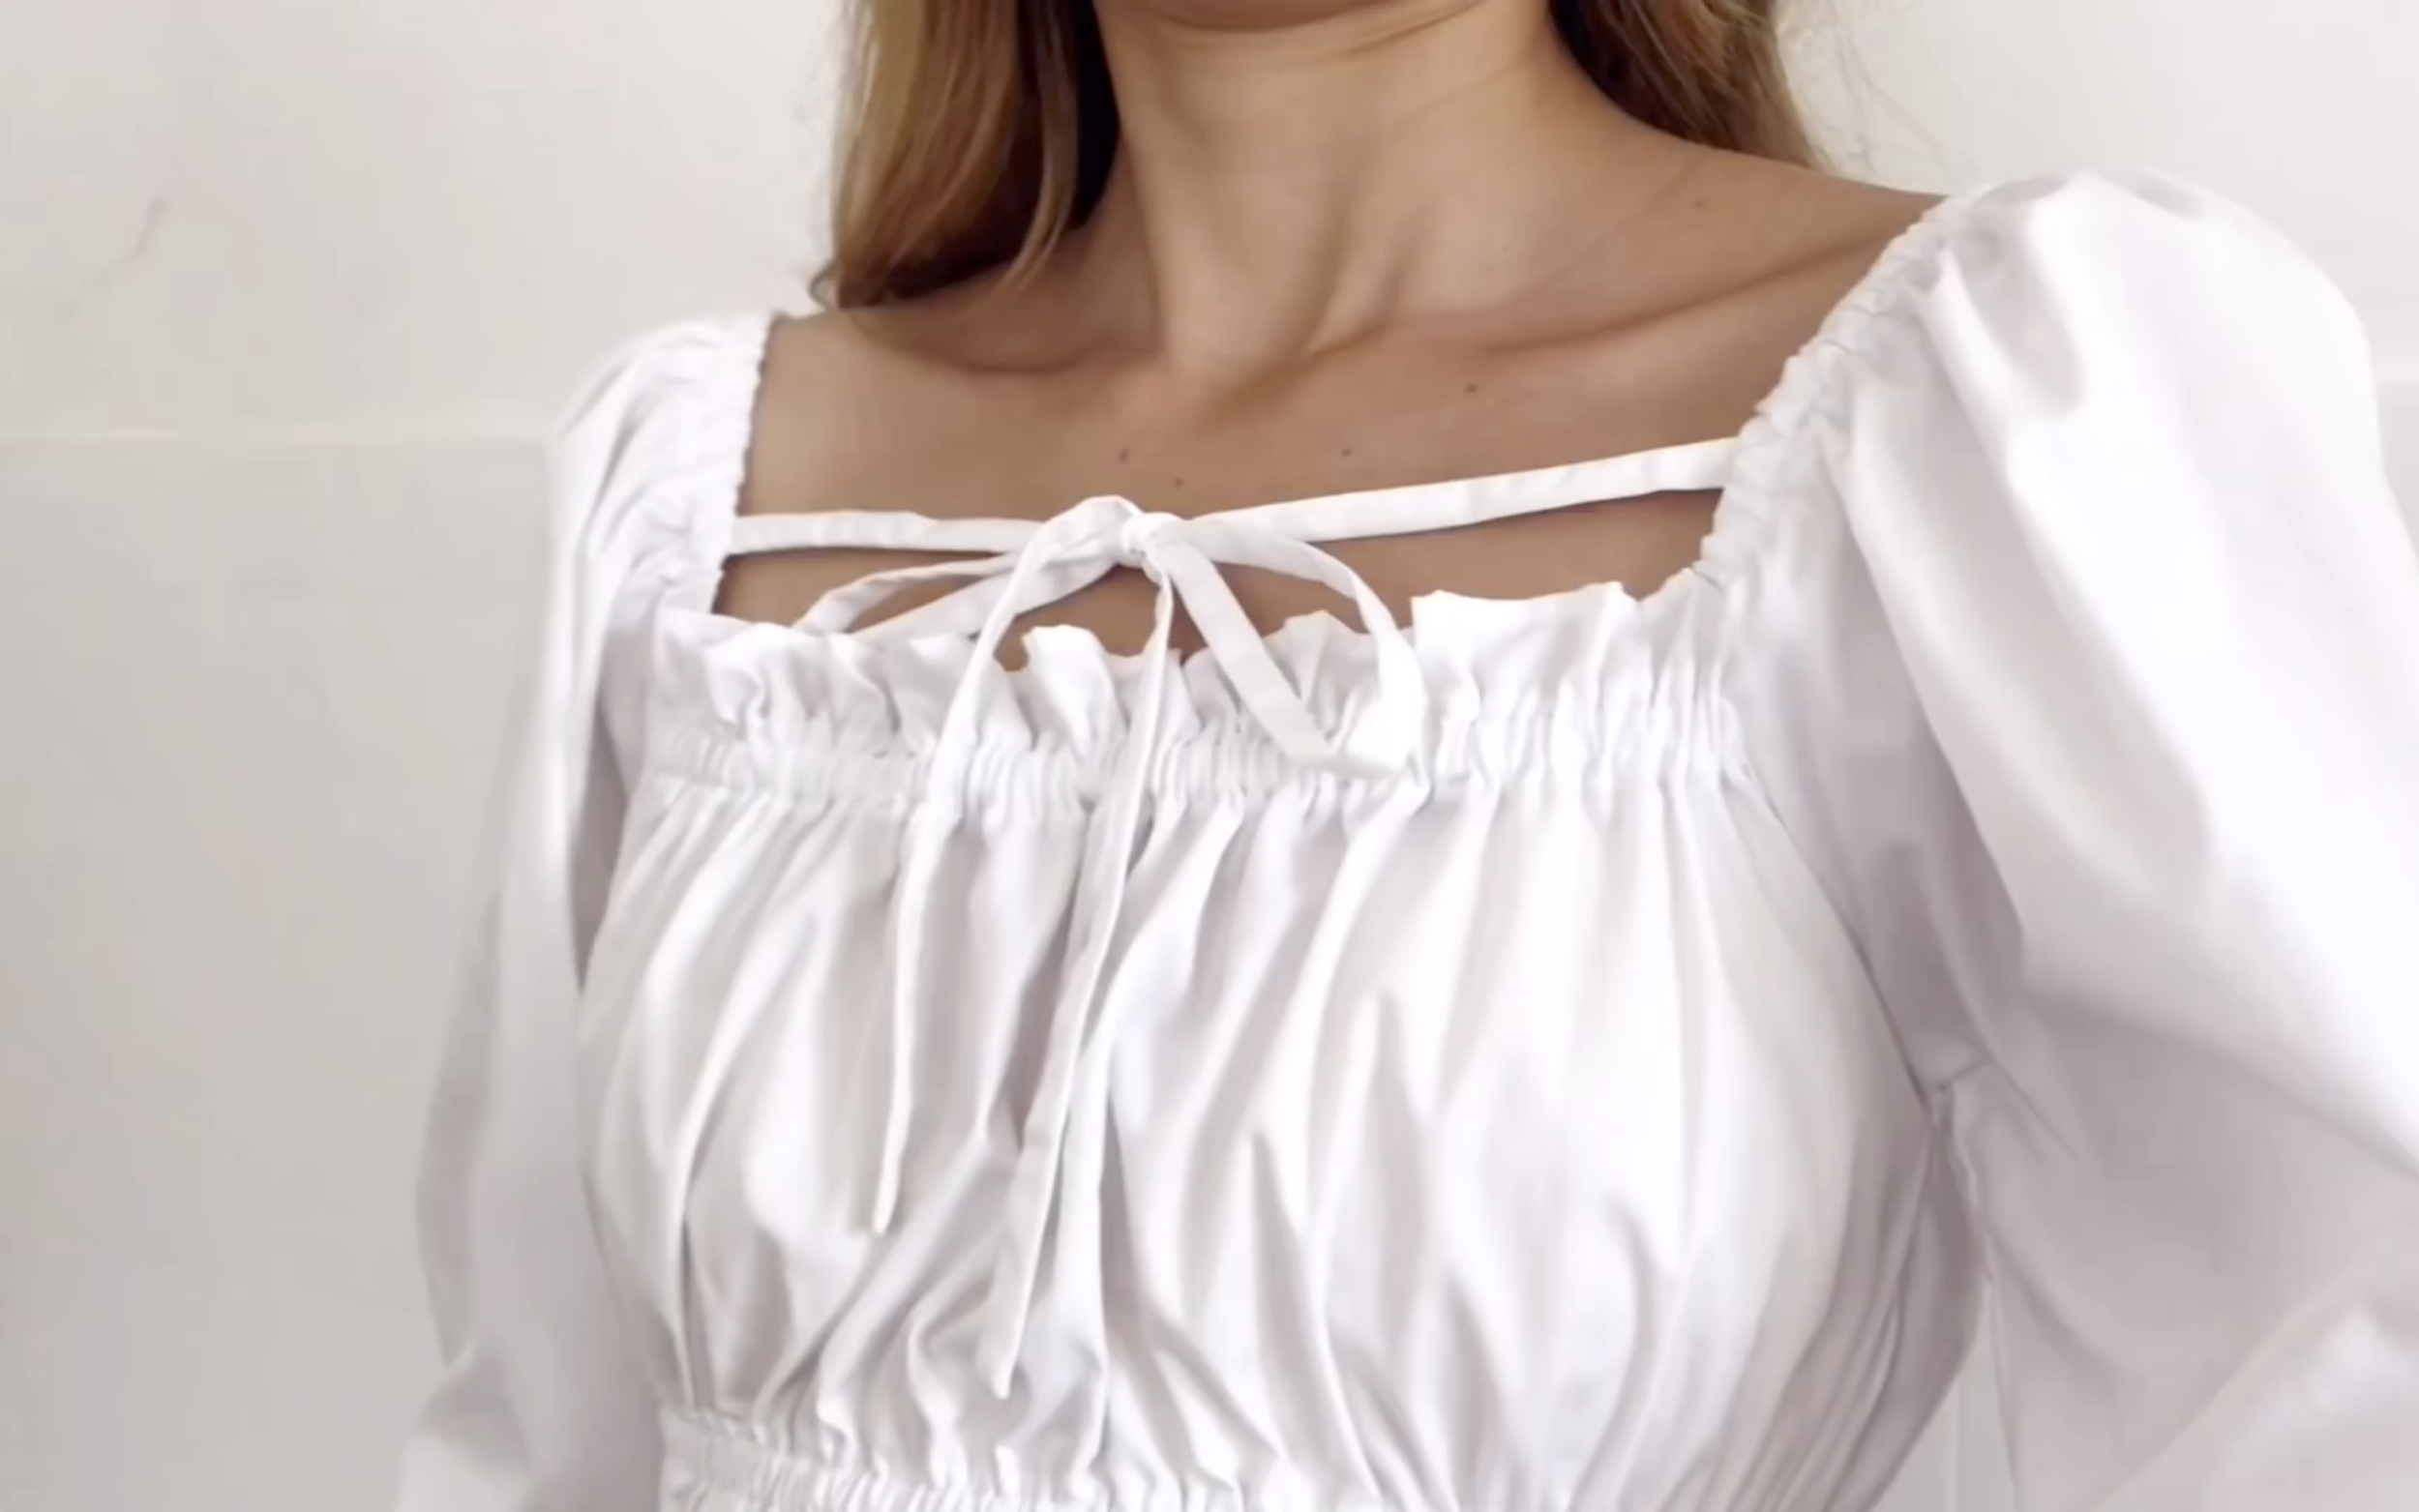
The last step is to create small ties above the chest. Cut 2 rectangles, each 3cm wide, from the leftover fabric of the men's shirt.
Fold each rectangle in half and sew.
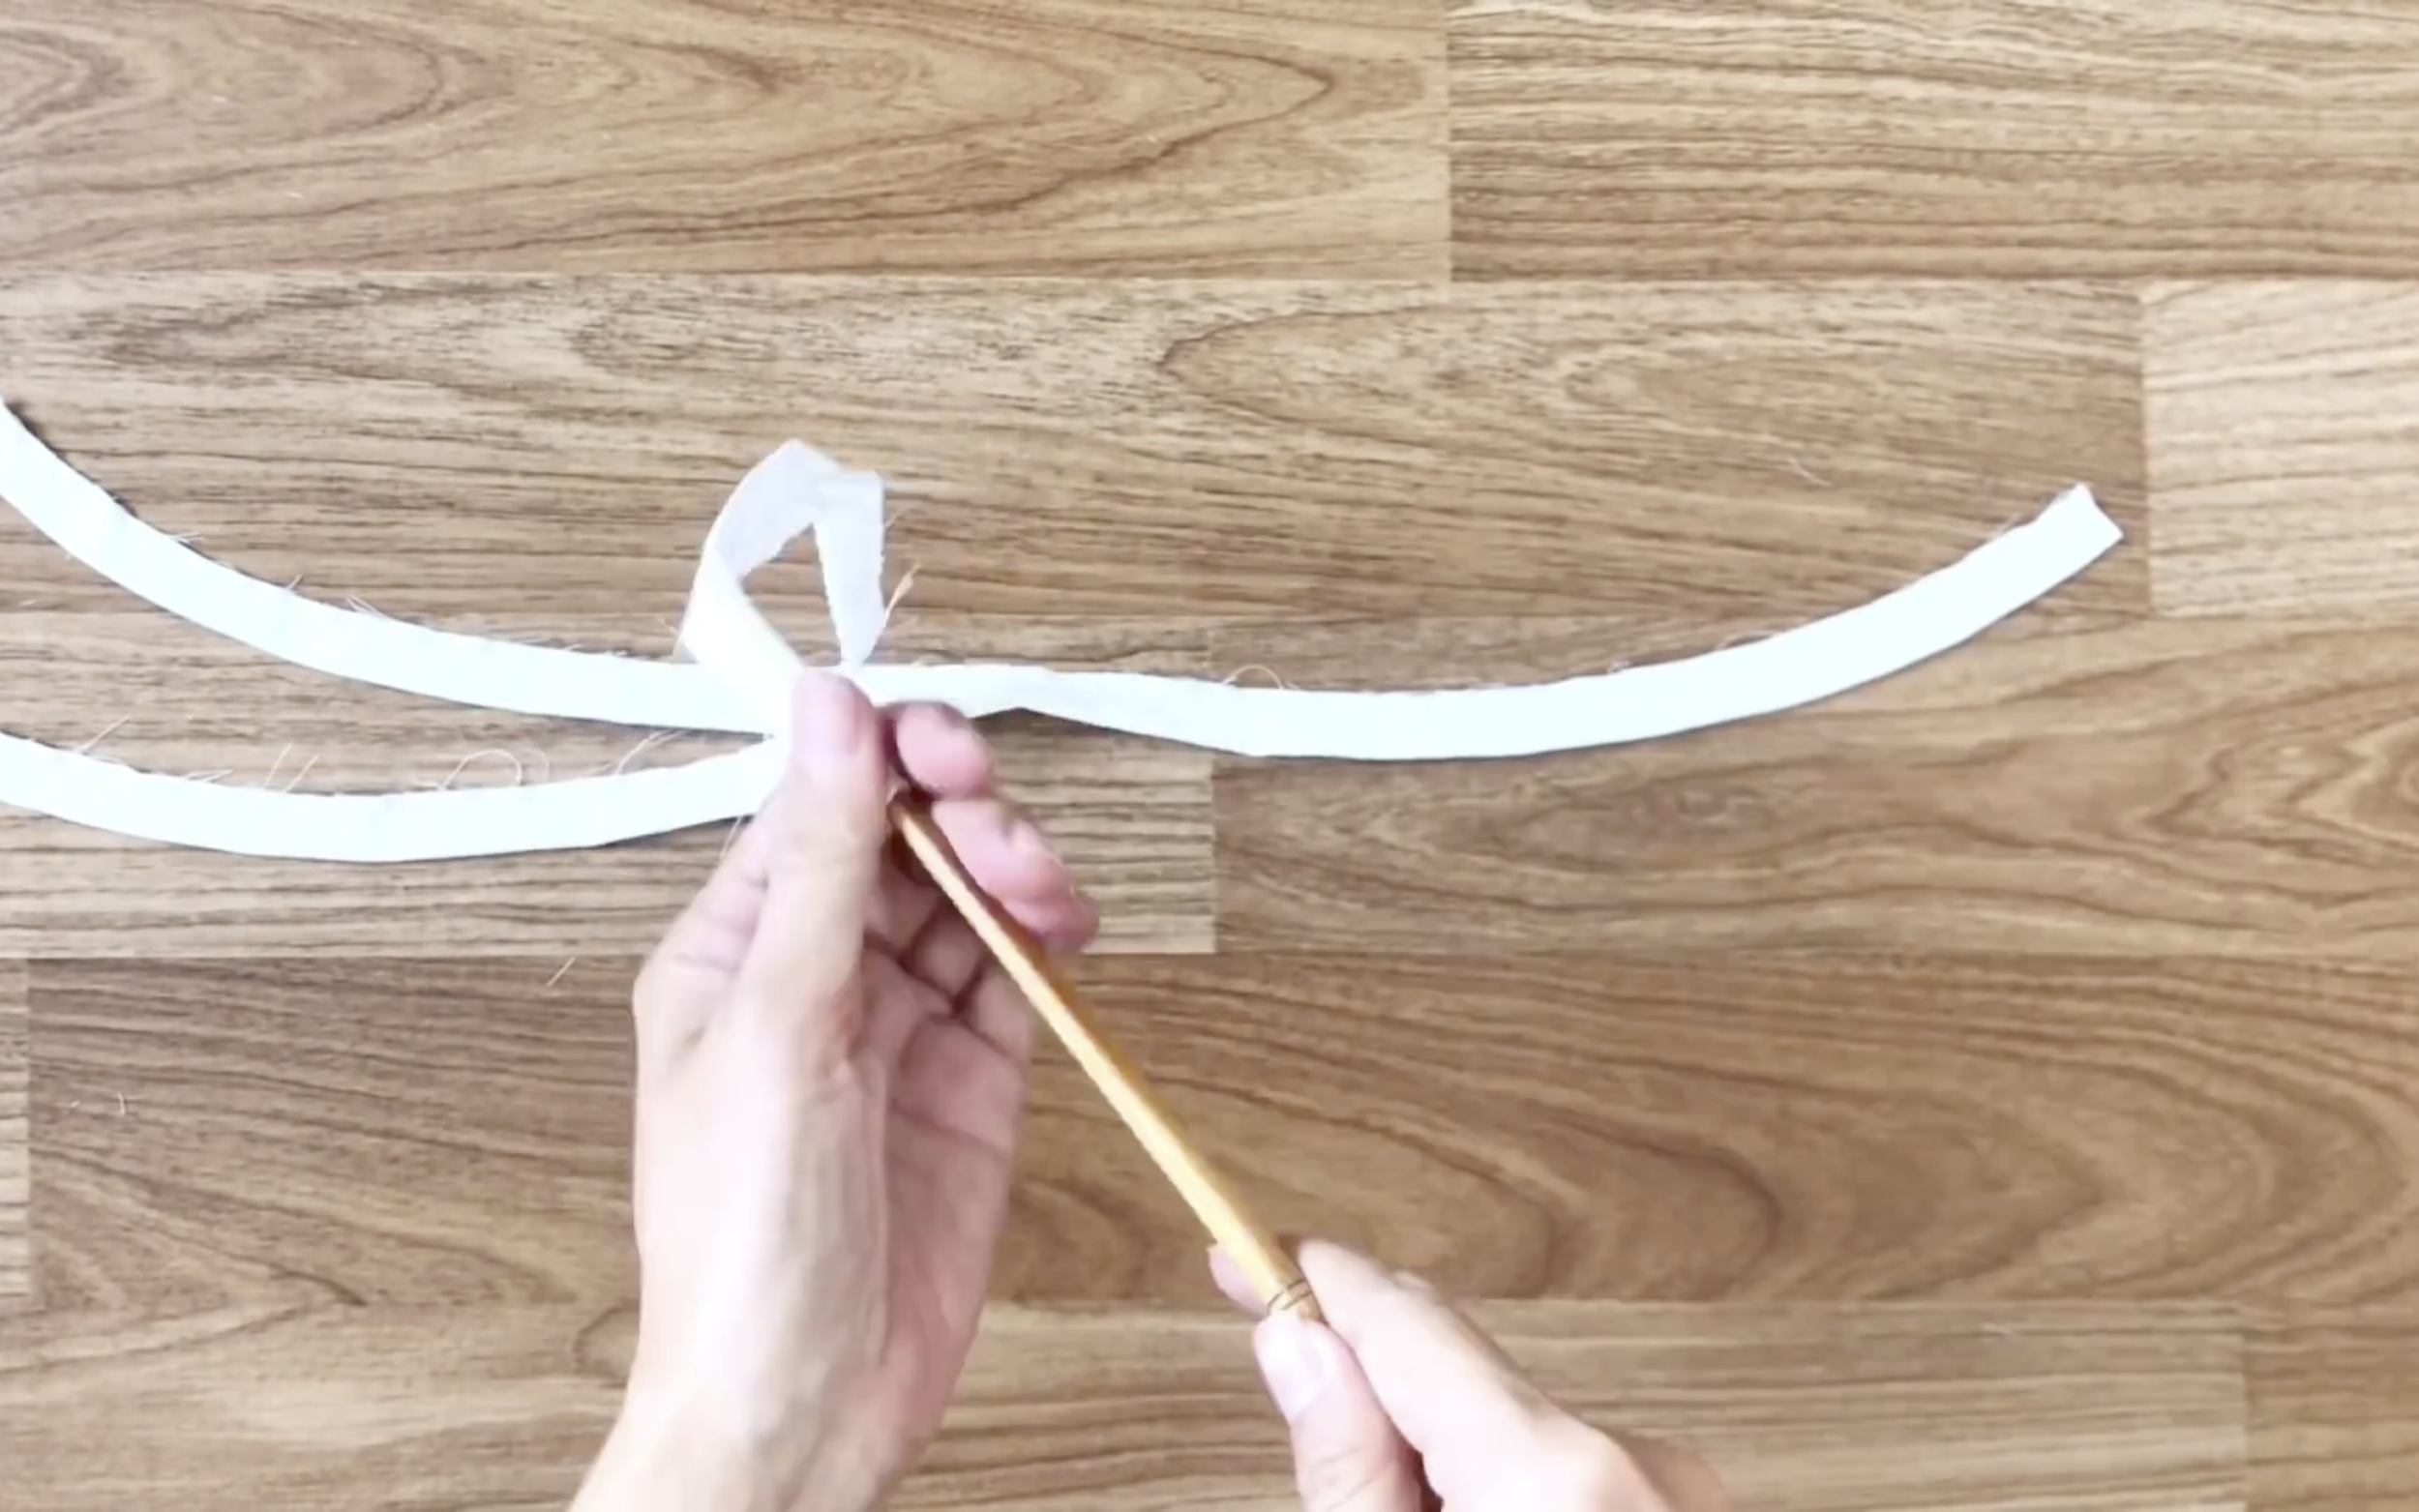
Afterward, use a long stick to turn them inside out.
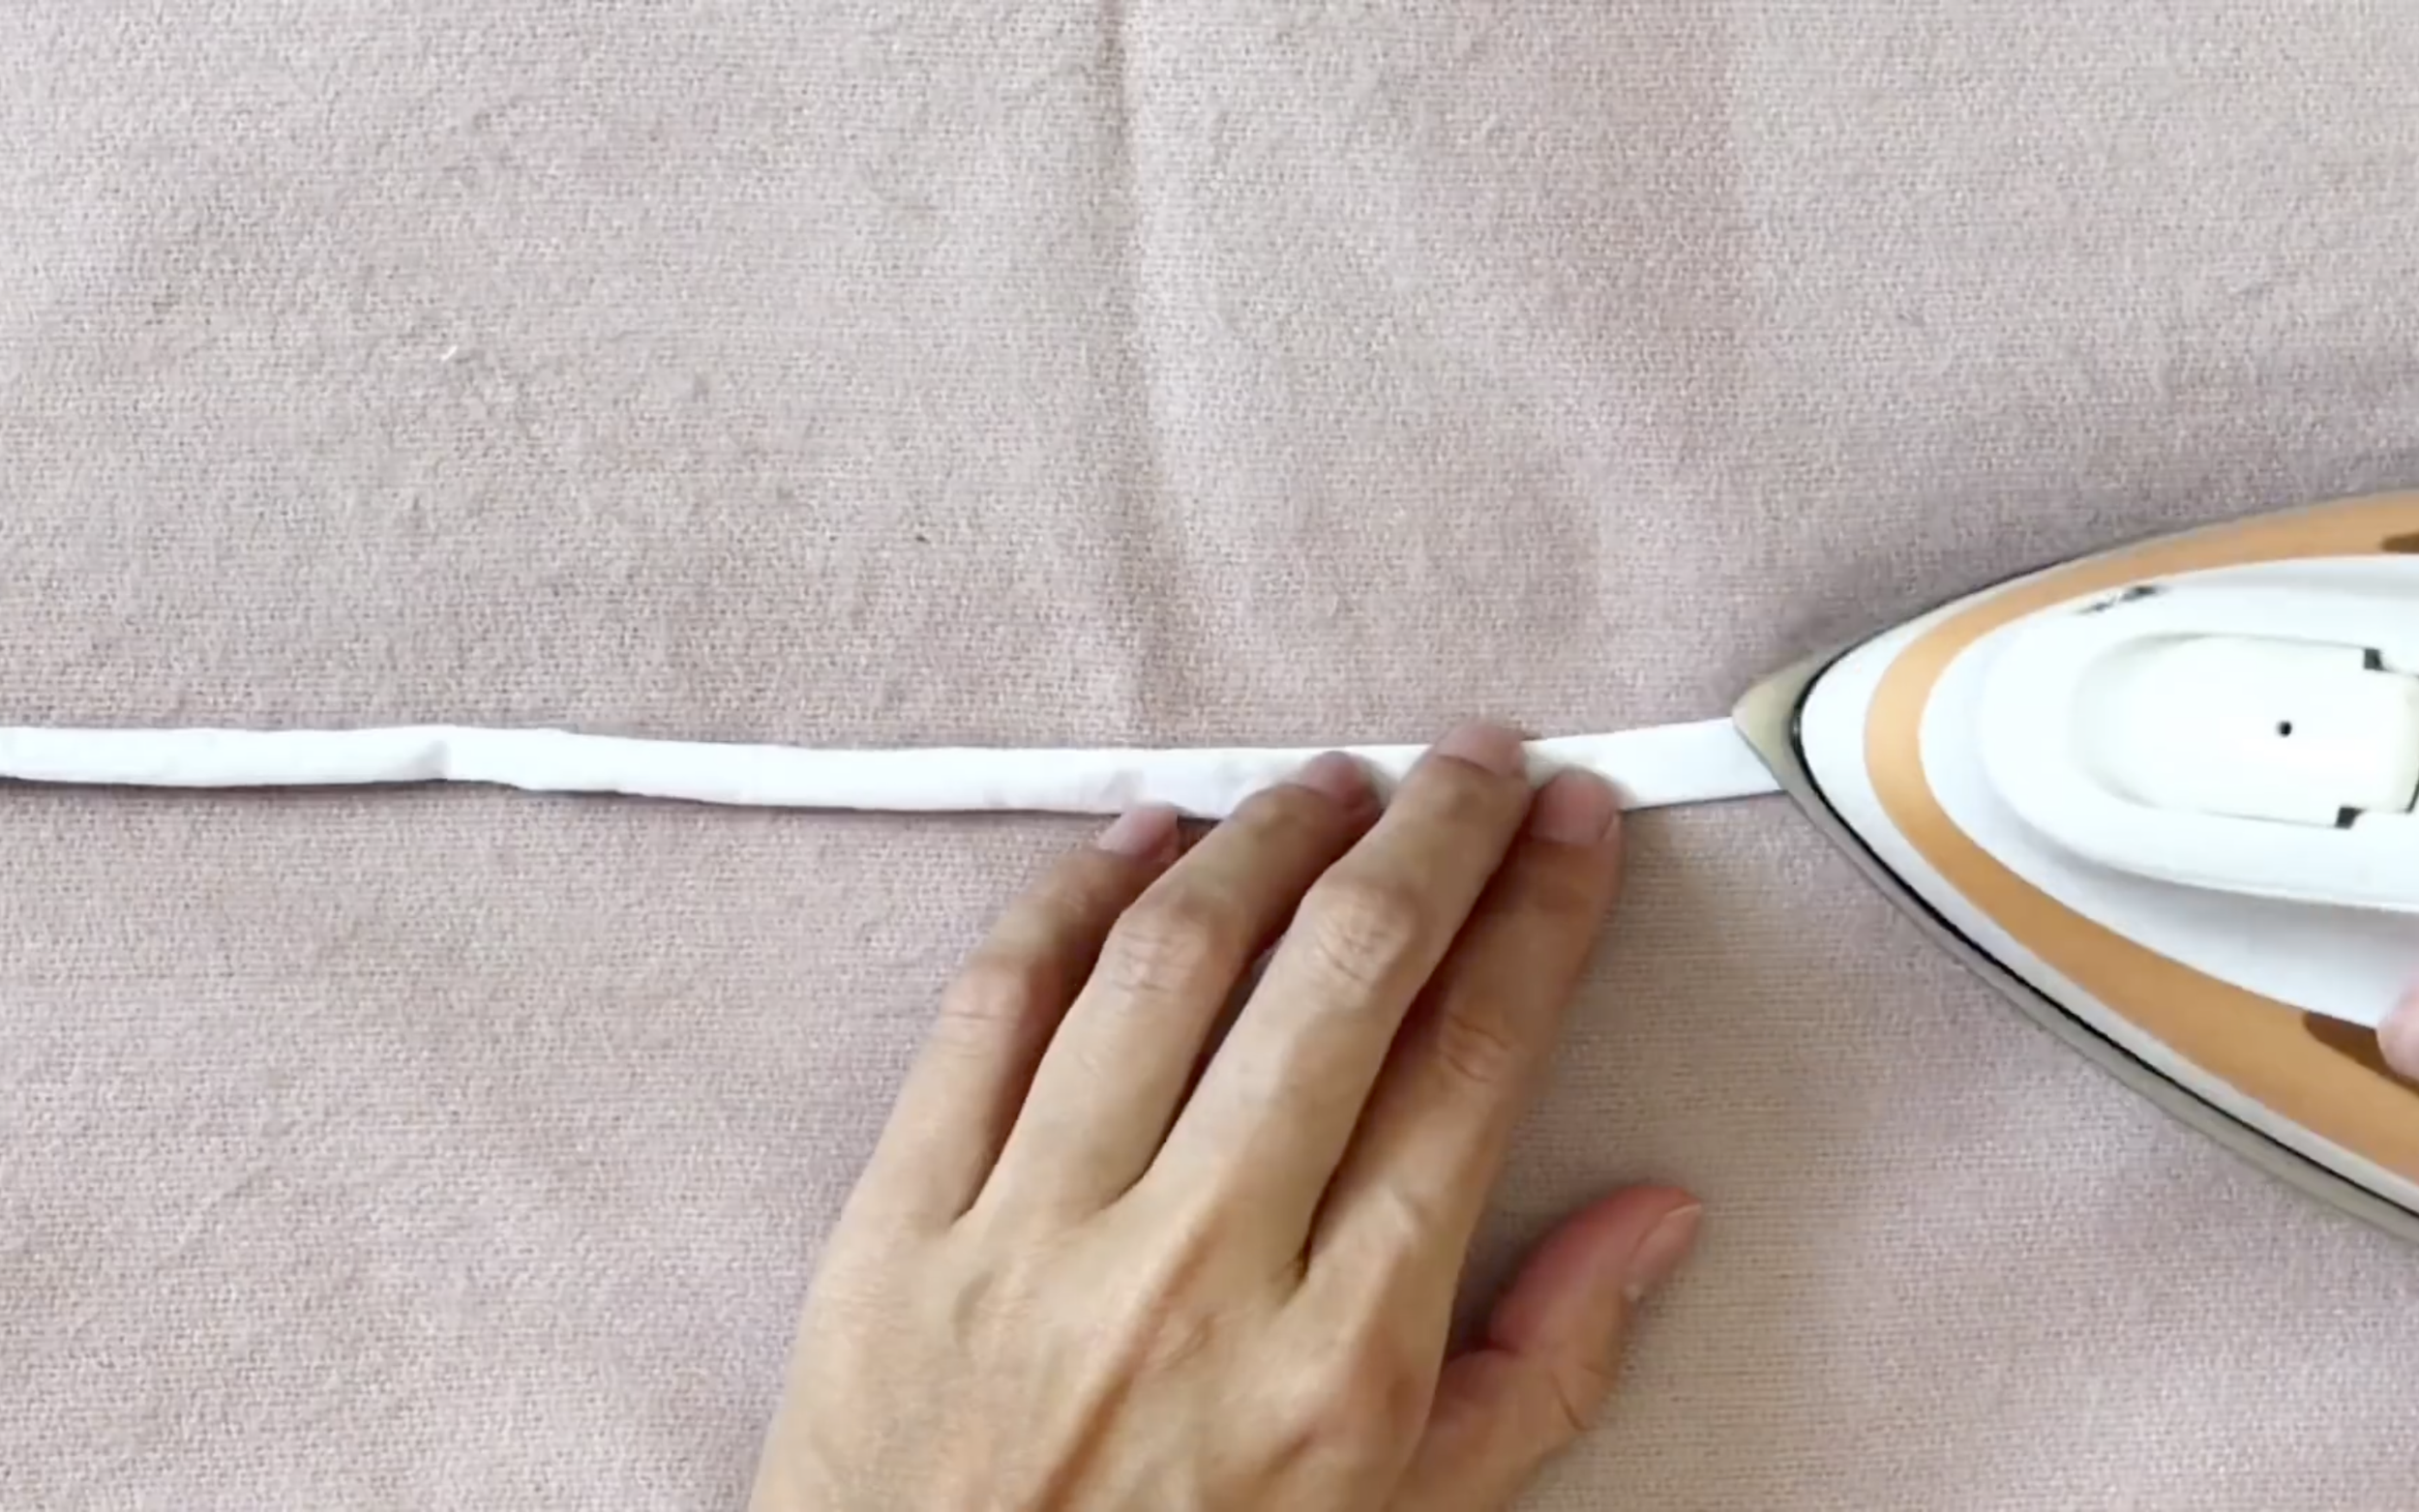
Then, iron to keep them straight.
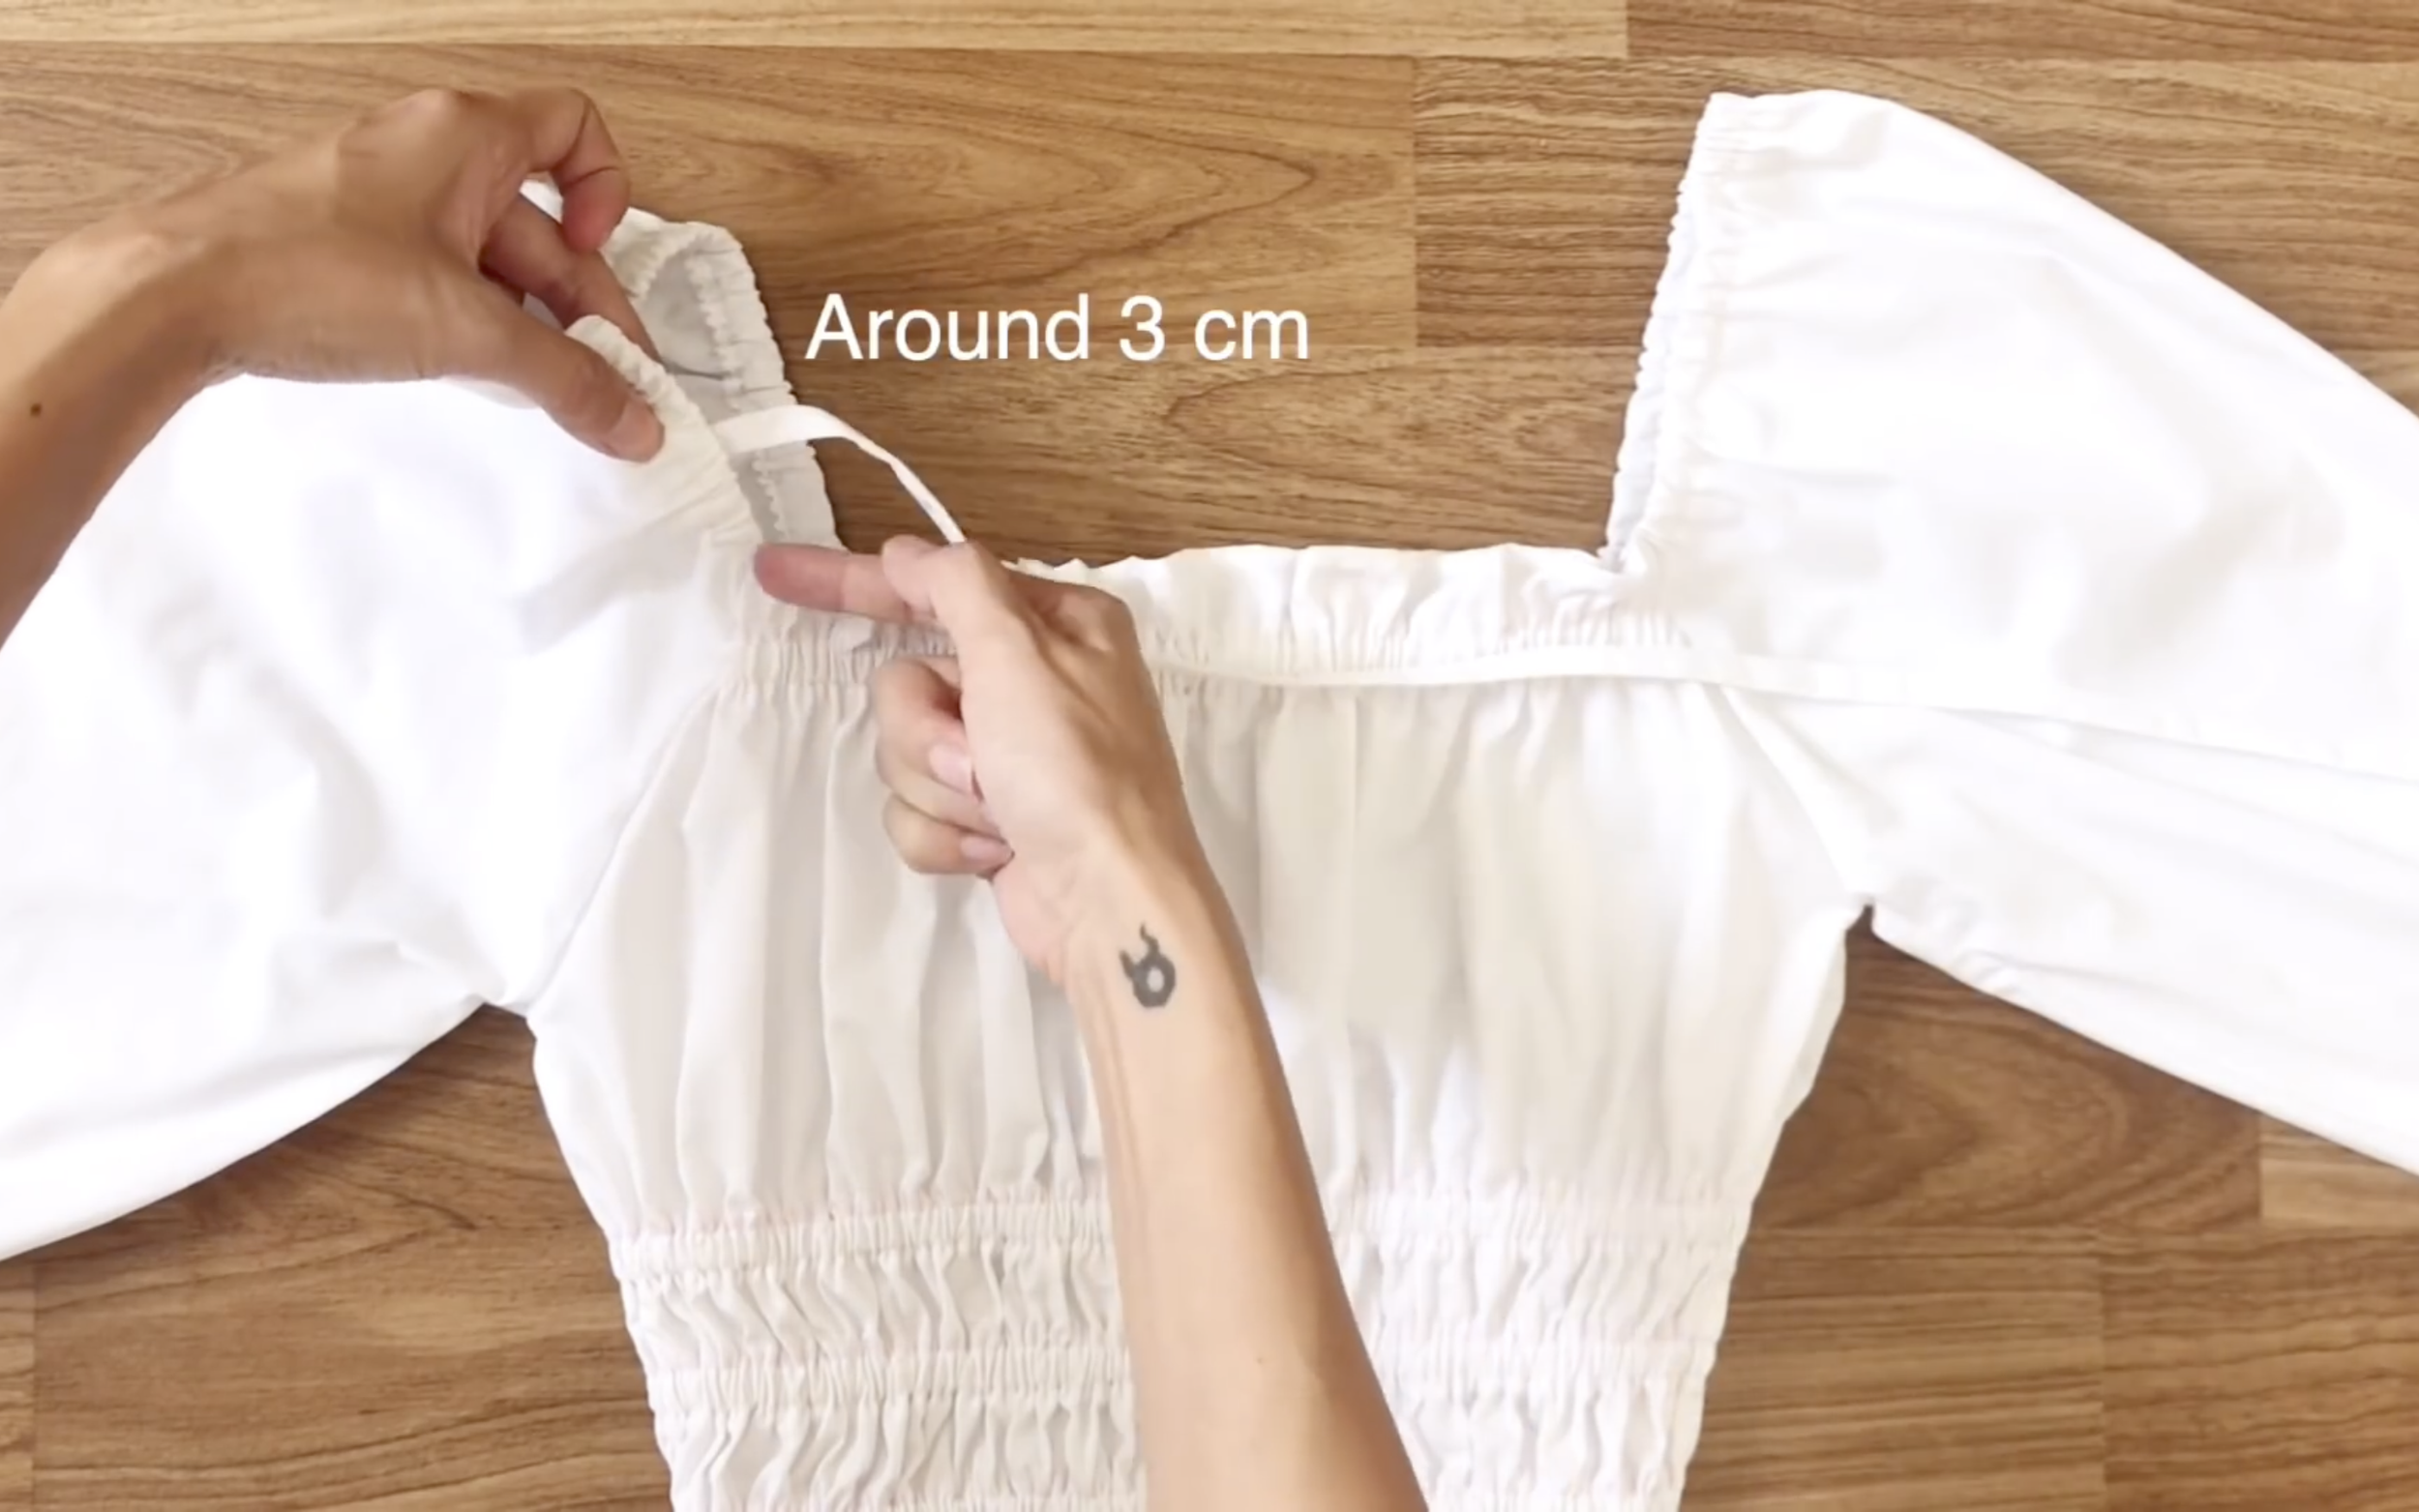
Finally, fix the ties to the crop top at the sleeves. The ties will be placed about 3cm higher than the top of the front.

Asian vs. American - CELEB REFASHION CHALLENGE ft. BlueprintDIY l Lisa Blackpink
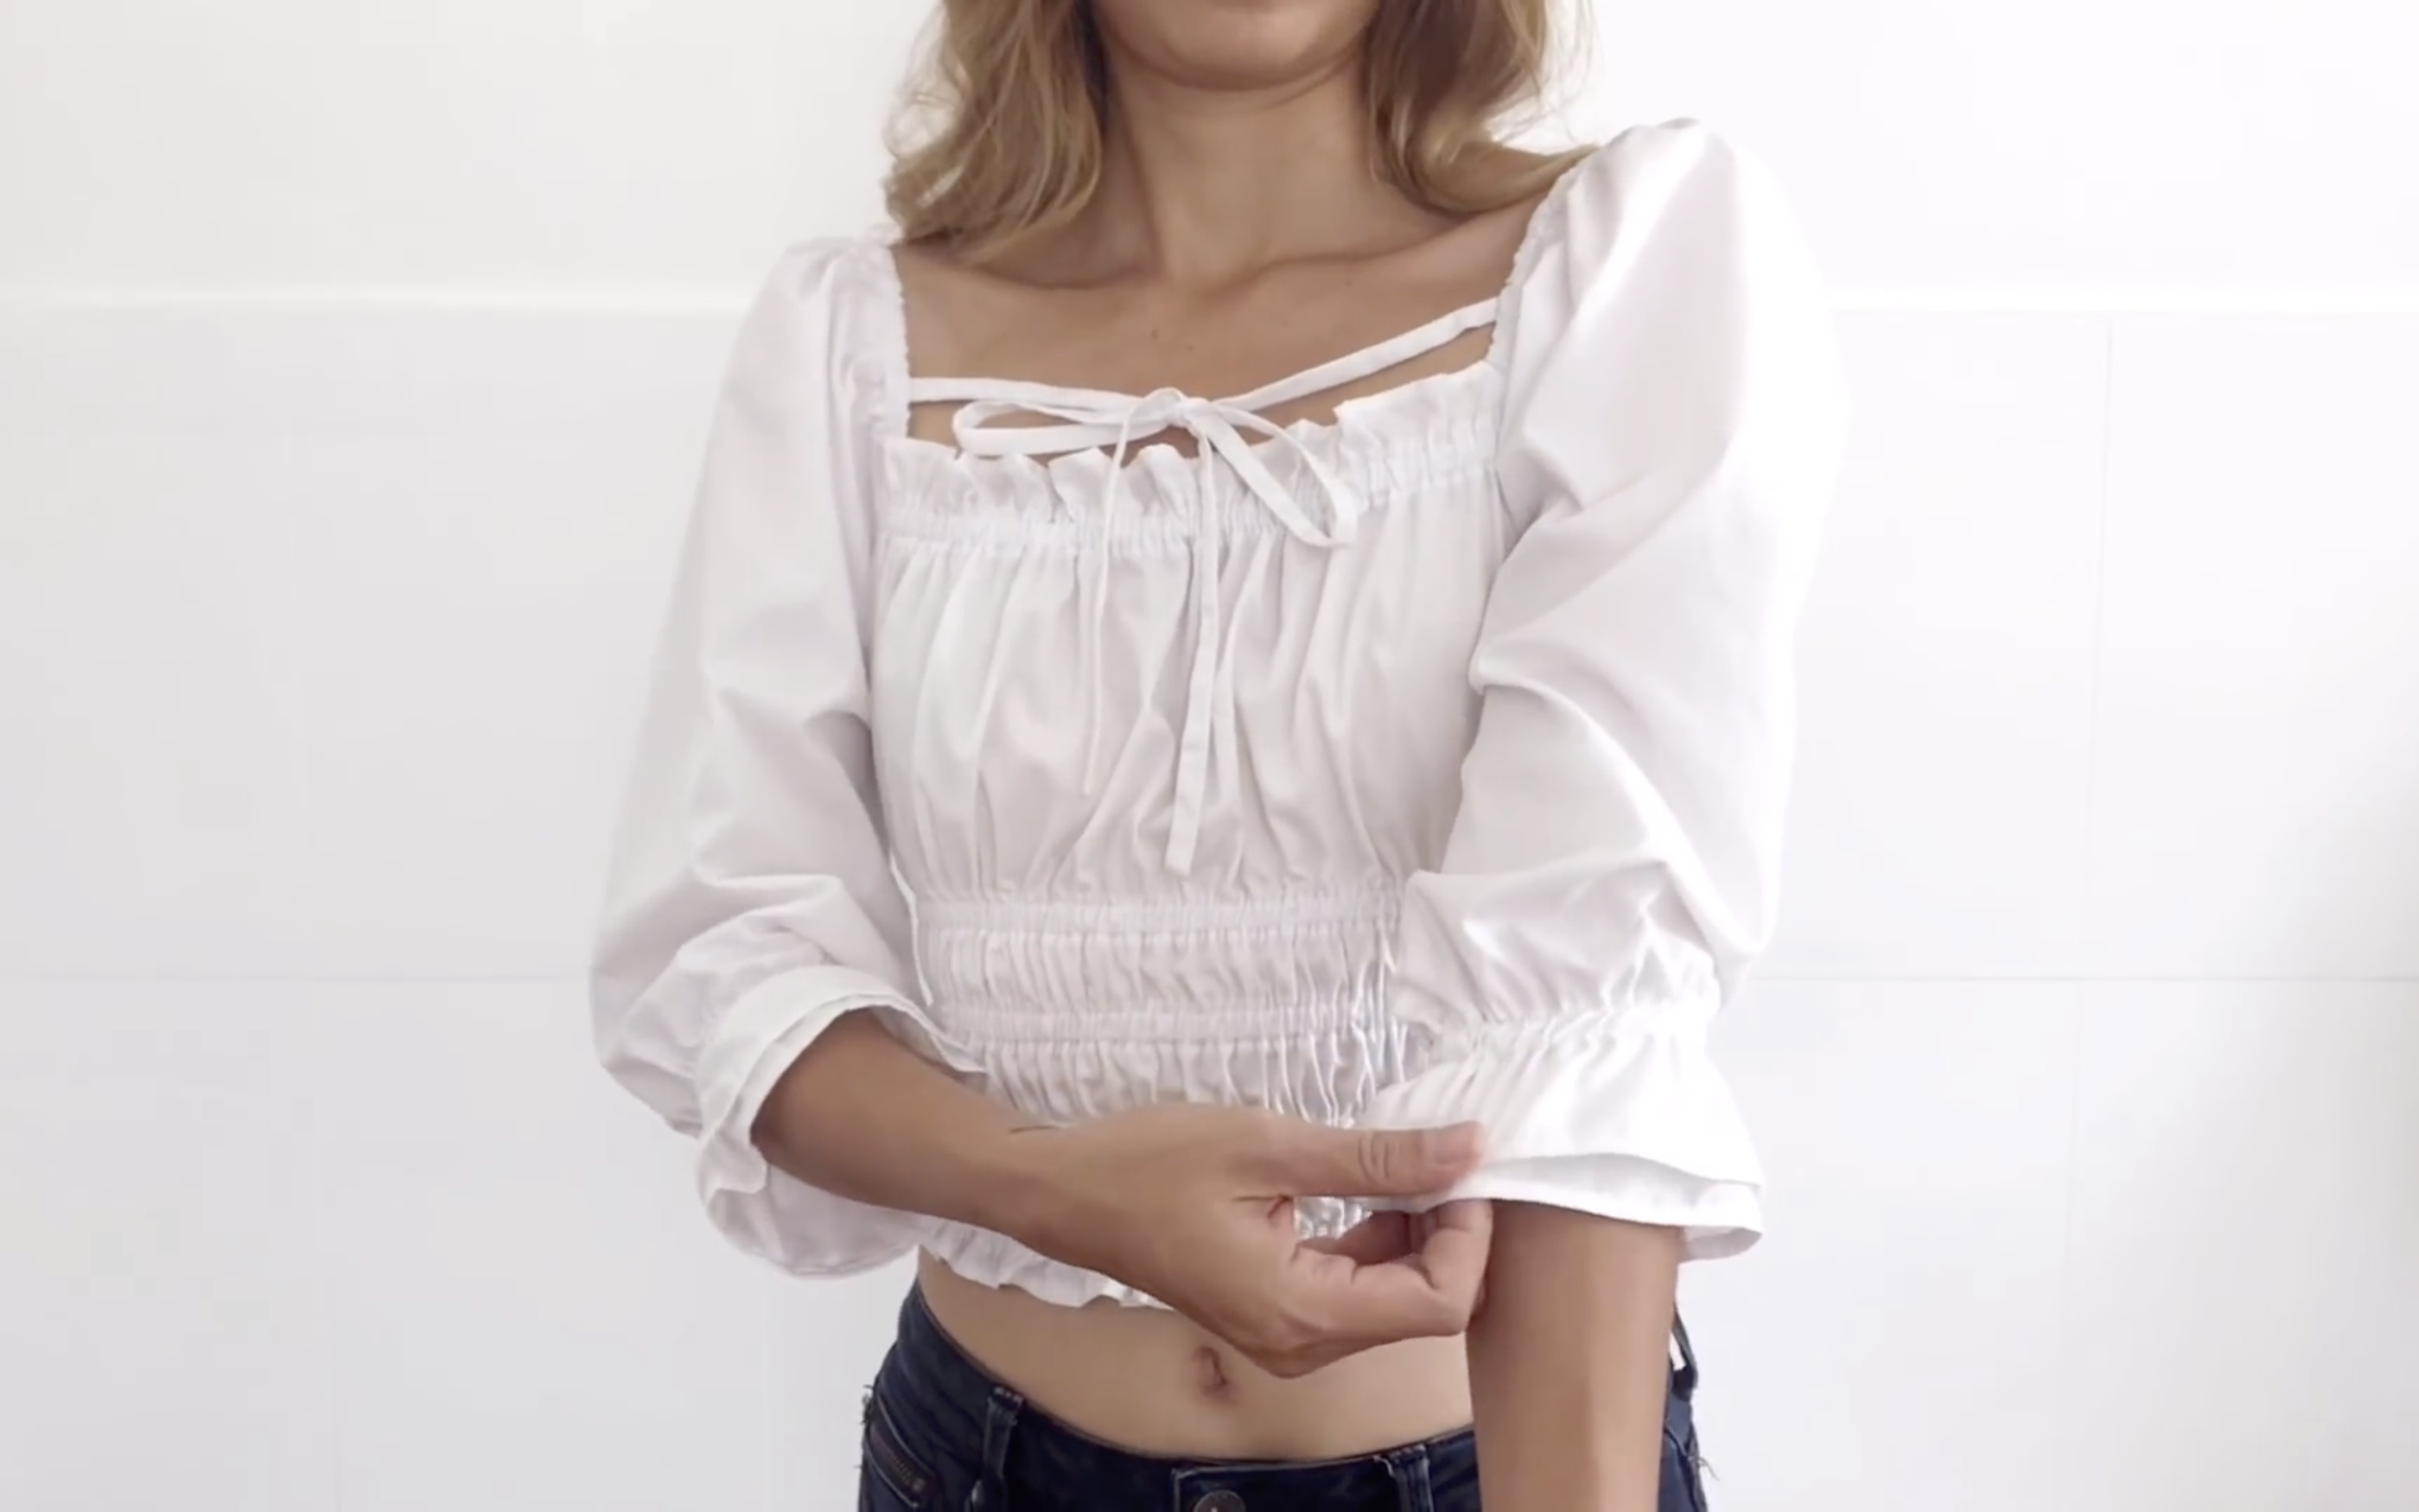
And that’s it for this DIY! Here’s my final transformation—doesn’t it look just like Lisa’s crop top?
I’m so happy with how it turned out. The puff sleeves make it super cute, and it has just the right amount of sexiness with the cropped length.
And it won't be too difficult to make. So I hope you will give it a try.
If you liked this project, please share it and subscribe to my channel so you won’t miss any of my upcoming DIYs.
Until next week, happy sewing!