DIY PROM DRESS to attend to my imagined Prom night

DIY PROM DRESS to attend to my imagined Prom night
Welcome or welcome back to my channel!
It's the last day of May. So it's still in my birthday month. And I got myself an emotional gift :) that I've dreamed about. I always want to wear a prom dress and go to the prom night with a guy I like in high school. But my school didn't have this culture at that time. Therefore, I decided to make a prom dress and attend to my imagined prom night. It was a fun time doing it. But it feels like my dream come true.
I made it by hand to show you that even if you don't have a sewing machine, you still can sew and make the clothes that you always want to have.
So, let’s get started!
WHAT YOU’LL NEED
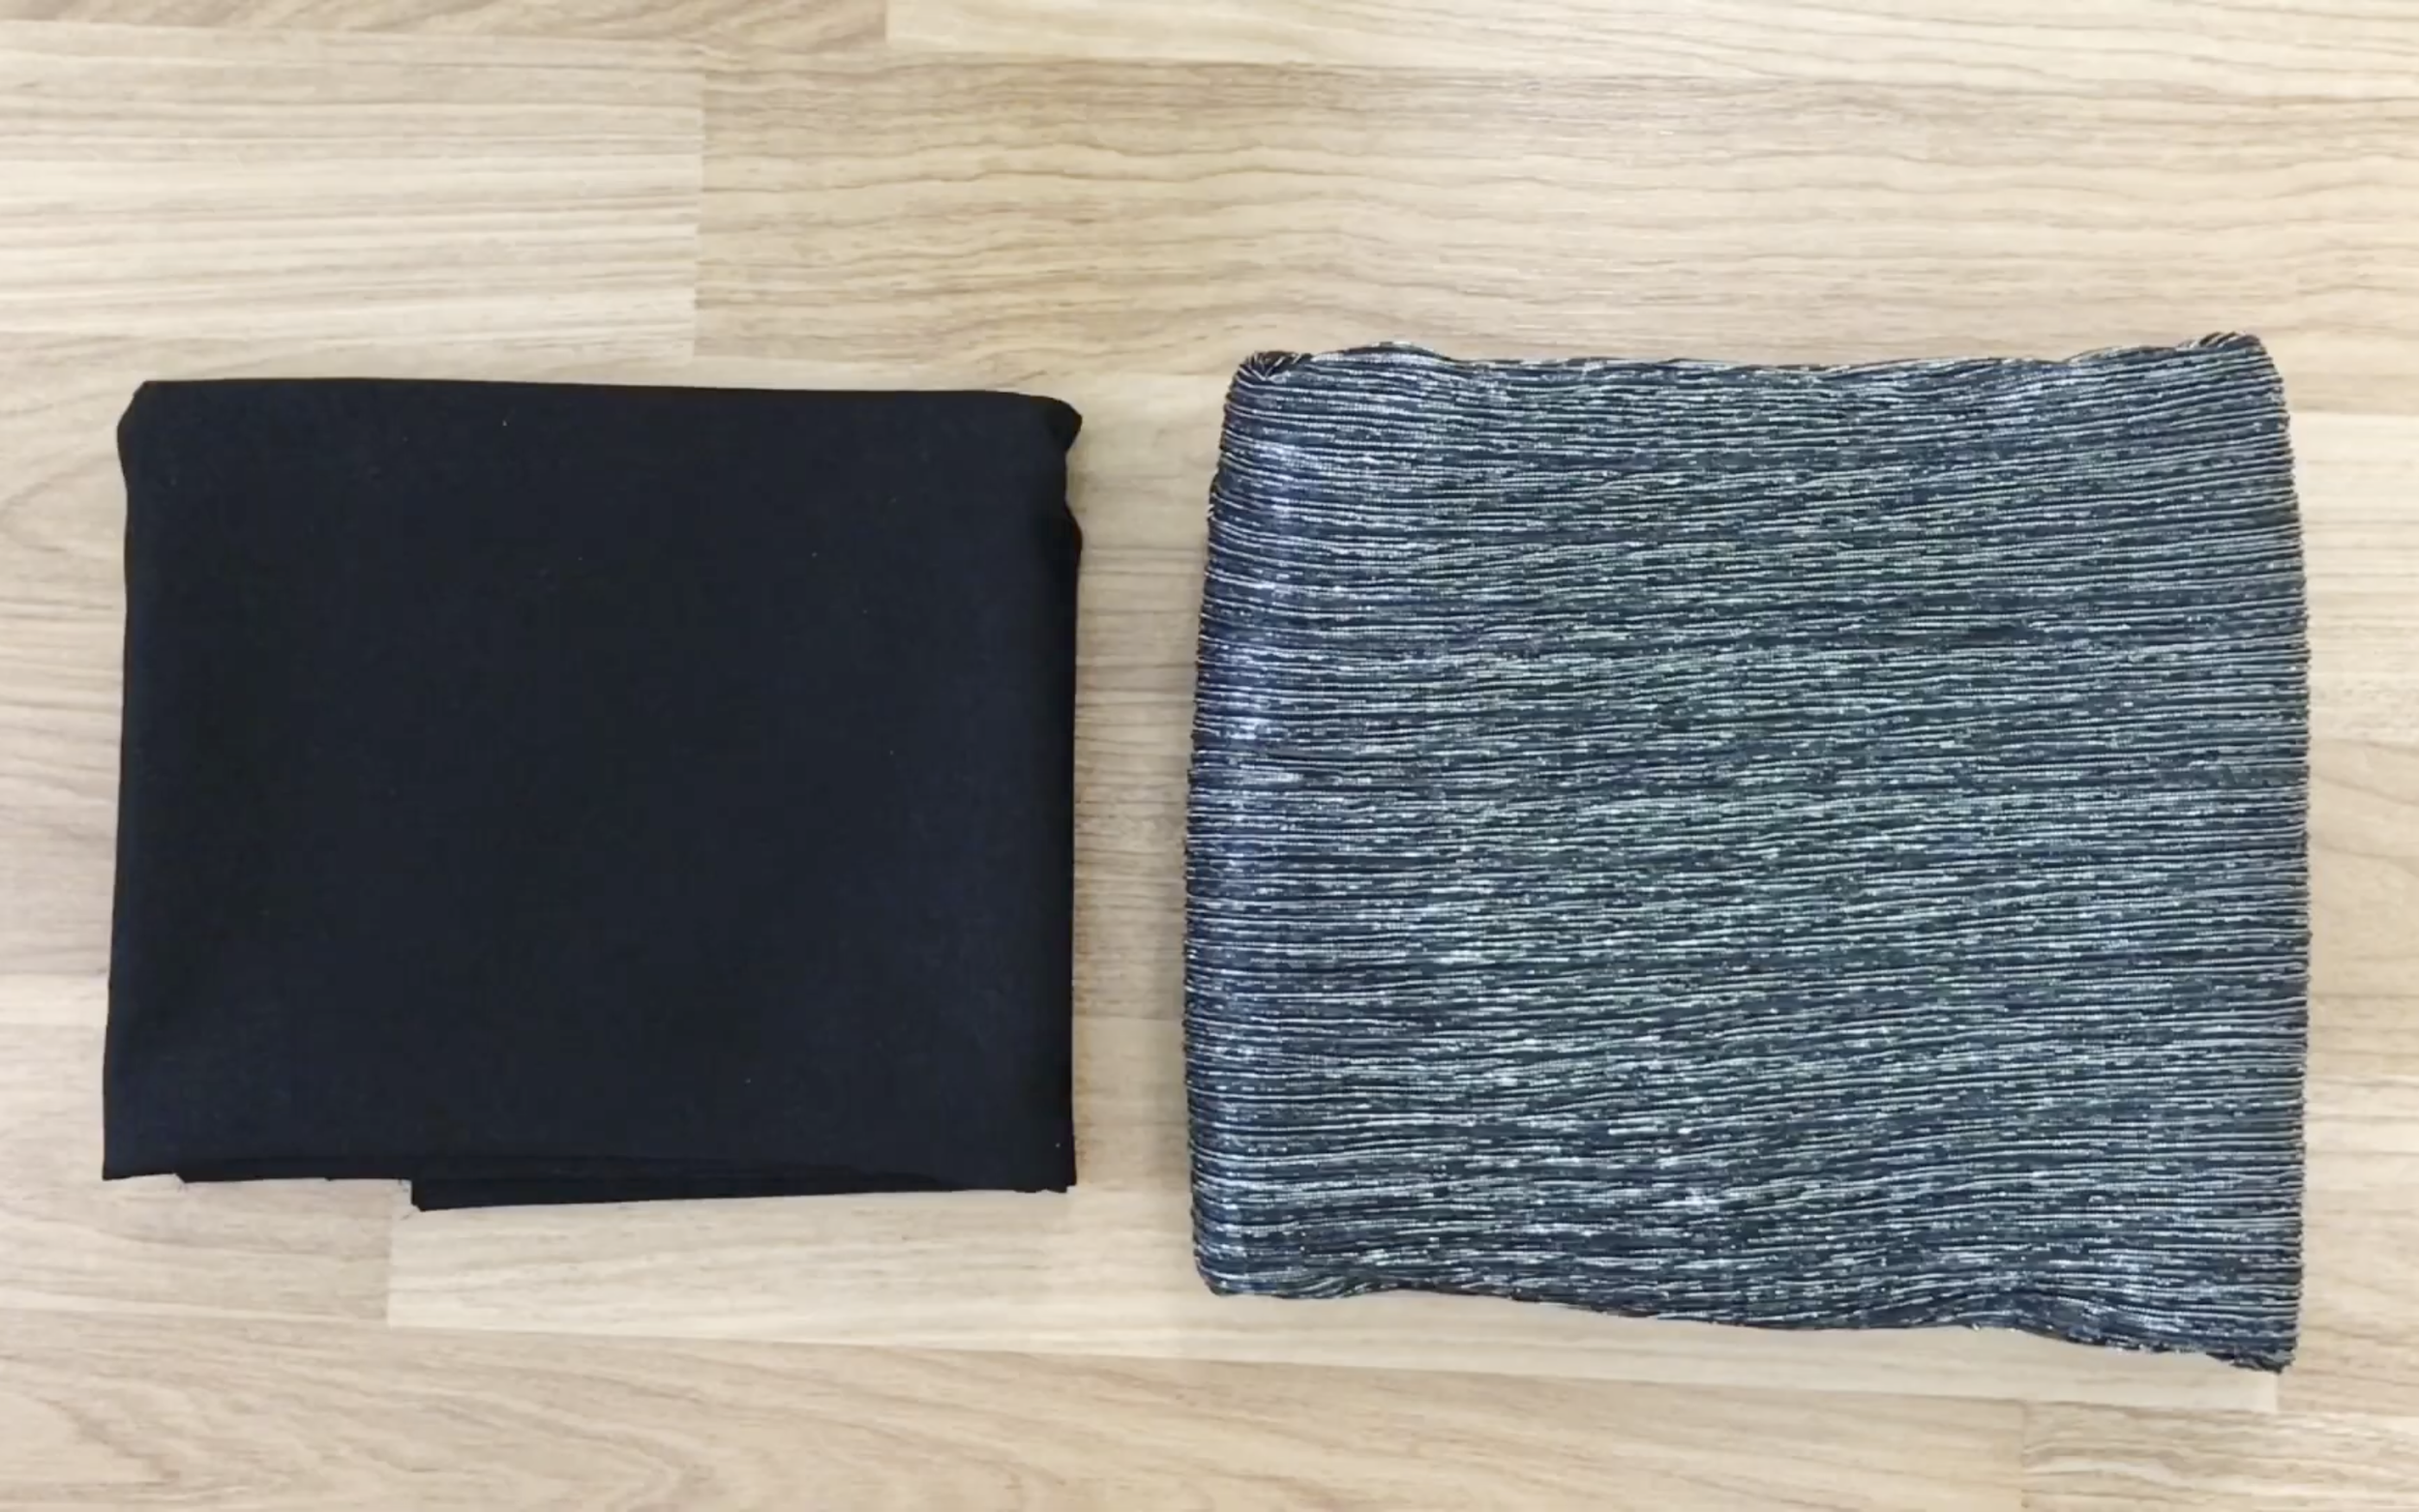
Spandex fabric with a twinkle and a black lining
Pattern paper
Sewing machine
Pins
Scissors
Ruler
Long stick
SEWING THE DRESS
THE TOP
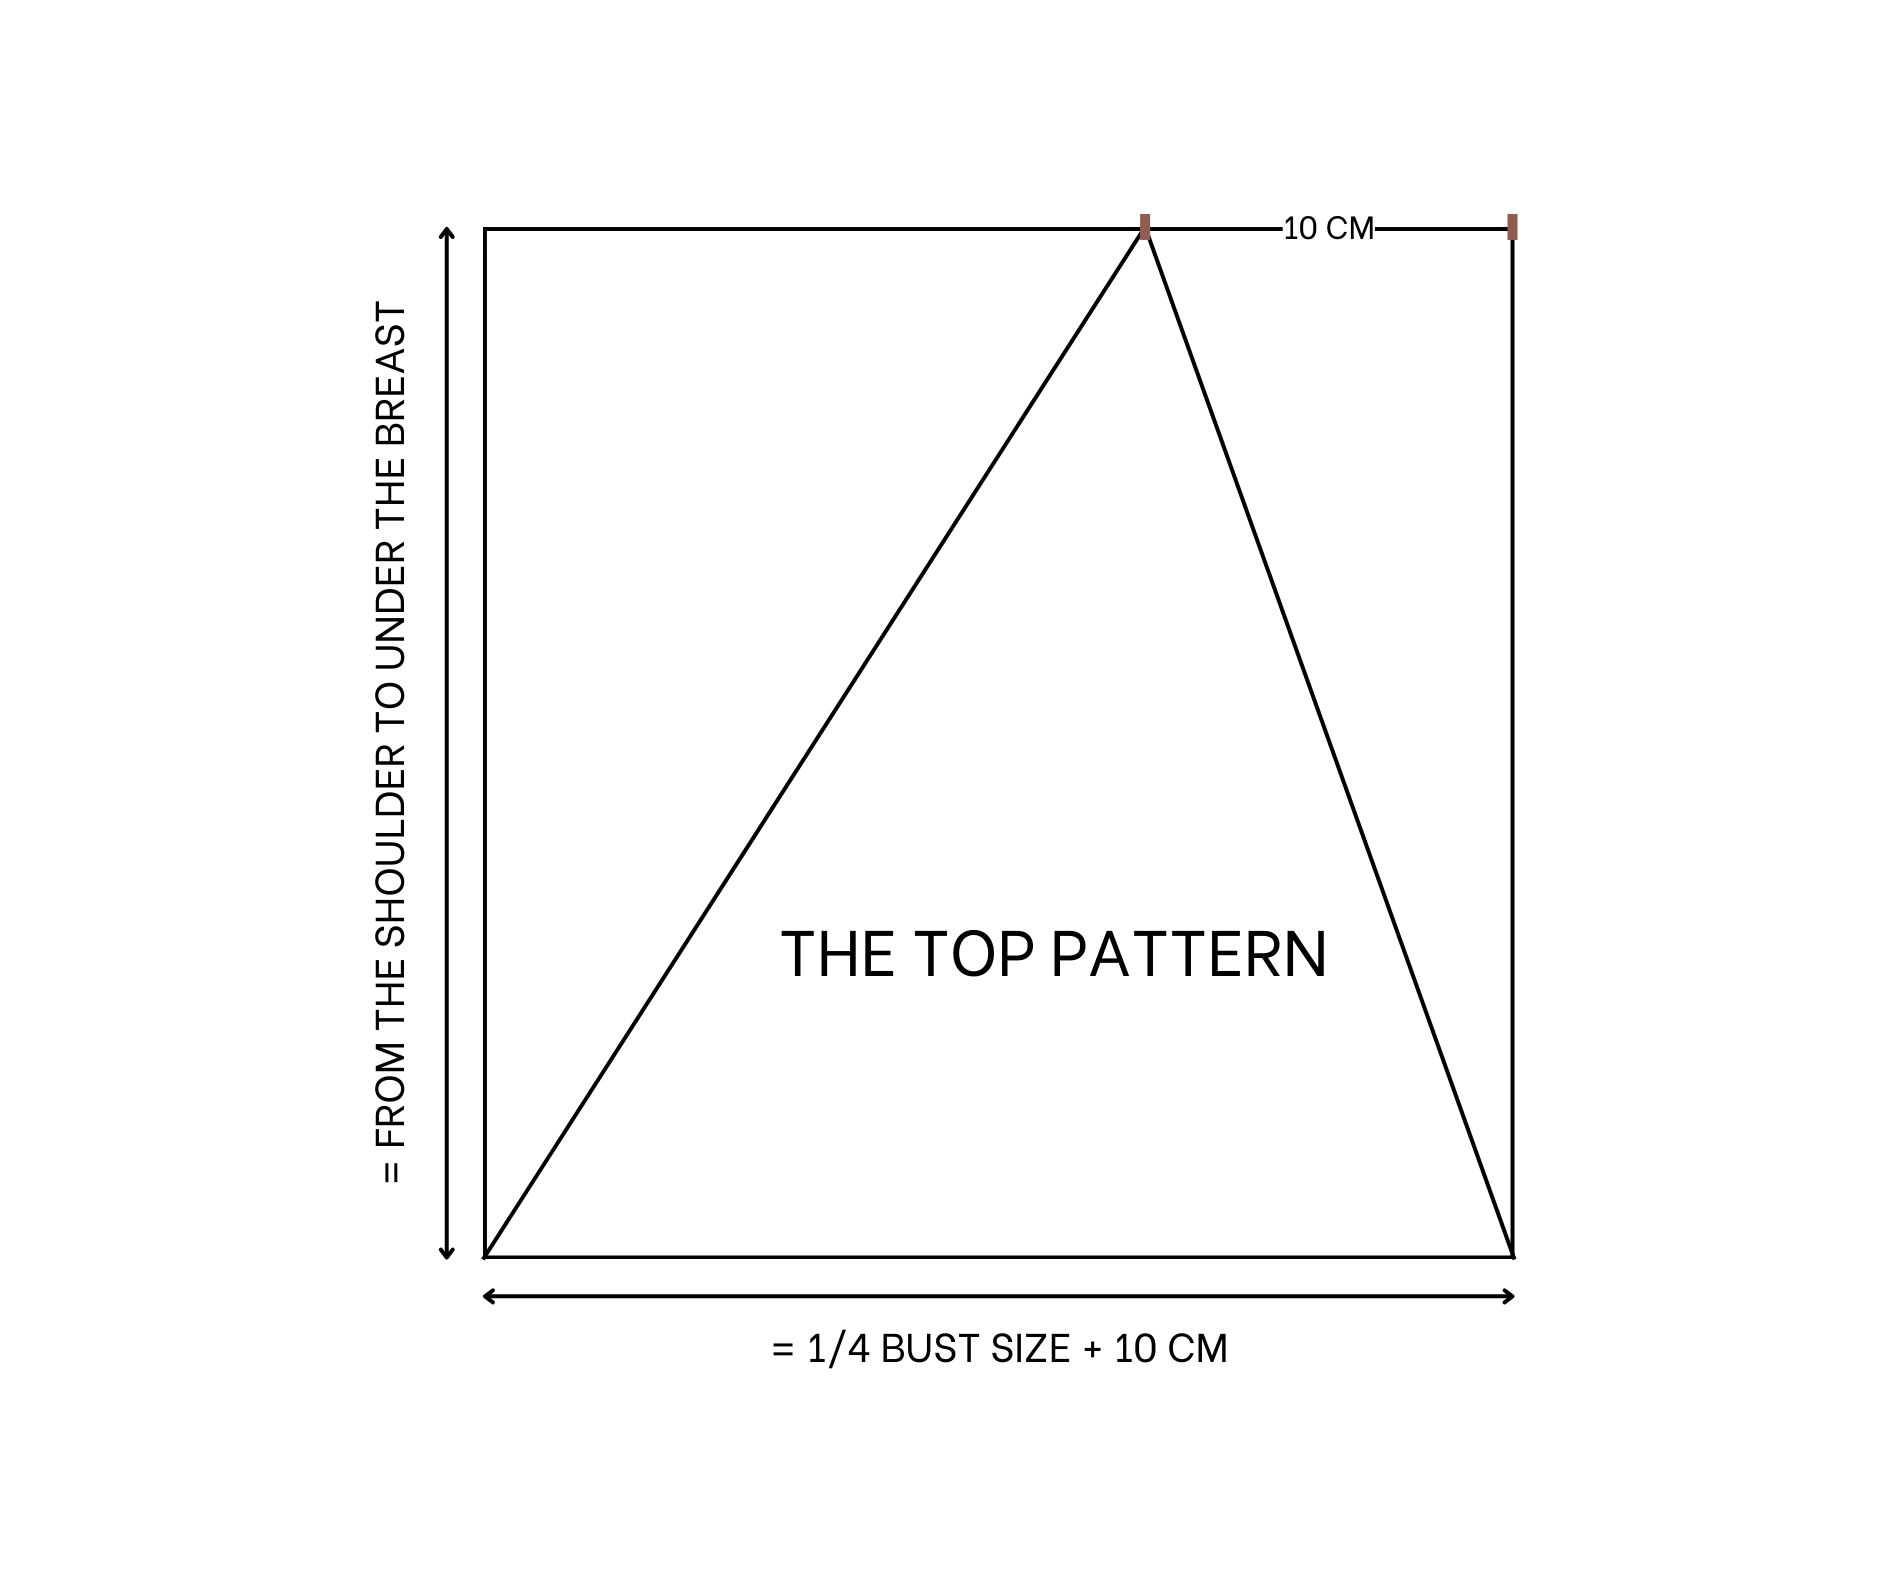
The top pattern
THE TOP PATTERN
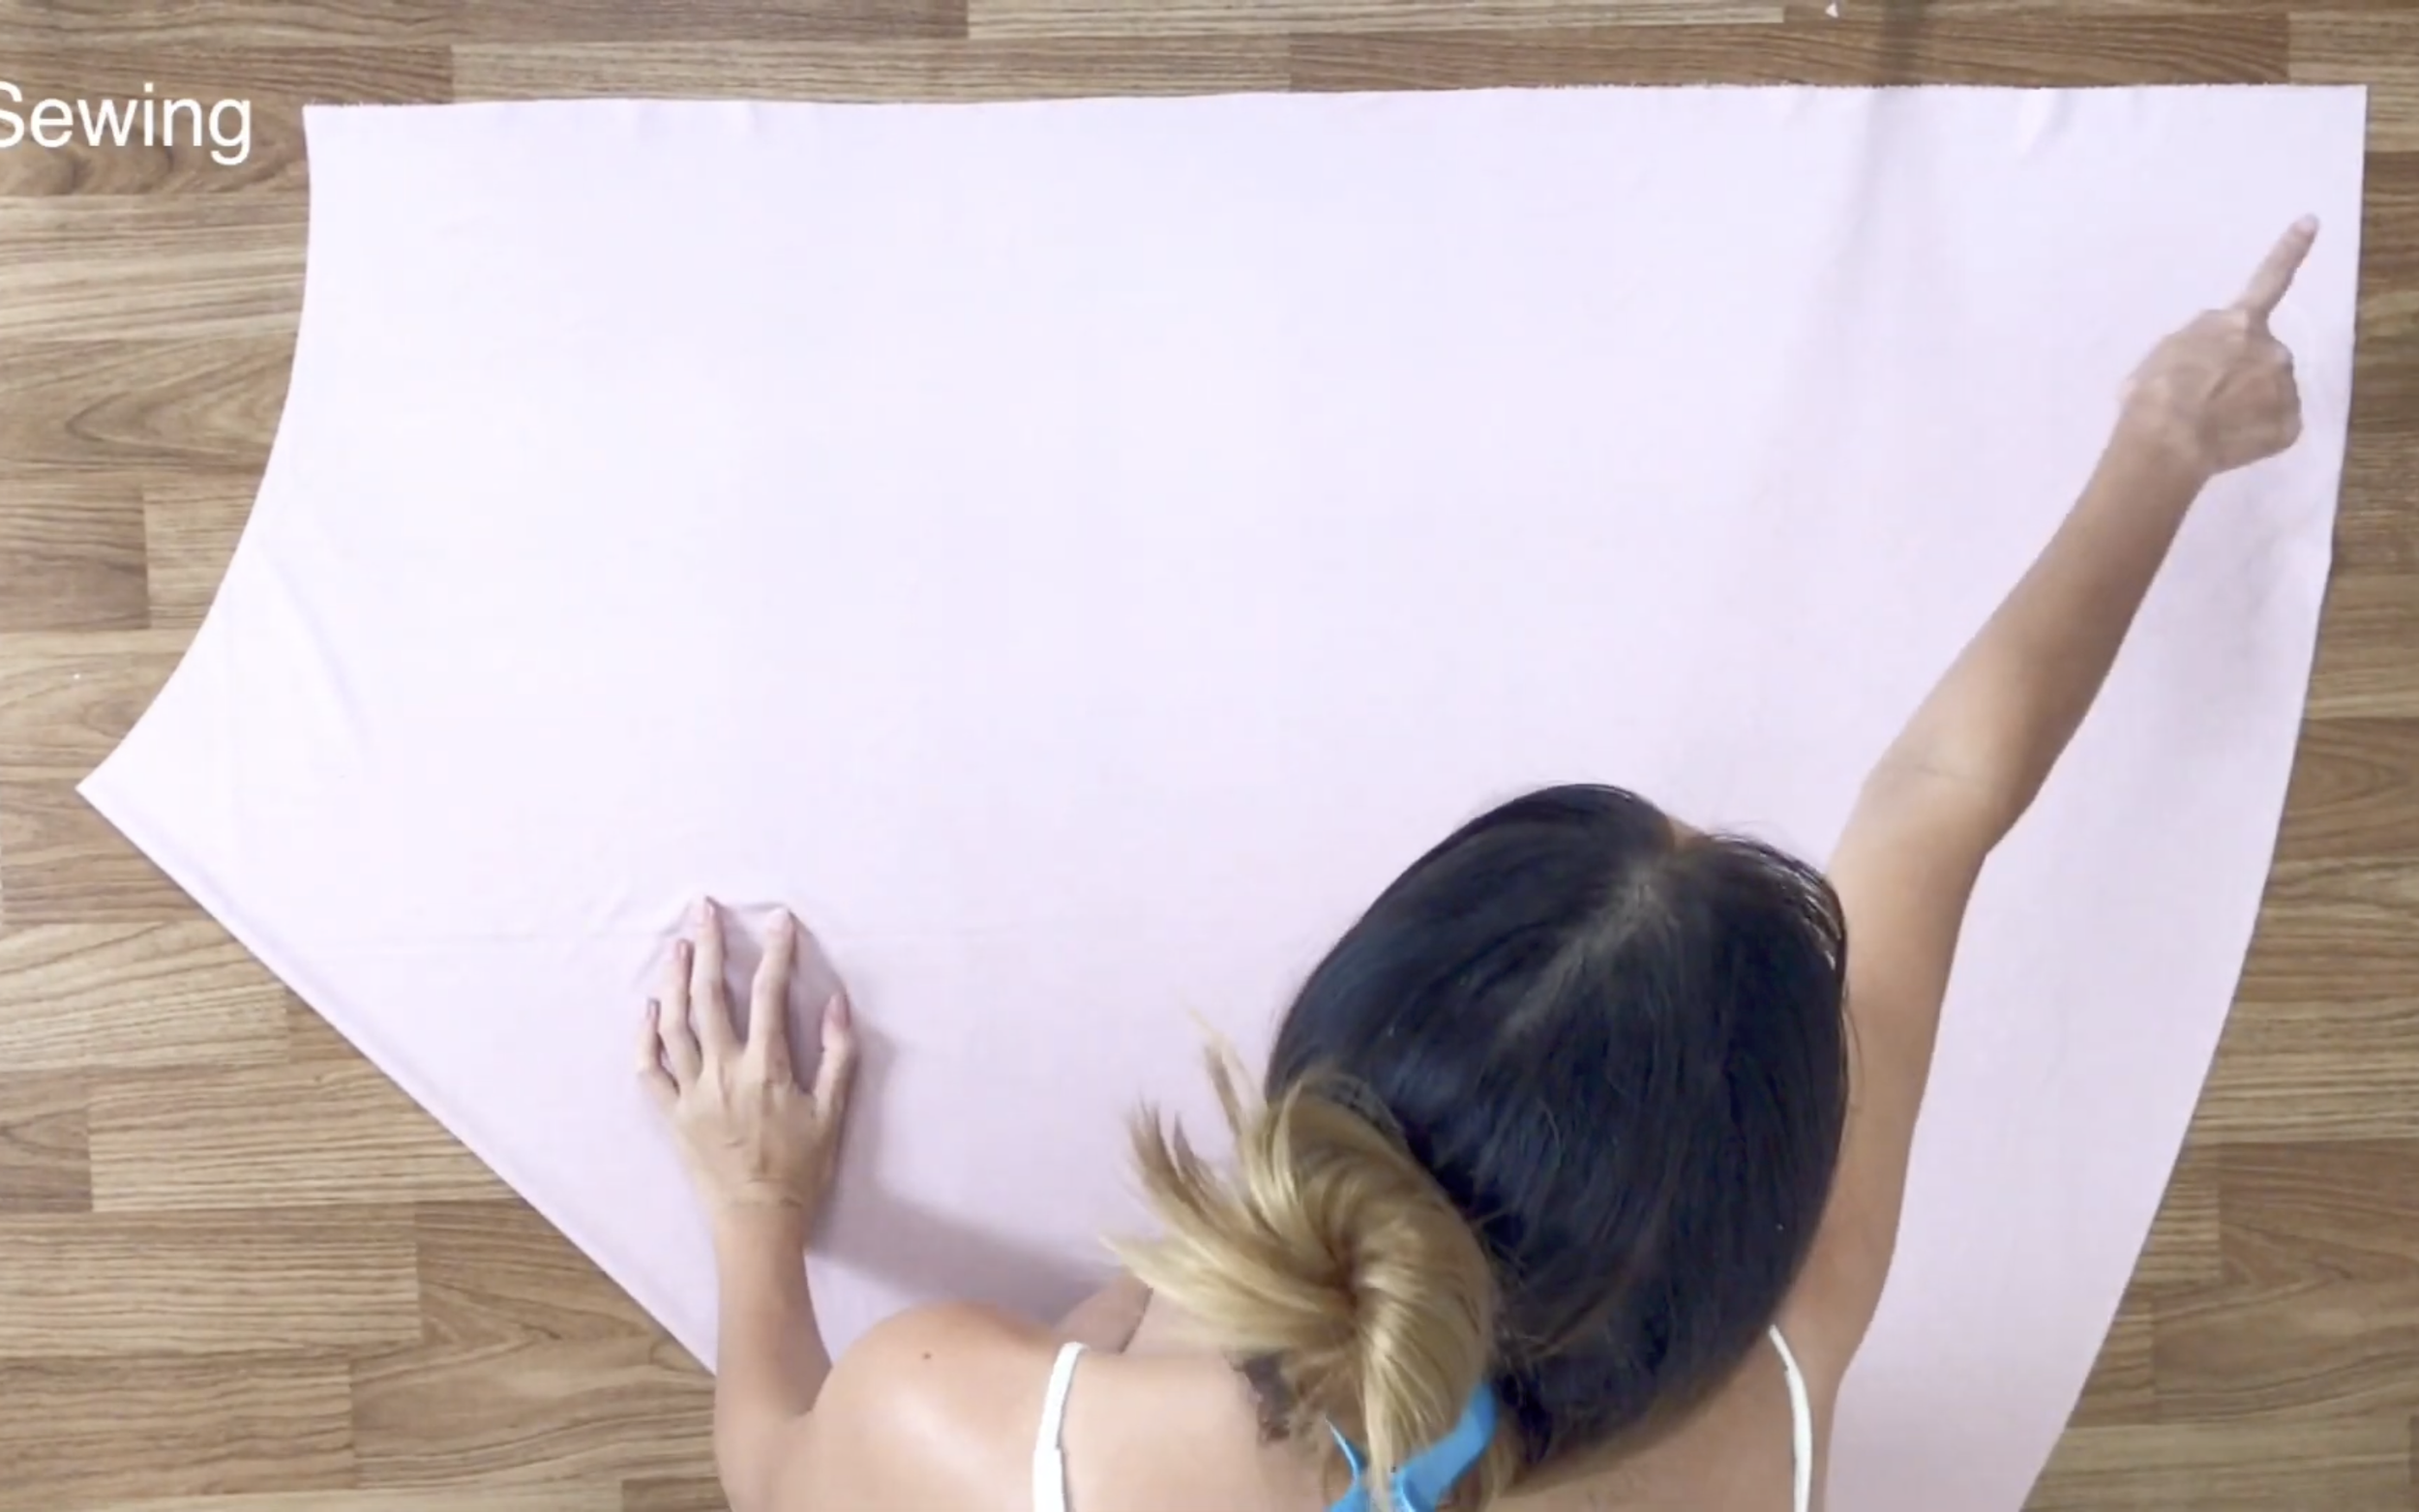
Draw a square with a size of 30cm, which represents the width from the shoulder to under the bust.
Make sure it is slightly larger than a quarter of the bust size.
From the right side, mark 10cm inward from the top.
Then, connect that mark to both ends of the square to form a triangle.
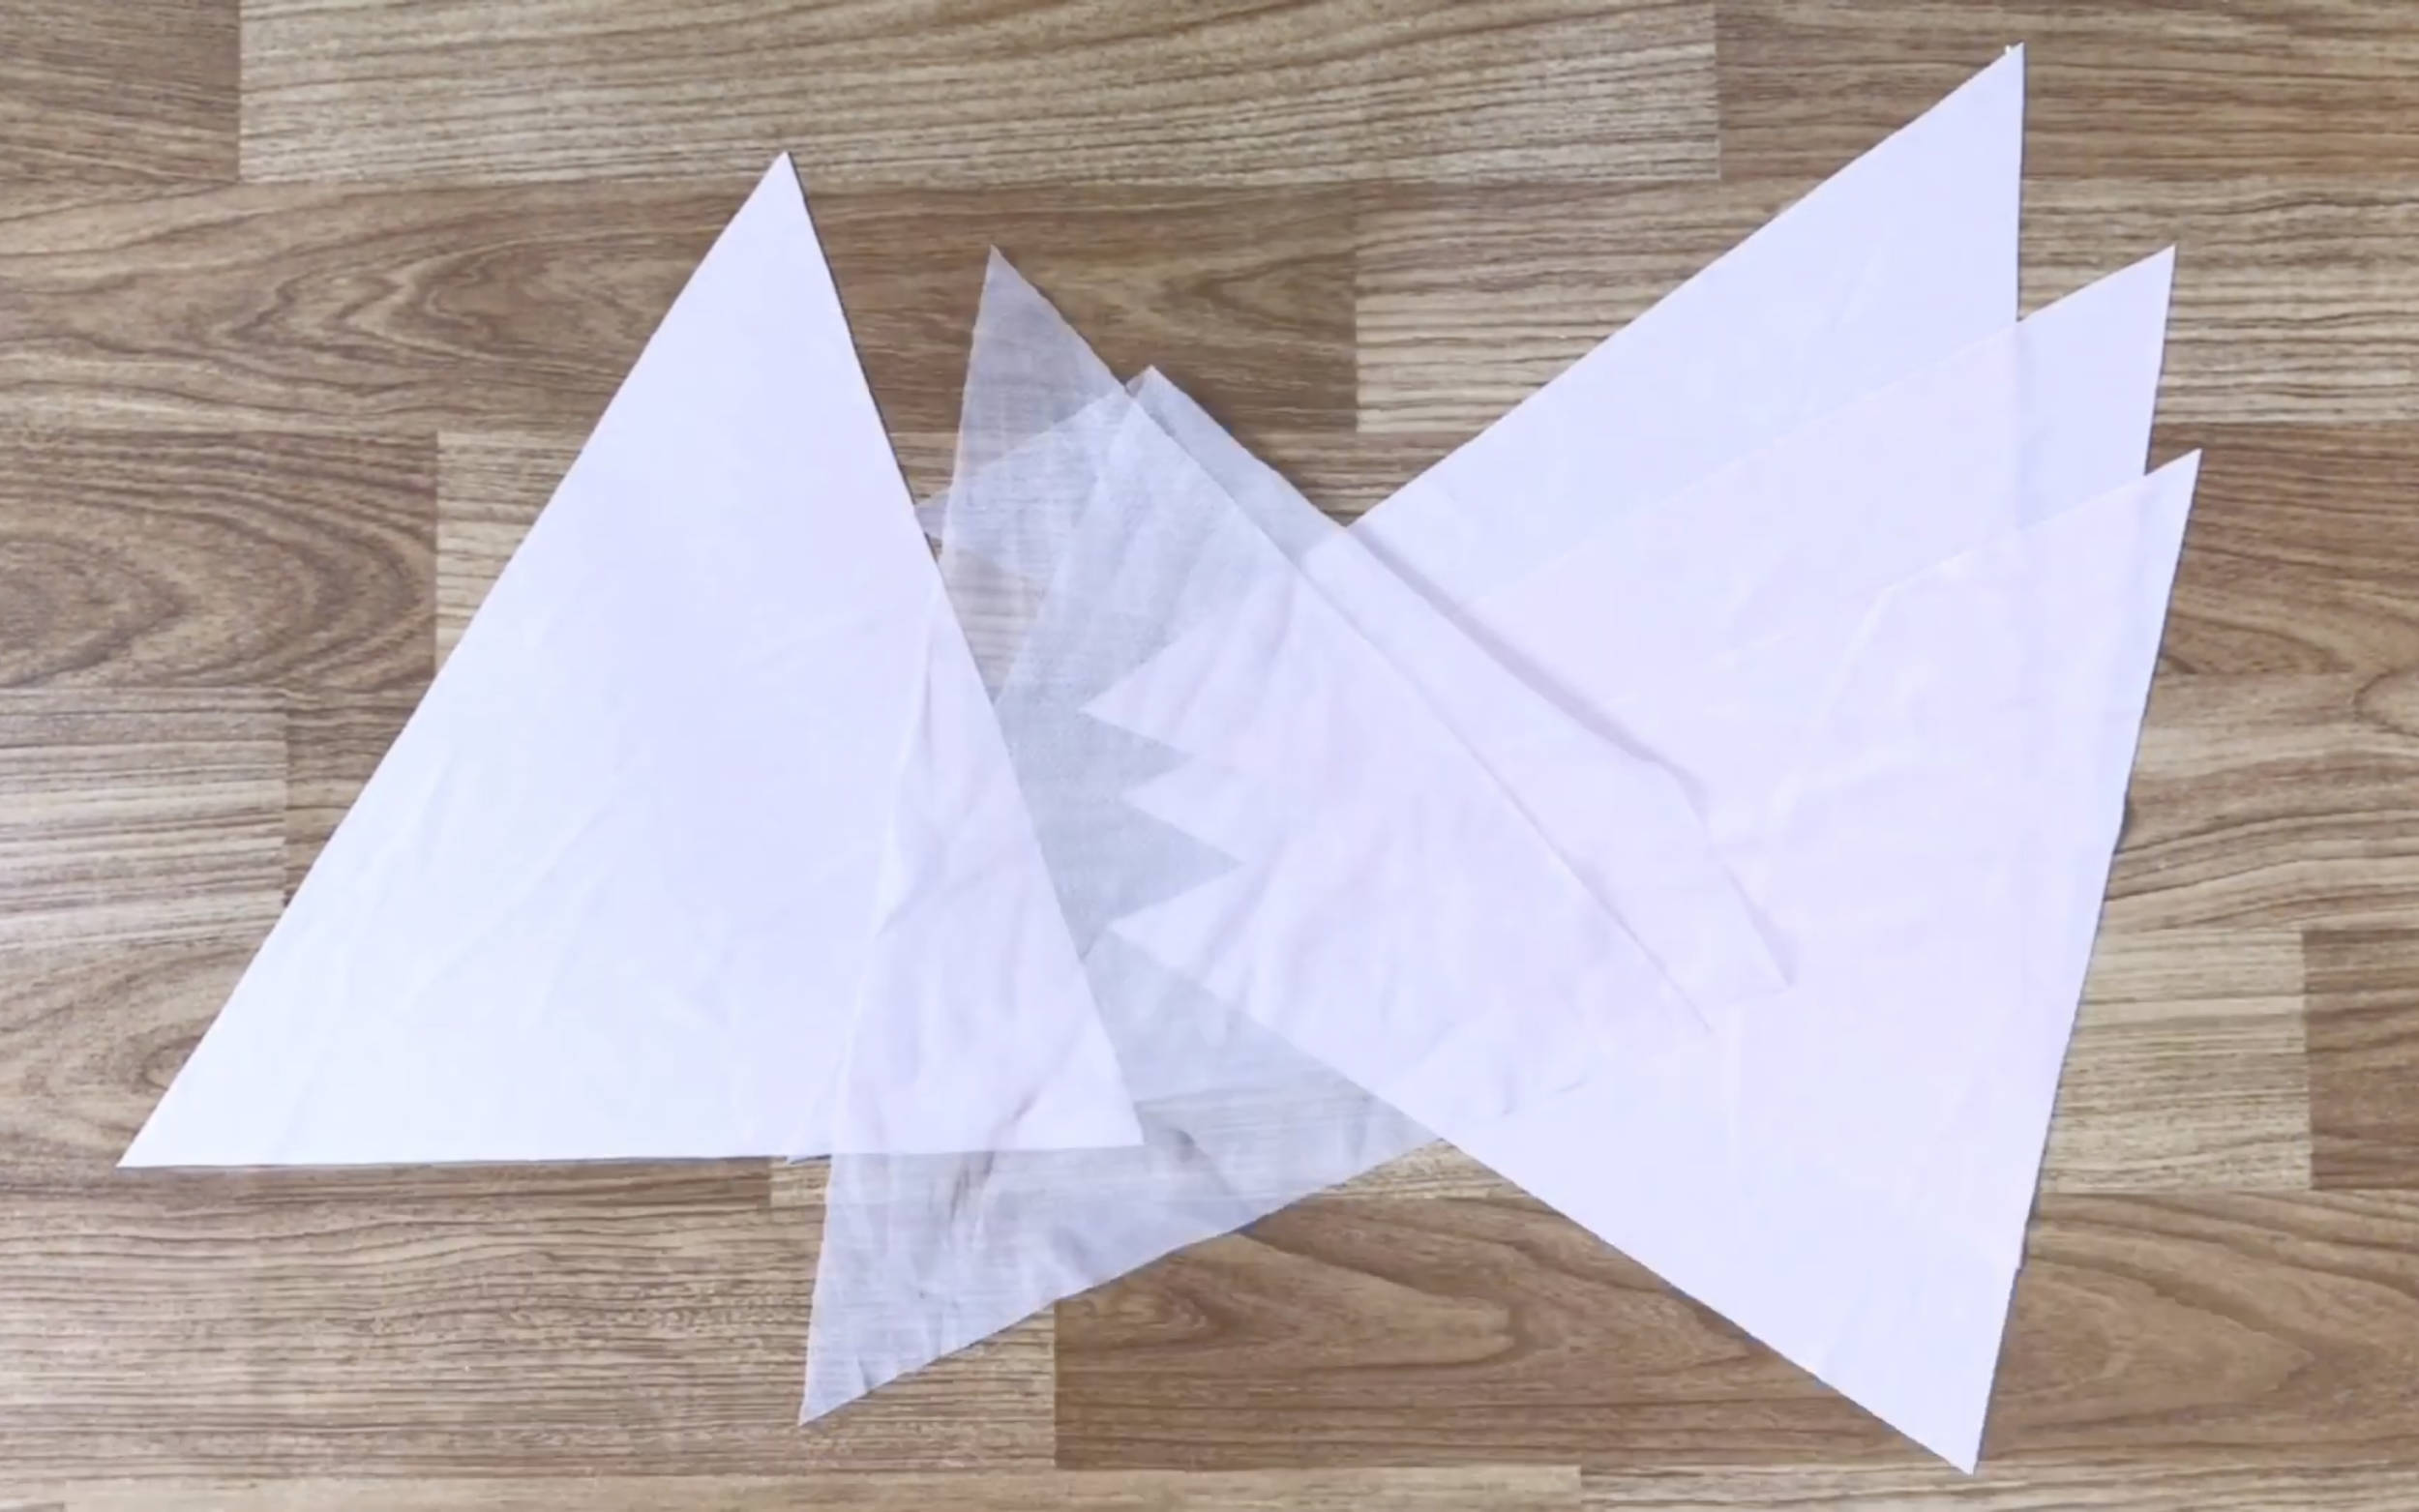
4 pieces of this triangle are needed in spandex fabric, and 2 in tulle fabric.
THE TIES PATTERN
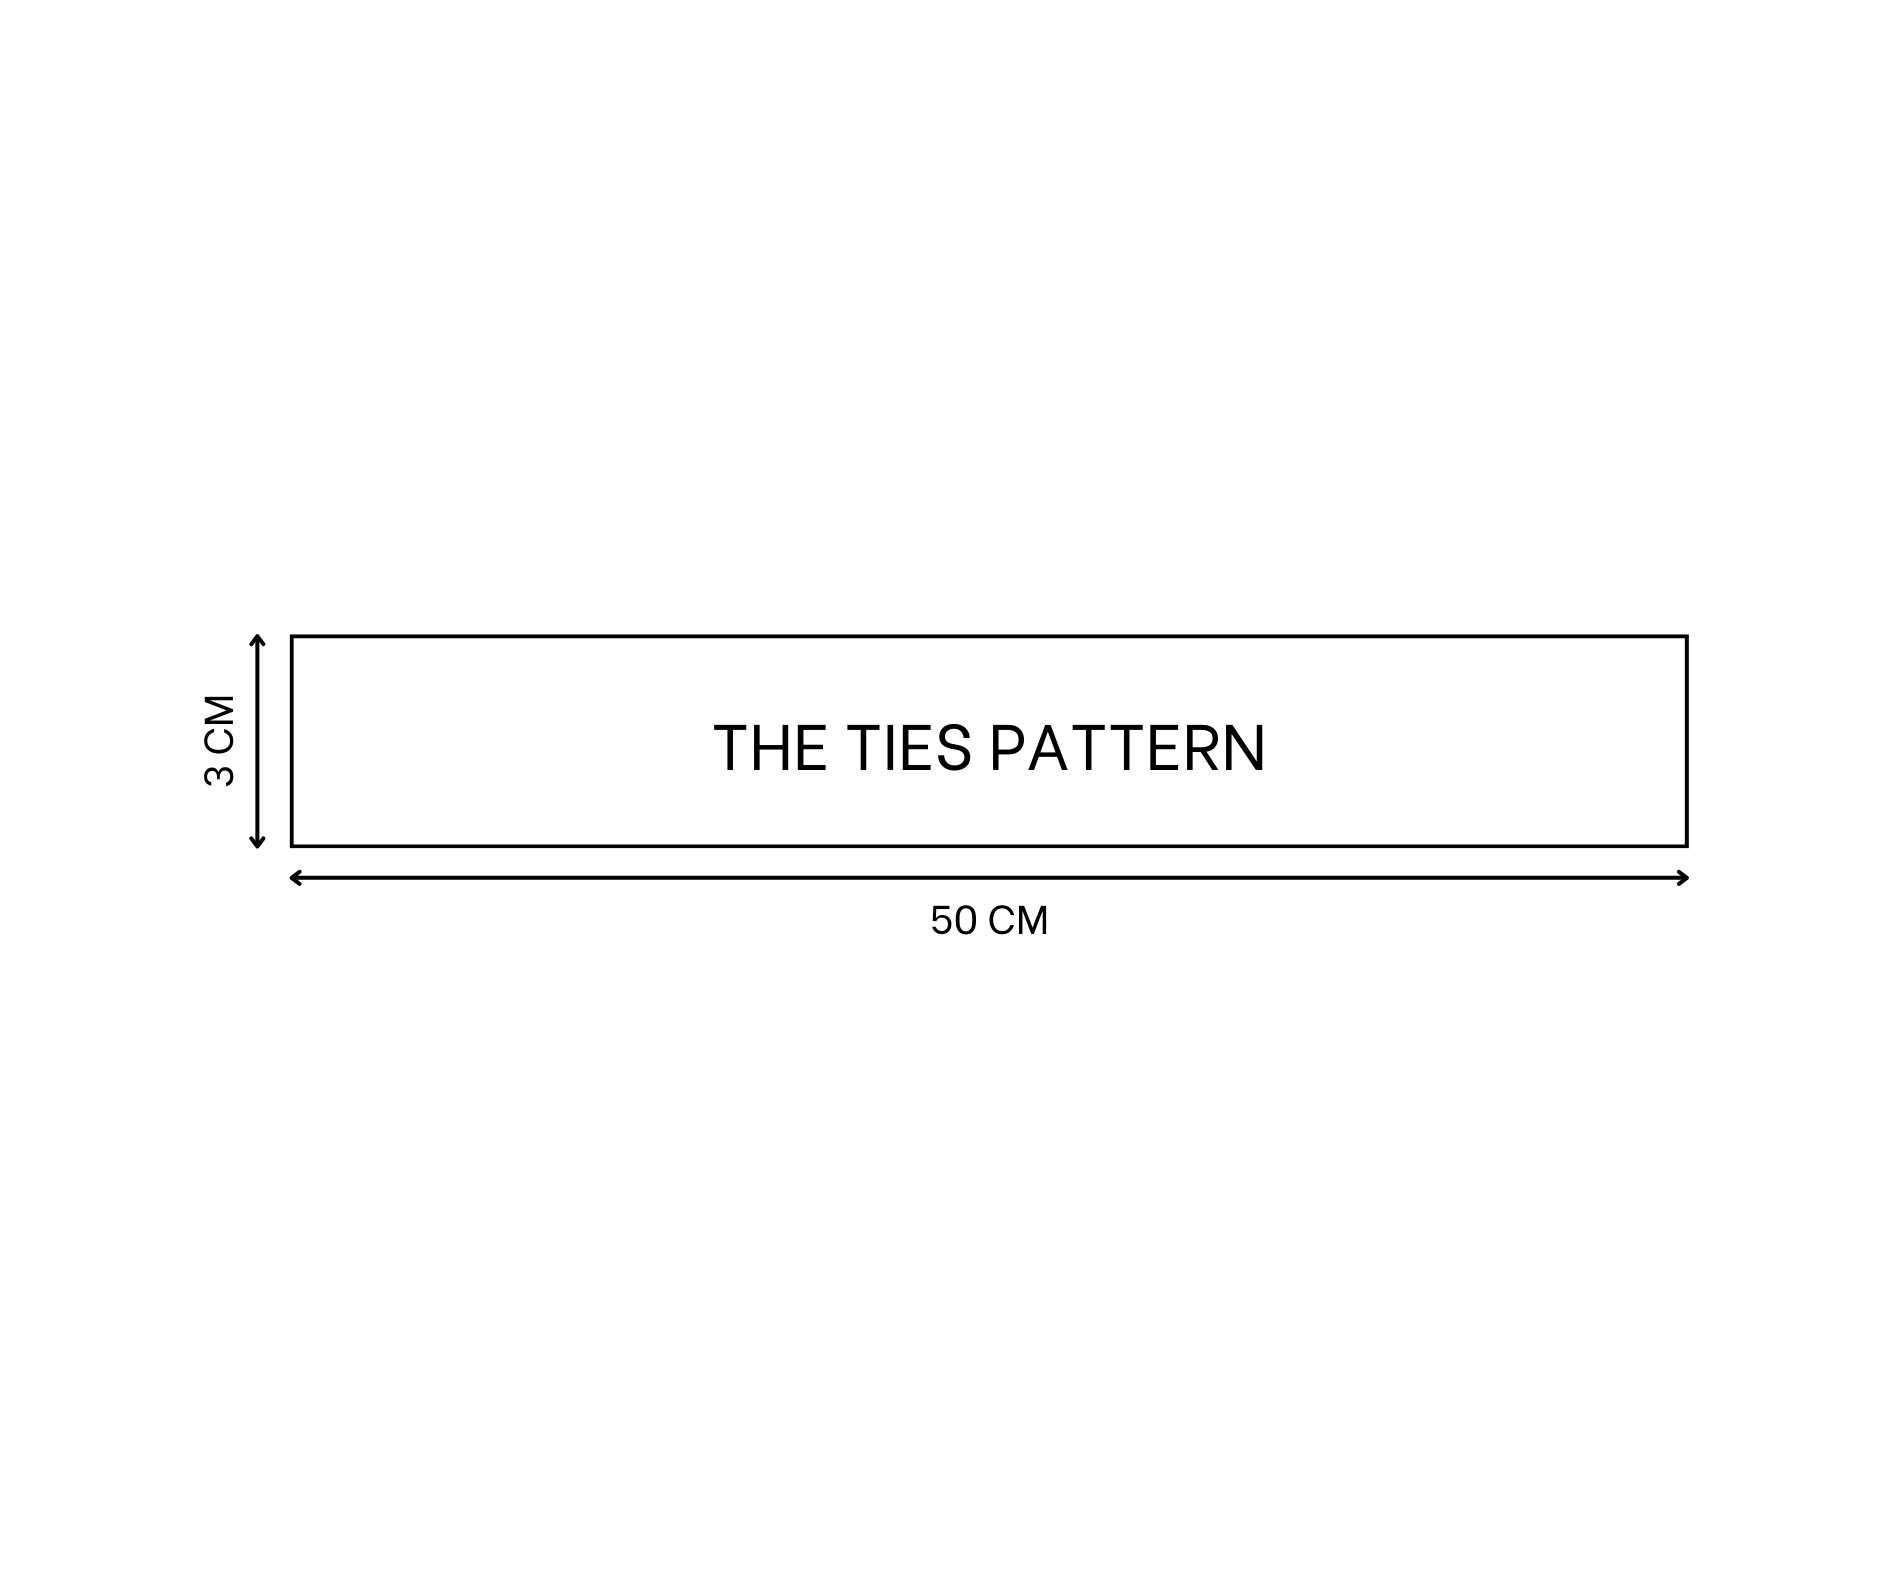
The ties pattern
Cut two rectangles, each 3cm wide and around 50cm long.
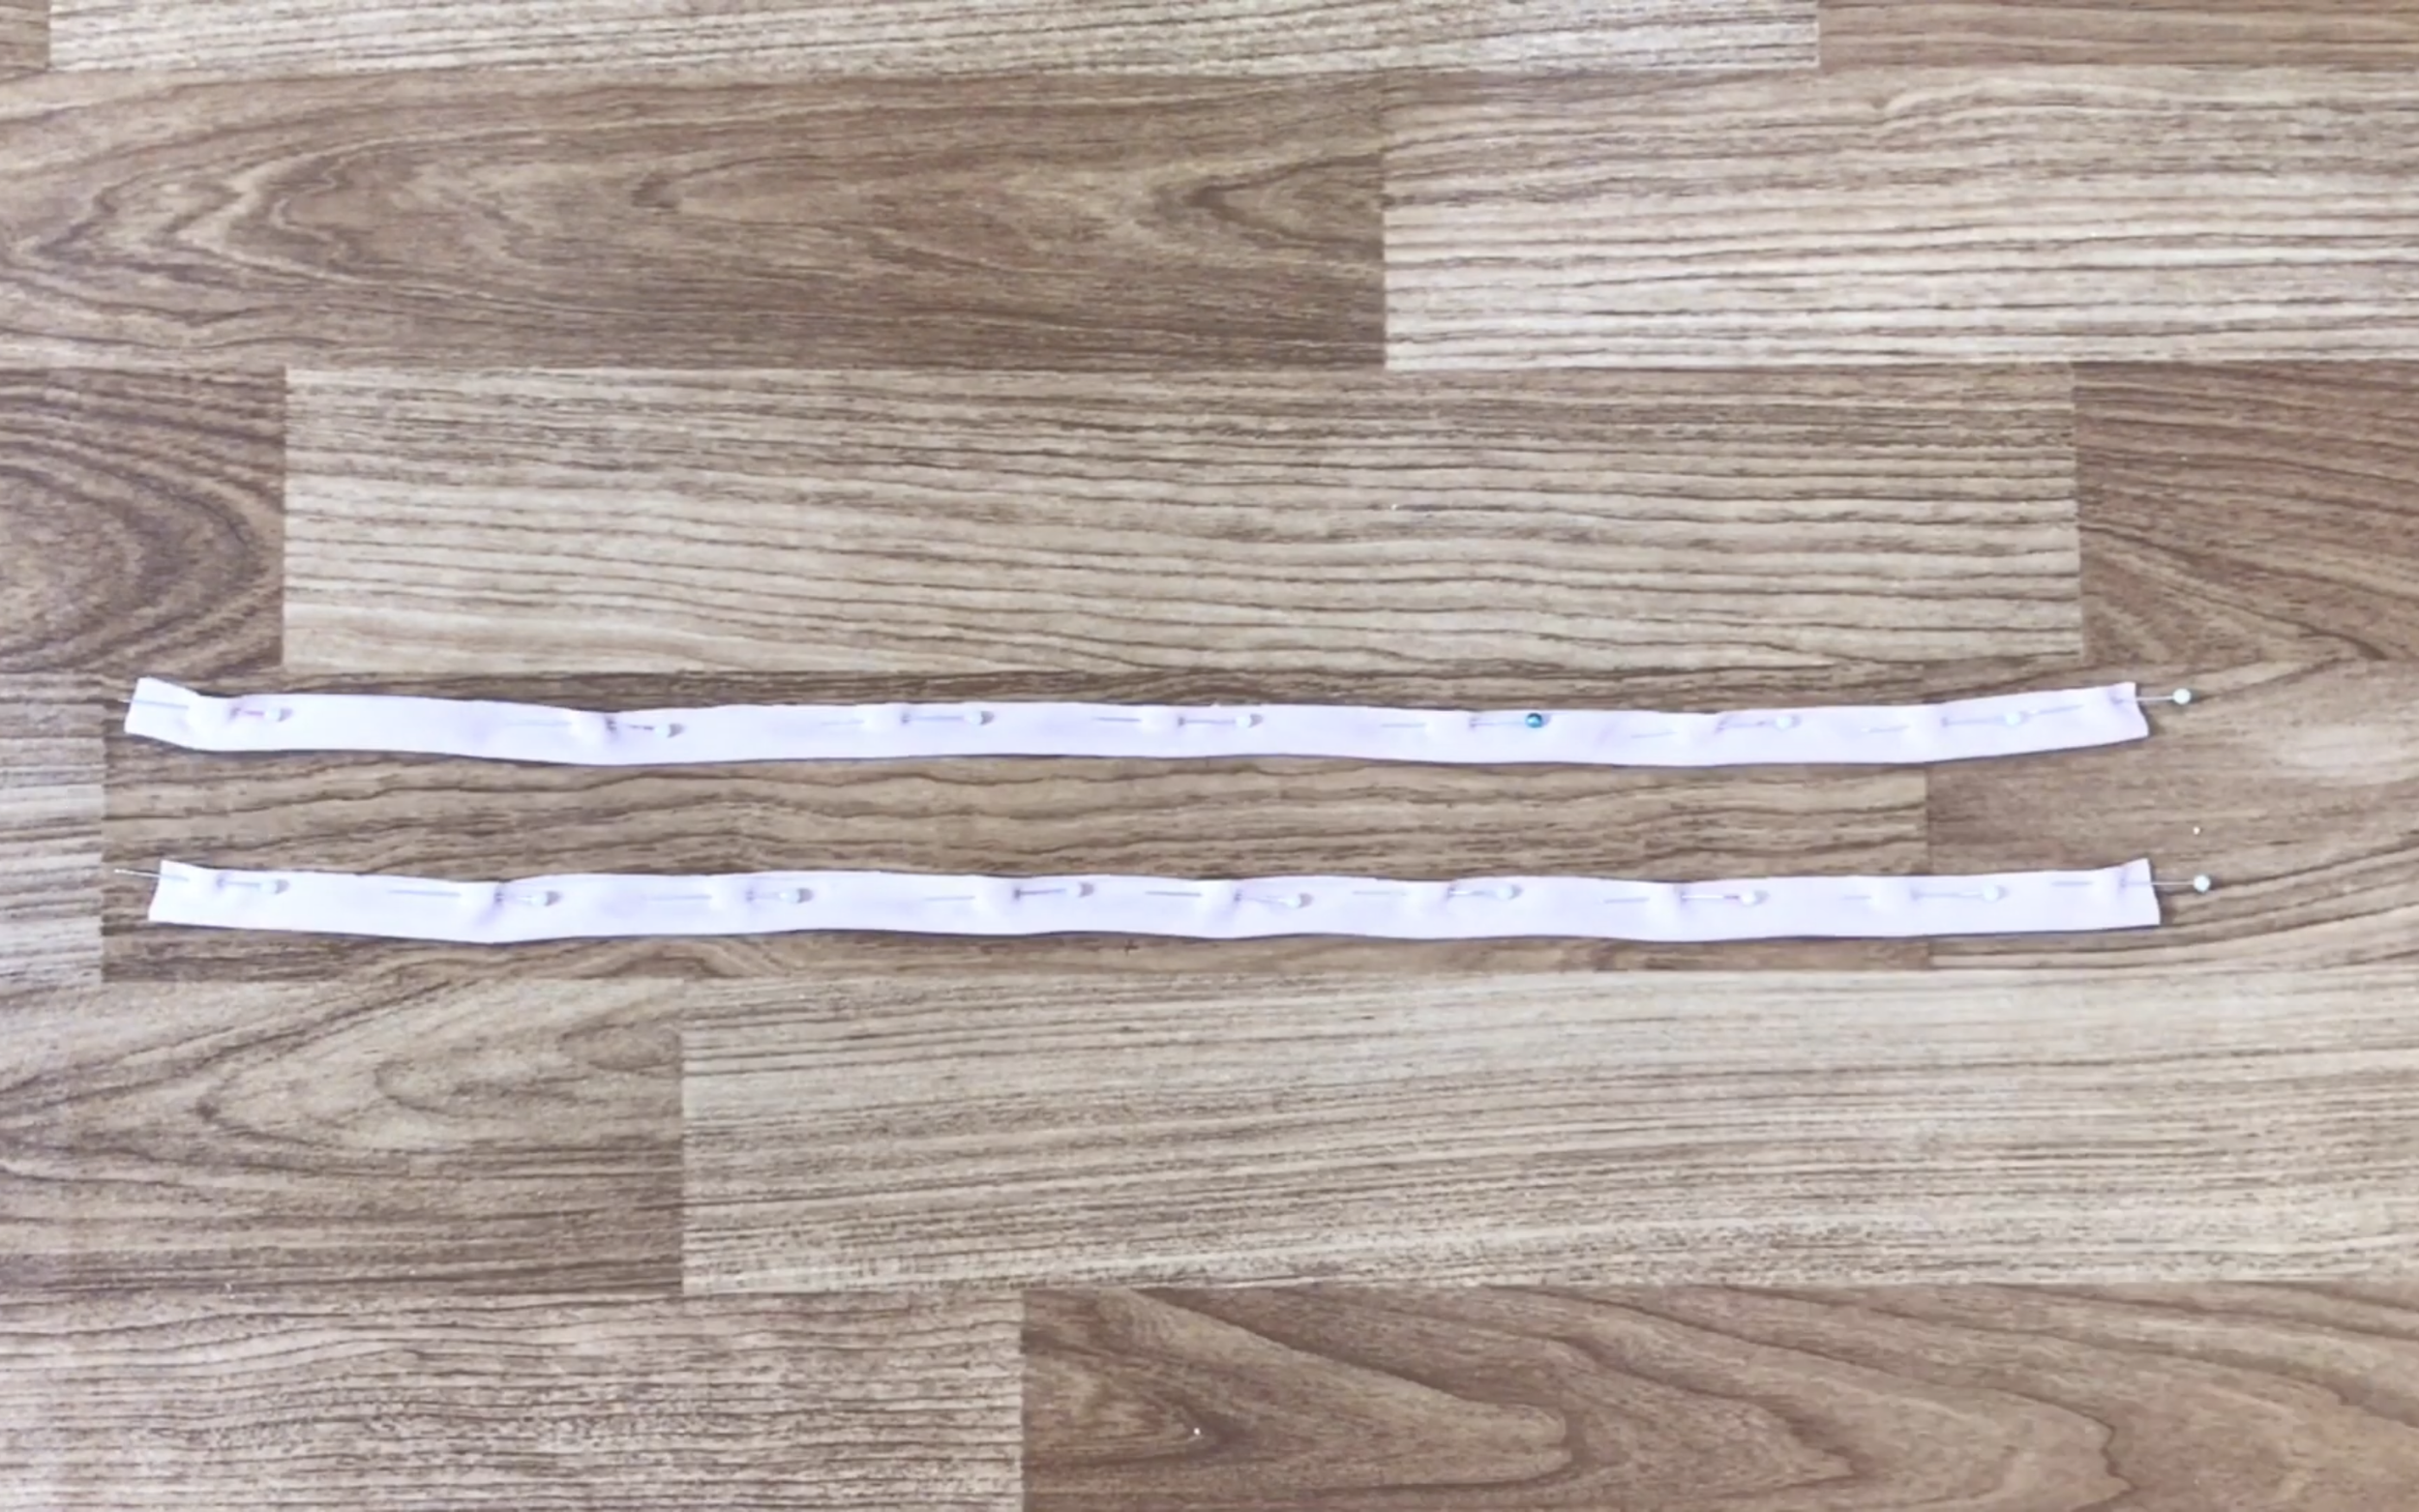
Fold each rectangle in half and sew along the edges.

Use a small safety pin to turn the ties inside out.
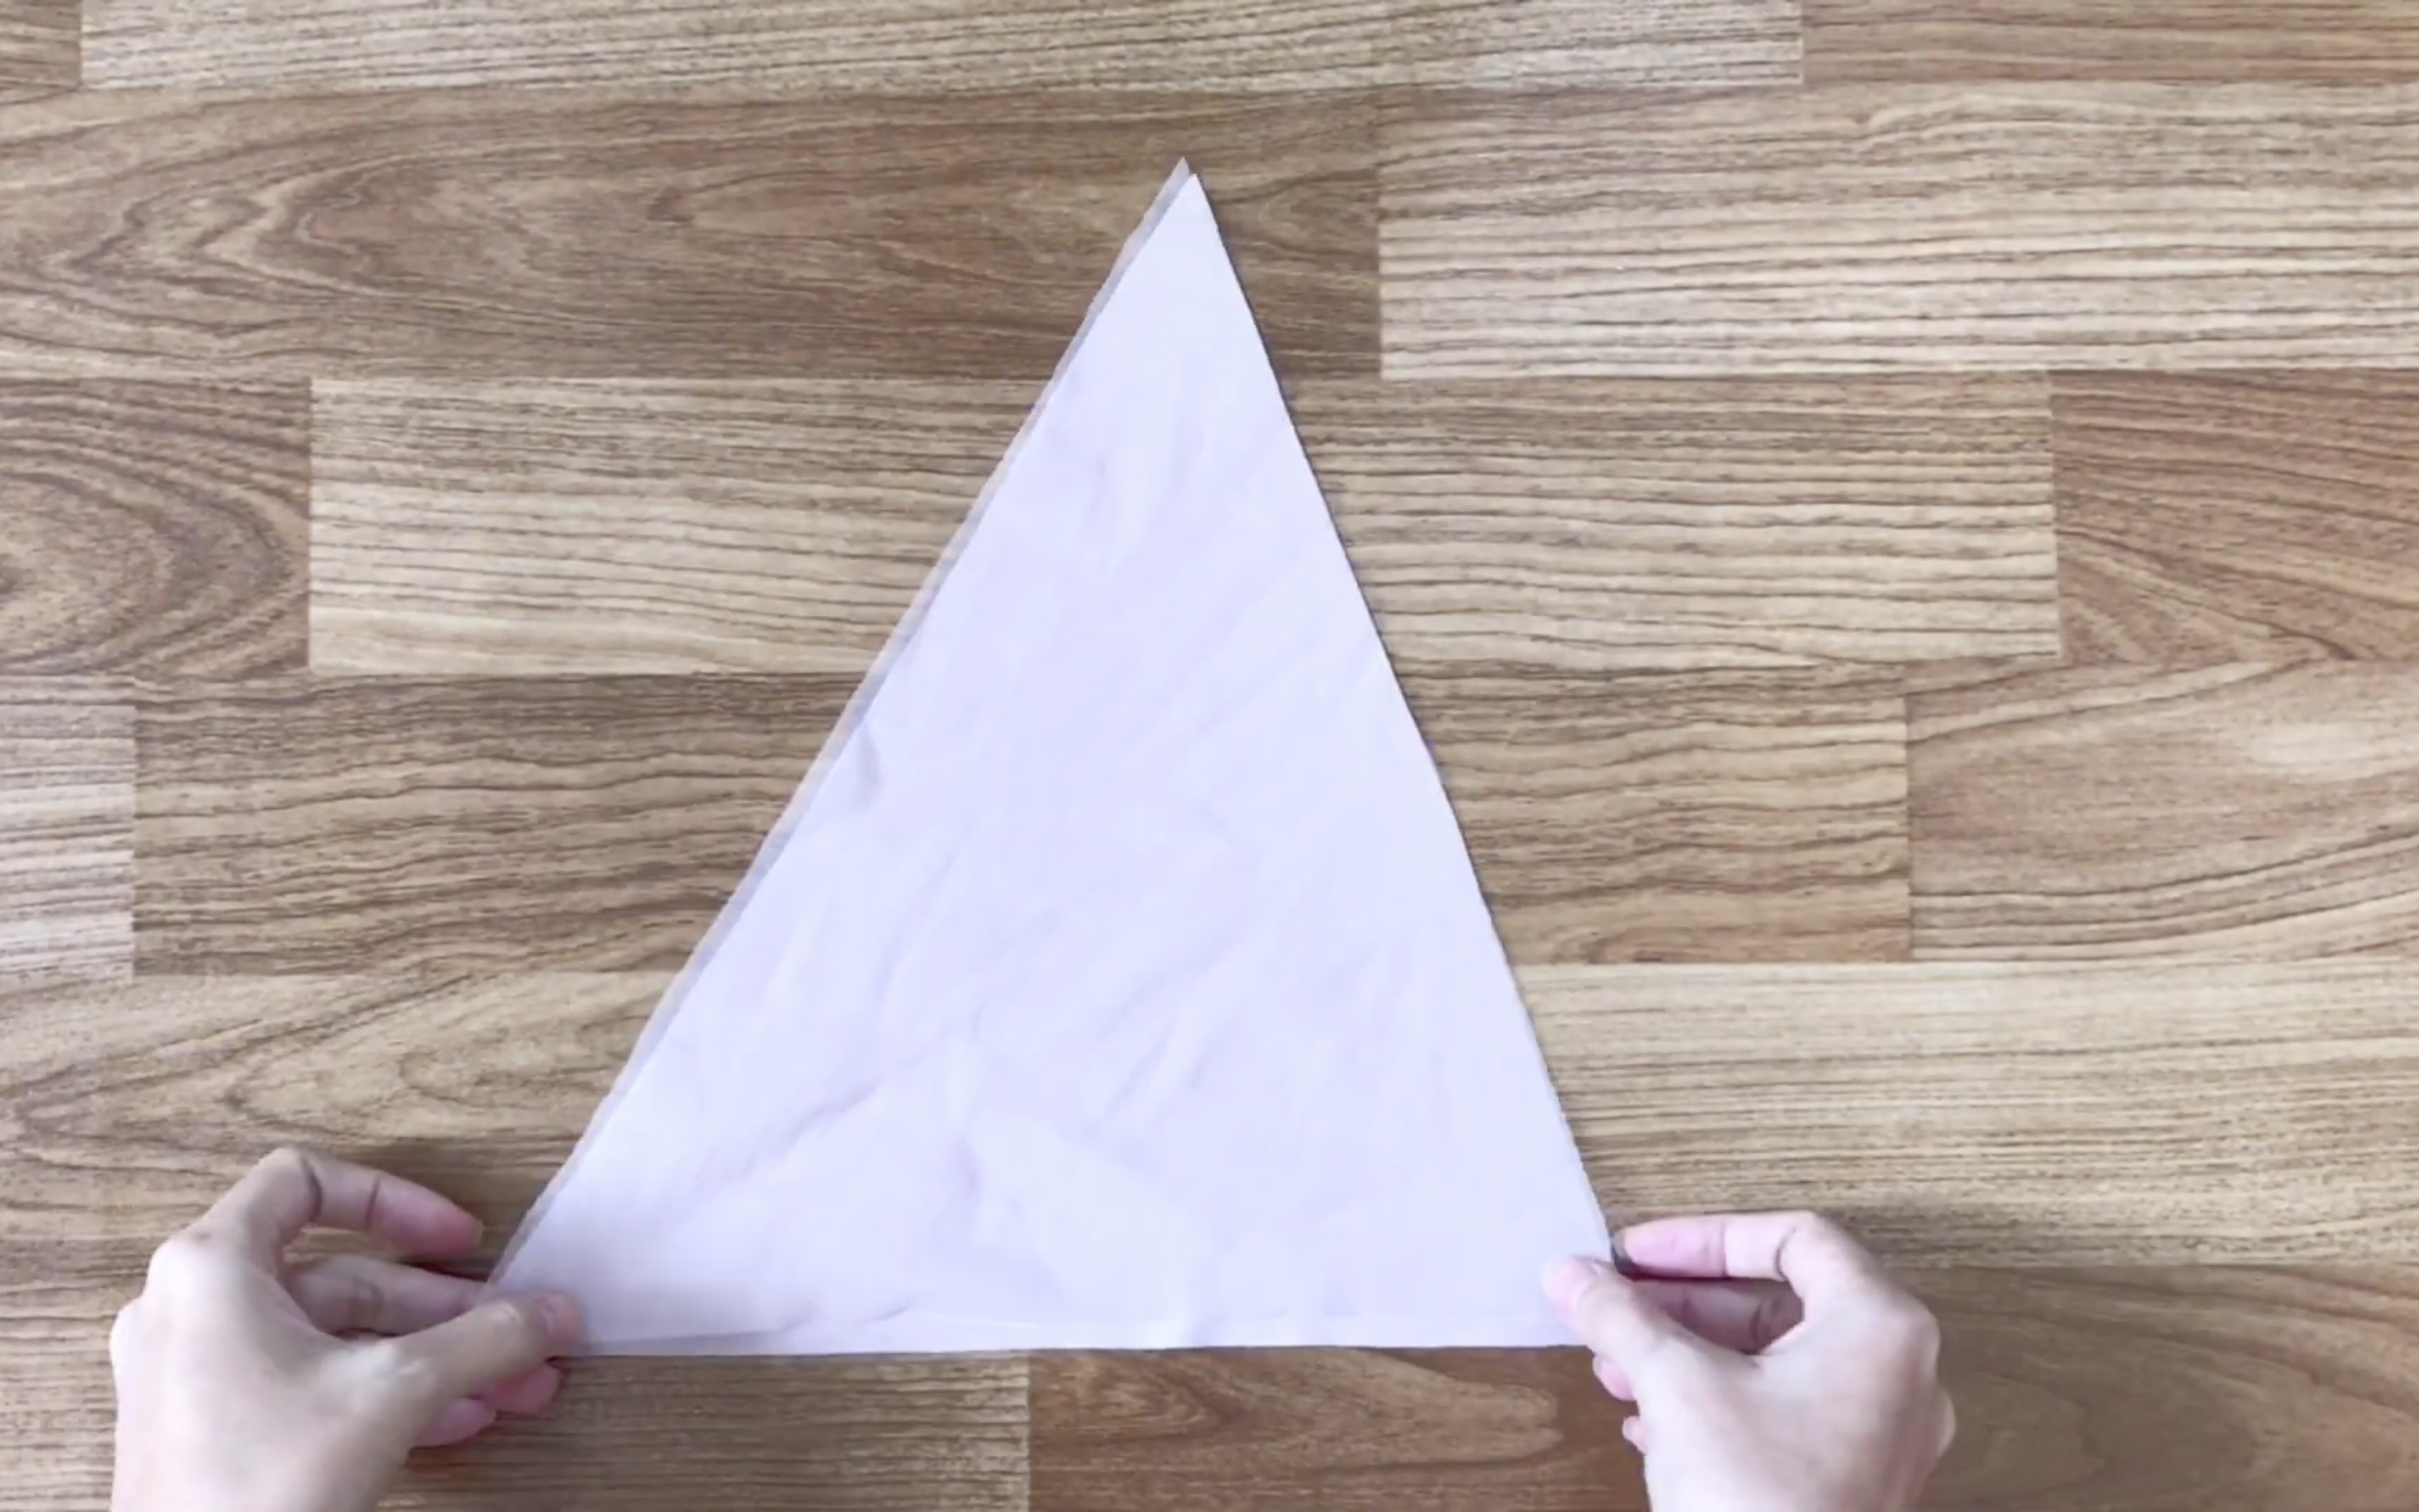
Now, assemble the triangles by placing one tulle triangle between two spandex triangles.
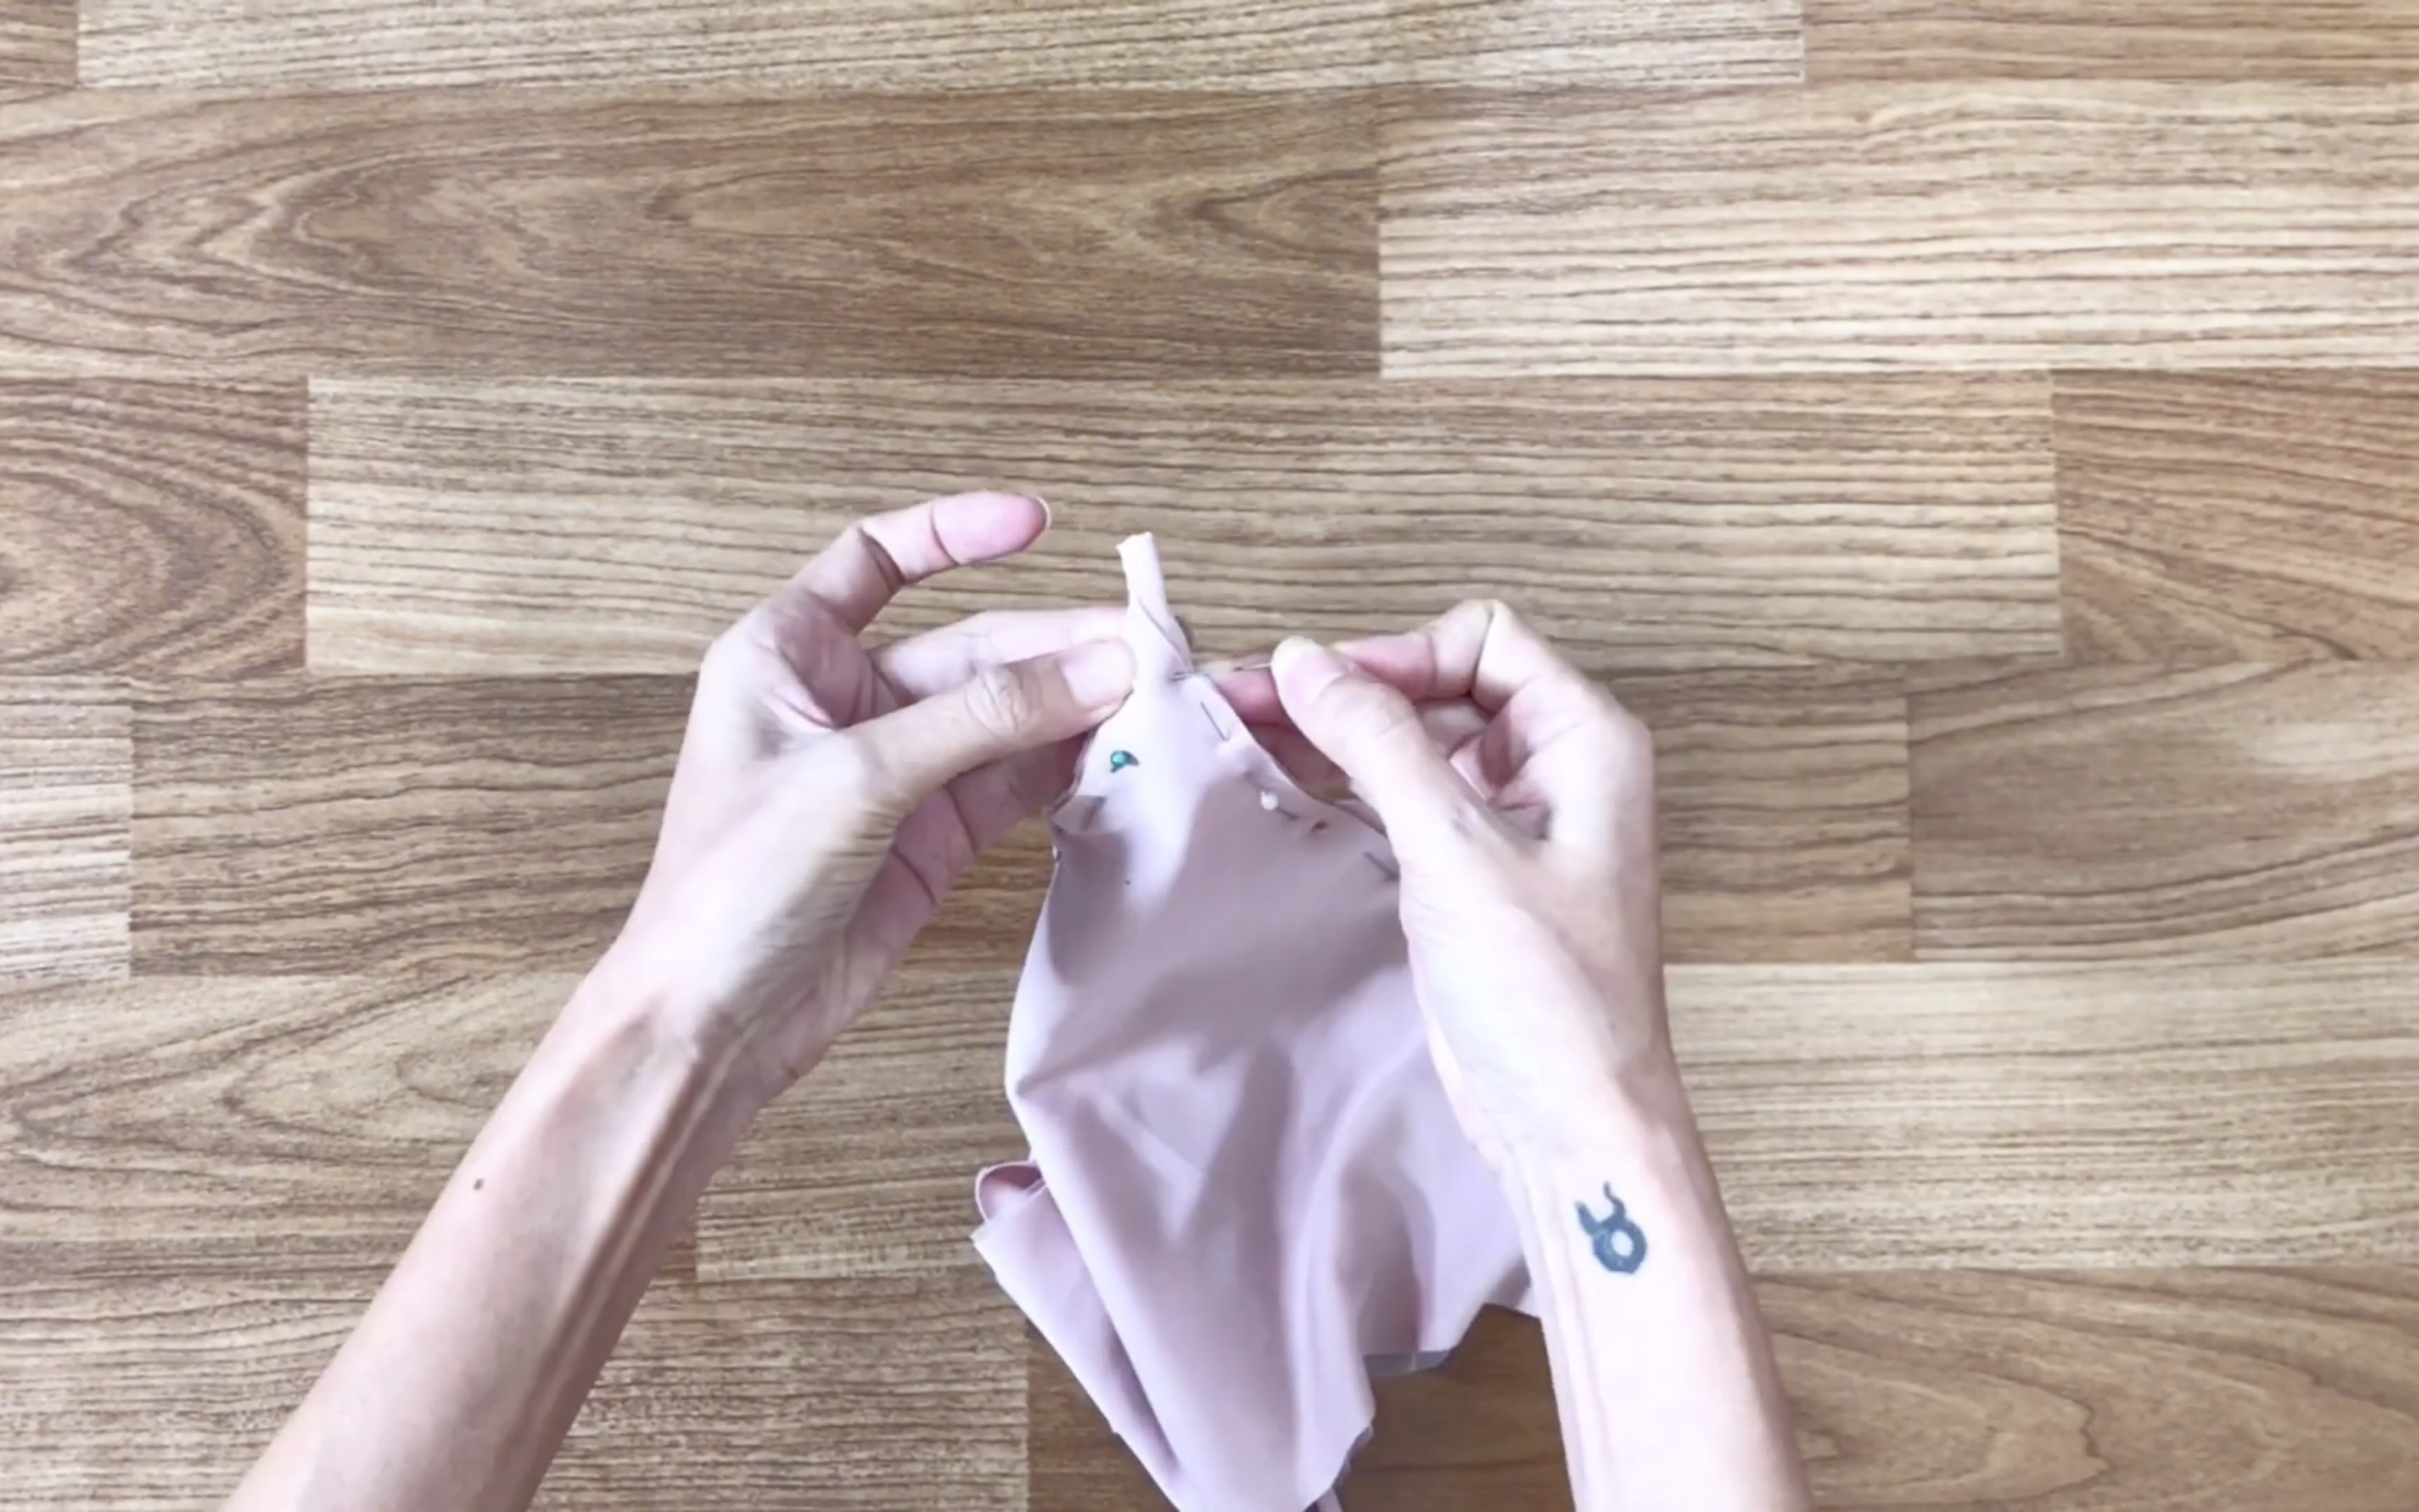
Insert the tie at the top of the triangle.
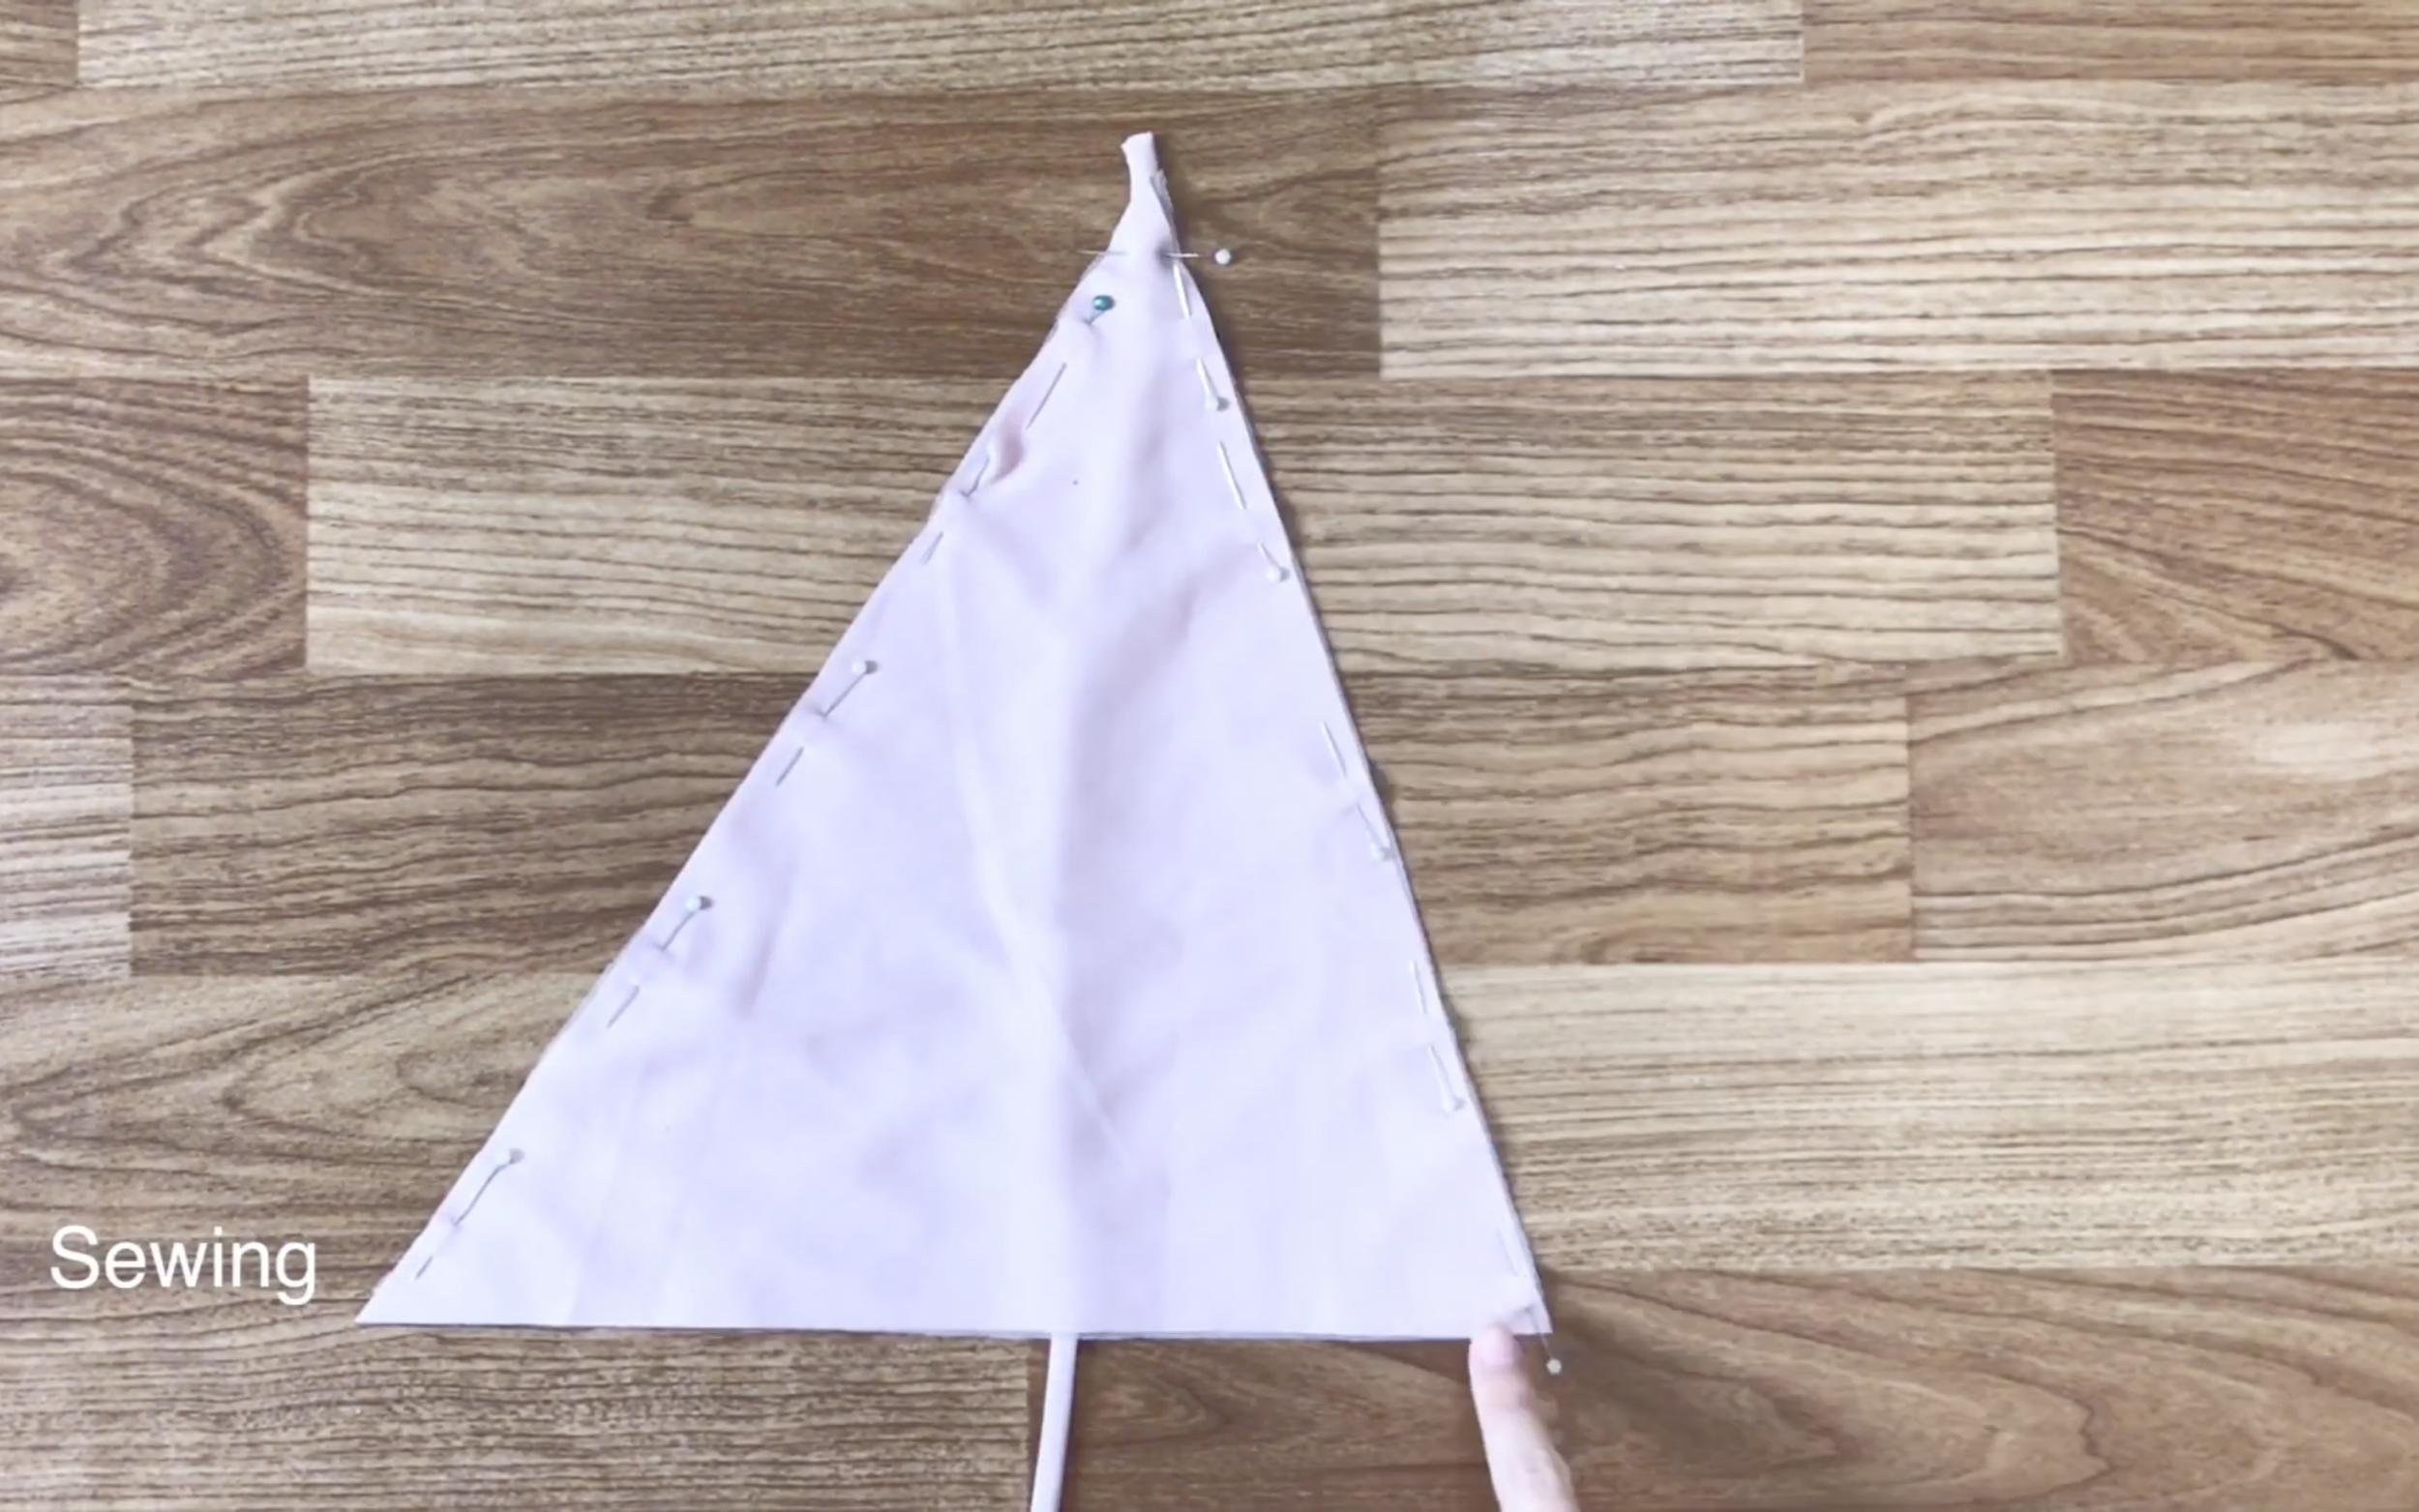
And, sew the sides together to create two pieces for the top of the dress.
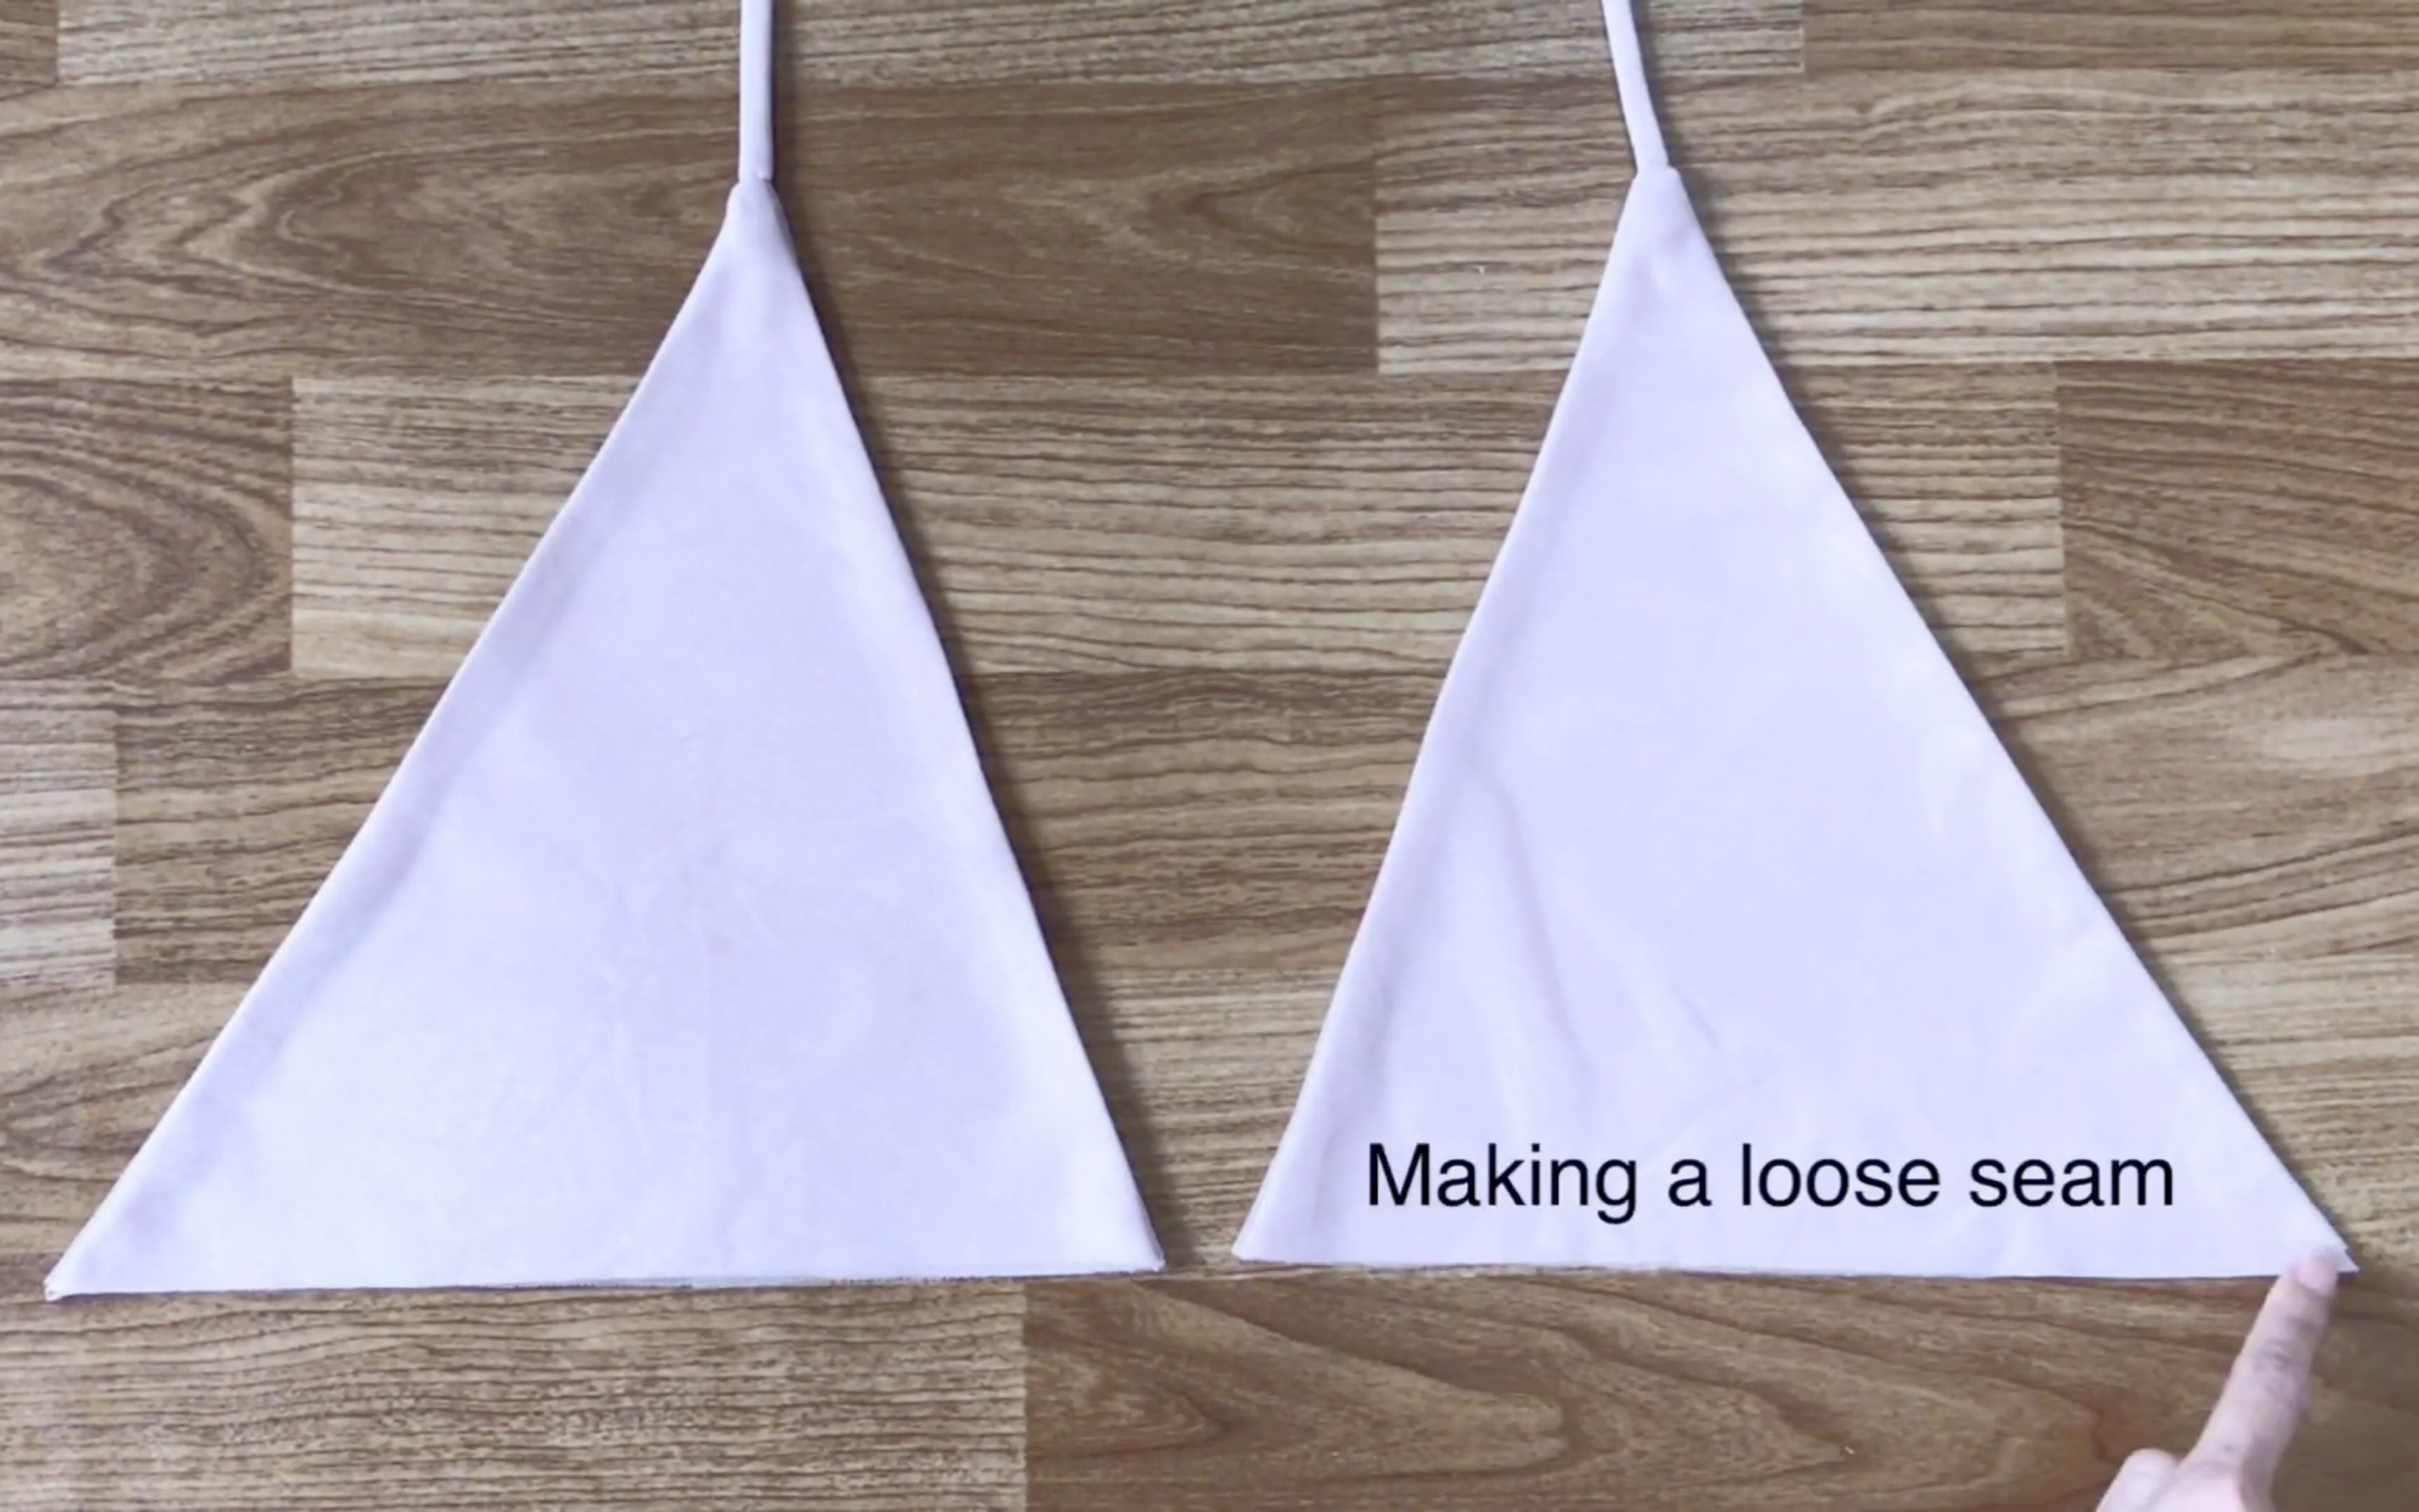
After turning the triangle right side out, make a loose seam at the bottom to allow space for the bust.
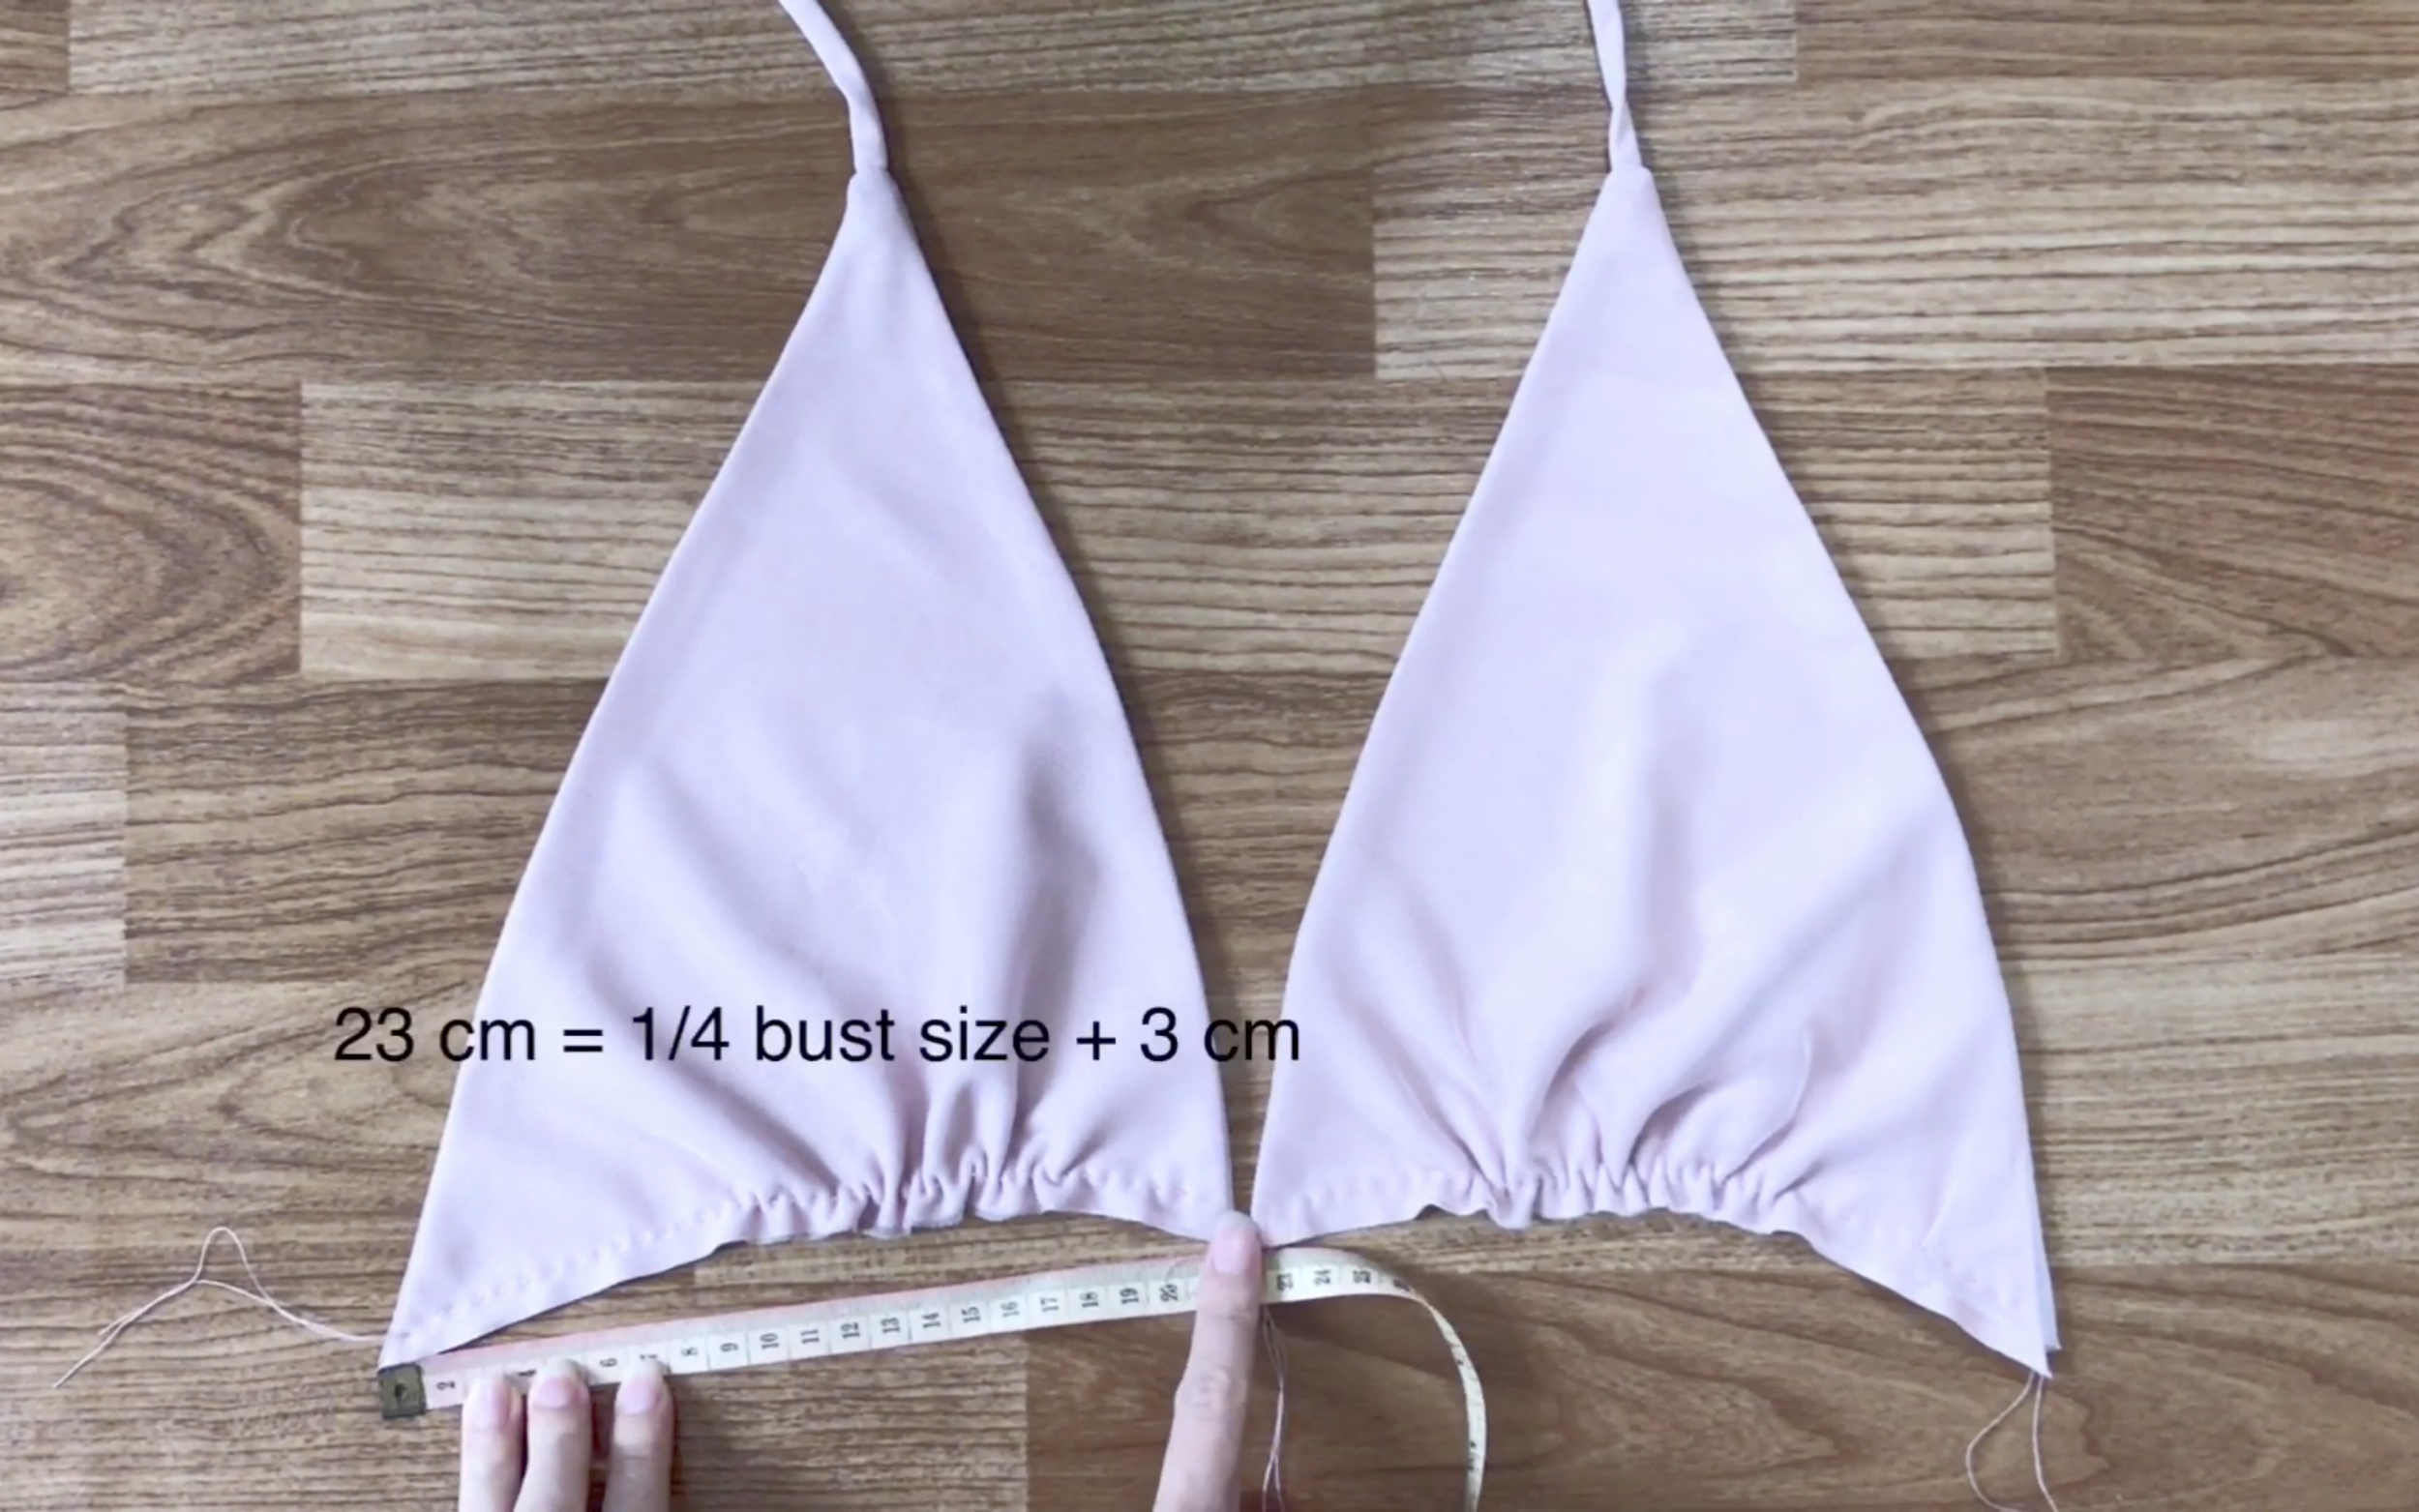
Make sure the width at the bottom equals a quarter of the bust size plus 3cm or more.
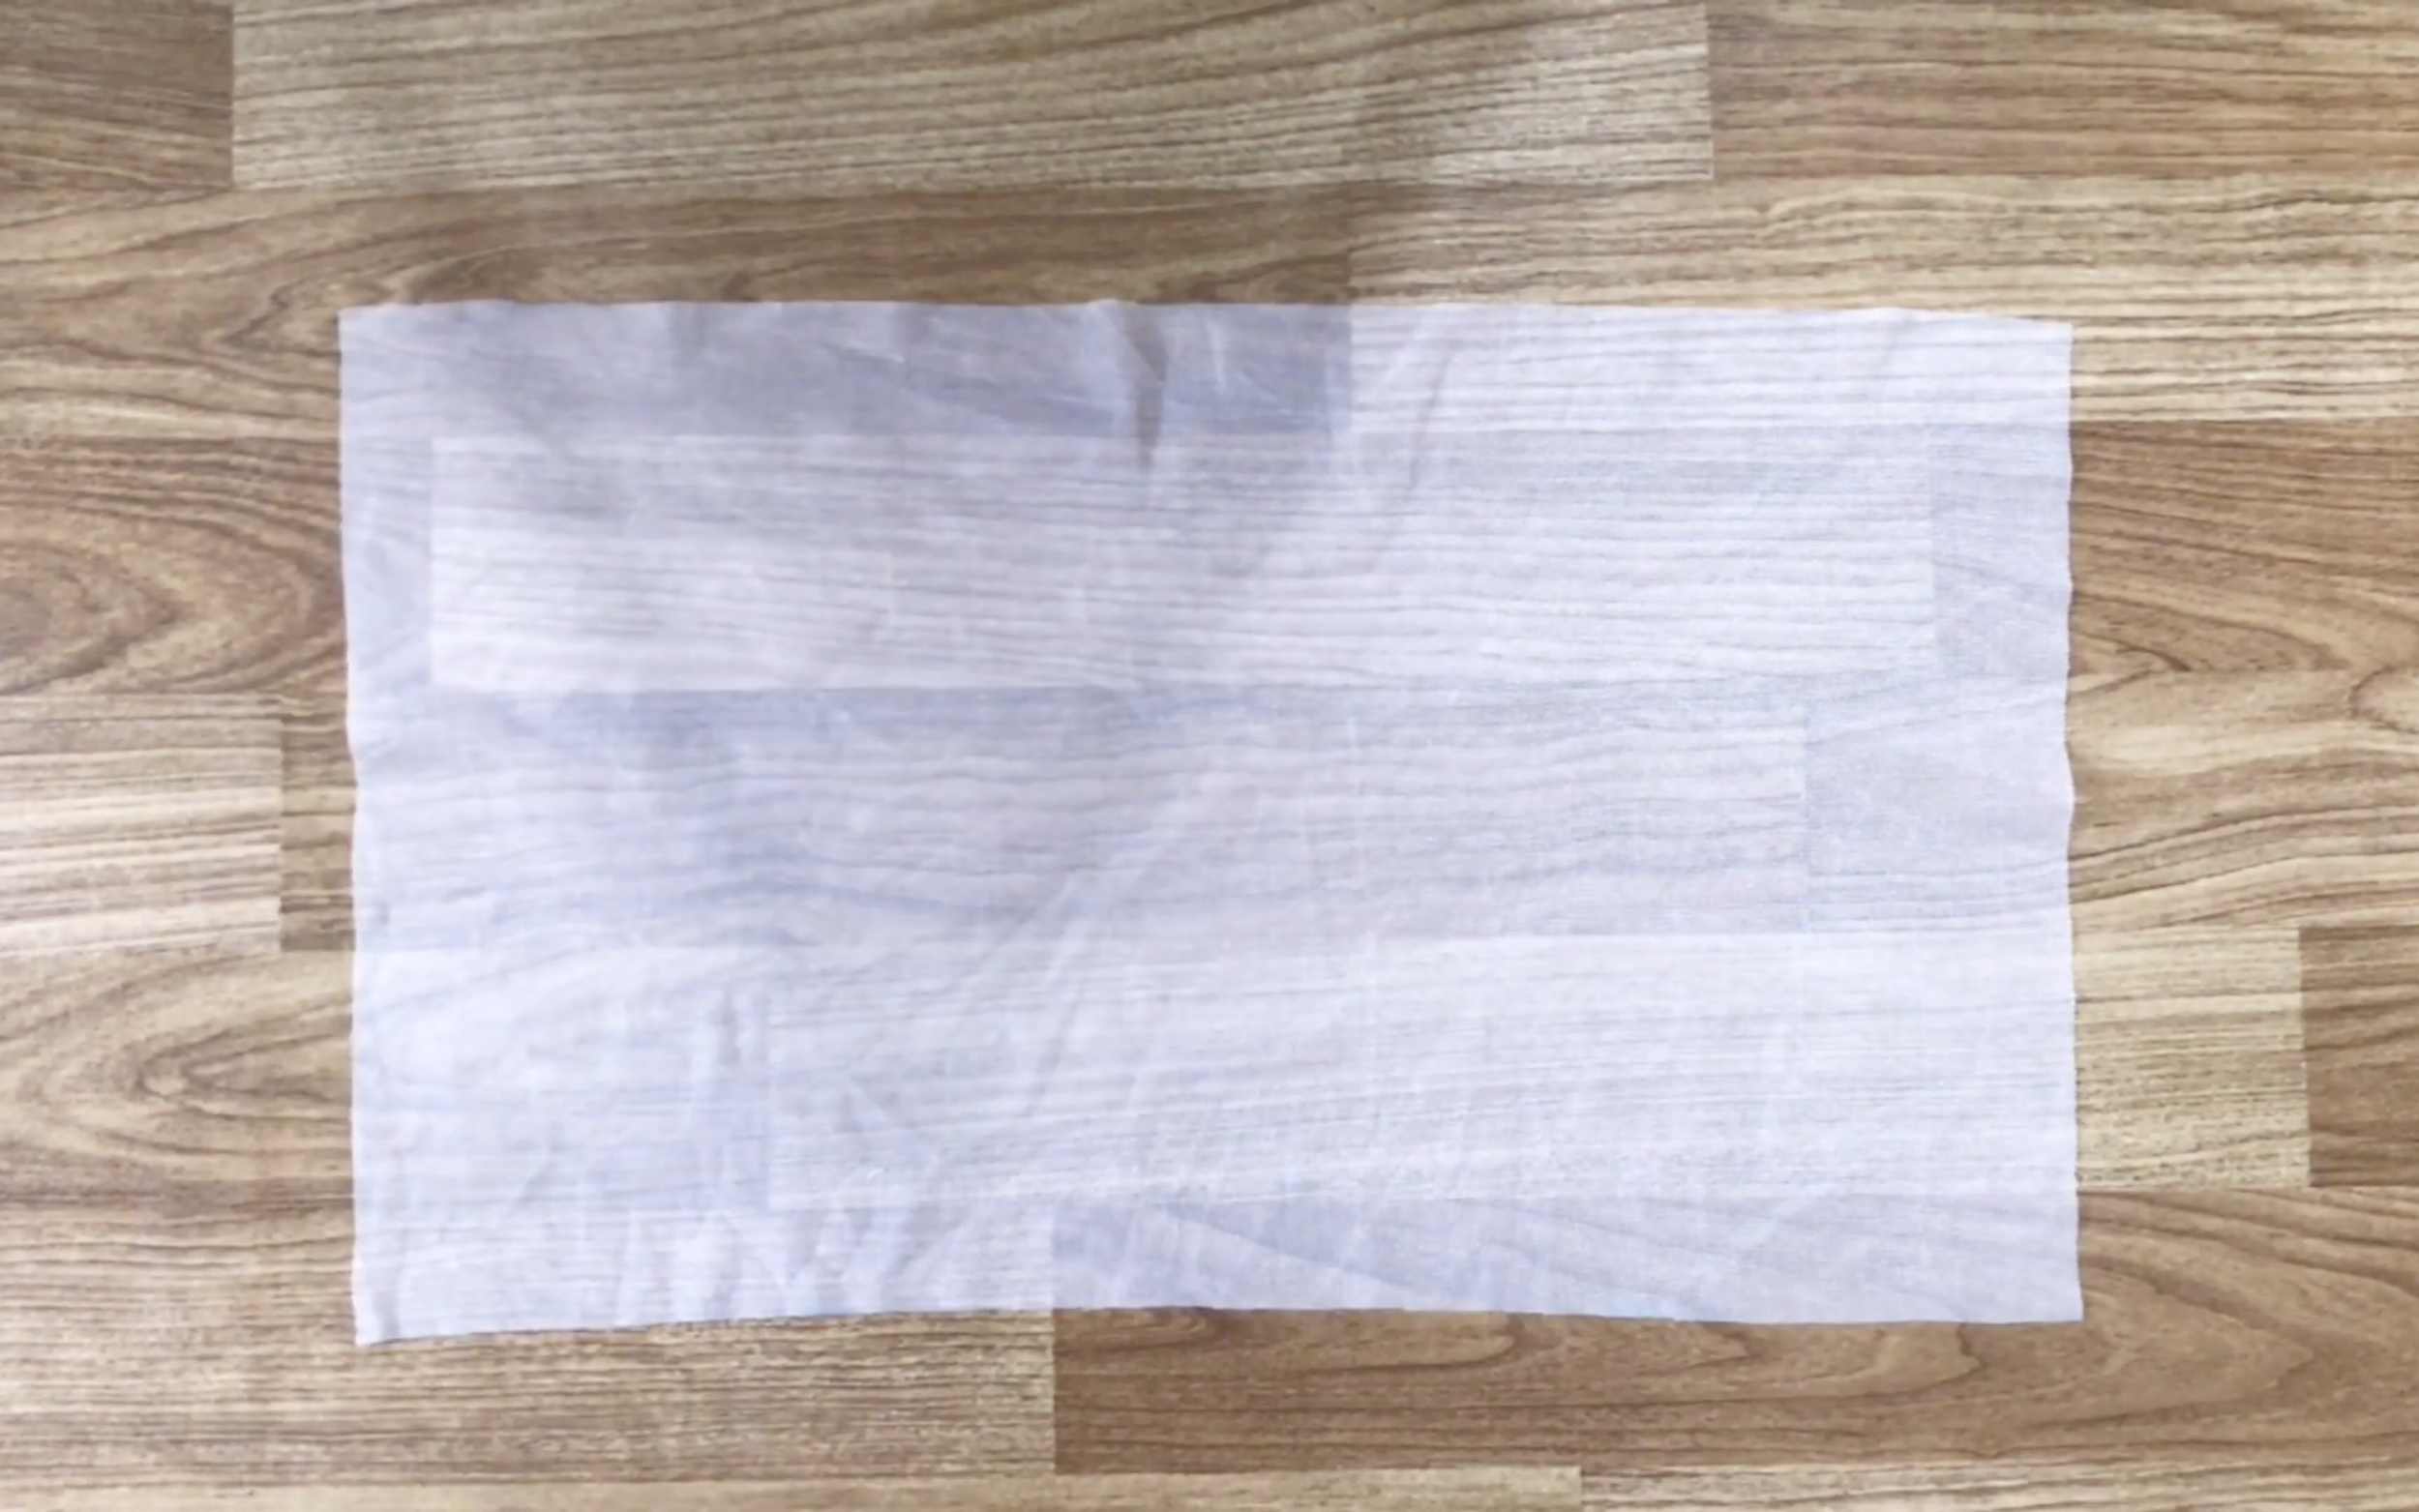
To add more tulle fabric to the top, cut a rectangle measuring 30cm in width and 60cm in length.
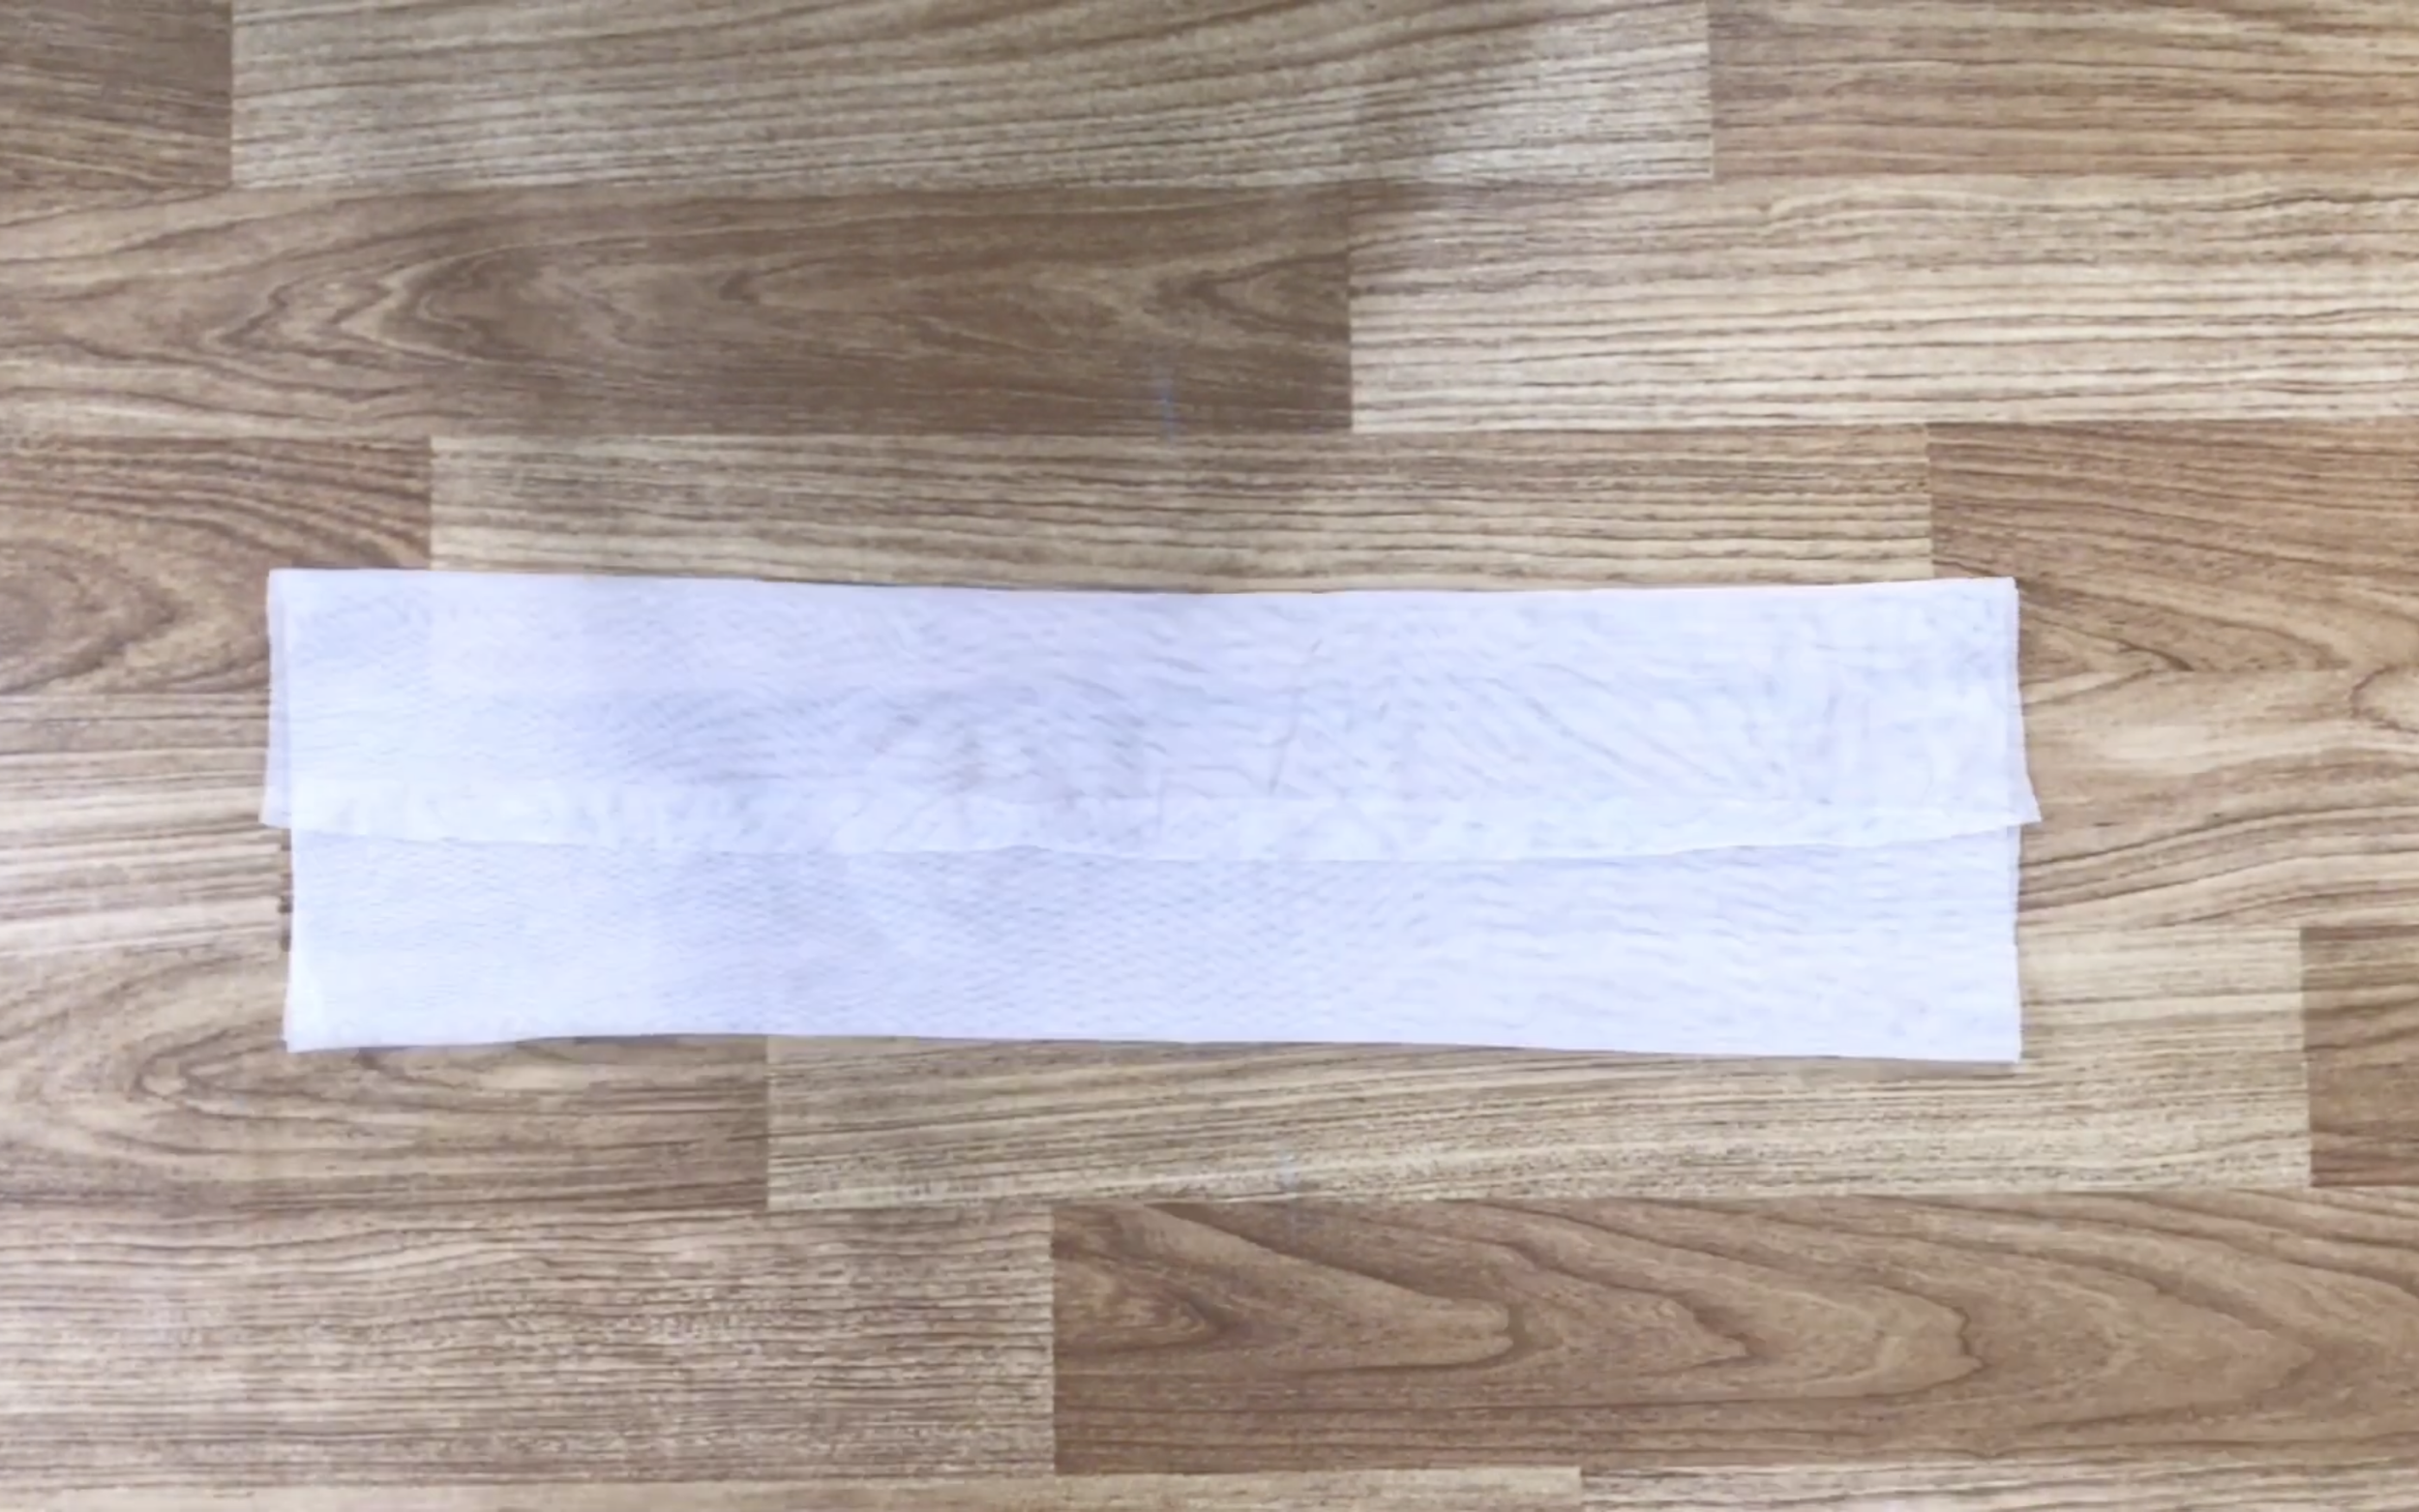
Fold both sides of the rectangle toward the center.
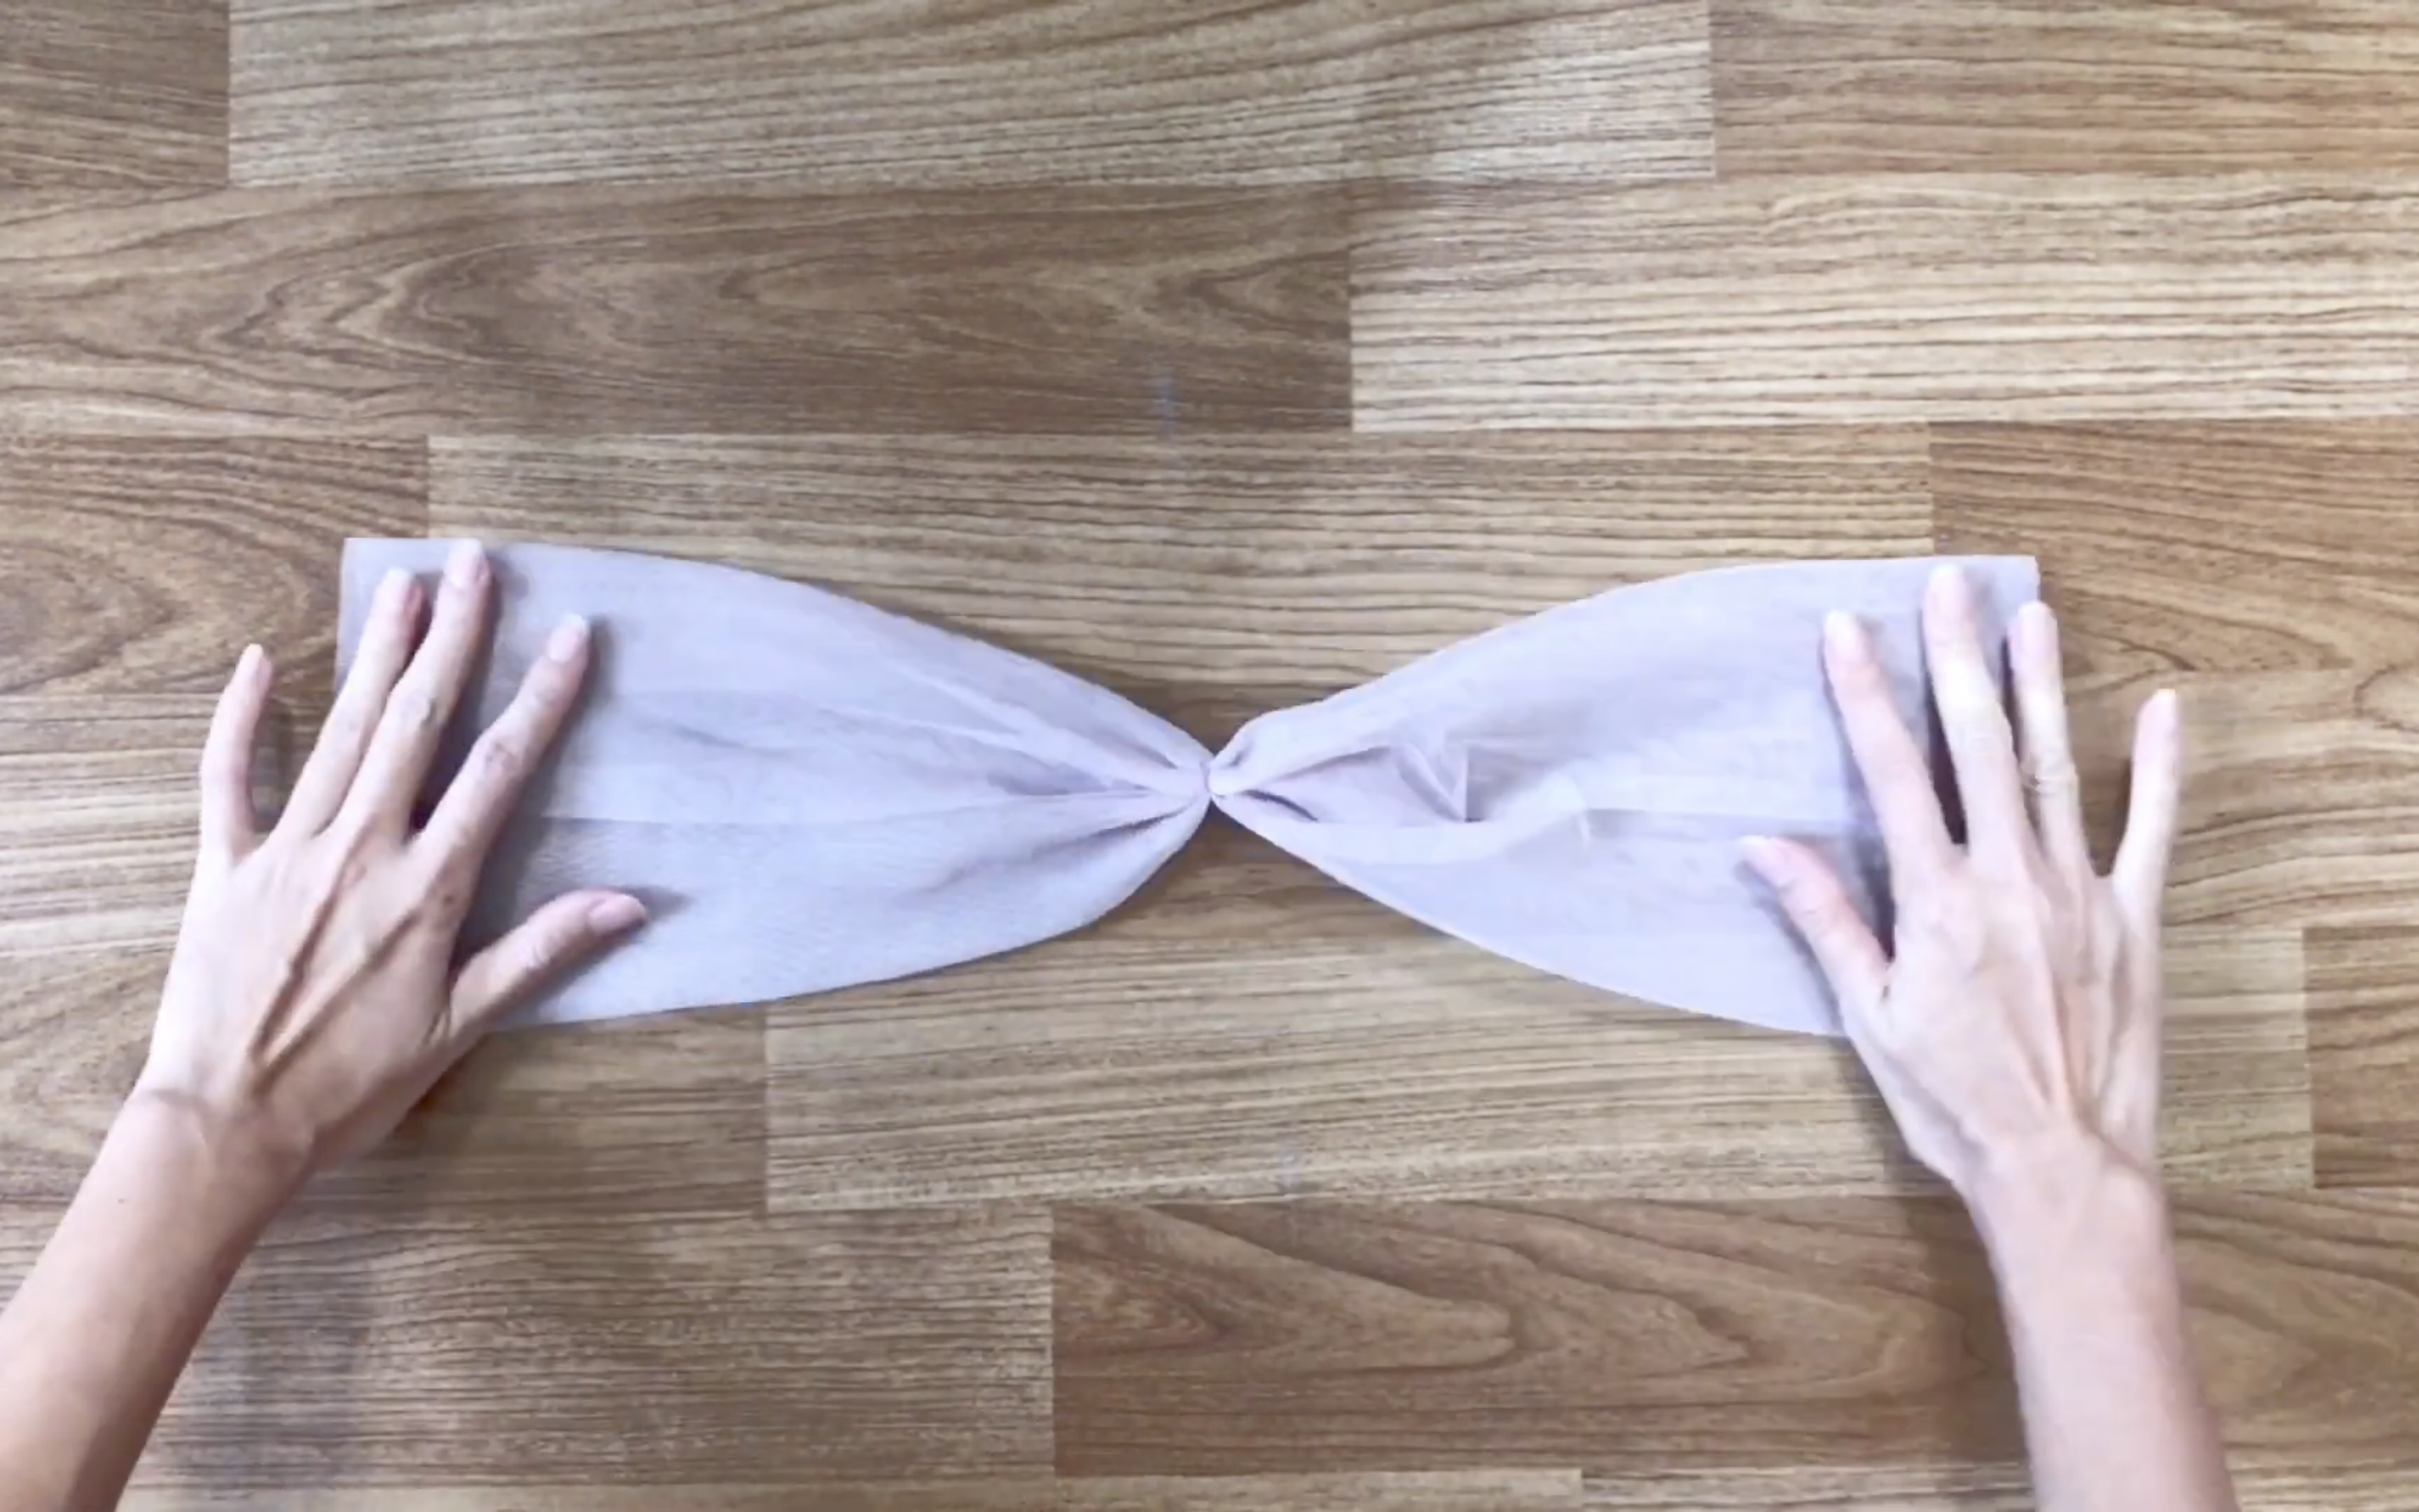
And tie a knot in the middle like a bow tie.
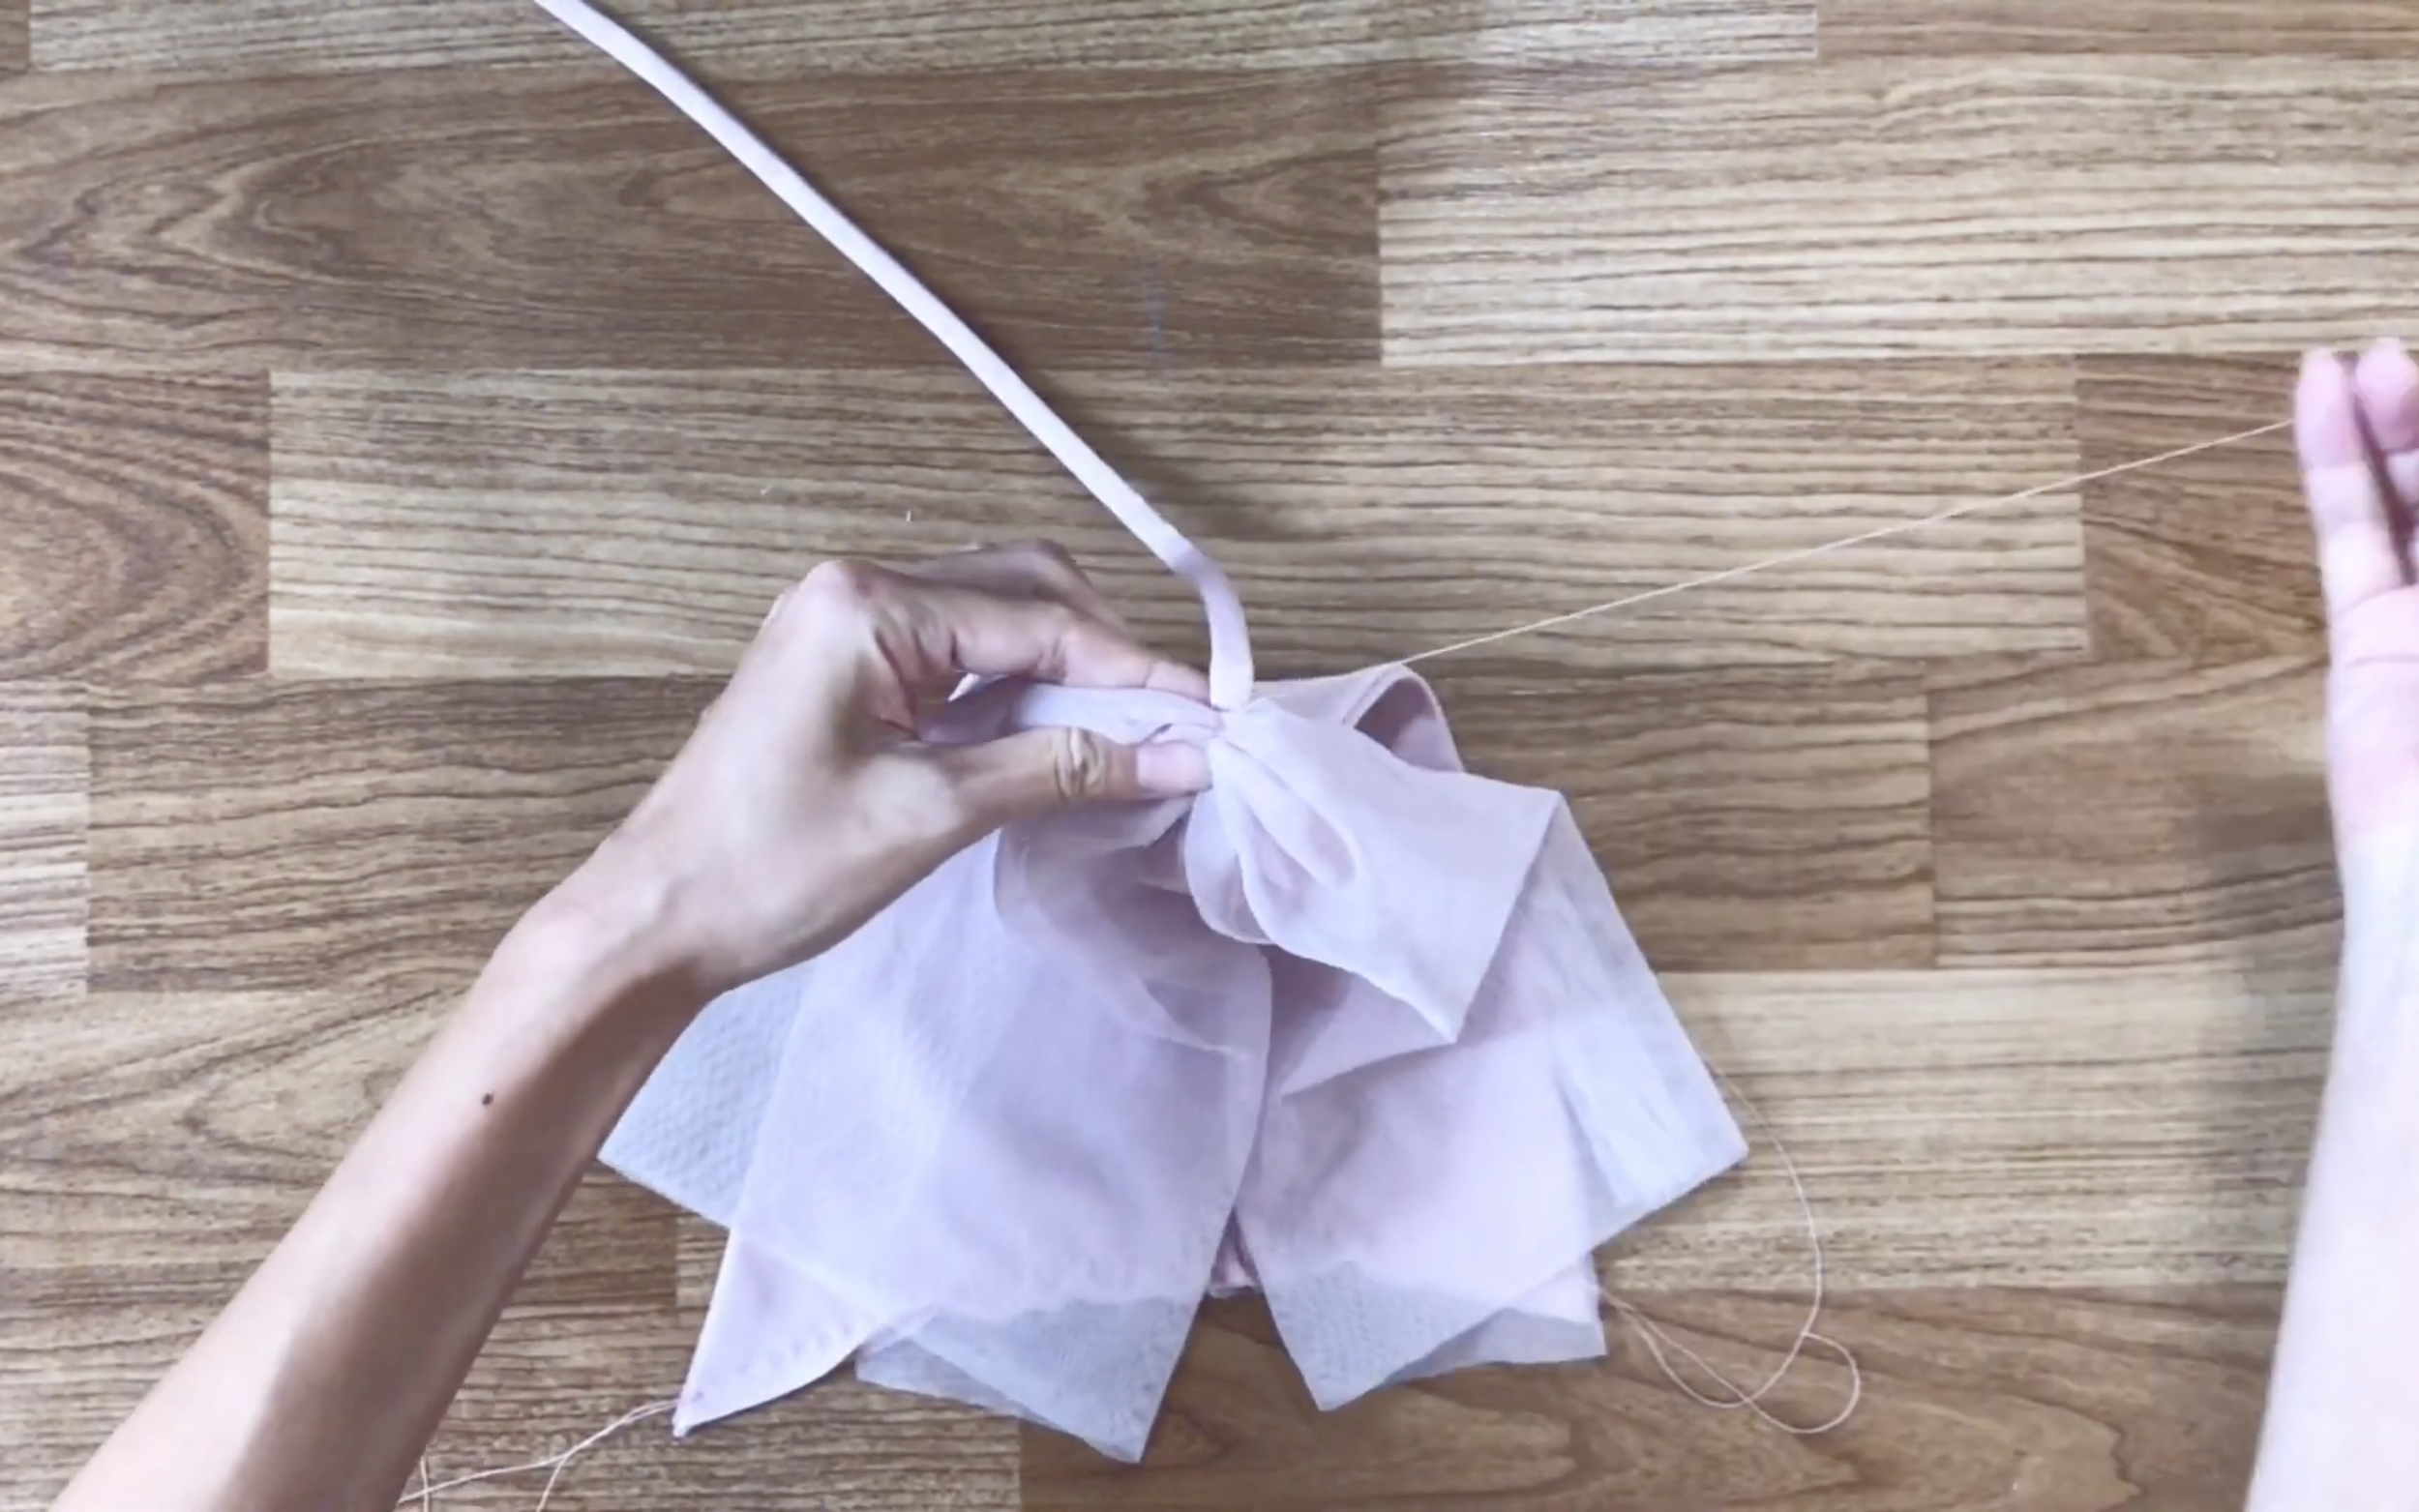
Attach the knot of tulle fabric to the top of the triangle, right where it connects with the tie.
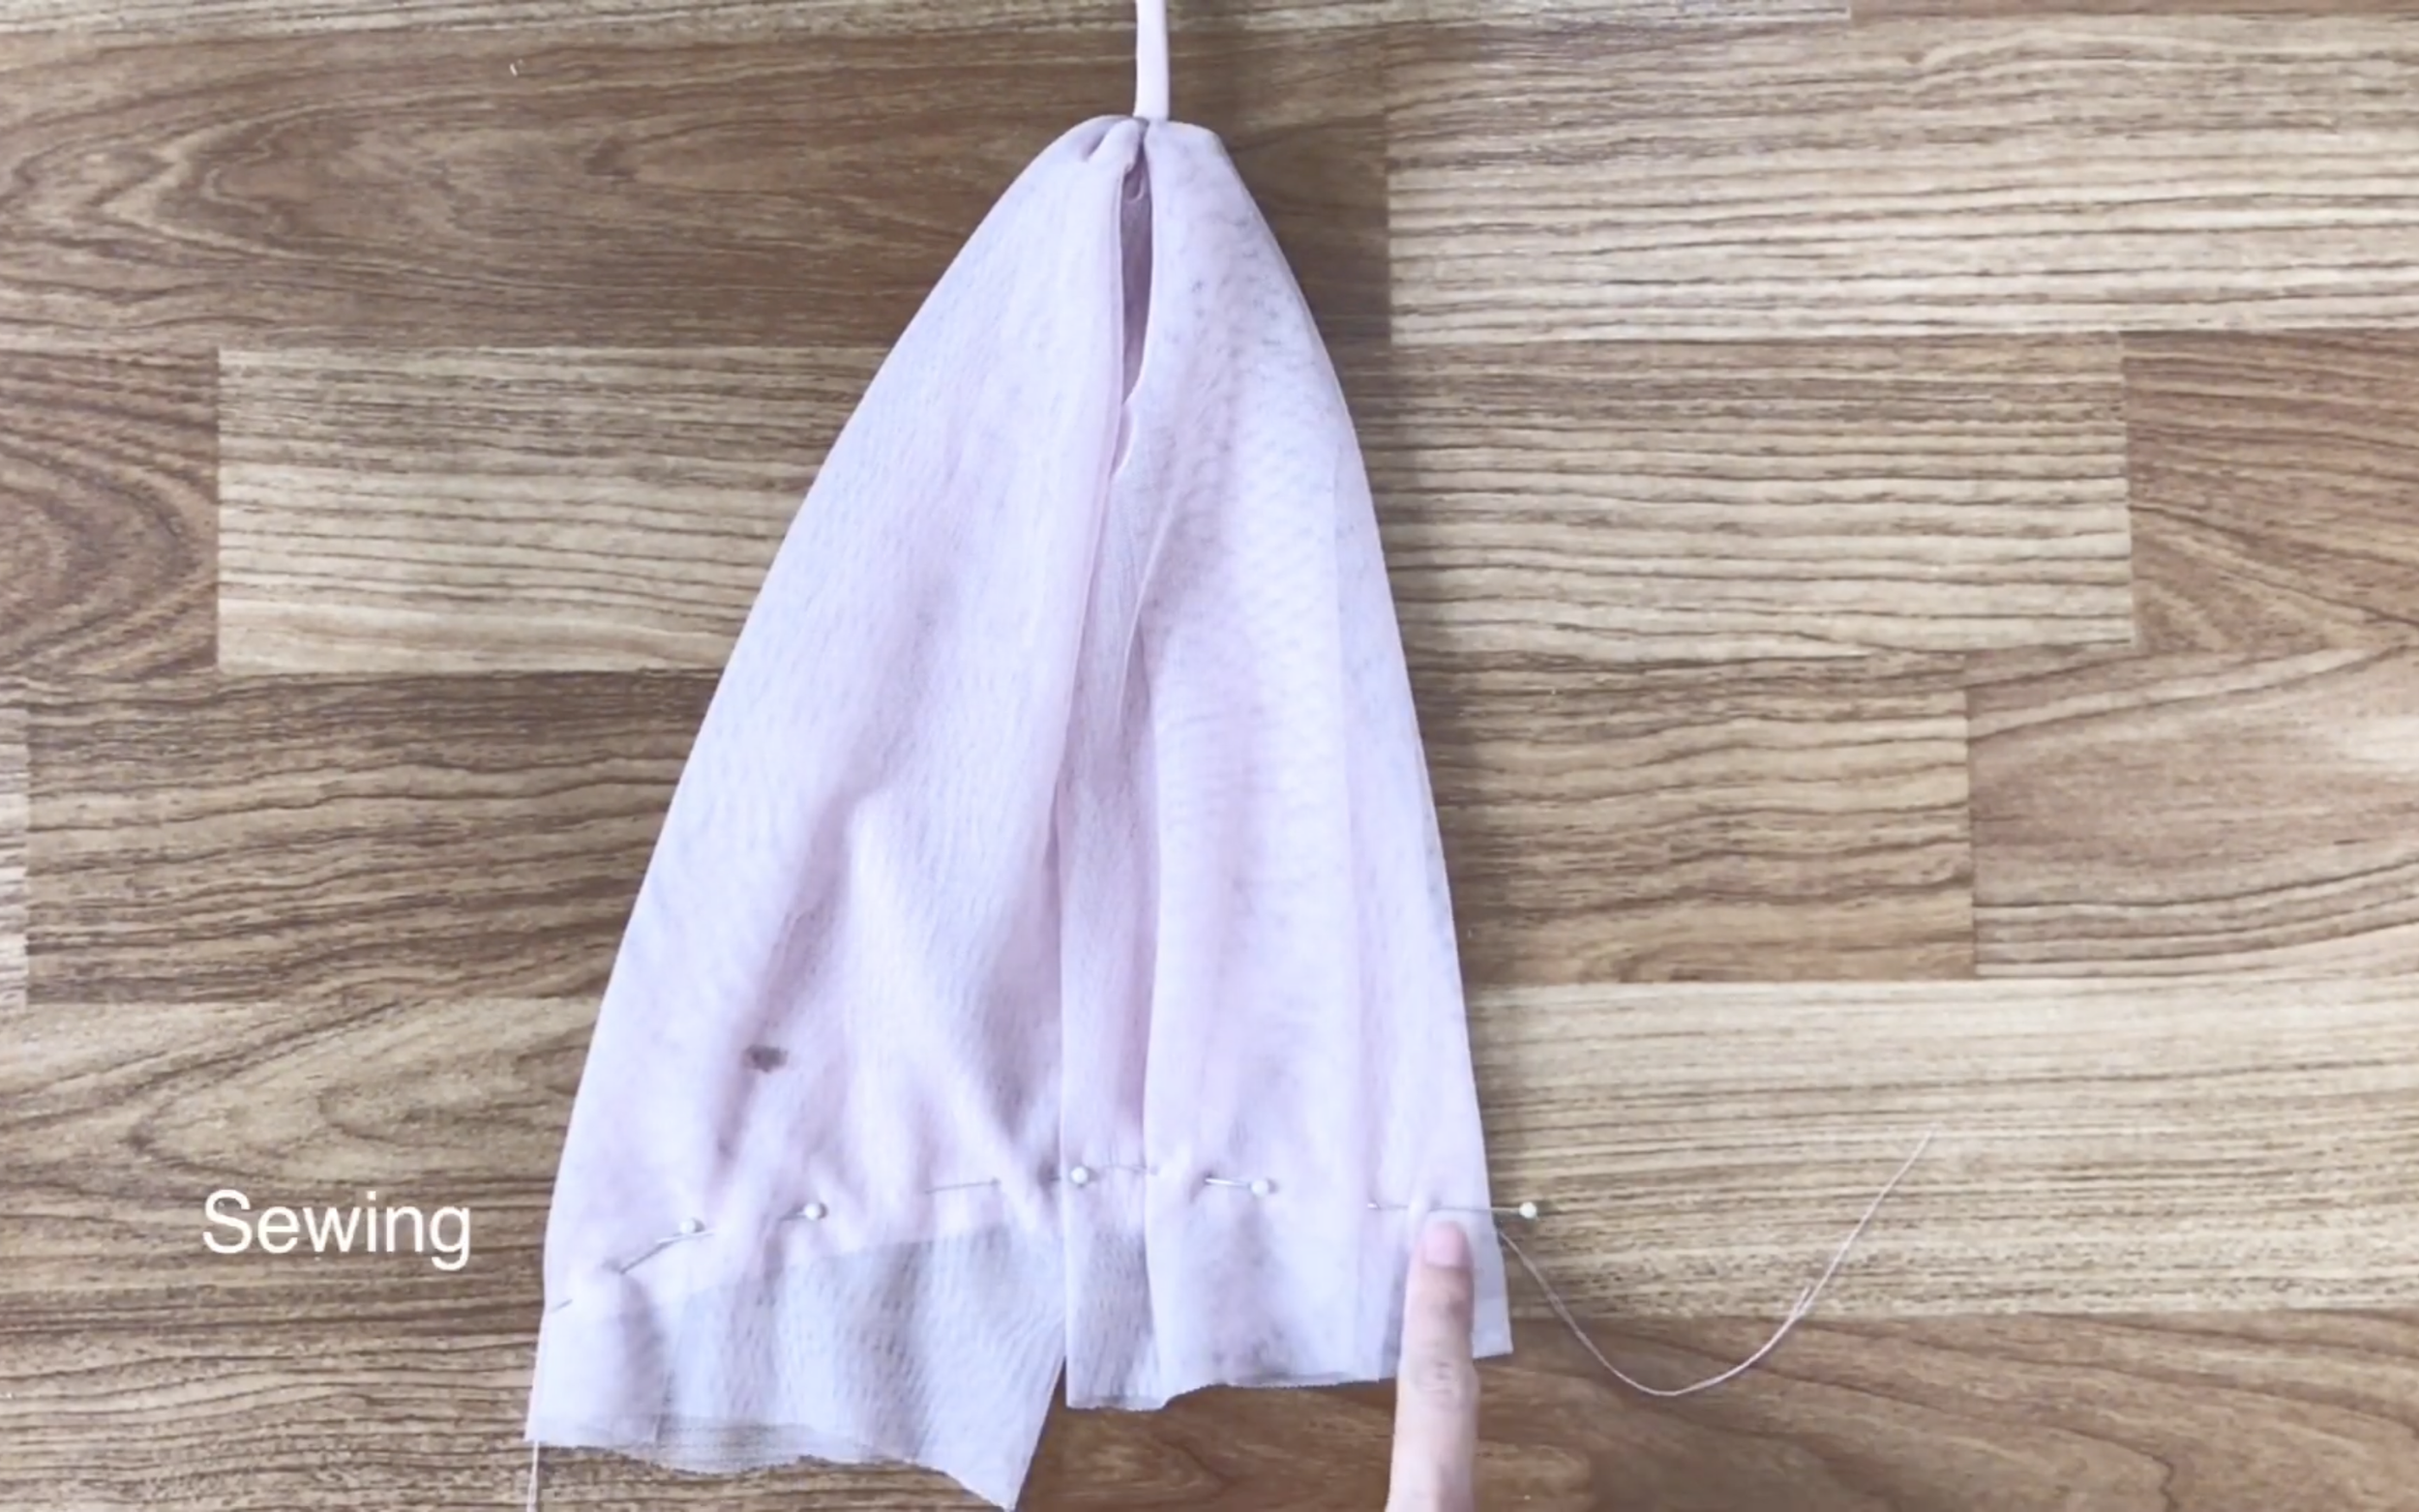
And secure the rest of the tulle to cover the entire triangle.
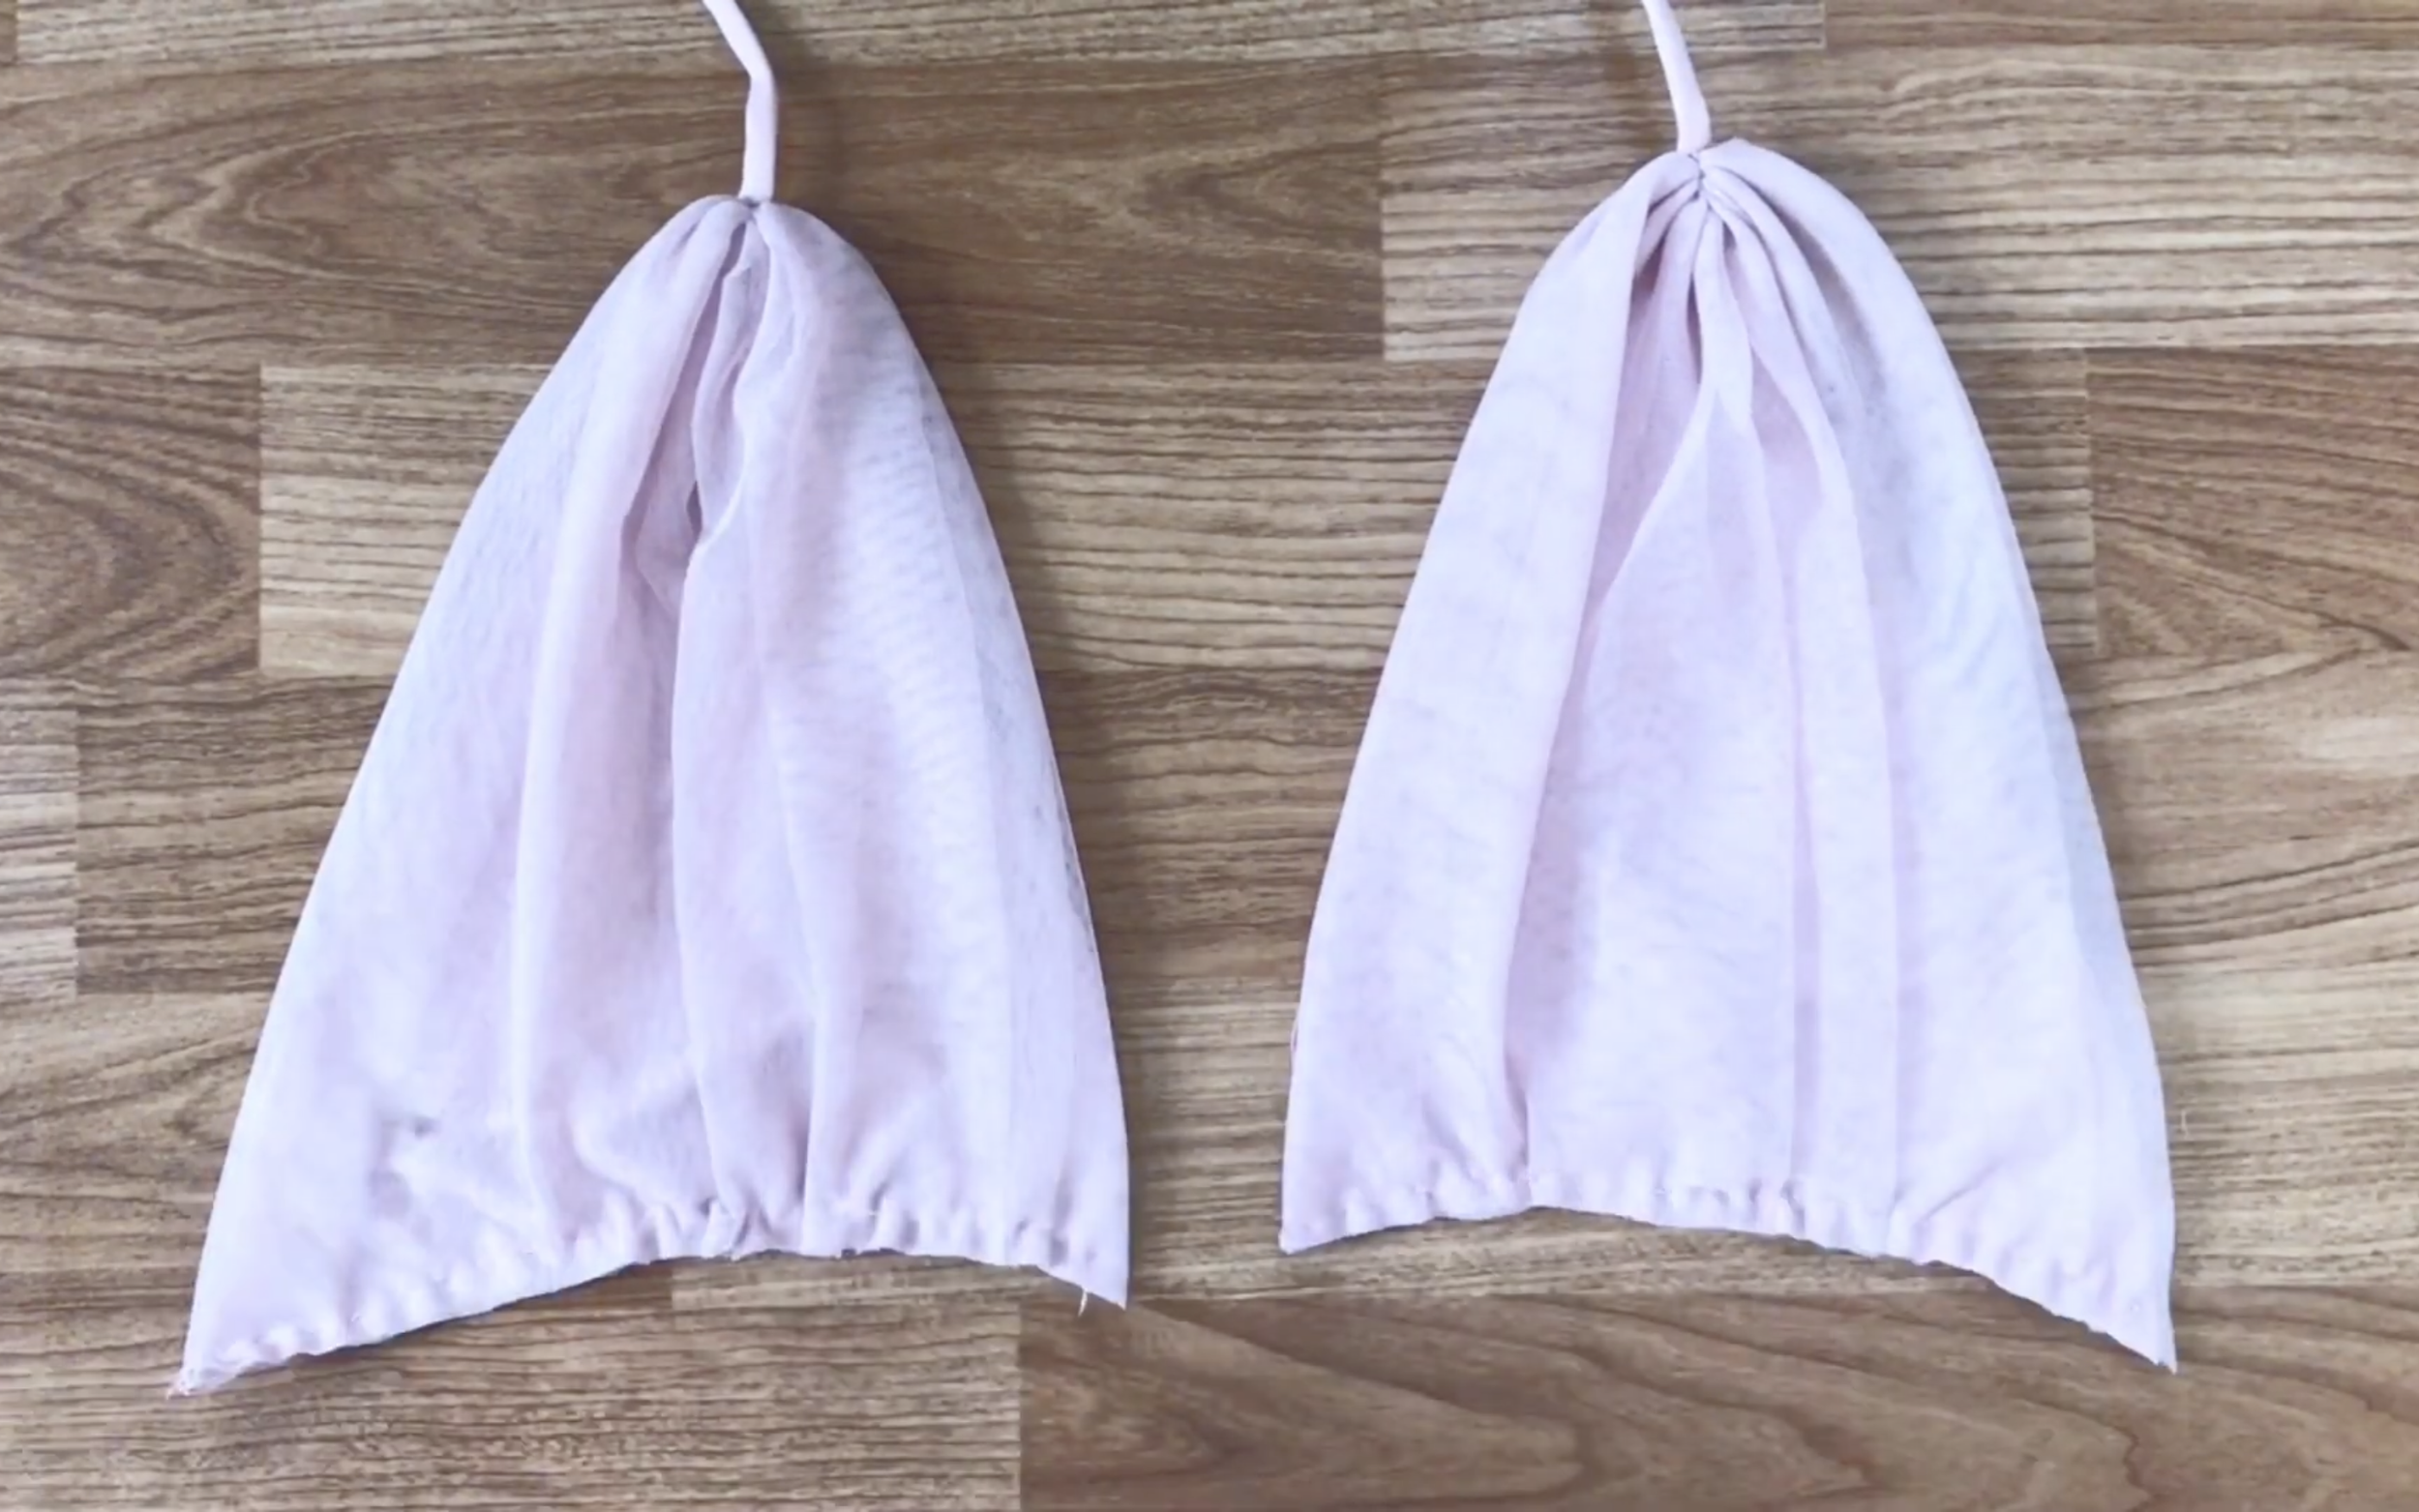
Sew everything together to complete the top of the dress.
THE BOTTOM

The bottom pattern
Cut a half-circle of spandex fabric to serve as the lining.
The width should be a quarter of the bust size plus 2cm
The length should extend from the bust to just above the ankle.
Sew one side of the fabric.
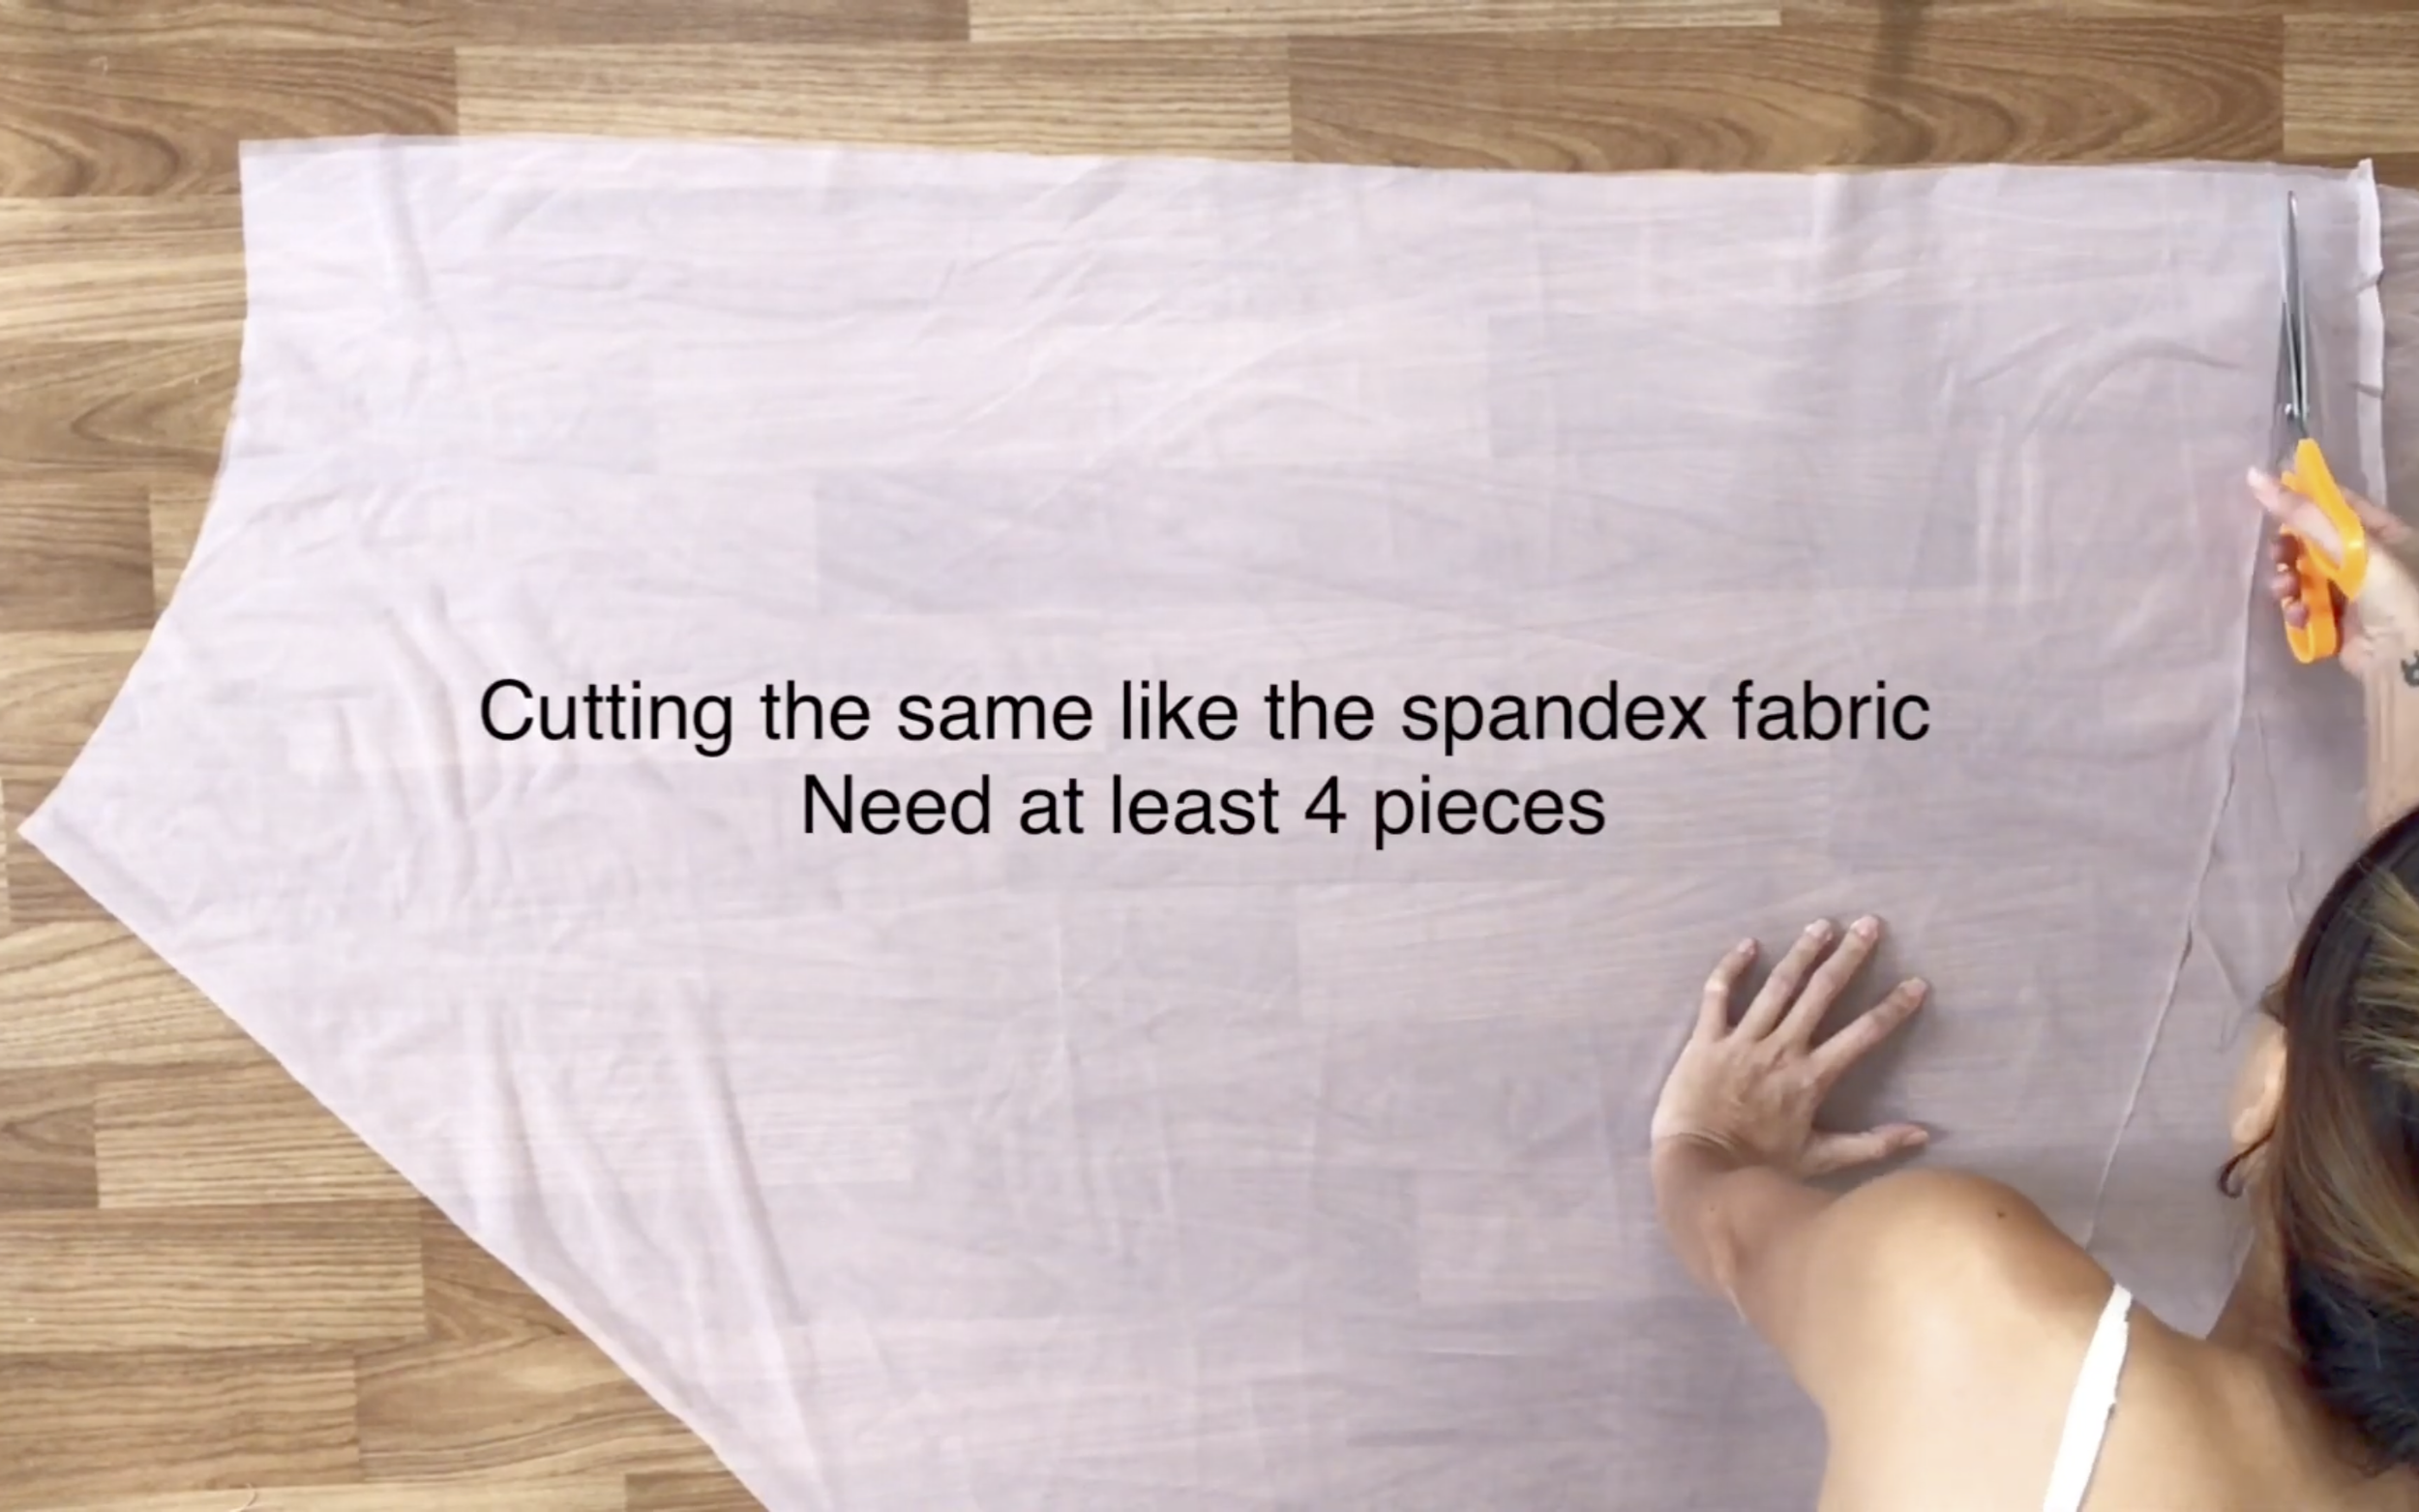
Then, cut four more half-circles from tulle fabric with the same size and technique.
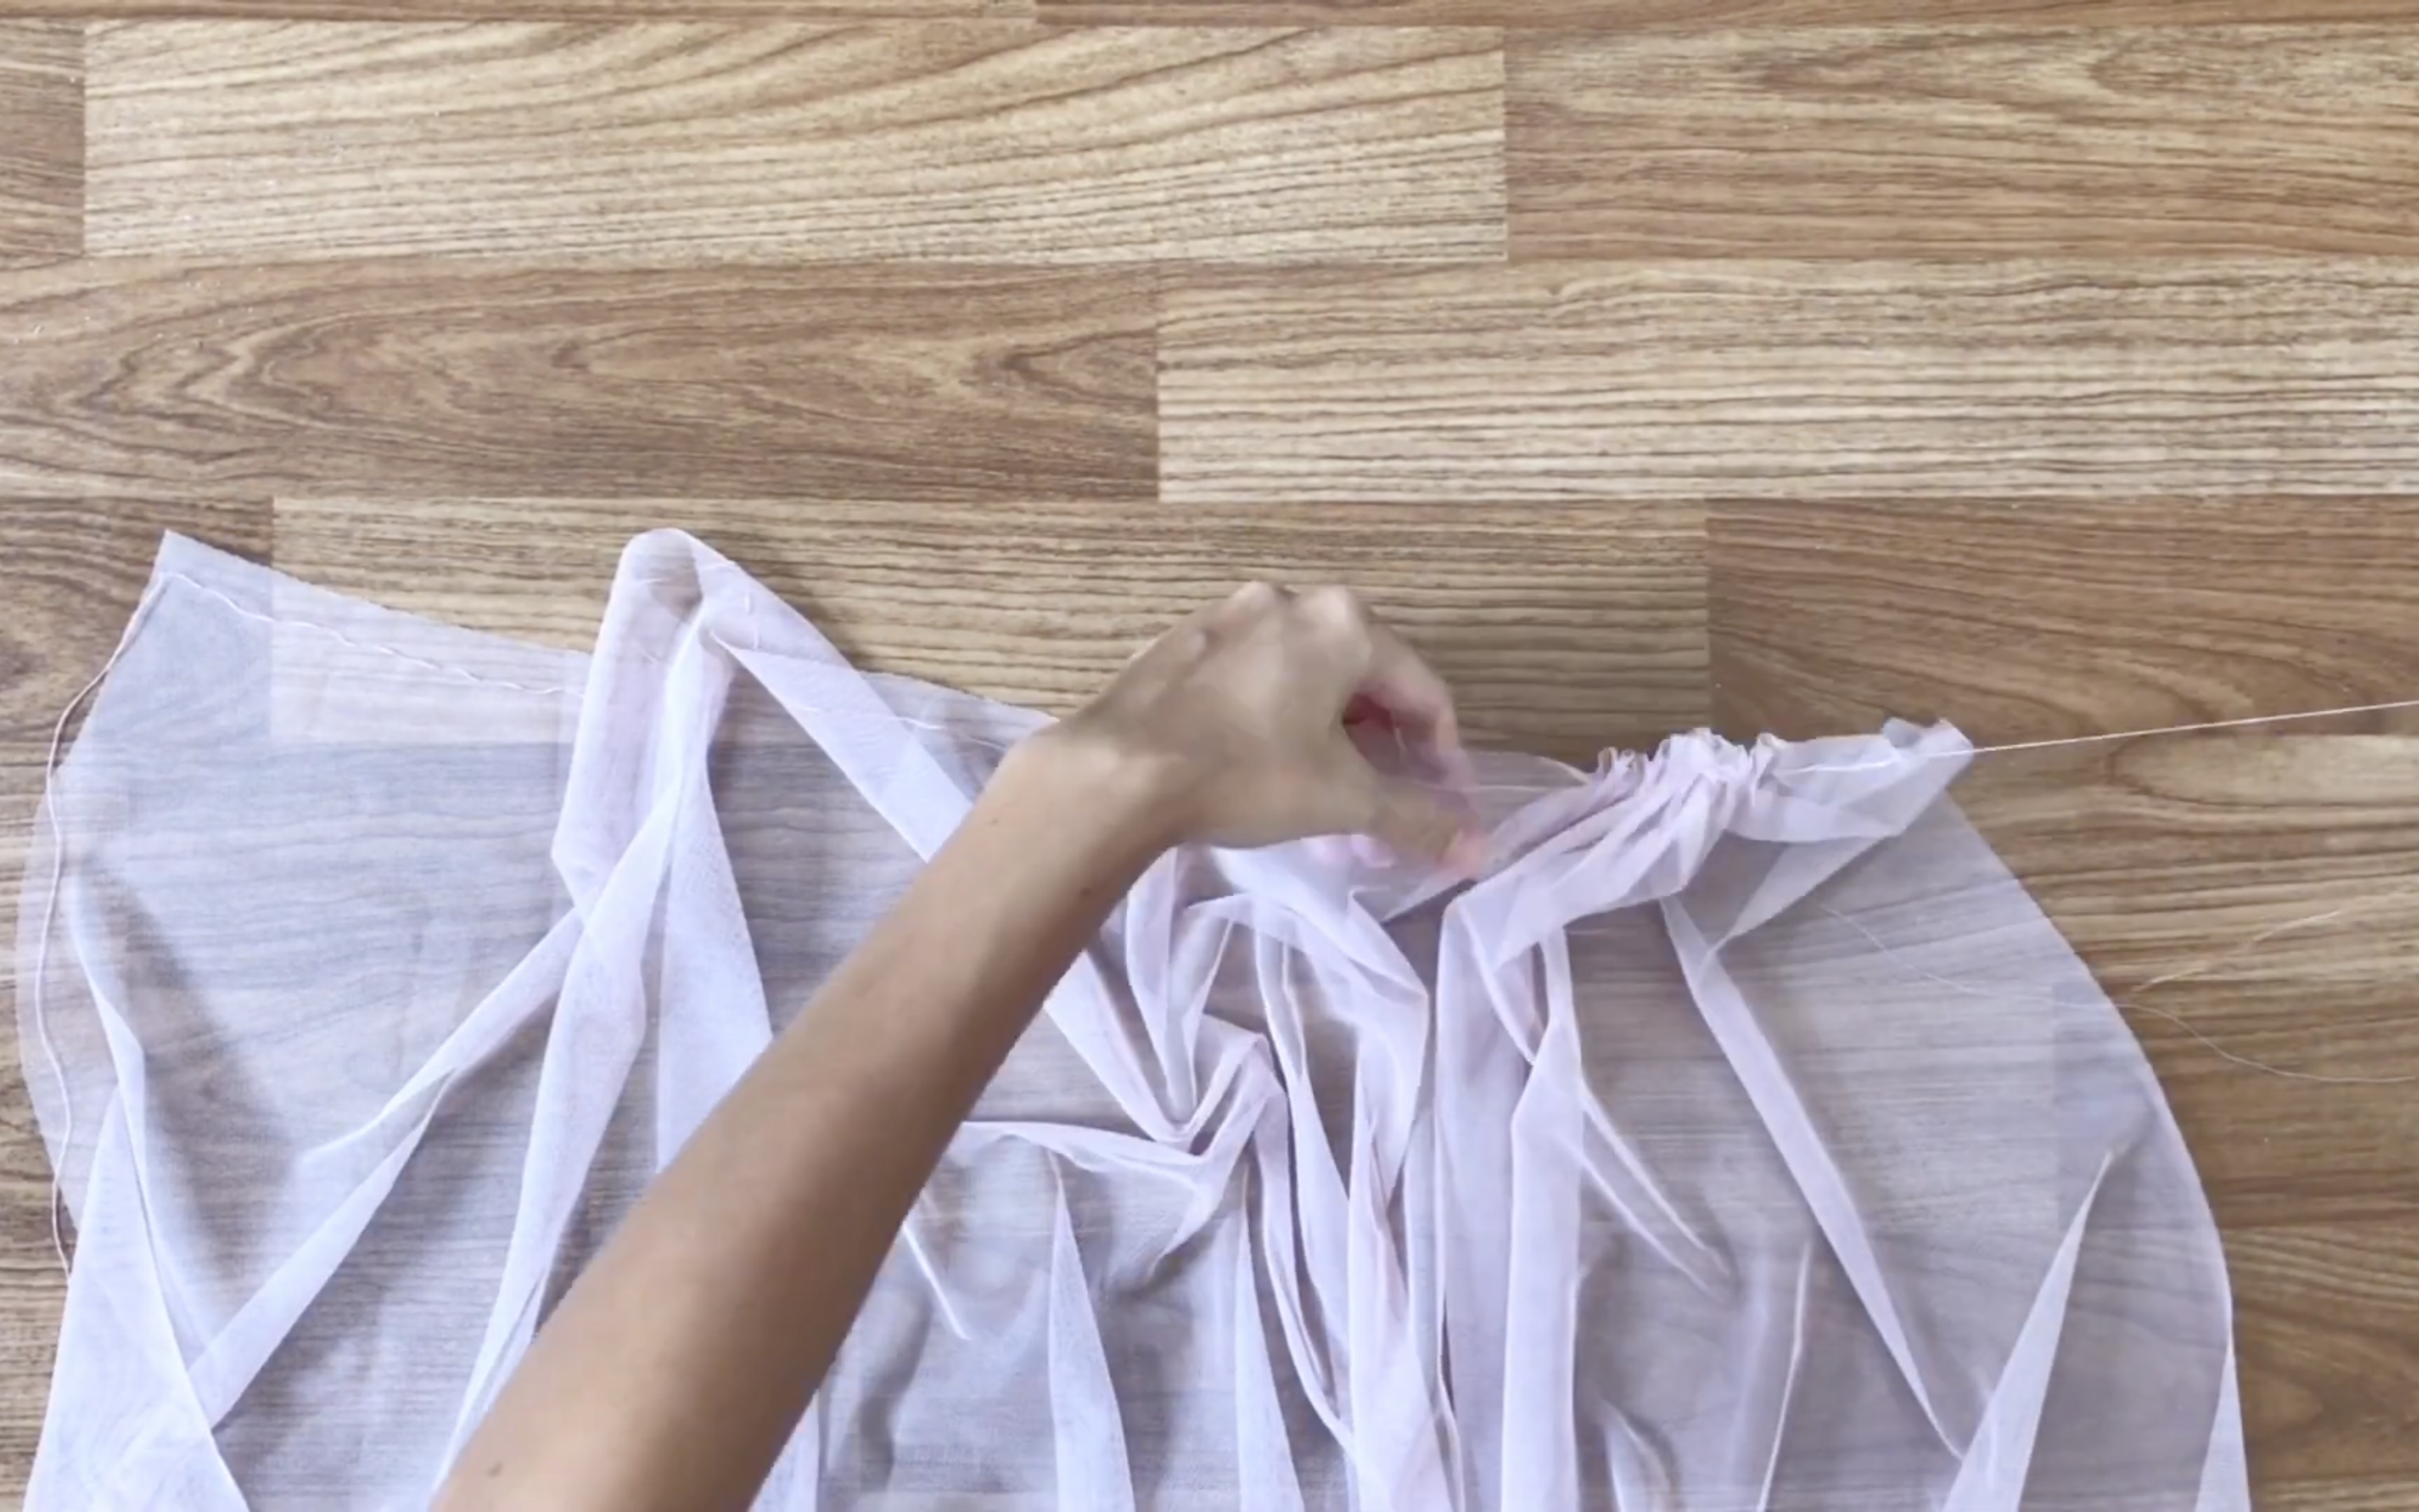
Create ruffles by making a loose seam at the top of each half-circle.
Then, attach them to the spandex half-circle lining.
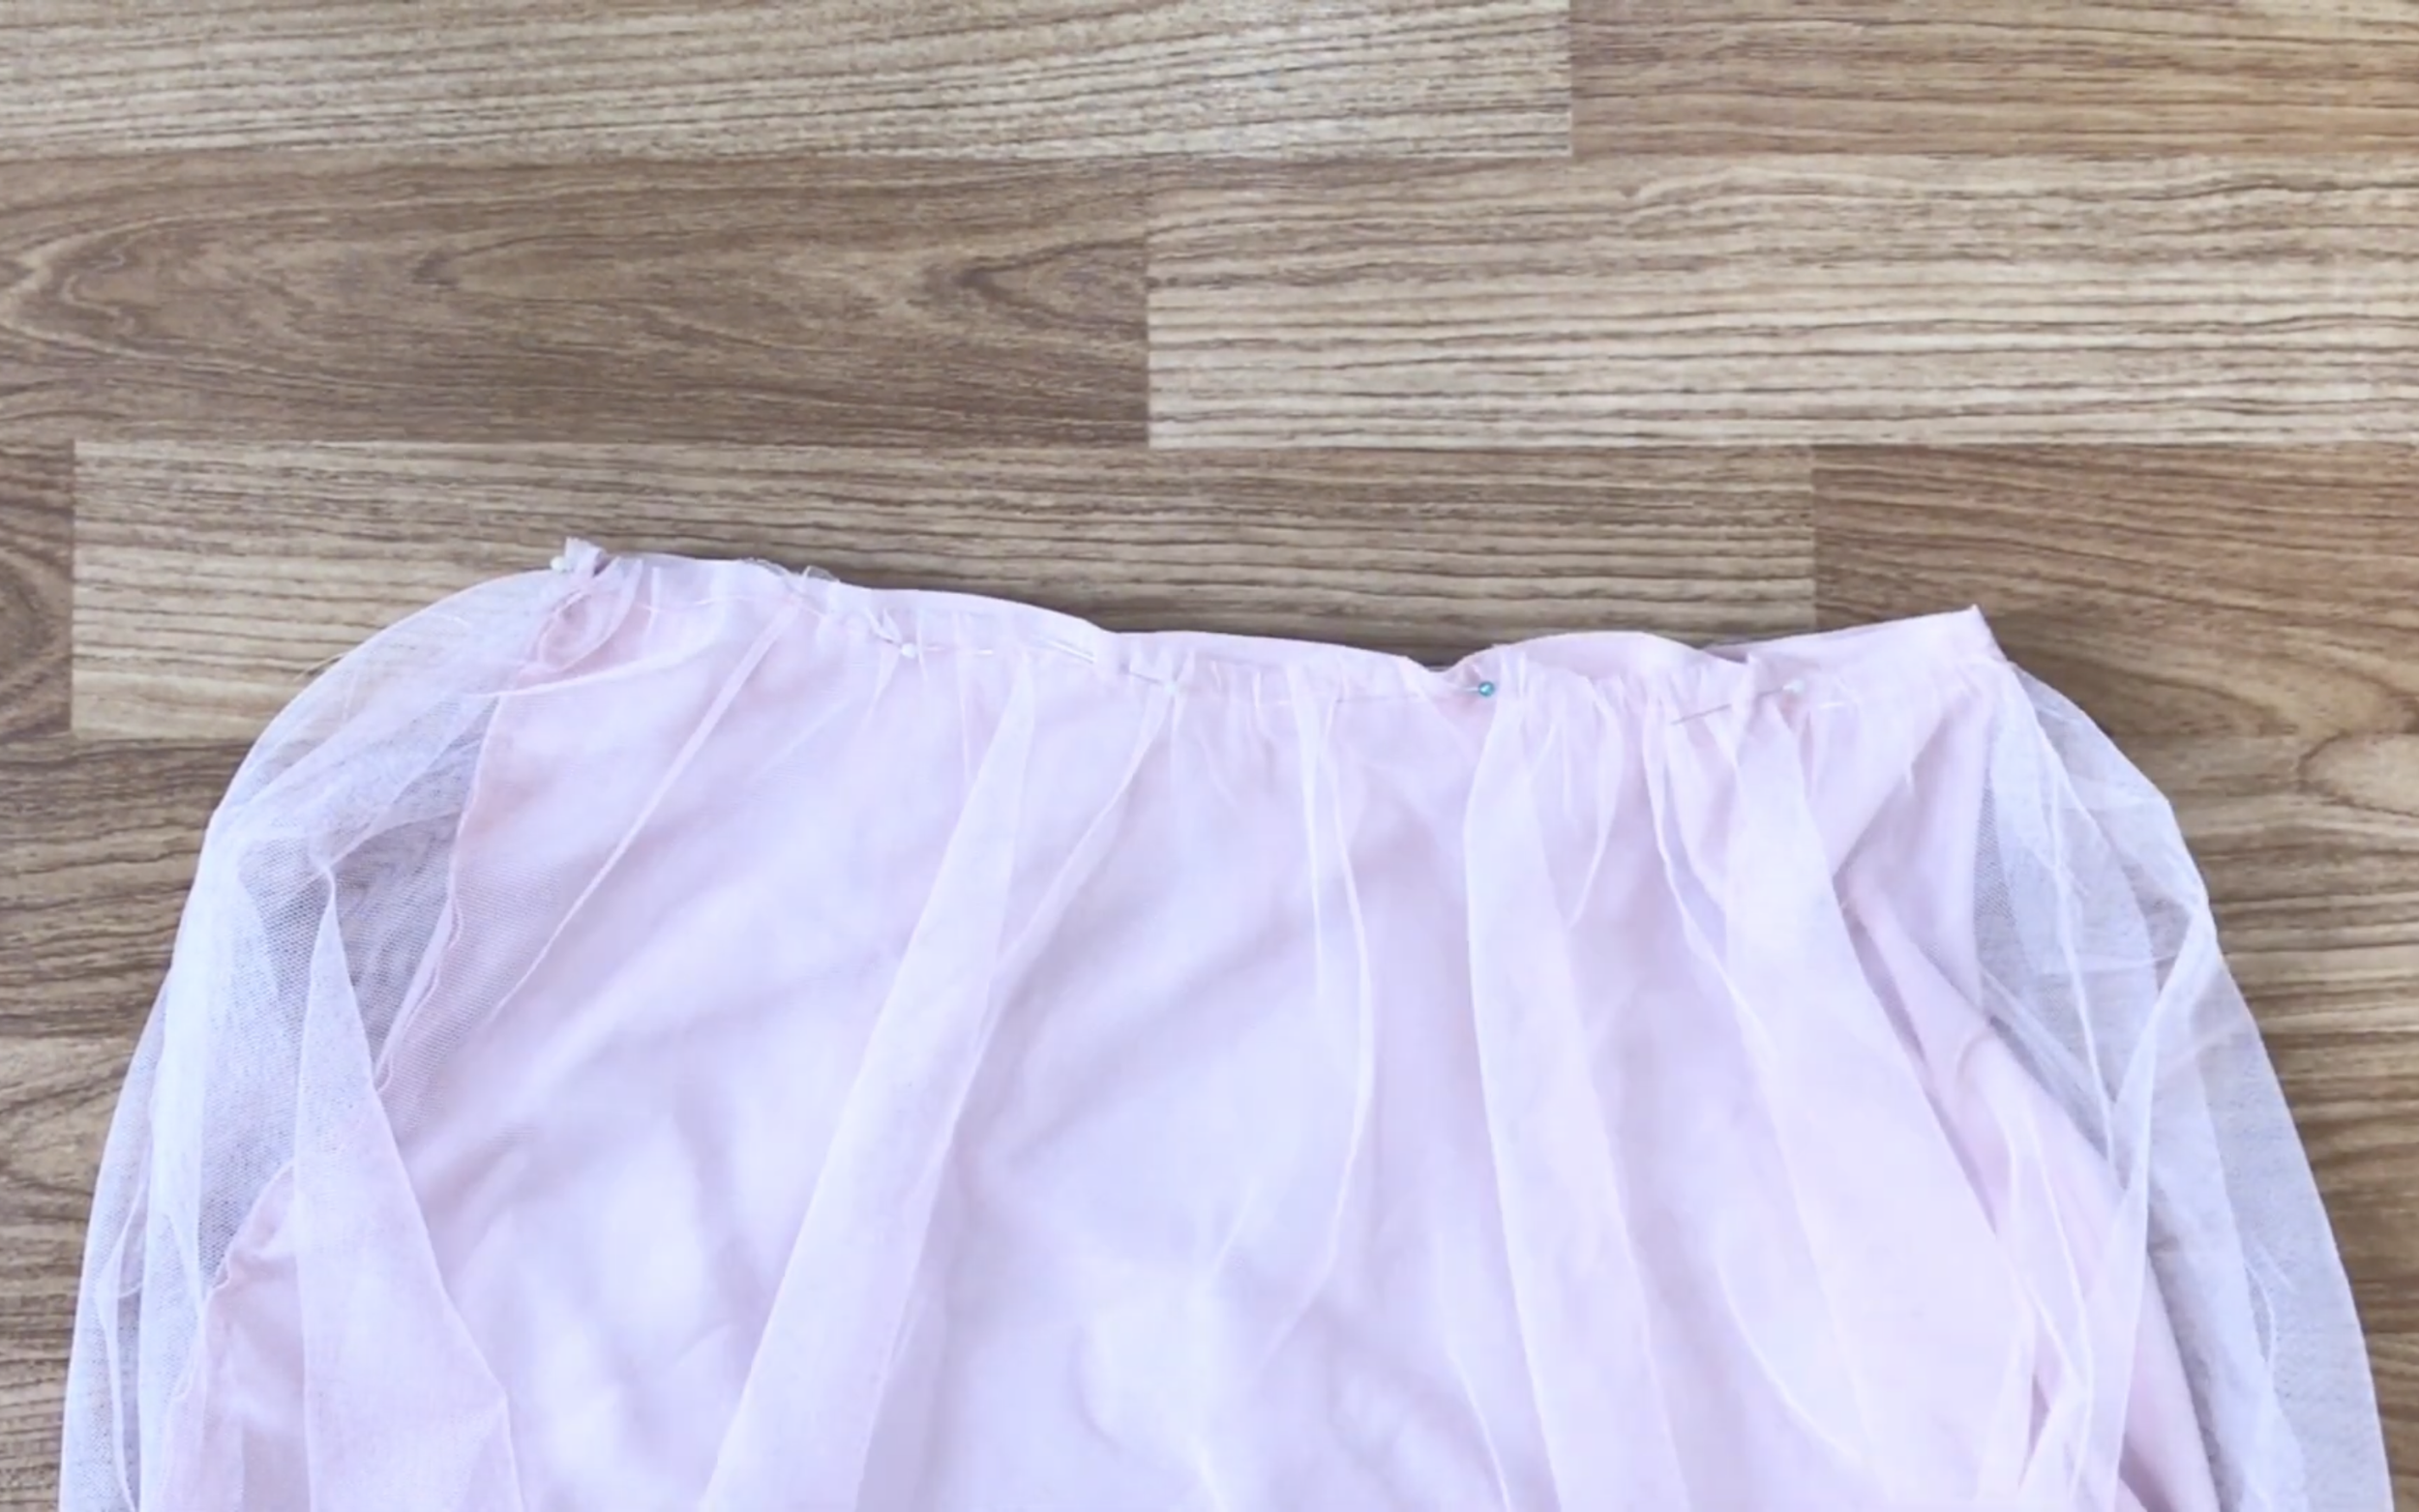
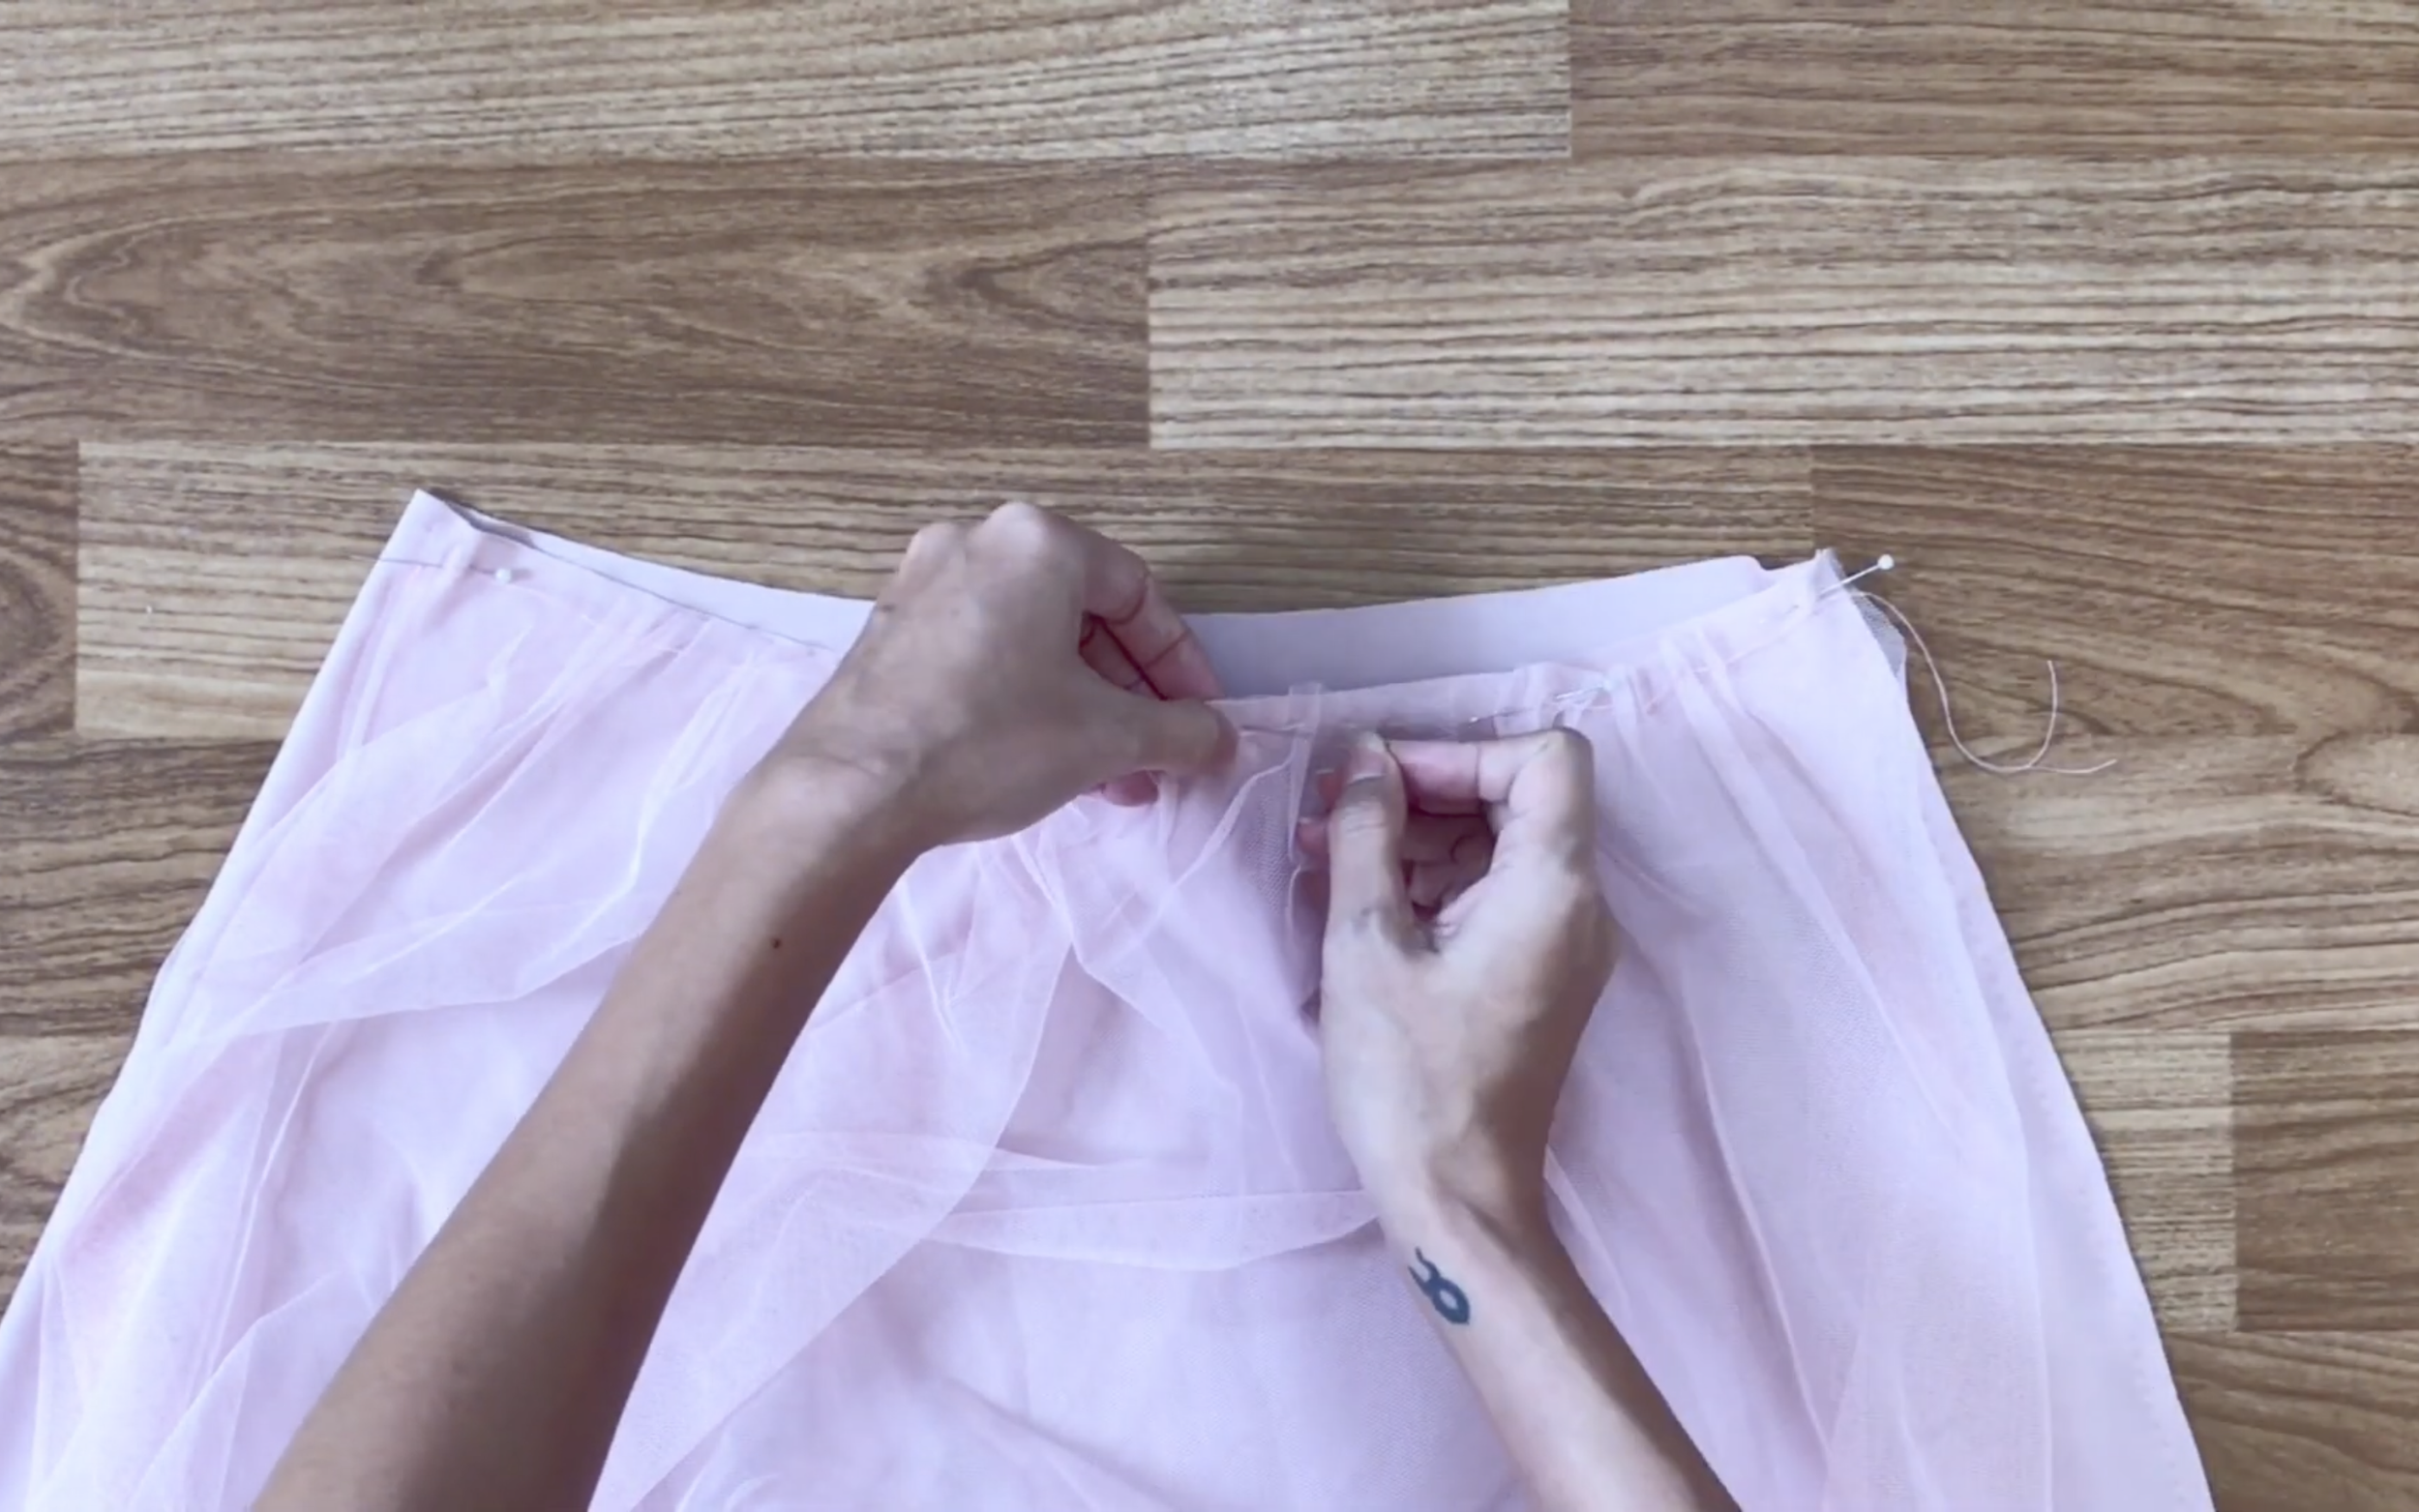
Use two pieces of tulle for each layer, pin them into position, and sew them together.
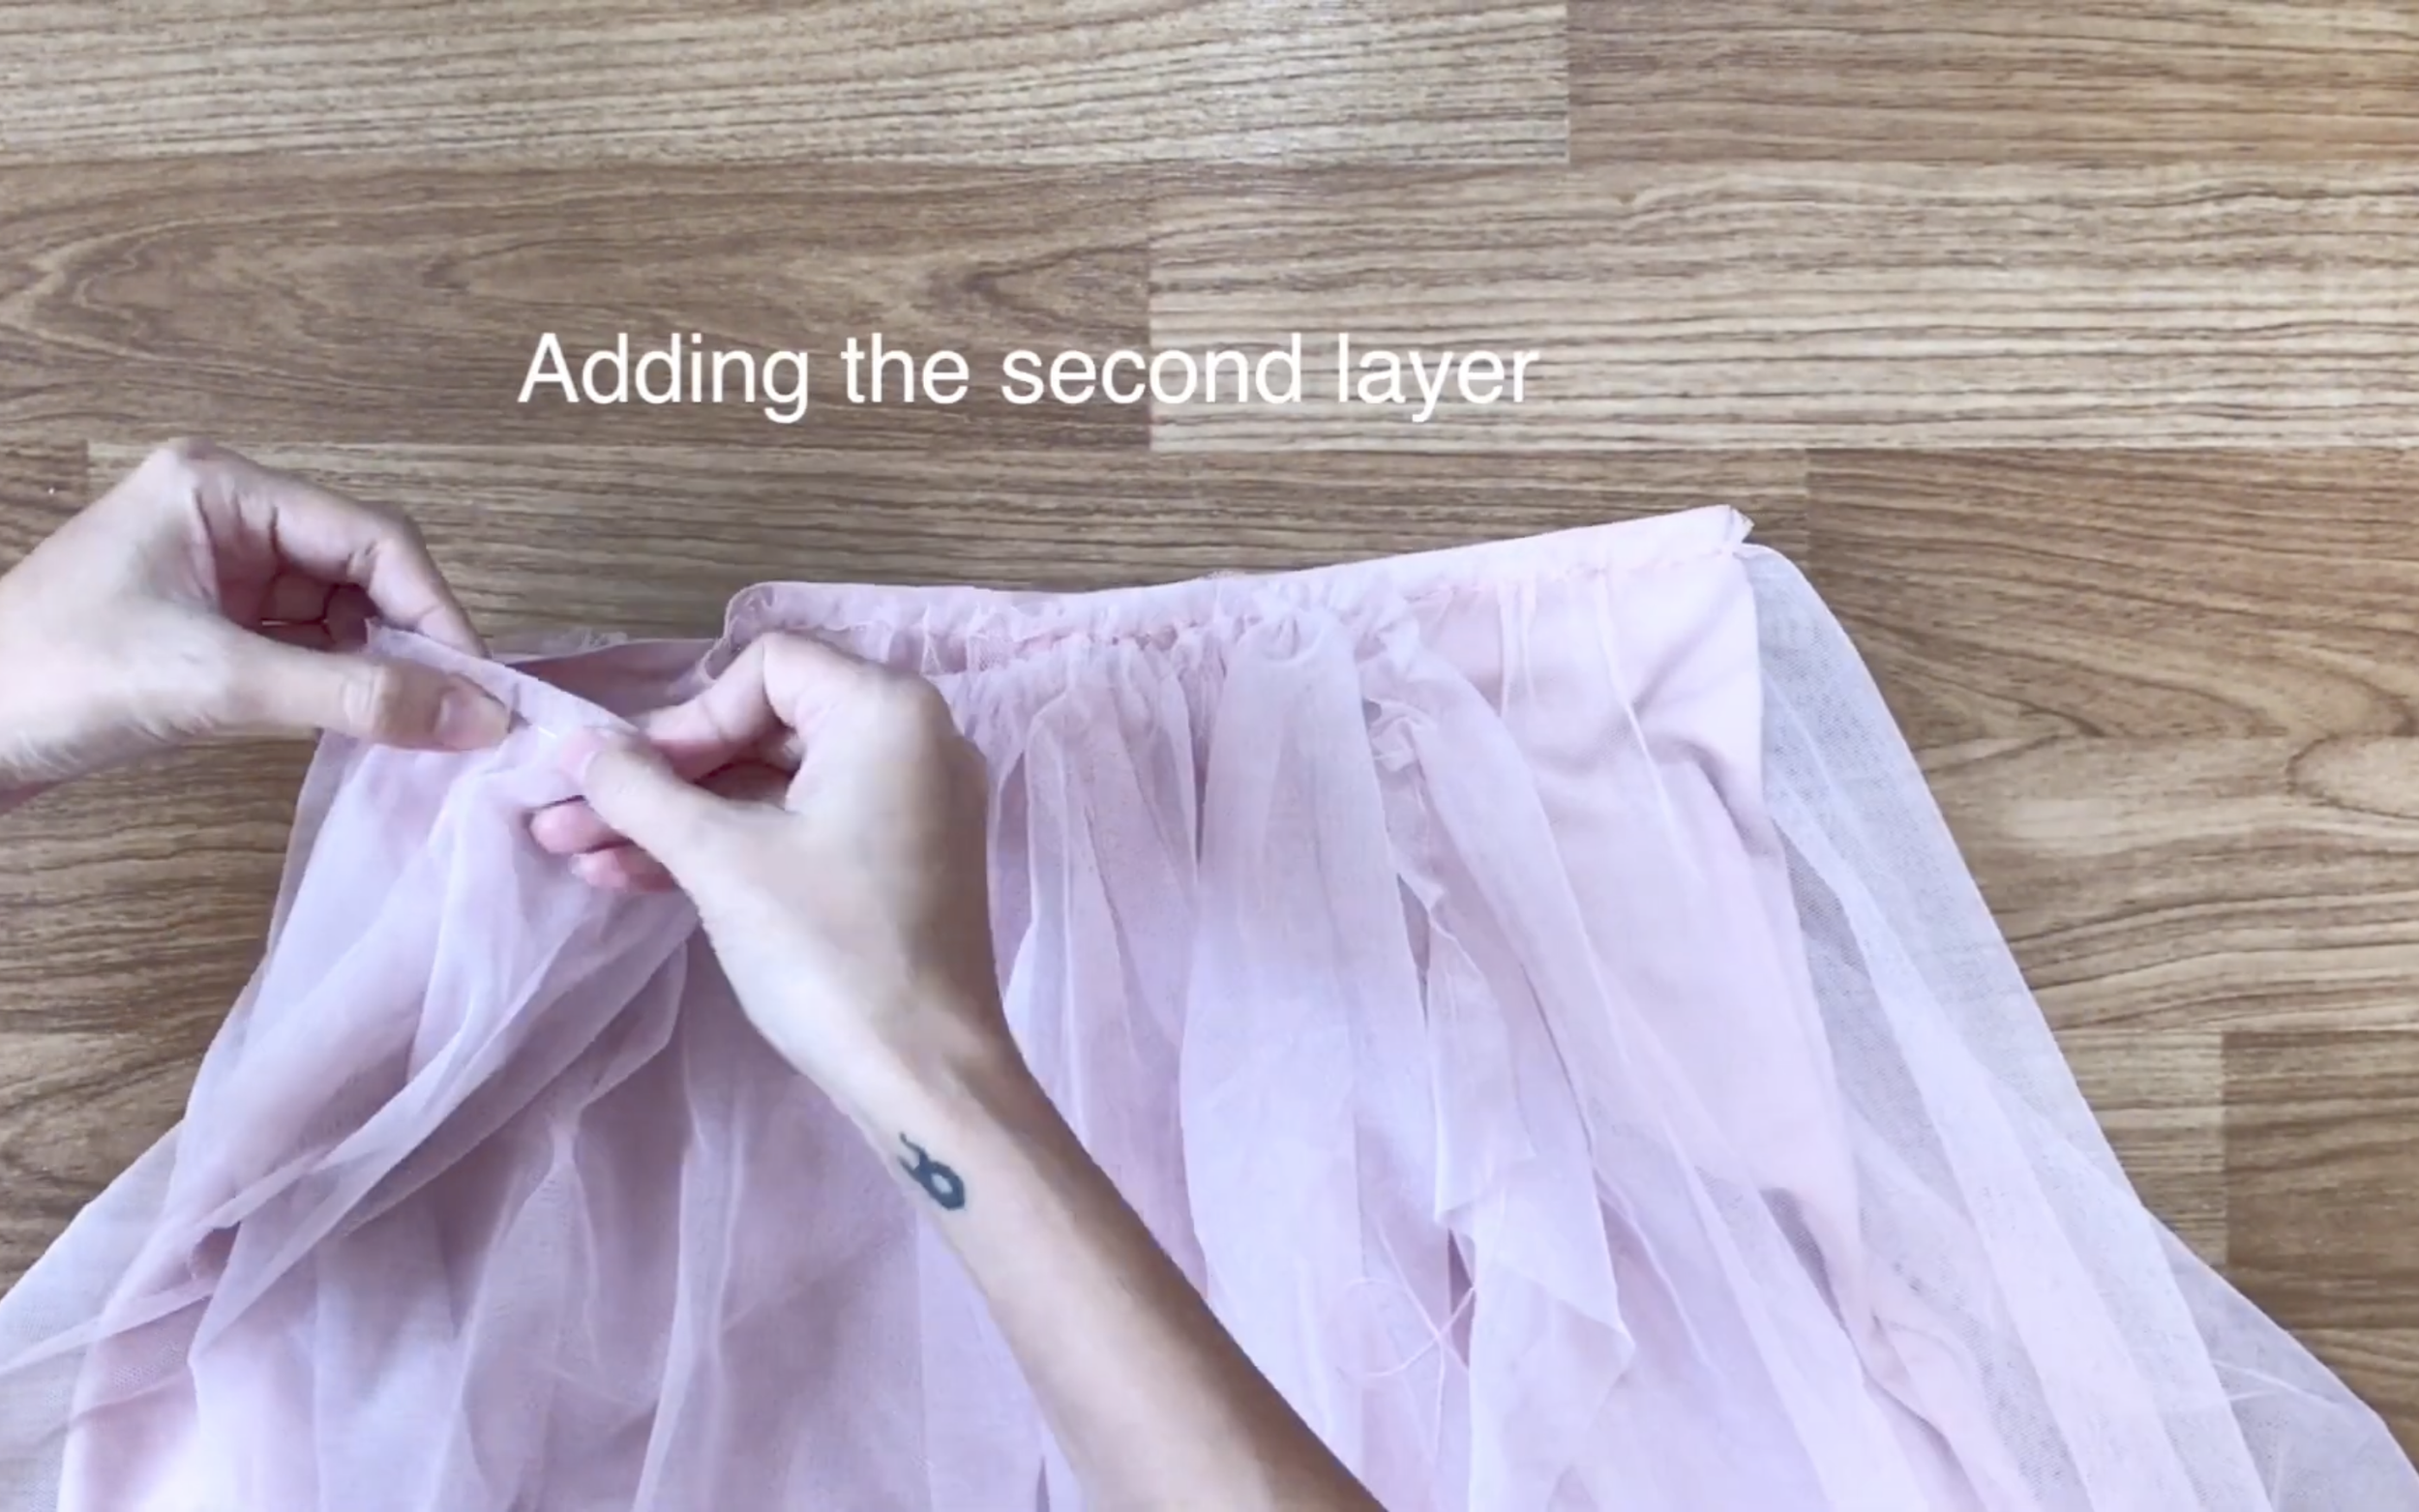
After finishing one layer, repeat the process for a second layer. For extra volume, add more layers.
CONNECTING THE TOP AND THE BOTTOM
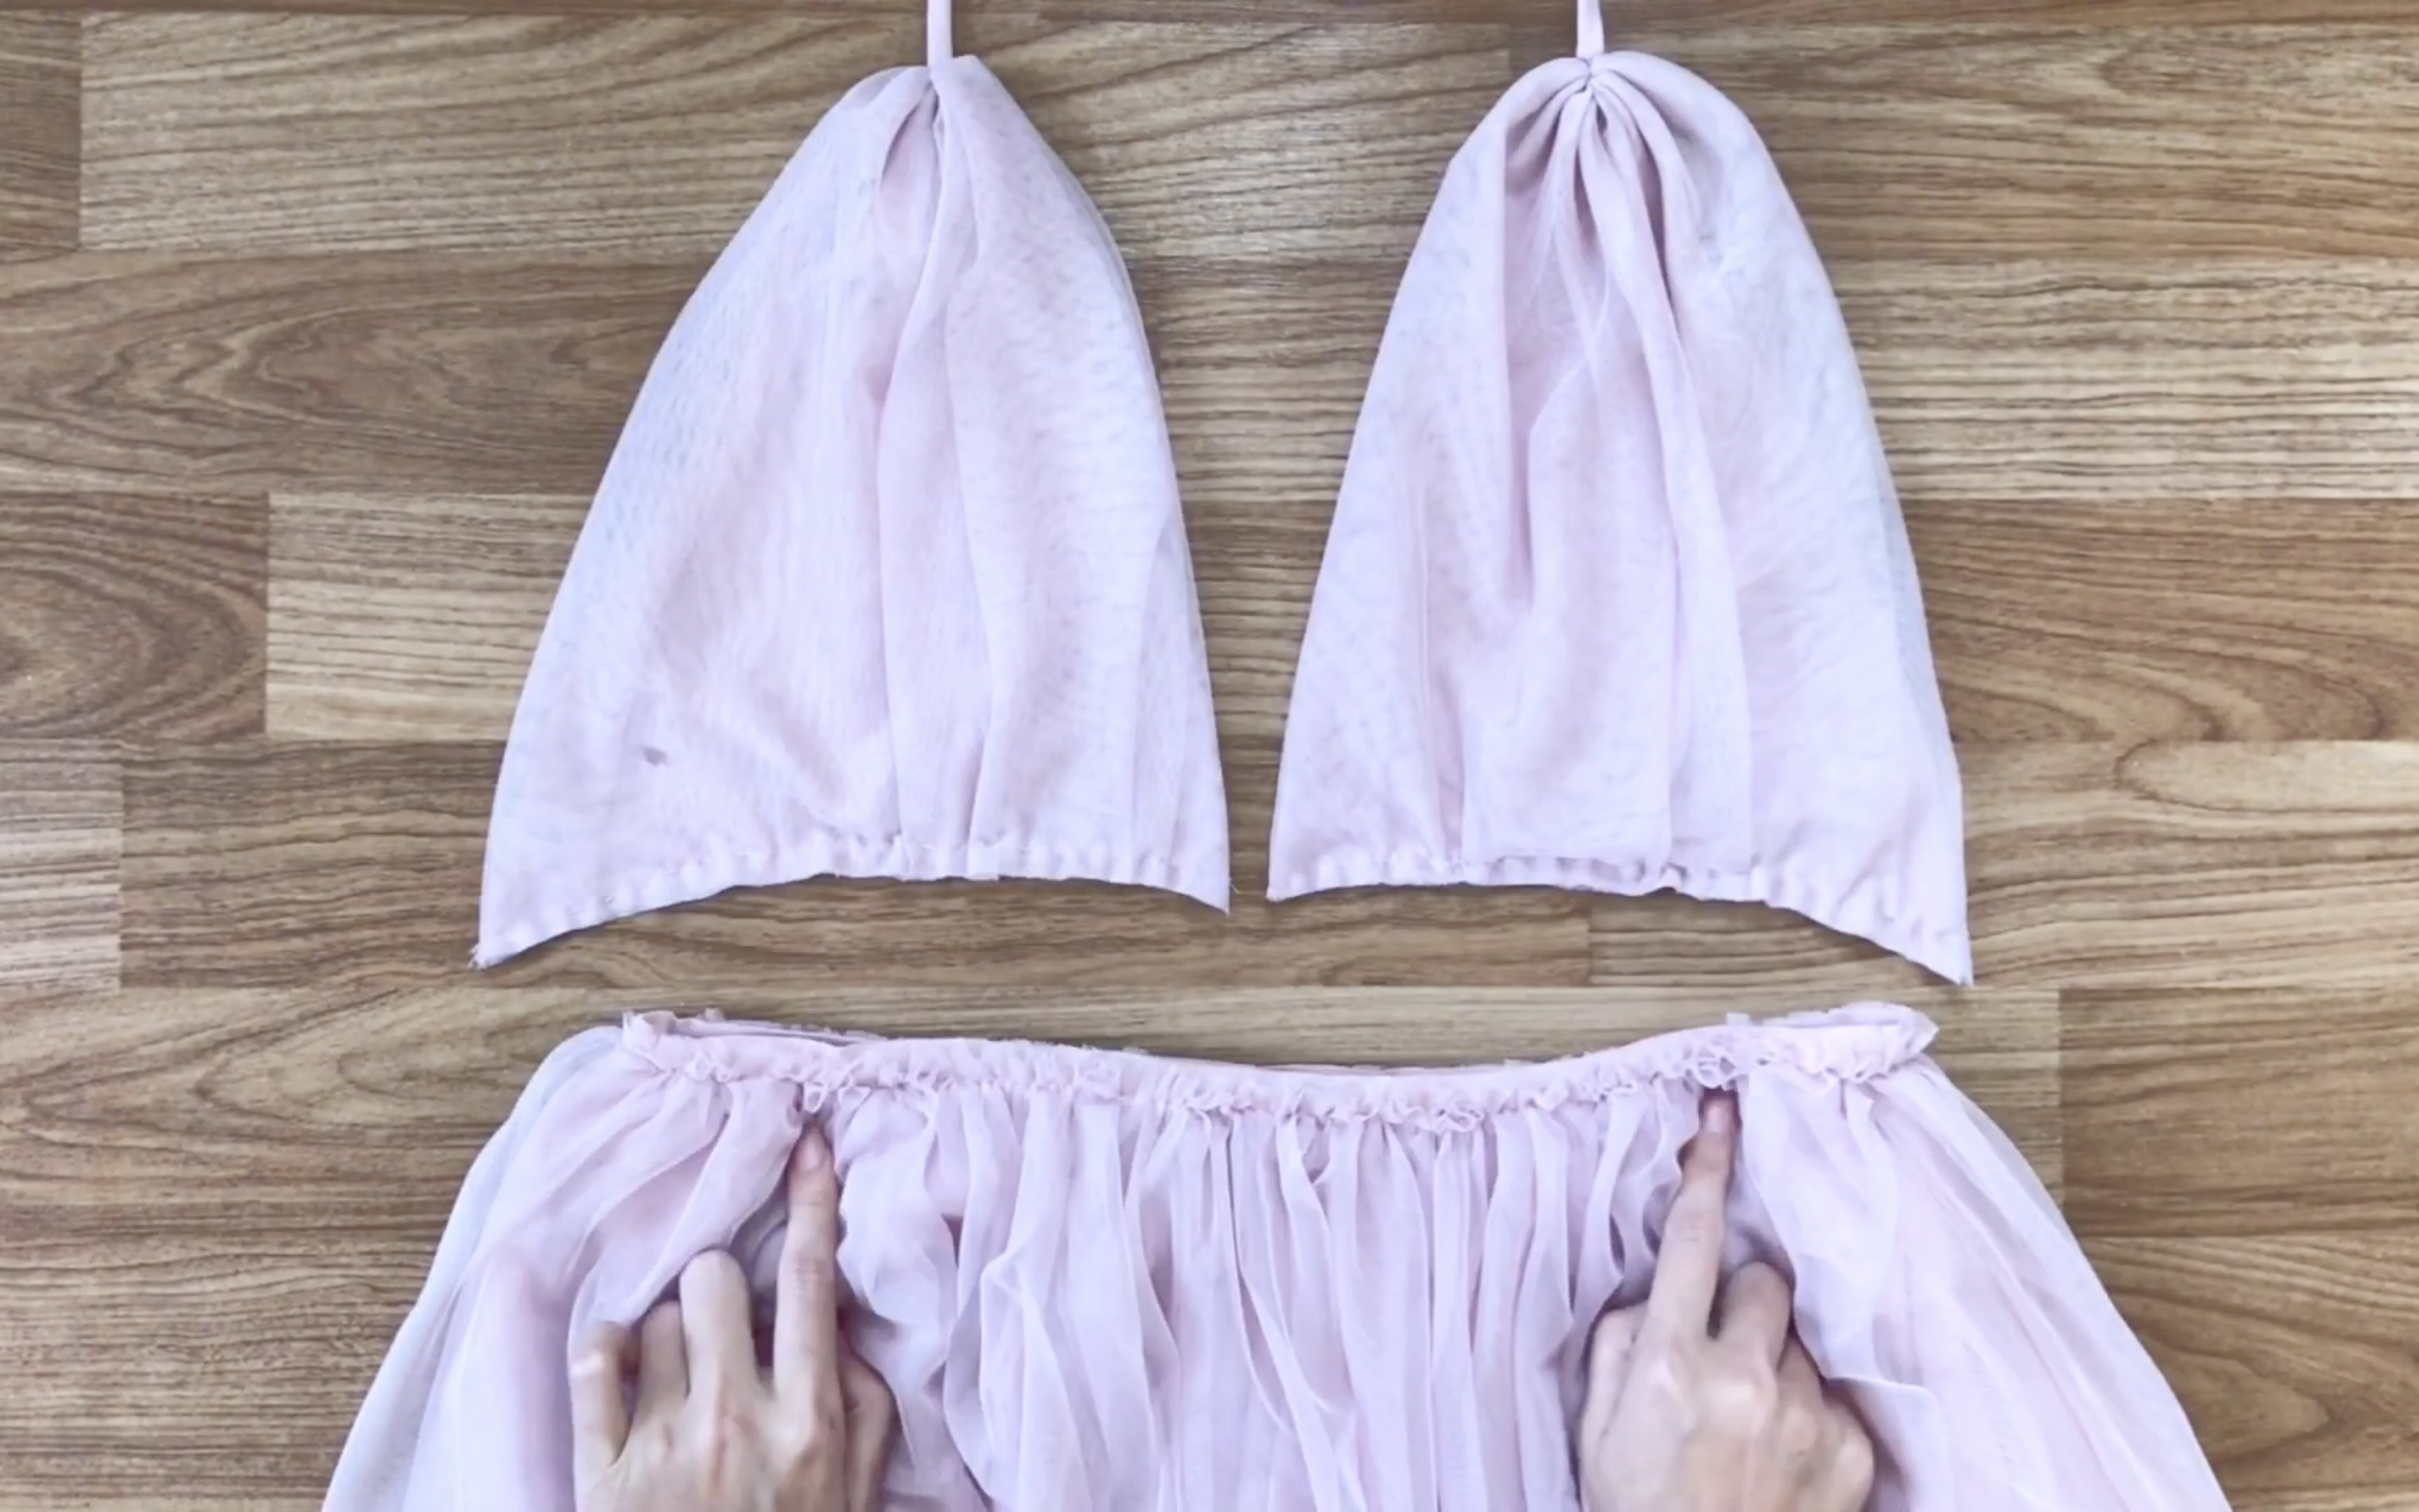
Next, connect the top and bottom of the dress with pins, then sew them together.
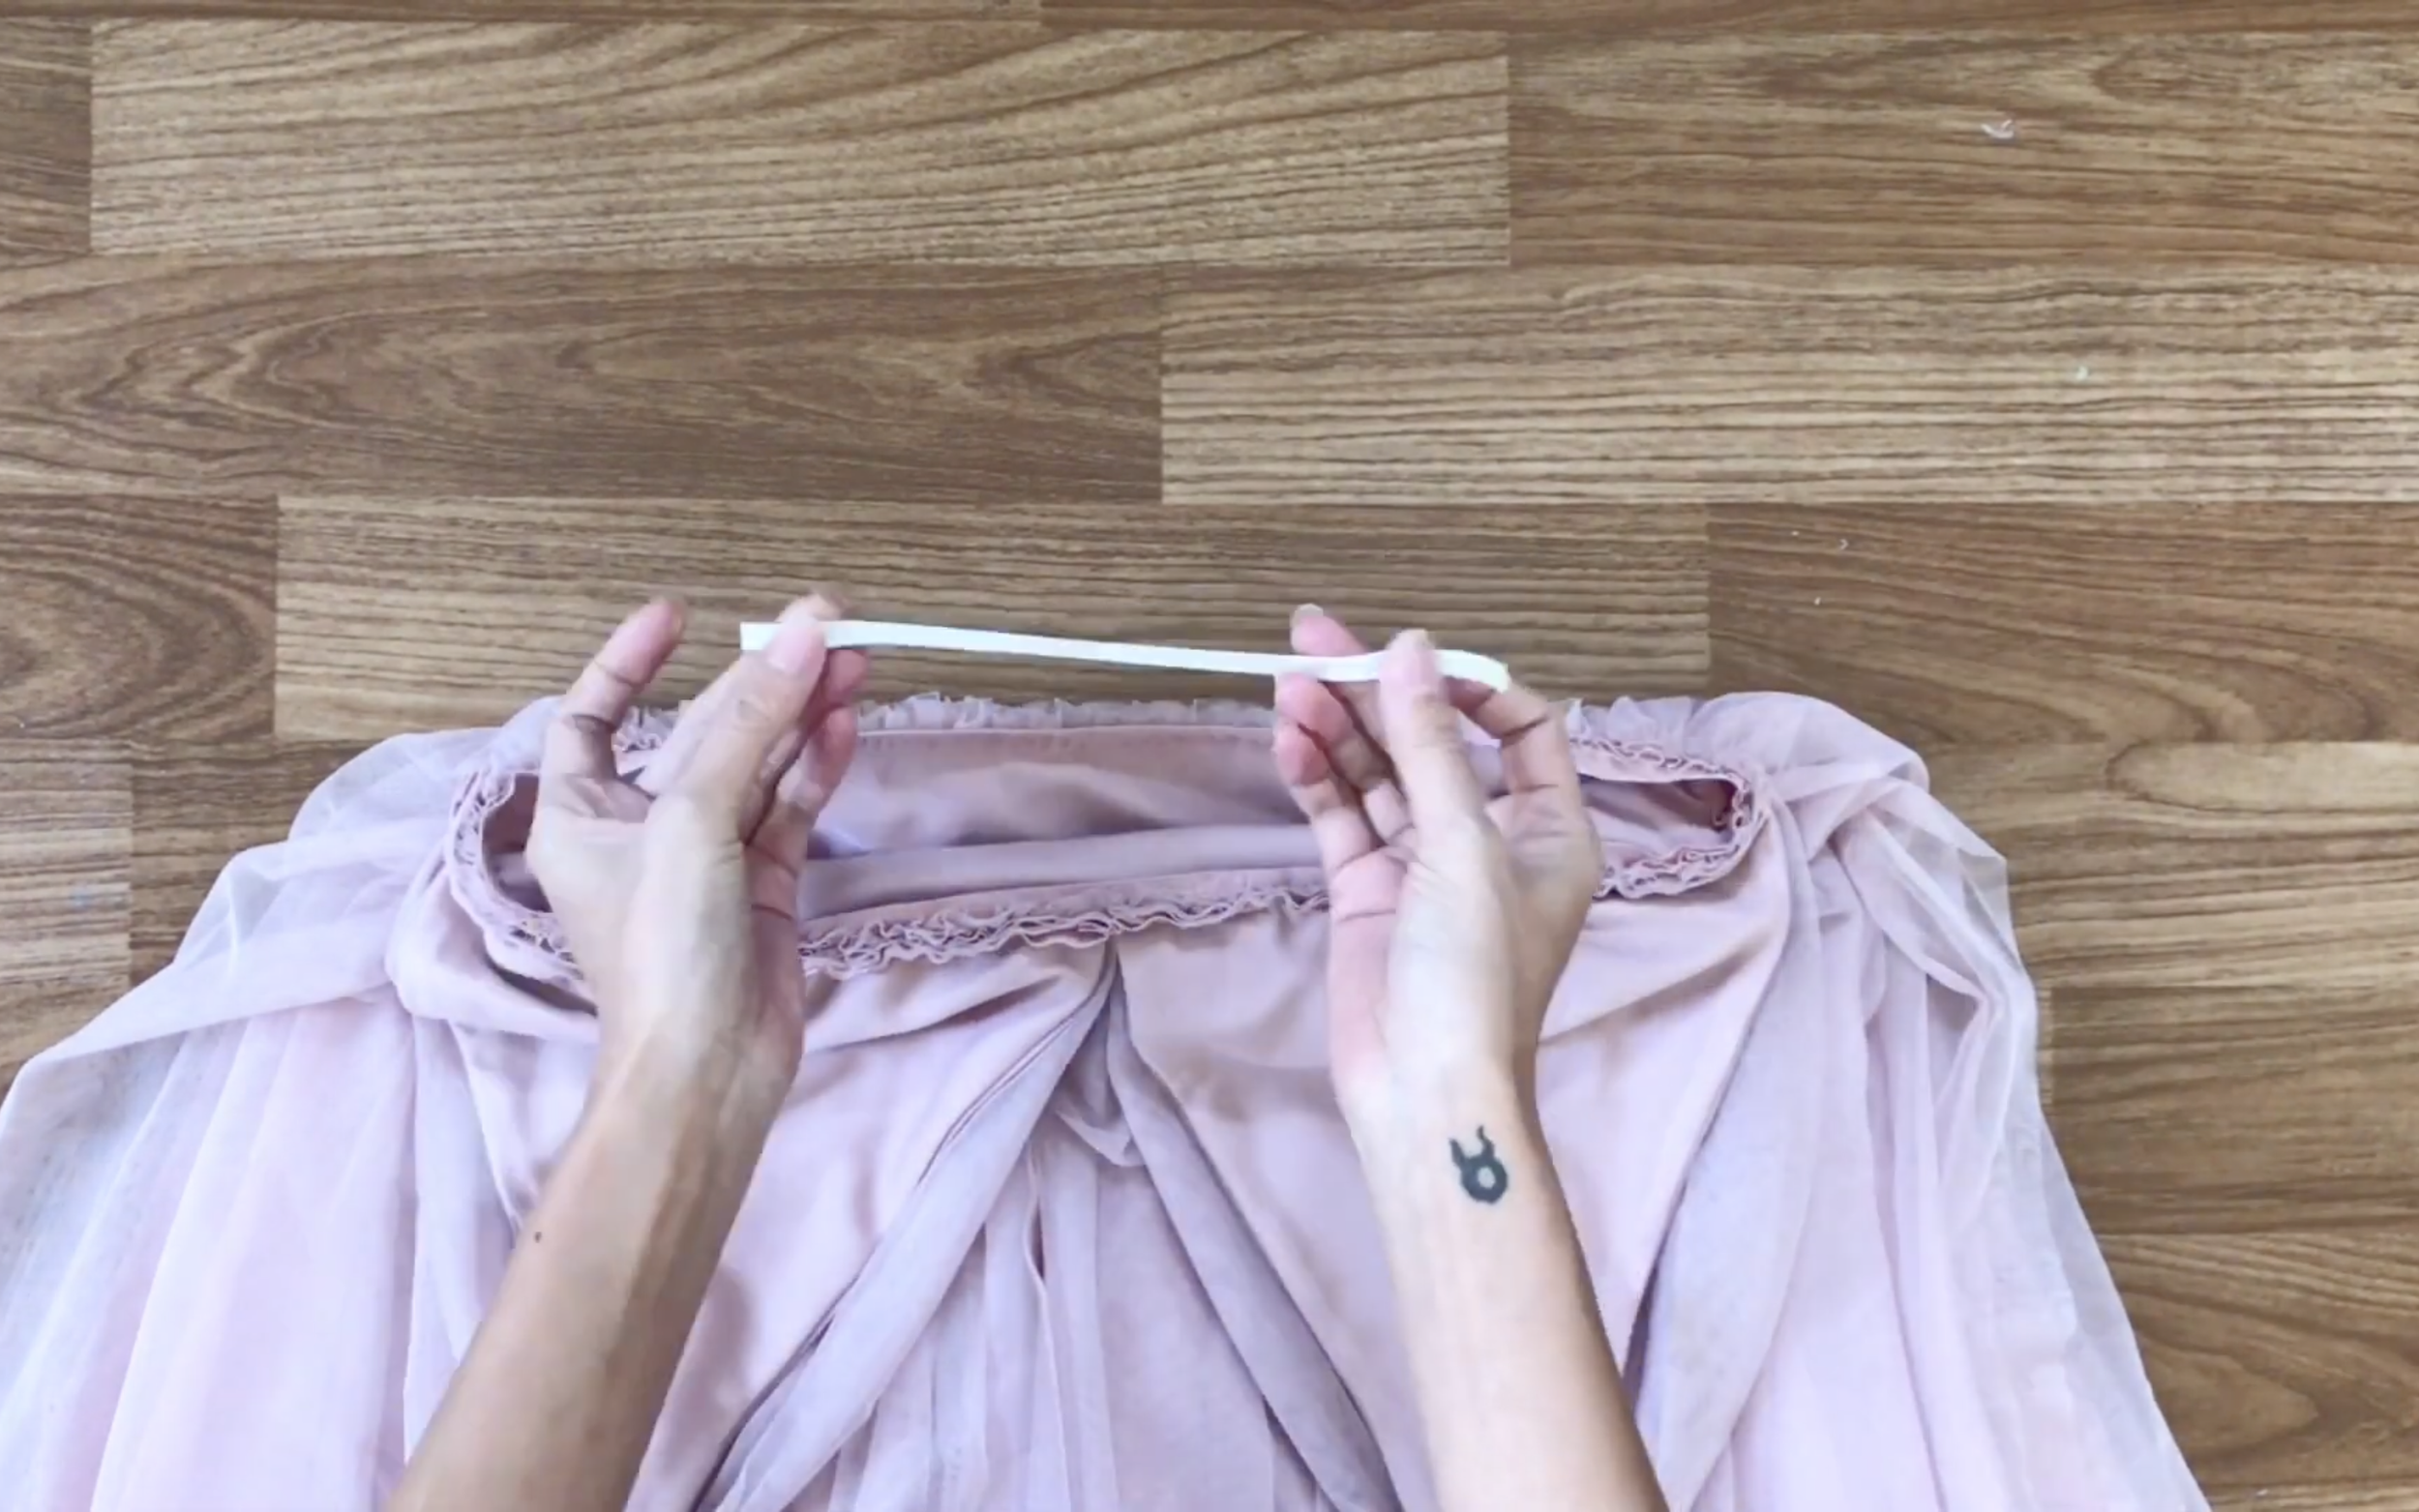
For the back of the dress, use a small elastic band to ensure a snug fit.
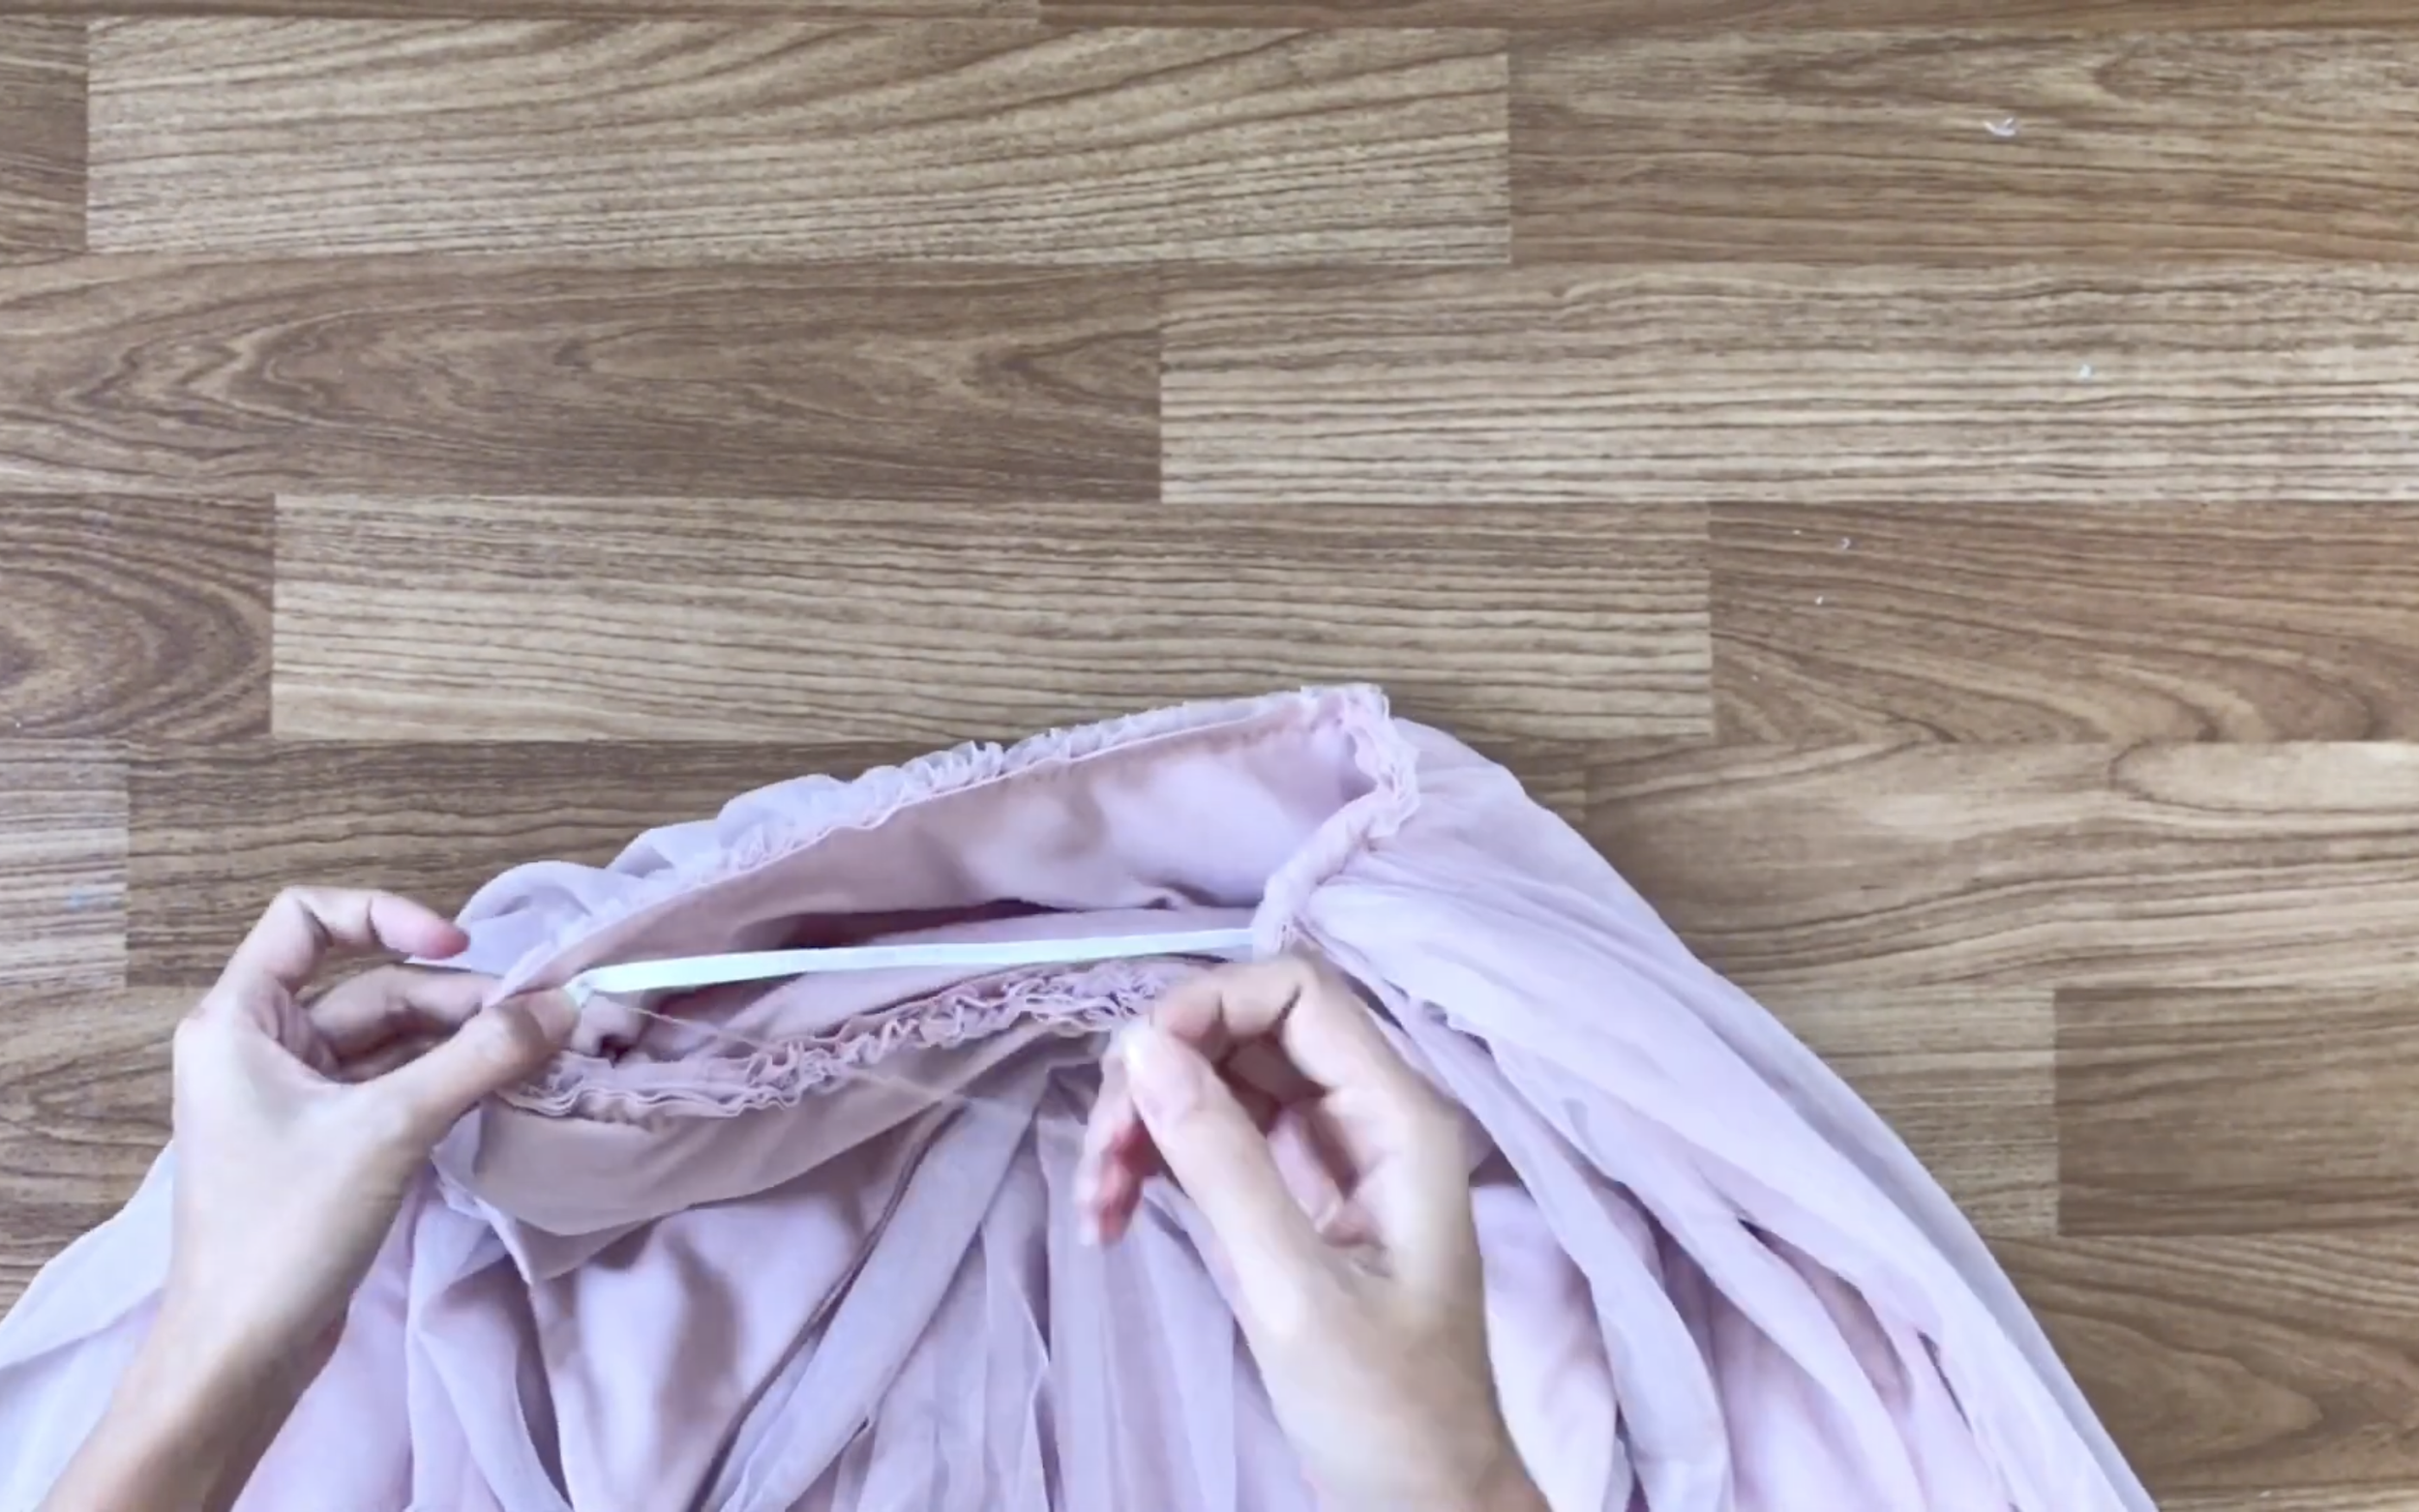
Secure both ends of the elastic band first, then sew it into the back.

Attach the ends of the ties to the back as well.
You can try on the dress to adjust the position and length of the ties as needed.
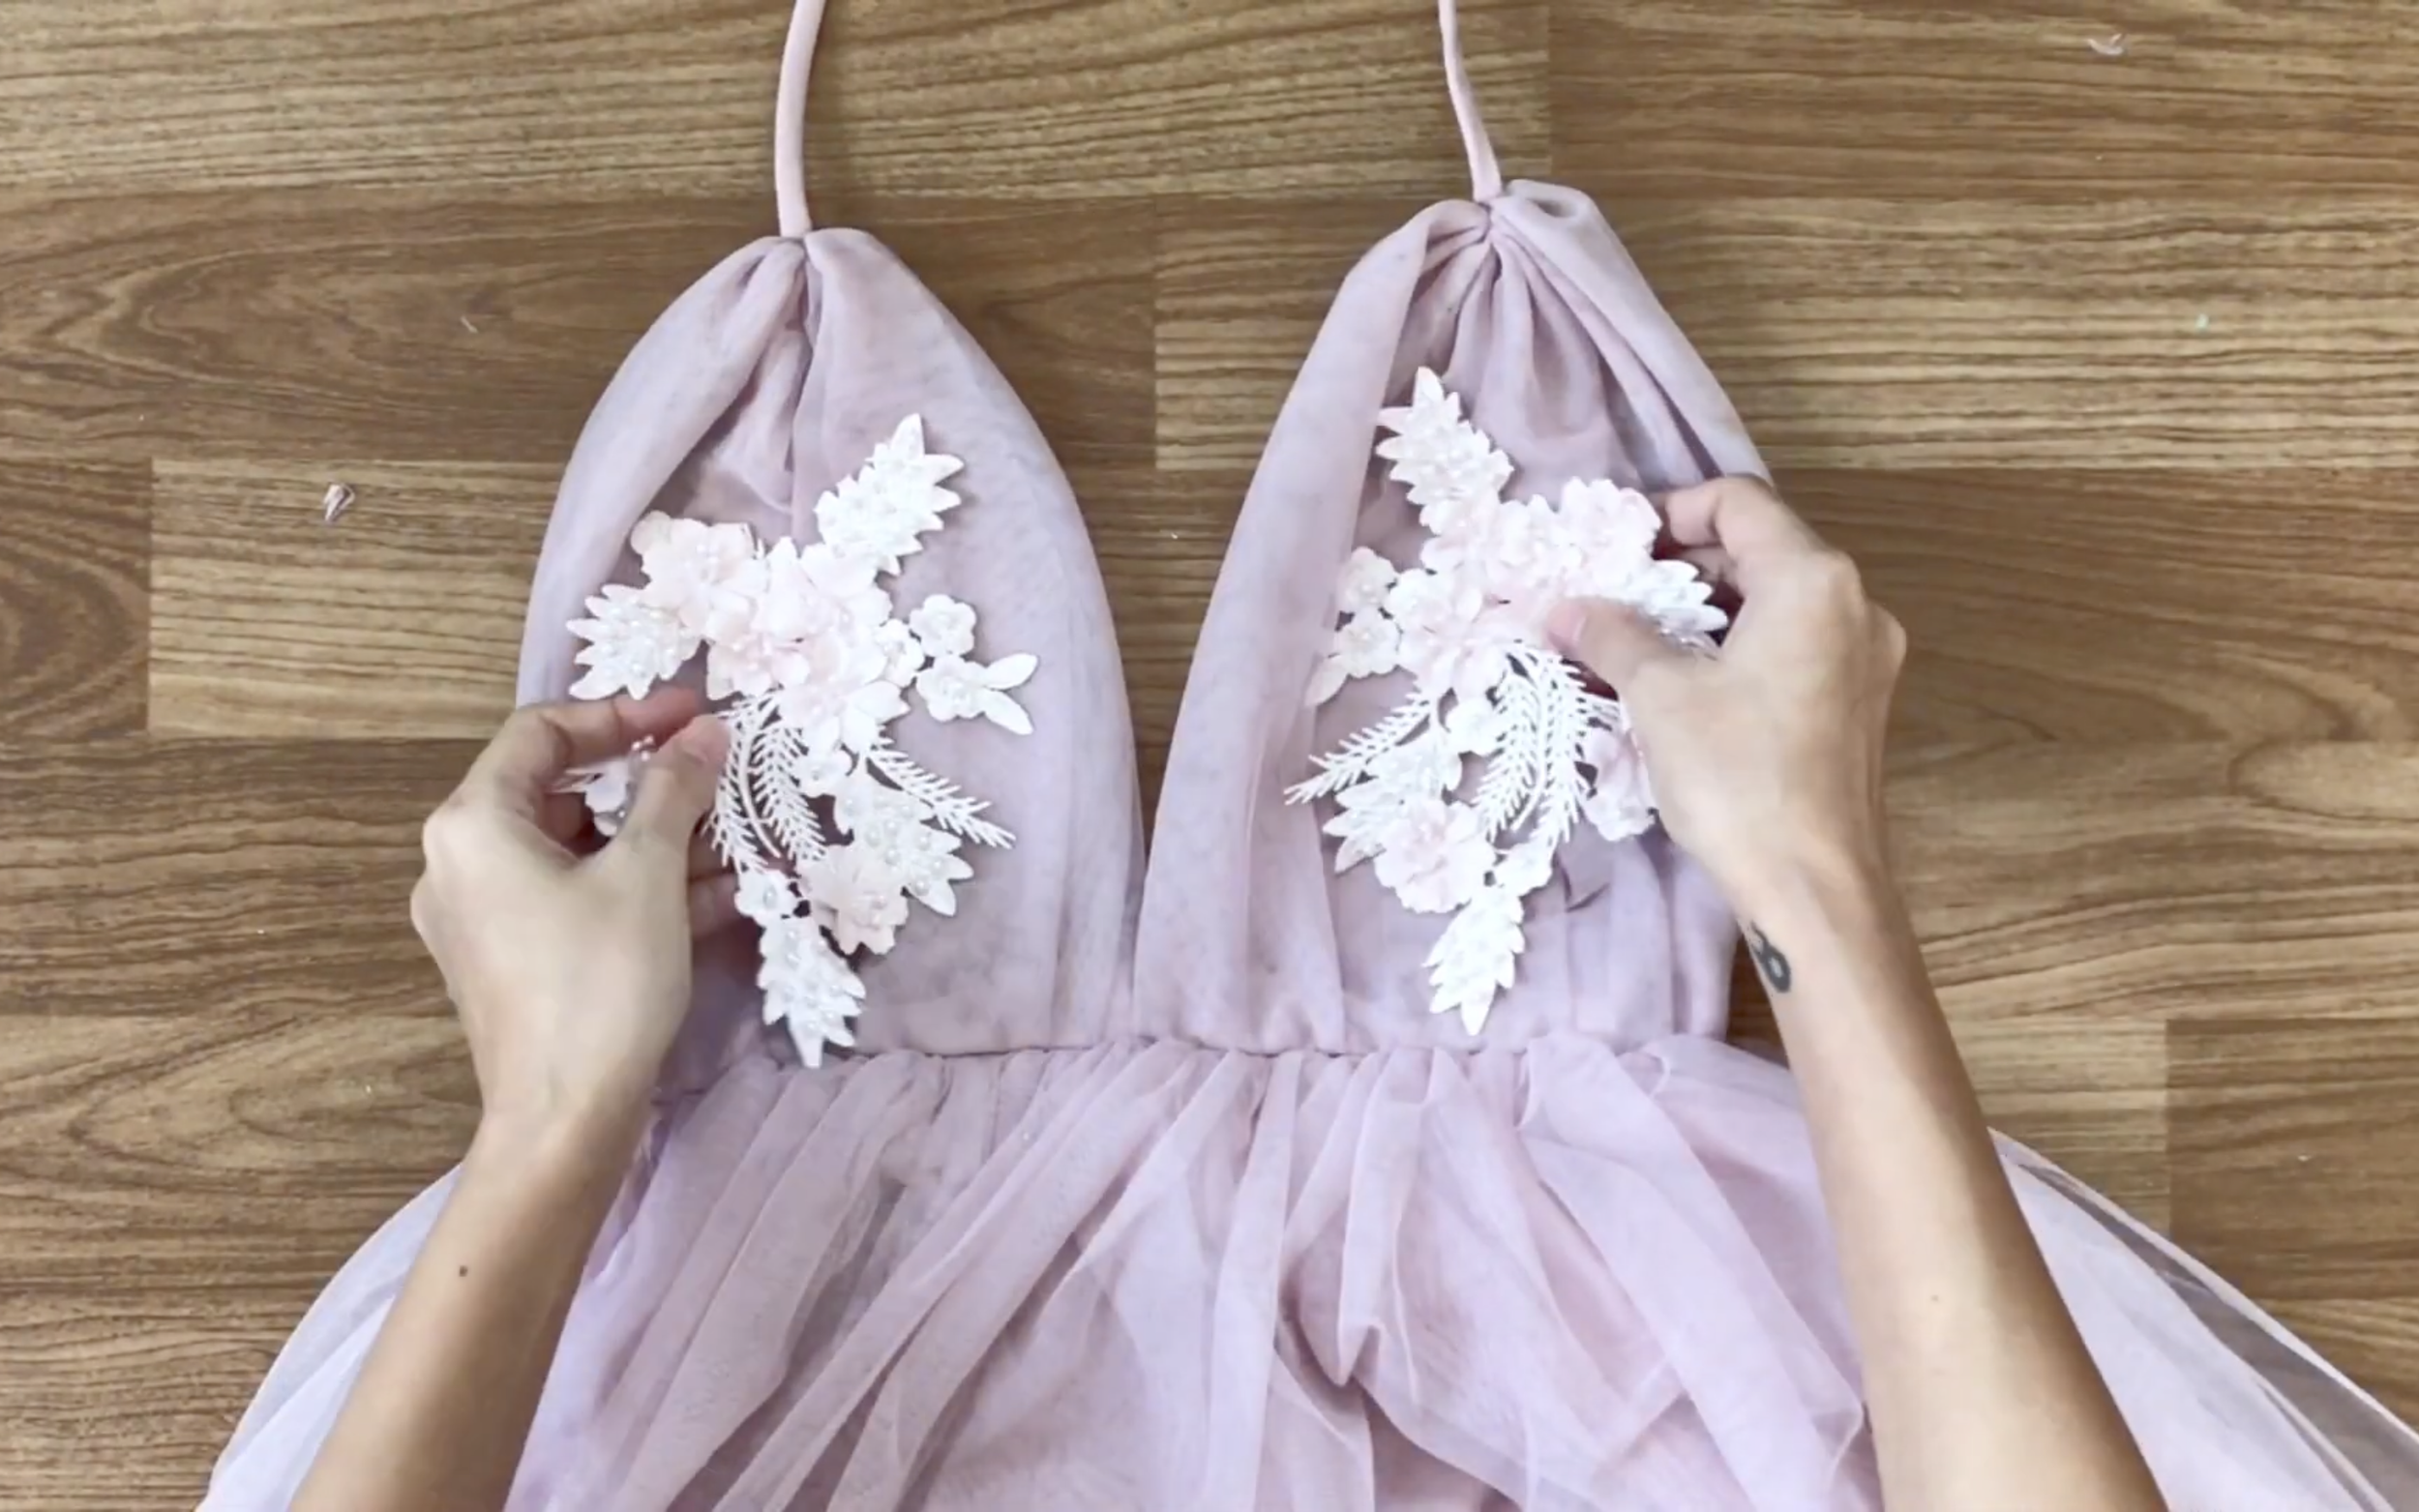
The final step is adding fabric flowers as decorative details.
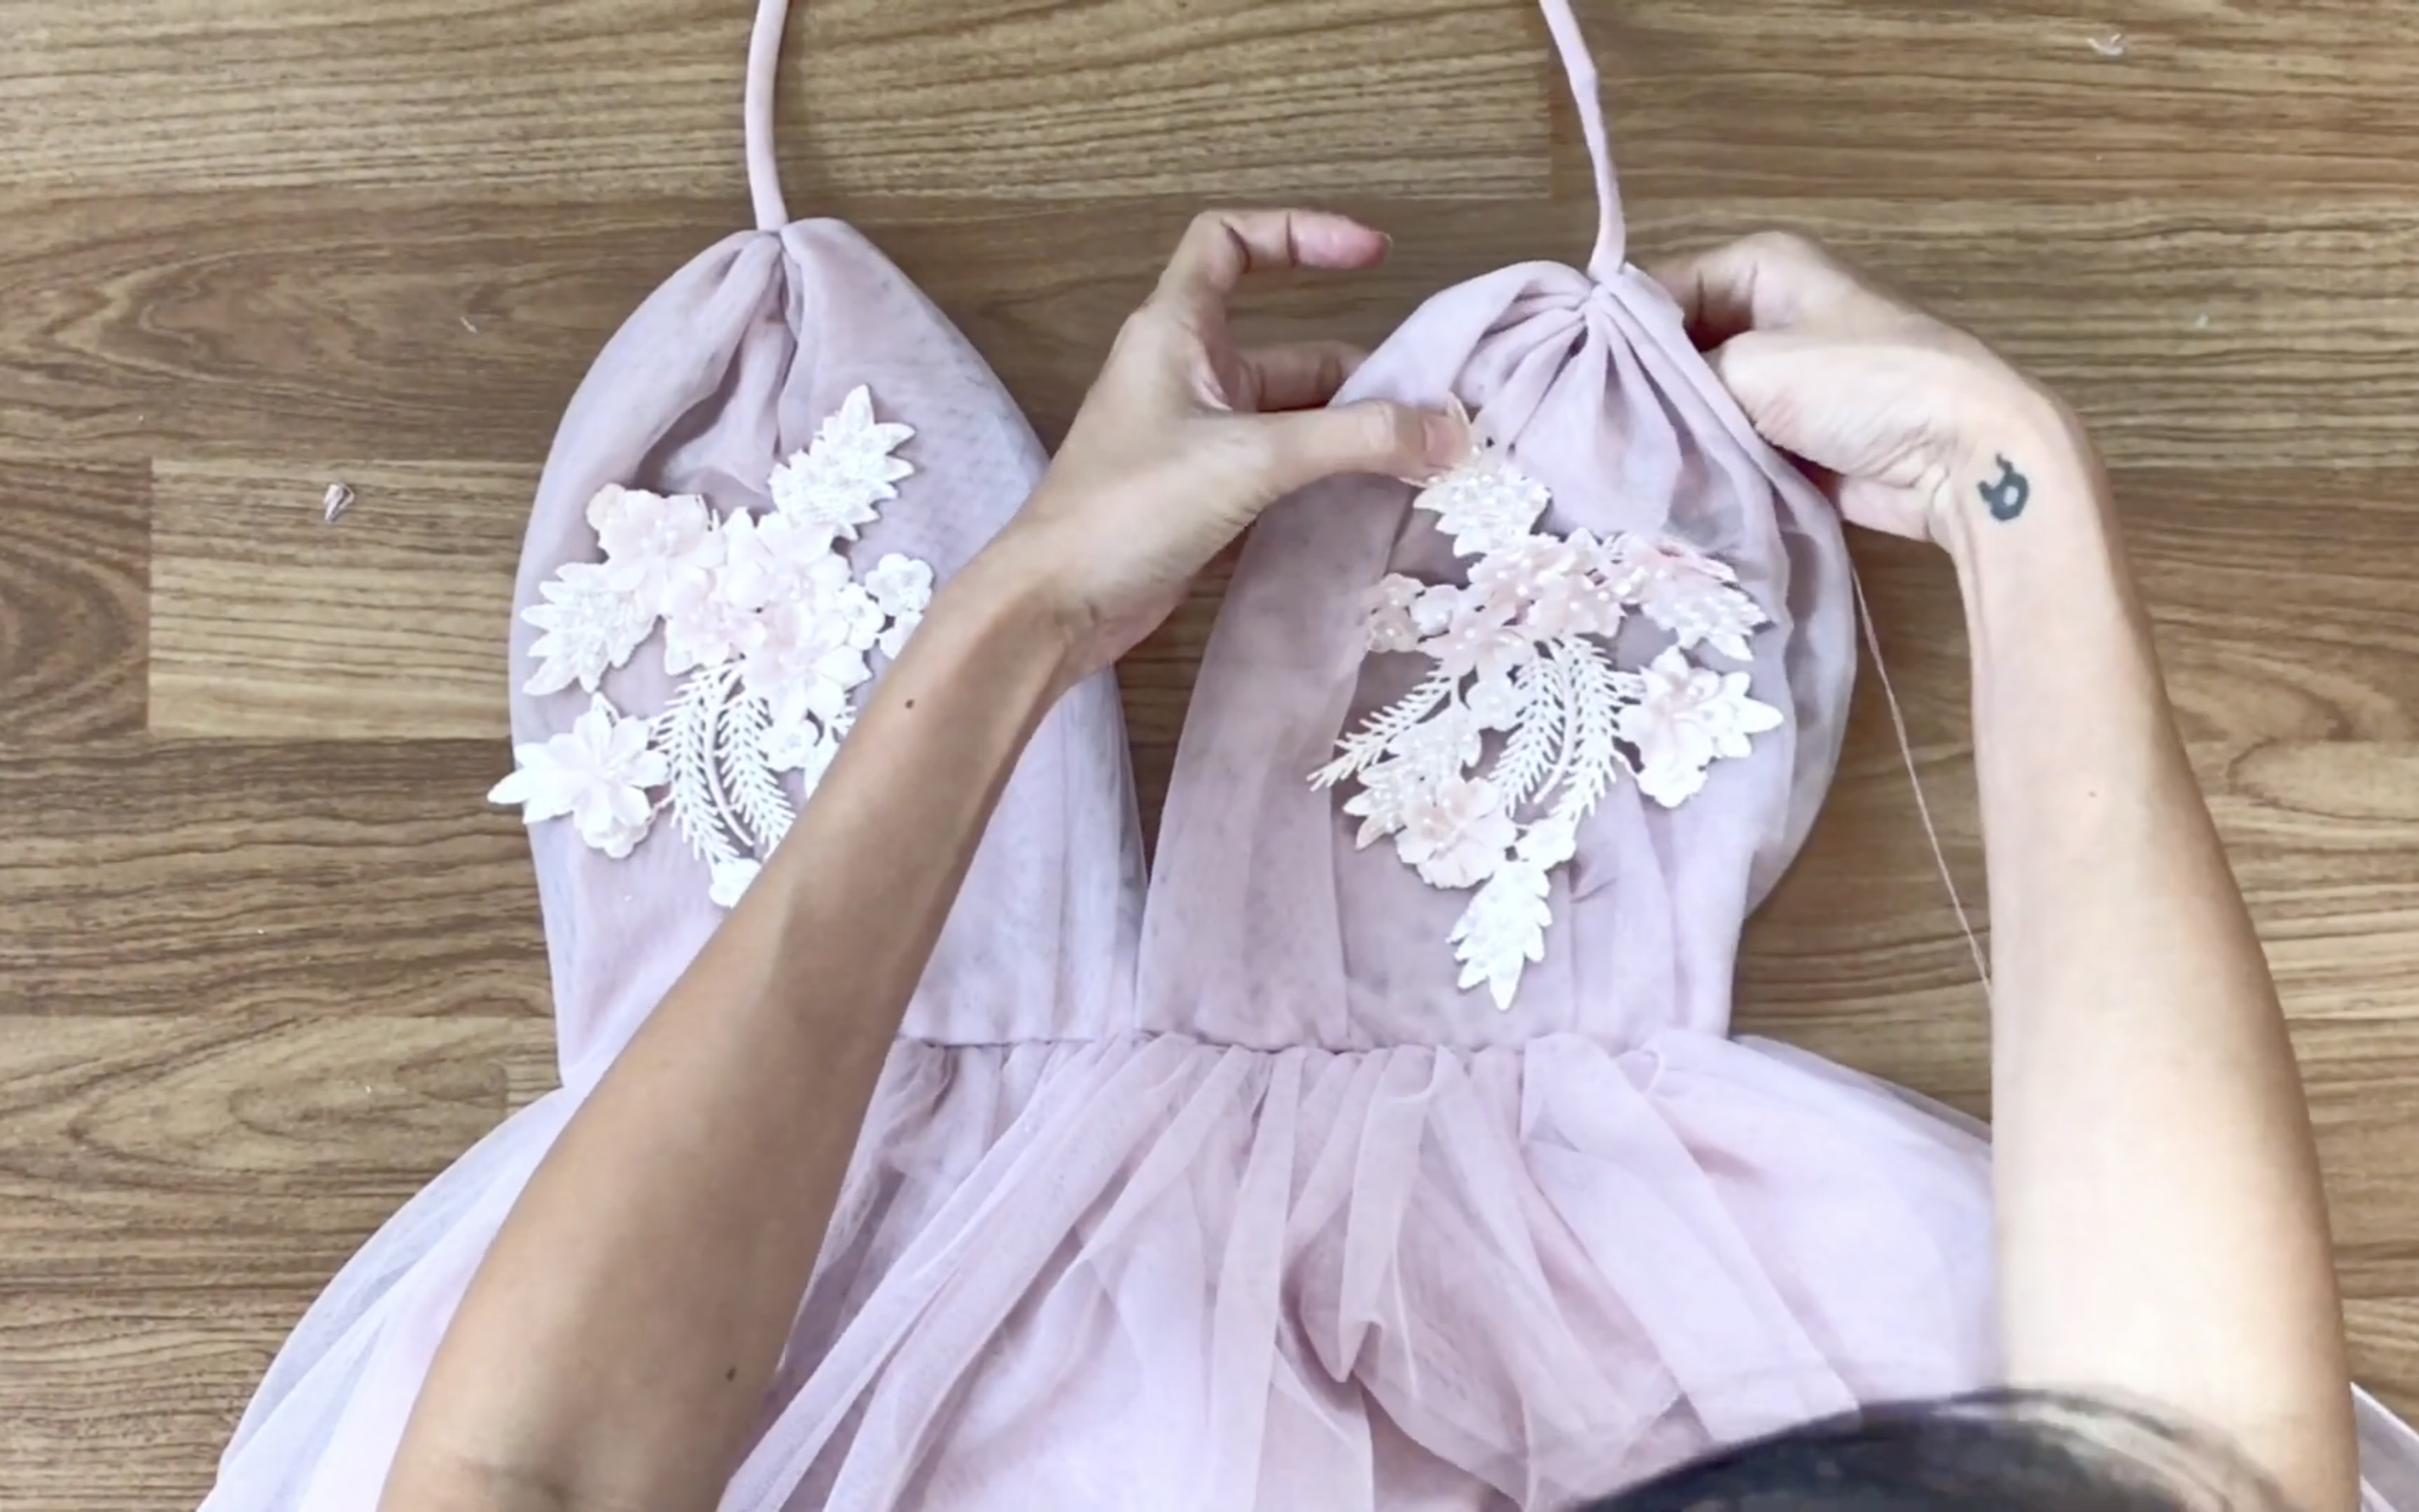
Place two large flowers over the bust area and smaller flowers along the waistline.

DIY PROM DRESS to attend to my imagined Prom night
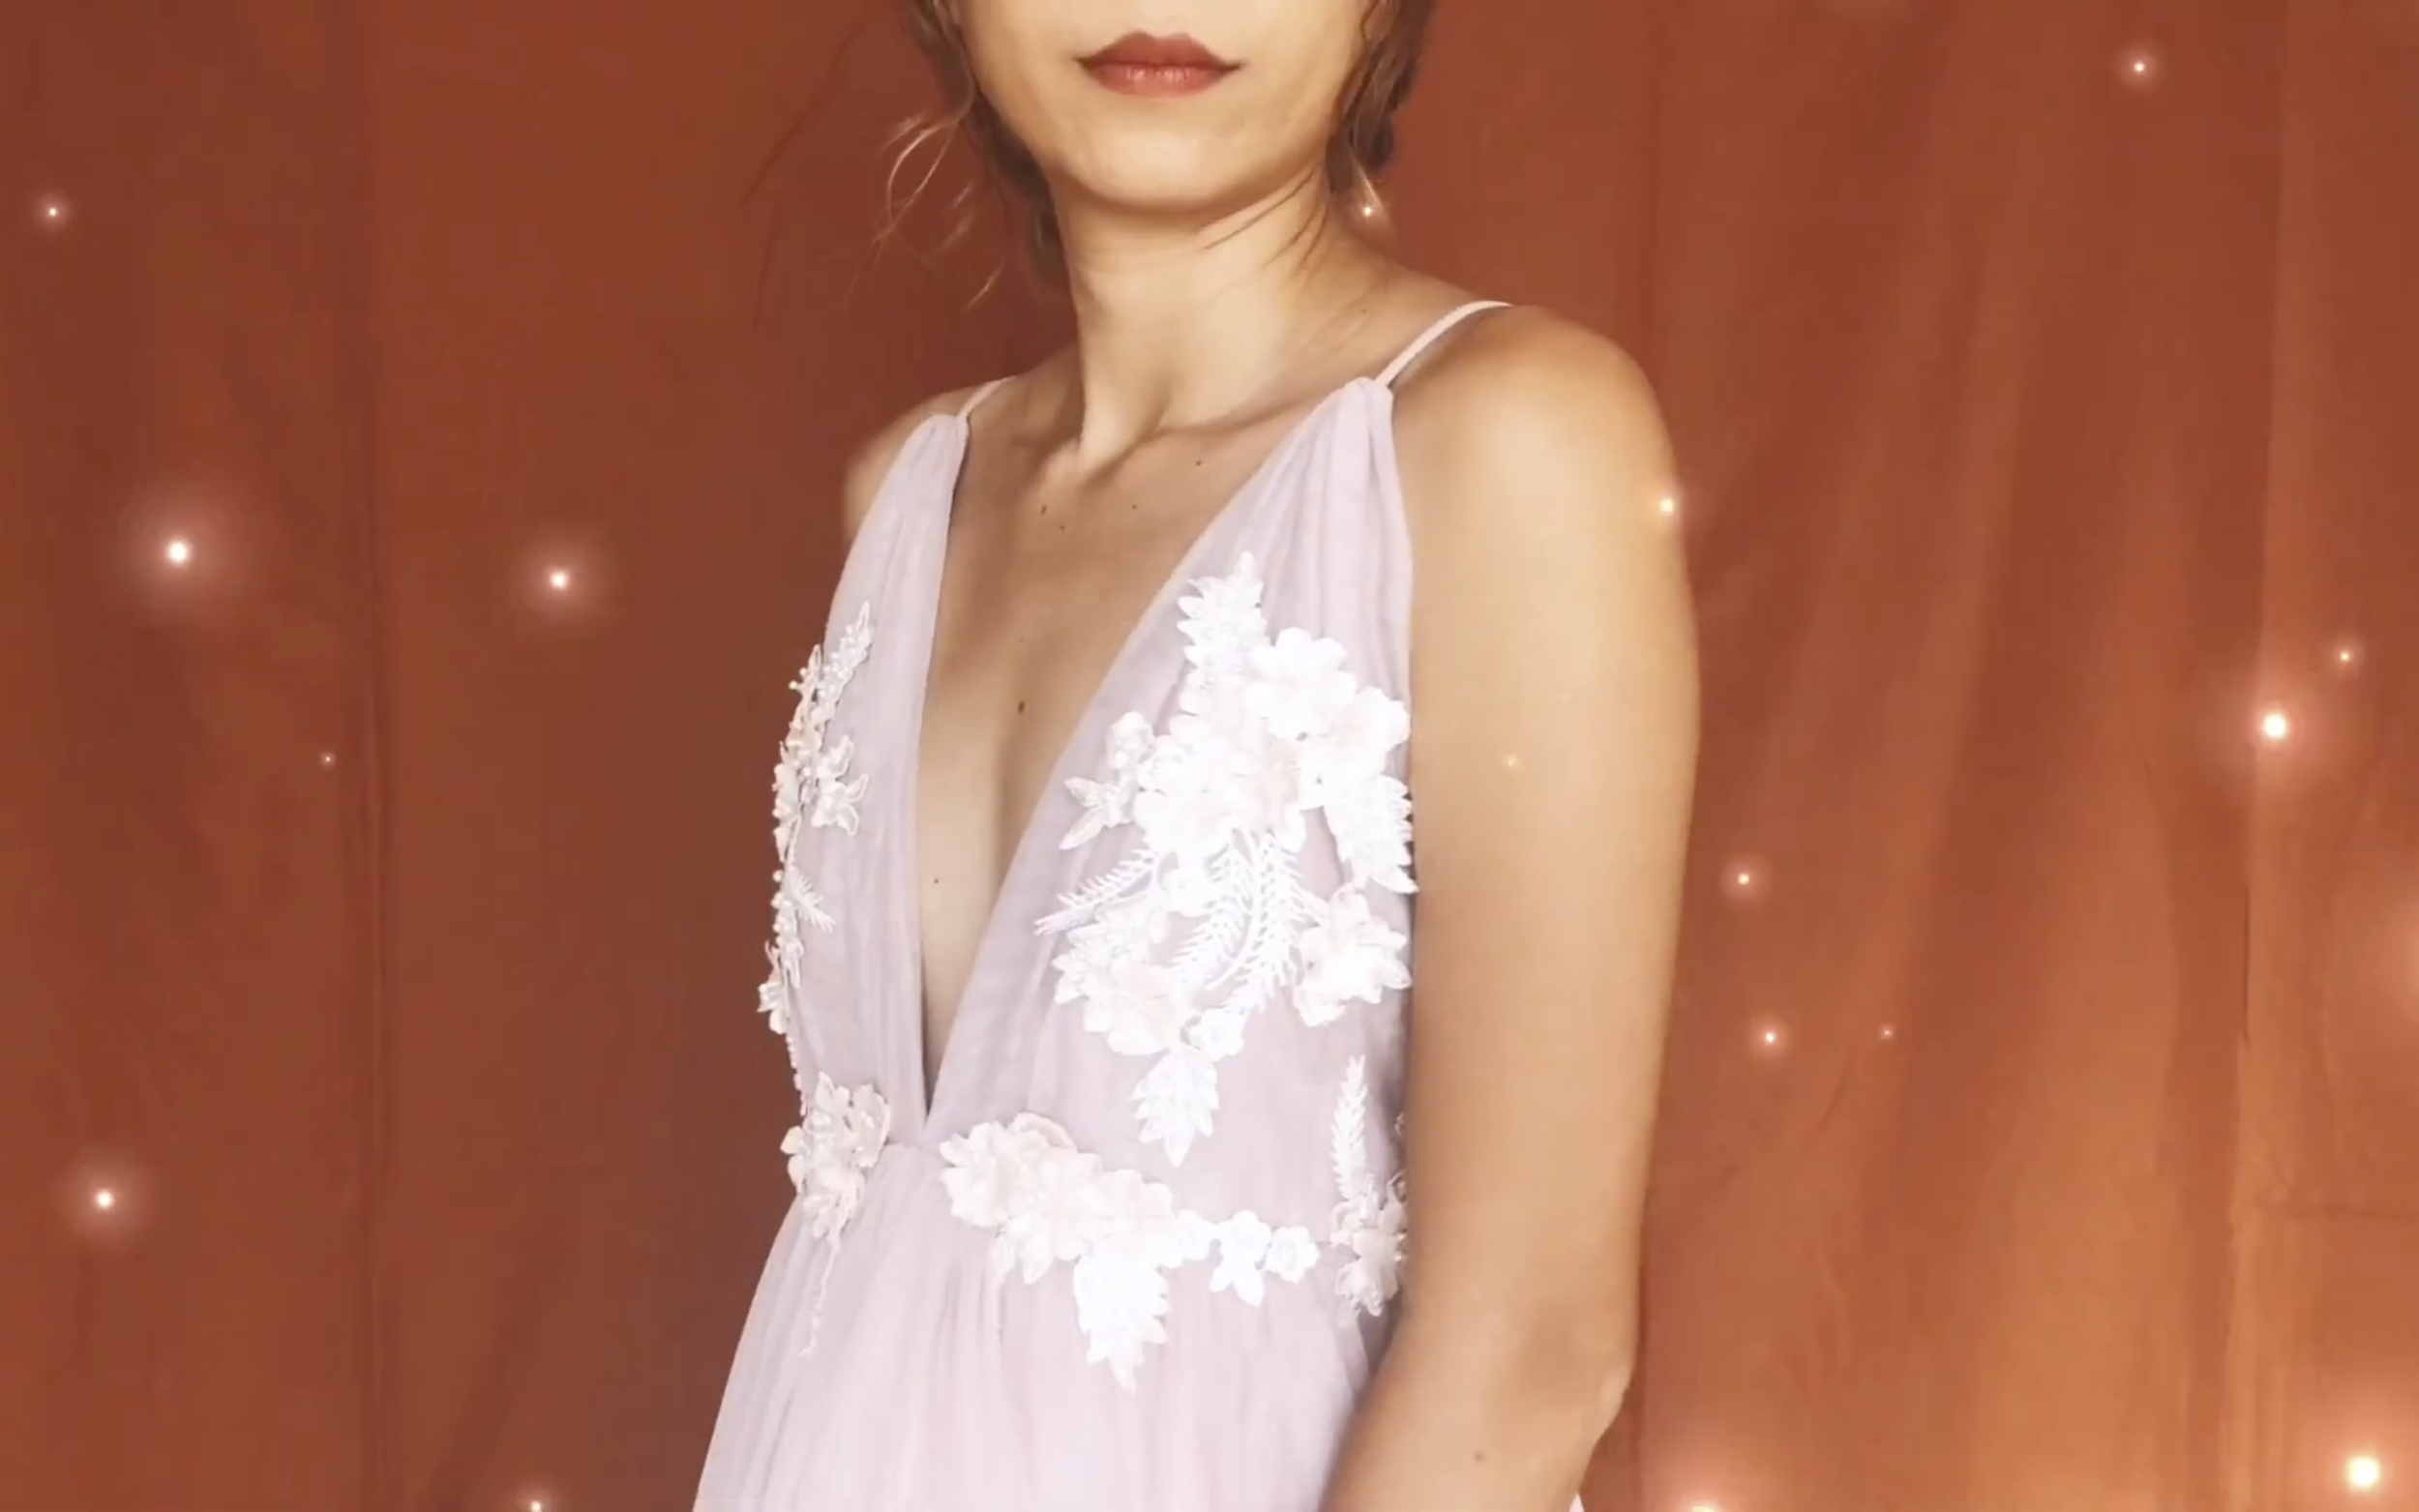
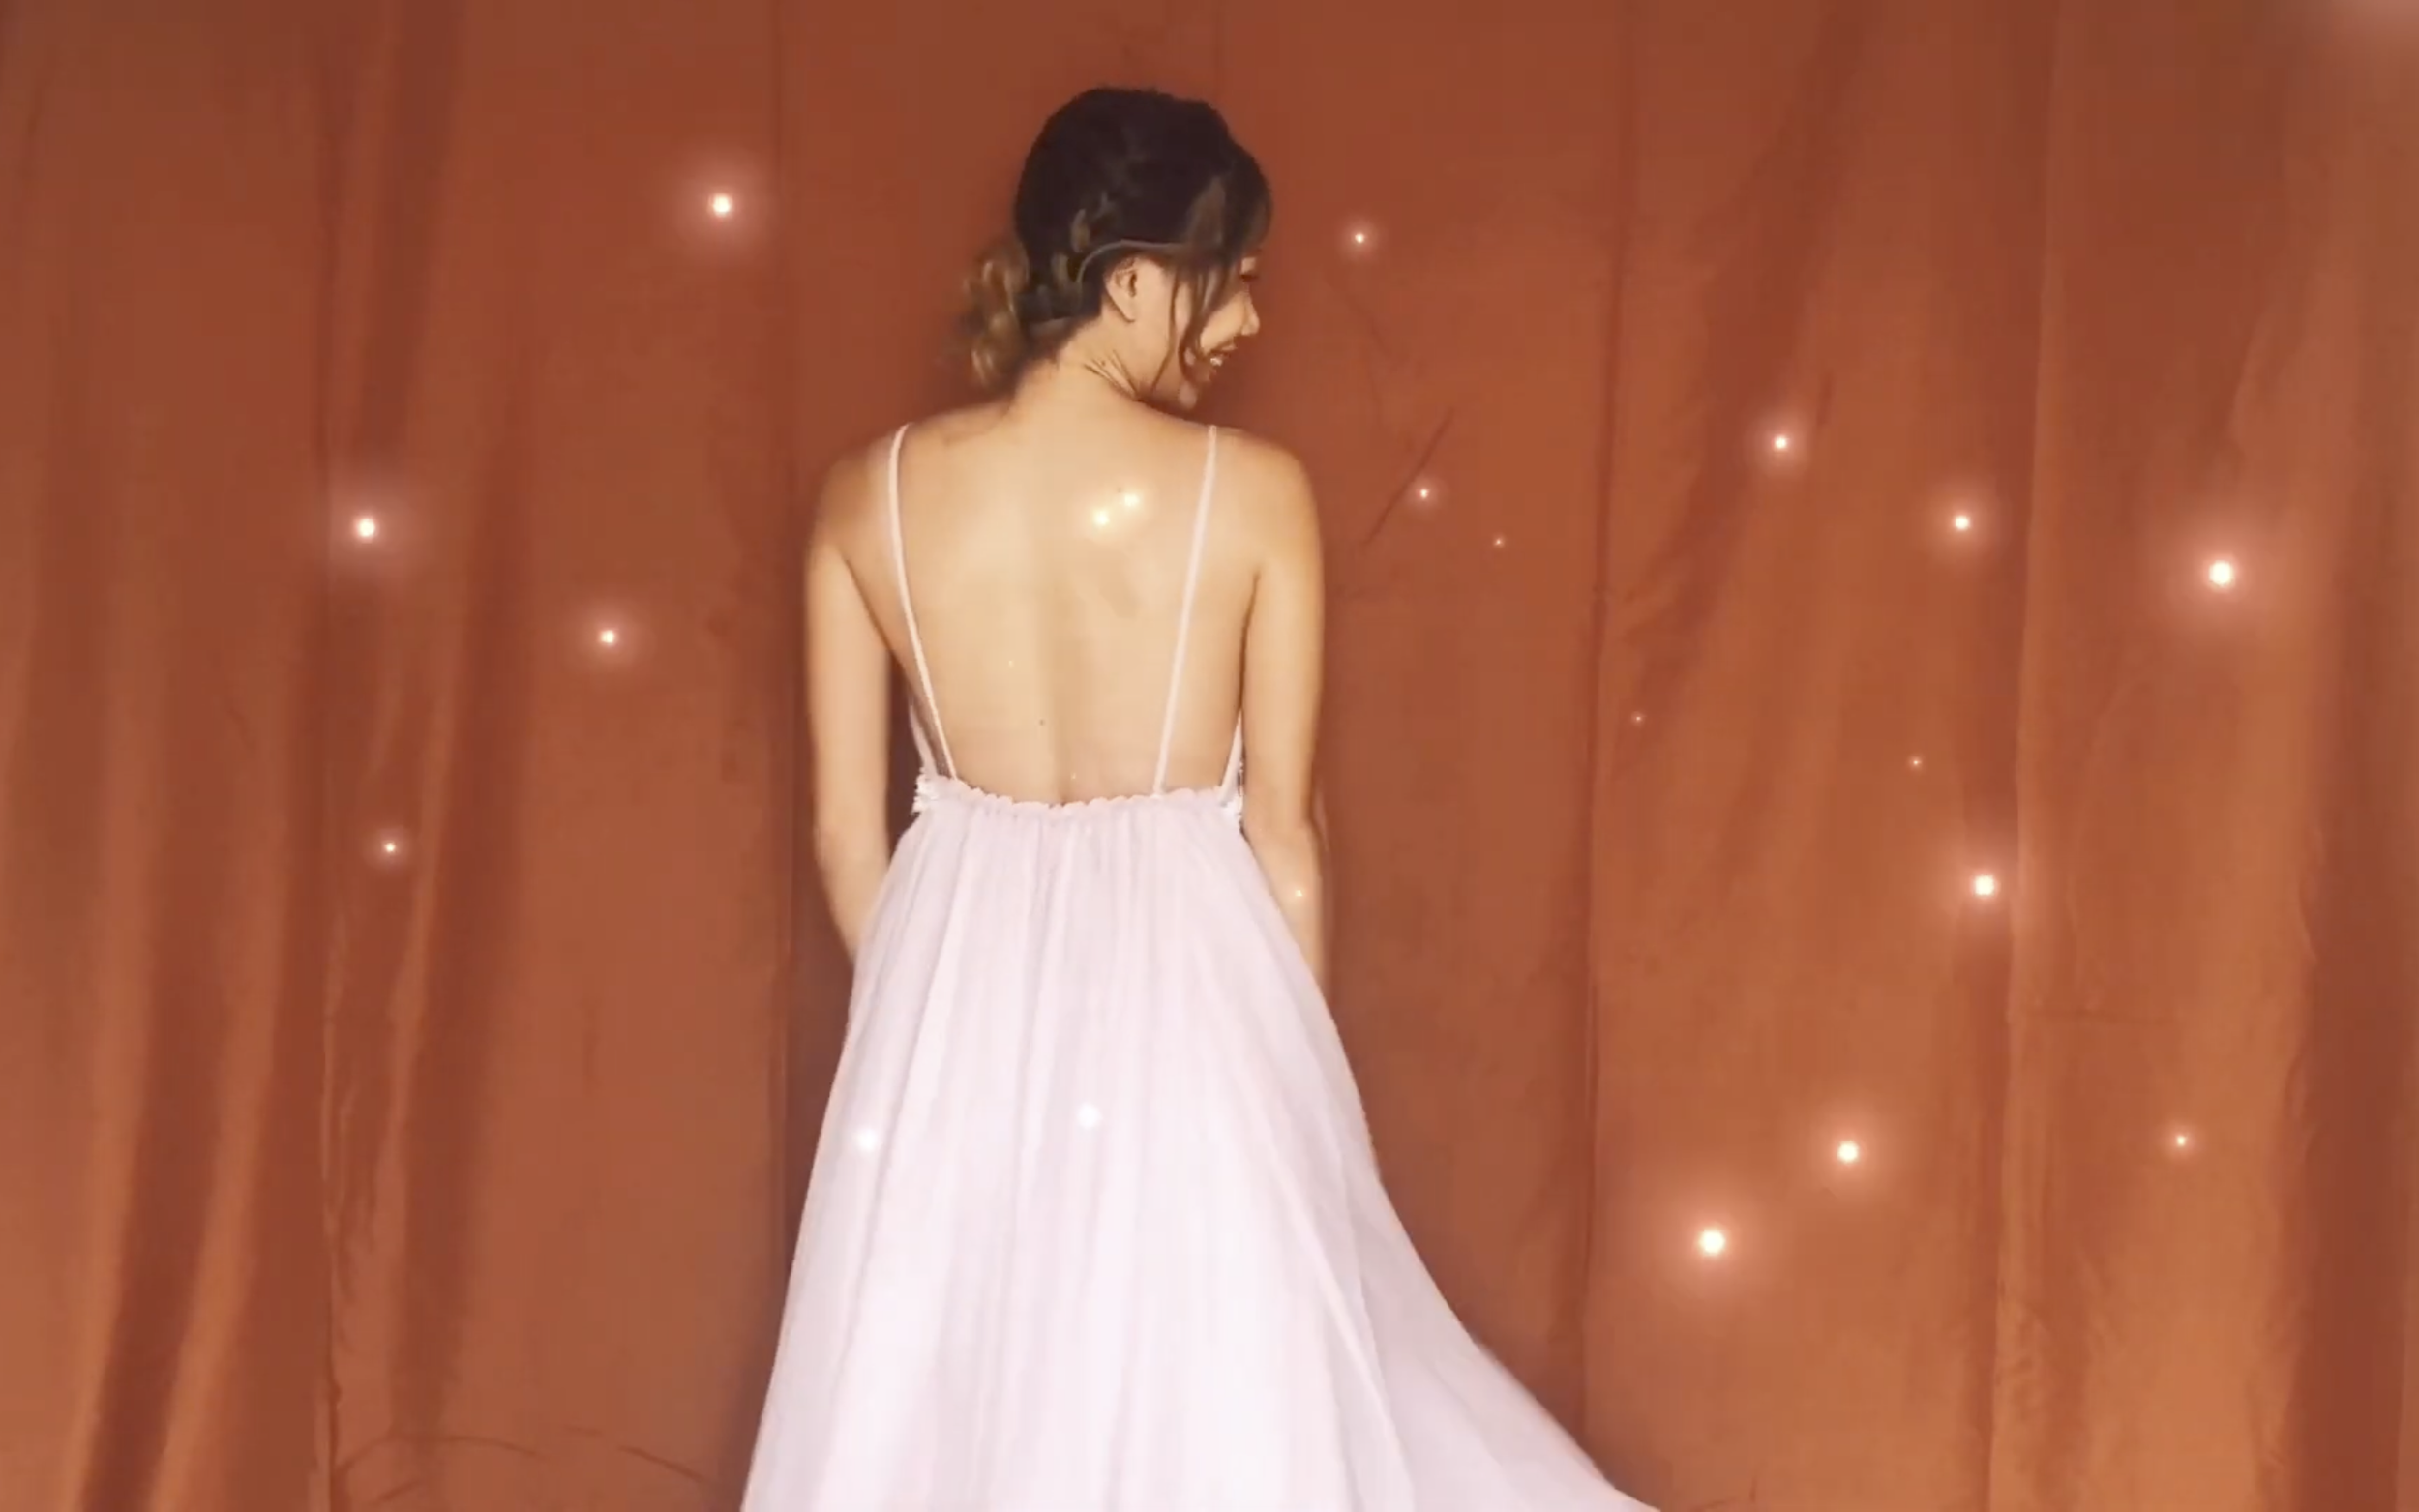
And that’s the finished DIY! Here’s my final result.
I feel like a princess in this dress, now all I need is a prince!

I hope you enjoyed this video and remember, don’t be afraid to make the clothes you dream of.
See you next week with more DIYs!