DIY 2 PIECES MAXI SET | Vacation wardrobe (Ep 2) | Step by step sewing tutorial

DIY 2 PIECES MAXI SET | Vacation wardrobe (Ep 2) | Step by step sewing tutorial
Welcome or welcome back to my channel. My name is Jess and I love doing DIY, making clothes in a "simply but pretty" way.
In today's tutorial, I'm going to share with you how I made my 2 pieces maxi set. This set is included a crop top with scrunchie shoulder strap and full length tier skirt. It's a perfect outfit if you go to the beach.
So I hope you like it and try it out. Let’s get started!
WHAT YOU’LL NEED
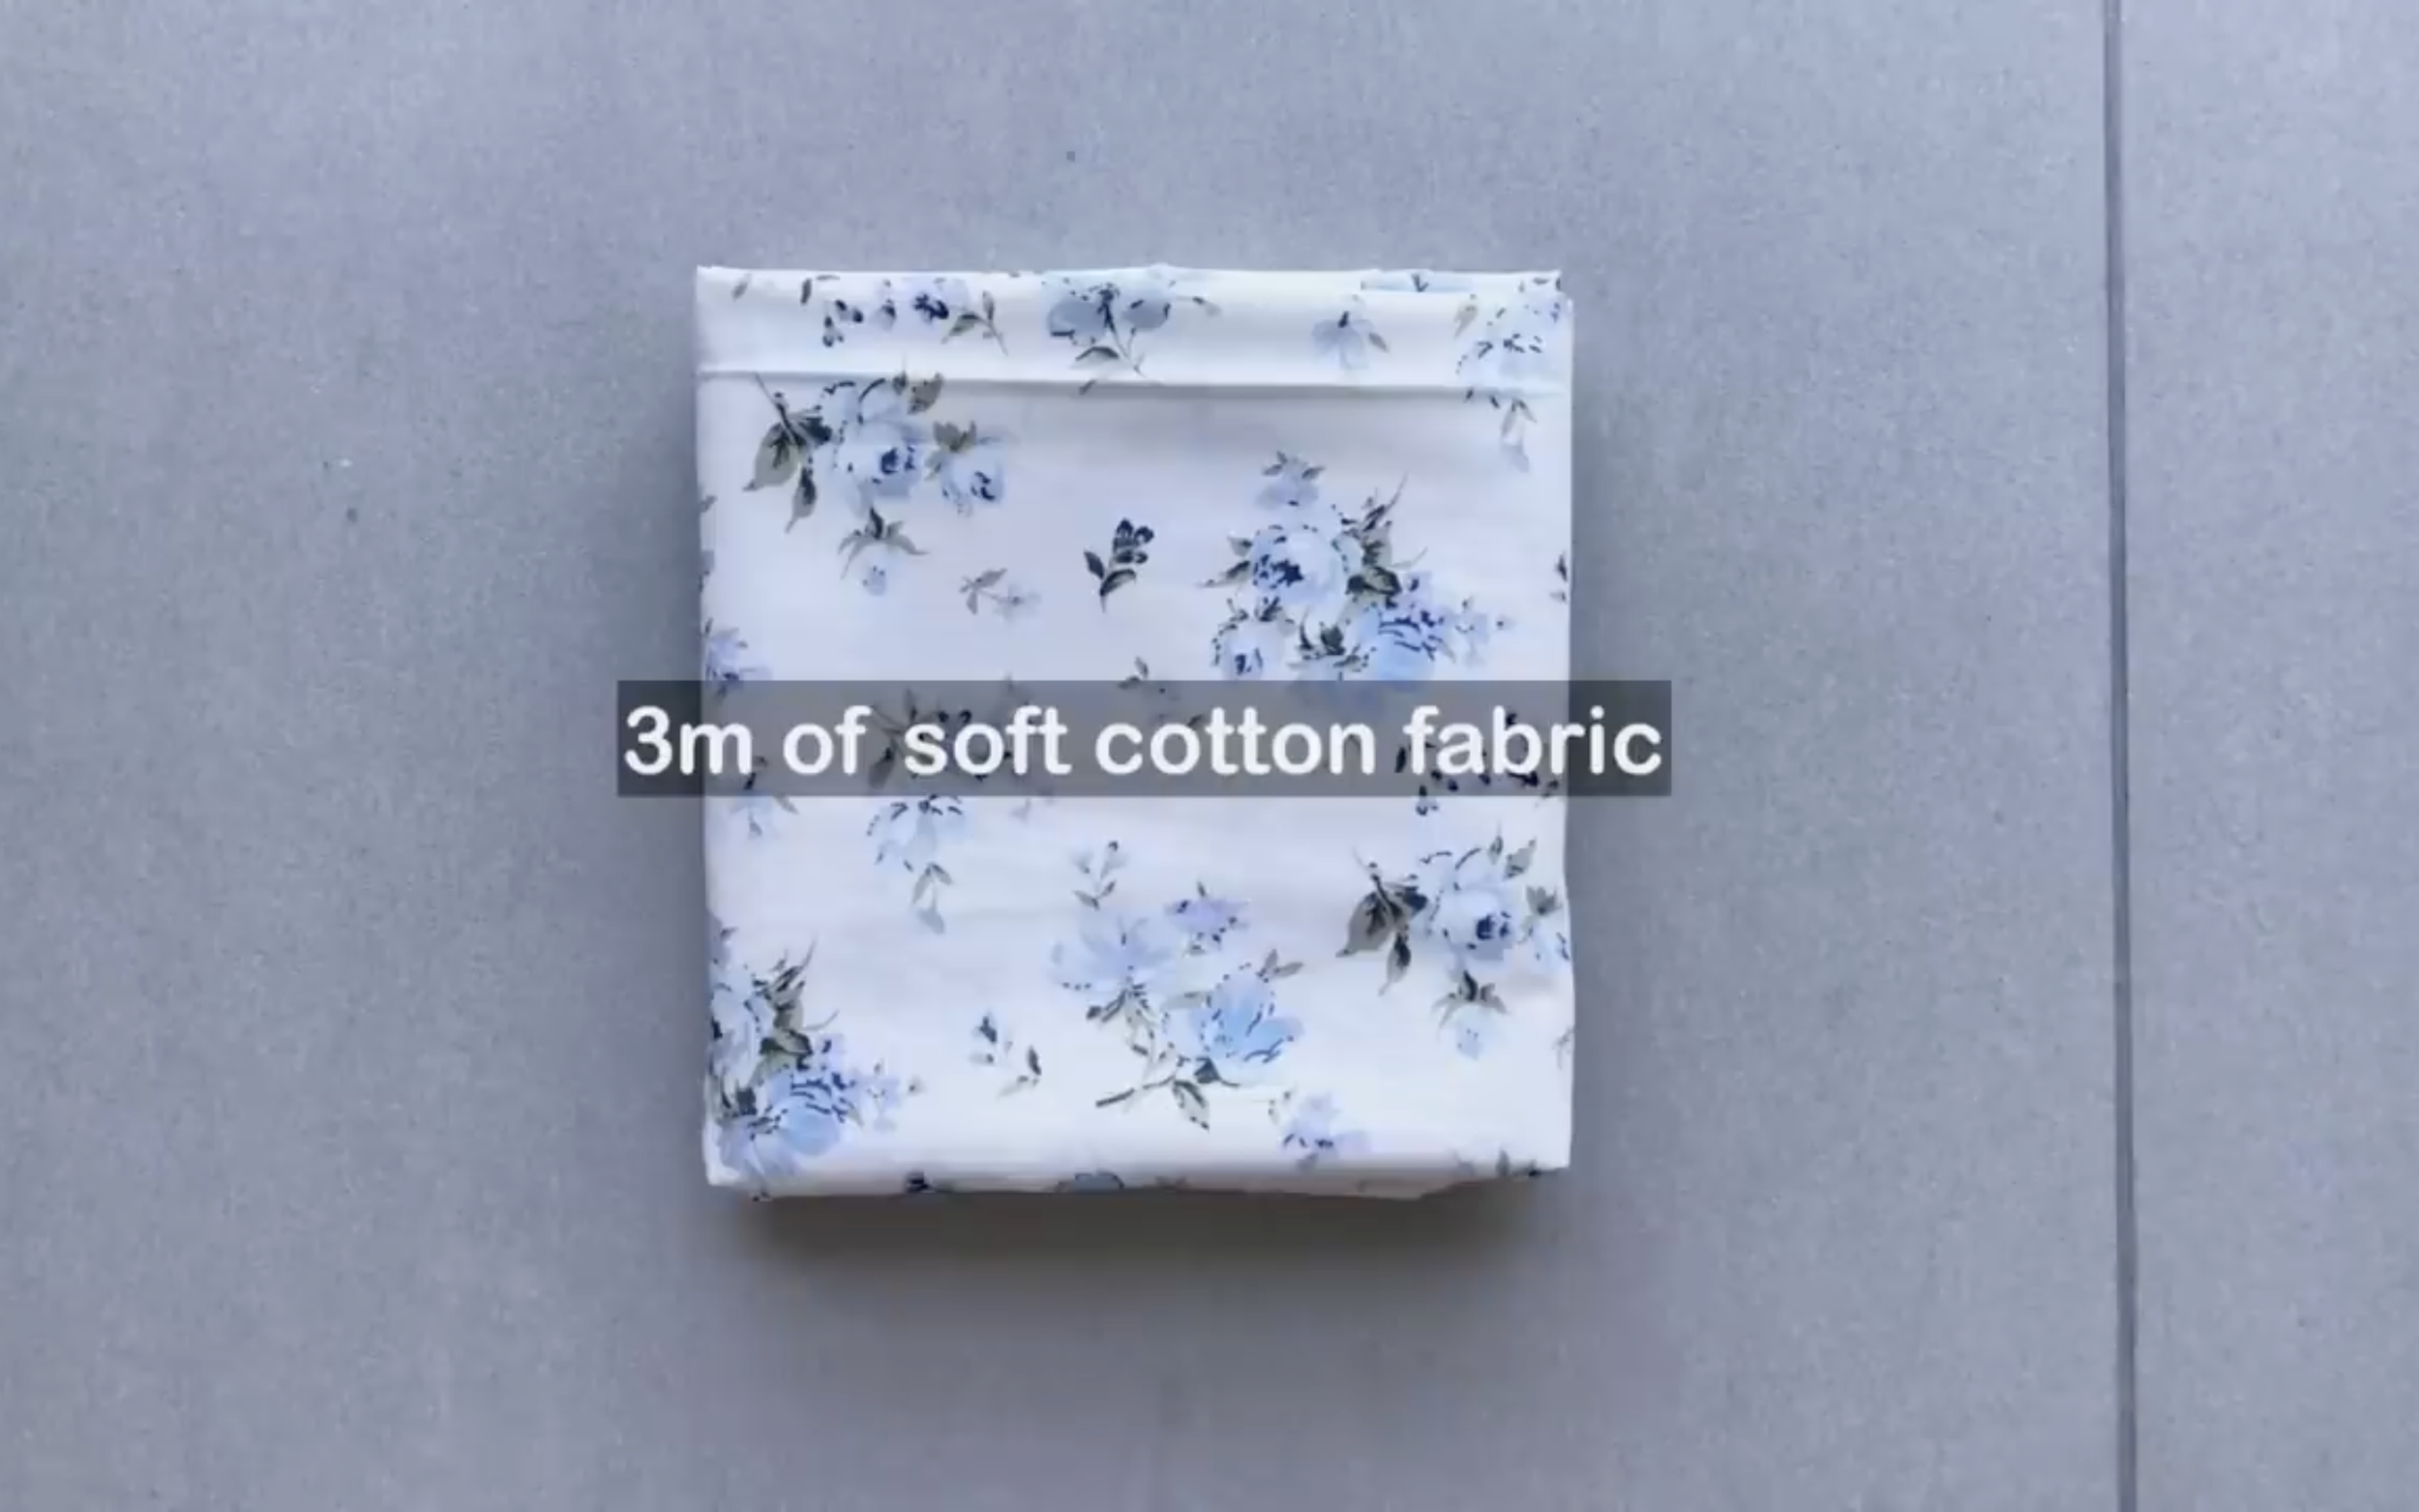
3m of soft cotton fabric
Pattern paper
Sewing machine
Pins
Scissors
Ruler
Long stick
Zipper
Buttons
SEWING THE DRESS
THE CROP TOP


Draw a rectangle with an 18 cm length, which is the length from above to below the breast—enough to cover the breast area—and a 44 cm width, which is half of the bust size plus 3 cm.
On both width lines, mark the middle first, then draw a straight line to connect the two marks.
From the top of this line, mark down 11 cm on the width line so the width between the two marks will be 22 cm, which is the width between the inside shoulders minus two times the width of the elastic band used.
From the top of the straight line, mark down 8 cm—this is the length from above to the middle of the breast. Then, connect this mark to the two marks on the width line made earlier.
Next, mark 5 cm under the first mark on the straight line.
From the end of the straight line, mark down 6 cm on both sides of the width line, creating a 12 cm wide open area at the middle of the crop top.
Connect this mark to the one on the straight line made earlier.
Then, draw a slightly curved line to make a smooth transition between these lines.
From the mark on the top width line, mark out 3 cm, which is the width of the elastic band.
From the top of the length line, mark down 9 cm, which is the middle of the line or the middle of the breast.
Connect this mark to the one on the top width line, extending the line until it intersects the extra part of the other width line to create a side line for the crop top. Make this line a big curve.
Finally, add a 1 cm seam allowance to complete the crop top pattern.
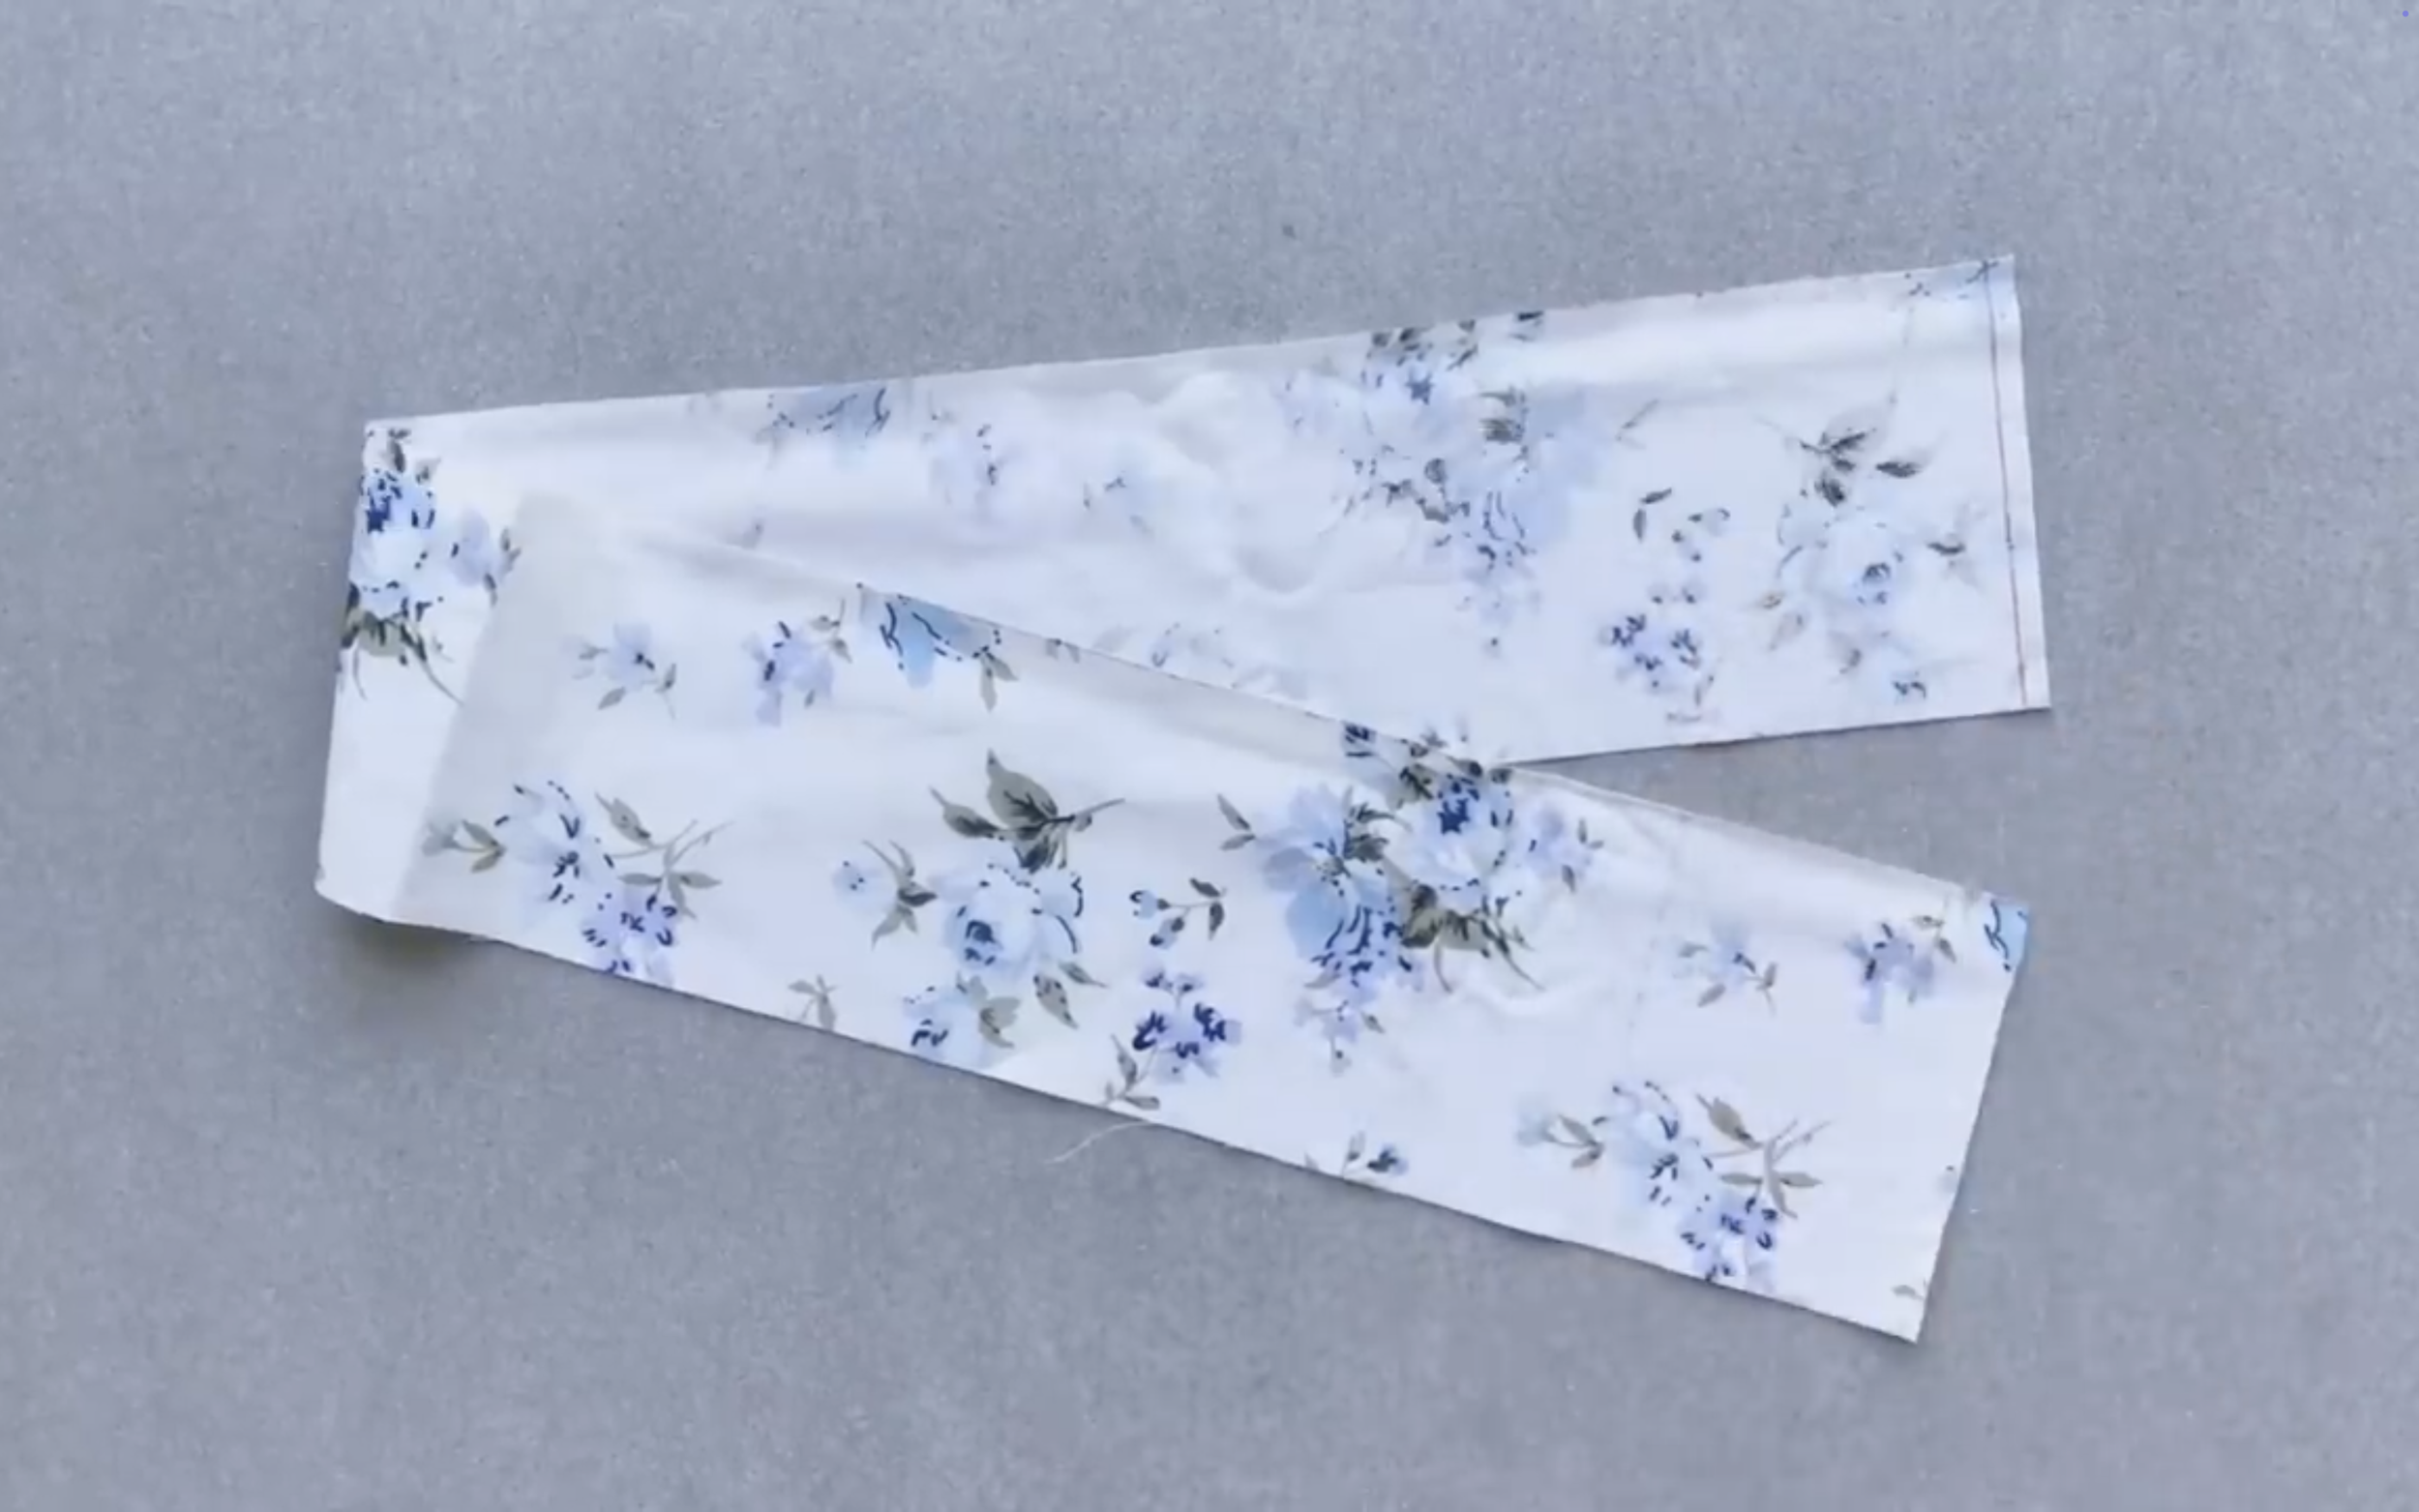
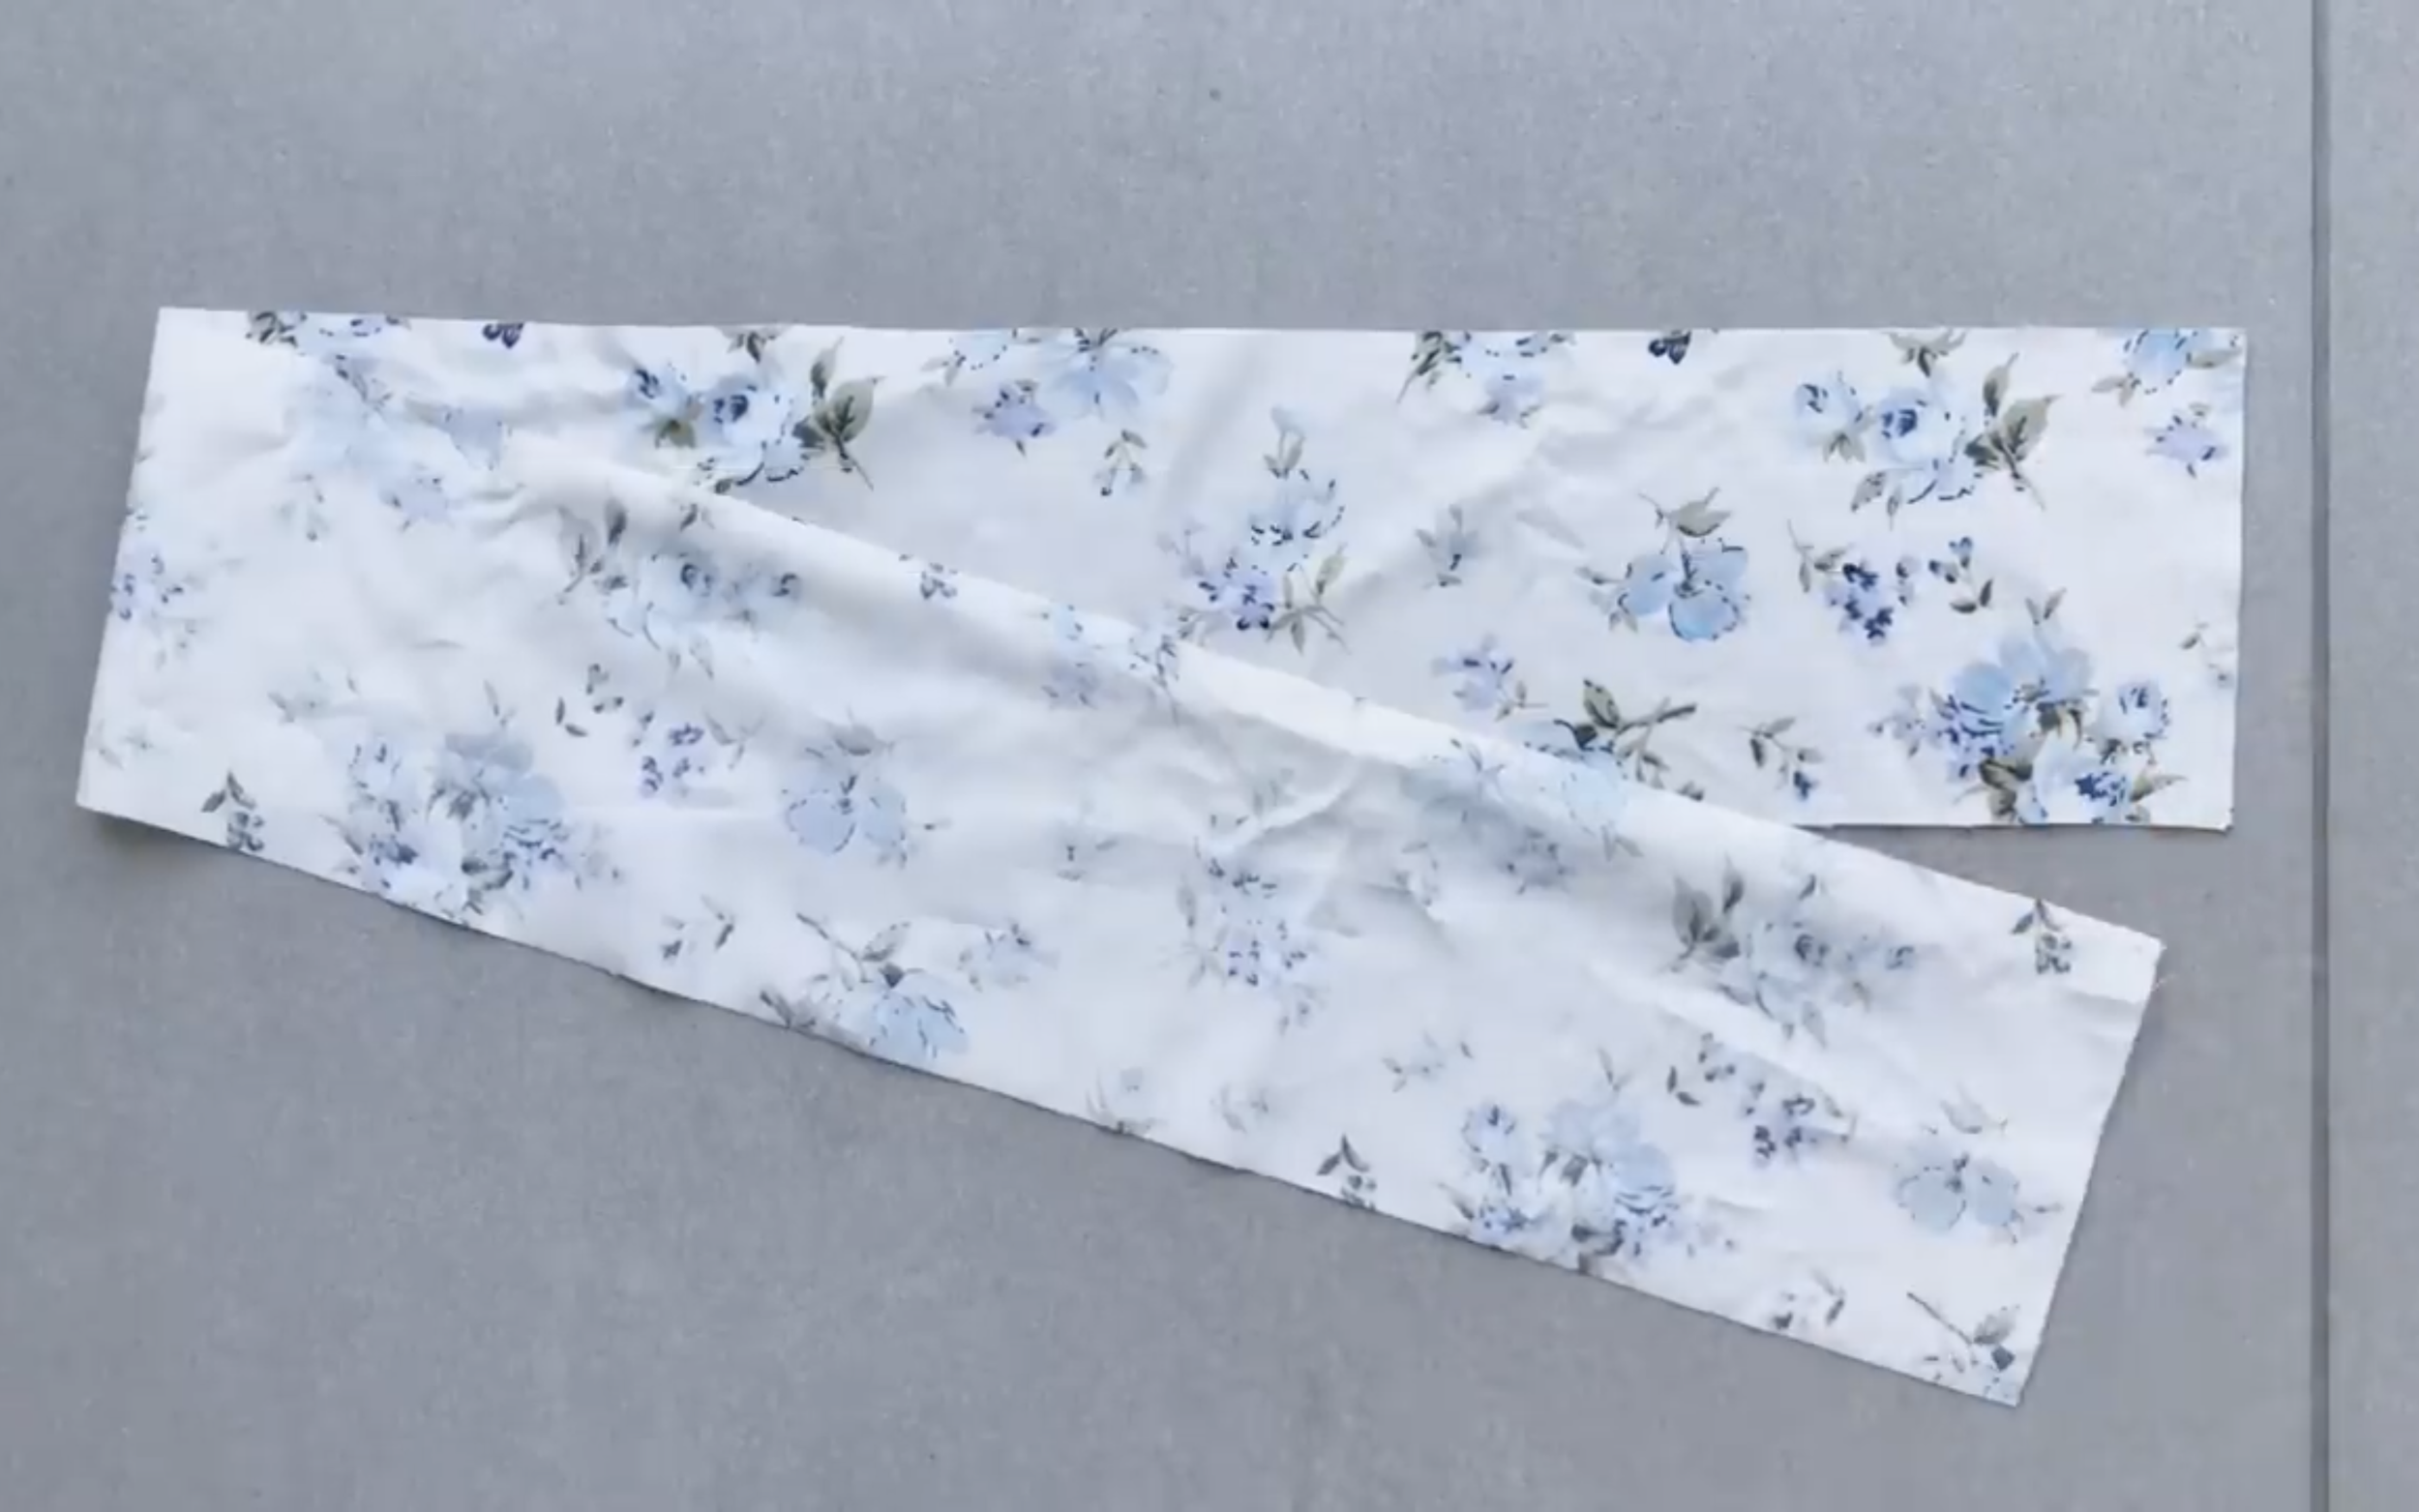
Cut a rectangle with an 8.5 cm width and a 63 cm length, which is 1.4 times the length from above the breast, over the shoulder, to under the bust, plus 5 cm.
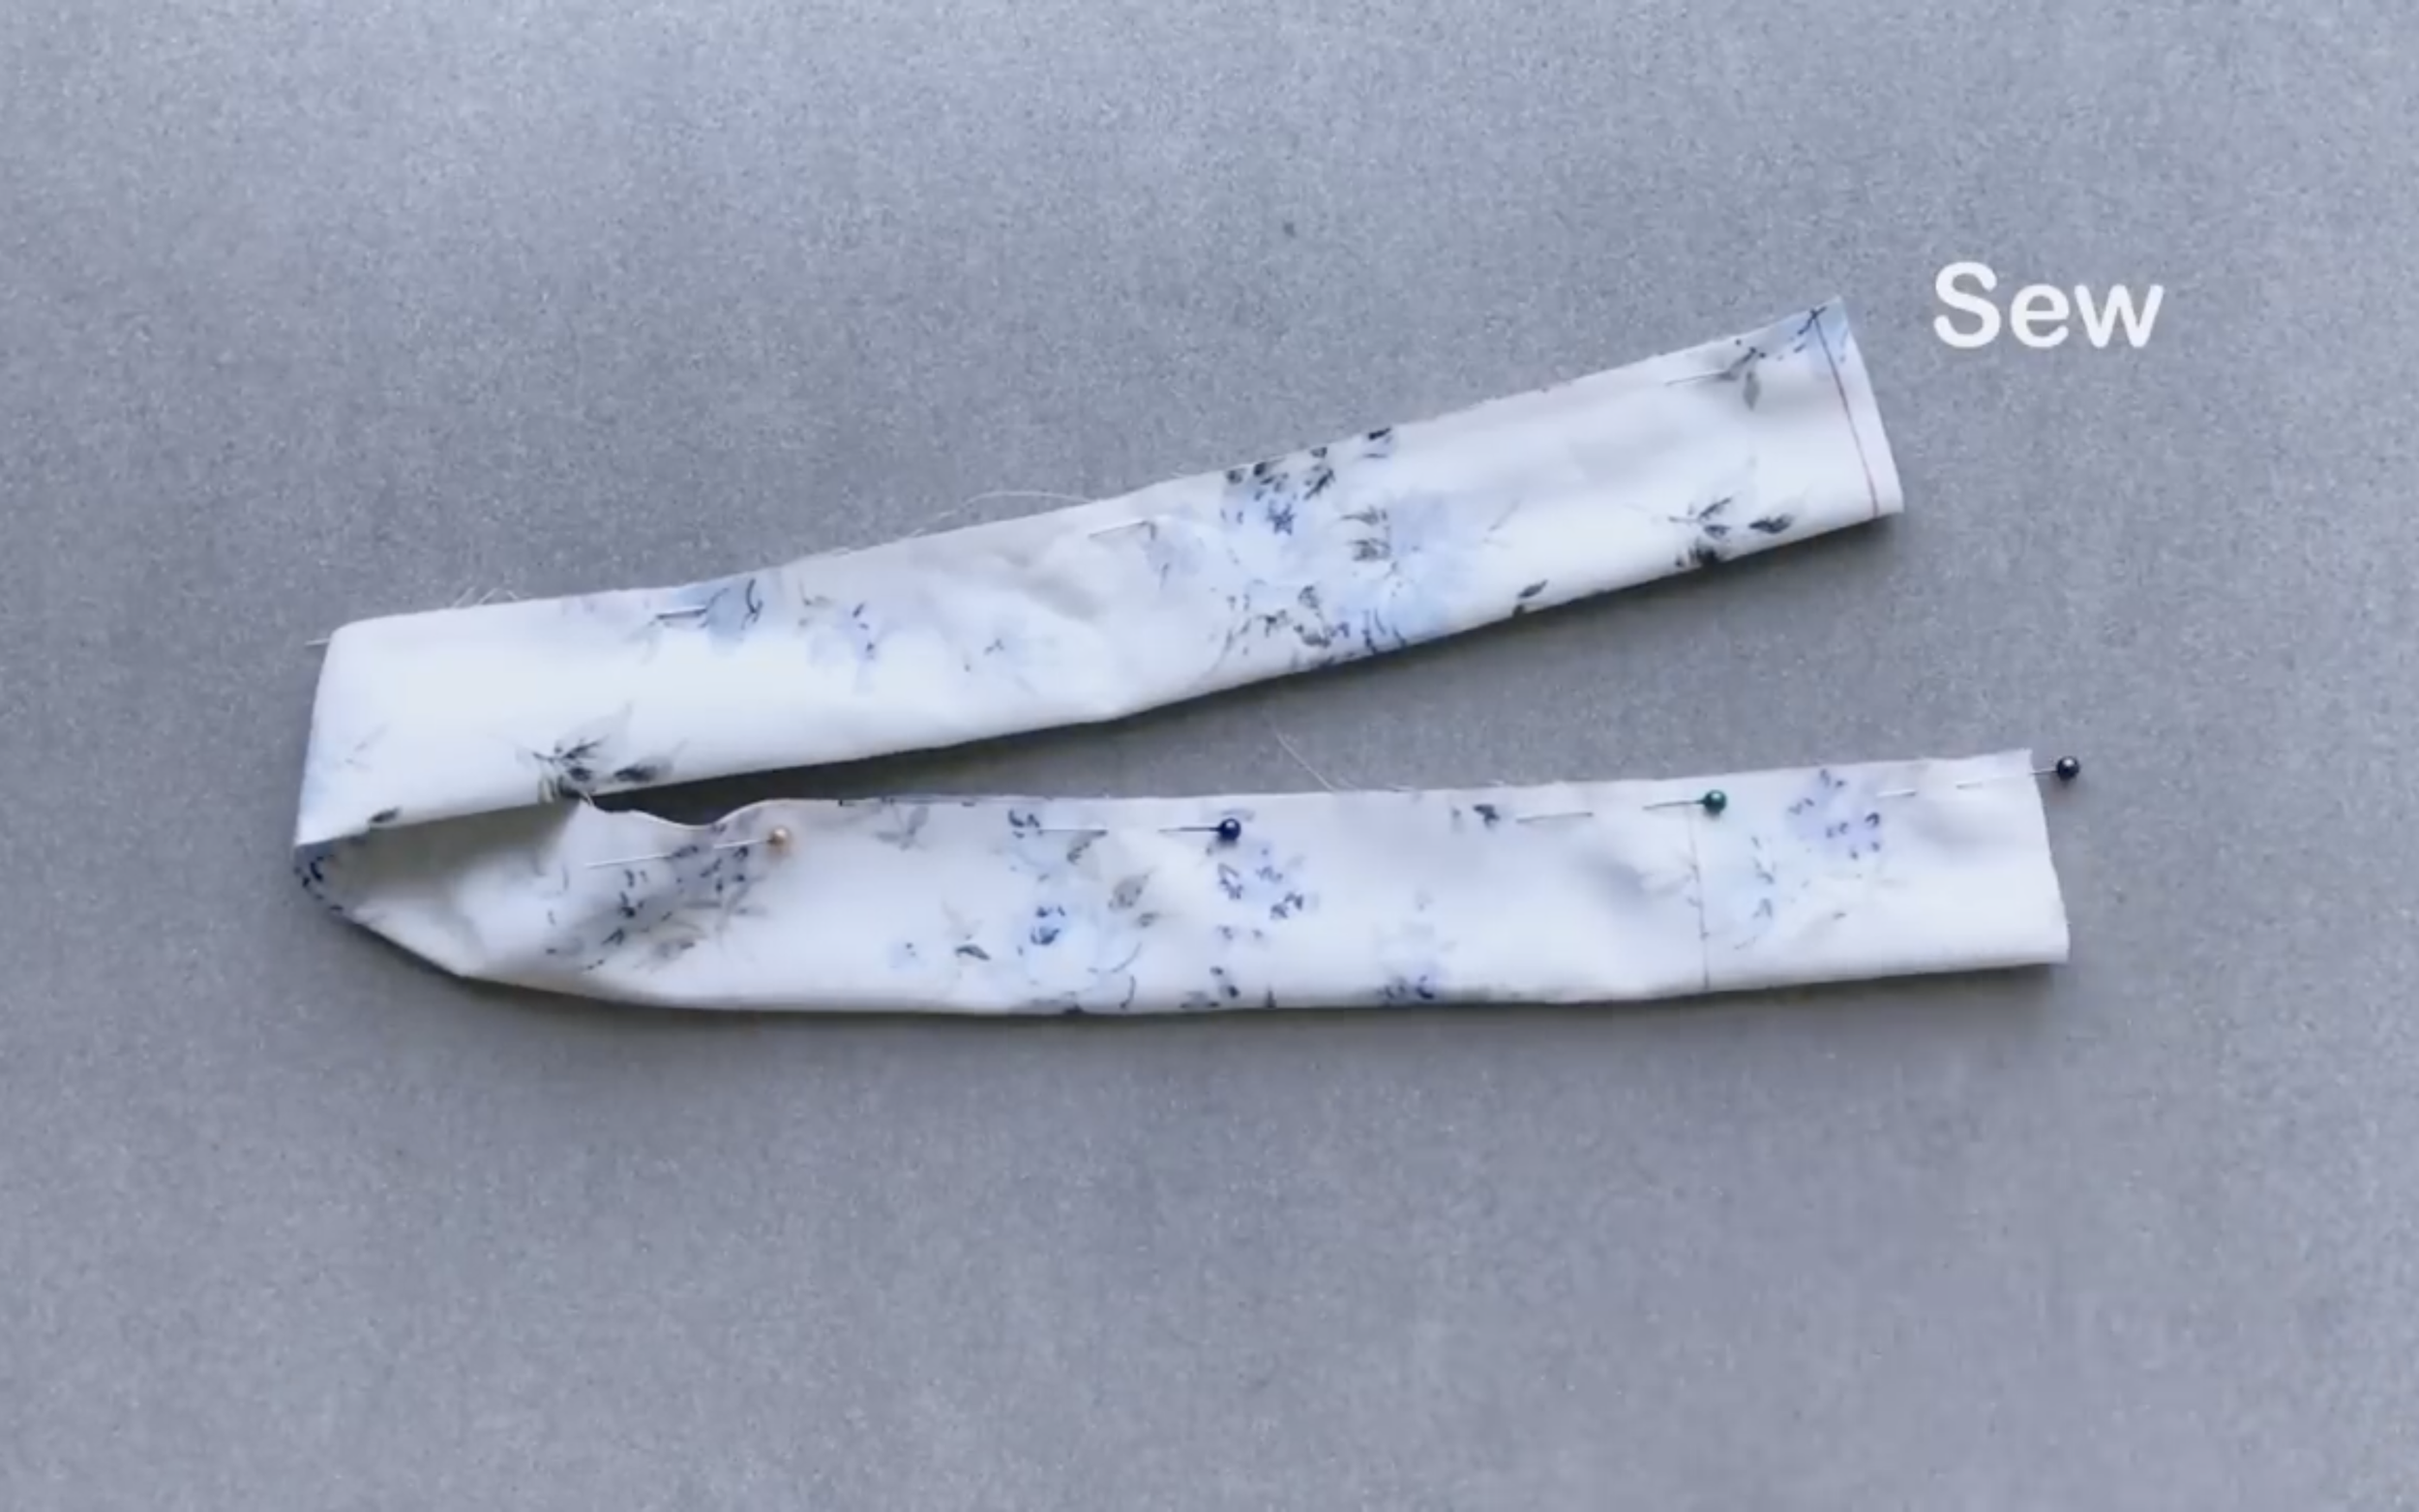
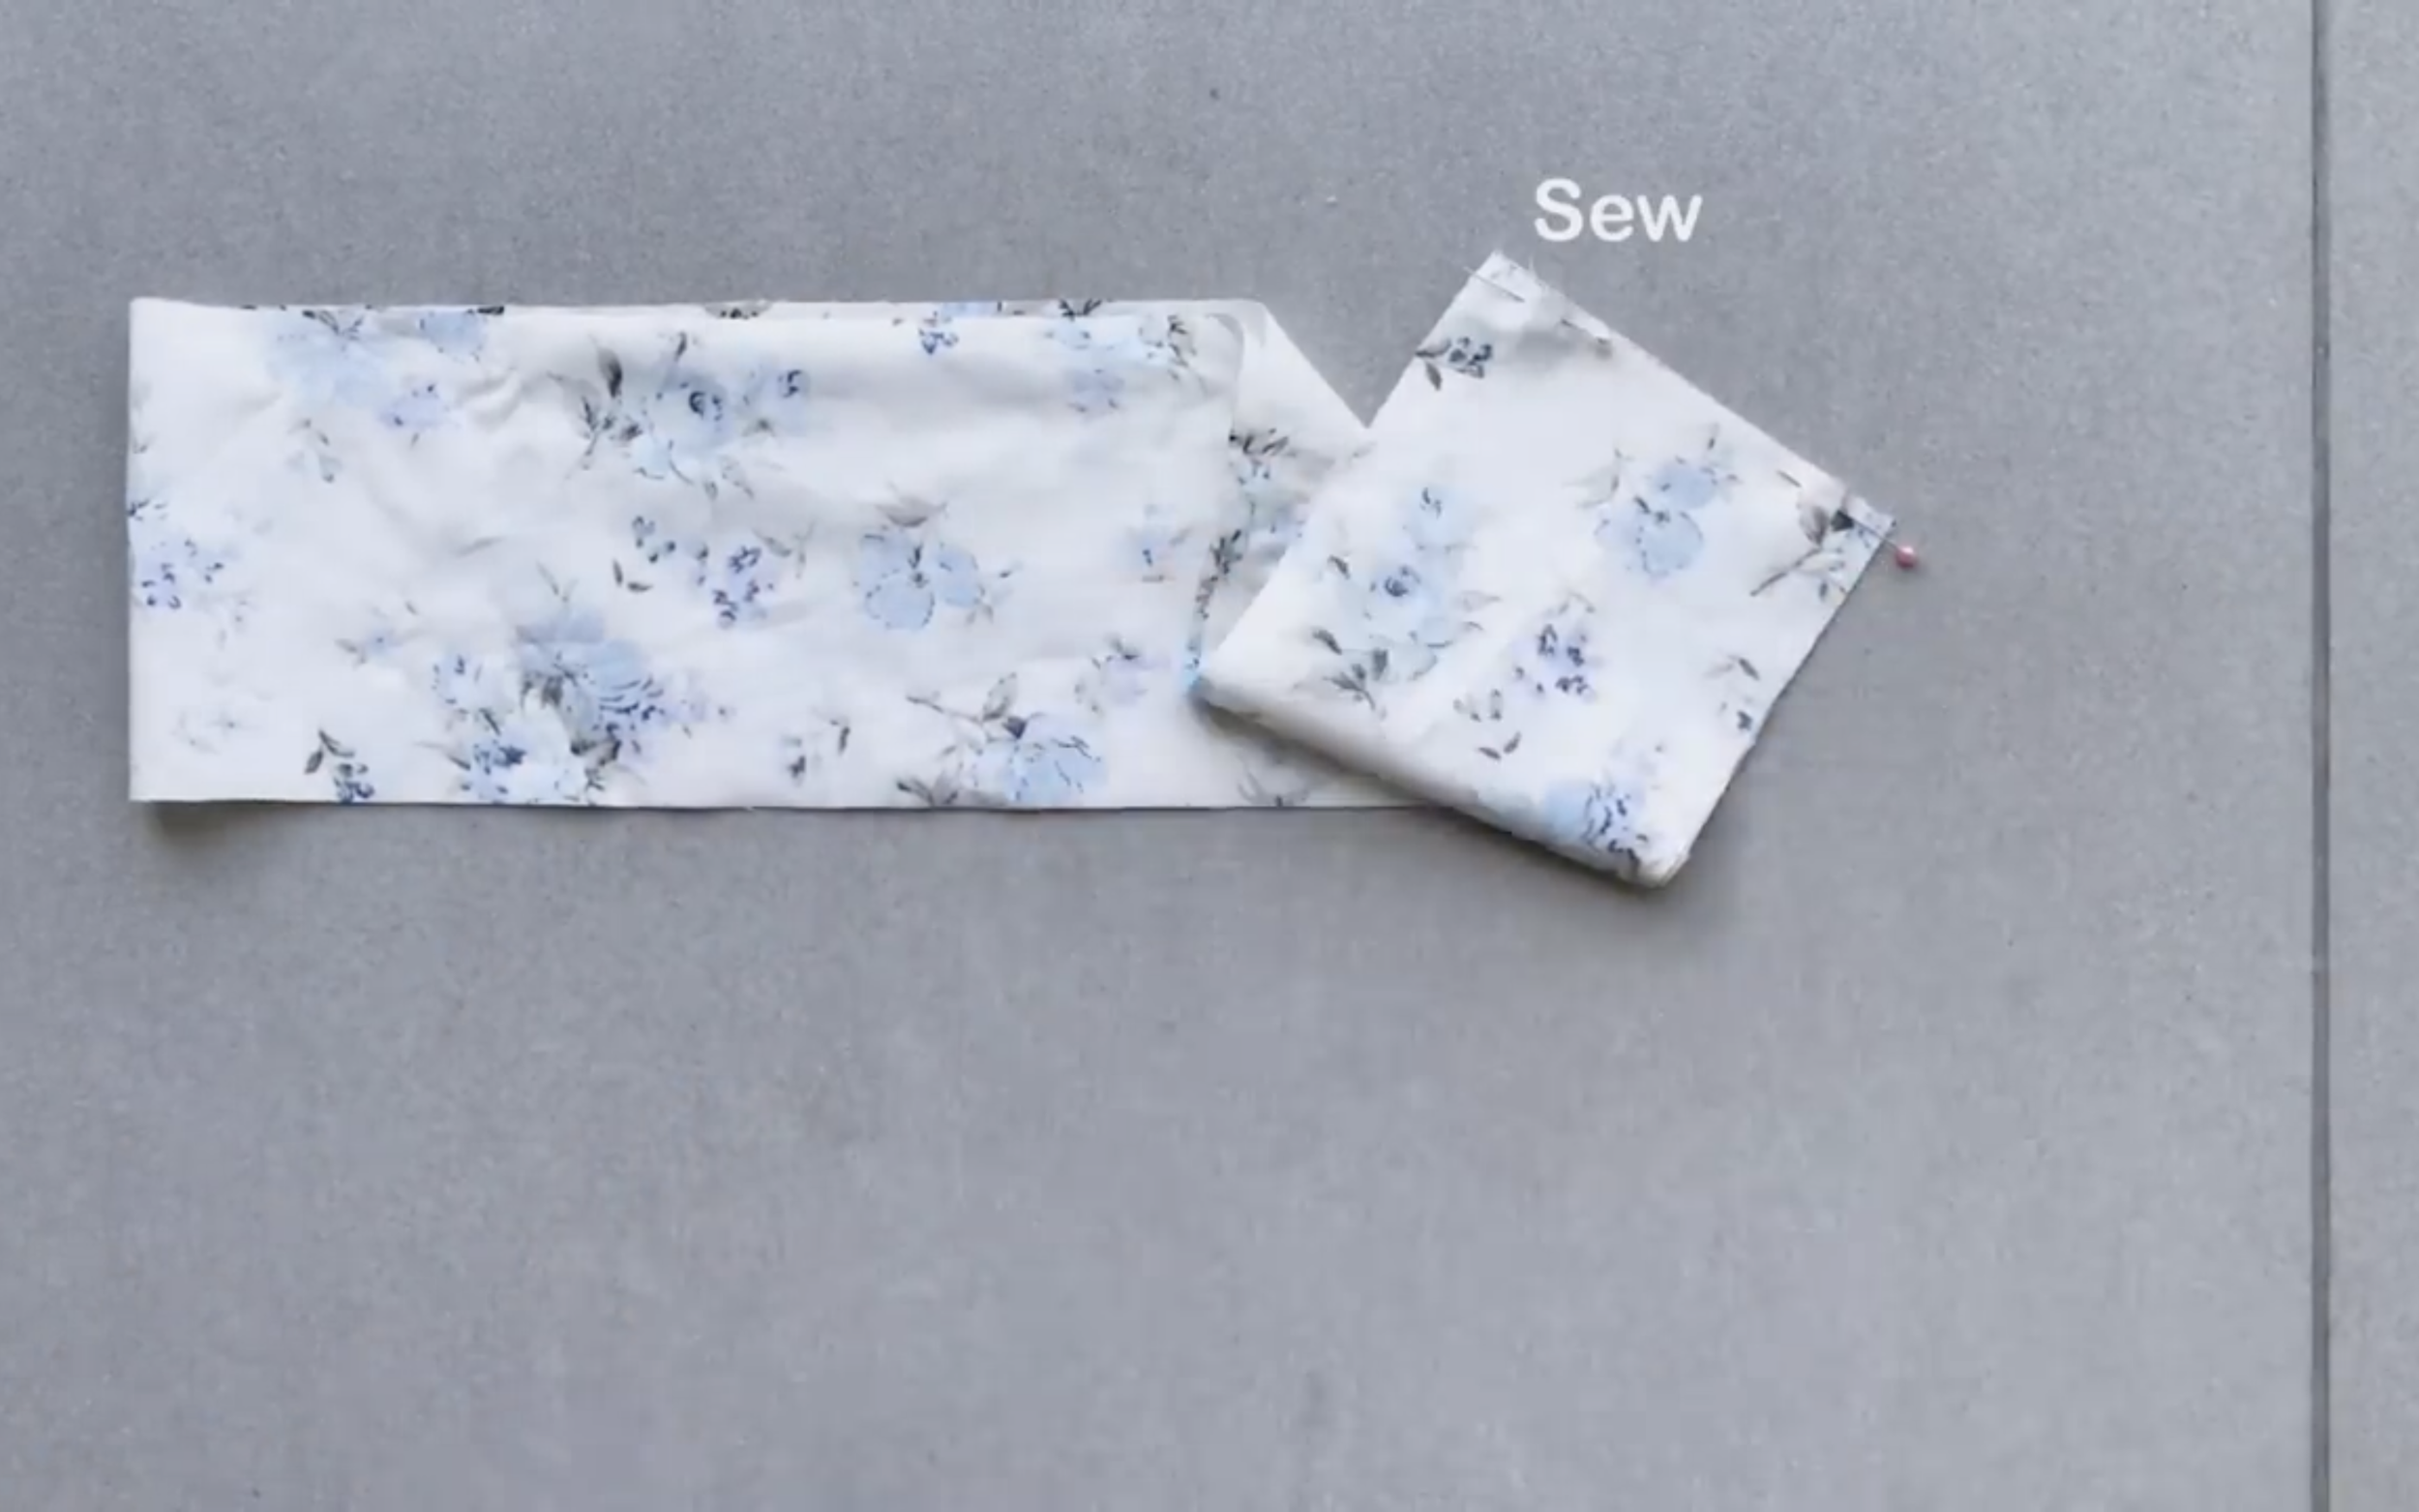
Connect the two length lines of the rectangle first, then sew.
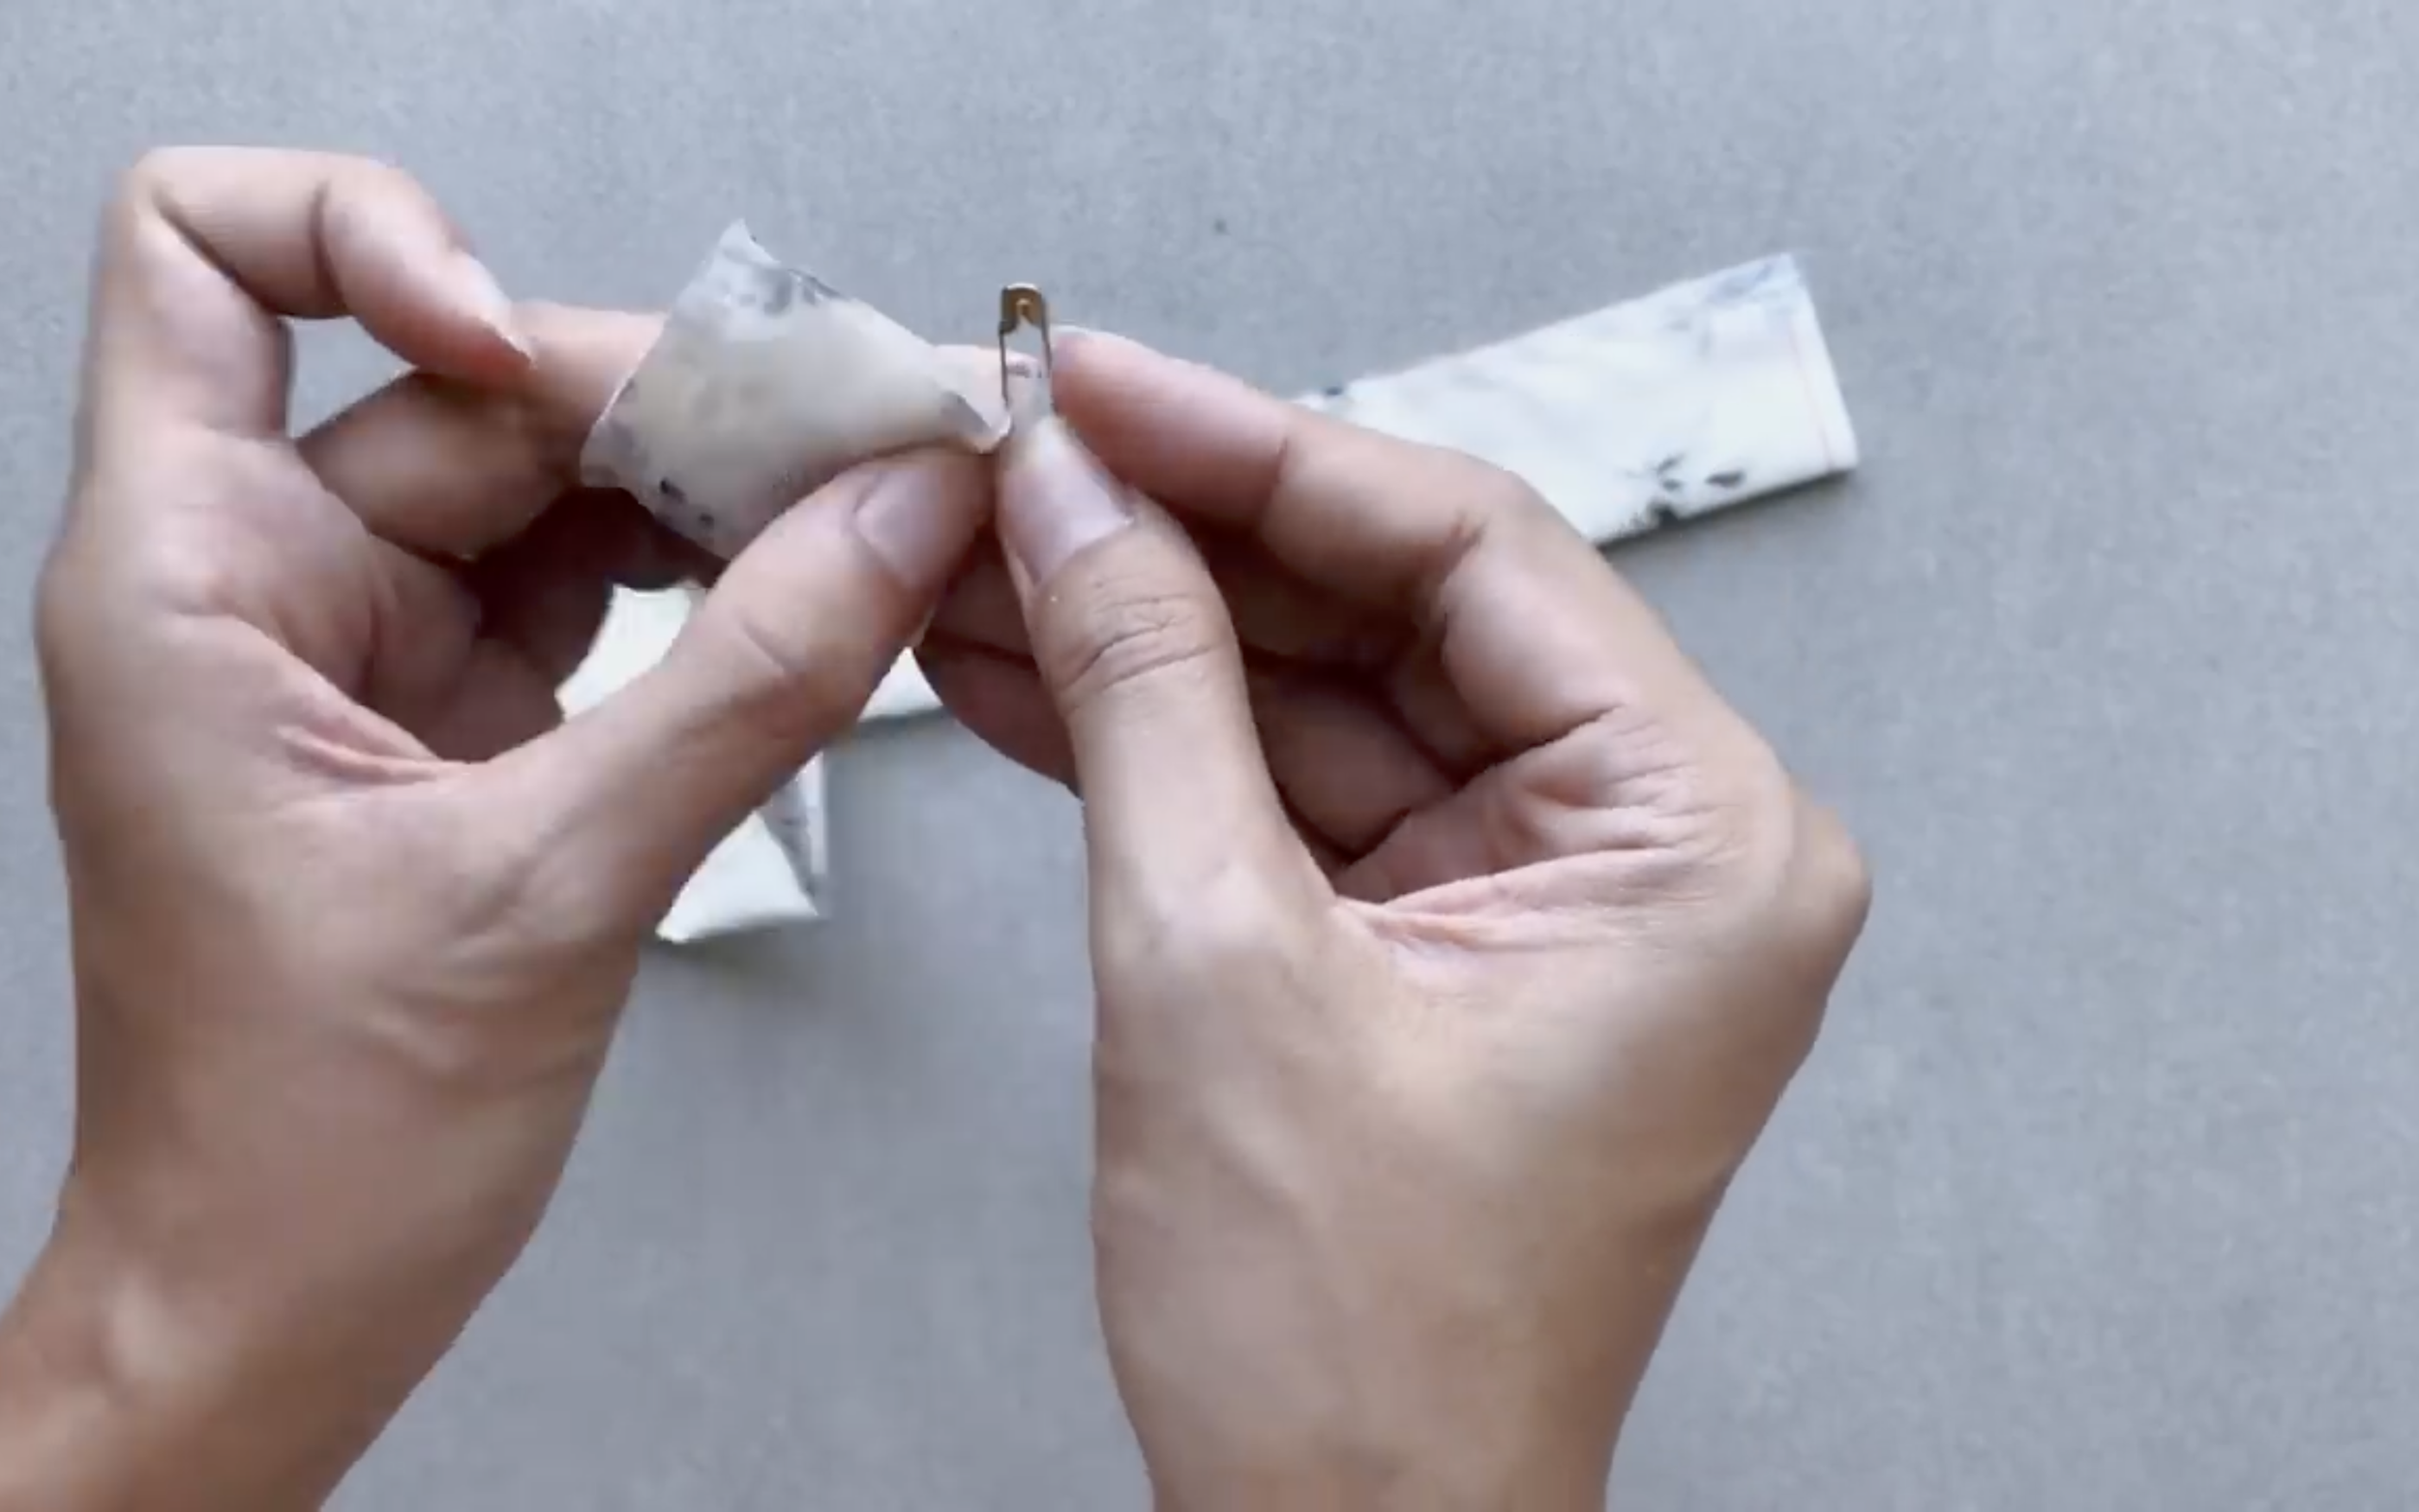
After sewing, turn it inside out using a safety pin.
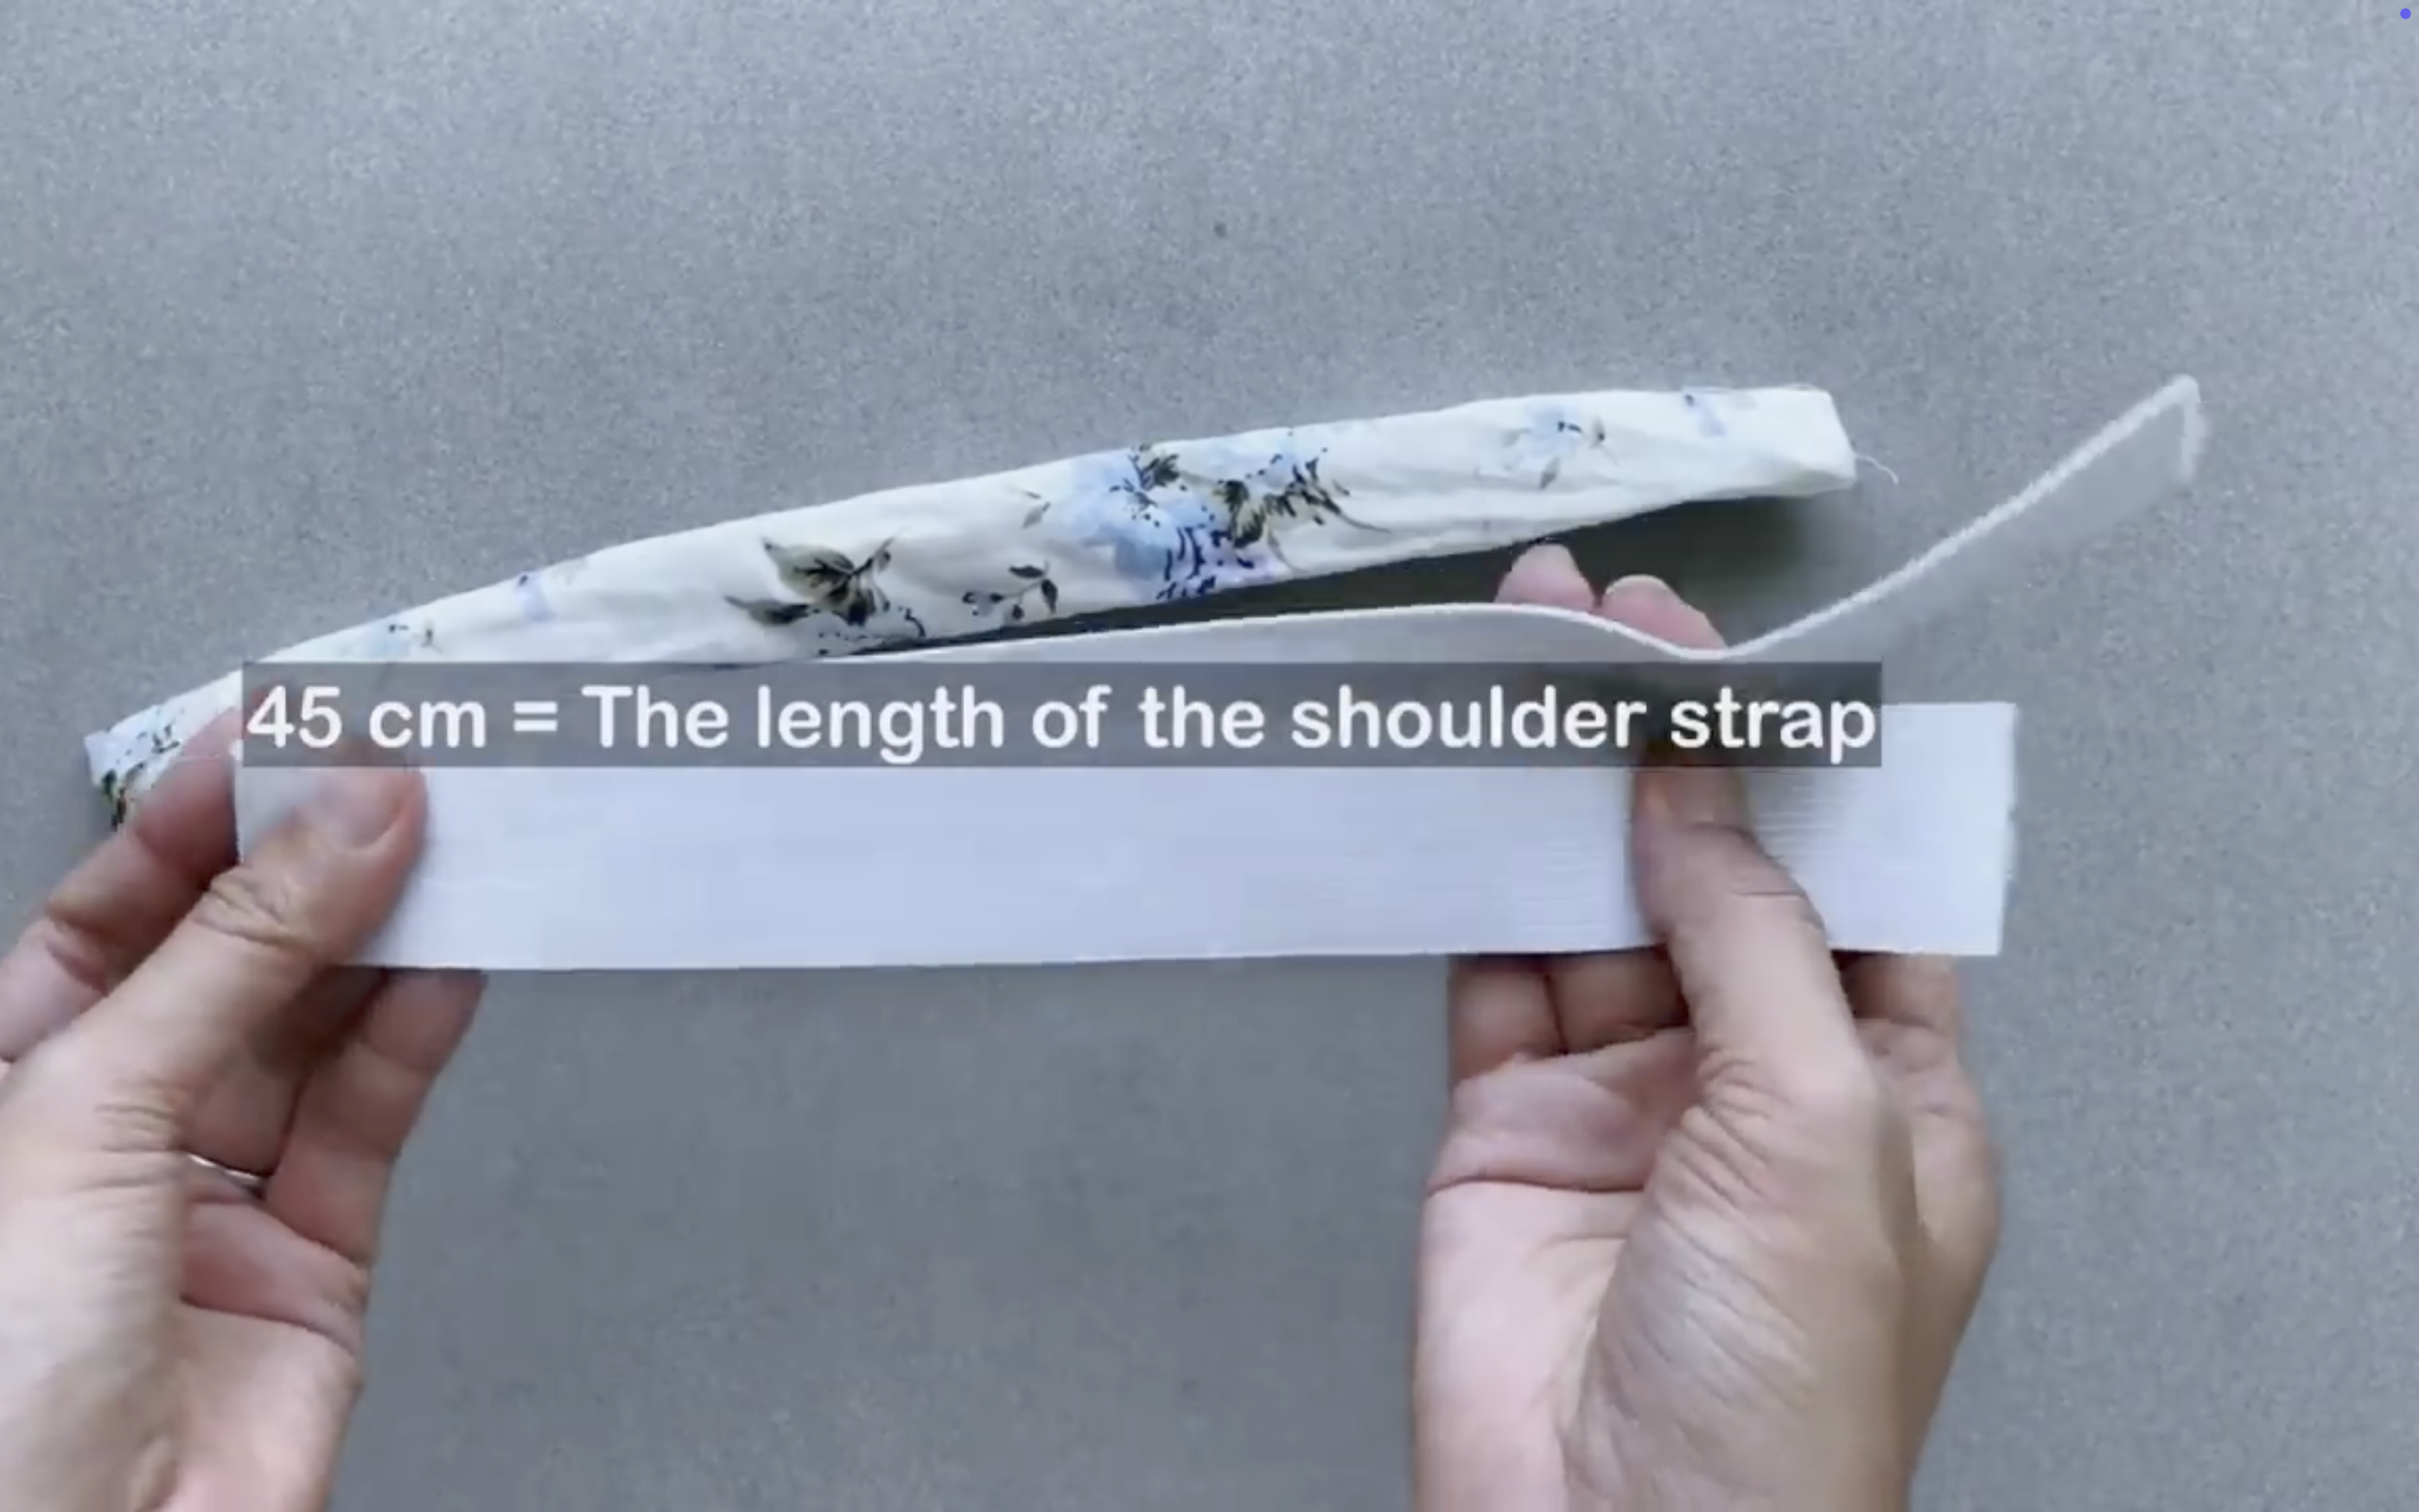
Cut an elastic band with a 45 cm length and 3 cm width to go through the fabric hole.
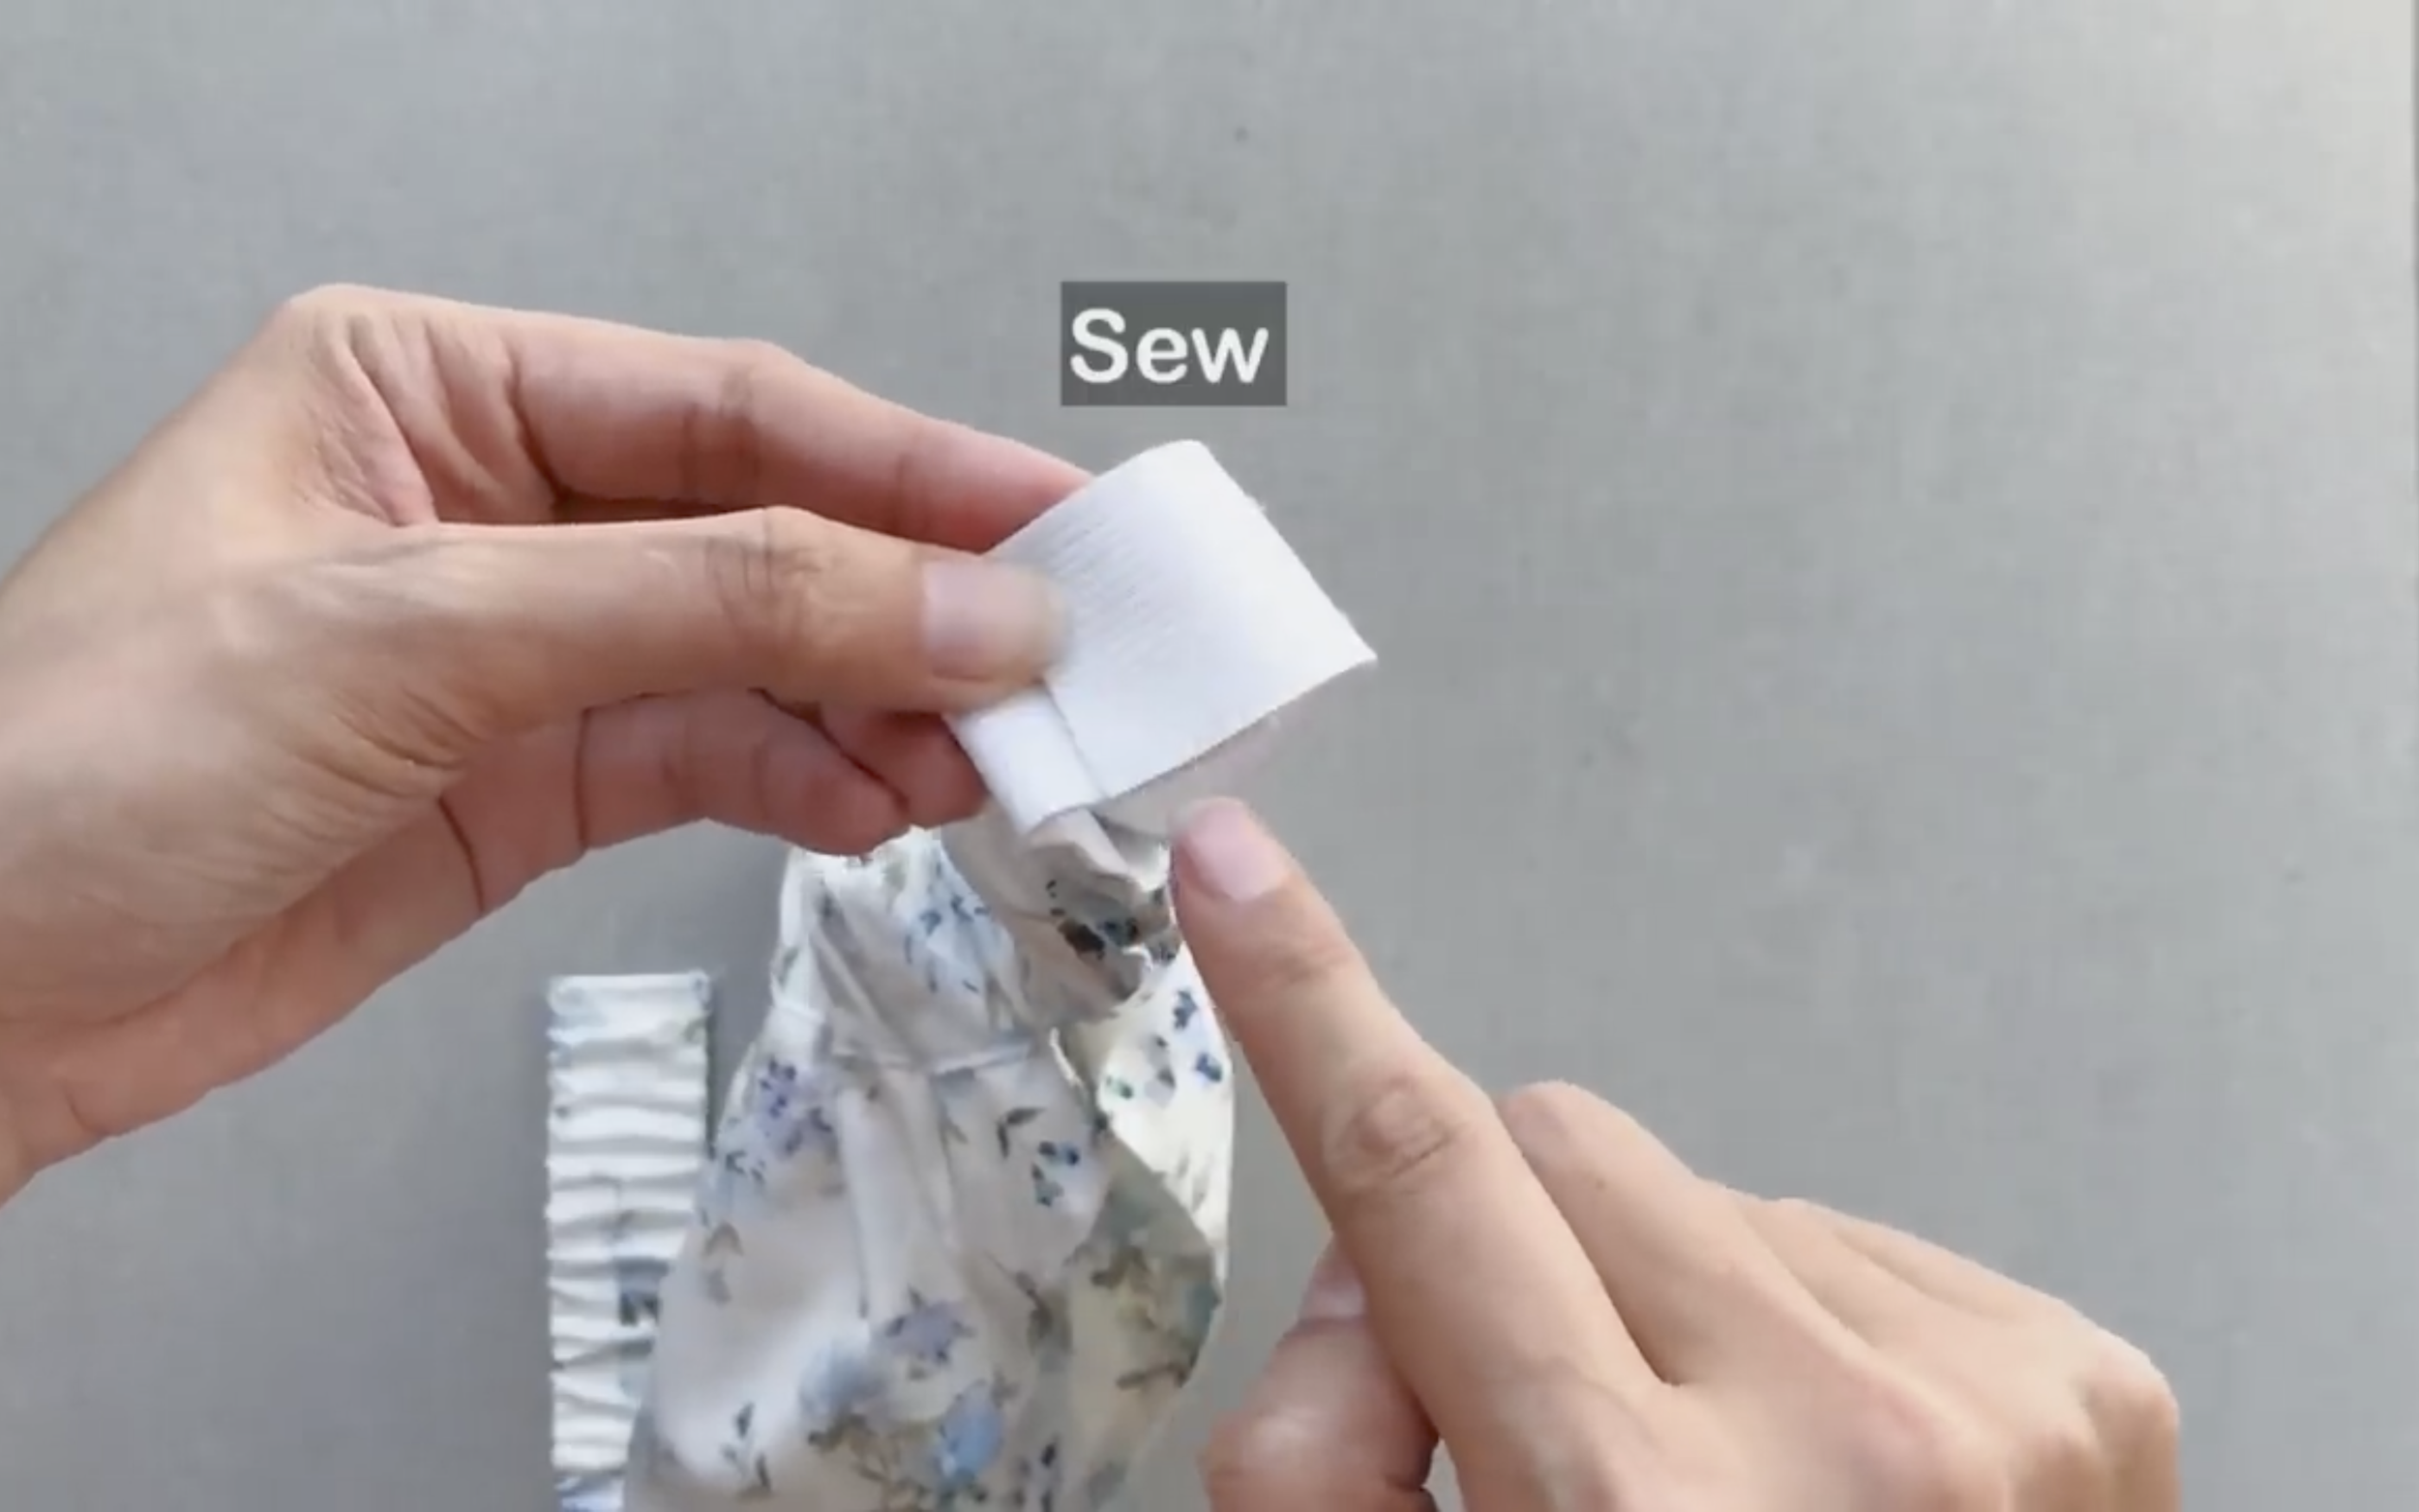
Sew both ends of the elastic band to the two ends of the strap to keep them from moving.
Don't forget to overlock both ends of the strap for a cleaner finish.
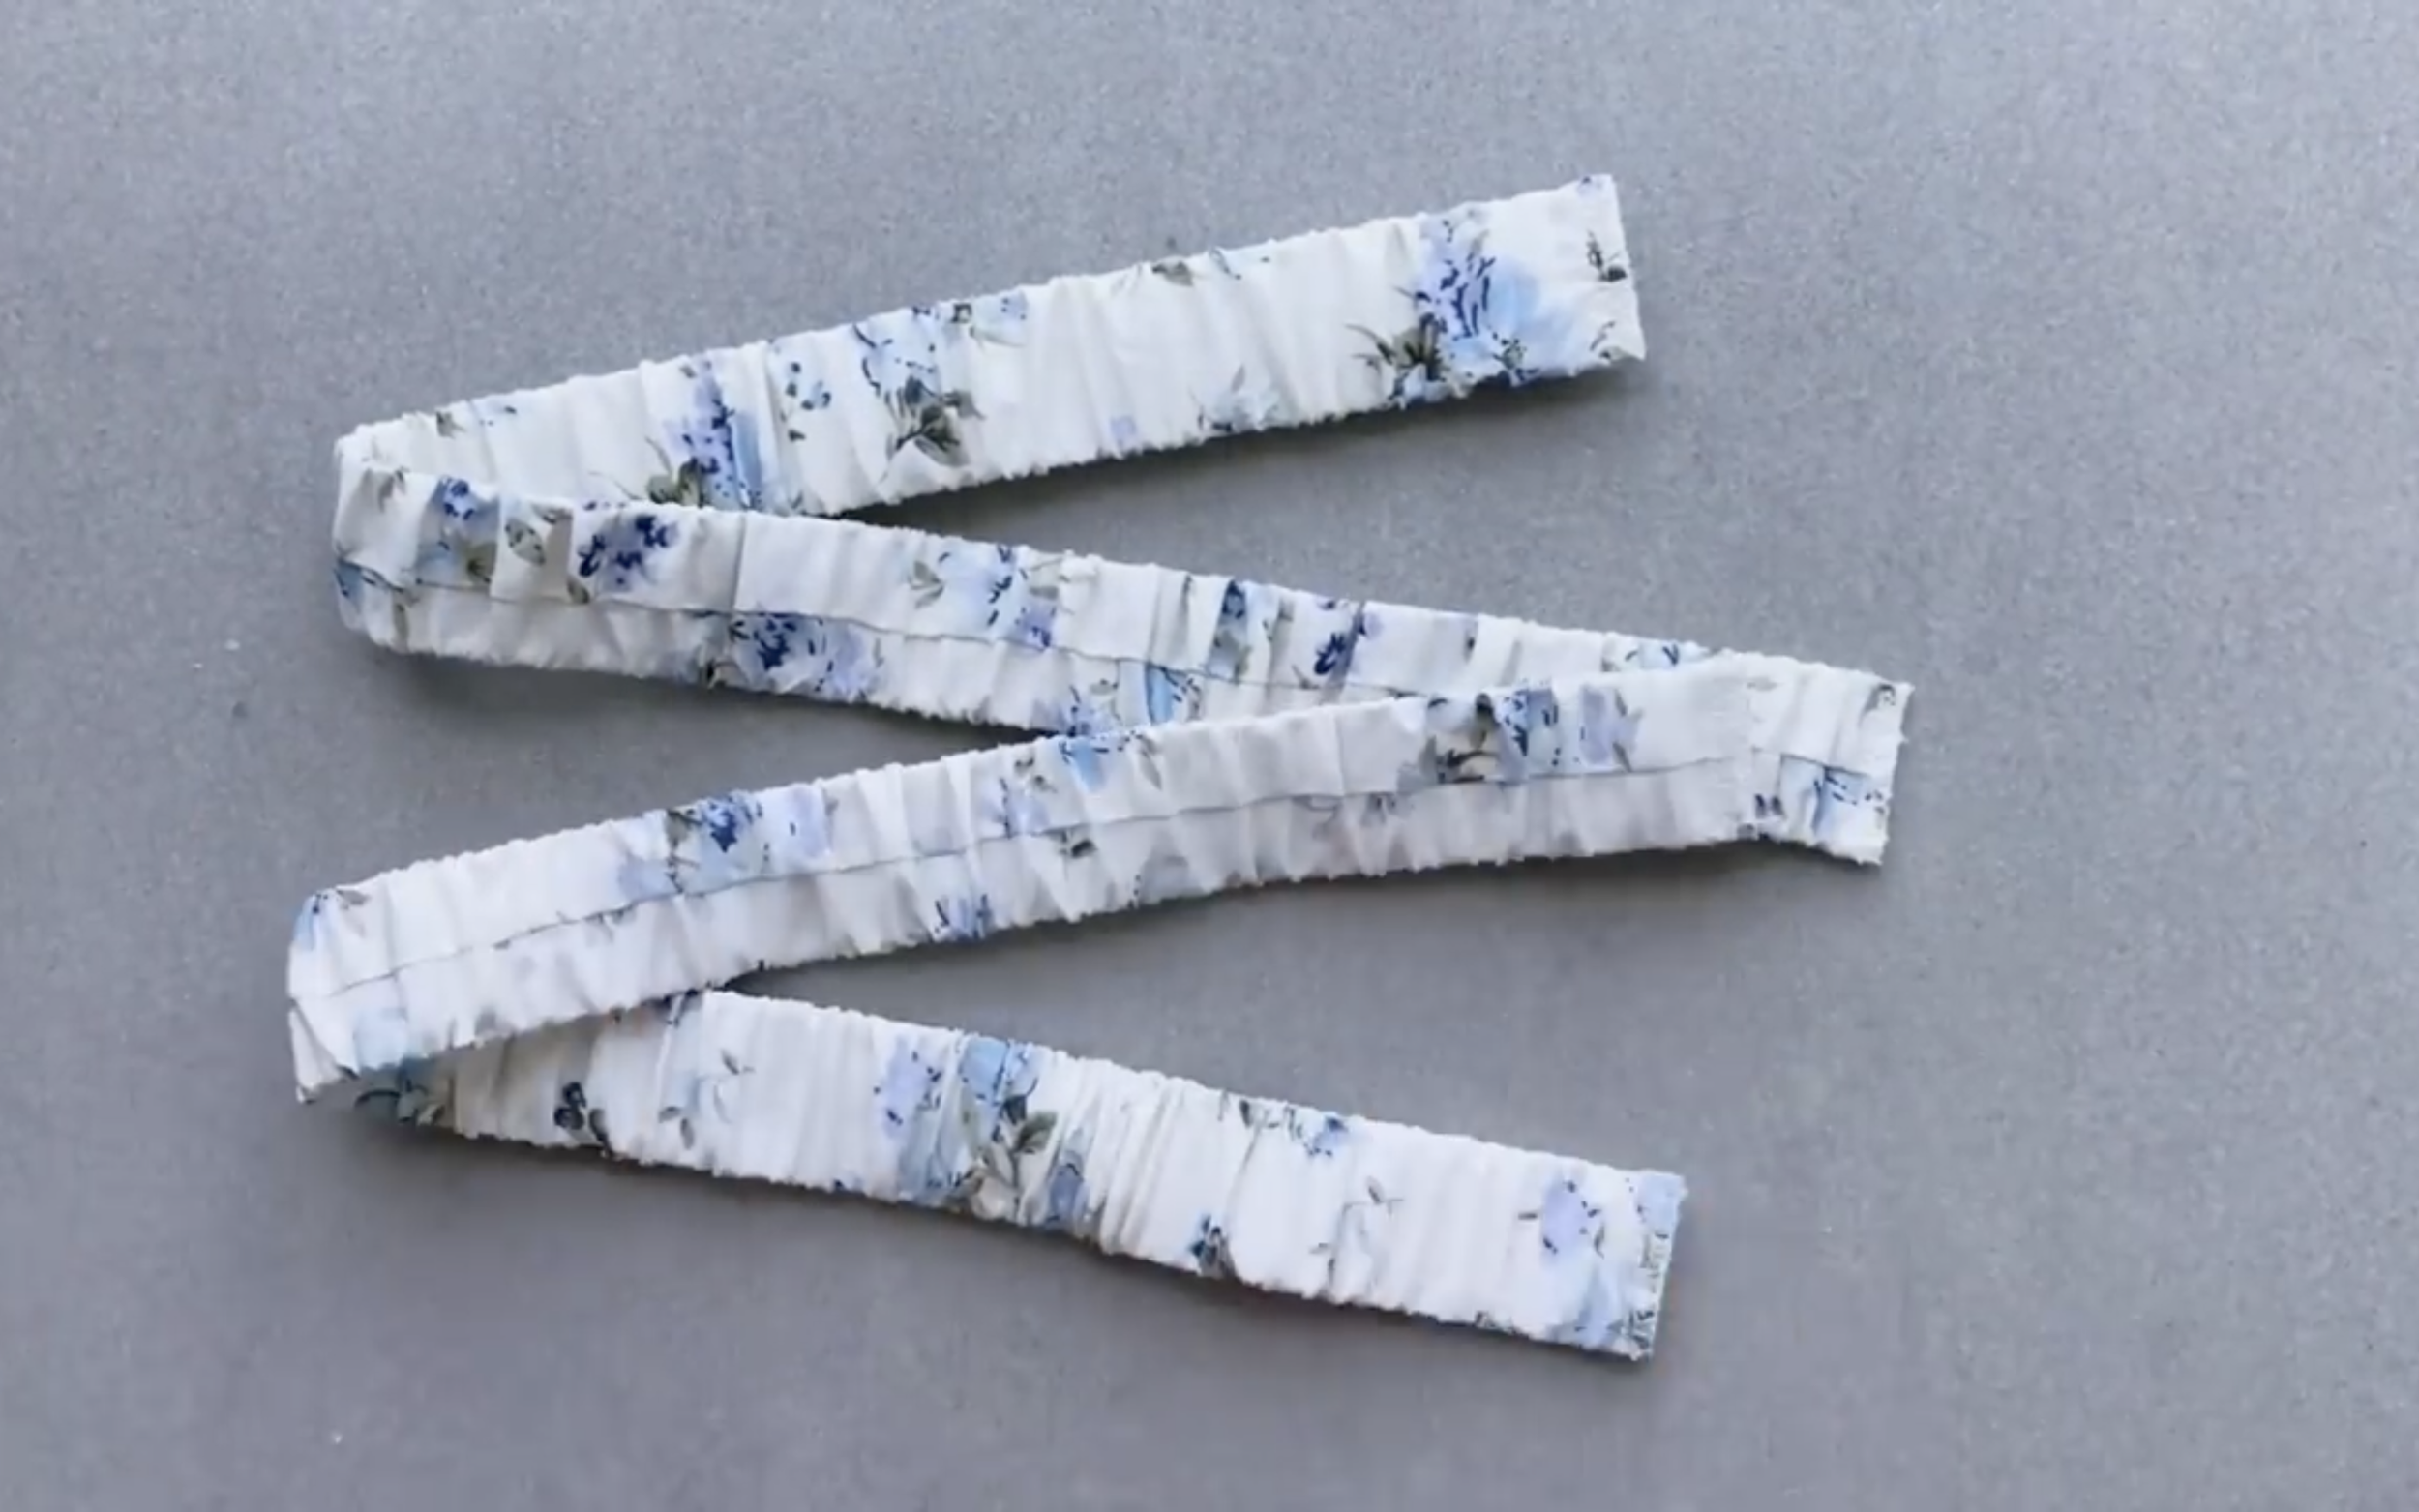
Two straps like this are needed.
Cut two pieces of the crop top pattern.
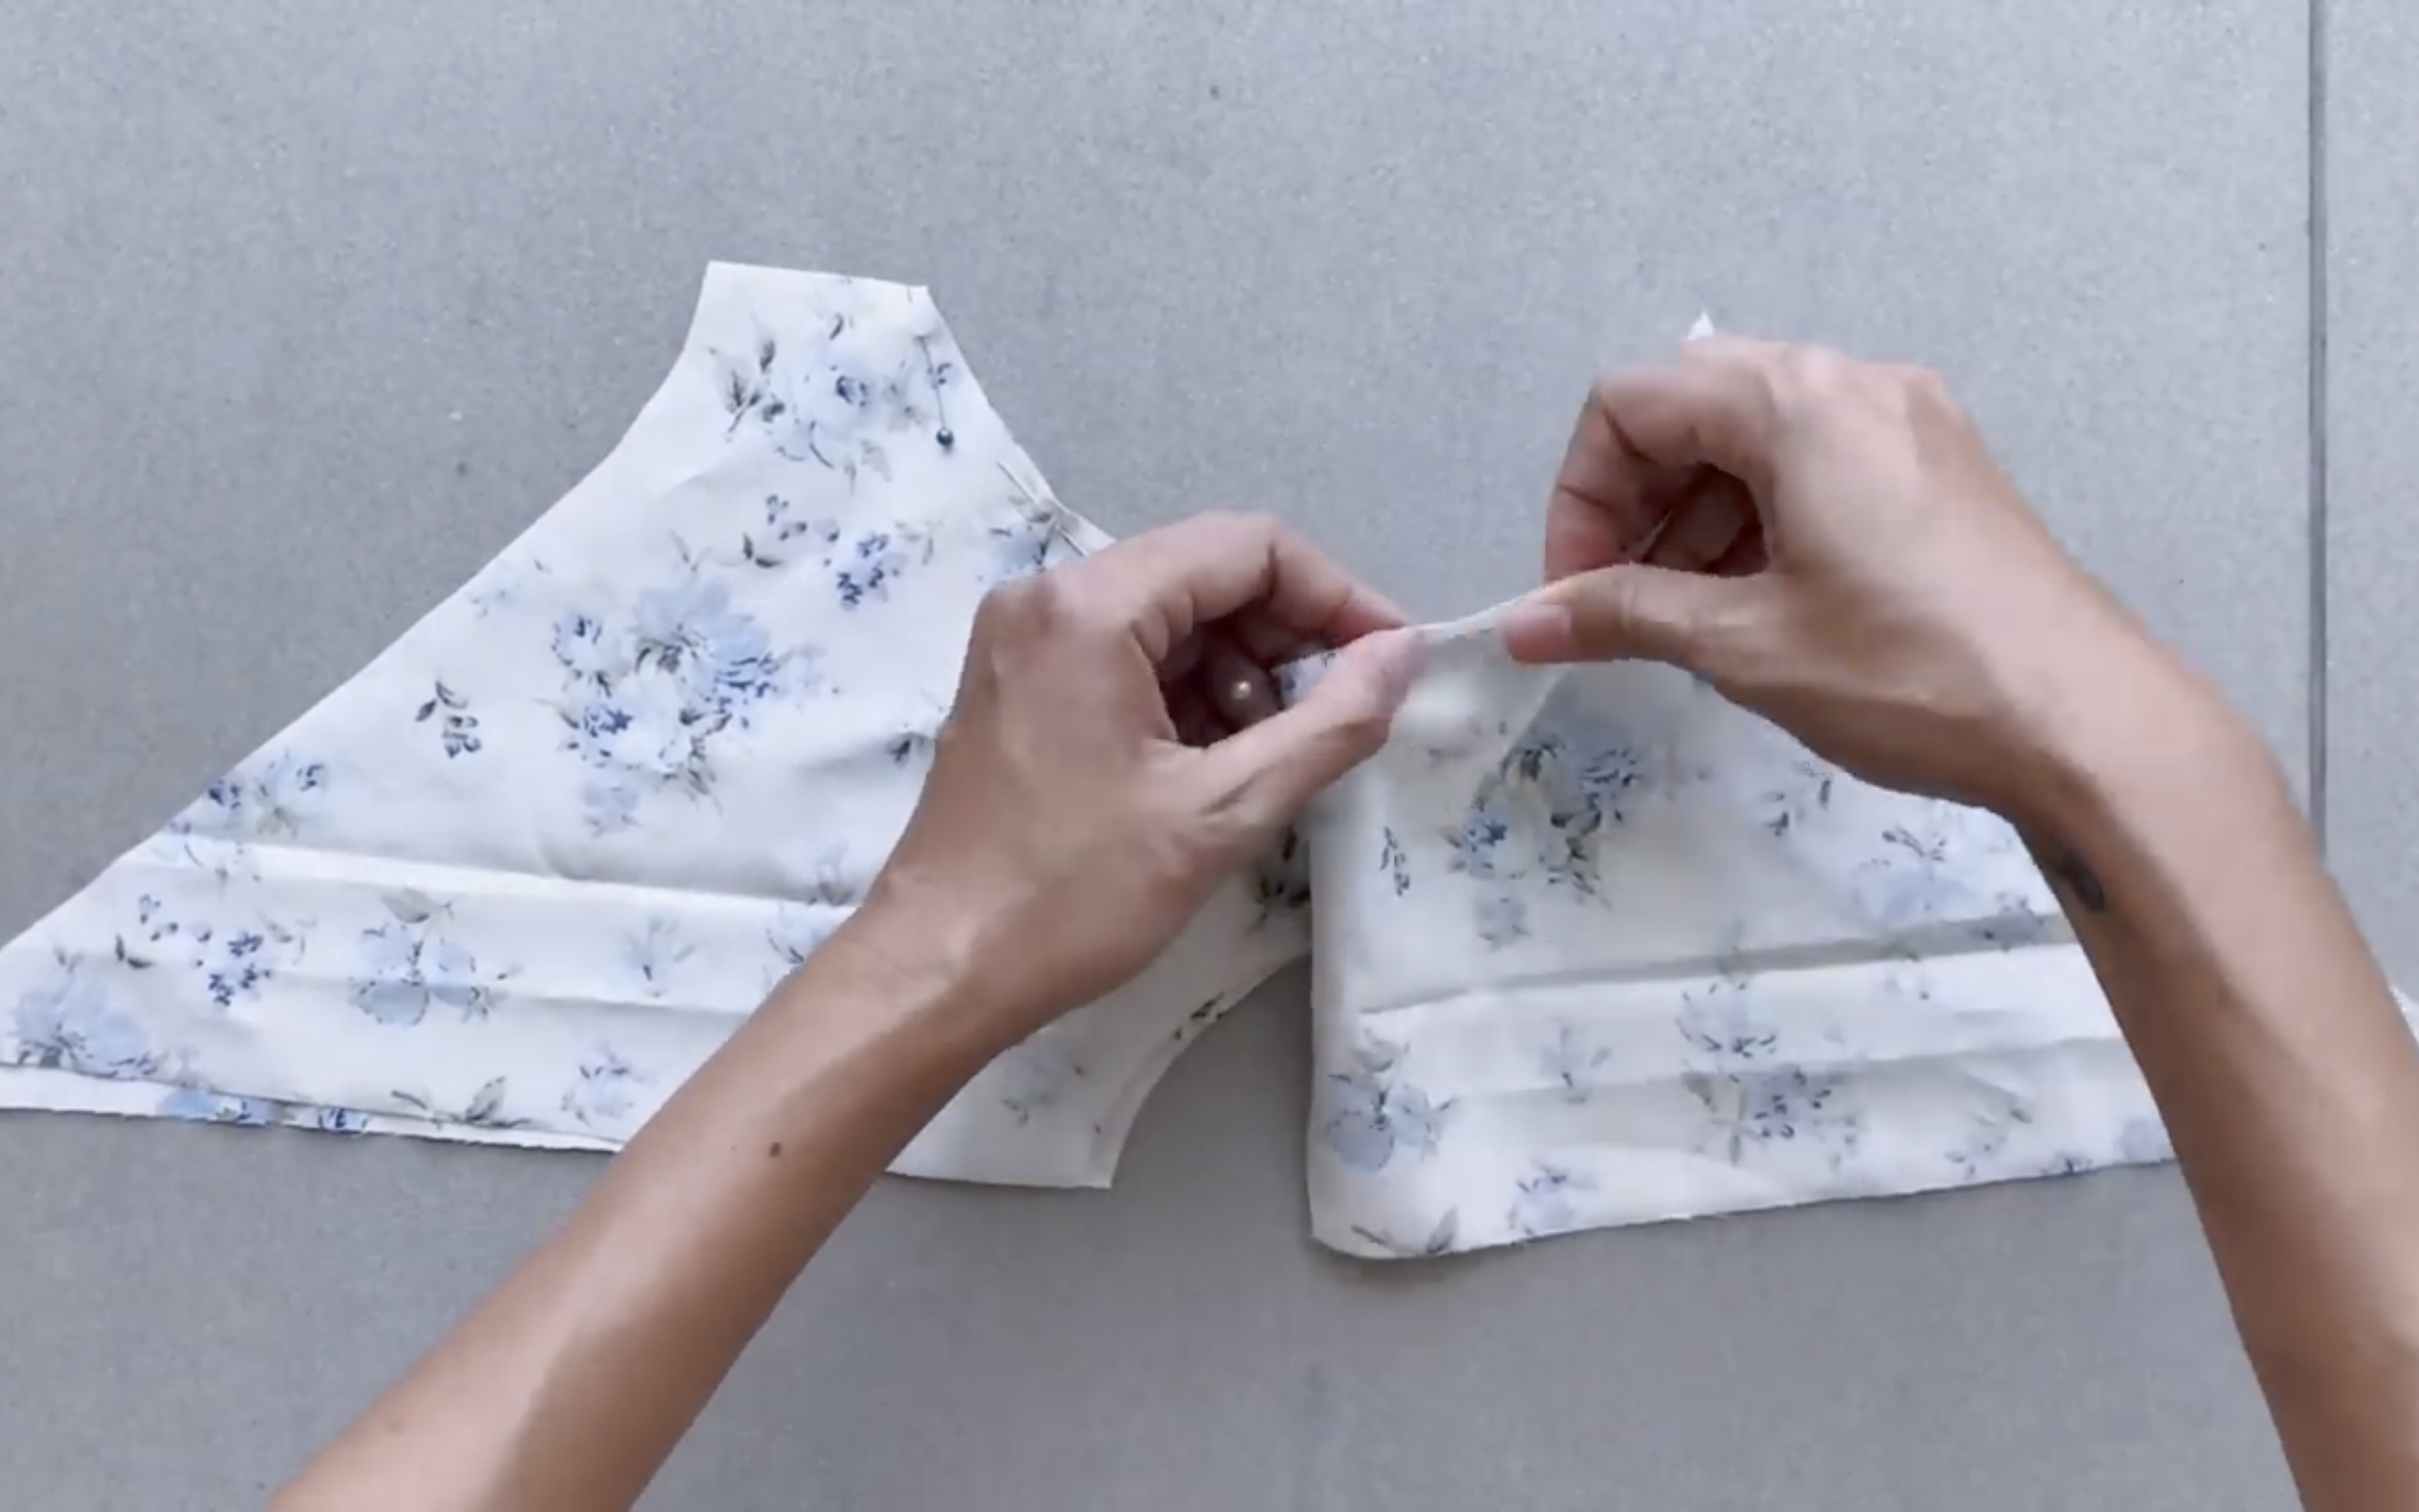
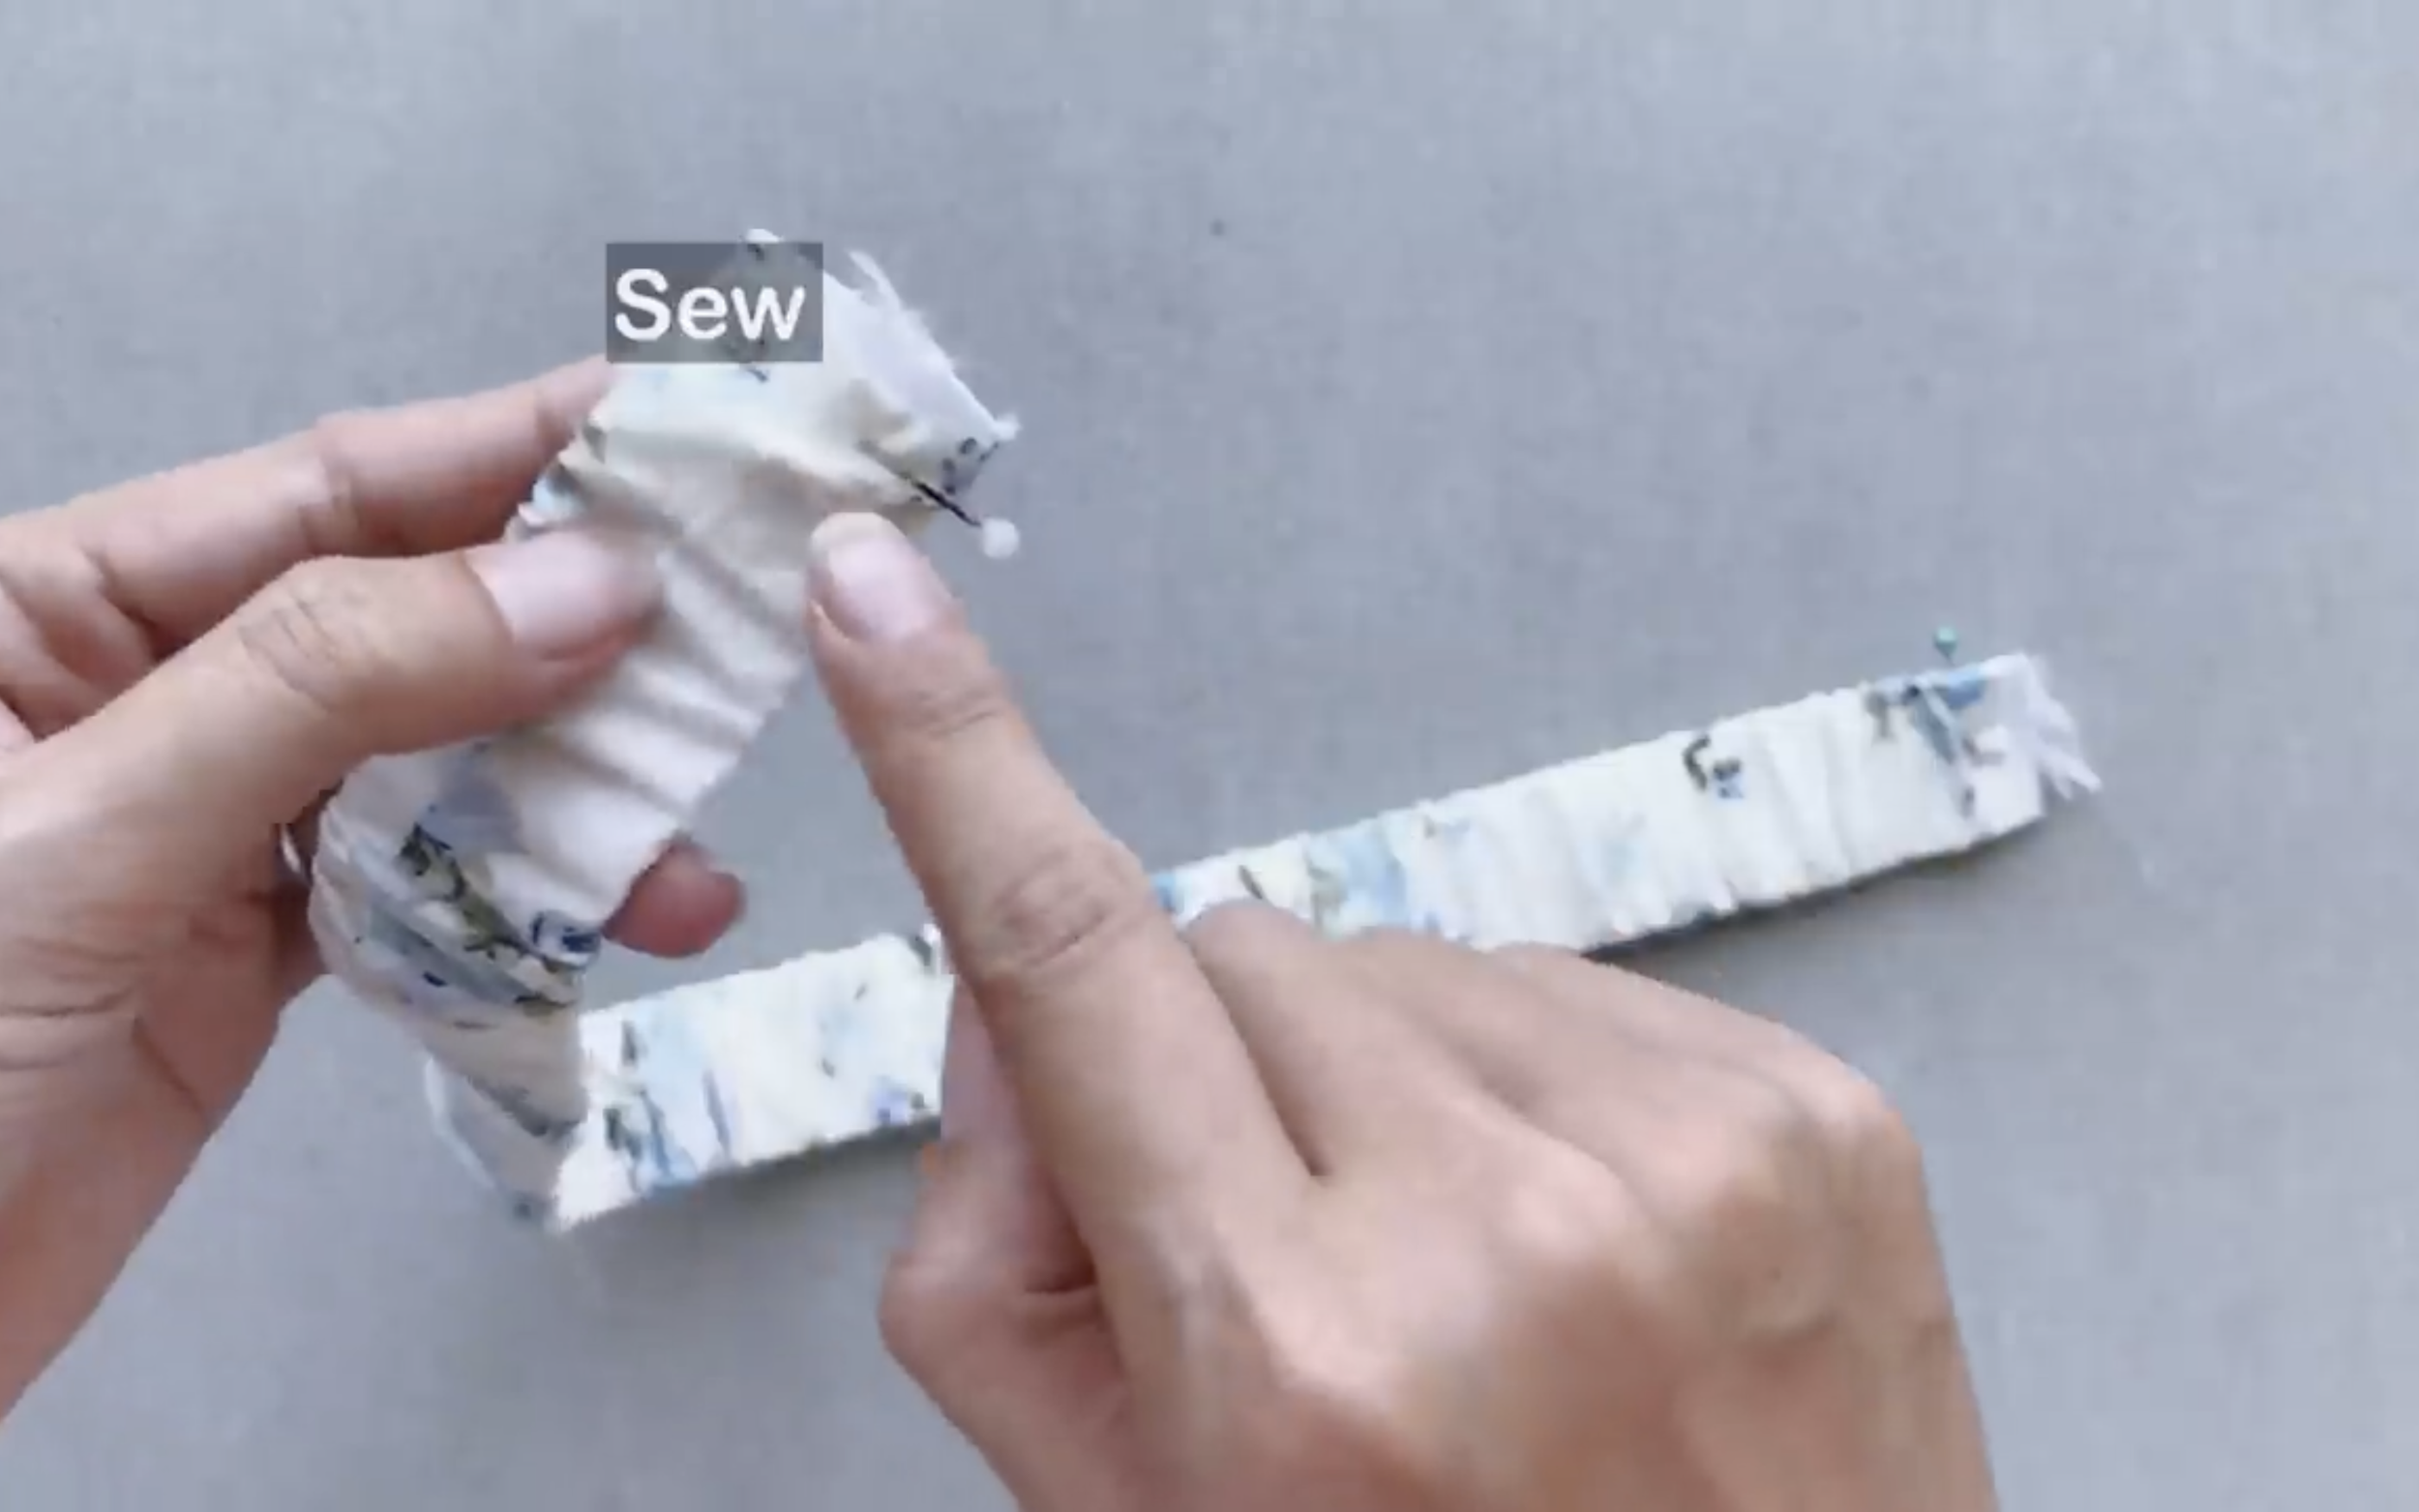
Pin them together first.

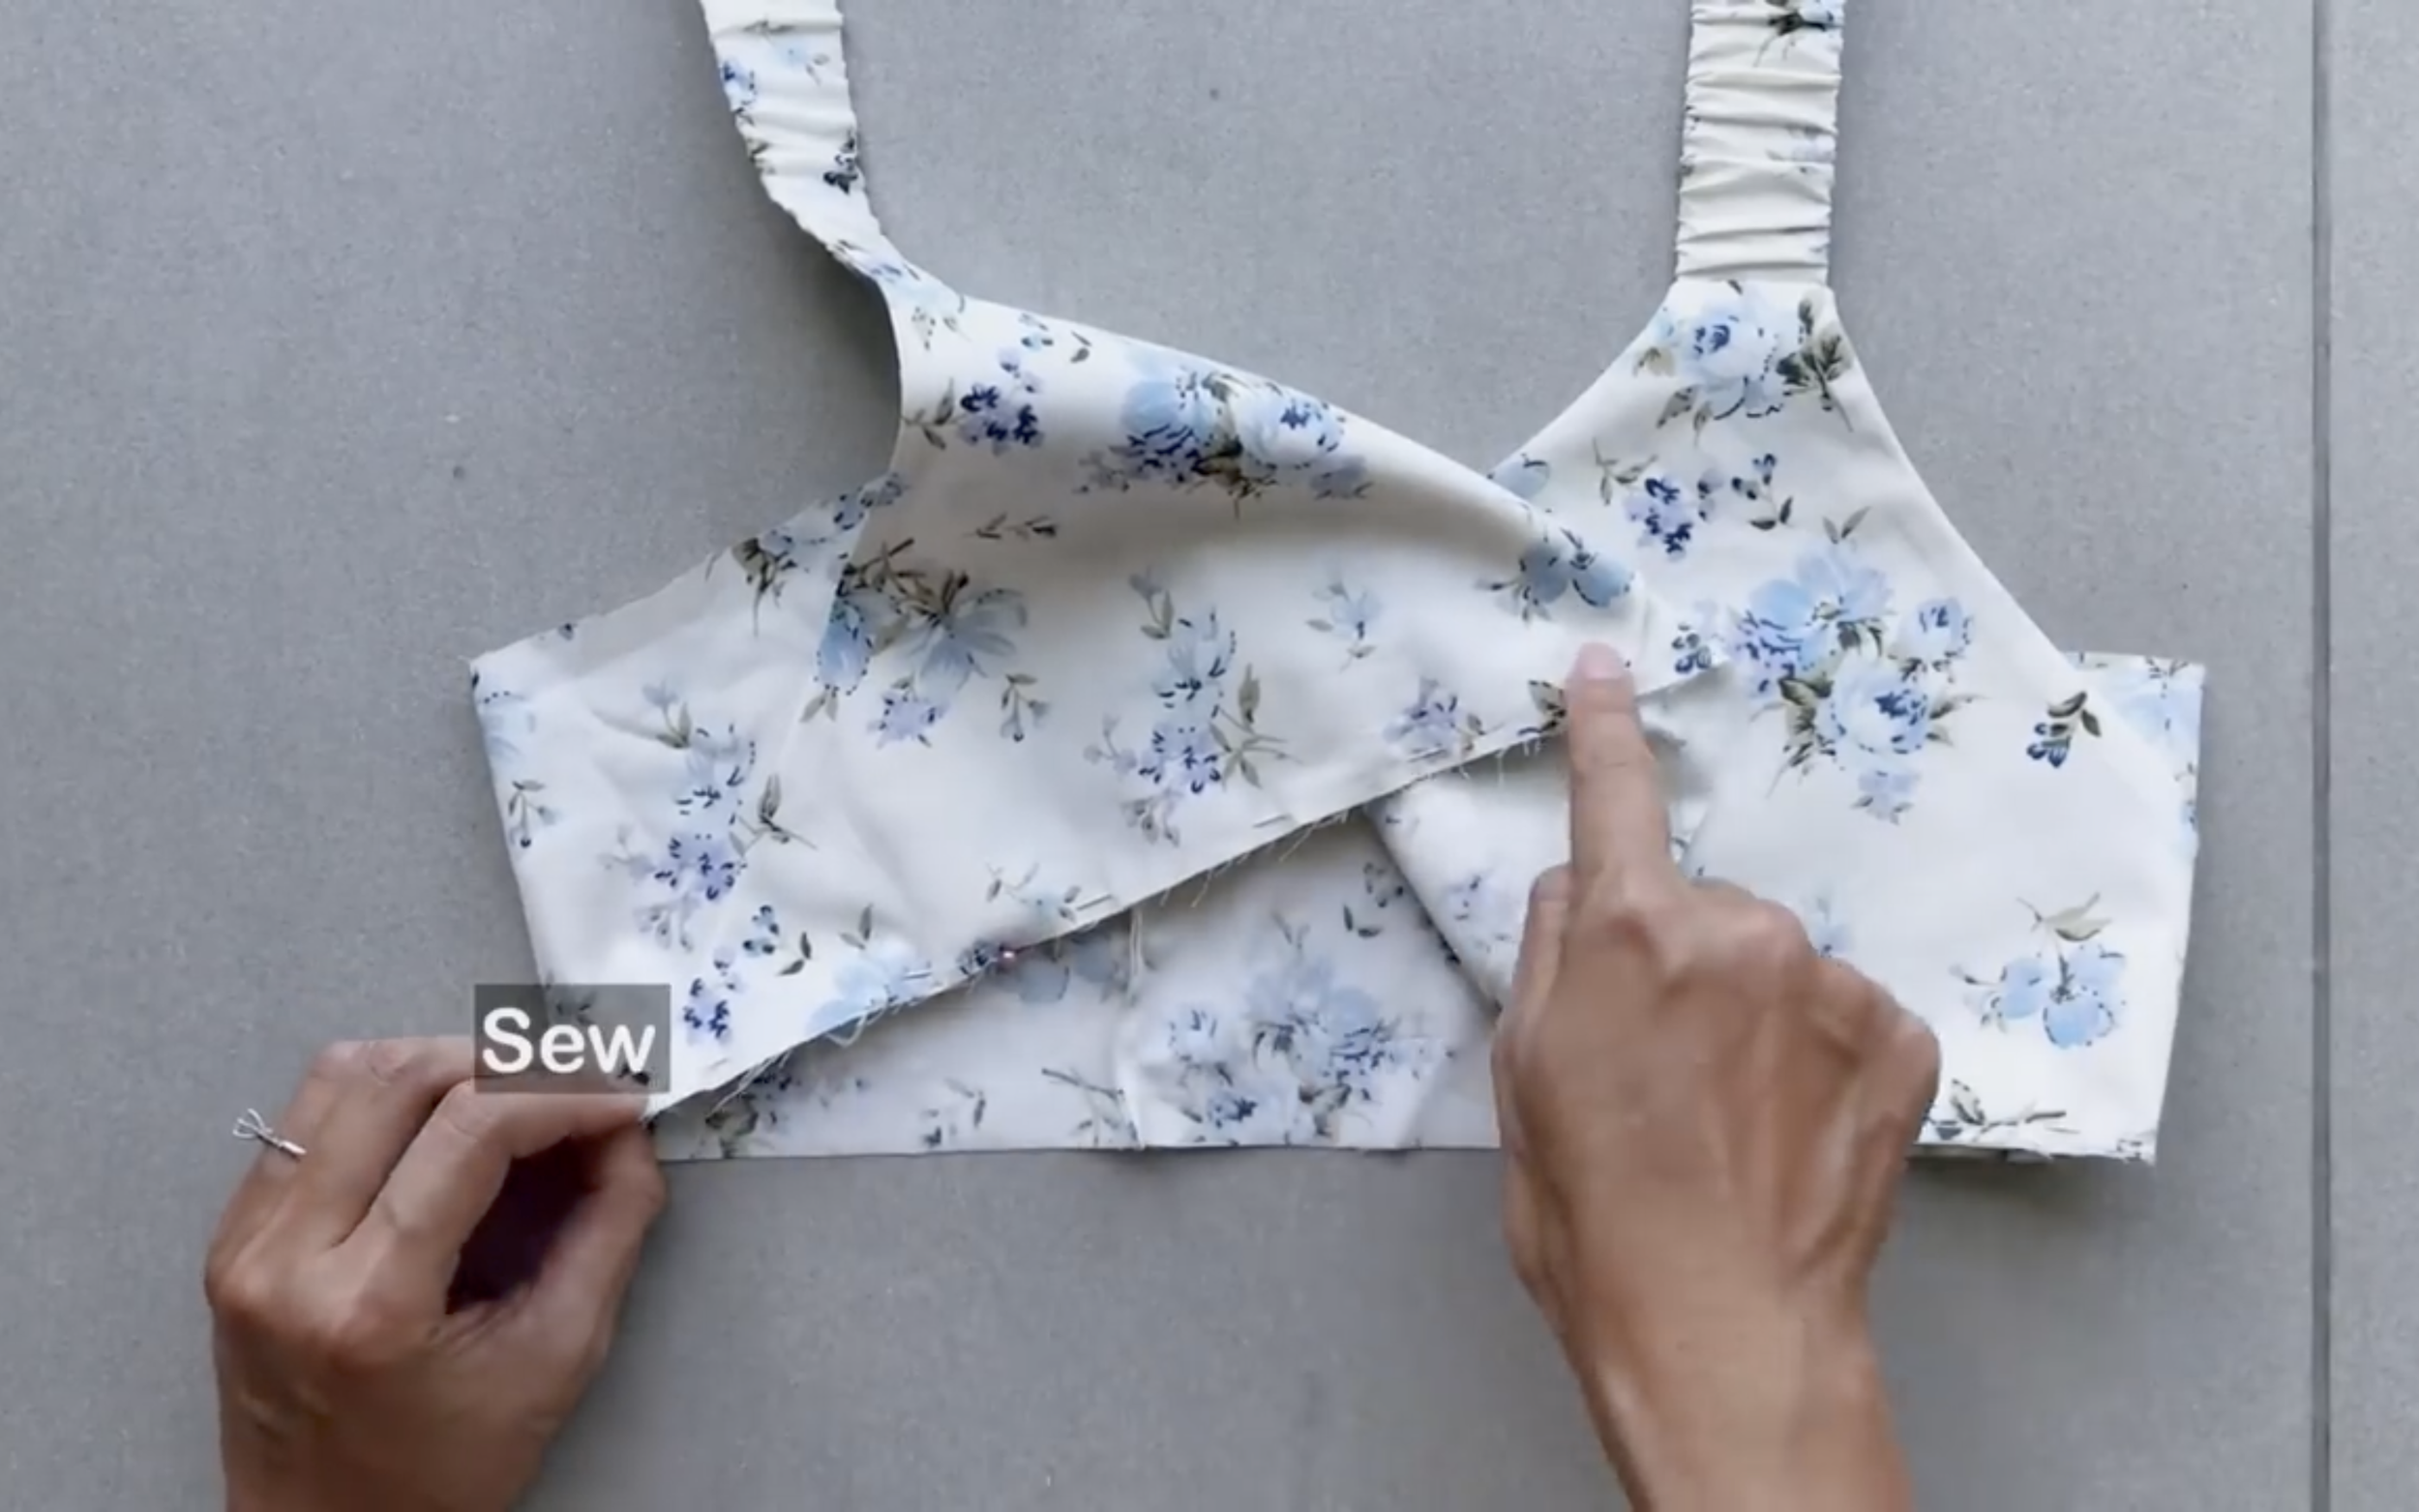
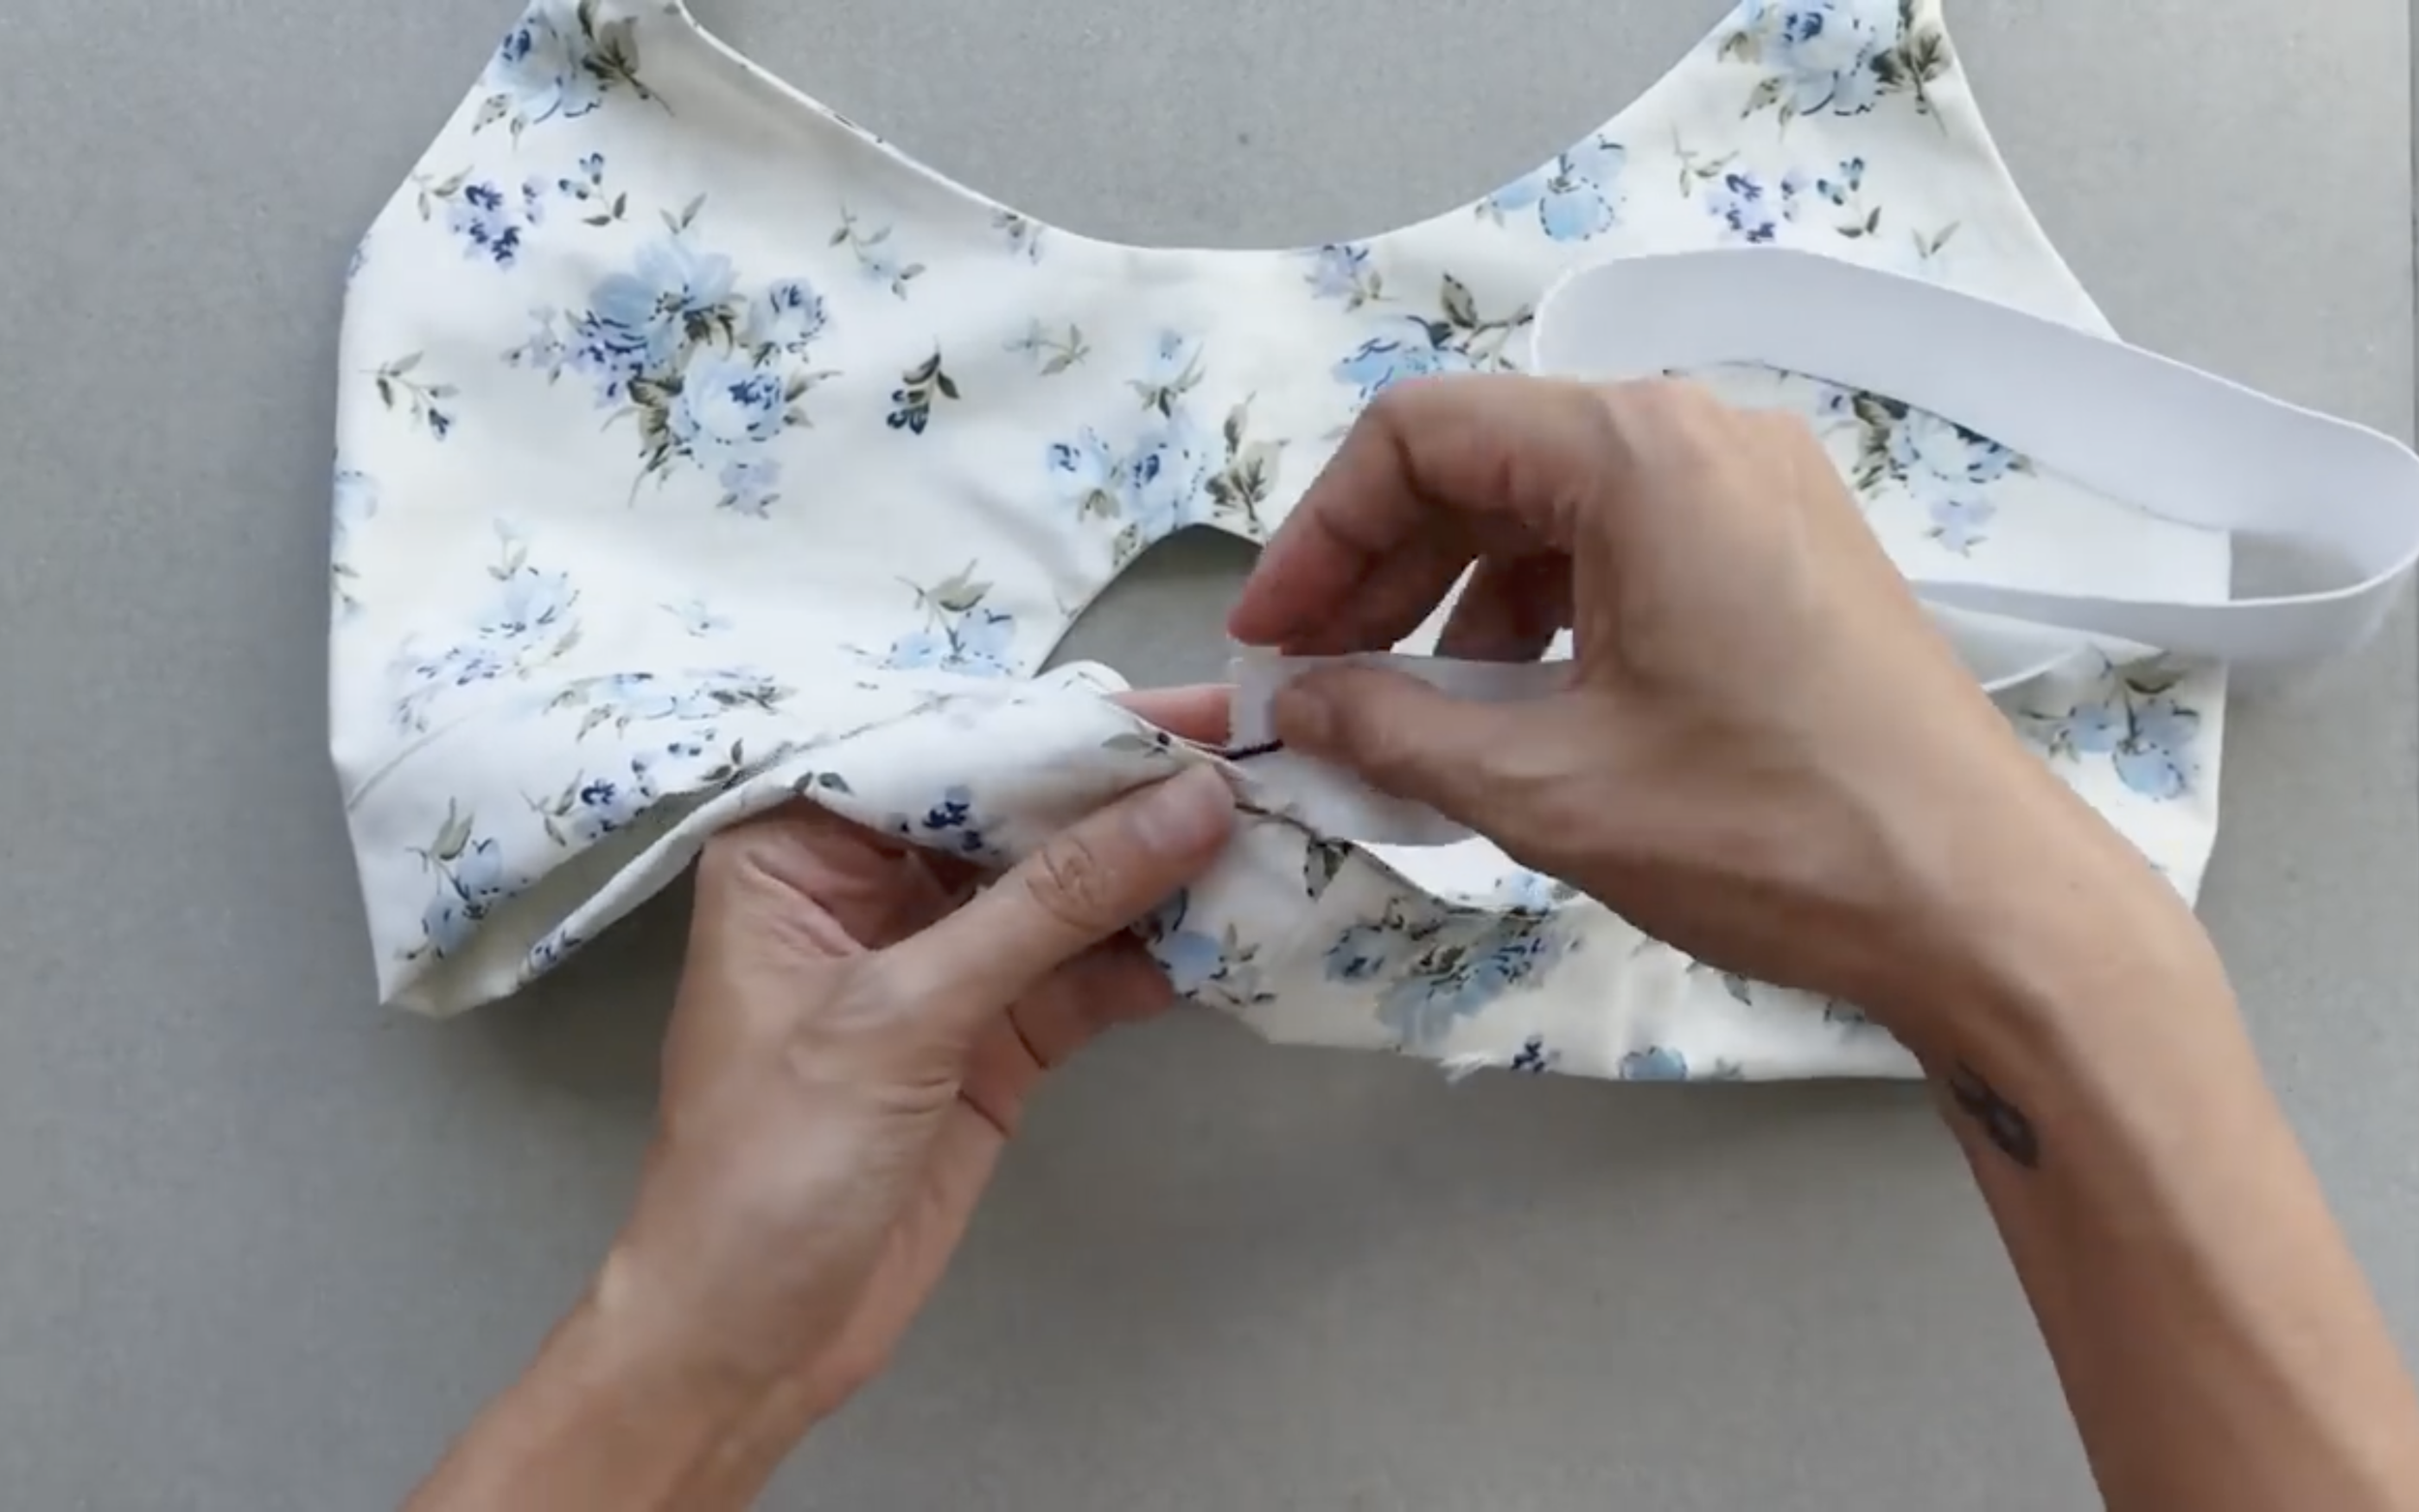
Then attach one end of the shoulder strap to one side of the crop top.
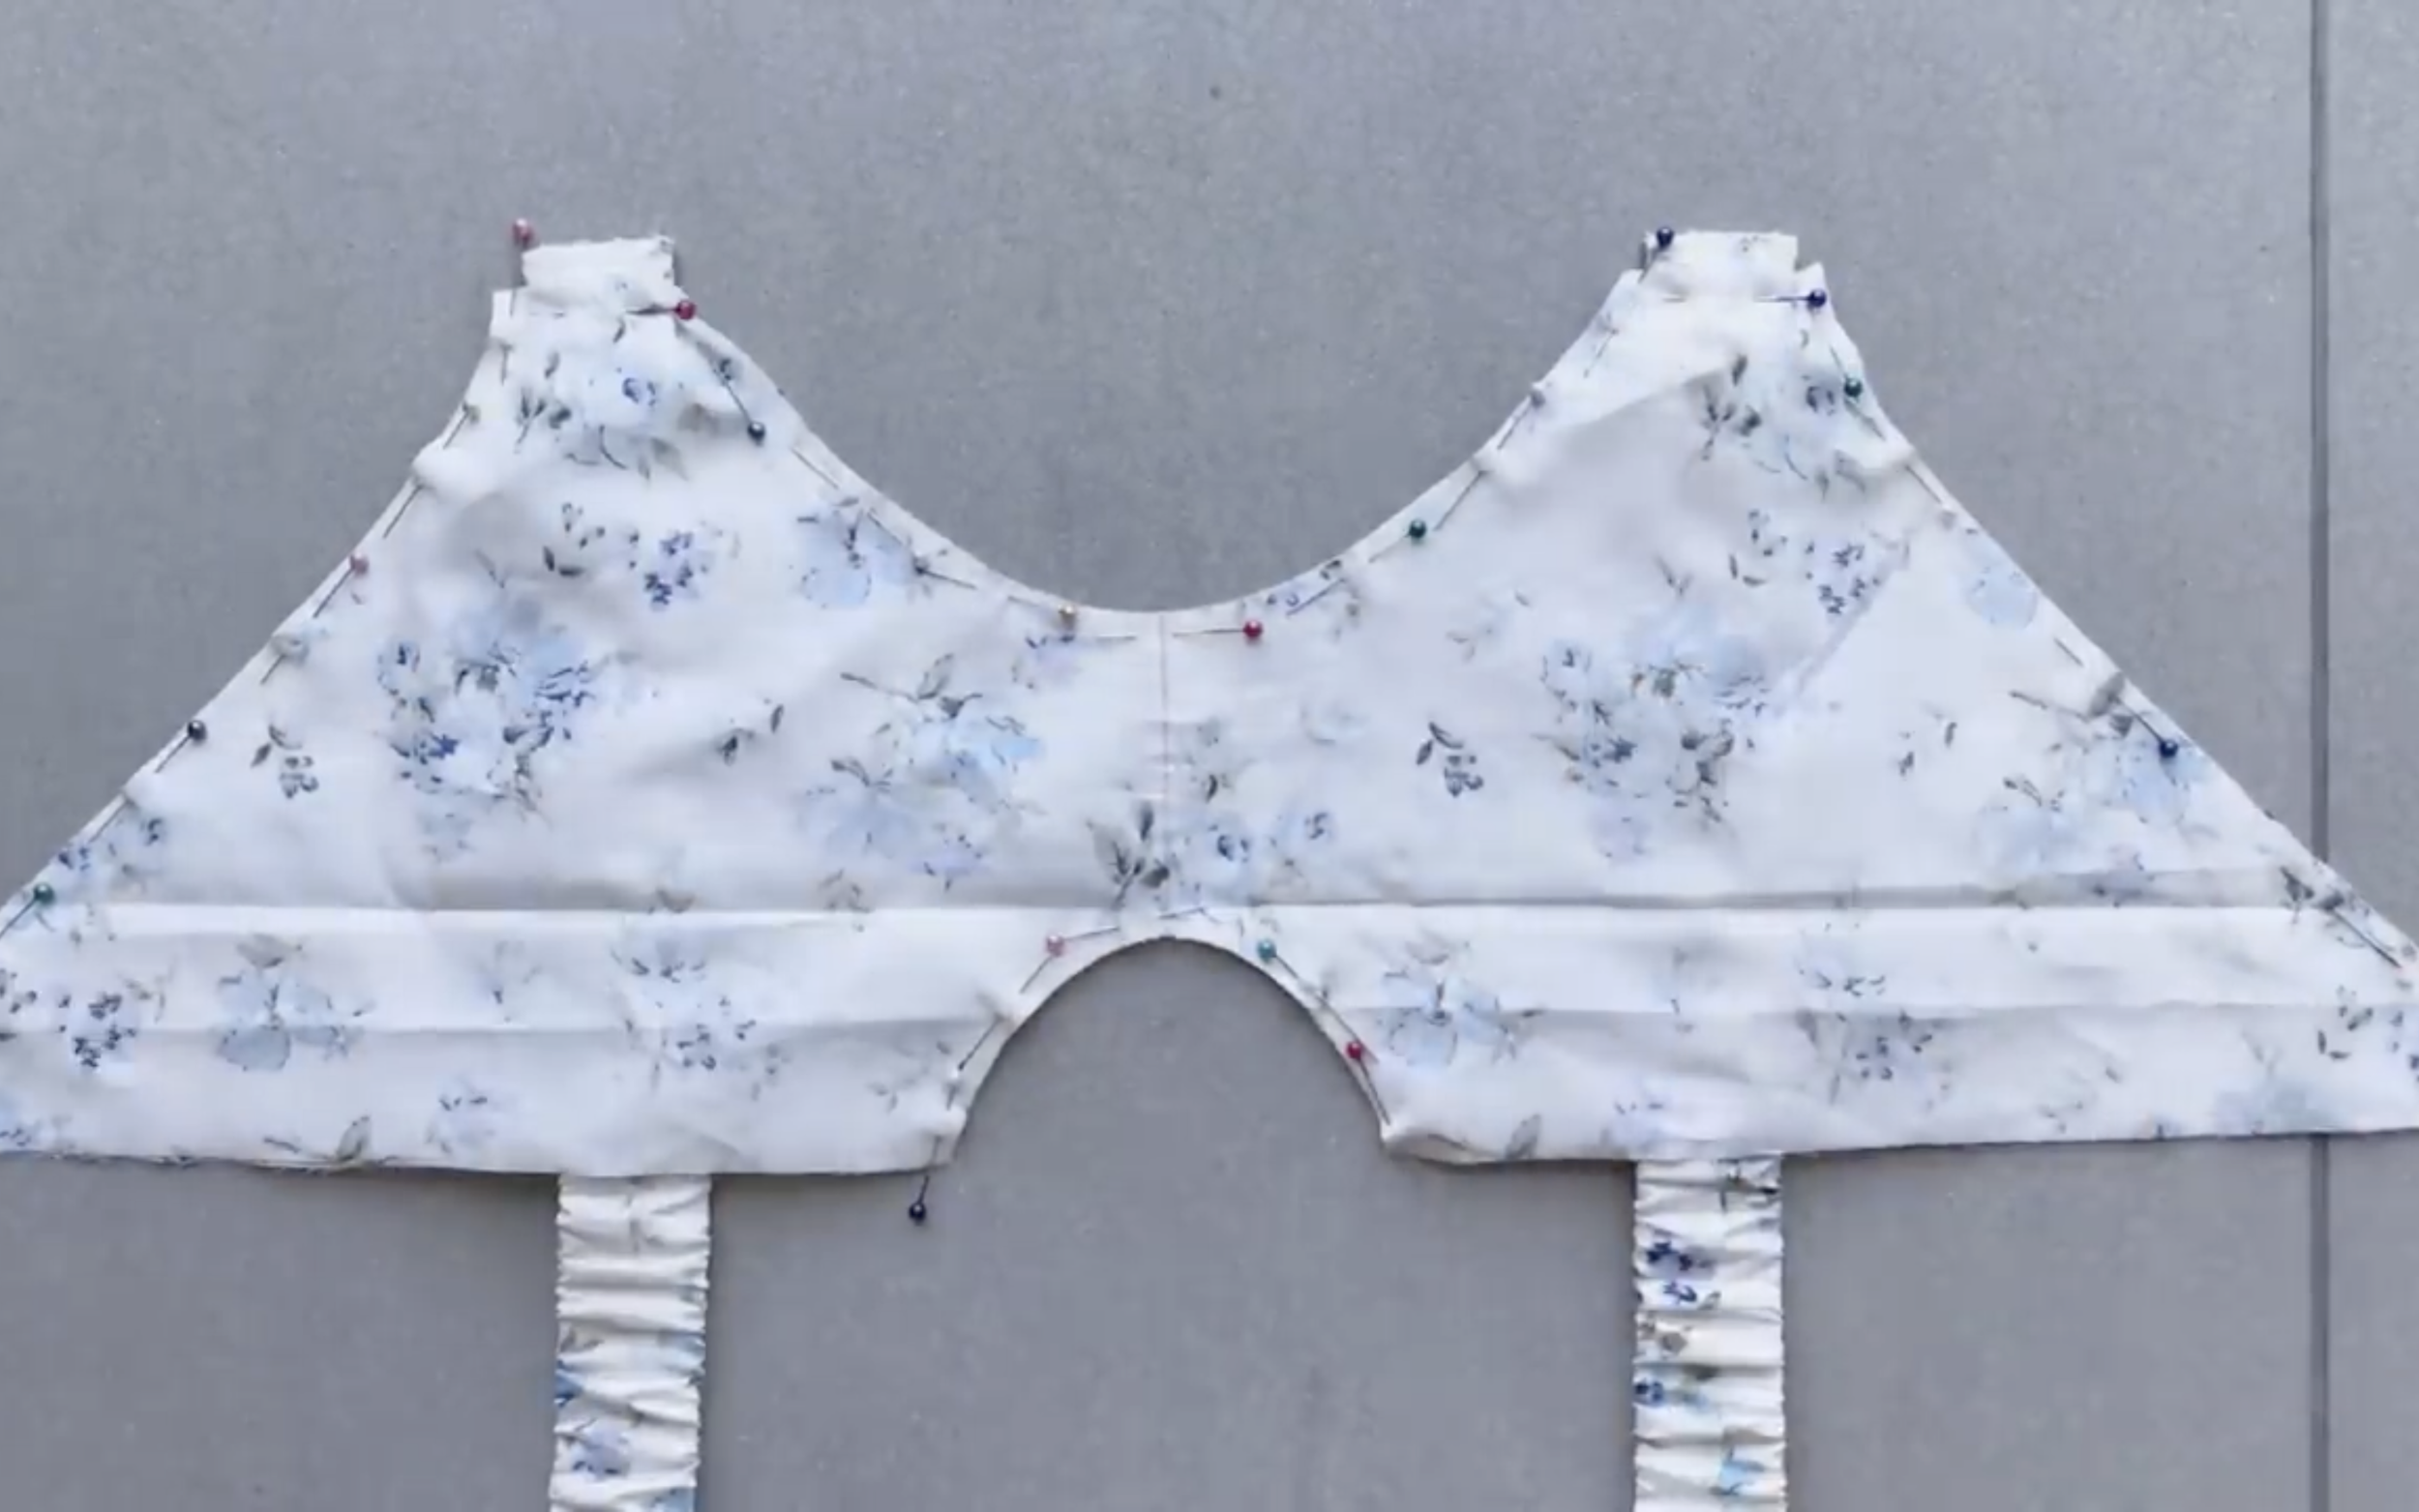
Make sure the shoulder strap is positioned in the middle between the two crop top pieces, then sew.
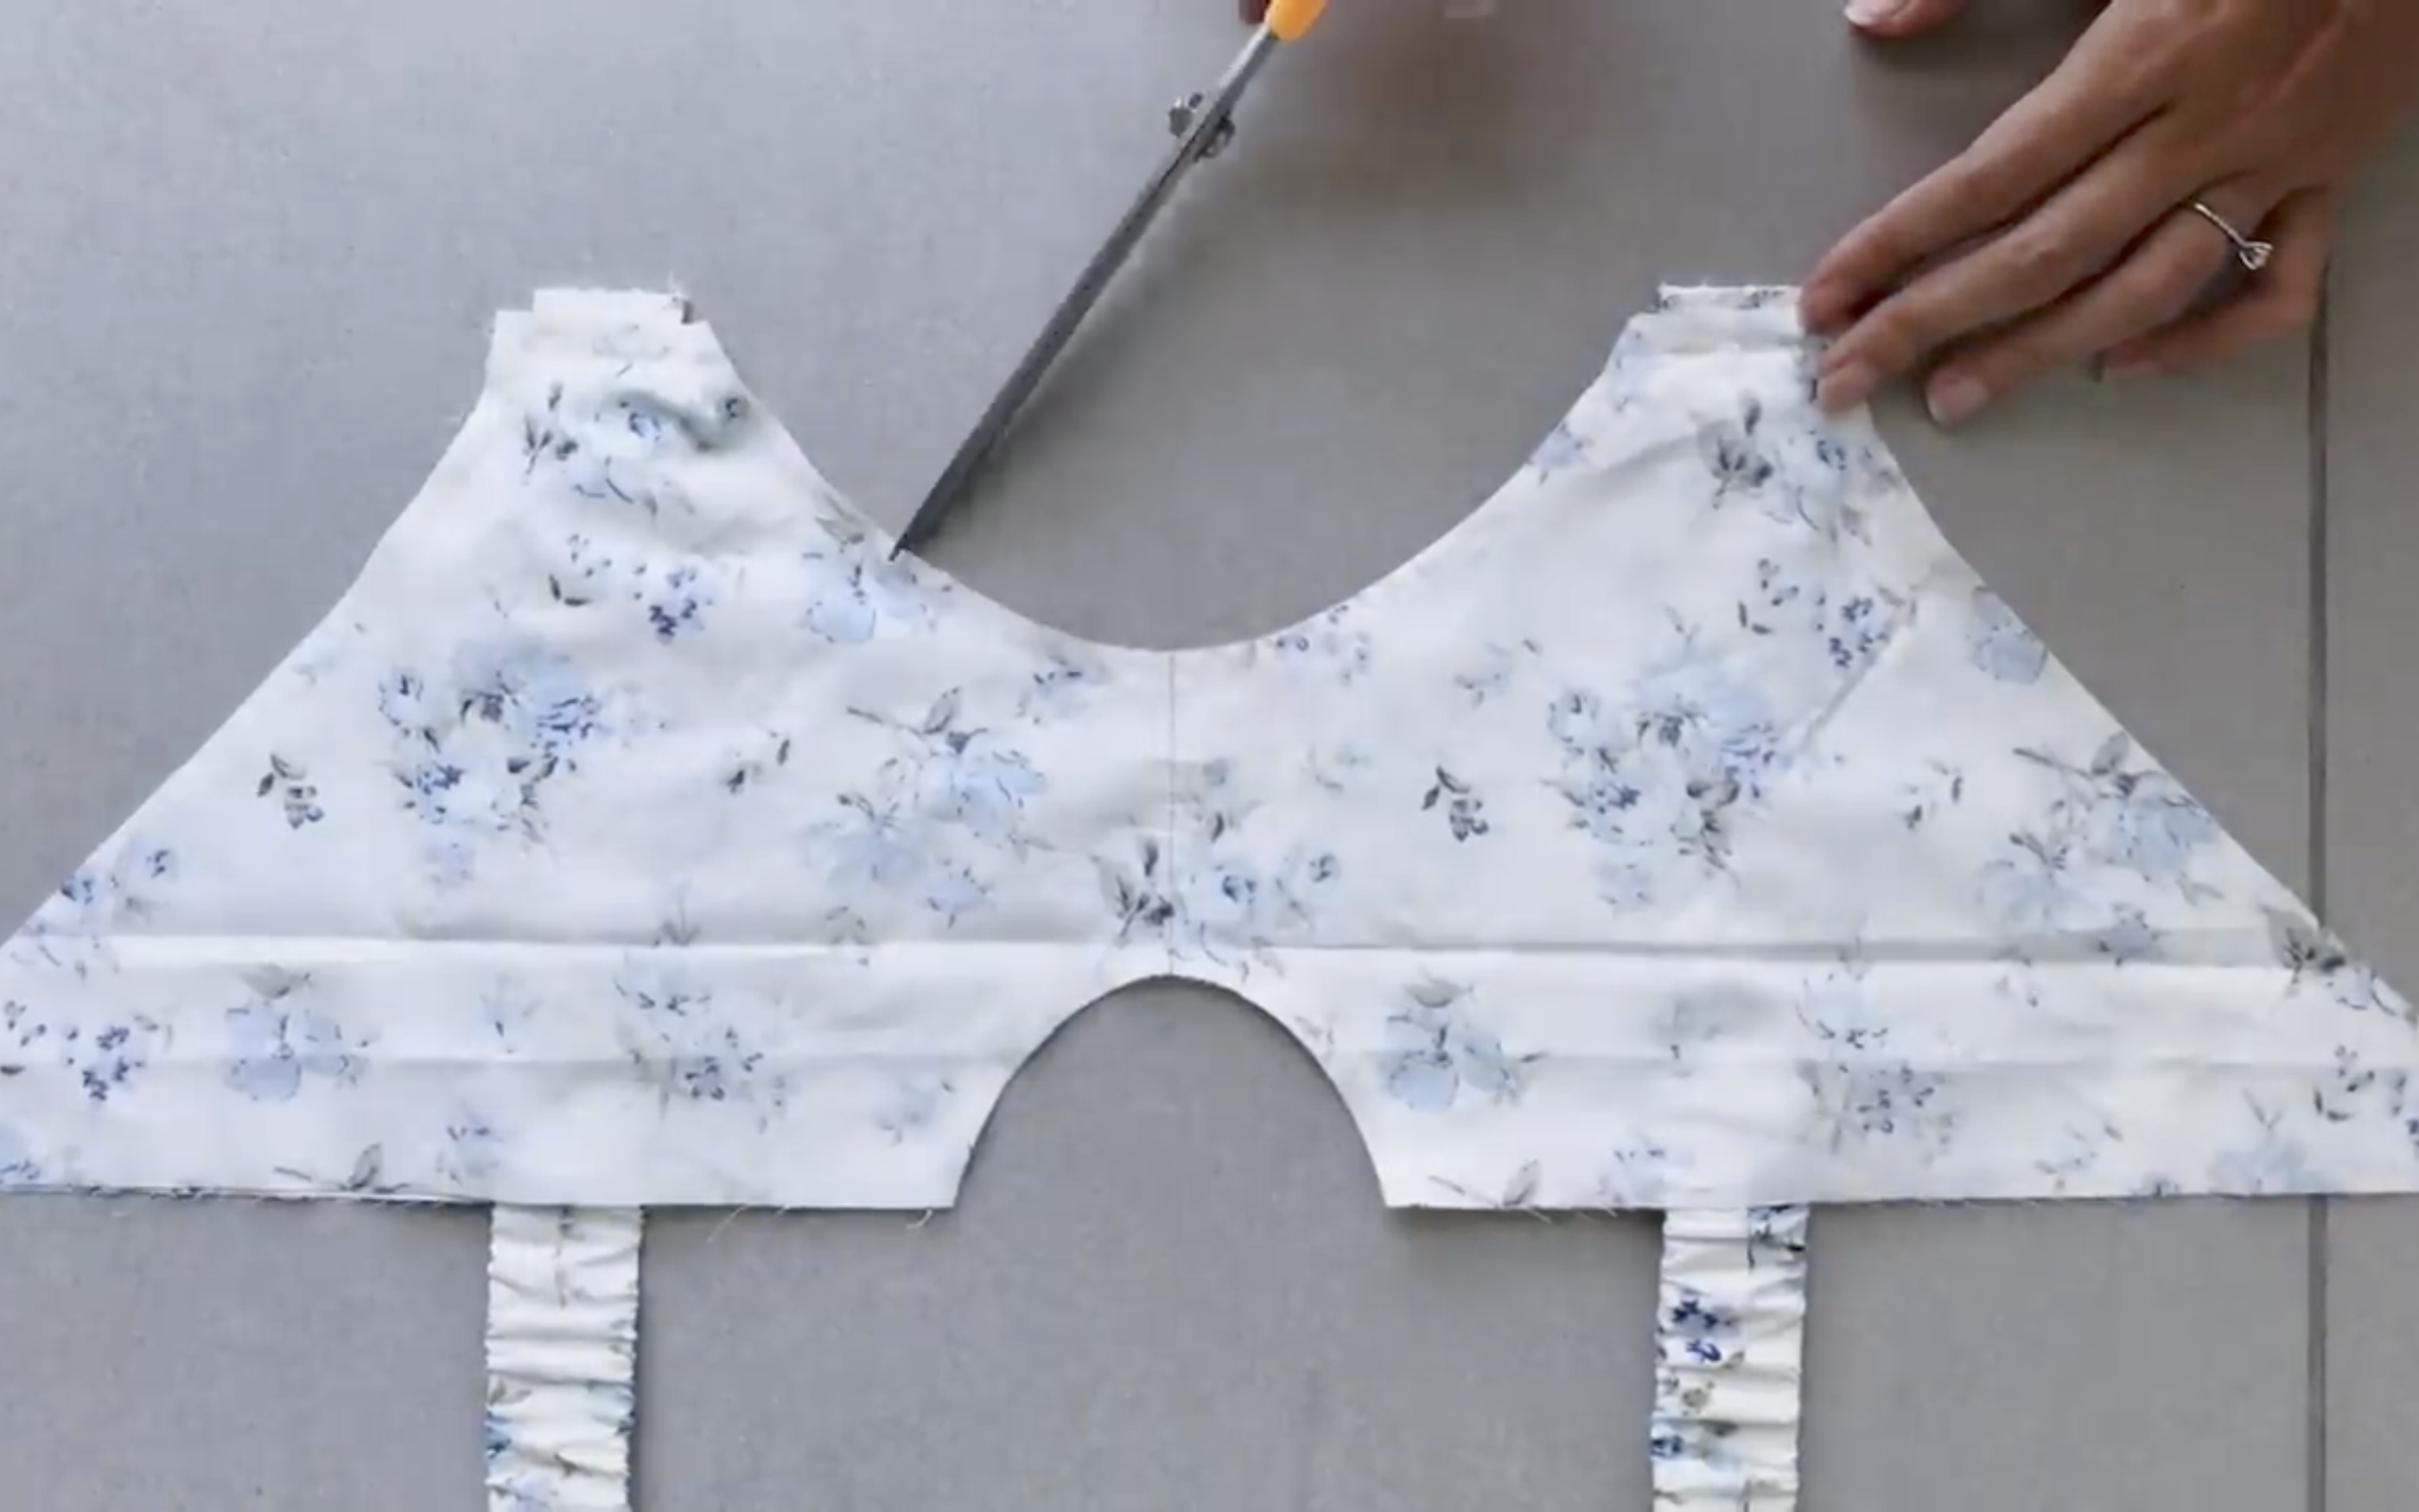
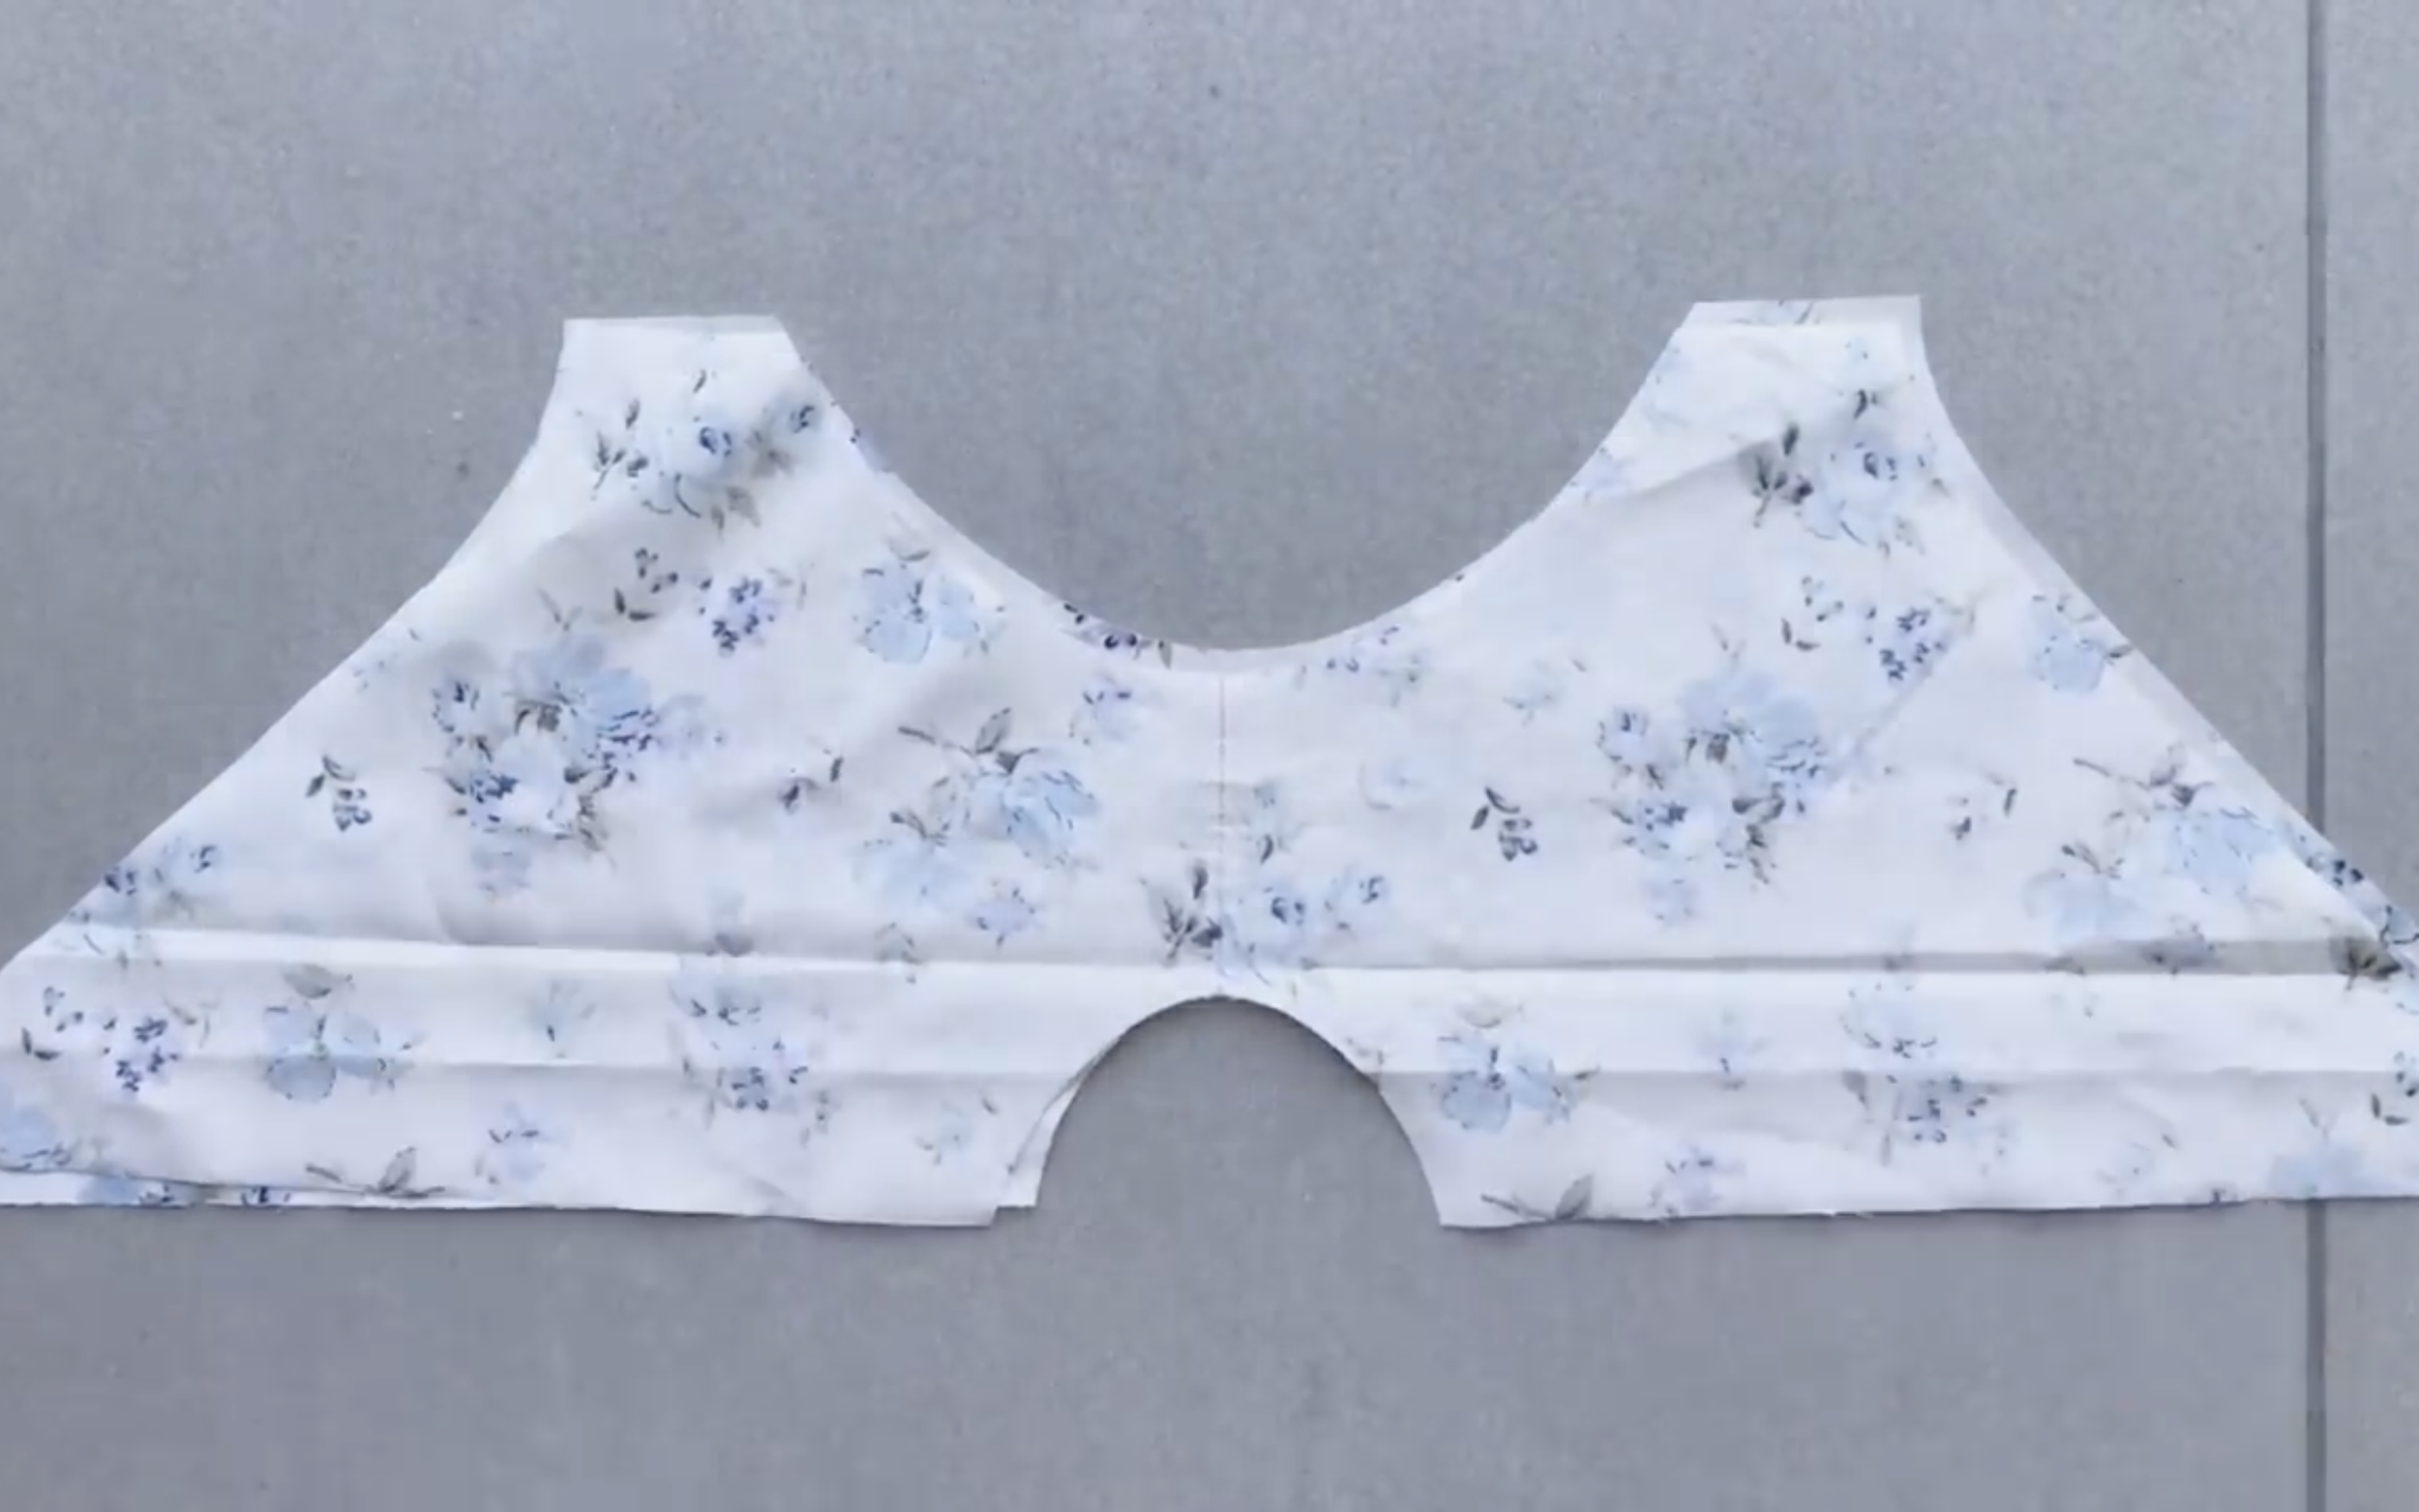
Before turning it inside out, make small cuts along the curved lines.
At both side lines, make an understitch on the inside face of the crop top, securing the end fabric to one side.
Iron the crop top after this step.
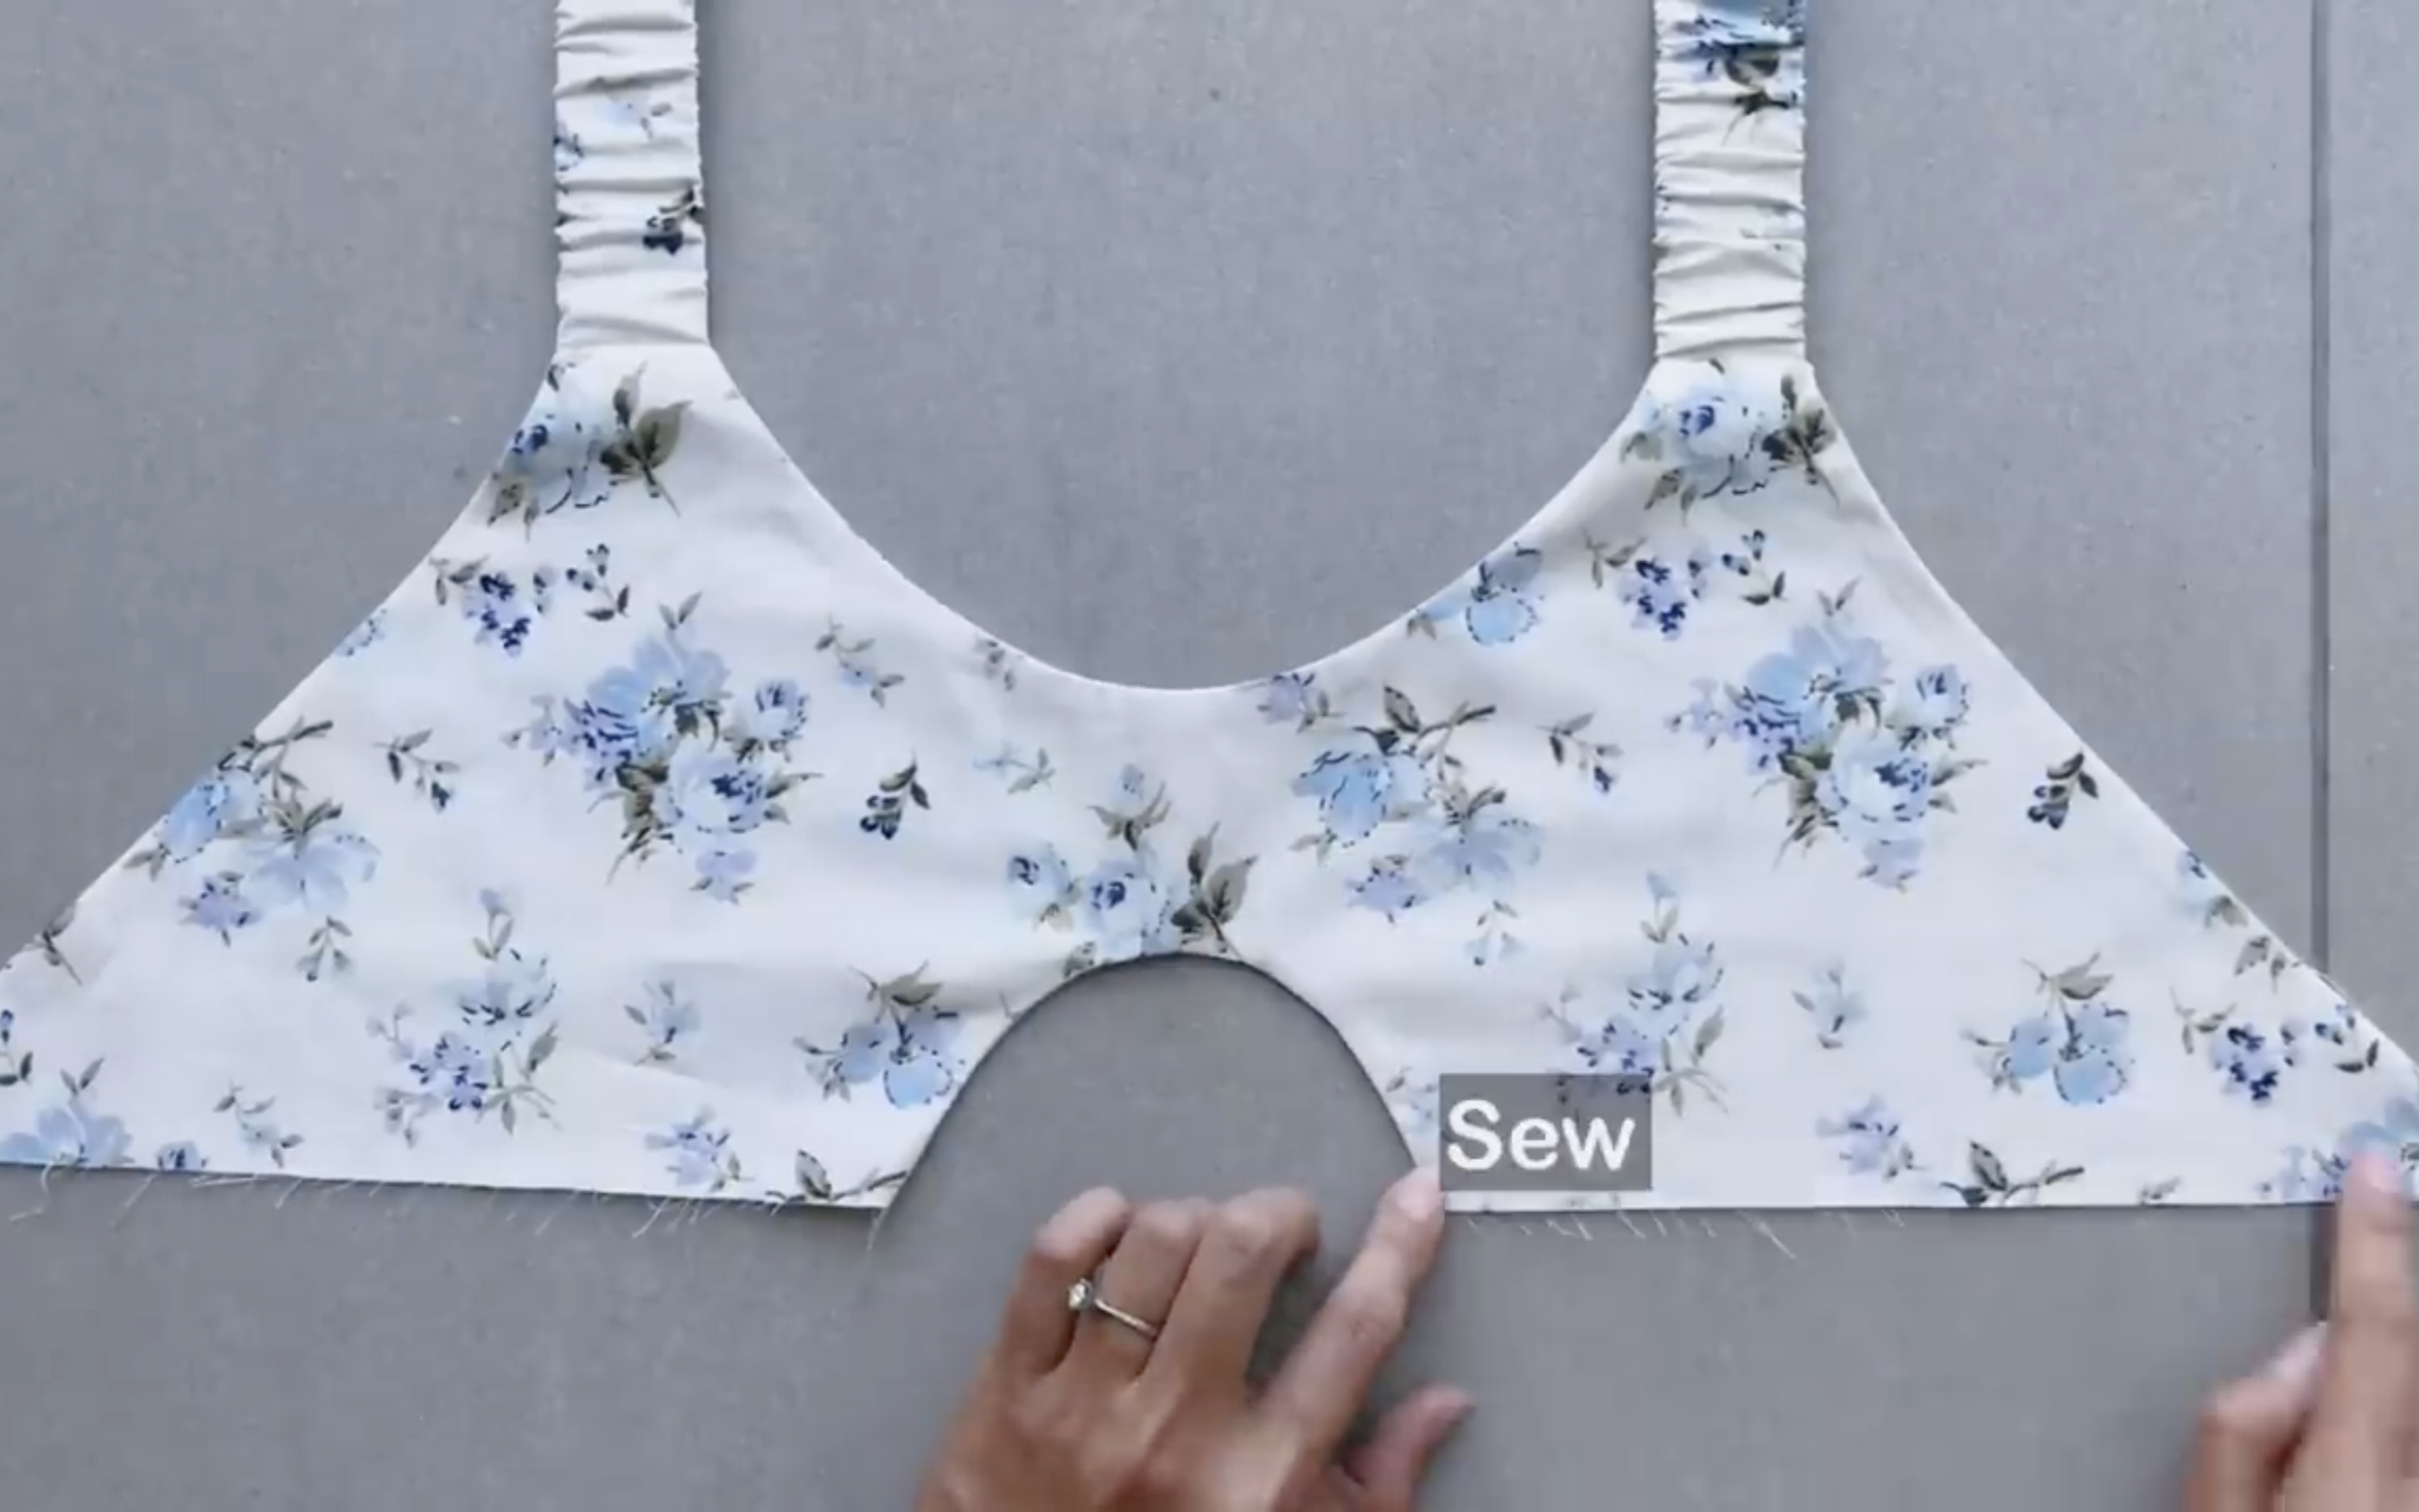
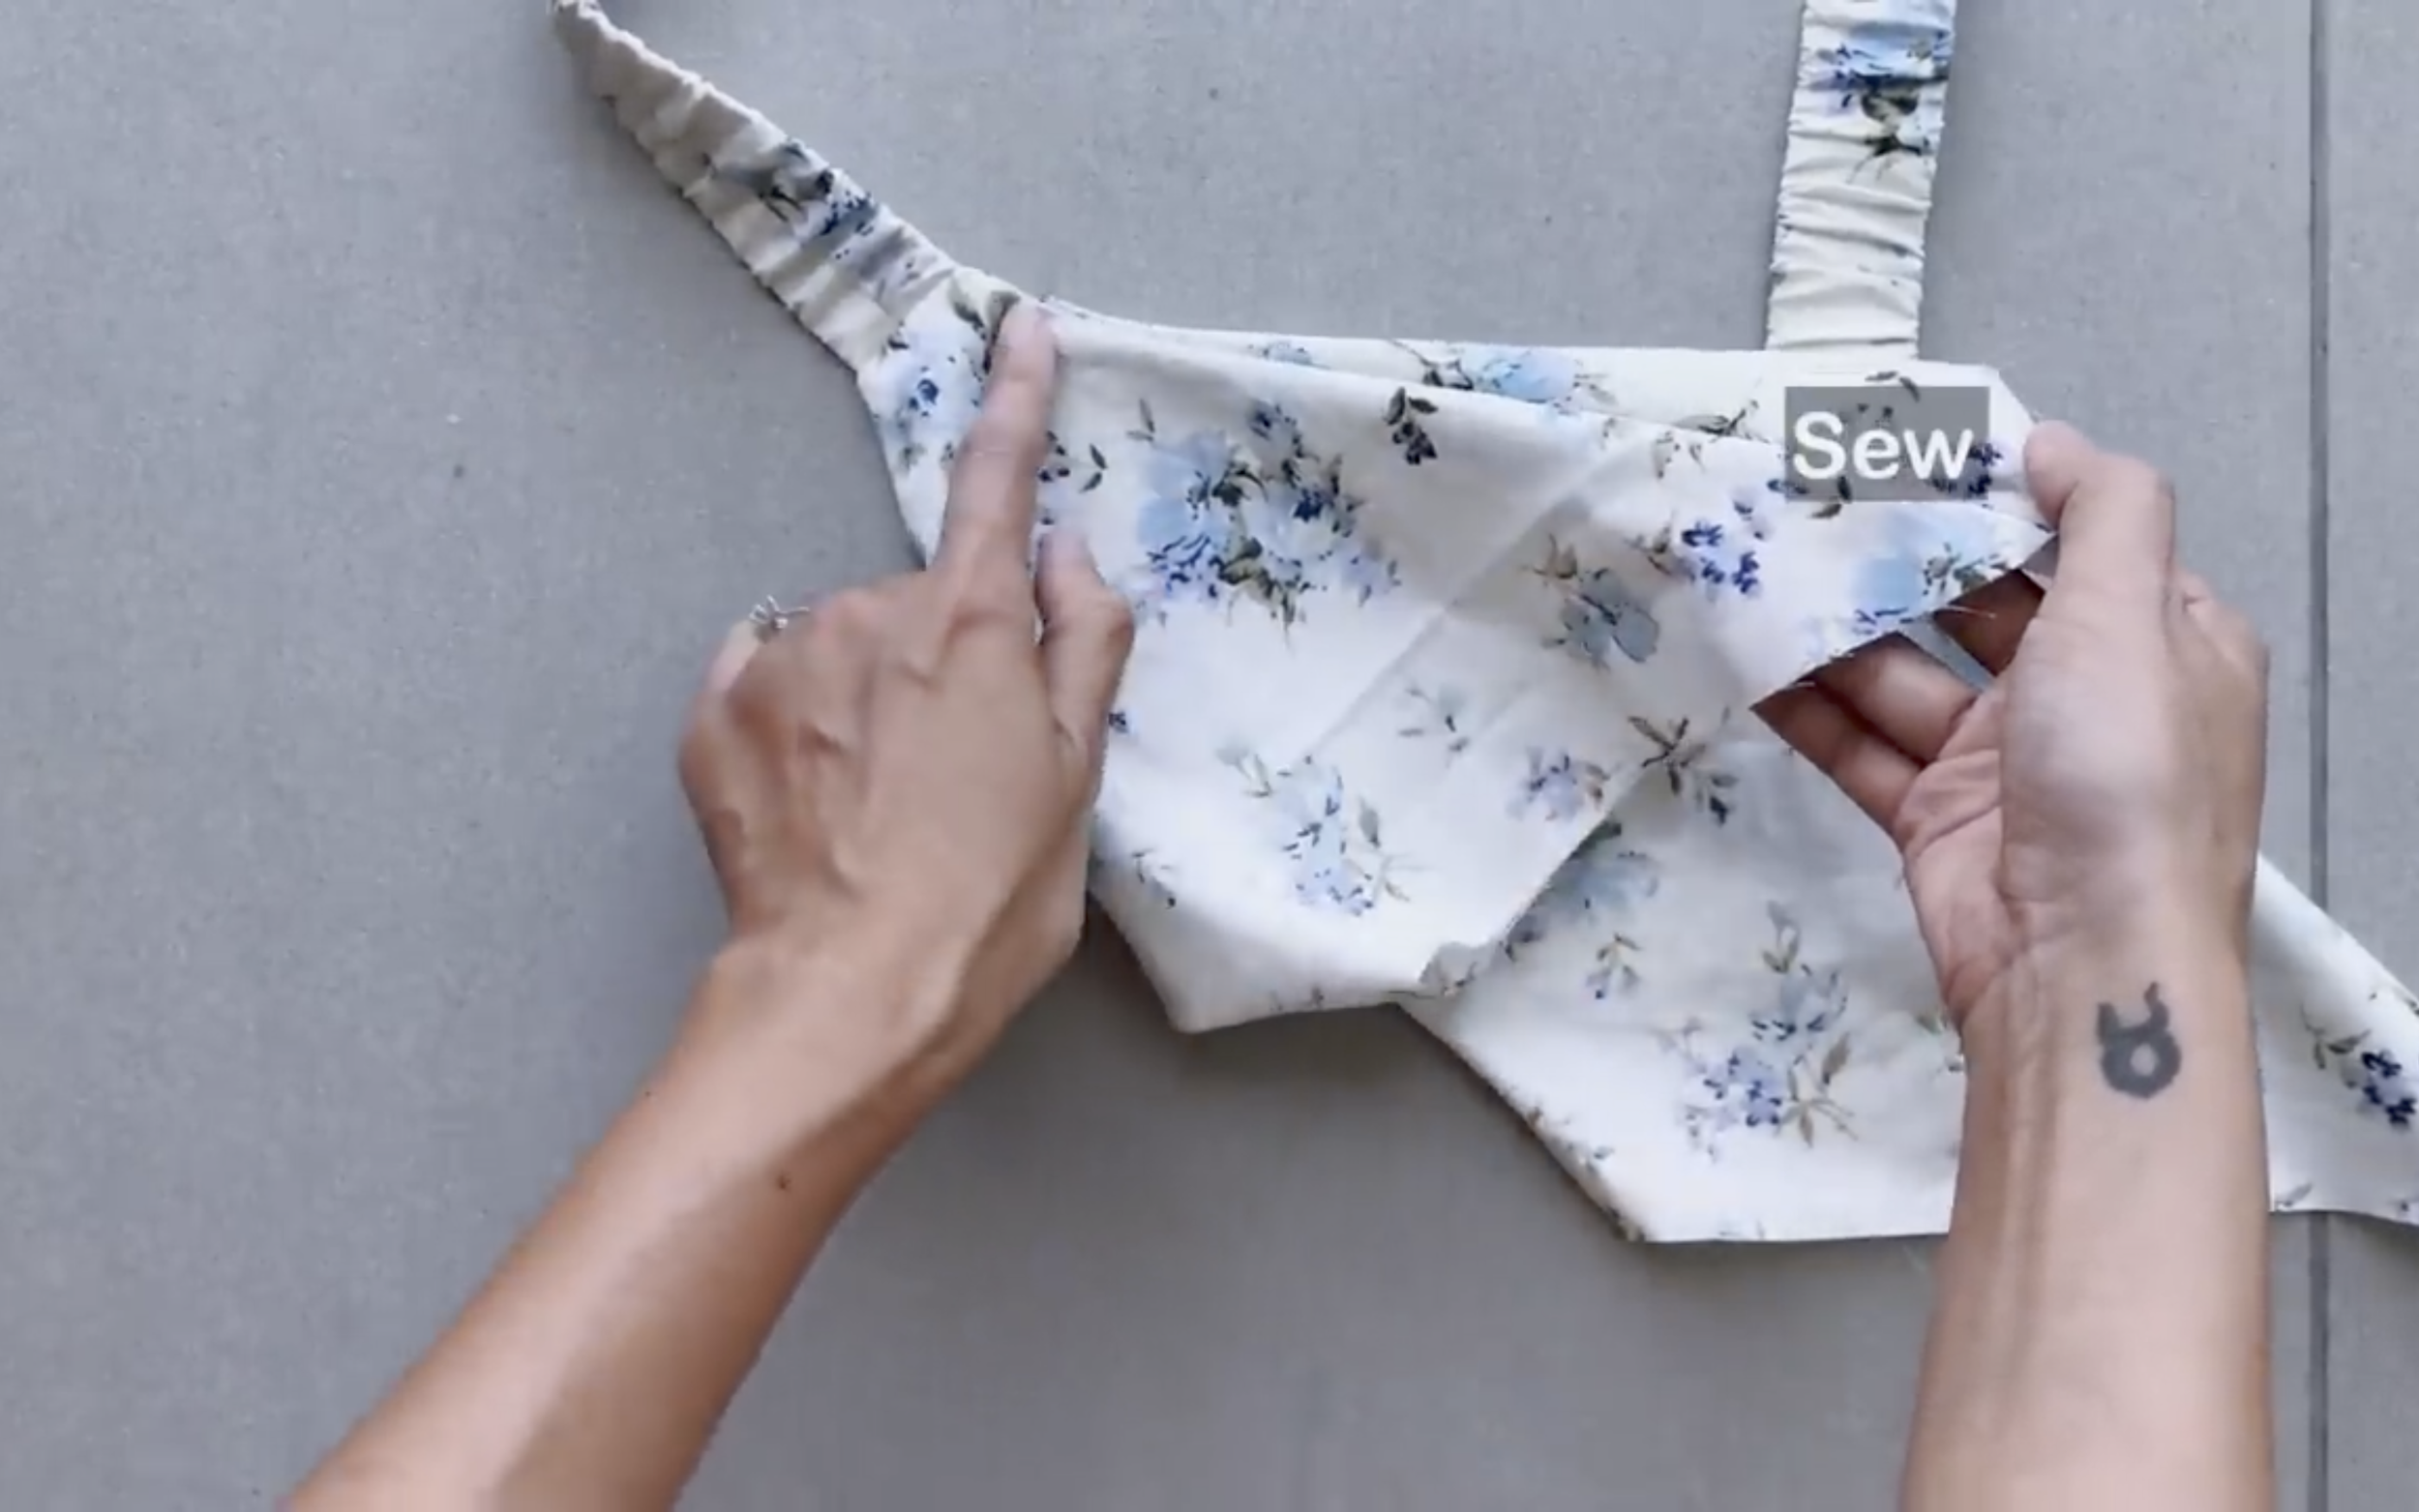
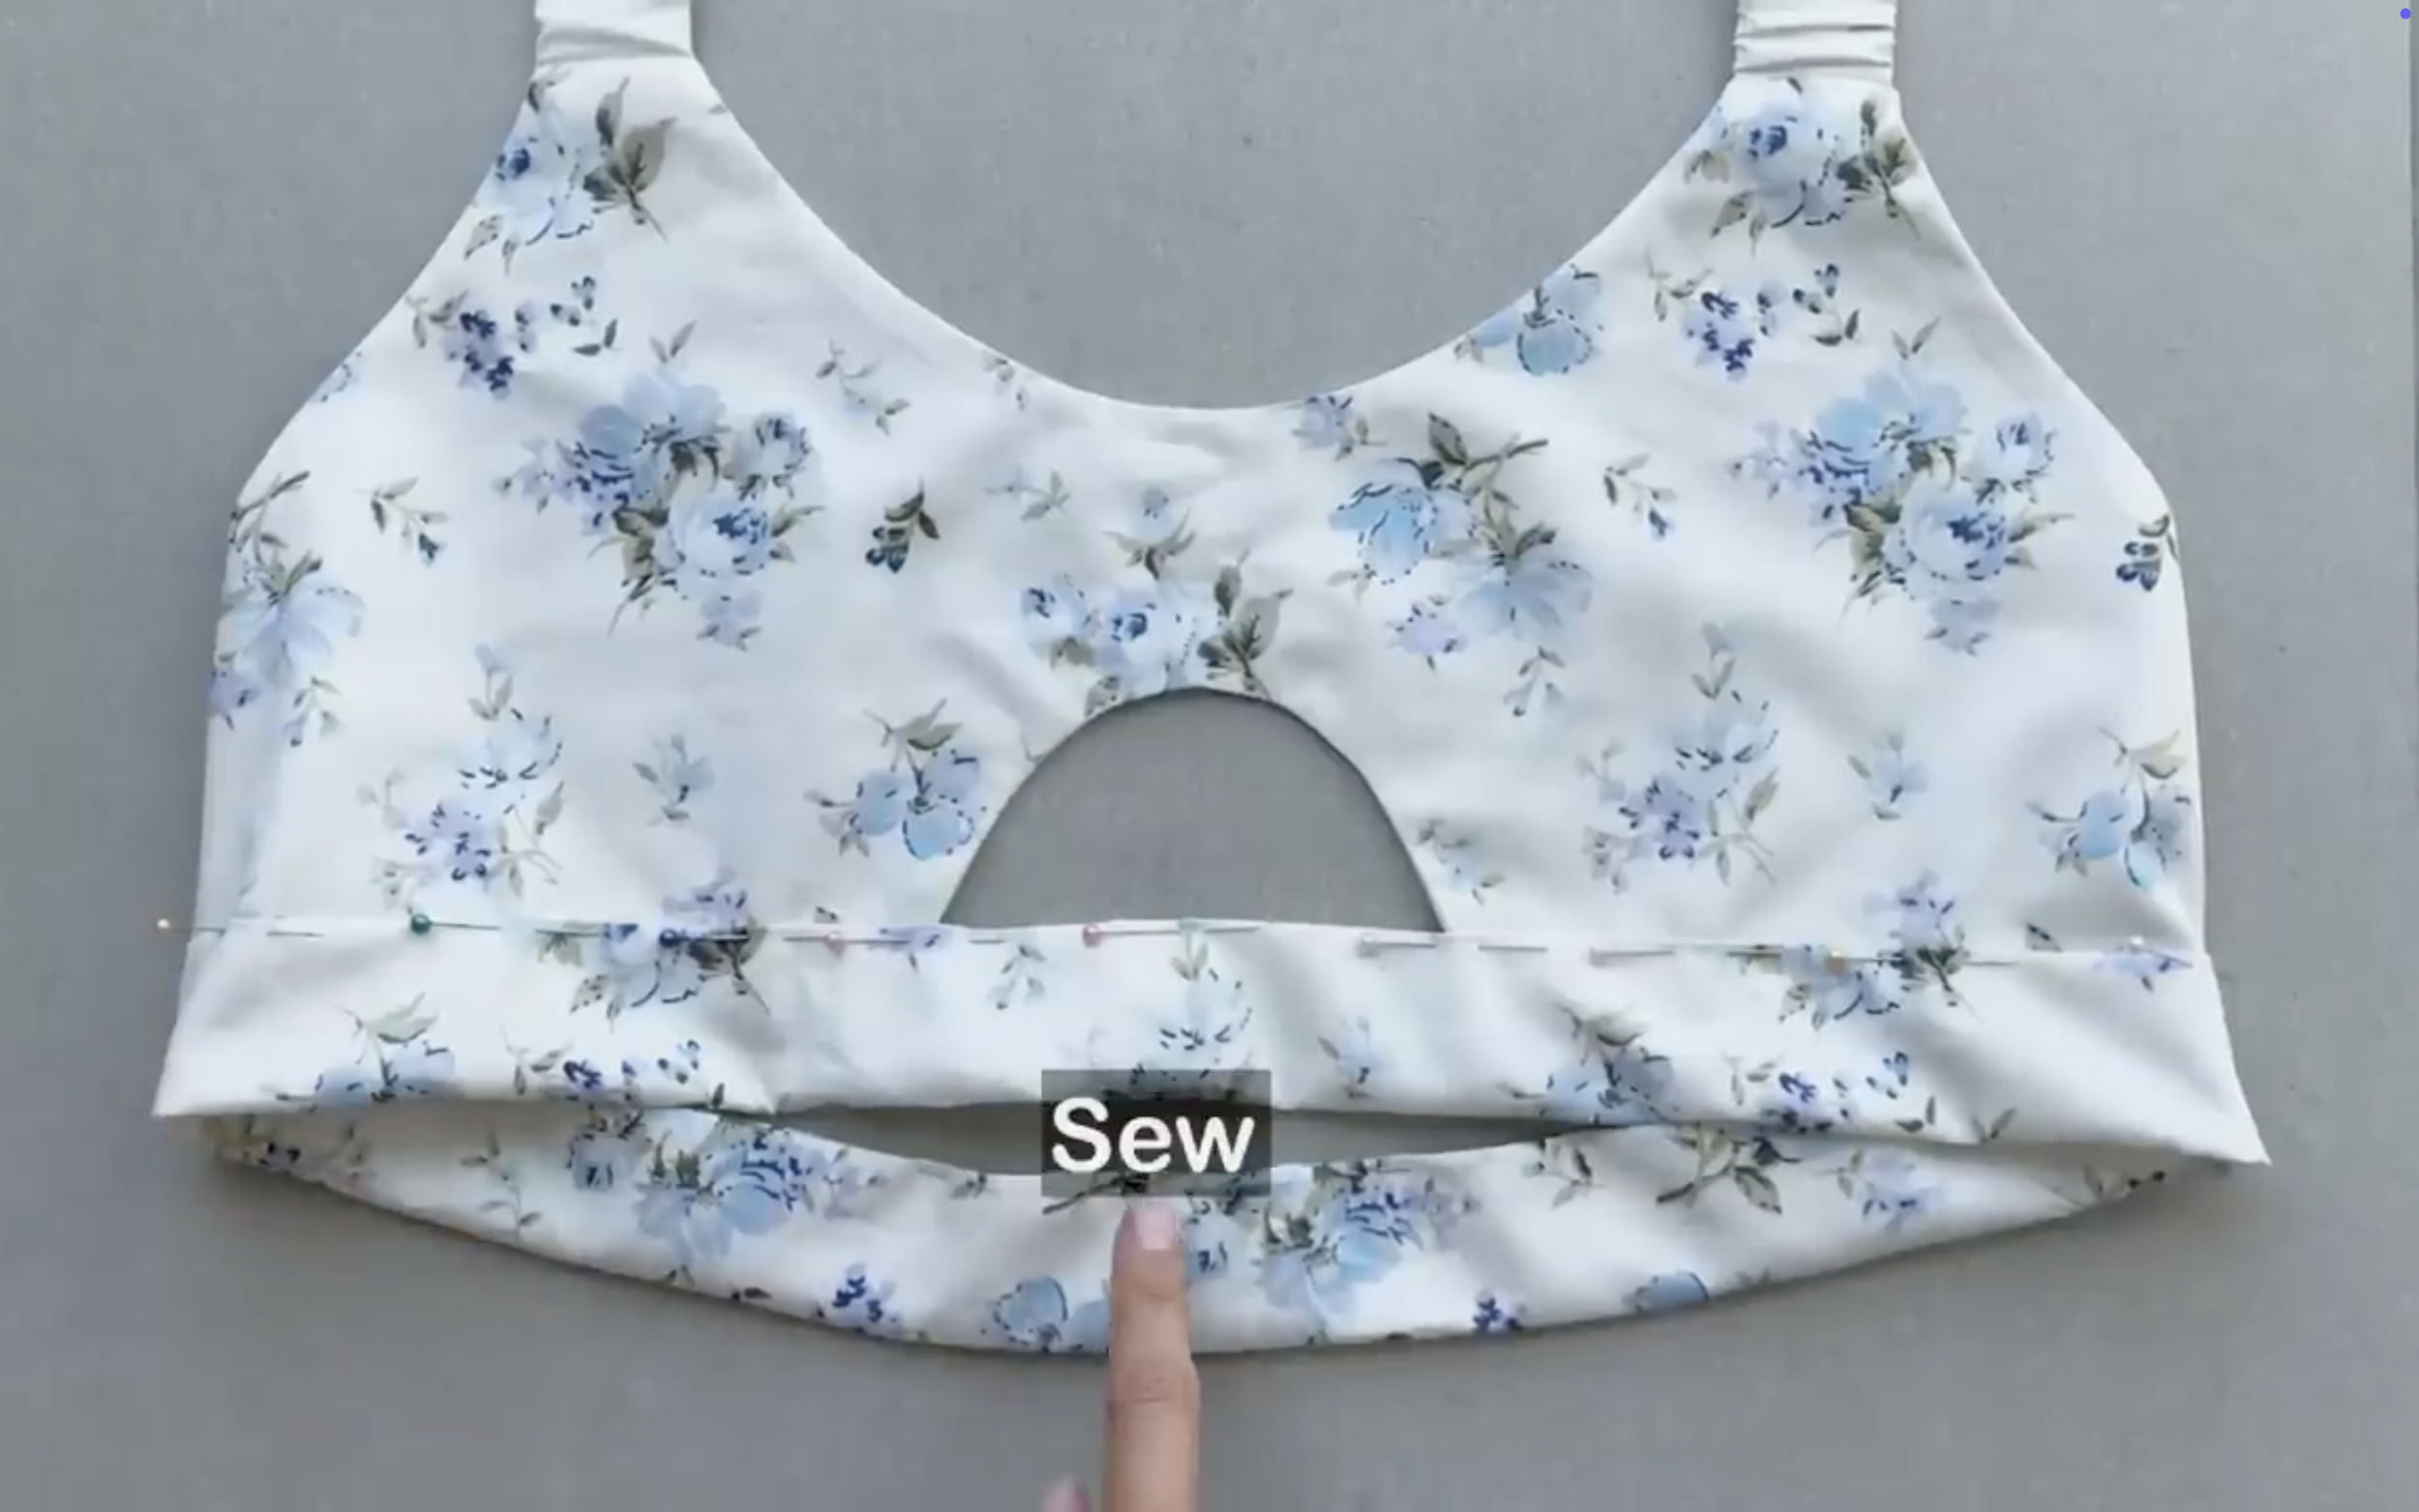
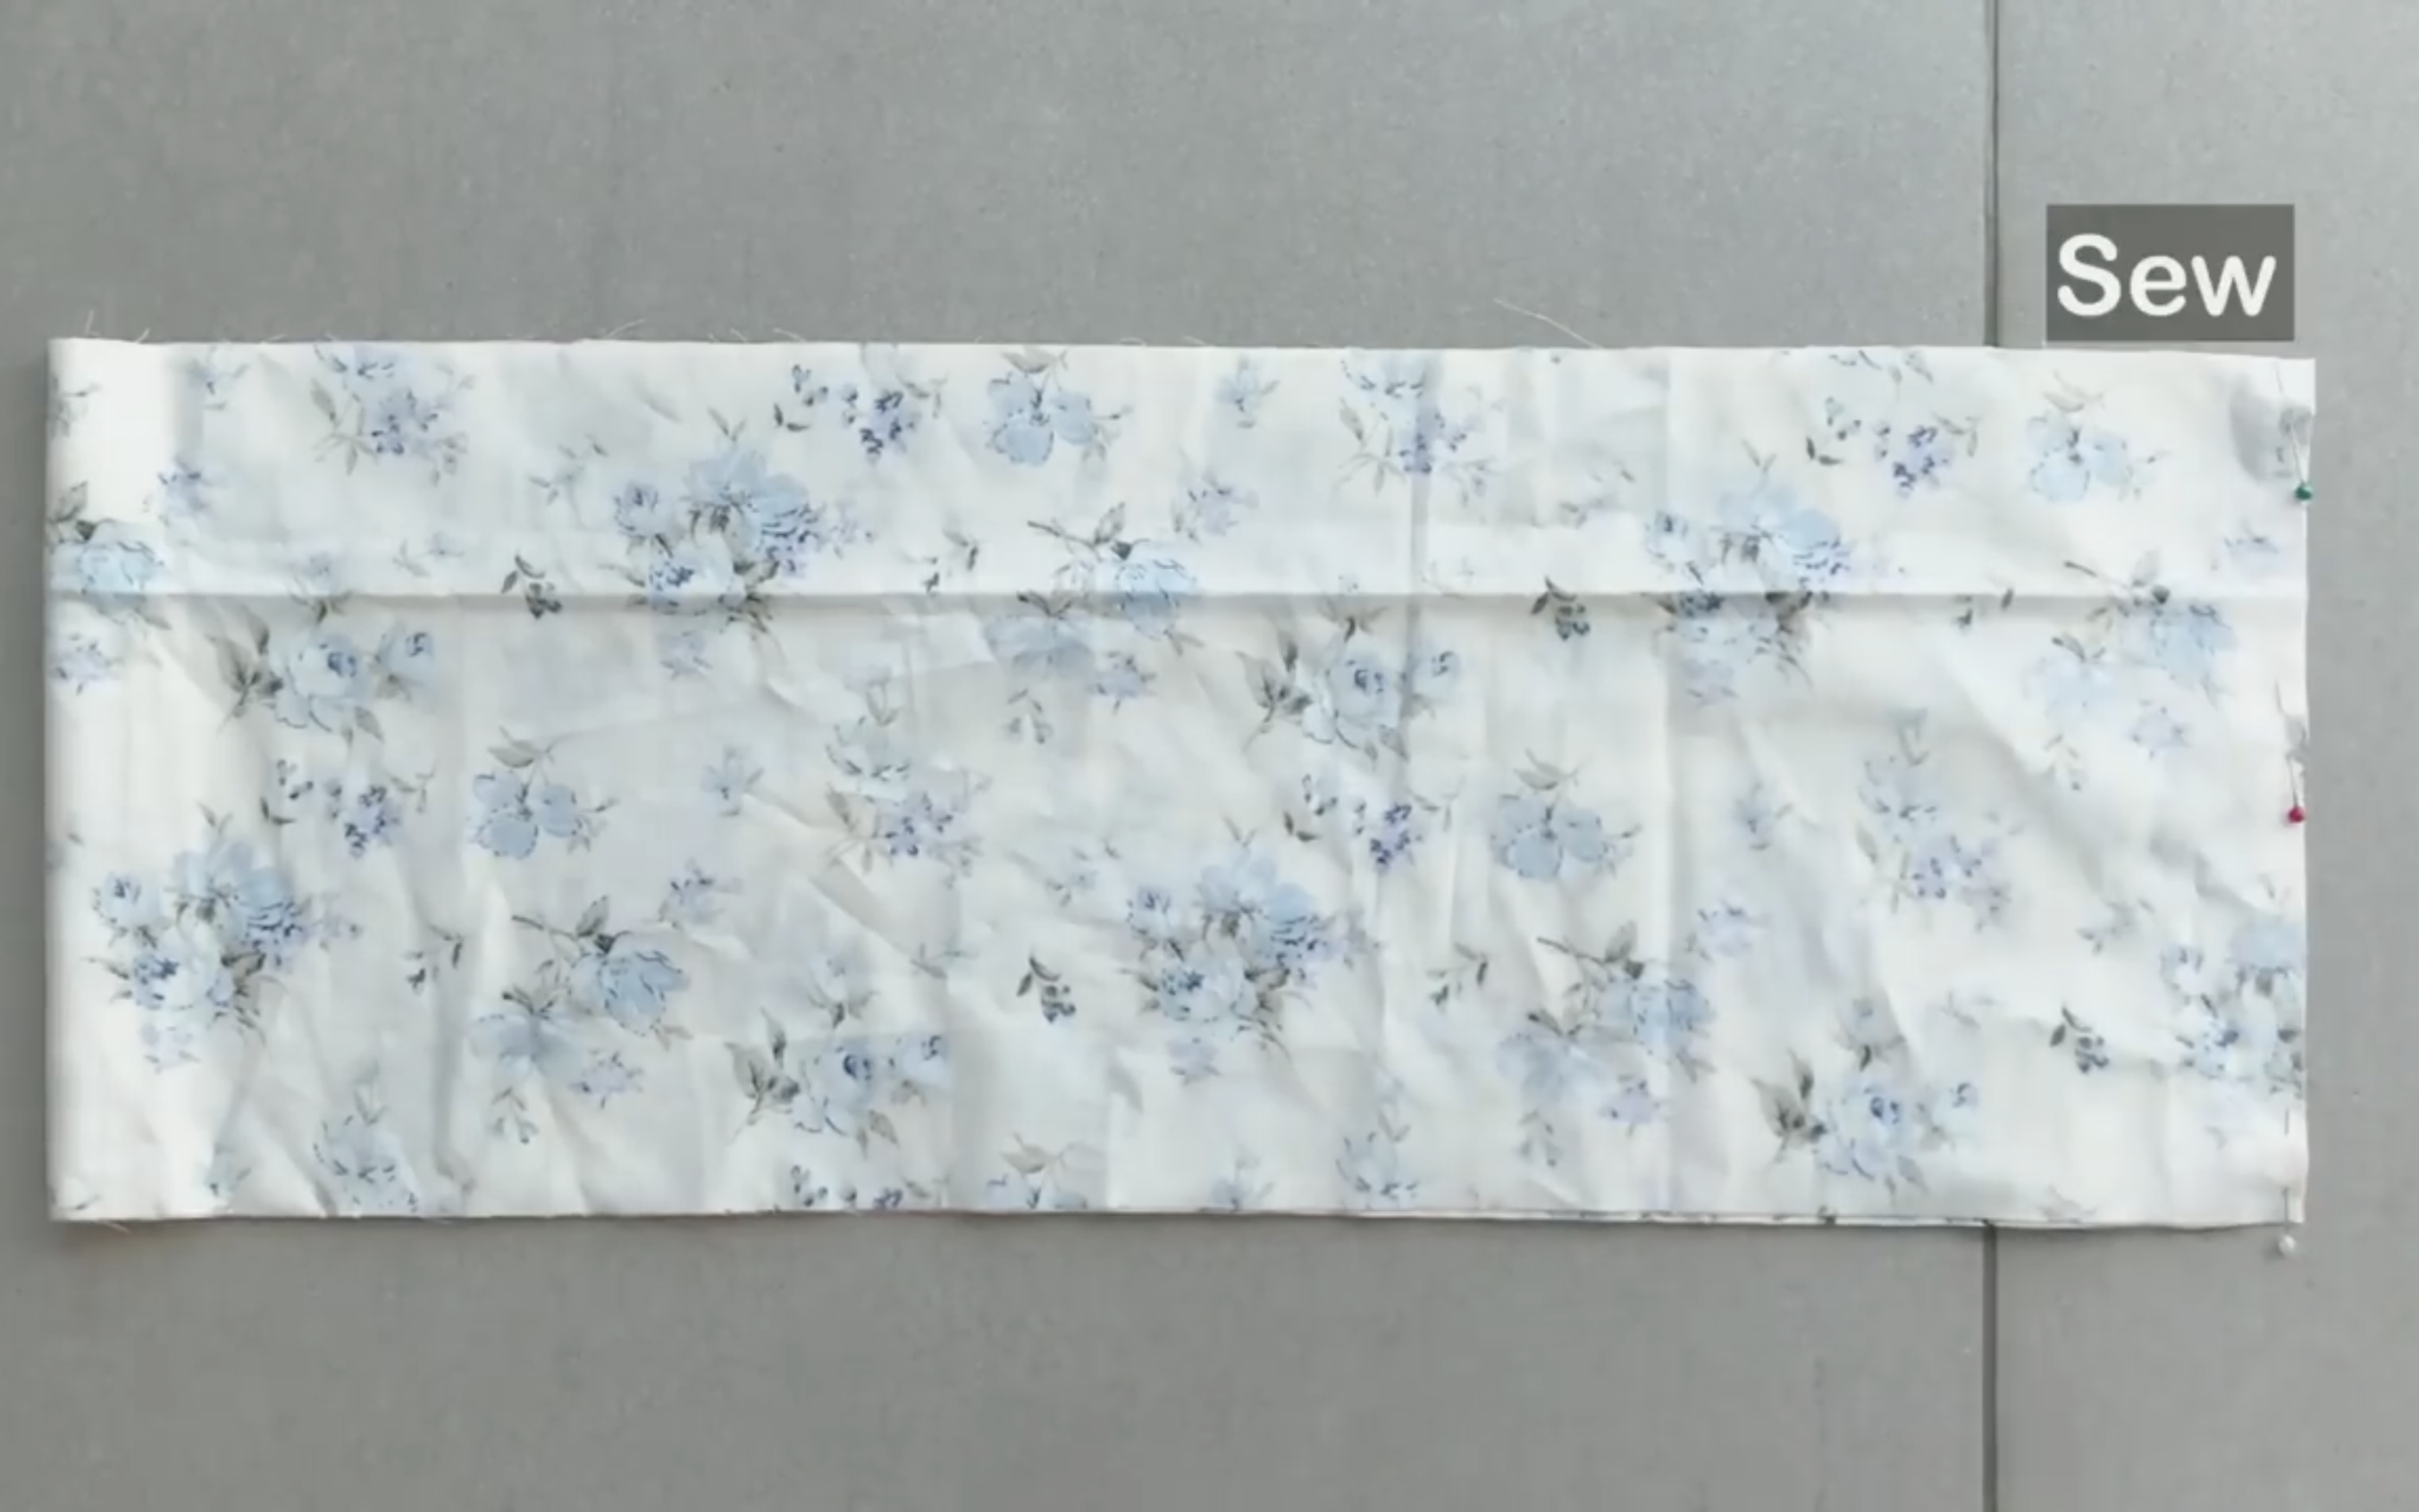
Next, connect the two pieces of the crop top at the bottom edge.
Cut a long rectangle with a 9 cm width and a 115 cm length, which is 1.4 times the bust size.
Connect the two width lines to create a circular fabric piece first.
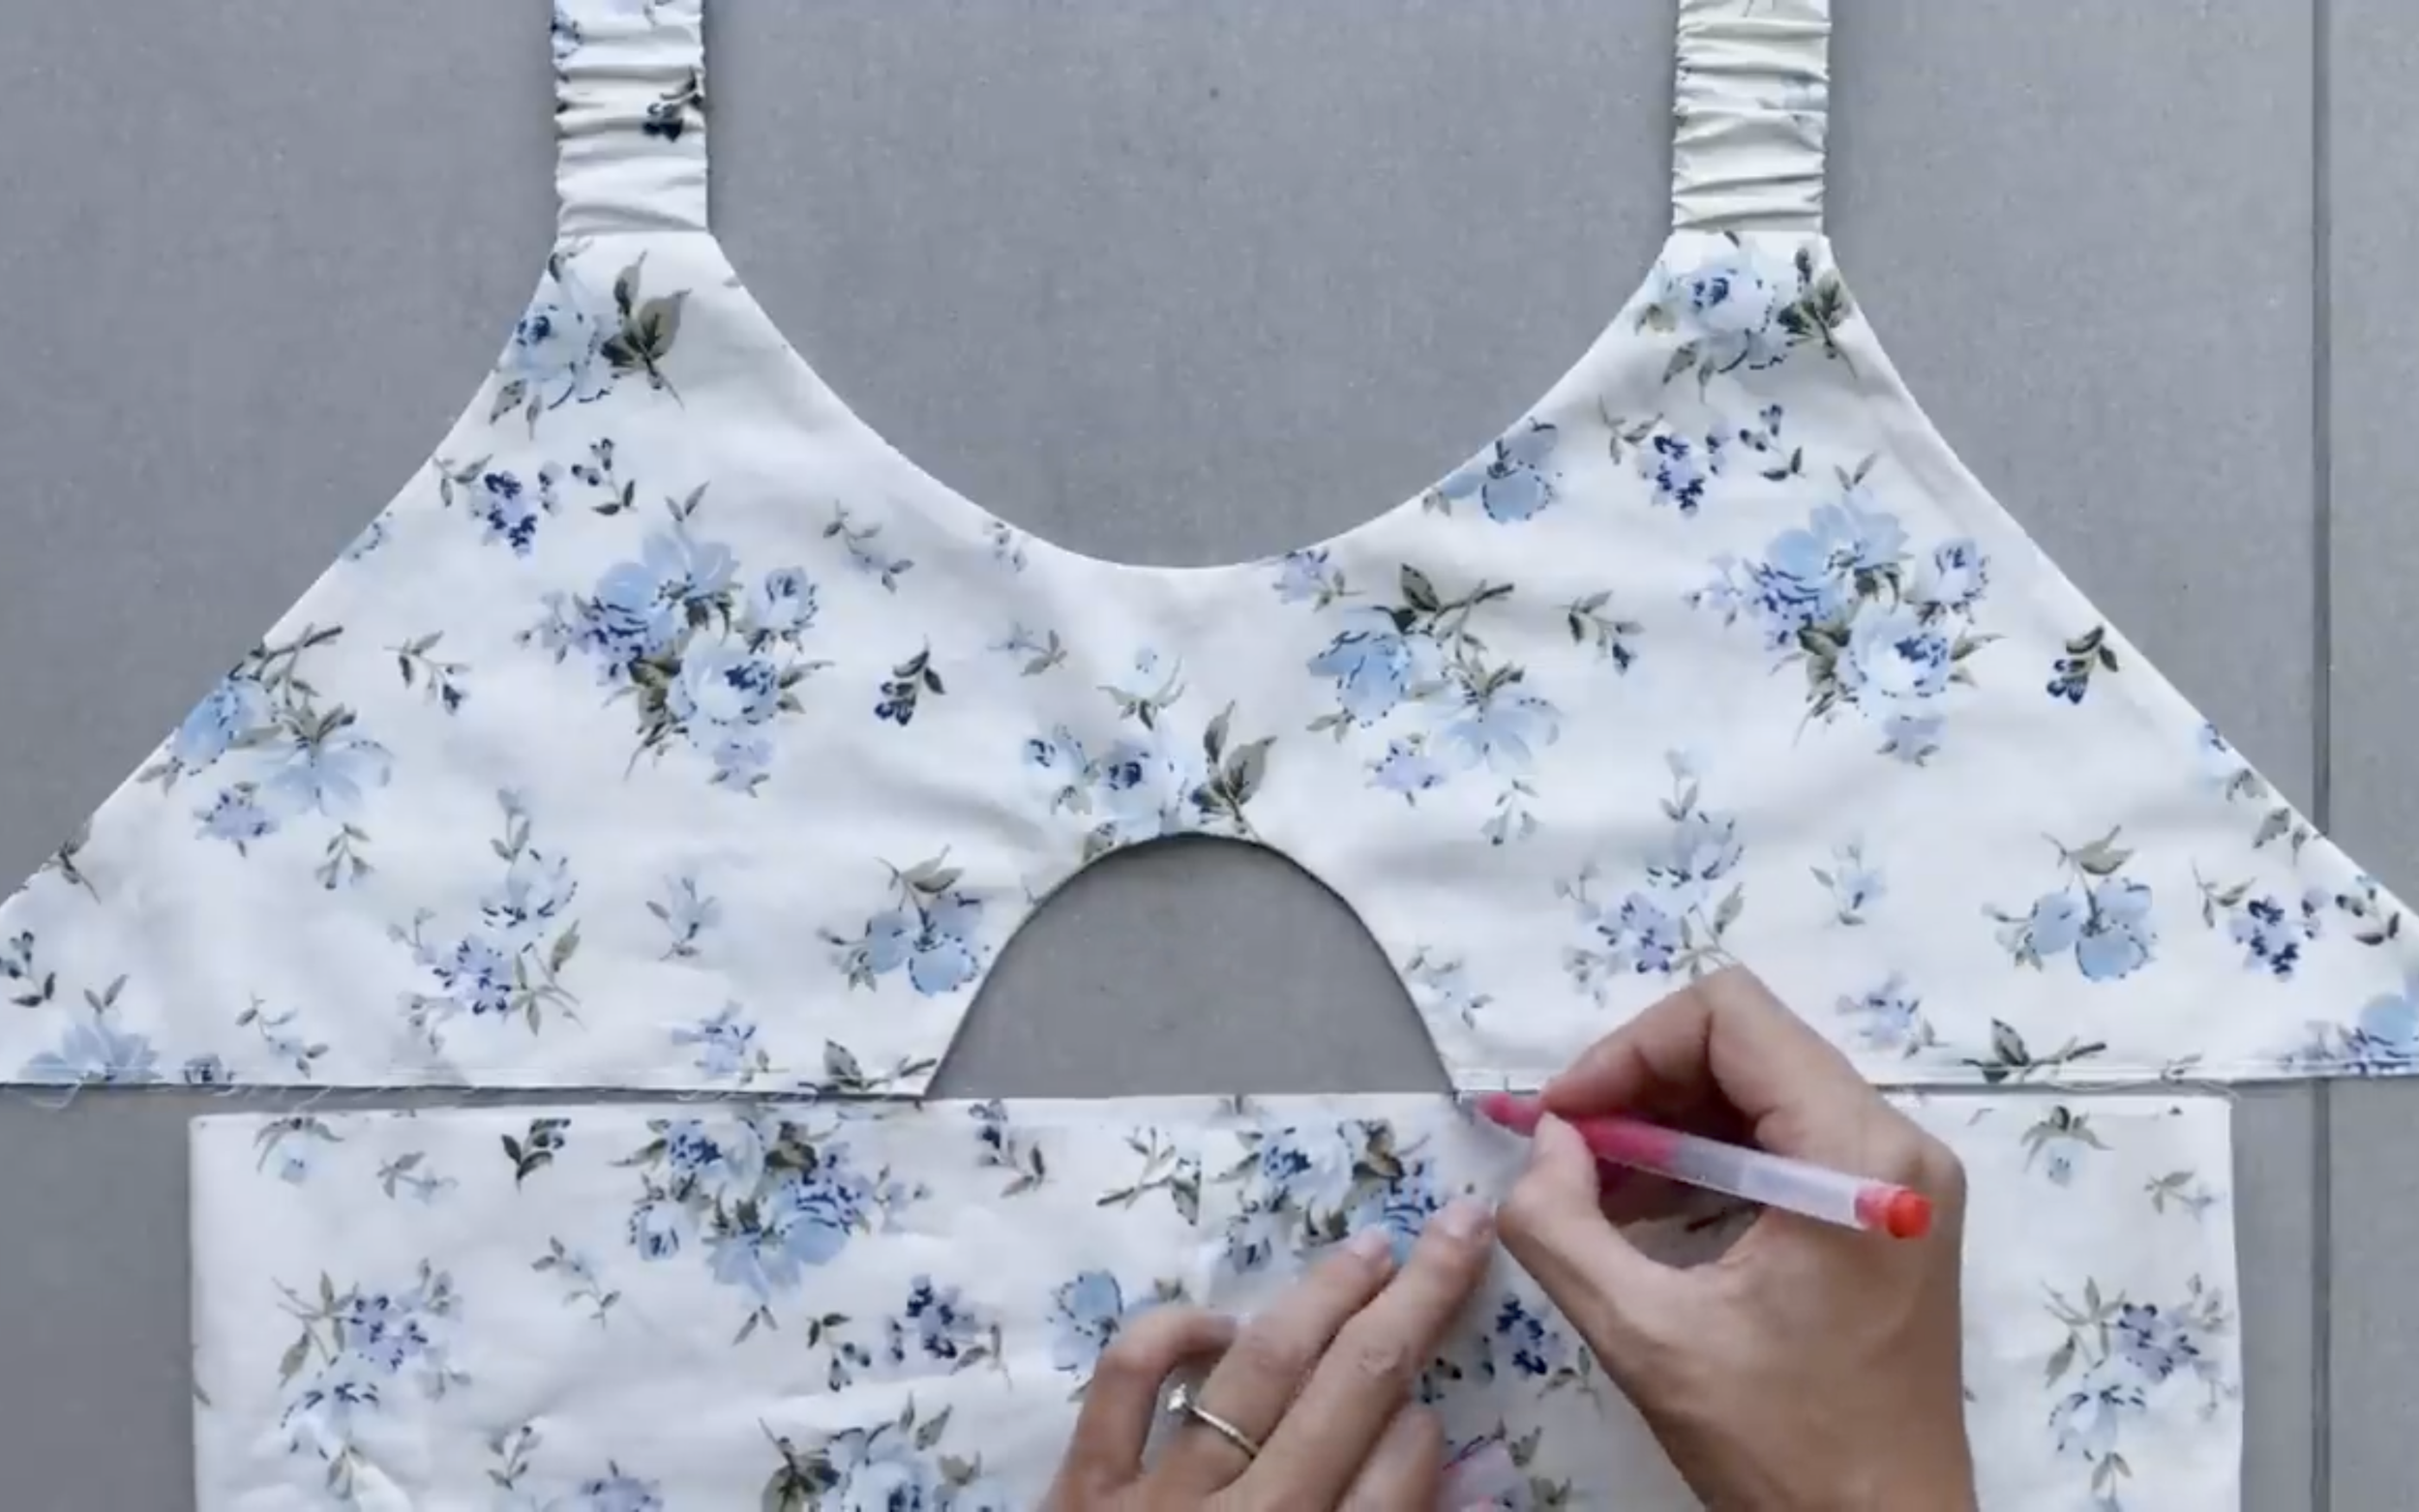
Place the circular fabric next to the end of the crop top and mark the connecting points.
Then, sew them together.
After the first seam, fold the other end of the fabric inward by 1 cm, then fold it again over the first seam and sew the second seam.
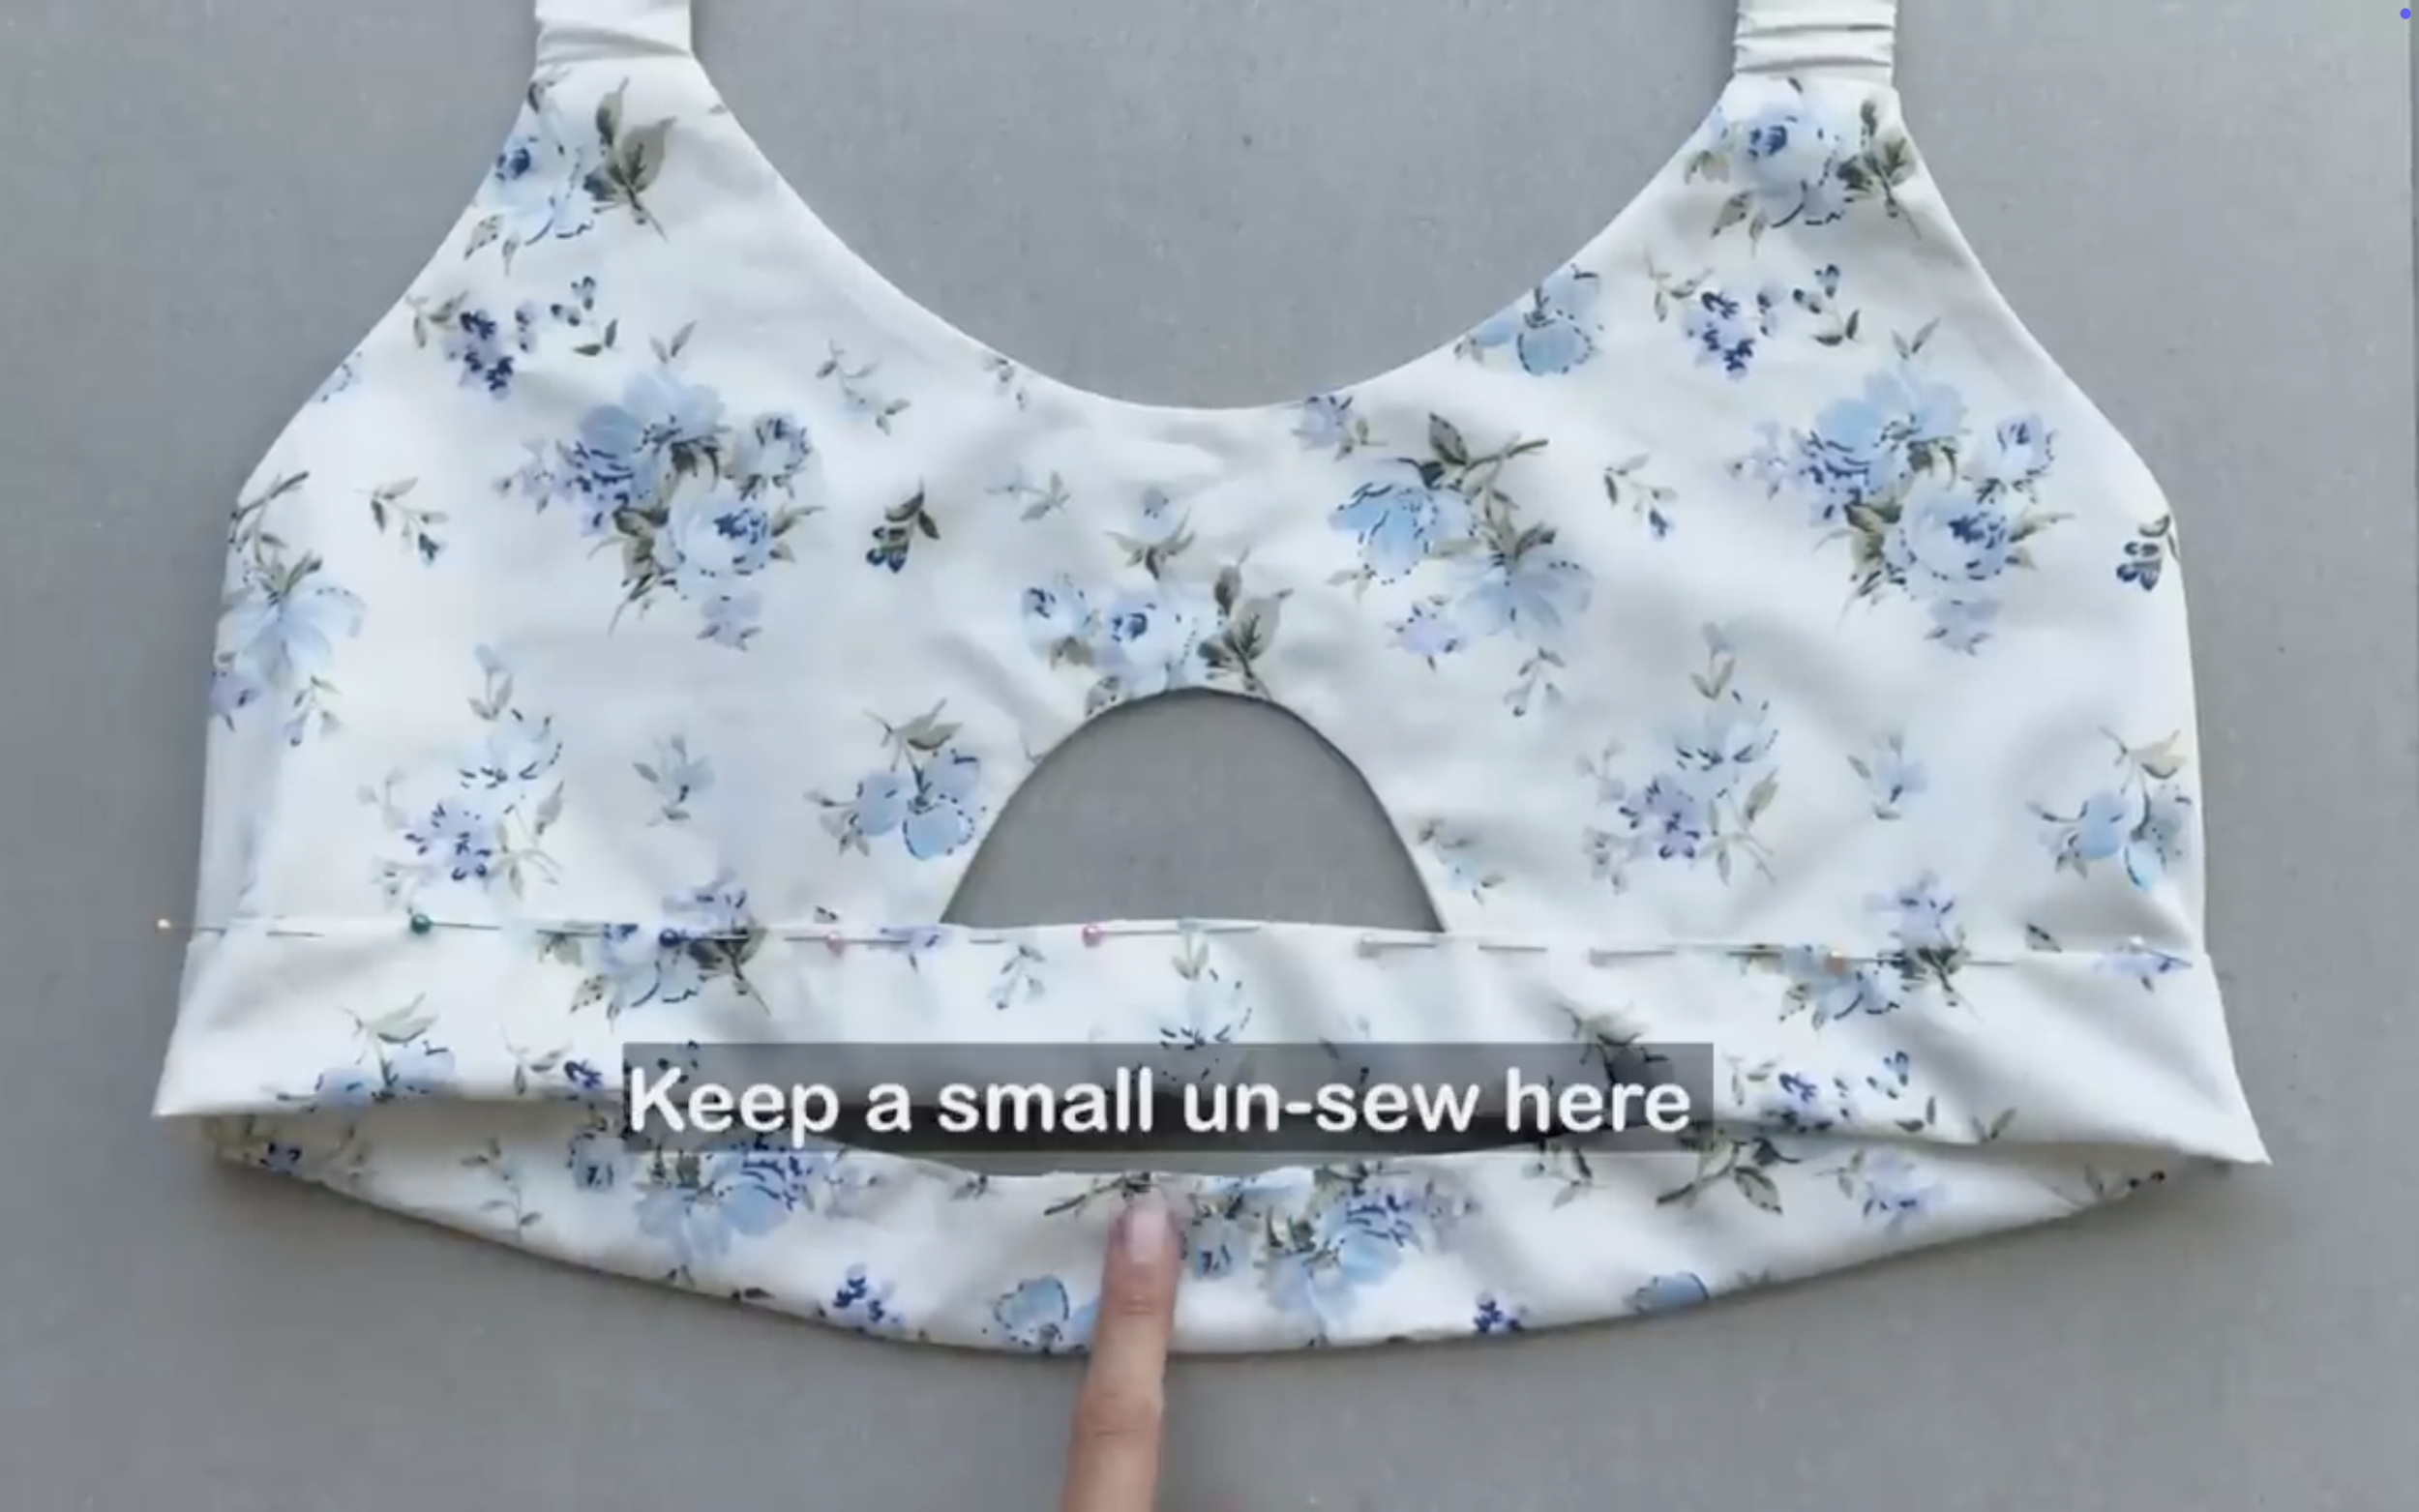
Leave a small unsewn space for inserting the elastic band later.
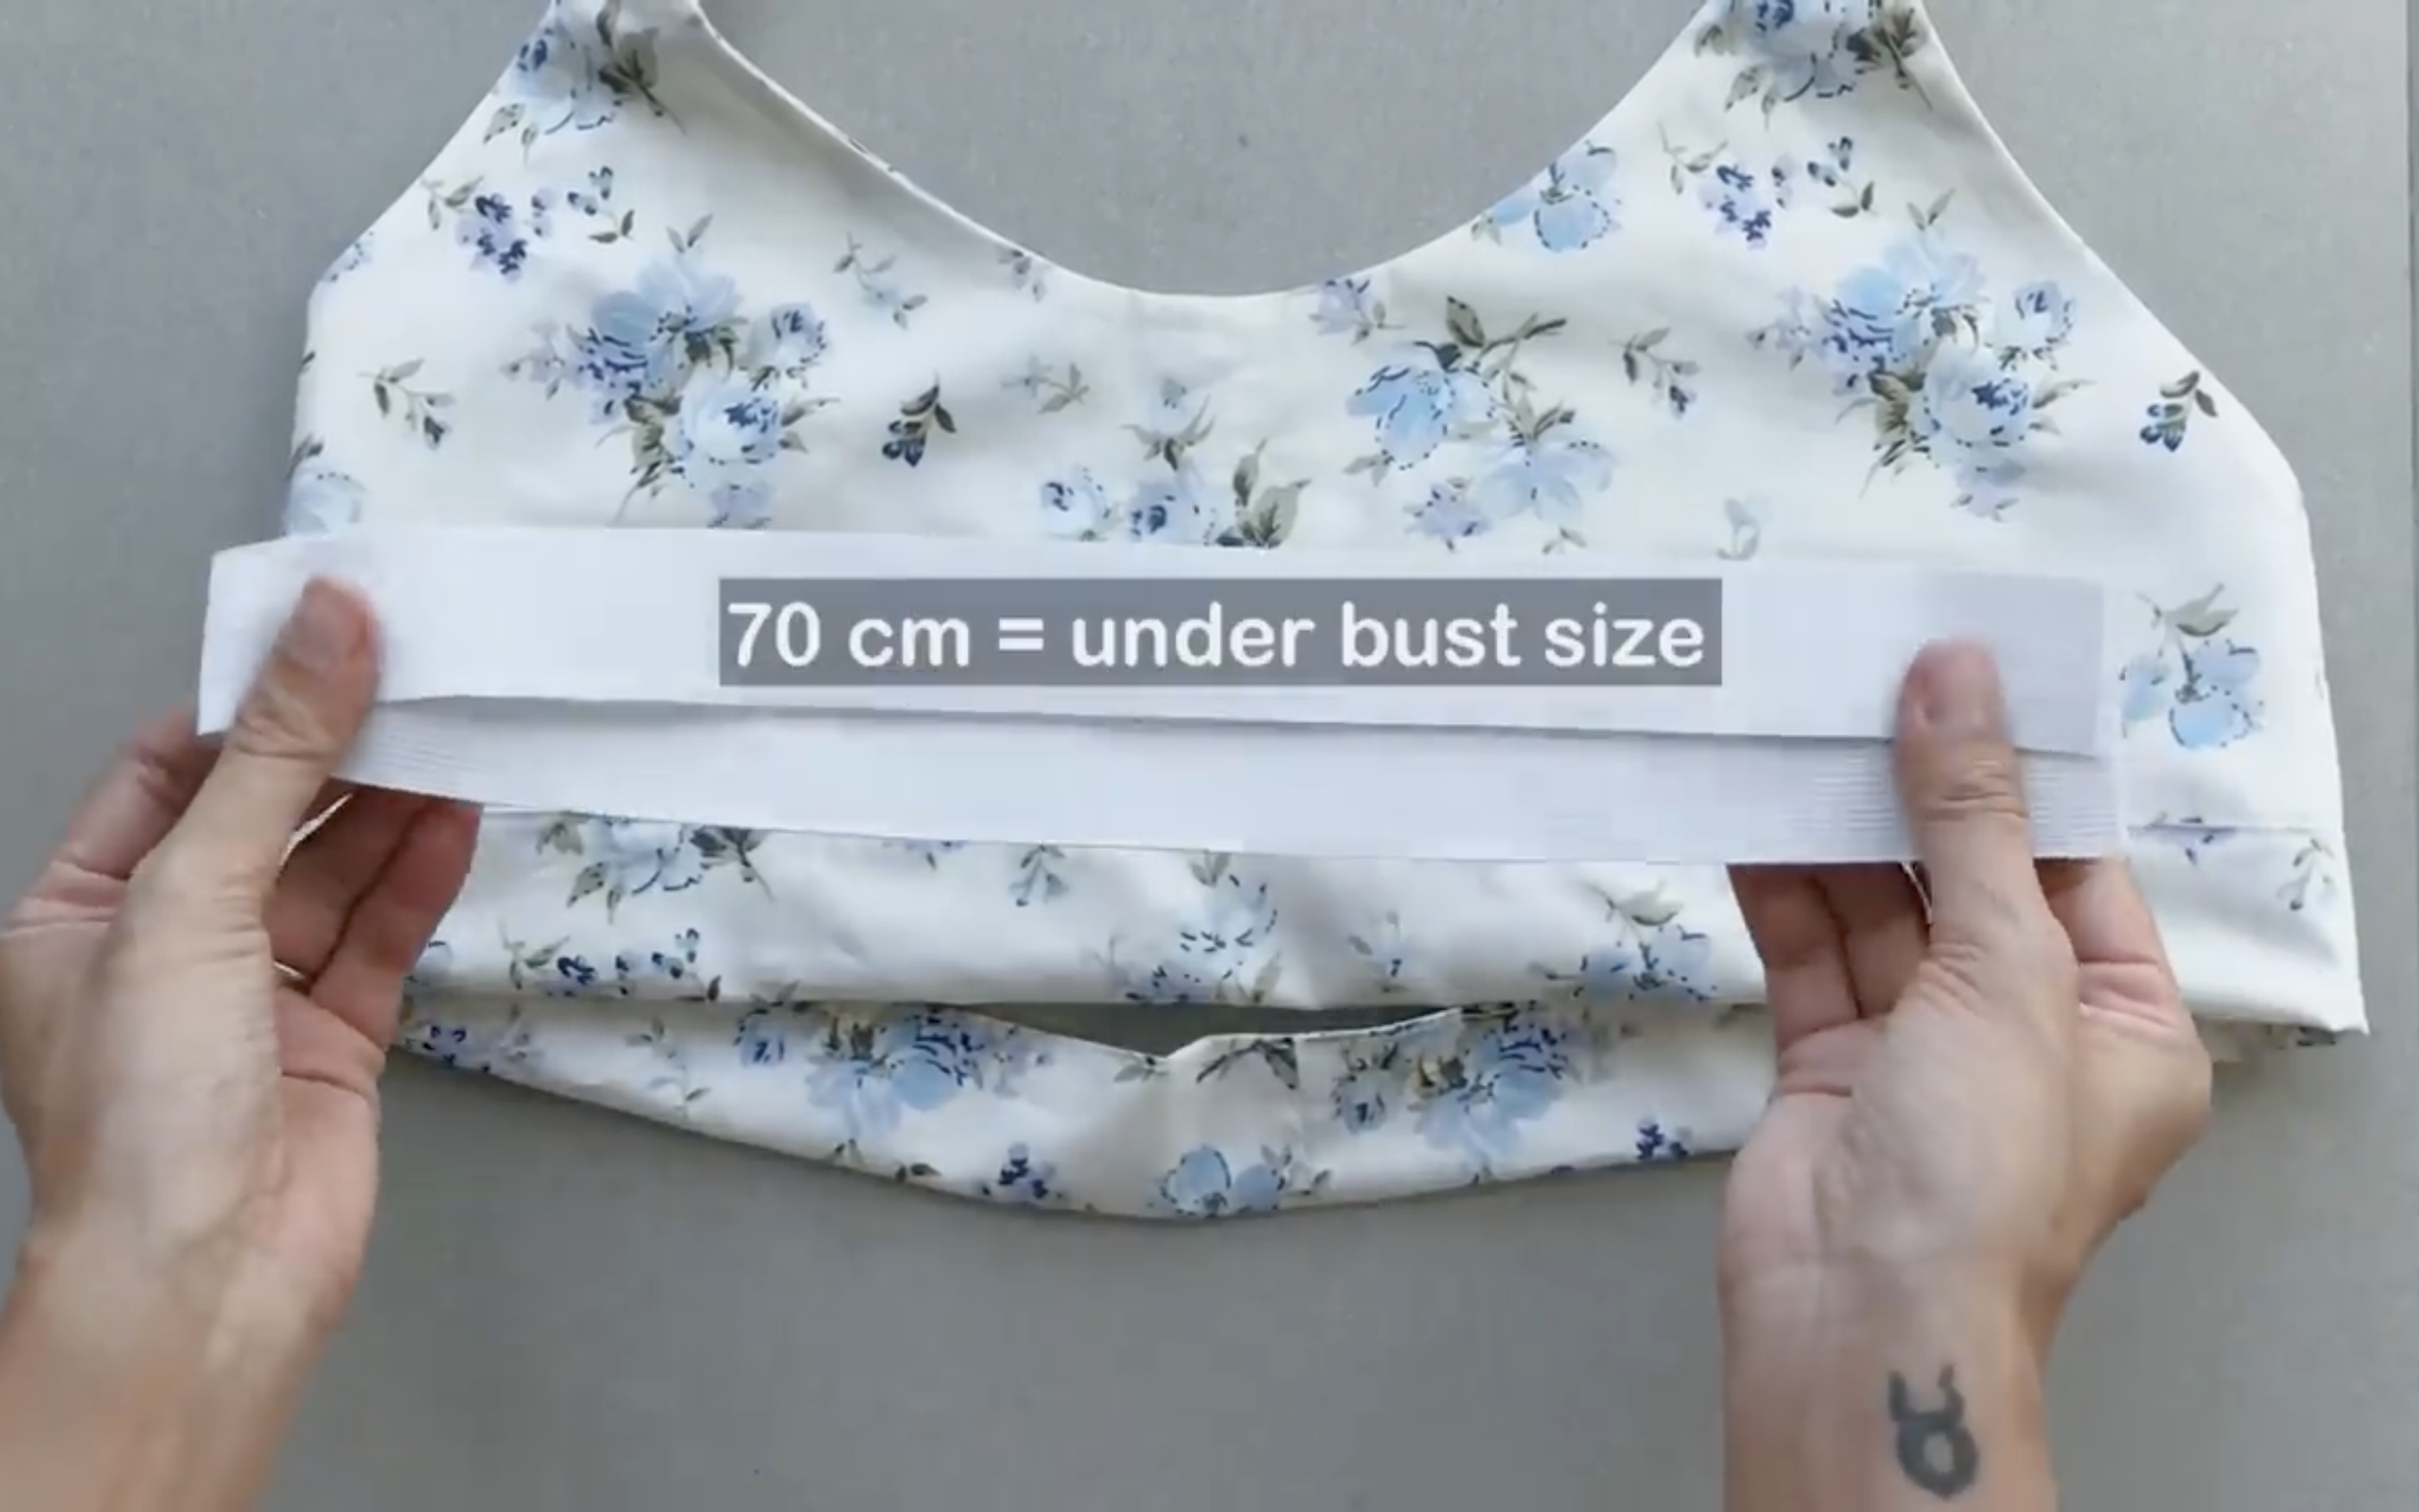
Use a 3 cm wide and 70 cm long elastic band, which matches the under-bust size.
Insert the elastic band through the fabric holes.
Sew the ends of the elastic band together and close the fabric hole.
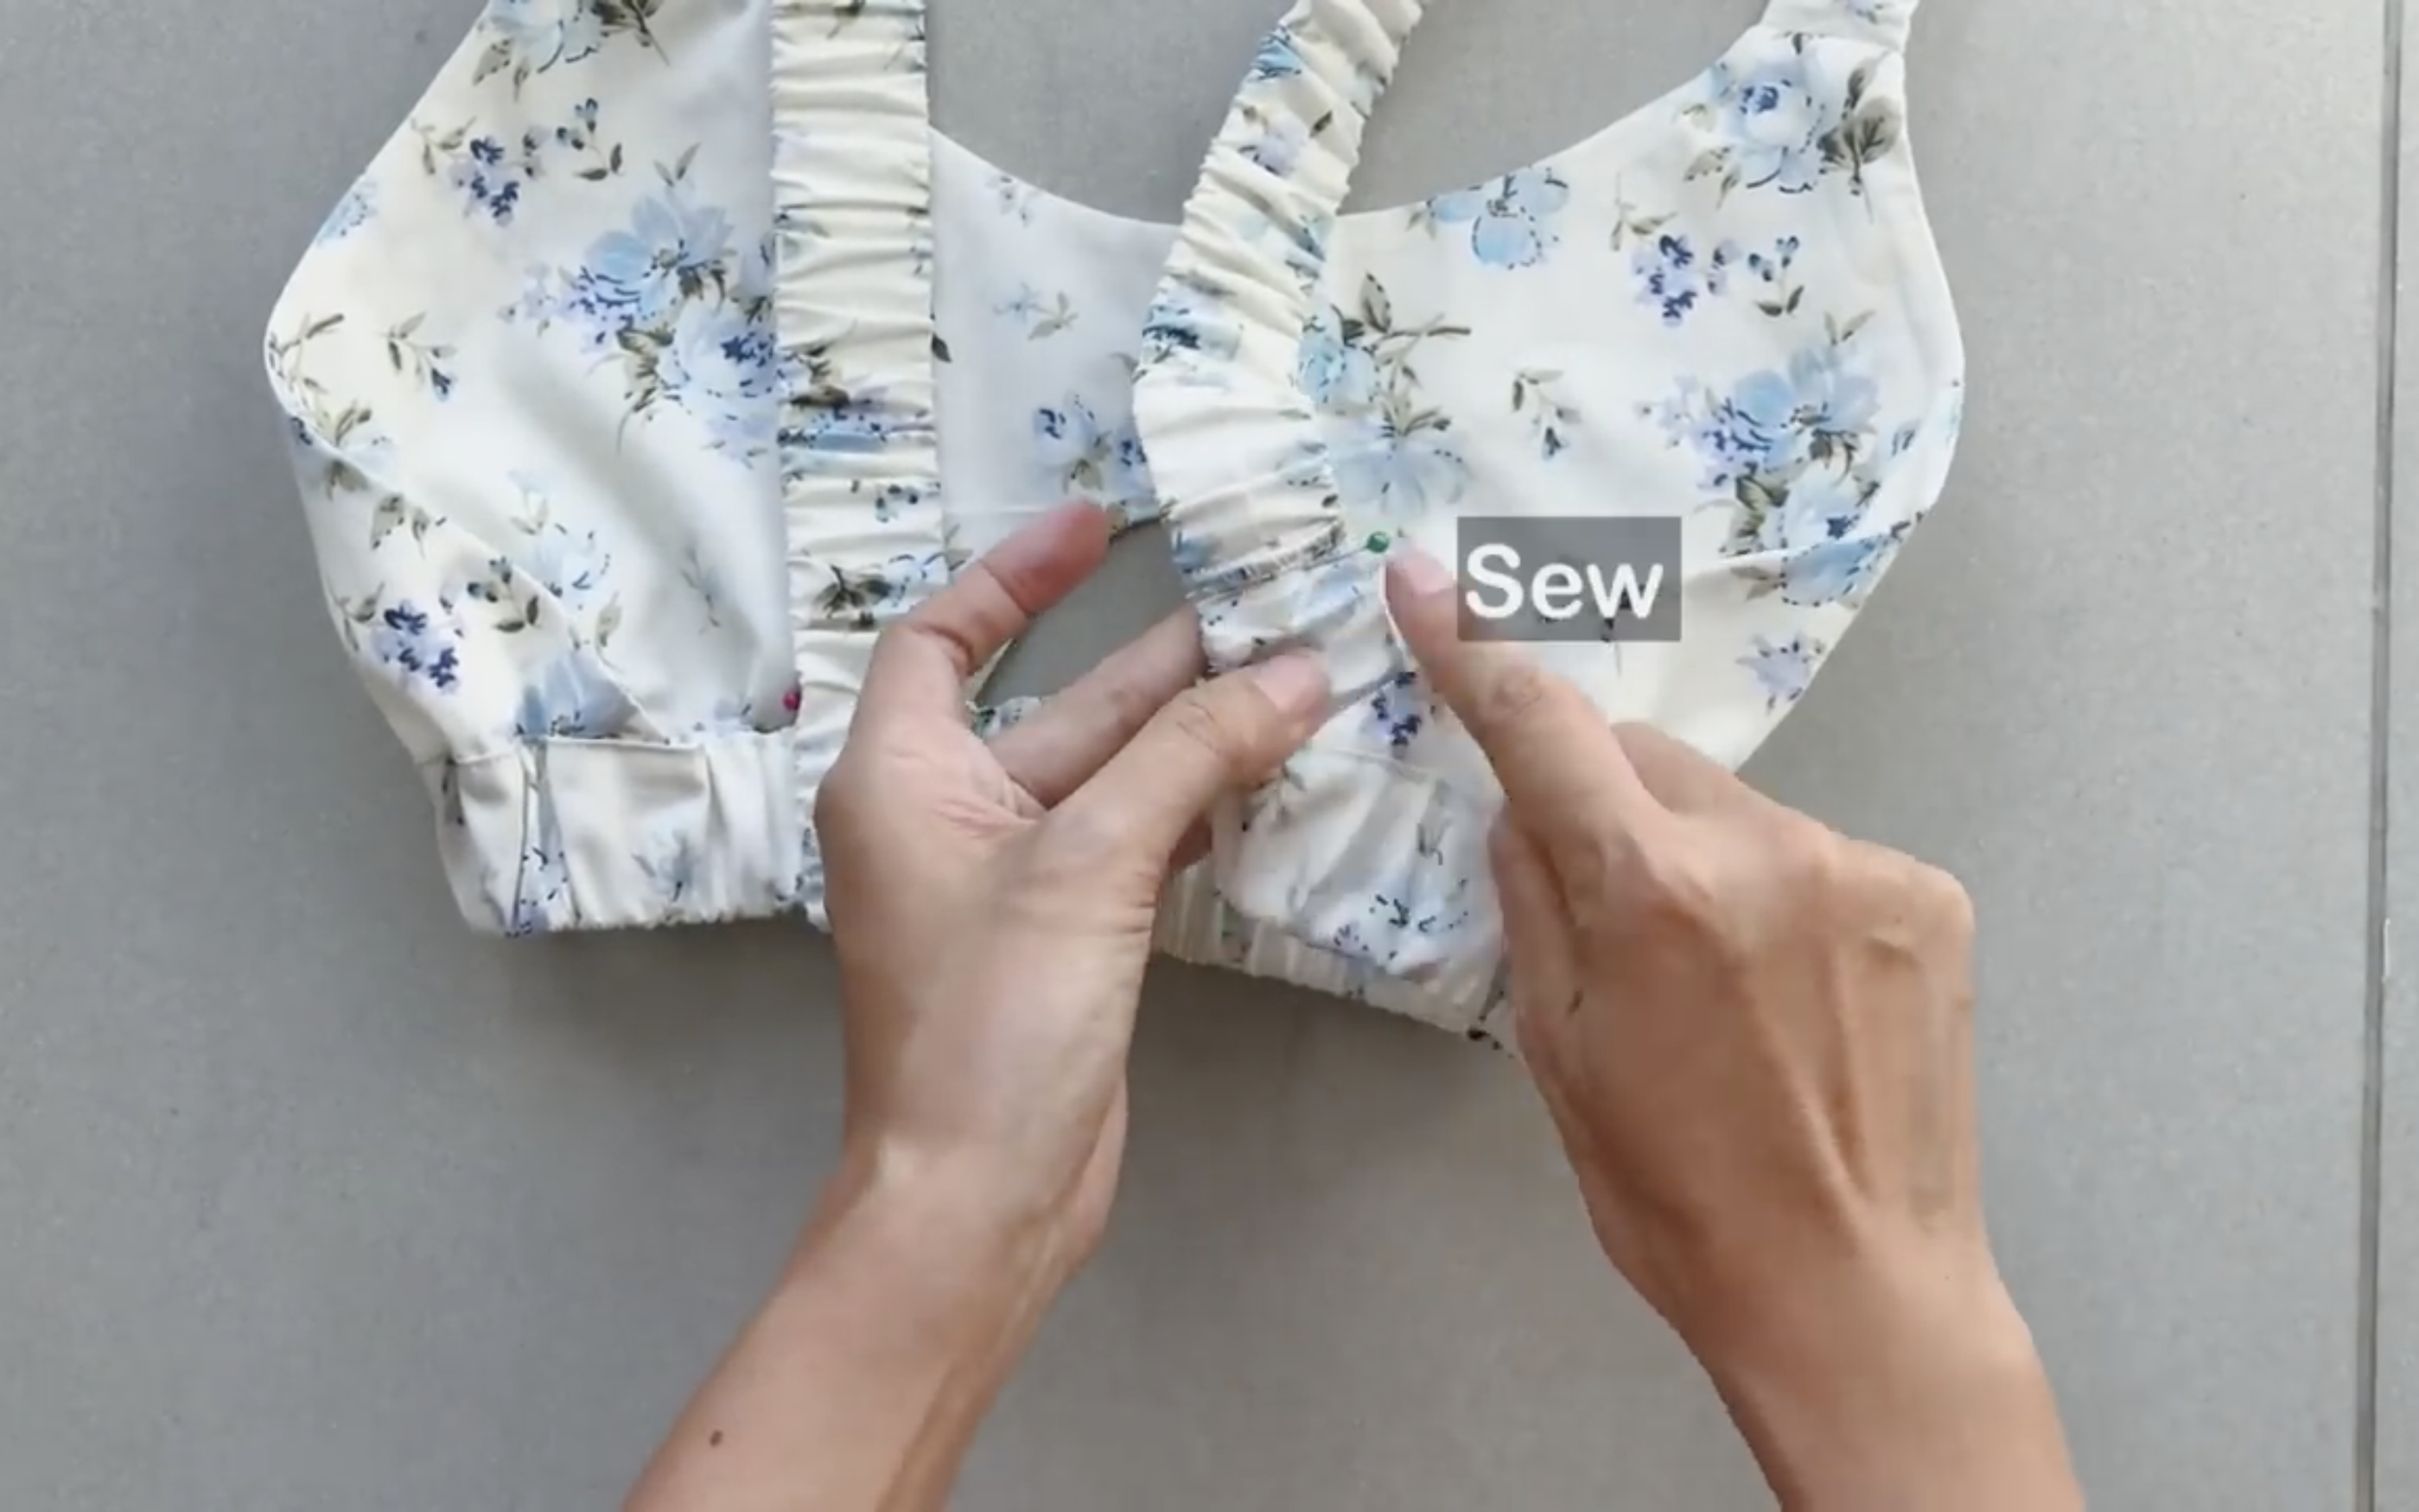
Then, connect the shoulder straps to the back of the crop top.
To make the bow tie for the crop top, cut two rectangles with a 10 cm width and a 45 cm length.
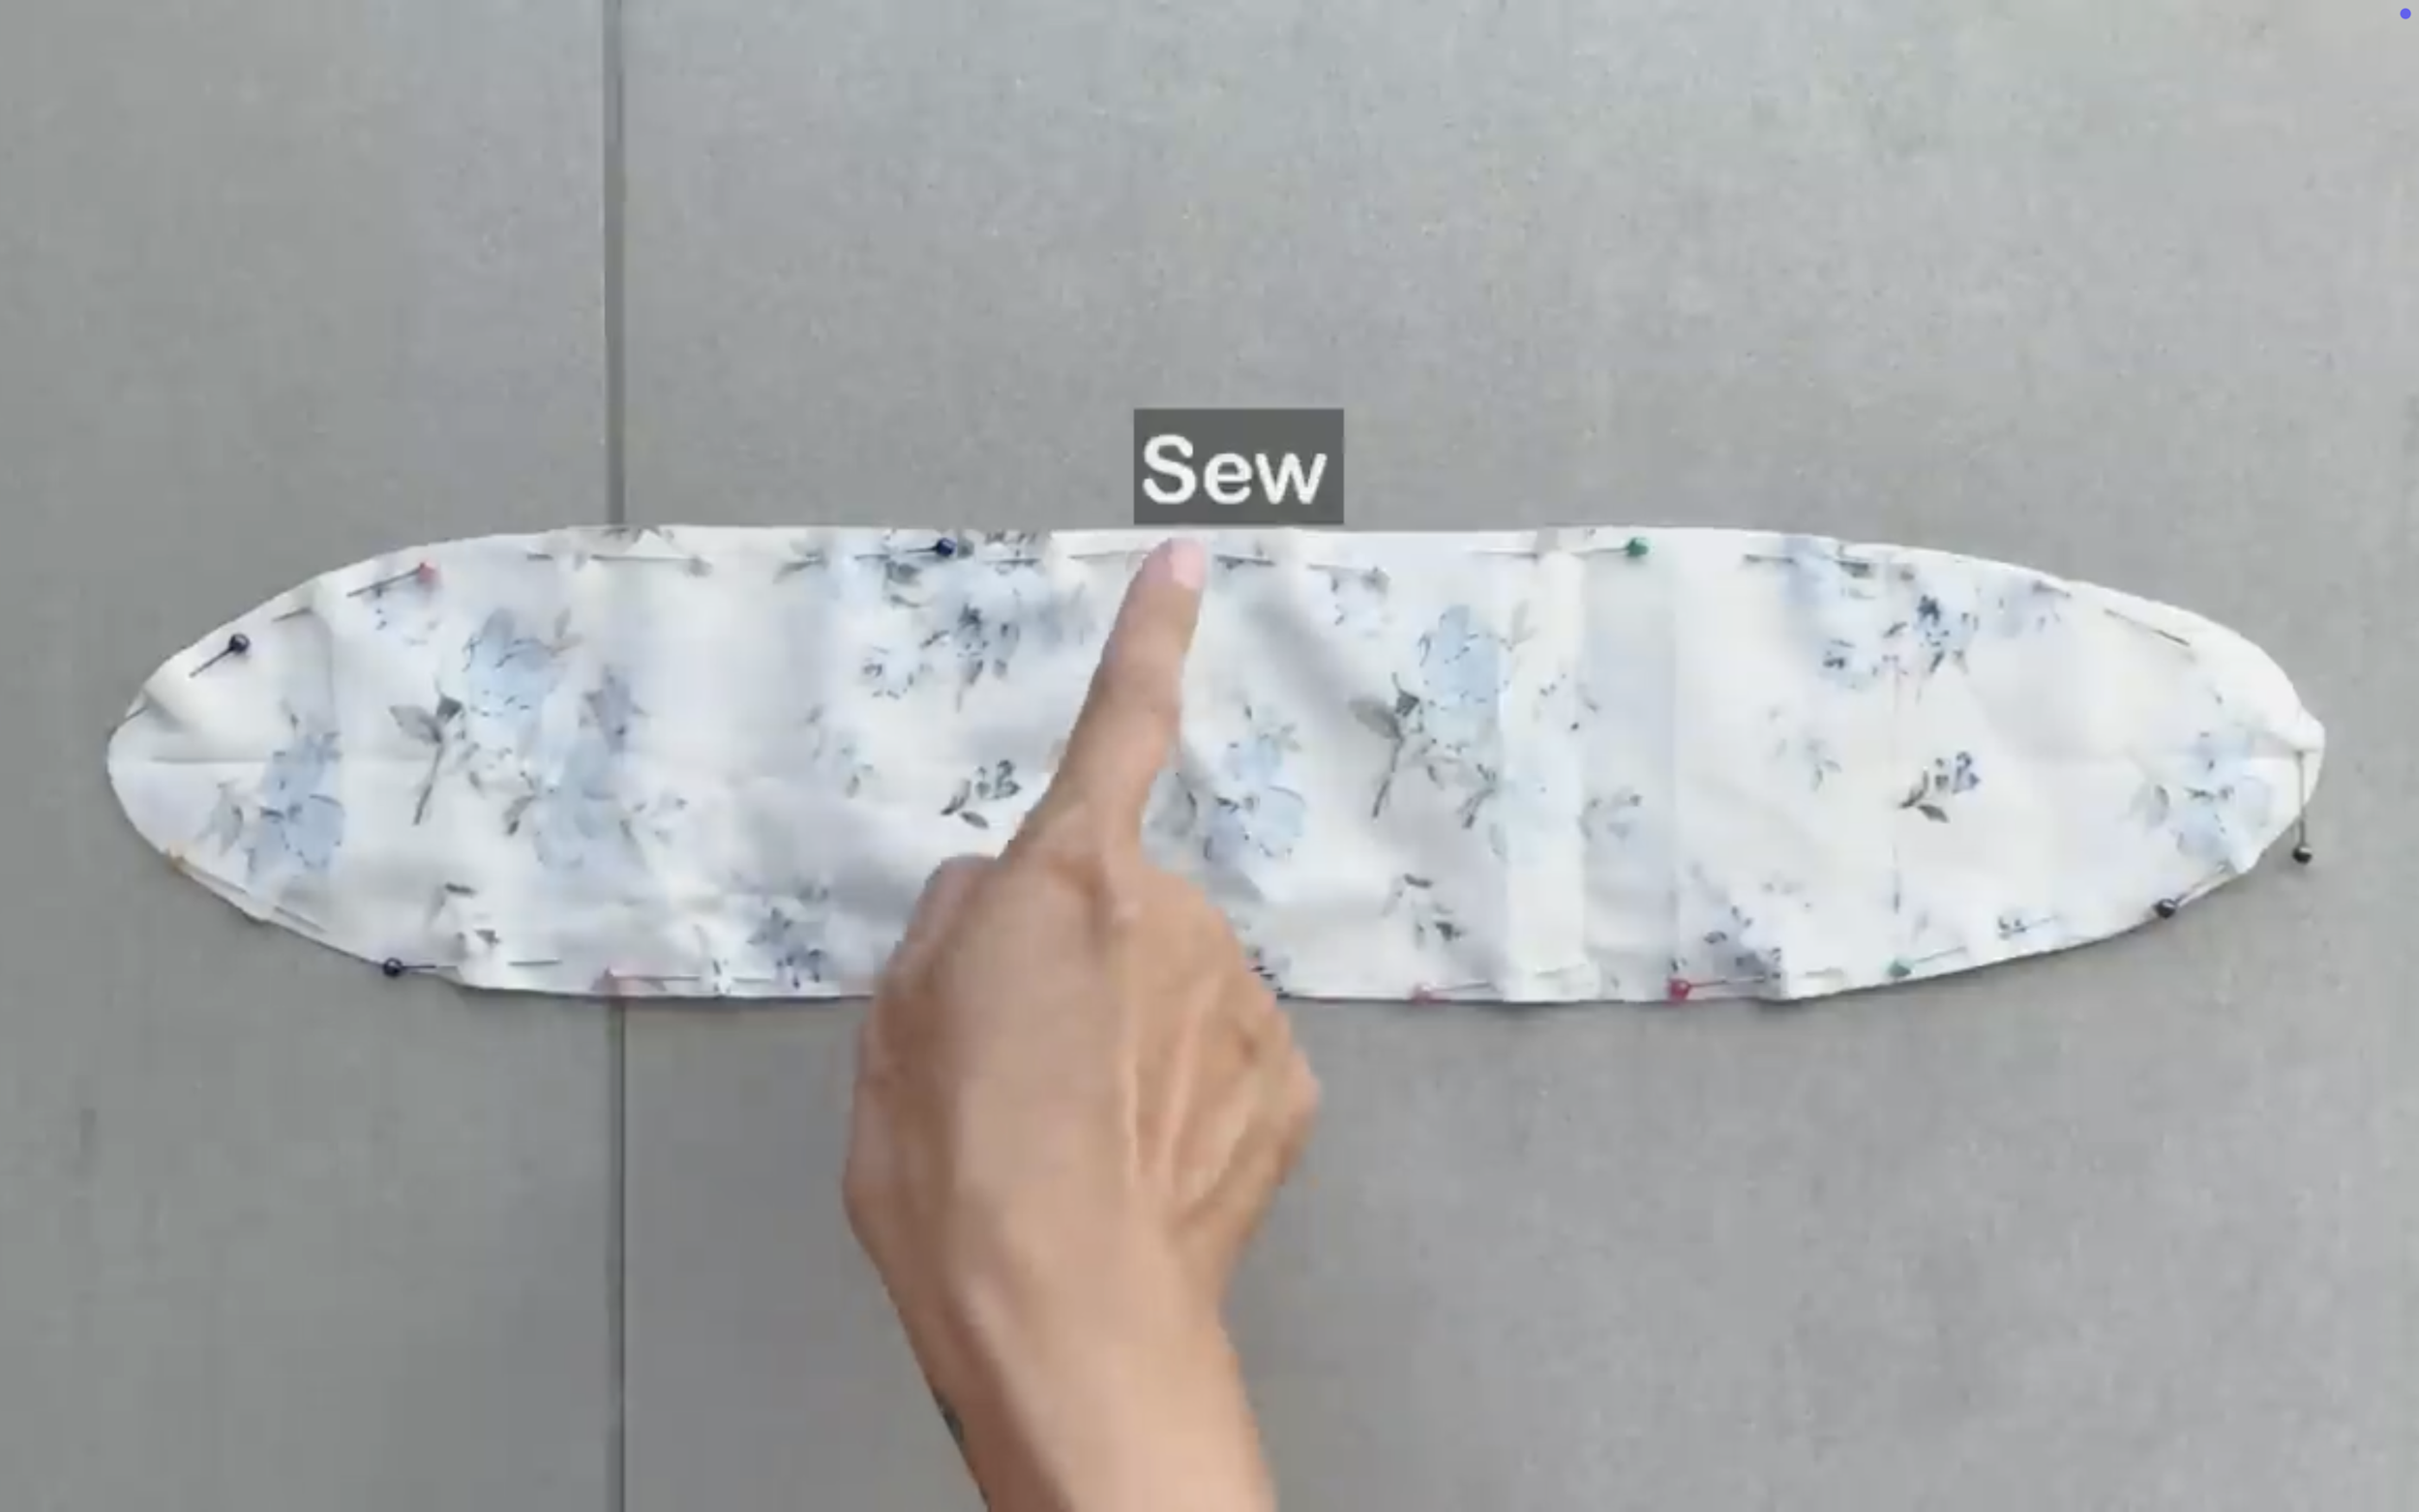
Draw a curved line at both sides of the rectangles to shape the tie, then cut.
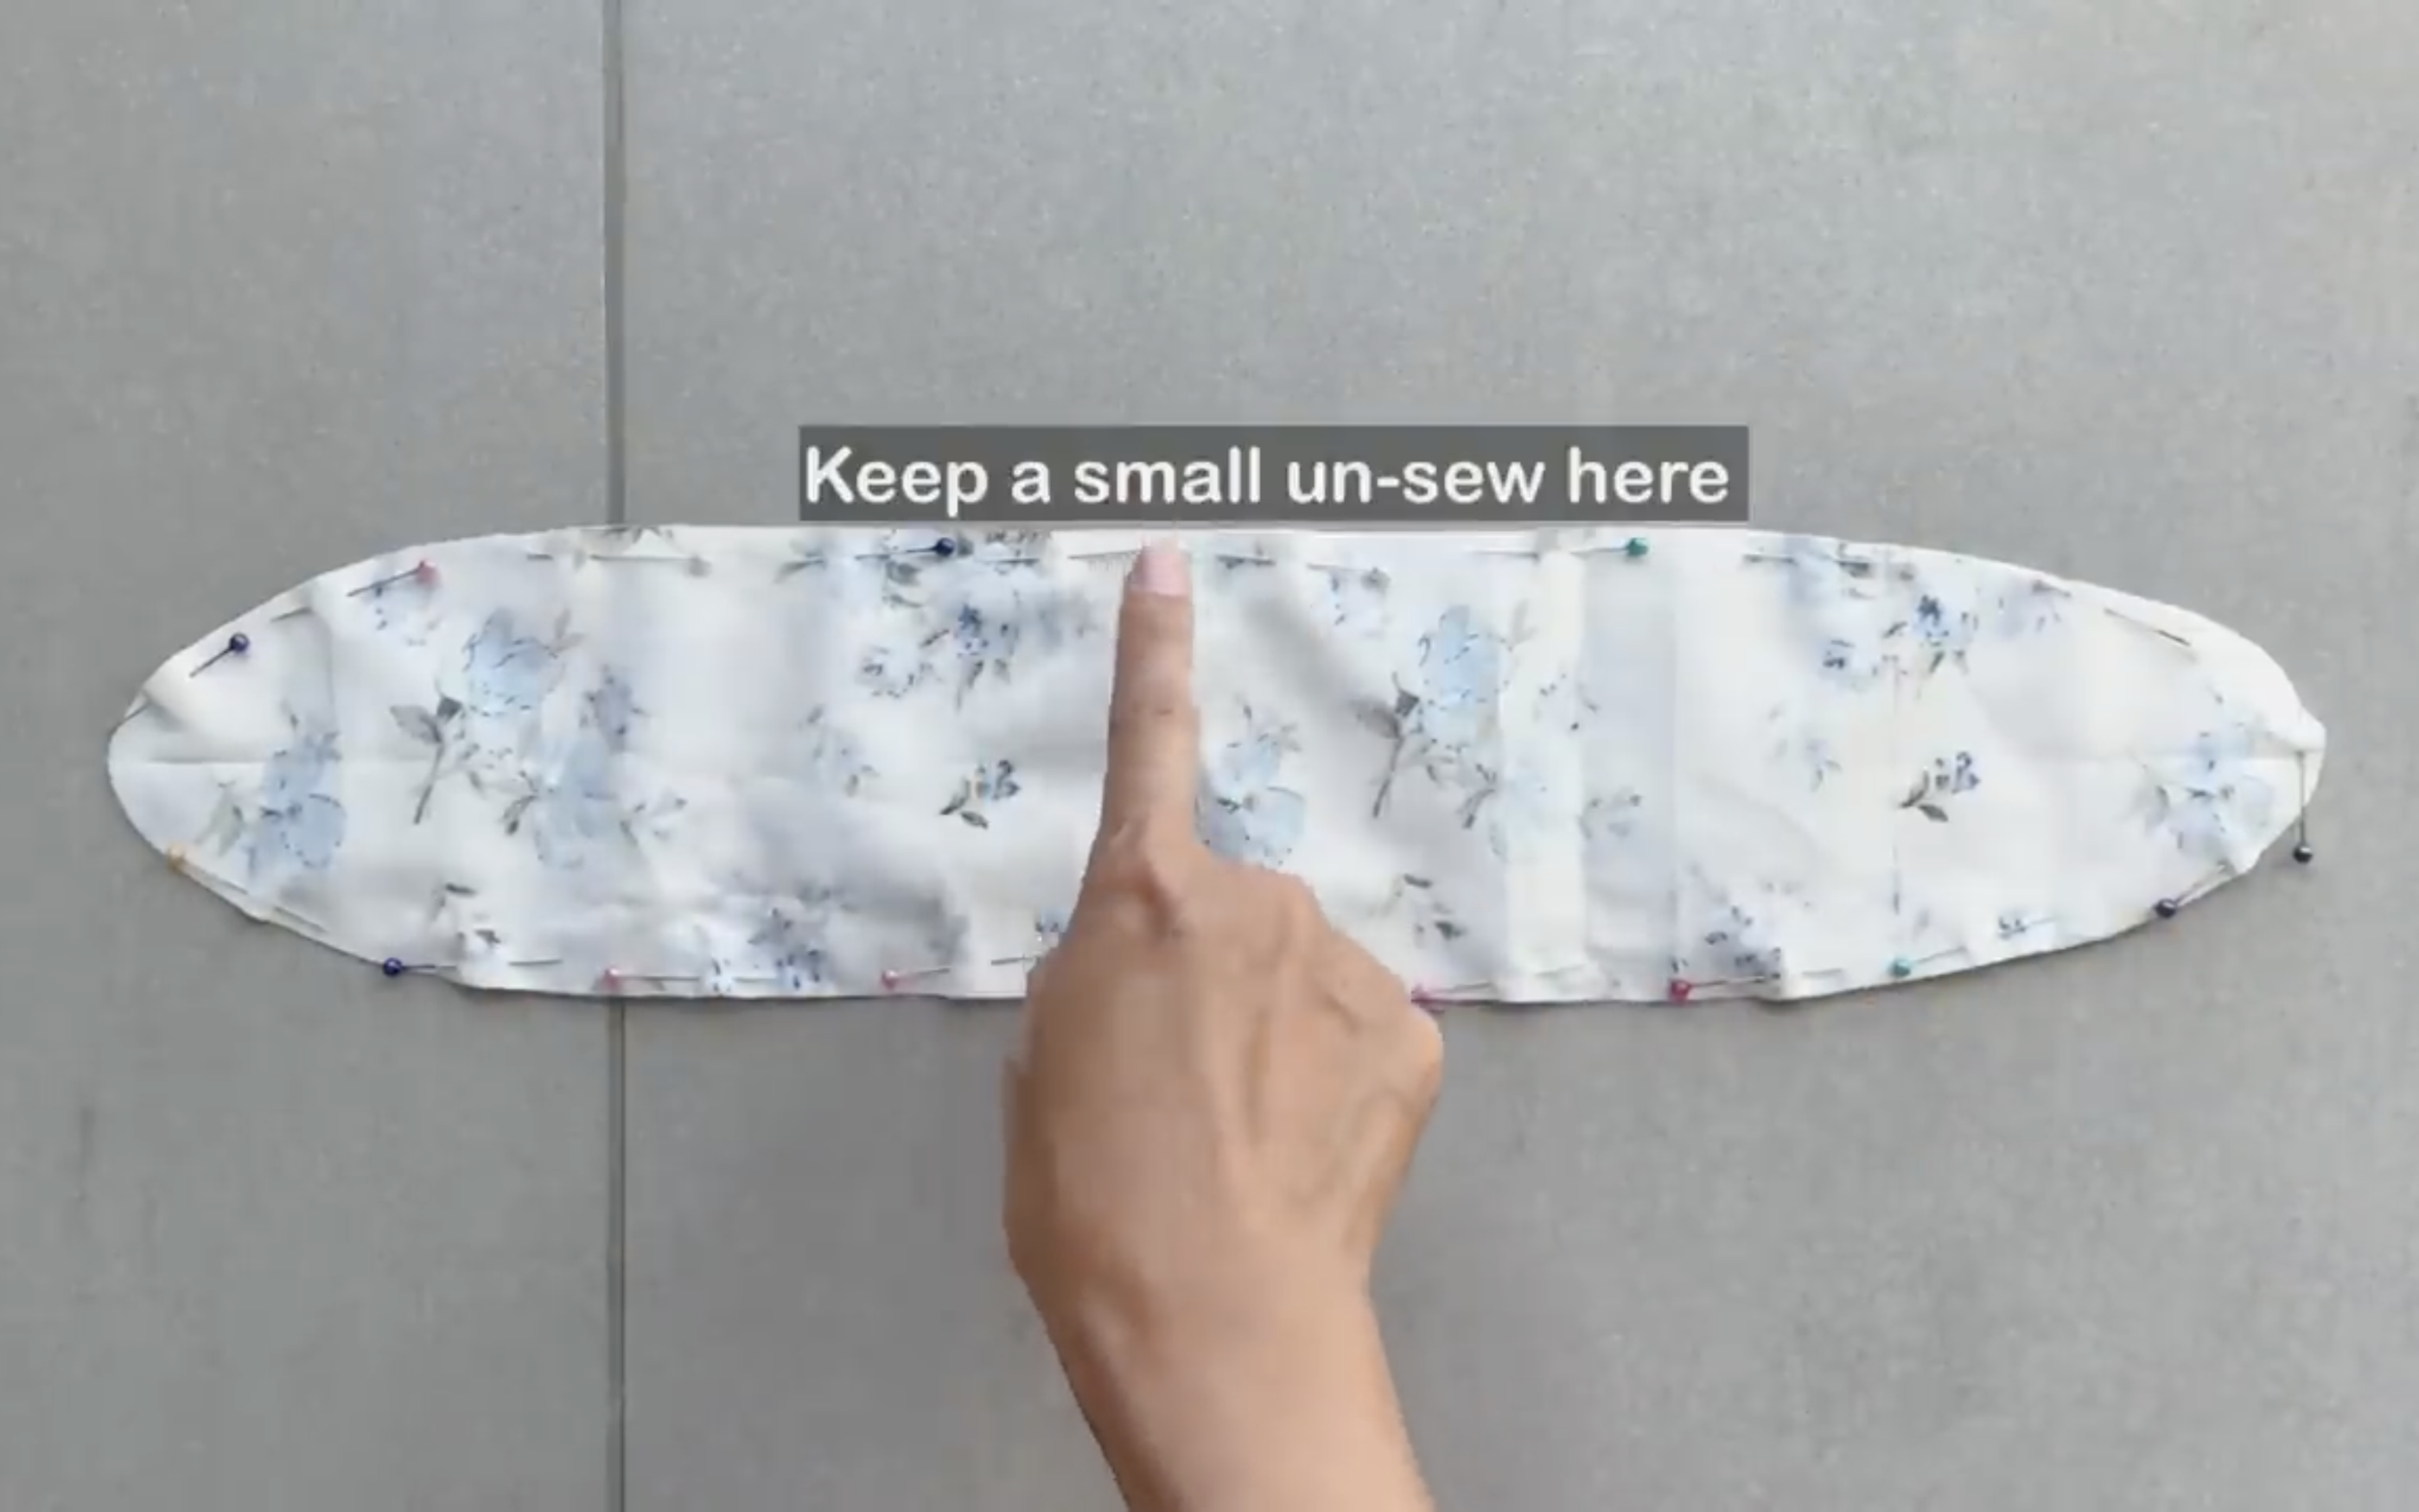
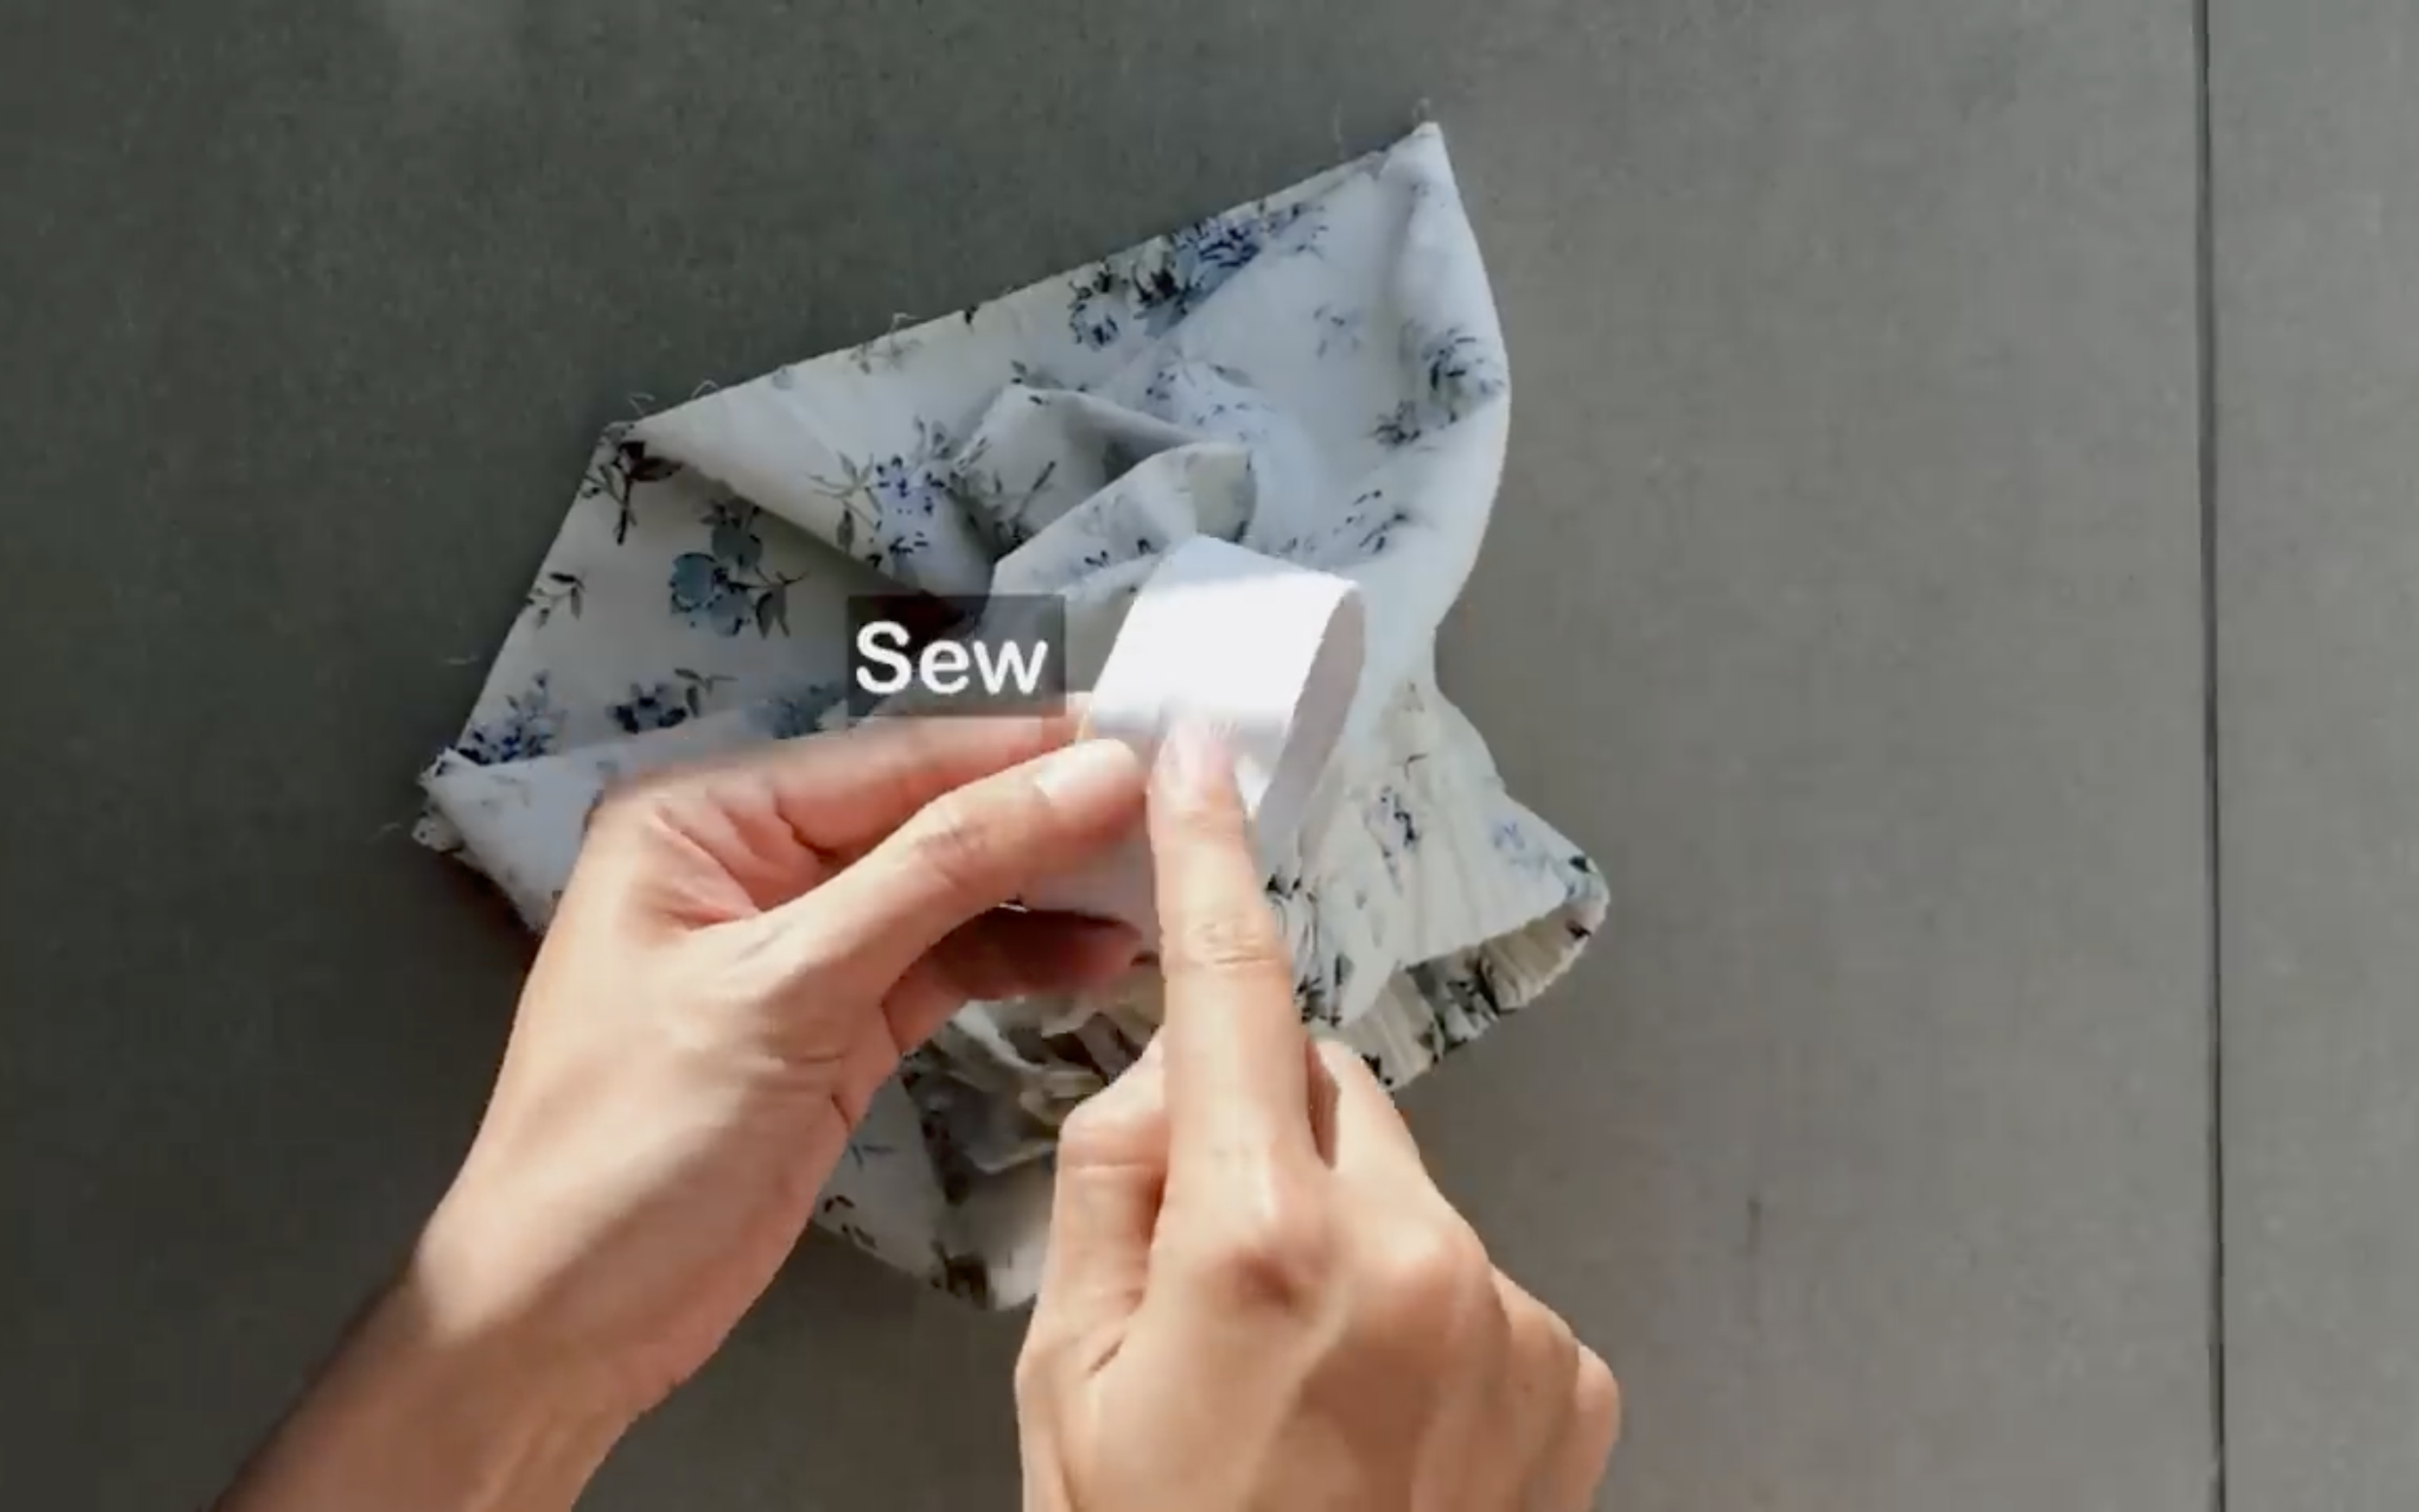
When sewing, leave a small unsewn space to turn the bow tie inside out later.
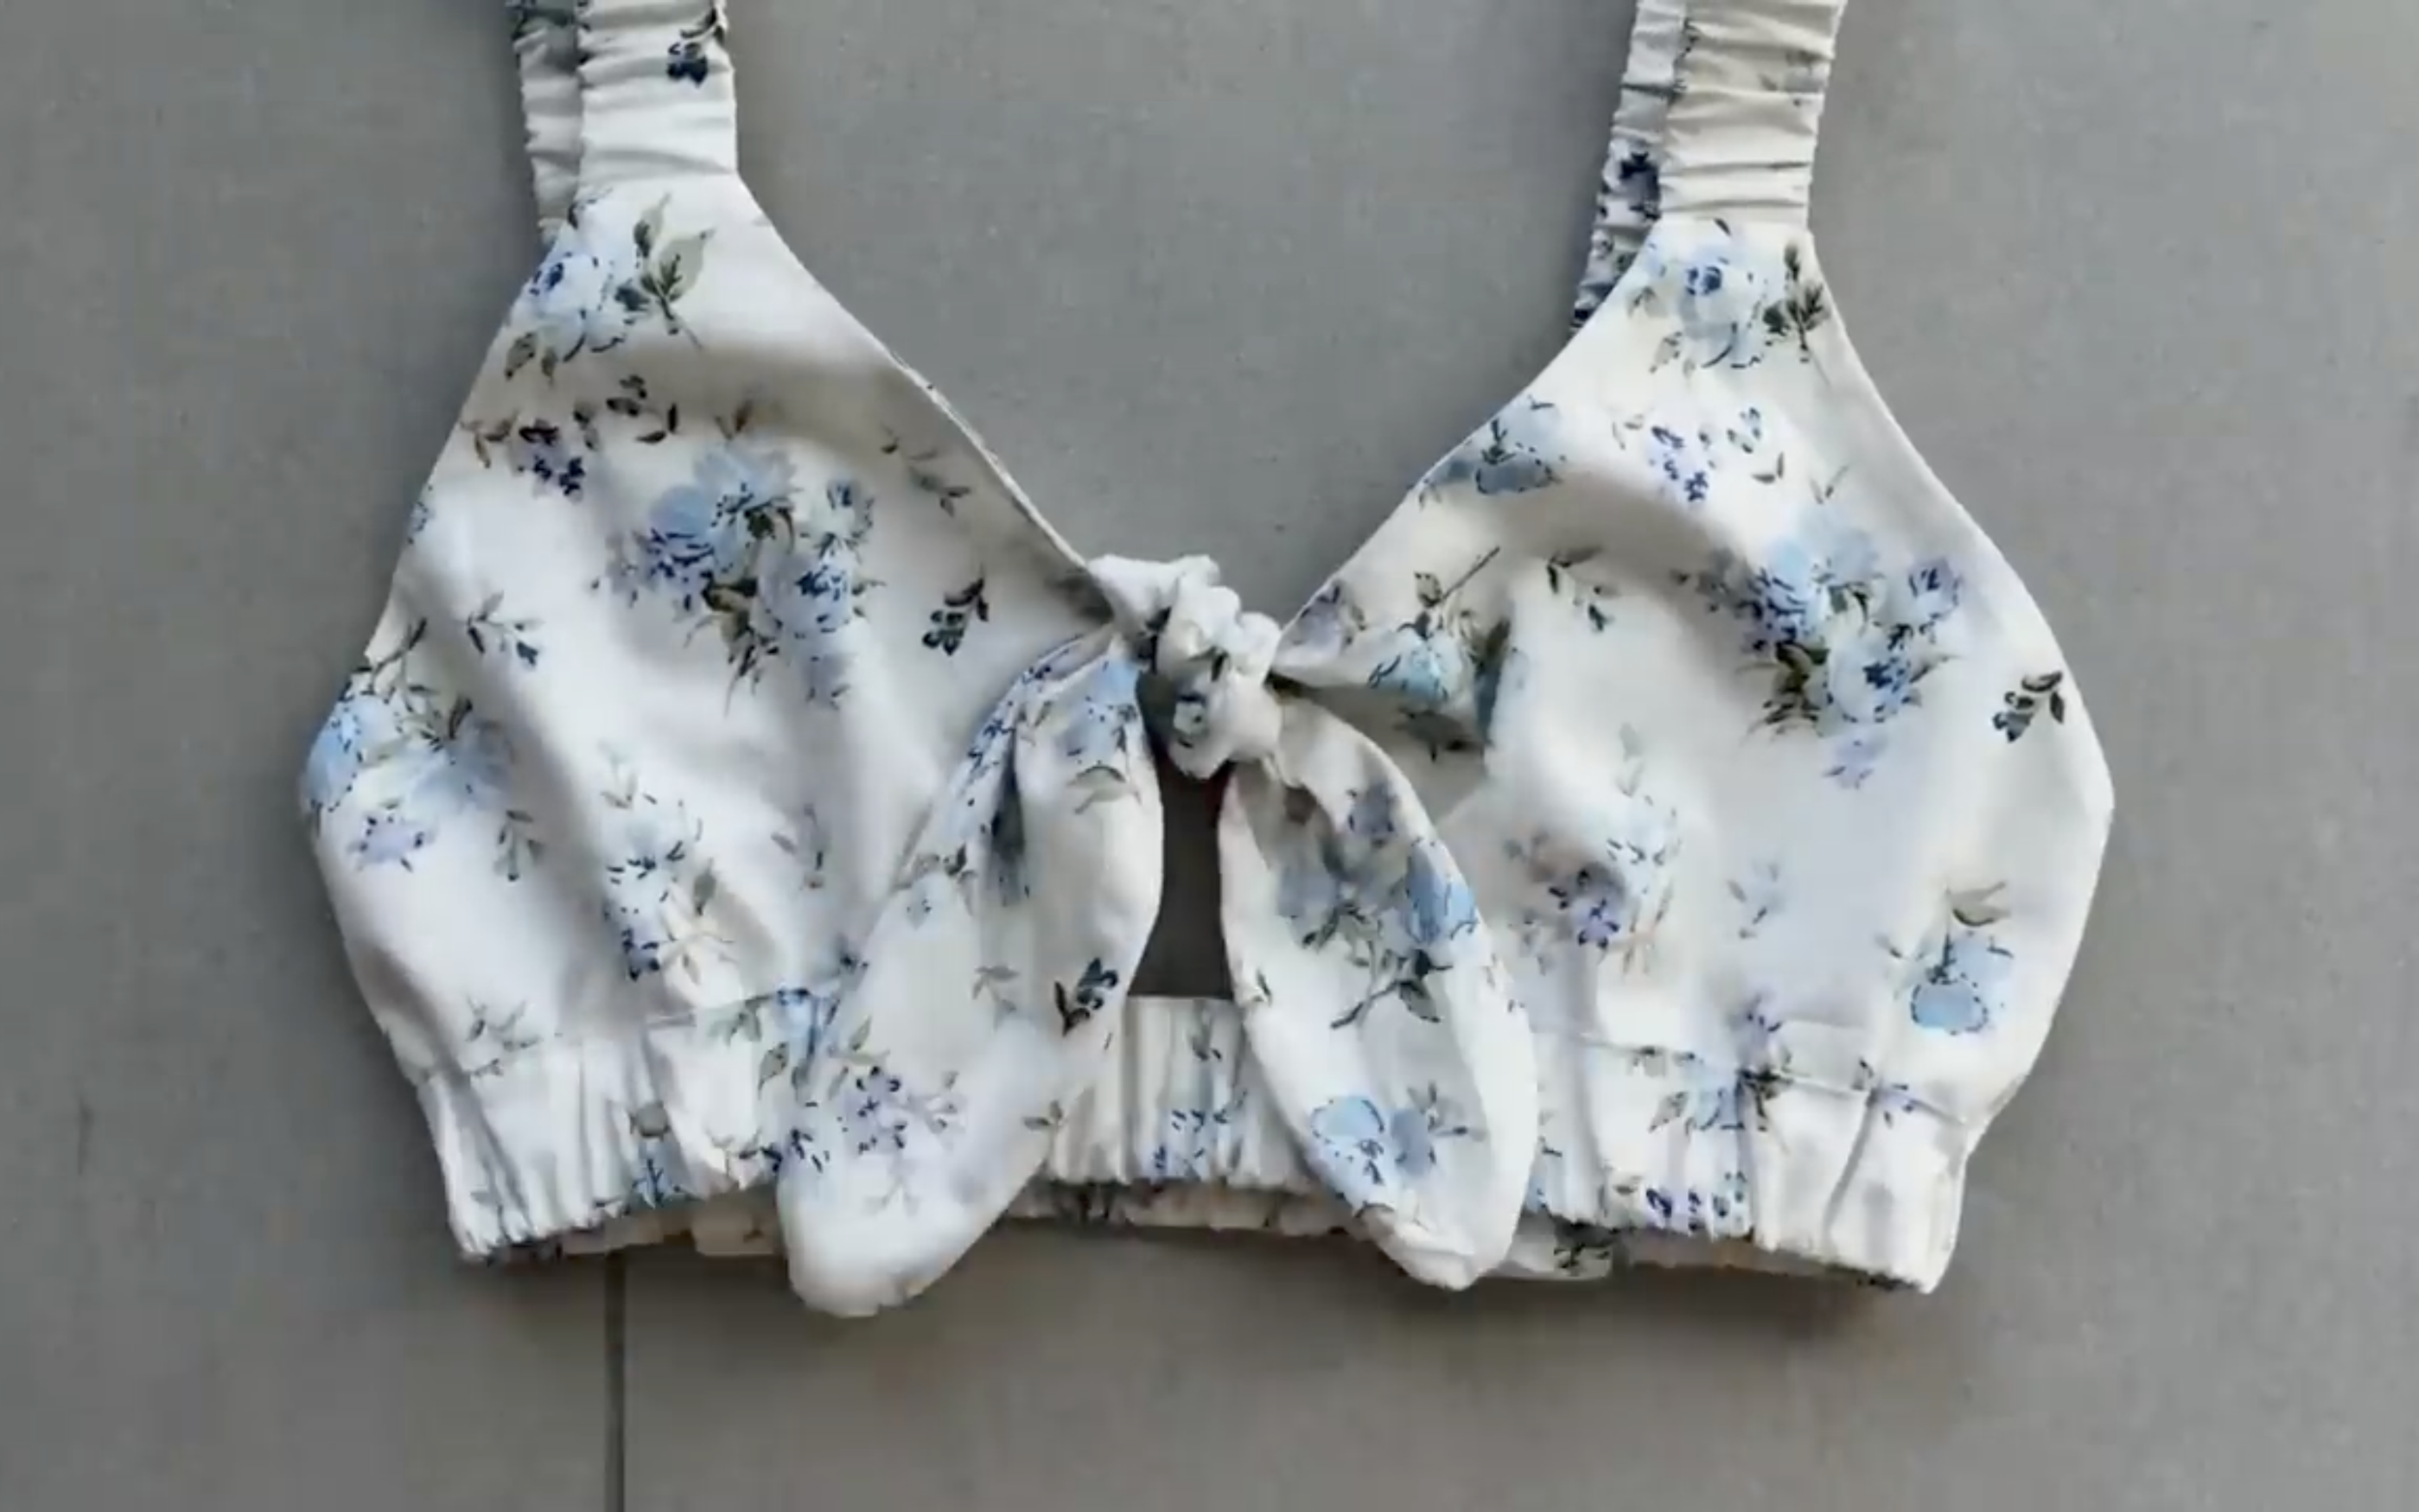
And here is the final crop top.
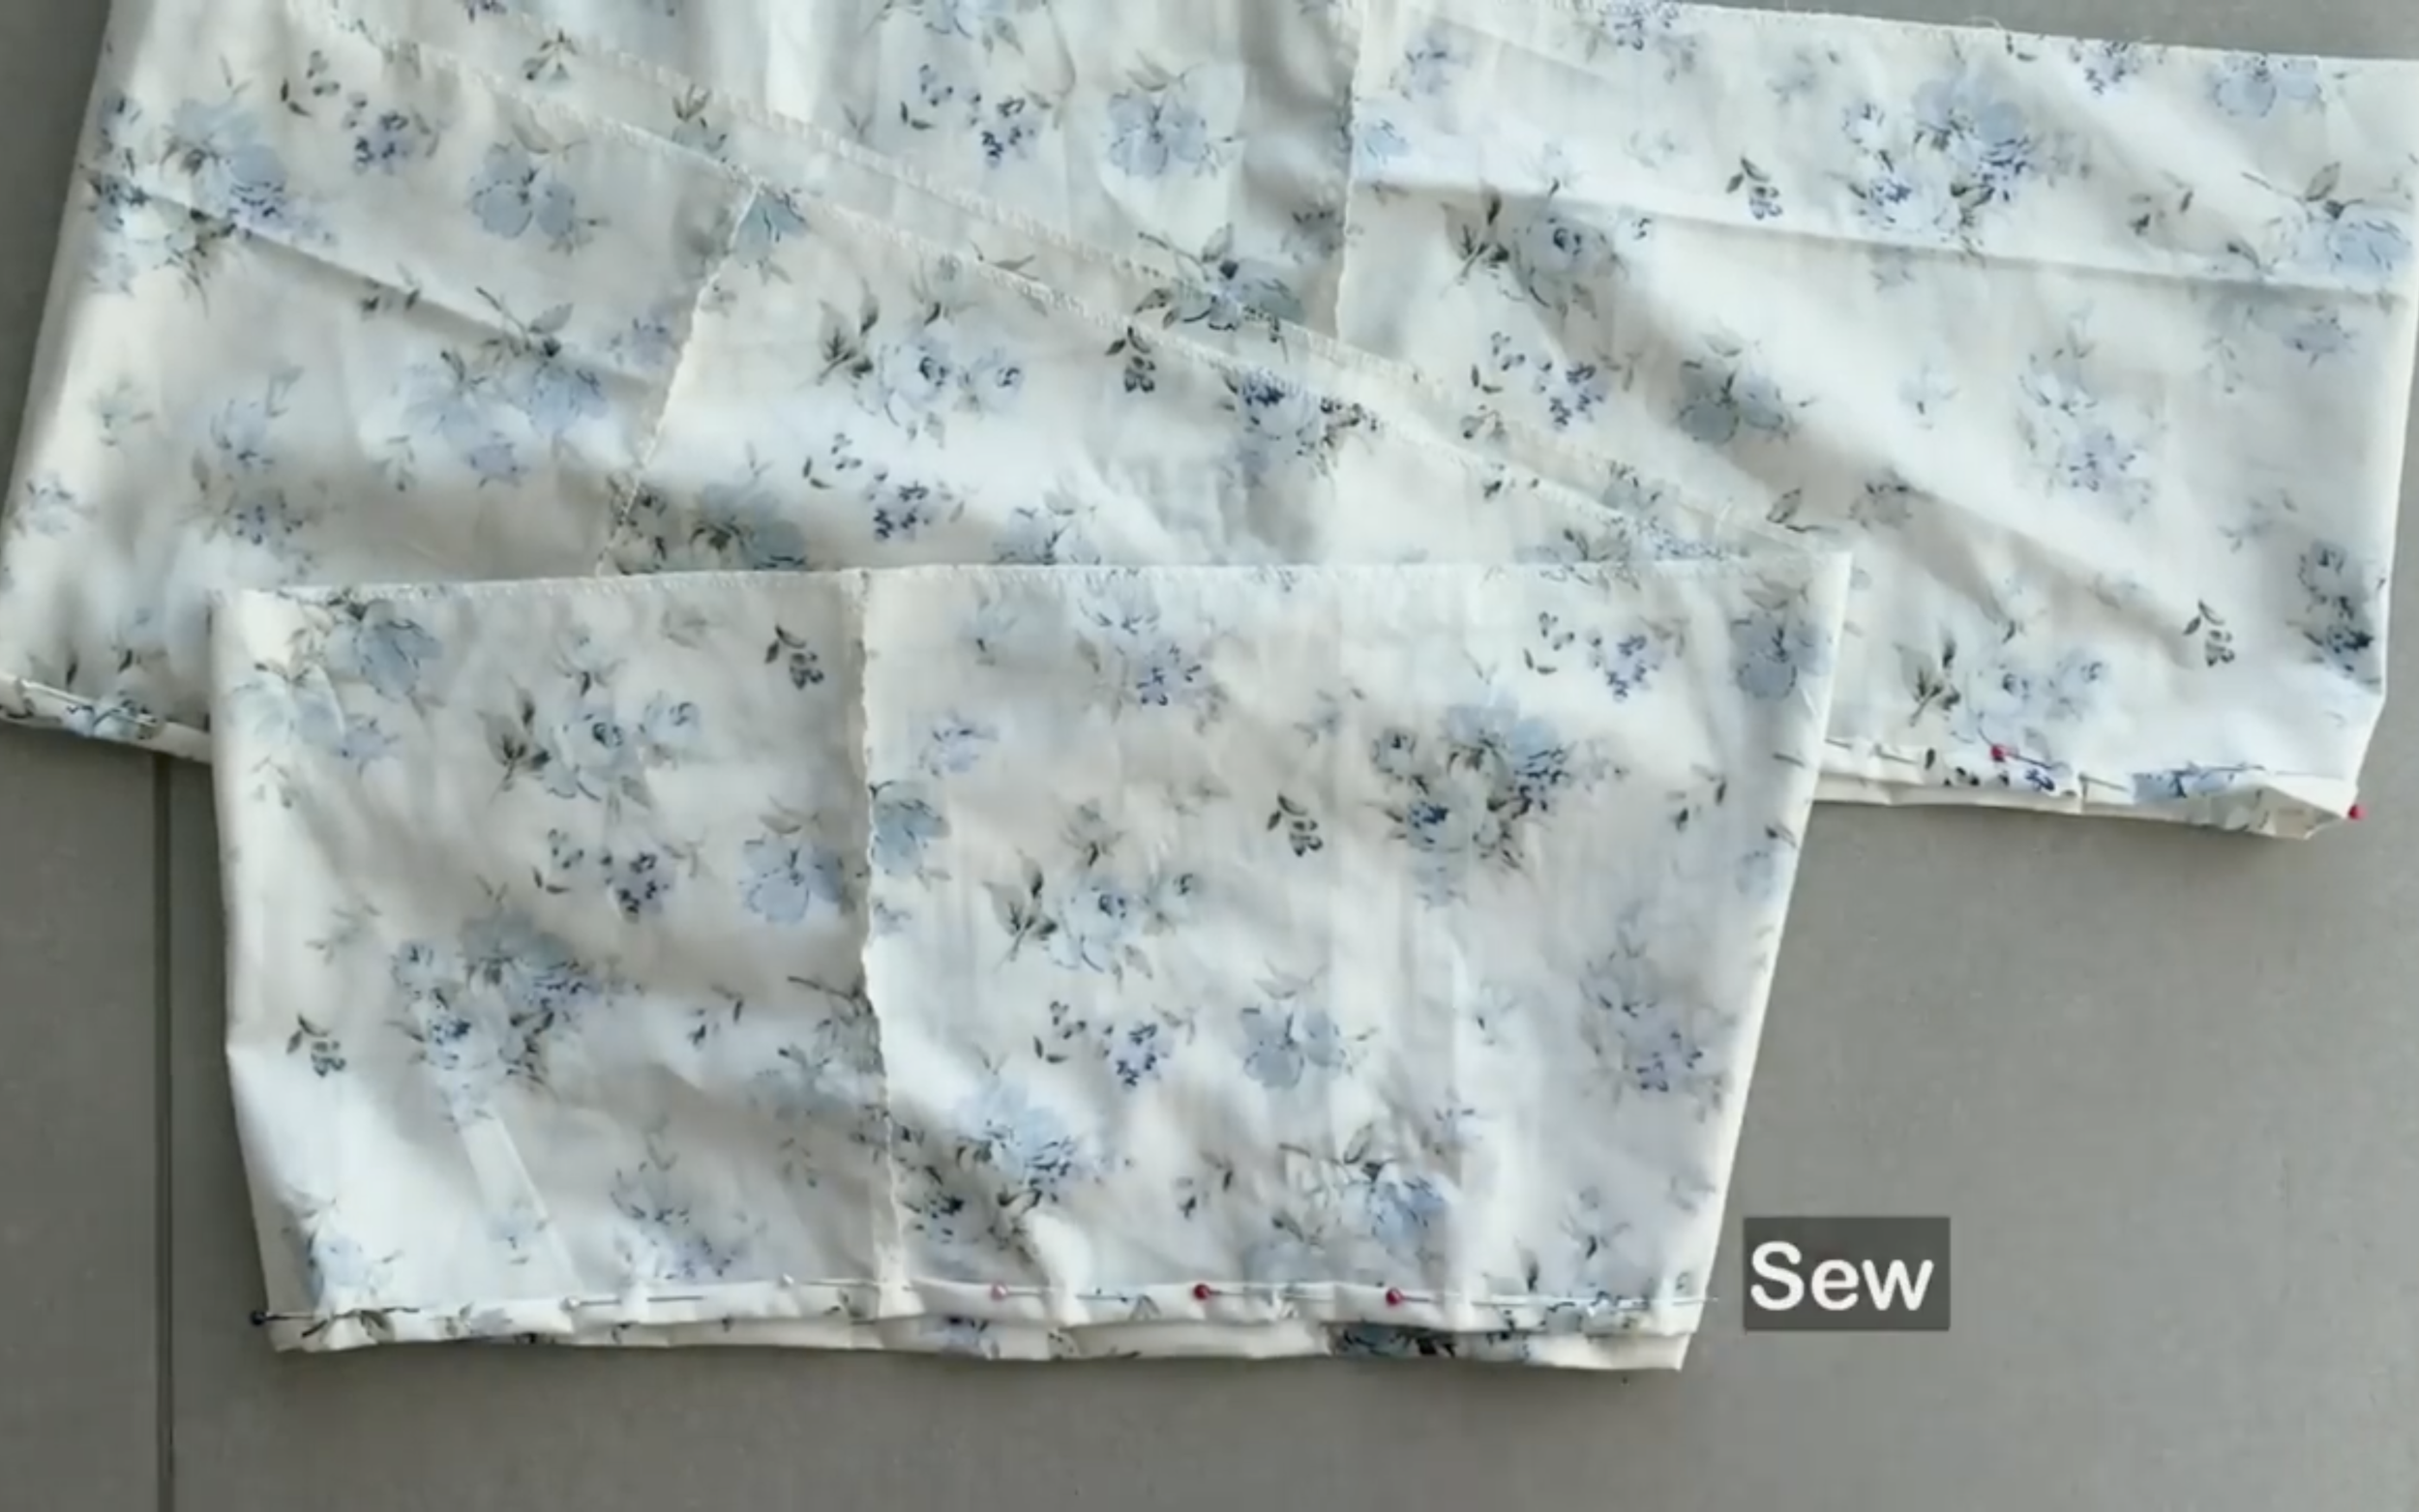
THE SKIRT

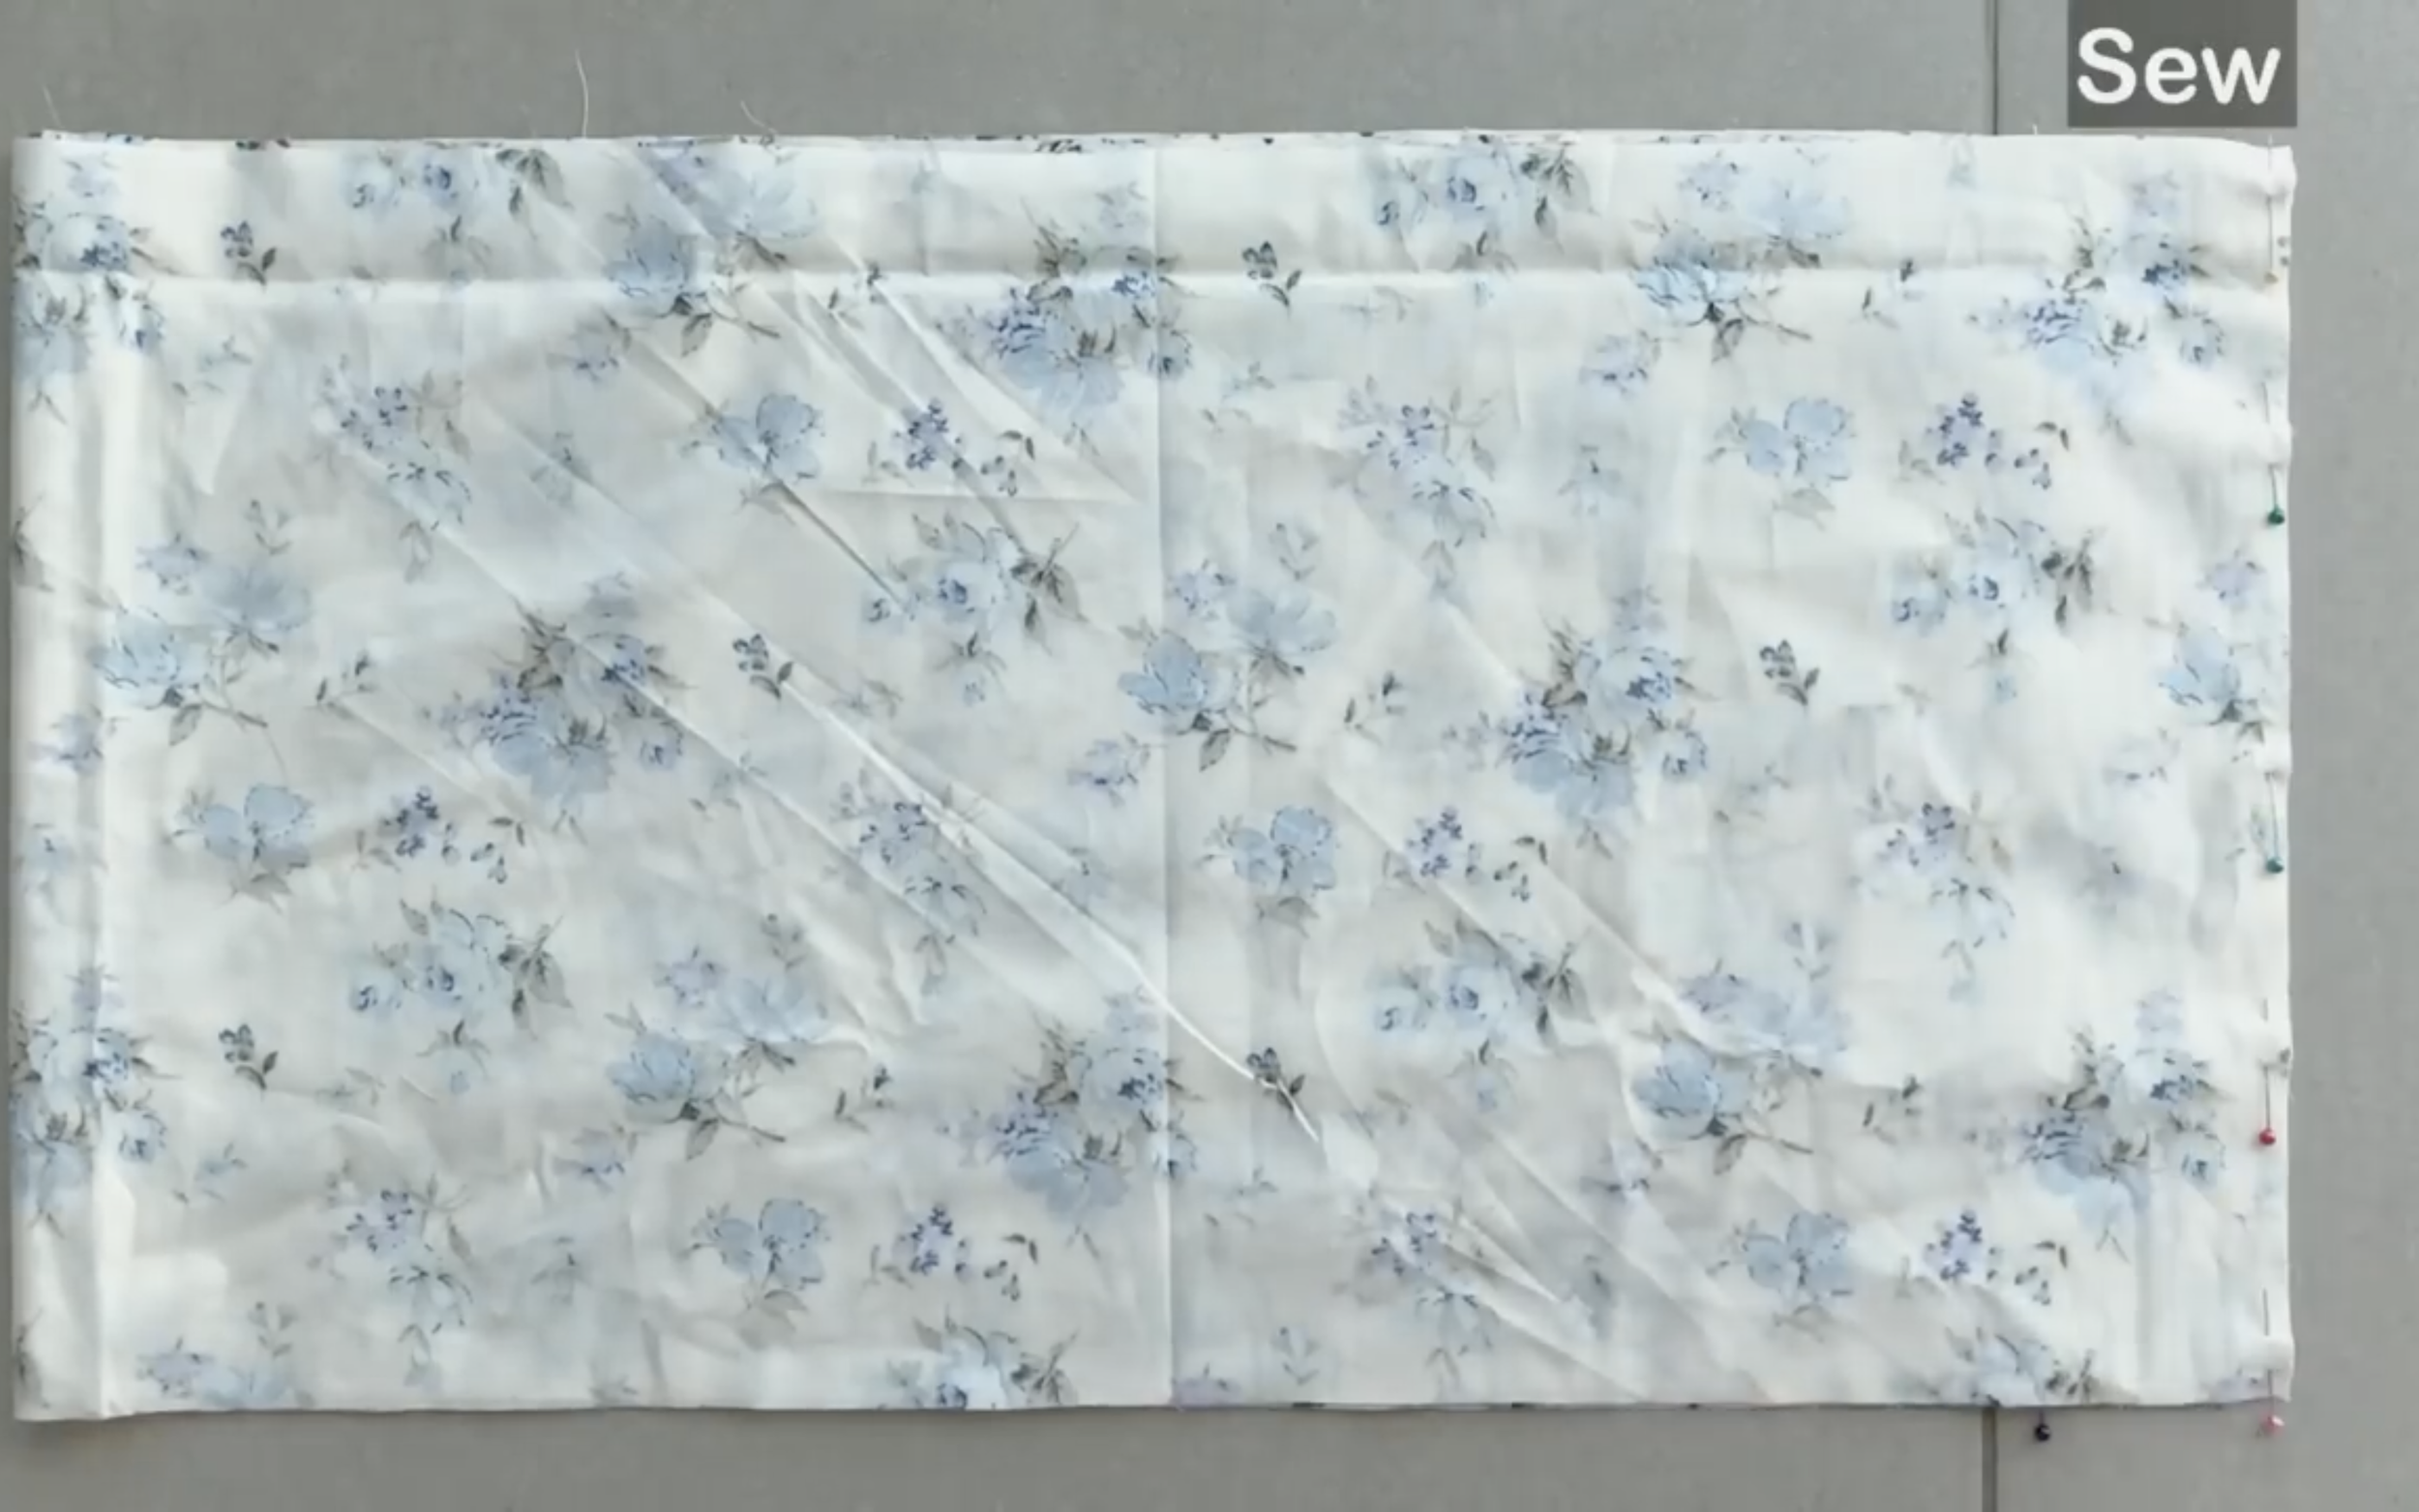
Cut four different rectangles—the total length of all four rectangles will be the desired skirt length plus seam allowance on both sides, plus the width of the elastic band.
The first tier is 35 cm in length and 110 cm in width, which is 1.2 times the hip size.
The second tier is 22 cm in length and 154 cm in width, which is 1.4 times the width of the third tier.
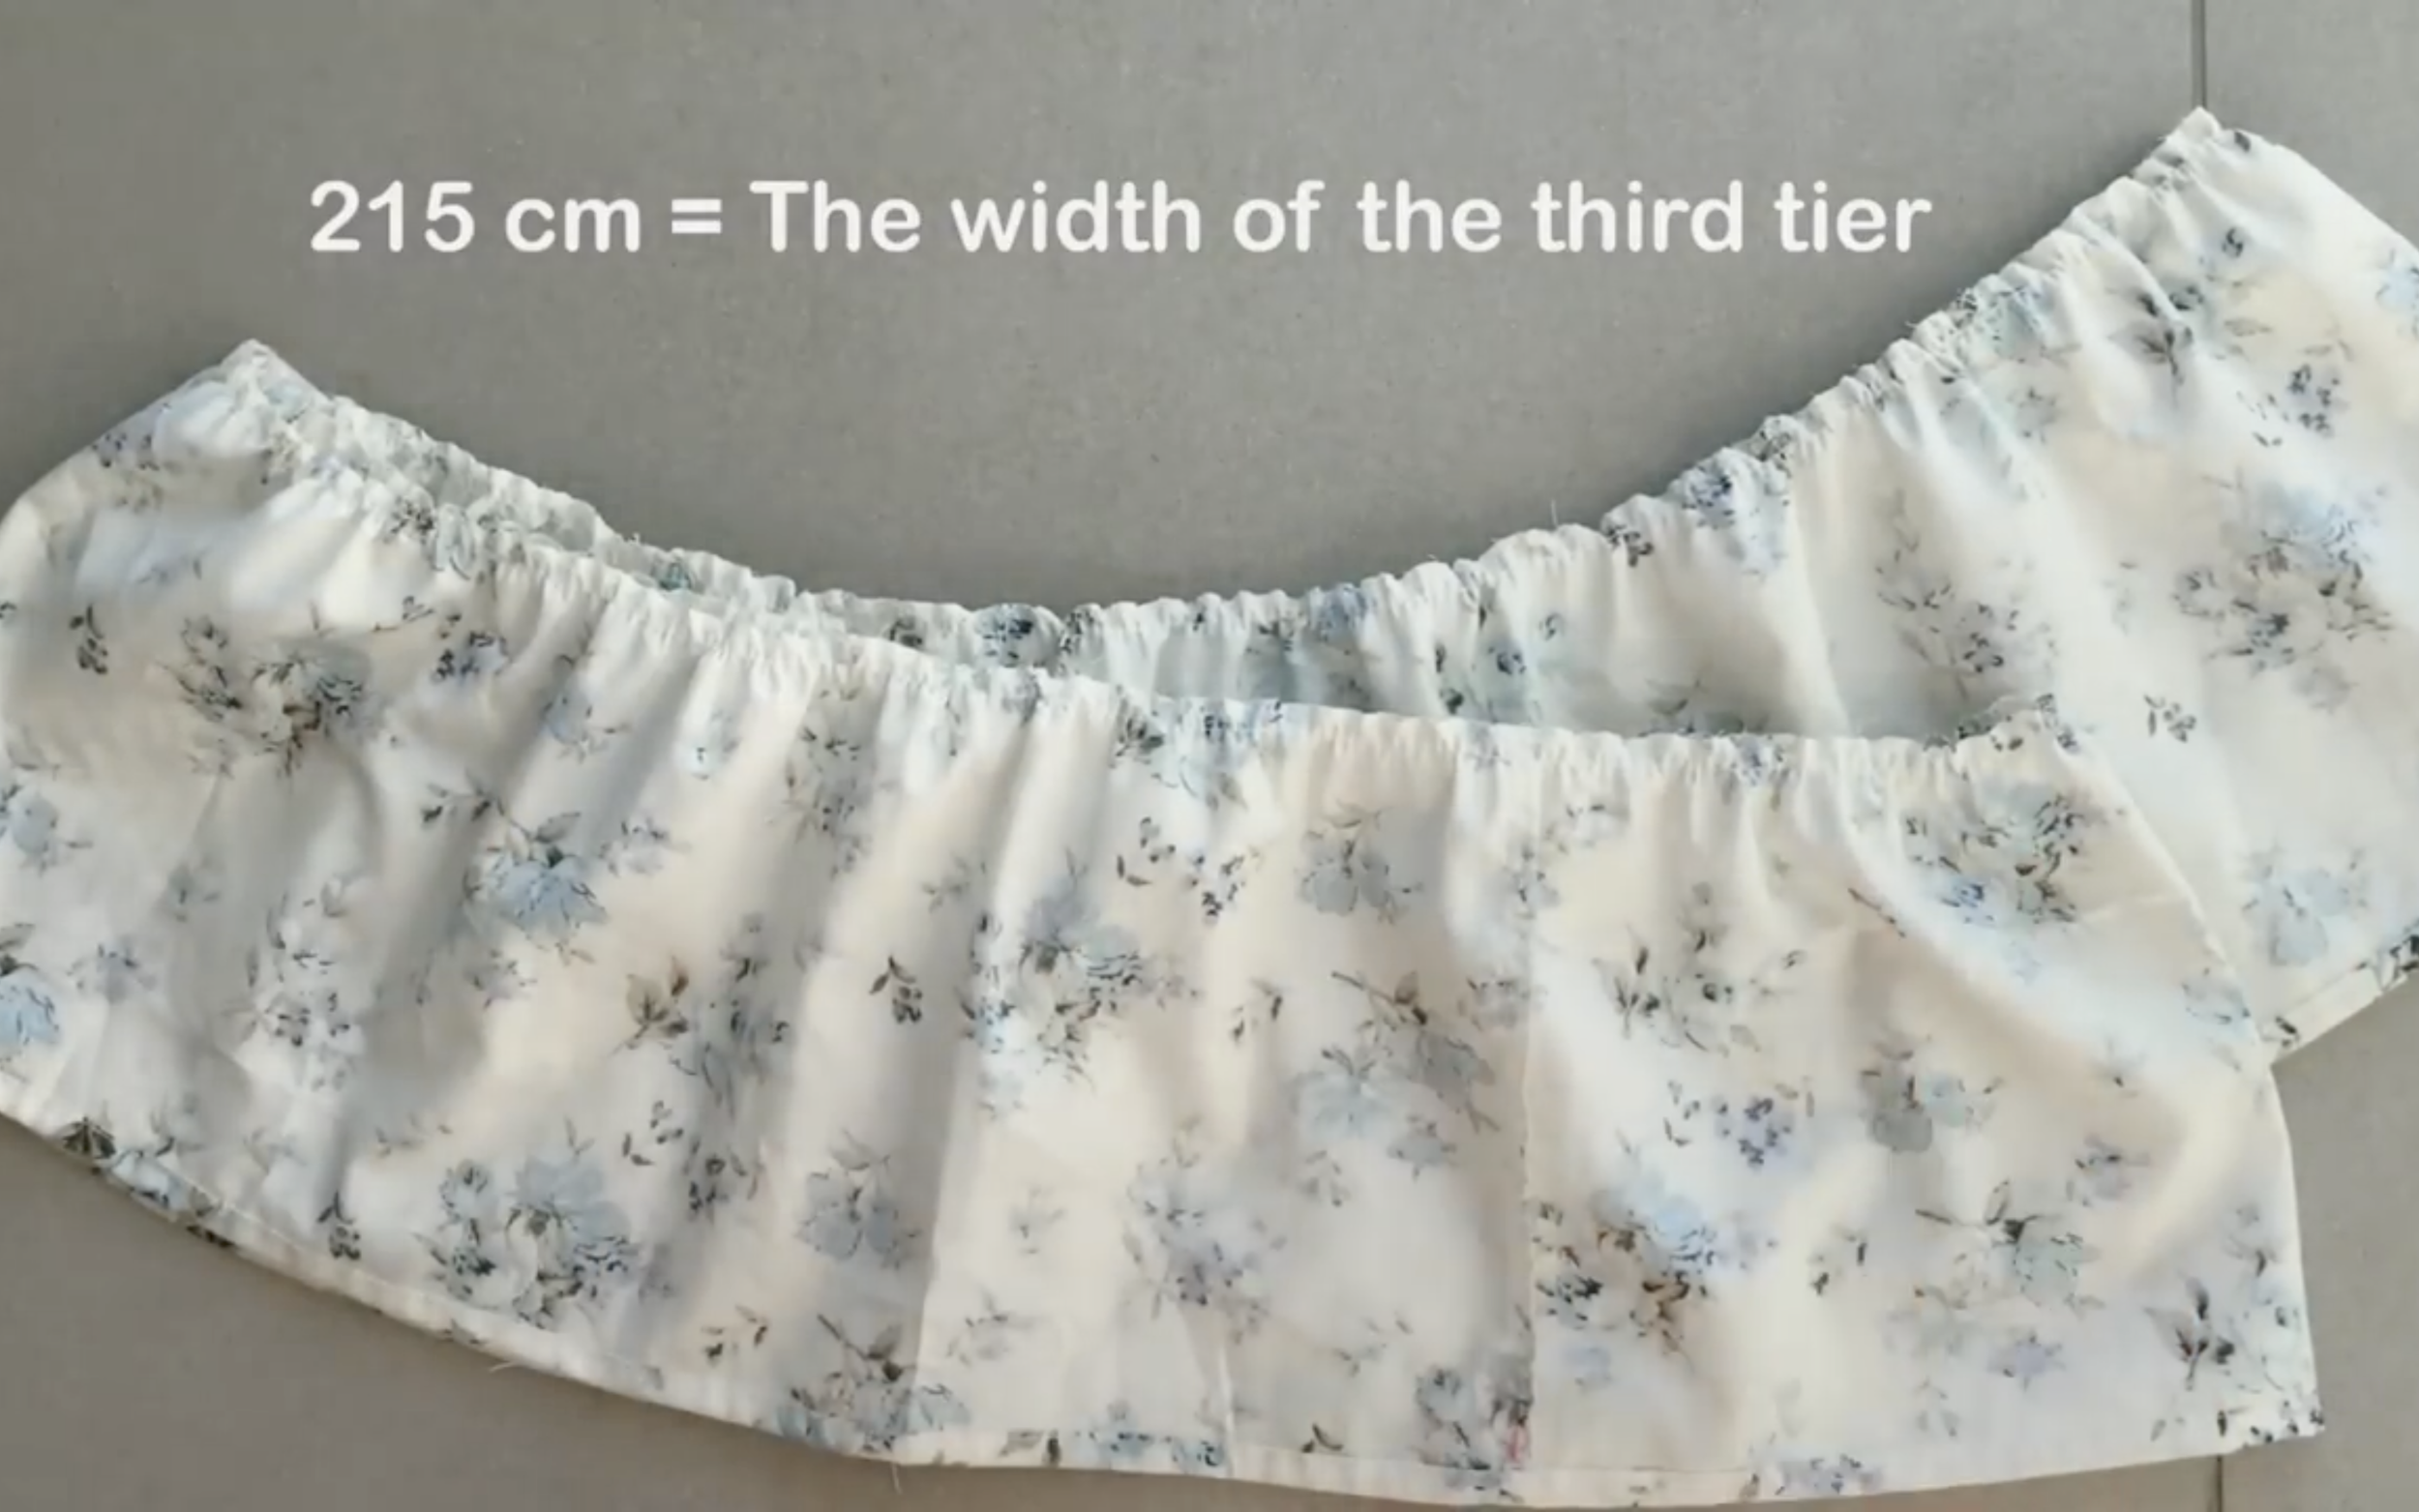
The third tier is 32 cm in length and 215 cm in width, which is 1.4 times the width of the second tier.
The last tier is 22 cm in length and 300 cm in width, which is 1.4 times the width of the third tier.
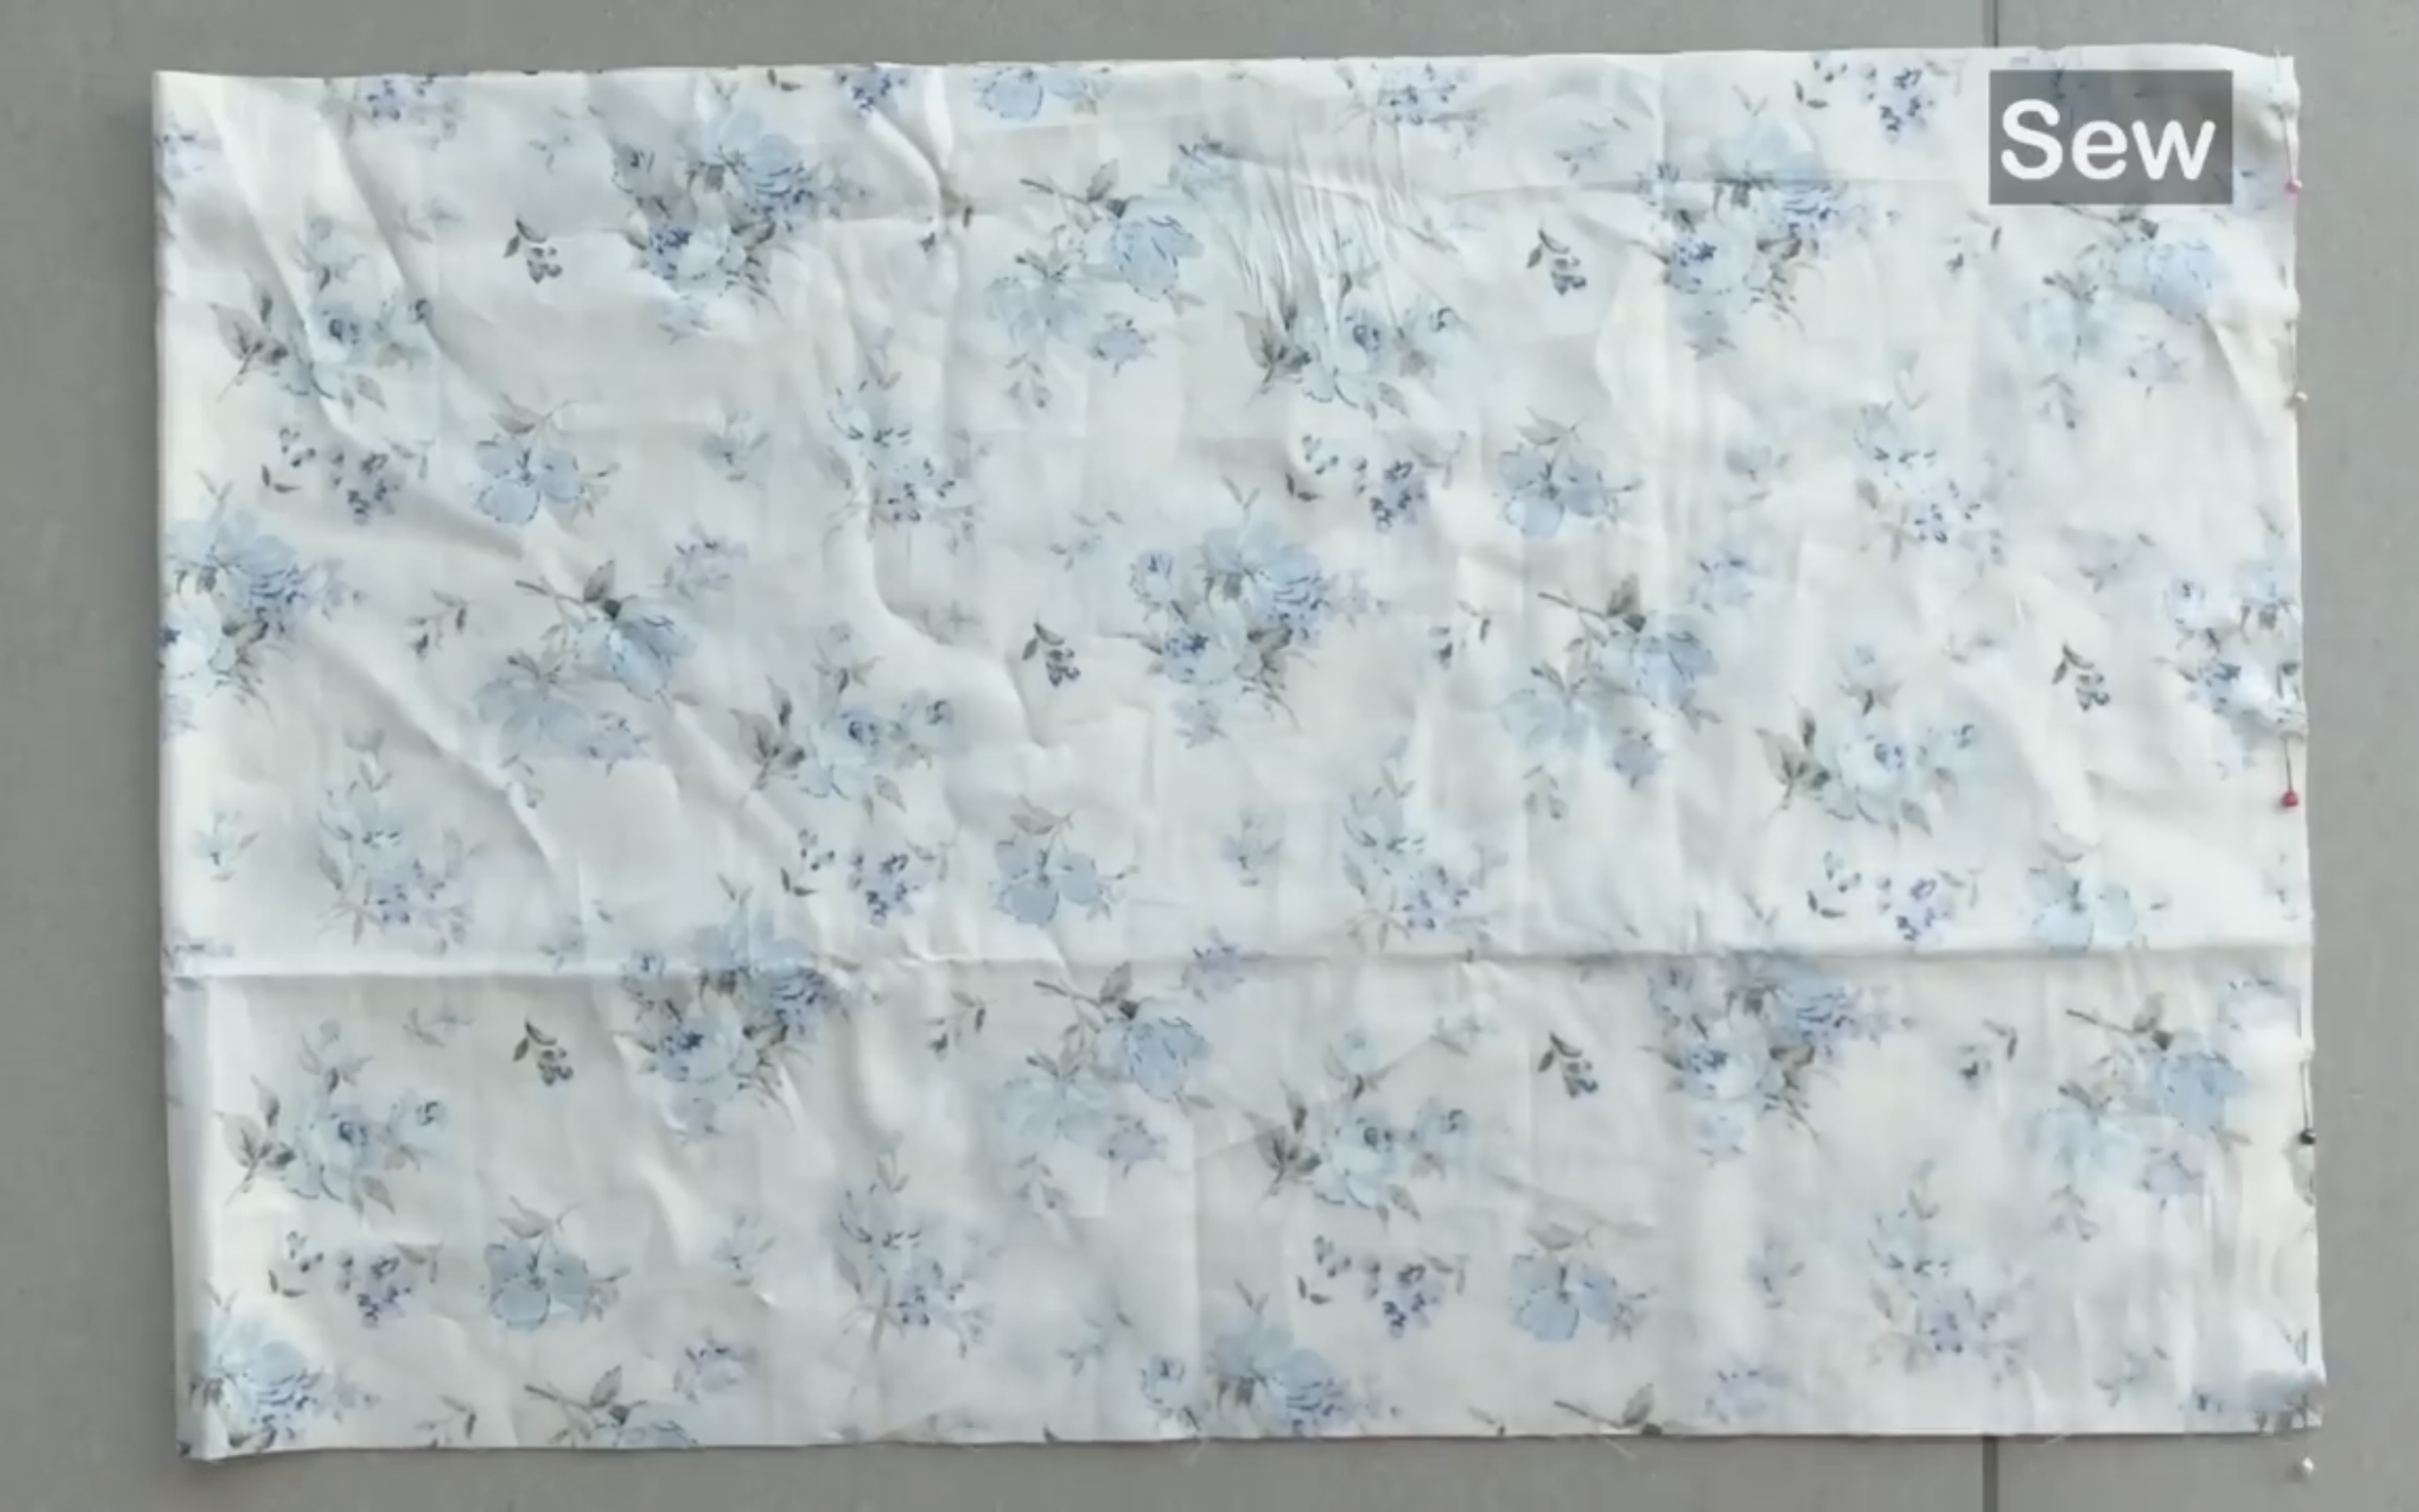
On the last tier, connect the two length lines together to create a circular fabric piece first.
Then, fold one width line inward twice by 1 cm each time and sew to finish the bottom edge of the skirt.
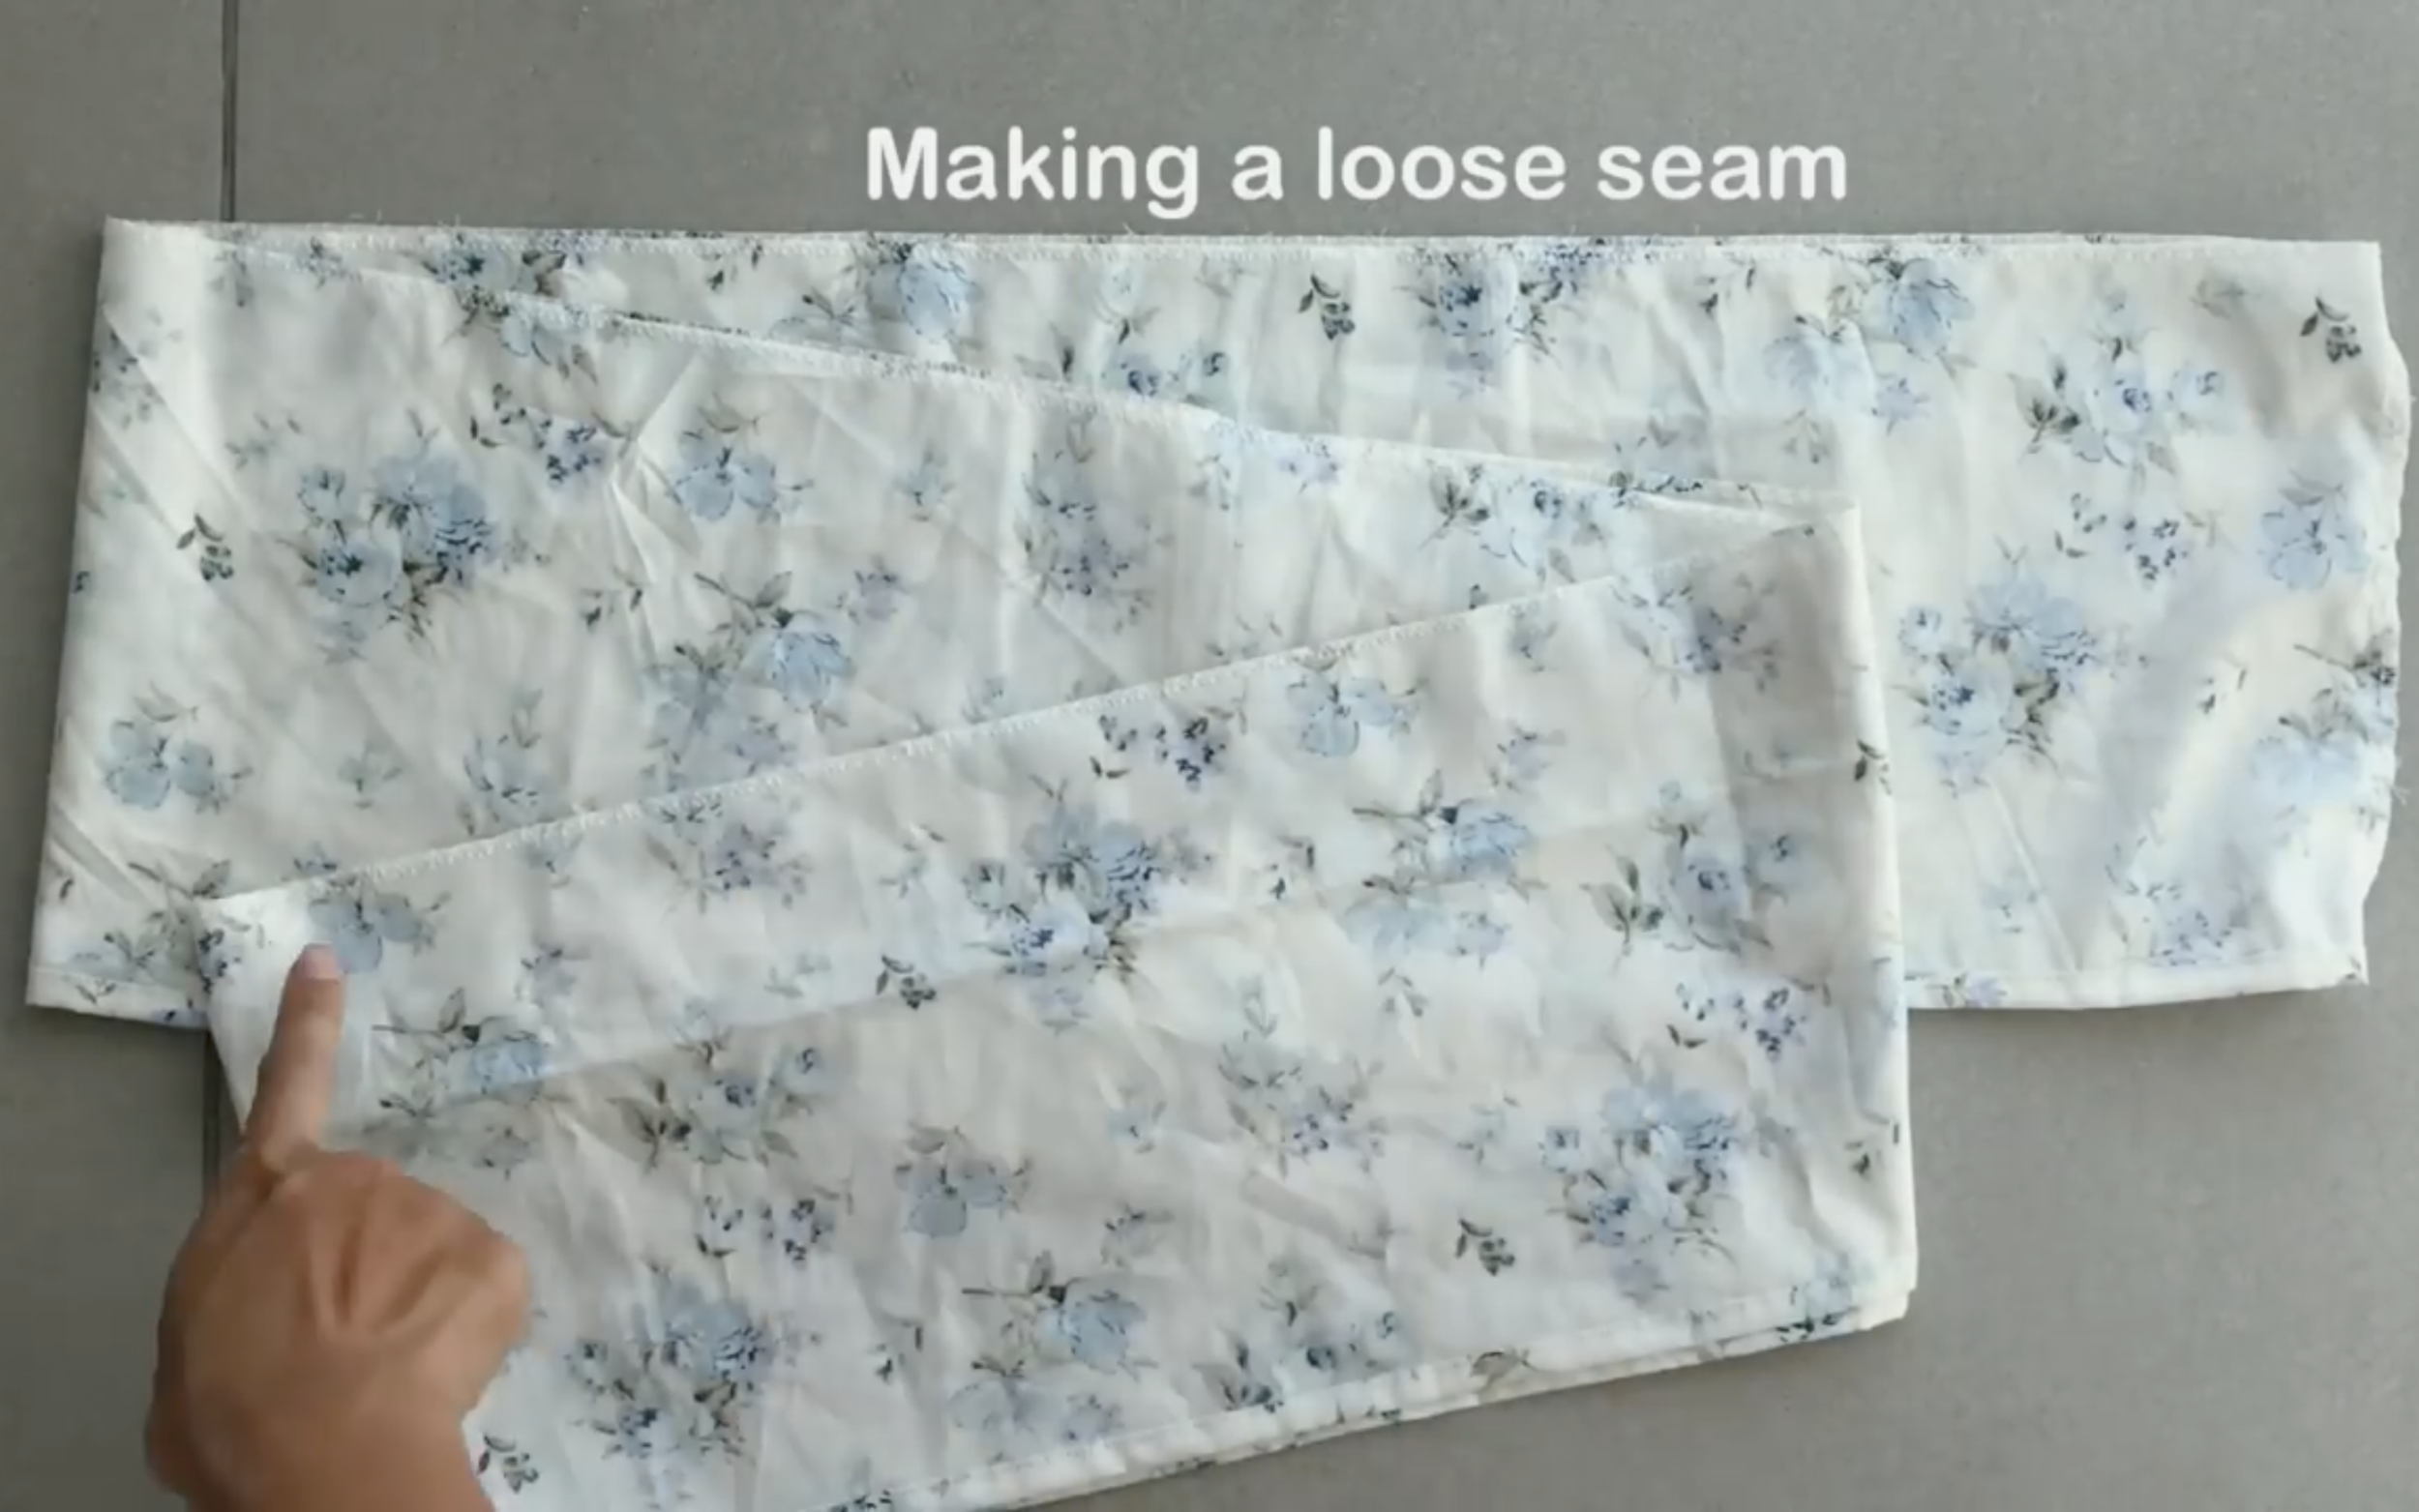
On the other width line, make a loose seam first, then create a gathered effect later.
The final width of the gathered fabric will be 215 cm, matching the width of the third tier.
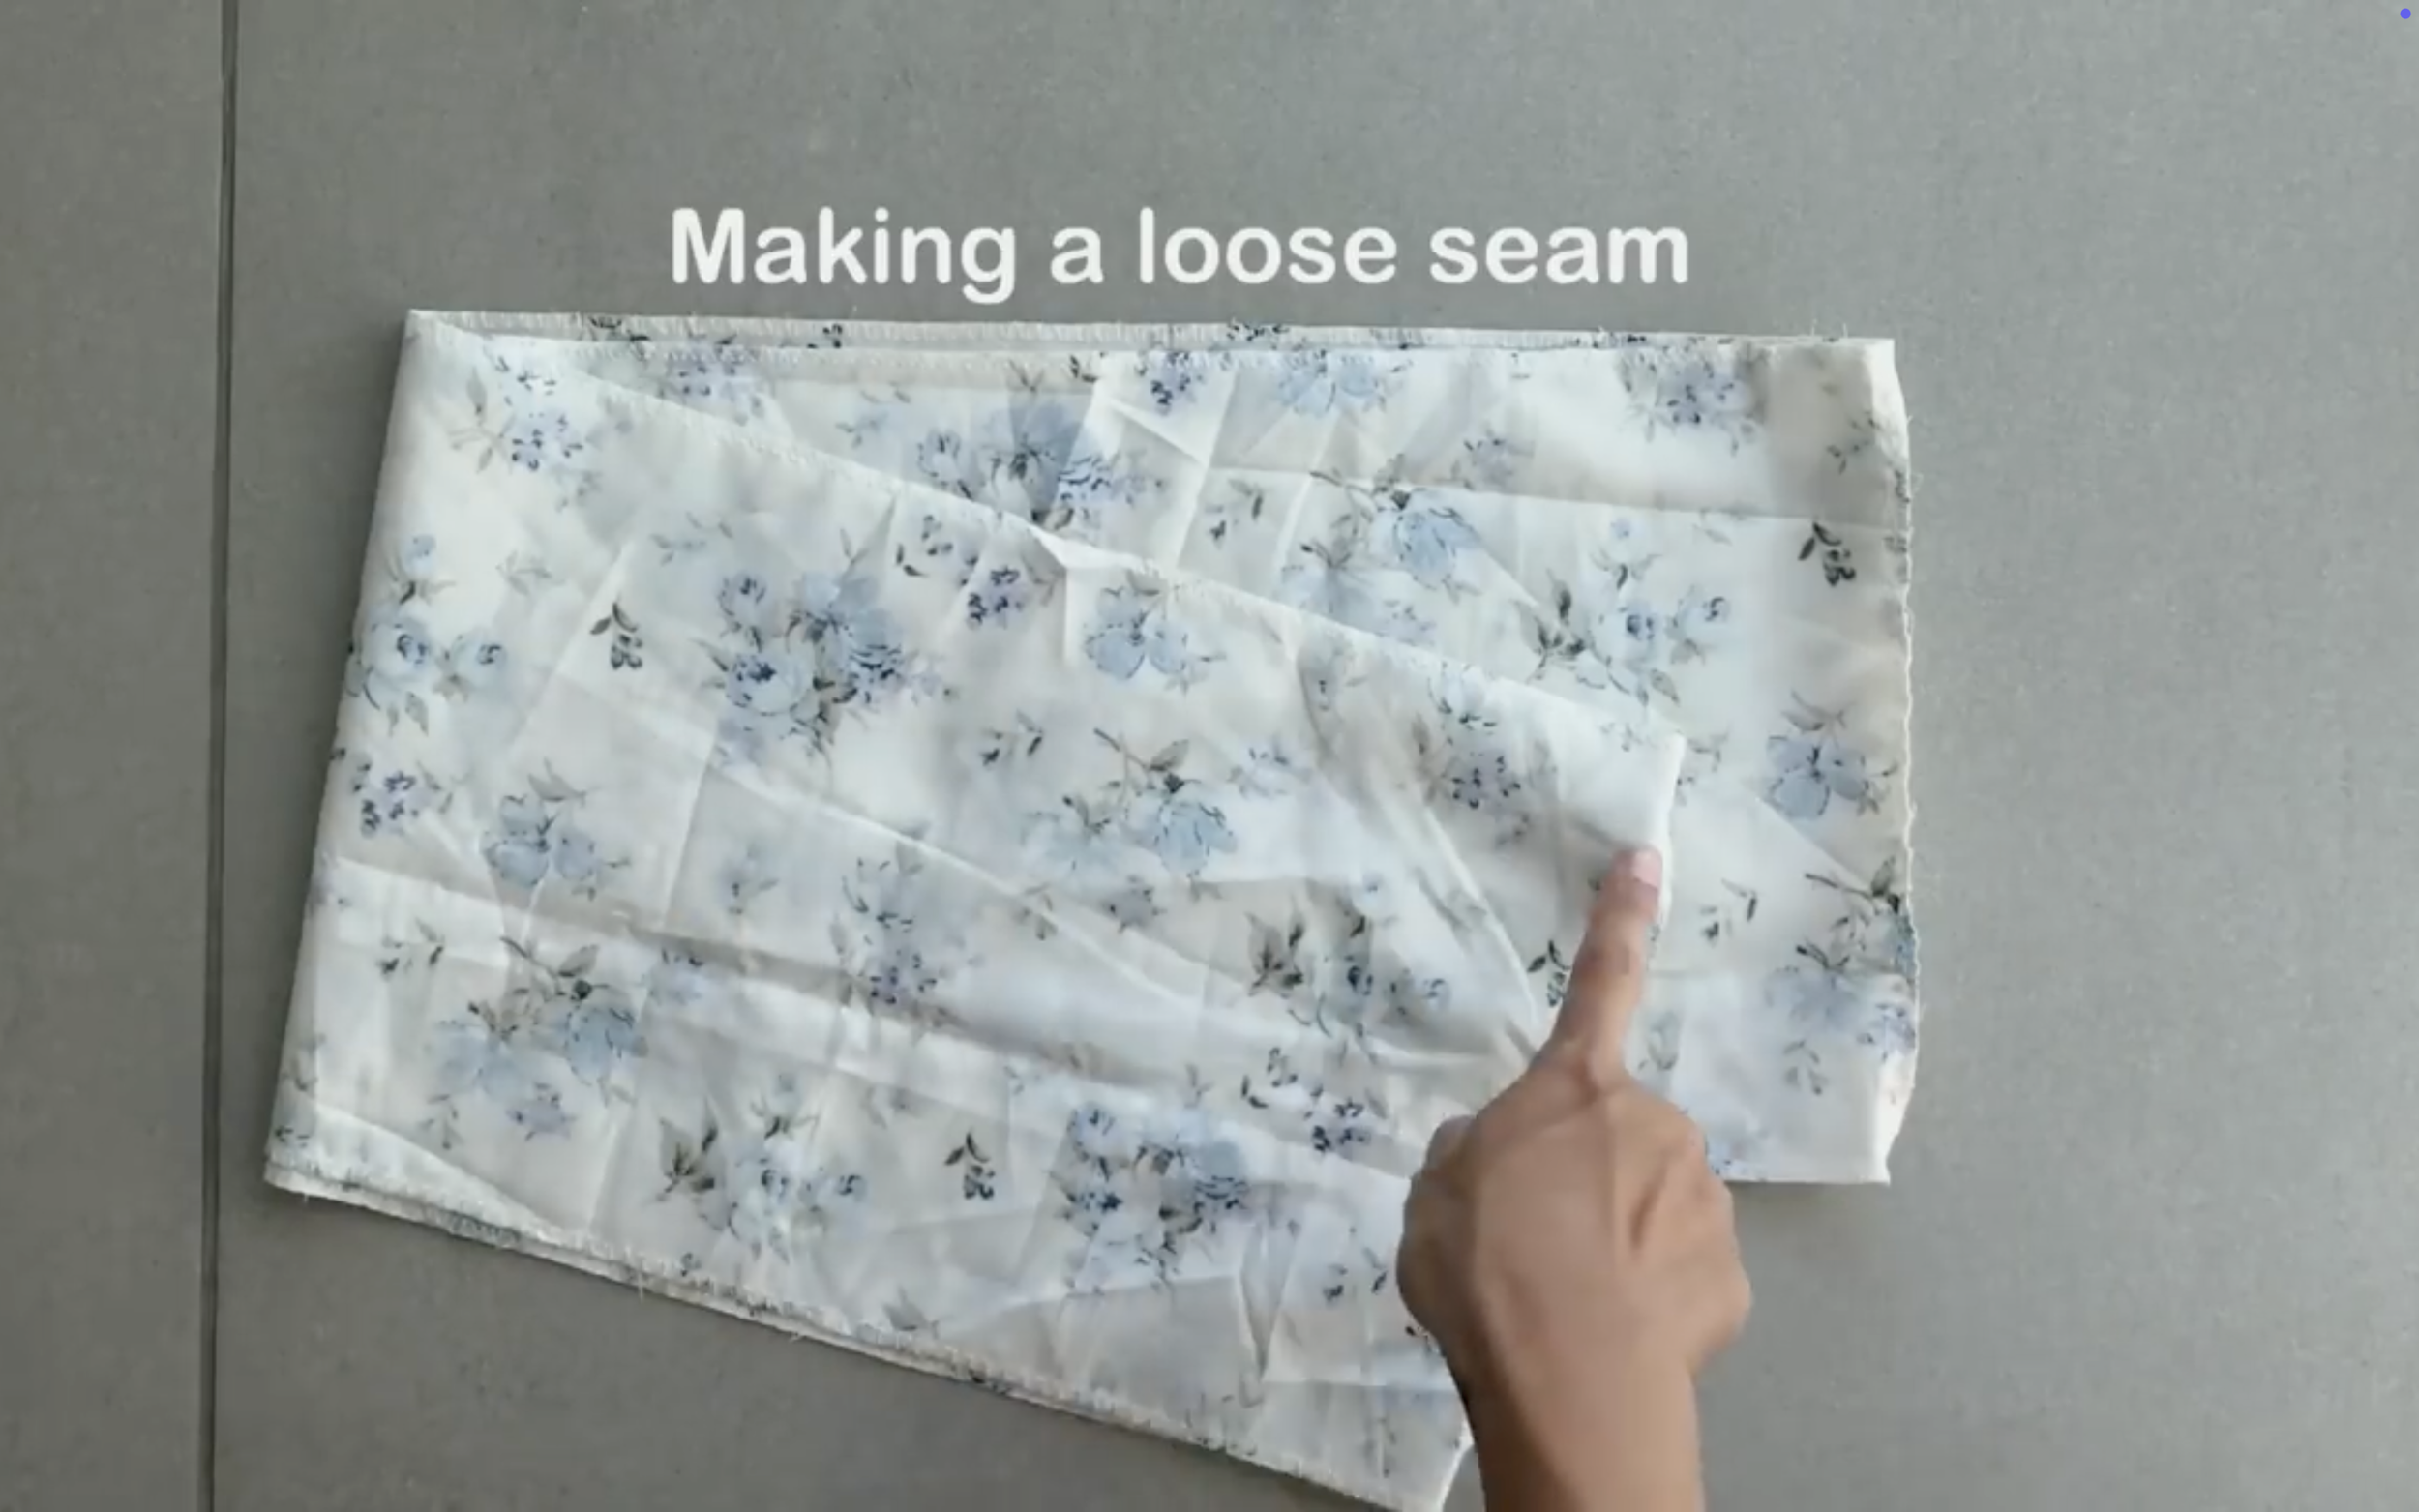
For the third tier, connect the two length lines together to form a circular fabric piece first.
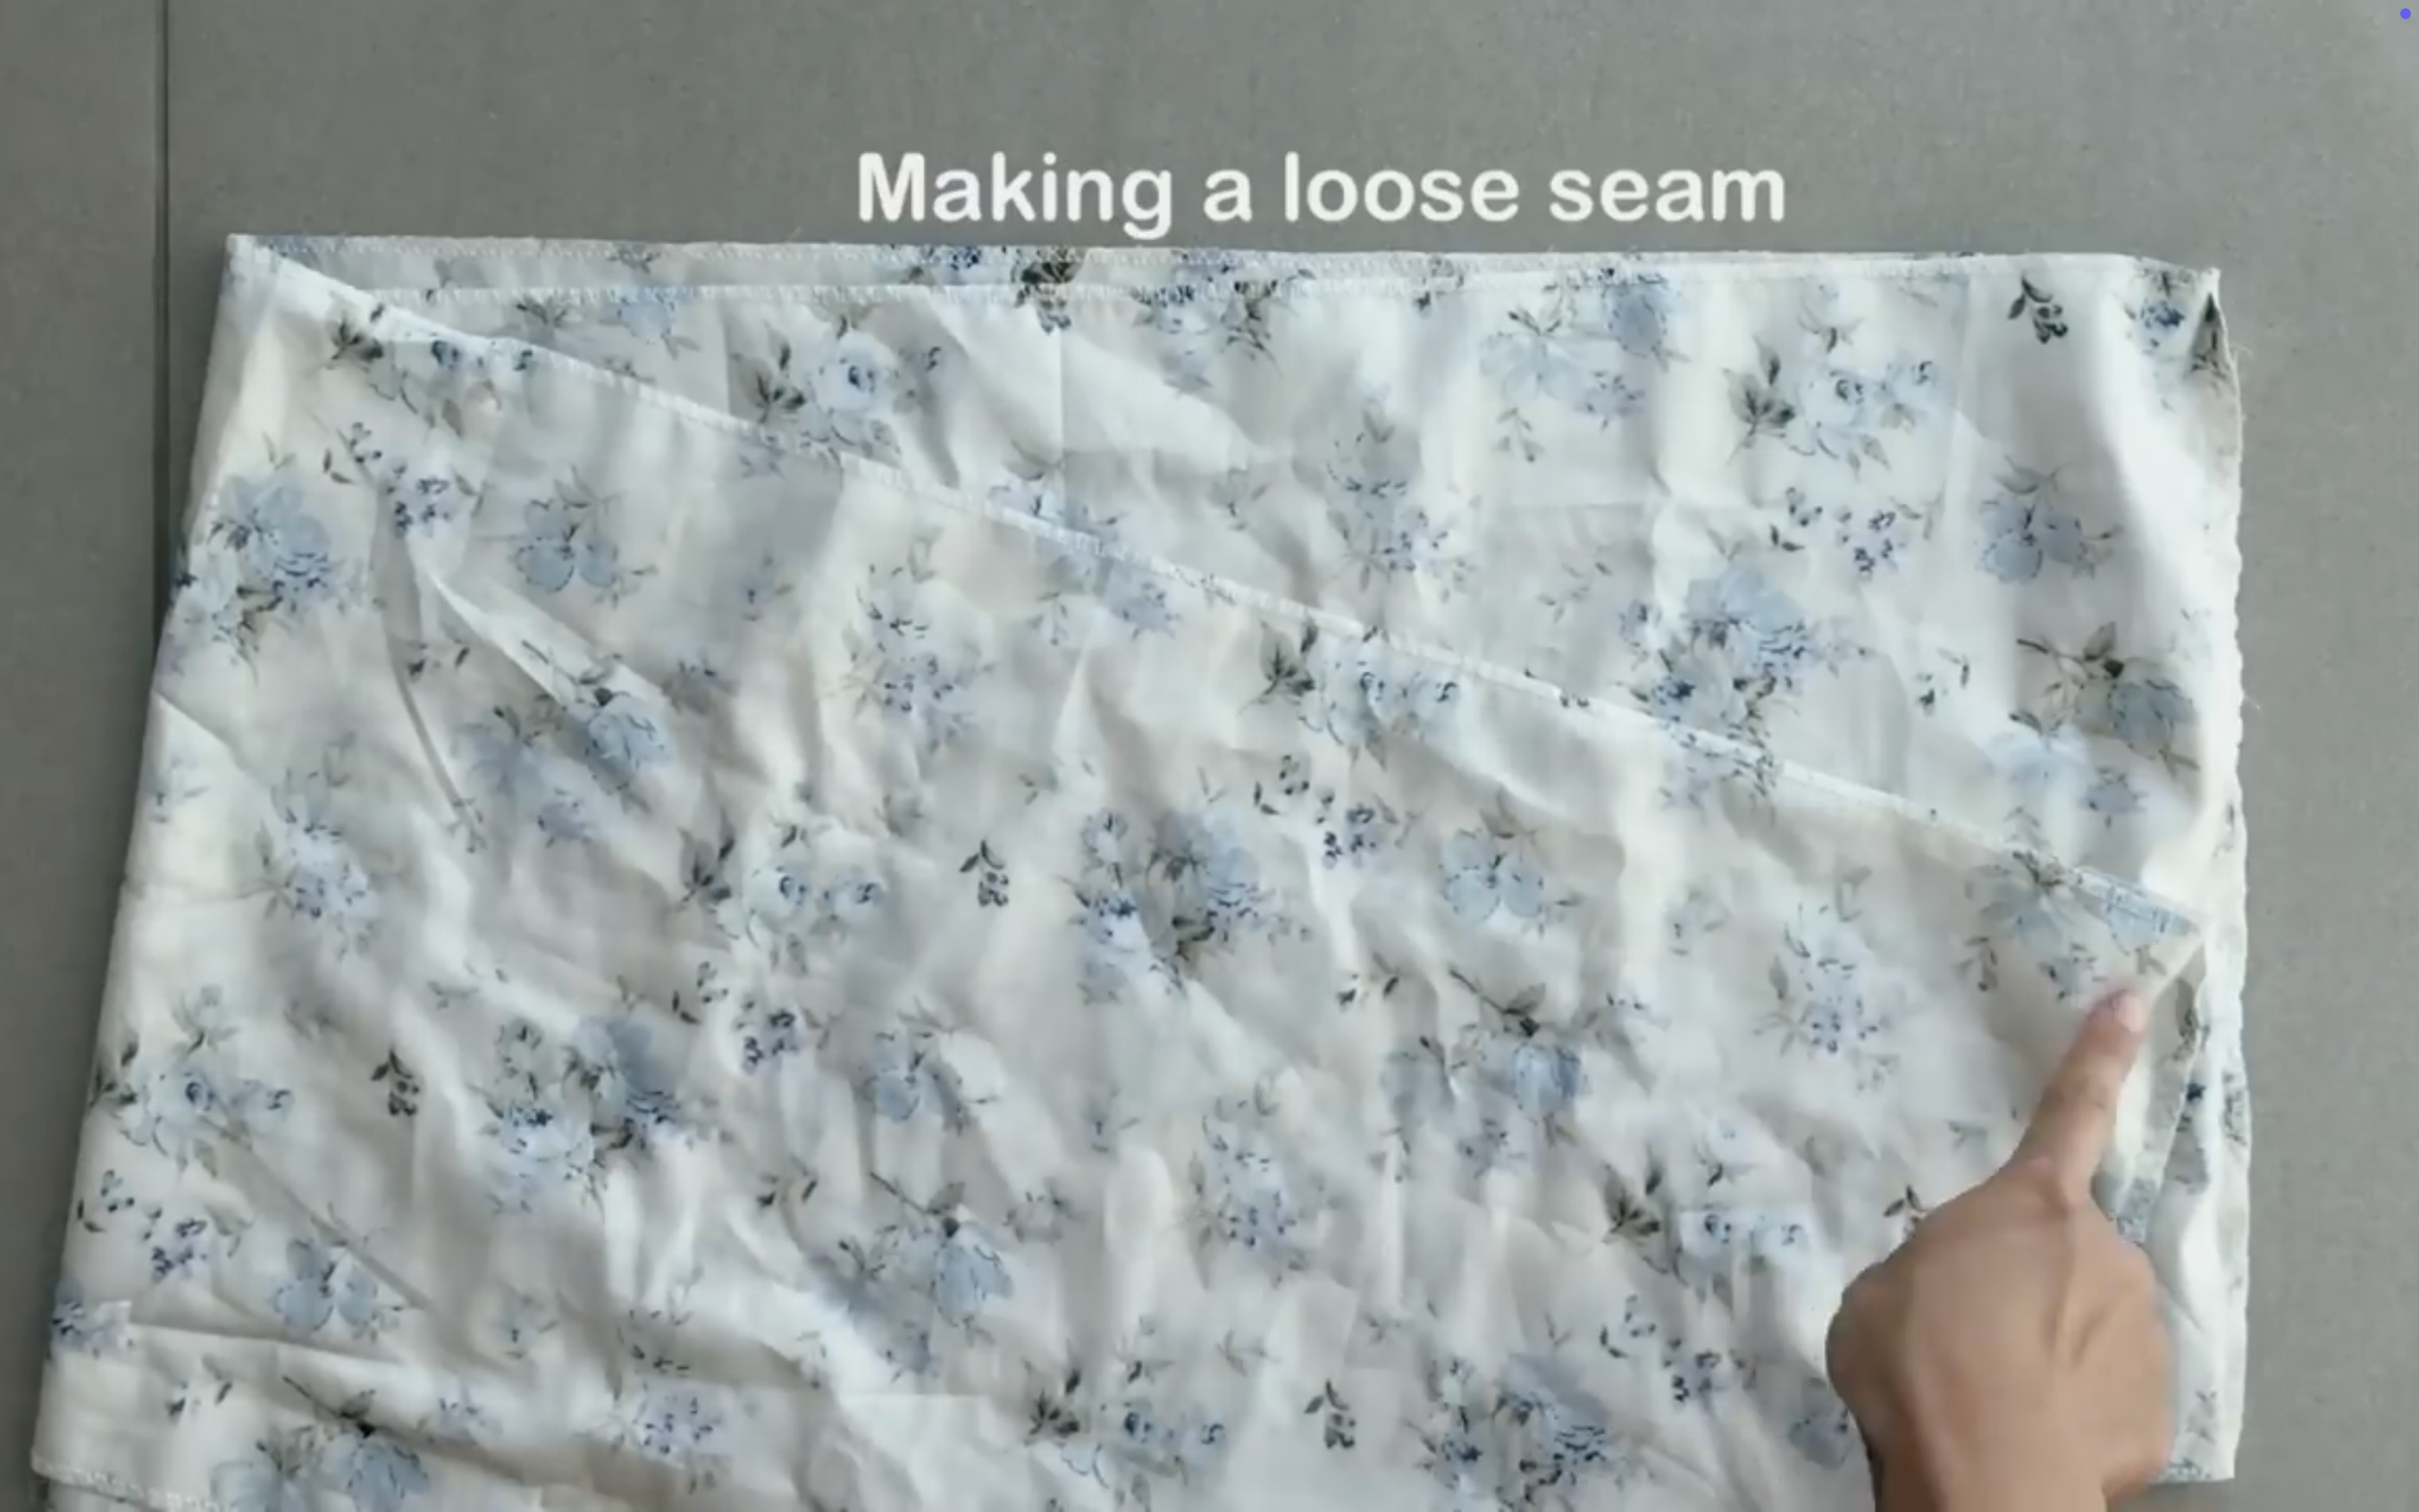
Then, make a loose seam on one width line to create a gathered effect later.
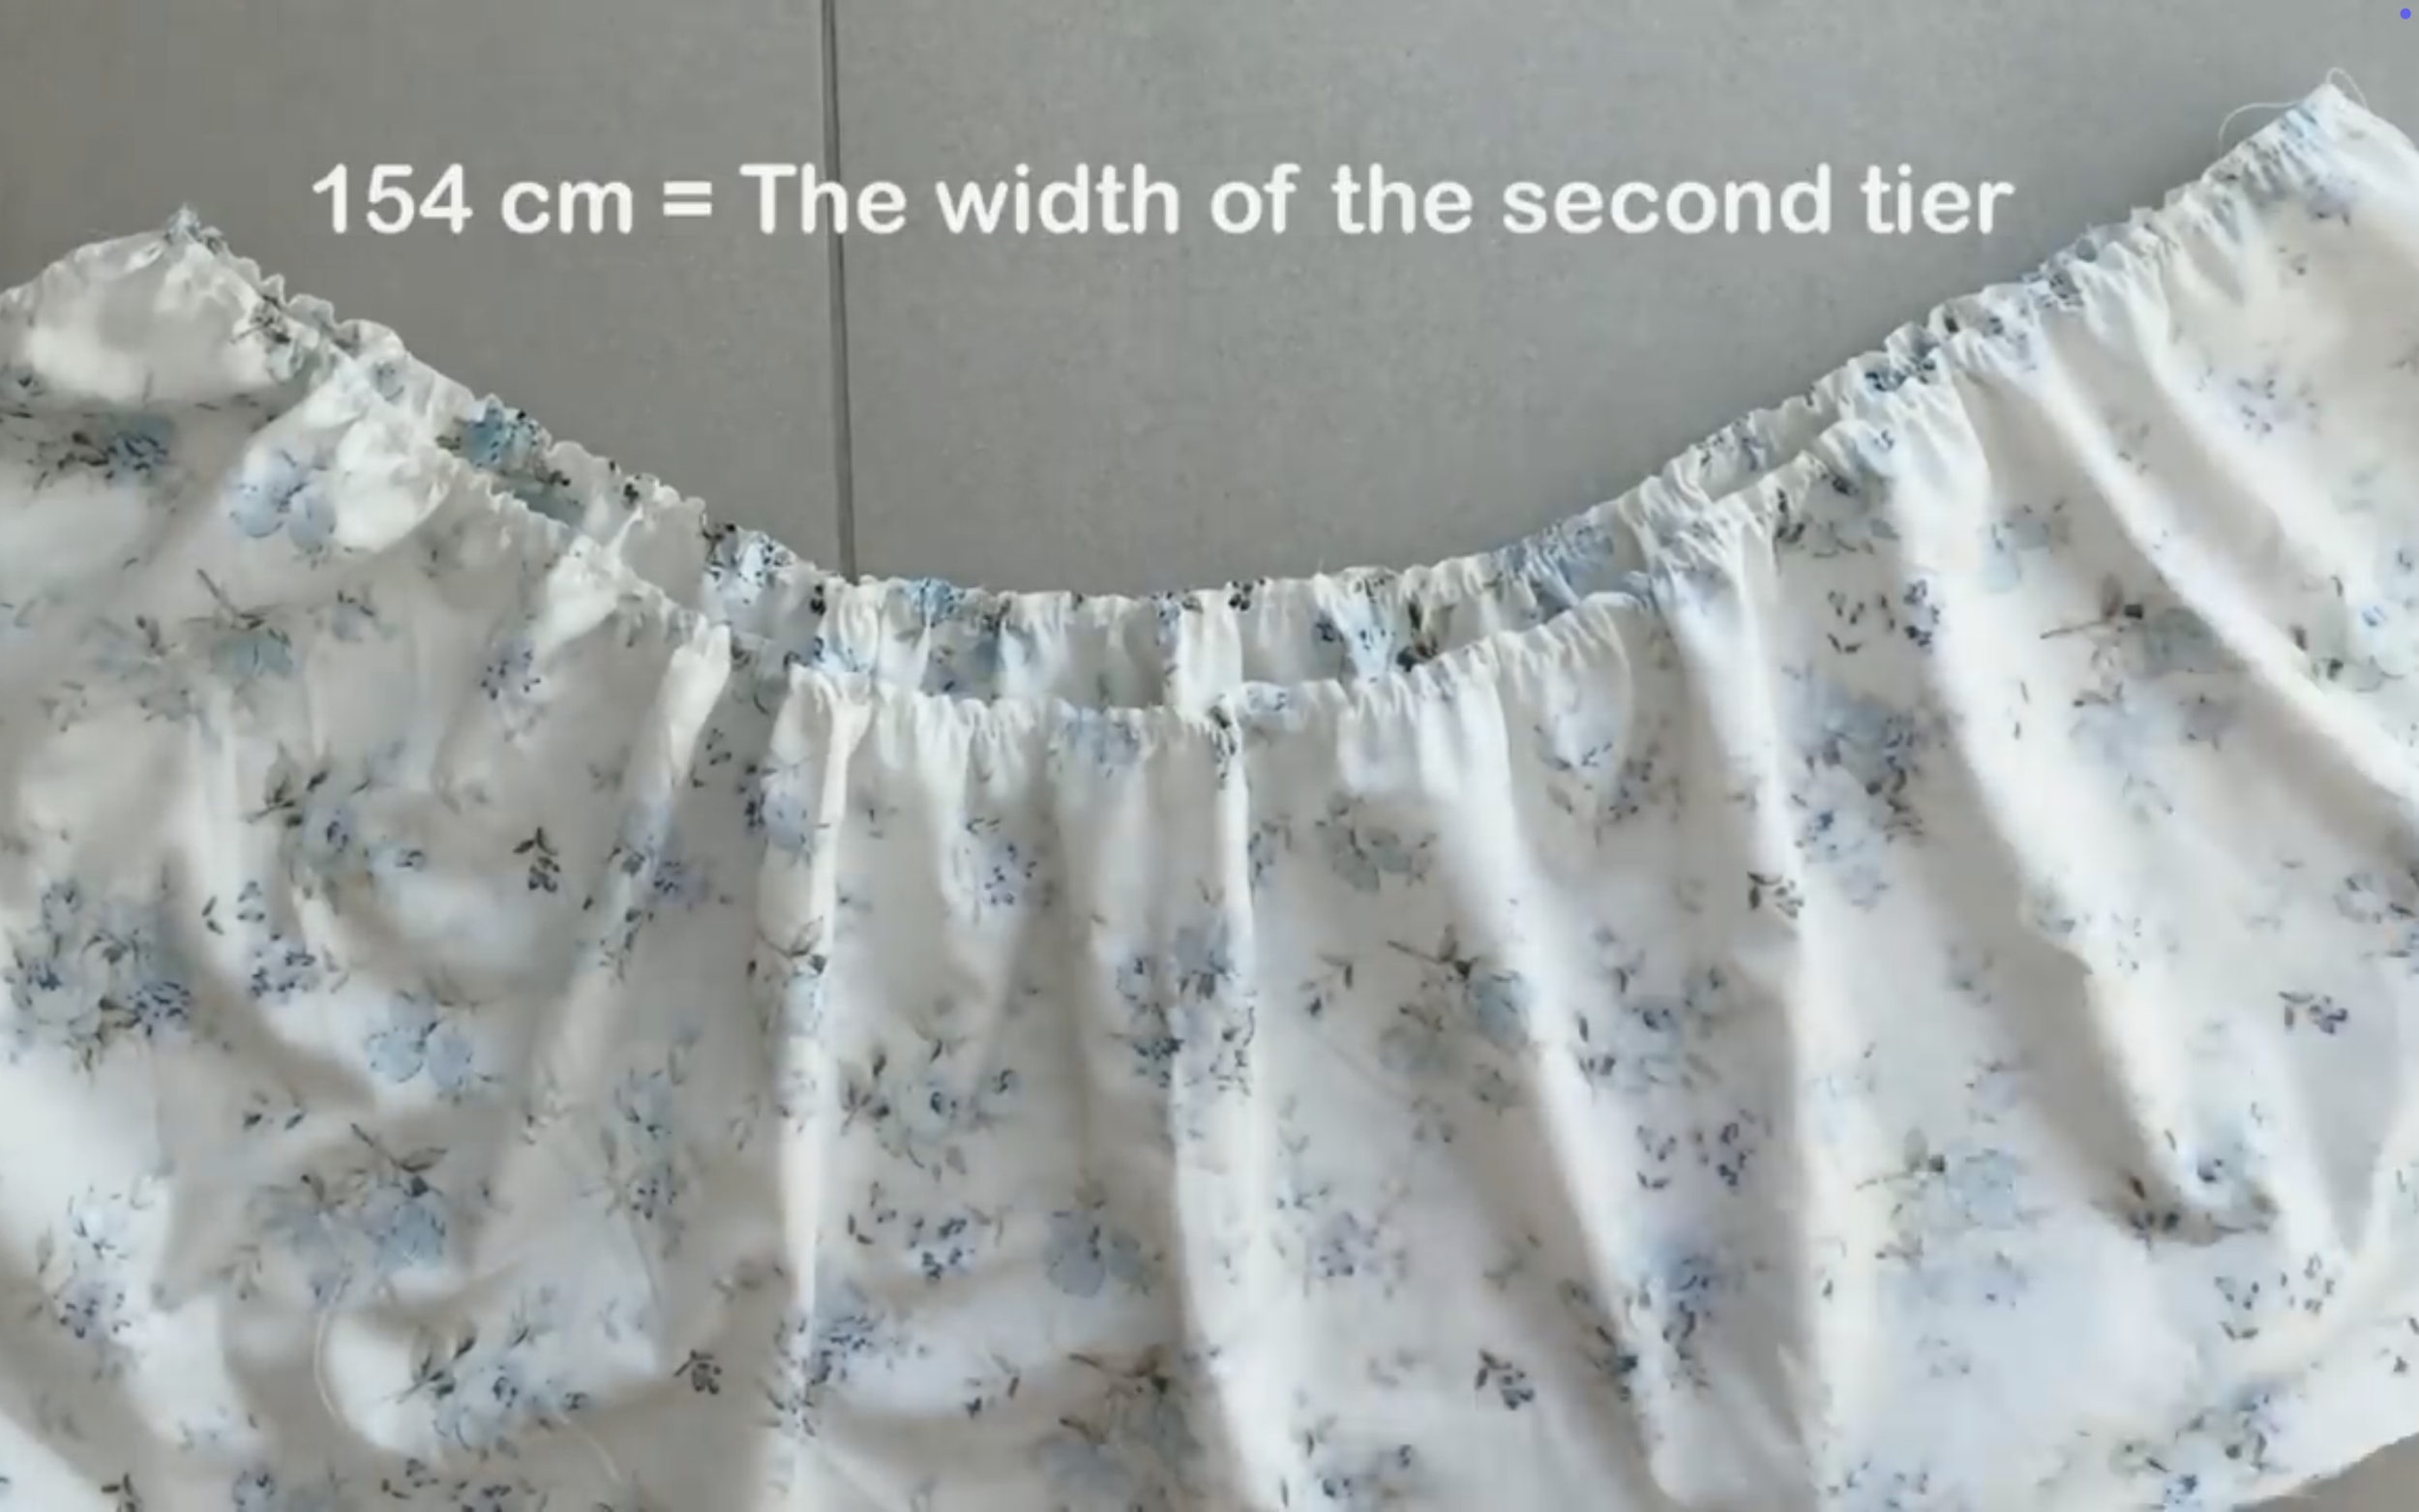
The final width of the gathered fabric will be 154 cm, matching the width of the second tier.
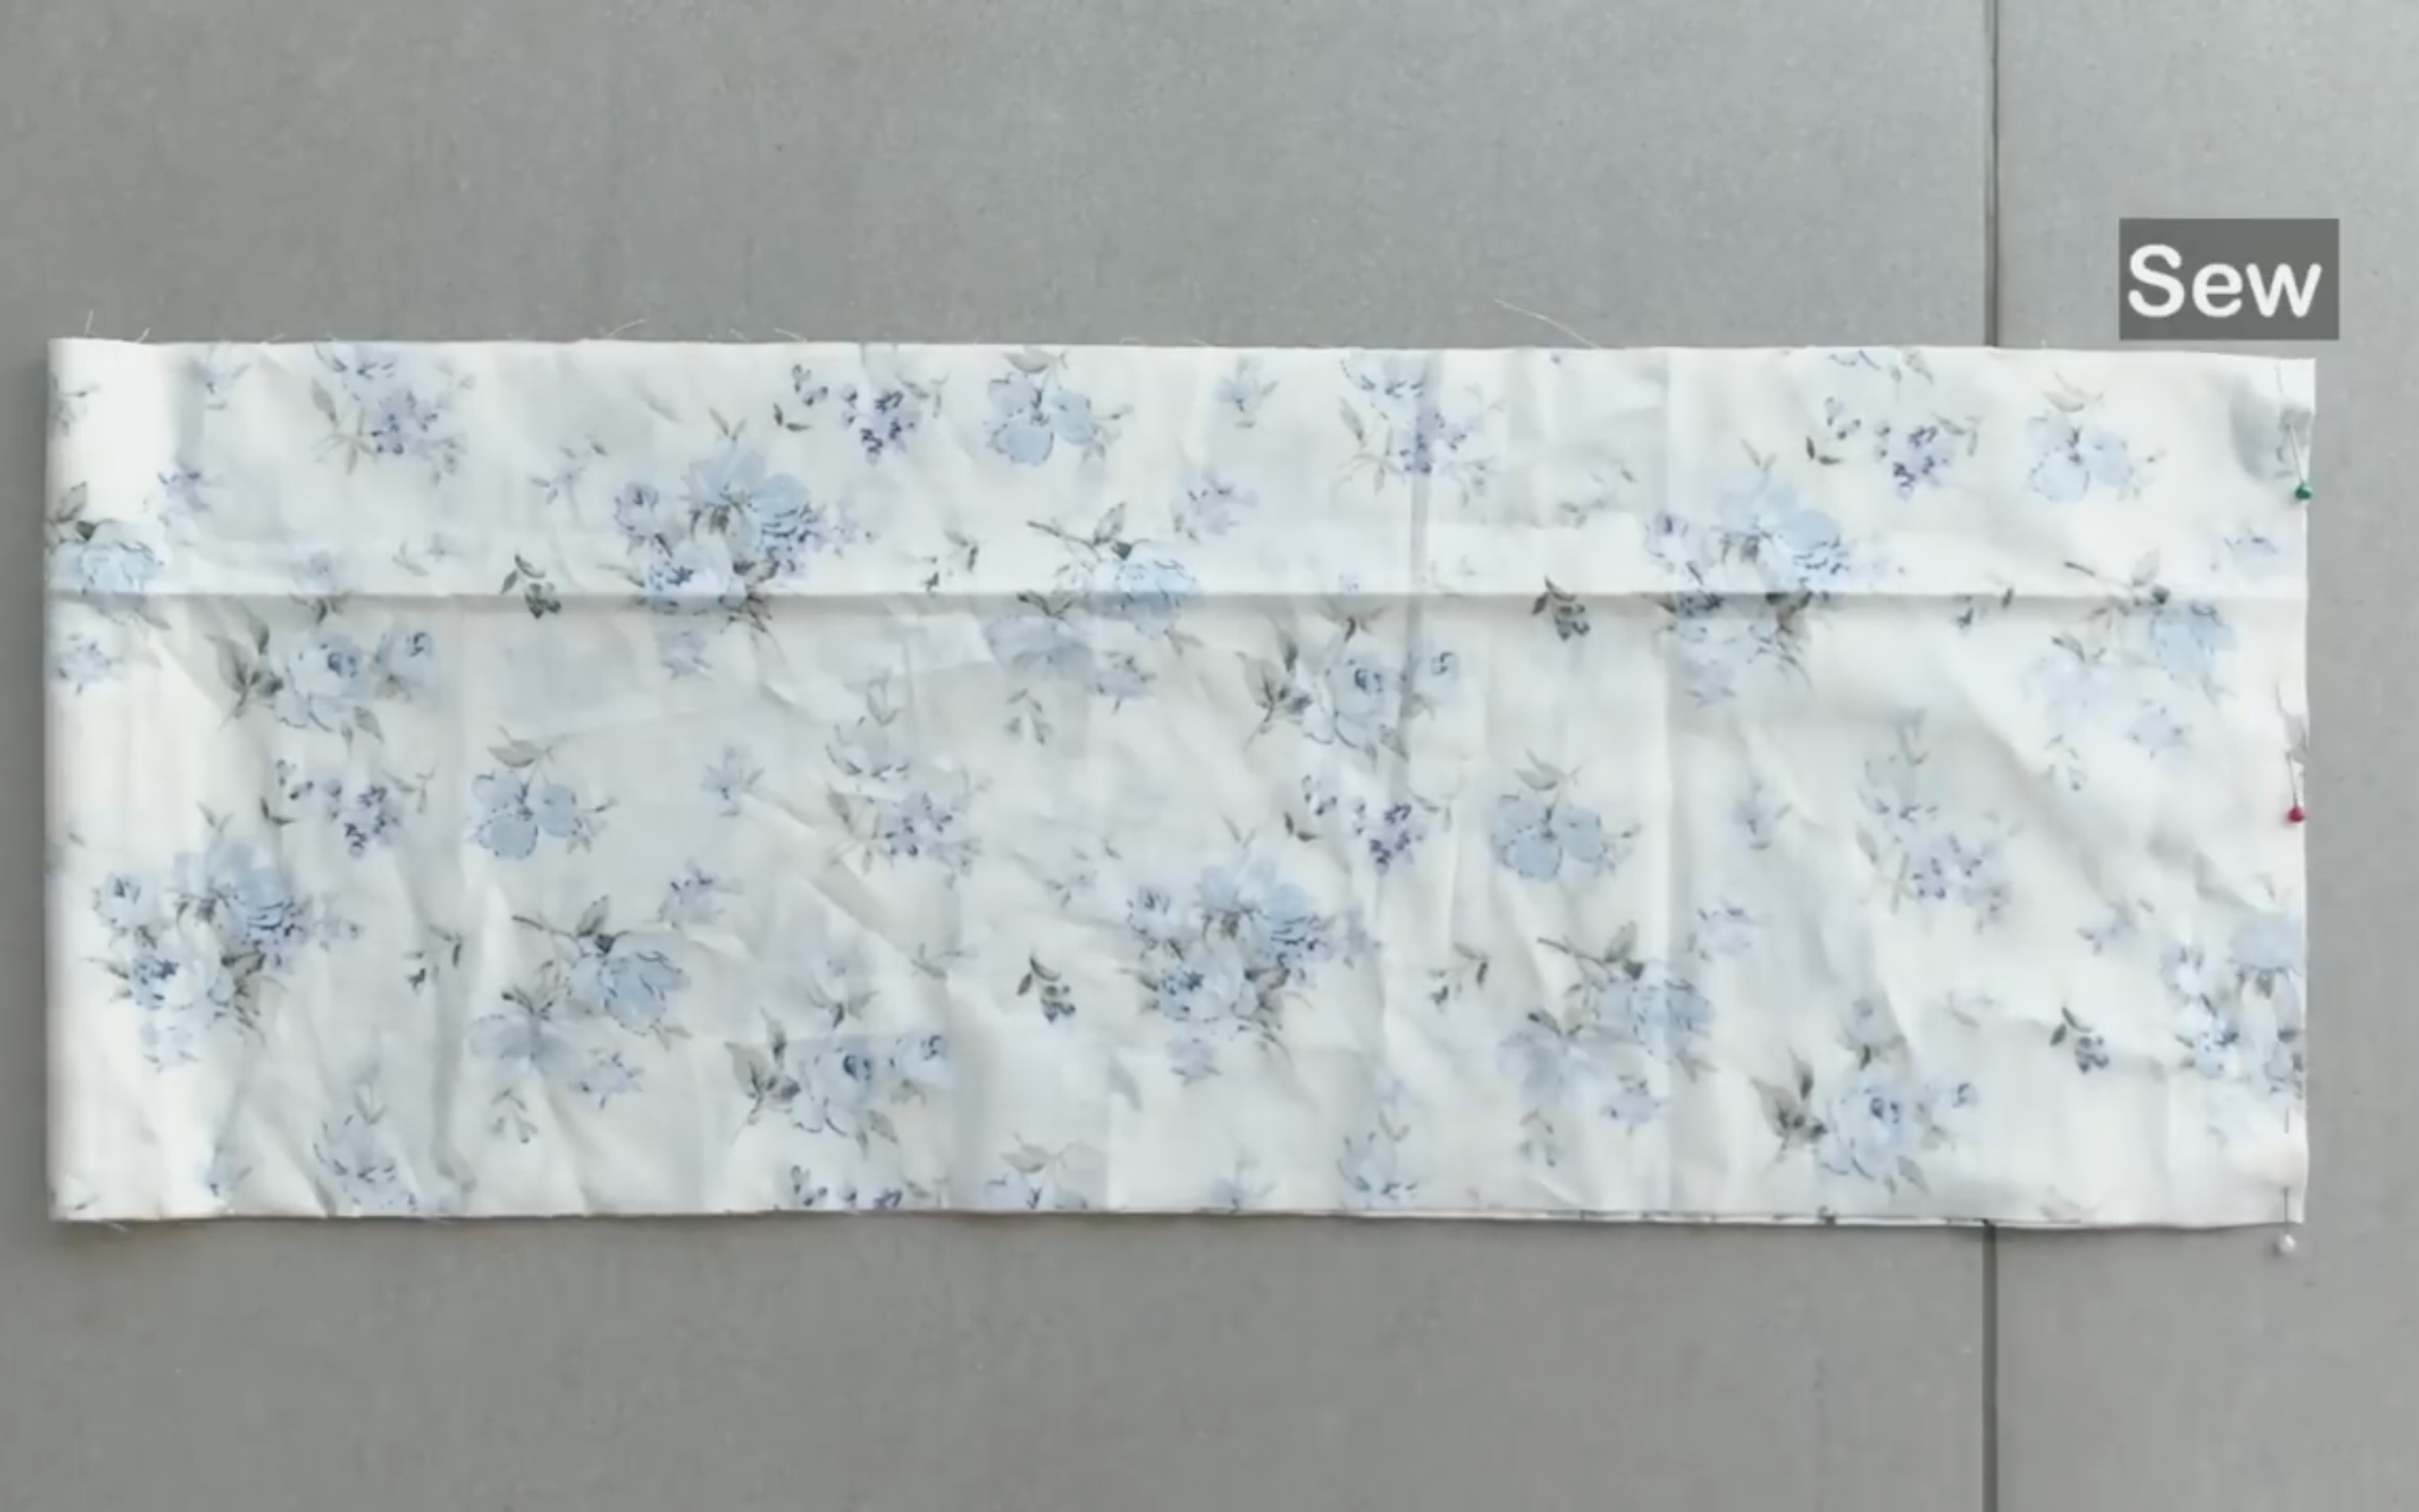
For the second tier, connect the two length lines together first.
Then, make a loose seam on one width line to create a gathered fabric later.
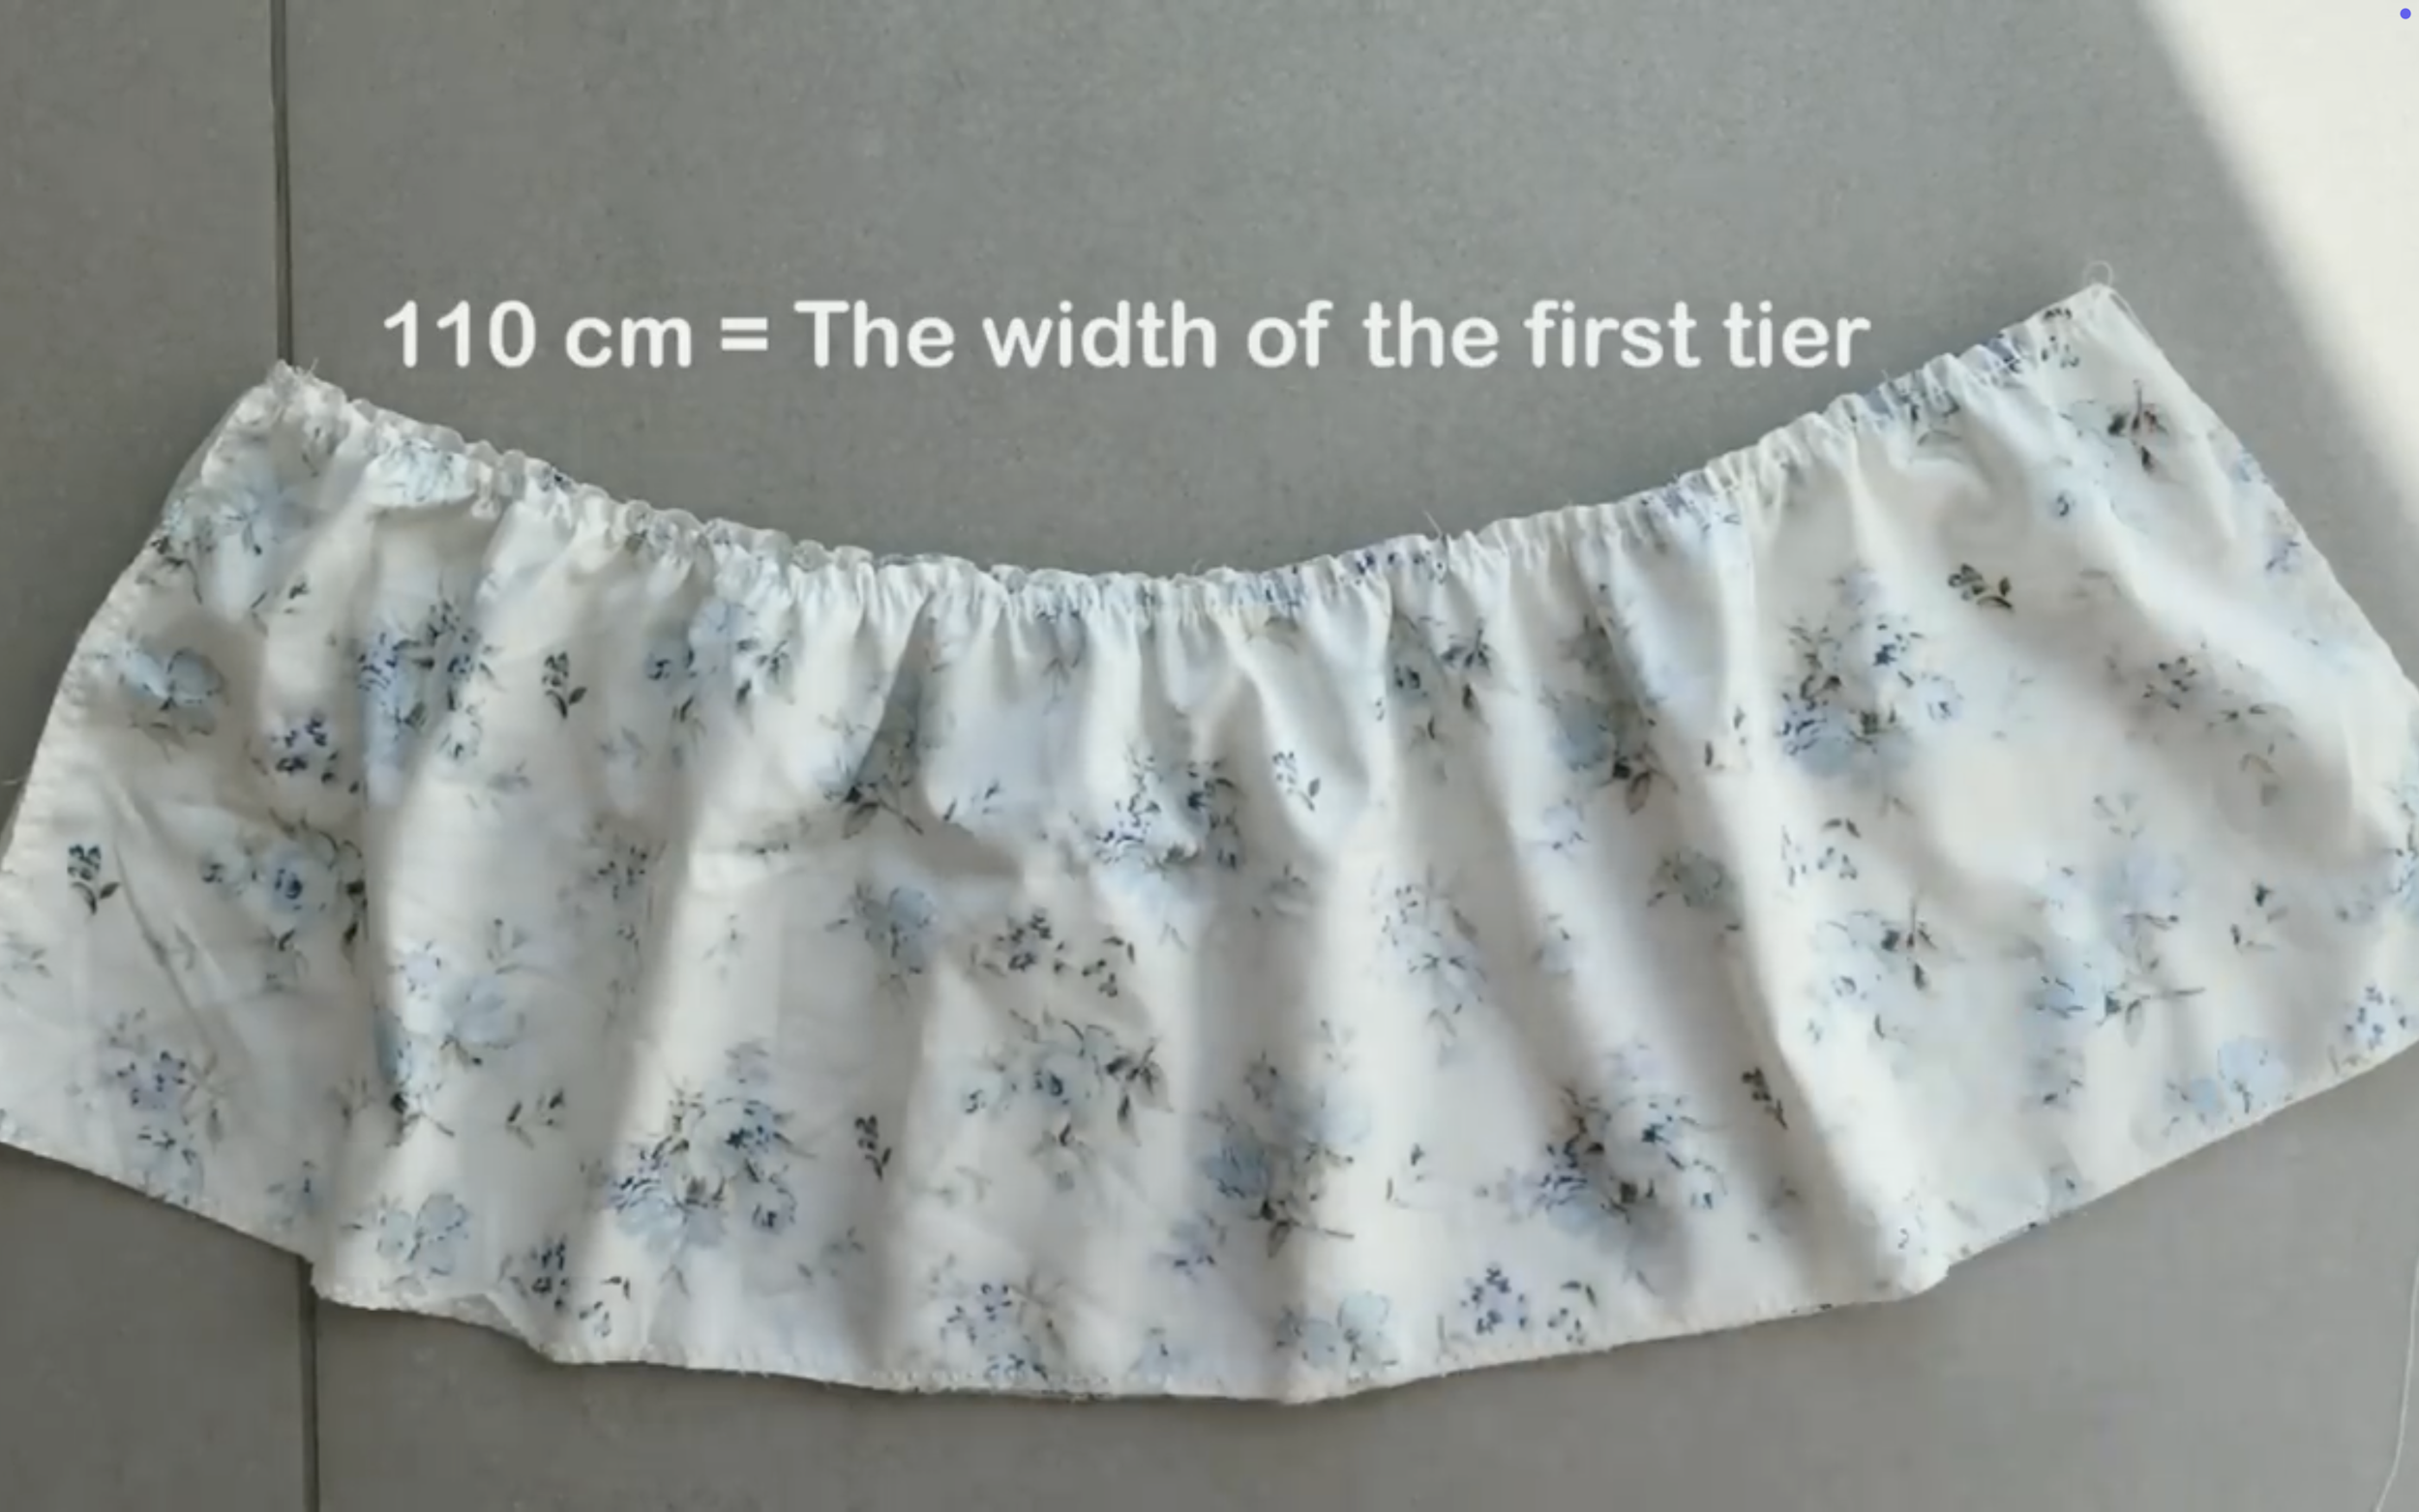
The final width of the gathered fabric will be 110 cm, matching the width of the first tier.
For the first tier, connect the two length lines together first.
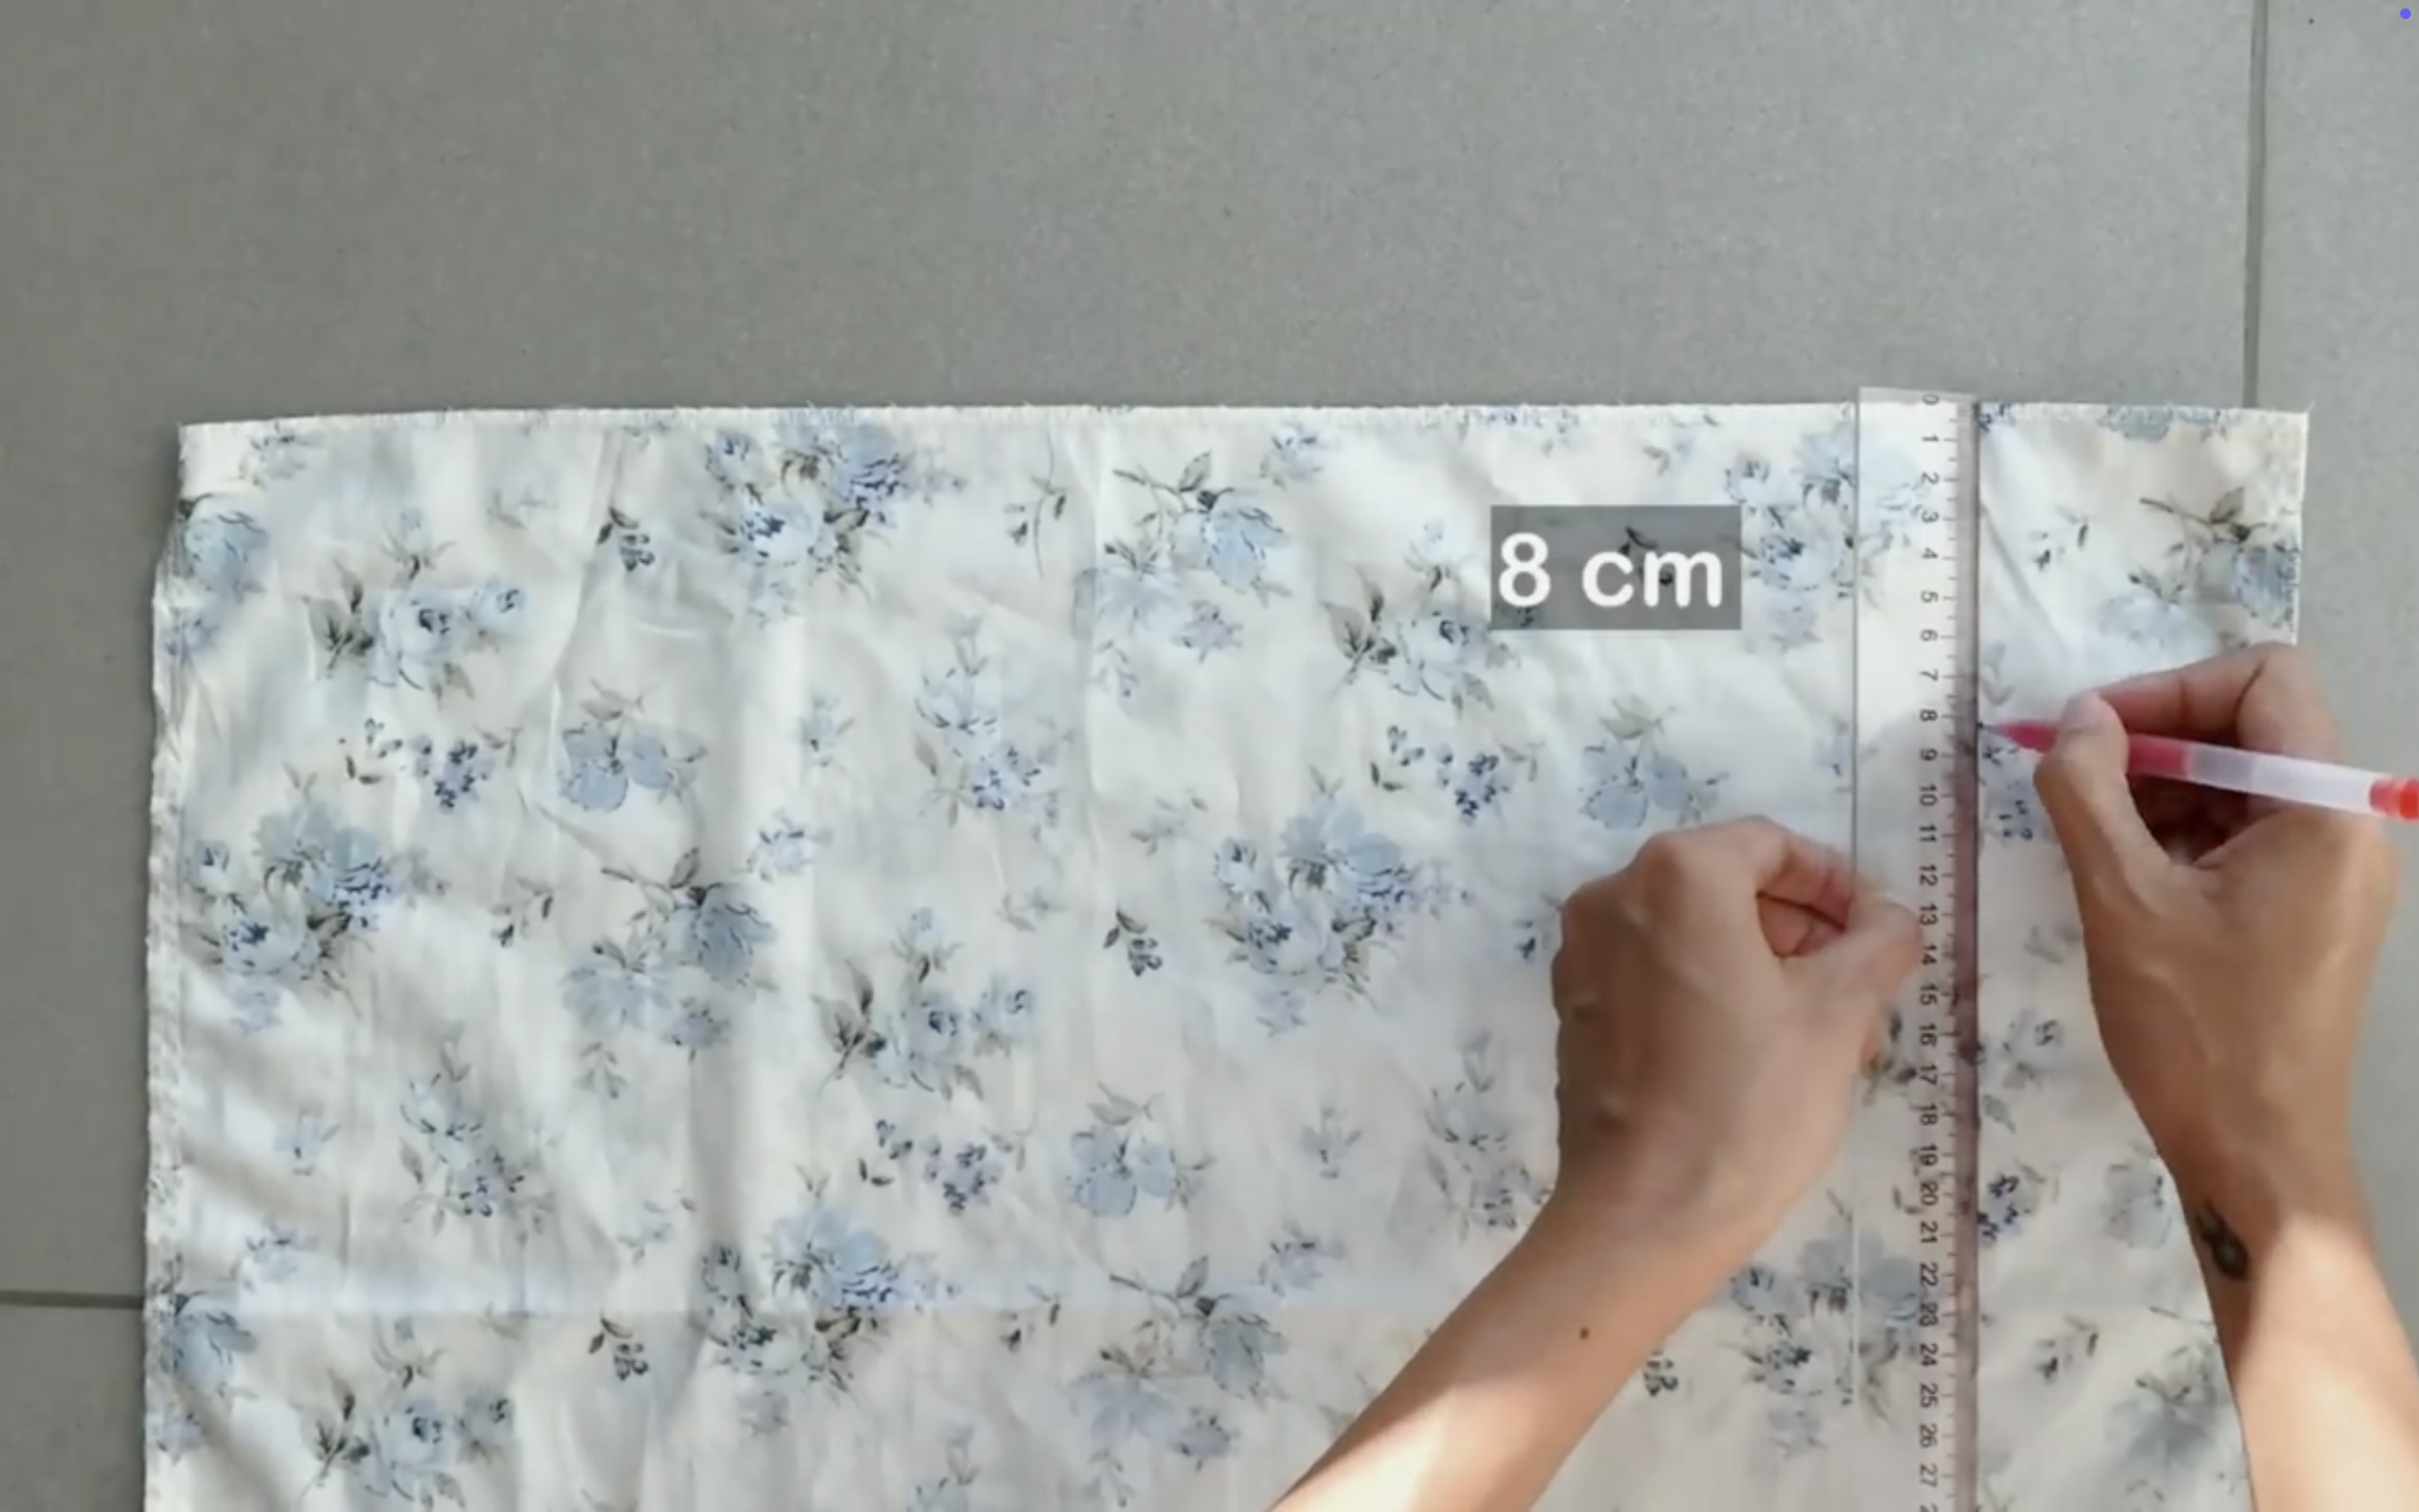
From the top of the first tier, draw a horizontal line 8 cm below it—this is twice the width of the elastic band plus 2 cm for seam allowance.
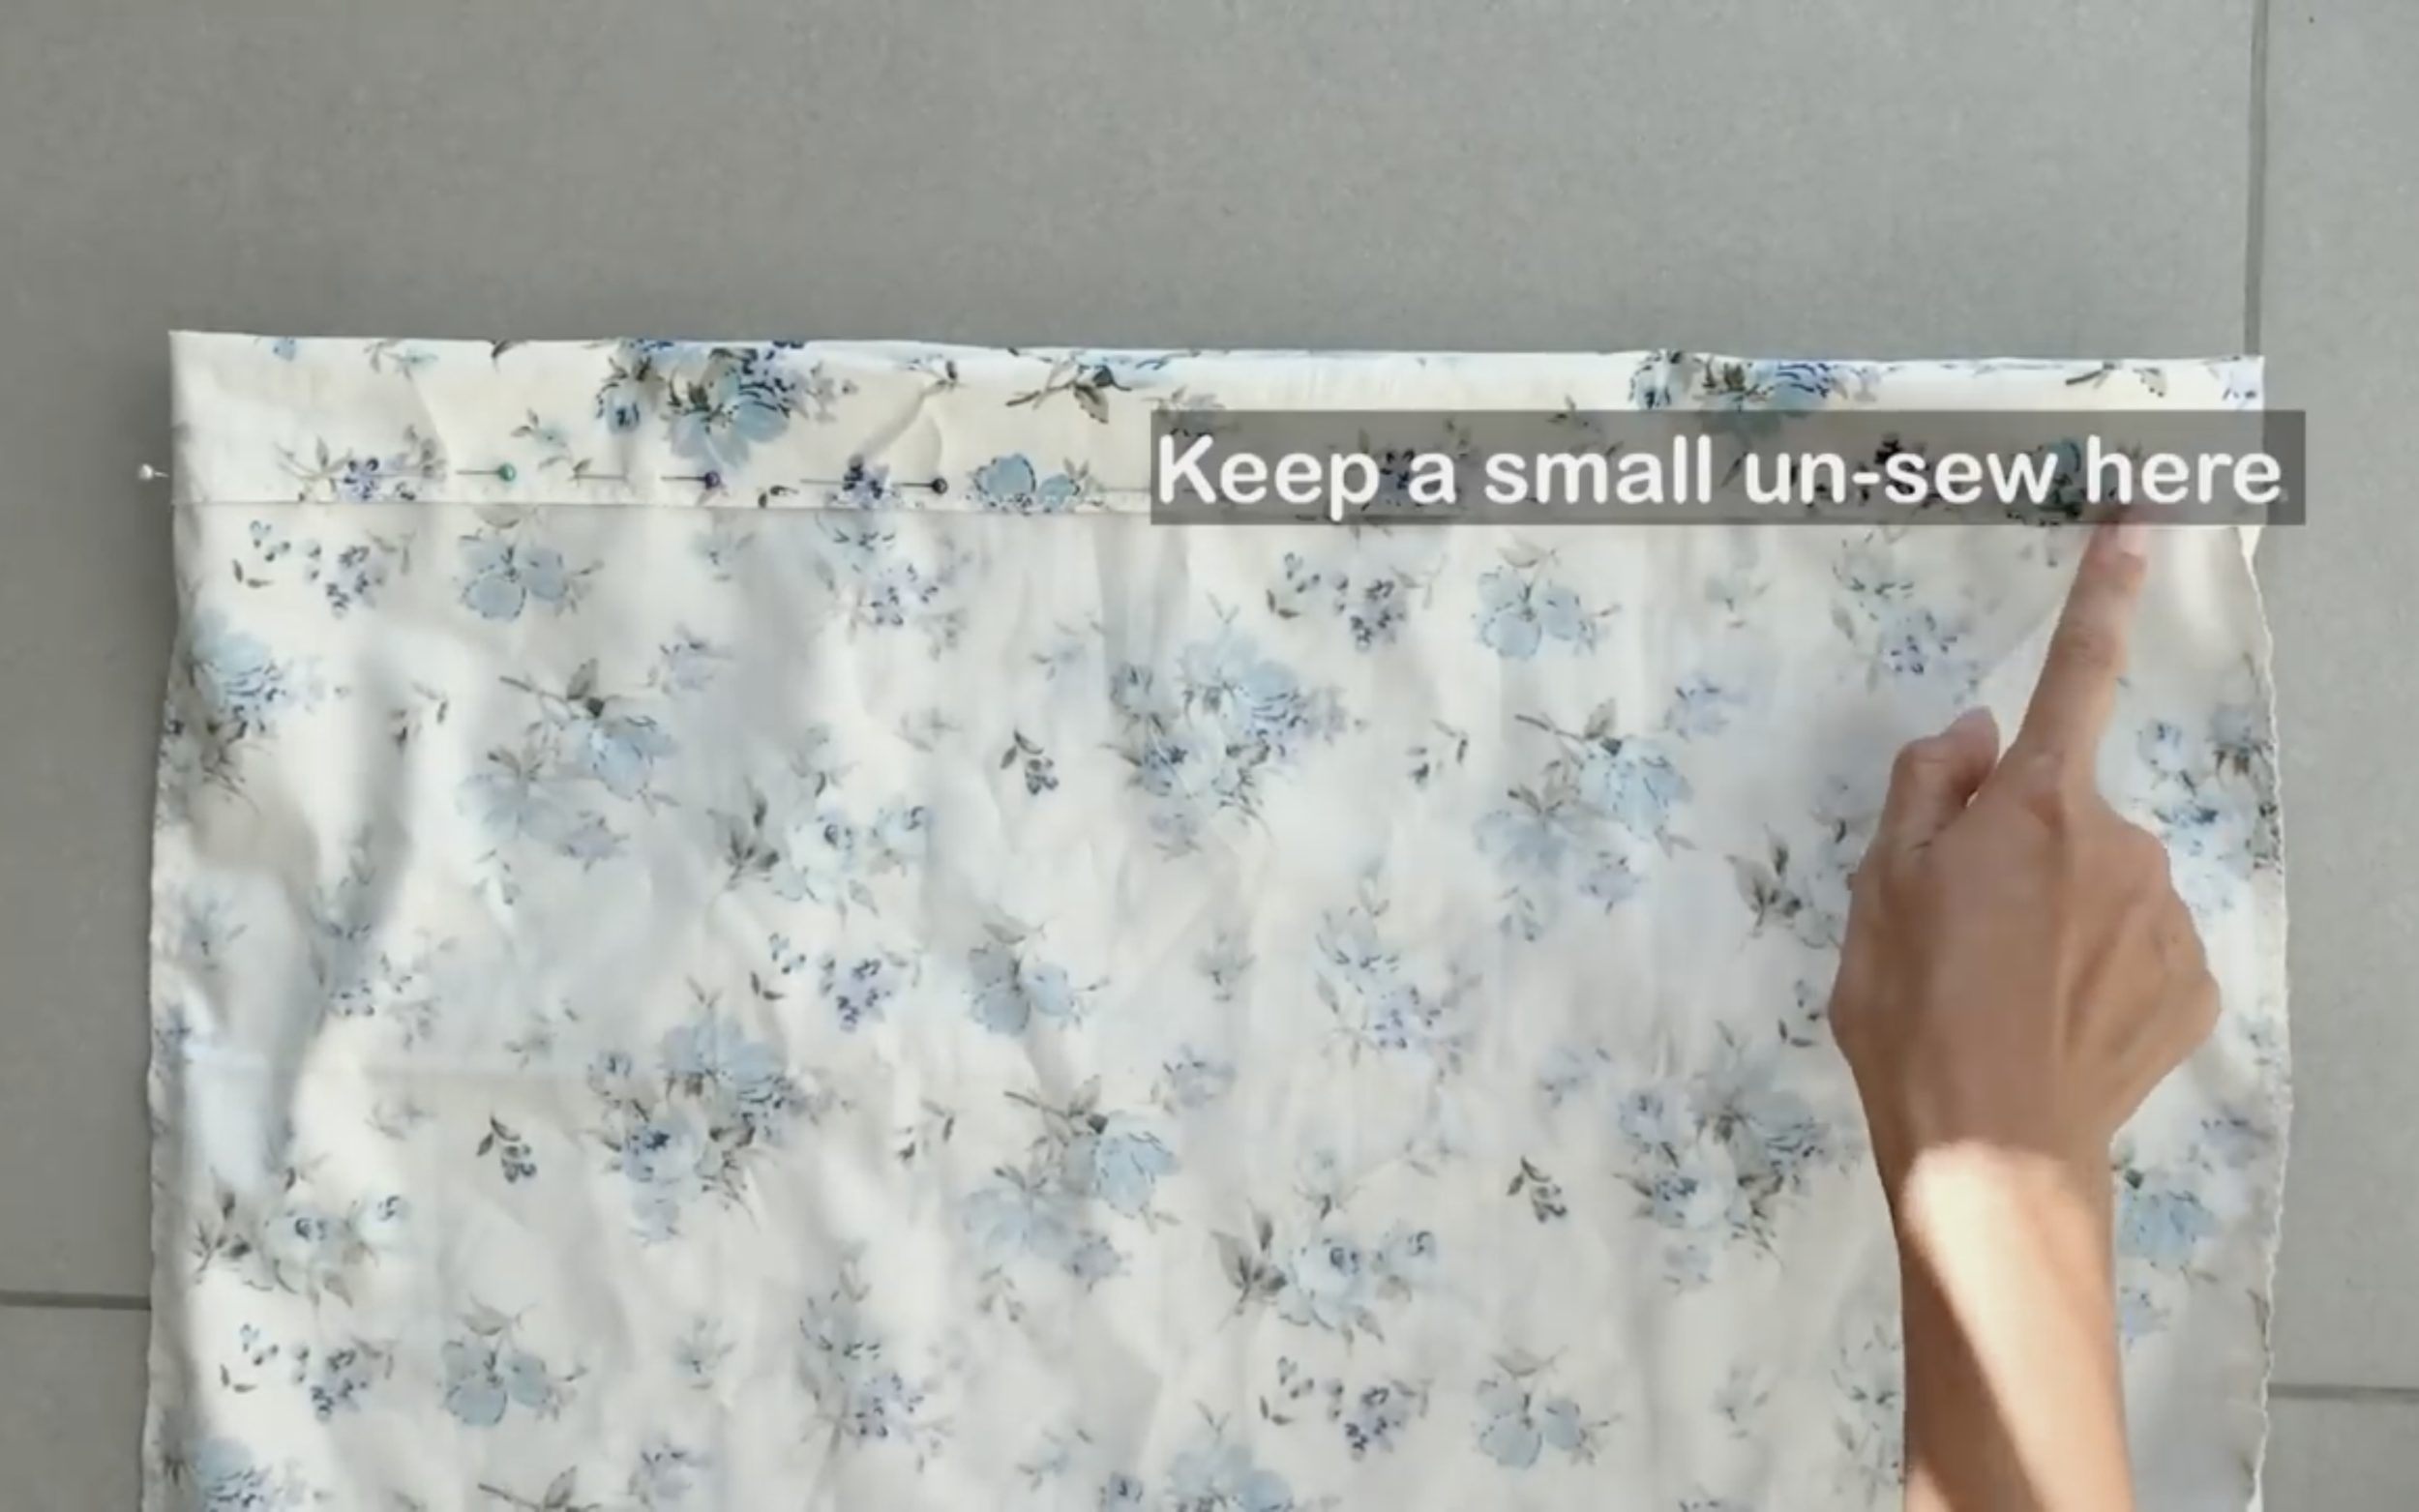
Leave a small unsewn space for inserting the elastic band later.
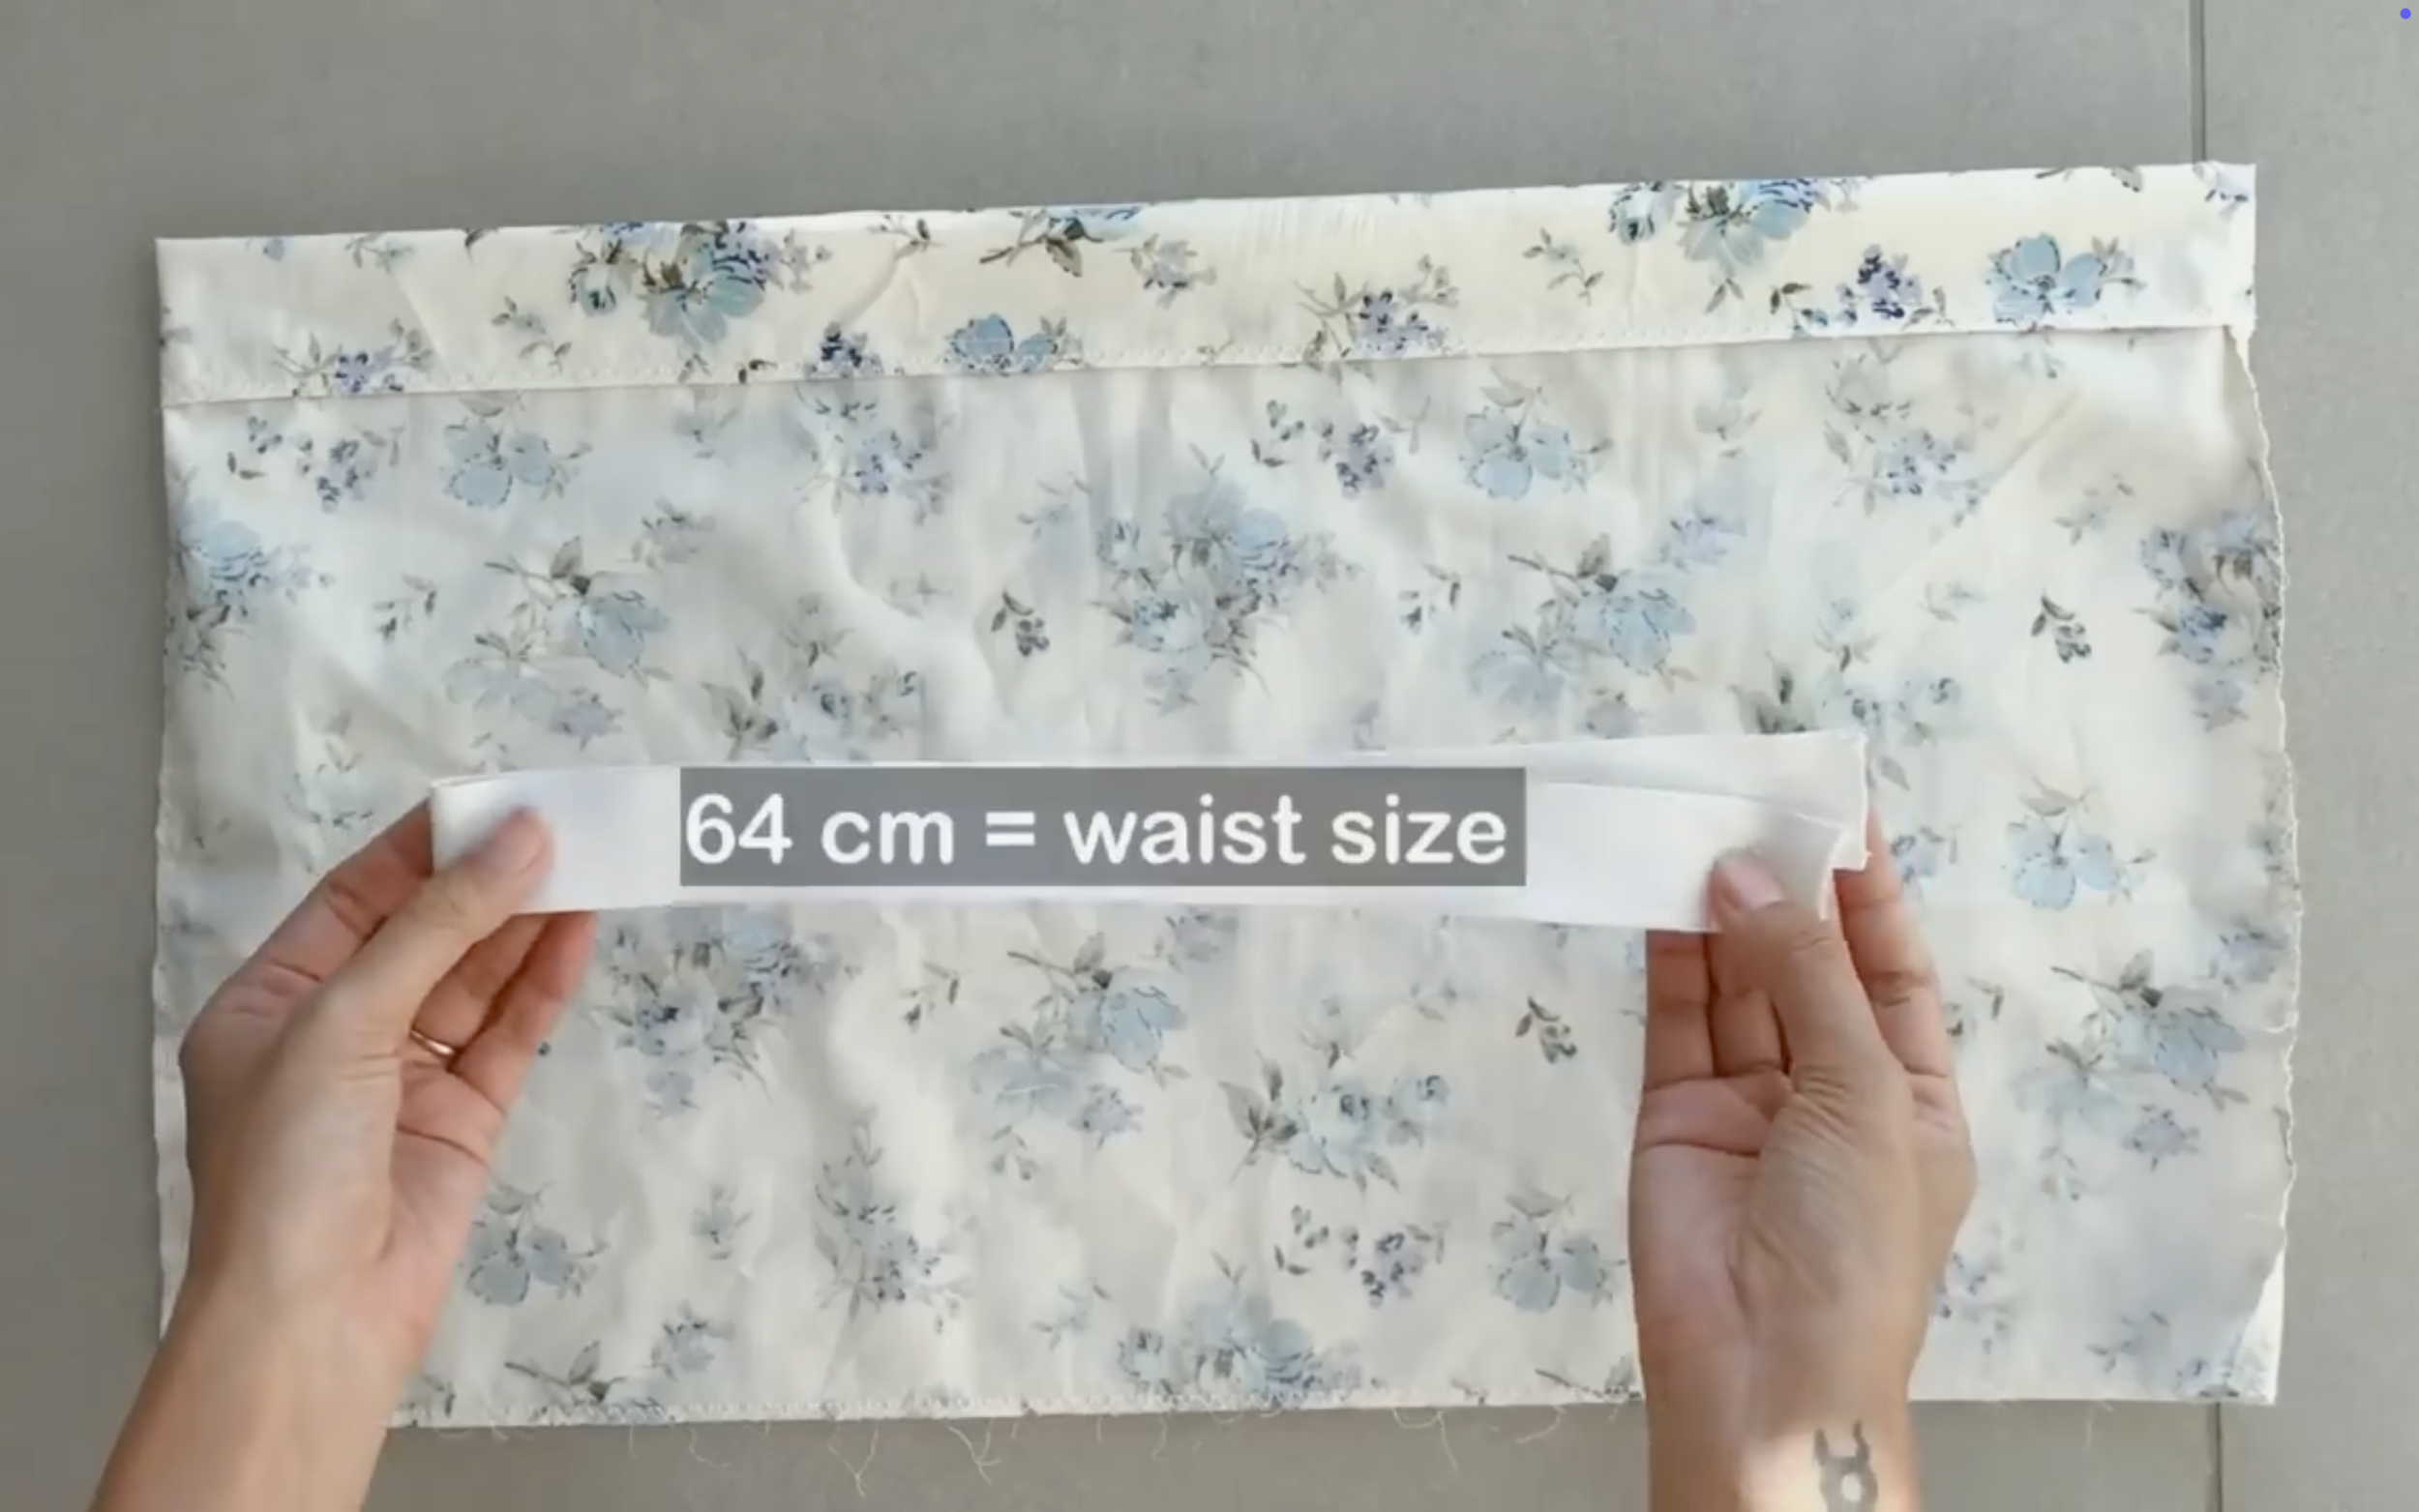
Use an elastic band with a 3 cm width and a 64 cm length, matching the waist size.
Sew the ends of the elastic band together and close the fabric hole.
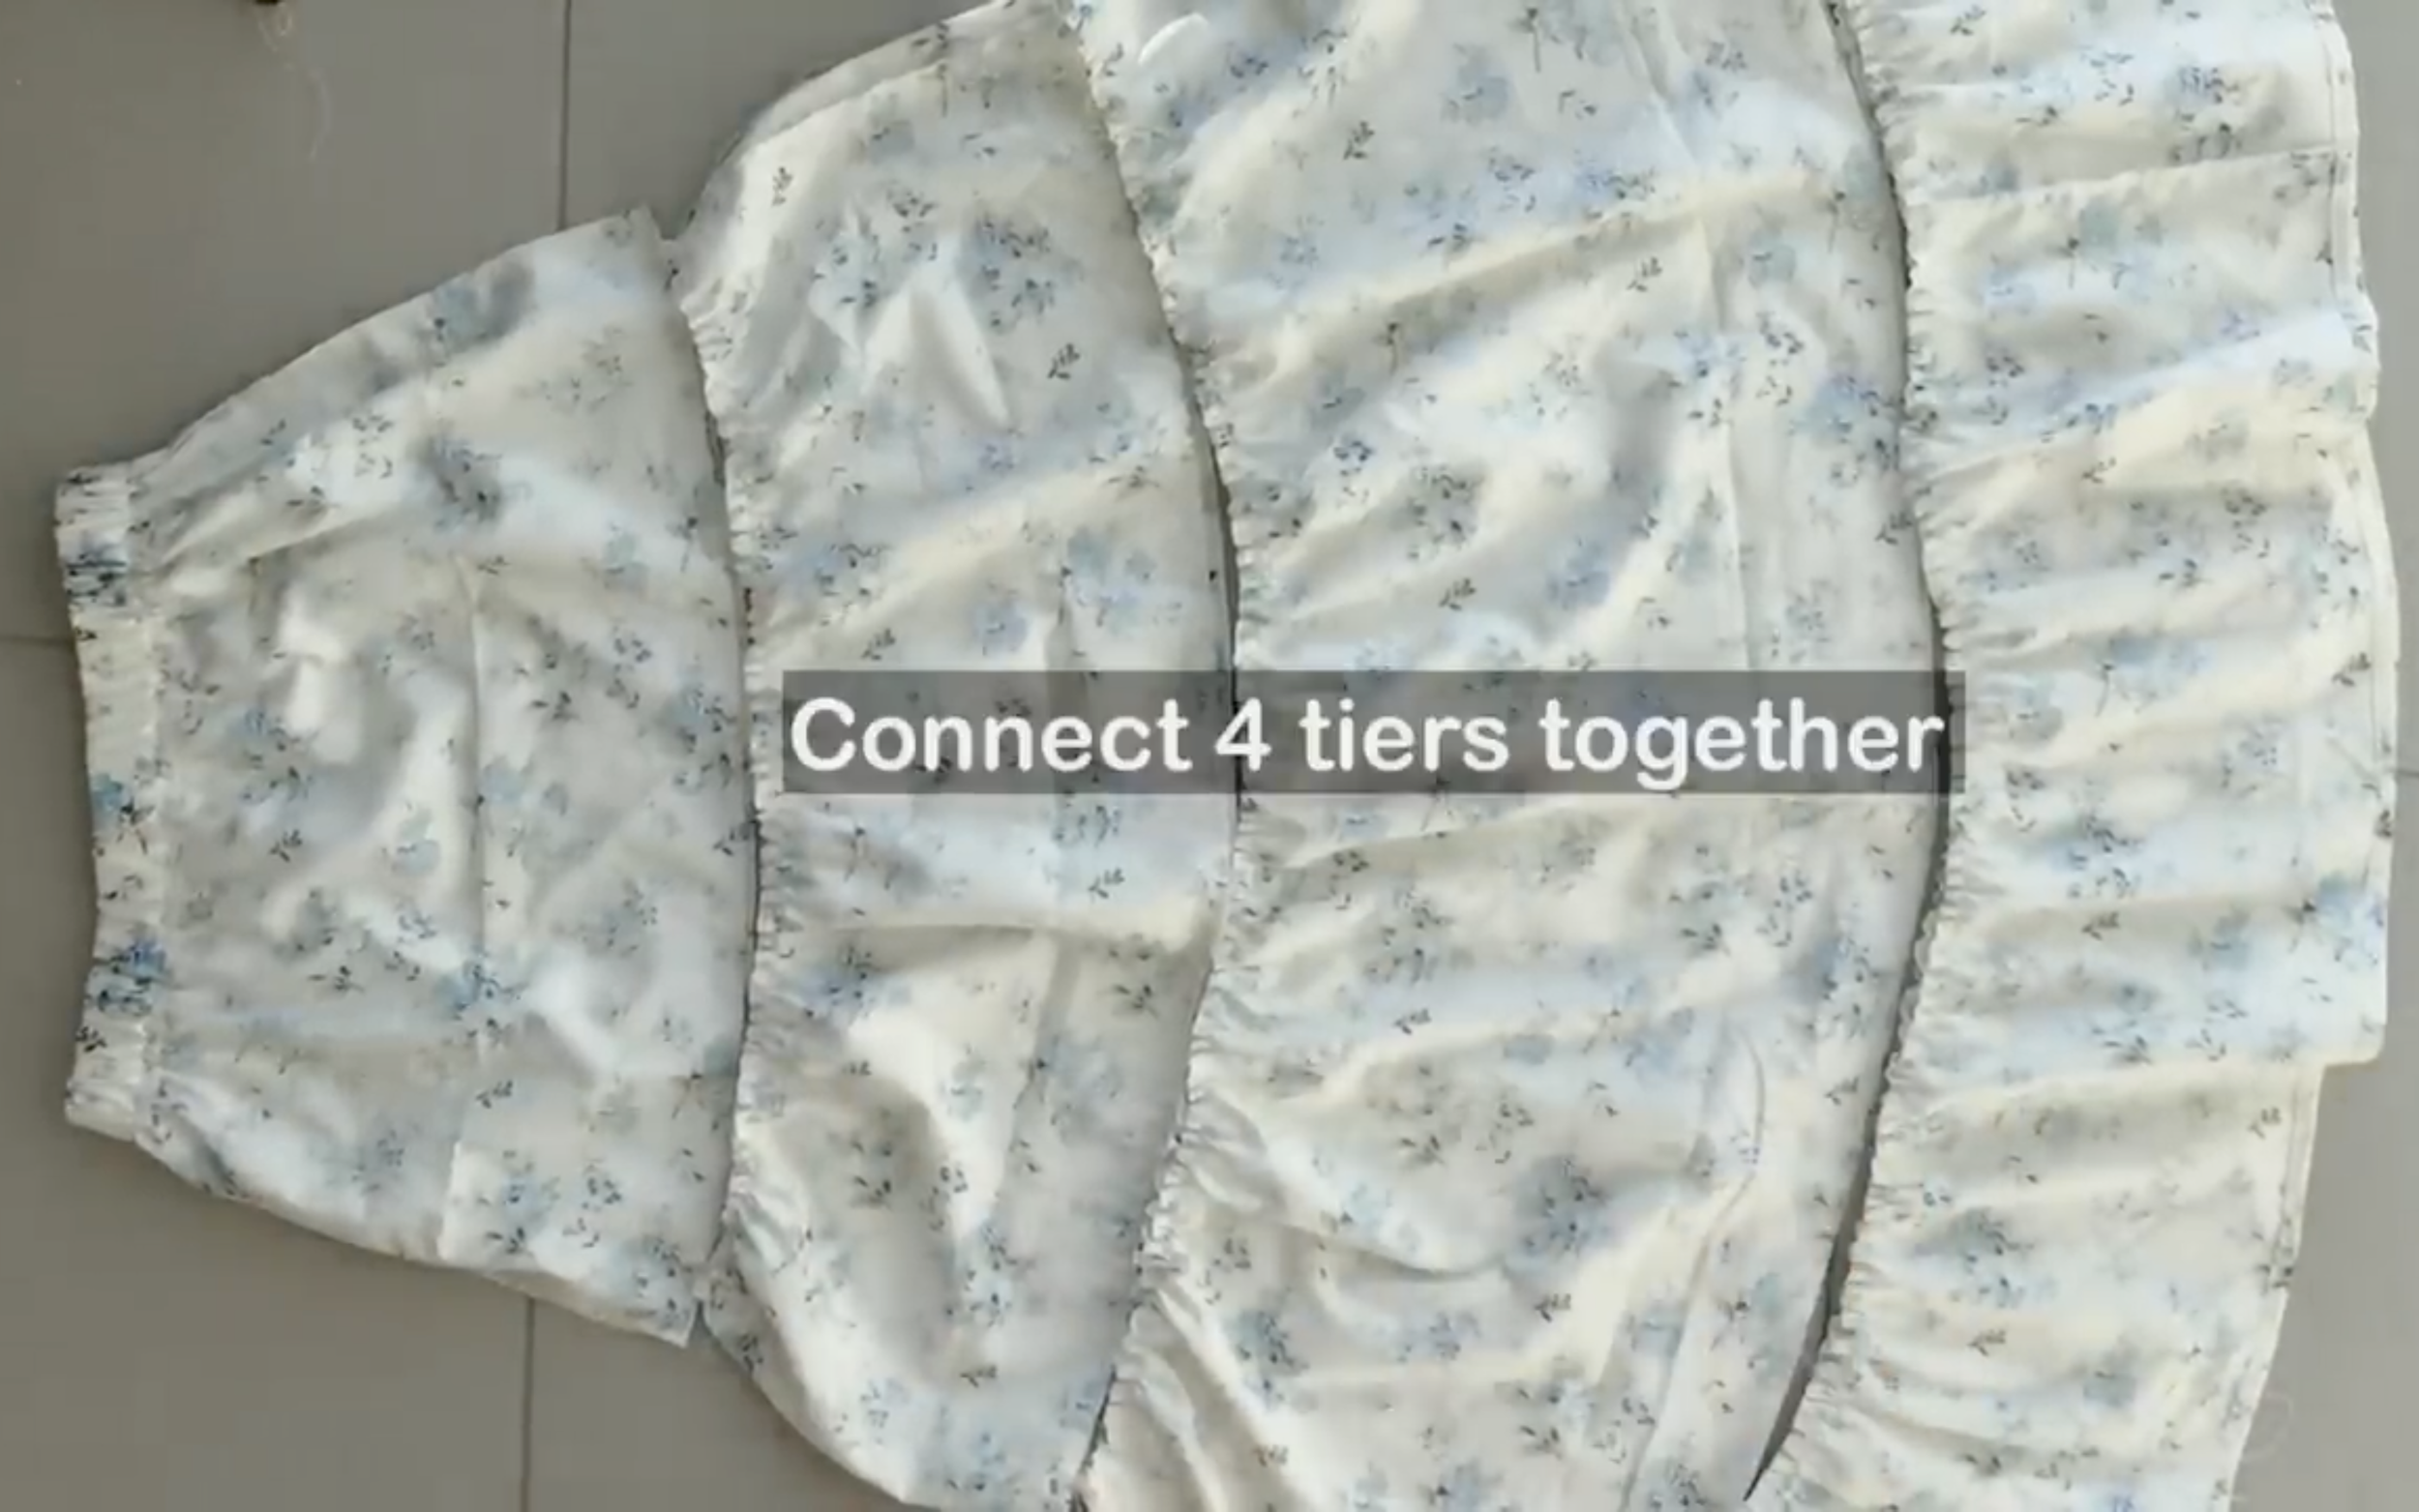
Now, all four tiers of the skirt are complete—simply connect them together to finish the skirt.

DIY Stripe patchwork dress from 2 leftover fabrics | Step by step sewing tutorial
And here’s the final result!
This set is just perfect for the beach, and I absolutely love how it turned out.


I hope you found my step-by-step guide helpful and inspiring.
If you’re interested in making your own, give it a try and let me know how it goes!
Until then, happy sewing!