DIY Butterfly sleeve, deep v-neck, open back dress | My perfect wedding series - Ep 2

DIY Butterfly sleeve, deep v-neck, open back dress | My perfect wedding series - Ep 2

Welcome or welcome back to my channel. My name is Jess and I love doing DIY, making clothes in a "simply but pretty" way.
In today's tutorial, I'm going to share with you the second episode of my "Perfect wedding" series. It's the pre-wedding photo dress. I didn't plan to make this dress as I didn't think of taking a pre-wedding photo until my dad asked for it. This dress comes with the butterfly sleeve, deep v-neck with gathered bust and open back style. It's in midi length as well. So it's very elegant in white but not too formal. And it's the perfect feeling I want for my pre-wedding photo.
So I hope you like it and try it out. Let’s get started!
WHAT YOU’LL NEED

3m of mix chiffon & silk fabric for the main fabric
3m of lining fabric
Pattern paper
Sewing machine
Pins
Scissors
Ruler
Long stick
Zipper
Buttons
MAKING THE PATTERNS
Here’s the pattern for the project. To get a clear understanding of all the measurements needed for the pattern, watch the video from 1:09 to 12:52.
Remember, you can adjust these measurements to fit your own dimensions!

THE BASIC BACK PATTERN


Based on the basic top pattern to make the bodice pattern of the dress, the process starts with creating the basic top pattern first.
Draw a straight line and a horizontal line first.
Then, draw another straight line at 2.5 cm outside the first one. This new straight line will cut the horizontal line at one point.
From this cutting point, mark up 8 cm on the second straight line. It is half of the neck measurement.
Then, connect this mark to the cutting point between the horizontal line and the first straight line.
From this mark, draw a perpendicular line that cuts the first straight line at one point.
From this cutting point, connect it to the middle of the slanted line made earlier.
Then, draw a curved line from the first mark to the middle of this line to the first cutting point to finish the neckline of the basic pattern.
From the second cutting point, mark up 16 cm, which is half of the shoulder measurement.
From this mark, draw a perpendicular line with 3.2 cm, which is 1/10 of the shoulder measurement.
Then, connect the end of this line to the end of the neckline to finish the shoulder line of the pattern.
From the second straight line, draw another straight line at 20.5 cm from it. This is a quarter of the bust measurement and also marks the position for the end of the armpit line. Extend the perpendicular line from the shoulder to this line.
From the cutting point between this line and the horizontal line, mark up 21 cm, which is a quarter of the bust measurement plus 0.5 cm.
On the perpendicular line made earlier, mark at 1/3 of this line first, then connect it to the mark on the bust line made earlier.
After that, create the curve line in a similar way as done for the neckline to form the sleeve line for the pattern.
From the second straight line, make another one at 40 cm from it. This is the length from the shoulder to 3 cm above the belly button.
From the cutting point between this line and the horizontal line, mark up 16 cm, which is a quarter of the waist measurement.
Then, connect this mark to the end of the sleeve line to create the sideline of the pattern. Make it a big curve to finish the sideline.
THE TOP BODICE PATTERN


Copy the basic back pattern first.
After that, make the neck a bit deeper by moving it down 3 cm.
From the ending line of the pattern, draw another line at 7 cm, parallel to it. This is the width of the waistband of the dress.
For a curved waistband at the back of the dress, mark down 2 cm from the end of the top waistline, then connect it to the other end of this line.
Based on this, draw a curved line to finish the top waistband of the back dress.
To create the open-back part, from one end of the top waistline, mark at 7 cm, which is half of the open area of the back. Make sure it is smaller than half of the back width.
Then, draw a big curved line from this mark, connecting it to the end of the neckline.
Here are the two pieces of the back pattern of the dress after cutting.
Add a 1 cm seam allowance for it.
However, do not add seam allowance at the middle line of the lower part of the back dress pattern because it will be cut on folded fabric.
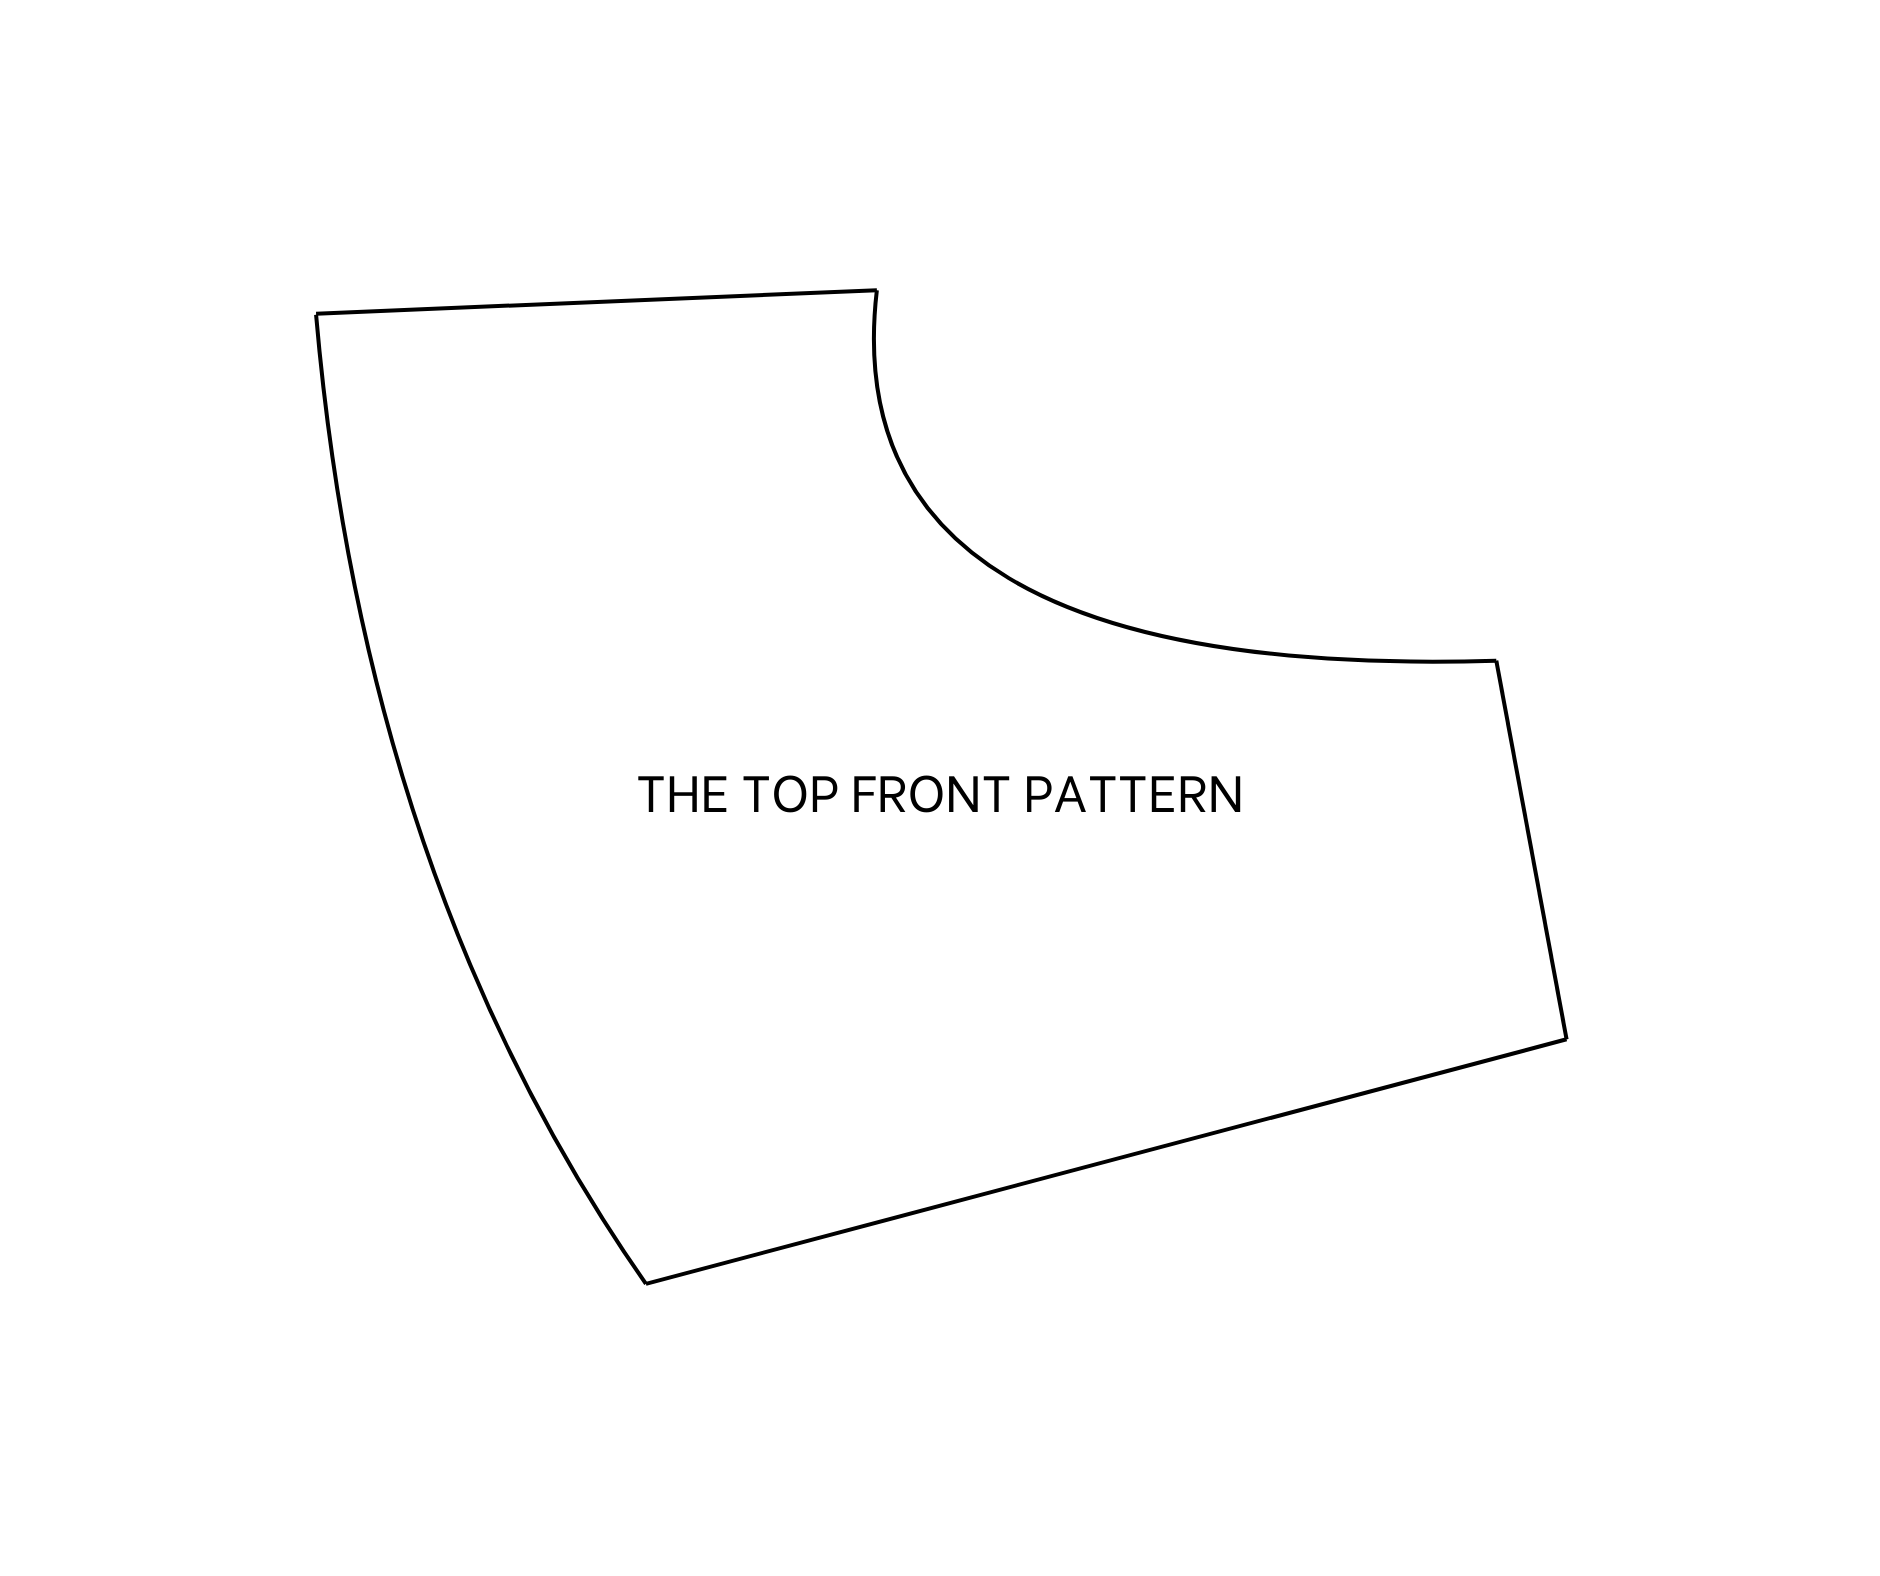
THE FRONT BODICE PATTERN
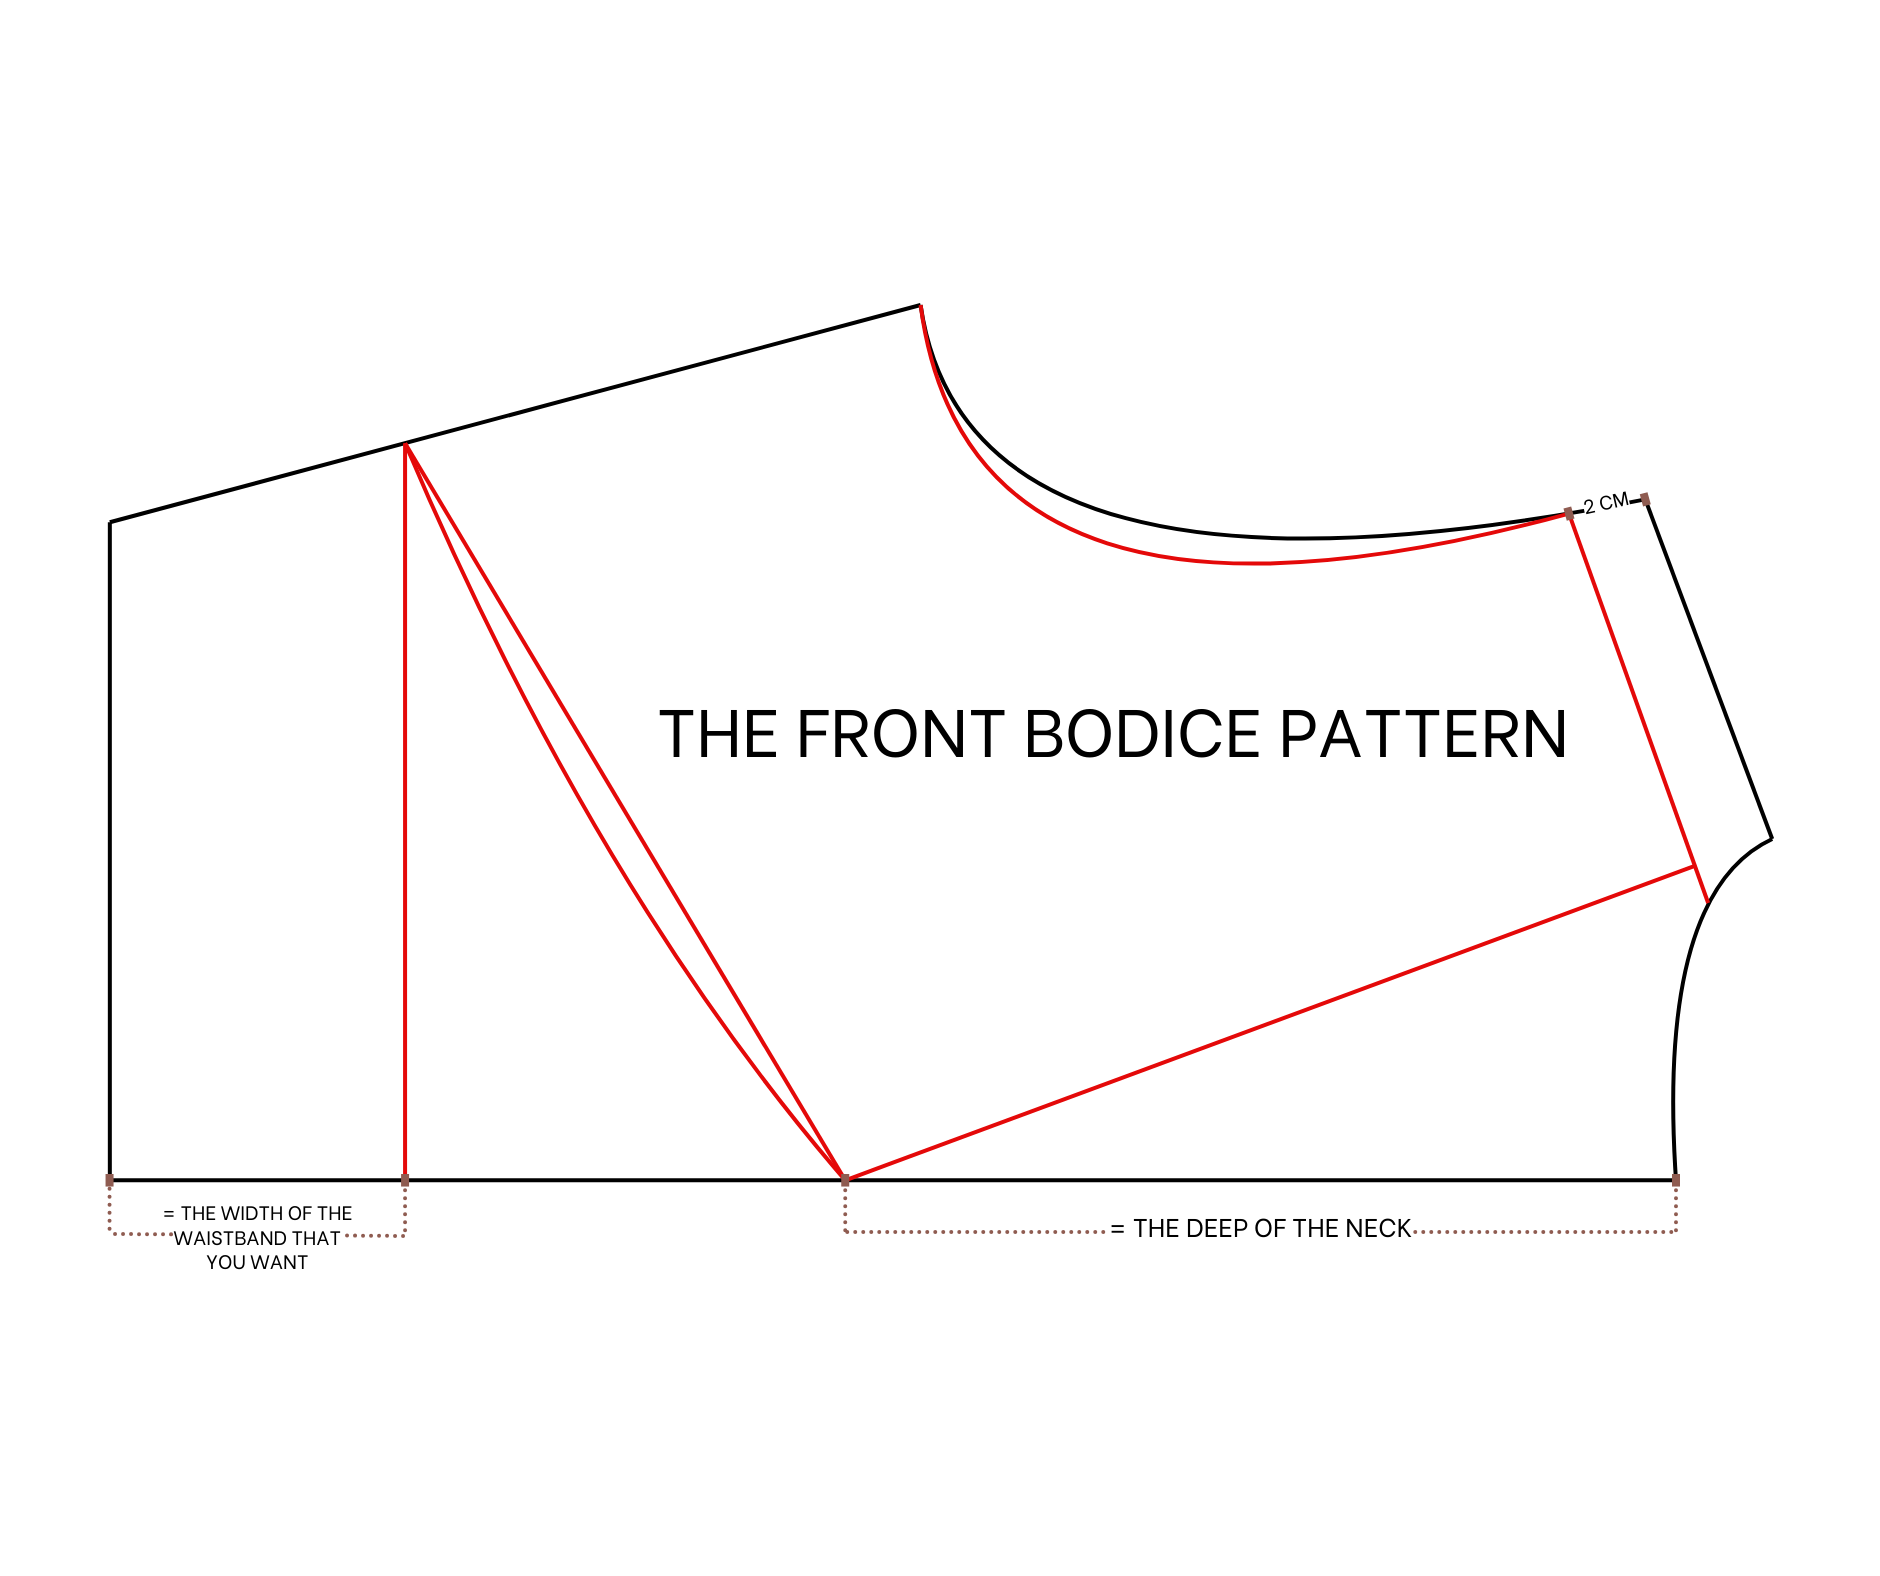
Moving to the front pattern, copy the basic back pattern first.
After that, make a new shoulder line 2 cm lower than the current one, then redraw the seam line slightly for the front pattern.
From the top of the neckline, mark at 20 cm on the middle line. This is the depth of the neck of the dress at the front. It should be at the middle of the chest or right at the end of the breast.
Copy the width of the old shoulder line to the new one before connecting it to the mark just made to create the neckline.
From the end of the pattern, draw a line 7 cm next to it and parallel with it. This is the width of the waistband. It must be the same as the waistband made on the back pattern of the dress.
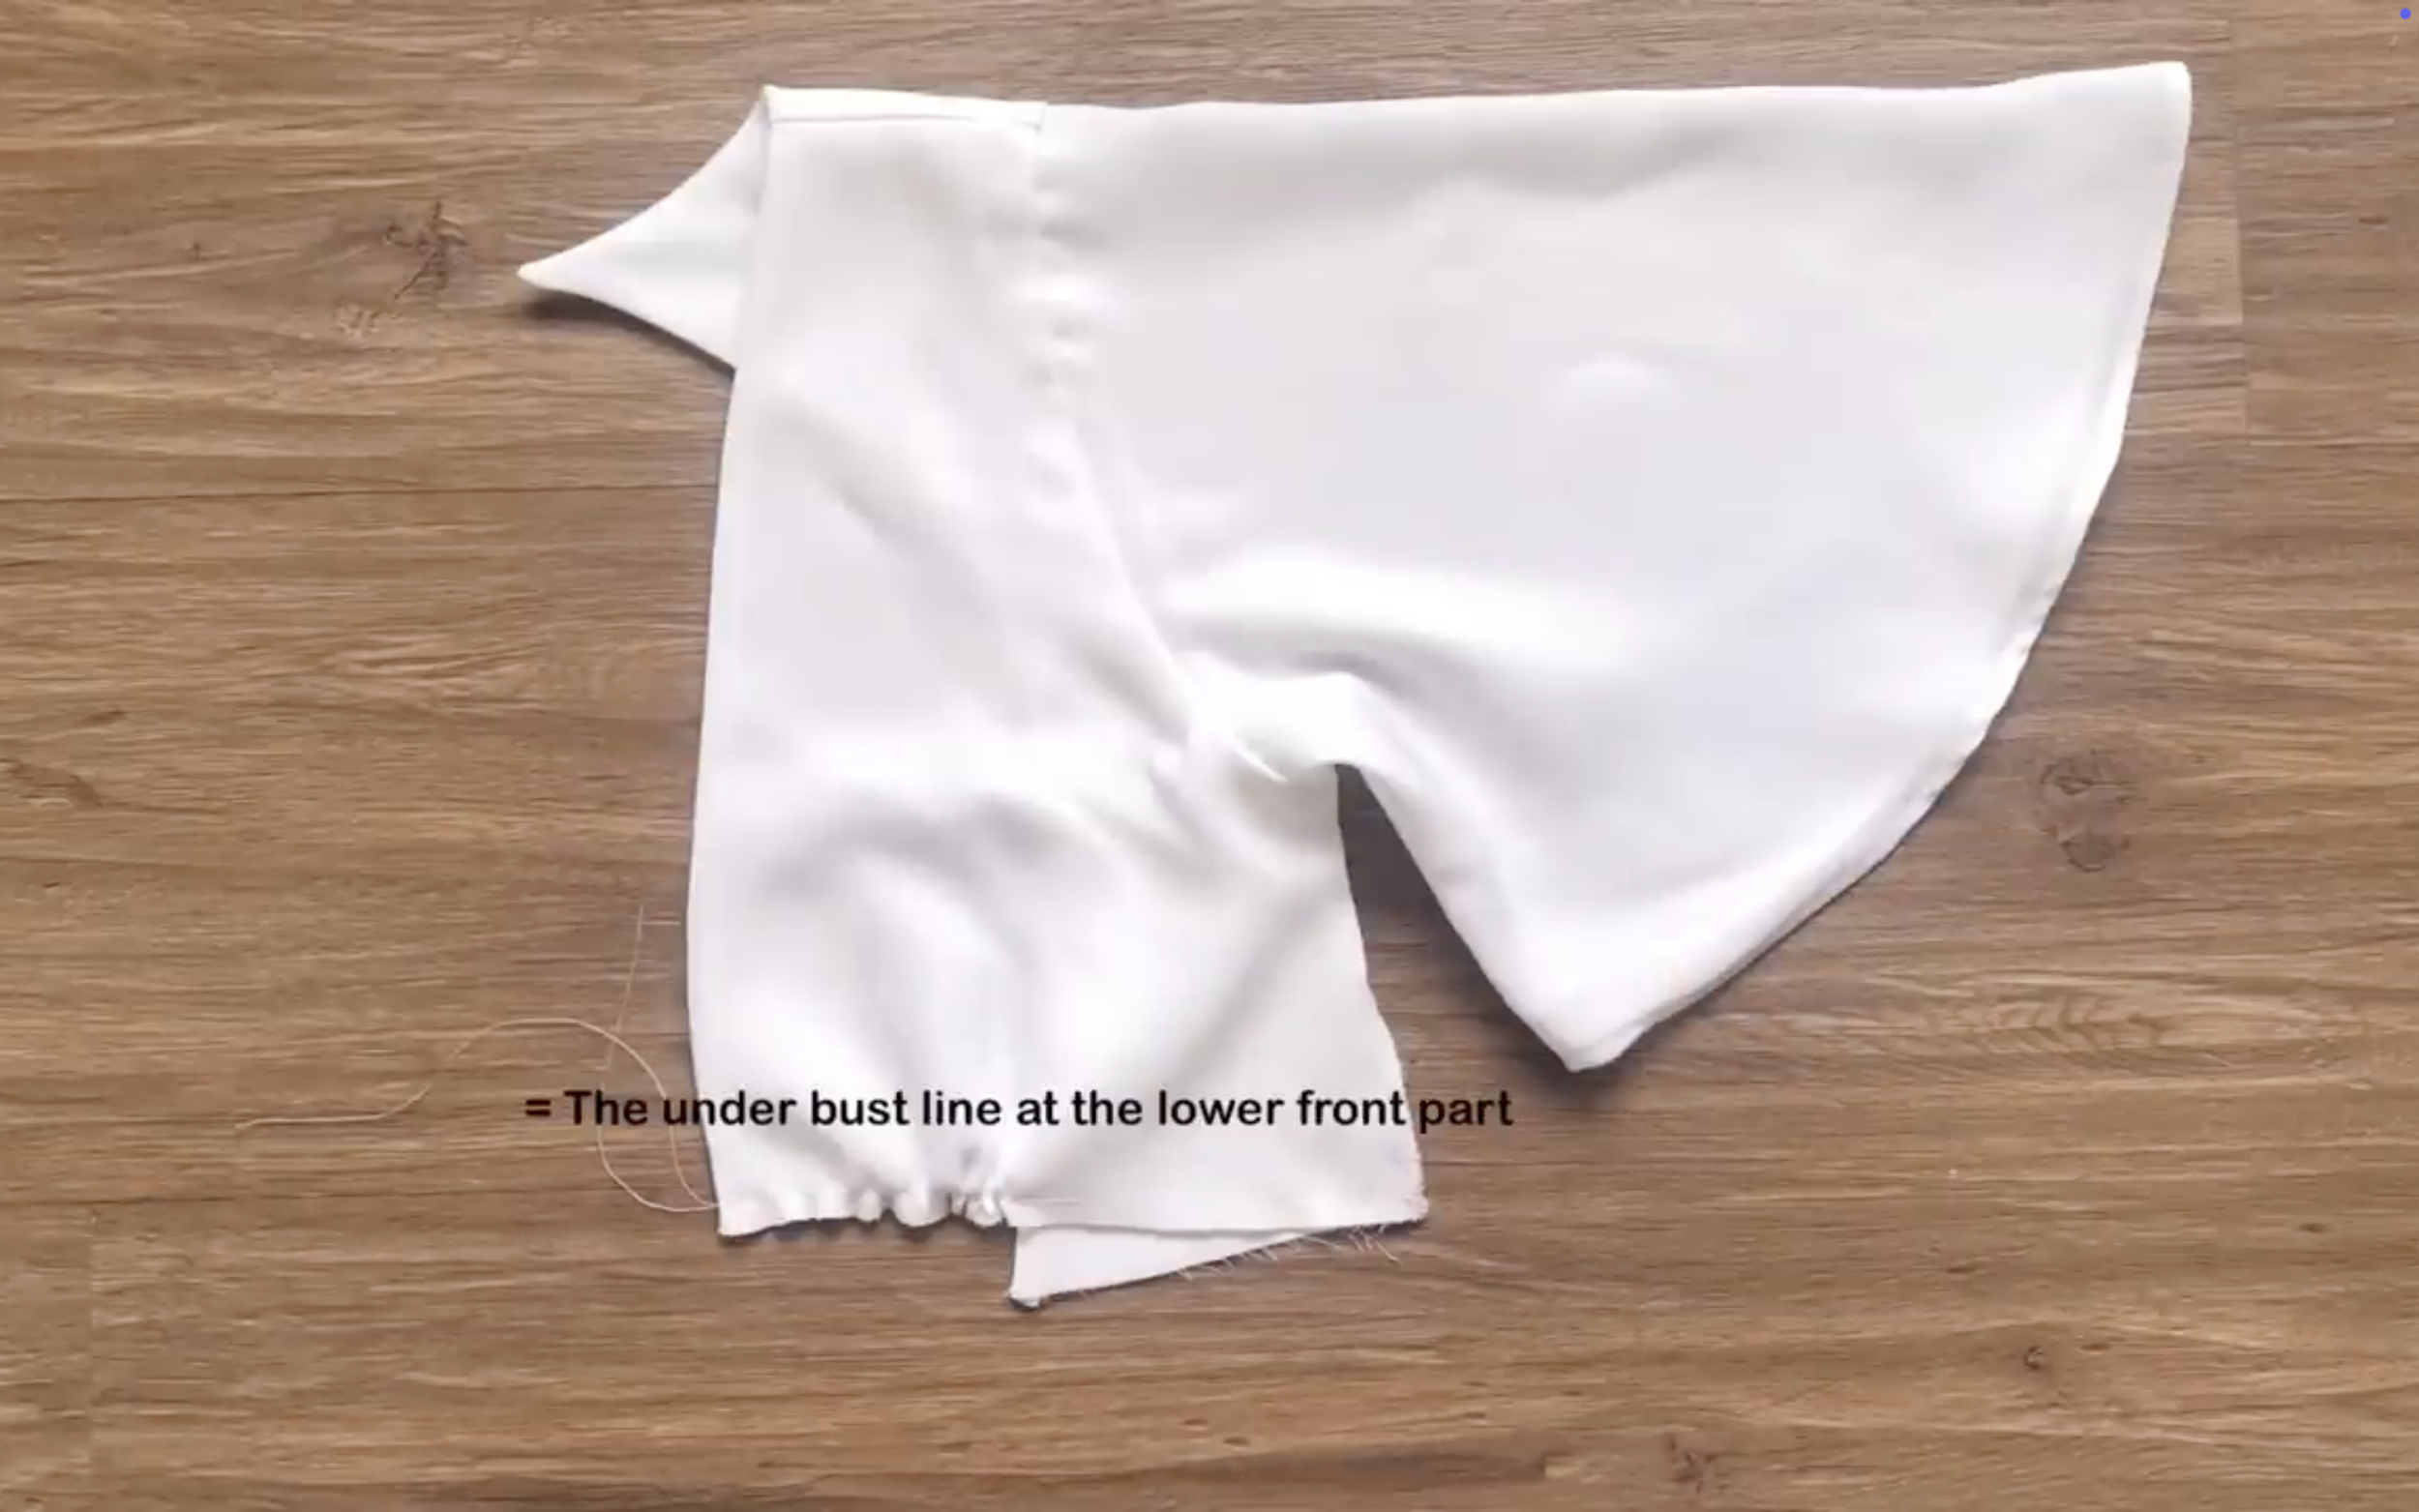
Connect one end of this line on the sideline to the end of the neckline to create the underbust line.
After that, make this line a big curve.
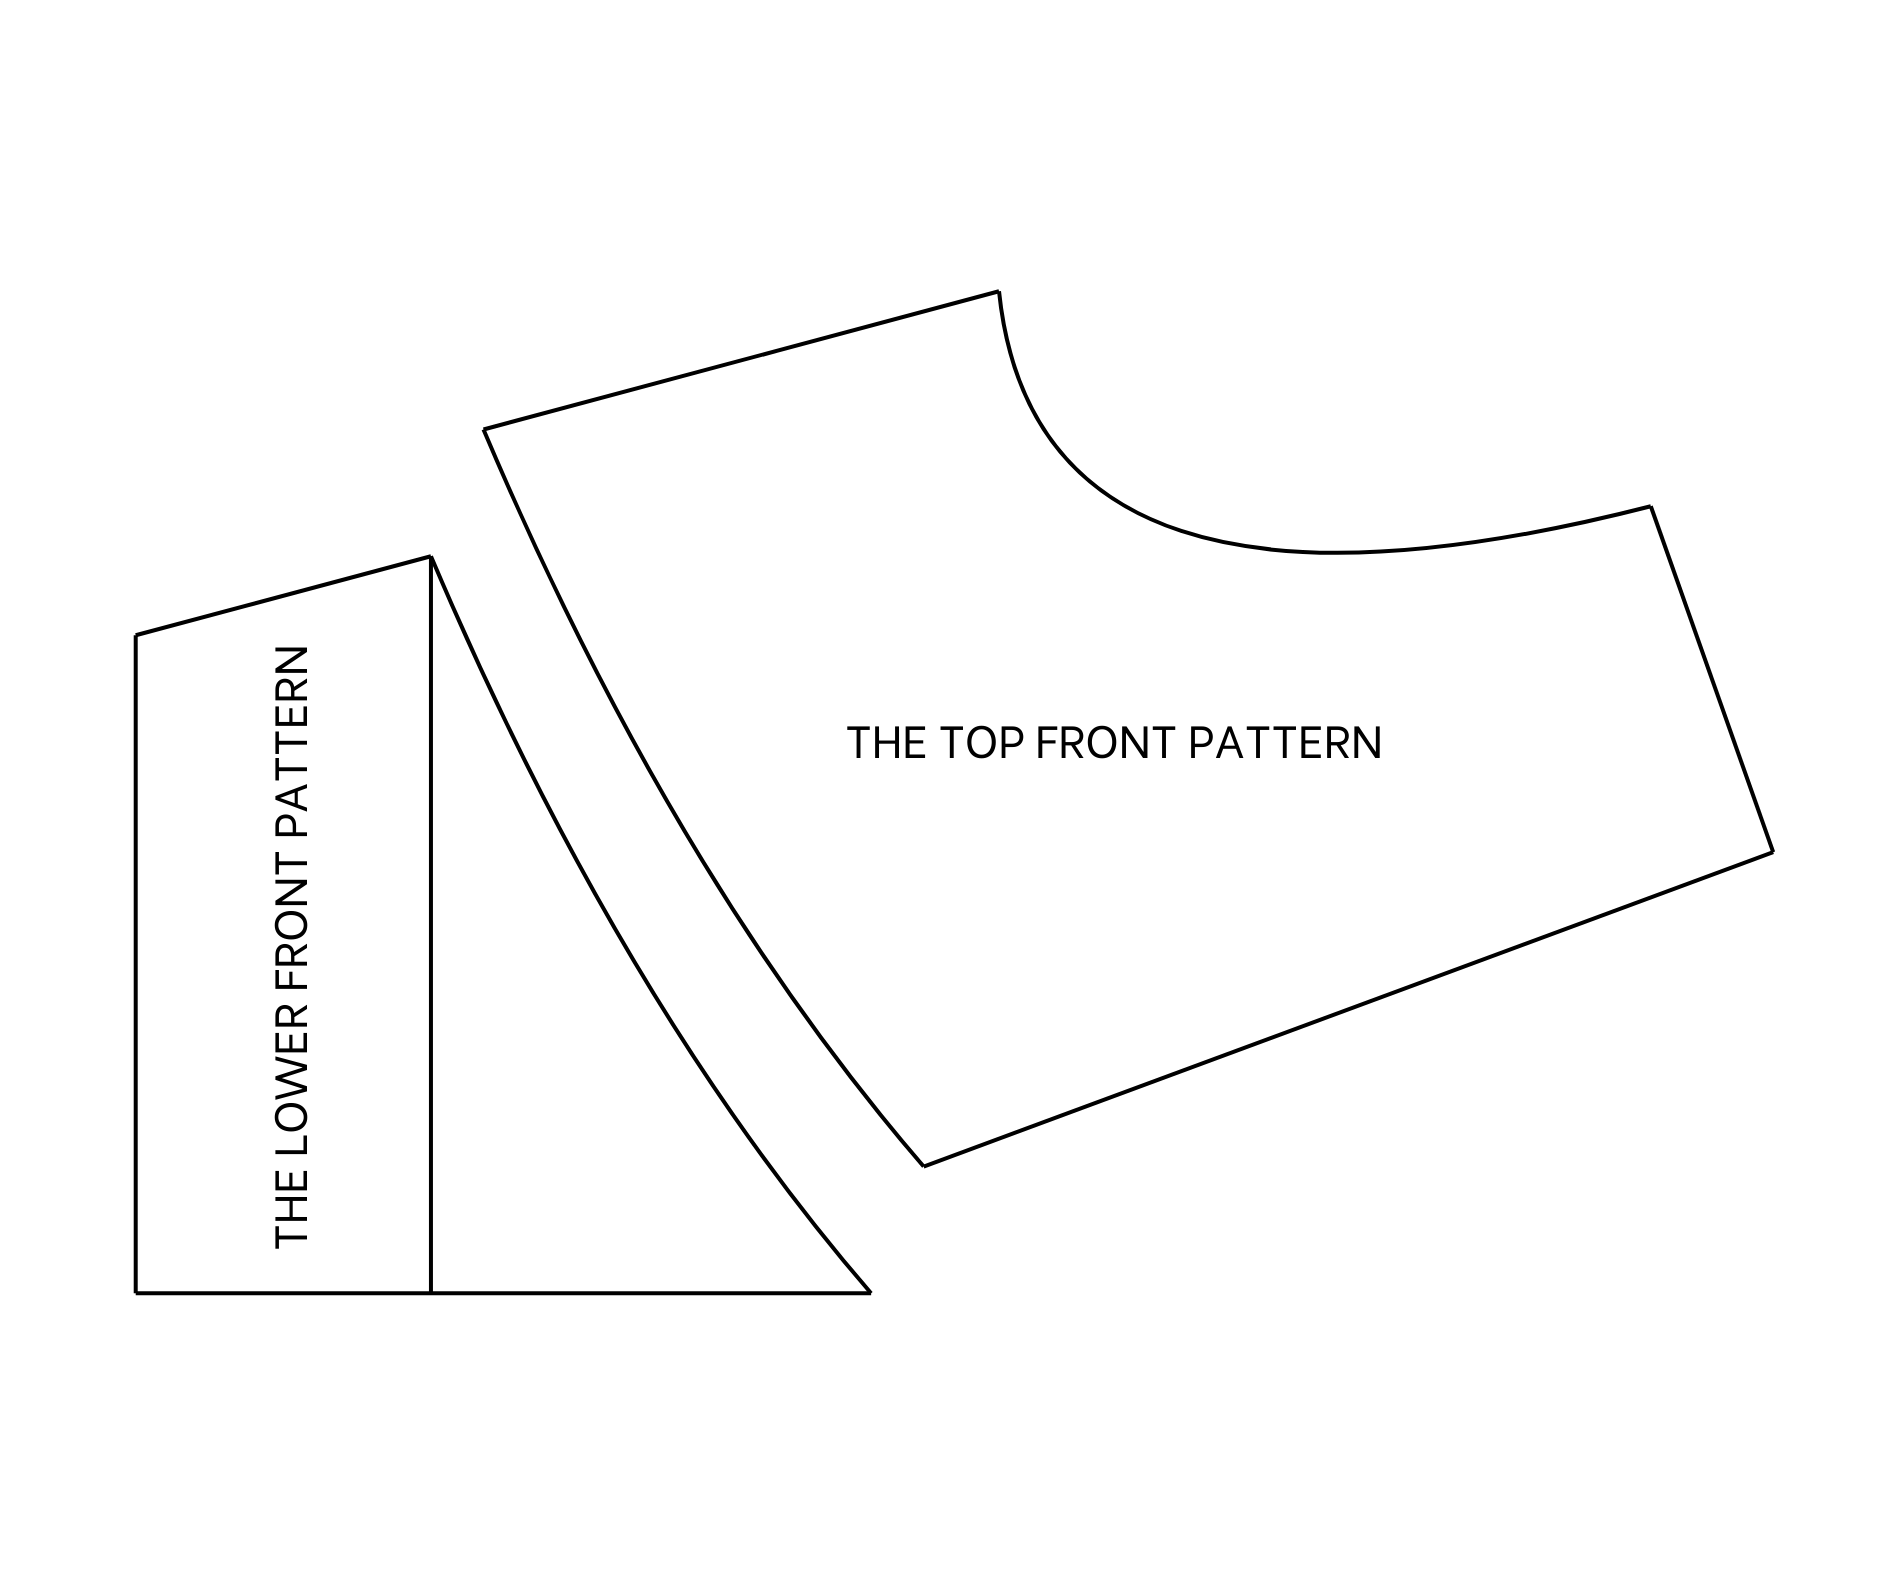
Here are the two pieces of the front pattern.
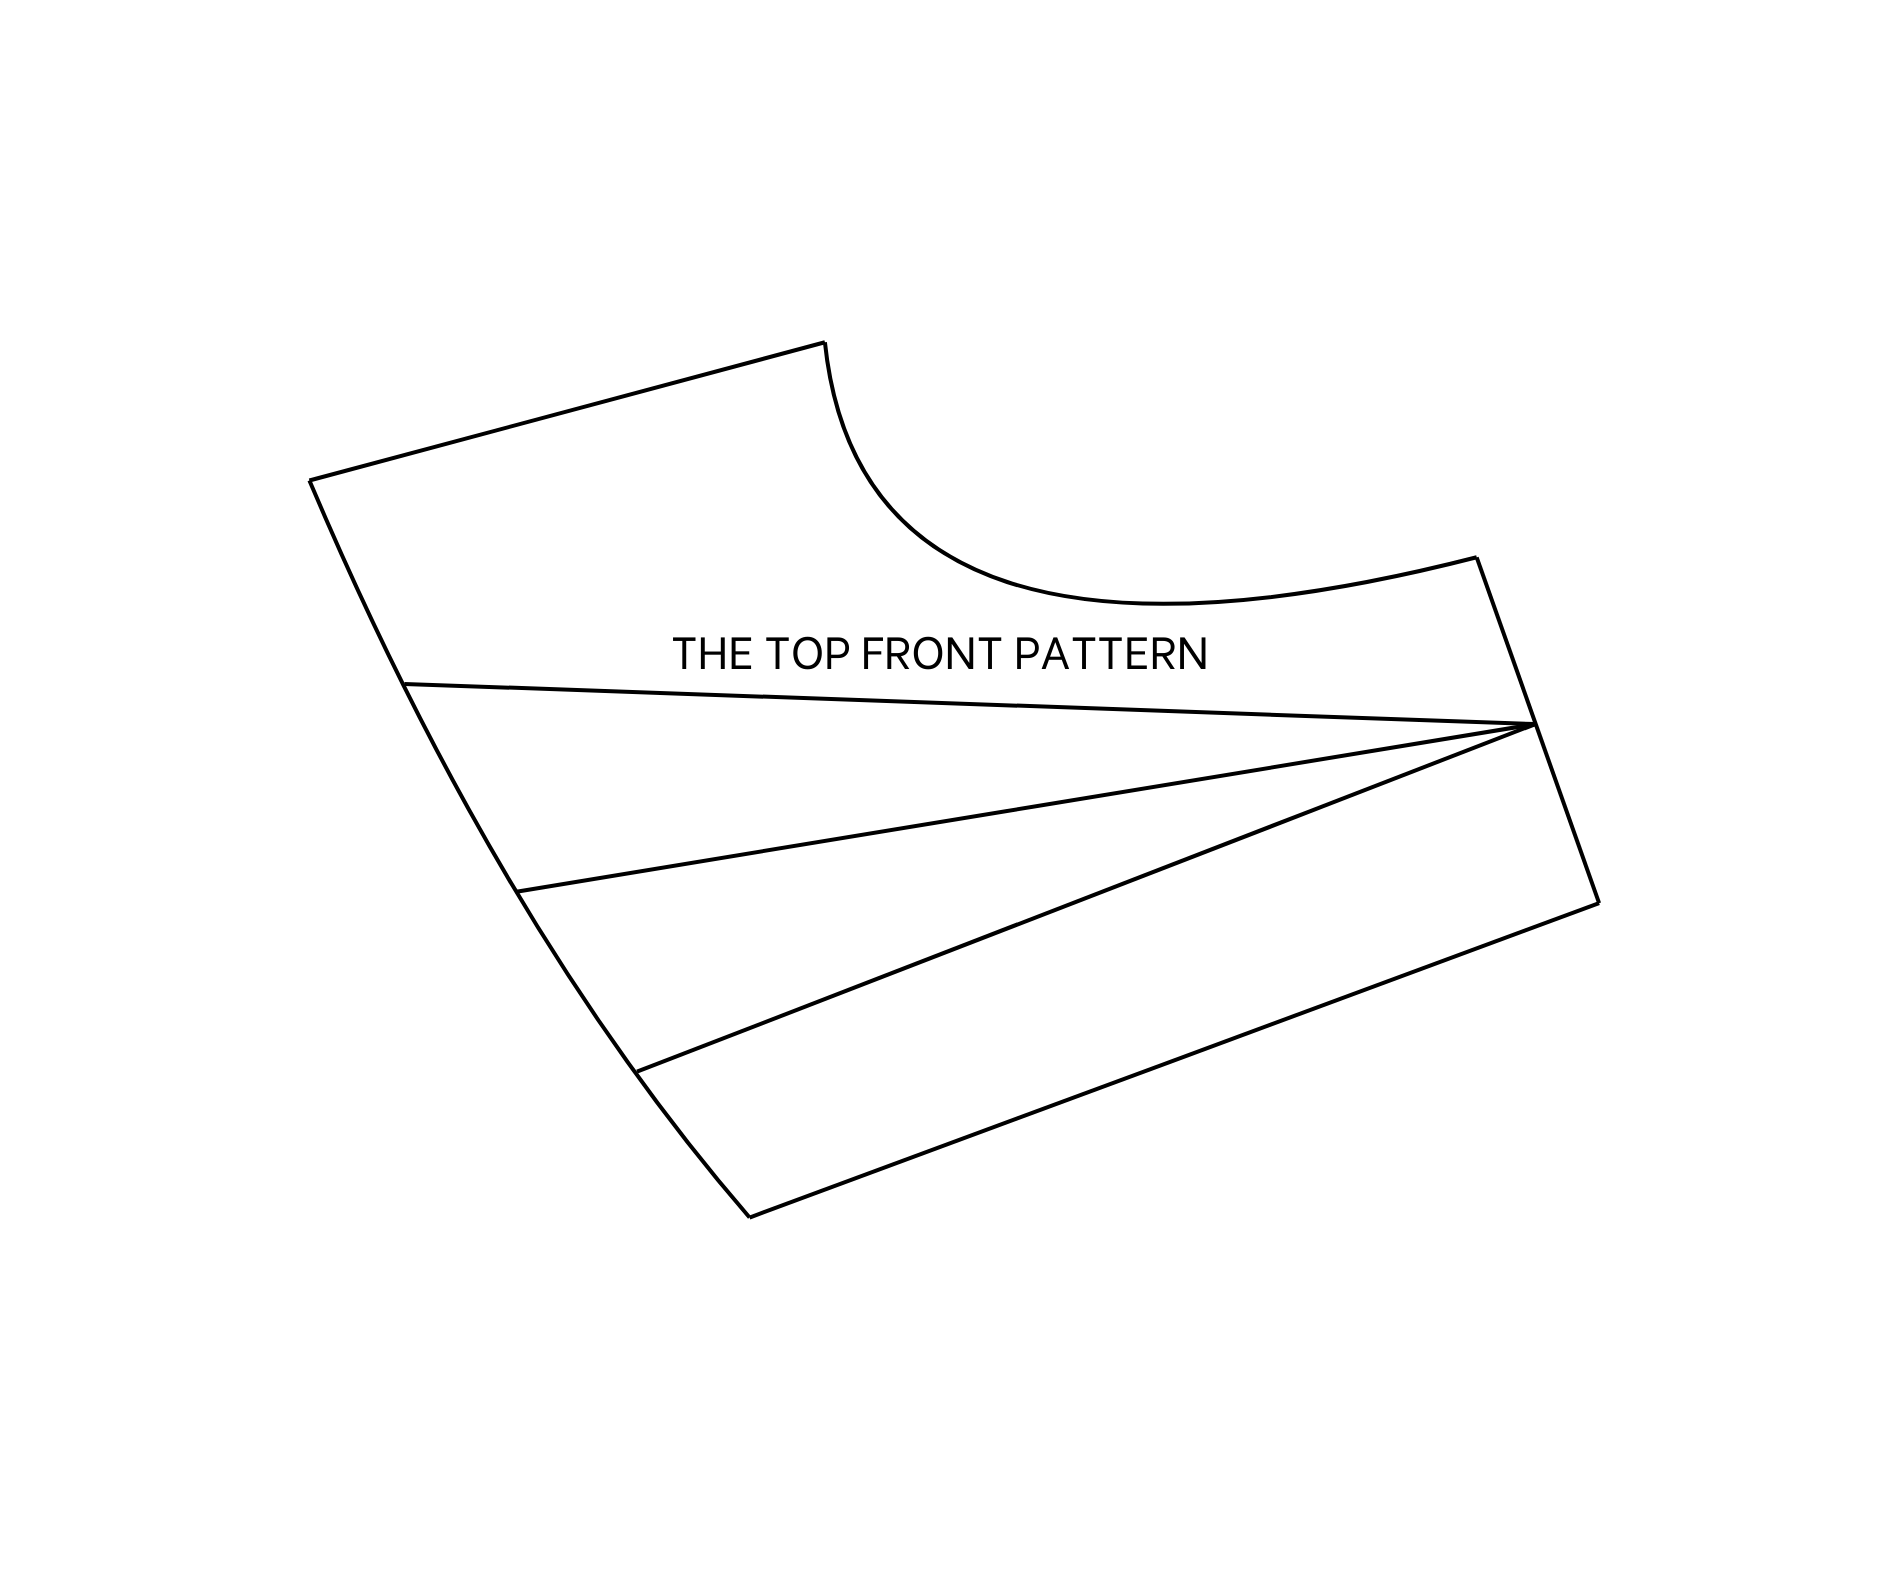
The front of the dress will have gathered fabric at the bust, so continue working on the bust piece pattern.
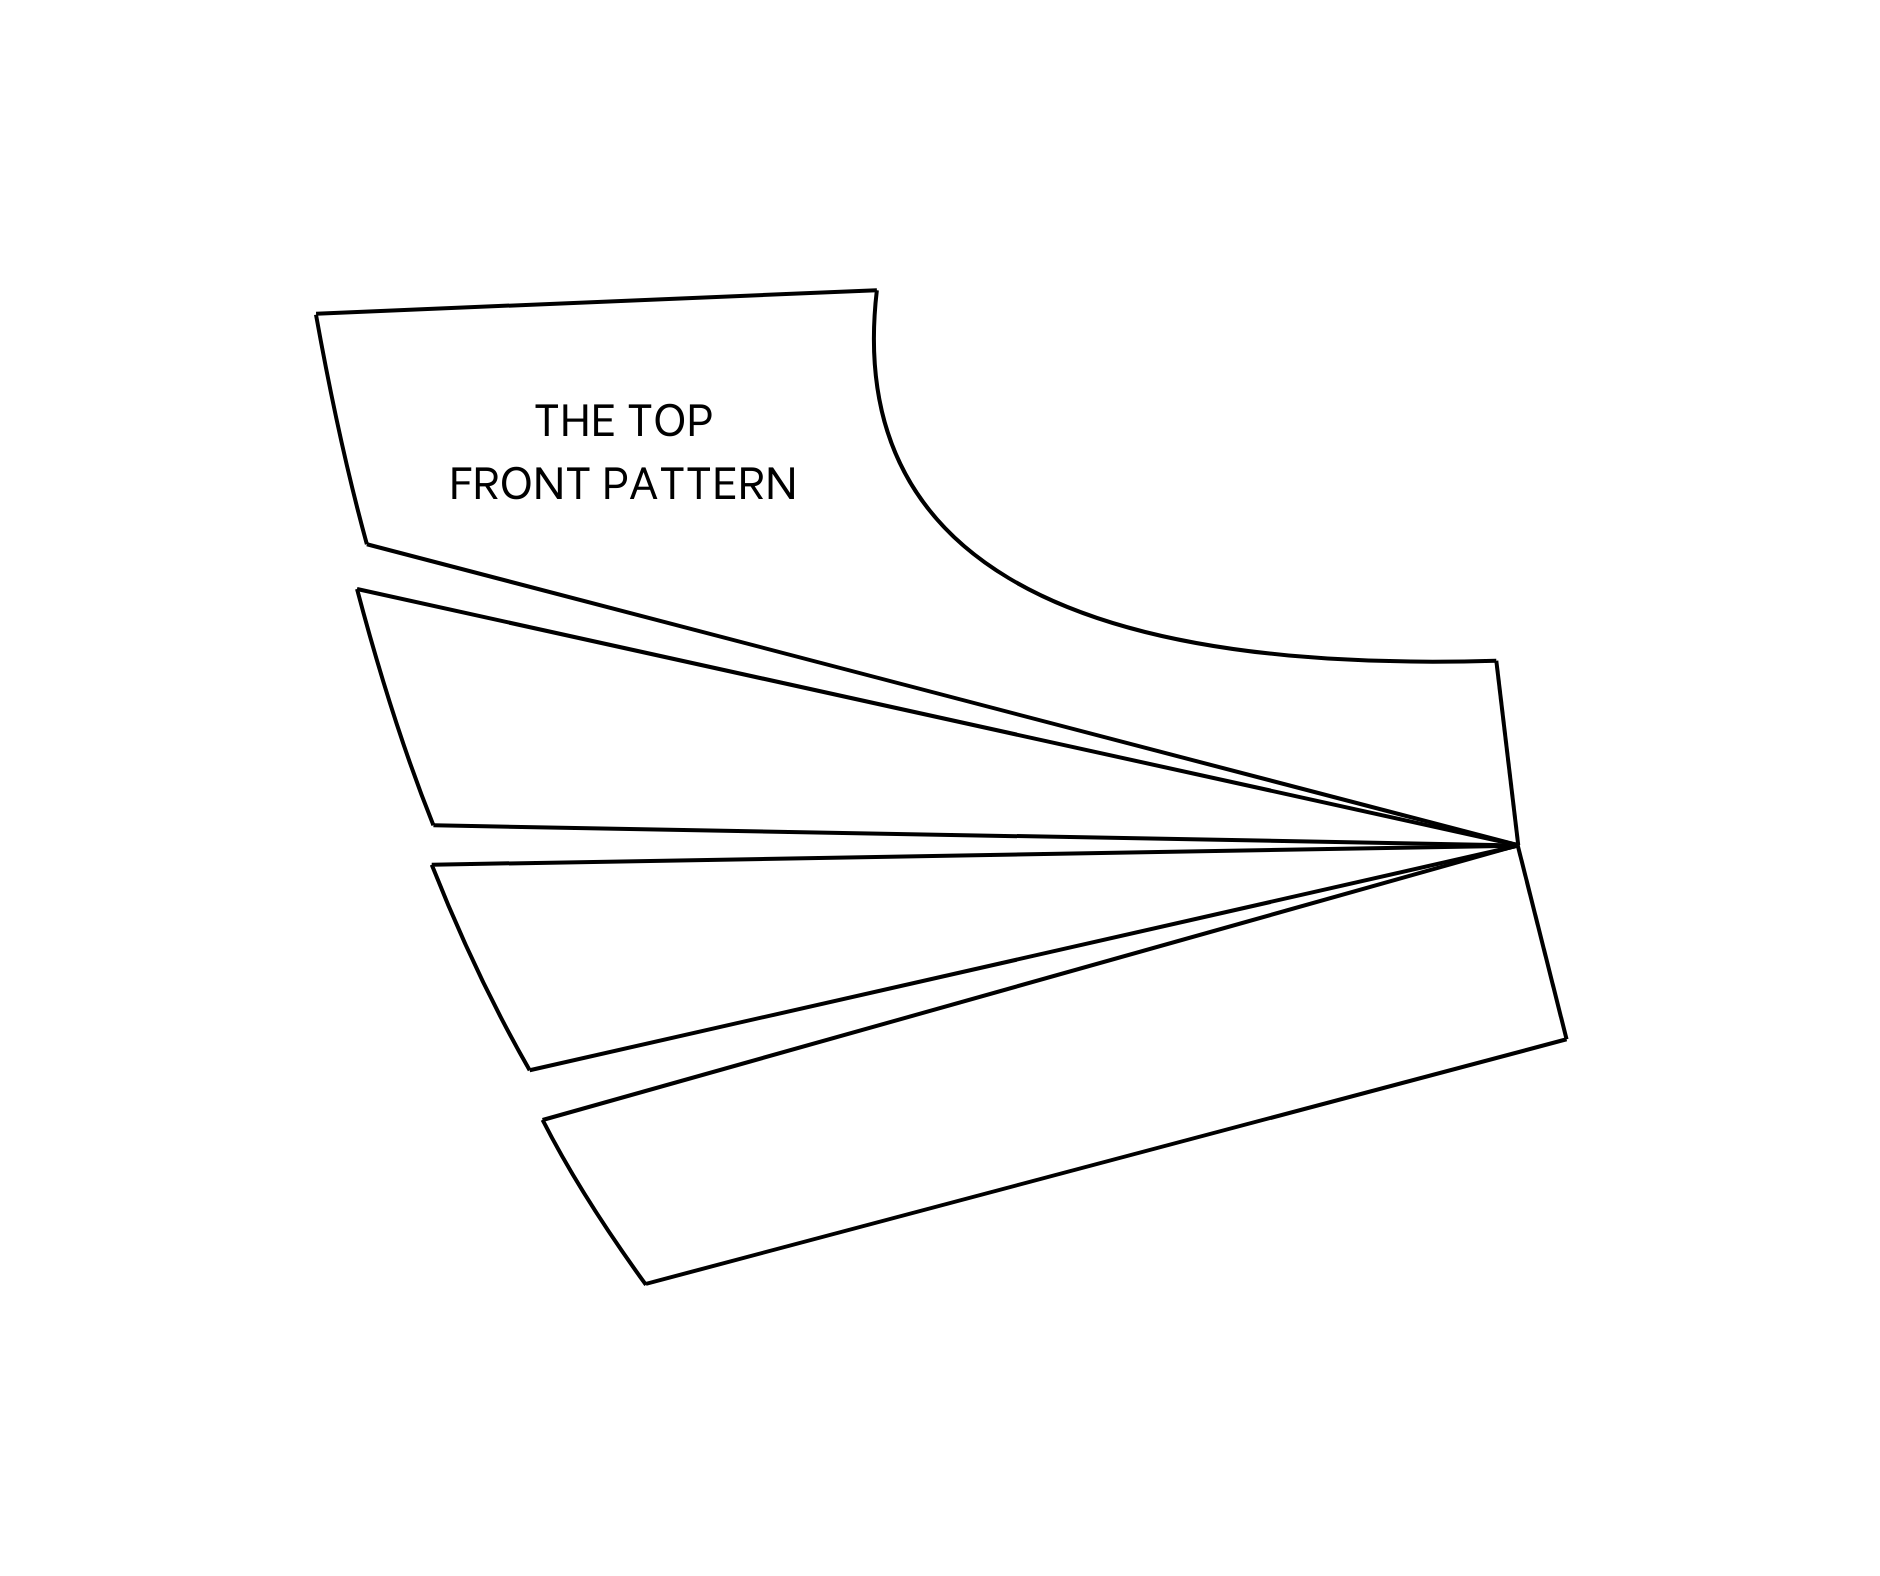
At the underbust line, divide it into four equal parts by making three marks. Then, connect these marks to the middle of the shoulder line. Cut these lines to the middle line to open the bust of the pattern.
Depending on how much gathered fabric is desired at the bust, adjust the distance between them. Avoid making it too large, as it will make the bust look too loose. Then, redraw the new bust piece pattern.
Here is the bust piece pattern after cutting. Add a 1 cm seam allowance for them. However, do not add seam allowance at the middle line of the lower pattern because it will be cut on folded fabric.
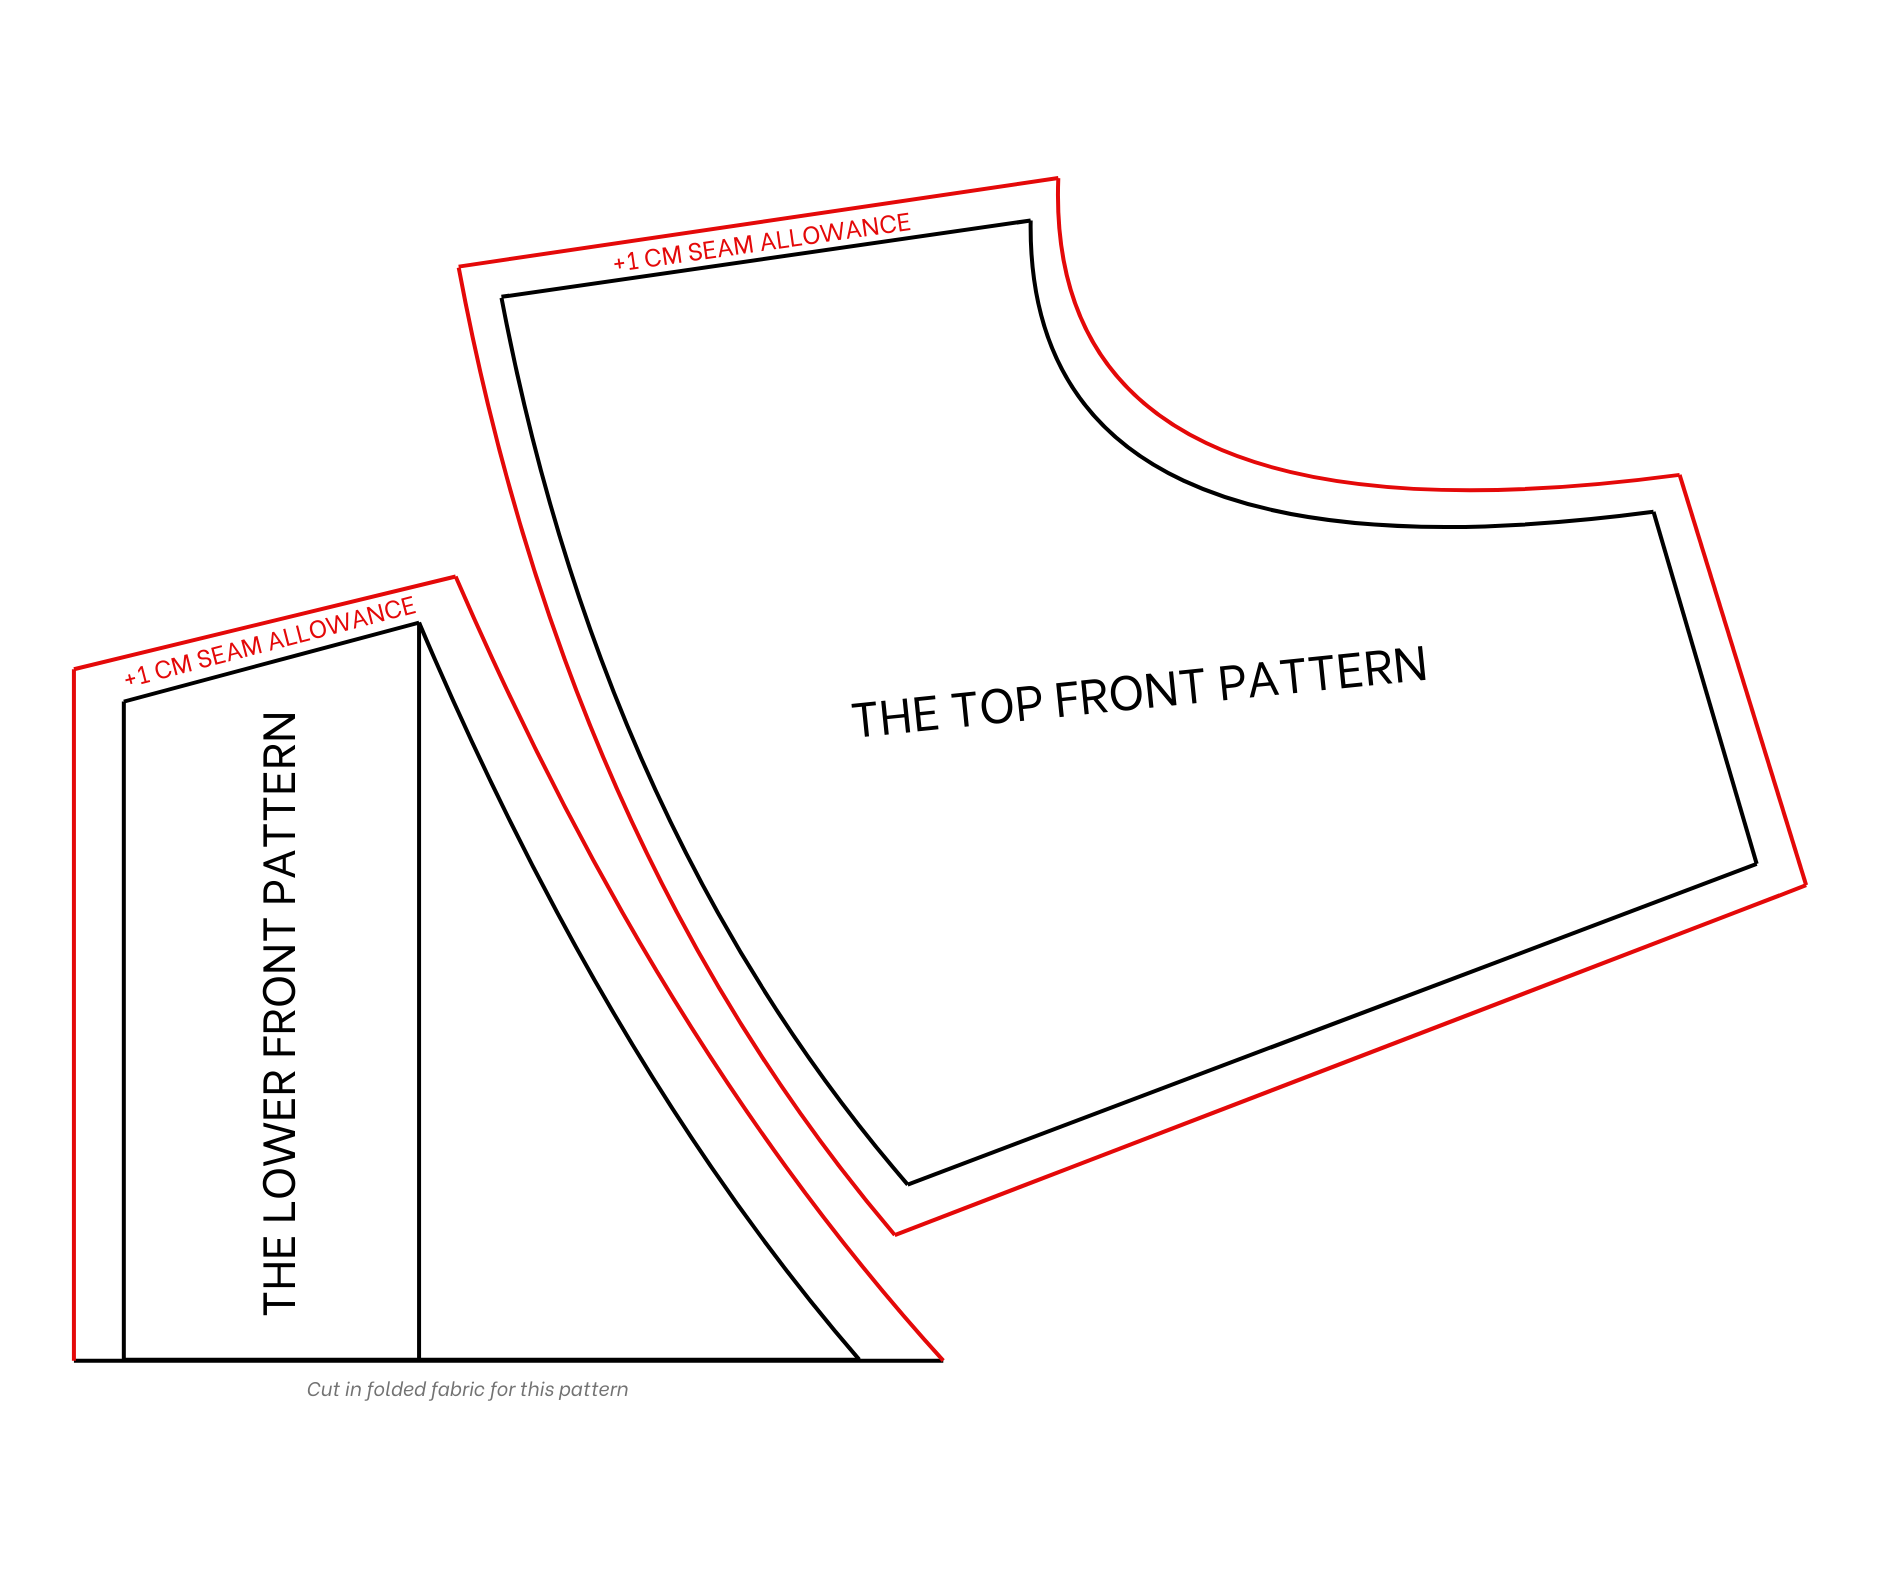
Here is the bust piece pattern after cutting.
Add a 1 cm seam allowance for them.
However, do not add seam allowance at the middle line of the lower pattern because it will be cut on folded fabric.
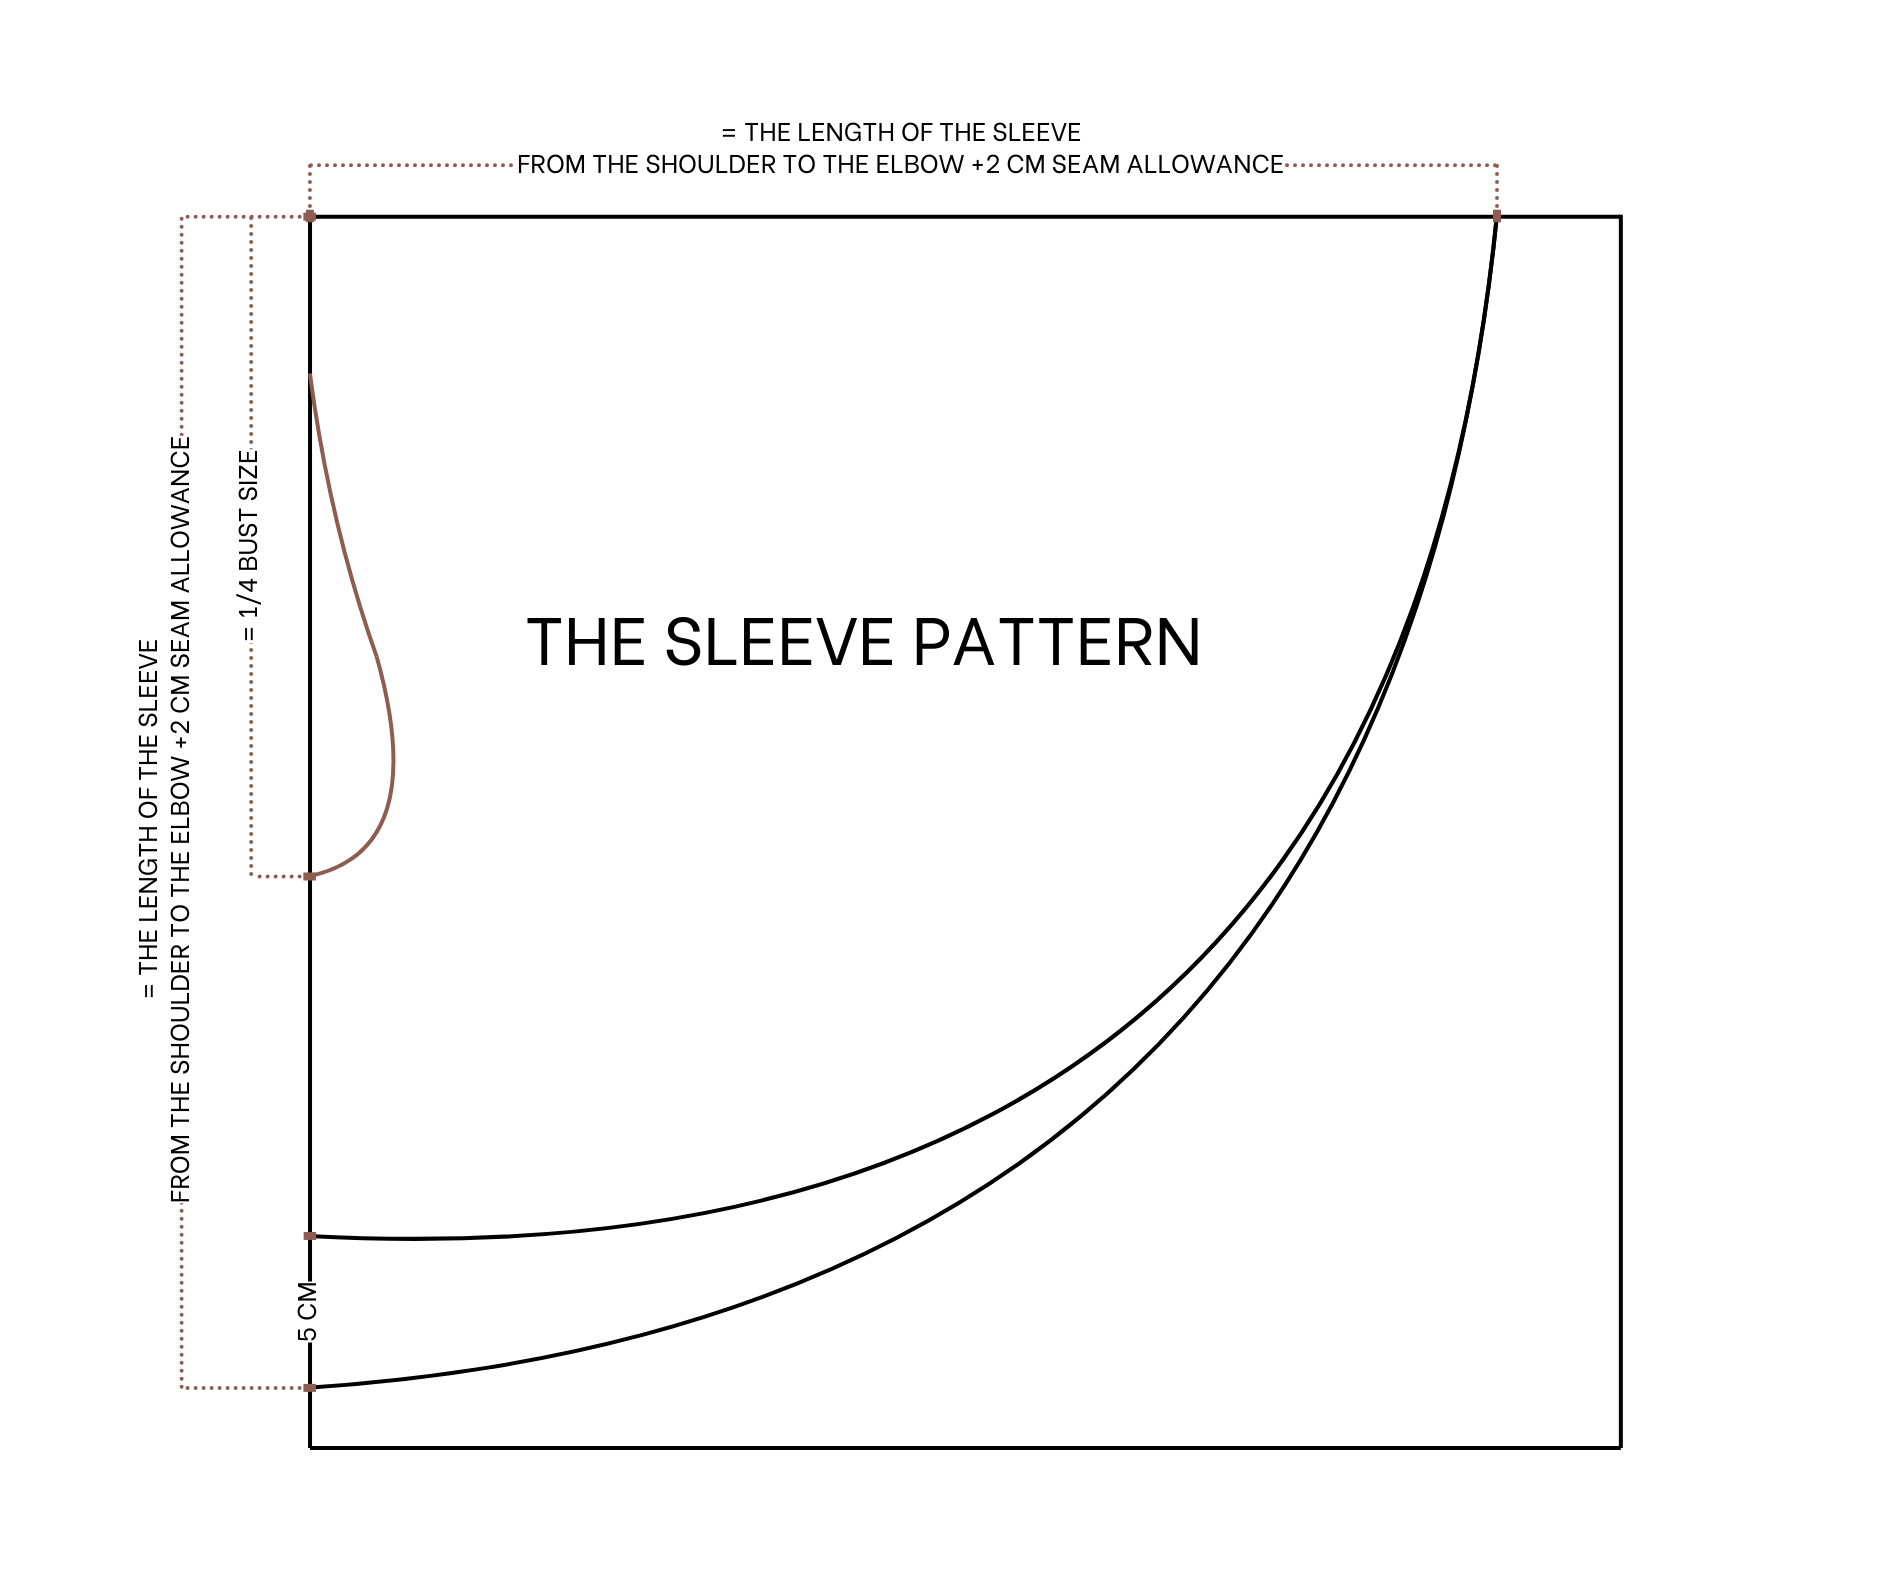
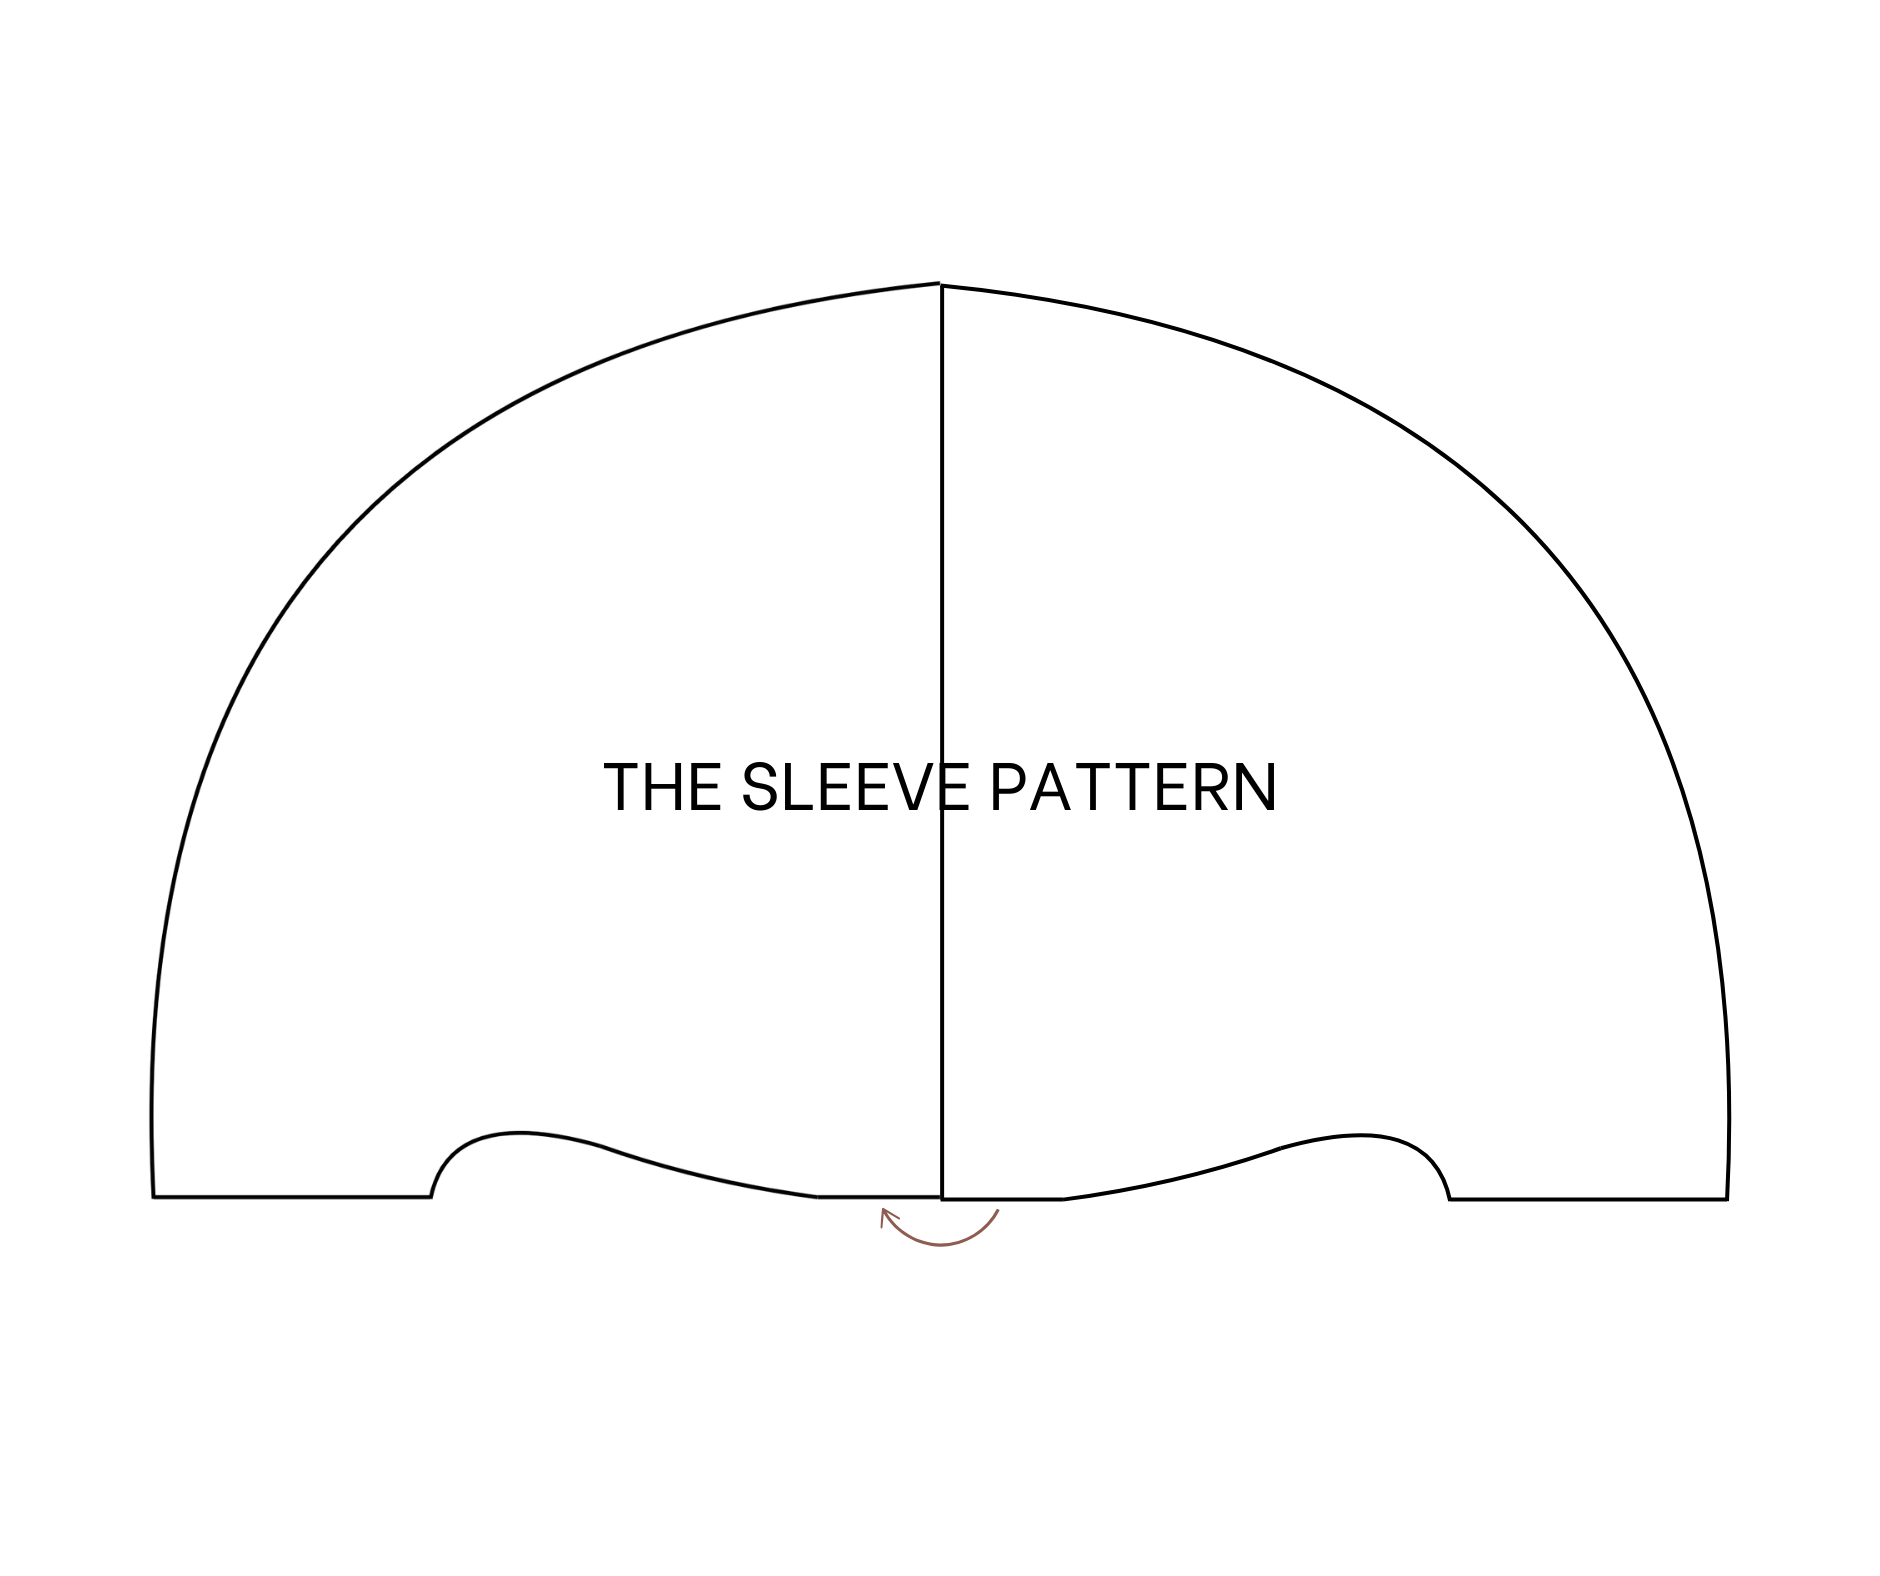
THE SLEEVE PATTERN
To make the sleeve pattern, measure the total width of the sleeve line at the front and back pattern first.
After that, fold the paper to make the sleeve pattern.
From one end of the folding line, draw a curved line at 30 cm from it. This is the length of the sleeve from the shoulder to the elbow plus 2 cm for seam allowance.
From one end of the fold line, mark down 20.5 cm, which is a quarter of the bust size.
Then, draw a curved line to create a sleeve line for the sleeve. Make sure the length of this line will be half of the total width of the sleeve at the front and back pattern measured before, plus 1 cm for seam allowance.
From one end of the ending line, mark up 5 cm.
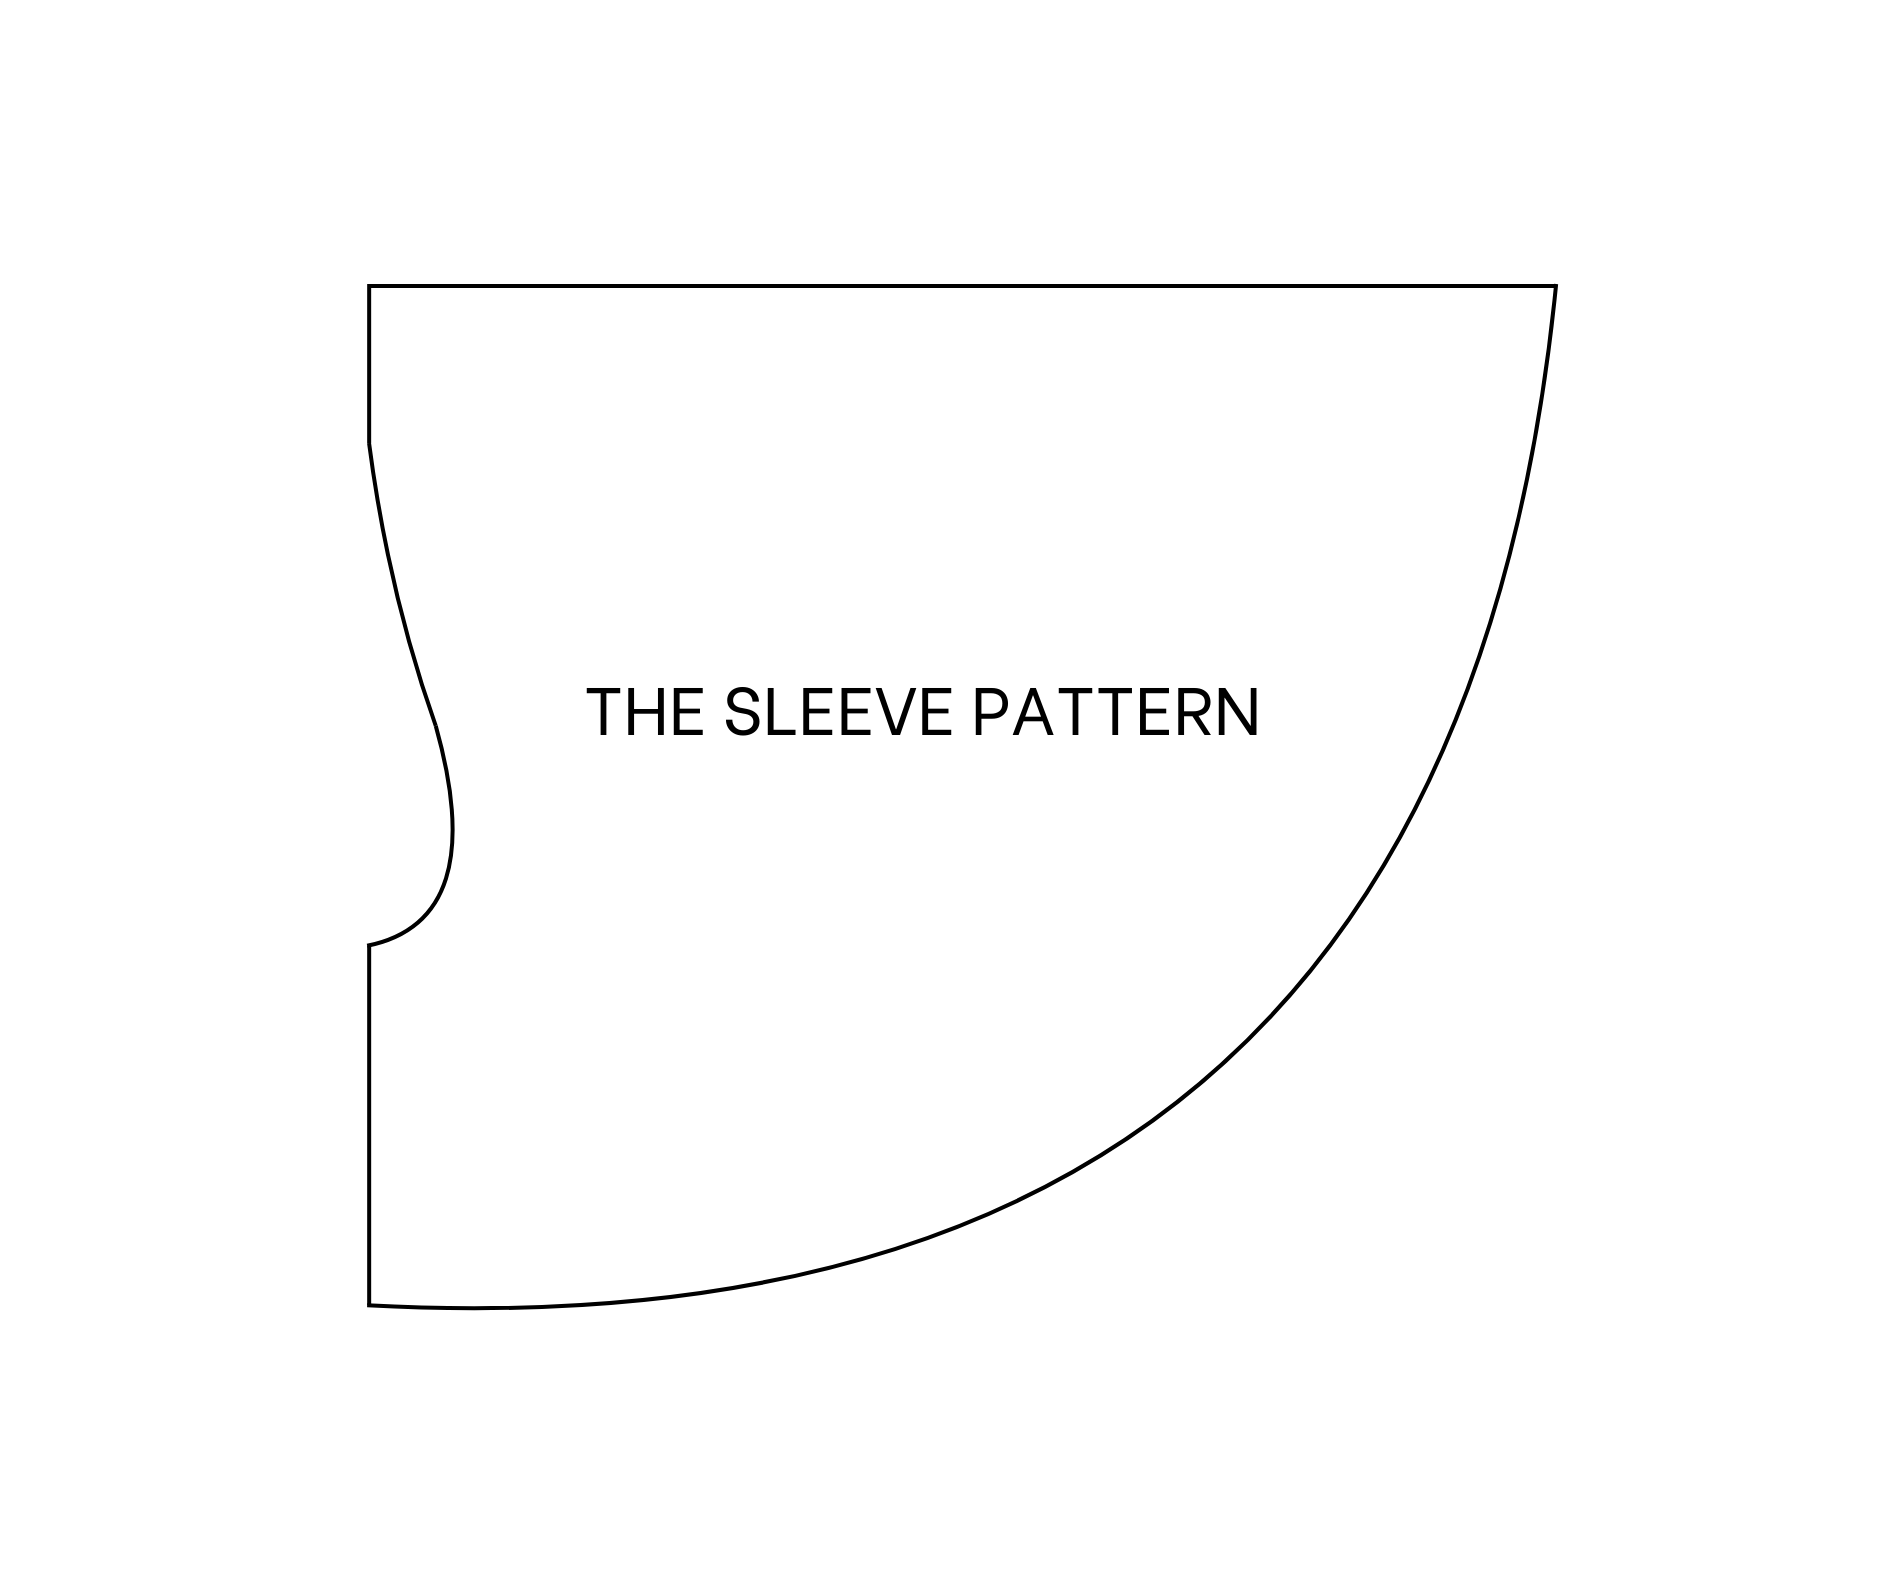
Then, redraw the curved line to finish the ending line.
By doing this, the sleeve will look slightly longer on the outside compared to the under-armpit area.
THE FRONT SKIRT PATTERN


Moving to the skirt part of the dress, to make the front pattern of the skirt, draw a straight line at 23 cm from the edge line. This is a quarter of the hip size.
Then, keep drawing another line at 80 cm from the edge line. This is the length of the skirt from the belly button to over the knee, also the desired length of the dress.
From one end of the edge line, mark up 16 cm, which is a quarter of the waist size.
From one end of the first straight line, mark up 23 cm, which is a quarter of the hip size.
Then, connect the two marks together. This line will cut the second straight line at one point, creating the sideline of the skirt pattern.
From one end of the edge line, mark at 1 cm on the horizontal line.
Draw a curved line to connect this mark to the other end of the edge line to create the waistline of the skirt pattern.
From the end of the sideline, mark up 2 cm.
Then, connect this mark to the other end of the second straight line with a curved line to finish the ending line of the skirt pattern.
Add 1 cm for seam allowance after that.
However, don't add it to the horizontal line, as it will be in the middle of the front skirt. This means the pattern will be cut on folded fabric.
THE BACK SKIRT PATTERN

To make the back pattern of the skirt part, draw a horizontal line at 3 cm from the edge line of the paper.
Then, apply the front pattern to this line and copy it.
On the waistline, mark the middle first, then draw a line parallel to the horizontal line drawn before. The length of this line will be around 13 cm.
From the mark on the waistline, make two other marks at 1.5 cm outside it. The width between these two marks will be 3 cm, the same as the width between the first horizontal line and the edge line drawn before.
Then, connect the two new marks to the end of the parallel line. This will create a dart at the back of the skirt.
SEWING THE DRESS
THE TOP PART
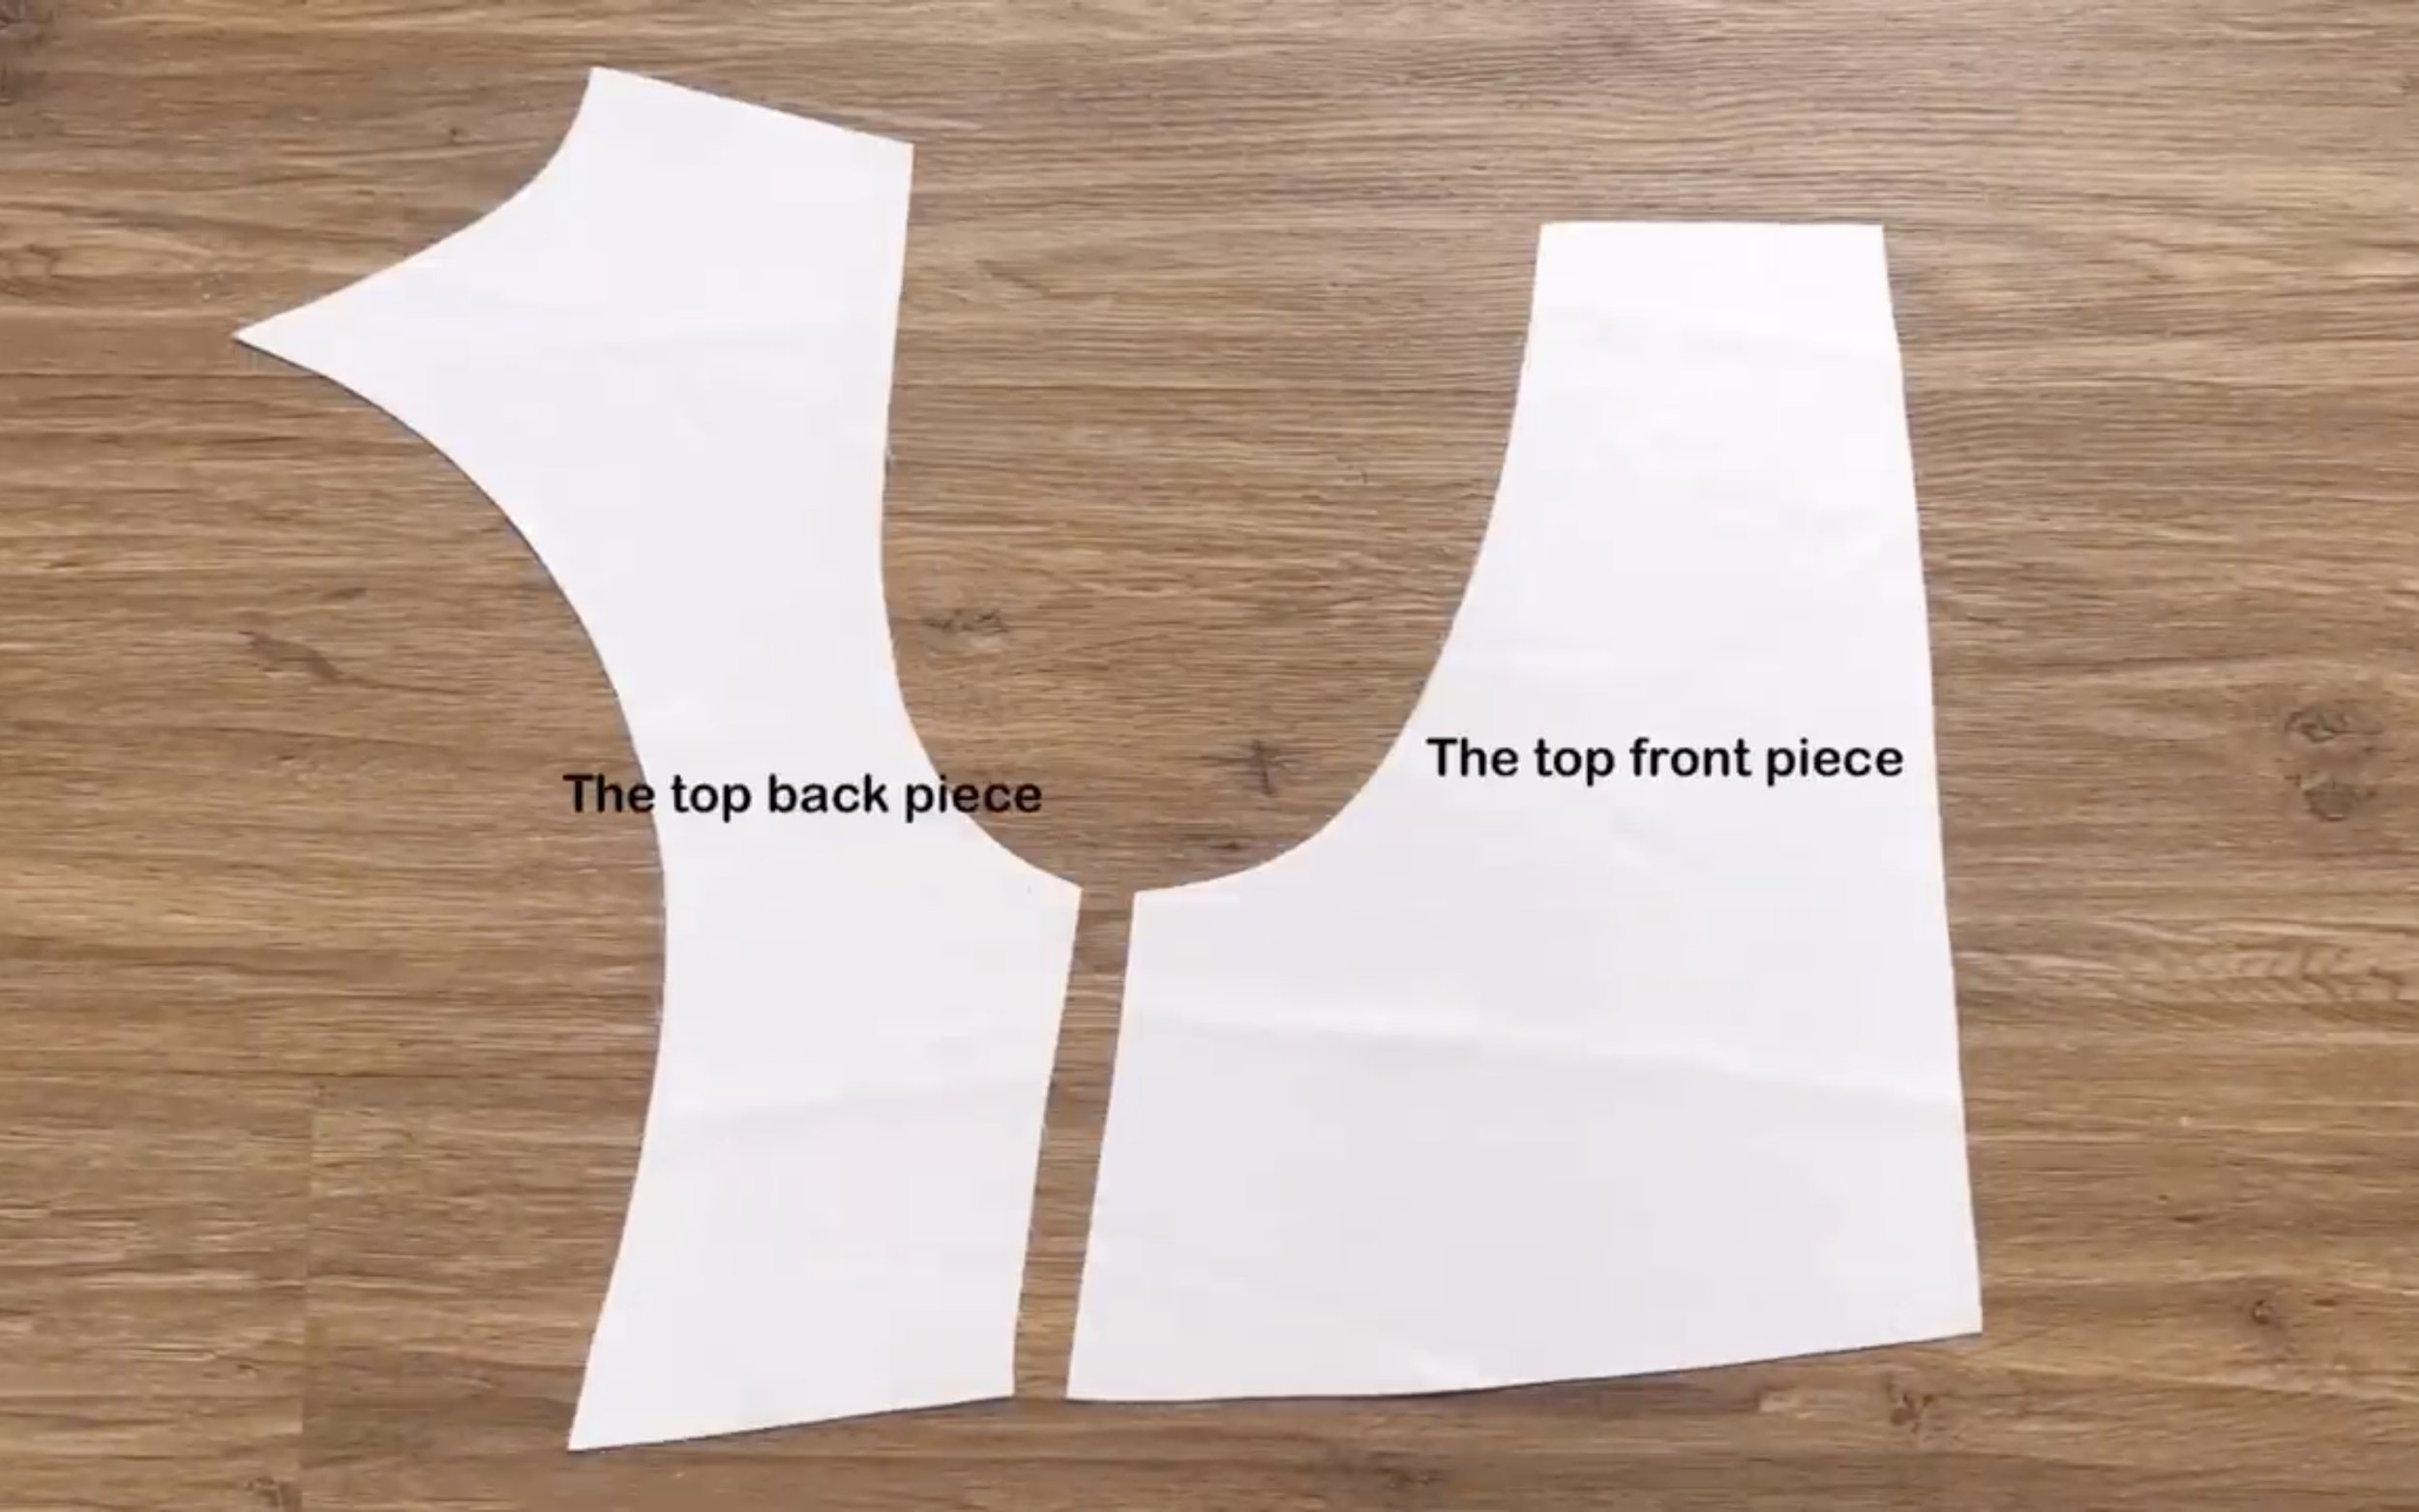
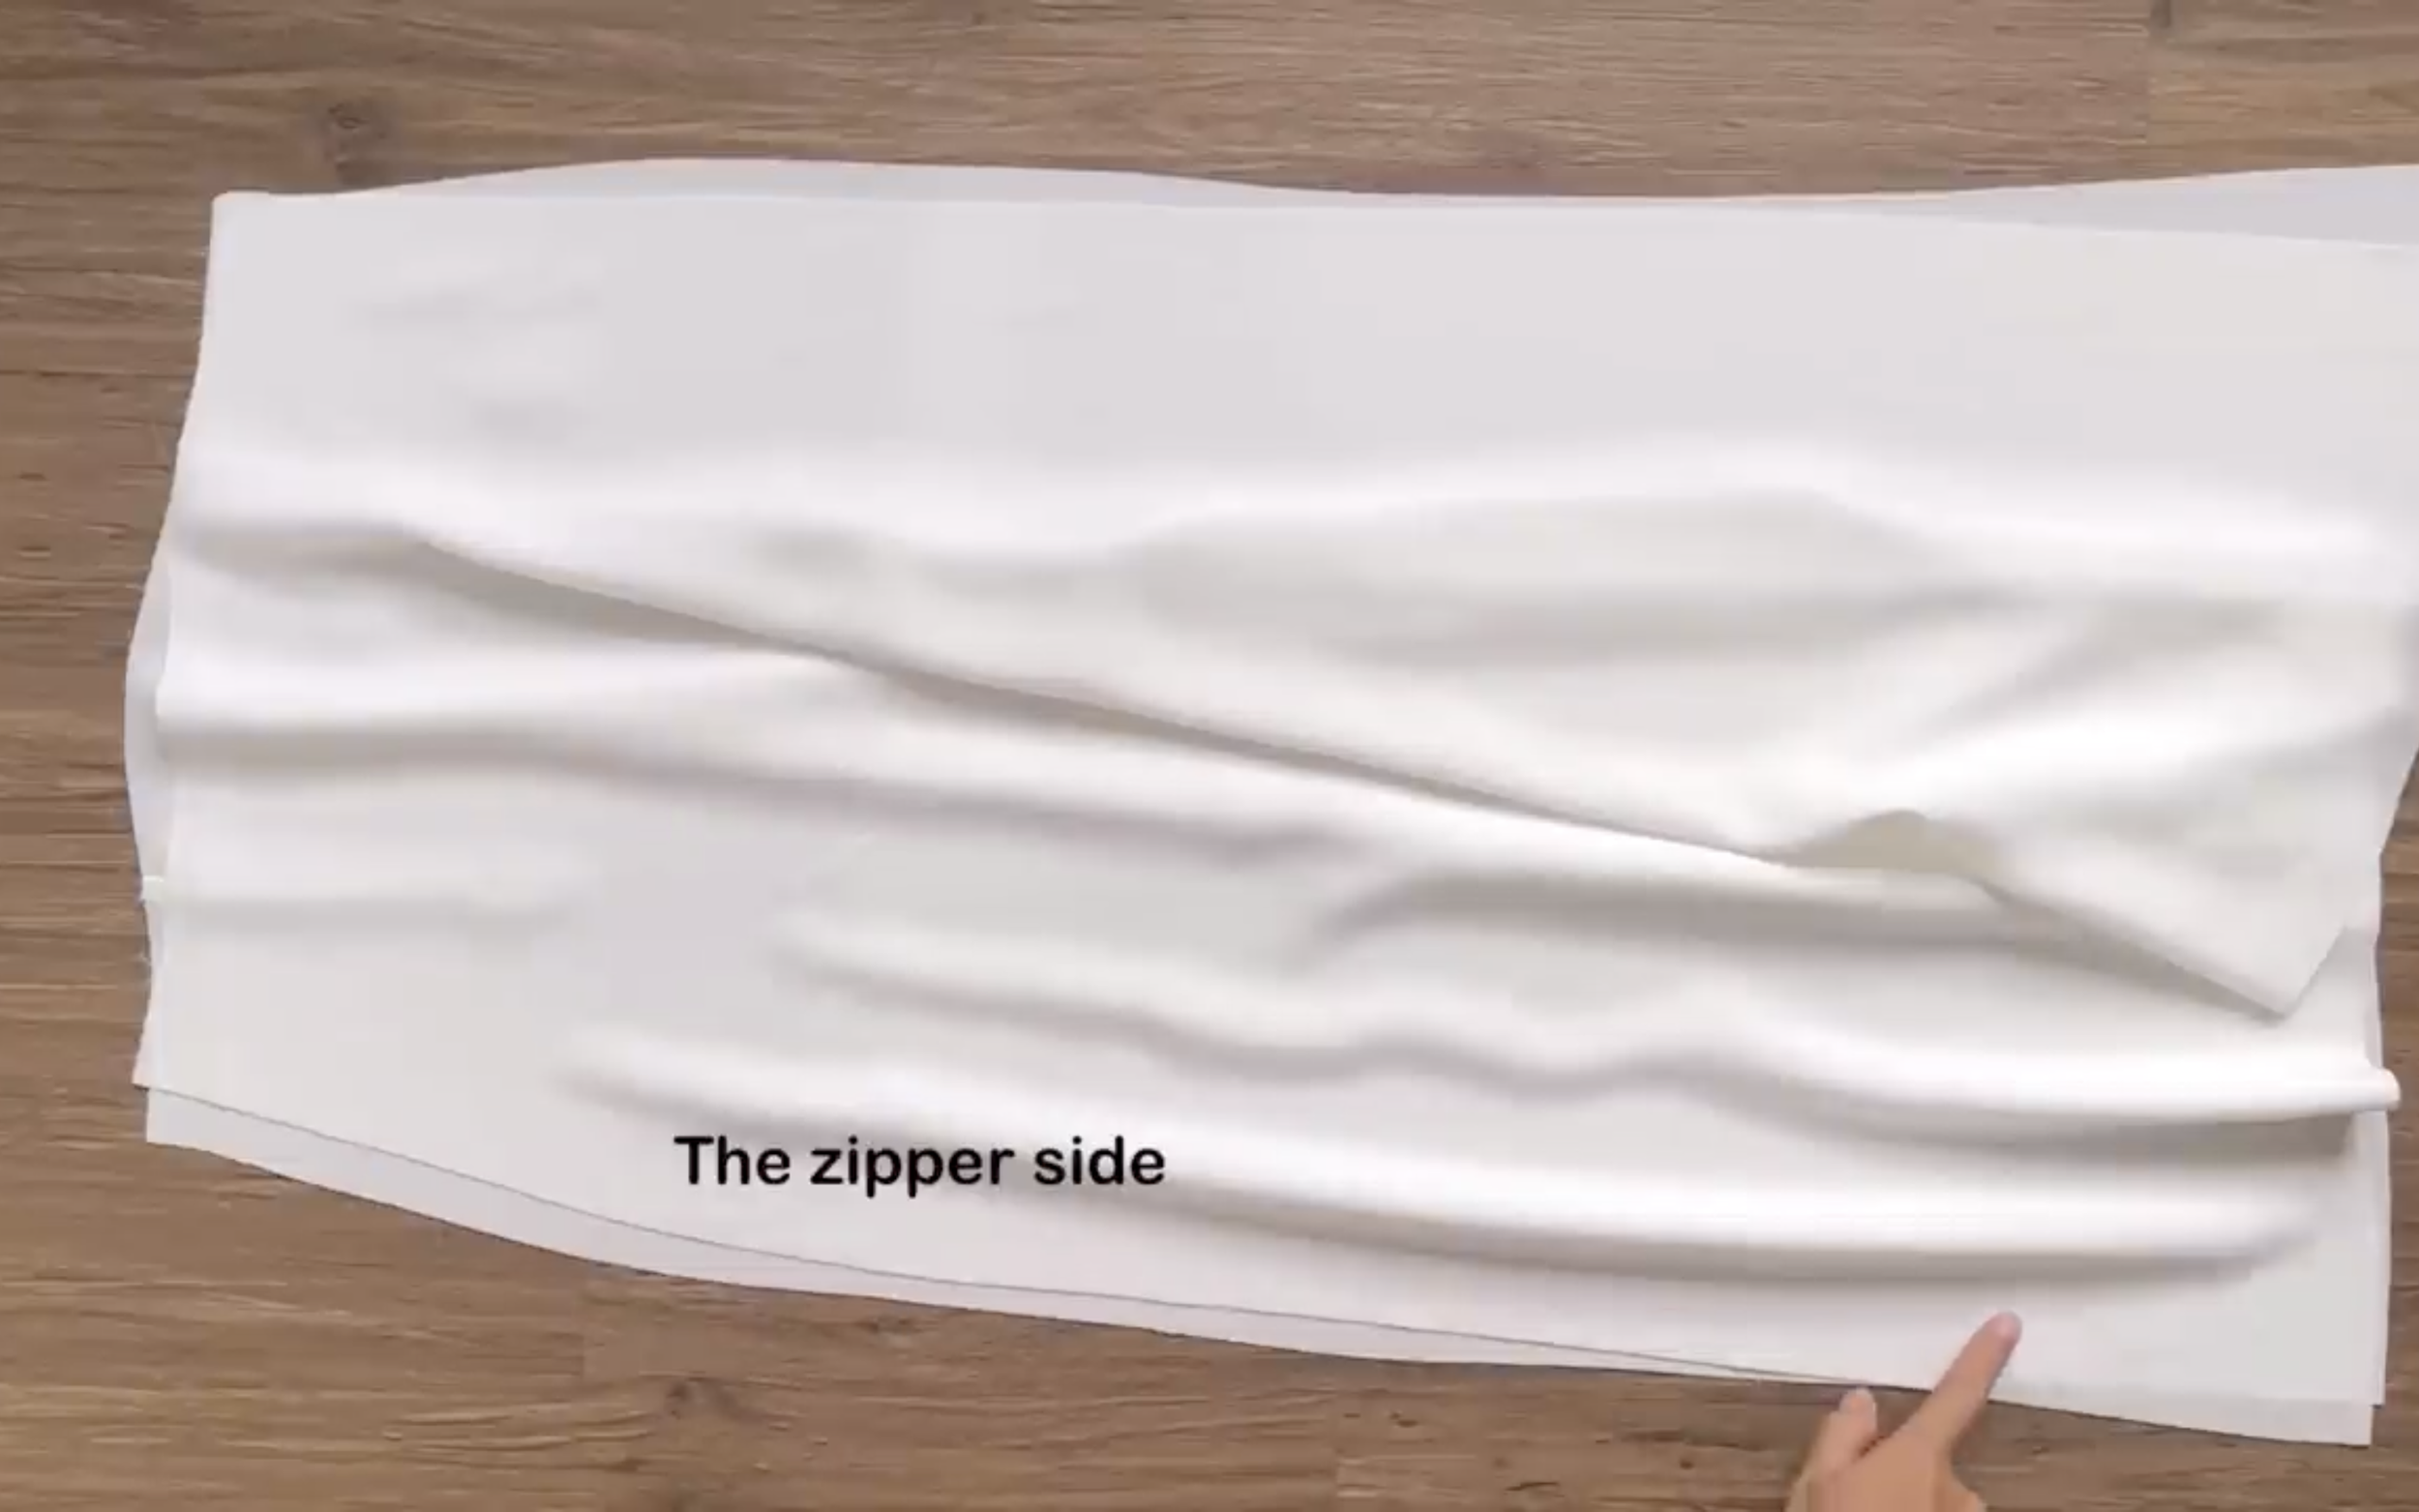
Apply all the patterns to the fabric and cut along. Start making the top part of the dress first.
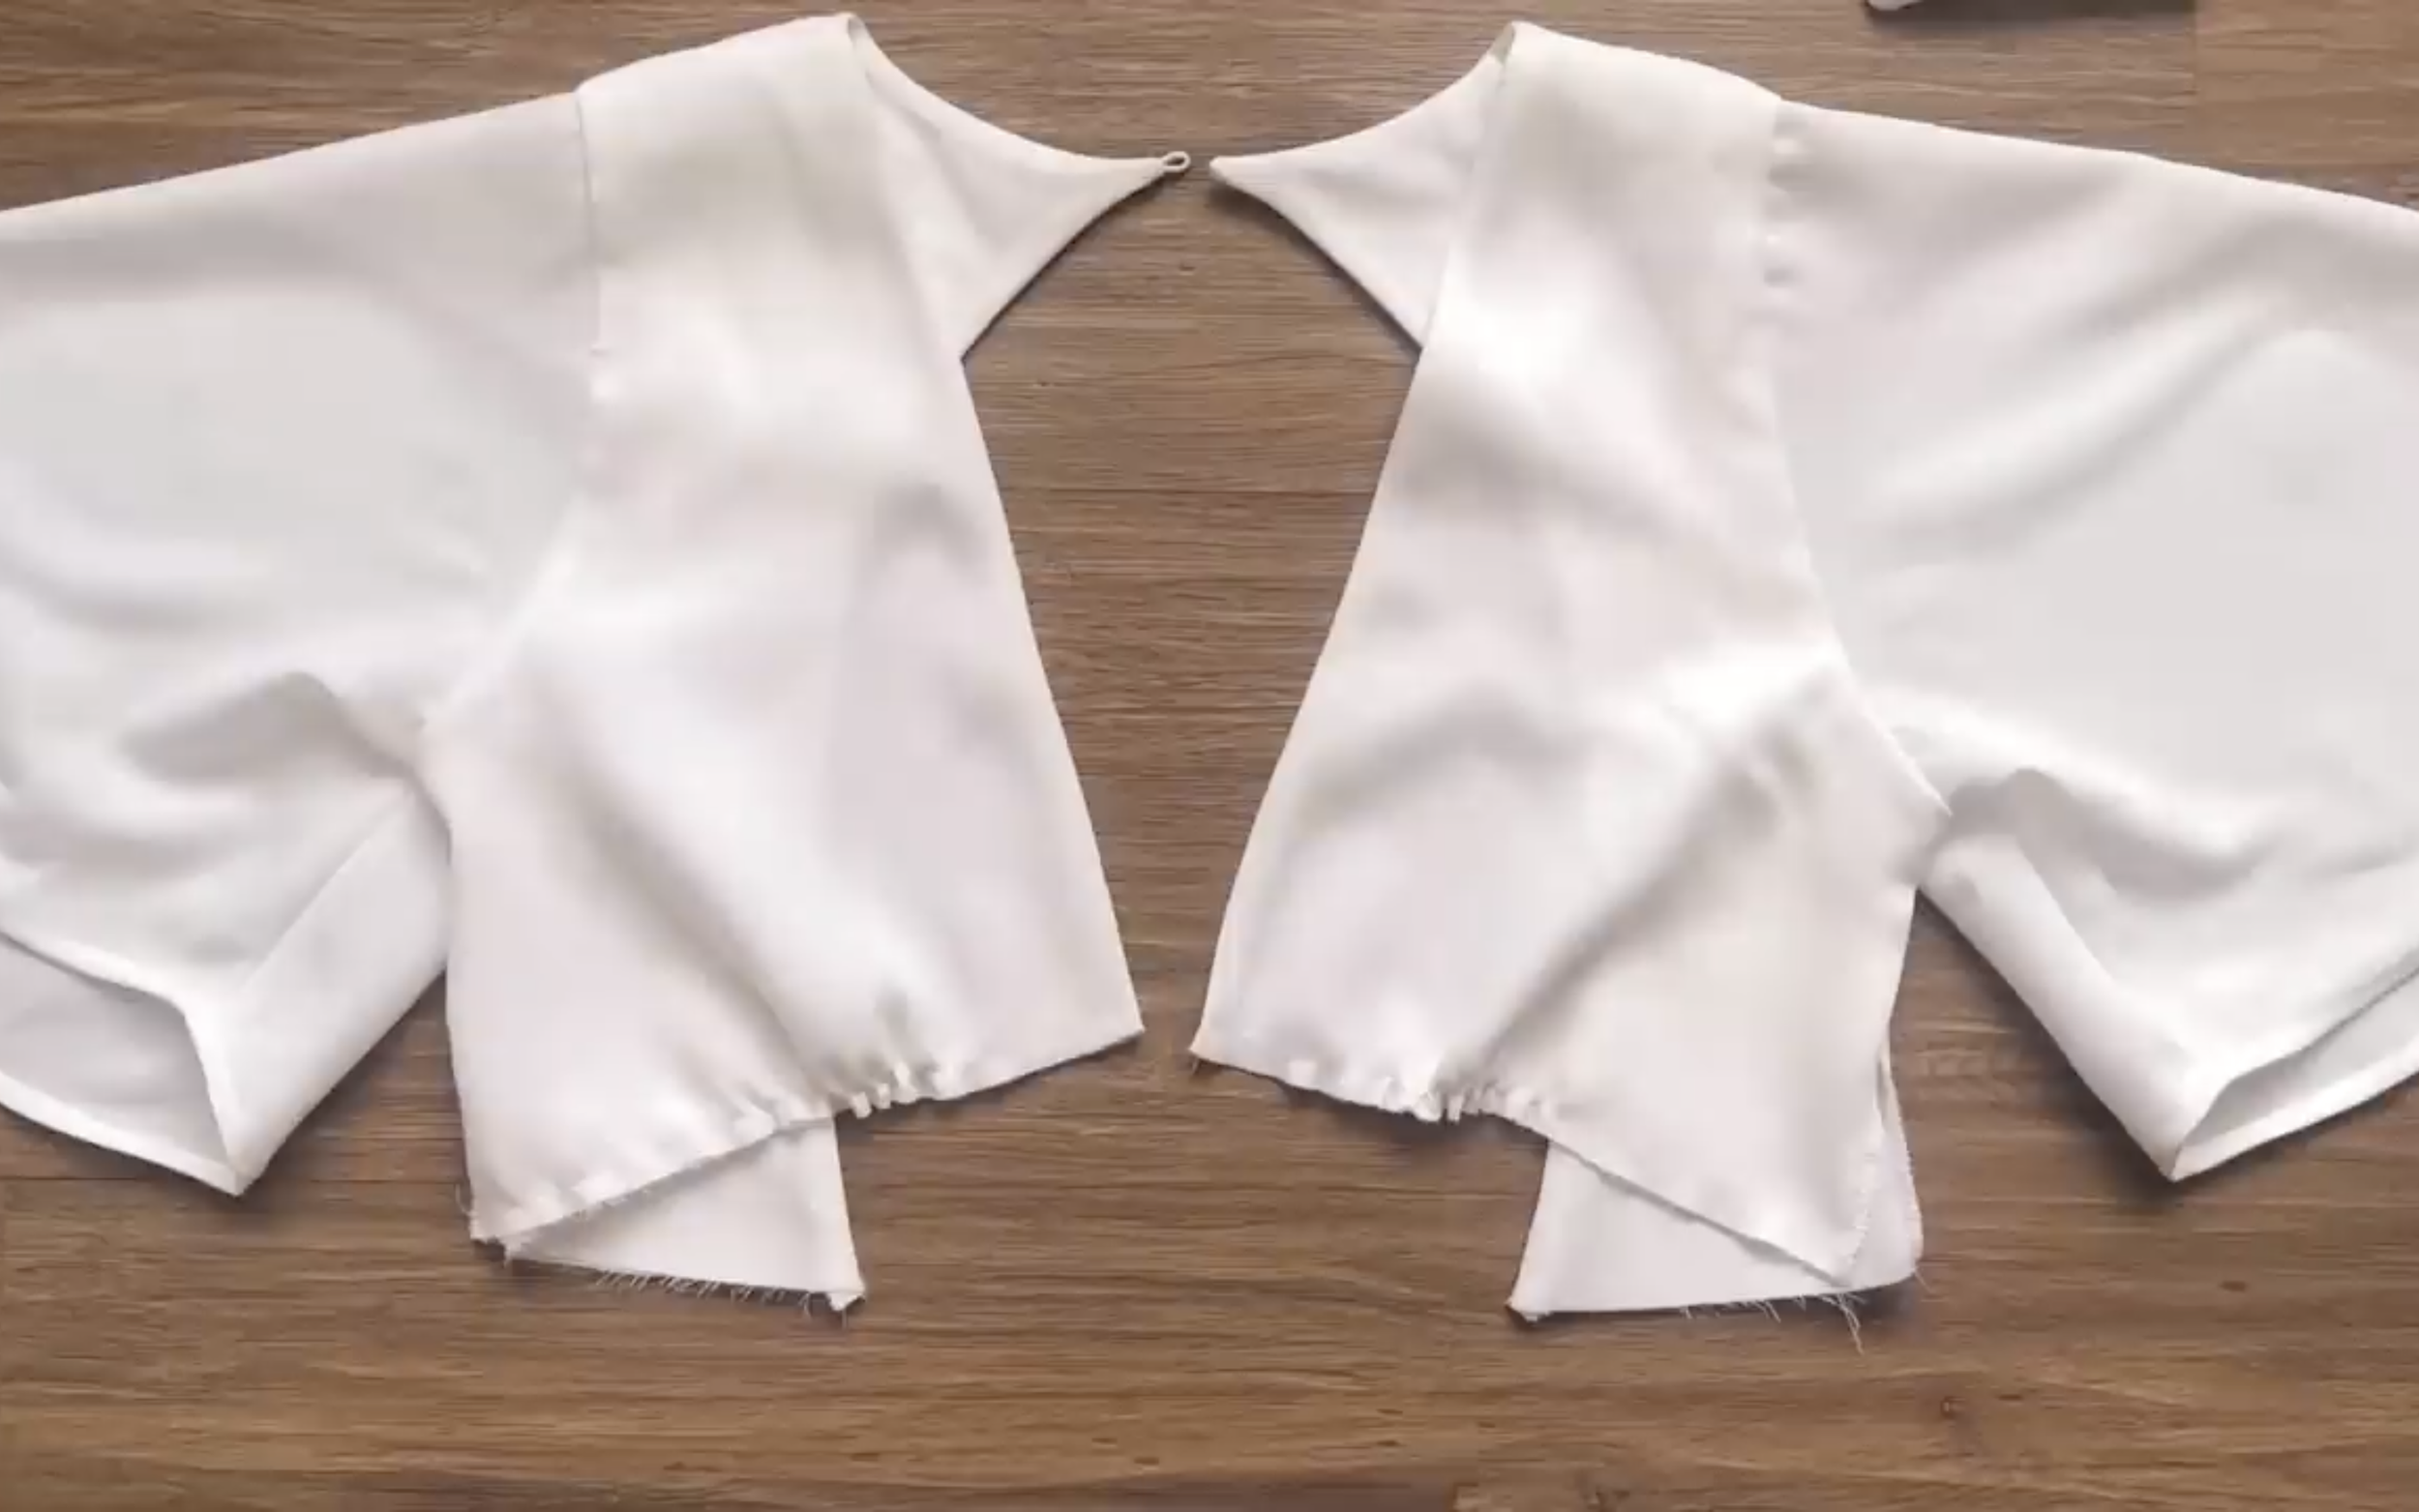
Here are two pieces of the front and the back part. They are the top pattern of the front and the back.
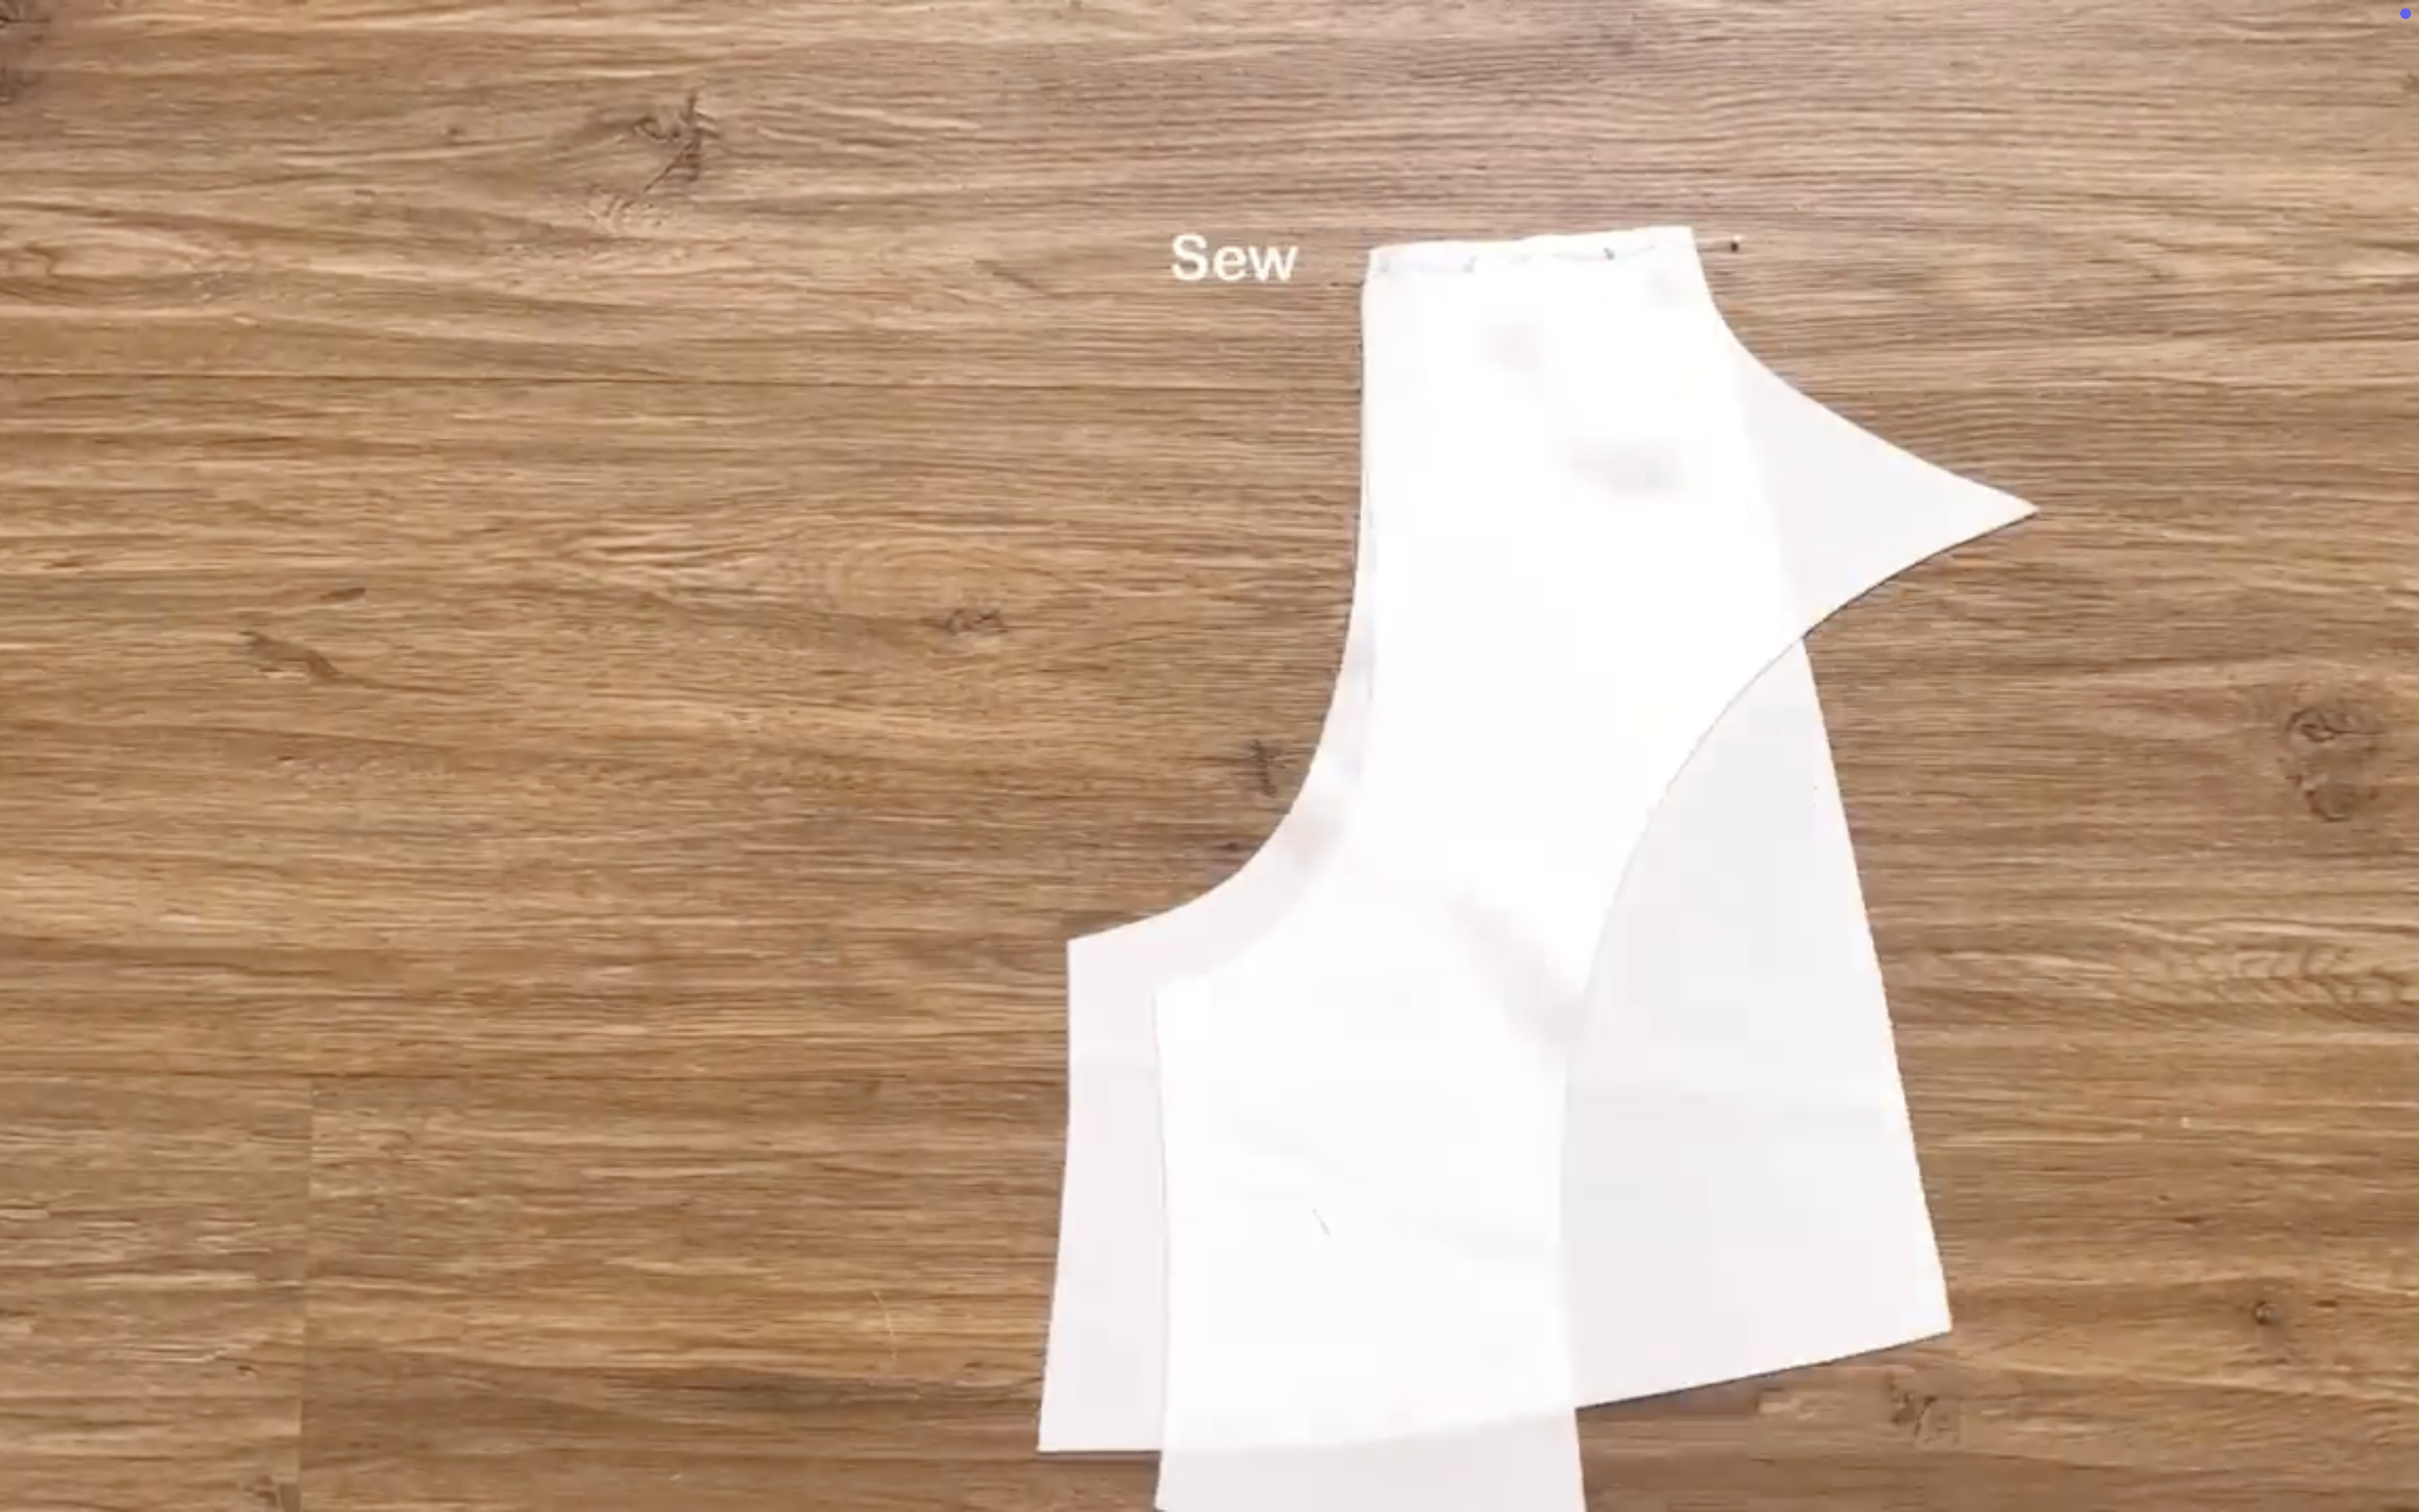
Connect them together at the shoulder line first.

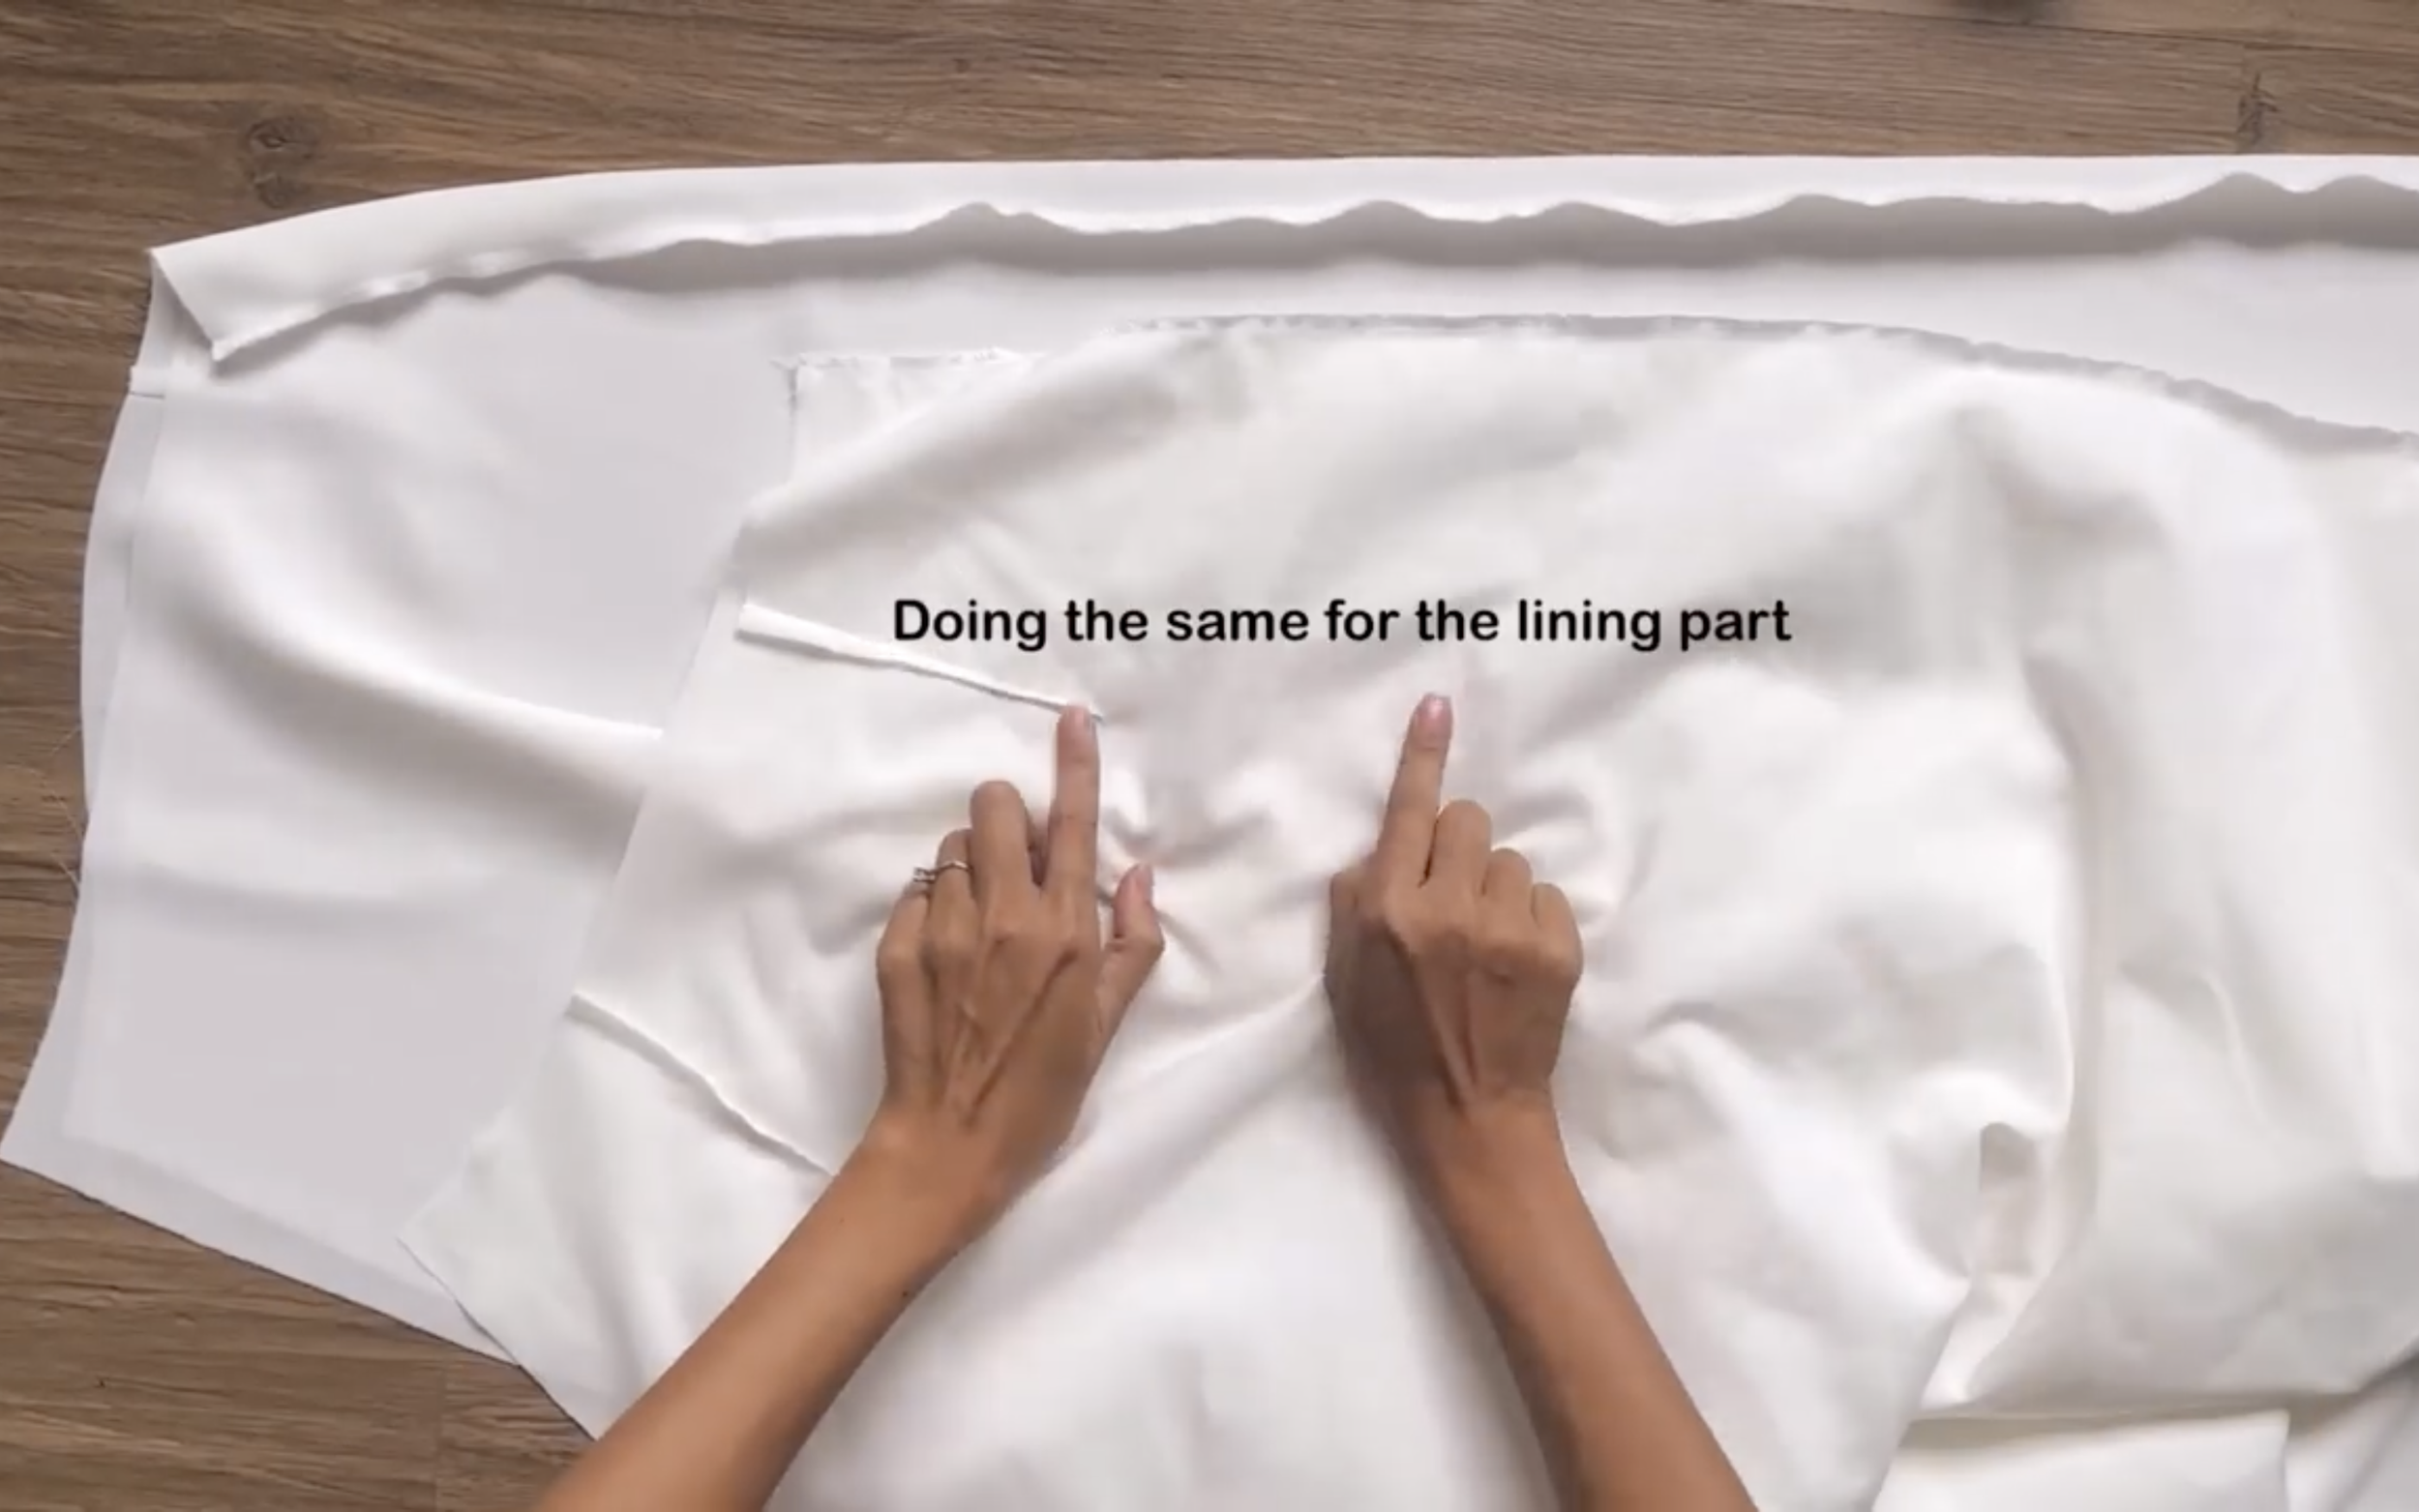
Do the same for the lining part.
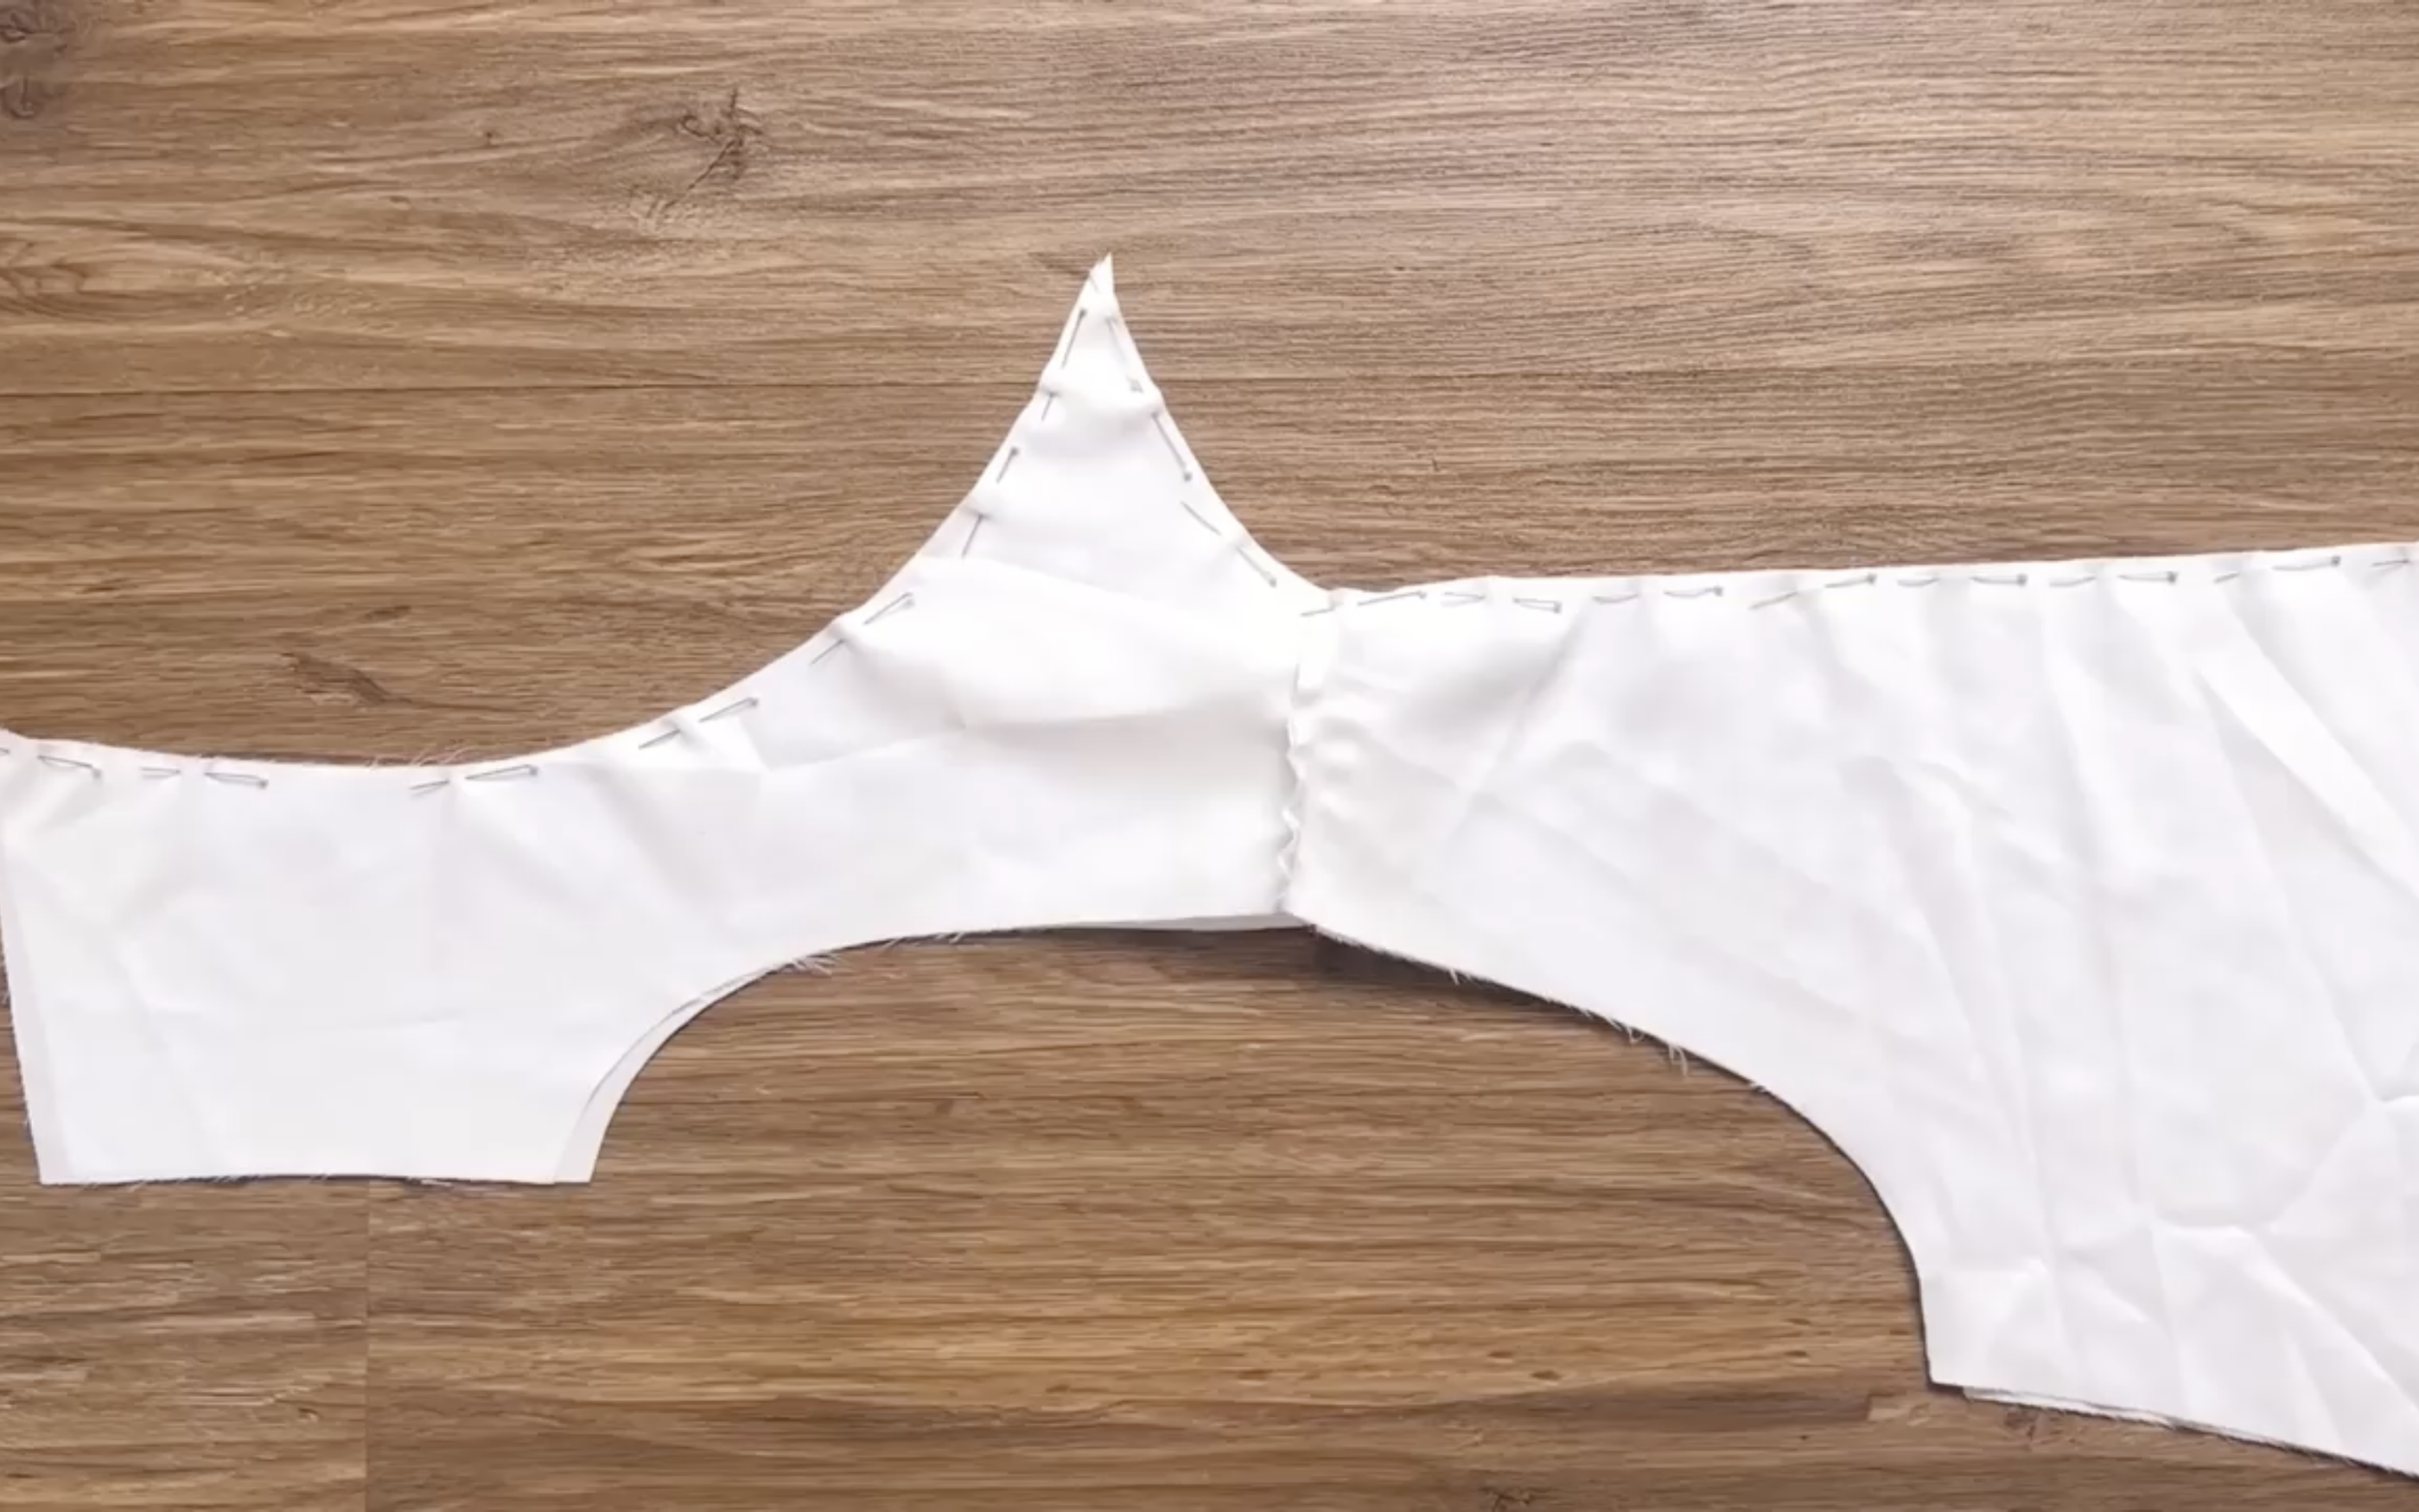
After sewing, connect the main fabric to the lining fabric at the neckline and the open back line.
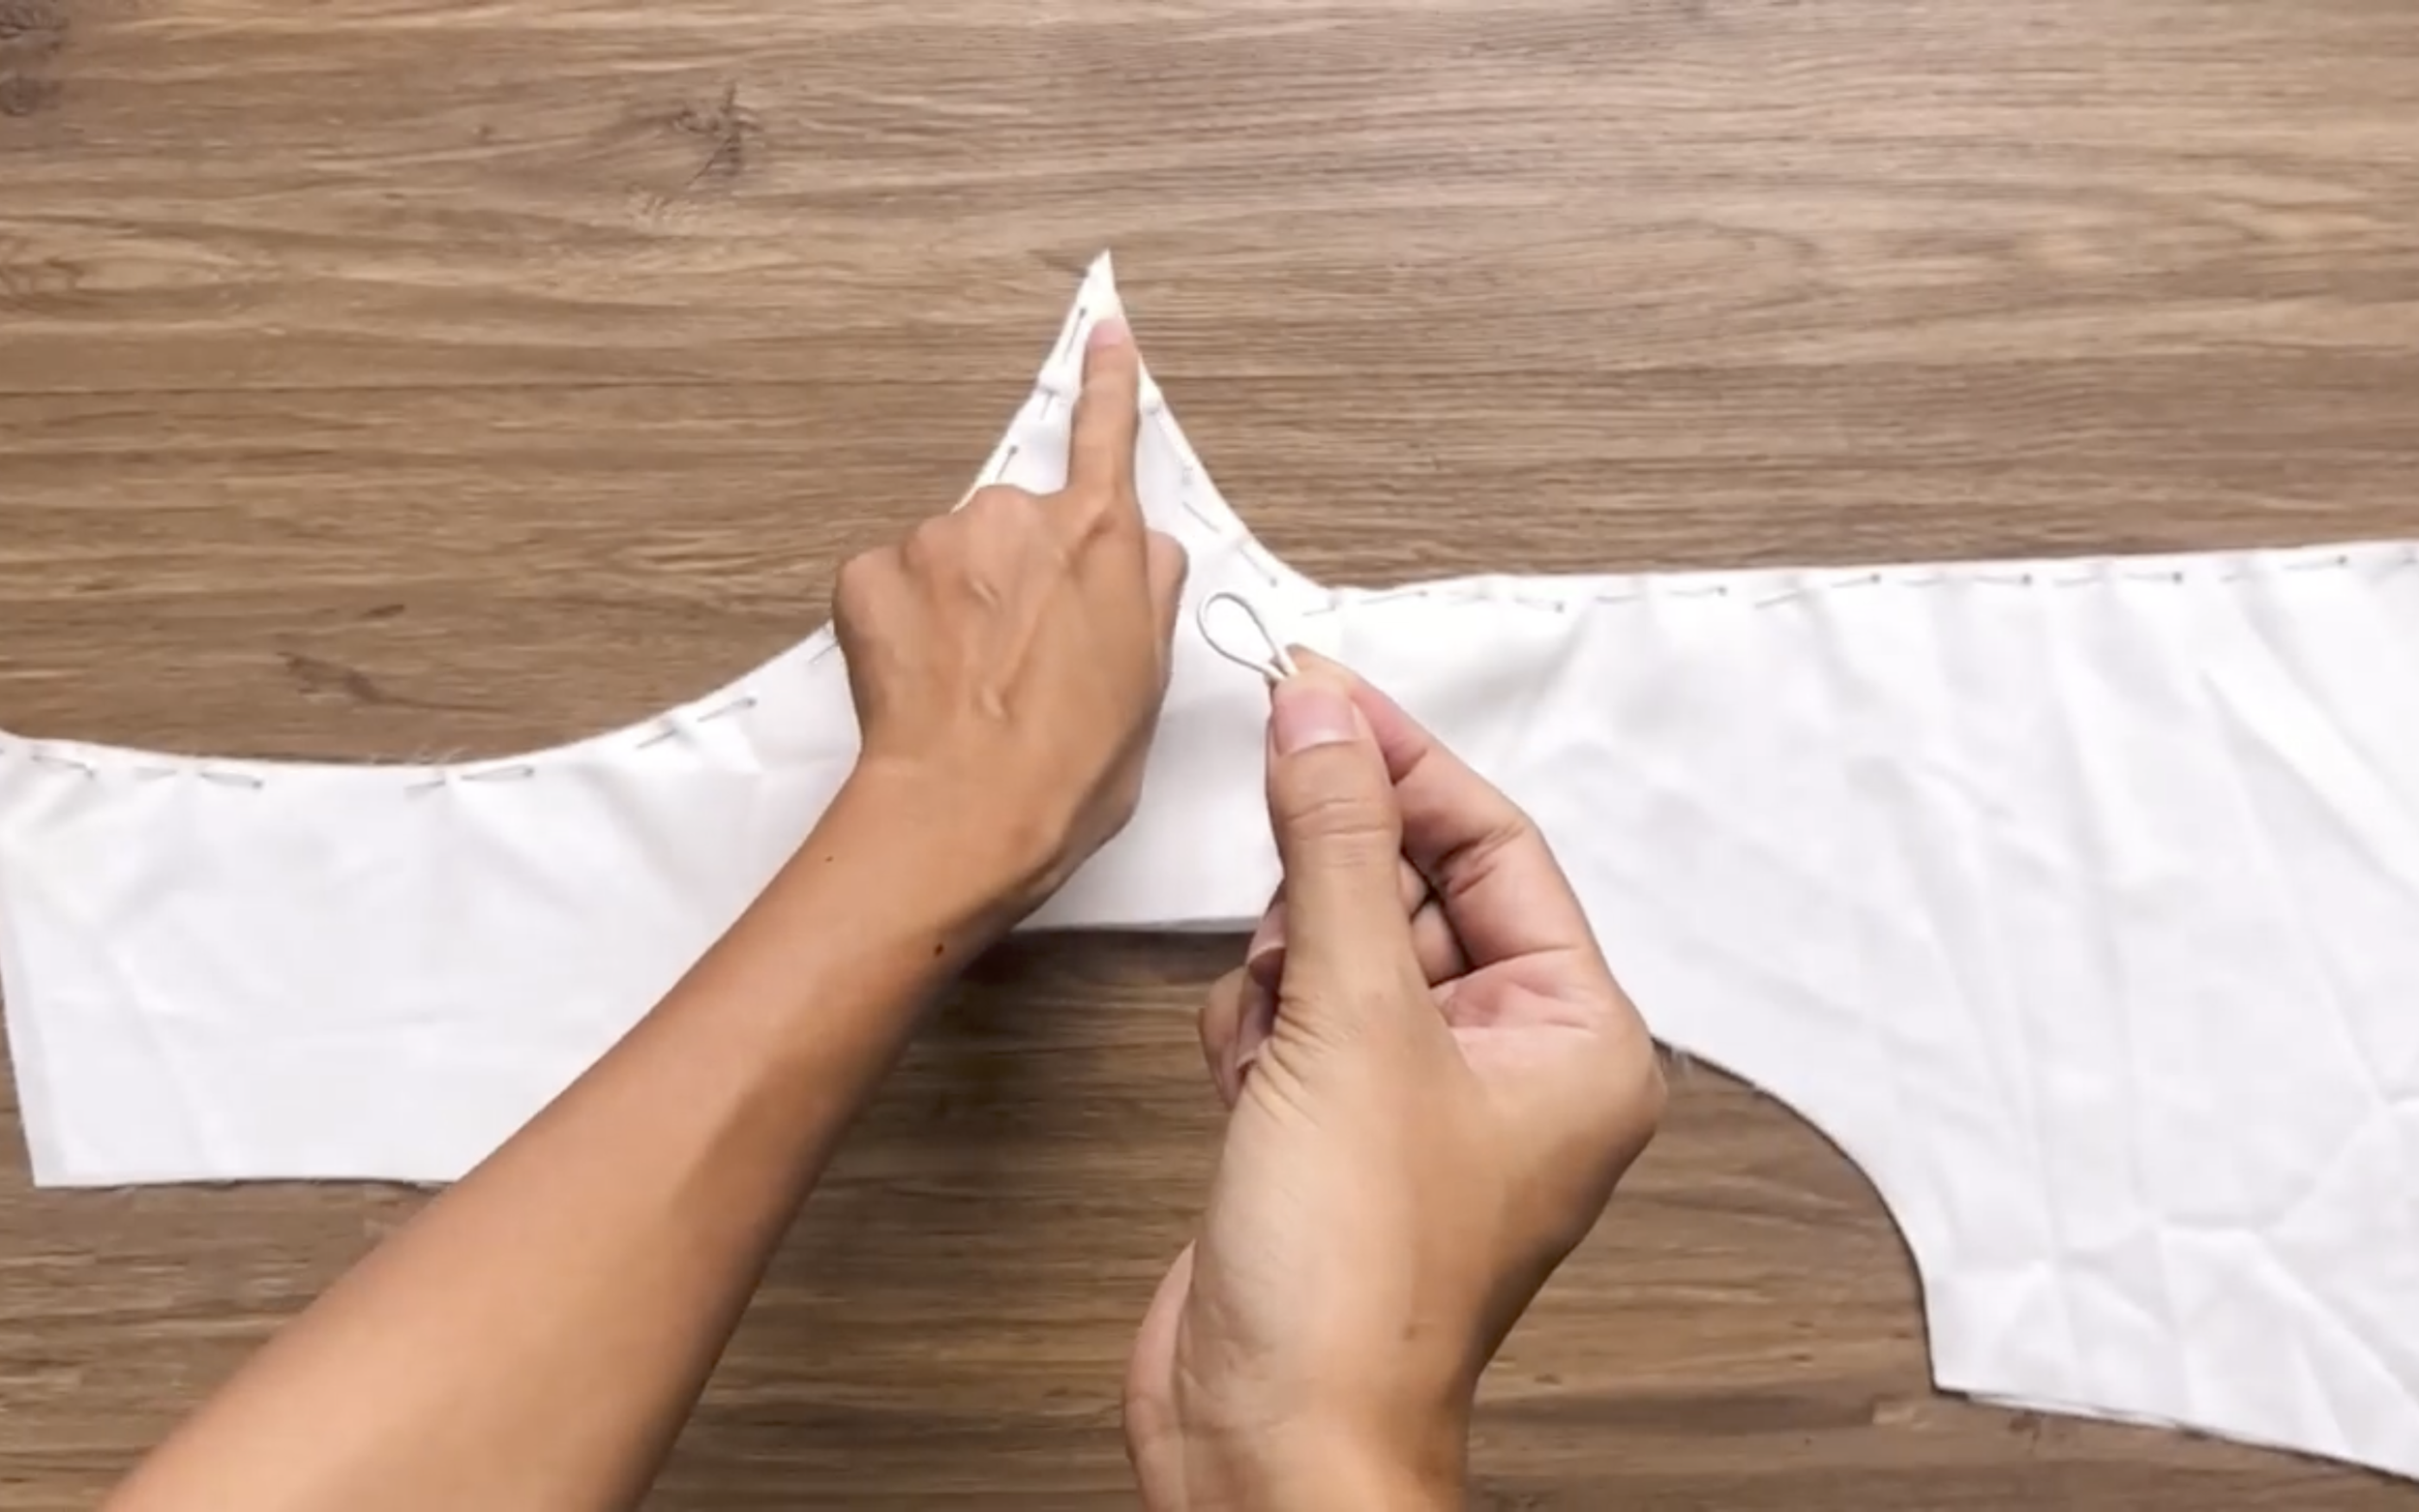
Before sewing, add a small elastic at the middle of the neck at the back part. This will be the closing part of the open-back dress. Then sew.
Now, connect the sleeve to the sleeve line at the main fabric.
Then, sew.
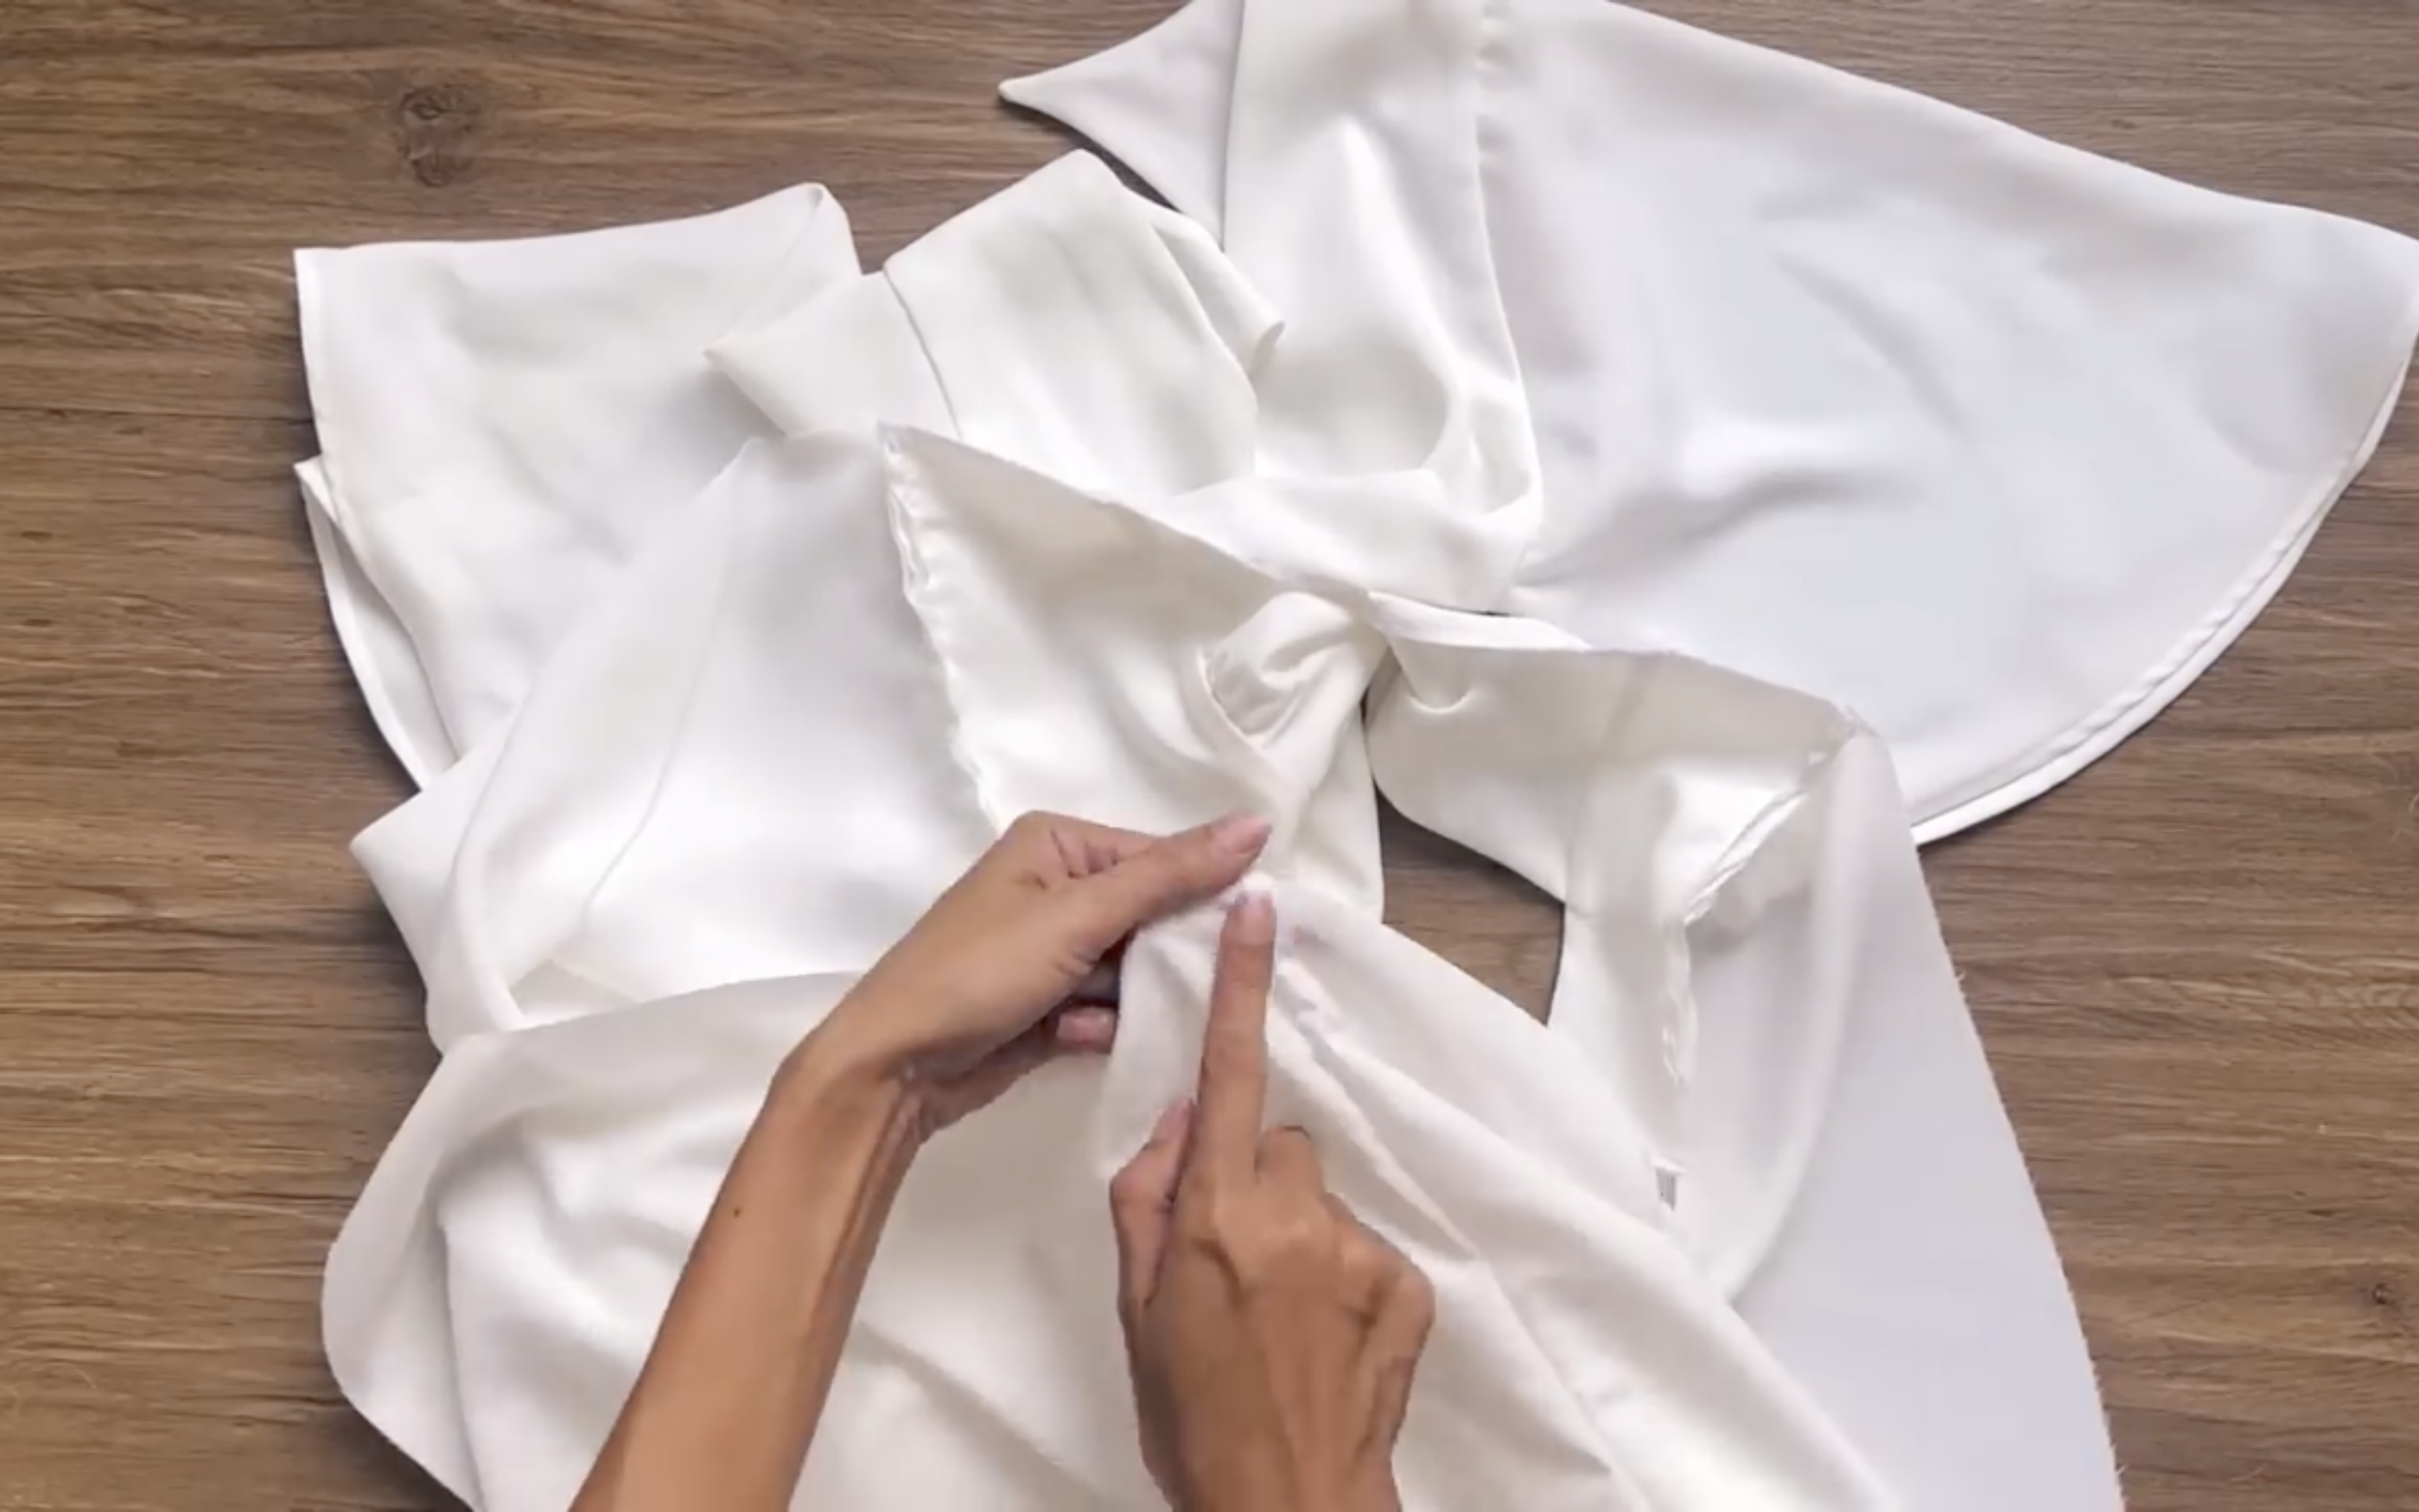
After that, fold the sleeve to make it small so the lining part can move over the sleeve.
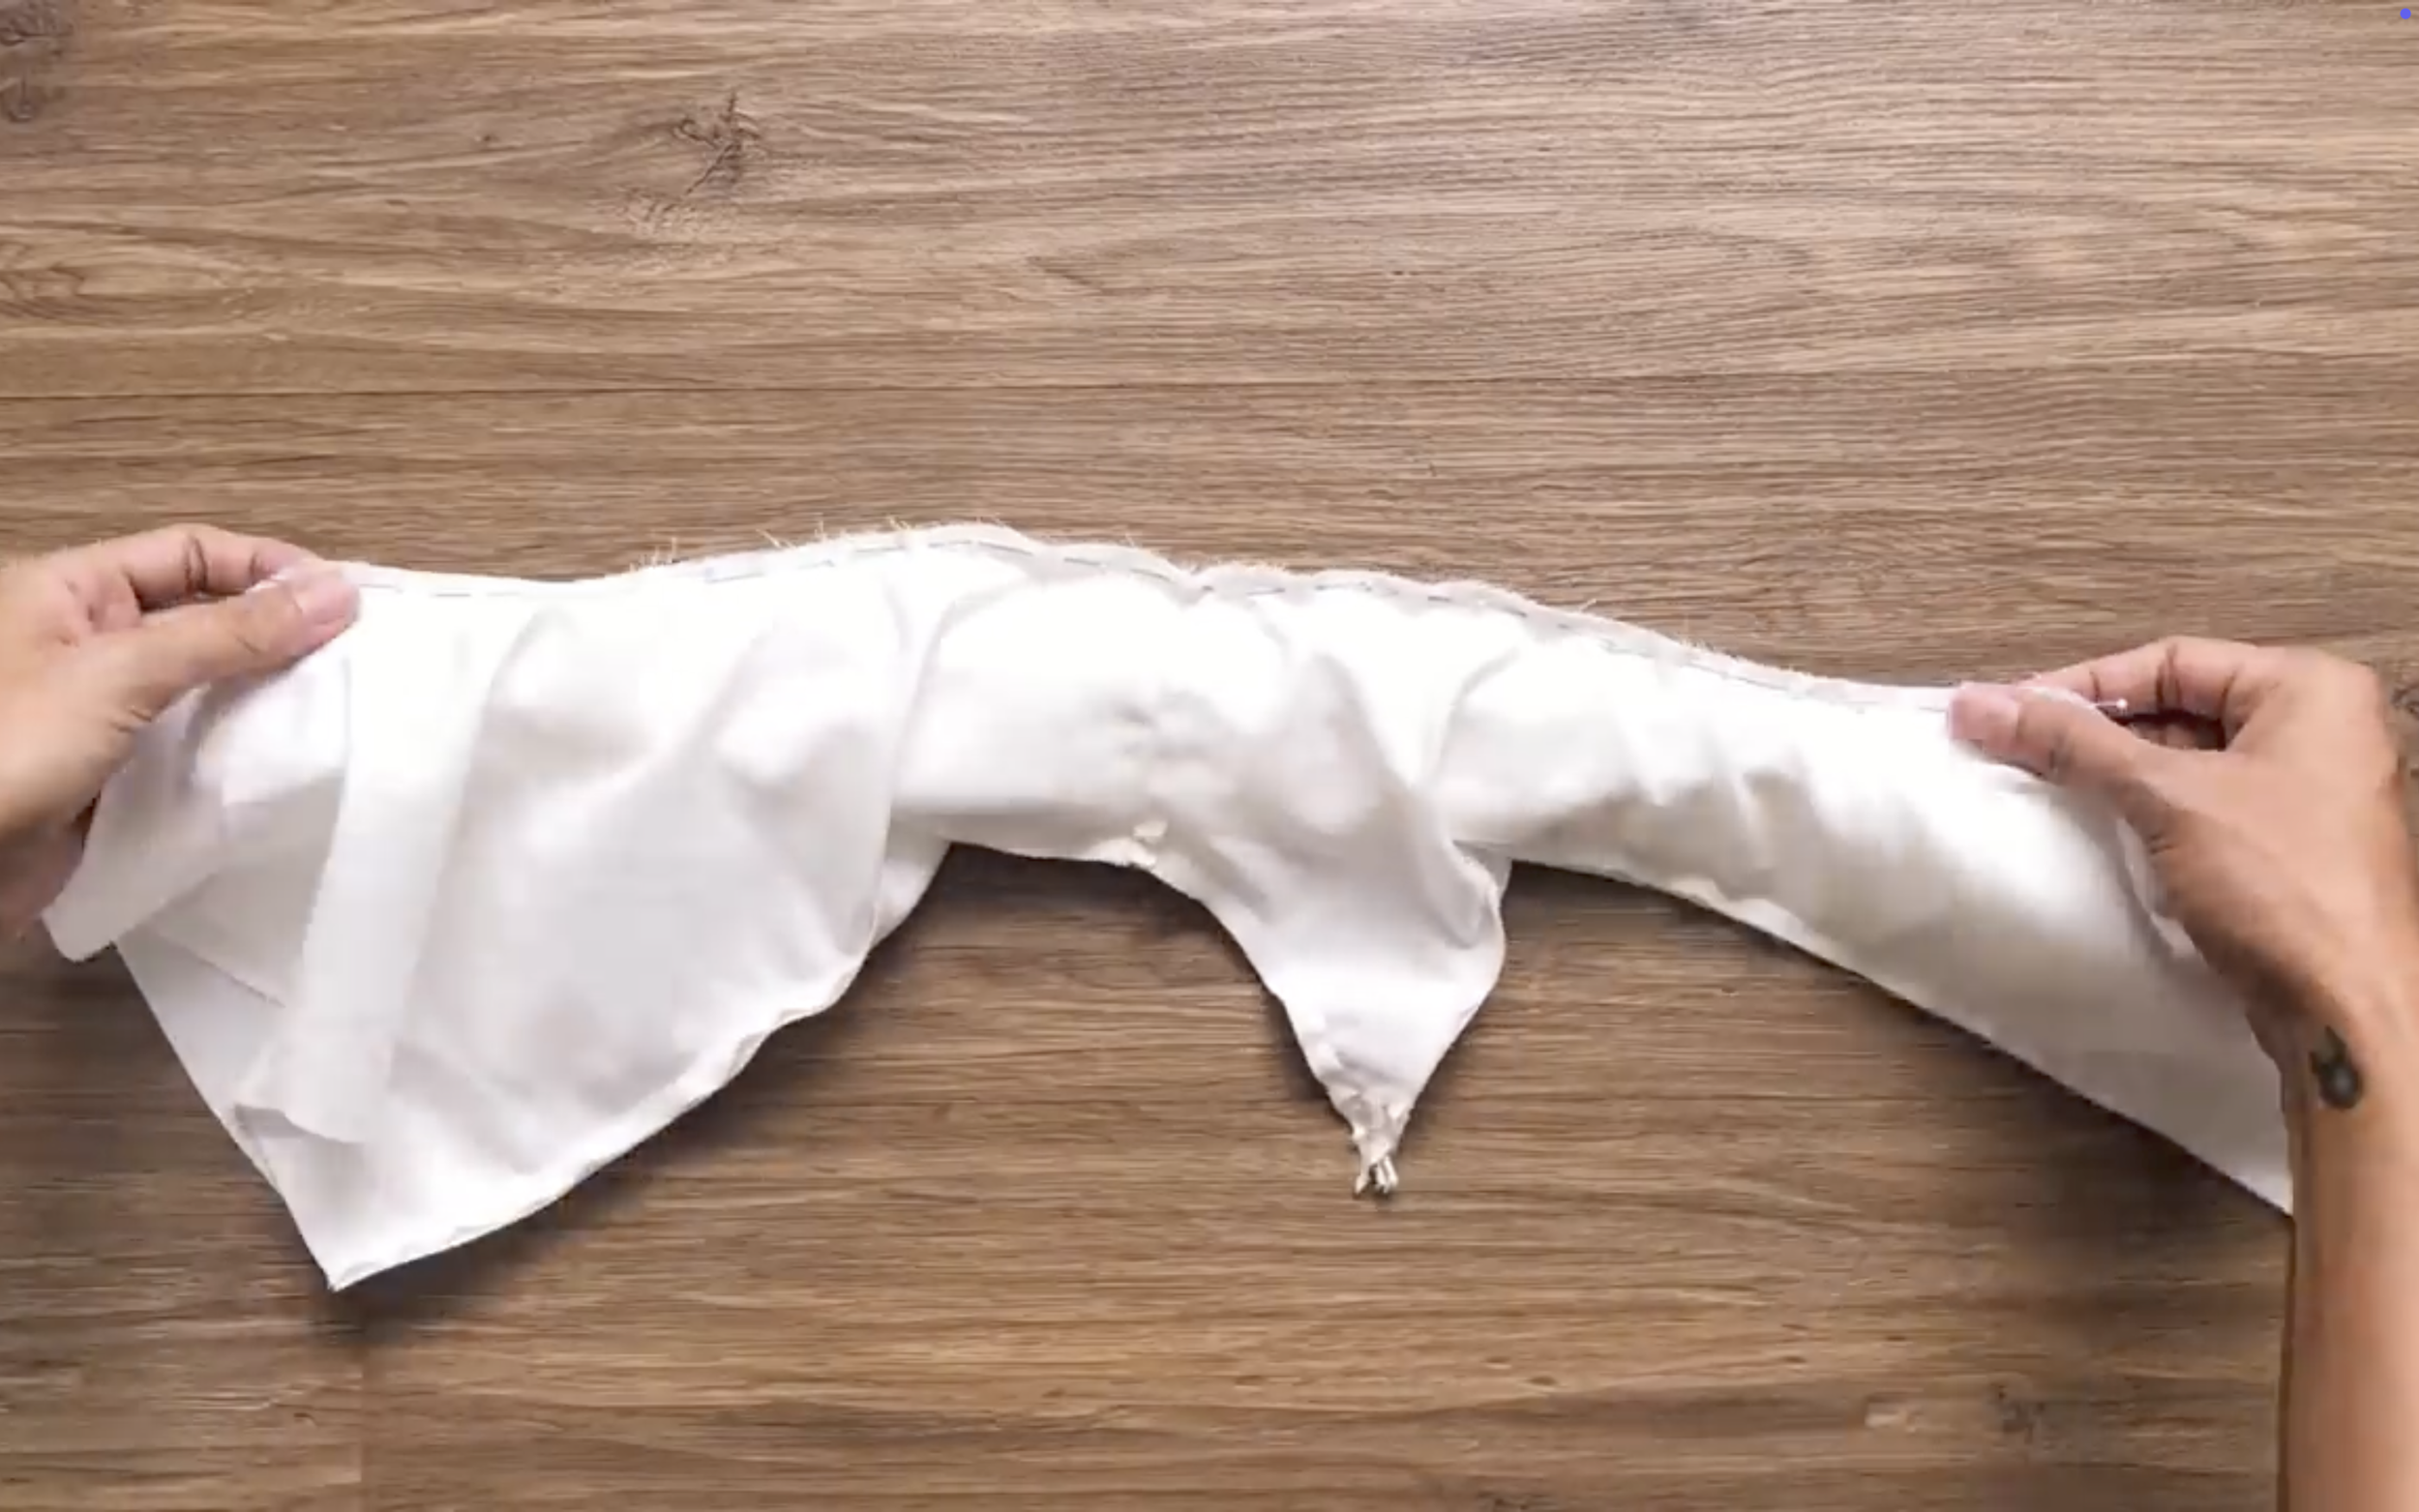
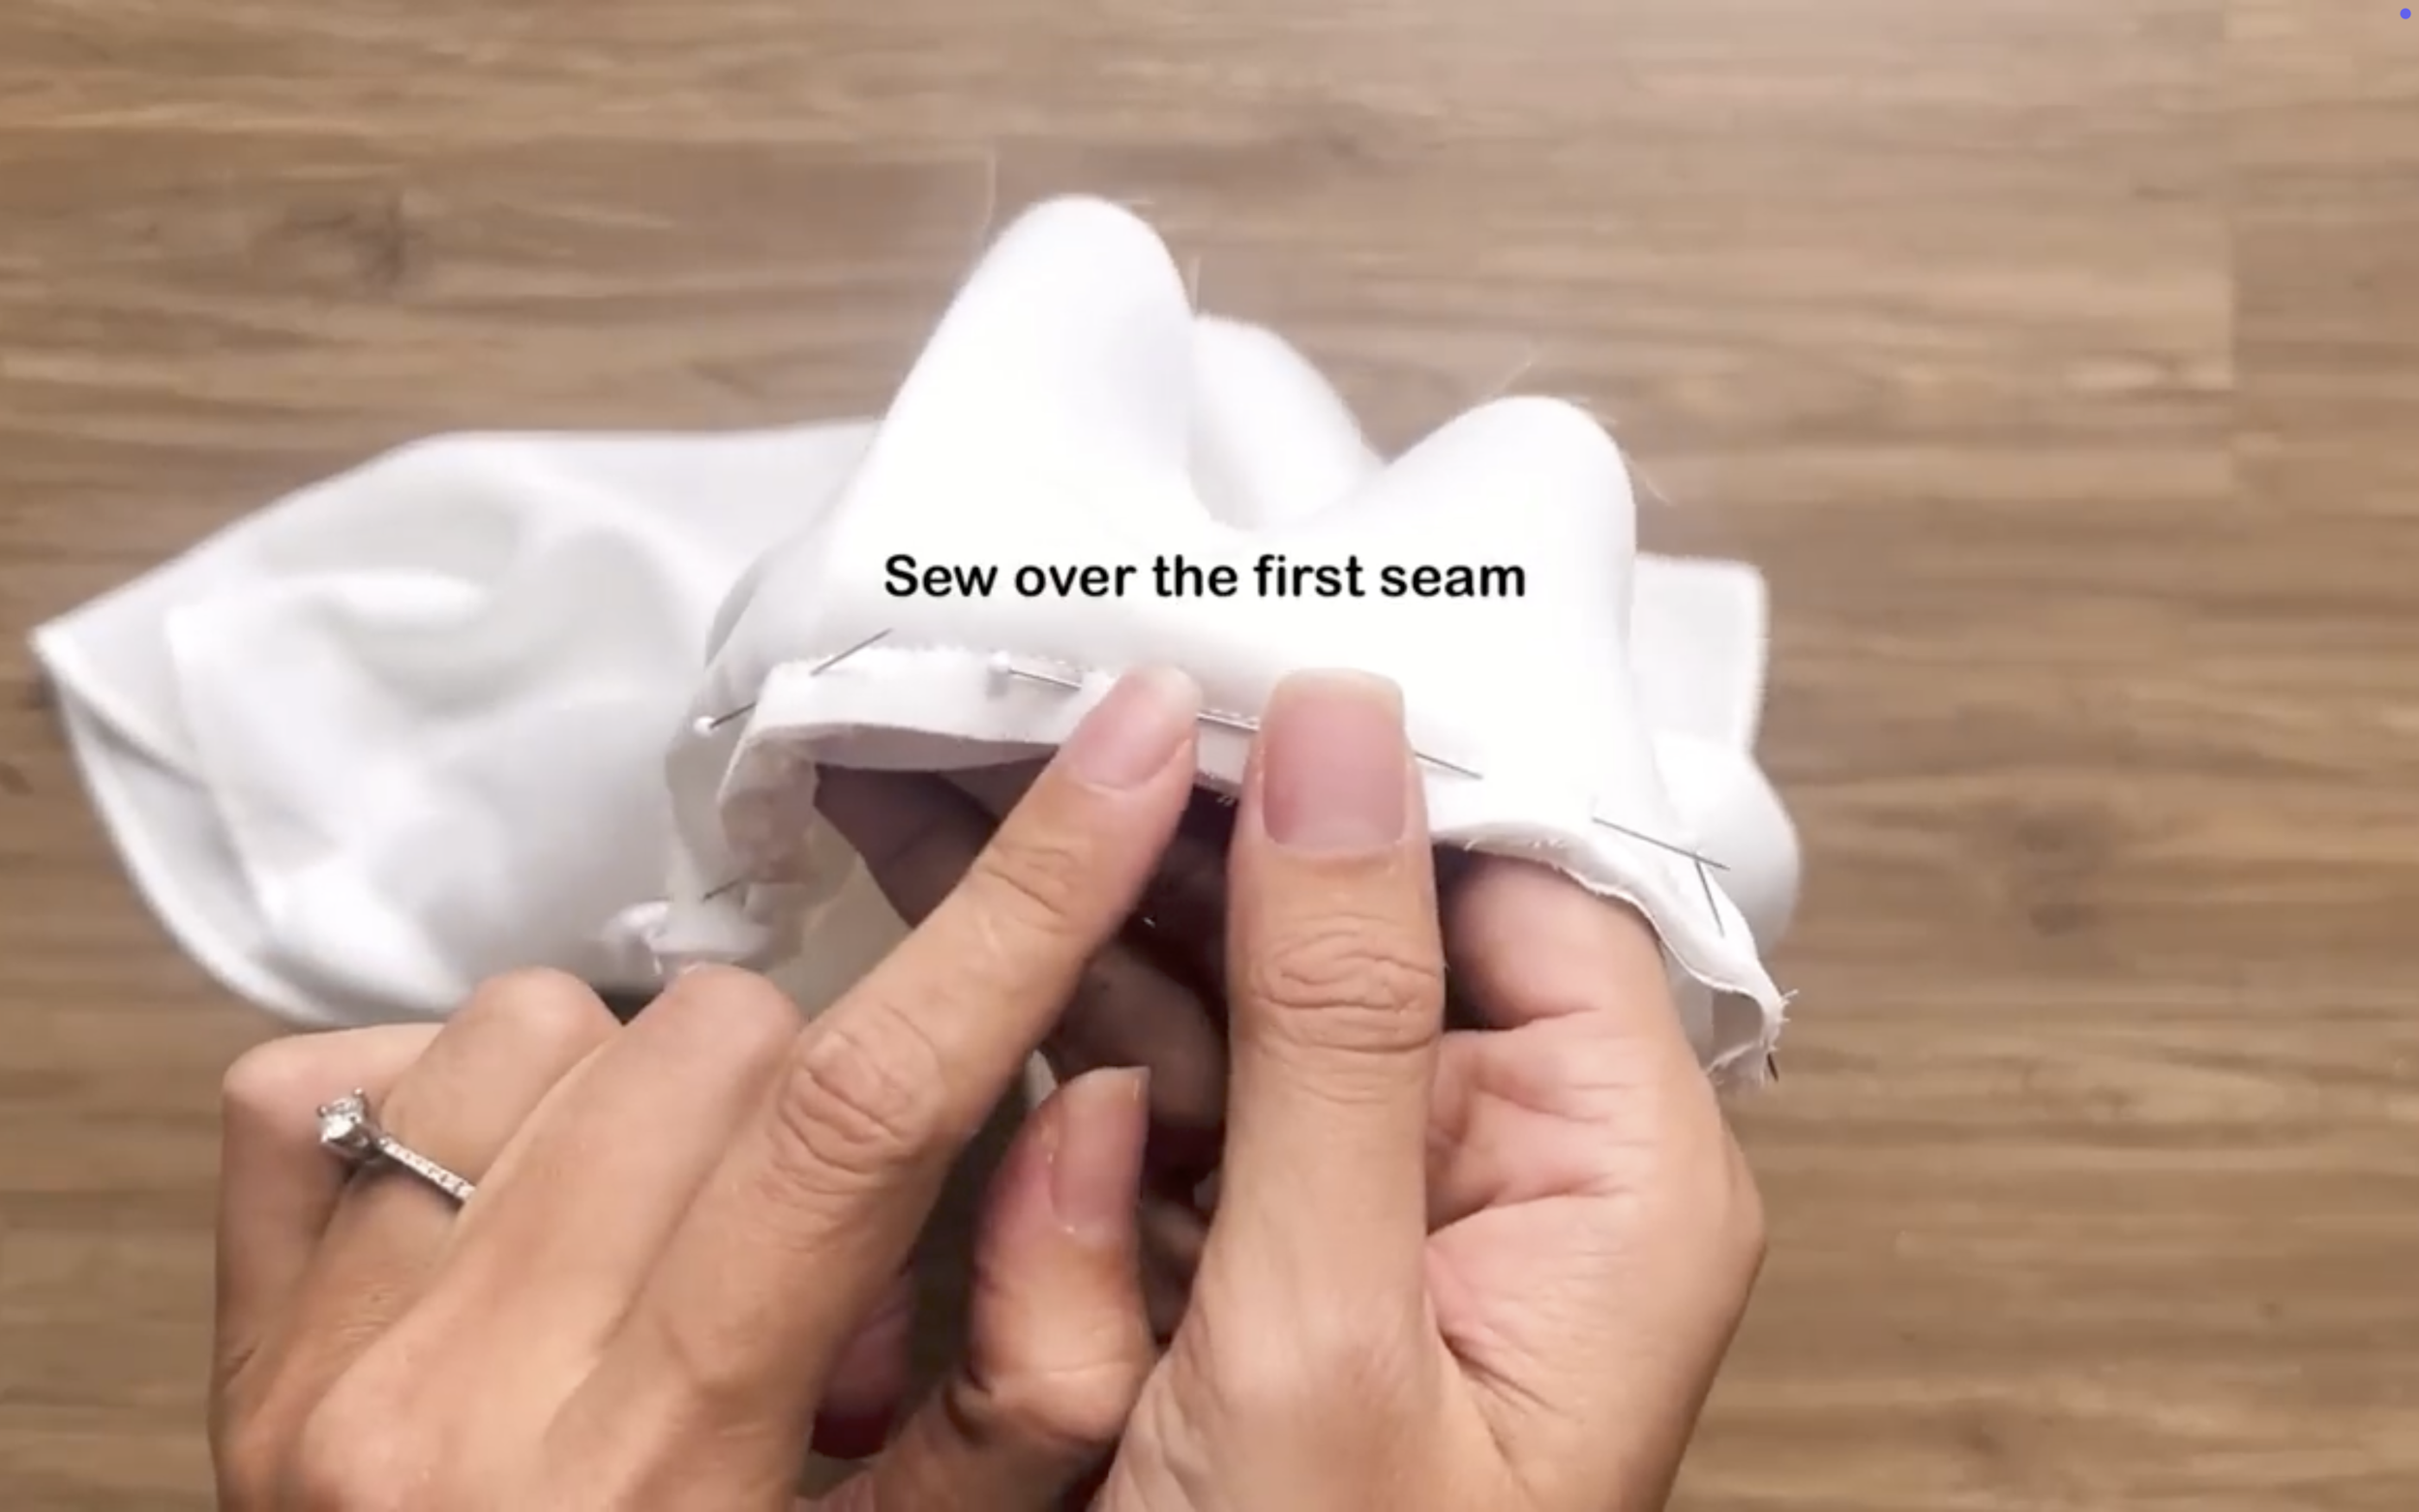
And connect to the main fabric part at the sleeve line.
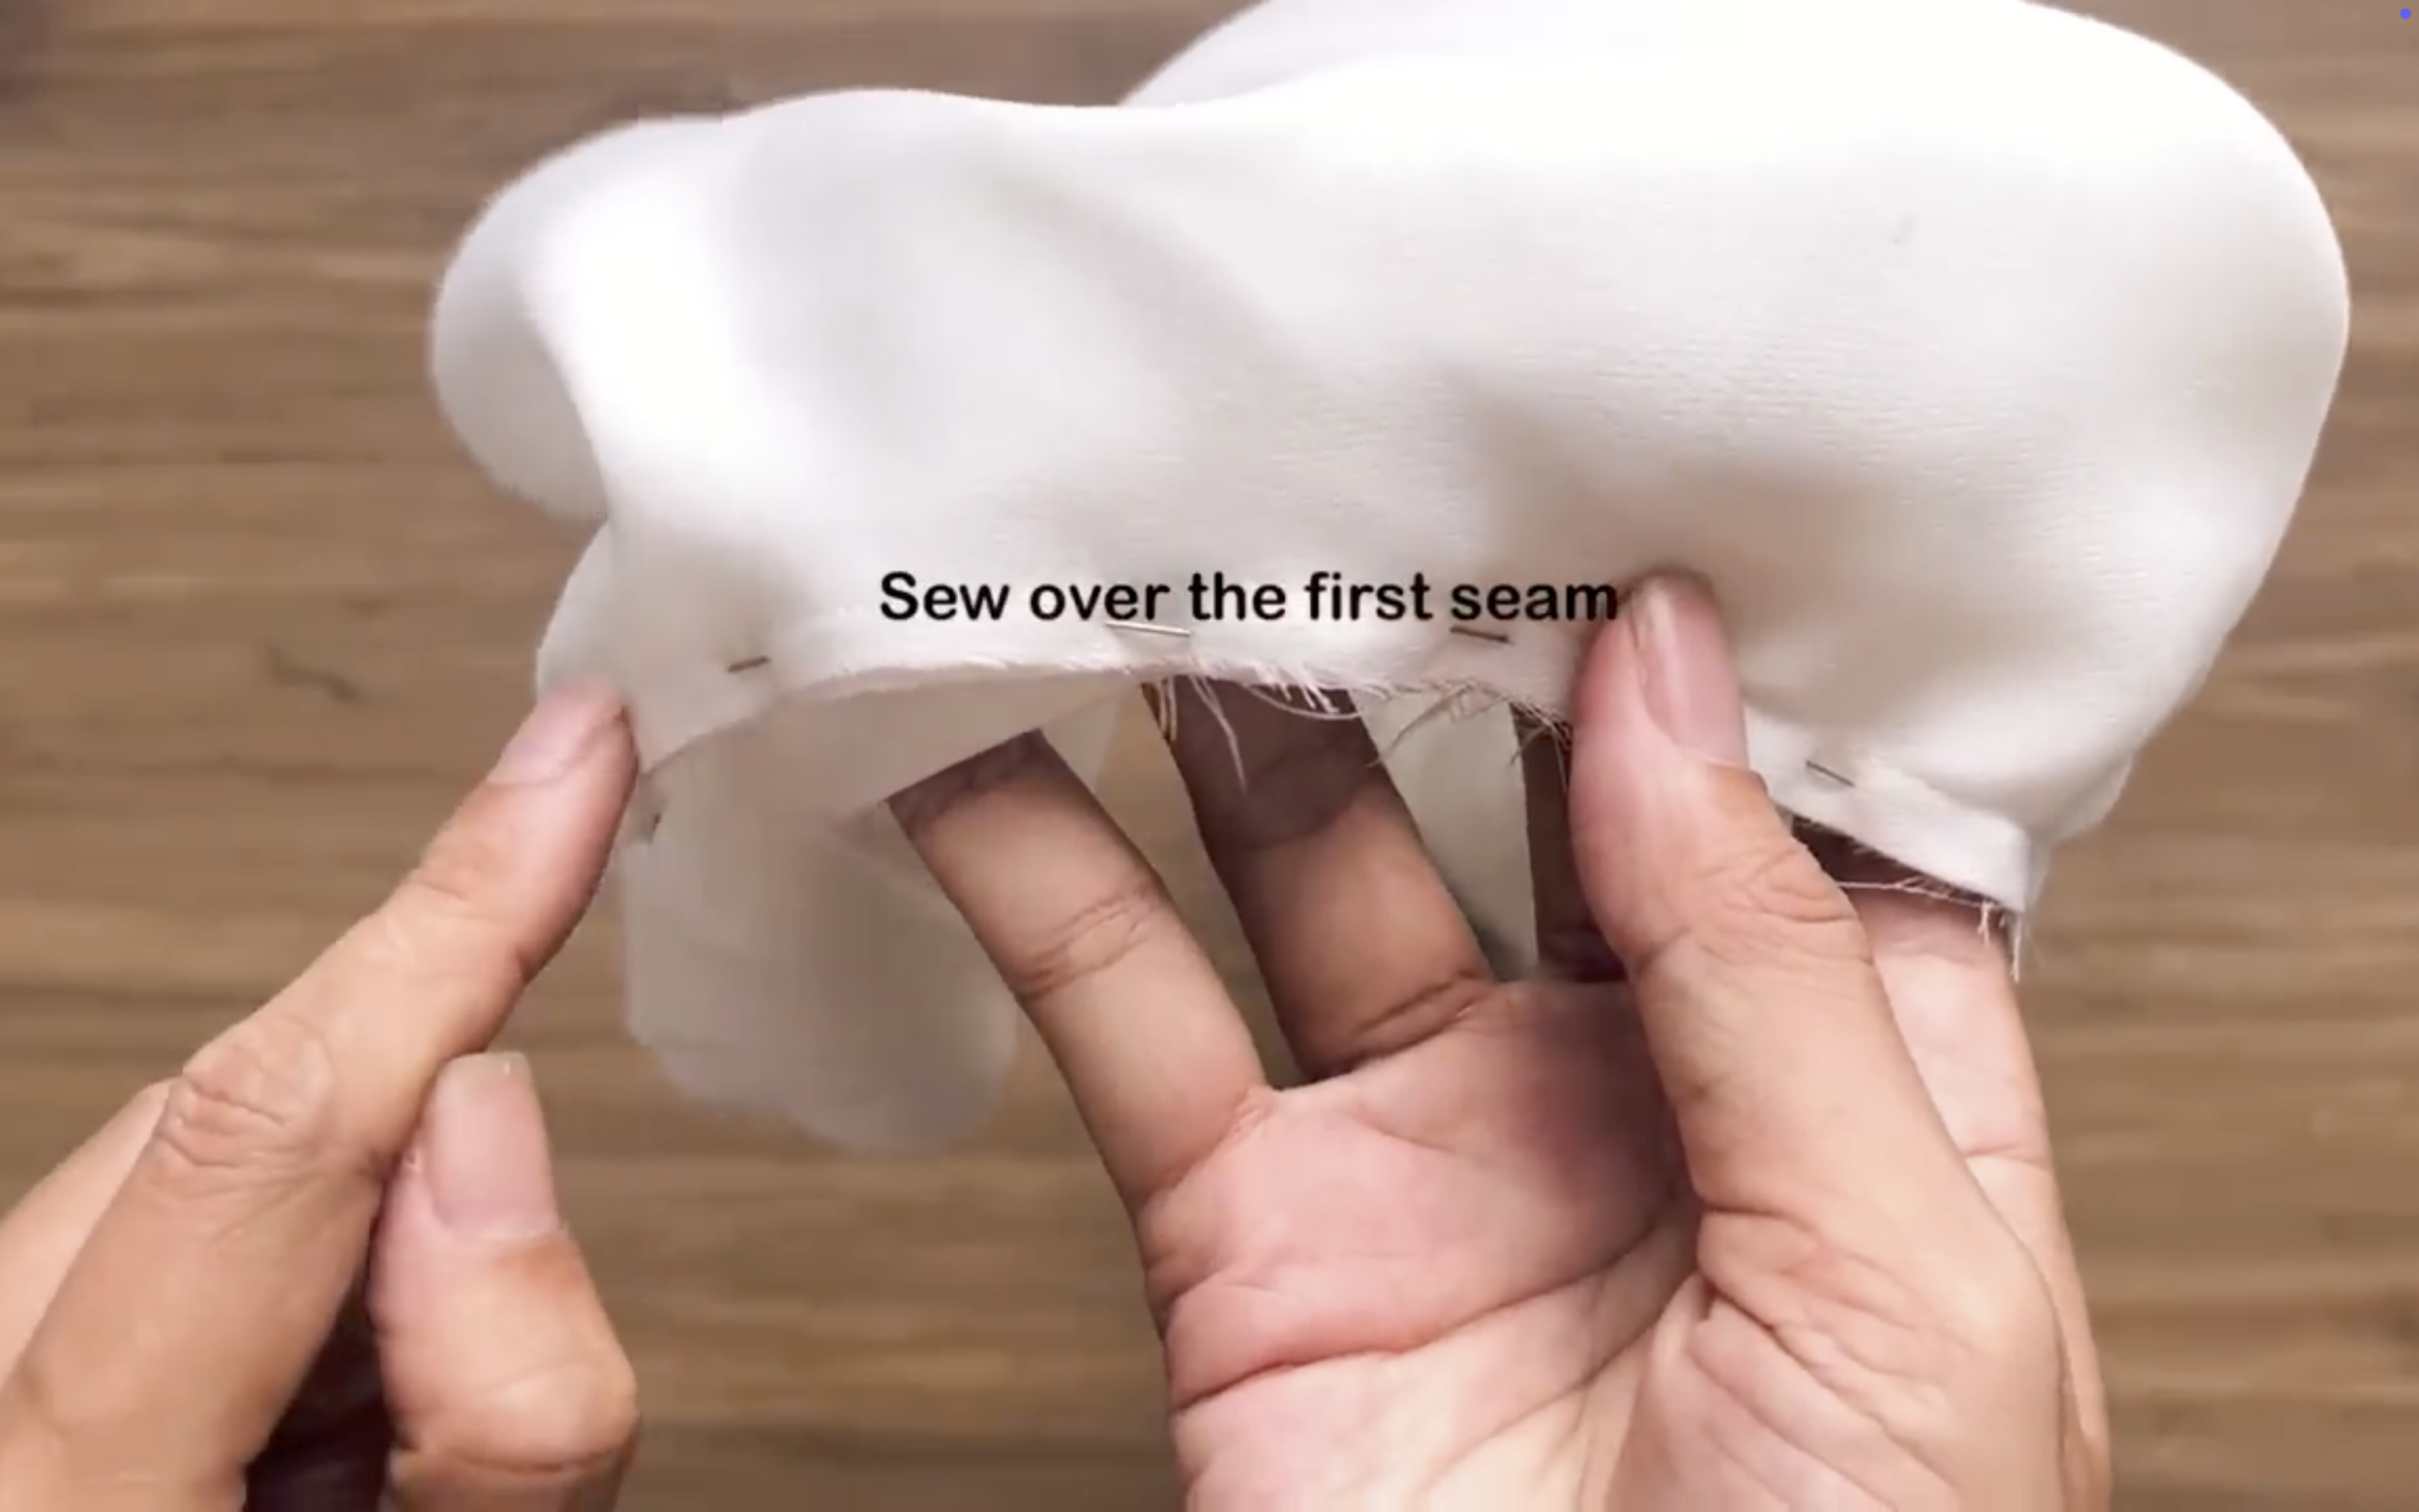
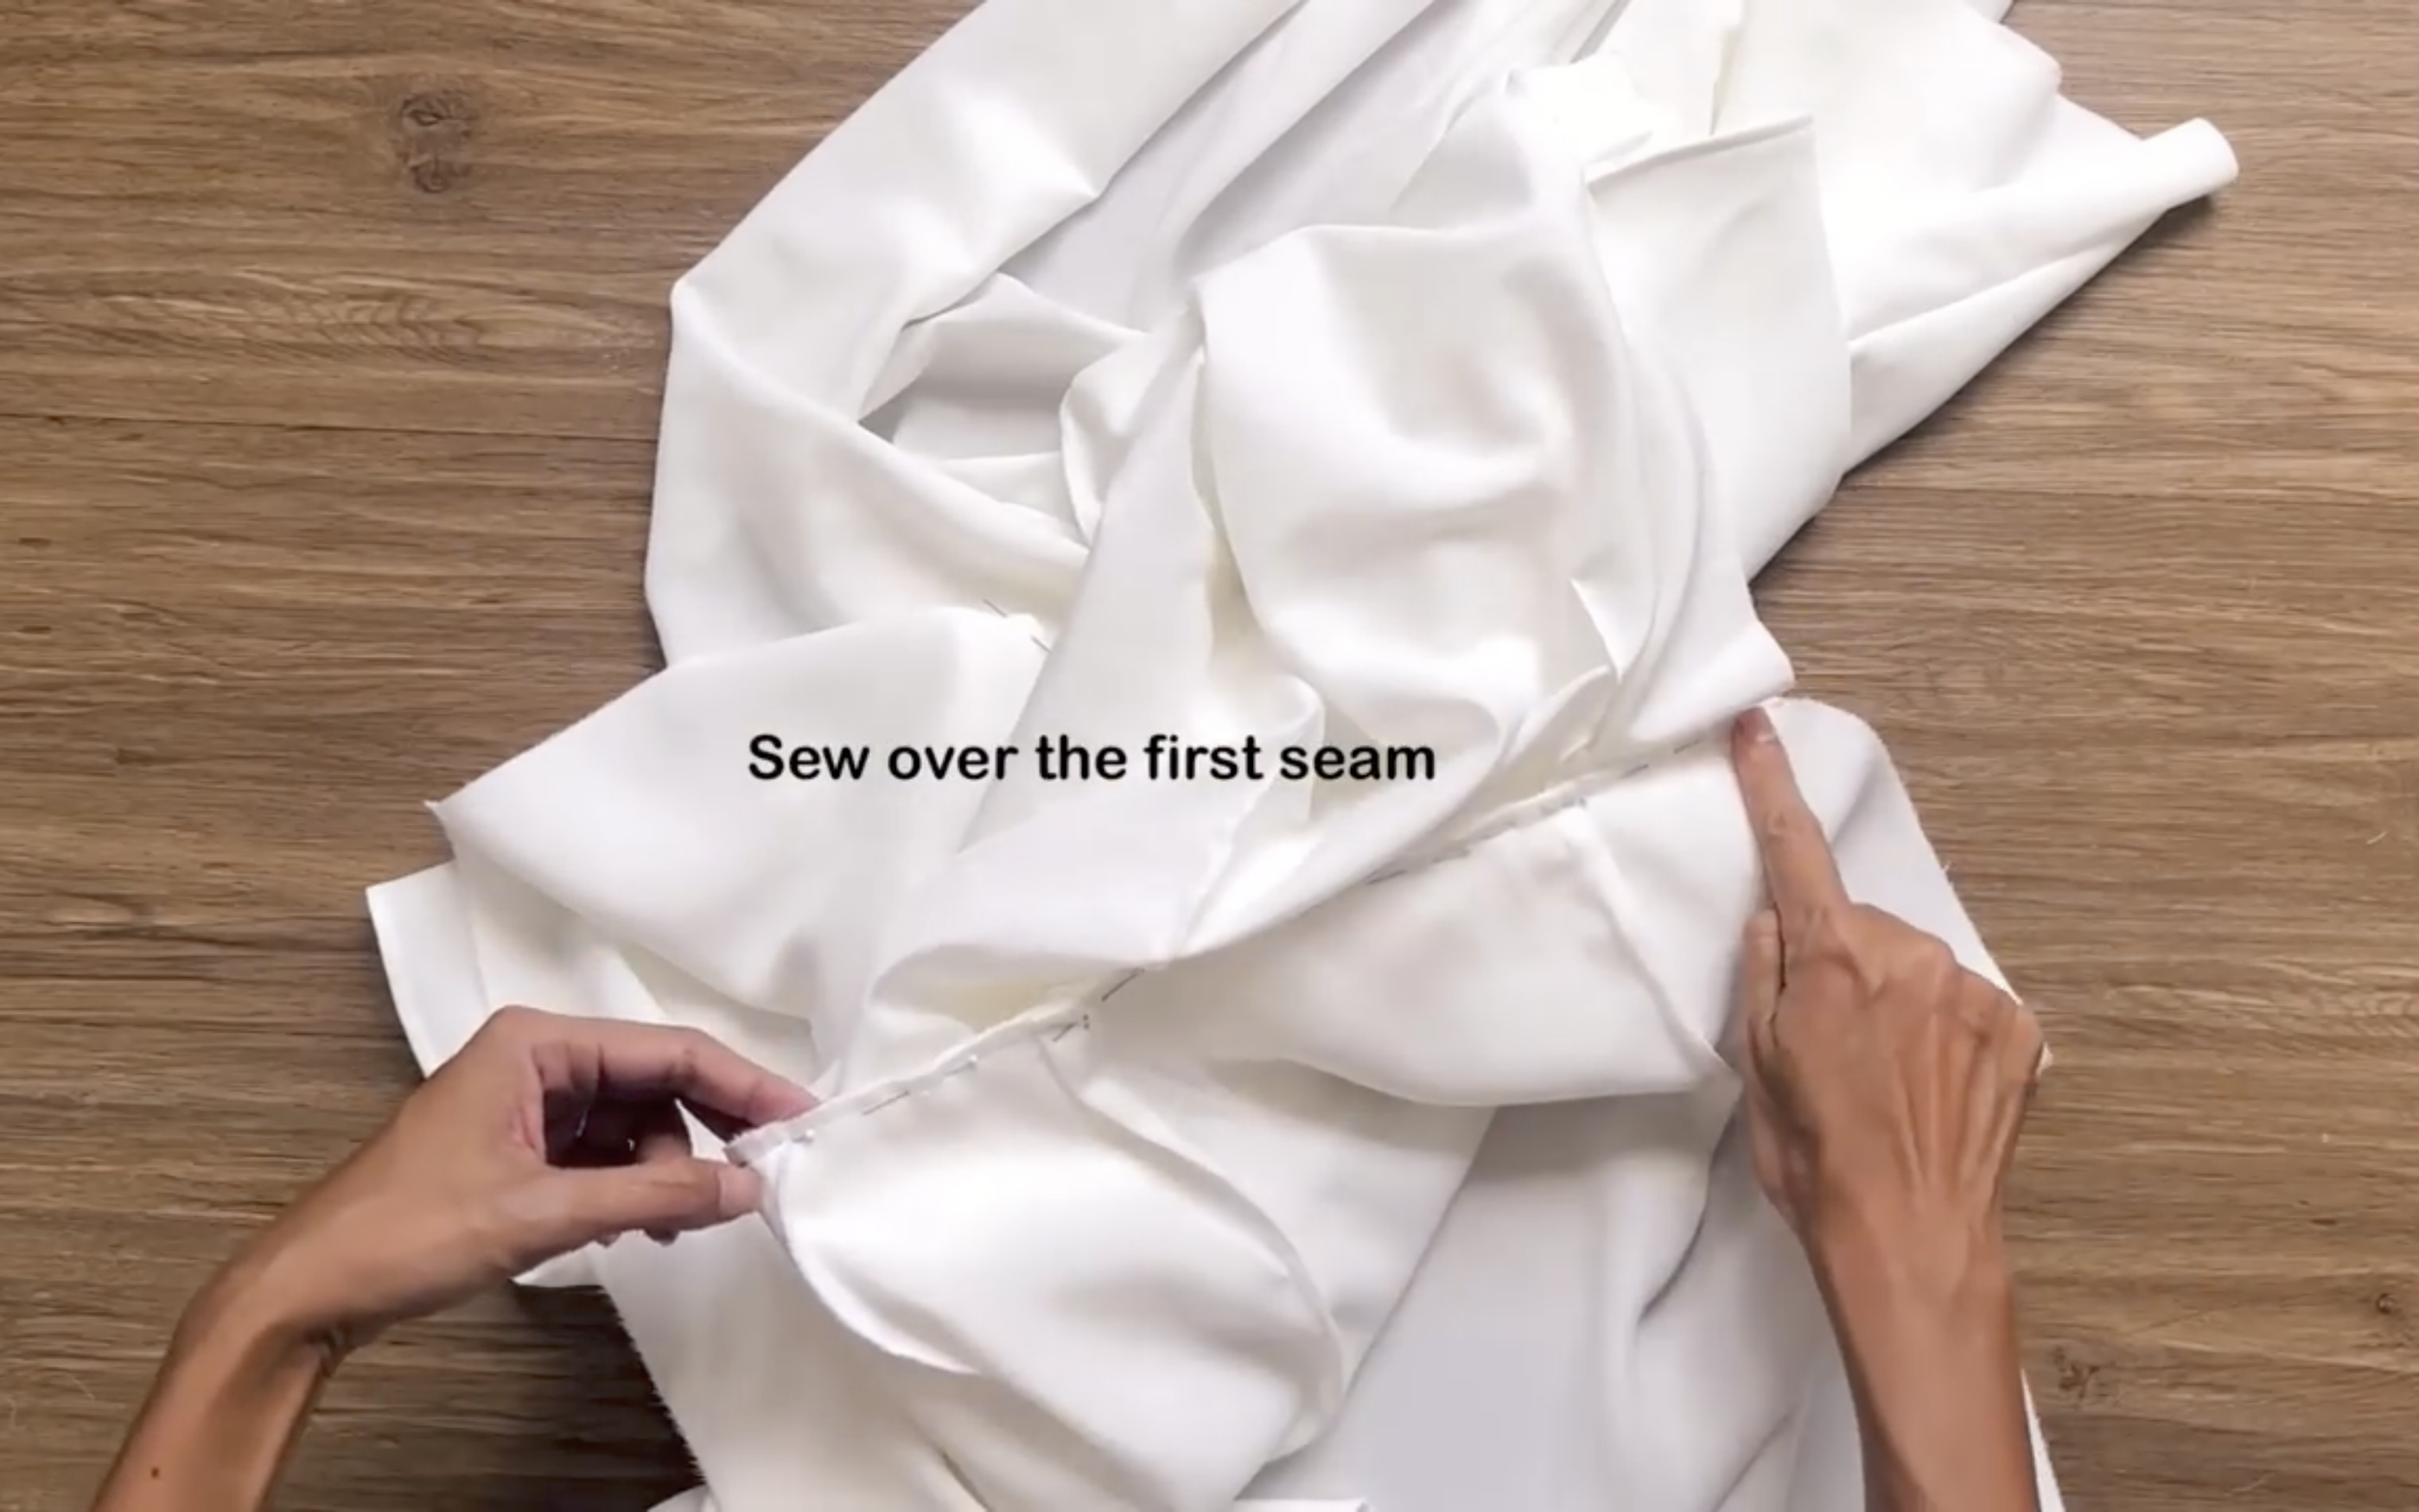
When sewing, sew over the first seam made before.
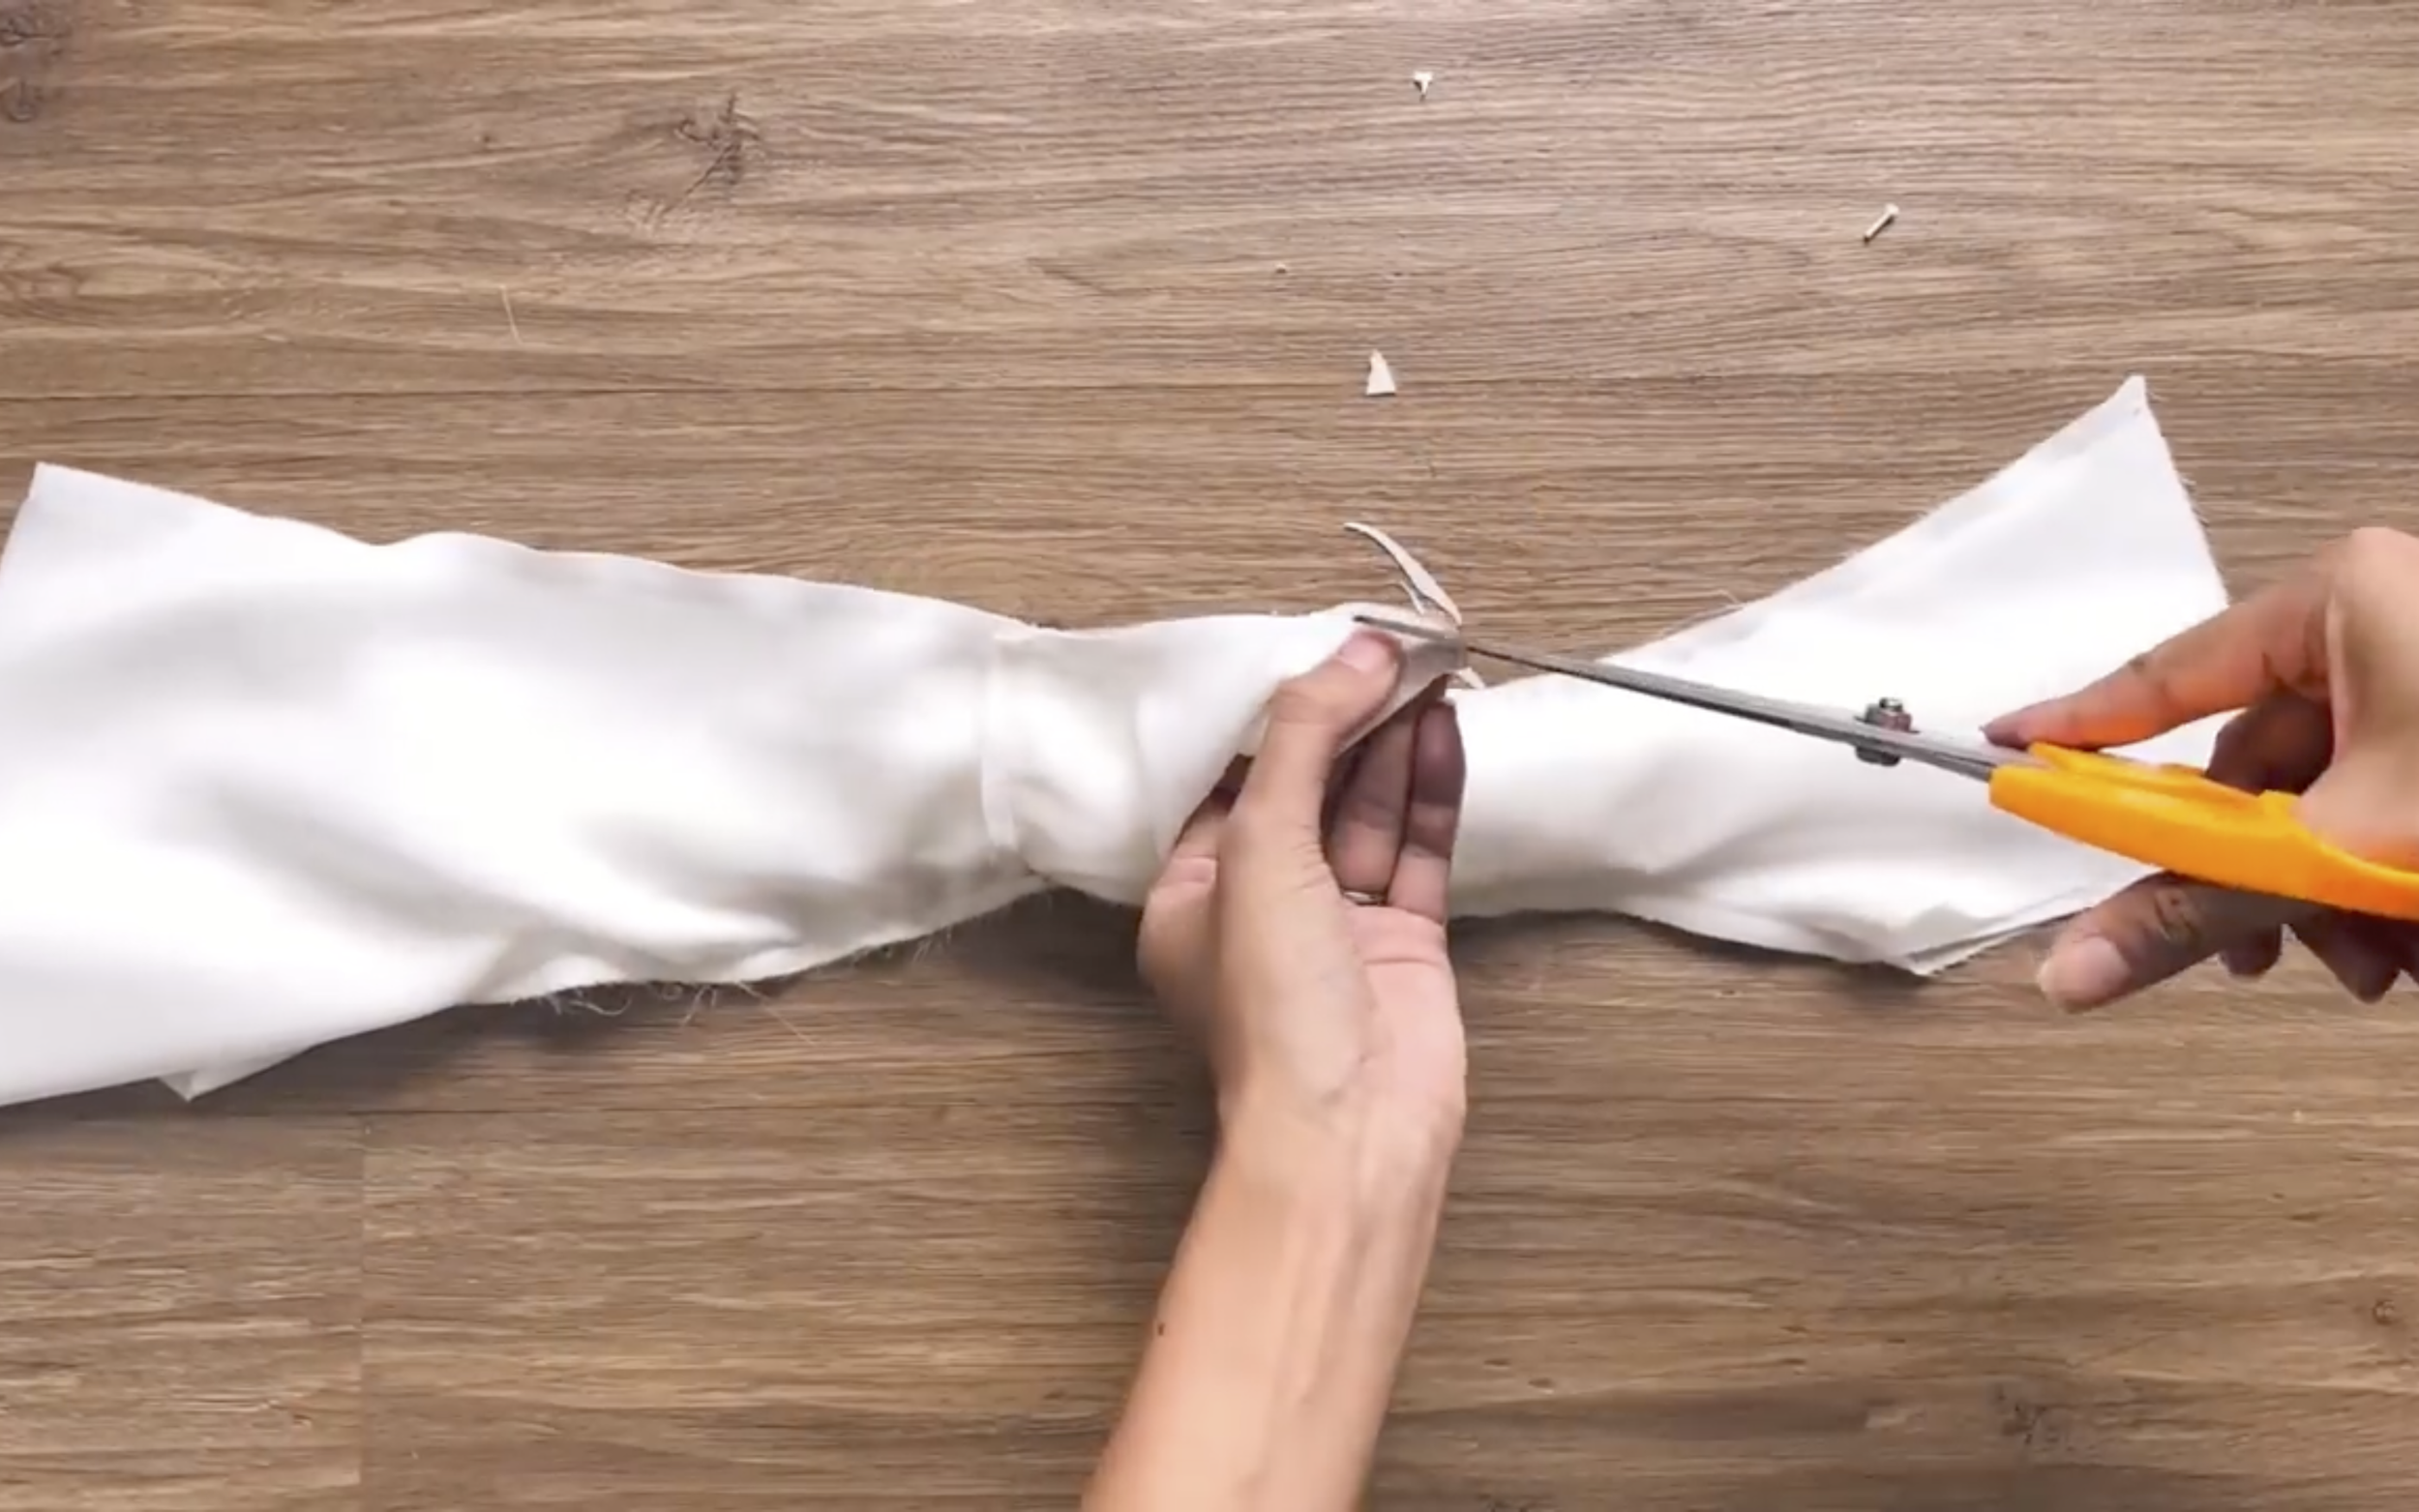
Before turning the top part right side out, make a few small cuts at the curved parts to make all the seams look smoother.
Then, turn the top part right side out.
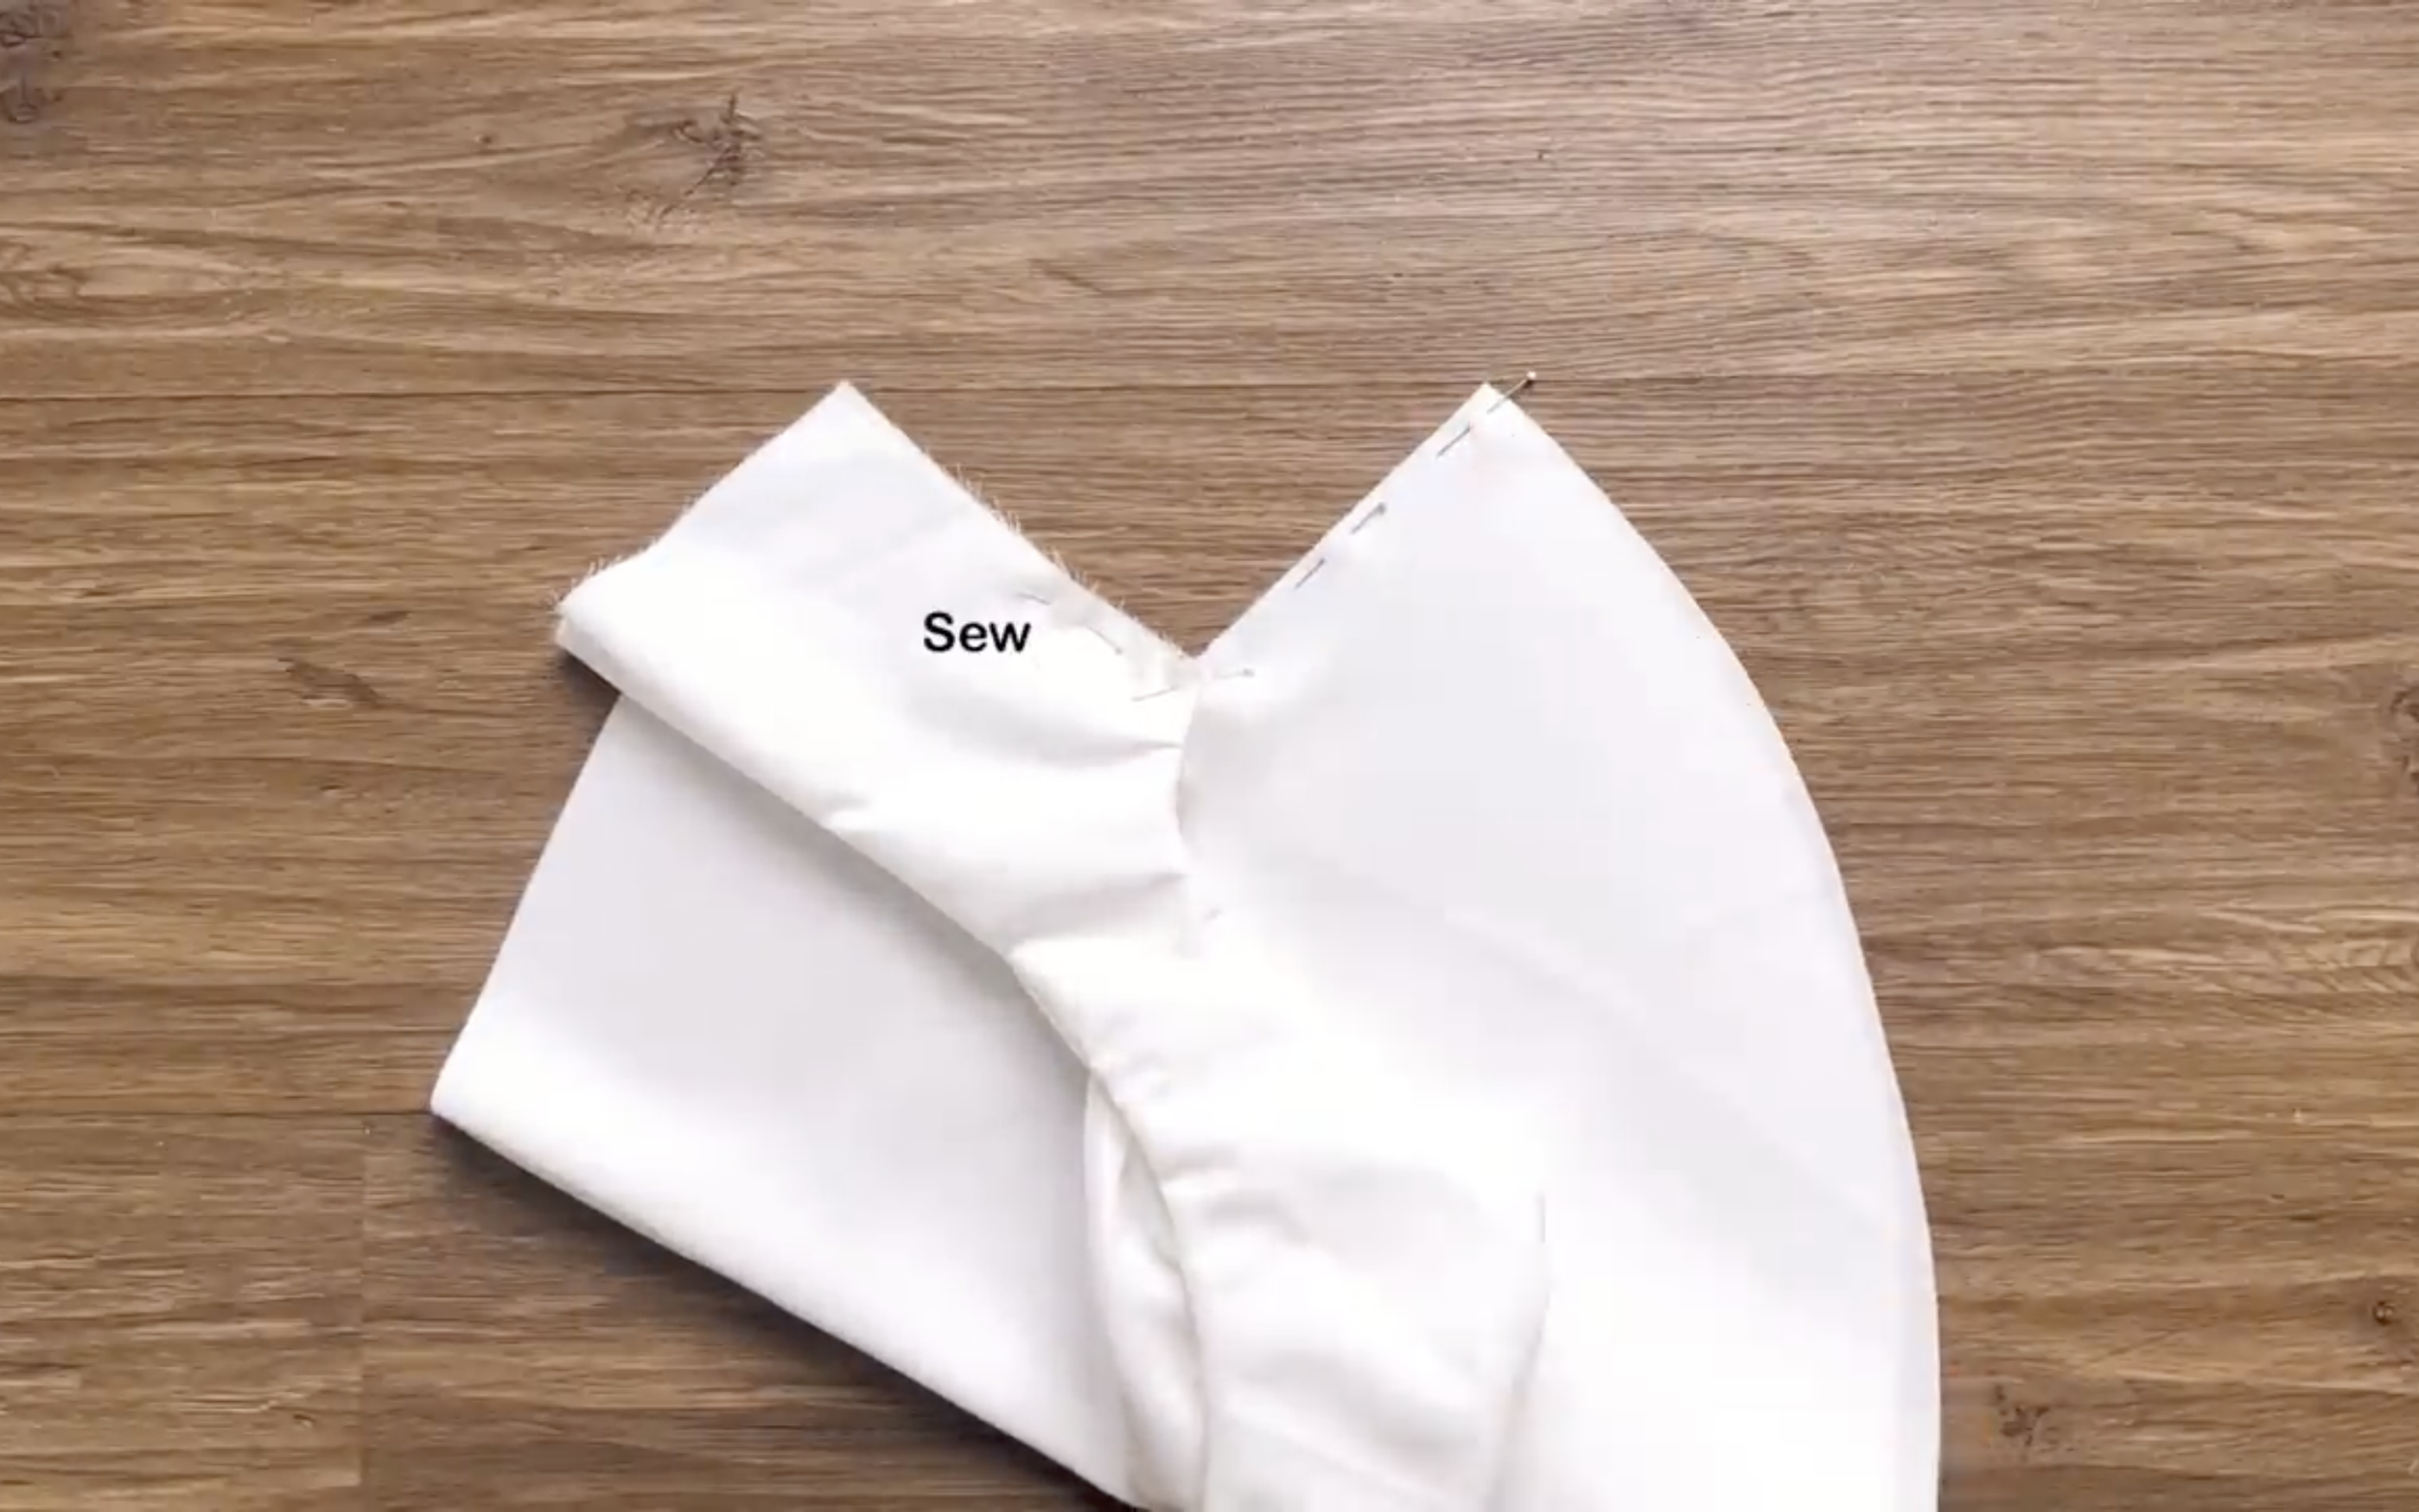
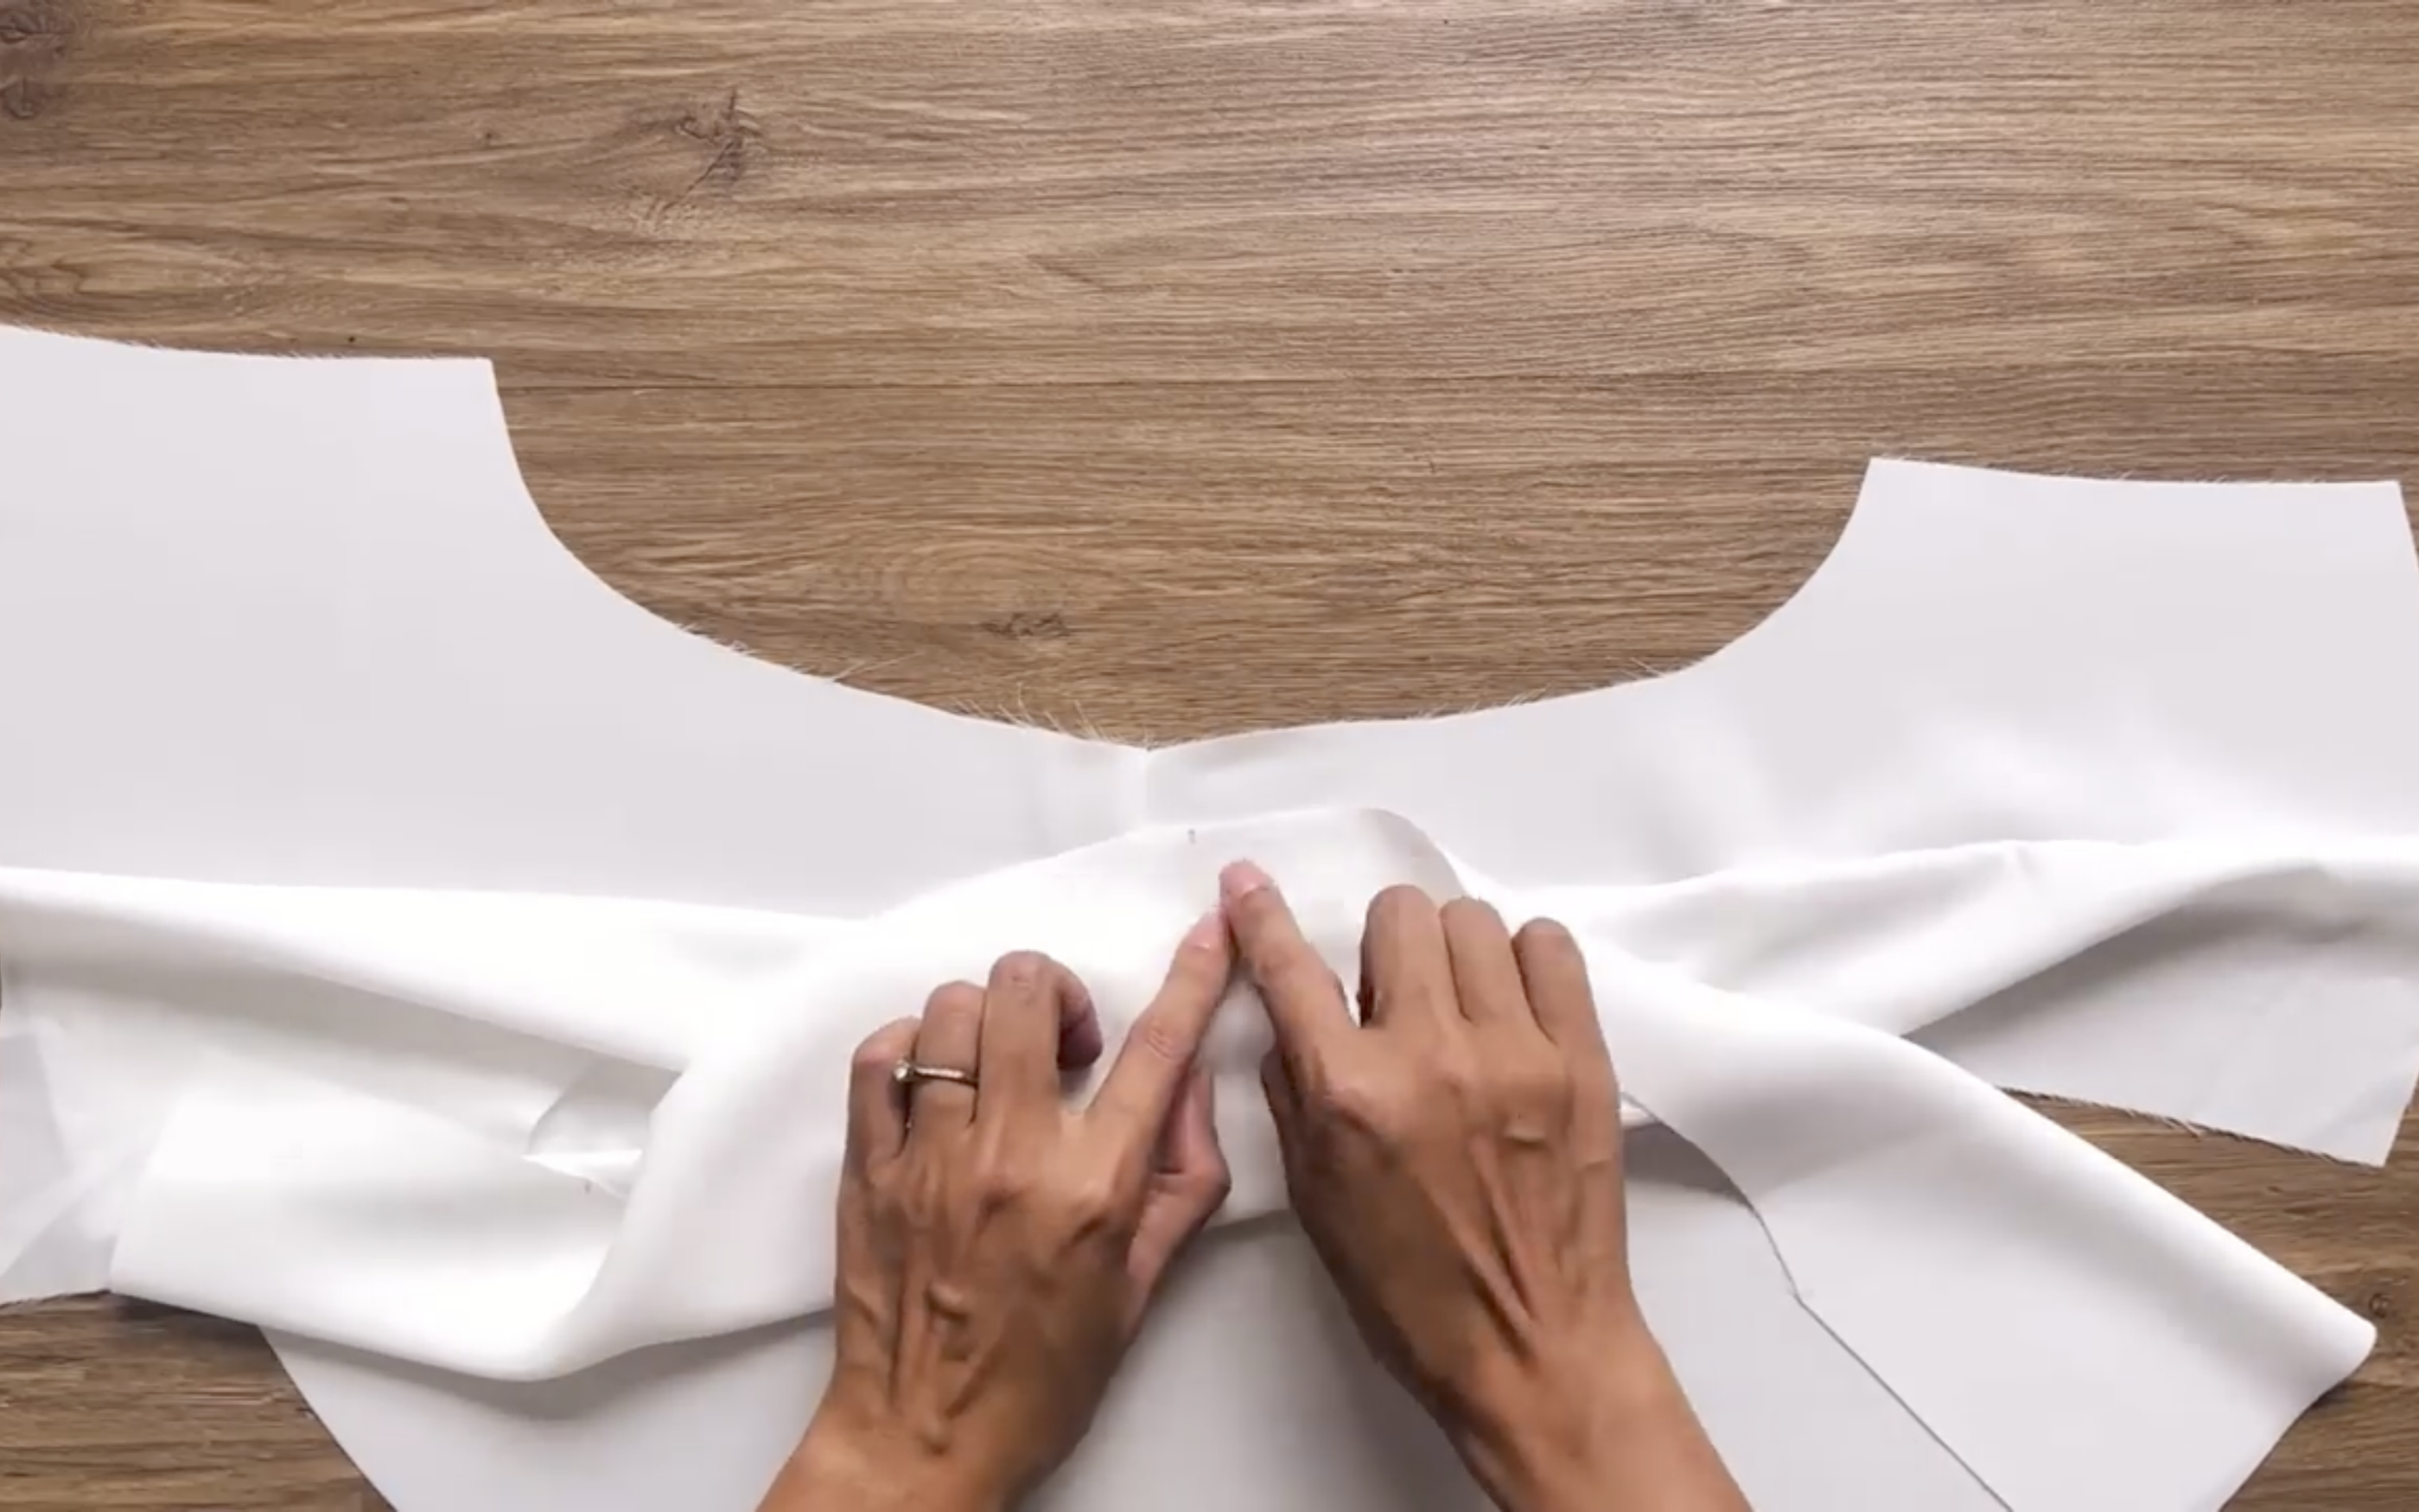
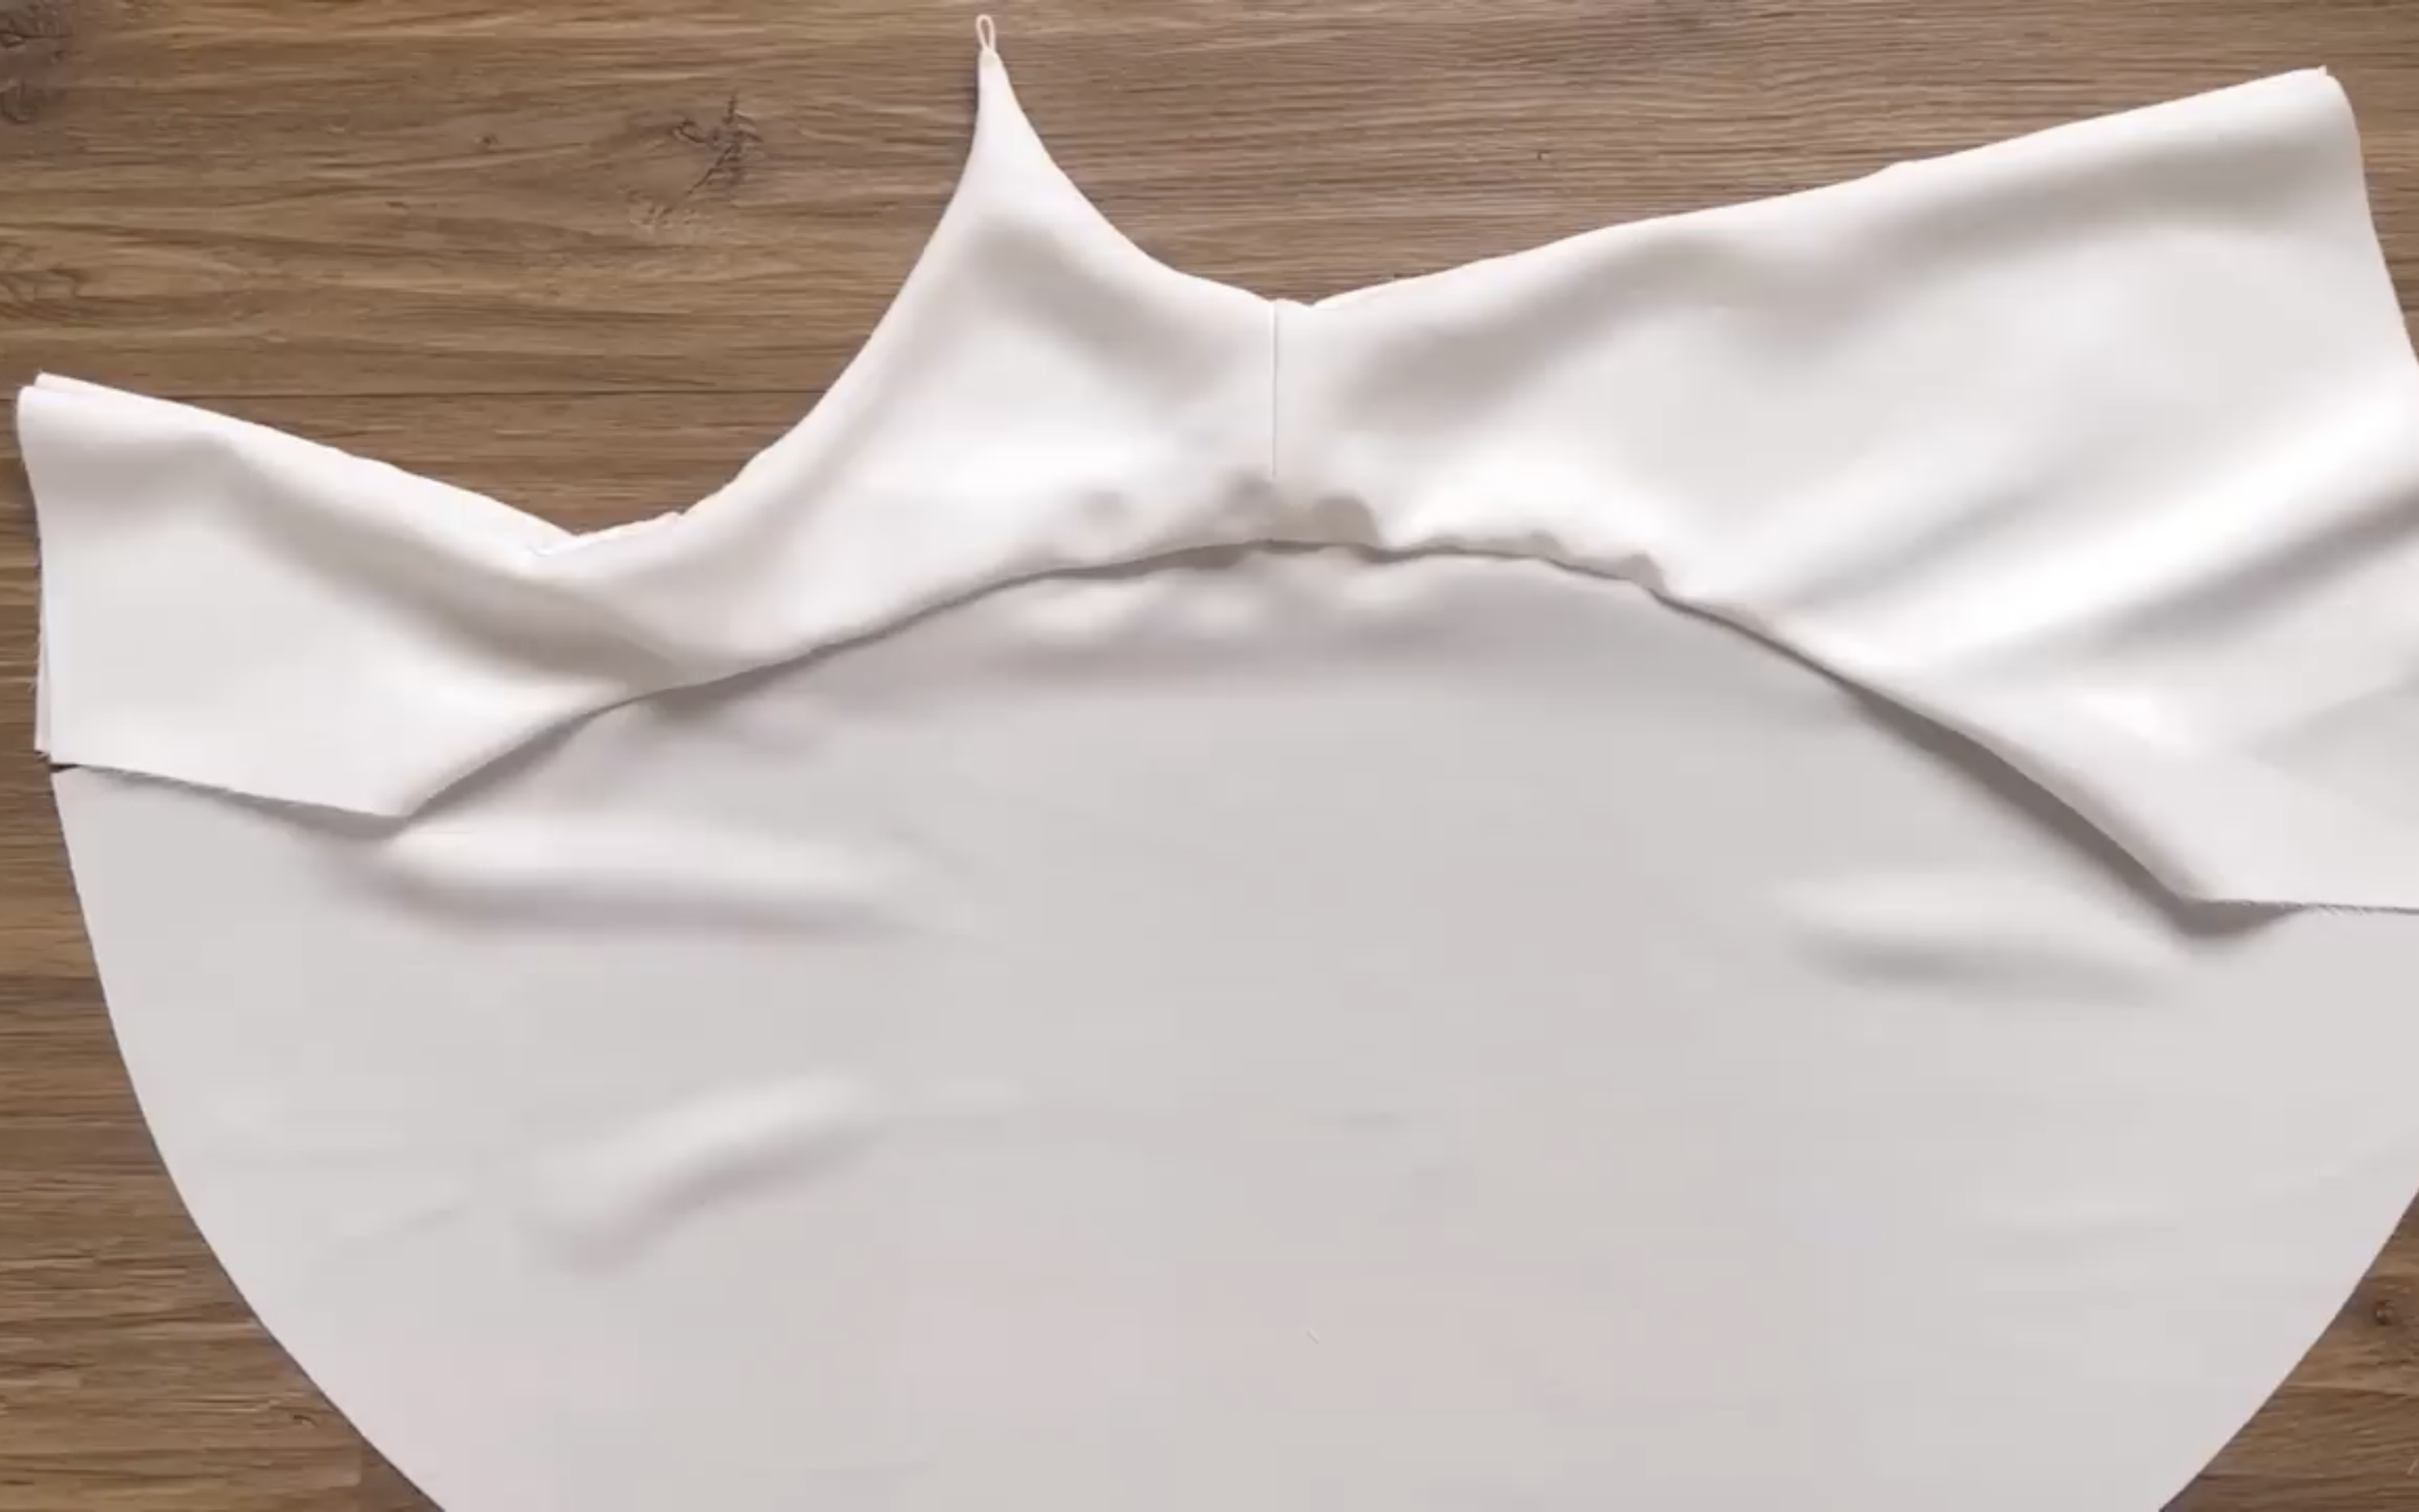
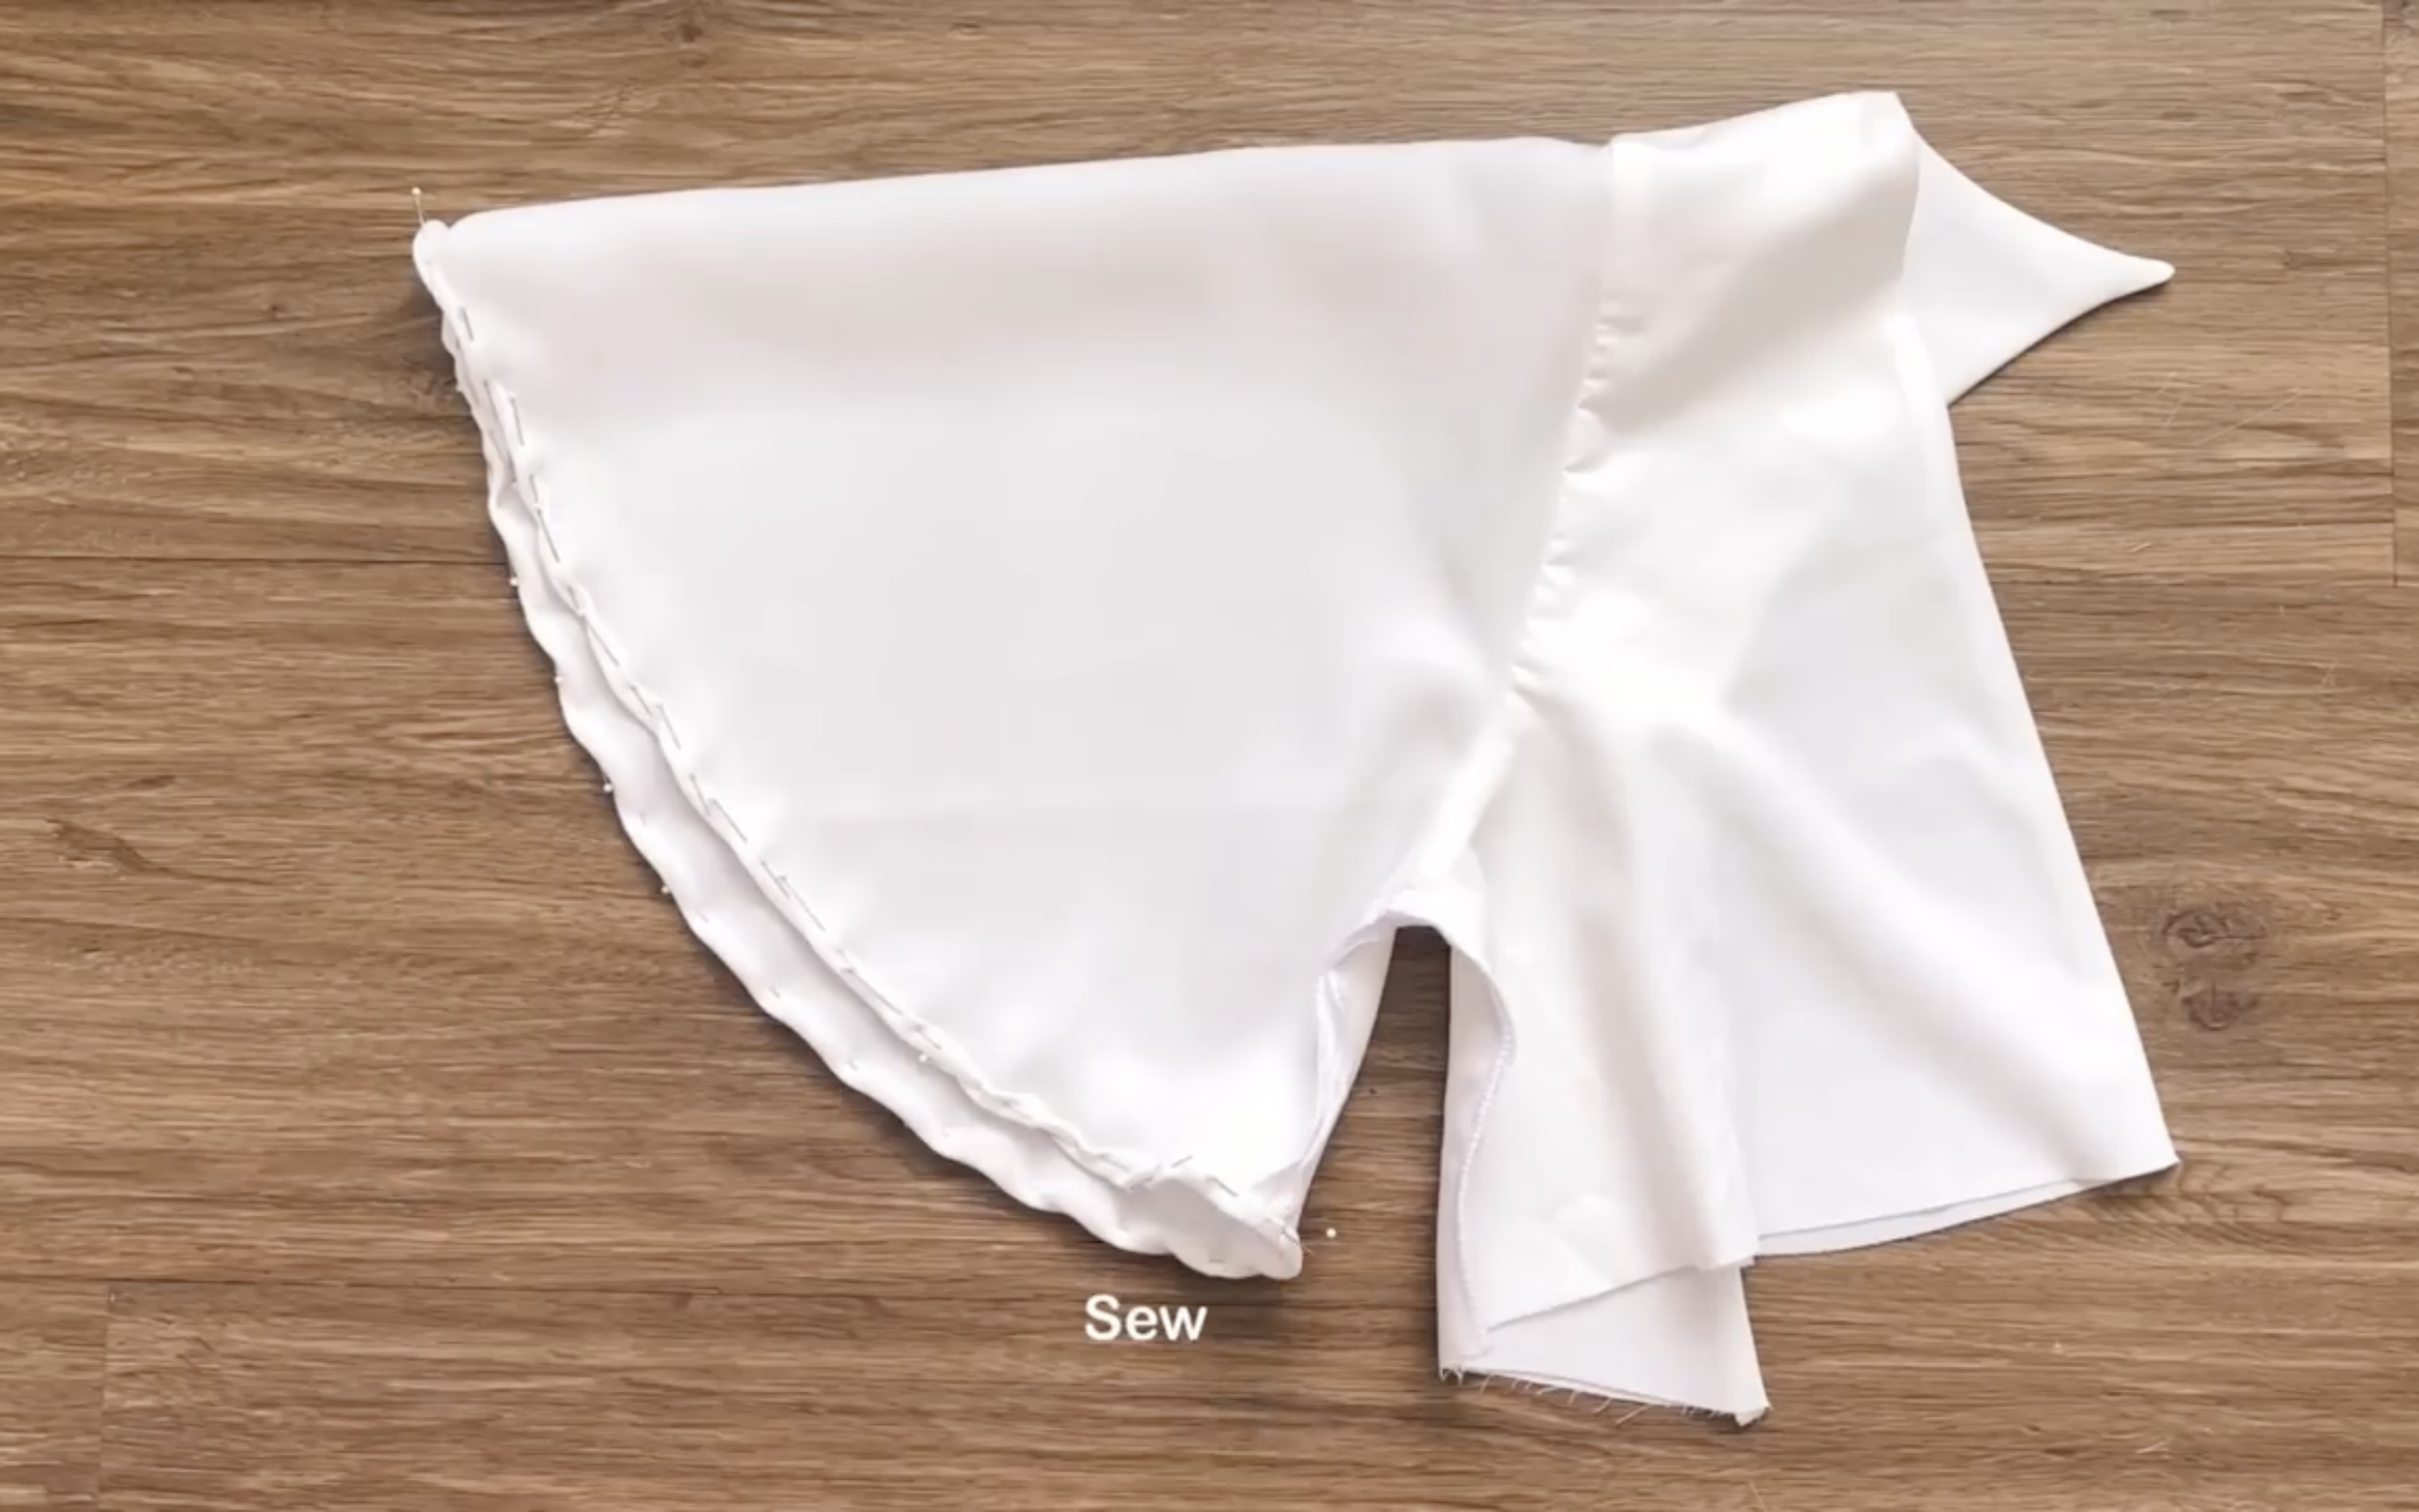
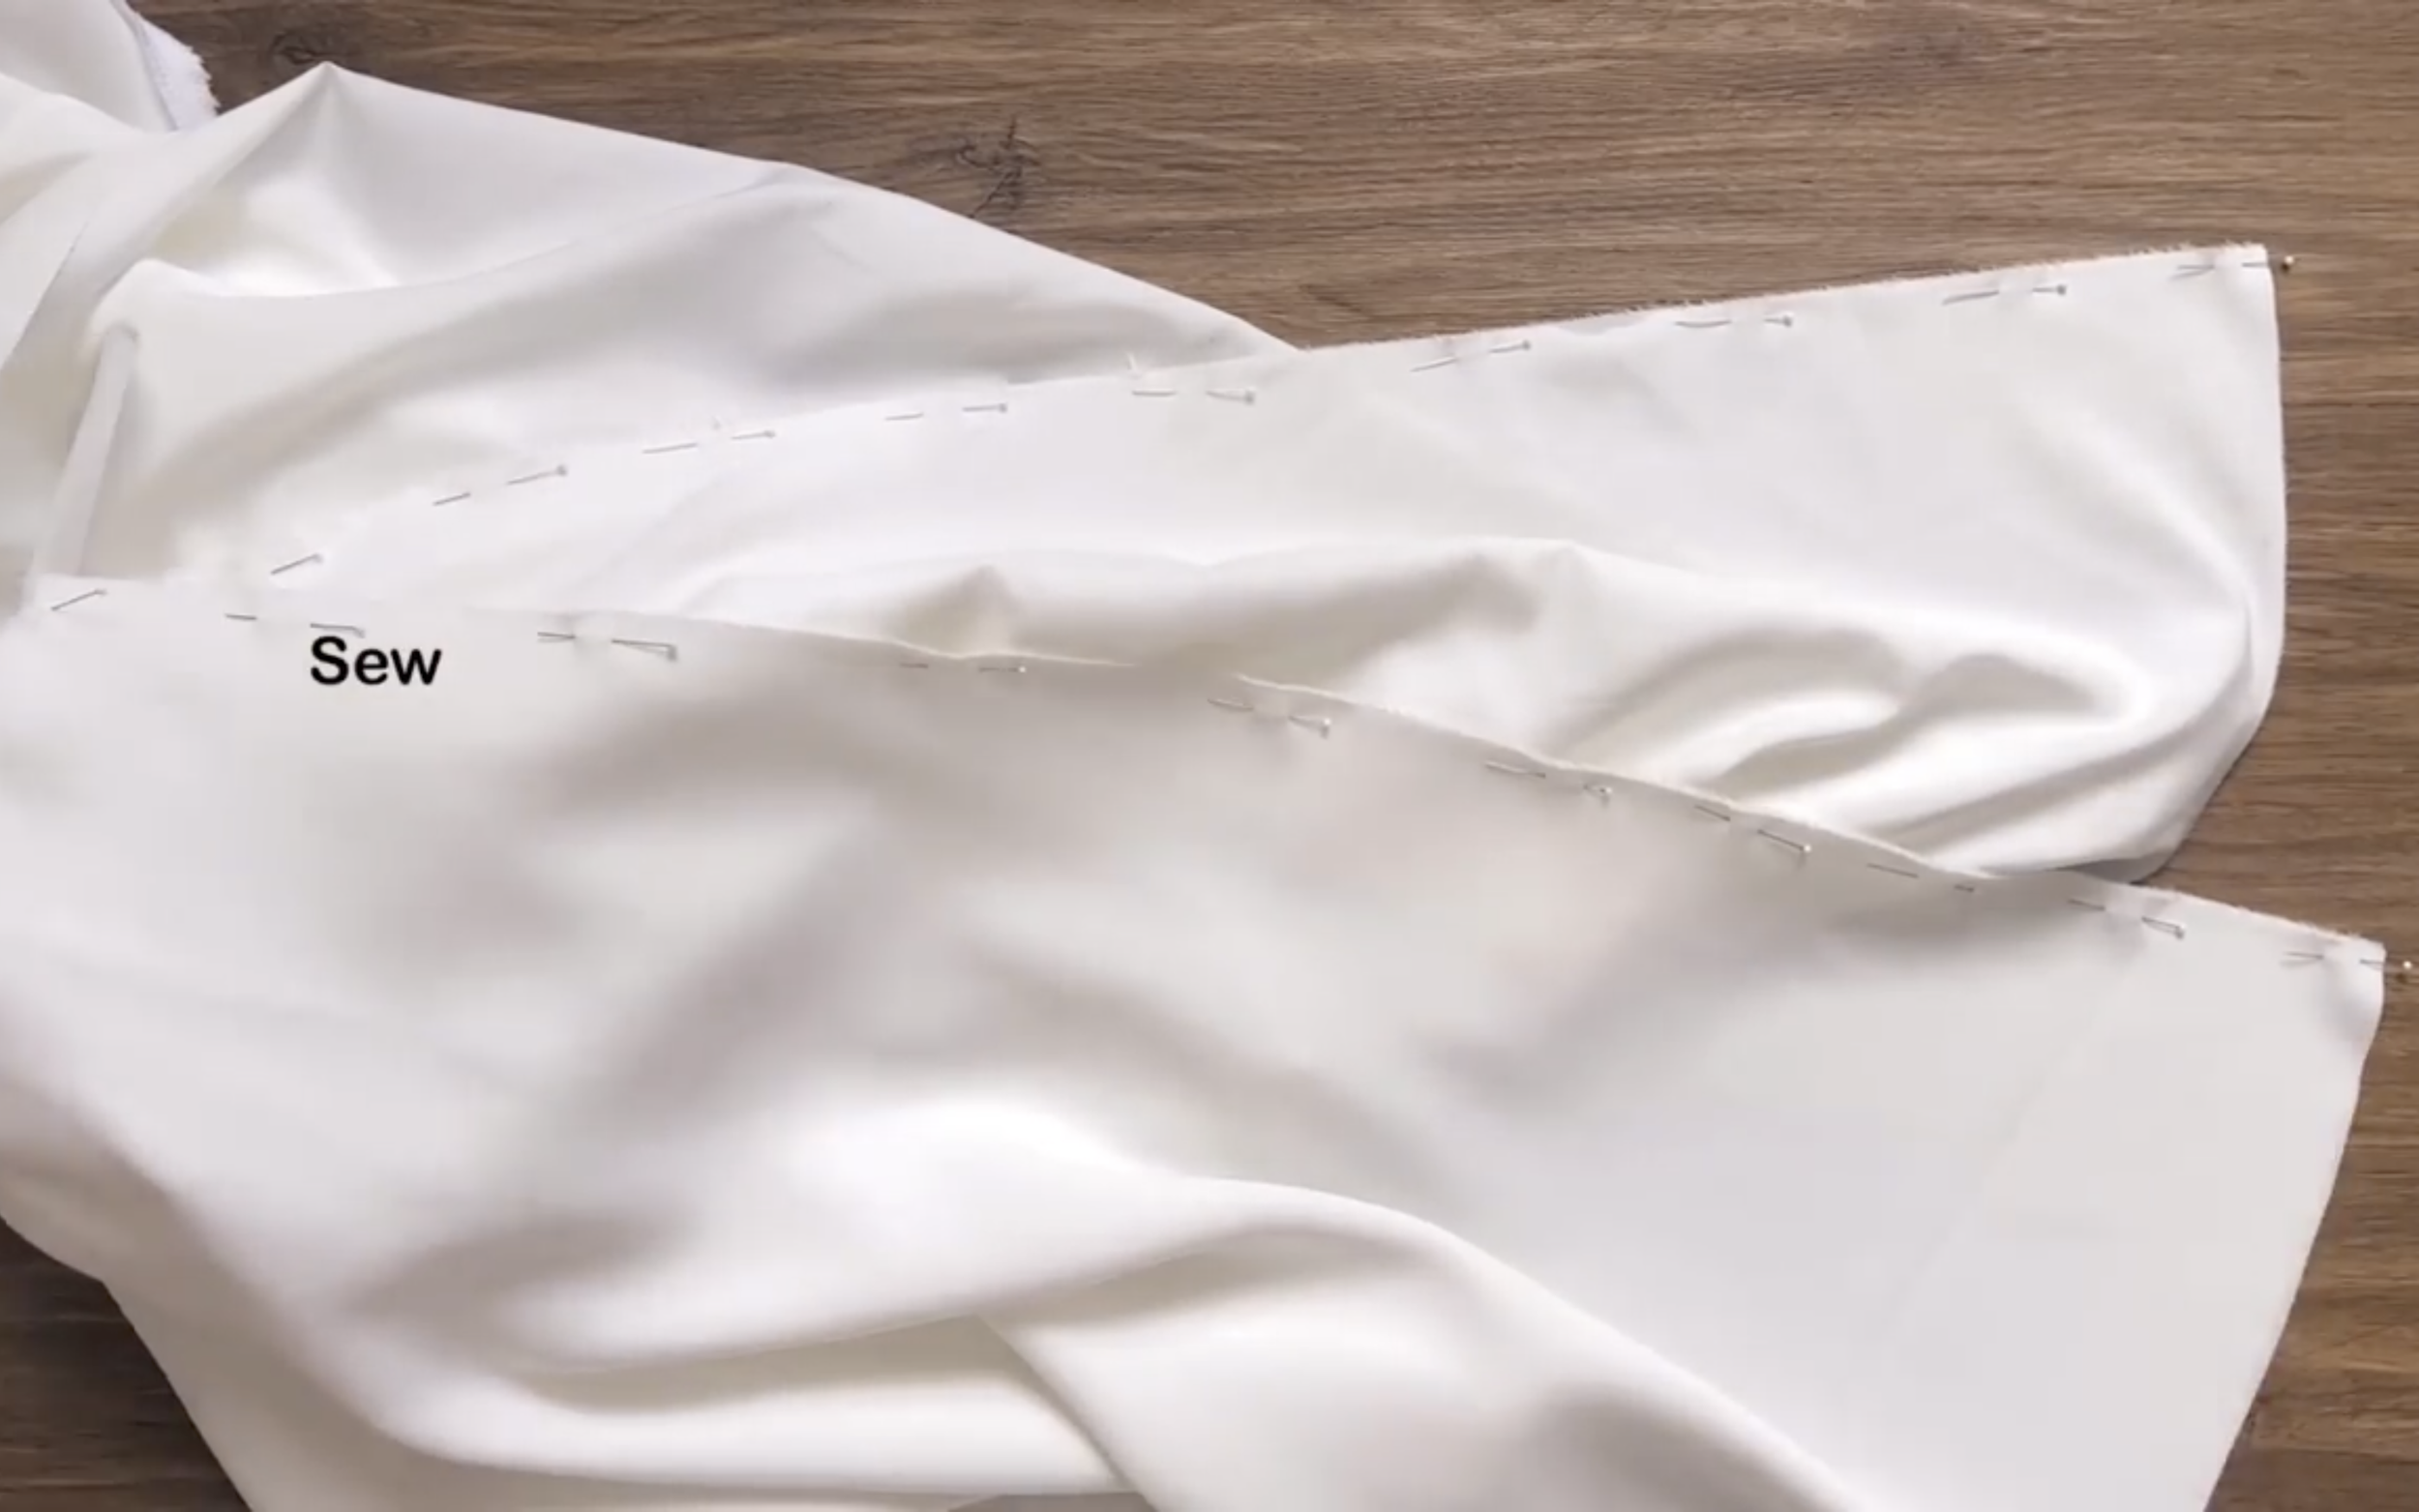
After that, connect the two under-armpit lines and two sidelines together.
At the ending line of the sleeve, fold the end fabric inside twice, 0.5 cm each time, and sew to finish the end of the sleeve.
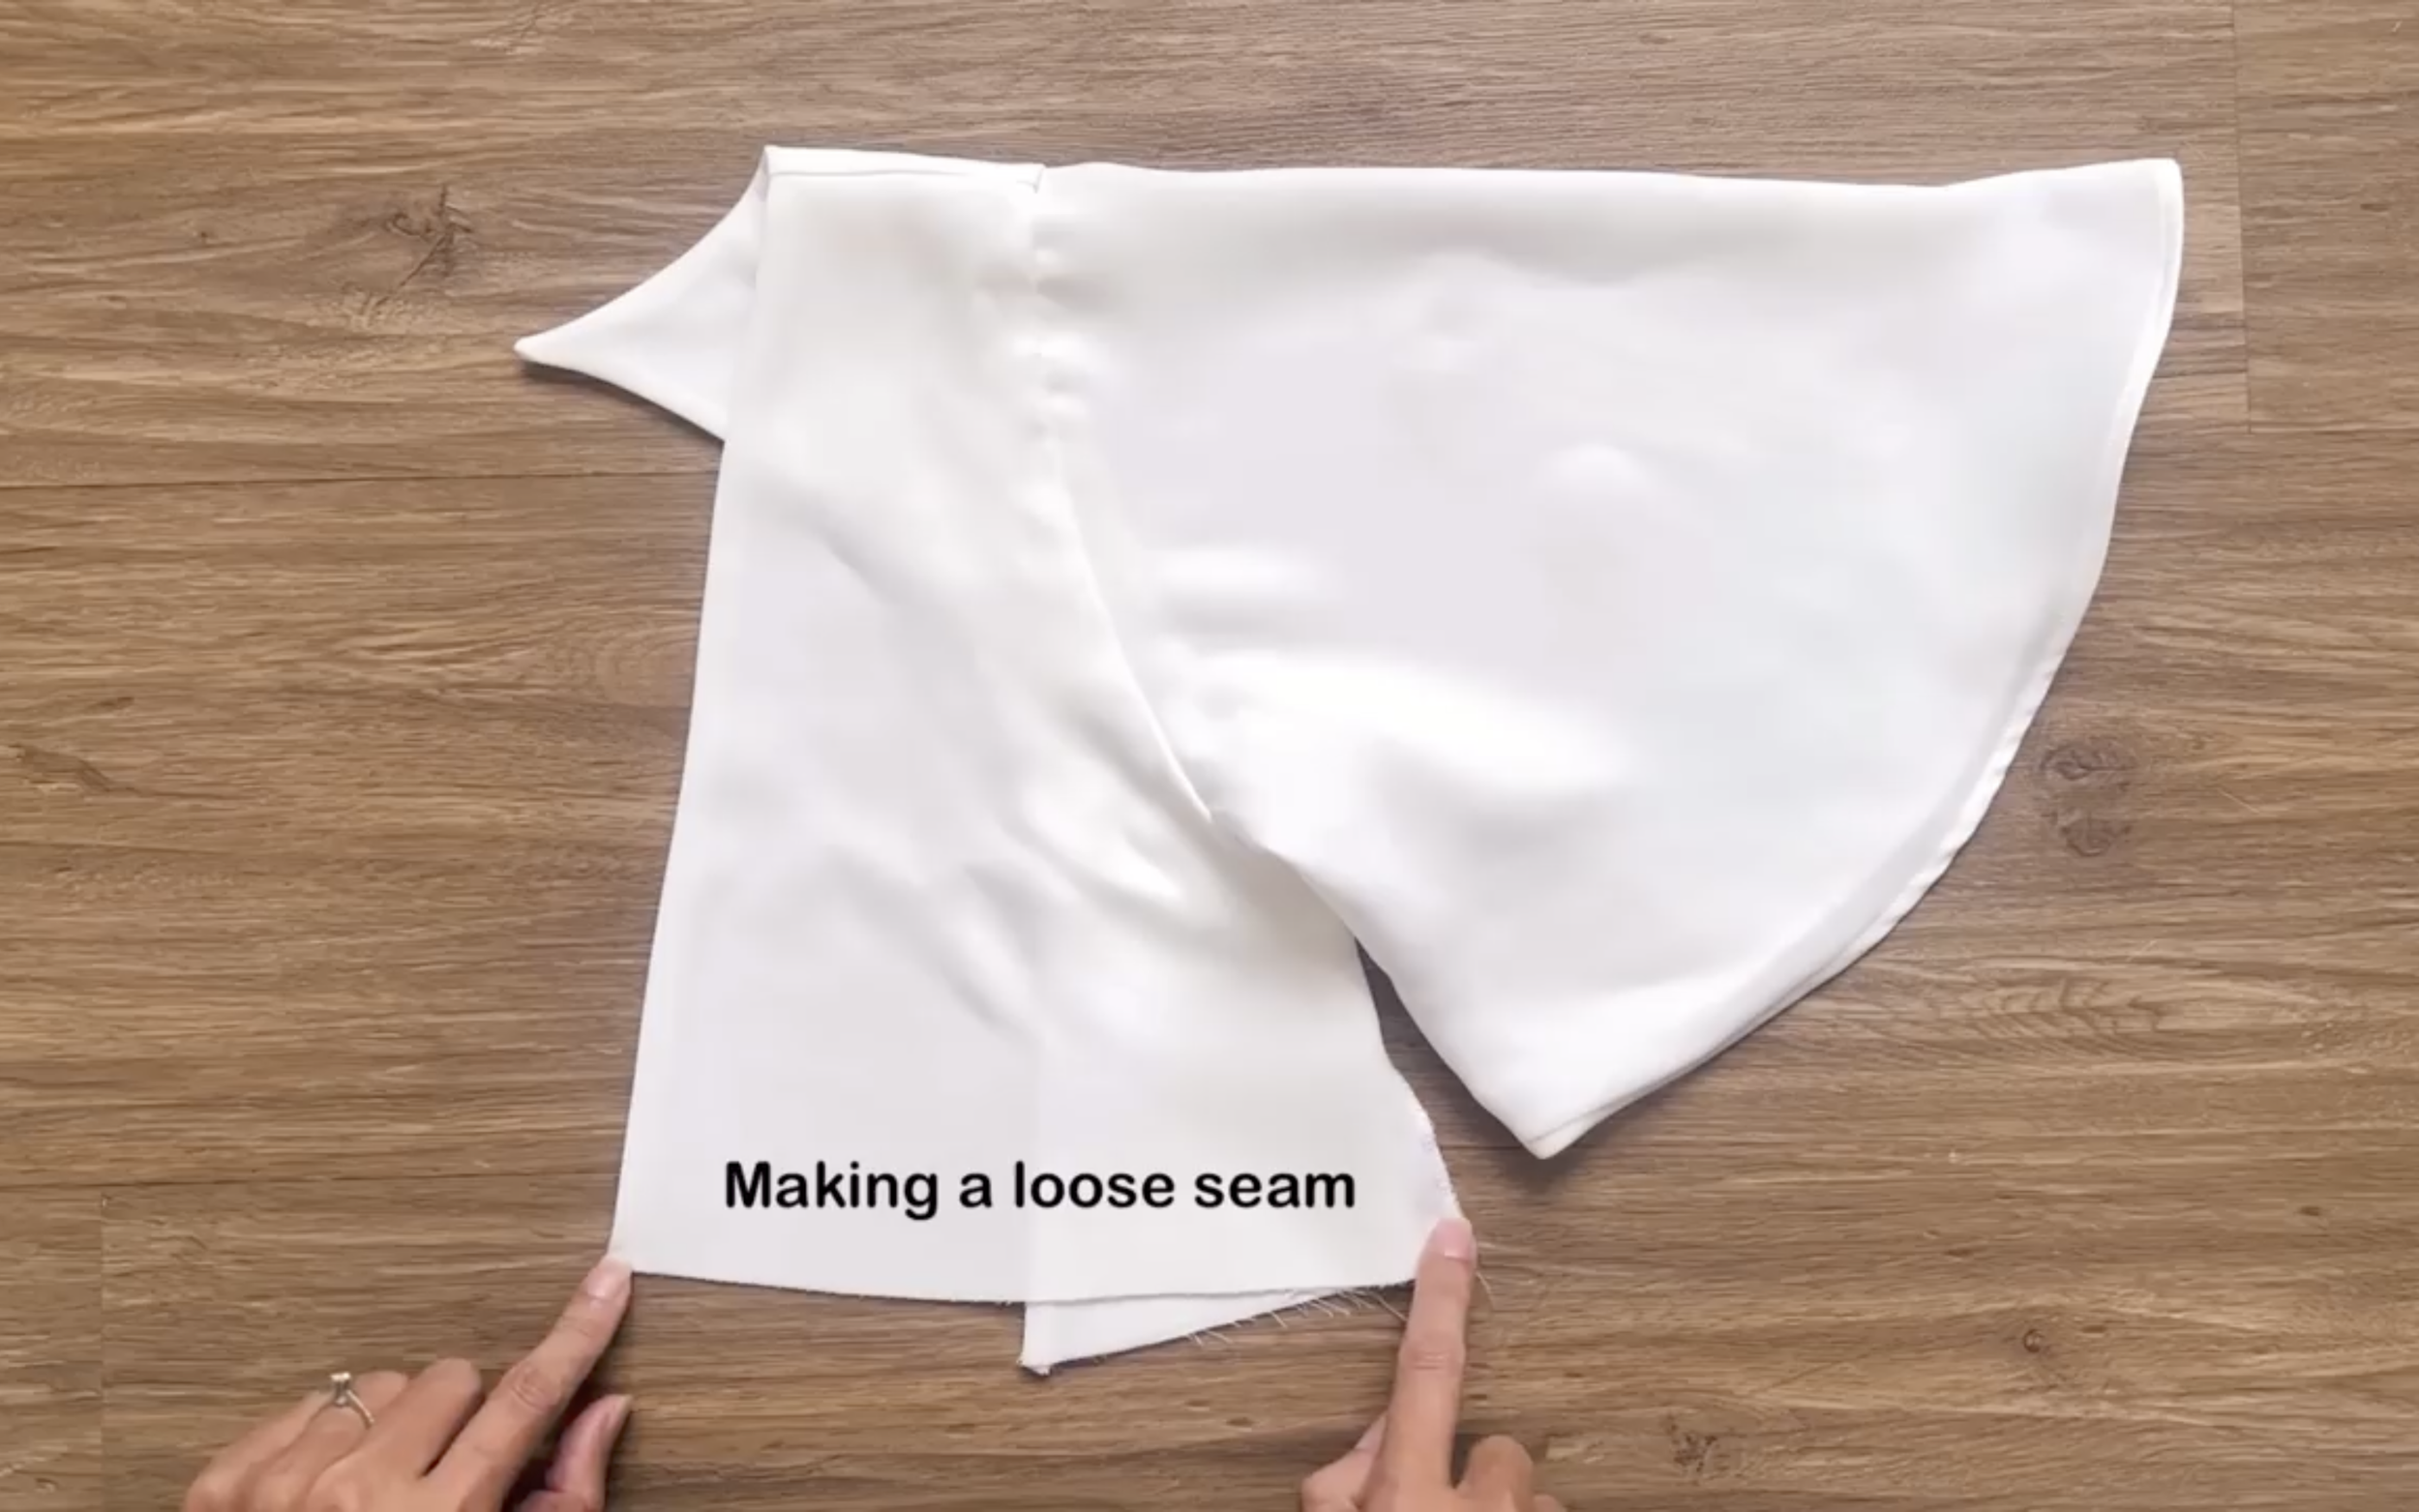
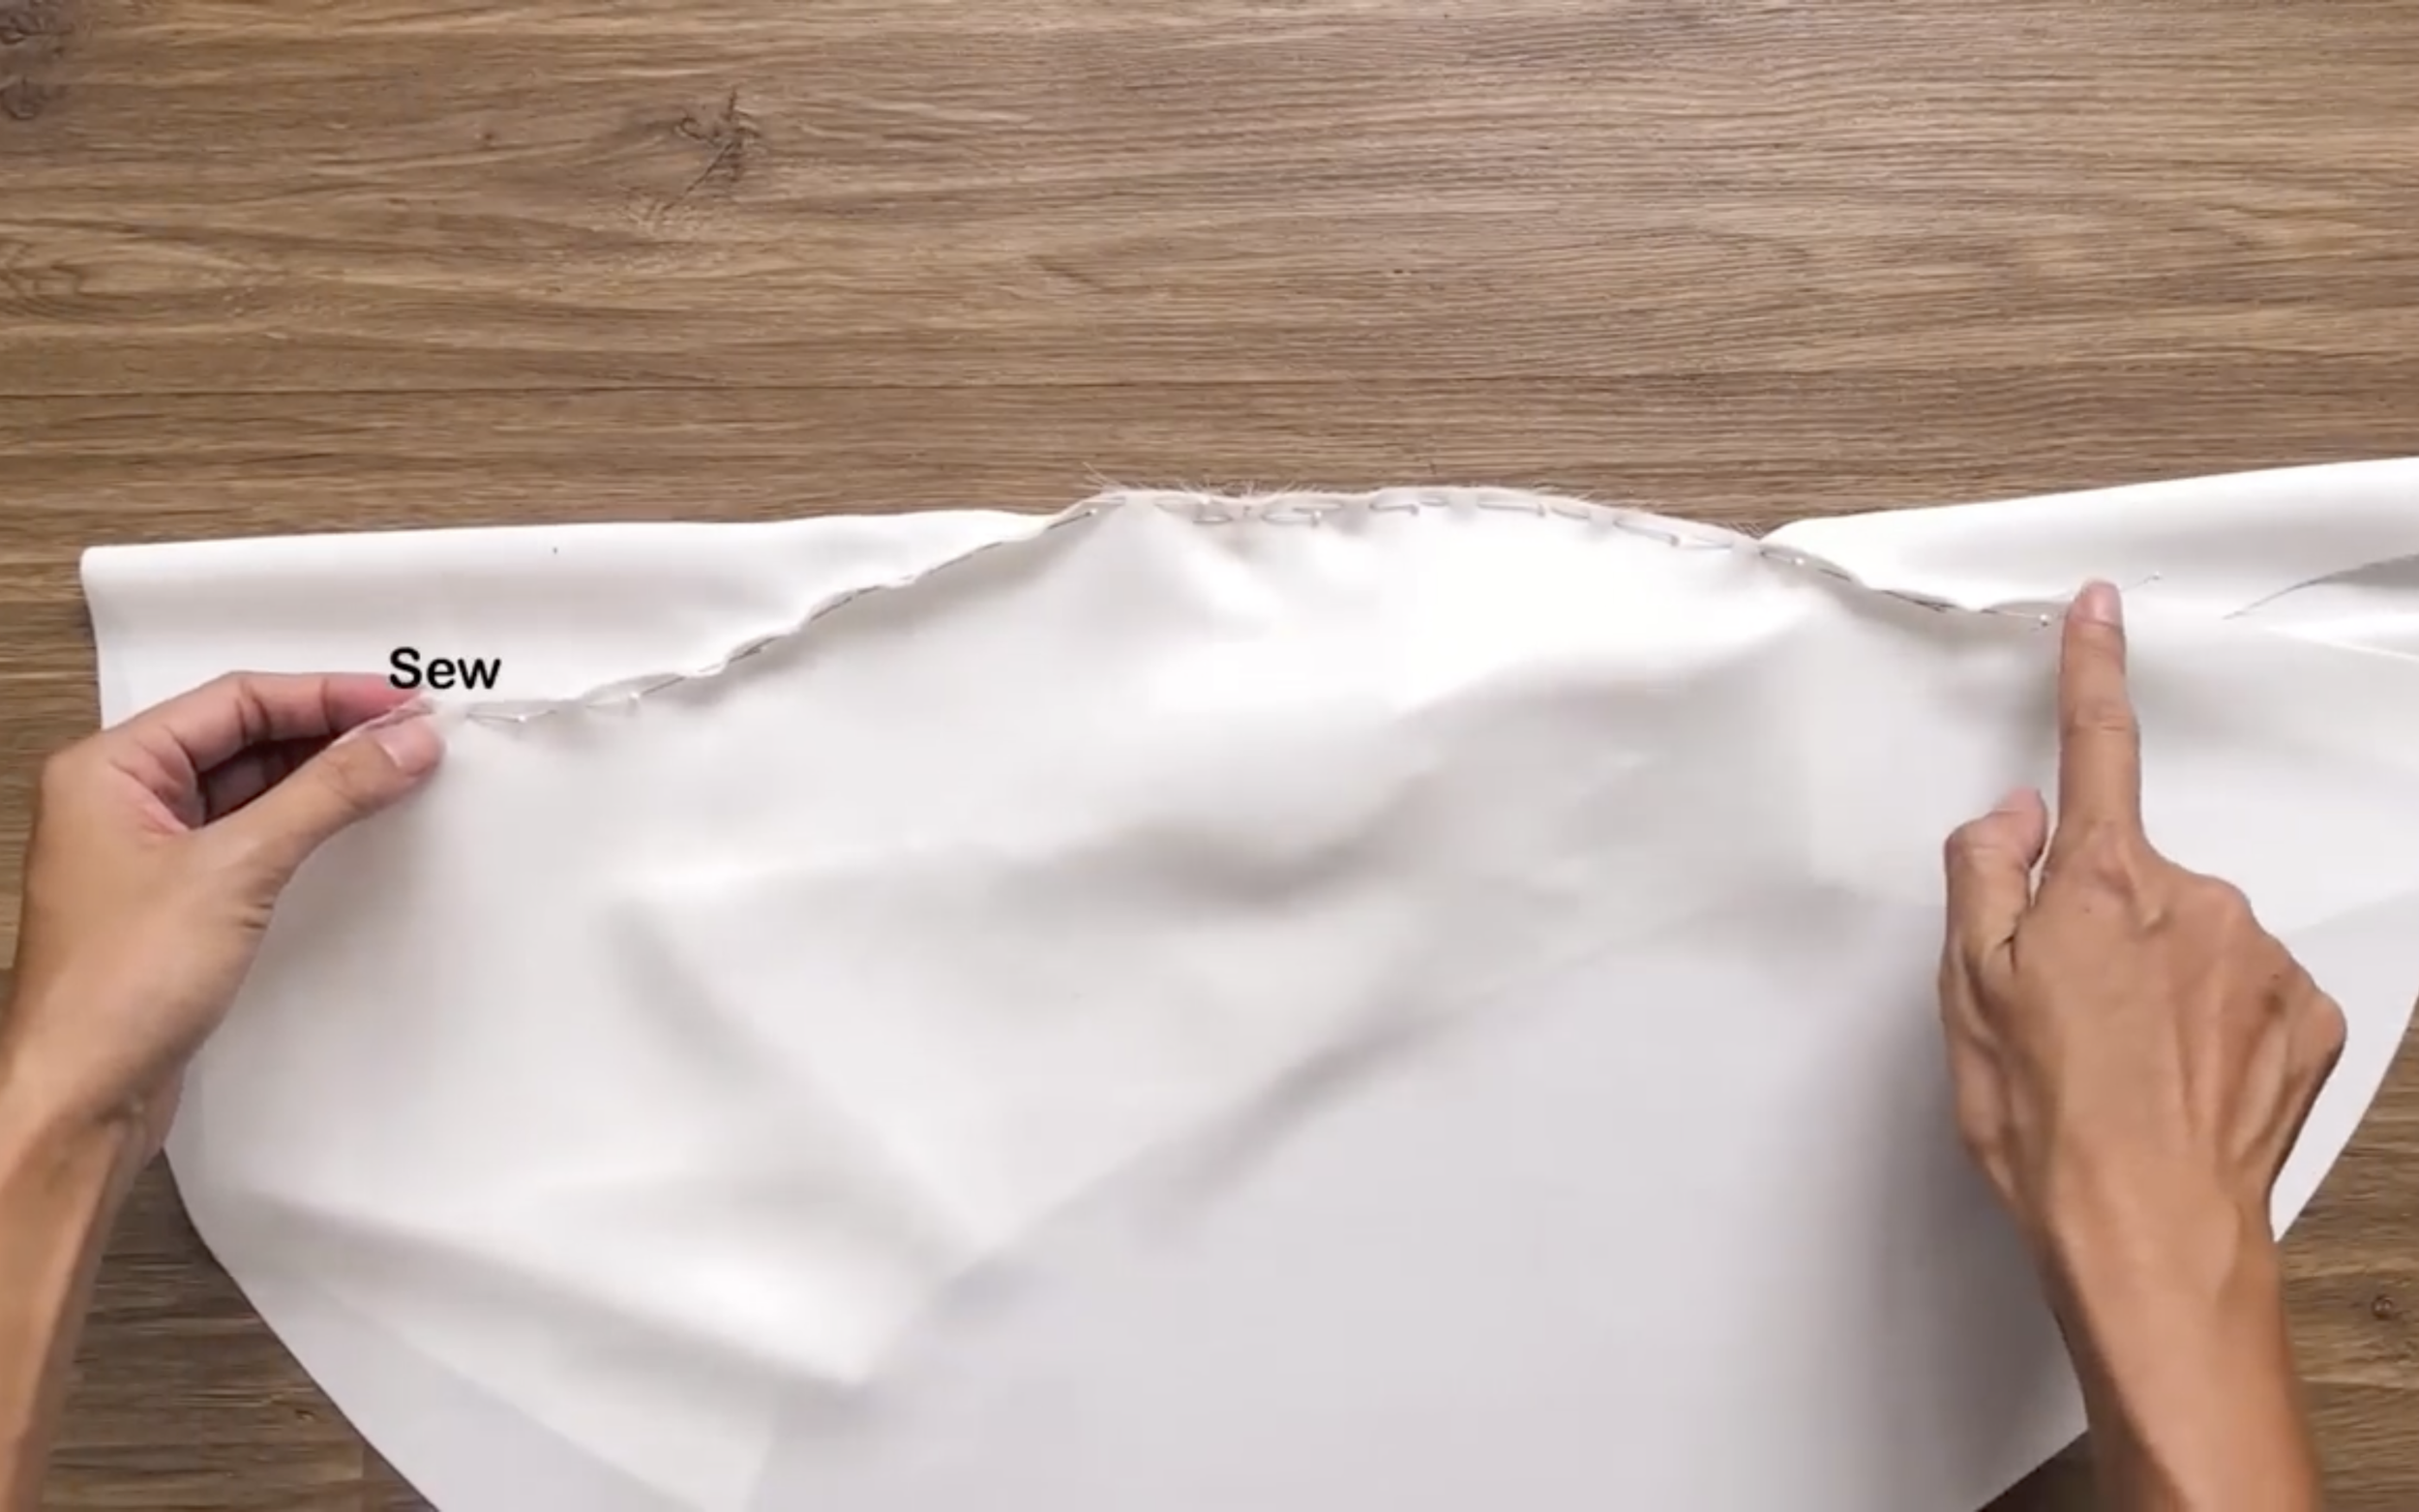
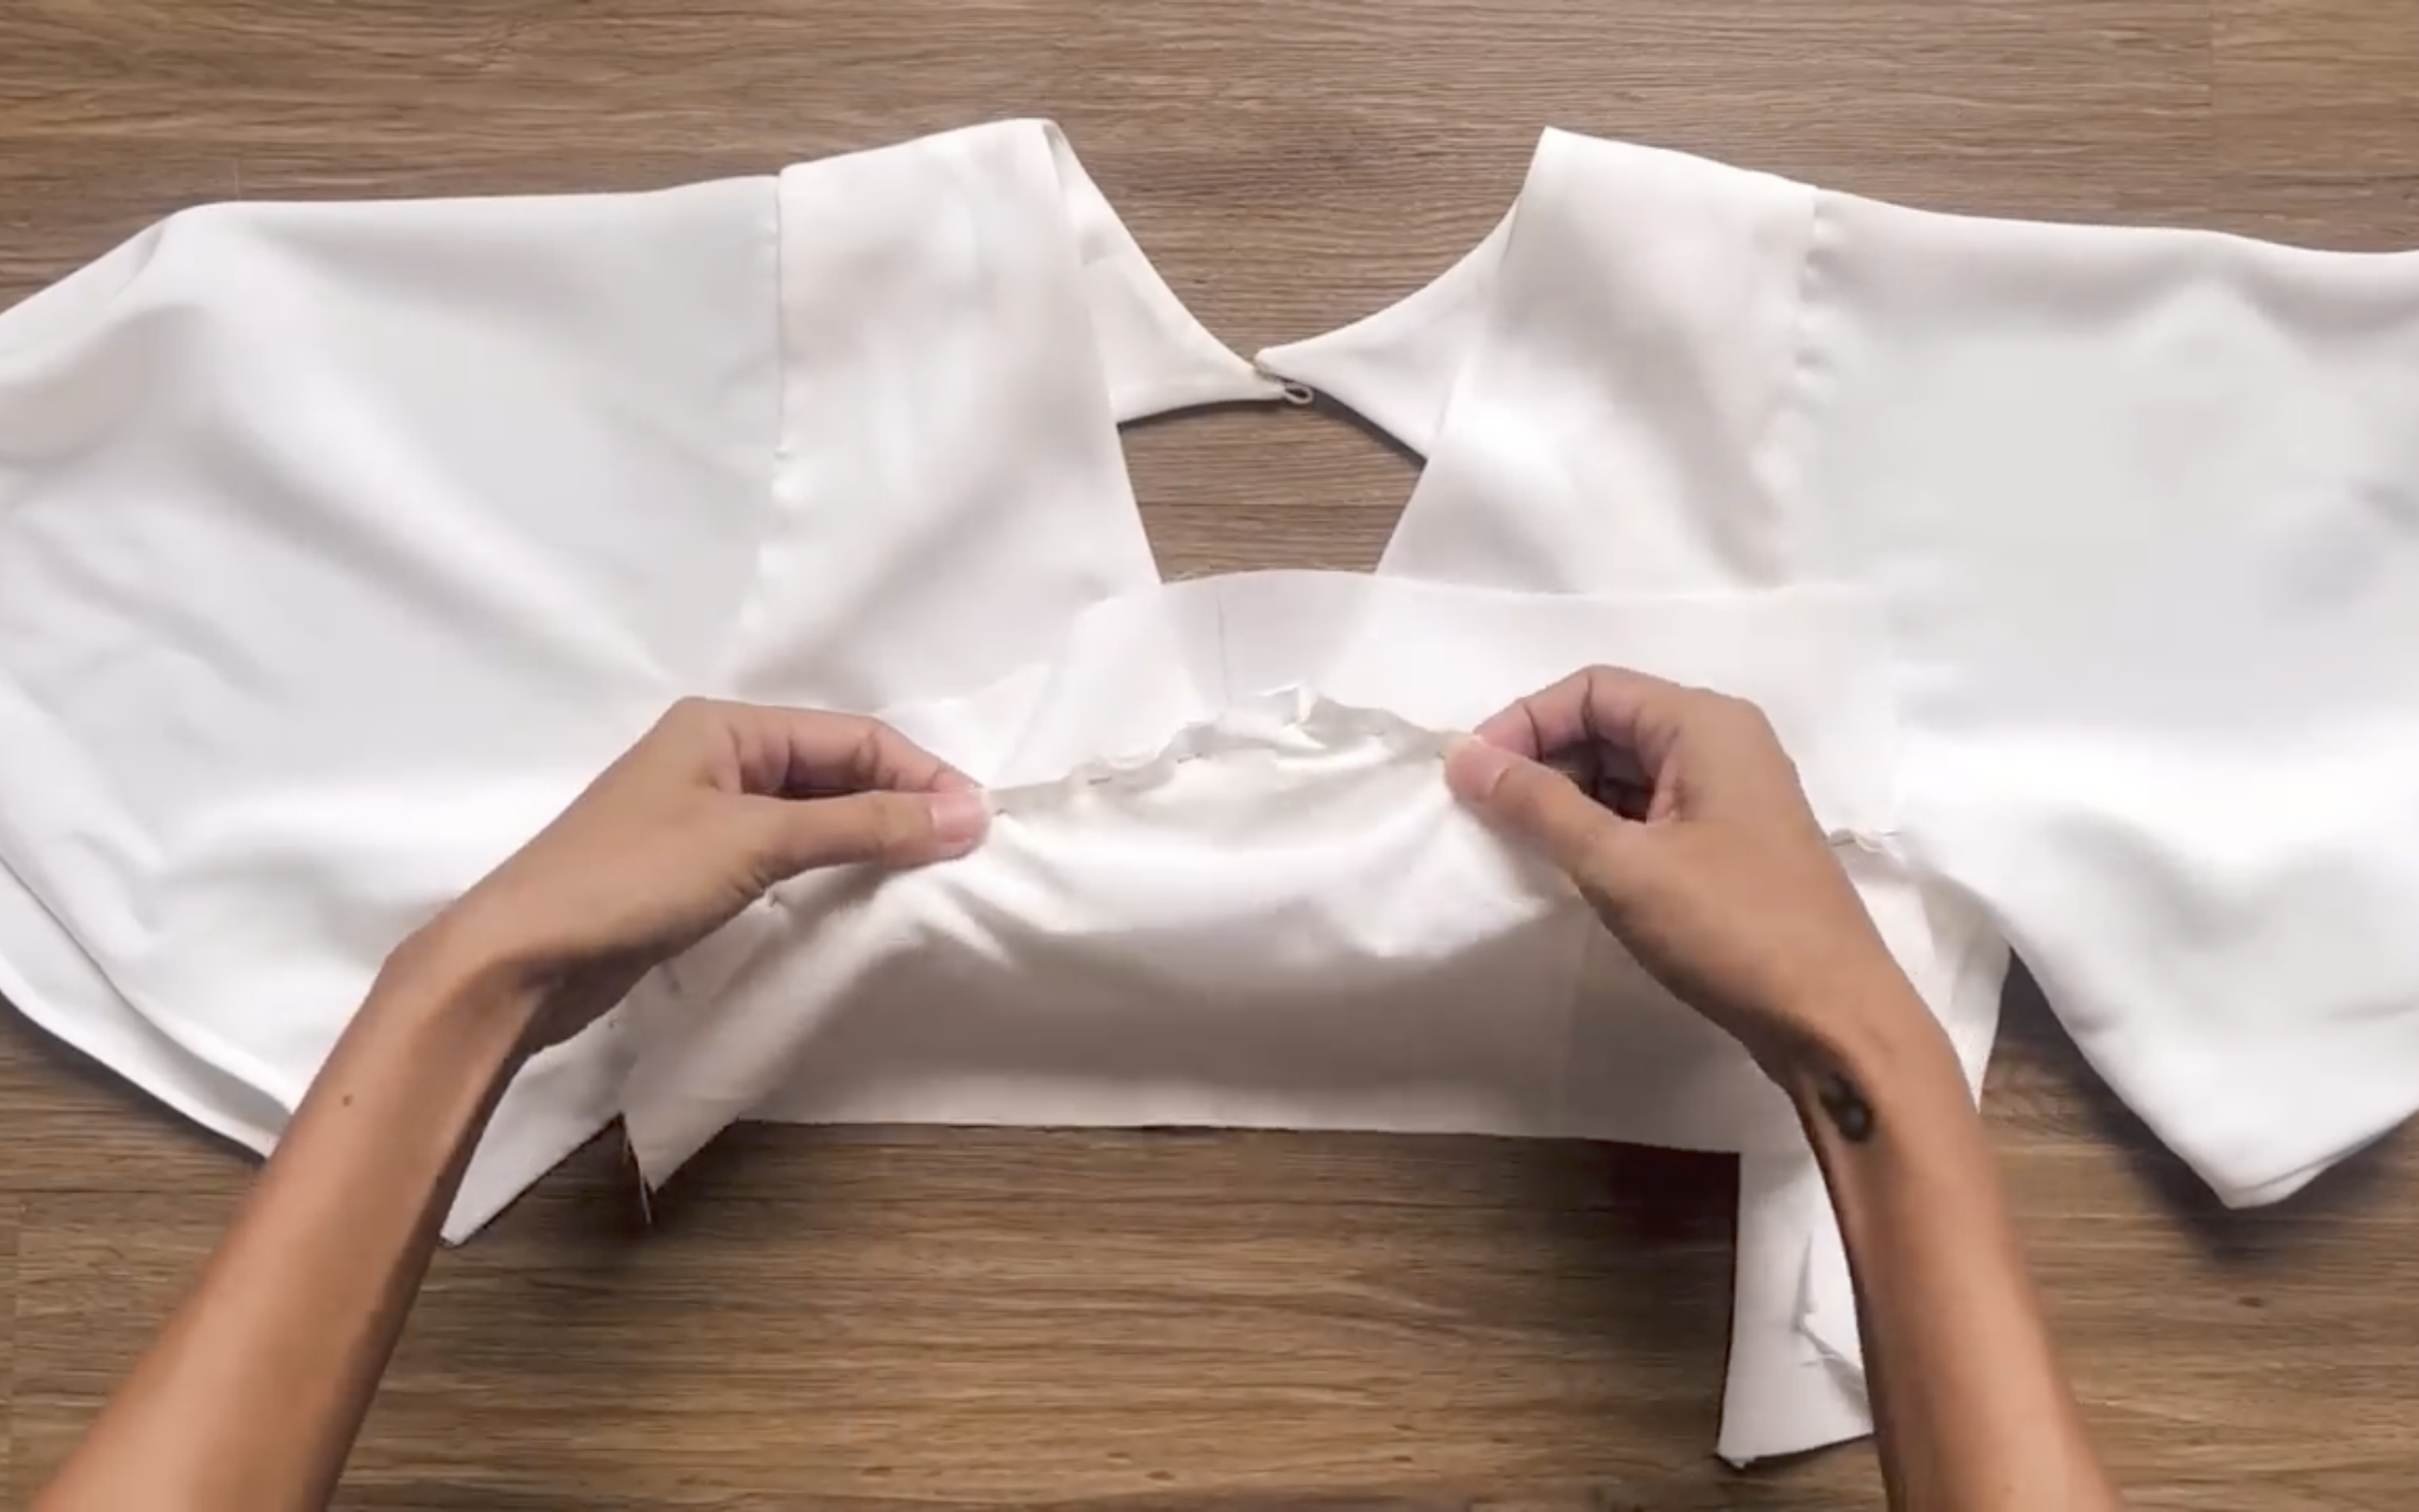
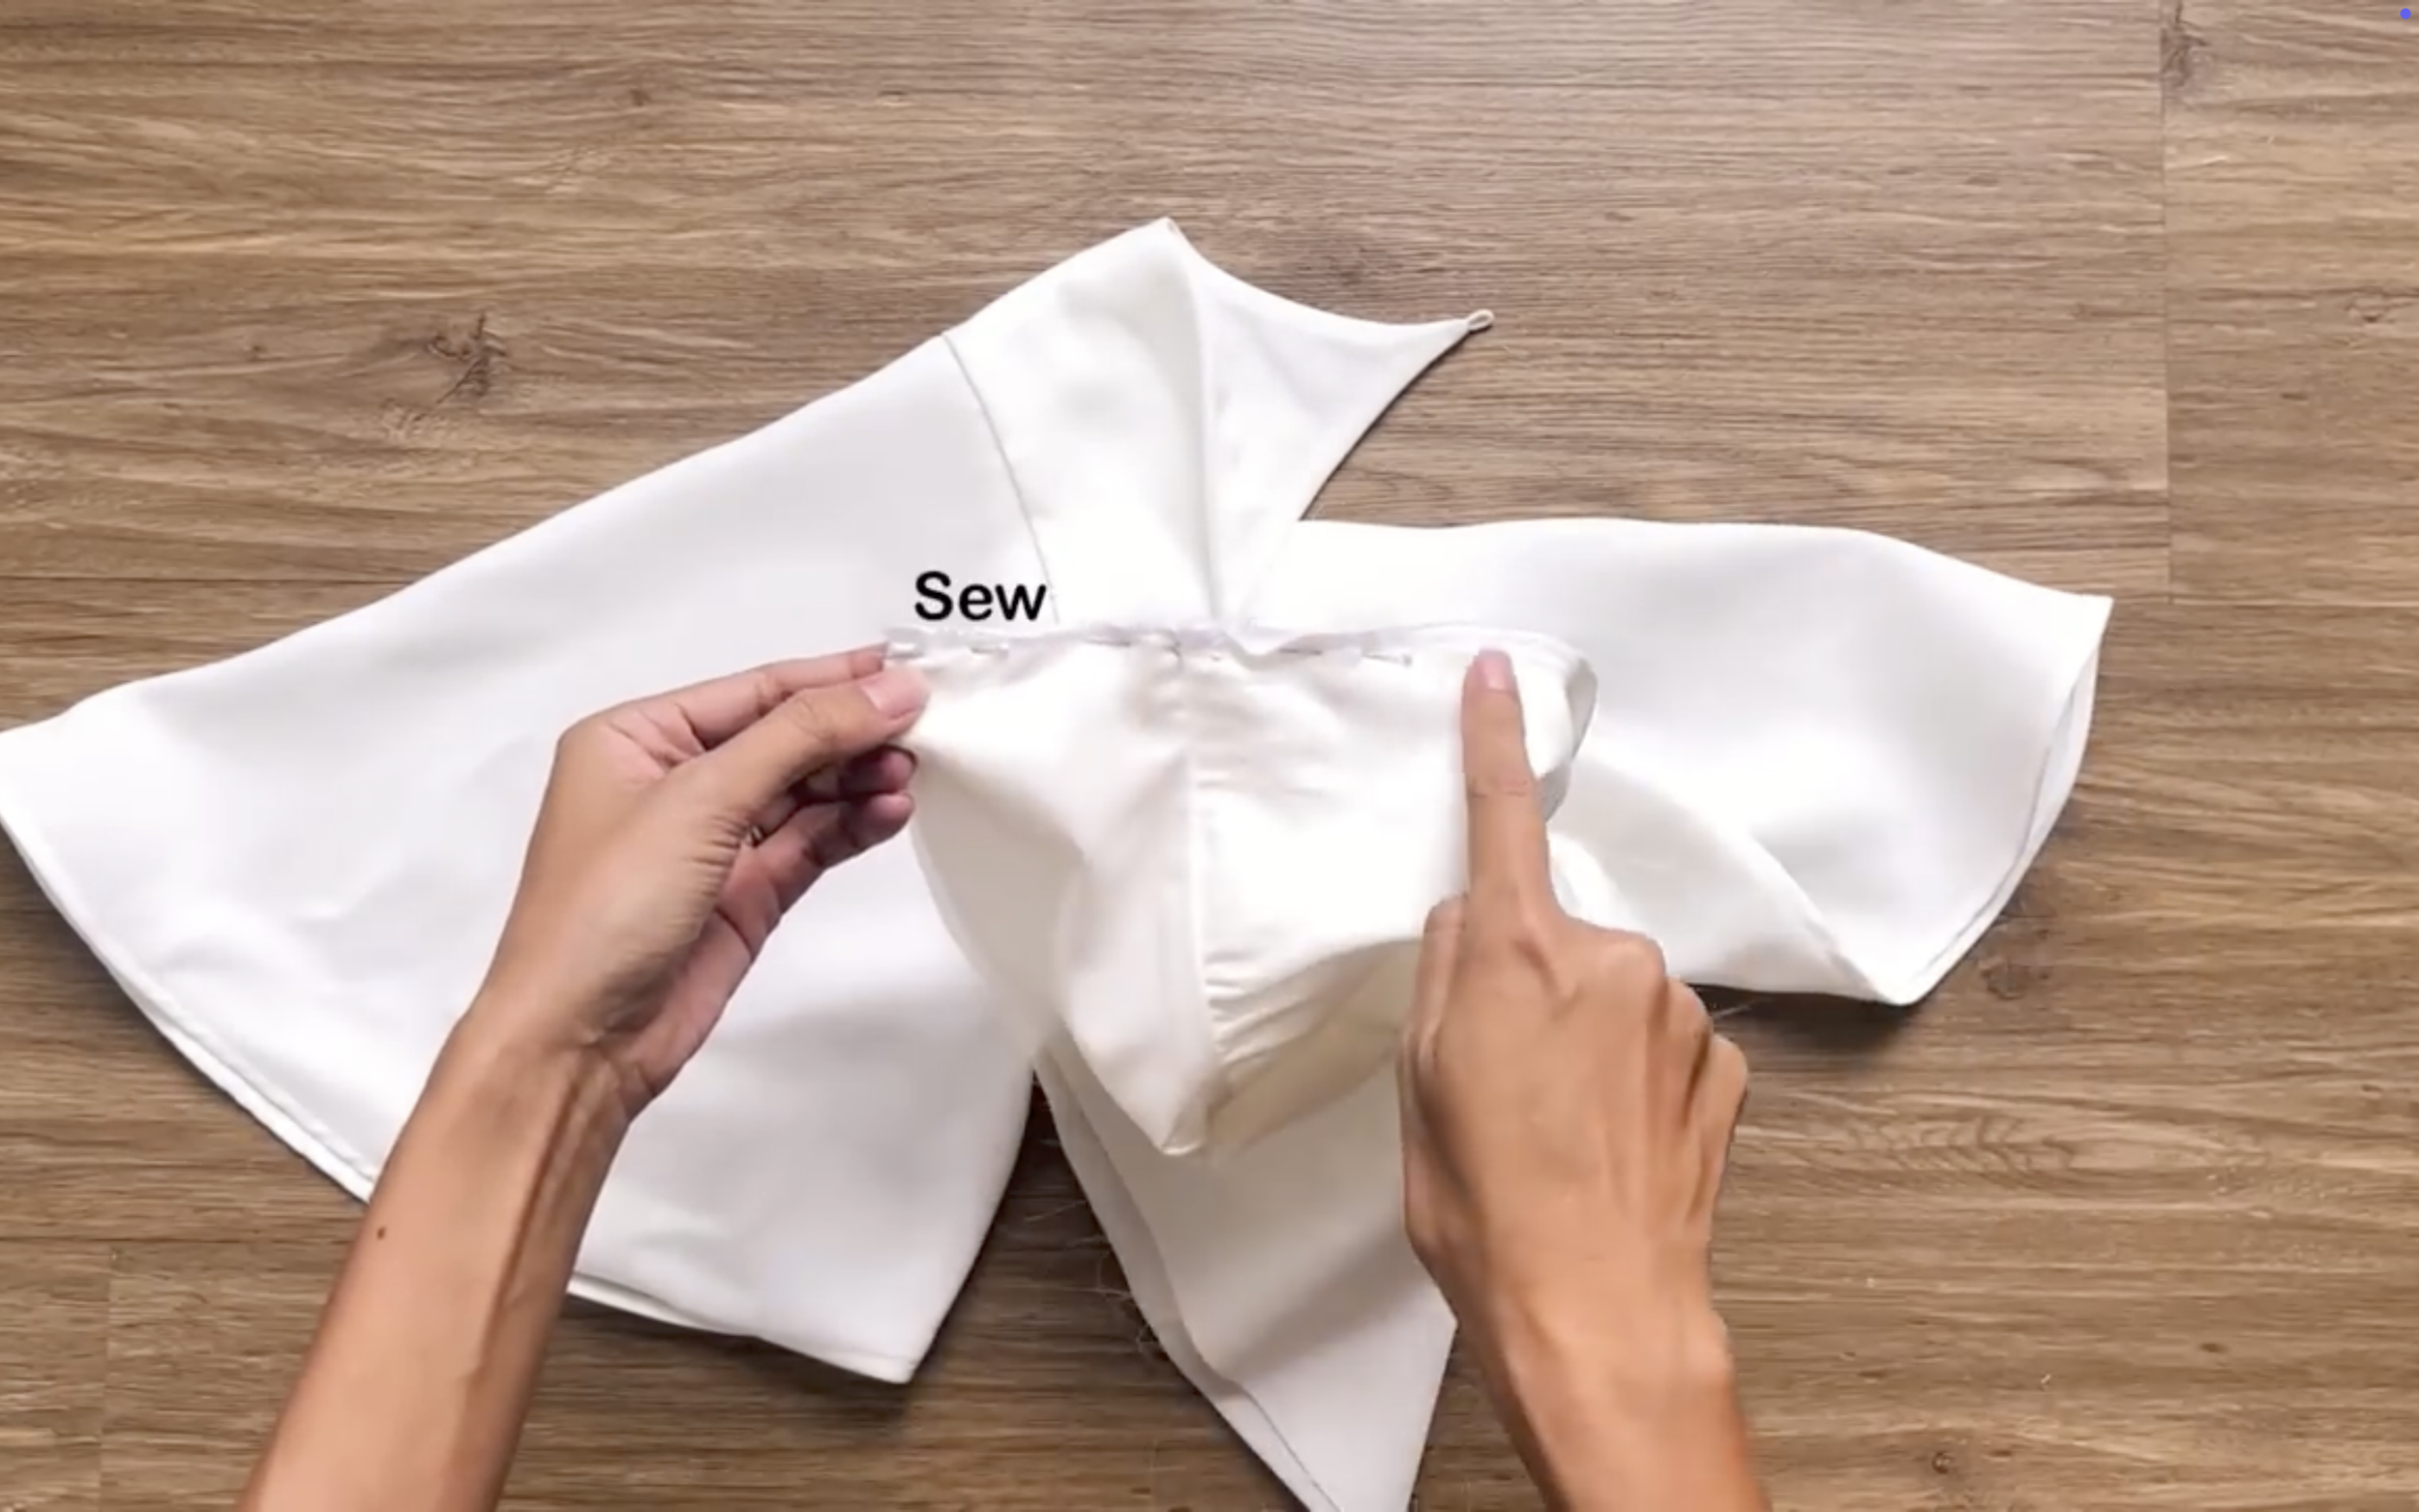
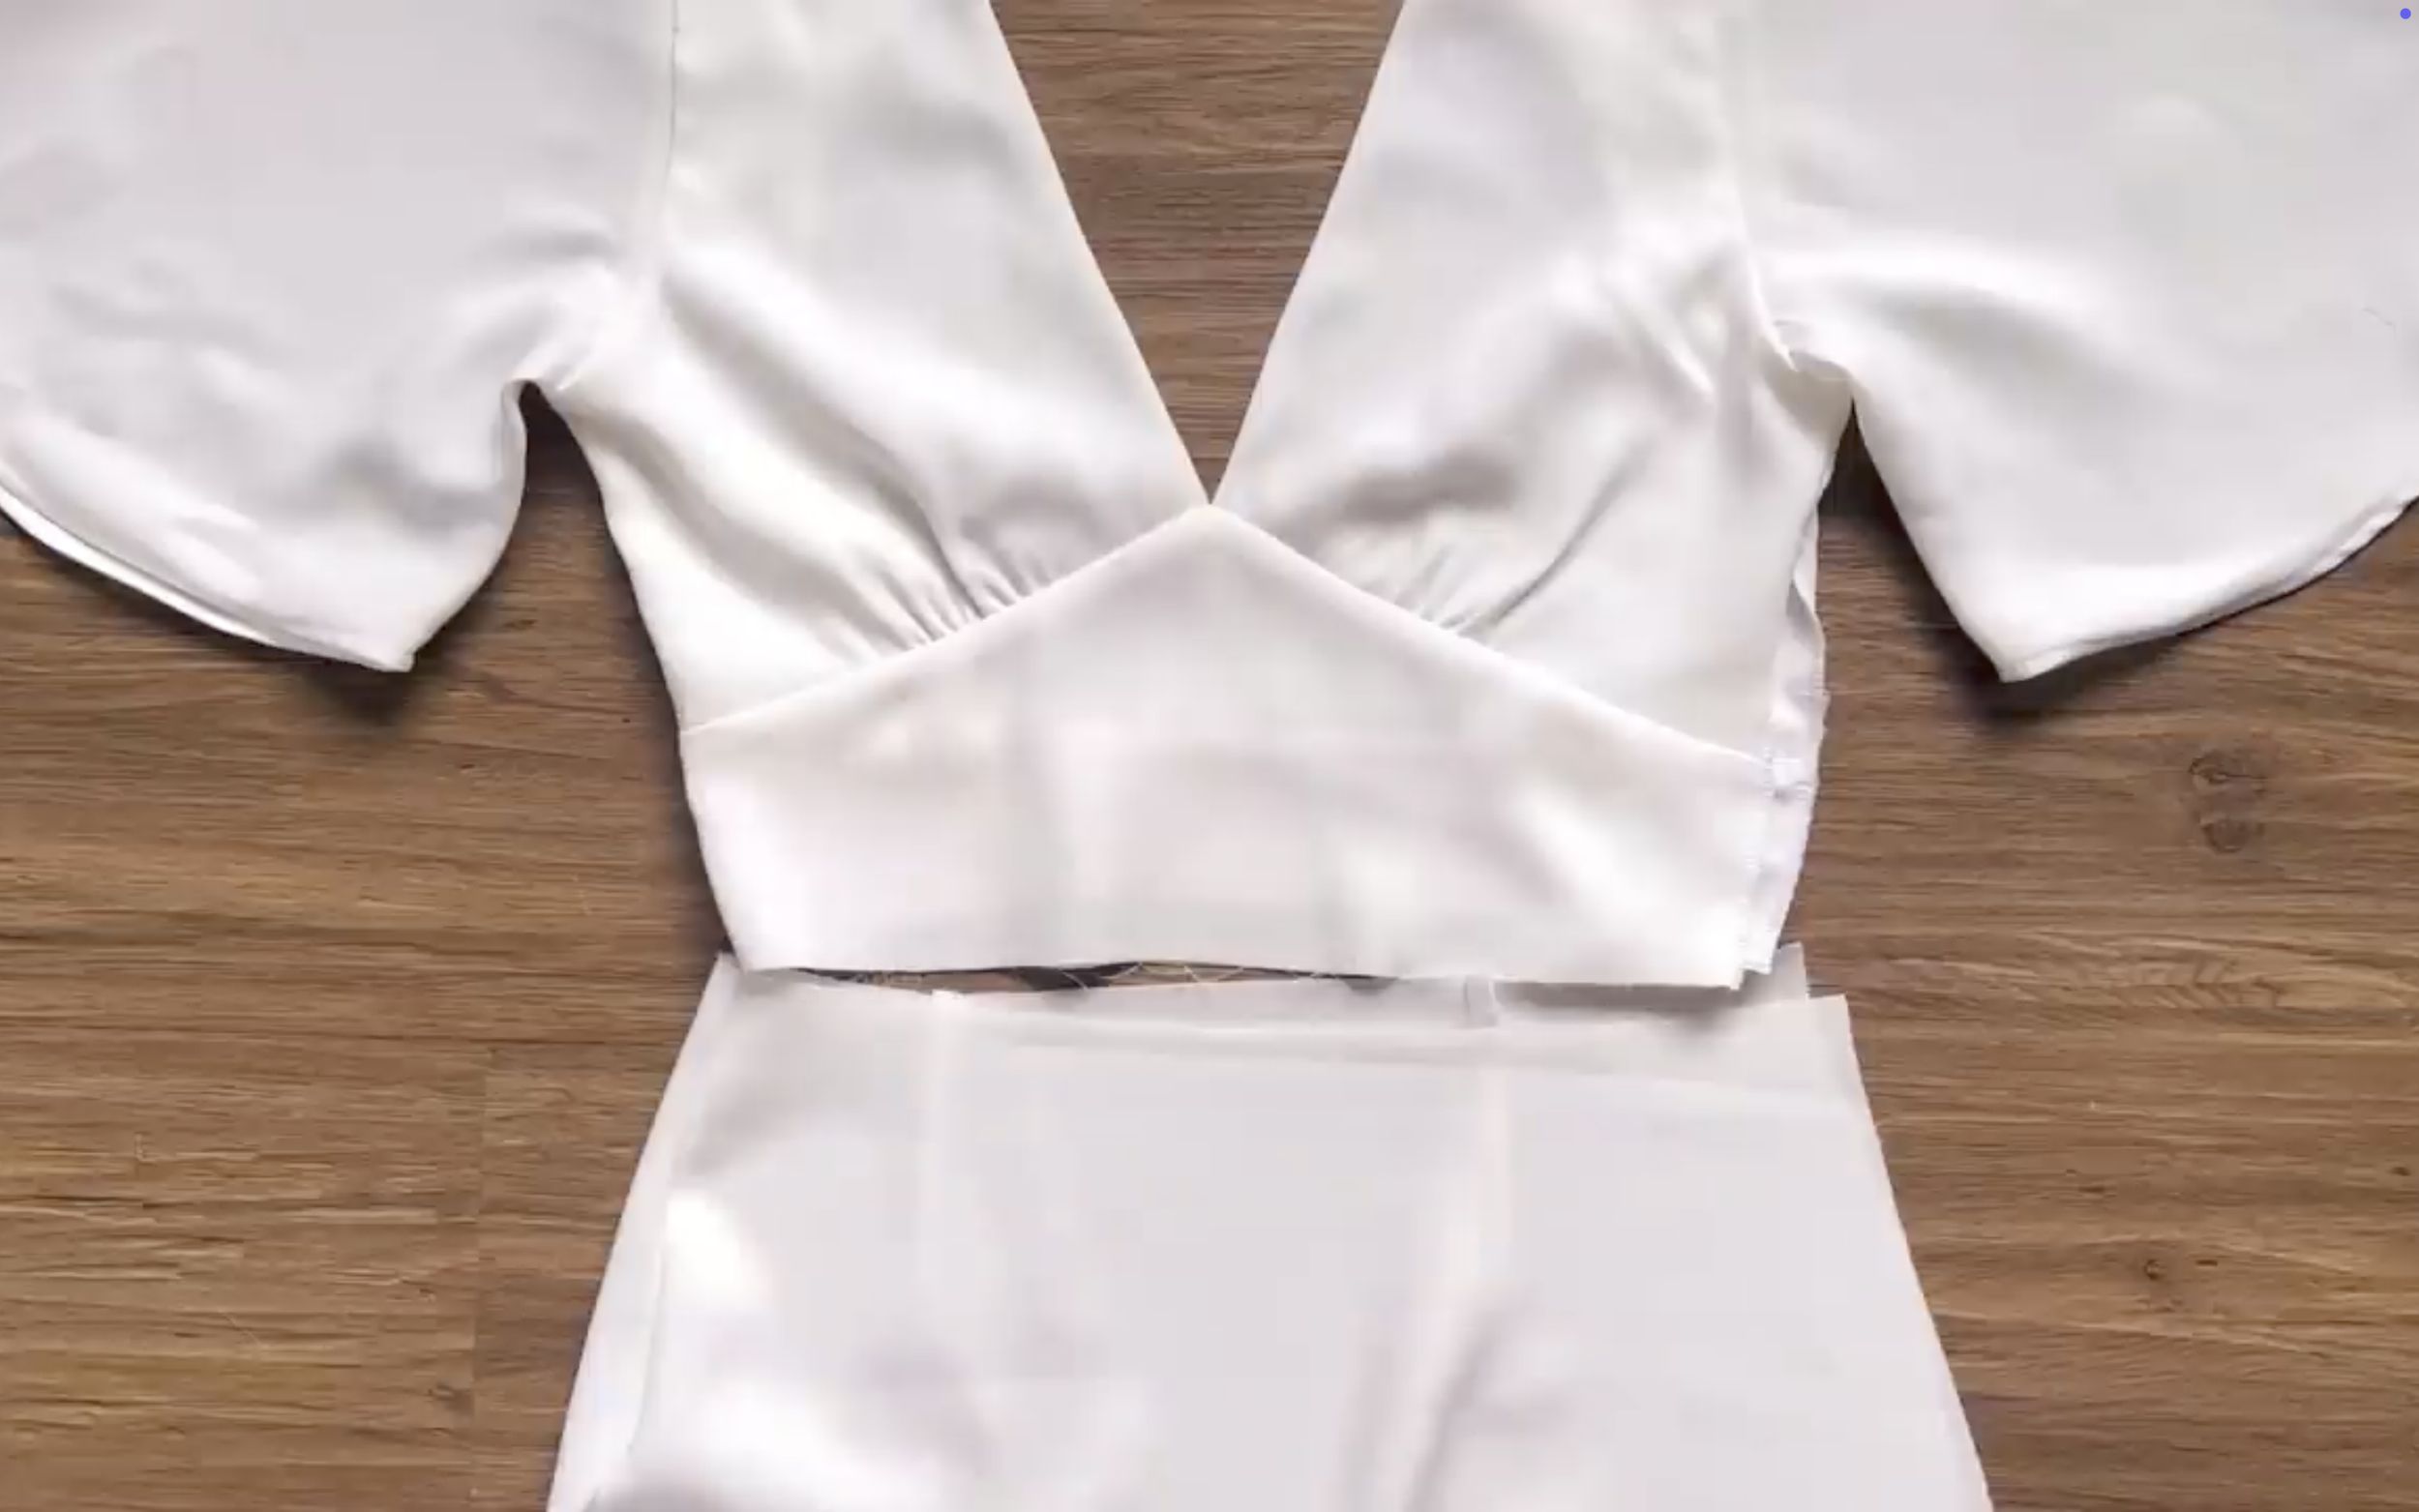
At the bust line, make a loose seam first, then create the gathered fabric there later.
Make sure the gathered fabric stays around the bust area and the final width of the bust line matches the bust line of the lower part of the front top so they can be connected later.
Make two pieces like this.
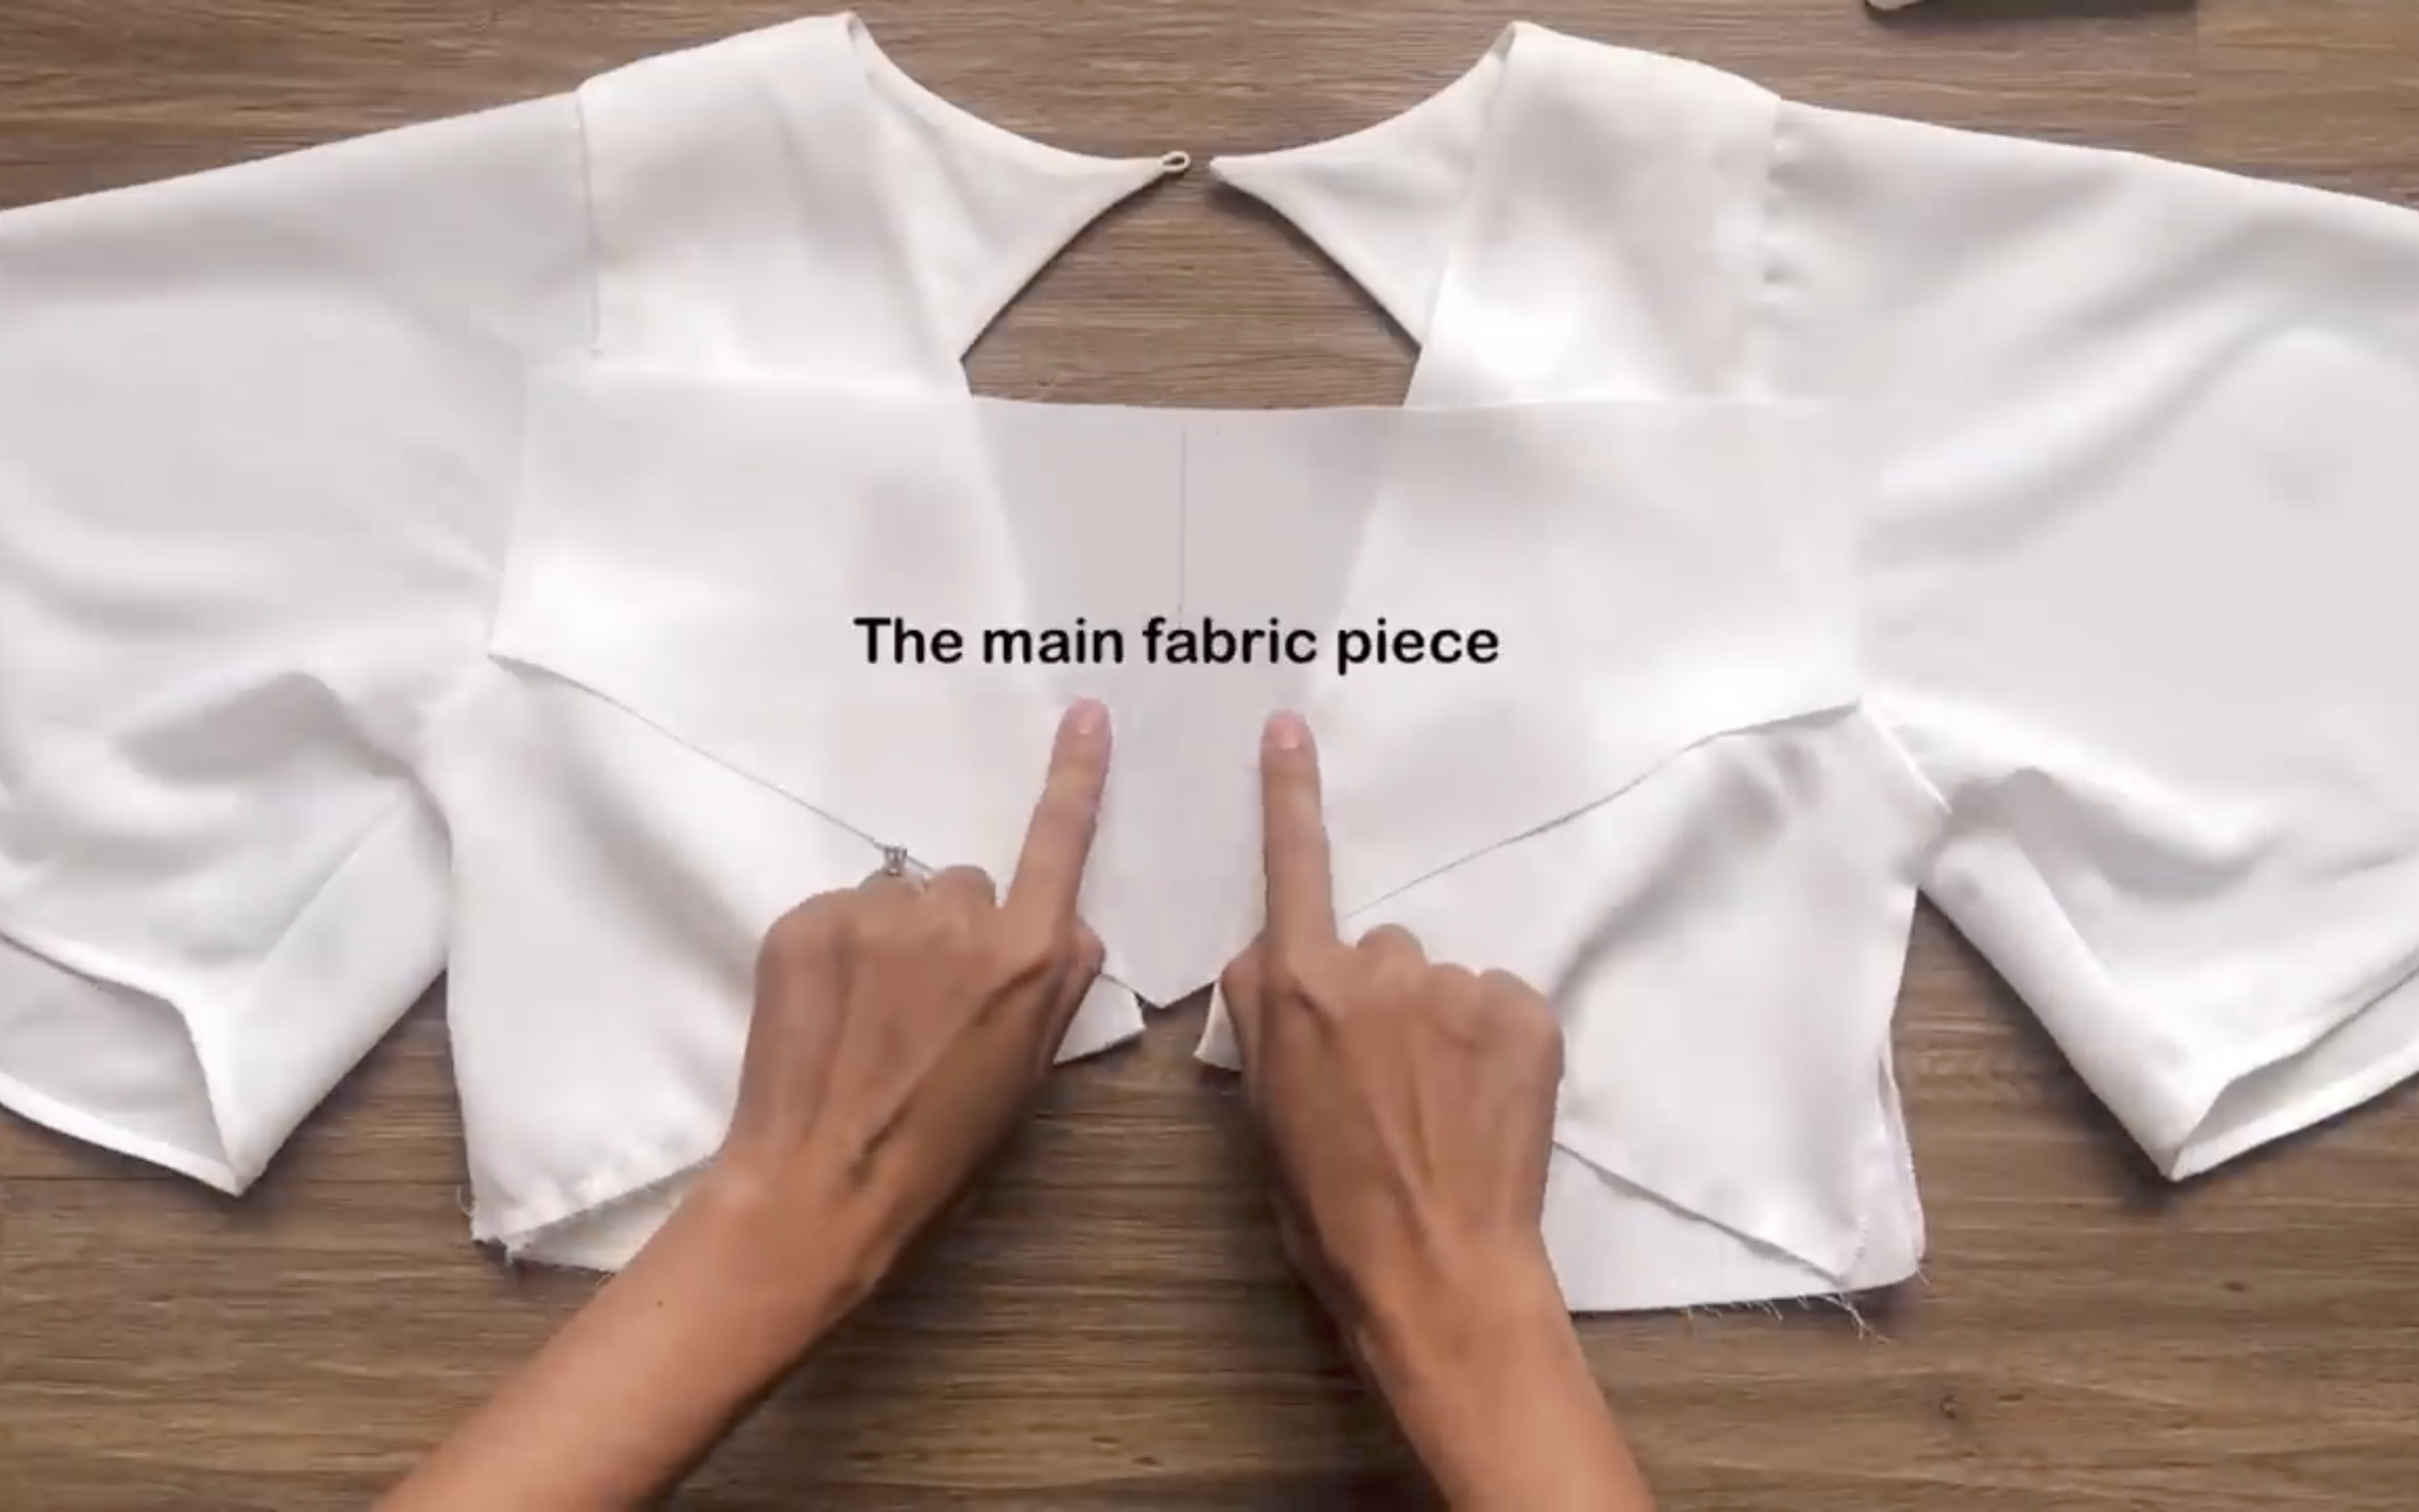
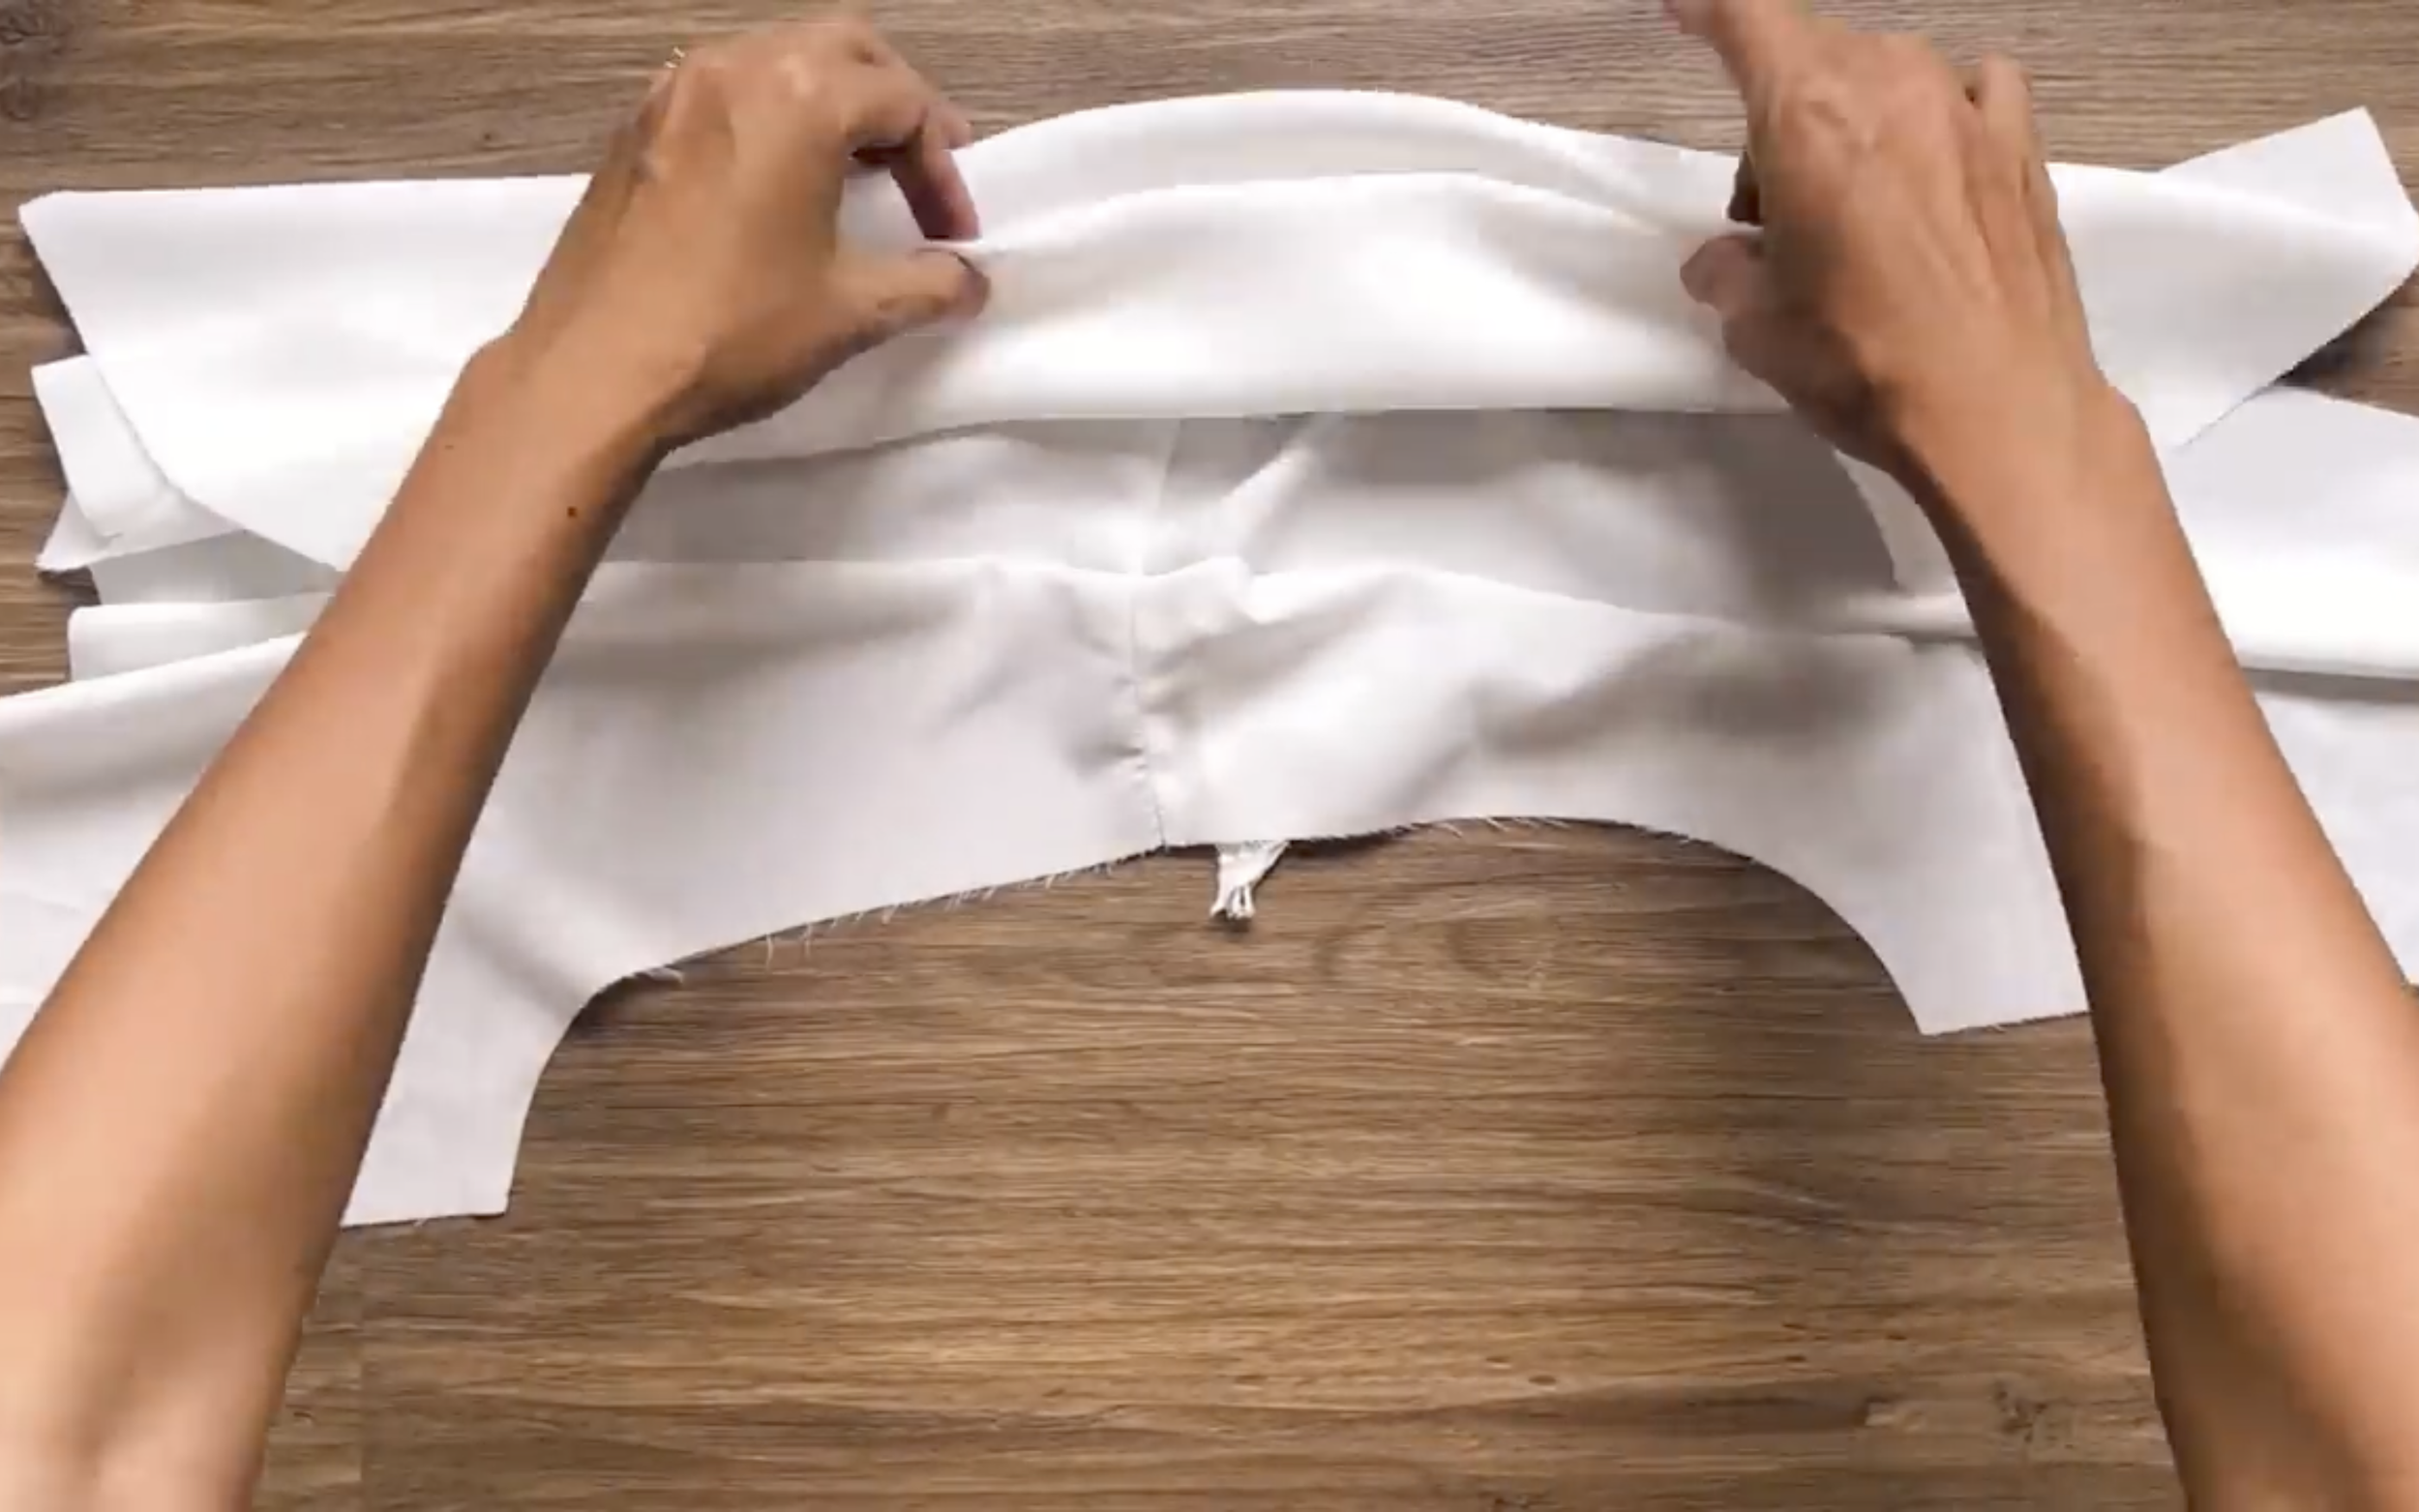
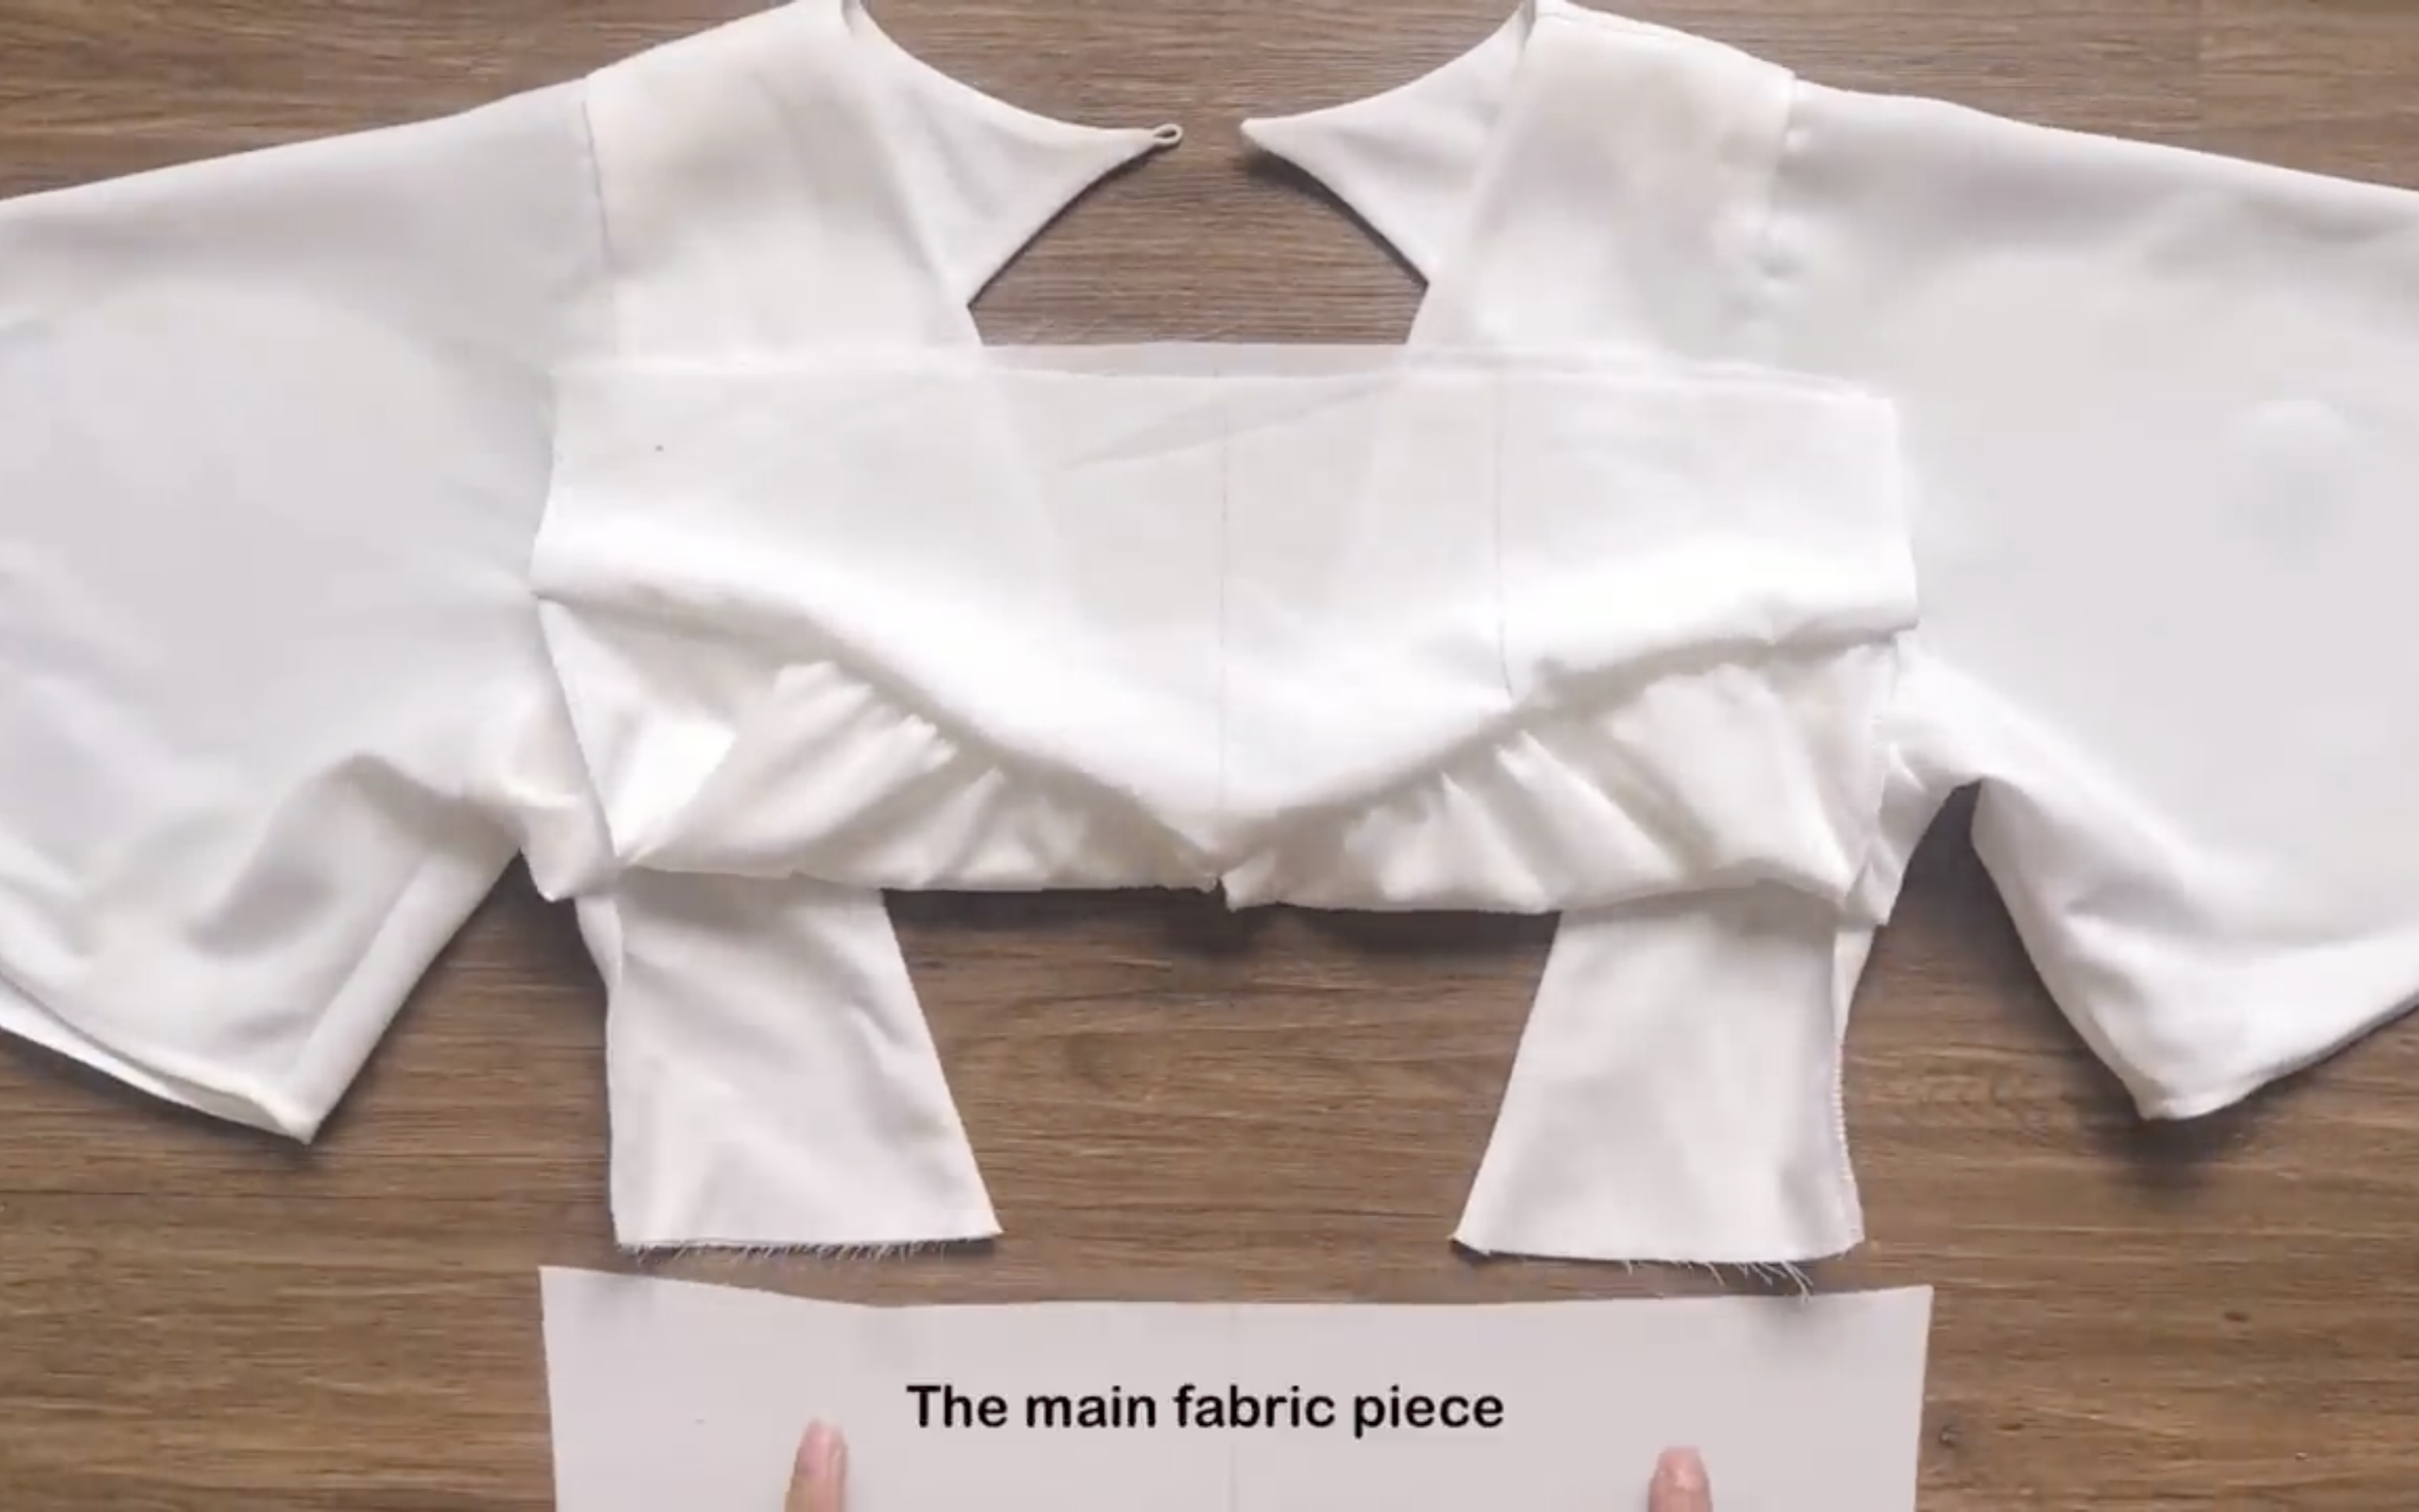
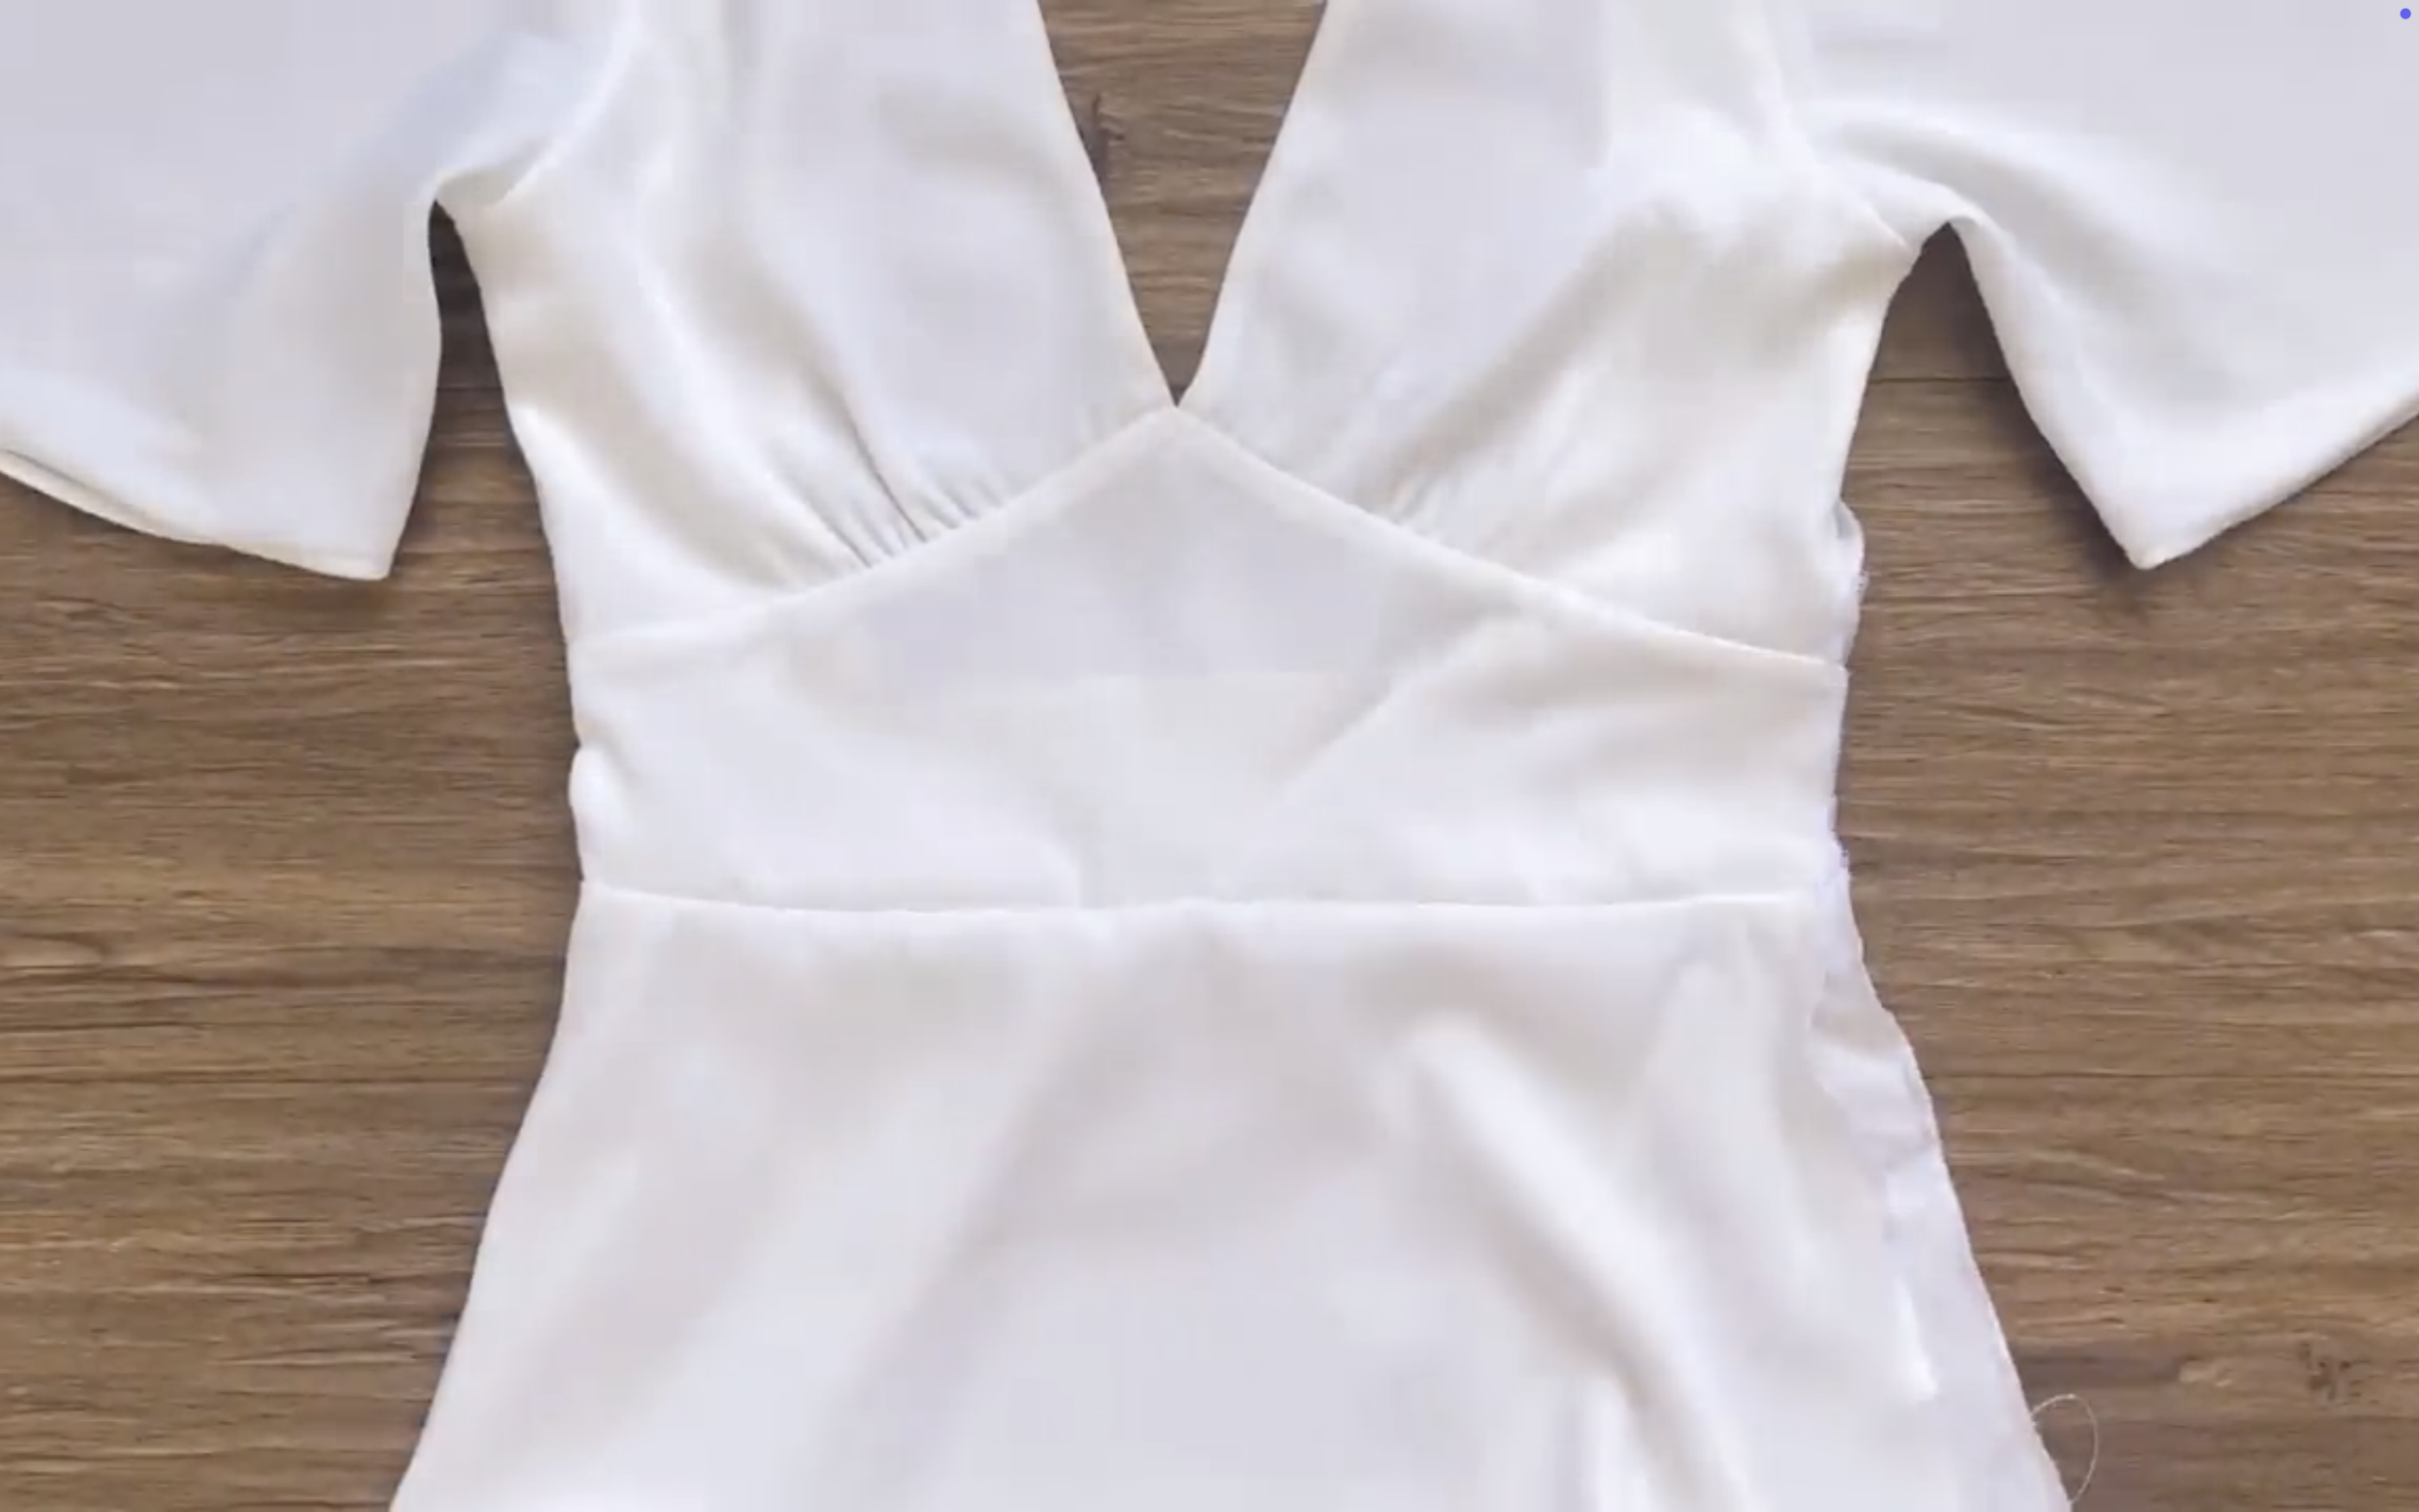
Now, connect the two finished pieces to the lower part of the front top.
Connect the main fabric of the lower front part first.
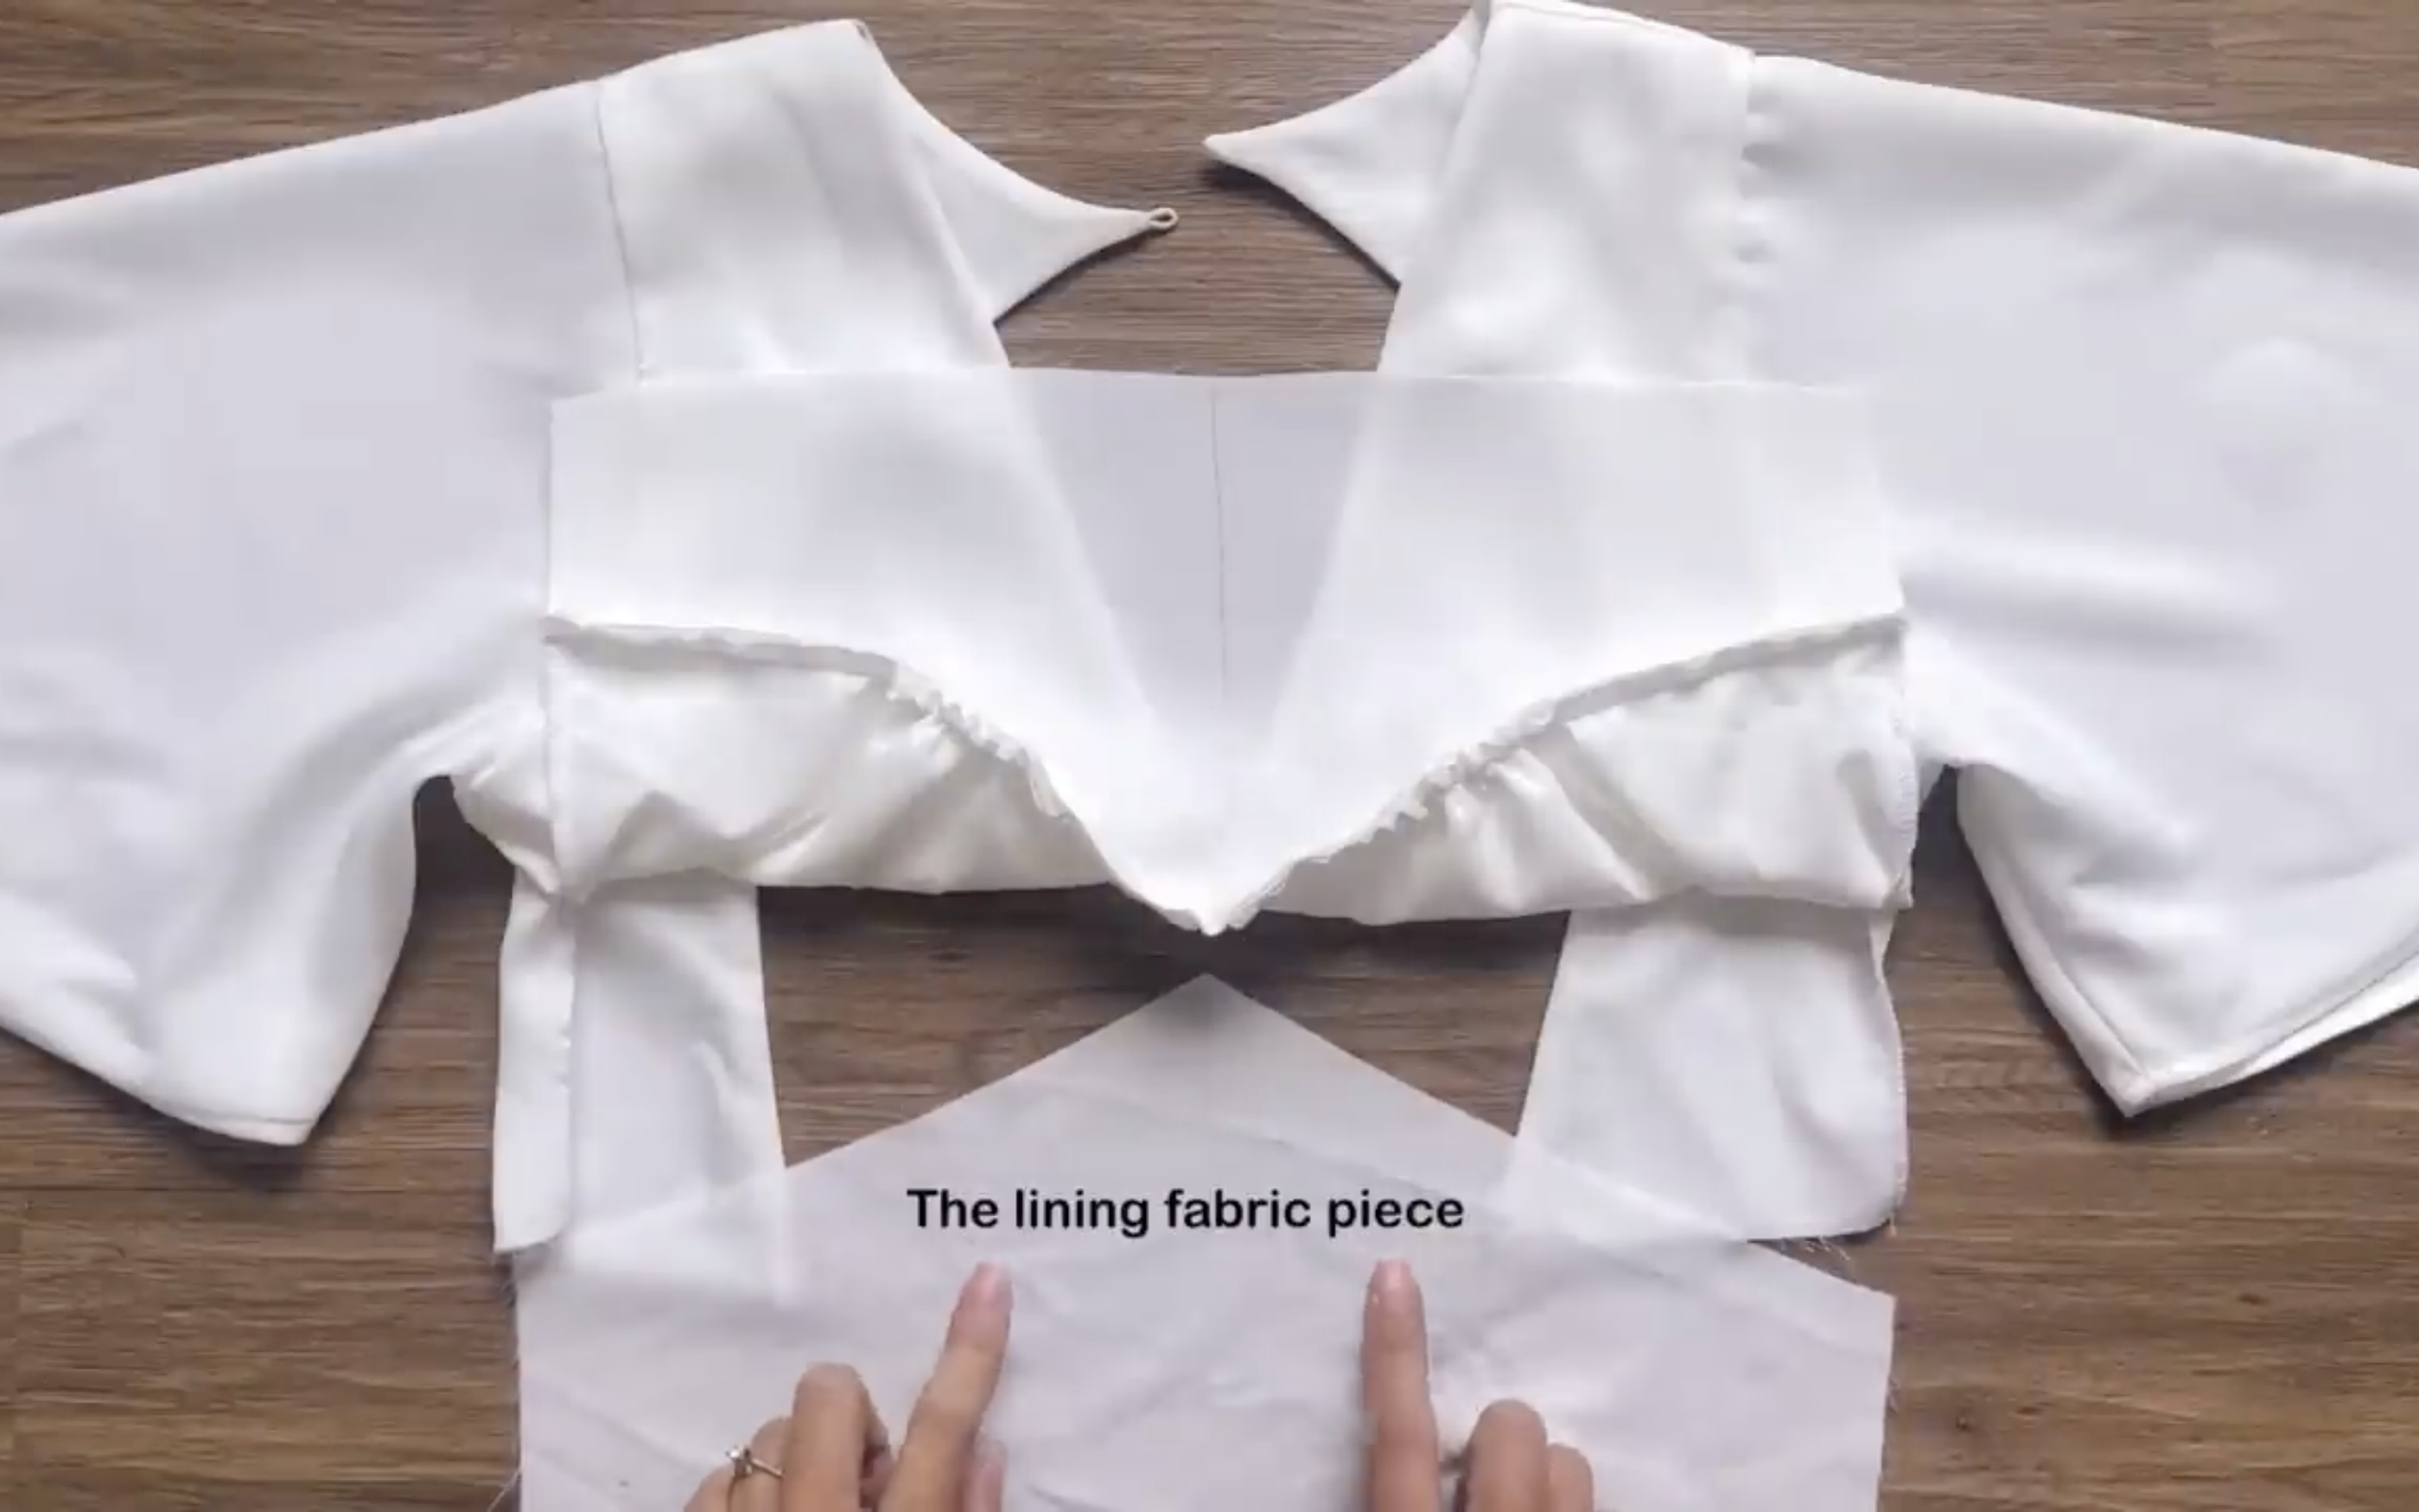
Then connect the lining fabric.
Make sure the top part is positioned in the middle of two pieces of the lower part.
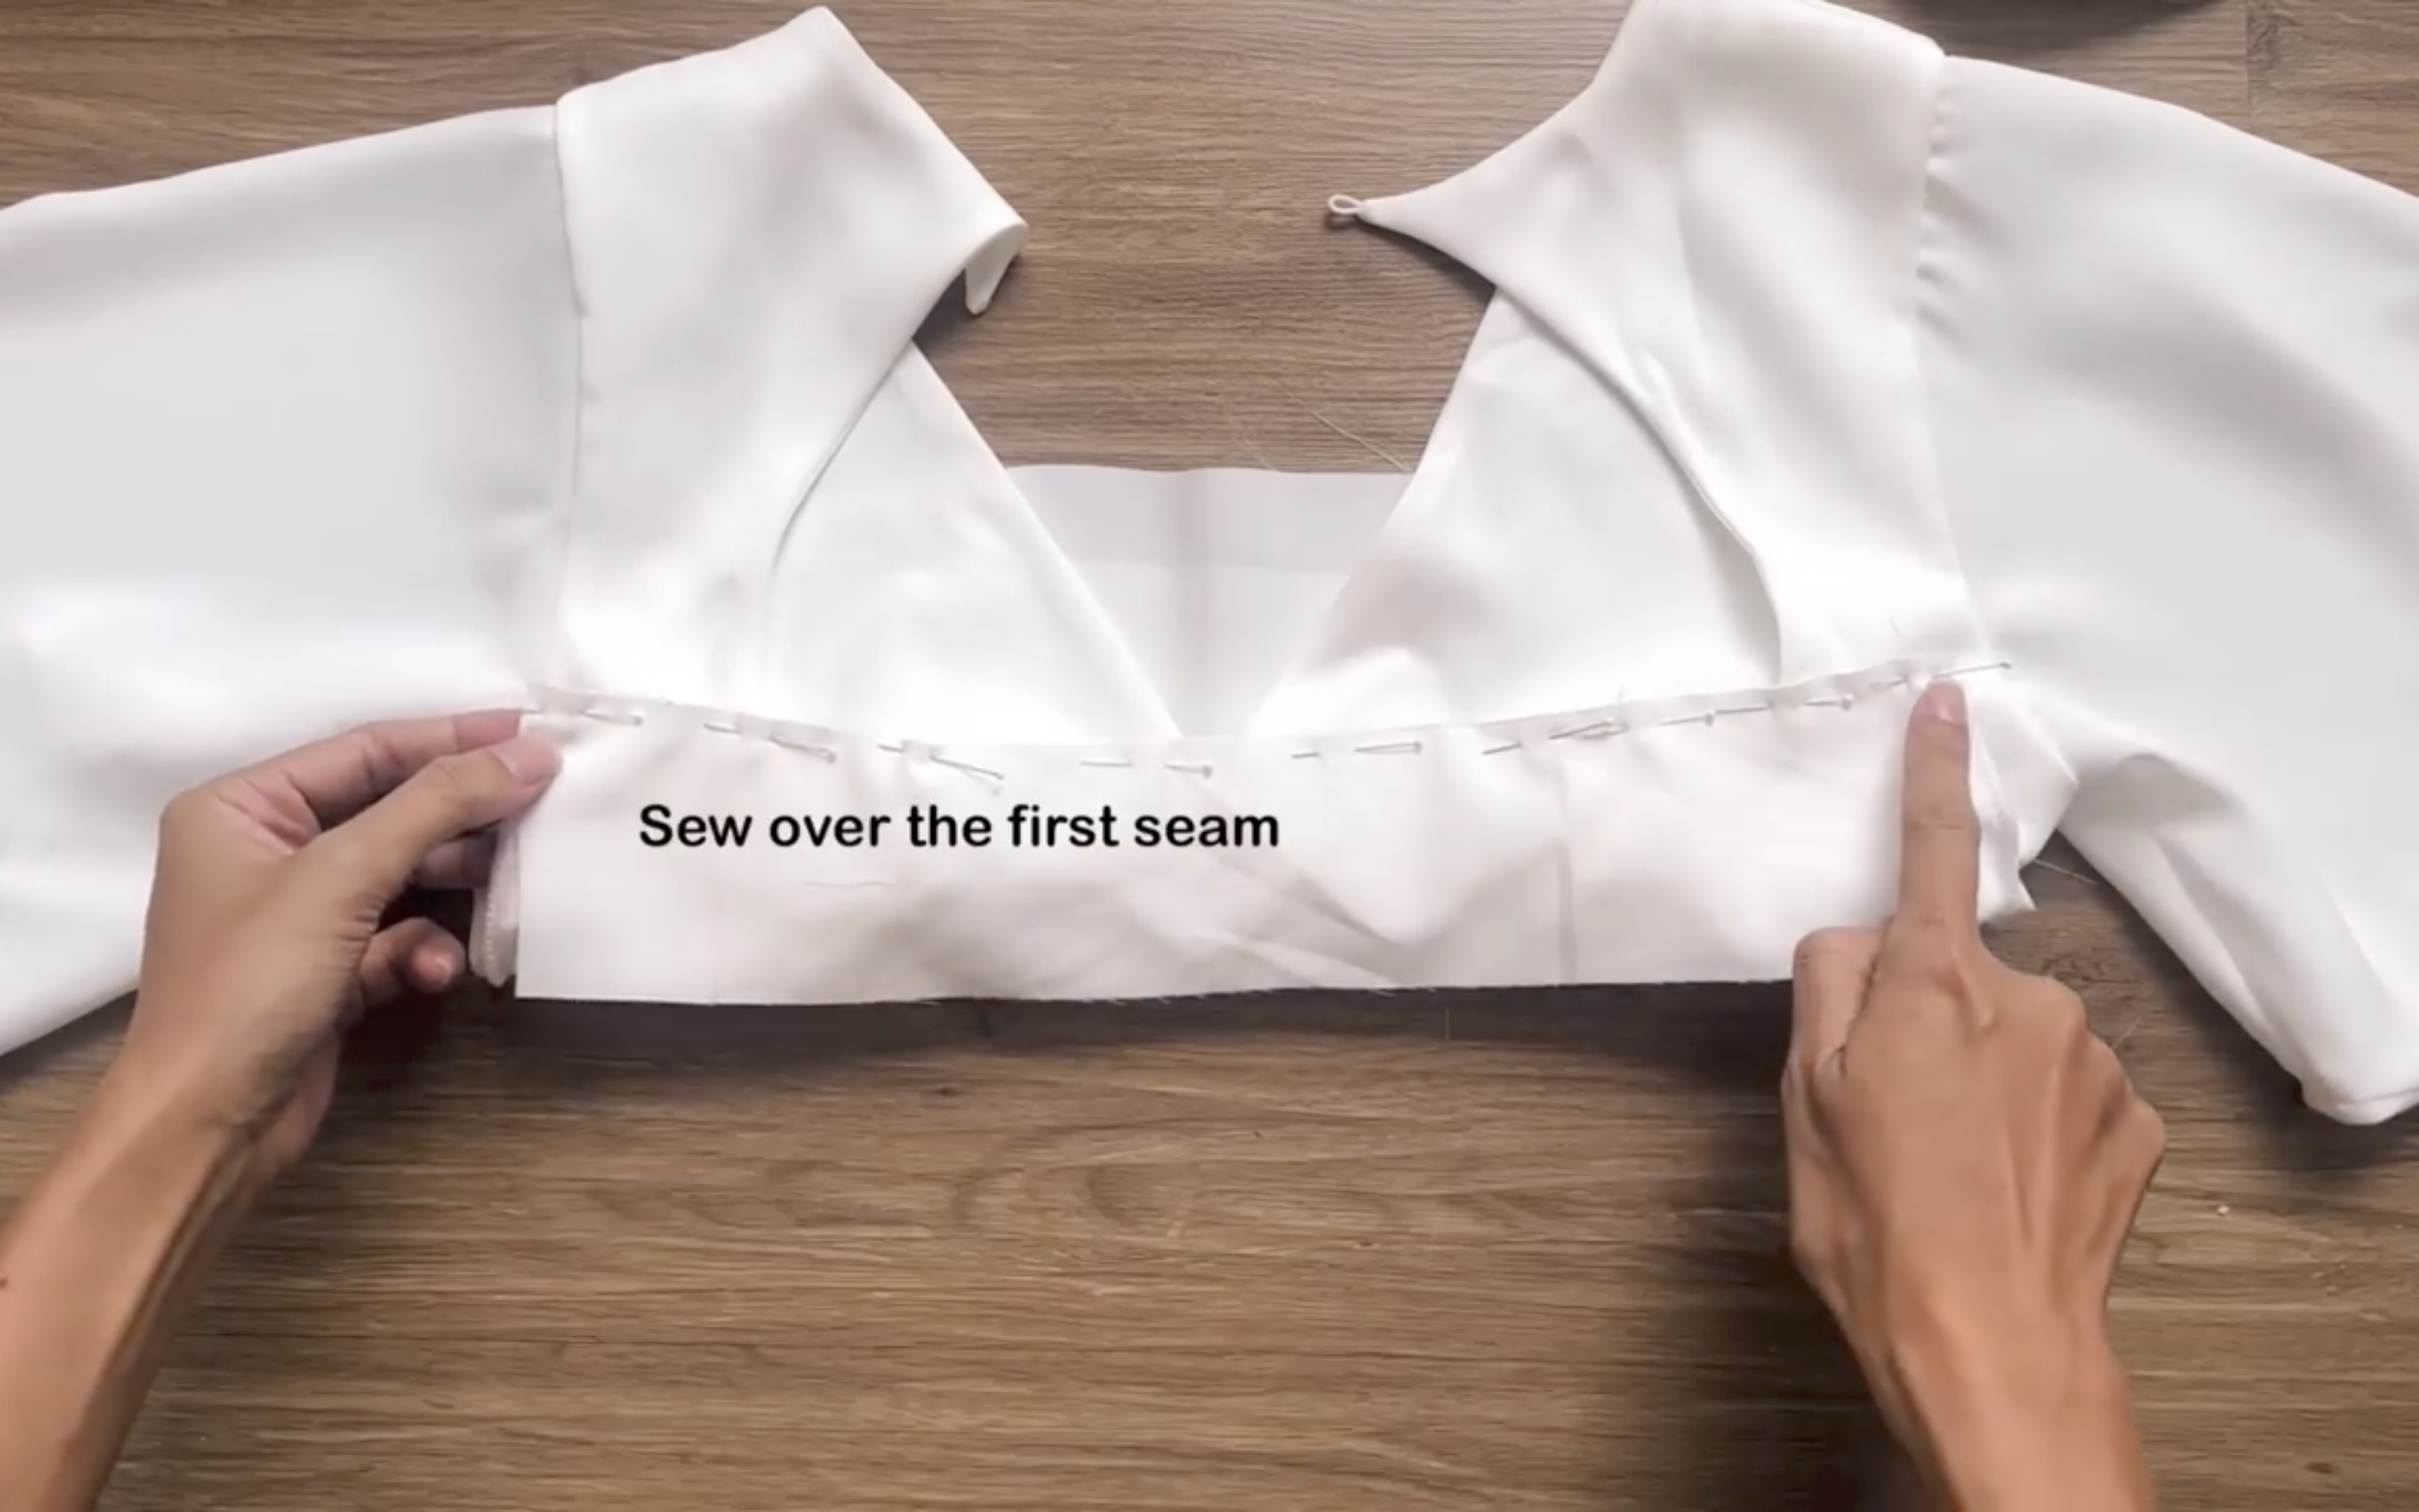
Then, make the second seam over the first one to hide the seam inside.
Moving to the back of the top part, connect the main fabric of the lower part to the top first.

Then connect the lining fabric.
It's quite similar to the method used for the front.
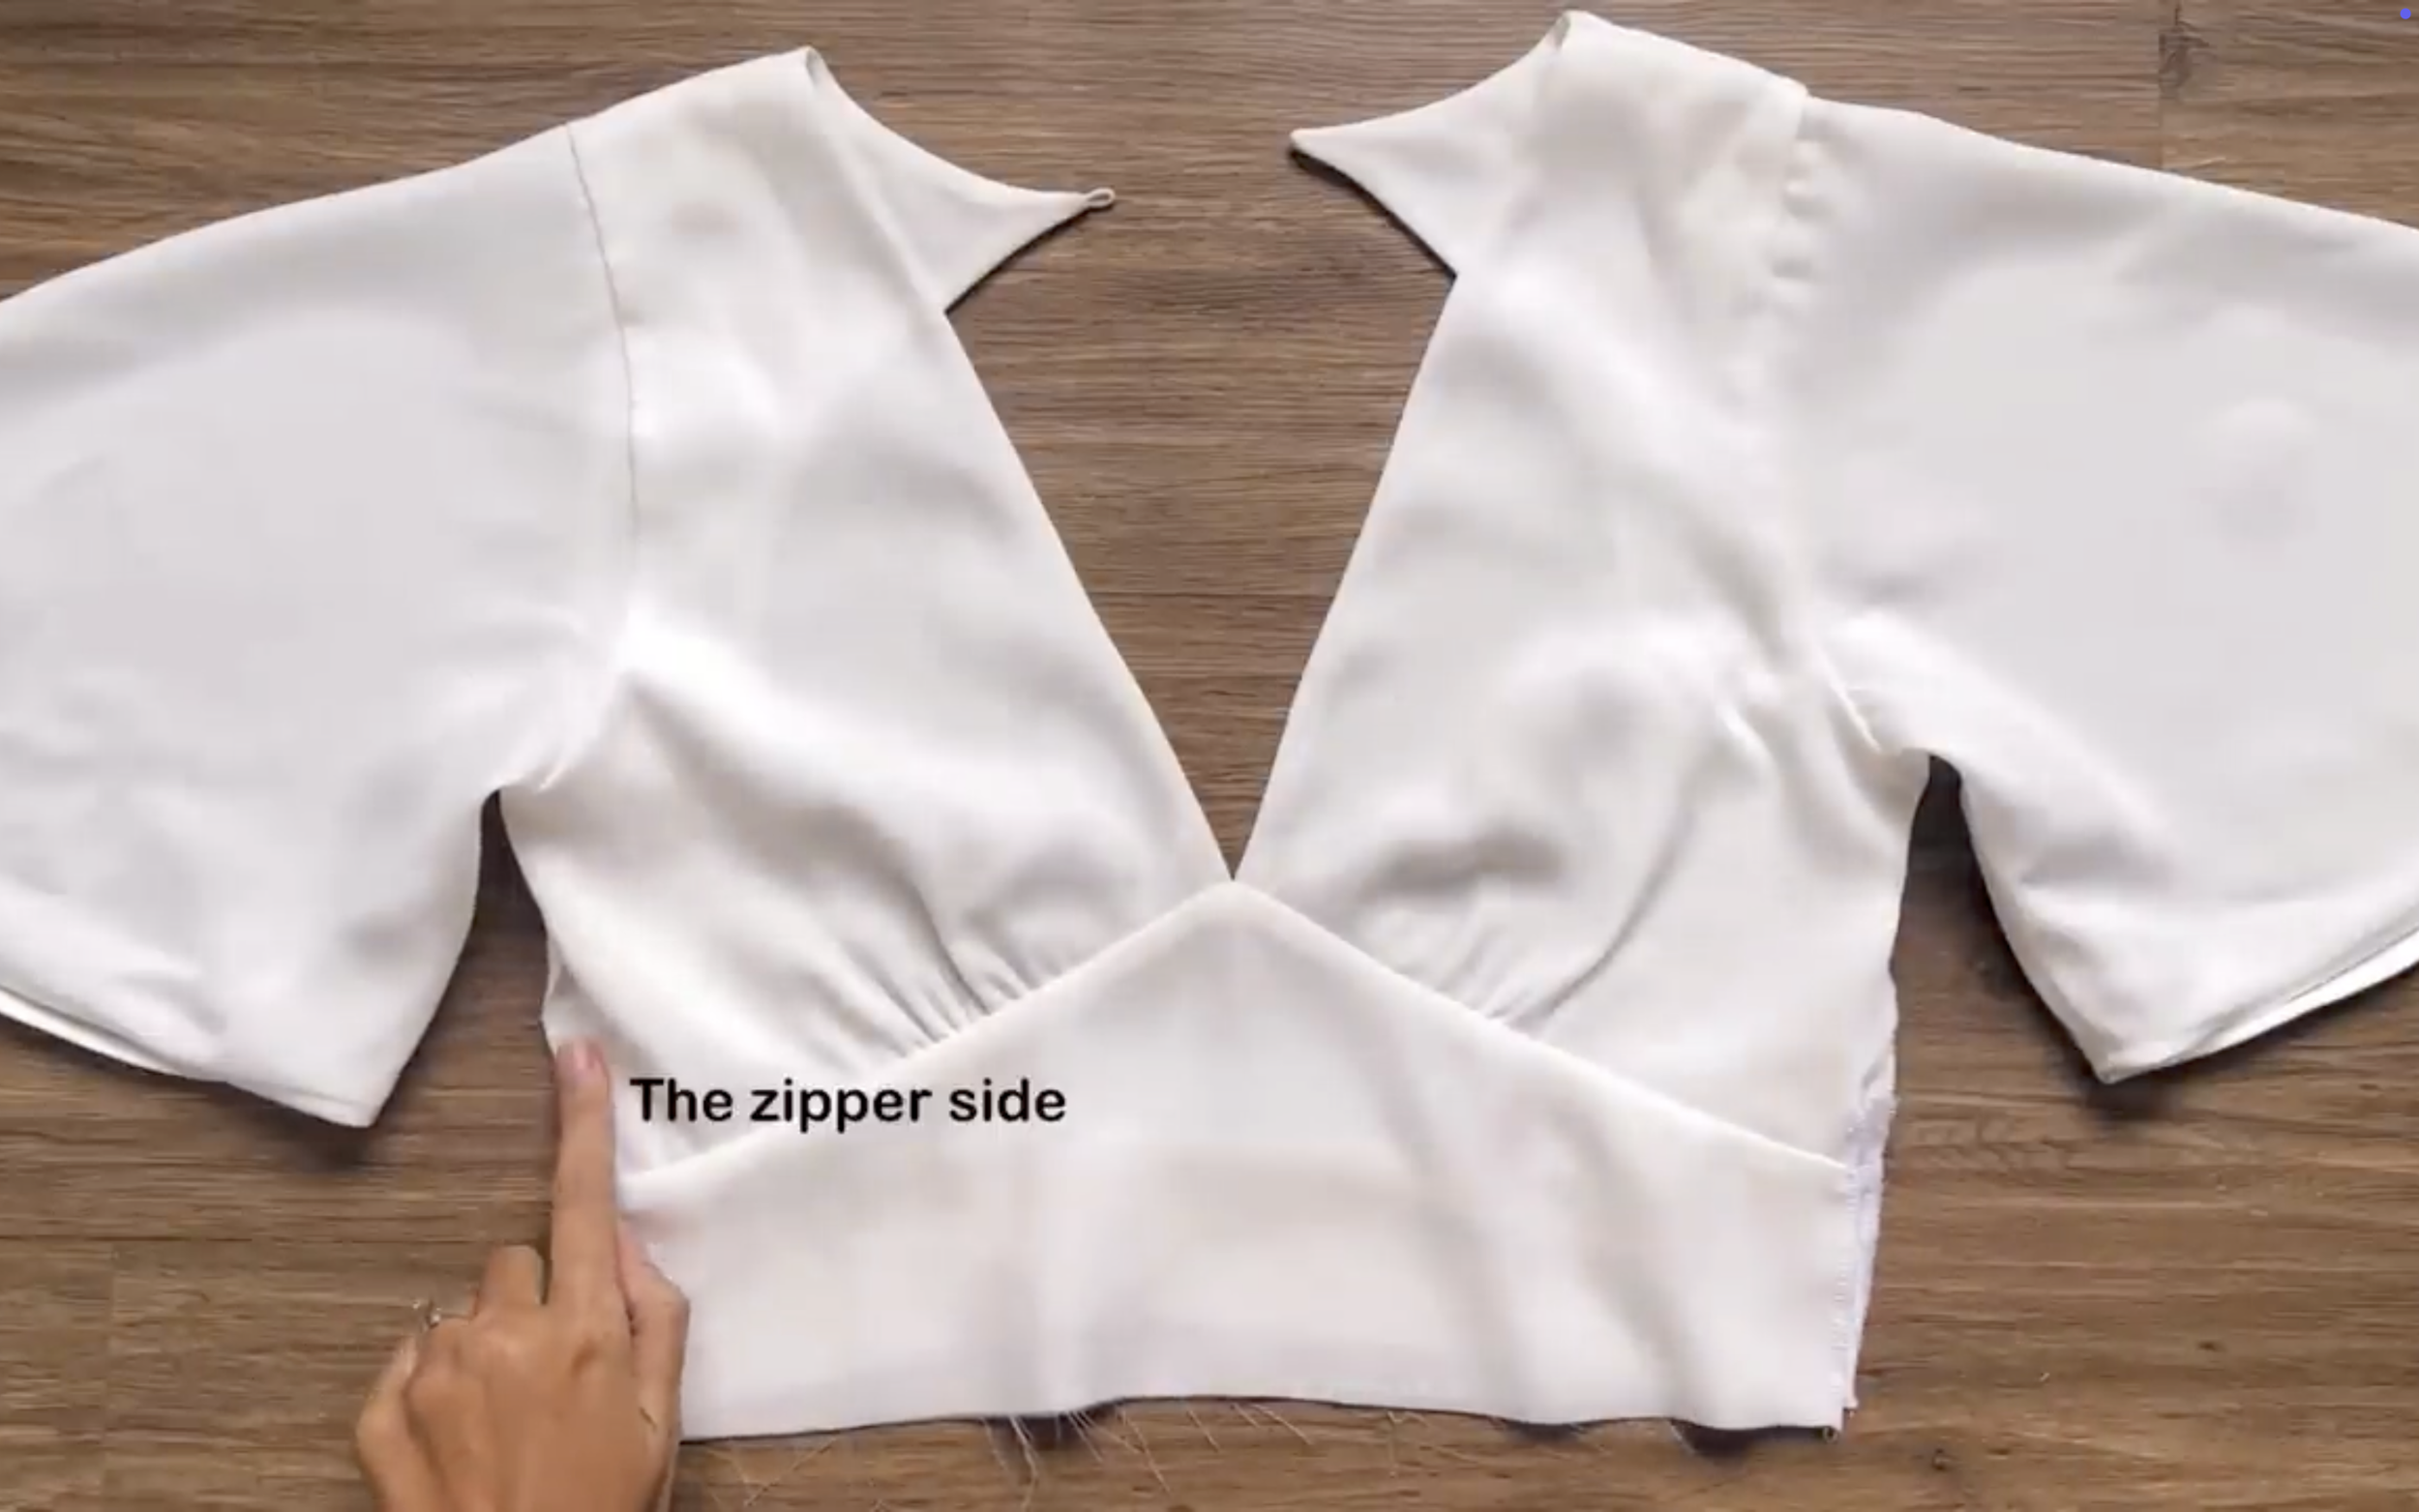
Add the zipper to one side line of the dress, choosing which side first.
Then close the other side after that.
THE SKIRT PART
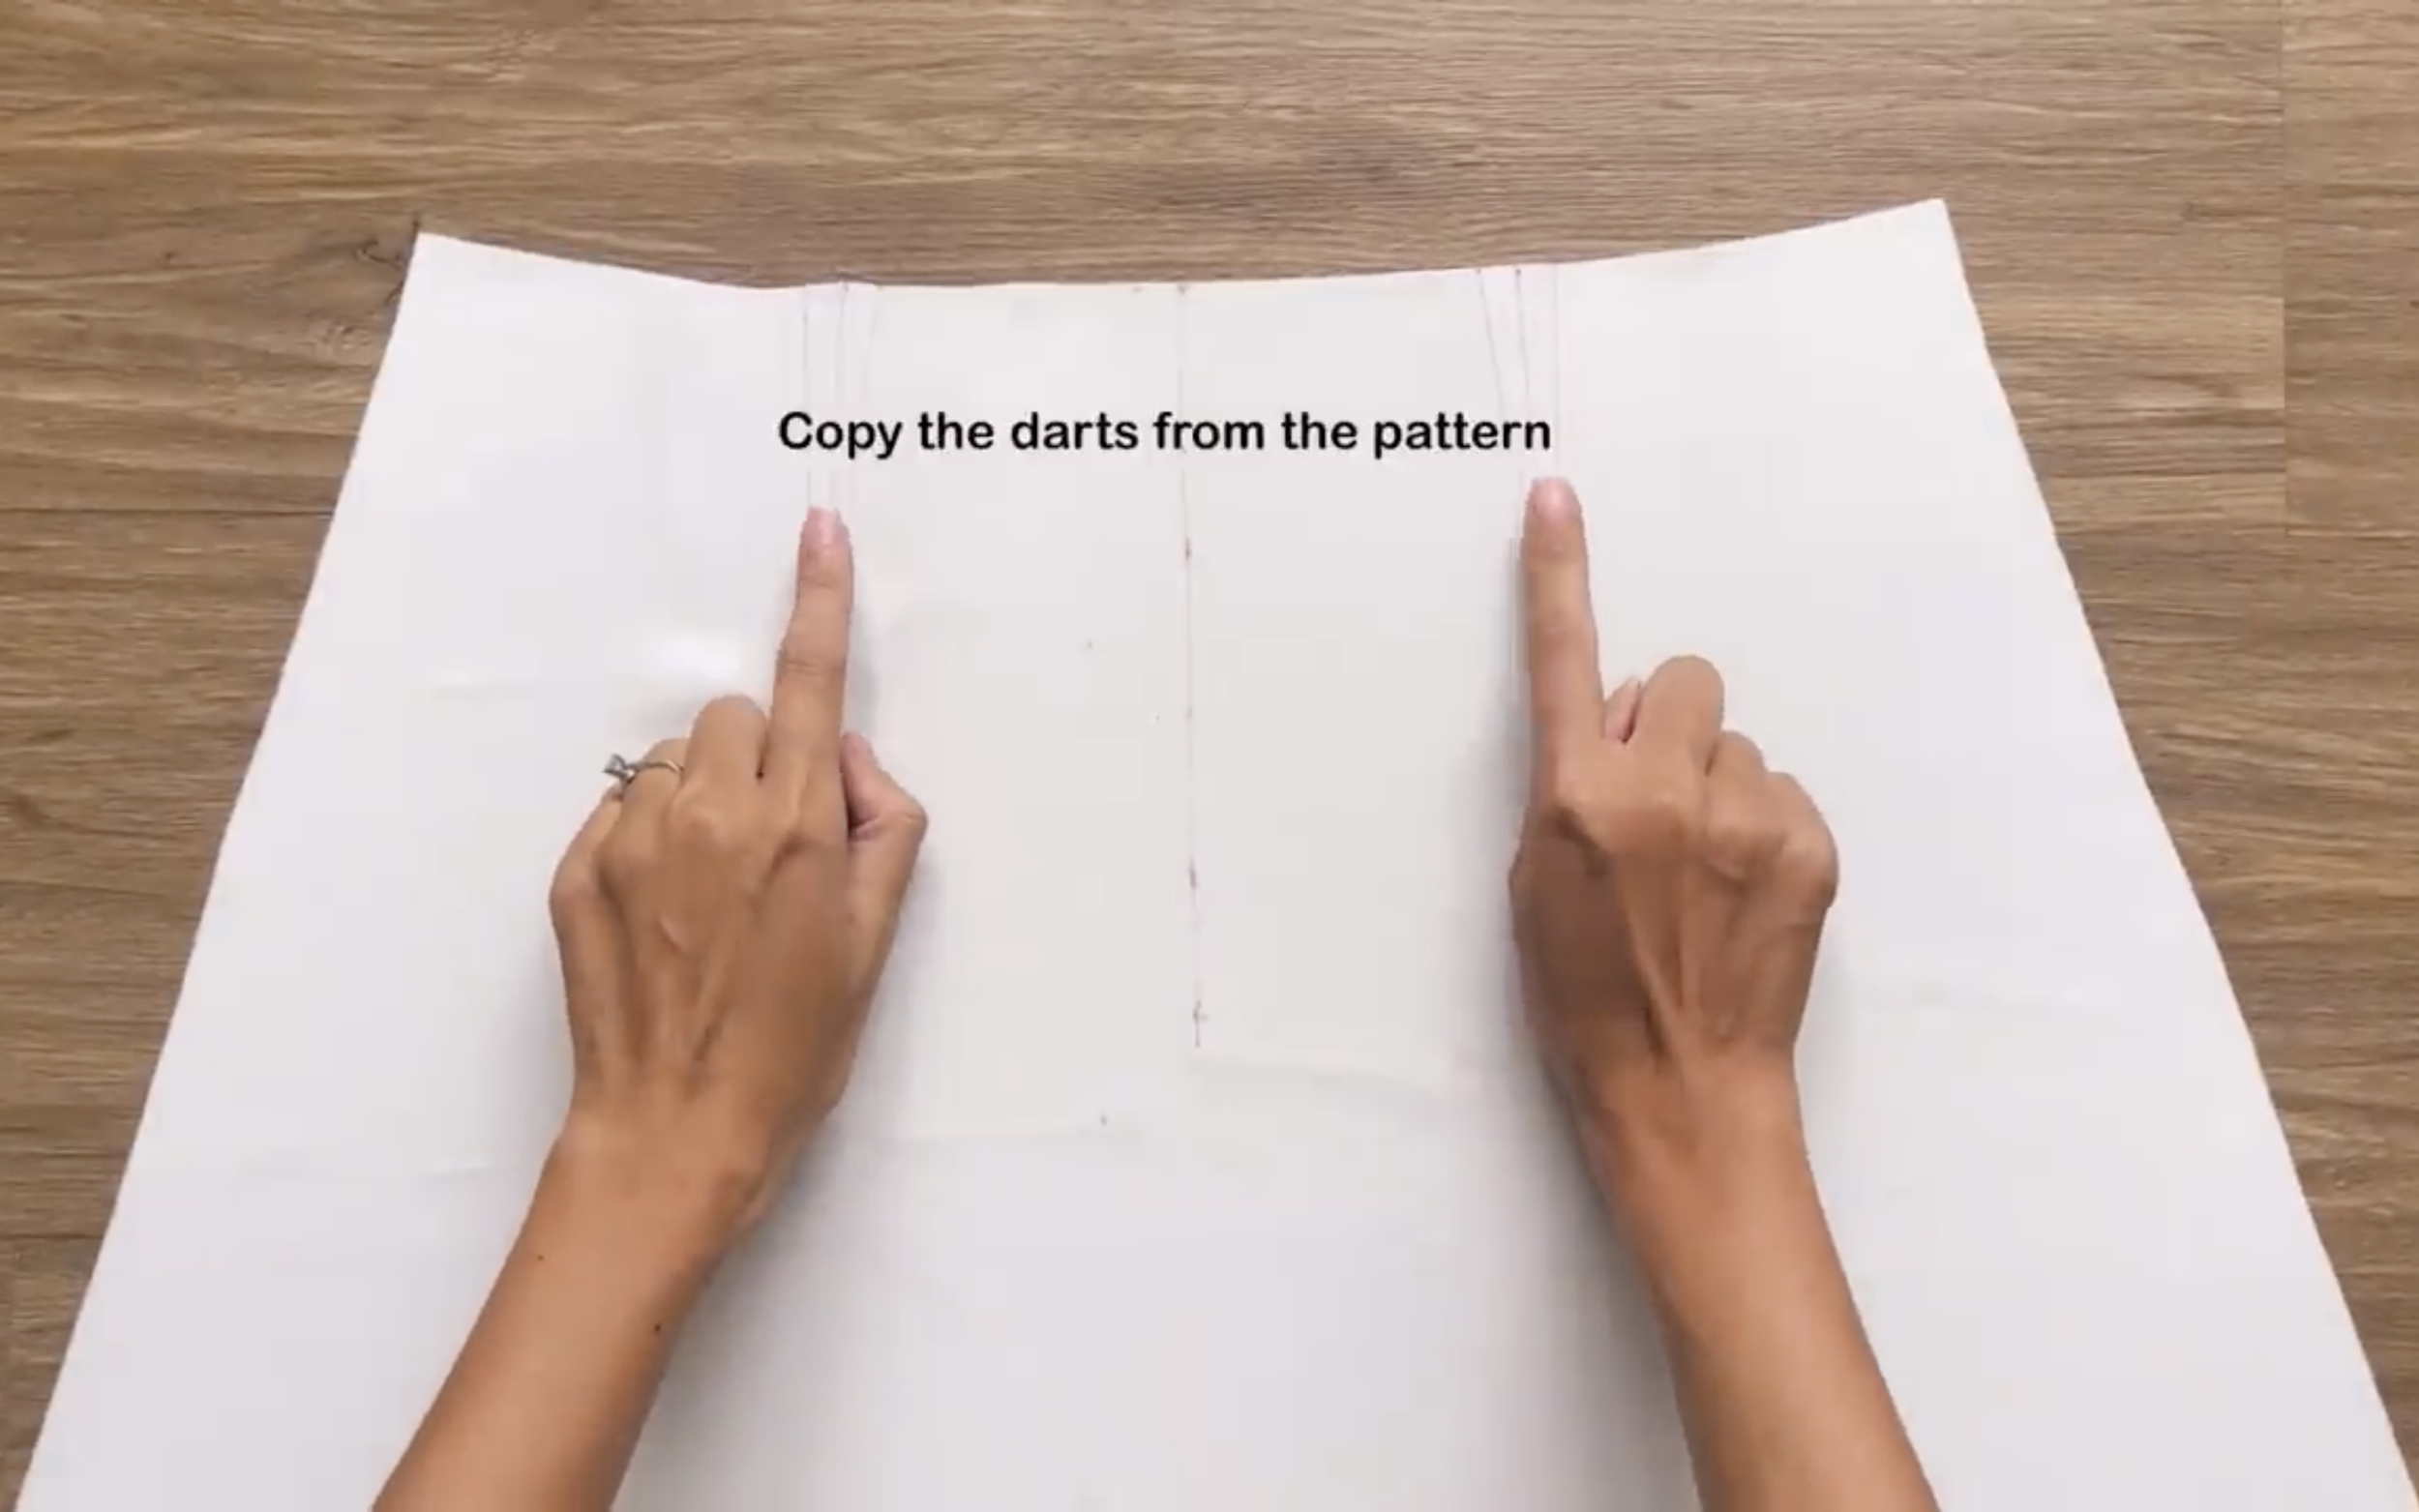
Moving to the skirt part of the dress, after cutting, copy the darts from the pattern to the fabric.
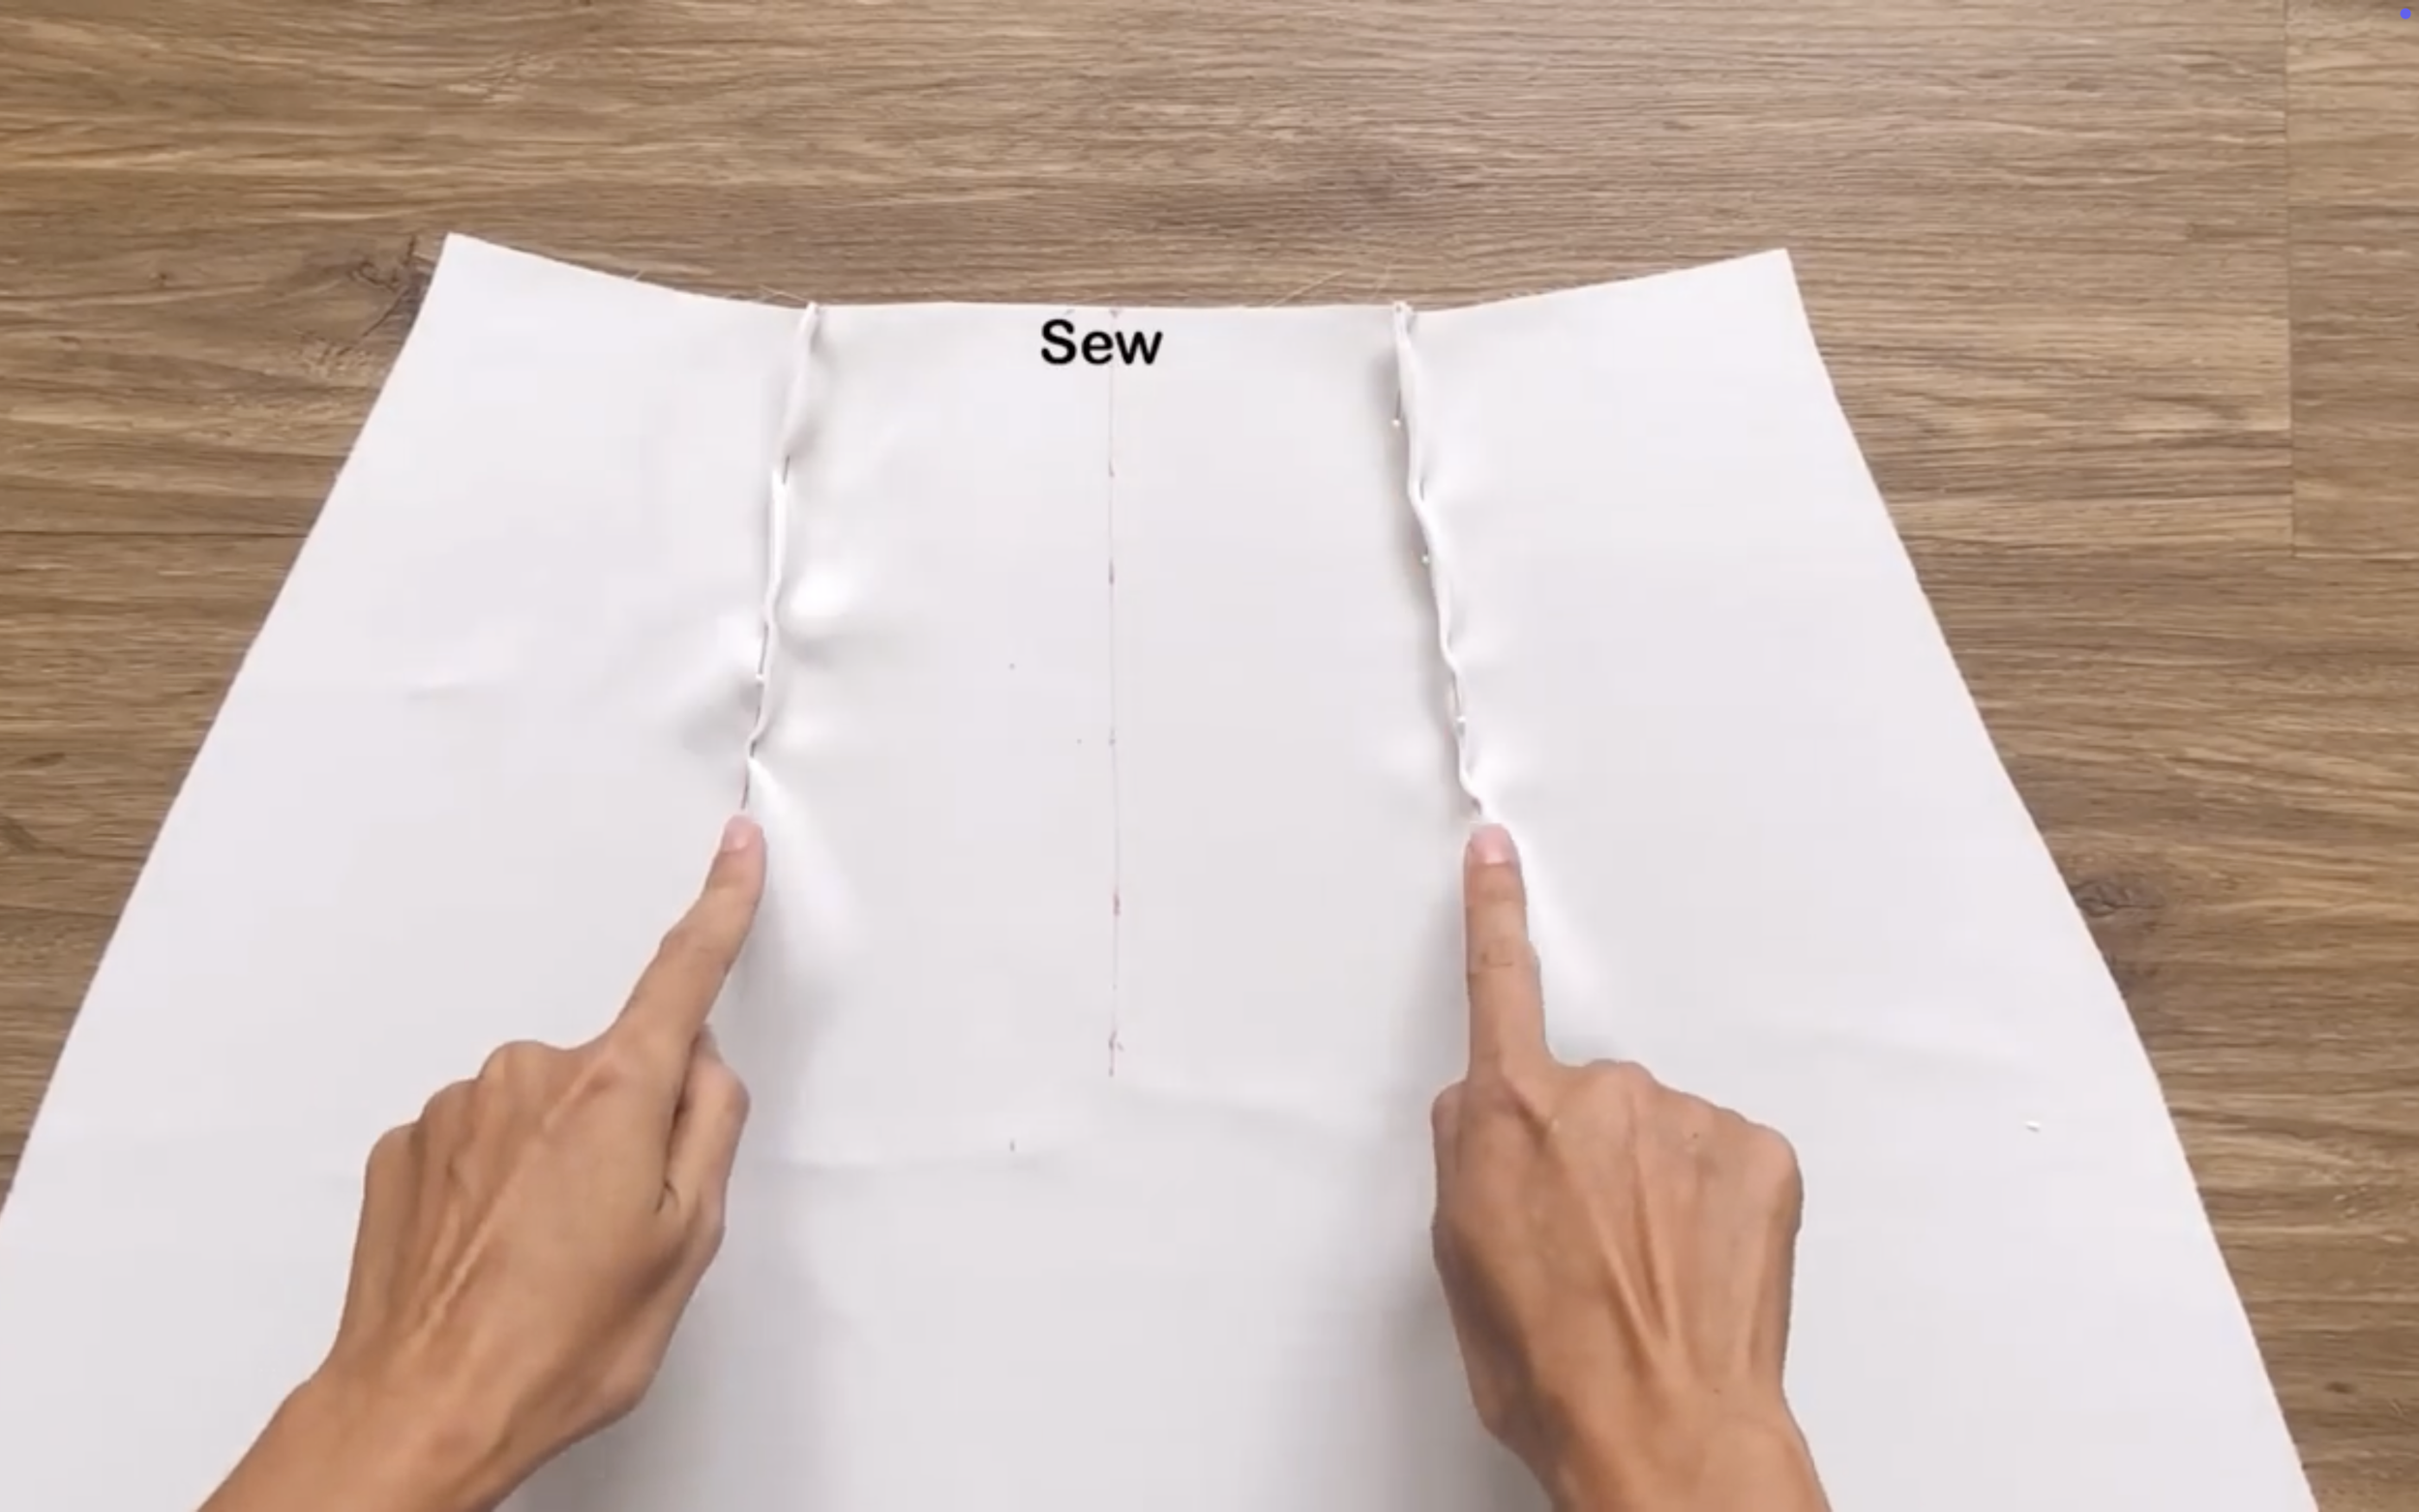
Then sew the darts.
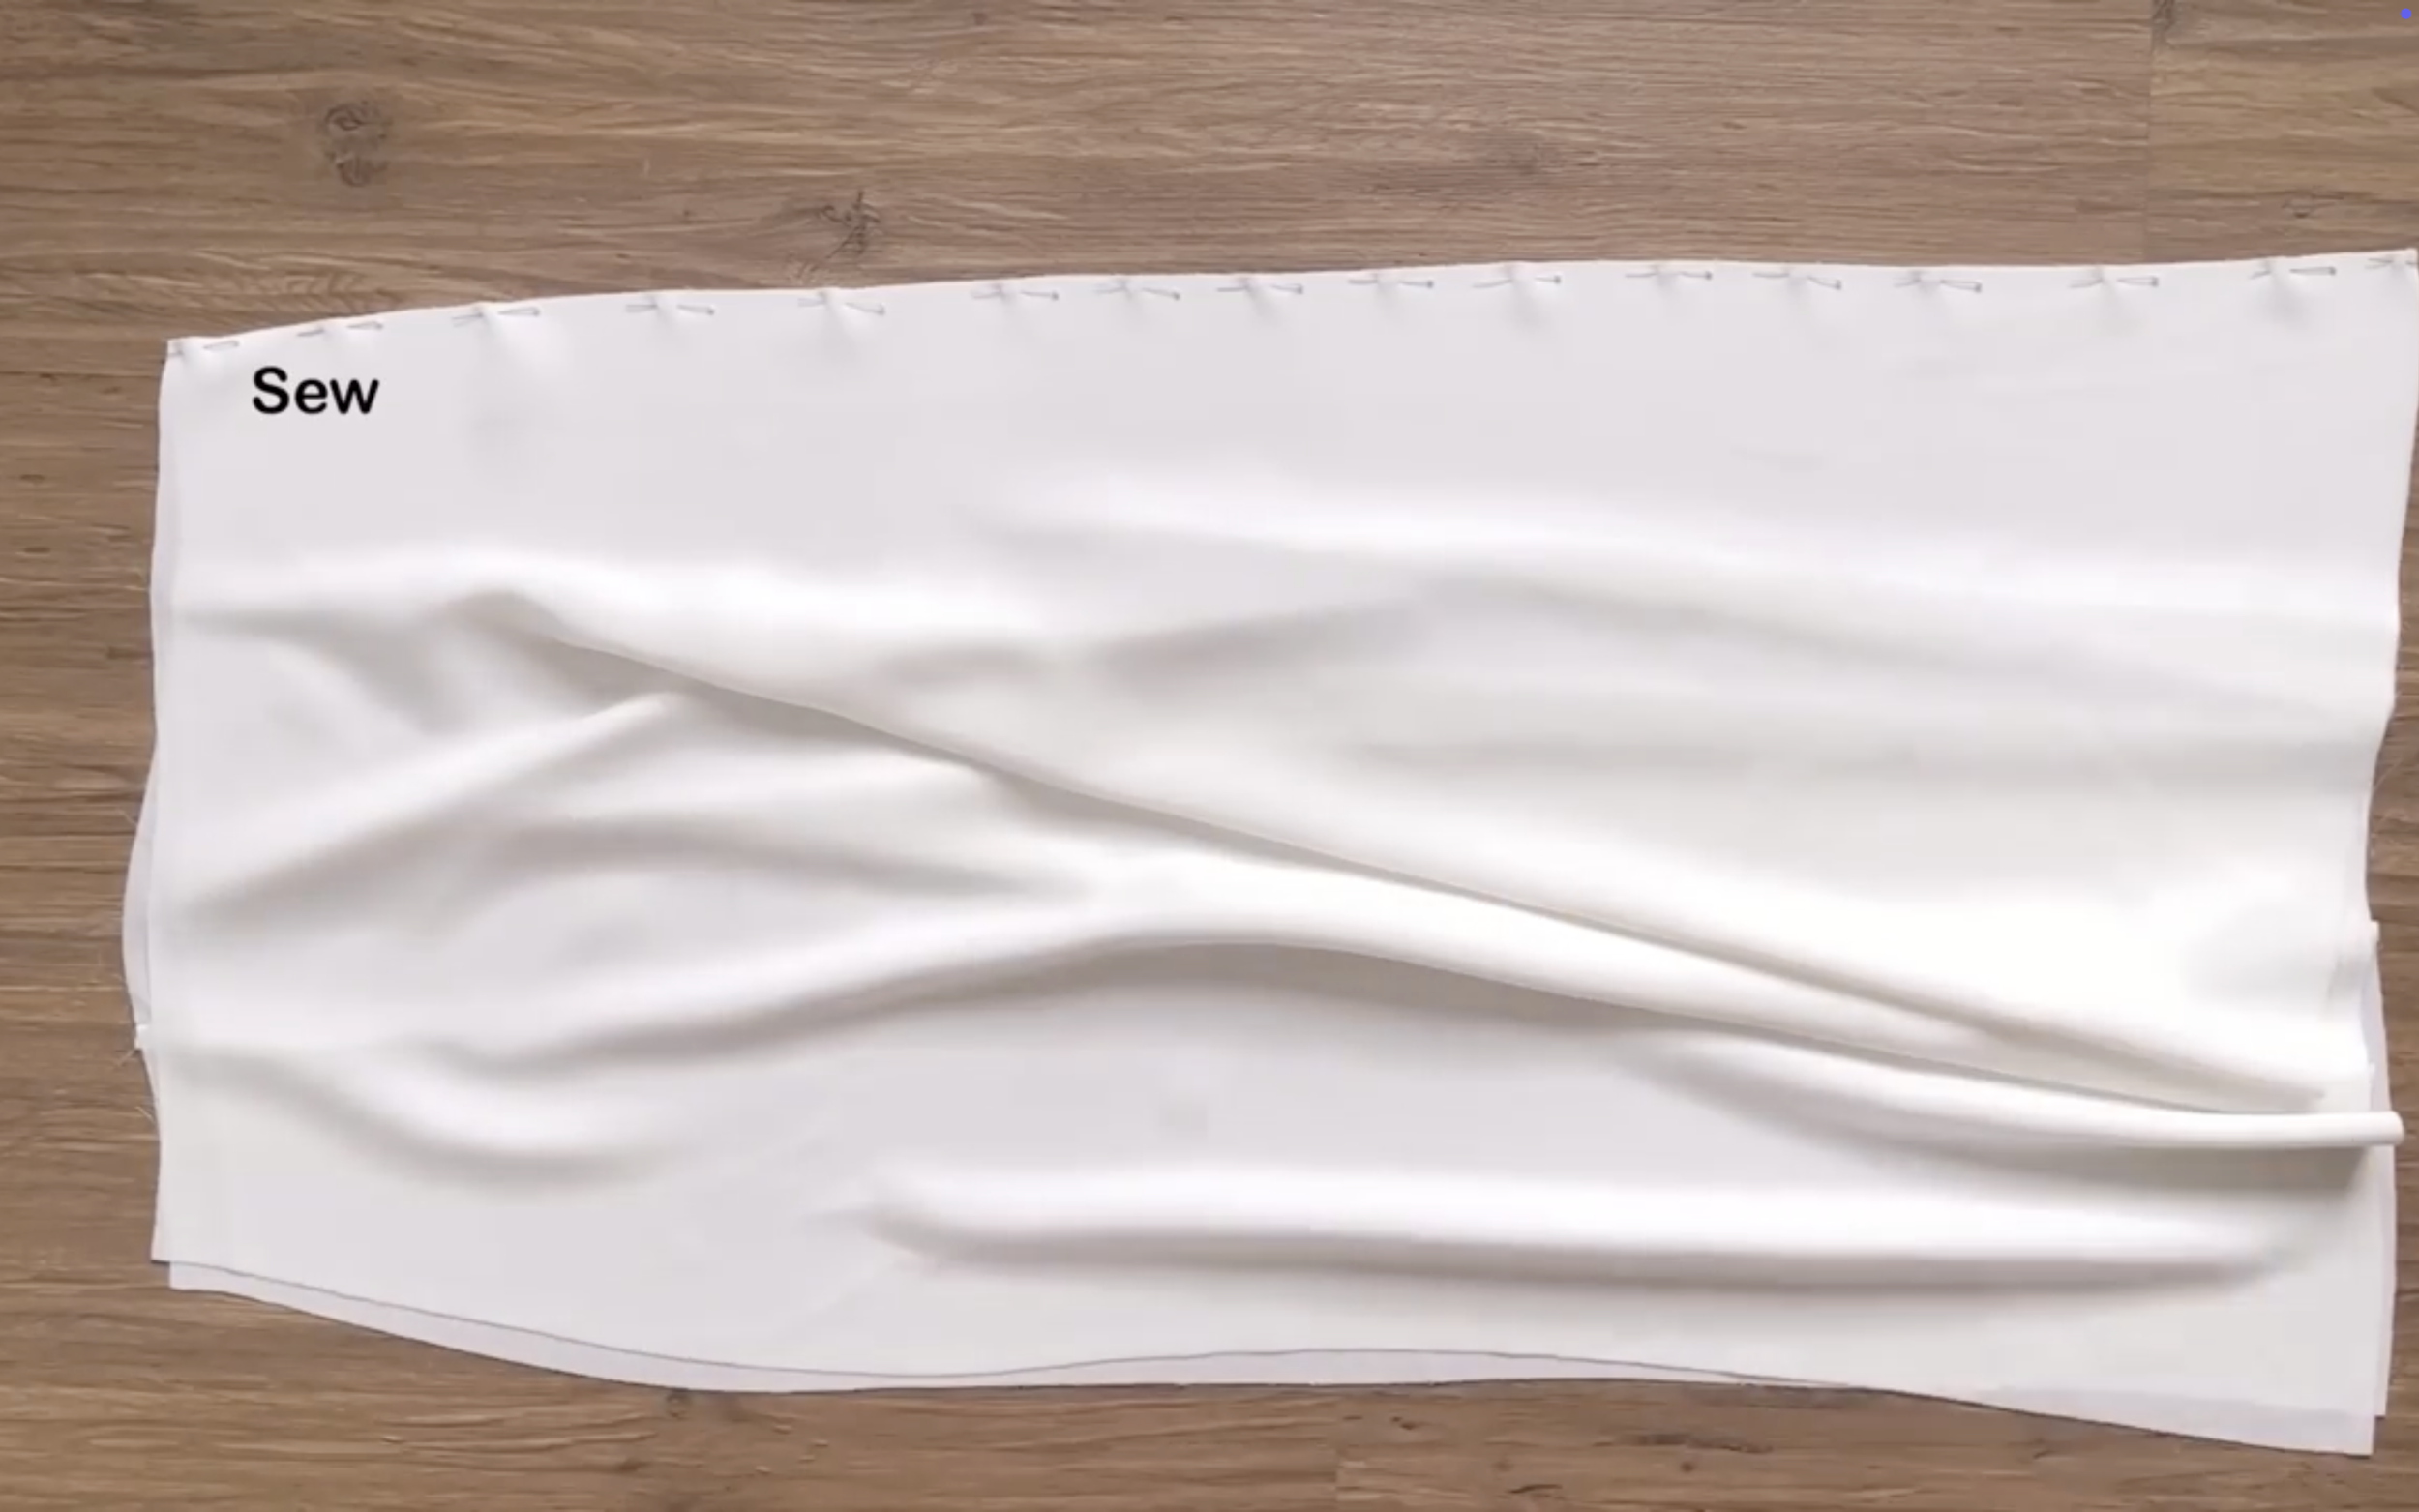
Now, connect the front and the back of the skirt together at one sideline while keeping the other side open.
Make sure the open sideline matches the one left open at the top part.
Do the same for the lining part of the skirt.
To improve the look, make the lining part of the skirt about 1 cm shorter than the main fabric.
Now, connect the main fabric of the skirt to the top part and make the first seam.
Then, connect the lining part of the skirt to the top.
And make the second seam over the first one.
Make sure the top part stays in the middle between two pieces of the skirt part.
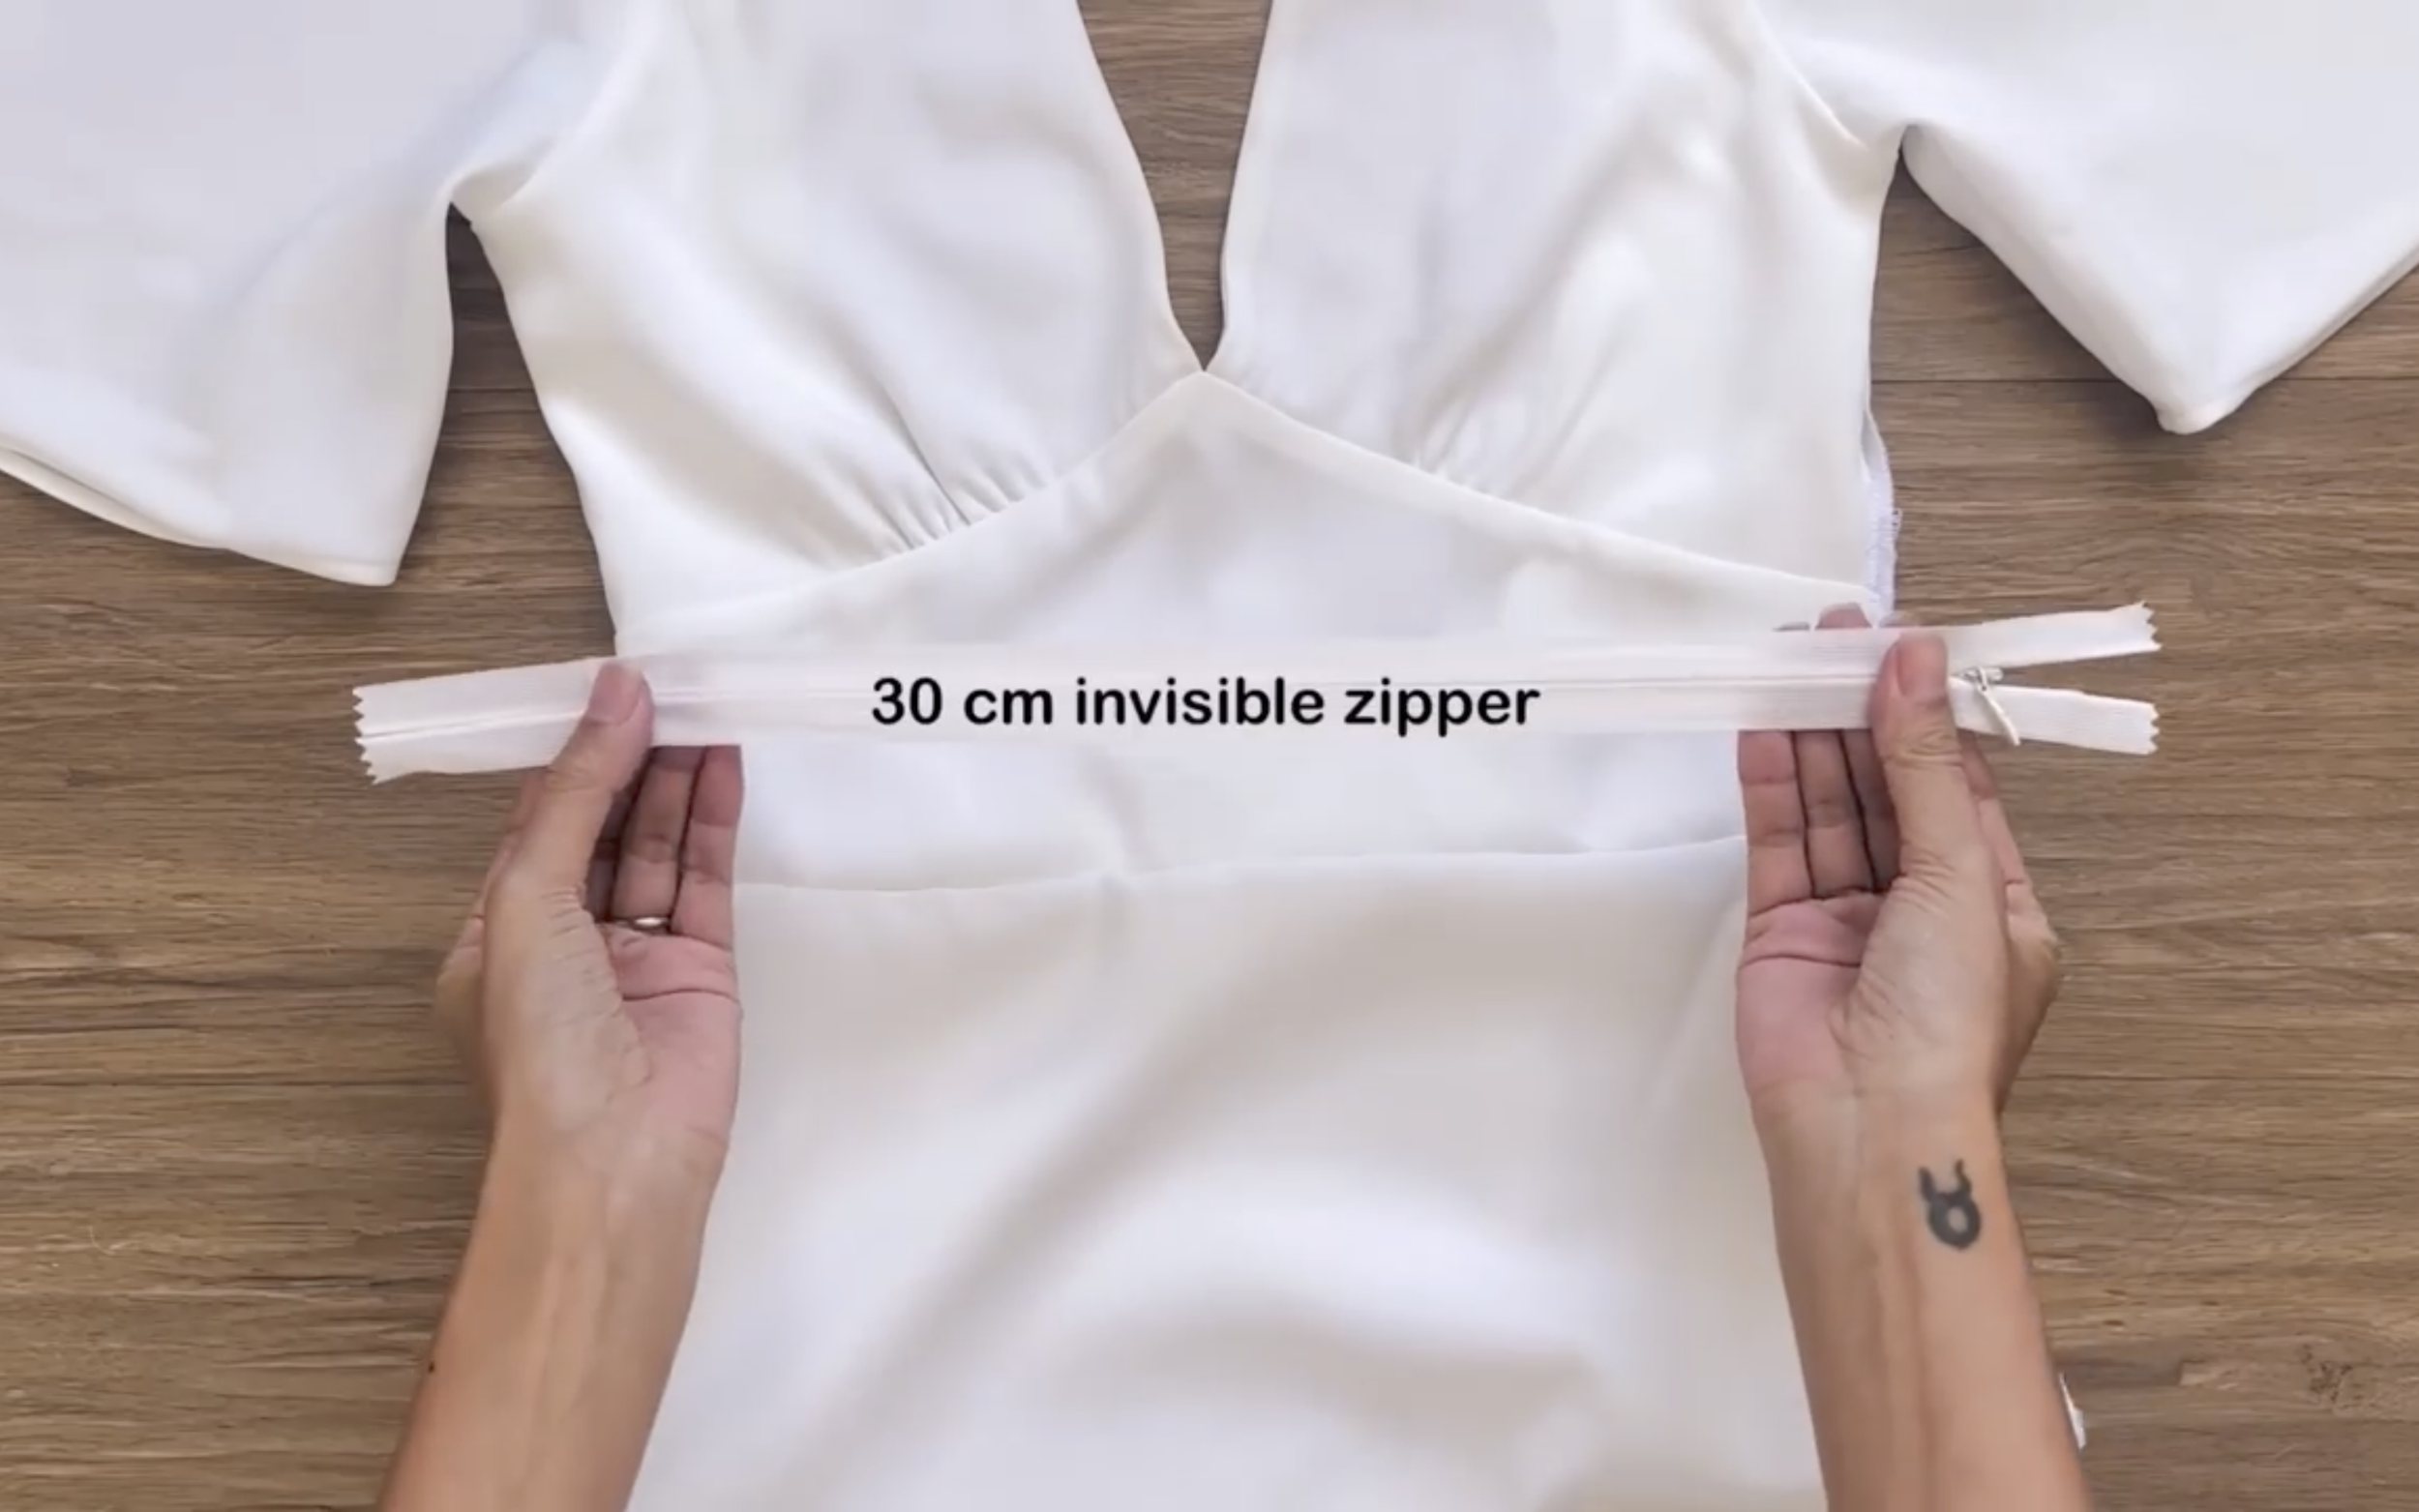
Use an invisible zipper, about 30 cm long, for the open part of the sideline left before.
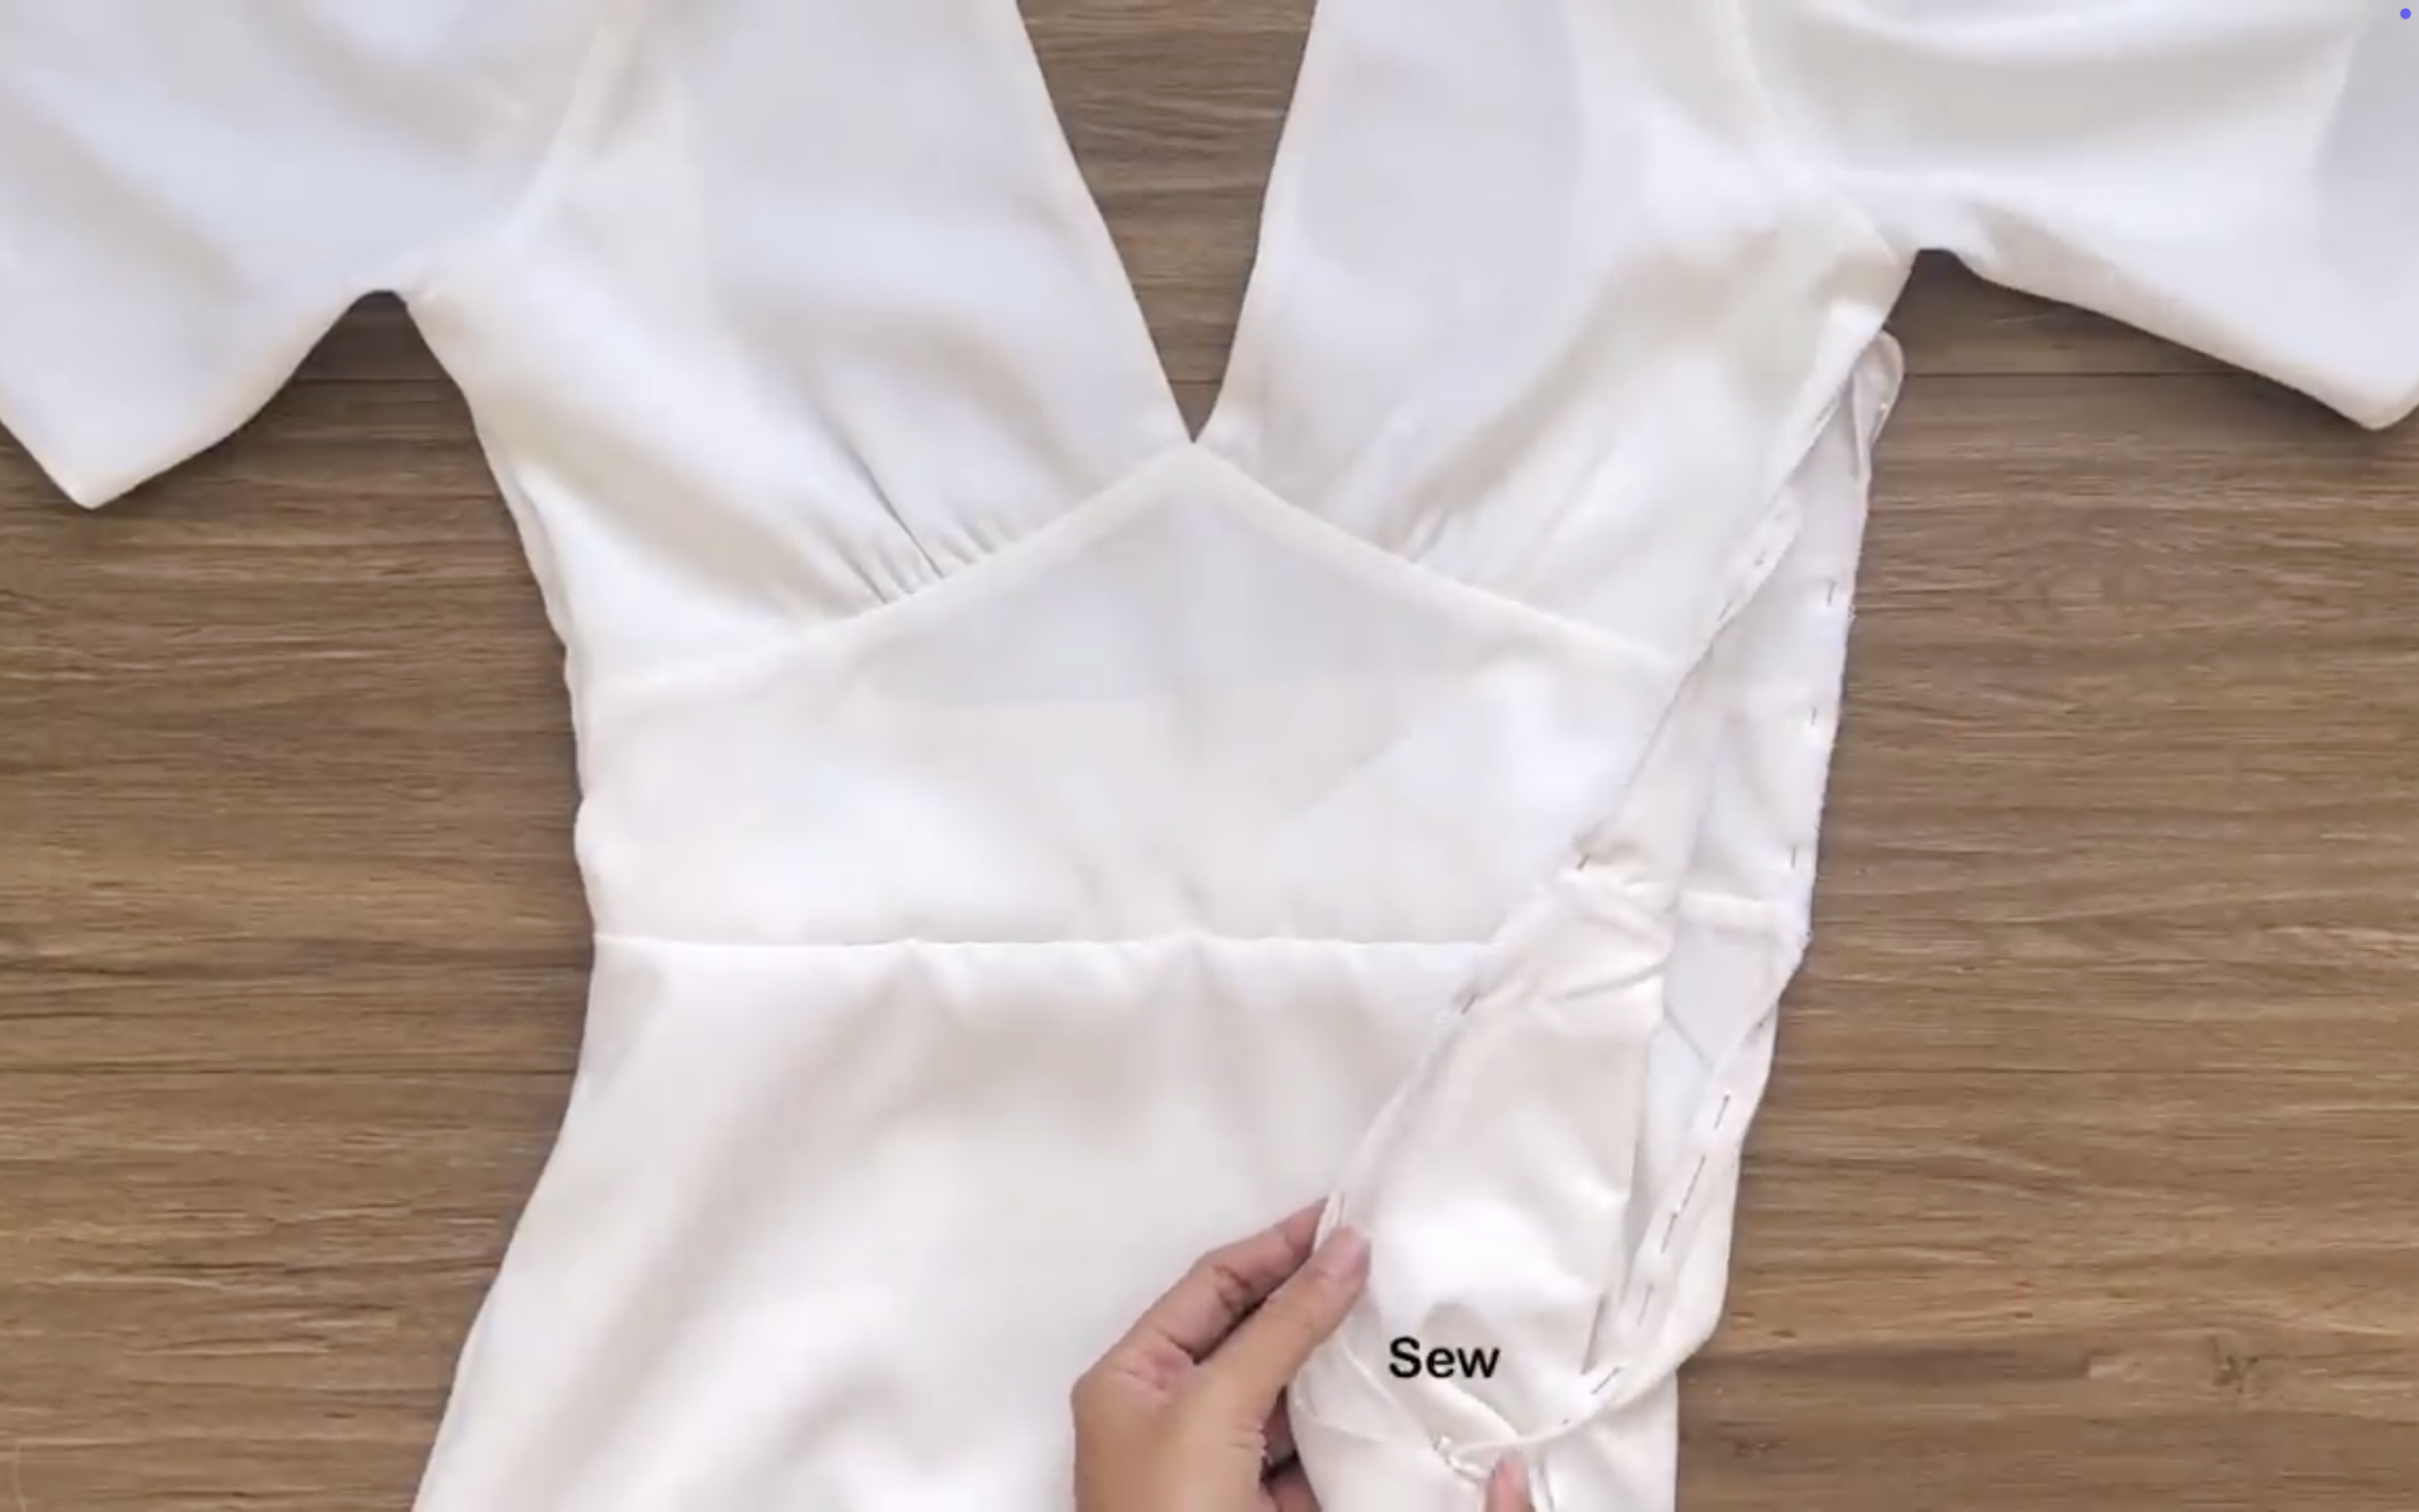
Then, sew.
After sewing, connect the rest of the sideline of the skirt.
Remember to sew separately between the main fabric and the lining fabric.
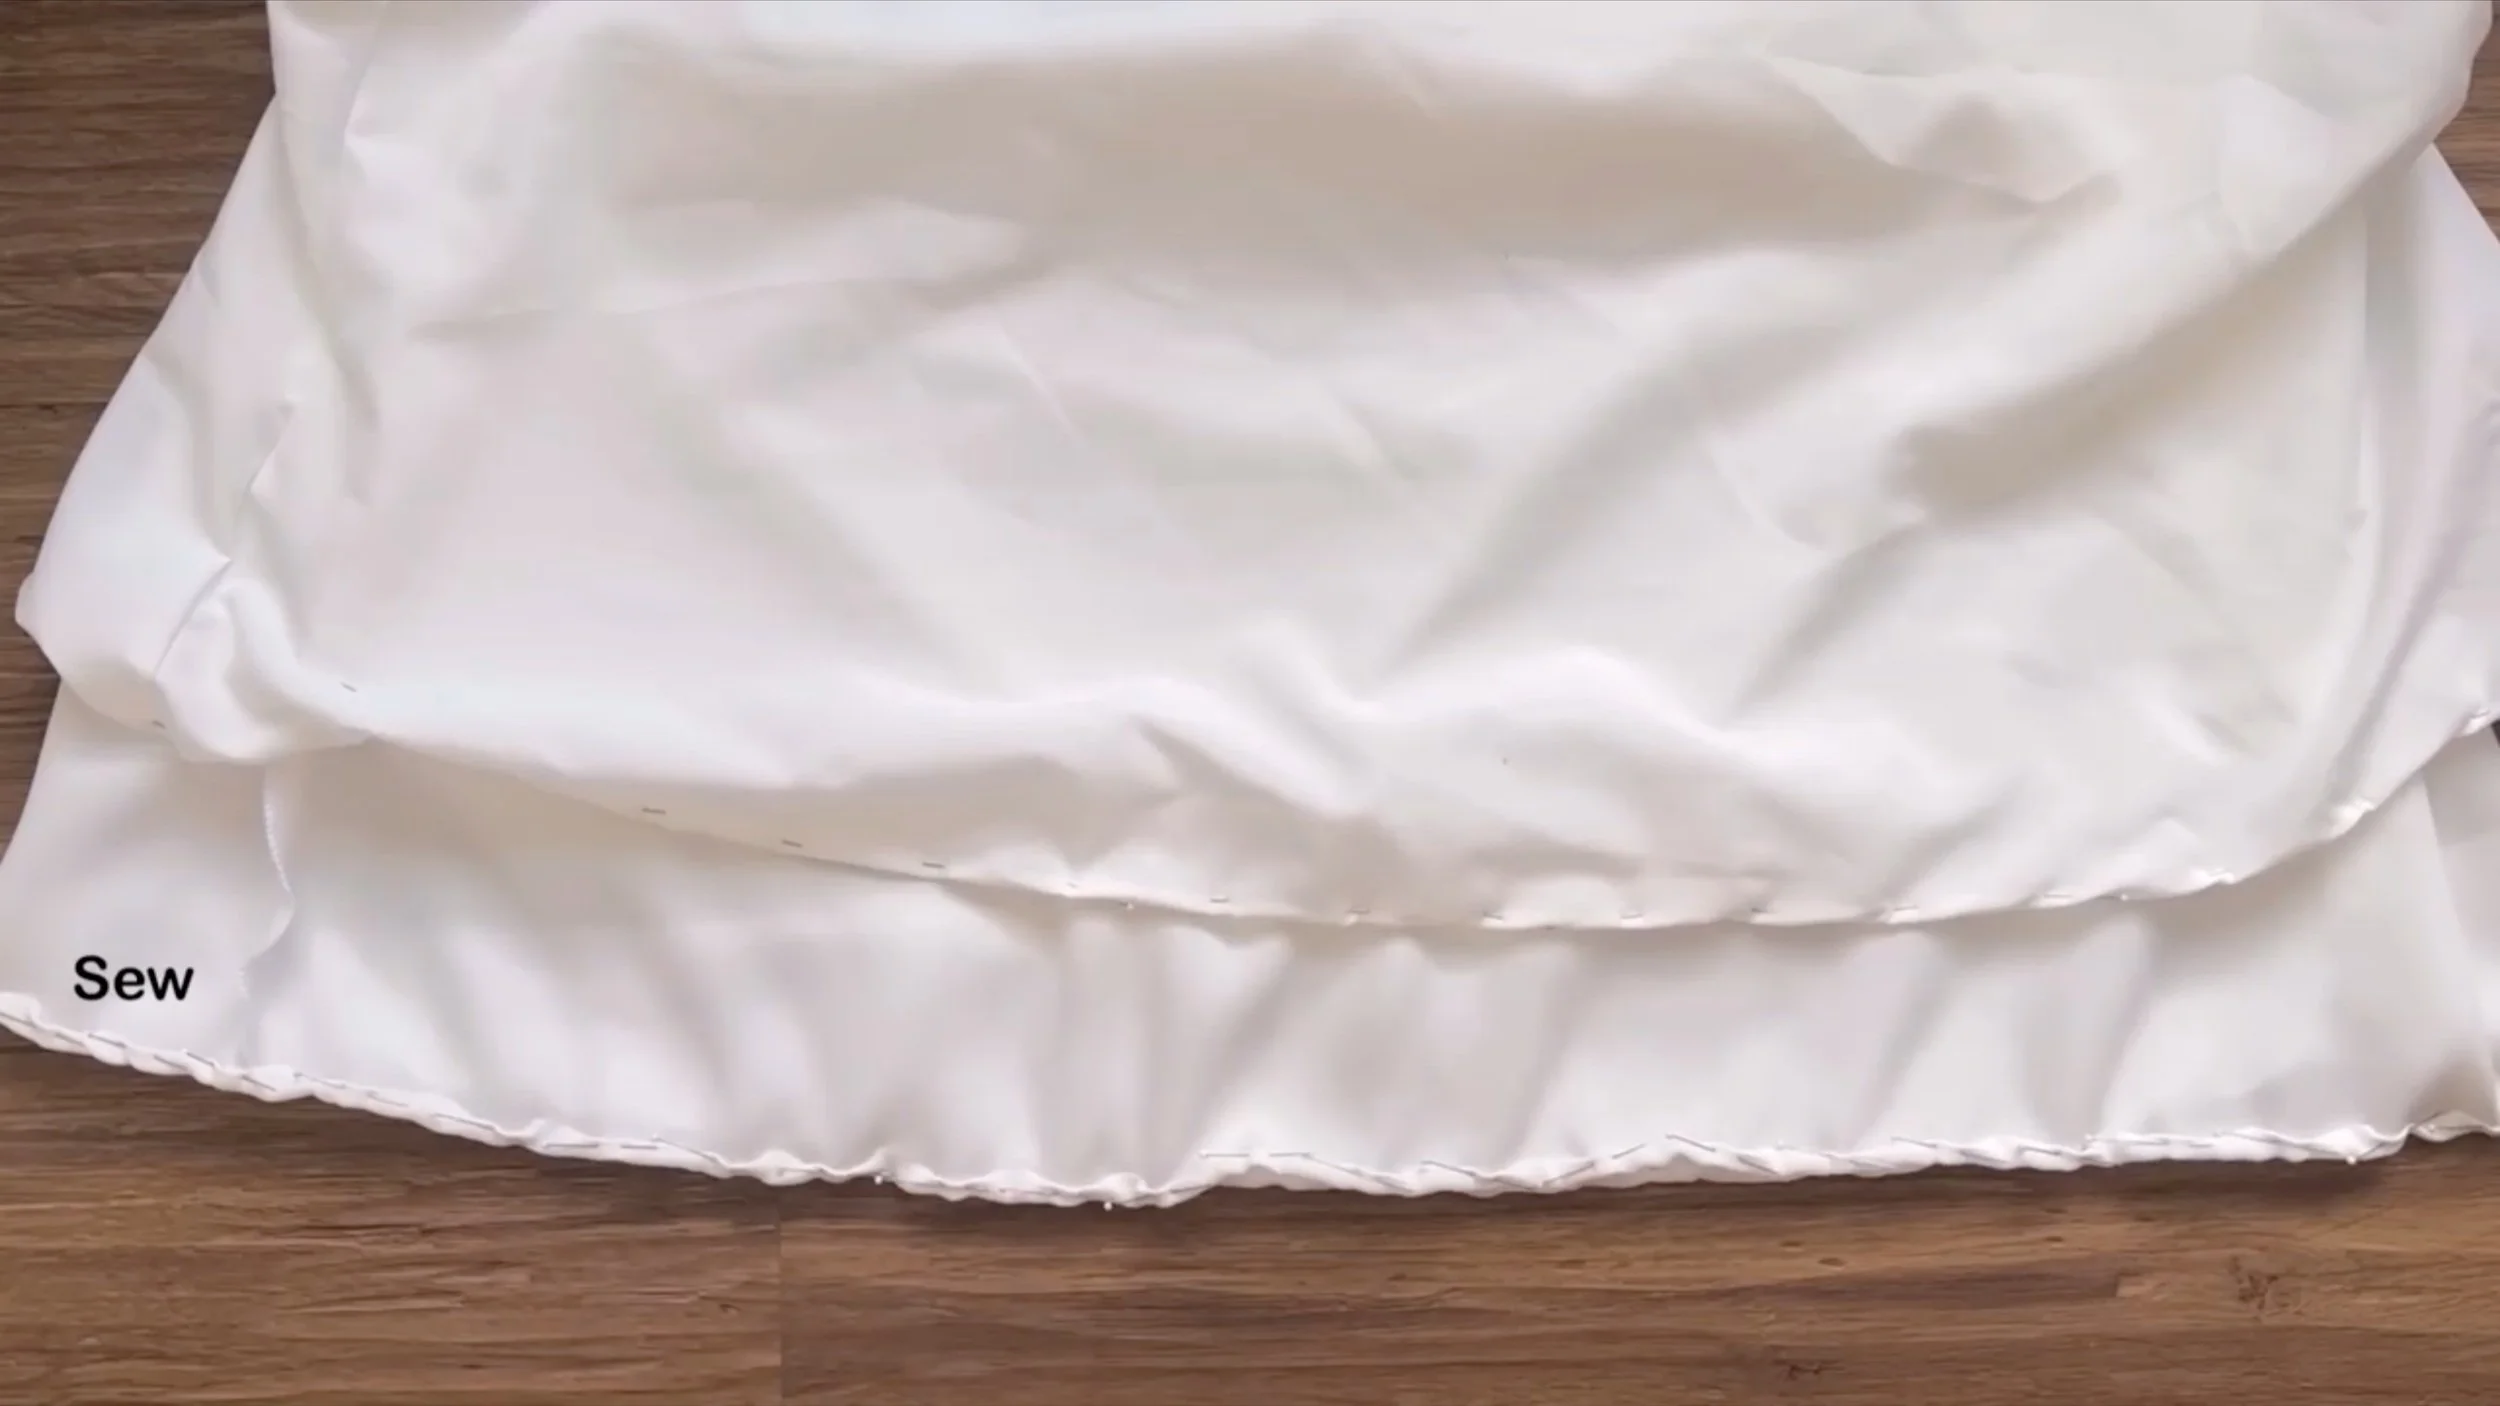
At the end of the skirt, finish the hem by folding the fabric inside twice, 0.5 cm each time, and sewing.
Remember to do this separately for the main fabric and the lining fabric.
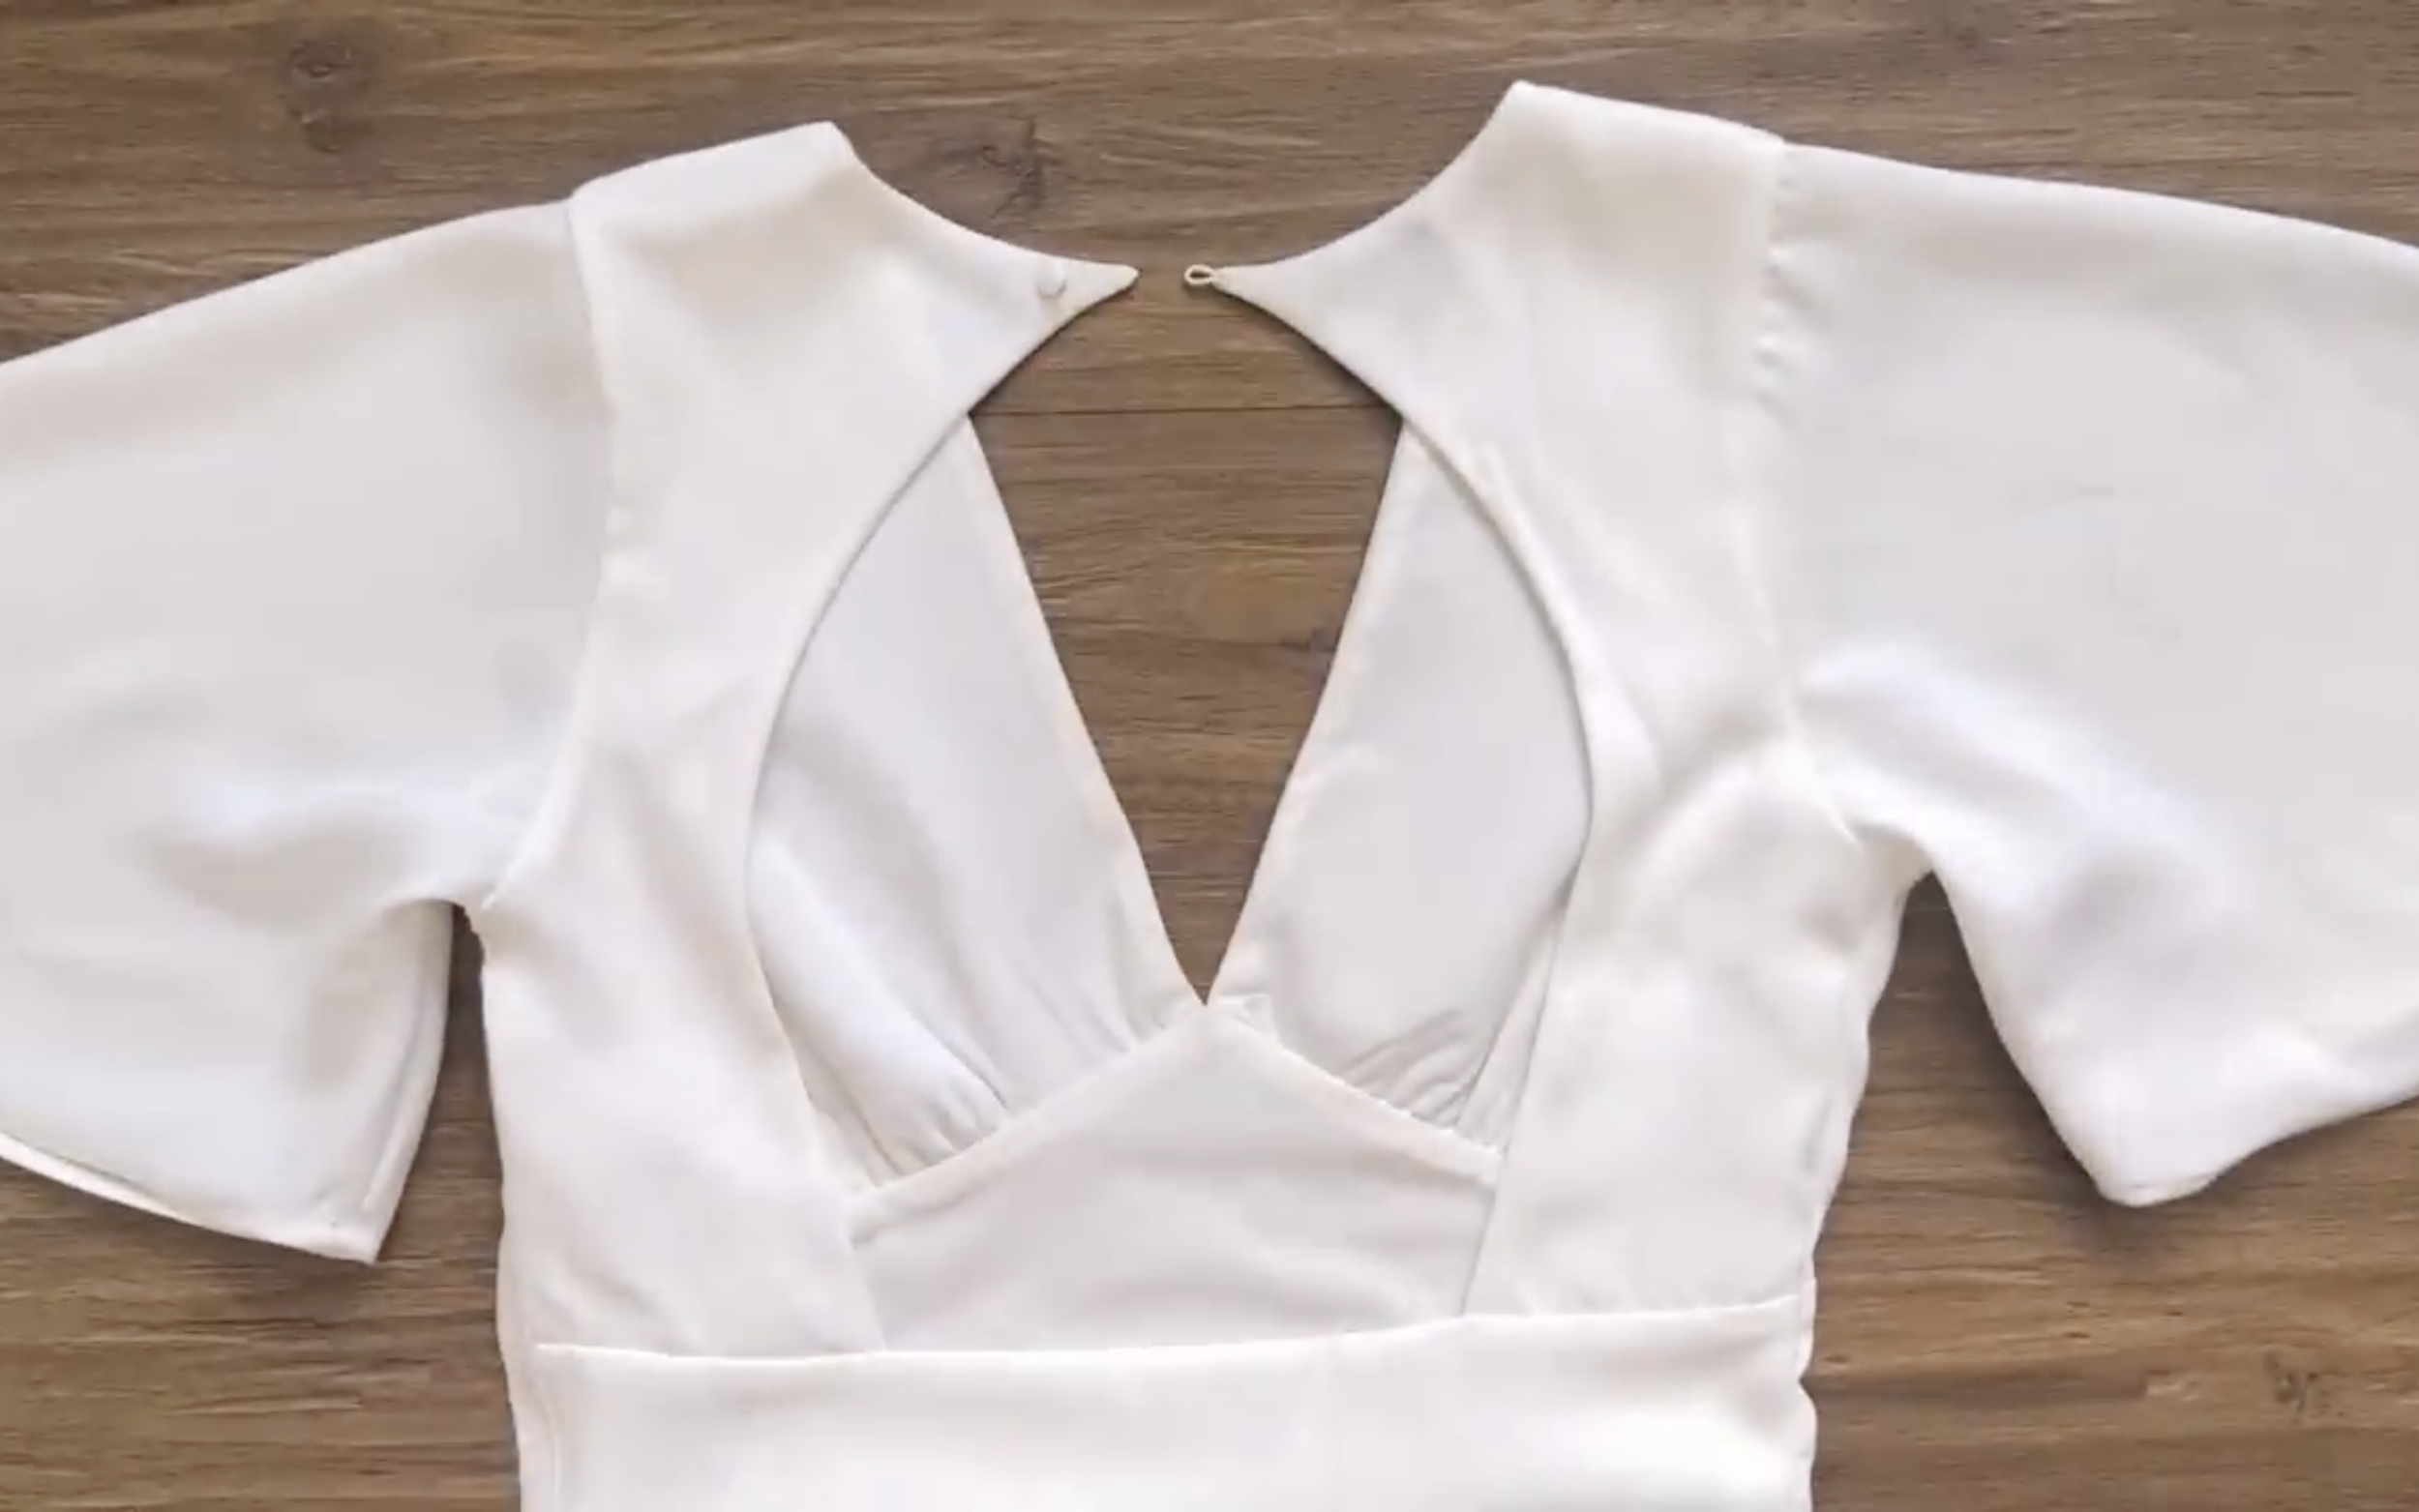
The last step is adding a button to the other side of the open back to close the back of the dress.

DIY Butterfly sleeve, deep v-neck, open back dress | My perfect wedding series - Ep 2
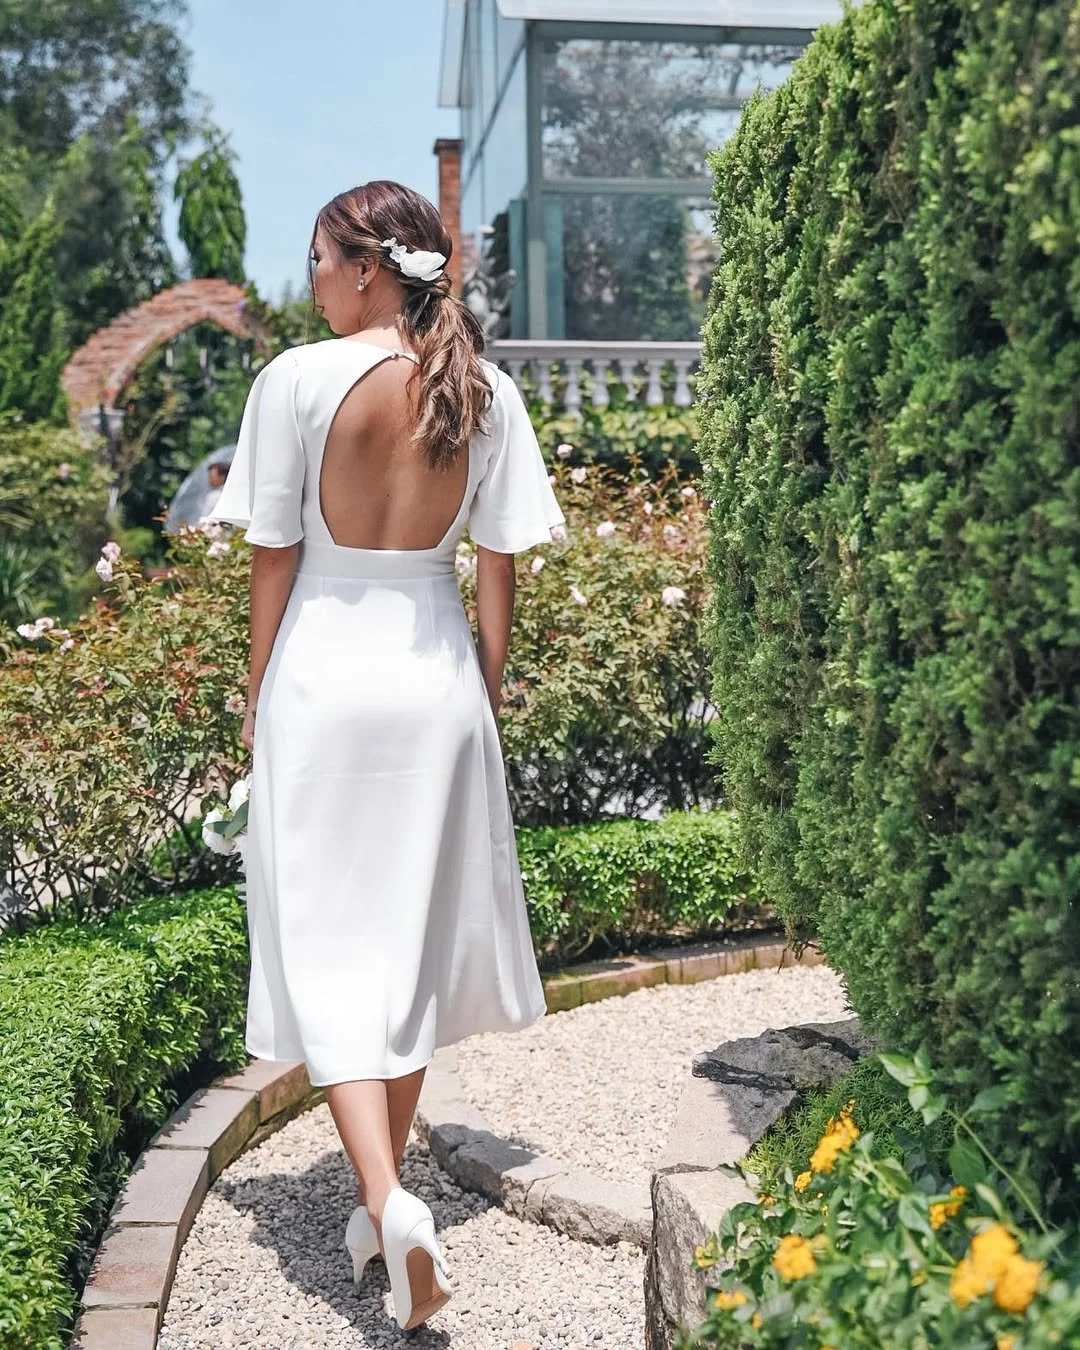
And here’s the final result!
This dress is just perfect for my wedding photo shoot, with the open back as the highlight. It’s a bit of a complicated DIY, but totally worth it.

I hope you found my step-by-step guide helpful and inspiring.
If you’re interested in making your own, give it a try and let me know how it goes!
Until then, happy sewing!