DIY A-line Mini skirt (with lining & side zipper)| I tried to make a Blazer suit - Part 2

DIY A-line Mini skirt
Welcome or welcome back to my channel!
Today, I’m excited to share with you the process of creating a A-line mini skirt. This delightful skirt is part of my Blazer suit collection, and I know many of you have been curious about how it came together after watching my “DIY Blazer” video last week.
In this tutorial, I’ll guide you through the steps to make this skirt in a simple yet elegant way. Whether you’re a seasoned seamstress or a beginner, I encourage you to give it a try.
Let’s get started!
WHAT YOU’LL NEED
0.5m of cotton khaki fabric
0.5m of cotton lining fabric
Pattern paper
Sewing machine
Pins
Scissors
Ruler
Long stick
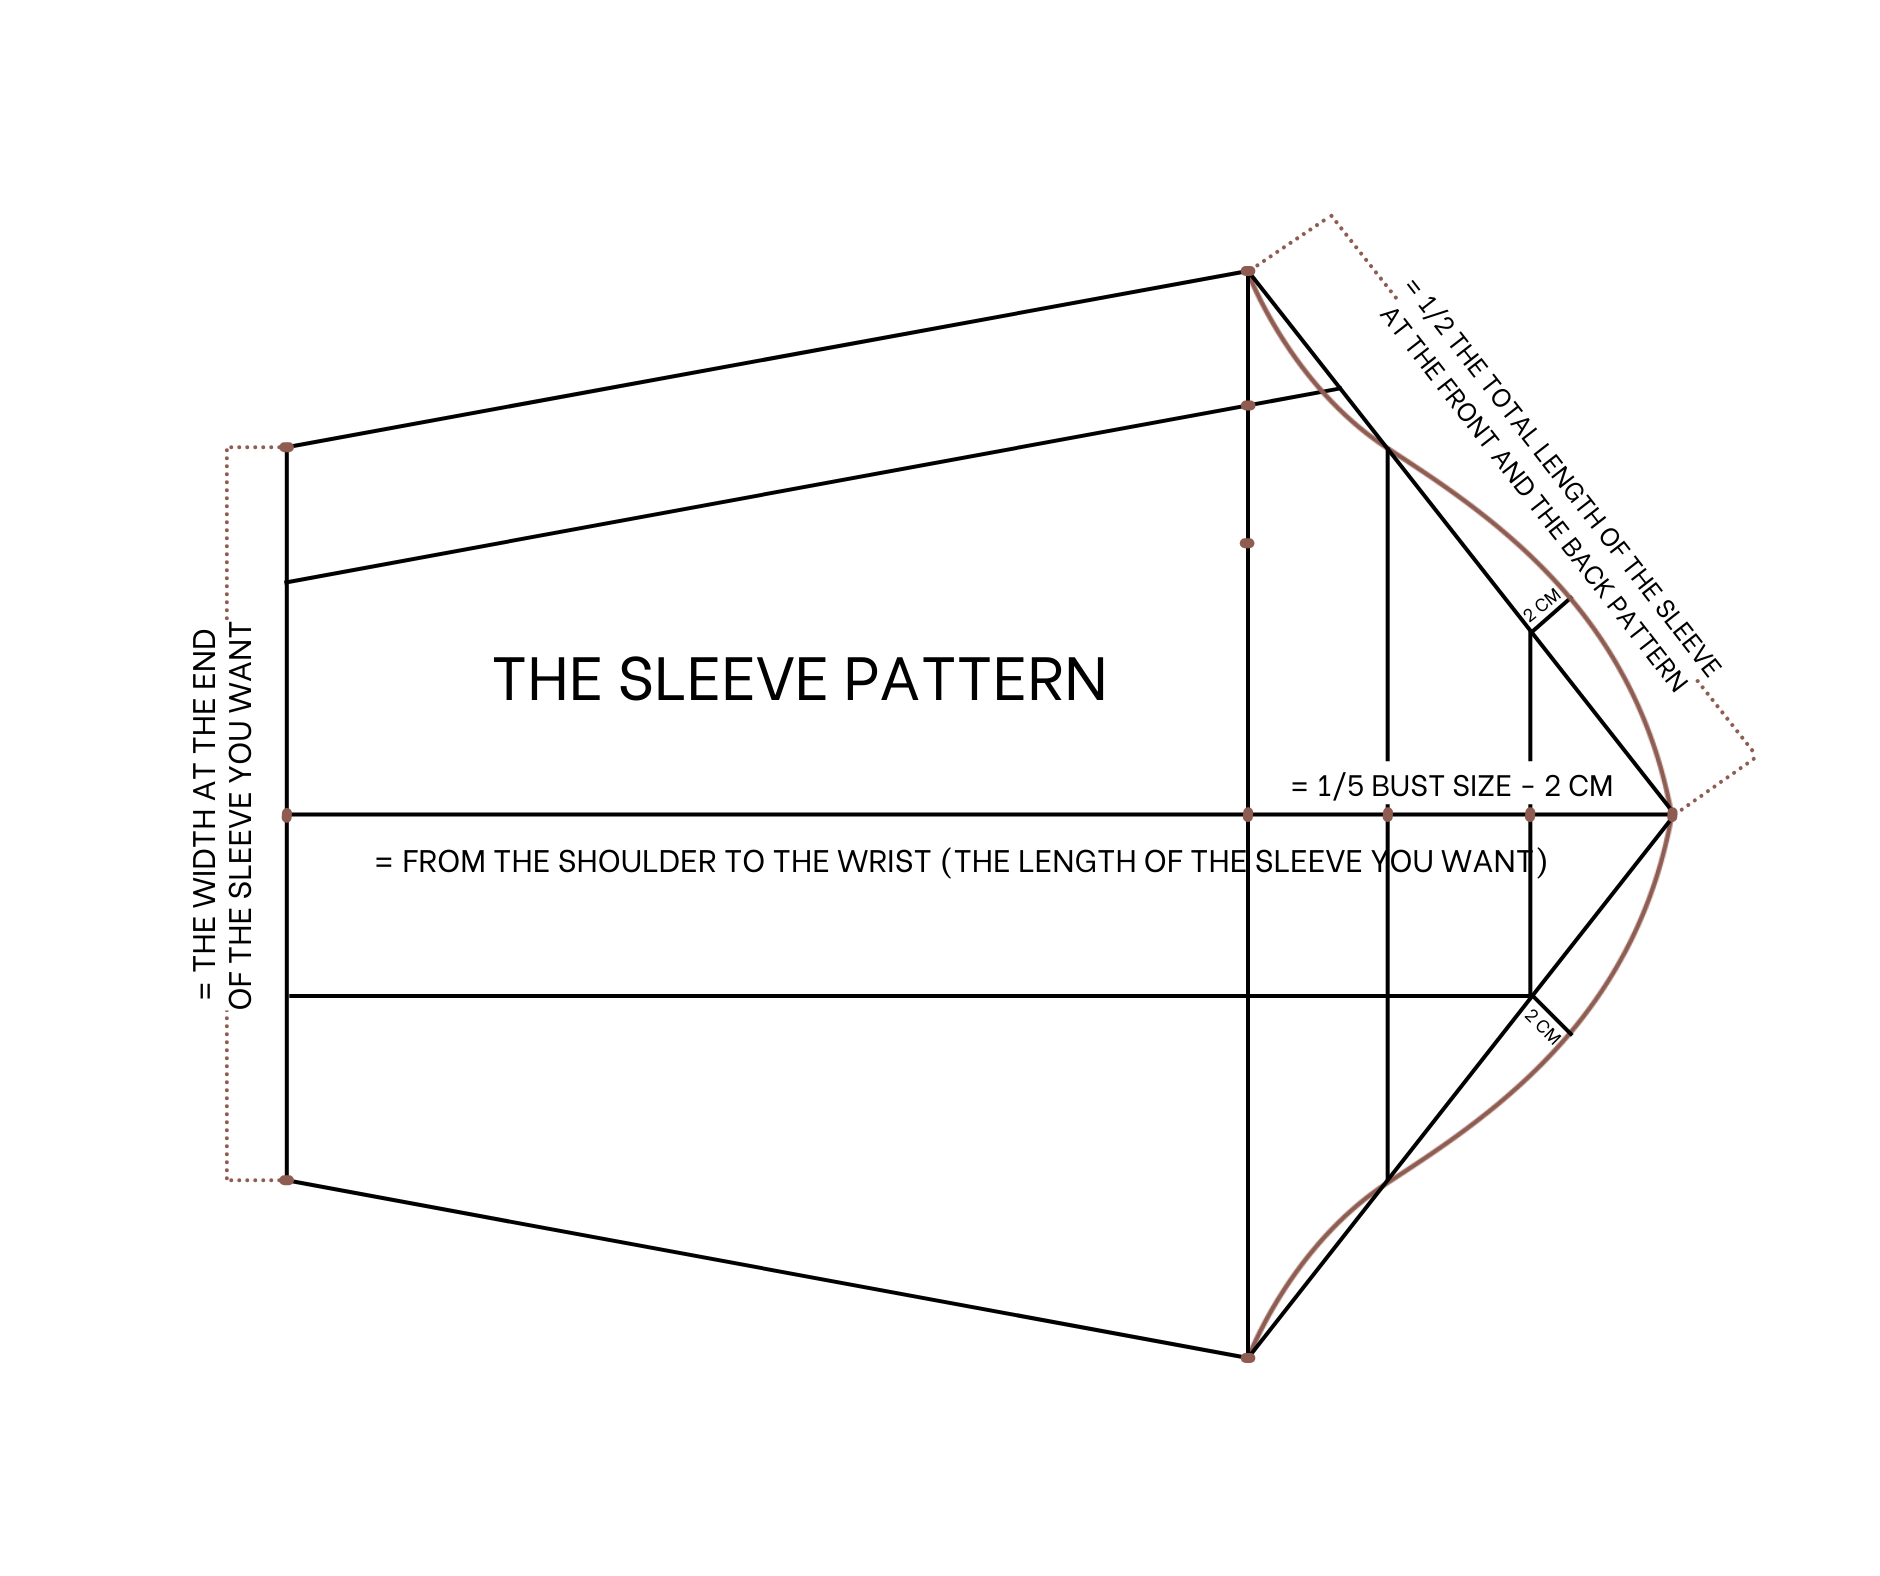
MAKING THE PATTERNS
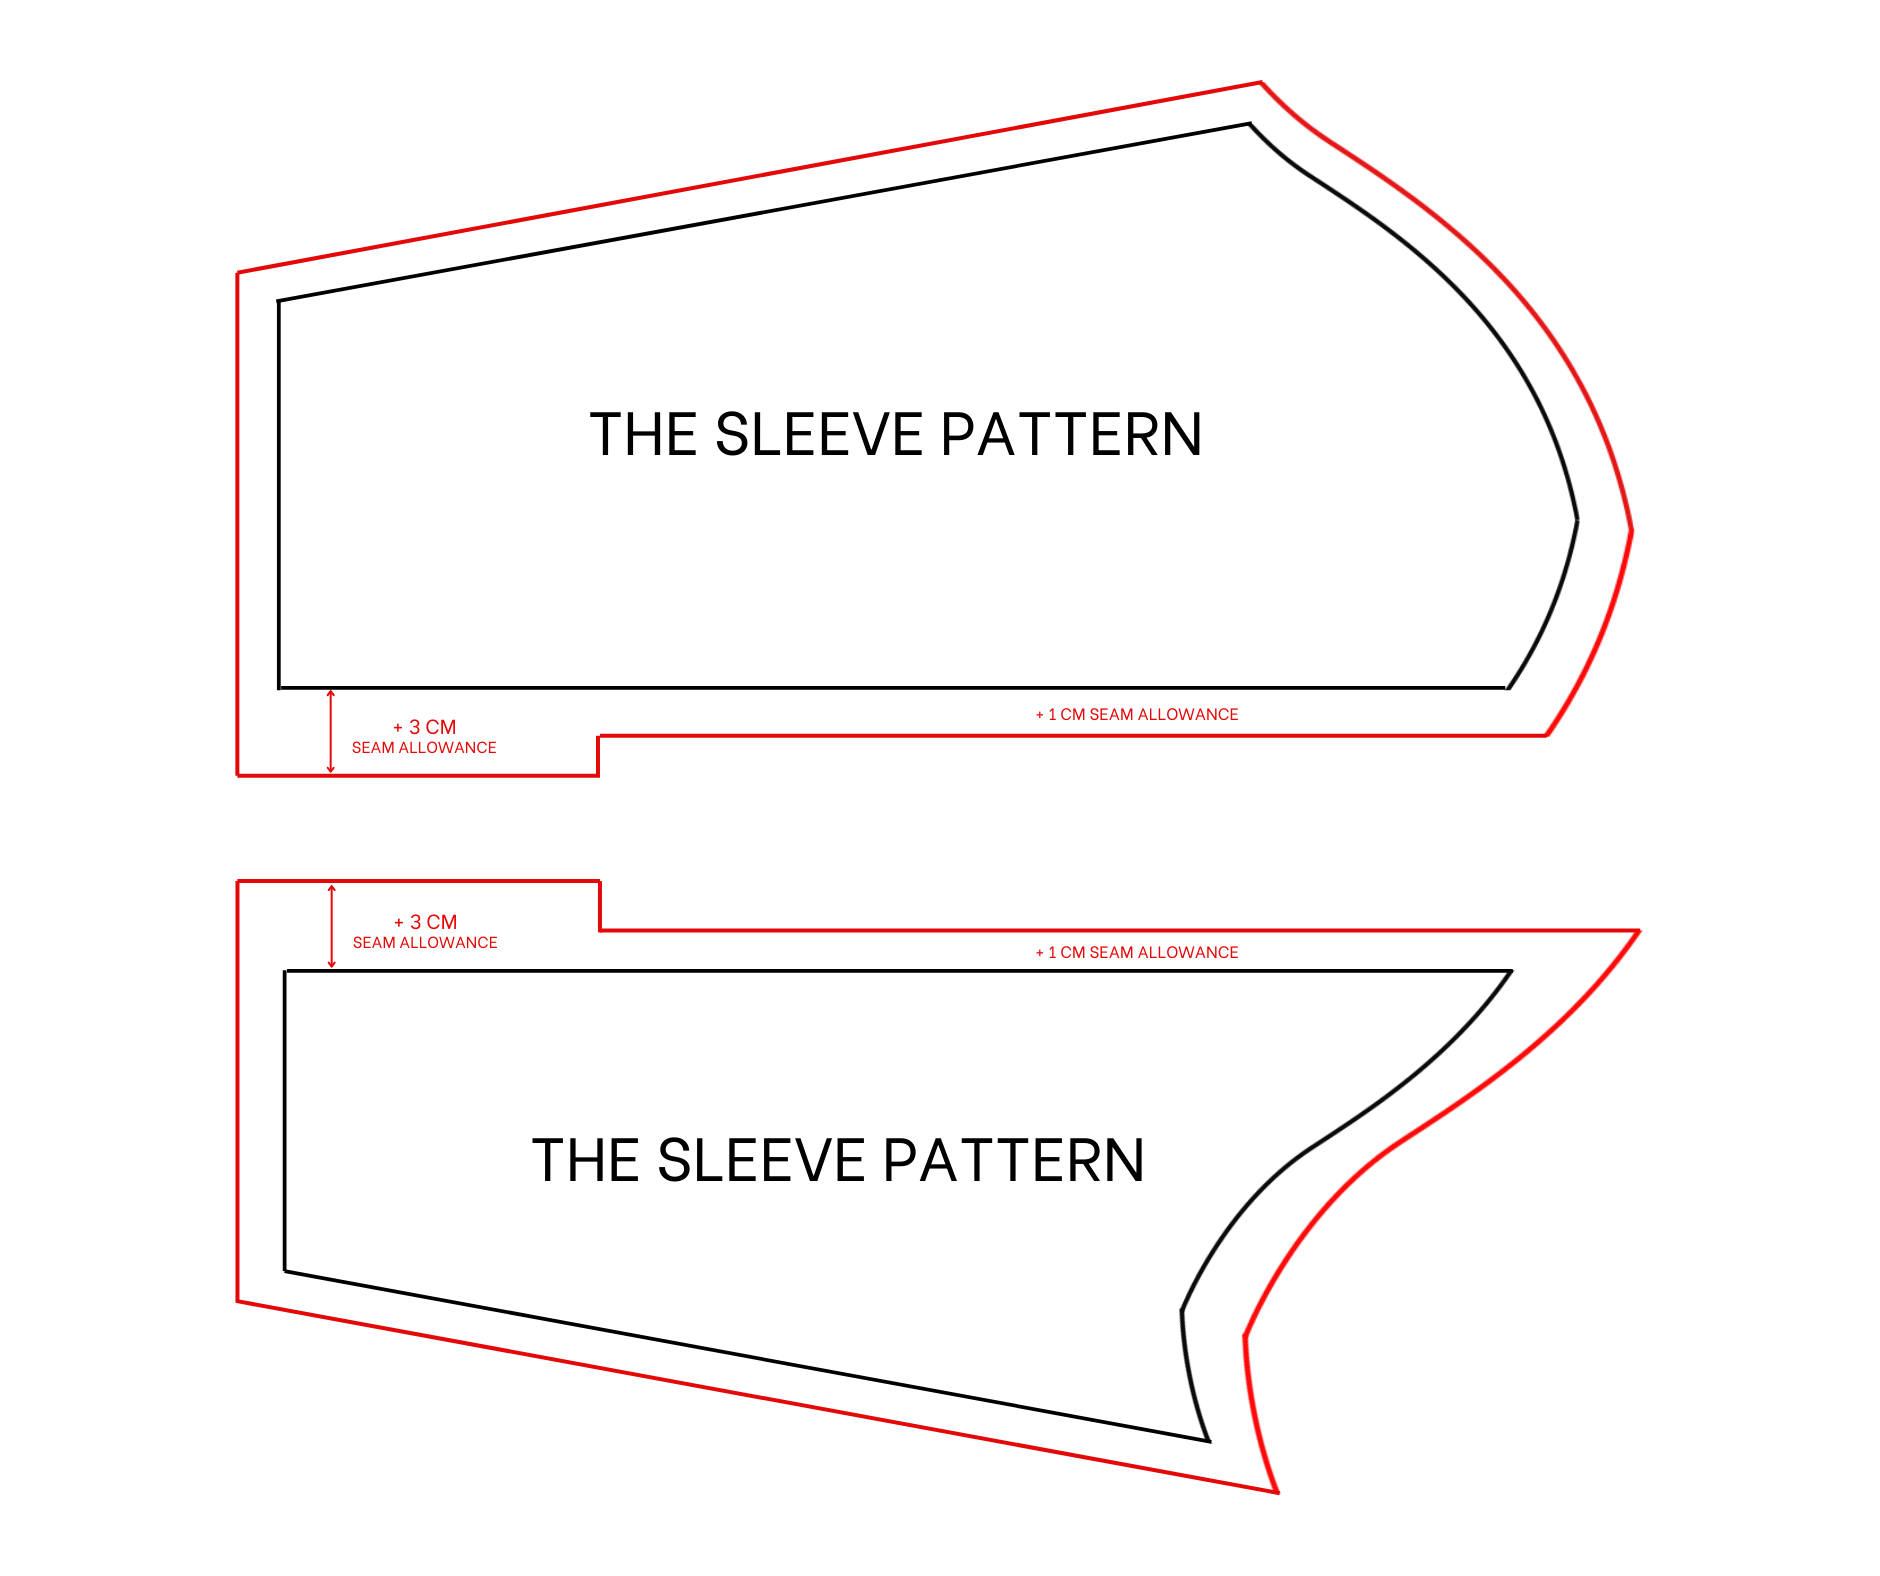
Here’s the pattern for the project. To get a clear understanding of all the measurements needed for the pattern, watch the video from 0:37 to 3:42.
Remember, you can adjust these measurements to fit your own dimensions!
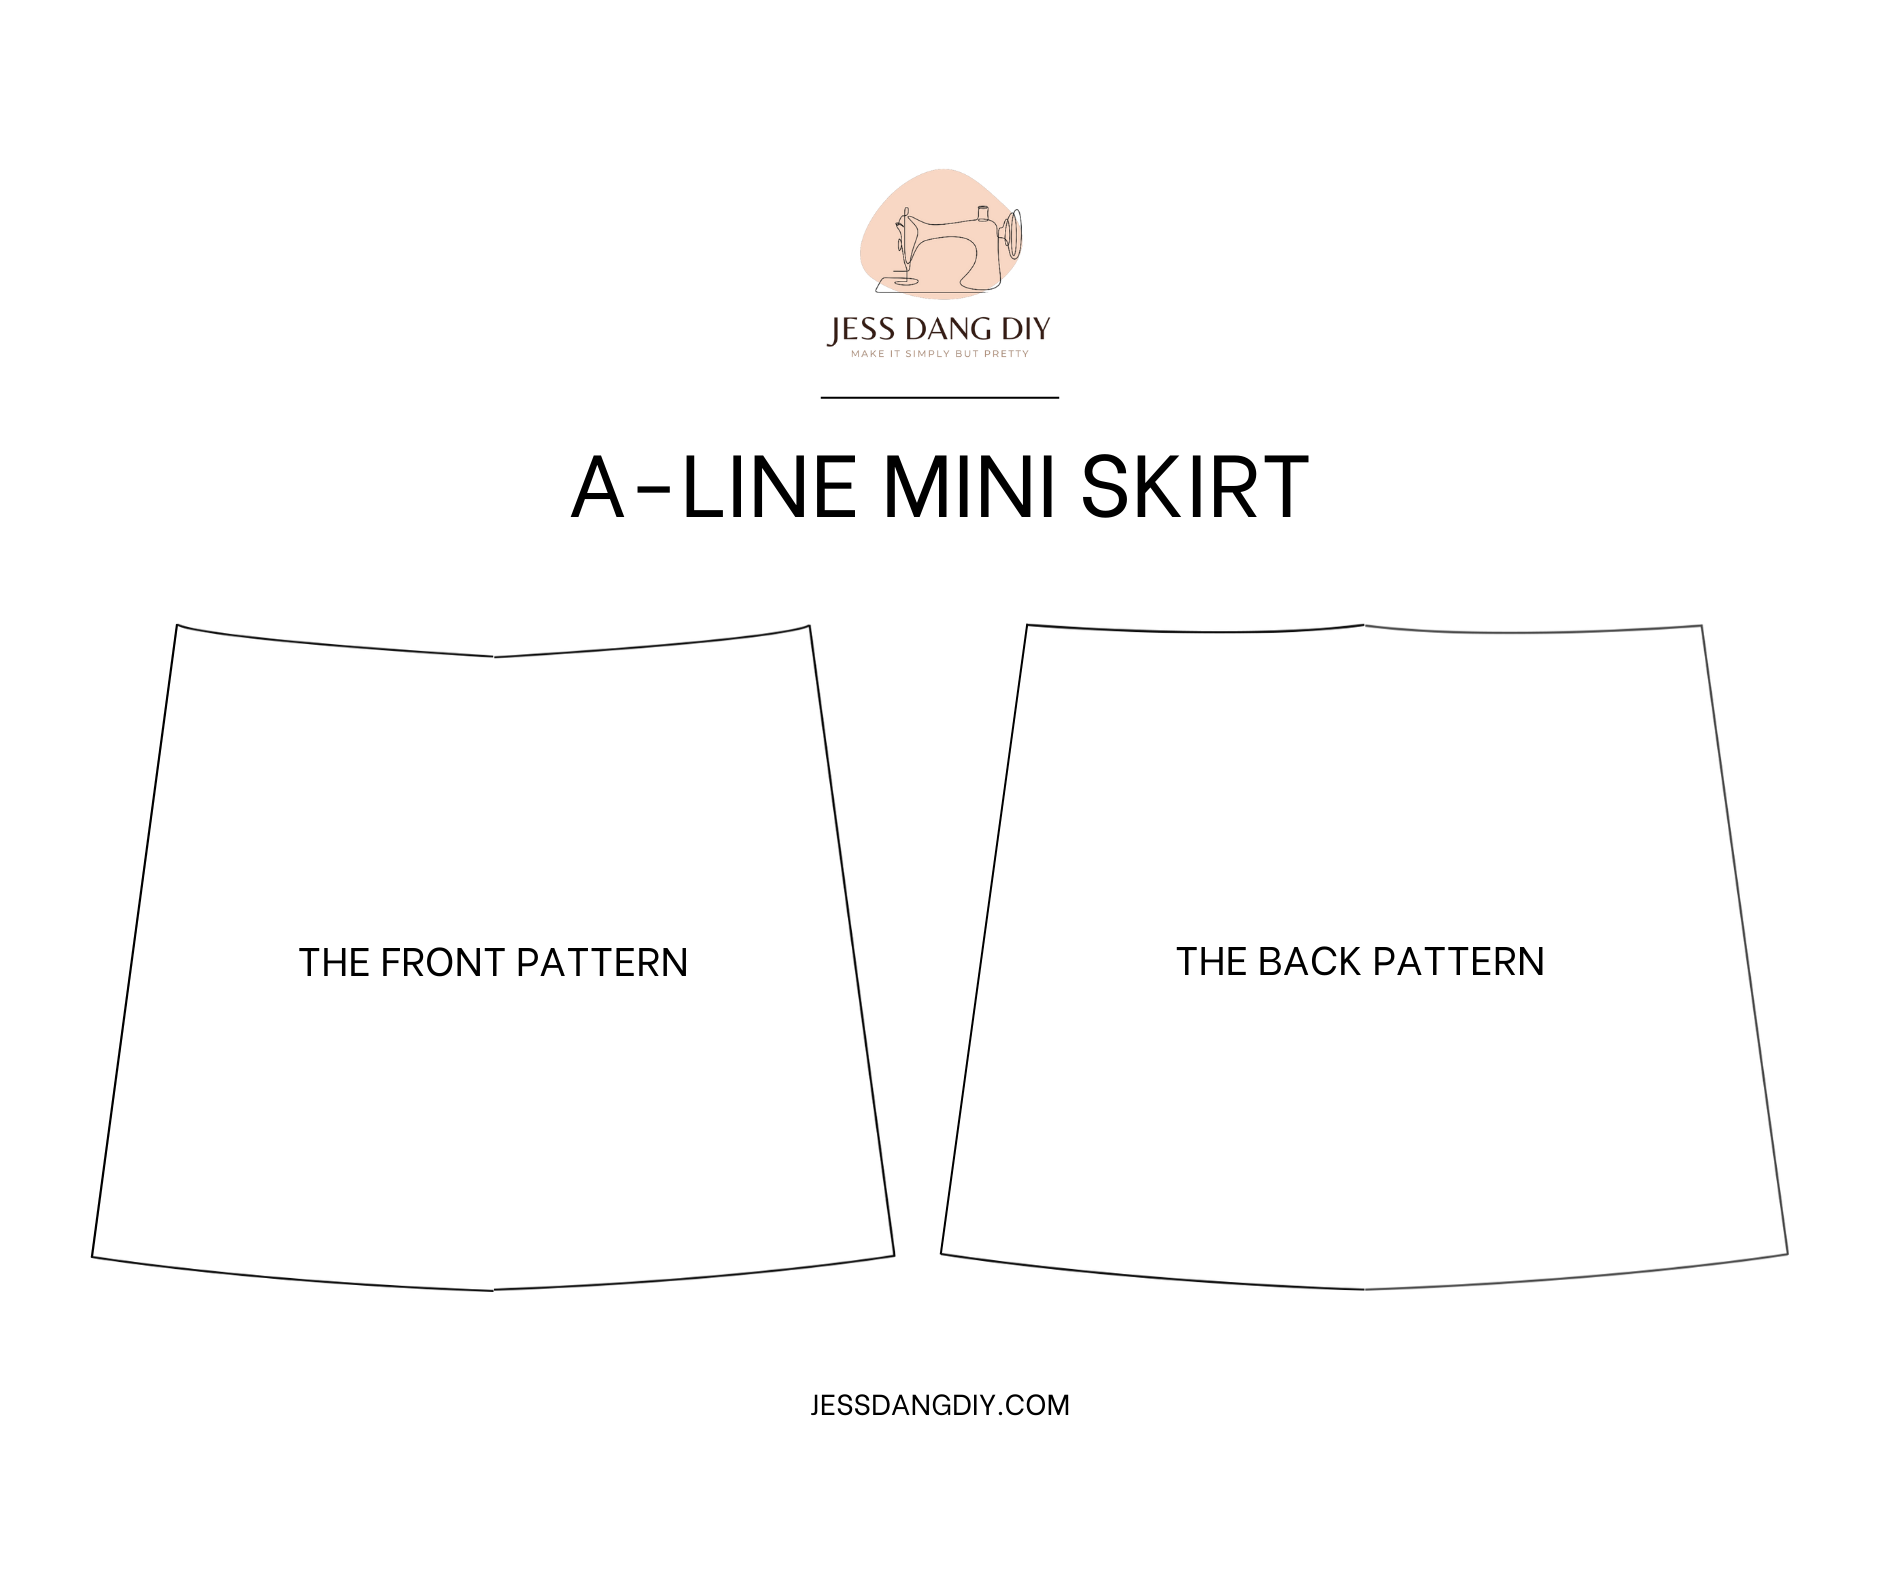
THE FRONT PATTERN
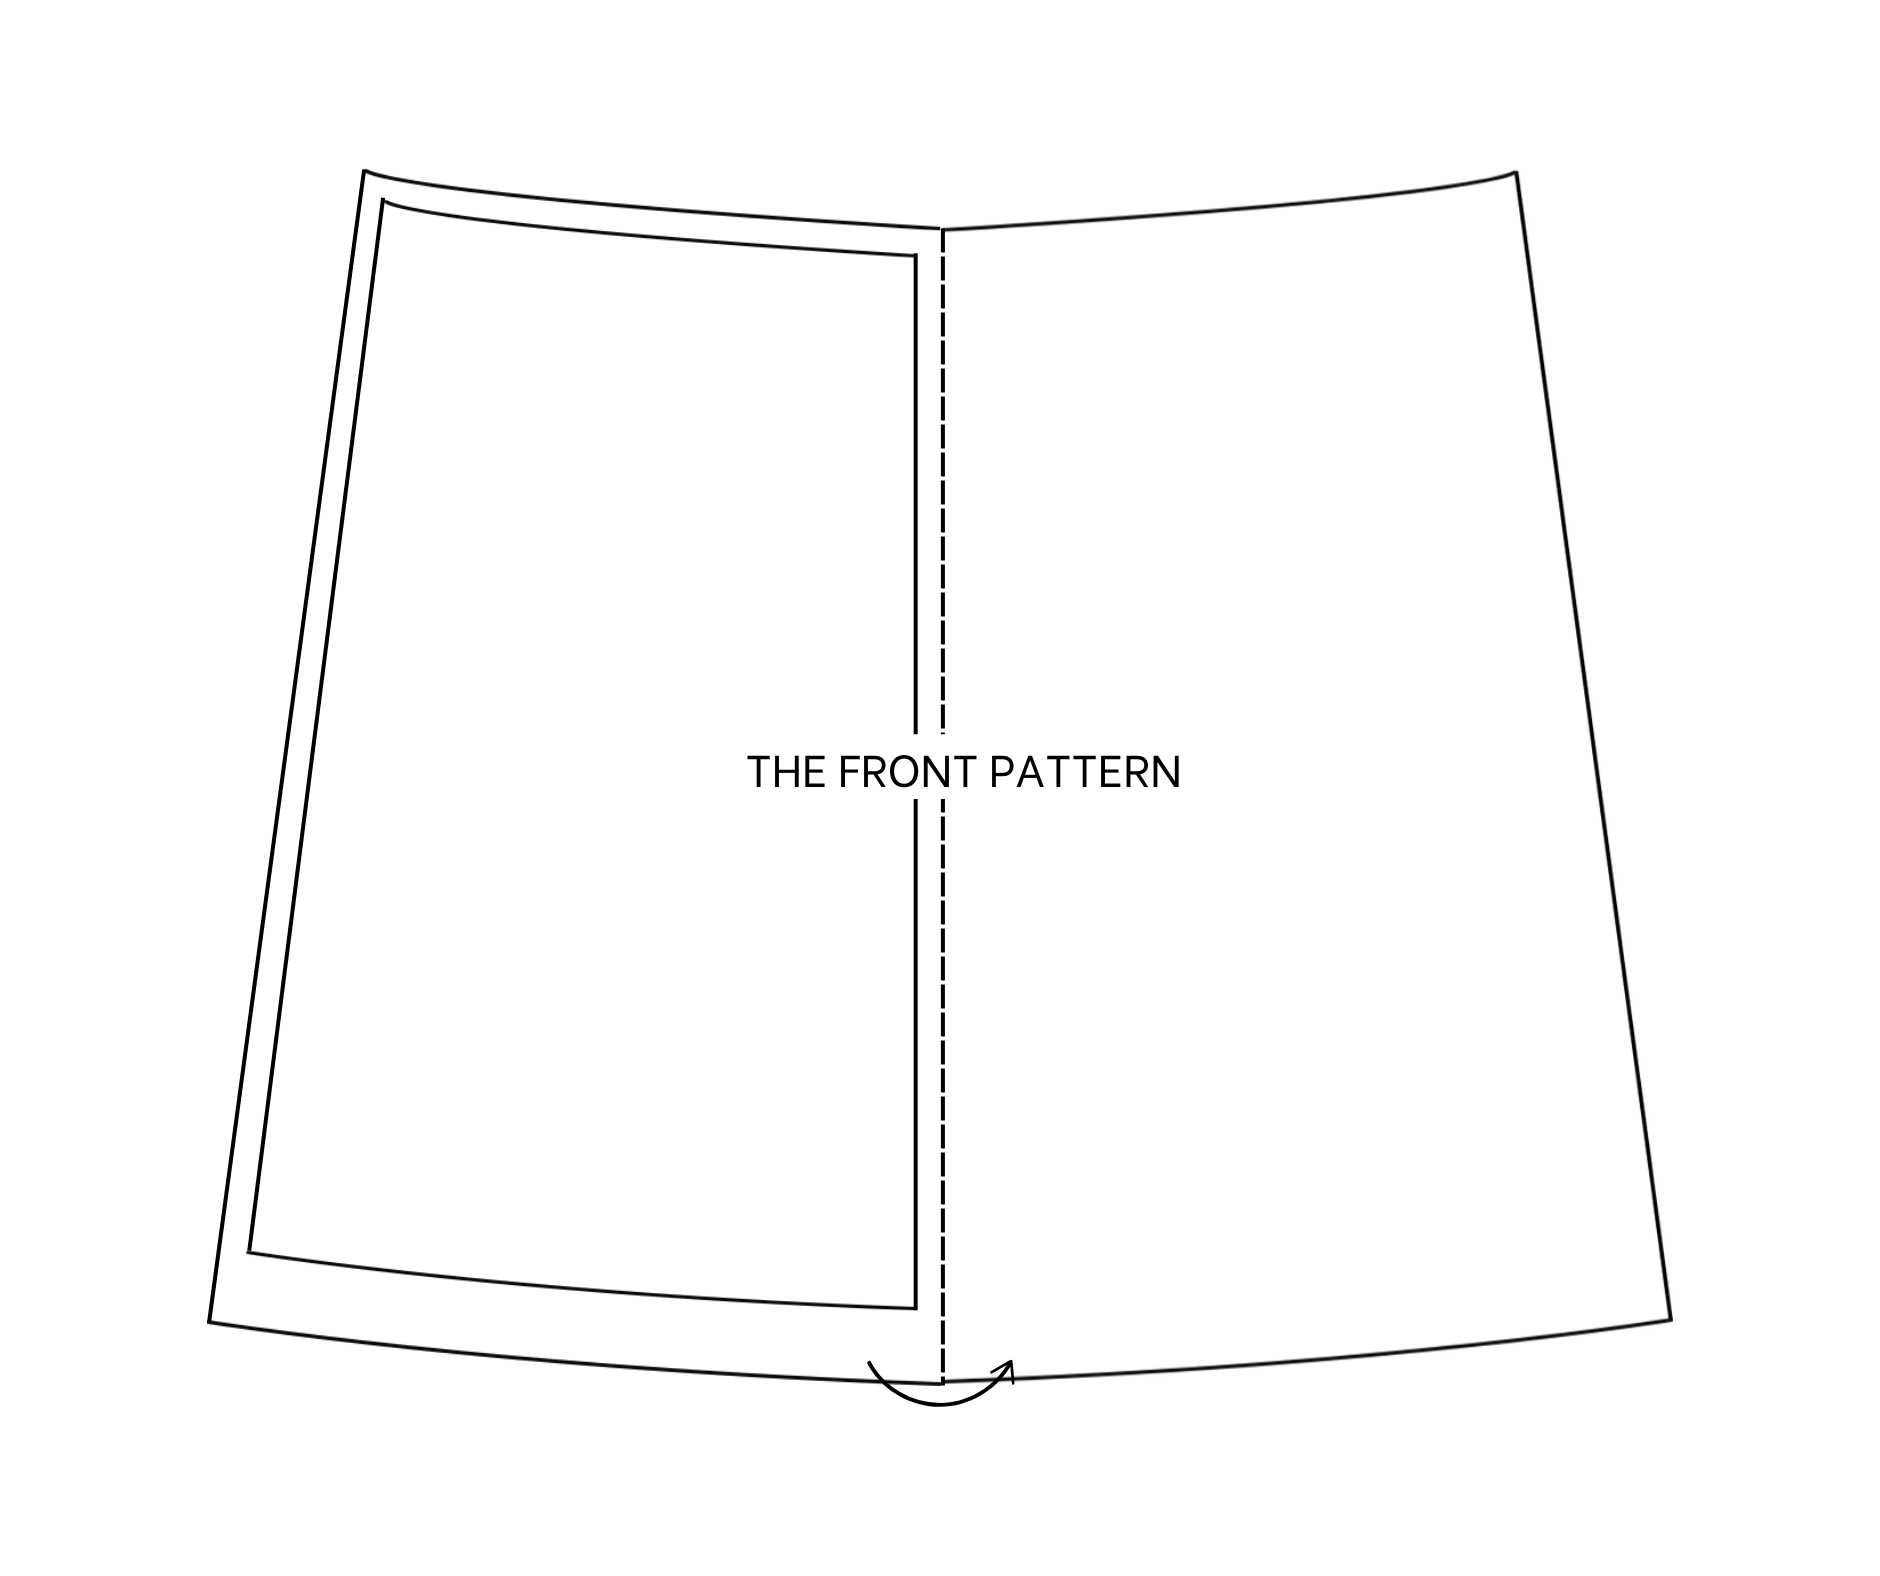
The front pattern
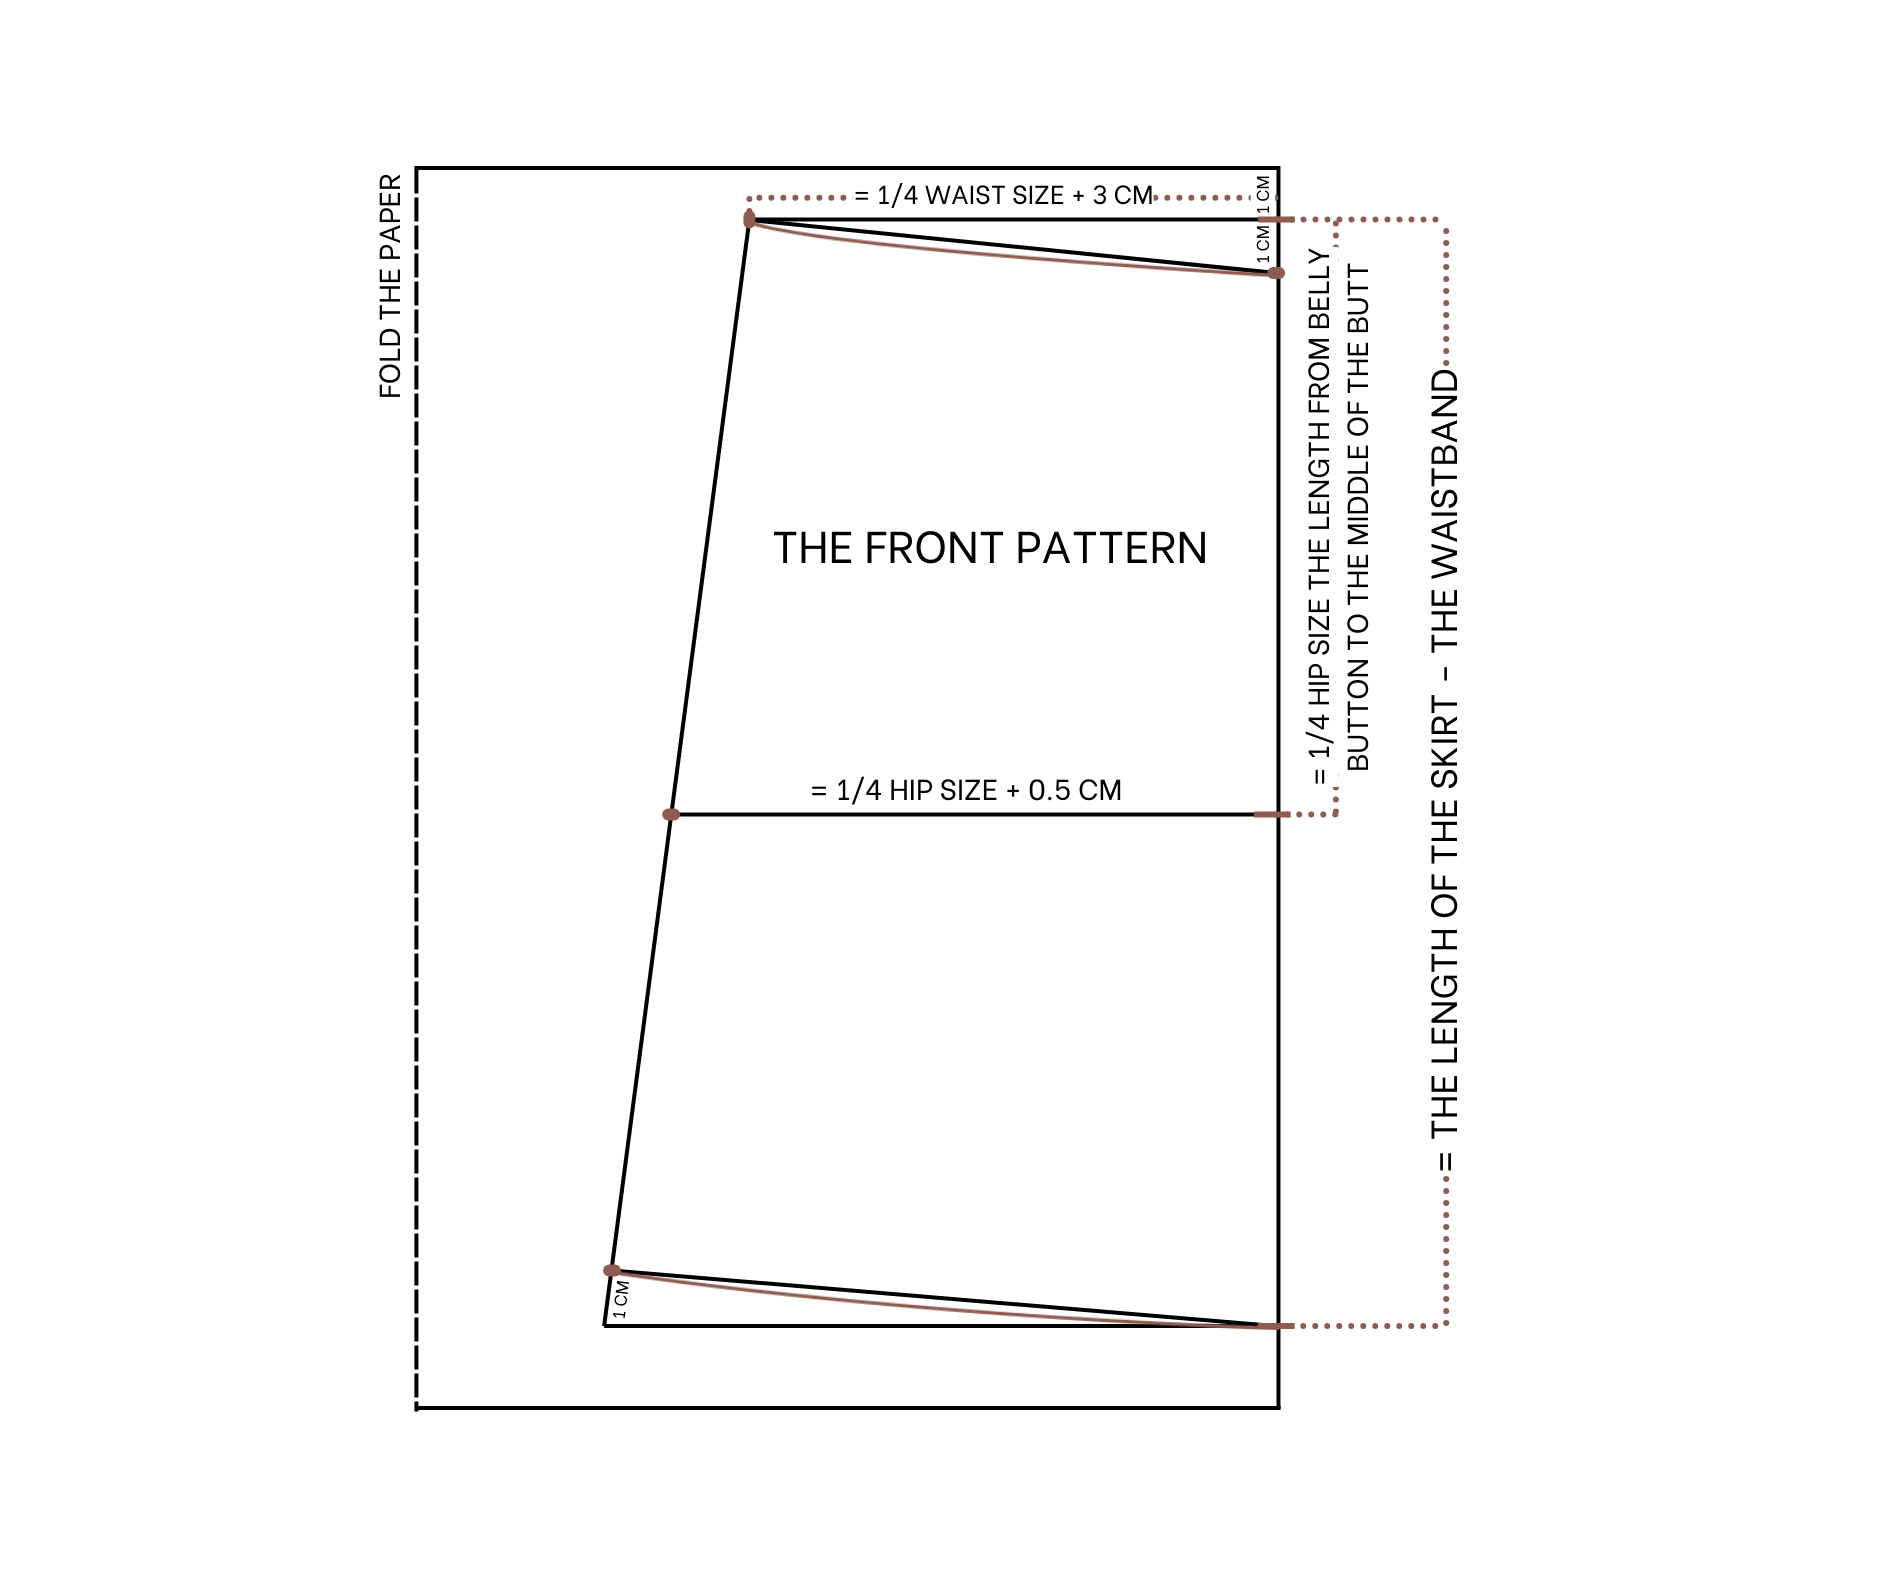
To make the front pattern fold the paper in half first. From the folding line, draw a horizontal line it will be the waistline of the skirt.
From this line, draw another one 32 cm from it. It's a quarter of your hip size and this will be the hip line of the skirt.
On the waistline, mark out 19 cm from the folding line. It's a quarter of your waist size plus 3 cm for the dart you will make there later.
On the hip line, mark out 23.5 cm from the folding line. It's a quarter of my hip size plus 0.5 cm then connect two marks together.
From the waistline, keep drawing another horizontal line at 40 cm from it. It's the length of the skirt that you want minus 3 cm for the width of the waistband you will make later. This horizontal line will cut the line you draw before that and you will have the sideline of the skirt.
From the end of the sideline, mark up 1 cm then connect this mark to the other end of the folding line to finish the ending line of the skirt. Make it a big curve to make the ending line nicer.
At the top of the folding line, marked down 1 cm then connect this mark to the top of the sideline to finish the waistline for the front pattern. Make it a big curve to make the waistline nicer.
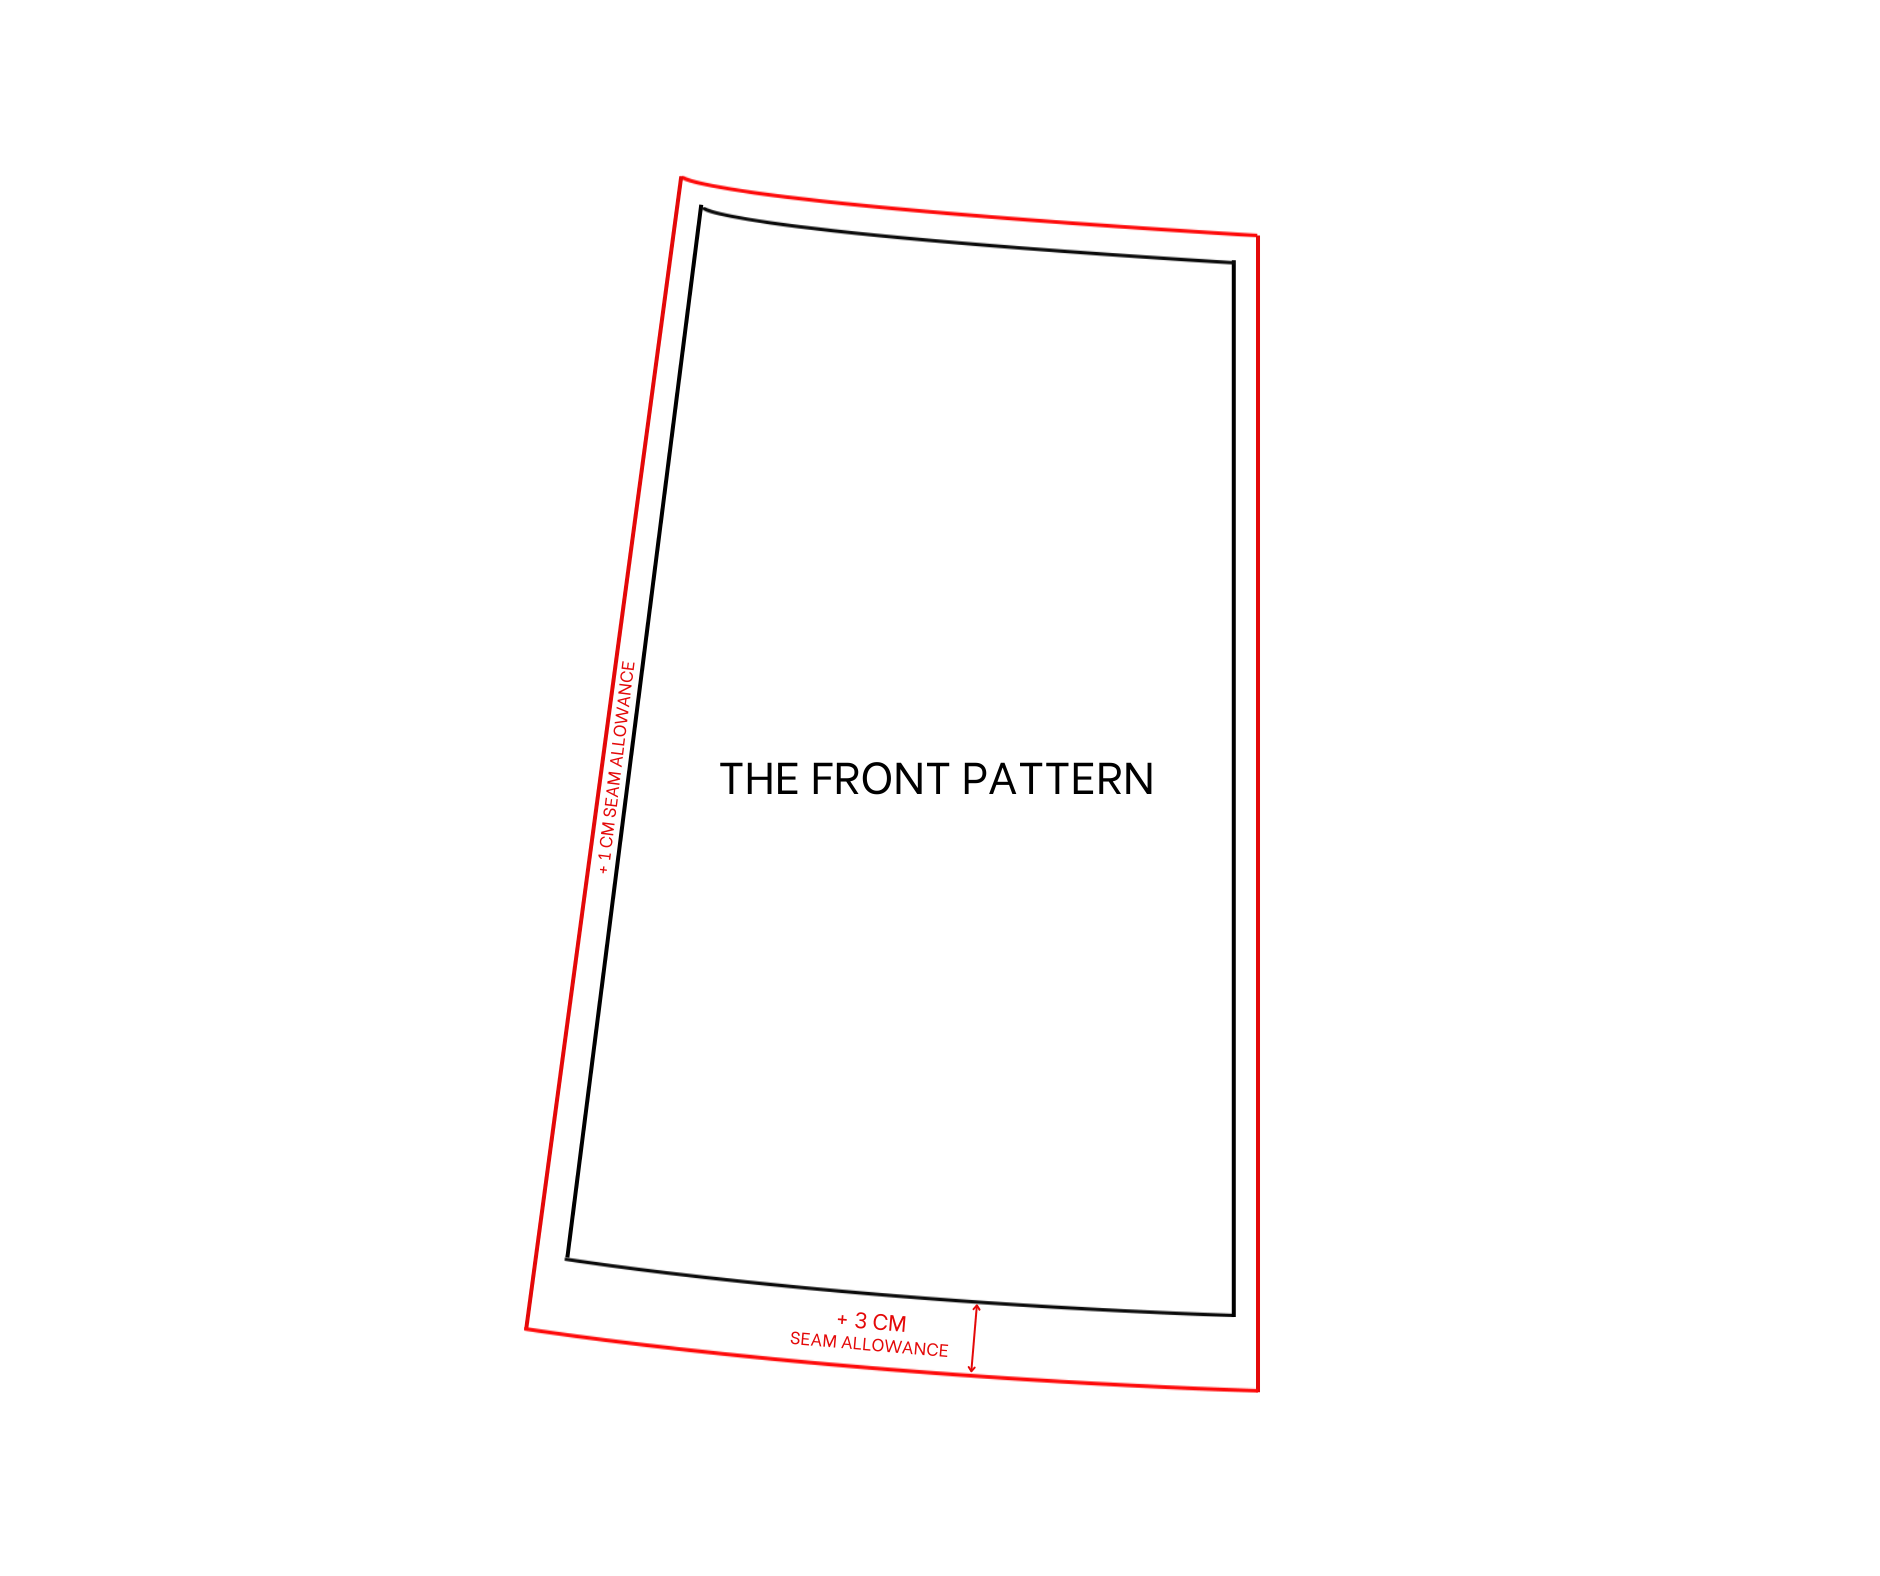
Add 1 cm for seam allowance outside the drawing lines except 3 cm for the ending line of the skirt and you will have the front pattern of the skirt after cutting.
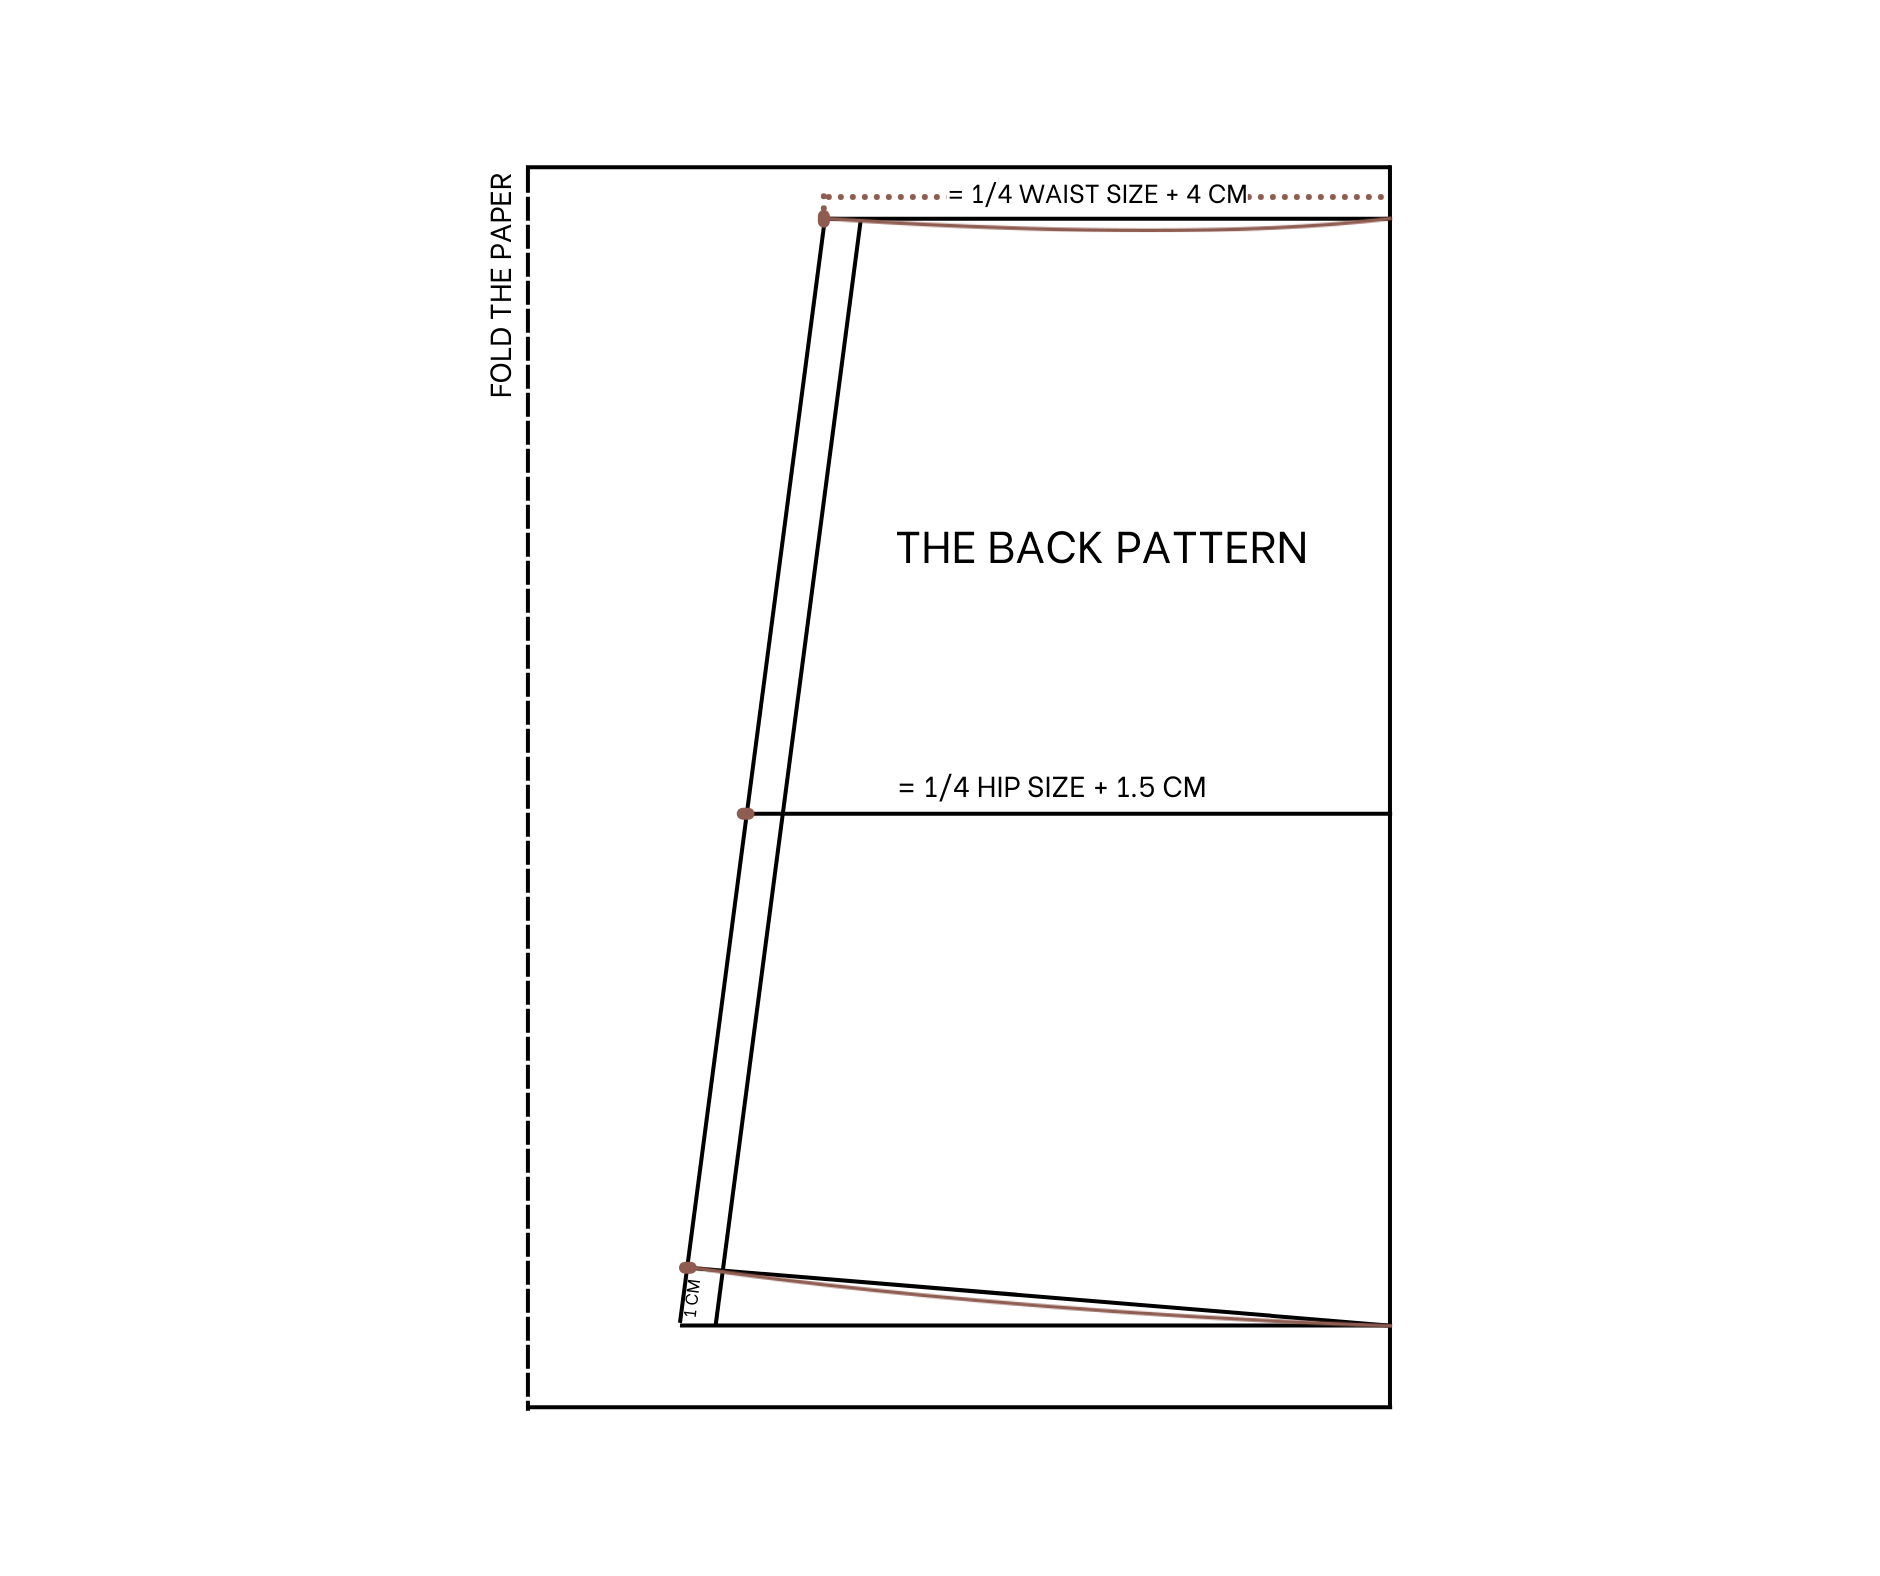
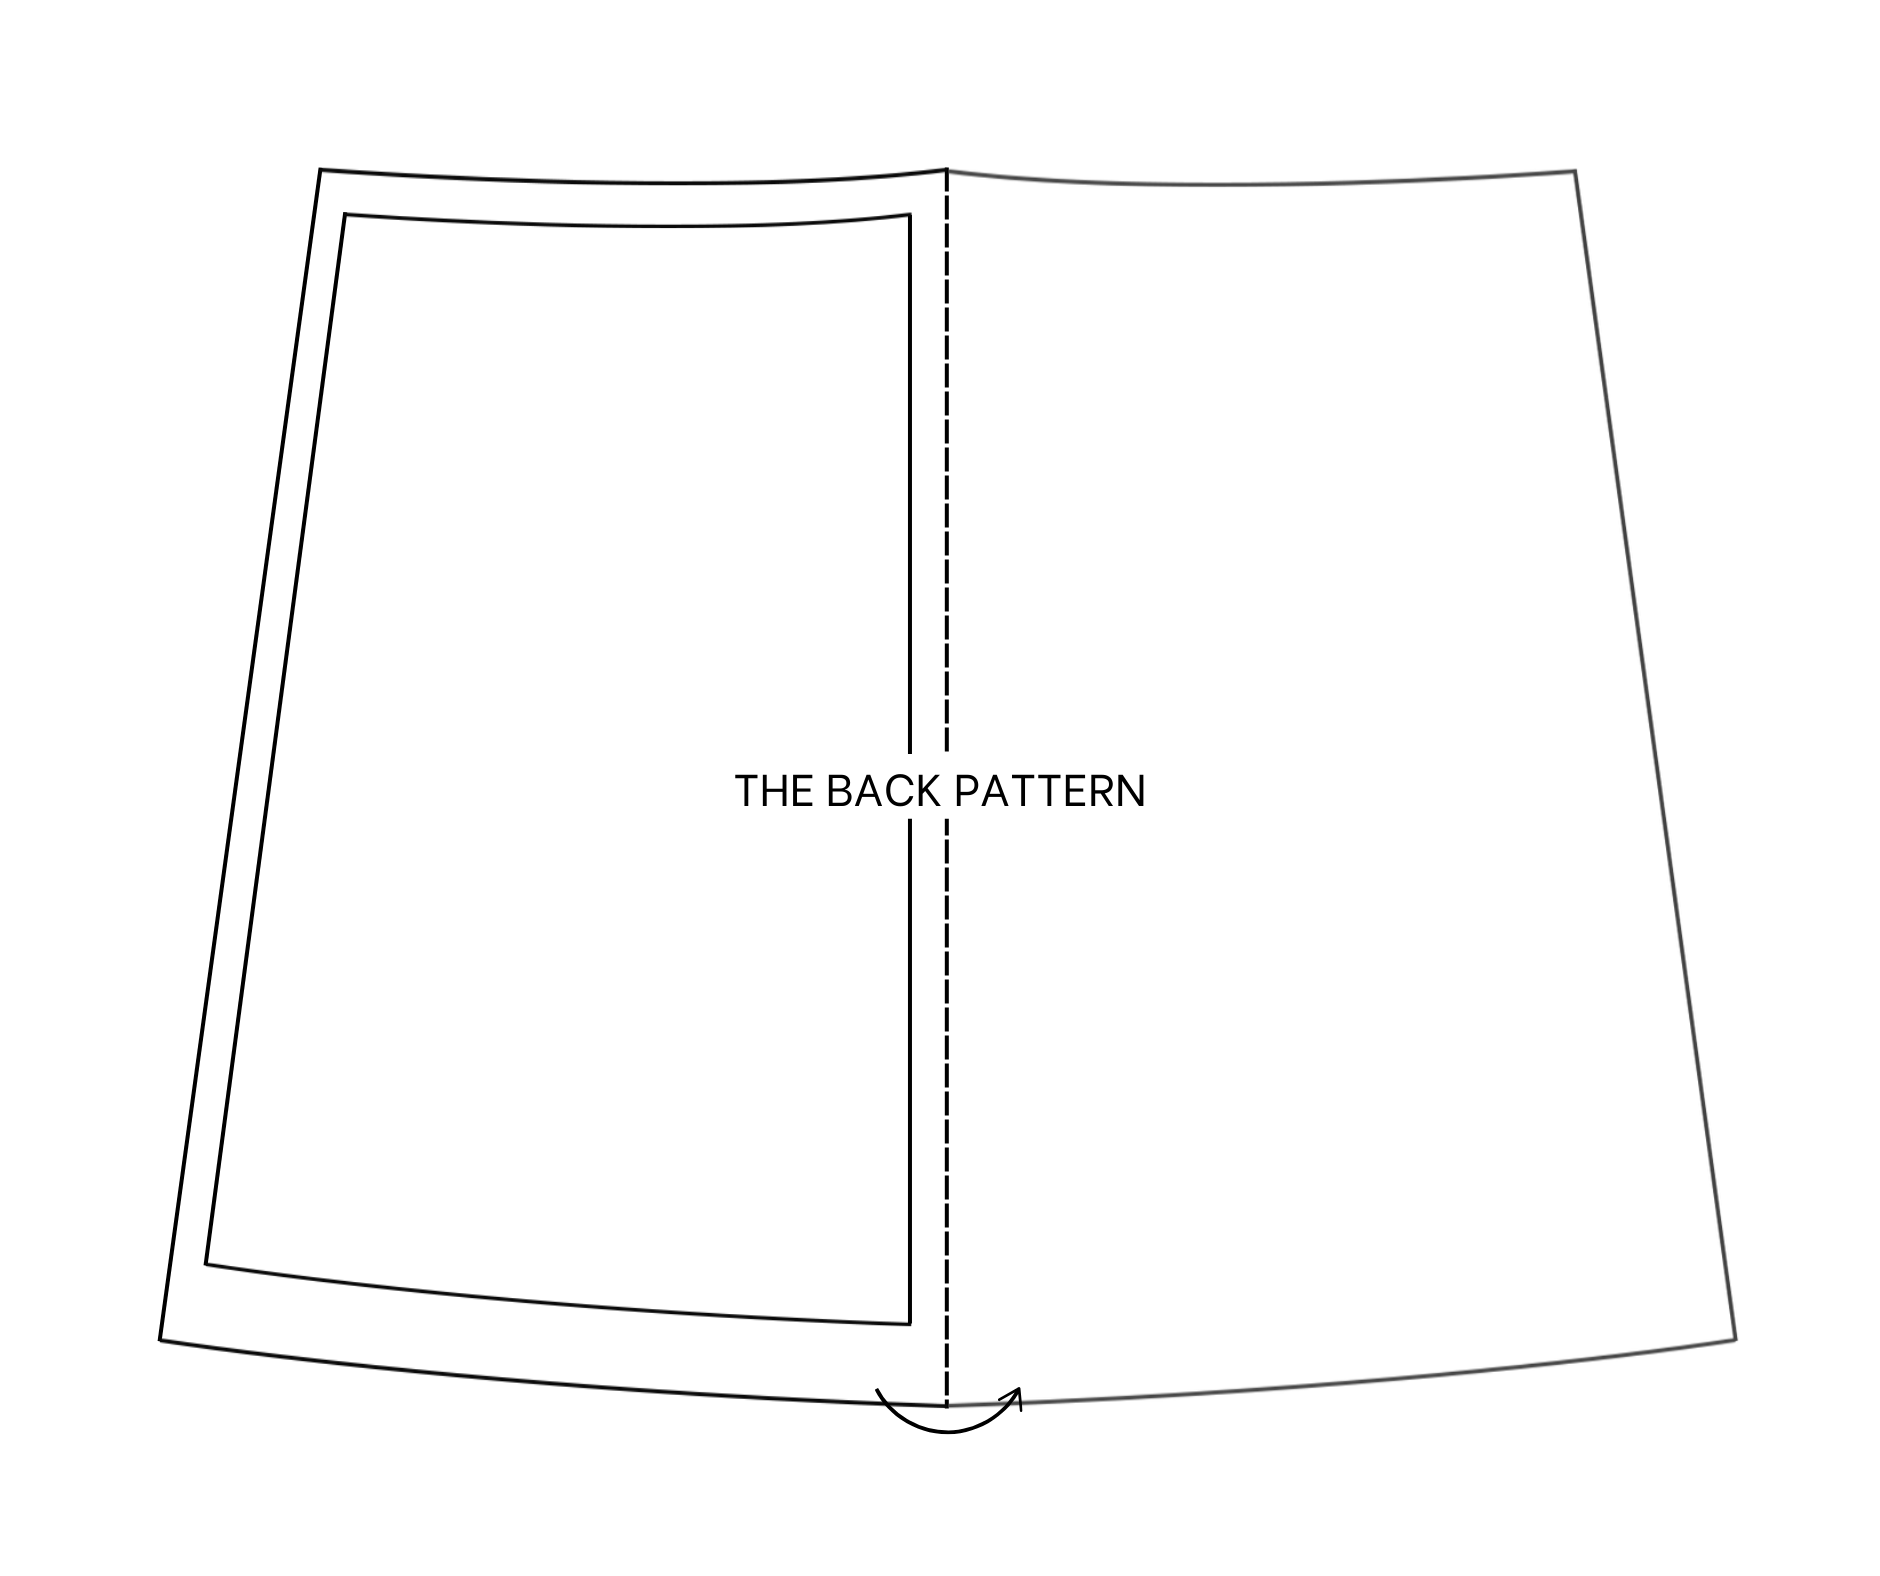
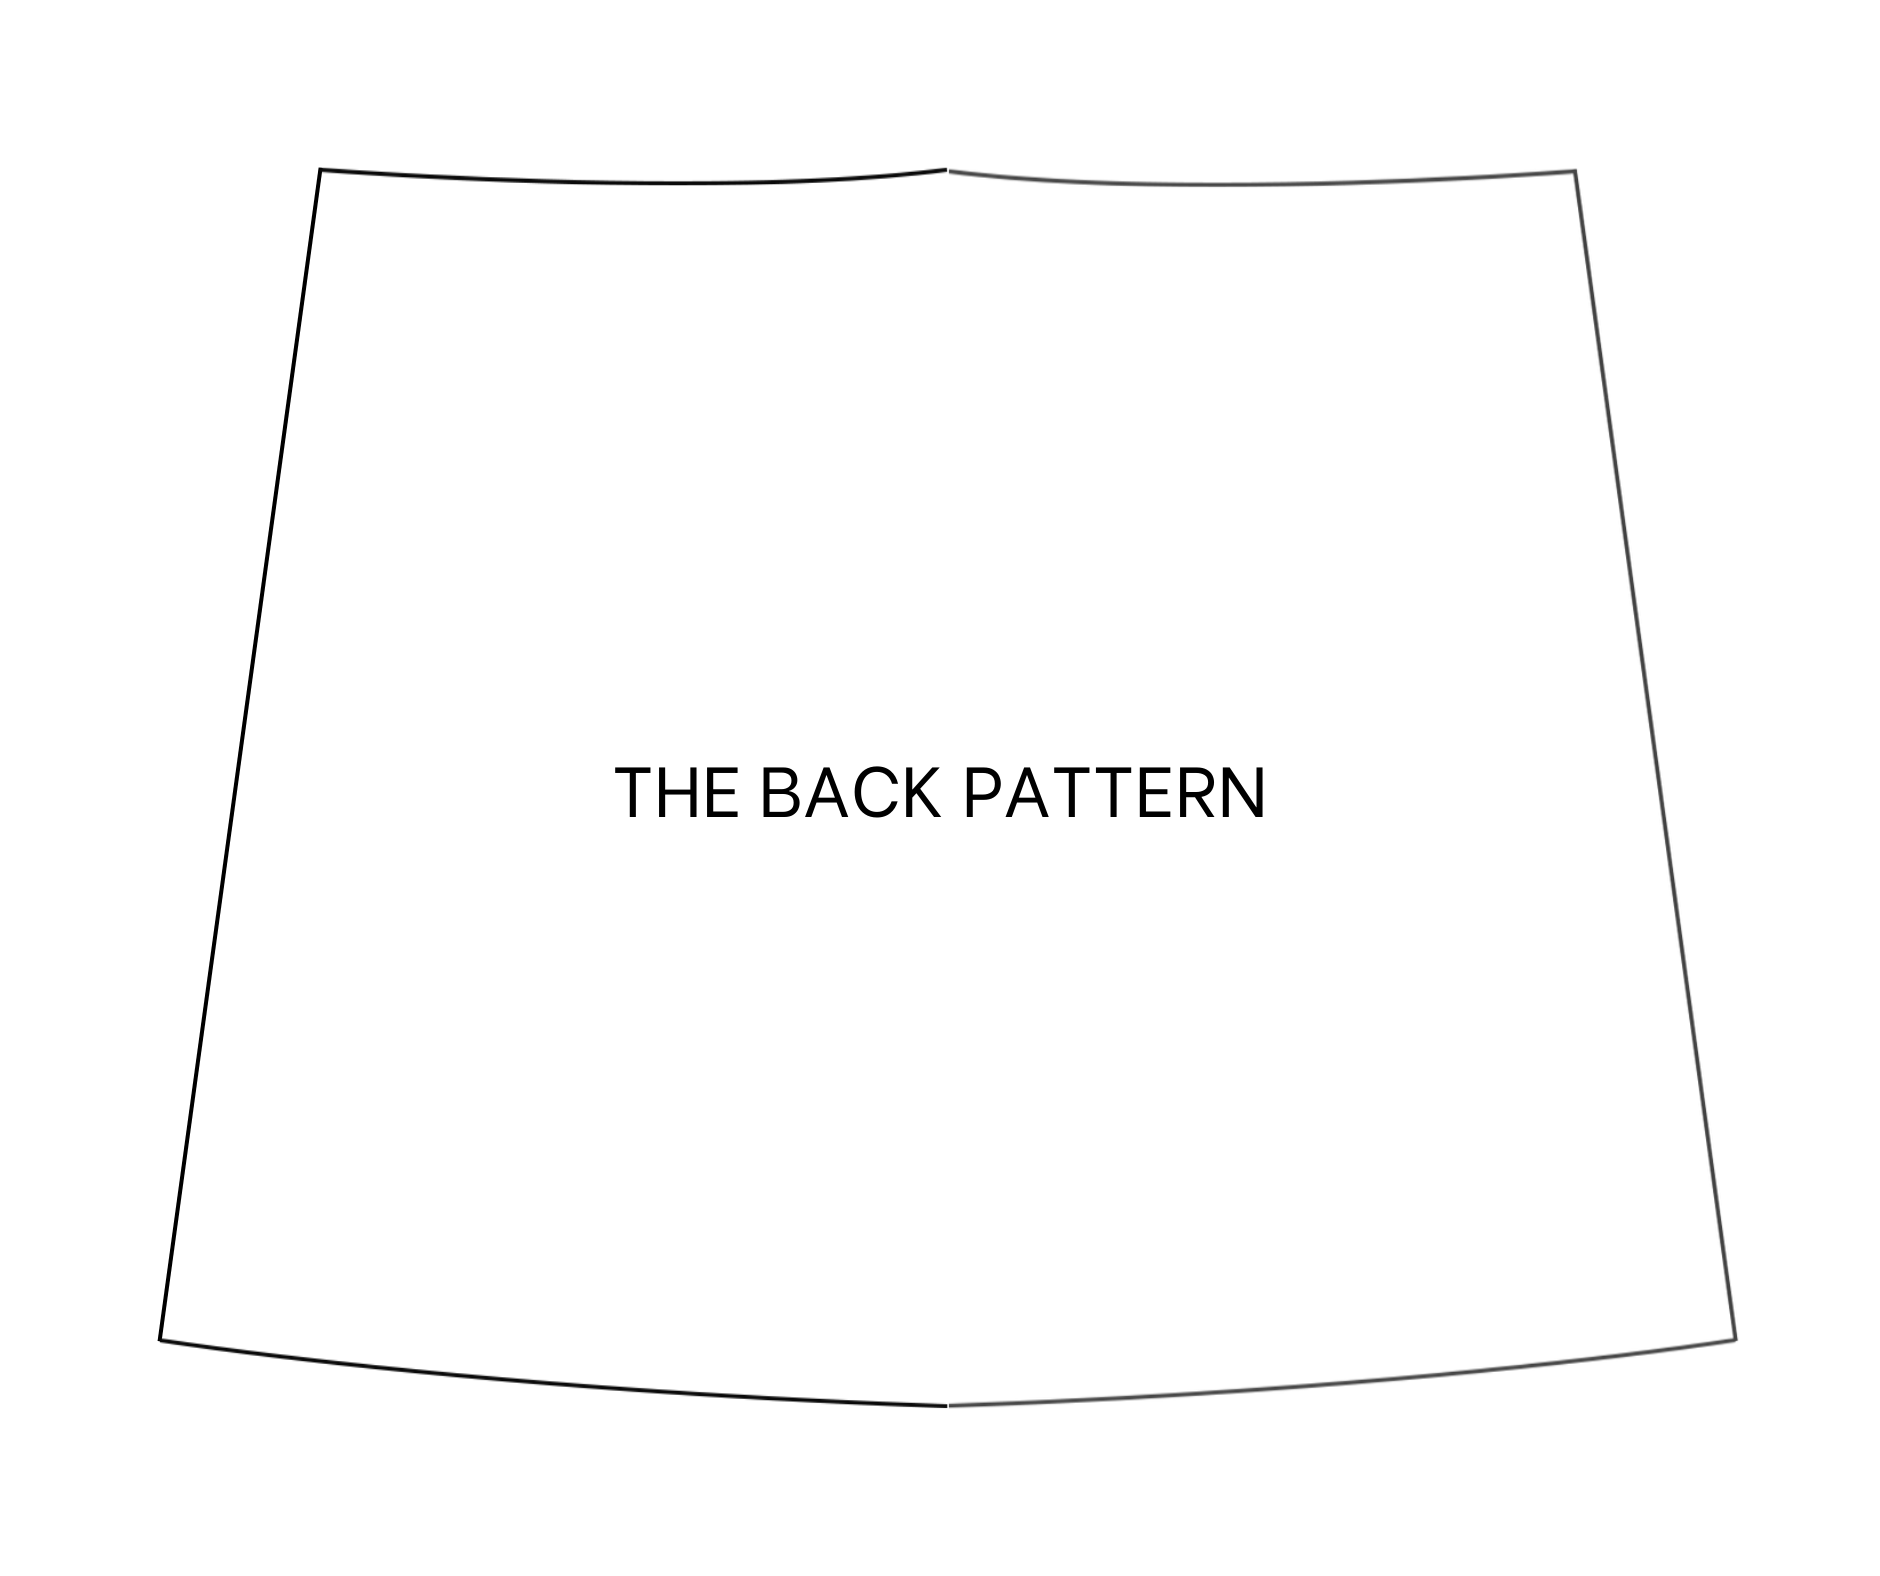
THE BACK PATTERN
To make the back pattern, base on the front pattern without the seam allowance.
Move the sideline of the back pattern one centimeter from the current one because the bust at the back of the skirt. At the end of the new sideline, mark up 1 cm first then connect it to the other end of the folding line by a slightly curved line to finish the ending line of the back pattern.
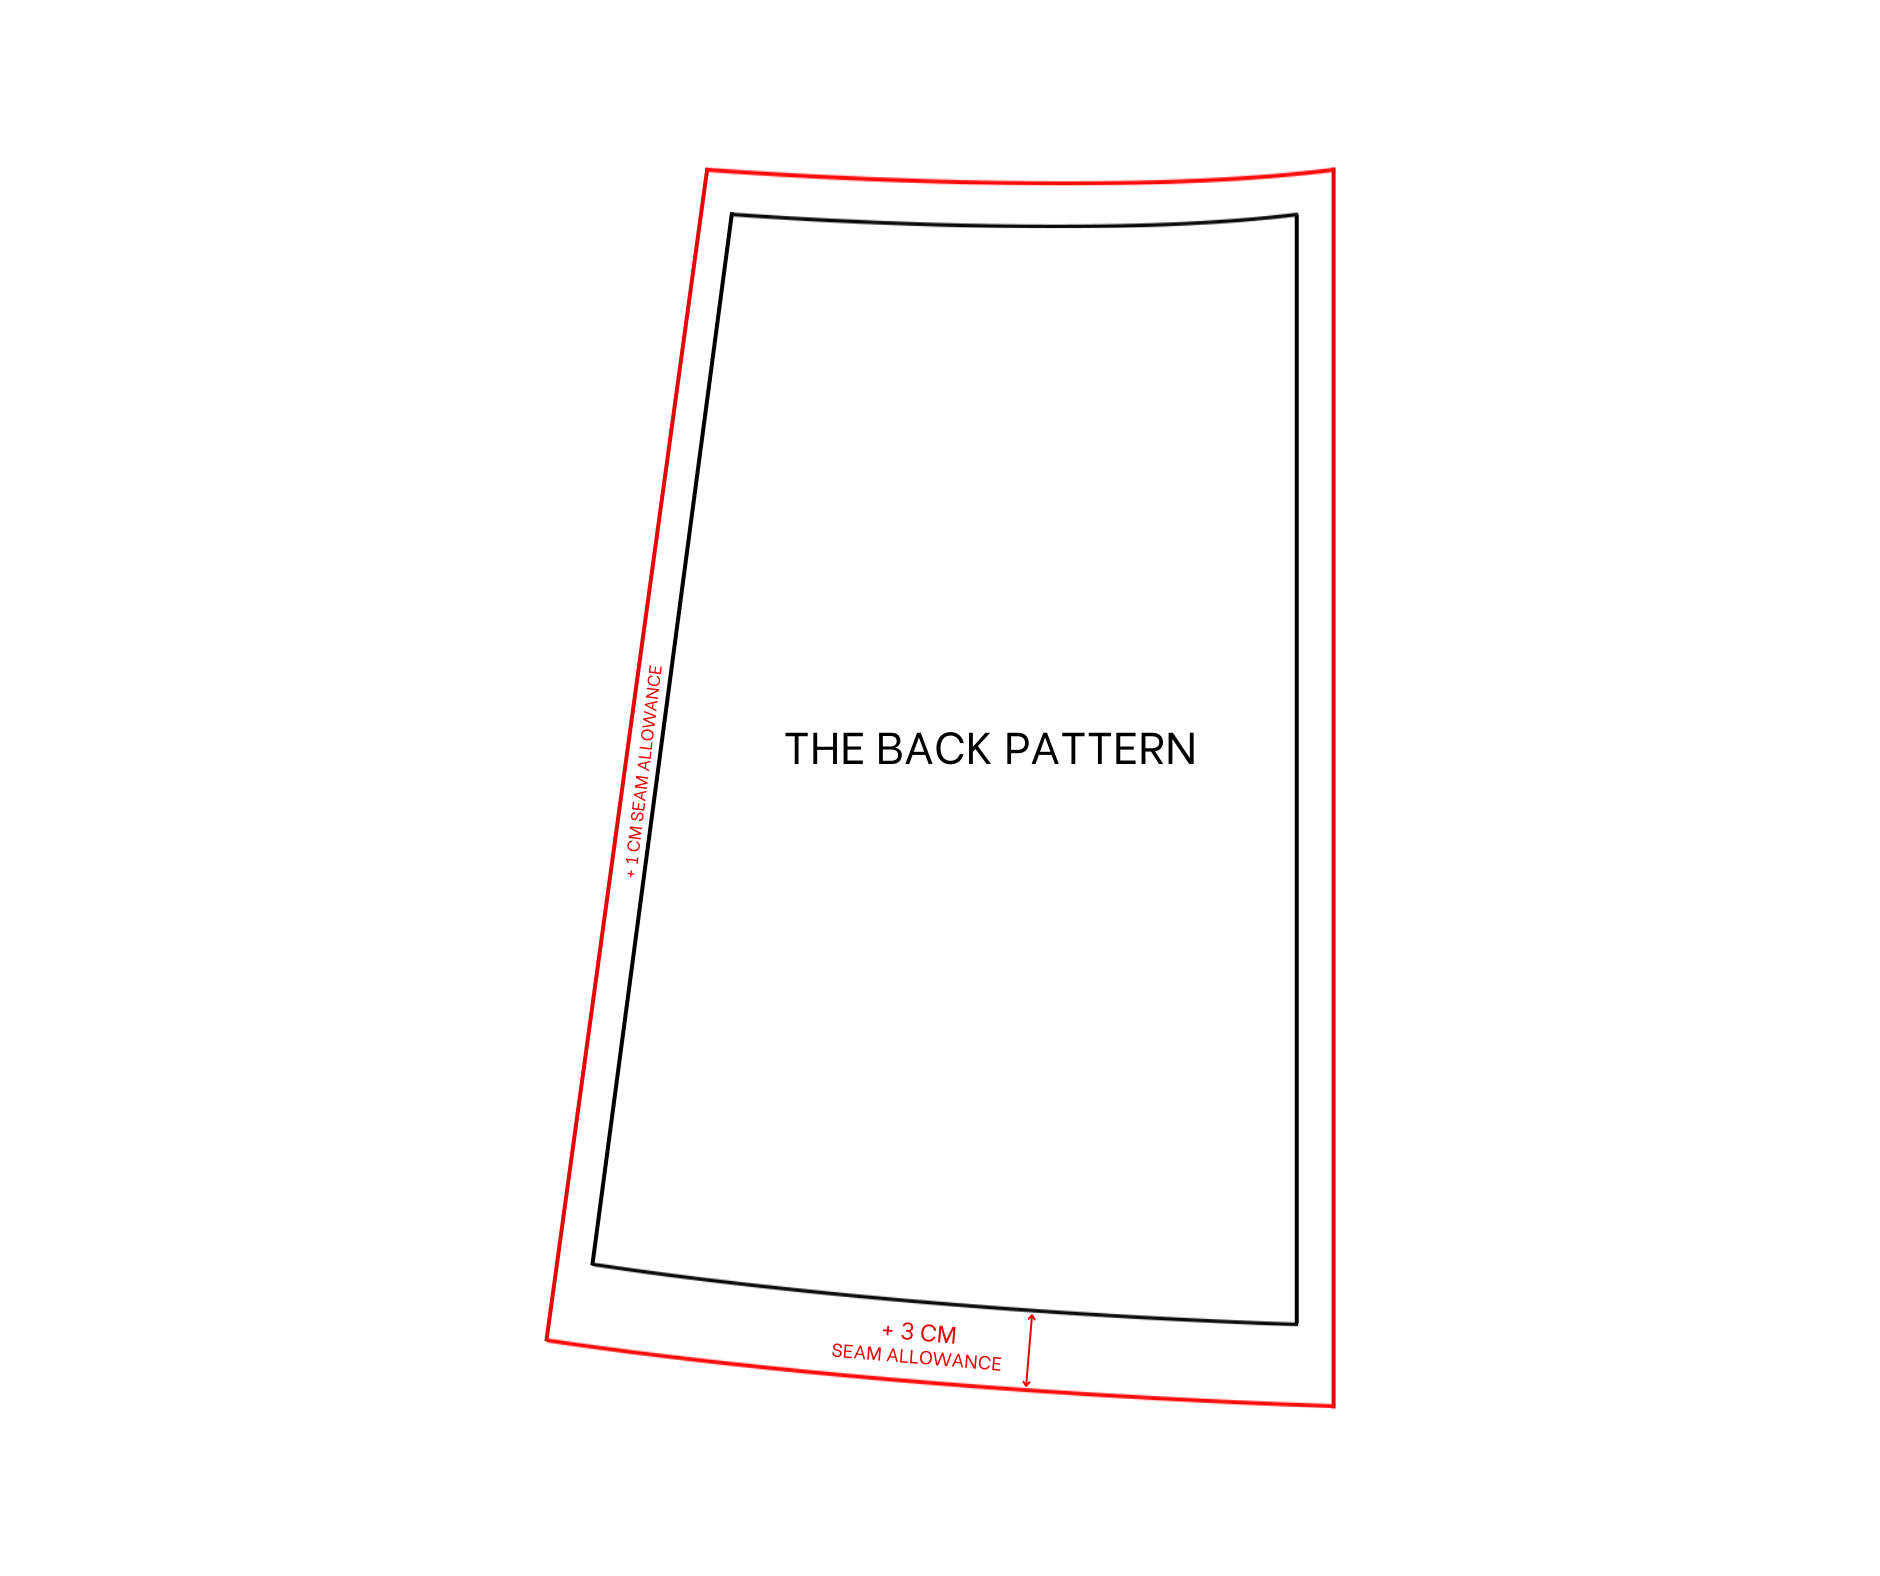
Make a slightly curved line at the top of the waistline as well. Then i add seam allowance similar to the front pattern.
You will have the back pattern of the skirt after cutting.
THE DART PATTERN
To make the dart at the waistline, make it on the pattern first.
From the folding line, mark at the middle first then draw a line through that mark. The length of this line will be 10 cm for the front and 14 cm for the back.
After that, make two marks outside of the first one on the waistline. The width between these two marks will be the length of the waistline minus a quarter of your waist size. Do the same on the other side of the folding line.
When you finish the darts, the final length of the waistline at this piece will be a half of your waist size.
SEWING THE SKIRT
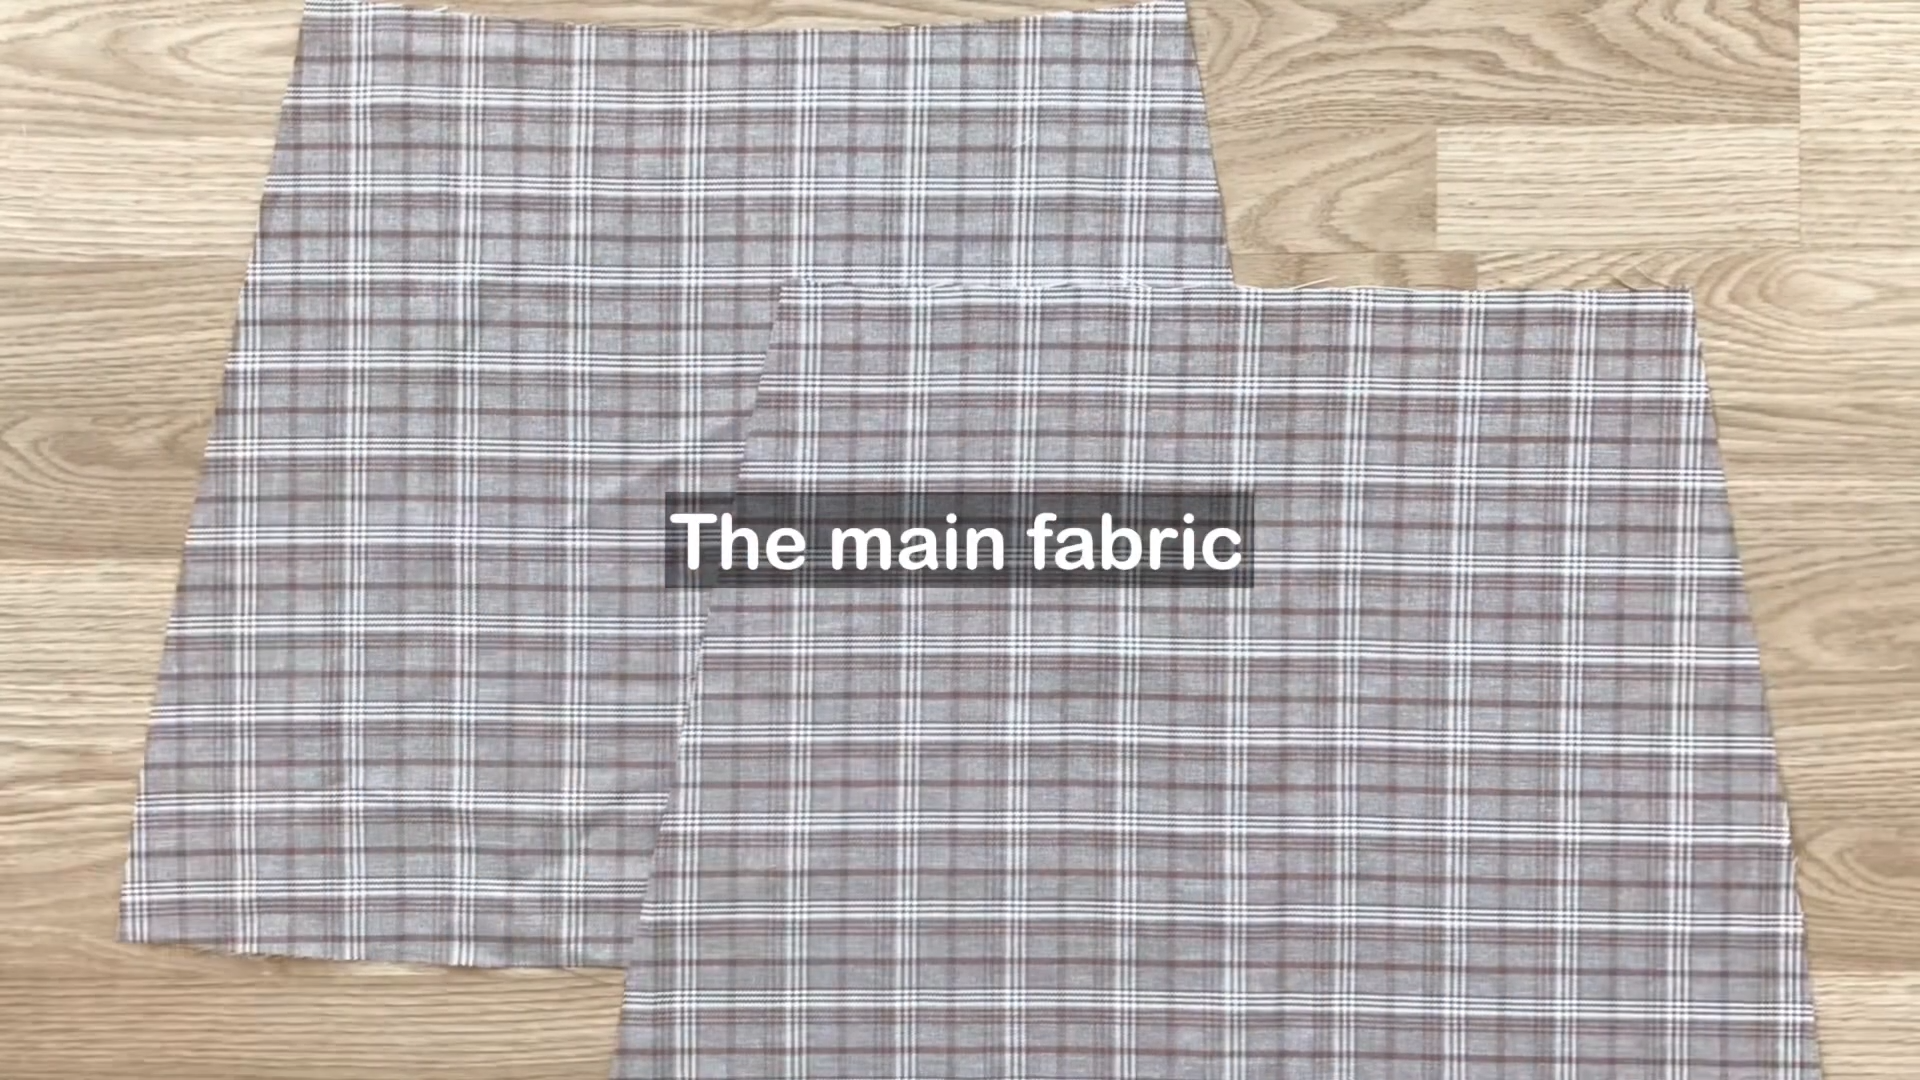
Cut out one piece of the front pattern and one of the back pattern in the main fabric.
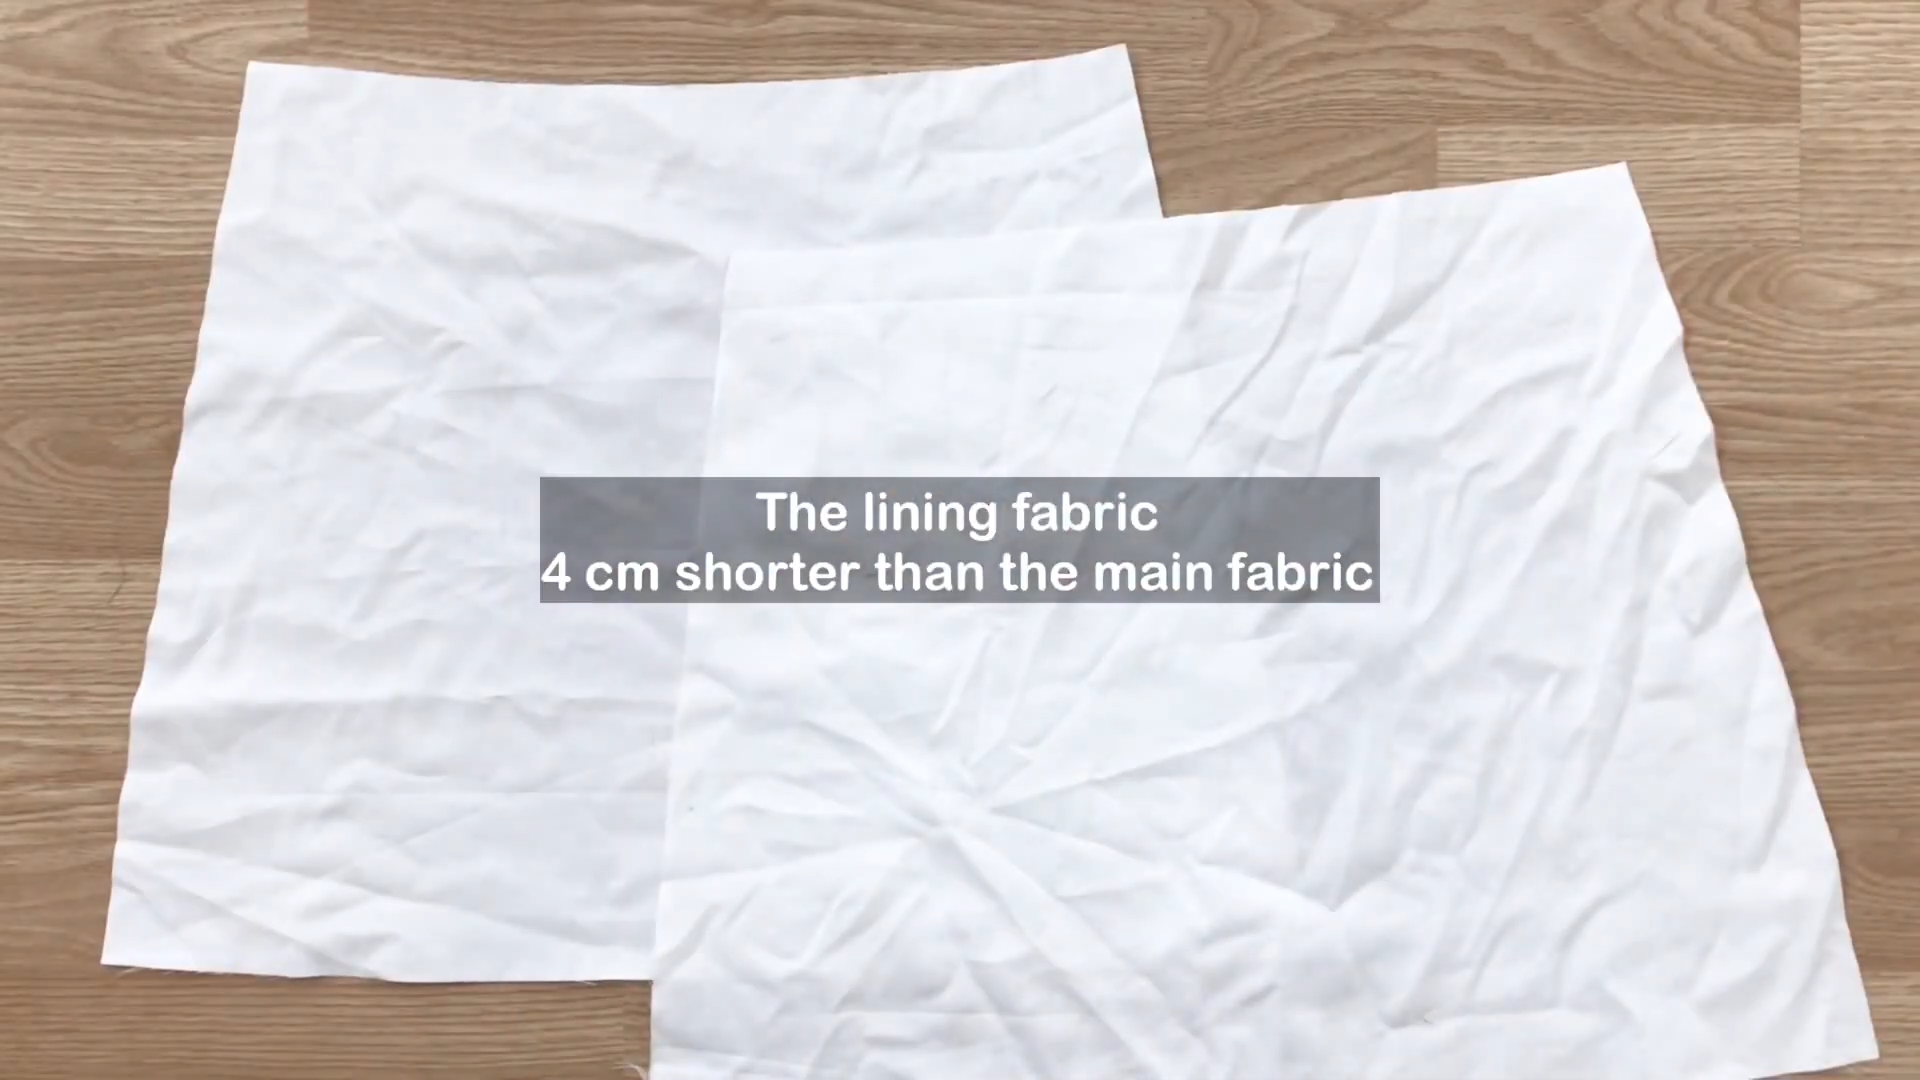
Do the same in the lining fabric. Remember the lining fabric will be 4 cm shorter than the main one.
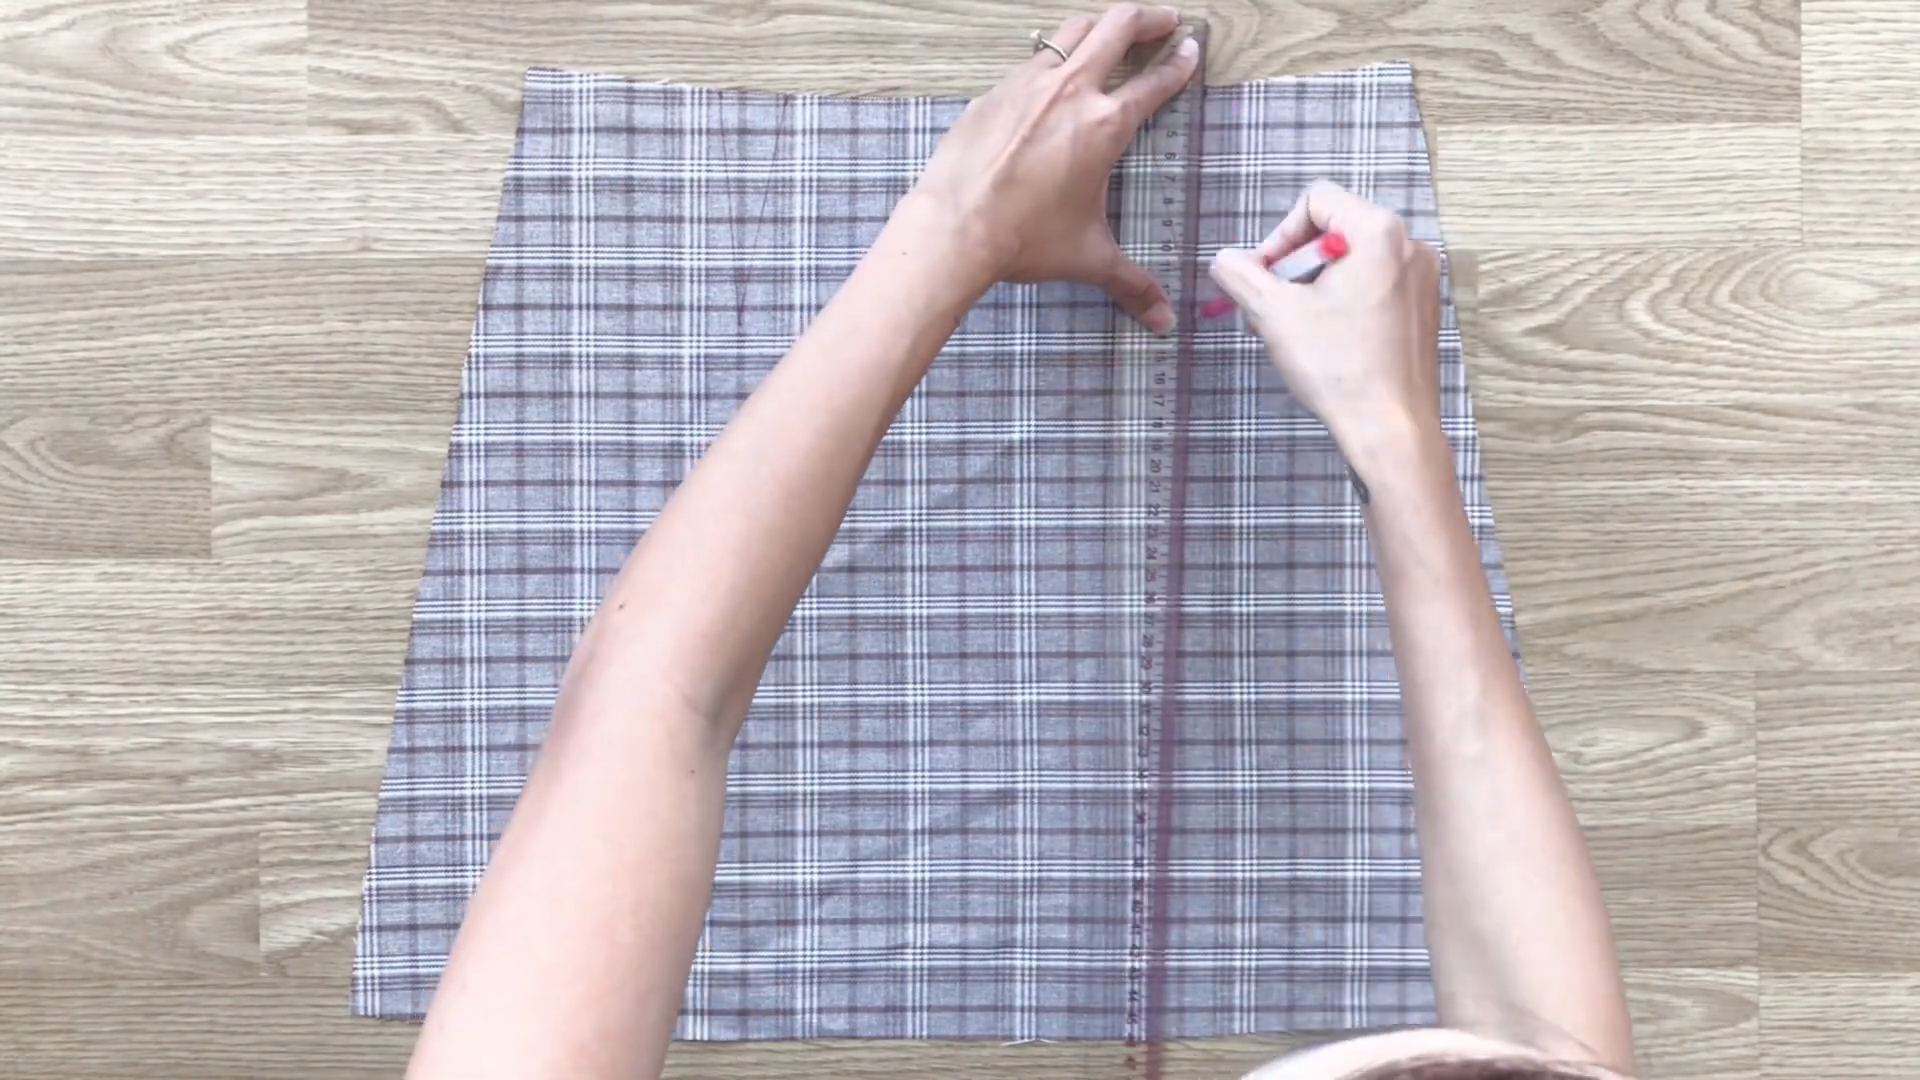
Mark the position of the darts on the fabric.
Sew the darts. Do the same for all of the pieces in the main fabric and the lining fabric.
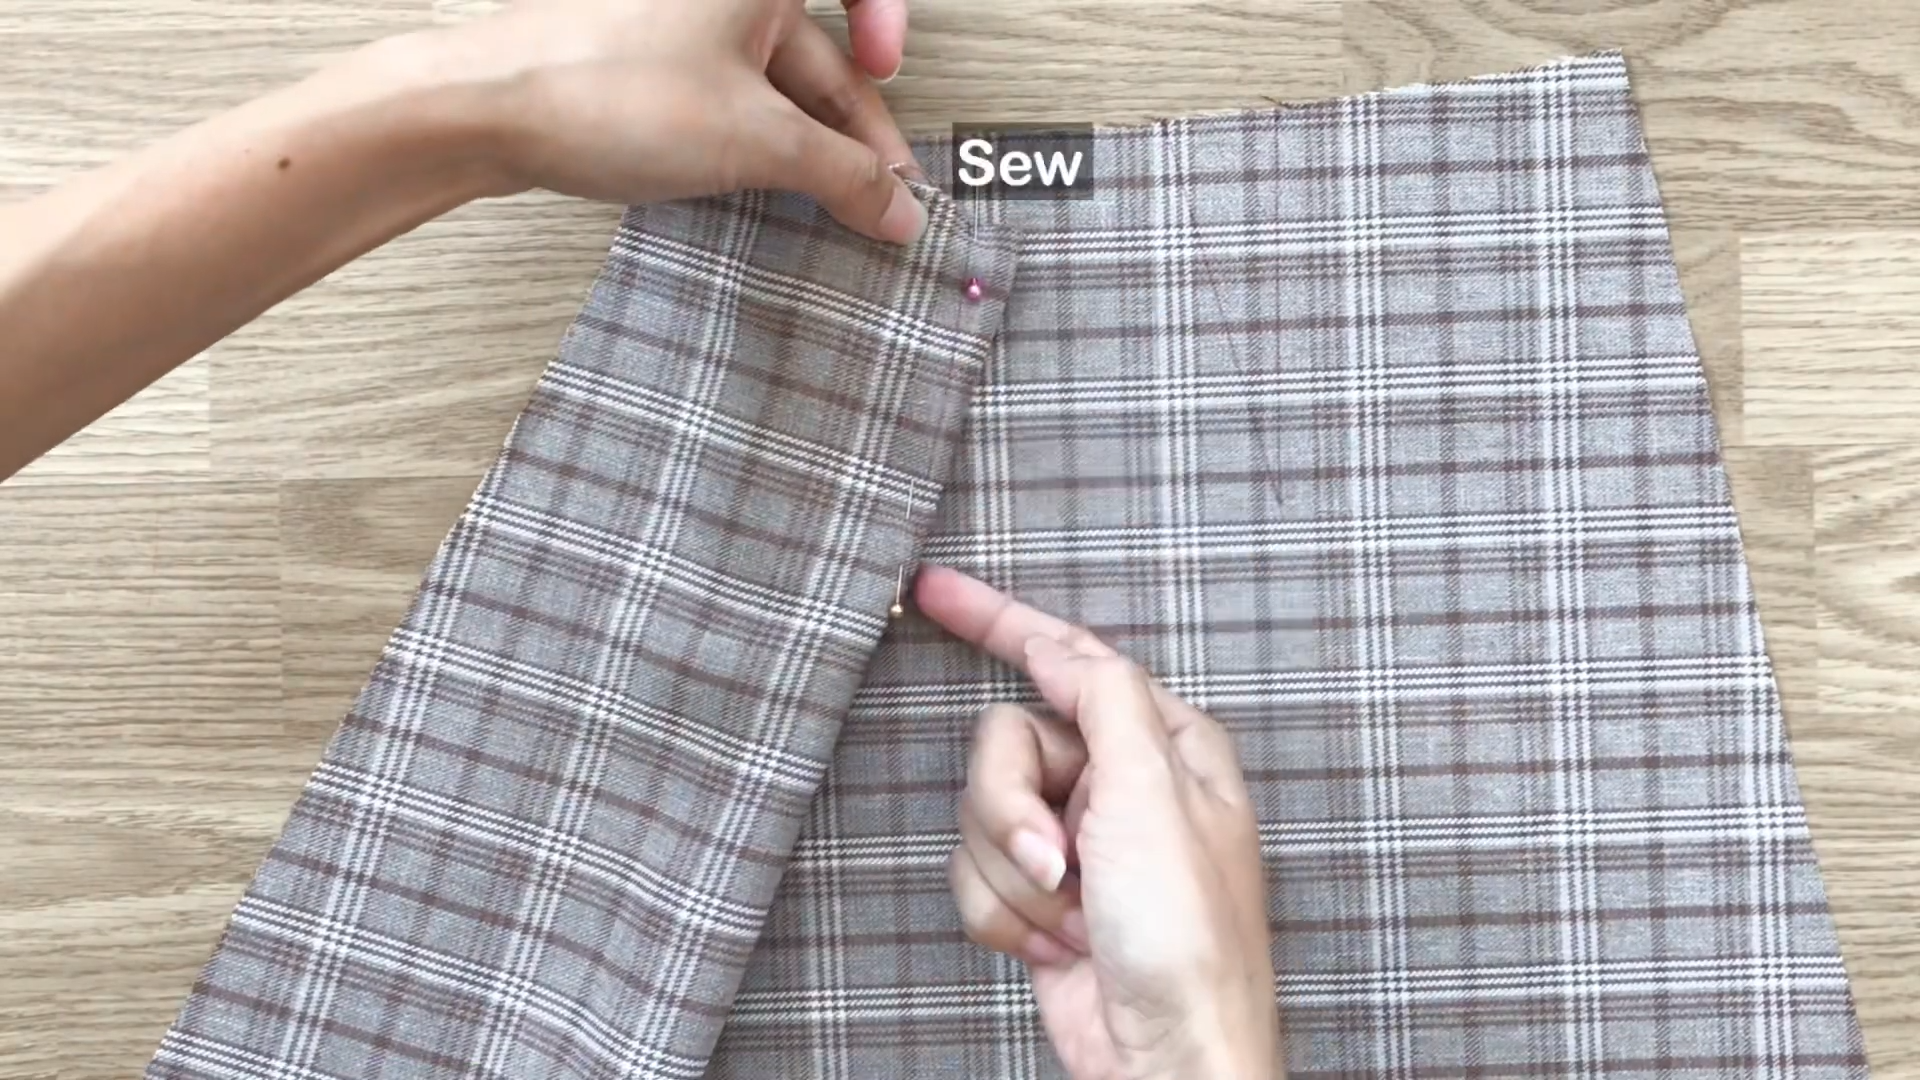
Connect the front piece and the back piece in the main fabric with pins.

On the sideline, mark down from the waistline 20cm which is the length of the zipper area.
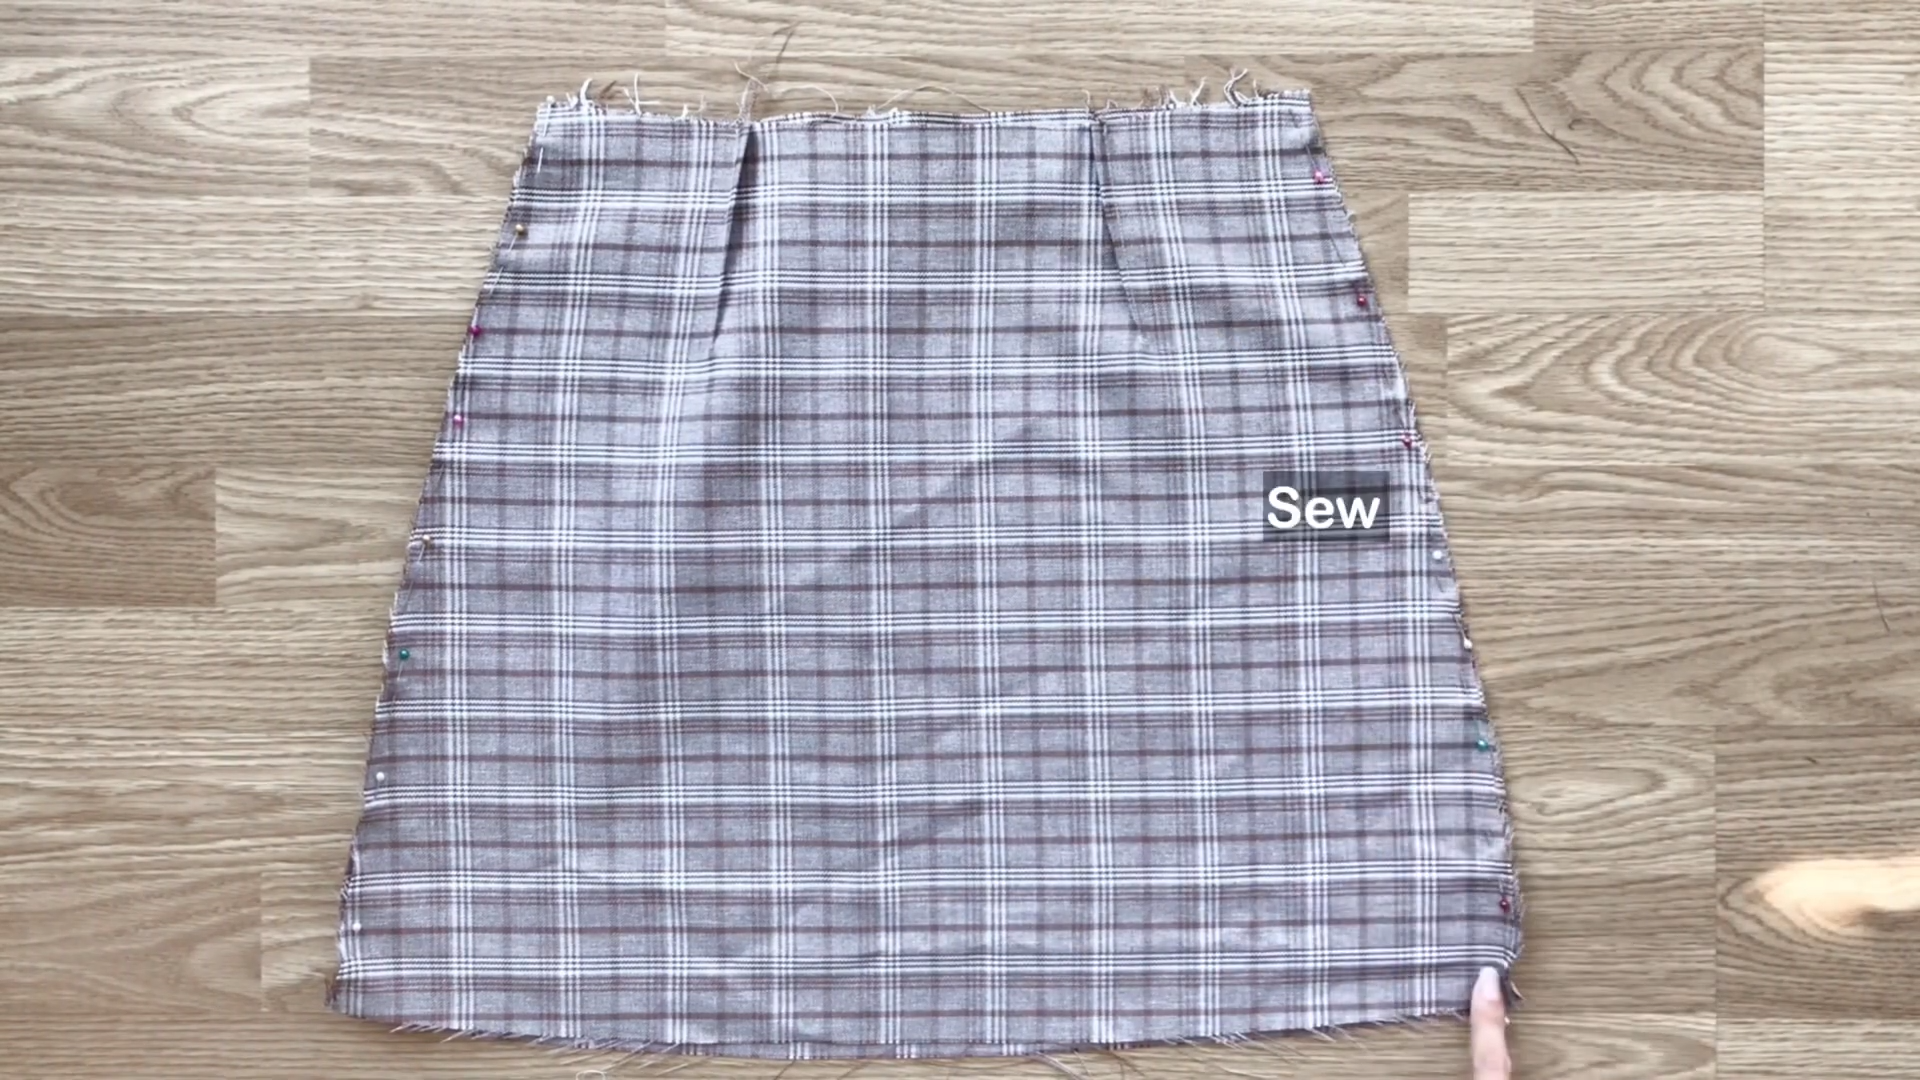
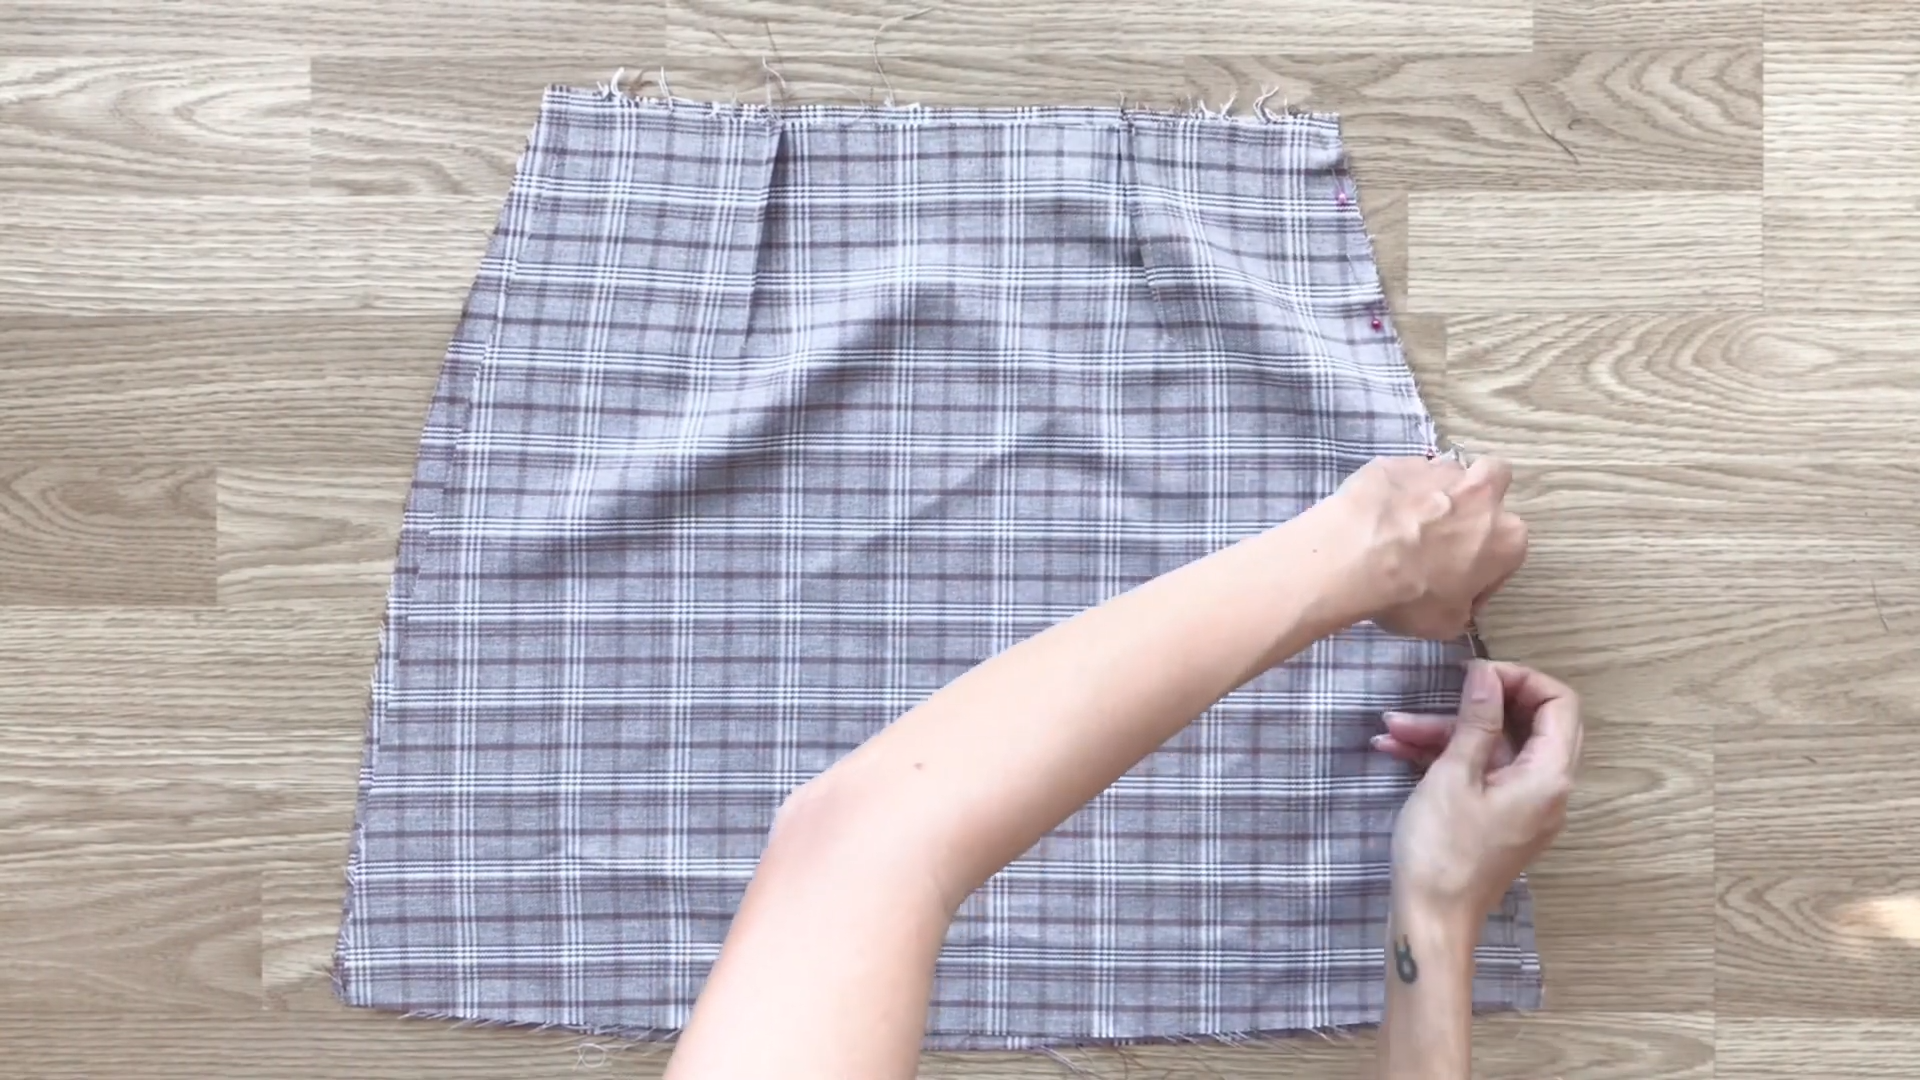
Sew the pieces together except for the zipper area.
Do the same for the lining fabric.
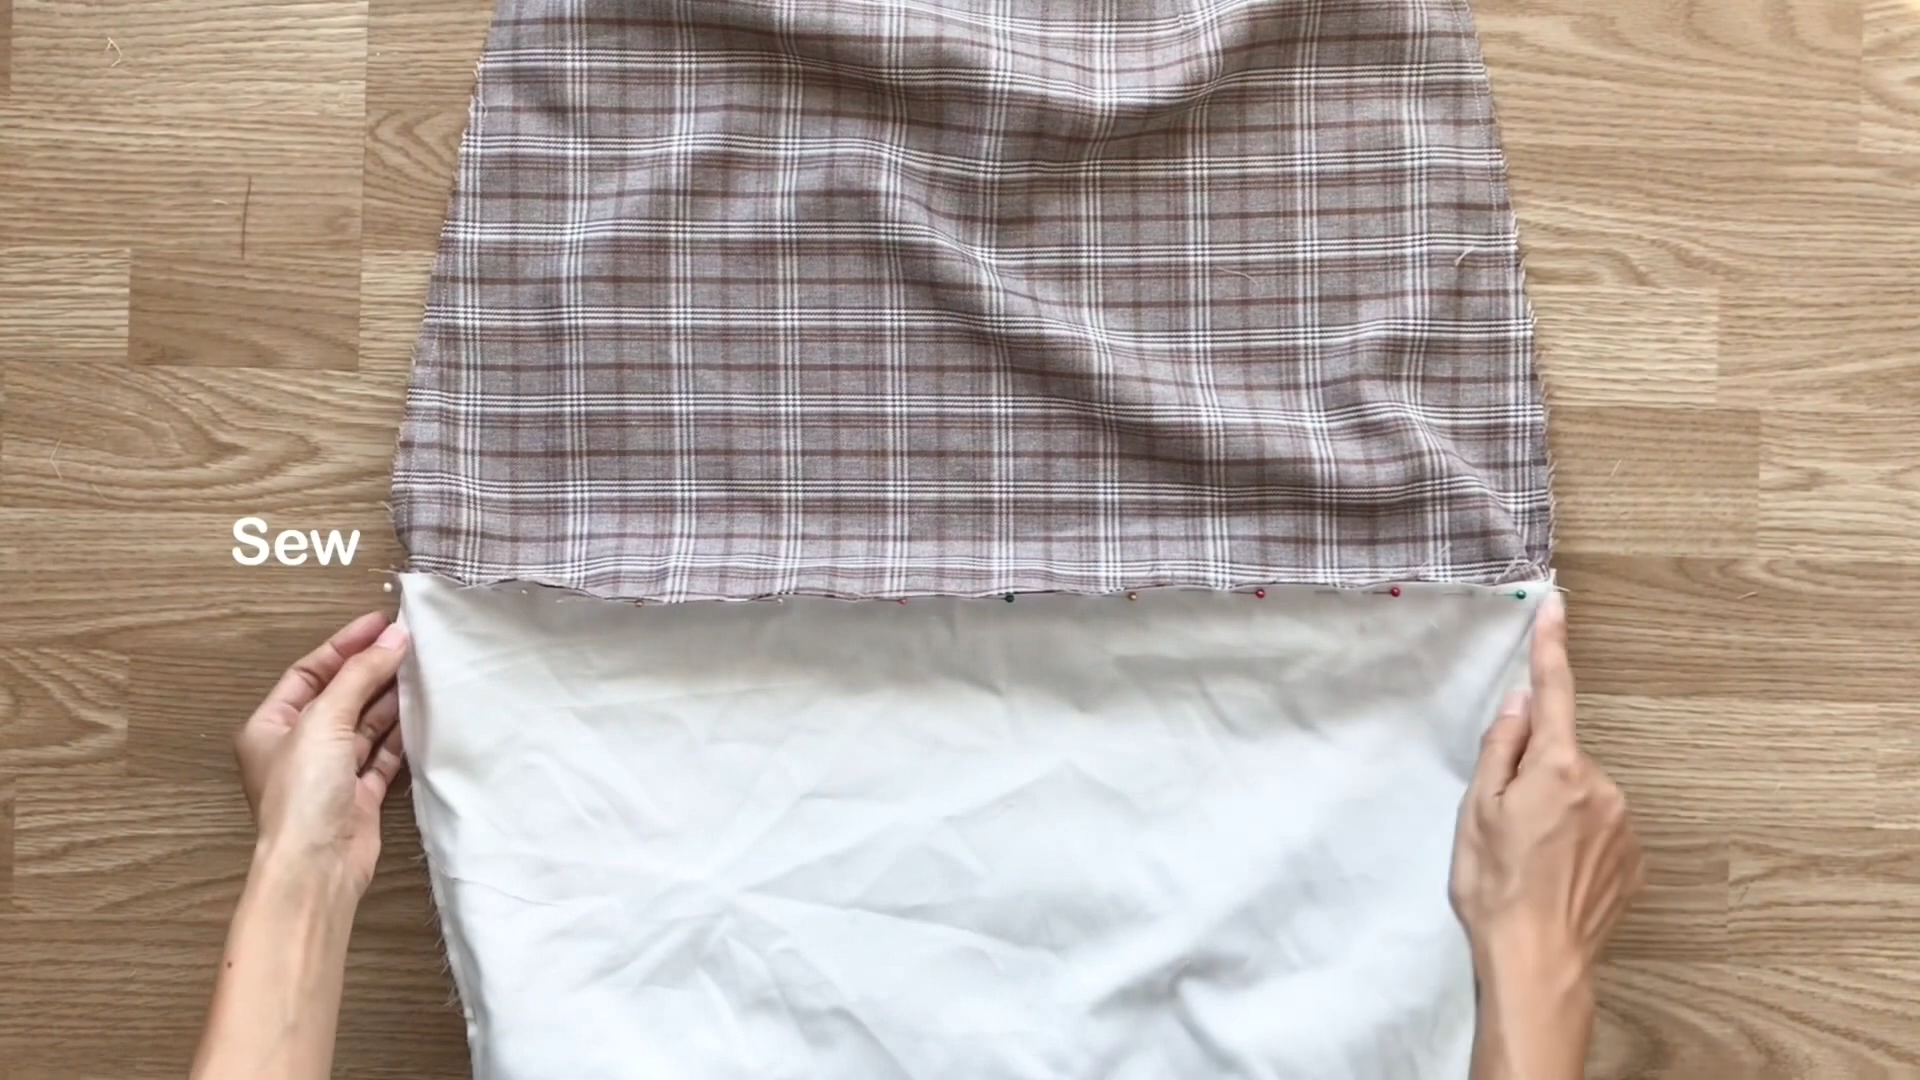
Connect the main fabric and the lining fabric at the end of the skirt and sew them together.

Connect the zipper to the main fabric at the zipper area and sew them together.
Connect the zipper to the lining fabric and sew them together.
This seam doesn’t have to be right in the previous one.
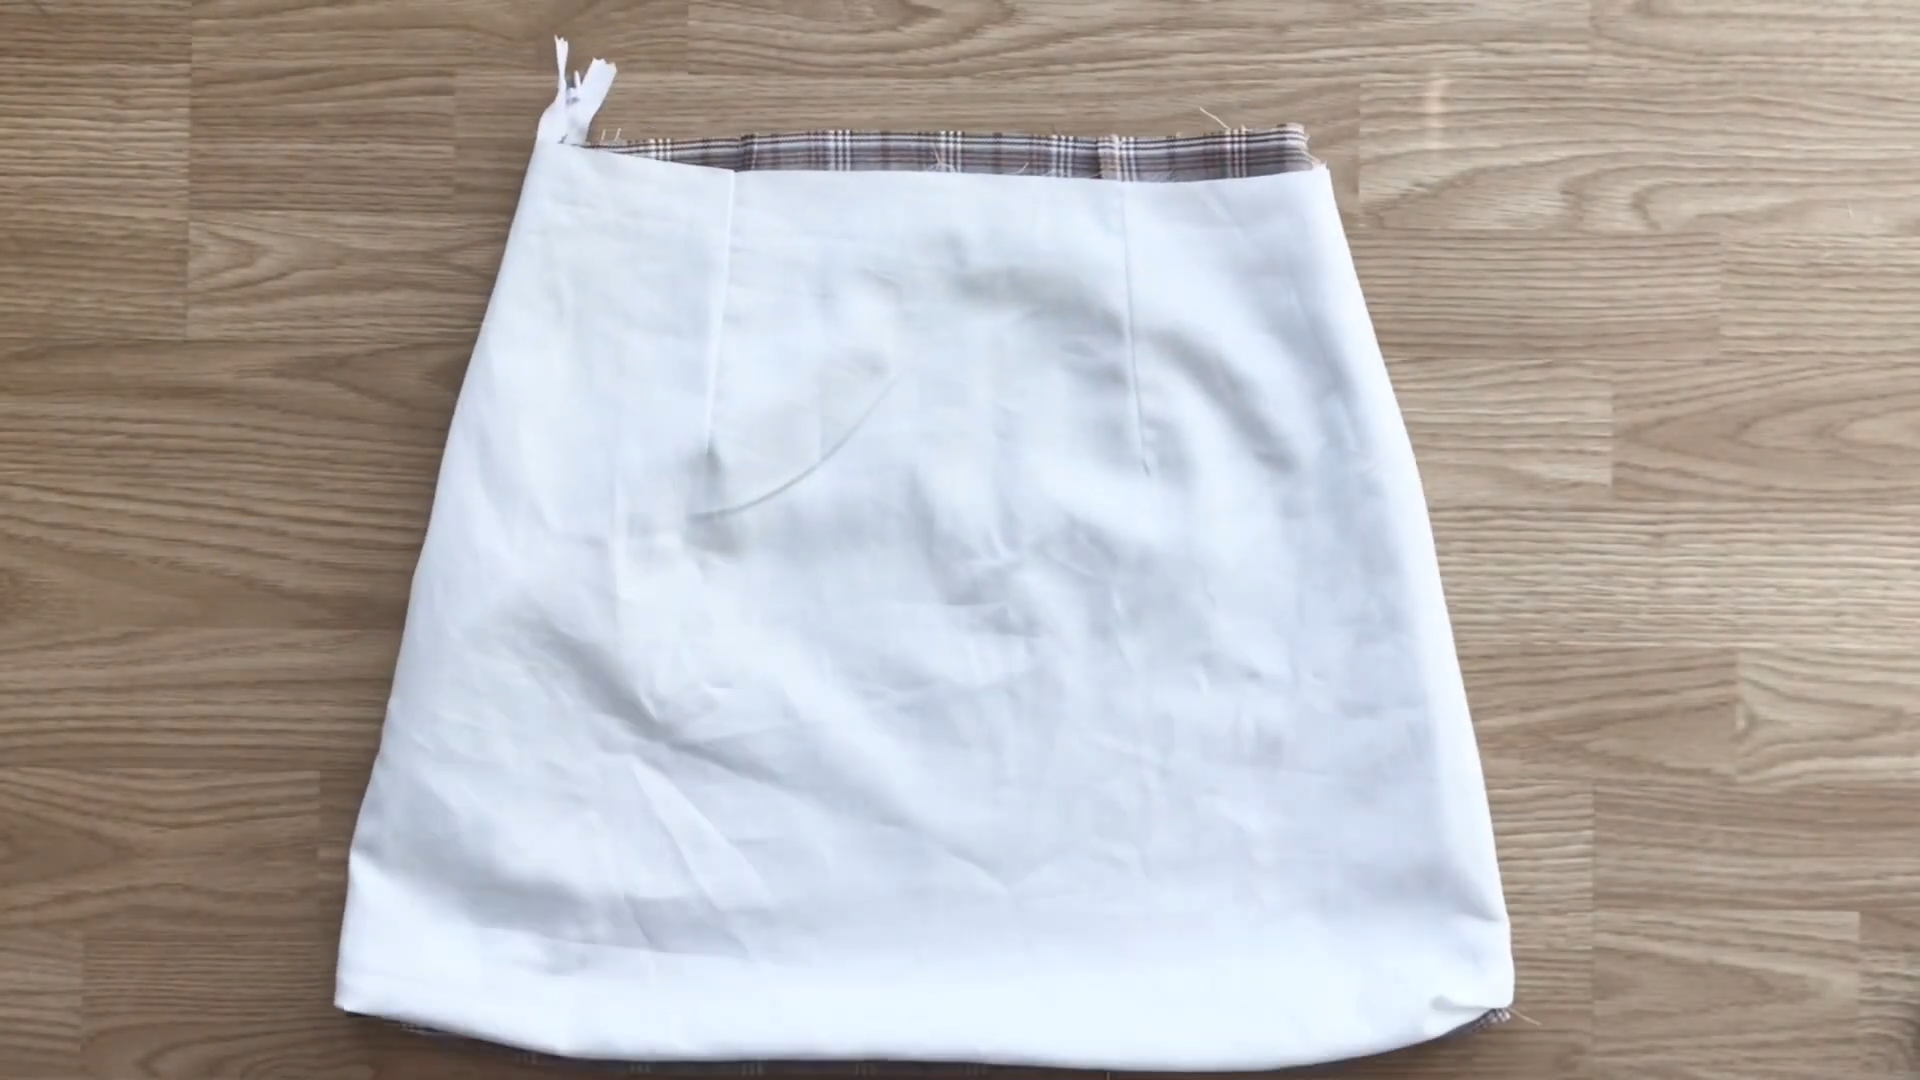
Turn the lining inside out after sewing to hide all the seam inside.
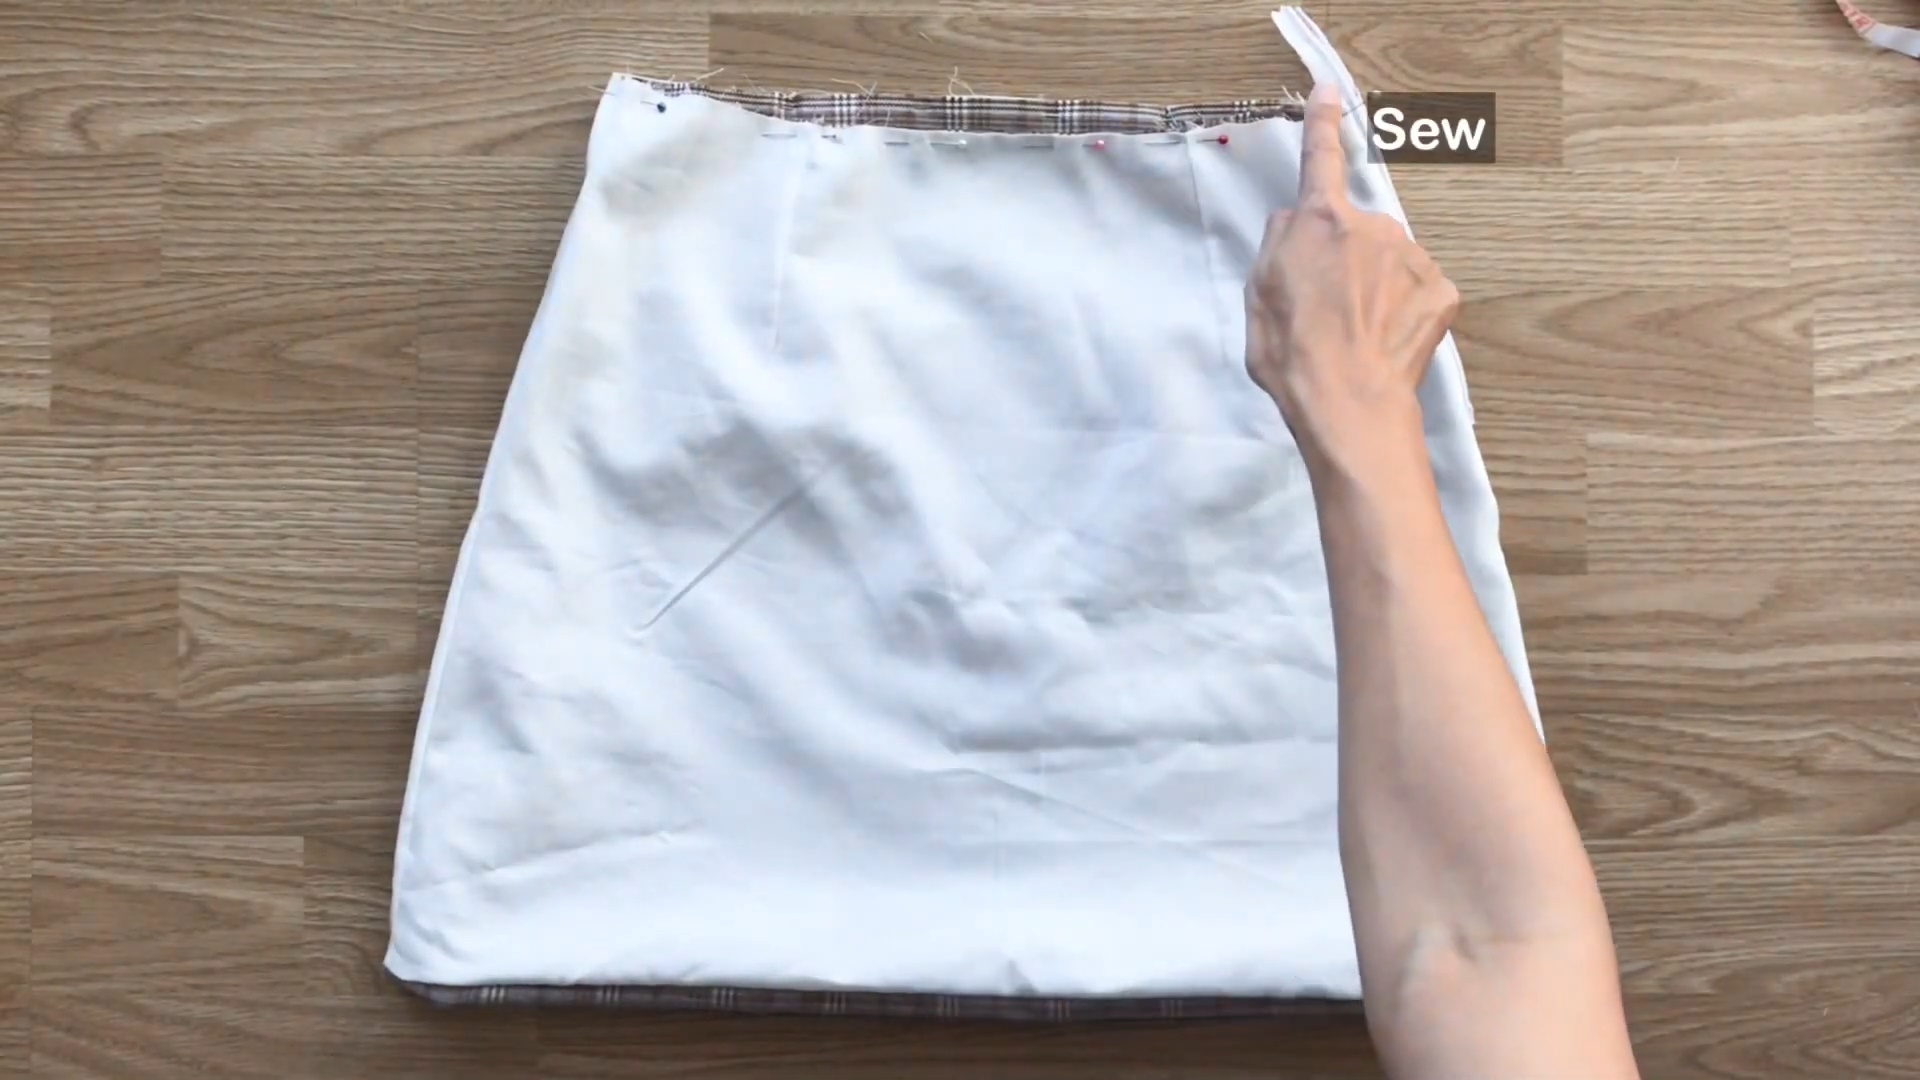
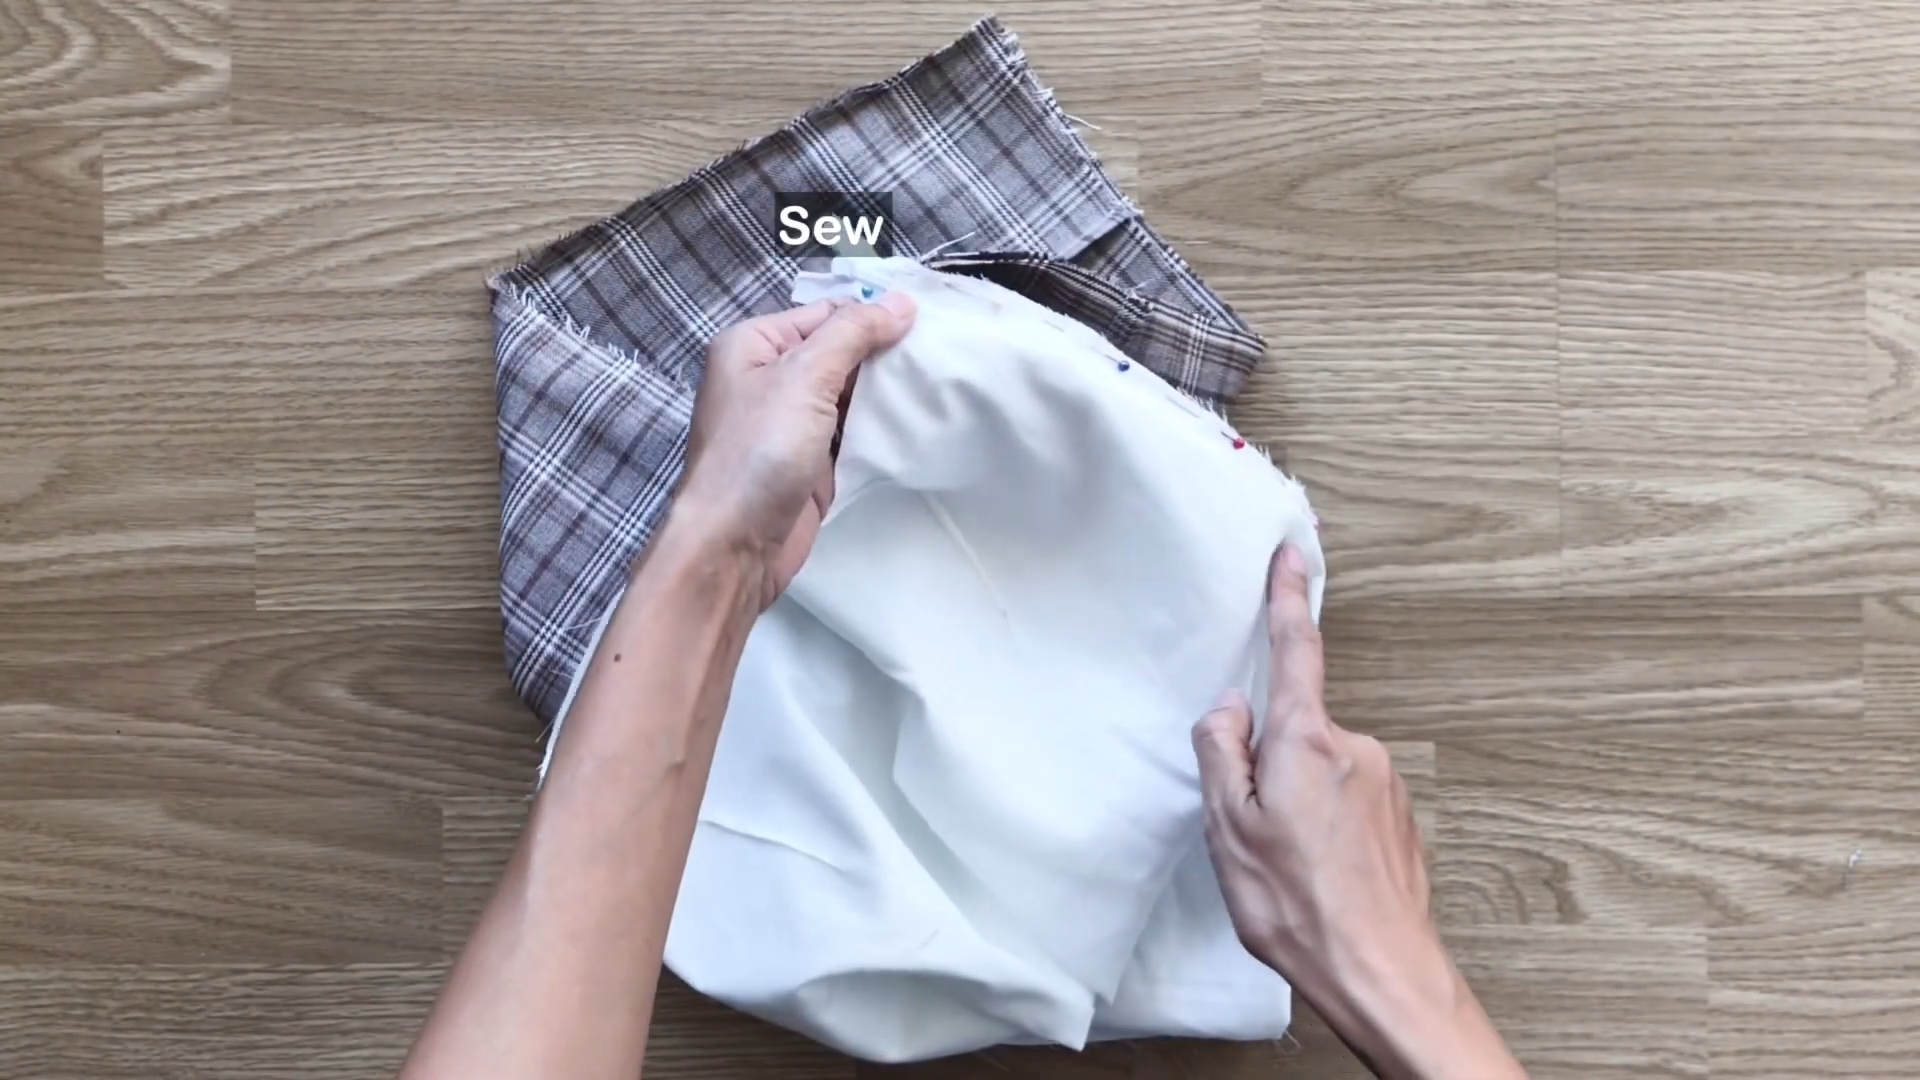
Connect the waistline of the main fabric and the lining fabric and sew them together.
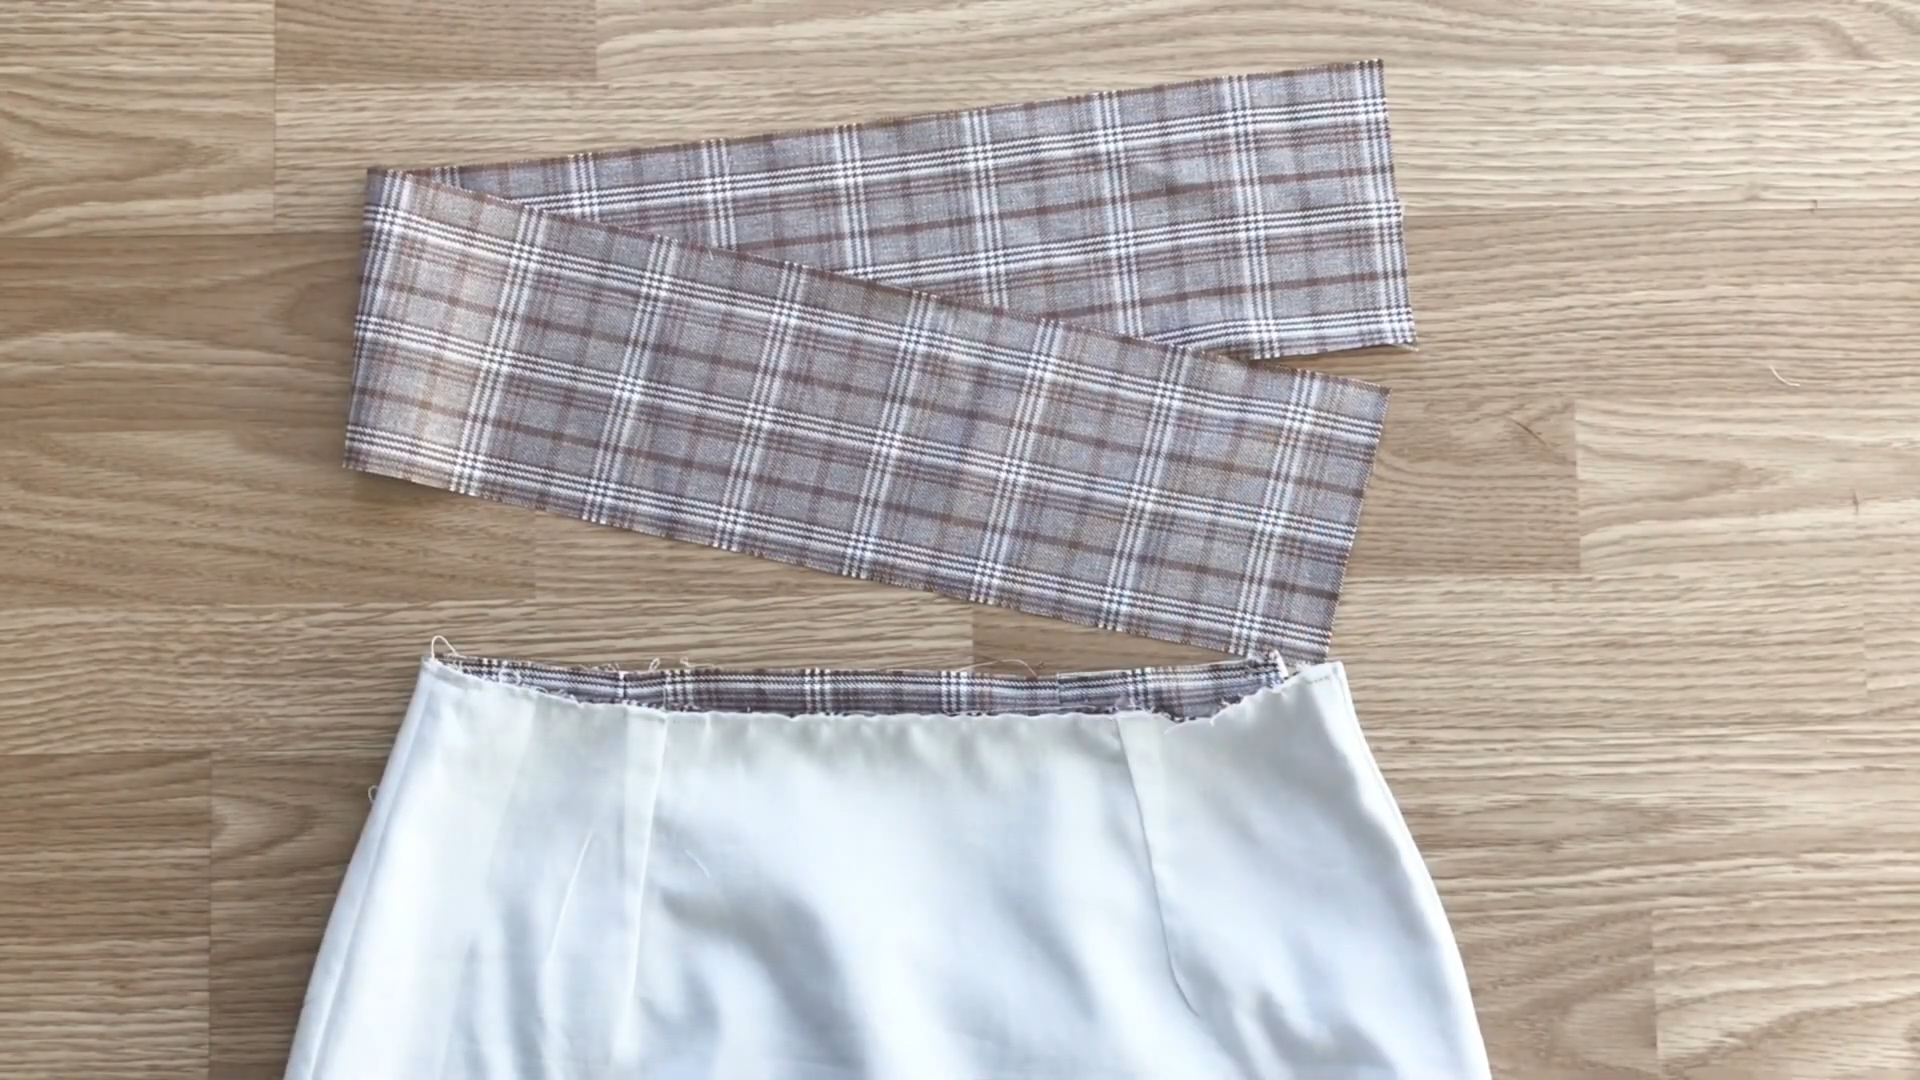
Cut a rectangle for the waistband. The width of the rectangle is 8 cm which is two times the width of the waistband that you want plus 2 cm.
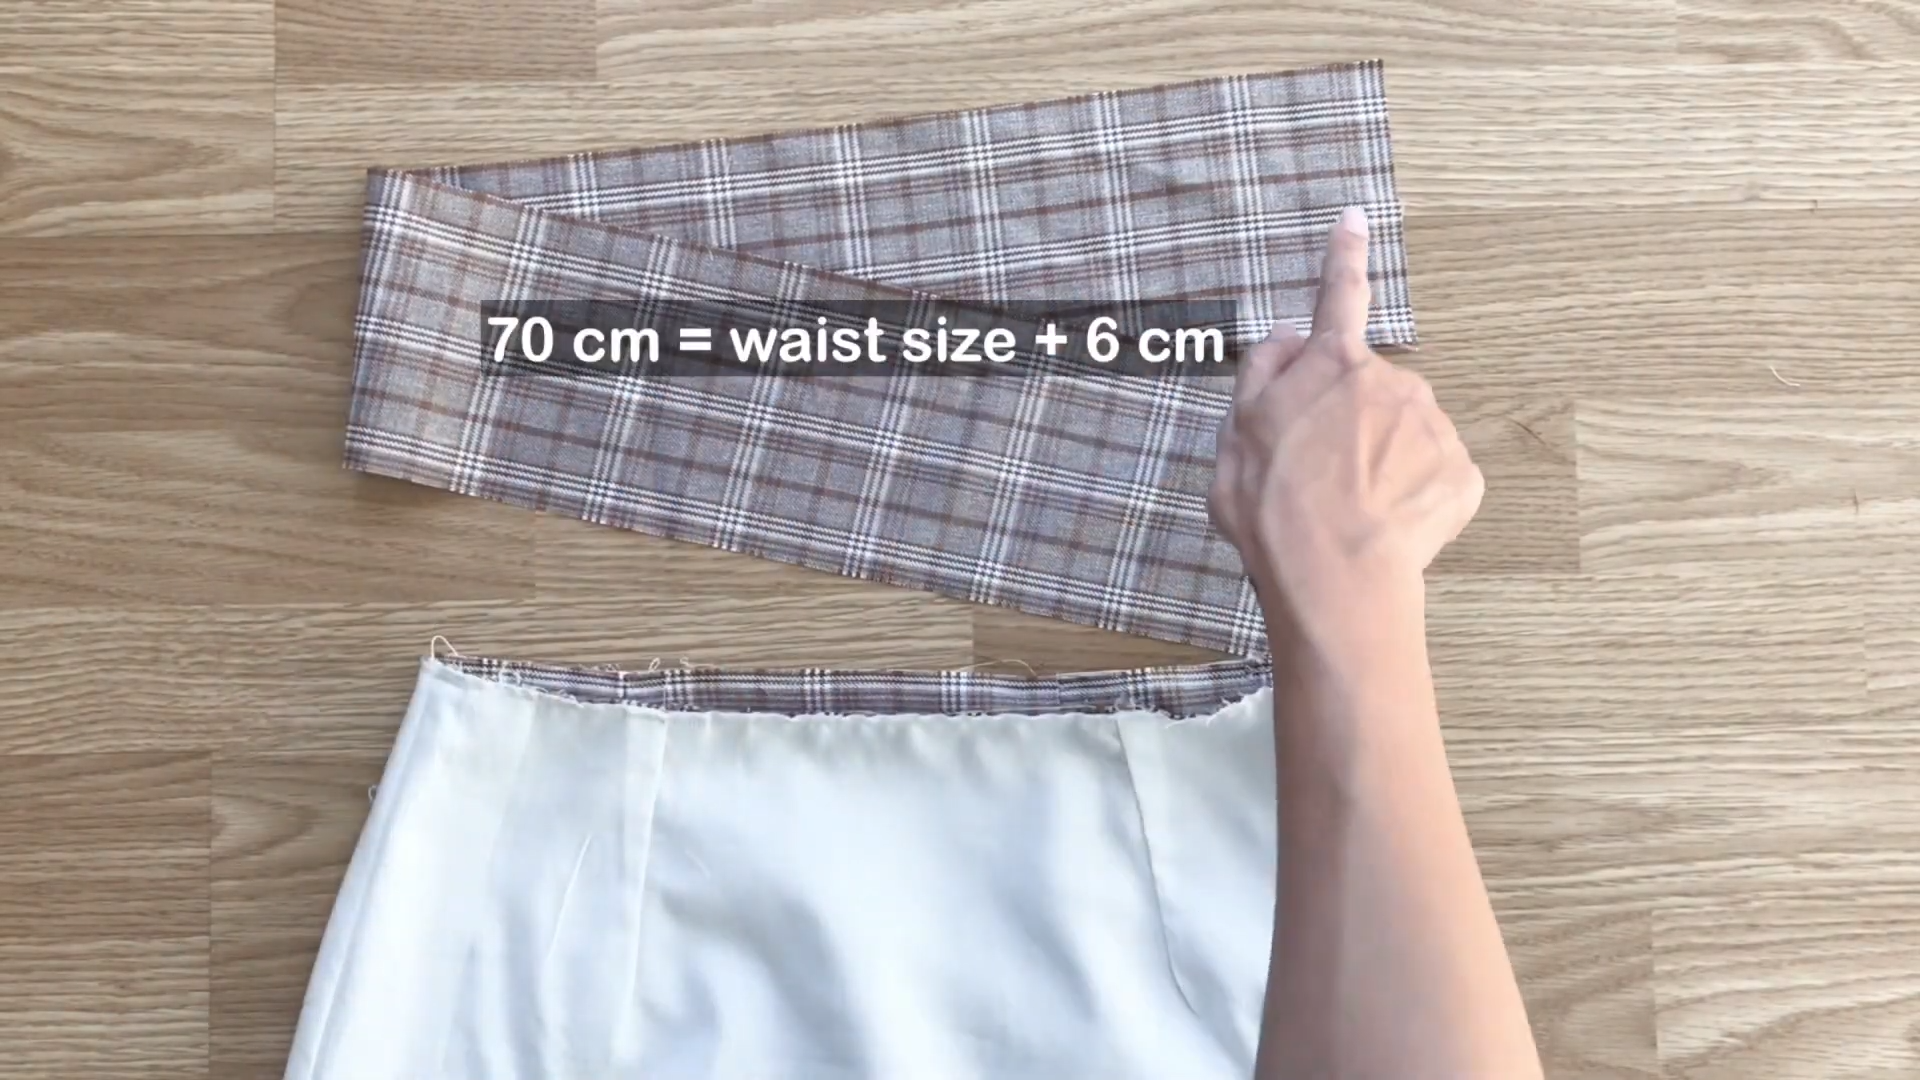
The length of the rectangle is 70 cm which is 6 cm longer than your waist size for seam allowance and the button are.
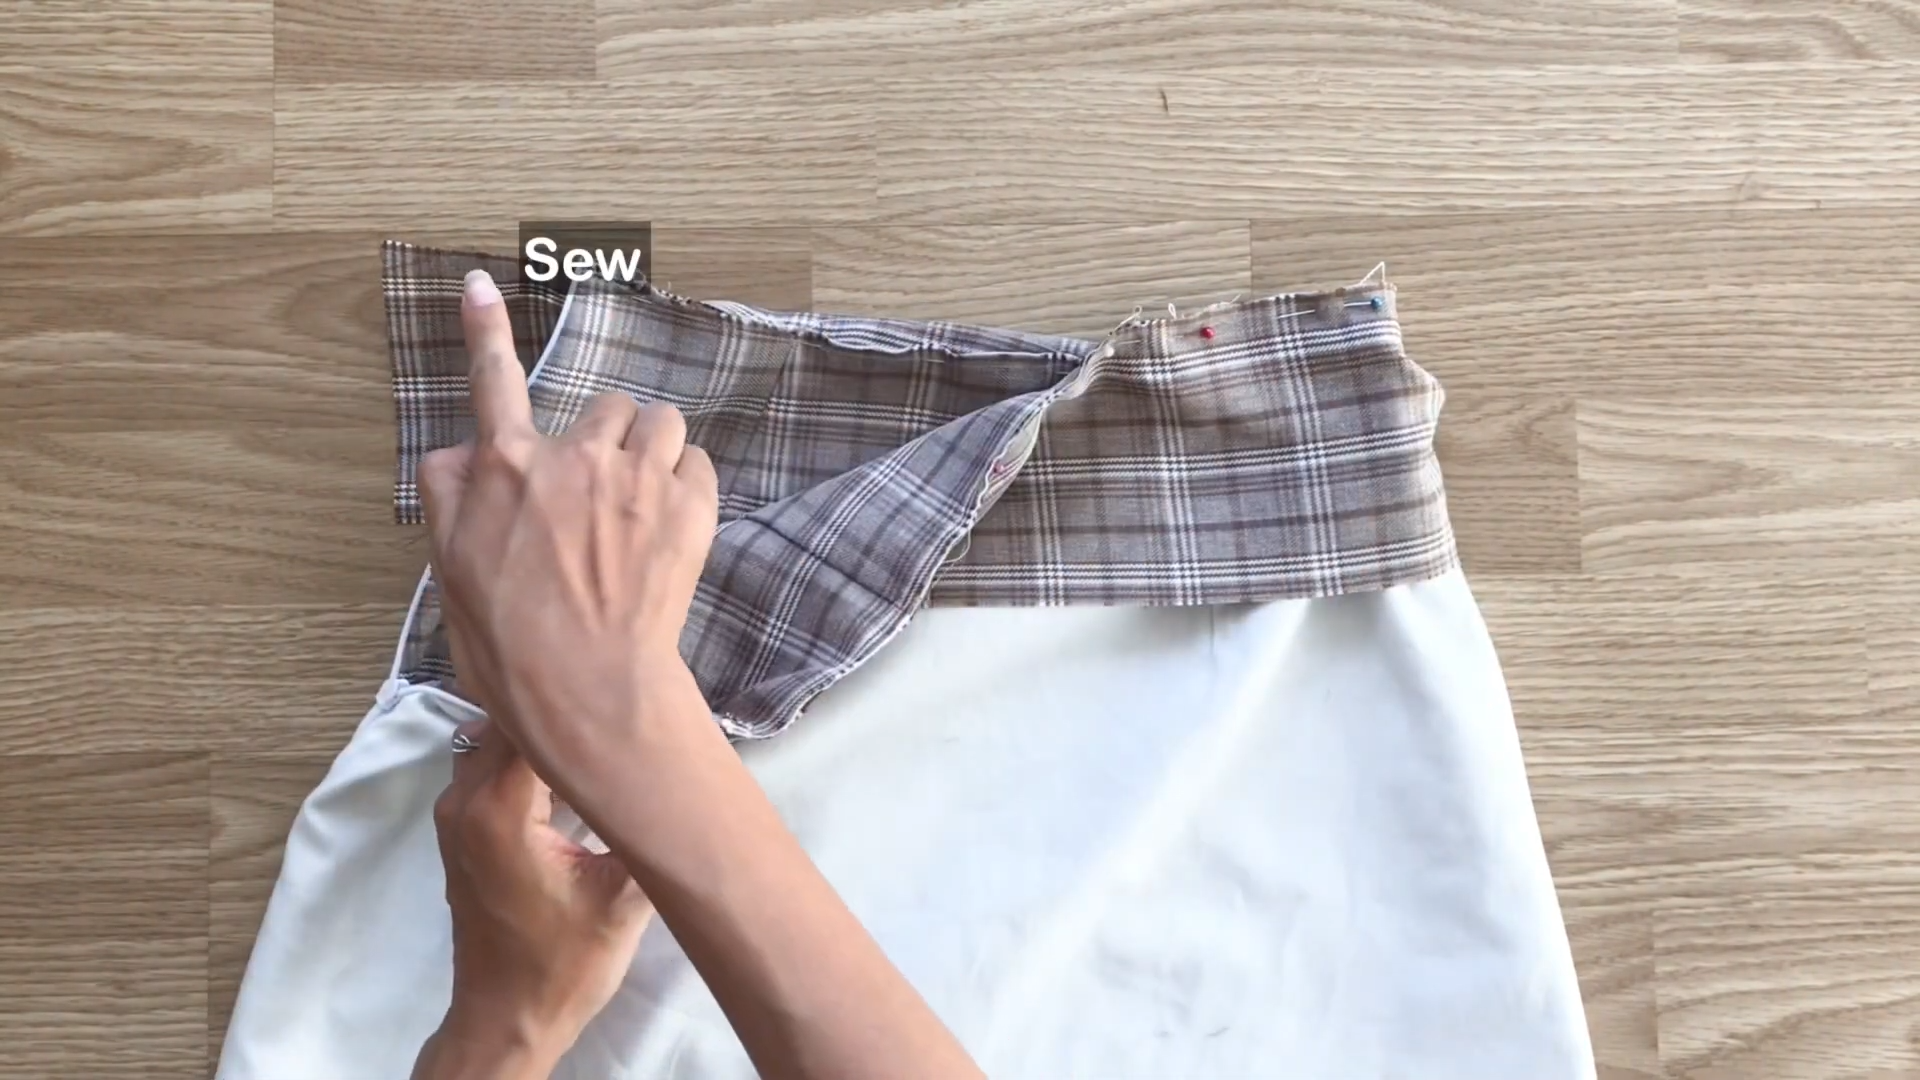
Connect one length line of the rectangle to the waist line and make the first seam.
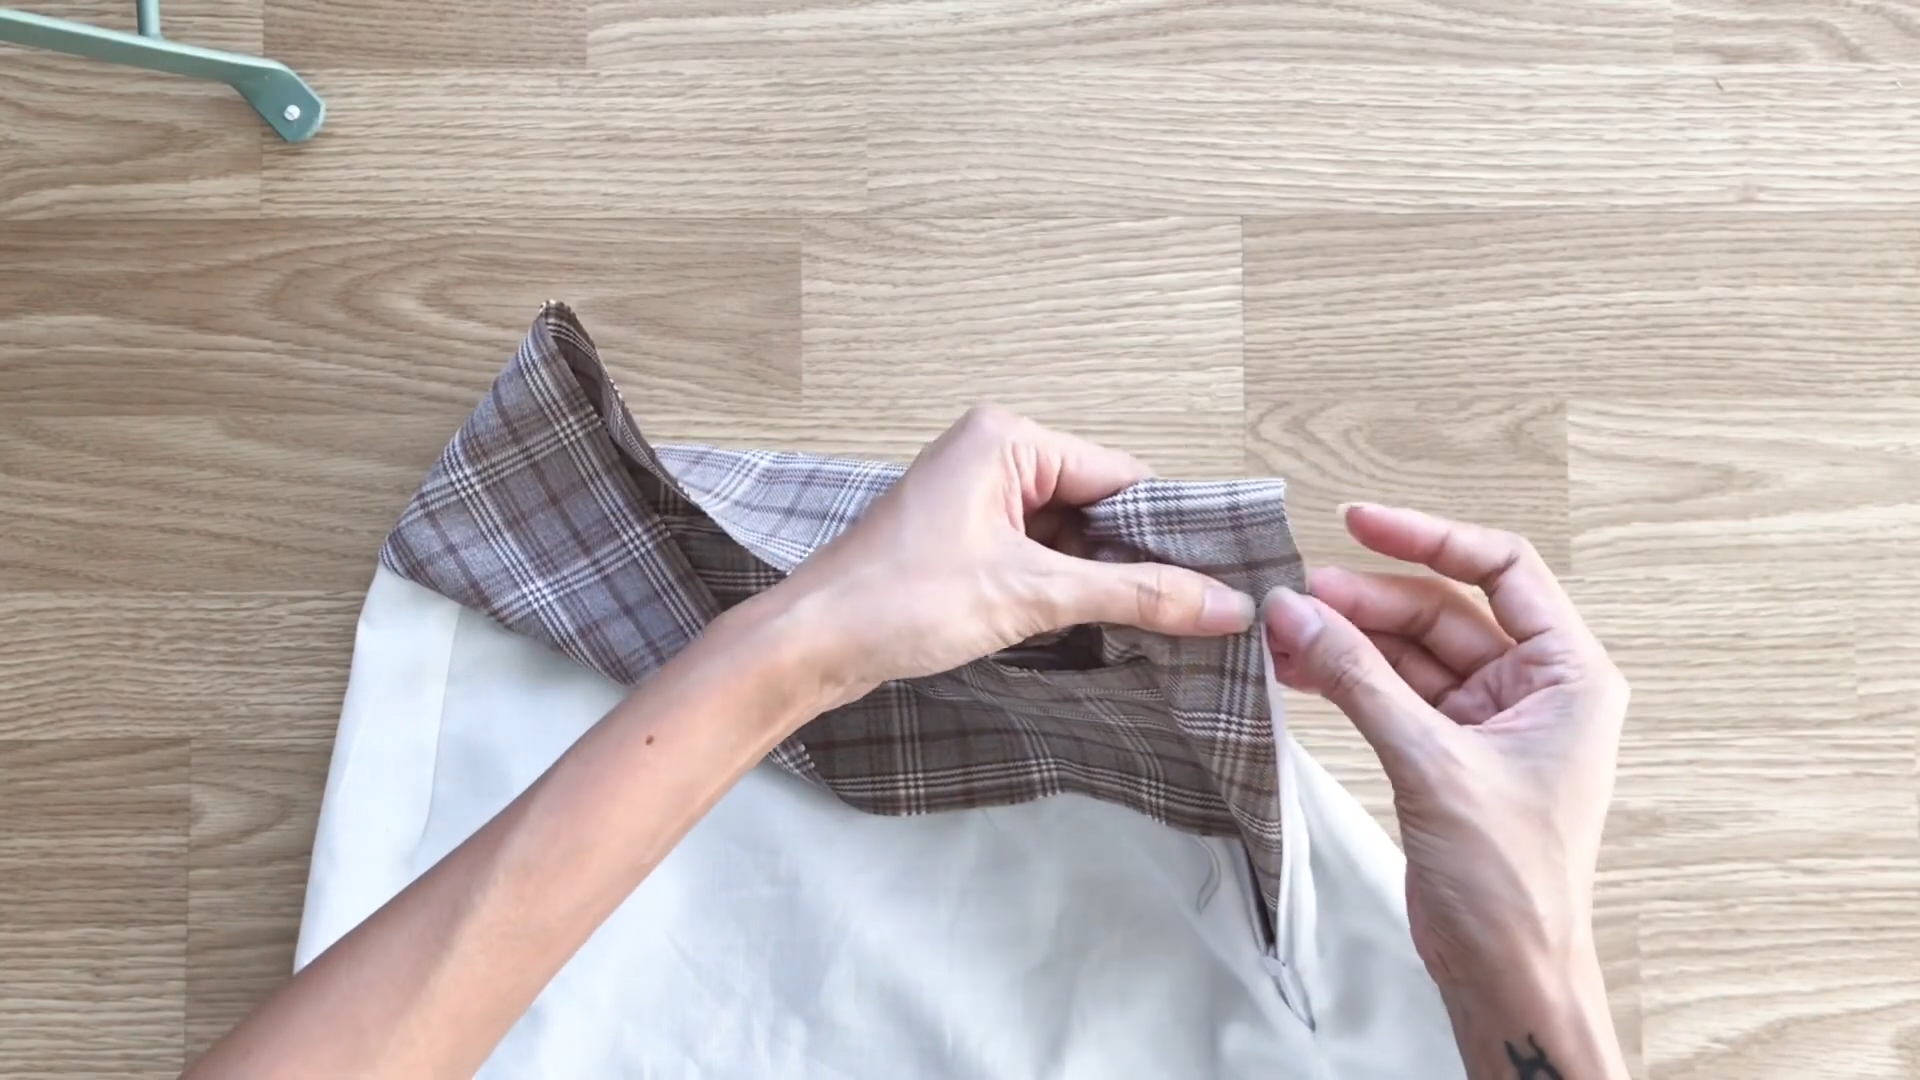
Fold the other length line inside 1 cm then keep folding over the first seam to make the second seam.
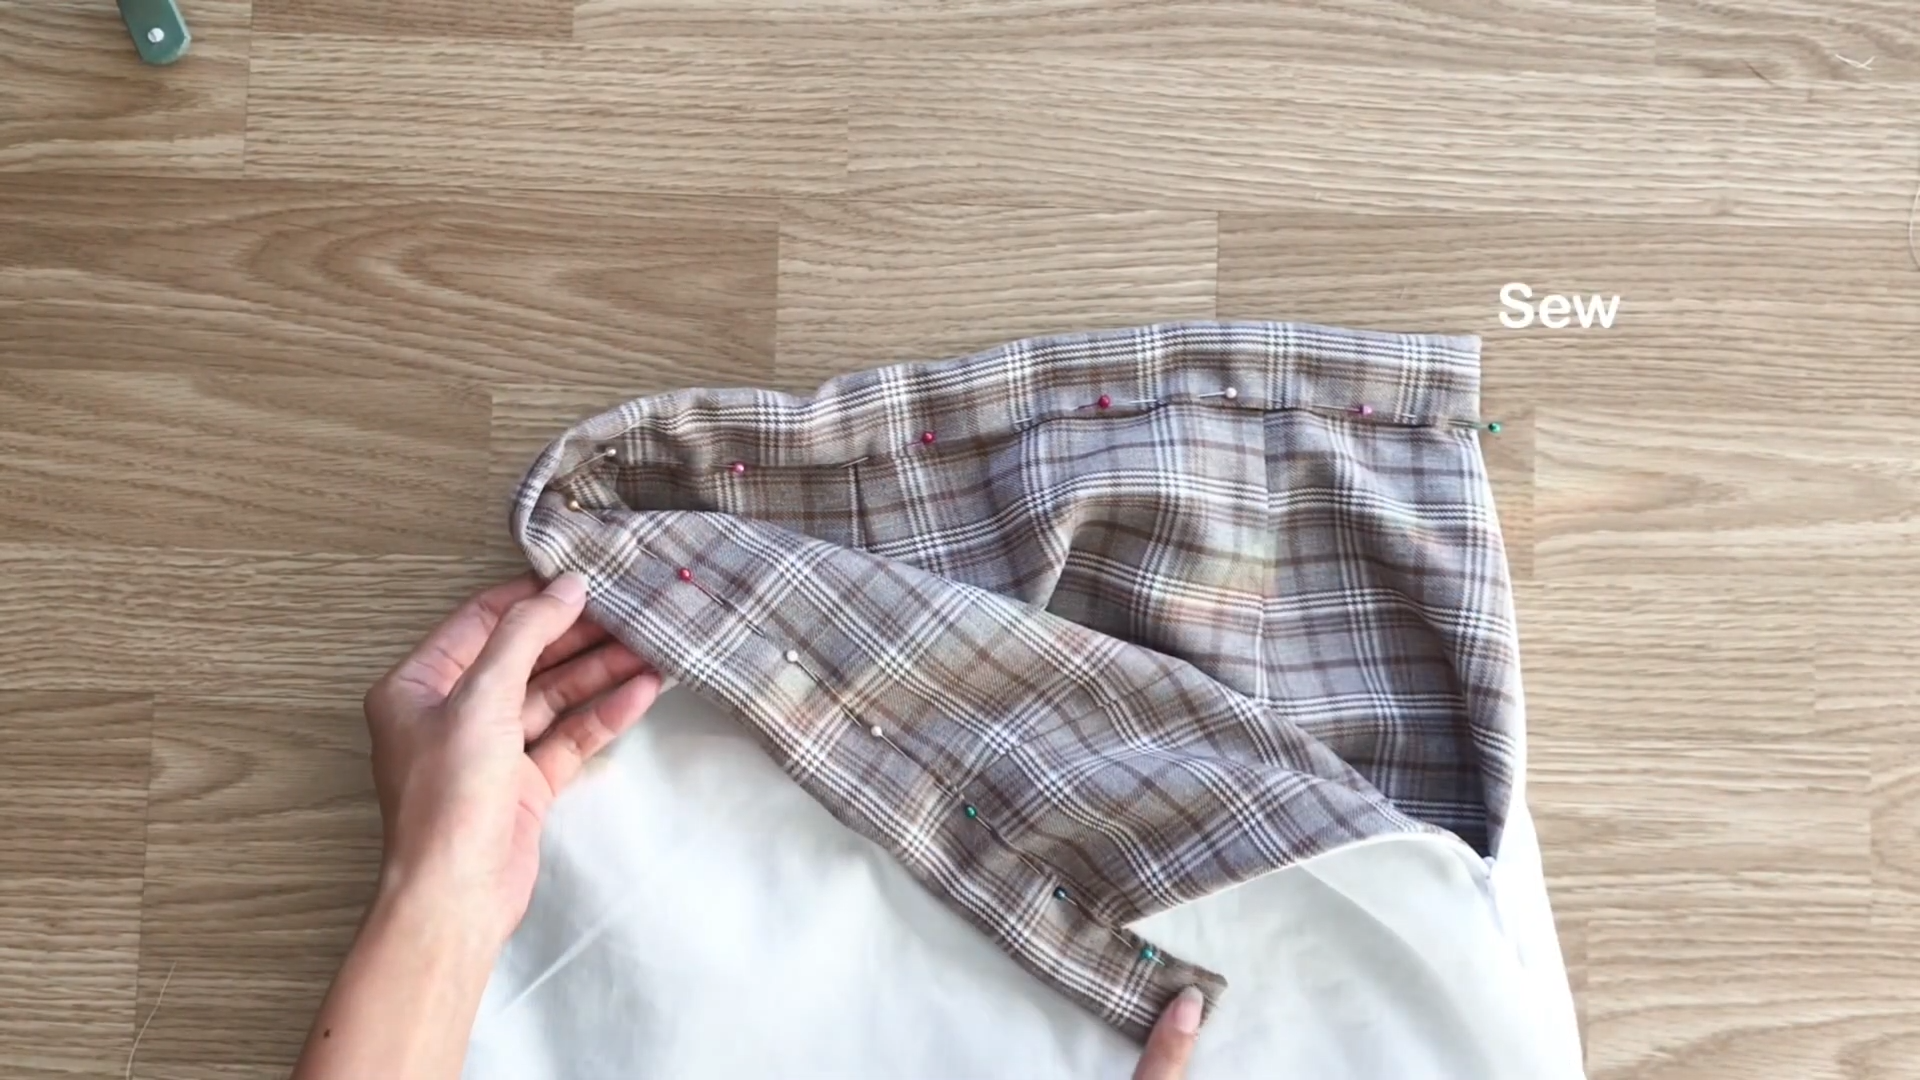
Sew the second seam.
Put the button and make the button hole at the extra of the waistband.

DIY A-line Mini skirt
And voila!
Behold the final result: a comfortable and versatile A-line mini skirt that’s perfect for any occasion. Whether you’re heading to a brunch date or a casual evening out, this skirt has got you covered.

I hope you’ll give it a try and rock it with confidence. Stay tuned for more exciting creations next week!
Until then, happy sewing!