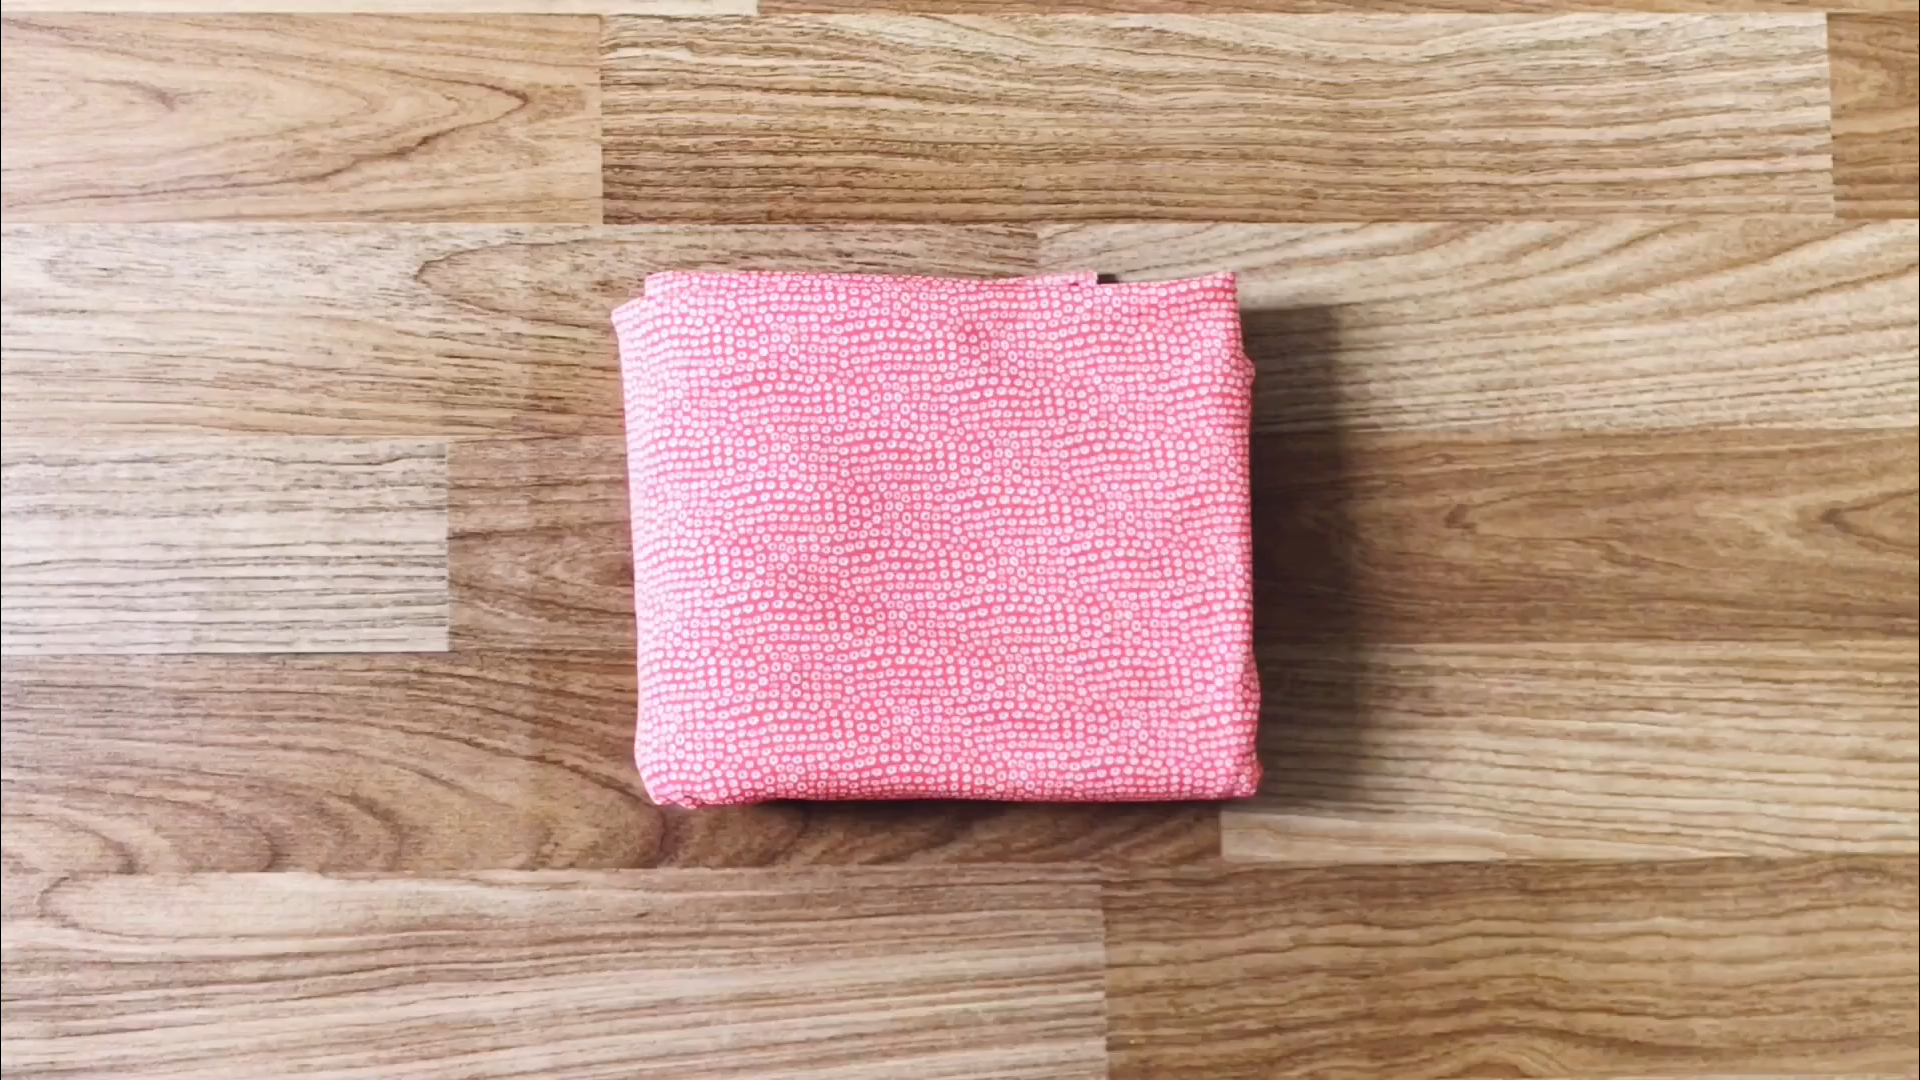
DIY MIDI SKIRT from scratch - How to make Midi Skirt with simple cutting in less than 30 minutes

DIY Midi Skirt
Welcome to “Sewing with Jess”!
Today, I’m back with a DIY project where we’ll be creating a Midi skirt from scratch. This skirt is the perfect addition to your spring/summer wardrobe.
The best part? It’s super easy to make! With some simple cutting, you can have a brand new Midi skirt ready in less than 30 minutes.
So, if you’re ready to enhance your sewing skills and add a stylish piece to your collection, you’re in the right place.
Let’s get started!
WHAT YOU’LL NEED
Spandex with 2m width
Pattern paper
Sewing machine
Pins
Scissors
Ruler
Long stick
SEWING THE SKIRT
THE MAIN BODY
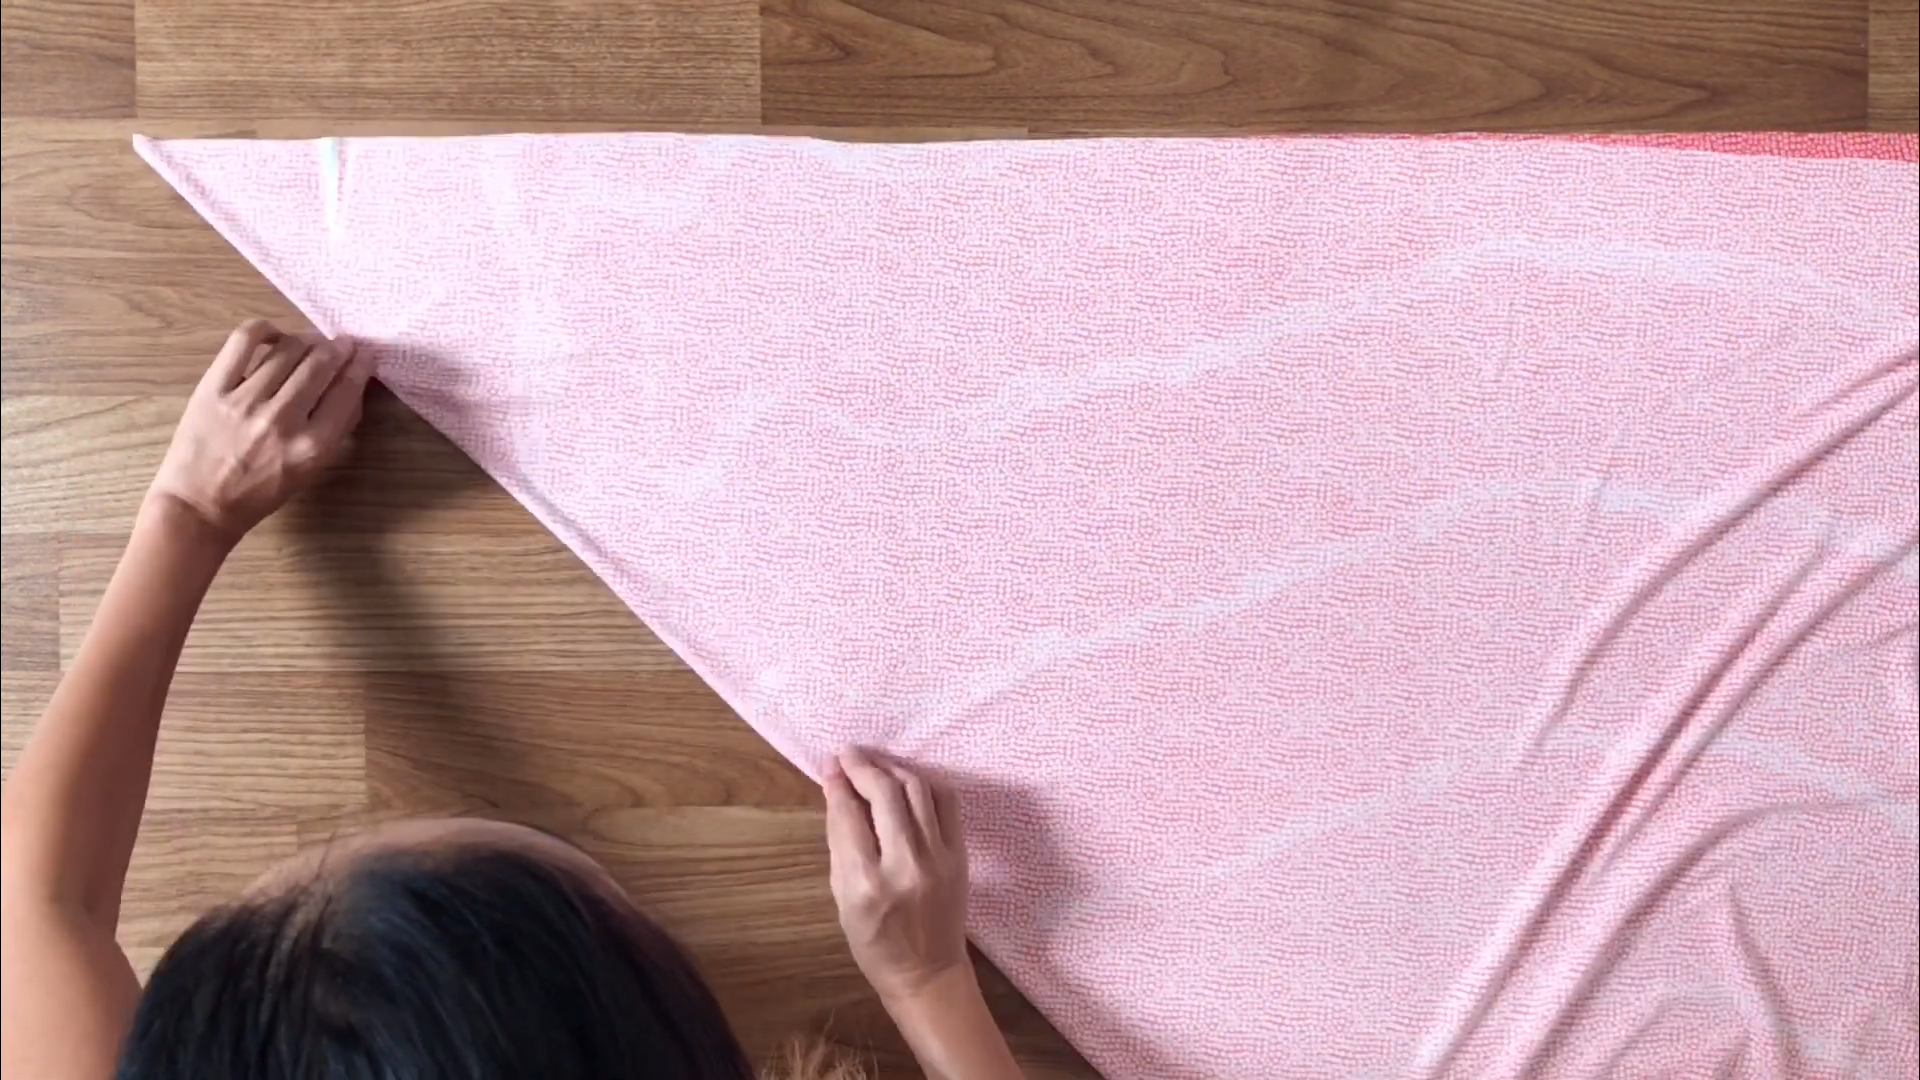
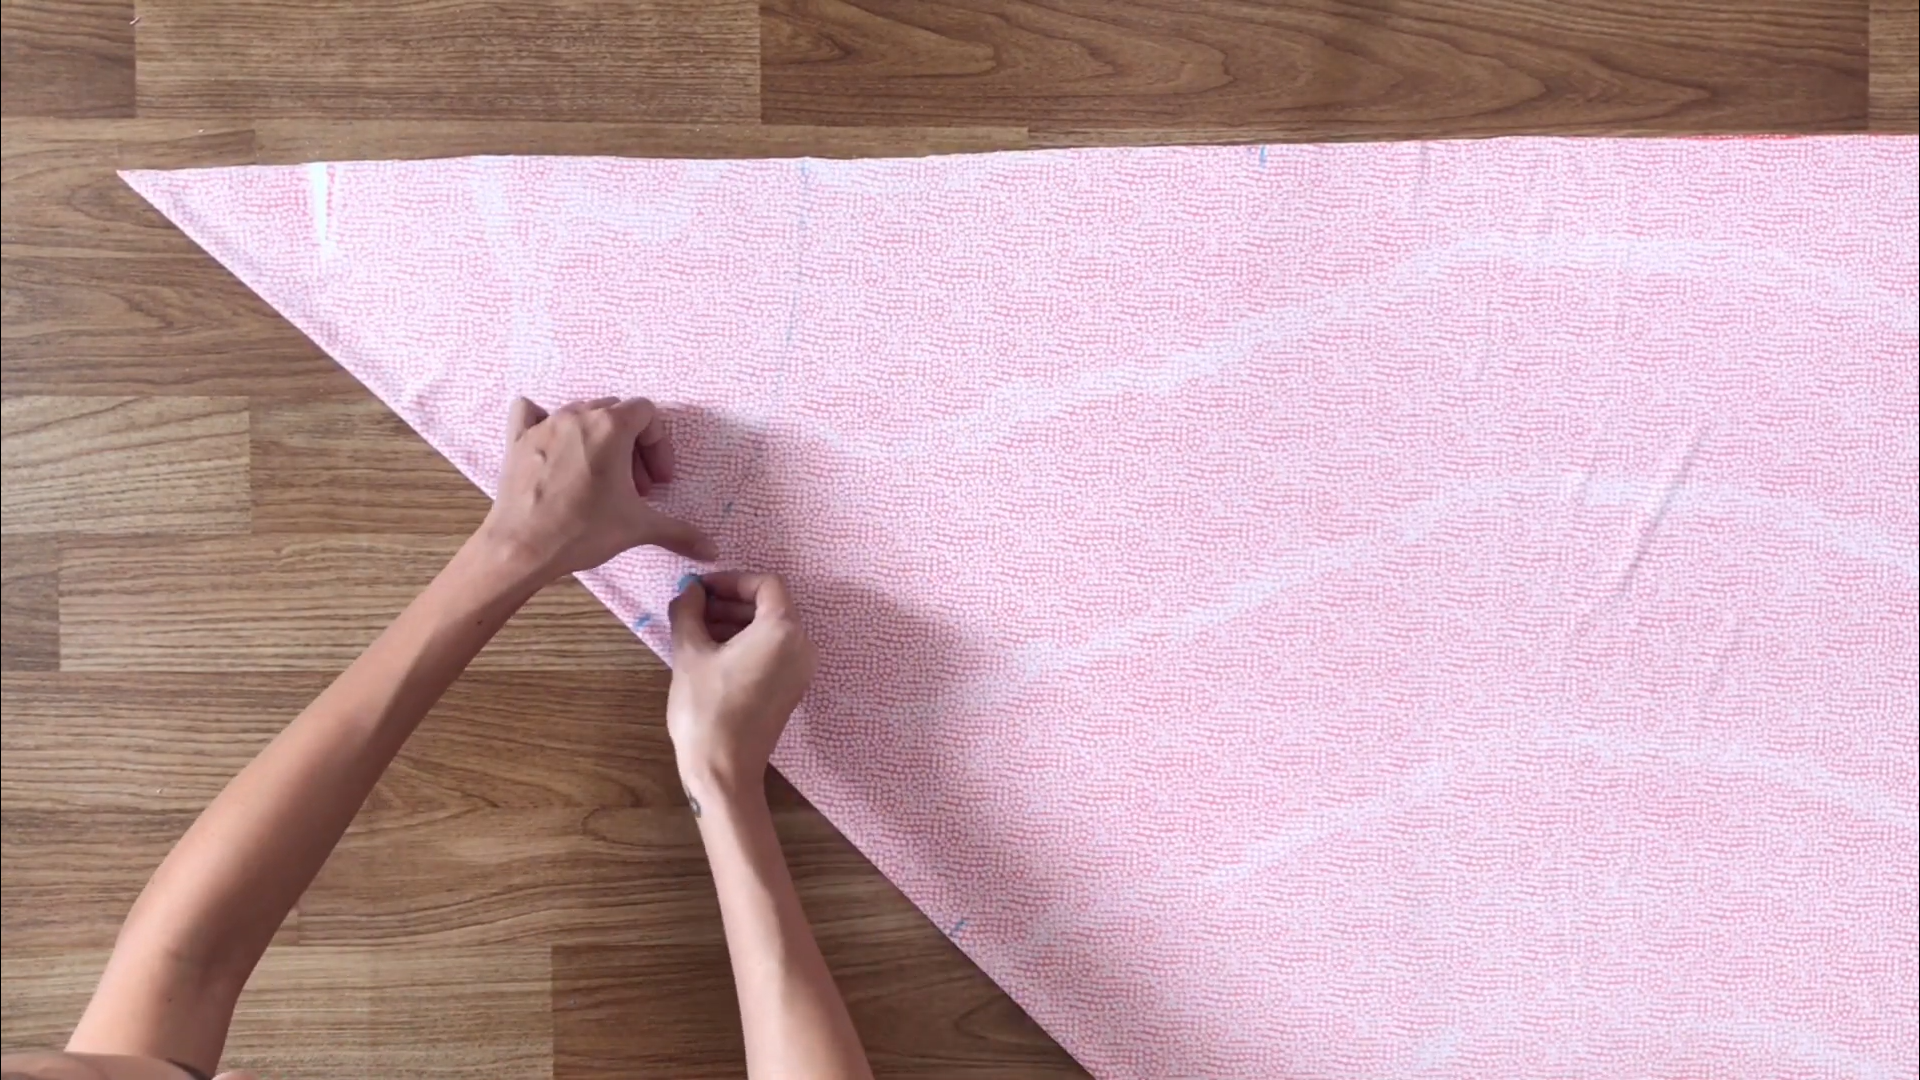
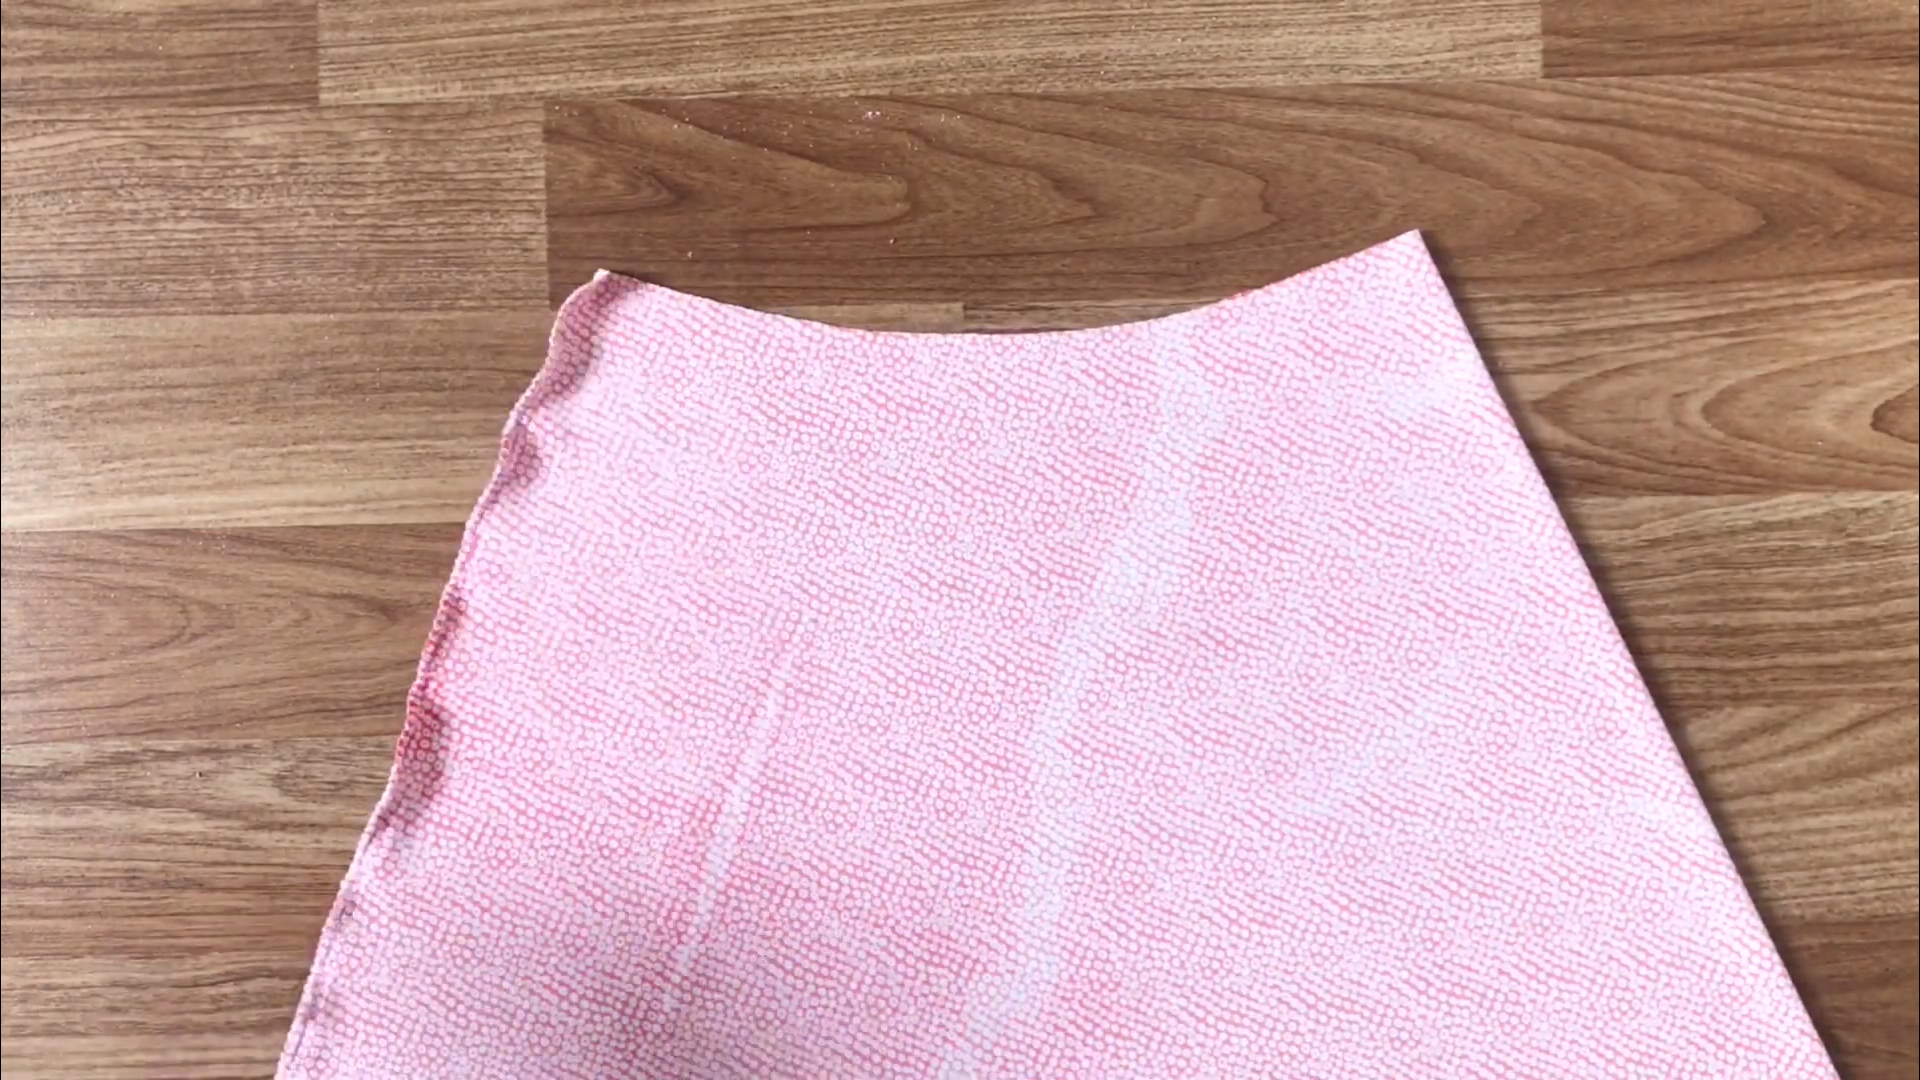
Fold two edges of the fabric together to form a triangle.
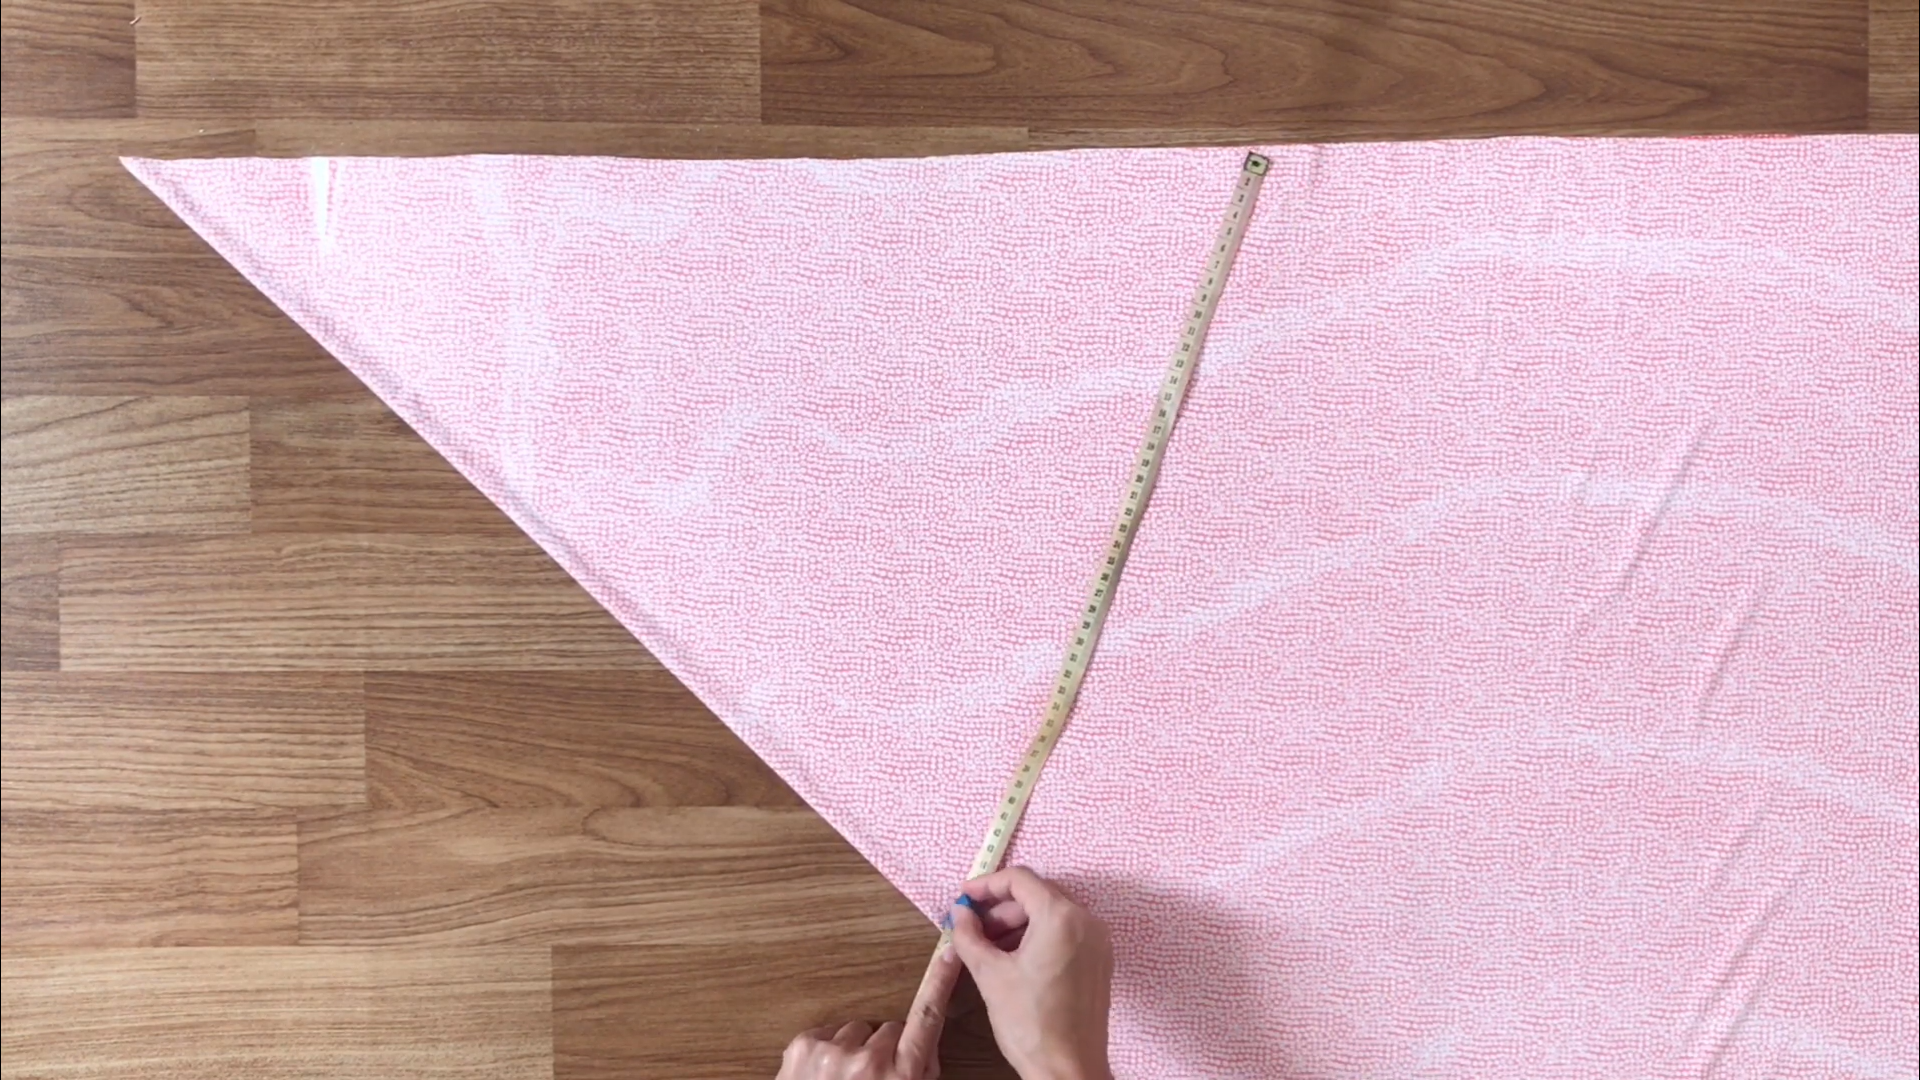
Then, measure the position for the hip of the skirt and mark at 48 cm, which is half of the hip size plus 2 cm.
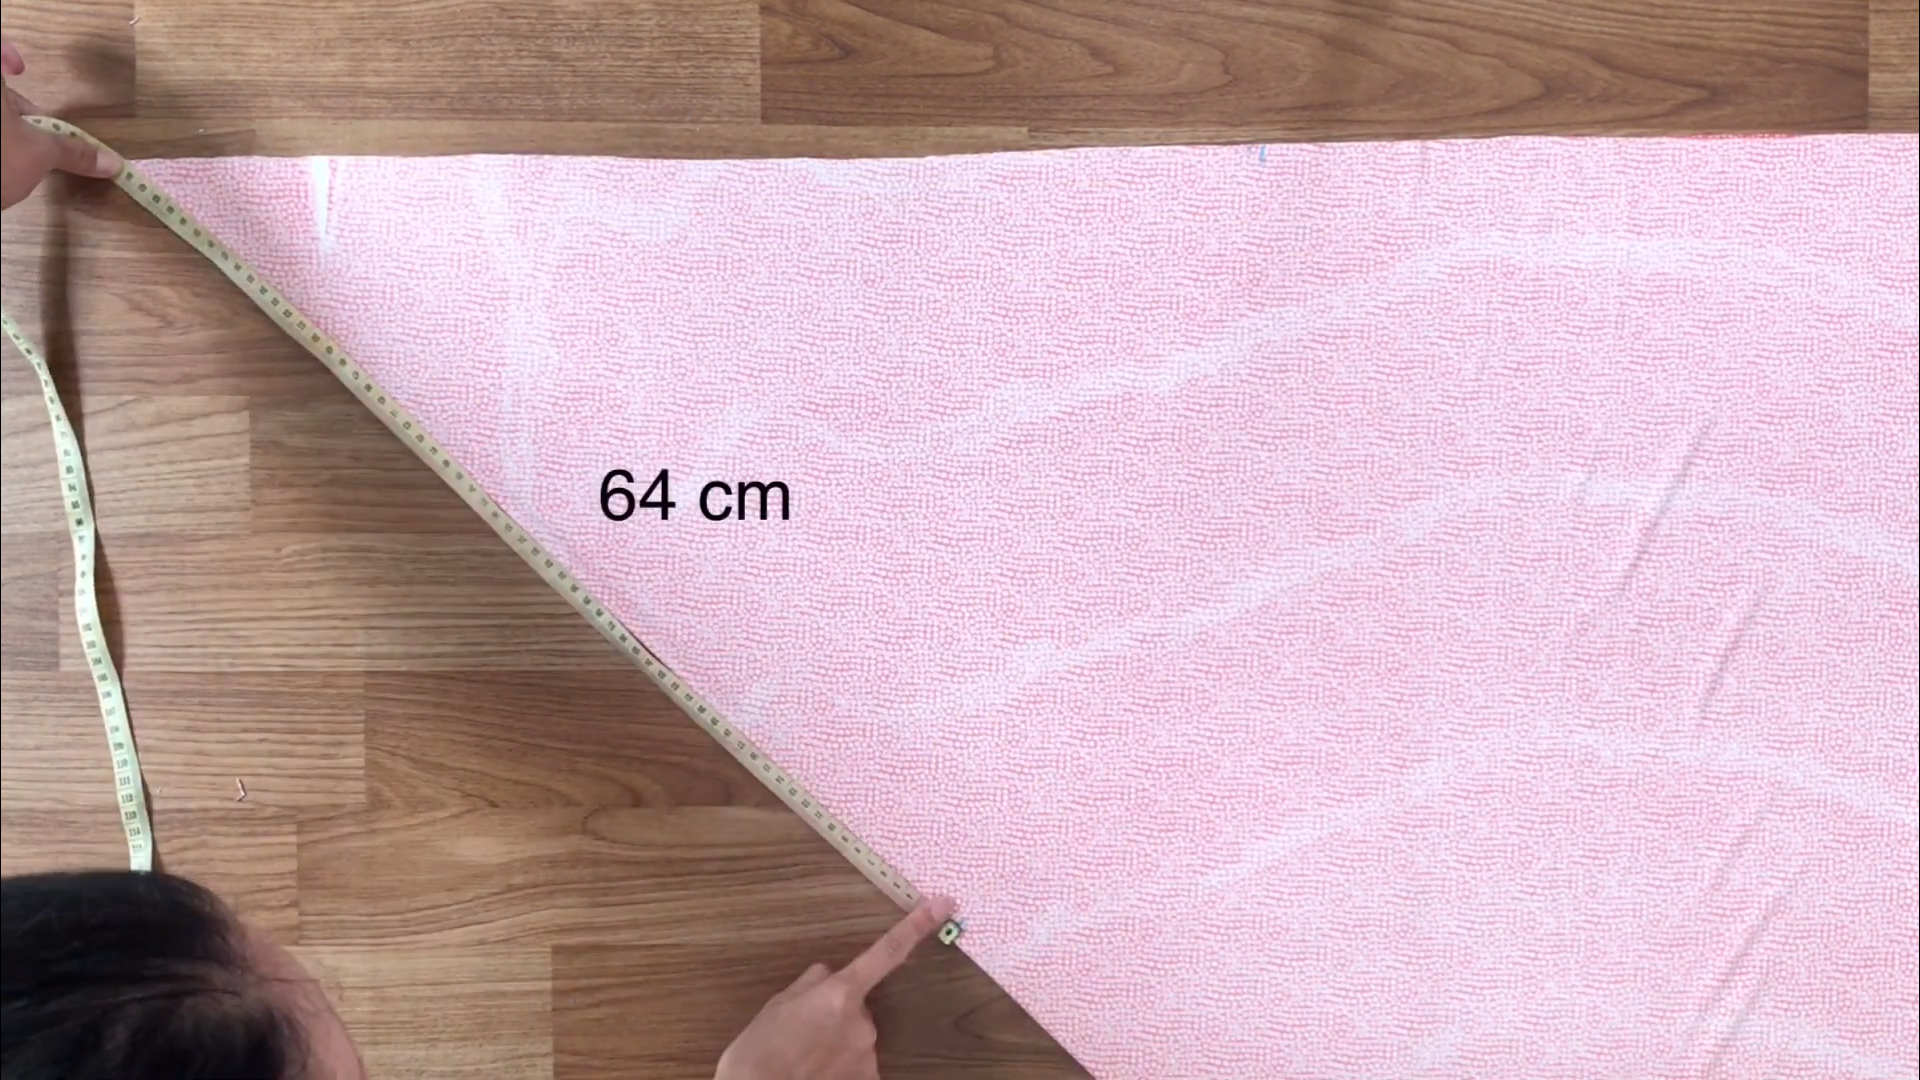
Check that the width from the top to each mark is the same, which should be 64 cm.
THE WAISTLINE
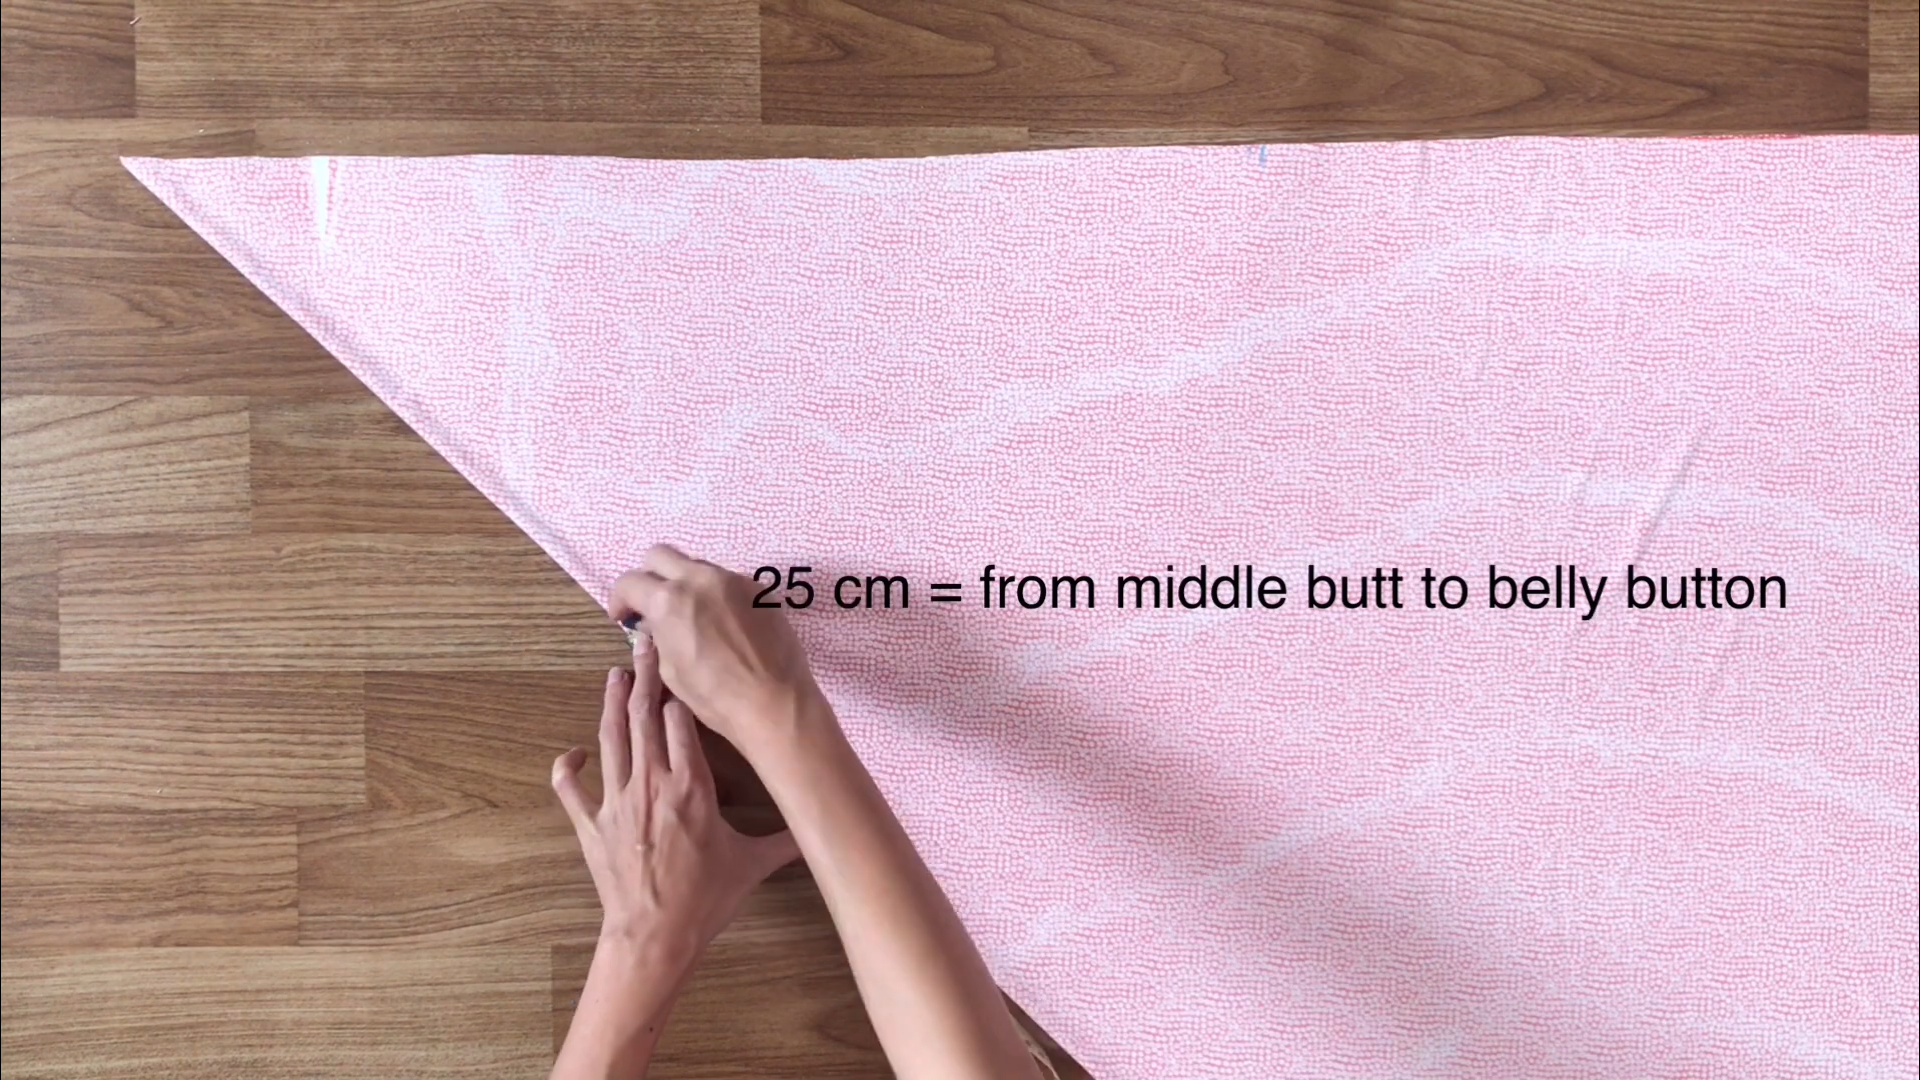
From that mark, go up 25 cm, which is the width from the middle of the buttocks to the belly button.
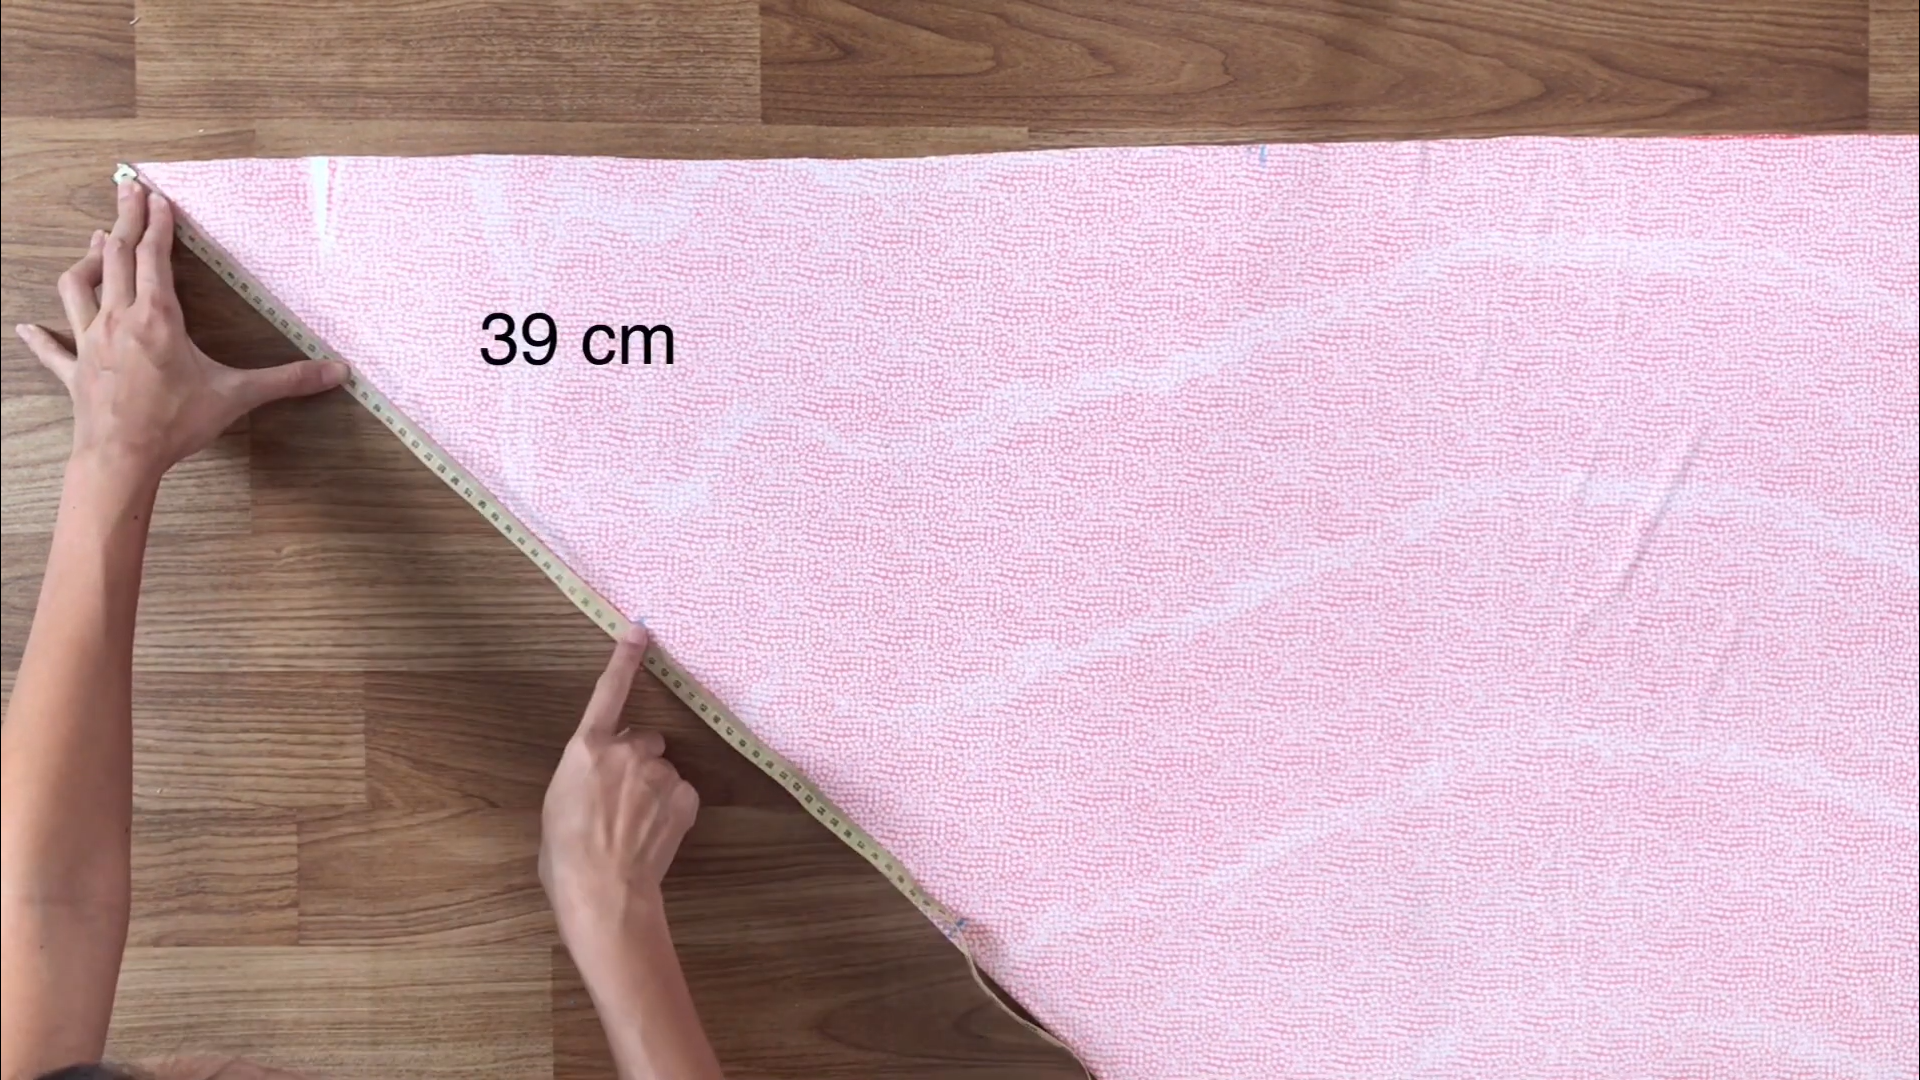
So, the length from the top to the belly button will be 39 cm.
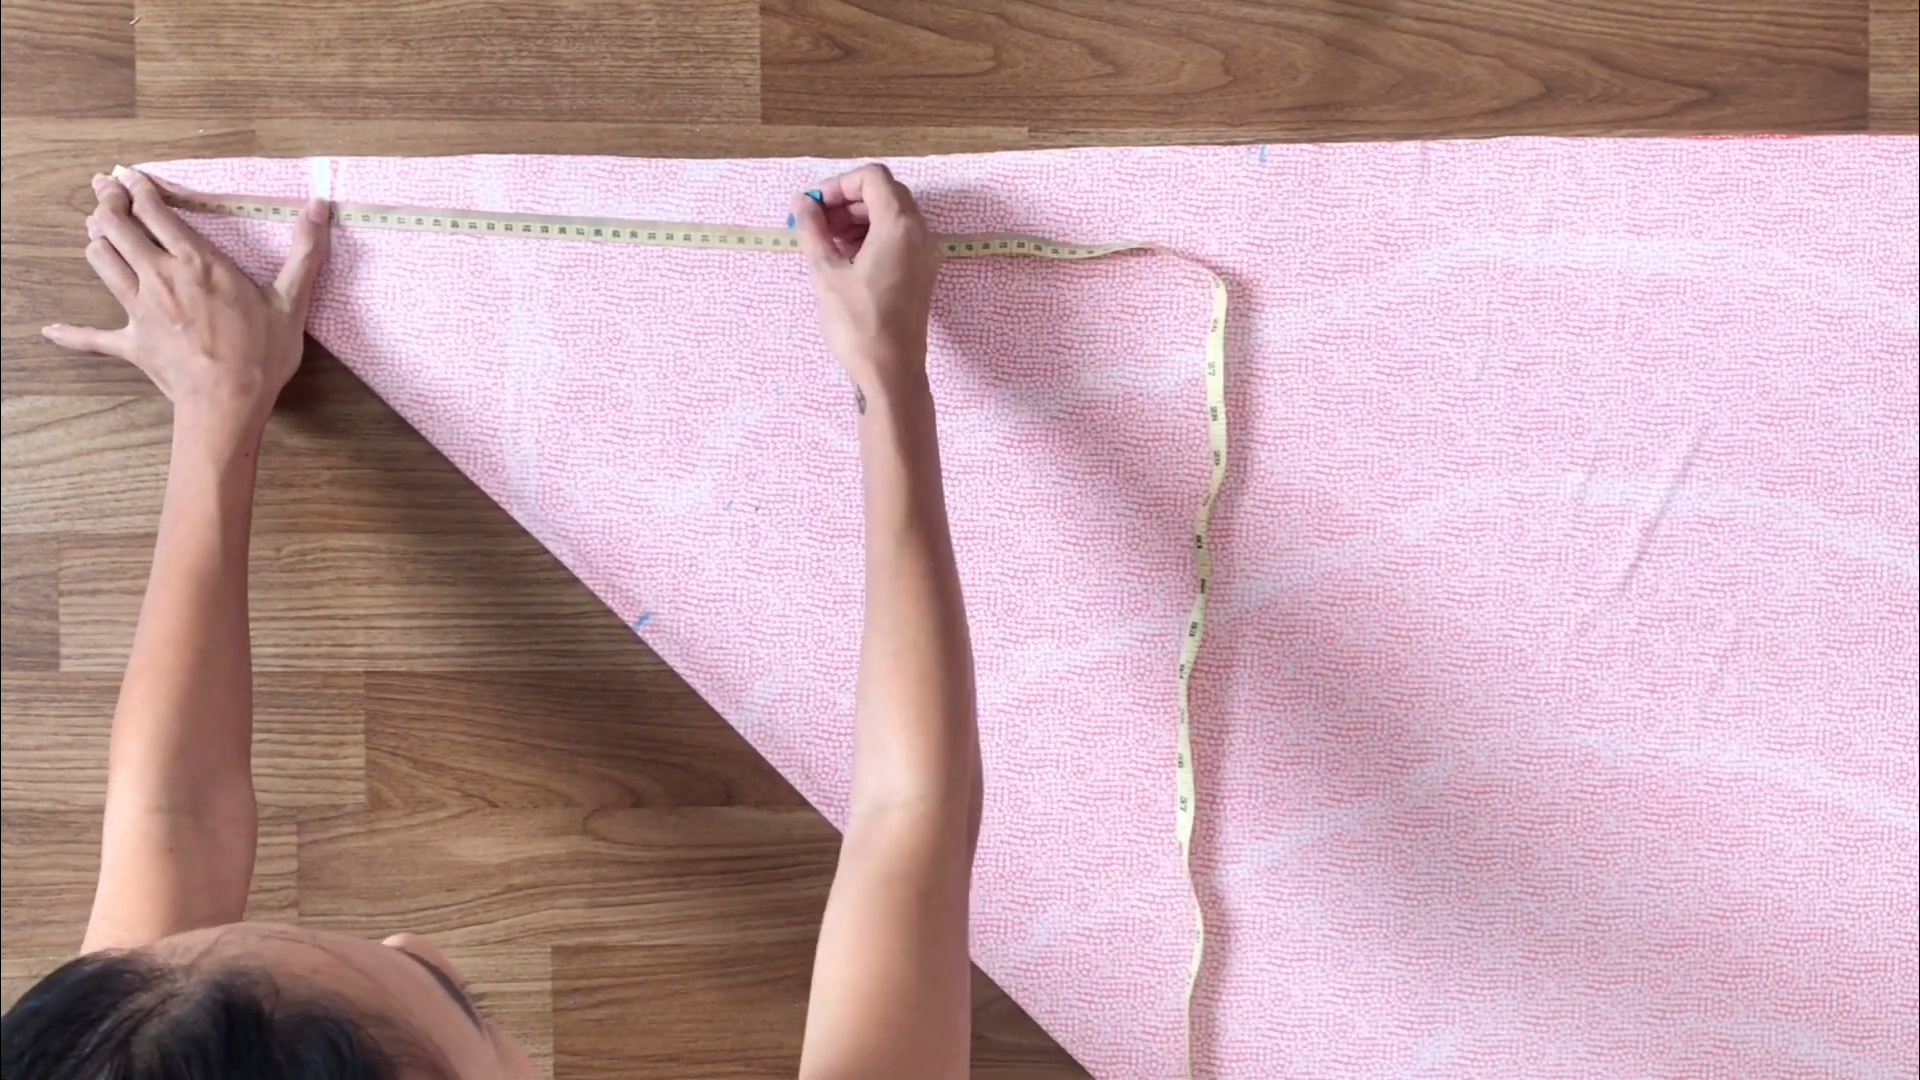
Continue making marks from the top down to 39 cm.
Then, draw lines to connect these marks together to form the waistline for the skirt.
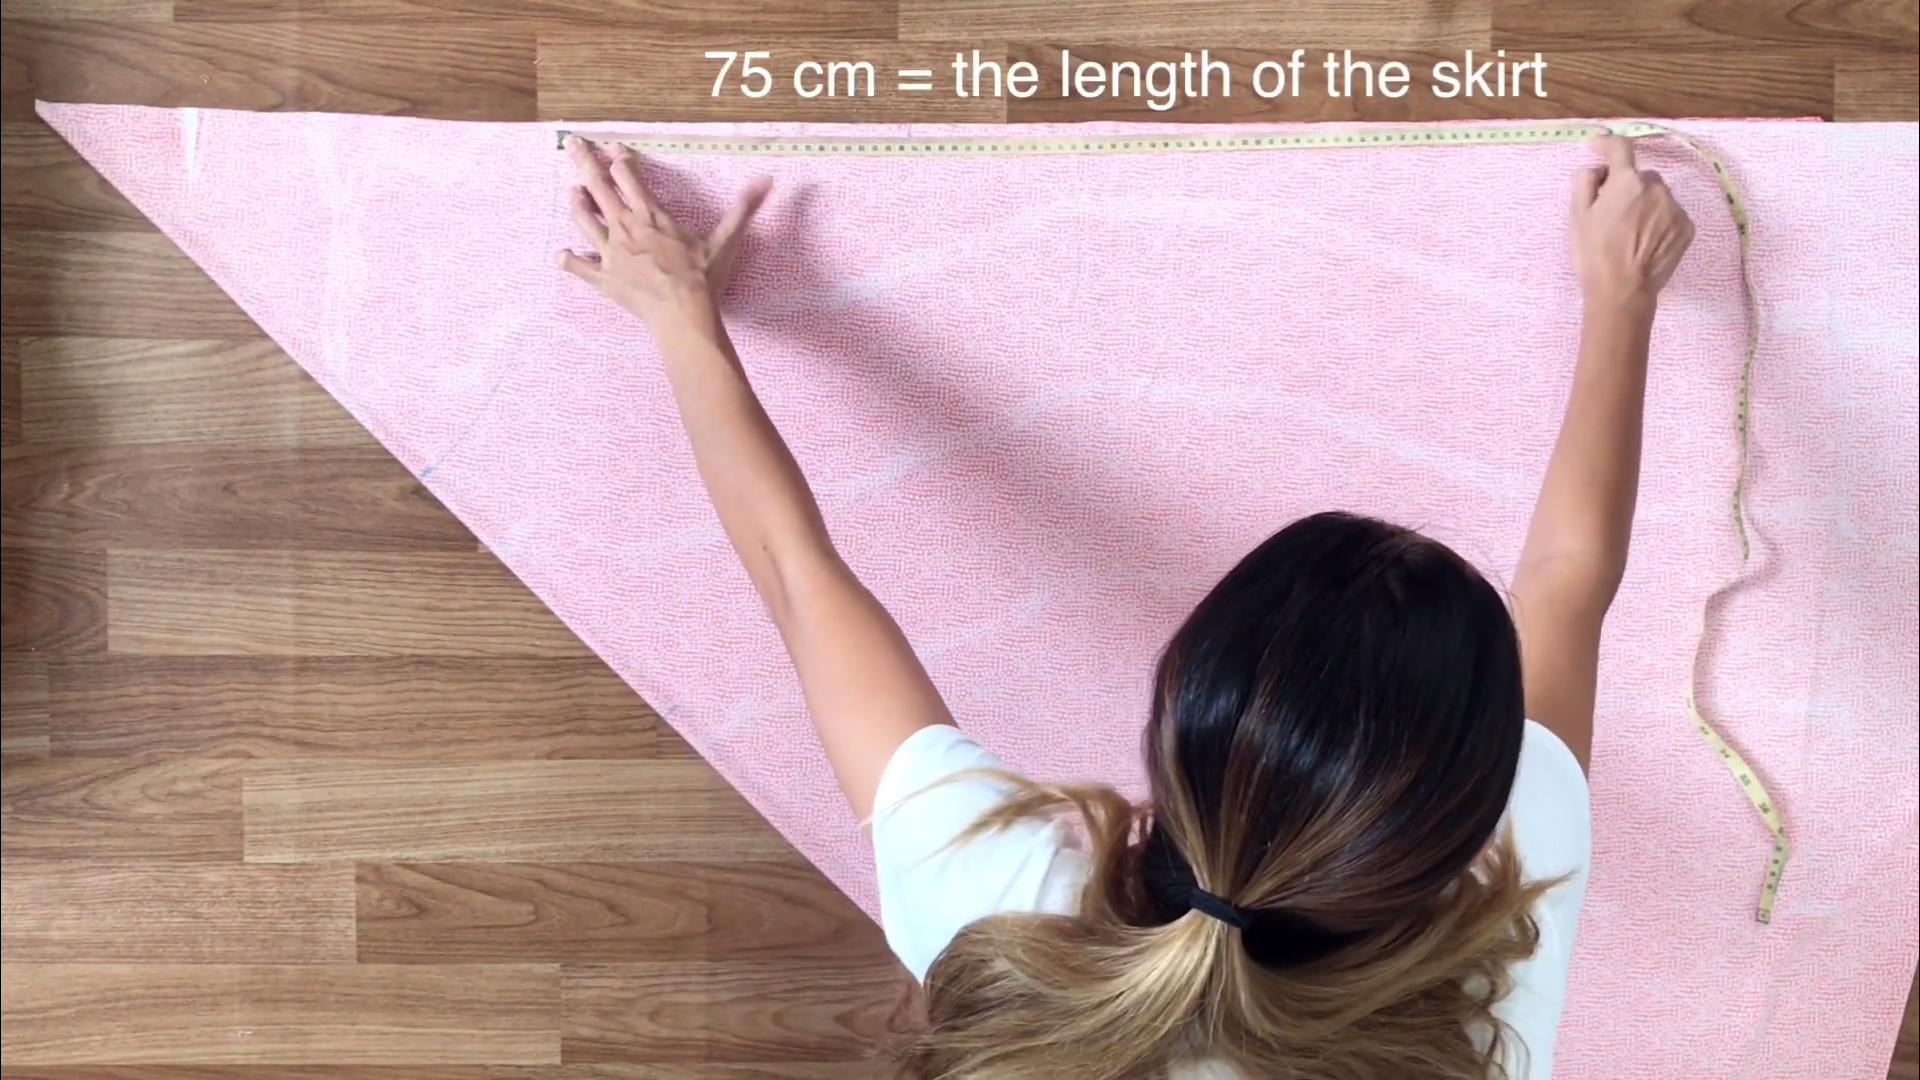
From the waistline, go down 75 cm and mark there. You can adjust the length of your skirt to fit your height.
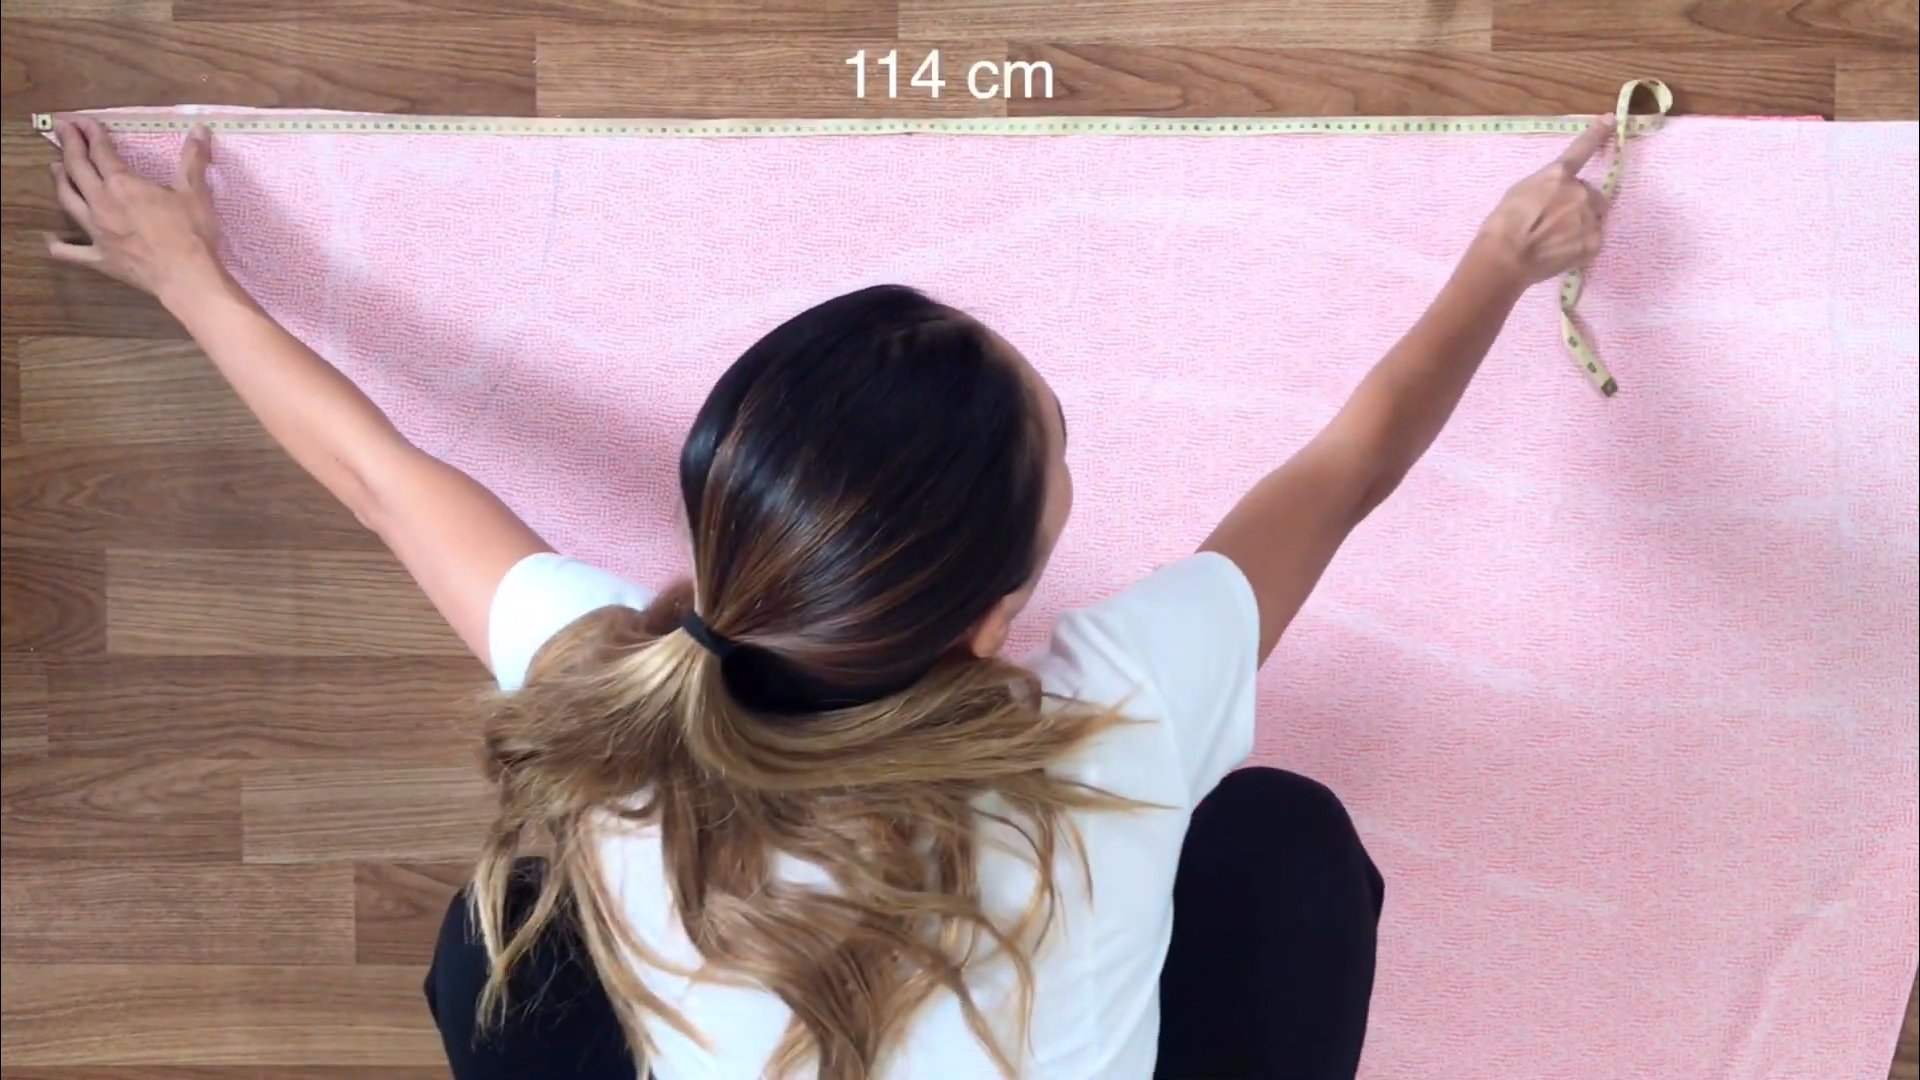
After that, check the length from the top to the end of the skirt, which should be 114 cm.
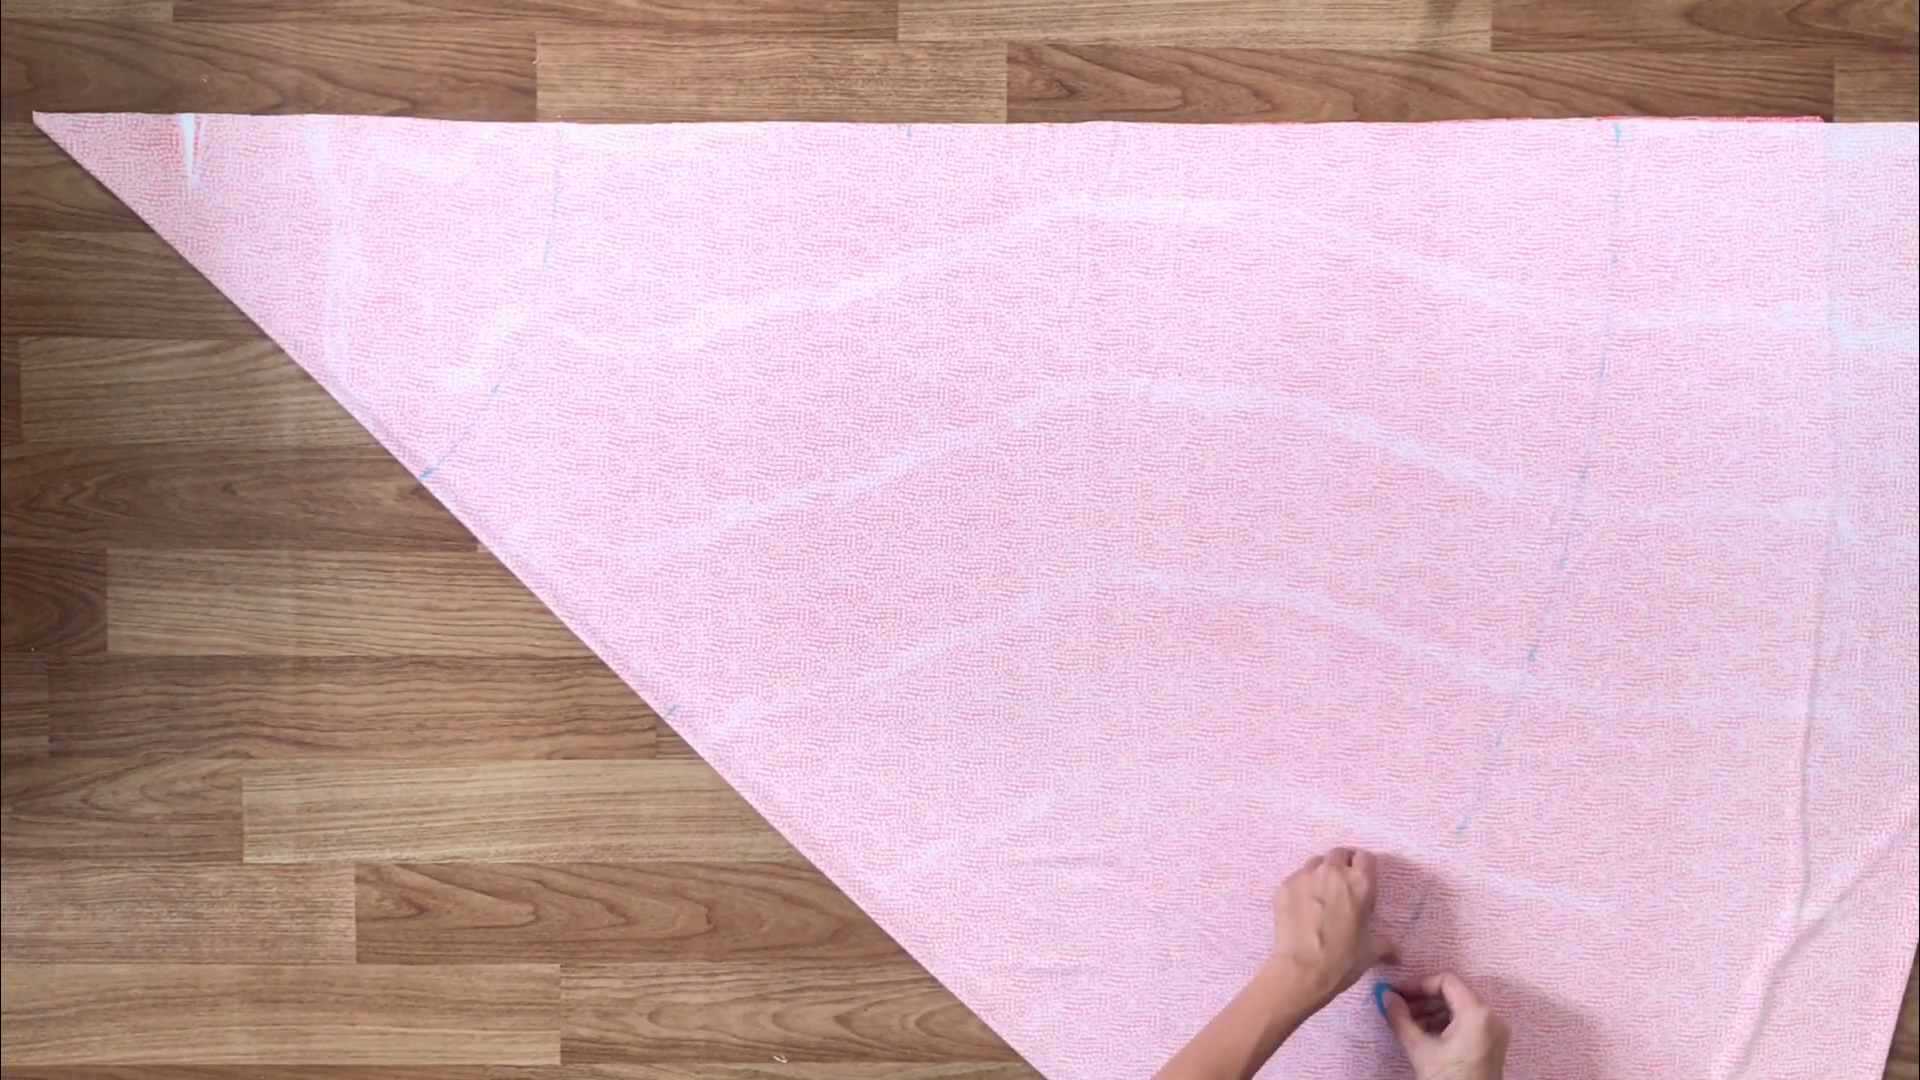
Make additional marks from the top to the end at 114 cm, similar to what you did for the waistline, to create the ending line for the skirt.
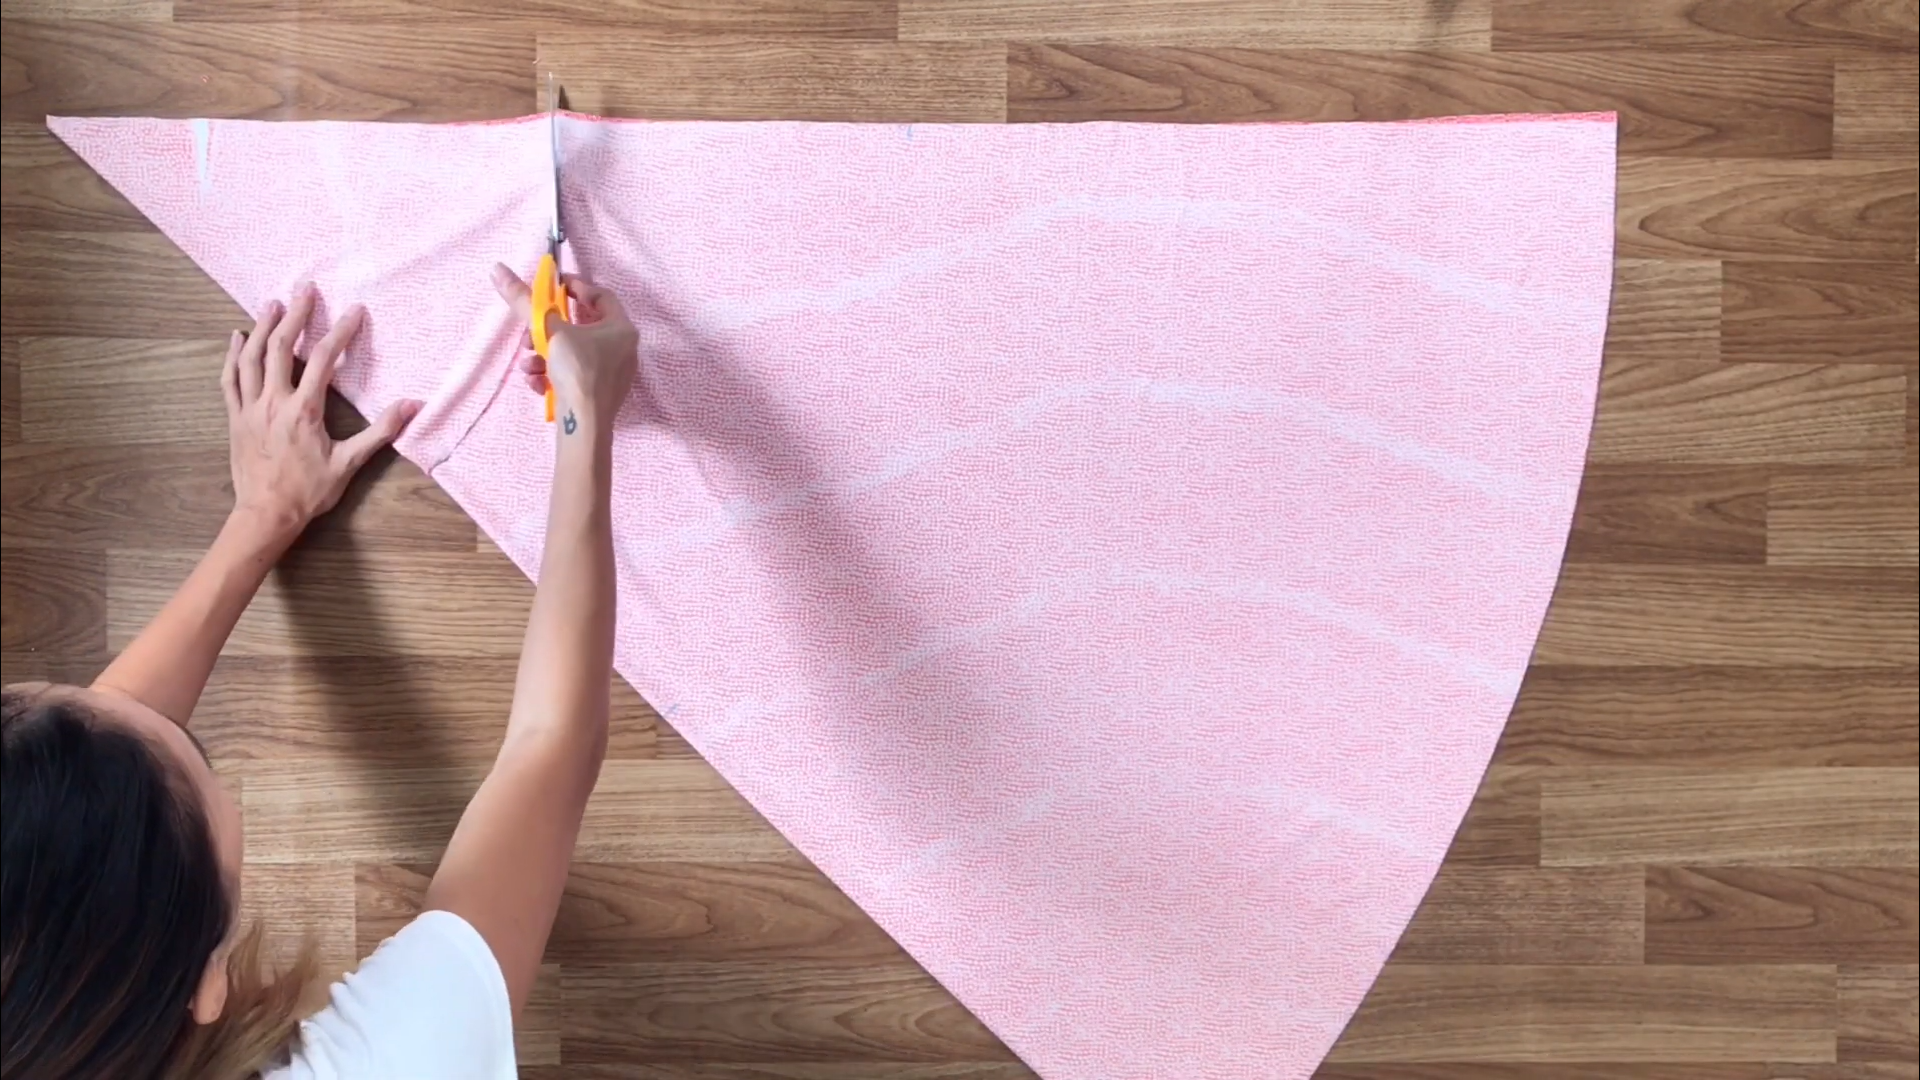
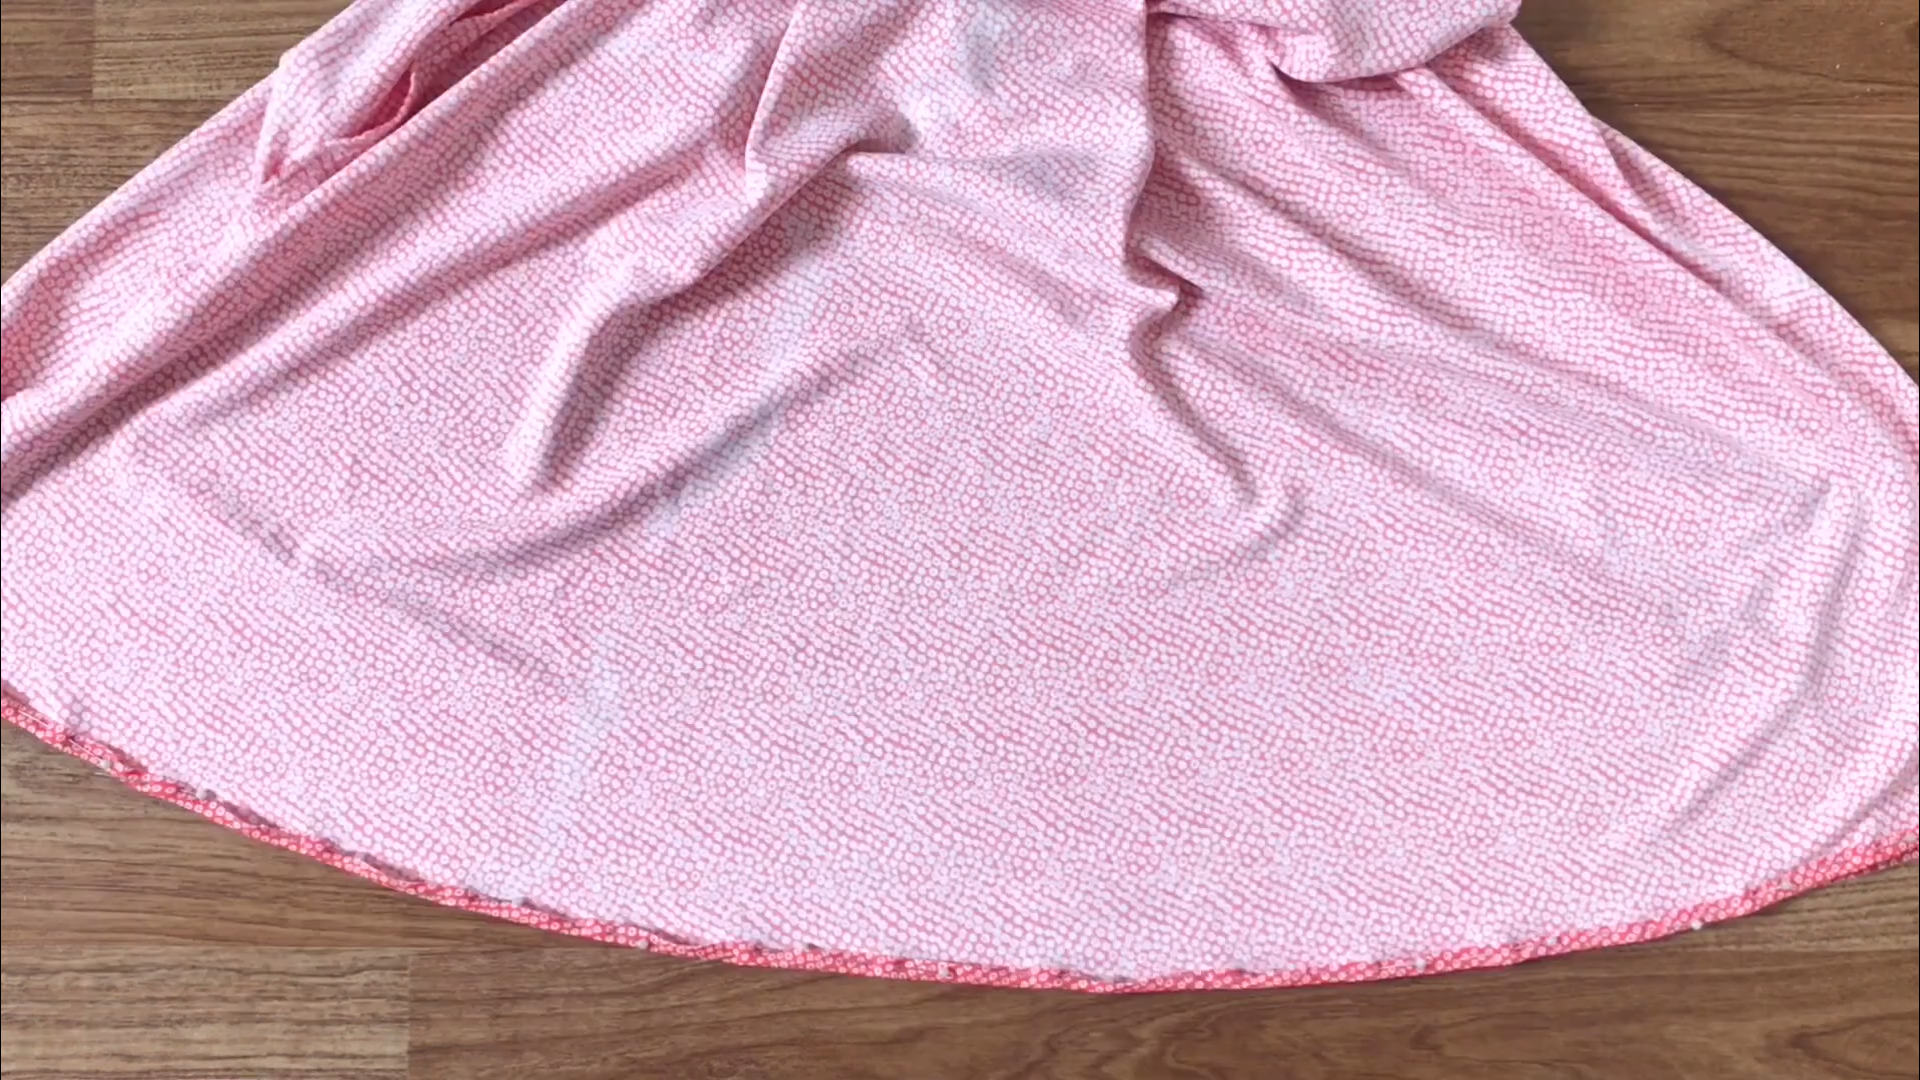
After cutting, you will have the skirt.

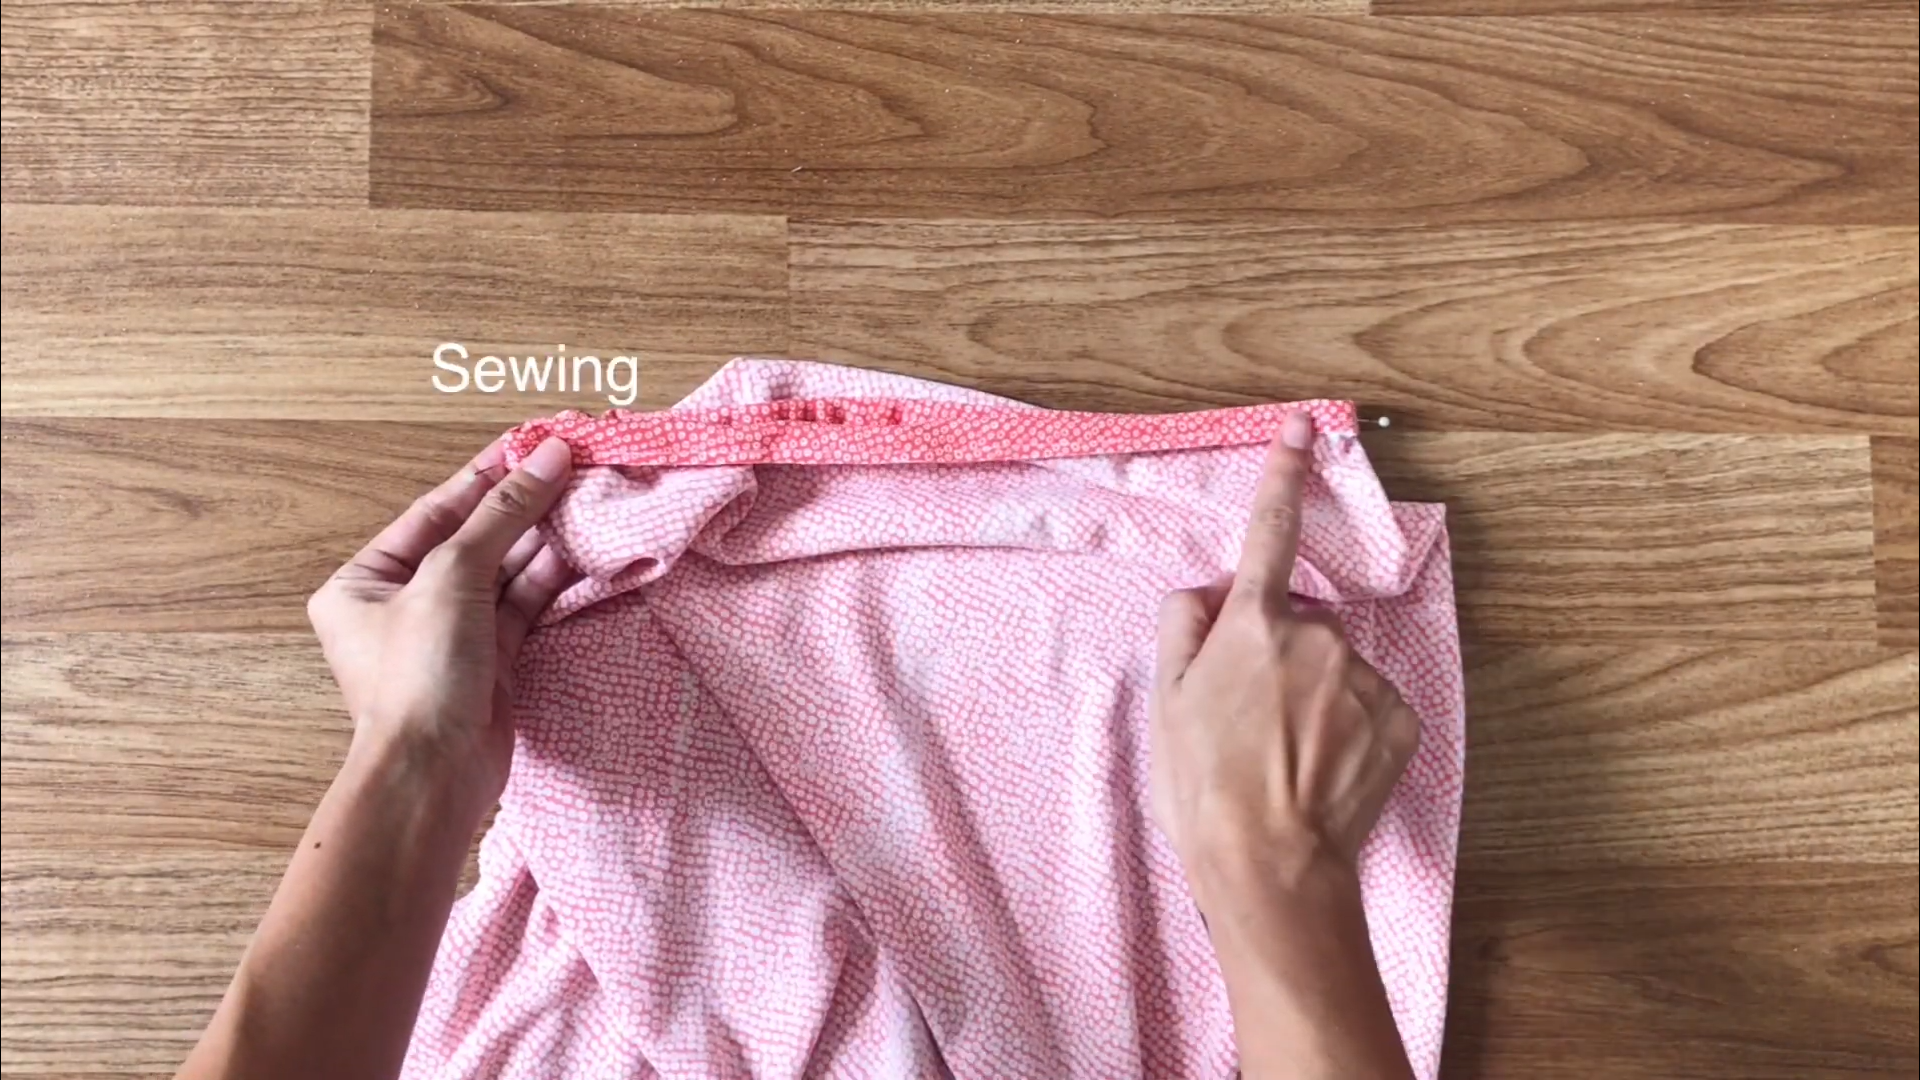
Now, you just need to sew one side of the skirt together. Use pins to hold them together before sewing.
Don’t forget to overlock to protect the fabric. This can be done using zigzag stitching and a fake overlocking presser foot.
THE WAISTBAND
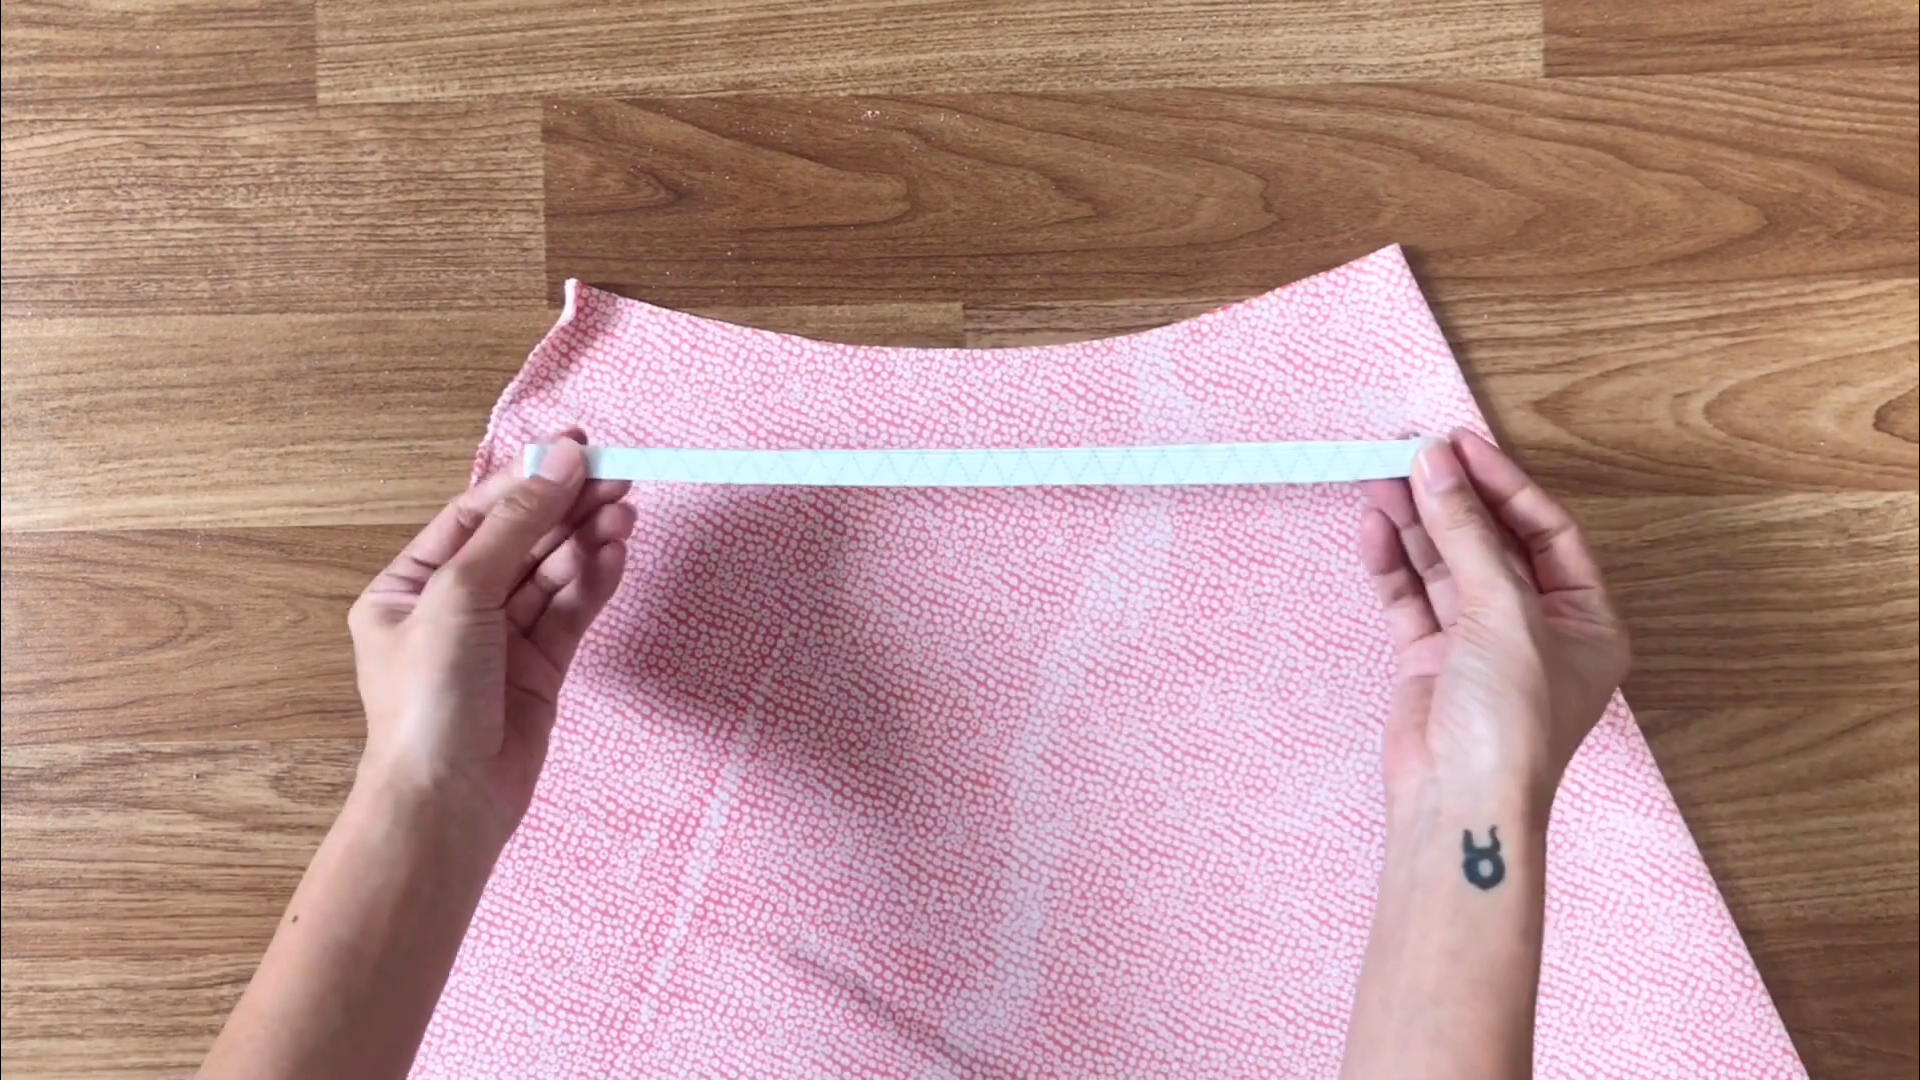
For the waistband, use an elastic band with a width of 1 cm and a length of 60 cm.
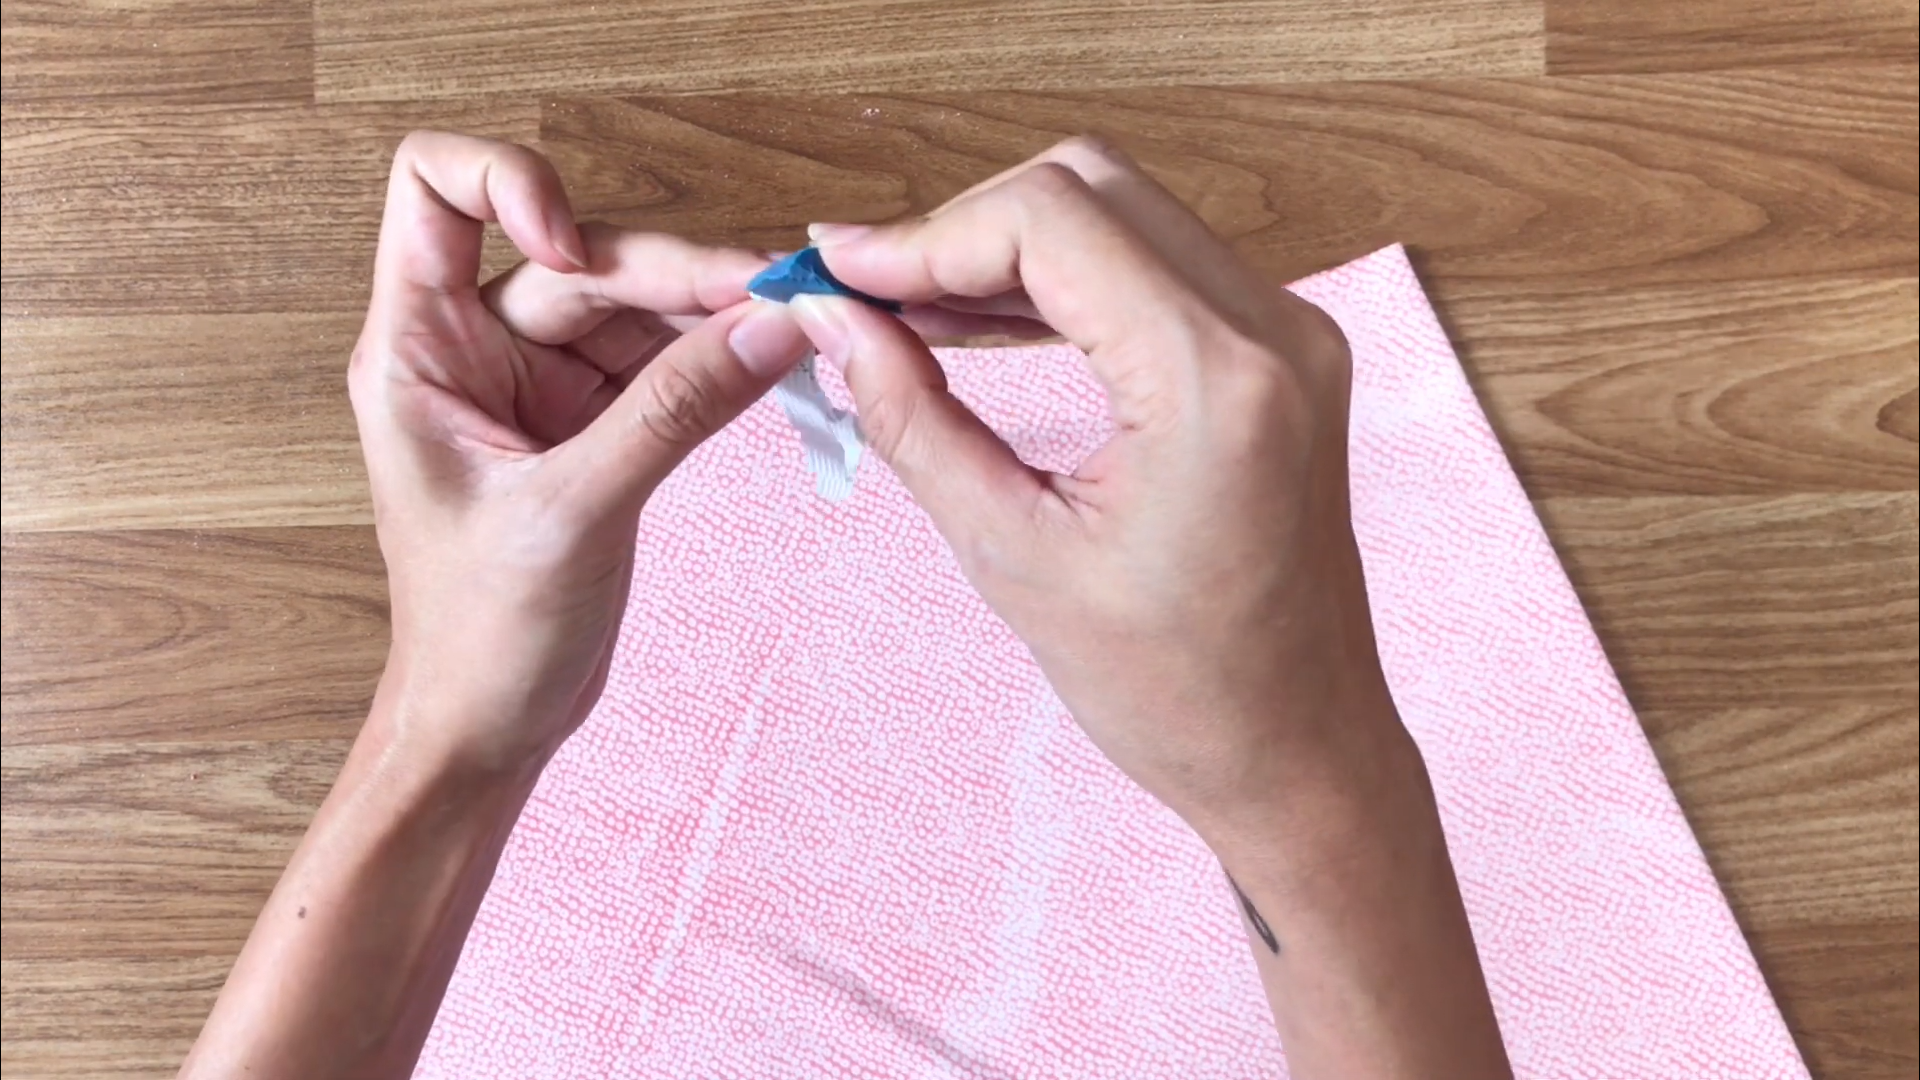
Mark two ends of the elastic band first.
Then, fix them to two ends of the skirt to ensure the elastic will be fixed equally to the waistline. And sew.
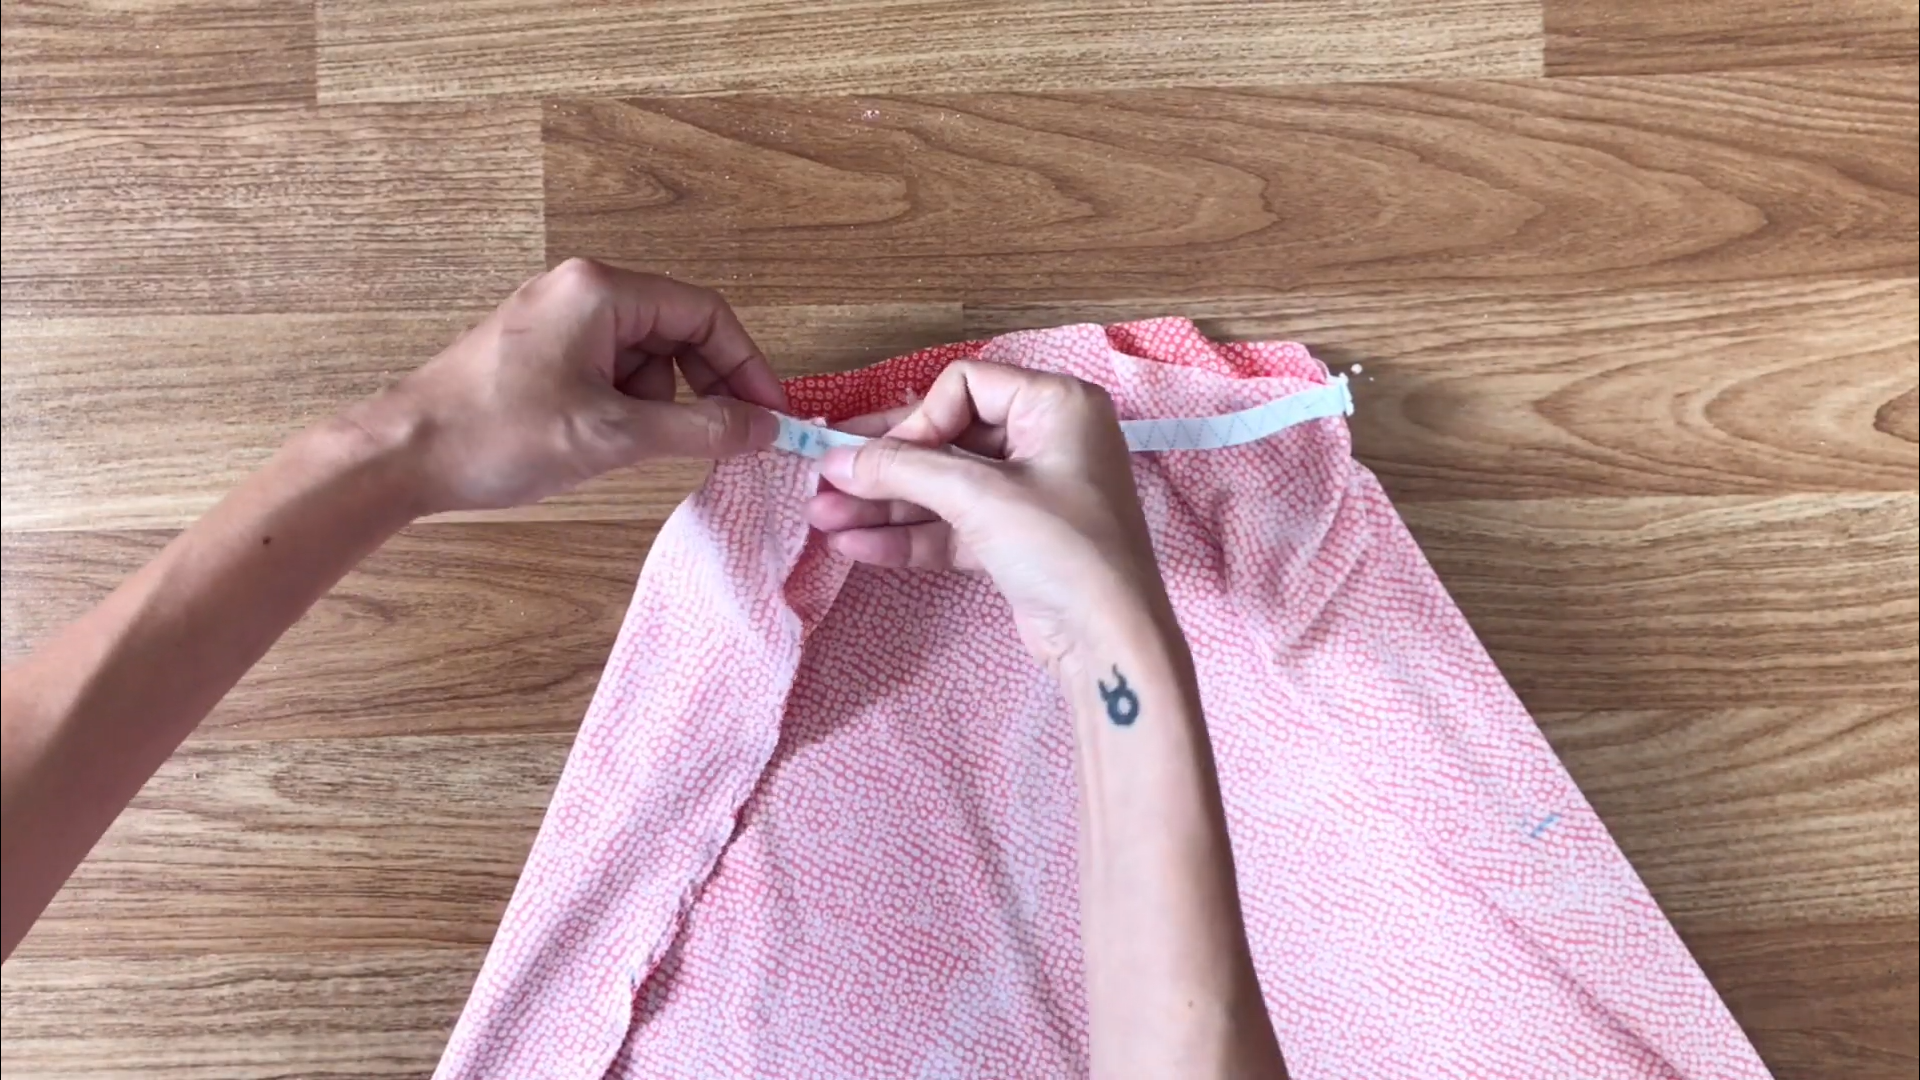
After the first seam, fold the elastic band inside to hide it and make another seam.
Fold the end inside to hide the cutting, using pins to hold them together. Then, sew.

DIY Midi Skirt
And that’s it! We’ve successfully completed this DIY project.
The final result is a beautiful skirt that’s not only easy and quick to make, but also a fantastic addition to your spring/summer wardrobe.


I hope you enjoyed this DIY and are inspired to try it out.
If you liked this project, please share it and subscribe to my channel so you won’t miss any of my upcoming DIYs.
Until next week, happy sewing!