DIY BABY DOLL DRESS | Beginner friendly sewing tutorial [+ Free Pattern]
DIY Baby Doll Dress
Hello and welcome back to my sewing blog!
In today's video, I'm going to share with you how I made my baby doll dress from scratch. This dress is very cute and super comfy. It's easy to make with by following my detail step by step tutorial. So I hope you will like it and try it out.
Let’s get started!
WHAT YOU’LL NEED
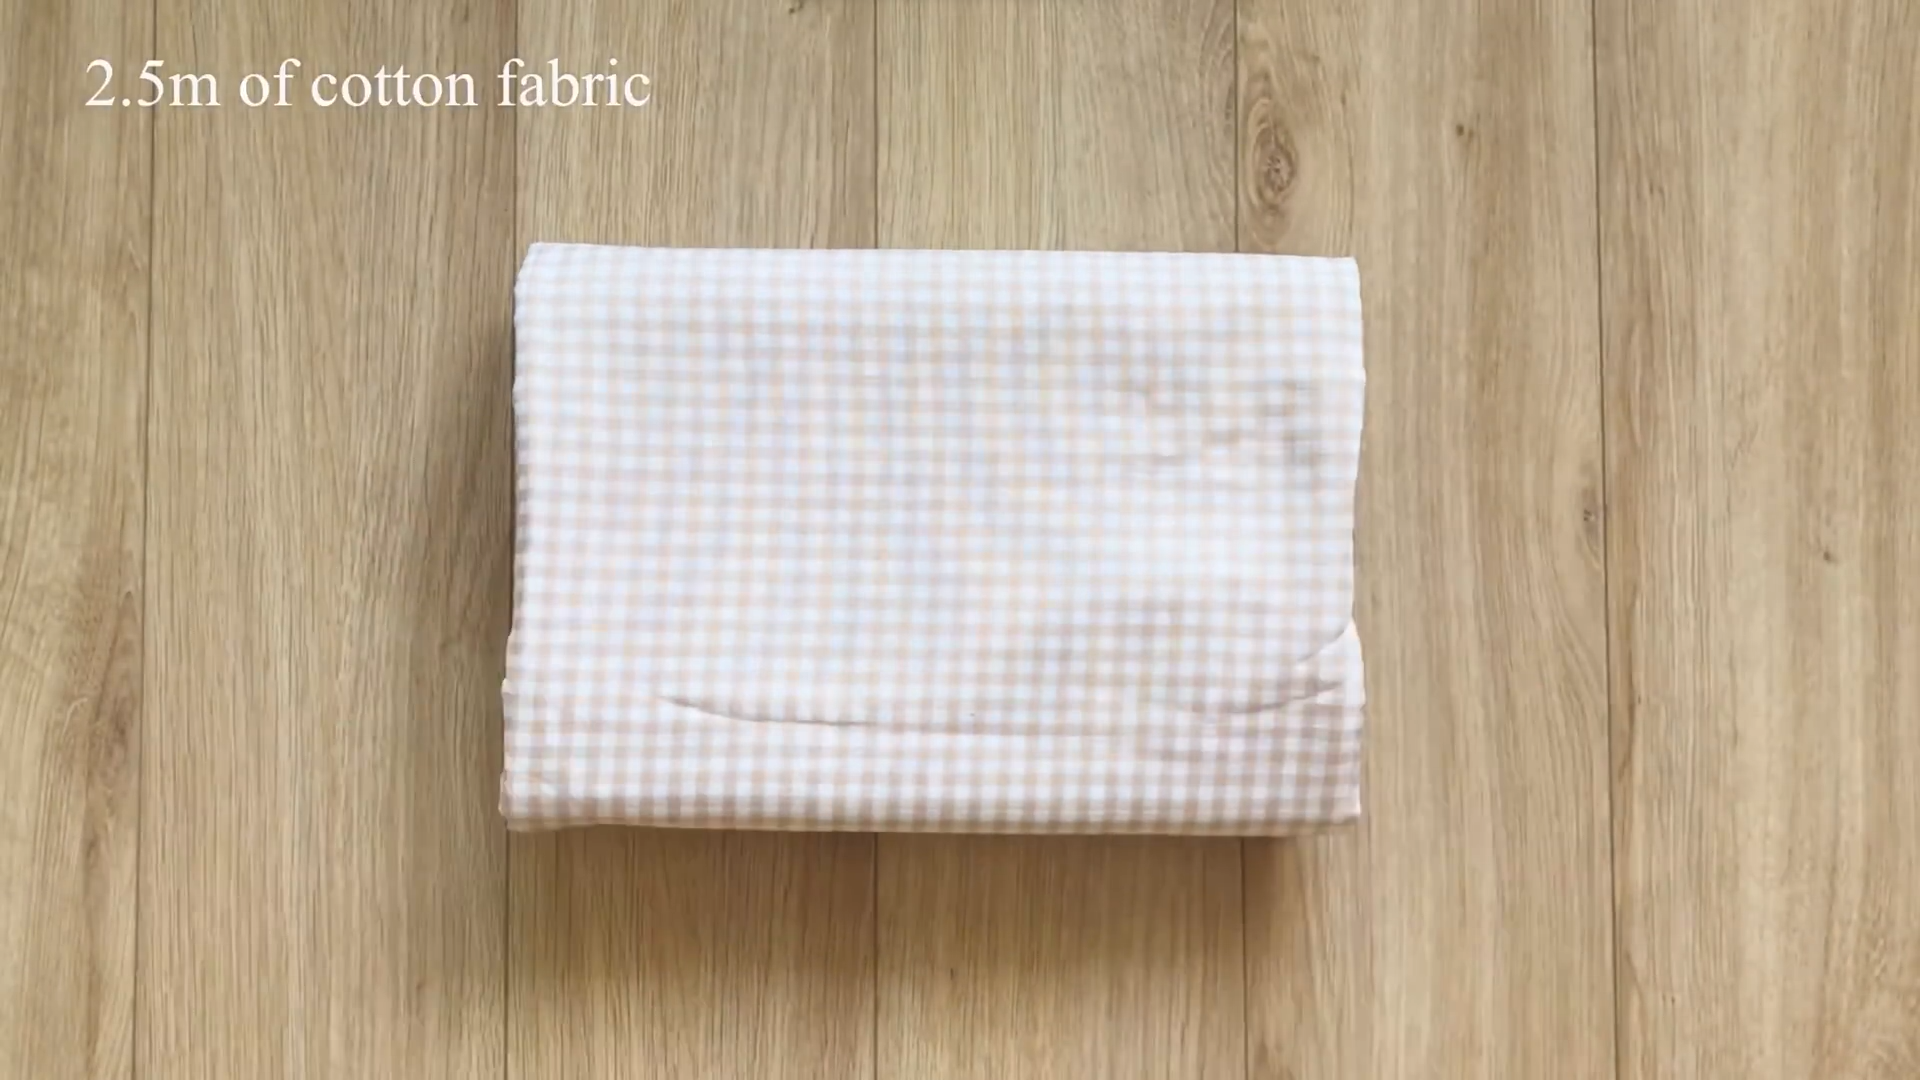
2.5m of cotton fabric
Pattern paper
Sewing machine
Thread
Pencil
Pins
Scissors
Ruler
SEWING THE DRESS
THE TOP PART

The back bodice pattern
THE BACK BODICE PATTERN
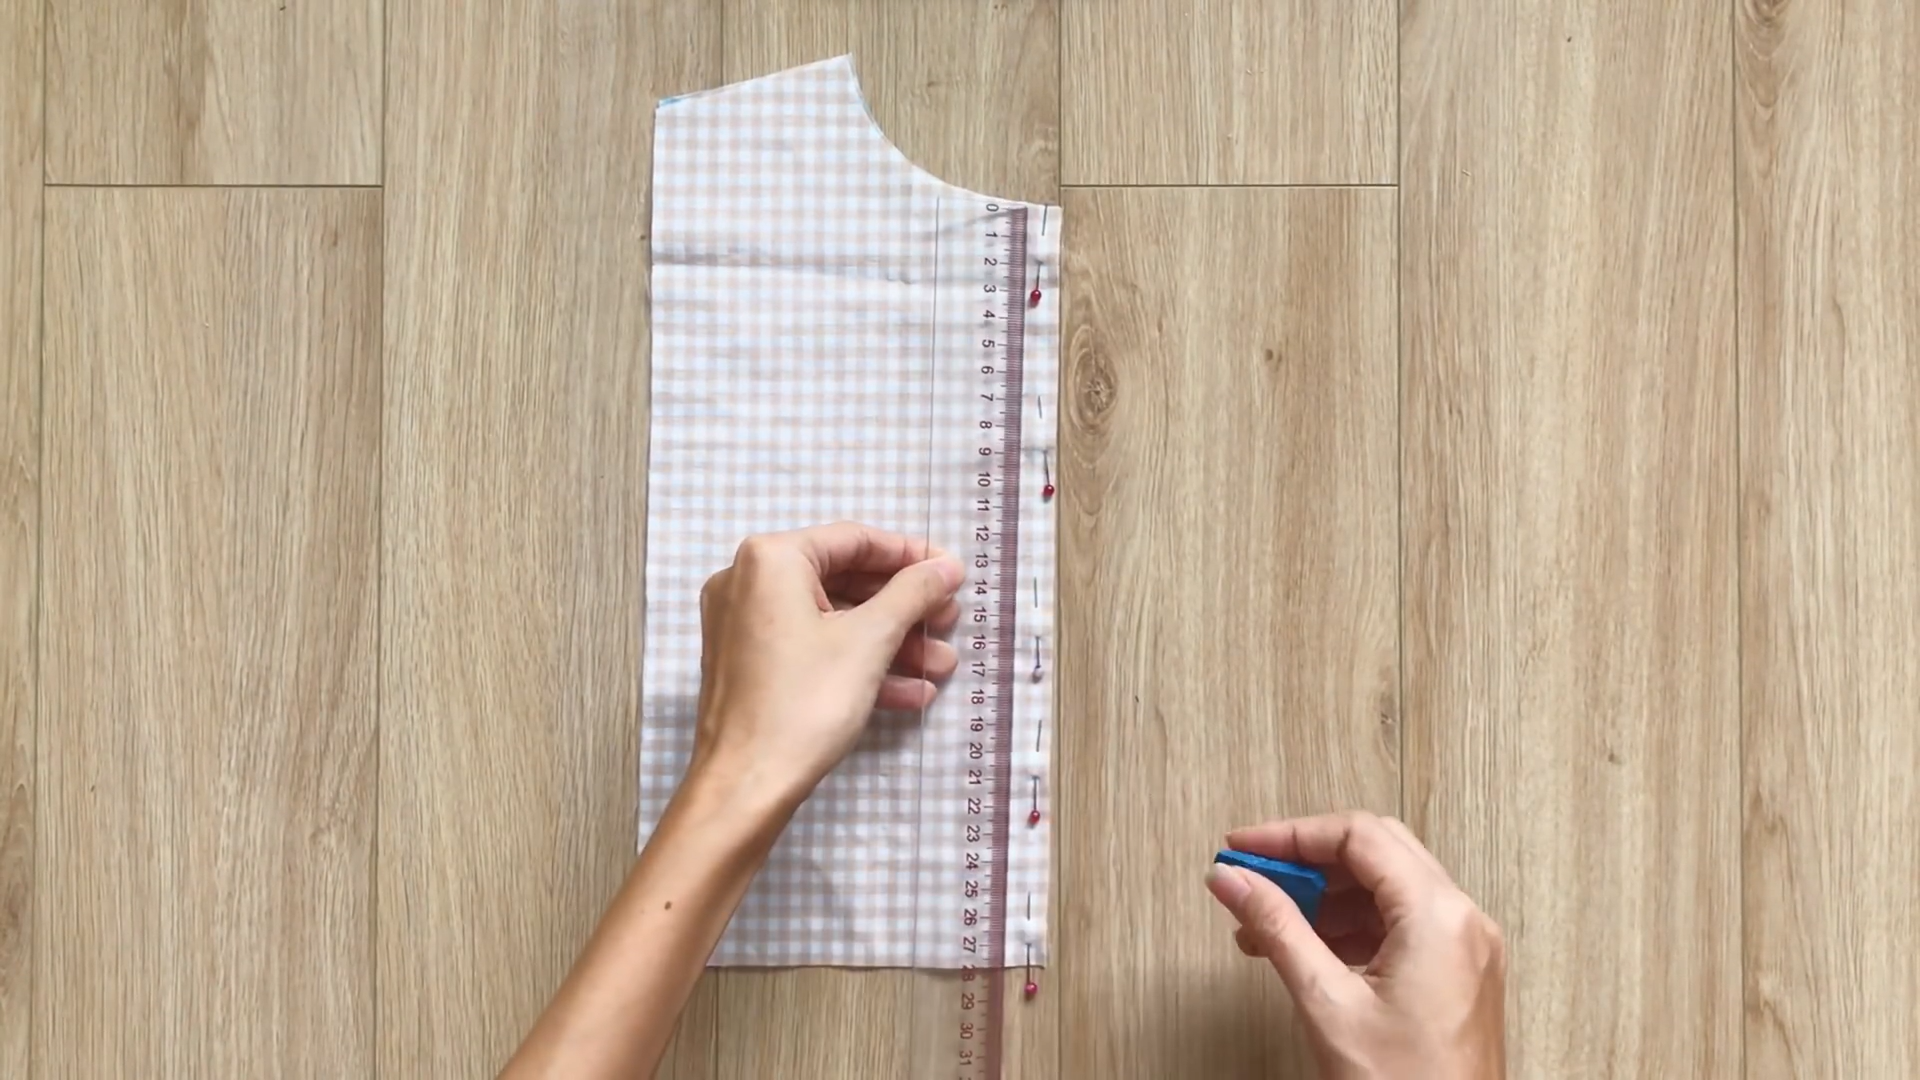
To make the back bodice, cut a rectangle with a width of 28 cm, which is the width between two inside shoulders plus 2 cm for seam allowance, and a length of 36 cm, which is the length from the shoulder to over your breast plus 4 cm.
On the top line, mark in the middle first.
Then, from this mark, mark at two sides 7 cm so the width between two marks will be 14 cm, which is the width of the neck that you want minus 2 cm for seam allowance.
From the first mark, also mark out 3 cm then connect this mark to two marks of the neck.
After that, draw a curve line based on it to finish the neckline for the back bodice.
From two ends of the top line, mark down at 2 centimeters on the land line then connect it to the mark on the neck to finish the shoulder line for the back bodice.
After cutting, you will have the back bodice. You will need 2 pieces for this dress.
THE FRONT BODICE PATTERN
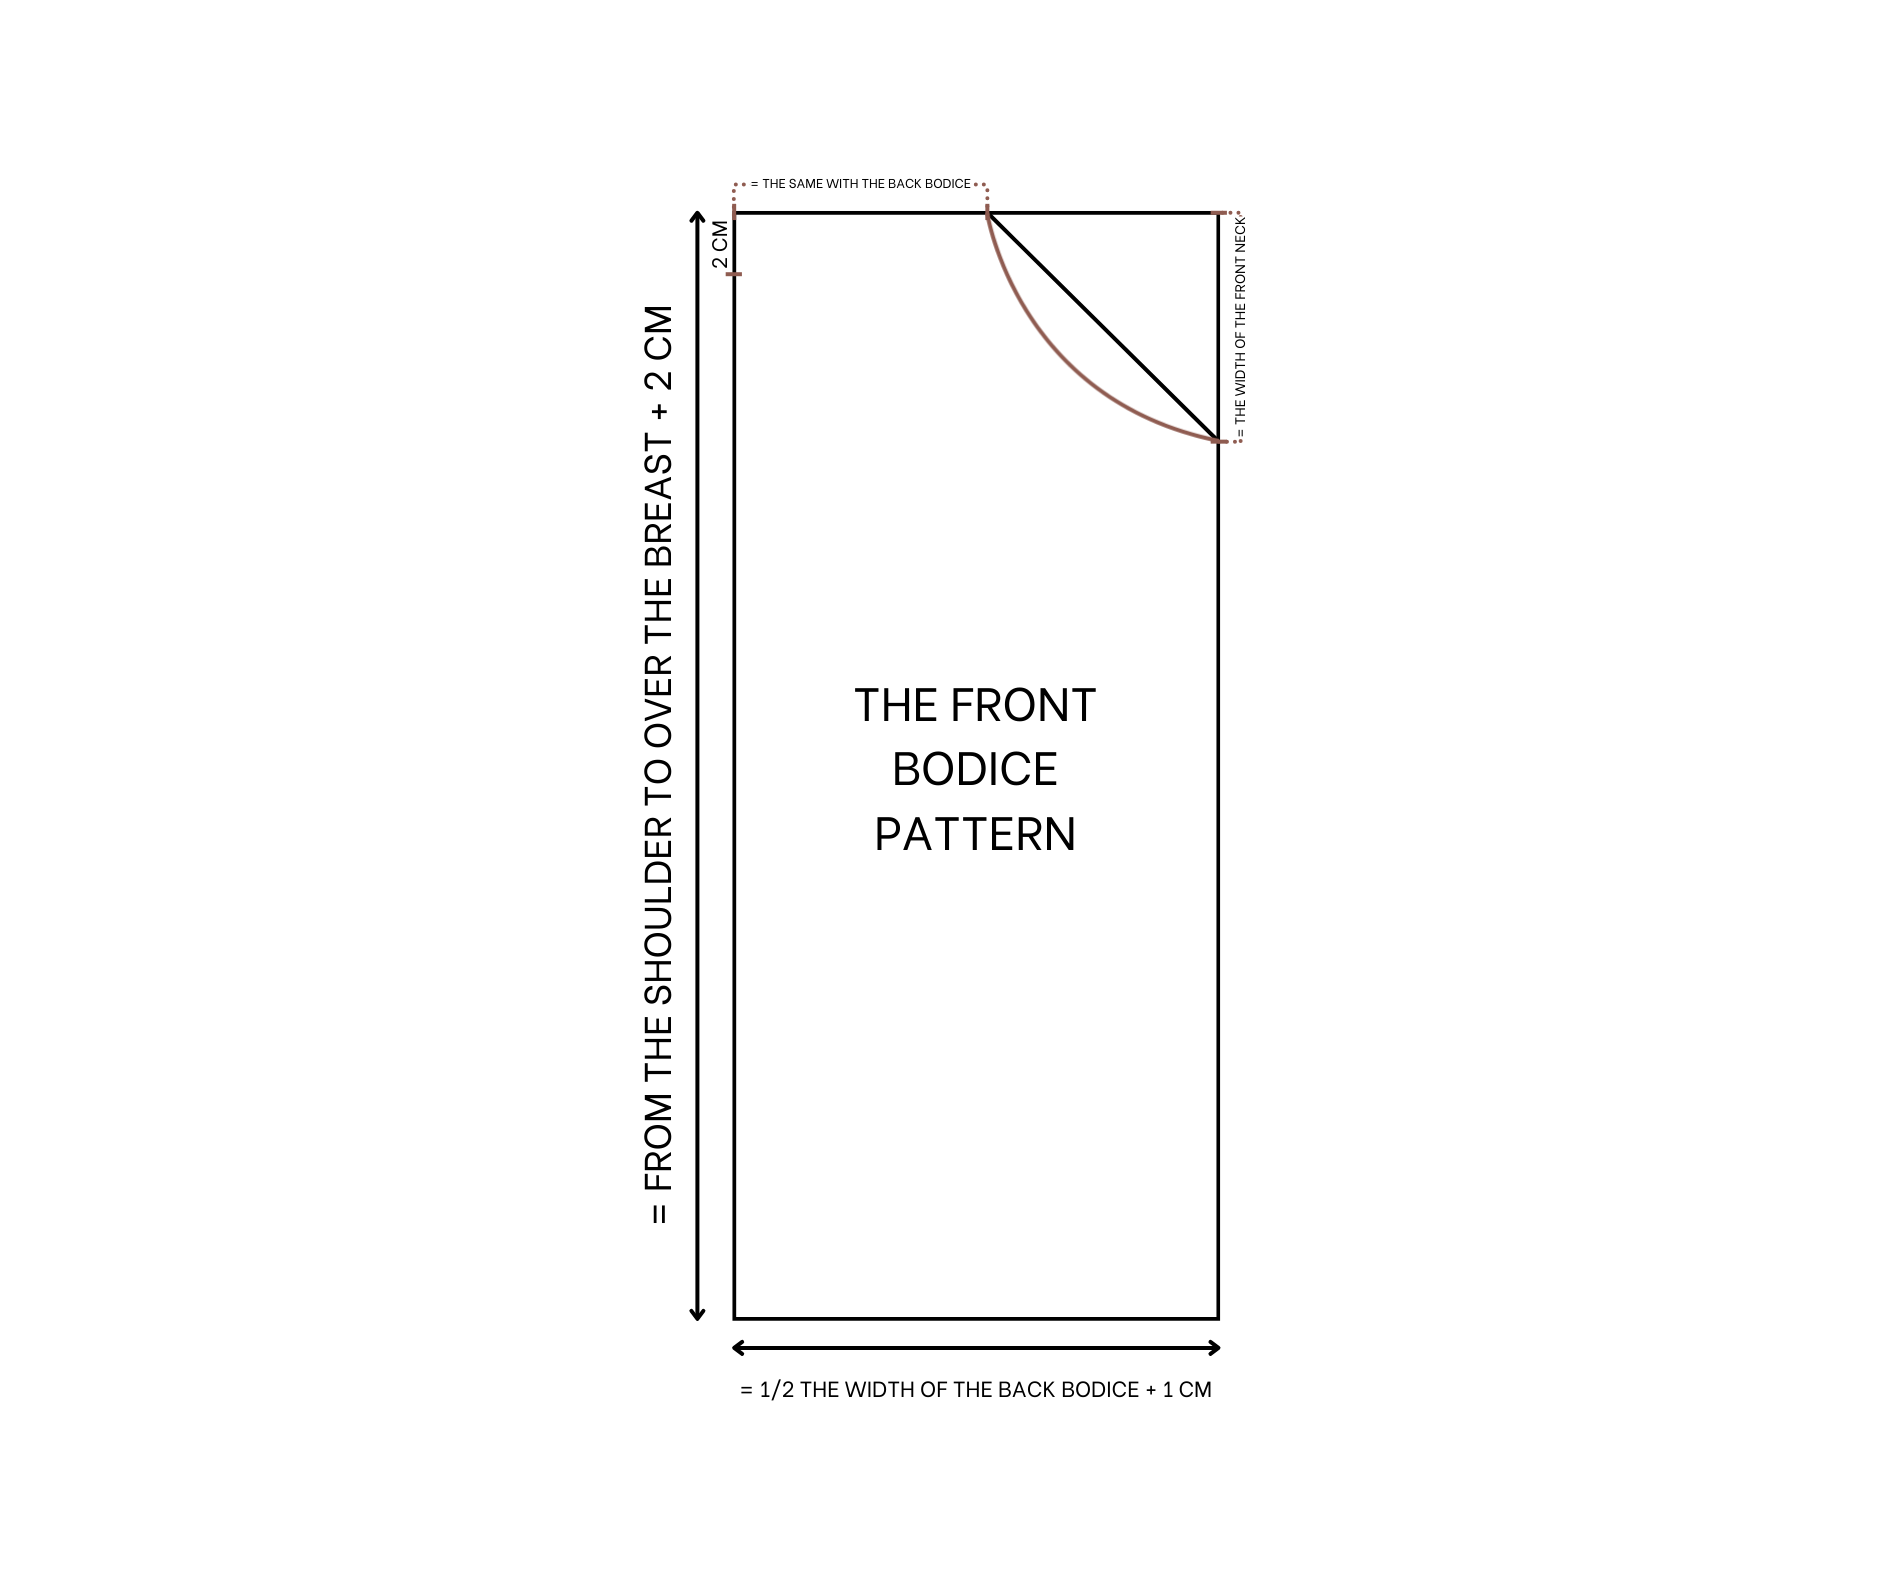
The front bodice pattern
To make the front bodice, cut a rectangle with a length of 34 cm, which is 2 cm shorter than the back bodice, and a width of 15 cm, which is half the width of the back bodice plus 1 cm for seam allowance.
From one end of the top line, mark at 7 cm inside.
From the other end of the top line, mark down at 6 cm on the land line. This is the length of the neck at the front from the shoulder.
Then connect two marks together and draw a curved line based on it to finish the neckline for the front bodice.
Then, connect the mark on the top line to the other land line at 2 cm under it to finish the shoulder line.
After cutting, you will have the front bodice. You will need 4 pieces for this dress.
CONNECTING THE FRONT AND BACK BODICES

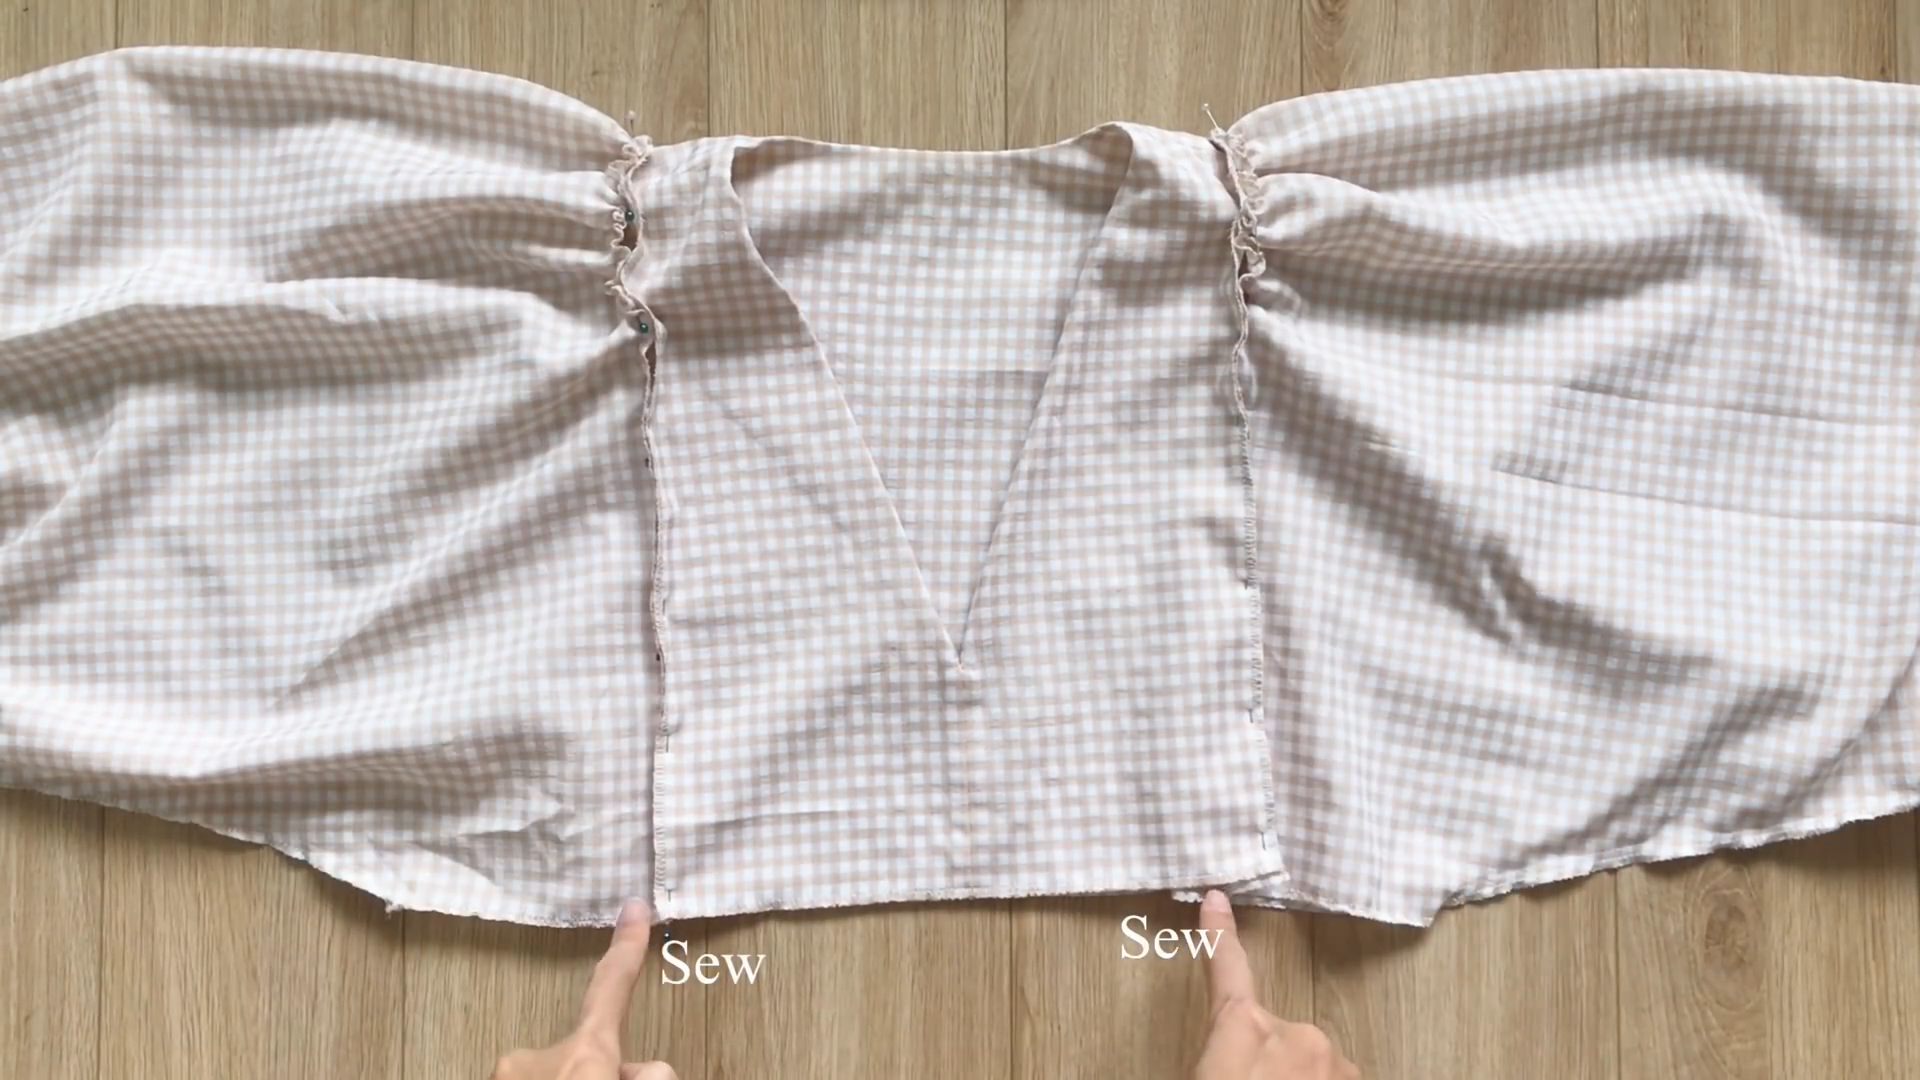
Connect two pieces of the front bodice together at the middle using pins first.
Then, from the top, mark down at 18 cm, which is the depth of the v-neck that you want.
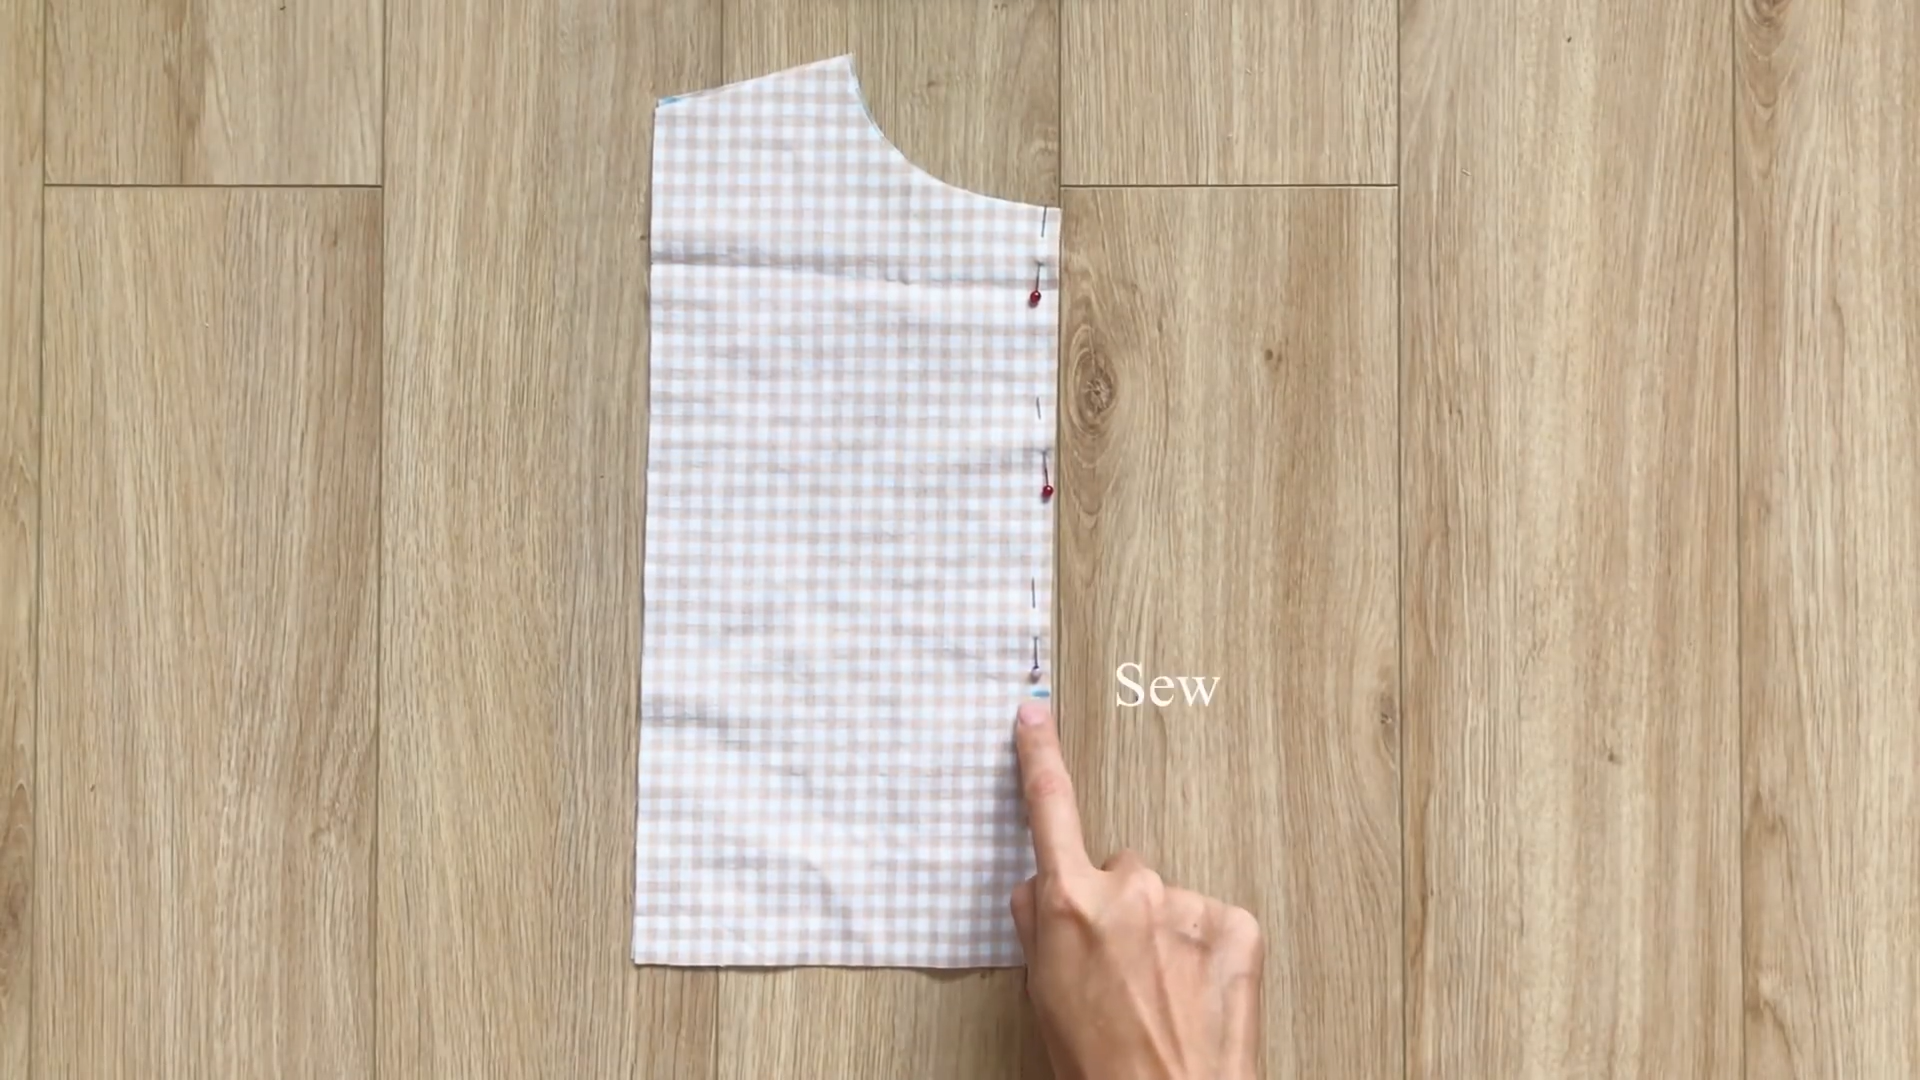
Make sure it’s not too deep that it could expose your breast, then sew the rest together.

After sewing, connect the front and the back bodice together at the shoulders.
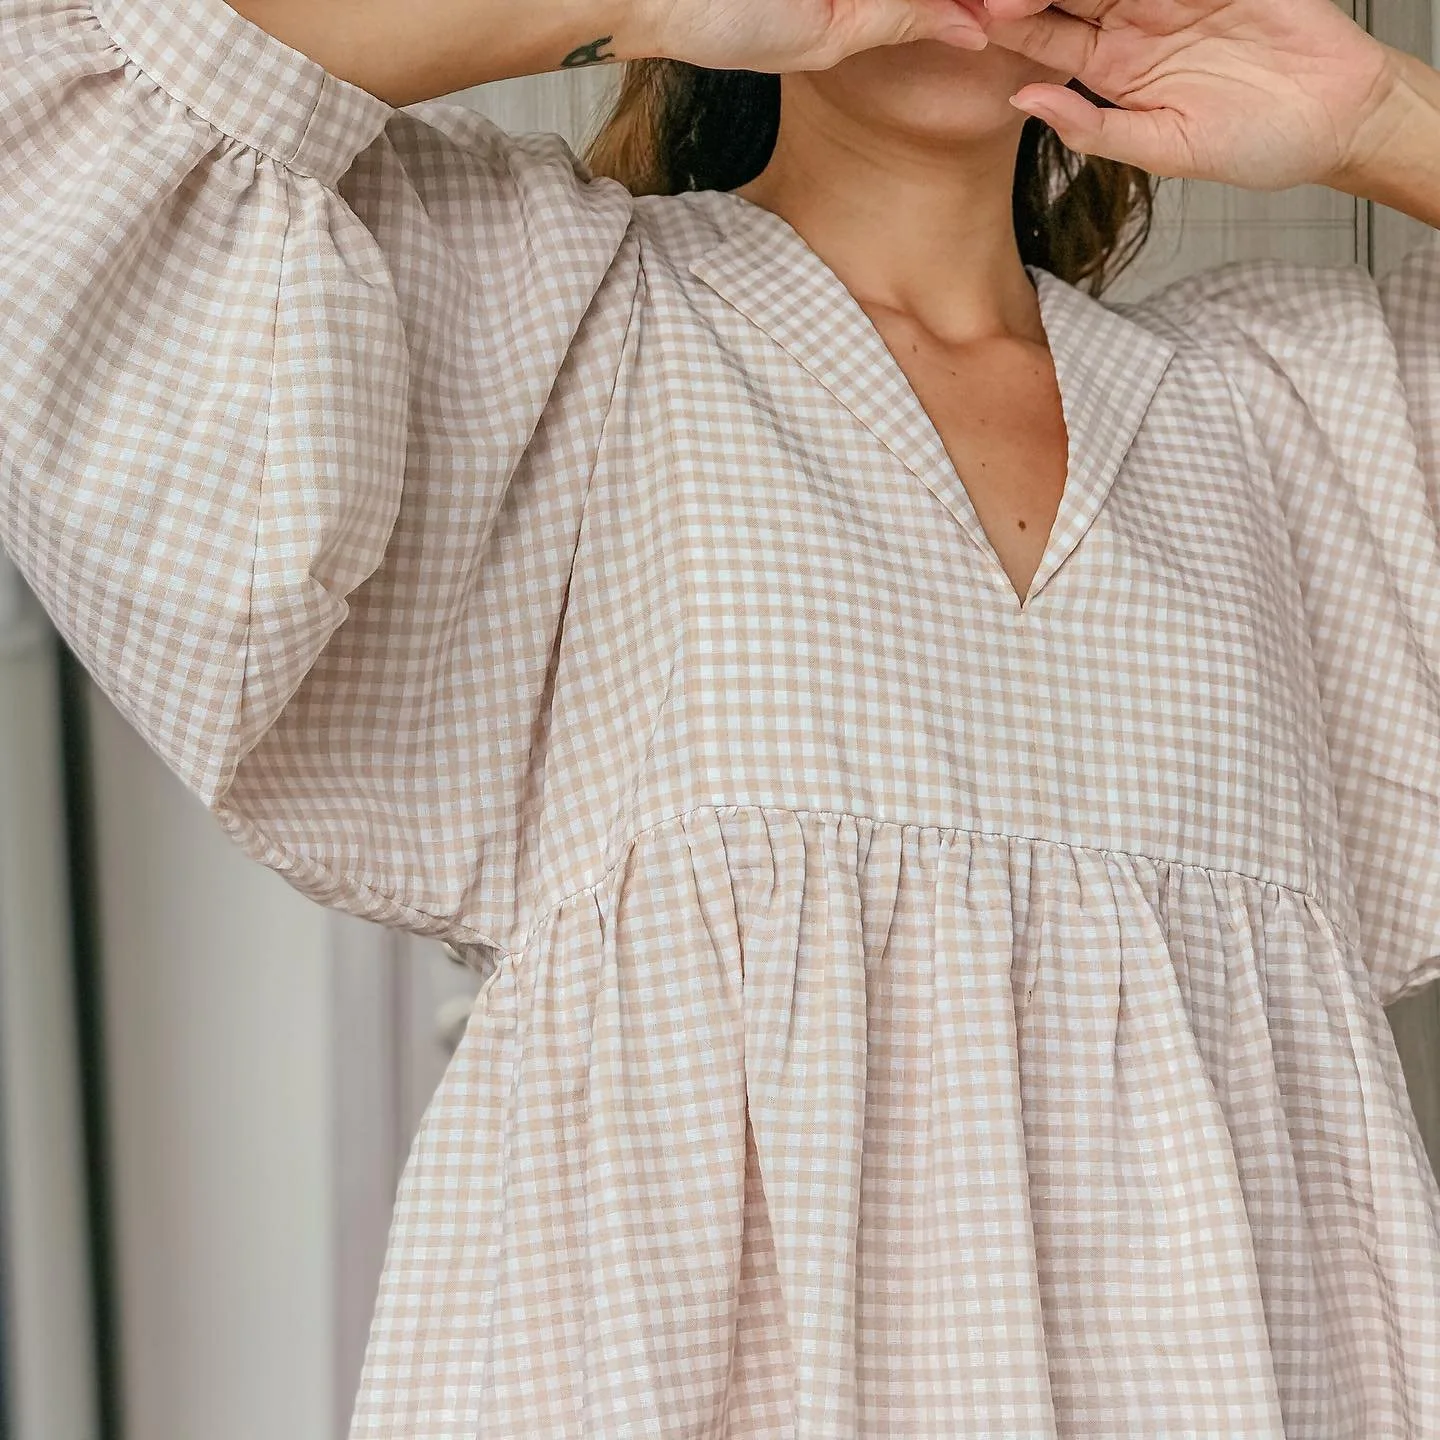
THE NECKLINE
Using other pieces of the front and the back bodice, make the same piece like this.
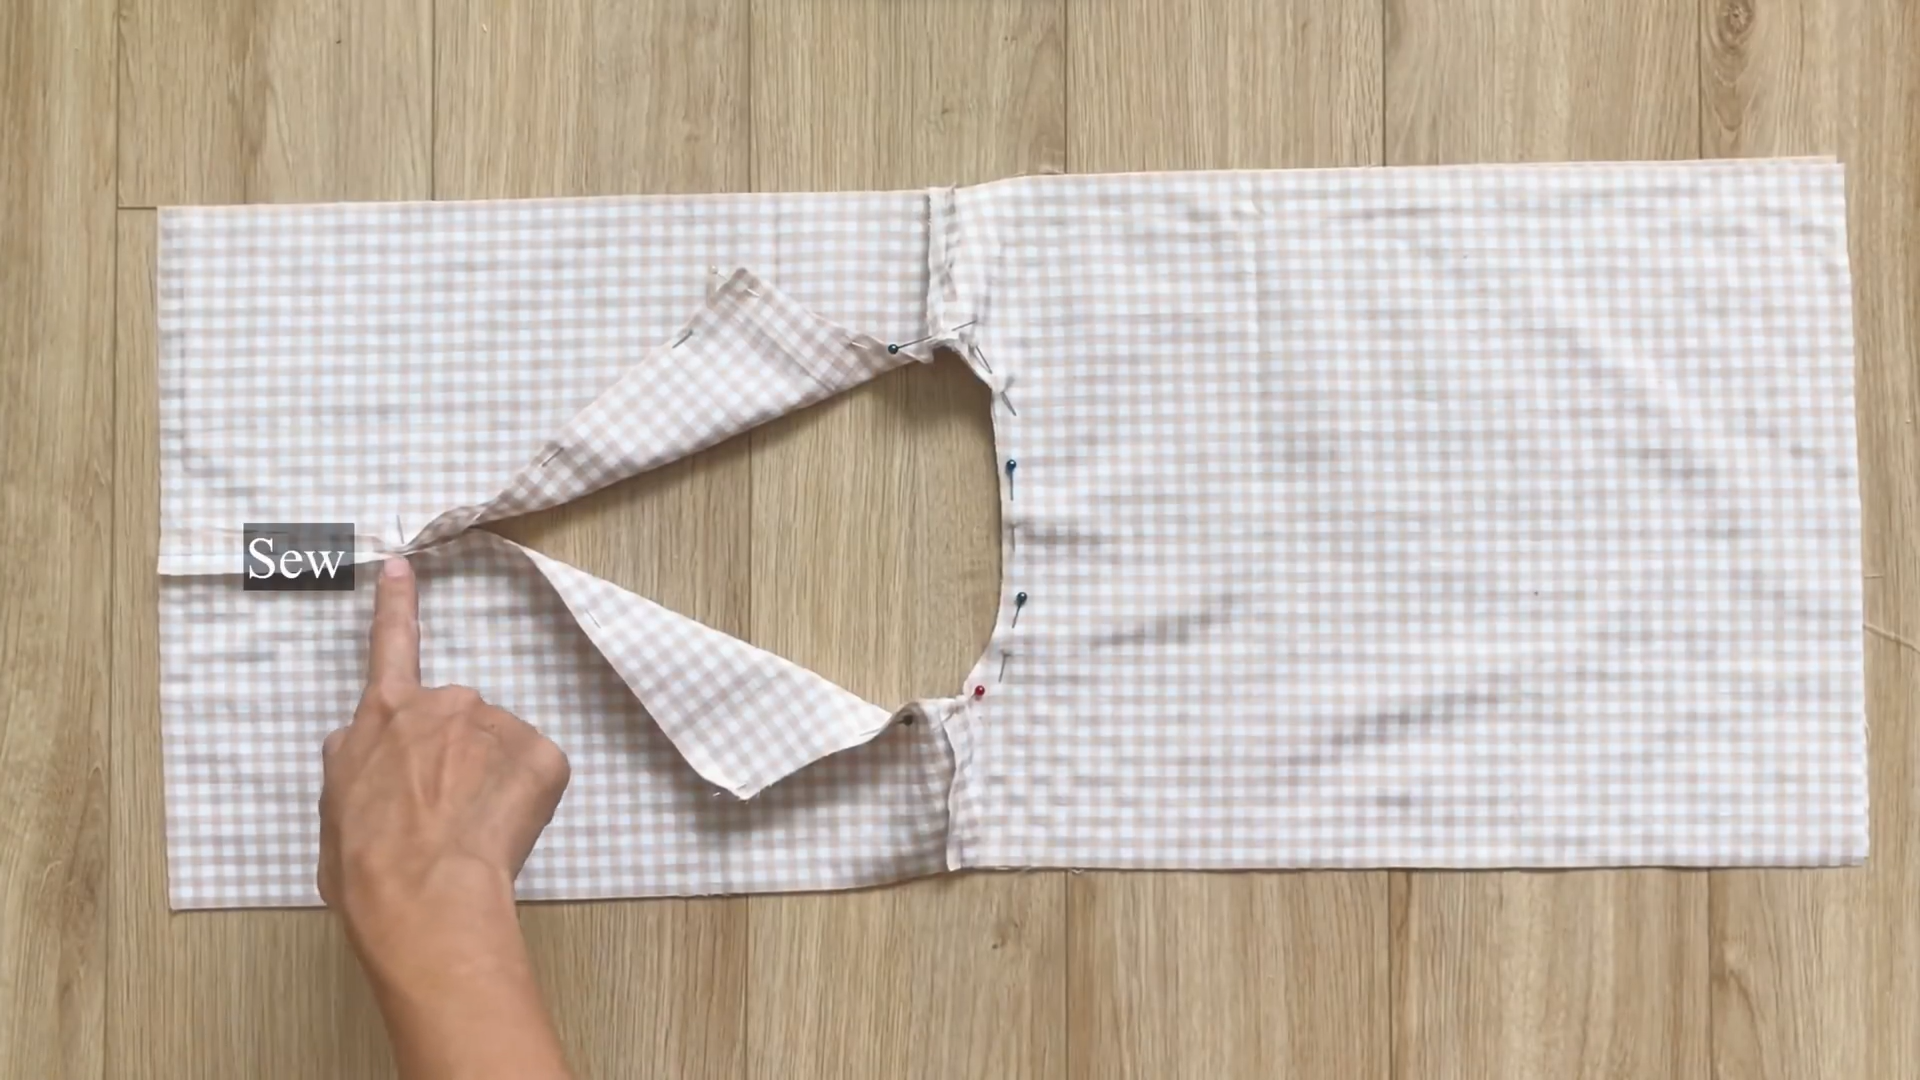
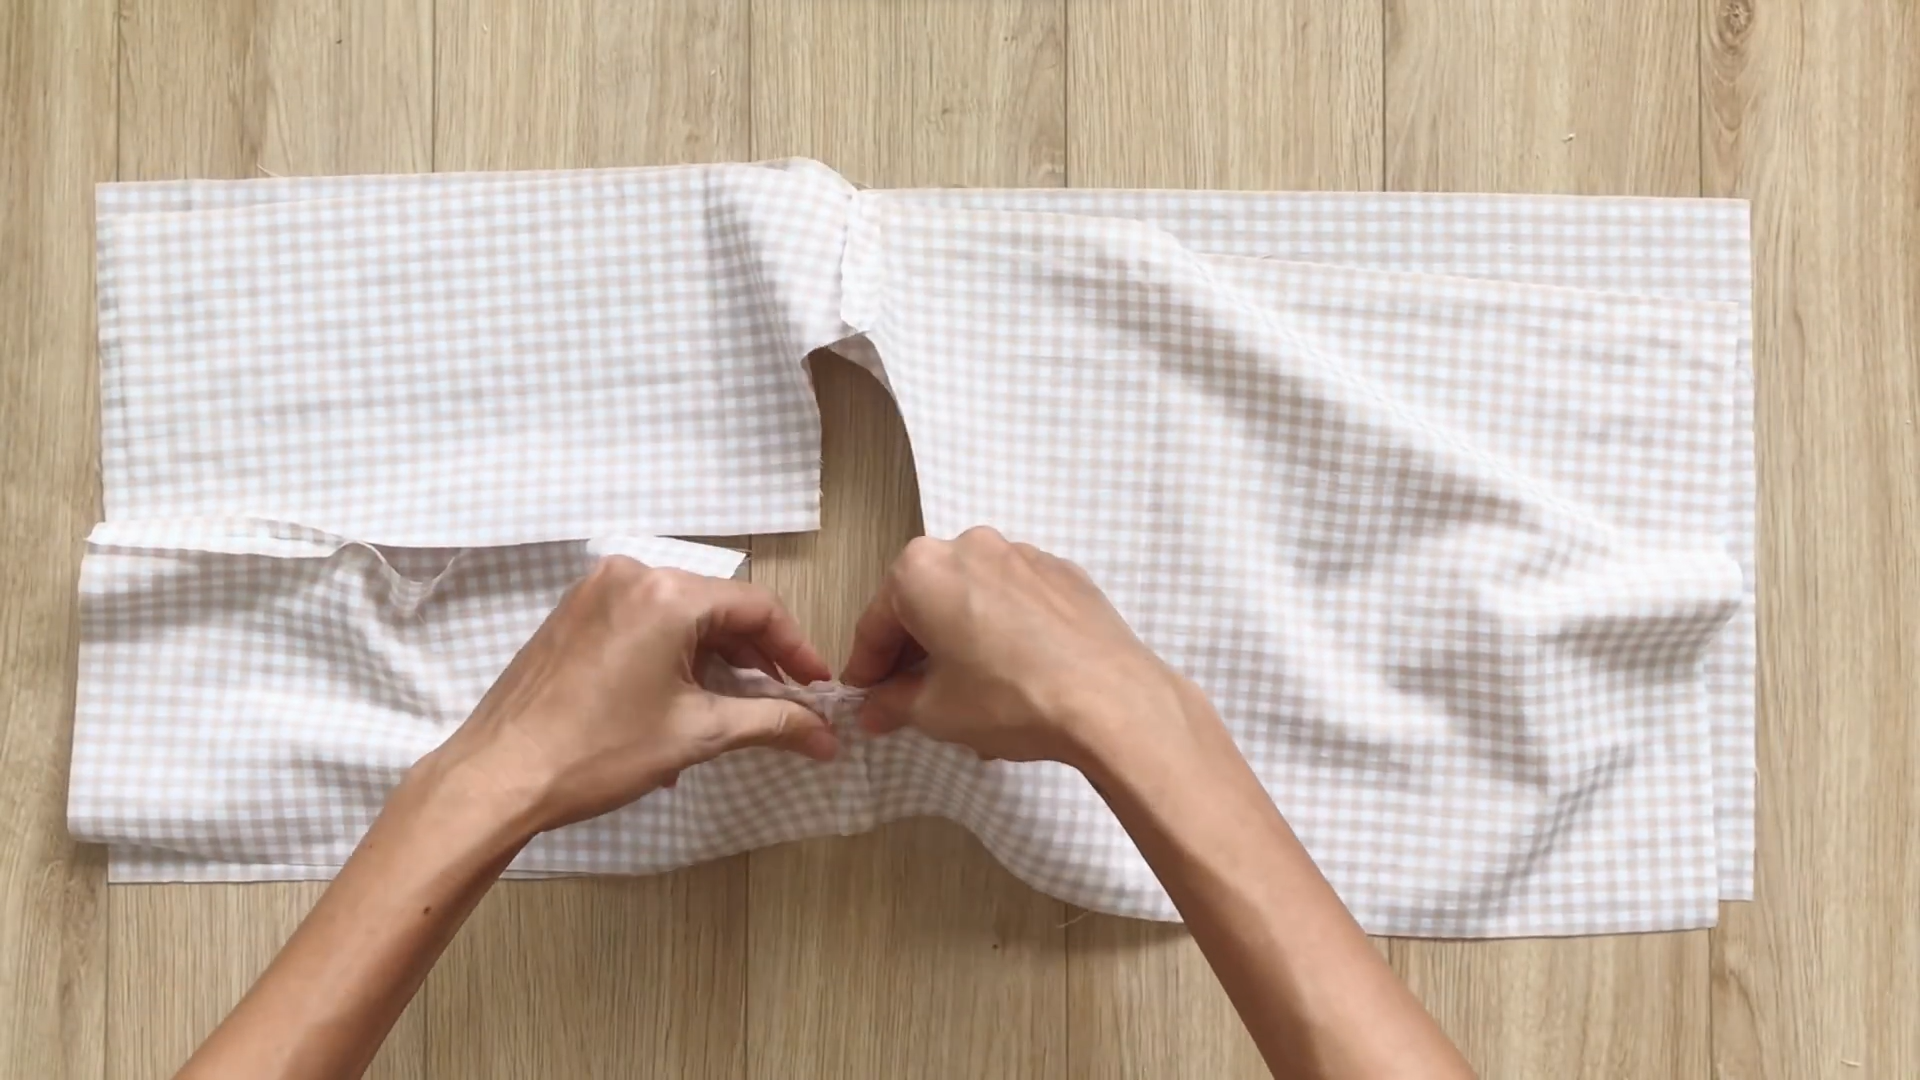
Then, connect two pieces together at the neckline and sew.
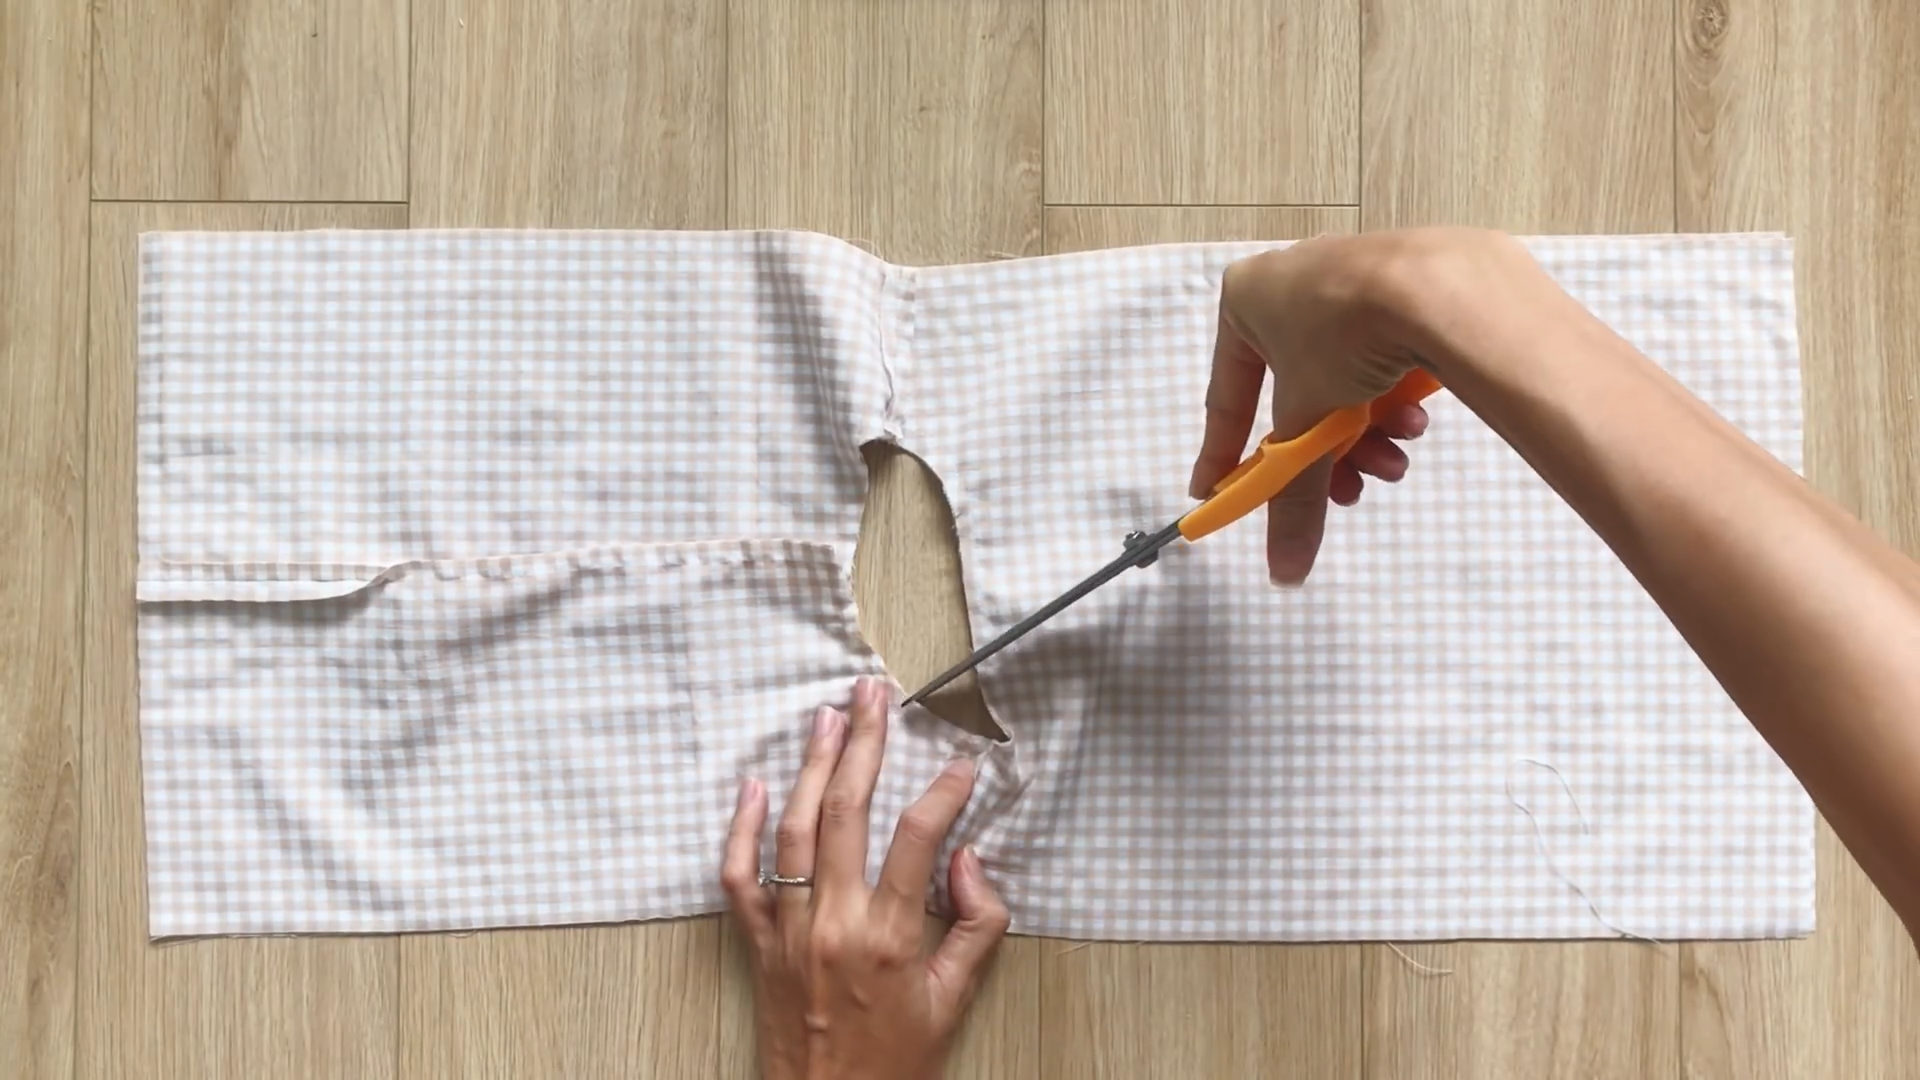
After that, make a small cut at the curved line on the neck to help the neck look nicer when you turn it out.
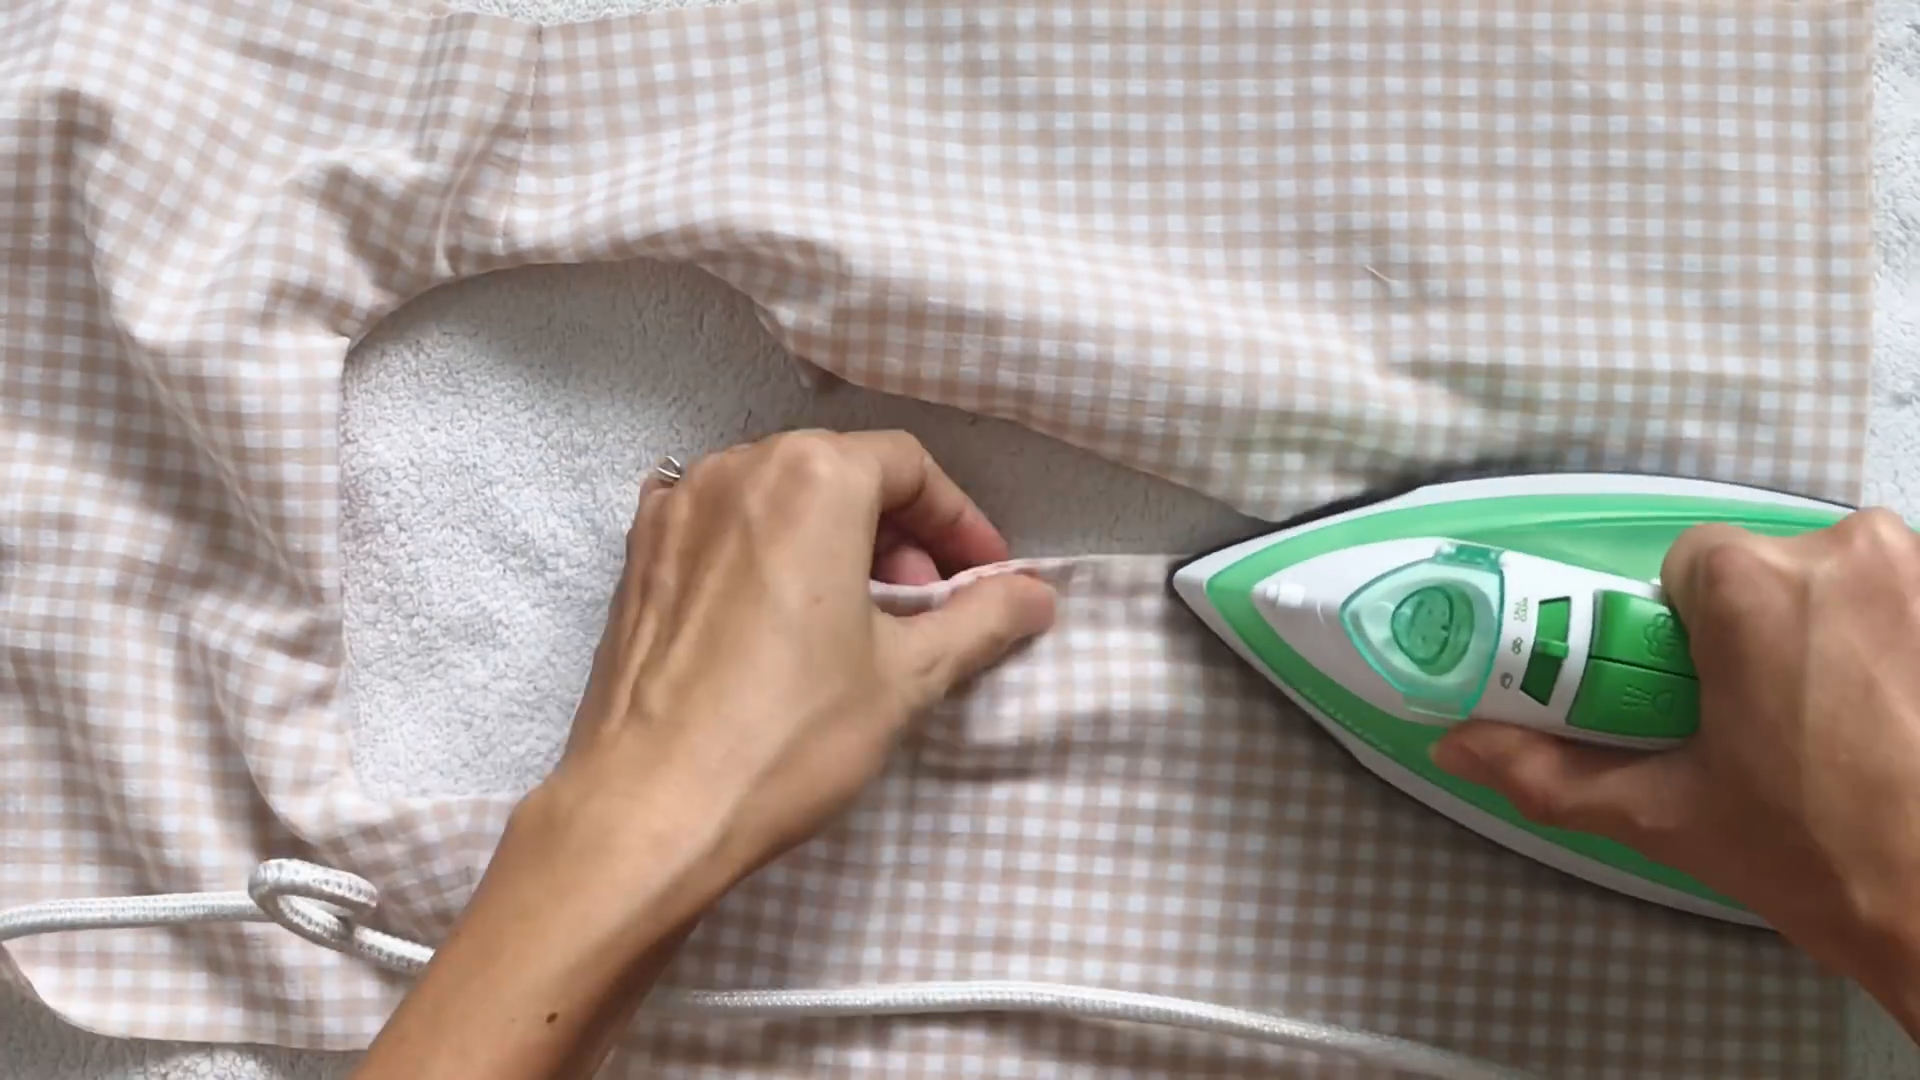
Use an iron to make the fold at the front to create the v-neck.
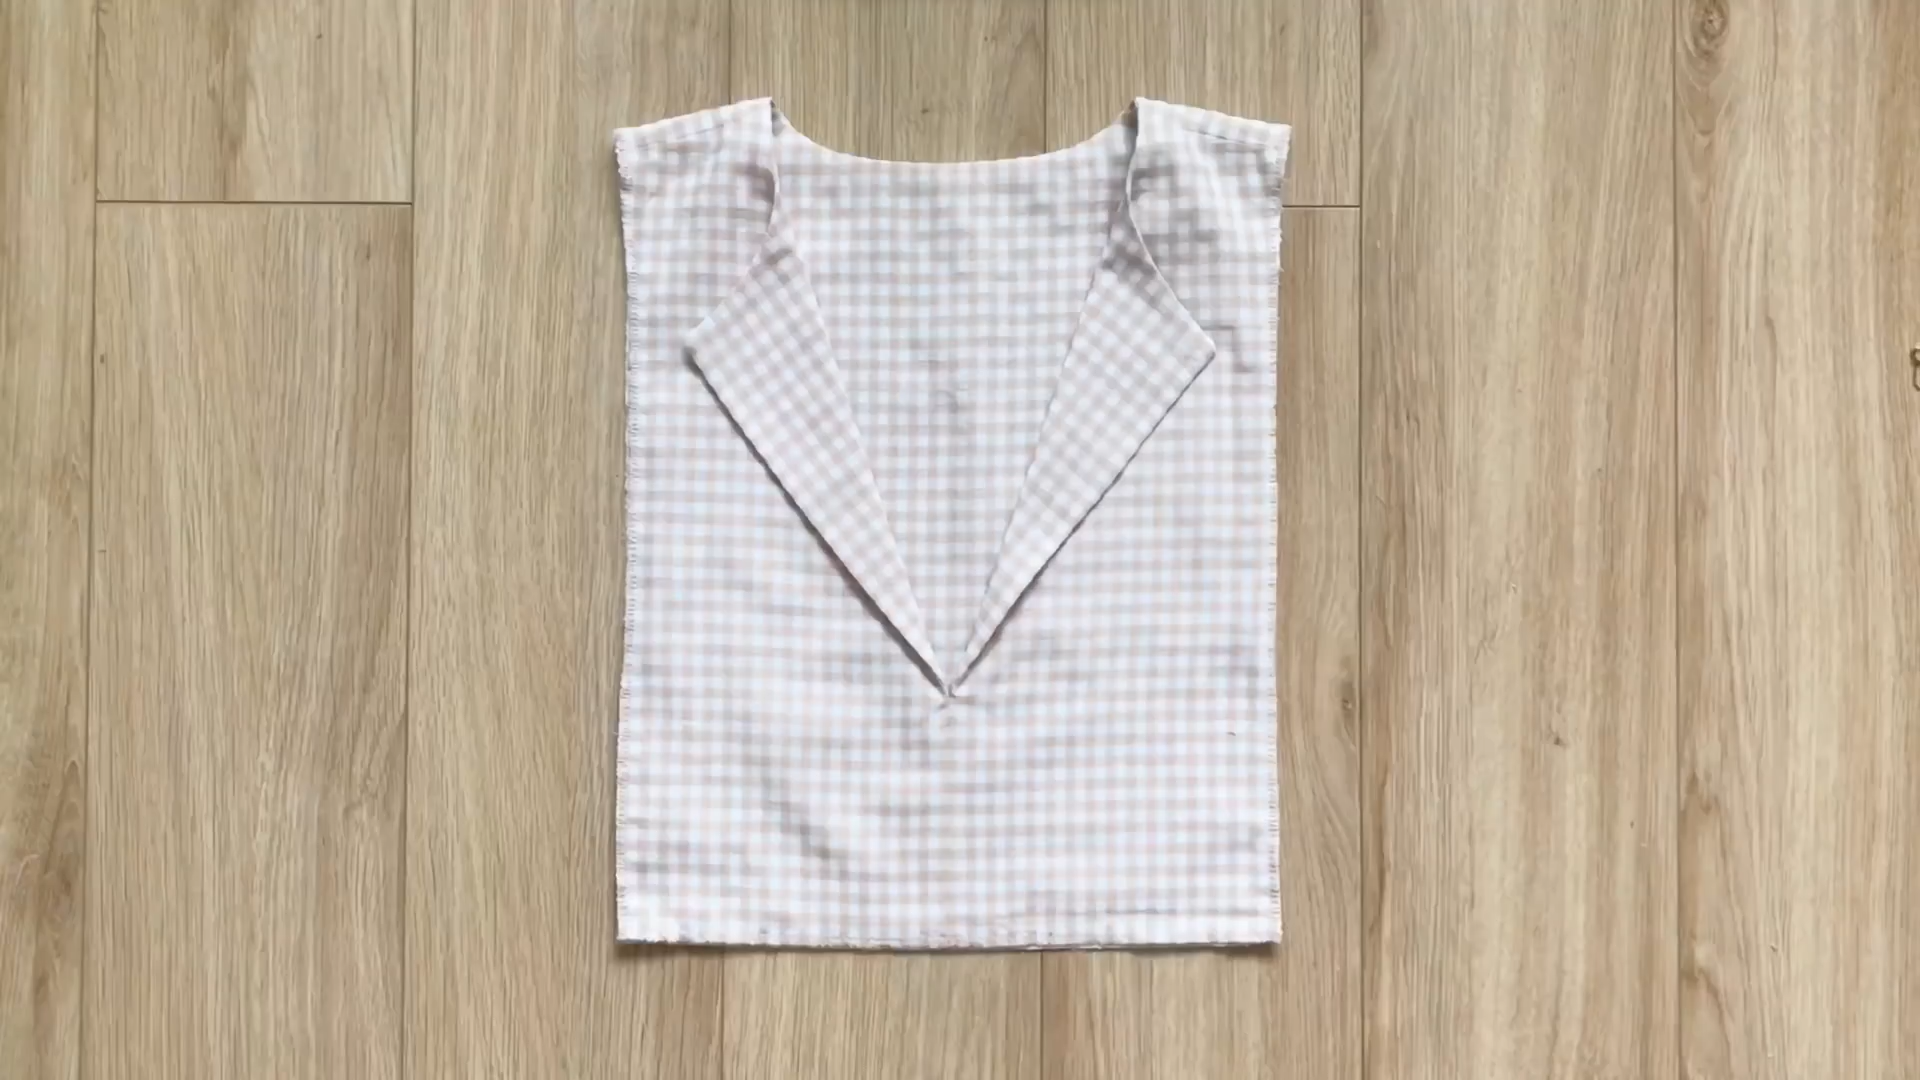
Connect two pieces together at two sides in the end of it by overlocking.
THE SLEEVE PATTERN
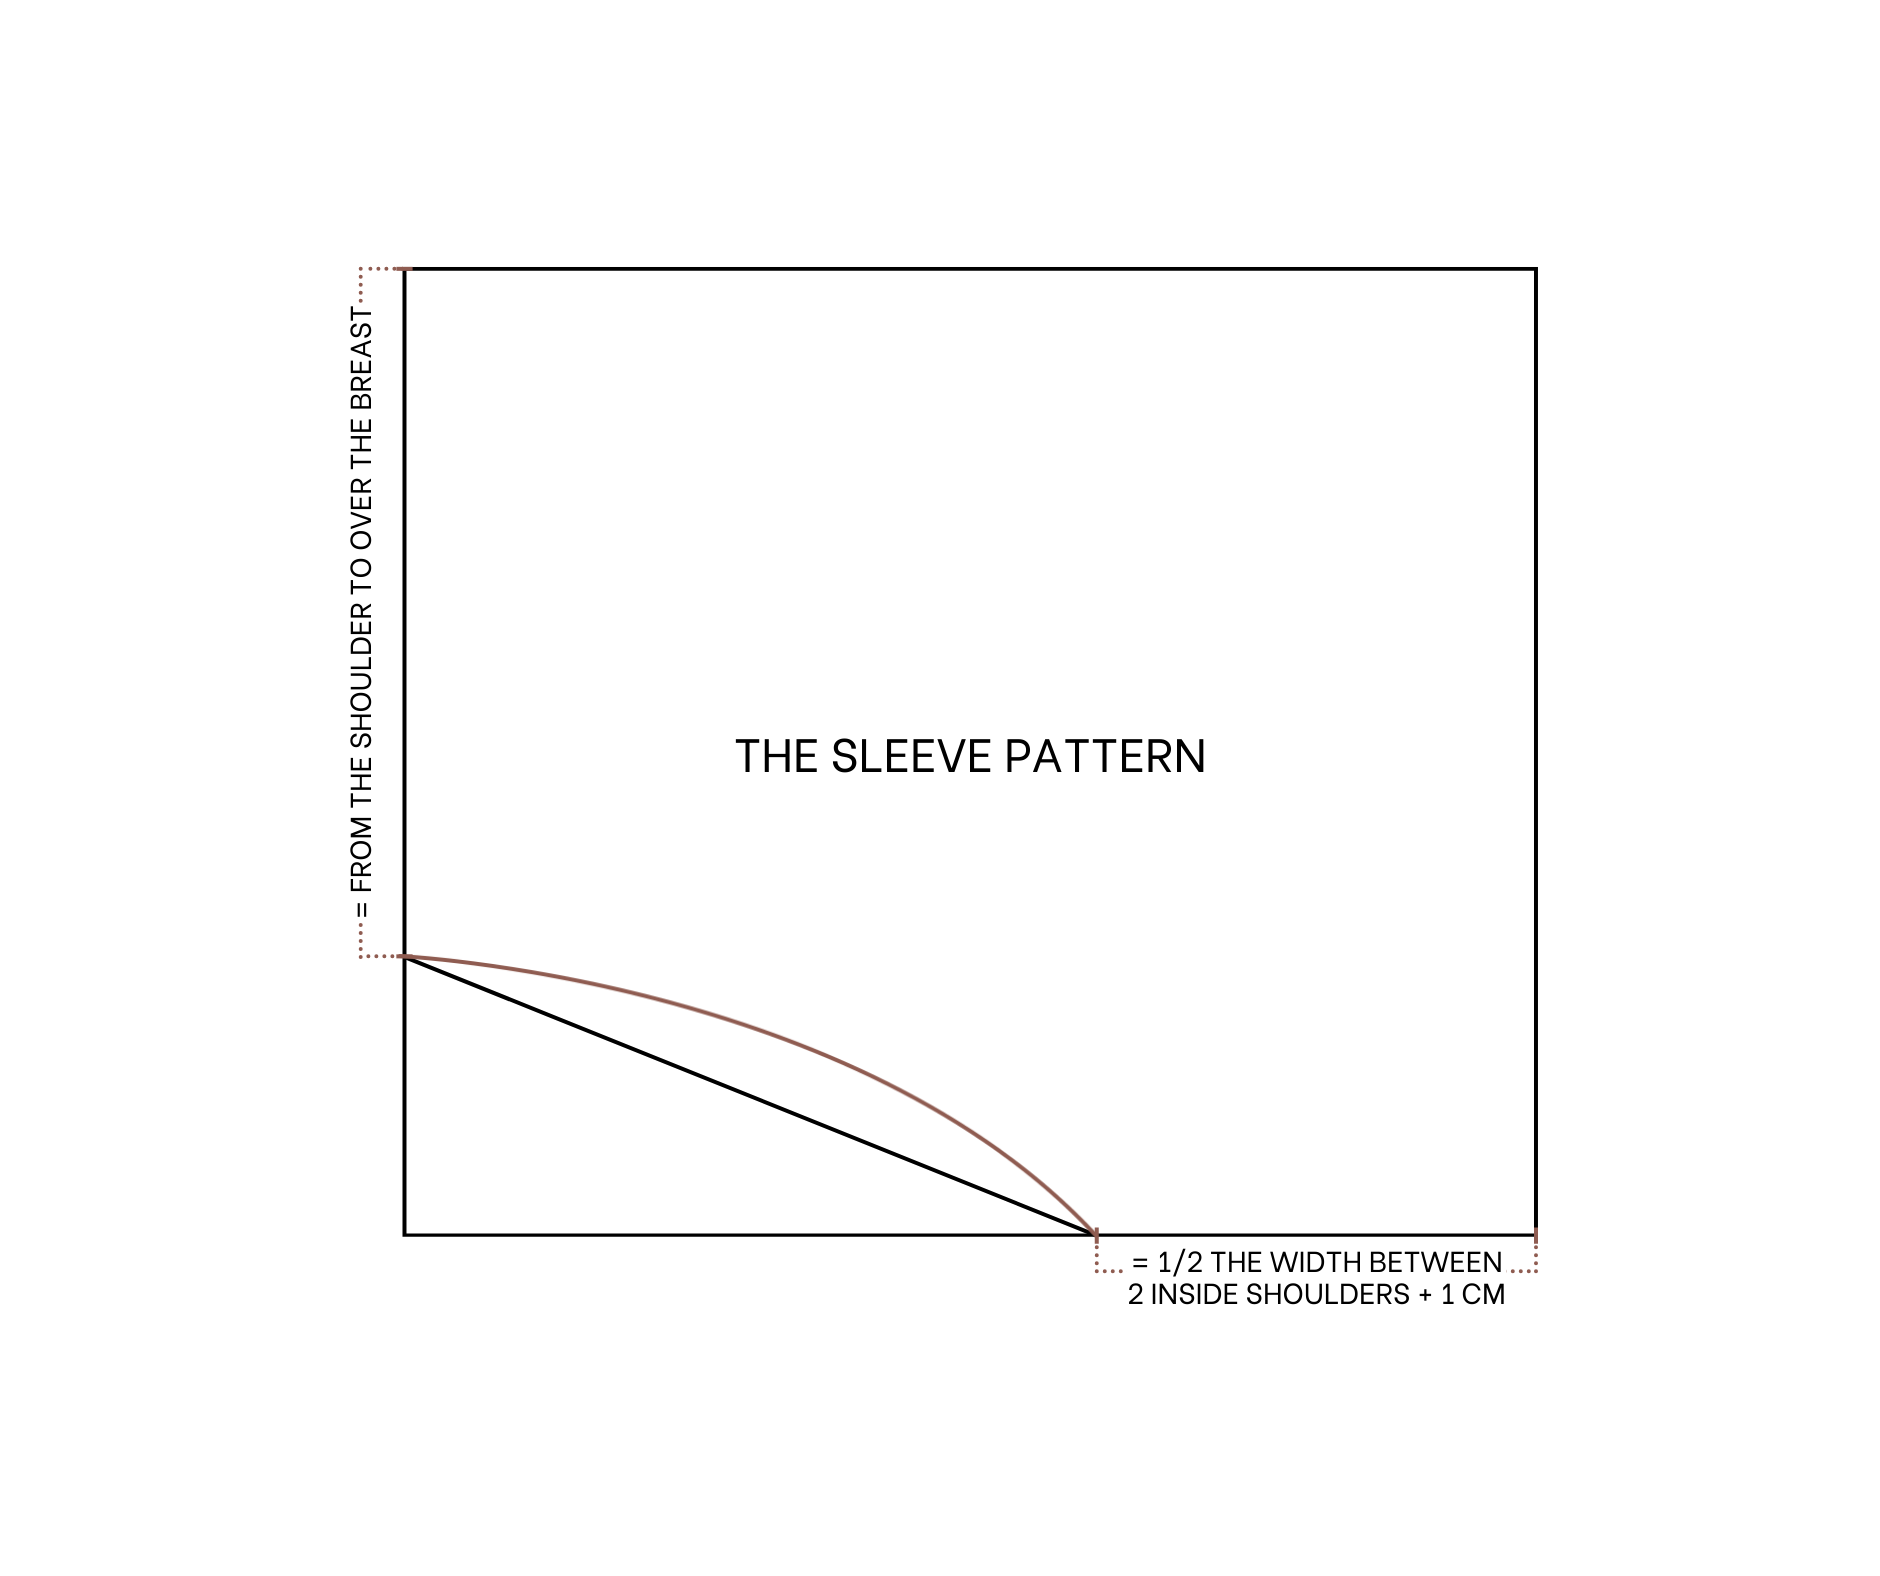
The sleeve pattern
Cut a rectangle with a length of 50 cm, which is the length from the shoulder to over your elbow, and a width of 84 cm, which is the length of the front and the back bodice plus 20 cm.
Fold the rectangle in half on the width line first, then from one end of the land line, mark inside 14 cm. This is half of the width of the top bodice.
From one end of the folding line, mark down at 32 cm, which is the same as the length of the front bodice.
Then connect the two marks together.
After that, draw a slightly curved line based on it to finish the sleeve.
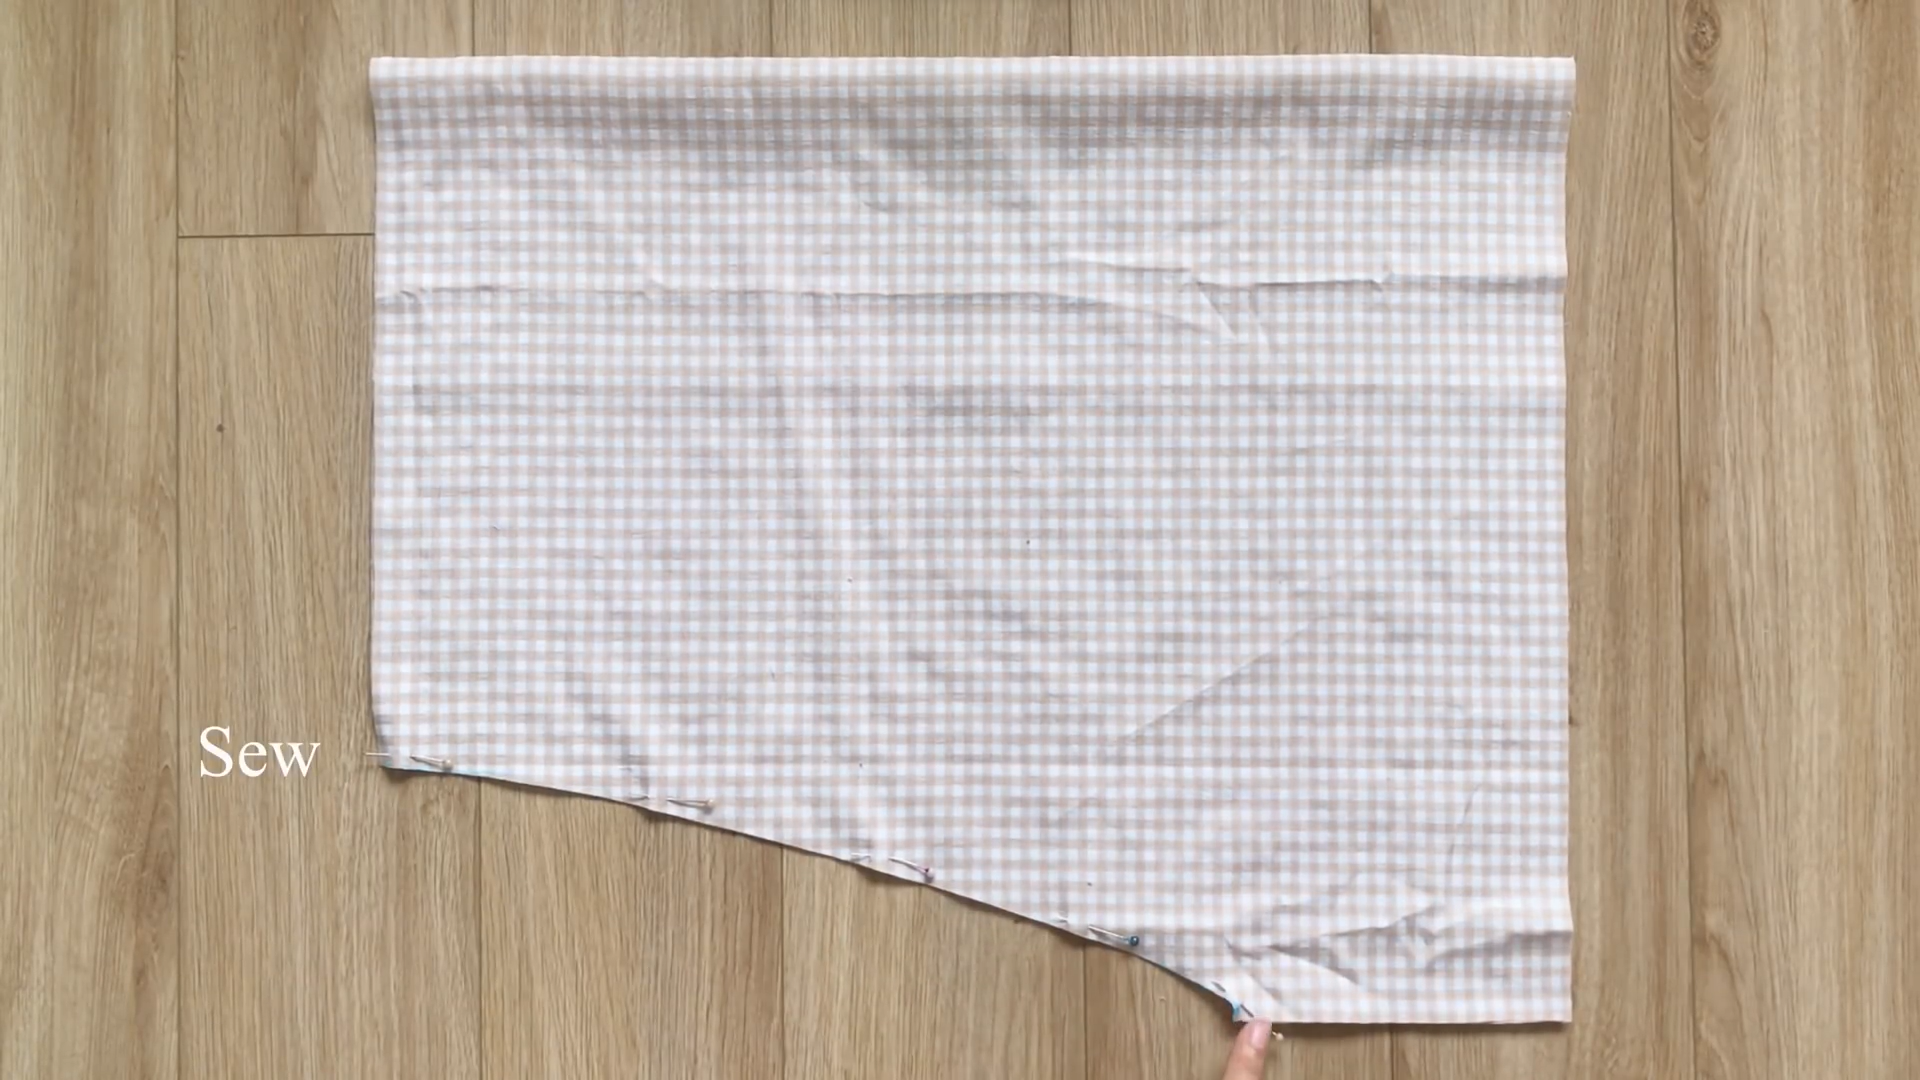
After cutting, sew the two underarm lines together first.
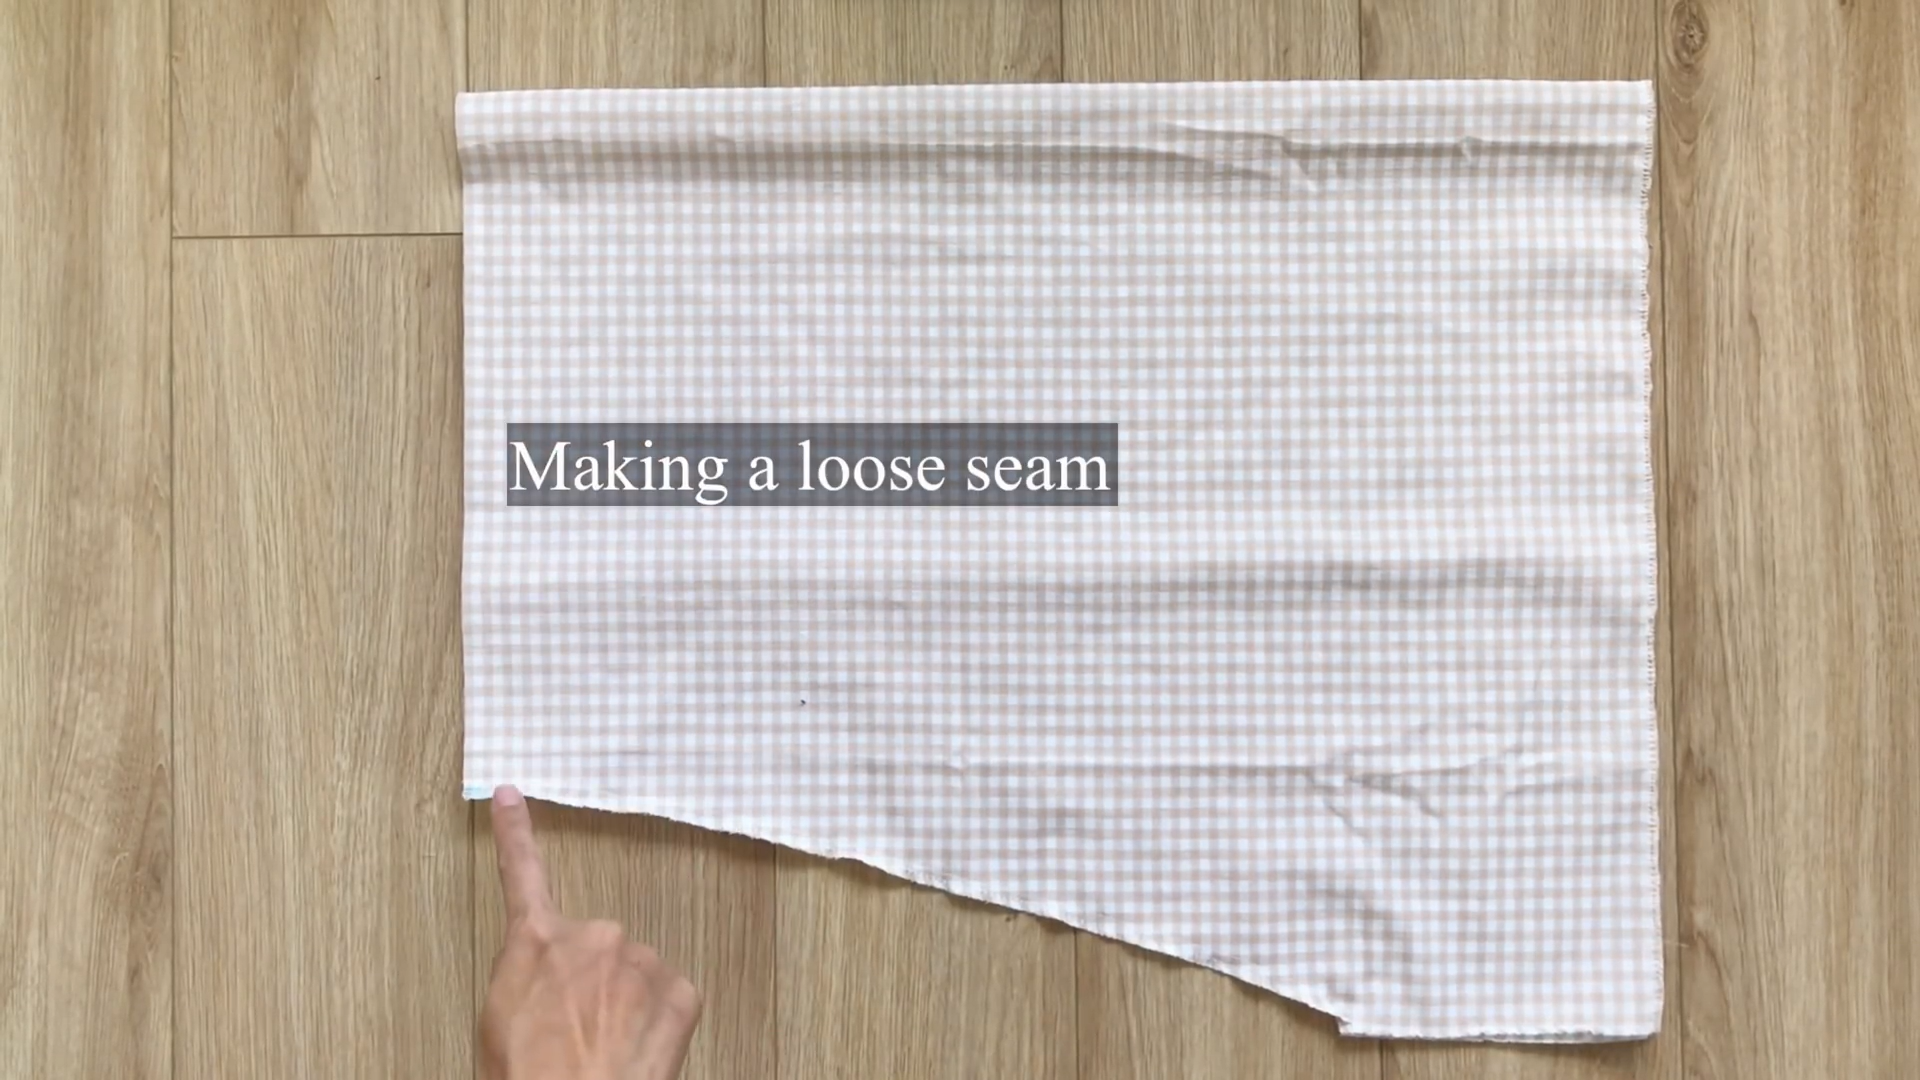
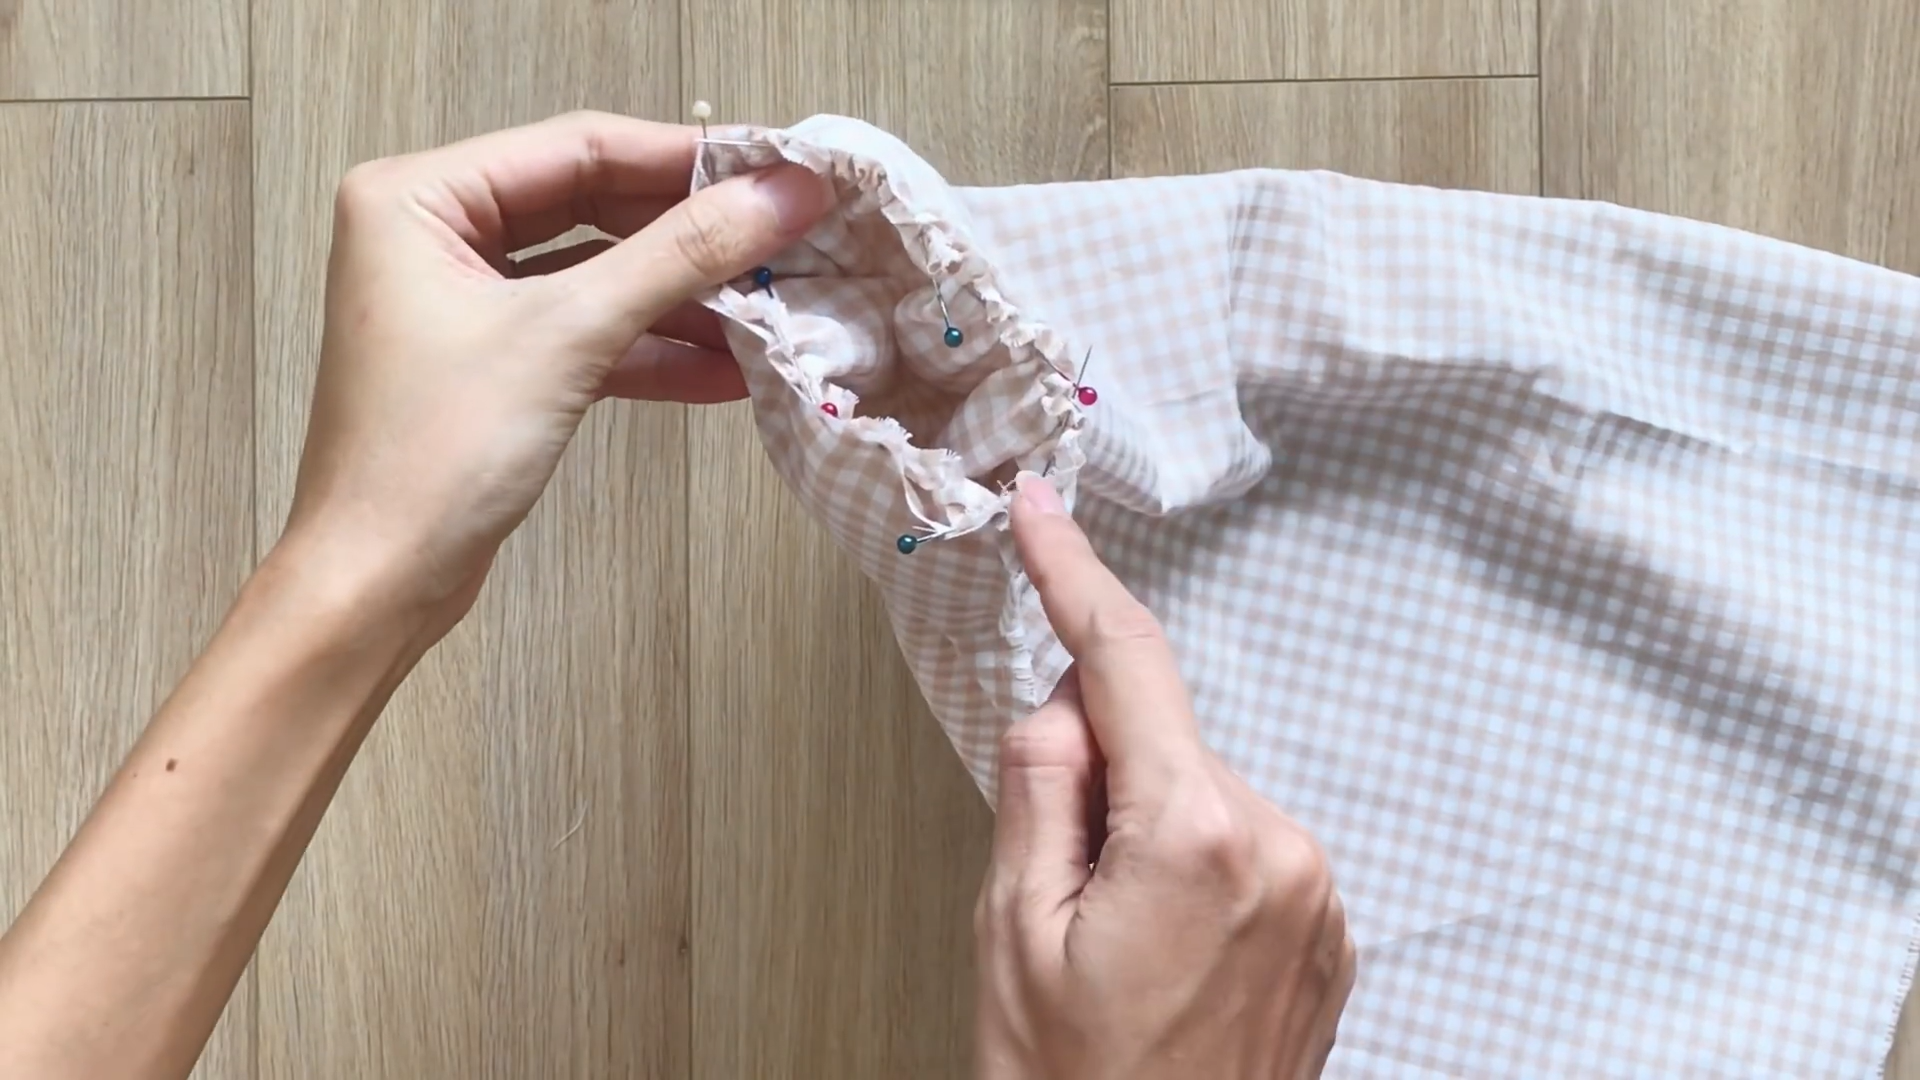
Make a loose seam at the end of the sleeve to create a gathering fabric there later.
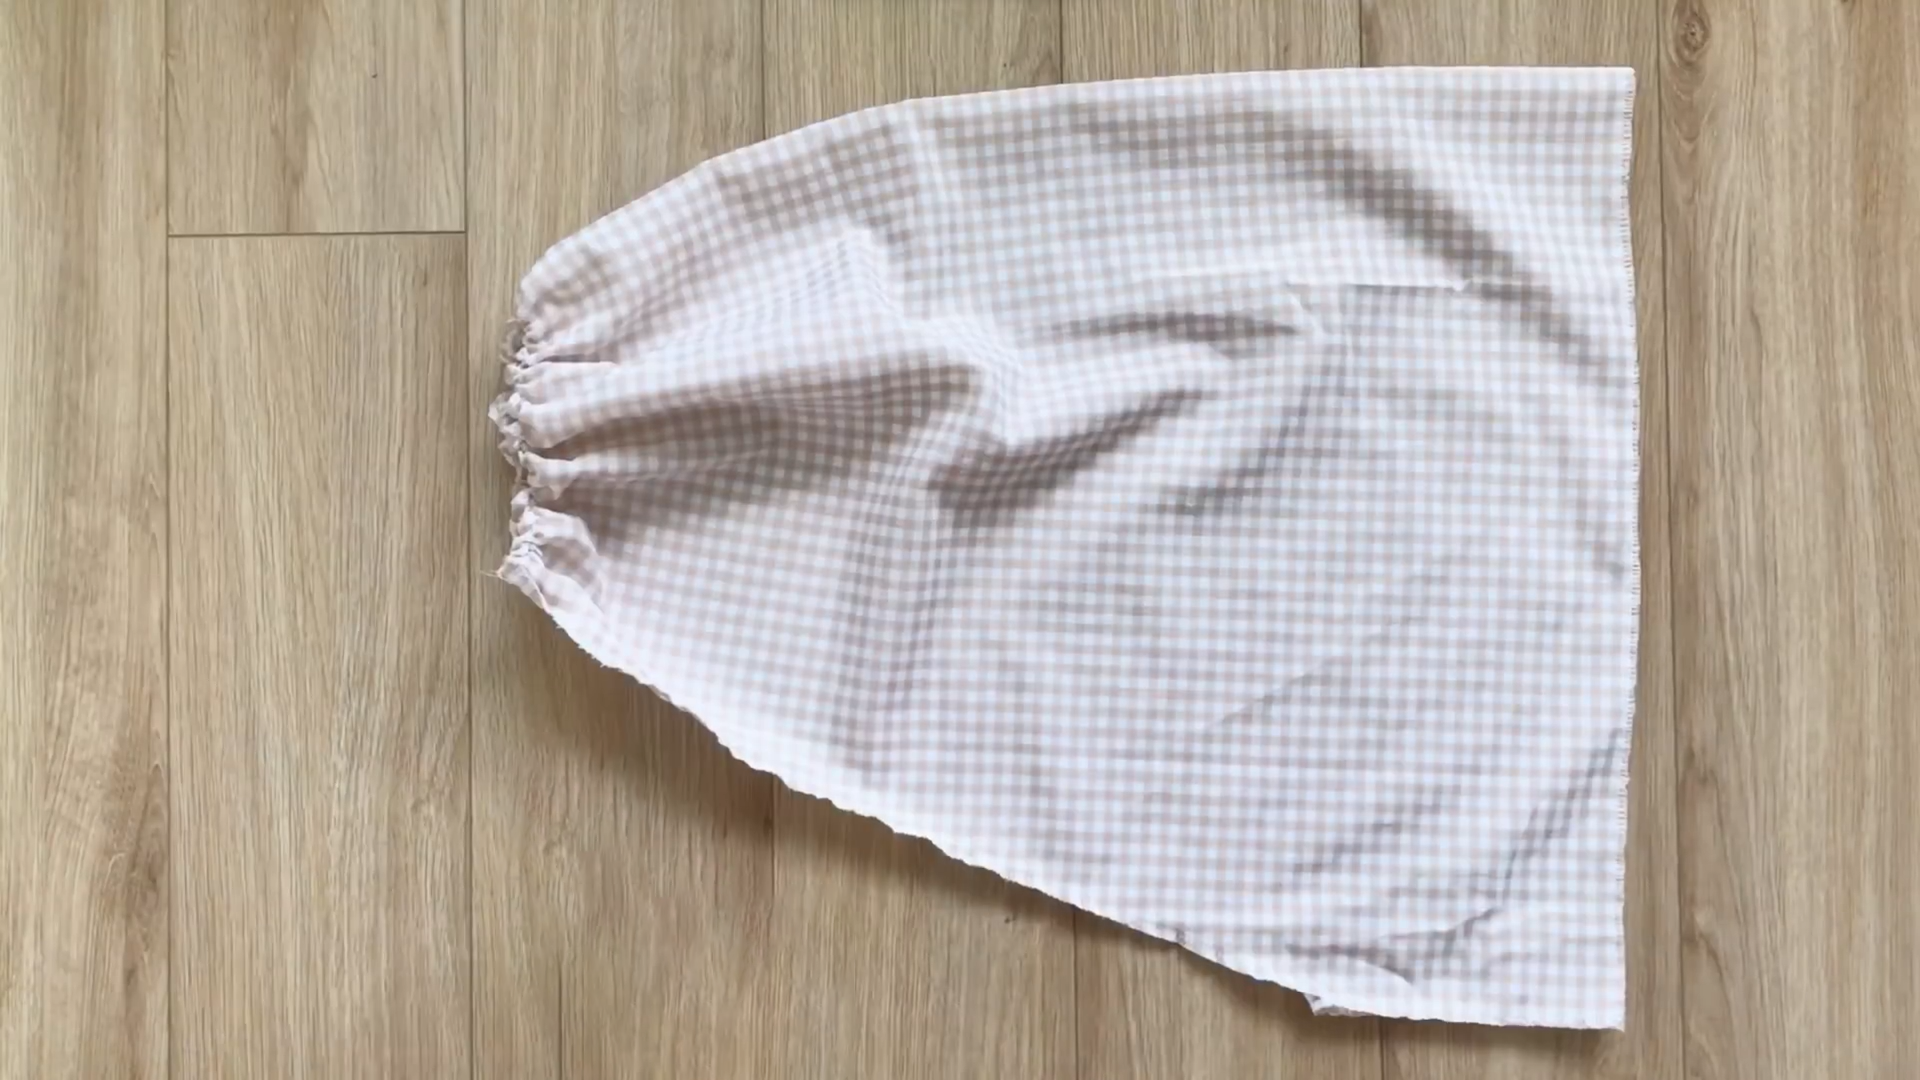
Make sure the final width of the gathering fabric should be bigger than your arm so you can feel more comfortable when wearing the dress.
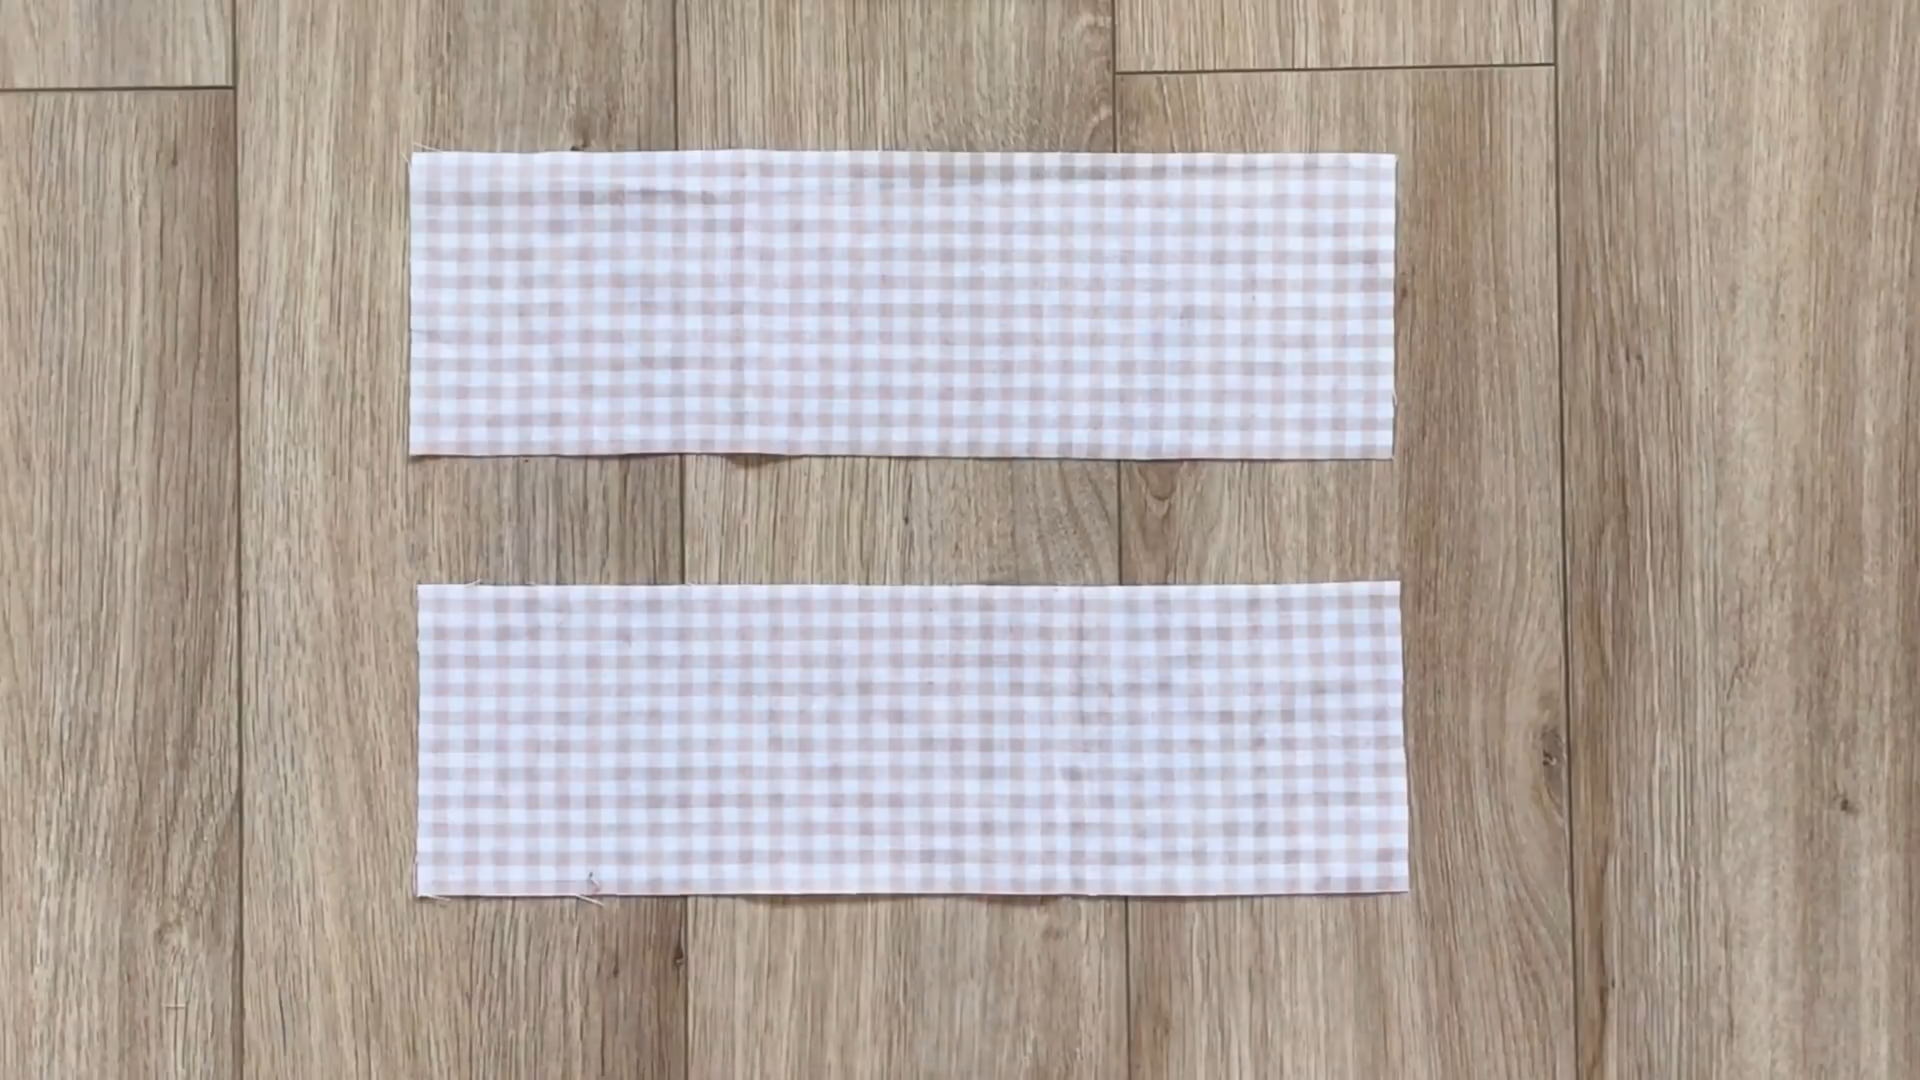
Cut a rectangle with a width of 8 cm and a length of 30 cm, which is the same as the end of the sleeve plus 2 cm for seam allowance.
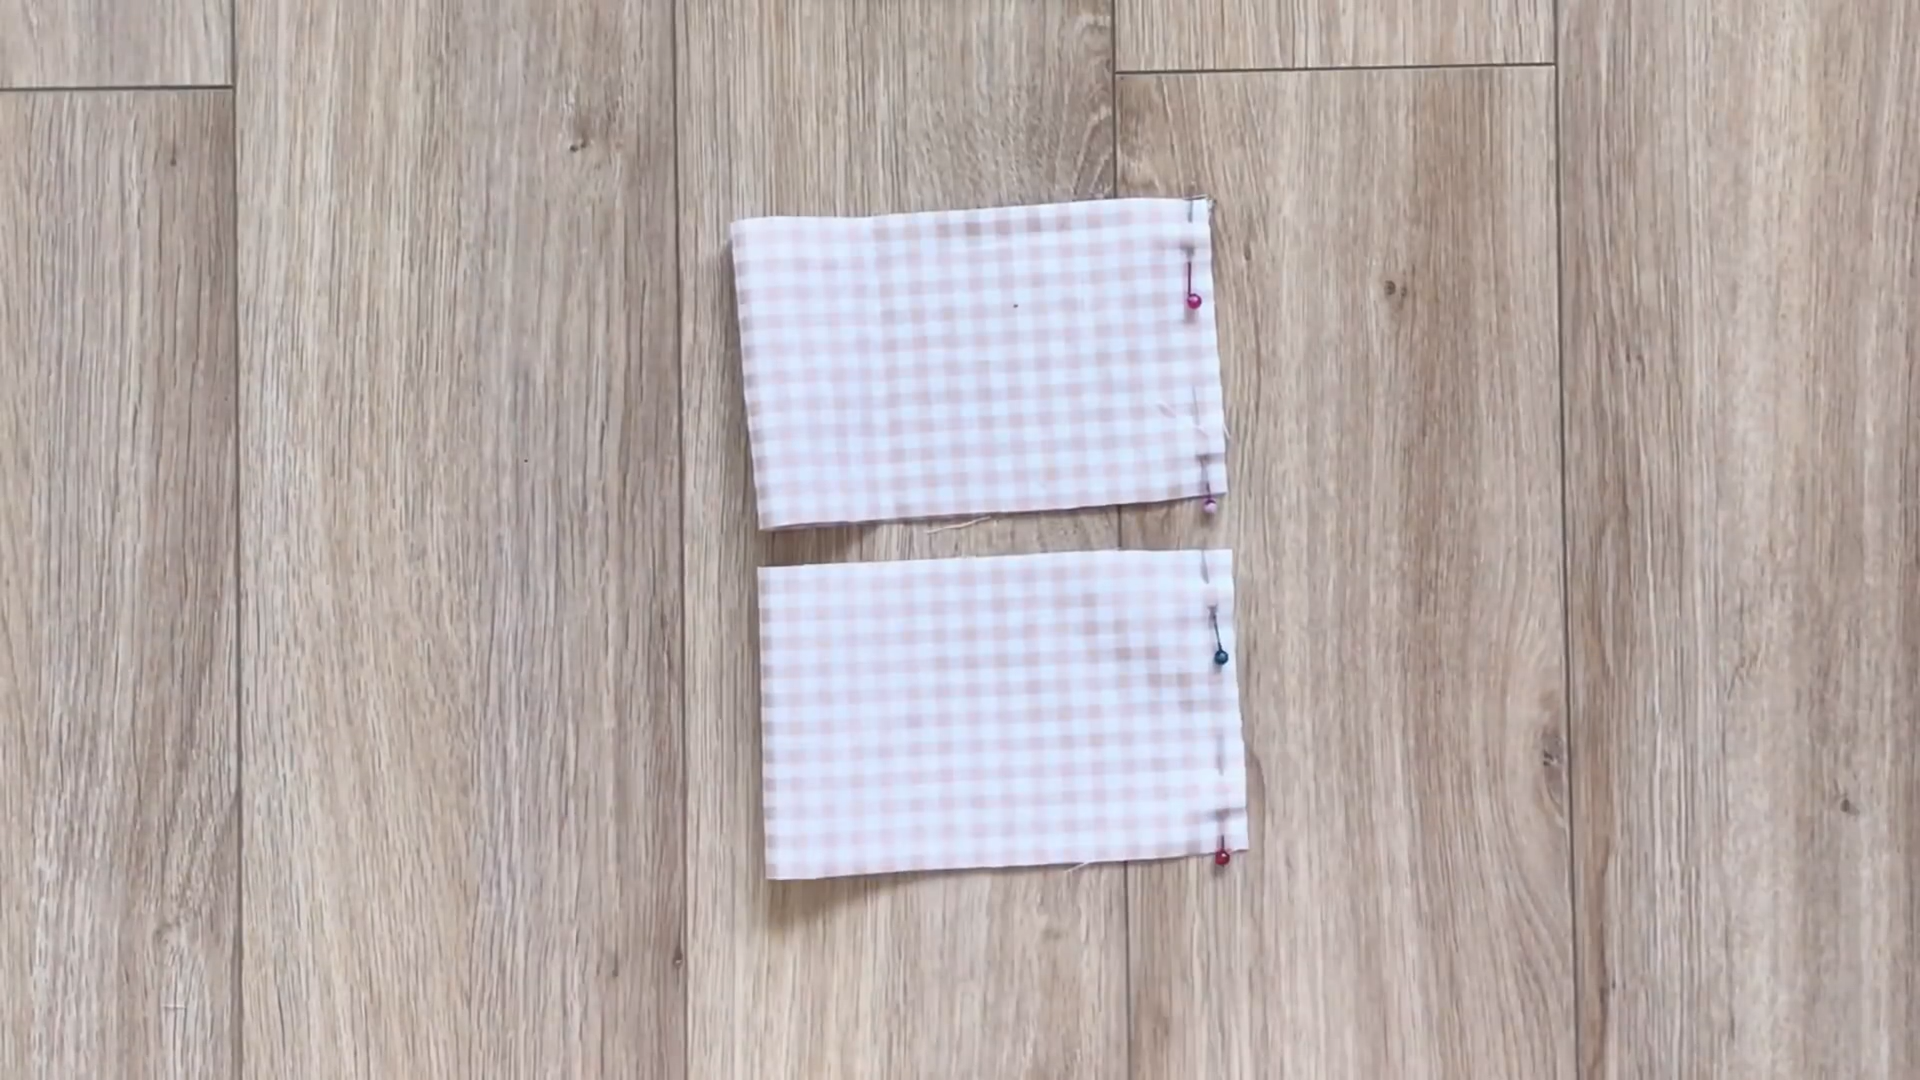
Connect the two width lines together to create a circular fabric first.
Then connect it to the end of the sleeve and sew.
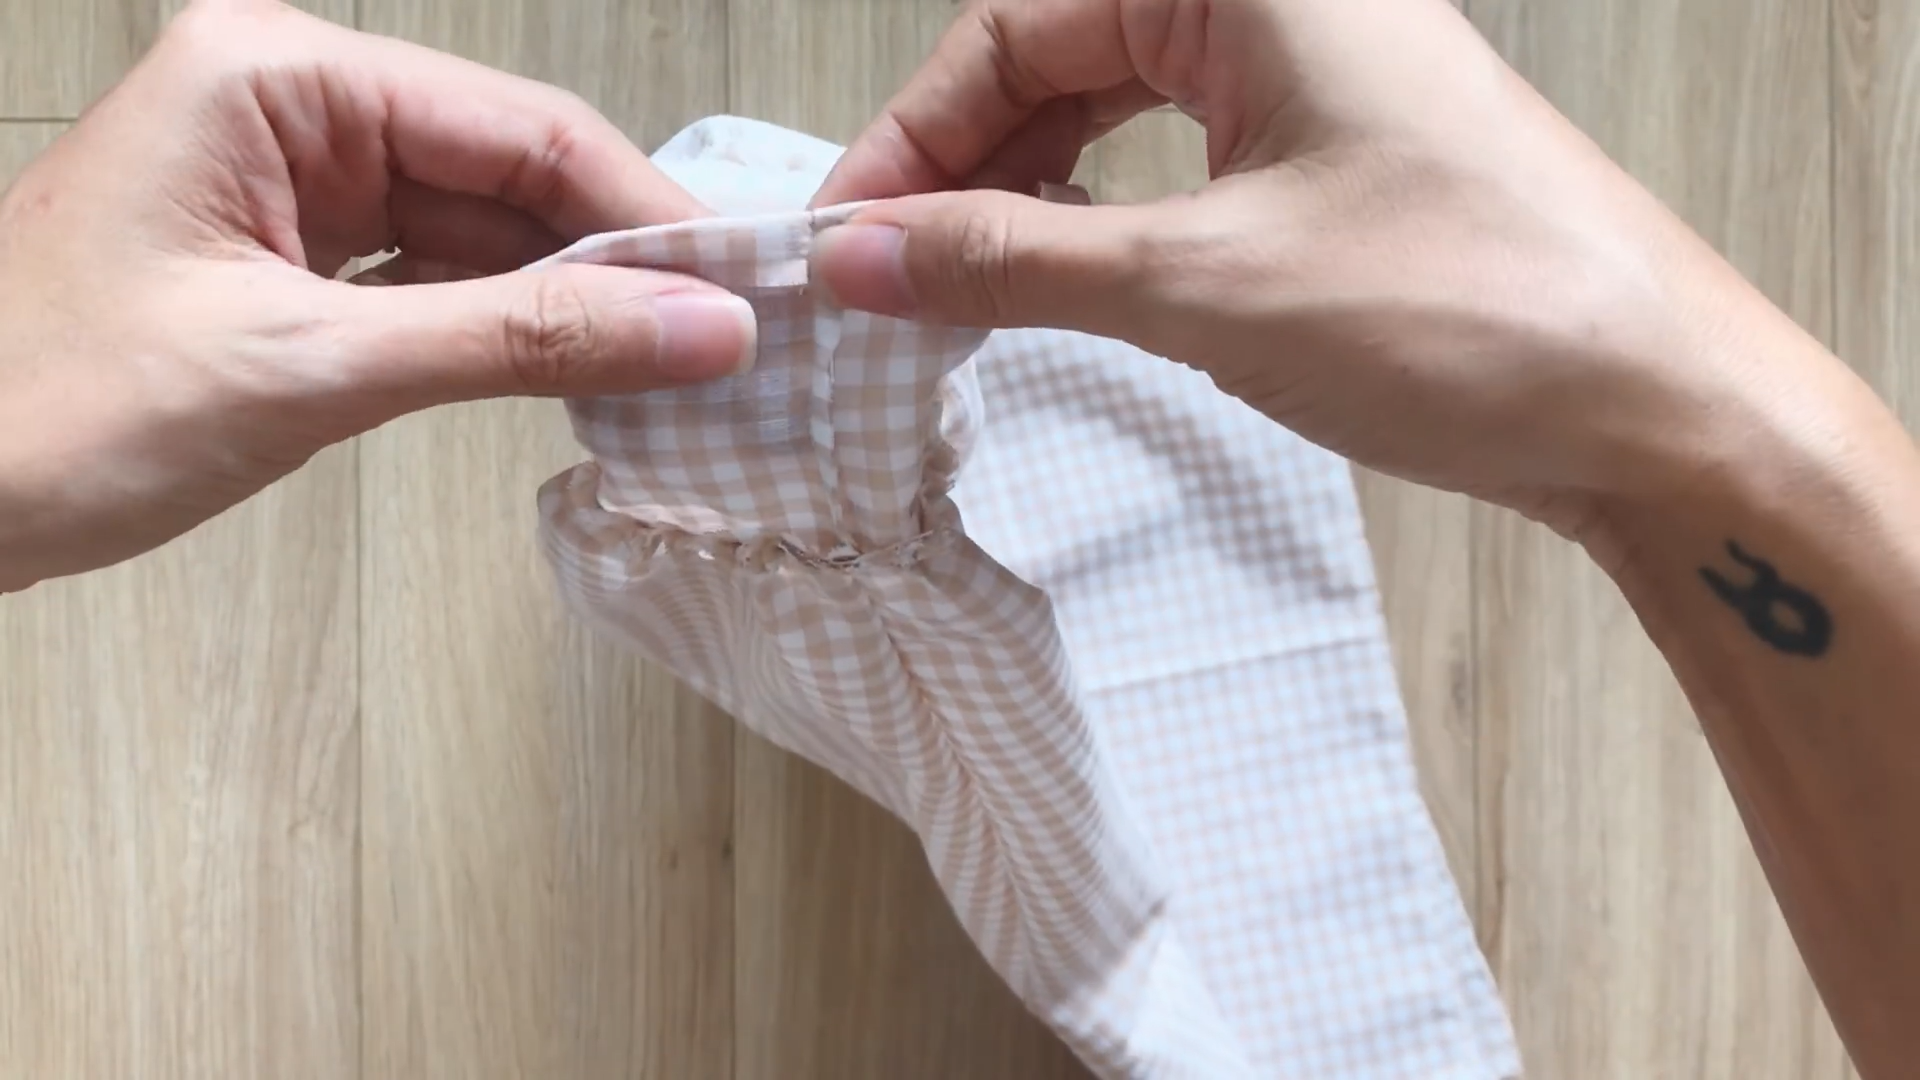
After the first seam, fold the other end of the circular fabric inside 1 cm.
Then, keep folding it over the first seam to hide the end fabric inside and make the second seam.
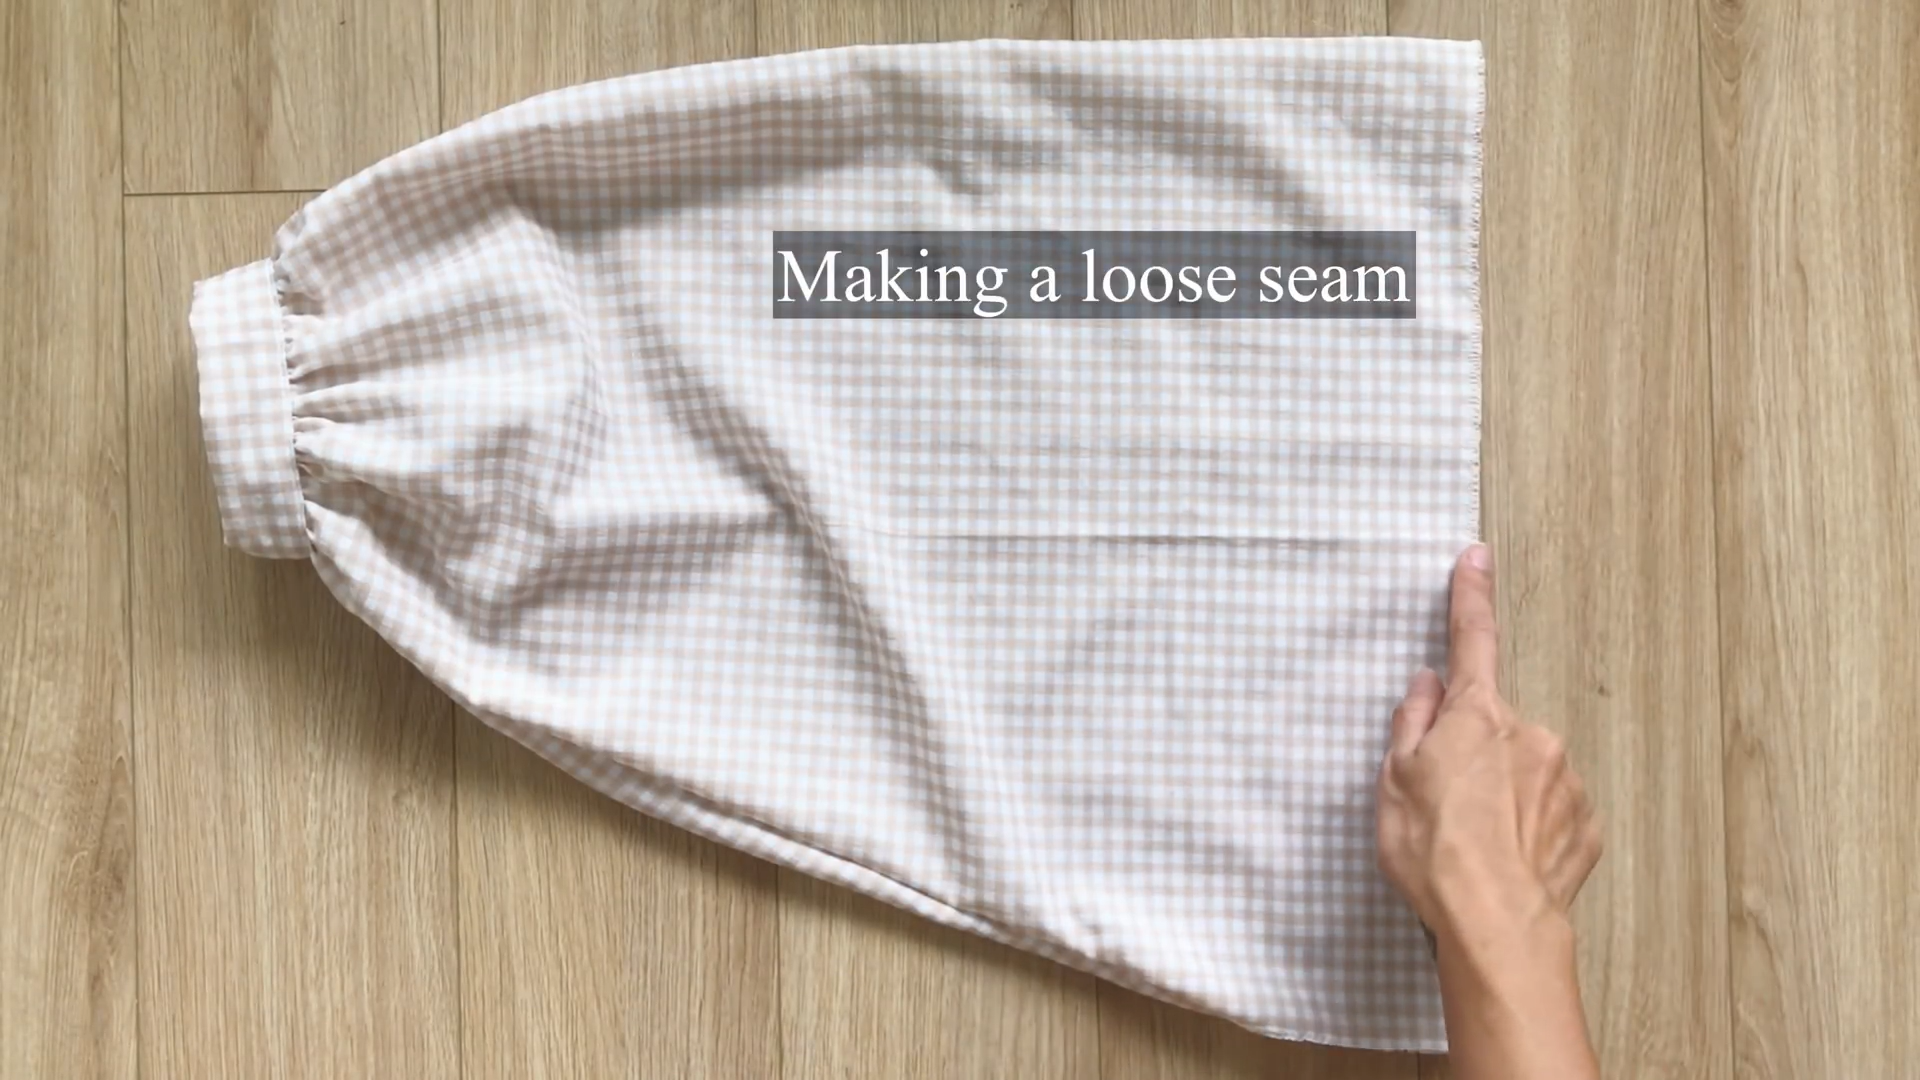
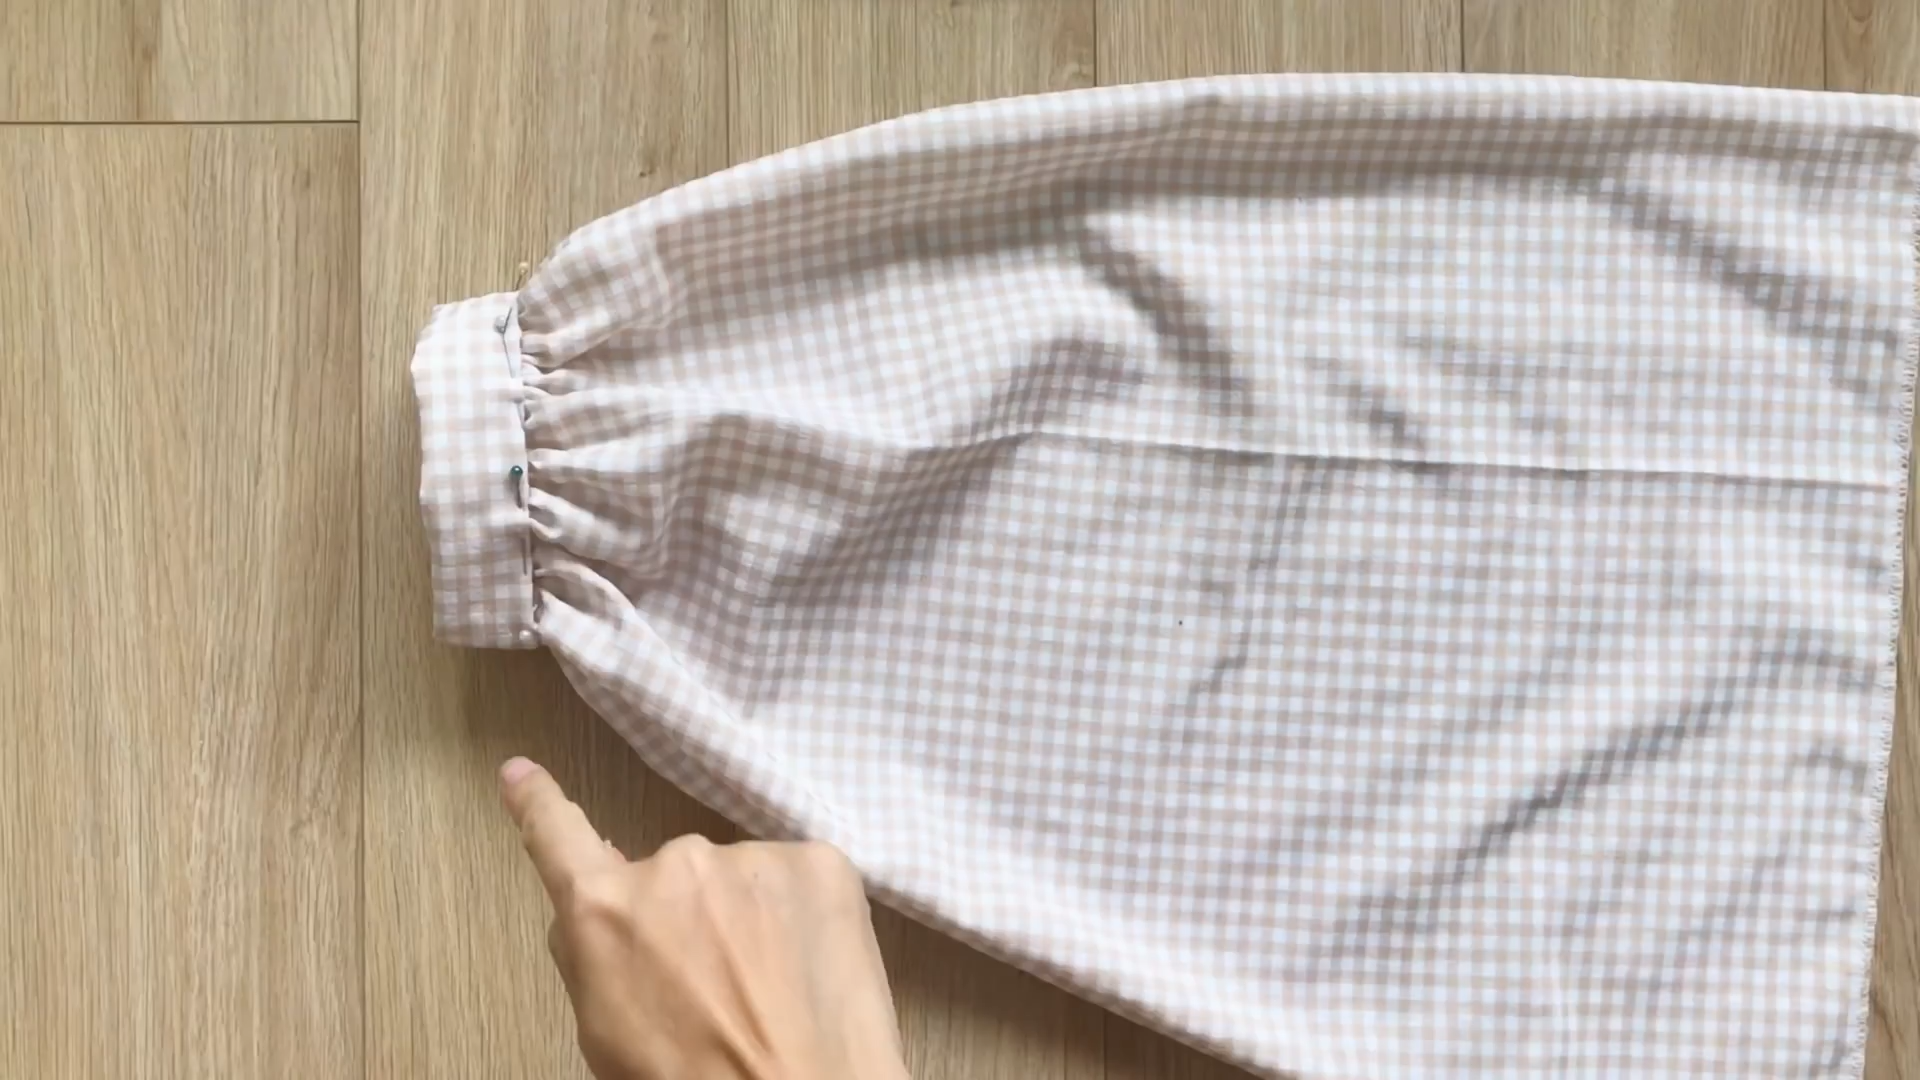
At the top of the sleeve, make a loose seam first, then create the gathering fabric there later.
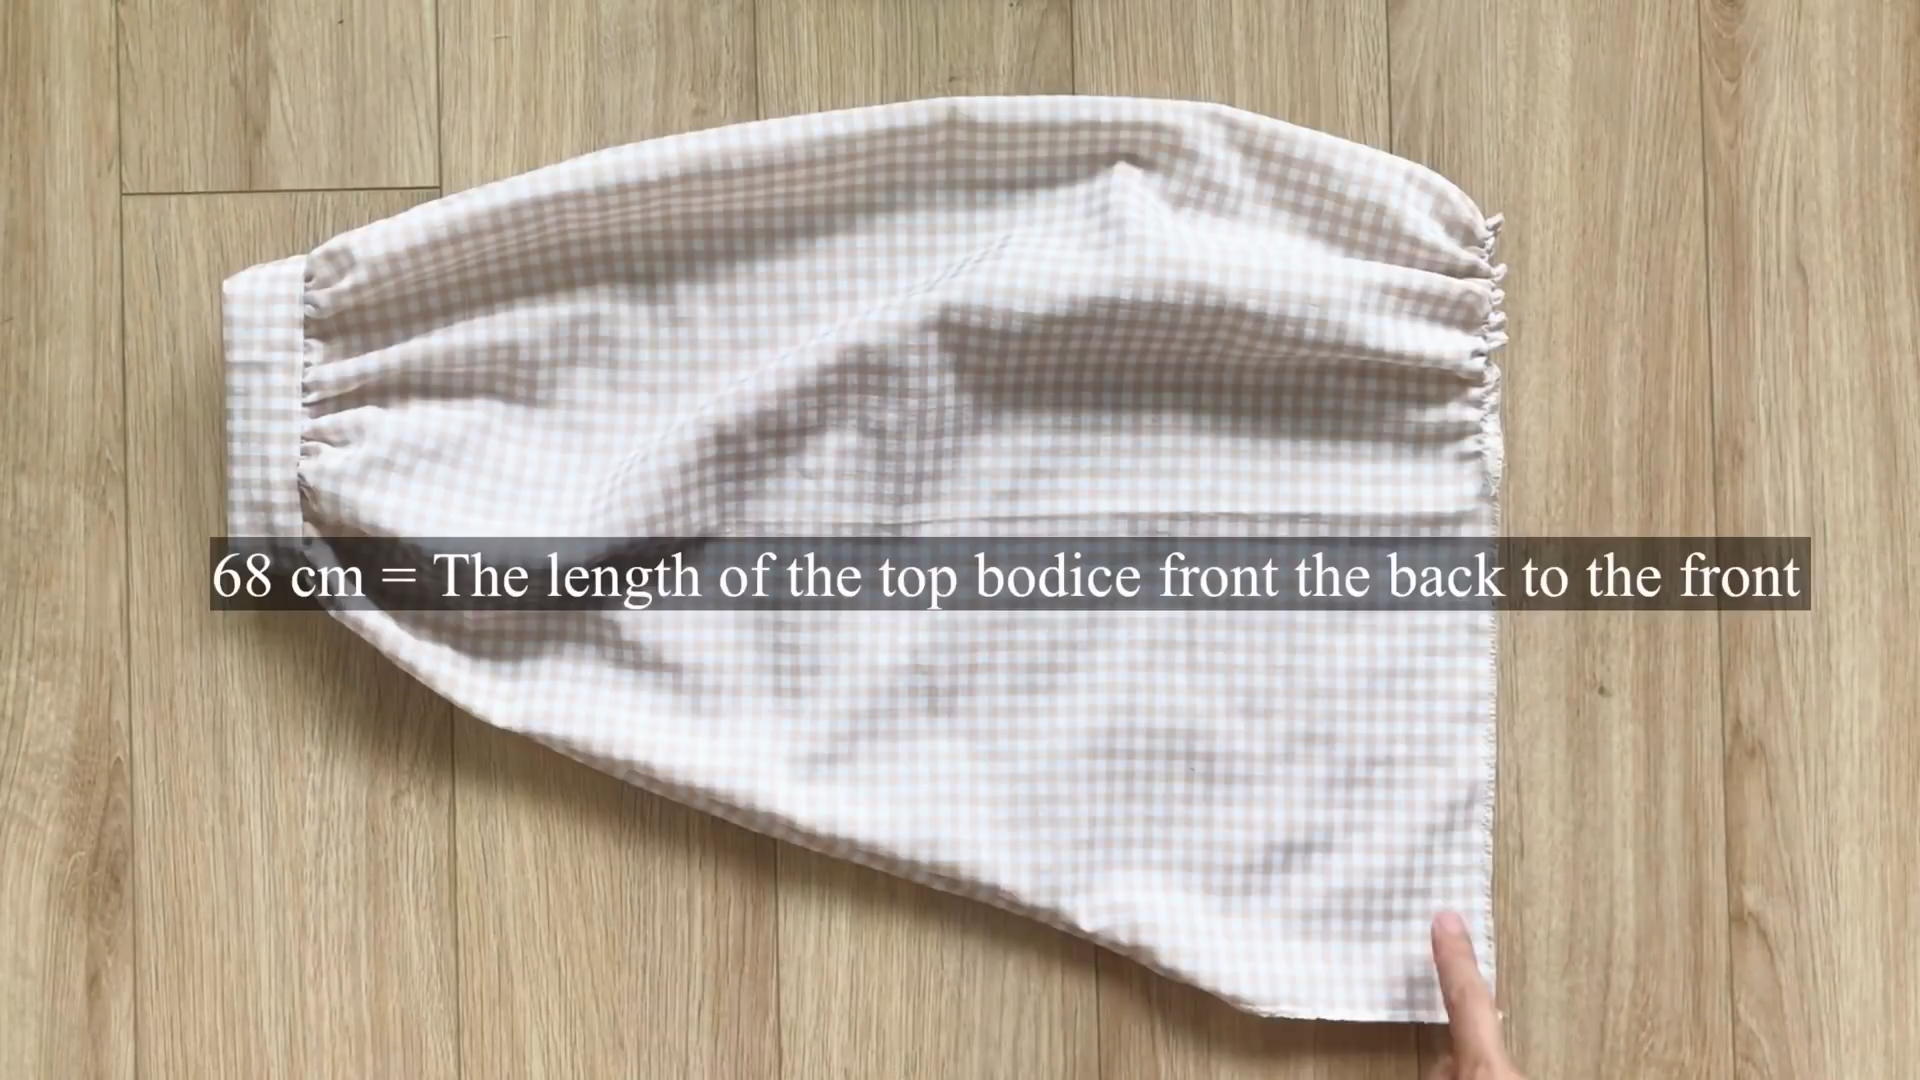
Make sure the gathering should be around the top and the final length of the sleeve in the end should be the same as the length of the top bodice from the back to the front so you can connect.
Then, connect the sleeve to the top bodice.
THE BOTTOM PART
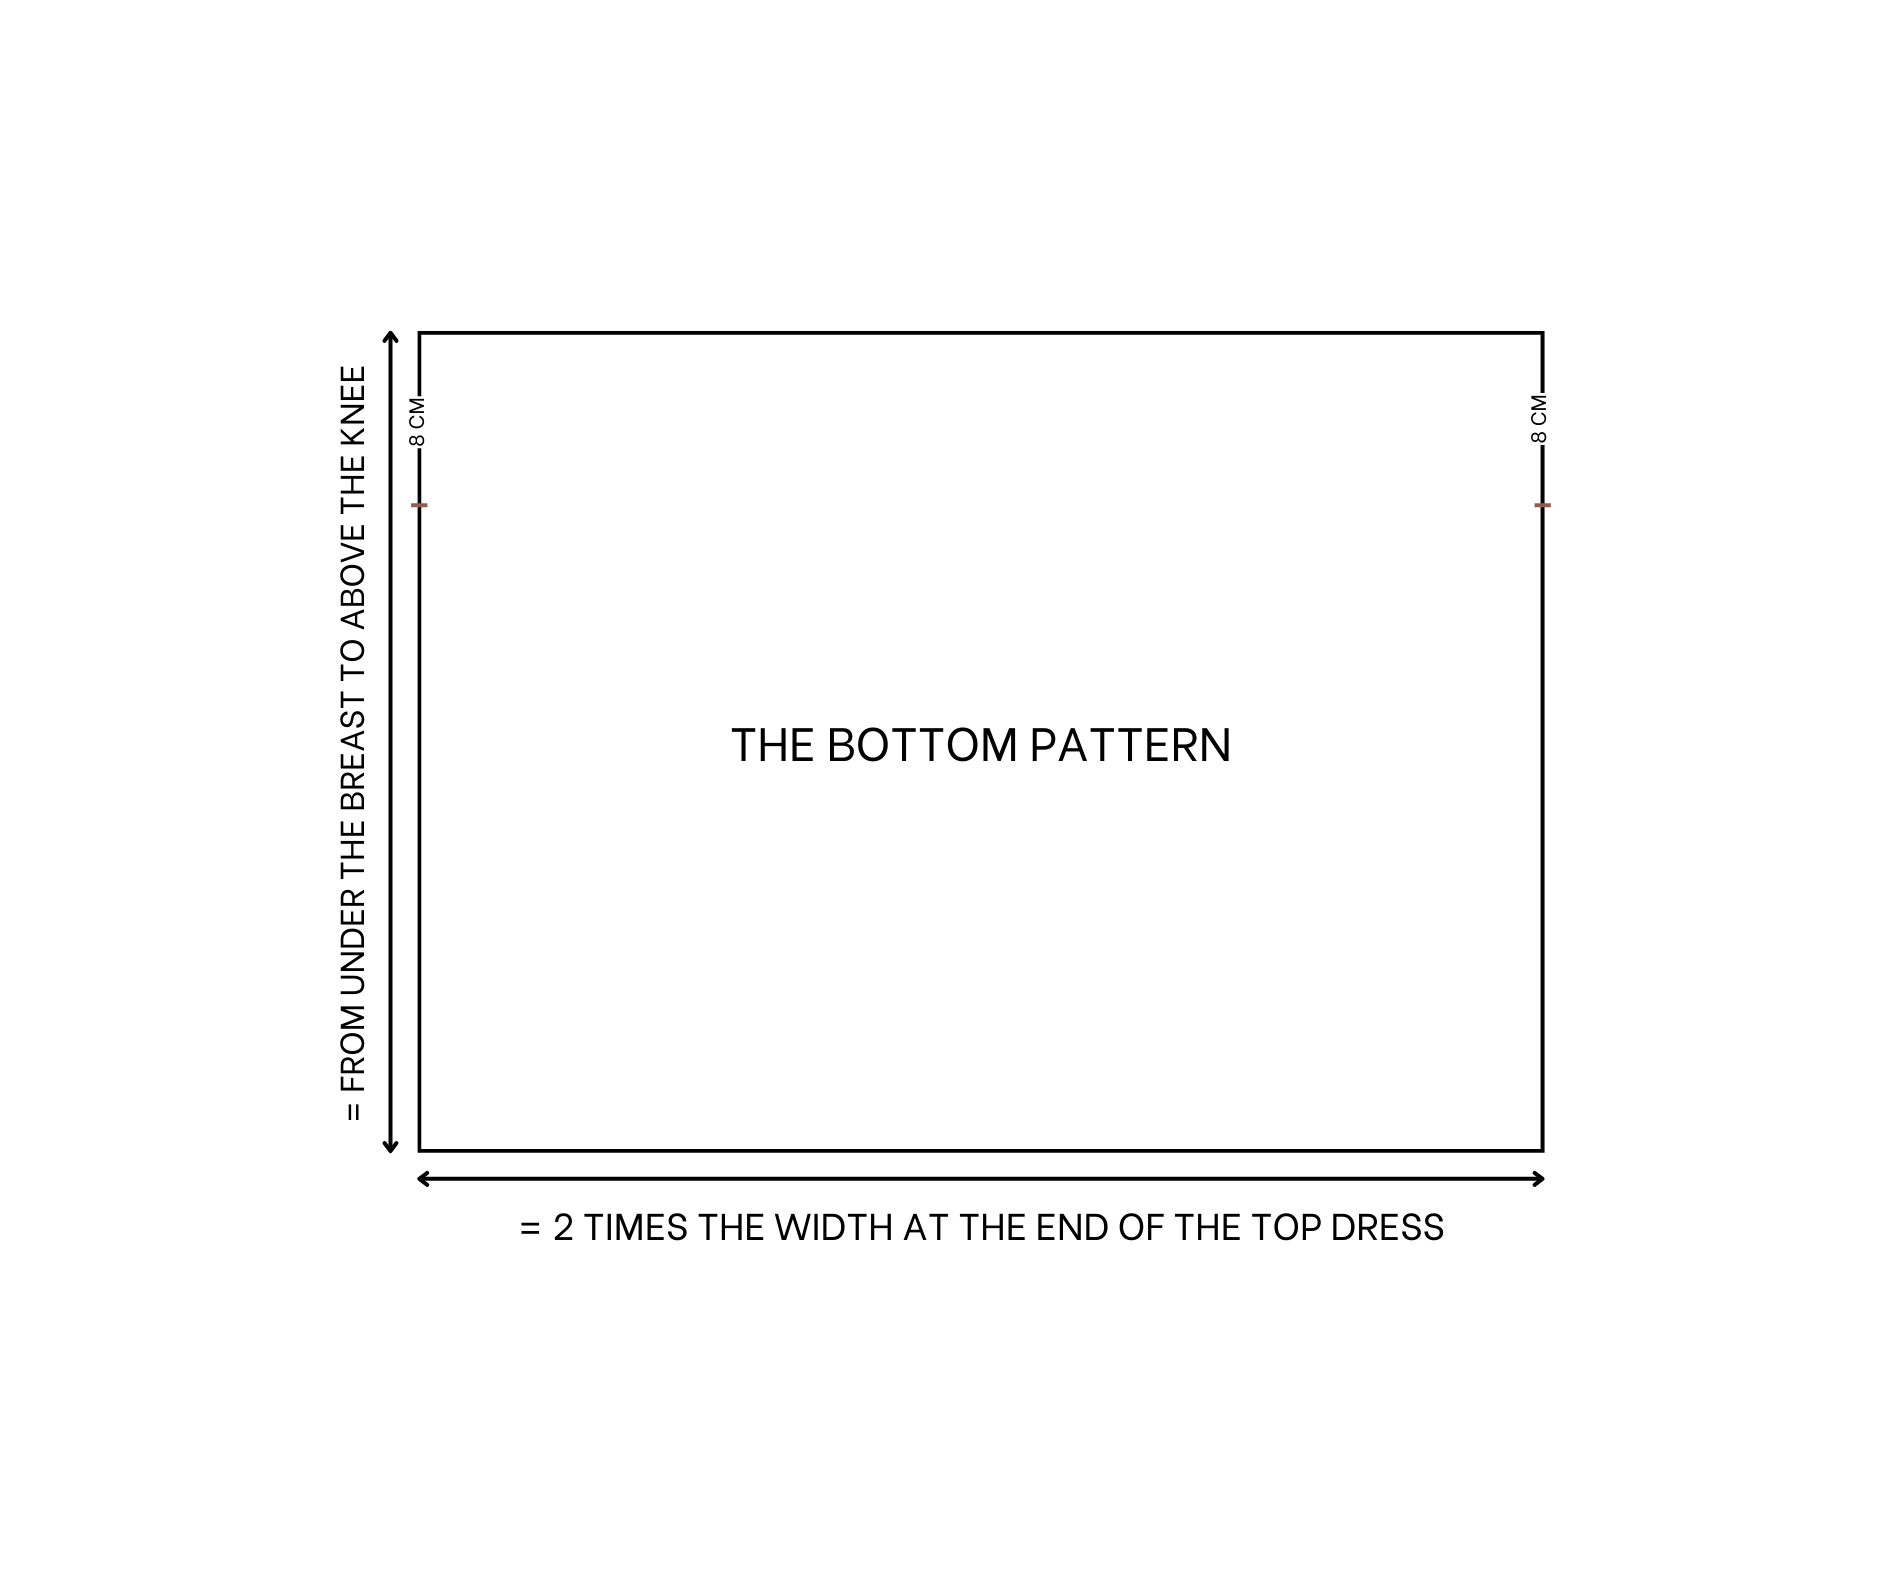
The bottom pattern
THE BOTTOM PATTERN
Cut a rectangle with a width of 100 cm, which is two times the width of the top dress, and a length of 55 cm, which is a length from under your breast to above your knee.
From two ends of the width line, mark out at 8 cm on the landline. This will be the position for the side pockets later.
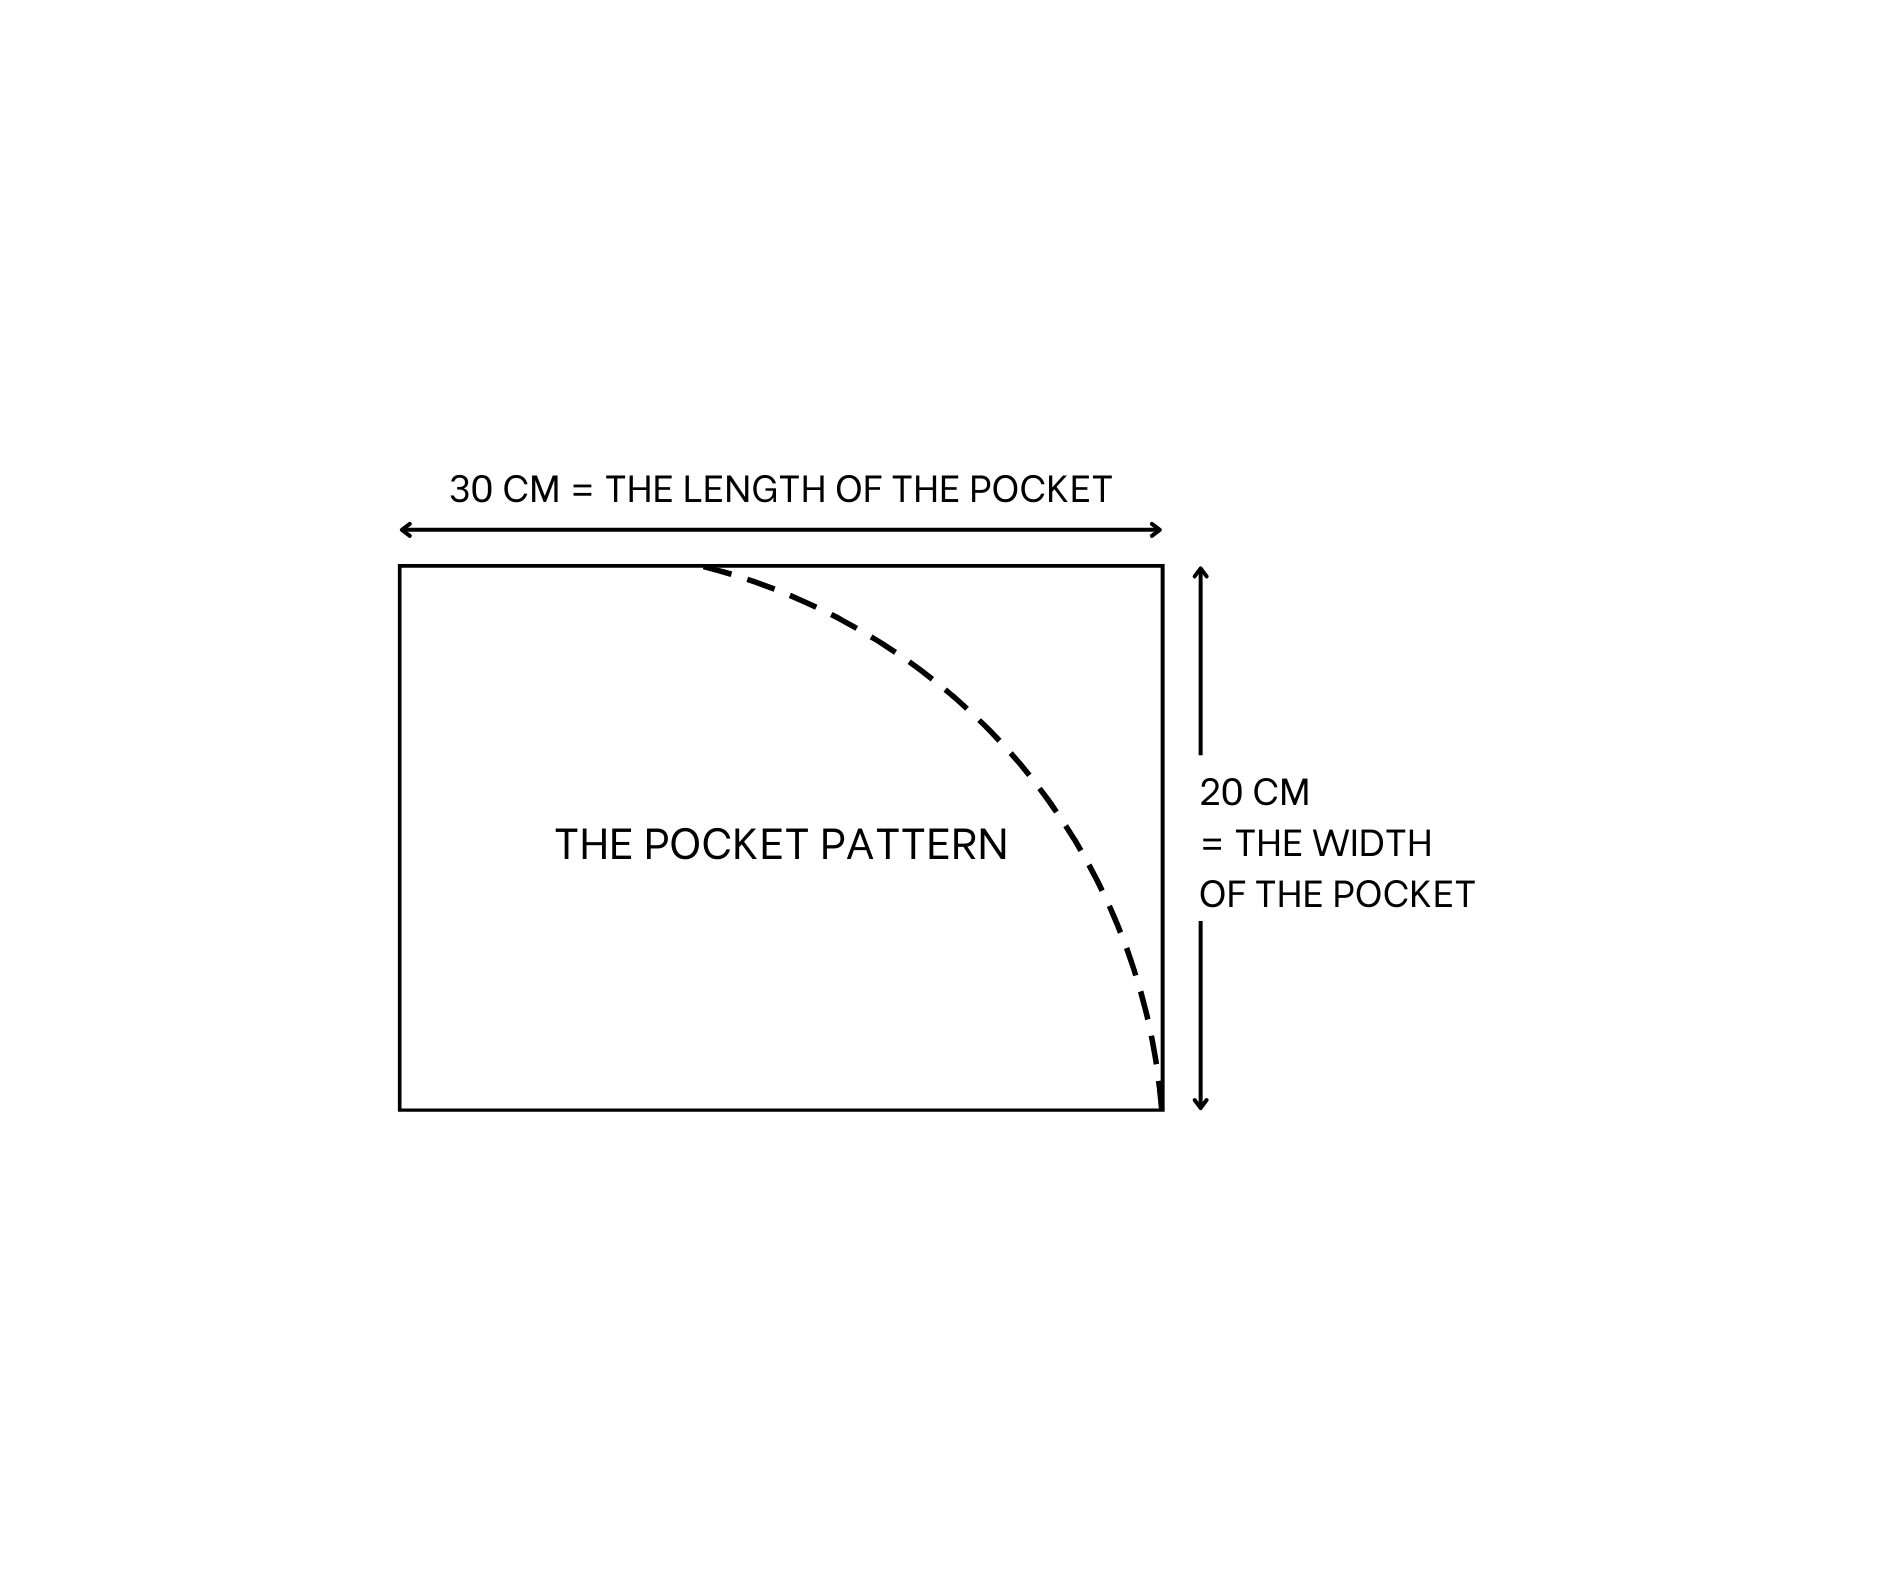
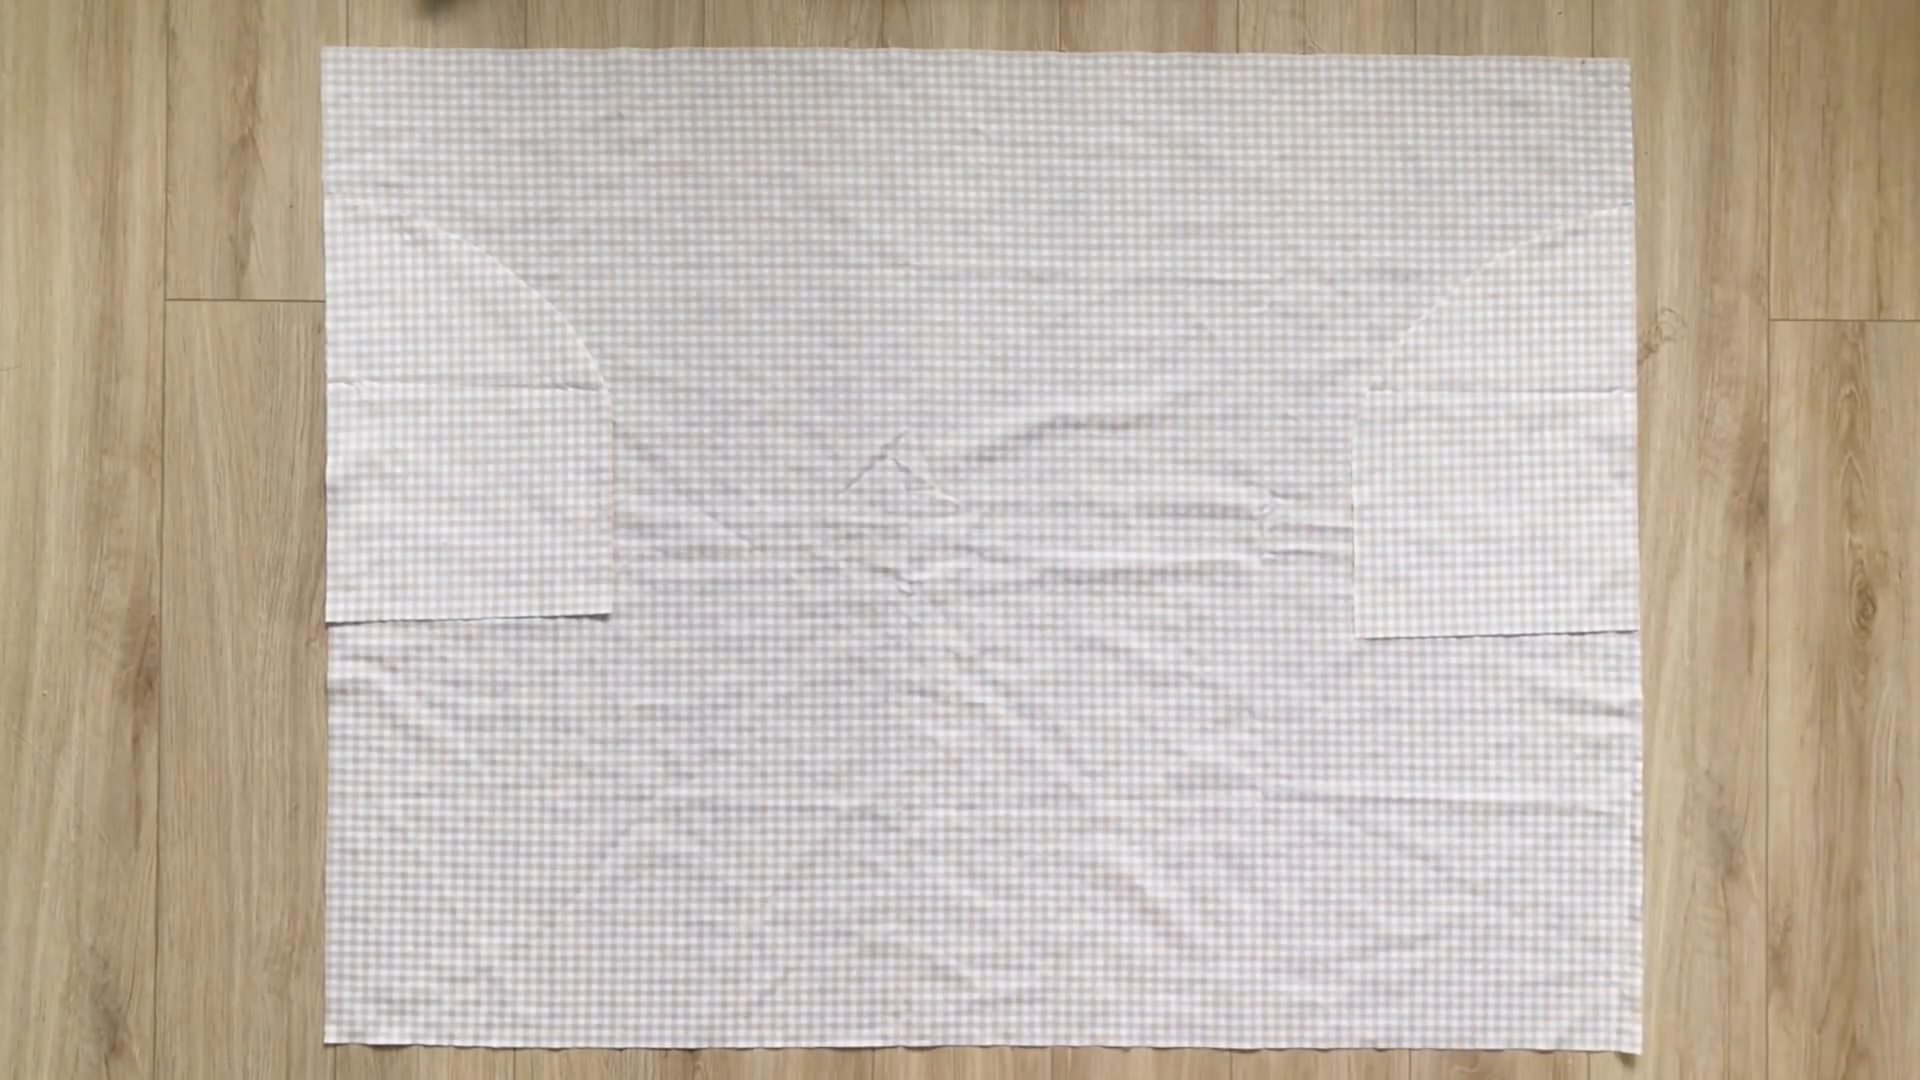
The pocket pattern
THE POCKET PATTERN
To make the pocket, cut a rectangle with a length of 20 cm and a width of 30 cm.
On one width line, mark at the middle first, then draw a curved line from this mark to one end of the other width line and cut.
You will need 4pieces like this.
Now, add the pockets to the position you marked before, then sew to connect them together.
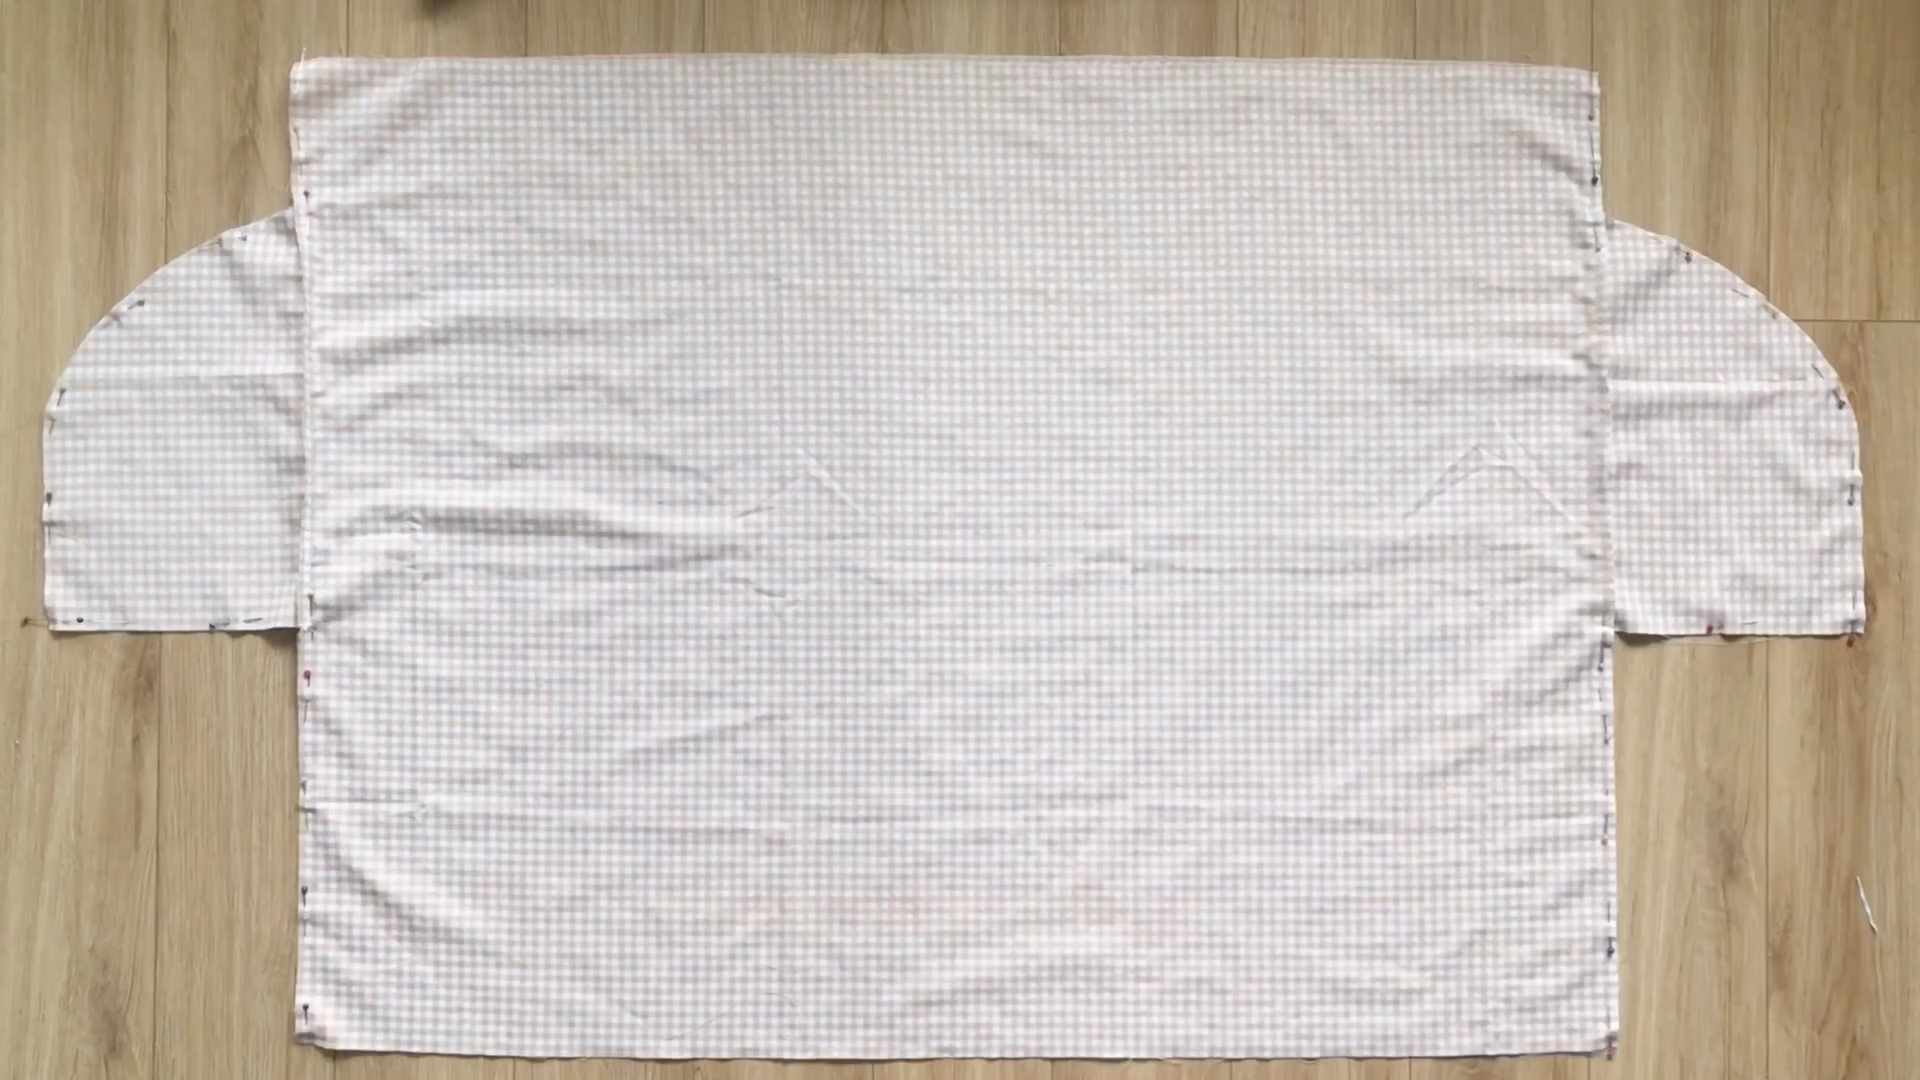
Make another piece like this, then connect two parts and pieces together at two sides.
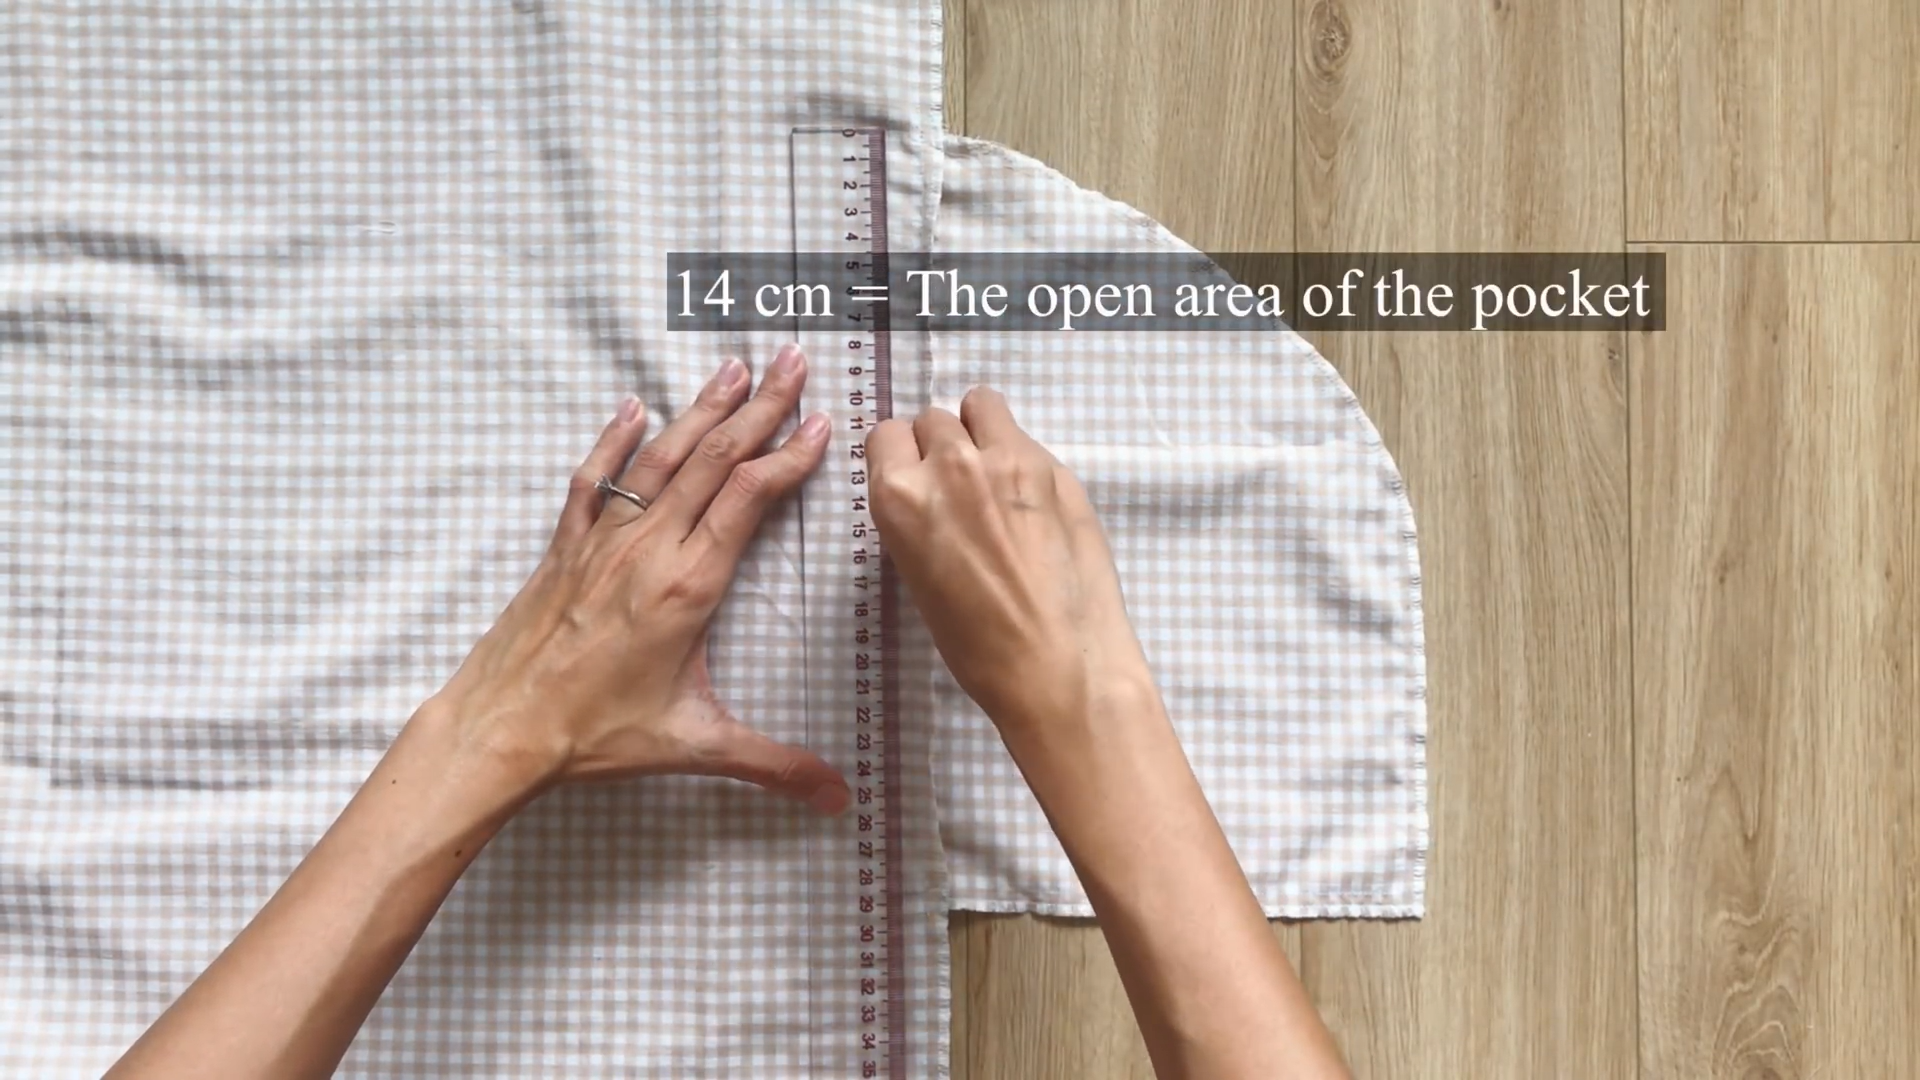
From the top of the pocket, mark out at 14 cm, which is the open area of the pocket where you can put your hand in.
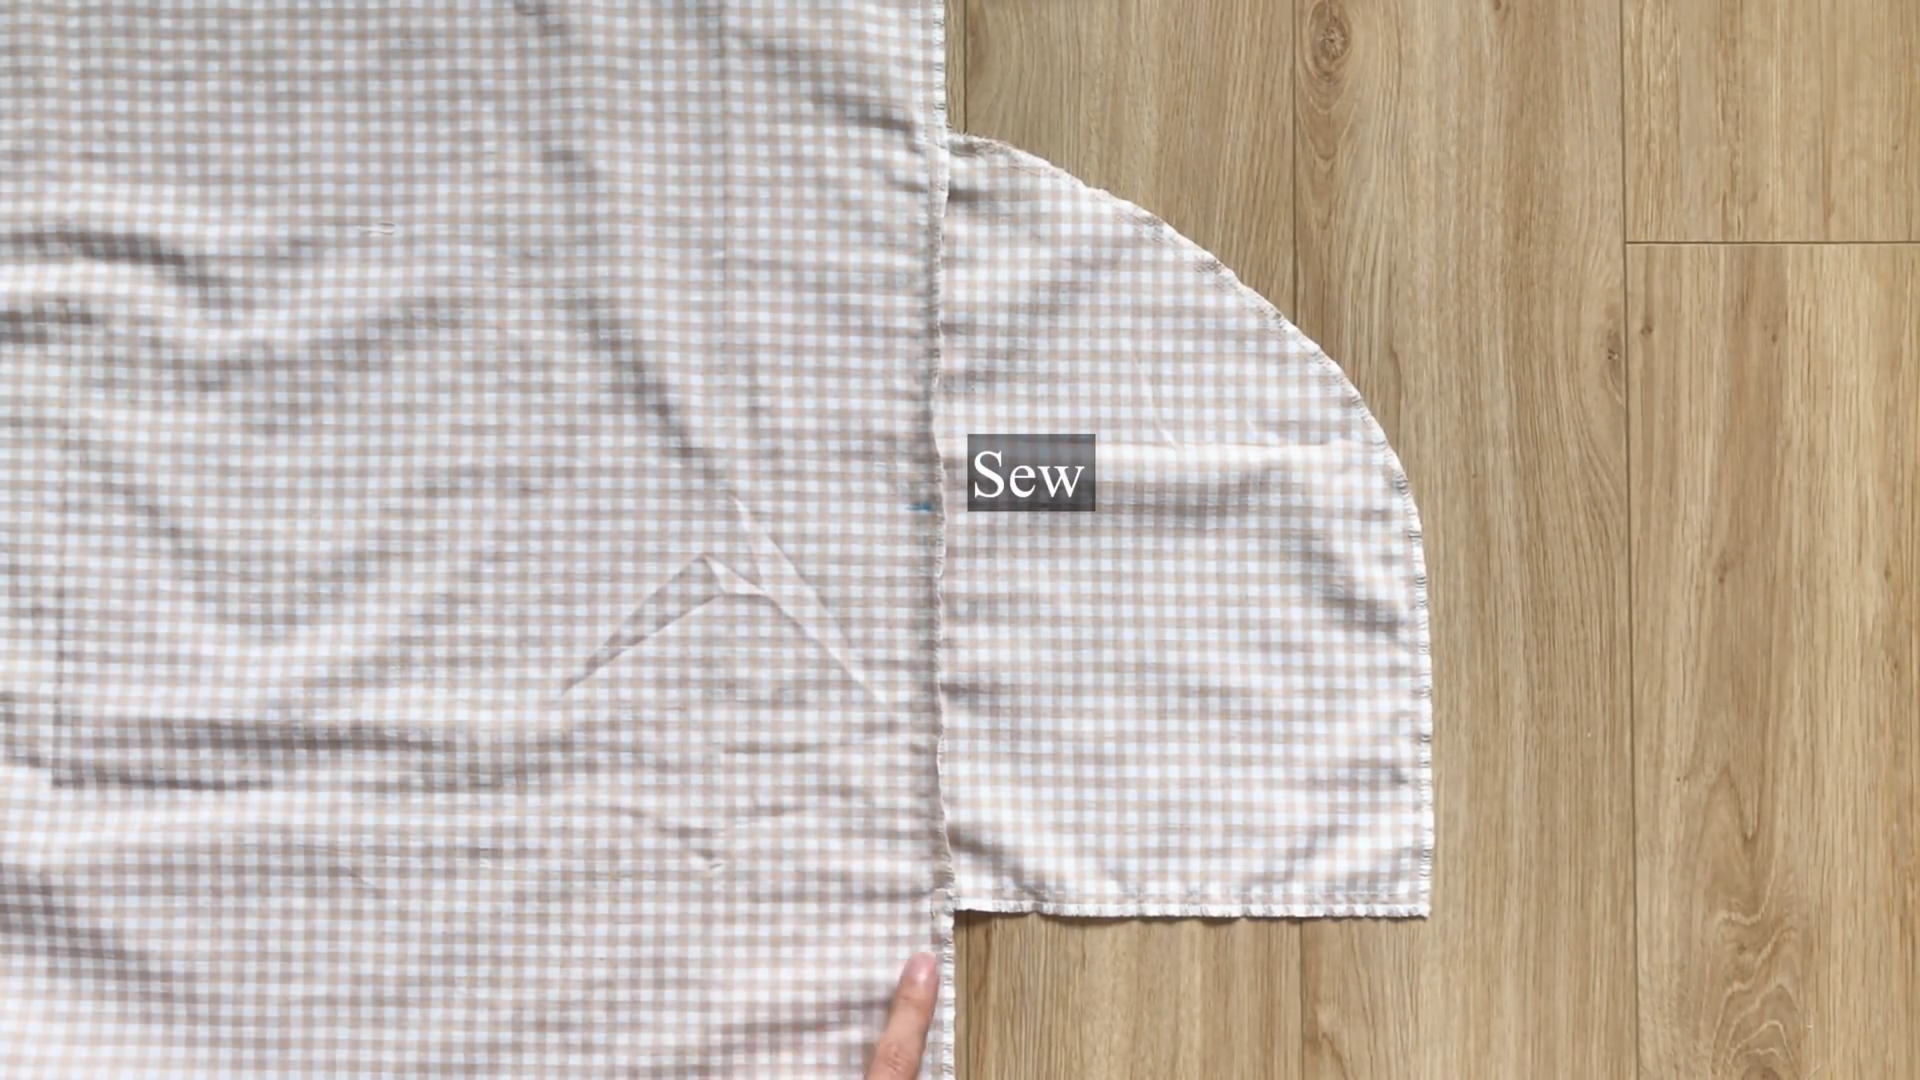
Then, sew the rest together to create a dip for the pocket.
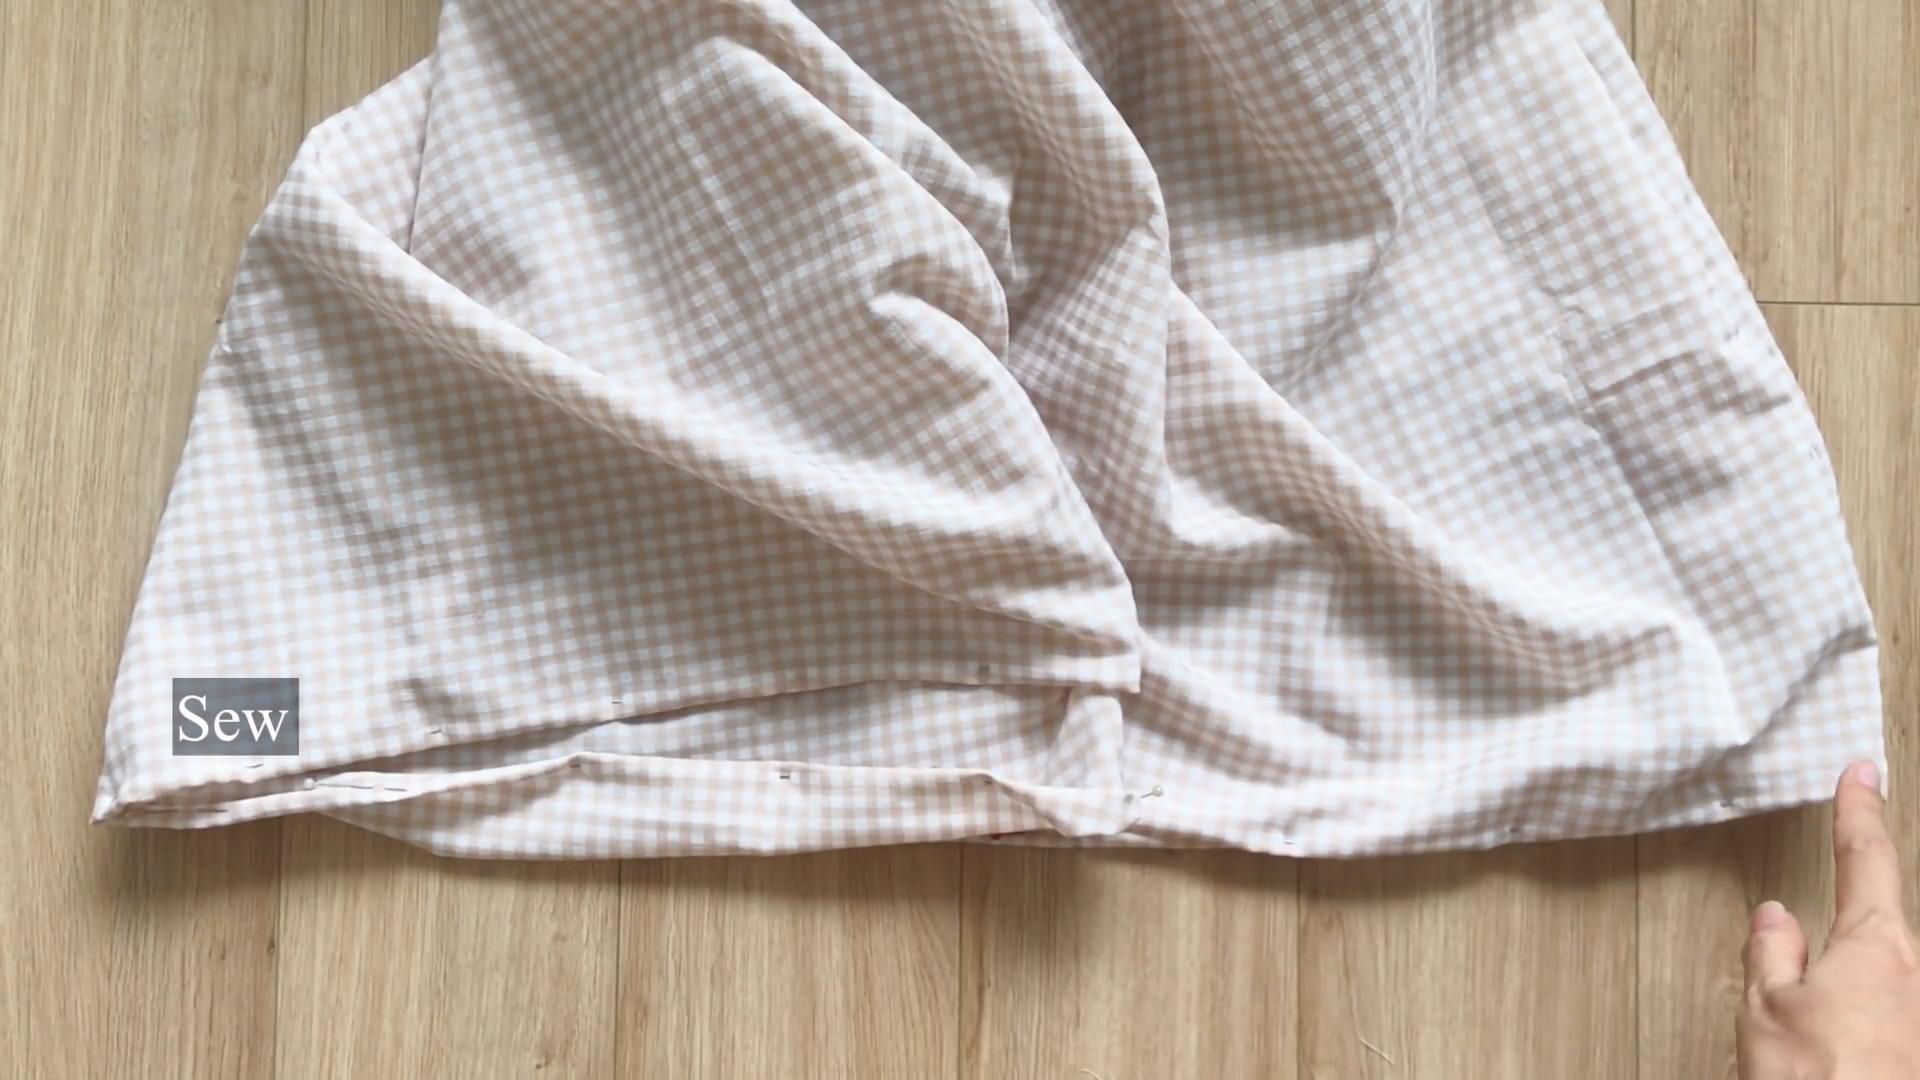
At the end of the bottom dress, fold the end fabric inside two times and sew to finish it.
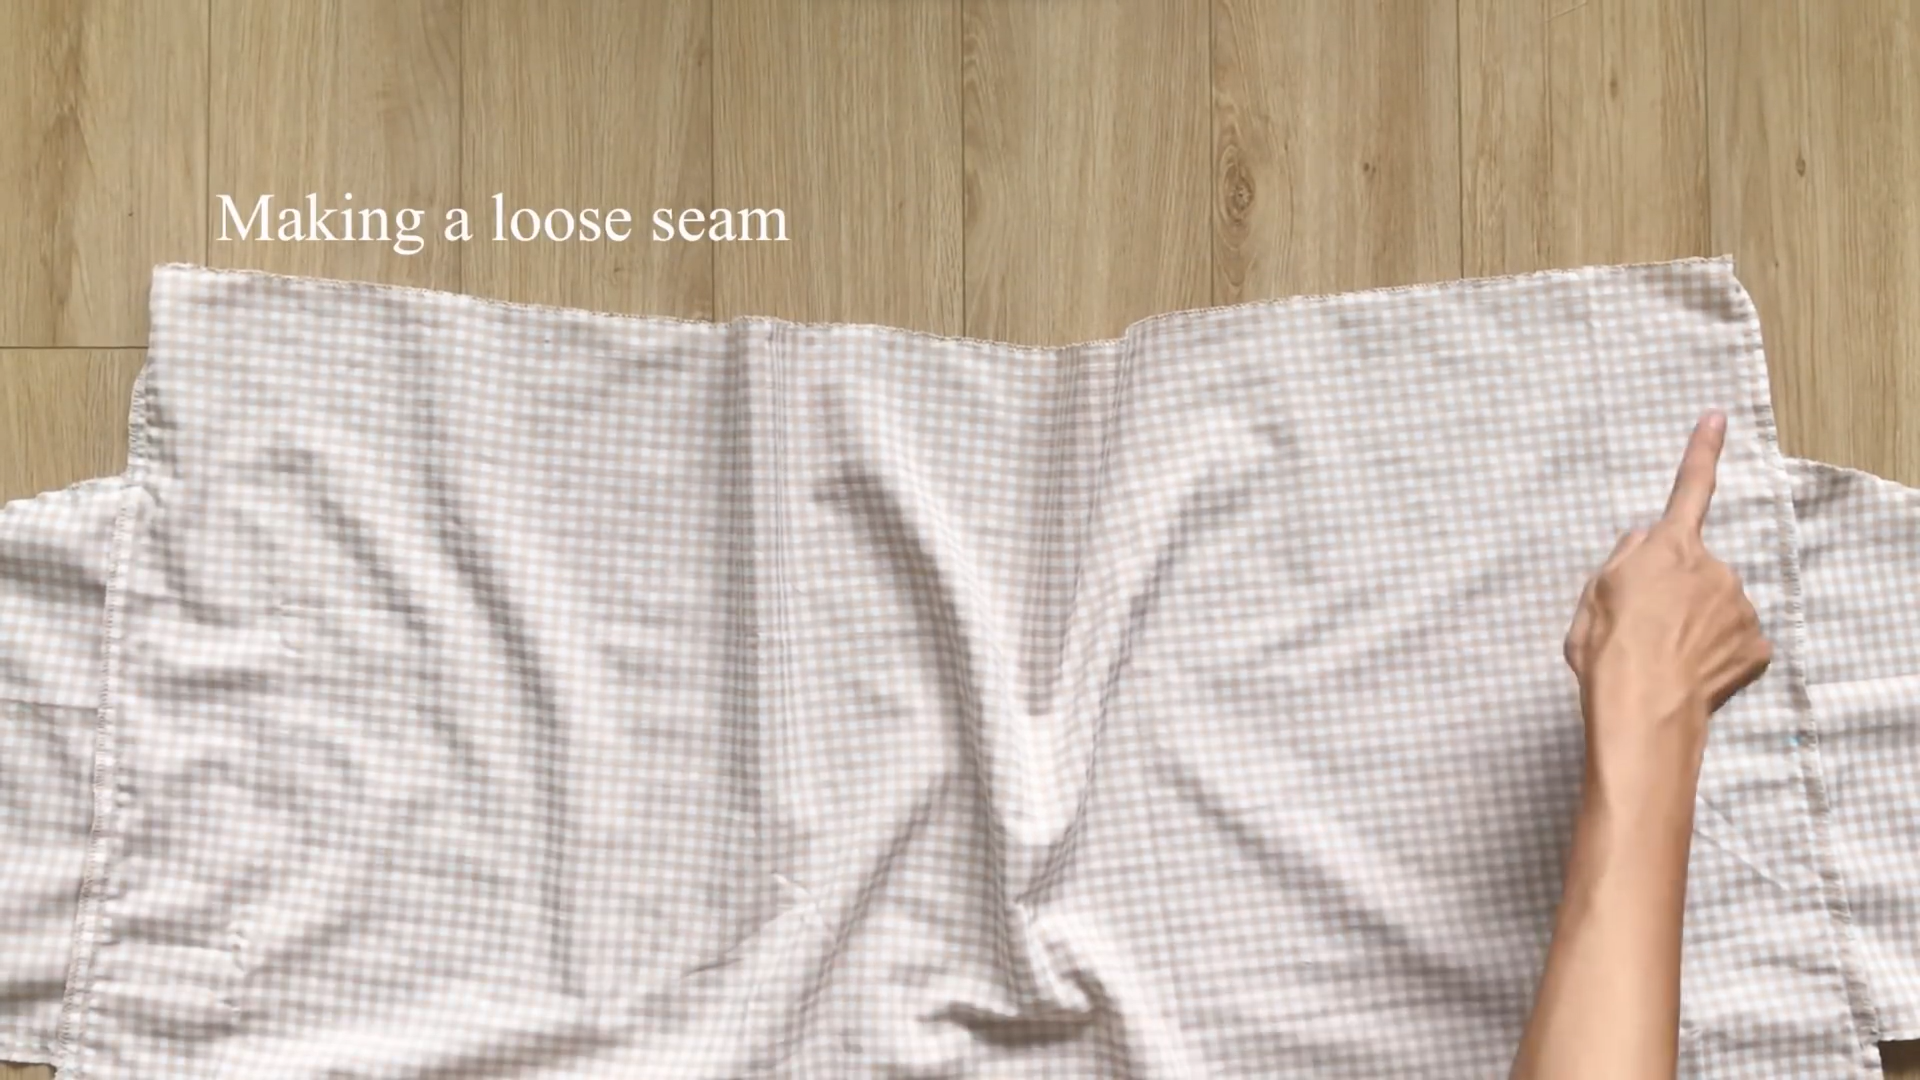
At the top of the bottom dress, make a loose seam first, then create the gathering fabric there later.
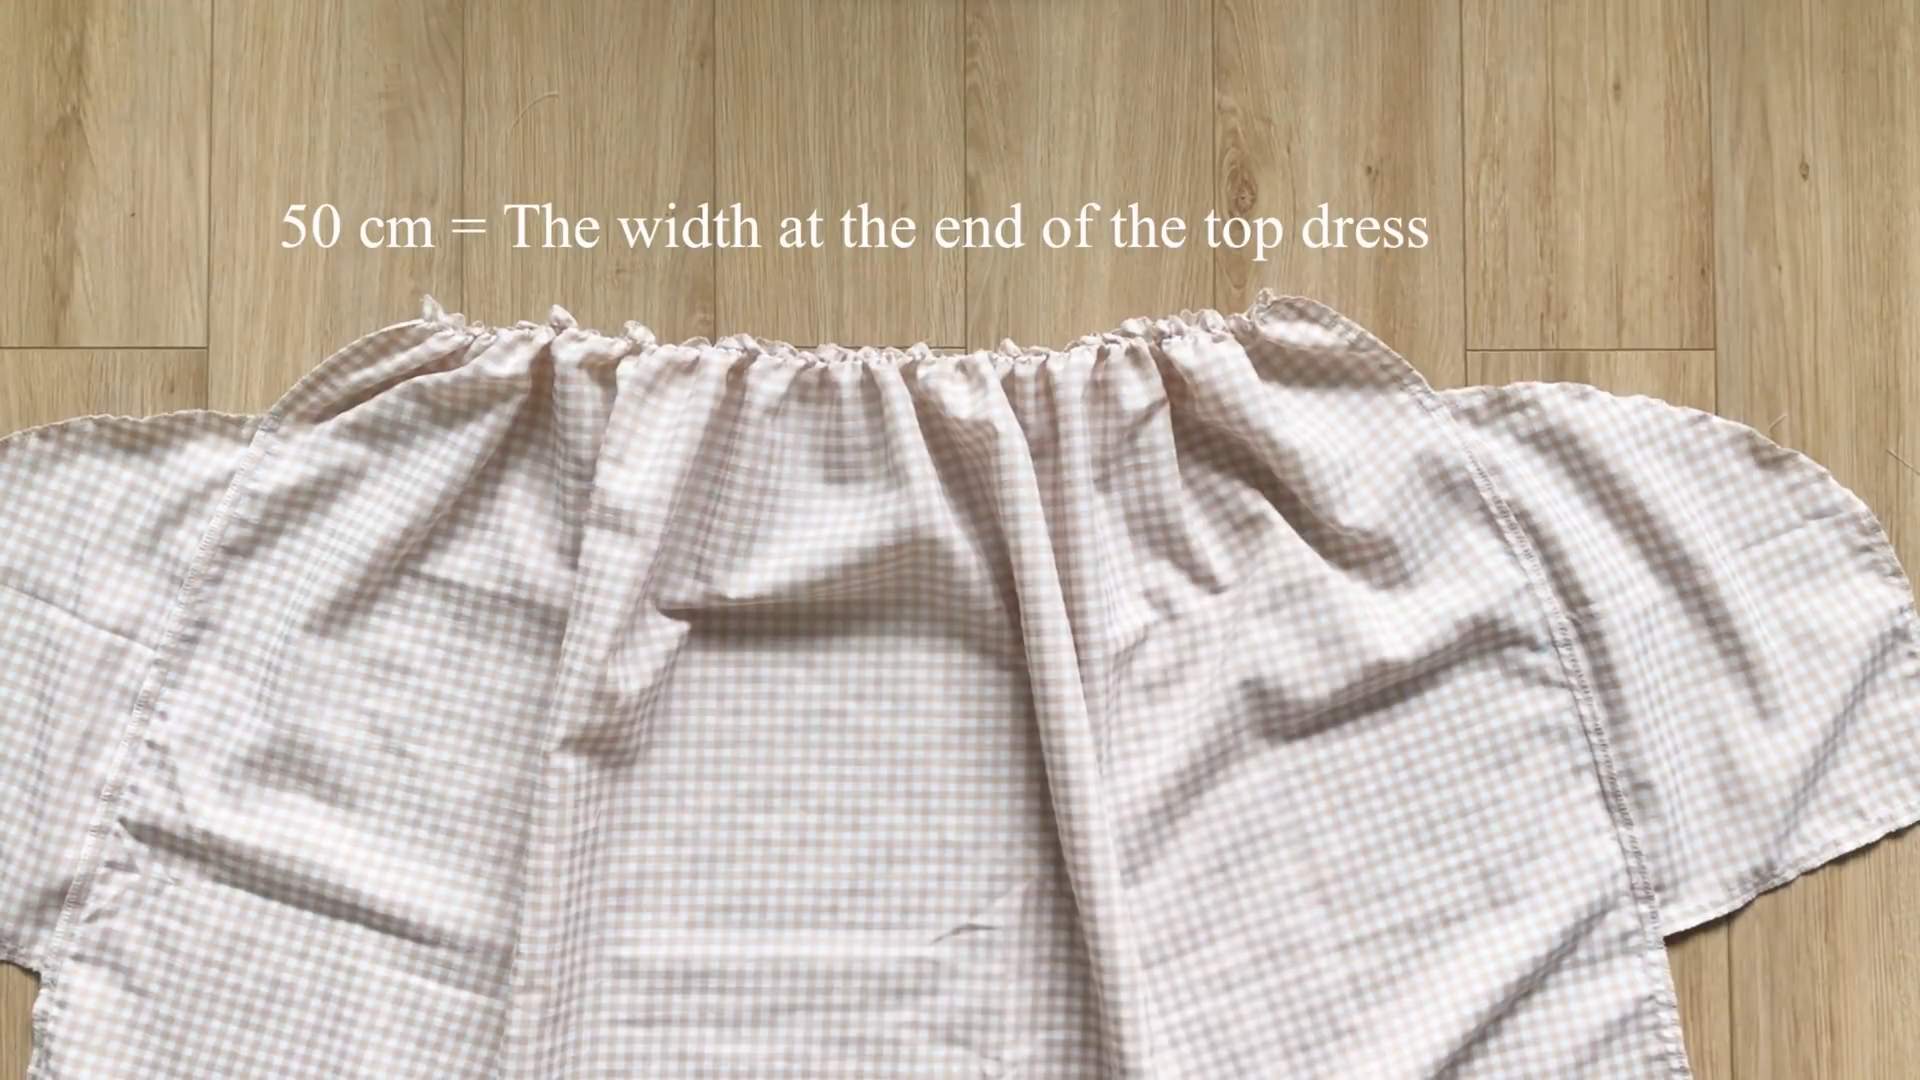
The final width of the gathering fabric will be the same as the width at the top of the dress so you can connect them together later.
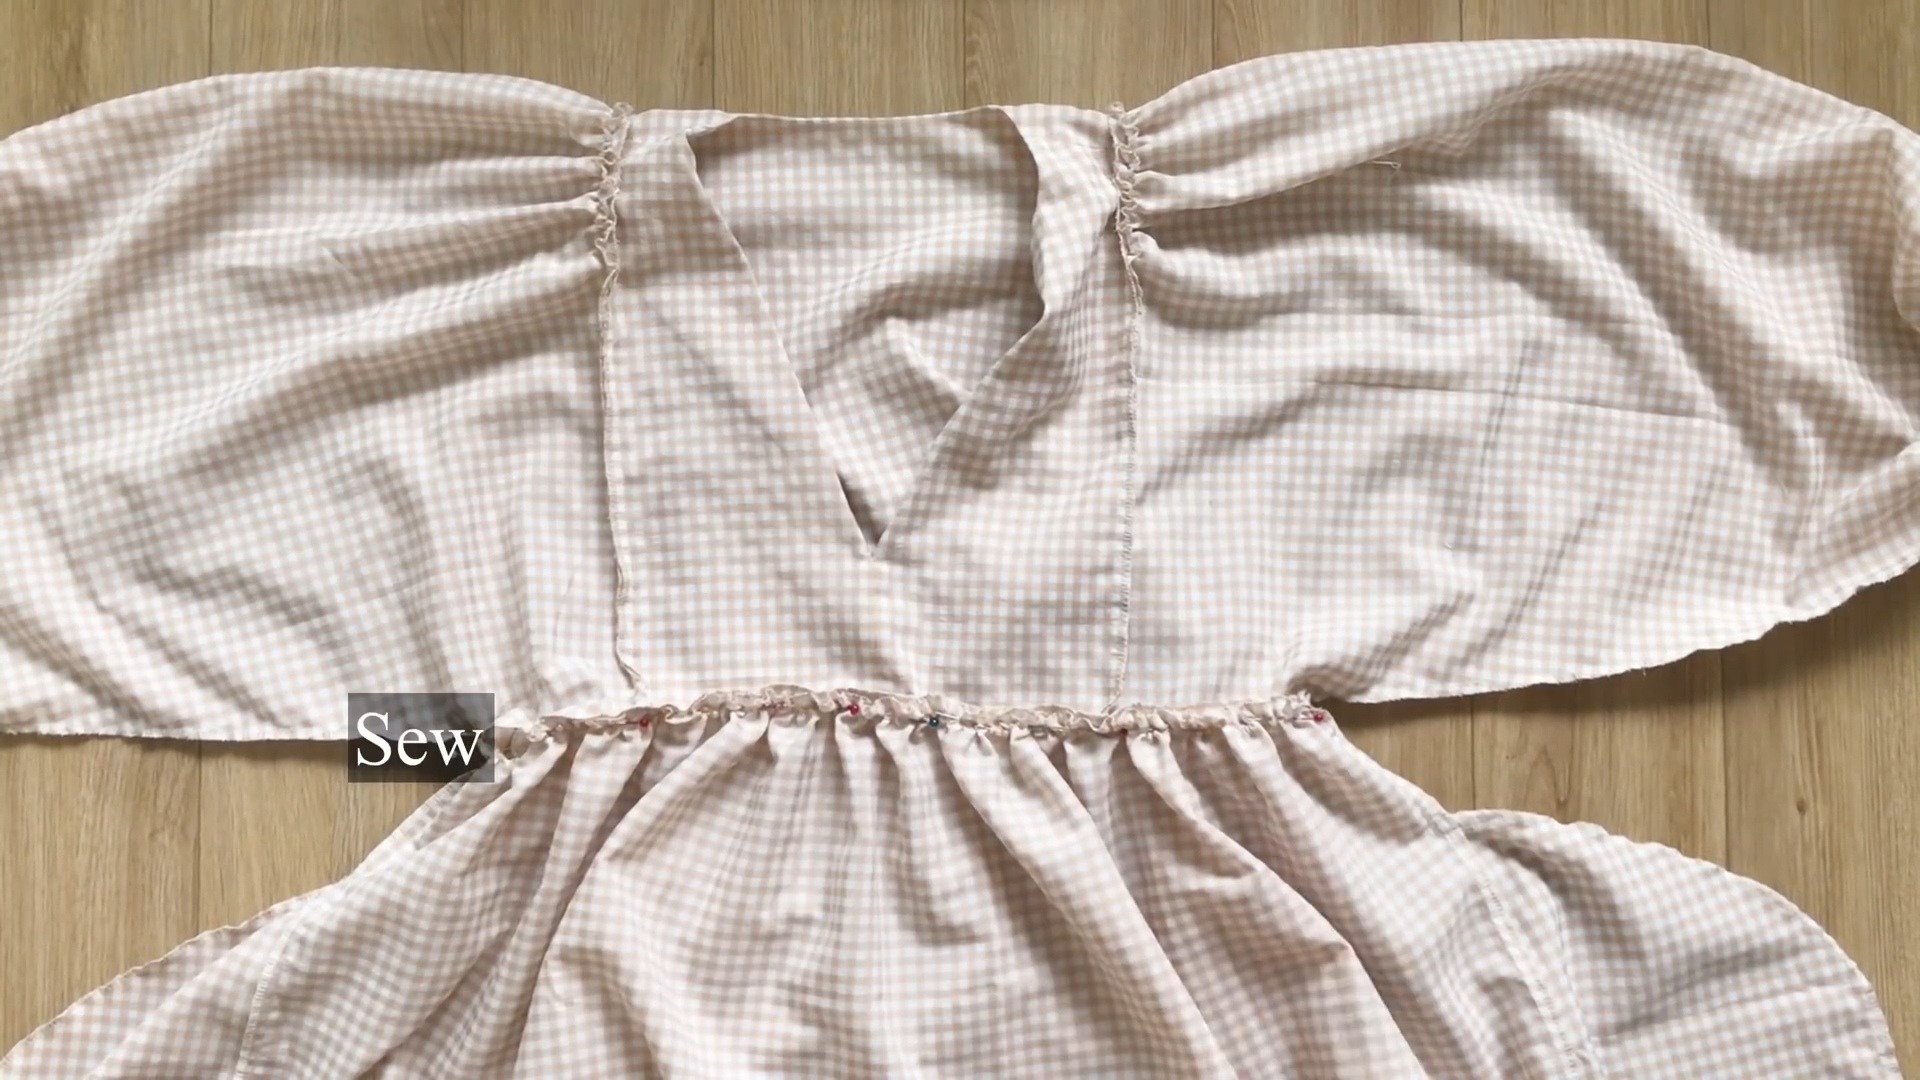
Then, connect the top and the bottom of the dress together.
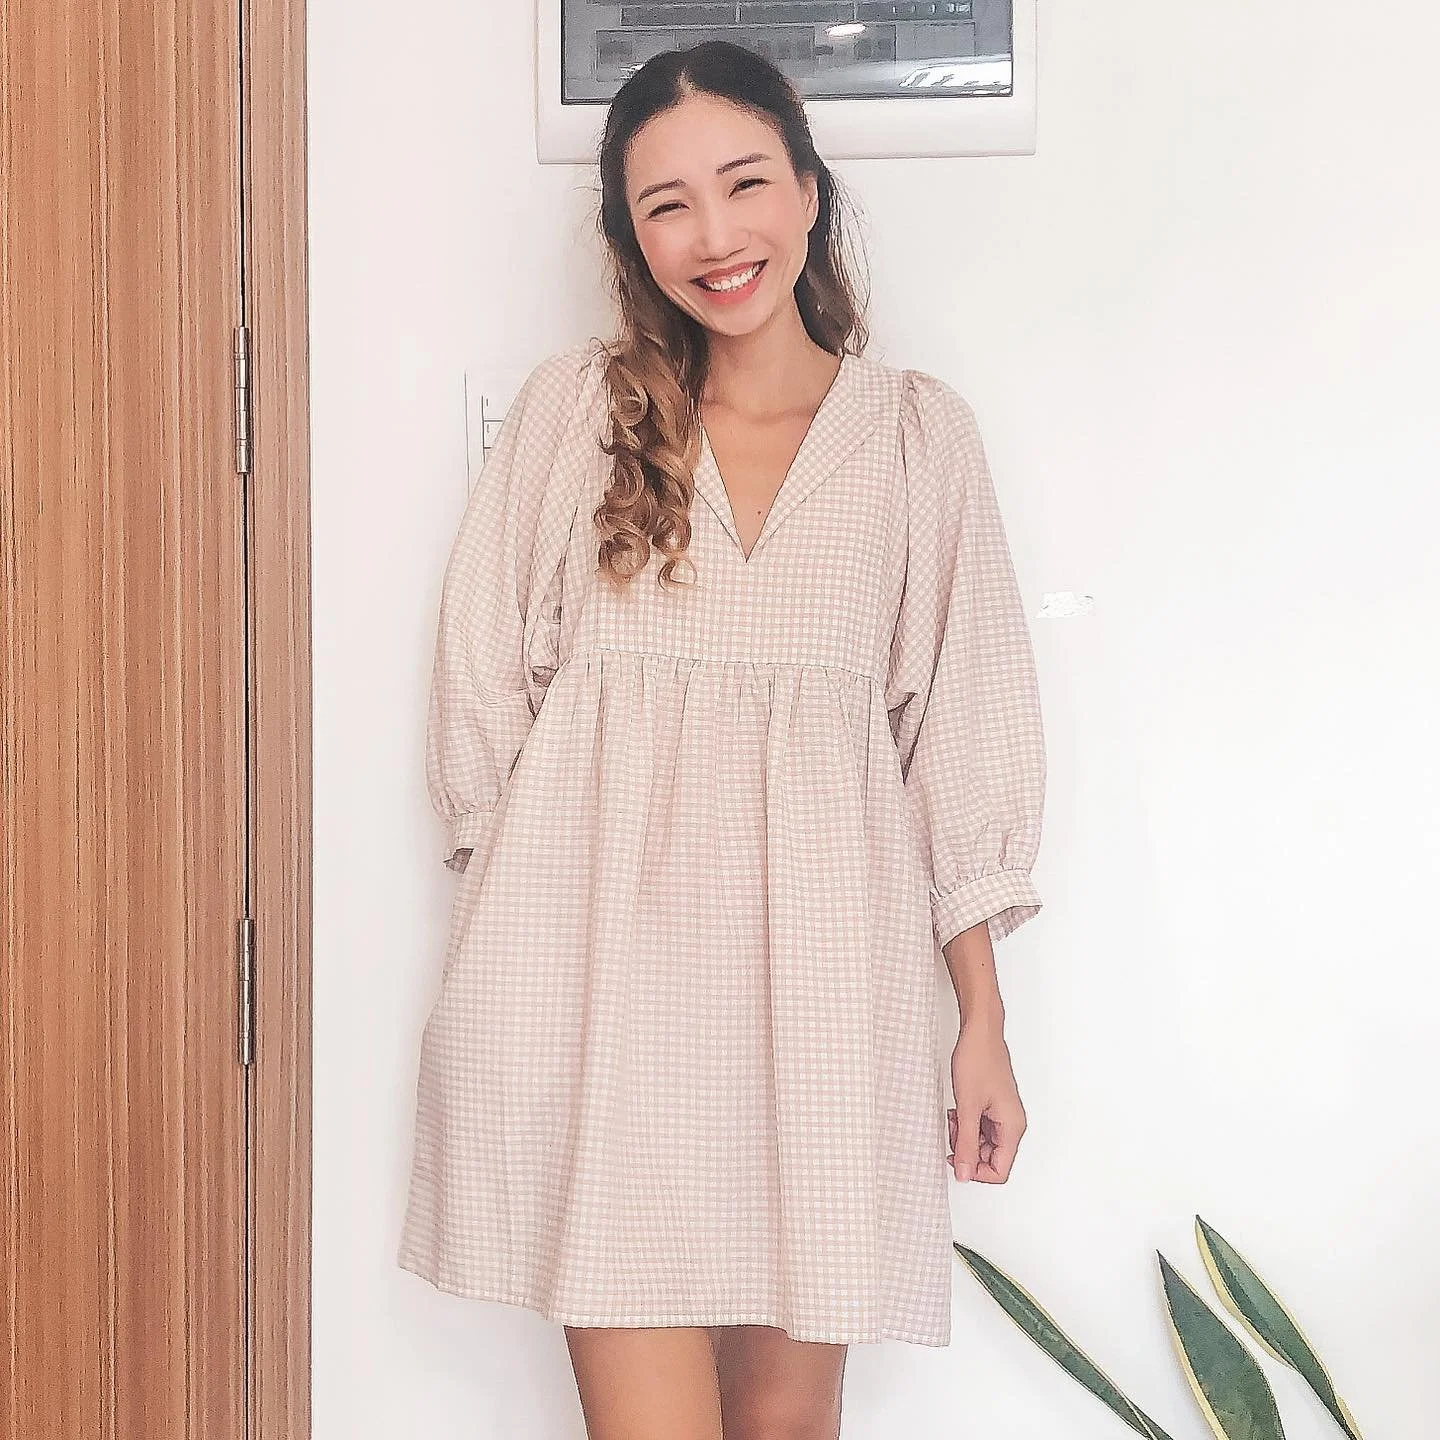
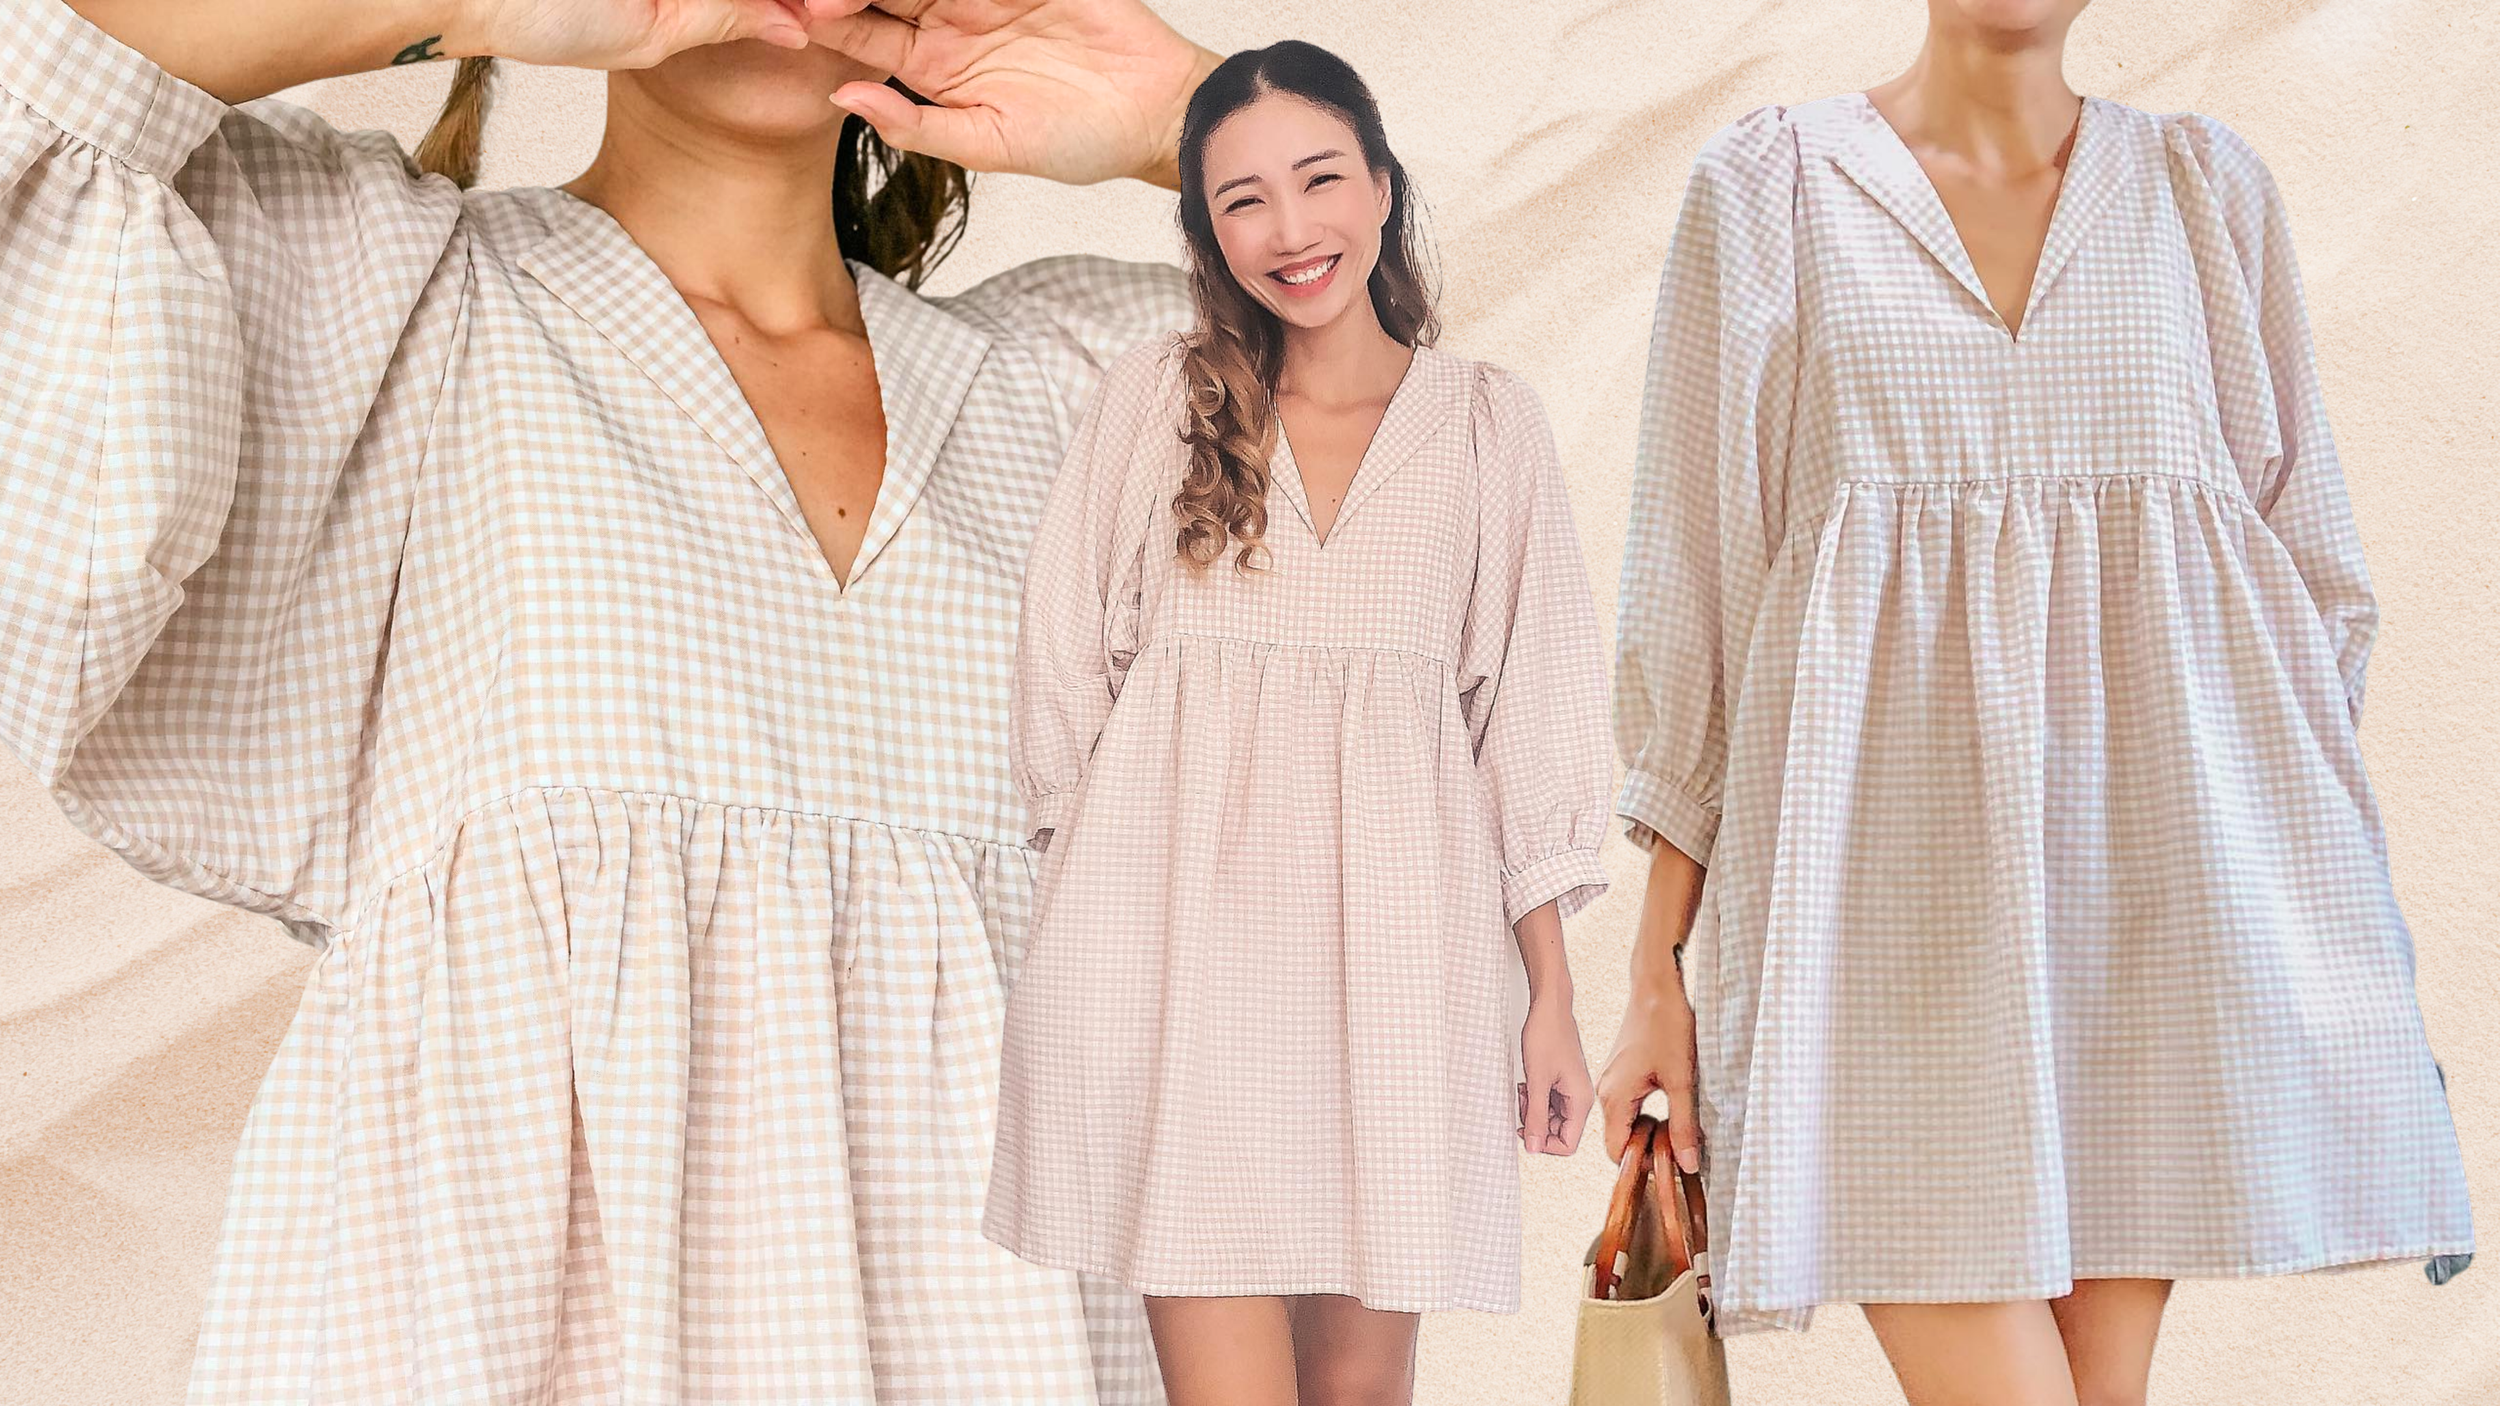
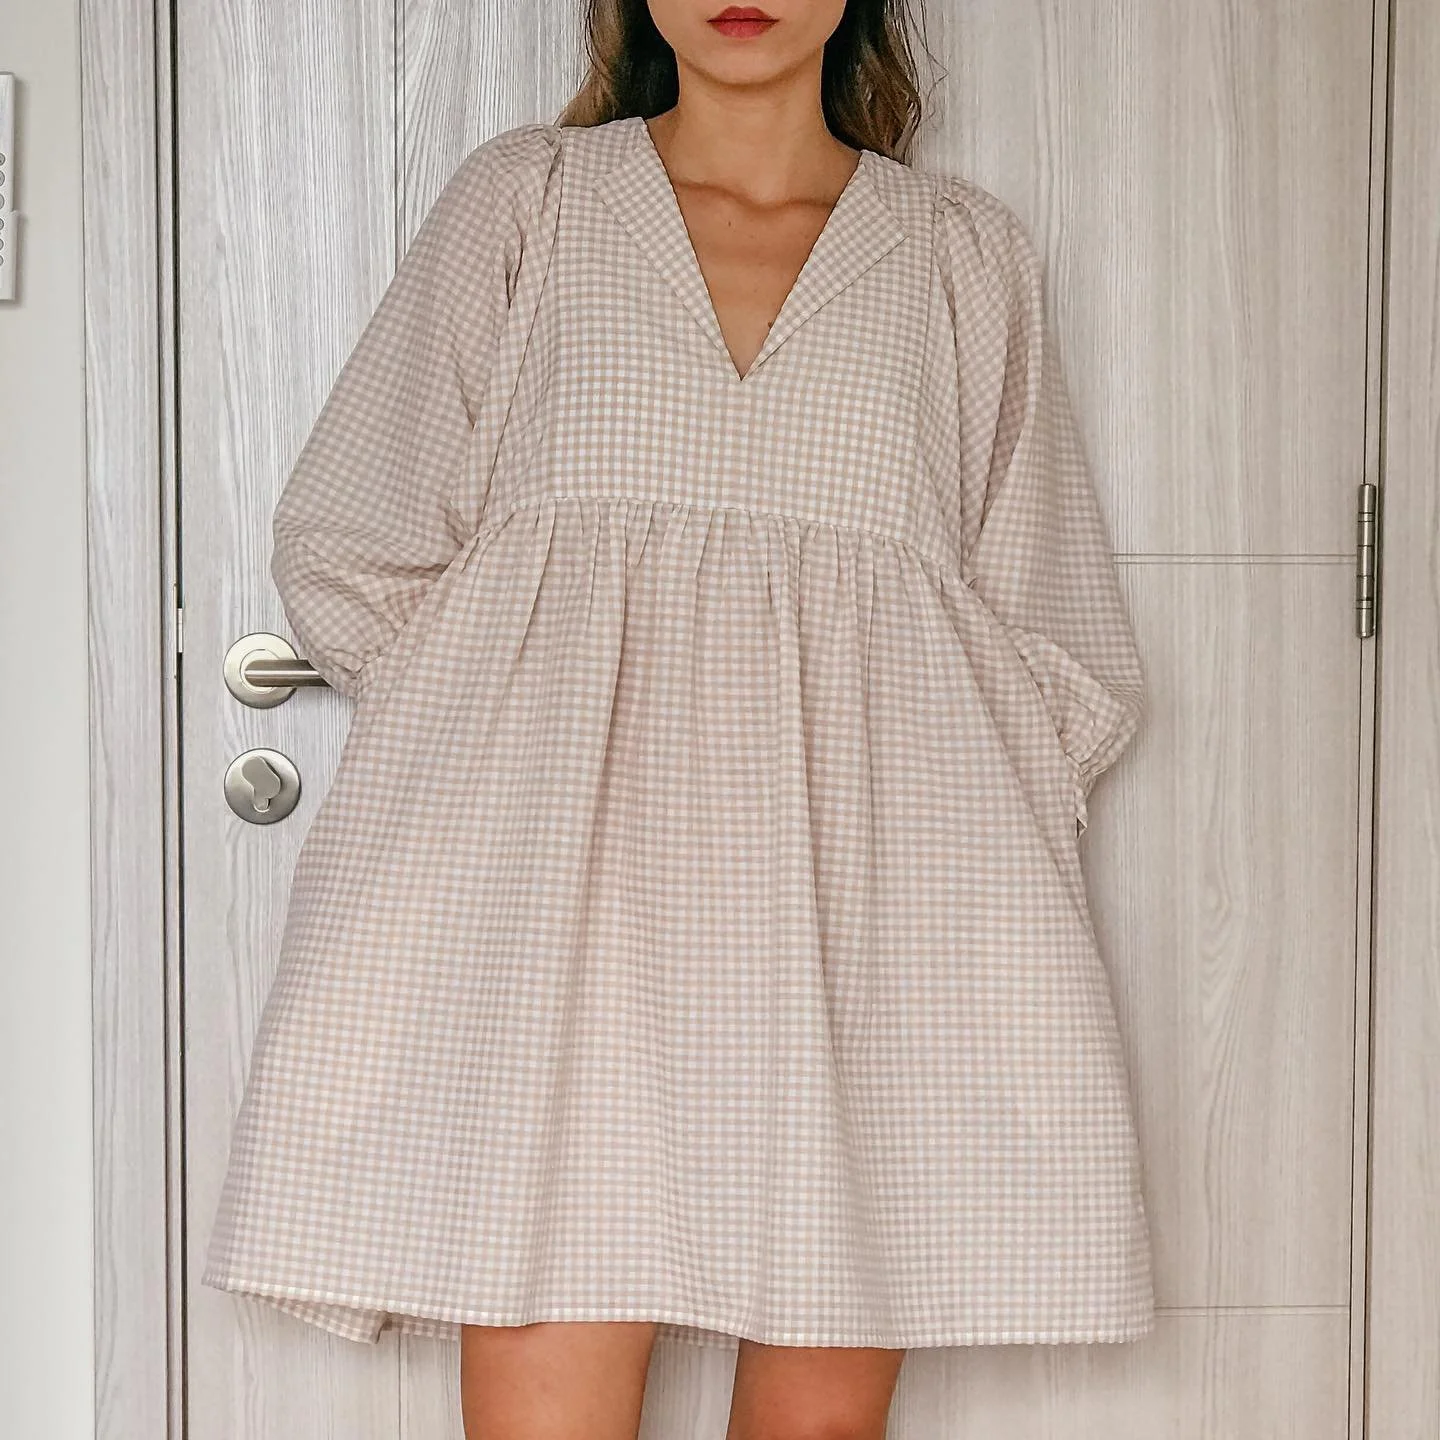
DIY Baby Doll Dress
Here's how my dress turned out—it's a cute and comfortable dress that’s perfect for any occasion.
I hope you’ve enjoyed this journey as much as I have. If you’ve found this DIY helpful and enjoyable, please check it out and try it for yourself.
Until then, see you next week!