DIY Waistcoat | Step by step sewing tutorial | How to make a fitted waistcoat [+Free Pattern]

DIY Waistcoat
Welcome or welcome back to my sewing blog!
In today’s post, I’m thrilled to share with you the process of creating a waistcoat. This versatile garment is perfect for the transition season, offering both warmth and style.
Whether you’re an experienced seamstress or a beginner, this DIY project is accessible and rewarding. I can’t wait to share with you the process and the tips that I learned along the way. I hope you will find it helpful and inspiring.
Let’s get started!
WHAT YOU’LL NEED
1m of khaki fabric
Pattern paper
Sewing machine
Pins
Scissors
Ruler
Long stick
MAKING THE PATTERNS
Here’s the pattern for the project. To get a clear understanding of all the measurements needed for the pattern, watch the video from 0:37 to 7:58.
Remember, you can adjust these measurements to fit your own dimensions!
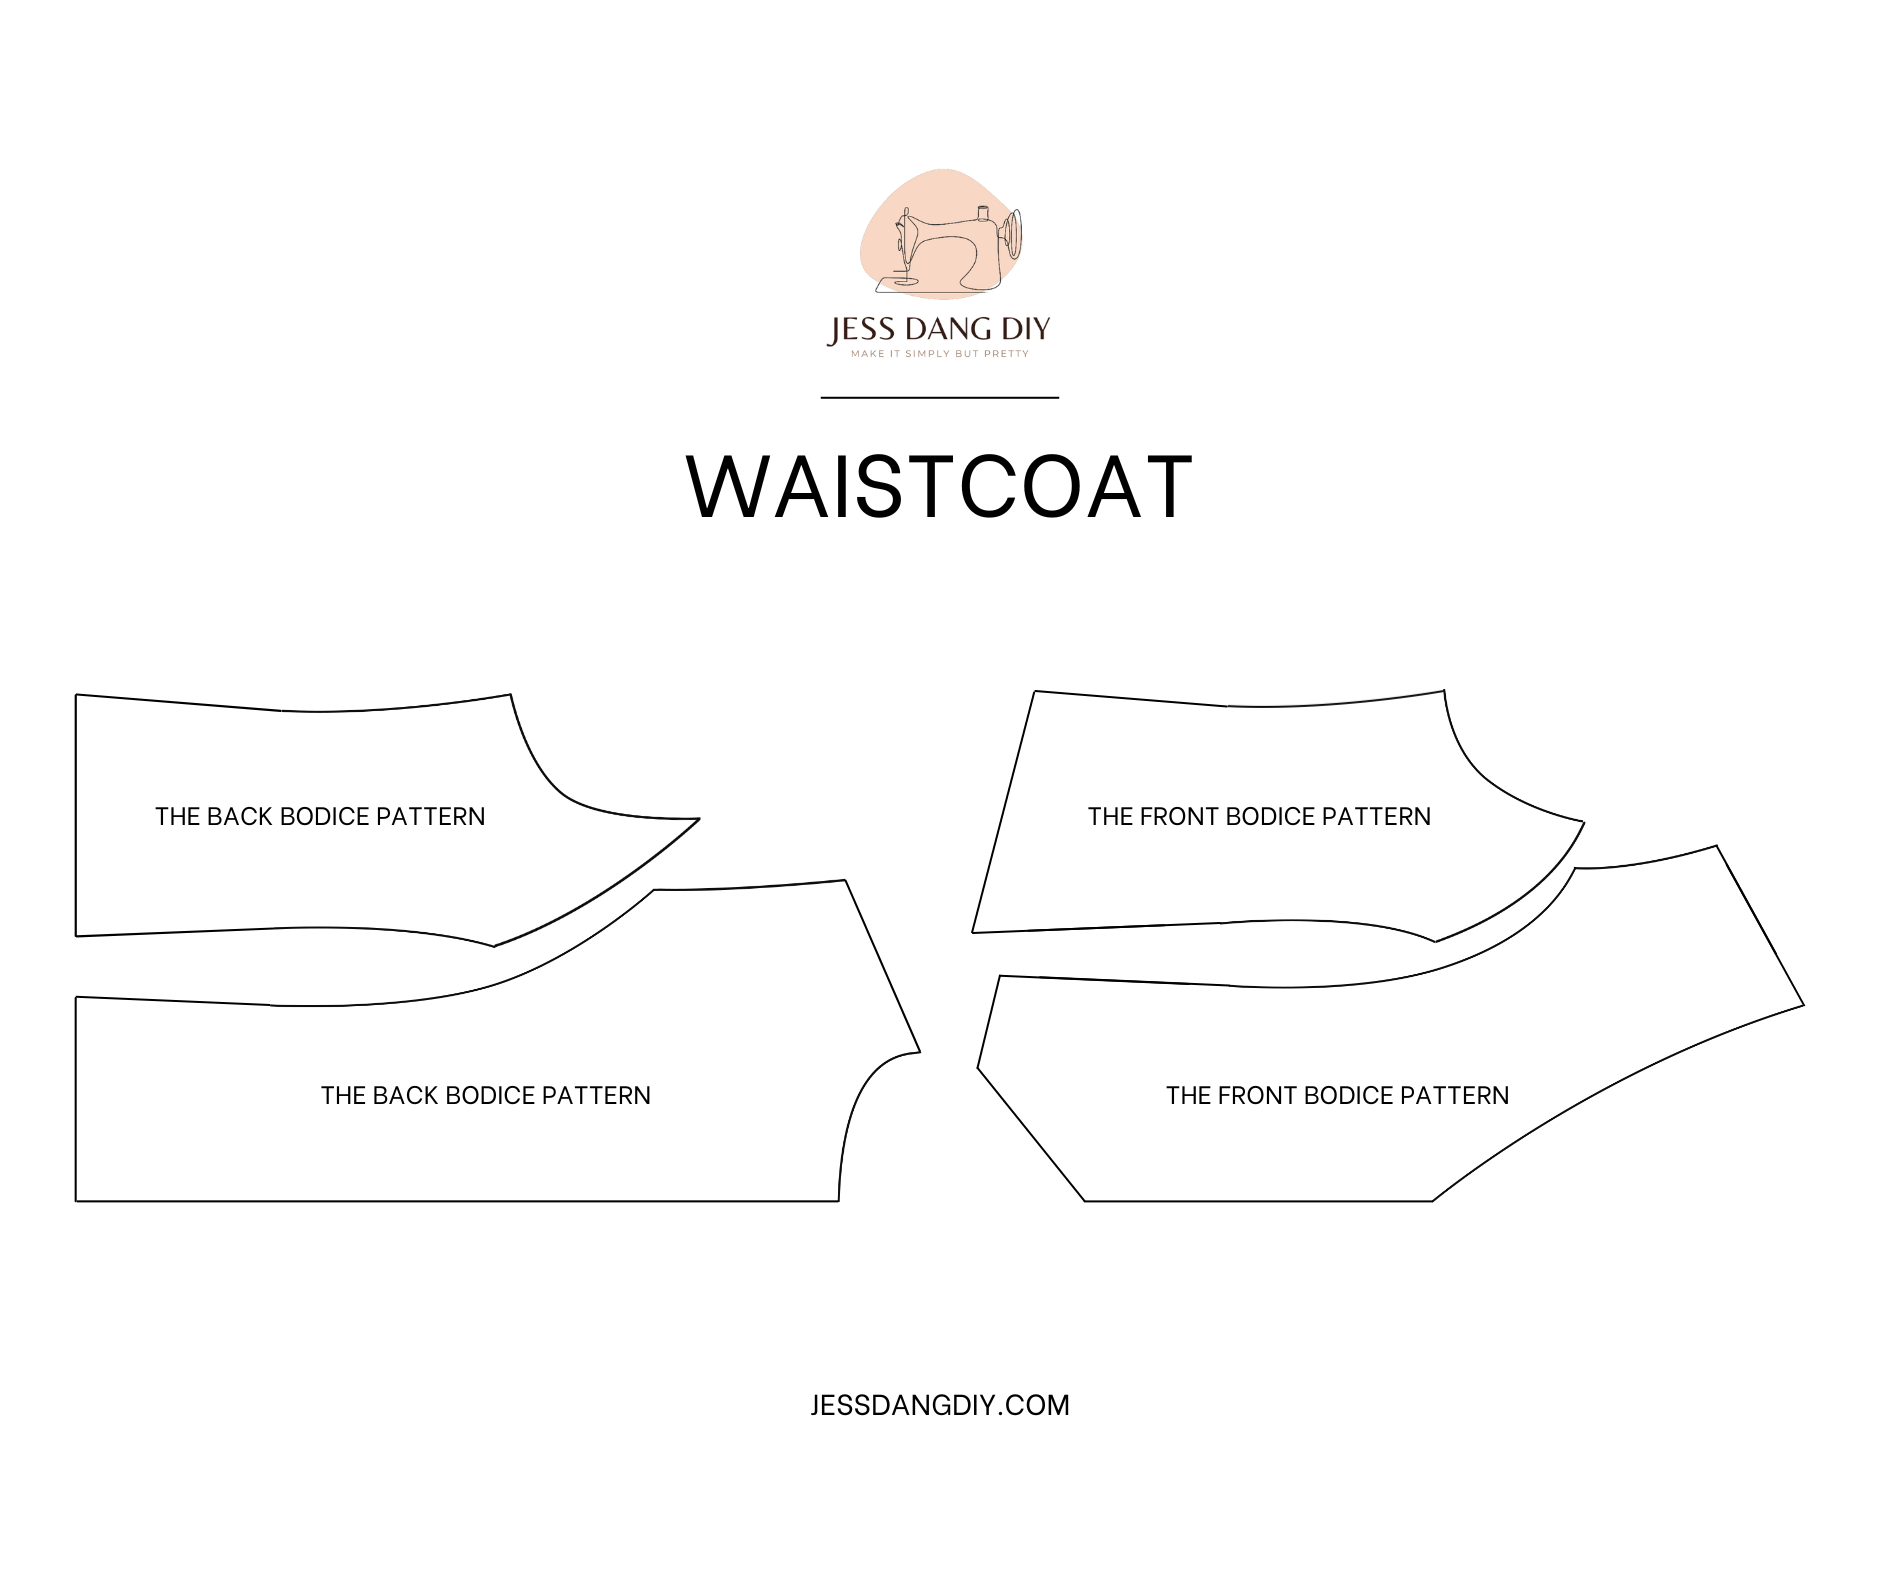
THE BACK BODICE PATTERN
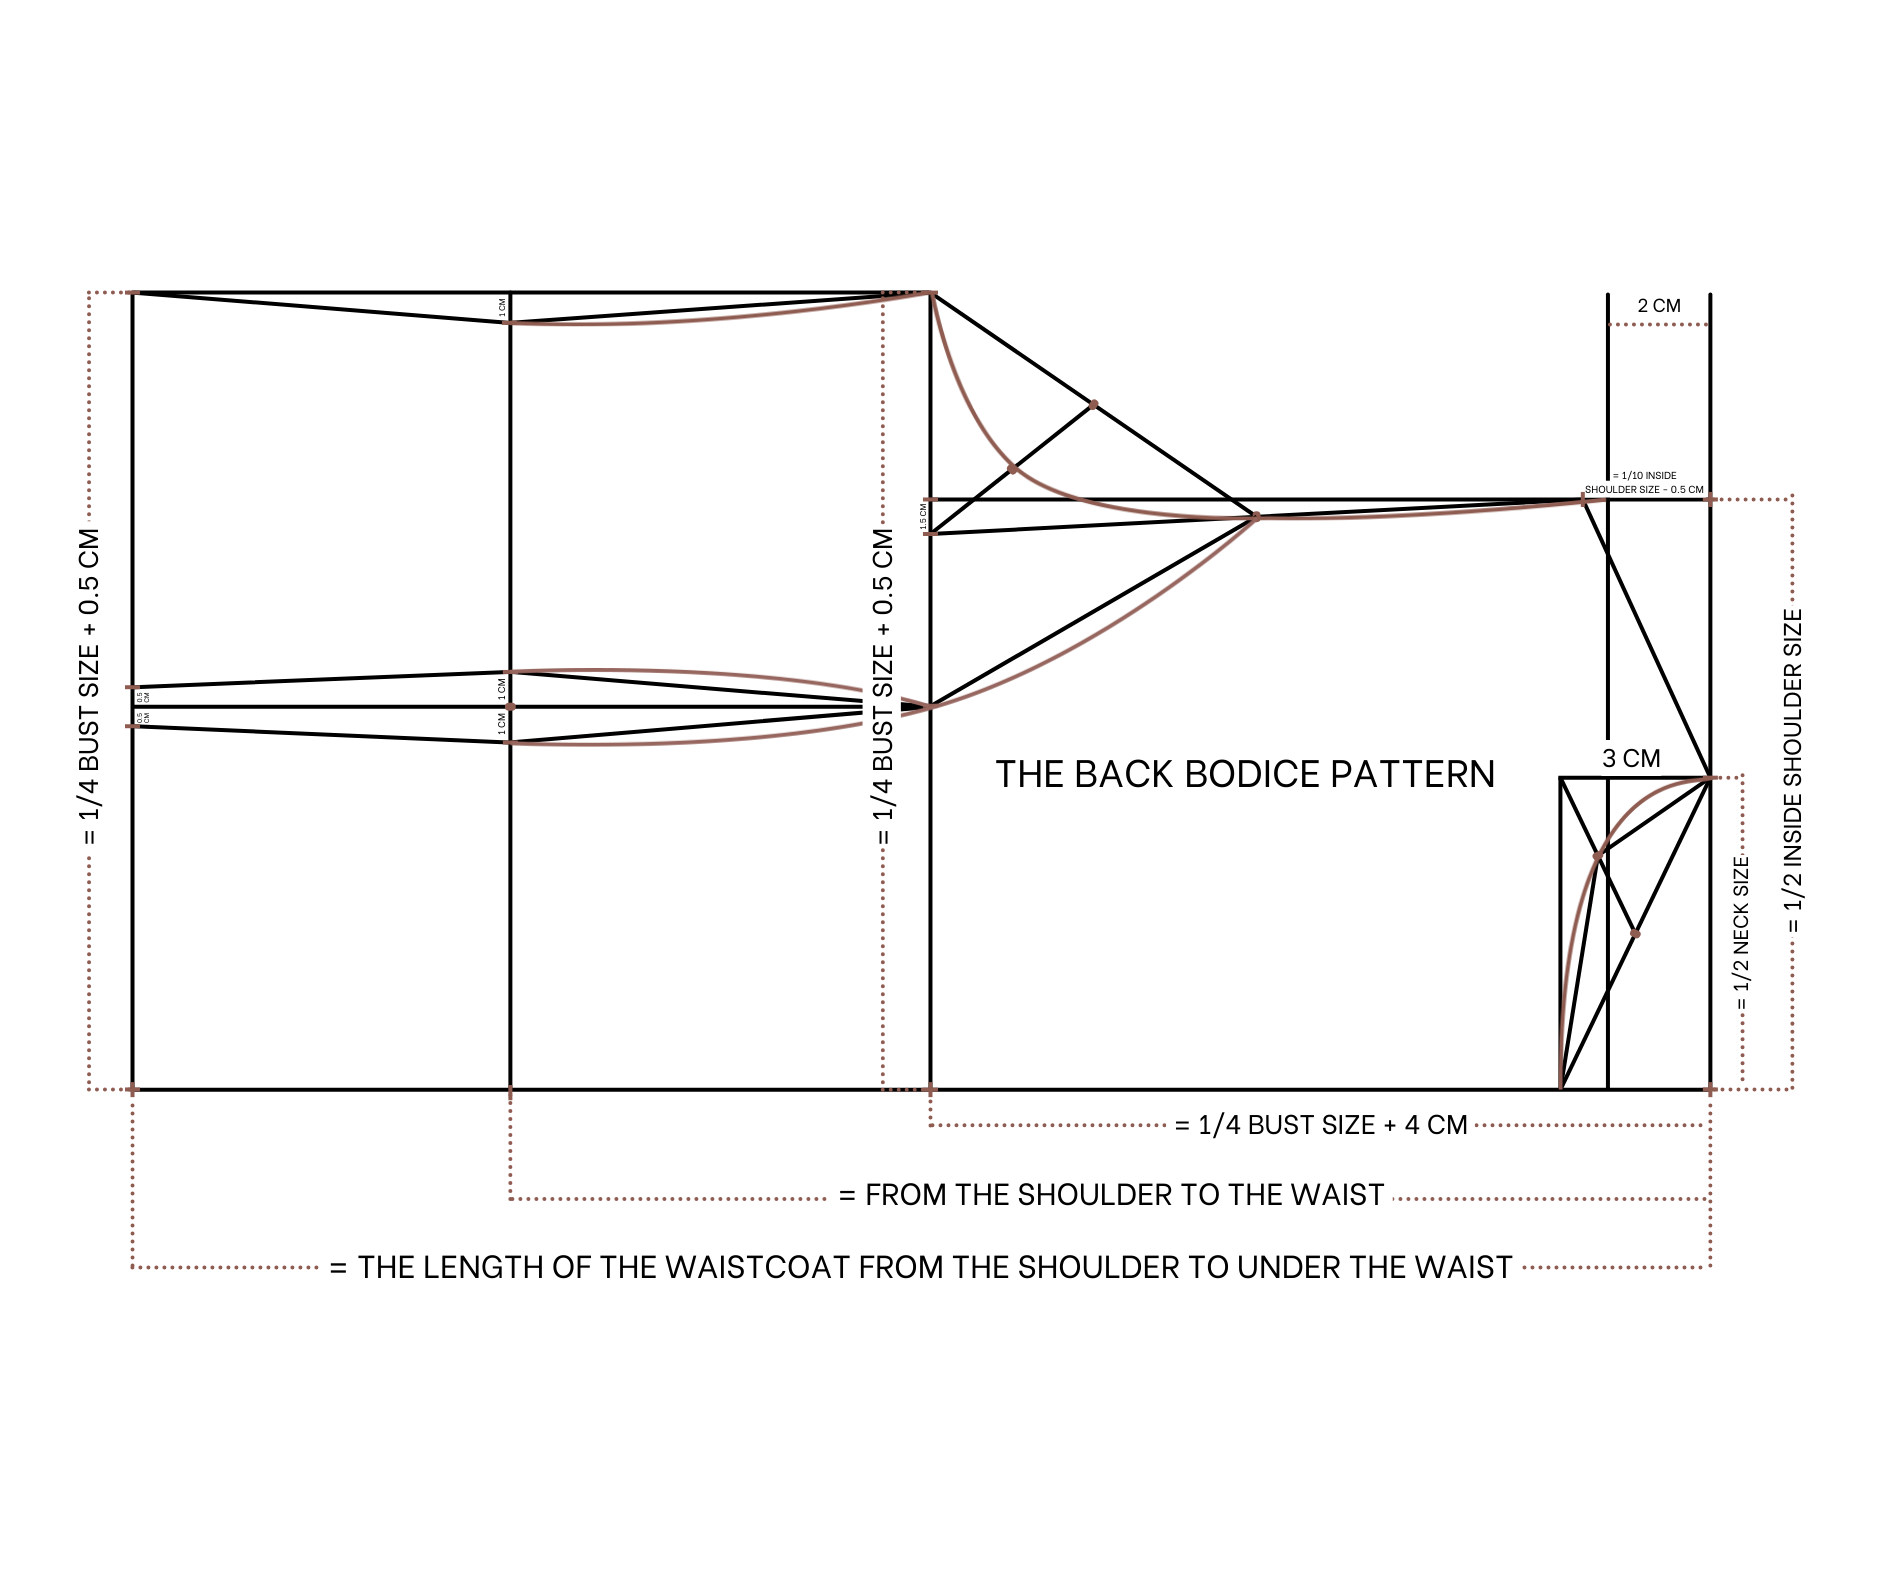
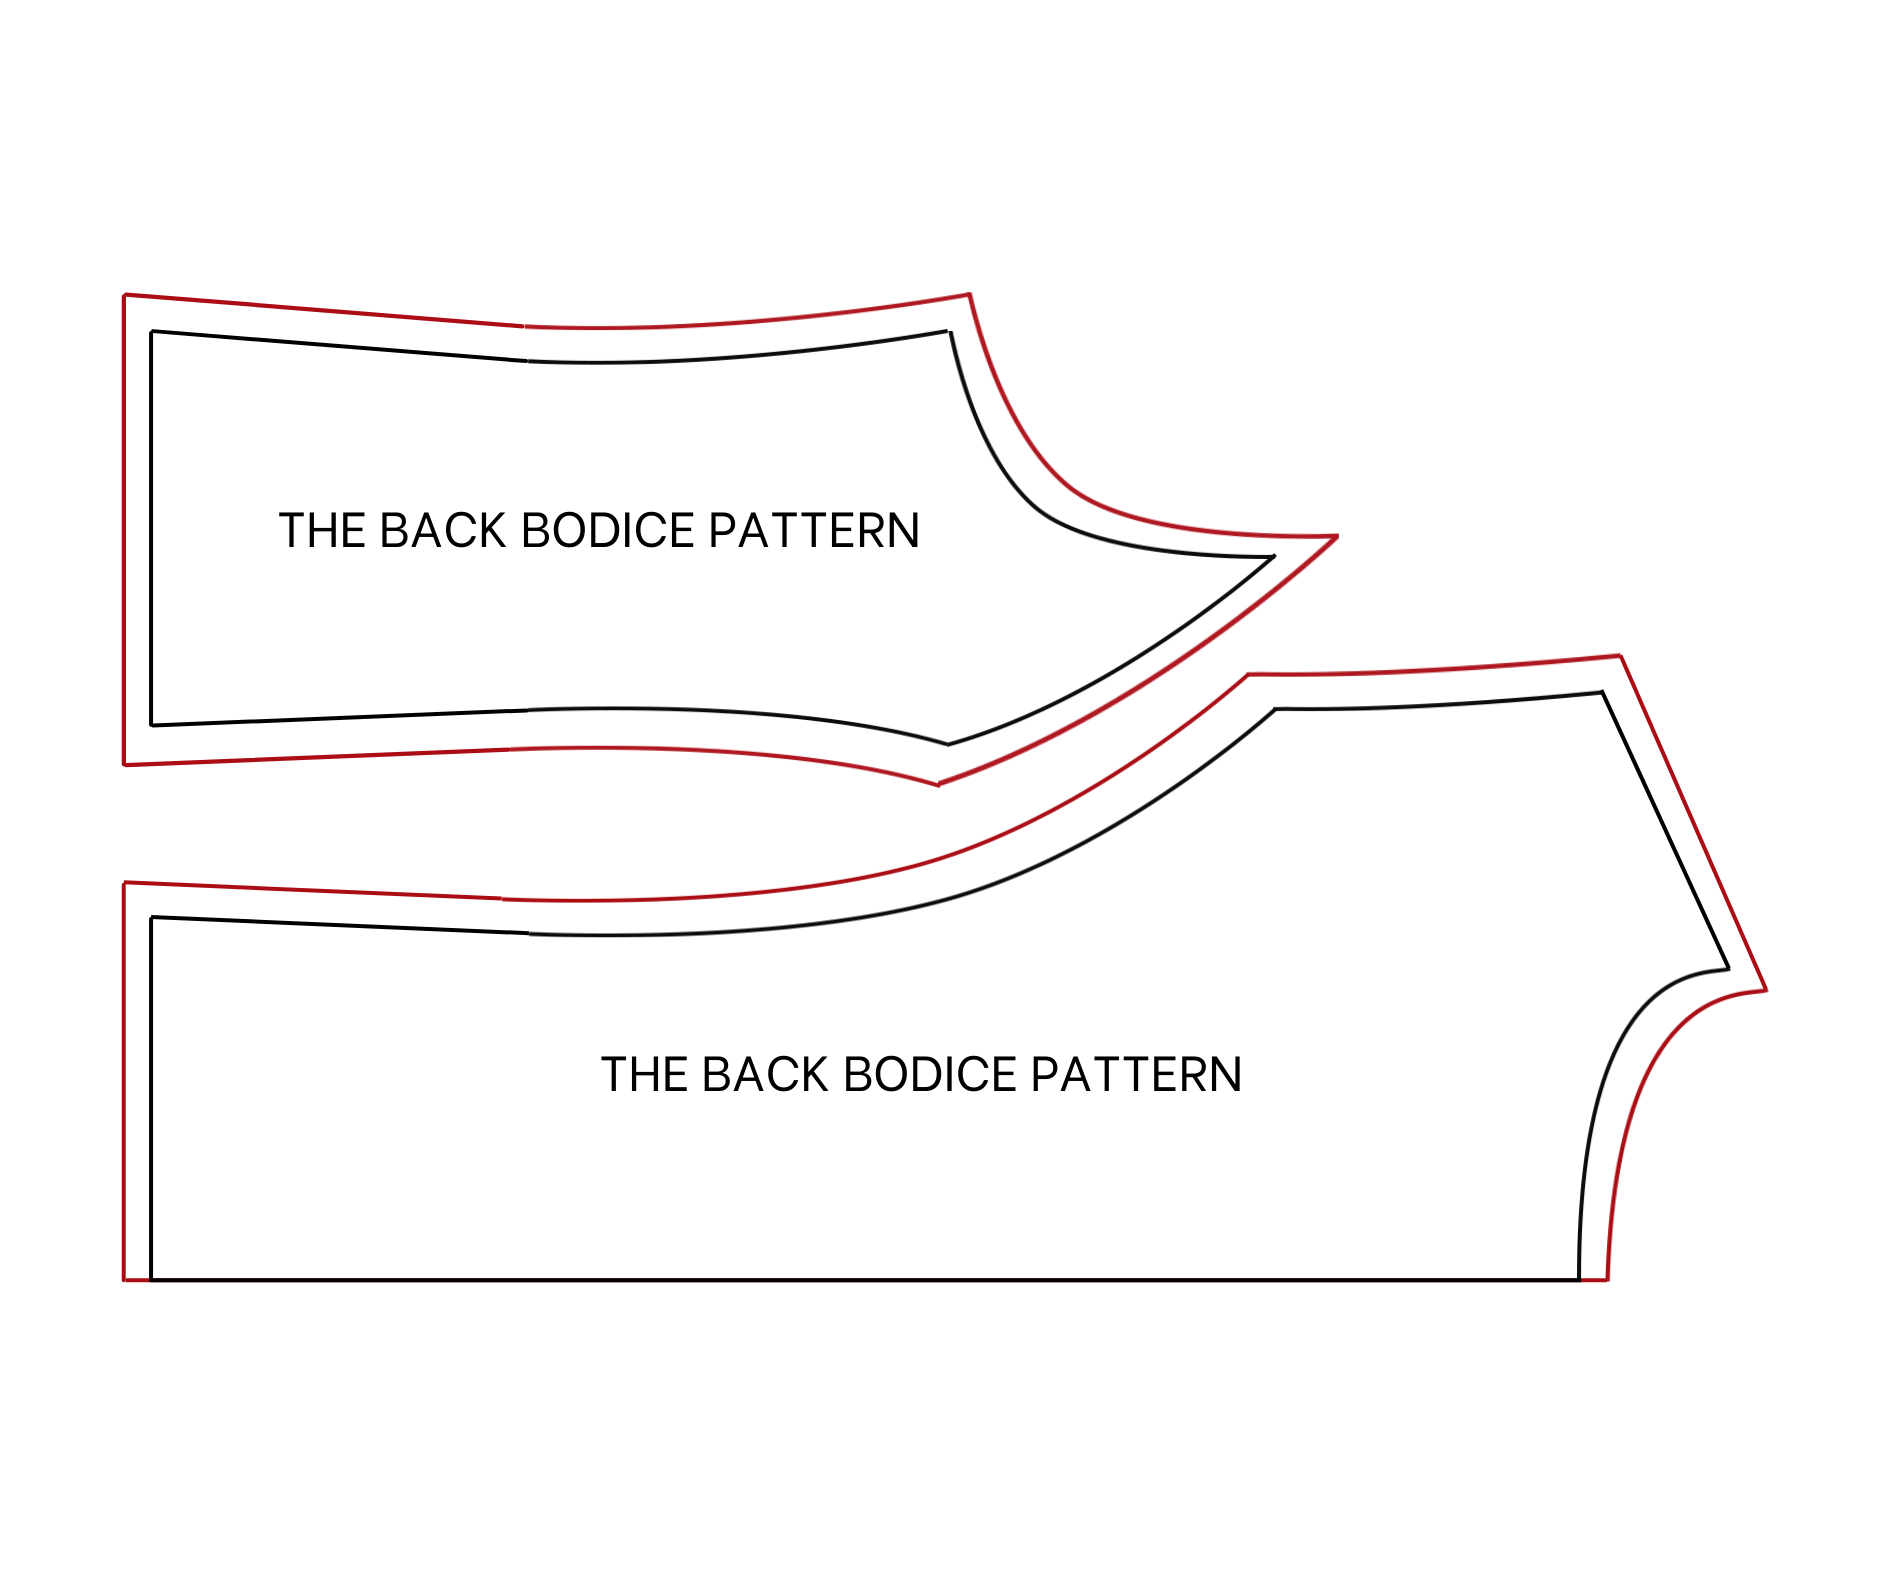
The back bodice pattern
To make the back bodice pattern, draw a straight line cutting a horizontal line first. From the first straight line, draw another straight line at 2 cm next to it.
From the cutting point between the second straight line and the horizontal line, mark up 7 cm on the second straight line which is a half of the neck size of the waistcoat you want. then drawing a perpendicular line from that mark. The width of this line will be 3 cm which is the depth of the neck at the back bodice.
Then draw a straight line from the end of this perpendicular line to cut the horizontal line. After that, connect this cutting point to the other end of the perpendicular line.
From the middle of this new slanted line, connect to the end of the perpendicular line then connect the middle of the newer slanted line to the other end of the perpendicular line, and to the cutting of it with the horizontal line. Based on it, draw a curved line to finish the neckline of the back bodice.
From the end of the second straight line, mark up 14 cm which is a half of your inside shoulder size then draw a perpendicular line from it. The width of this line will be 2.3 cm which is 1 per 10 your inside shoulder size minus 0.5 cm. Then connect the end of this line to the end of the neck line to finish the shoulder line of the back bodice.
From the second straight line, draw another one at 24 cm from it, it's a quarter of your bust size plus 4 cm. From the cutting point between this new line and the horizontal line, mark up at 20.5 cm which is a quarter of your bust size plus 0.5 cm or more if you want the waistcoat looser. This line is also the bust line of the waistcoat.
Then continue the perpendicular line from the shoulder to cut the bust line. From the cutting point, mark to the inside of the bust line 1.5 cm then connect this mark to the end of the shoulder line. Mark in the middle of this new line first then connect that mark to the mark on the bust line you’ve made before.
Keep marking in the middle of this new line before connecting it to the cutting point between the bust line and the perpendicular line. Mark in the middle of the new line before connecting it to the end of the bust line and the middle of the first slanted line. Based on it, draw a curved line to create a sleeve line of the waistcoat of the back bodice.
From the second straight line, draw another one at 44 cm from it, it's the length of the waistcoat from the shoulder to the end of your waist.
From the cutting point between this line and the horizontal line, mark up 20.5 cm which is a quarter of your bust size plus 0.5 cm, it's the same with the width on the bust line you’ve made before that. Then connect this mark to the end of the sleeve line on the bust line to create the side line of the back bodice.
From the second straight line, keep drawing another one at 38 cm from it, it's the width from the shoulder to the middle of your waist. It's also the waistline of the waistcoat. From the cutting point between the new line and the sideline, mark inside 1 cm then connect it to two ends of the sideline. Based on it, draw a slightly curved line to finish the side line of the back bodice.
Mark in the middle of the waistline first then draw a horizontal line go to it and cut the bust line and the ending line later. From this mark, make two other marks 1 cm outside of it then connect these marks to the cutting point on the bust line. At the cutting point on the ending line, make two more marks at 0.5 cm outside of it then connect these marks to the marks on the waistline to finish the dart at the middle of the back bodice.
After that, connect the mark on the sleeve line to the top of the dart. Based on it draw a slightly curved line to finish the dart at the middle of the back bodice.
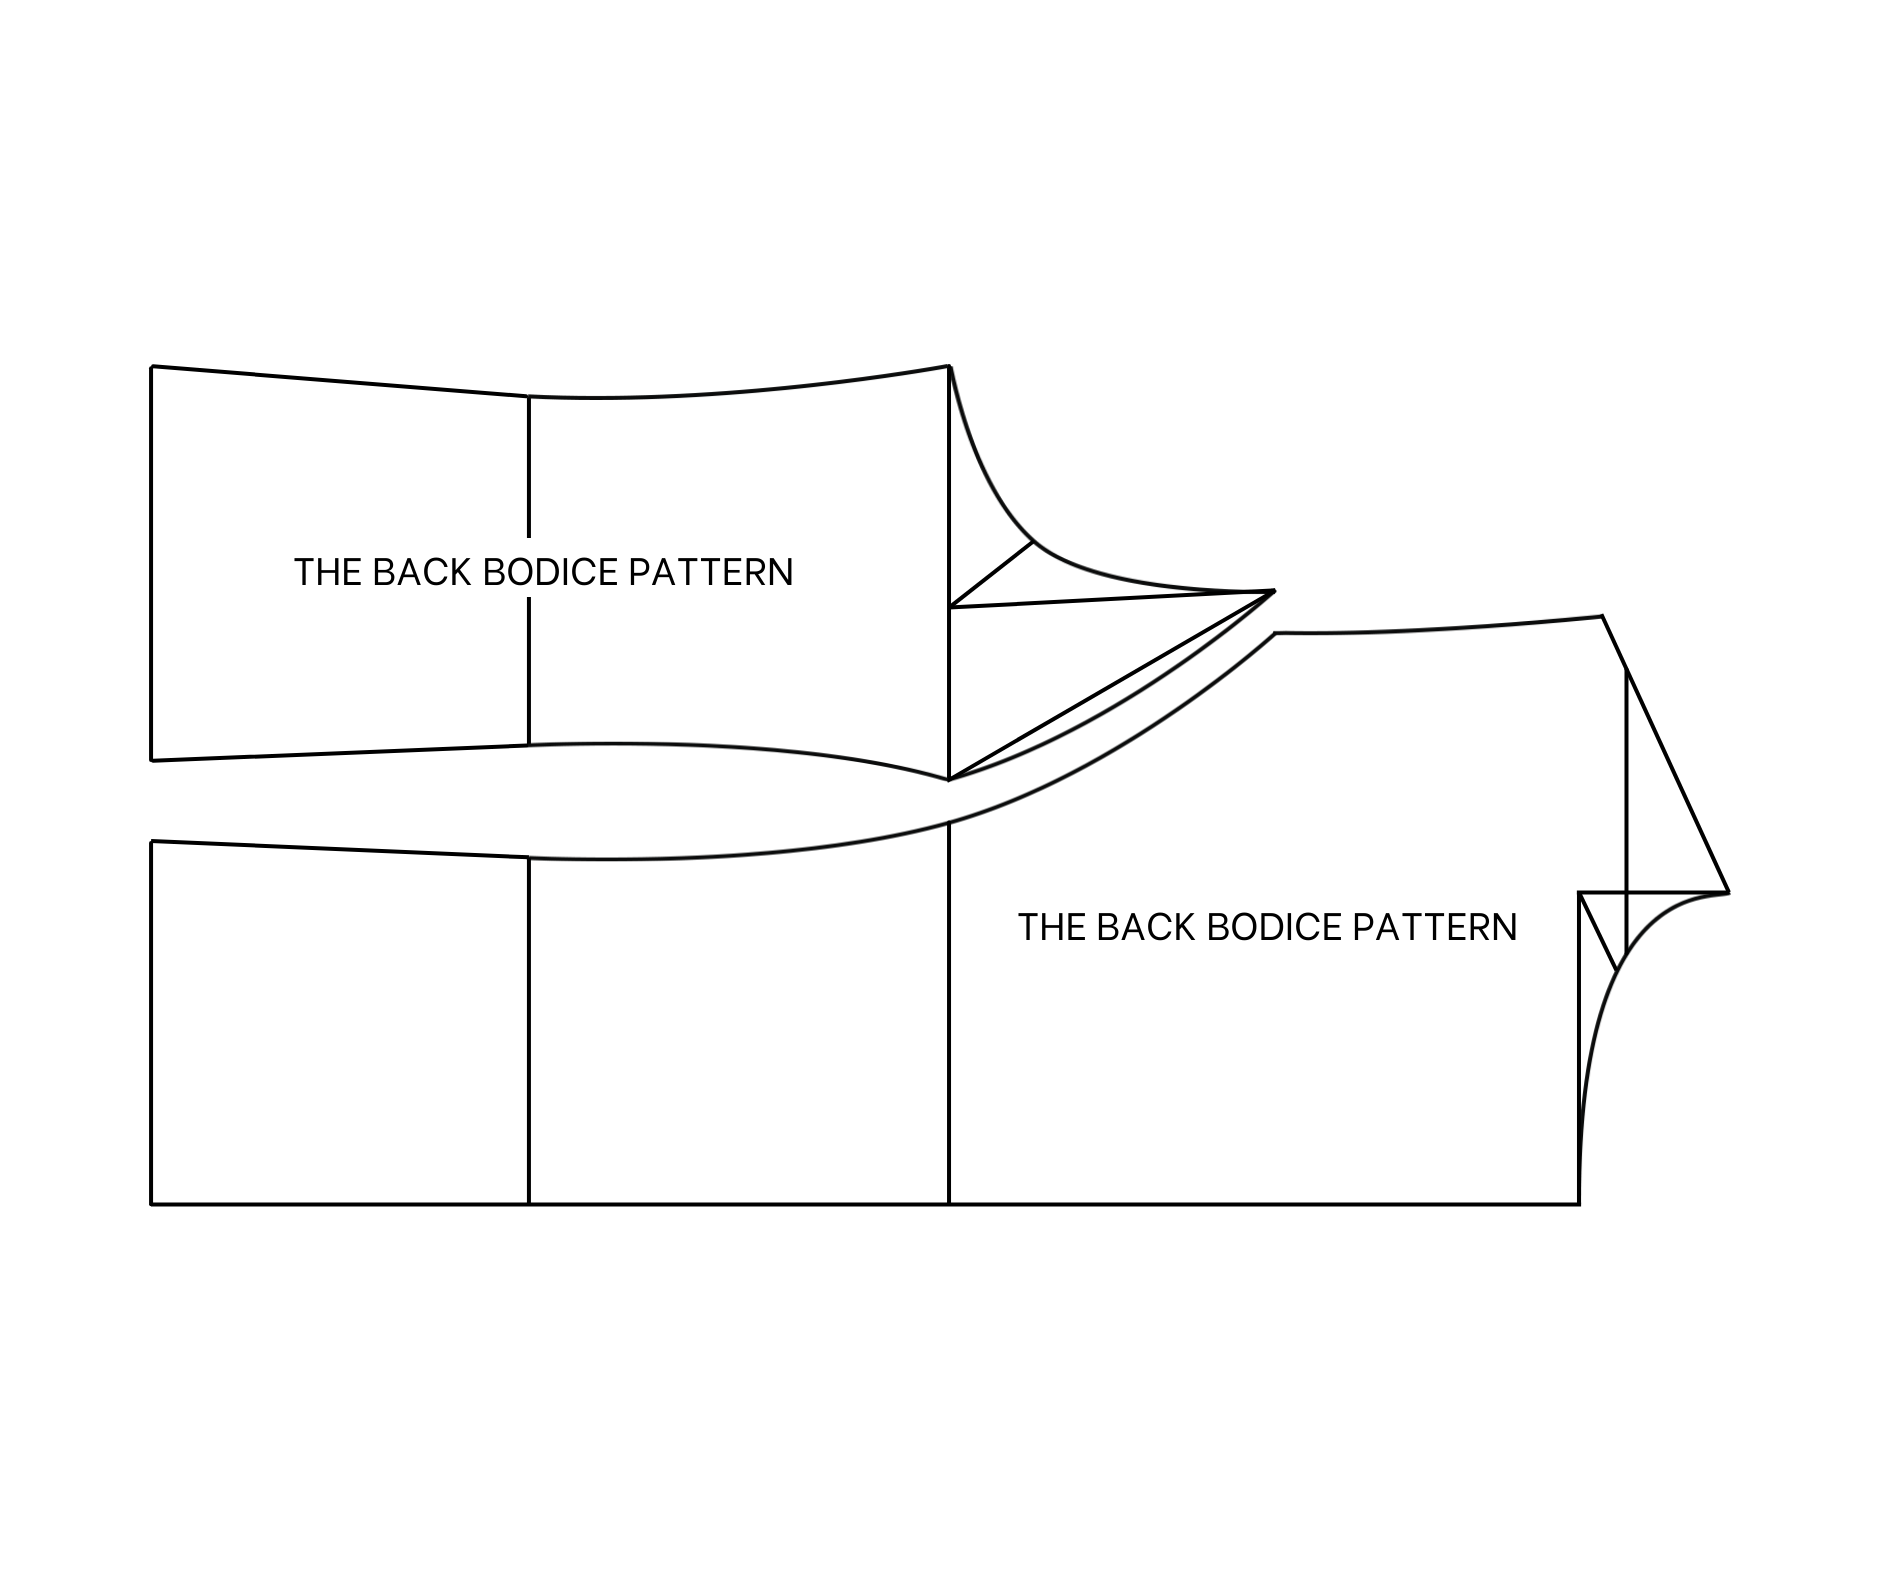
You will have the pieces of the back bodice after cutting. Add 1 cm for seam allowance after that except the line at the middle of the back as we will cut this pattern folded fabric.
THE FRONT BODICE PATTERN
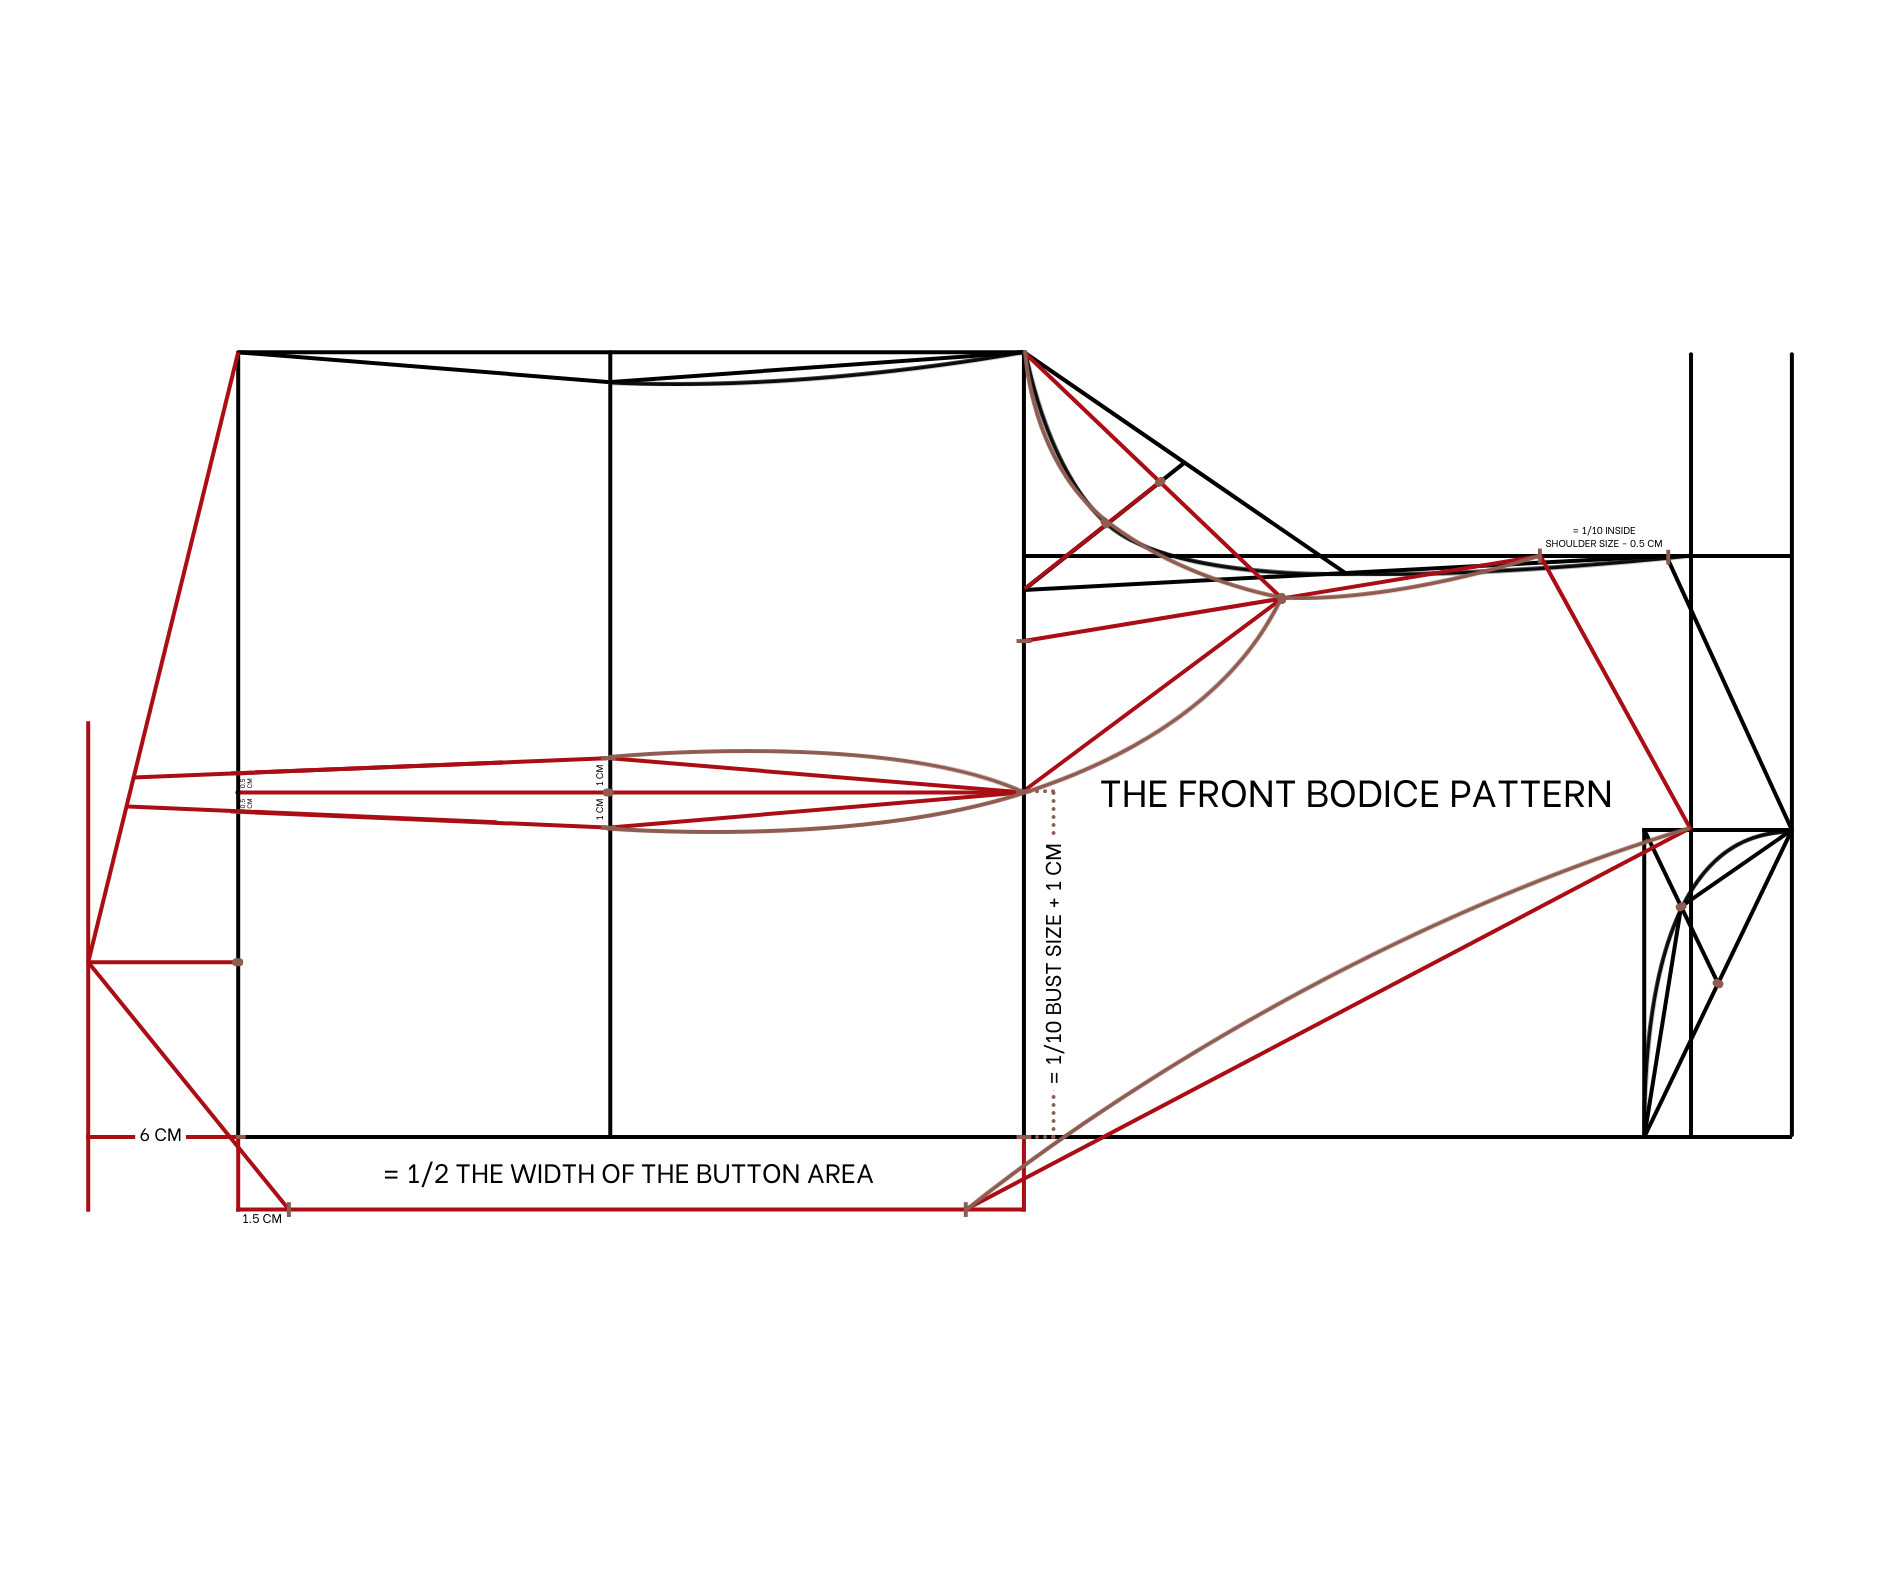
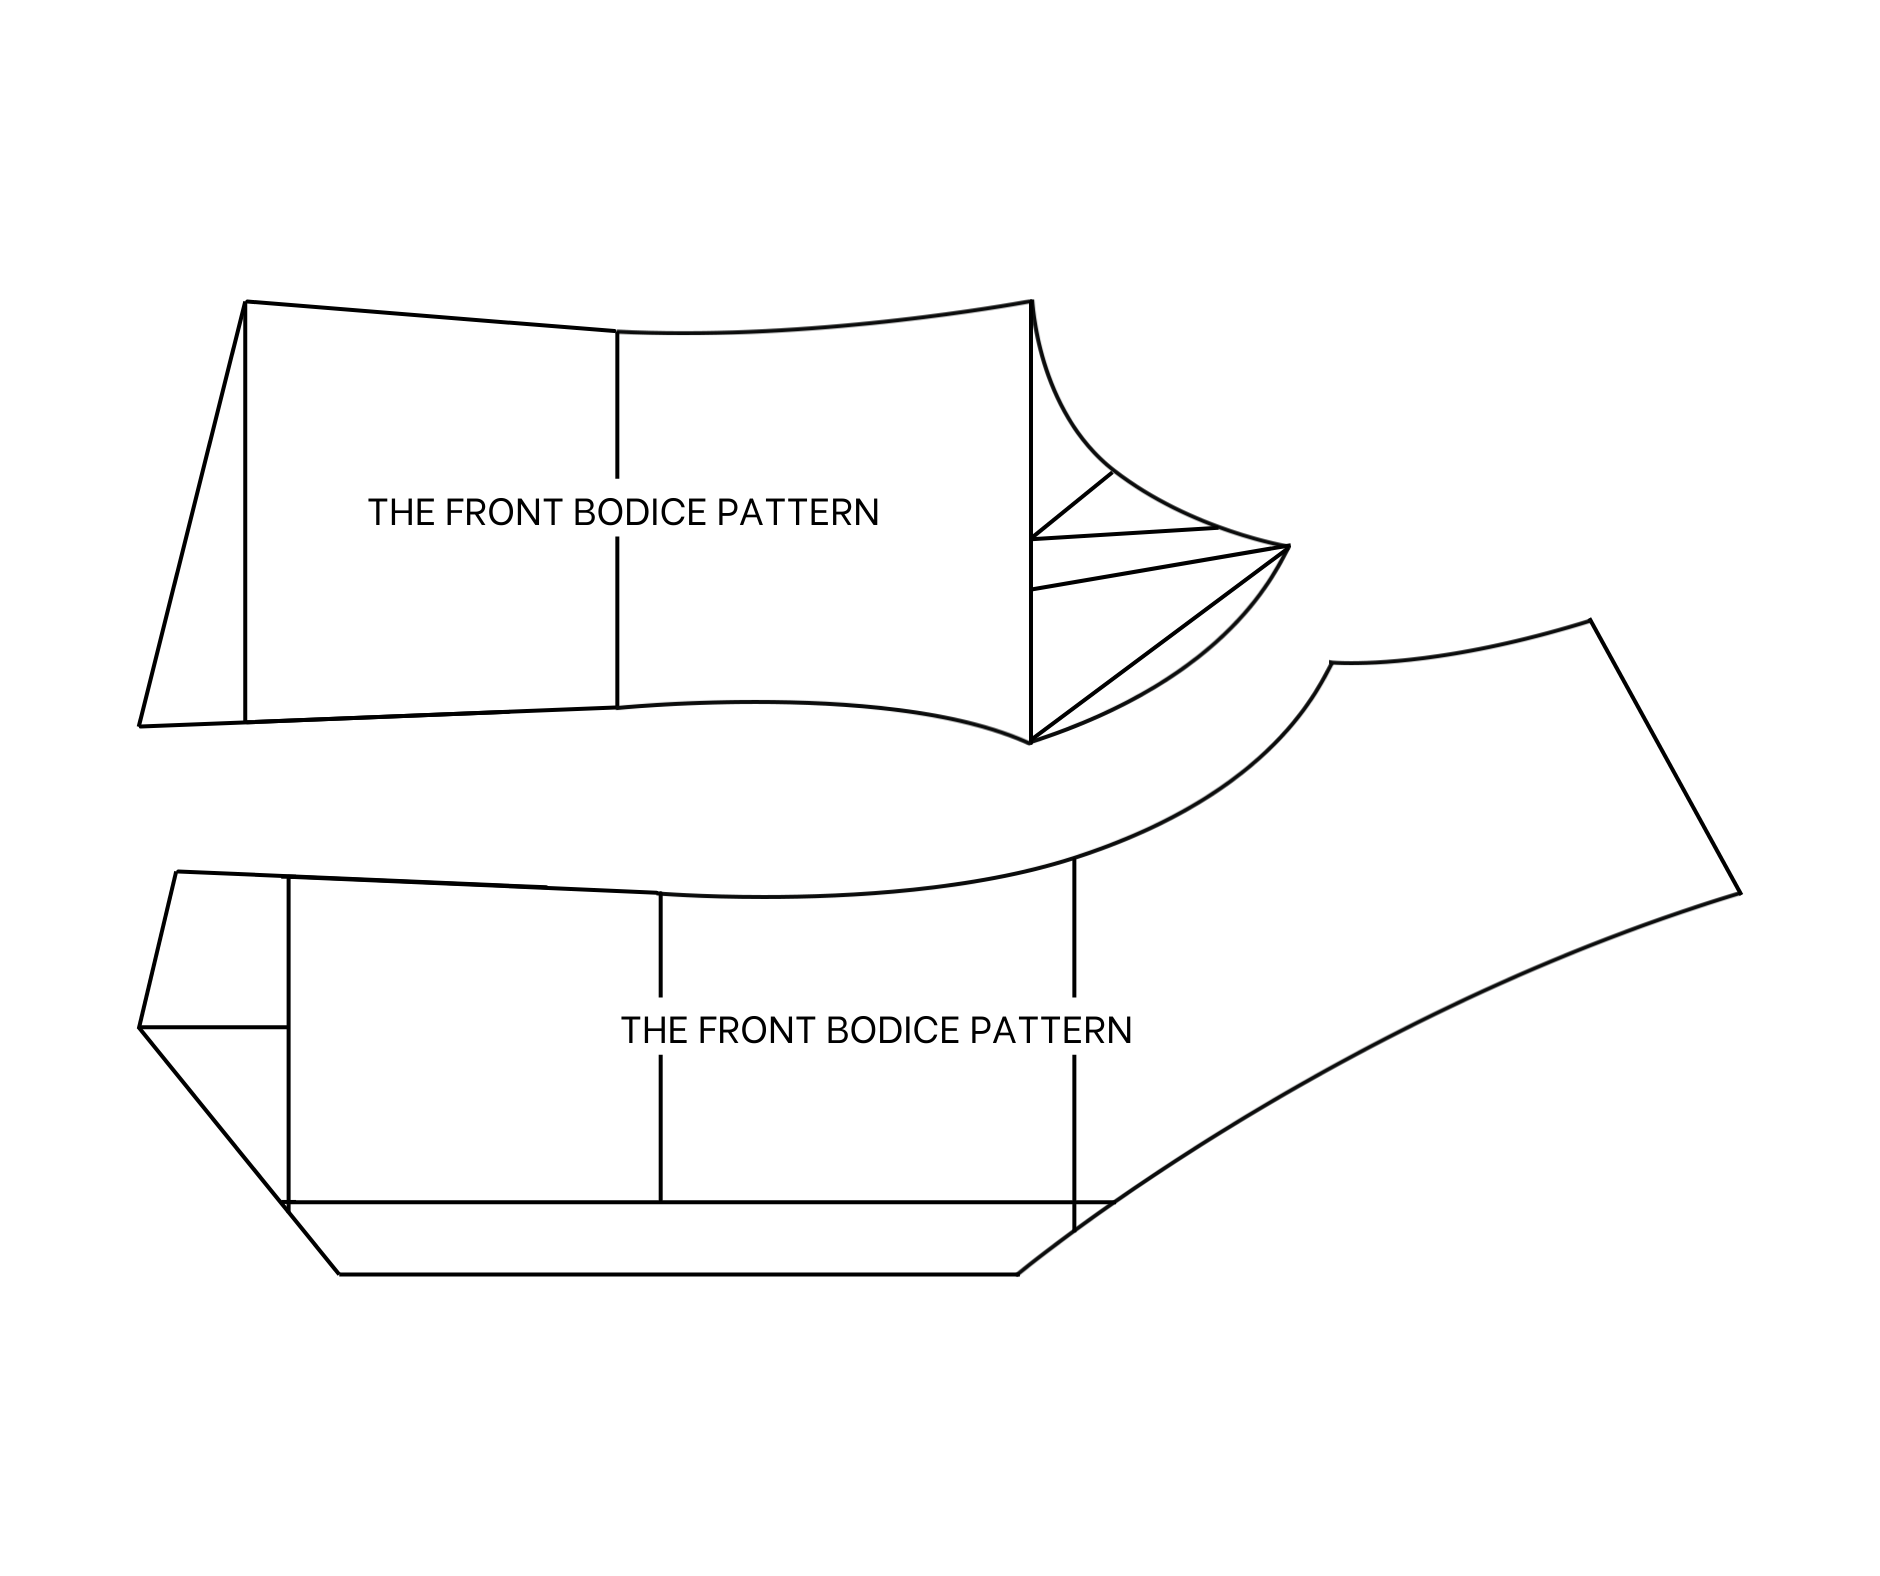
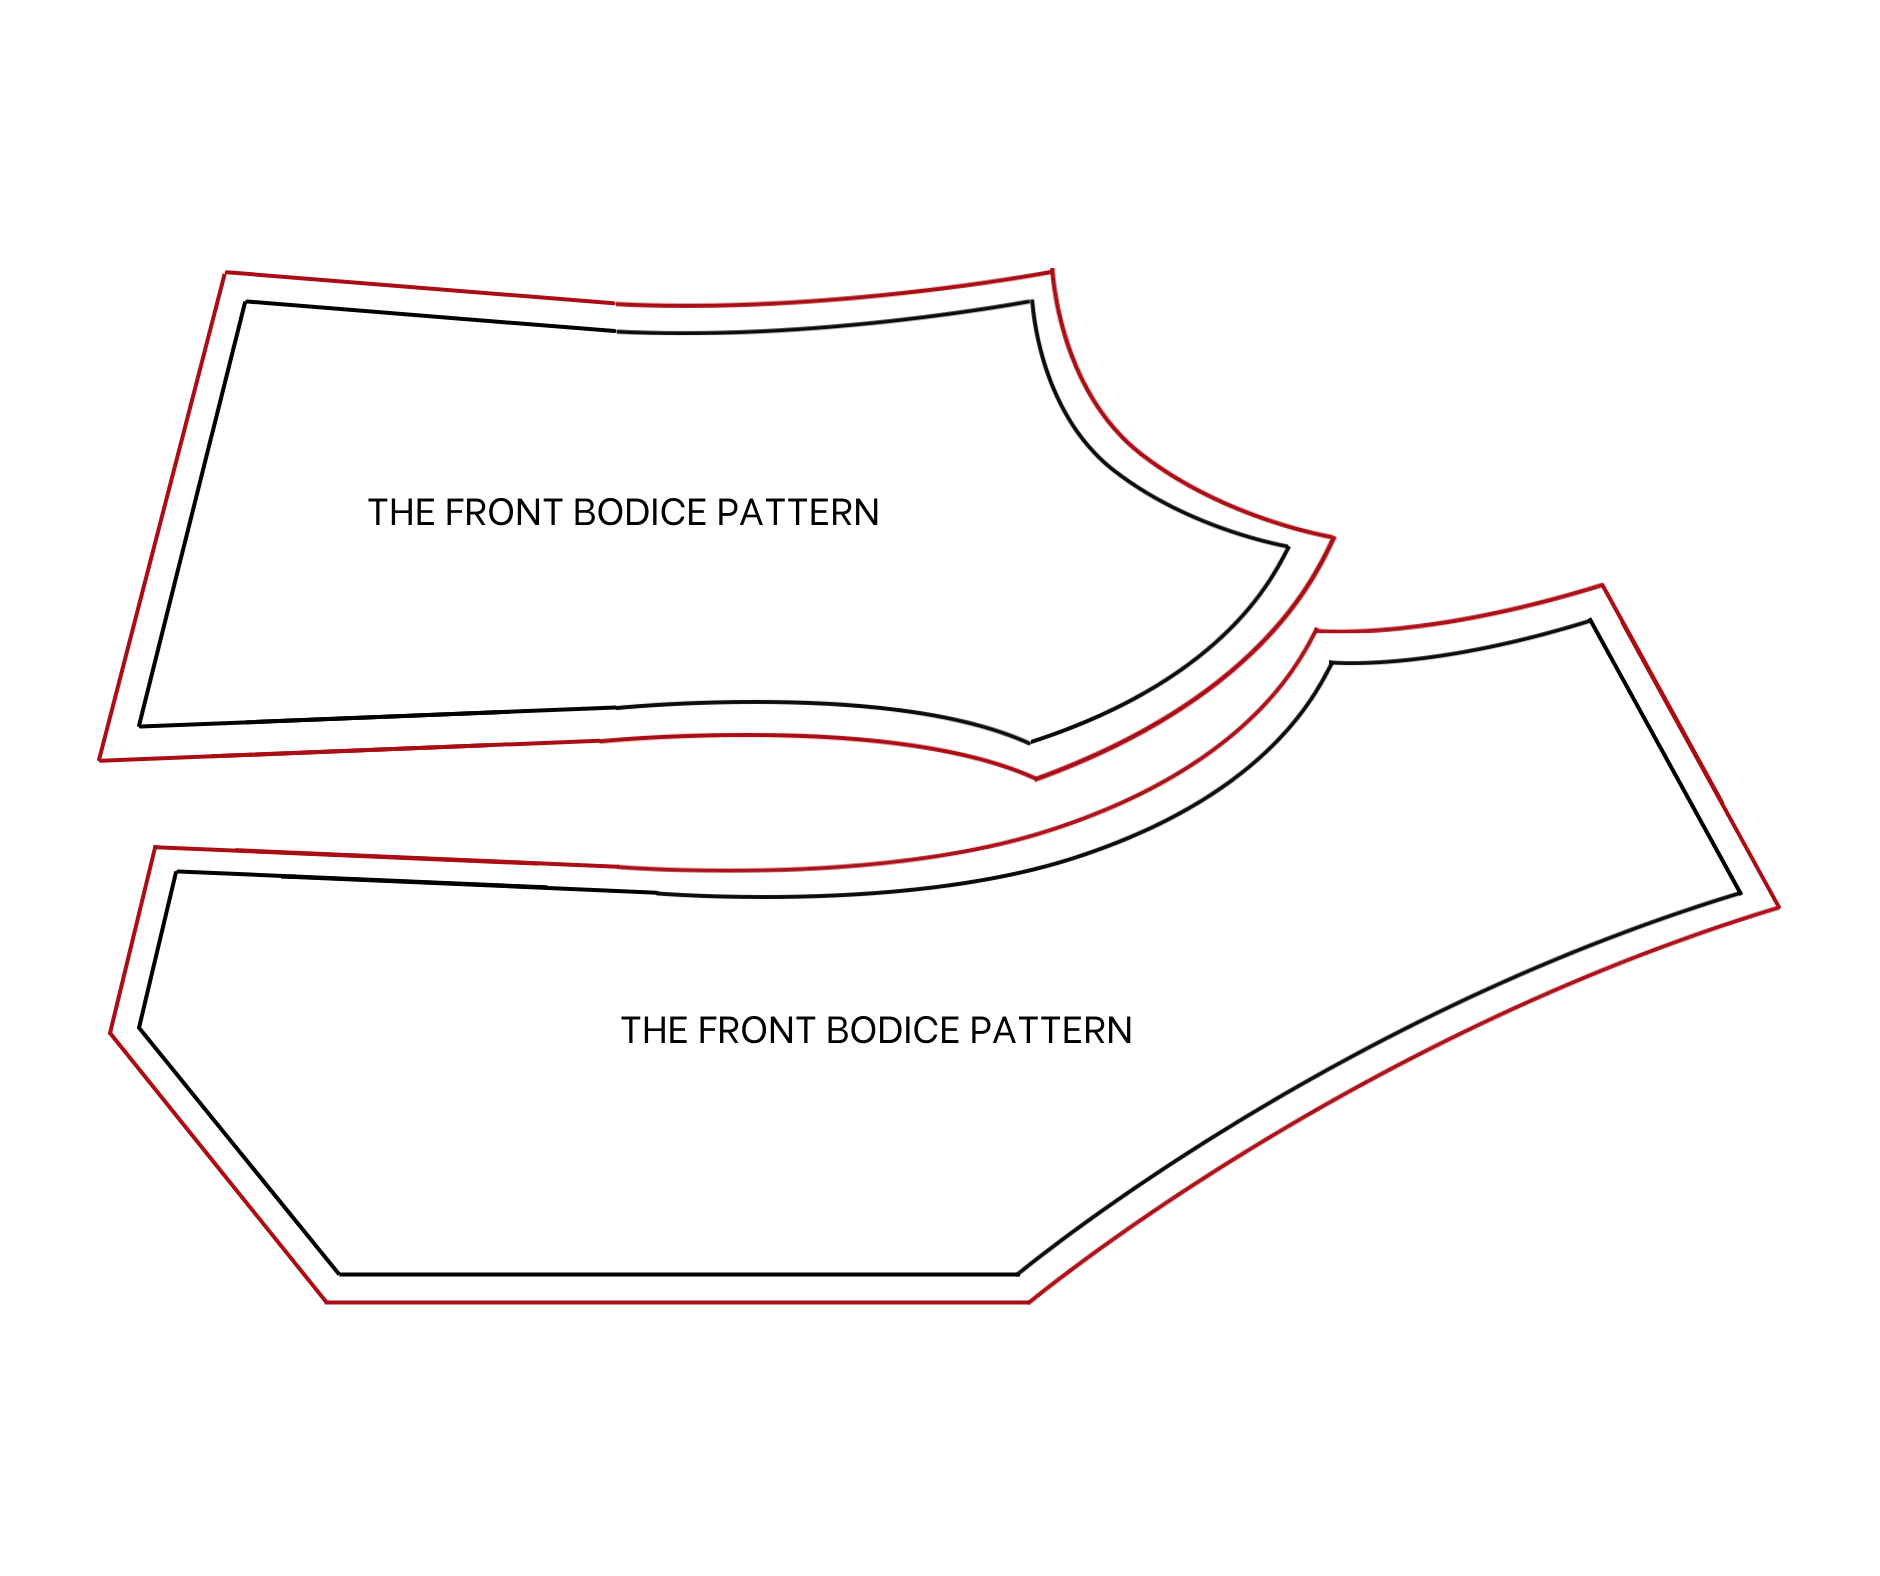
The front bodice pattern
Moving to the front bodice pattern, you will create it based on the back bodice pattern. Instead of creating the shoulder line at the second straight line, do it at the first straight line.
From the cutting point between the bust line and the perpendicular line, mark inside 2.5 cm then connect this mark to the end of the shoulder line. After that, create a sleeve line of the front bodice in the similar way that you did at the back bodice.
From the end of the bust line, mark up at 9 cm which is 1 per 10 your bust size plus 1 cm then draw a horizontal line through that mark and cut the ending line. After that, create a dart there in the similar way that you did at the back.
To create the button and the buttonhole area, draw another horizontal line at 2 cm outside the first one. It's a half the width of the button and the buttonhole area that you want. From the top of this new line, mark down 2 cm then connect it to one end of the shoulder line. Based on it draw a slightly curved line to create the neckline of the front bodice.
The cutting point between this line and the third horizontal line is the end of the neck that you want so if you want it deeper, move that mark lower.
From the ending line, draw another straight line 6 cm outside of it, this is extra length at the front of the bodice that you want.
Mark in the middle of the ending line of the inside piece of the front bodice first, then draw a perpendicular line to cut the new straight line. From the end of the new horizontal line, mark inside 1.5 cm then connect the cutting point on the new straight line to this mark and to the end of the sideline to create the ending line of the front bodice.
Continue the dart at the front bodice to connect to the new ending line after that.
You will have two pieces of the front bodice pattern after cutting. Add 1 cm seam allowance for them after that.
SEWING THE WAISTCOAT
SEW THE FRONT BODICE
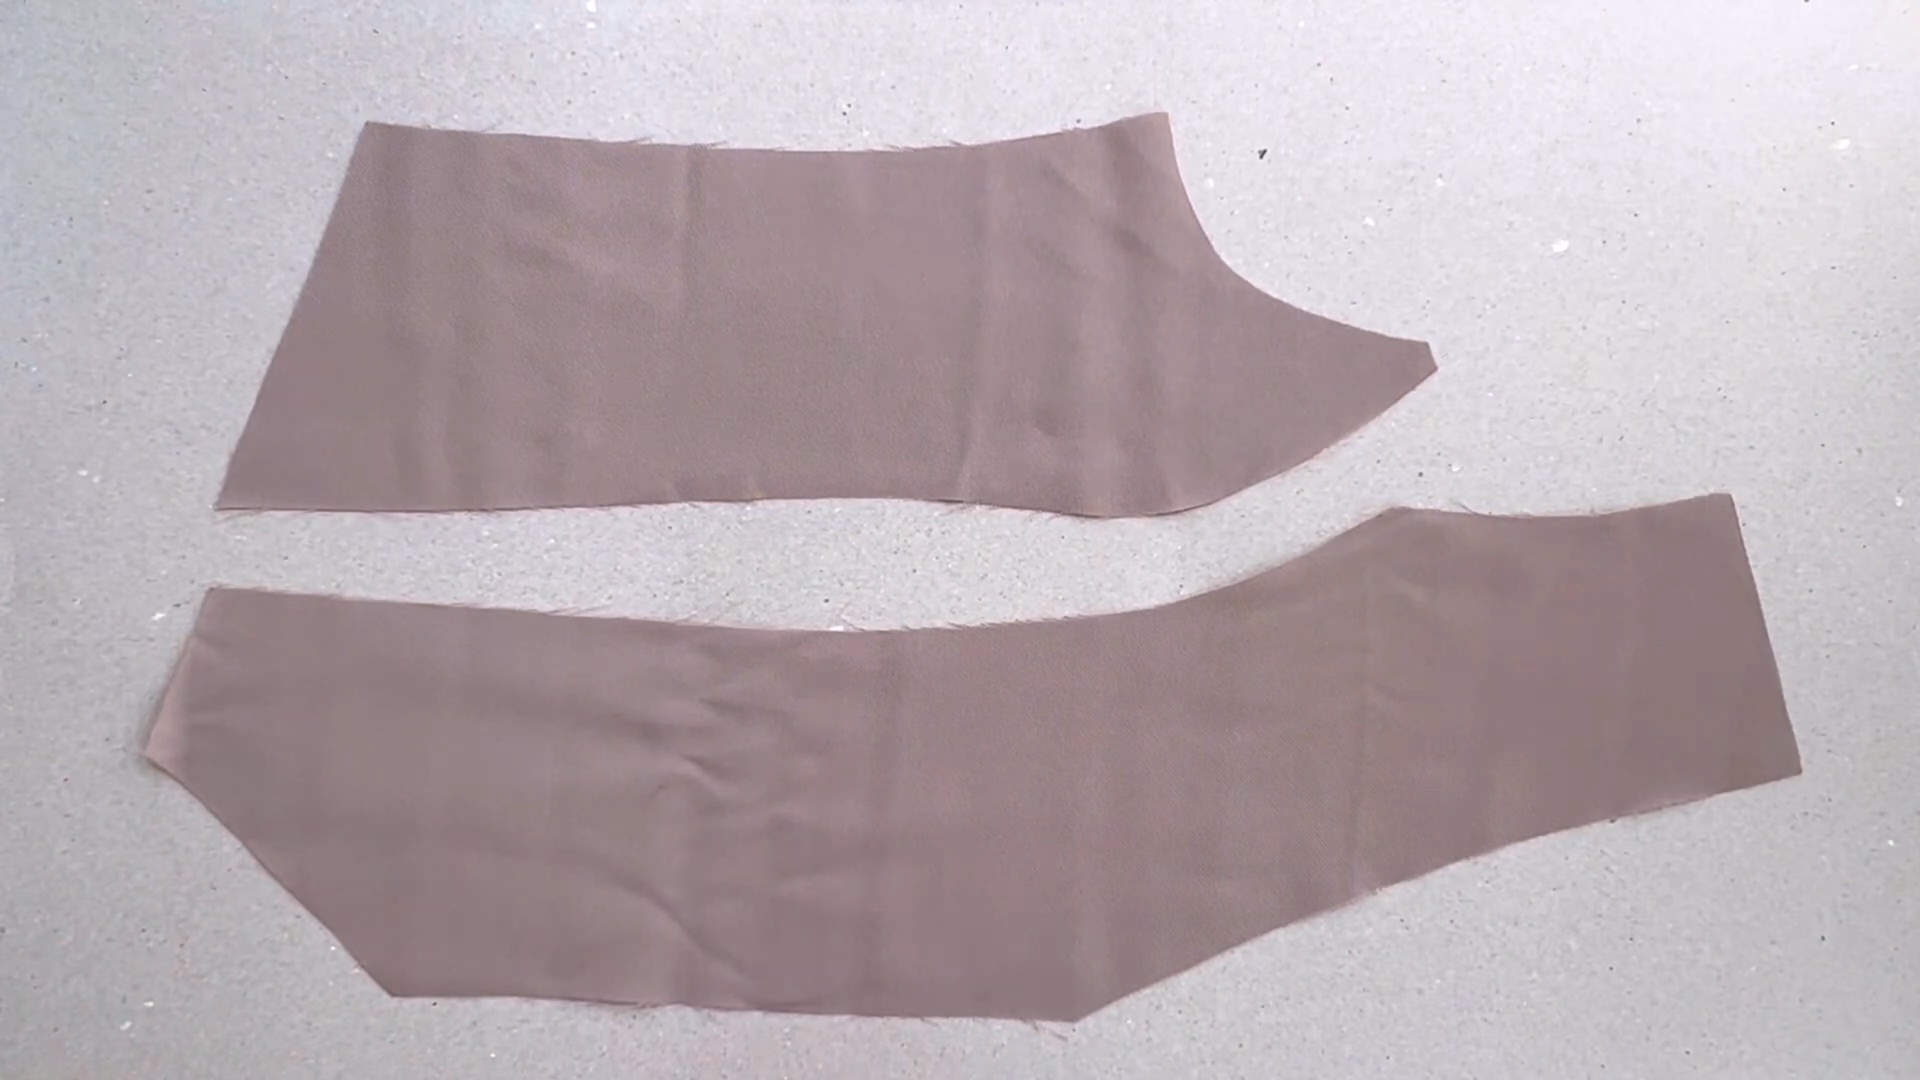
Cut out the pieces of the front bodice.
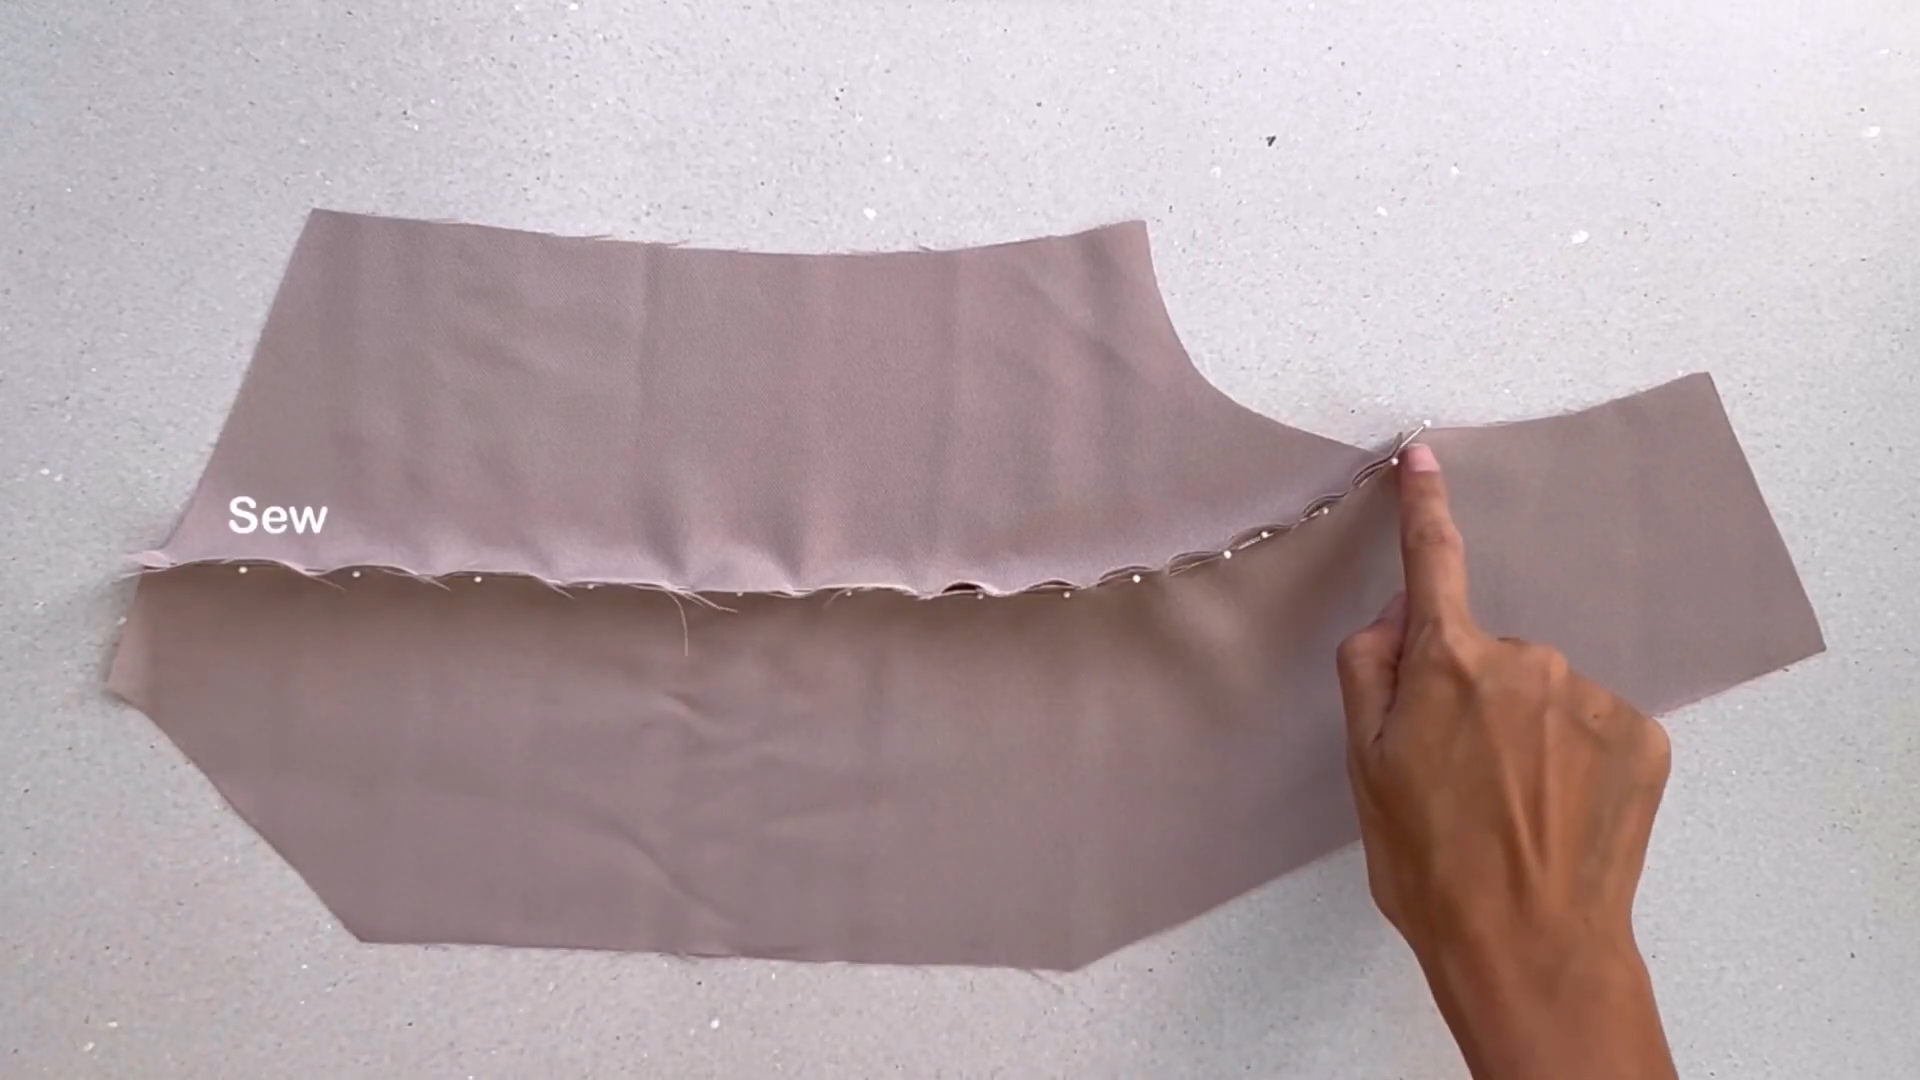
Seam together two pieces of fabric along the dart lines.
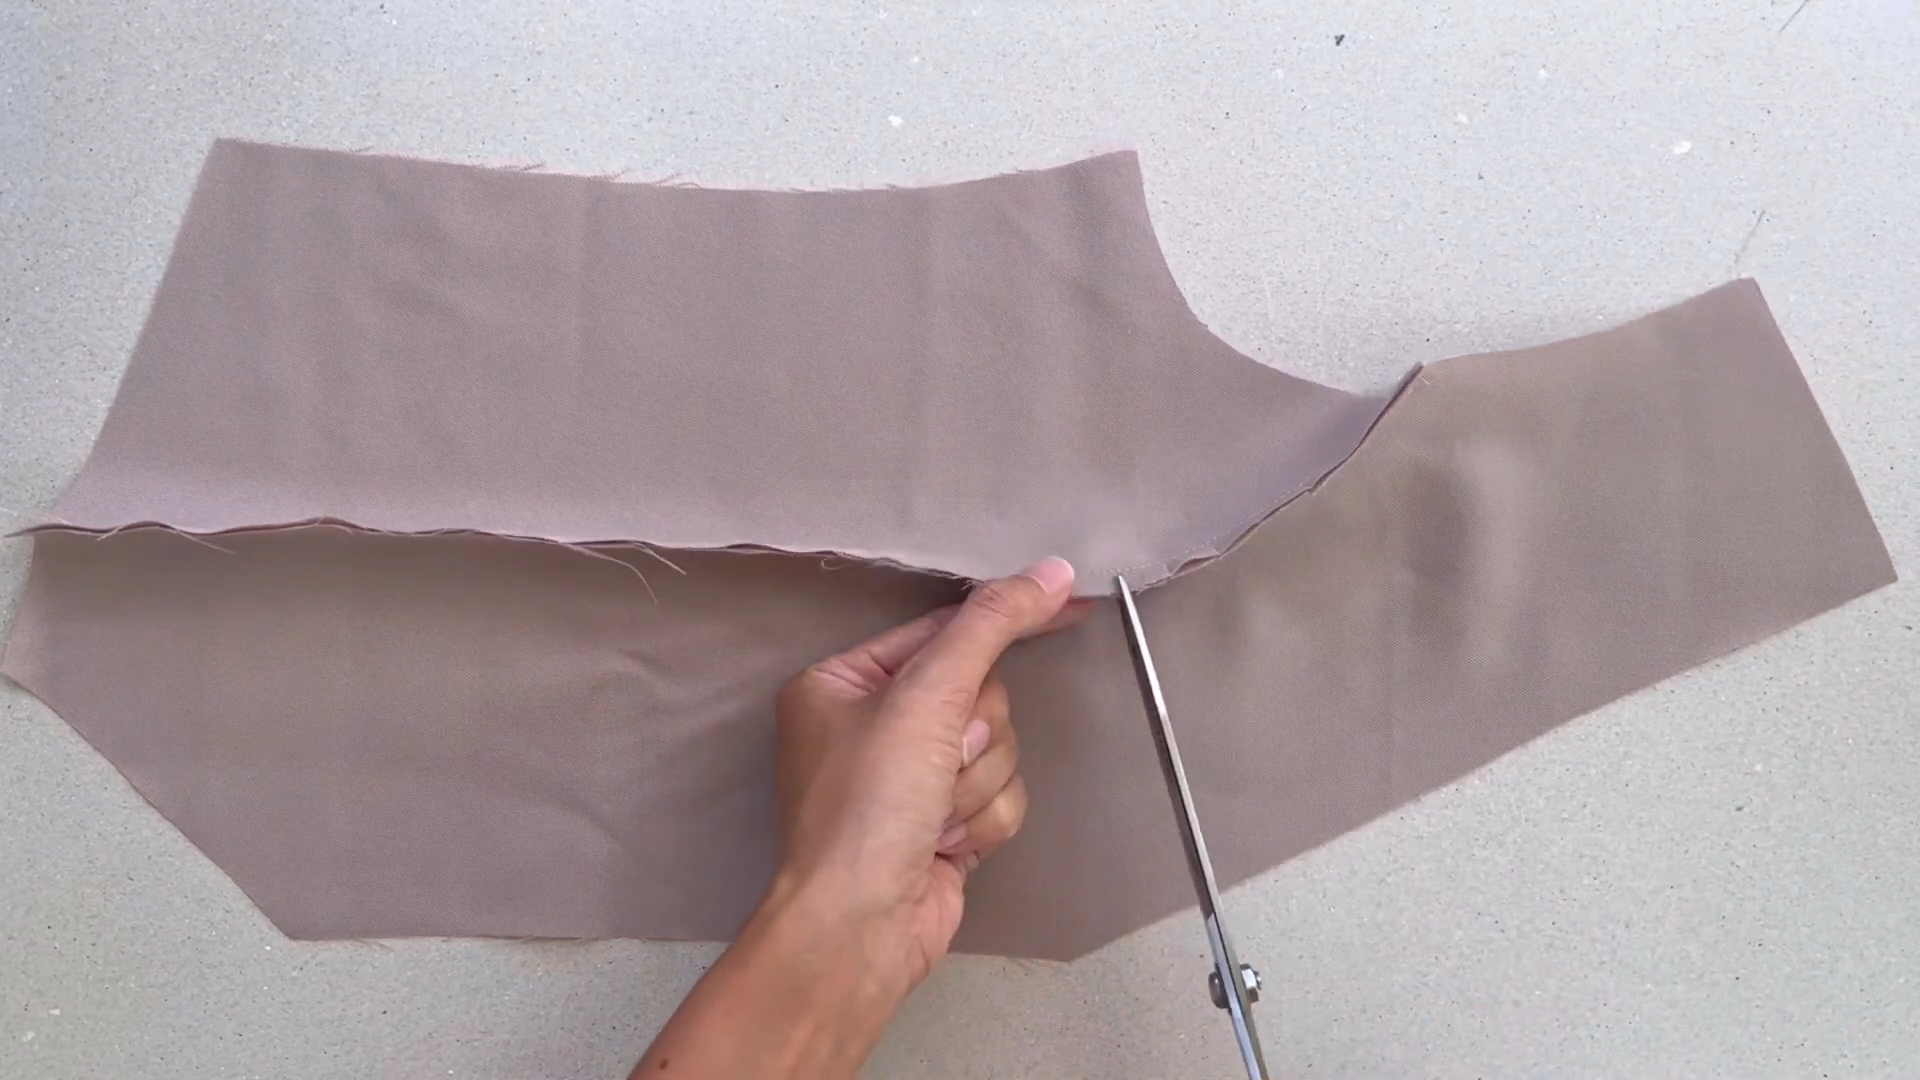
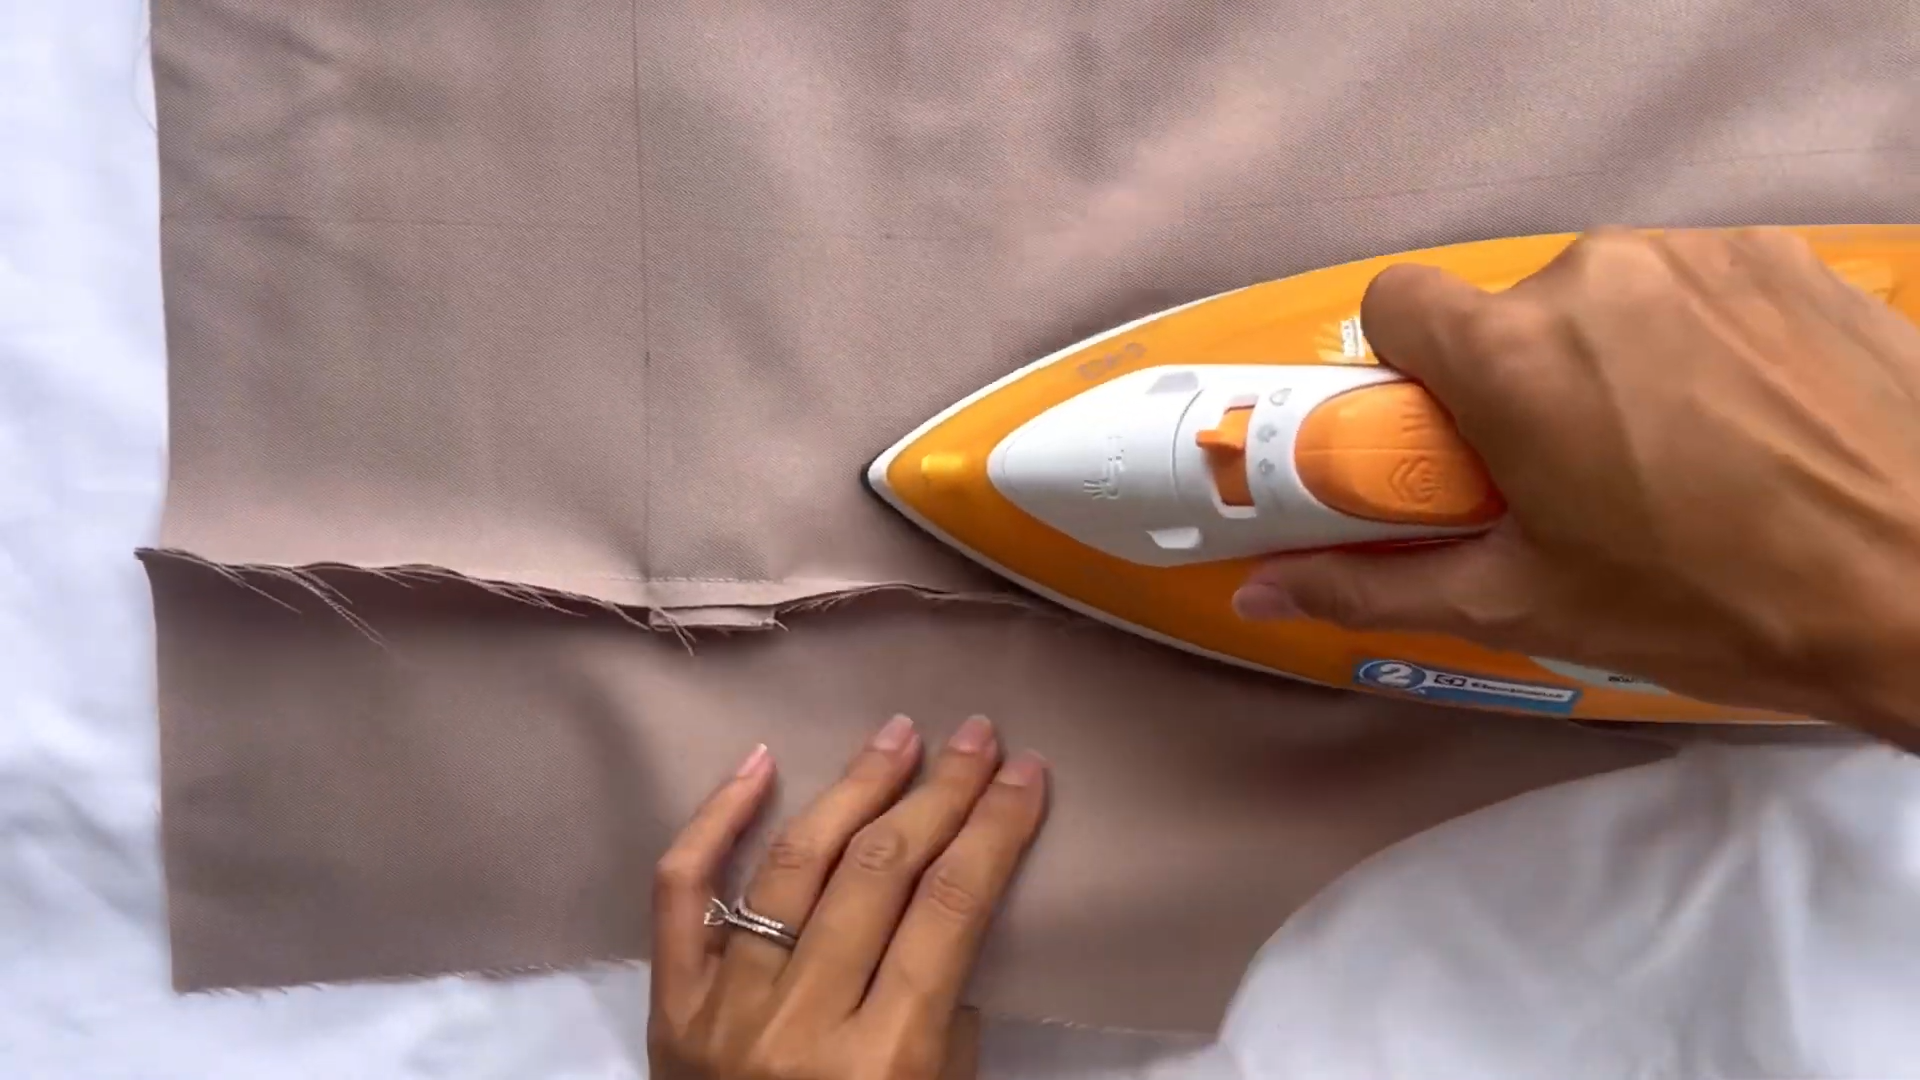
After sewing, make a few small cuts along the curve line
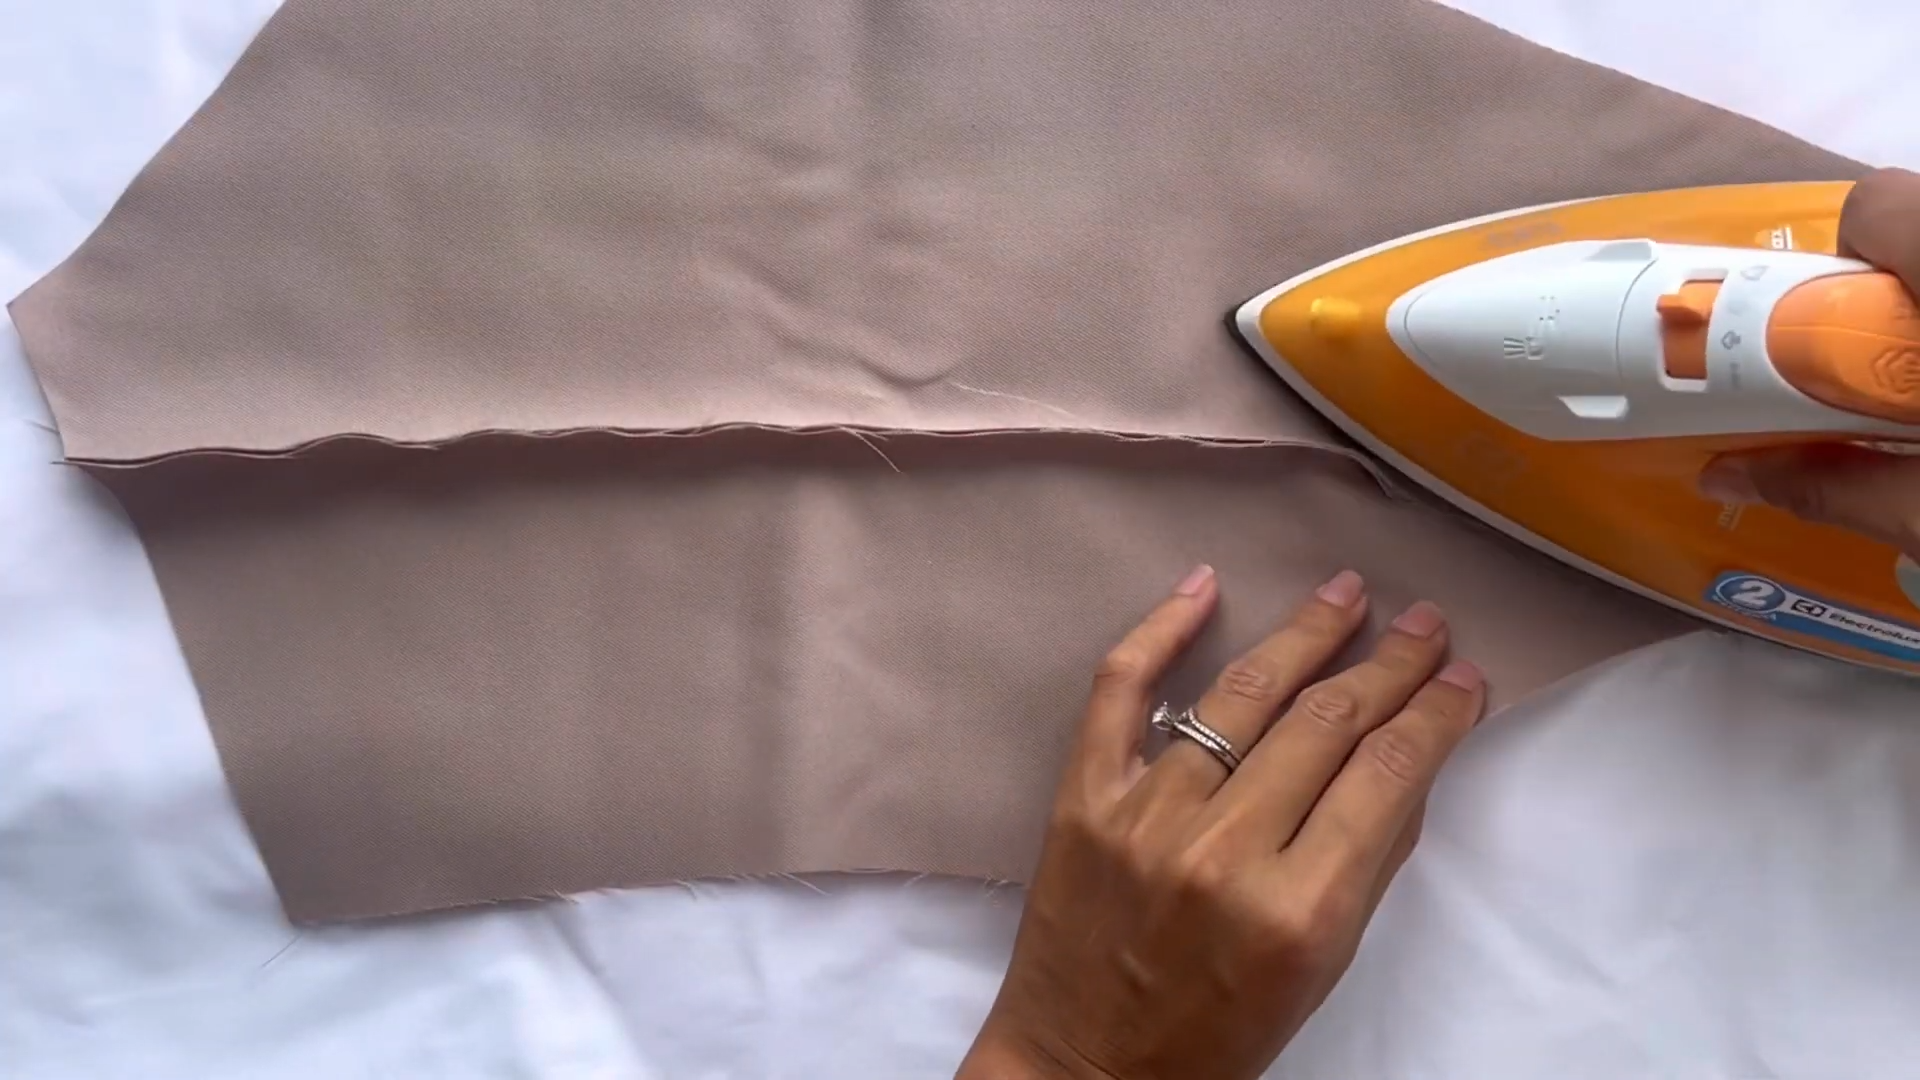
Iron the fabric to flatten any wrinkles and create a polished look.
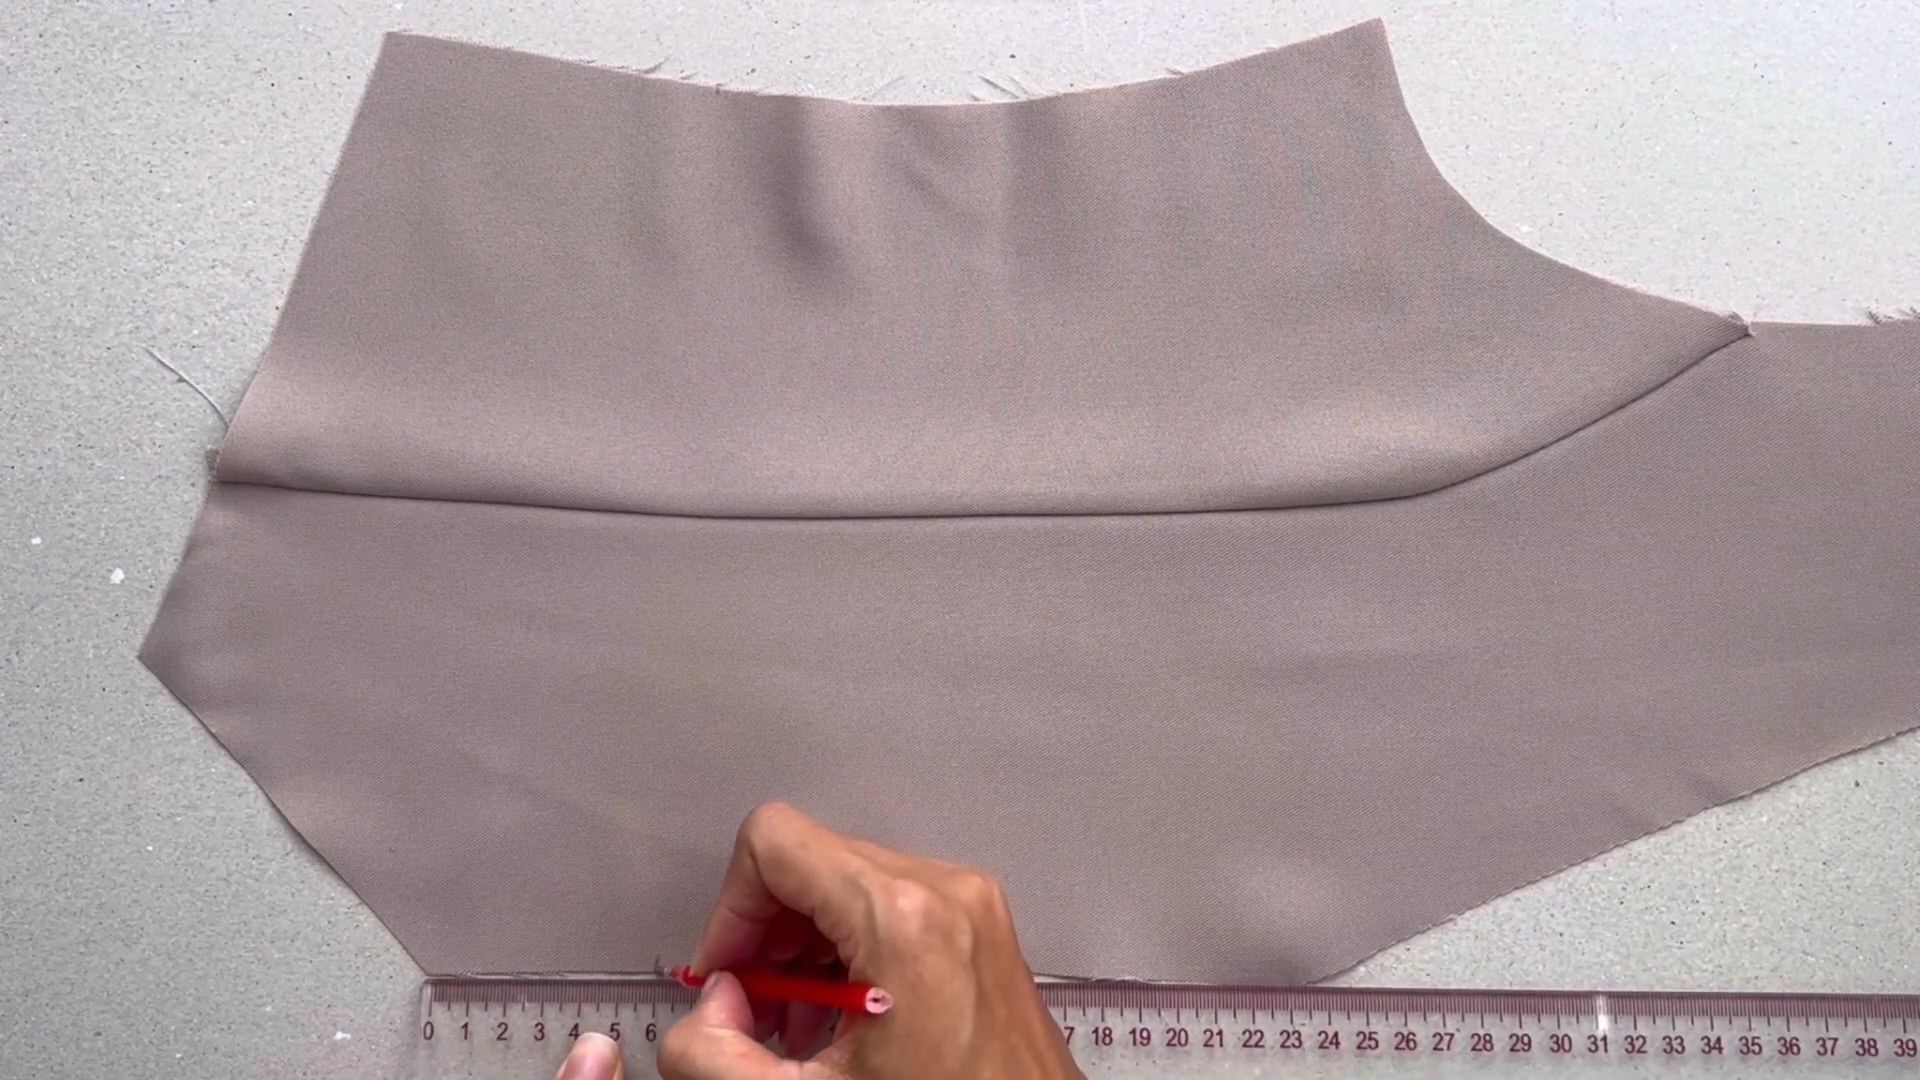
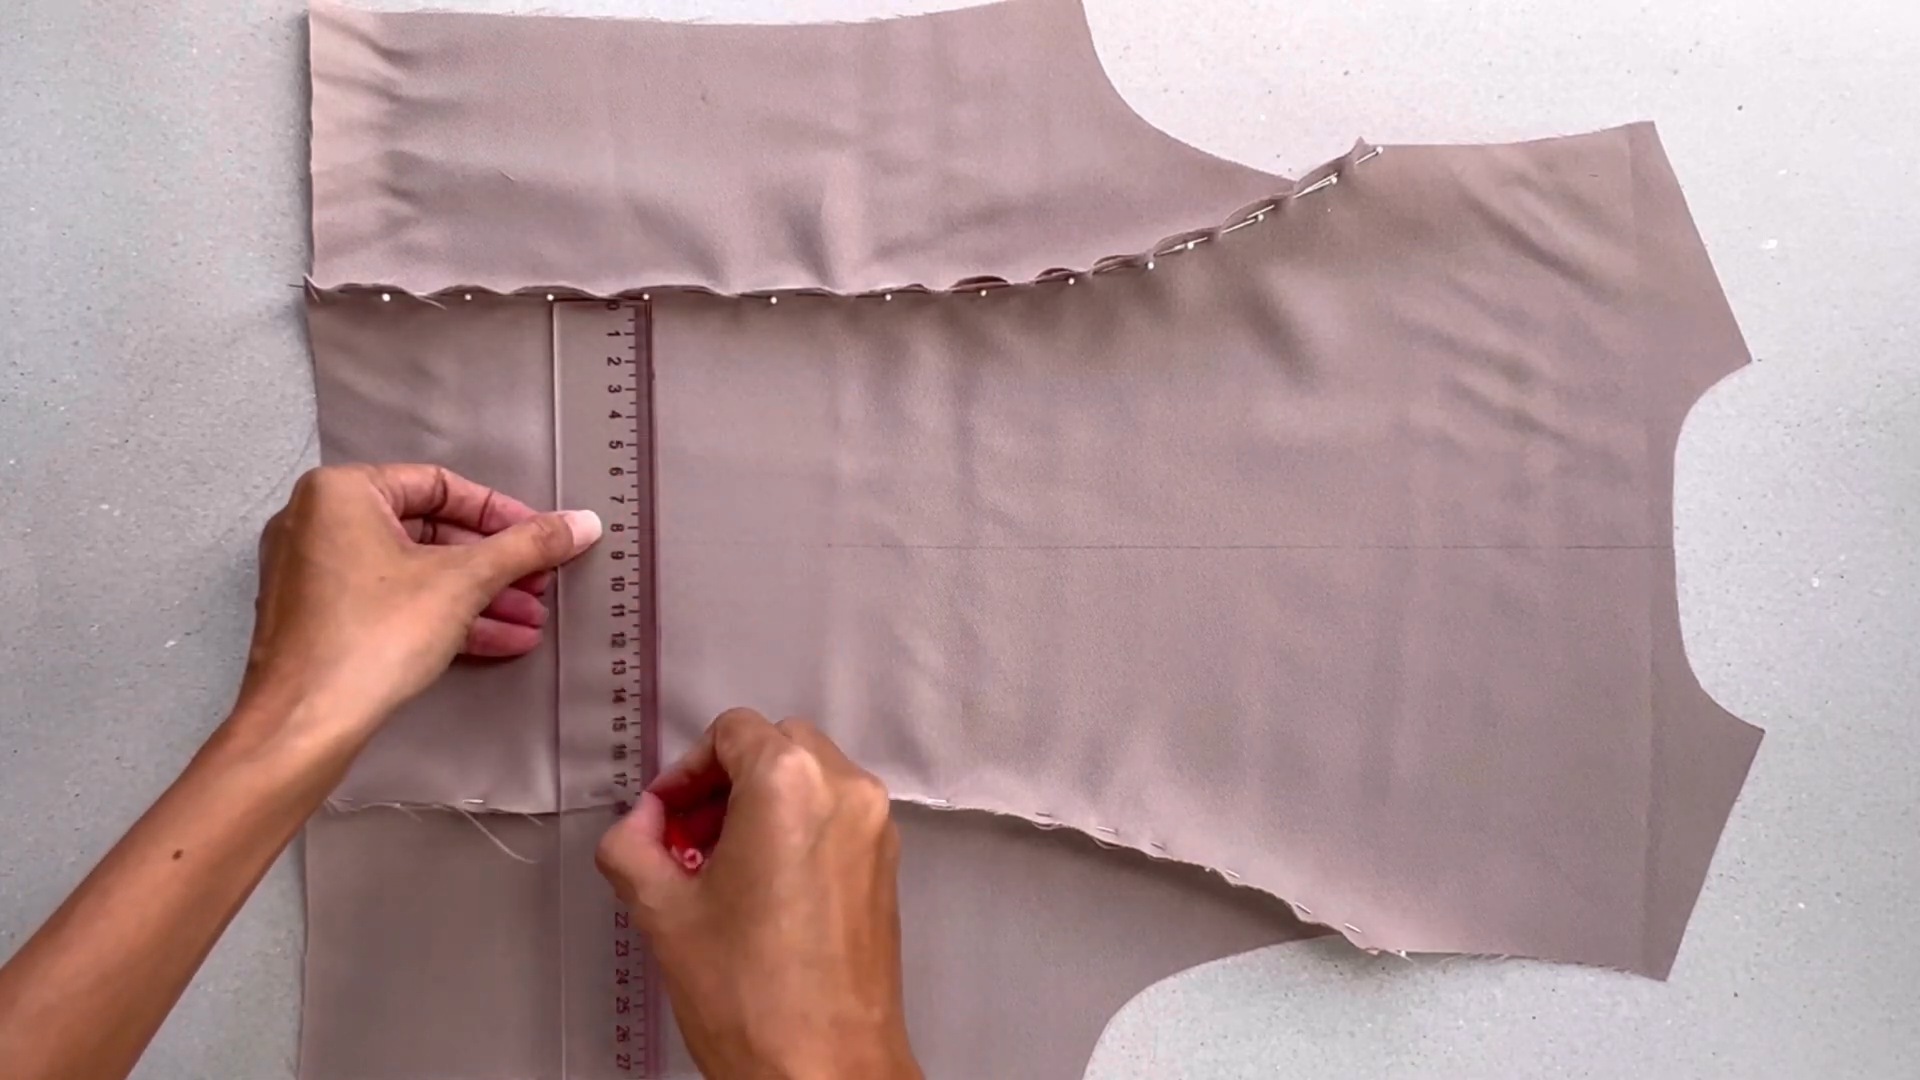
Starting from the end of the front bodice, measure 6 cm upward. Draw a straight line from that mark. This will be the starting point for your pocket.
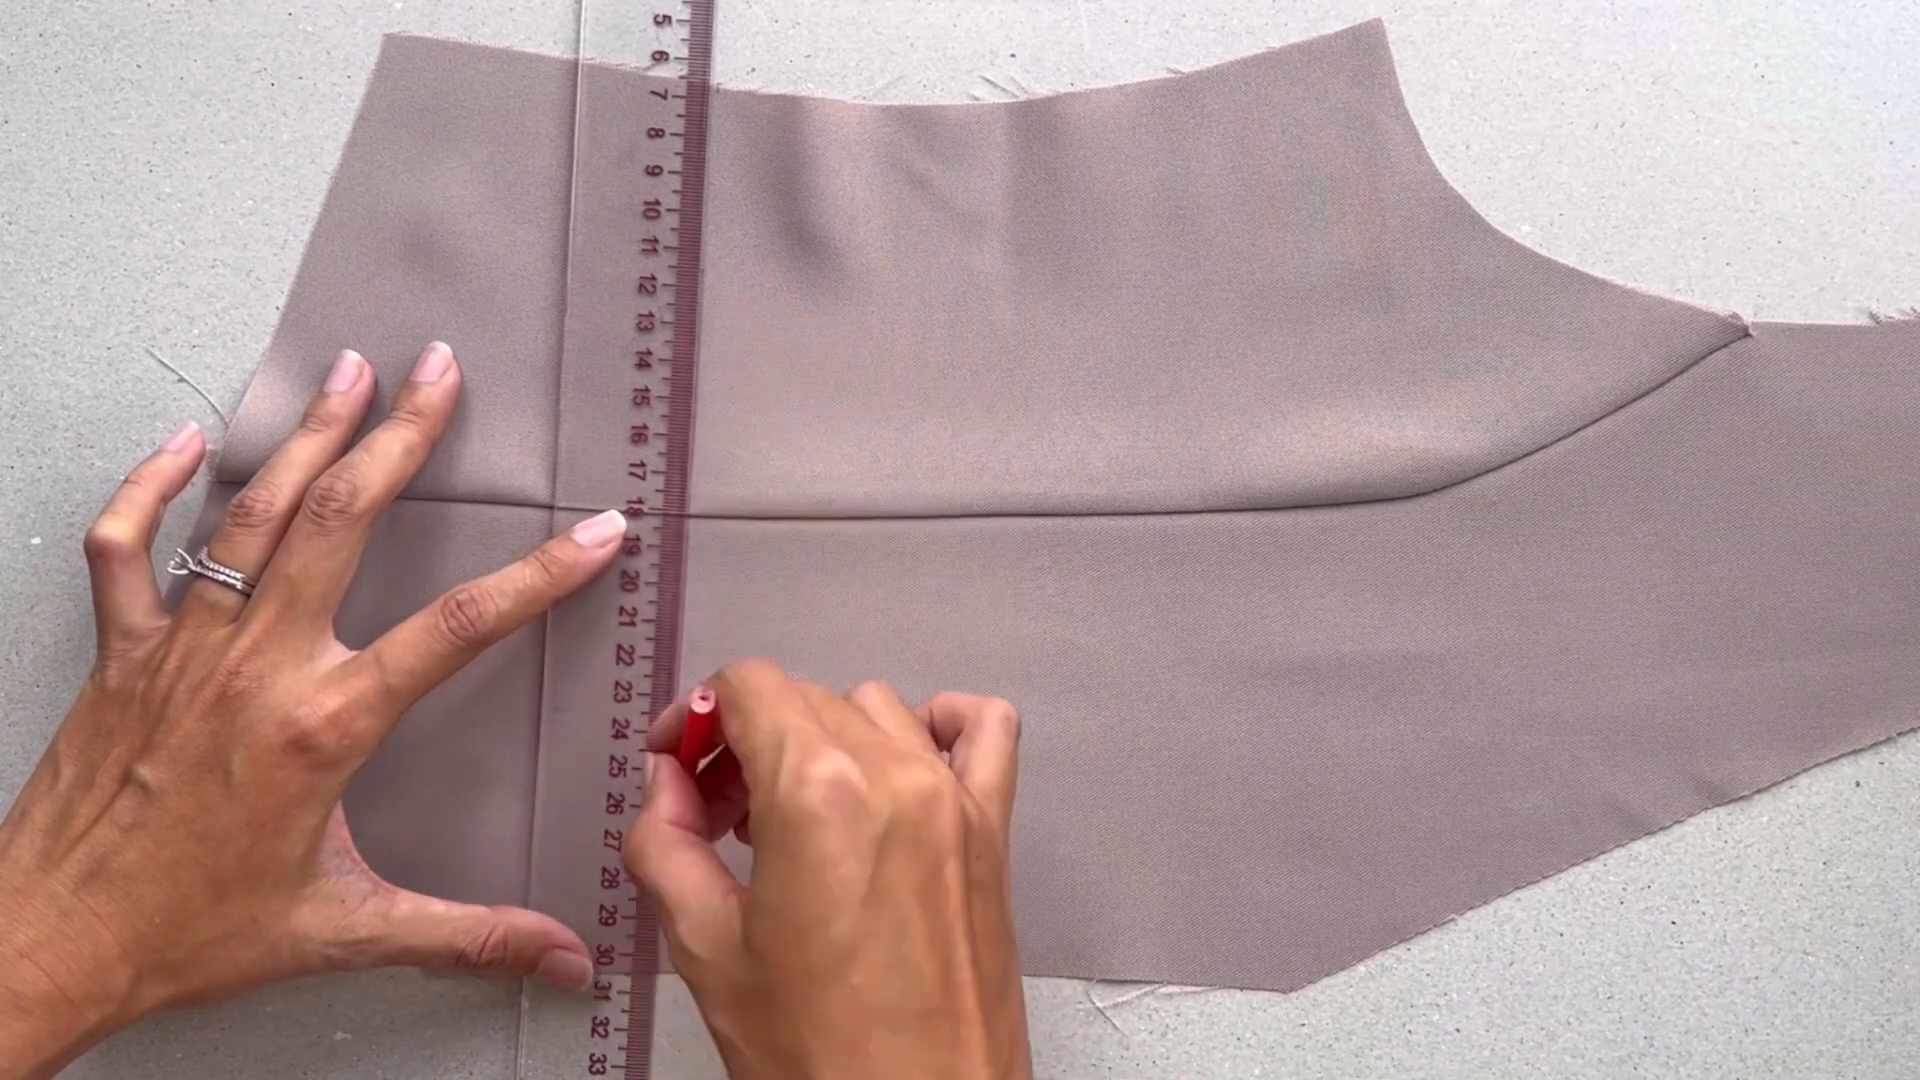
From the cutting point with the dart line, measure 6.5 cm toward the side and 4 cm toward the center.
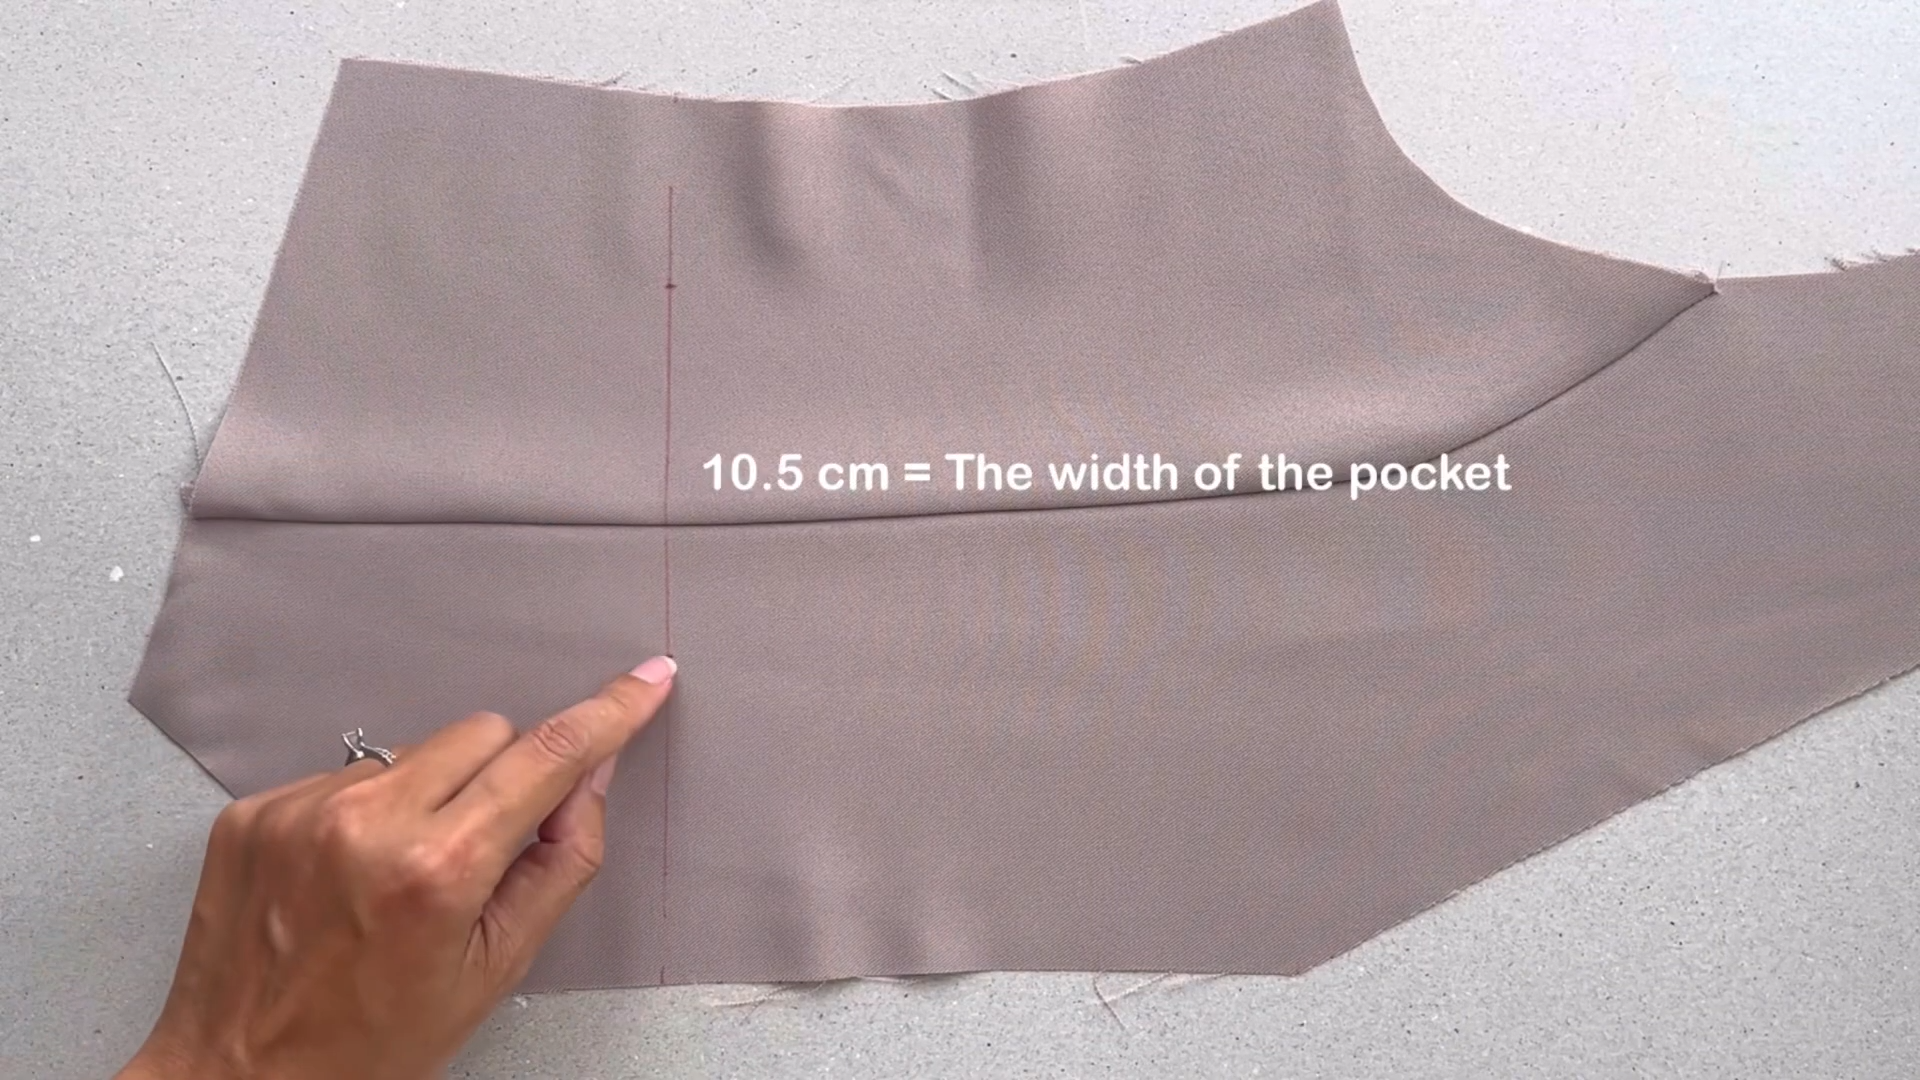
The distance between these two marks will be 10.5 cm, which is the desired width for your front pocket.
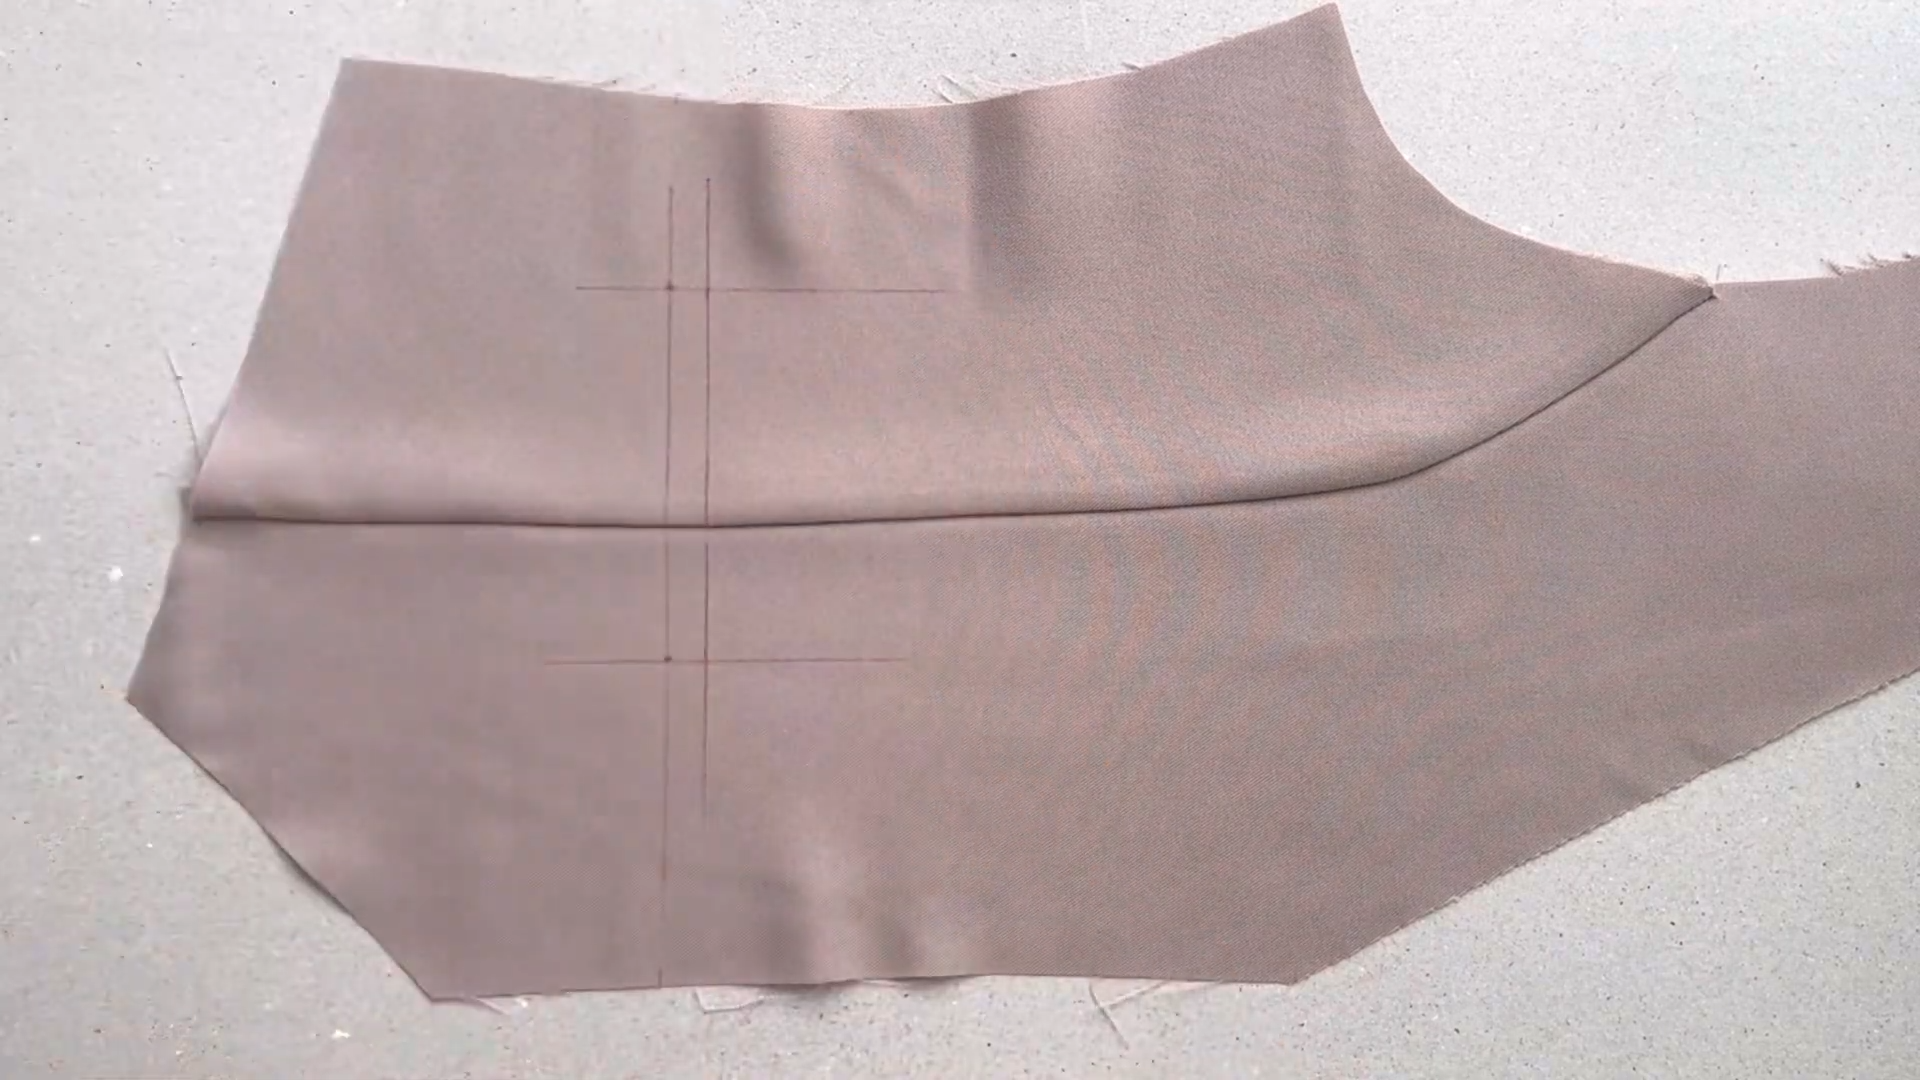
Draw another straight line 1 cm above the first one. This represents the length of your pocket.
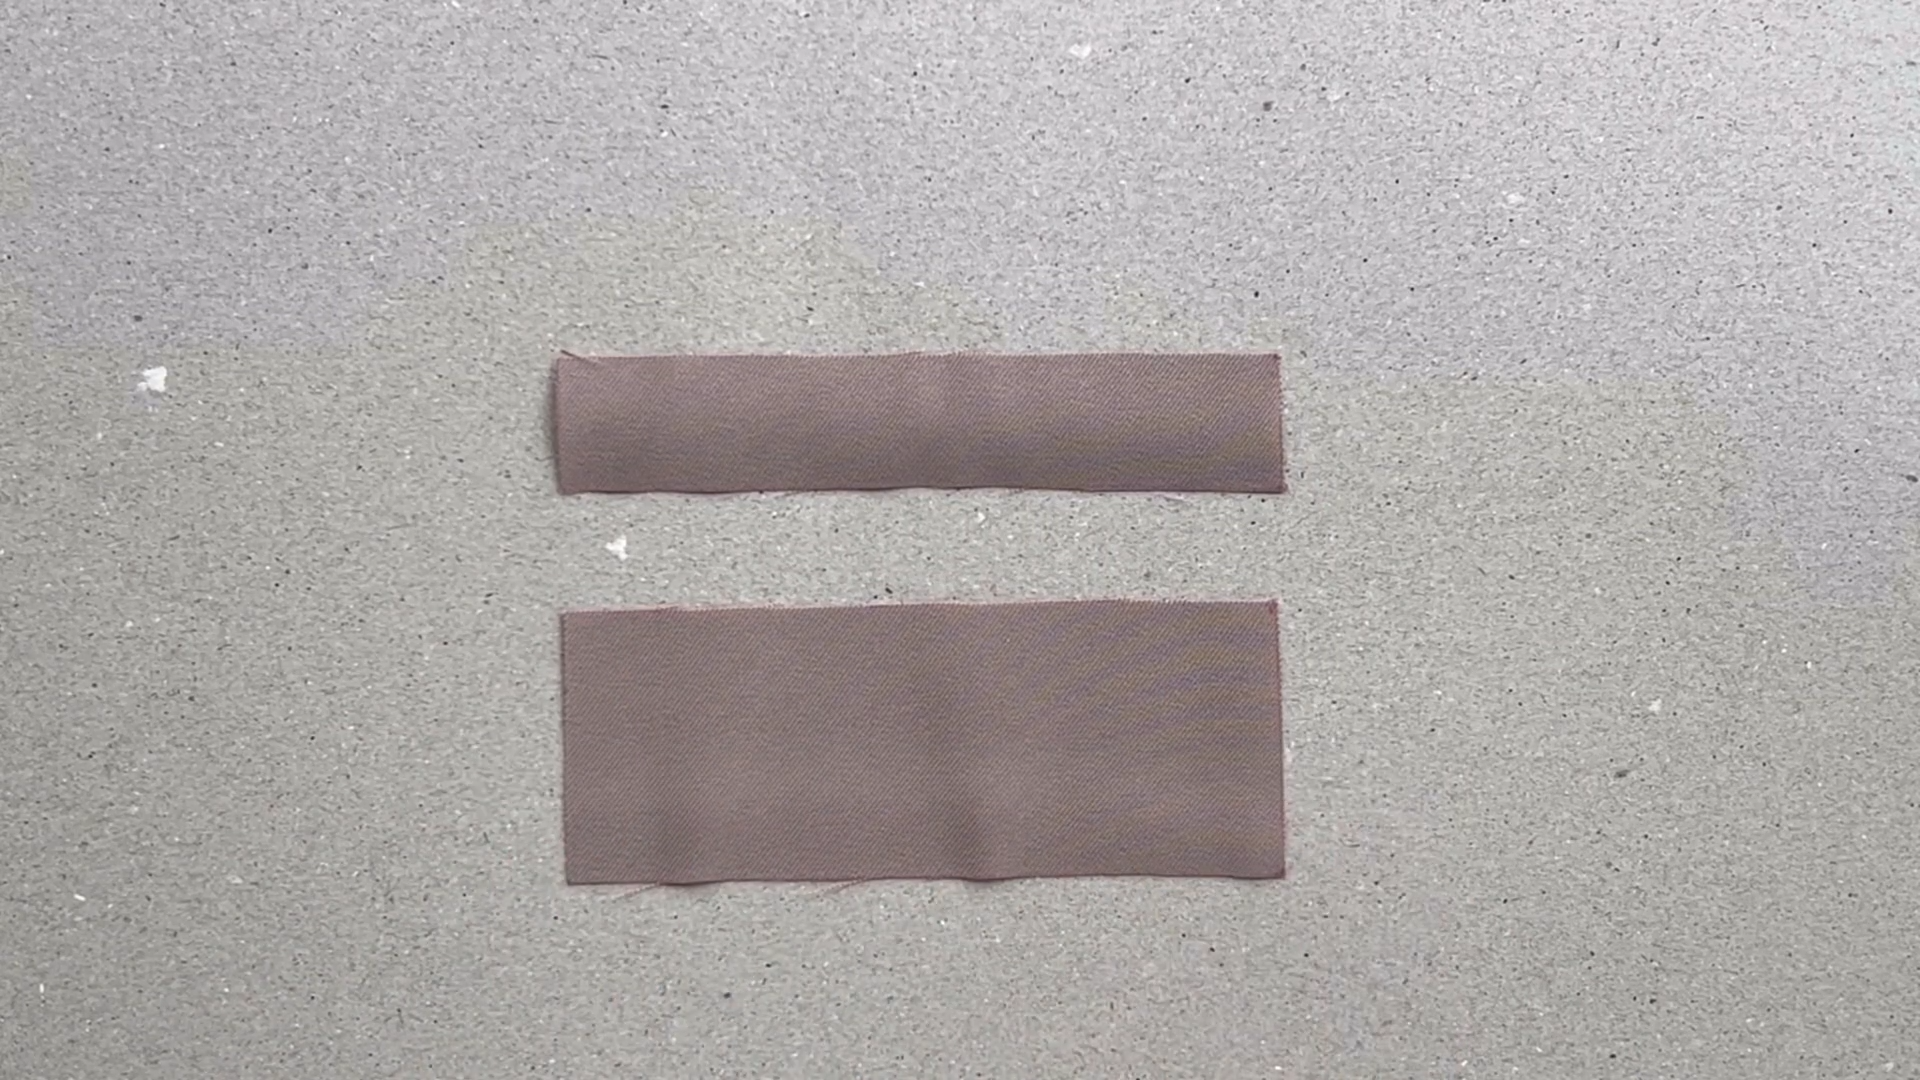
Cut out two rectangles to add to the pocket later. The smaller rectangle should be 3 cm long, which is three times the length of the pocket. Its width should be 13.5 centimeters, three centimeters wider than the pocket.
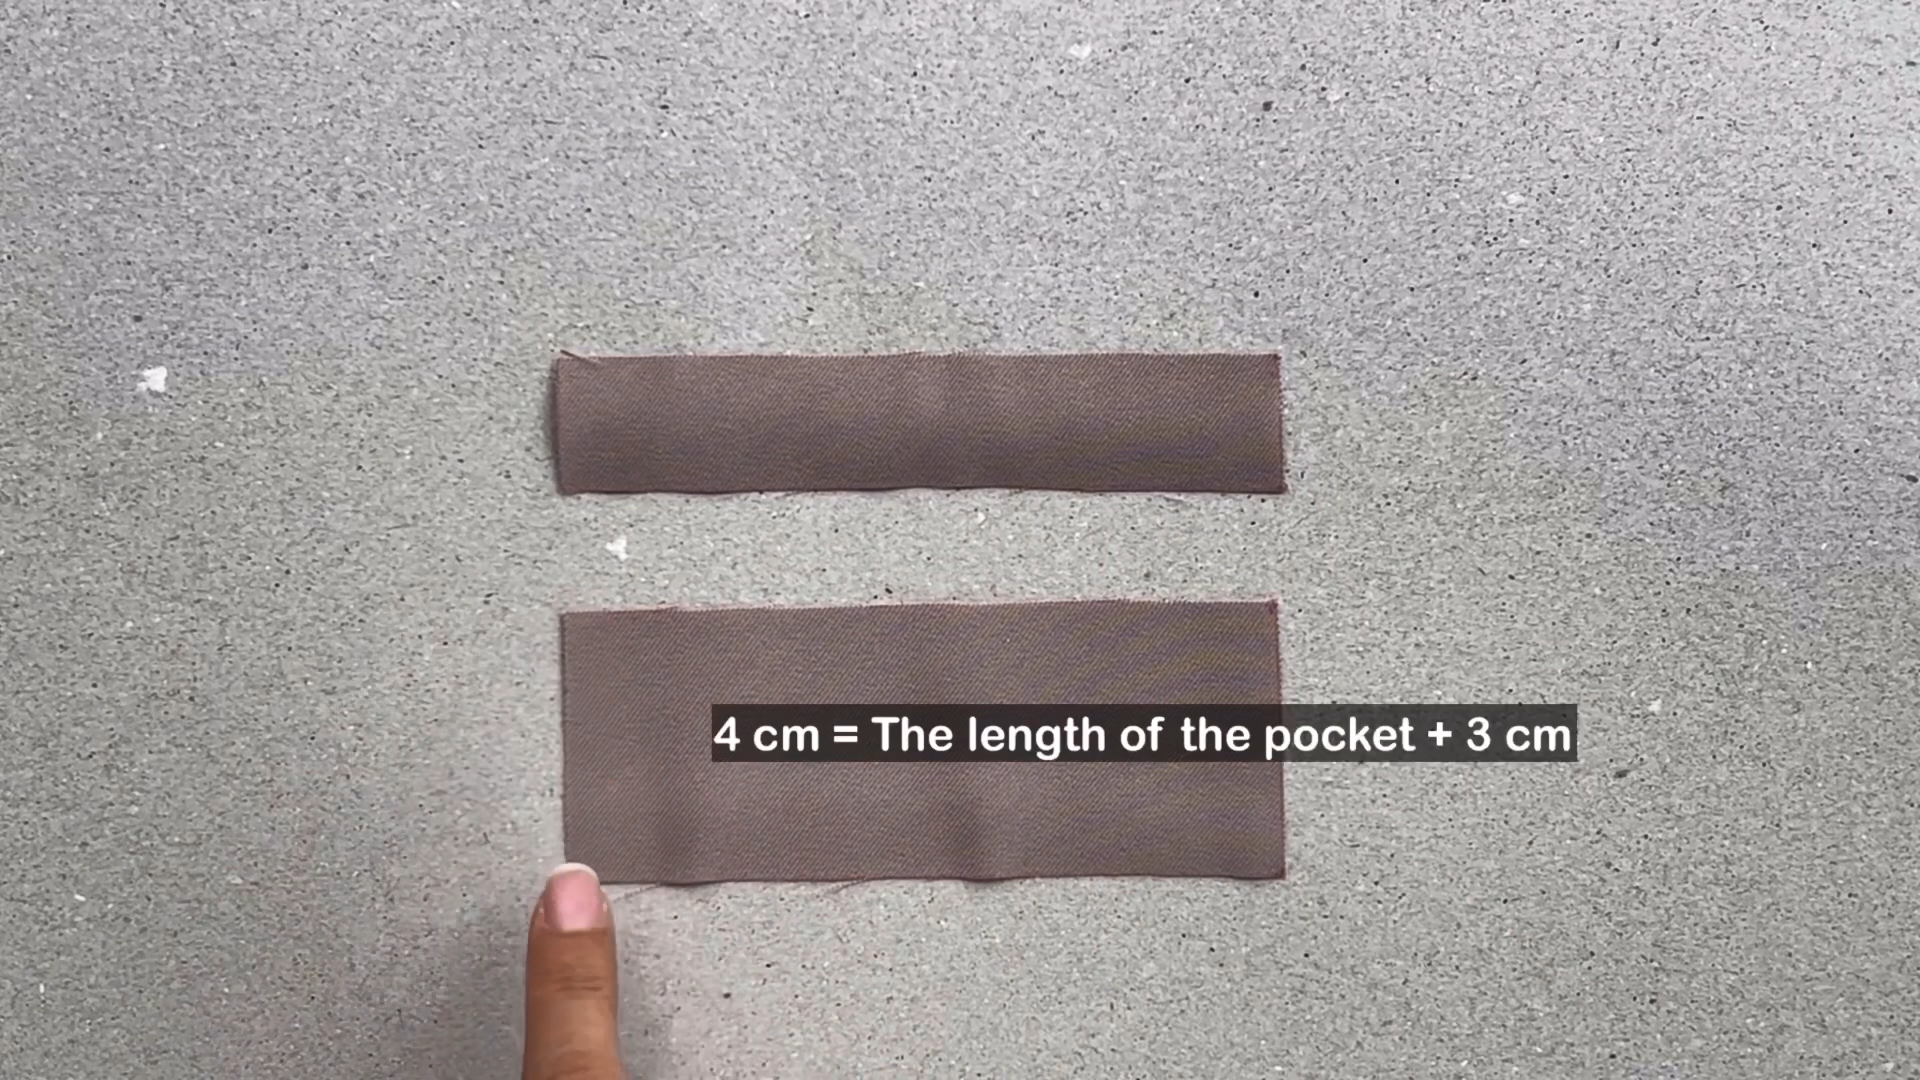
The larger rectangle has the same width but double the length of the first one.
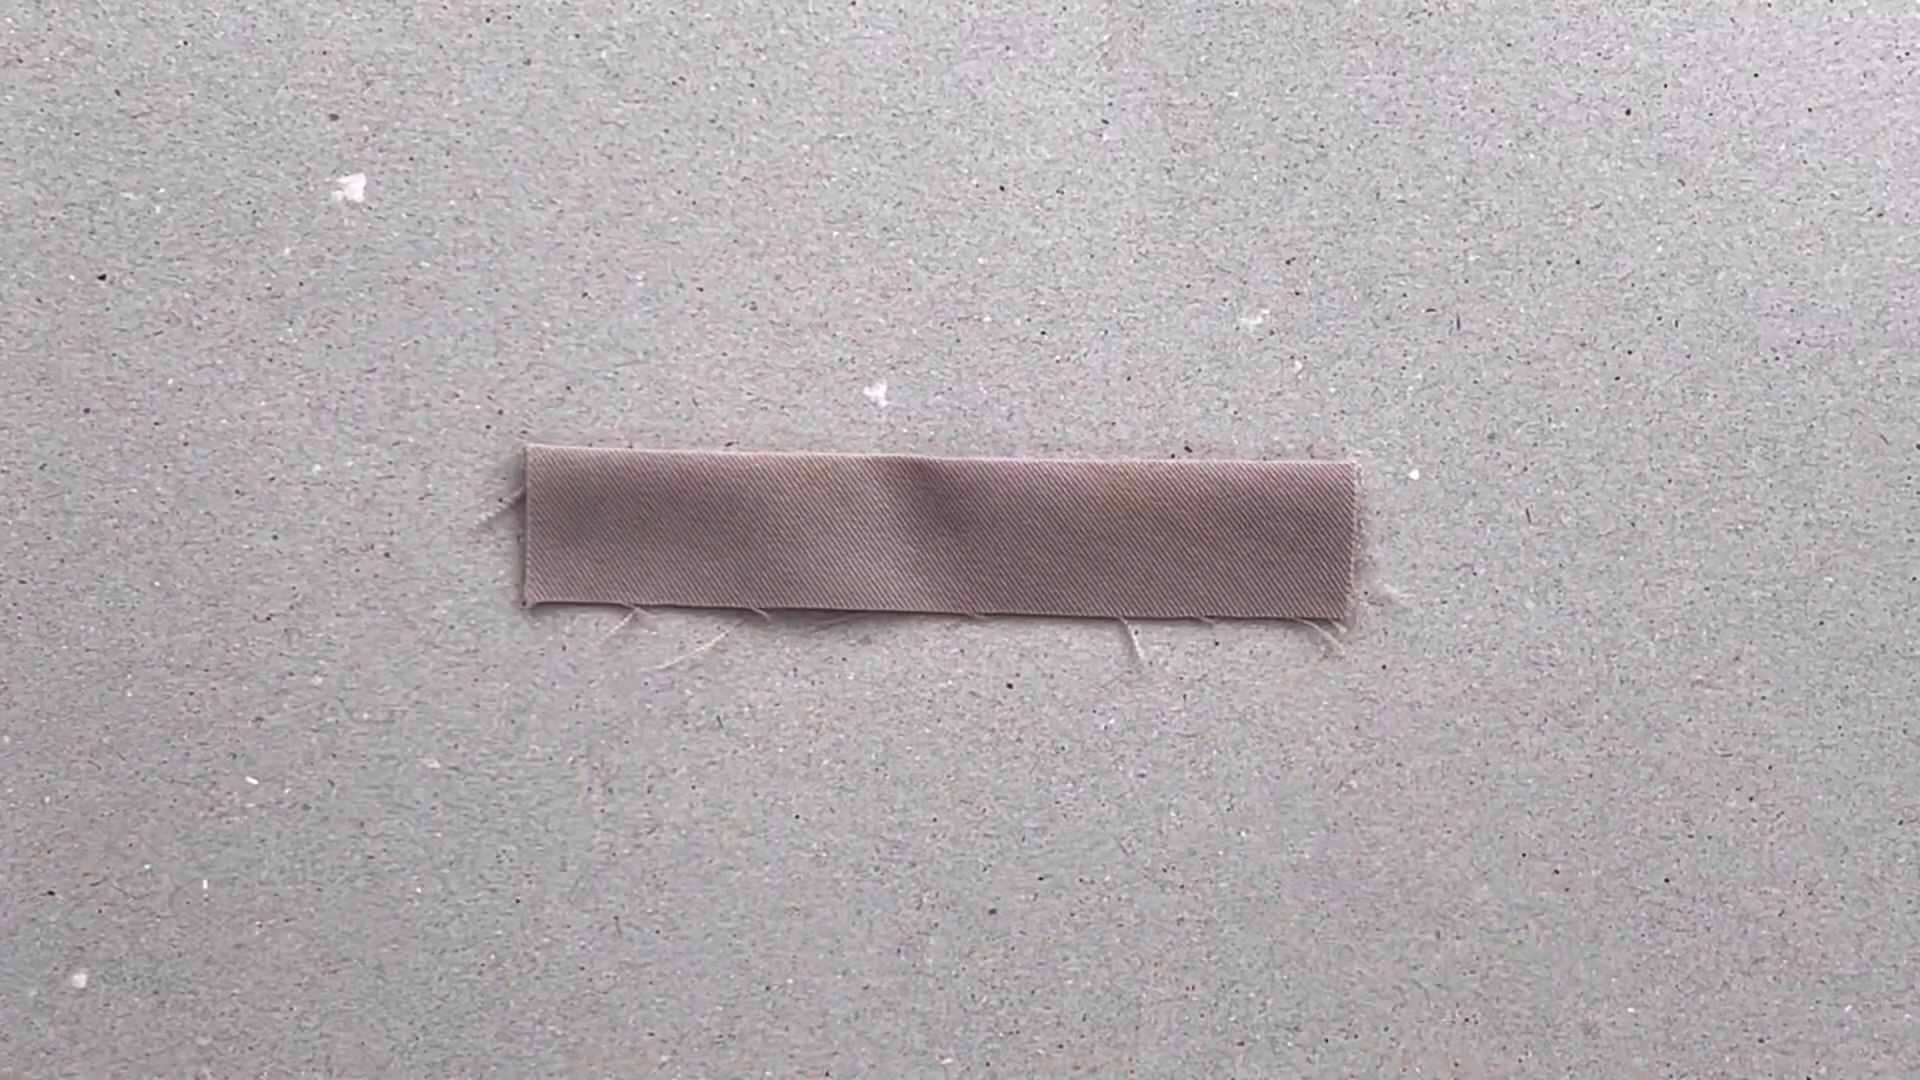
Fold the larger rectangle in half and use an iron to create a crisp fold.
Draw a line 1 cm below the fold line.
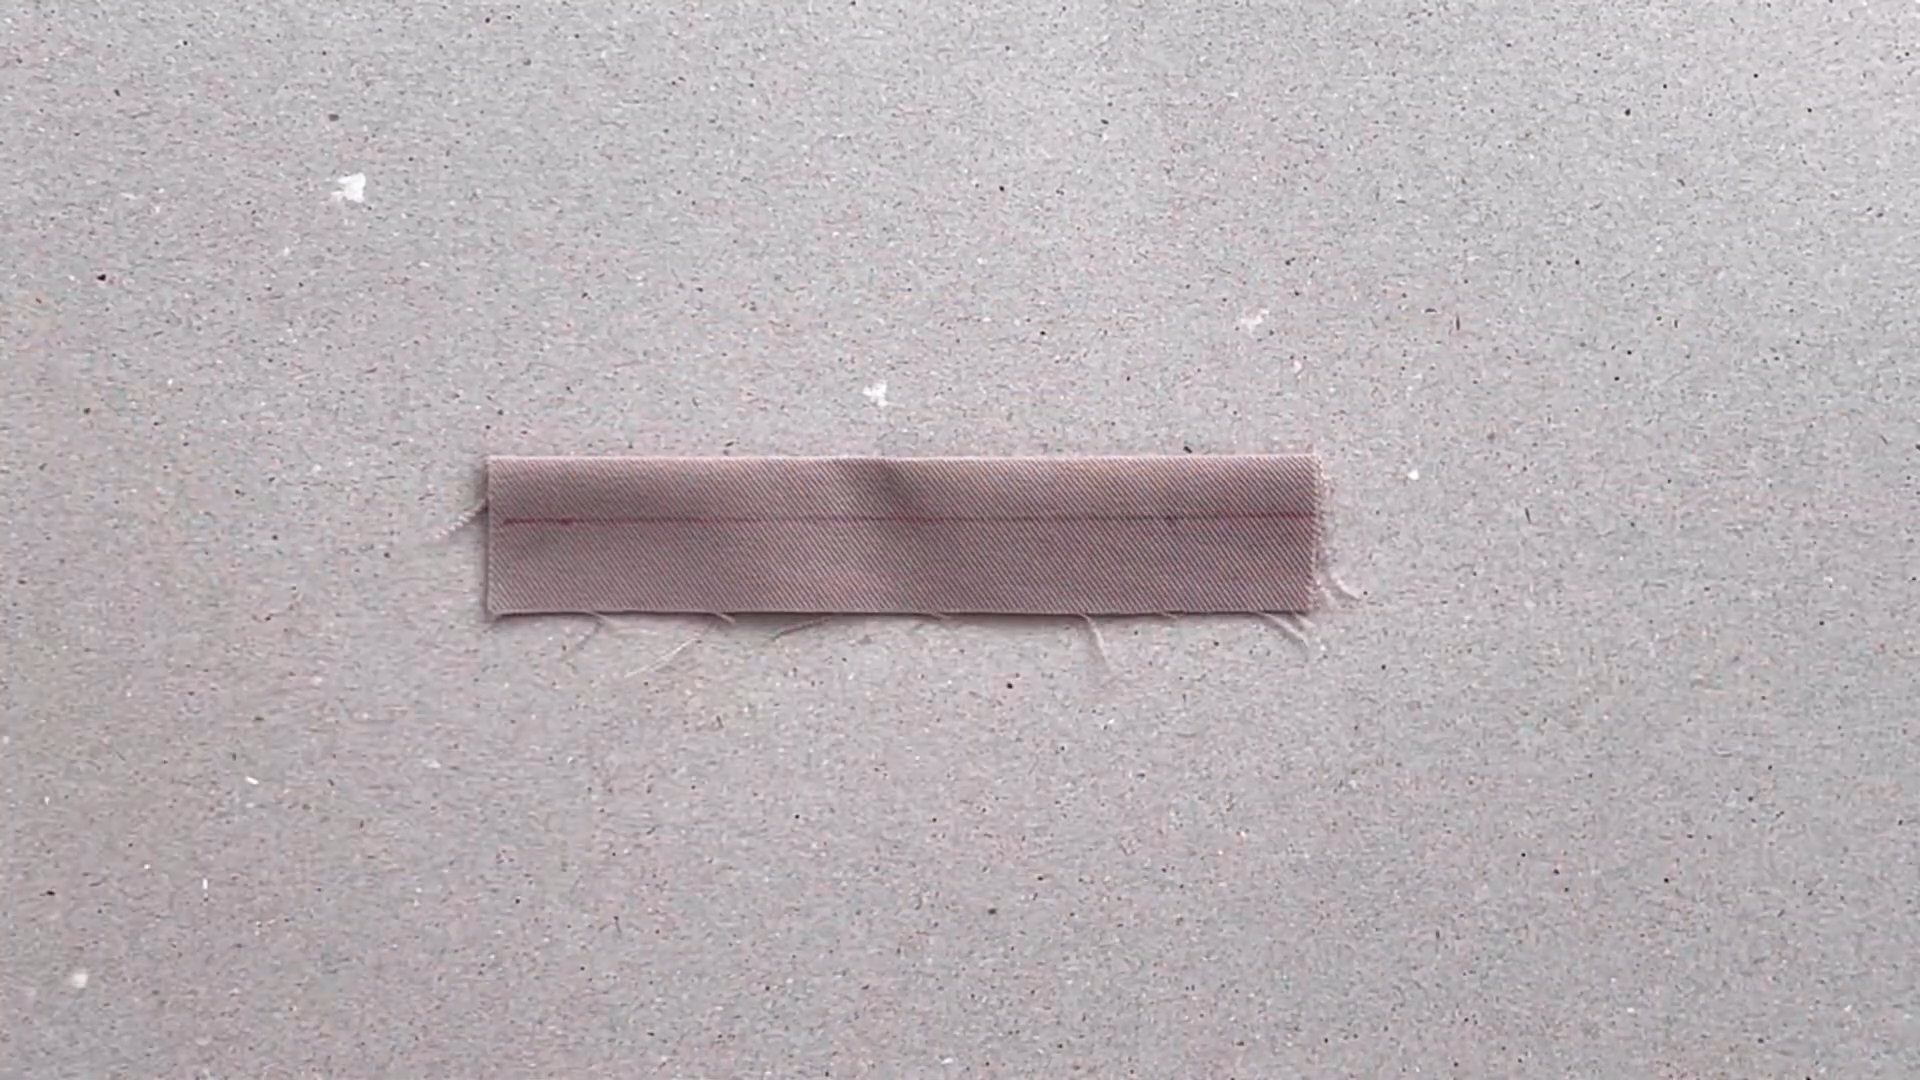
From the new line, draw 2 straight lines cutting the fold line.
The width between them is the width of the pocket.
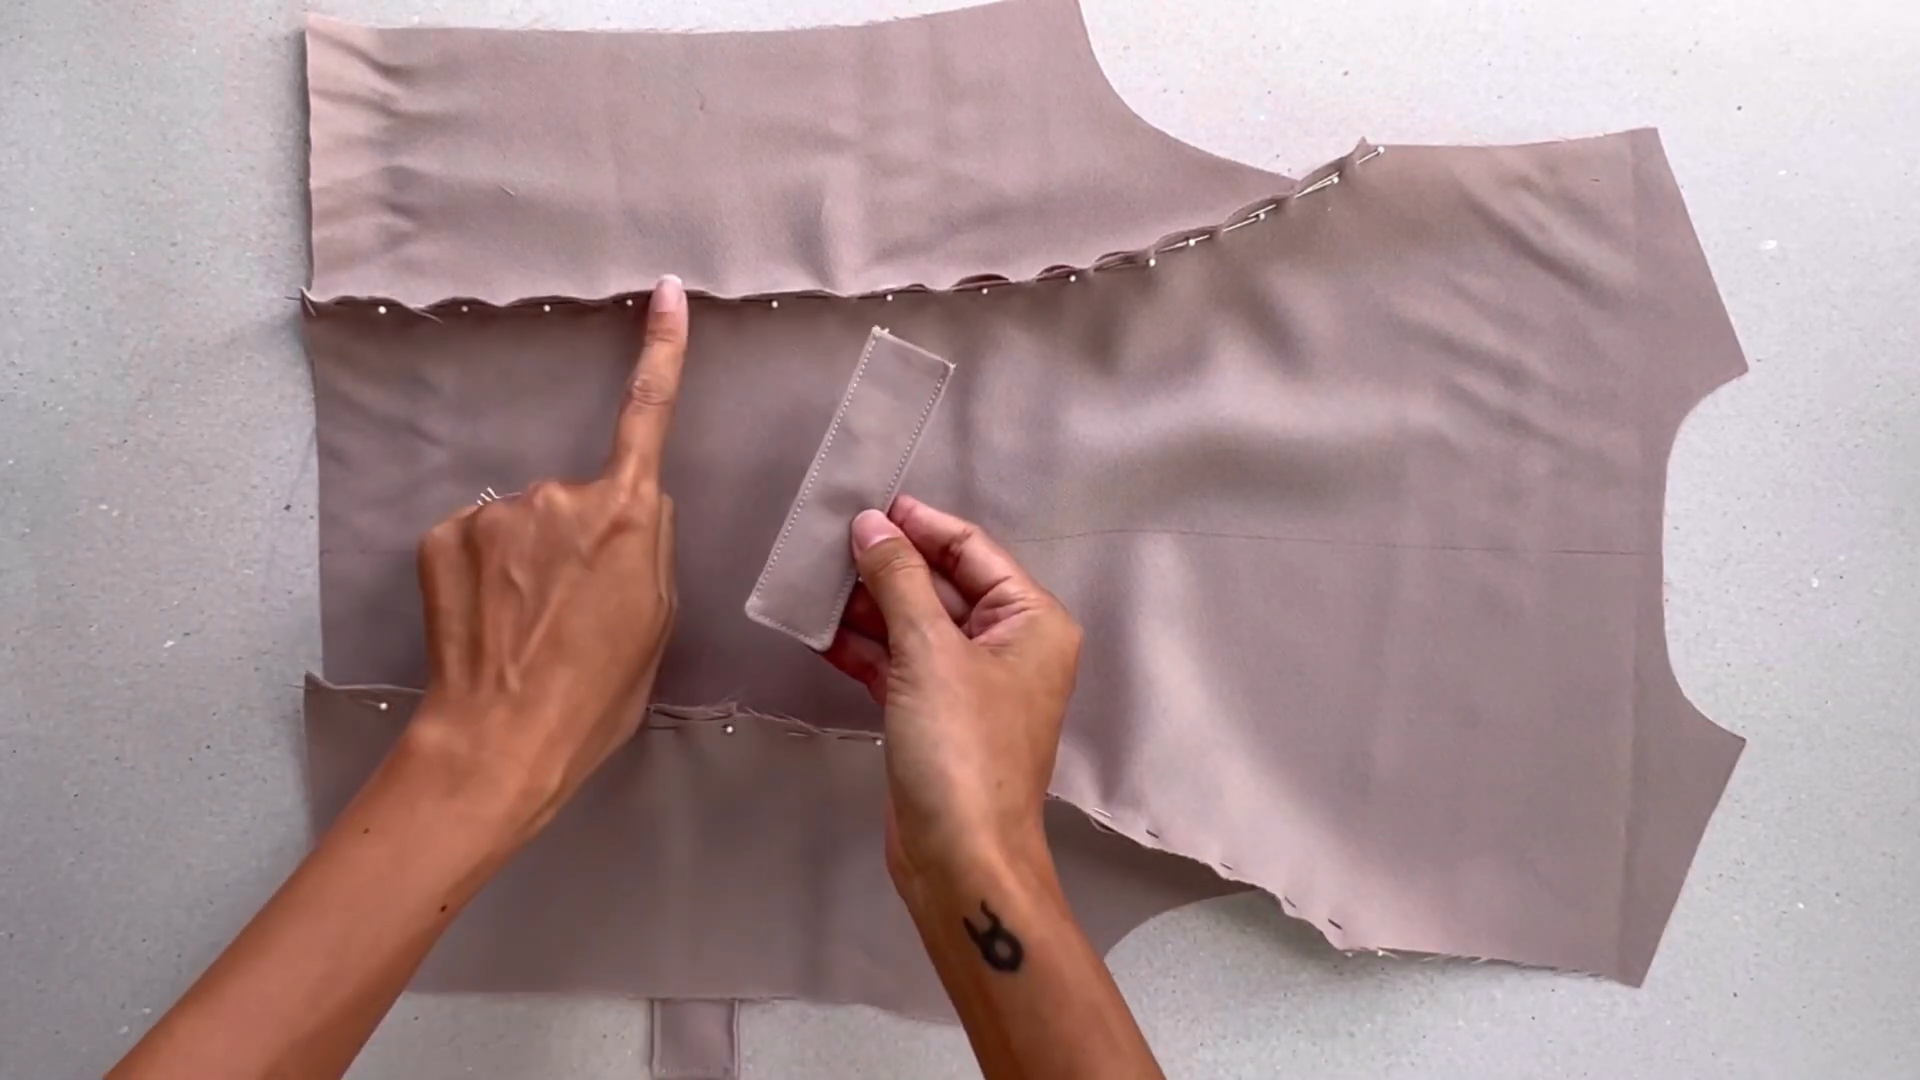
Add this folded rectangle to the end of the pocket at the front bodice.
Make sure they align at the drawing line then sew them in place.
Draw the pocket side on the smaller rectangle, following a similar approach as before. However, the length of this rectangle should be half the size of the pocket.
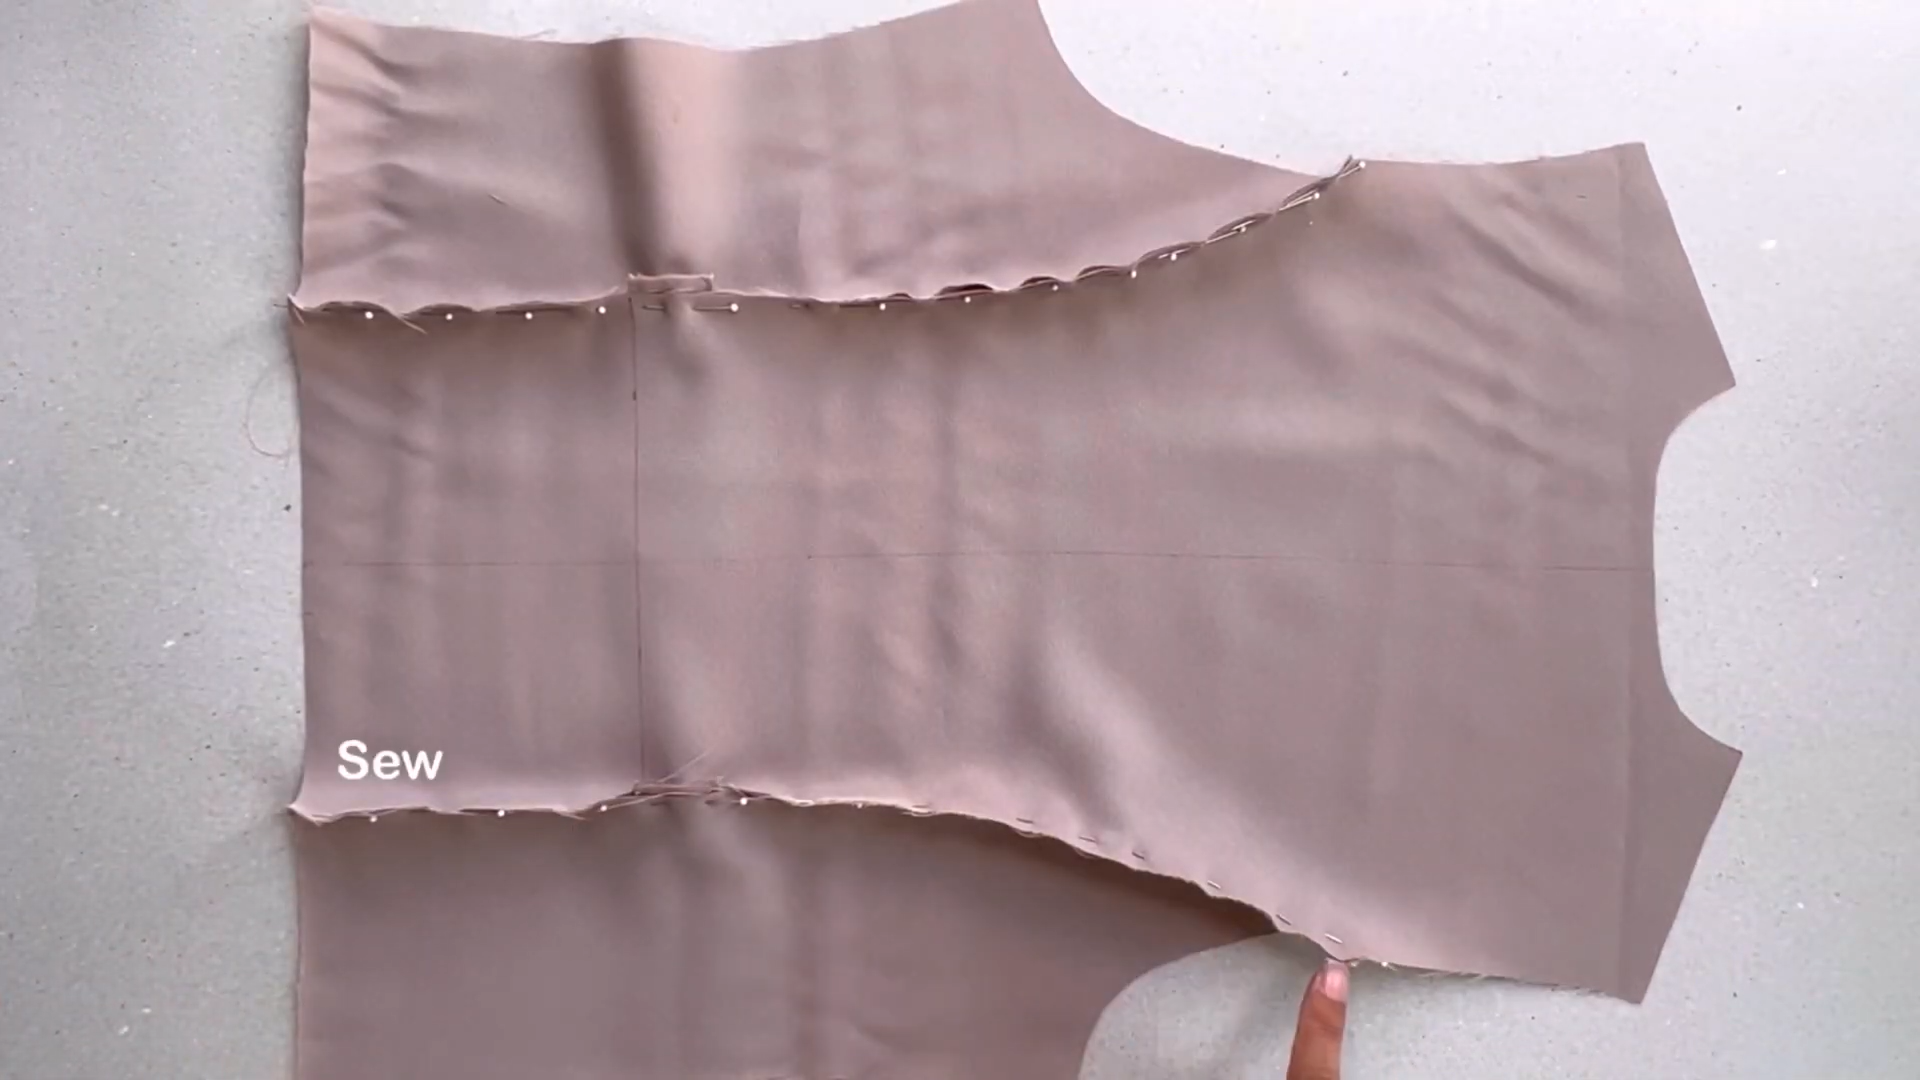
Attach this smaller rectangle to the top of the pocket on the front bodice, matching the drawing line.
Sew it in place.
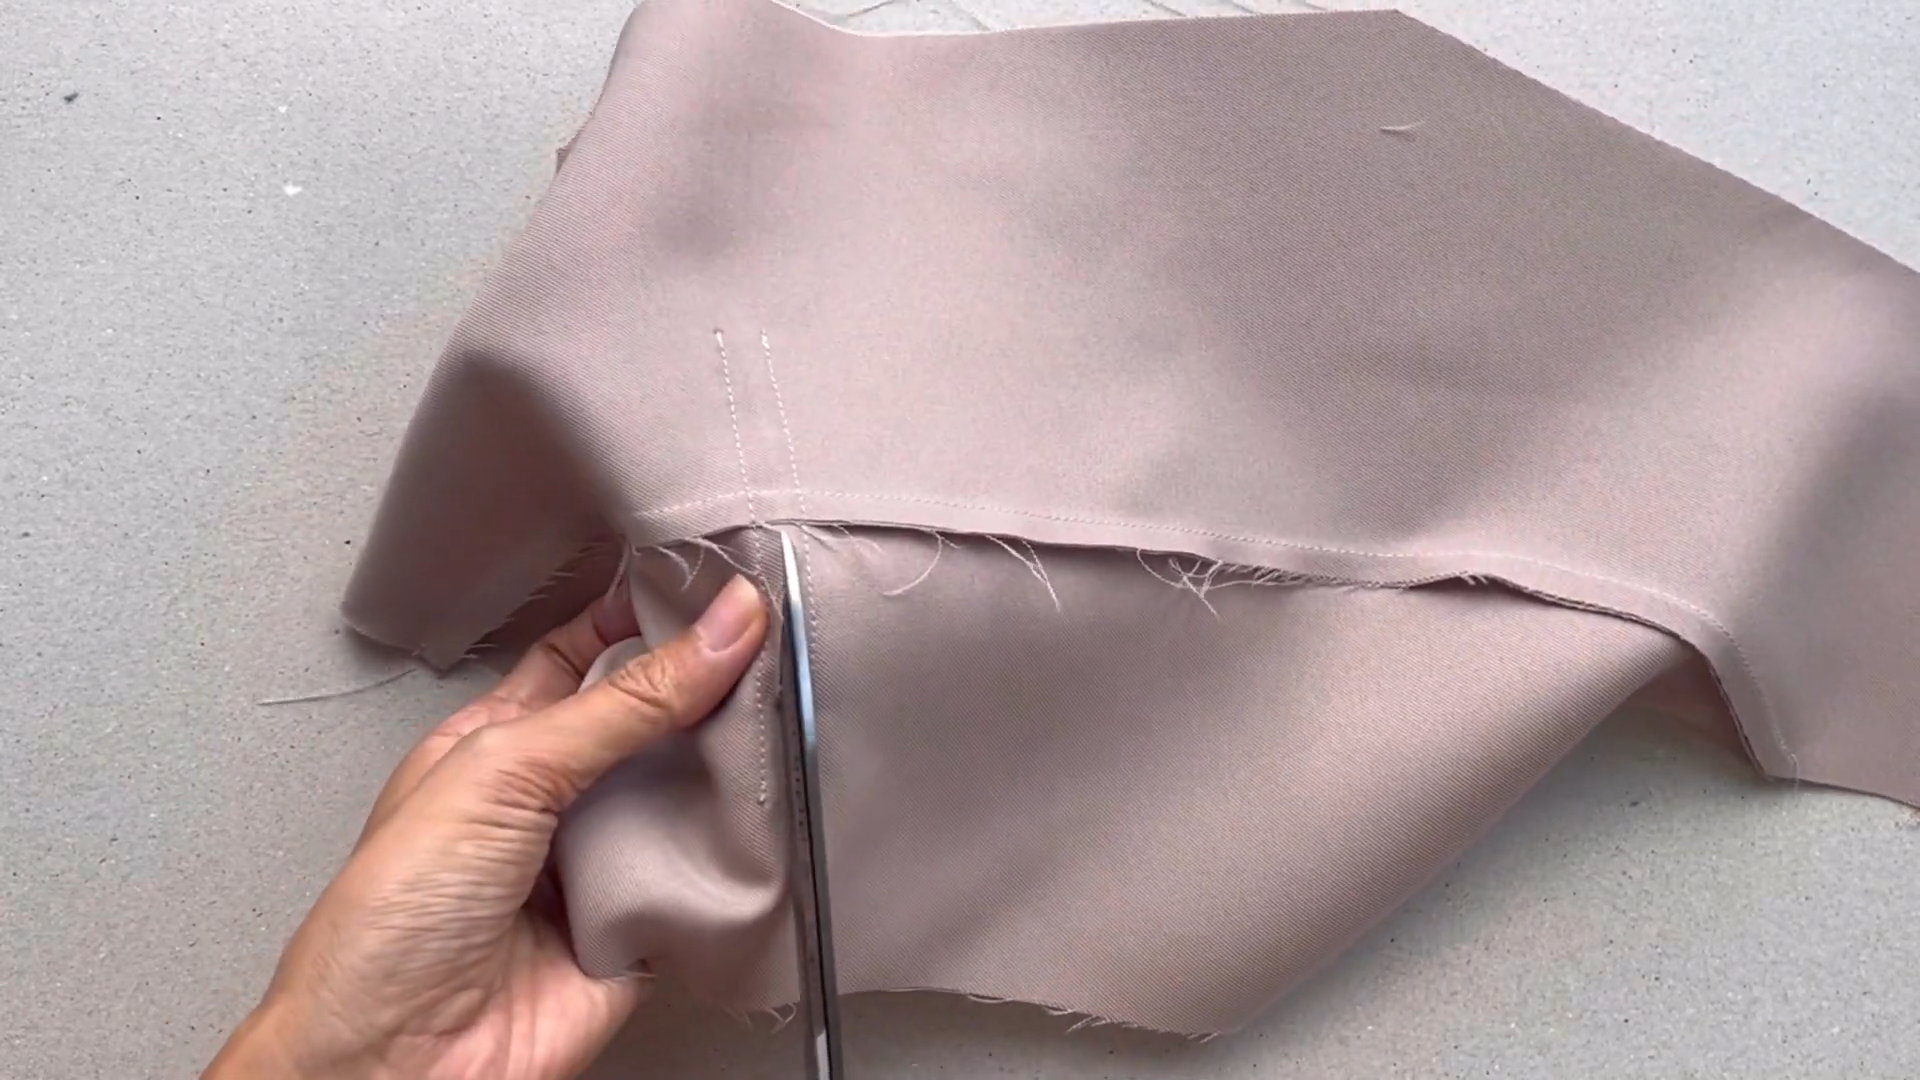
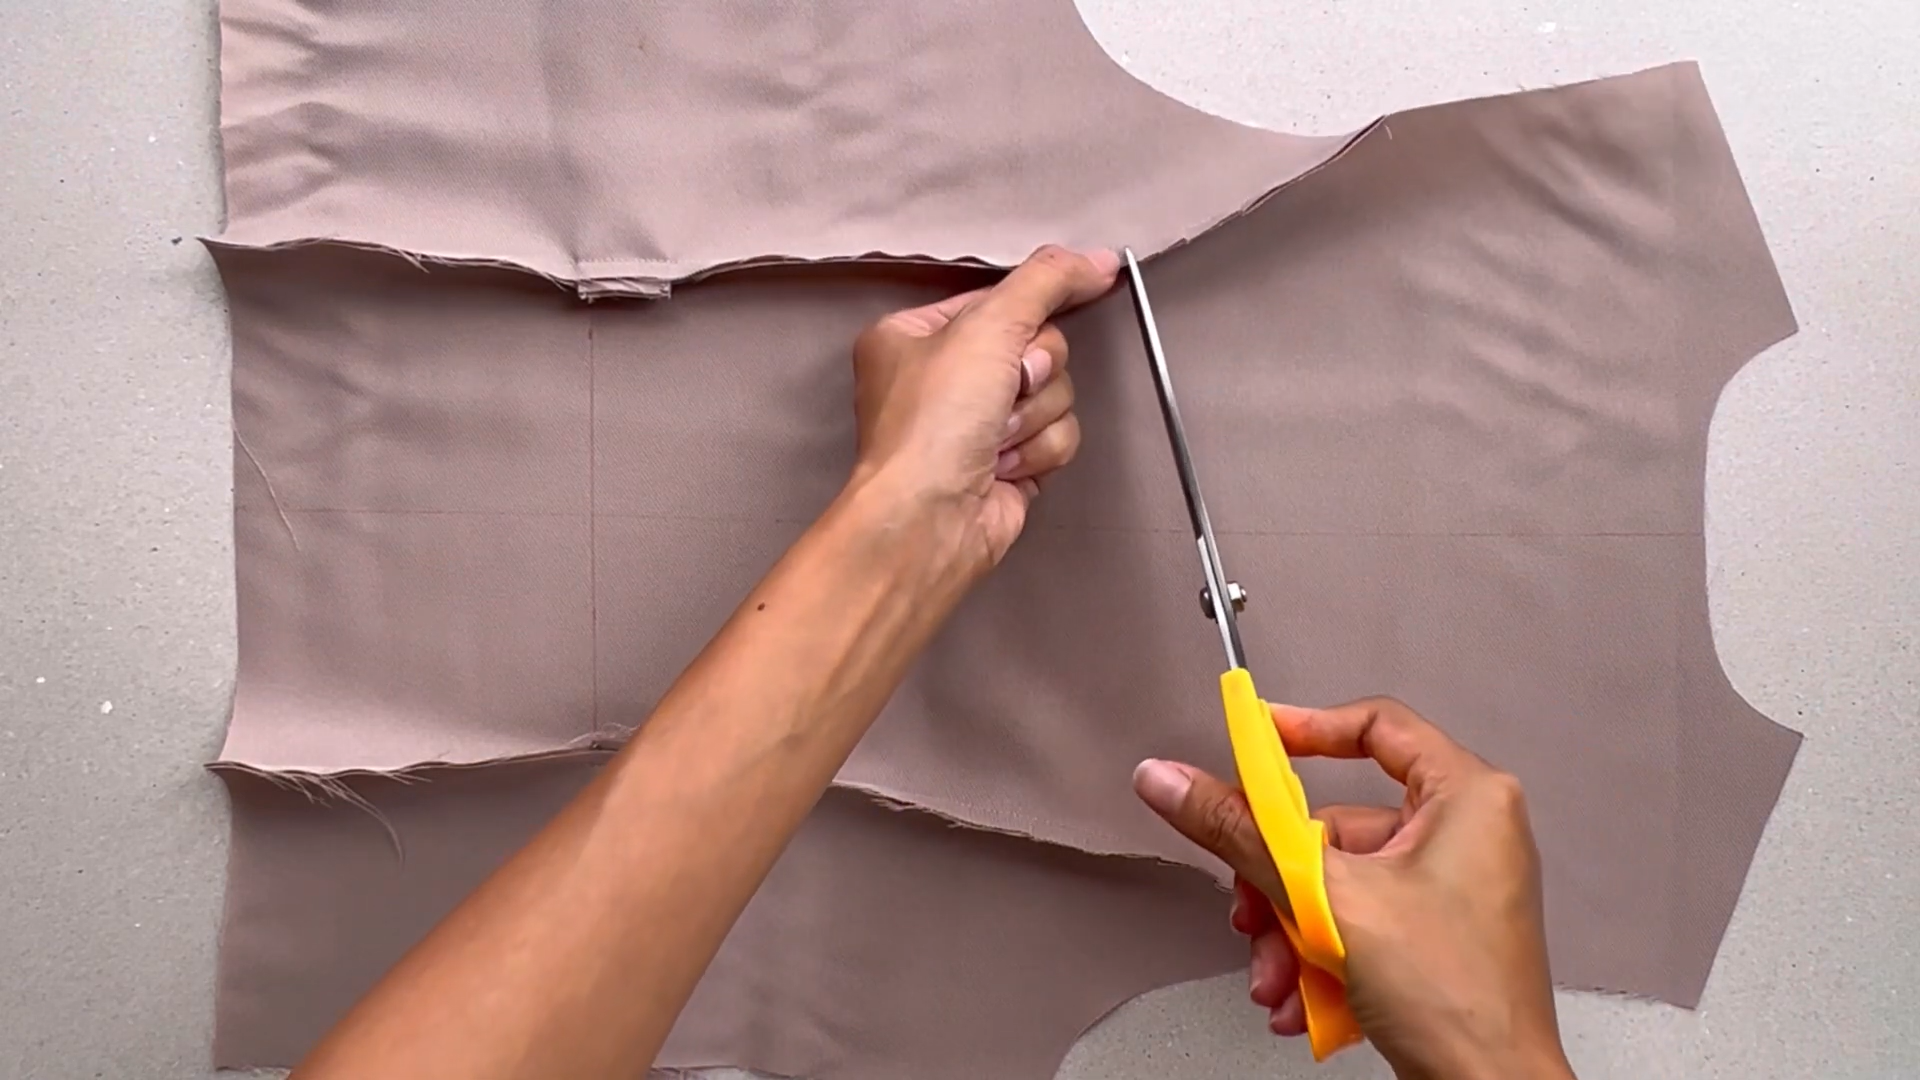
Cut down the middle between the two seams.
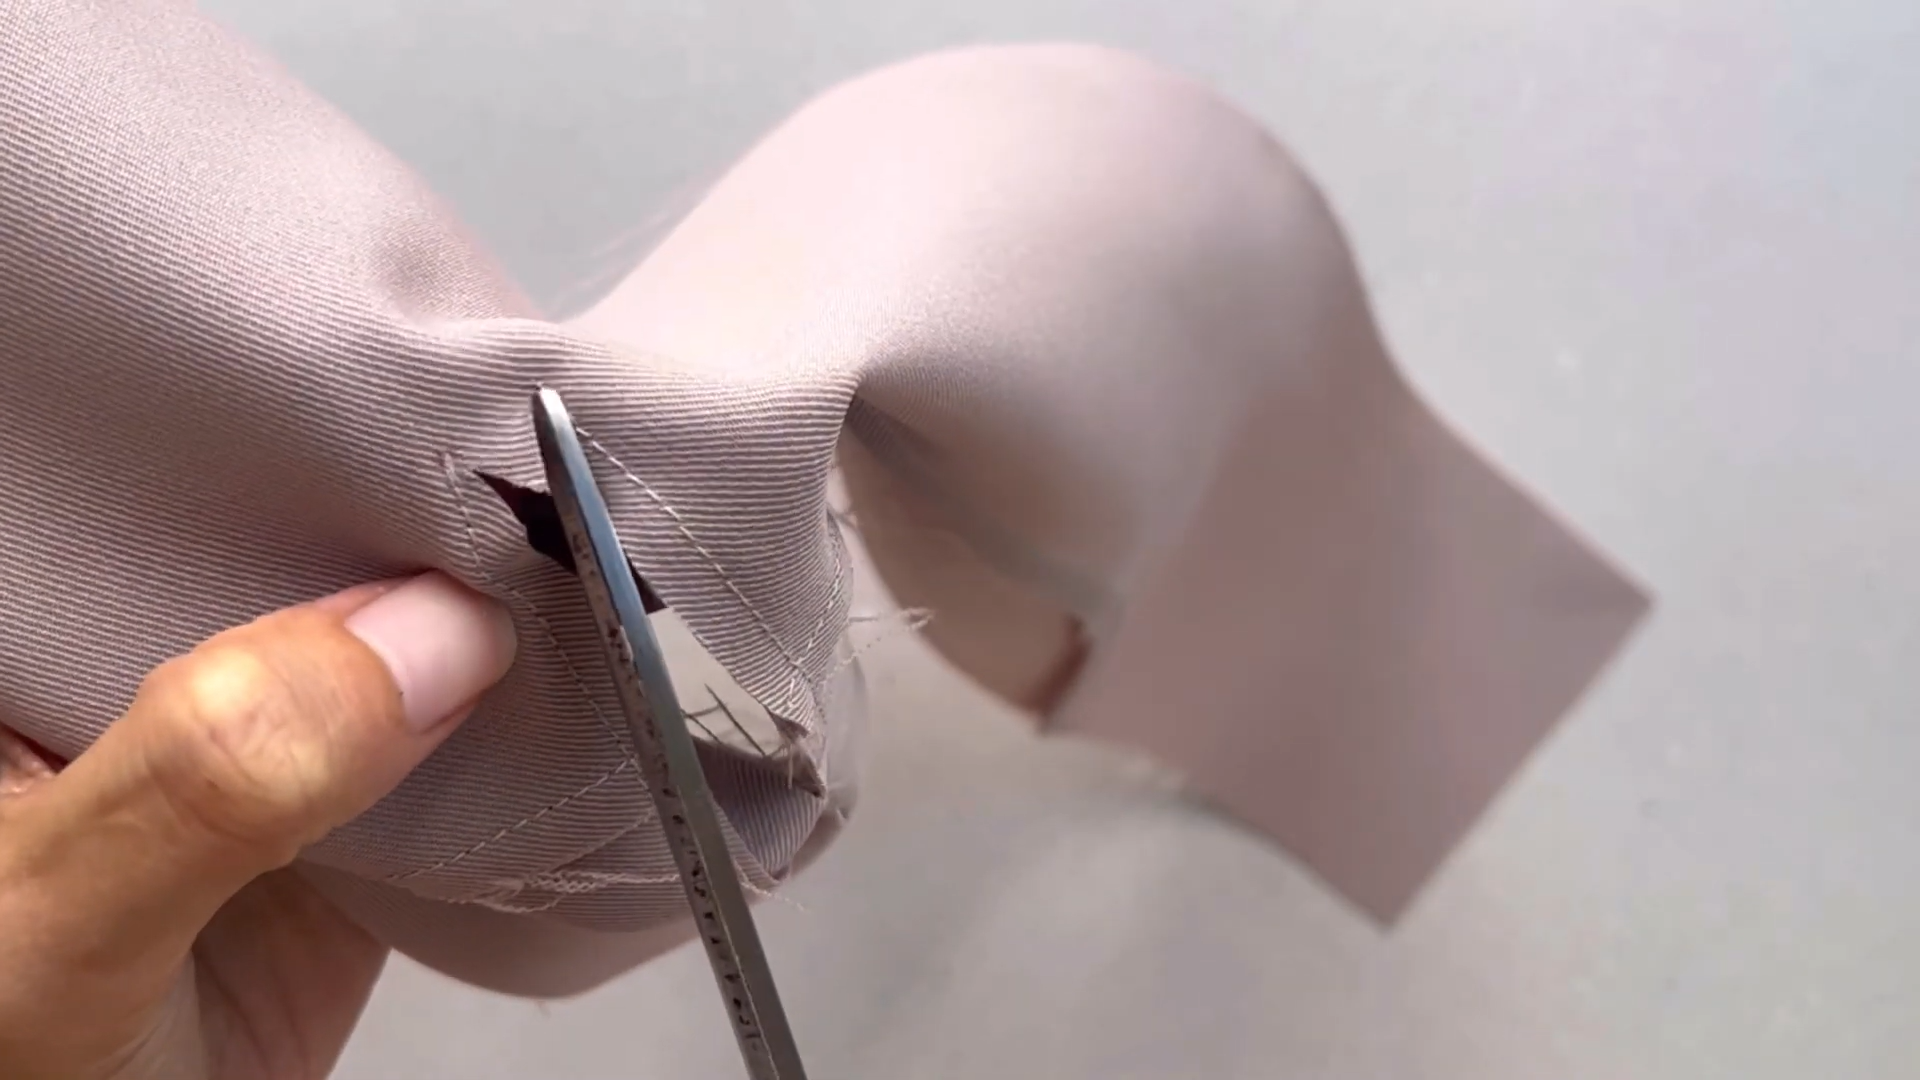
When you’re about 1 cm away from the end of this cut, veer toward the end of the two seams instead of going straight.
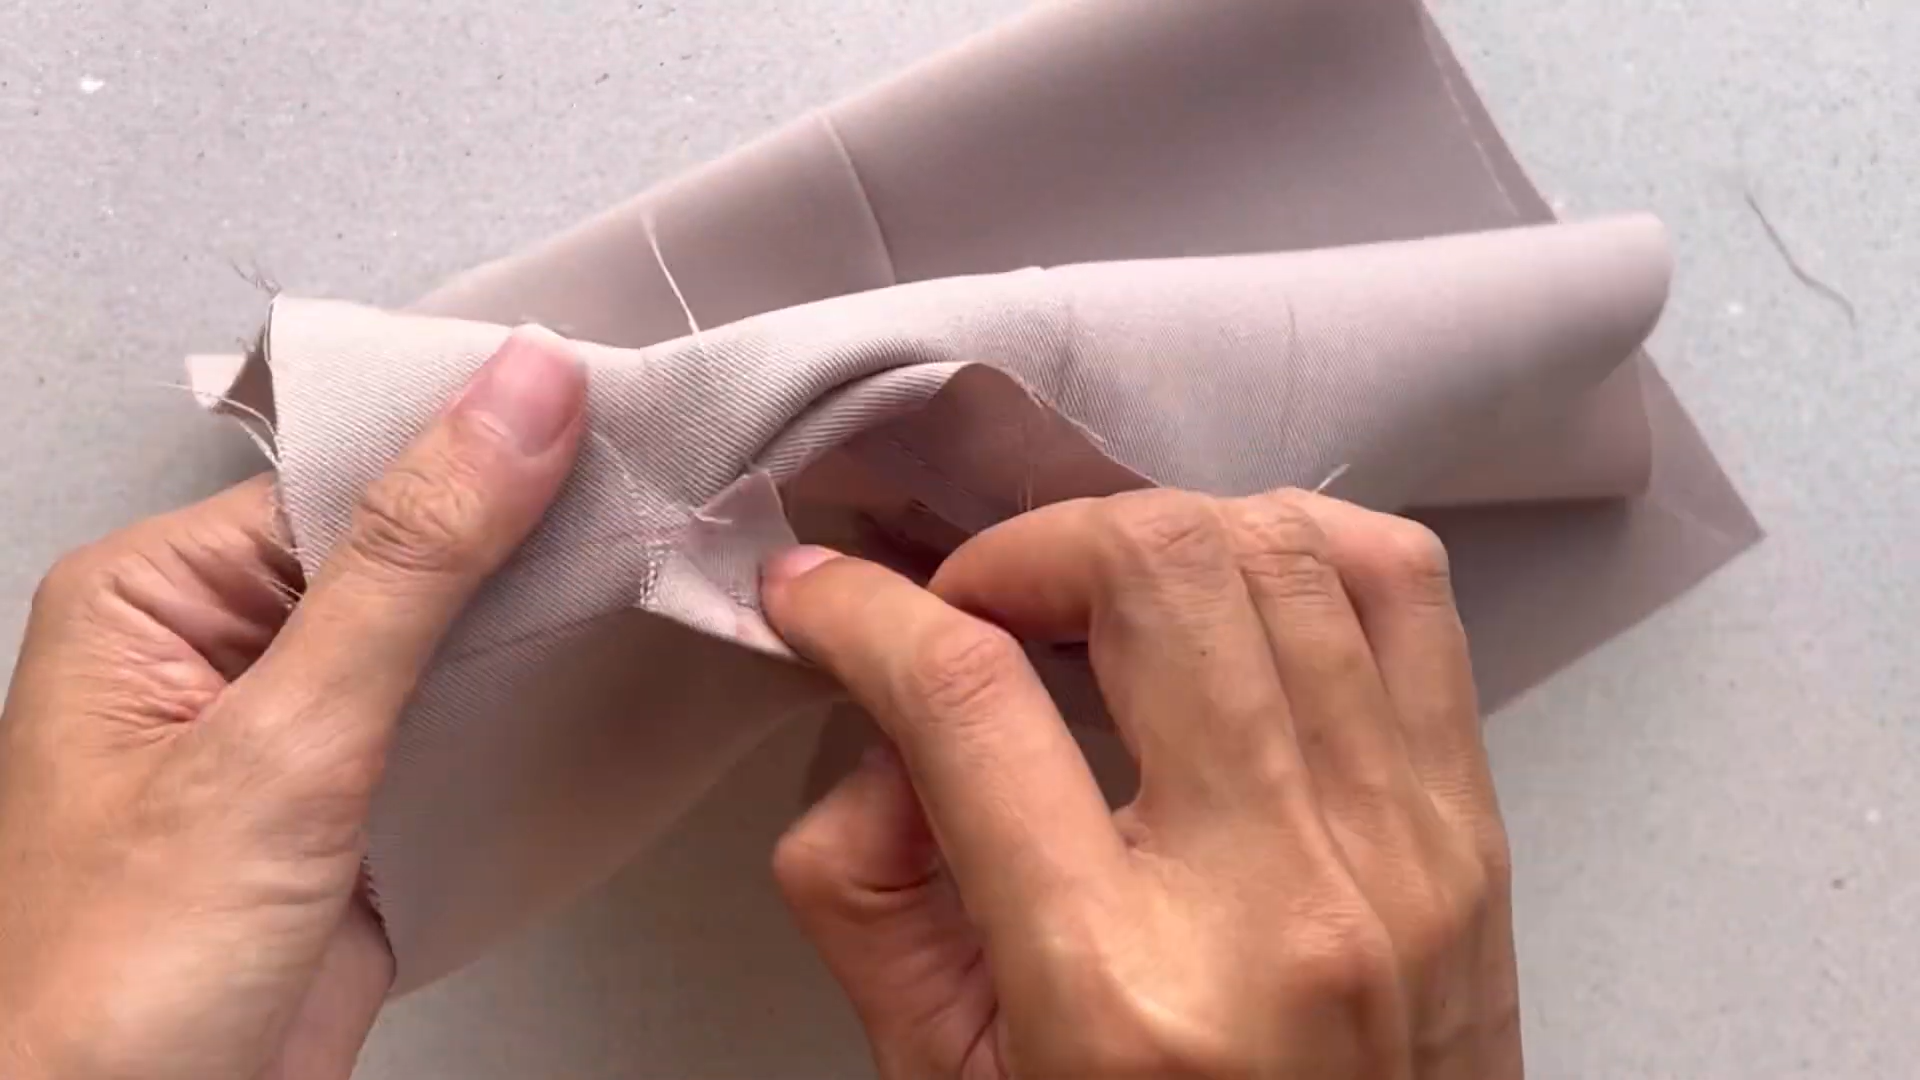
Turn the remaining fabric of the 2 rectangles inside.
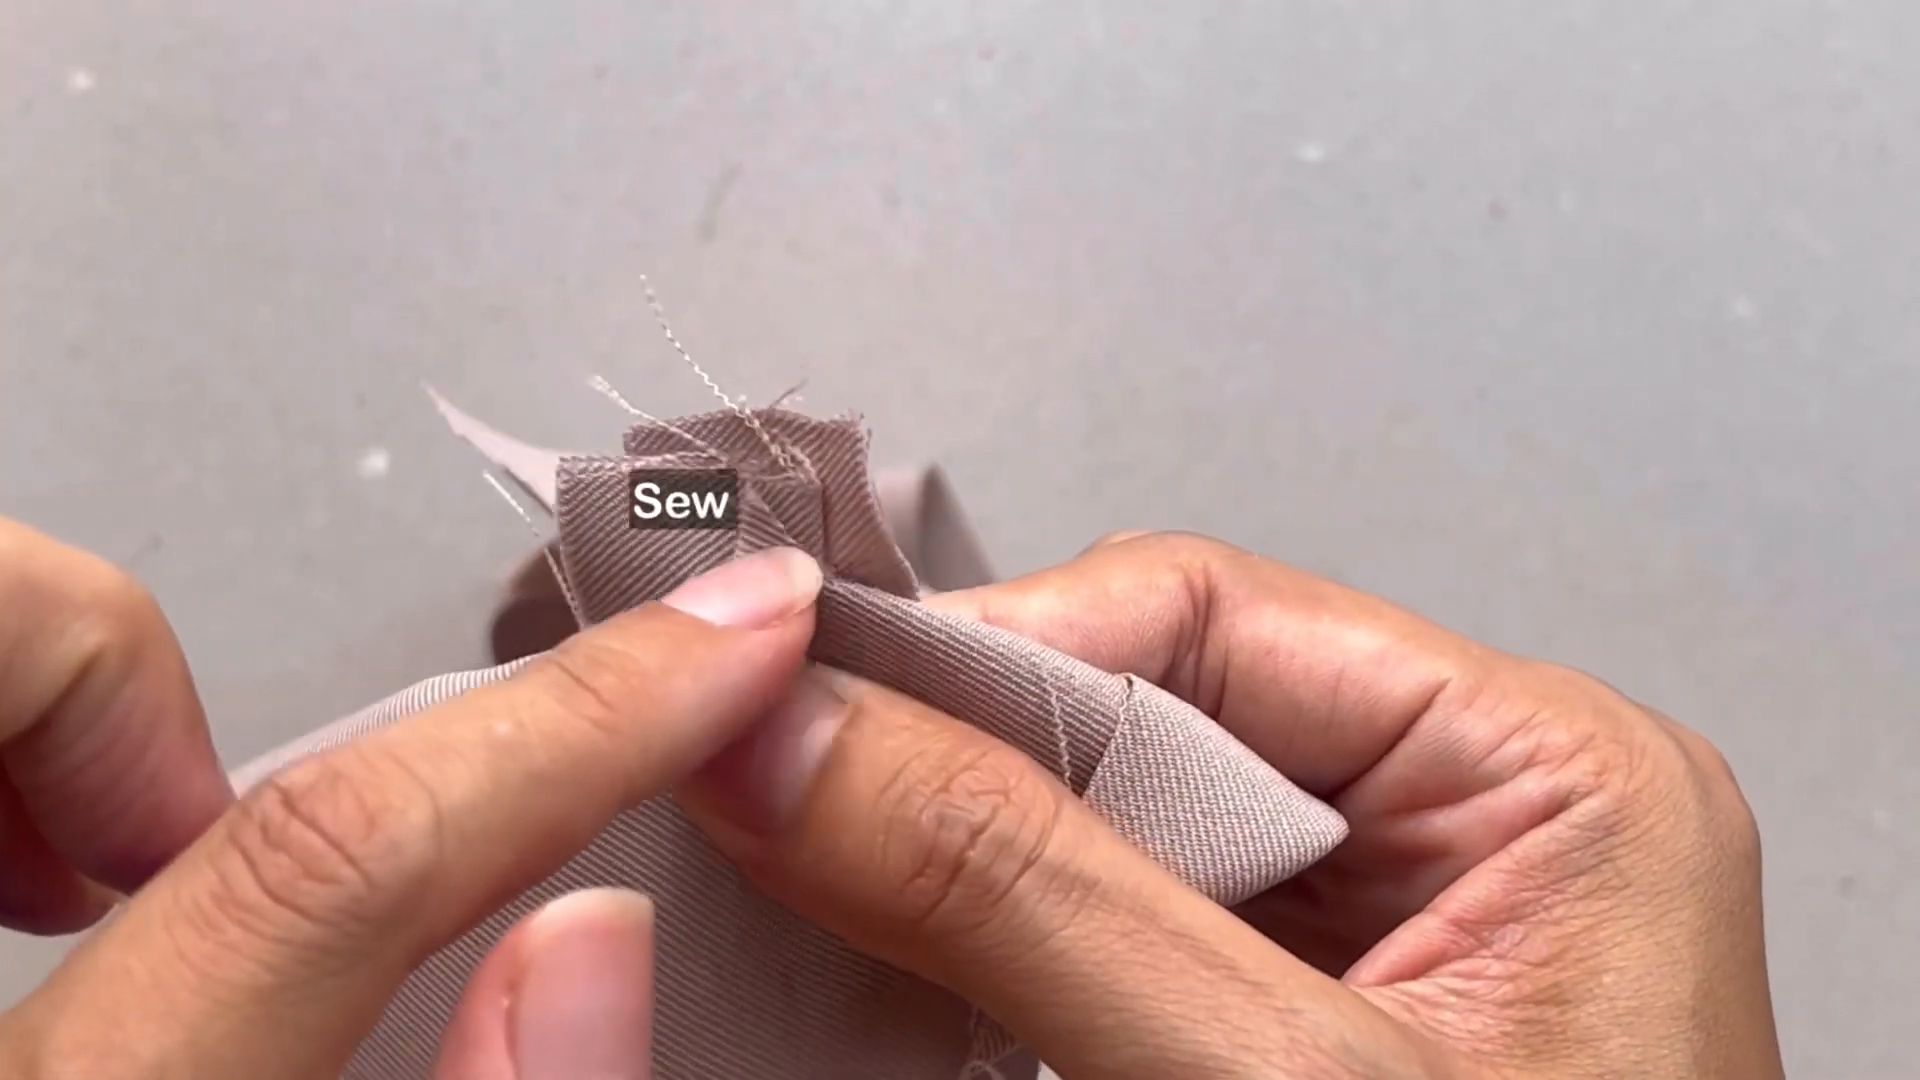
Sew the two sides together to secure them.
Since its a fake pocket, close the pocket by connecting two rectangles together and make a seam over the first seam at the folded rectangle.
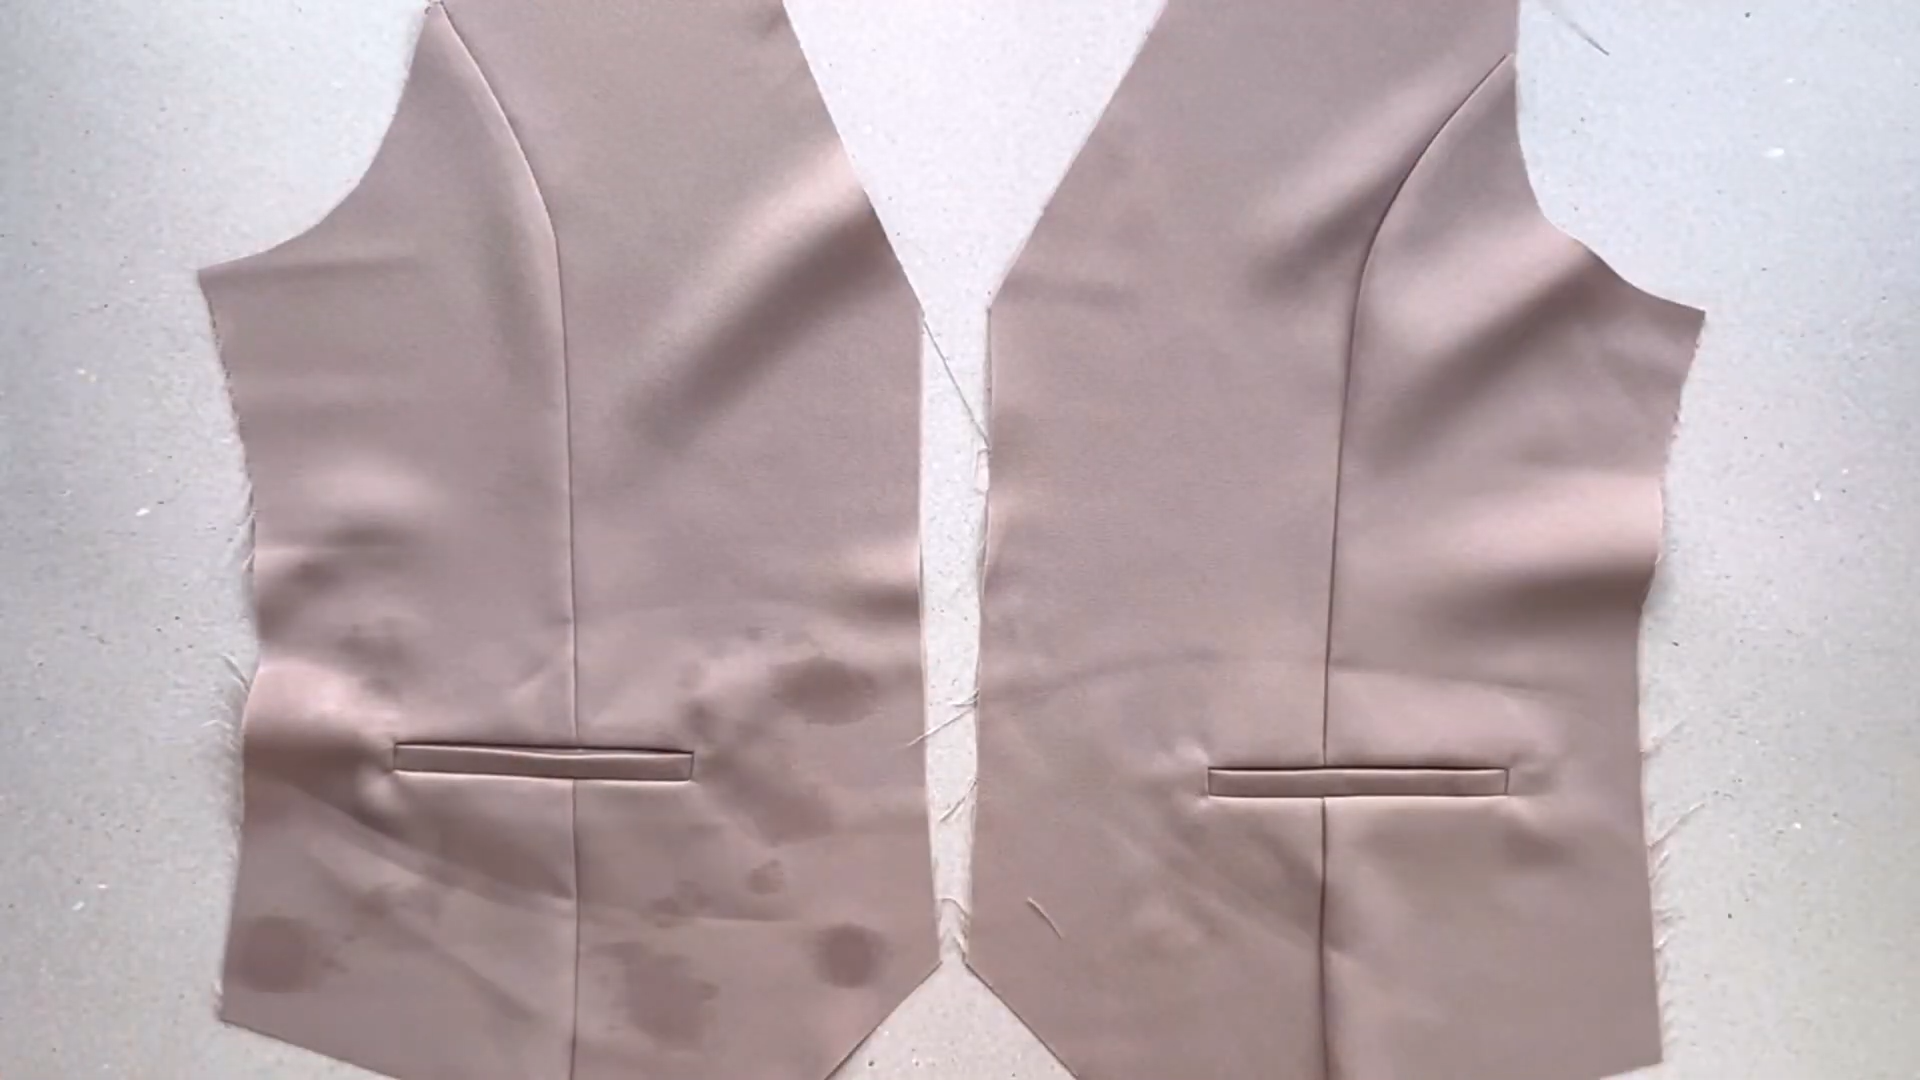
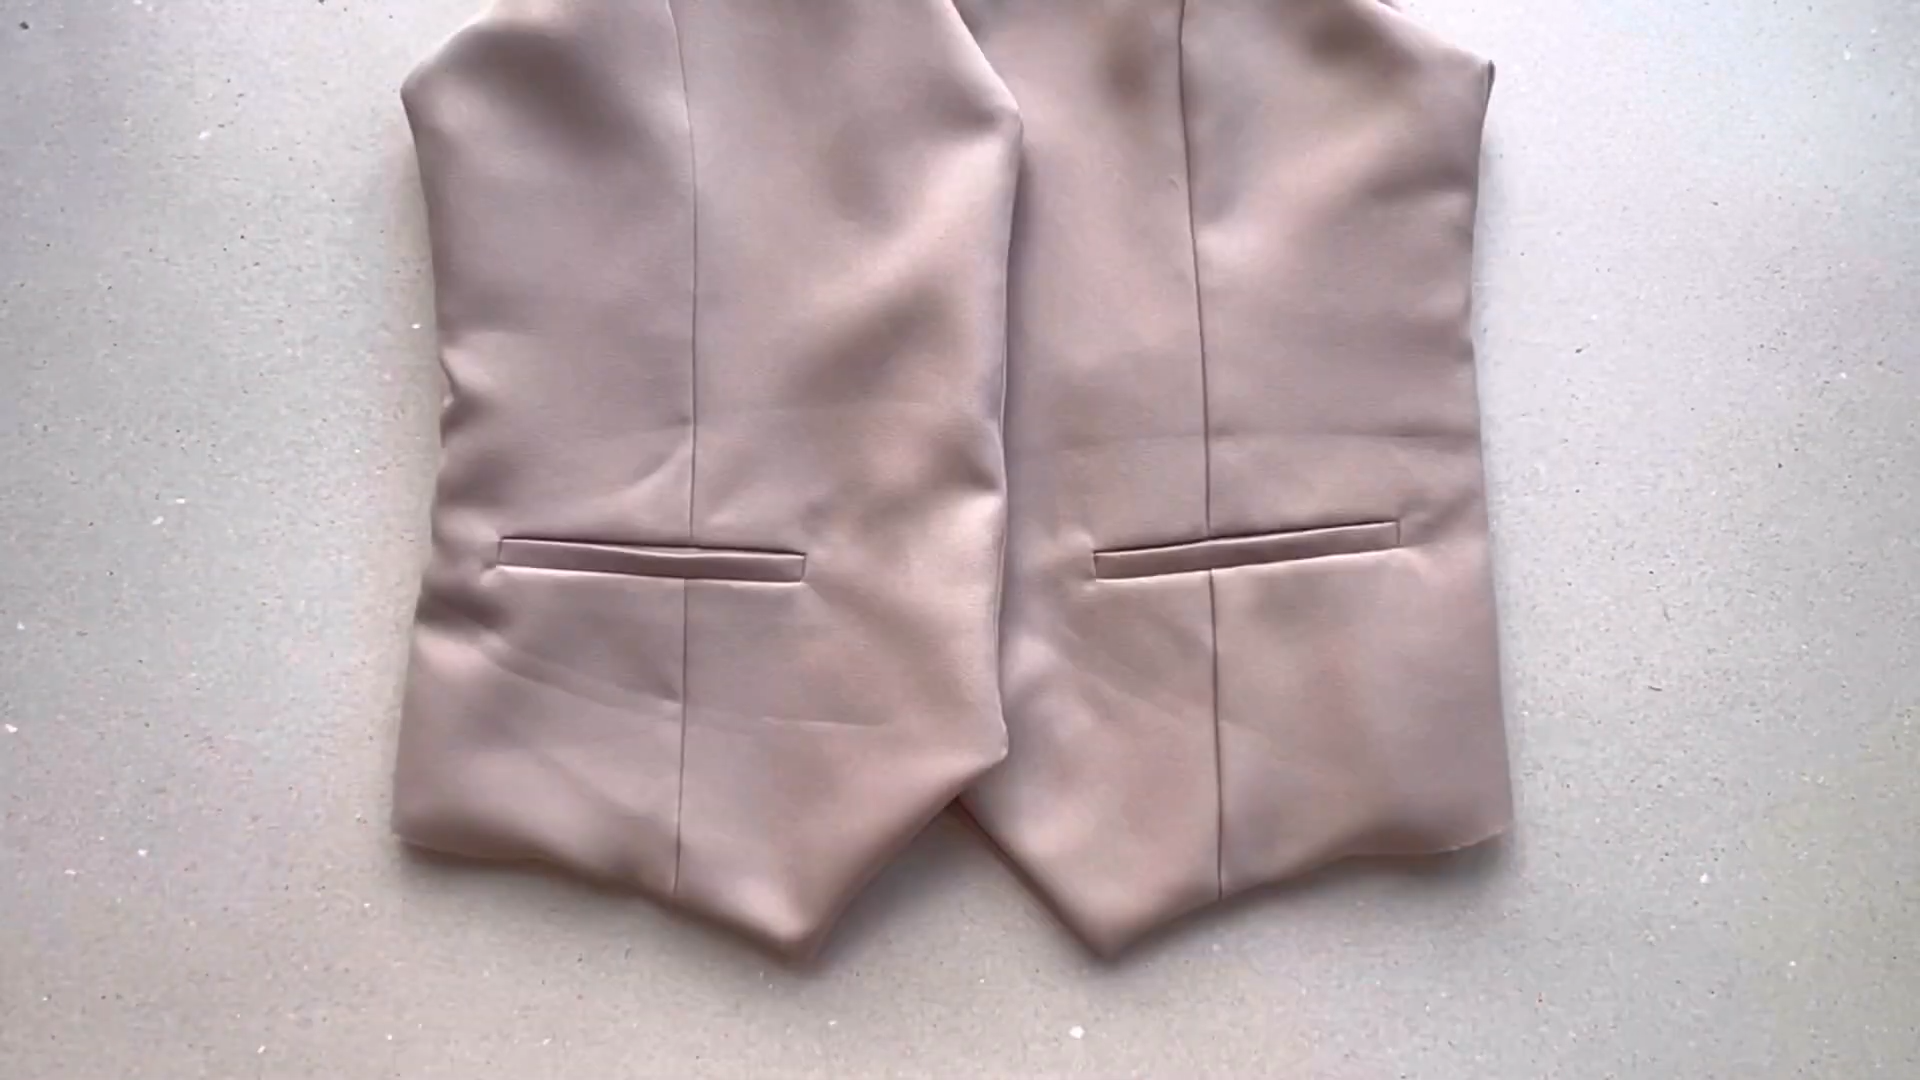
Repeat the same steps to make the other side of the front bodice.
You will have 2 pieces of the front bodice after that.
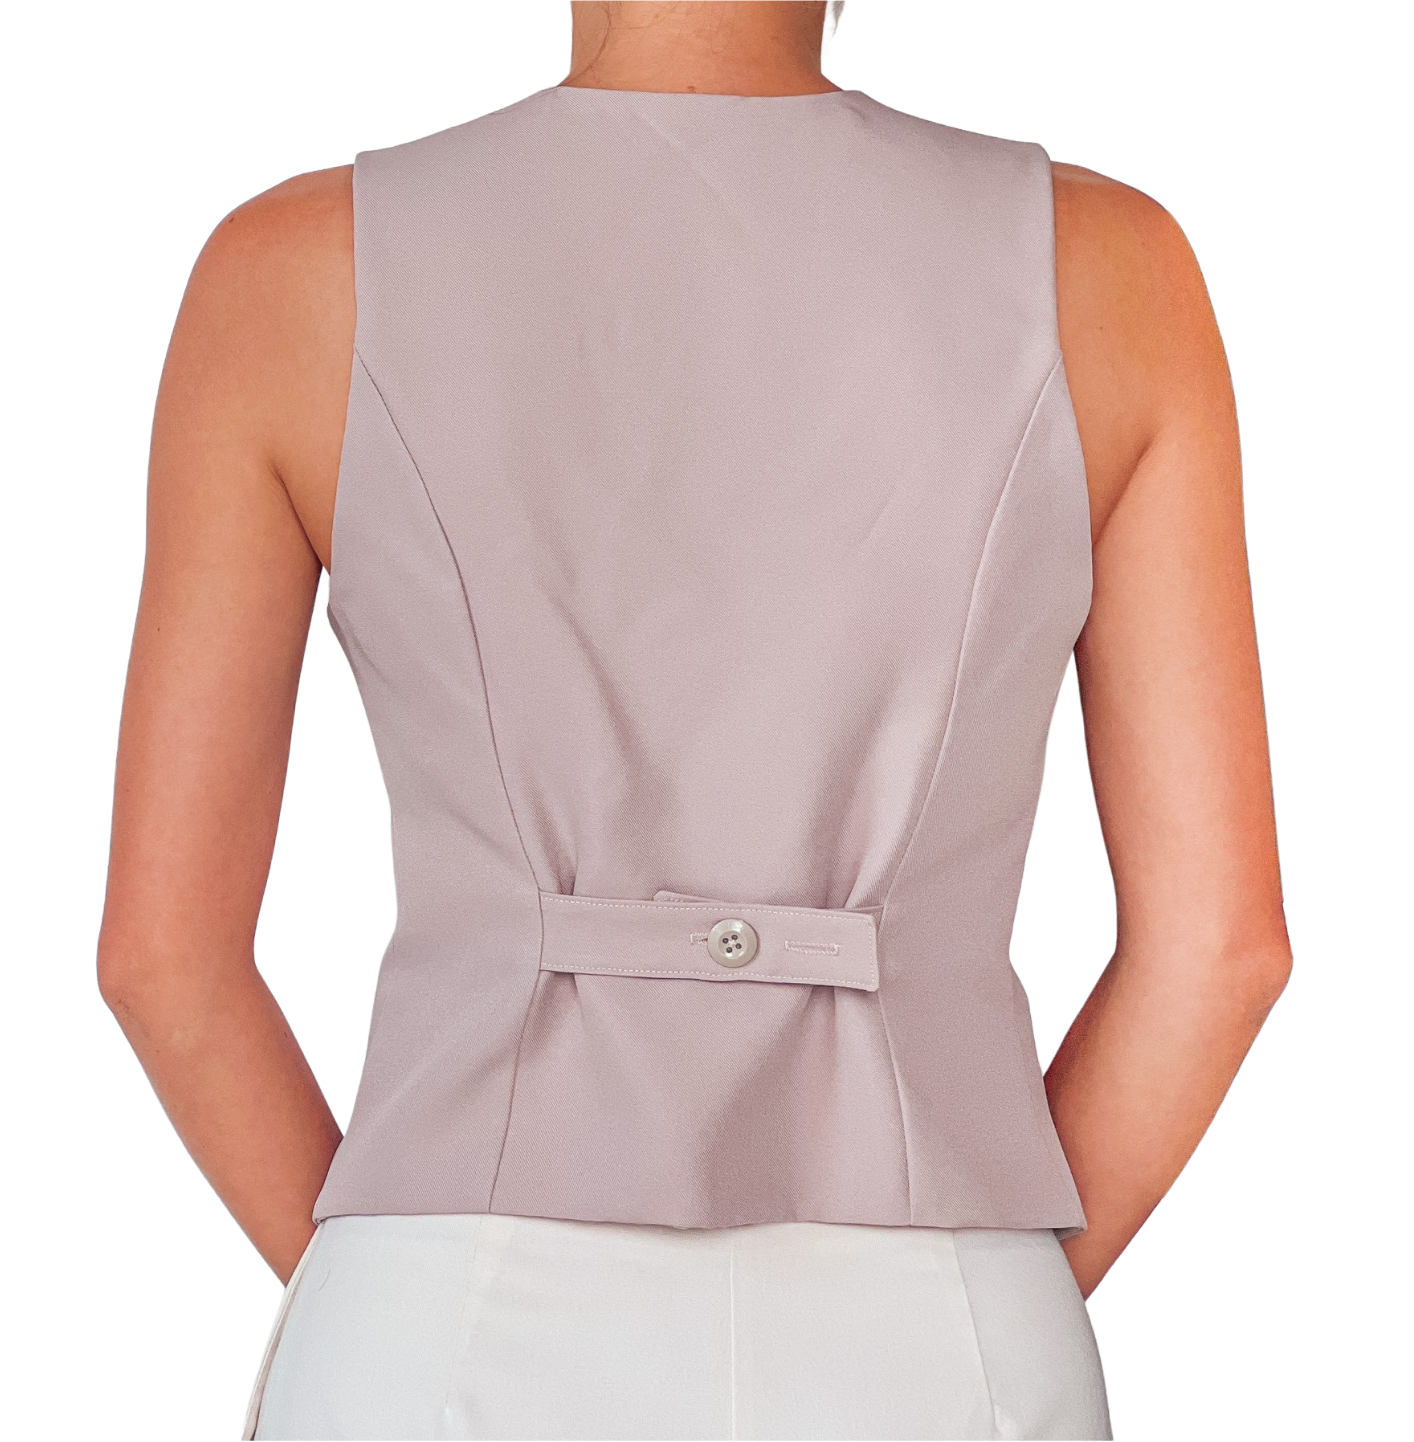
SEW THE BACK BODICE
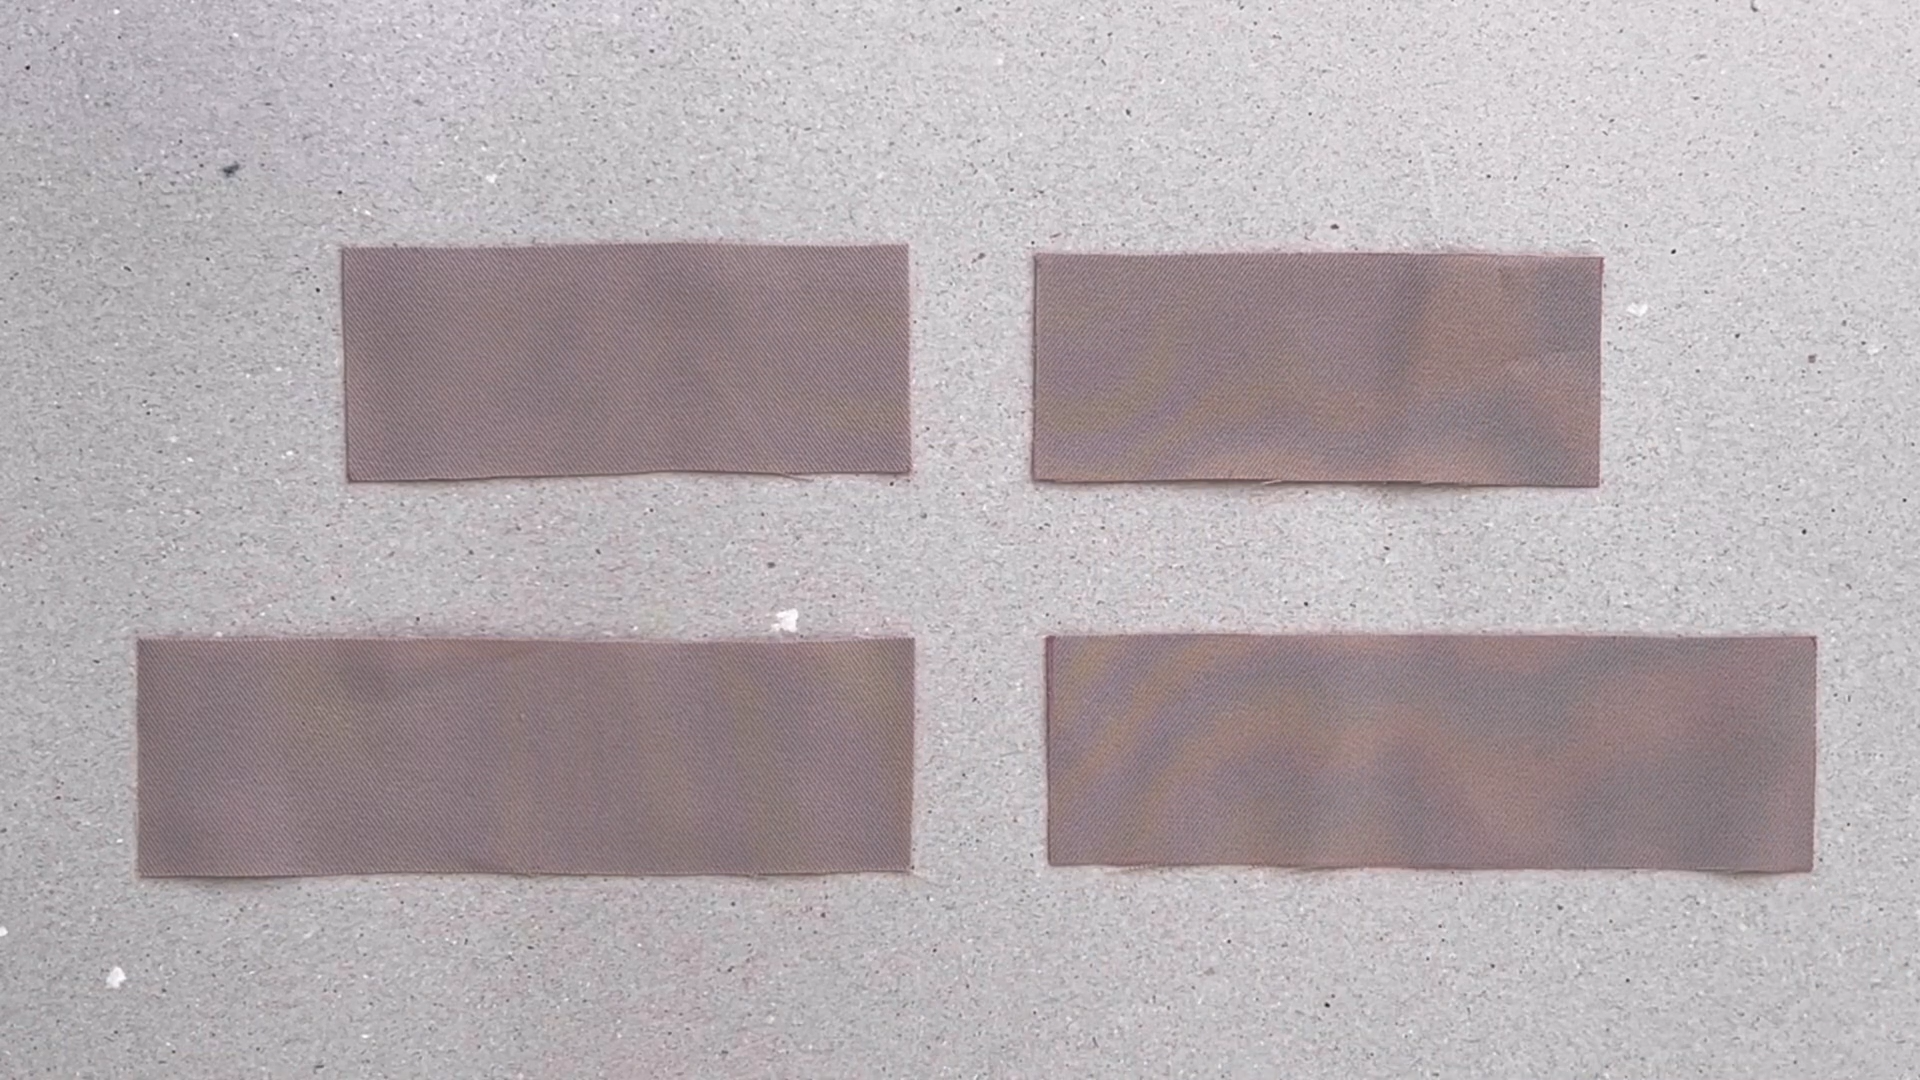
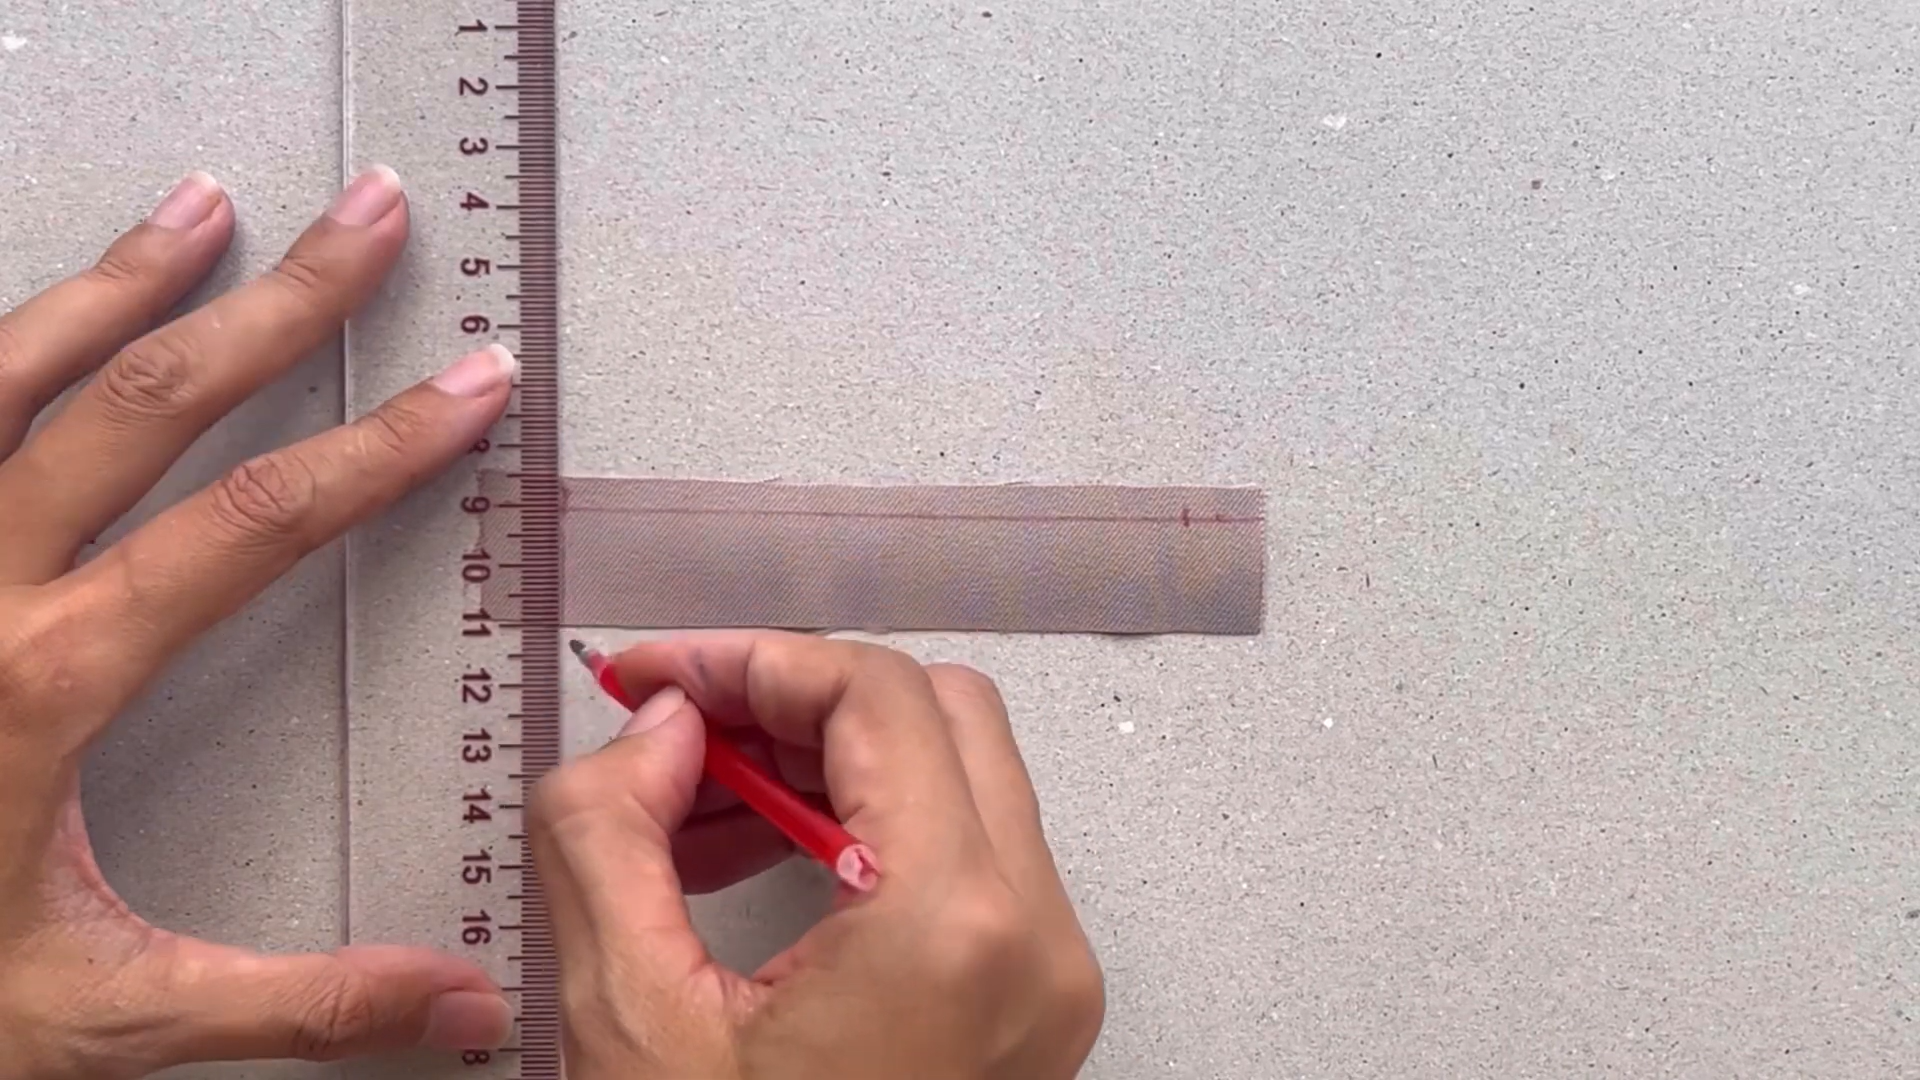
Cut four rectangles for the straps of the back bodice: 2 small rectangles with 11 cm width and 5 cm length; 2 large rectangles with 15 cm width and 5 cm length also.
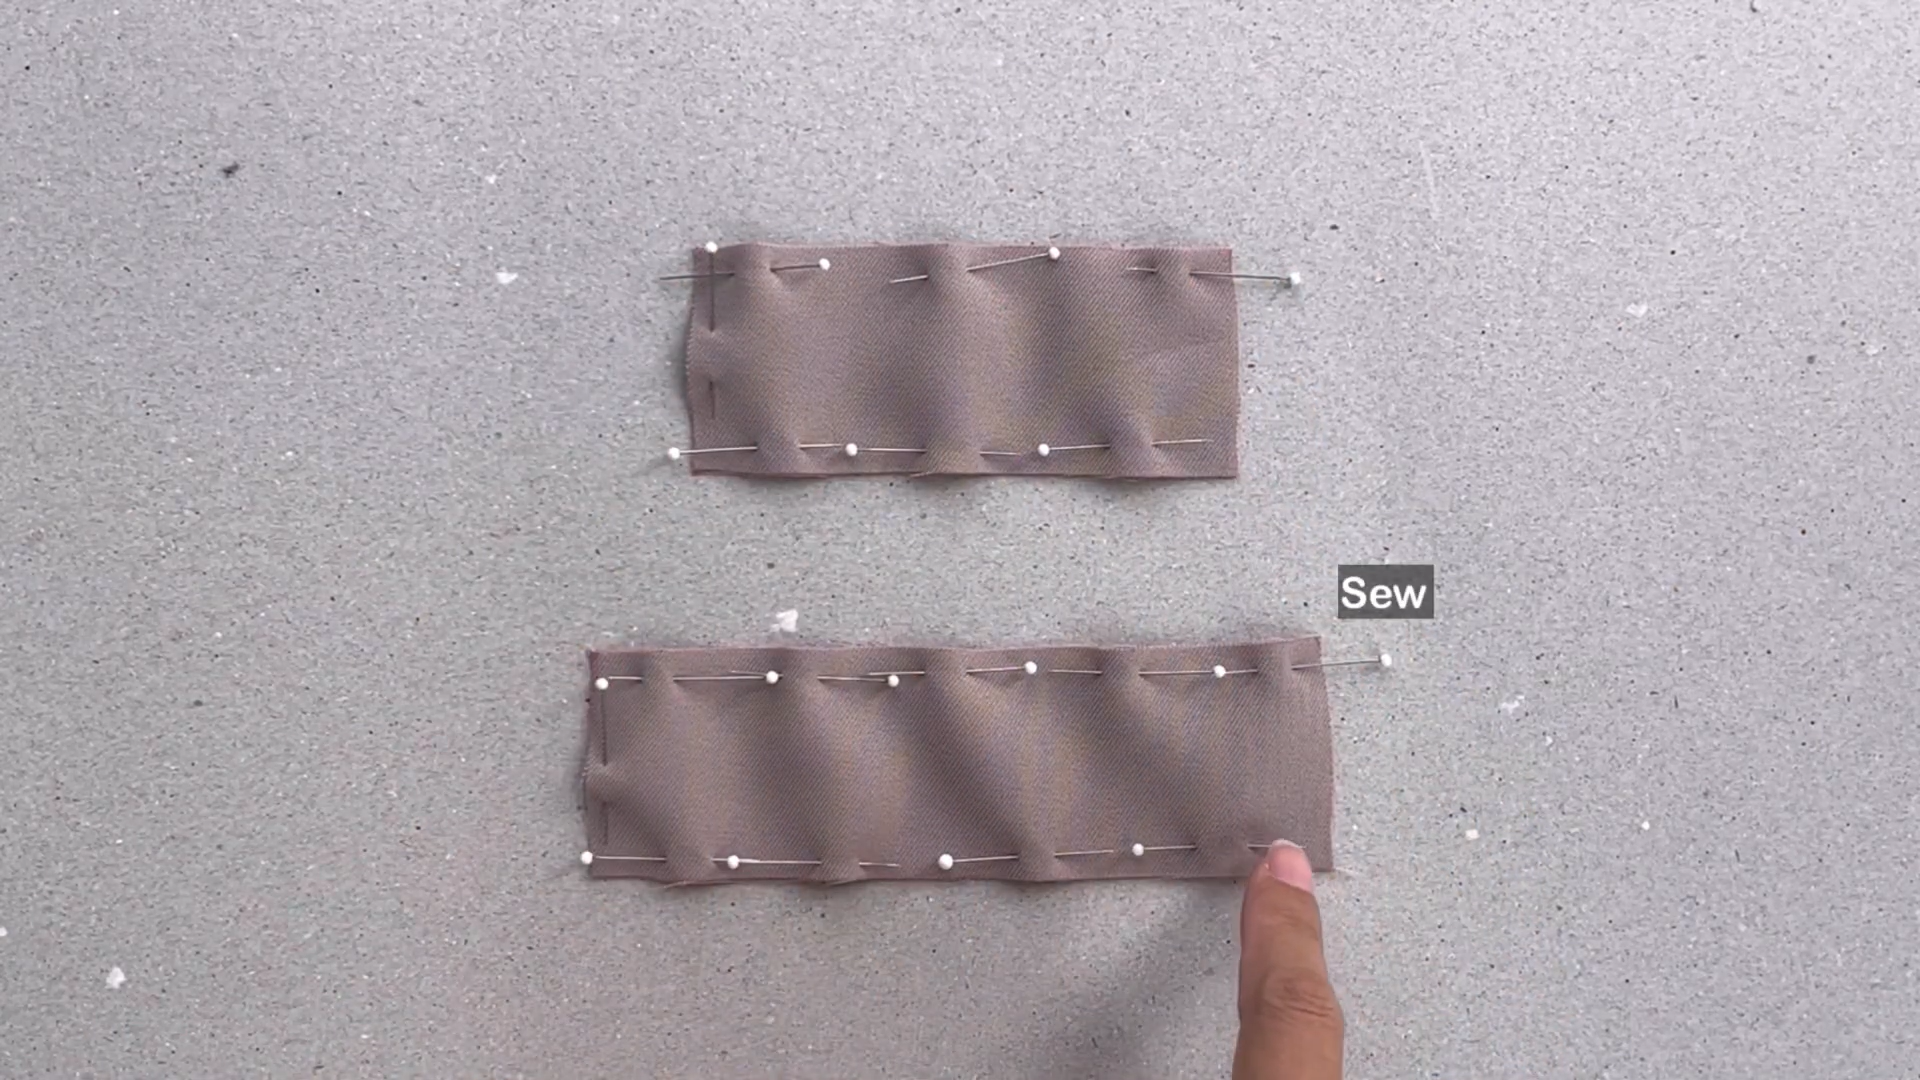
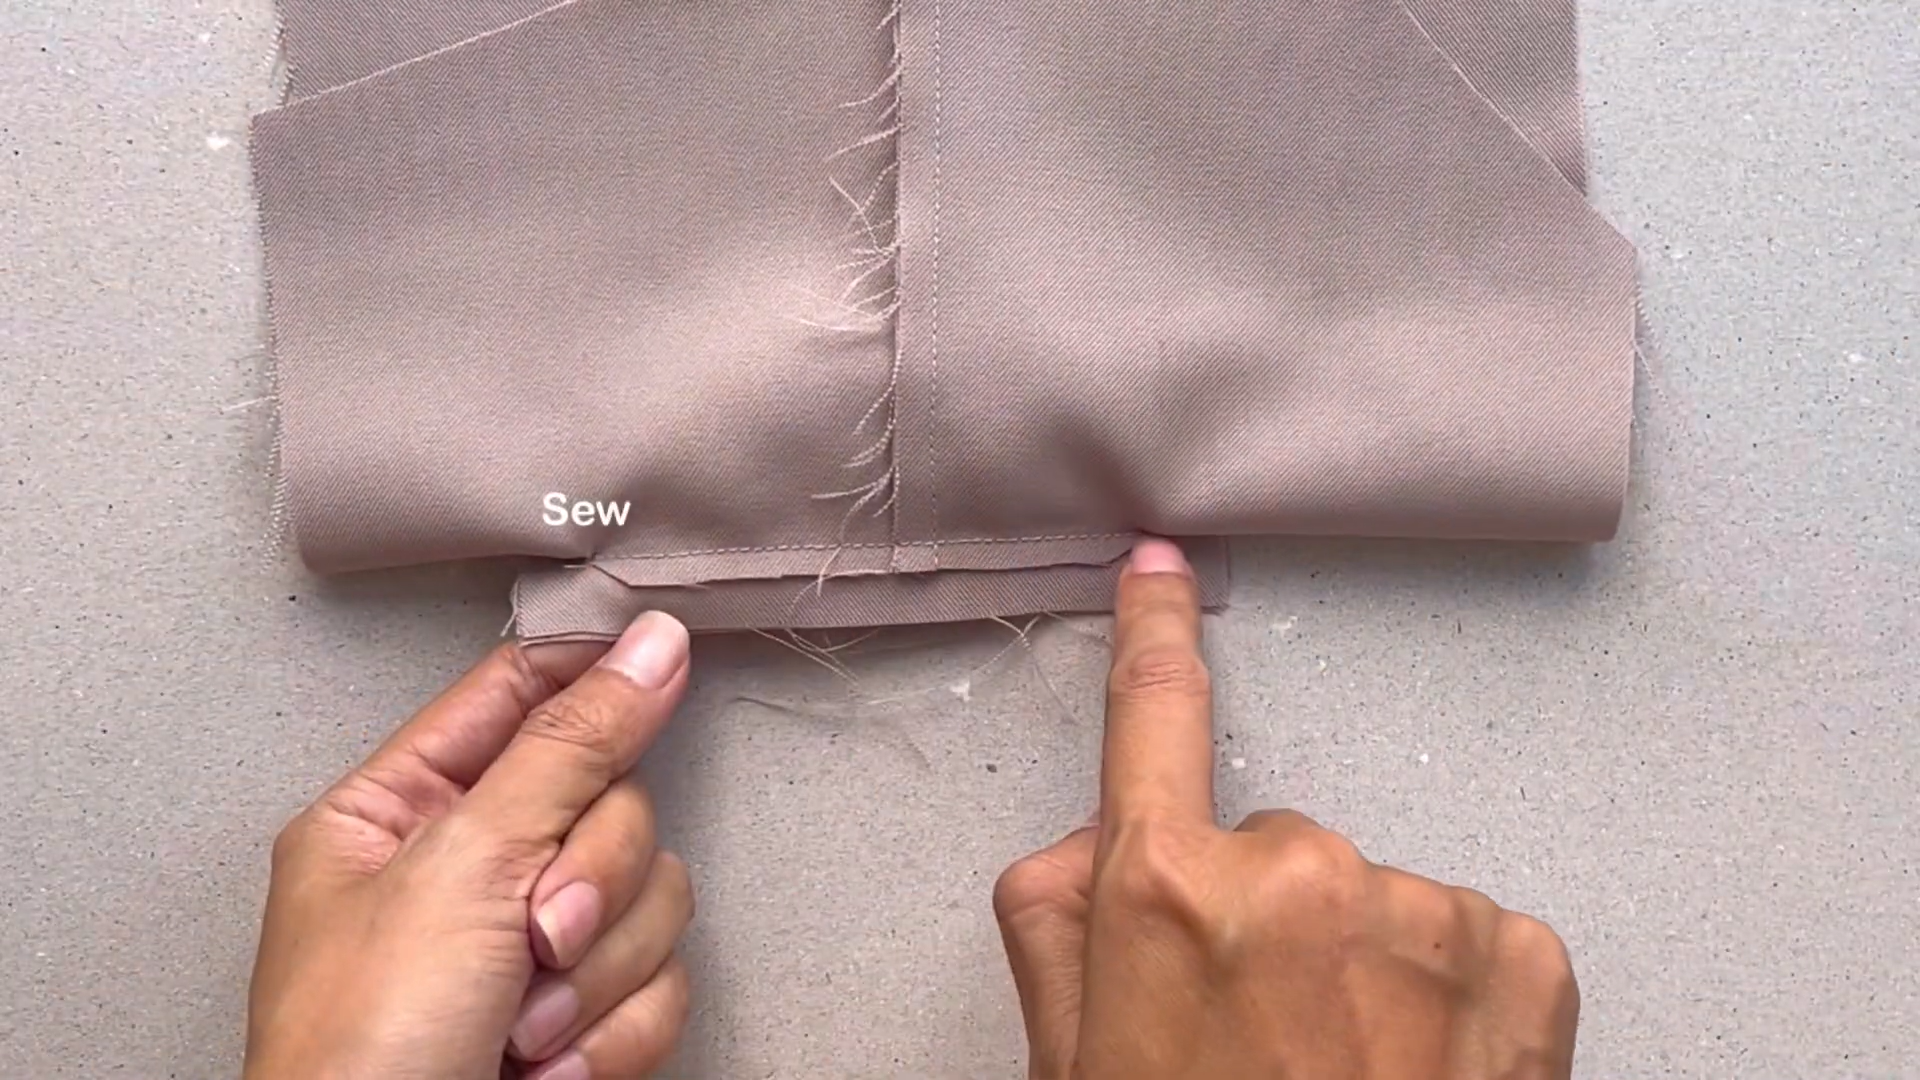
Seam together two pieces of the small rectangle, creating a longer strip.
Repeat the same process for the larger rectangles.
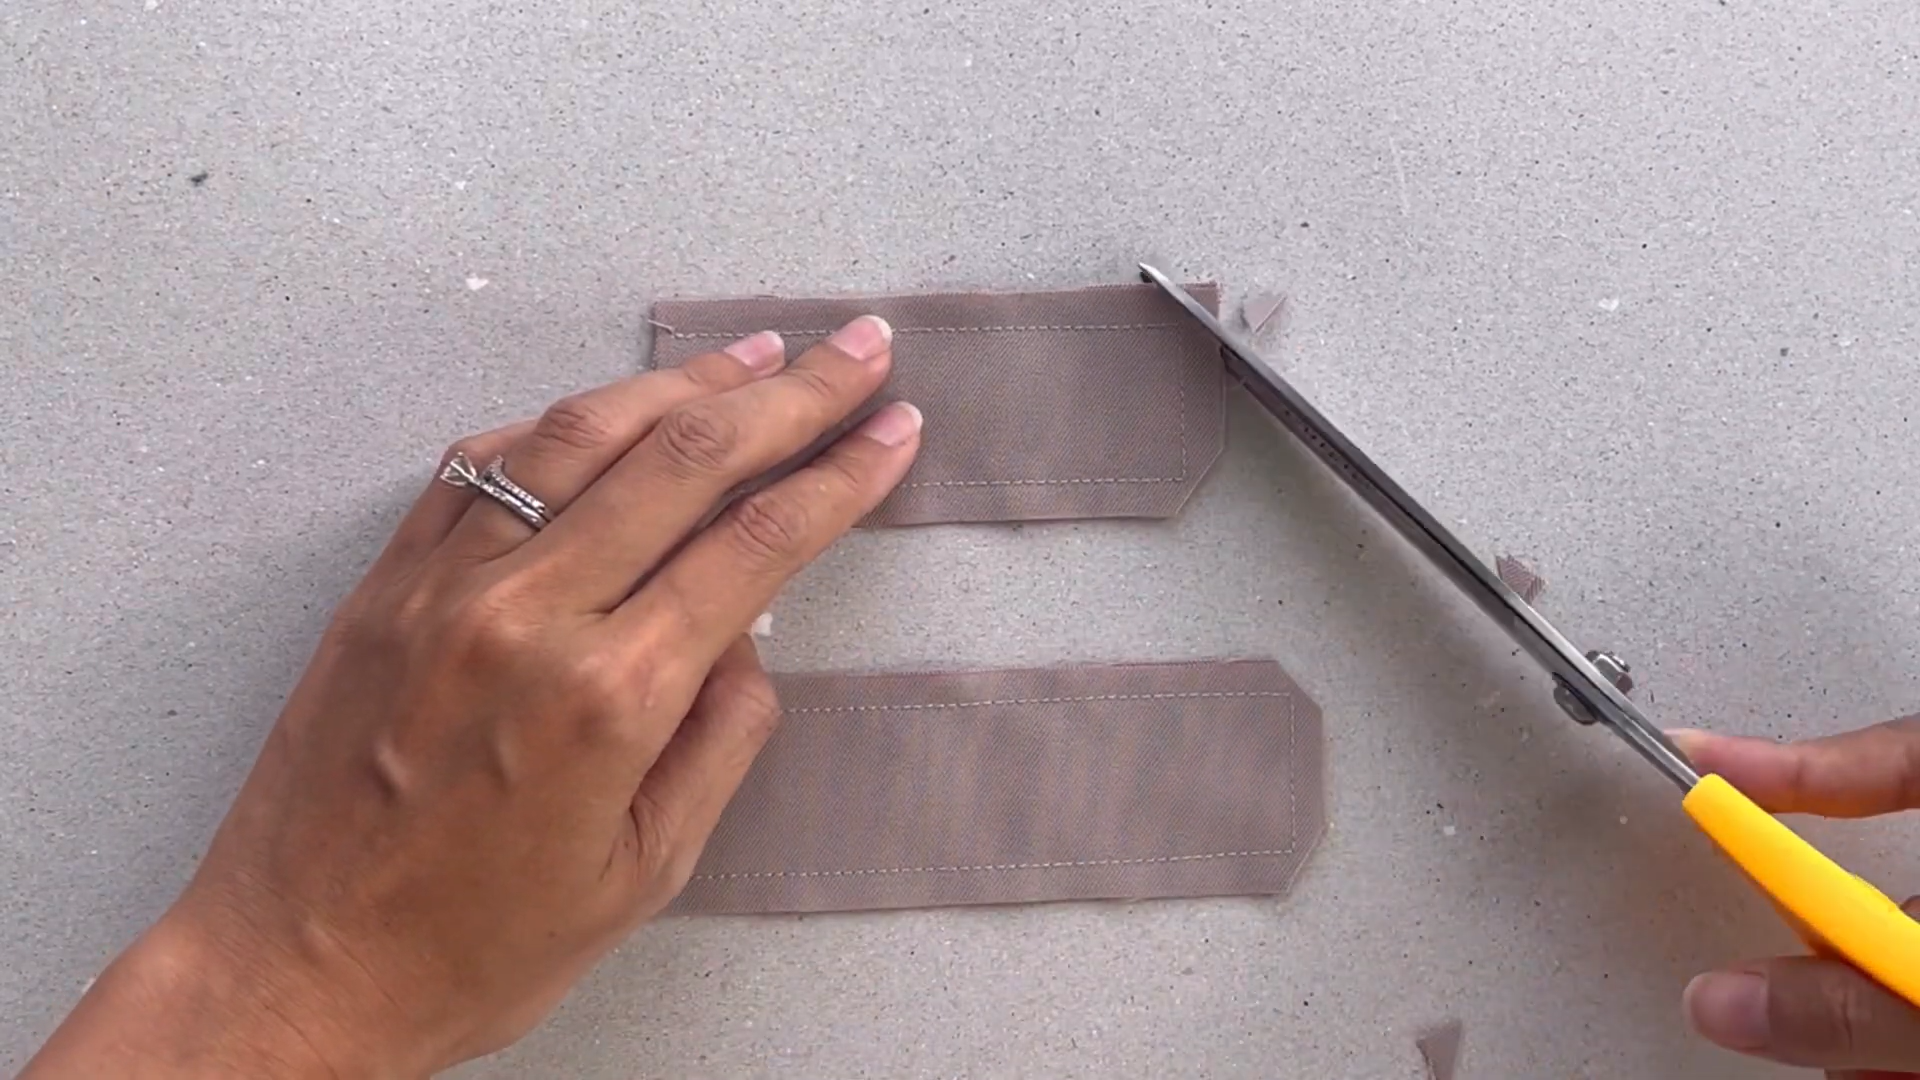
After sewing, make a few small cuts at the edges of the rectangles. These cuts will help when turning the fabric inside out.
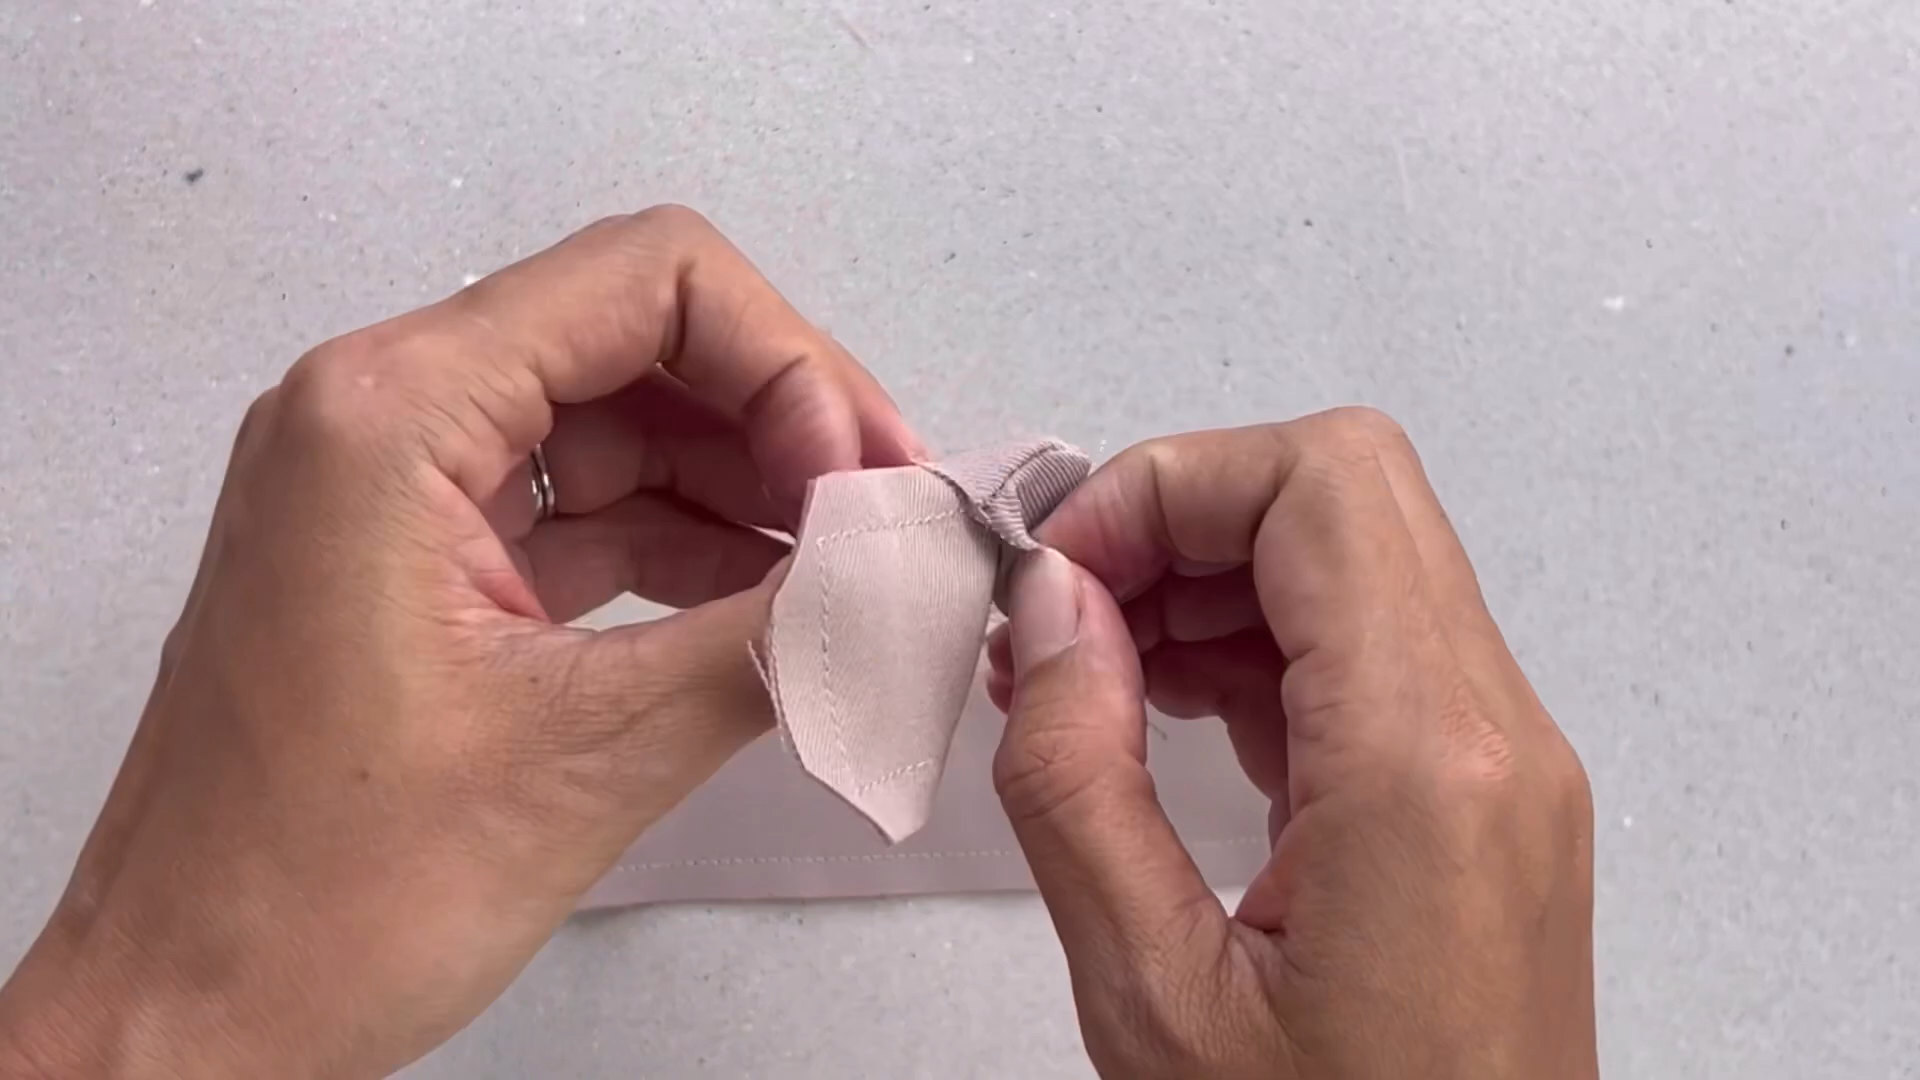
Turn the fabric inside out.

To secure the seams, create another seam on the outside. This ensures that the rectangles remain permanently connected.
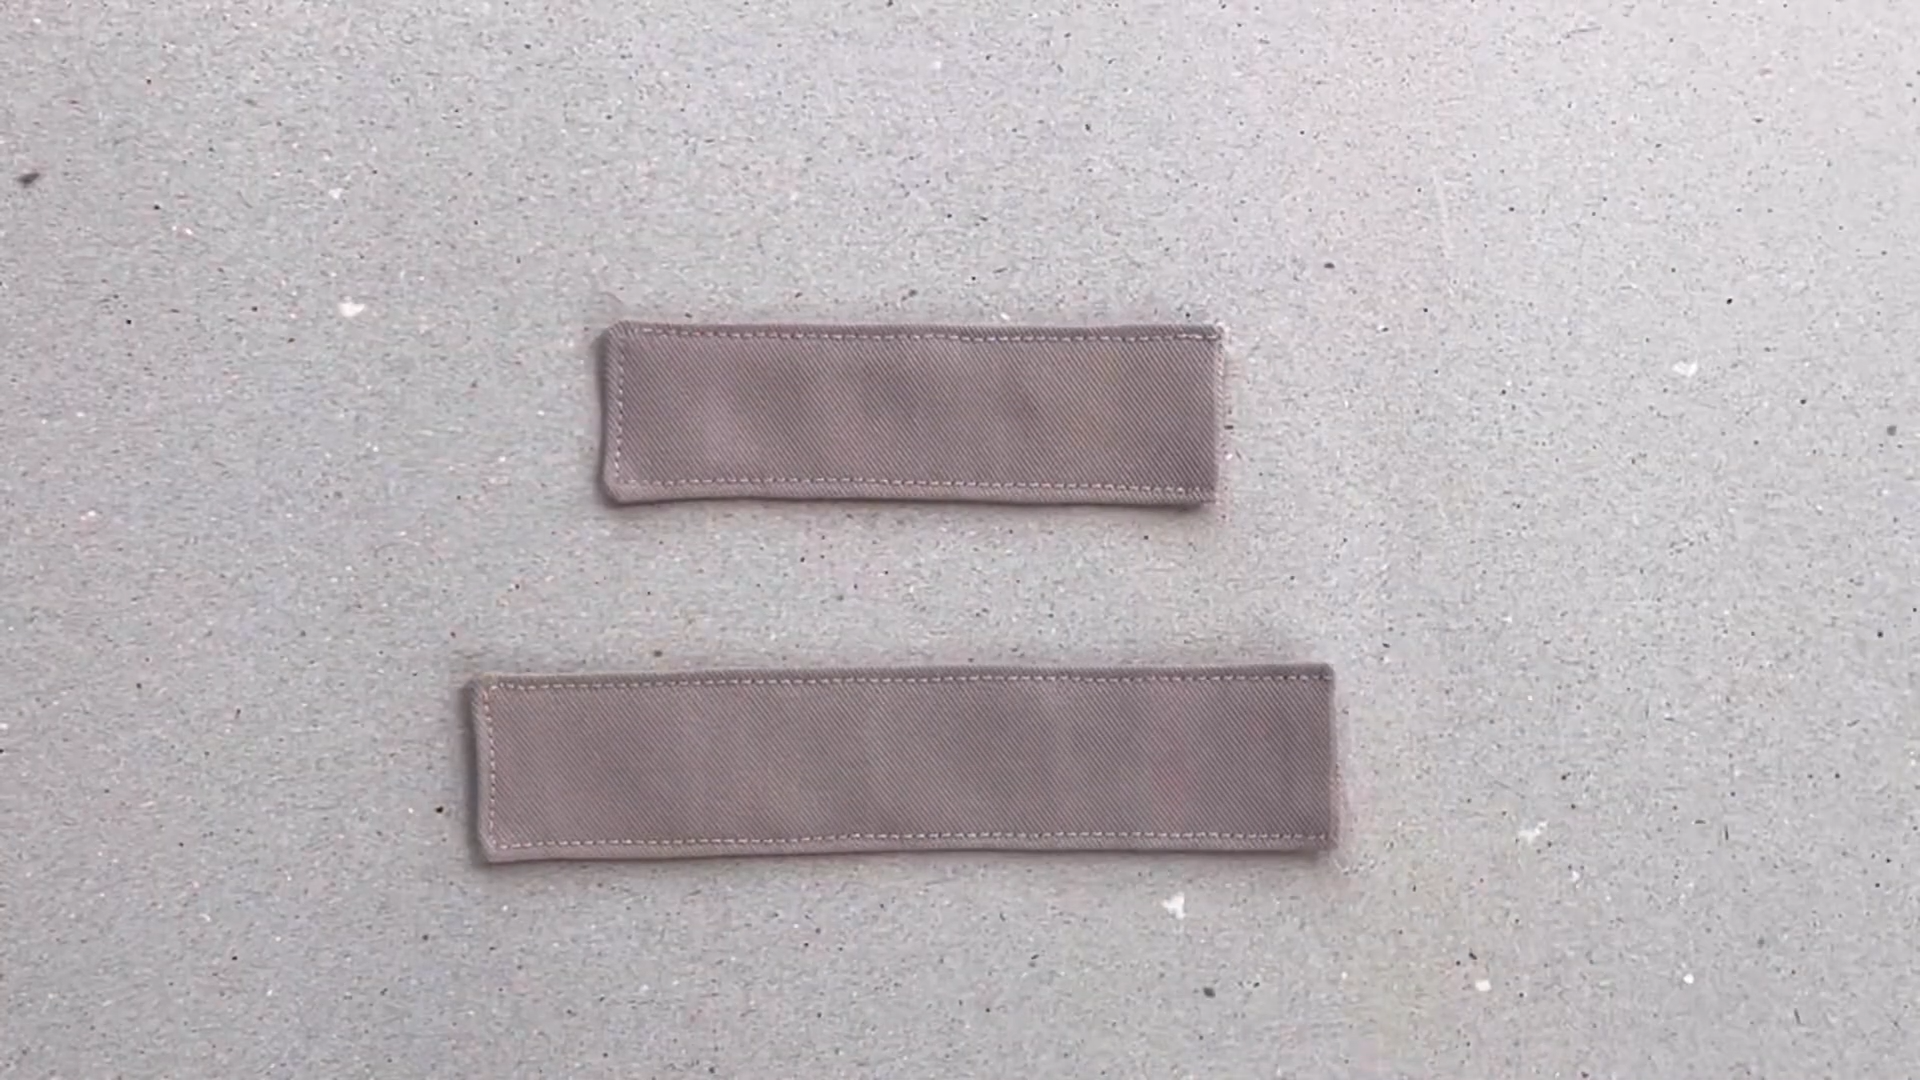
You will have the straps of the back bodice for adjusting the width of your waistcoat.
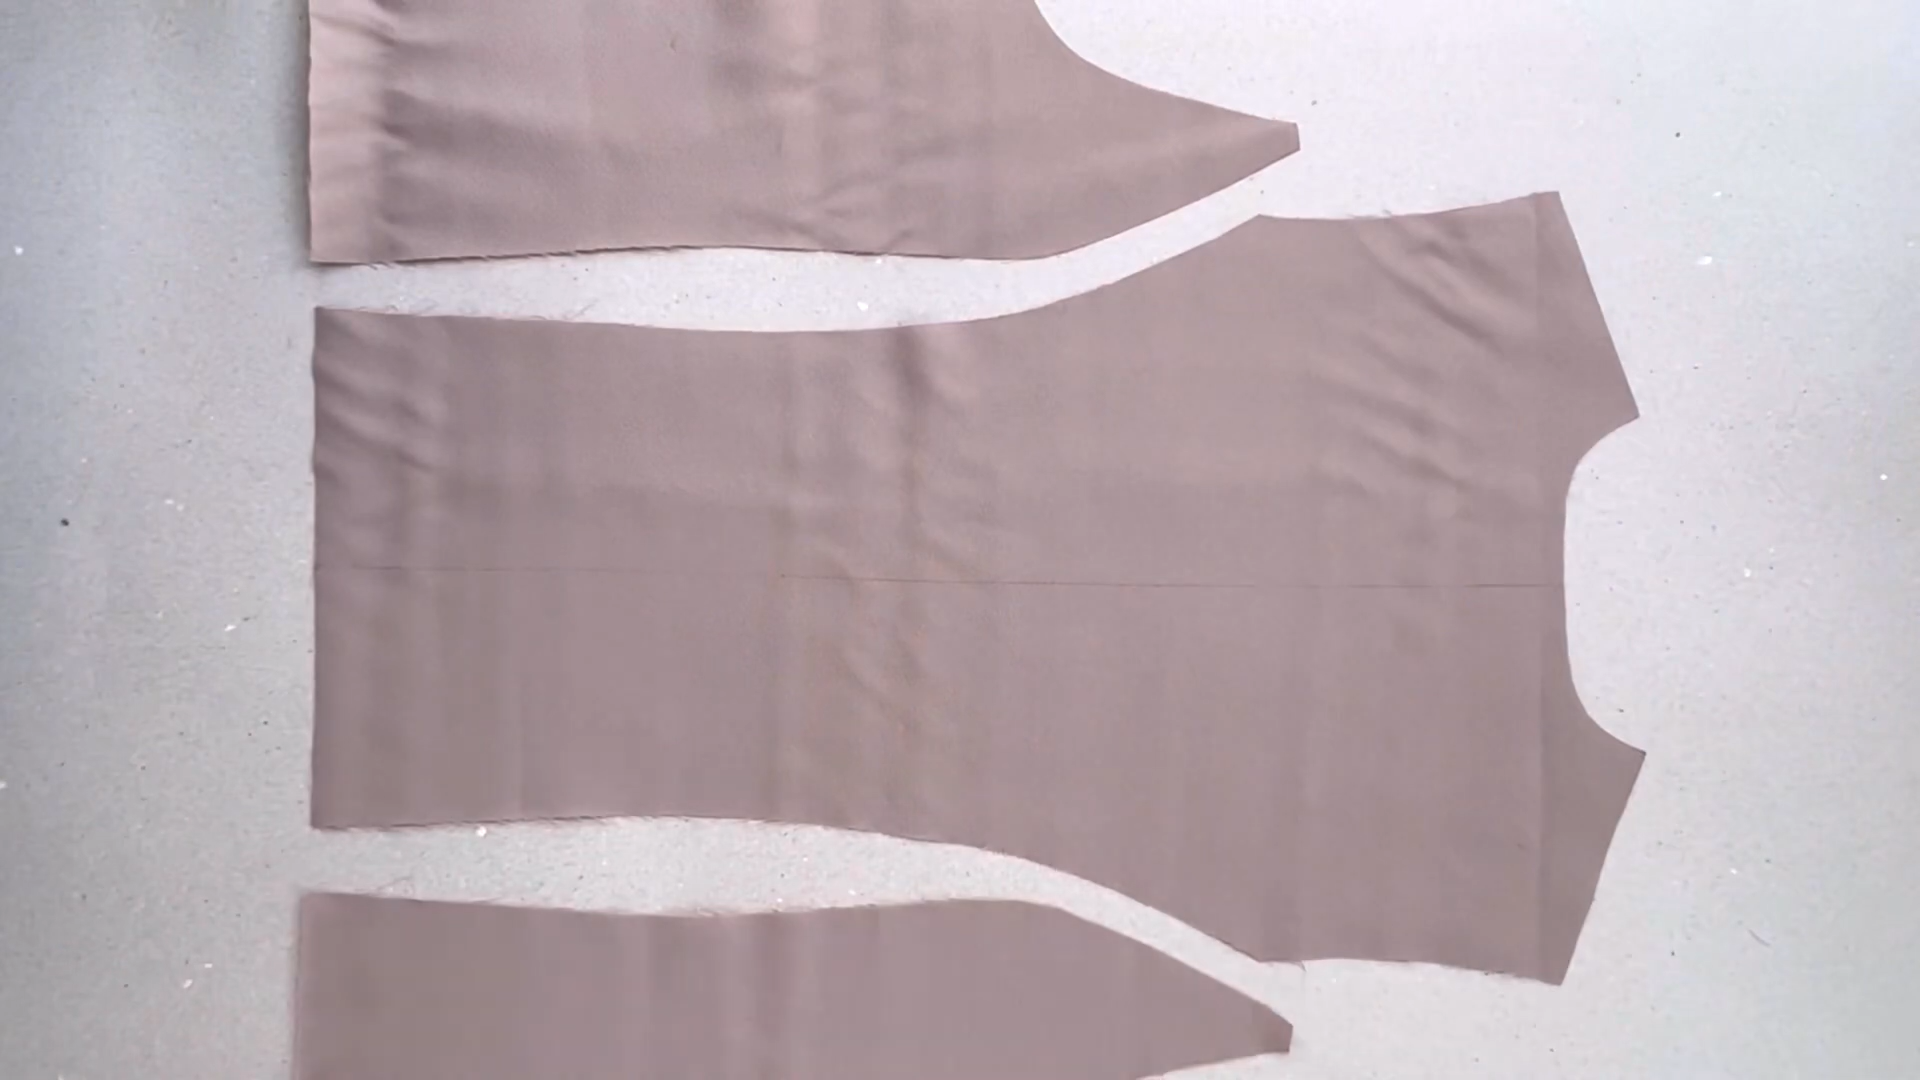
Cut out the pieces for the back bodice.

Attach the pieces together at the dart lines with pins.
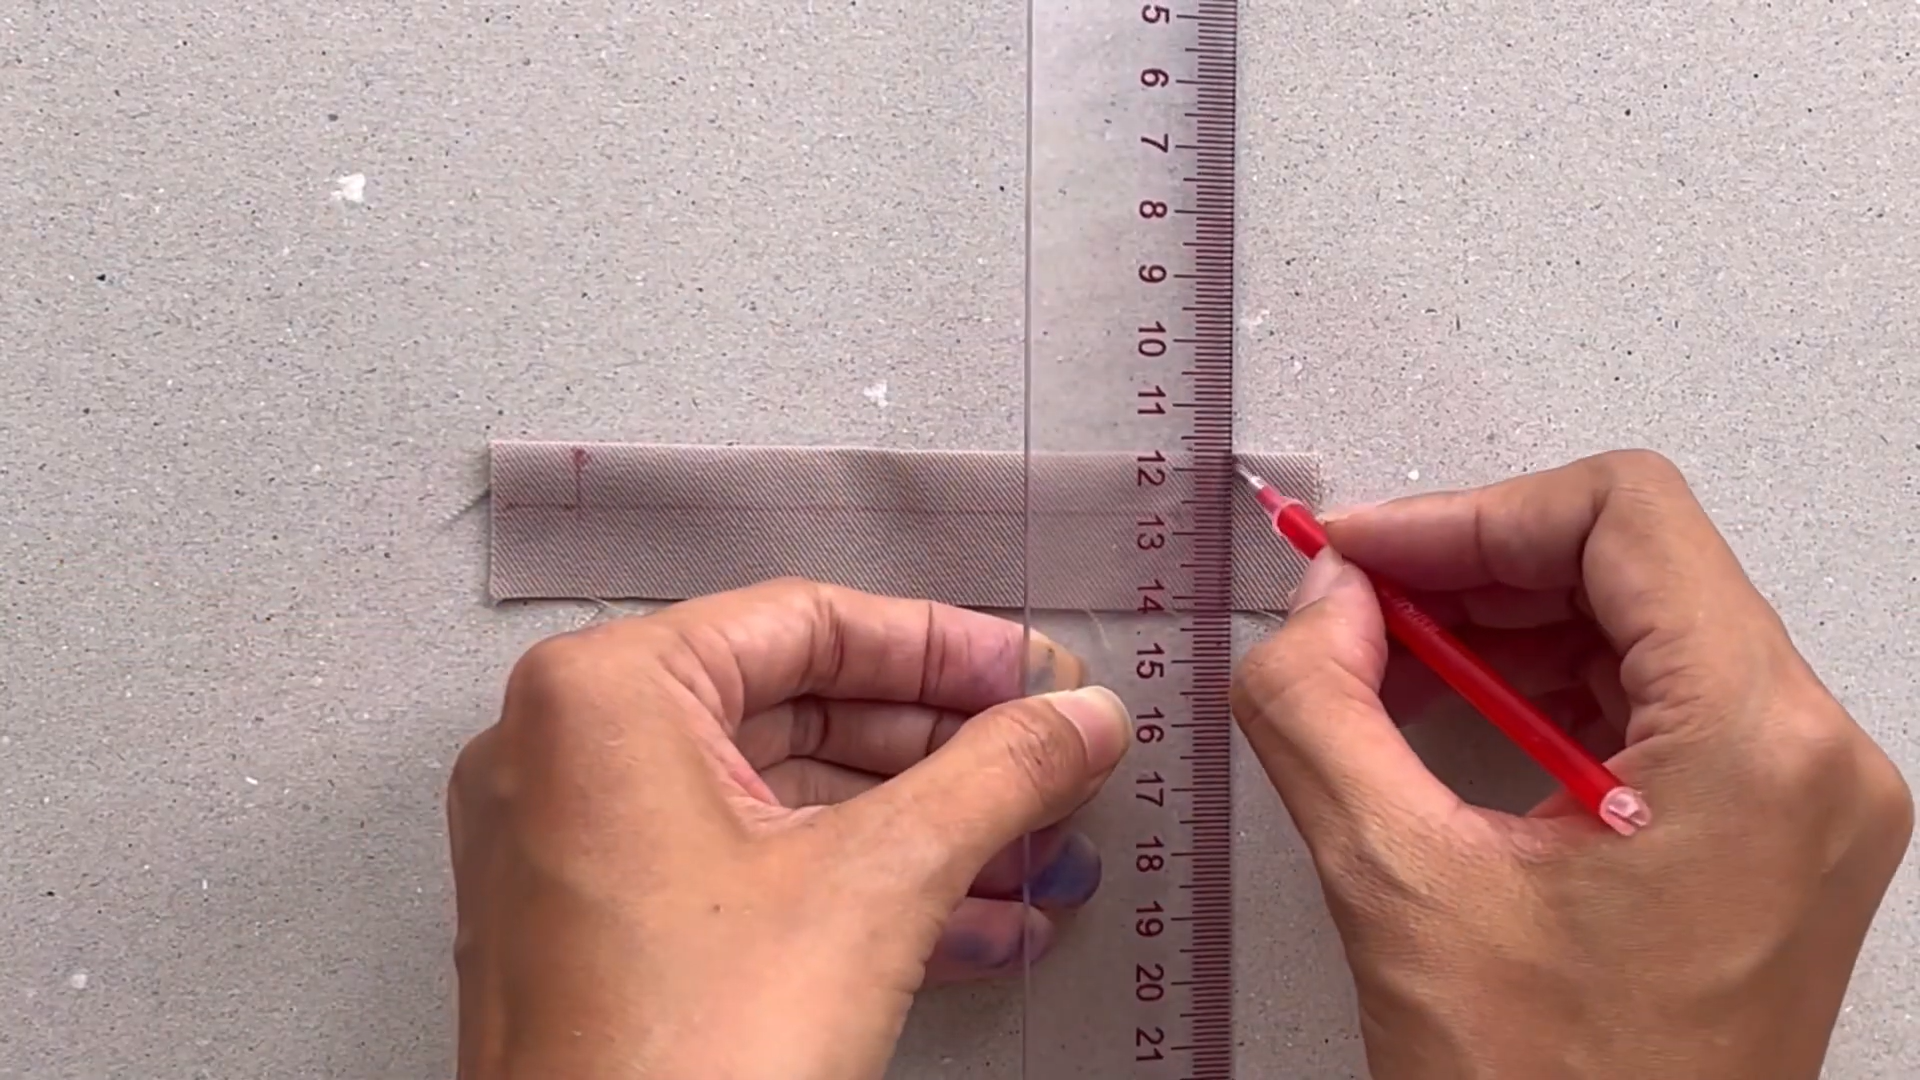
Draw a line between the darts at 12 cm above the ending line. This is where to place the straps.
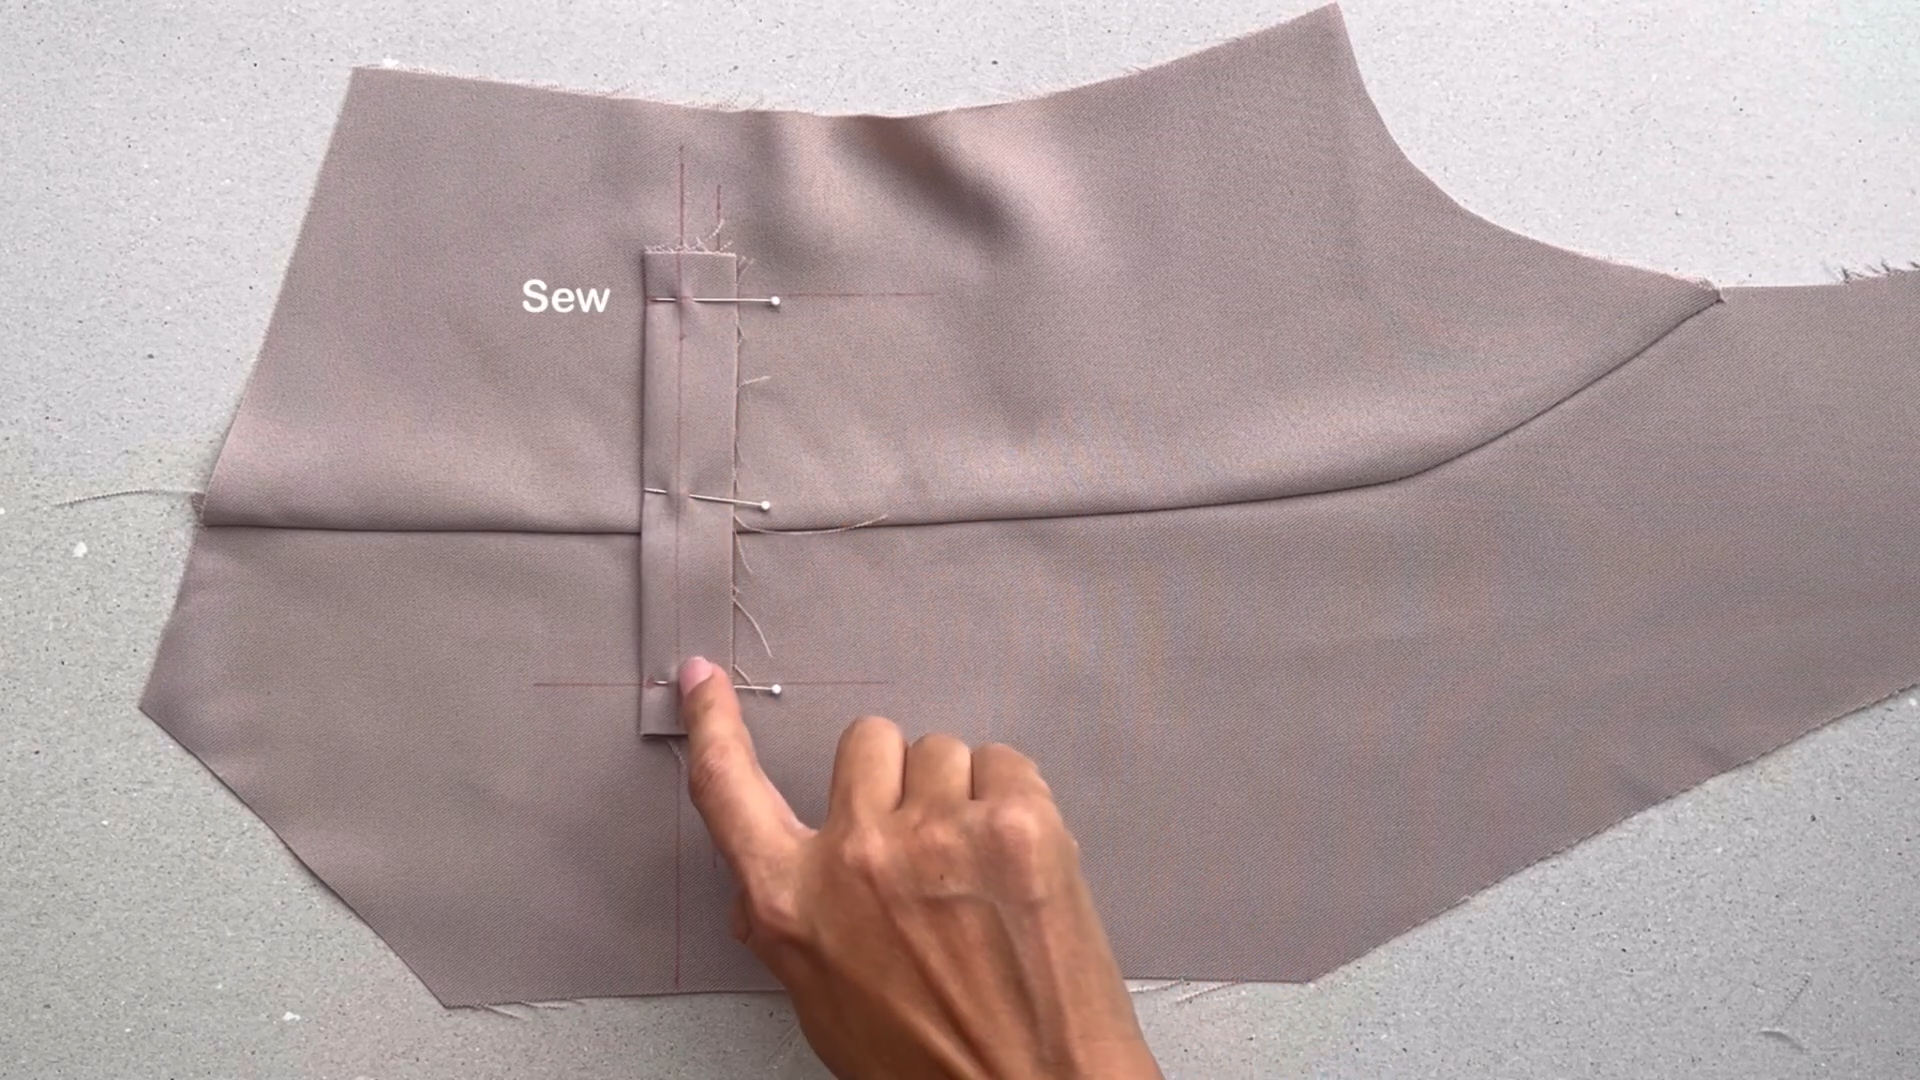
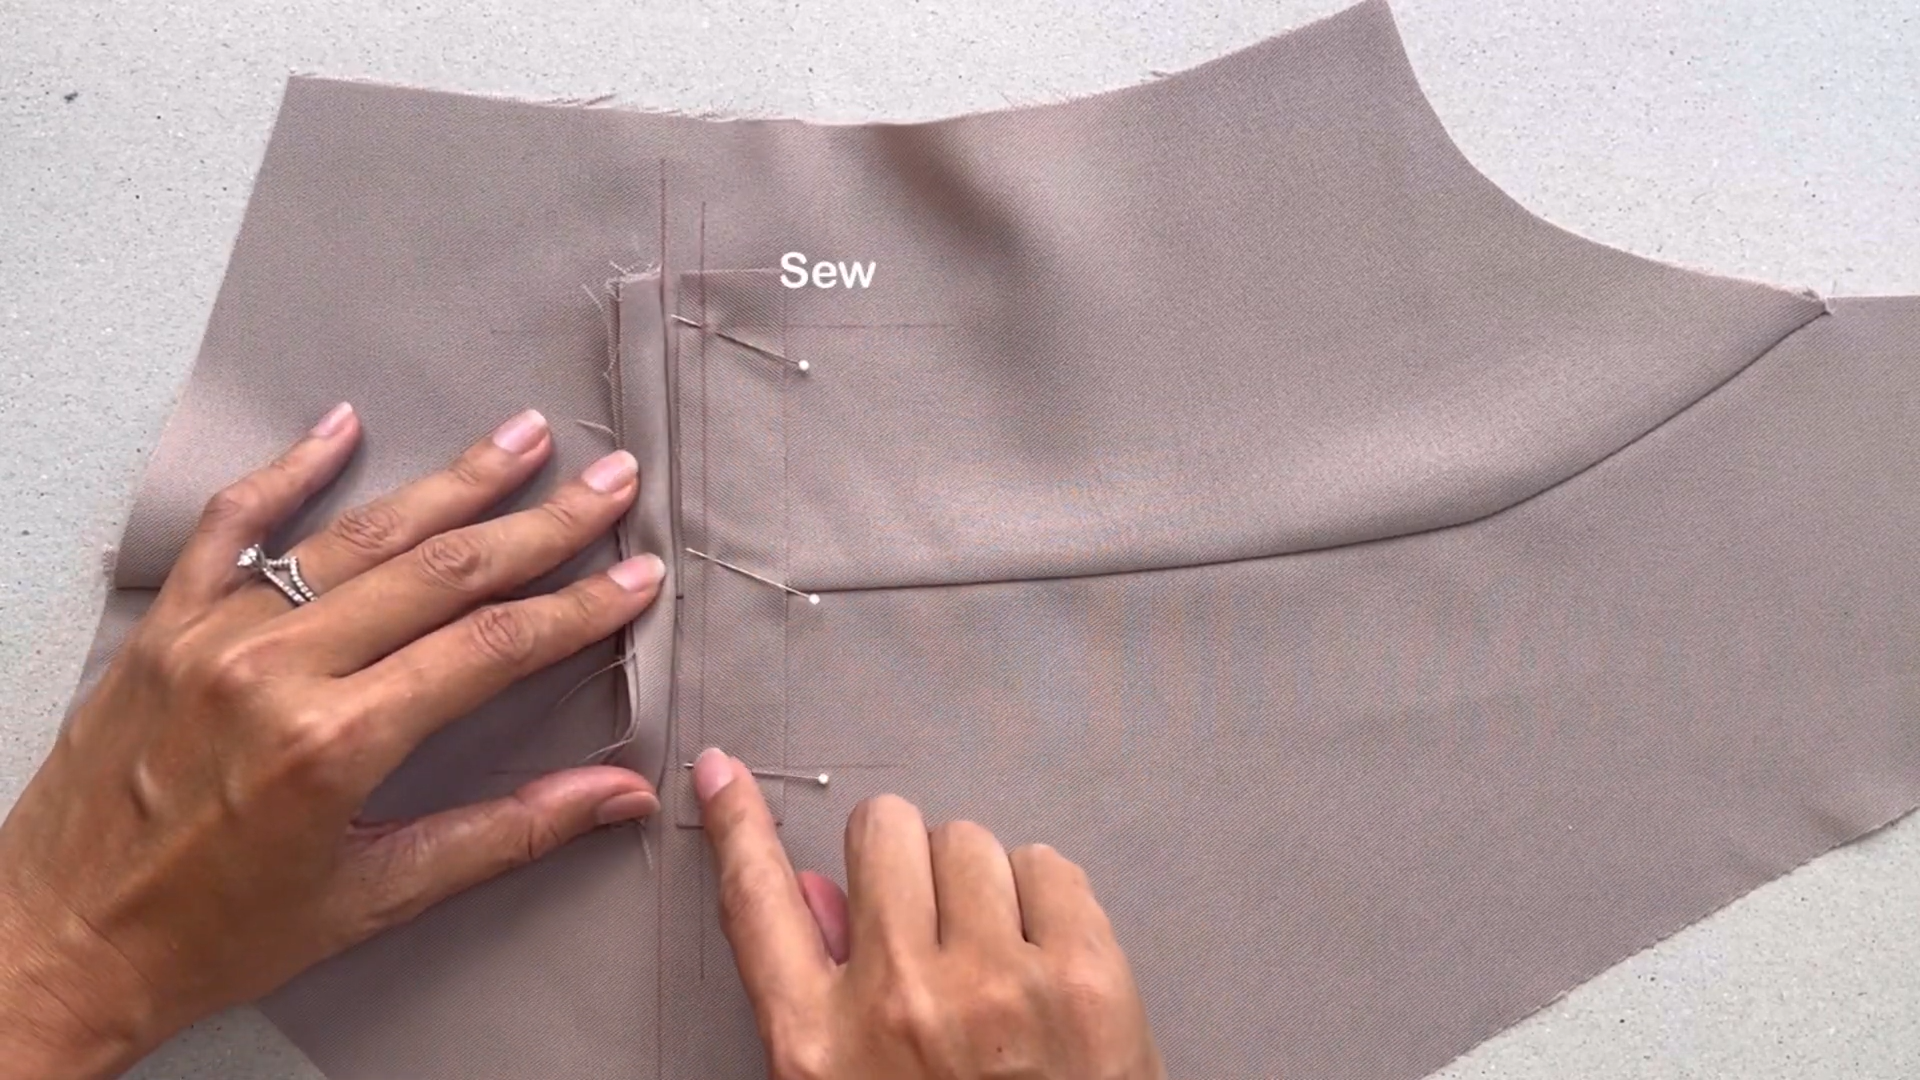
Position the straps along the marking line. Ensure that each strap is centered between two back bodice pieces.
Sew the straps in place, connecting them to the back bodice.
Before sewing, make a few small cuts along the curve line.
Iron the fabric to achieve a polished finish.
CONNECT THE FRONT AND THE BACK
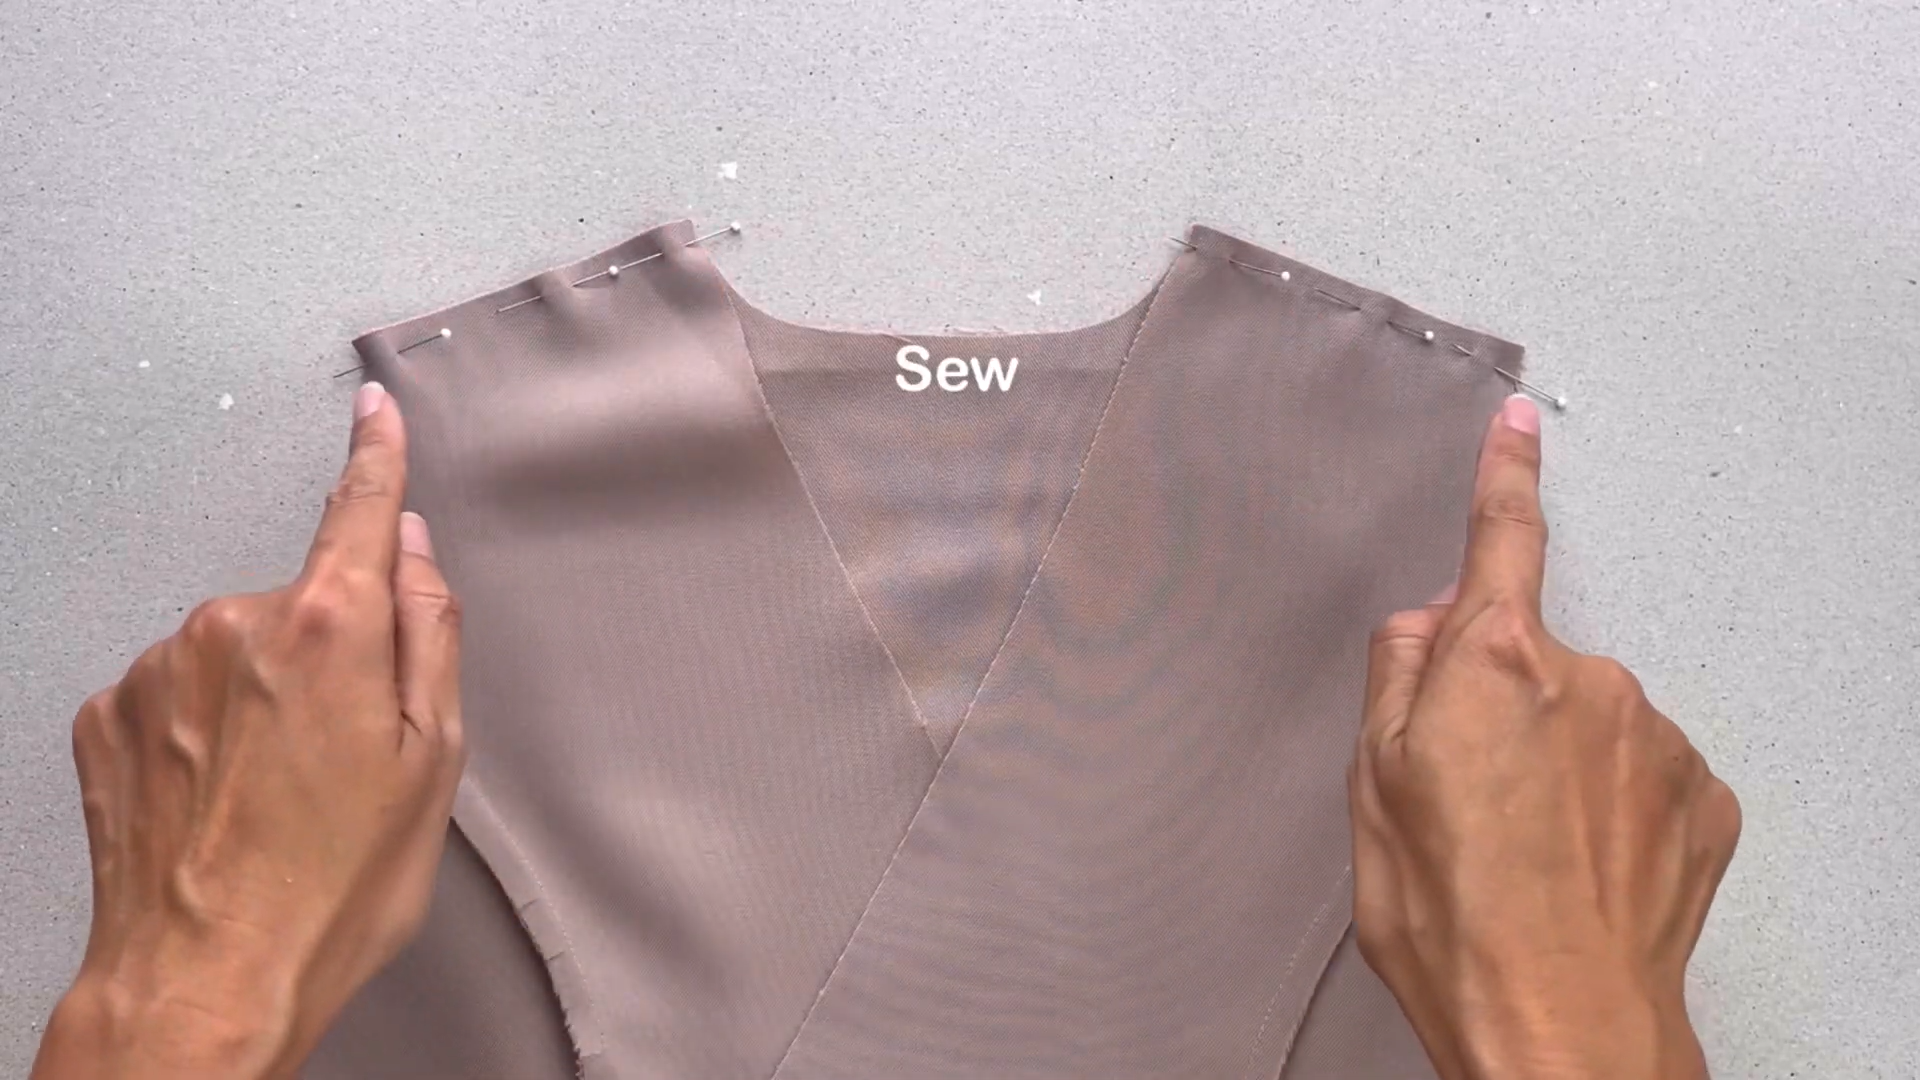
Seam the front bodice and back bodice together at the shoulder.
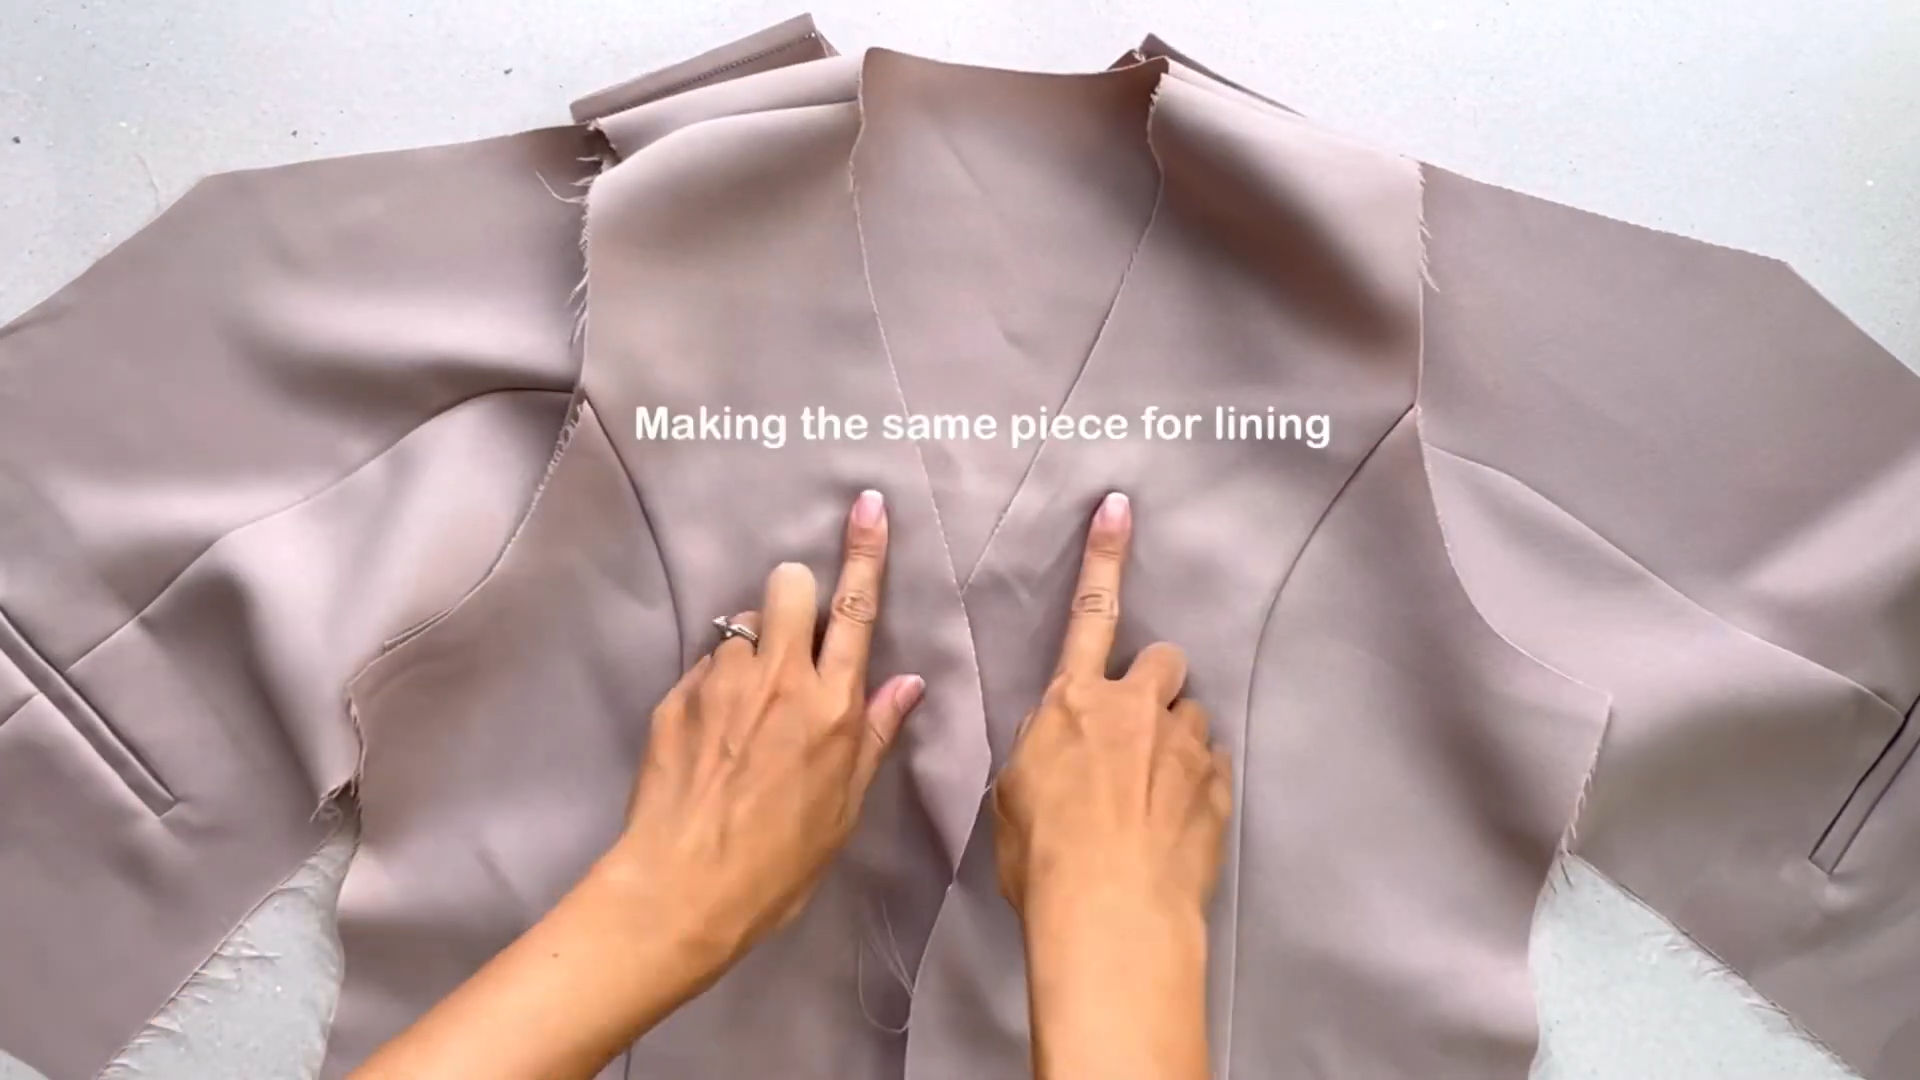
Cut out identical pieces for the lining, mirroring the front and back bodice shapes.
These lining pieces won’t have pockets or straps.
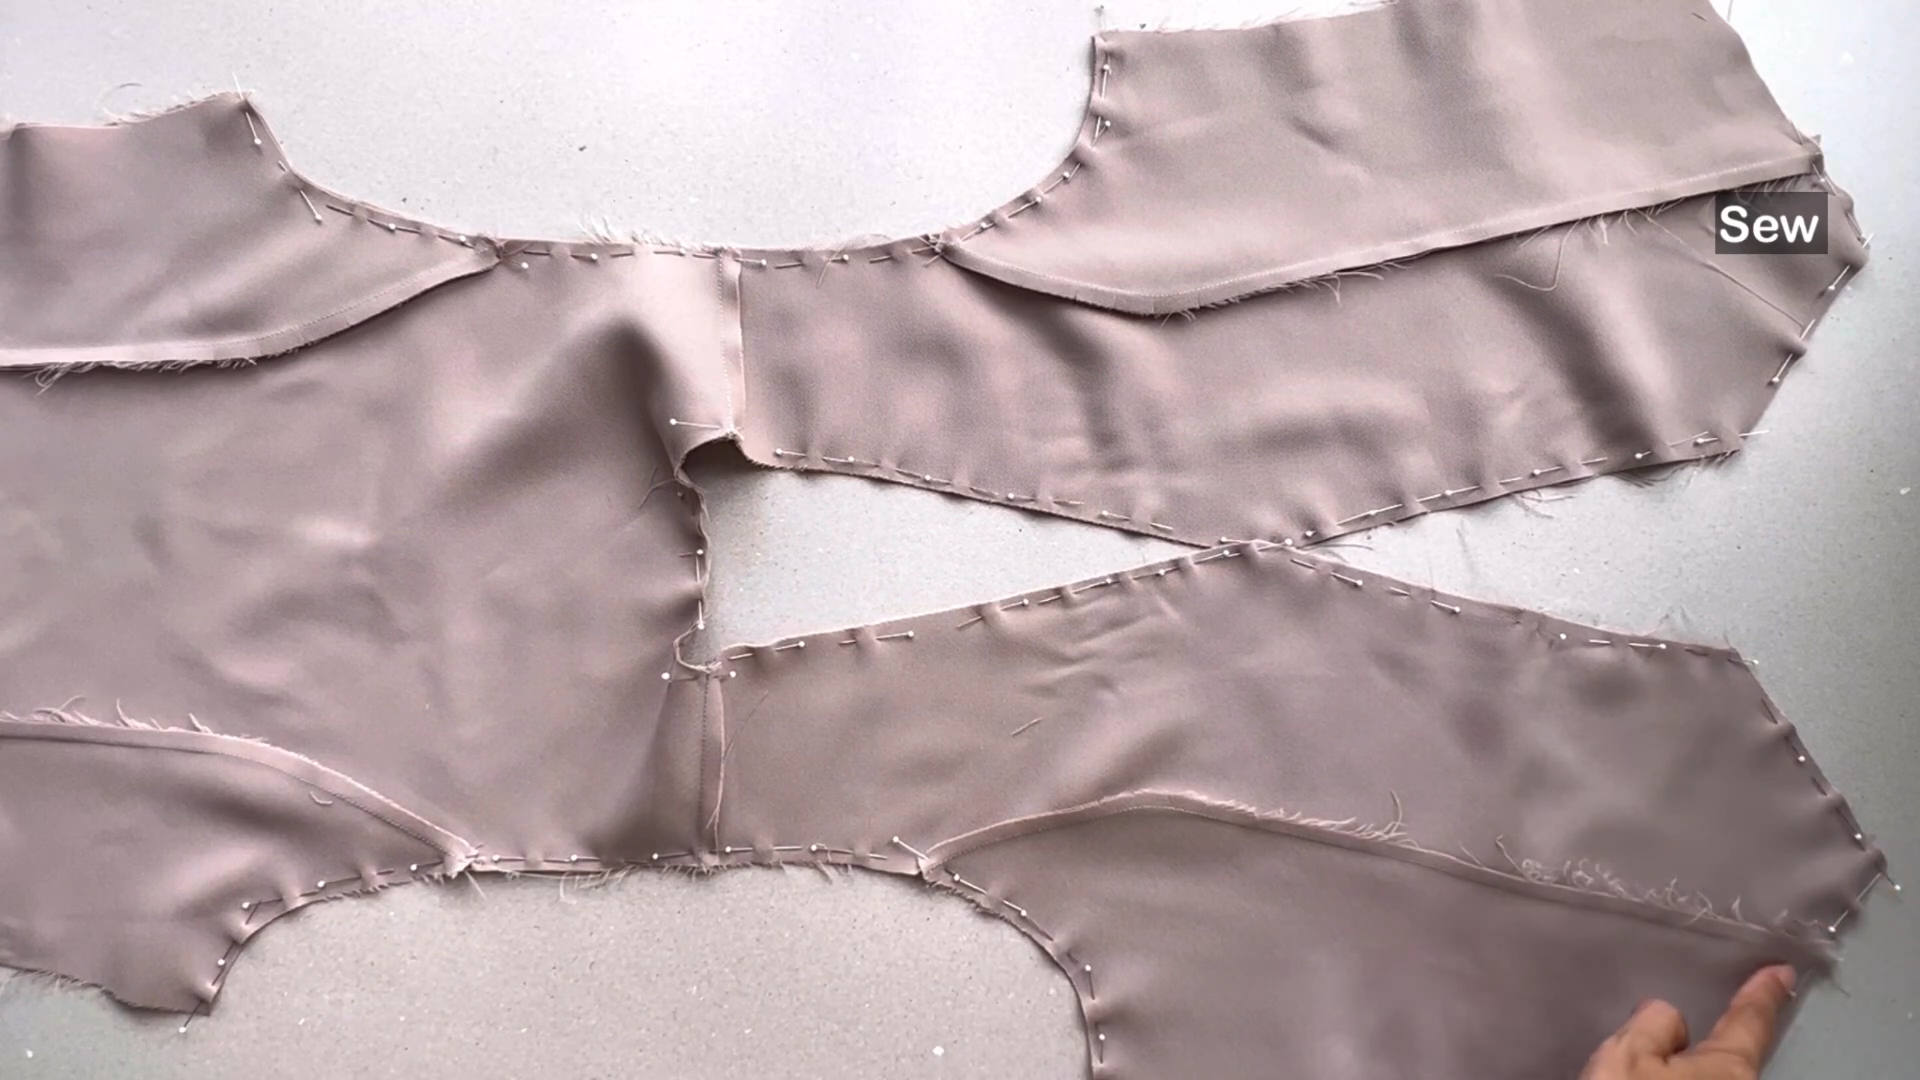
Connect the lining pieces to the main bodice at the sleeve, neck, and button areas.
At the end of the waistcoat, connect only half of the lining and main bodice together. Leave the other half open for turning later.
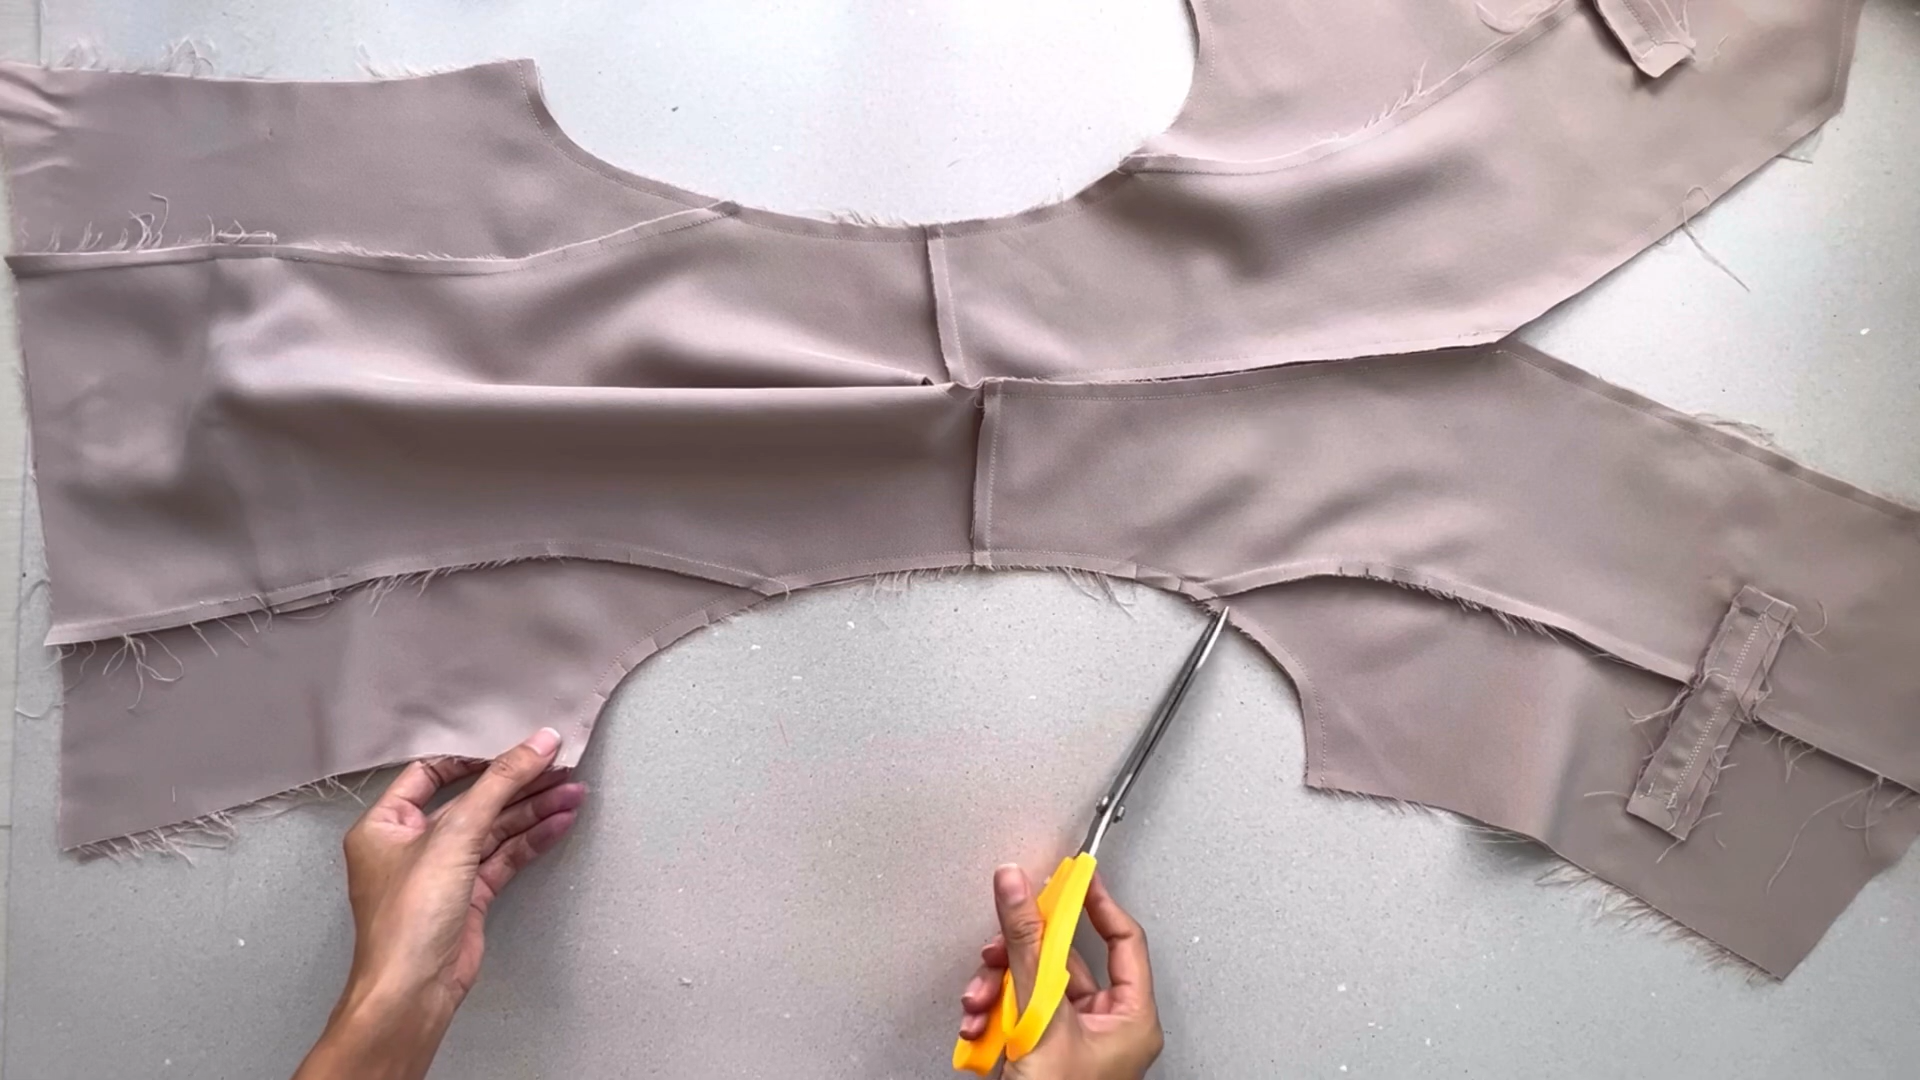
After sewing, make small cuts along the curve line. These cuts facilitate turning the waistcoat right side out.
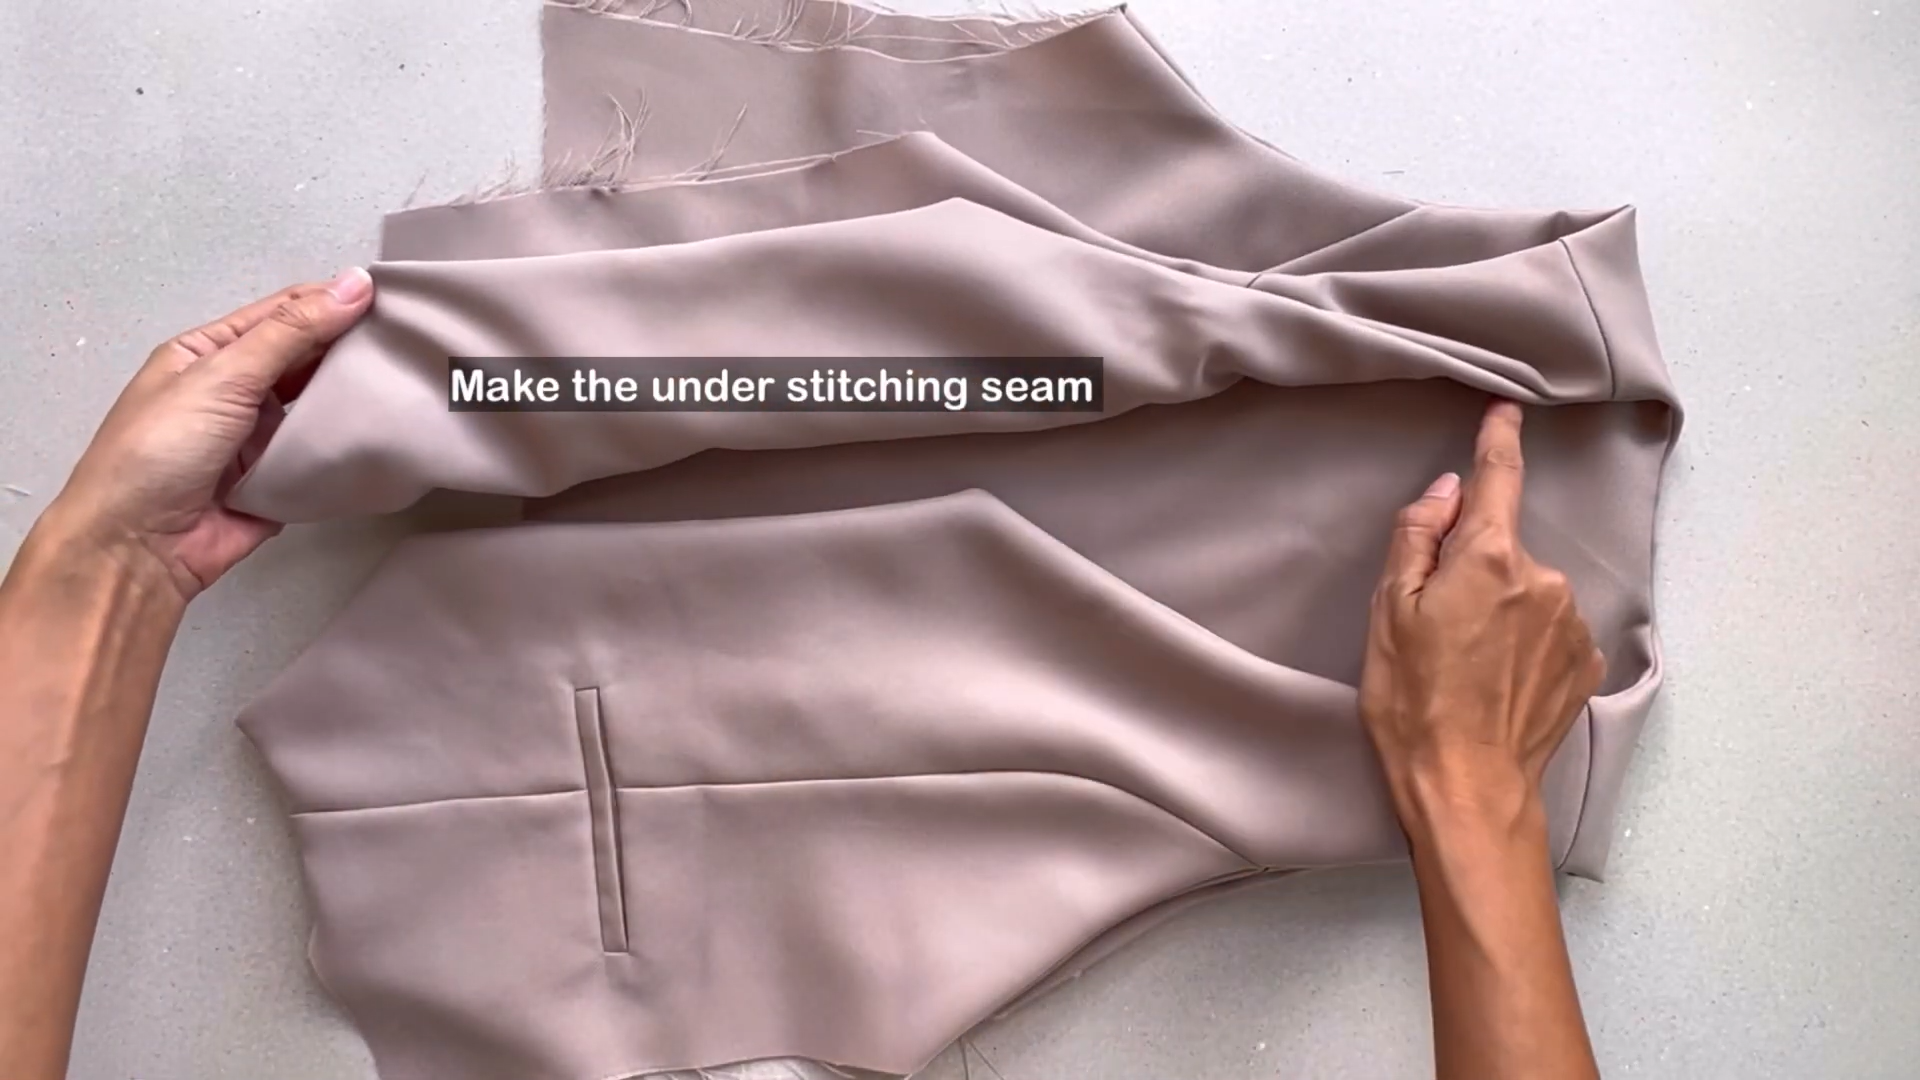
Consider adding an understitching seam for a professional look.
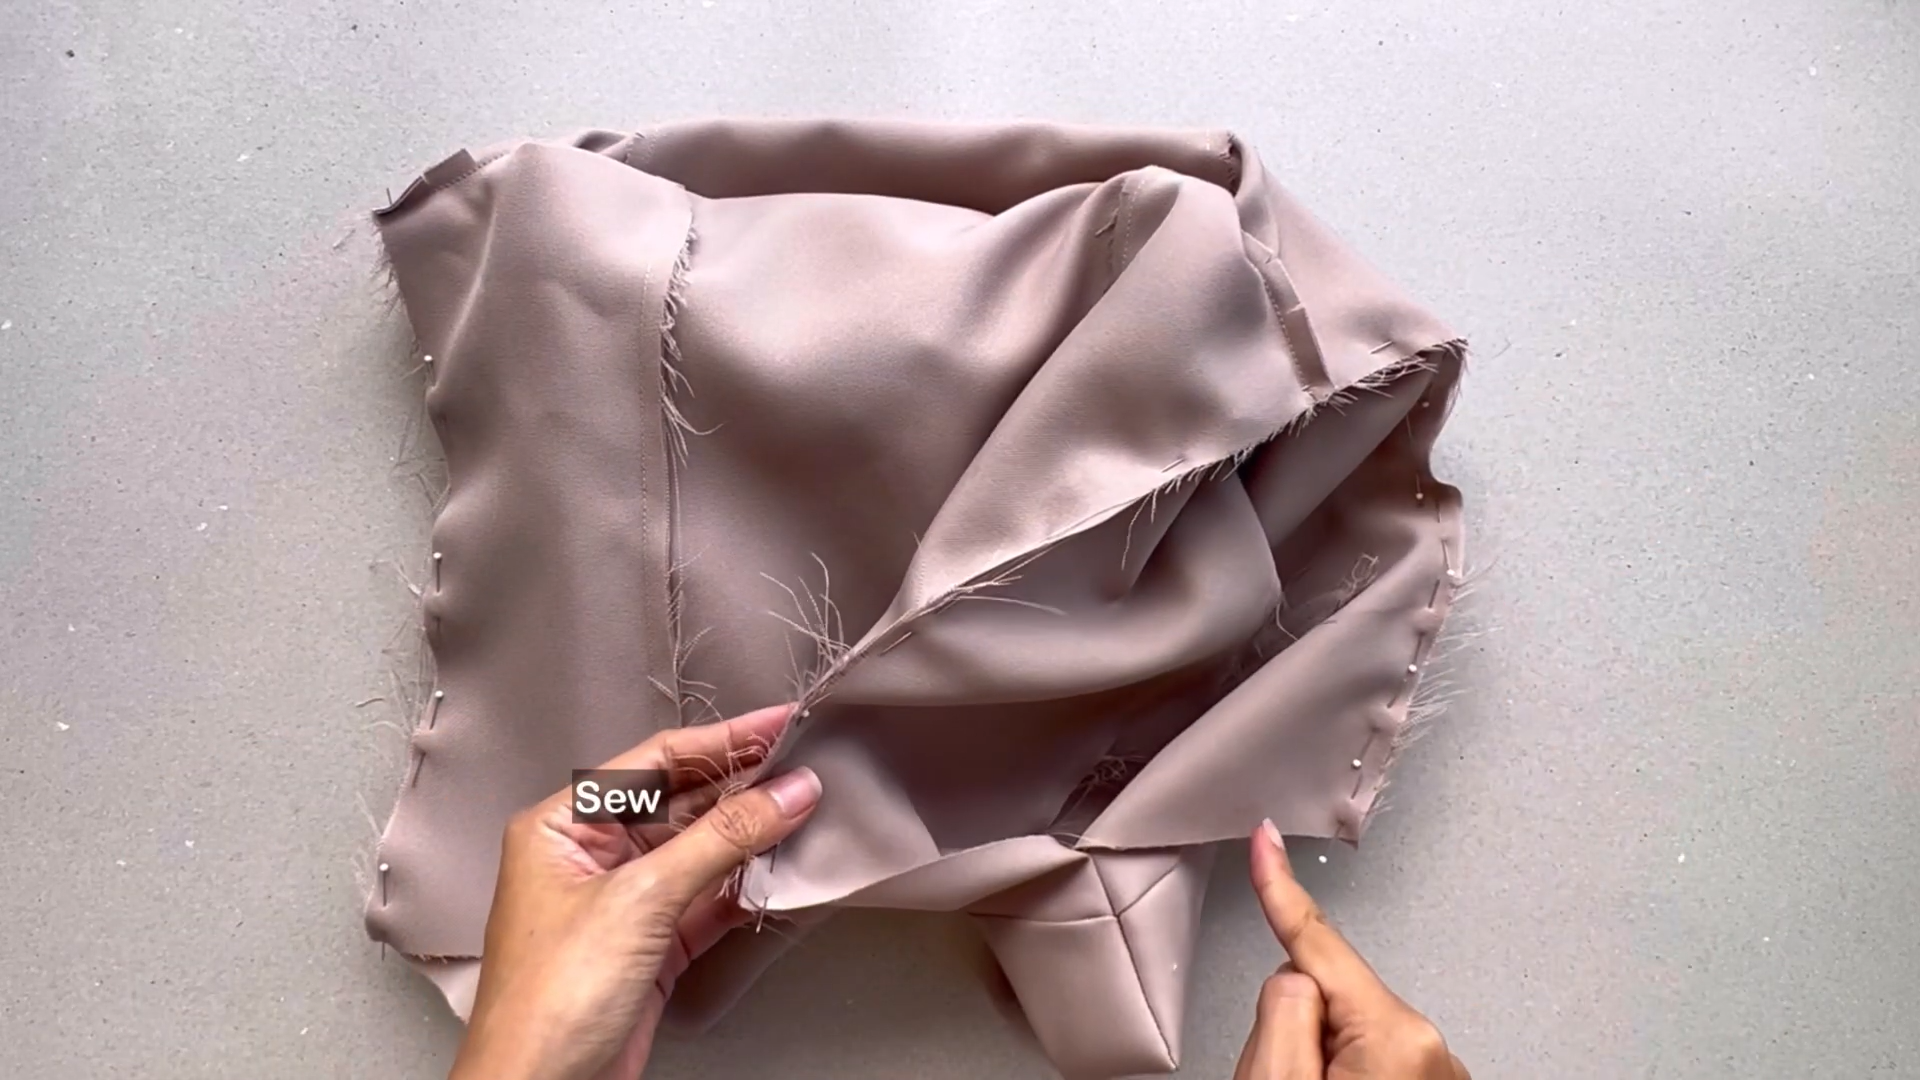
Seam the back and front bodice of the lining part and the main part together along the side lines.
Turn the waistcoat to hide all seams inside.
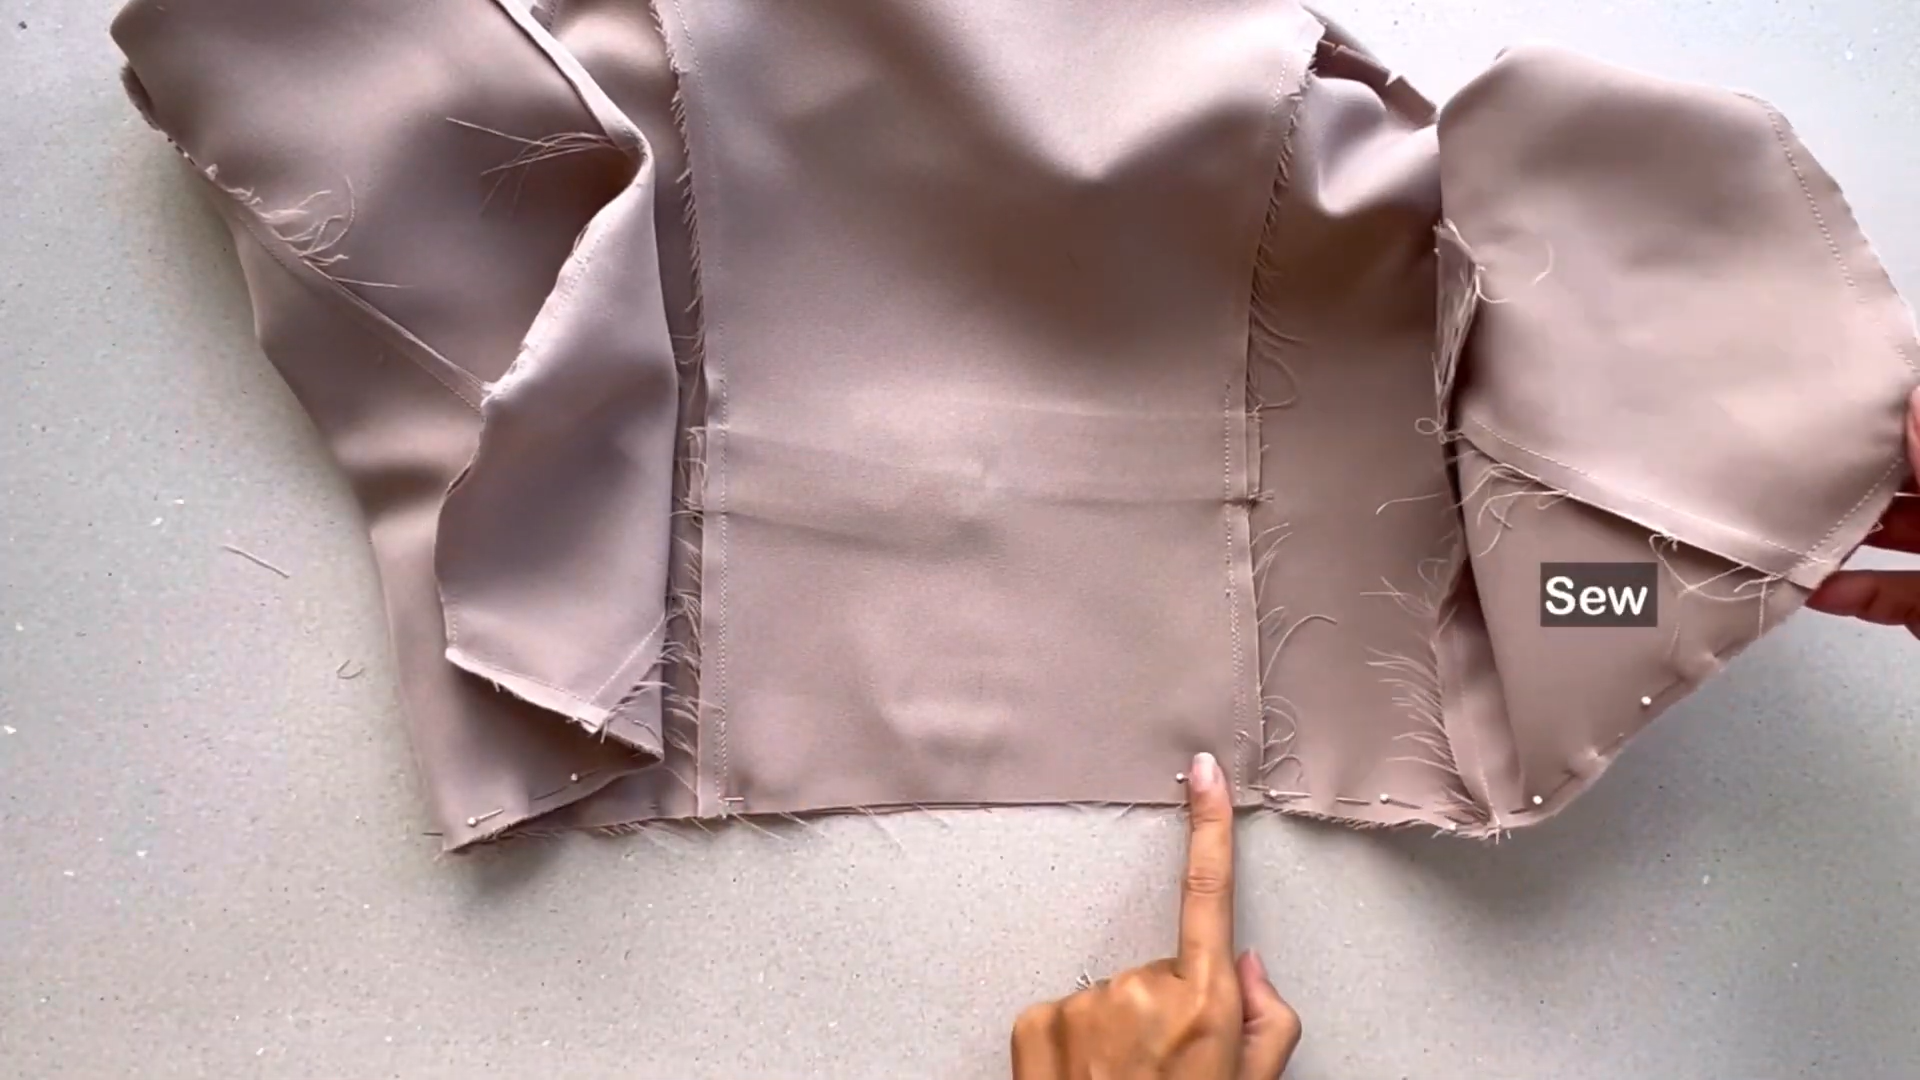
Finish the end of the waistcoat by sewing the end of the lining part to the main part.
Keep an unsewn portion in the middle of the back—this will allow you to turn the waistcoat later.
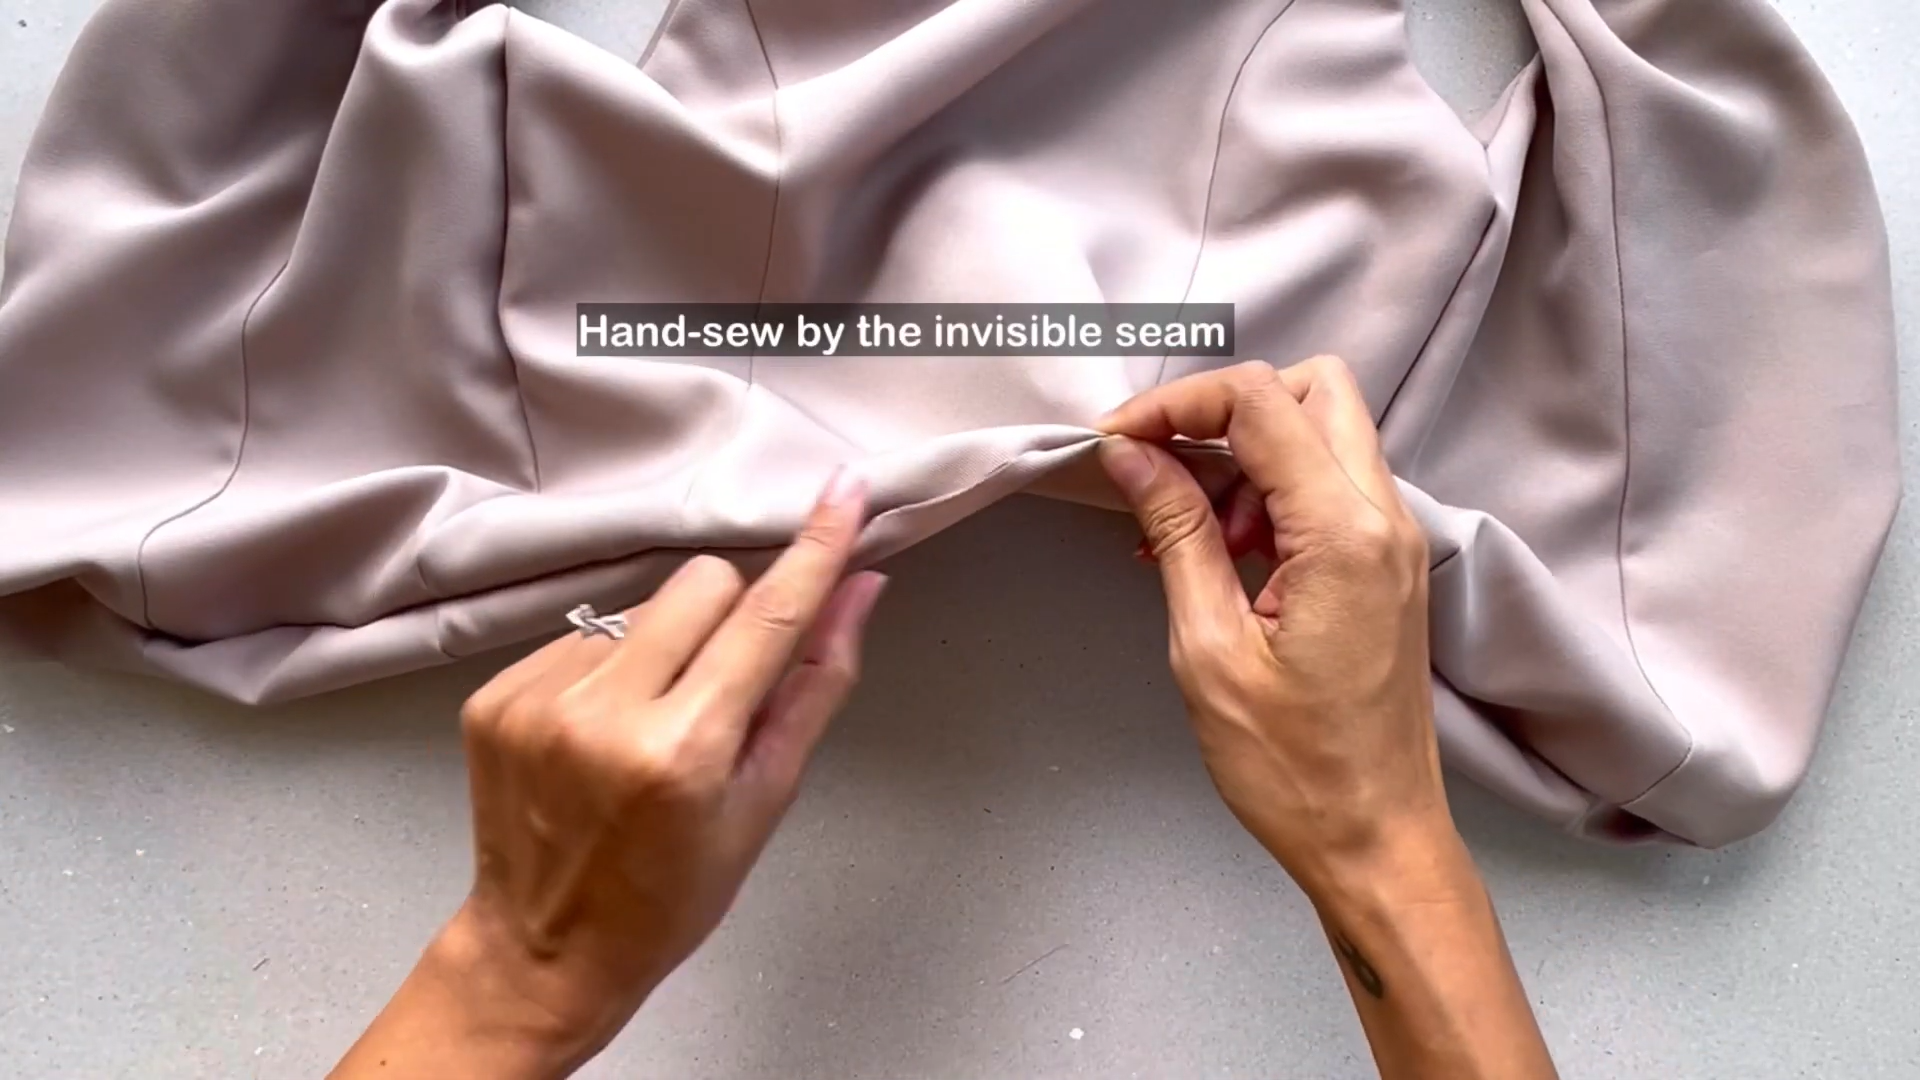
Turn the right side of the waistcoat out. Hand-sew the open part using invisible stitching.
ADD BUTTONS AND BUTTONHOLES
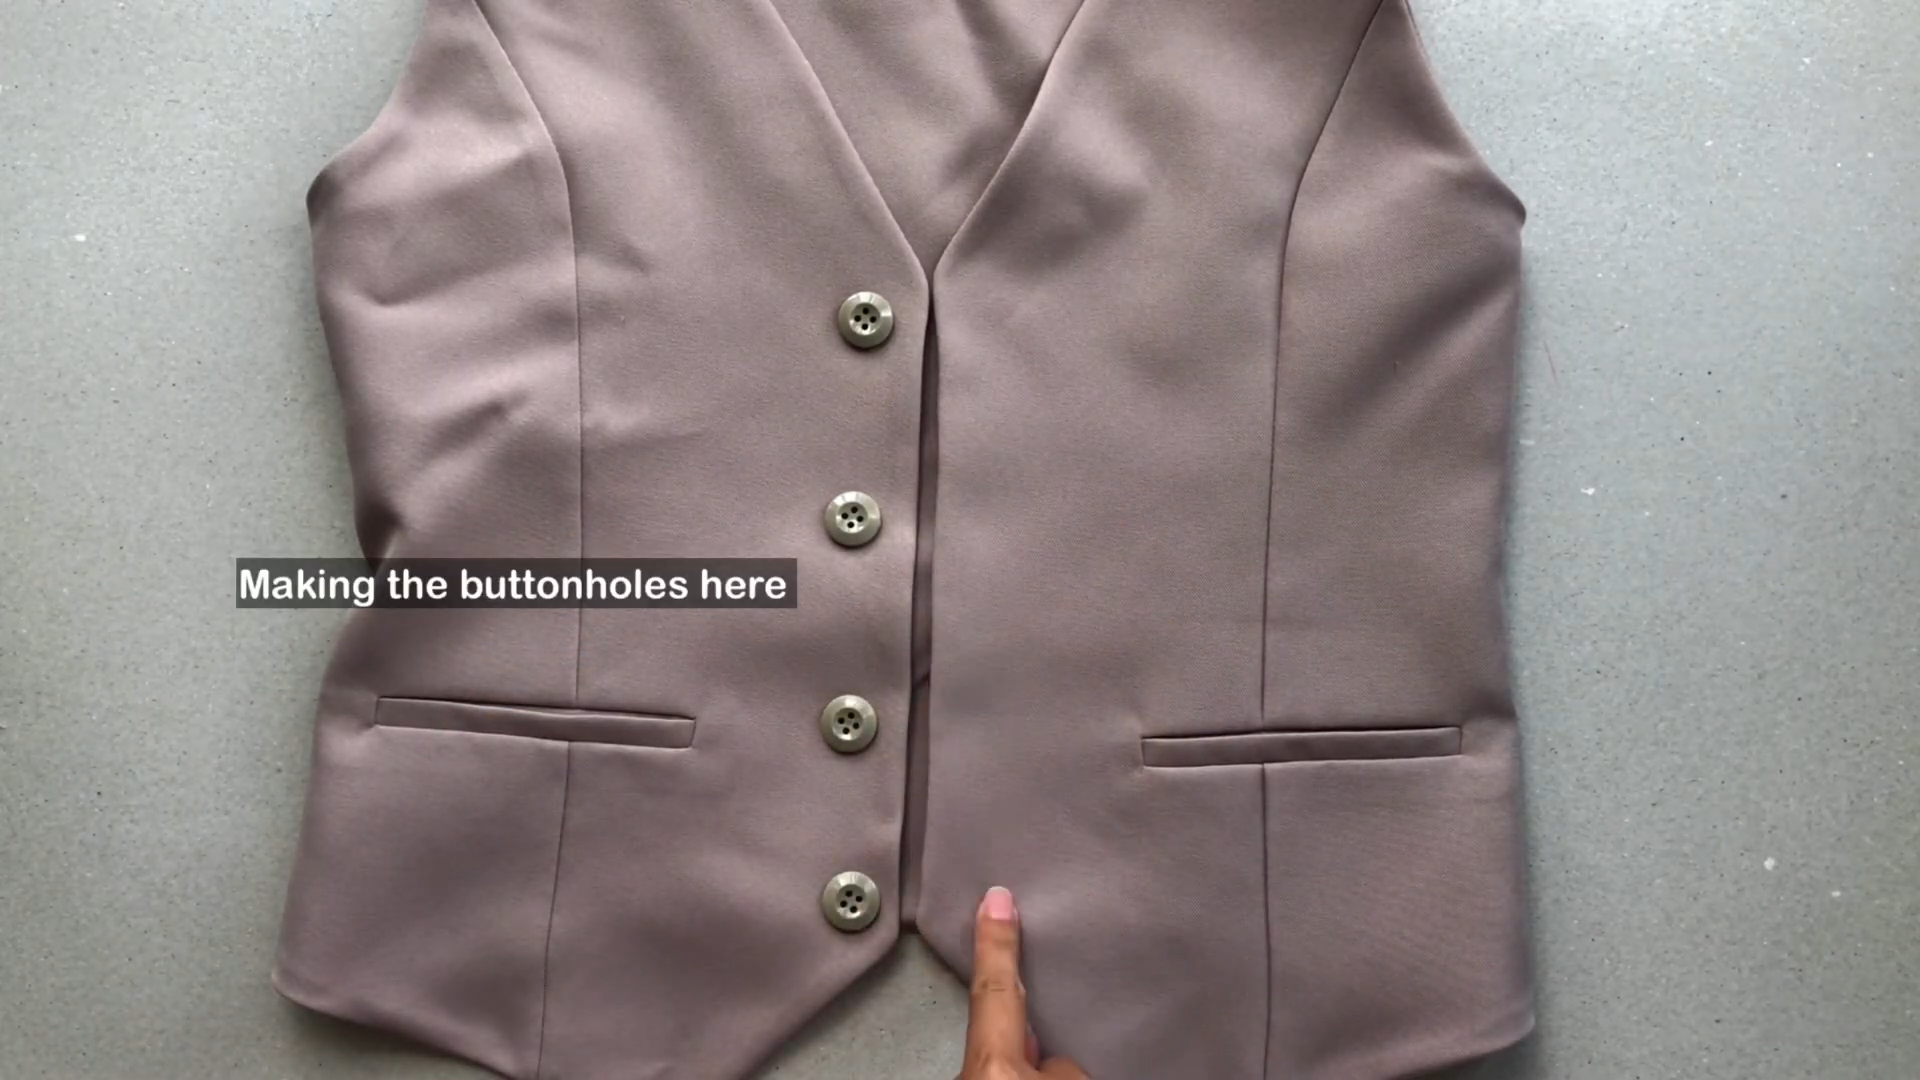
Sew buttons onto the front of your waistcoat.
Create corresponding buttonholes on the opposite side of the waistcoat.
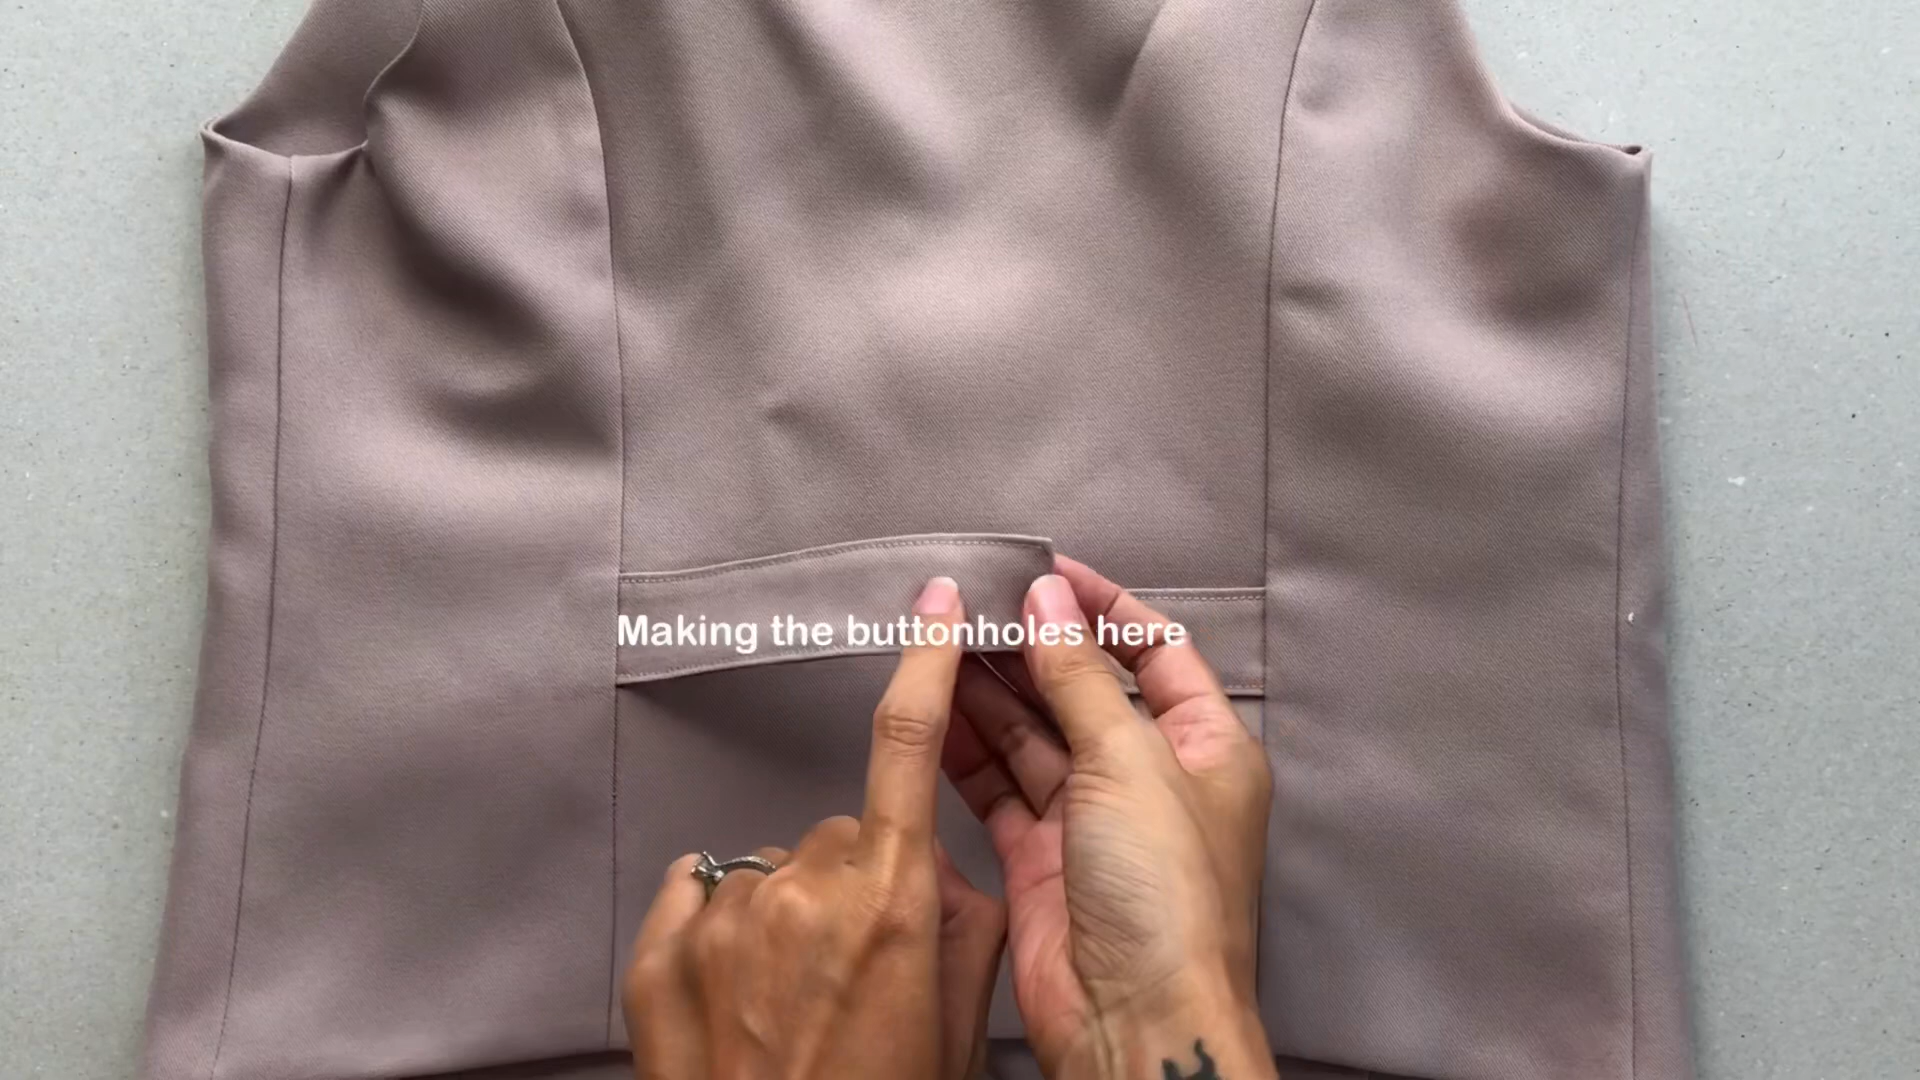
Attach a button to the strap. This button will serve as an adjustable closure for the waistcoat. Create a buttonhole also.

DIY Waistcoat
And there we have it!
This project has been on my crafting bucket list for ages, and today, I can proudly say: mission accomplished. My waistcoat is ready for any occasion. Whether layered over a crisp shirt or worn solo, it exudes timeless elegance.

I hope you found my step-by-step guide helpful and inspiring. If you’re interested in making your own waistcoat, give it a try and let me know how it goes!
Until then, happy sewing!