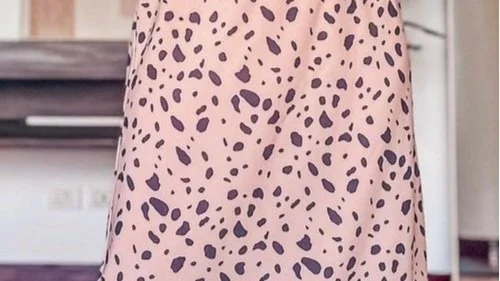
DIY Bias slip skirt (without zipper) | Beginner friendly sewing project | Step by step tutorial

DIY Bias slip skirt
Welcome or welcome back to my sewing blog!
In today's video, I'm going to share with you how I made a bias slip skirt without using the zipper. This skirt is super comfortable when wearing with the elastic waistband. But it still fits nicely on your body by using the bias cutting method.
So I hope you like it and try it out.
Let’s get started!
WHAT YOU’LL NEED
2m of silk fabric
Pattern paper
Sewing machine
Thread
Pencil
Pins
Scissors
Ruler
SEWING THE SKIRT
THE SKIRT PART
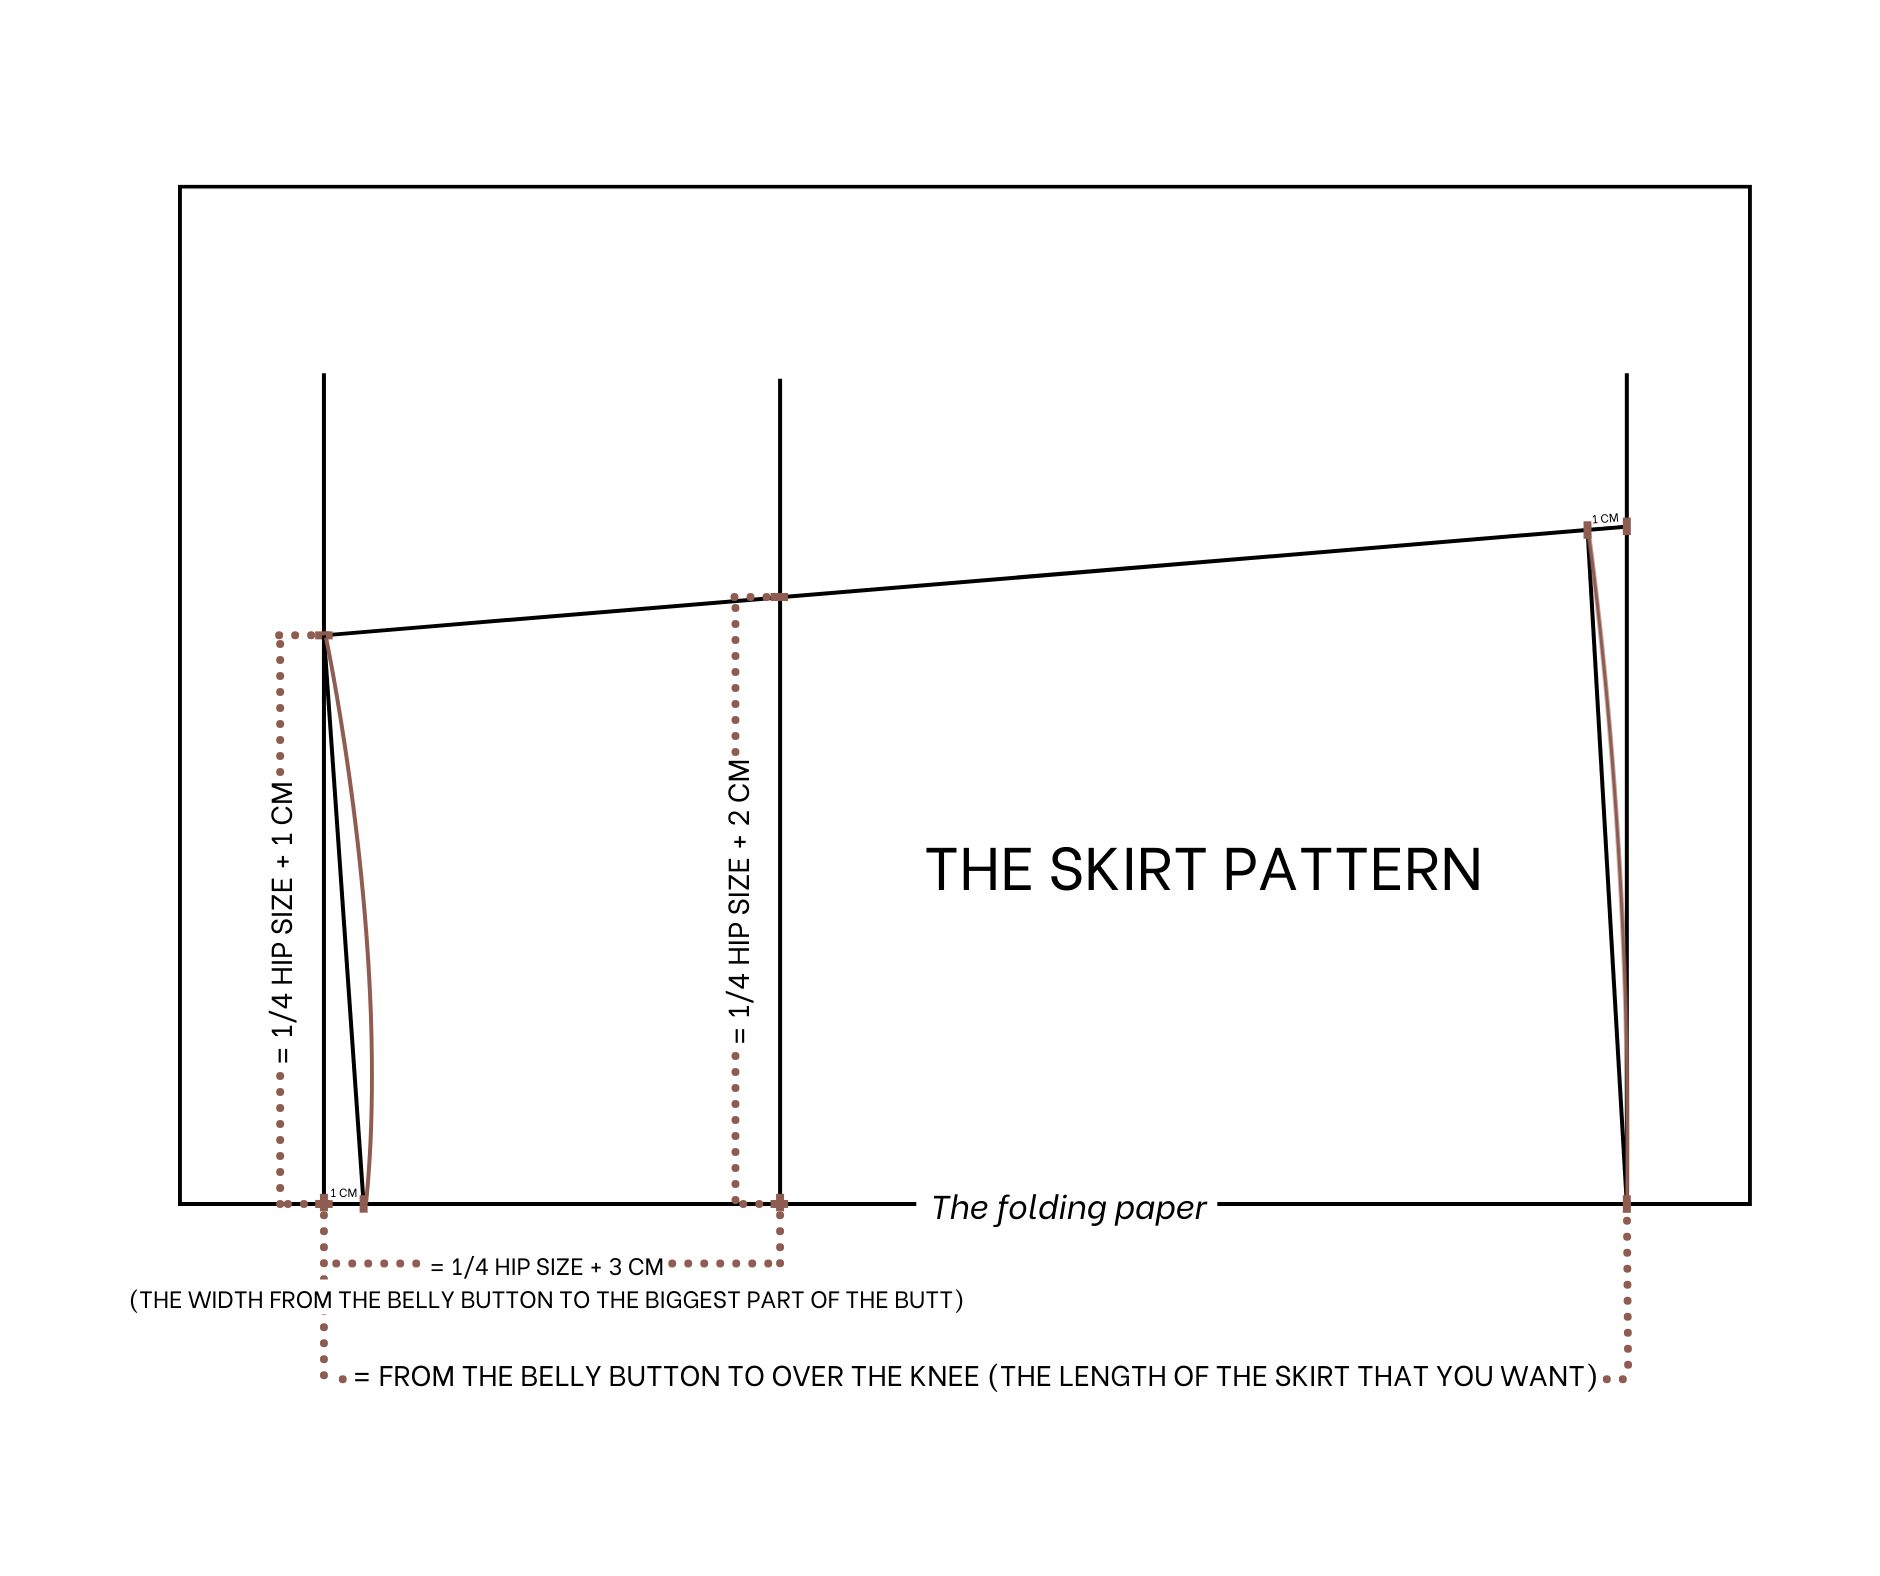
The skirt pattern
Fold the paper in half first.
Draw a straight line cutting the folding line later. This will be the waistline of the skirt.
From the first straight line, draw another one 26 cm away from it. This is a quarter of your hip size plus 3 cm and this will be the hip line of the skirt.
From the first straight line, keep drawing another line at 85 cm away from it. This is the length from the belly button to over your knee. It is also the length of the skirt that you want.
From the end of the first straight line, mark up 24 cm, which is a quarter of your hip size plus 1 cm.
From the end of the second straight line, mark up 25 cm, which is a quarter of your hip size plus 2 cm. The bigger you mark here, the looser the skirt will be.
Connect the two marks together. This lengthened line will cut the third straight line at one point to create the sideline of the skirt.
From the end of the first straight line, mark at 1 cm on the folding line then connect this mark to the top of the side line. Based on it, draw a slightly curved line to create the waistline of the skirt.
From the end of the side line, mark up 1 cm then connect this mark to the end of the third straight line. Based on it, draw a slightly curved line to create the ending line of the skirt.
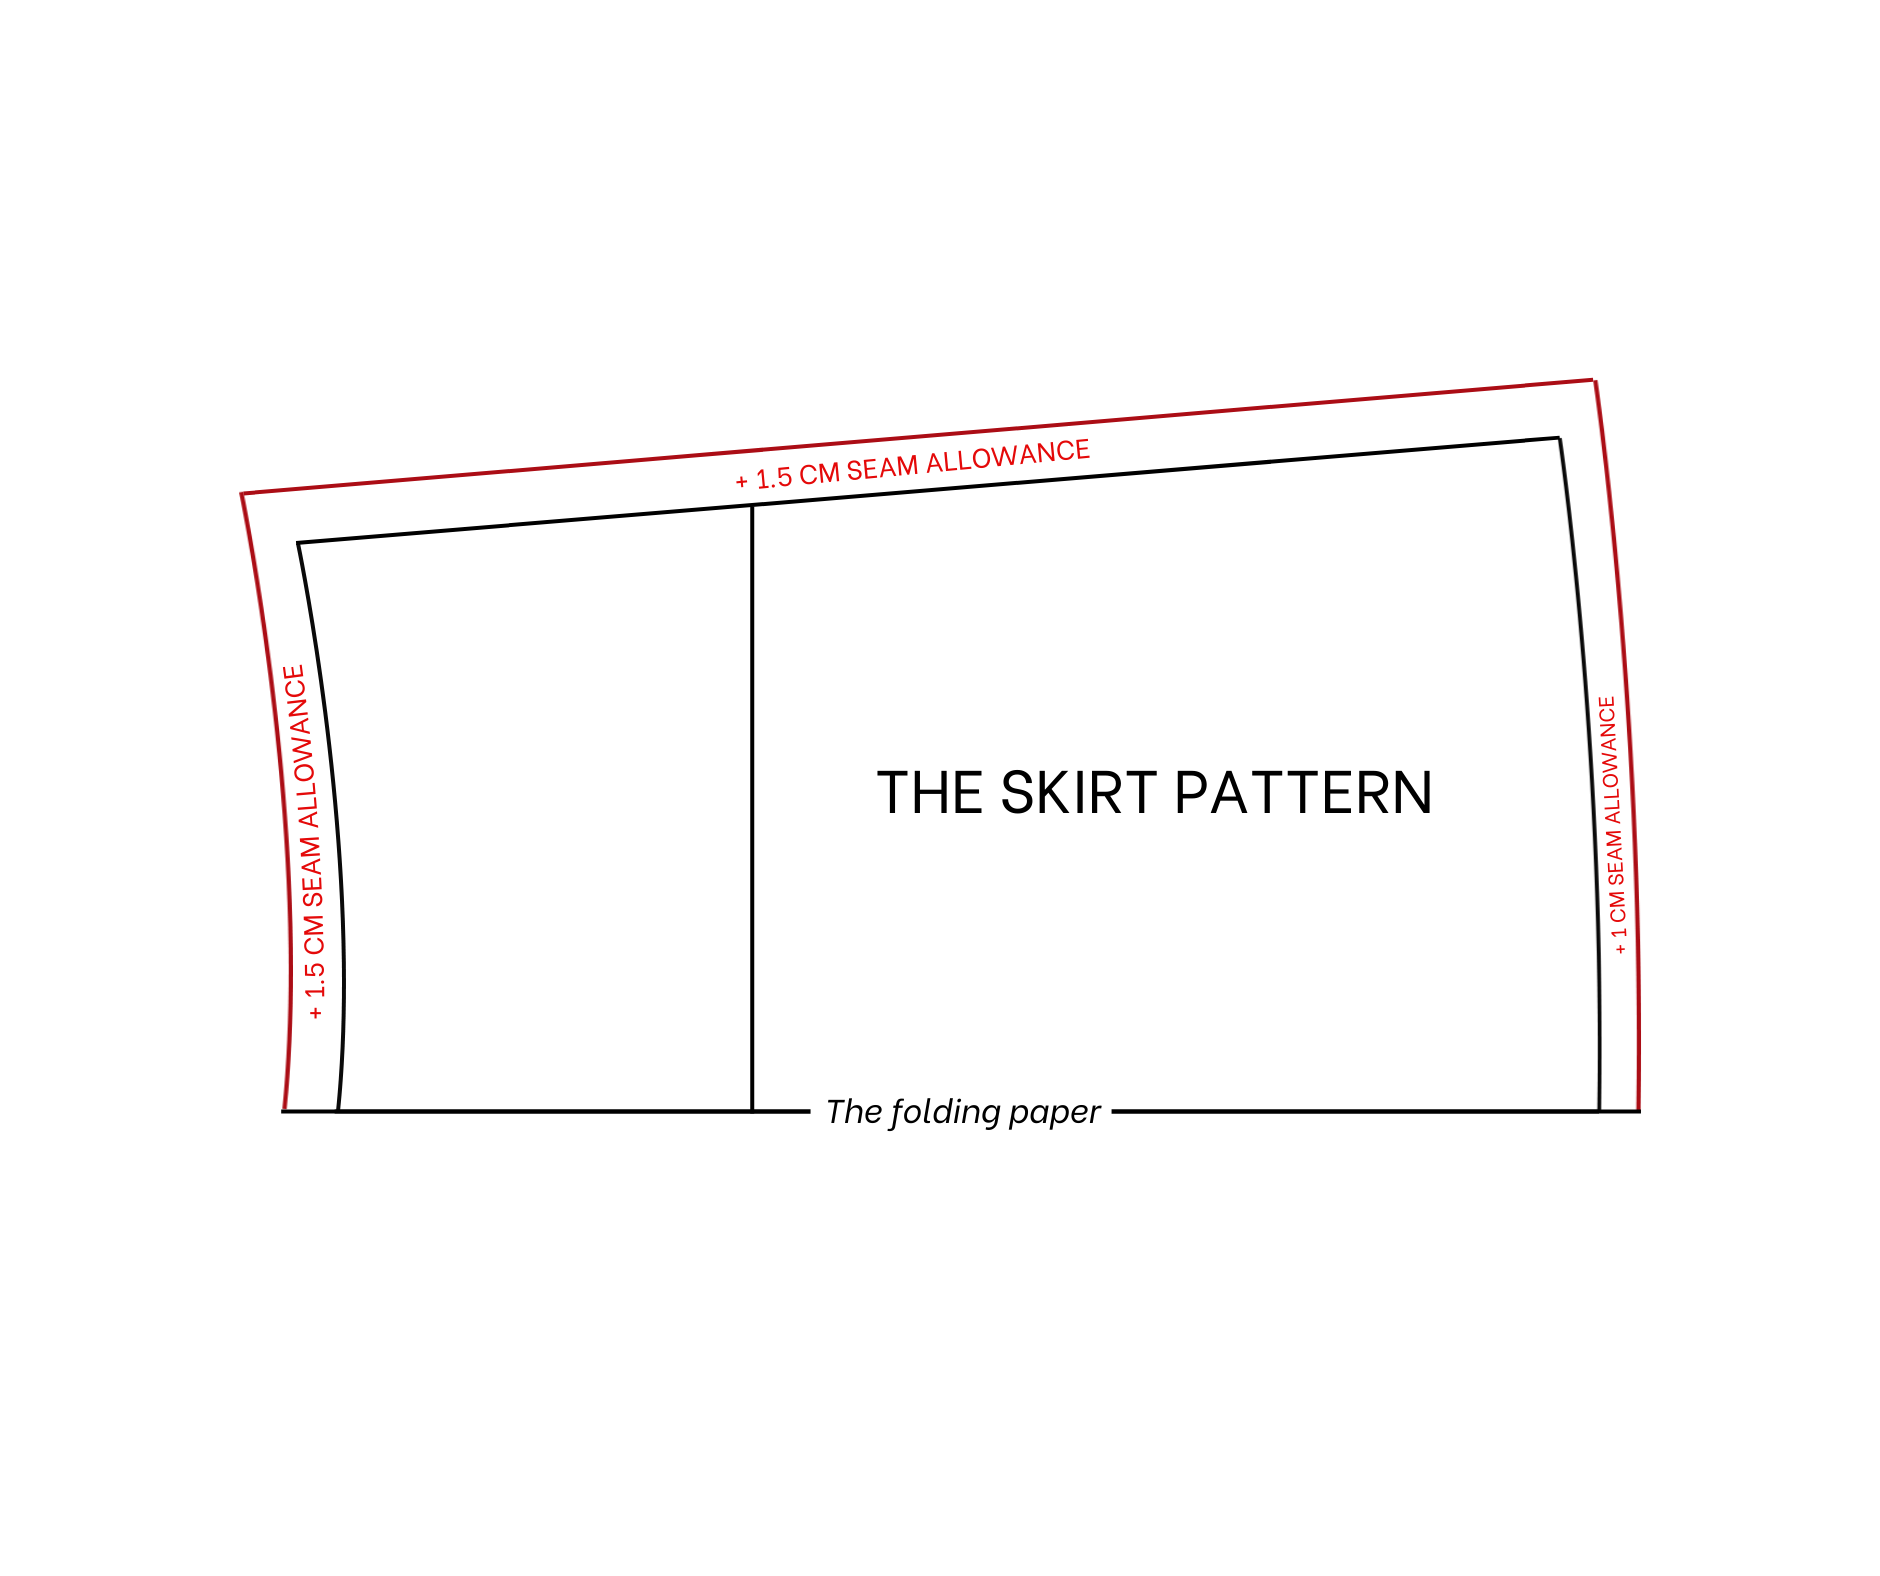
Add 1 cm for seam allowance at the ending line and 1/2 cm for seam allowance at the sideline and the waistline.
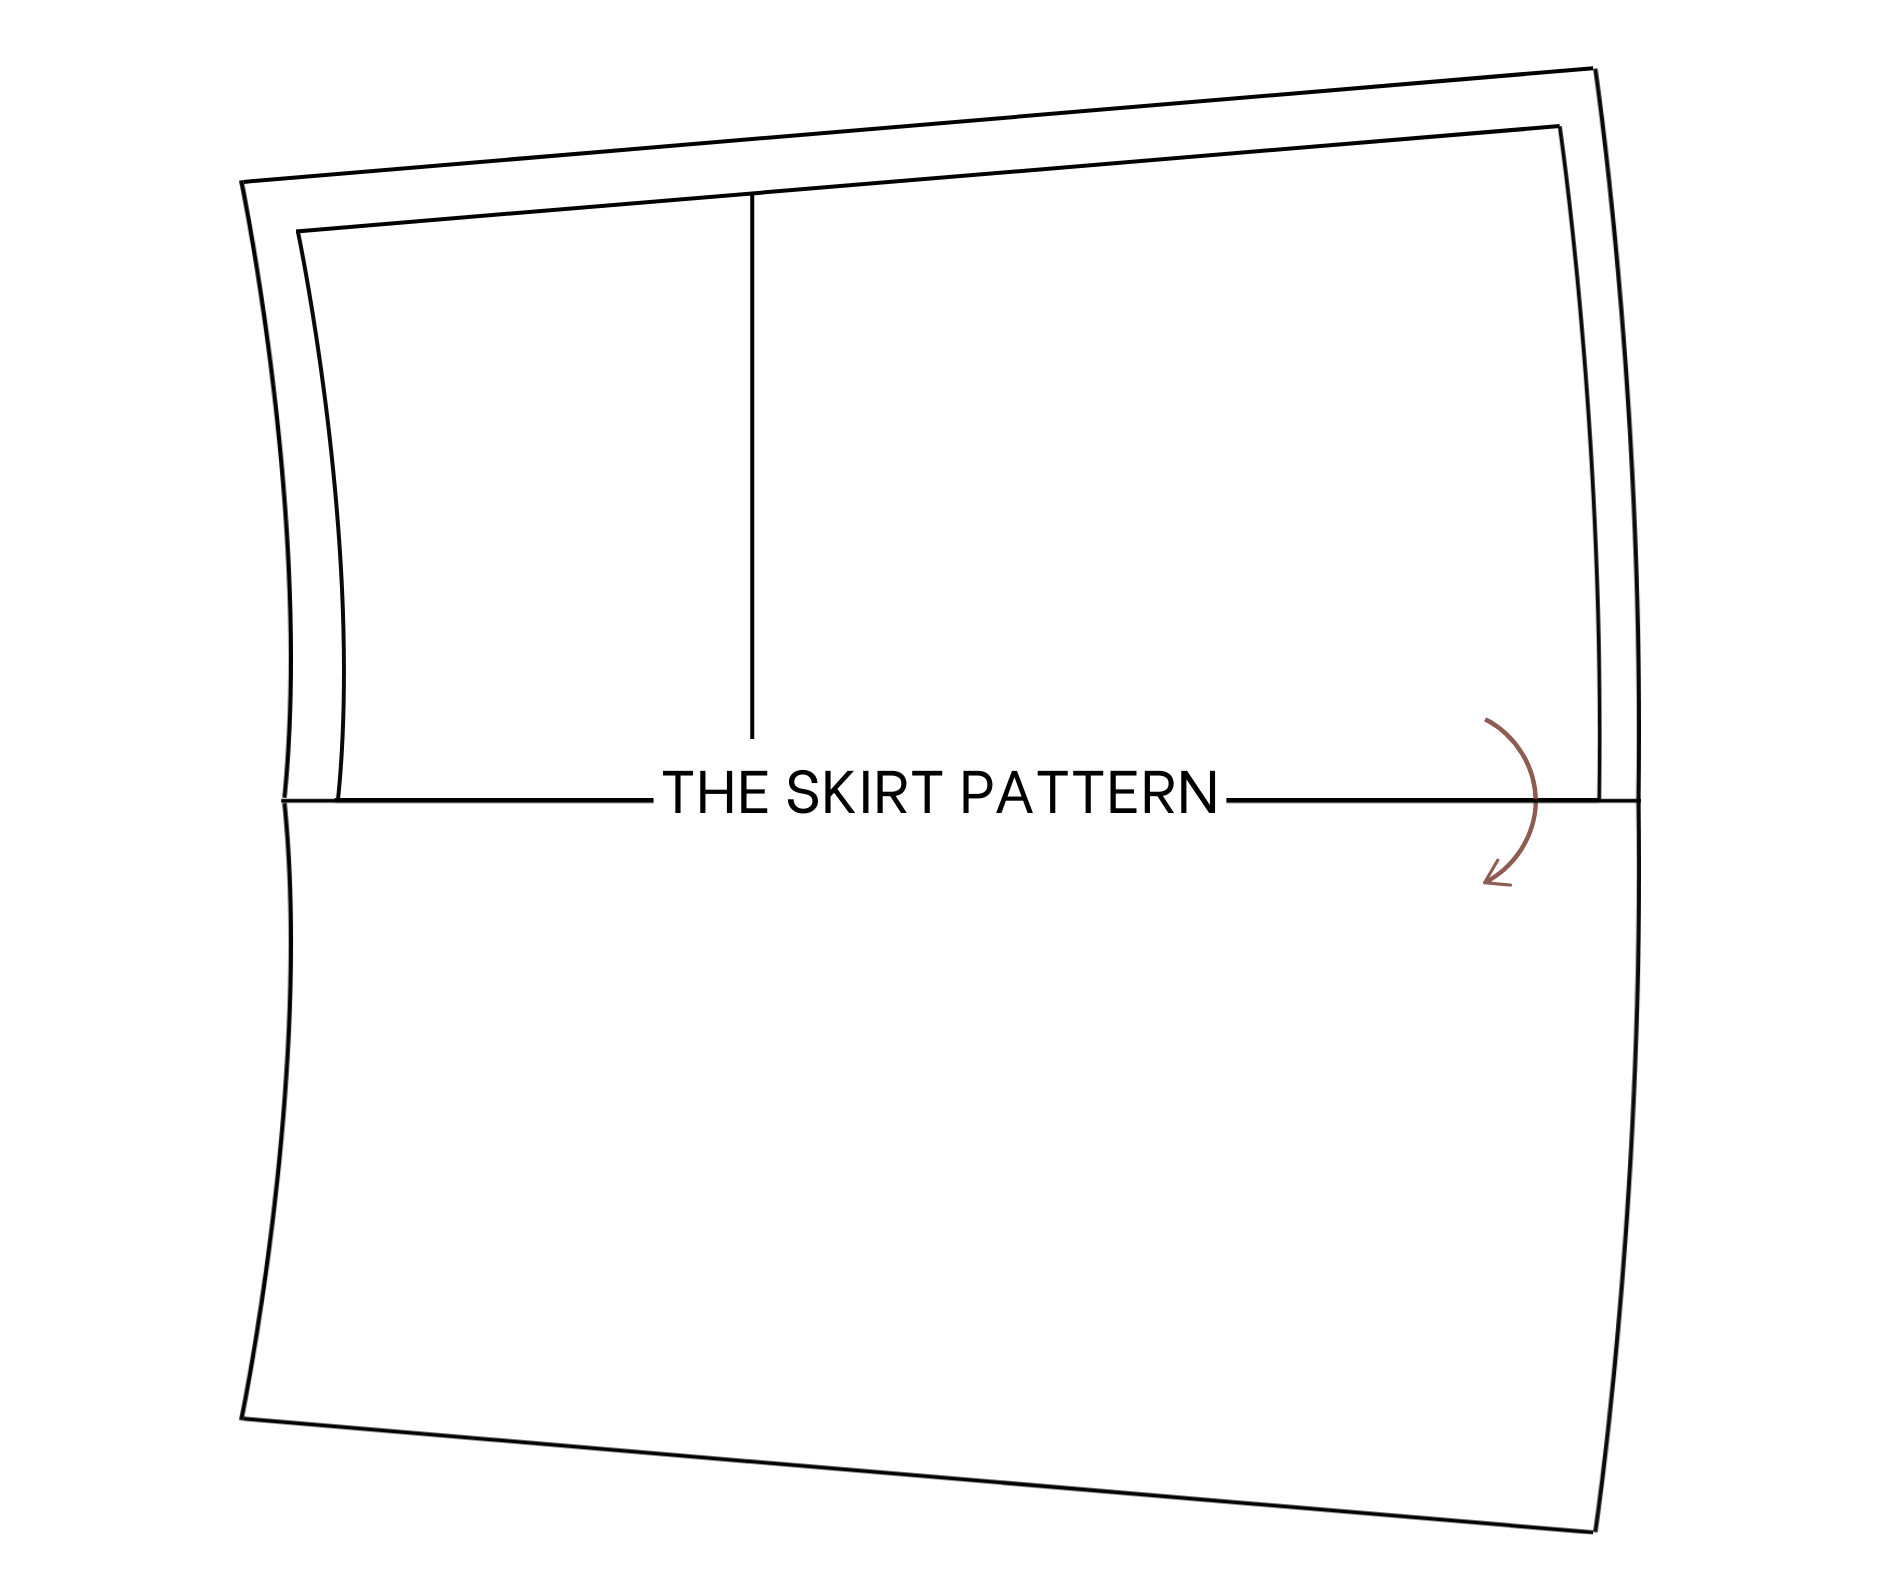
After cutting, you will have the skirt pattern. You will need to cut two pieces for this pattern in the bias fabric.
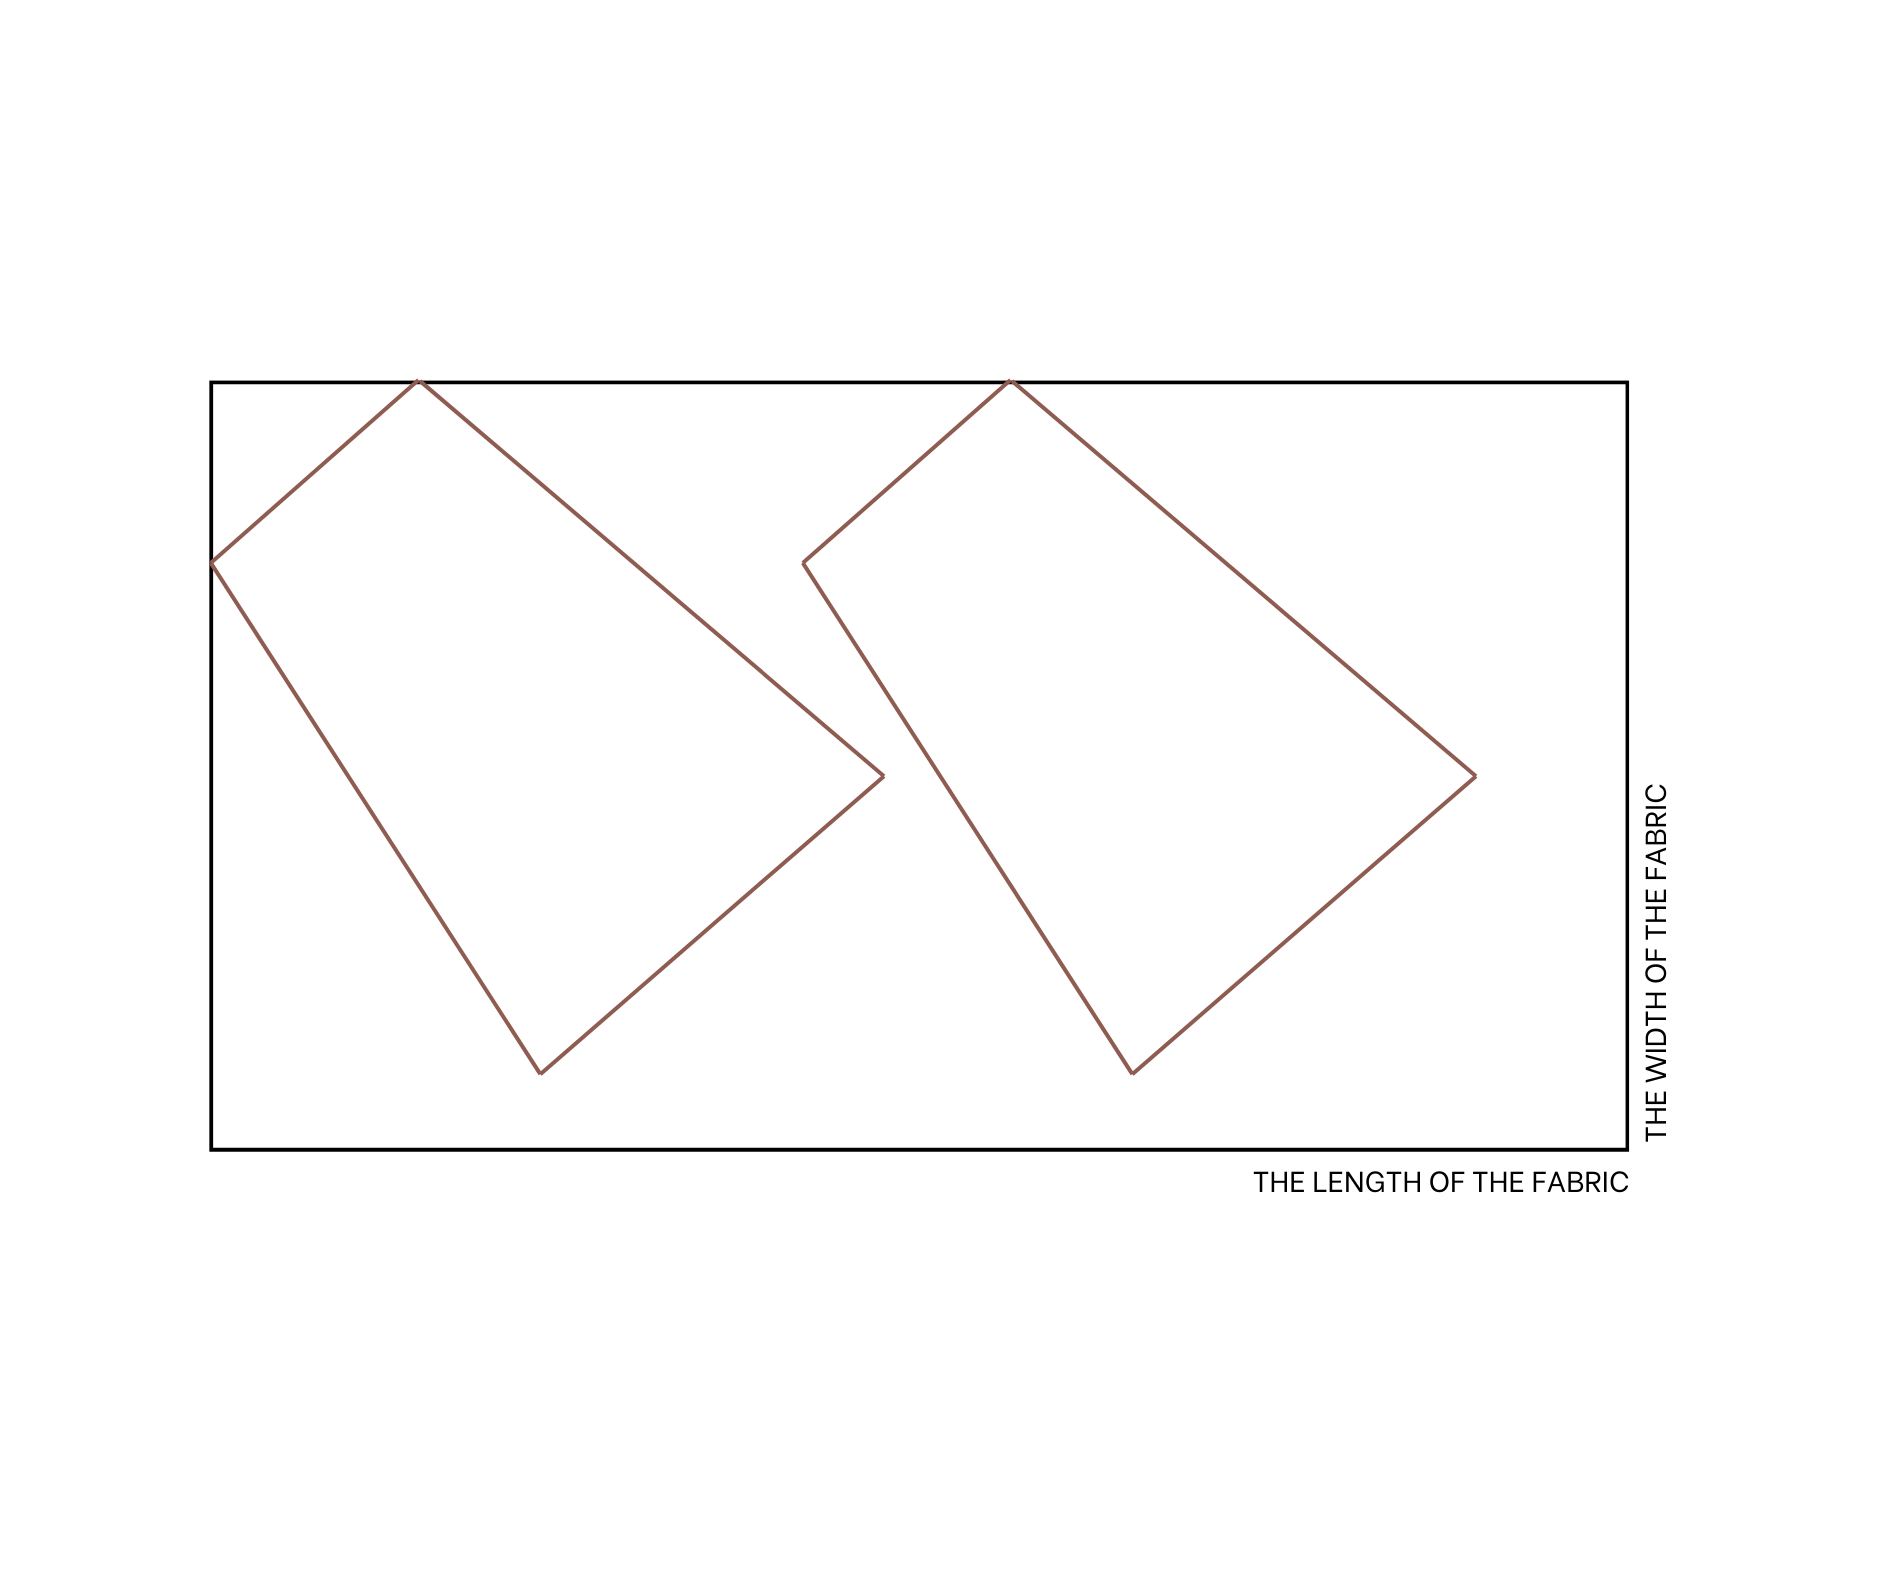
The pattern planning for cutting
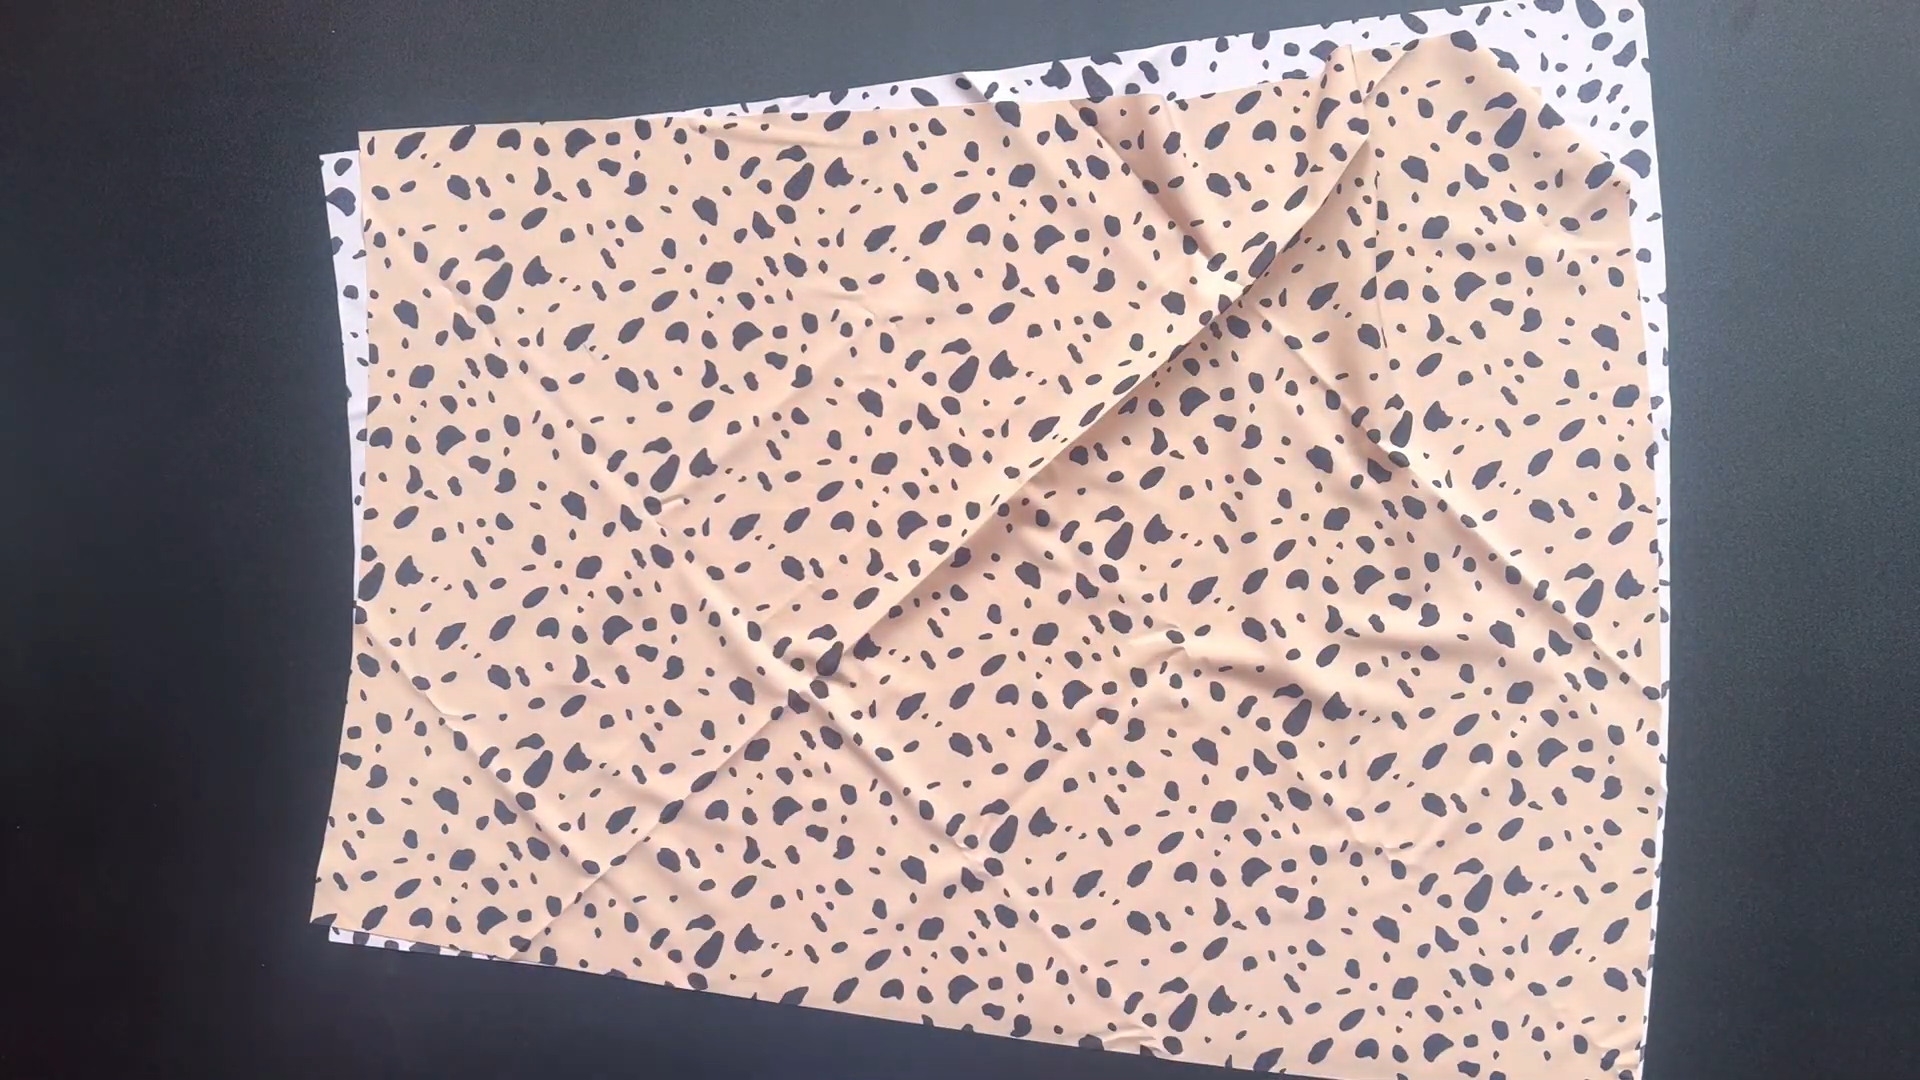
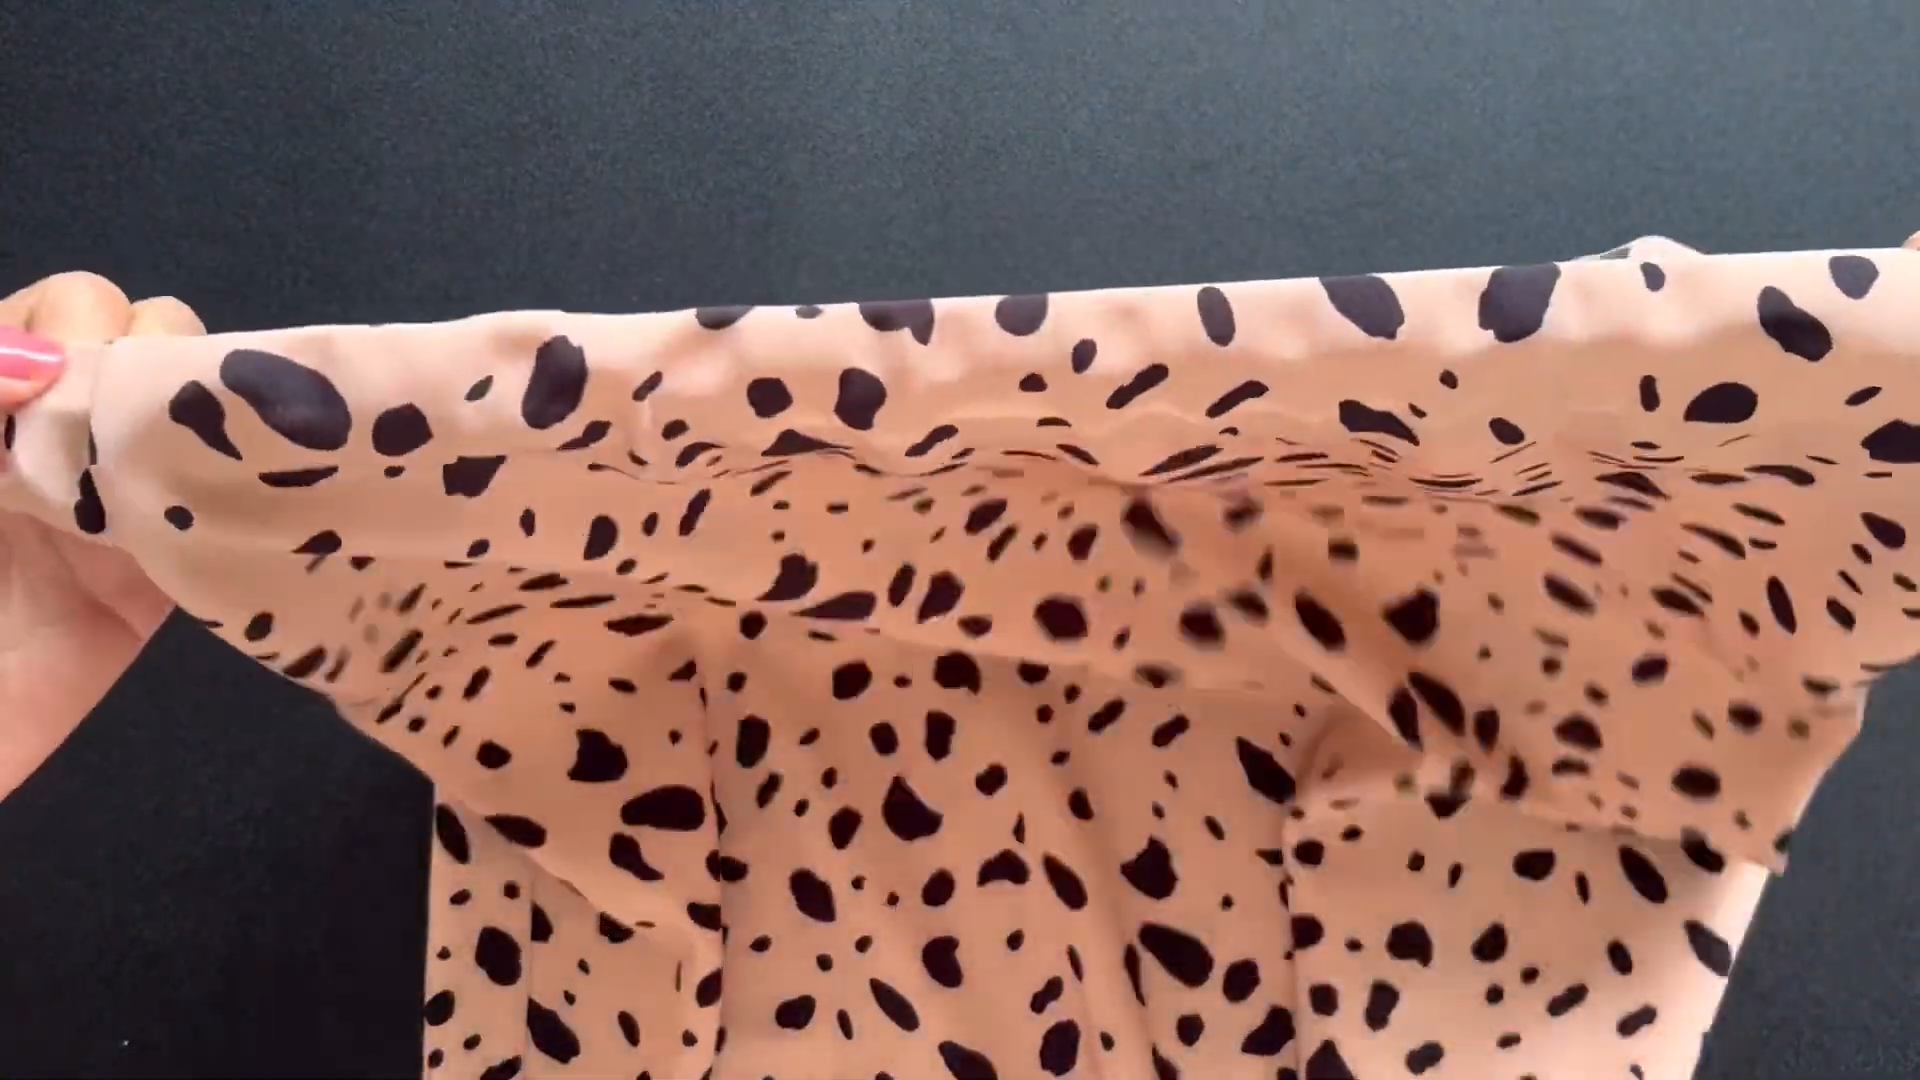
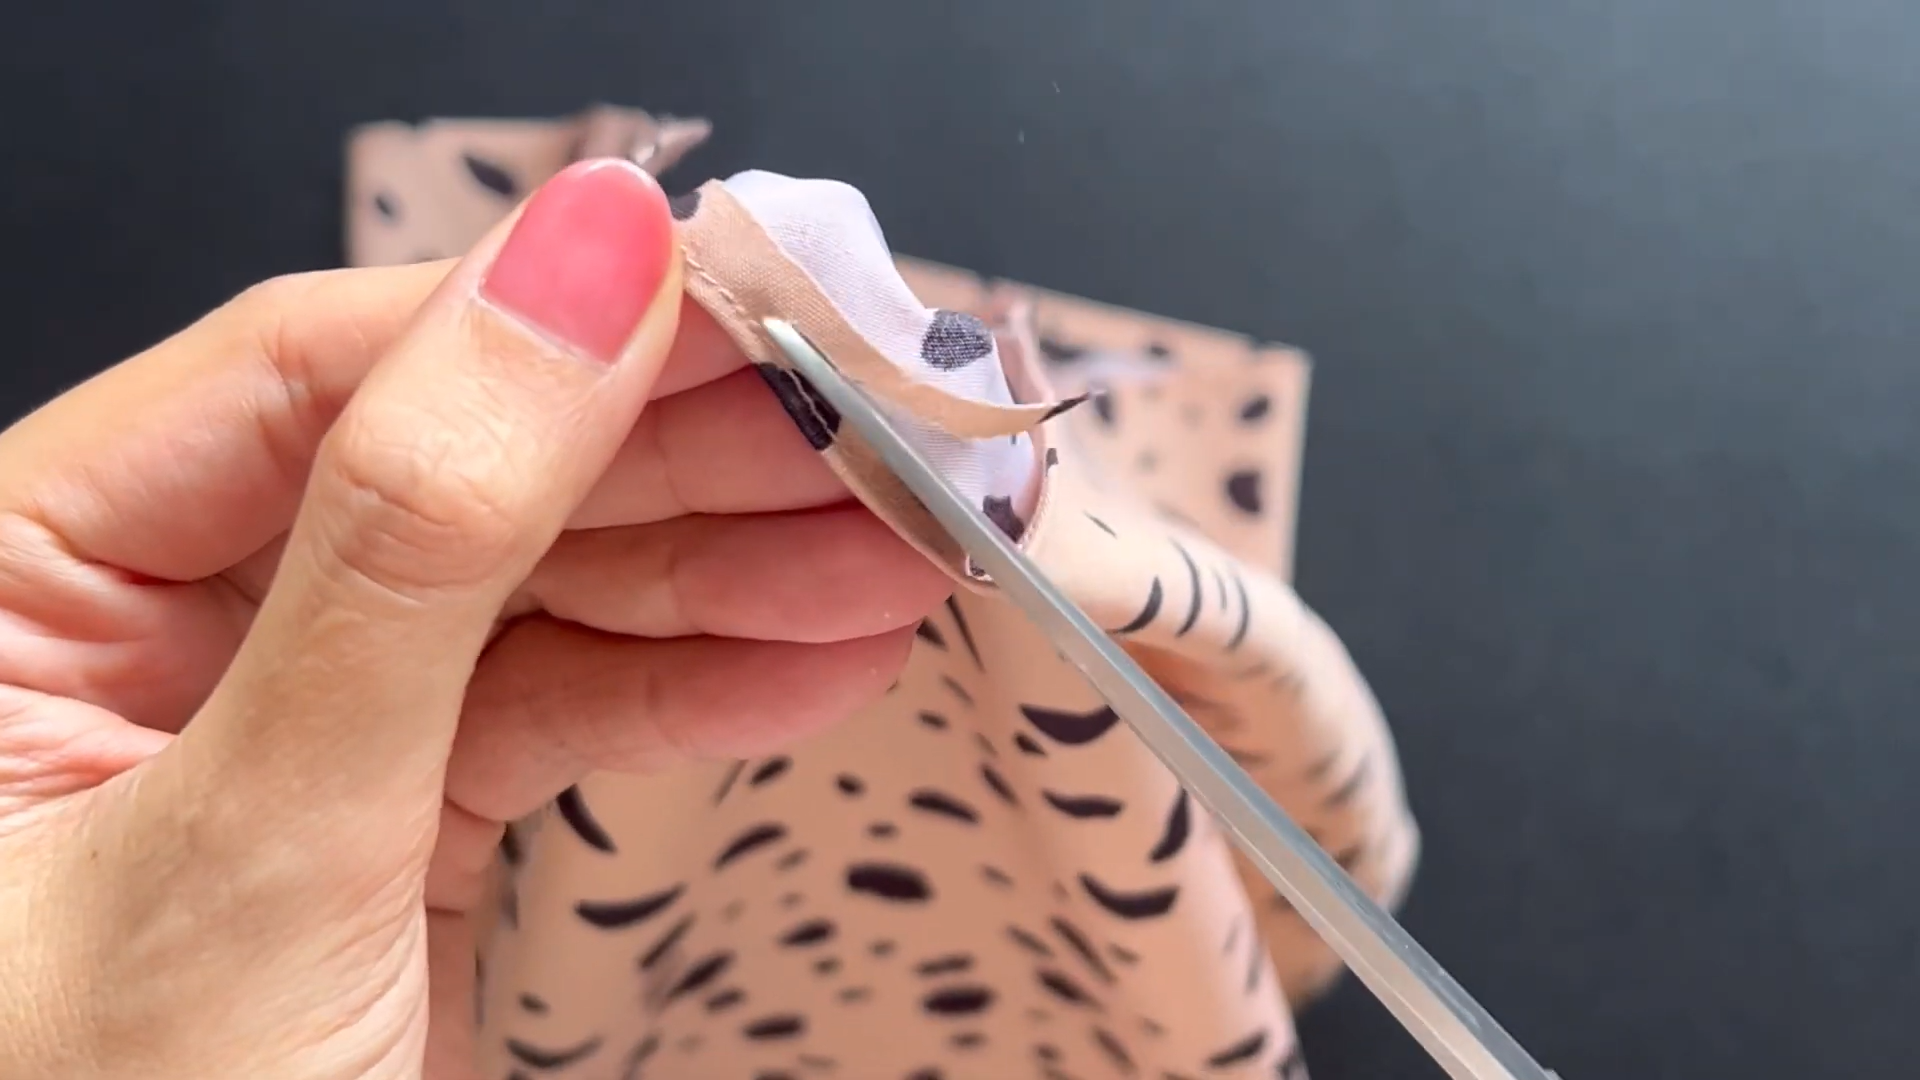
After cutting, connect two pieces of the skirt together at two sidelines. Make sure the wrong side of the fabric is facing each other.
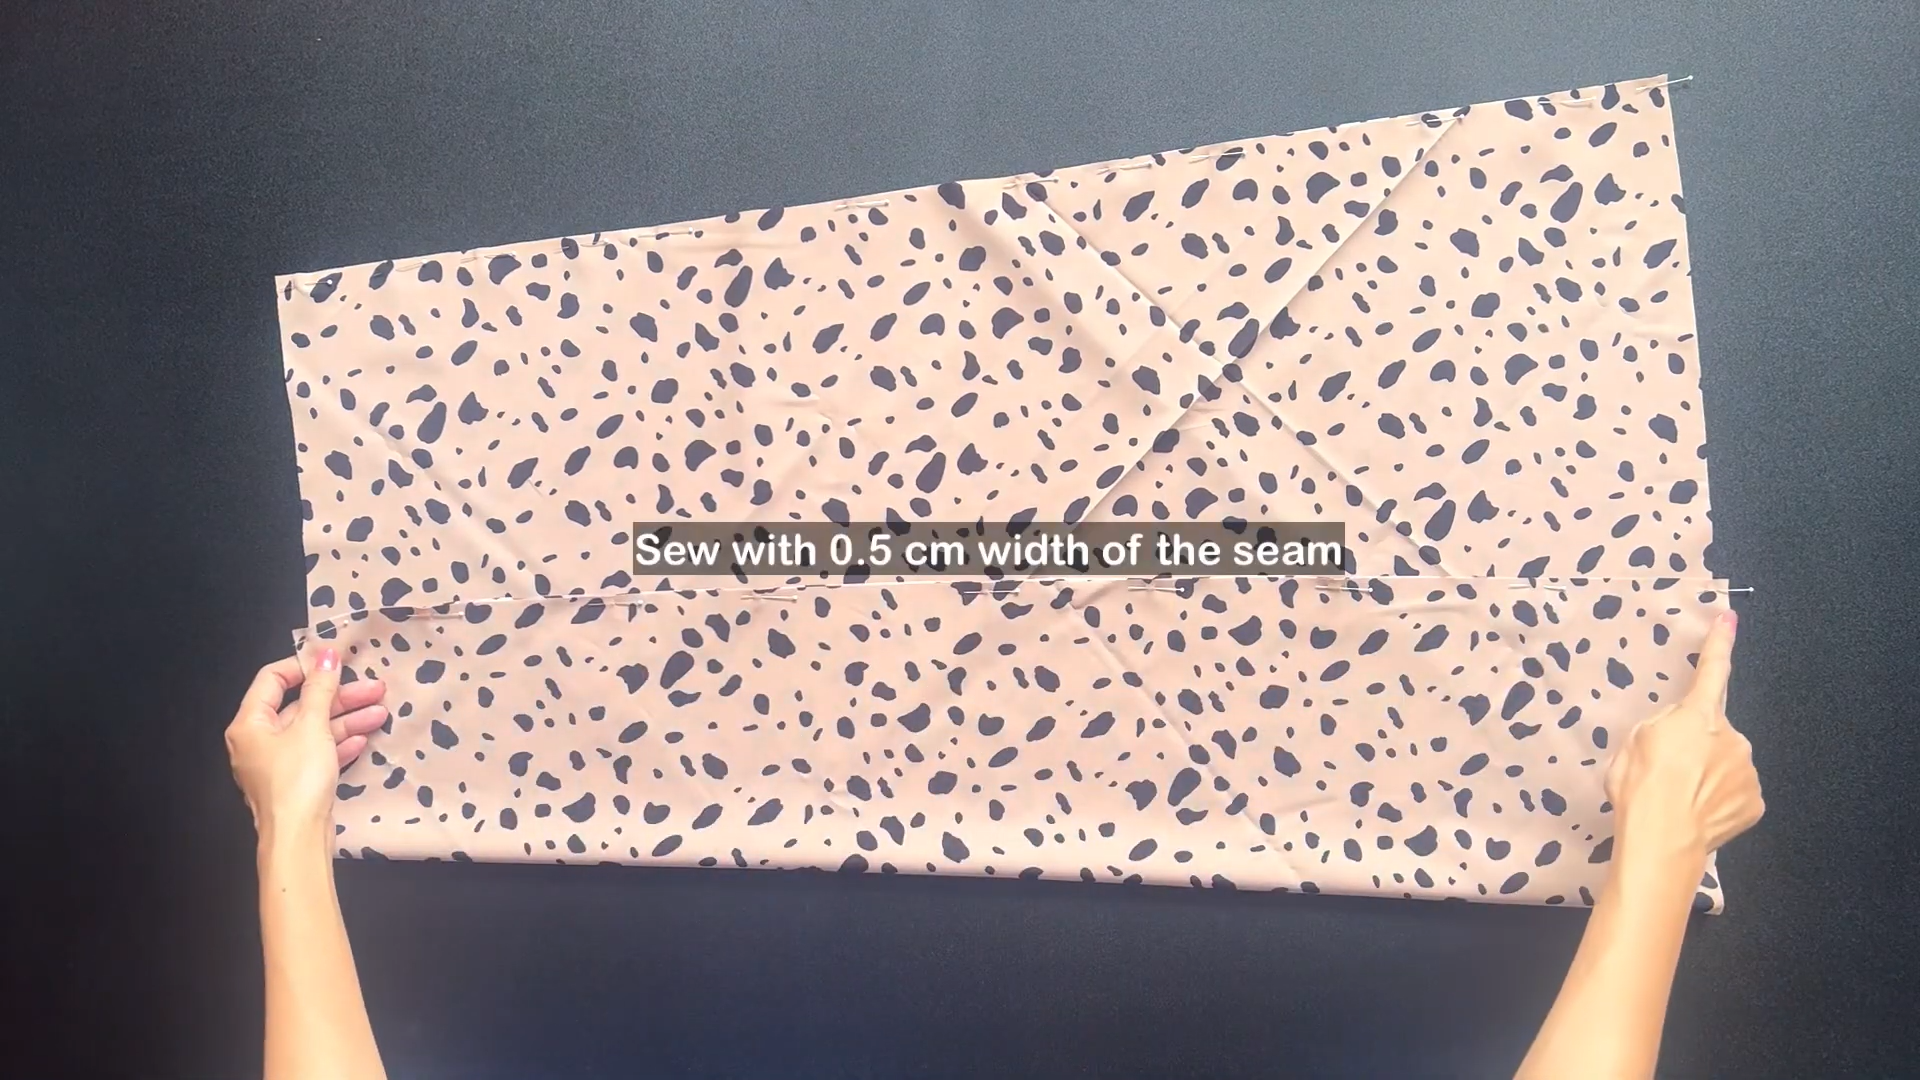
Then, sew them with a half centimeter for the width of the seam.

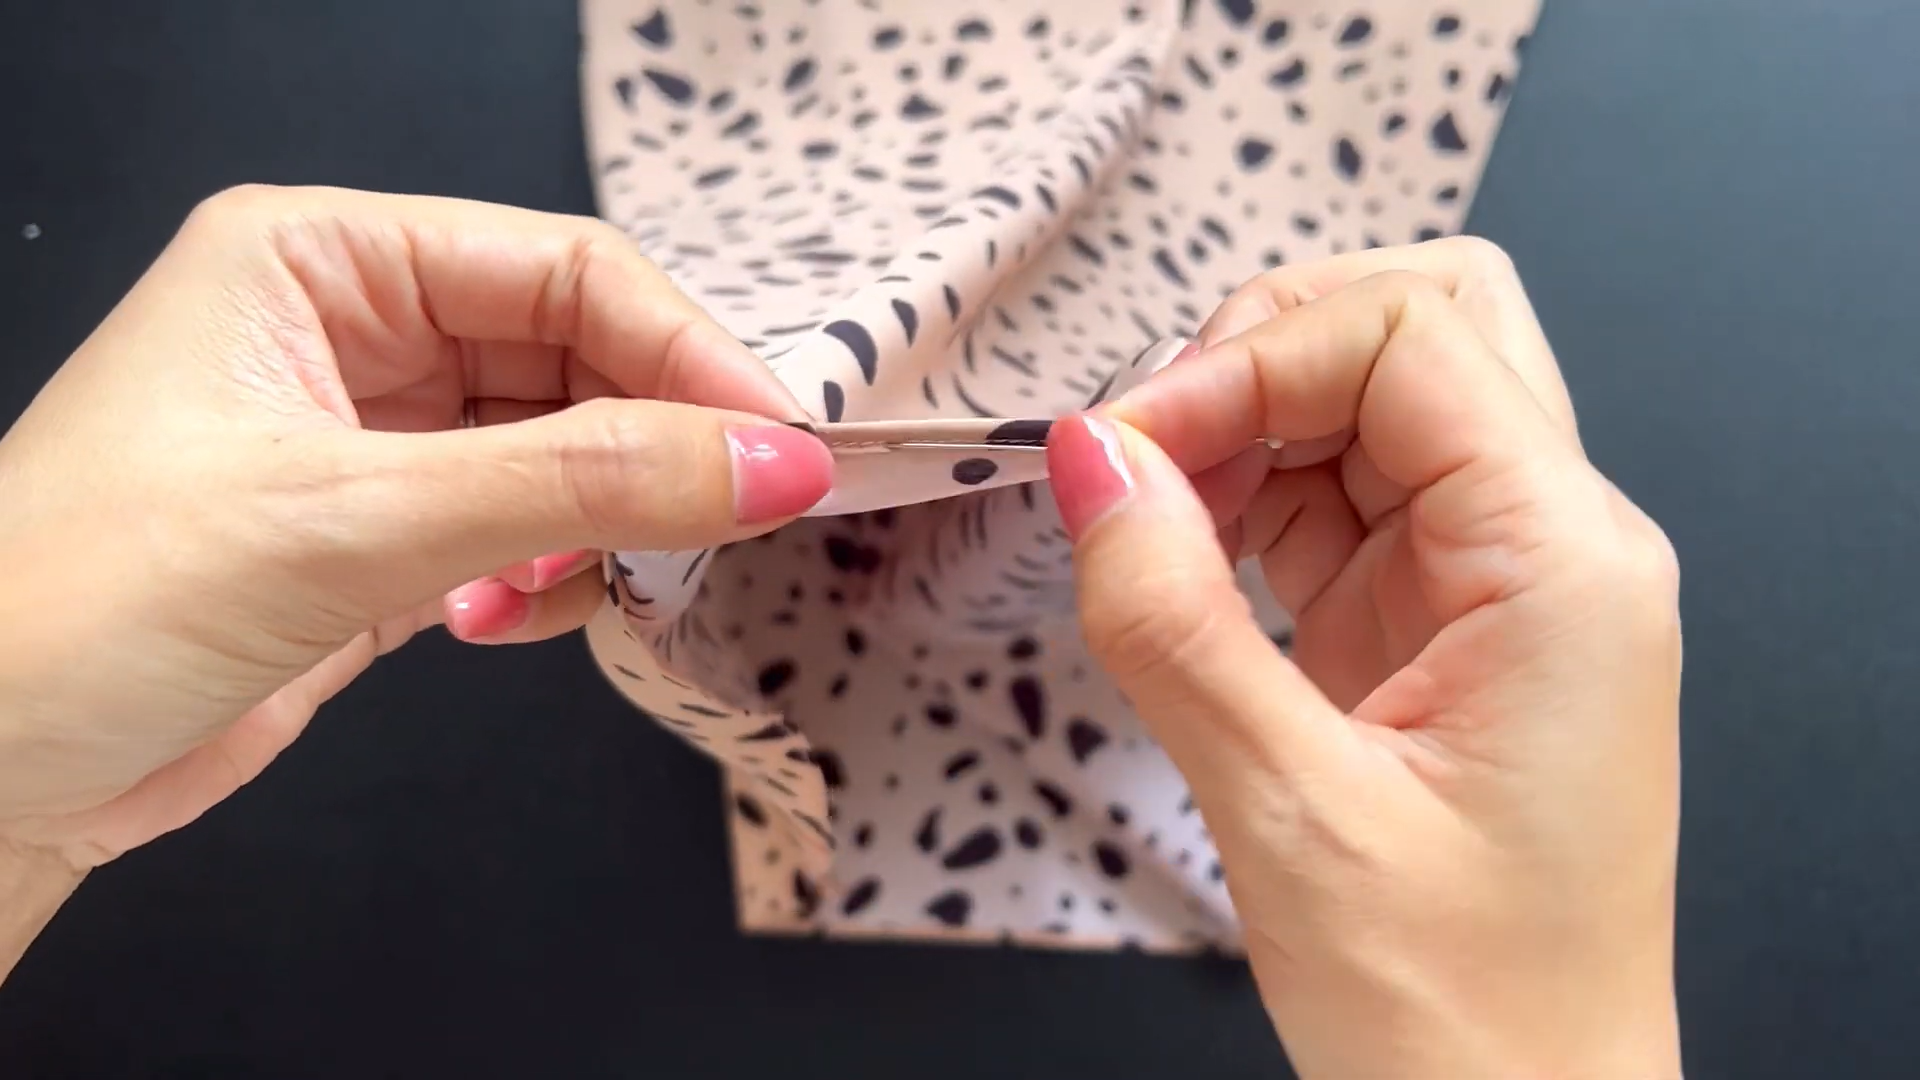
After sewing, turn the skirt inside out.
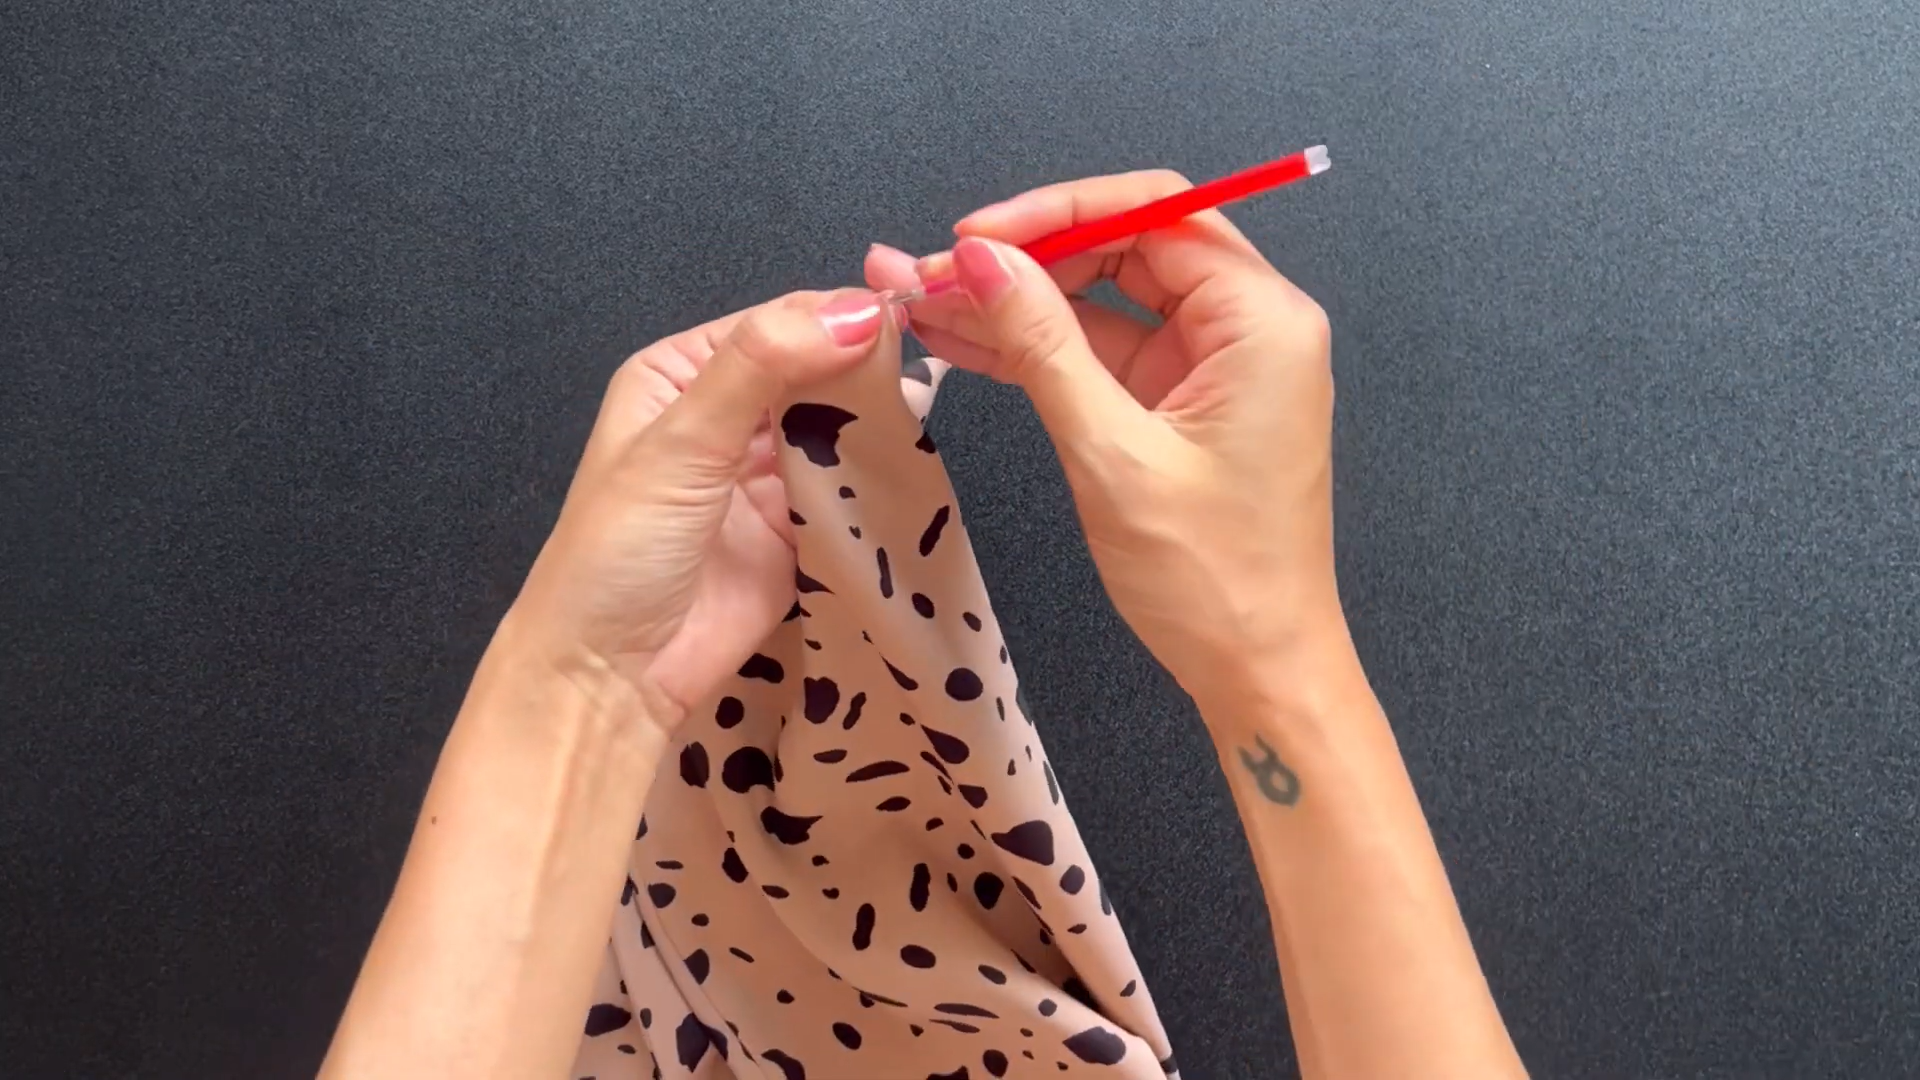
Then, use the iron to keep the folding seam stay before making another seam at 1 cm outside the first one.
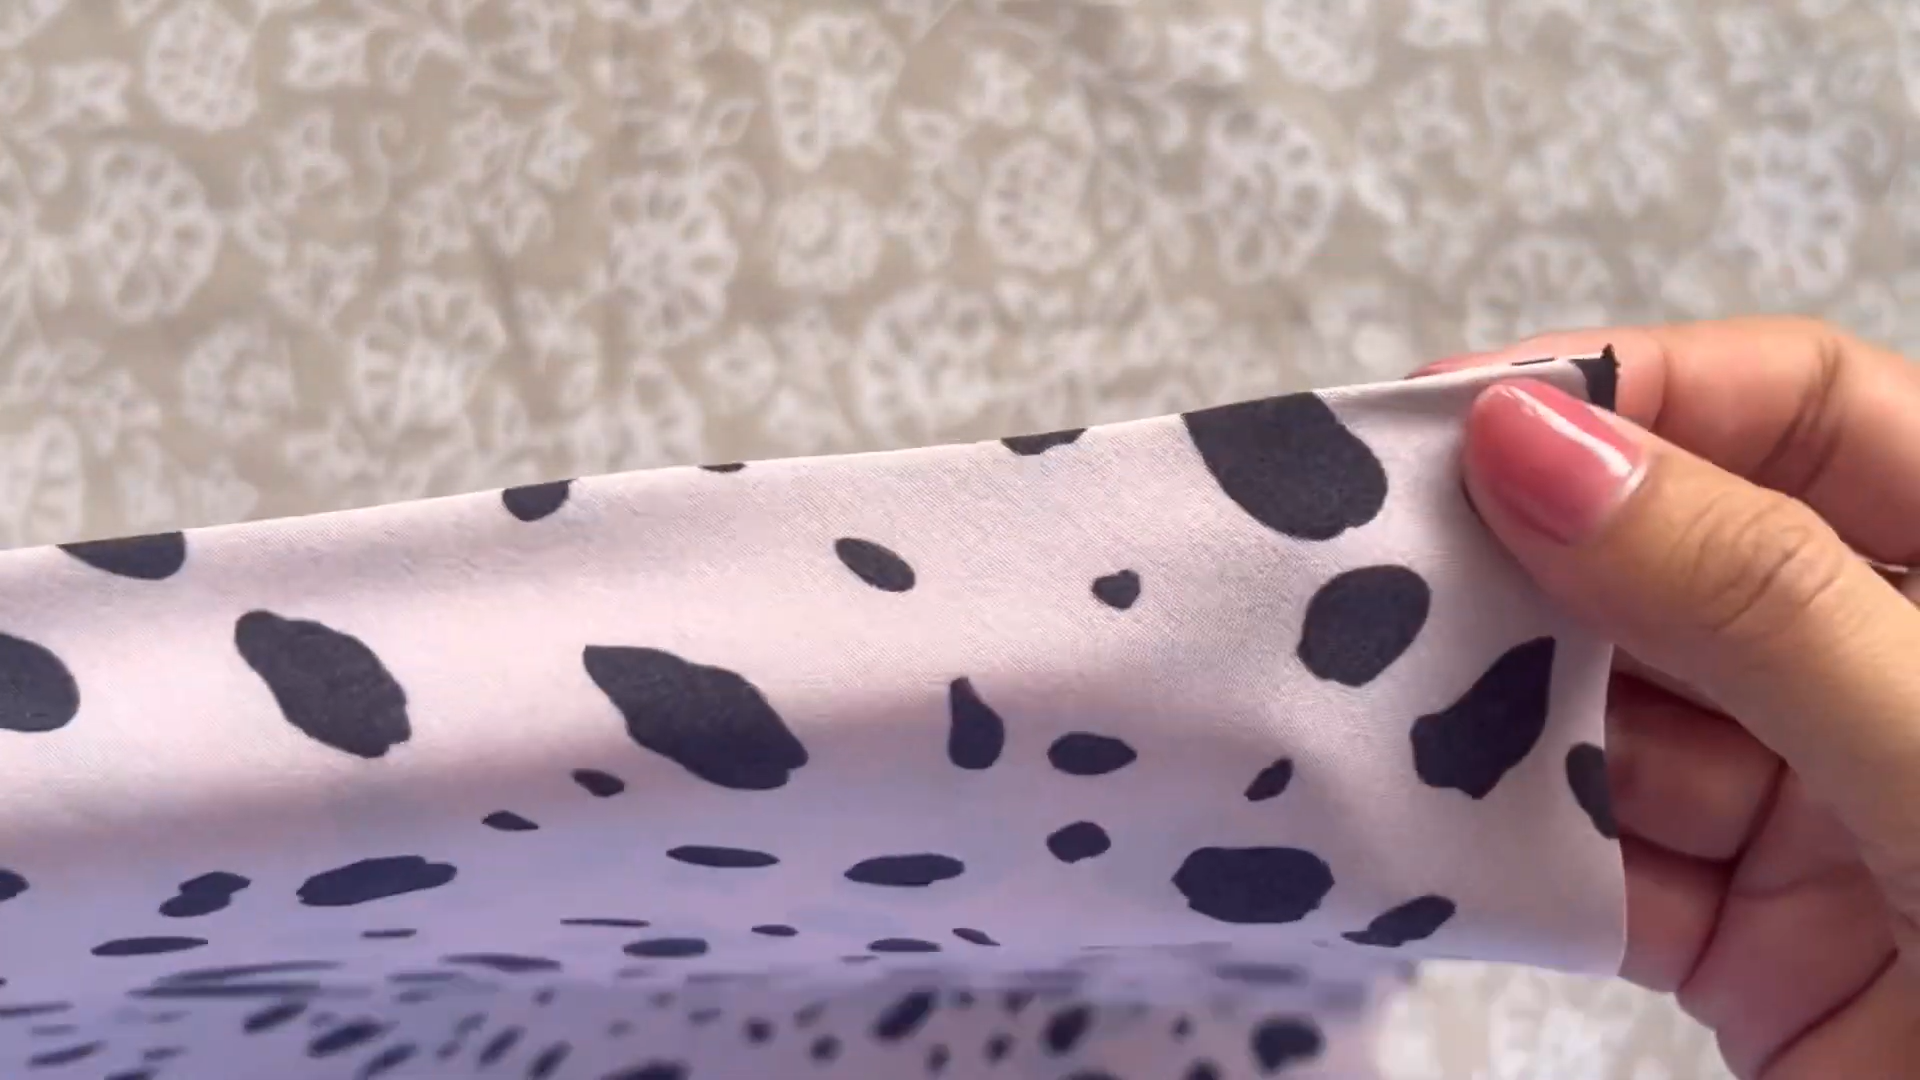
Iron it after sewing to make it nicer. This is the technique to make the French seams. It helps to hide the end of the fabric and make the skirt look clean inside out.
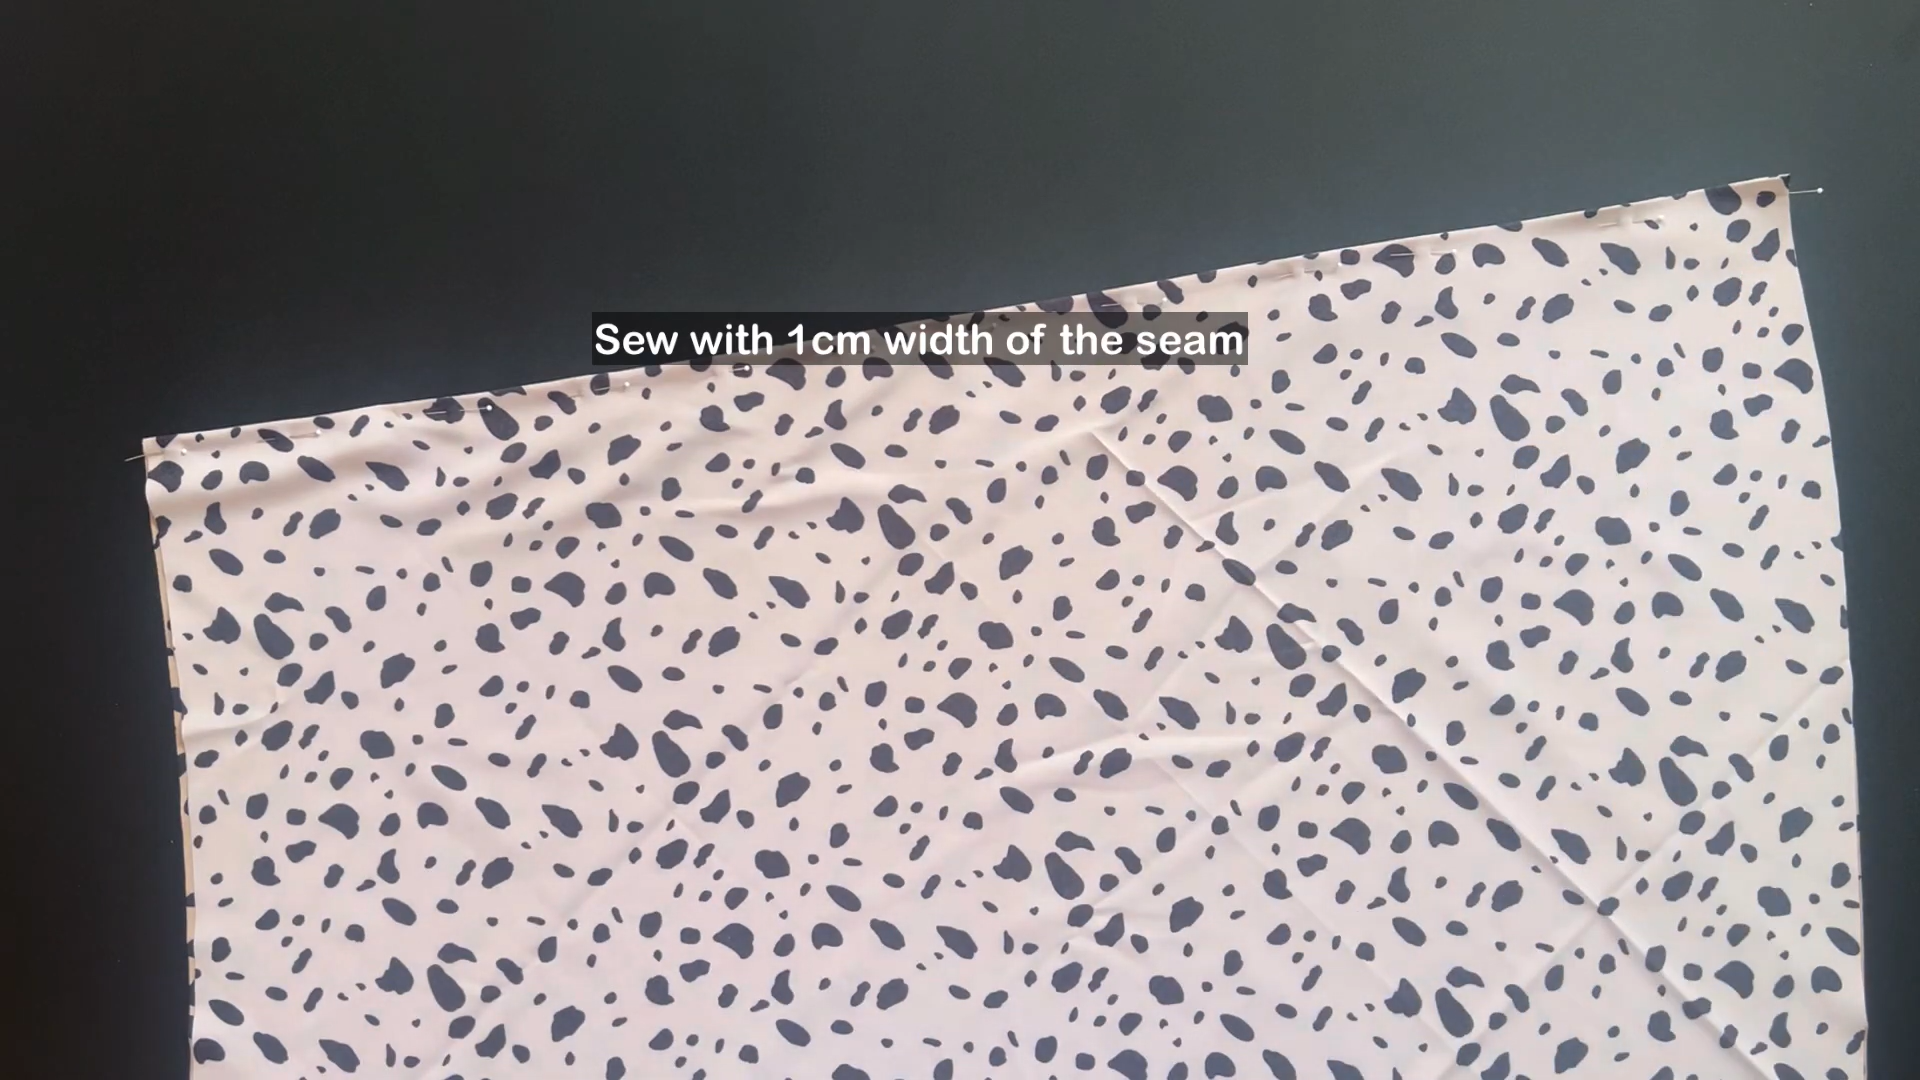
Then, sew them with 1 cm for the width of the seam. And iron it after sewing.
THE WAISTBAND
At the waistline of the skirt, mark in the middle of the front and the back waistline to divide it into four equal parts.
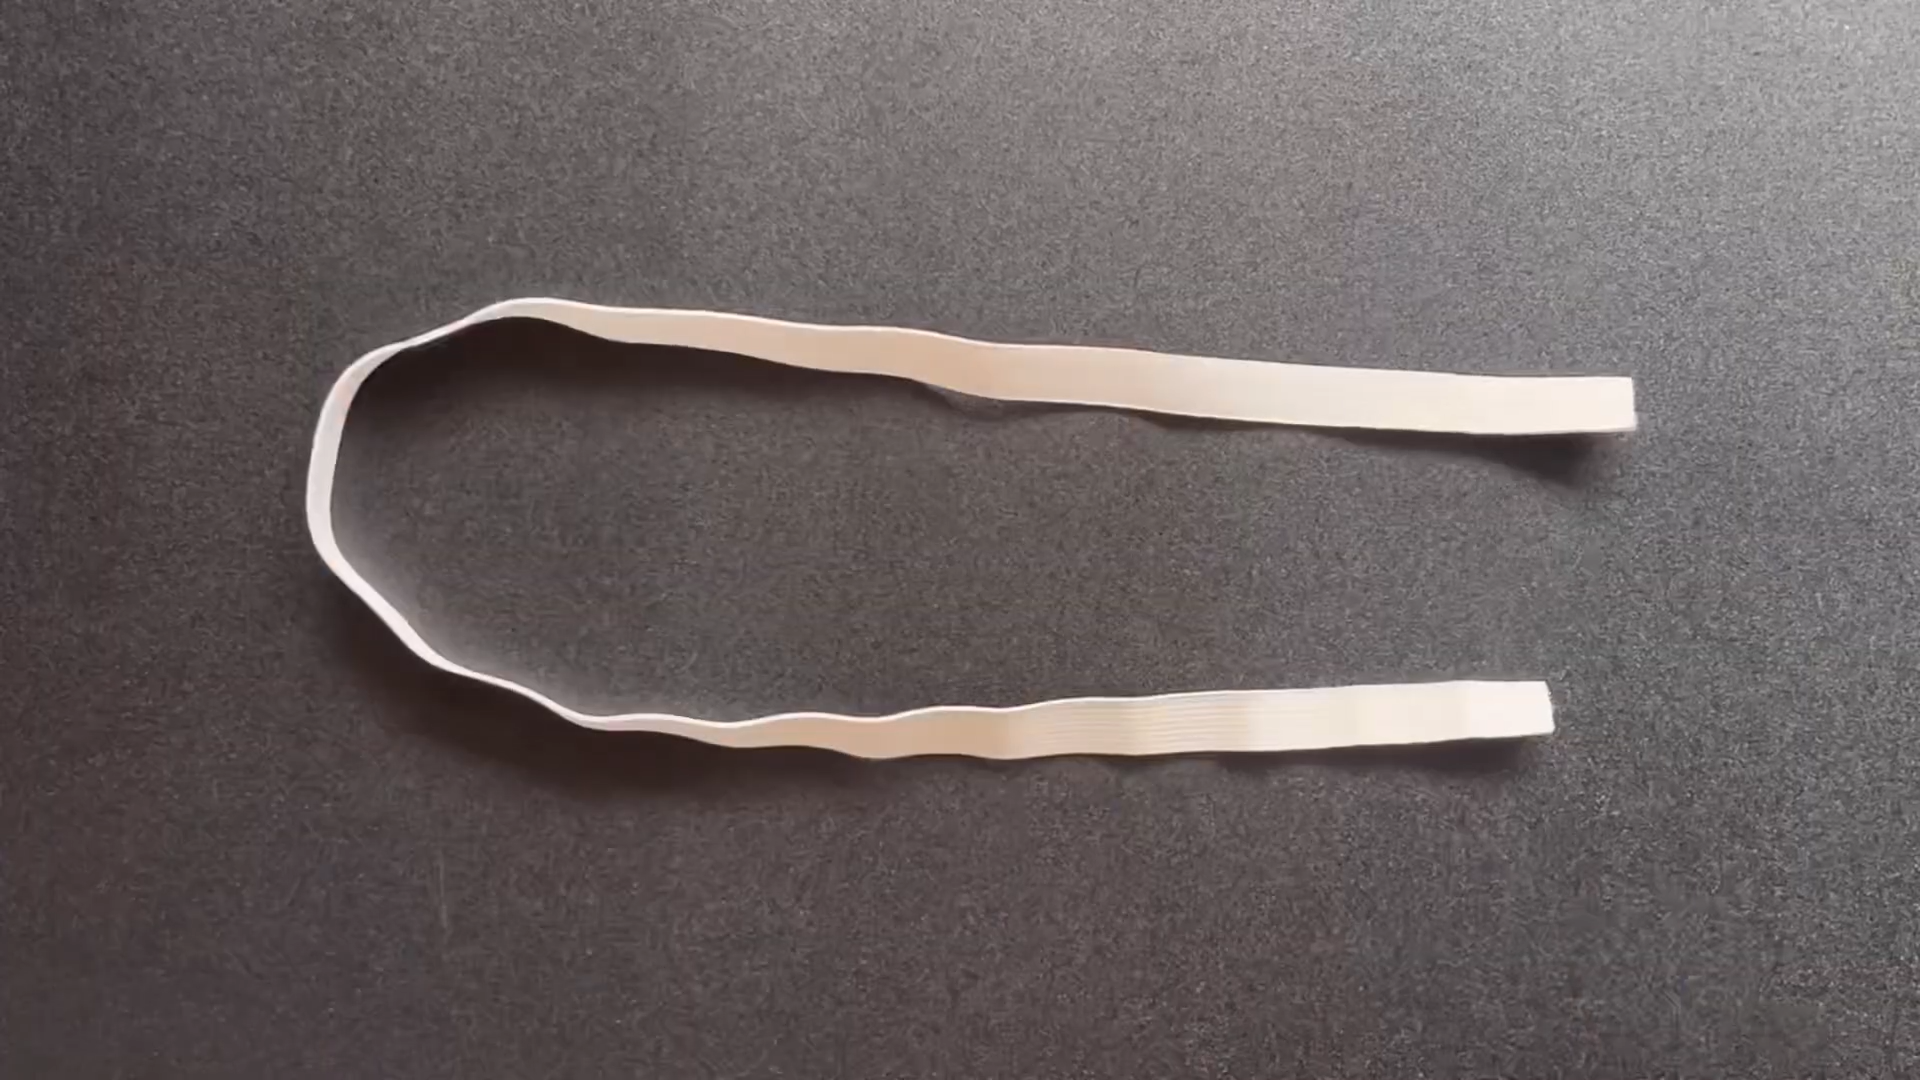
After that, measure and cut the elastic band with 1.5 cm width and 66 cm length, which is your waist size.
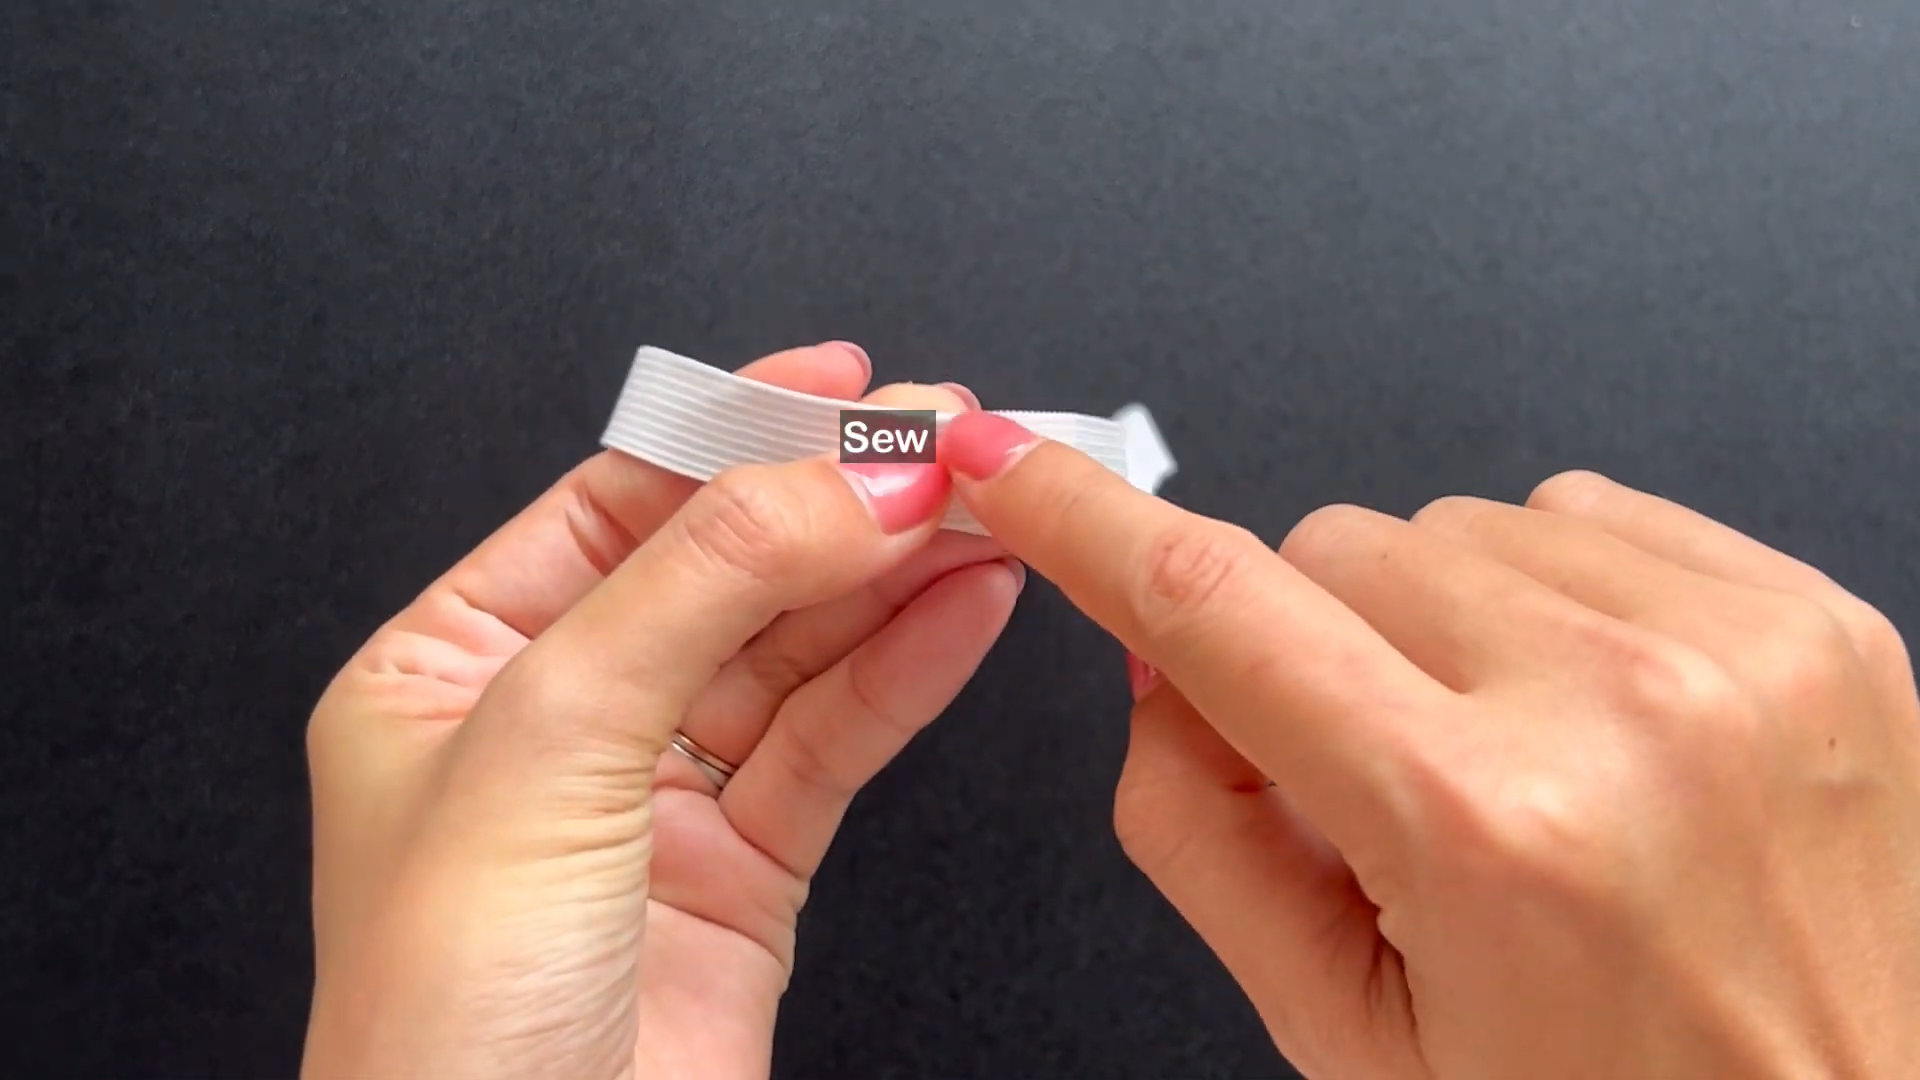
Connect two ends of the elastic band together by using the zigzag stitching first.
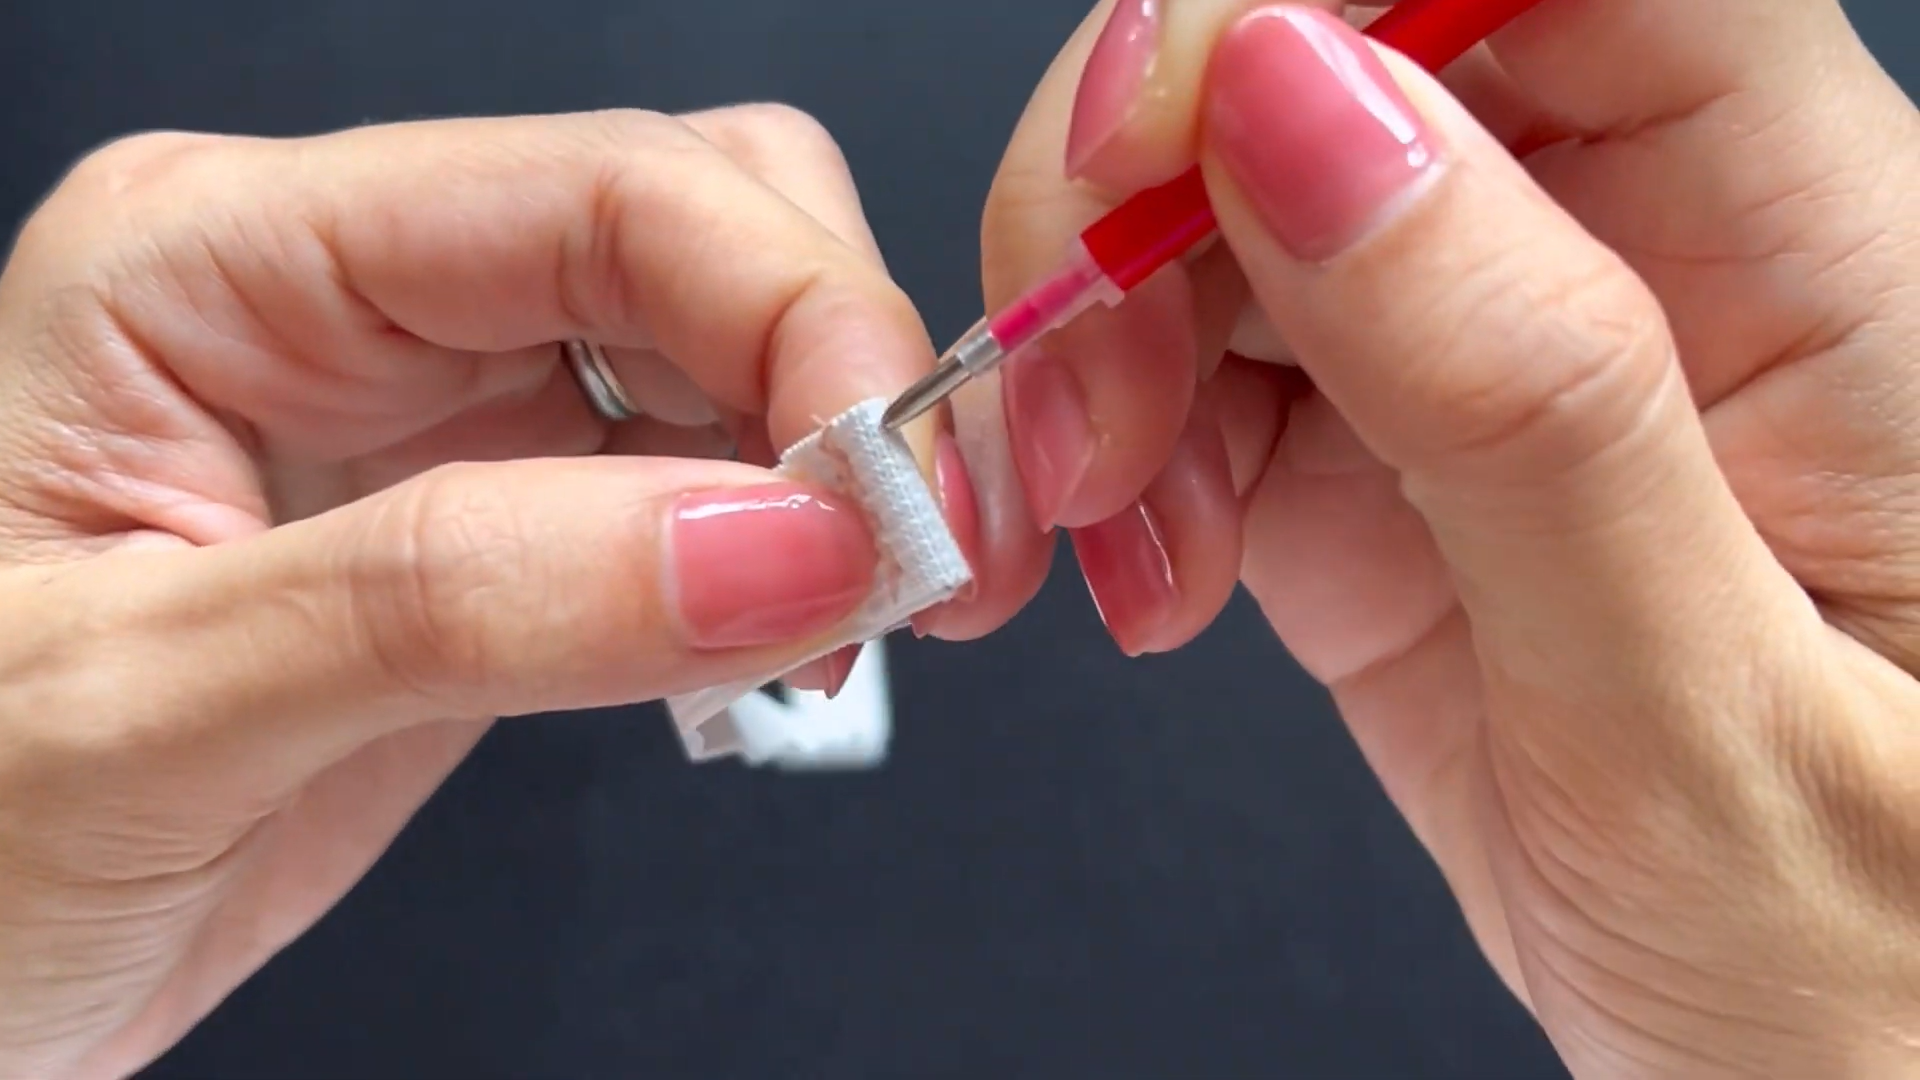
After that, make four marks on the elastic band to divide it into four equal parts.

Then connect these four marks on the elastic band to four marks on the waistline of the skirt.
Make sure the elastic band will be outside of the right side of the fabric.
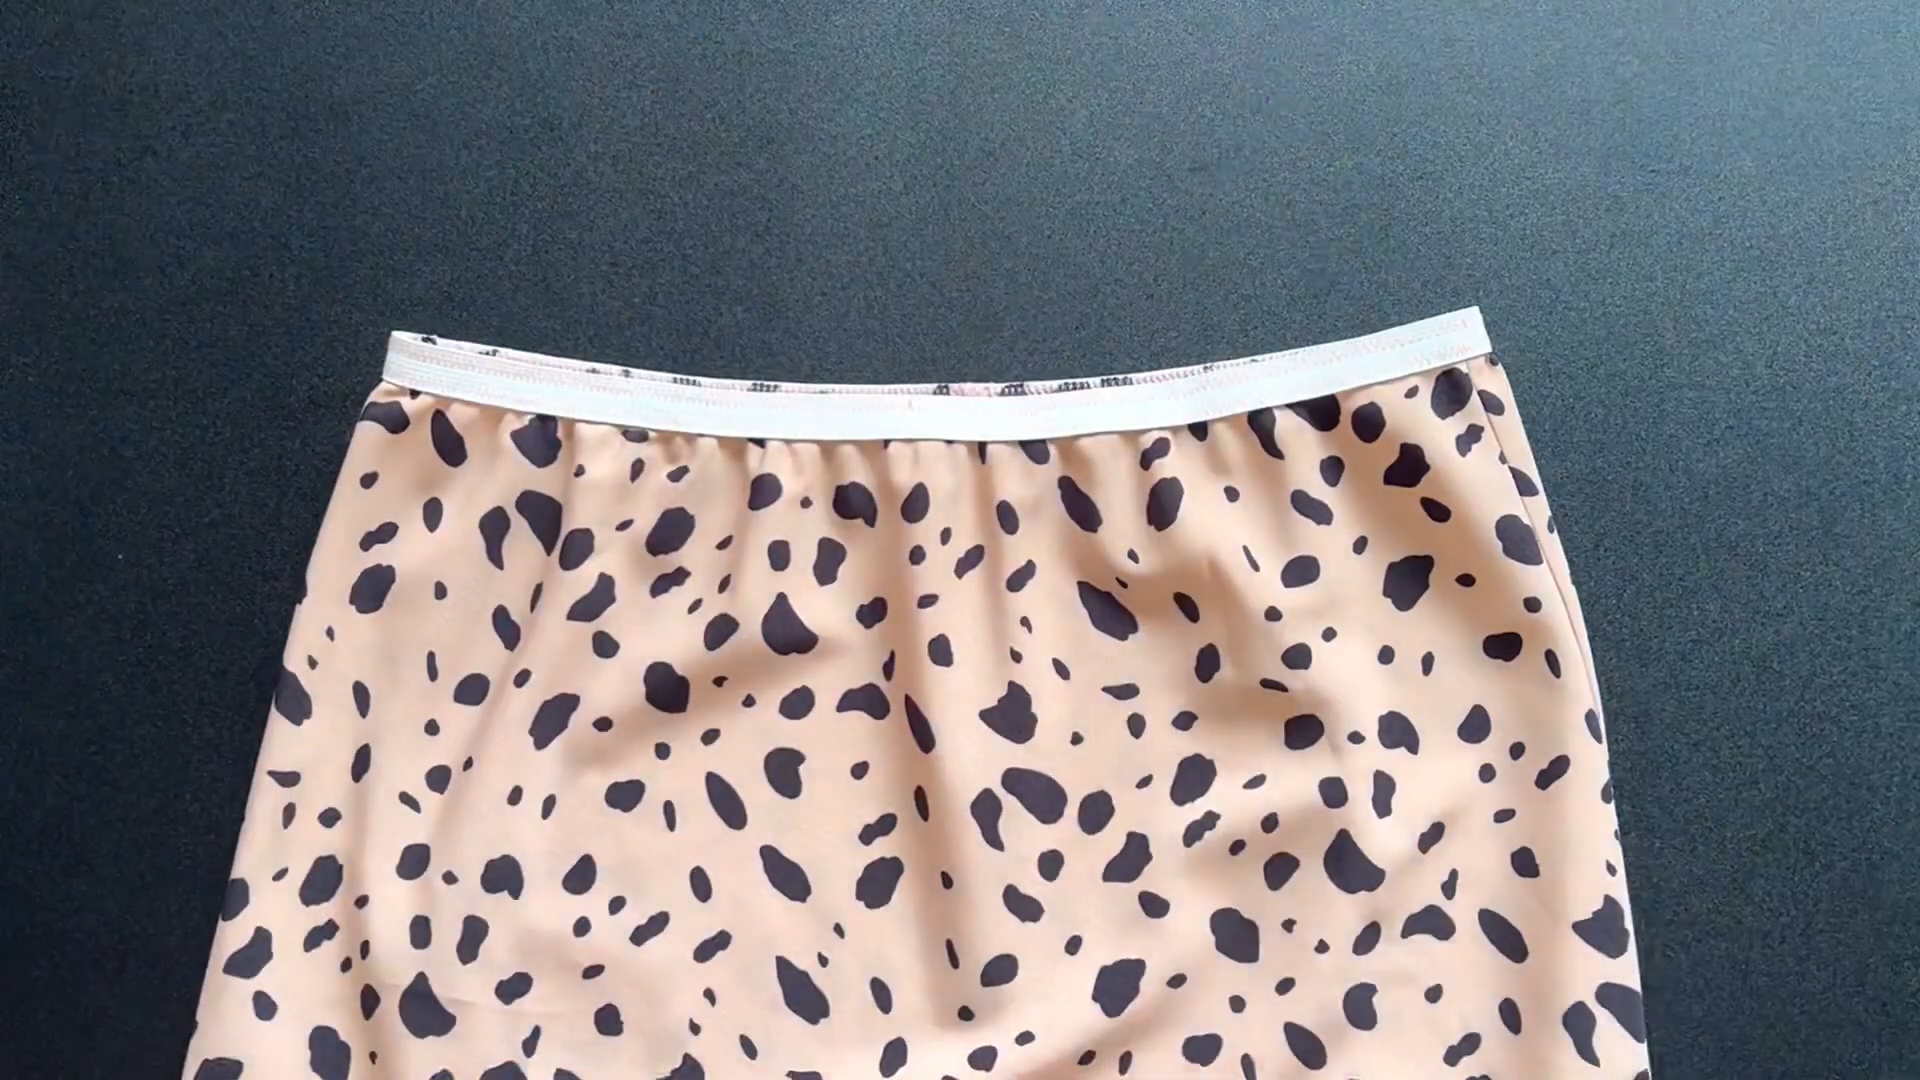
Then sew to connect the elastic band to the waistline of the skirt. Make sure when sewing you pull the elastic band to make it longer and in the same side with the waistline.
After sewing, fold the elastic band inside two then sew it to the top sideline to keep the folding.
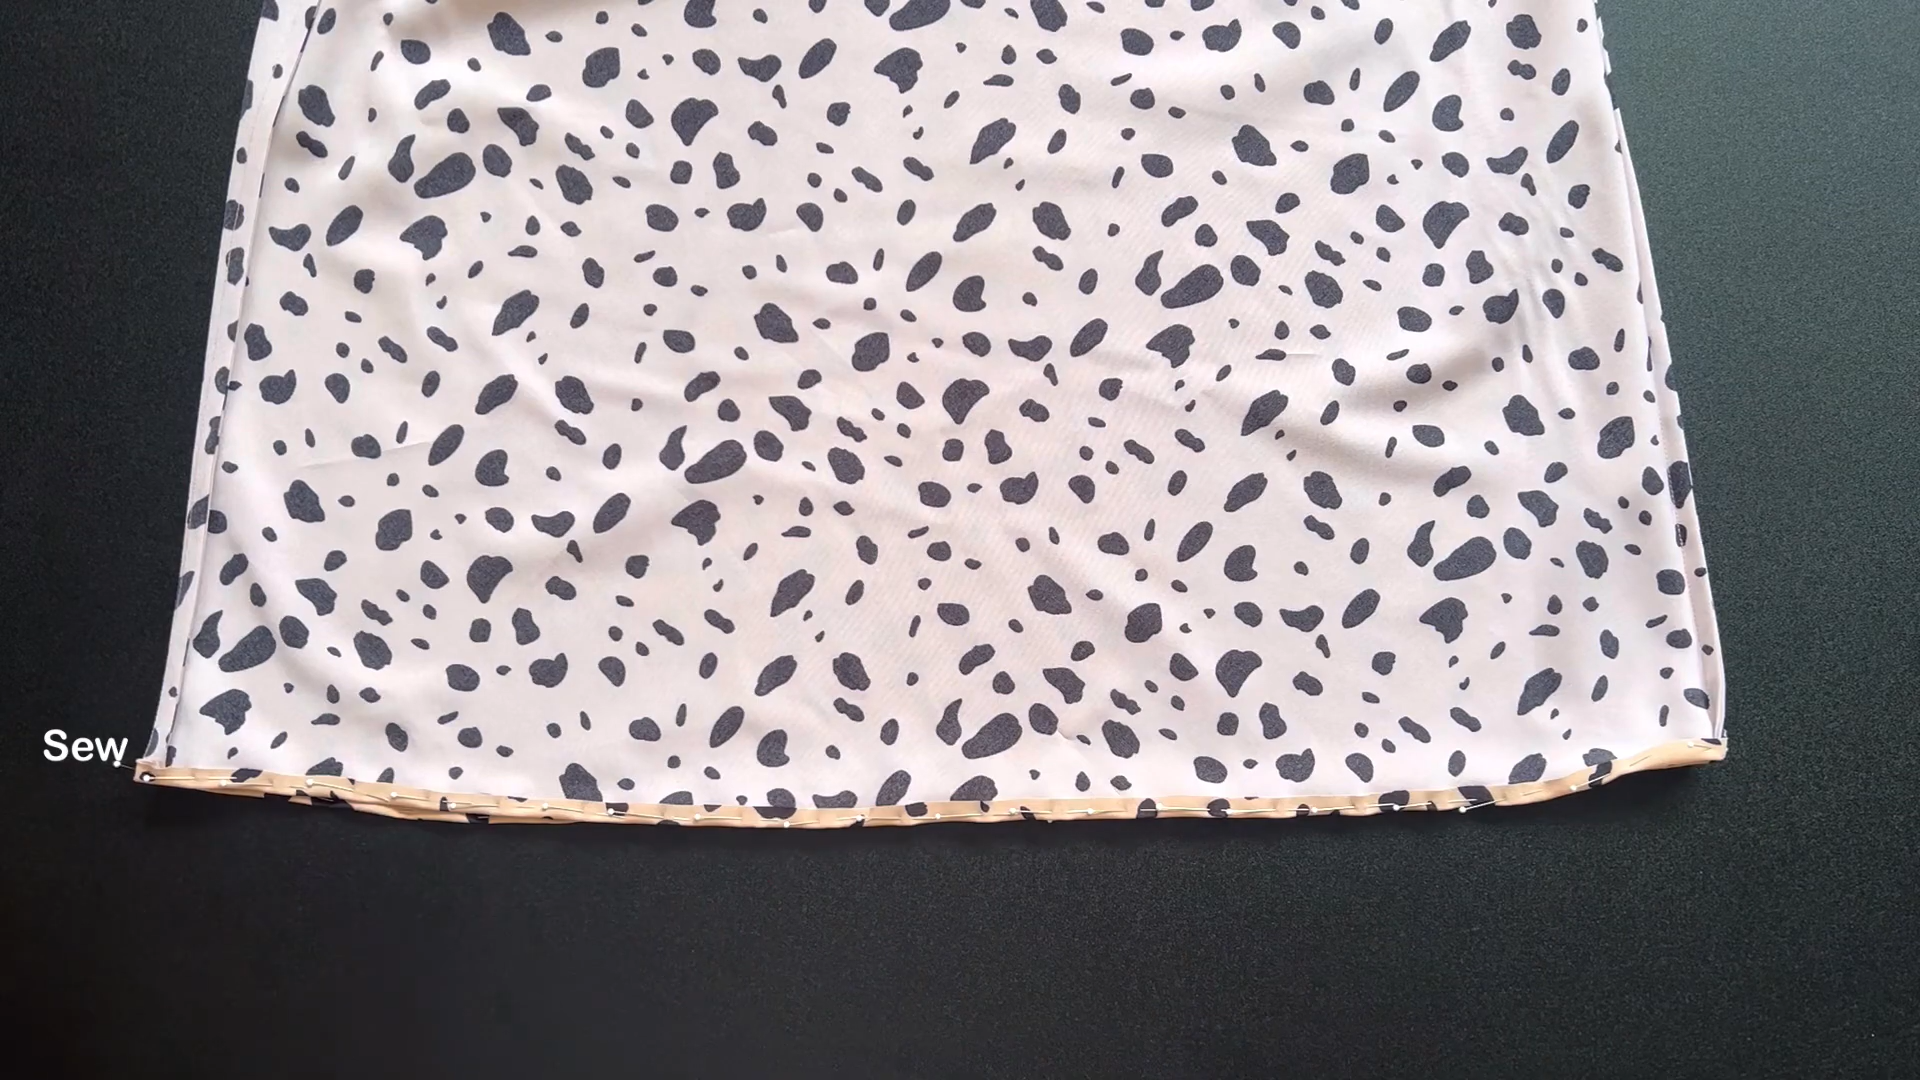
At the end of the skirt, fold the end fabric inside a half centimeter first then sew.
After that, use the iron to make the folding nicer before cutting the leftover fabric a bit.
Then fold the end of the skirt inside one more time with a half cm and sew to finish the ending line of the skirt.
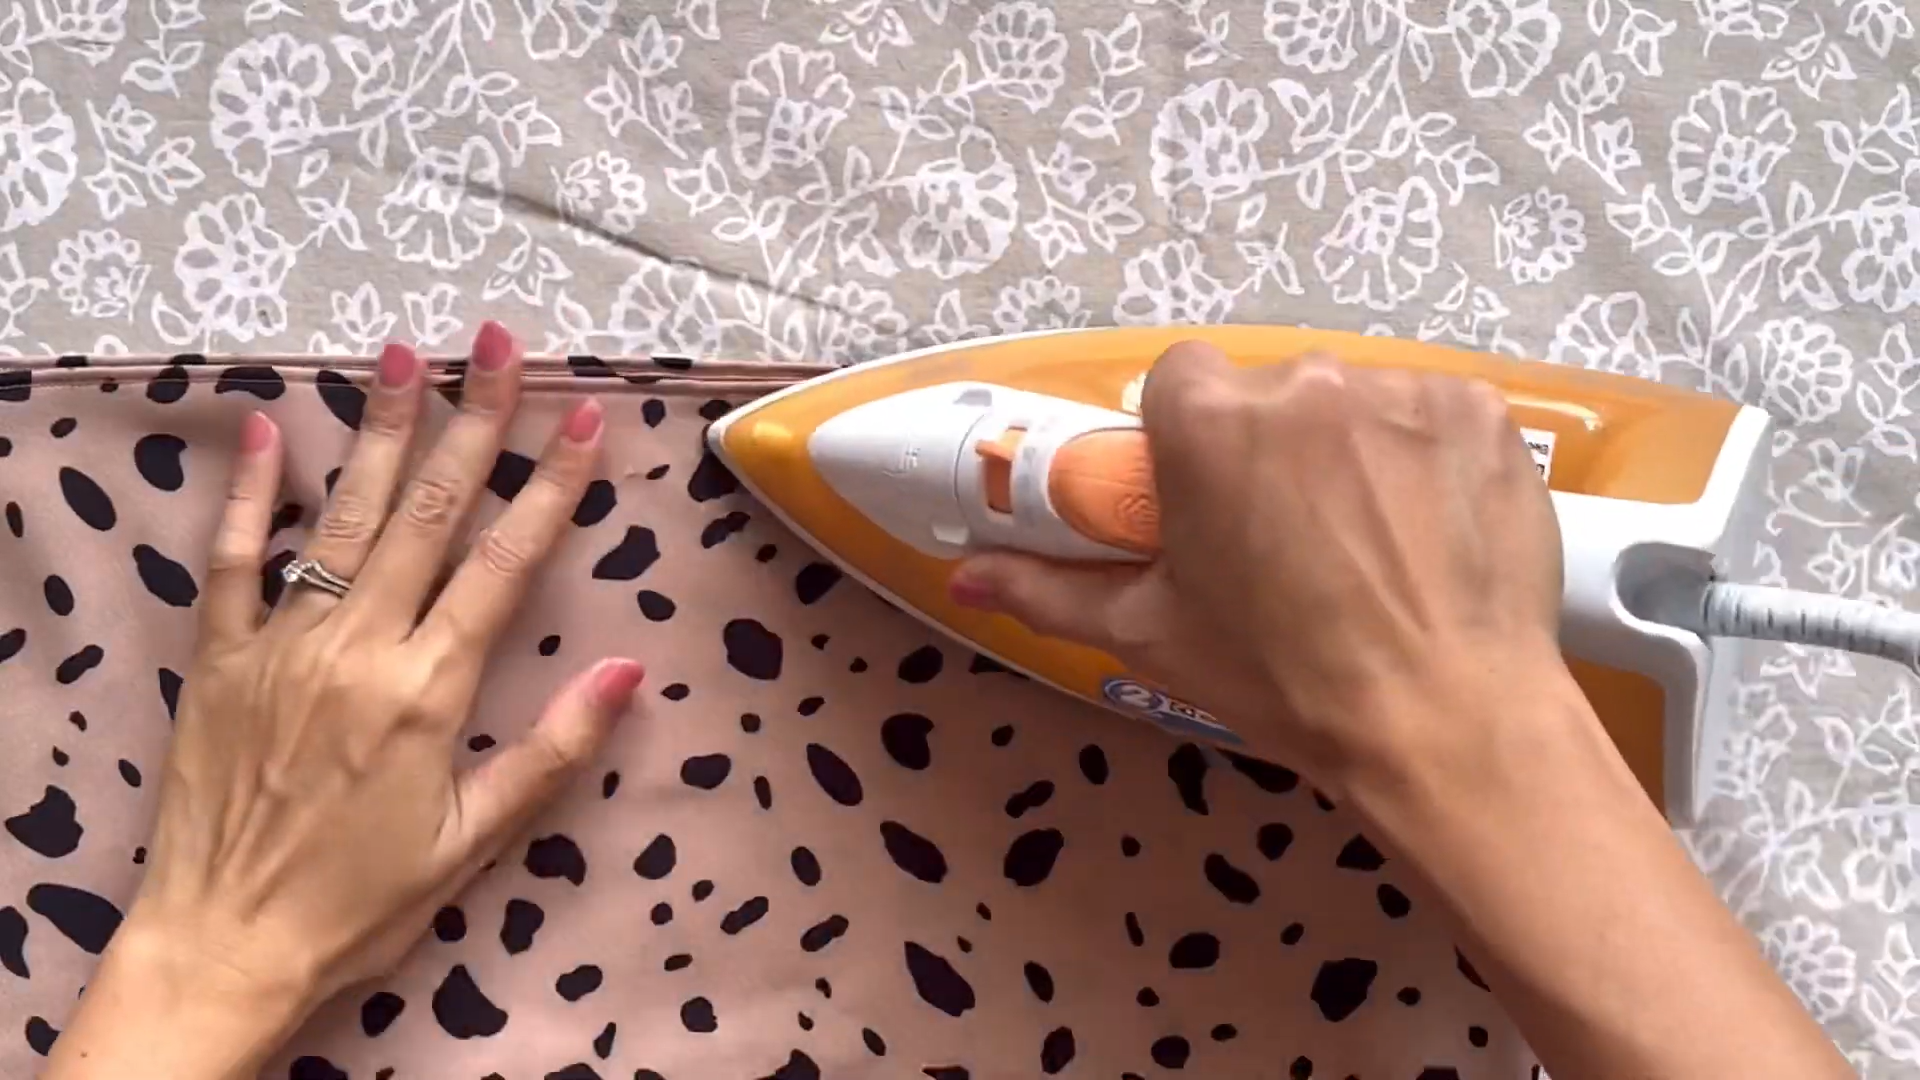
Don’t forget to iron the ending line after sewing to make it nicer.

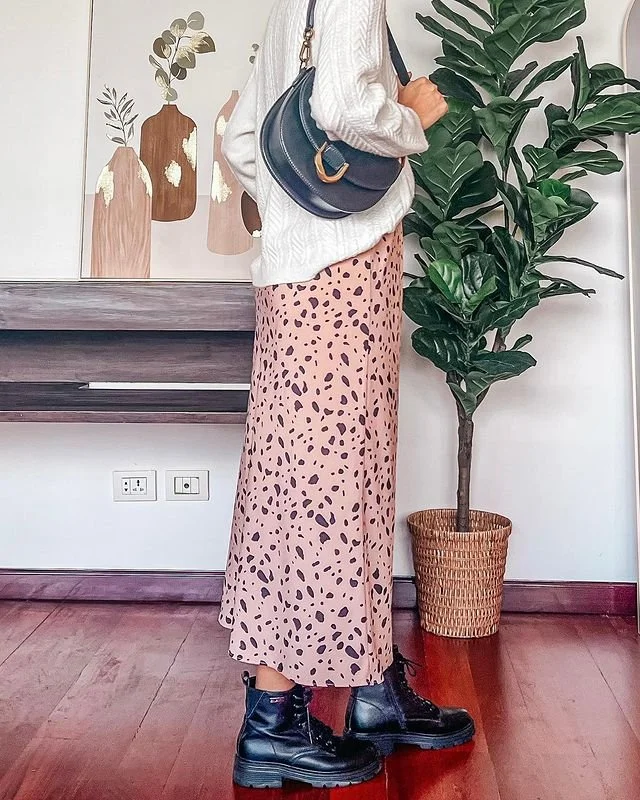
DIY Bias slip skirt
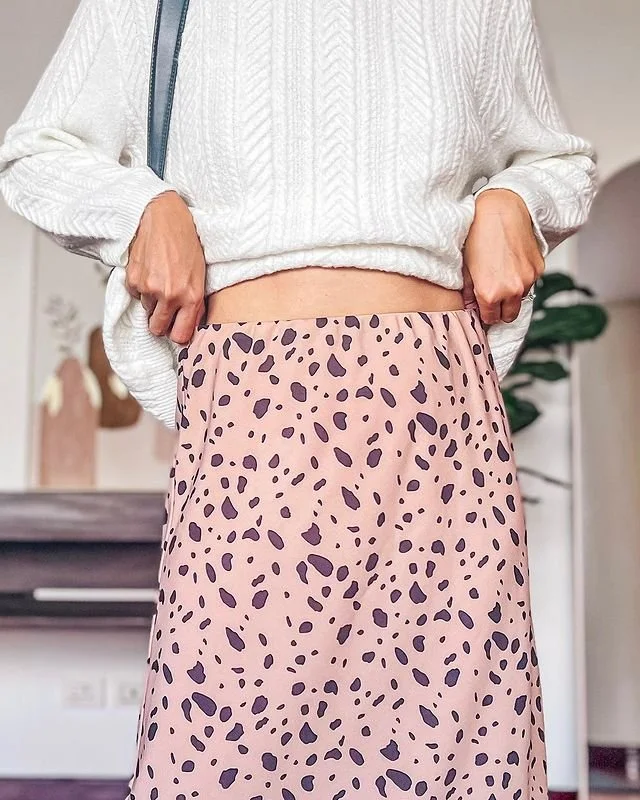
And there we have it!
We’ve completed this Bias slip skirt and created a pretty and comfortable item that’s perfect for any season.

I hope you’ve enjoyed this journey as much as I have. If you’ve found this DIY helpful and enjoyable, please check it out and try it for yourself.
Until then, see you next week!