DIY Tiered maxi dress | Super easy & Beginner friendly sewing tutorial [+Free Pattern]
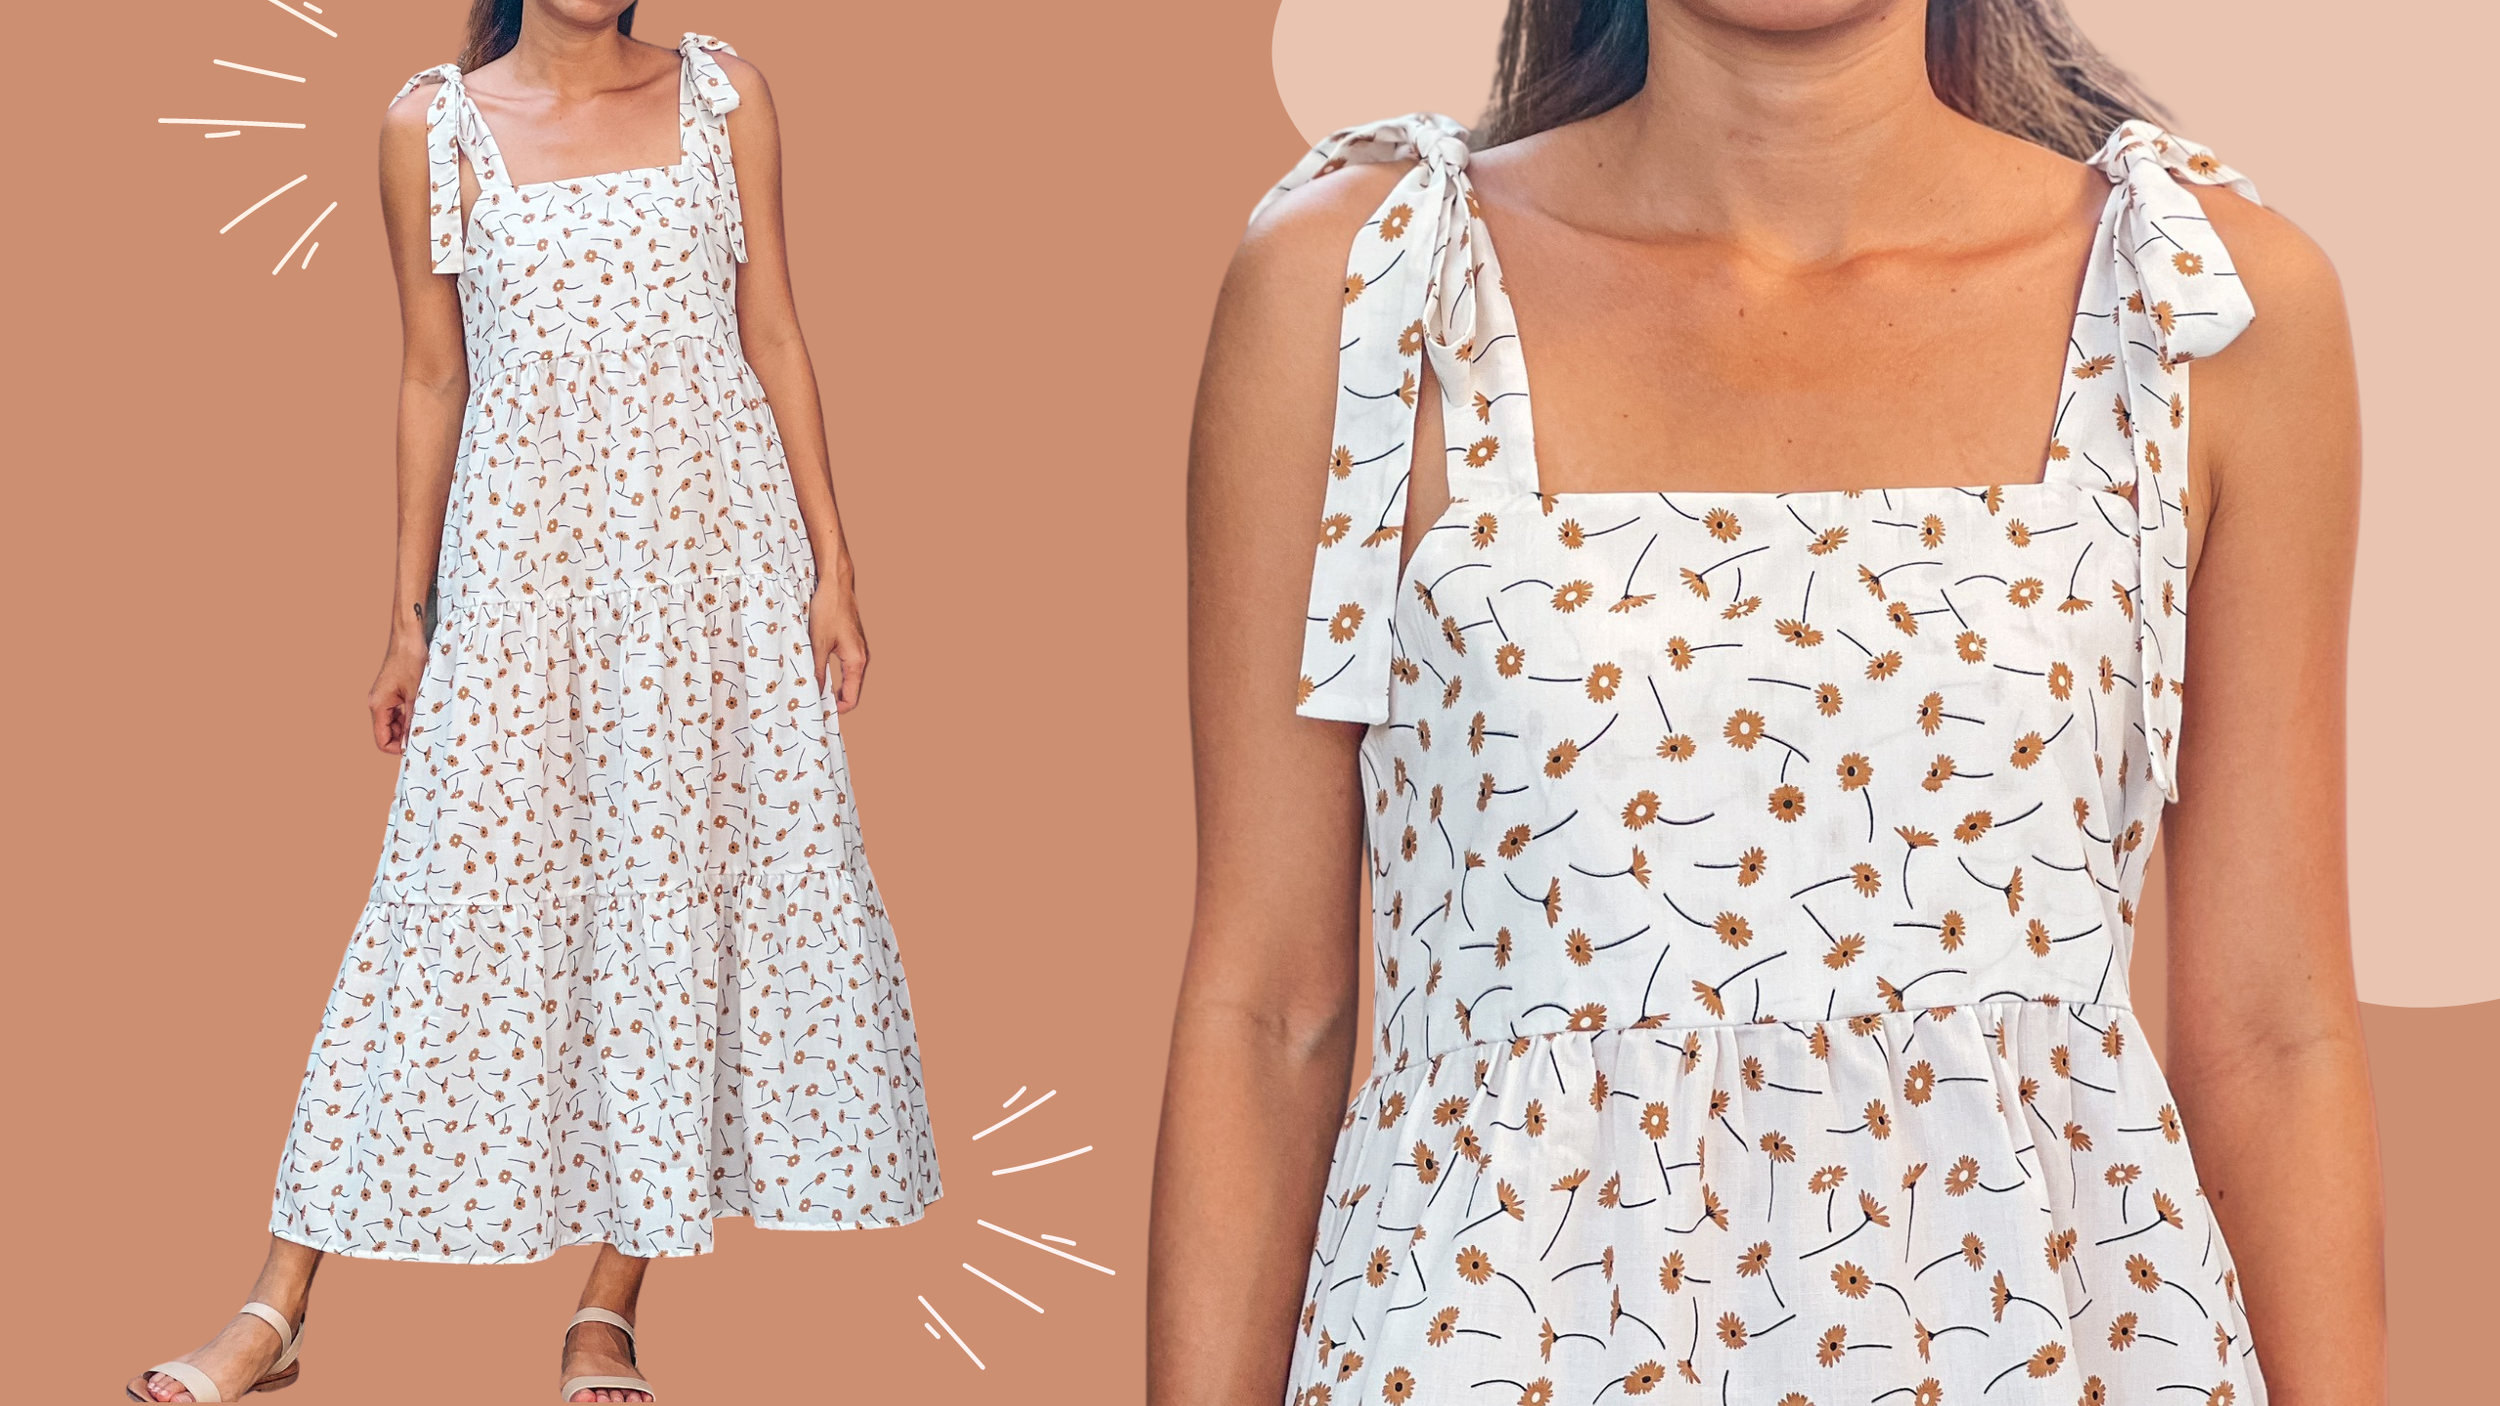
DIY Tiered maxi dress
Welcome or welcome back to my sewing blog!
In today's blog, I'm going to share with you how I made a tiered maxi dress. This is a little upgrade from the ruffle top that I shared with you before. That's why it's a beginner friendly sewing DIYs.
I hope you like it and try it out. Let’s get started!
WHAT YOU’LL NEED
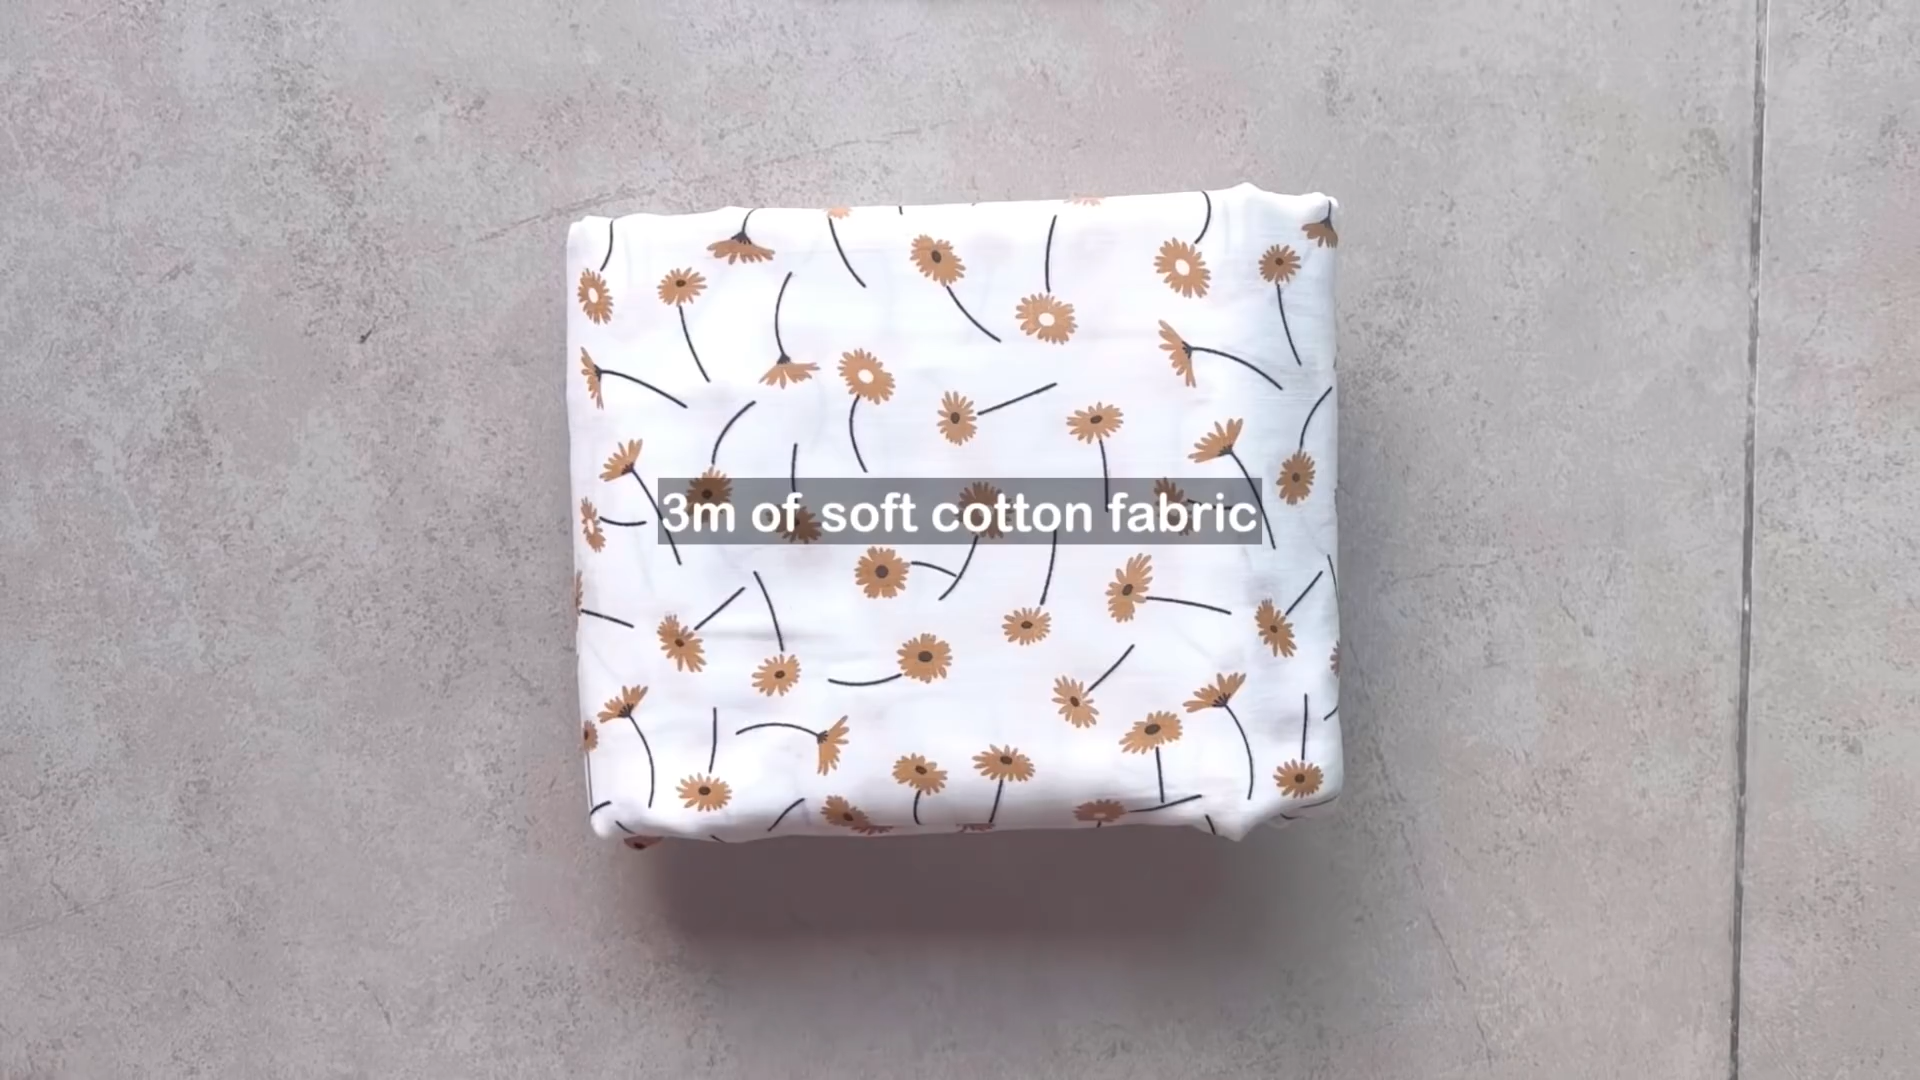
3m of soft cotton fabric
Pattern paper
Sewing machine
Thread
Pencil
Pins
Scissors
Ruler
SEWING THE DRESS
THE TOP PART
The main bodice
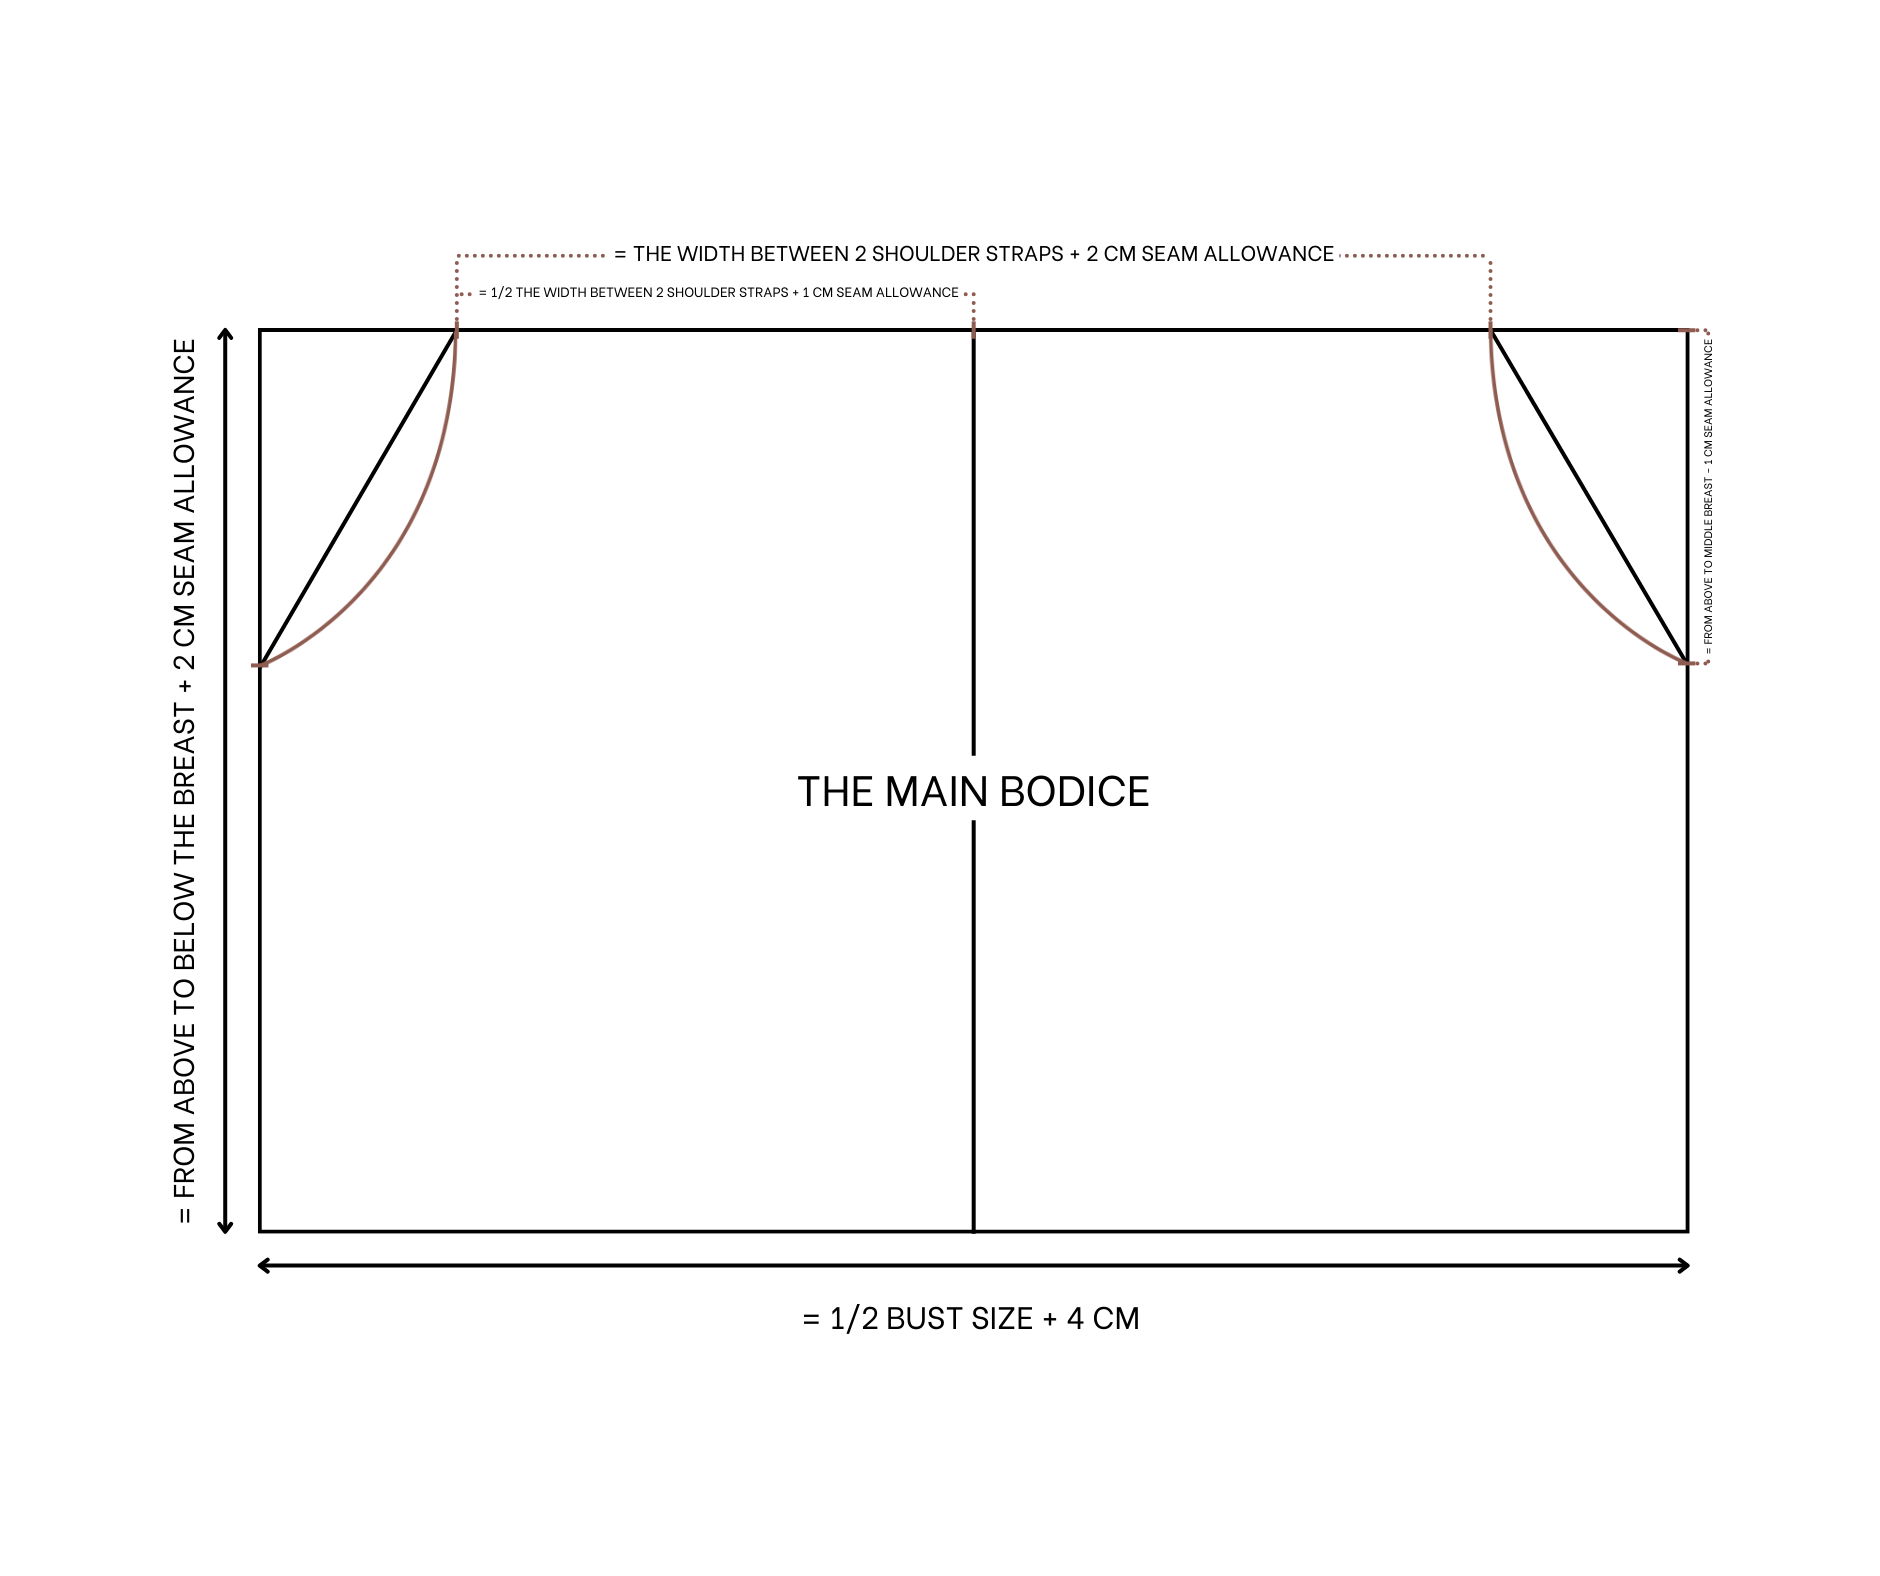
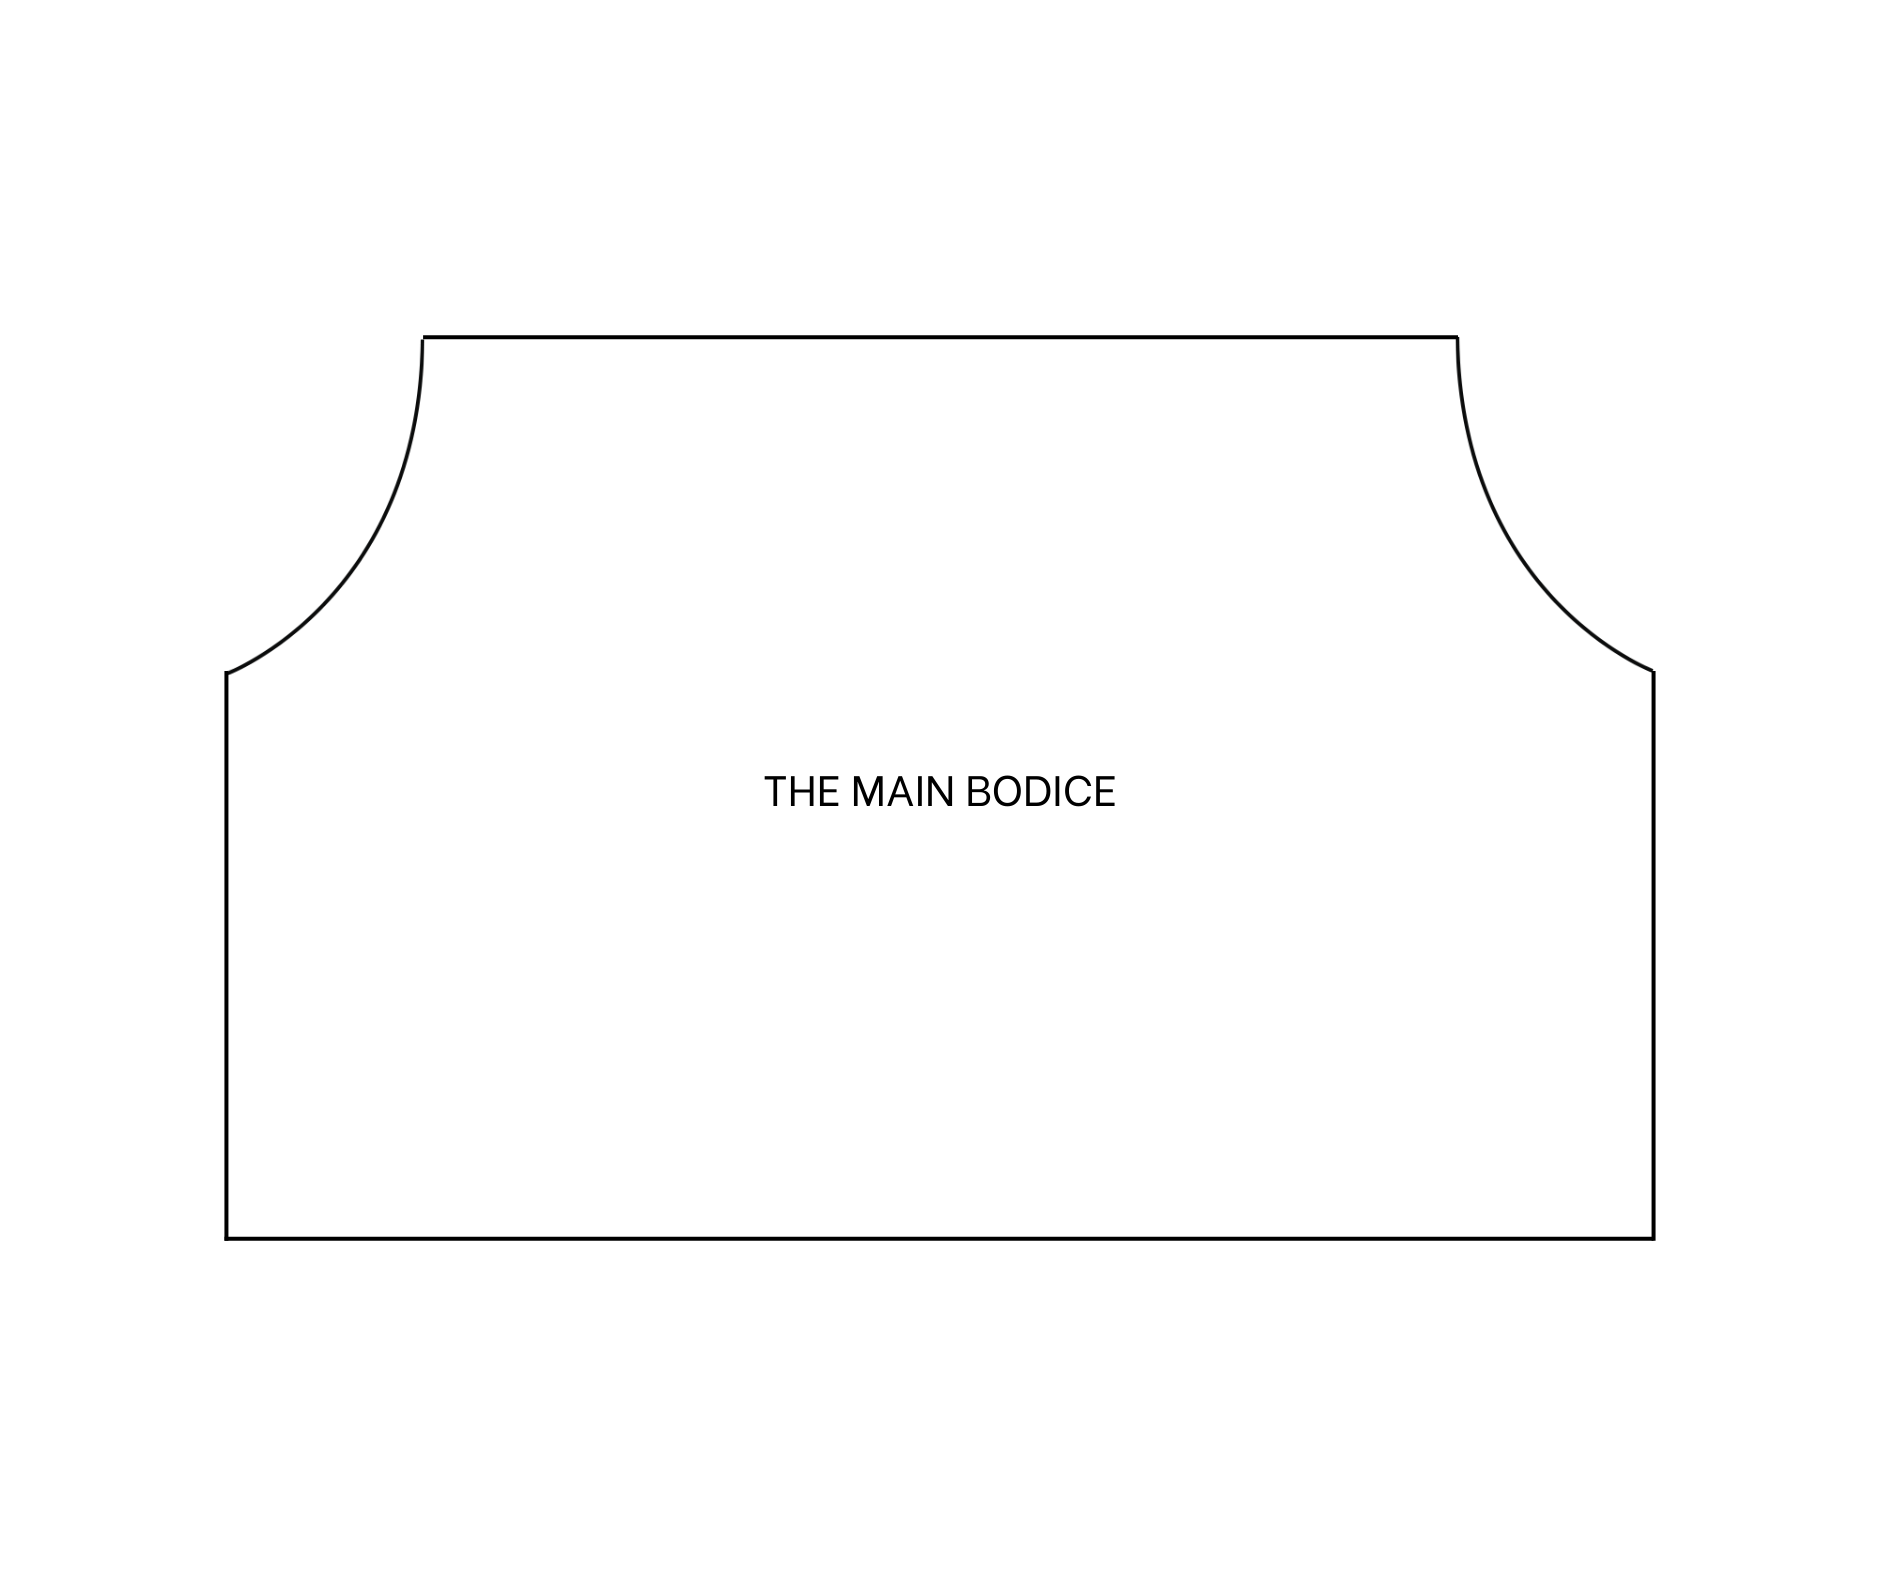
The main bodice pattern
Cut two rectangles with a length of 22 cm (which is the length from above to below your breast plus 2 cm for seam allowance) and a width of 44 cm (which is half of your bust size plus 4 cm).
On the top width line, mark in the middle first. From this mark, mark two sides of it 12 cm, which is half of the inside shoulder where the shoulder straps will be plus 1 cm for seam allowance. So the width between two marks will be 24 cm, which is the width between two shoulder straps plus 2 cm for seam allowance.
From the top landline, mark out 8 cm, which is a length from above to the middle of the breast minus one centimeter. It’s also the depth of the armpit of the dress that you want.
Then connect this mark to one mark on the top width line next to it to create the armpit line.
Based on it, draw a slightly curved line to make the running smooth for the armpit line.
After that, fold the rectangle in half and cut along the drawing lines.
You will have the front and the back piece of the main bodice after all.
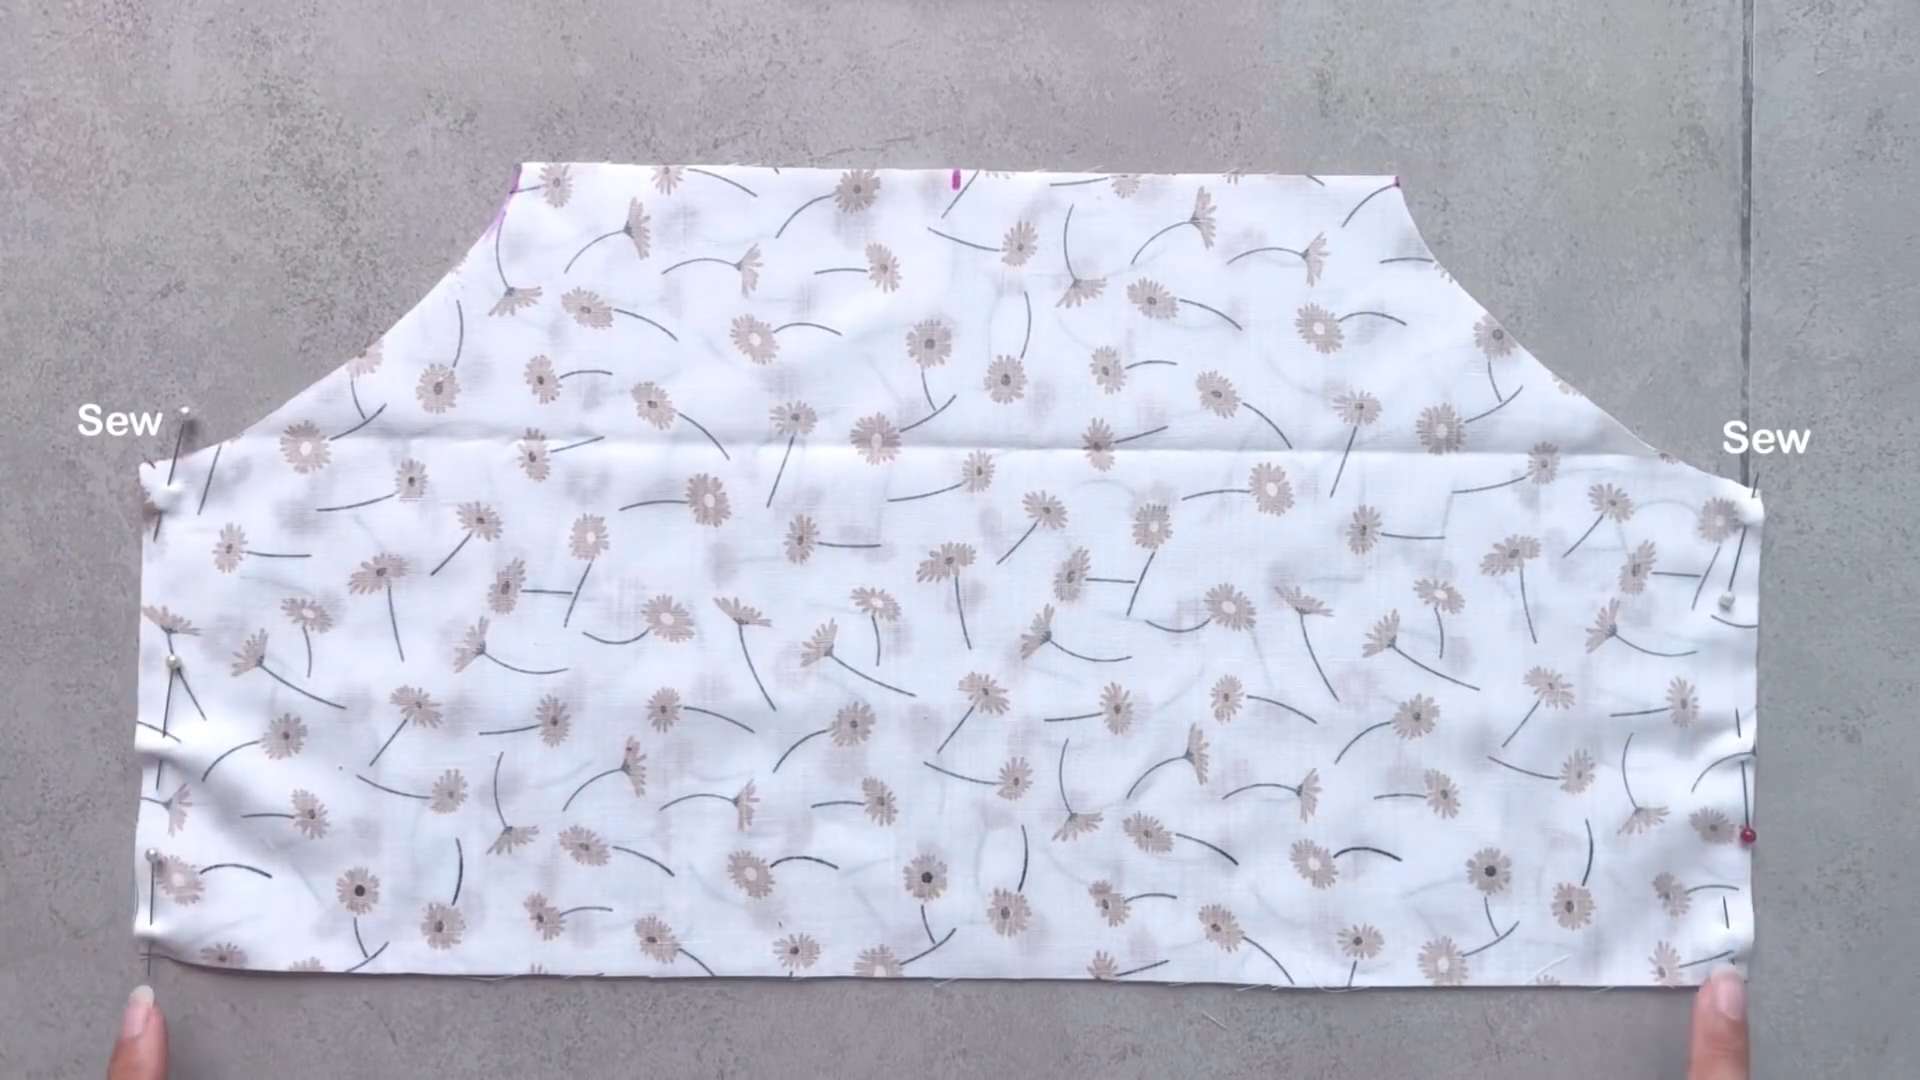
Connect them together at two side lines.
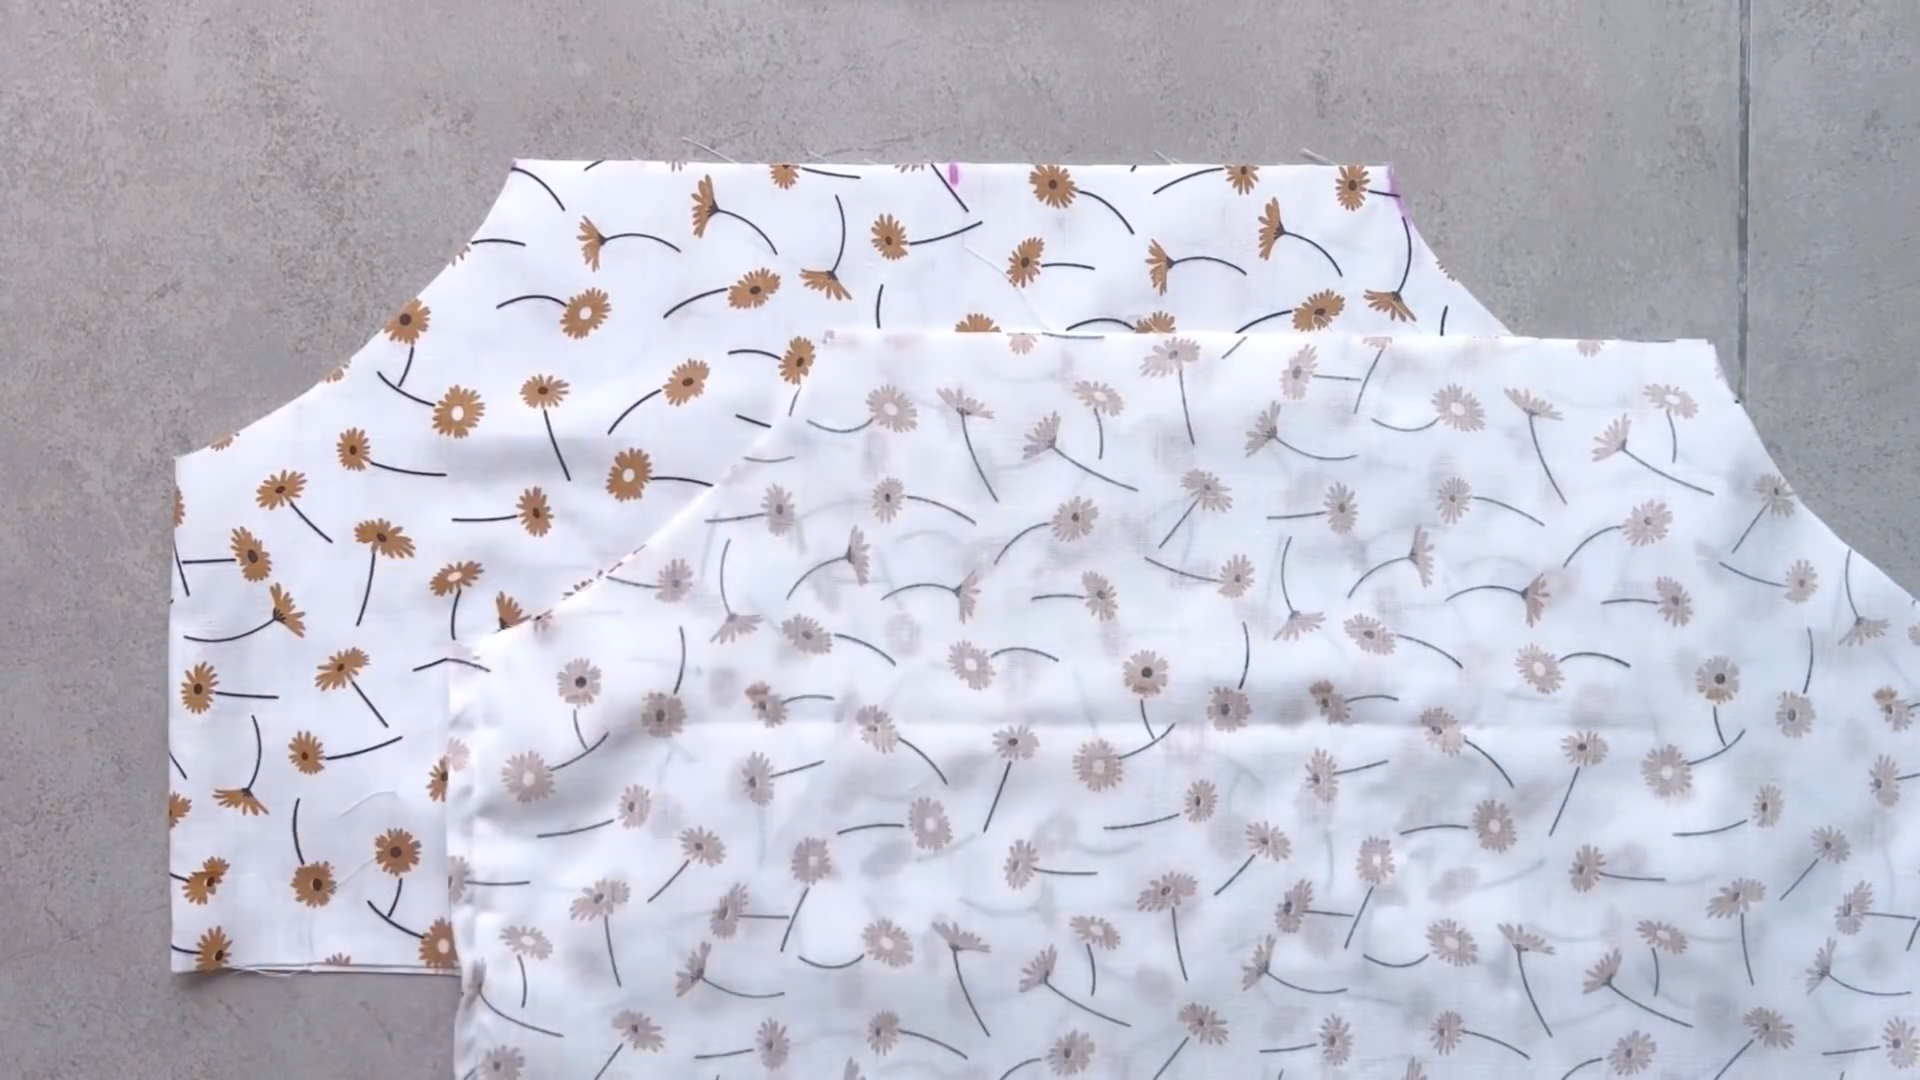
Then, make one more piece like that.
The shoulder strap
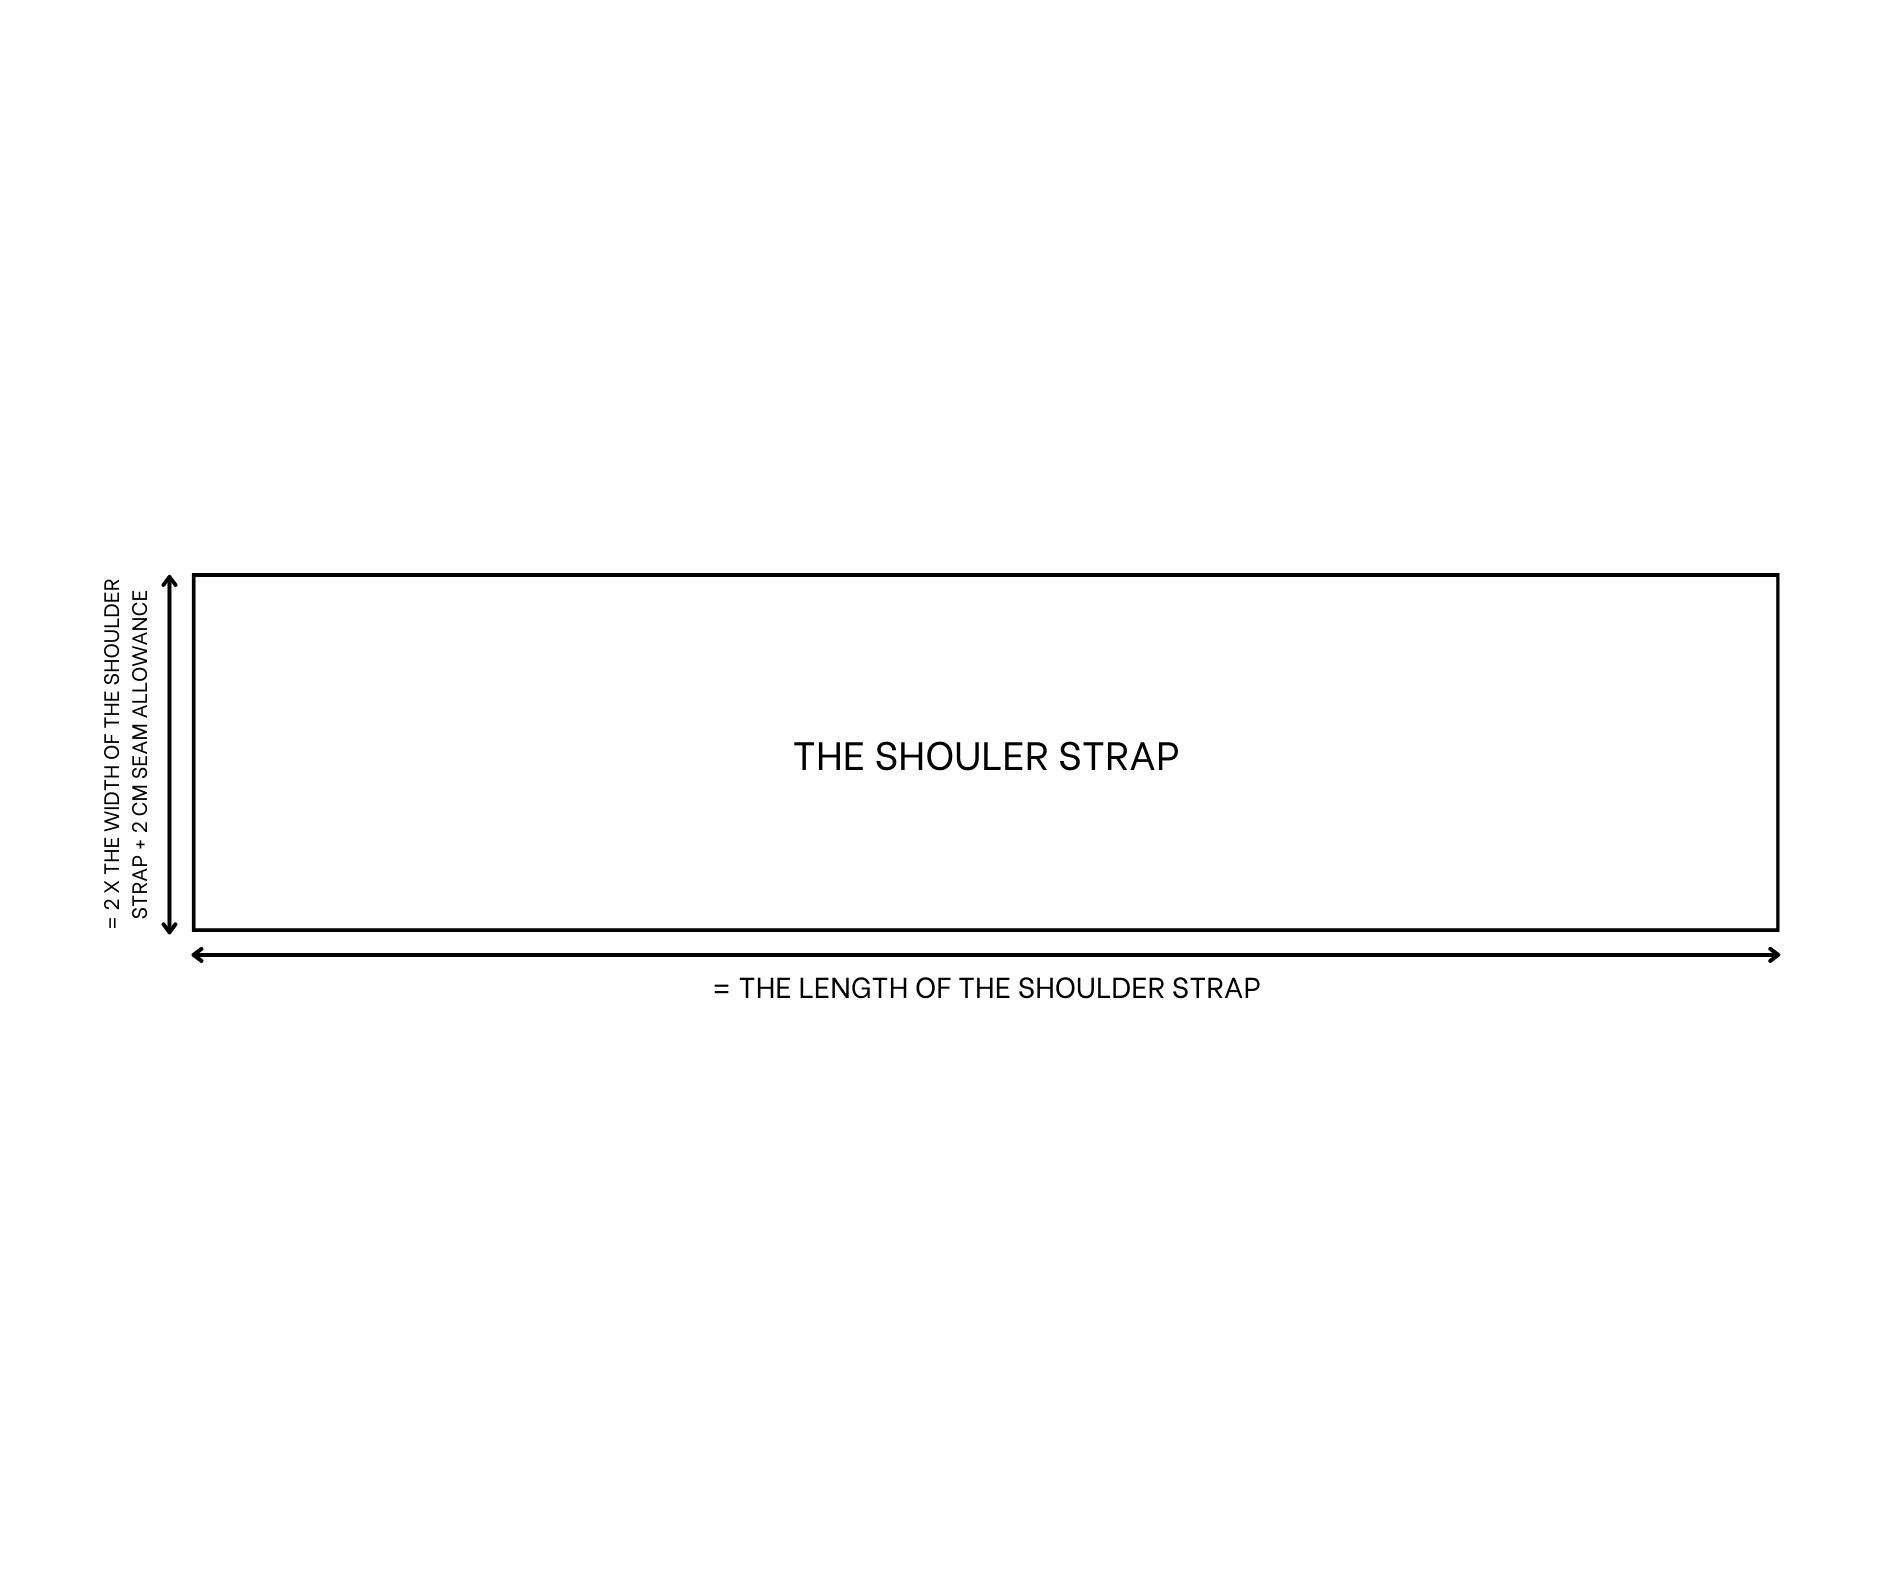
The shoulder strap
Cut a long rectangle with 8 cm width (which is 2 times the width of the strap that you want plus 2 cm for seam allowance) and 70 cm length (which is the length of the strap that you want).
Don’t make it too short as it will look nice when you make the tie there.
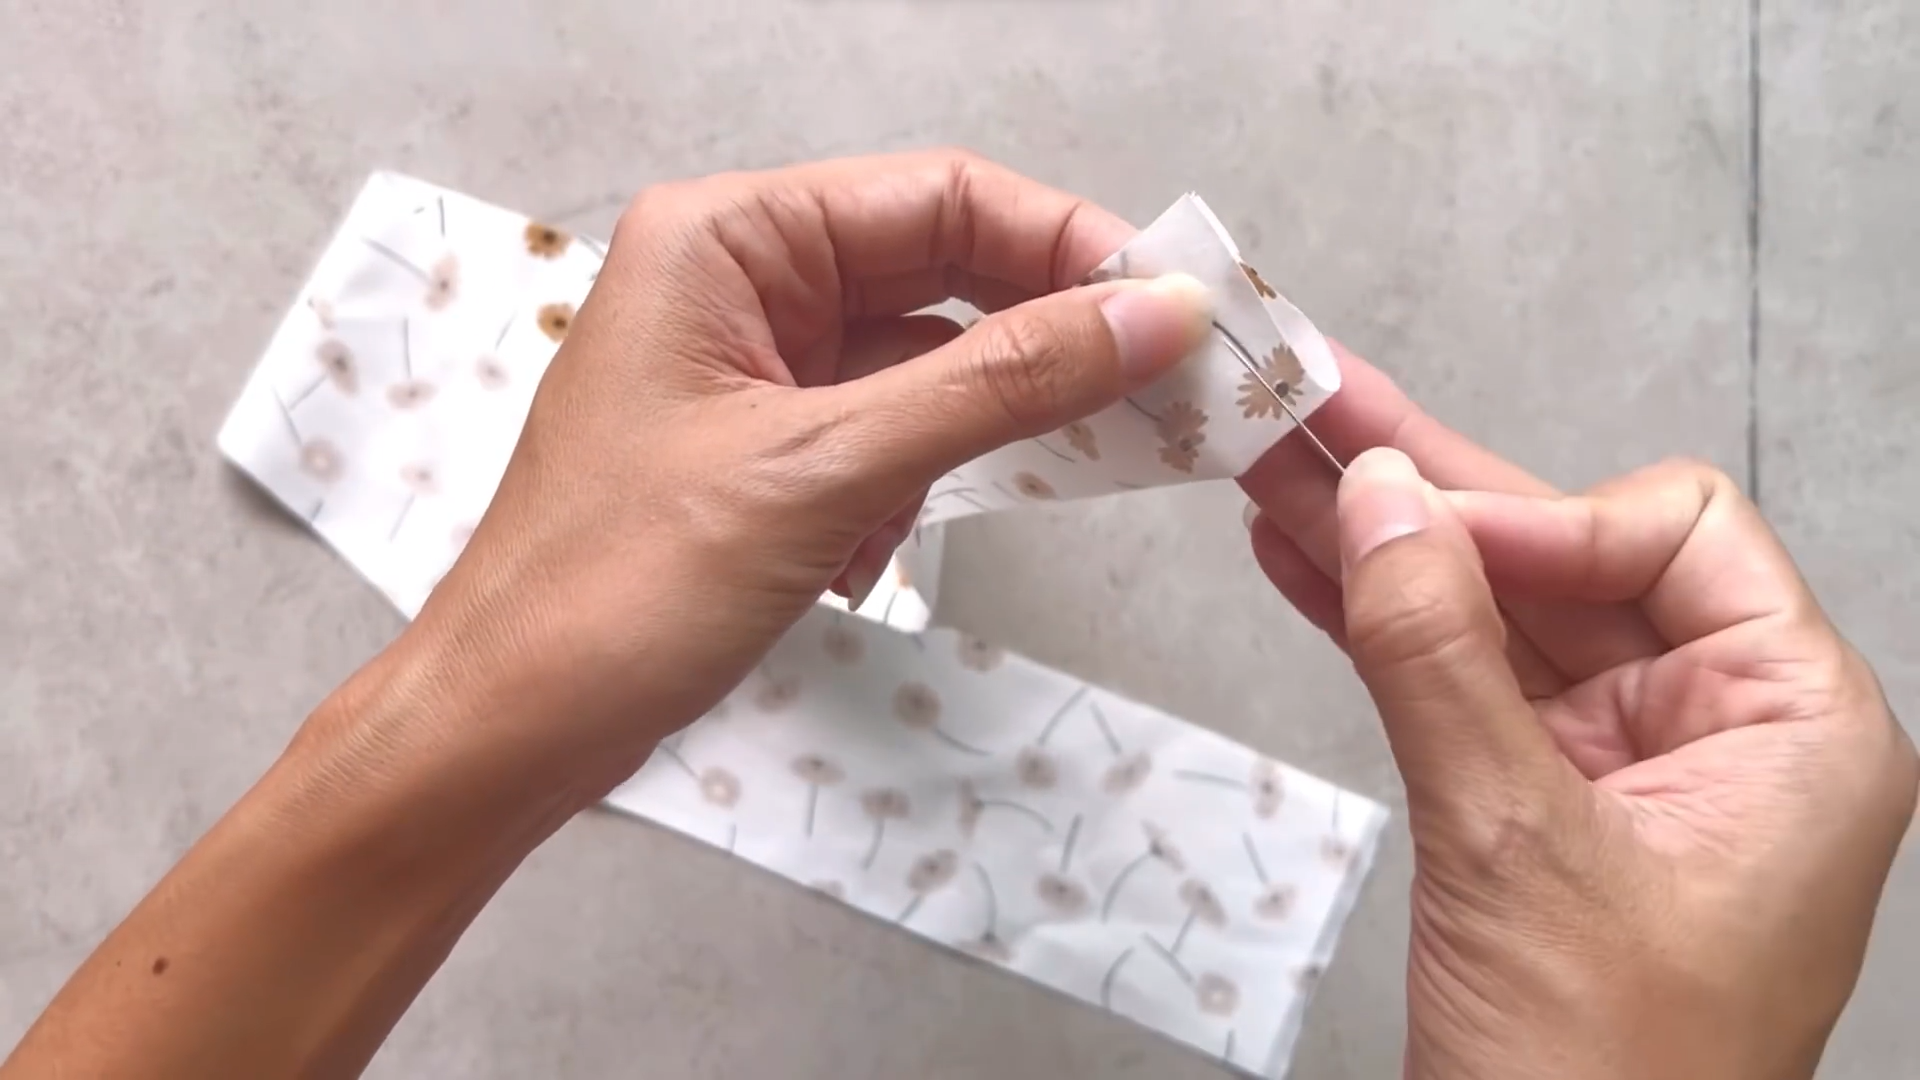
Fold two landlines of the rectangle together and sew it with one width line in the landline first.
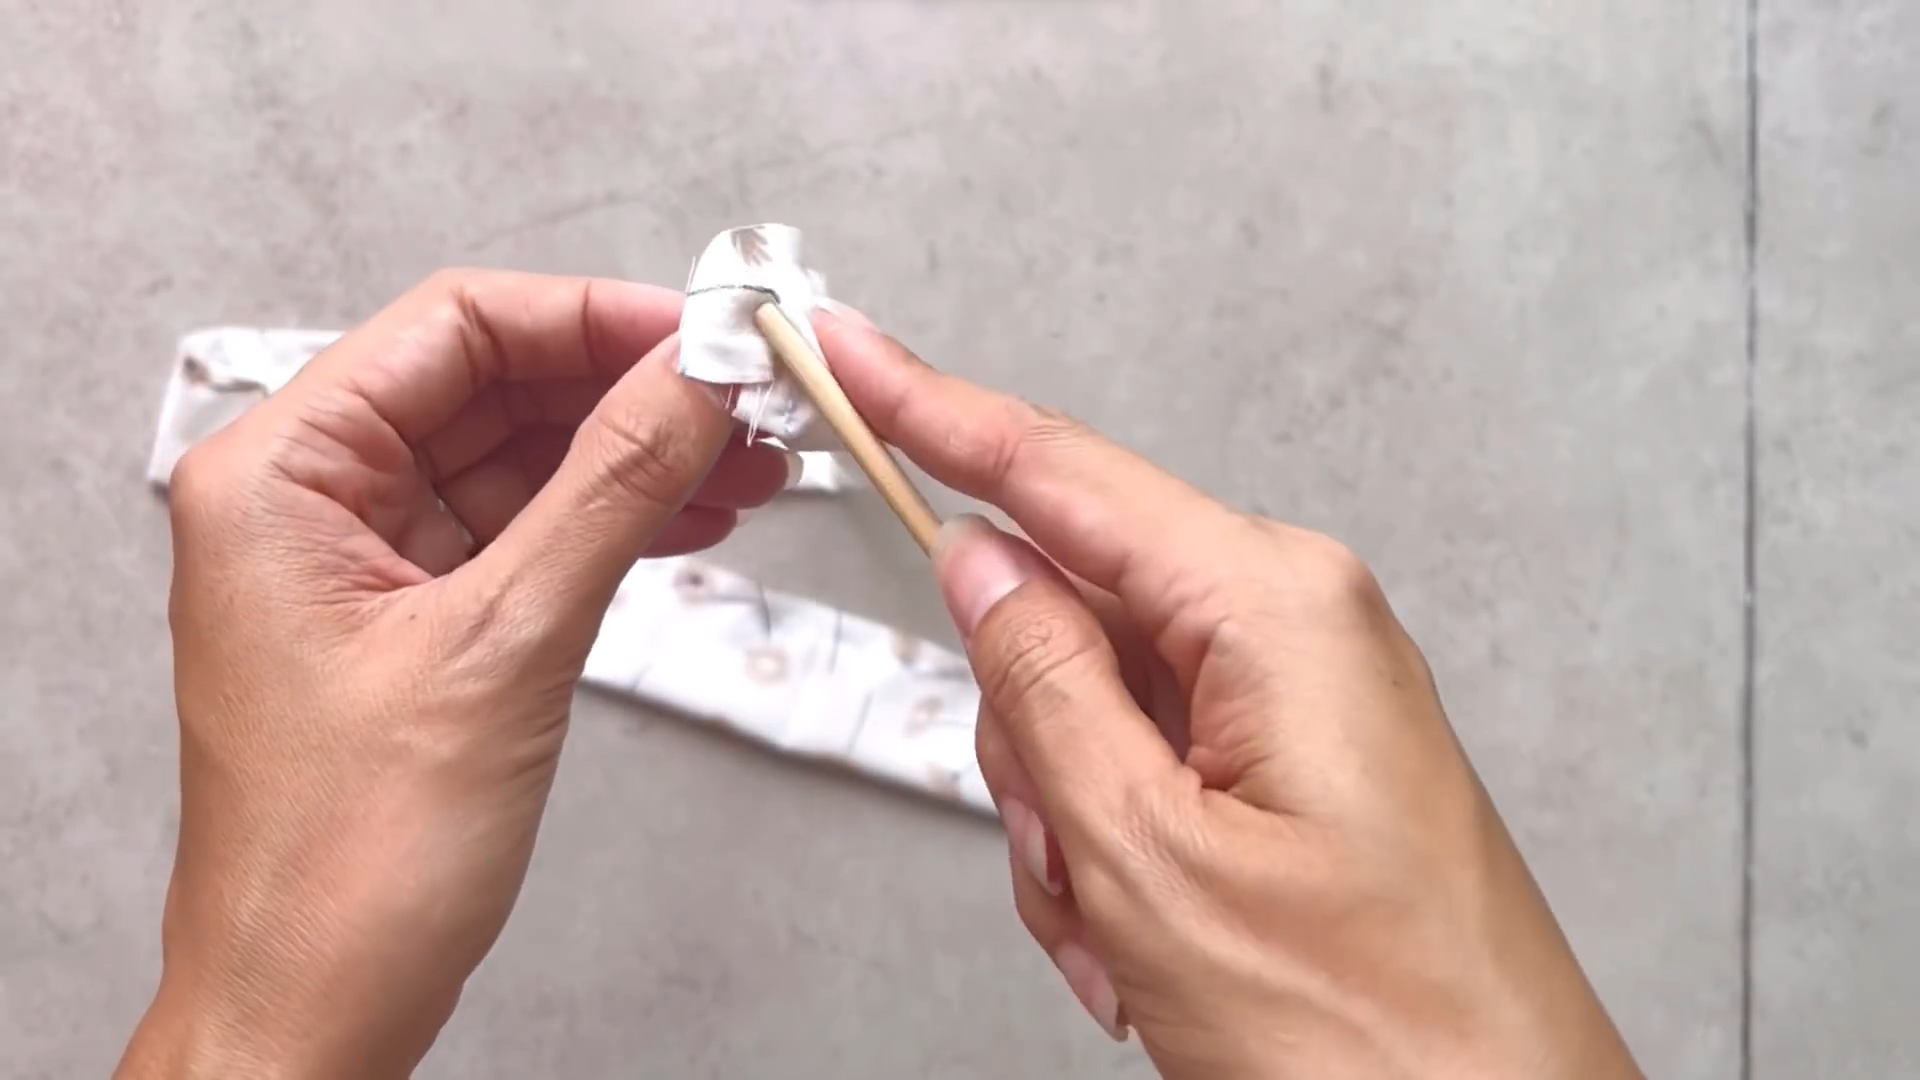
After that, use a long stick to turn the shoulder strap right side out.
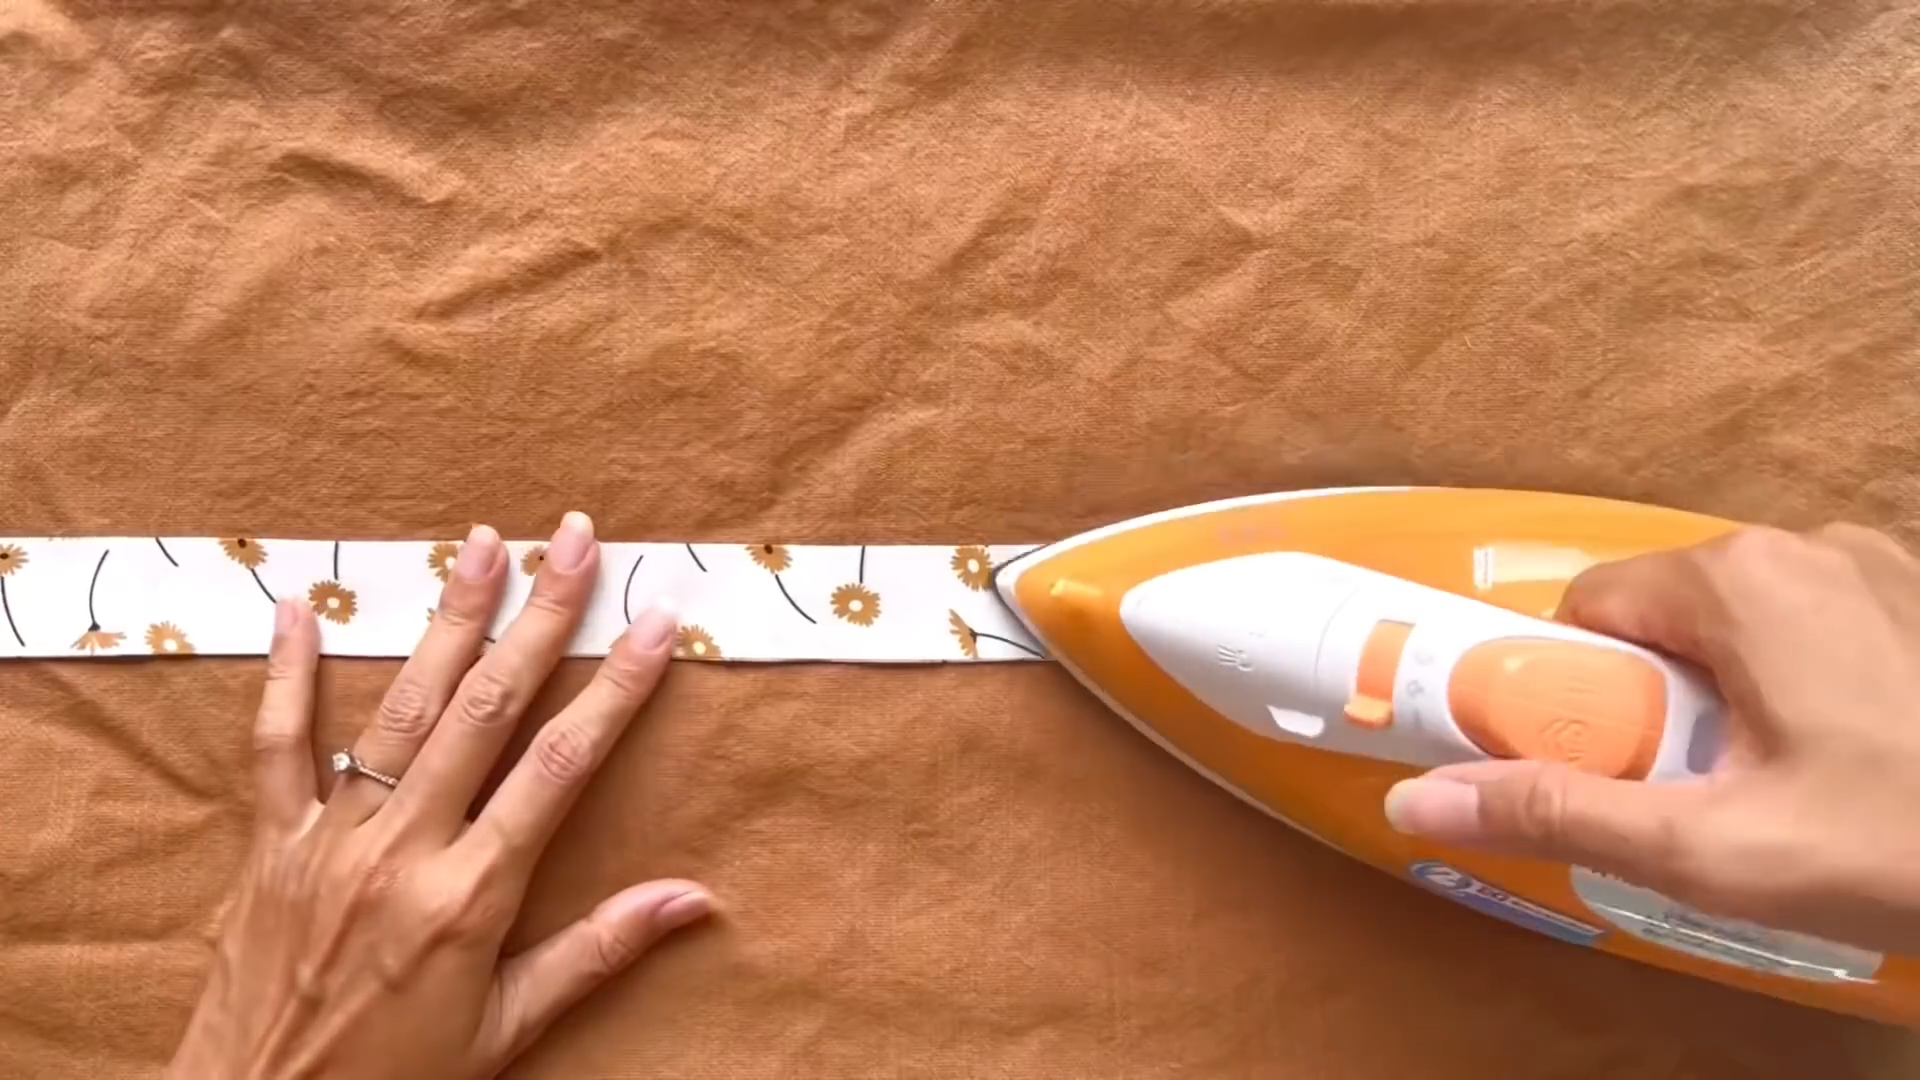
Then, iron it to keep the seam there and make the strap nicer.
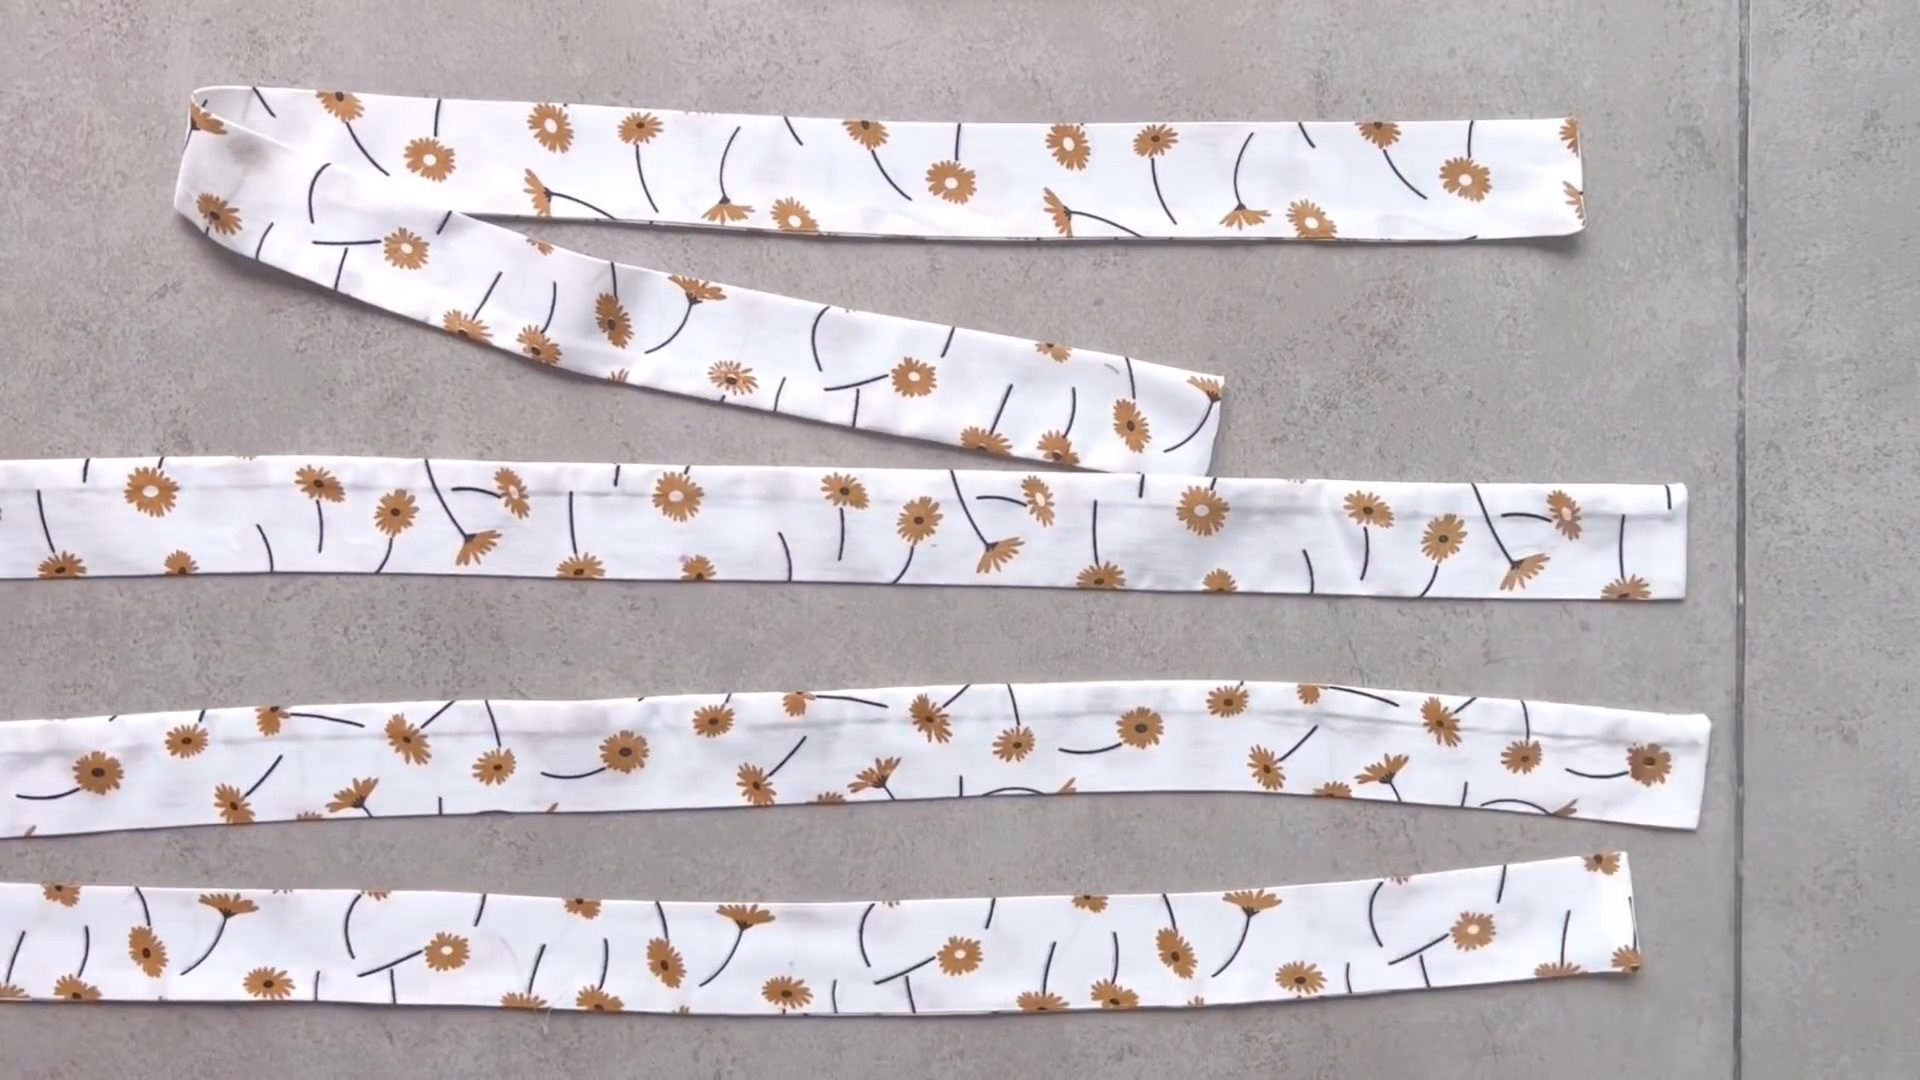
You will need to make four straps for this dress.

Now, attach the shoulder strap to one end of the neck.
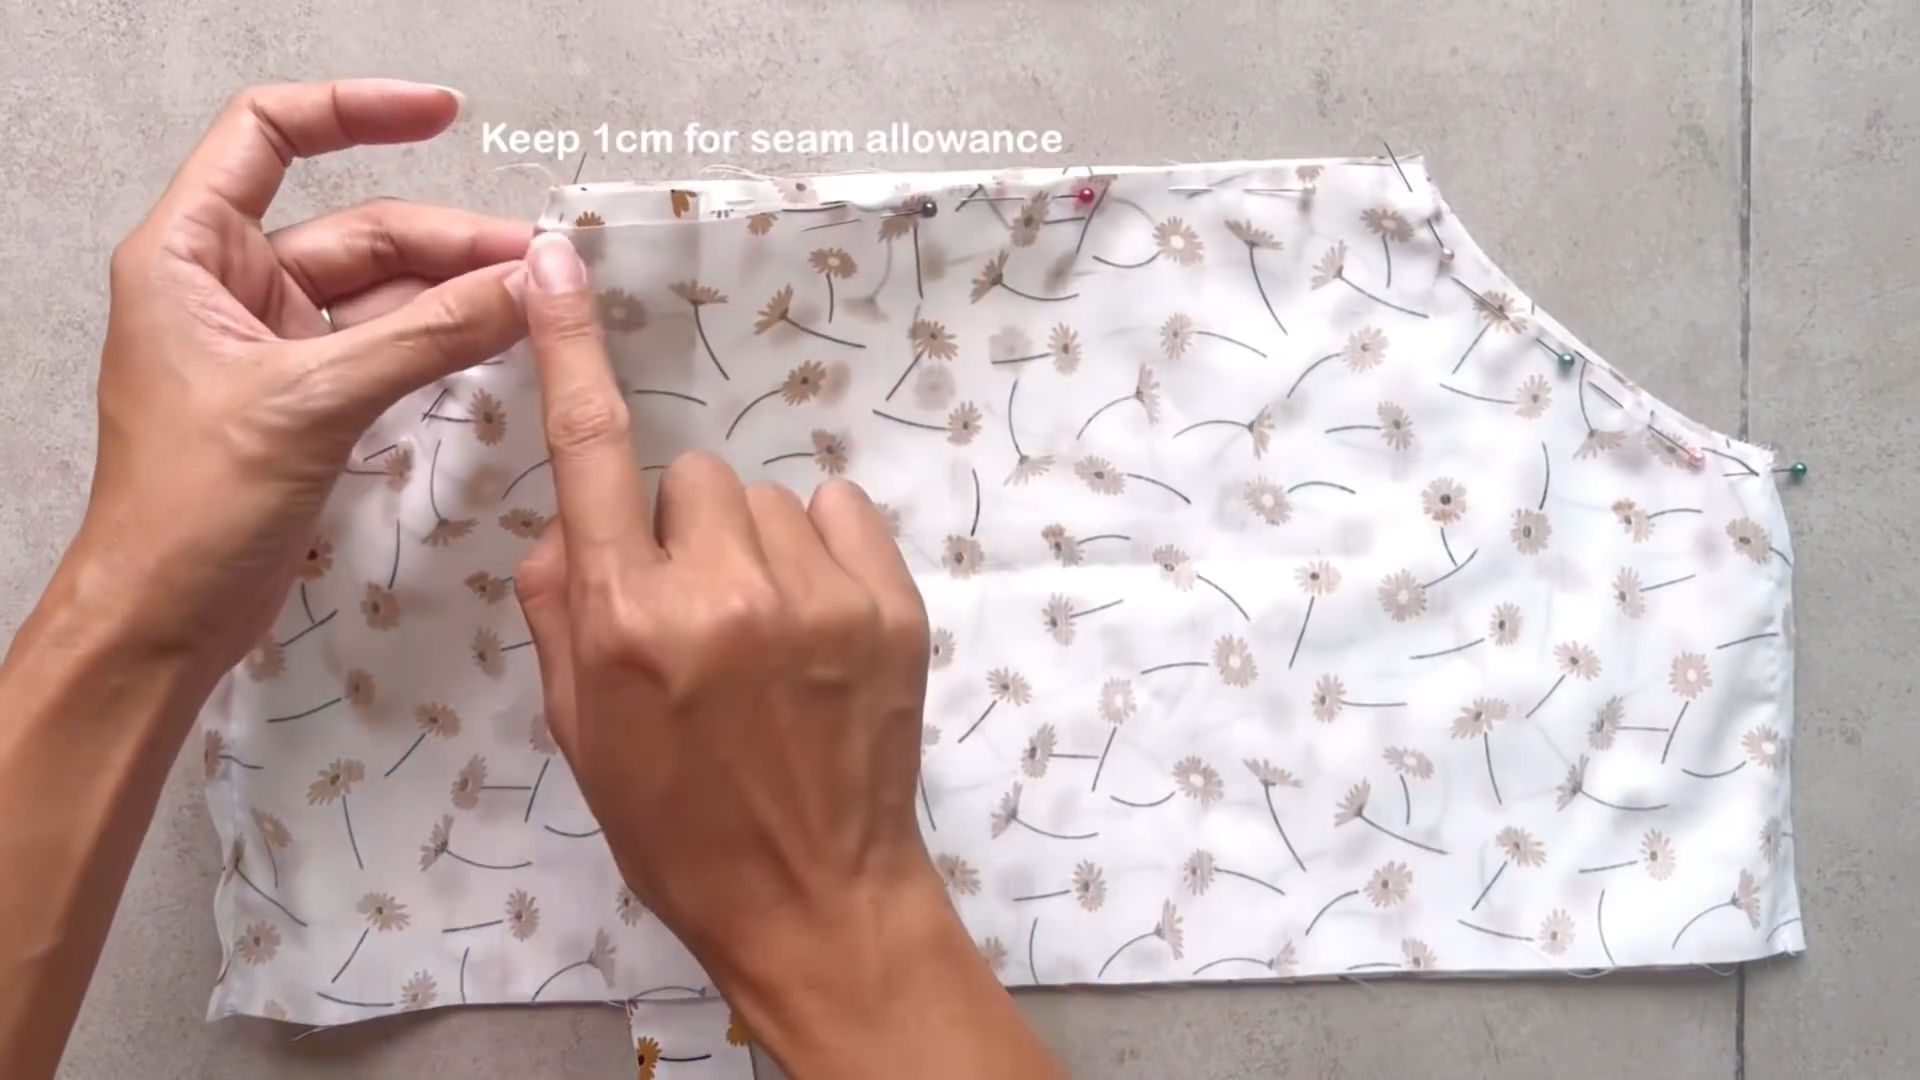
Make sure you keep 1 cm between the end of the neckline and the strap for sewing later.
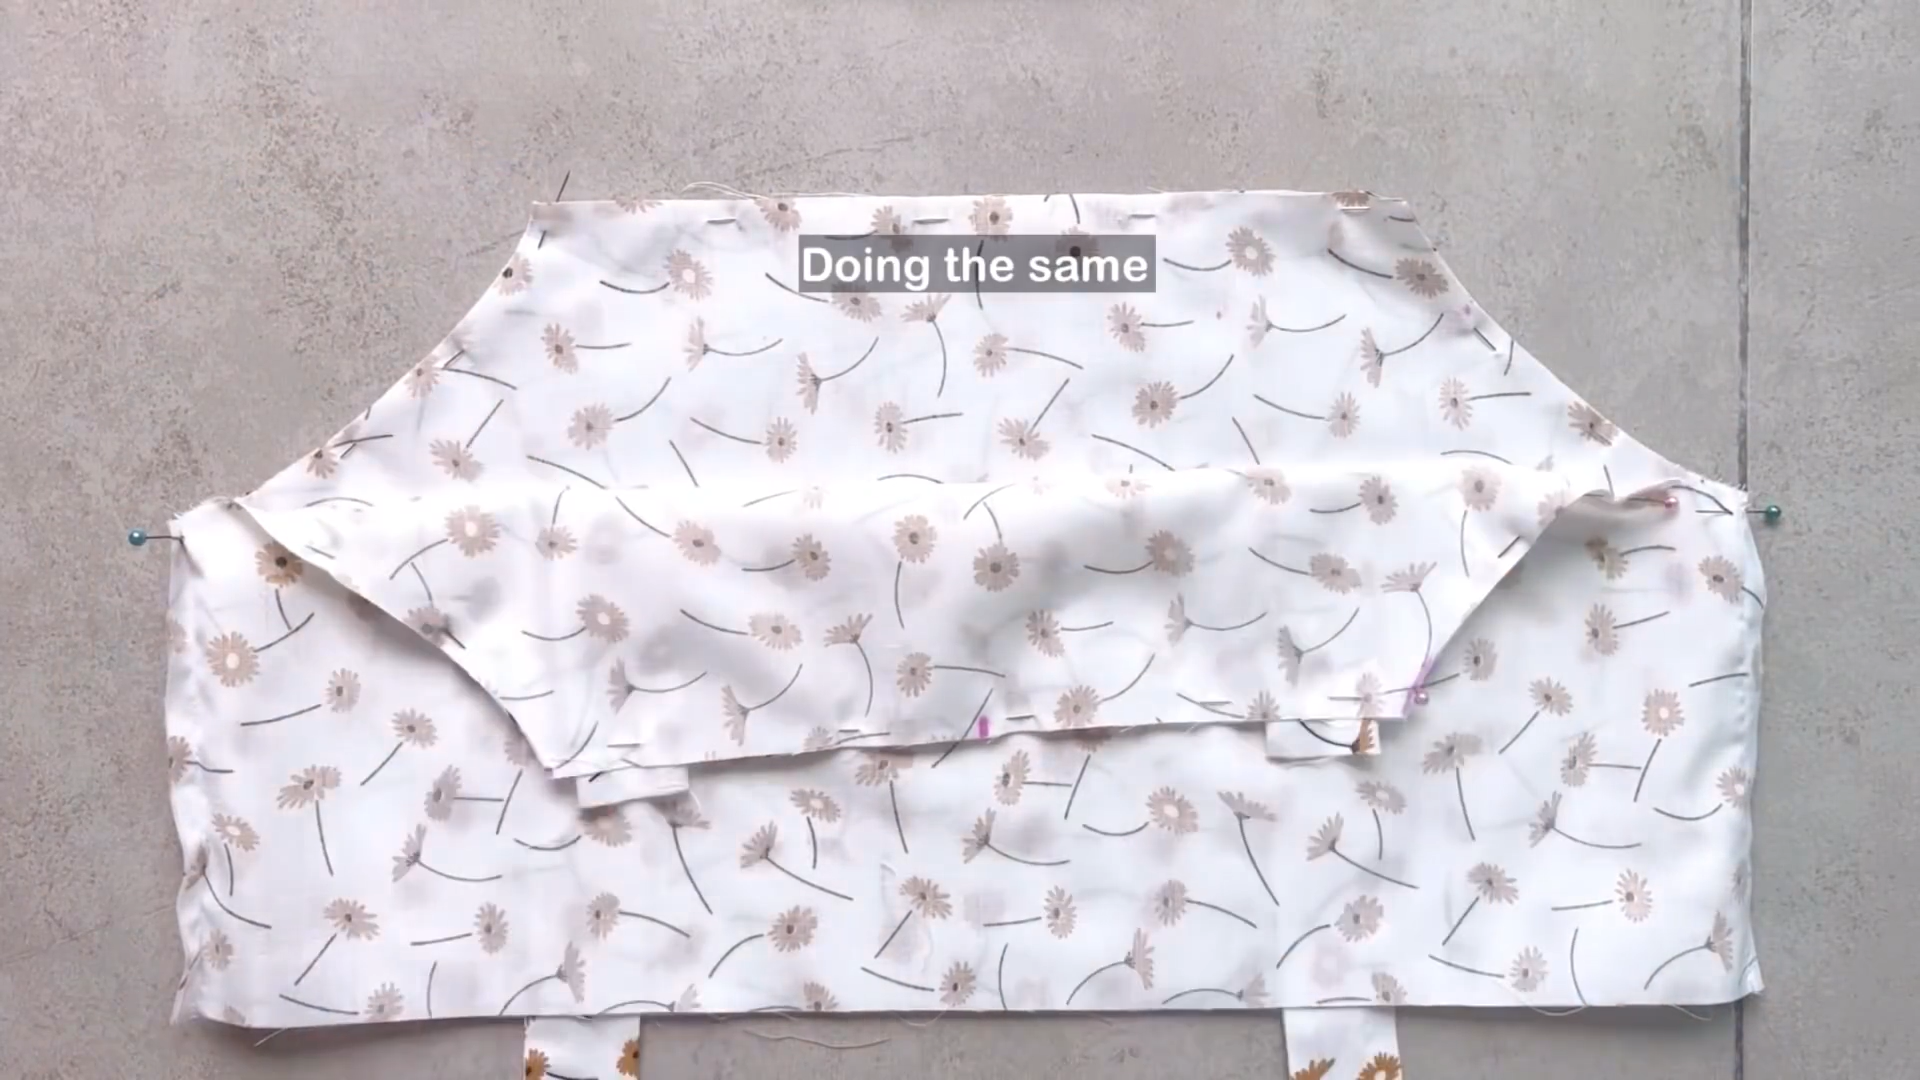
Do the same for the other side and for the back of the main bodice.
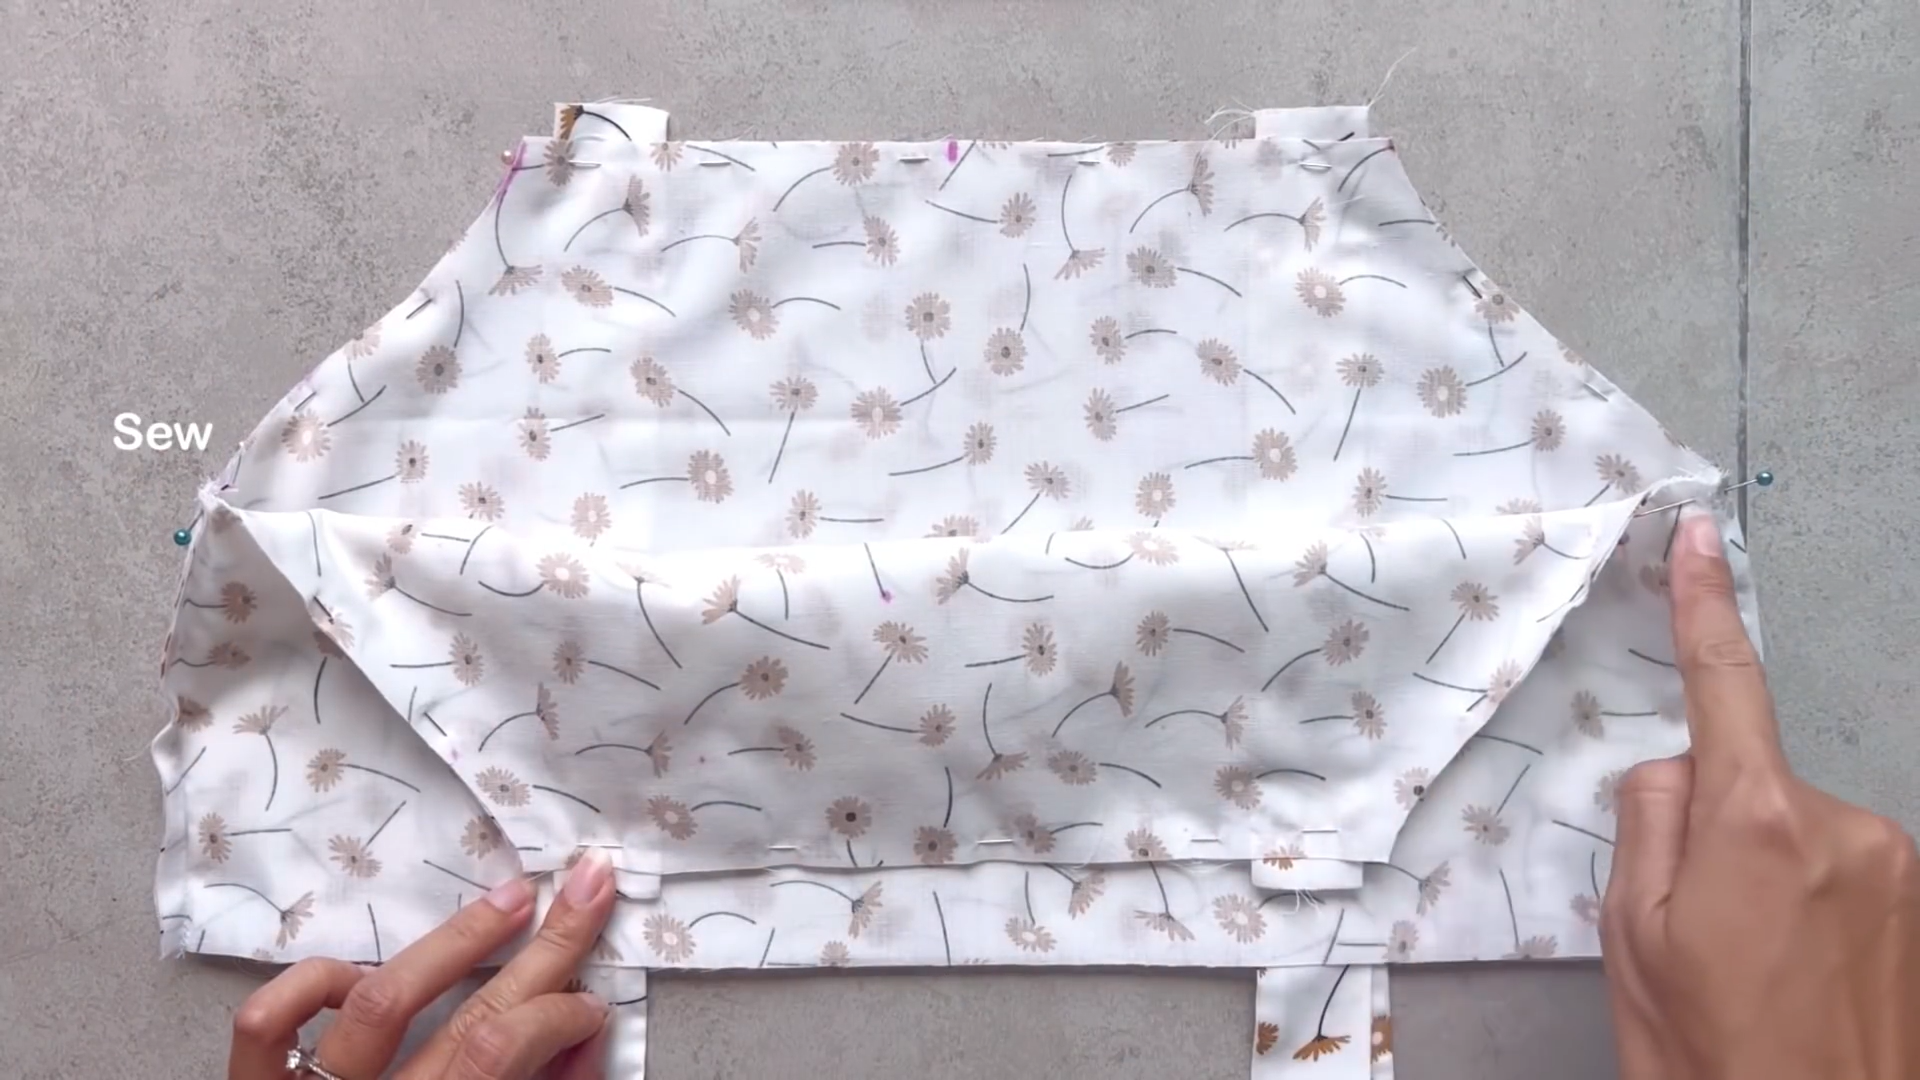
After that, sew to connect them together.
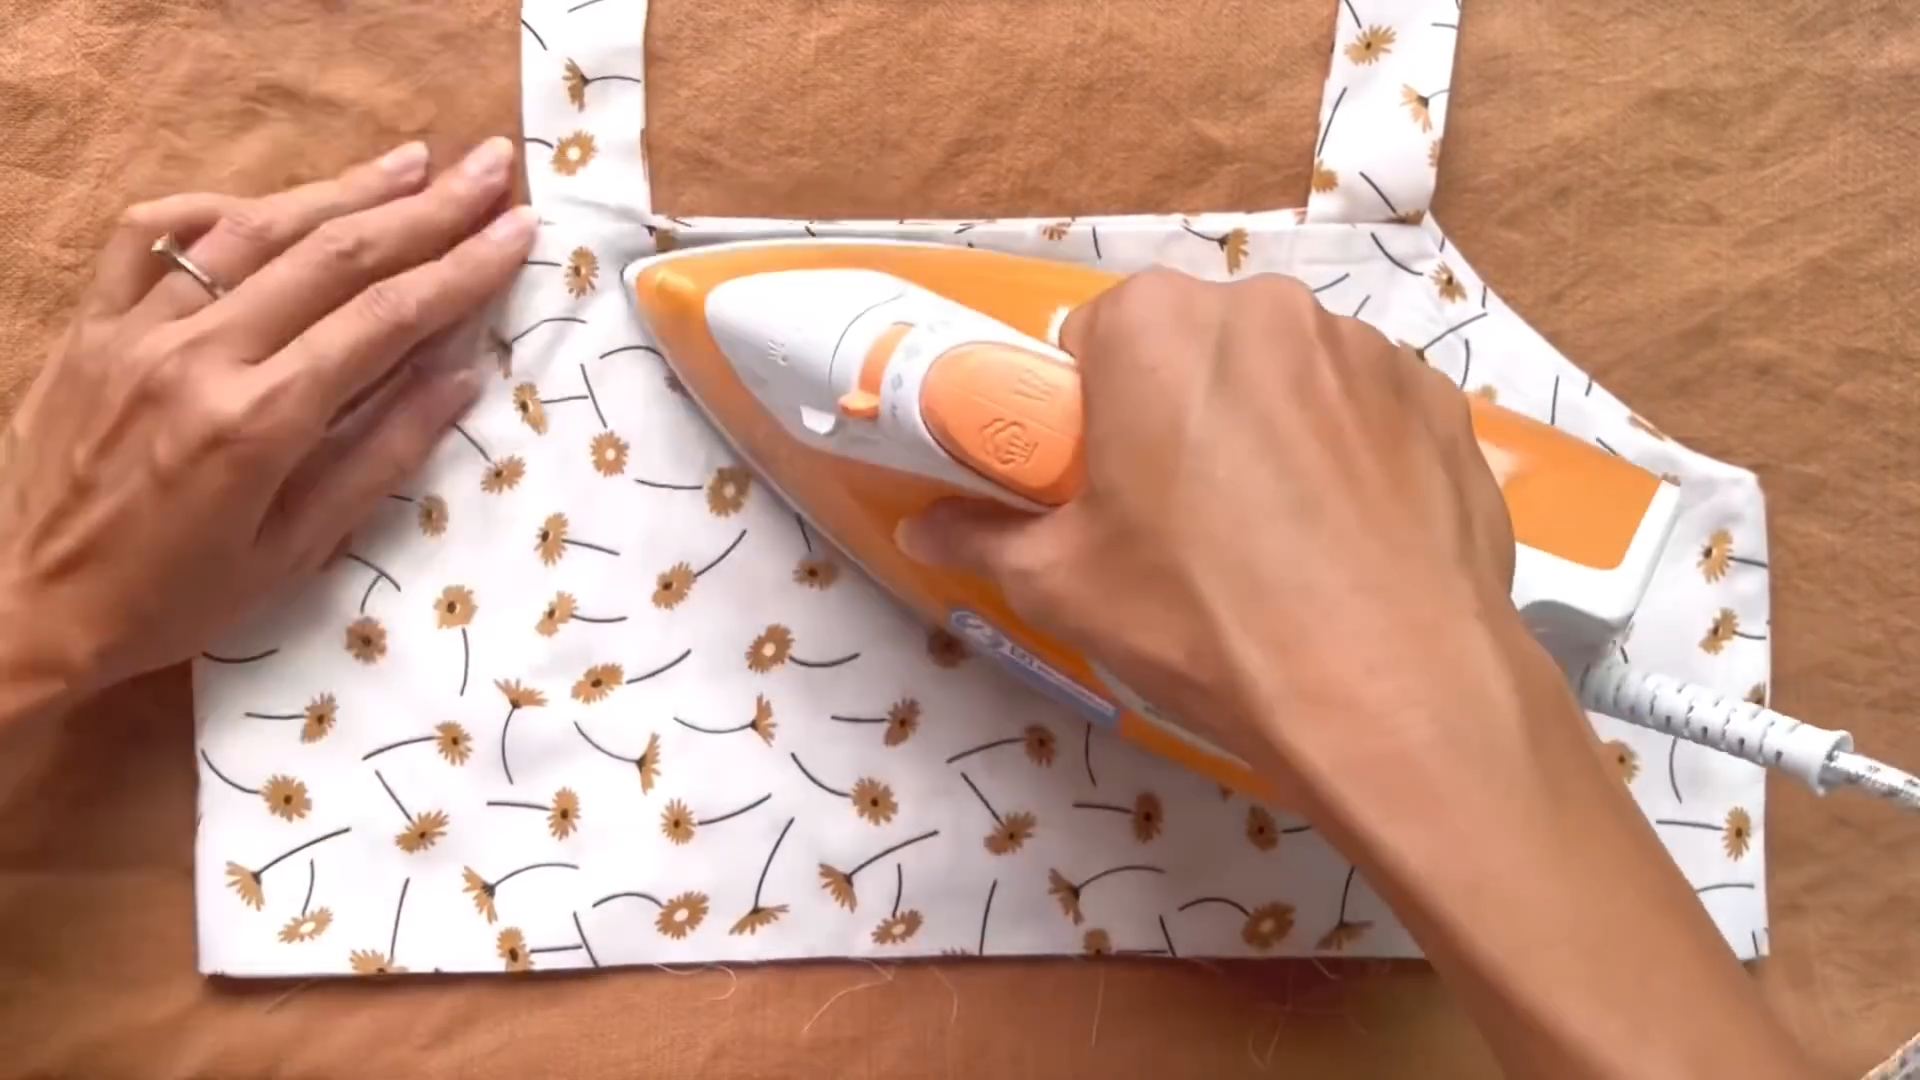
After turning the main bodice to hide the seam inside, iron it to keep two pieces of the main bodice from moving and make it look nicer.
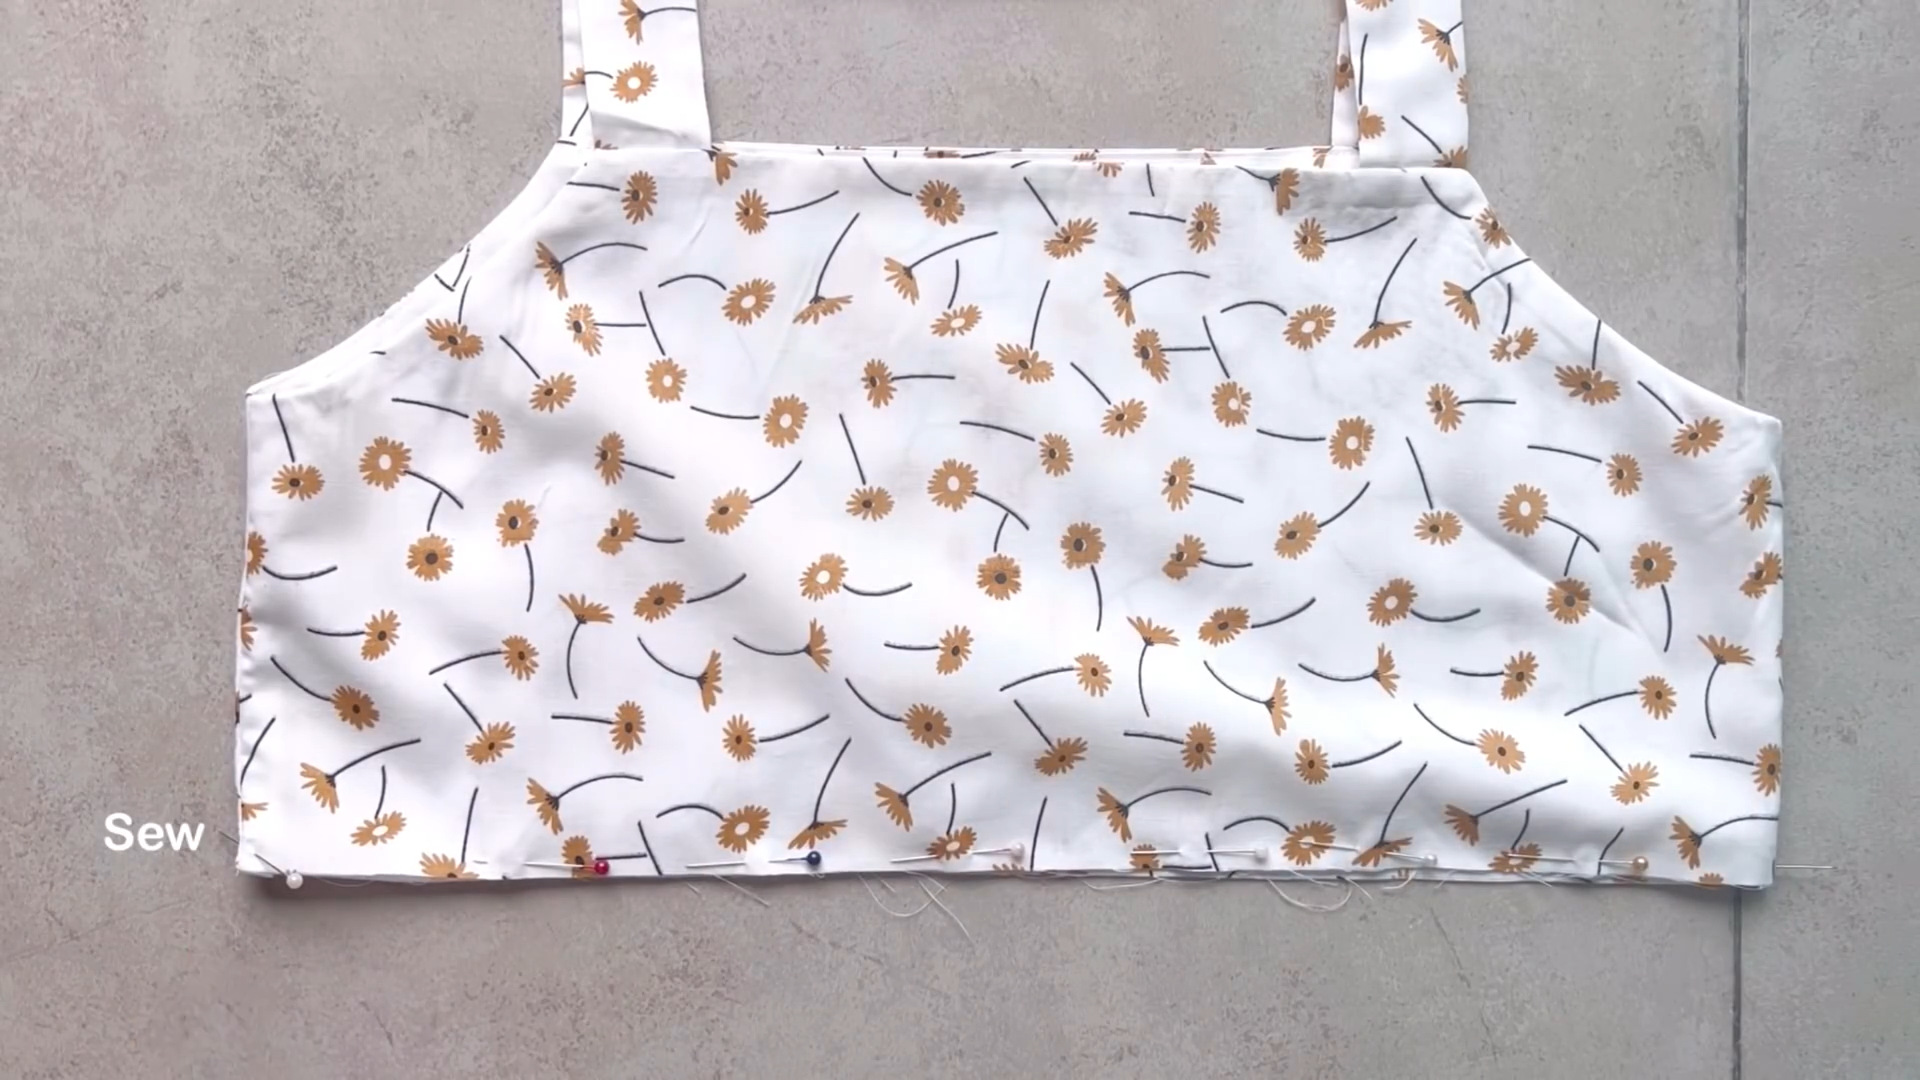
Then, connect two ending lines of two pieces together by overlocking.
THE SKIRT PART
The skirt part
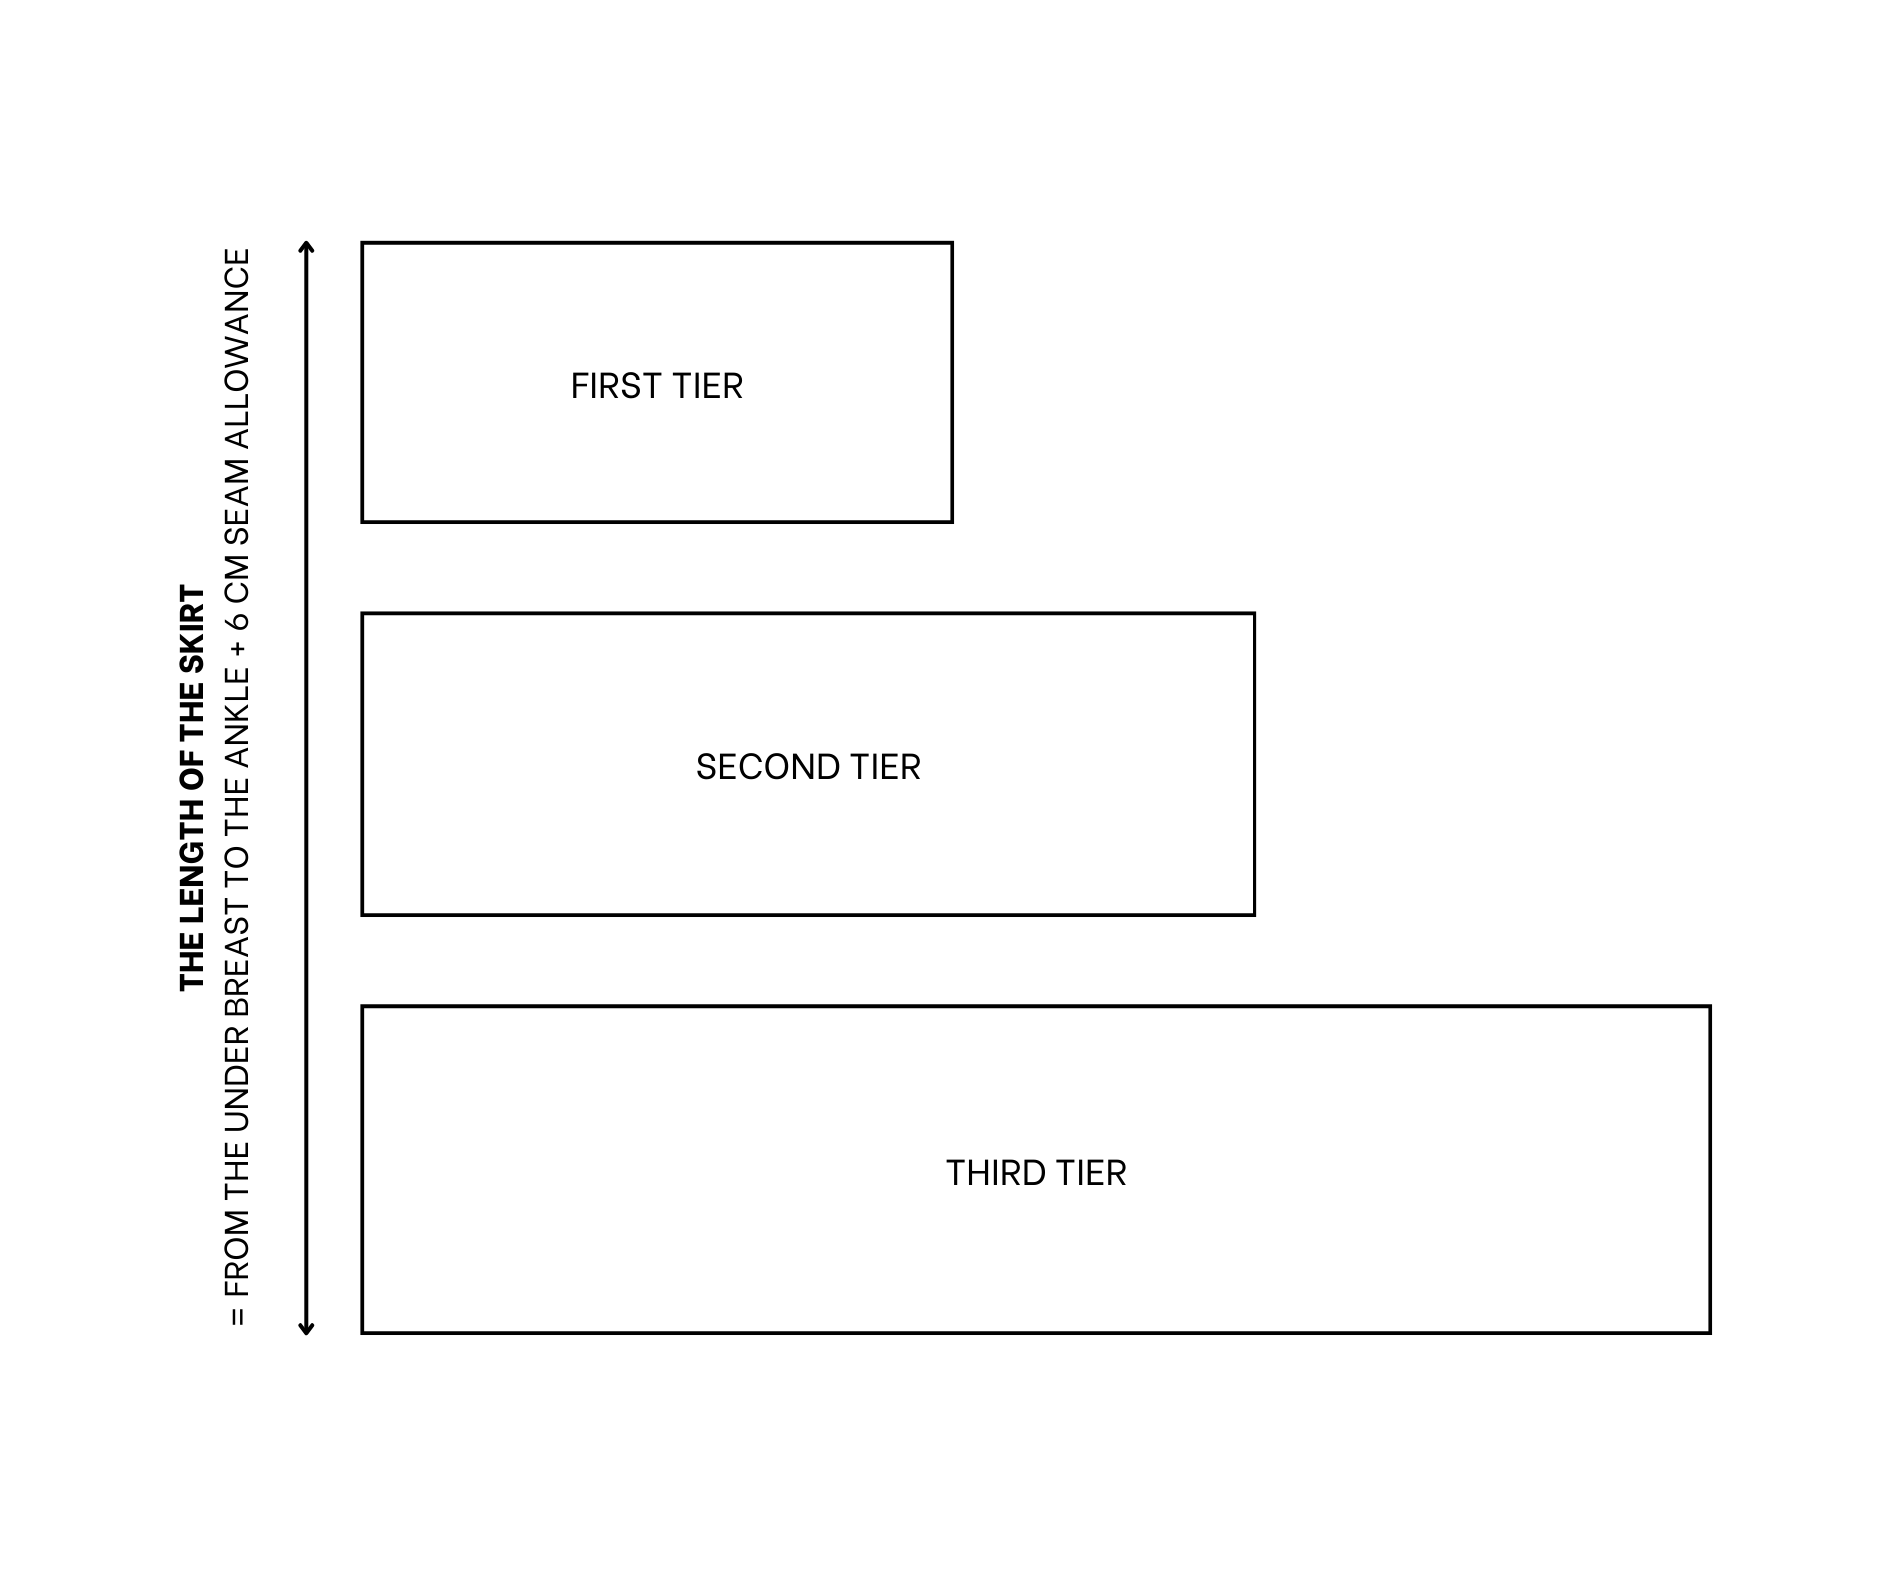
We will create three tiers for this dress.
The length of the skirt will be from under the breast to the ankle plus 6 cm for seam allowance at three tiers. You can choose the length of each tier you want.
The first tier
The first tier
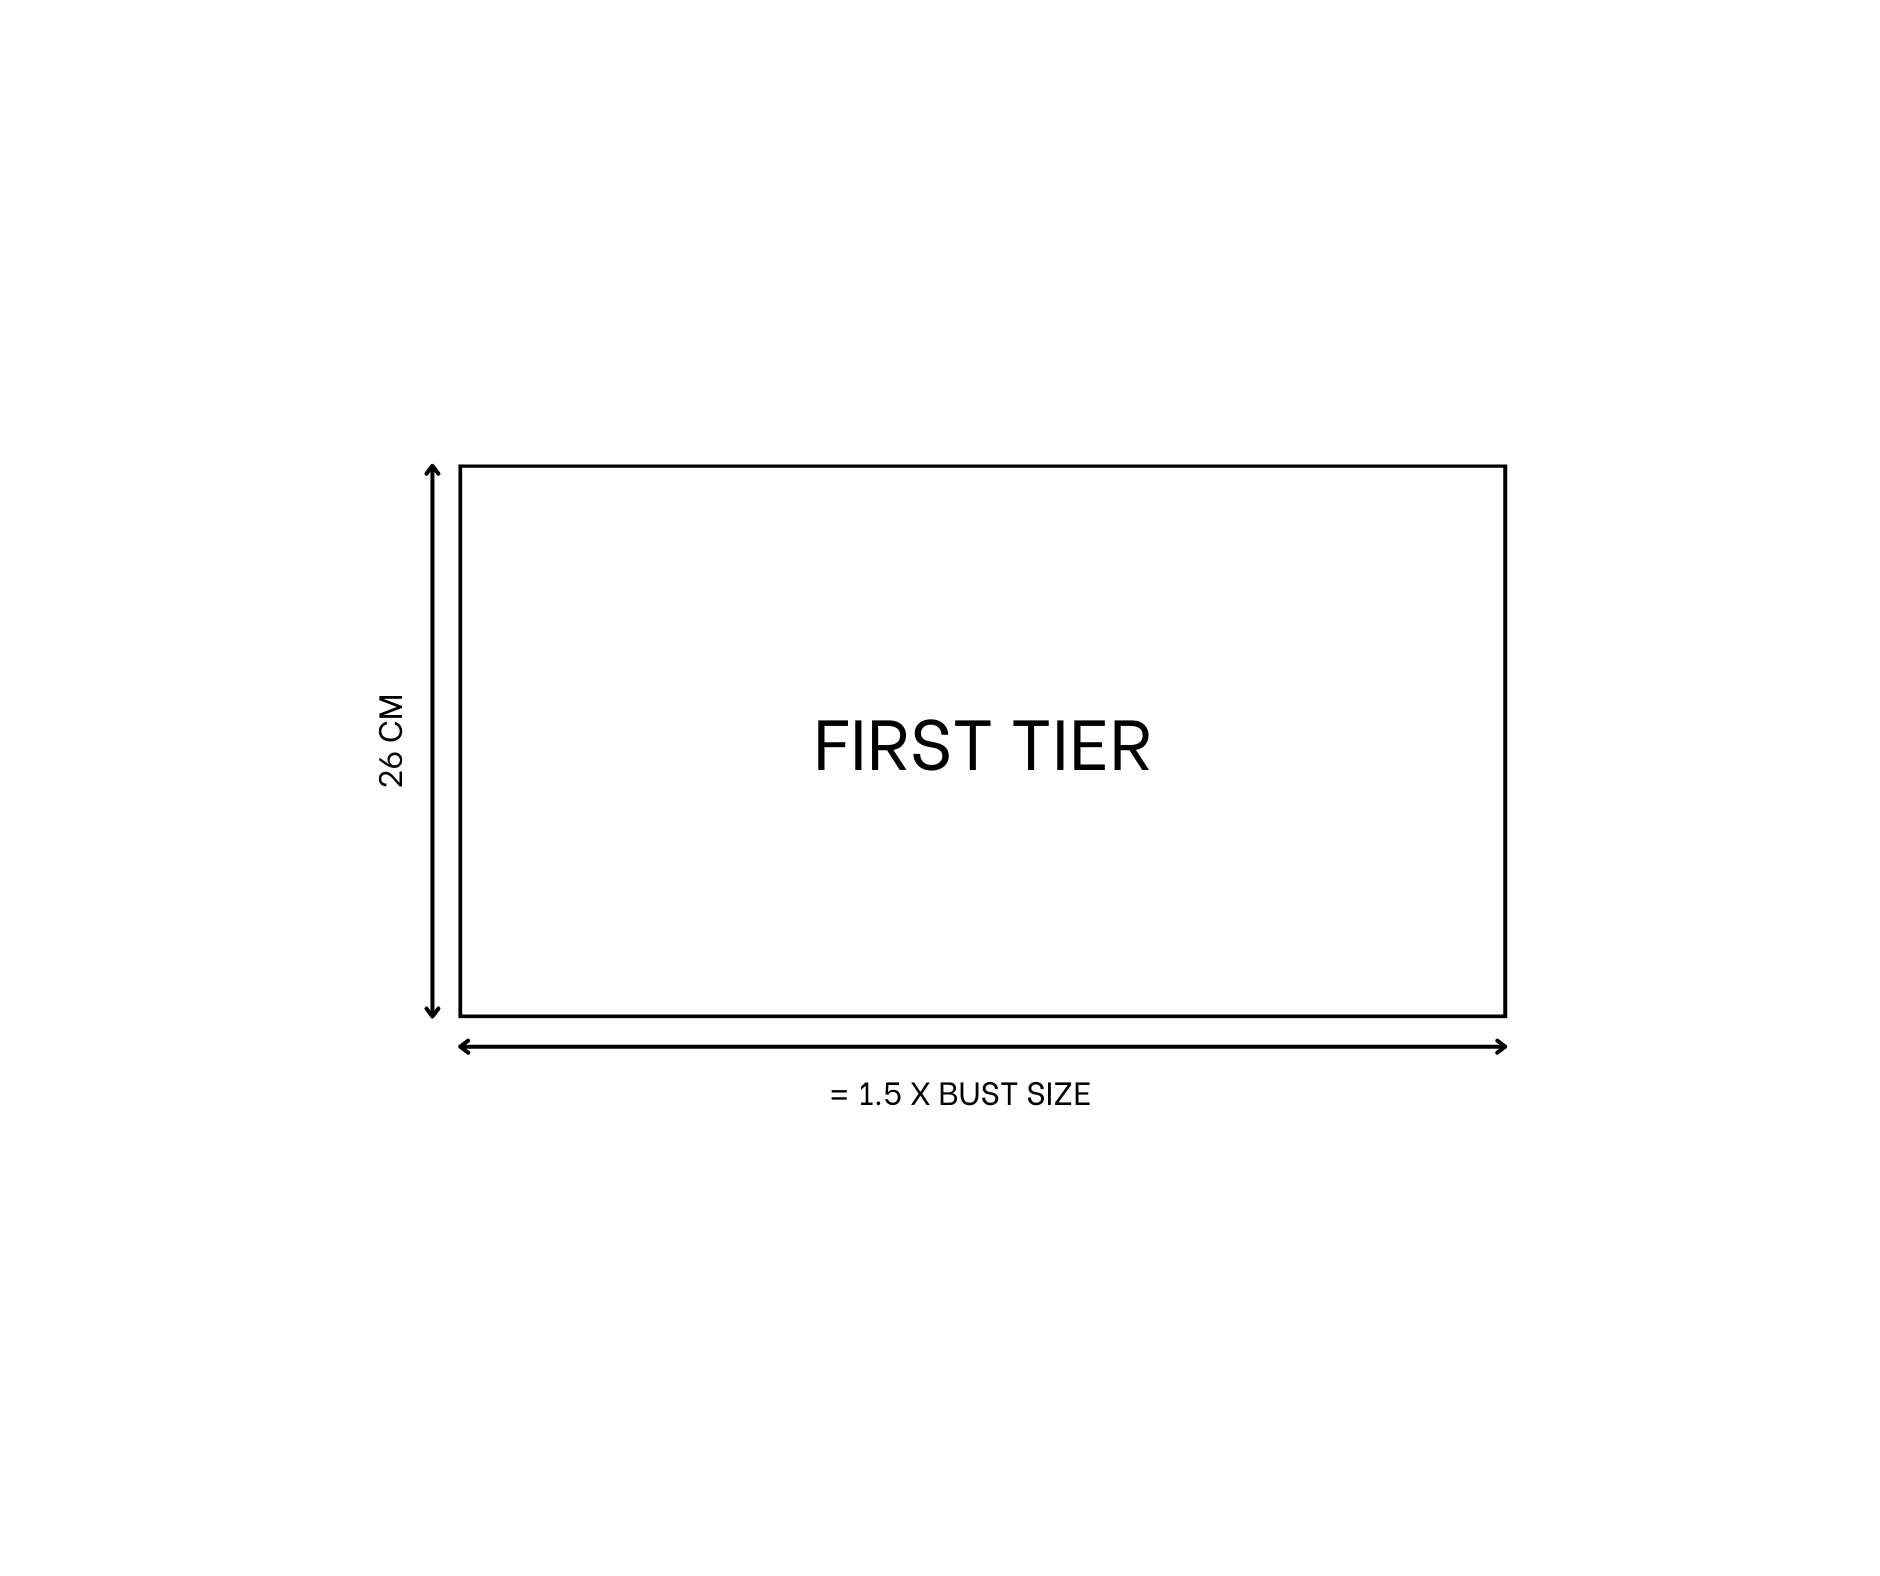
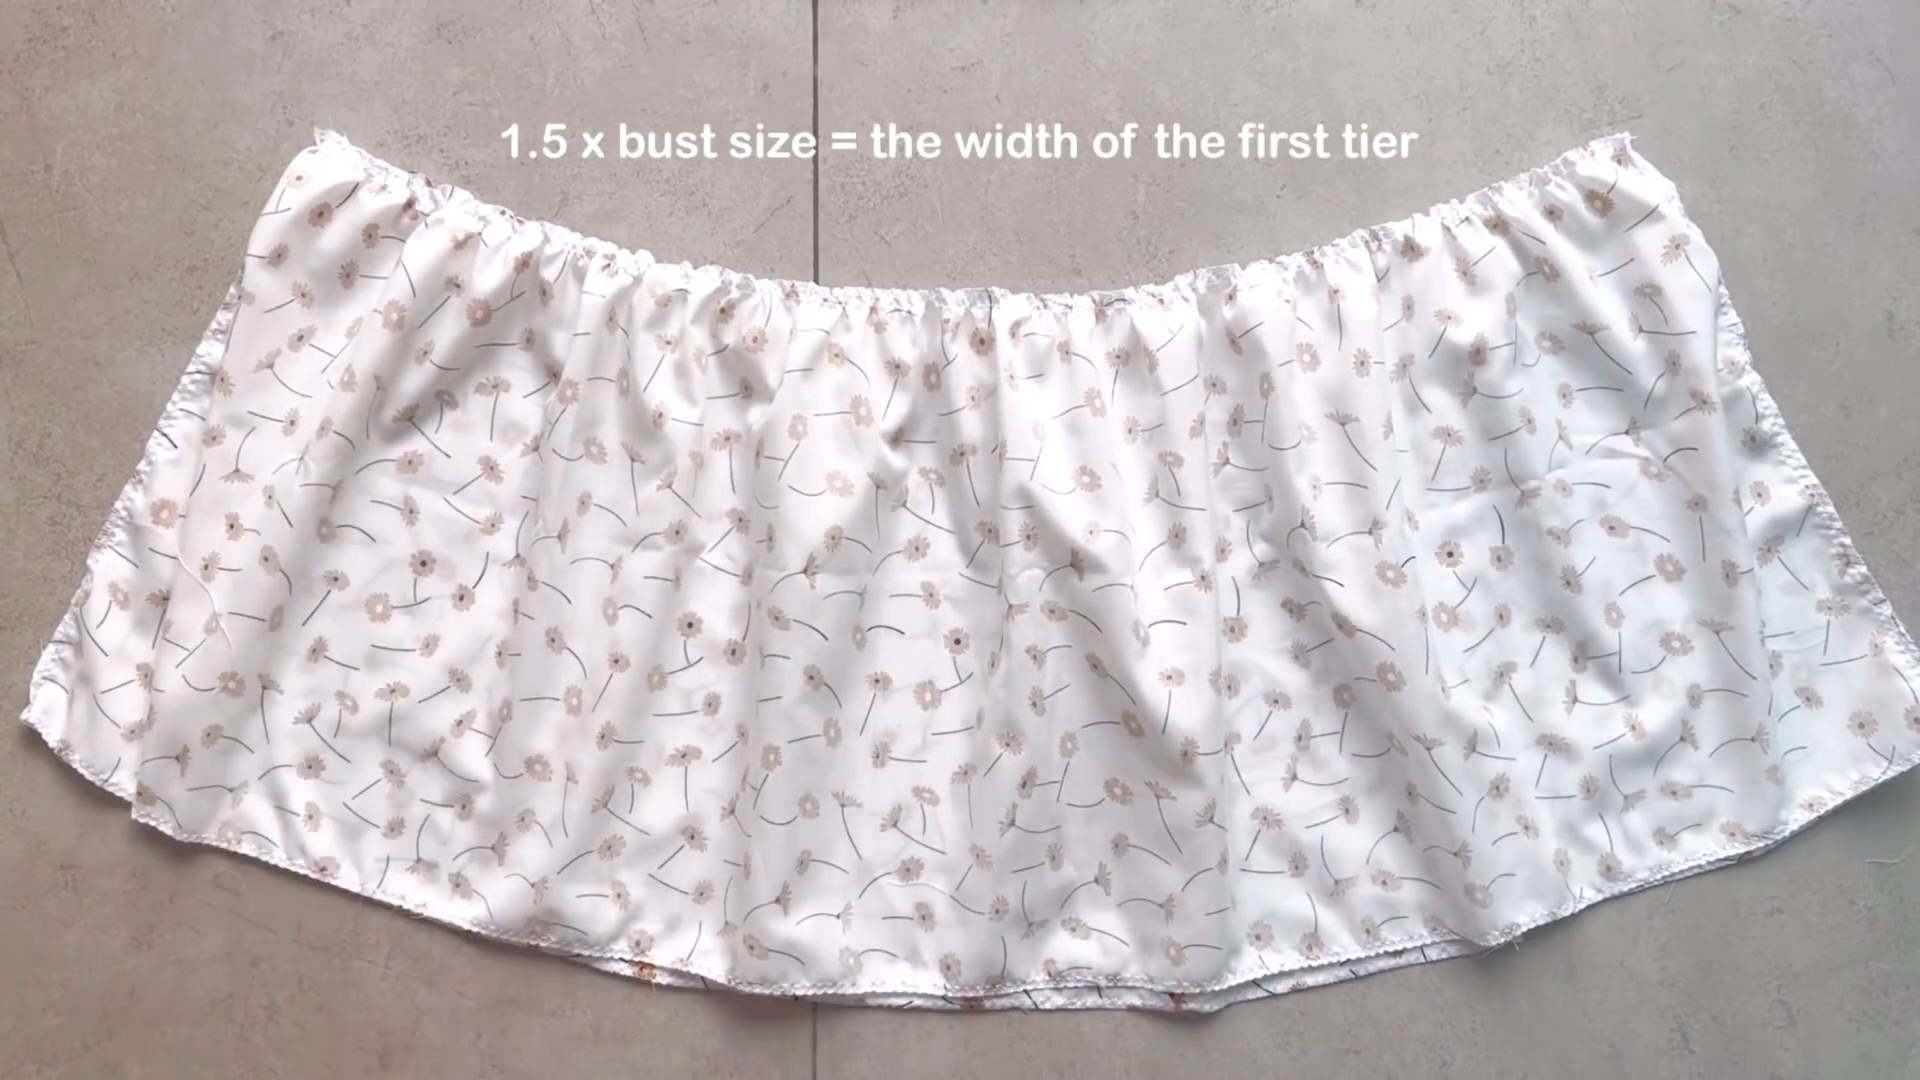
The first tier is a rectangle with a length of 26 cm and a width that is one and a half times your bust size.
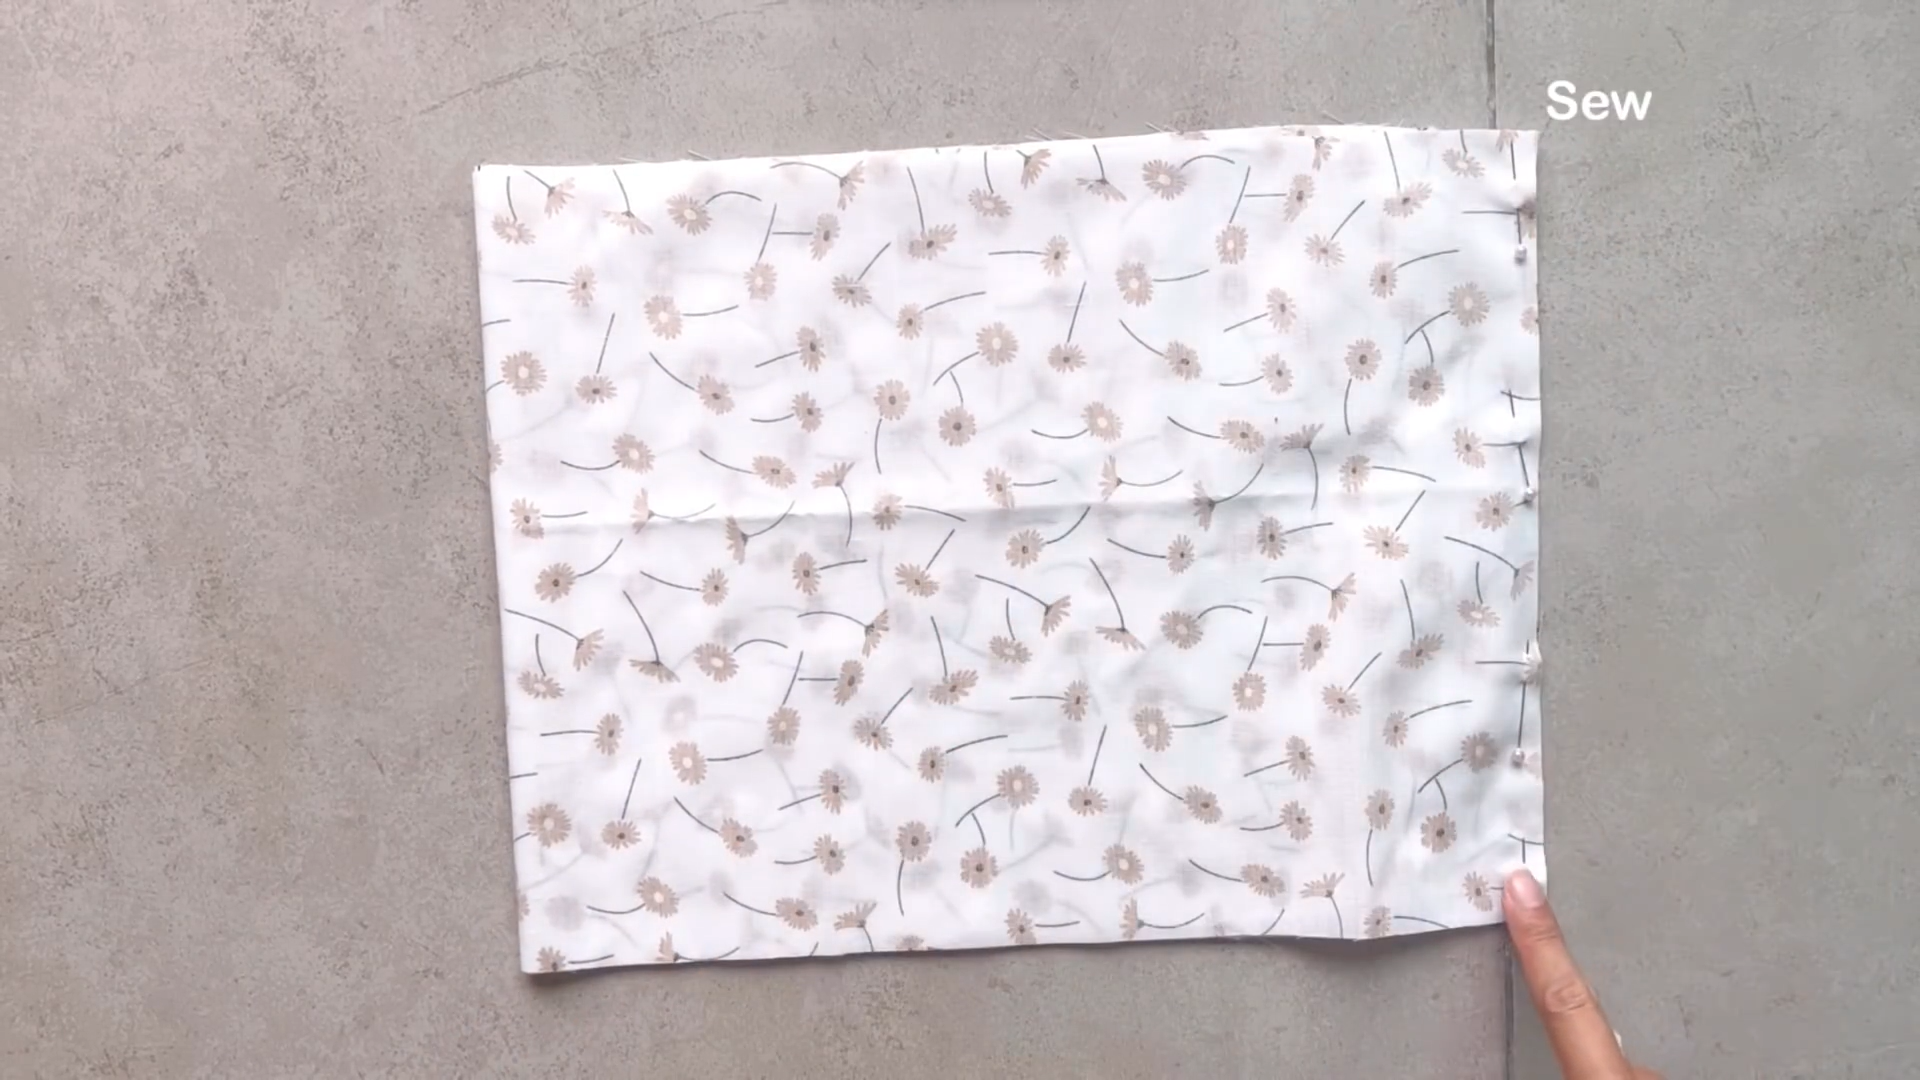
Connect two length lines of the rectangle together to create a circle fabric first.
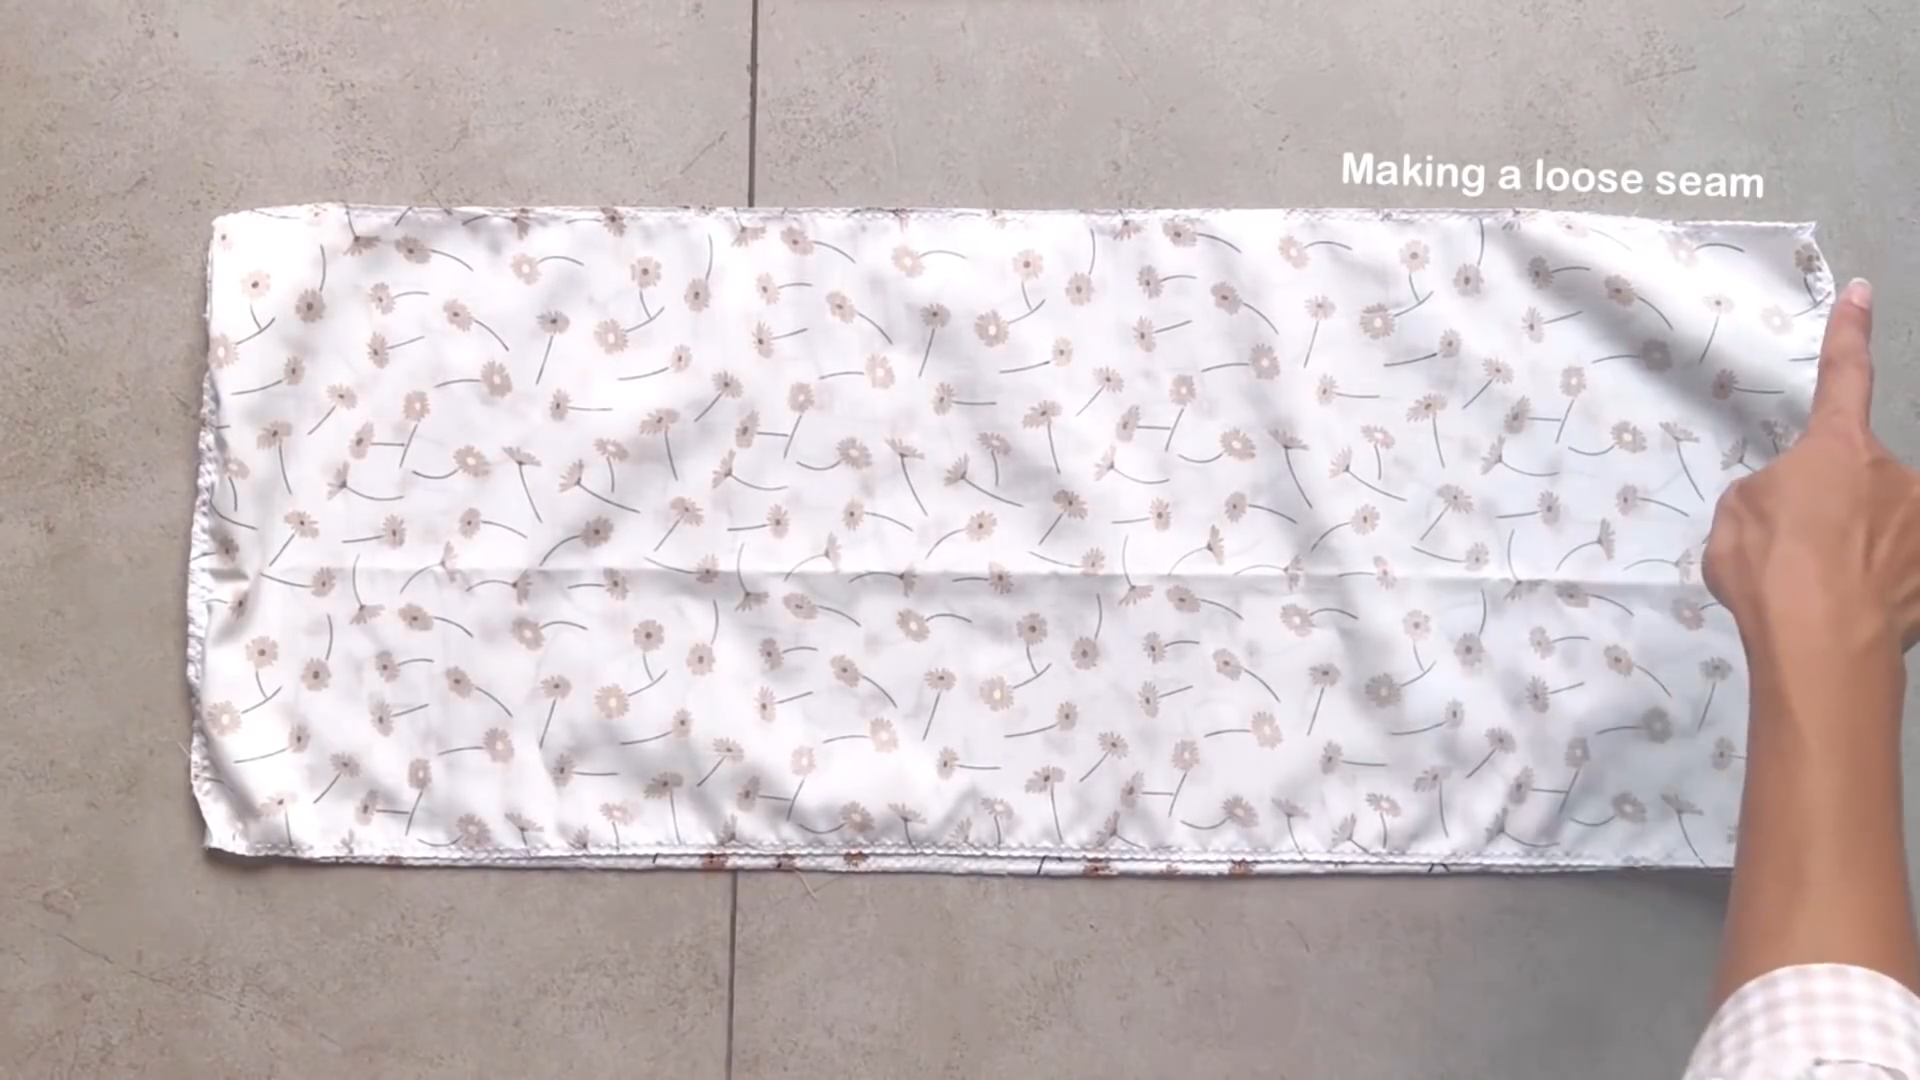
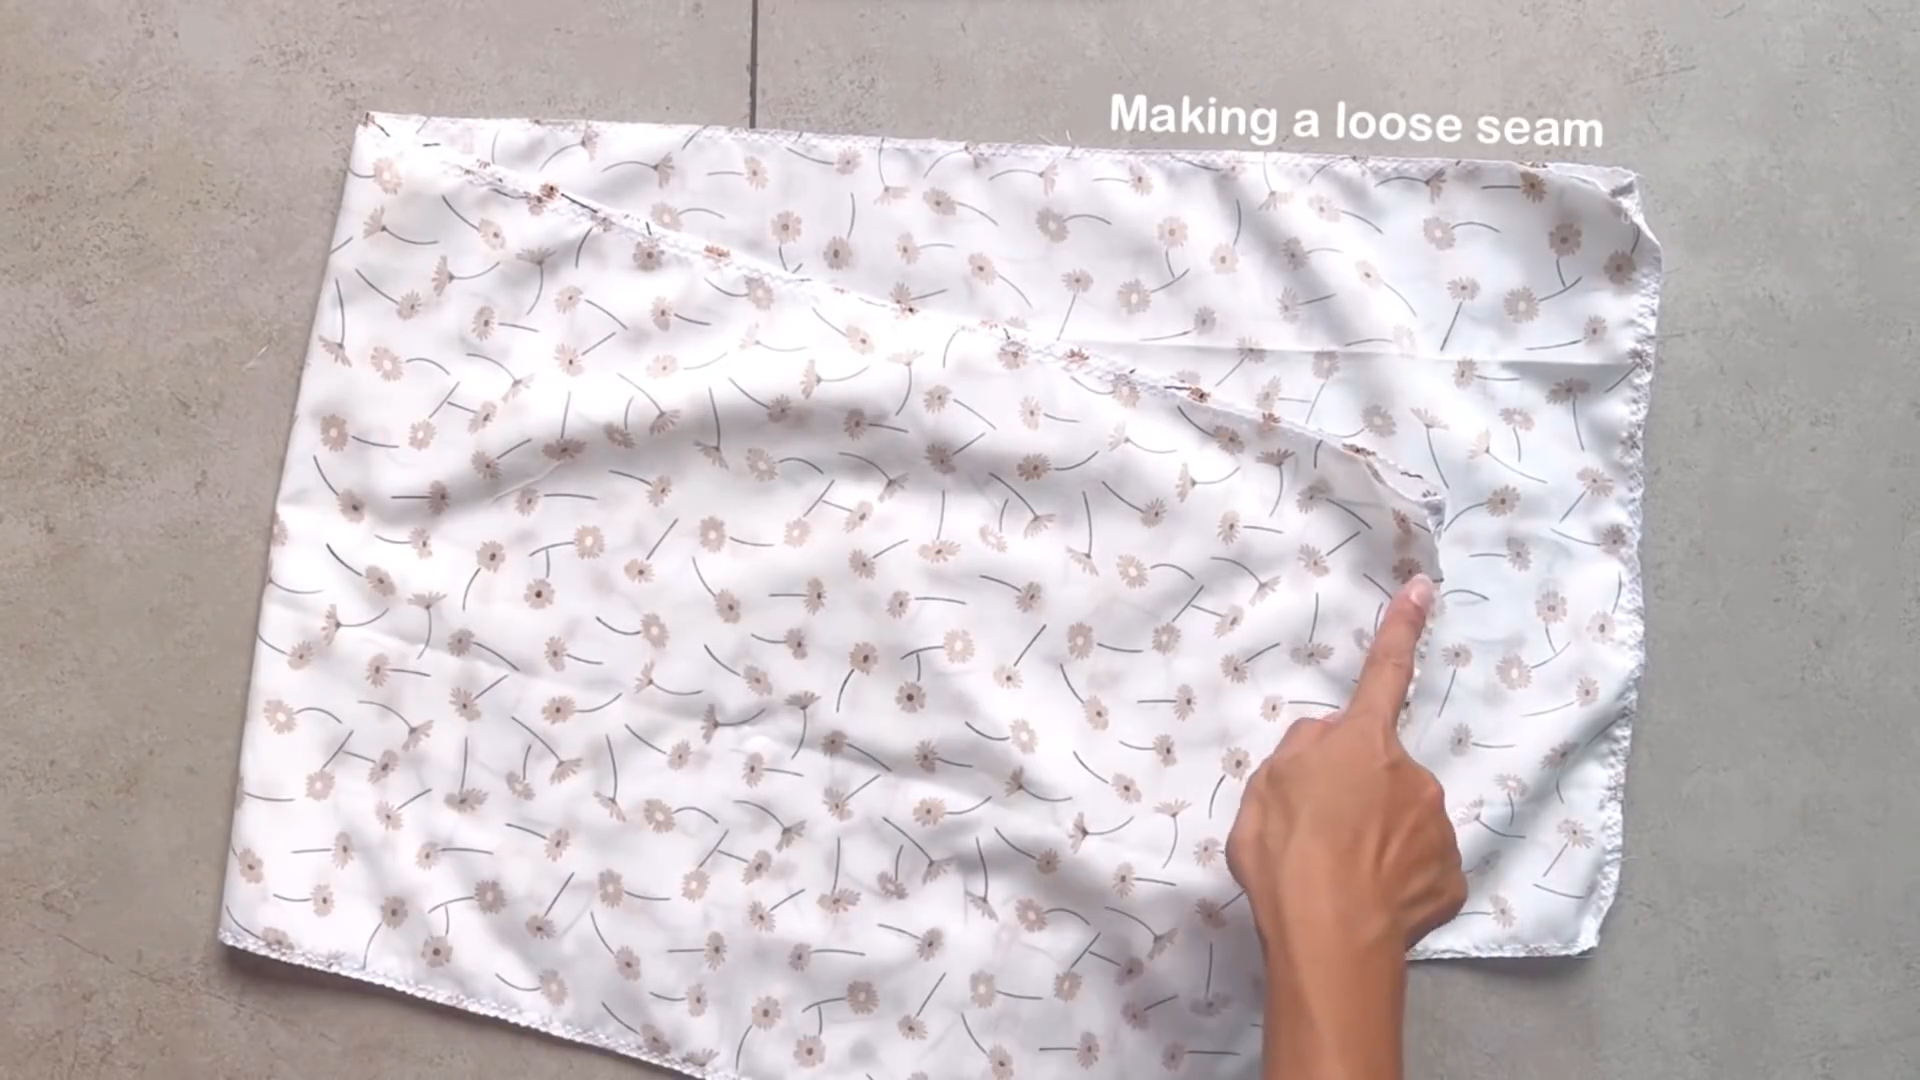
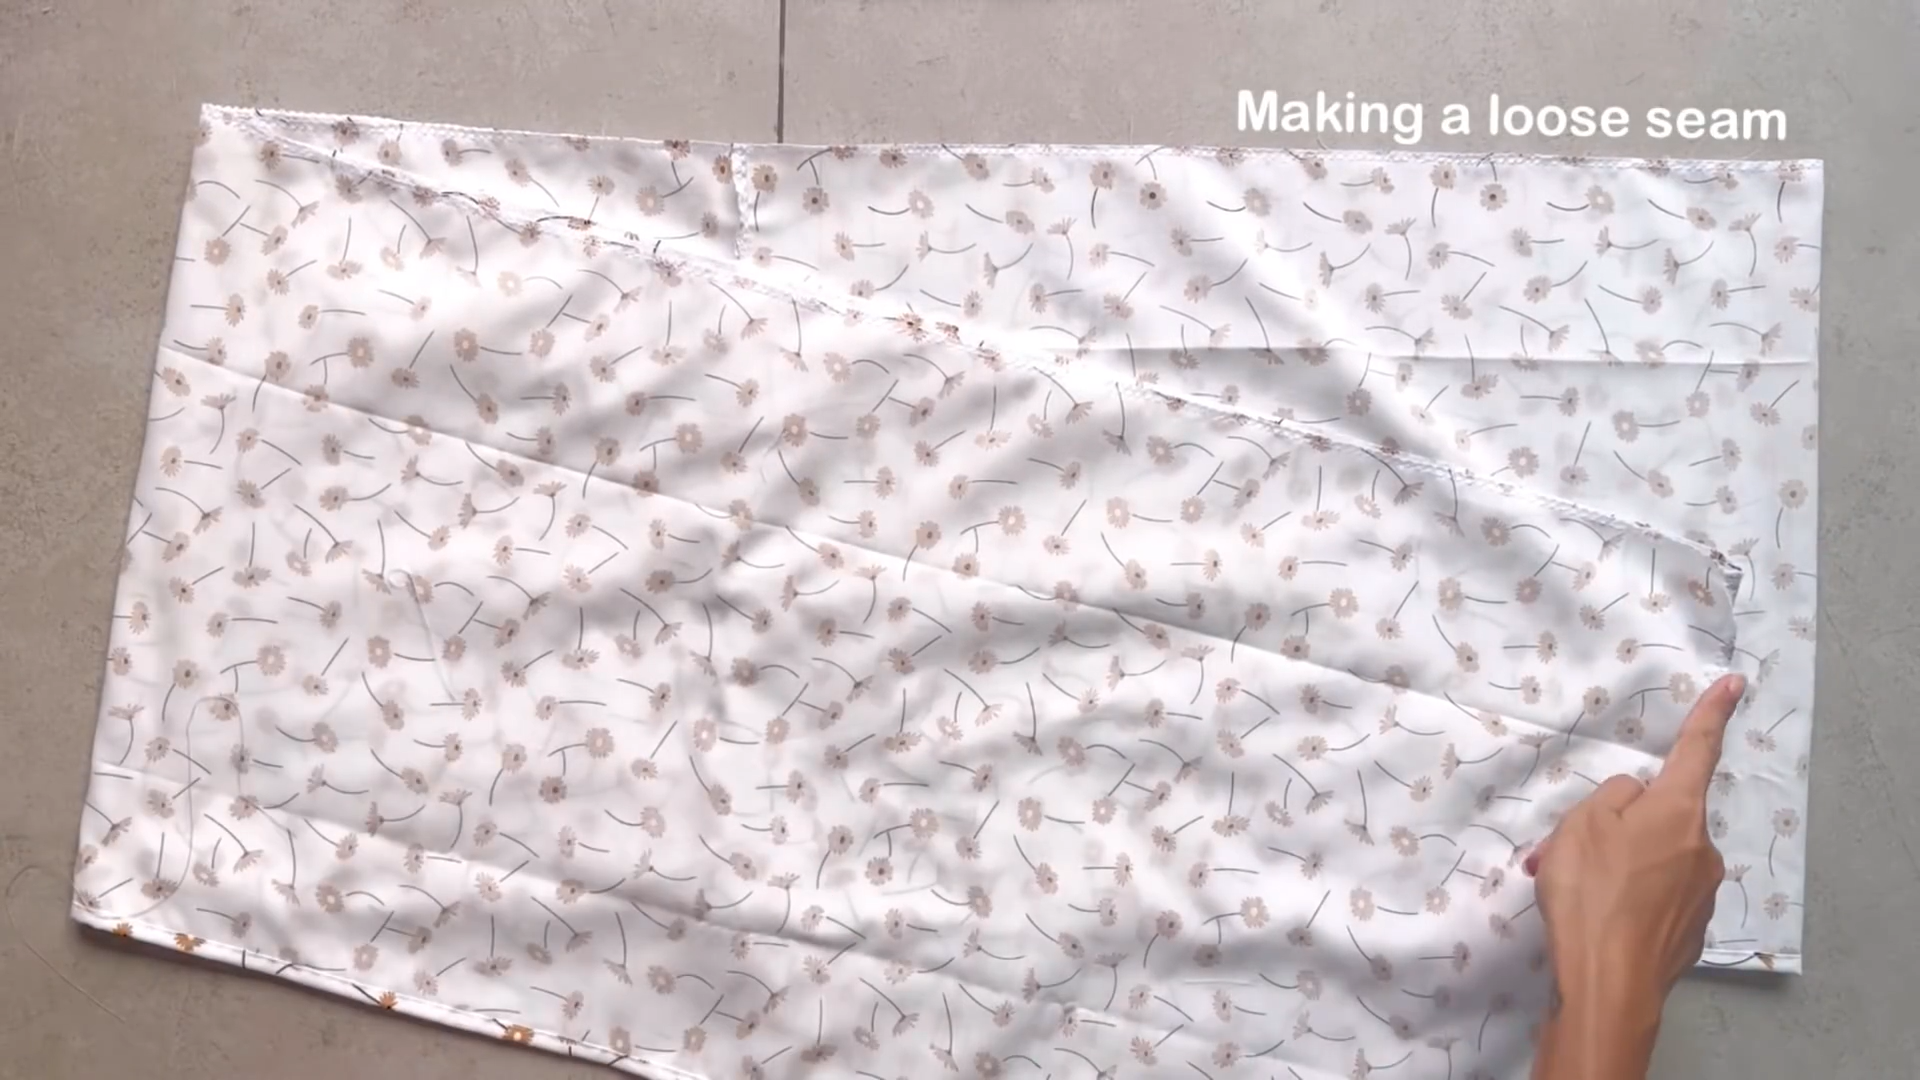
After that, make a loose seam at one width line to create a gather fabric there later.
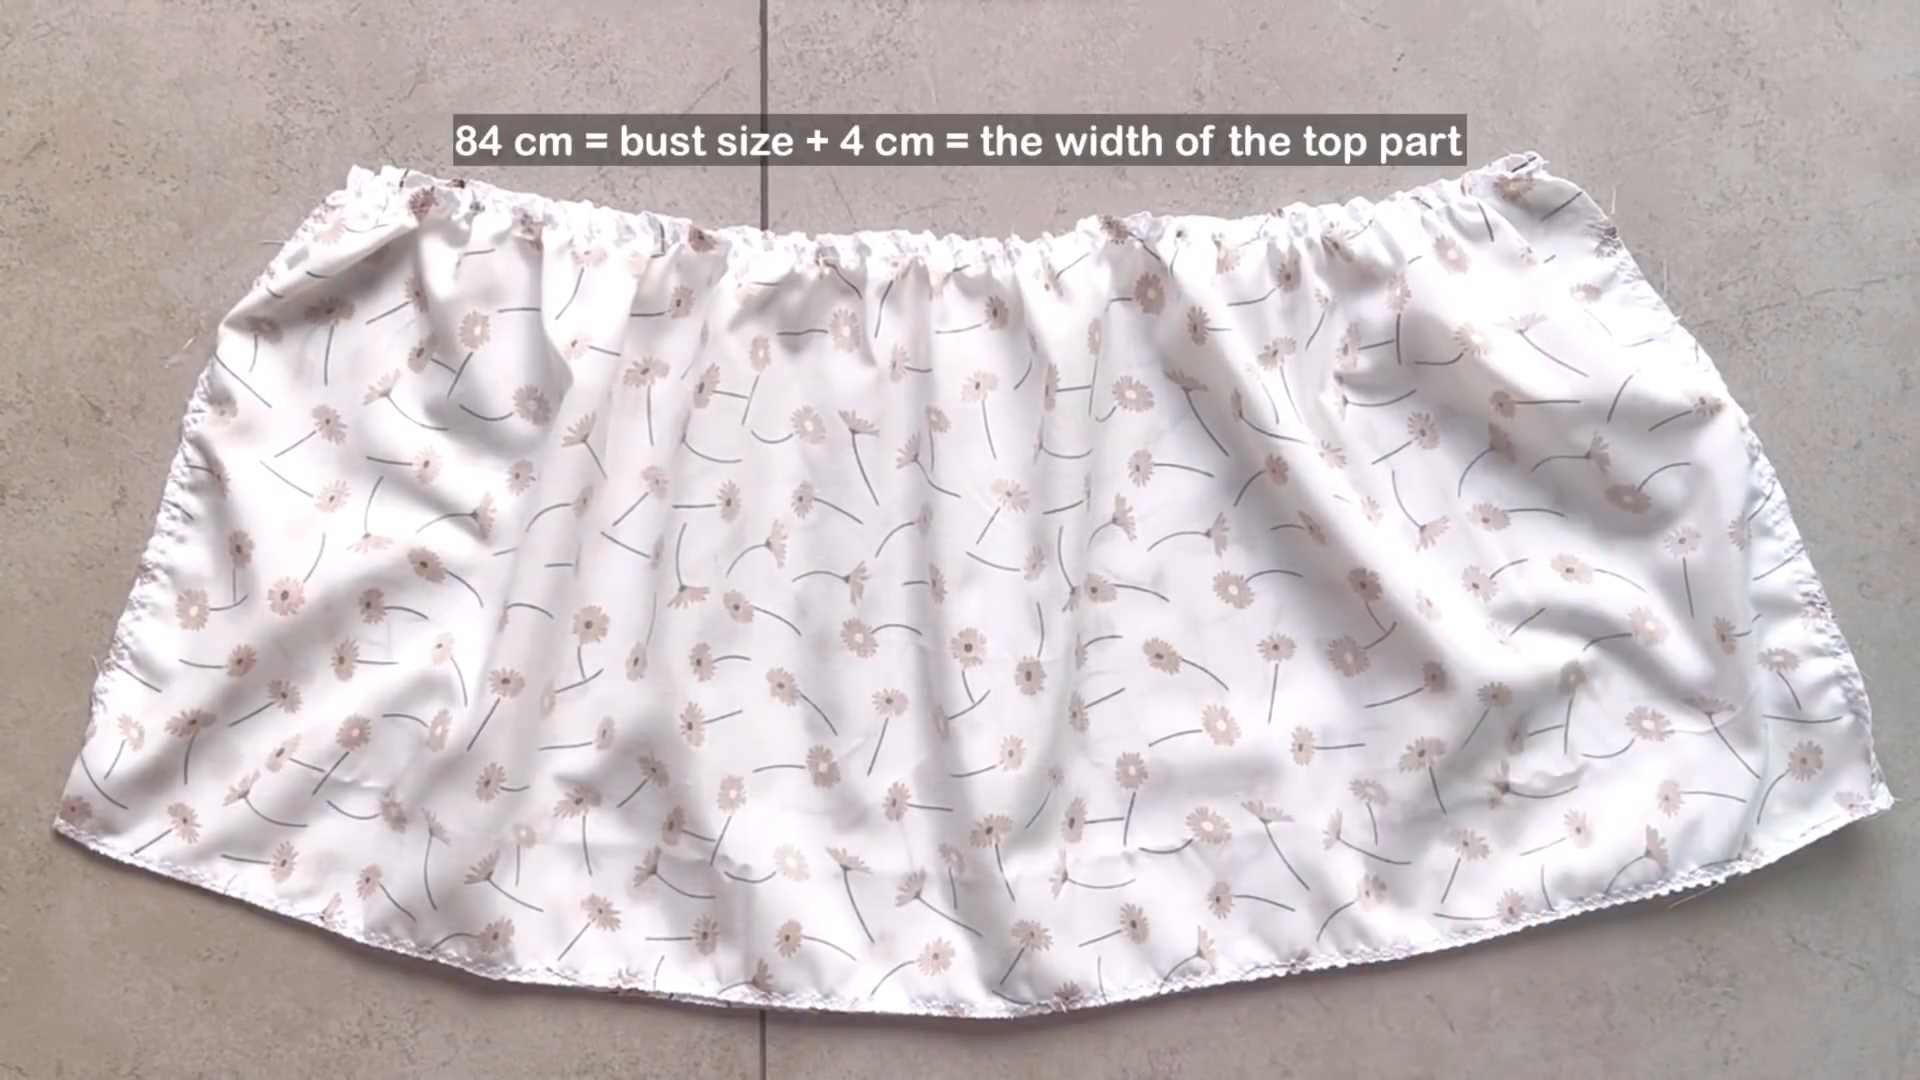
The final width of the gather fabric will be your bust size plus 4 cm. It’s also the width of the top part so you can connect them together later.
The second tier
The second tier
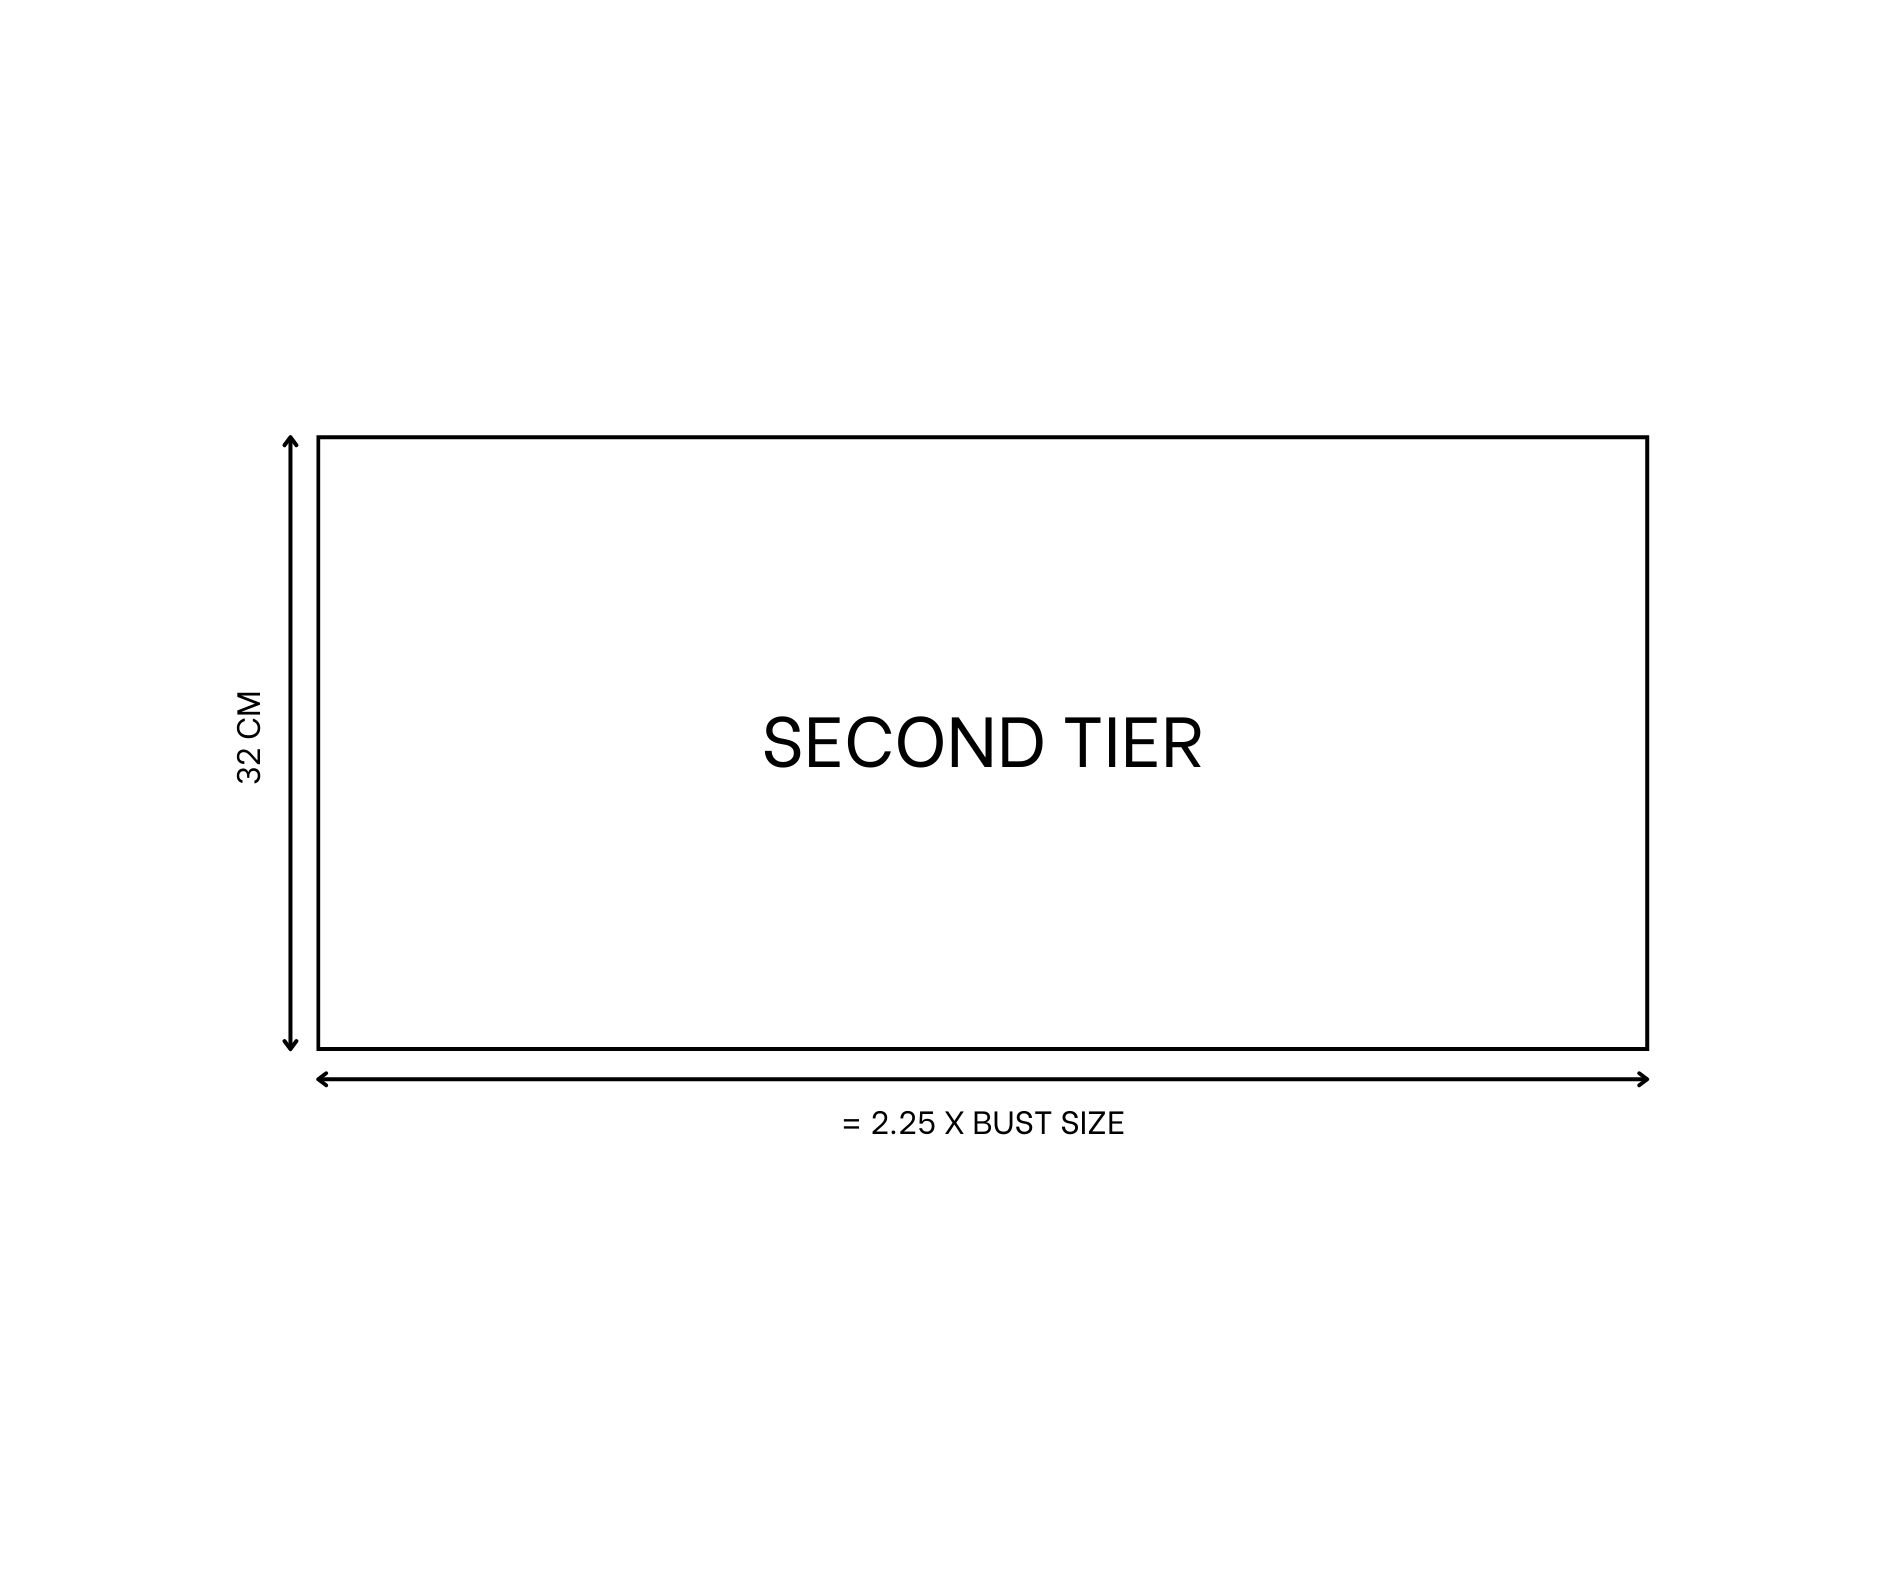
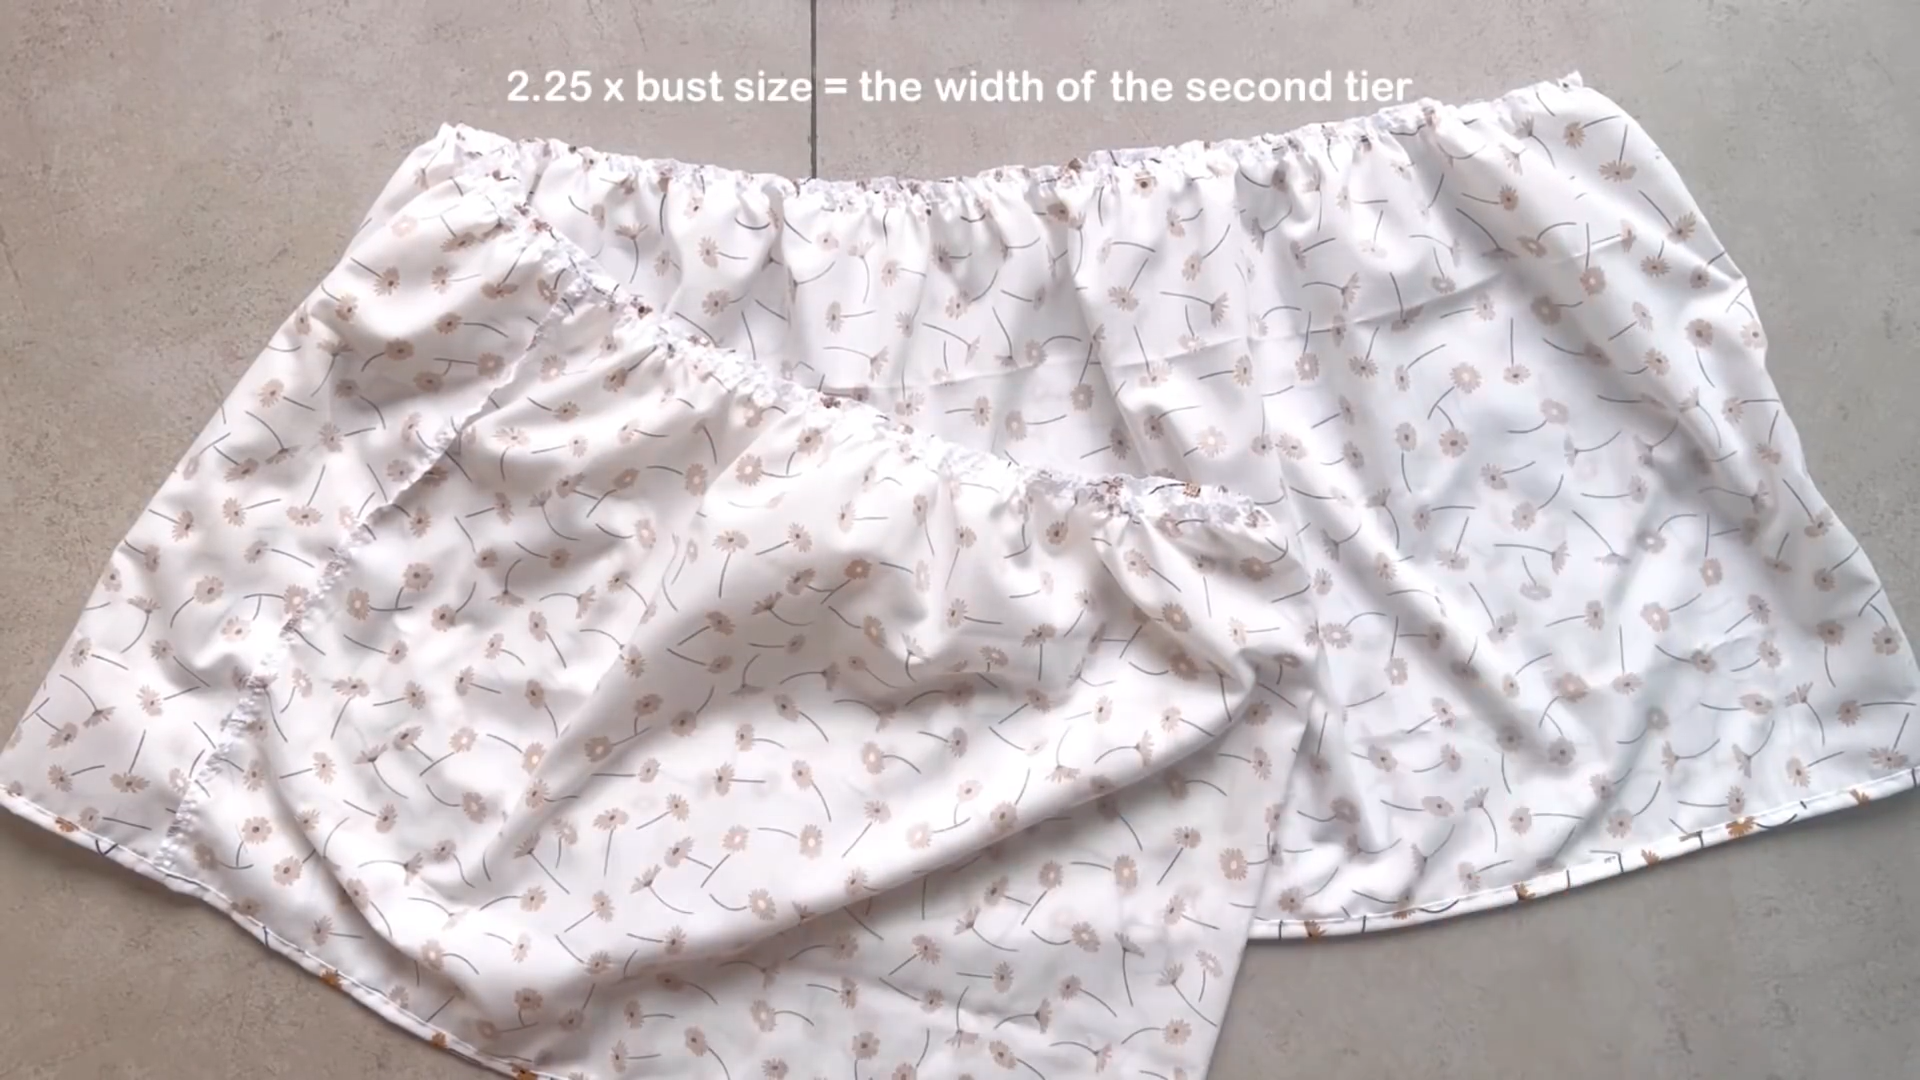
The second tier is a rectangle with a length of 32 cm and a width that is 2.25 times your bust size. It is also one and a half times the width of the first tier. If you don’t have enough fabric, you can cut two short rectangles and connect them together to have a big one.
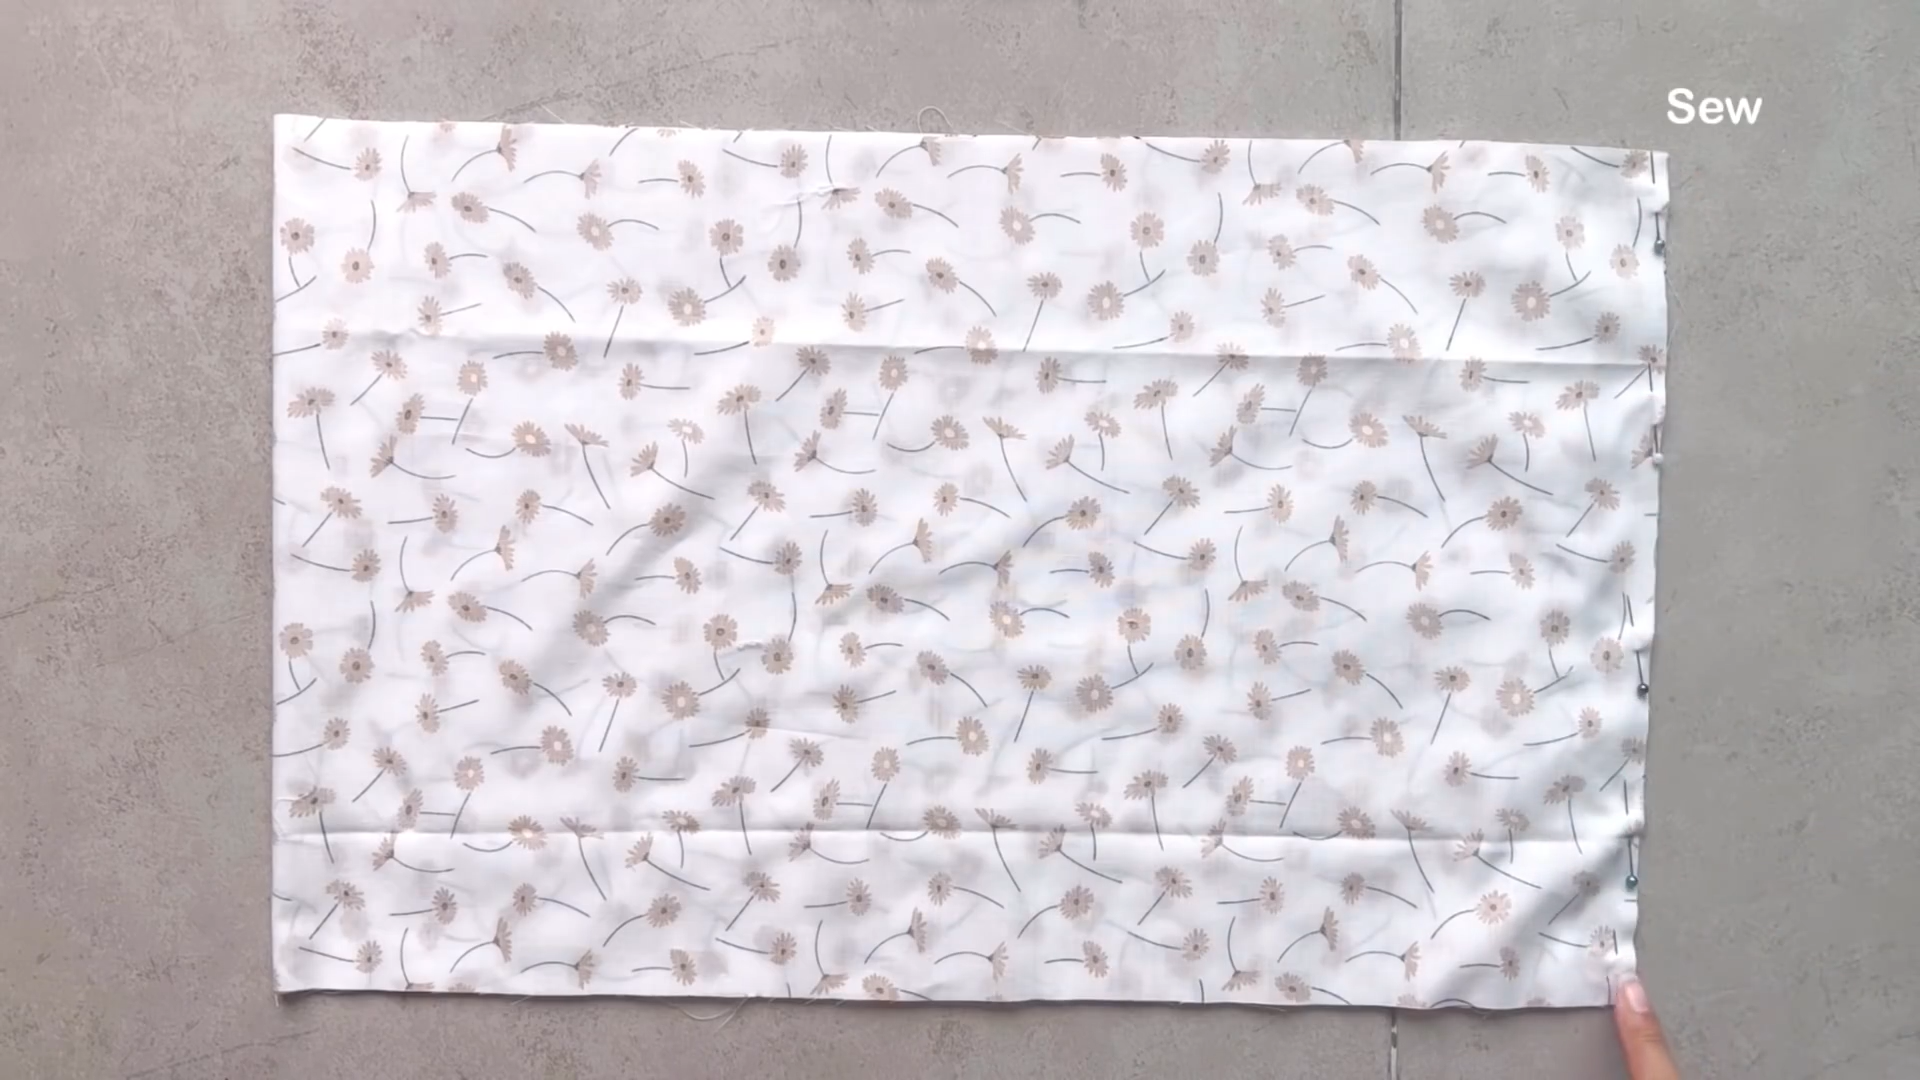
Connect two lane lines of the rectangle together to create a circle fabric first.
Then make a loose seam at one width line to create a gather fabric there later.
The final width of the gather fabric will be one and a half times your bust size, which is the same width as the first tier, so you can connect them together later.
The third tier
The third tier
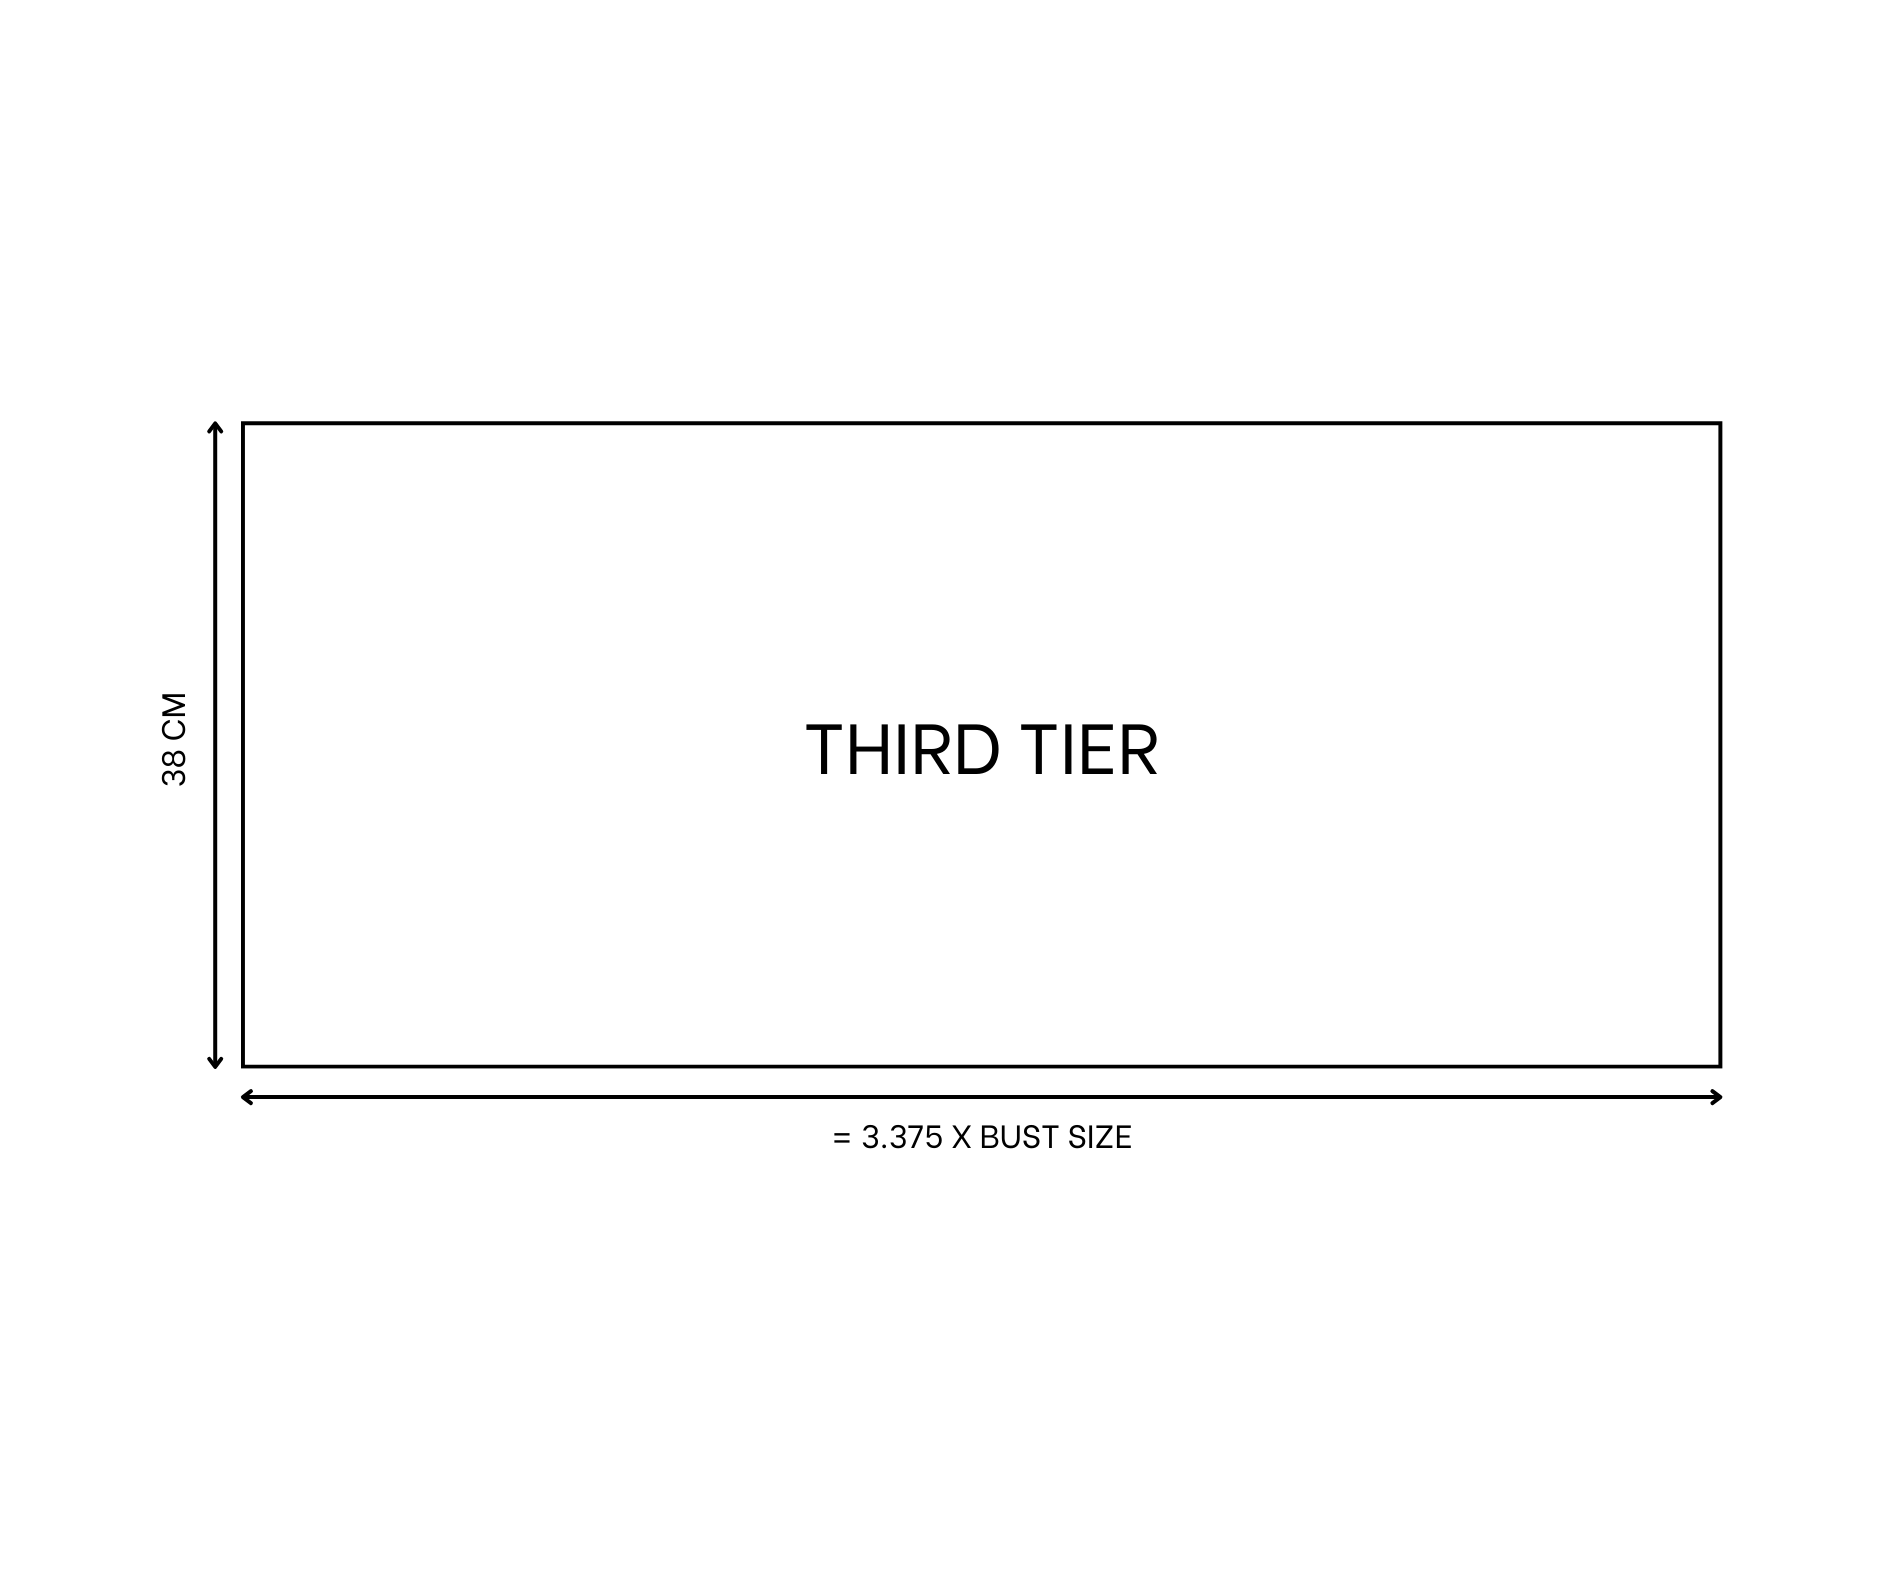
The third tier is a rectangle with a length of 38 cm and a width that is 3.375 times your bust size, which is one and a half times the width of the second tier. If you don’t have enough fabric, you can cut two or three short rectangles and connect them together to have a big one.

Connect two lane lines of the rectangle together to create a circle fabric first.
After that, finish one side of the circle fabric by folding the end fabric inside two times with around a half centimeter each time, then sewing.
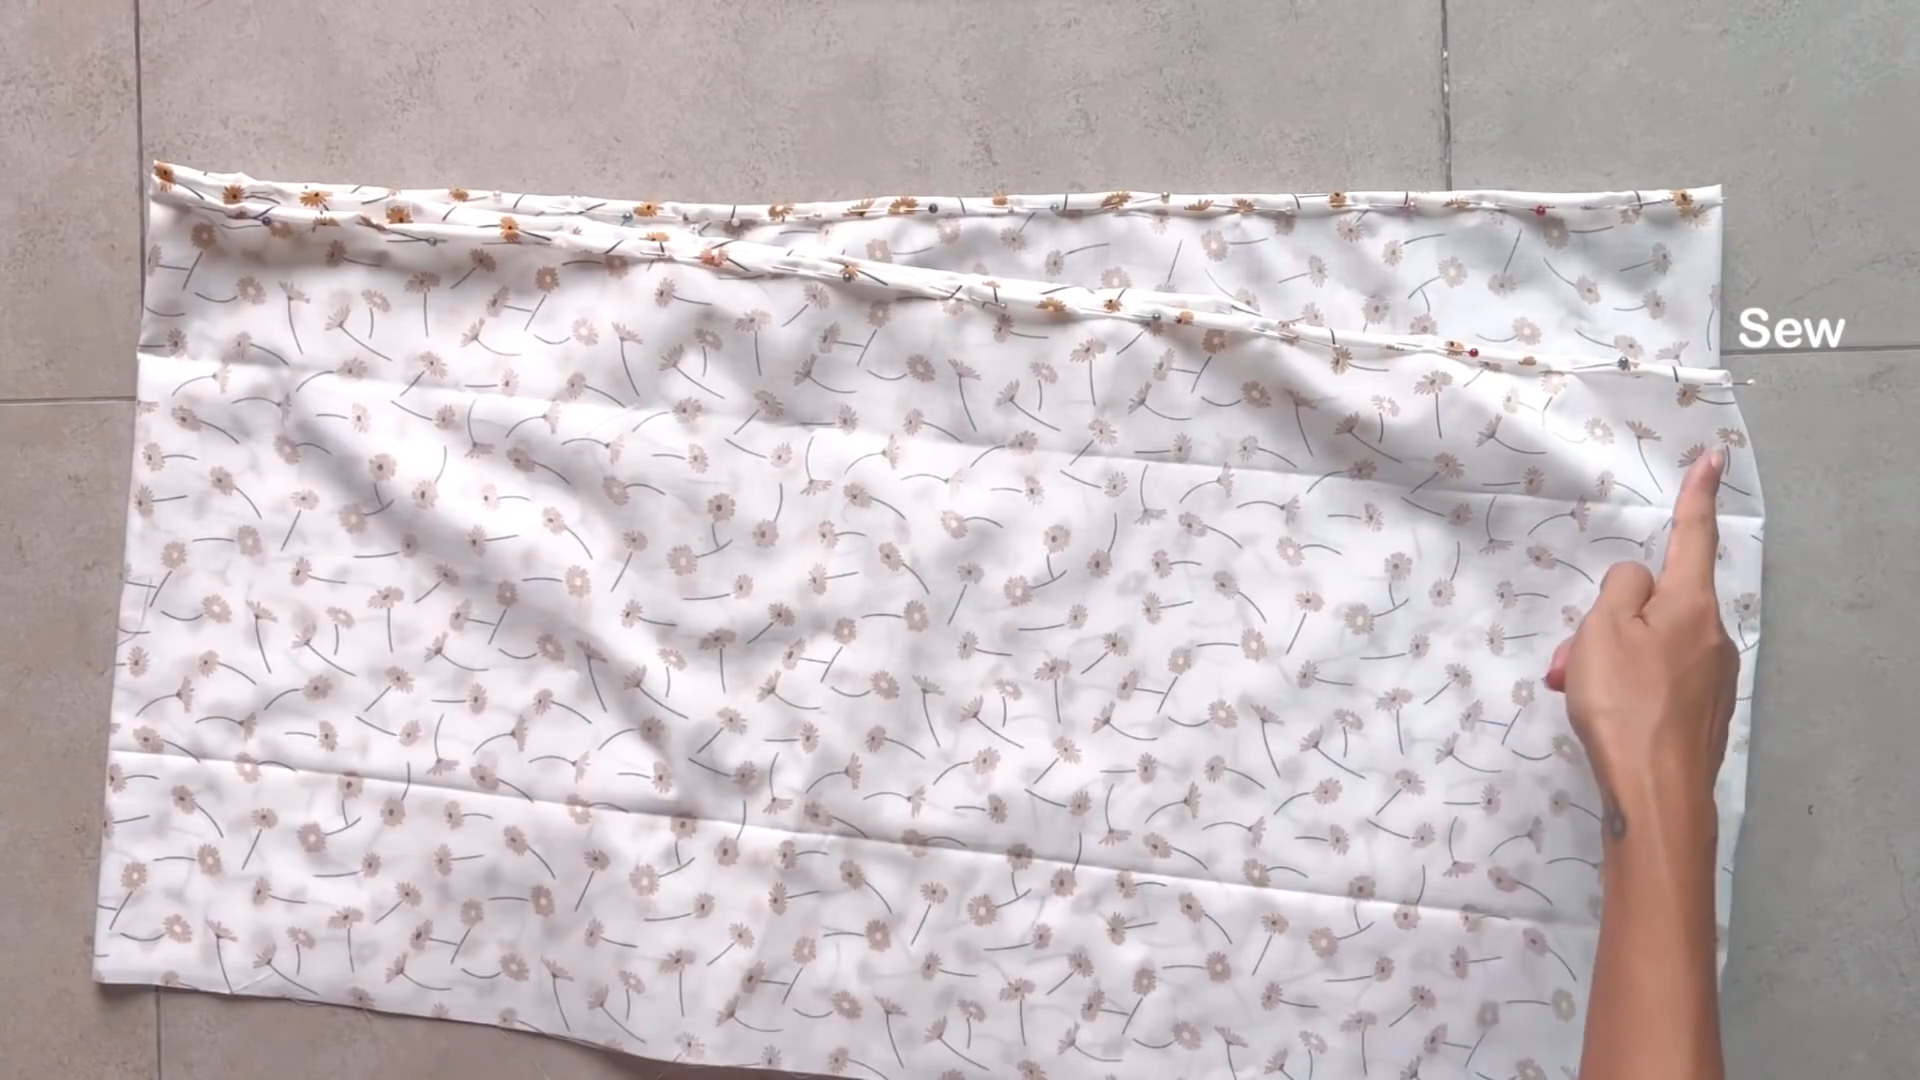
On the other side, make a loose seam first, then create a gather fabric there later.
The final width of the gather fabric will be 2.25 times your bust size, which is the same width as the second tier, so you can connect them together later.
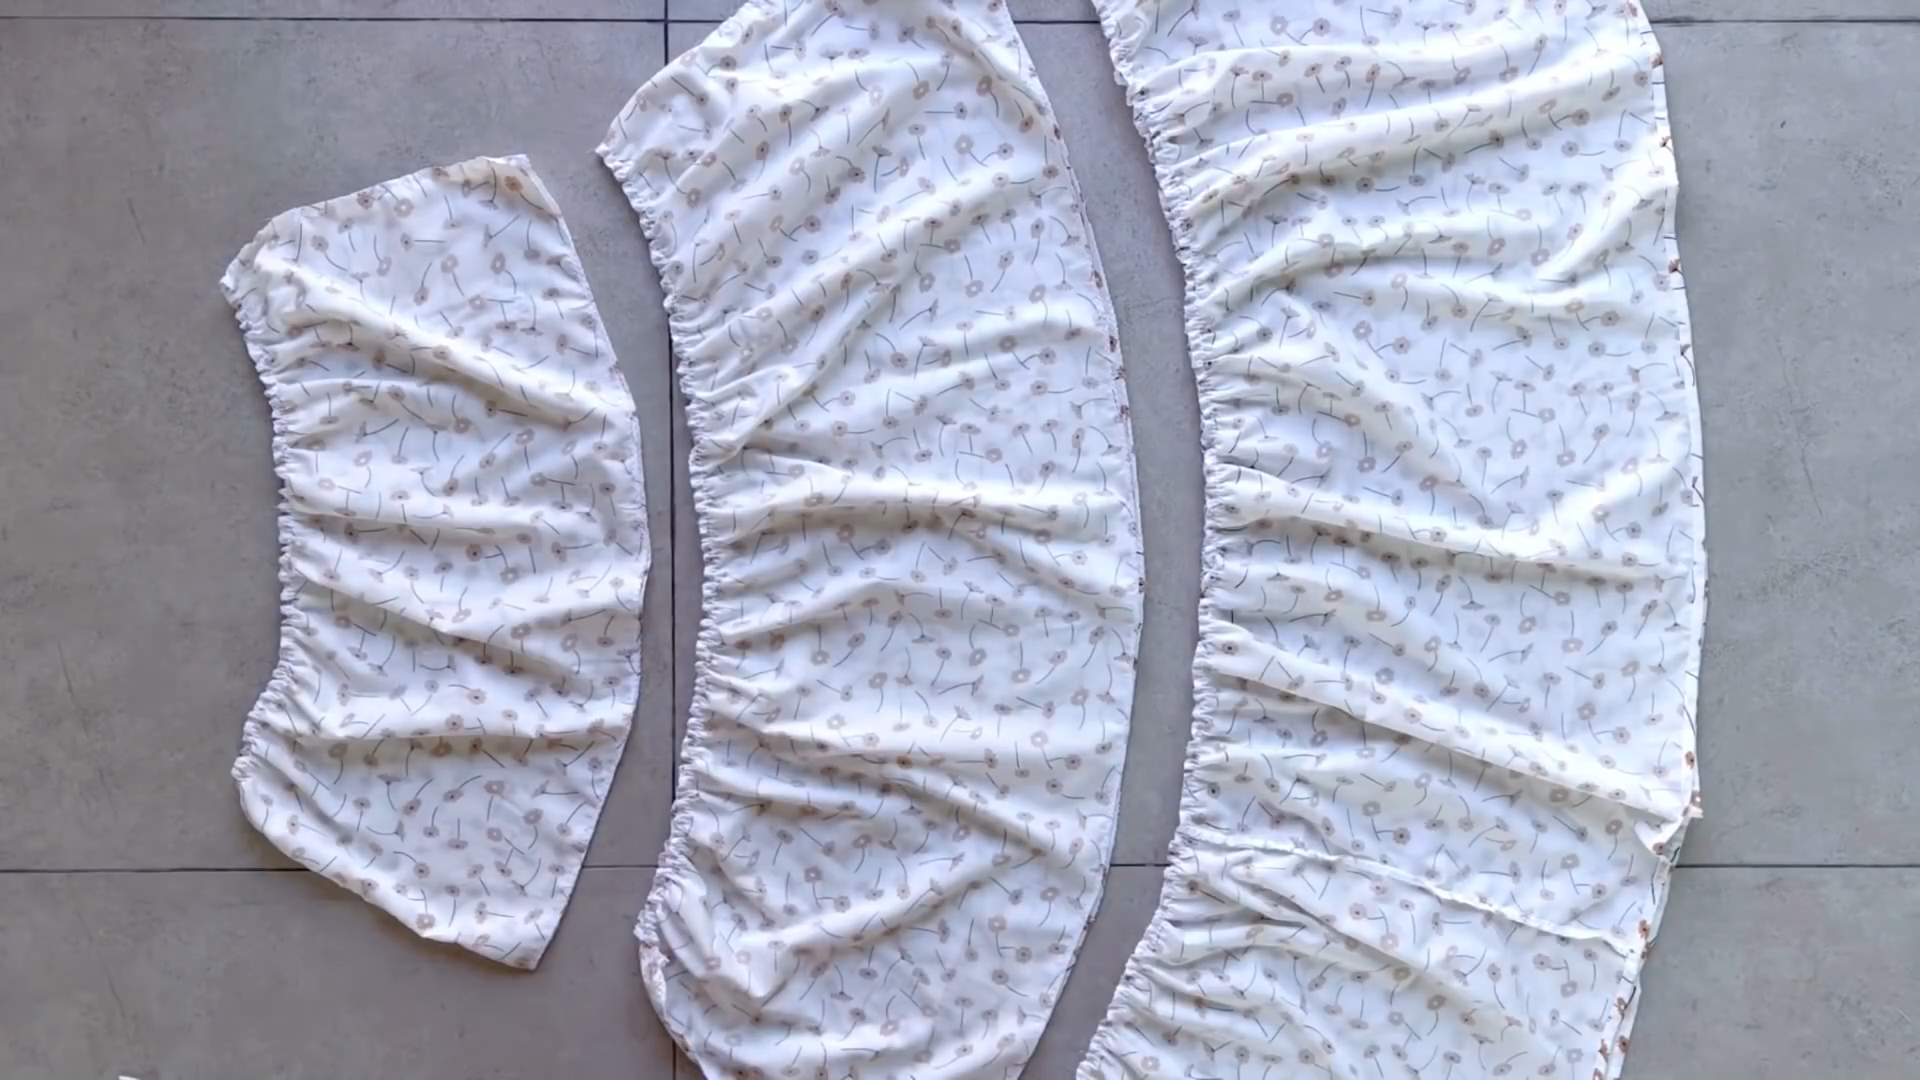
And here are three tiers of the skirt.
Connect the third tier to the second tier and the second tier to the first tier to finish the skirt part of the dress.
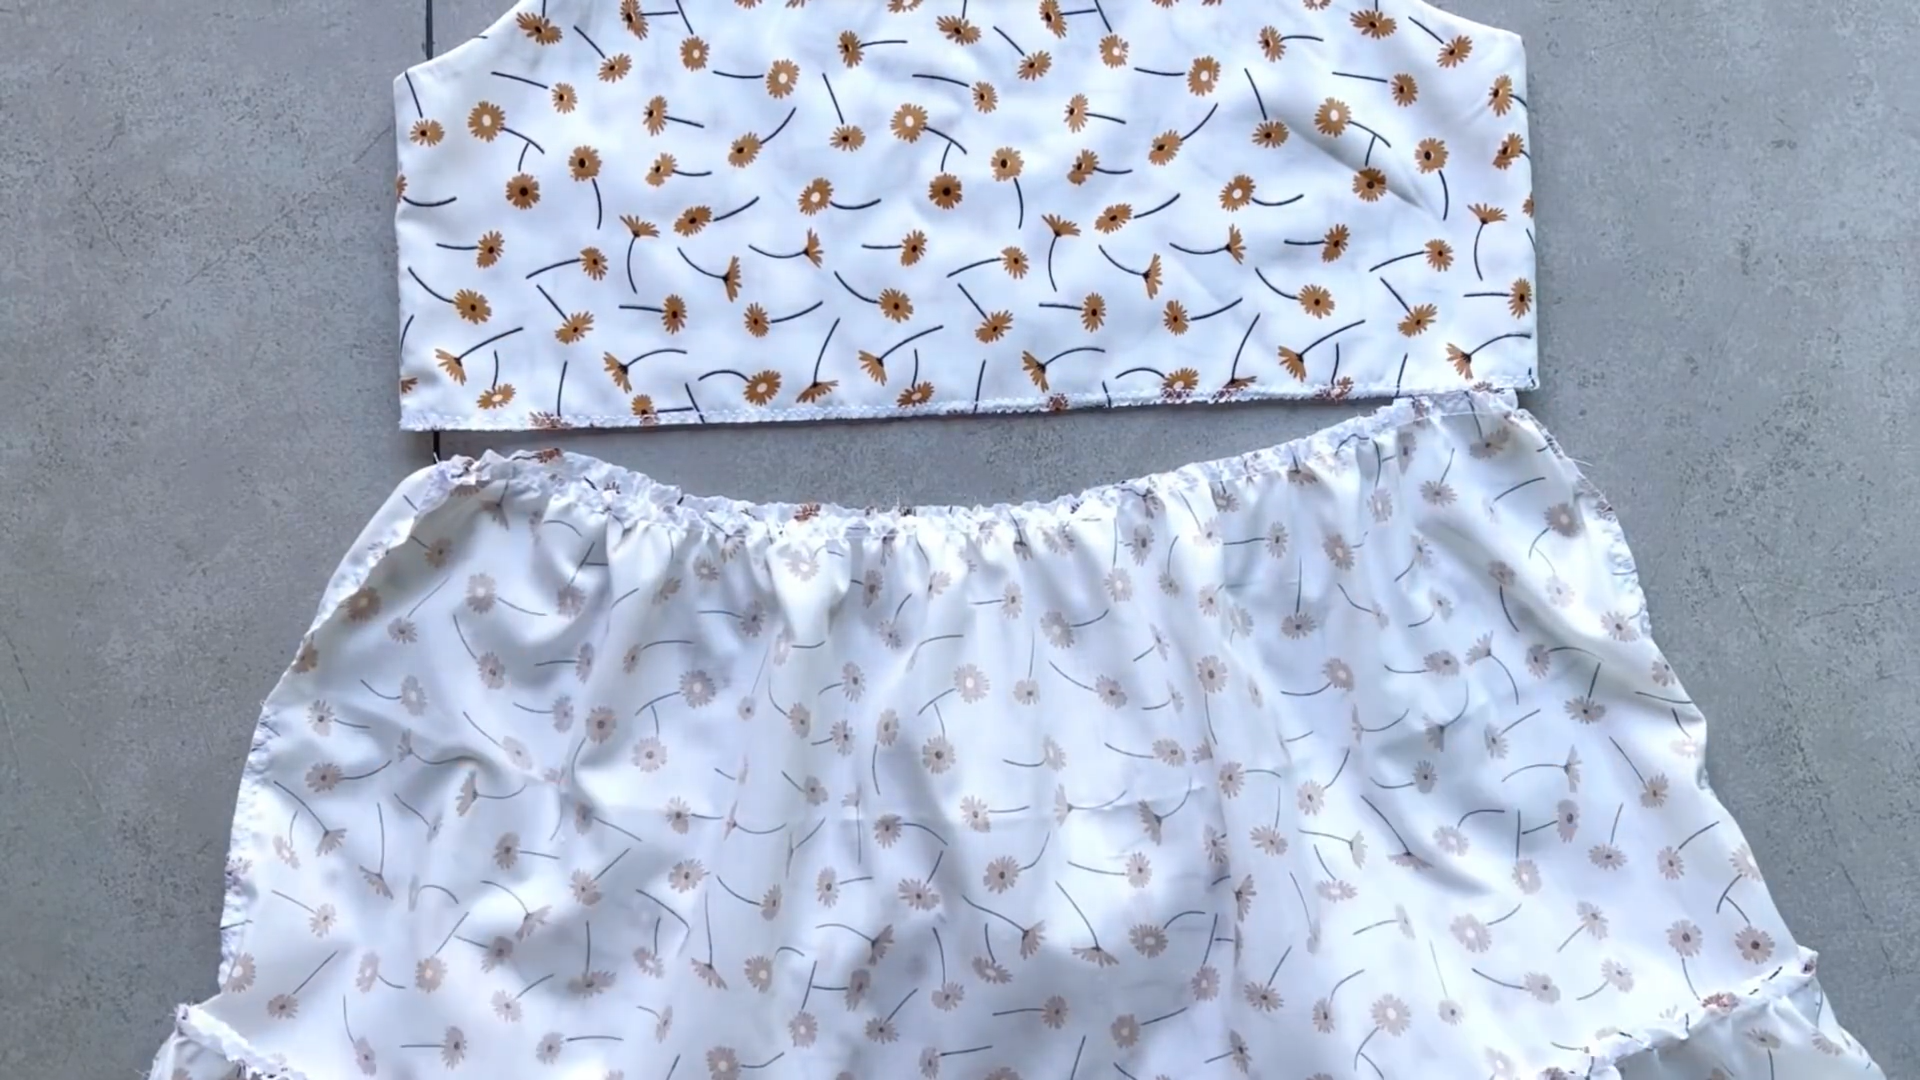
The last step is connecting the top part and the skirt part together to finish the dress.

DIY Tiered maxi dress
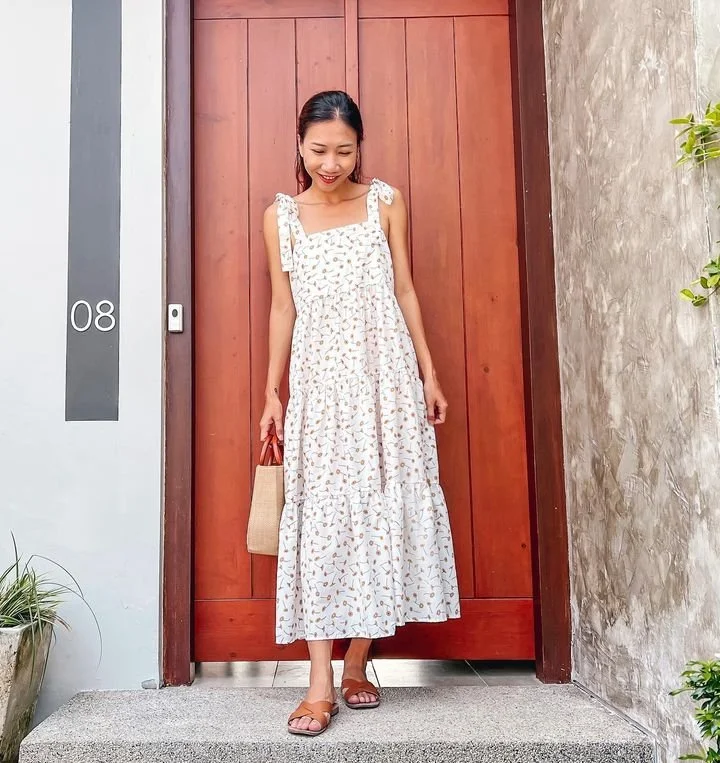
And there we have it - An adorable maxi dress!
It’s the perfect piece for the warm spring and summer seasons, combining comfort and style in one.


I hope you’ve enjoyed this journey as much as I have. If you’ve found this DIY helpful and enjoyable, please check it out and try it for yourself.
Until then, see you next week!