DIY Bridesmaid dress/Cowl neck dress open back - Step by step tutorial

DIY Bridesmaid dress/Cowl neck dress open back
Welcome and welcome back to my sewing blog!
I've been requested to make the falling neck/cowl neck dress from scratch. And when I got the invitation to the wedding from my friend, I need to make this dress. So I hope it comes at the good time for you.
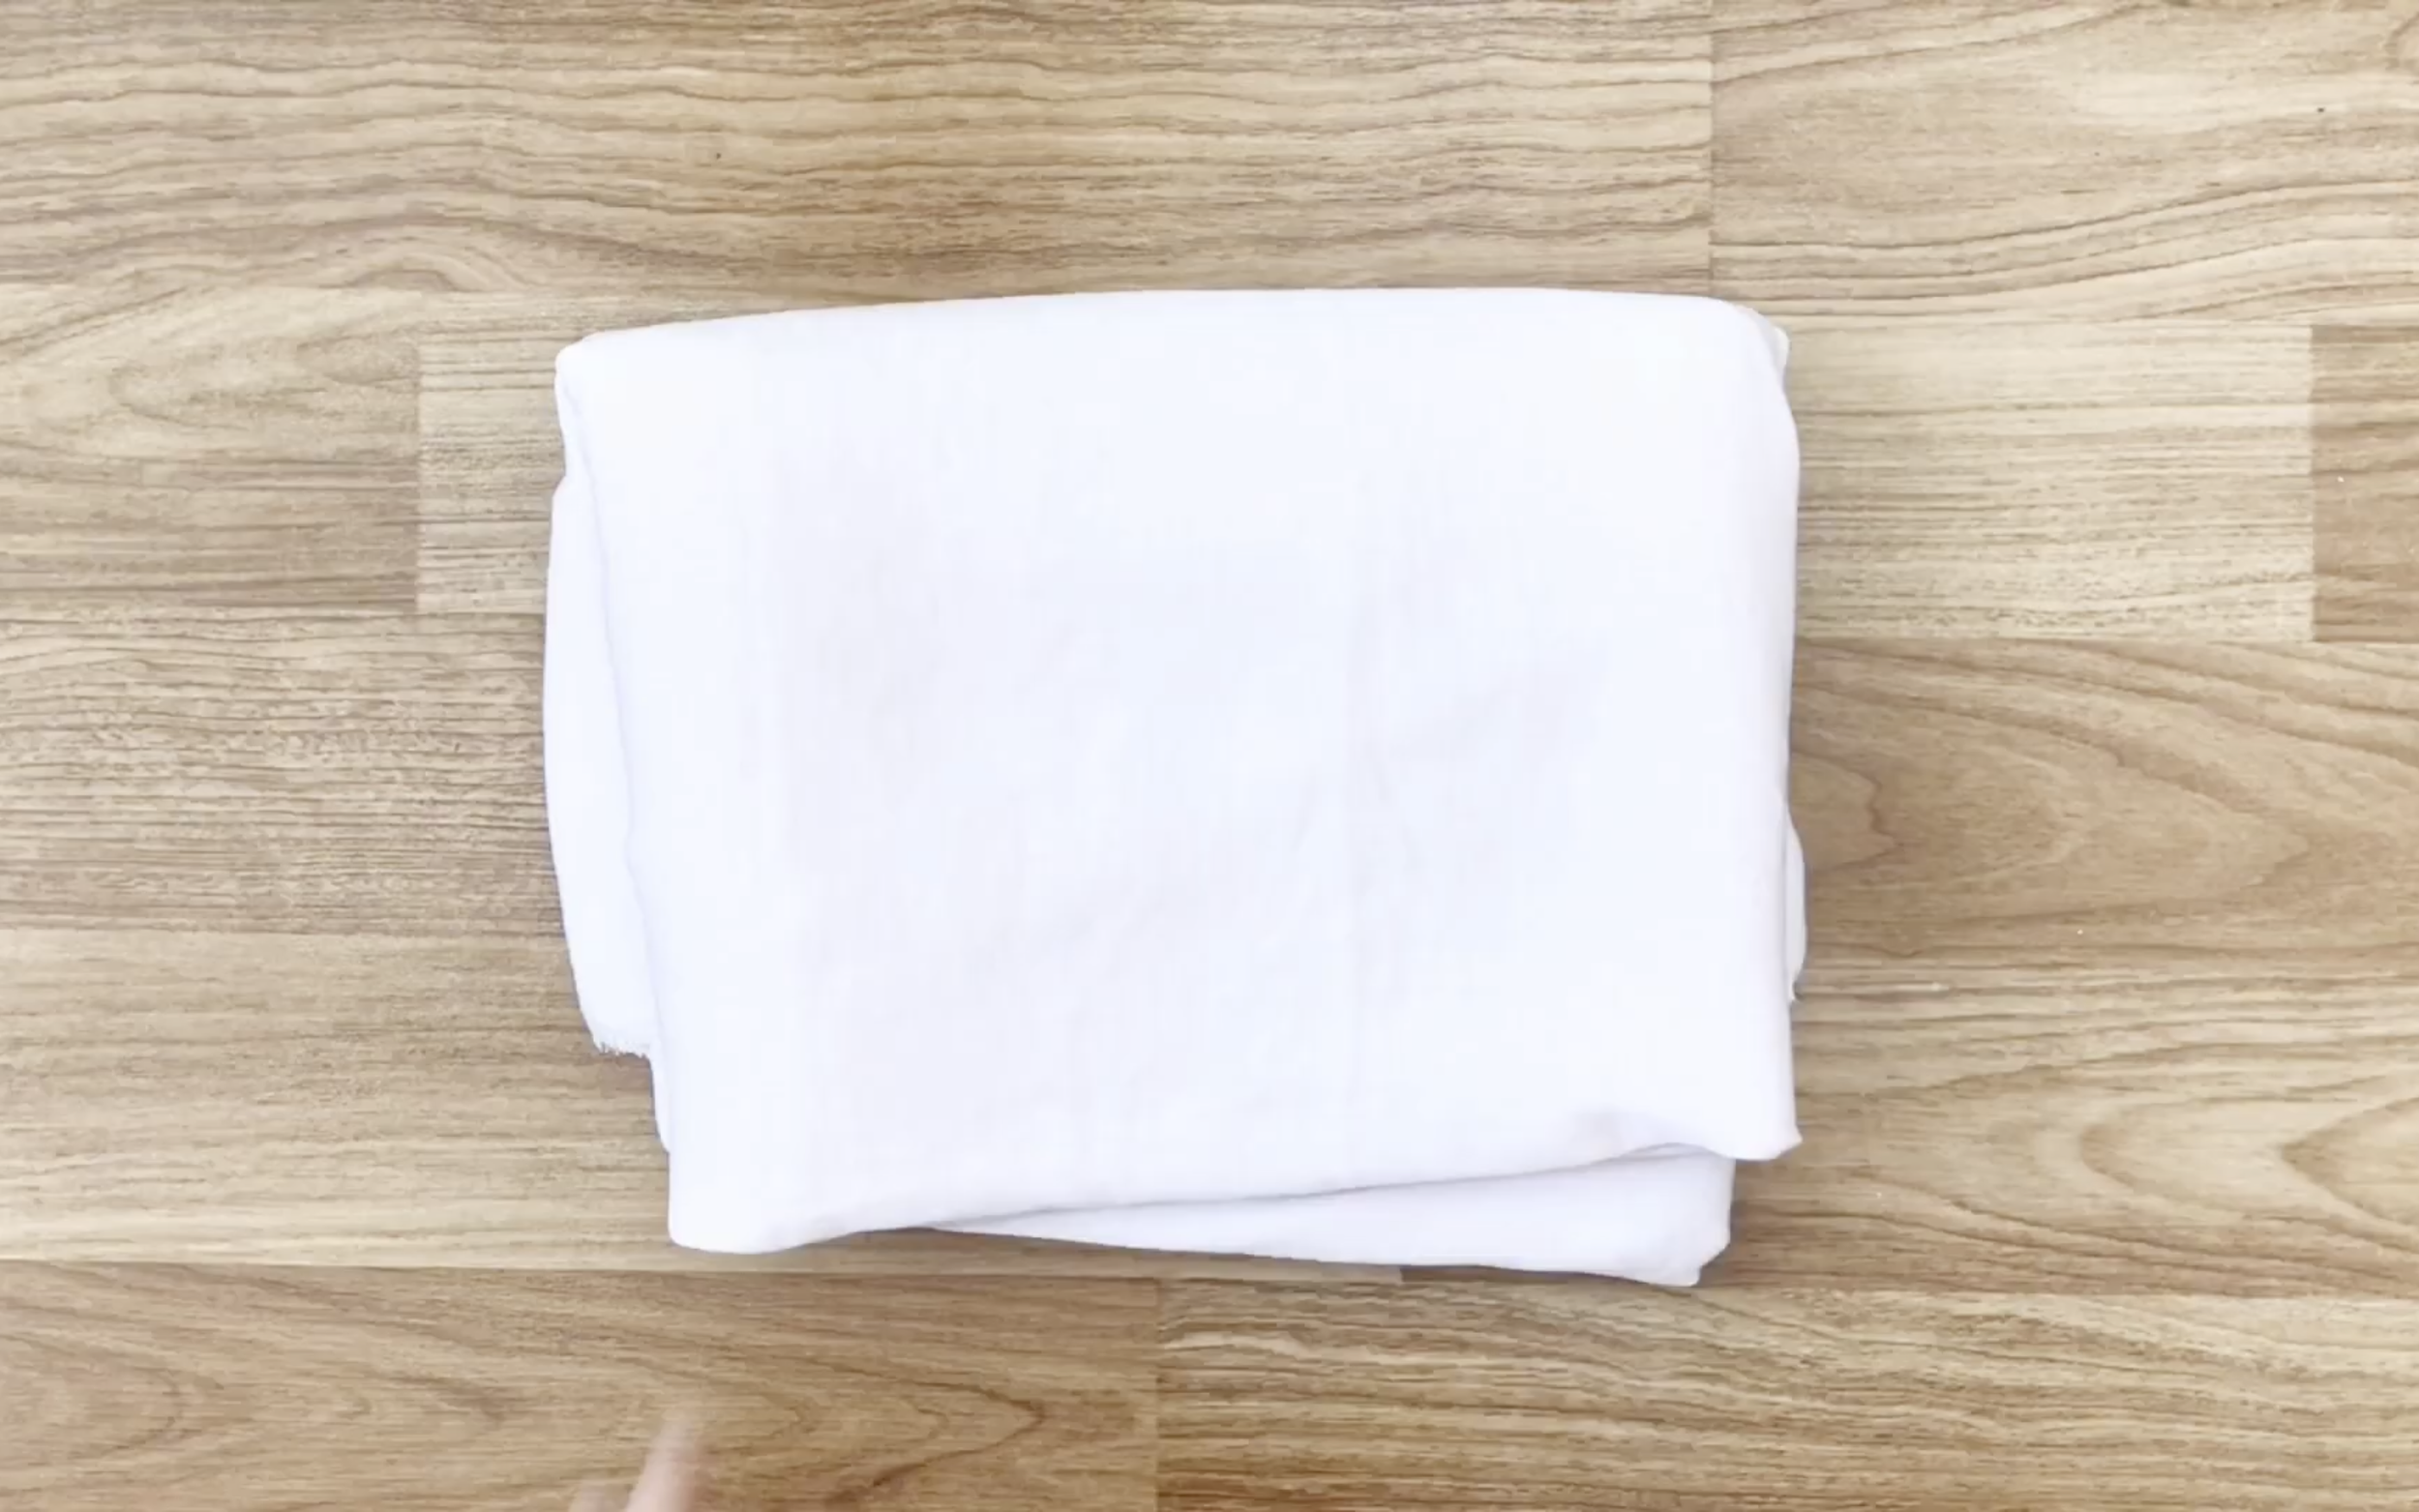
I made this dress with silk in light pink color for the wedding as a bridesmaid. But you can choose another color that I like. But I still prefer you to choose silk or satin material. Because these materials will make the falling feeling for the neck and the elegant for the dress.
So let’s get started!
WHAT YOU’LL NEED
Silk in light pink color
Measuring tape
Chalk
Scissors
Pins
Sewing machine
SEWING THE DRESS
THE FRONT
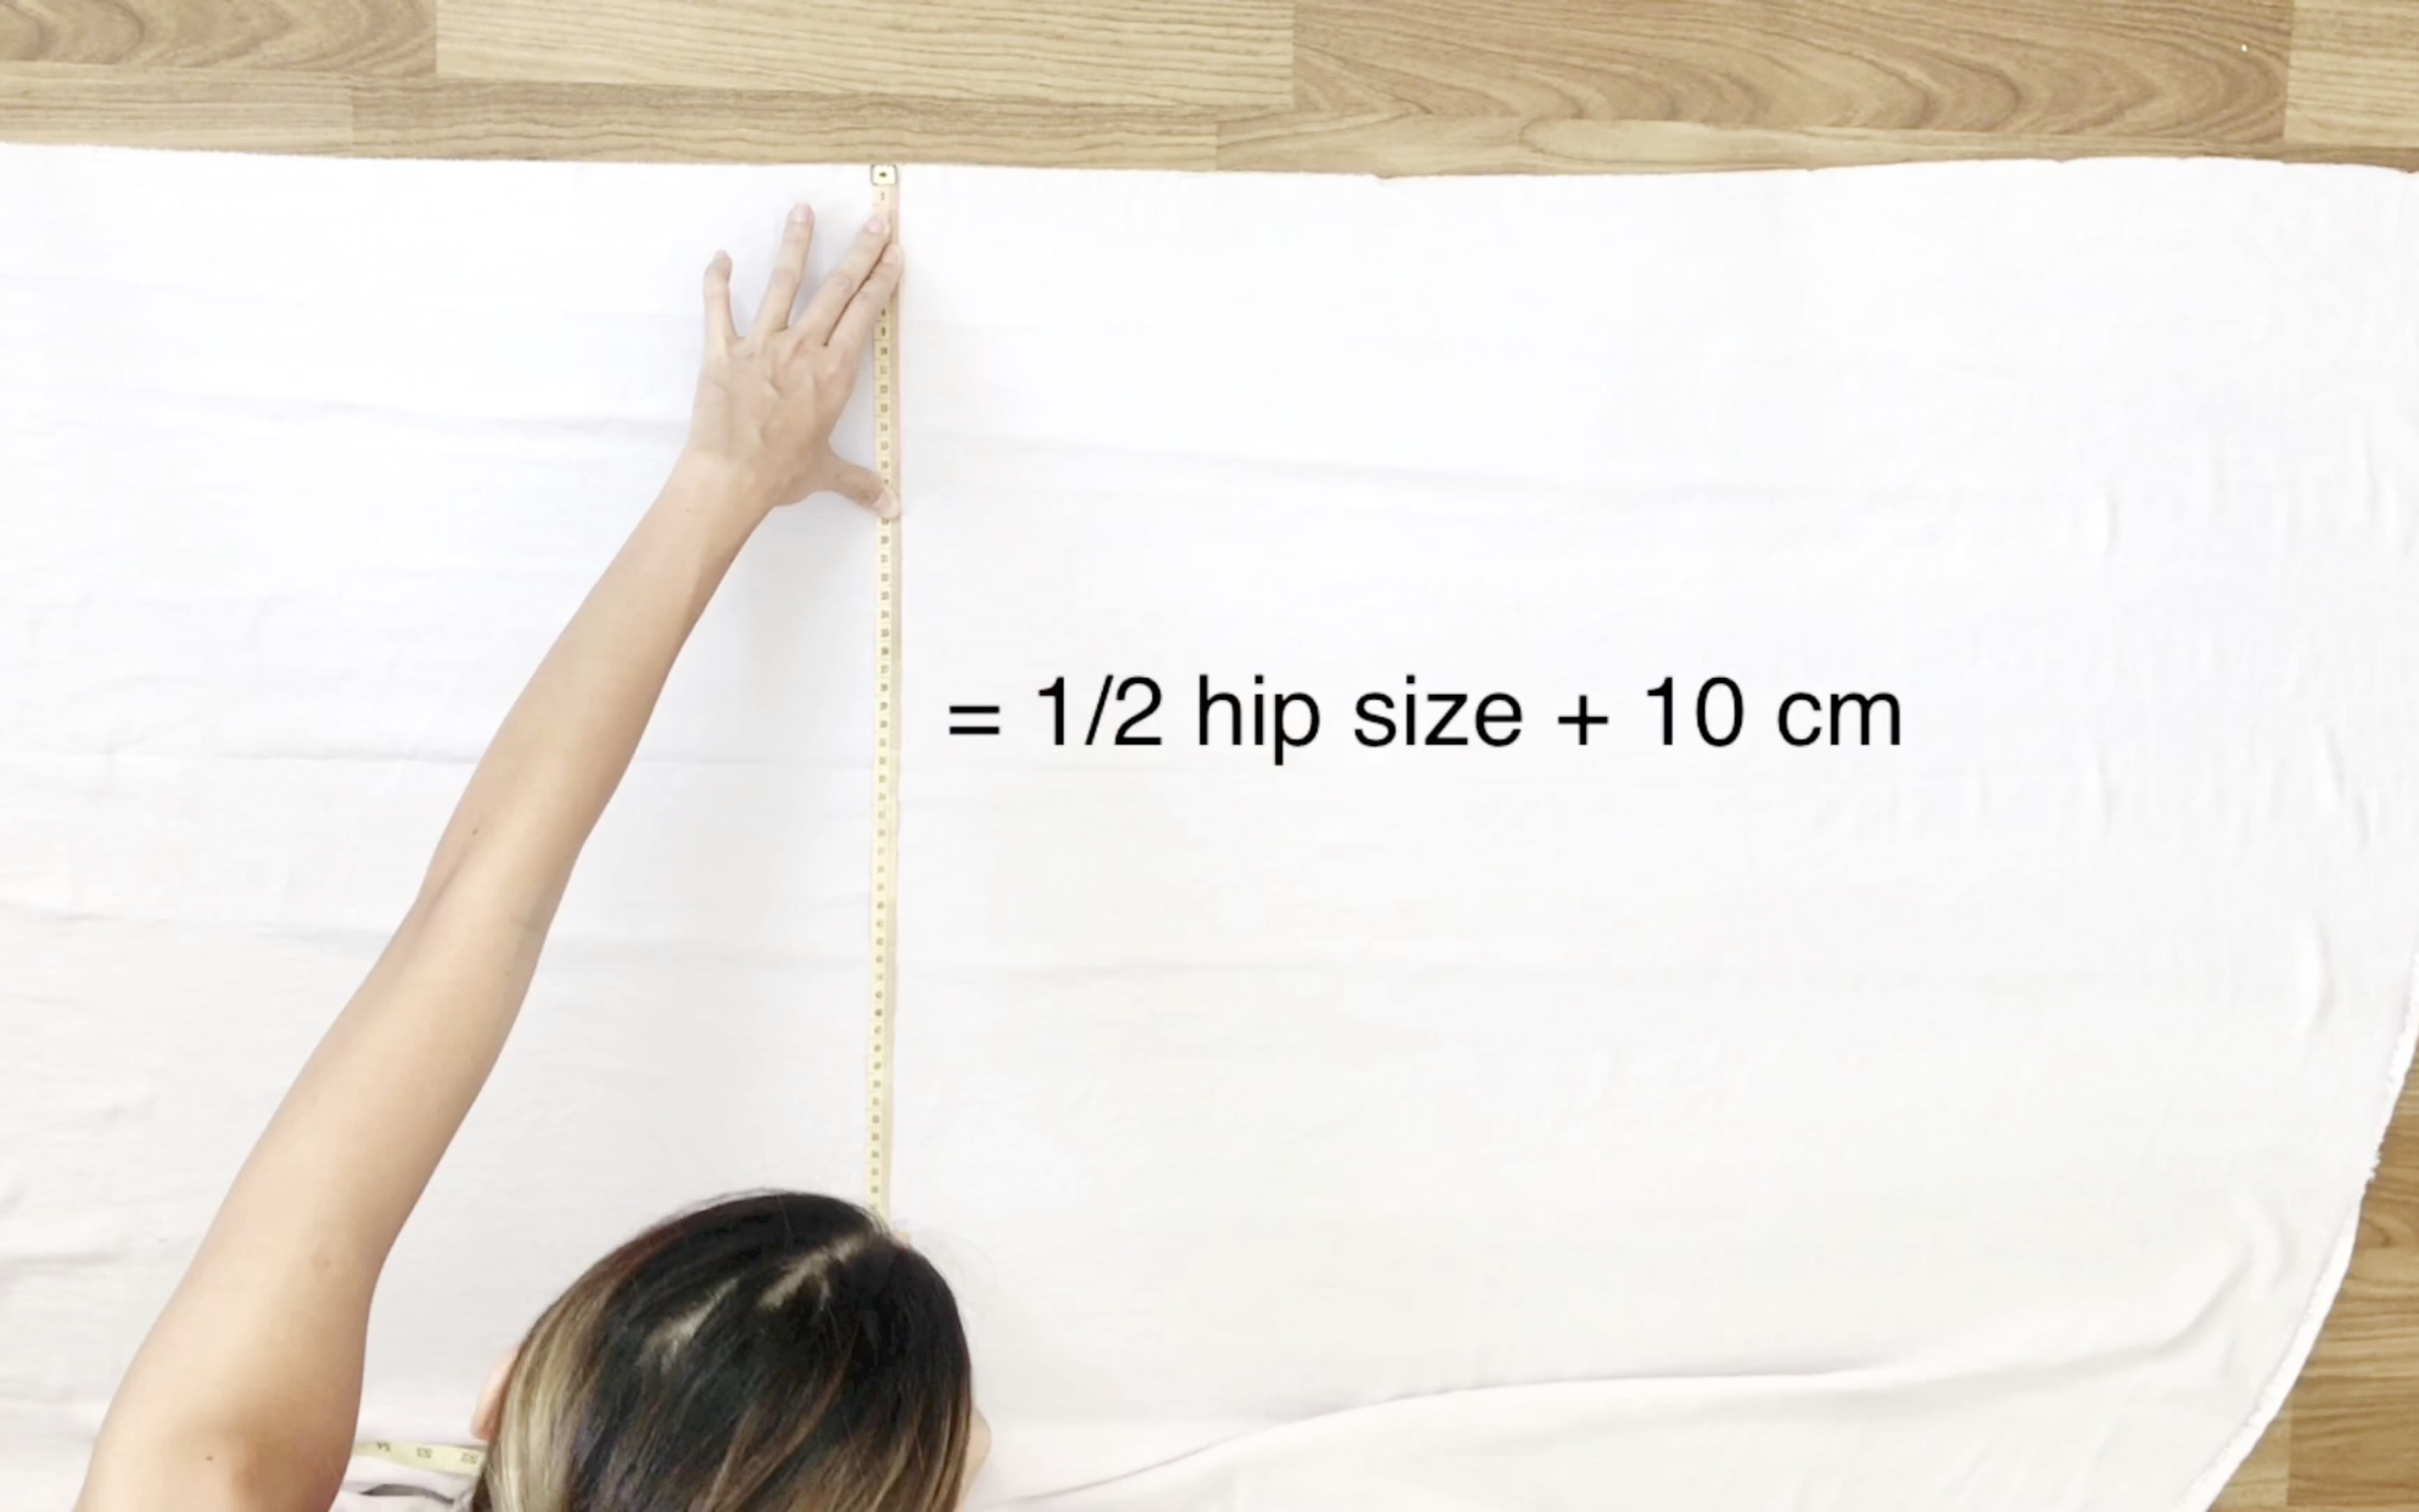
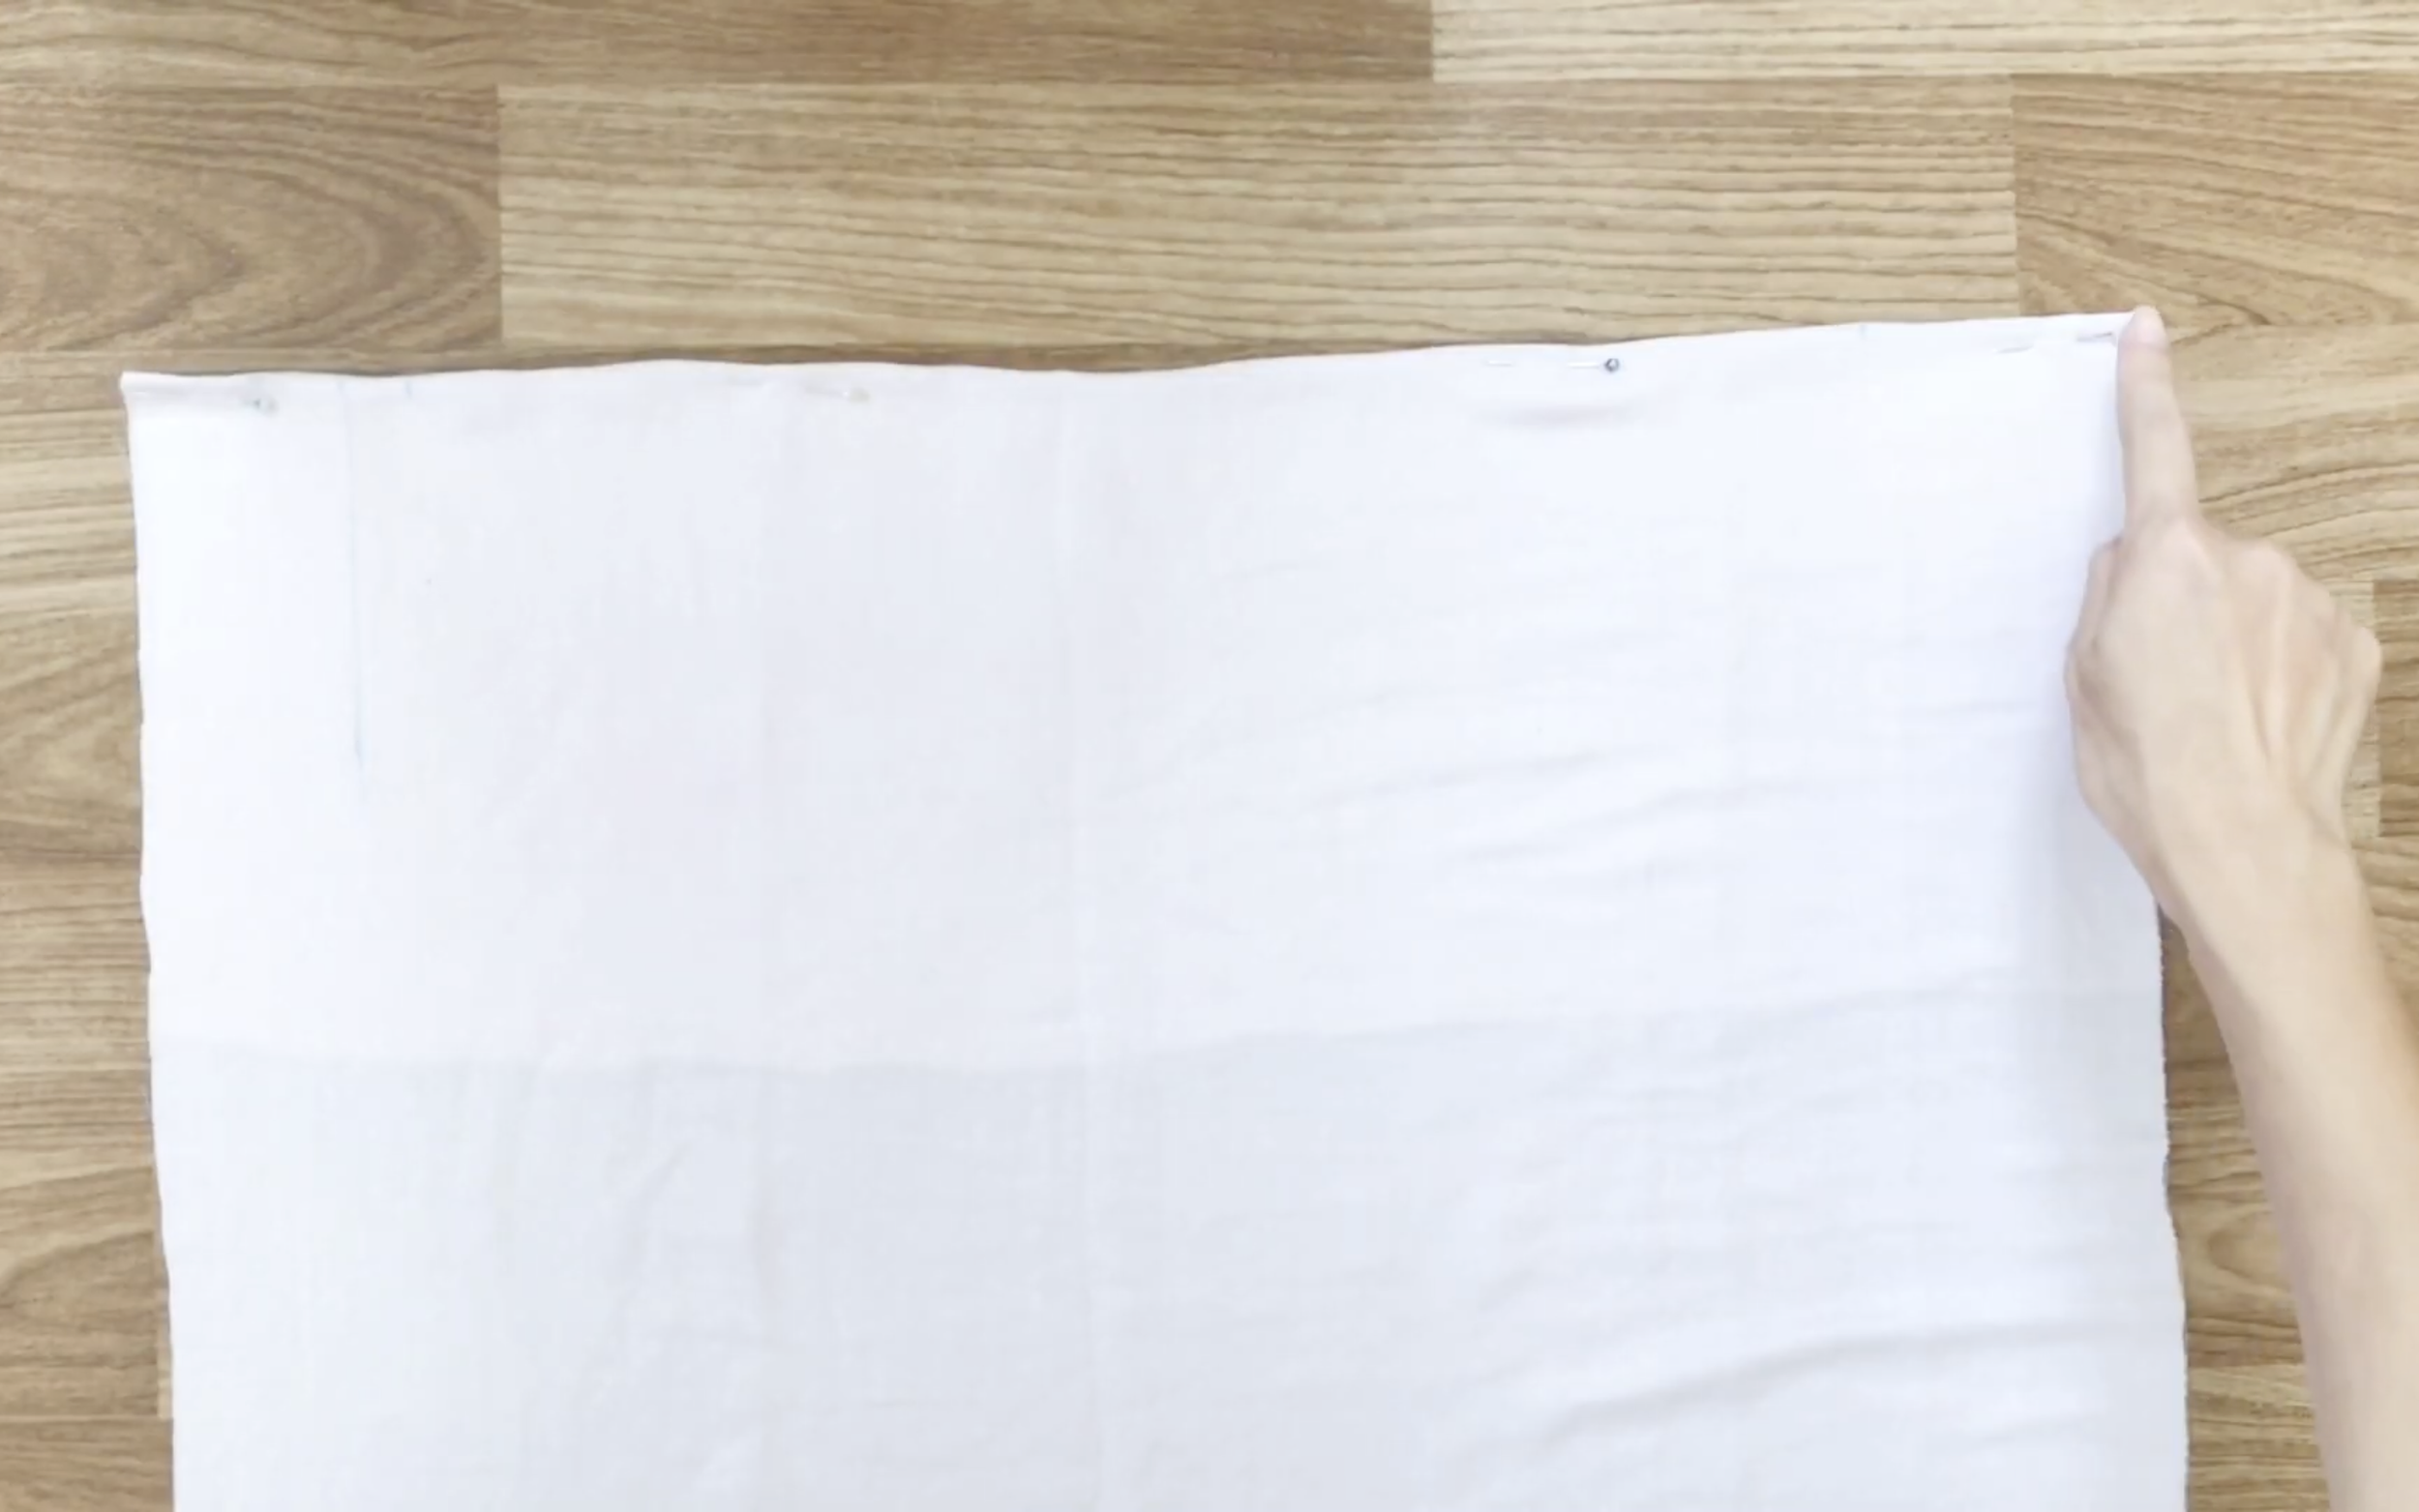
Drawing a rectangle with 58 cm width, which is 1/2 of the hip size plus 10 cm…
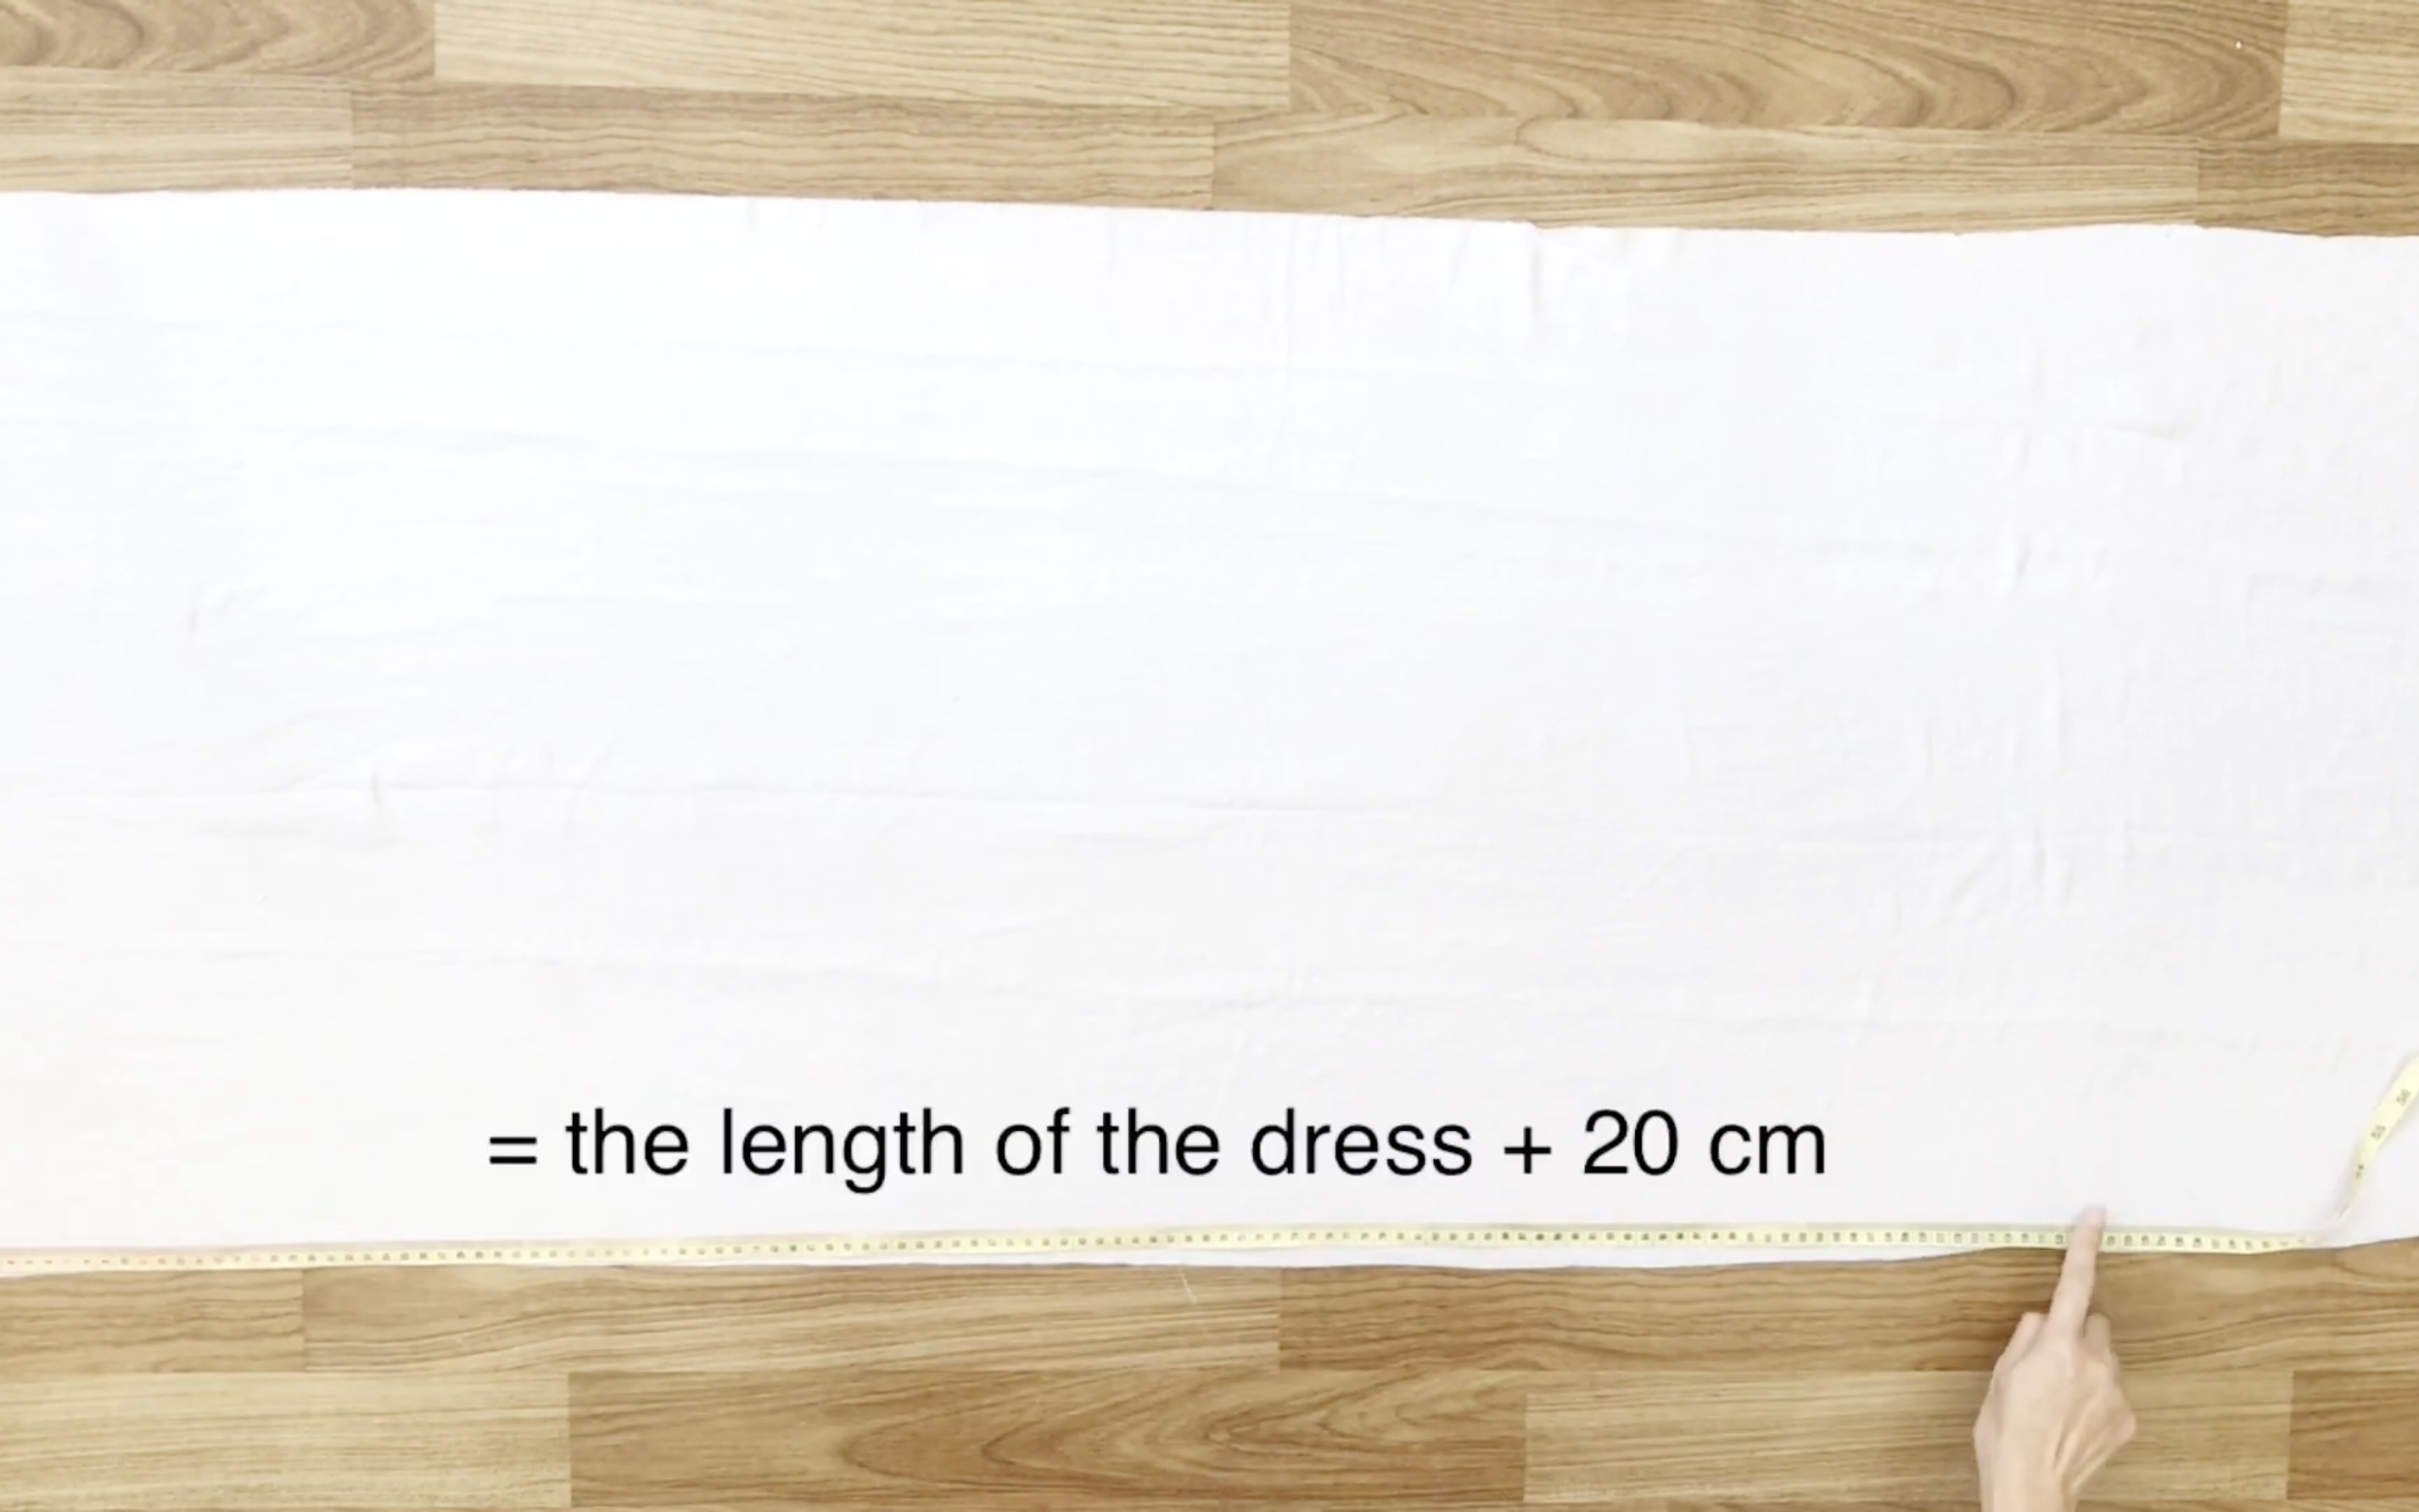
… and 130 cm length, which is the length of the dress plus 20 cm.
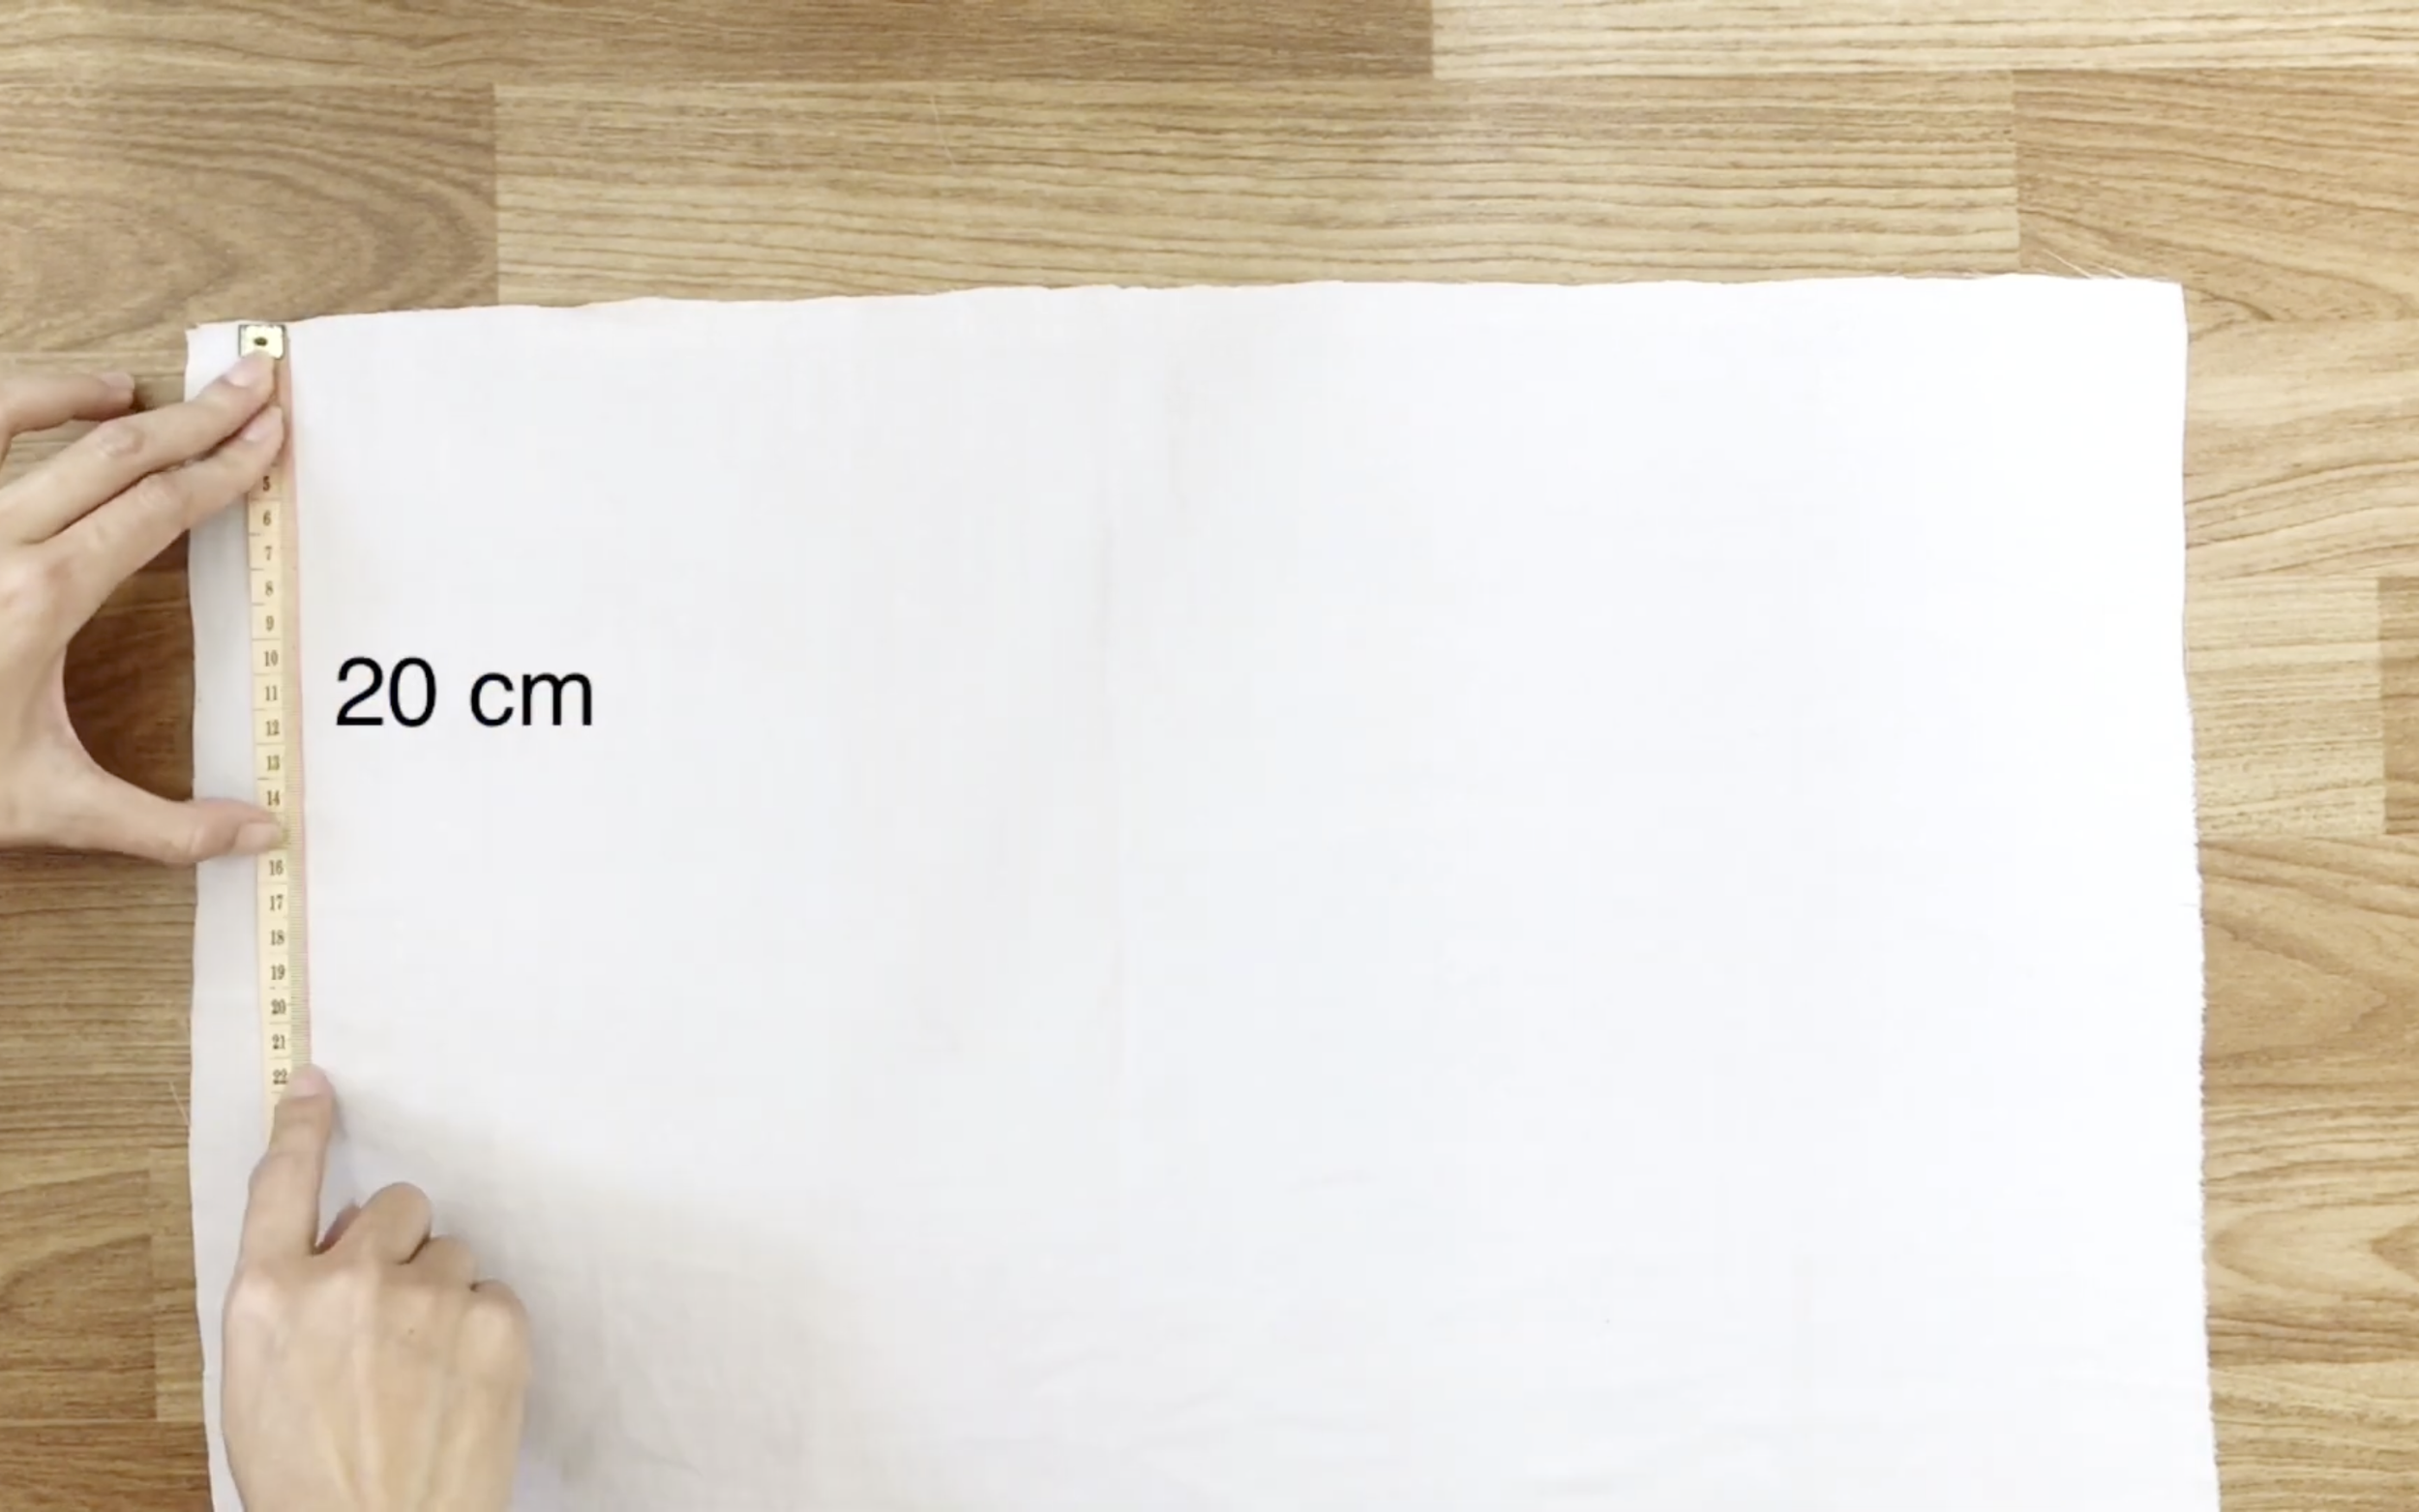
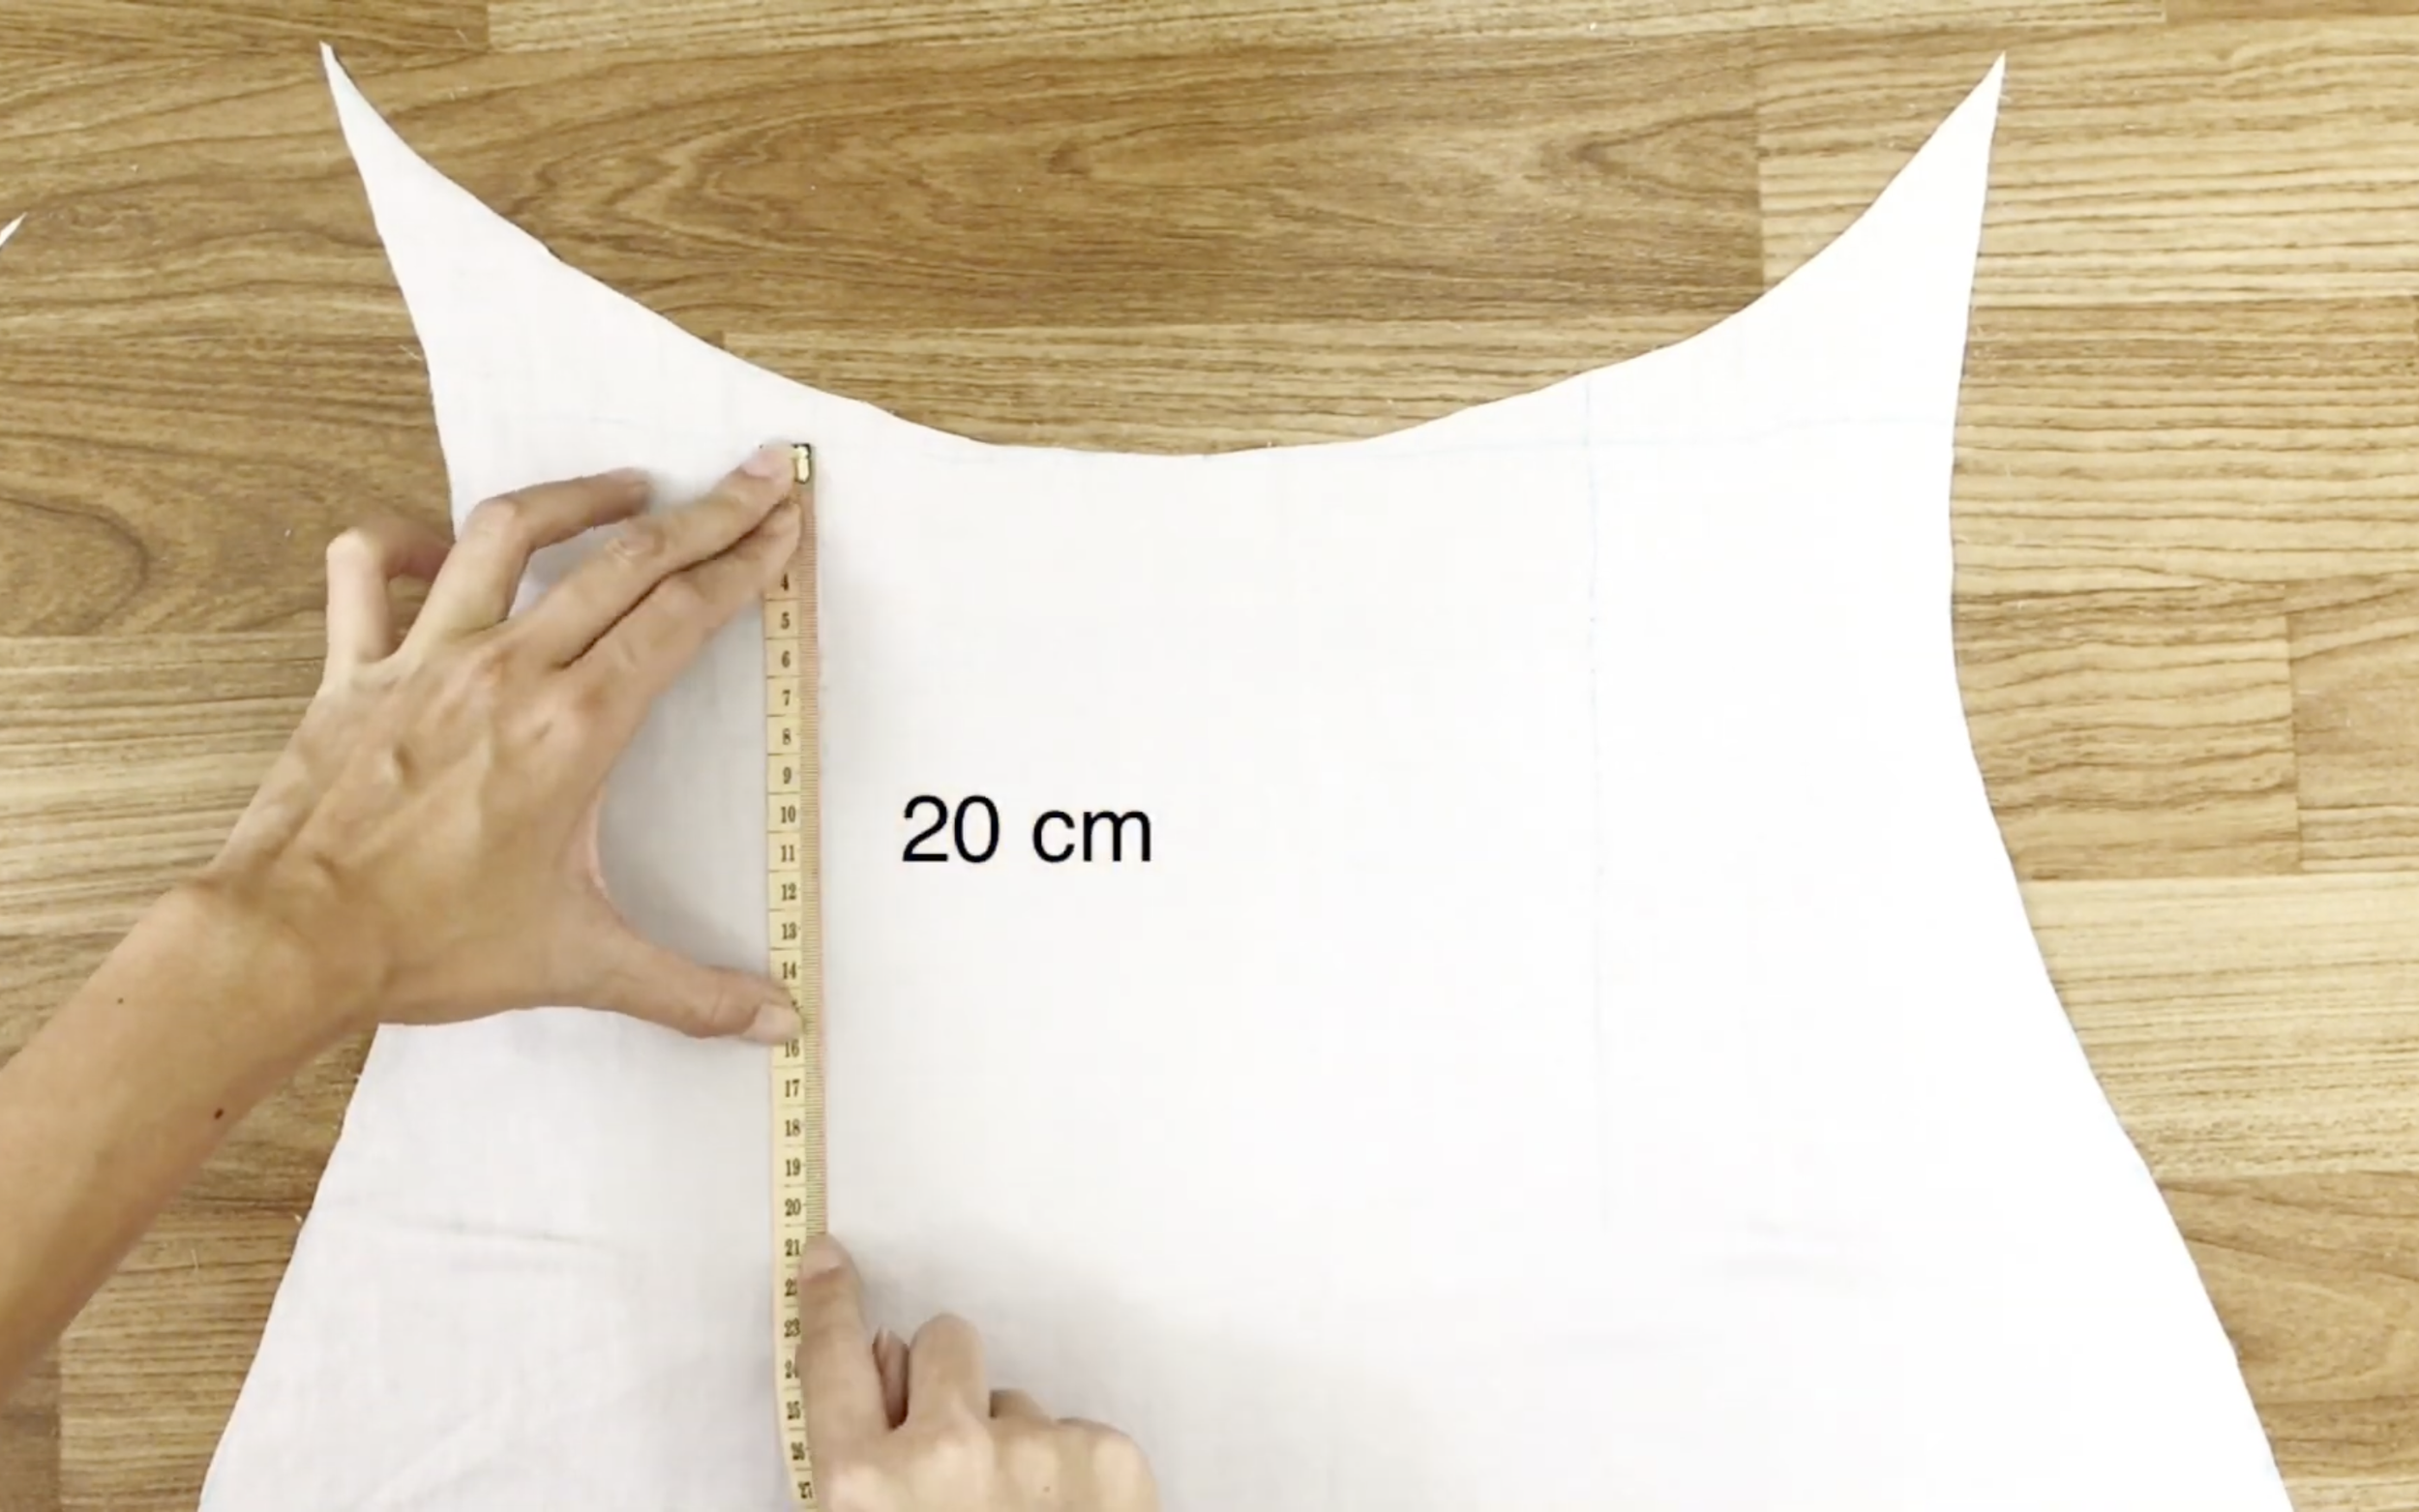
At the top of the front, drawing a straight line at 20 cm from the edge of a rectangle.
Then fold the fabric at that line so it will be the falling neck area.
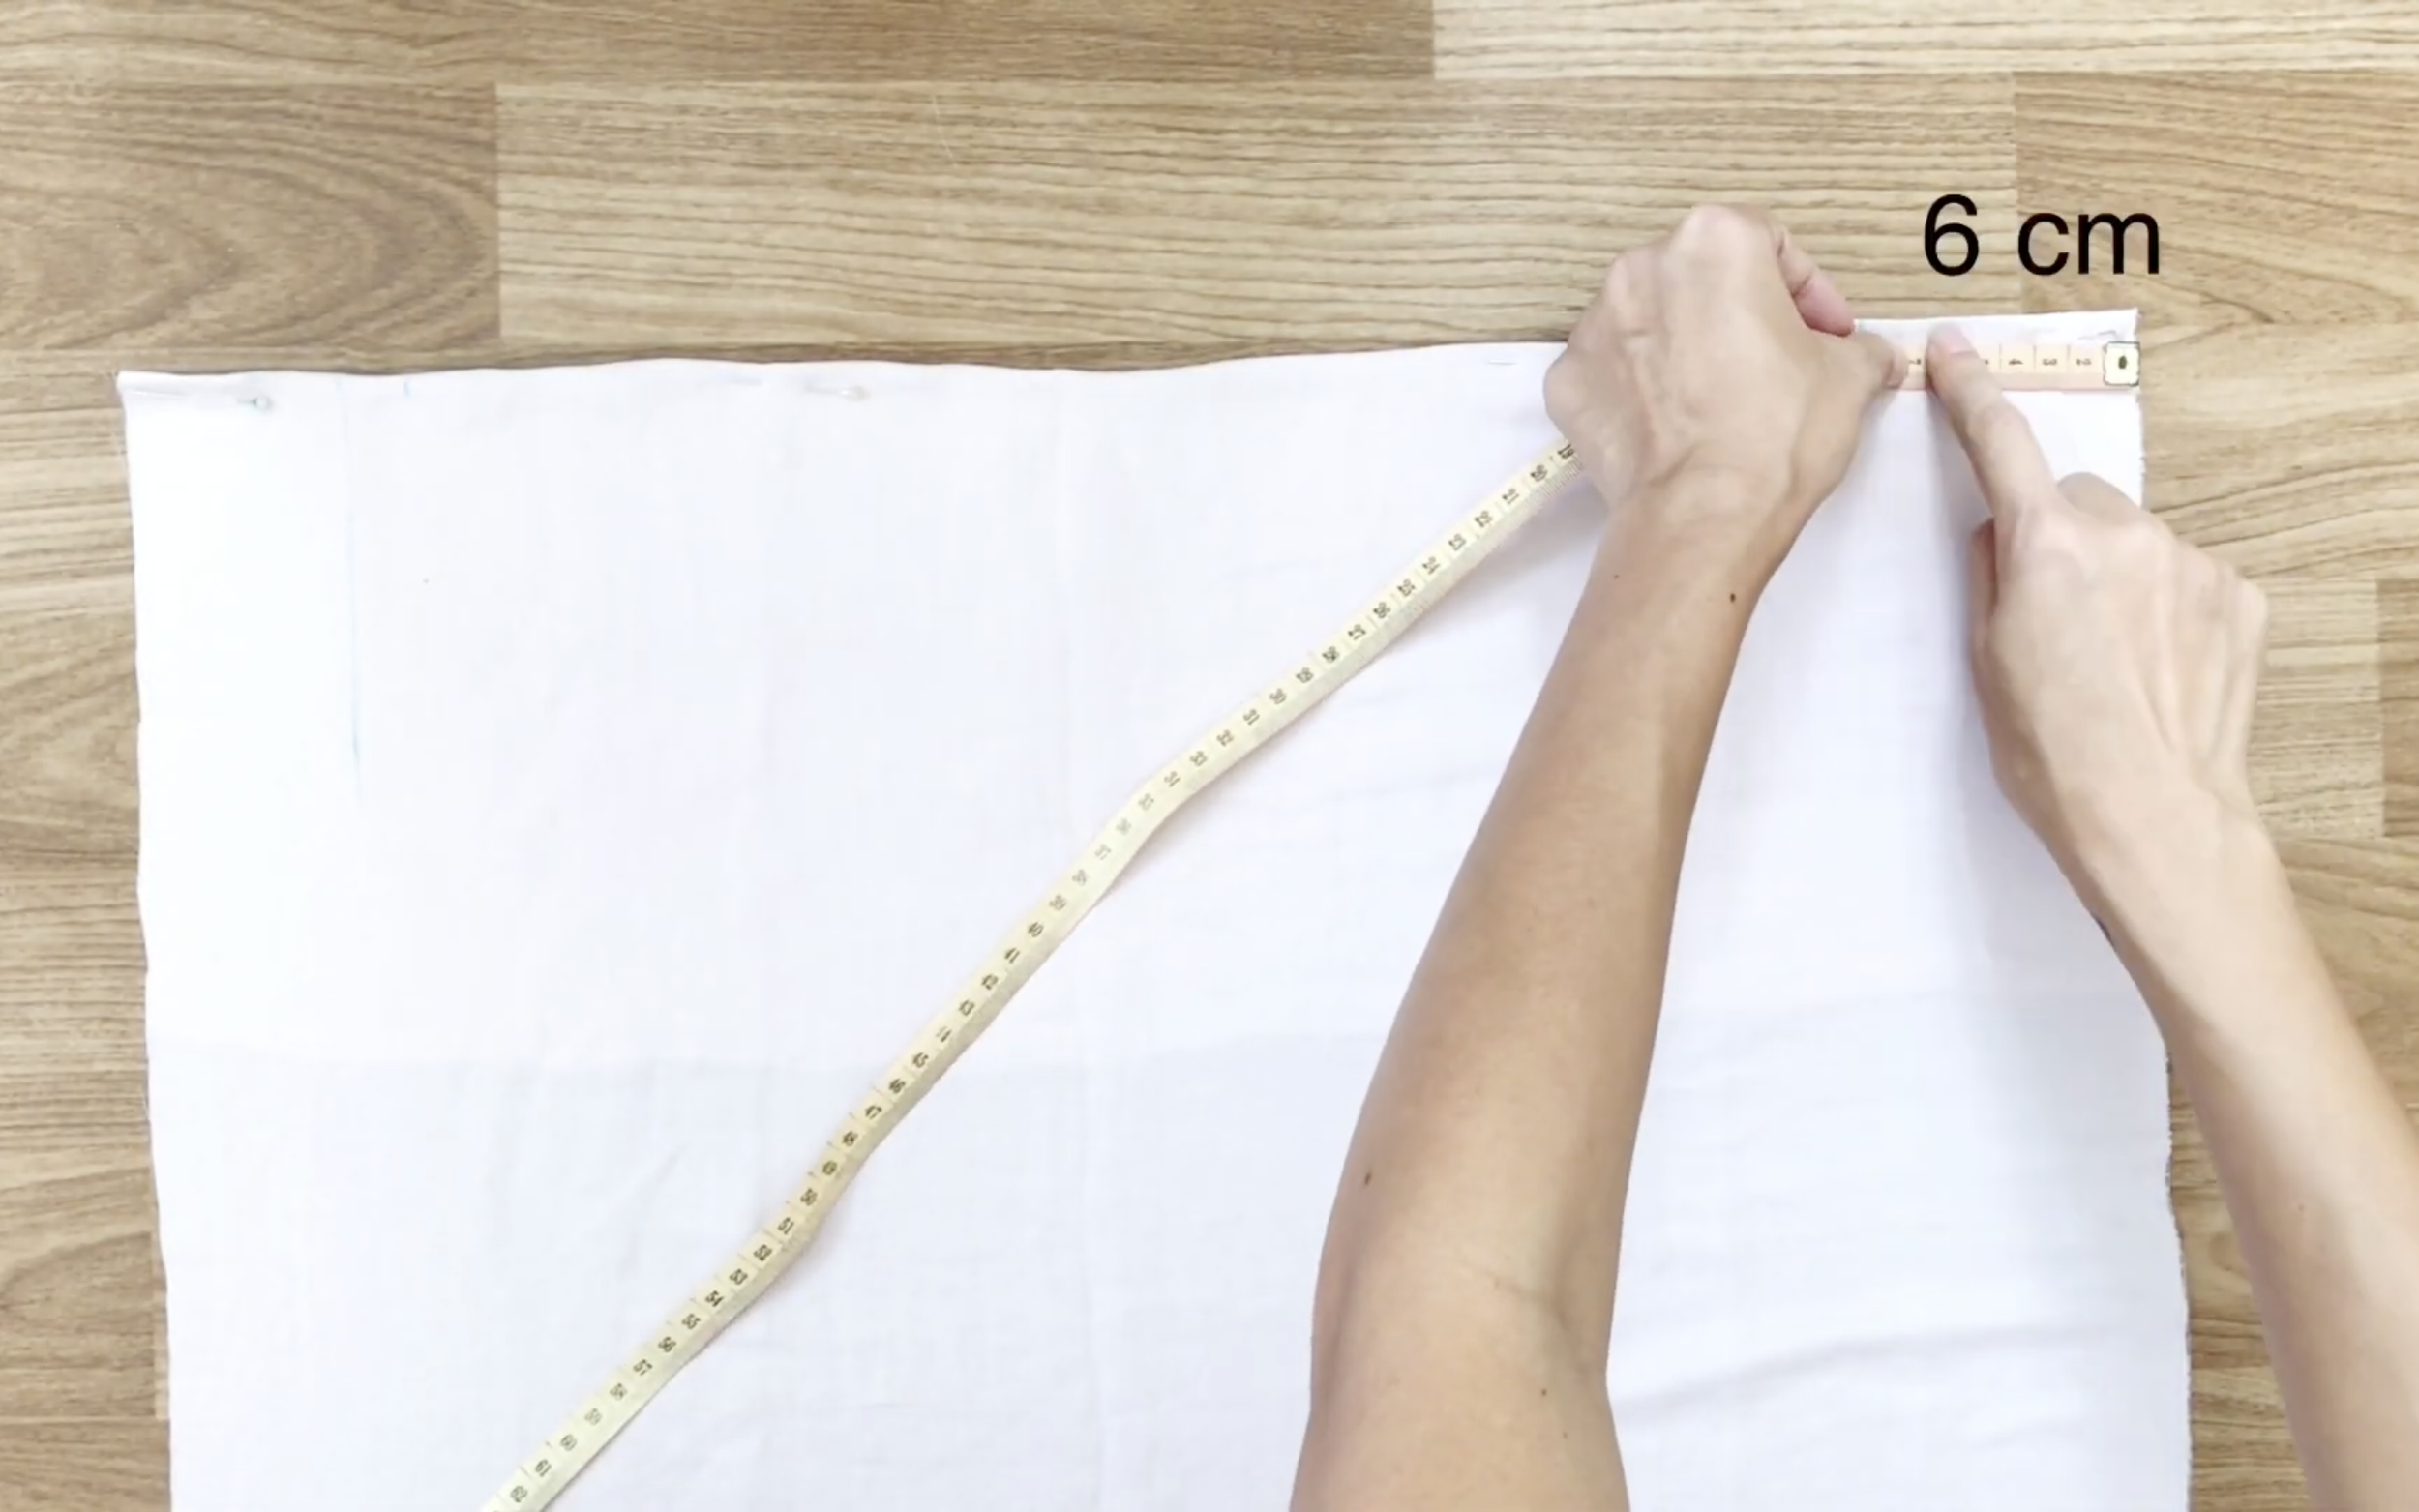
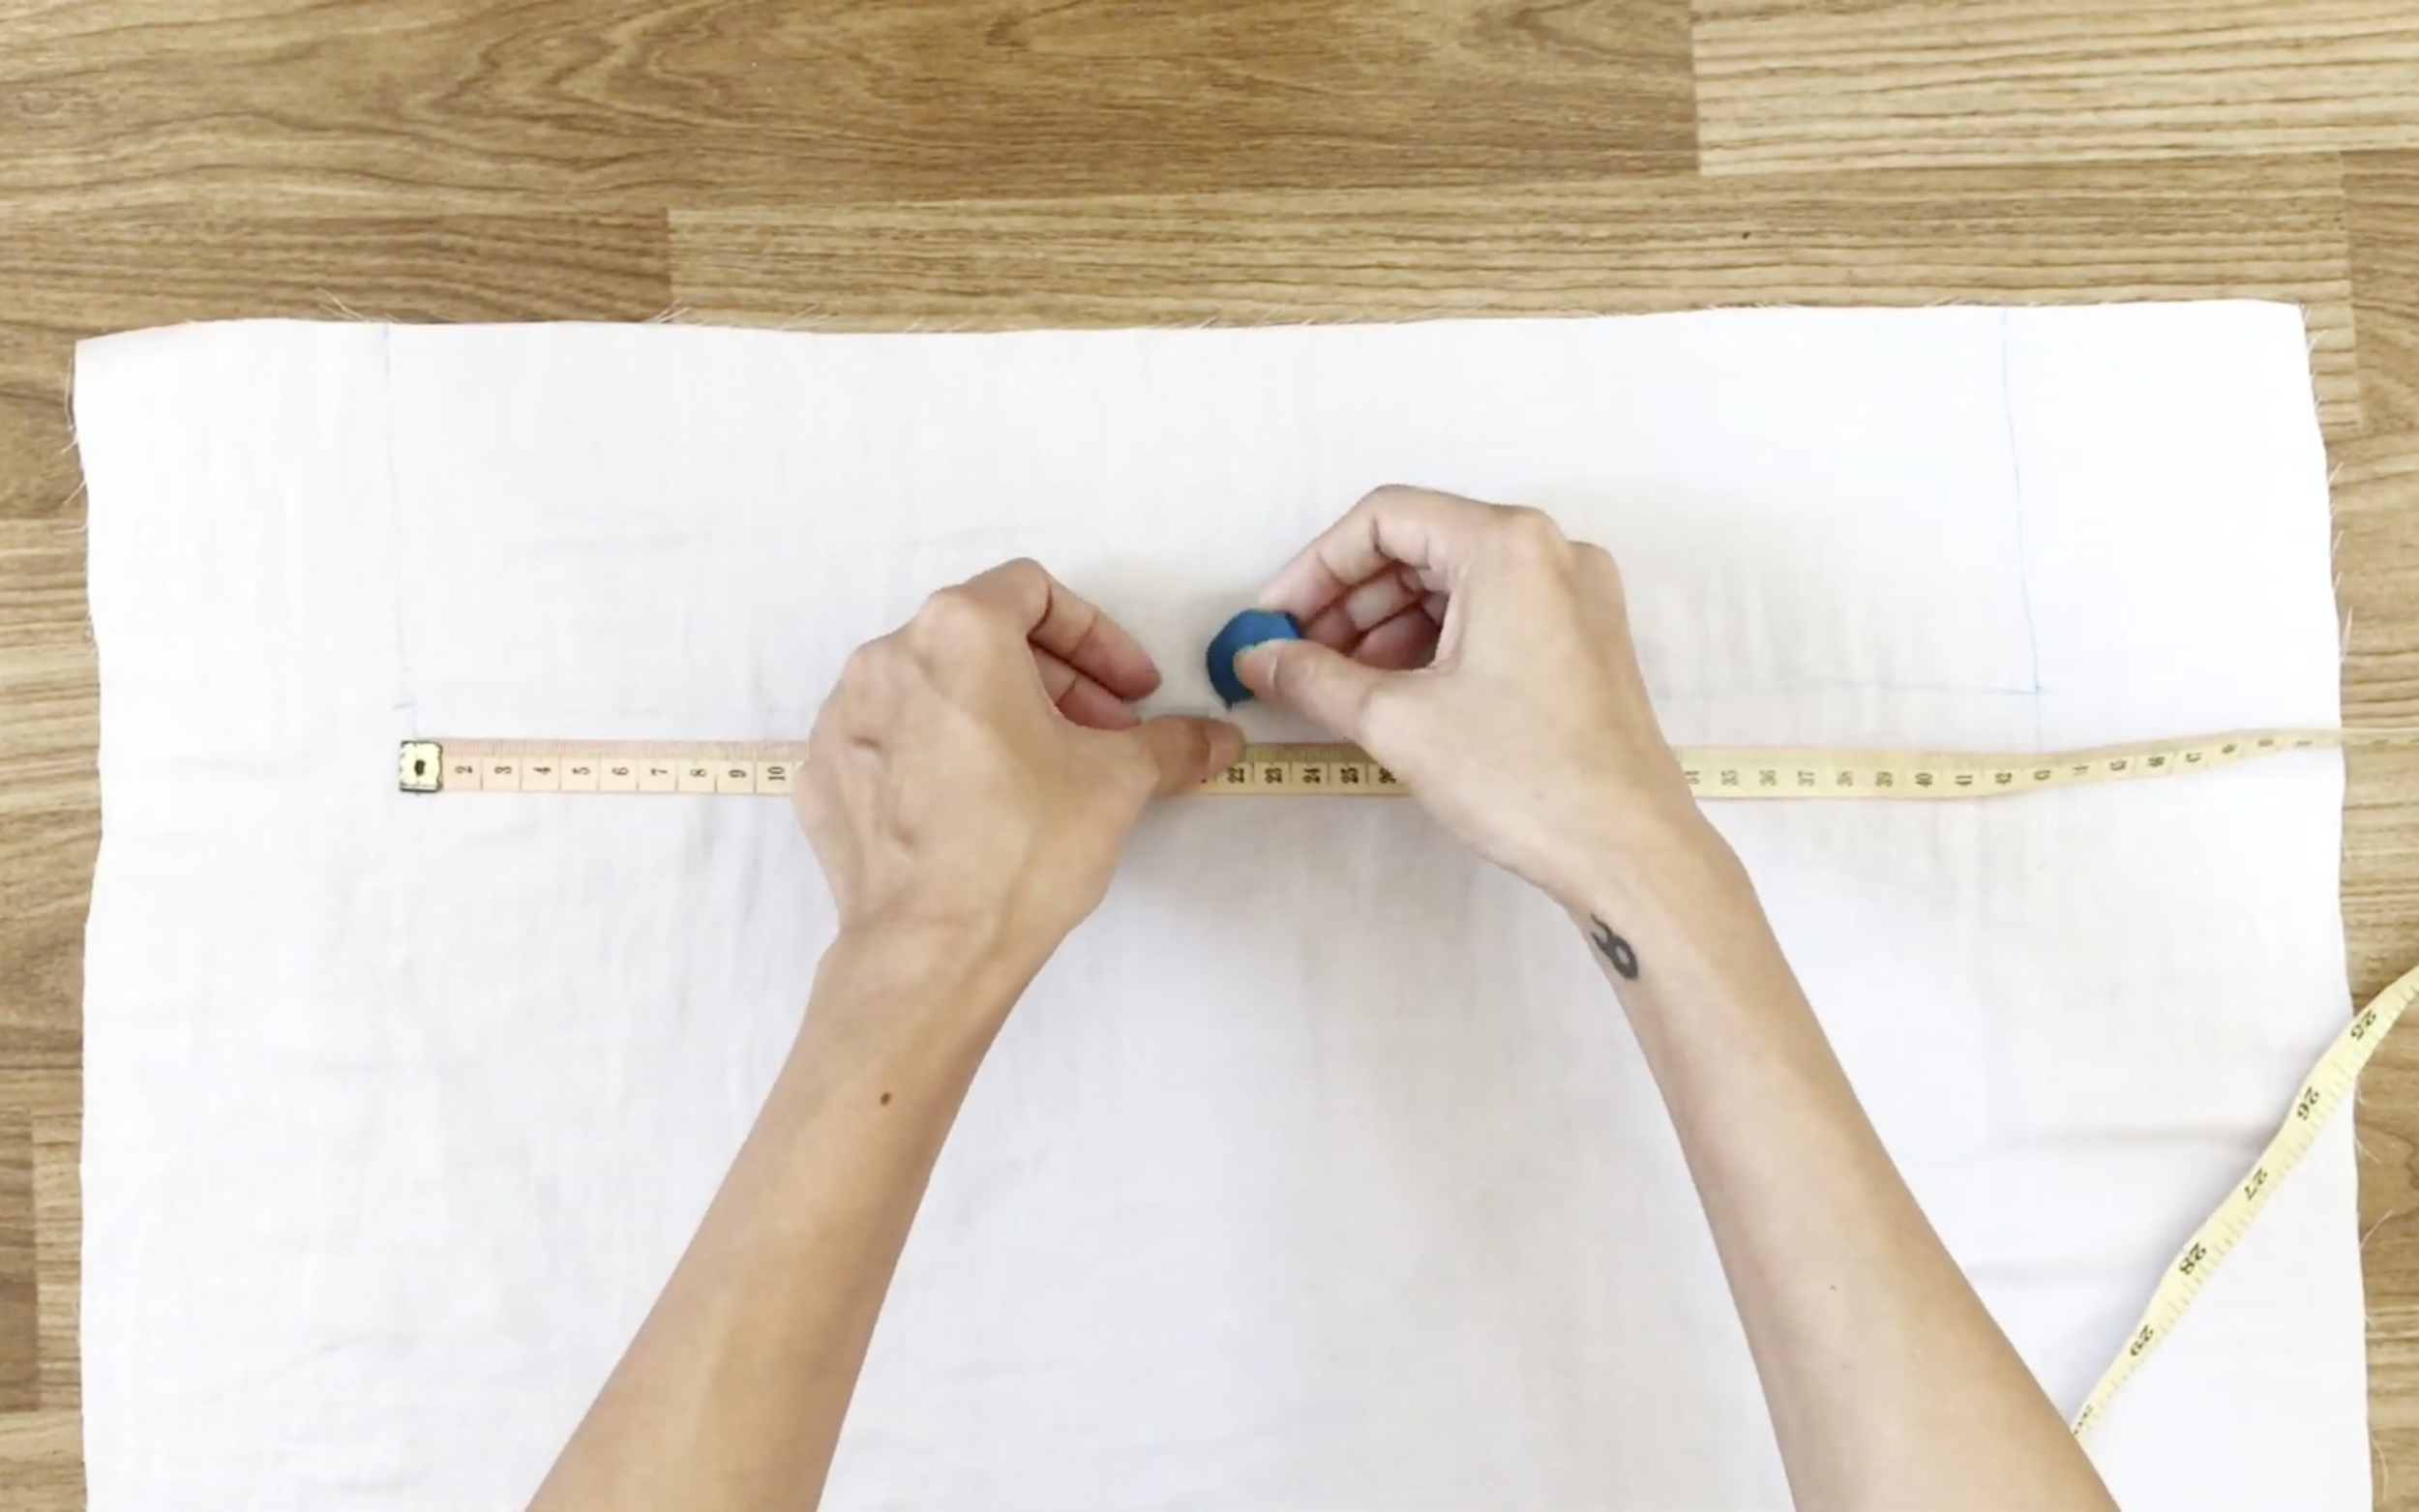
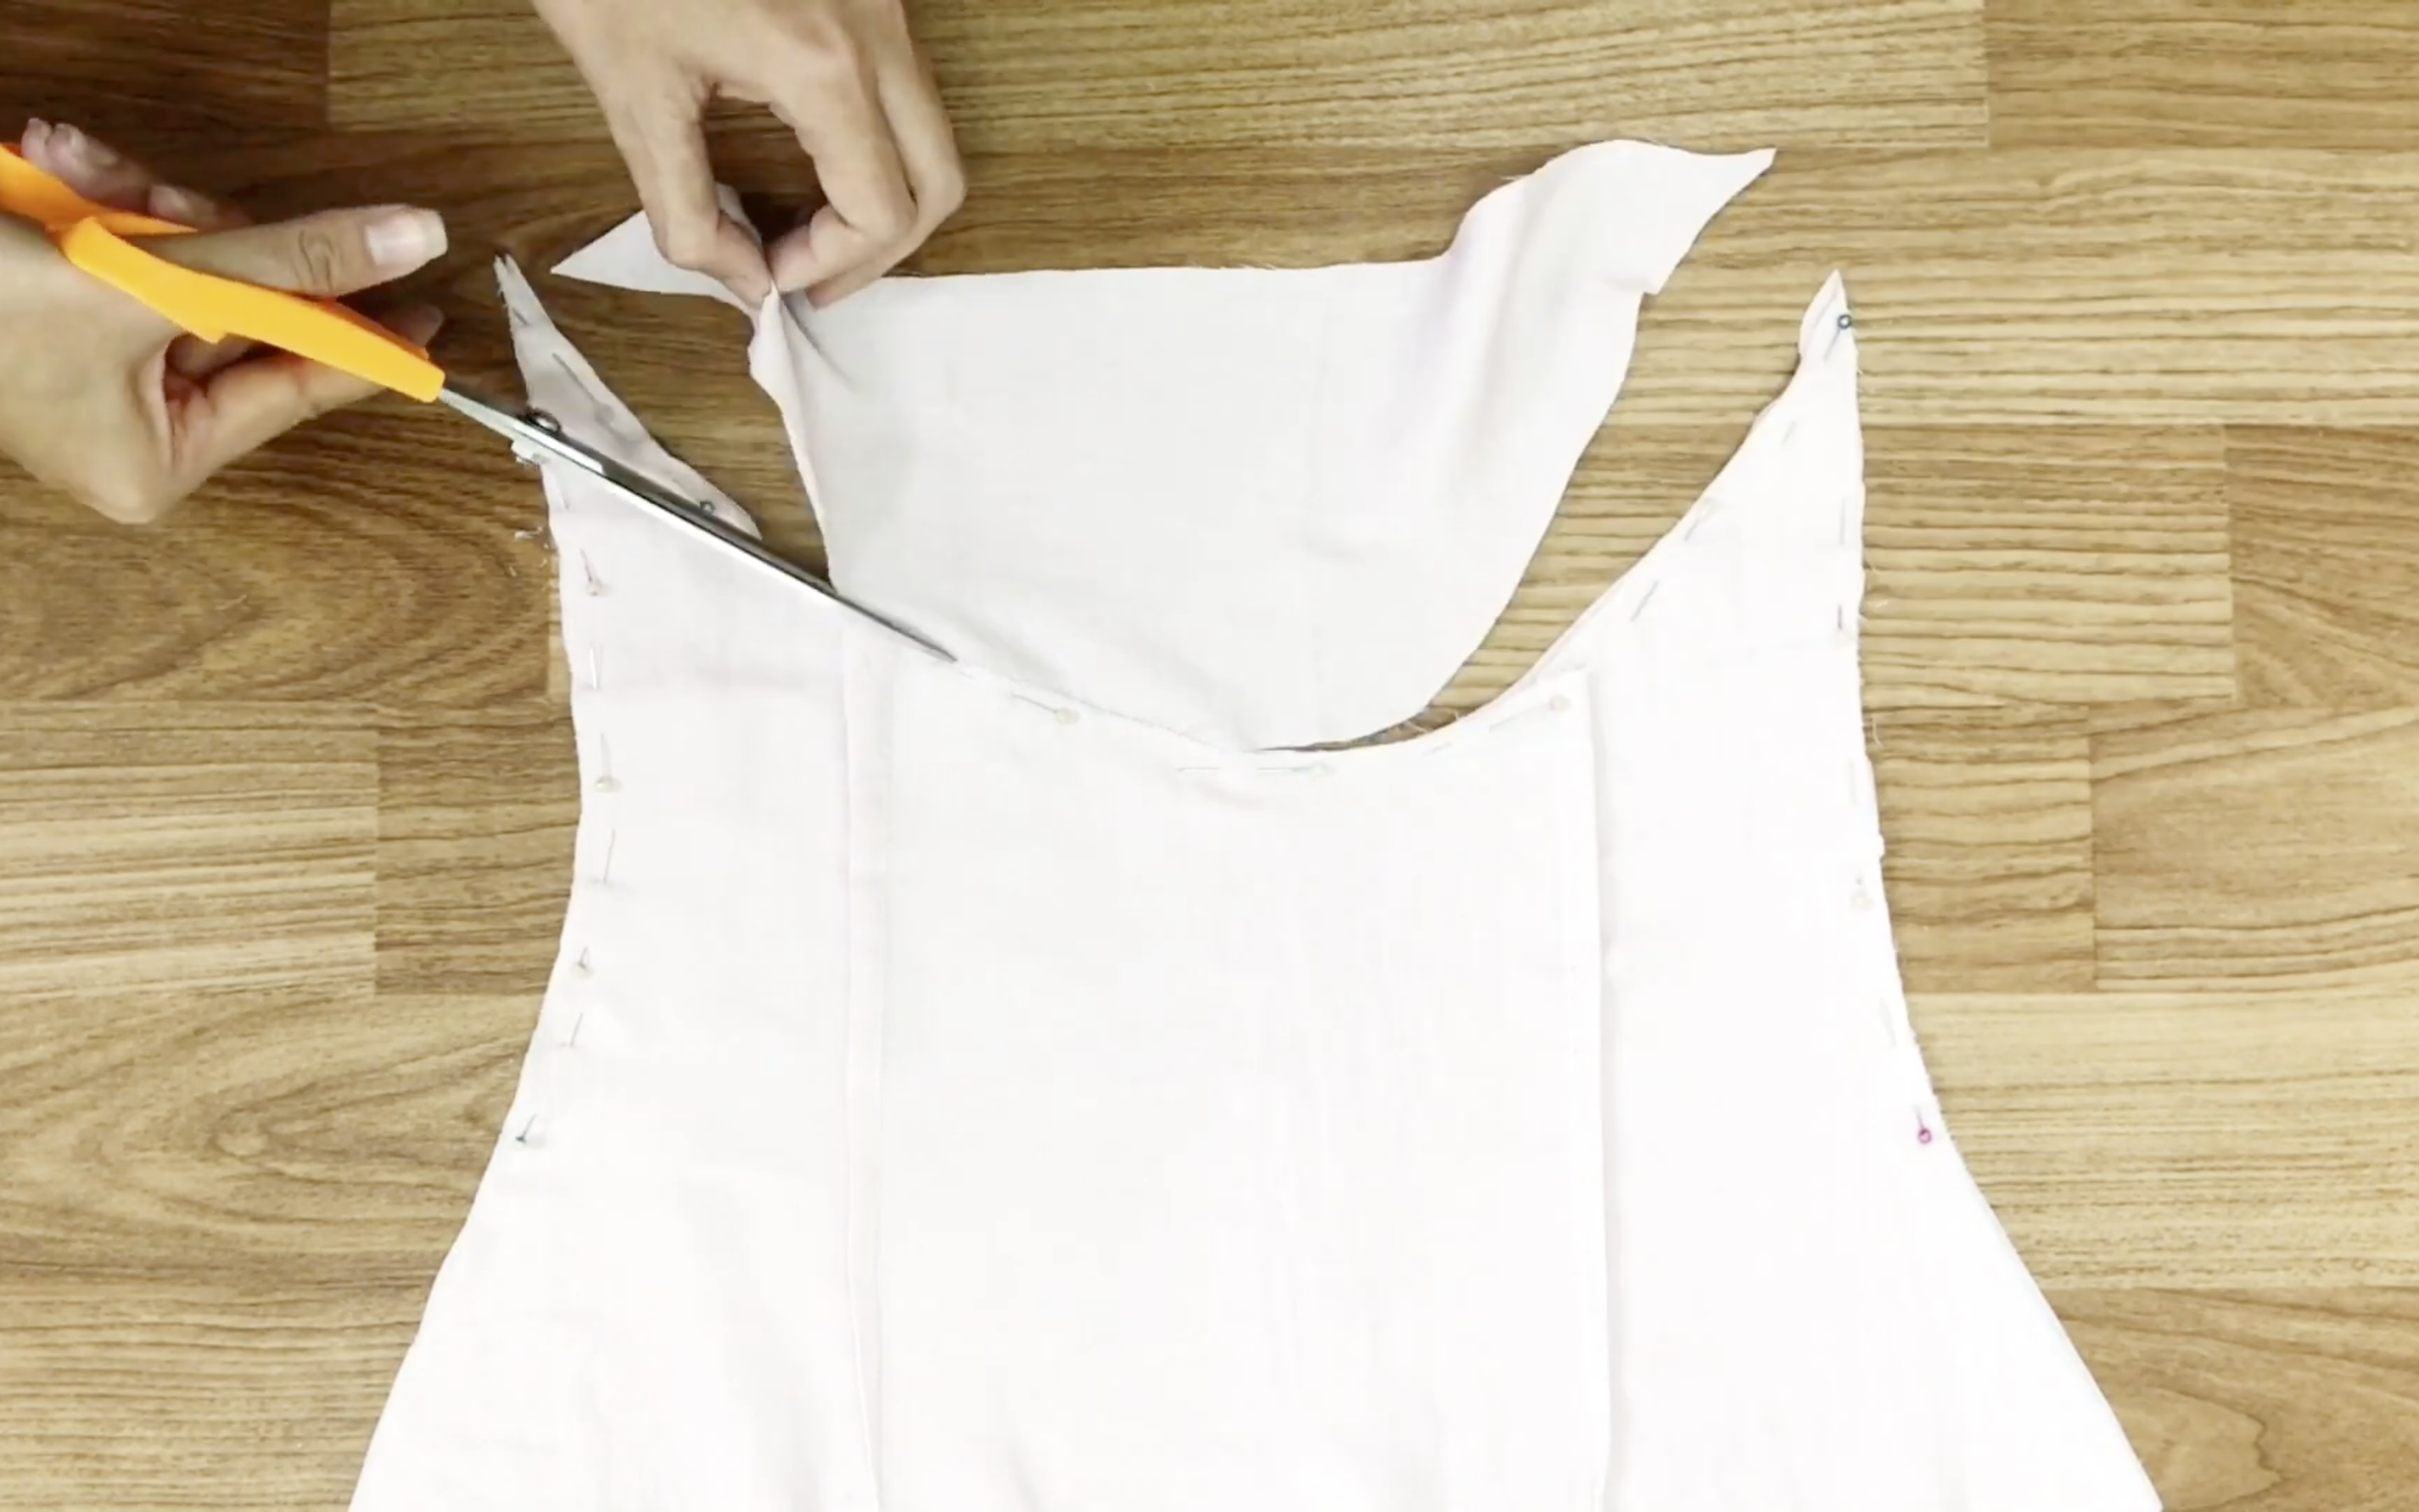
At two sides of the rectangle, go inside 6 cm.

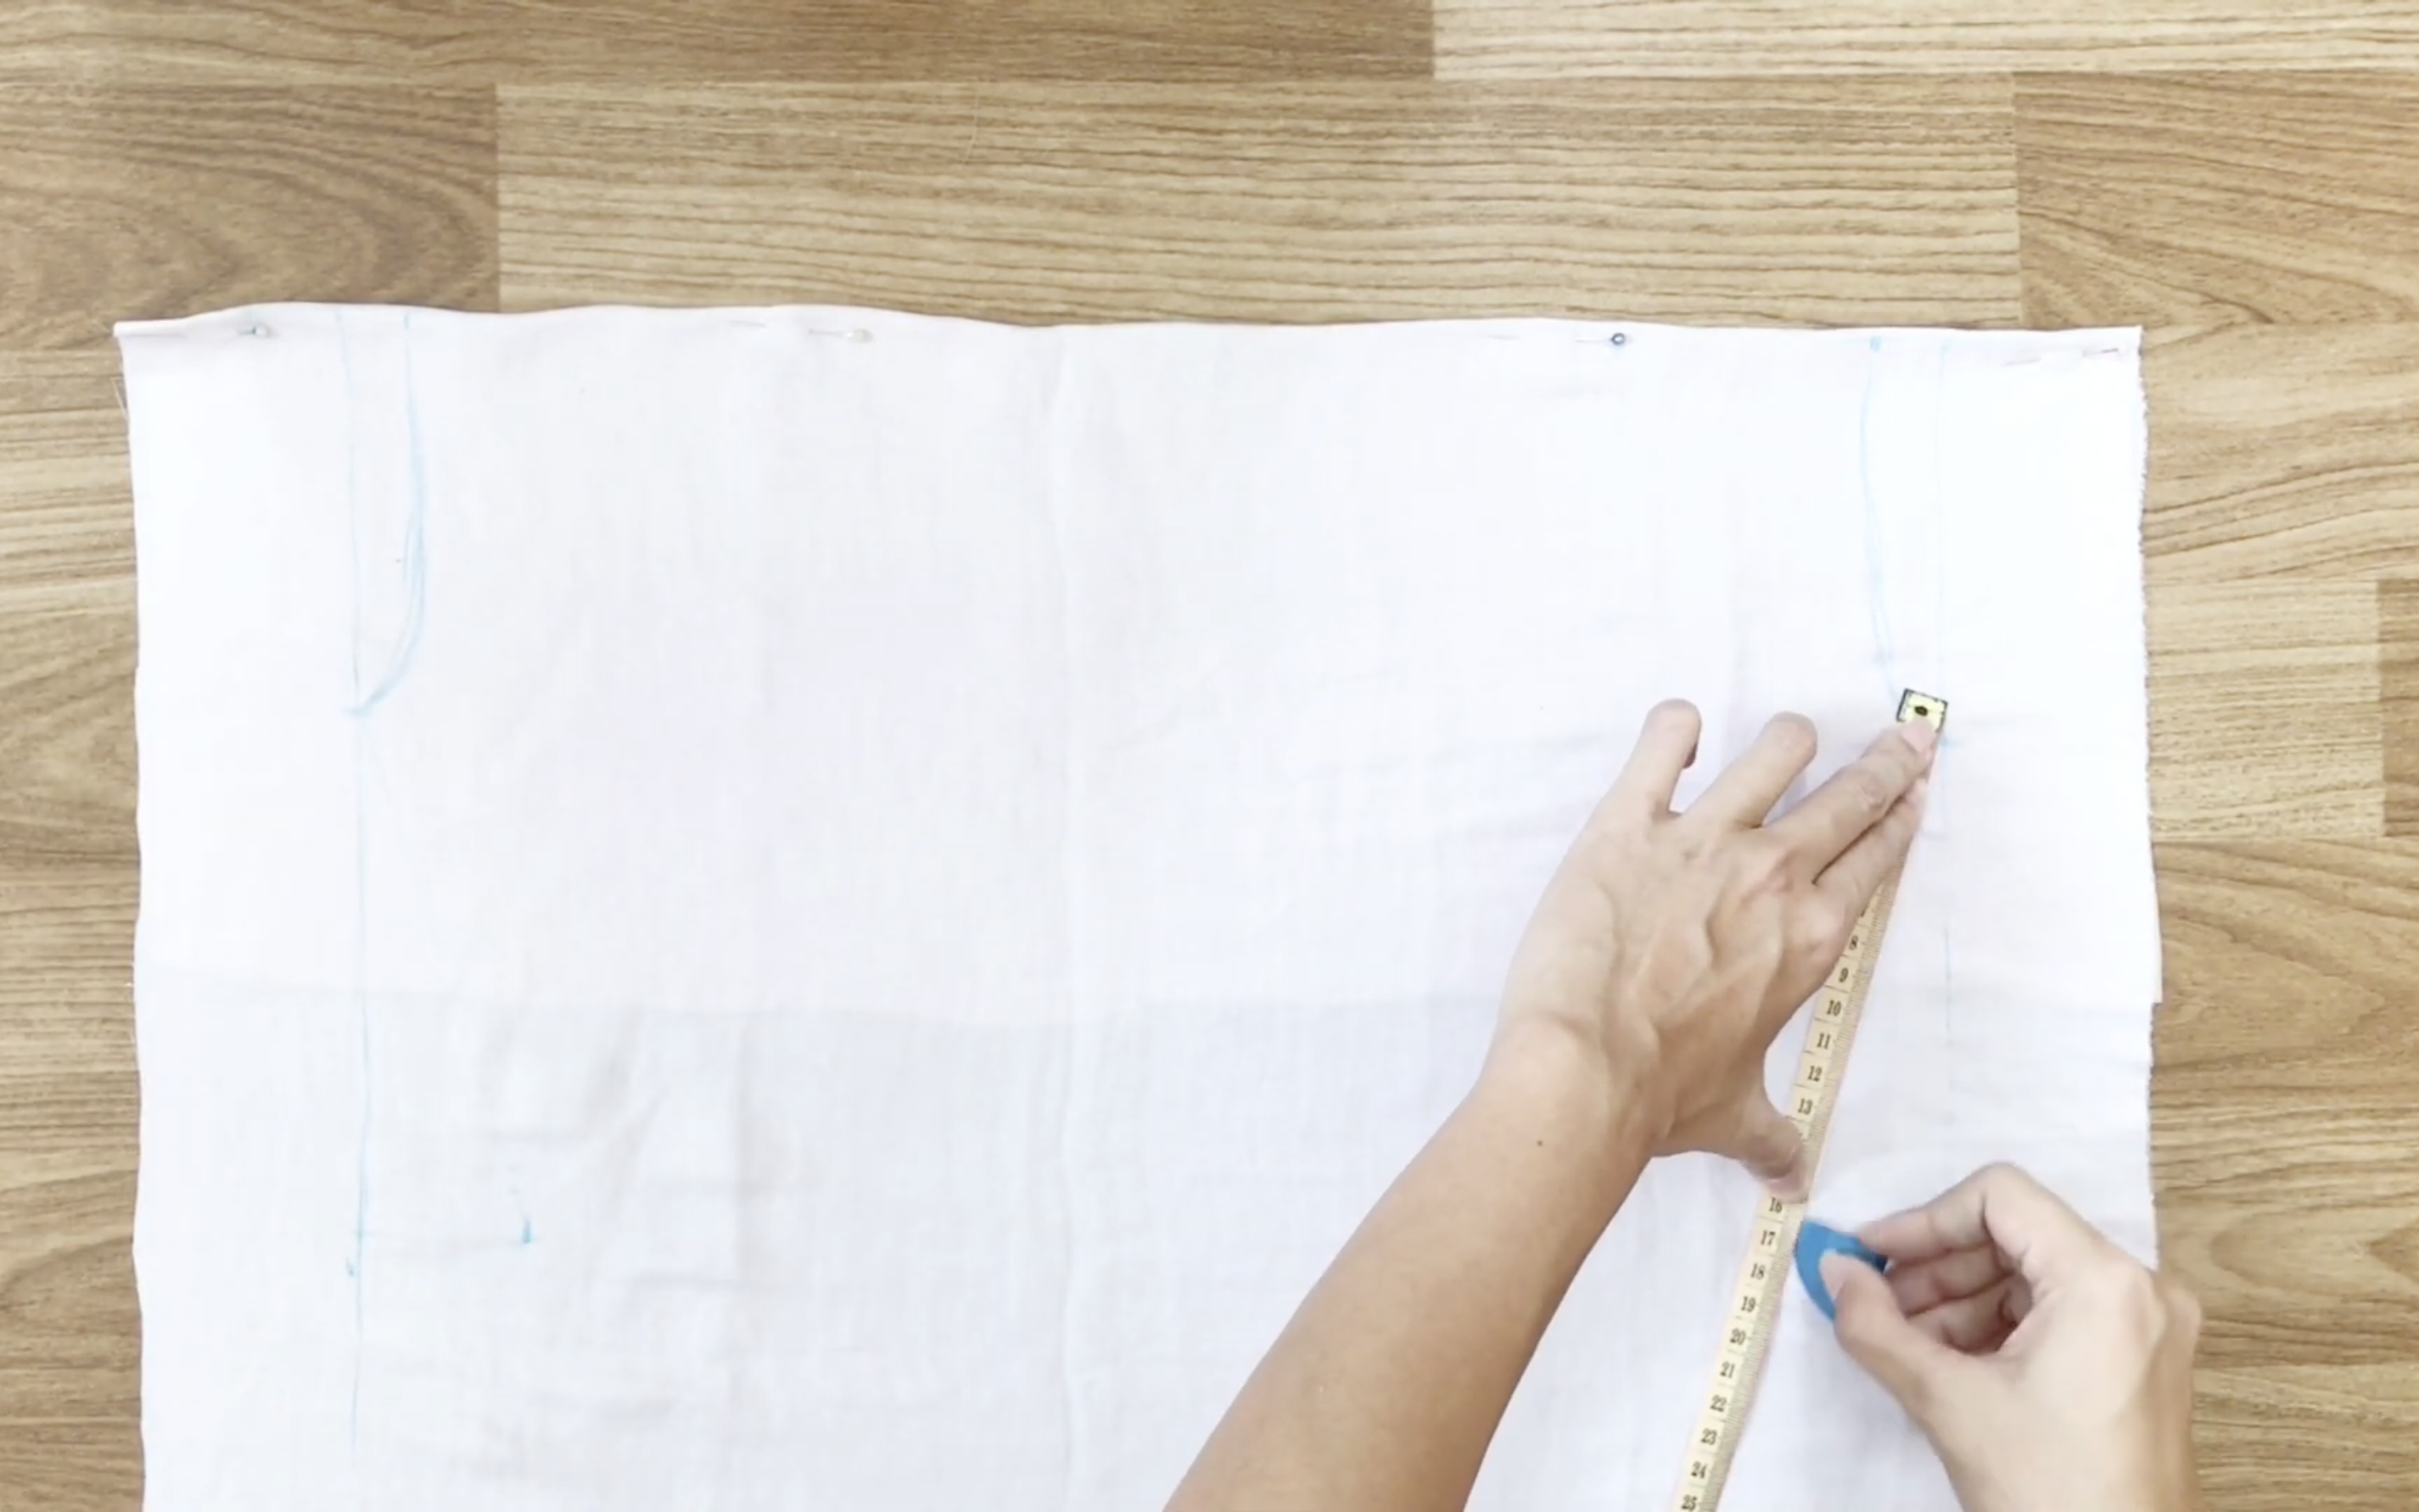
And, draw a straight line with 12 cm width, which is the width of the bust.
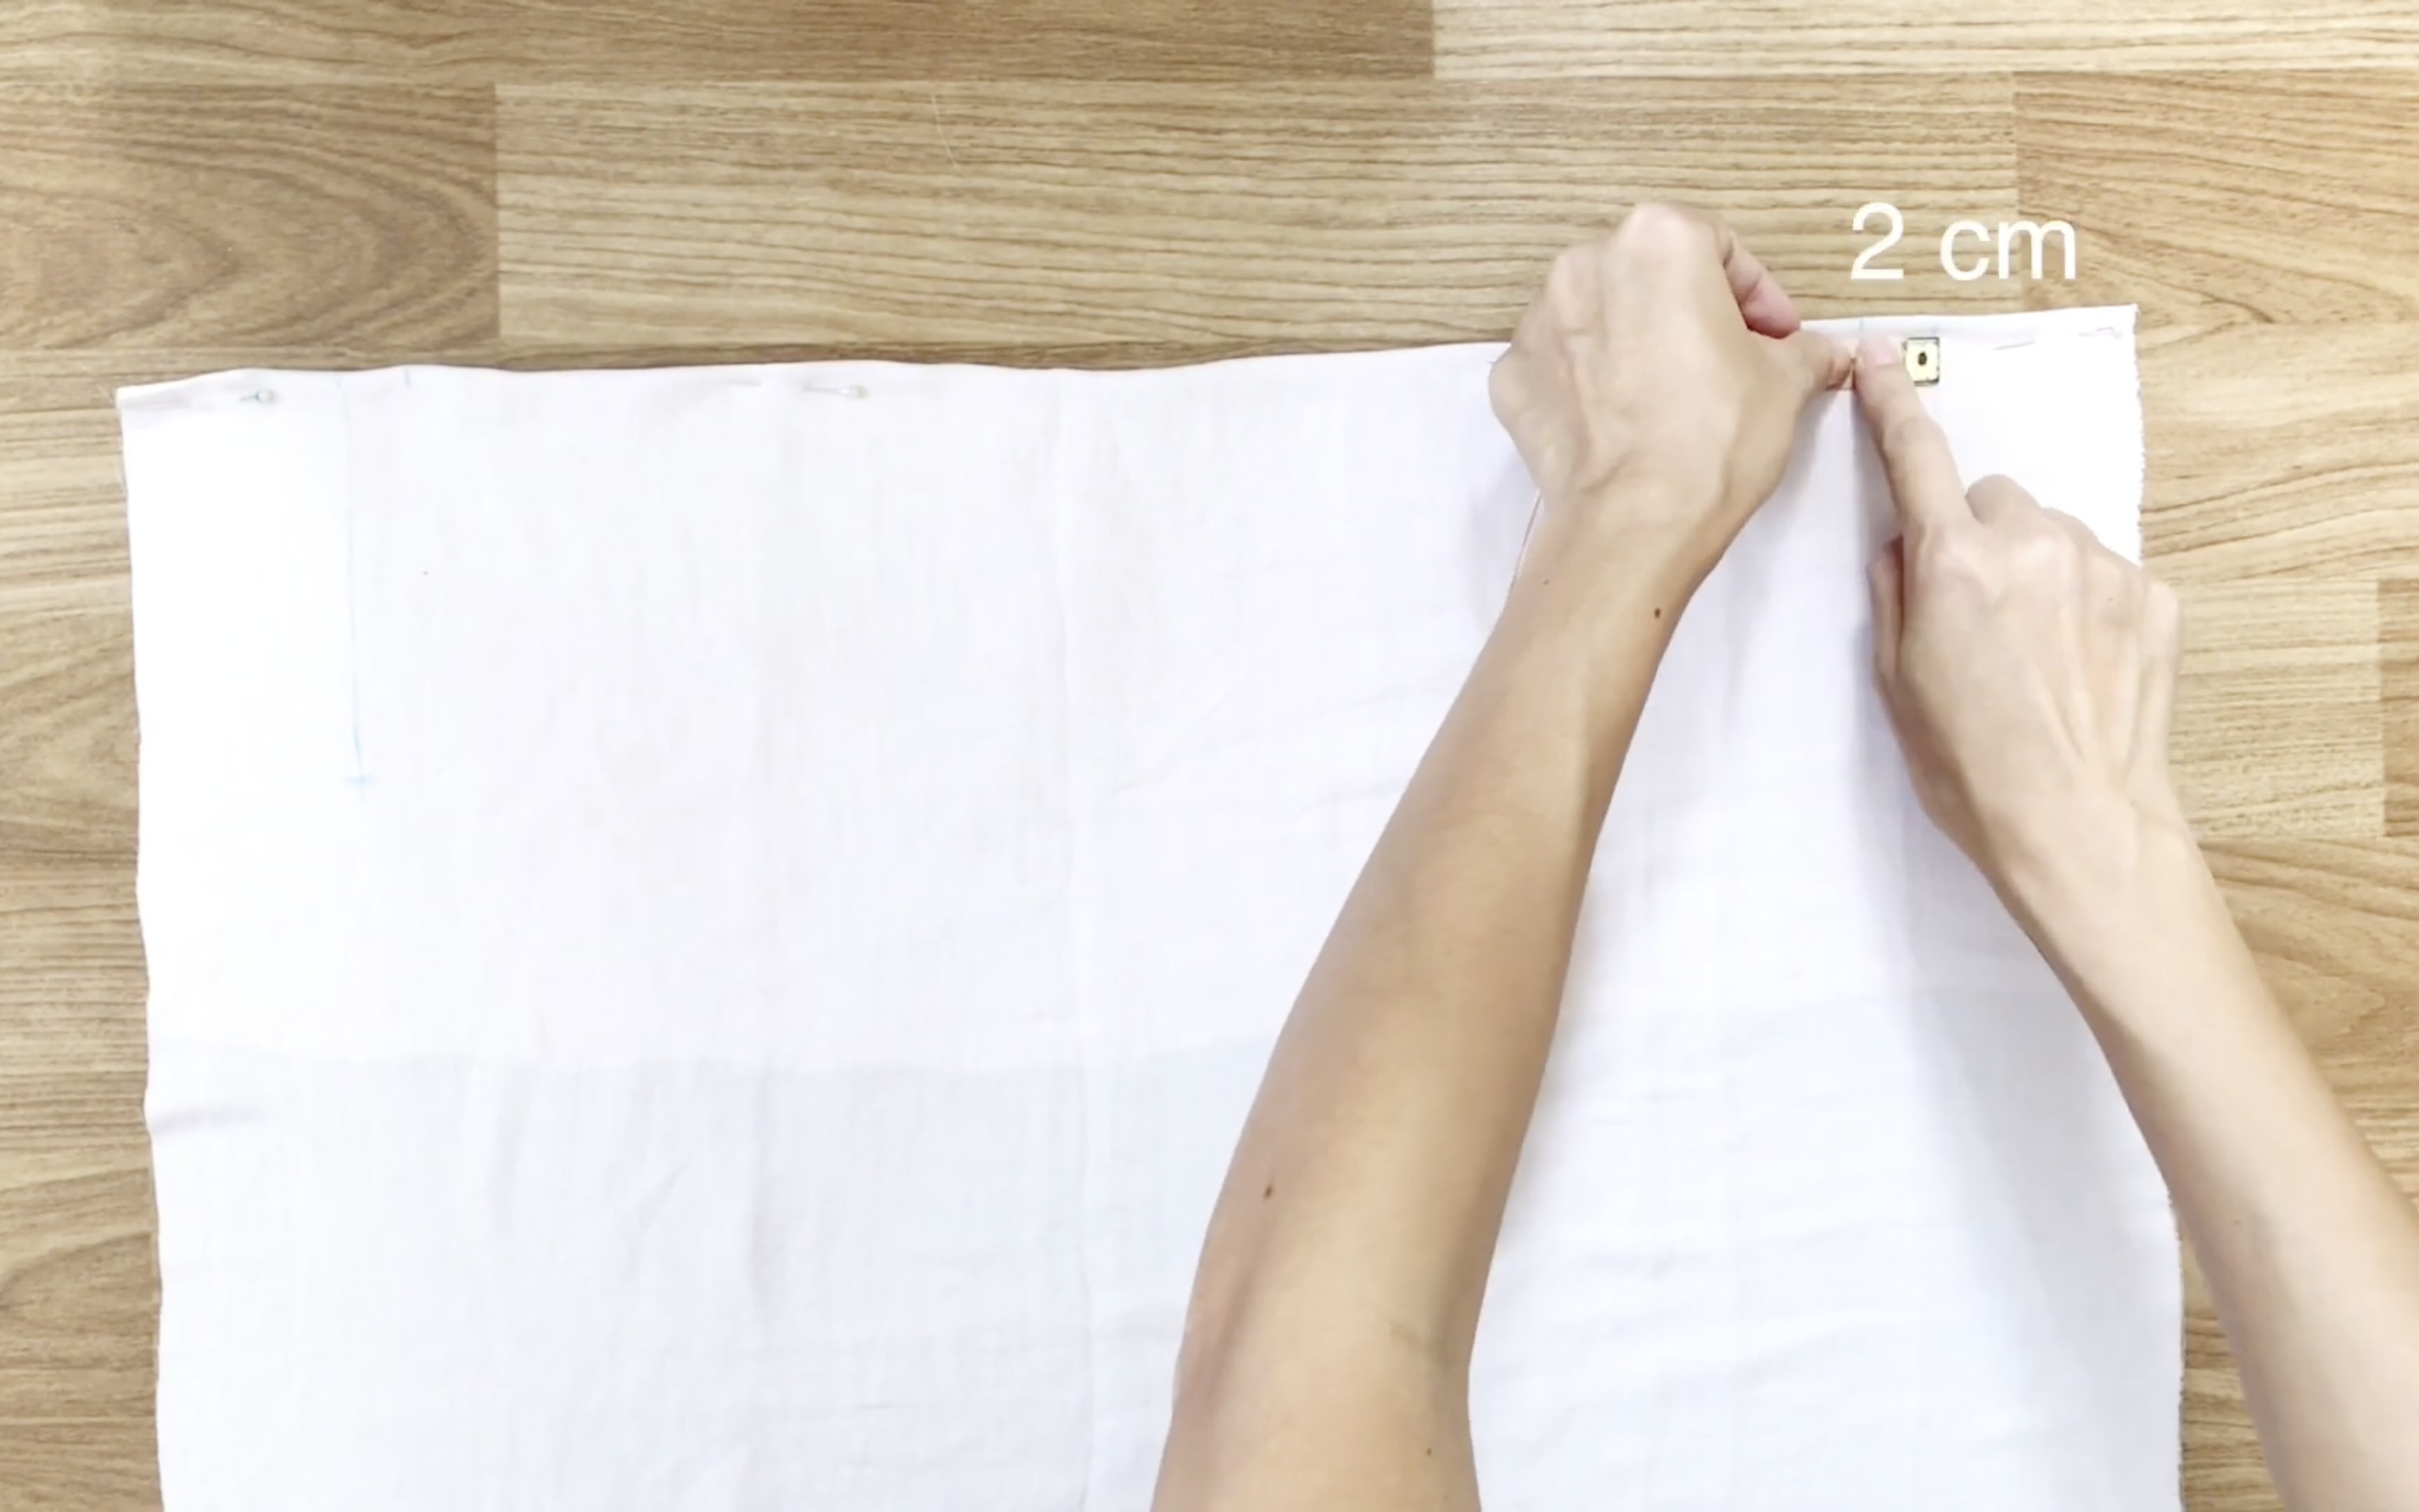
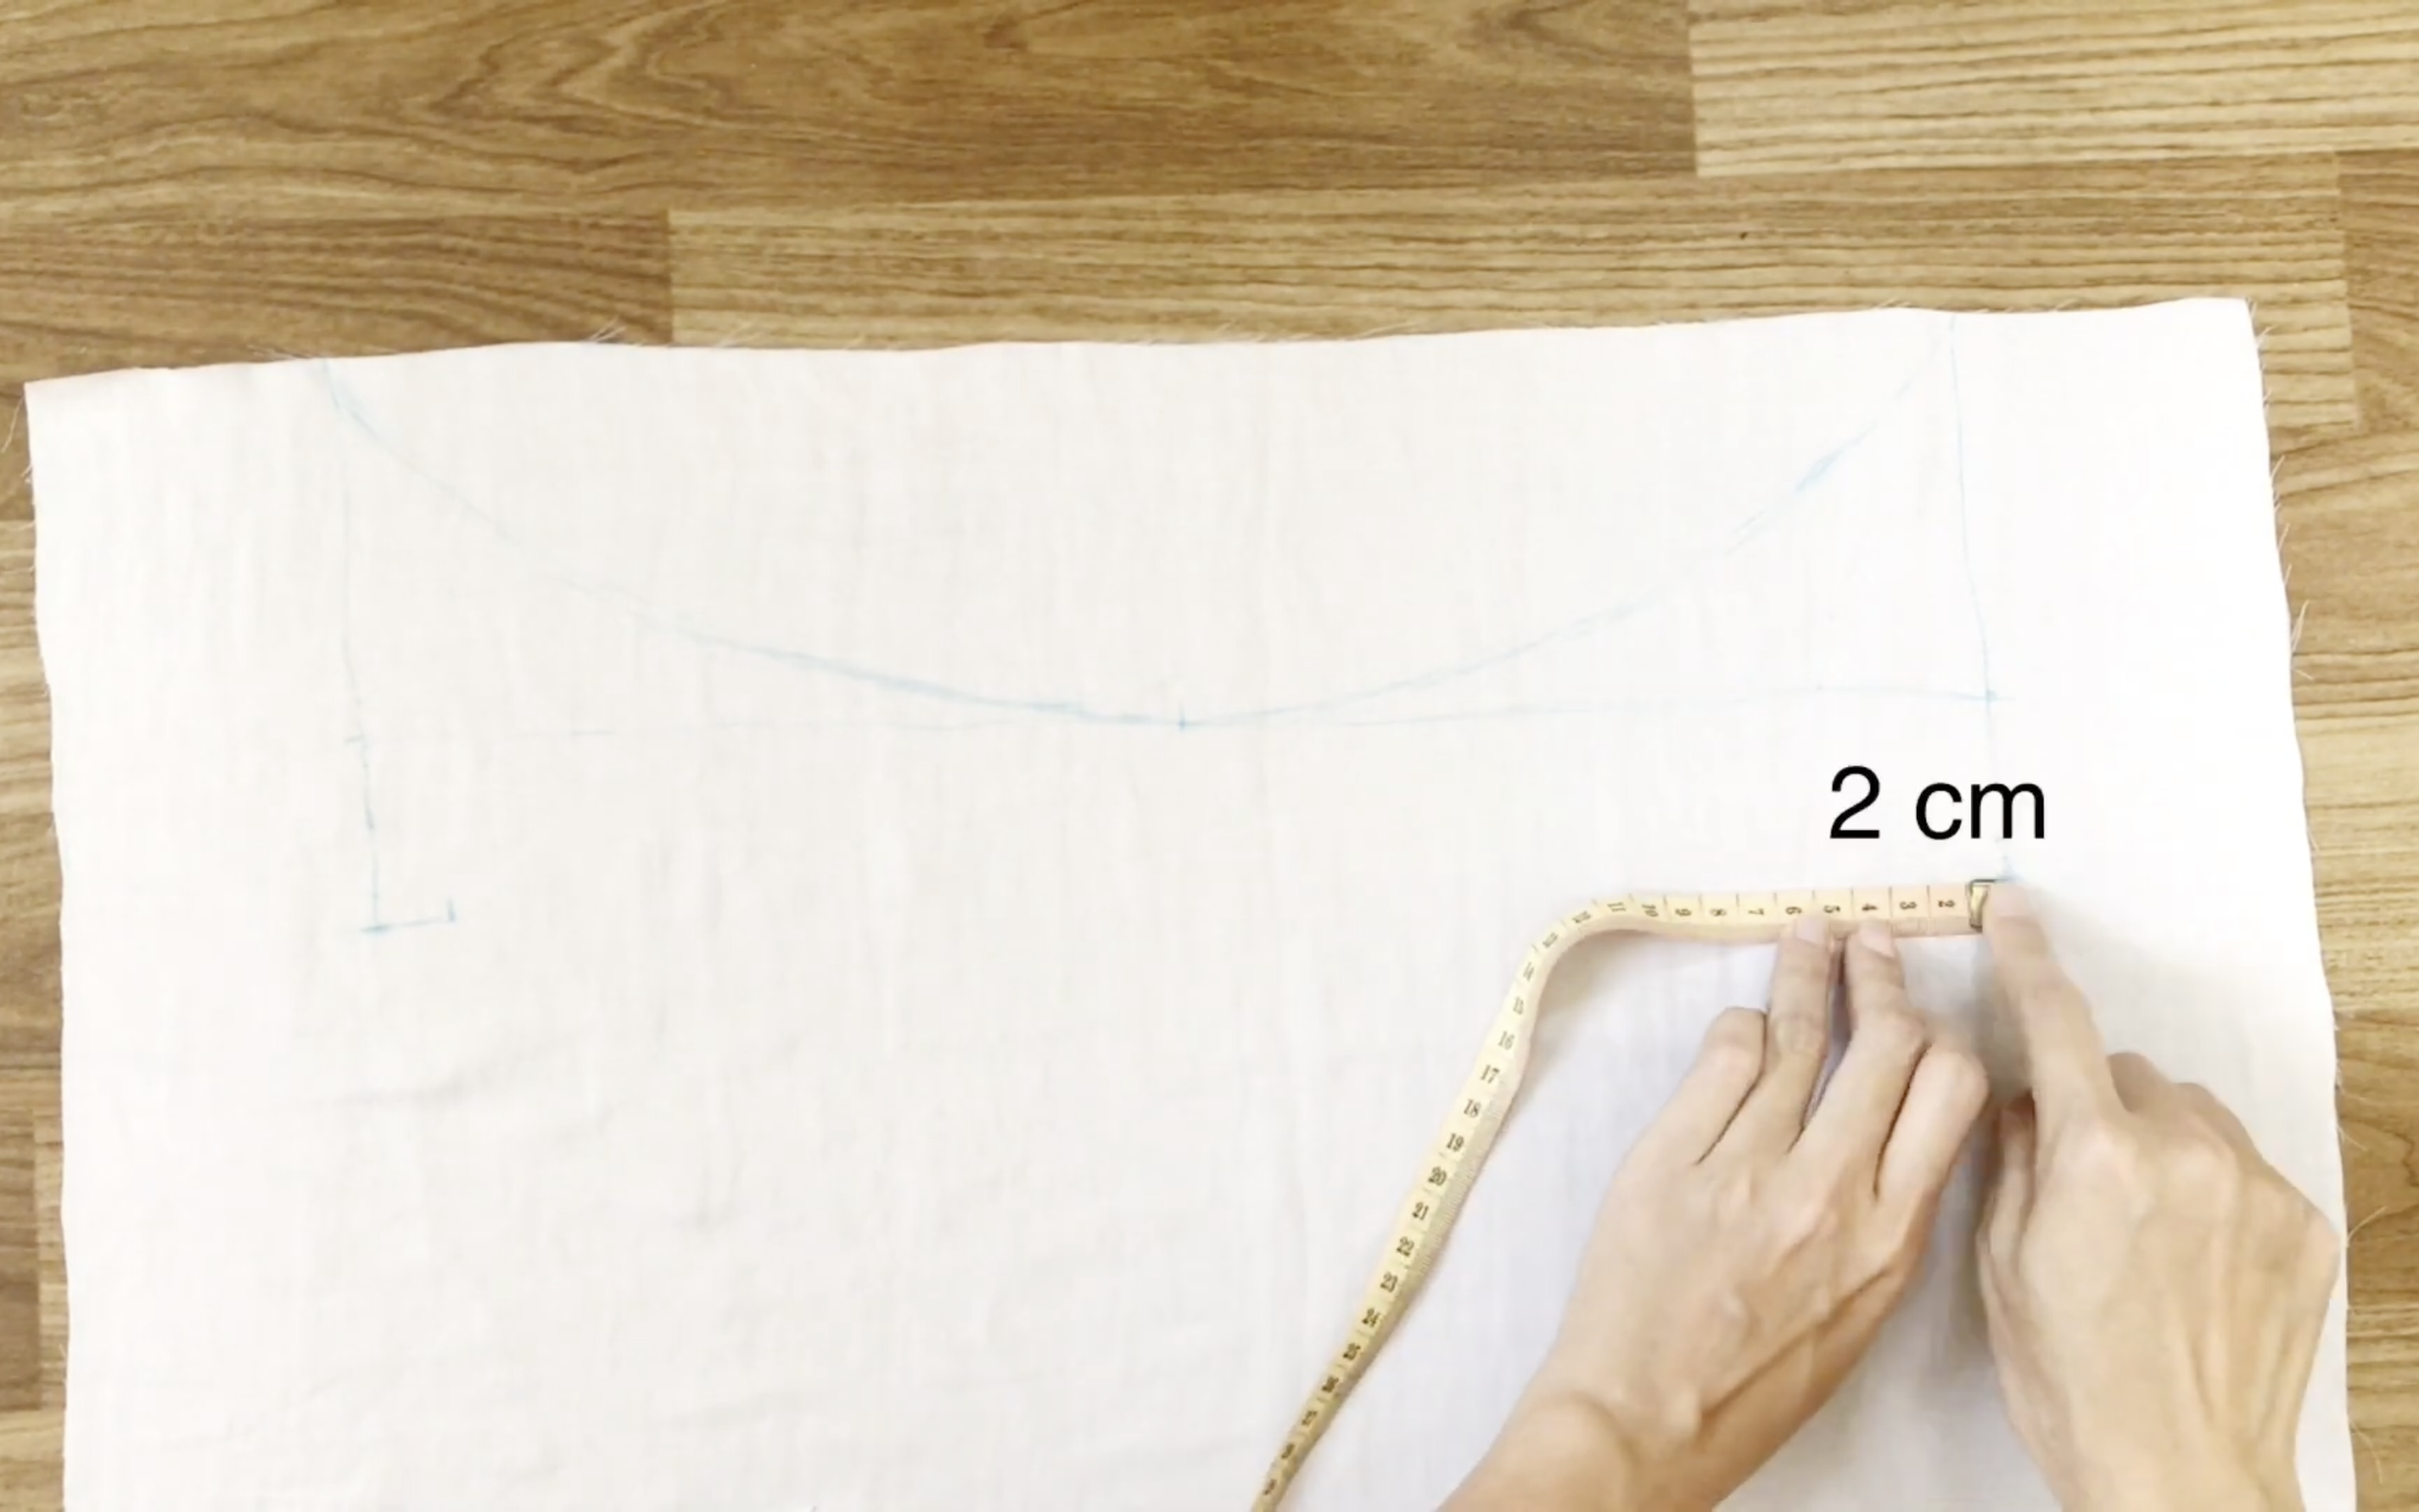
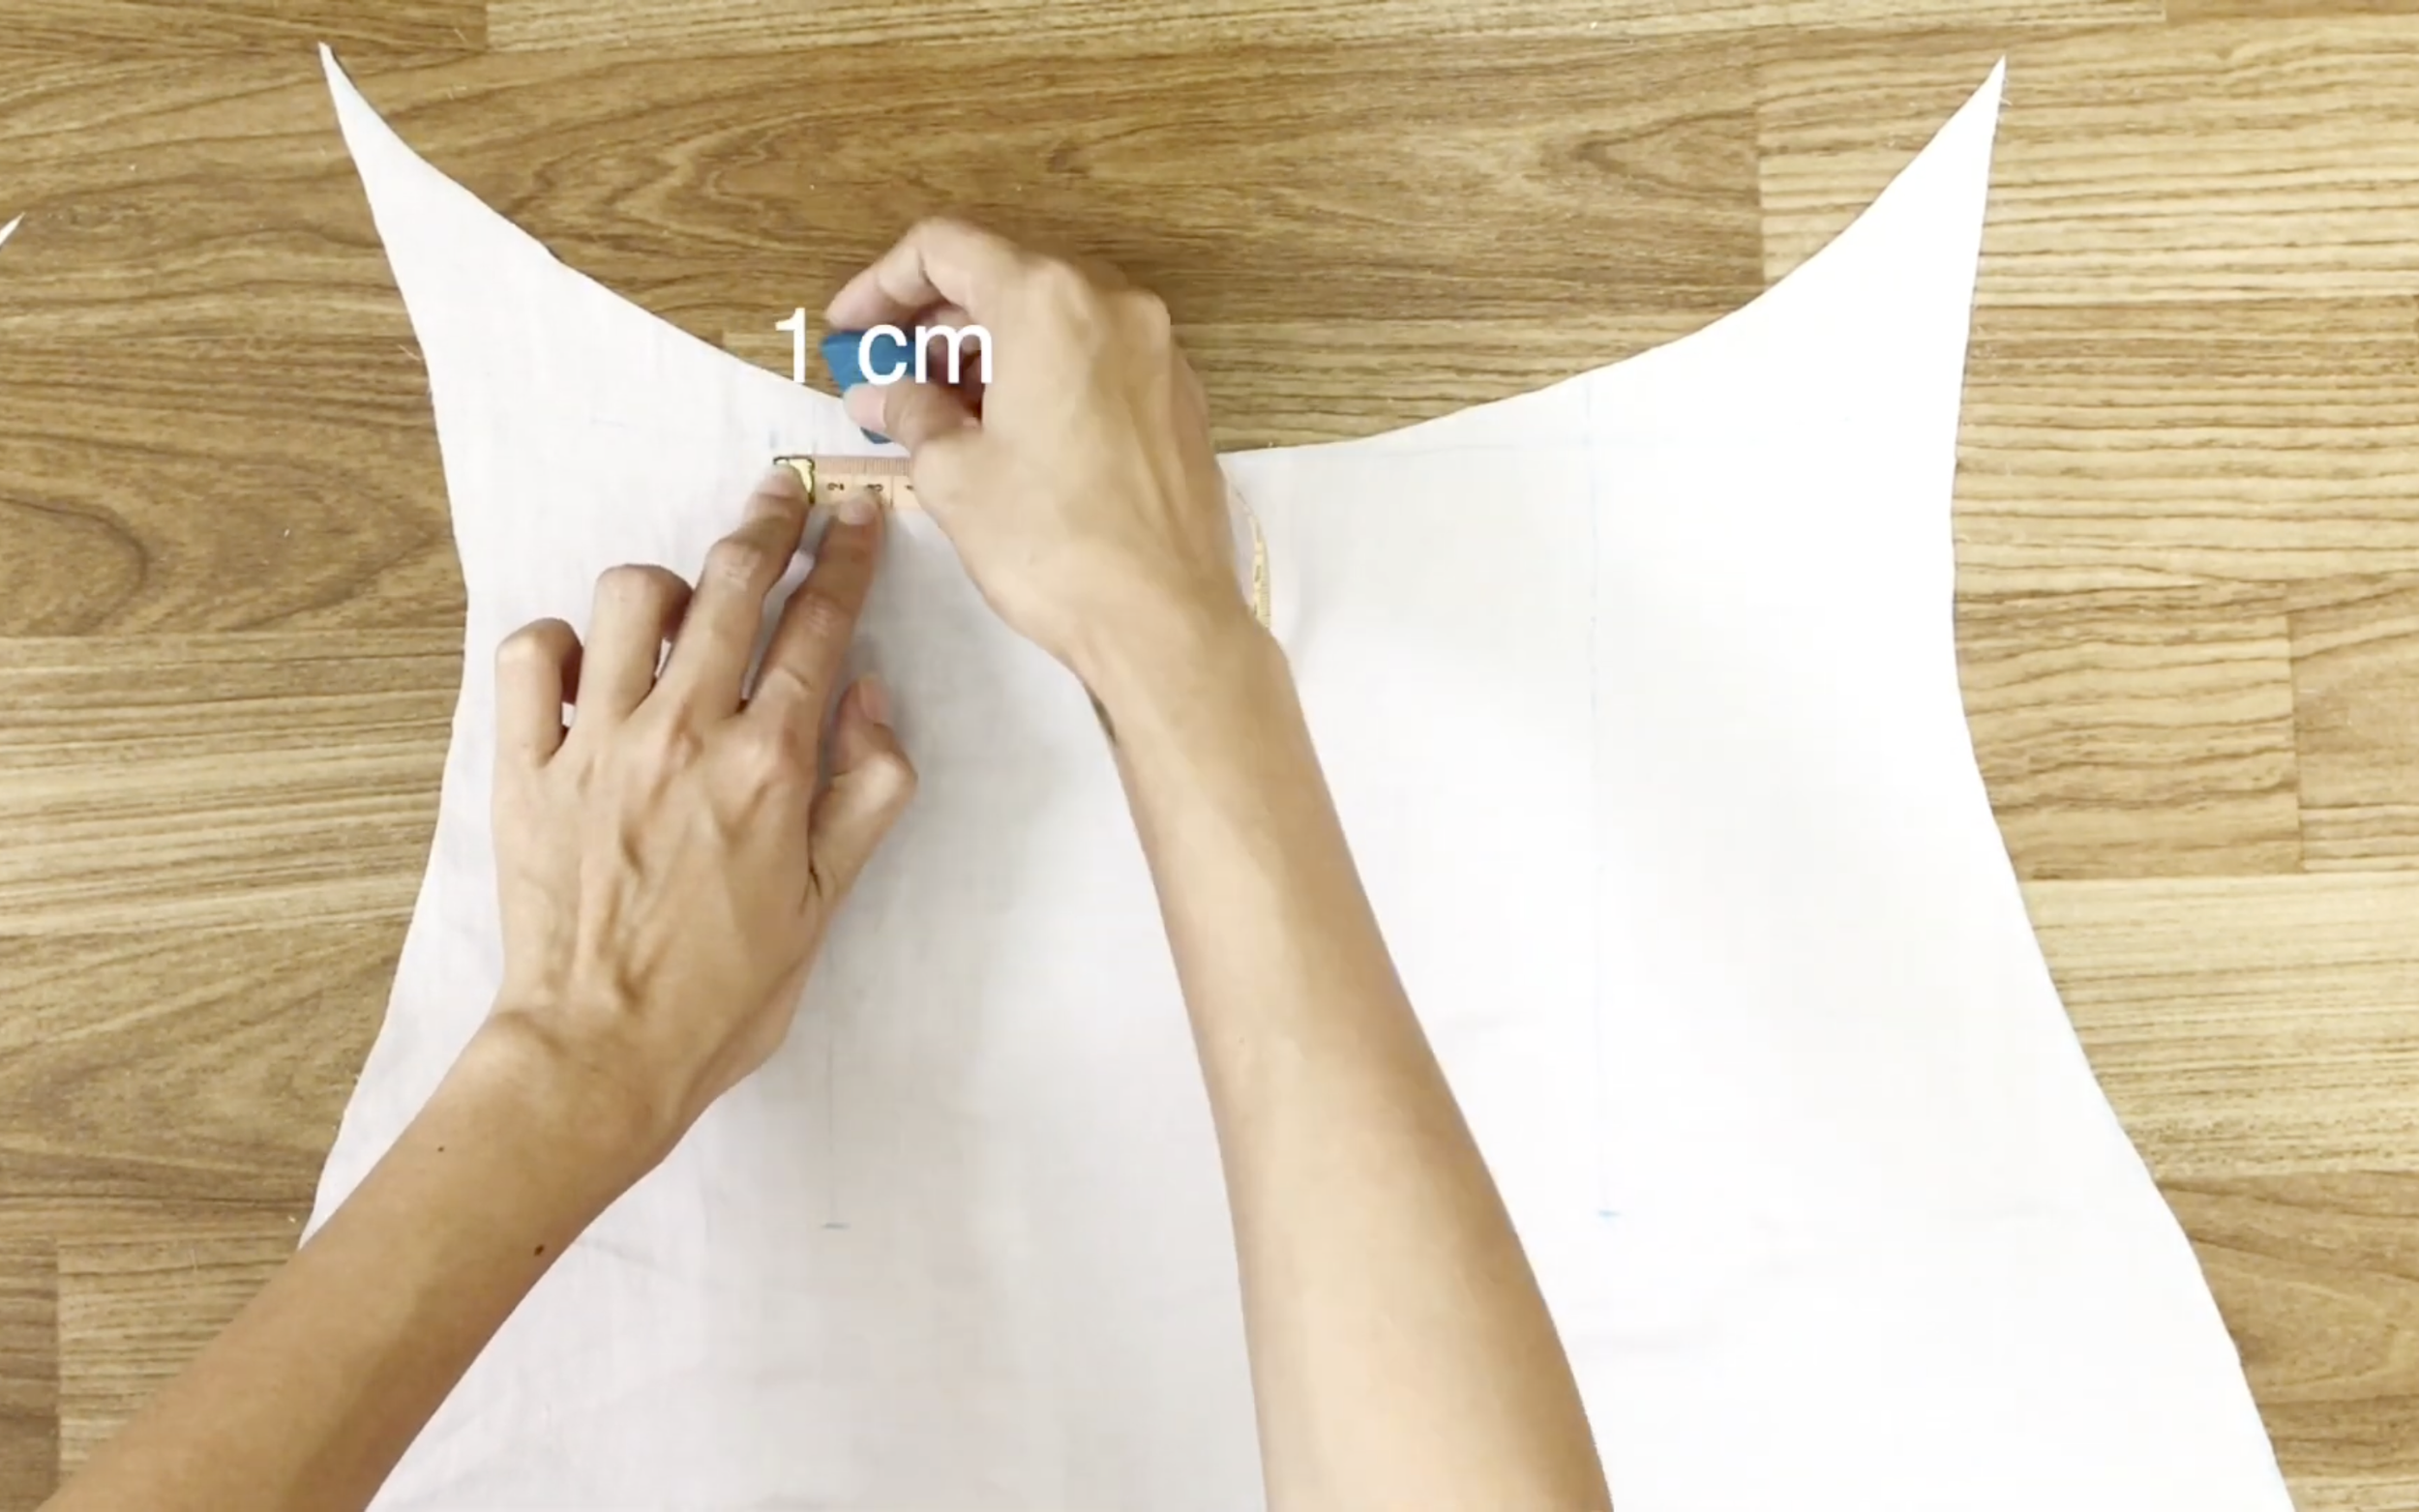
After that, make two marks 2 cm away from that line.
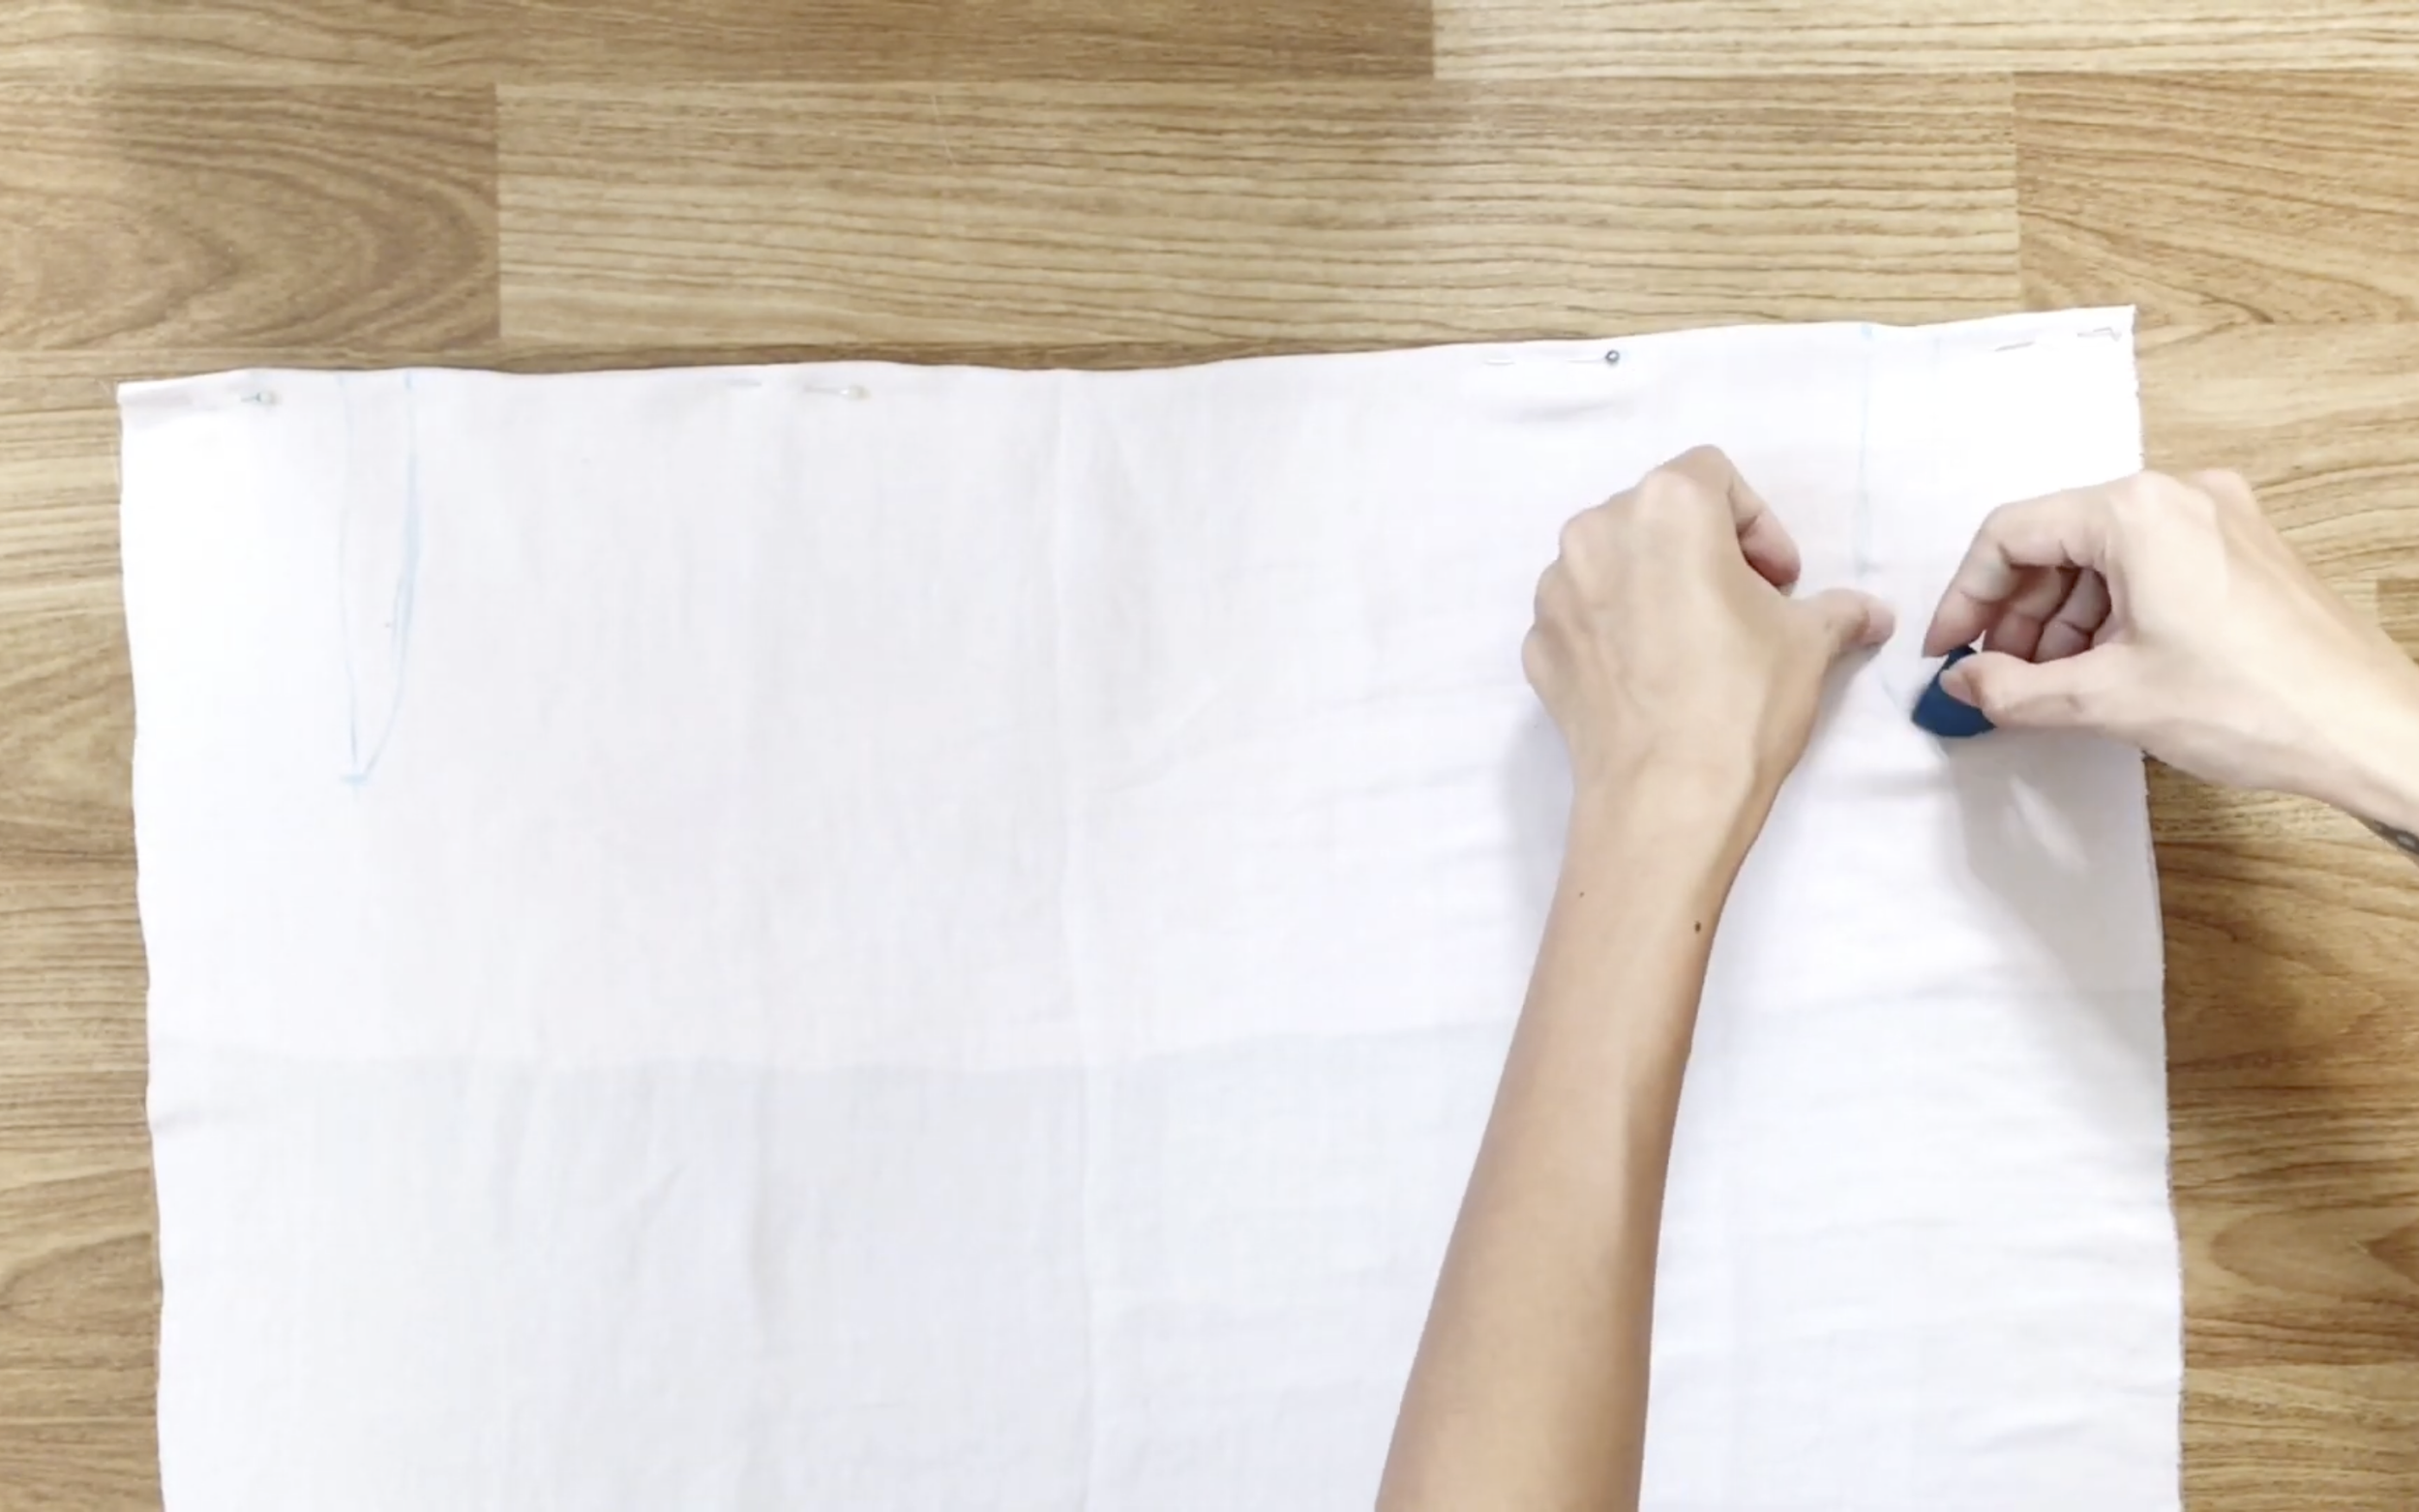
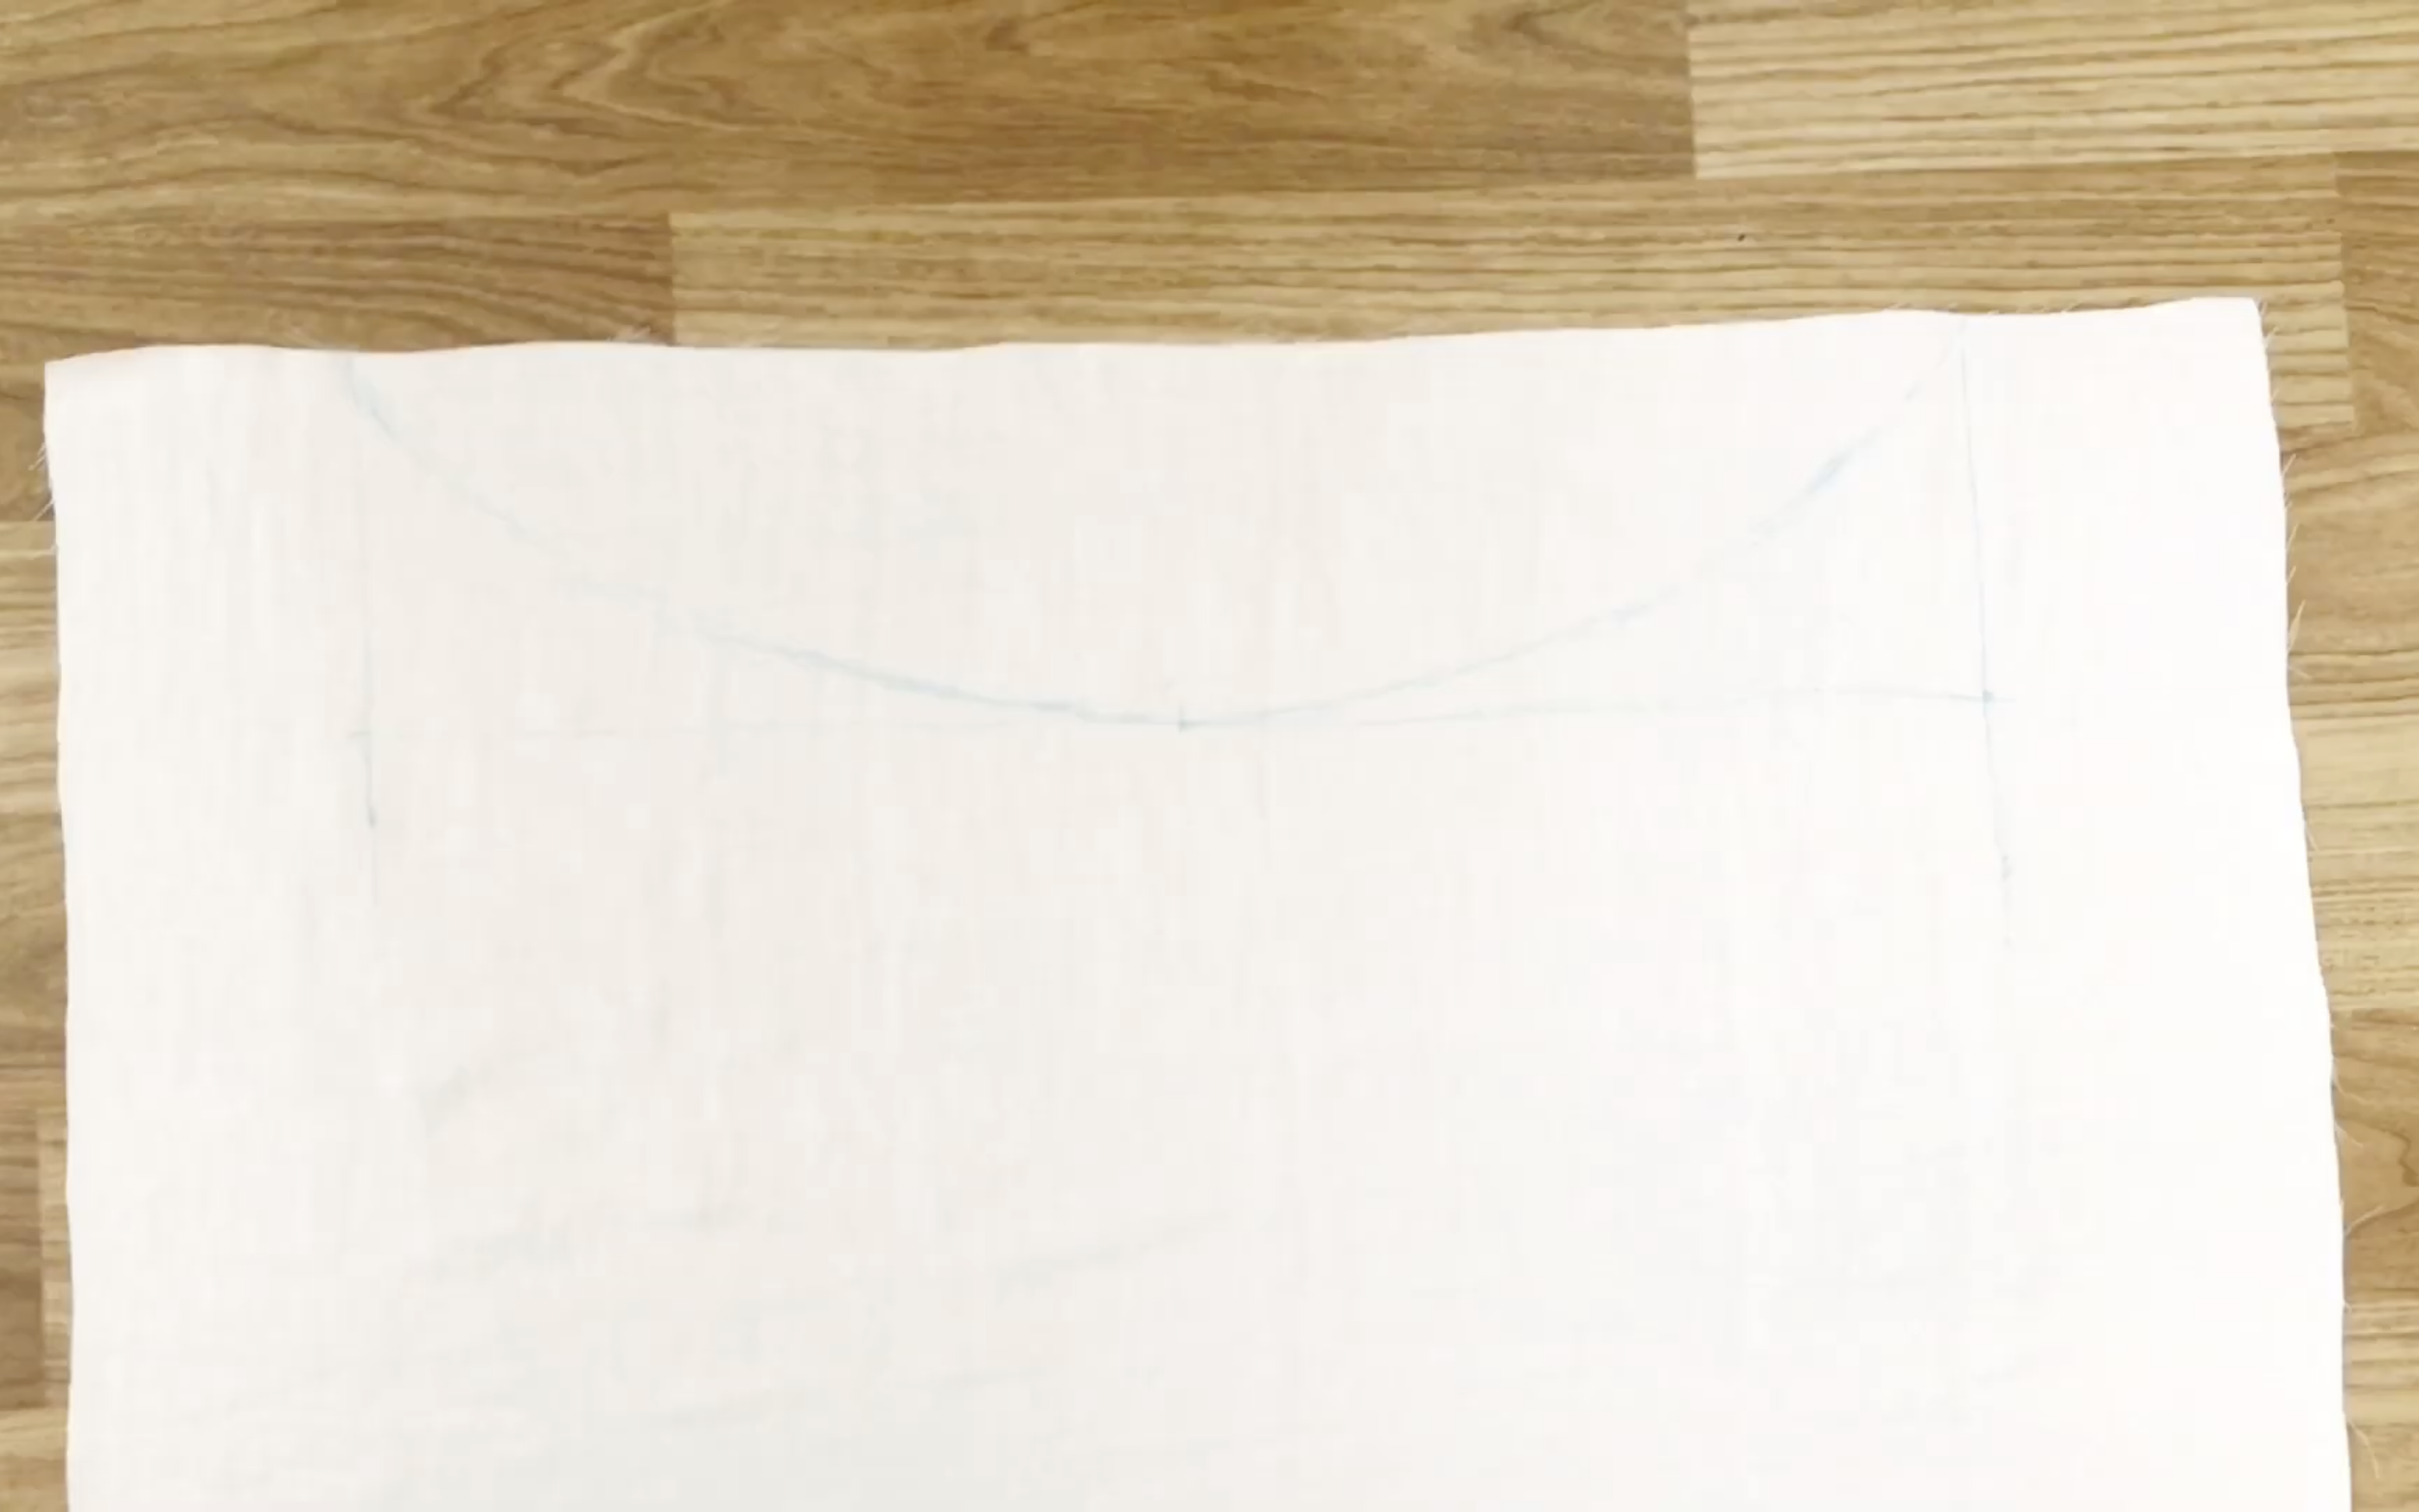
Then, draw a curved line to connect that mark to the end of the straight line.
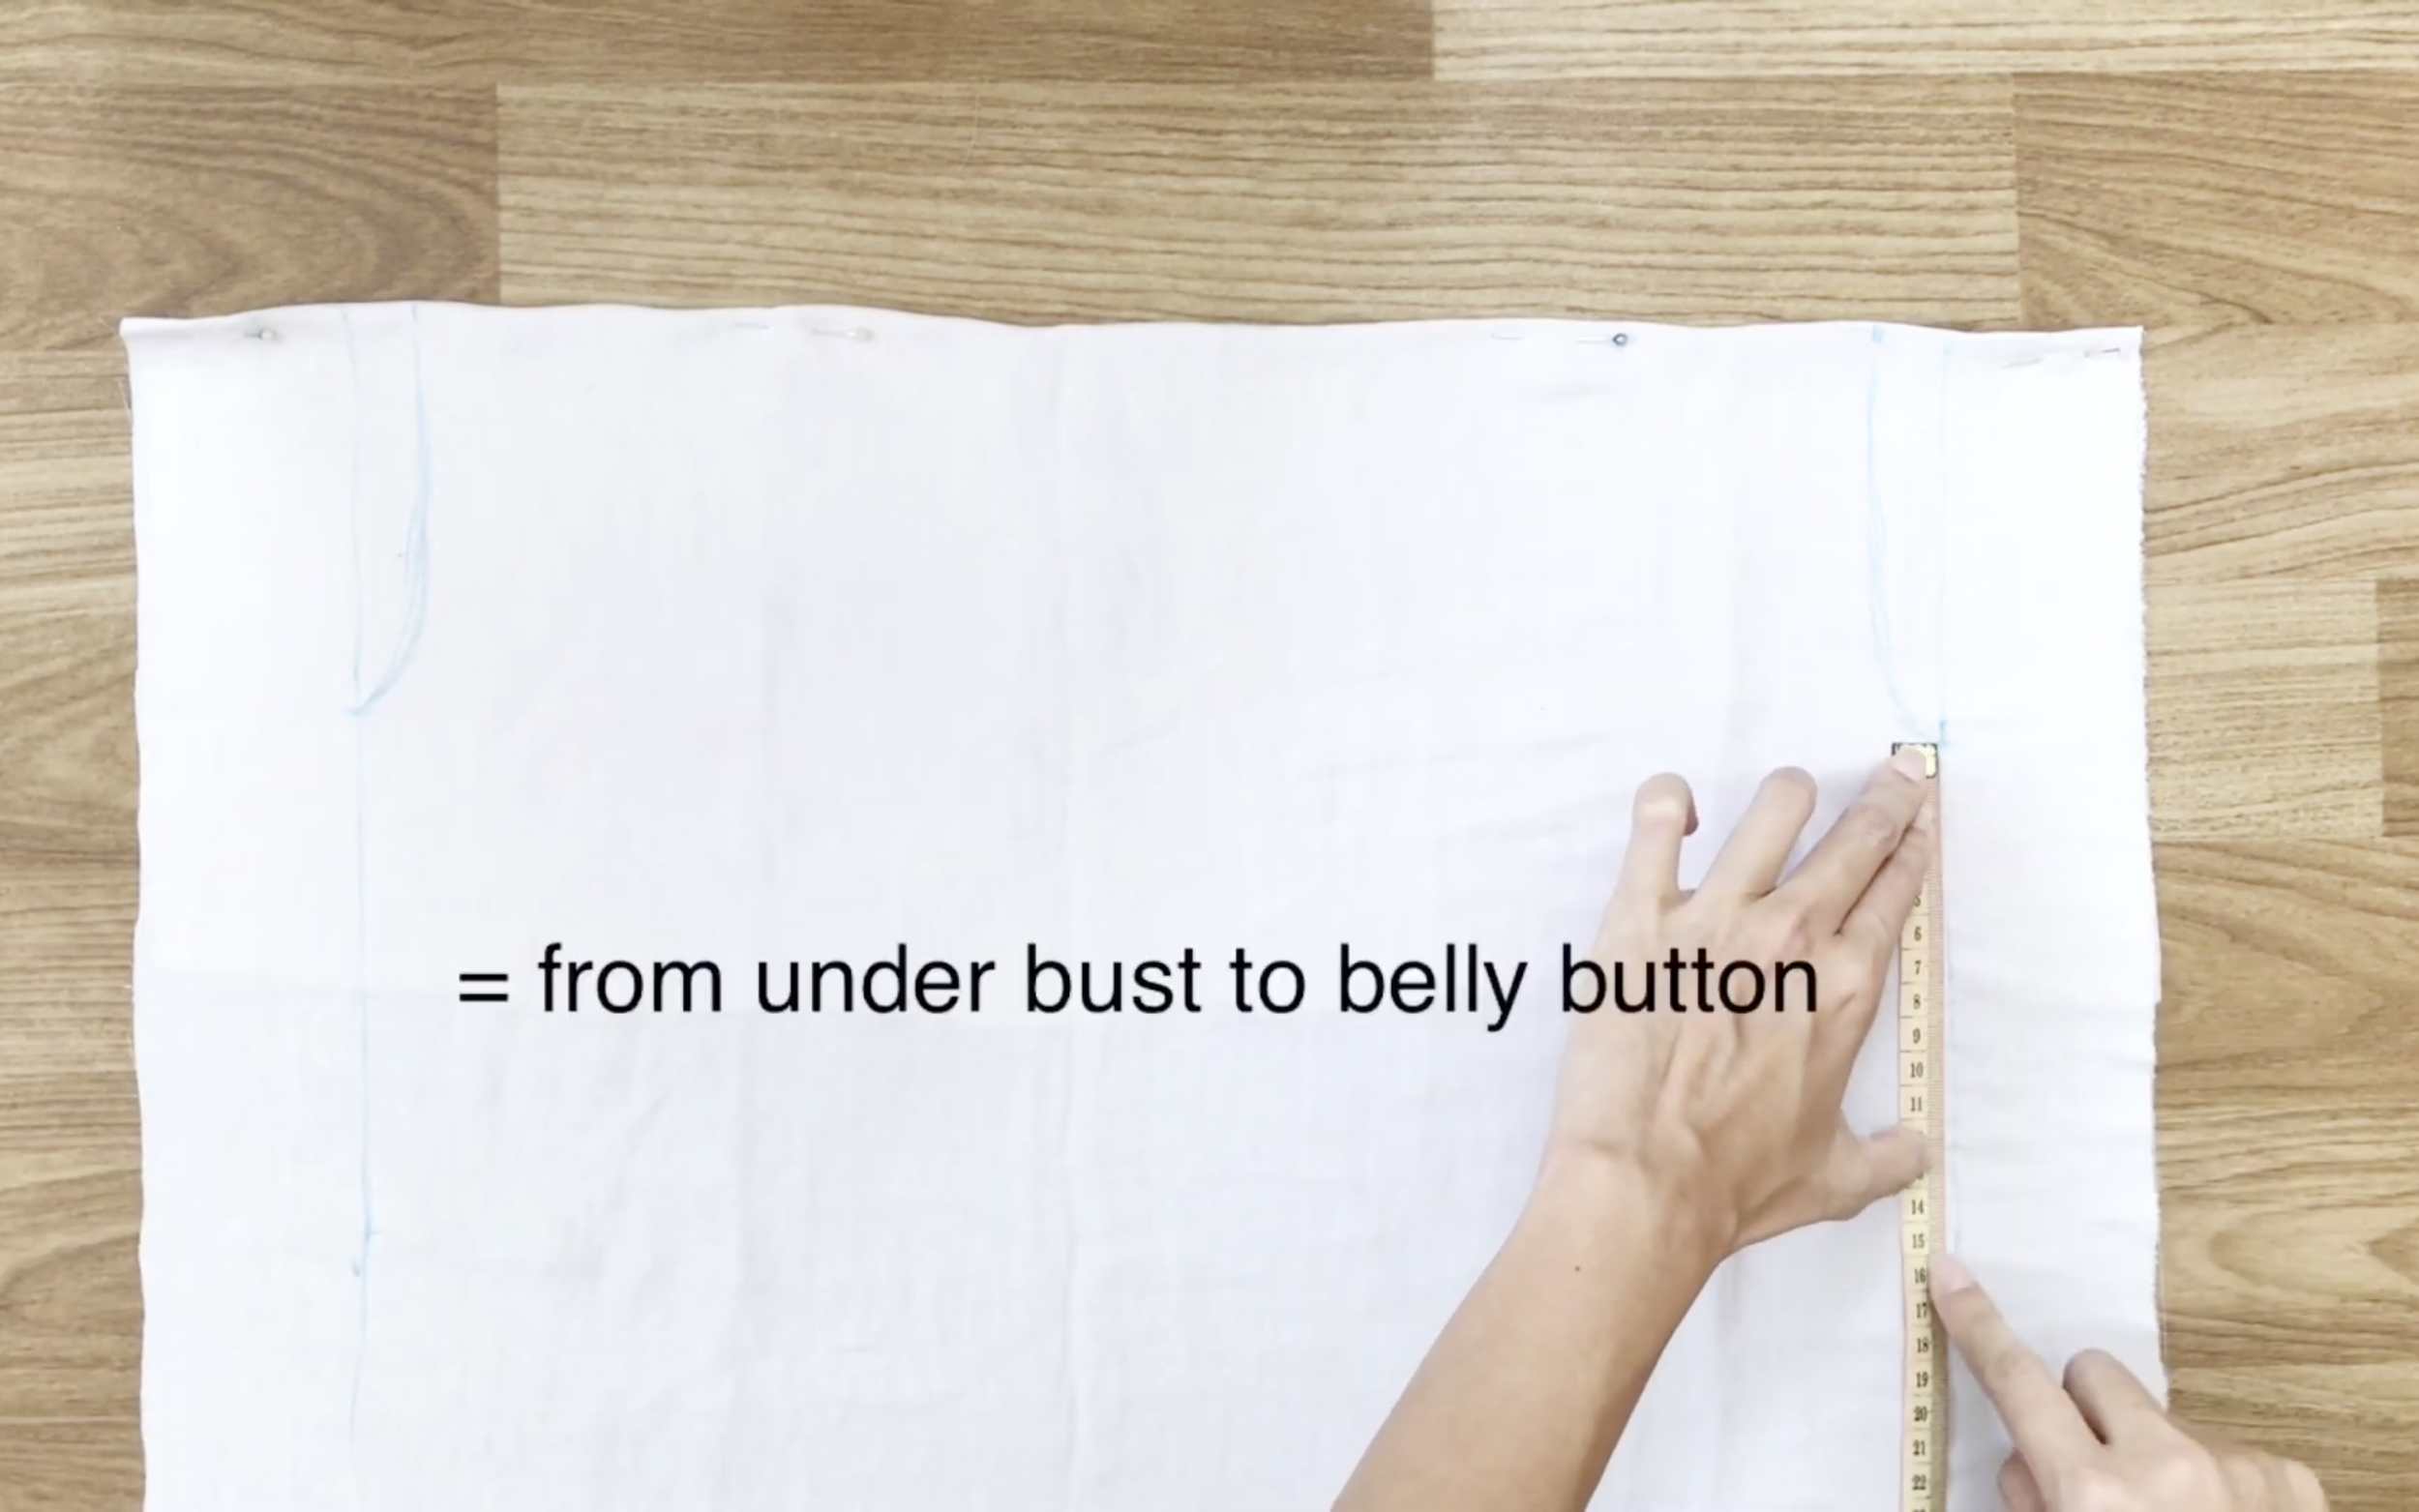
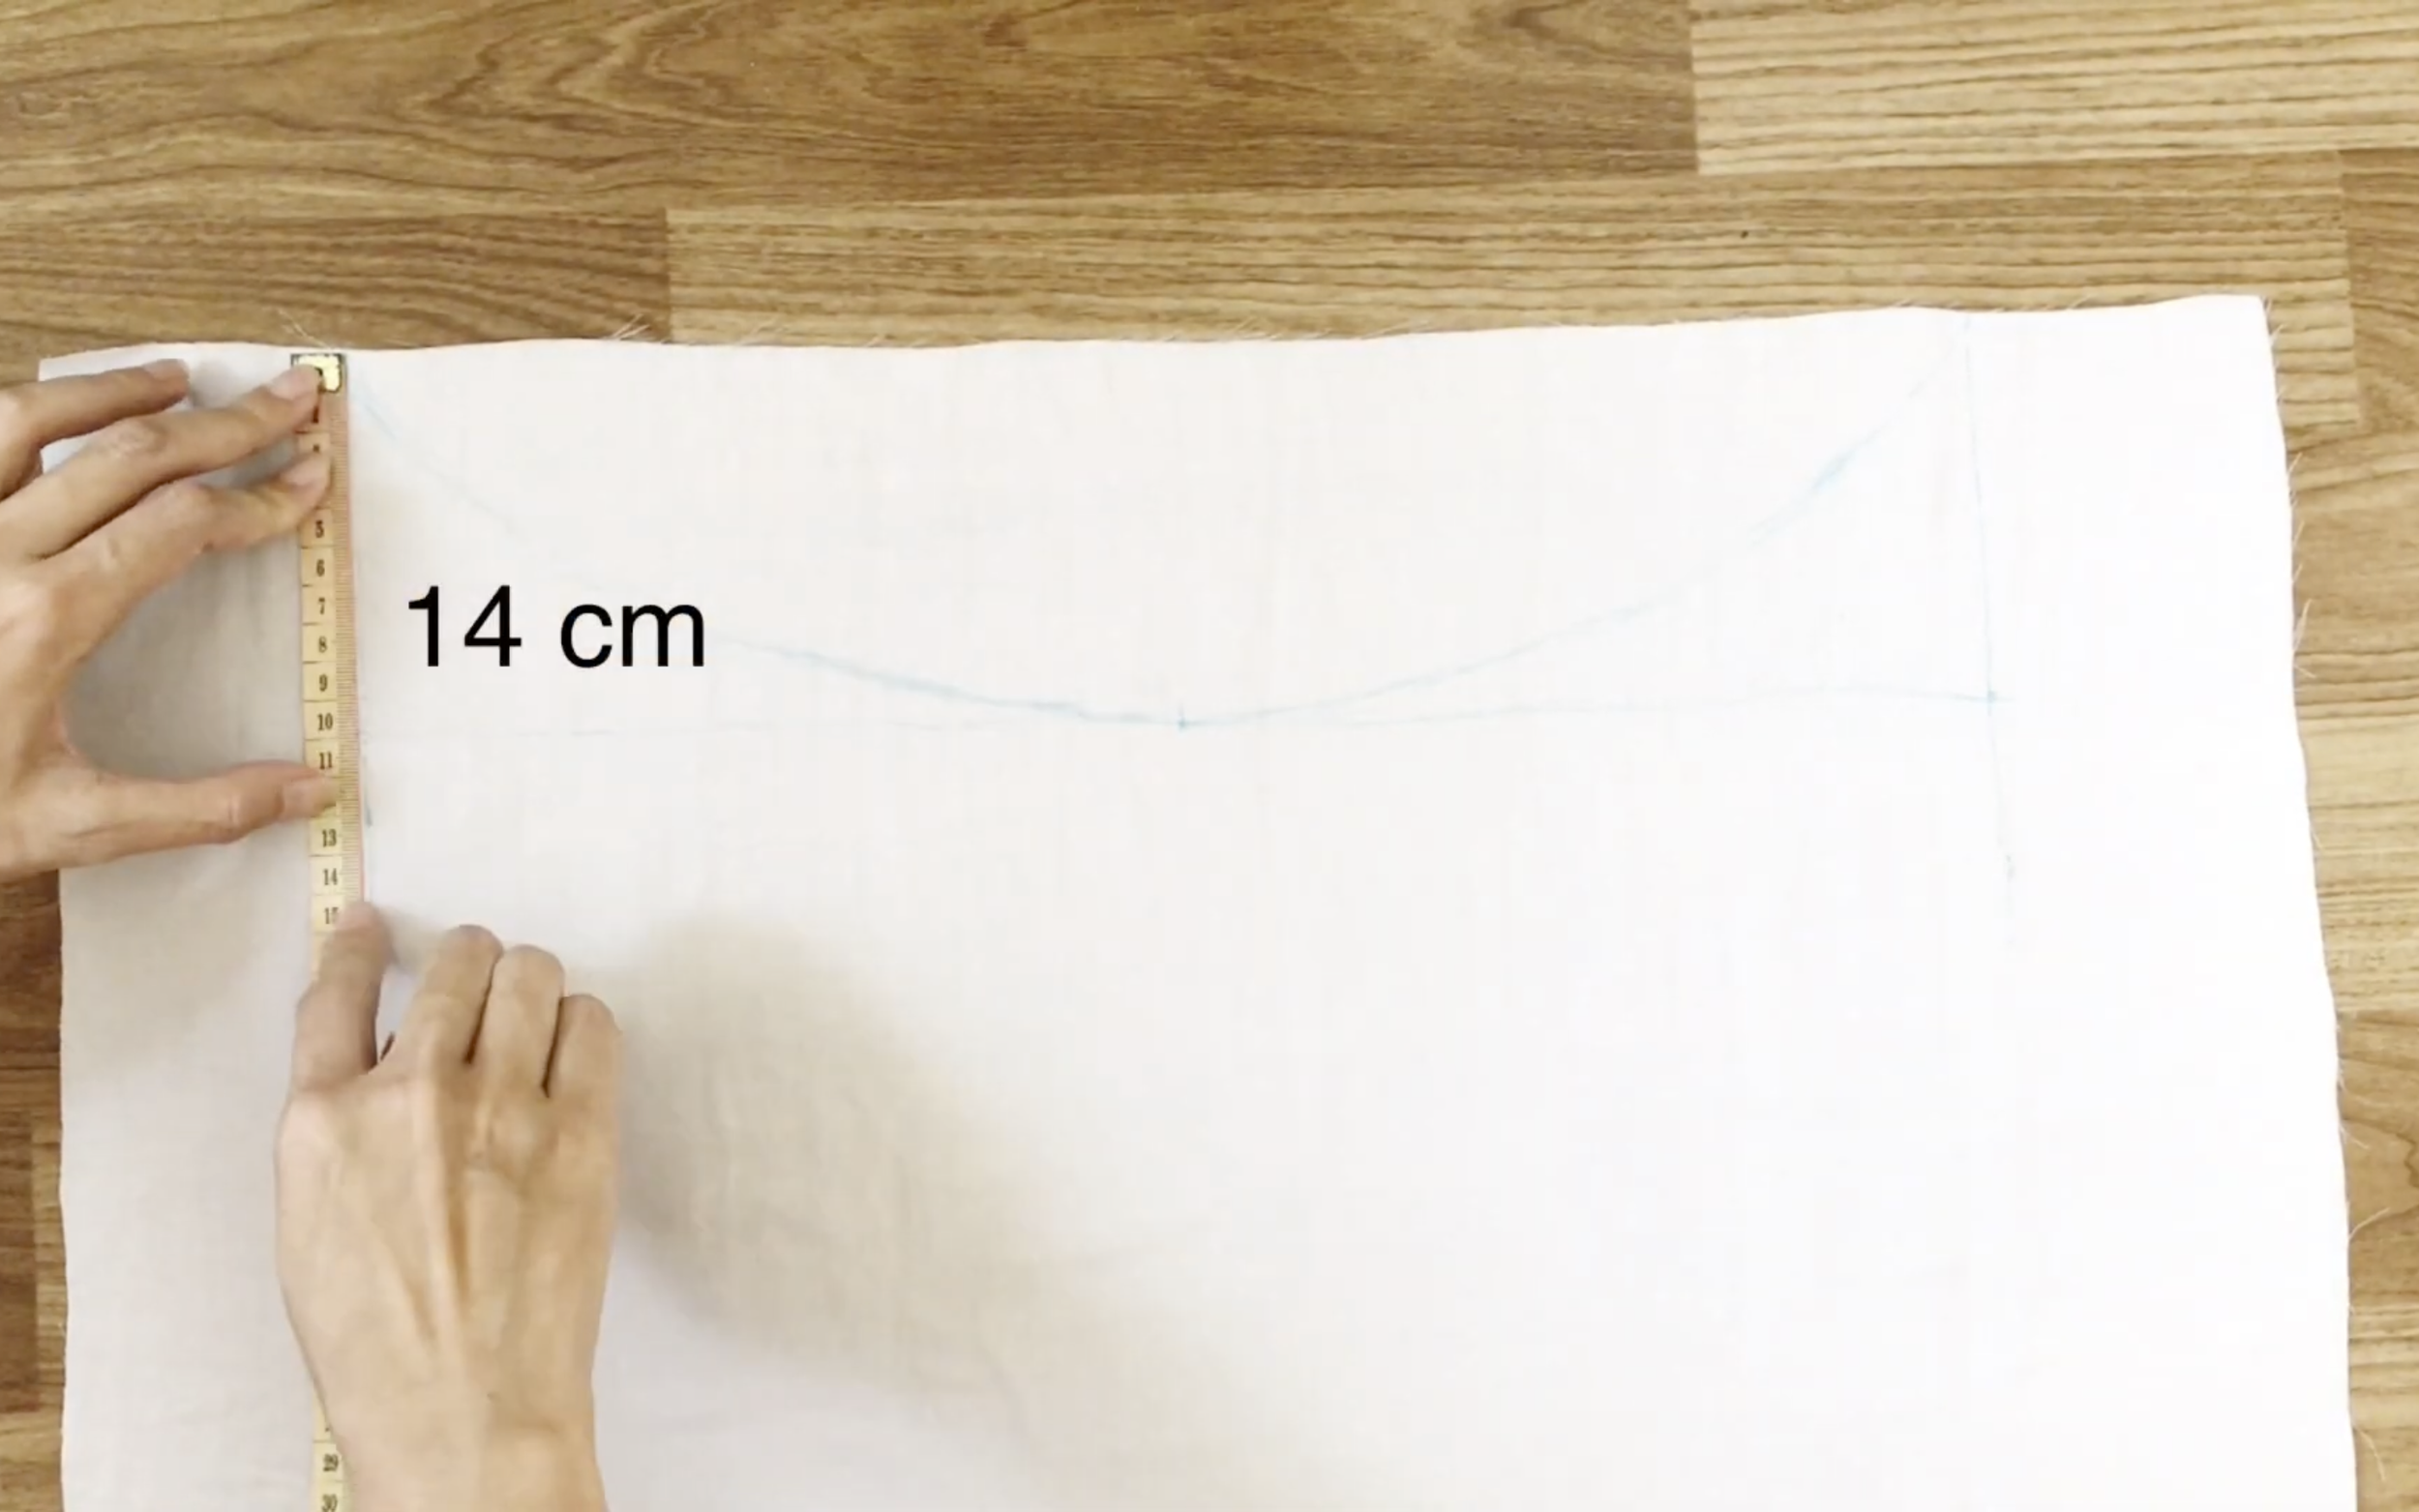
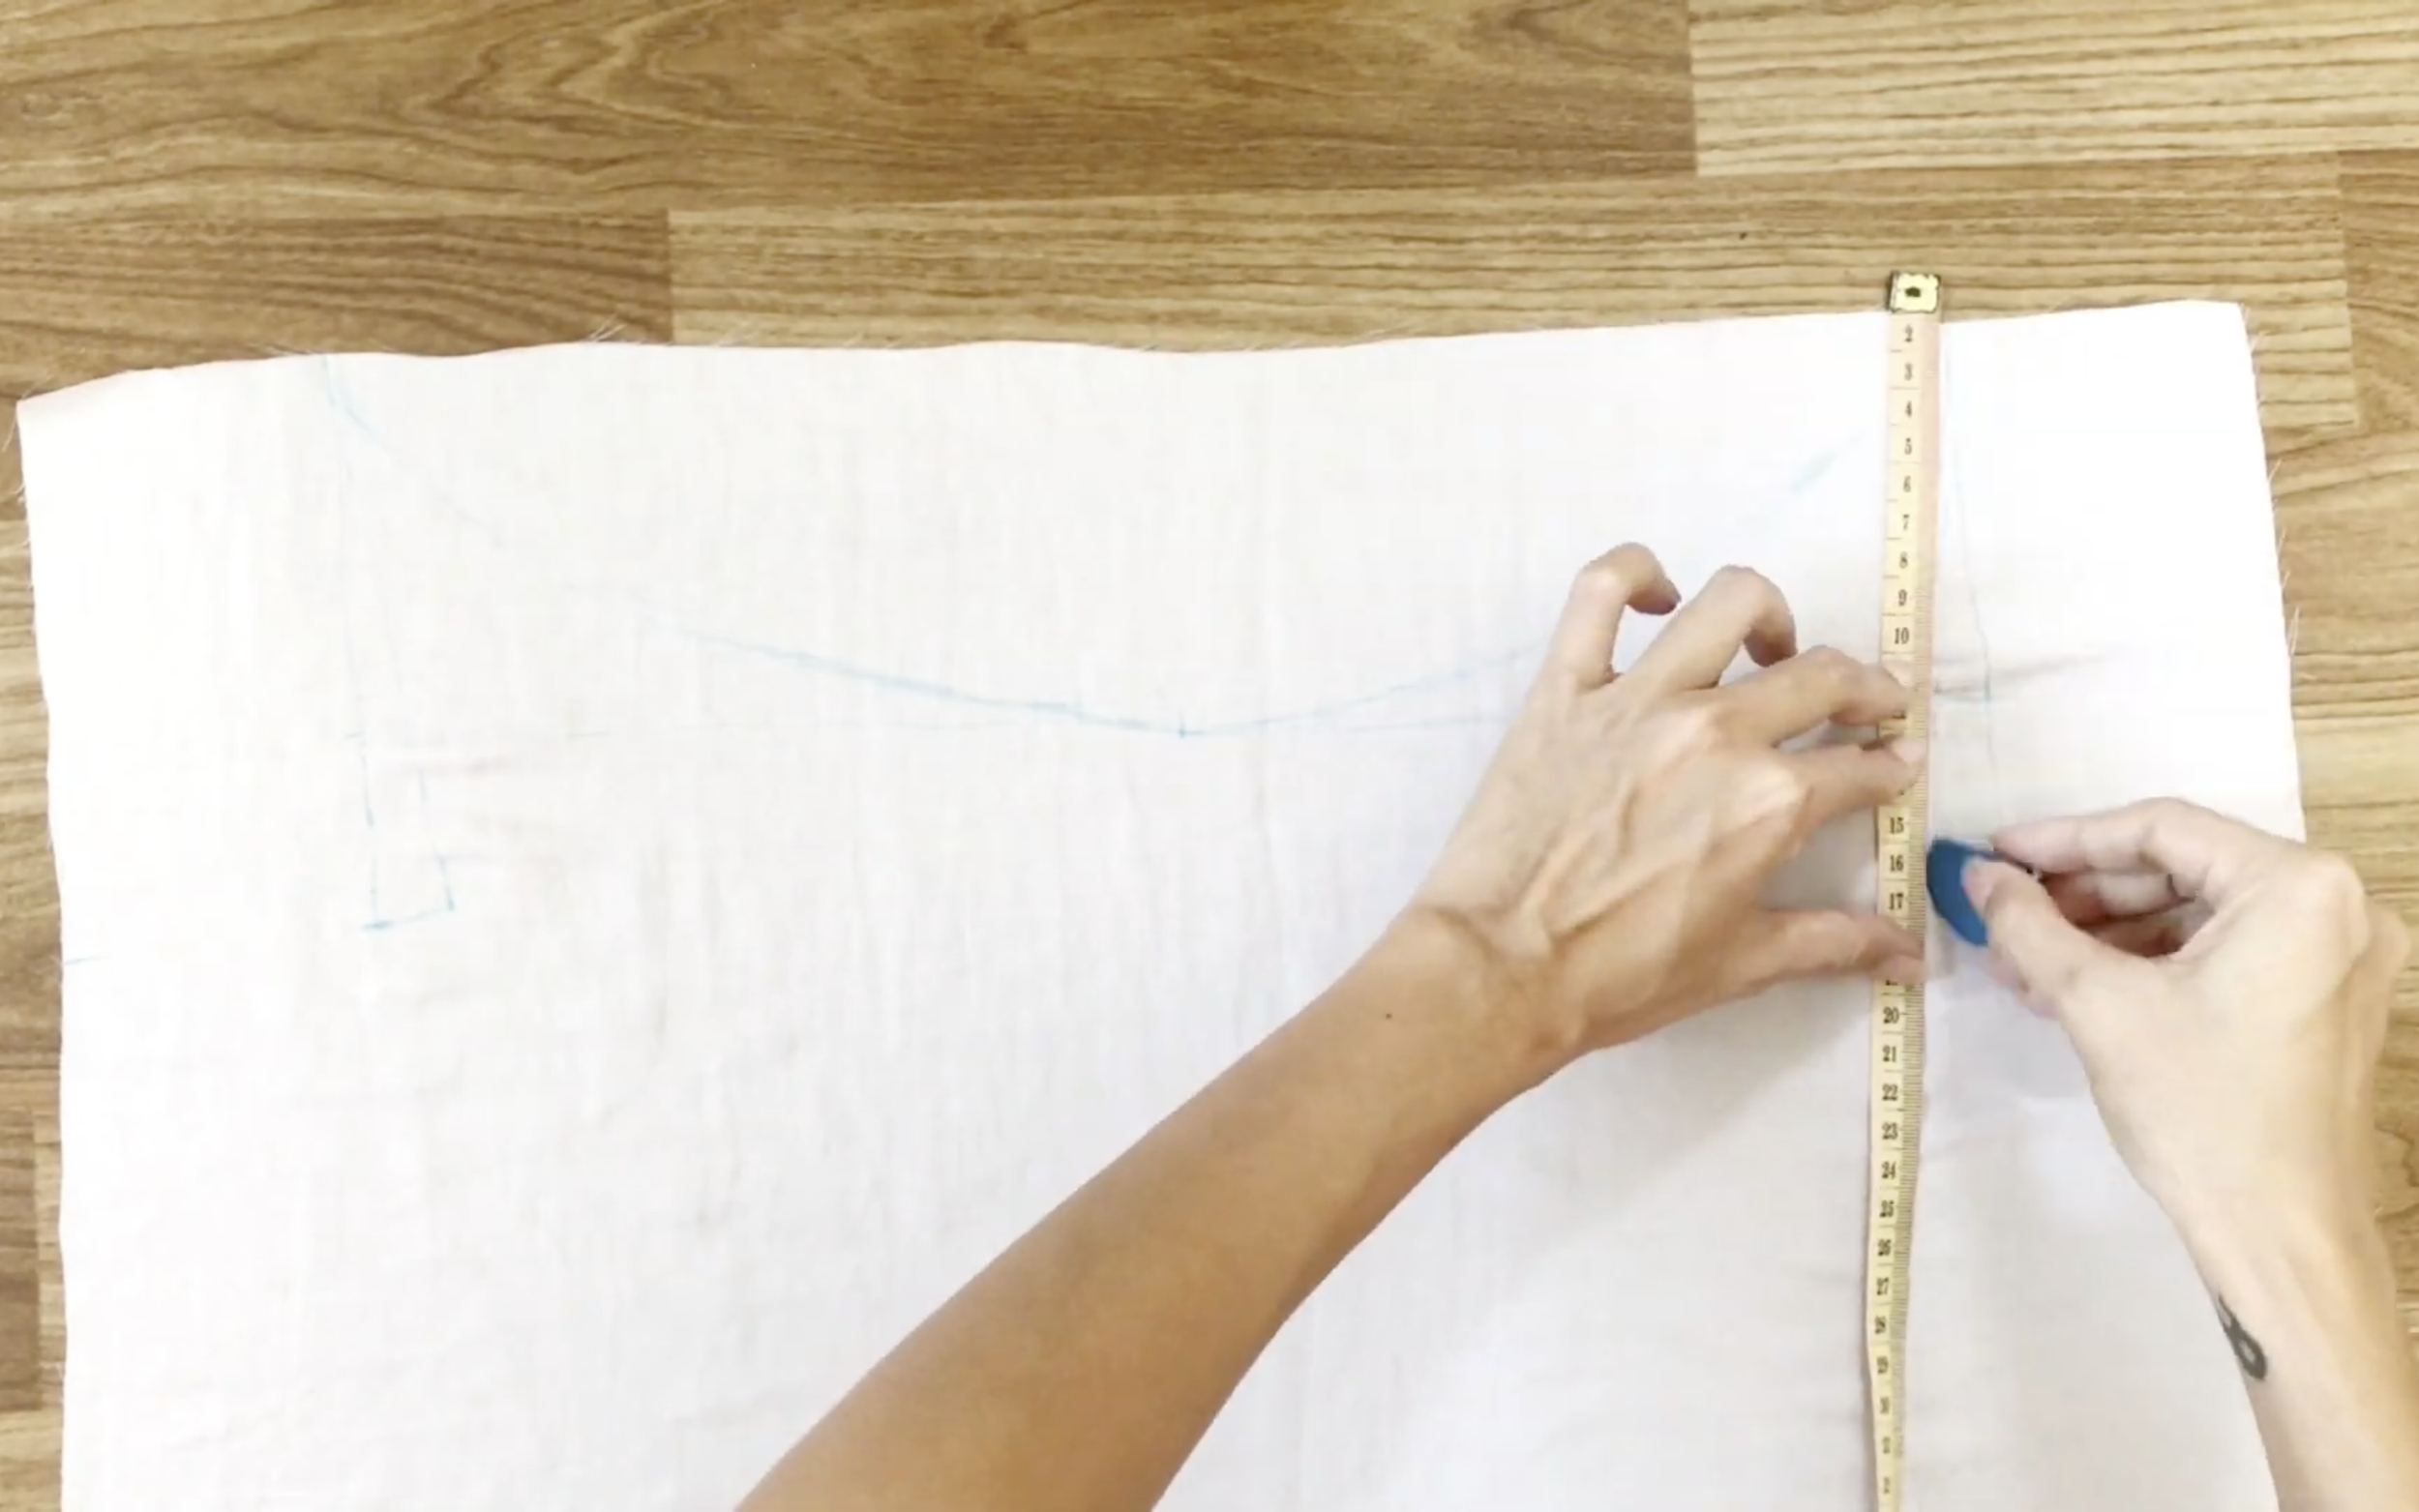
From the end of the curved line, go straight down 14 cm, which is the width from under the bust to the belly button, and mark there.
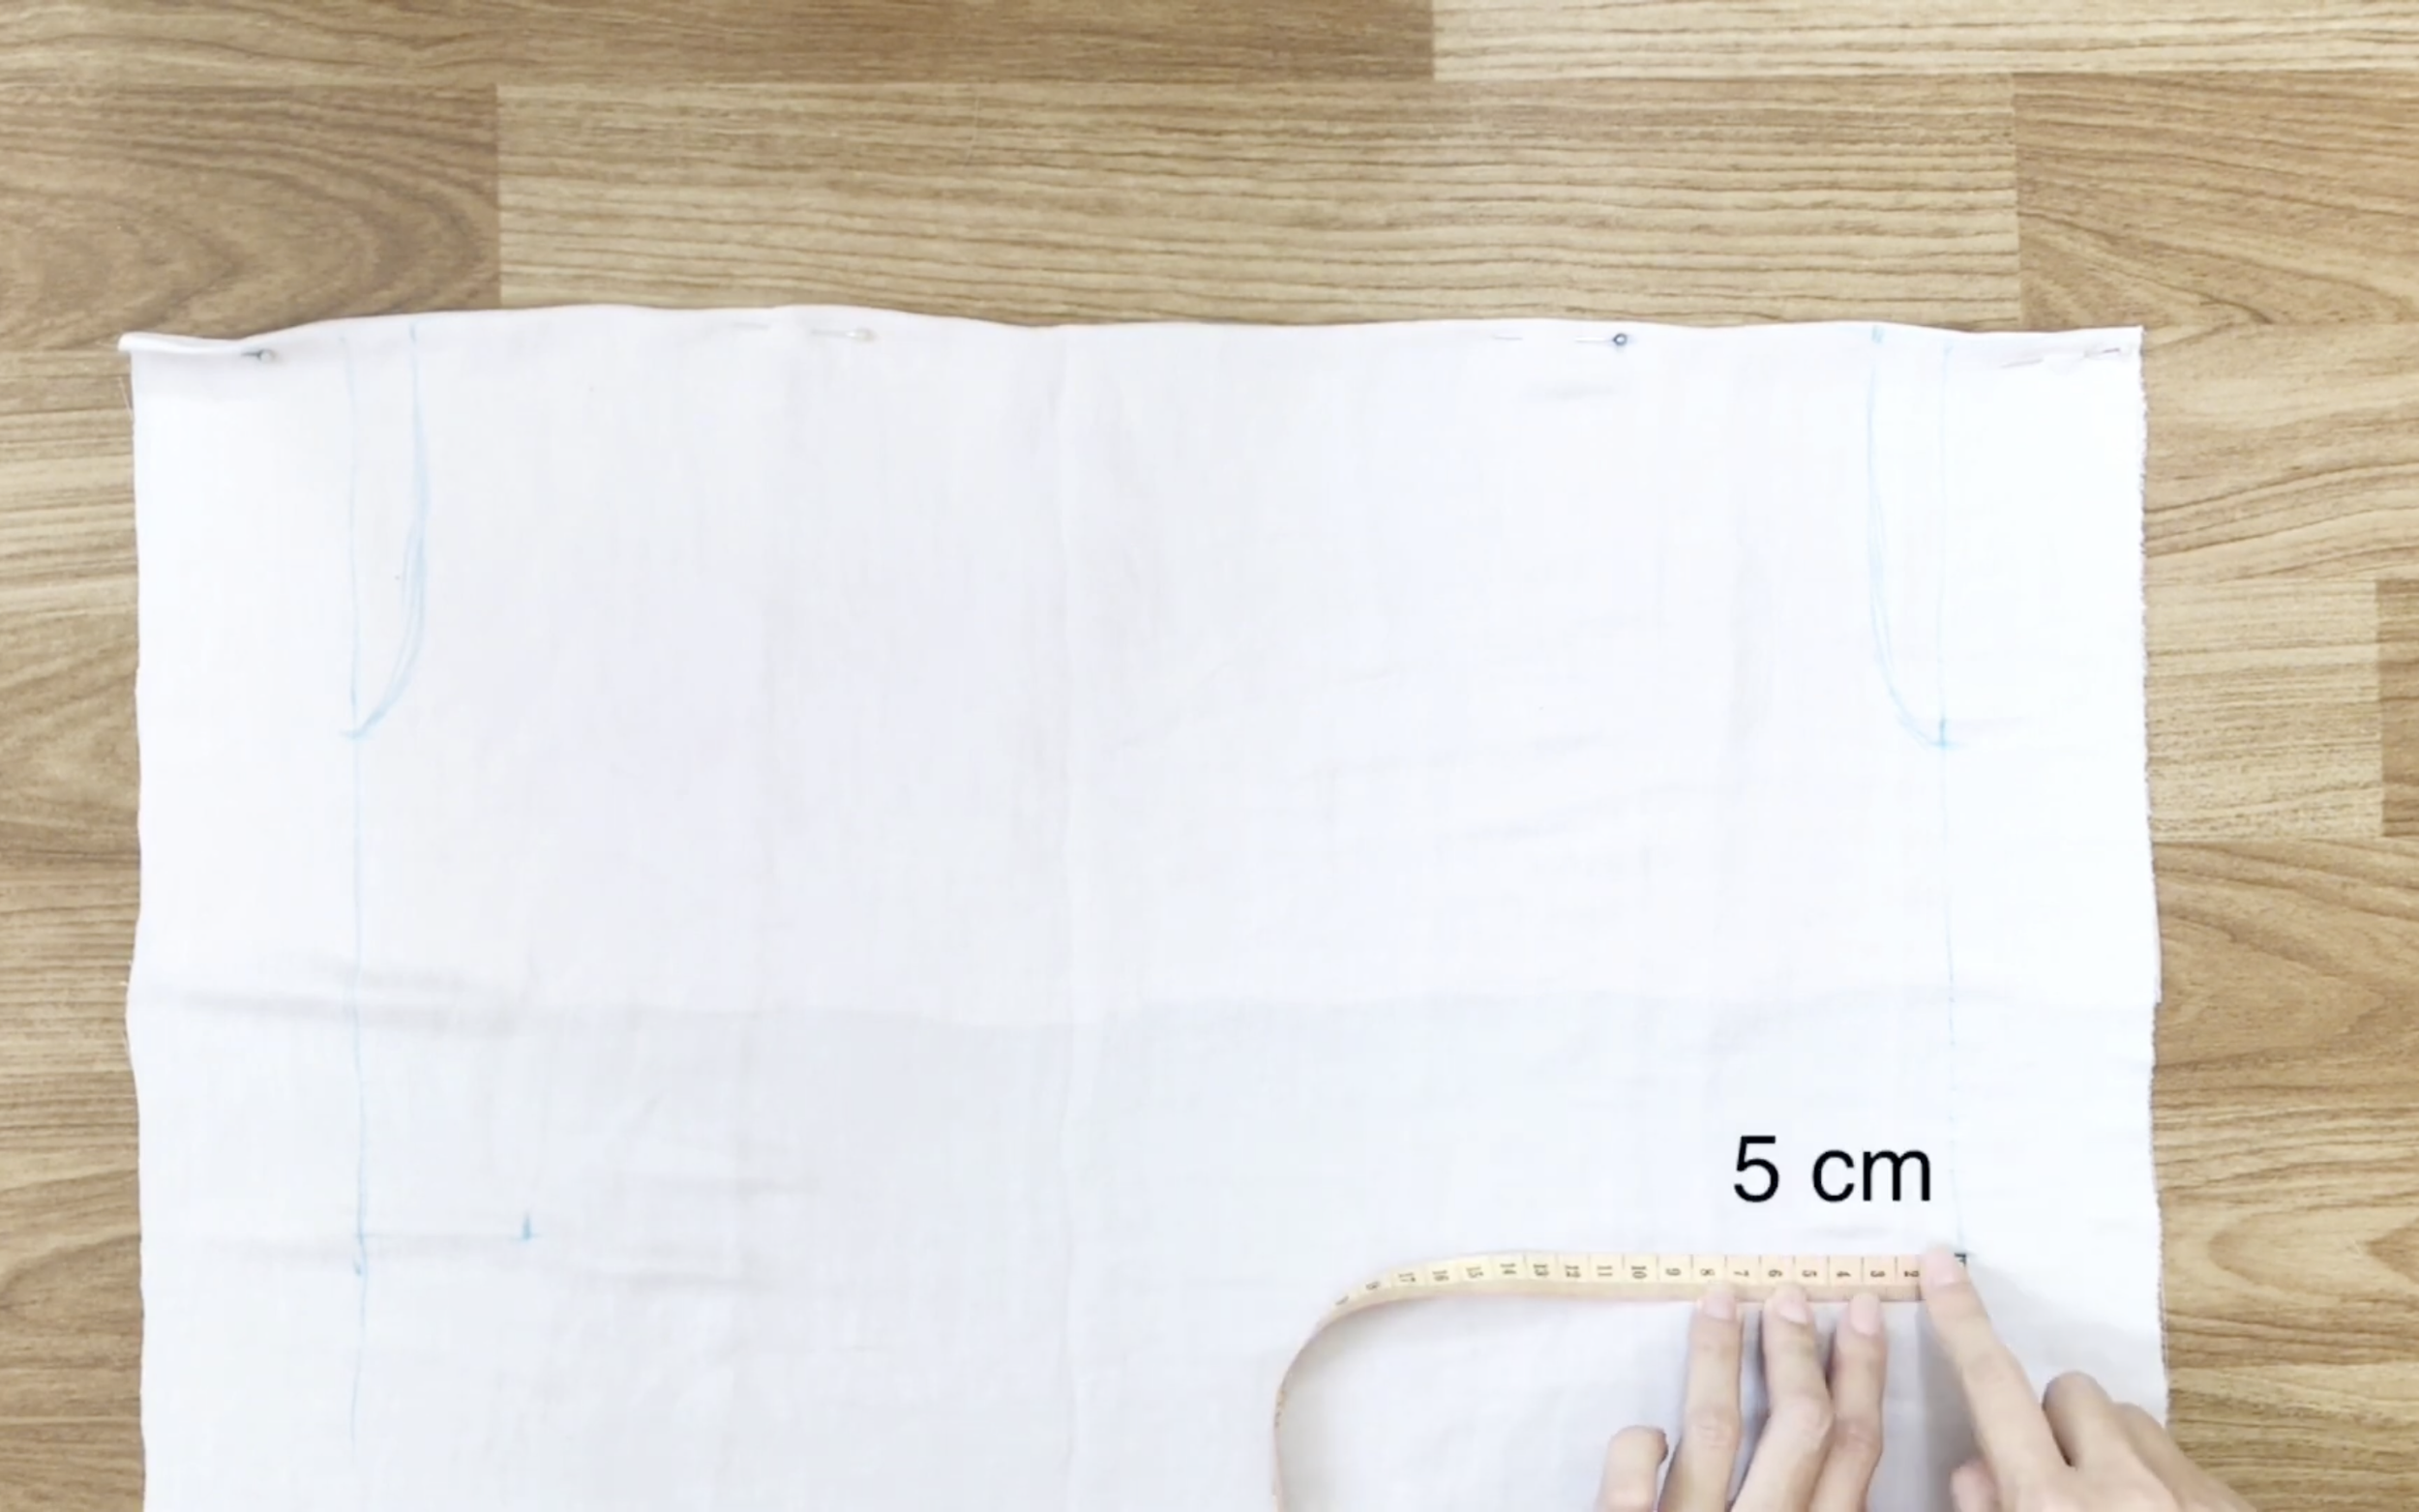
From there, go inside 5 cm and make another mark.
Then, connect that mark to the end of the curved line.
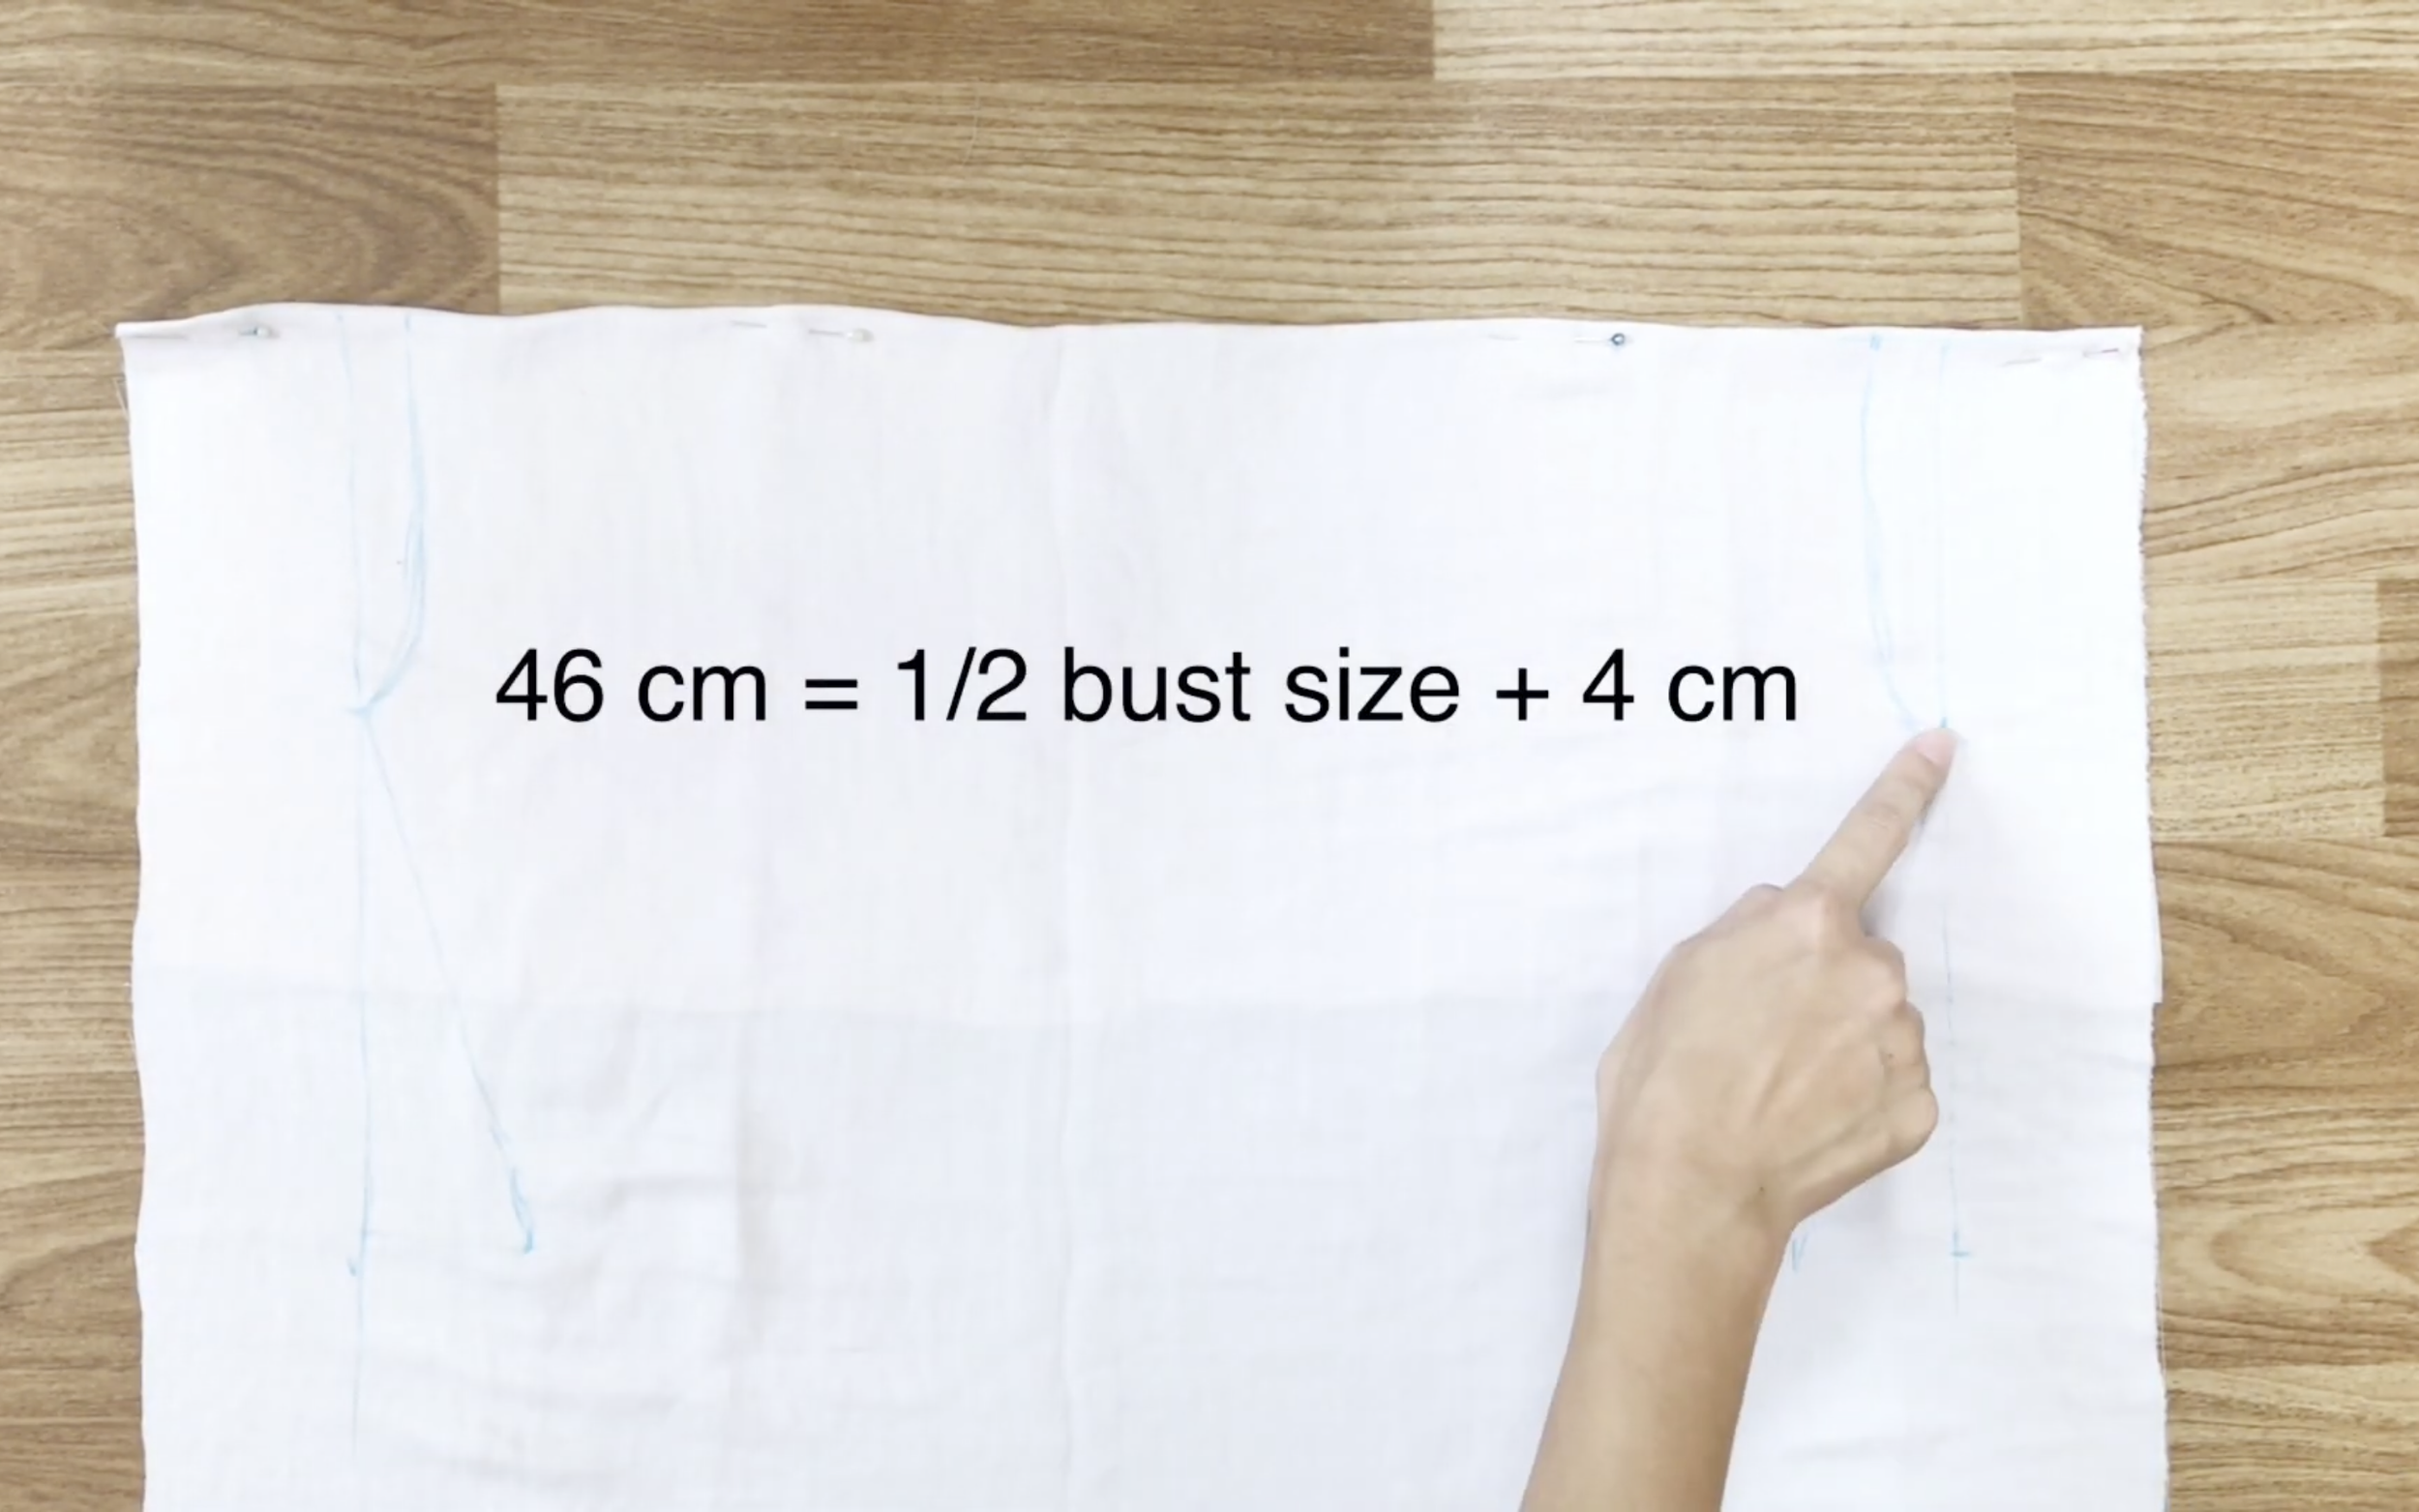
Make sure that the width of the curved line is half of the bust size plus 4 cm…
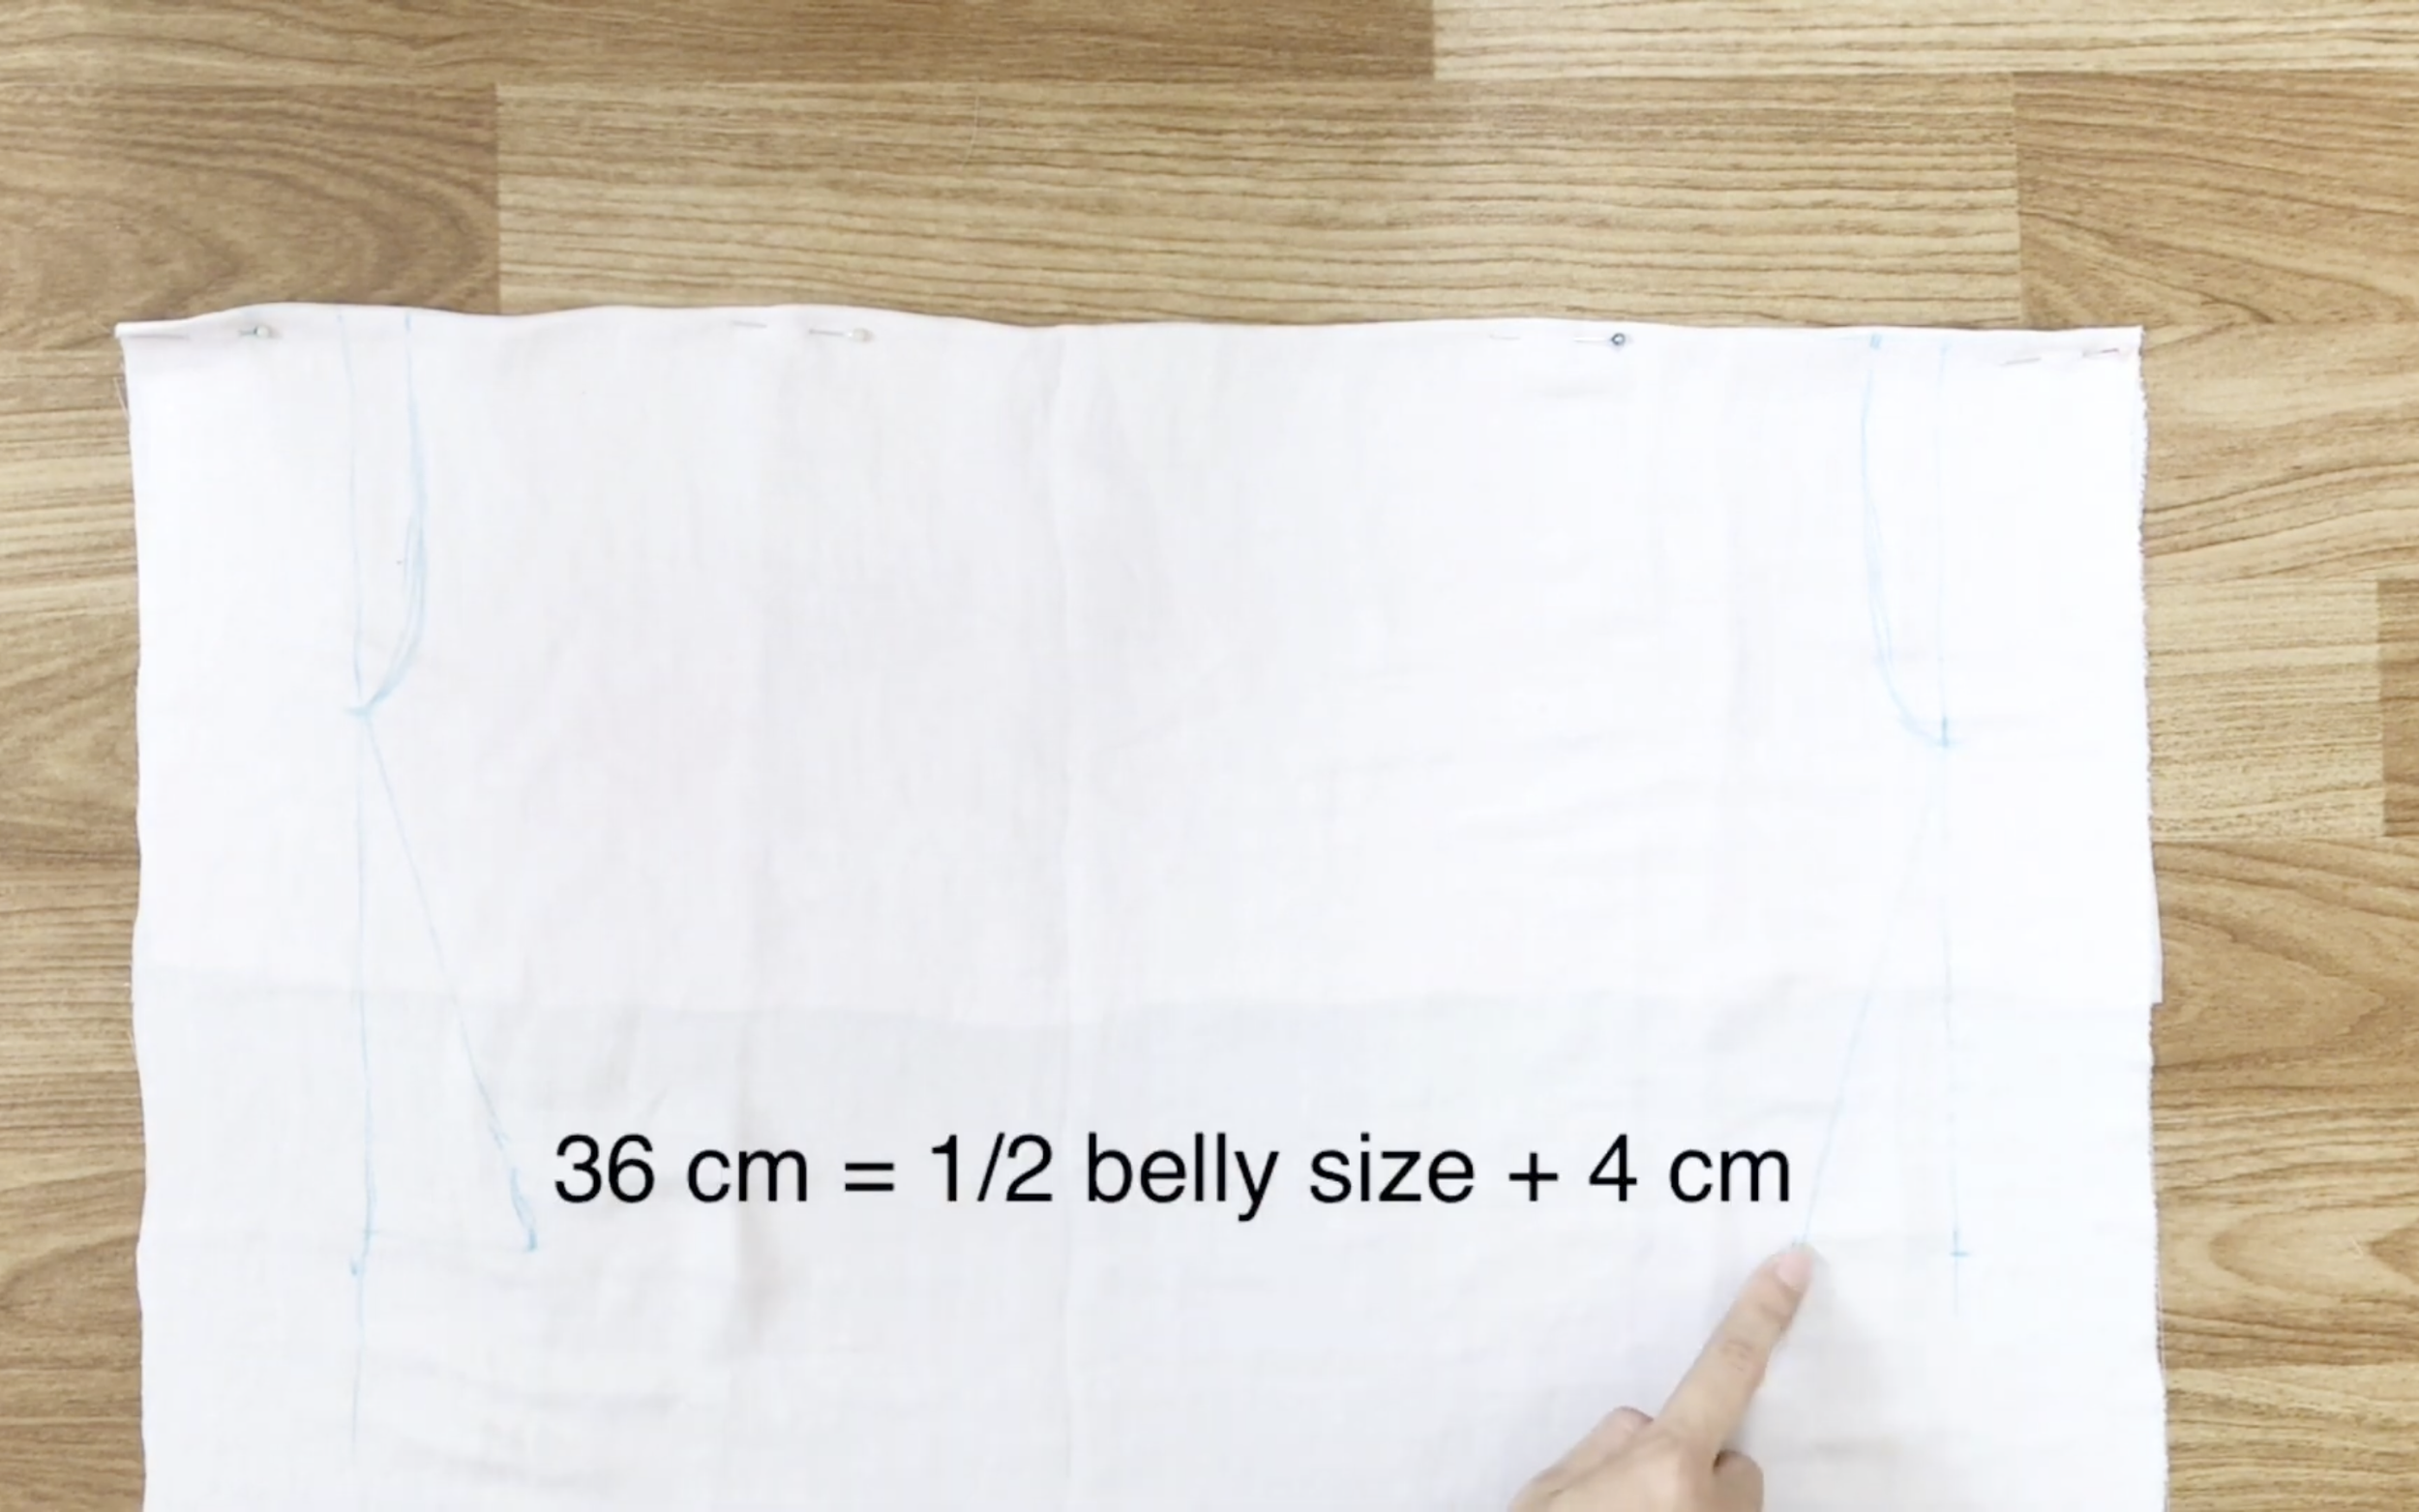
… and the width of the two last marks is half of the belly size plus 4 cm.
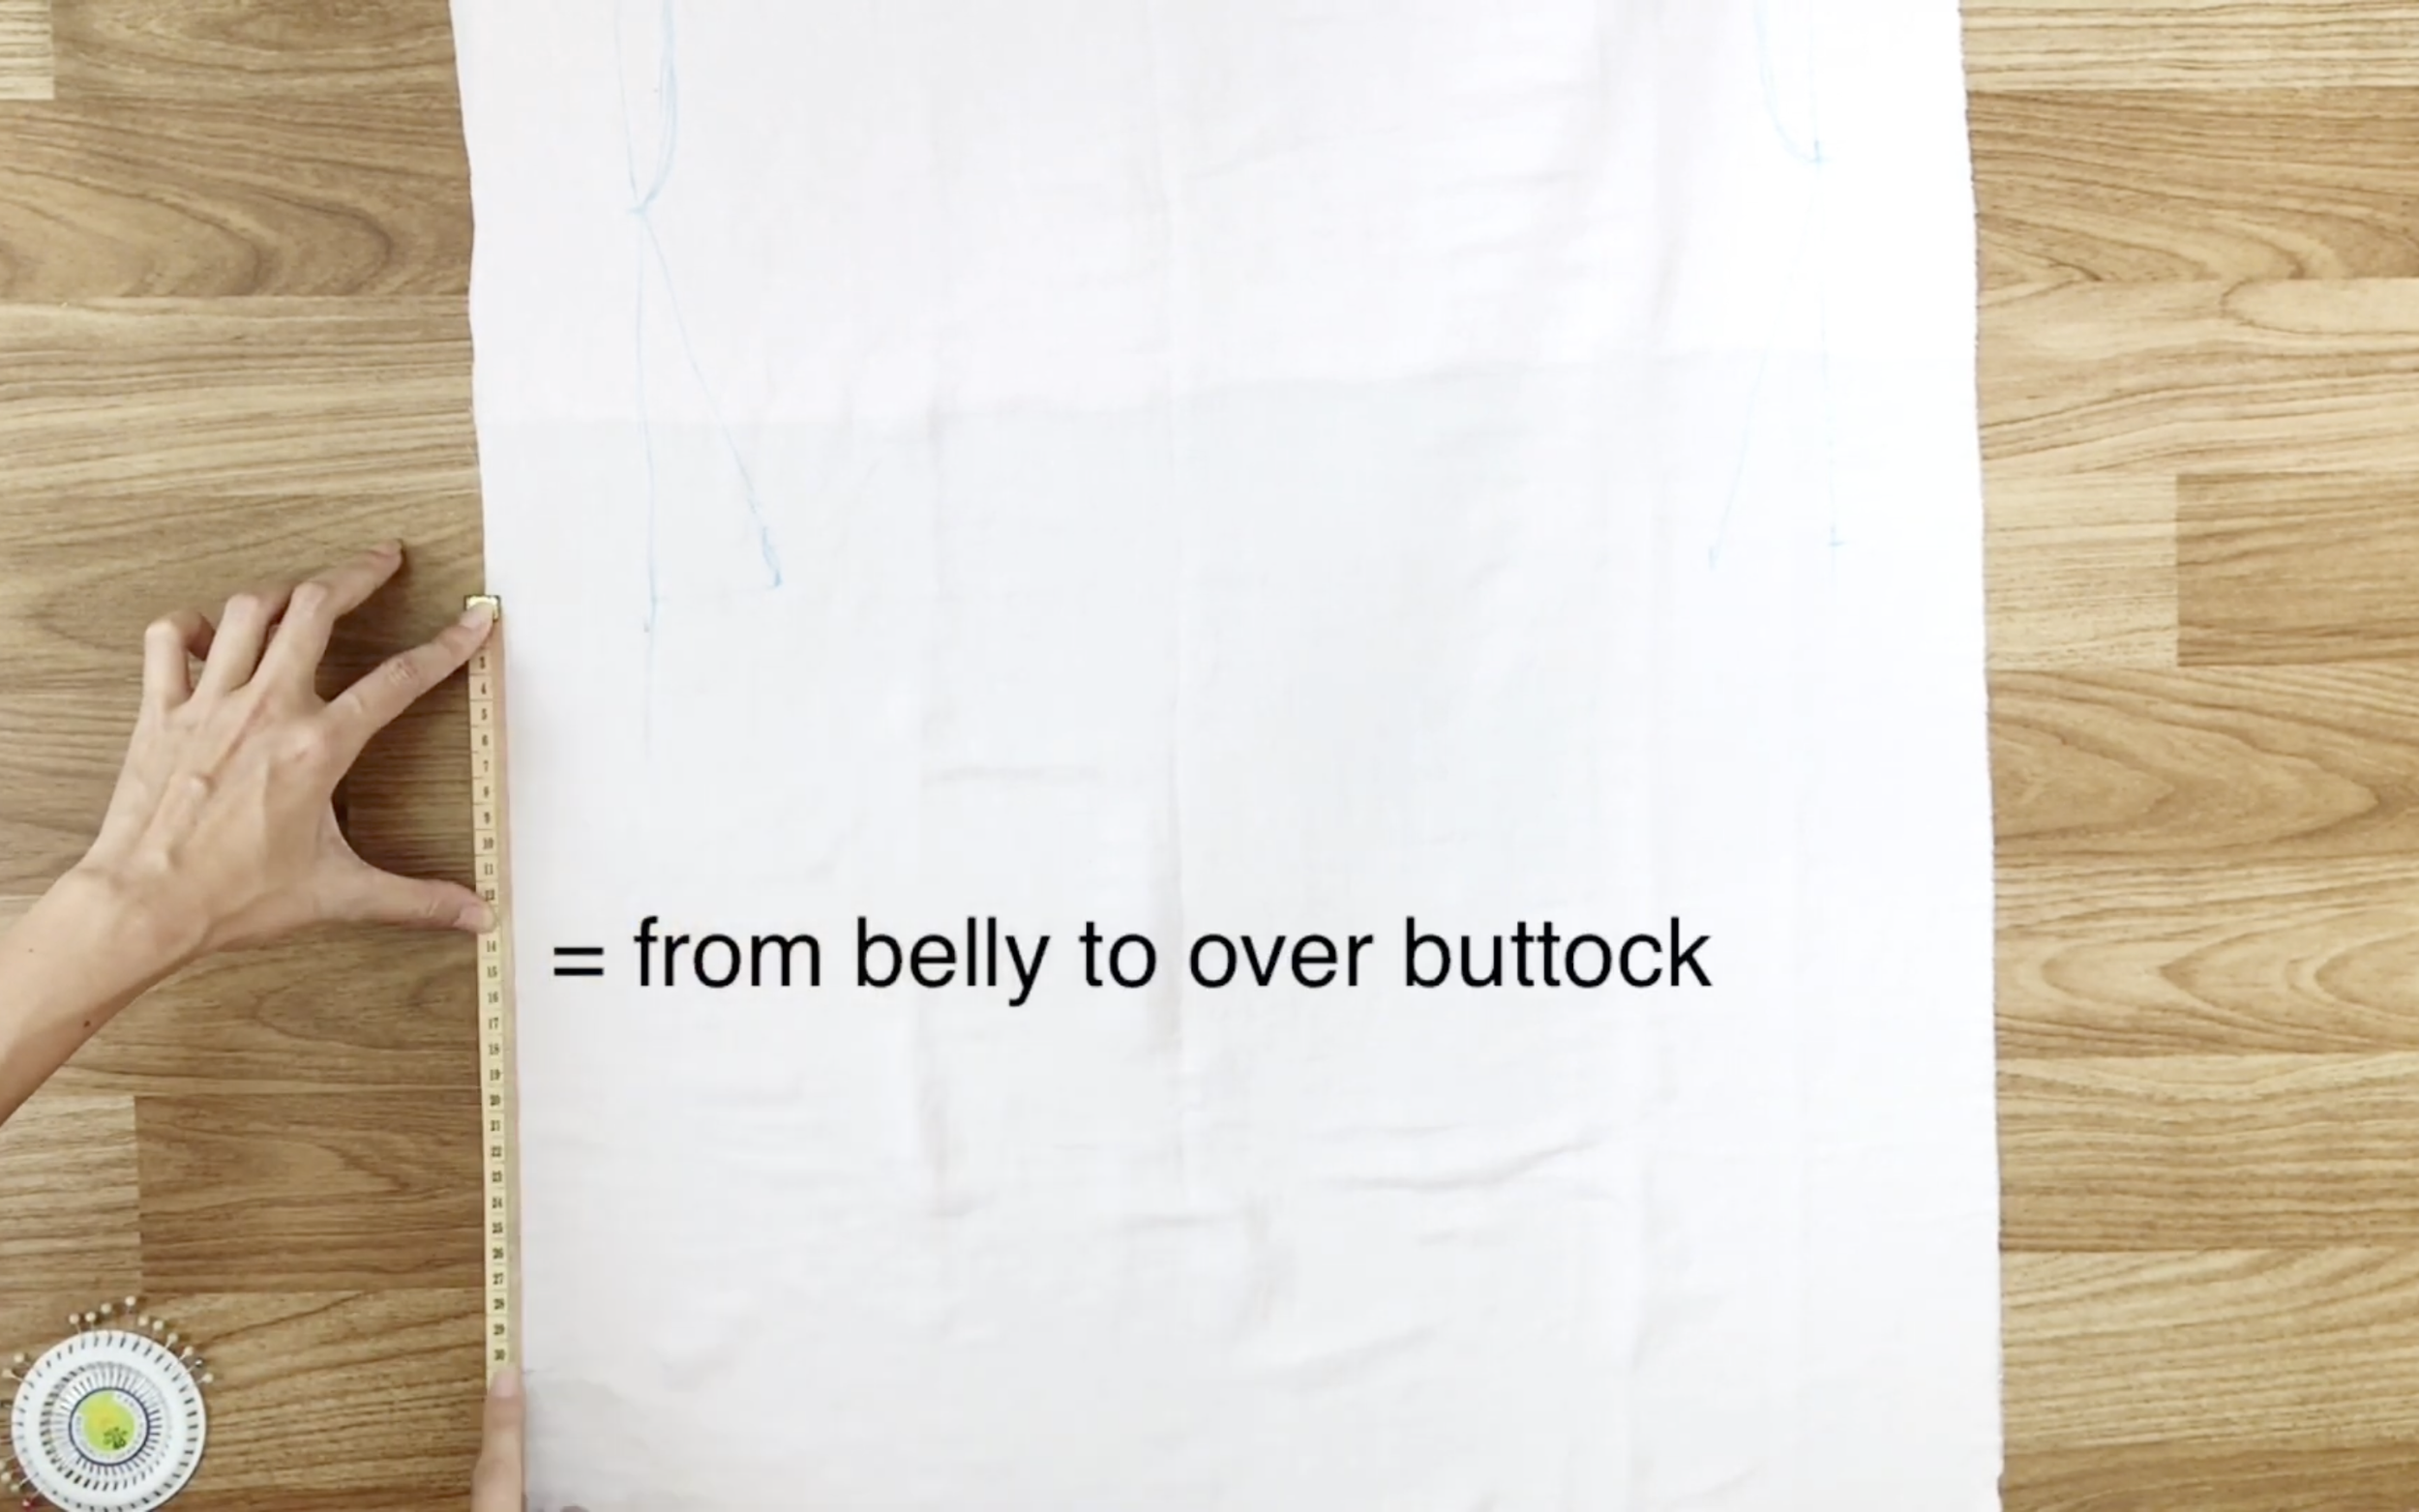
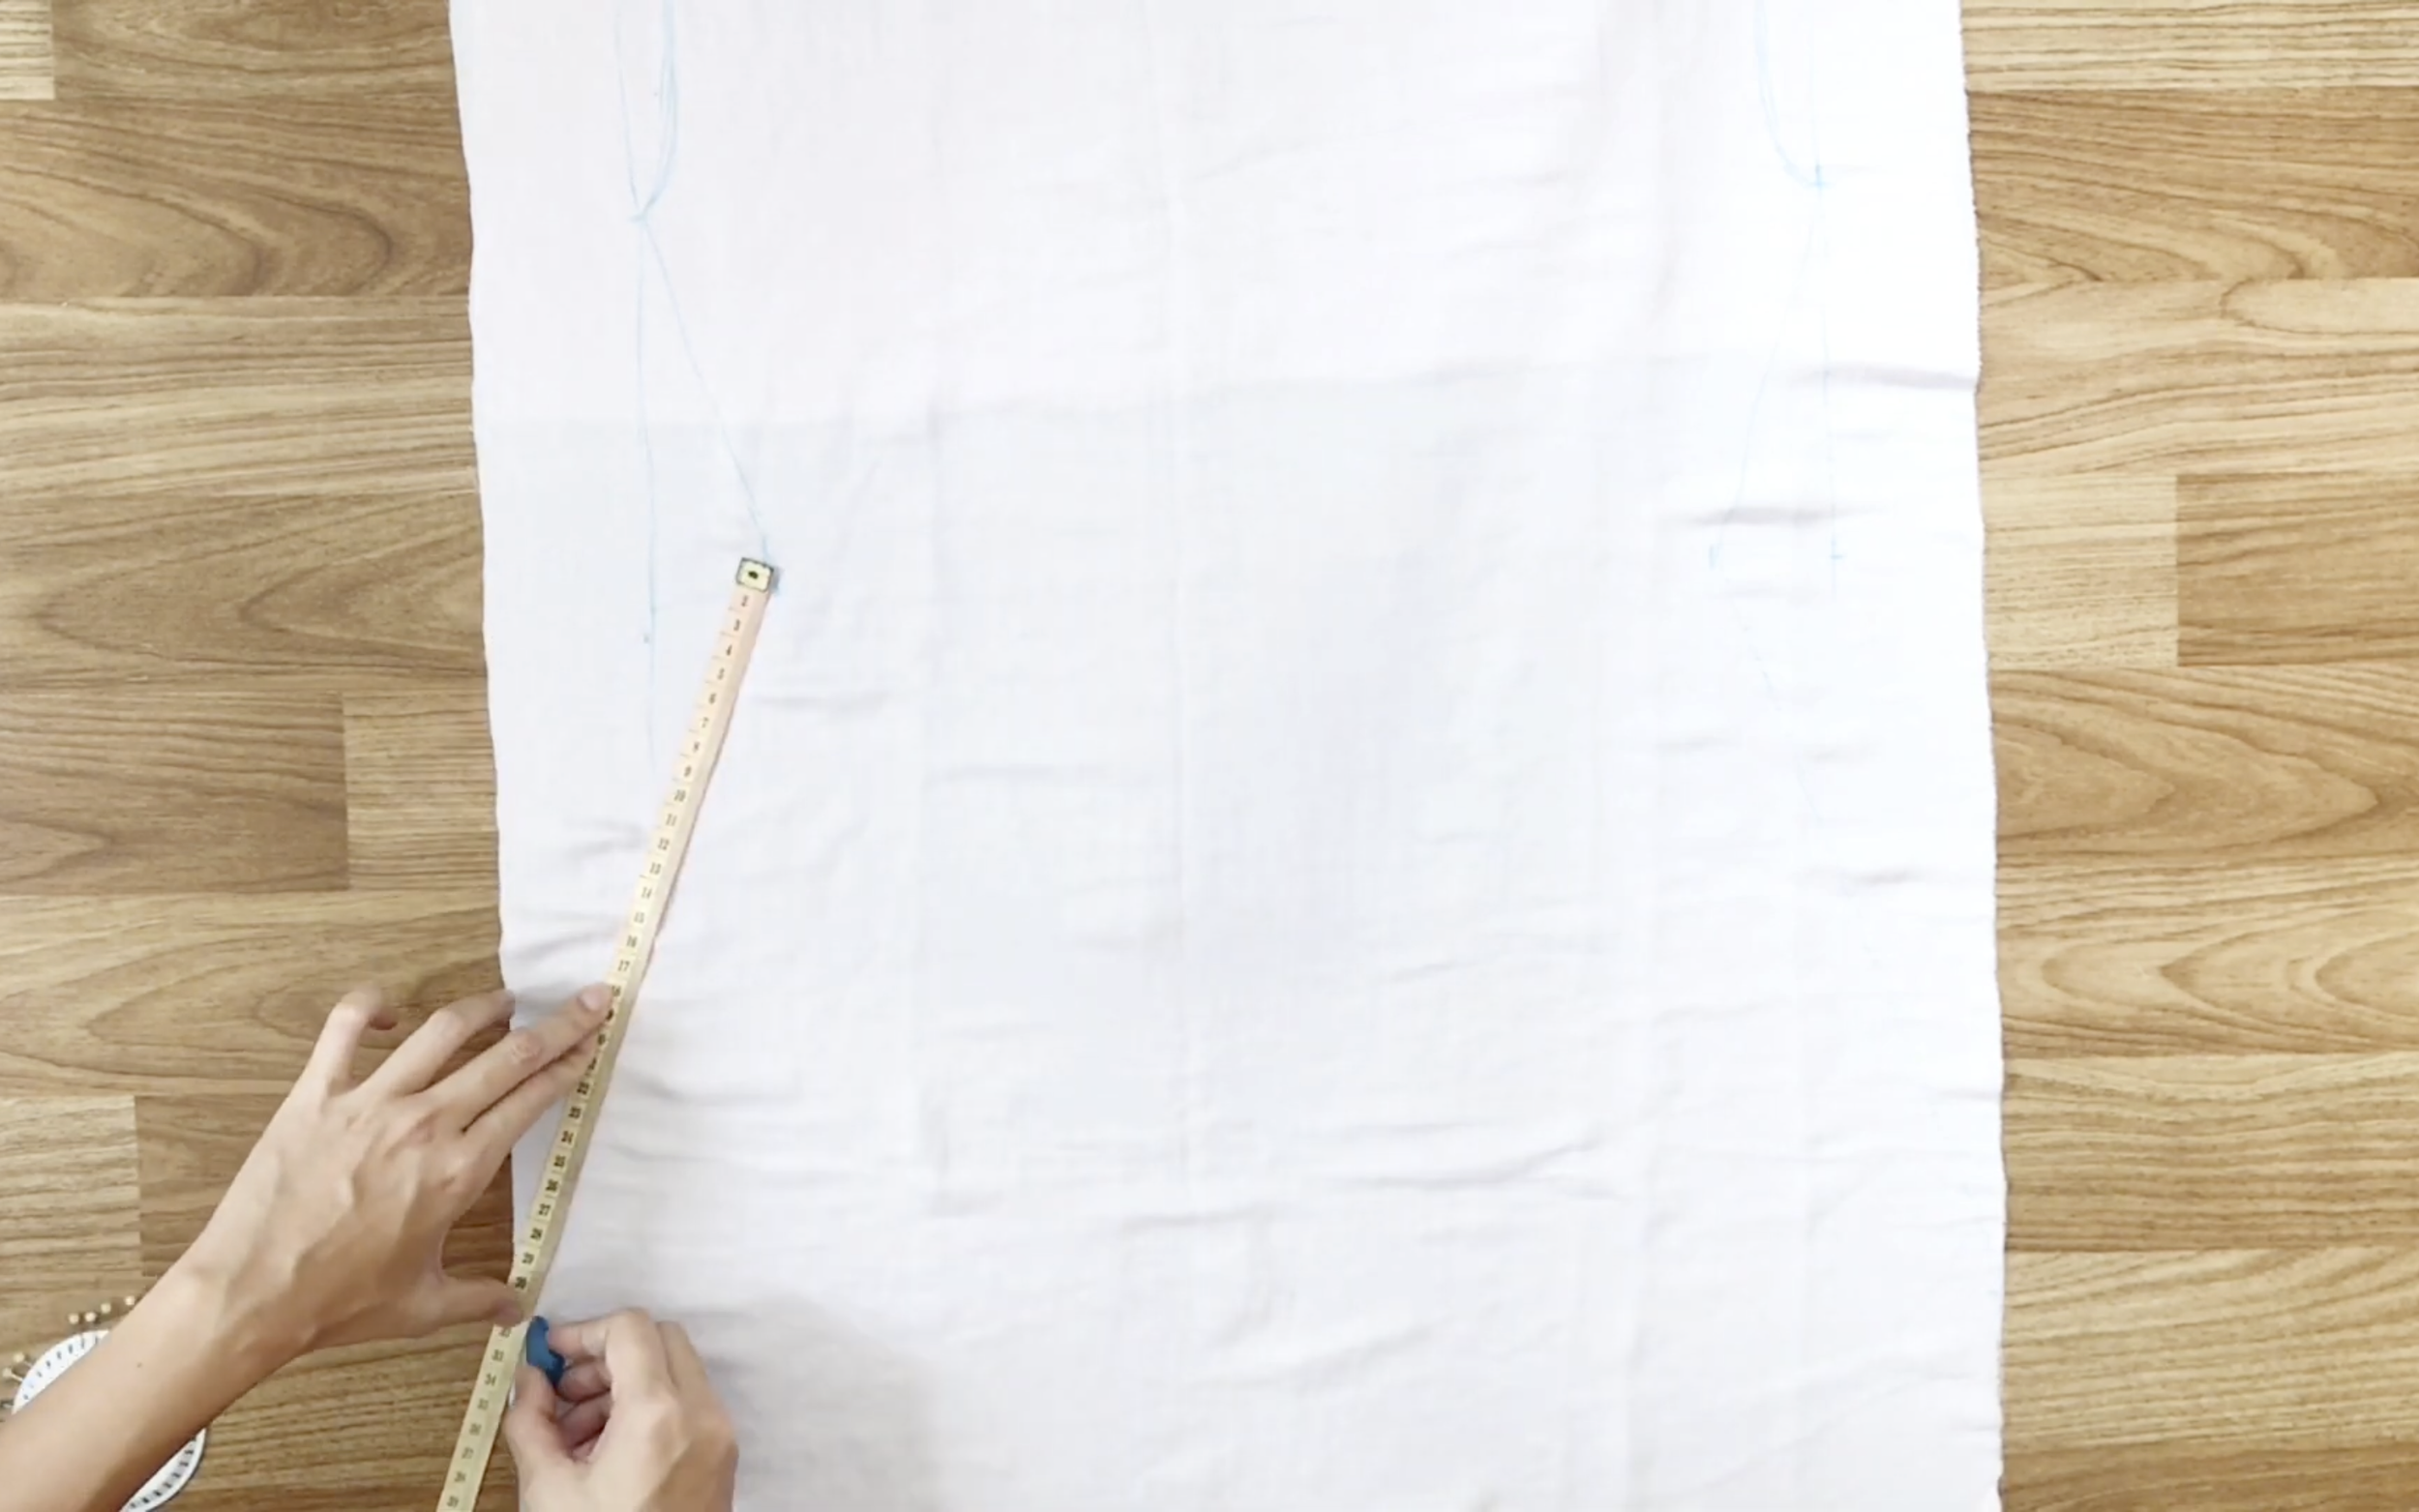
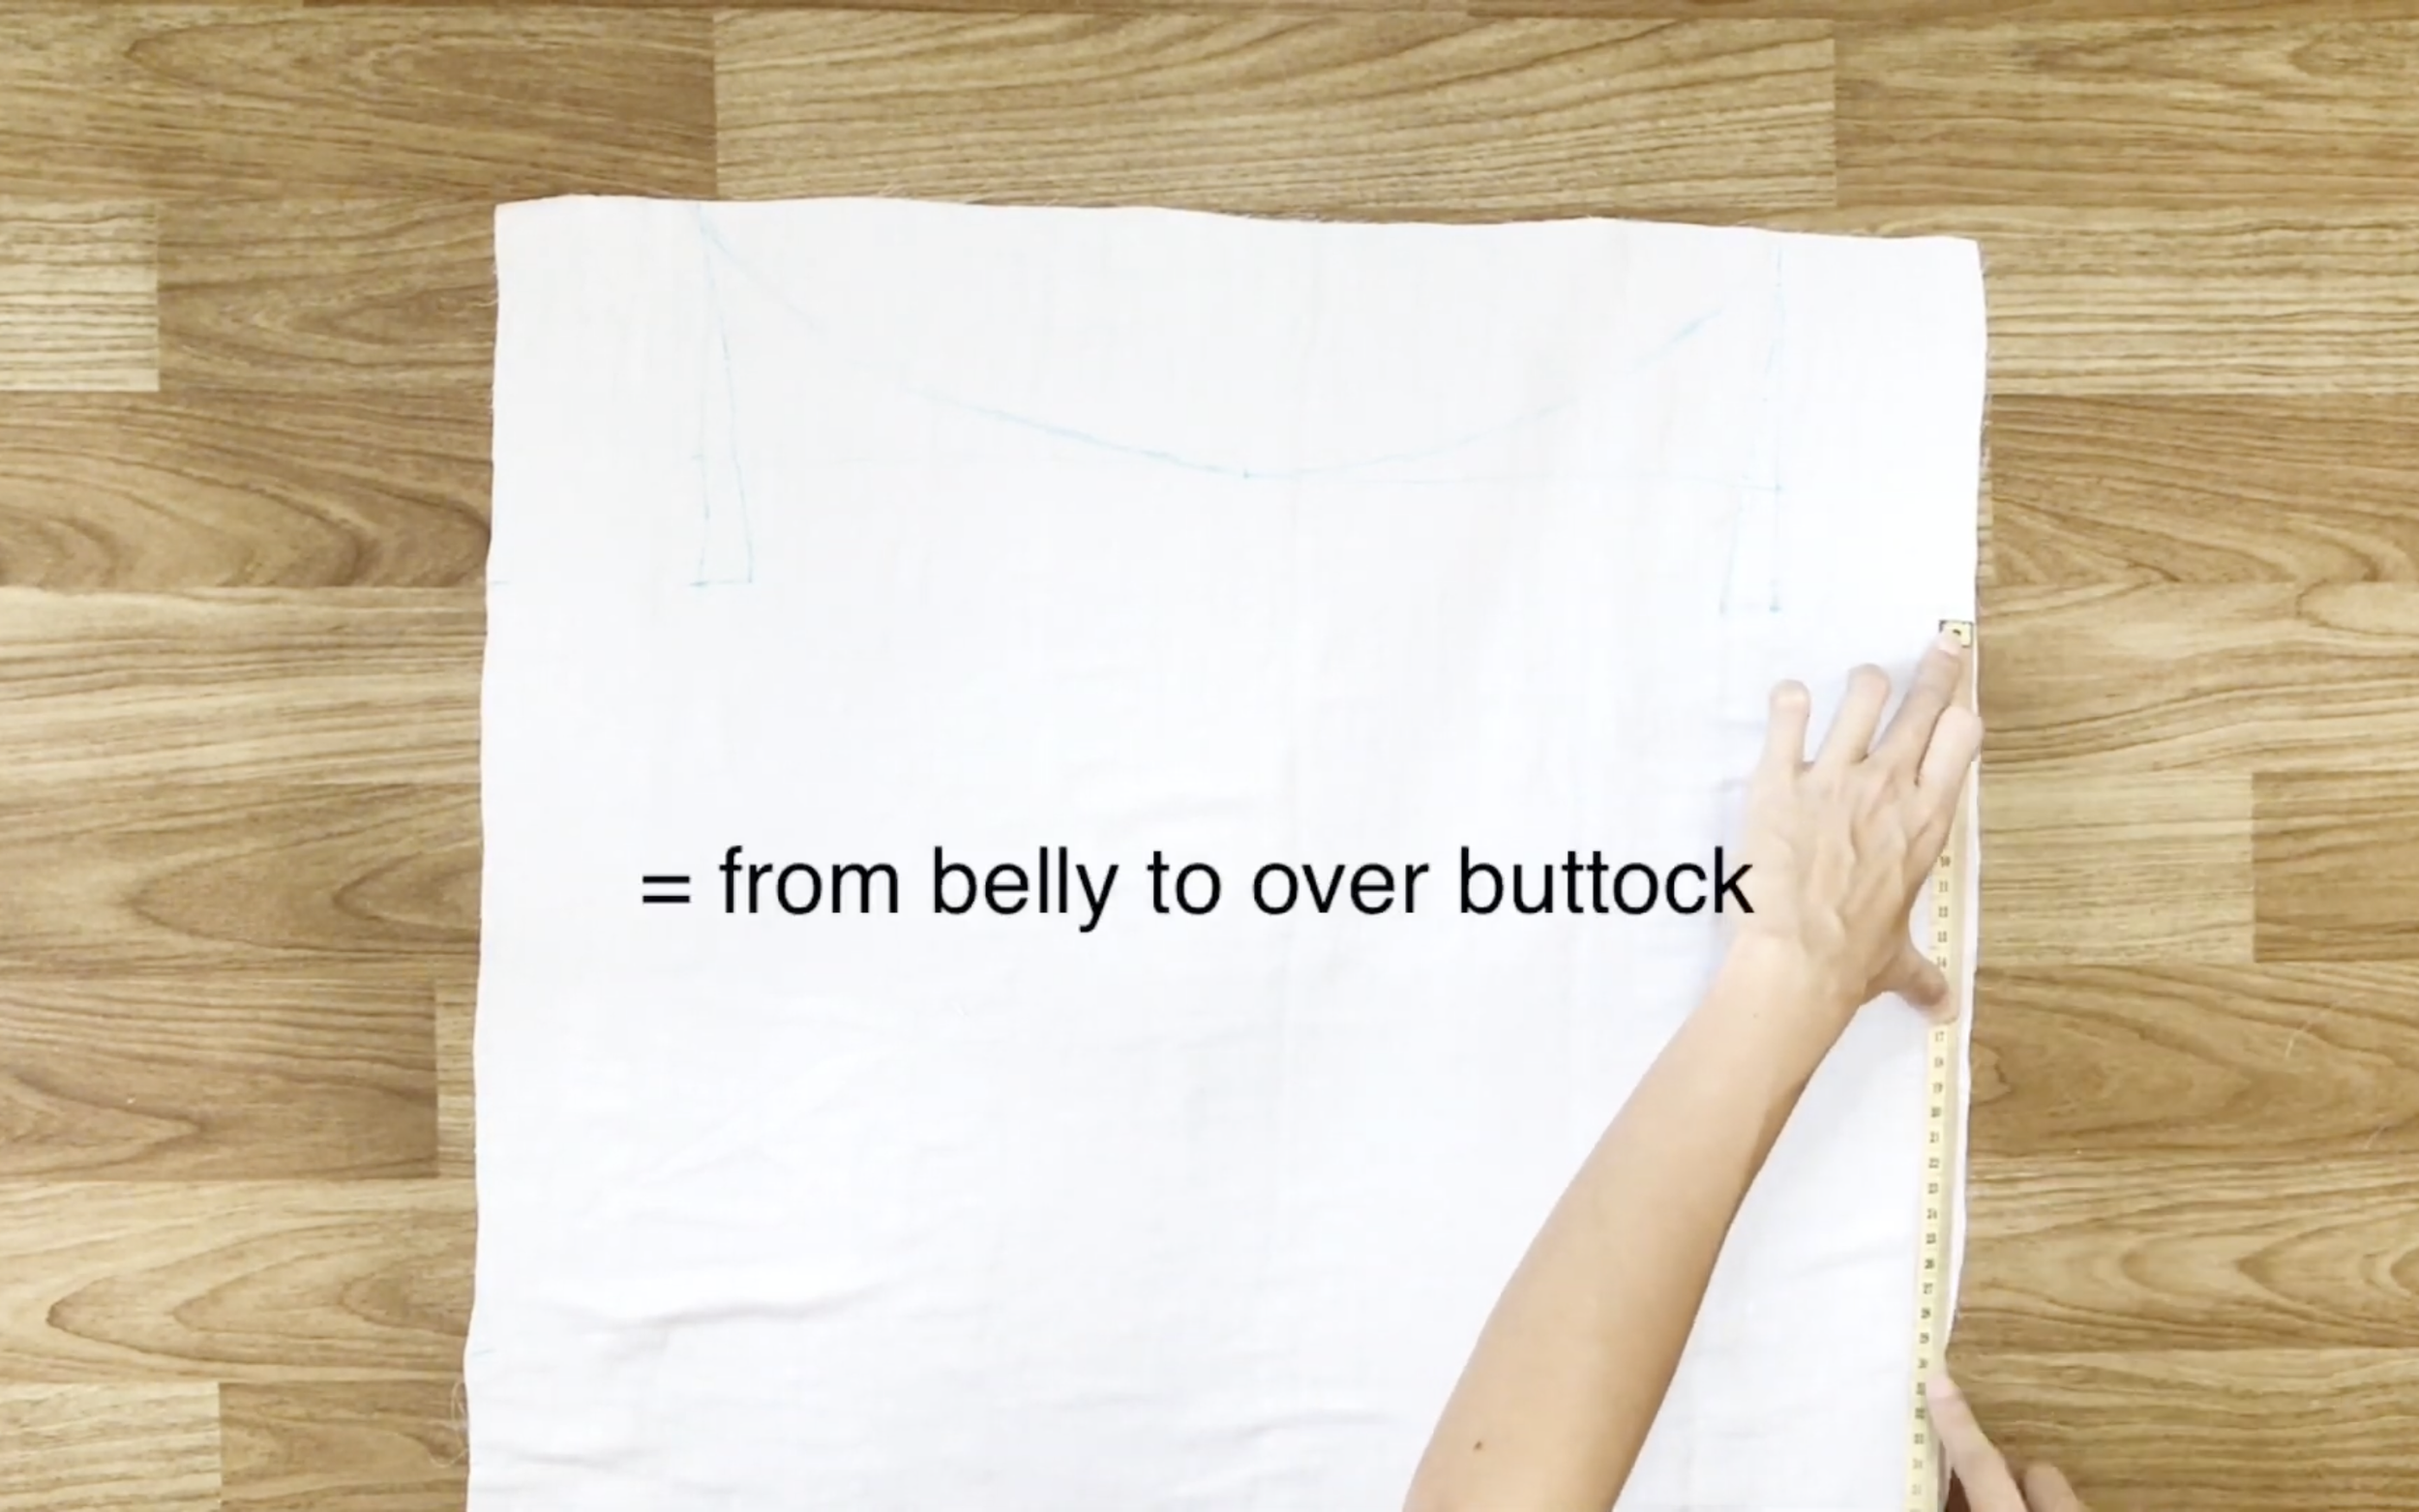
From the last mark, go down 30 cm, which is the width from the belly to over the buttock.
Then connect them to the last mark before drawing a curved line to finish the front body of the dress.
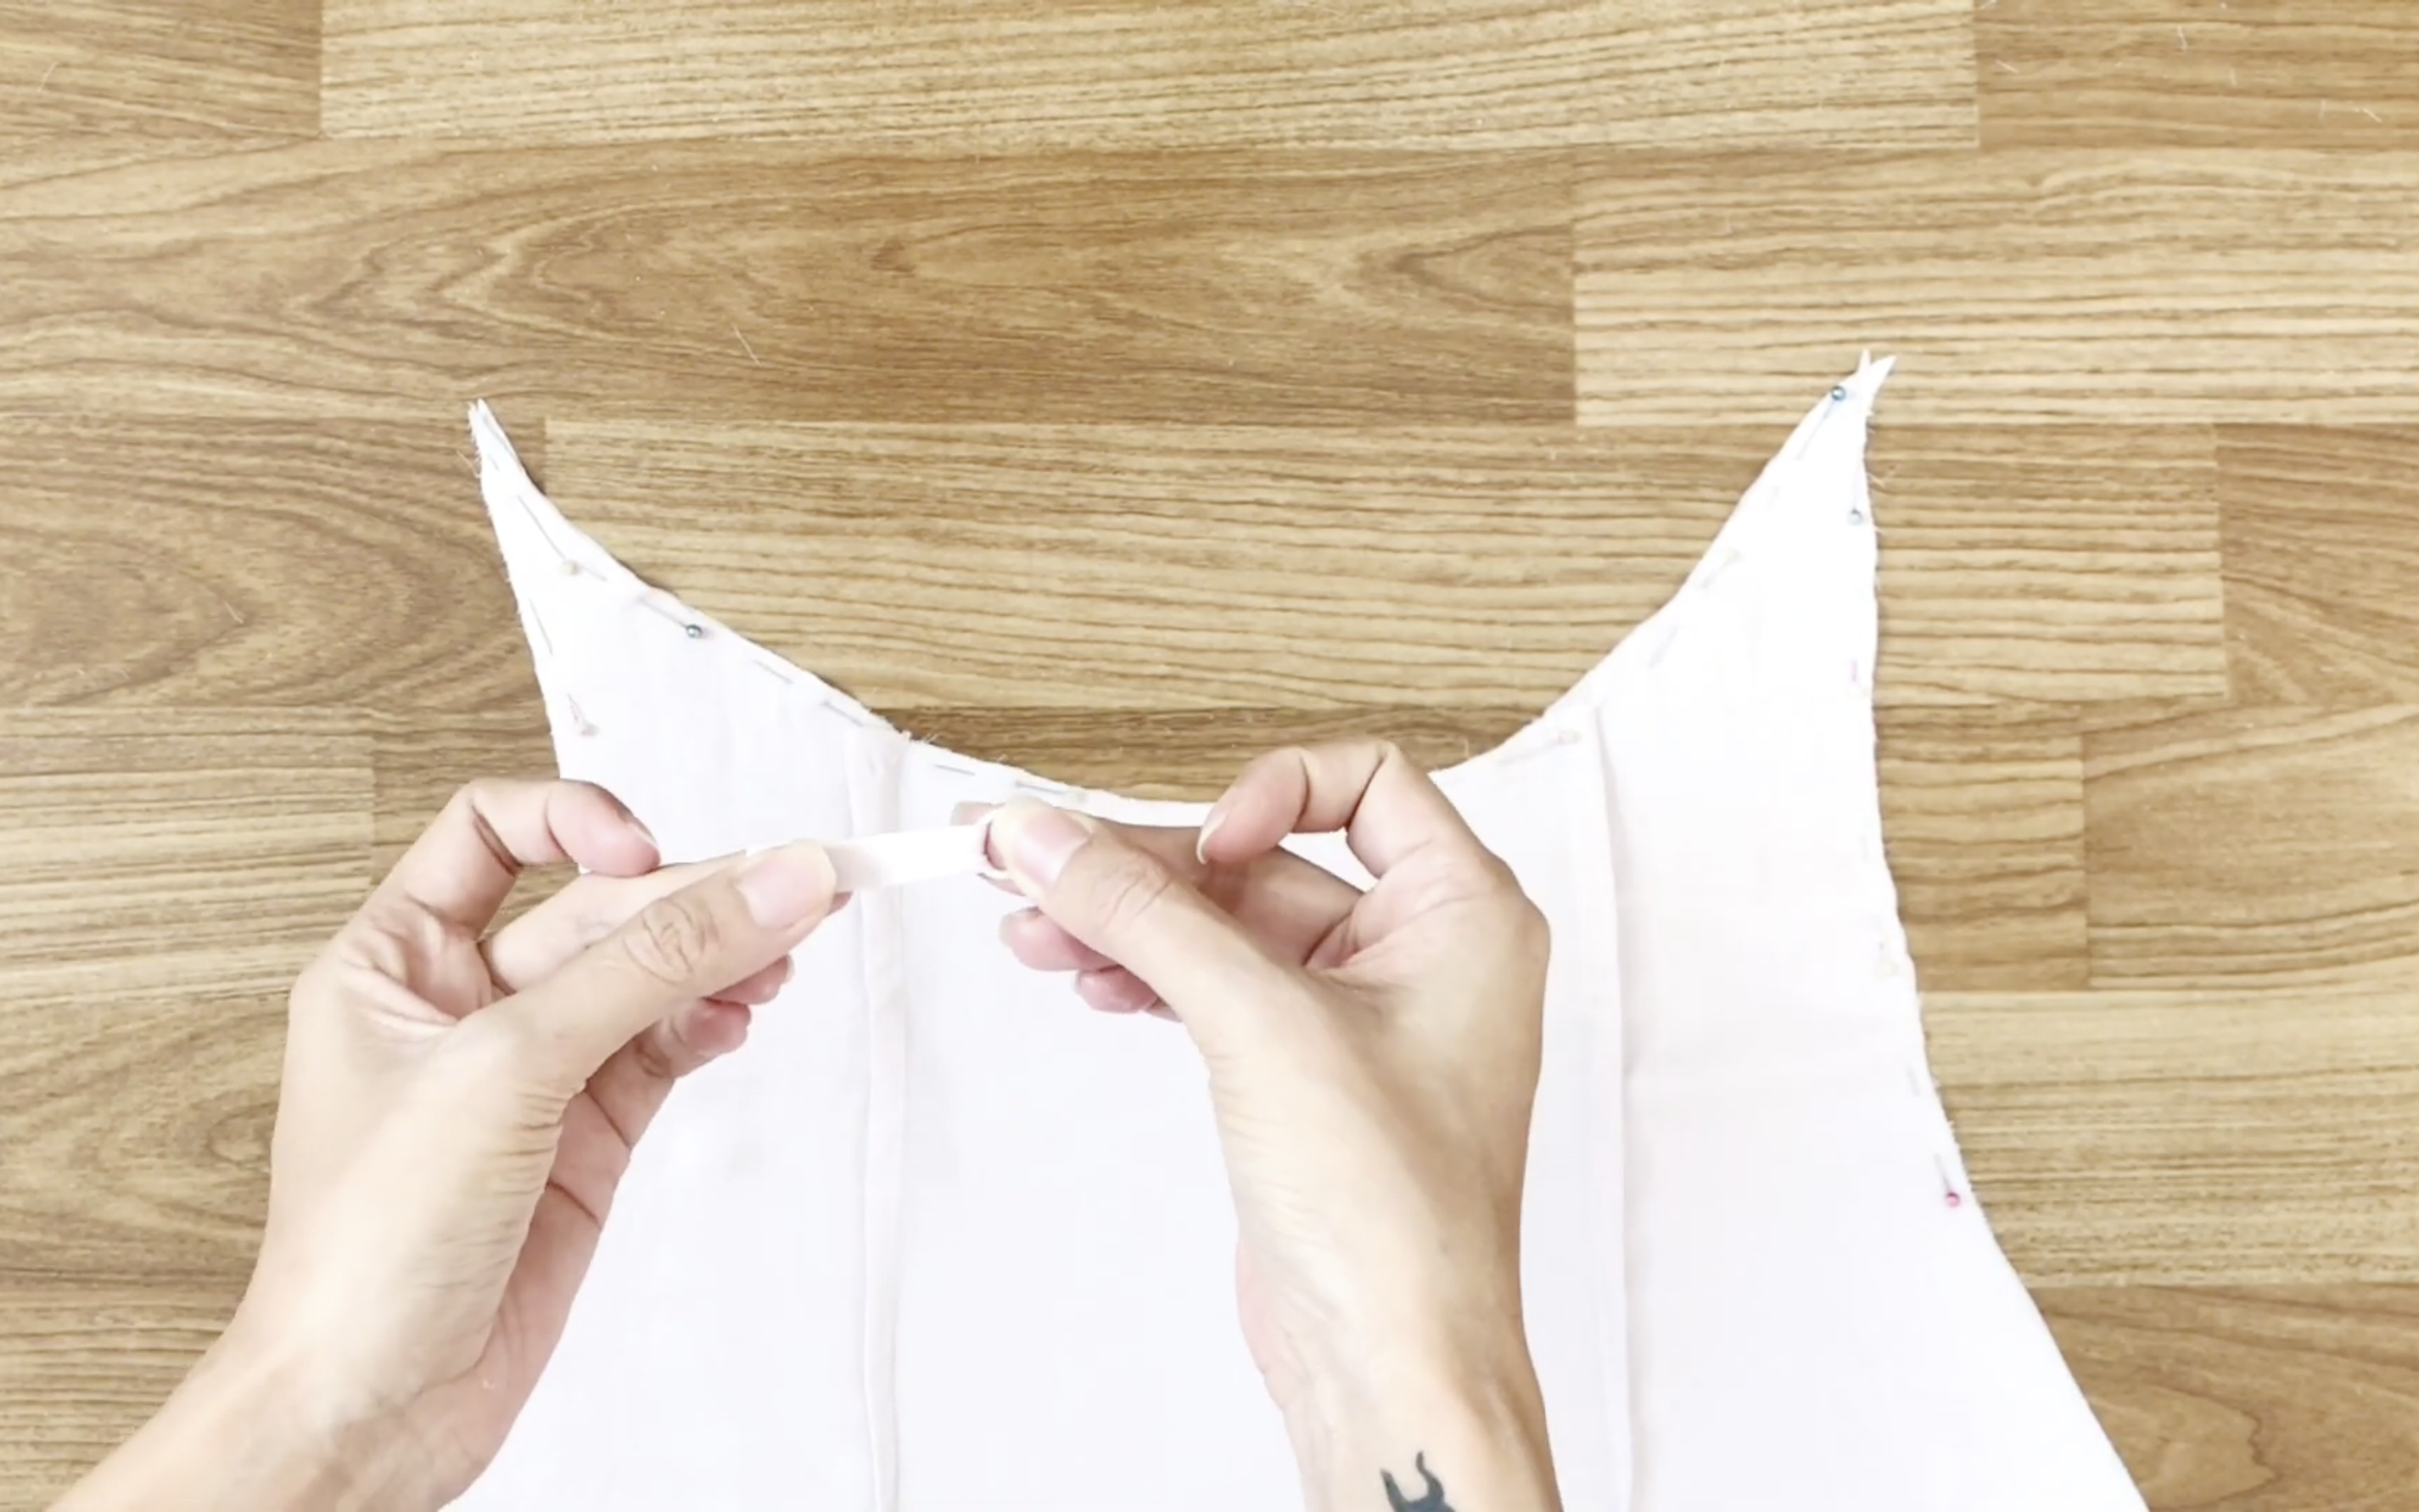
THE TIES
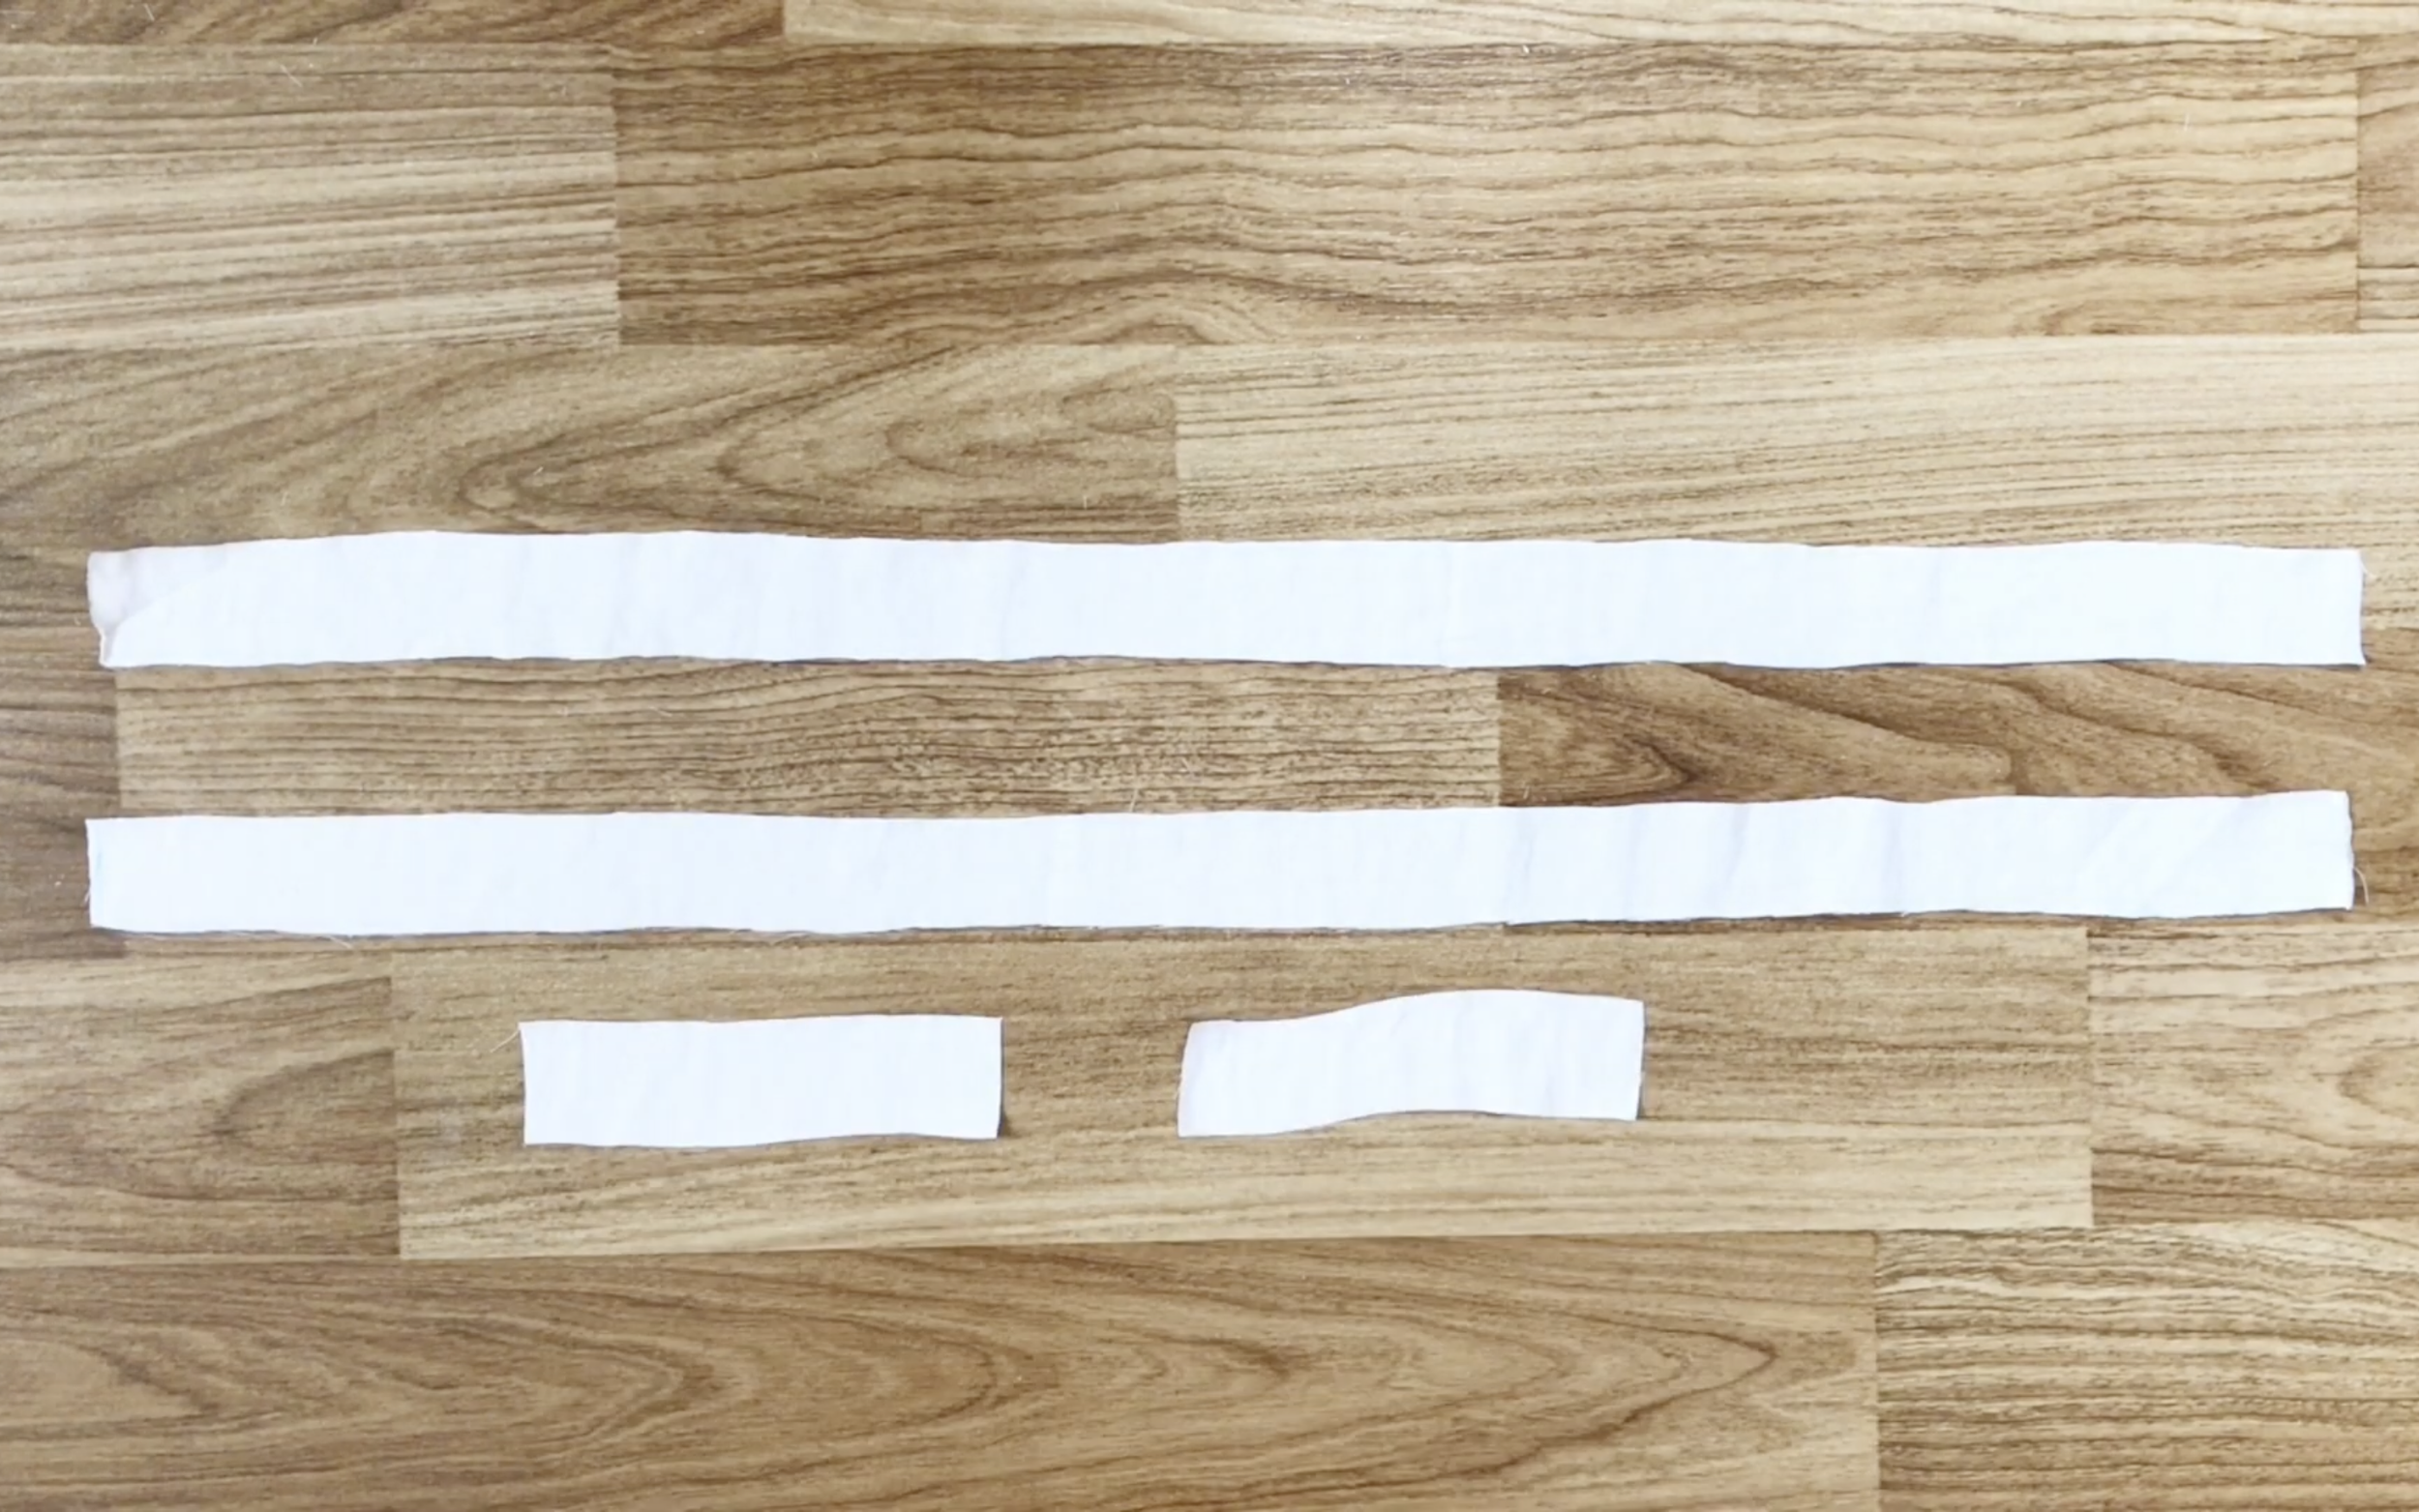
Drawing two rectangles with 3 cm width and 30 cm length and another two shorter rectangles with 3 cm width and 8 cm length.
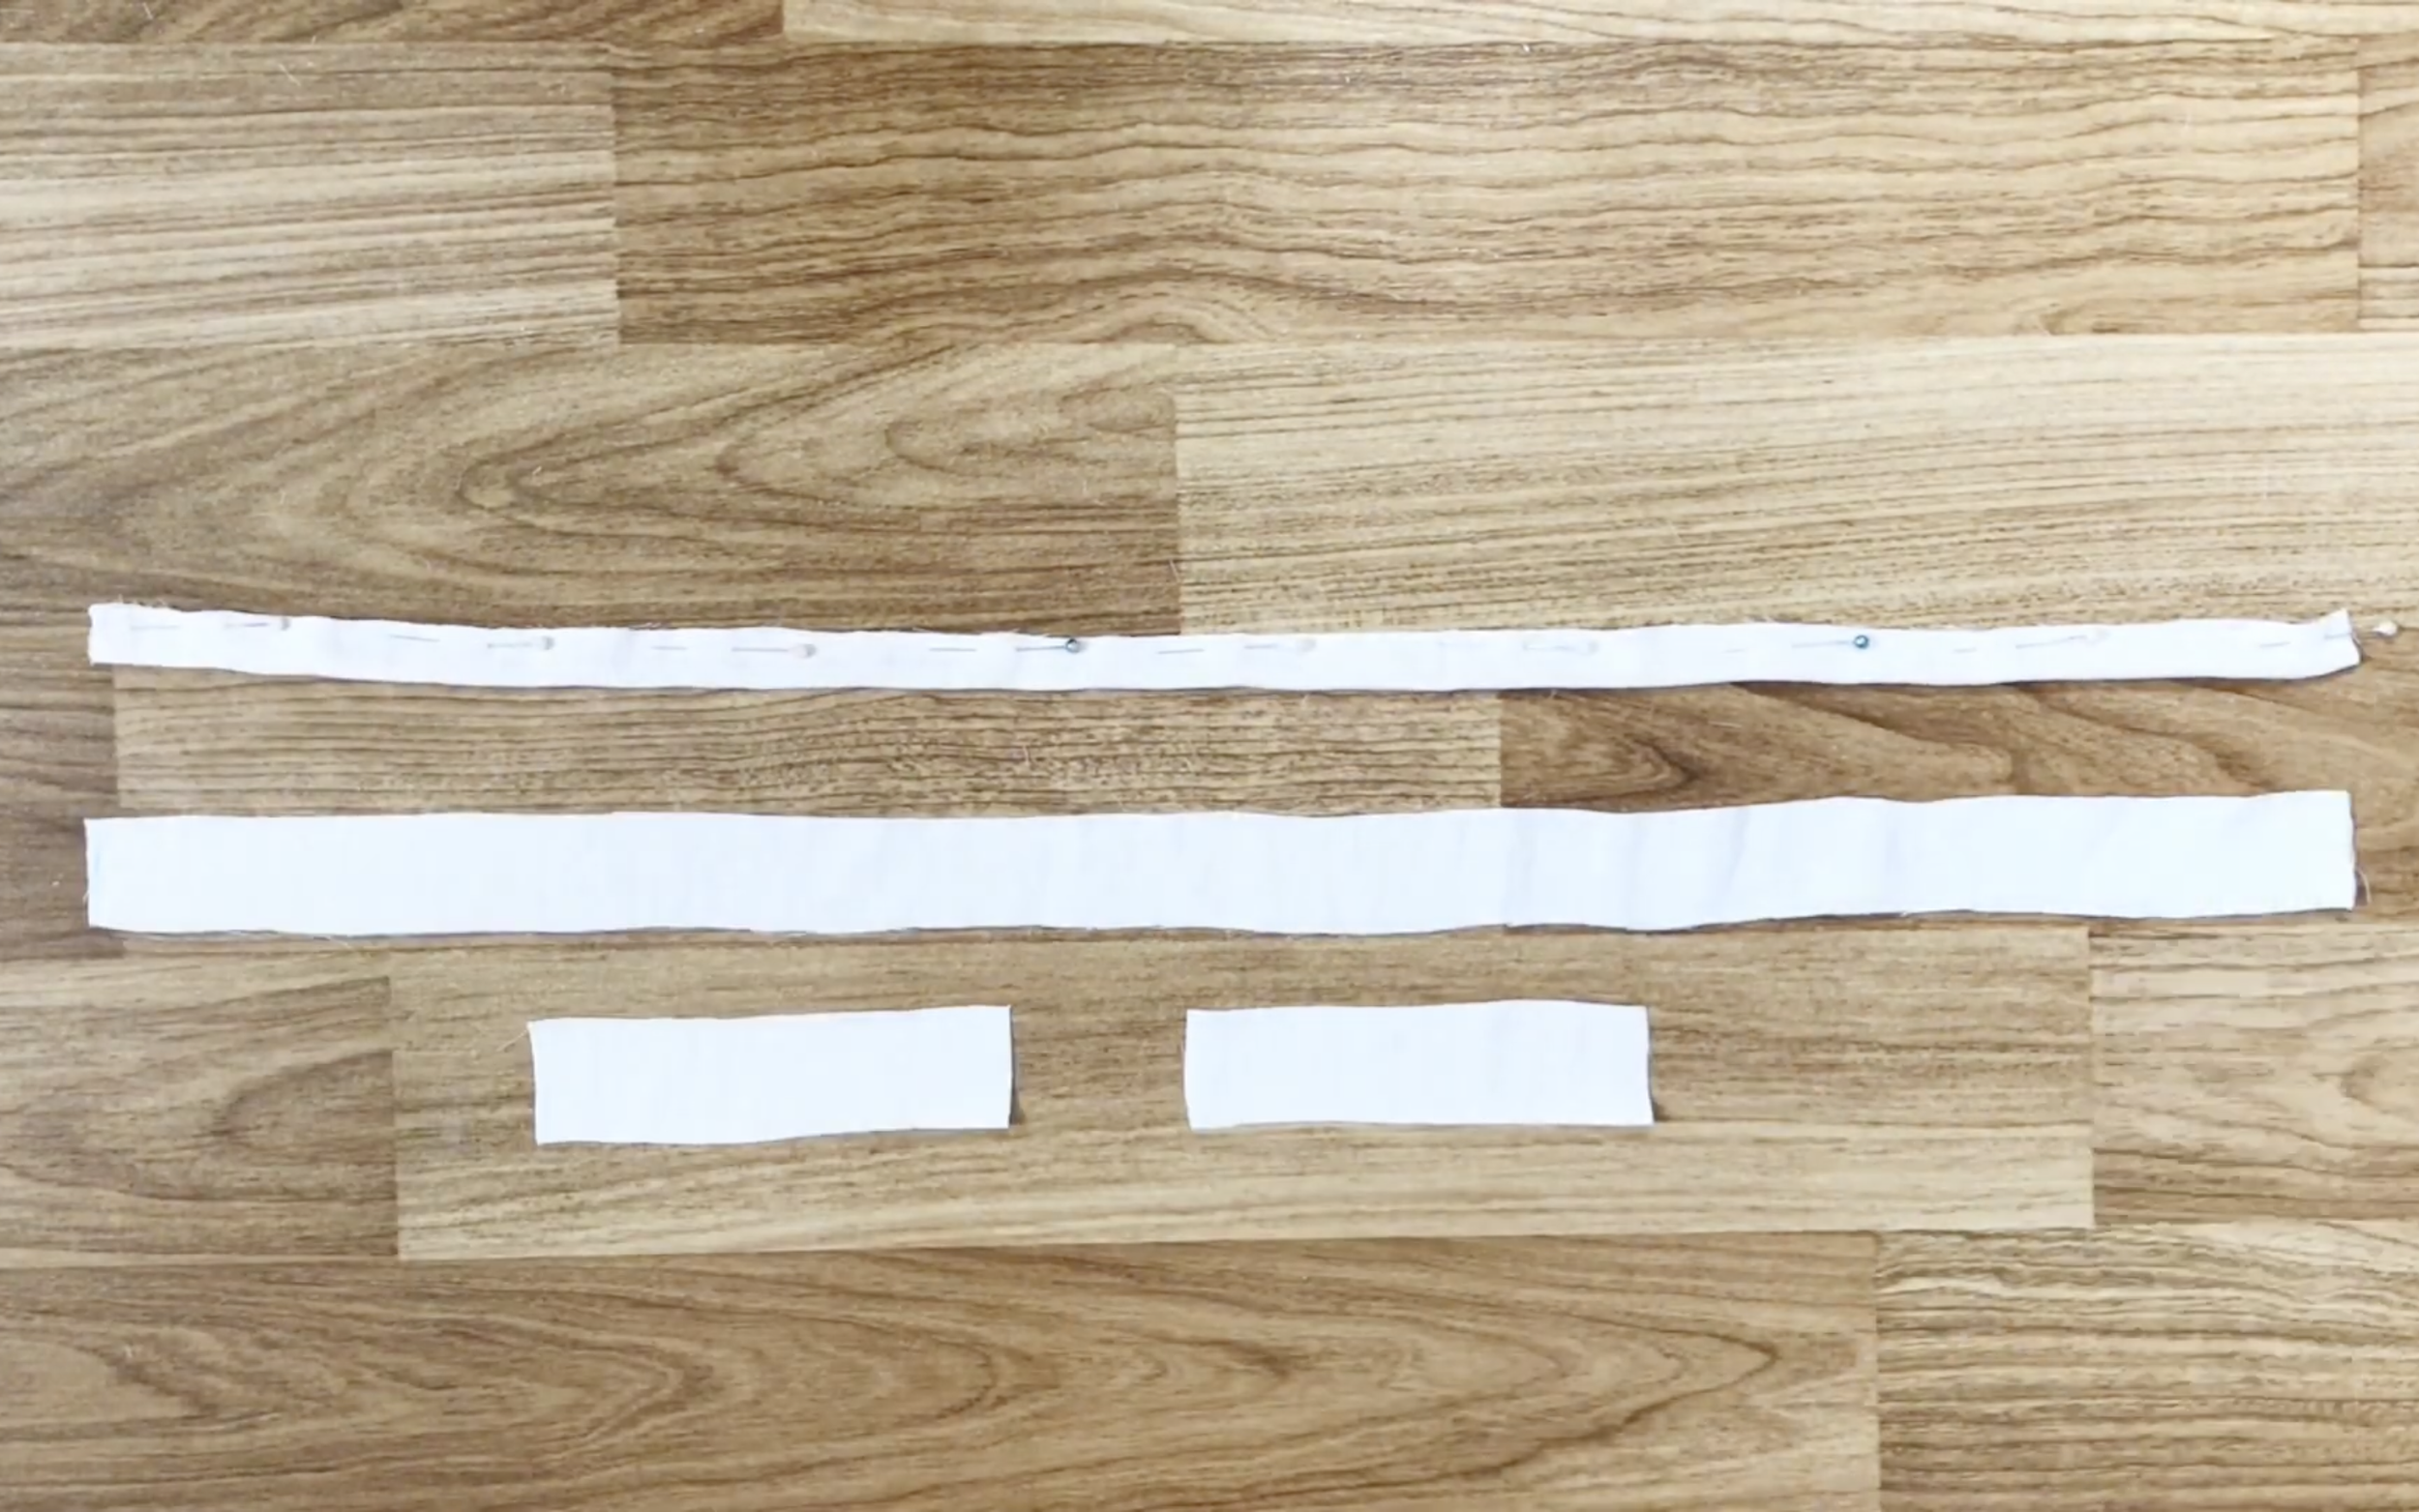
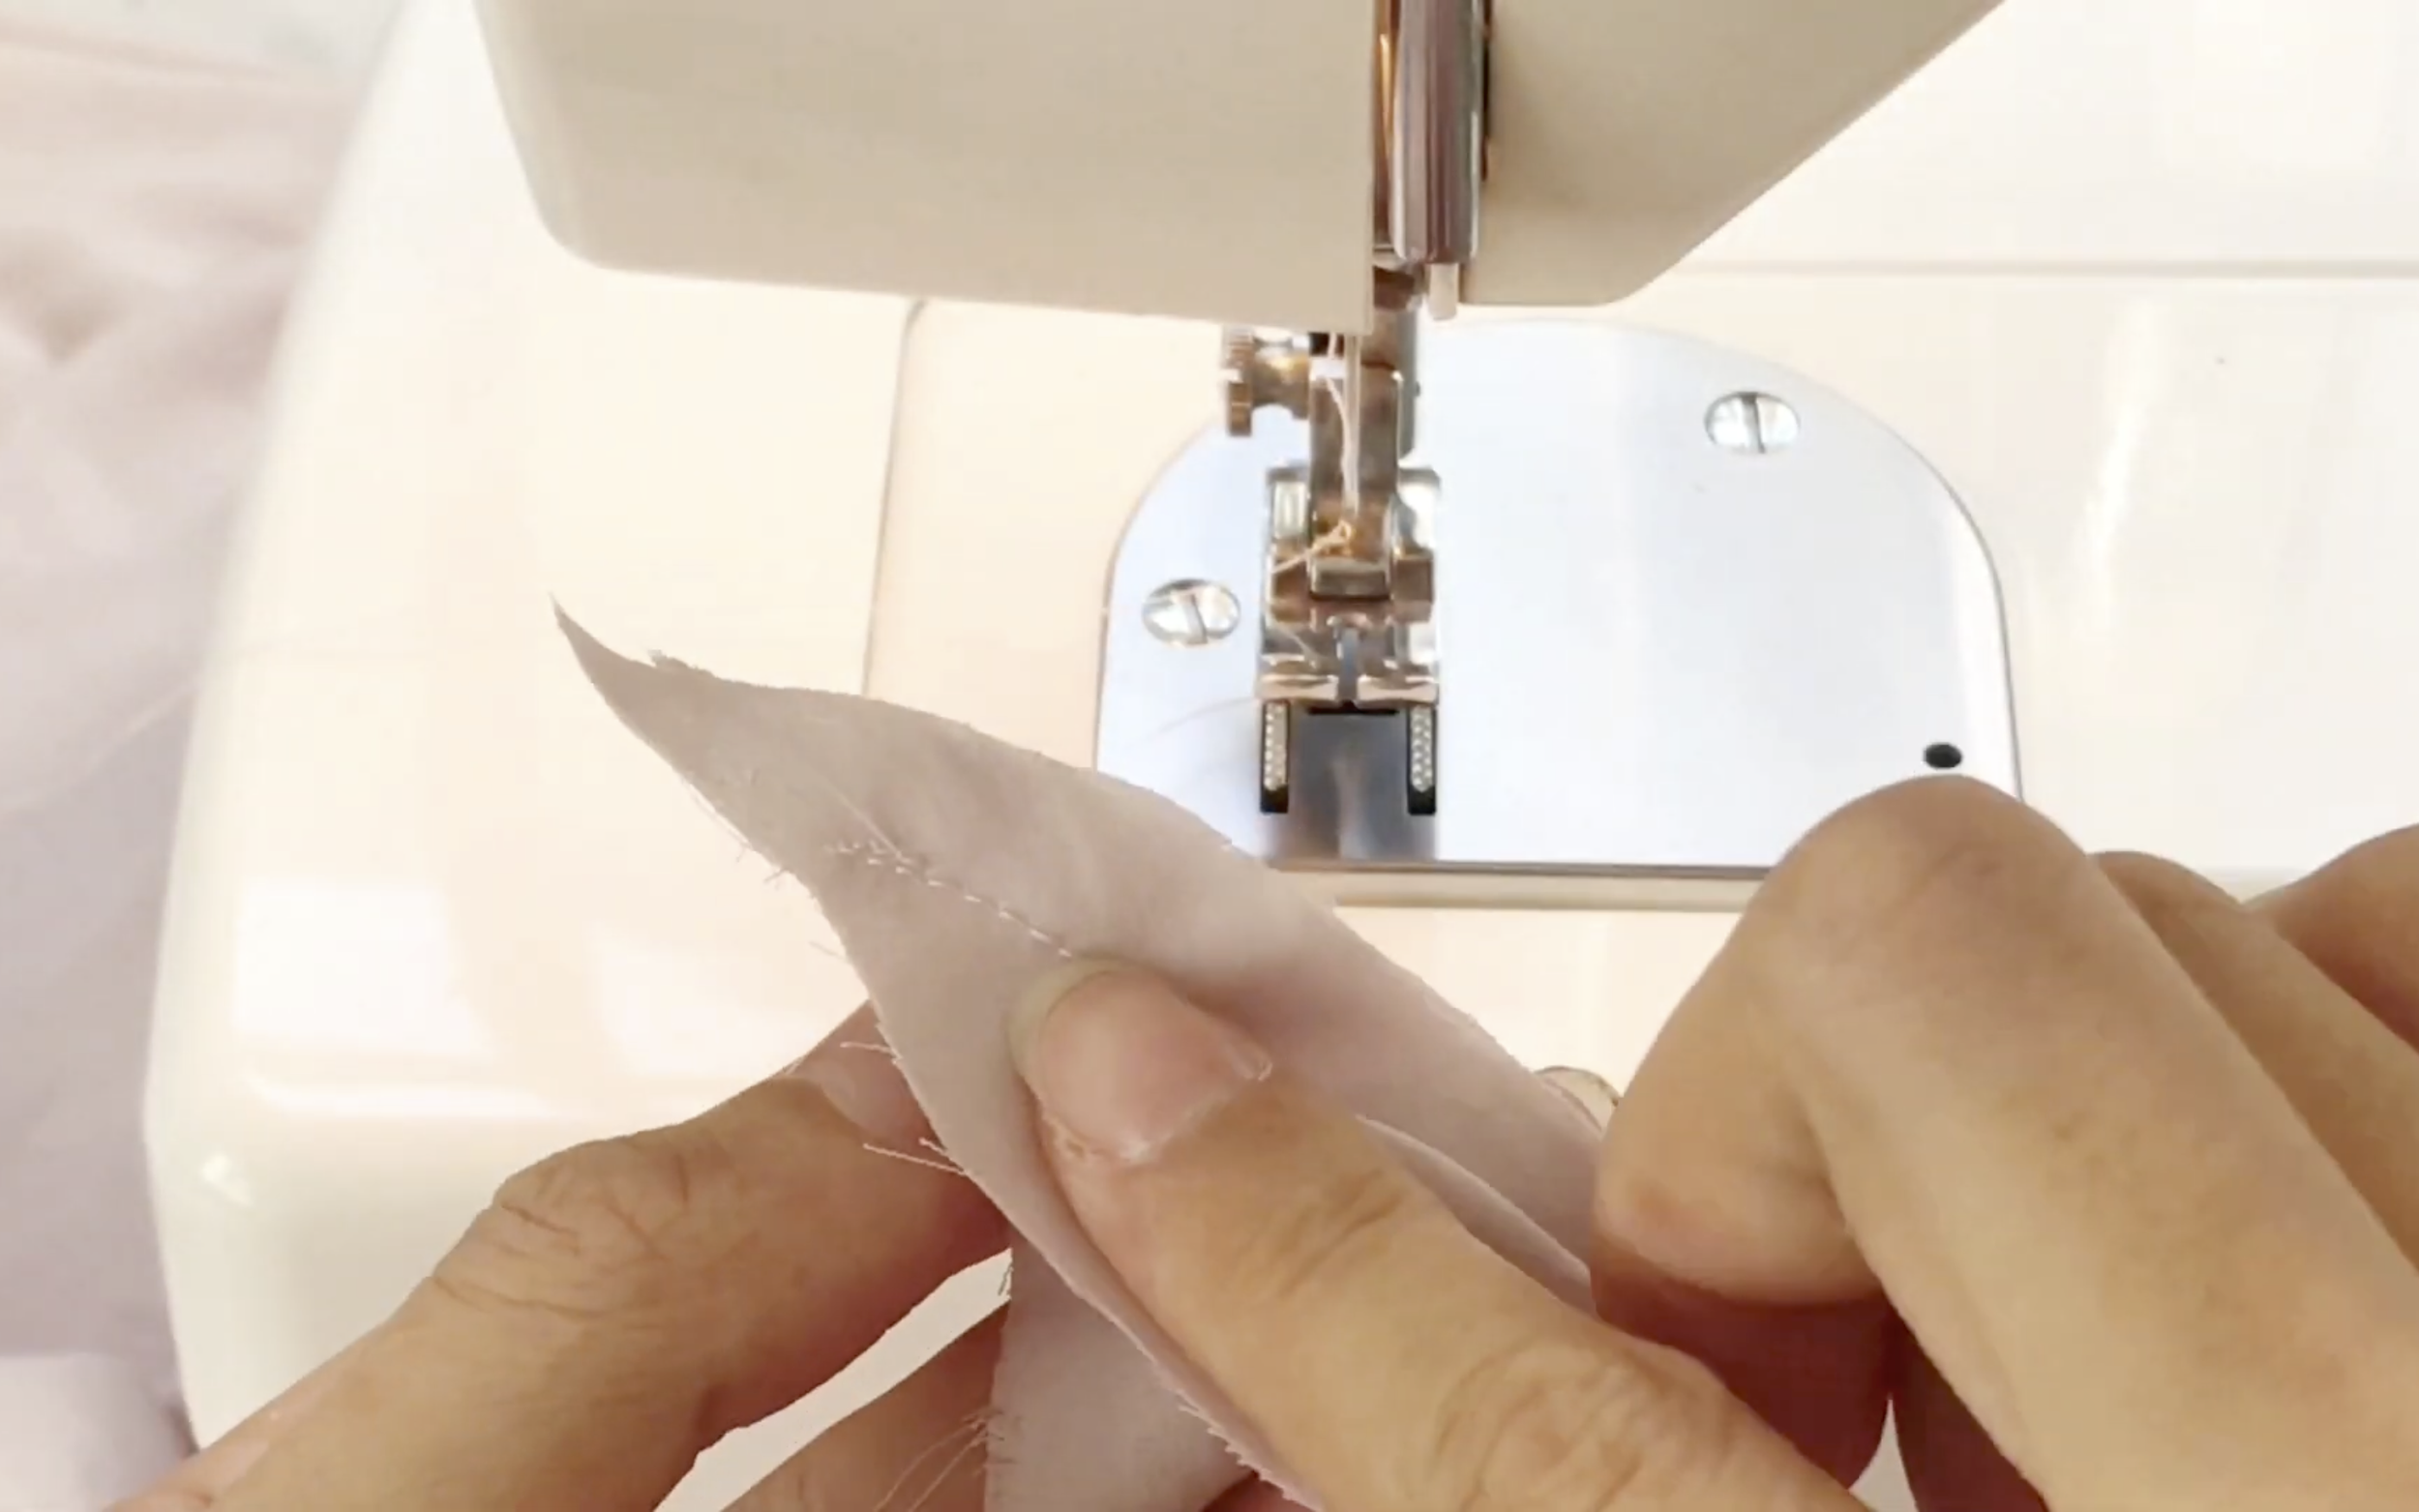
Fold them in half and sew.
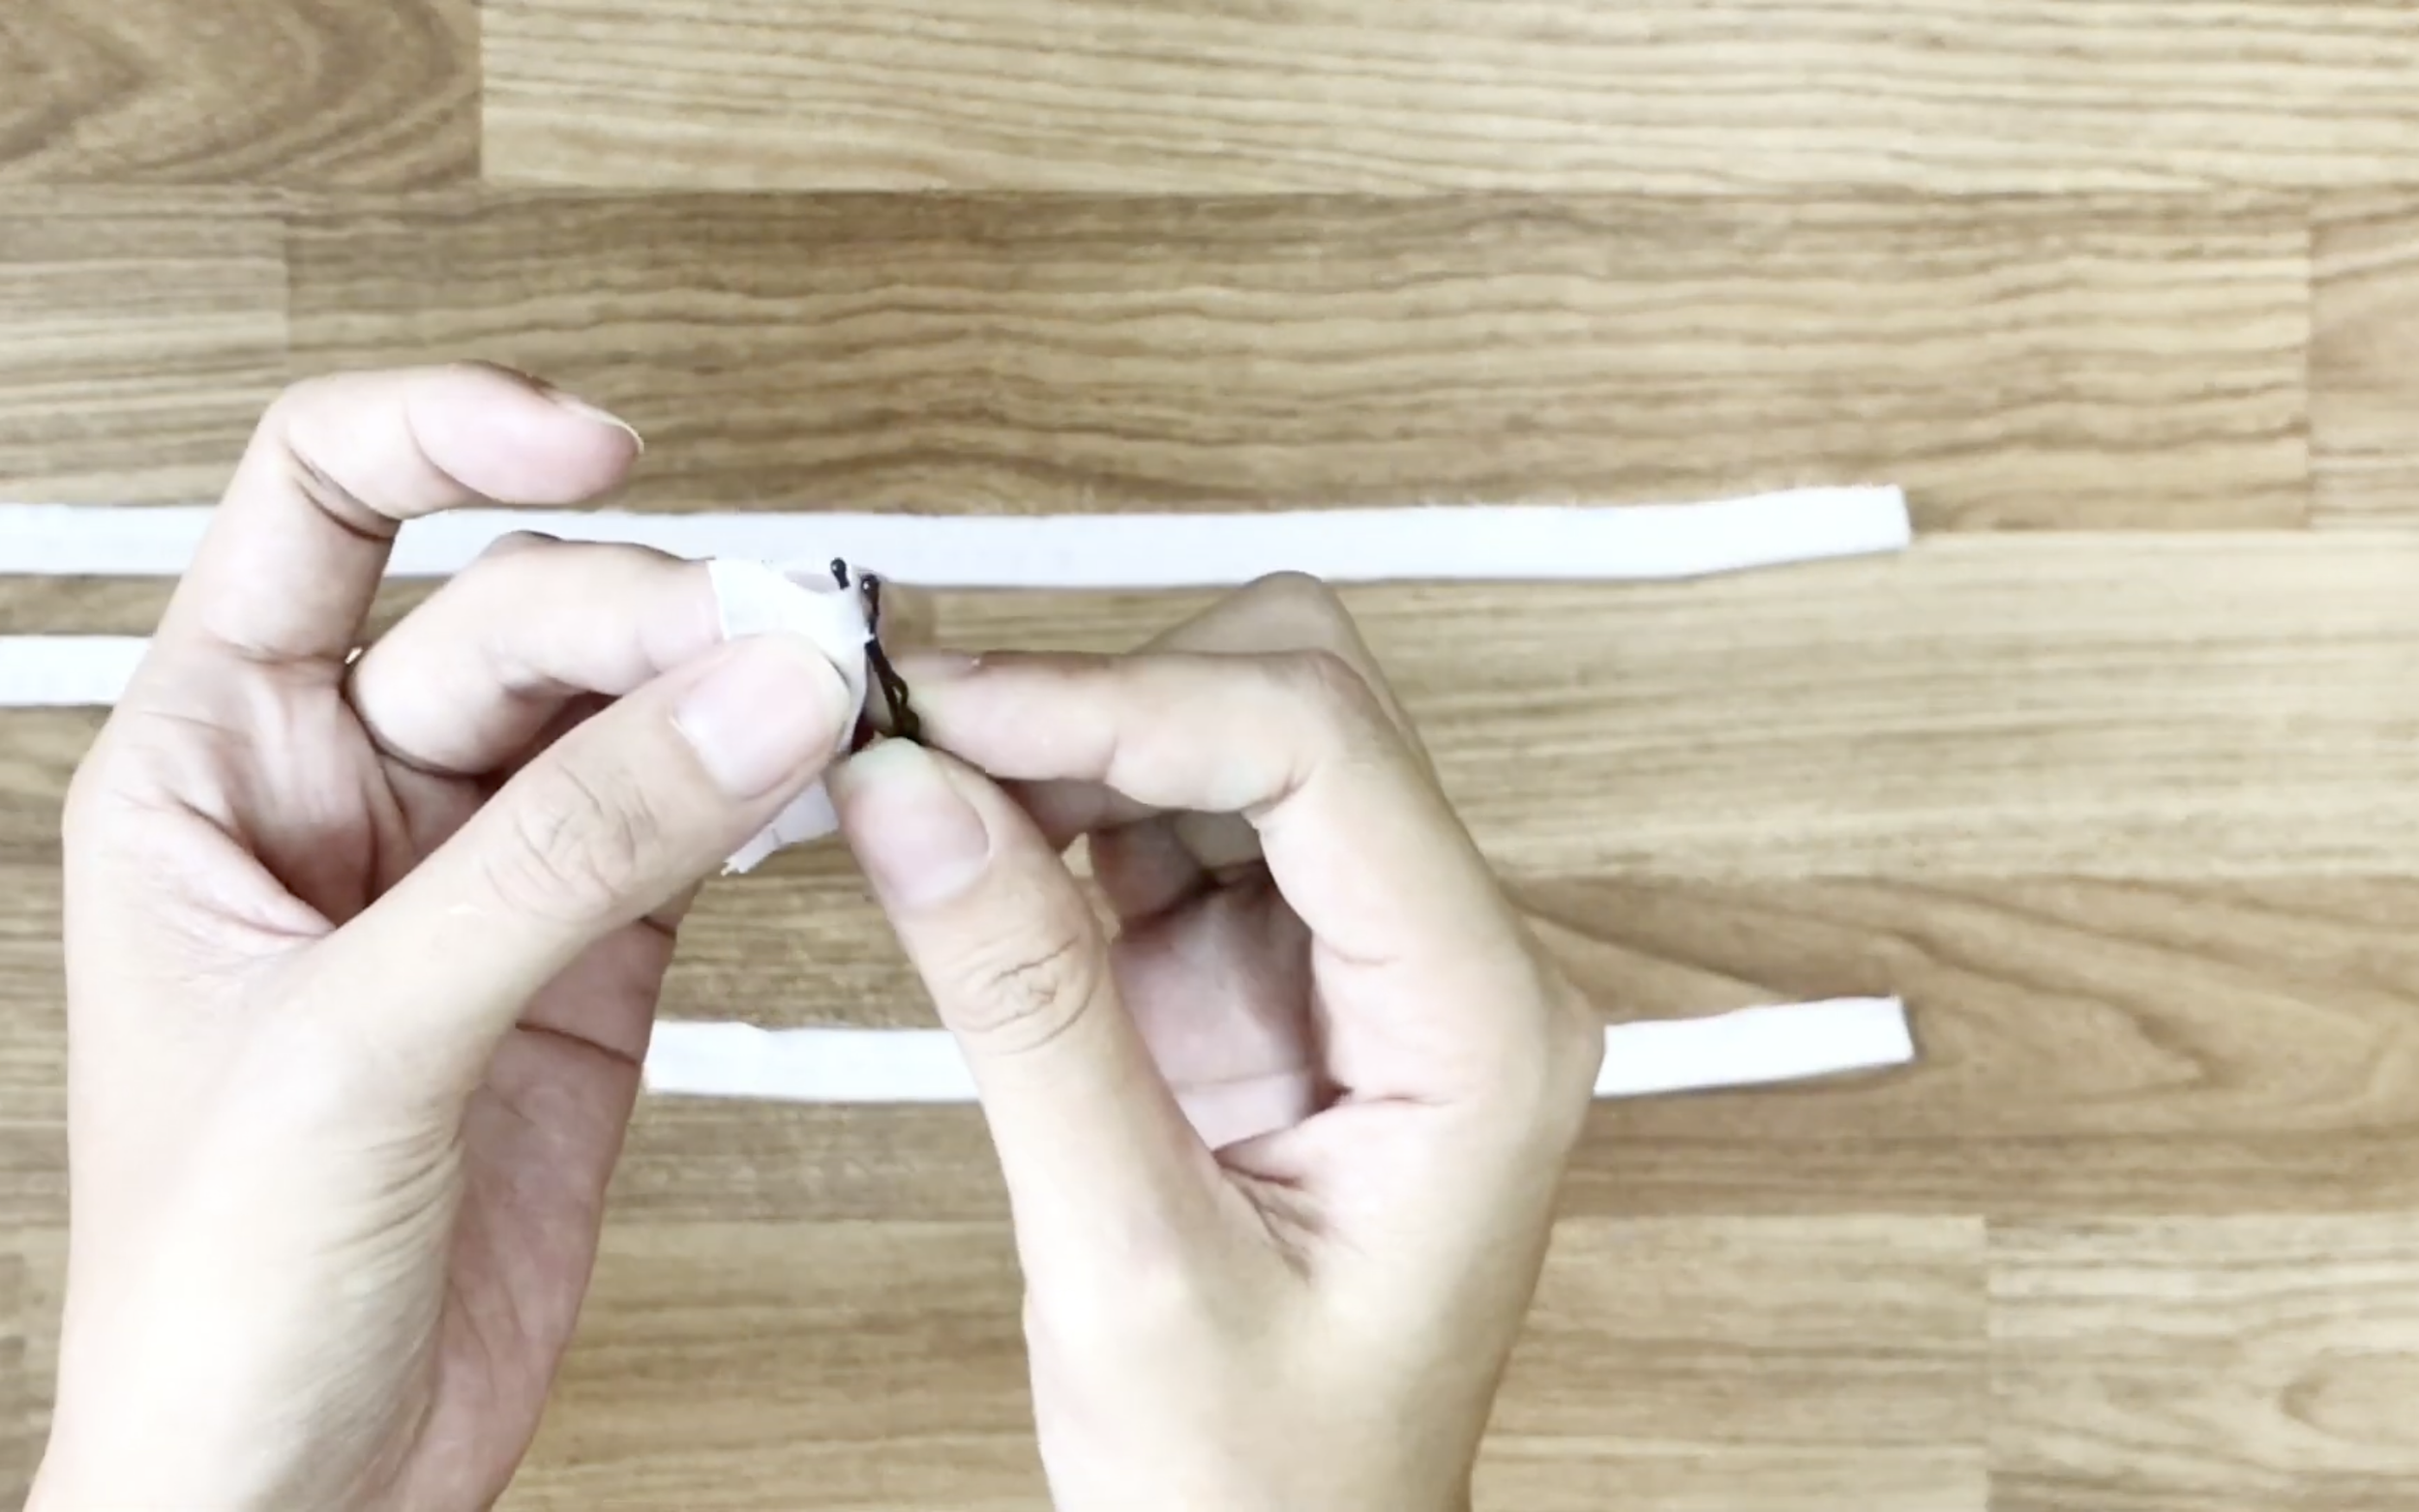
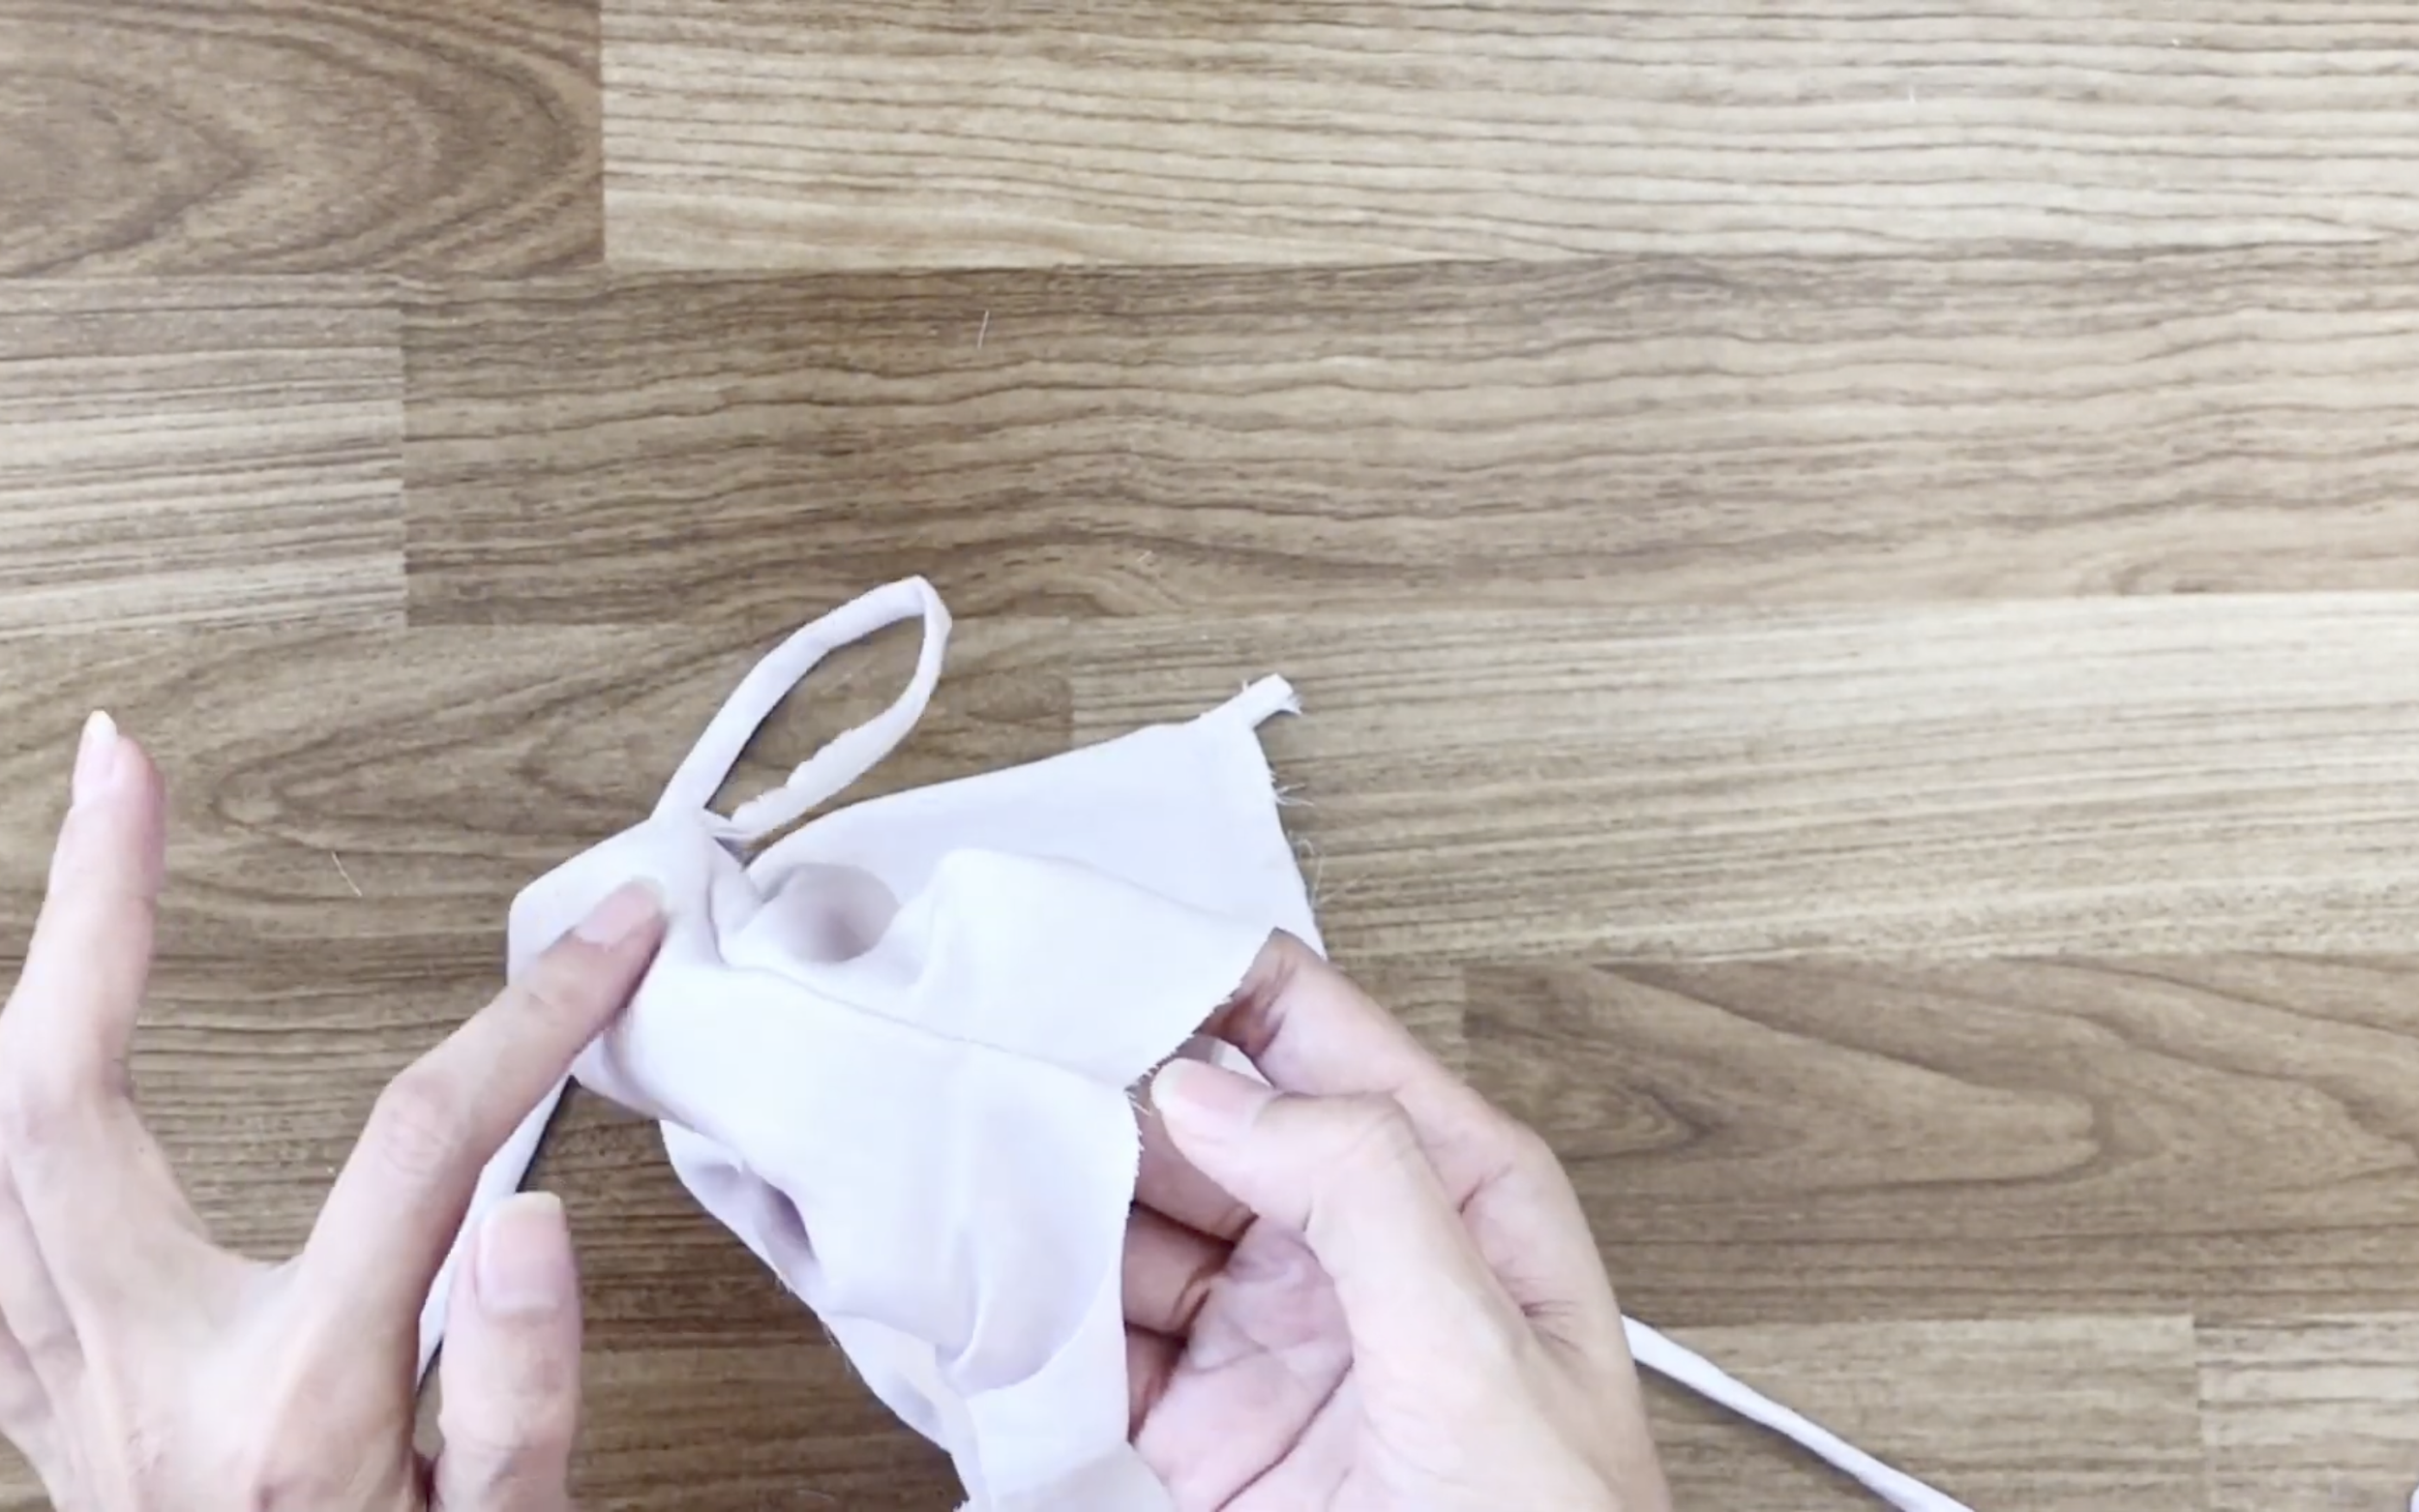
To turn them right-side out, use a hair clip and make a small hole at one end of the tie to put the hair clip inside.
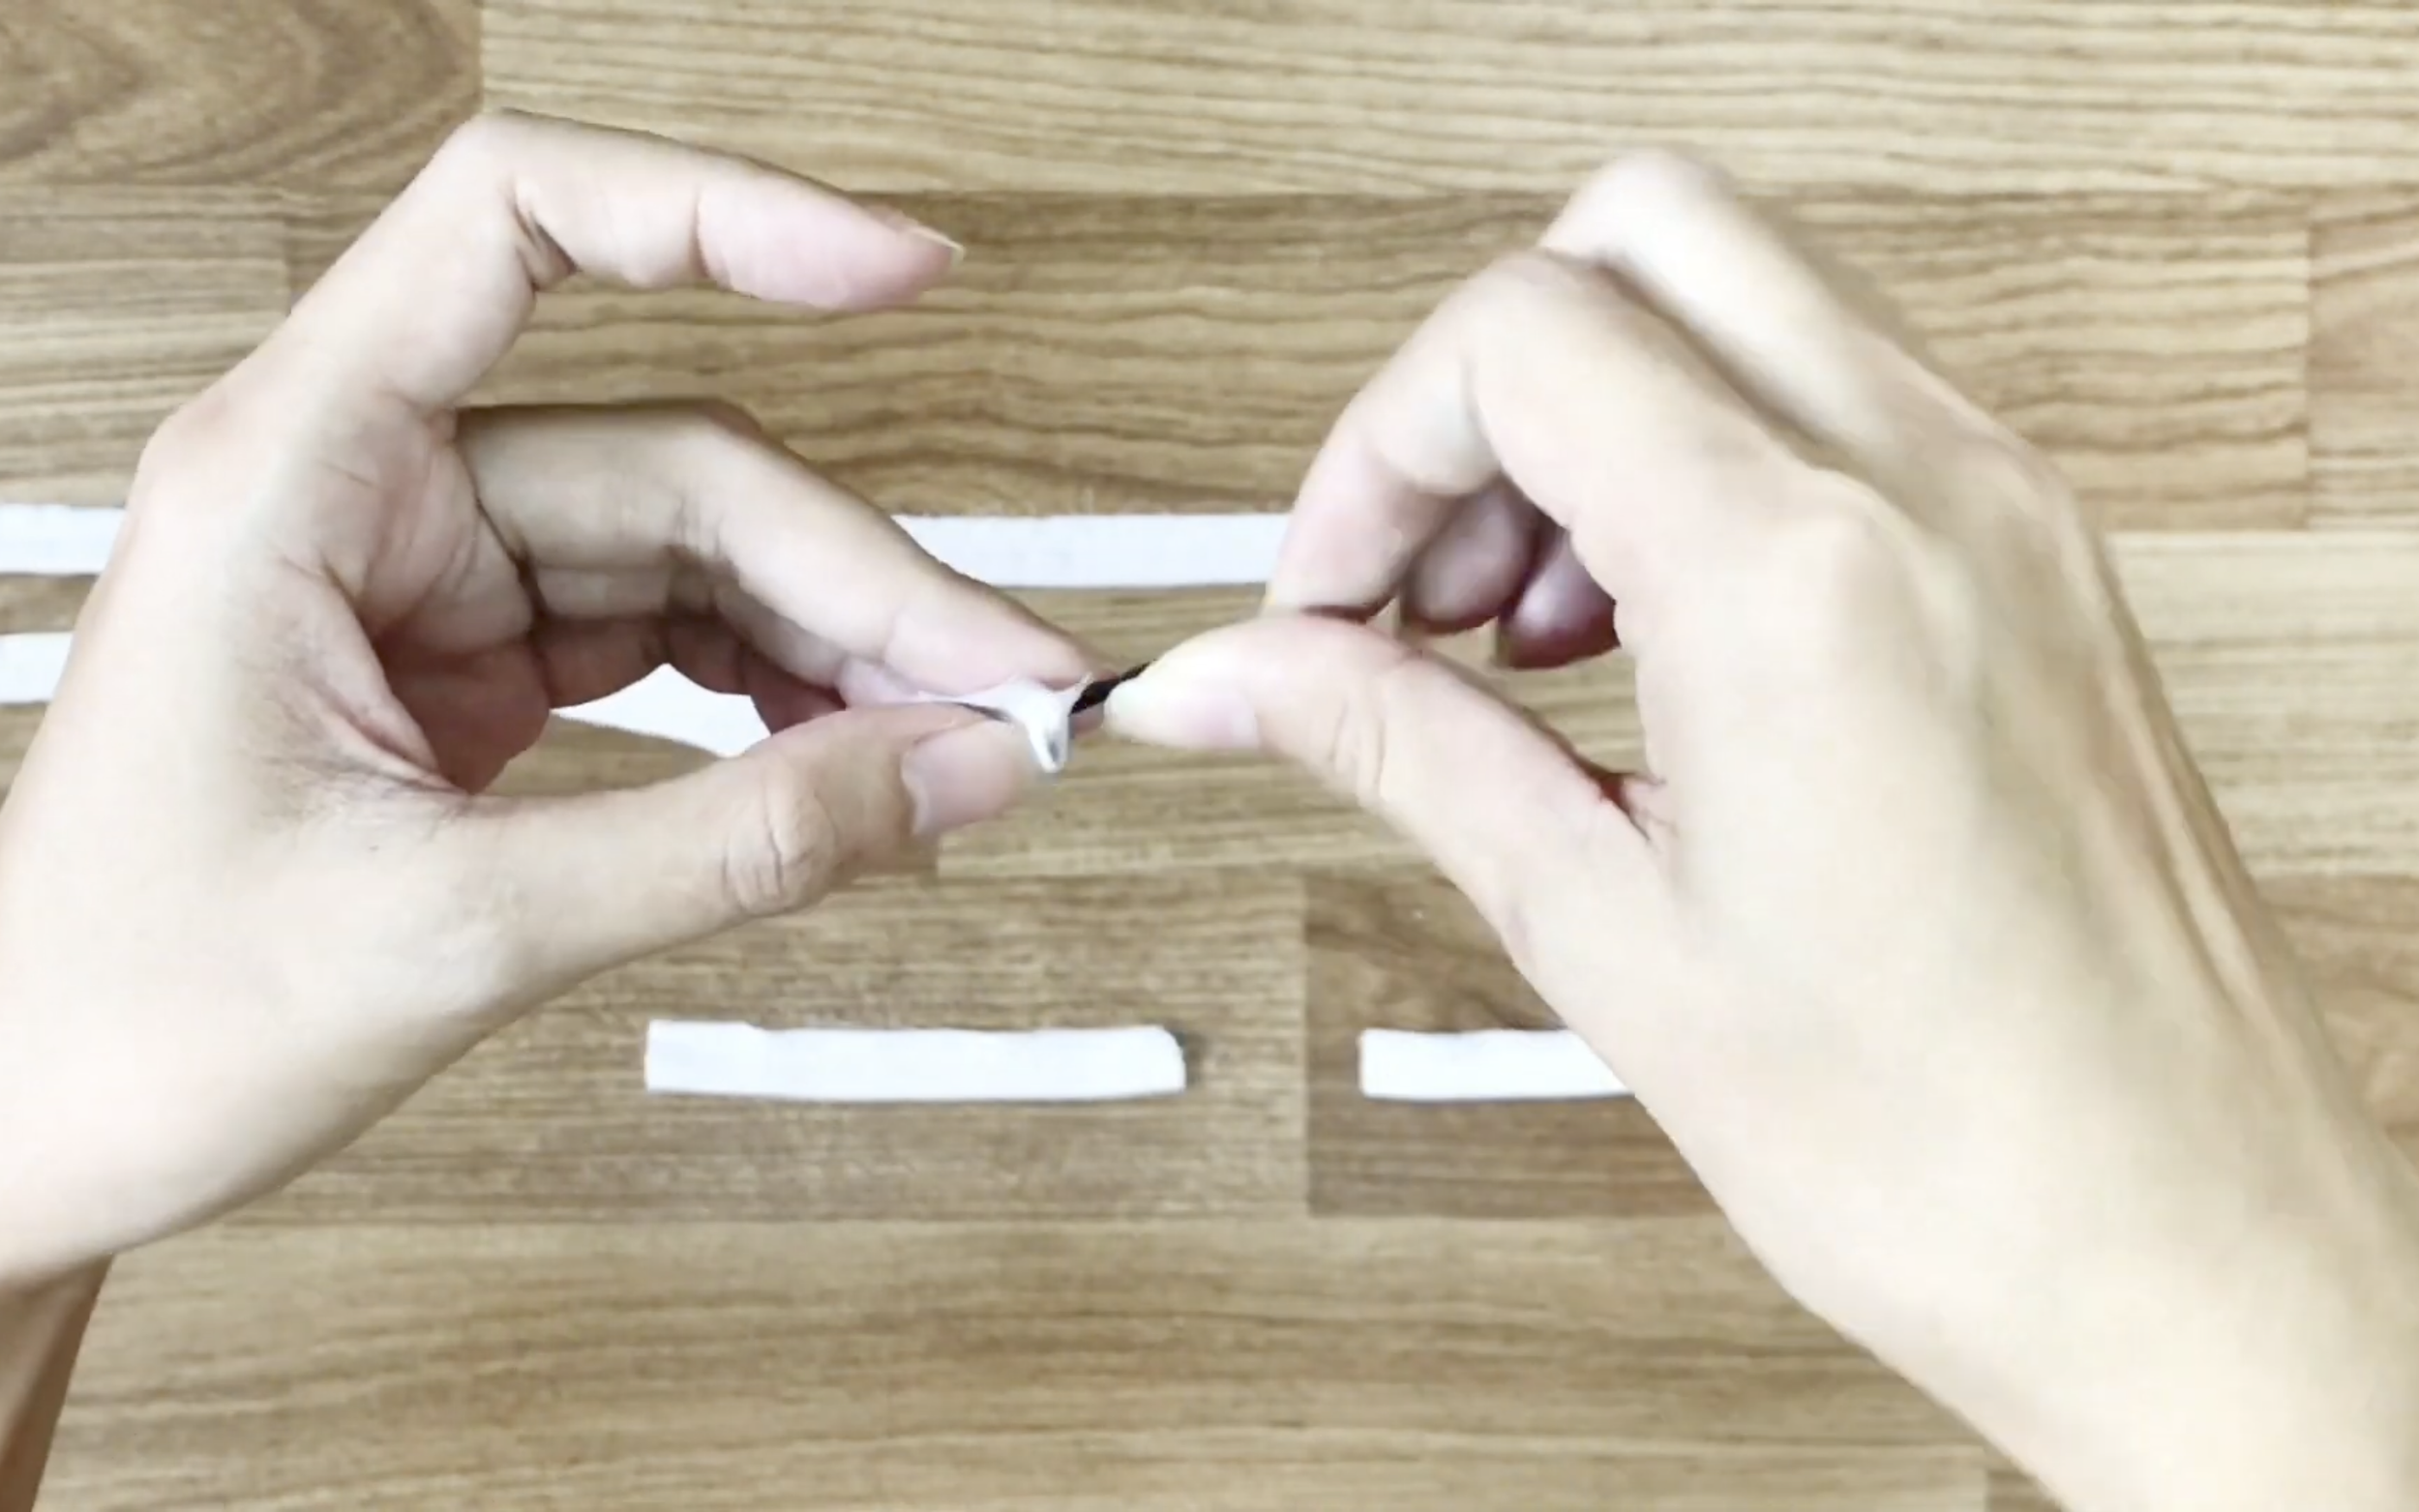
Then move the hair clip inside the hole of the ties to another end.
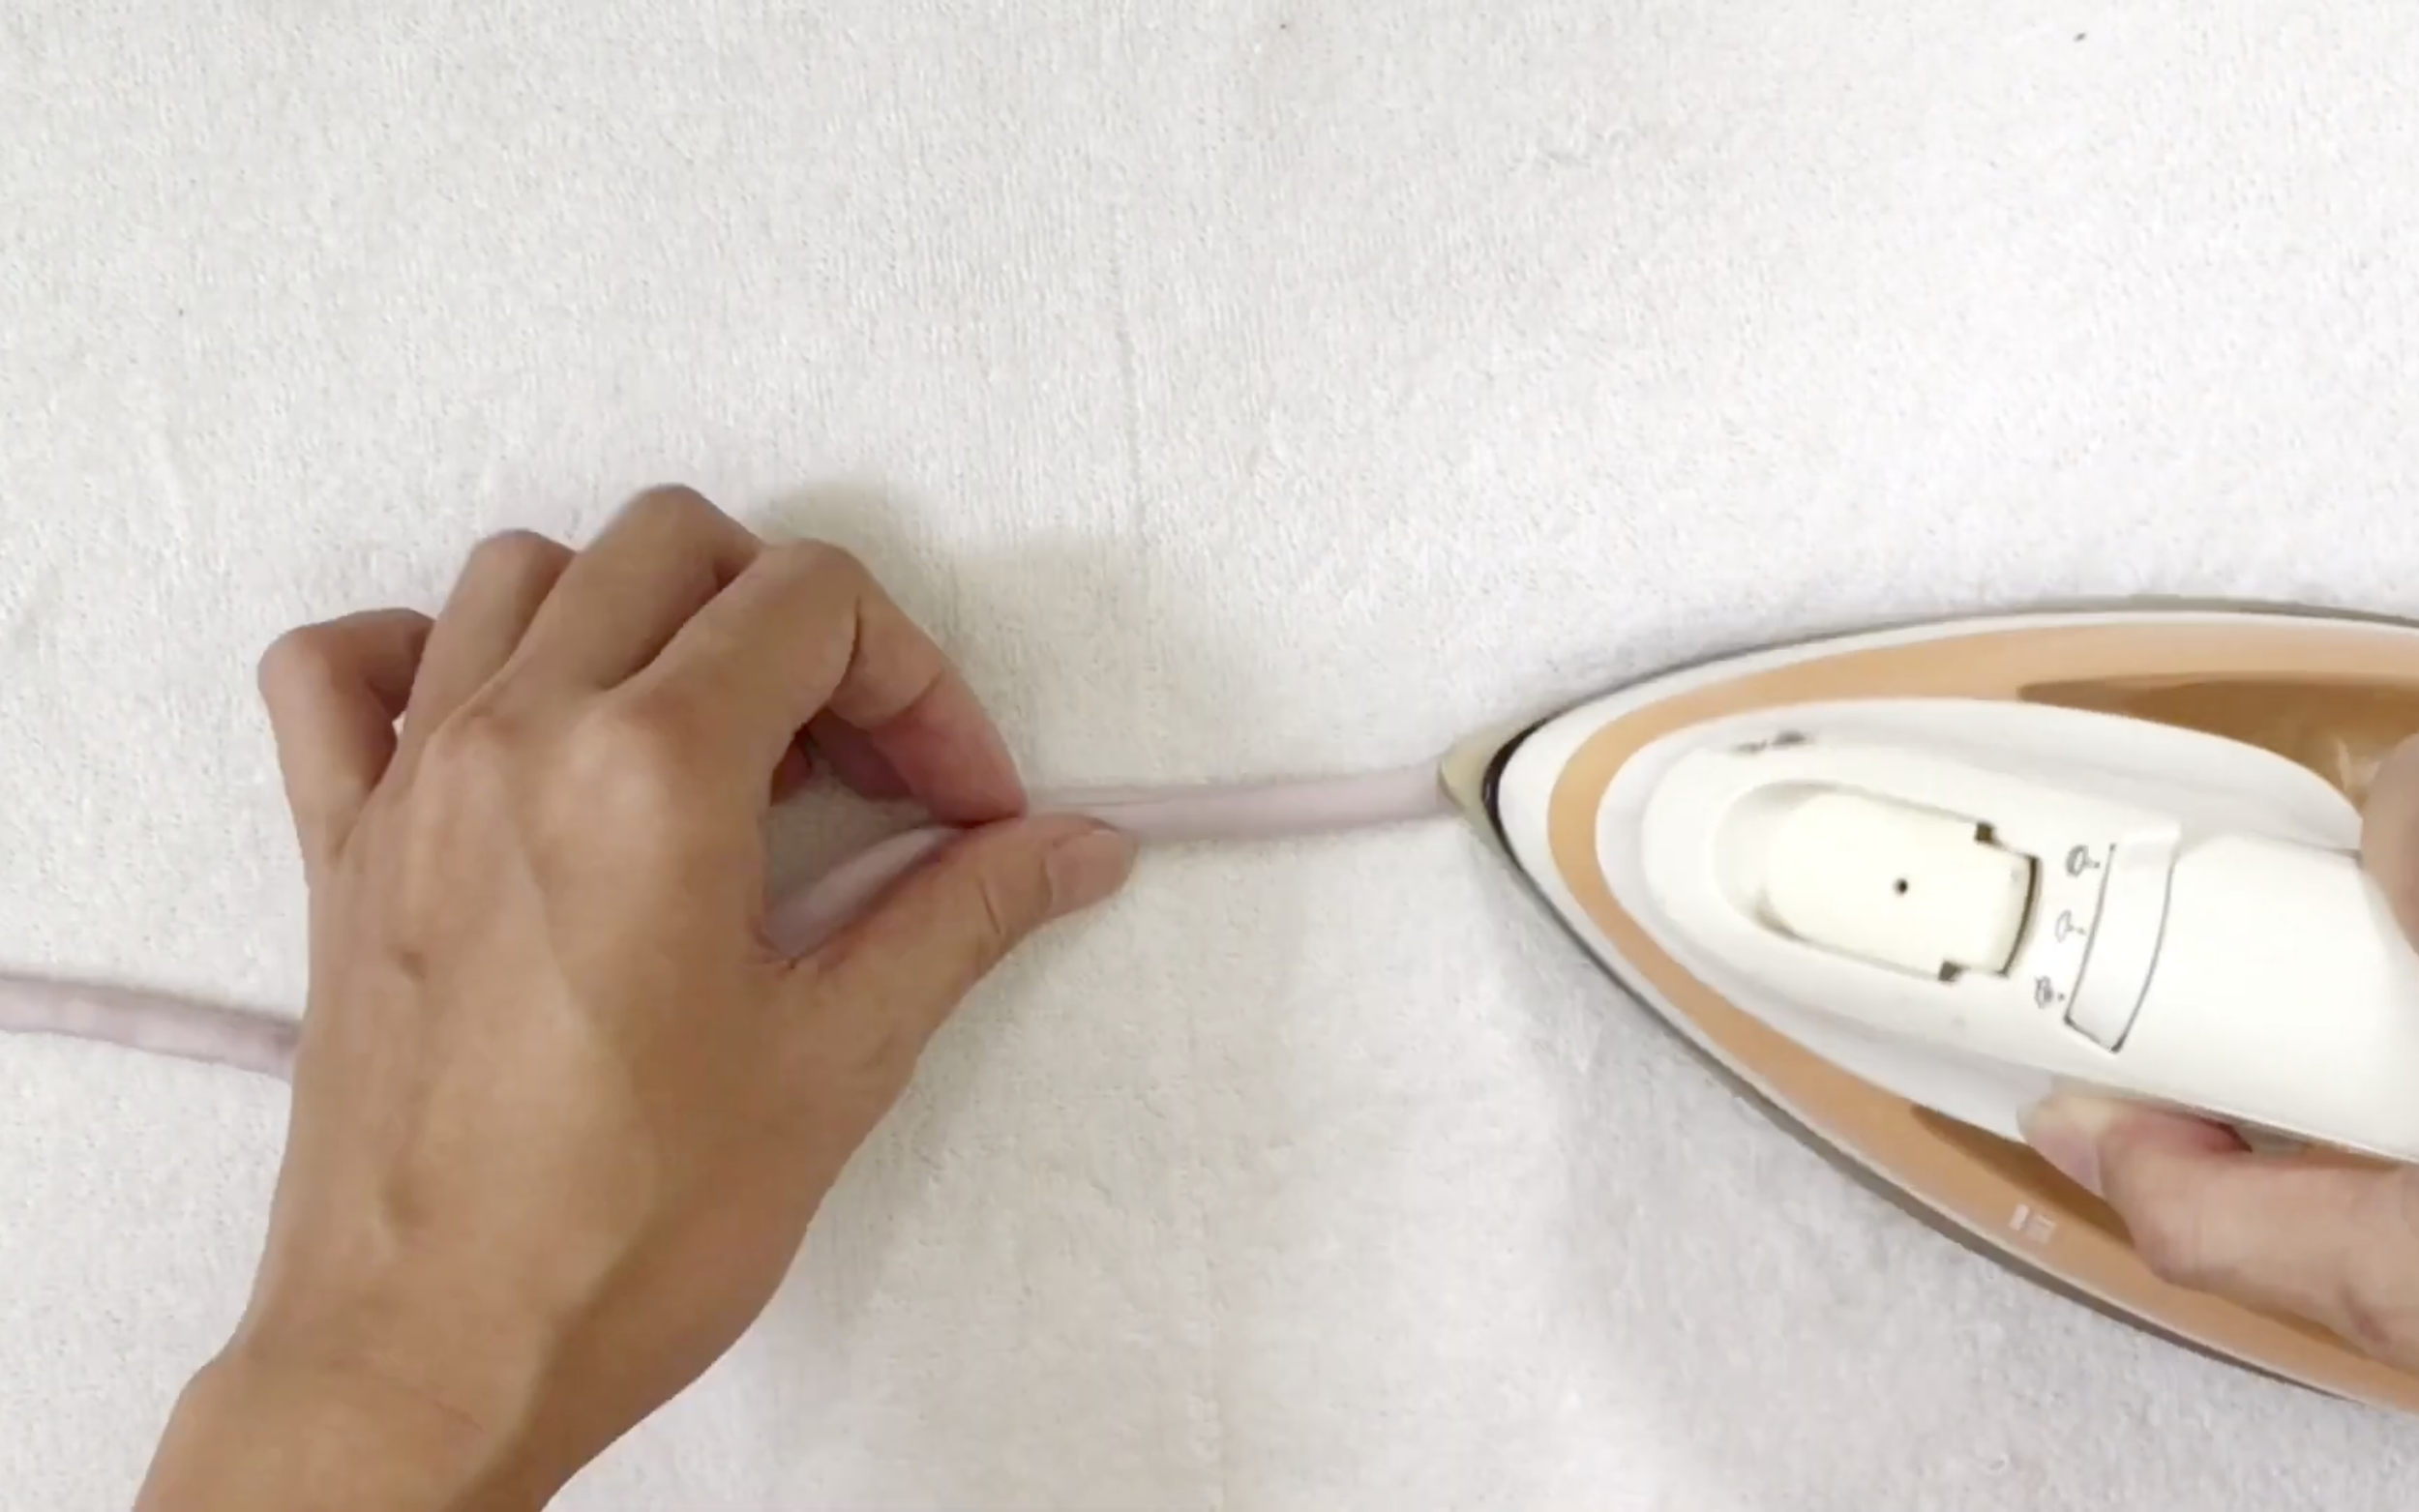
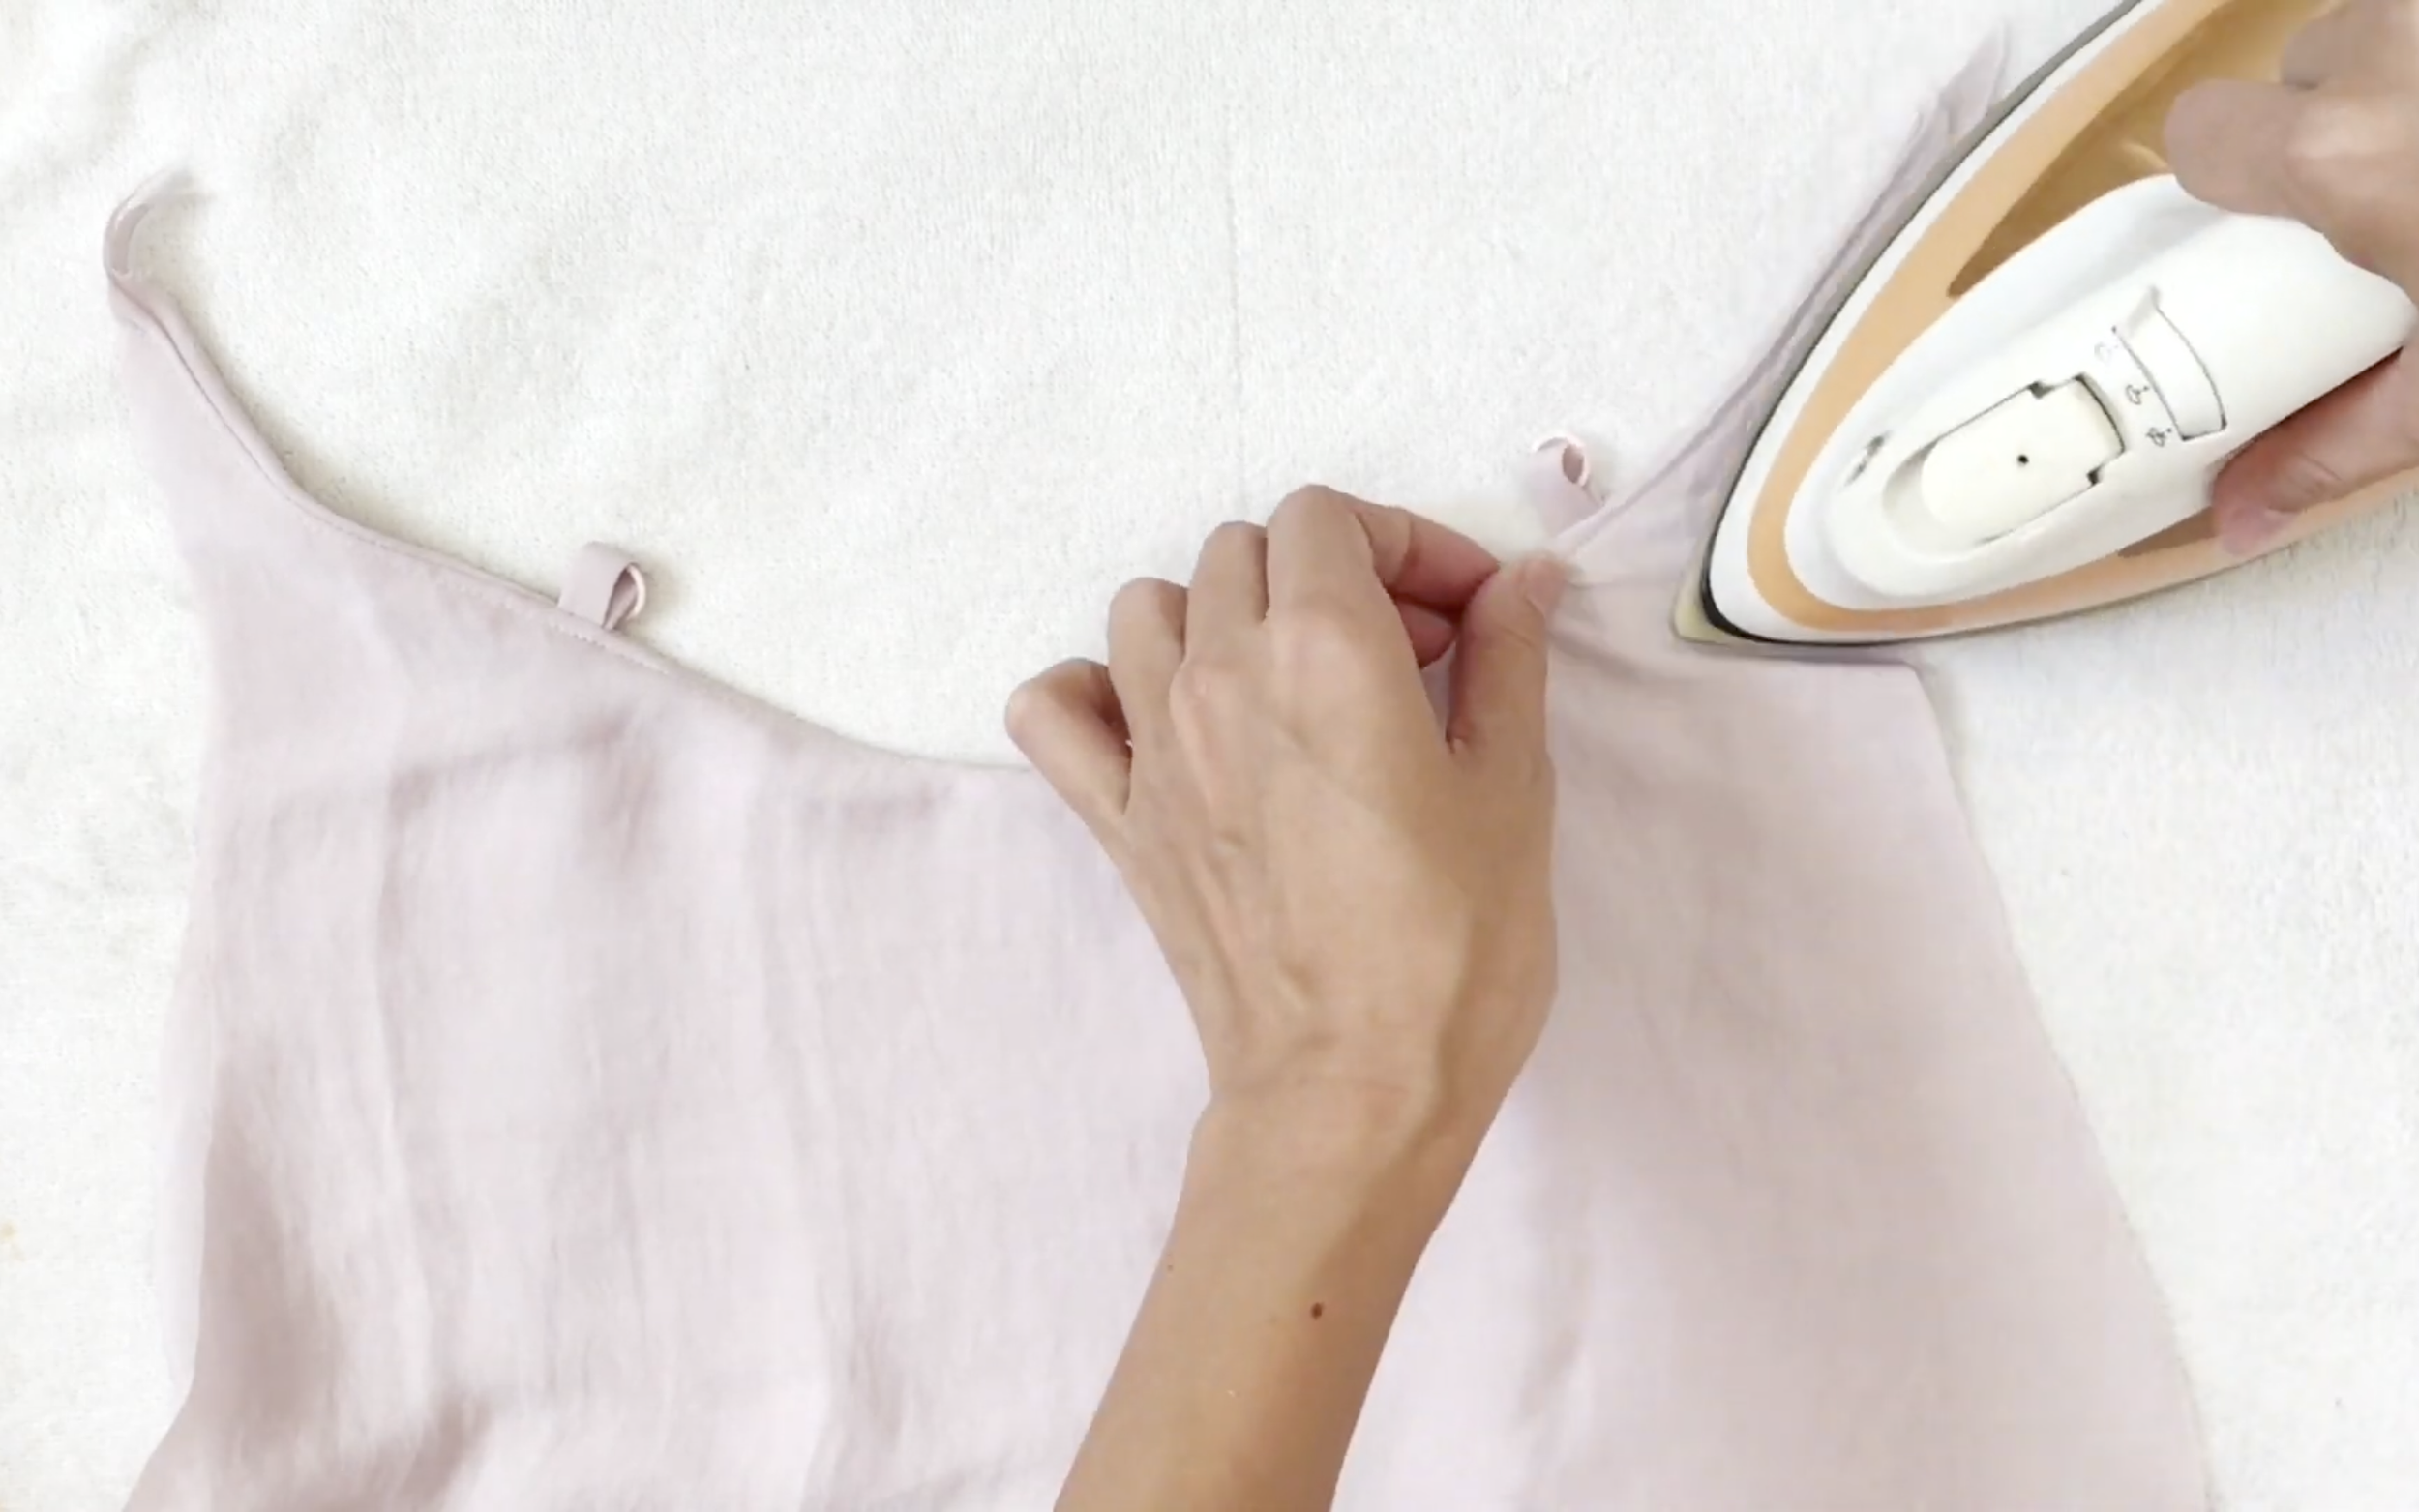
After that, use the iron to make it straight and nicer.
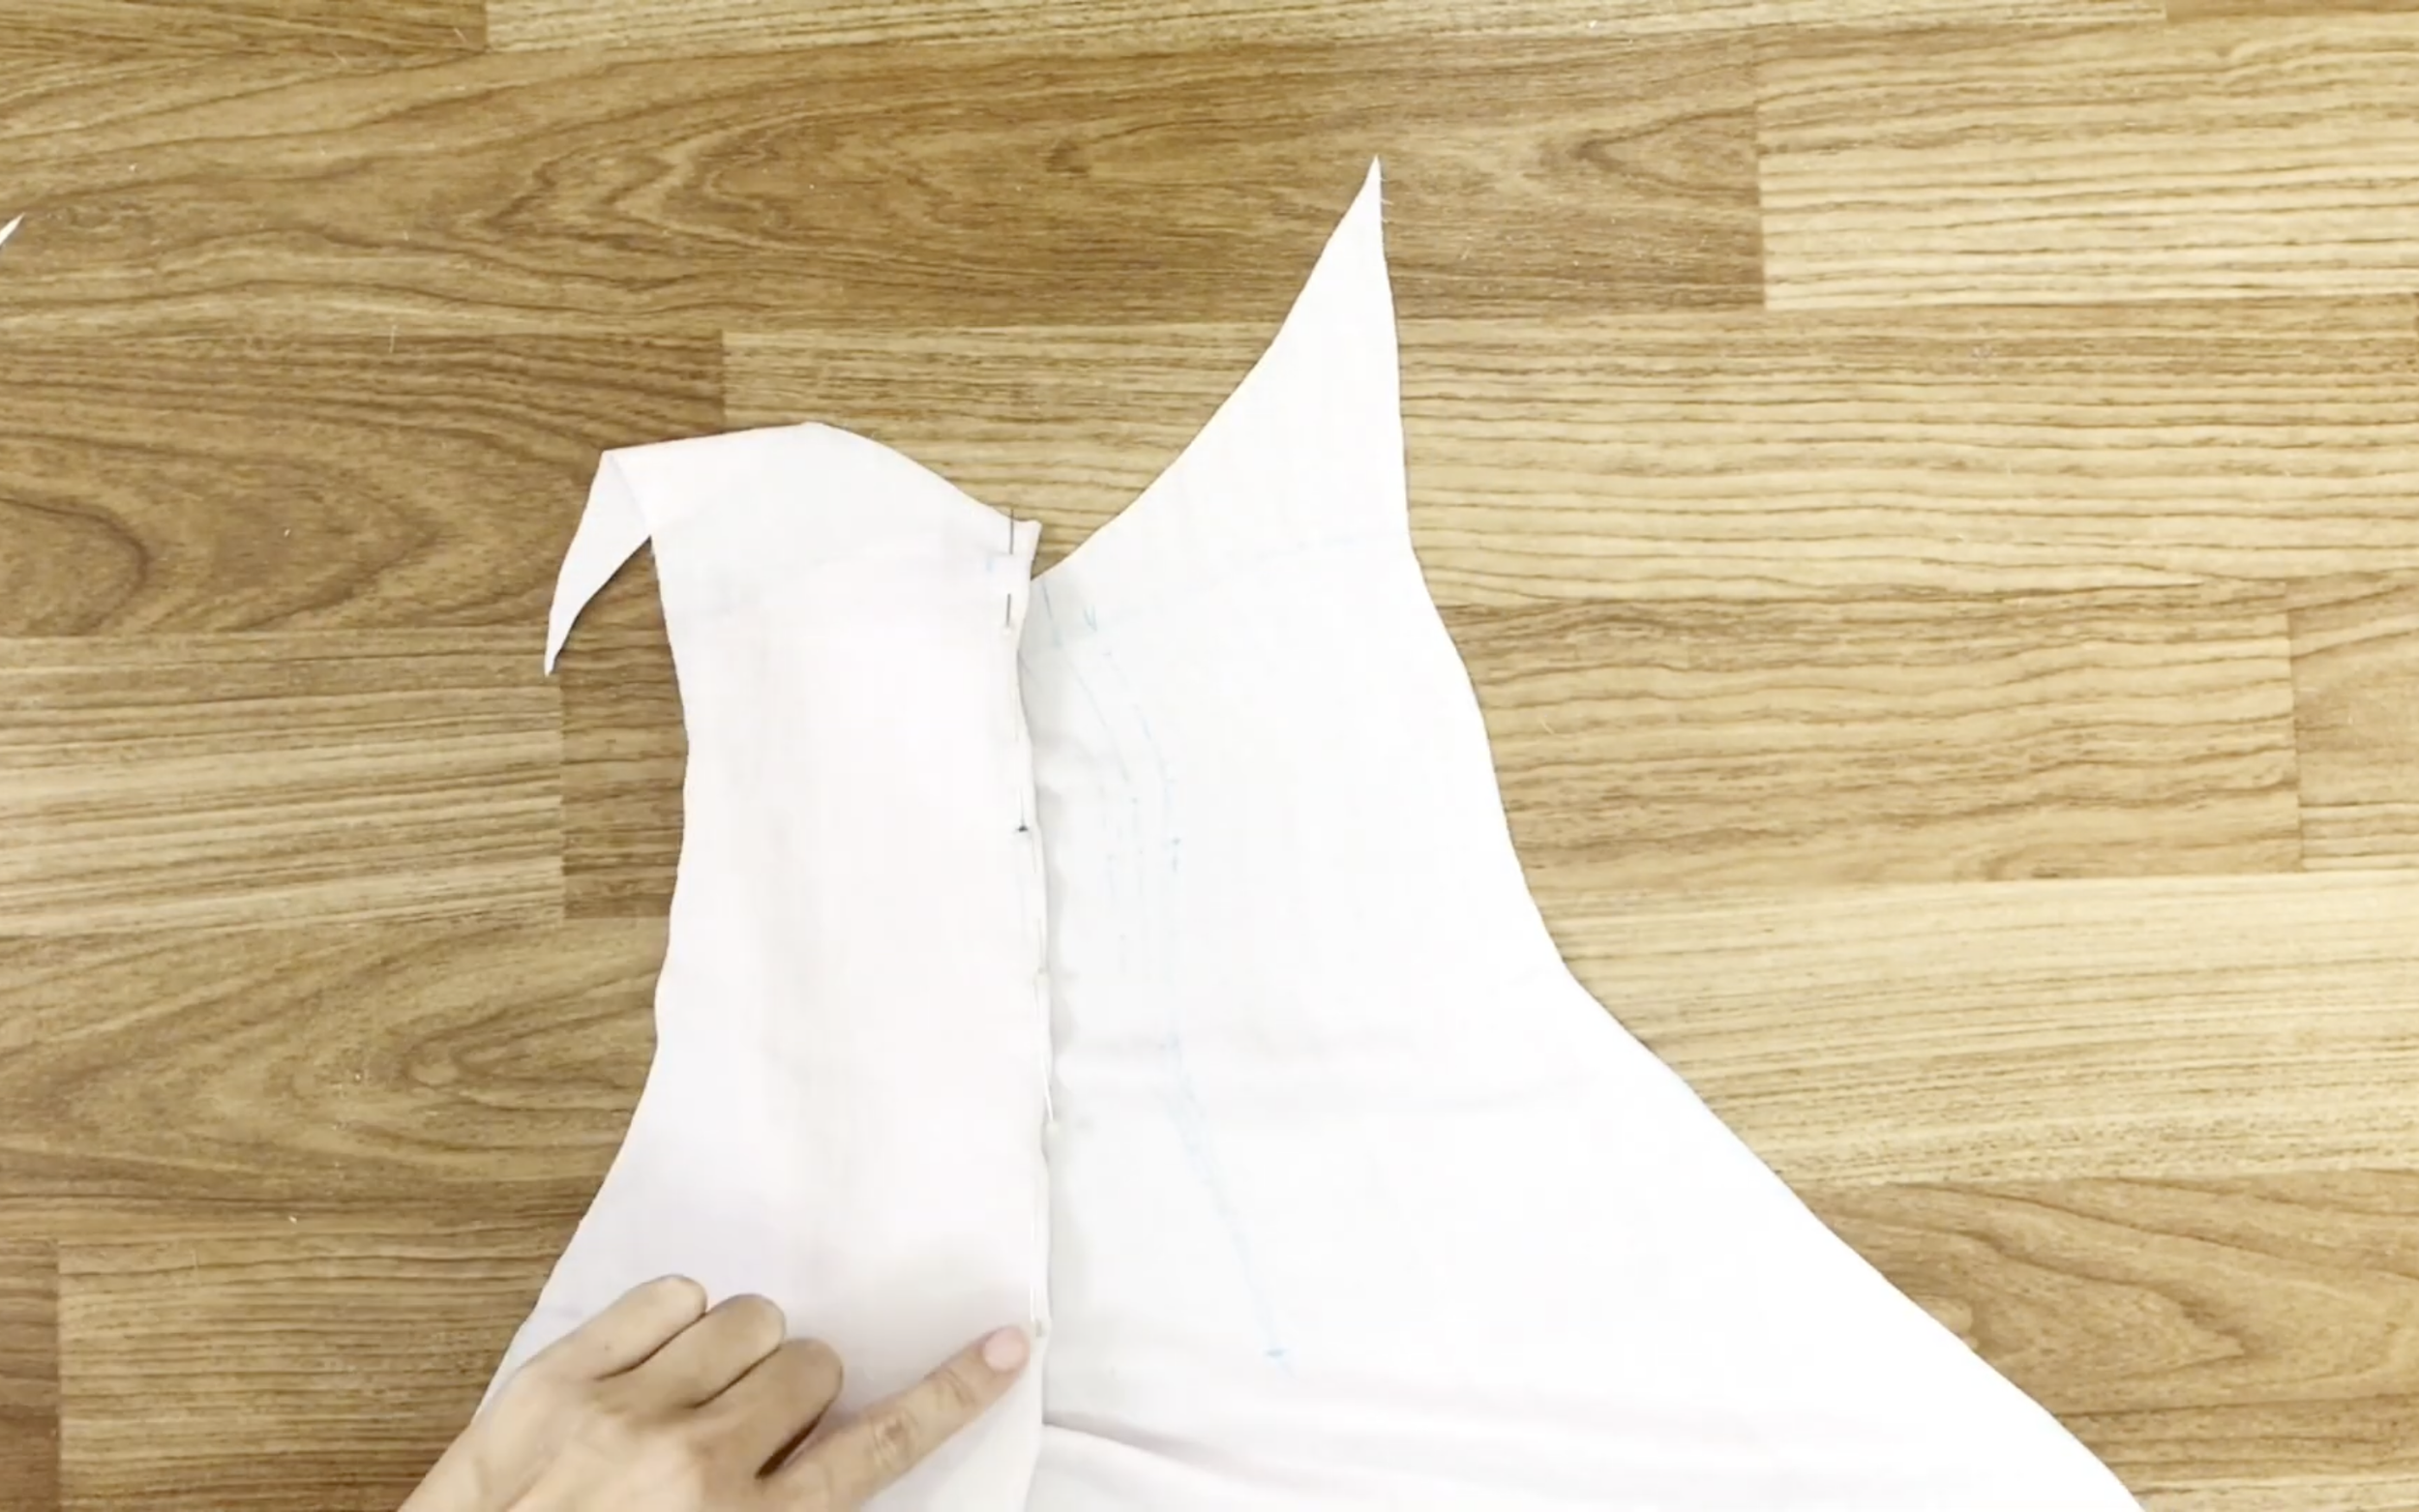
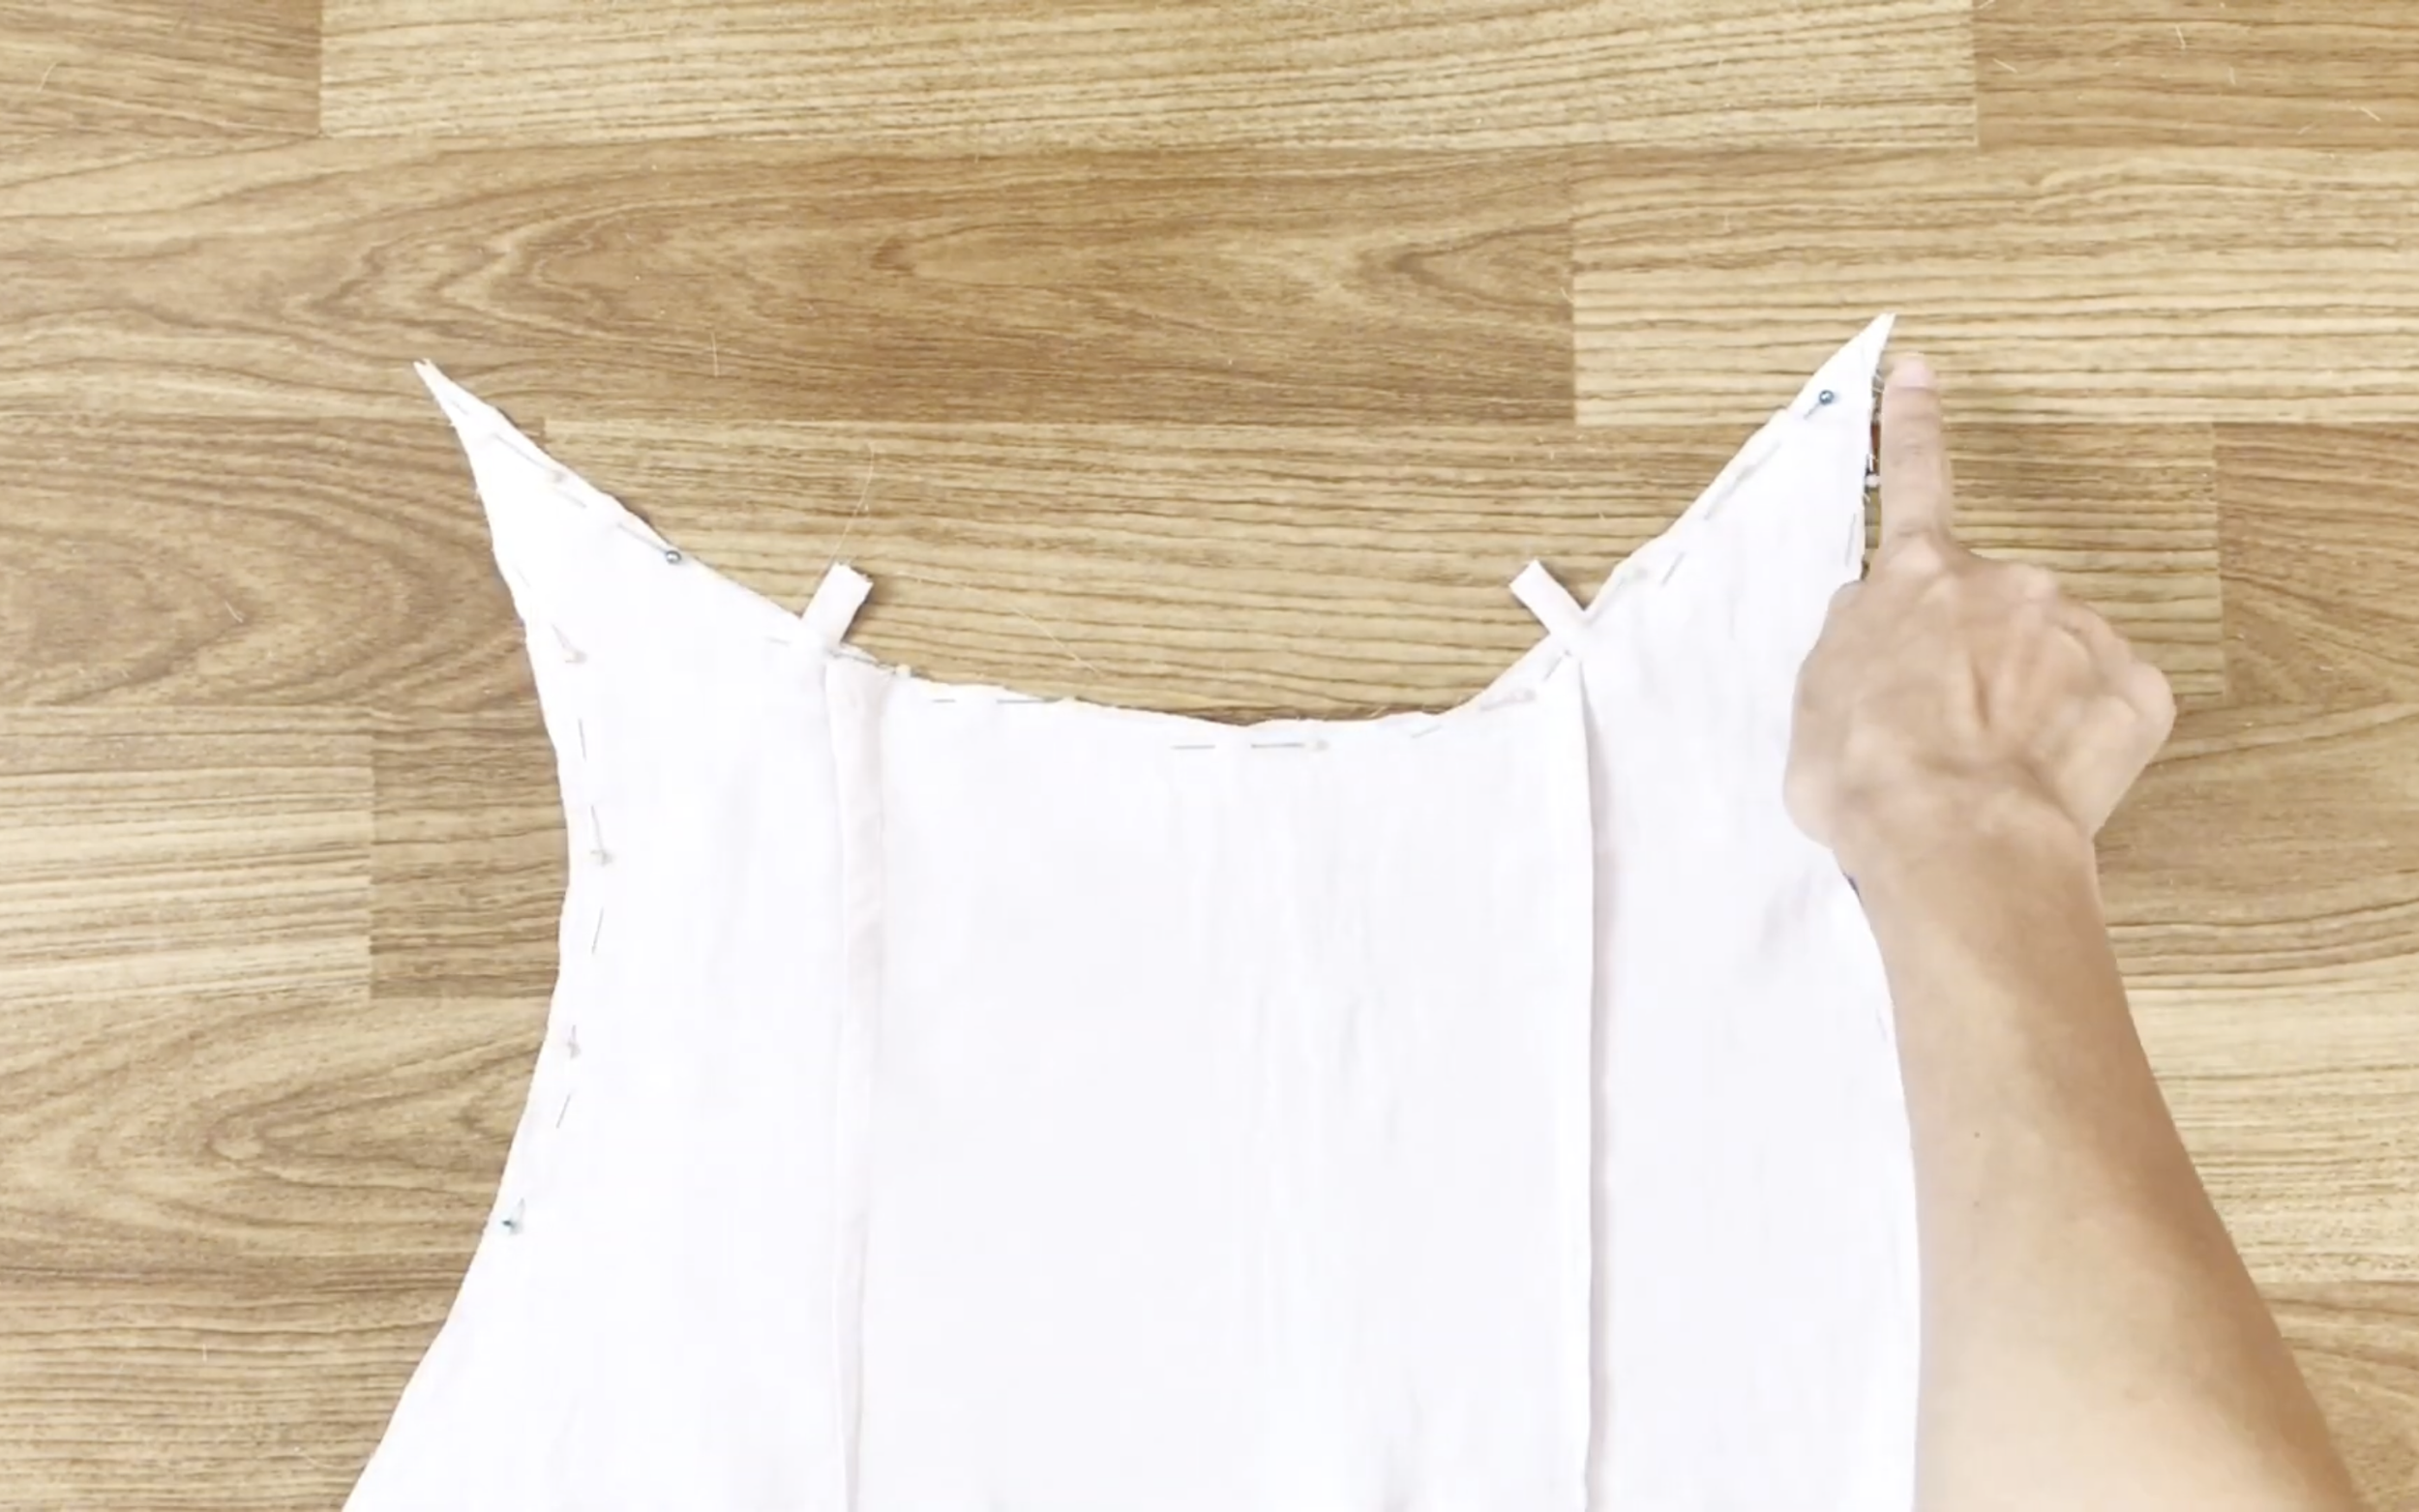
Then attach the long ties to the top of the front body at two sides of the falling neck. Then sew.
After the first sewing, make another seam next to the previous one to keep the extra fabric inside.
Then use the iron to keep them in place.
THE BACK
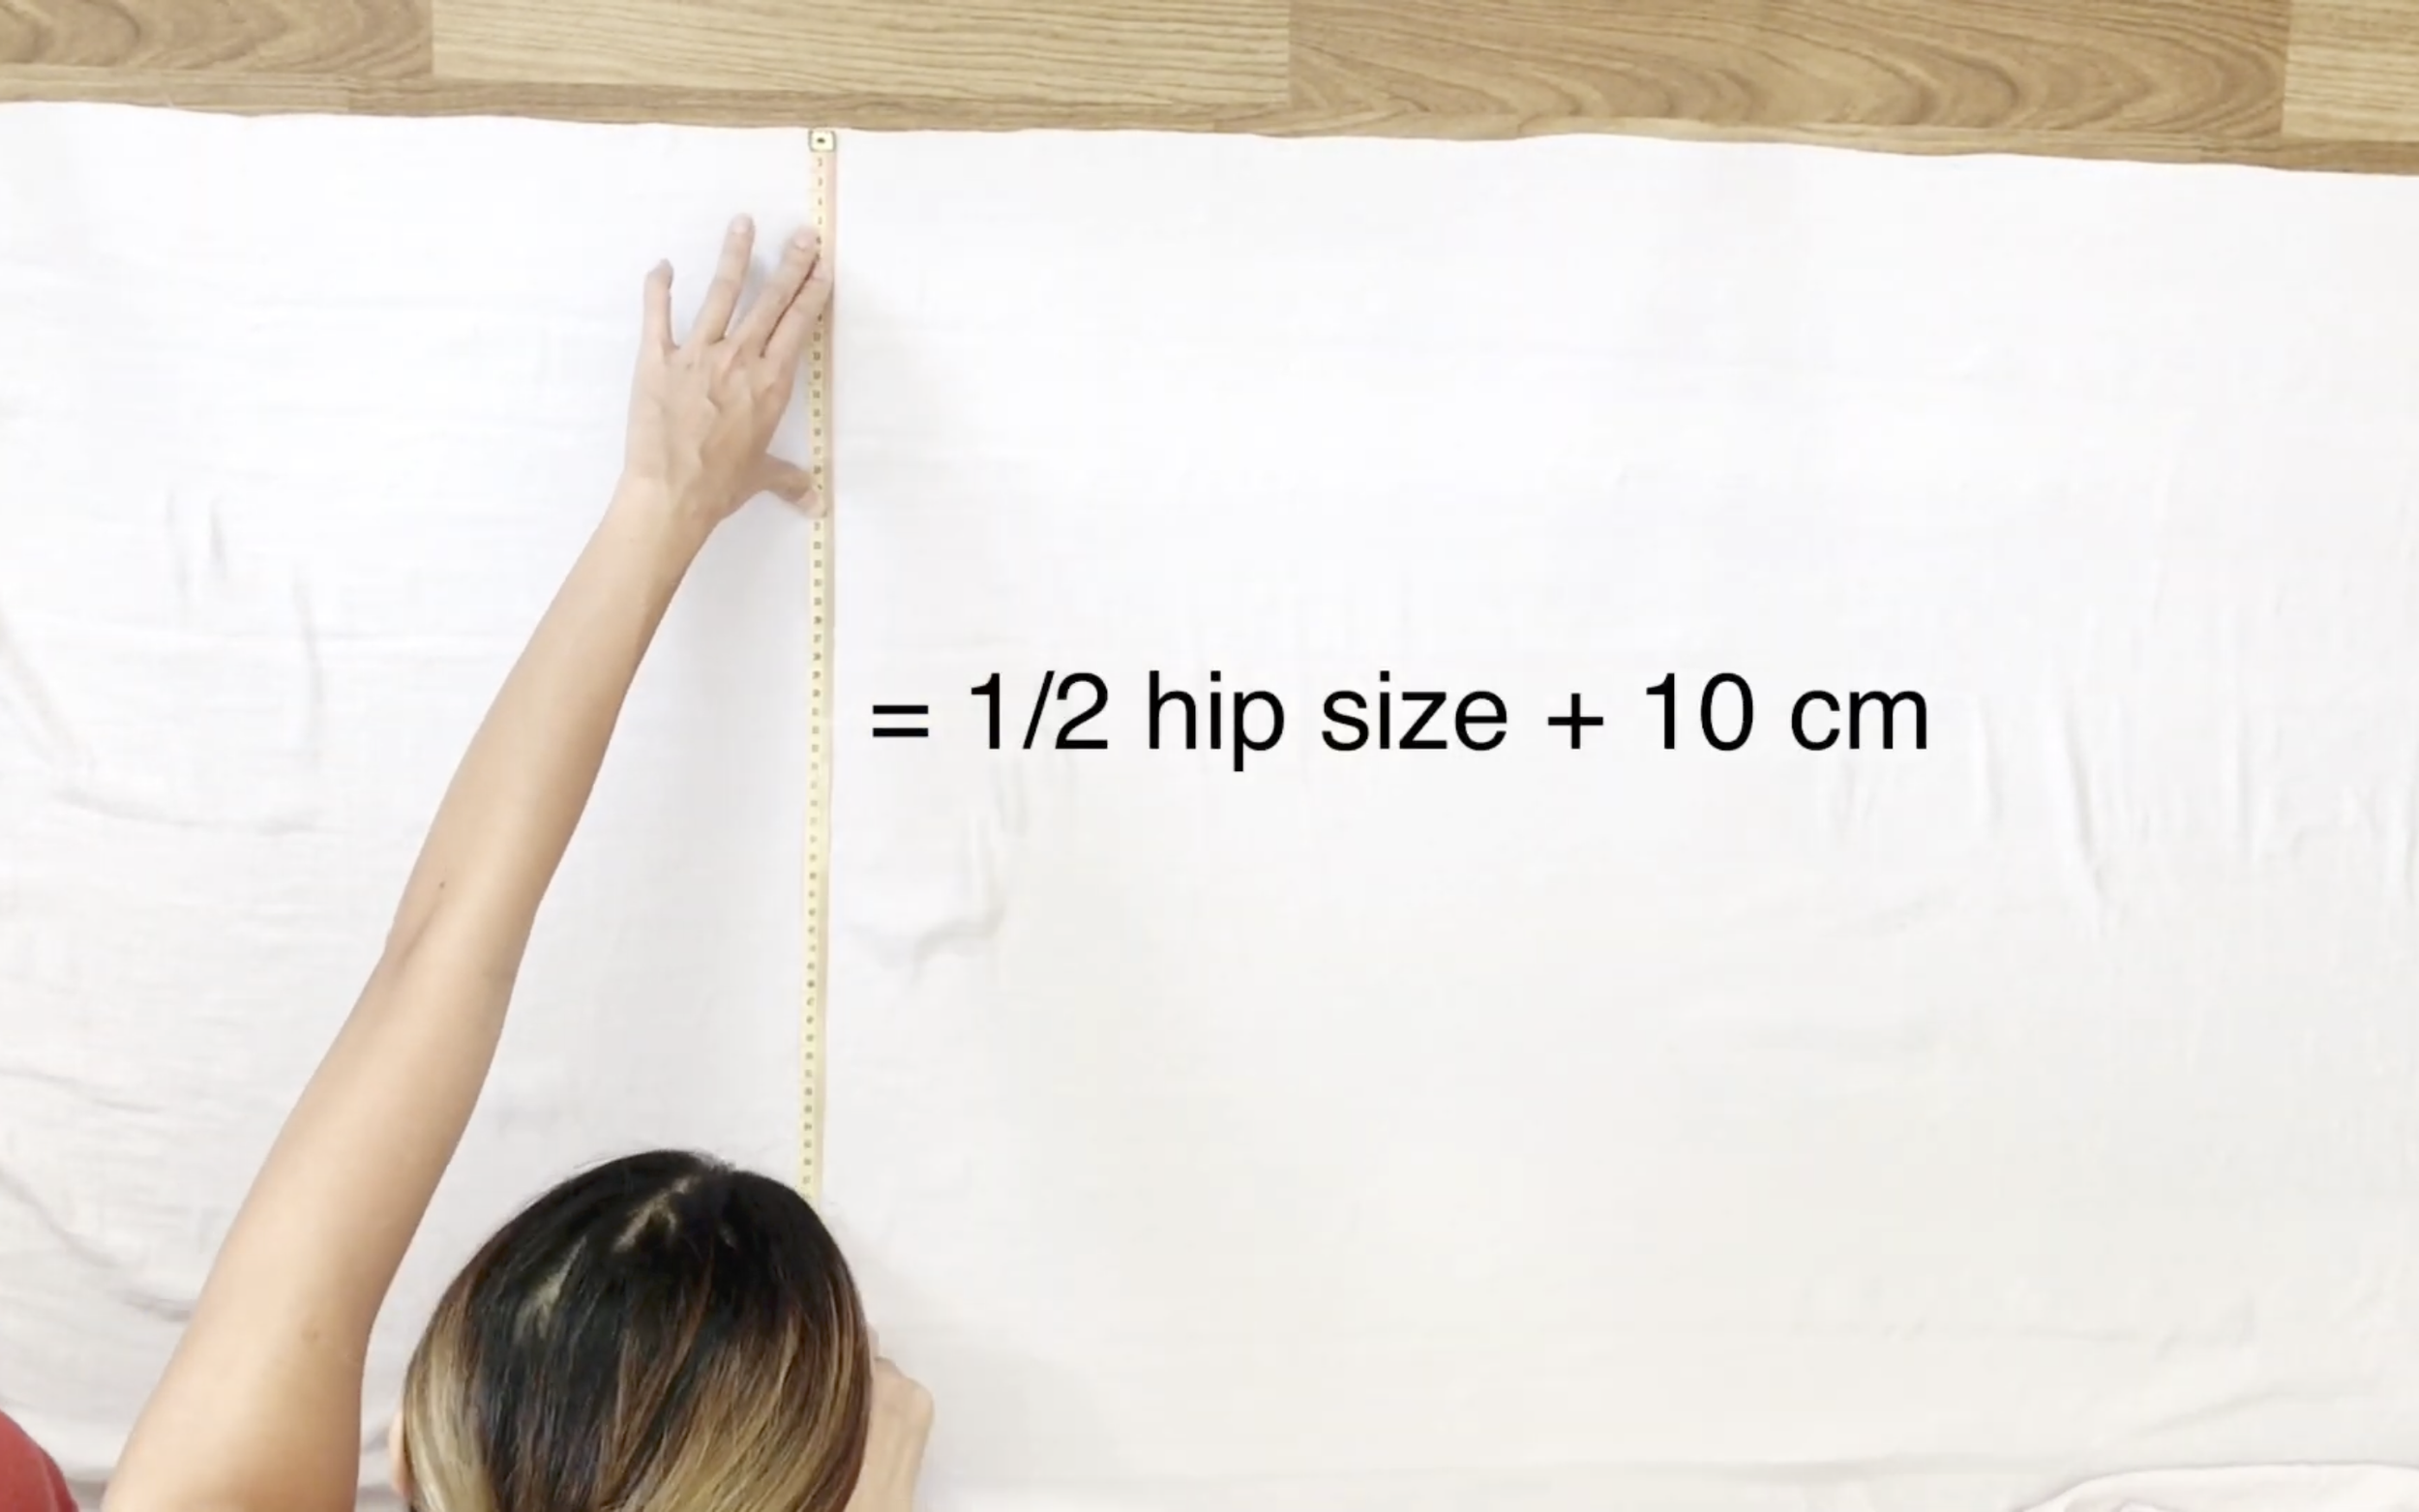
Moving to the back of the dress, drawing a rectangle with 58 cm width, which is half of the hip size plus 10 cm…
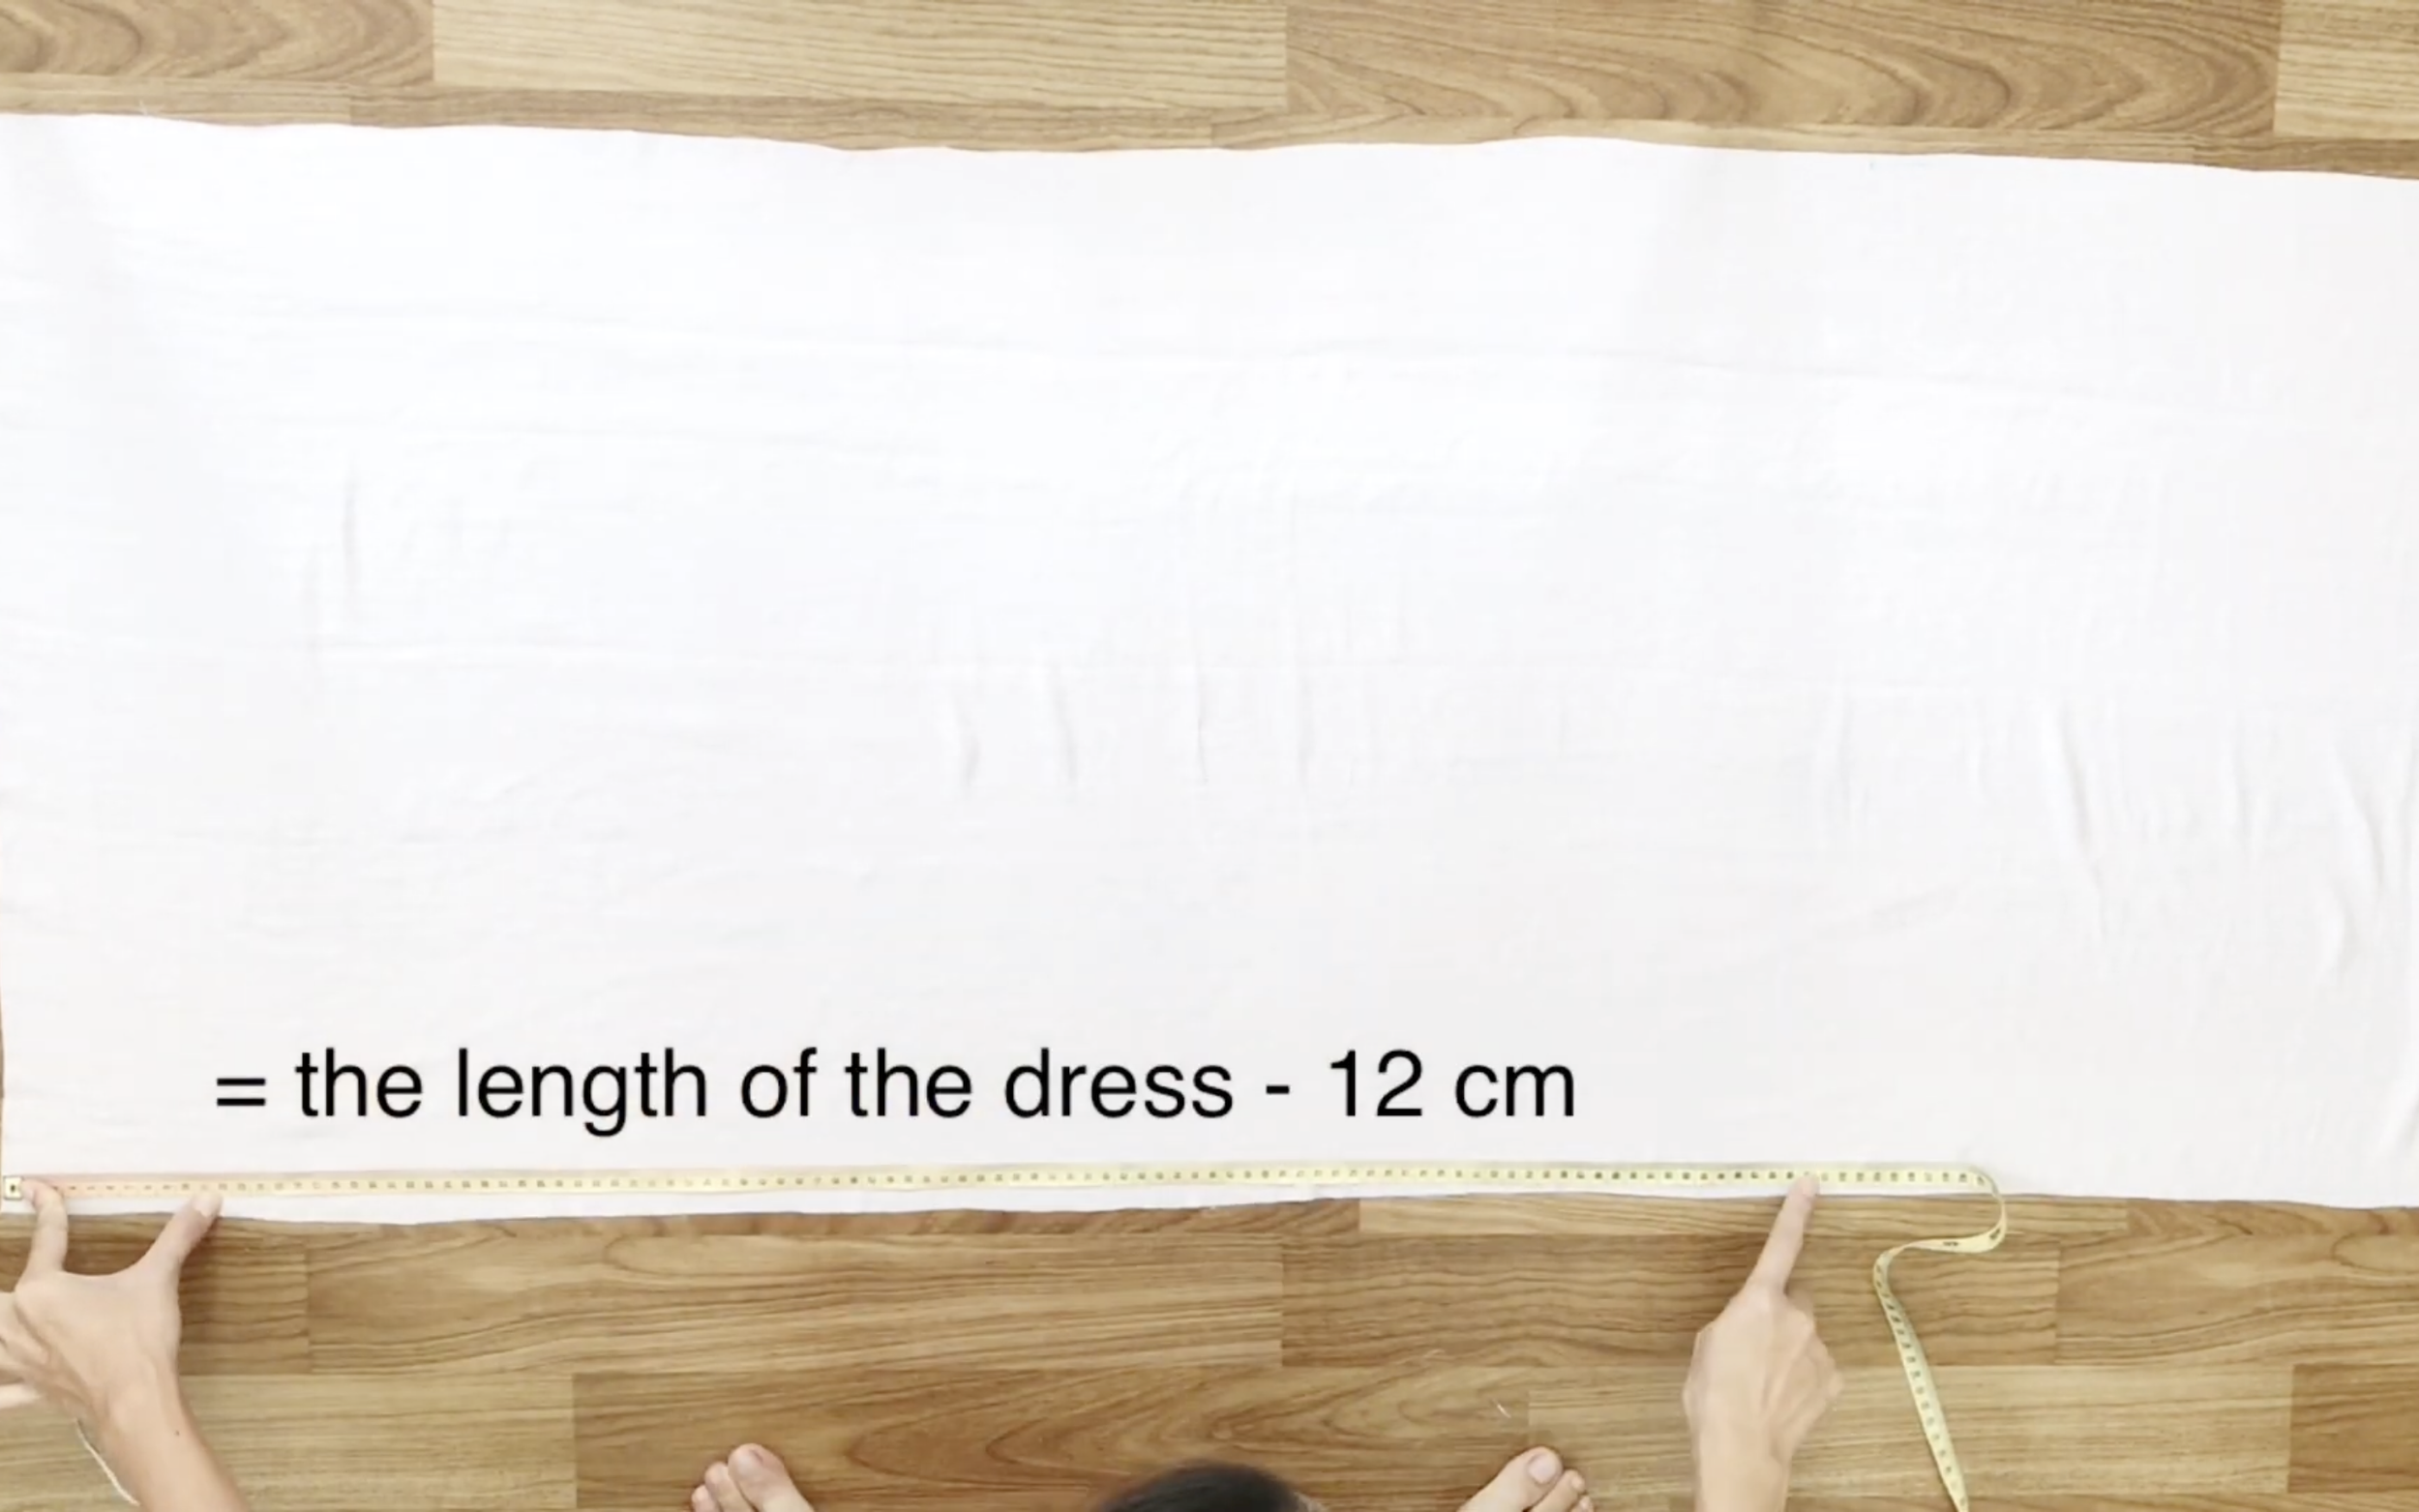
… and 98 cm length, which is the length of the dress minus 12 cm.
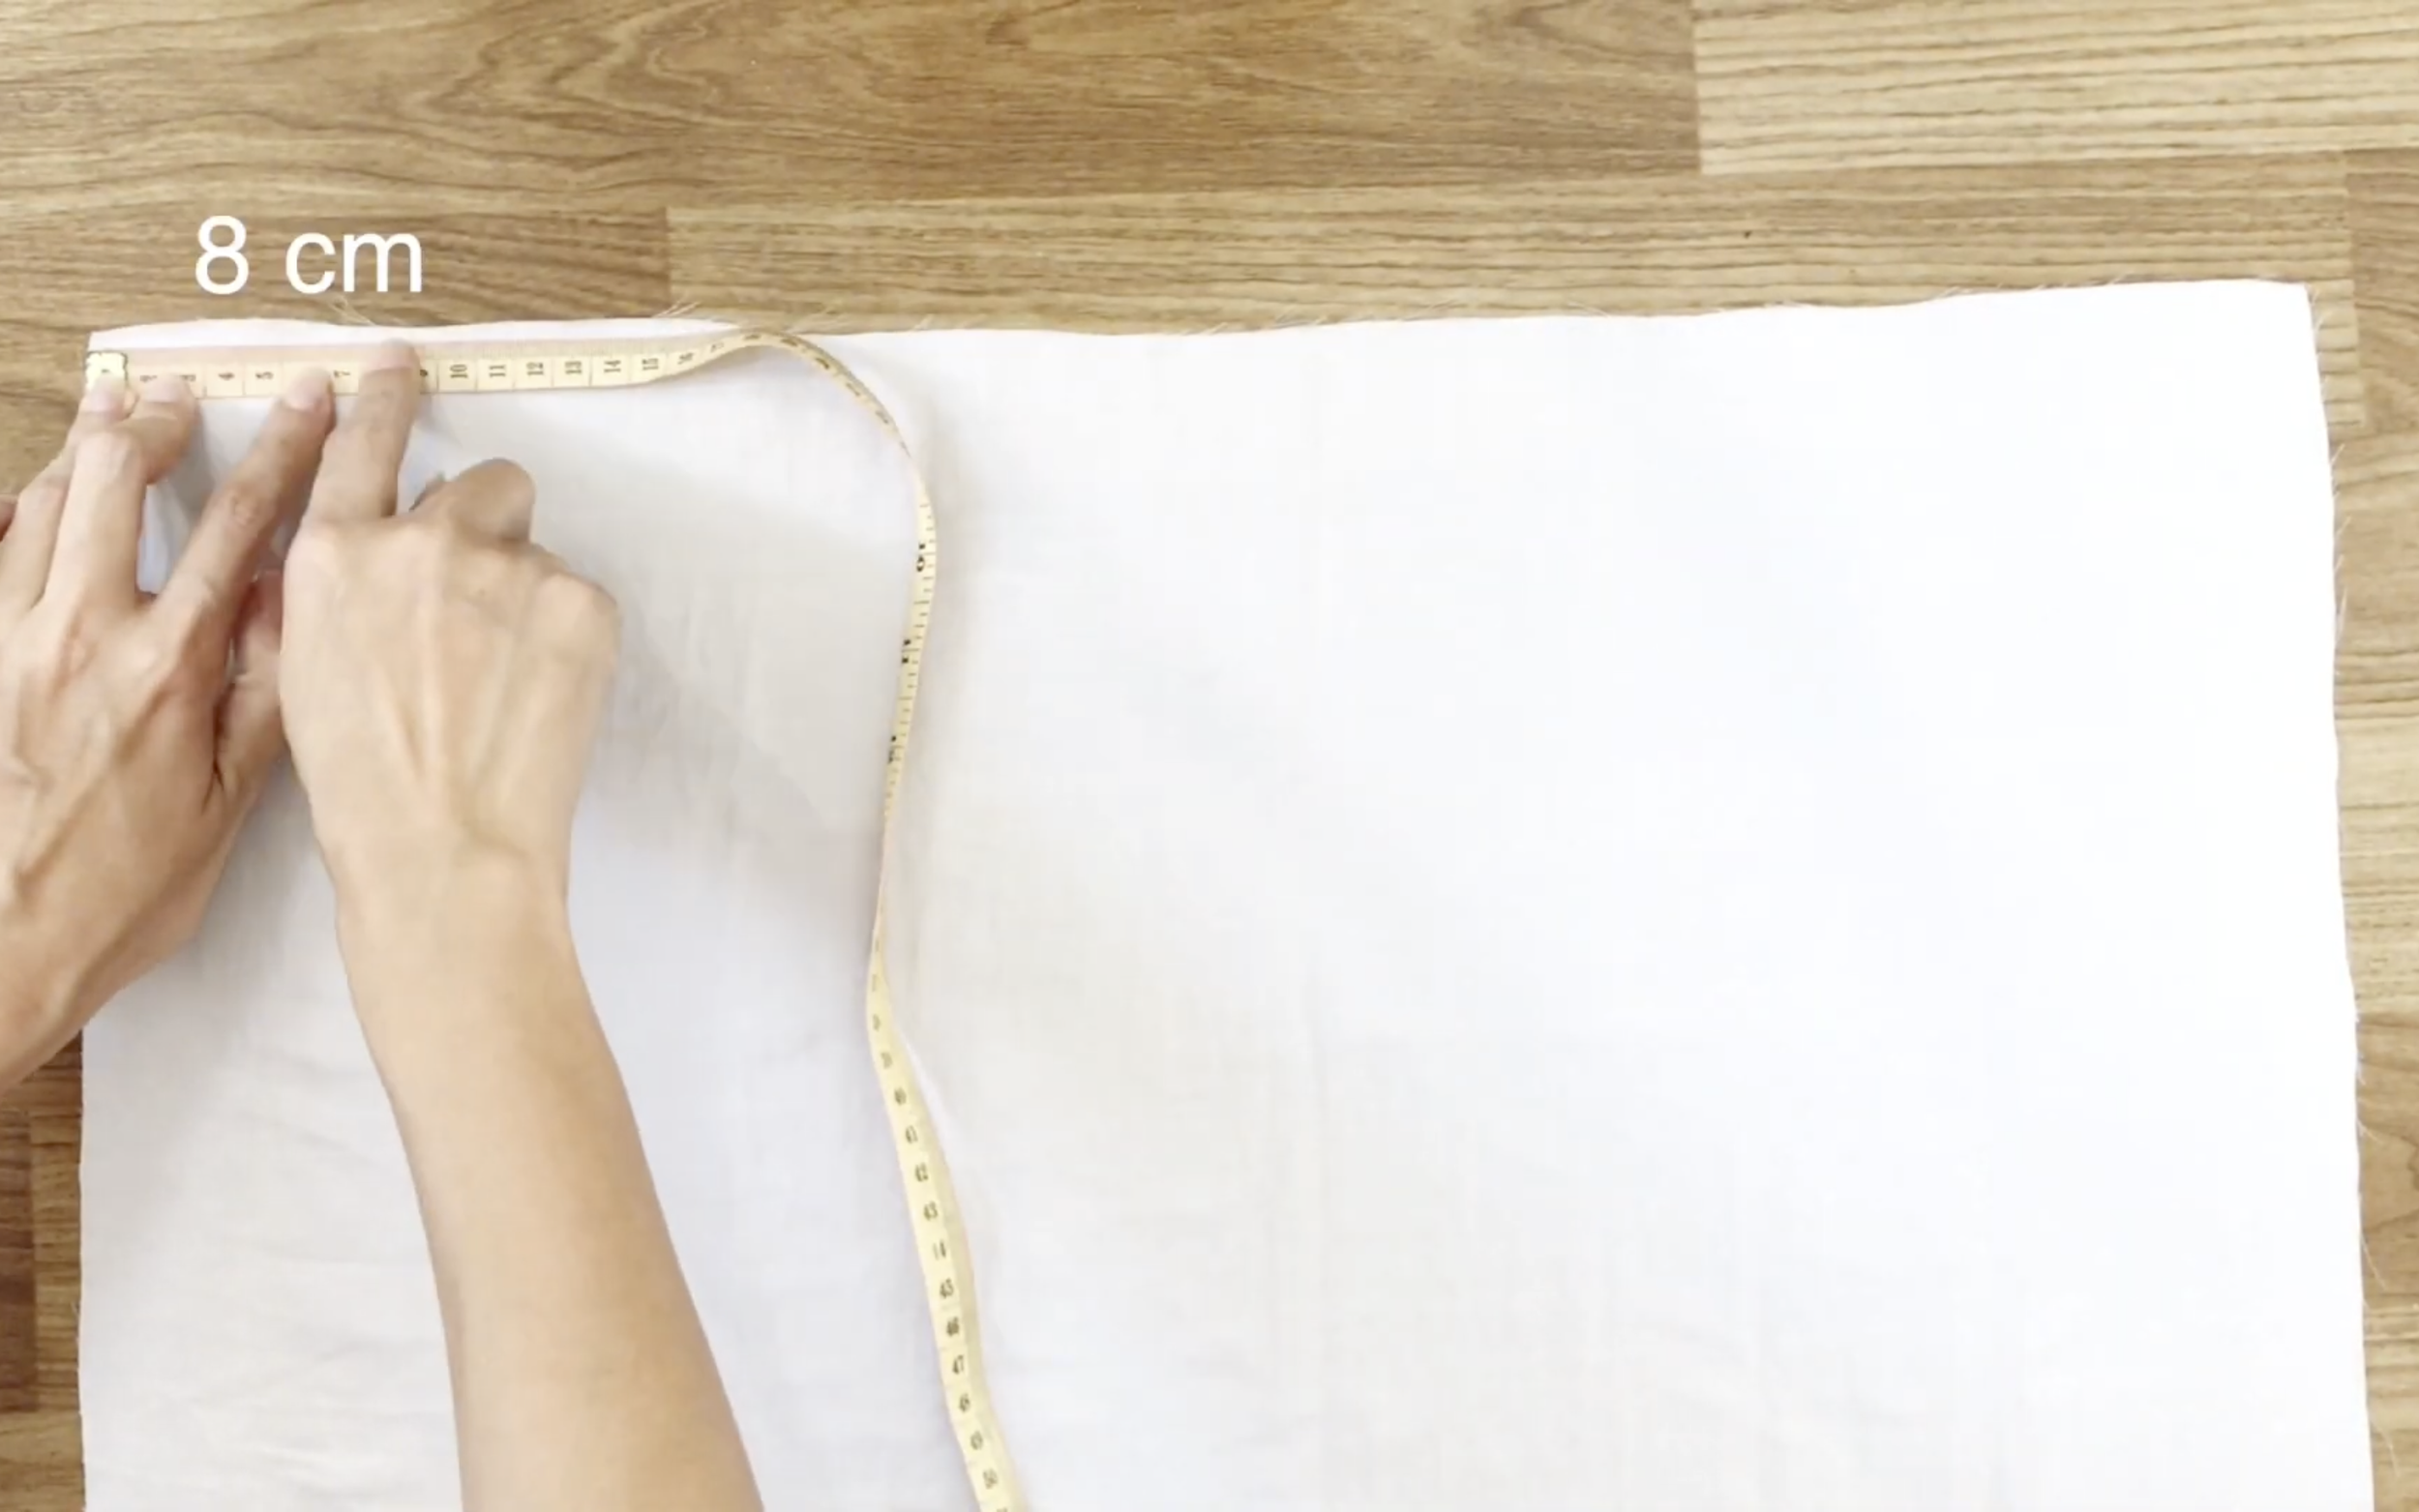
At the top of the dress, go inside 8 cm.
And draw a straight line down with a 10 cm length.
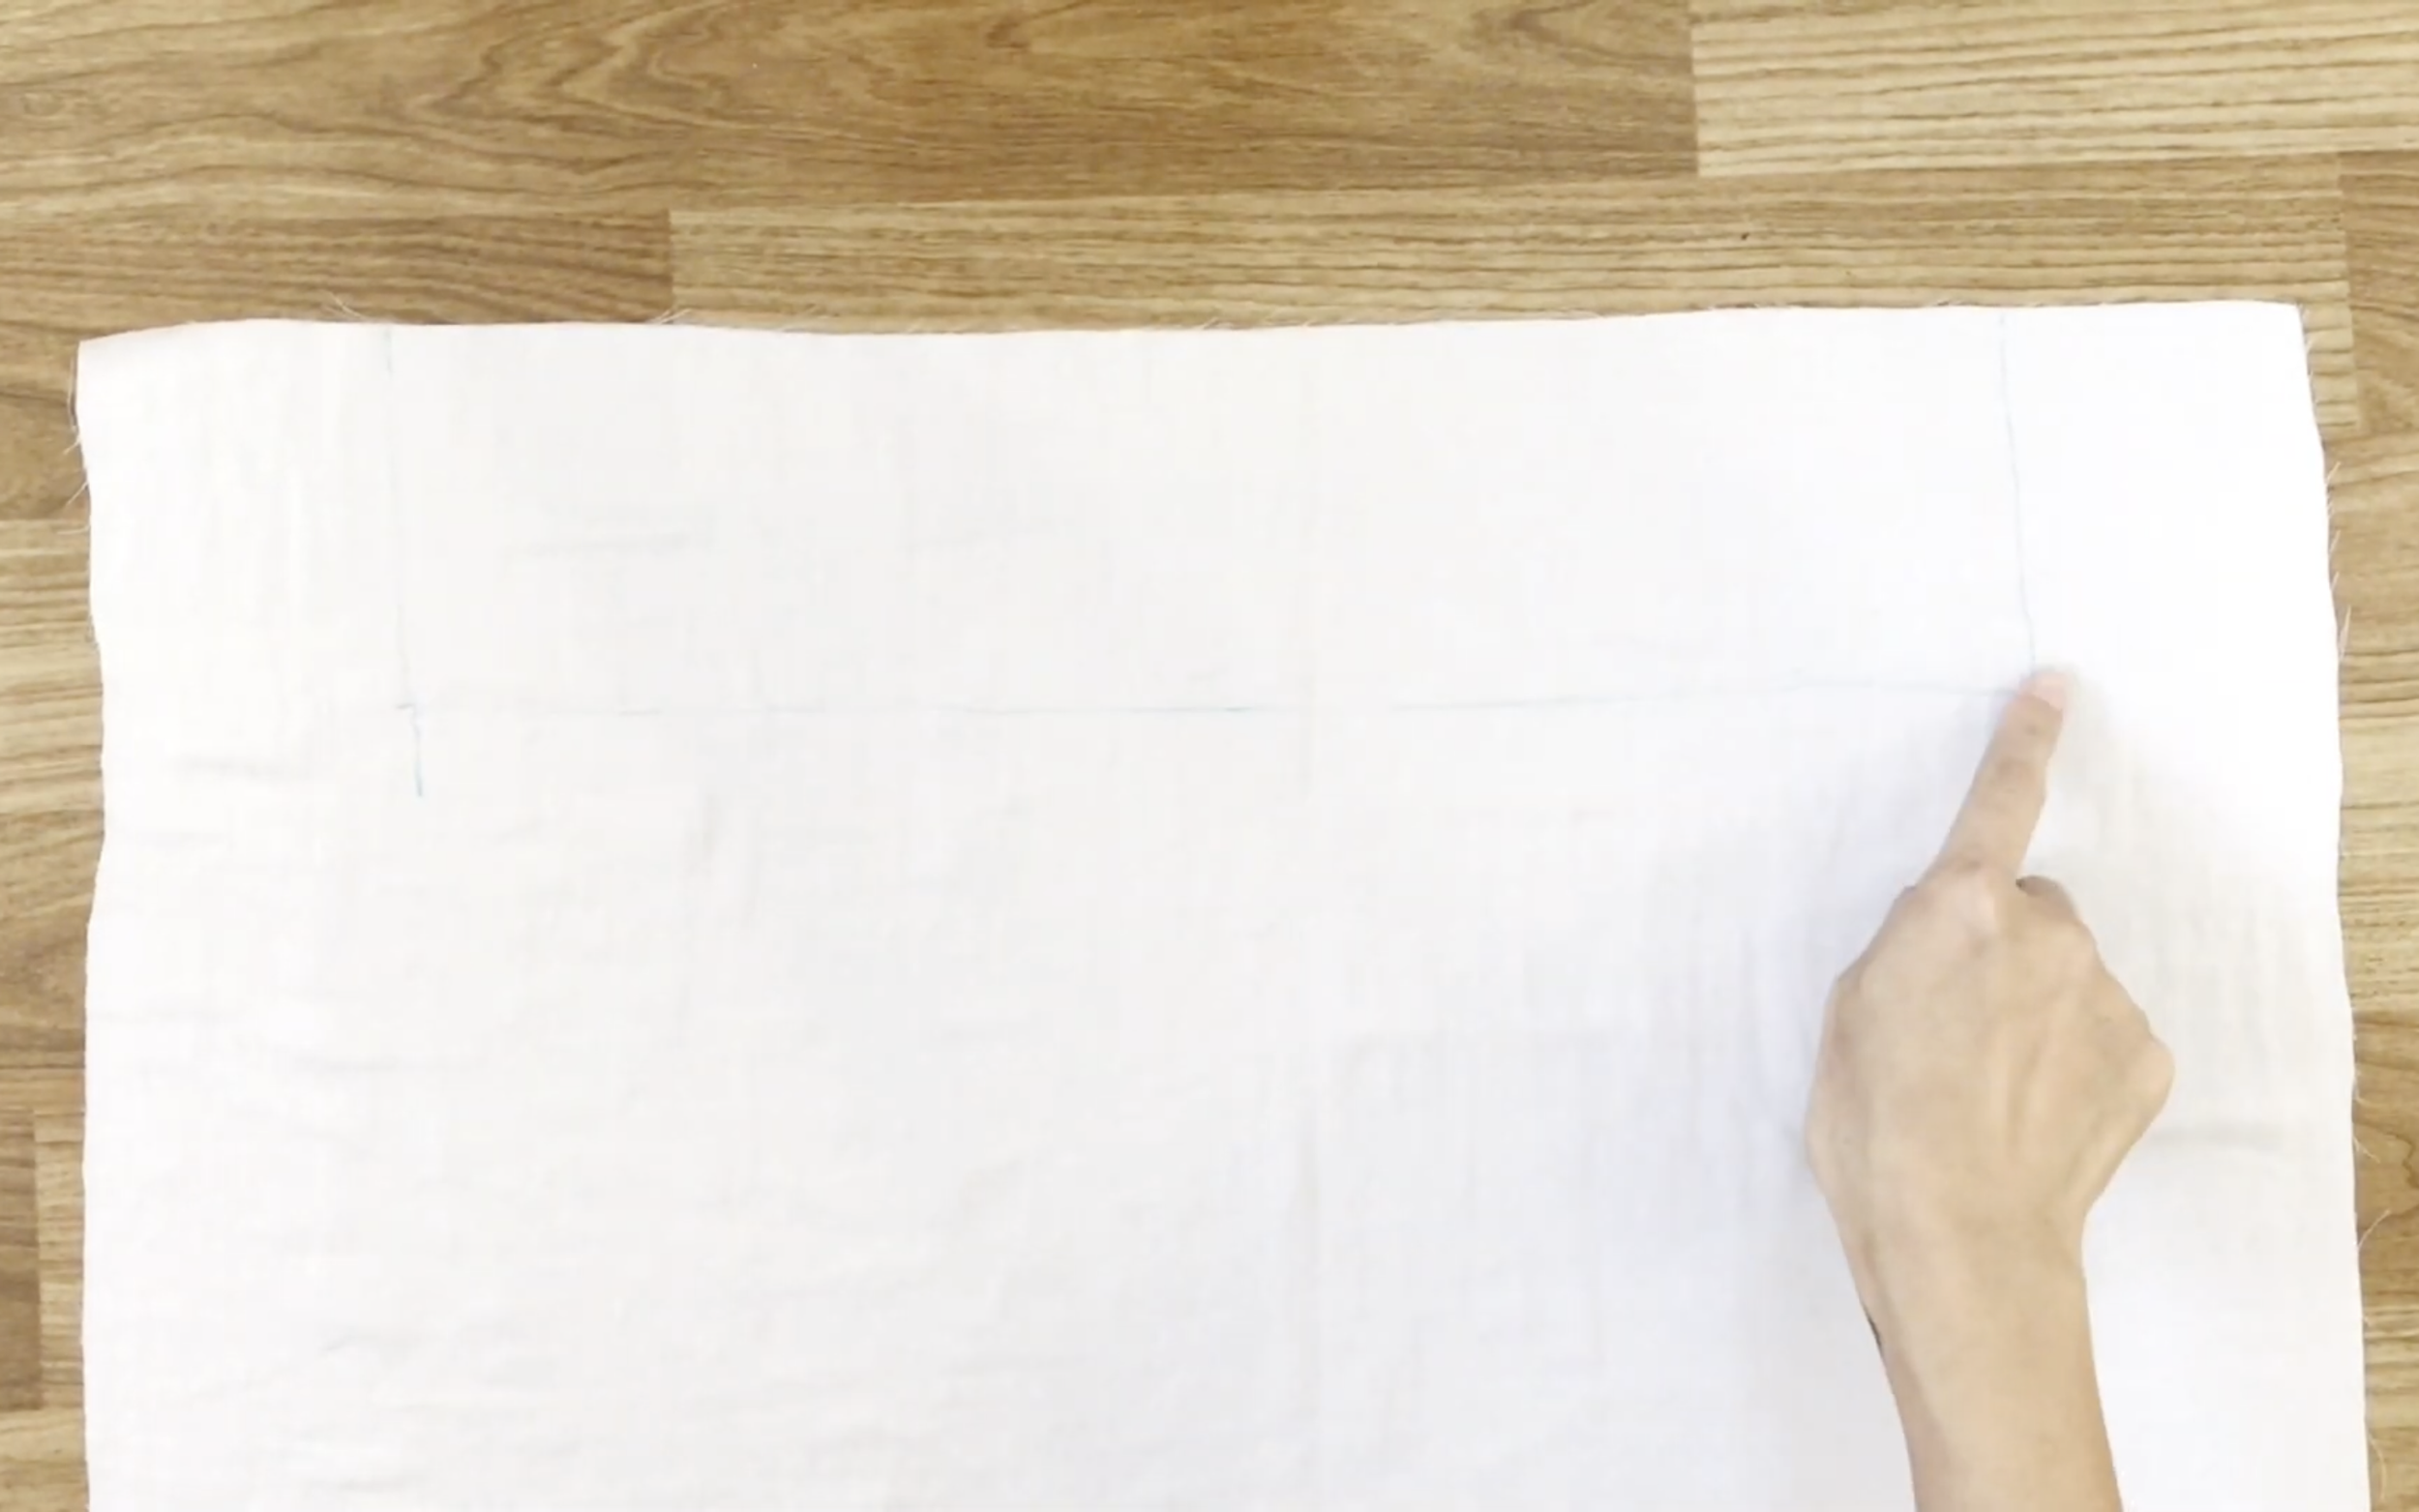
Then draw a line to connect two ends of that straight line together.
Make a mark at the center of the line.
And draw an arc line from the top to go through that mark to another side.
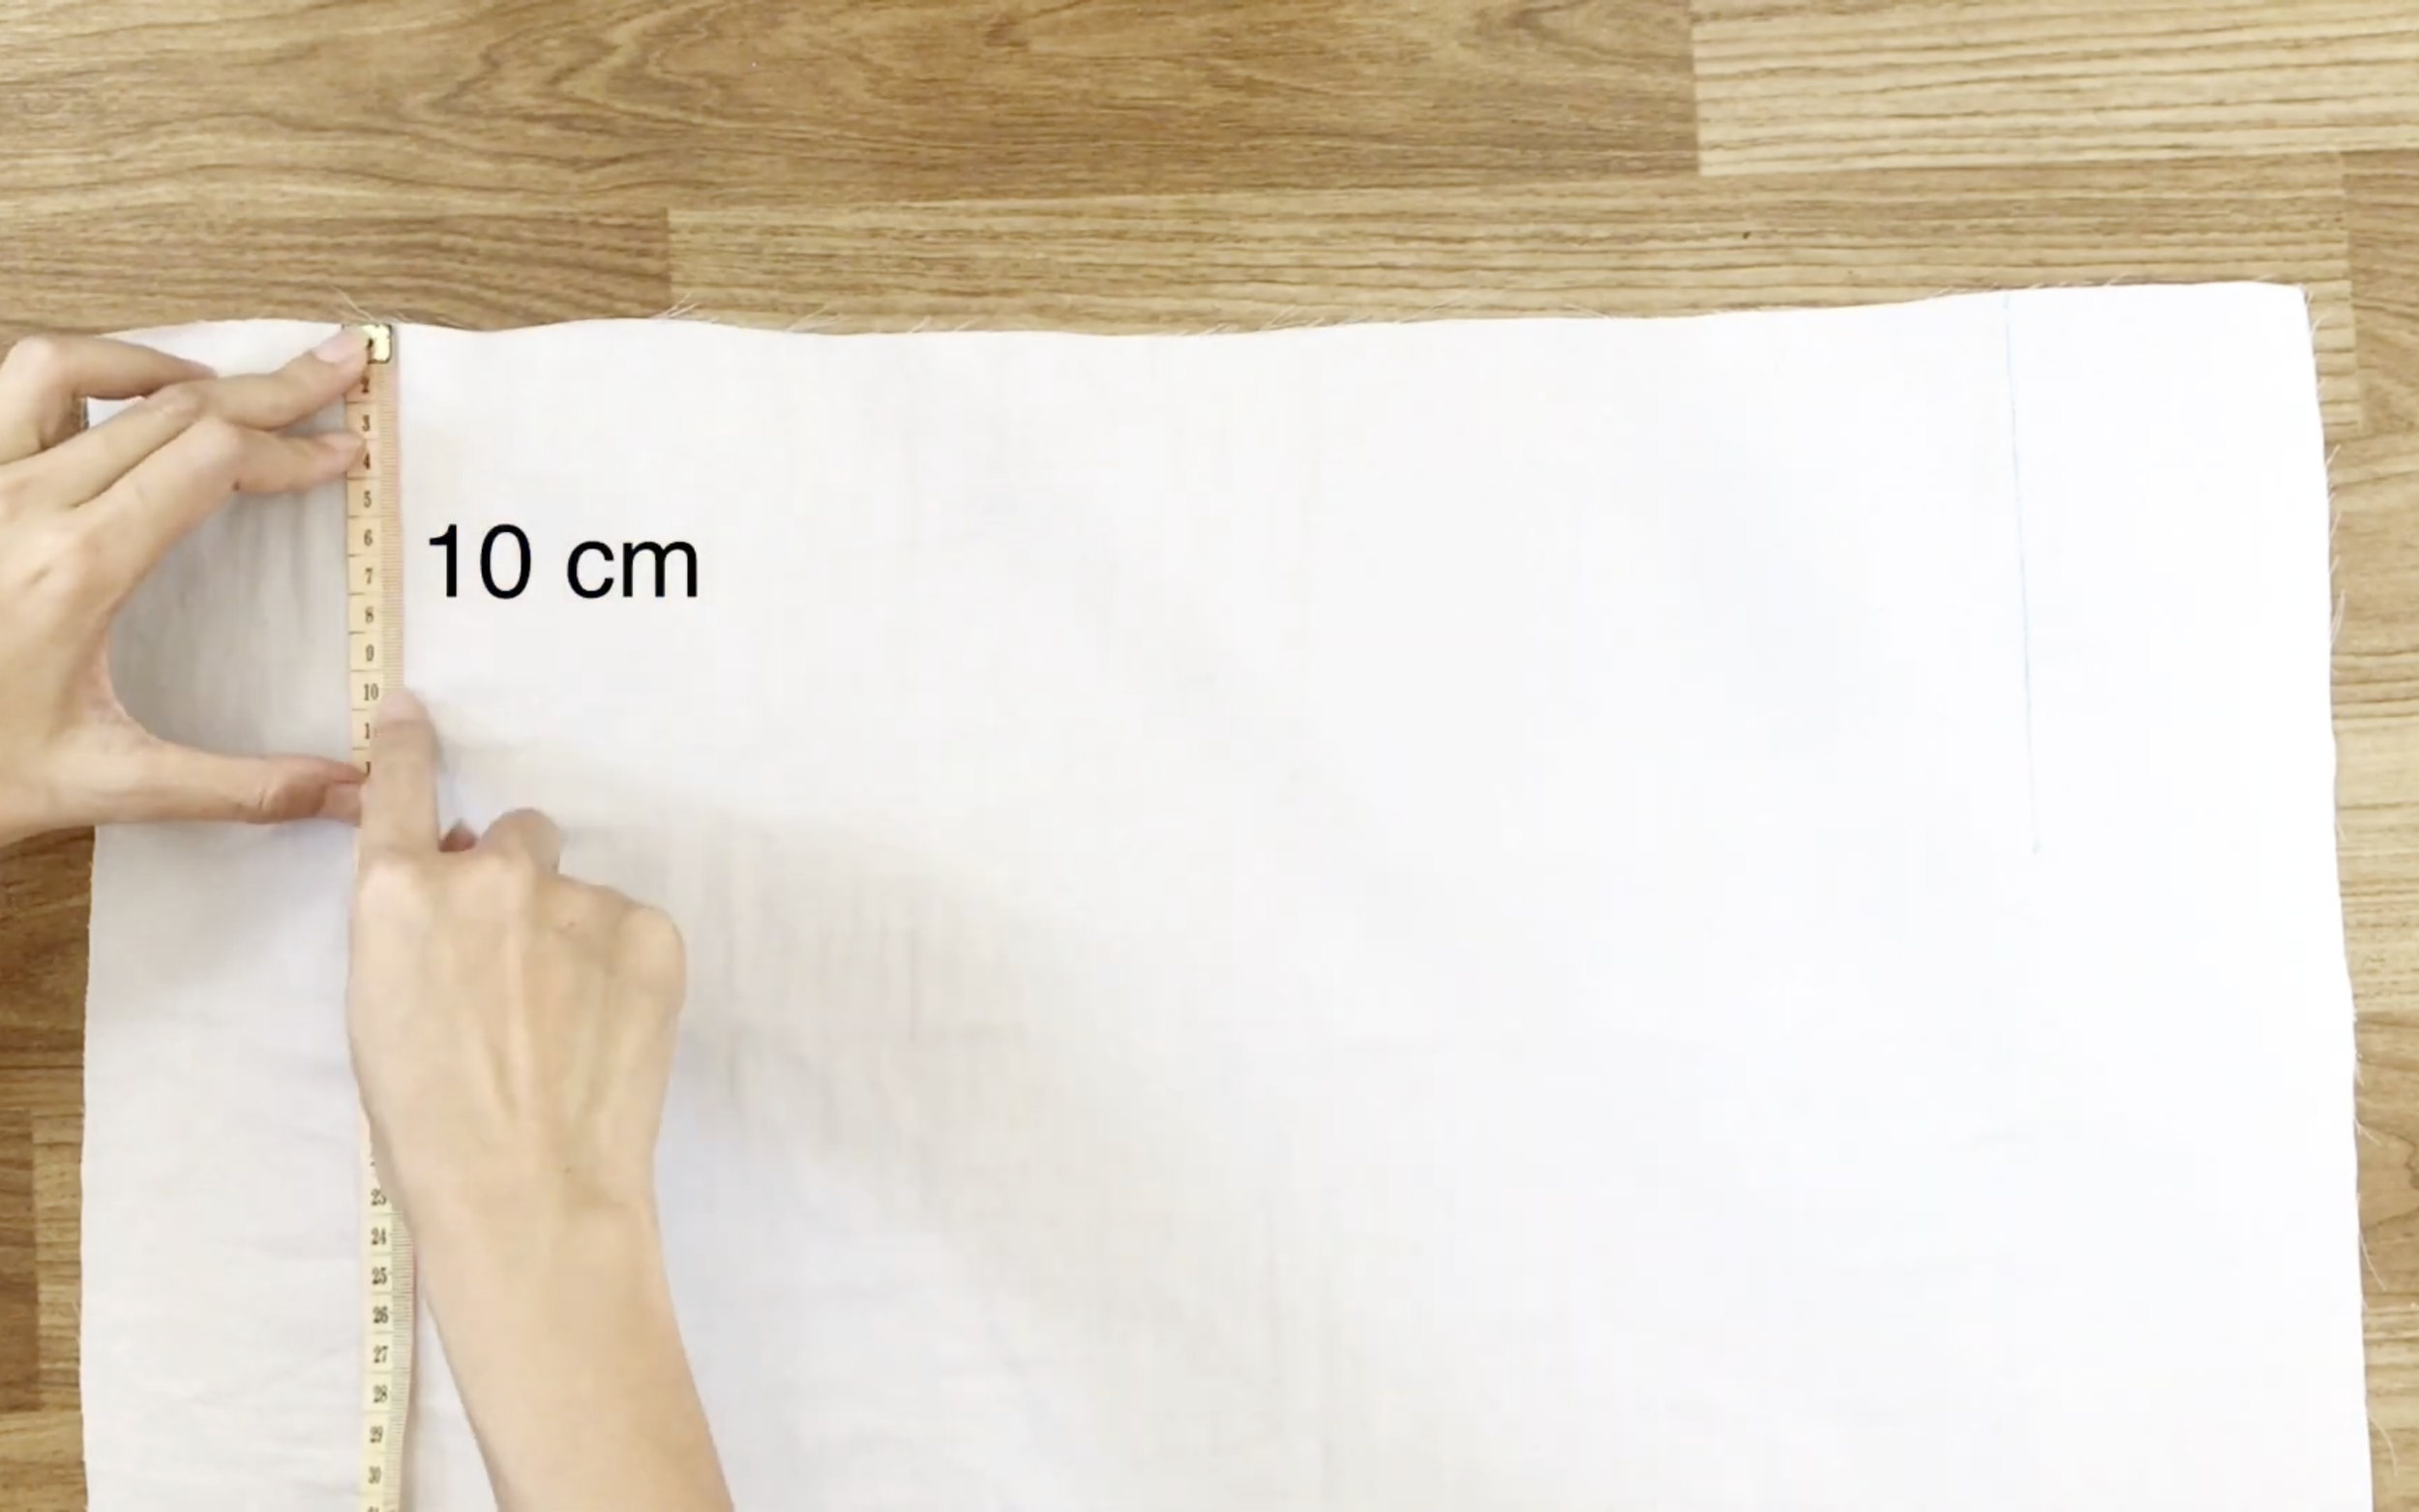
From the top of the arc line, go down 14 cm and make another mark.
From that mark, go inside 2 cm and mark again.
Then connect that mark to the first mark at the top of the arc line.
CONNECT THE TOP AND THE PANTS
From the last mark, go down 30 cm, which is the width from the belly to over the buttock, and mark again.
Then draw a line to connect these marks together before drawing a curved line.
To make the back of the dress fit, make two triangular seams at the top of the back along the edge line.
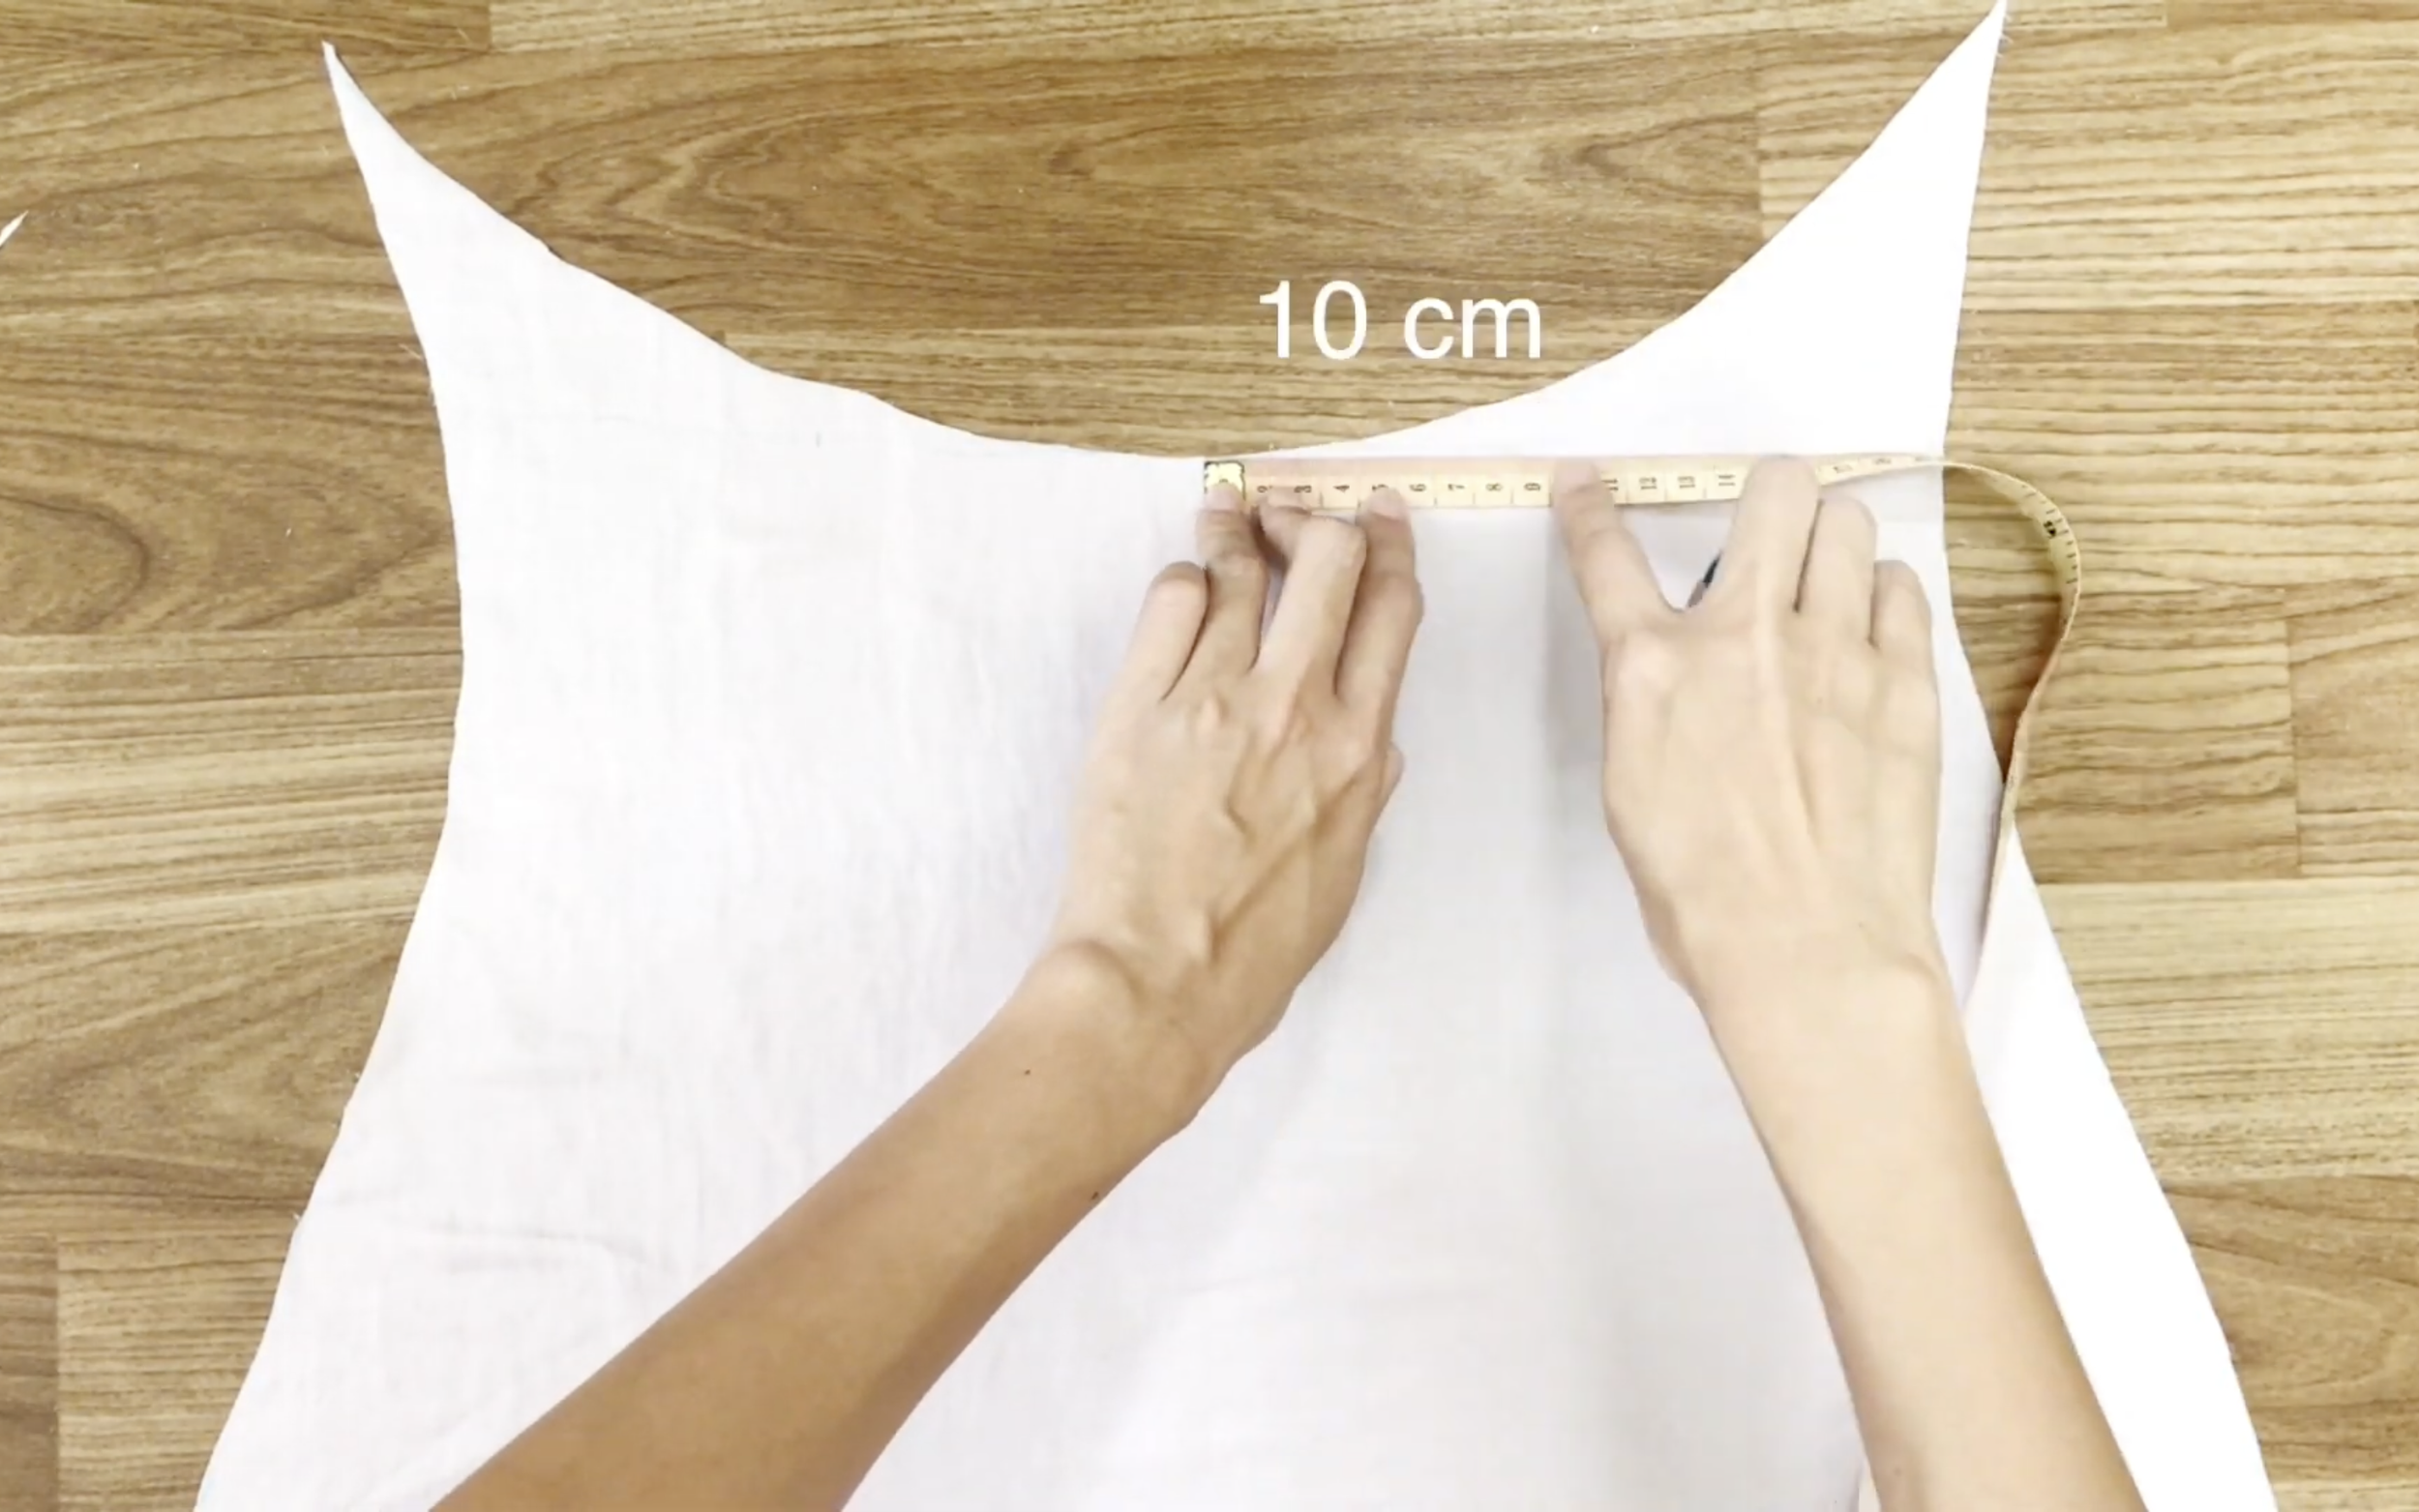
In the center of the arc line, go out 10 cm.
And draw a straight line with 20 cm length from there.
Then, draw two triangles with a 1 cm width on two sides of that line.
After that, fold the two triangles together and sew.
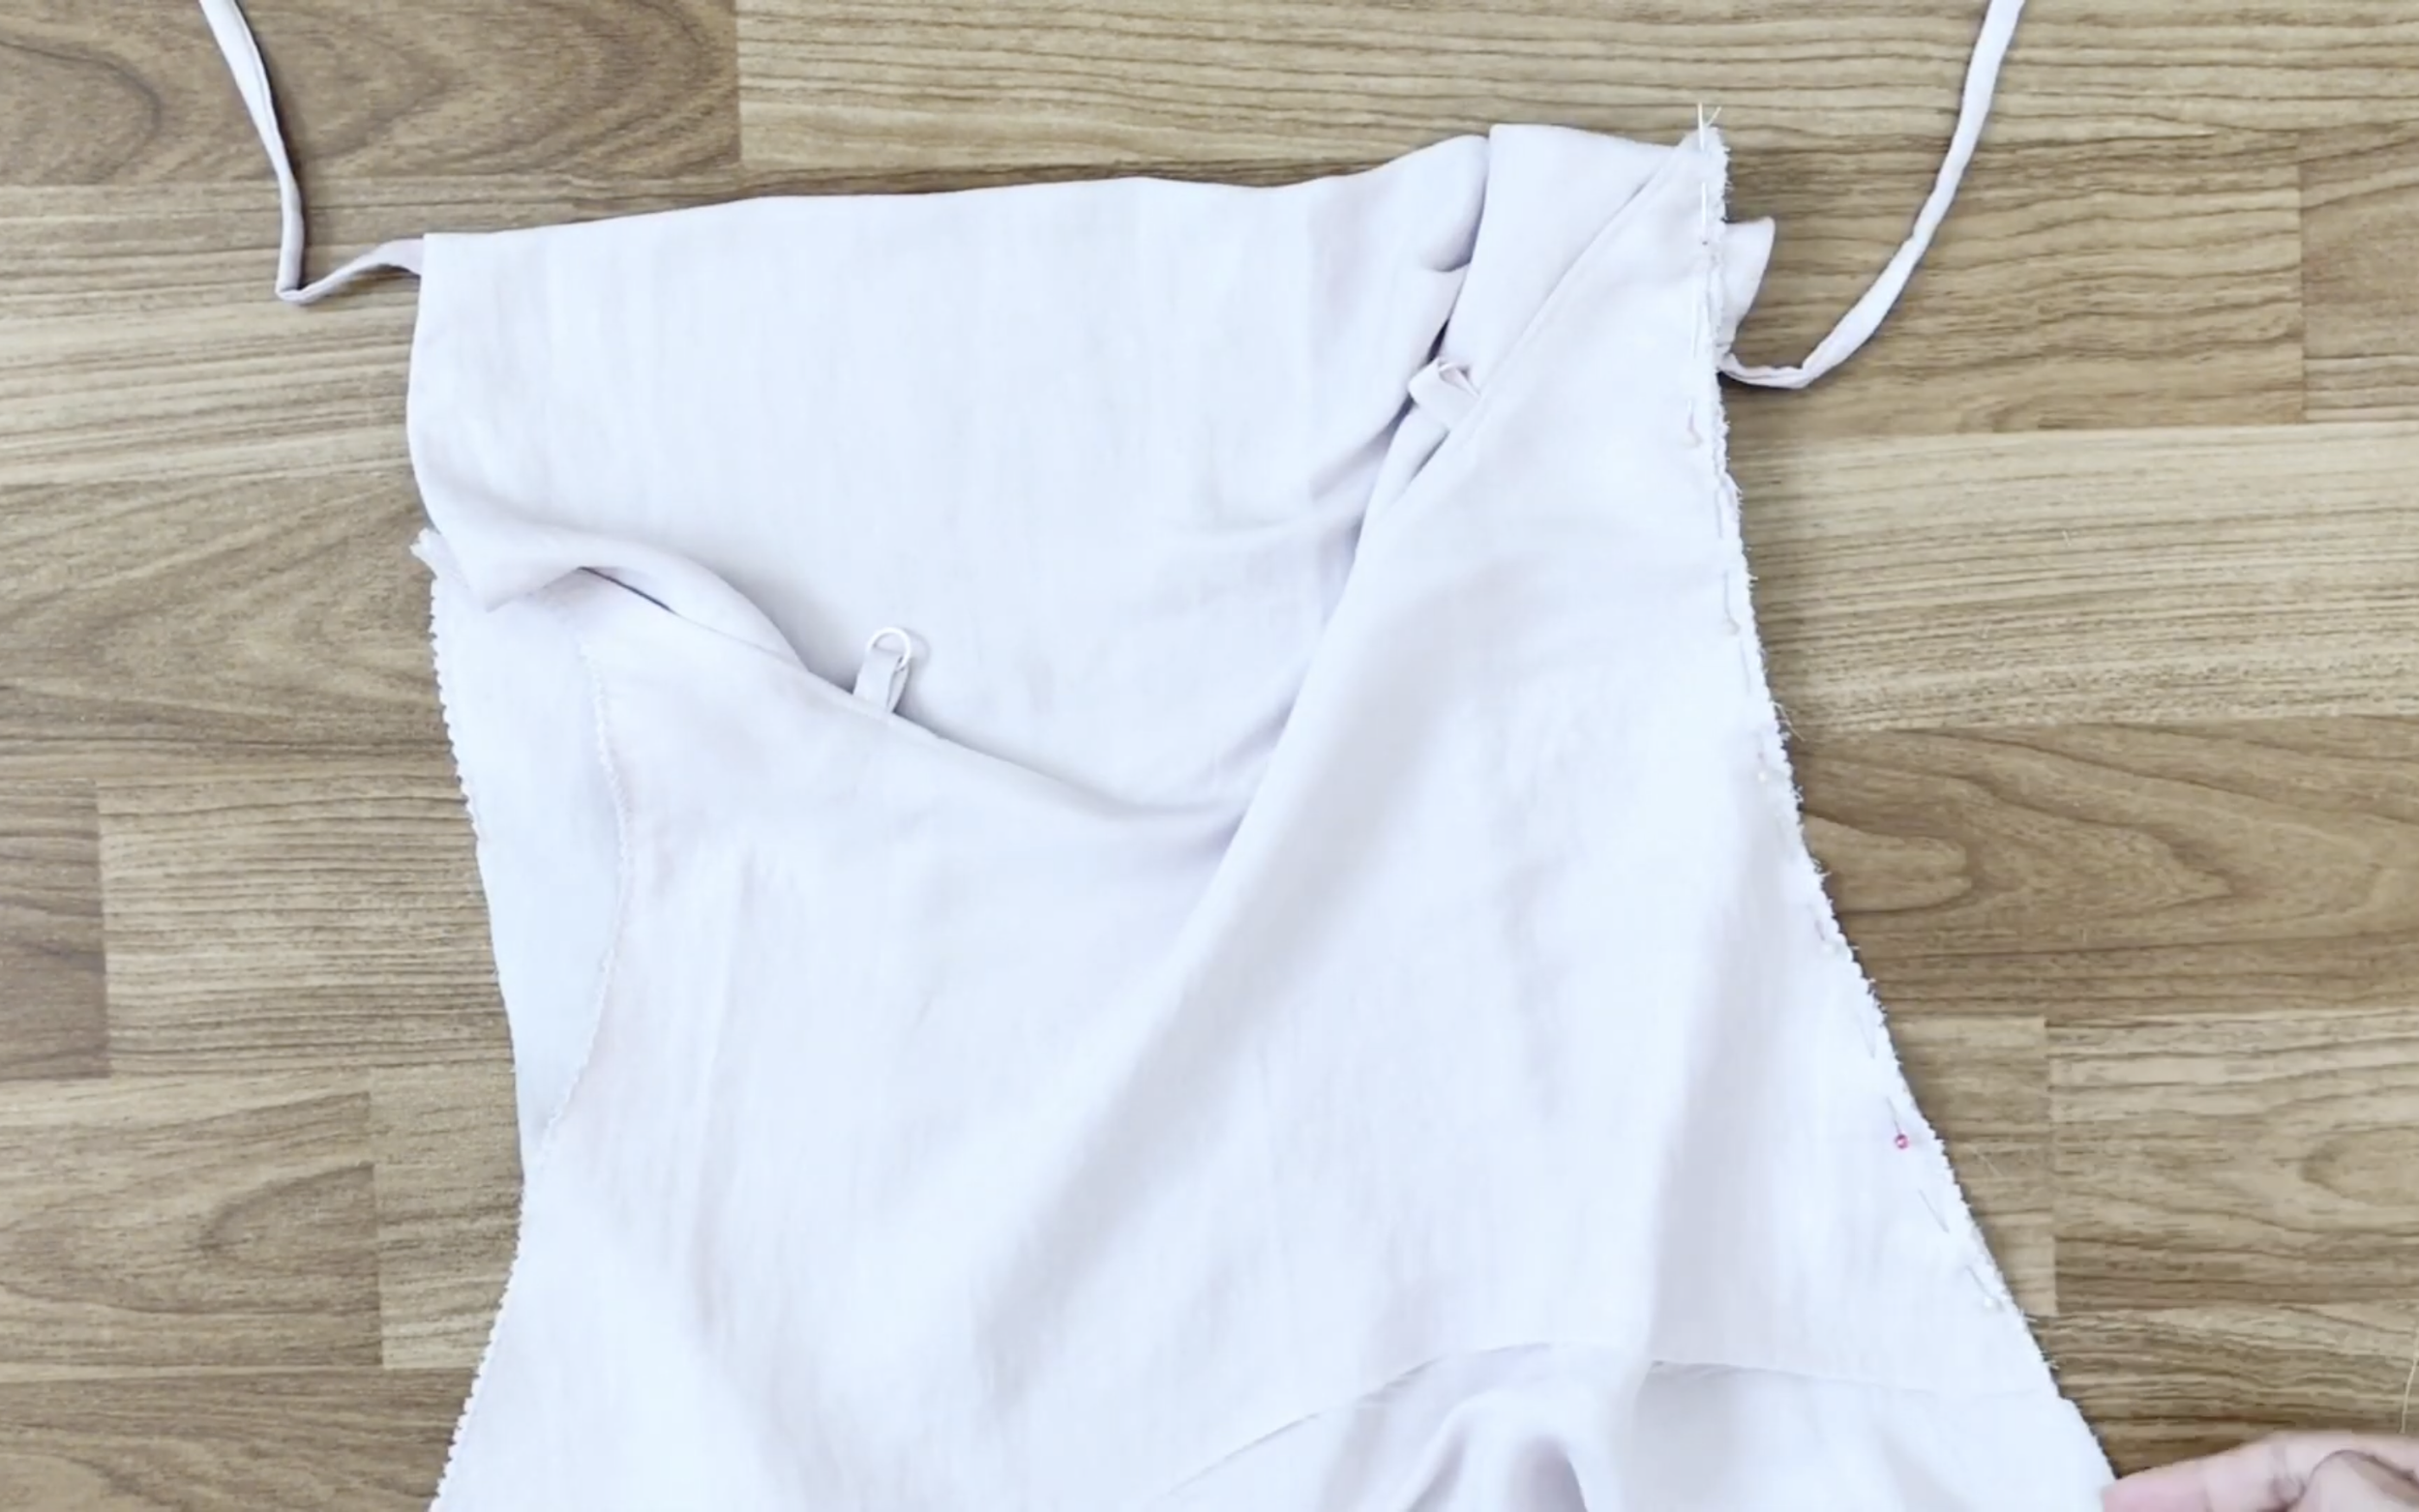
THE LINING
To make the lining inside the back body, apply the back body to the fabric and use pins to hold them together.
Then cut along the line of the back body.
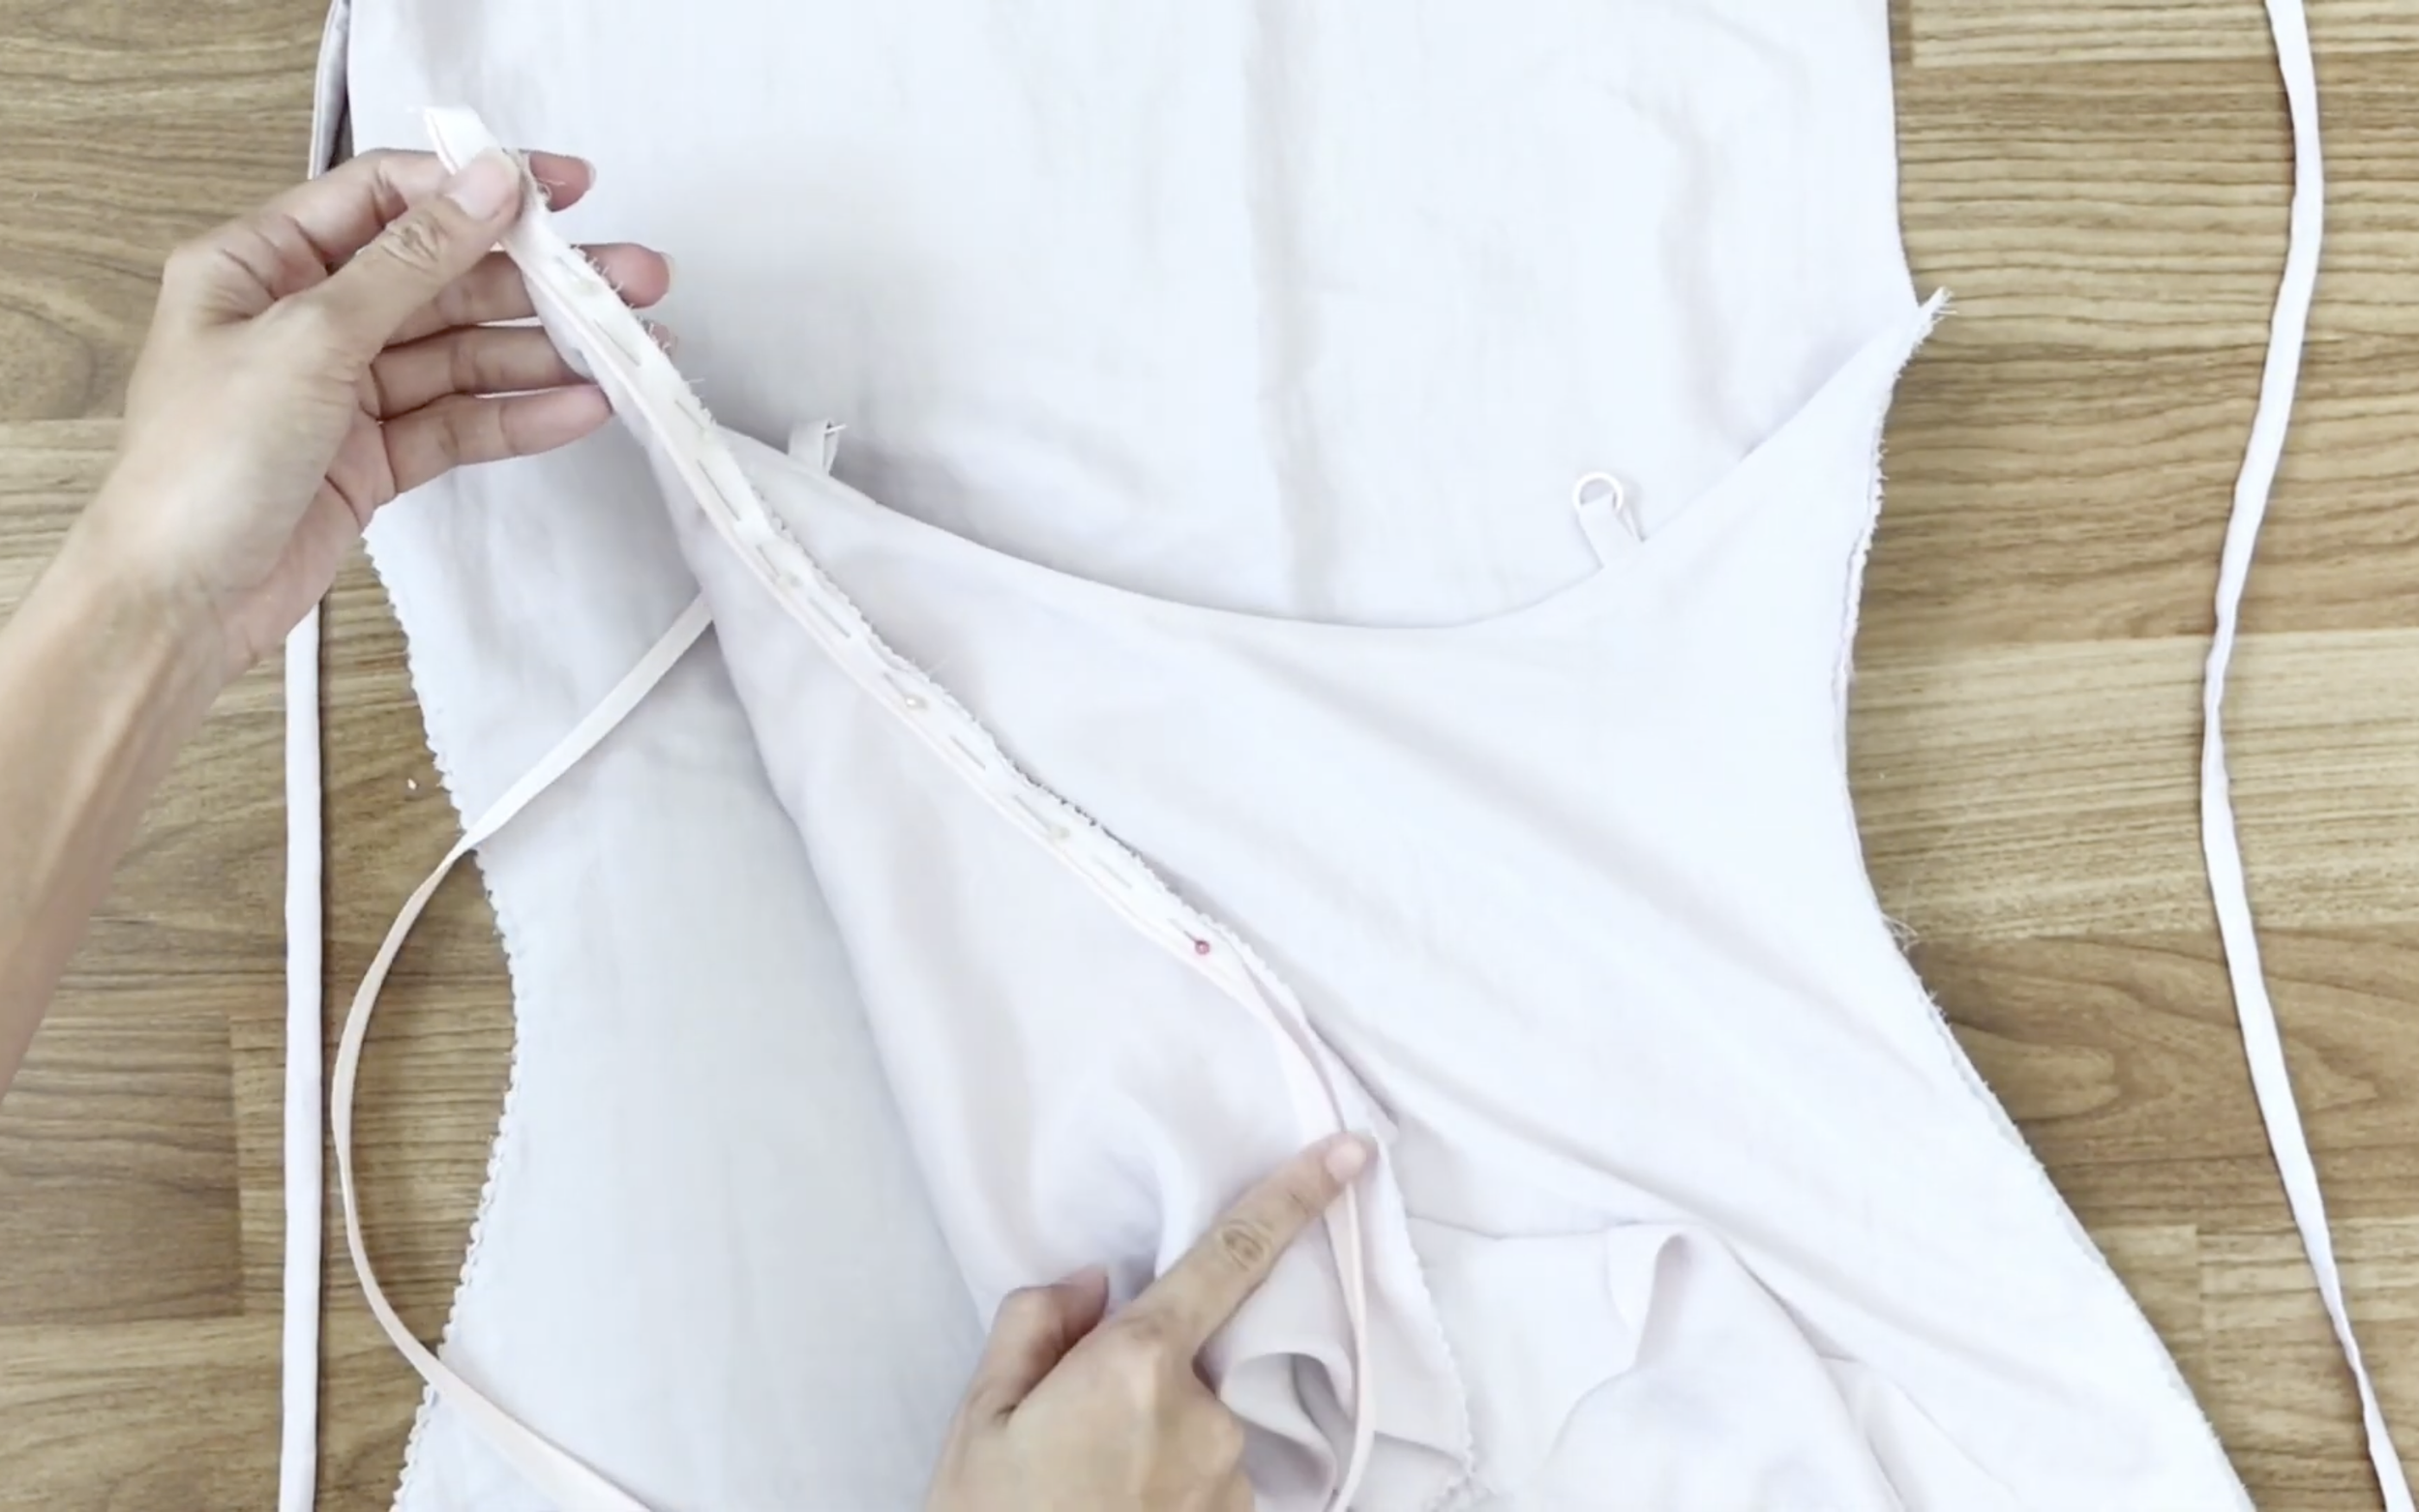
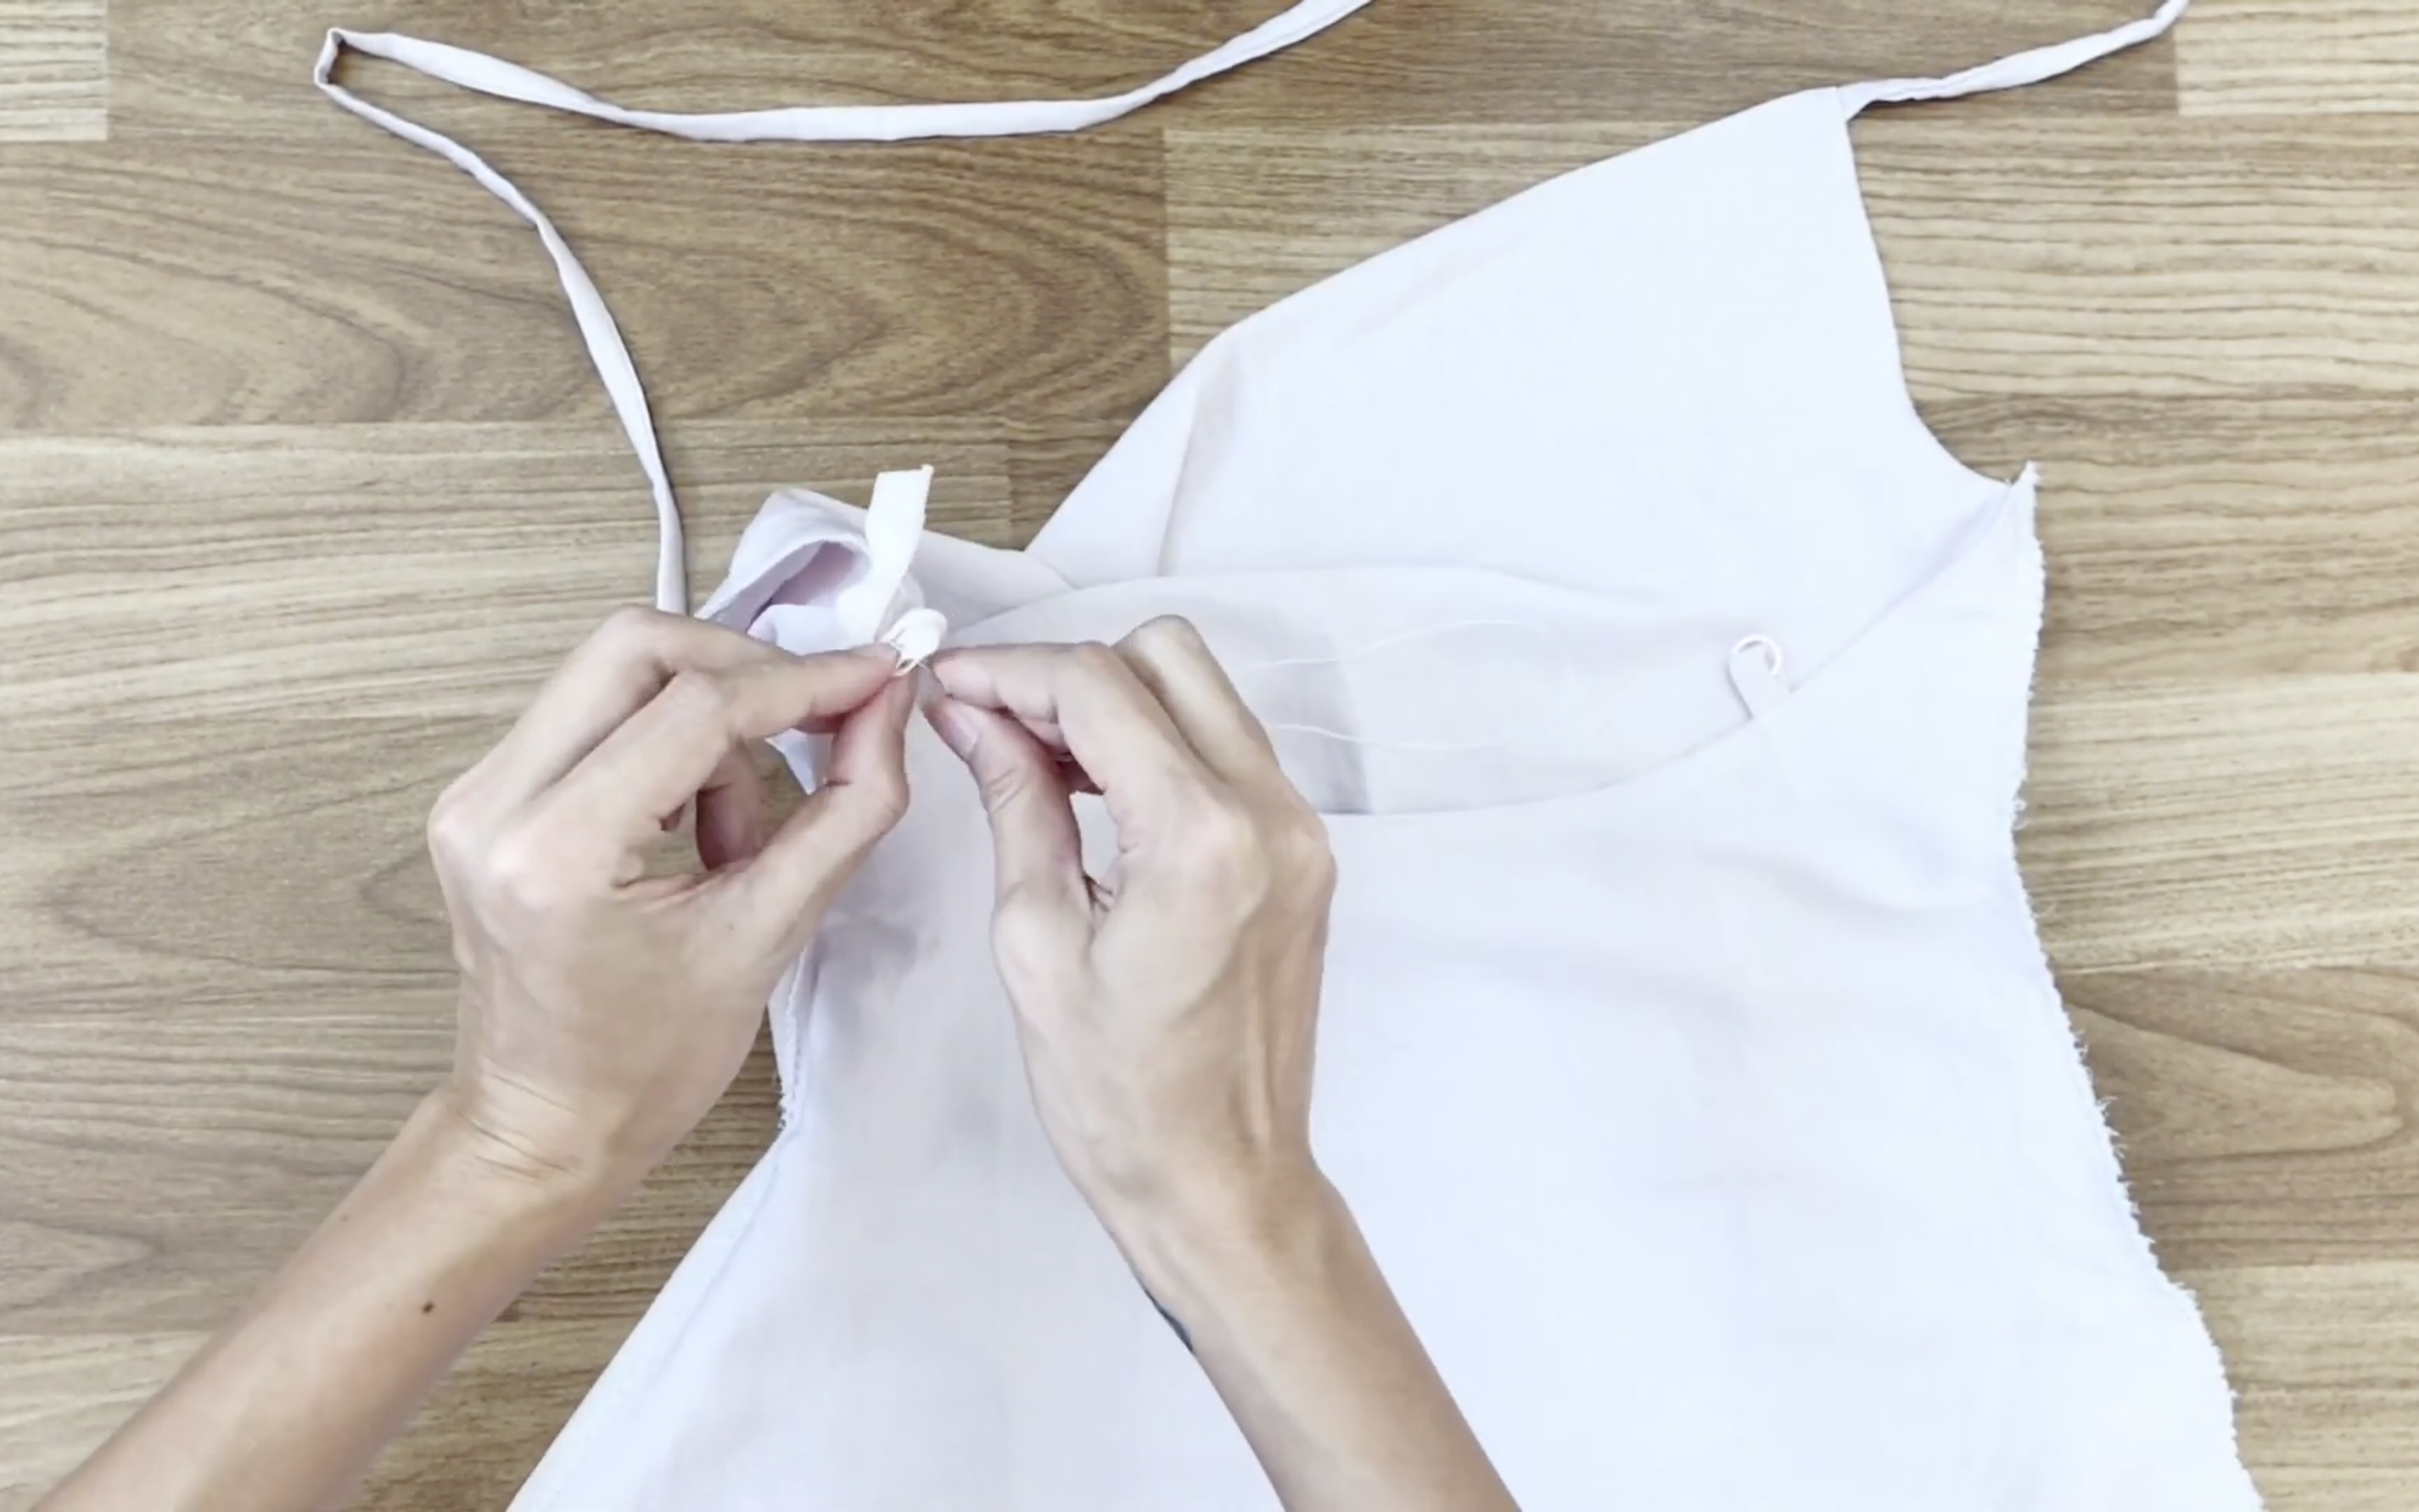
Use a circle to make the connection between the long ties and the short ties.
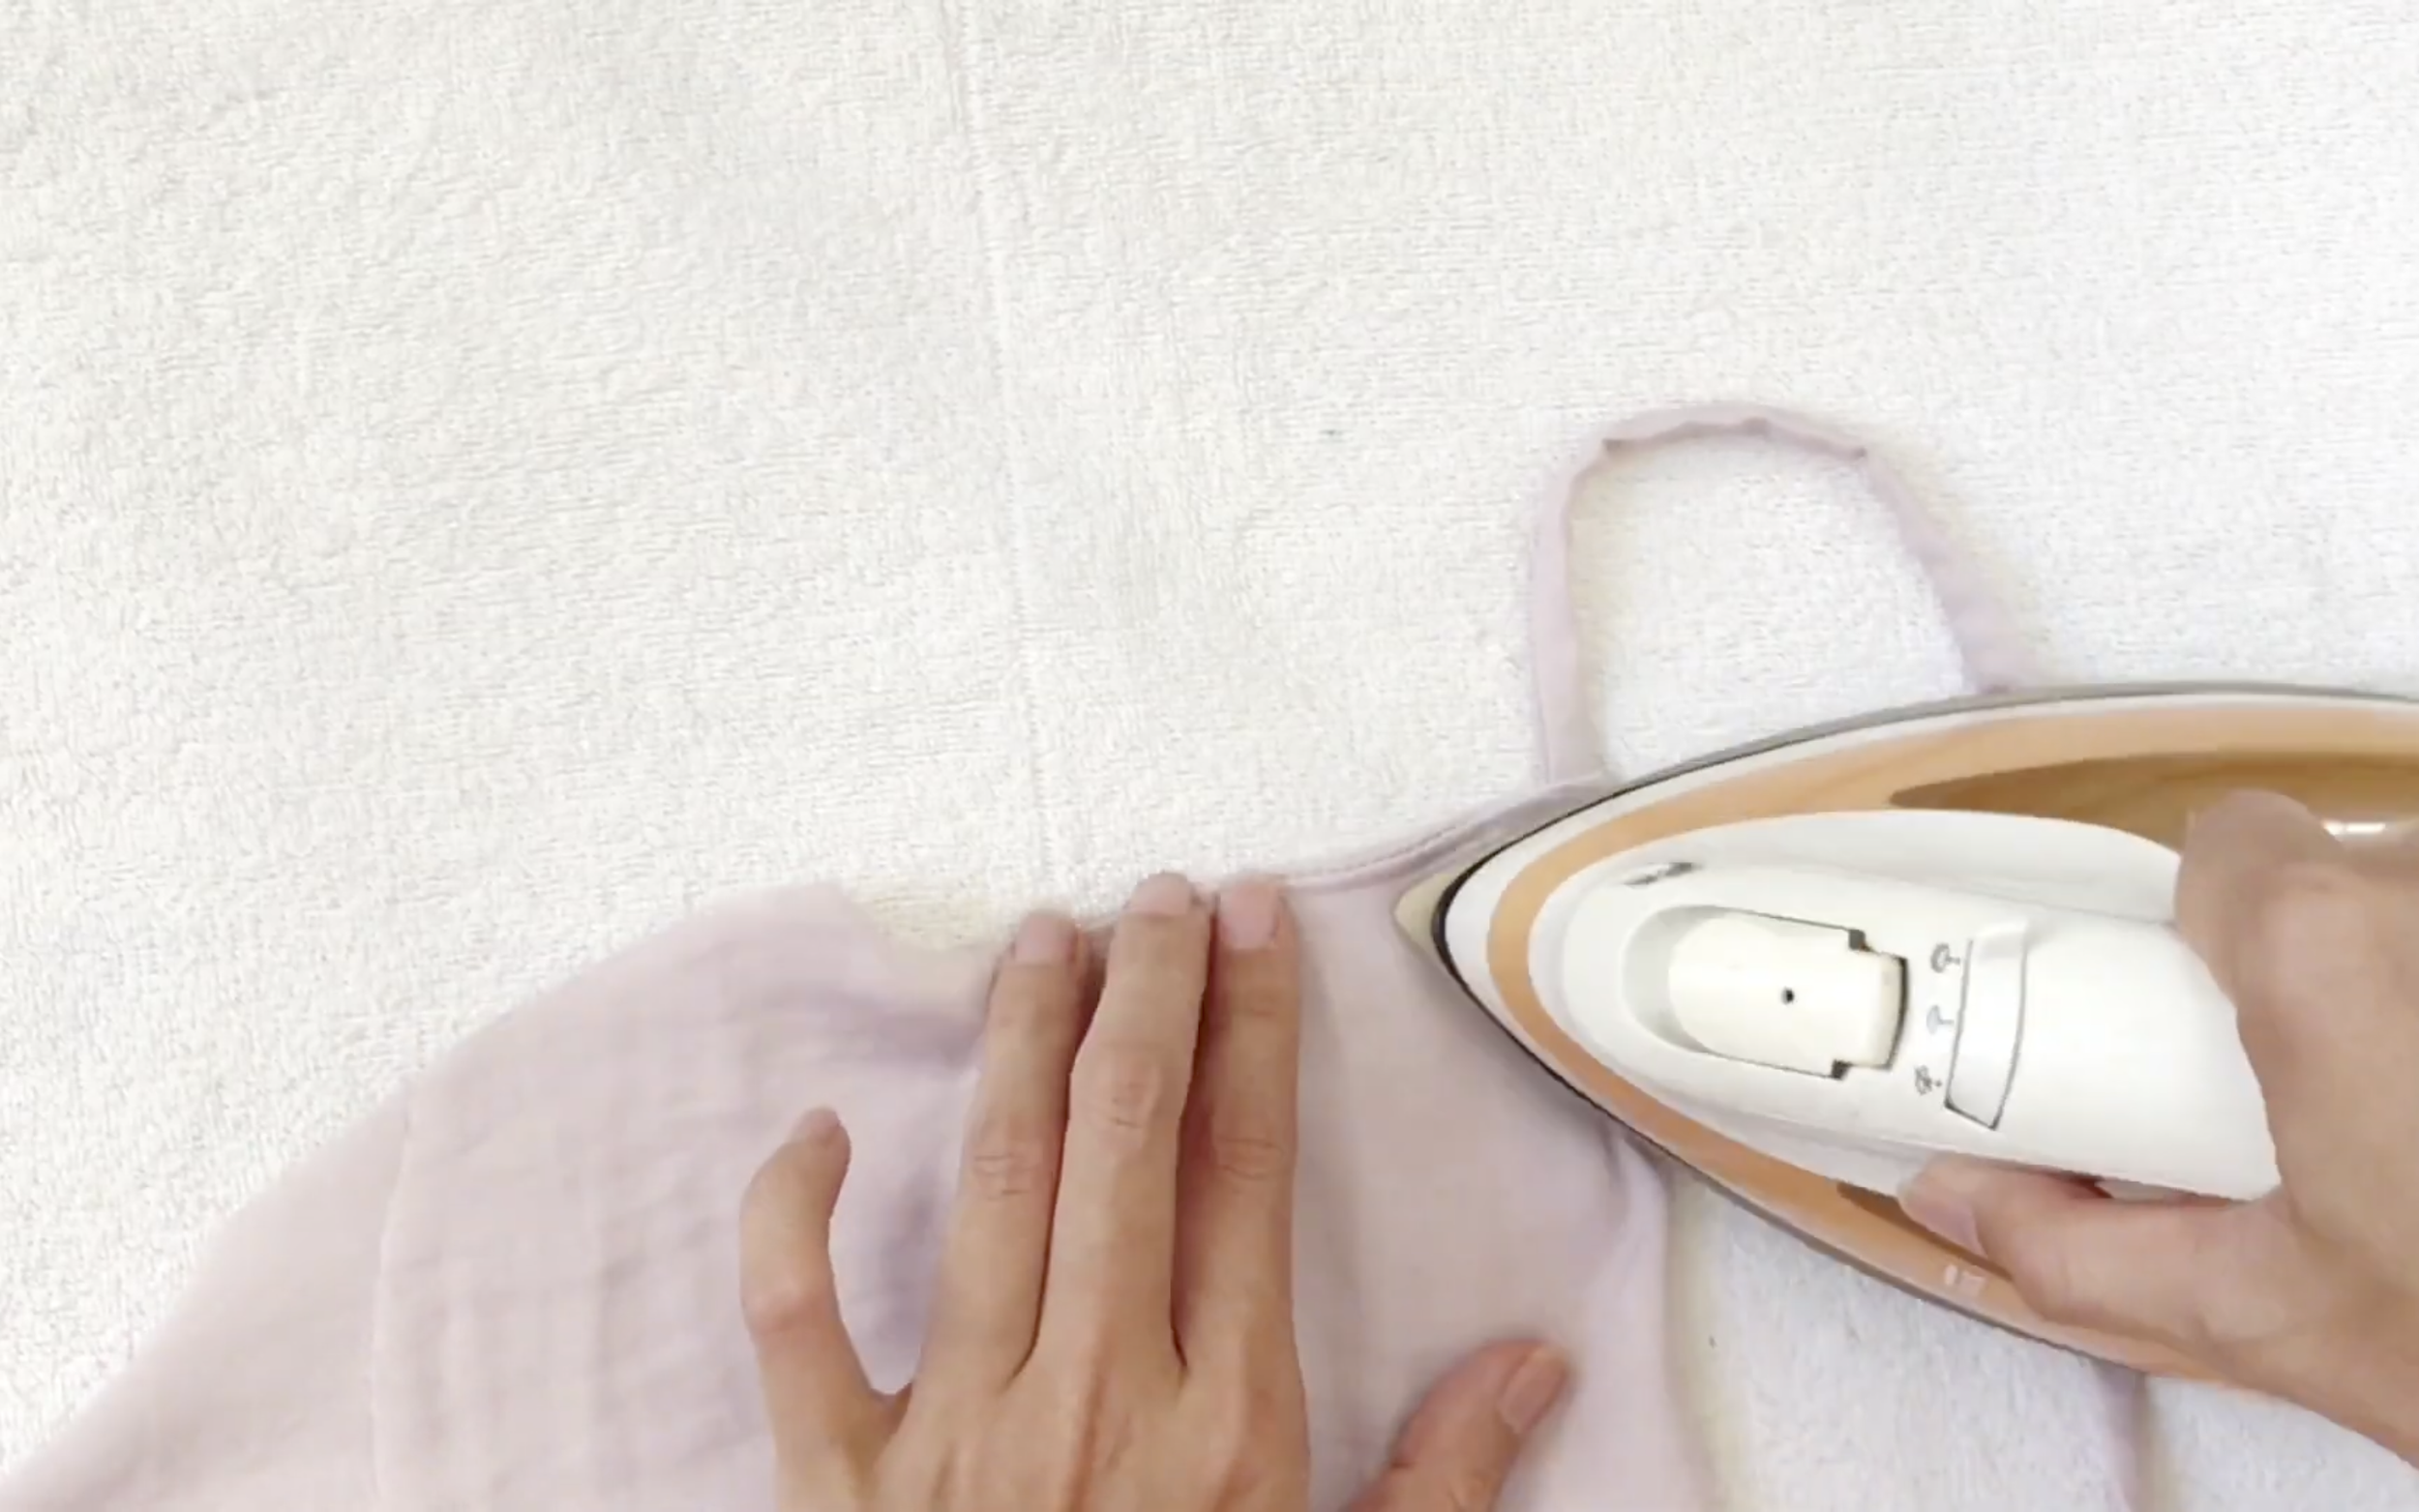
Fix the short ties at the top of the triangles between the back body and the lining, then sew.
After sewing, turn it inside out and make another seam next to the previous one to keep the extra fabric attached to the lining fabric.
Then iron to keep it in place.
Don't forget to overlock the fabric after that.
CONNECT THE FRONT AND BACK
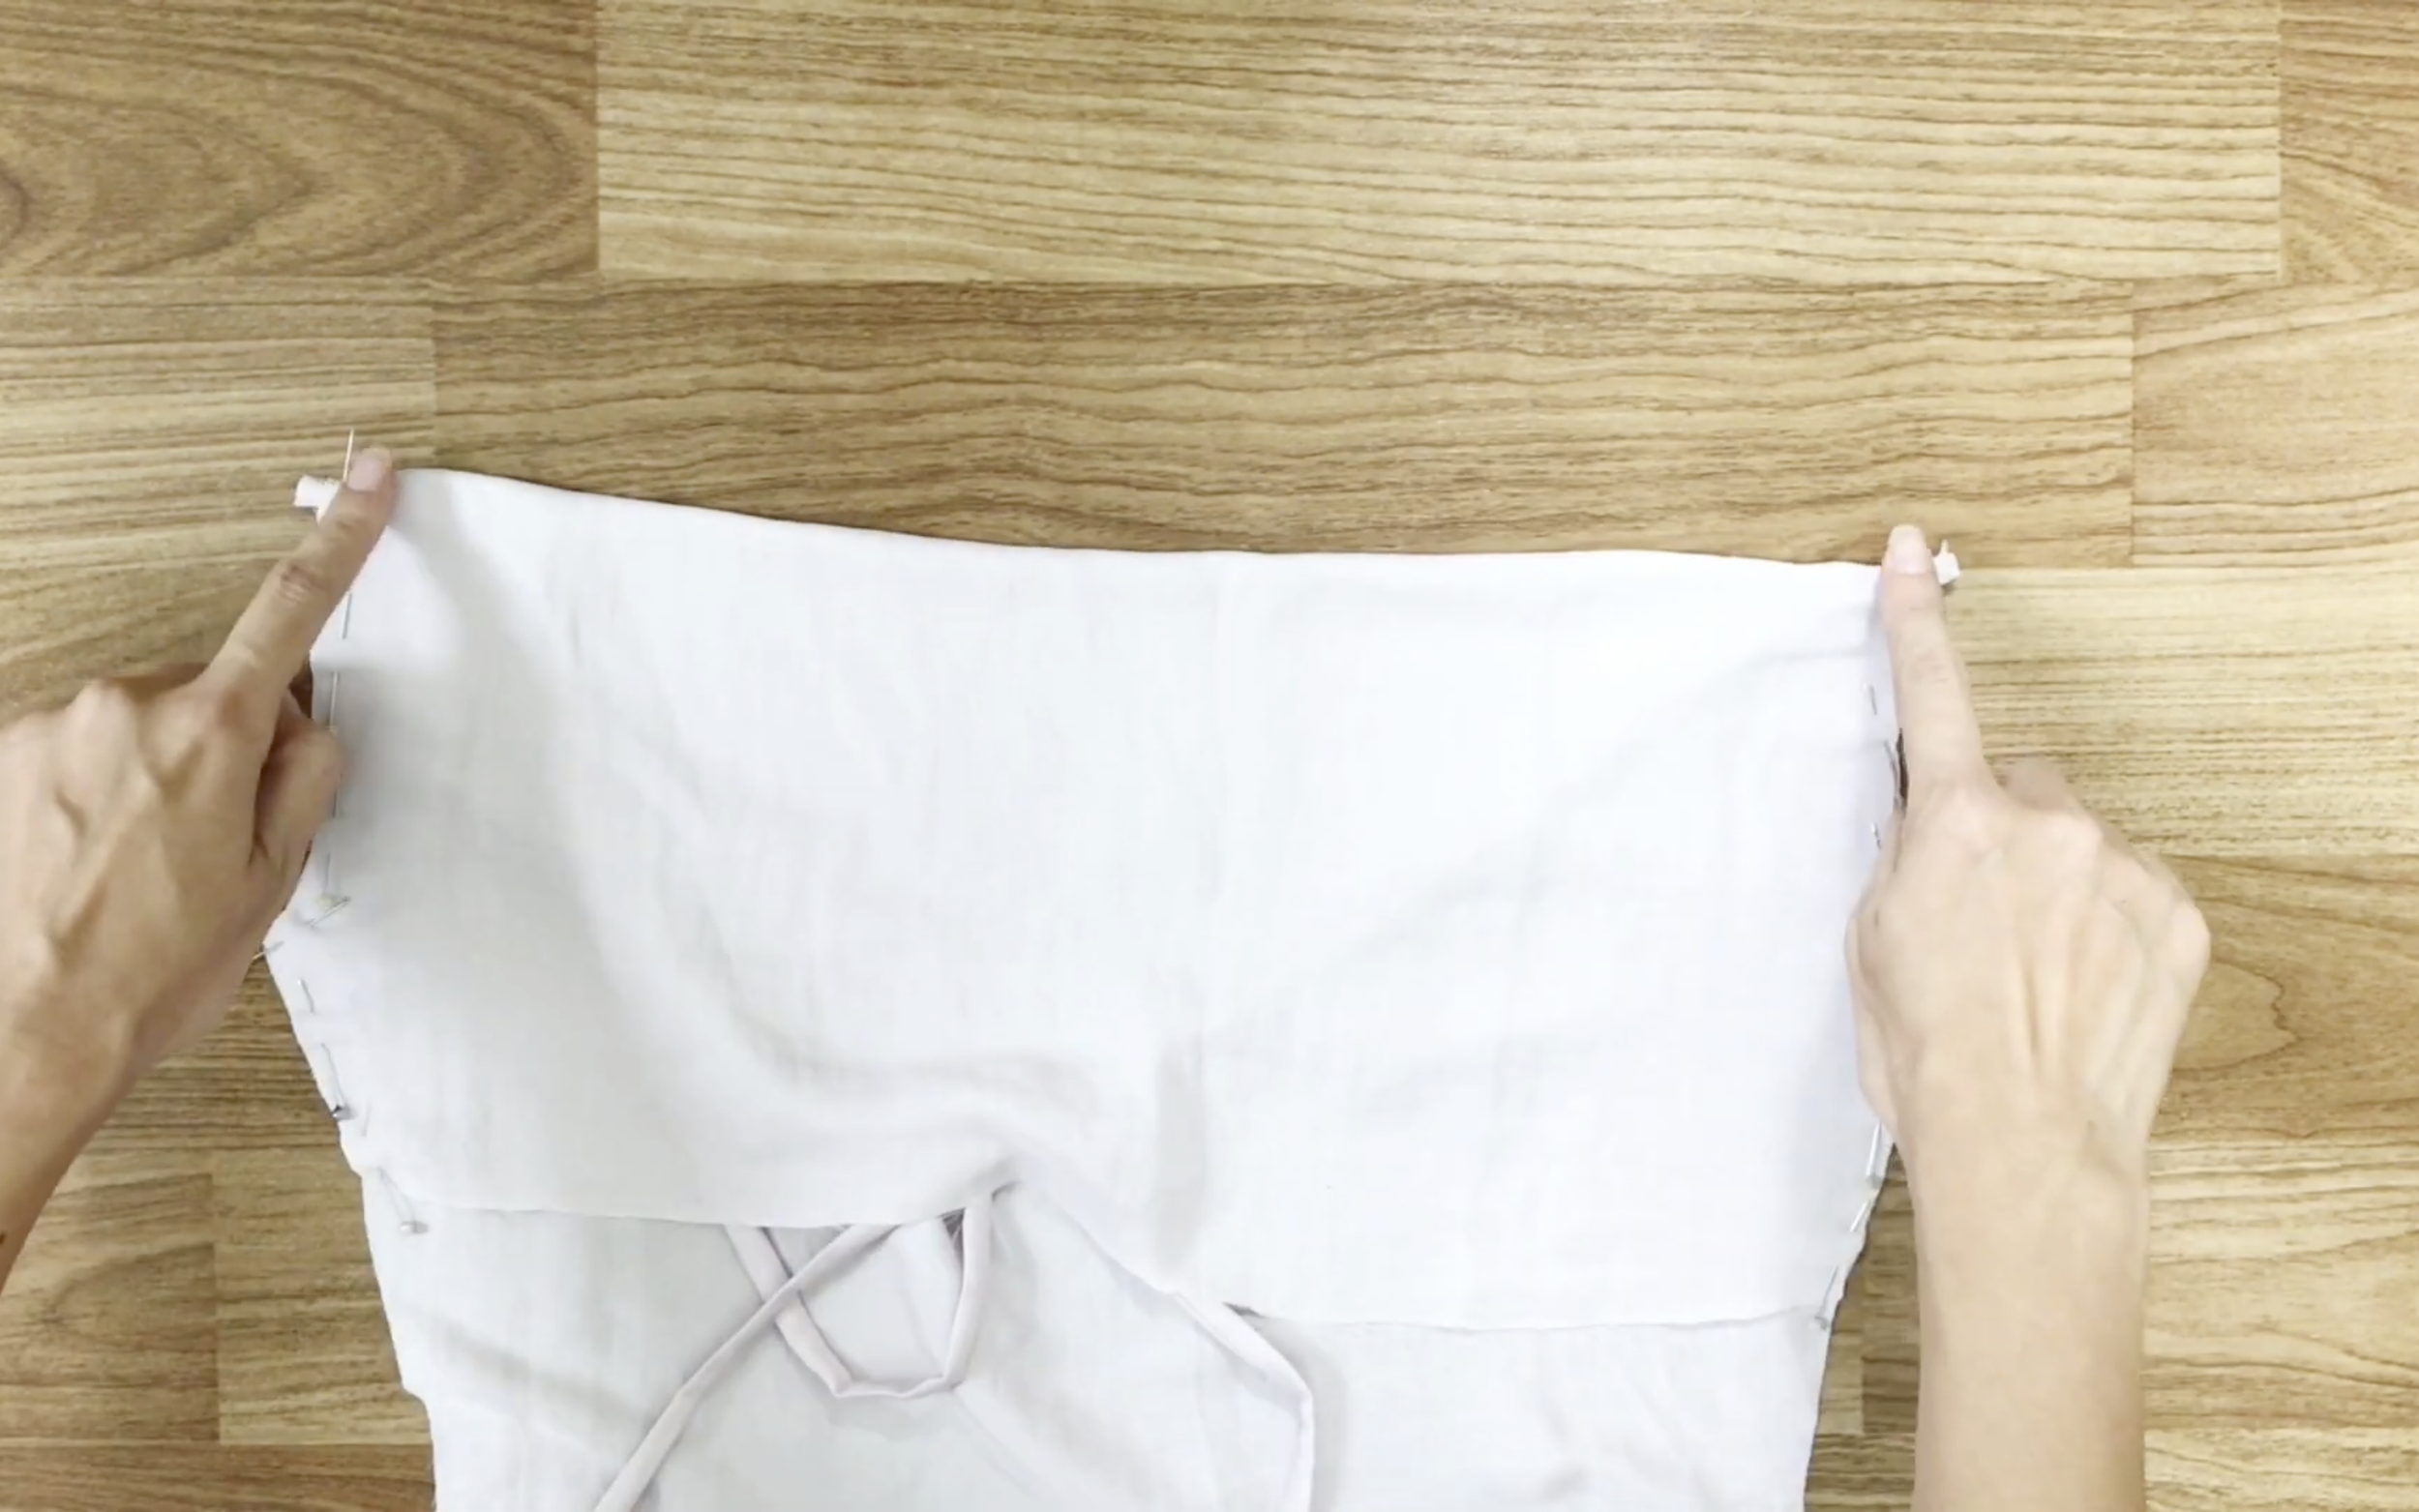
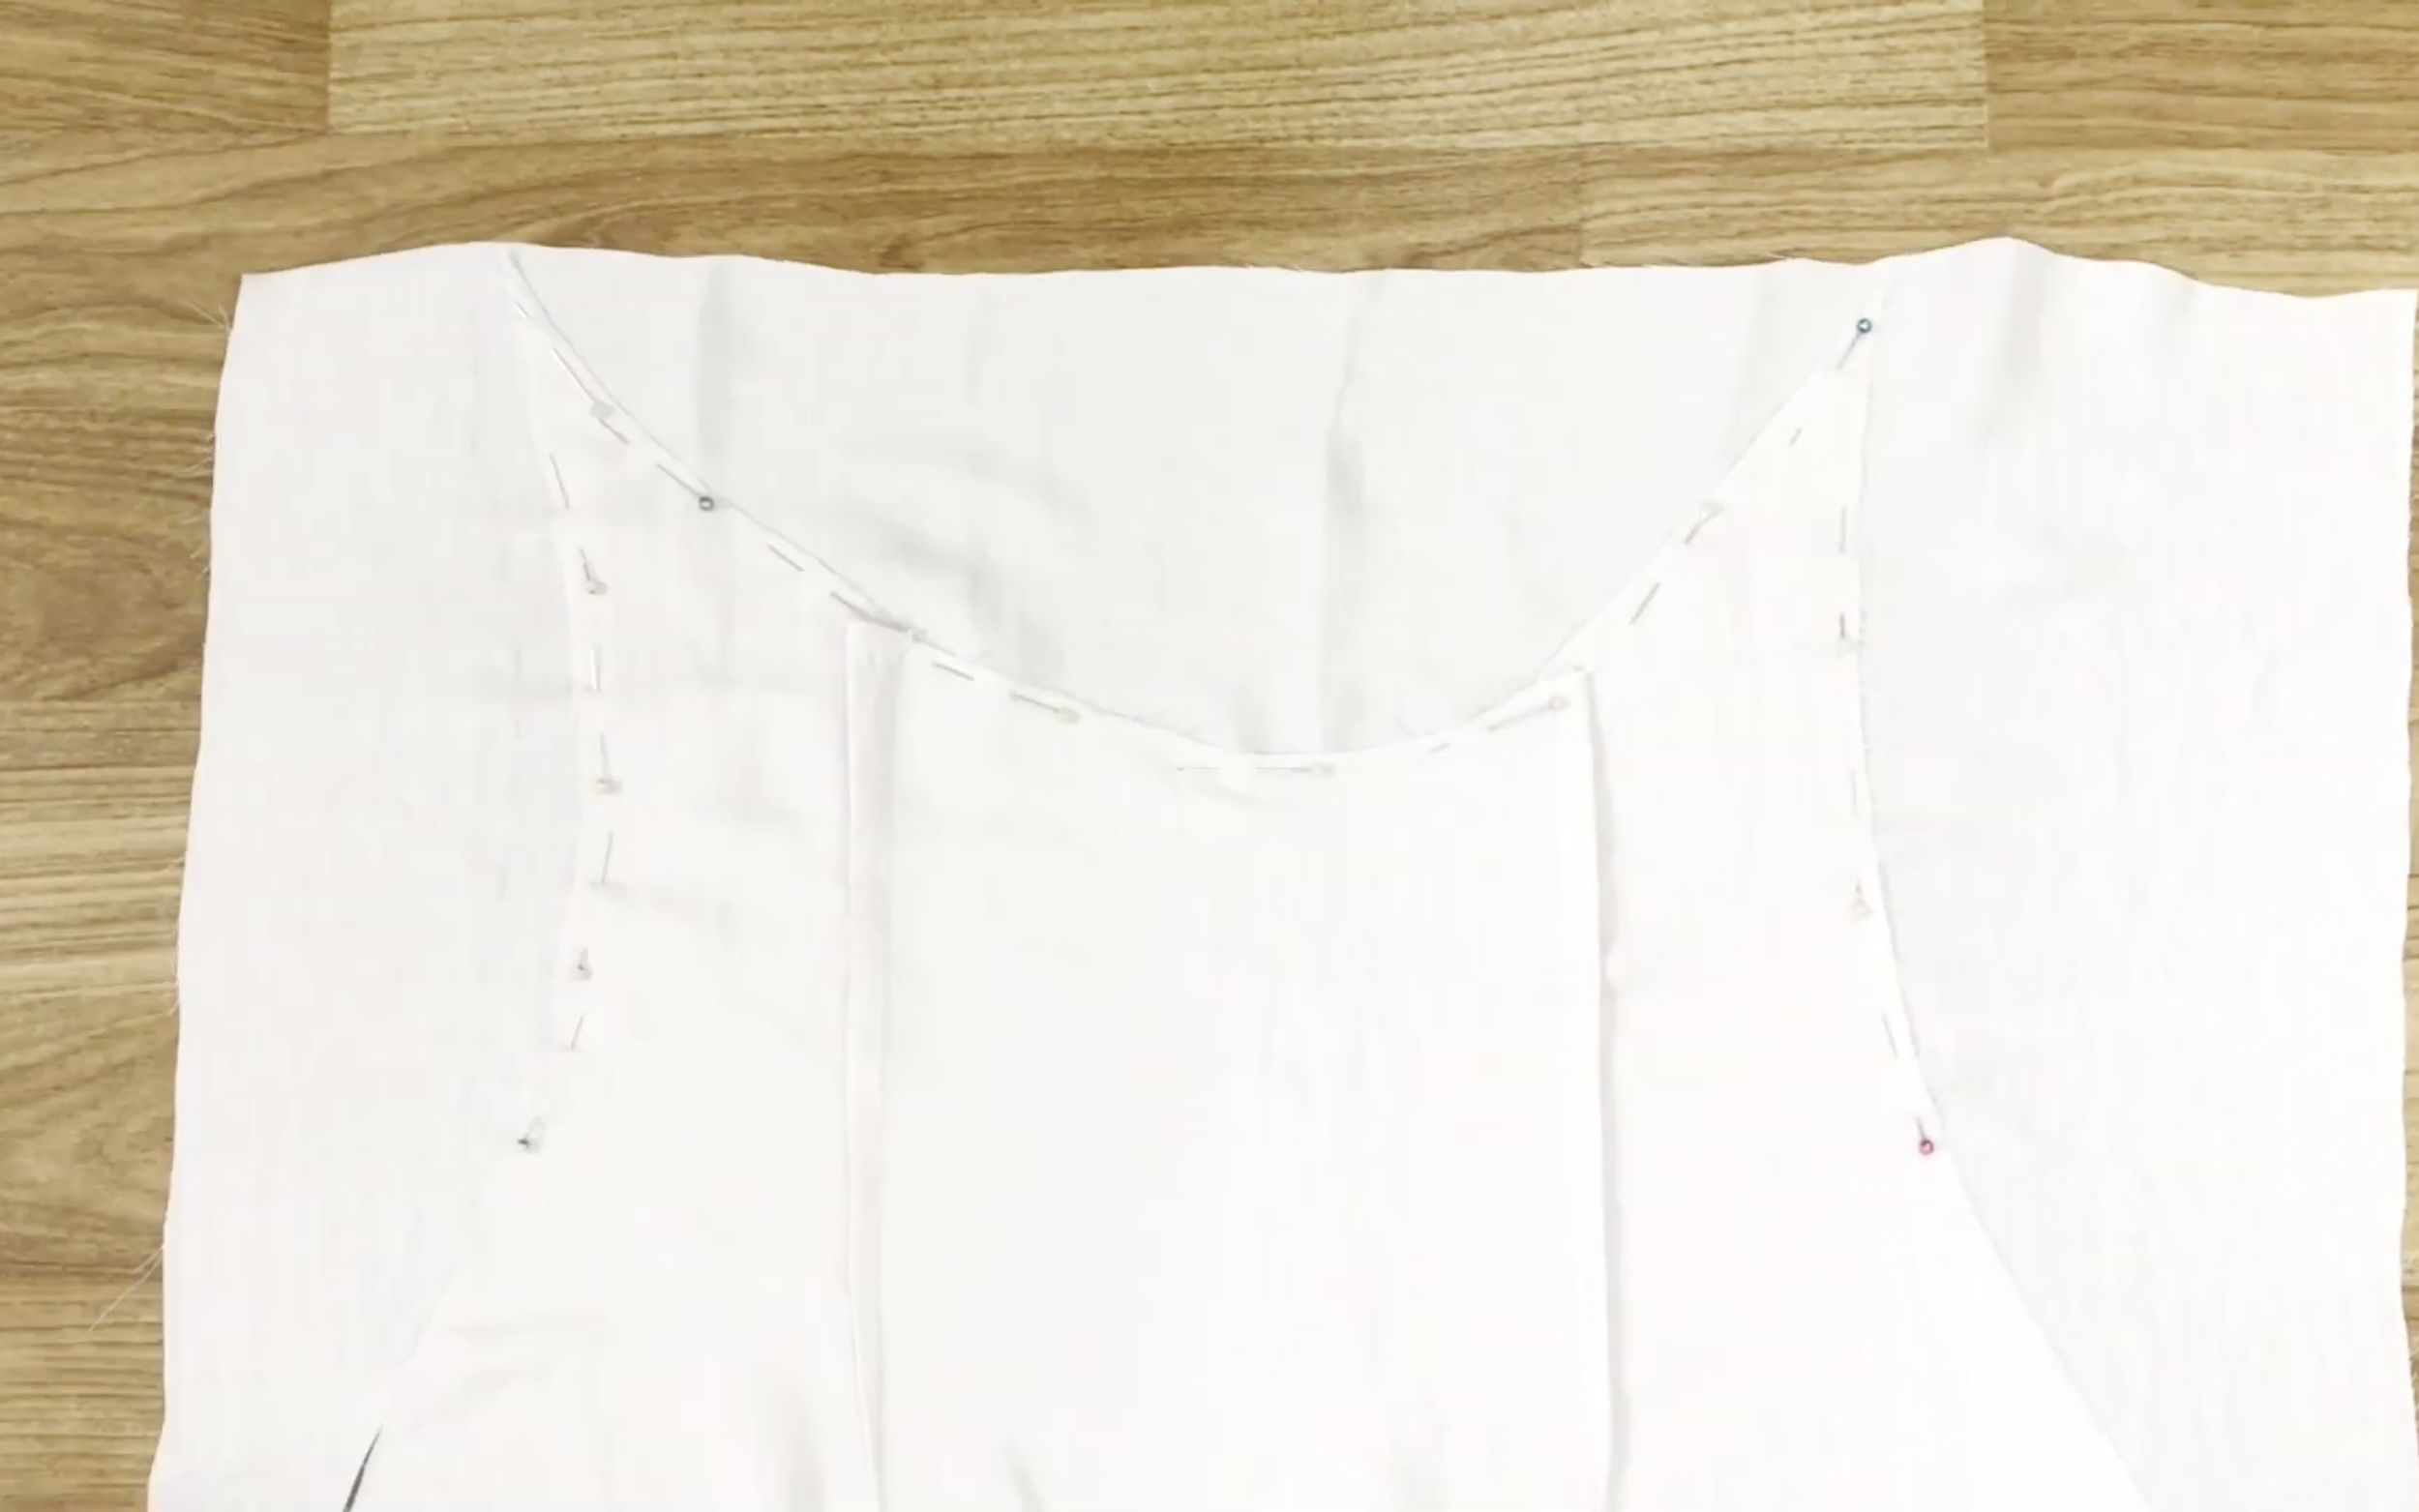
Now attach the front and back bodies together on one side. Use pins to hold them together and sew.
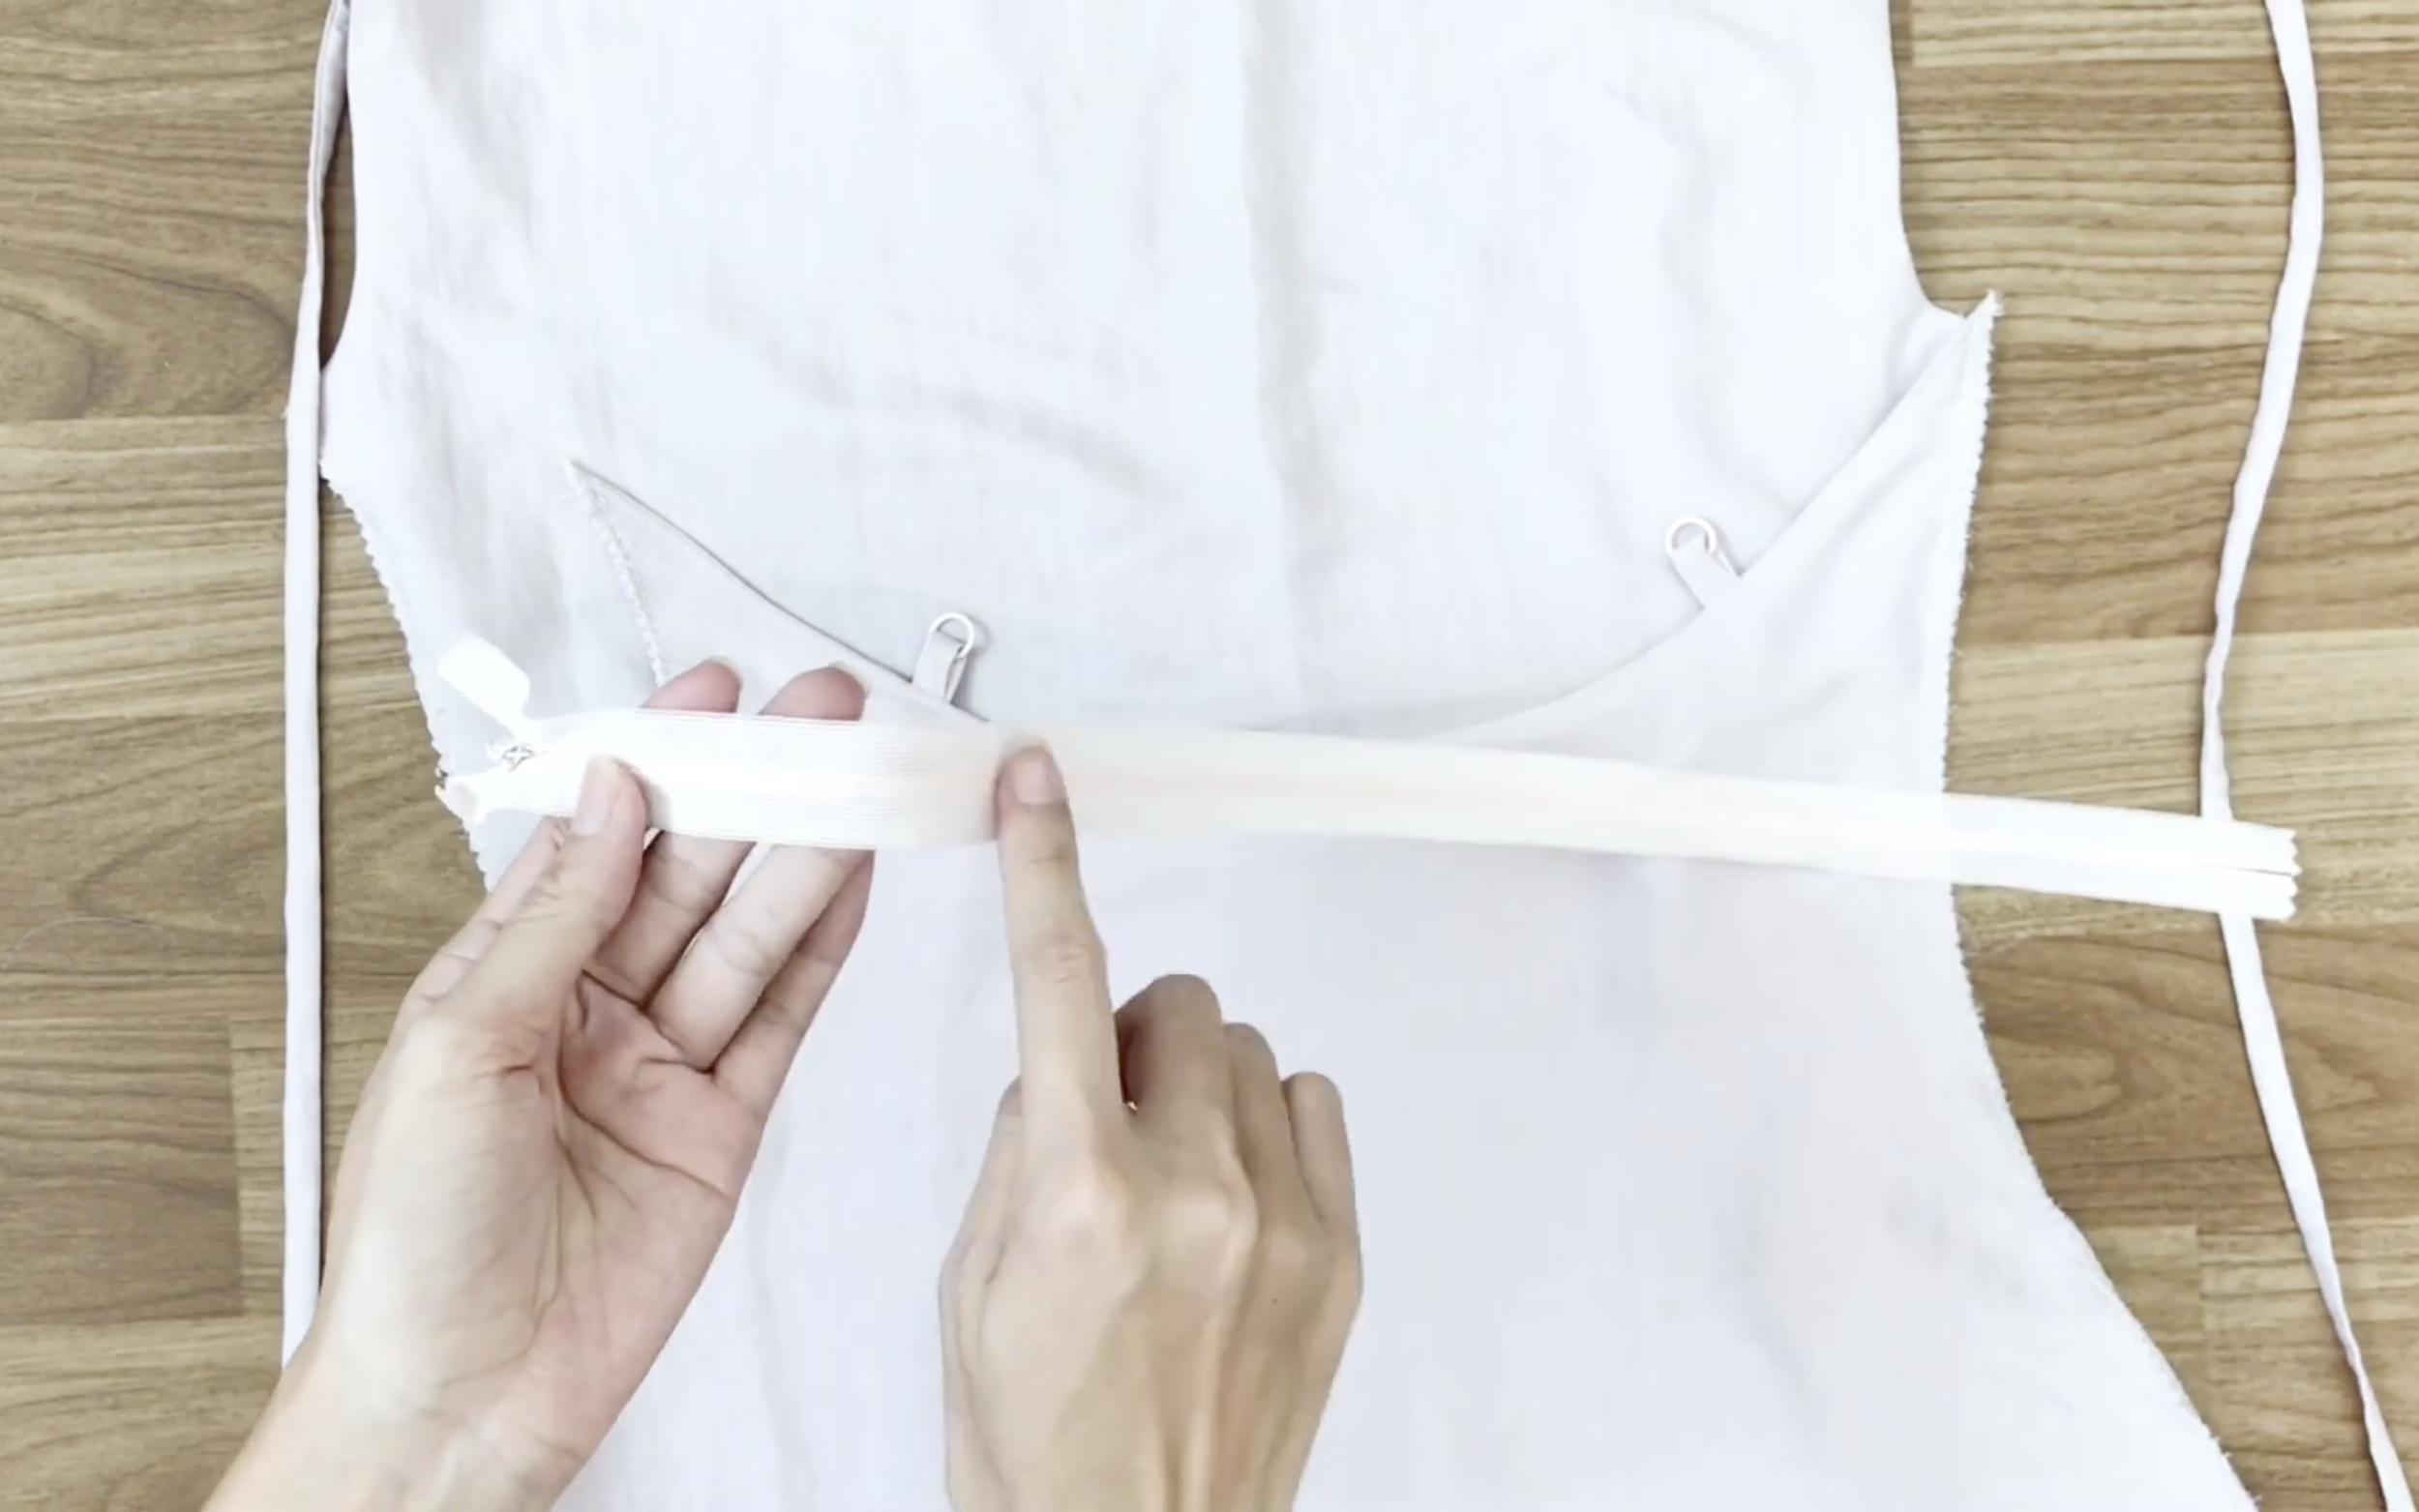
On the other side, attach an invisible zipper with the same color as the dress.
Fix one side of the zipper to the back body first and sew.
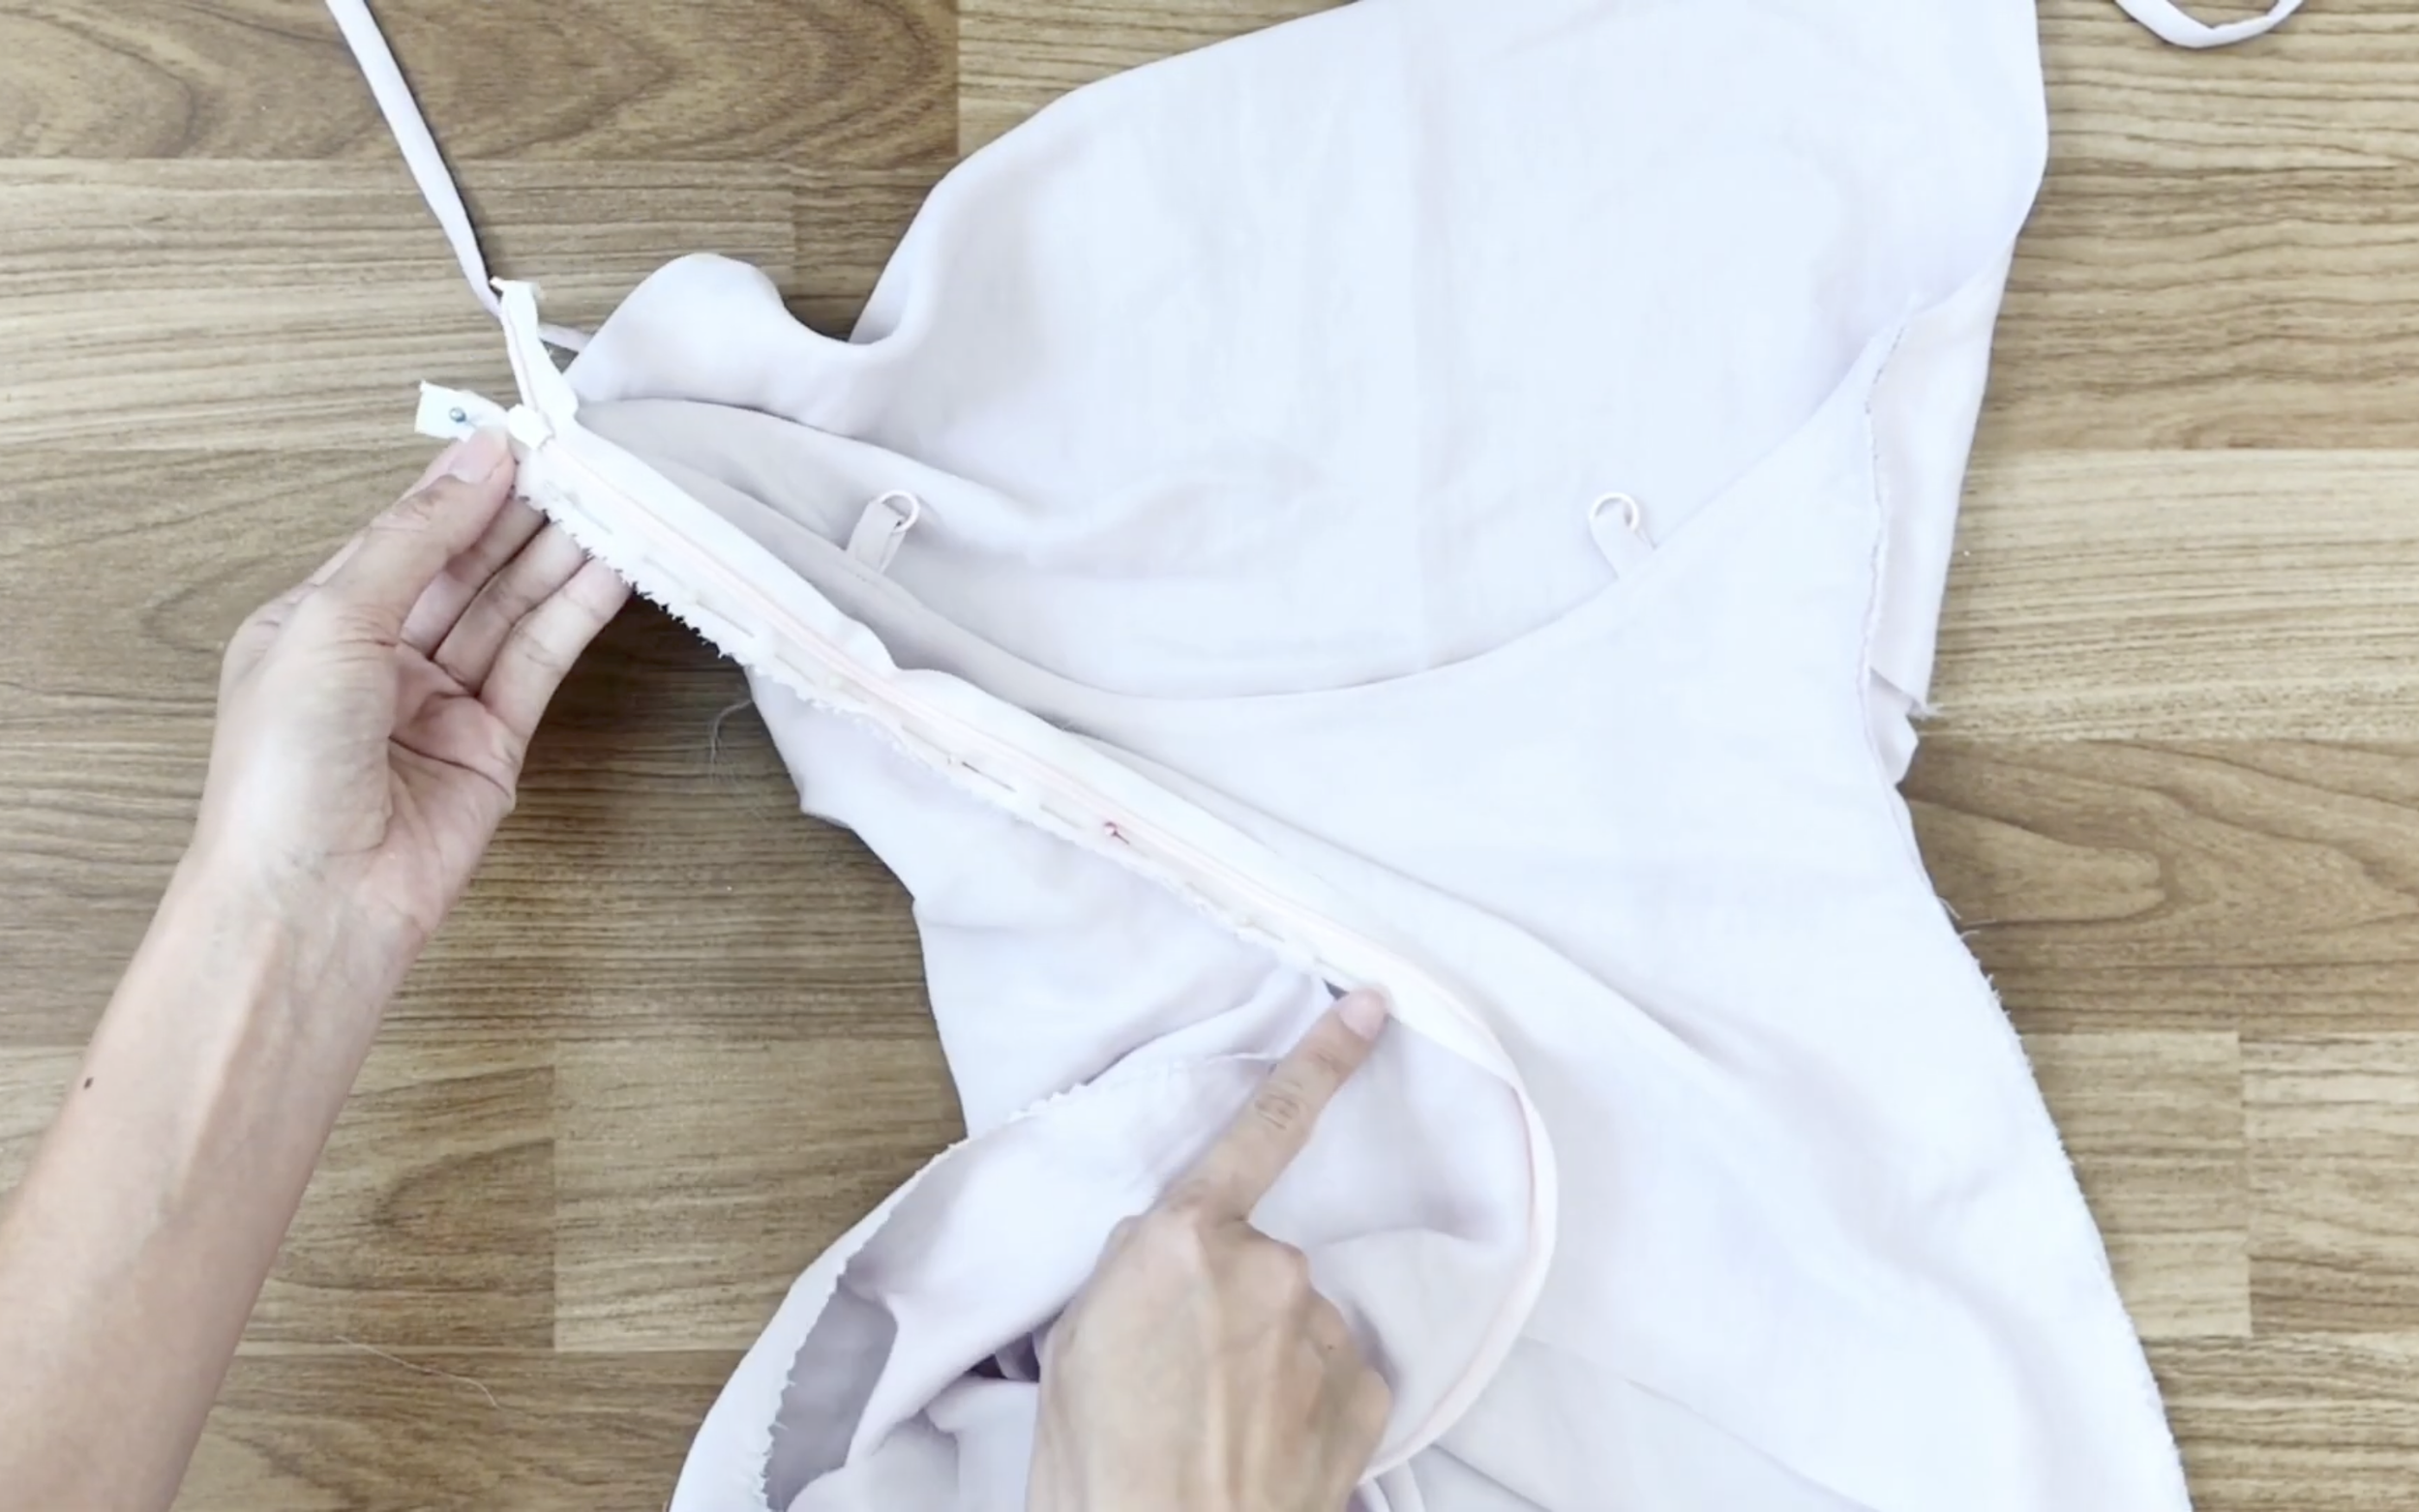
Then close the zipper, fix the other side to the front body, and sew.
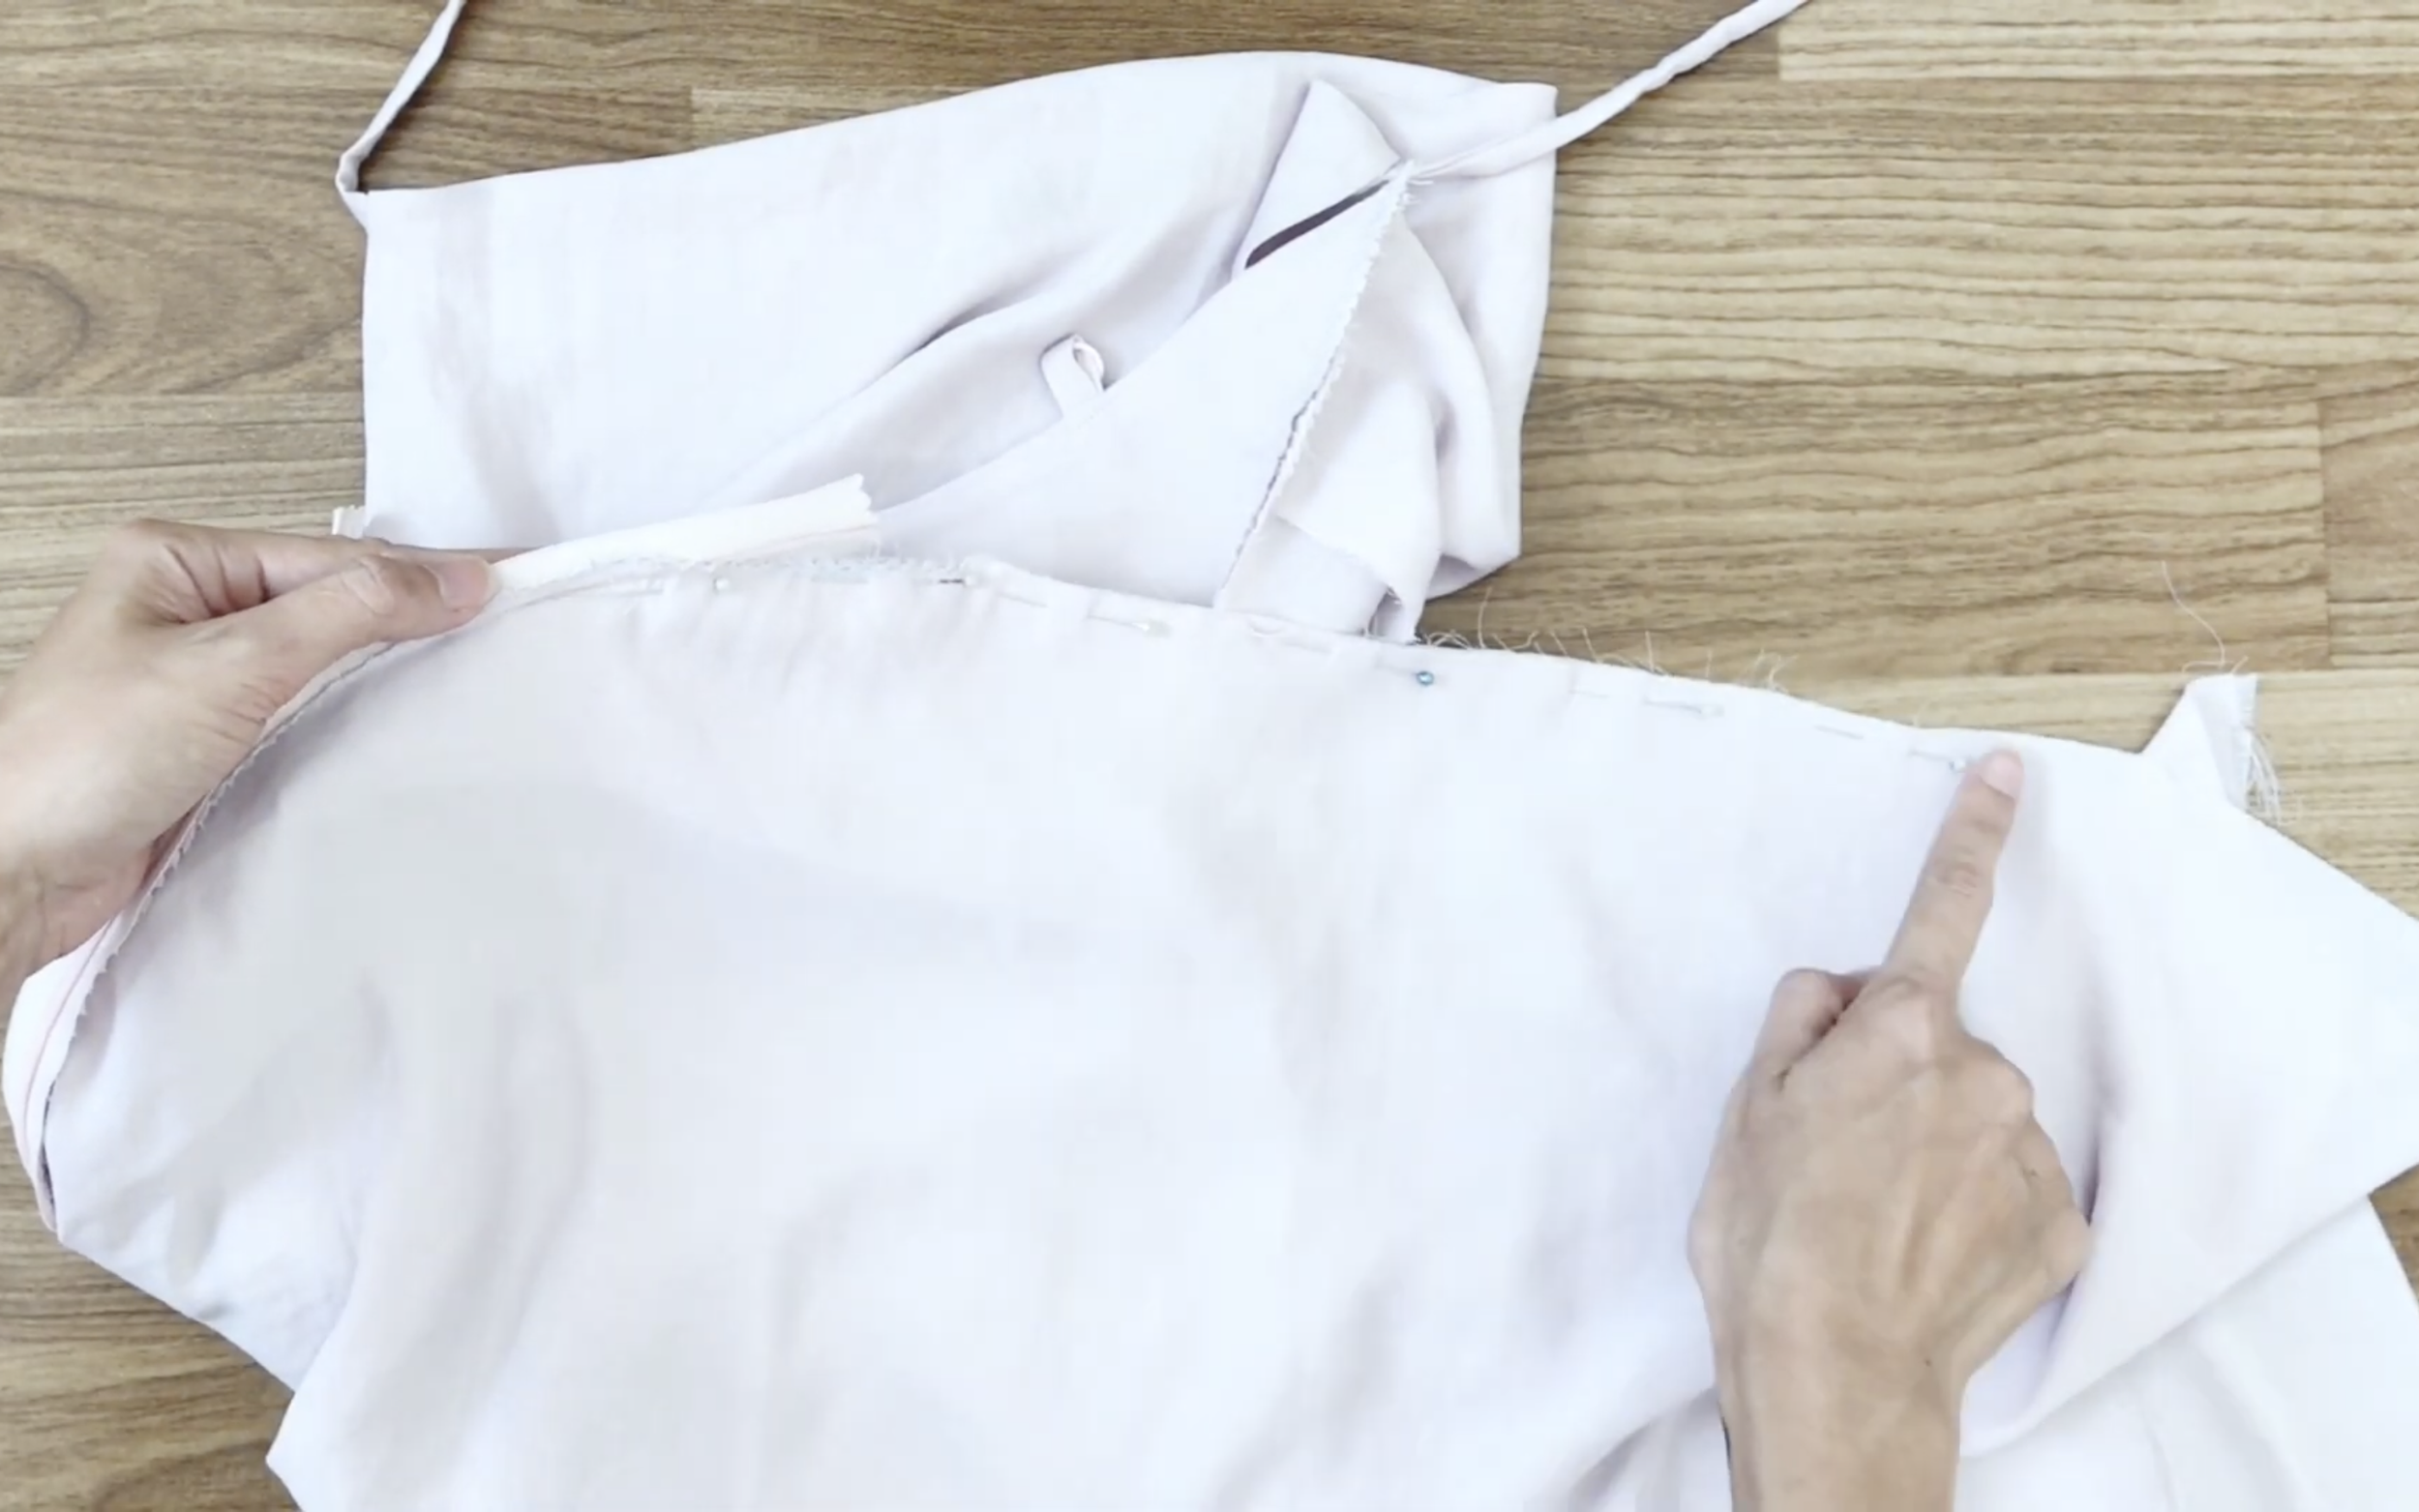
After that, sew from the end of the zipper to the bottom of the dress.
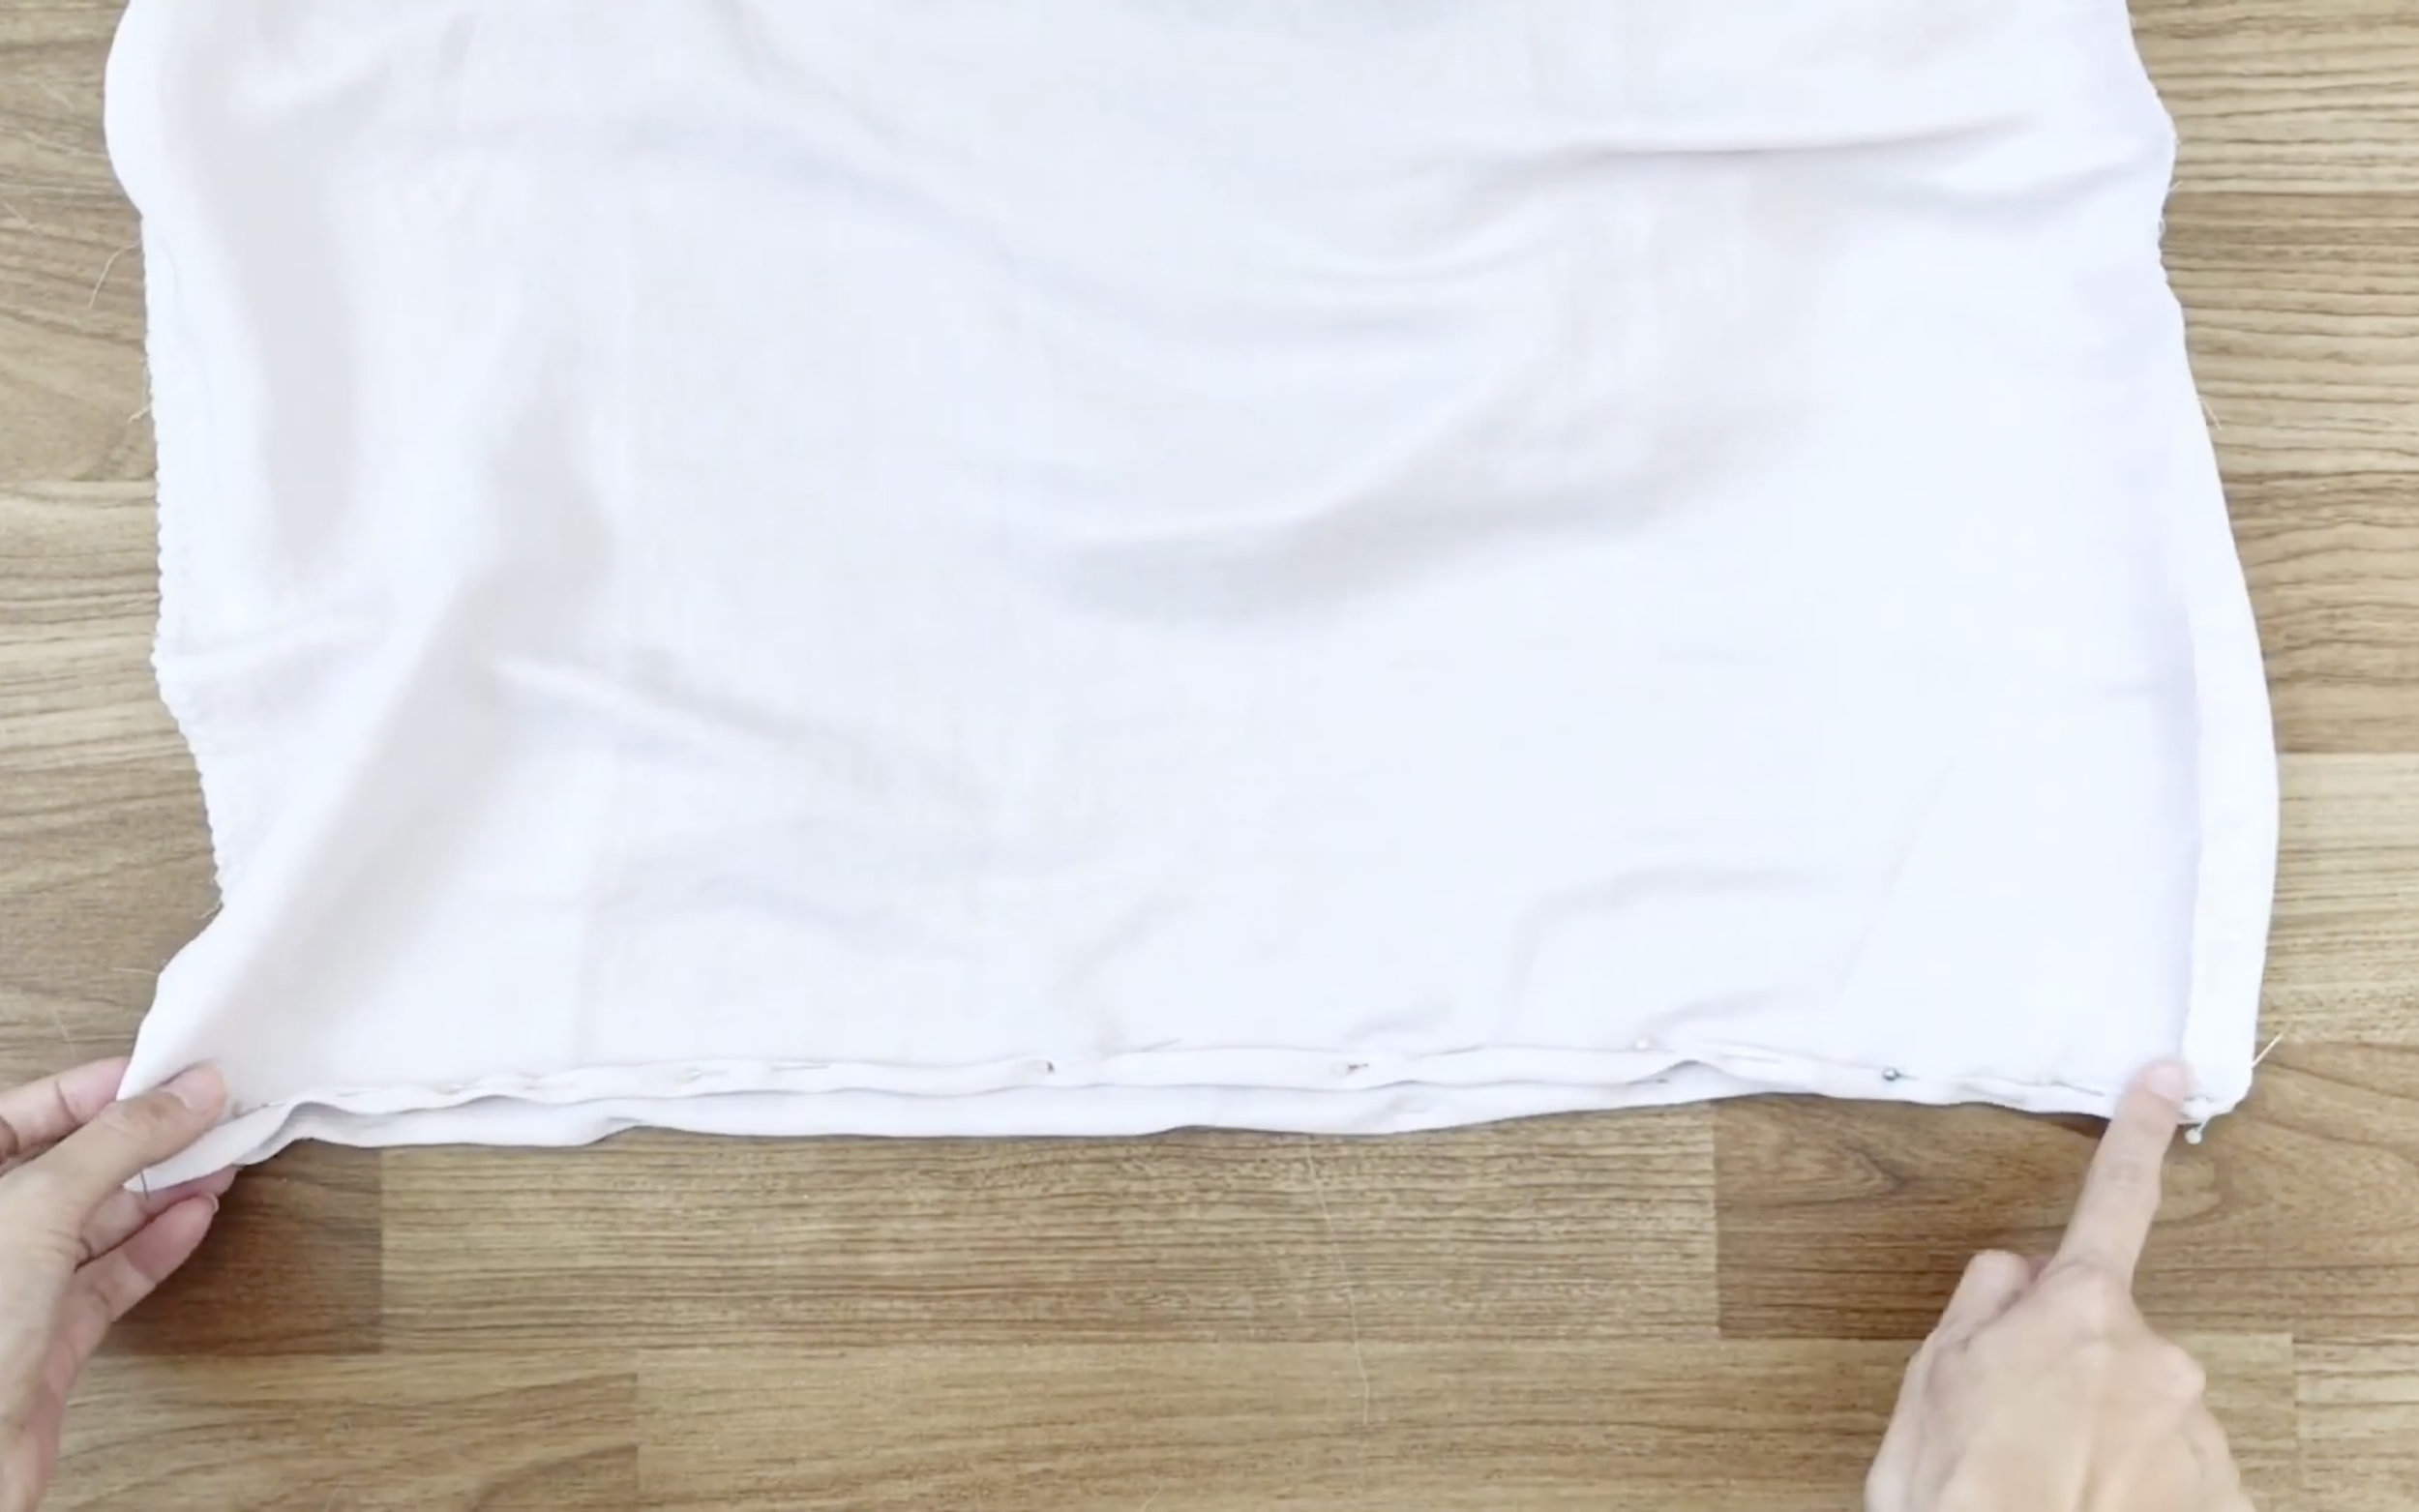
At the bottom of the dress, double fold the fabric to hide the raw edge, then sew to finish the end.
For the top of the zipper, hand-sew to hide it inside.
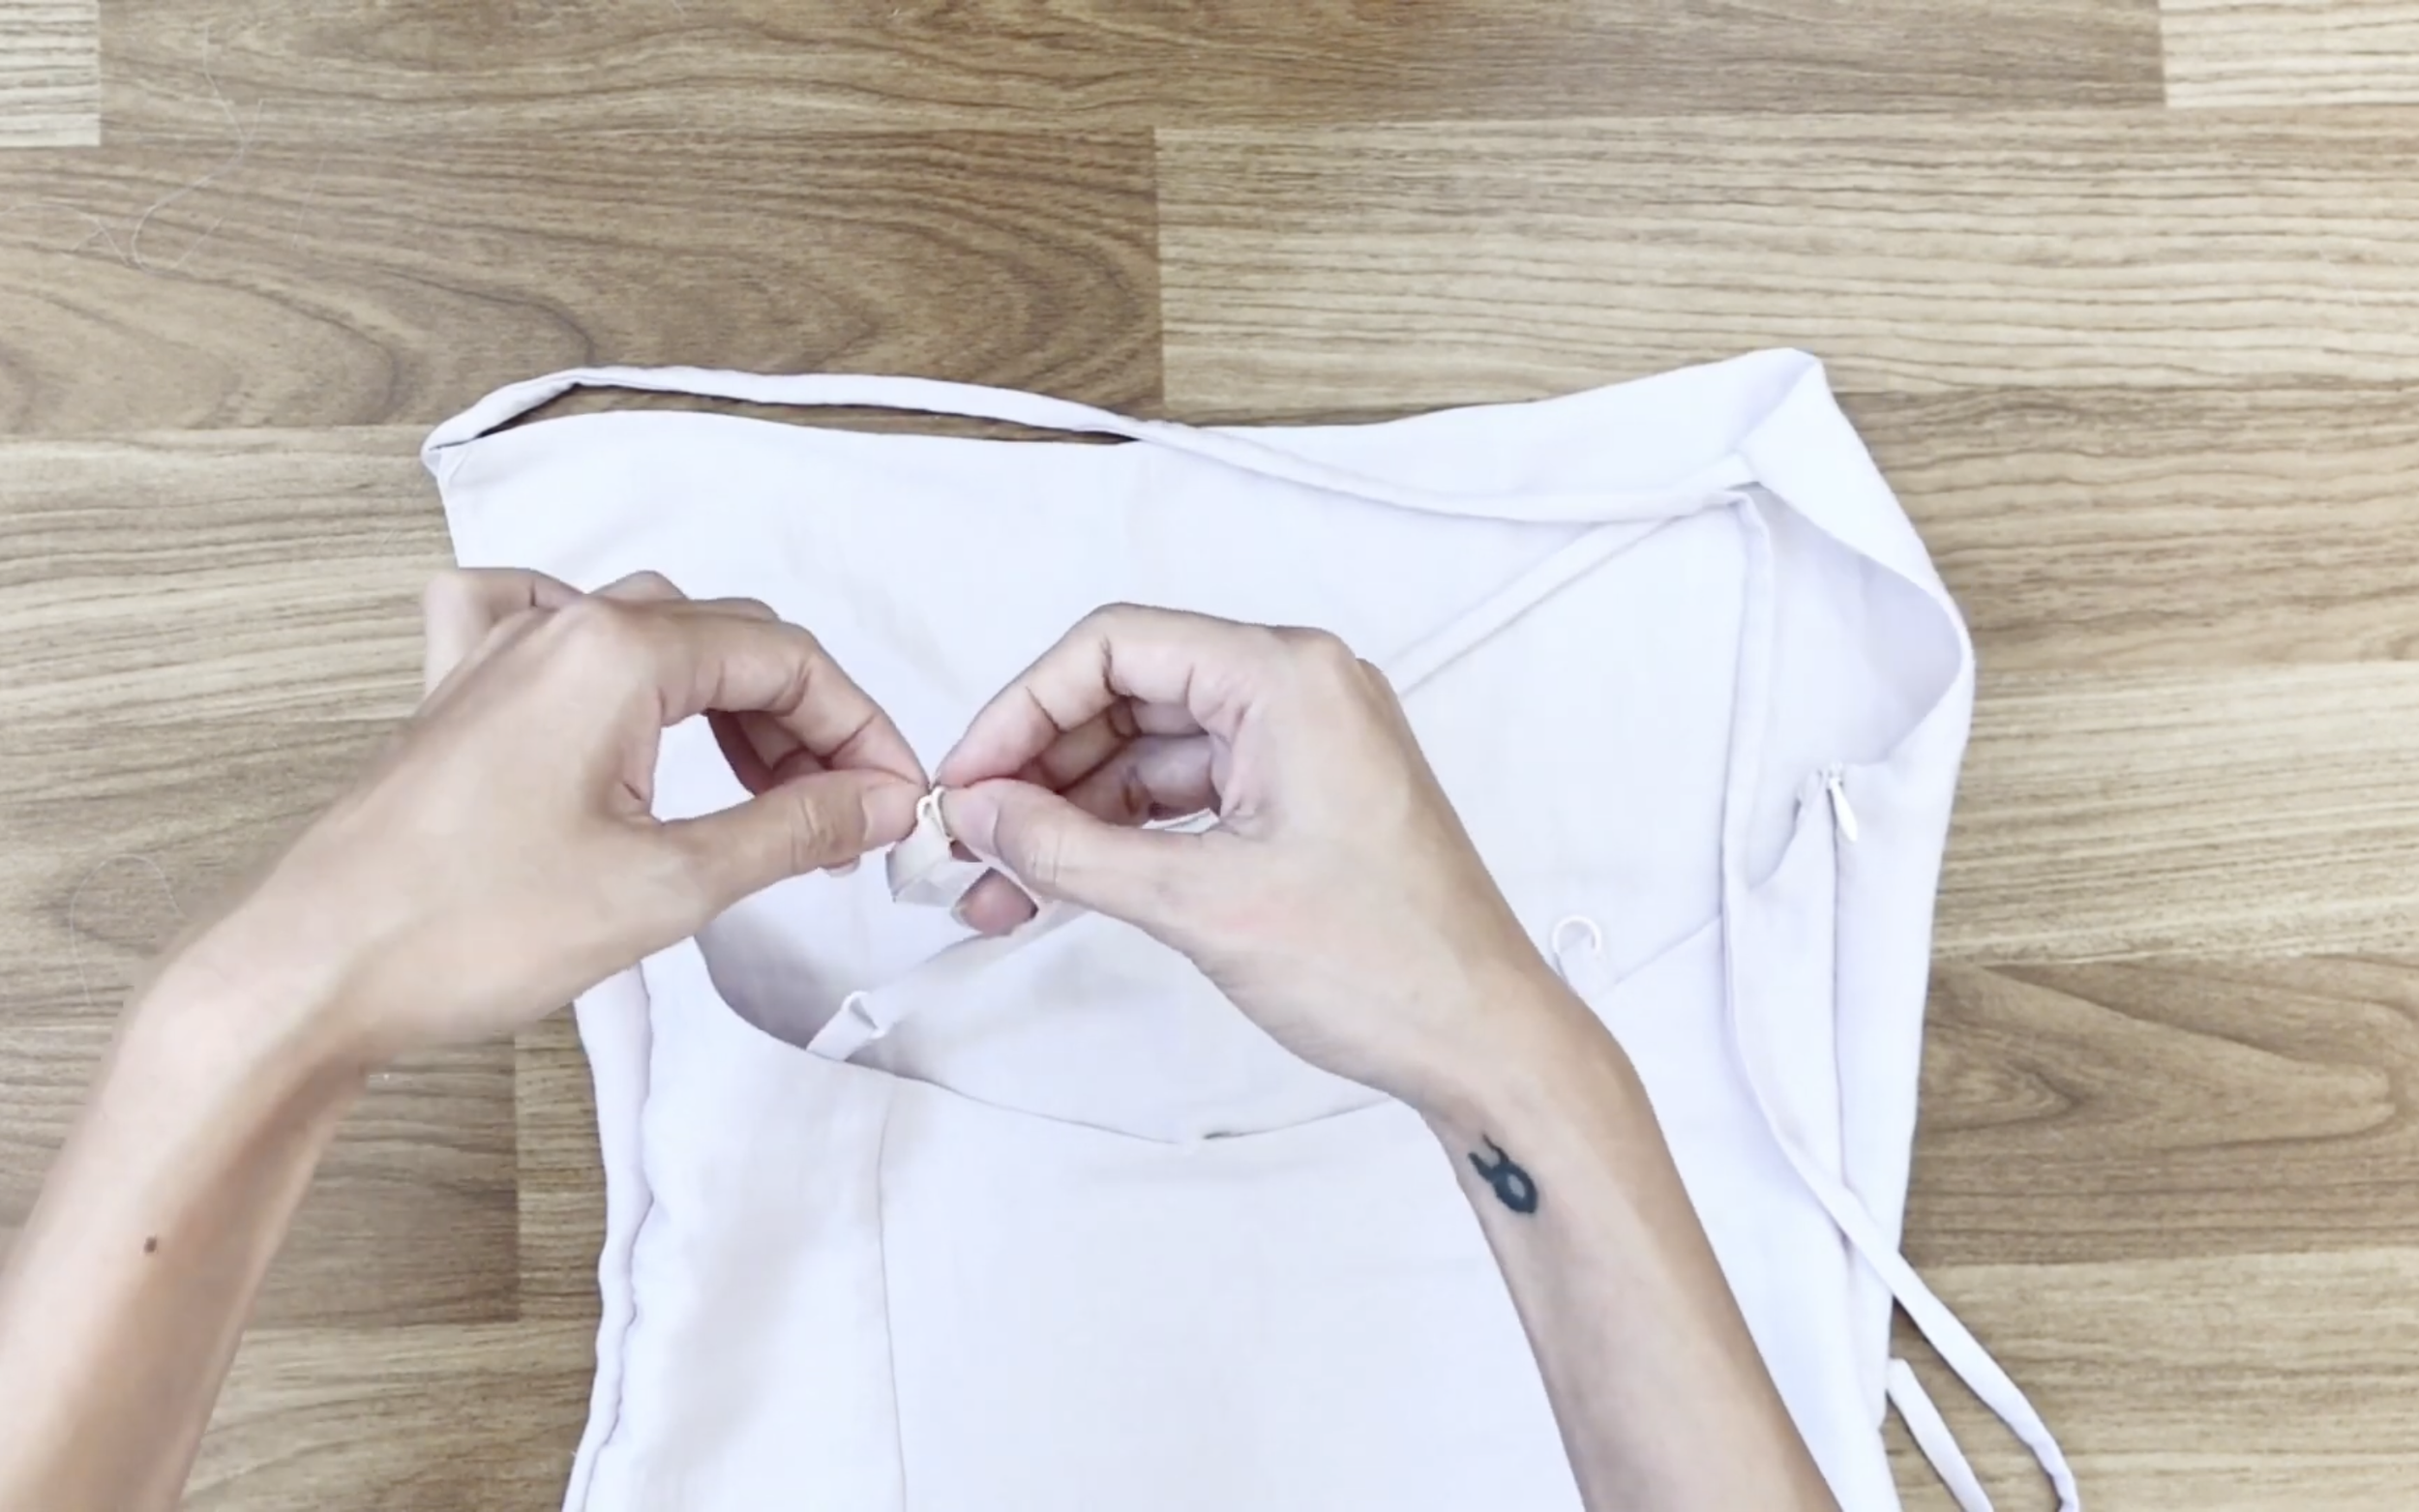
The last step is to connect the long ties to the short ties.

DIY Bridesmaid dress/Cowl neck dress open back
And that wraps up this DIY!
The final result is so elegant—perfect for a bridesmaid or even as a dress to wear to a wedding or formal party.

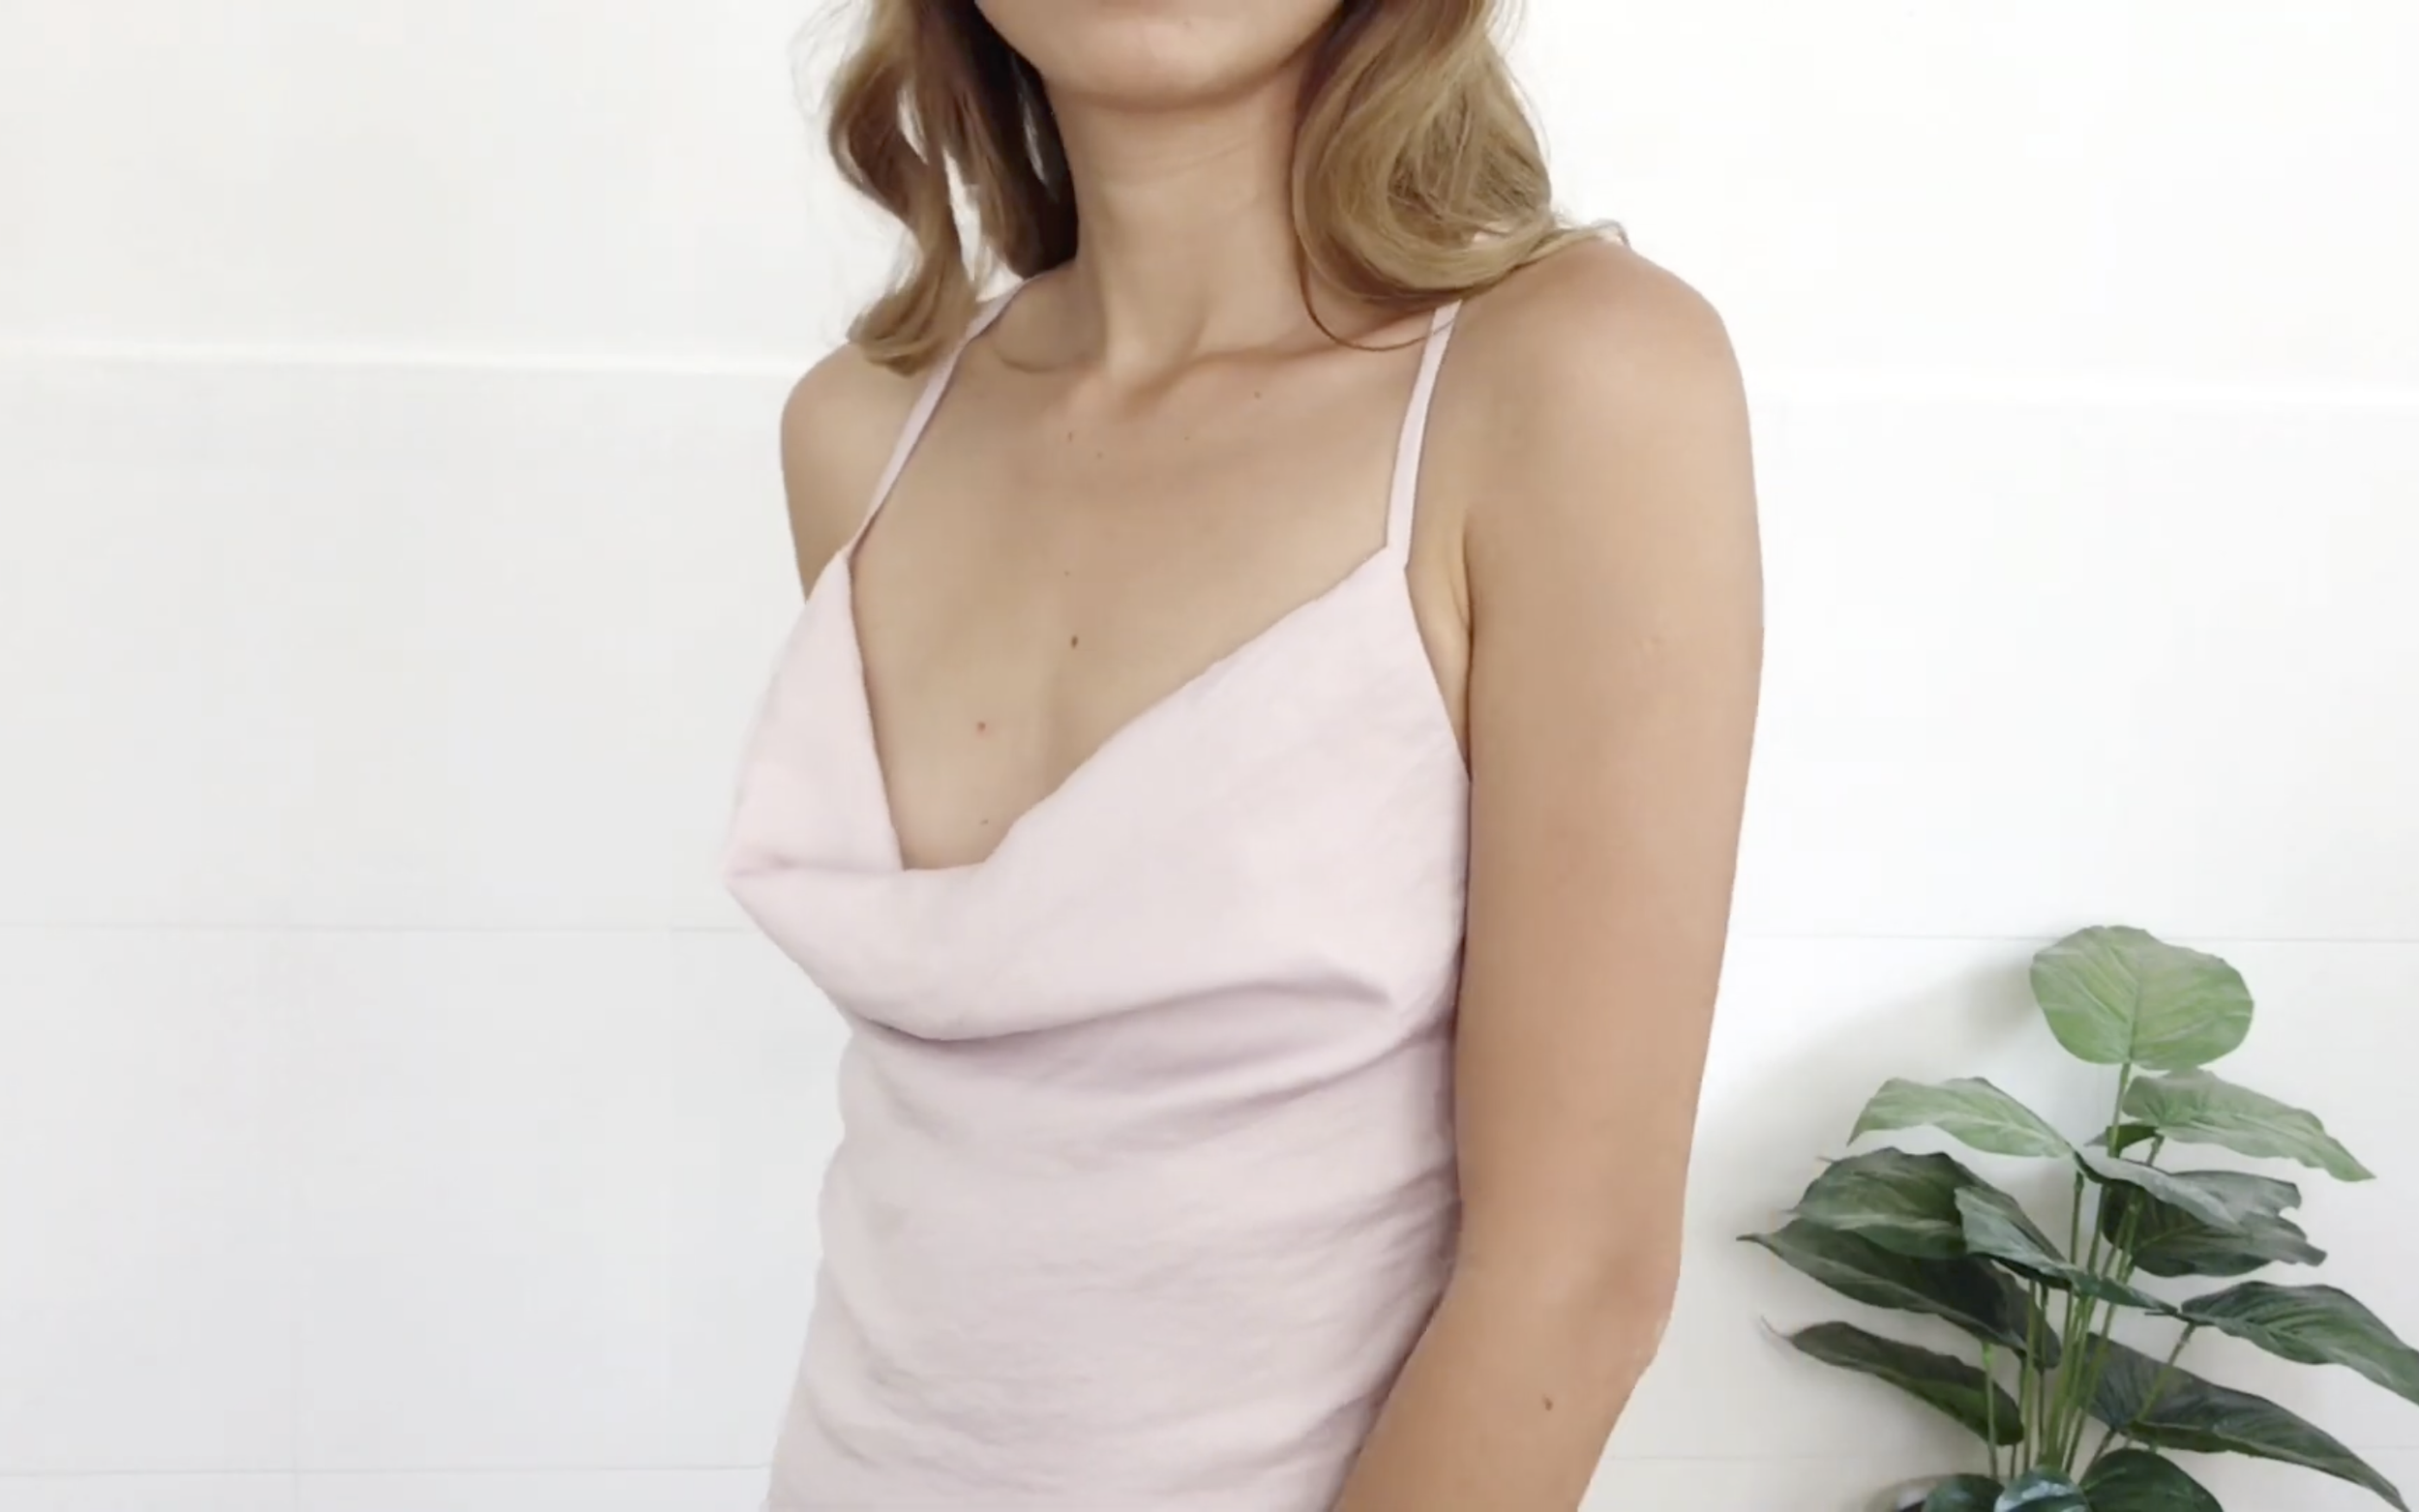

And it won't be too difficult to make. So I hope you will give it a try.
If you liked this project, please share it and subscribe to my channel so you won’t miss any of my upcoming DIYs.
Until next week, happy sewing!