DIY Button up dress from men's shirt - Refashion men's shirt idea
DIY Button up dress from men's shirt
Welcome and welcome back to my sewing blog!
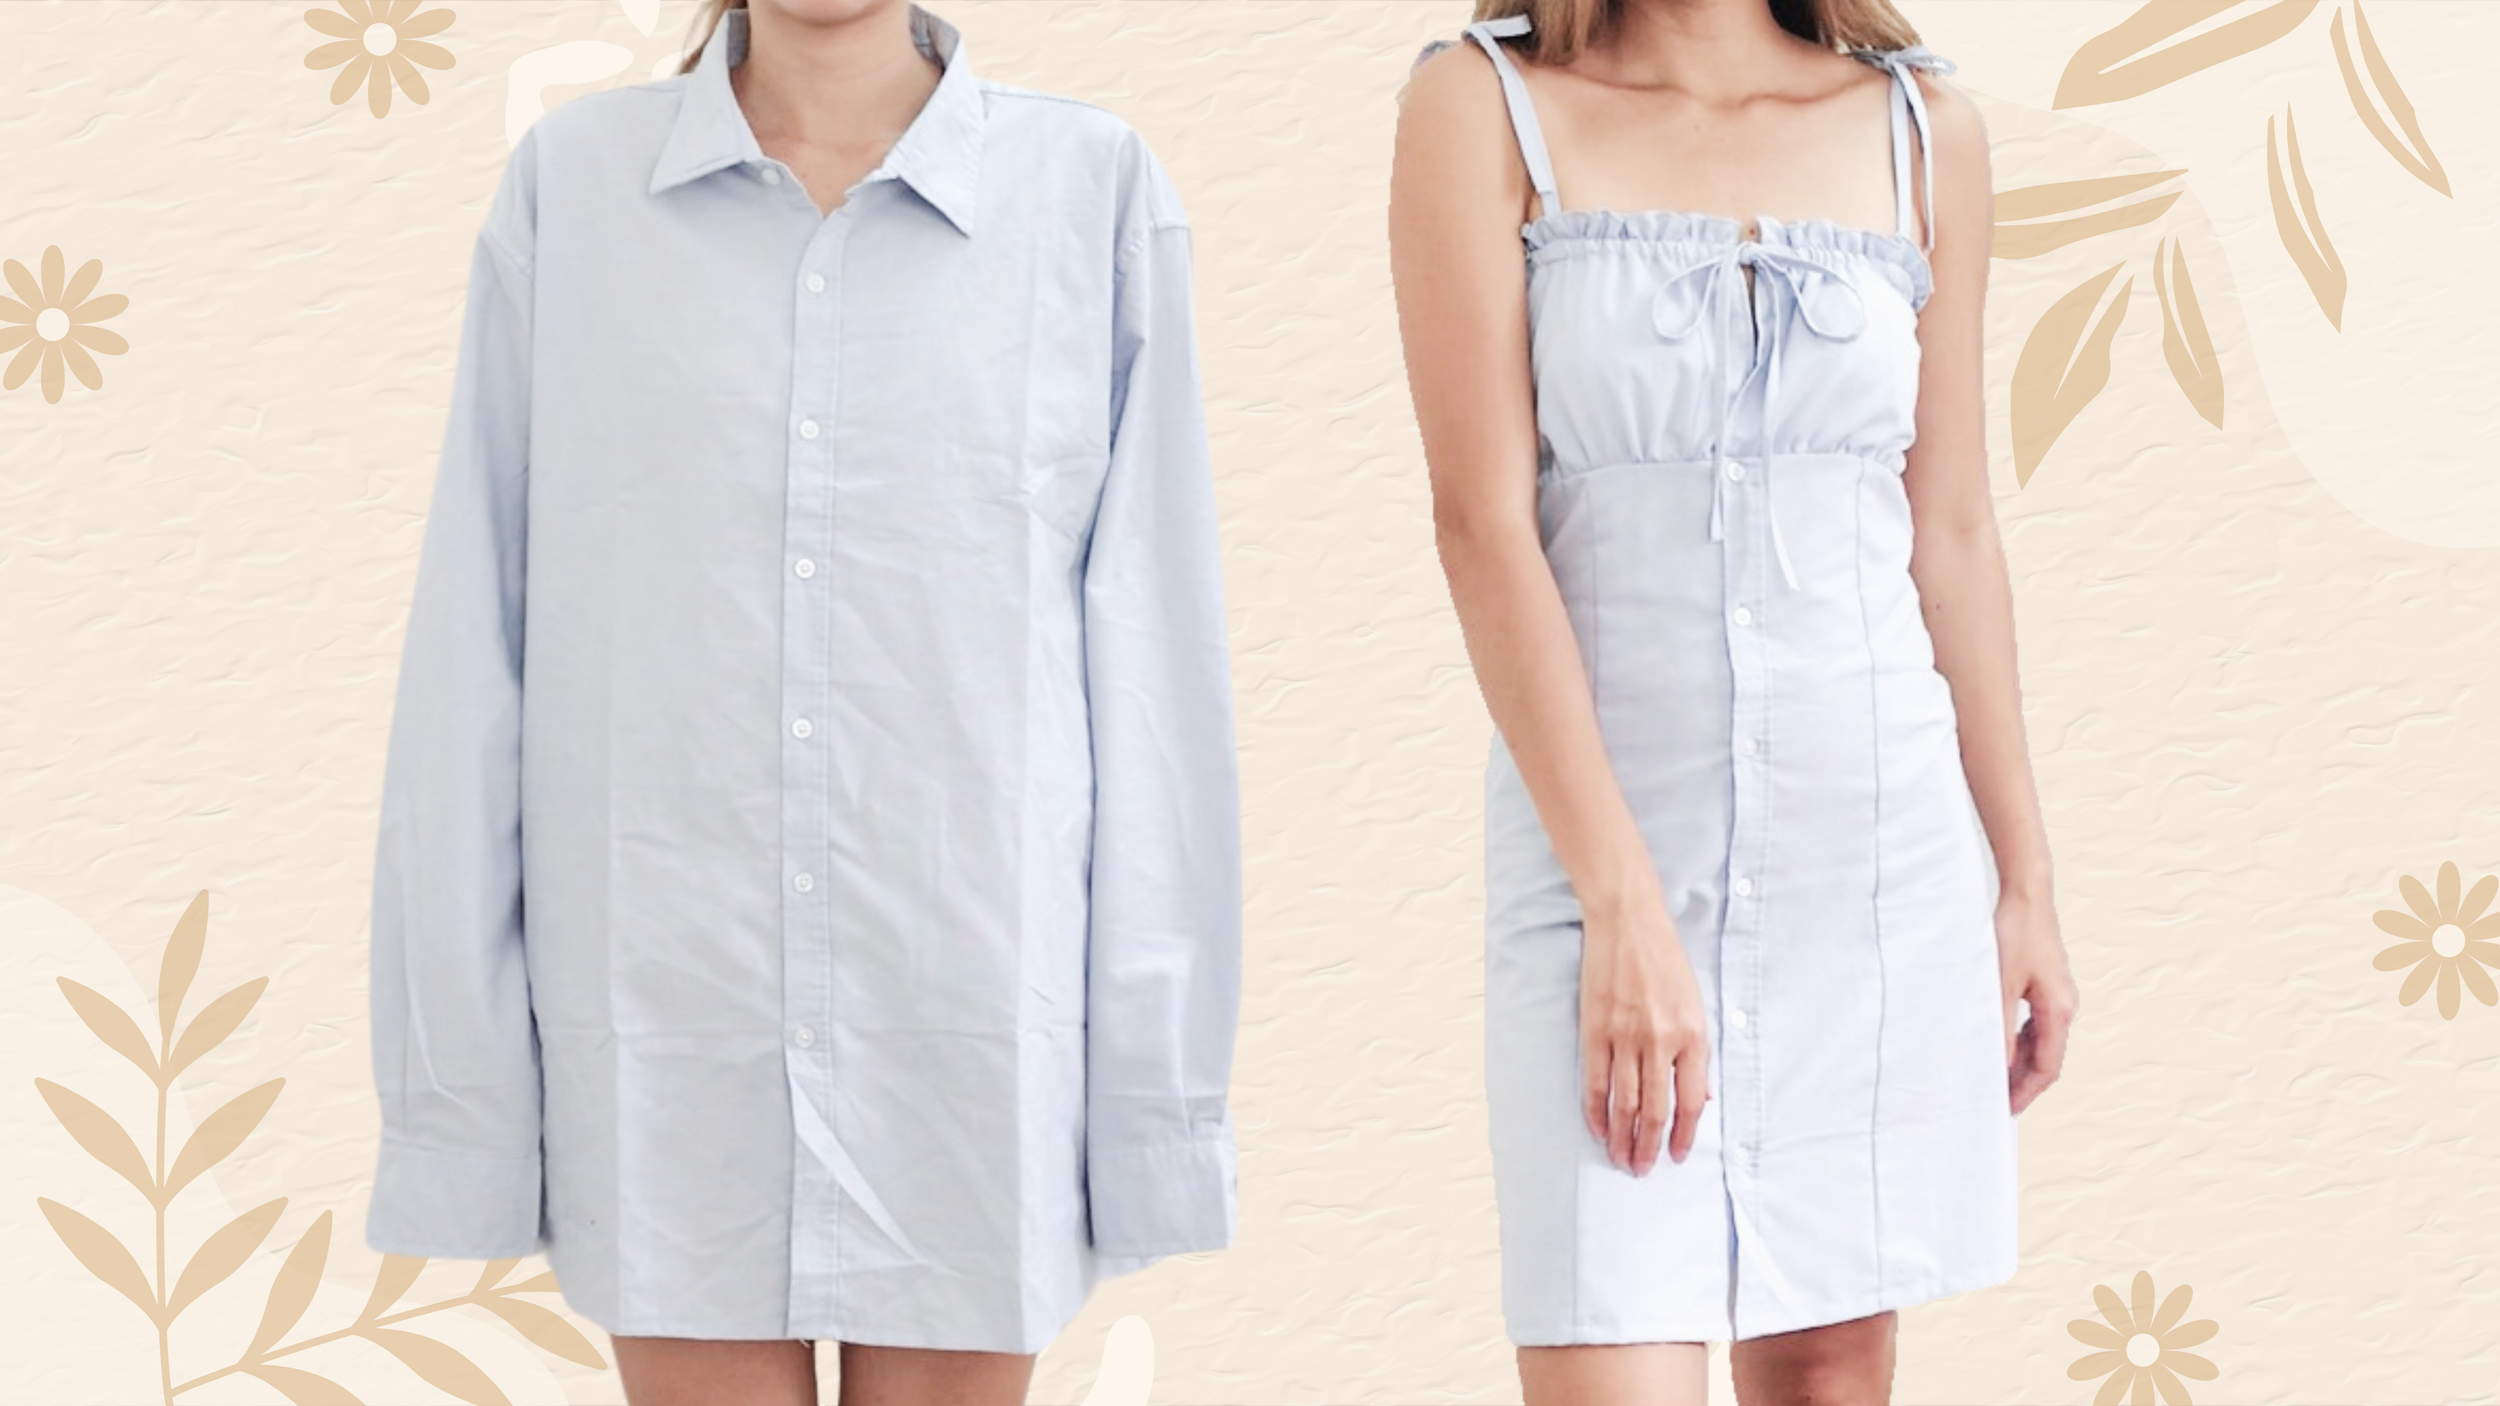
Today’s blog, I’m sooo excited to show you how I transformed a men’s shirt into this adorable bow-tied, button-up dress.
Let’s get started!
WHAT YOU’LL NEED
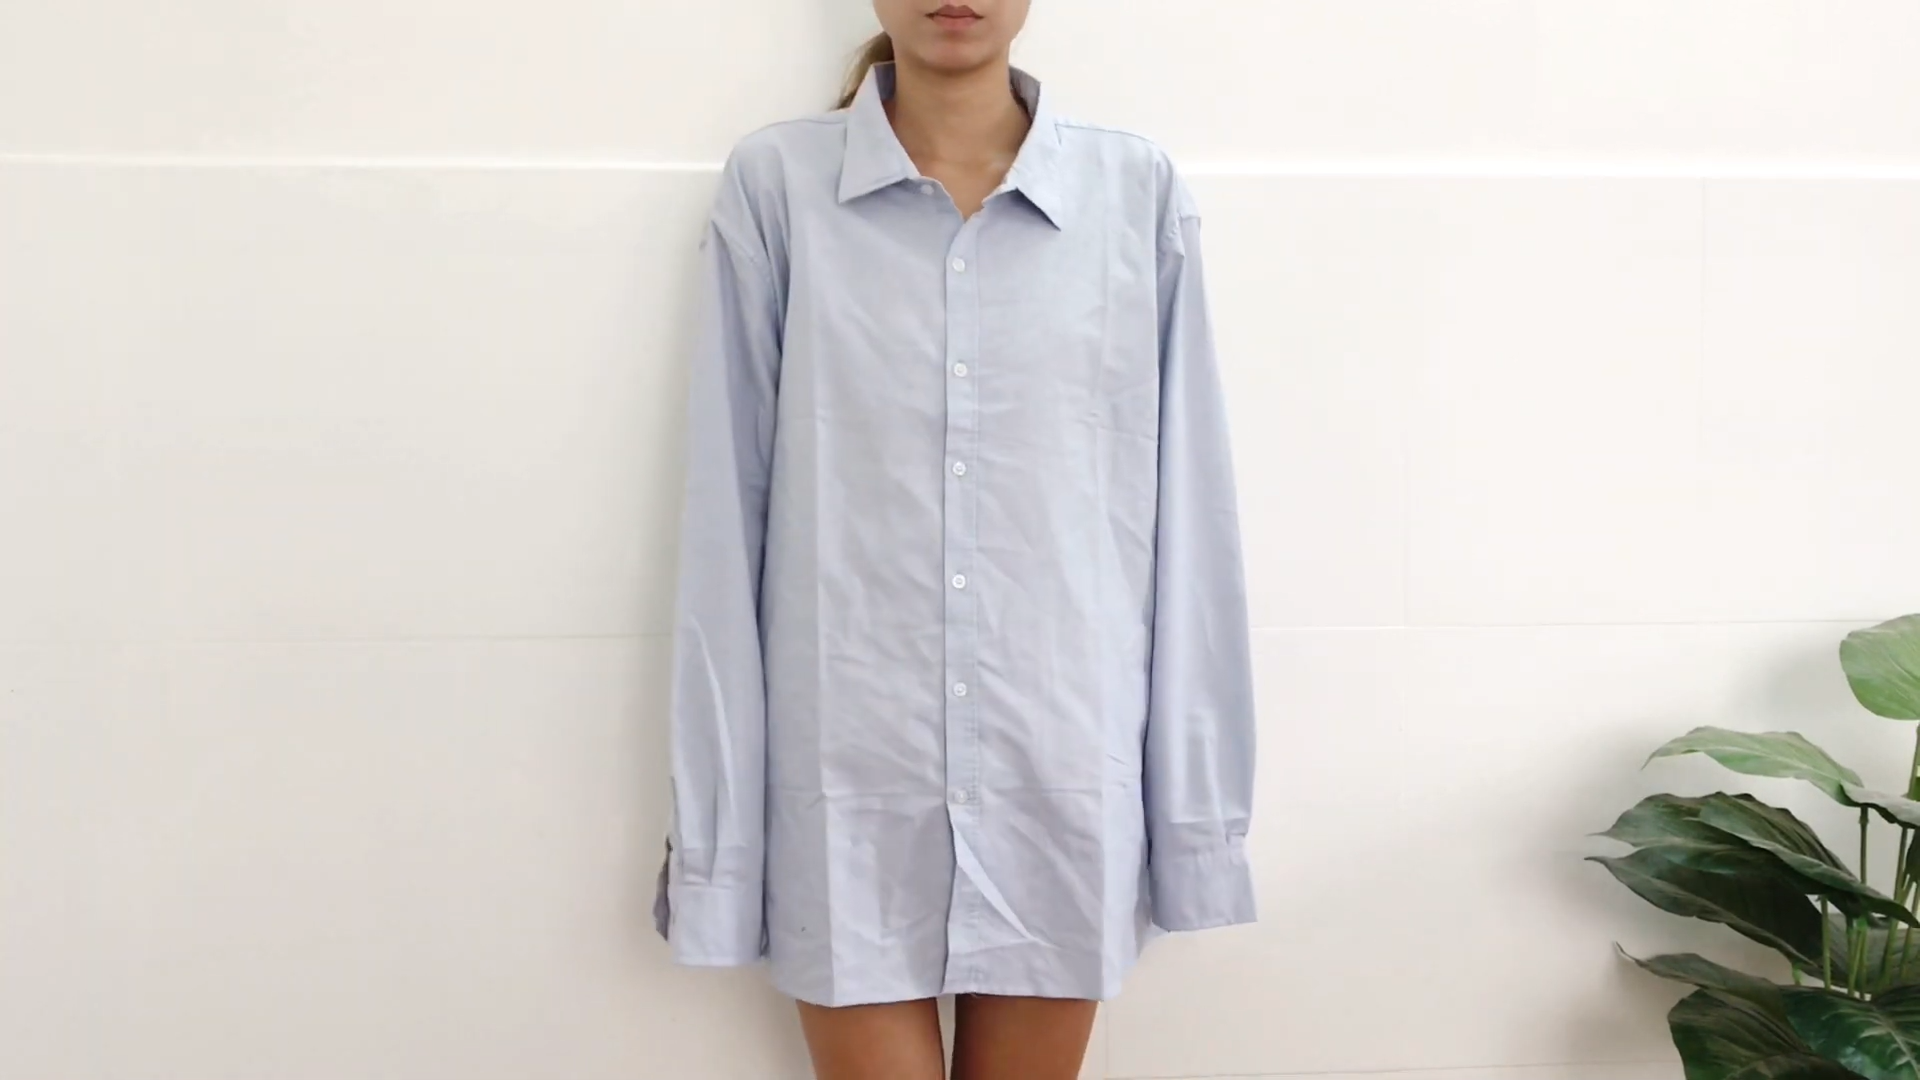
3XL men's shirt
Measuring tape
Chalk
Scissors
Pins
Sewing machine
Overlocker (optional)
SEWING THE DRESS
THE BODY
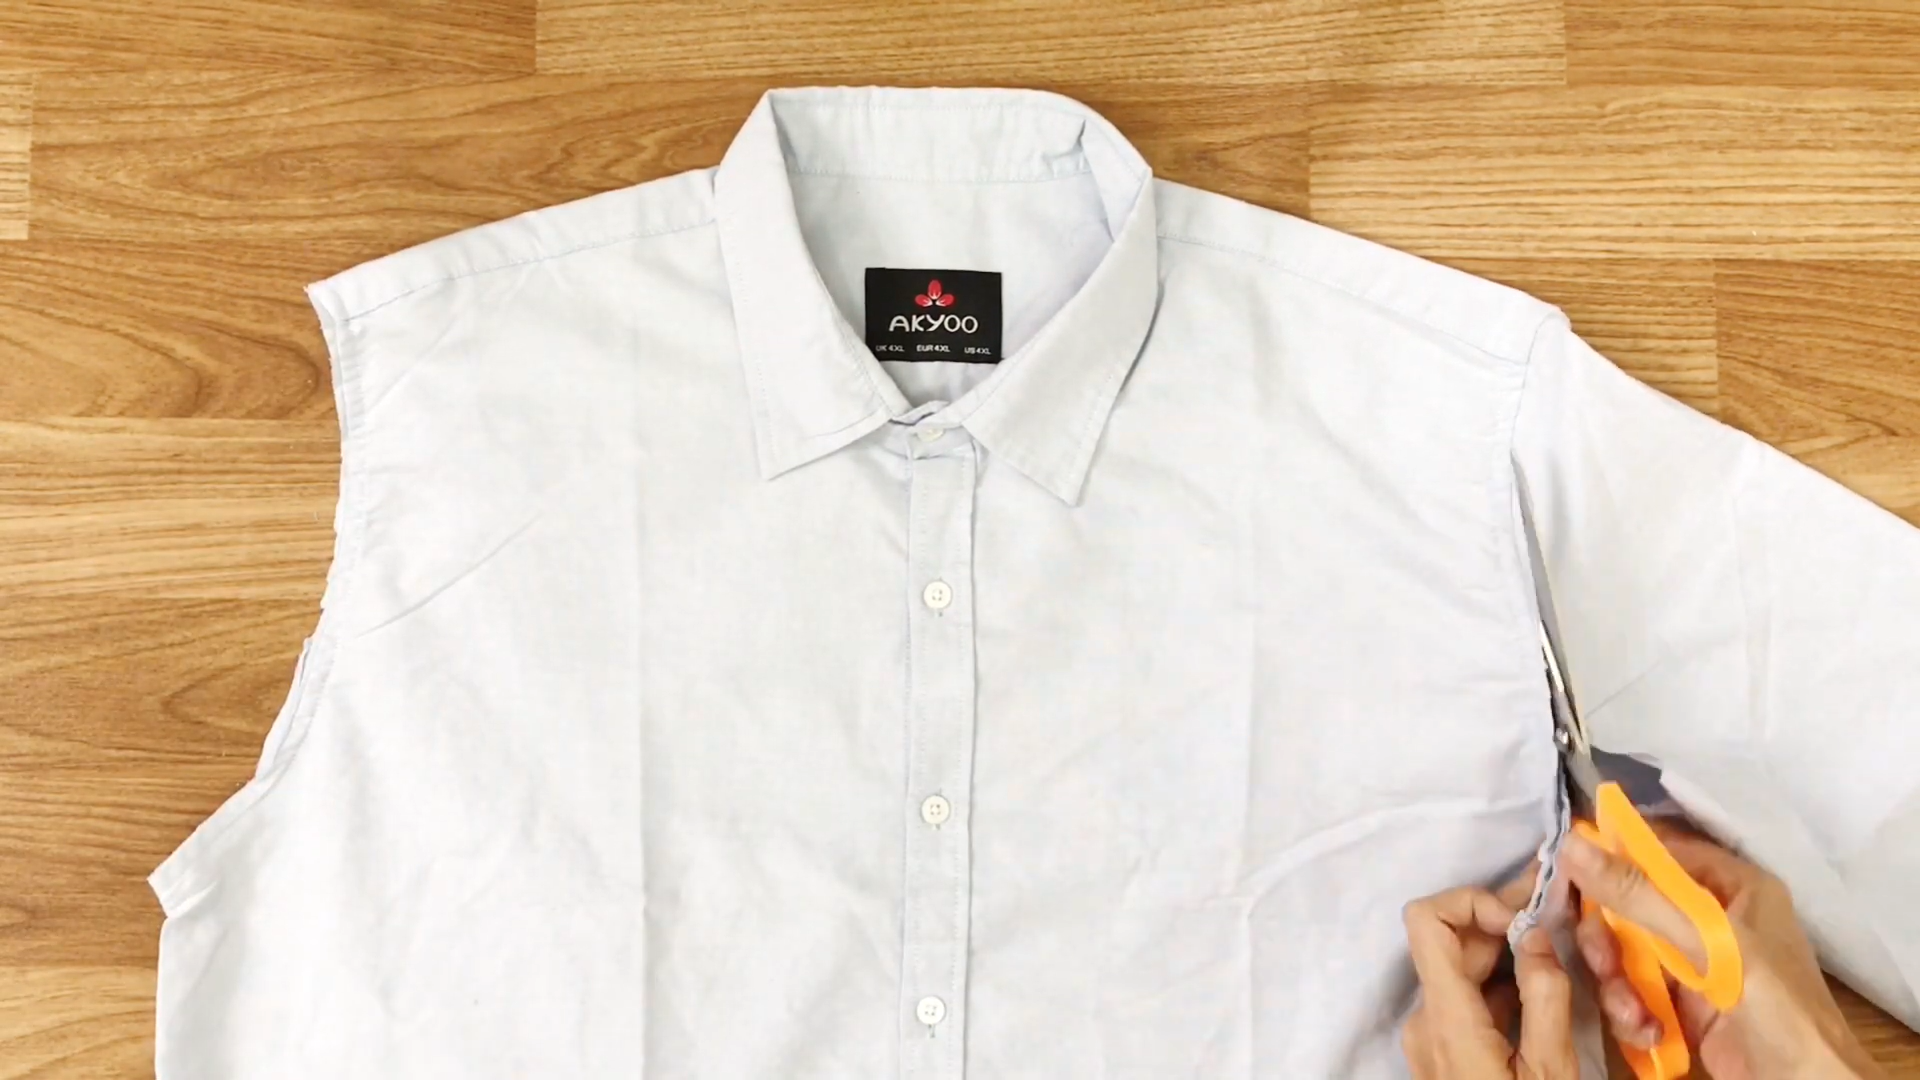
The first step is to cut off both sleeves of the shirt.
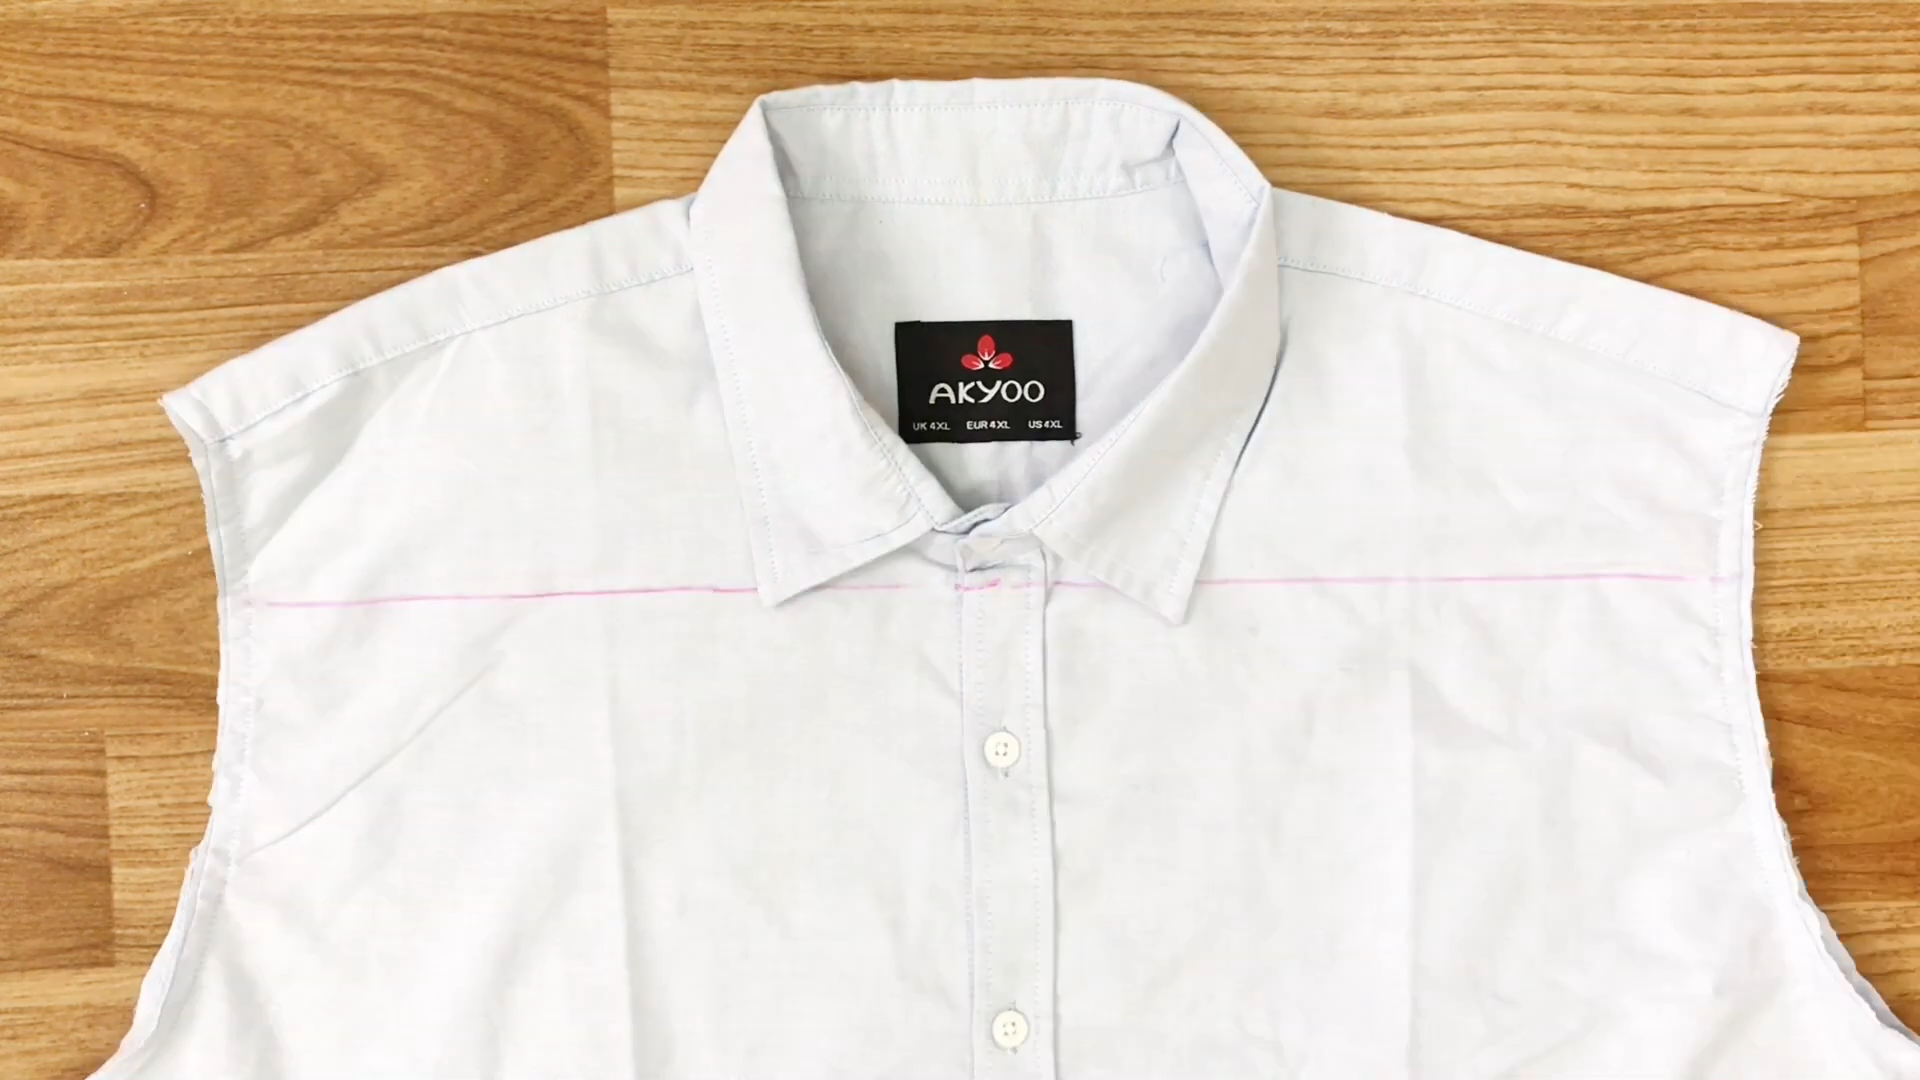
From the neck, draw a straight line just below it to define the body of the dress.
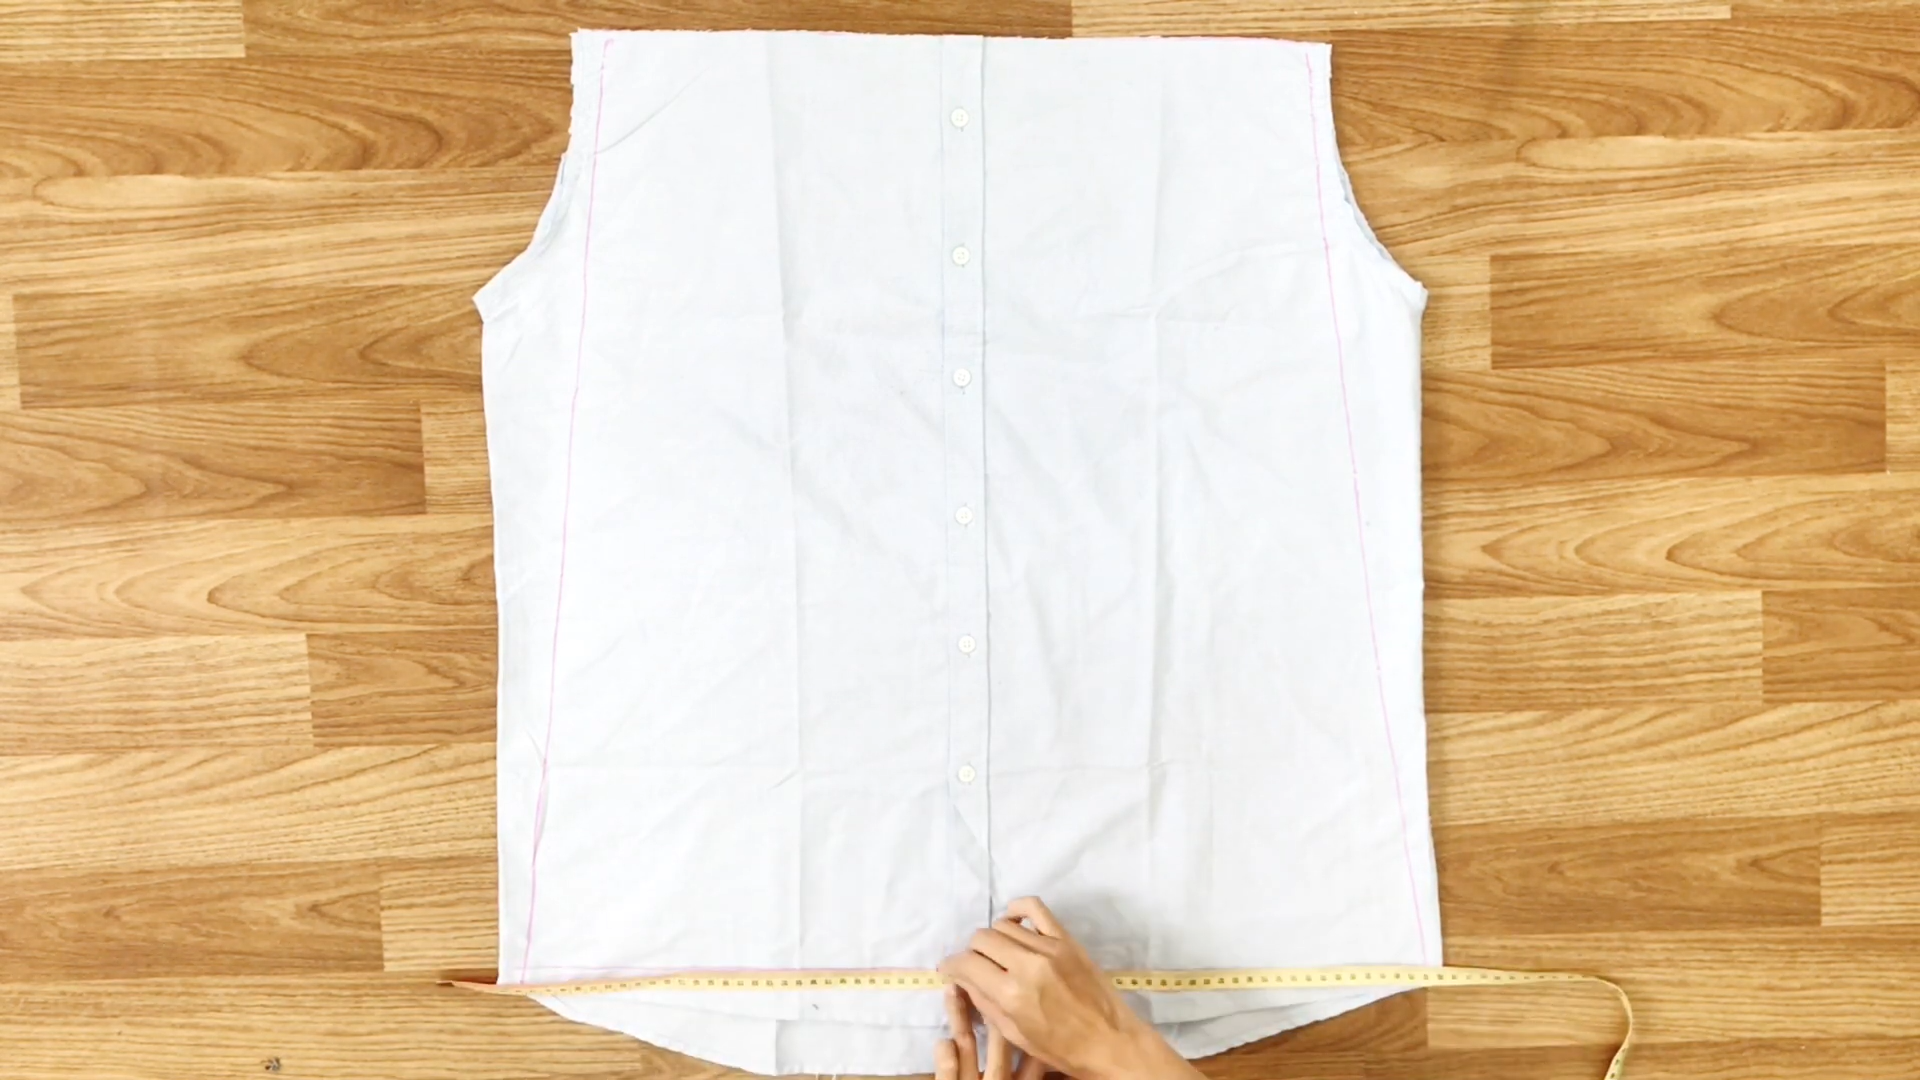
Then, draw another straight line to connect the top and bottom of the body.
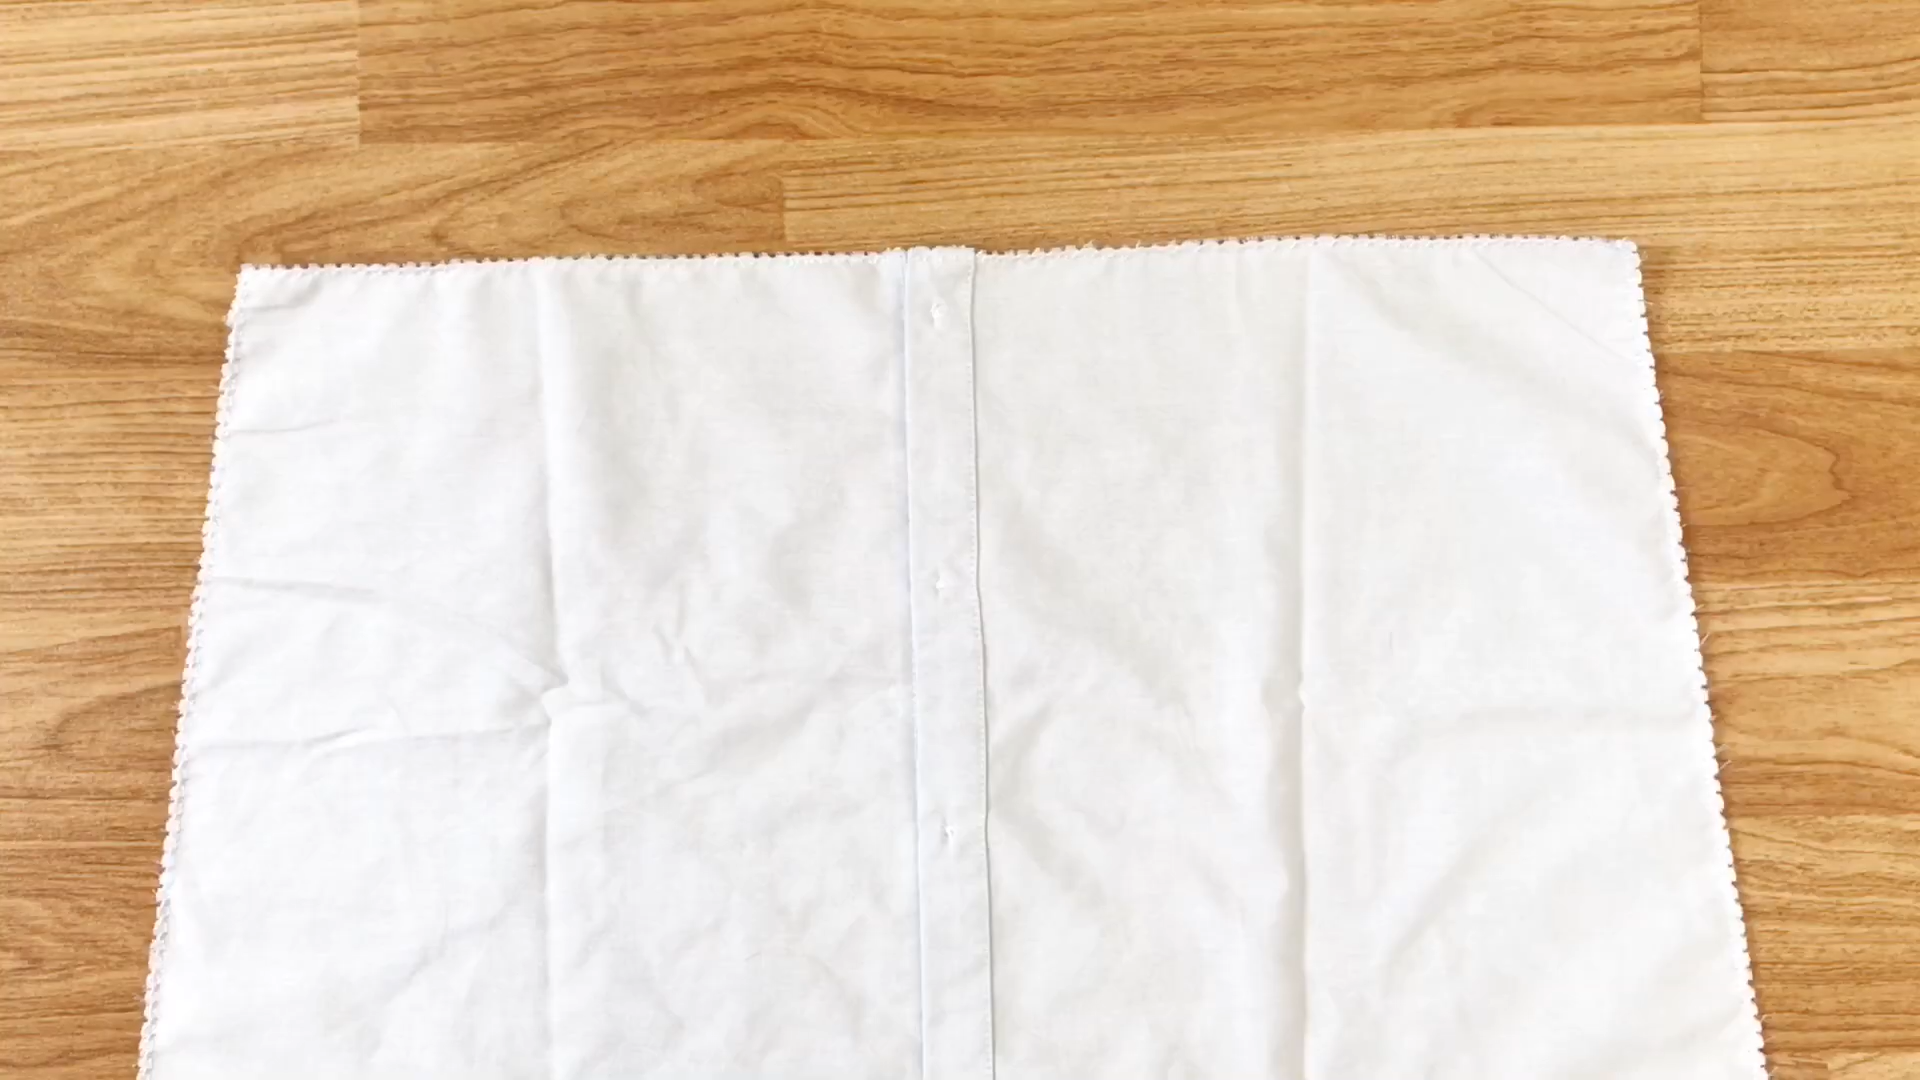
After cutting, be sure to overlock the fabric.
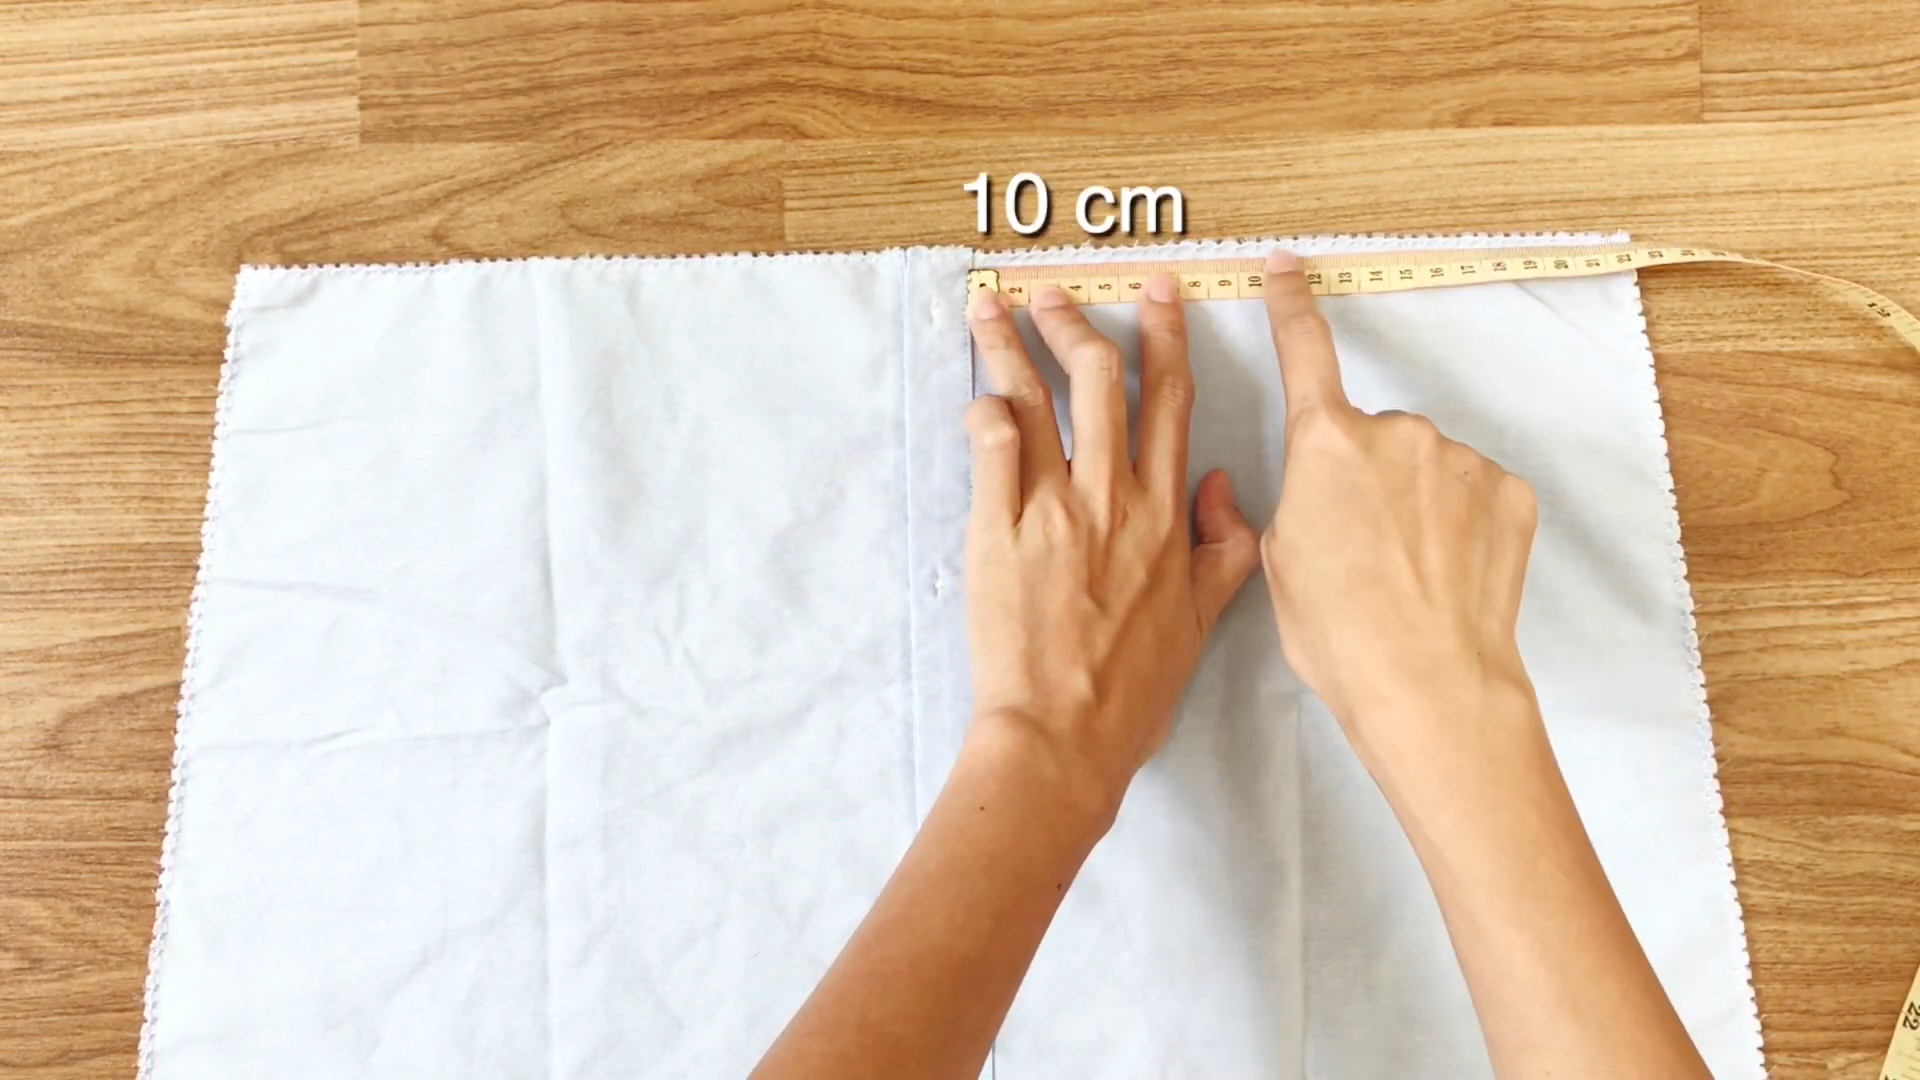
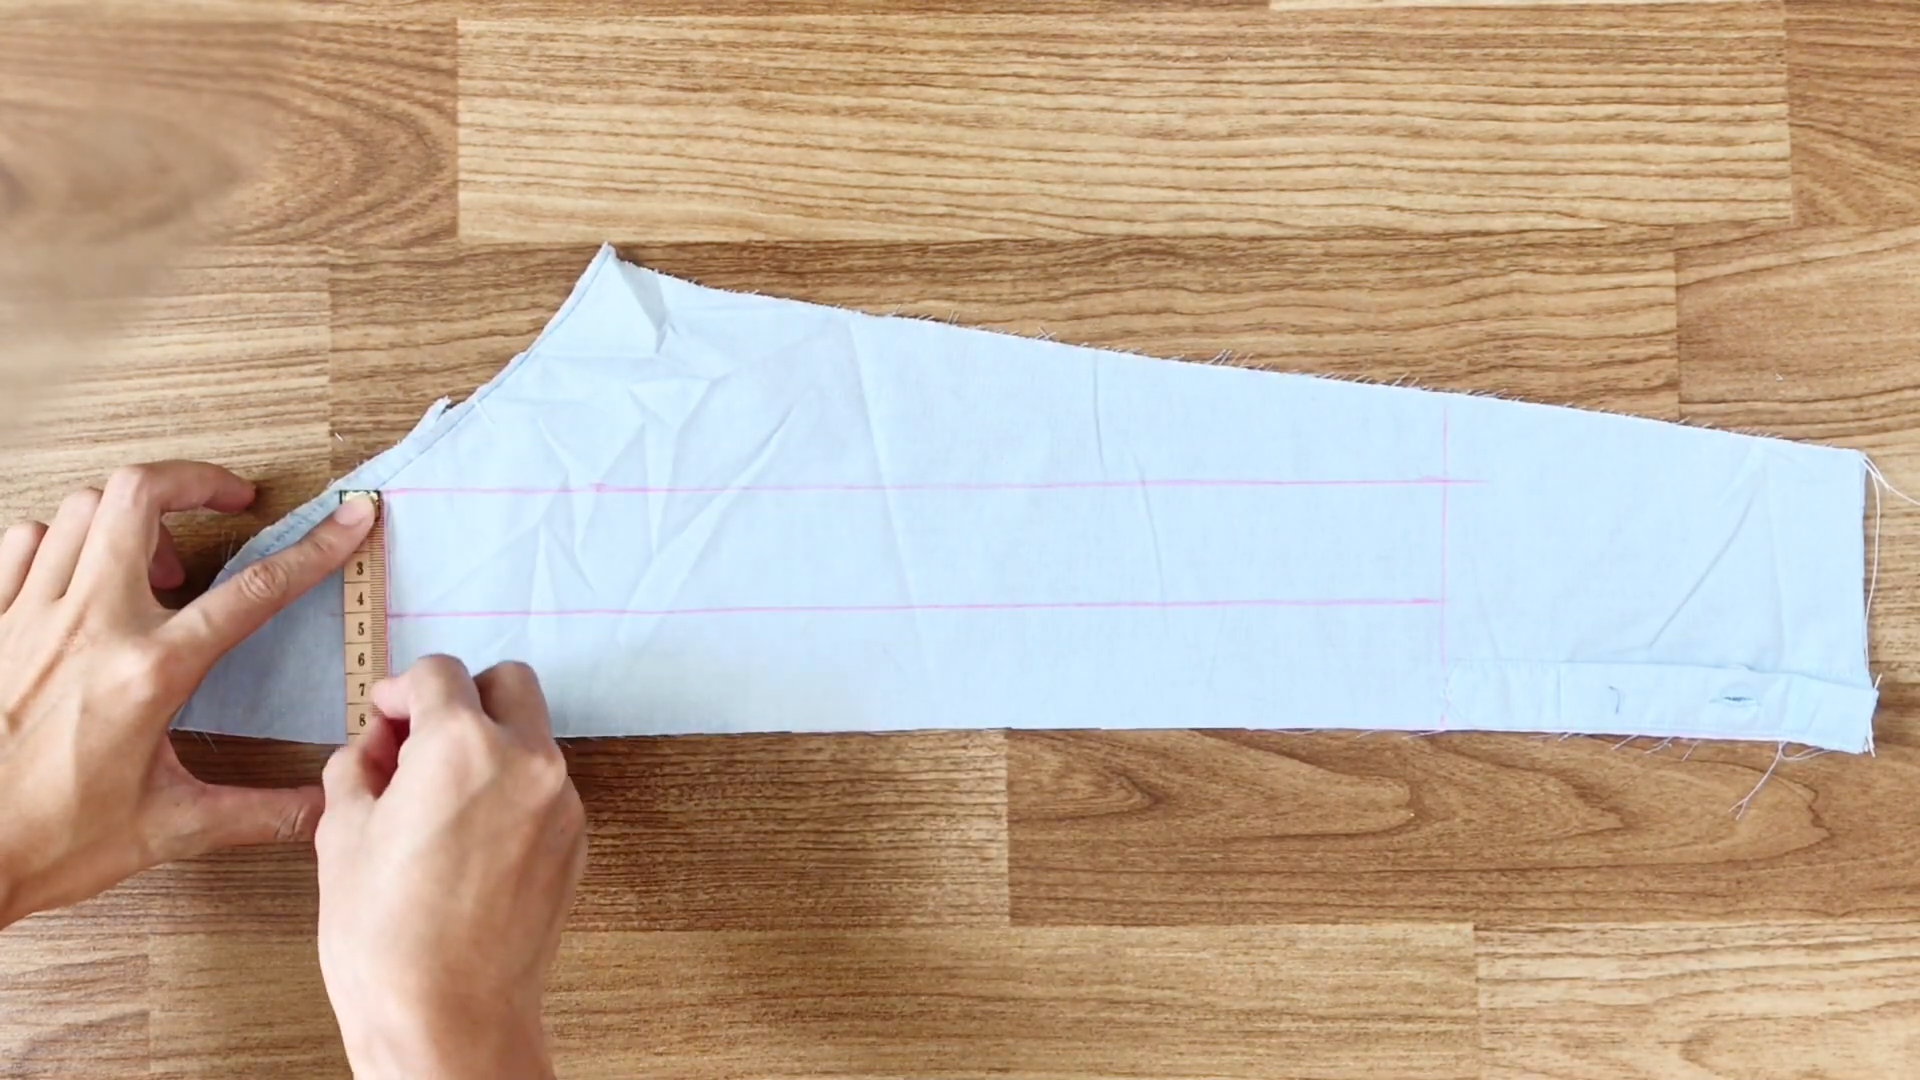
At the top of the front body, measure 10cm to the left and right from the button area.
Then, draw a straight line down to the end.
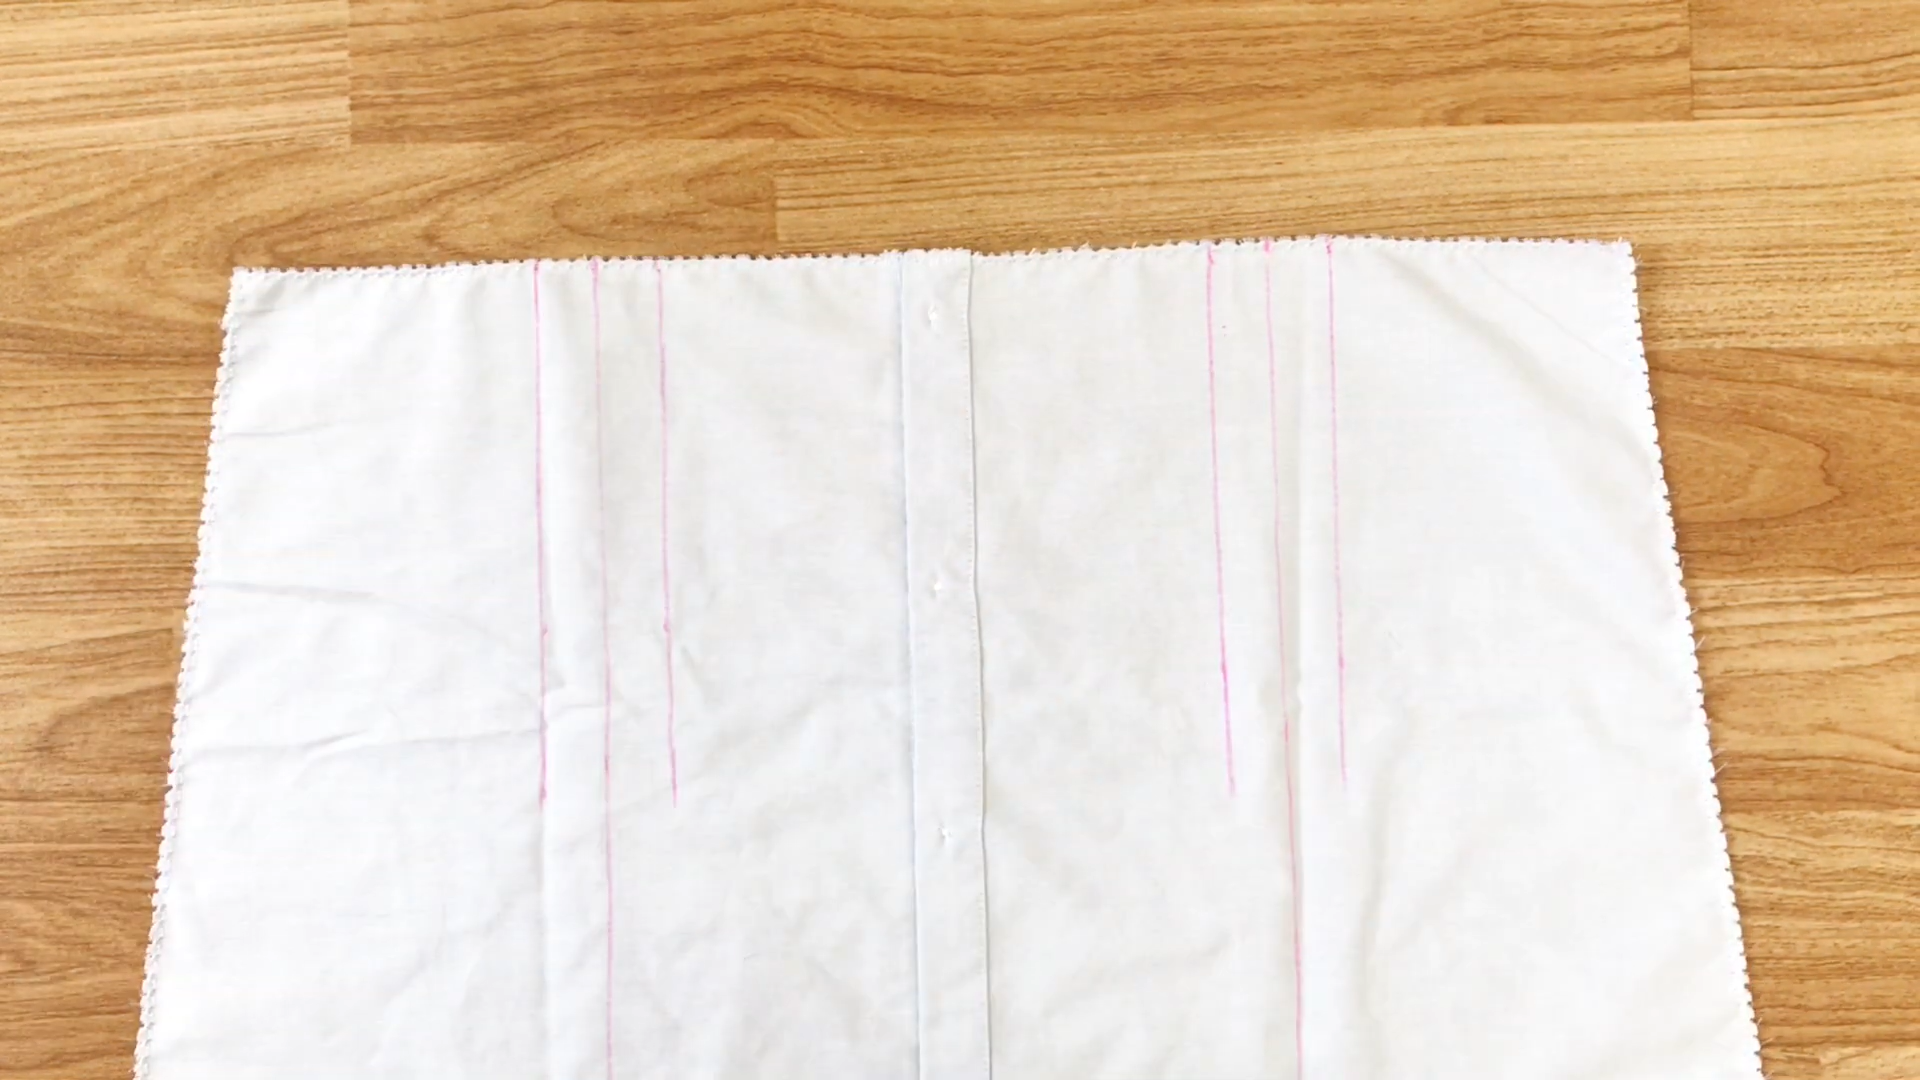
On each line, draw another line 2cm from the first one.
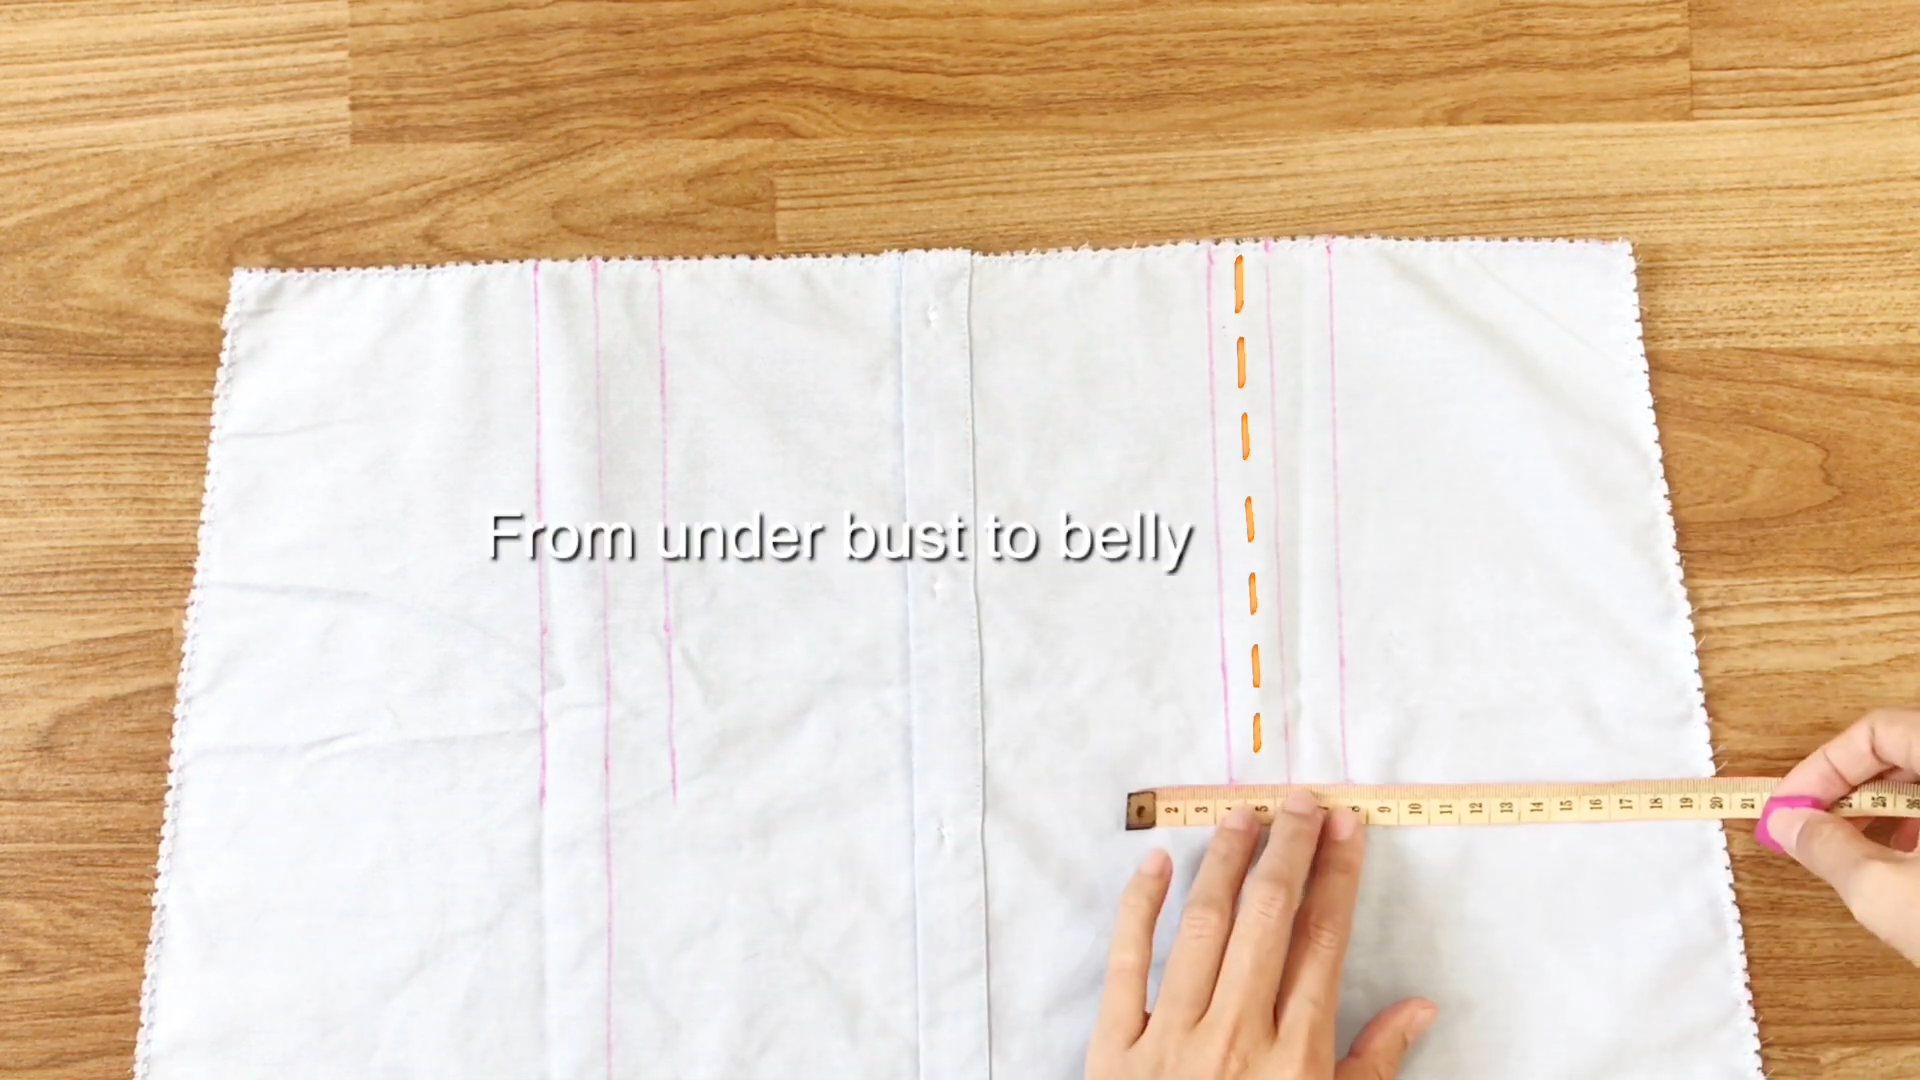
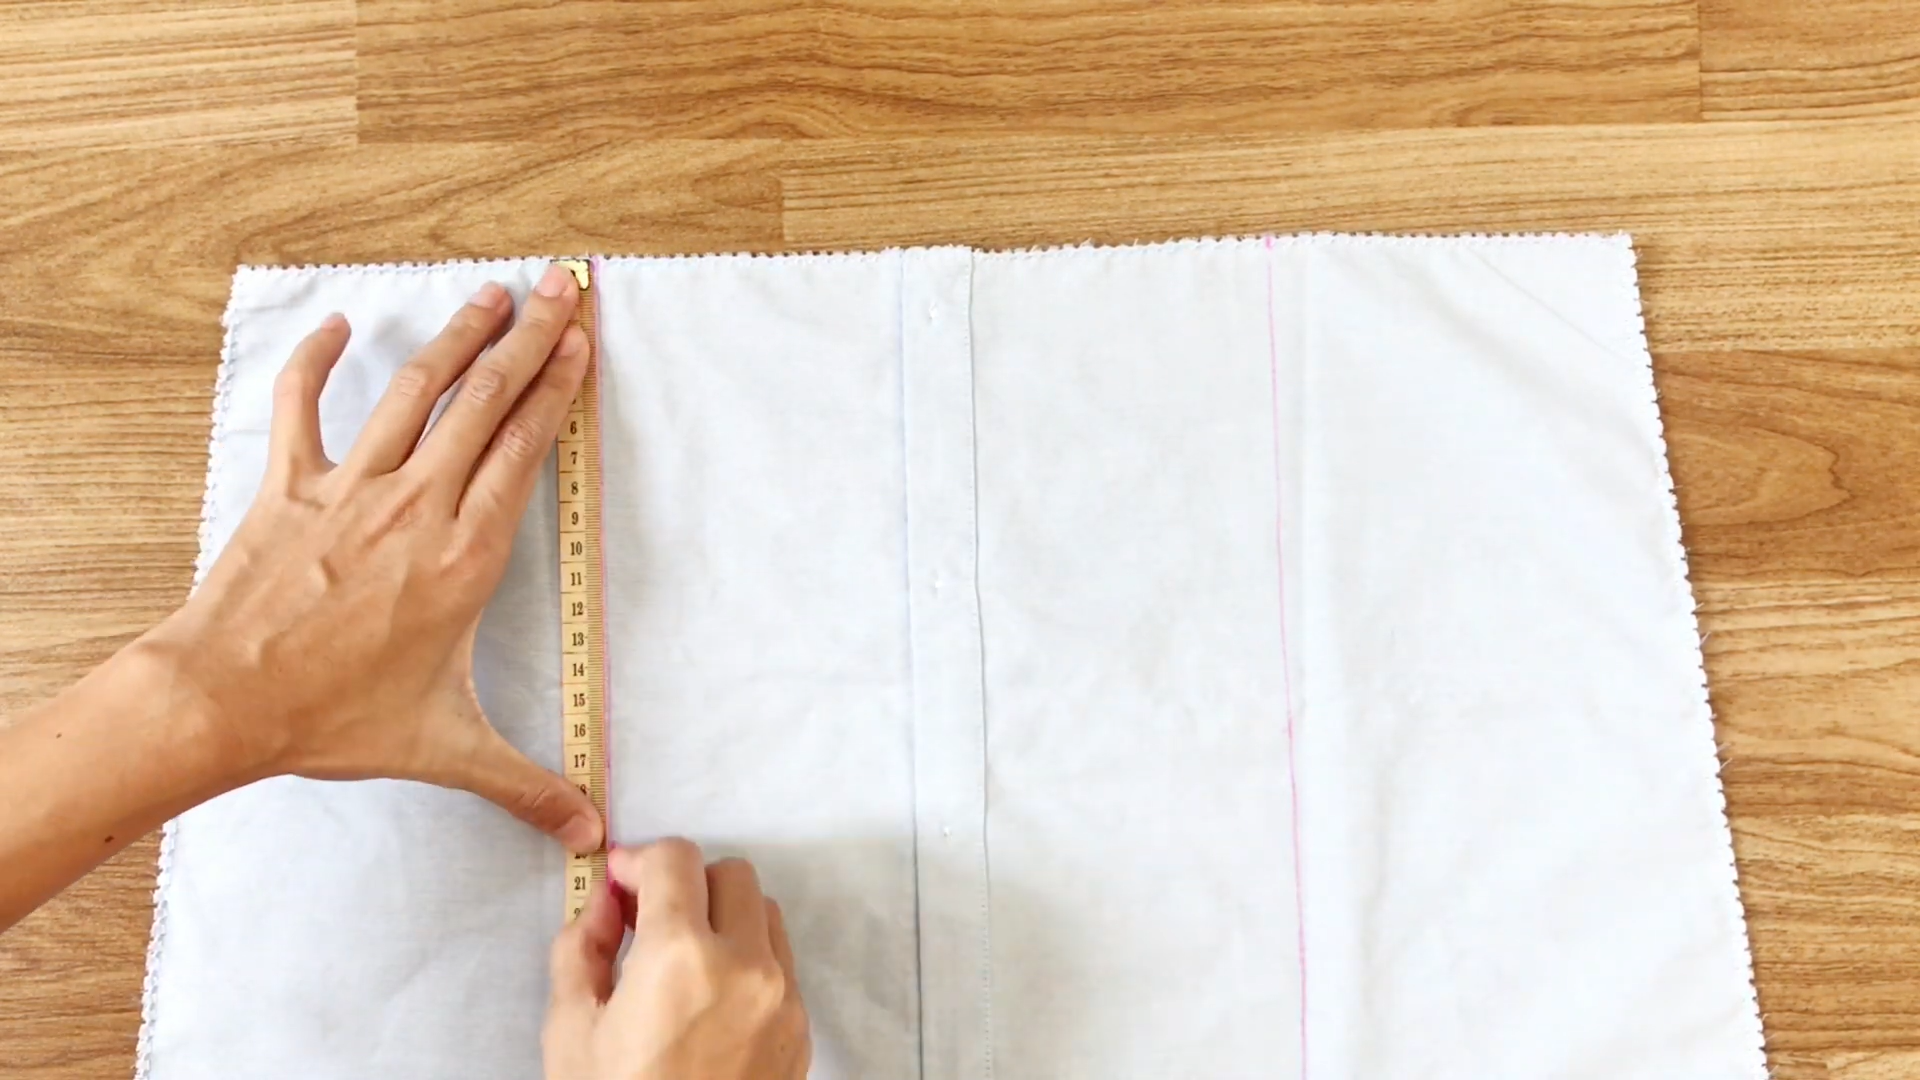
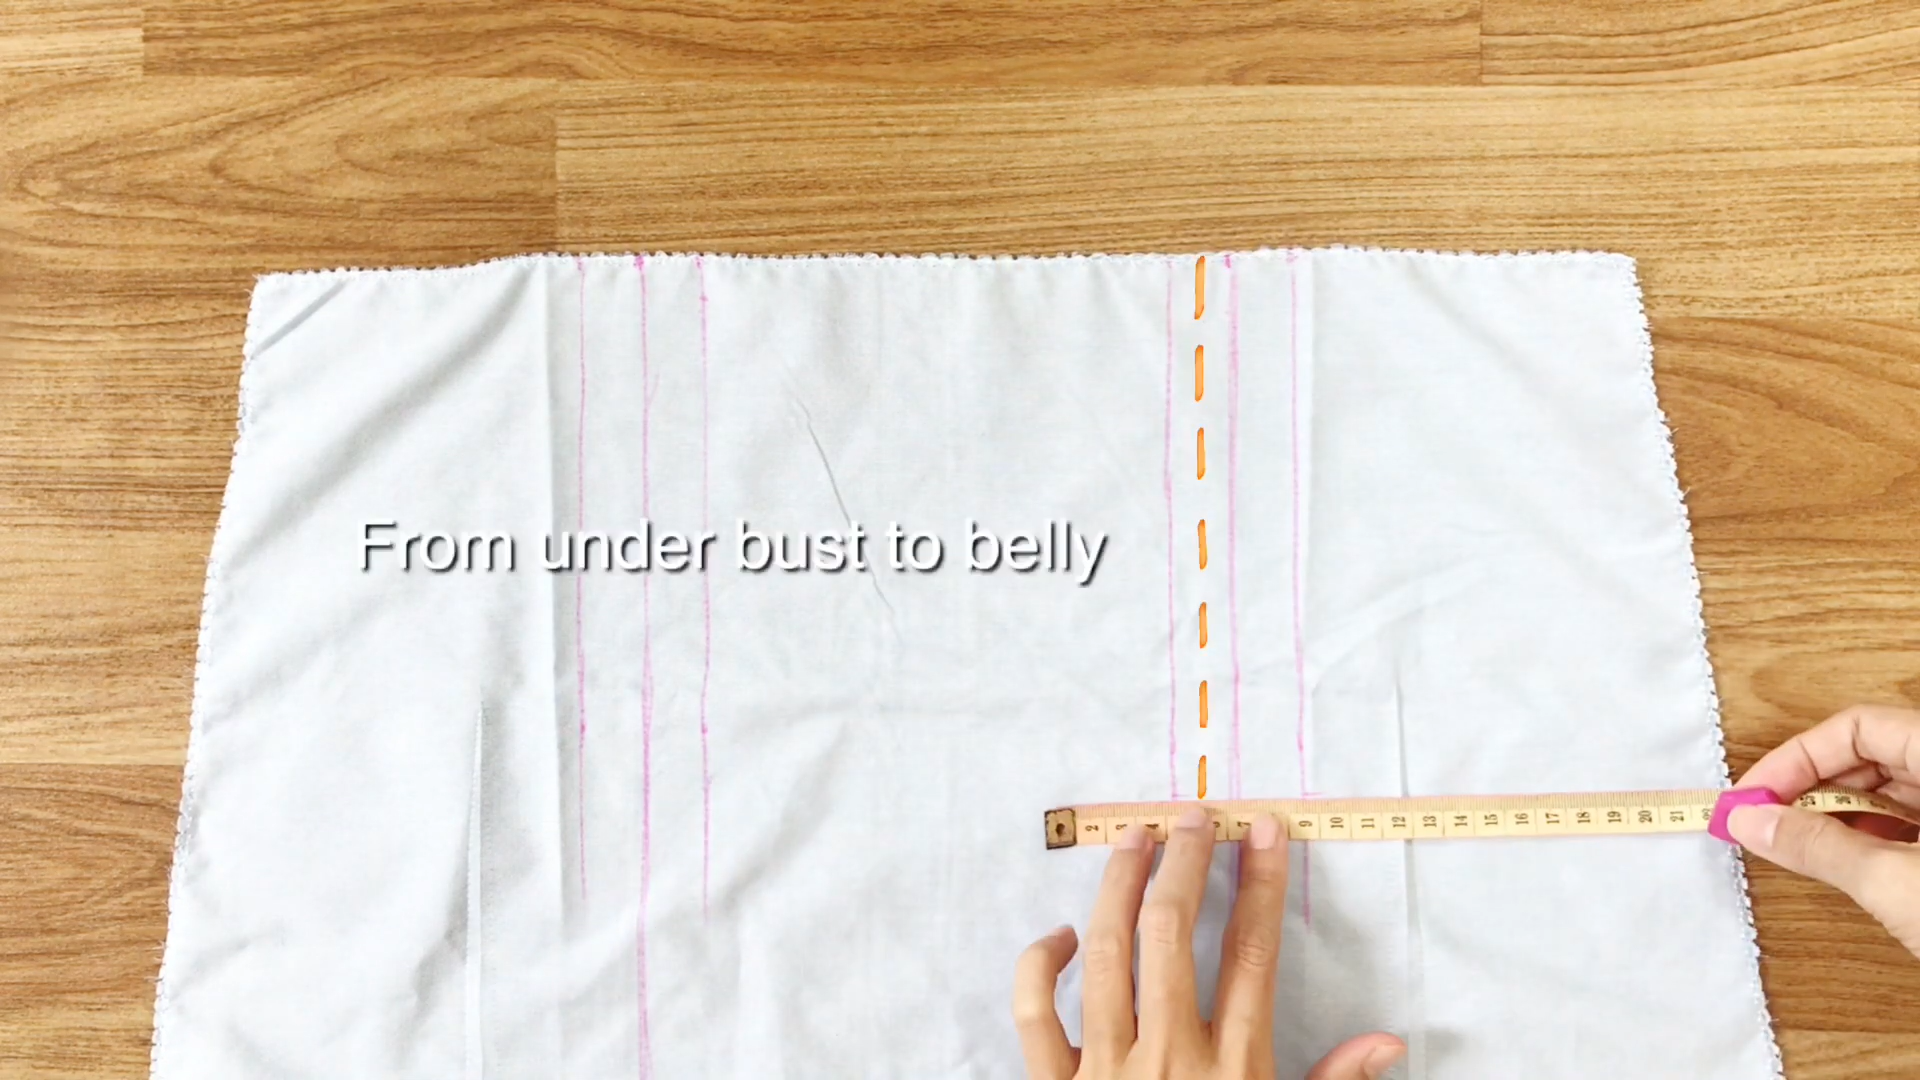
From the top of the line, measure down 18cm and mark the point, which is the width from under the bust to the belly.
Connect the two outer lines to the center one from that mark to the end of the body.
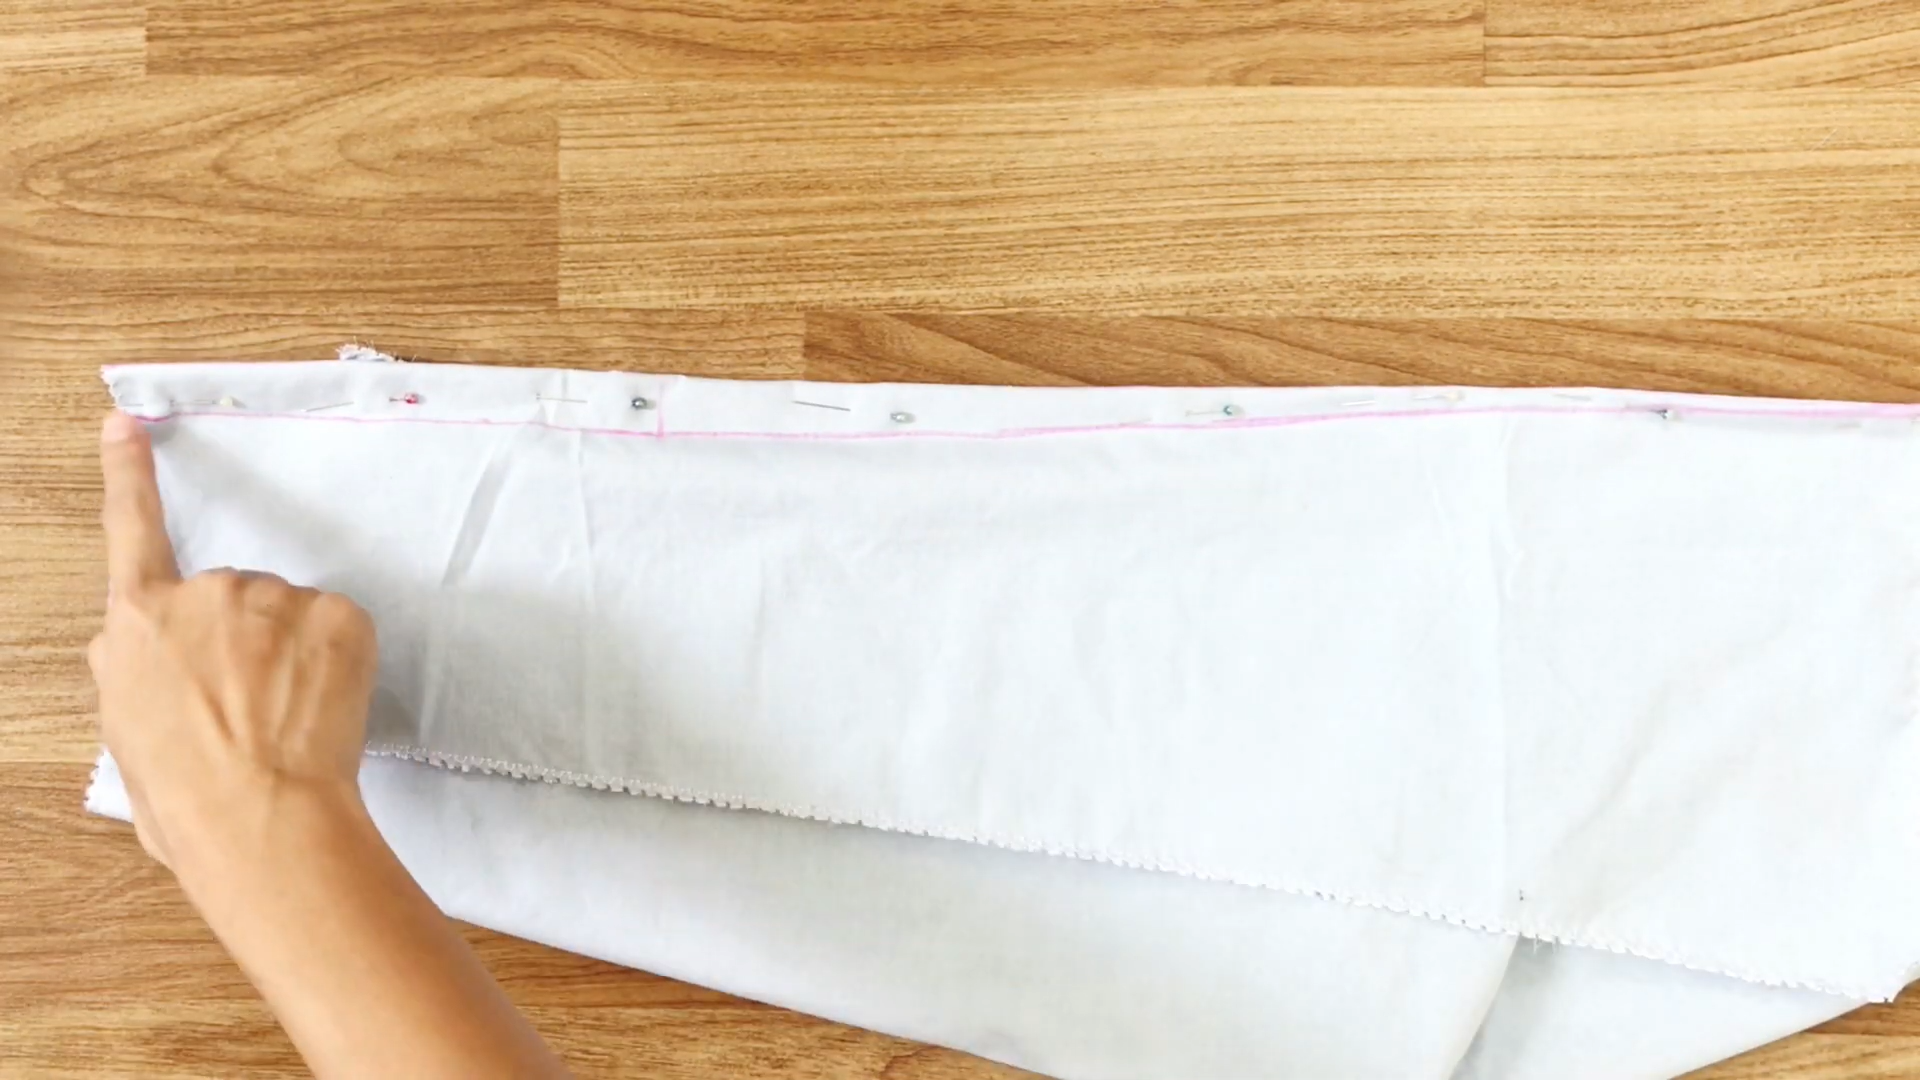
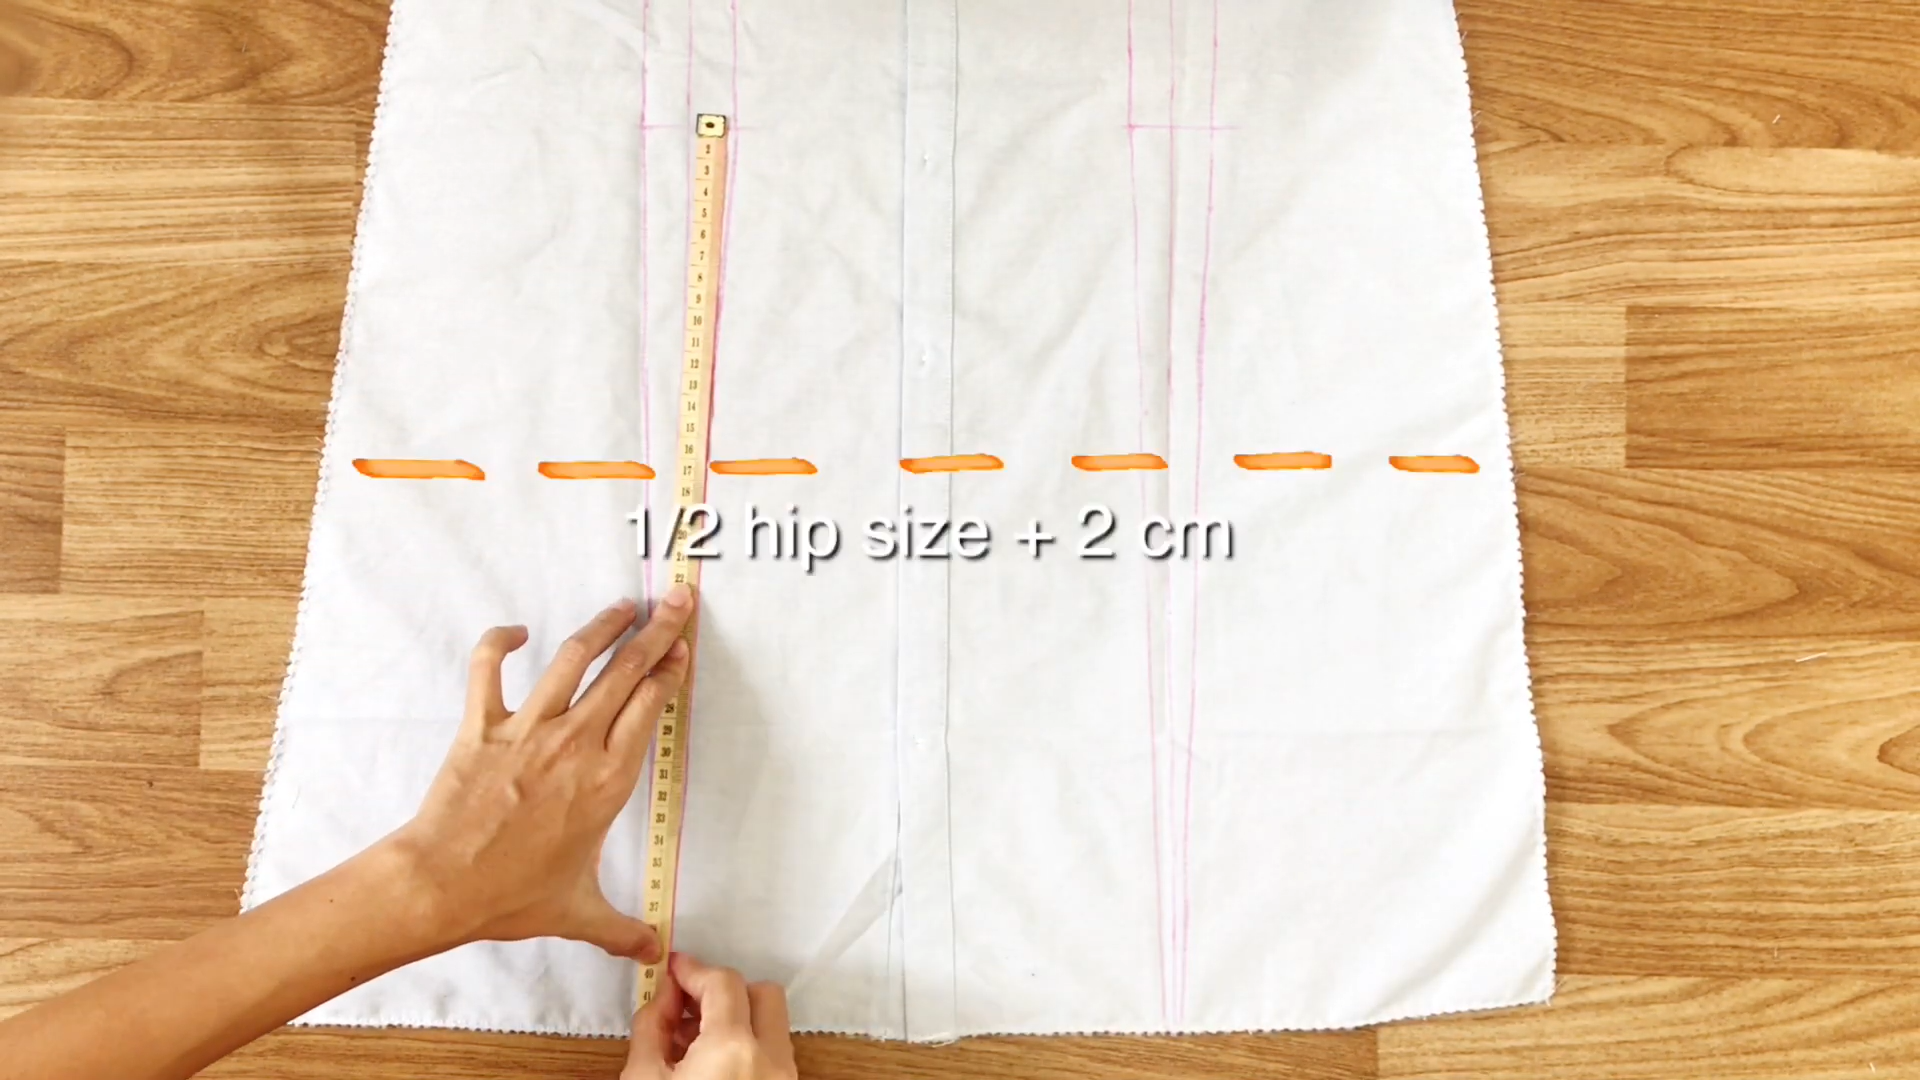
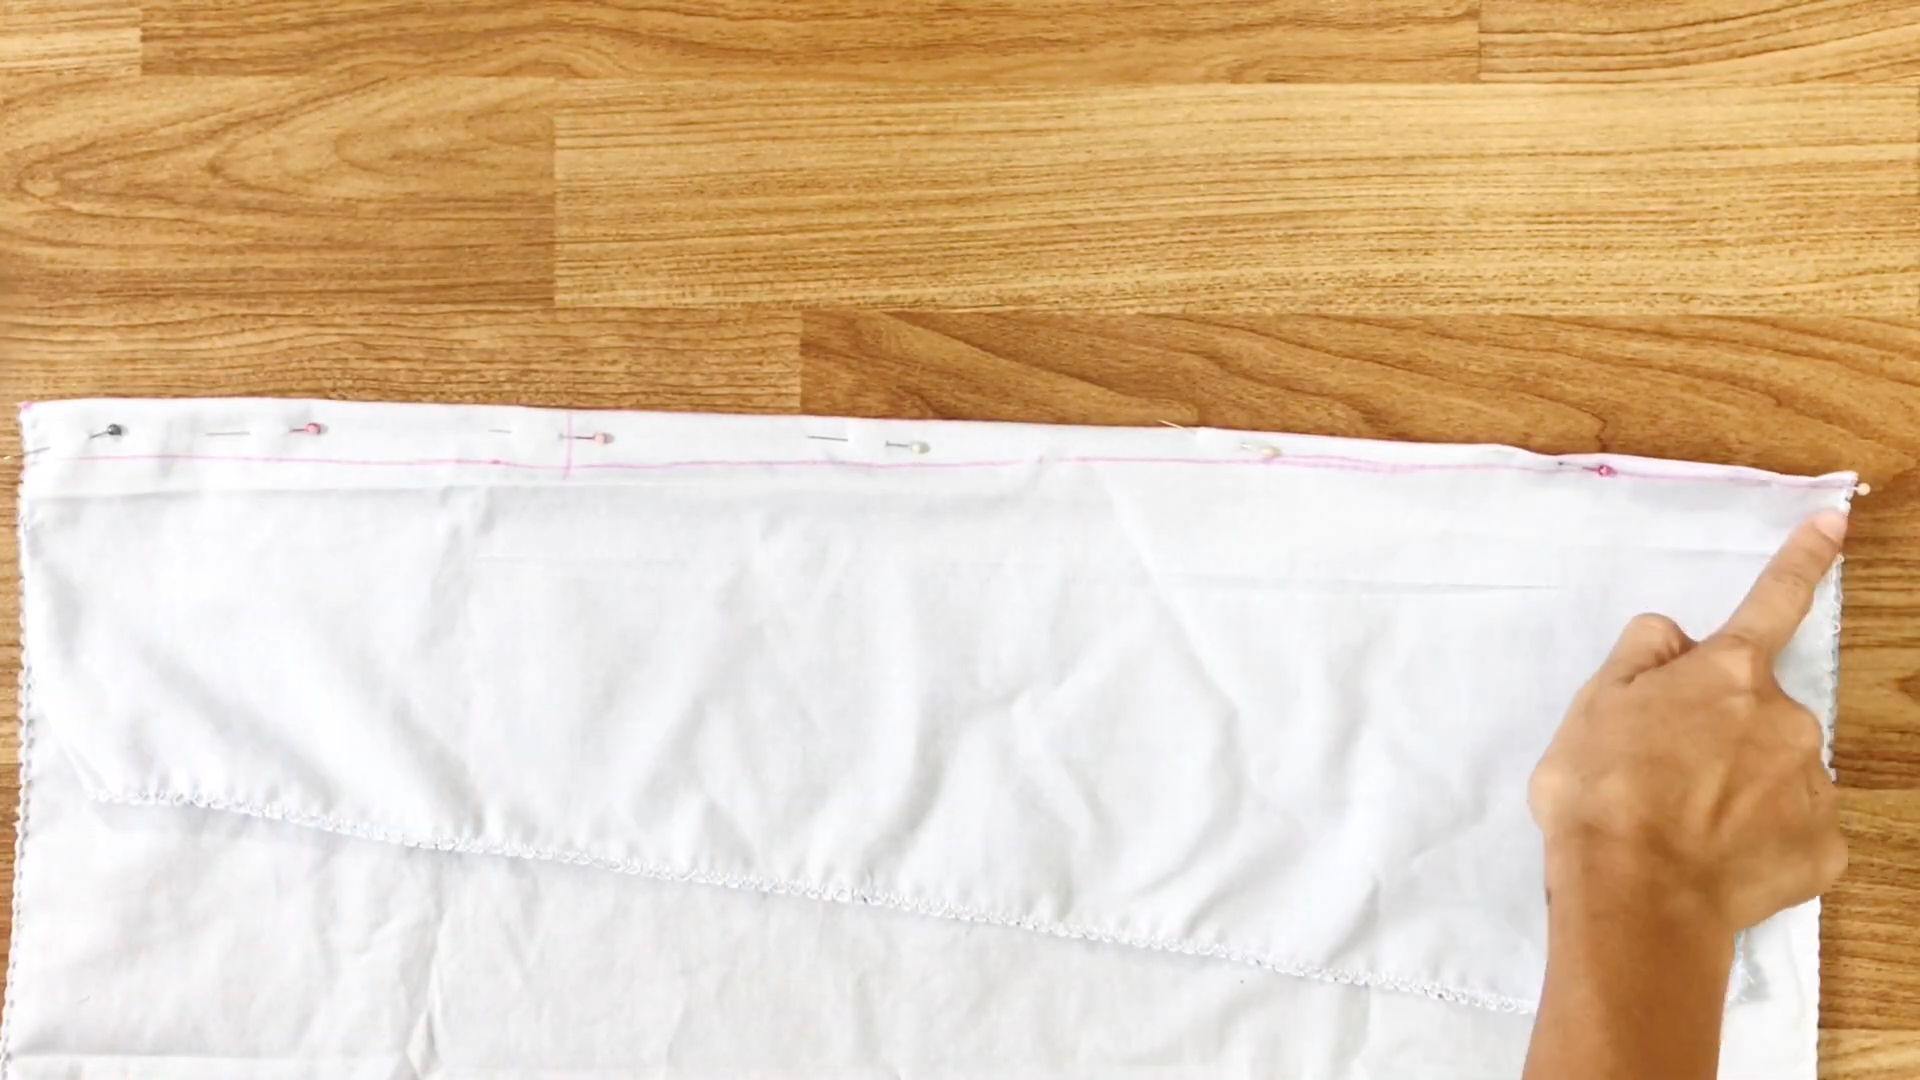
Fold the body along the center line, pin it in place, and sew along the drawn line.
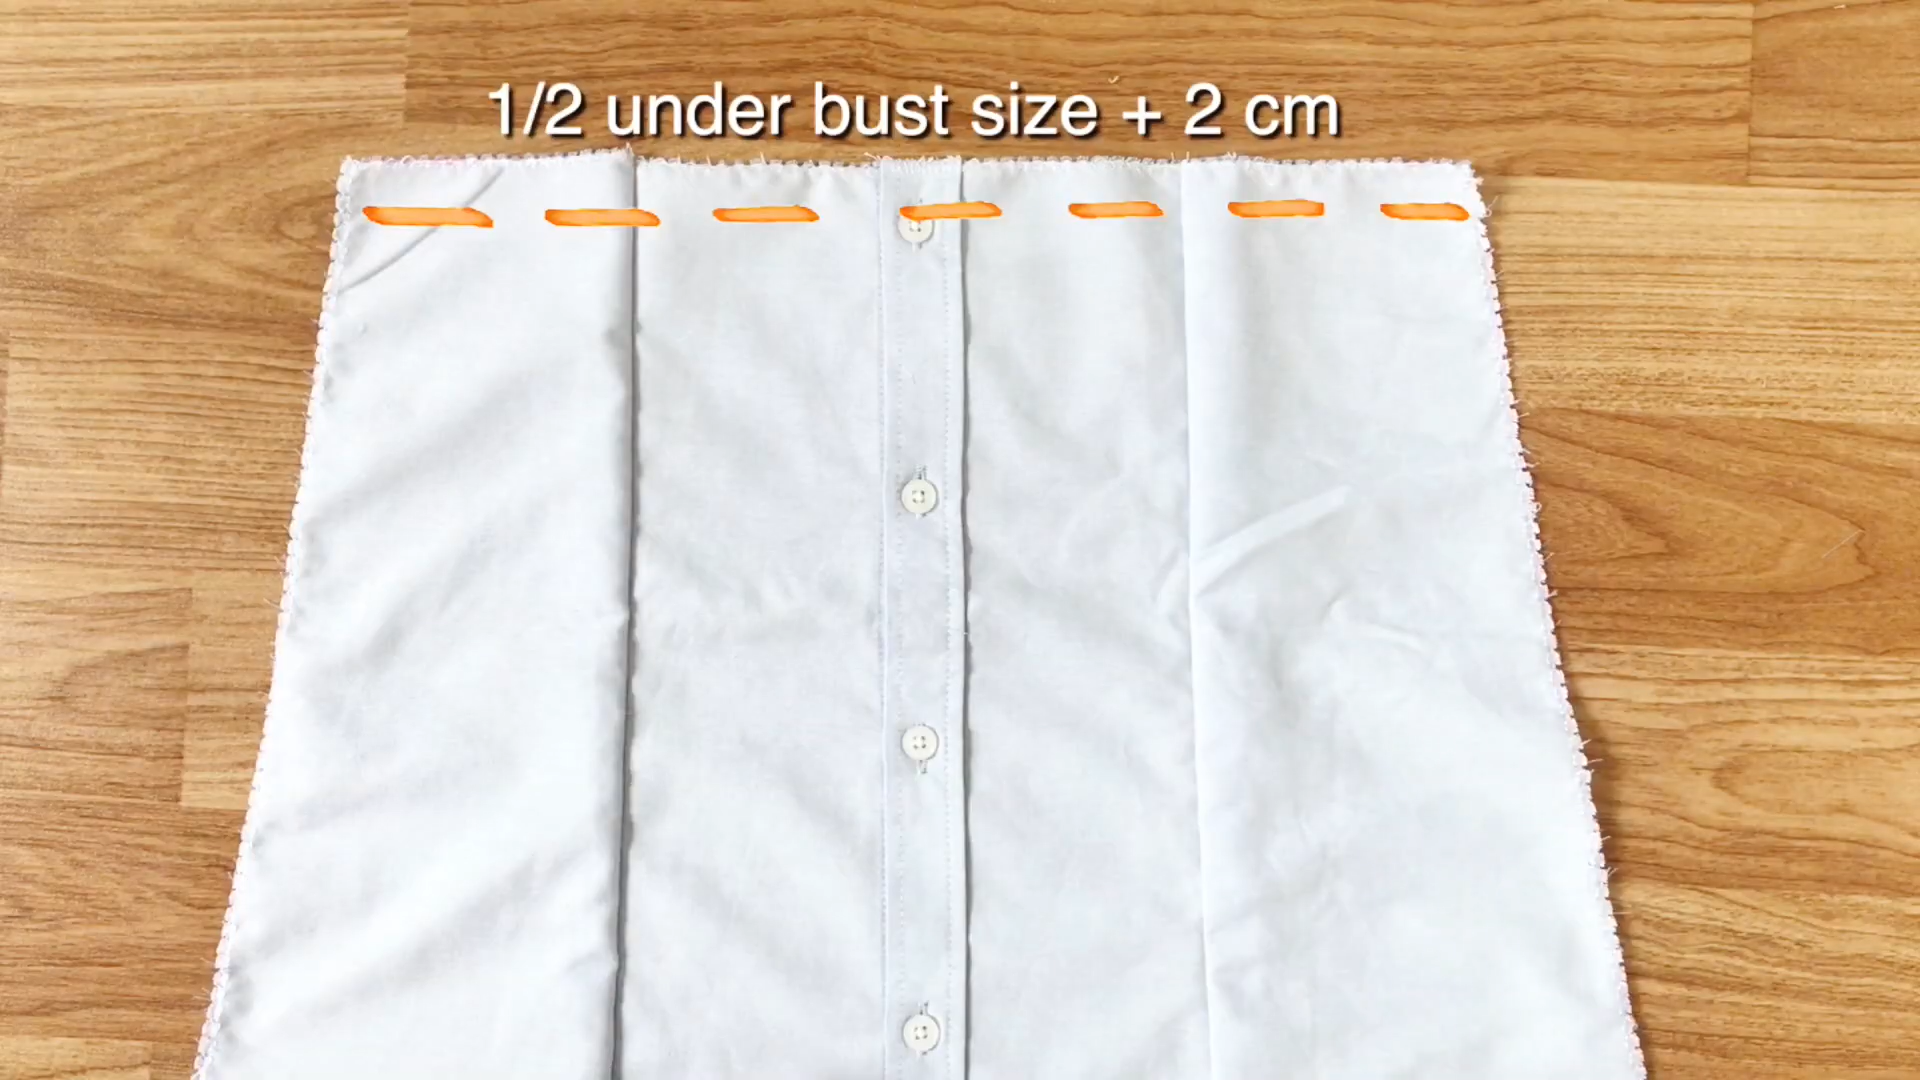
The front body will have a top width of half the under bust size plus 2c and a bottom width of half the hip size plus 2cm.
THE BACK
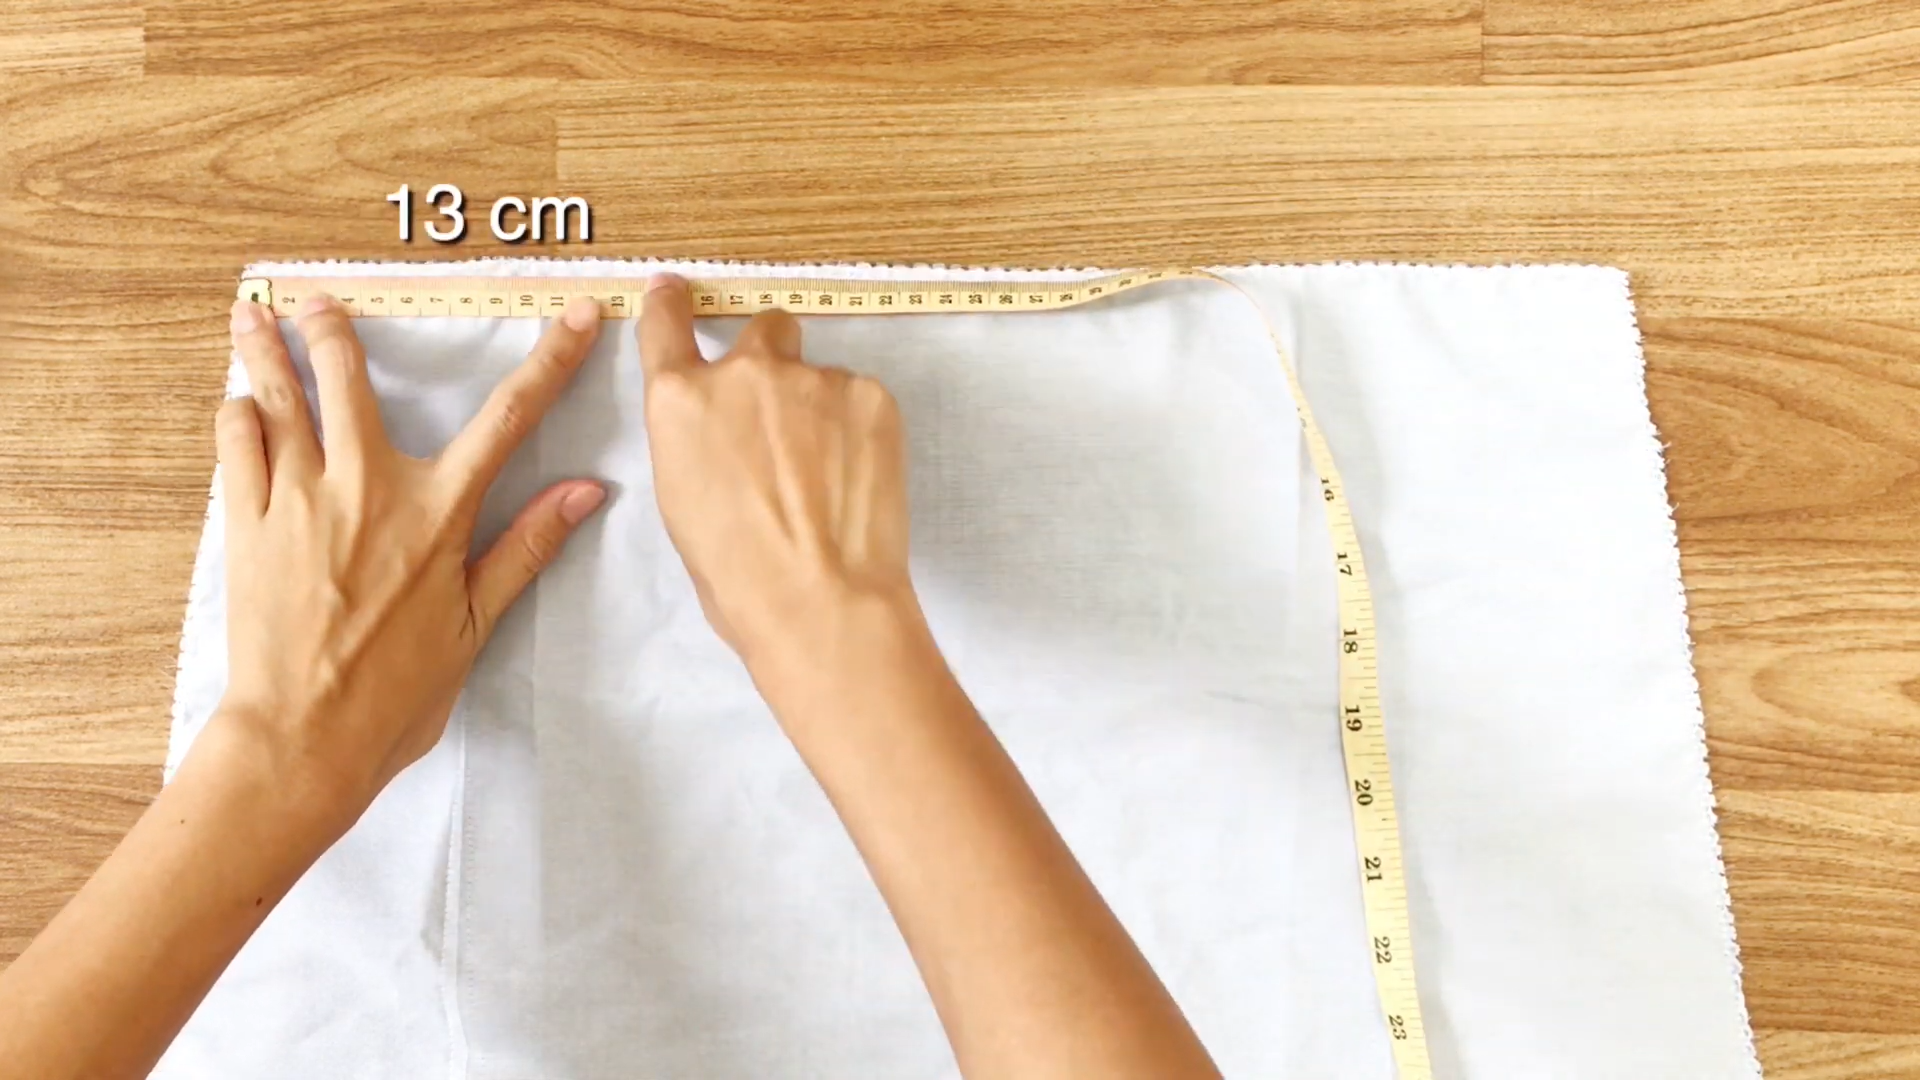
For the back body, measure 13cm inward from the outside and mark the point
Then, draw a straight line from this mark to the end of the back body.
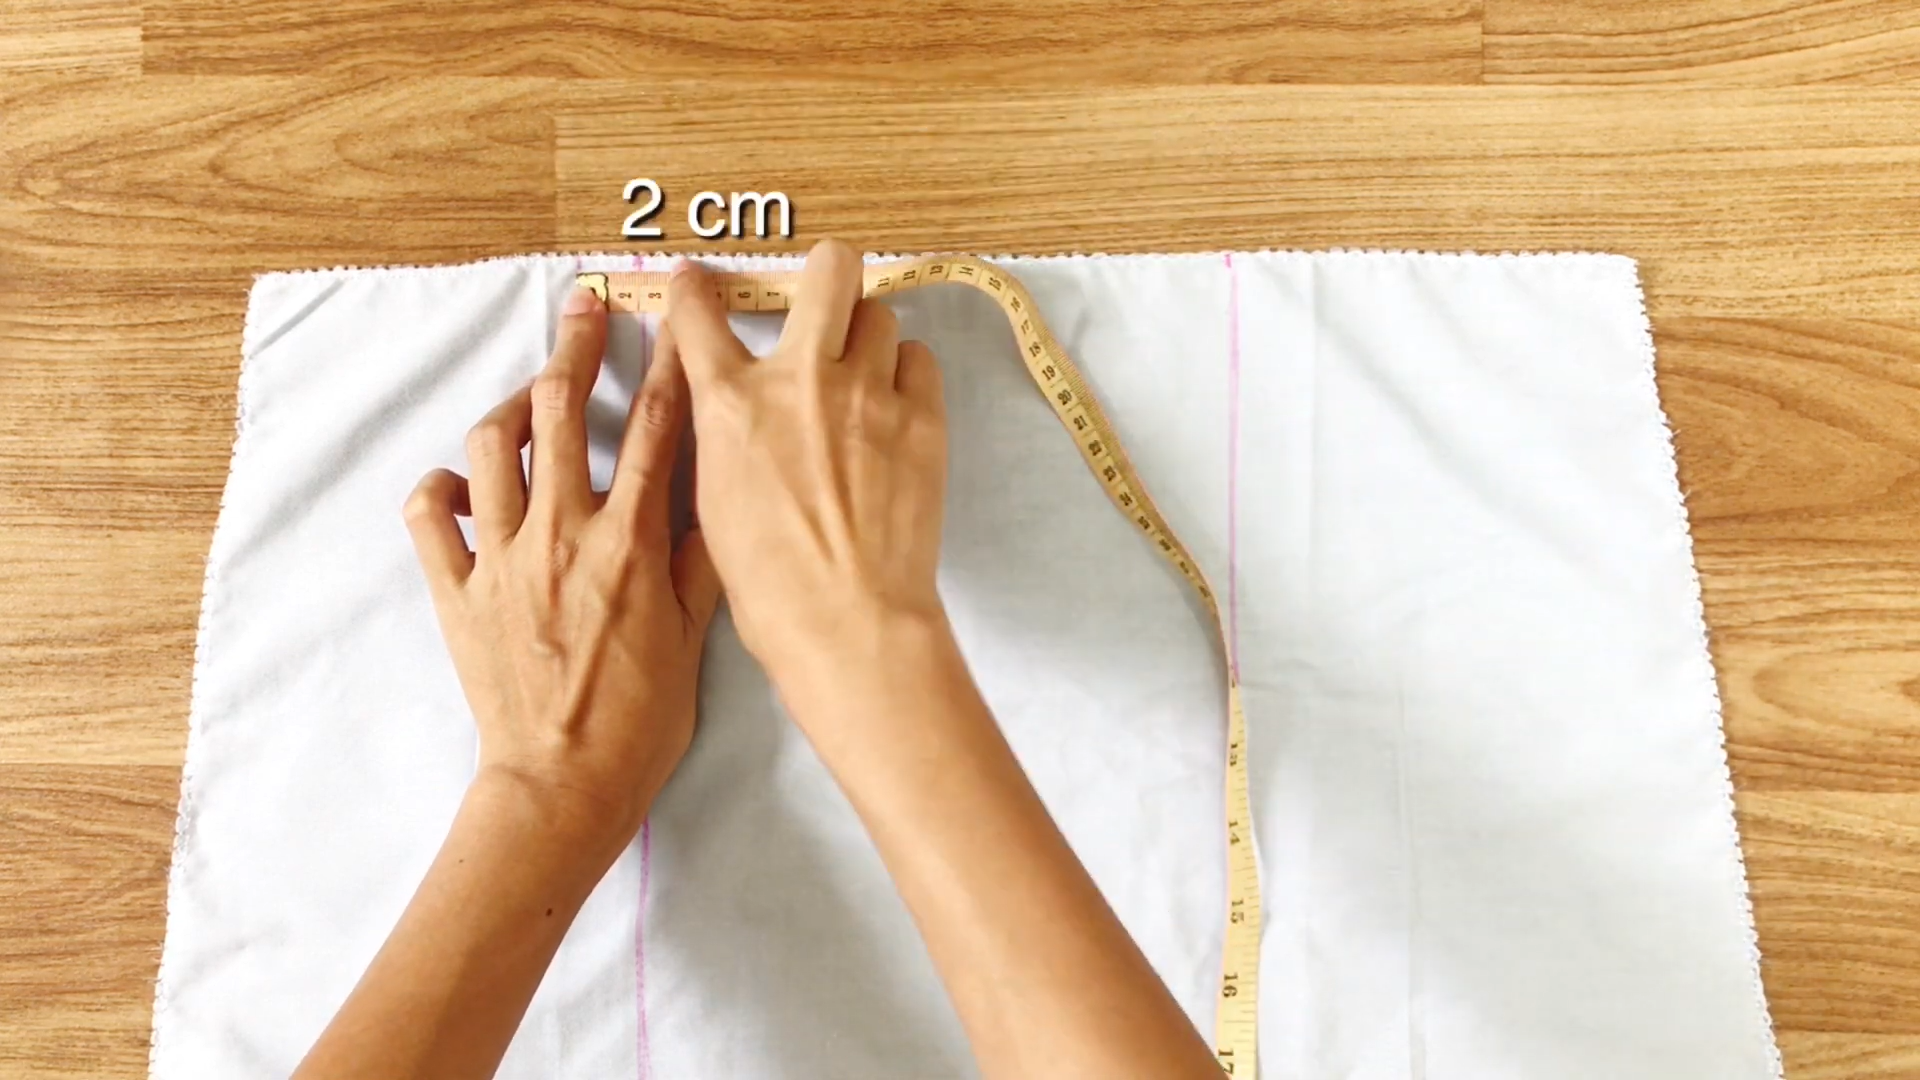
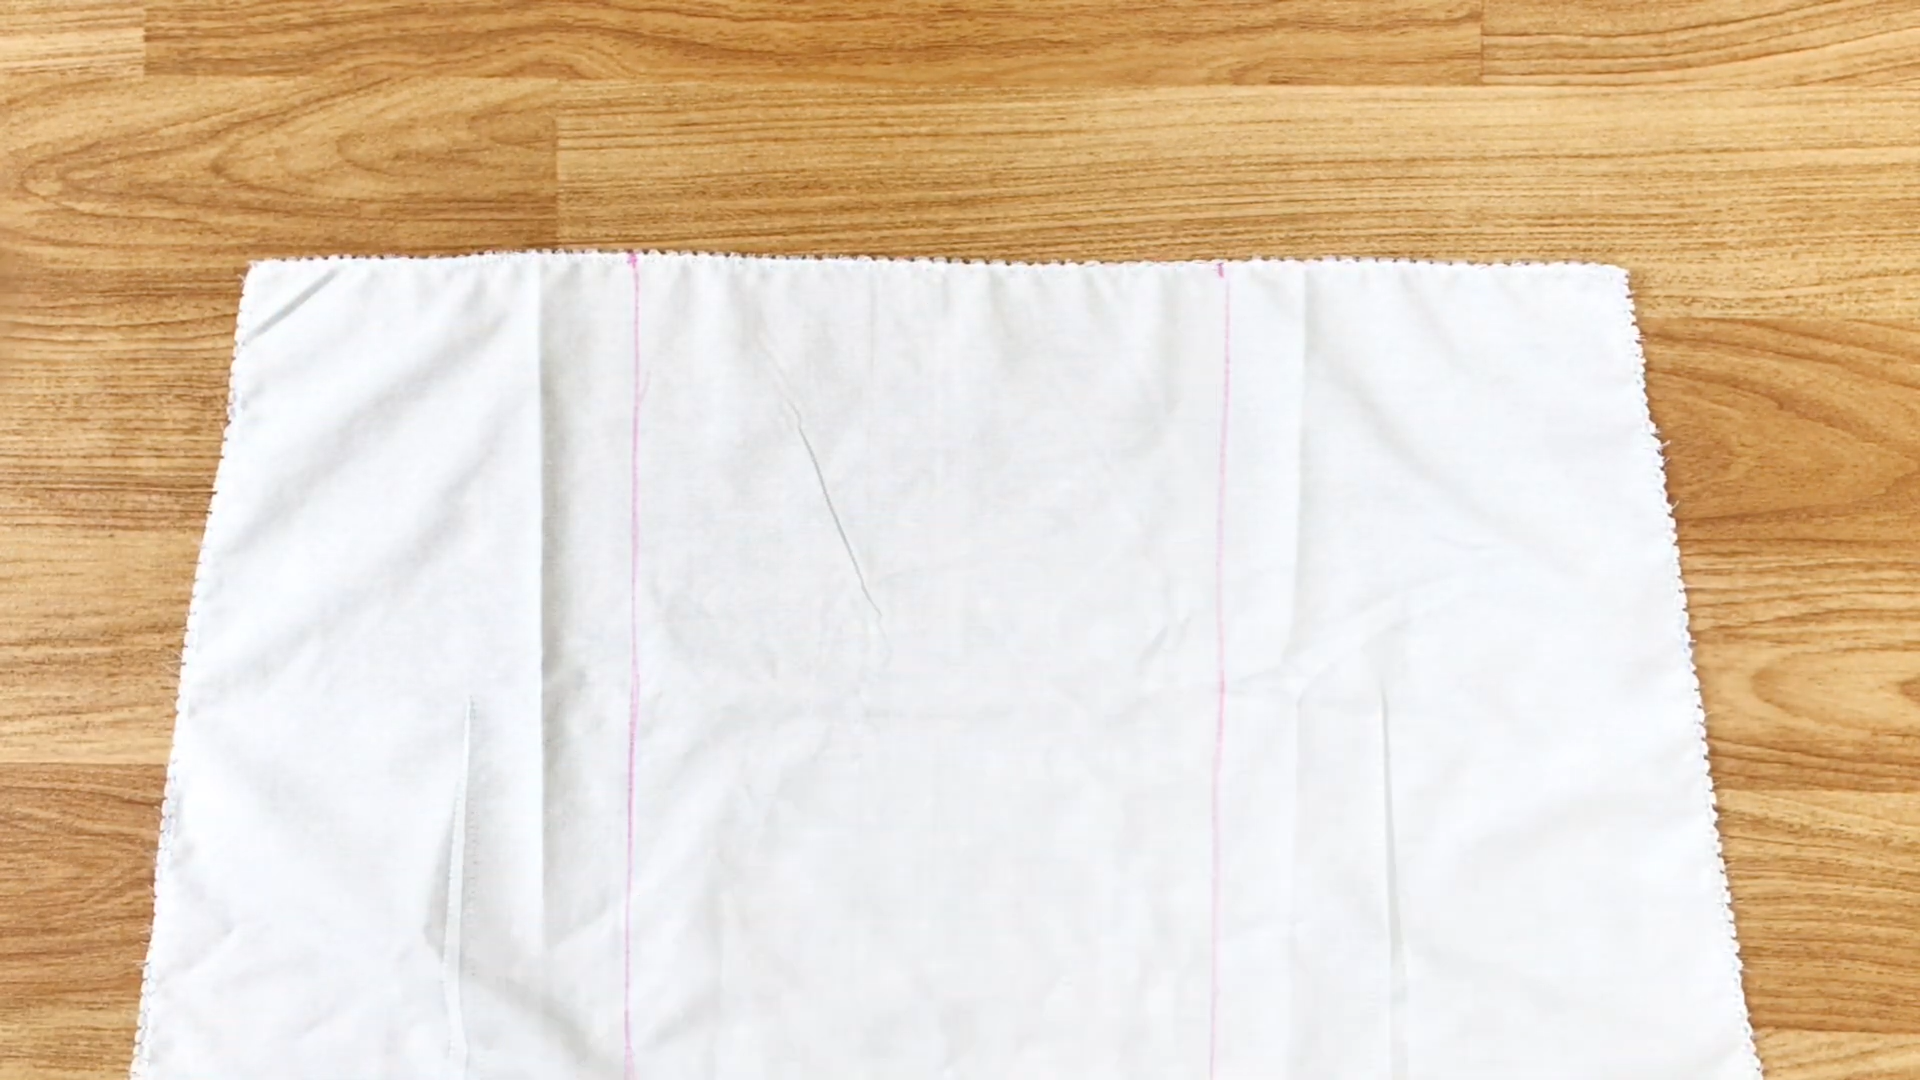
Repeat the same process as for the front body by drawing two other lines, each 2cm from the first one.
And, 18cm down from the top.
The next steps are similar to the front body and after doing this, you will have the back body.
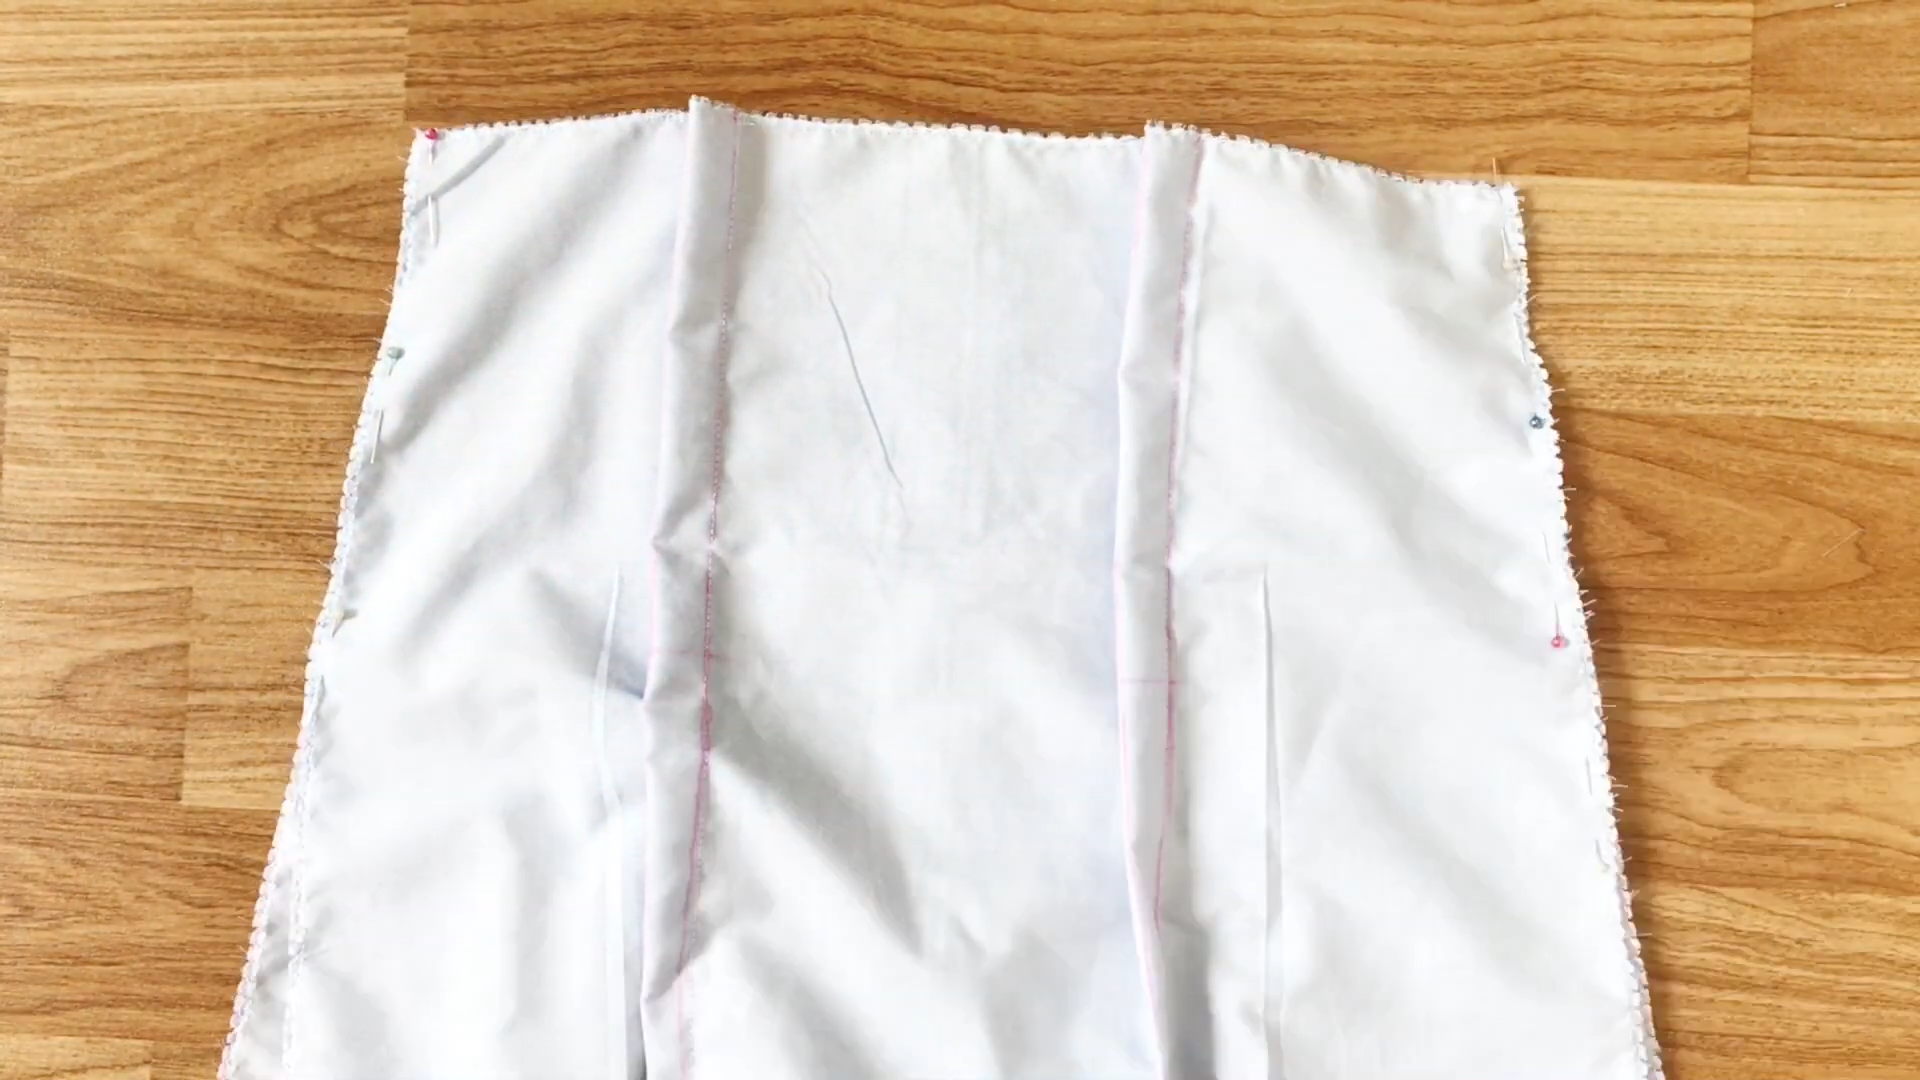
Connect the front and back body pieces together at the sides by pinning them in place before sewing.
THE TIES
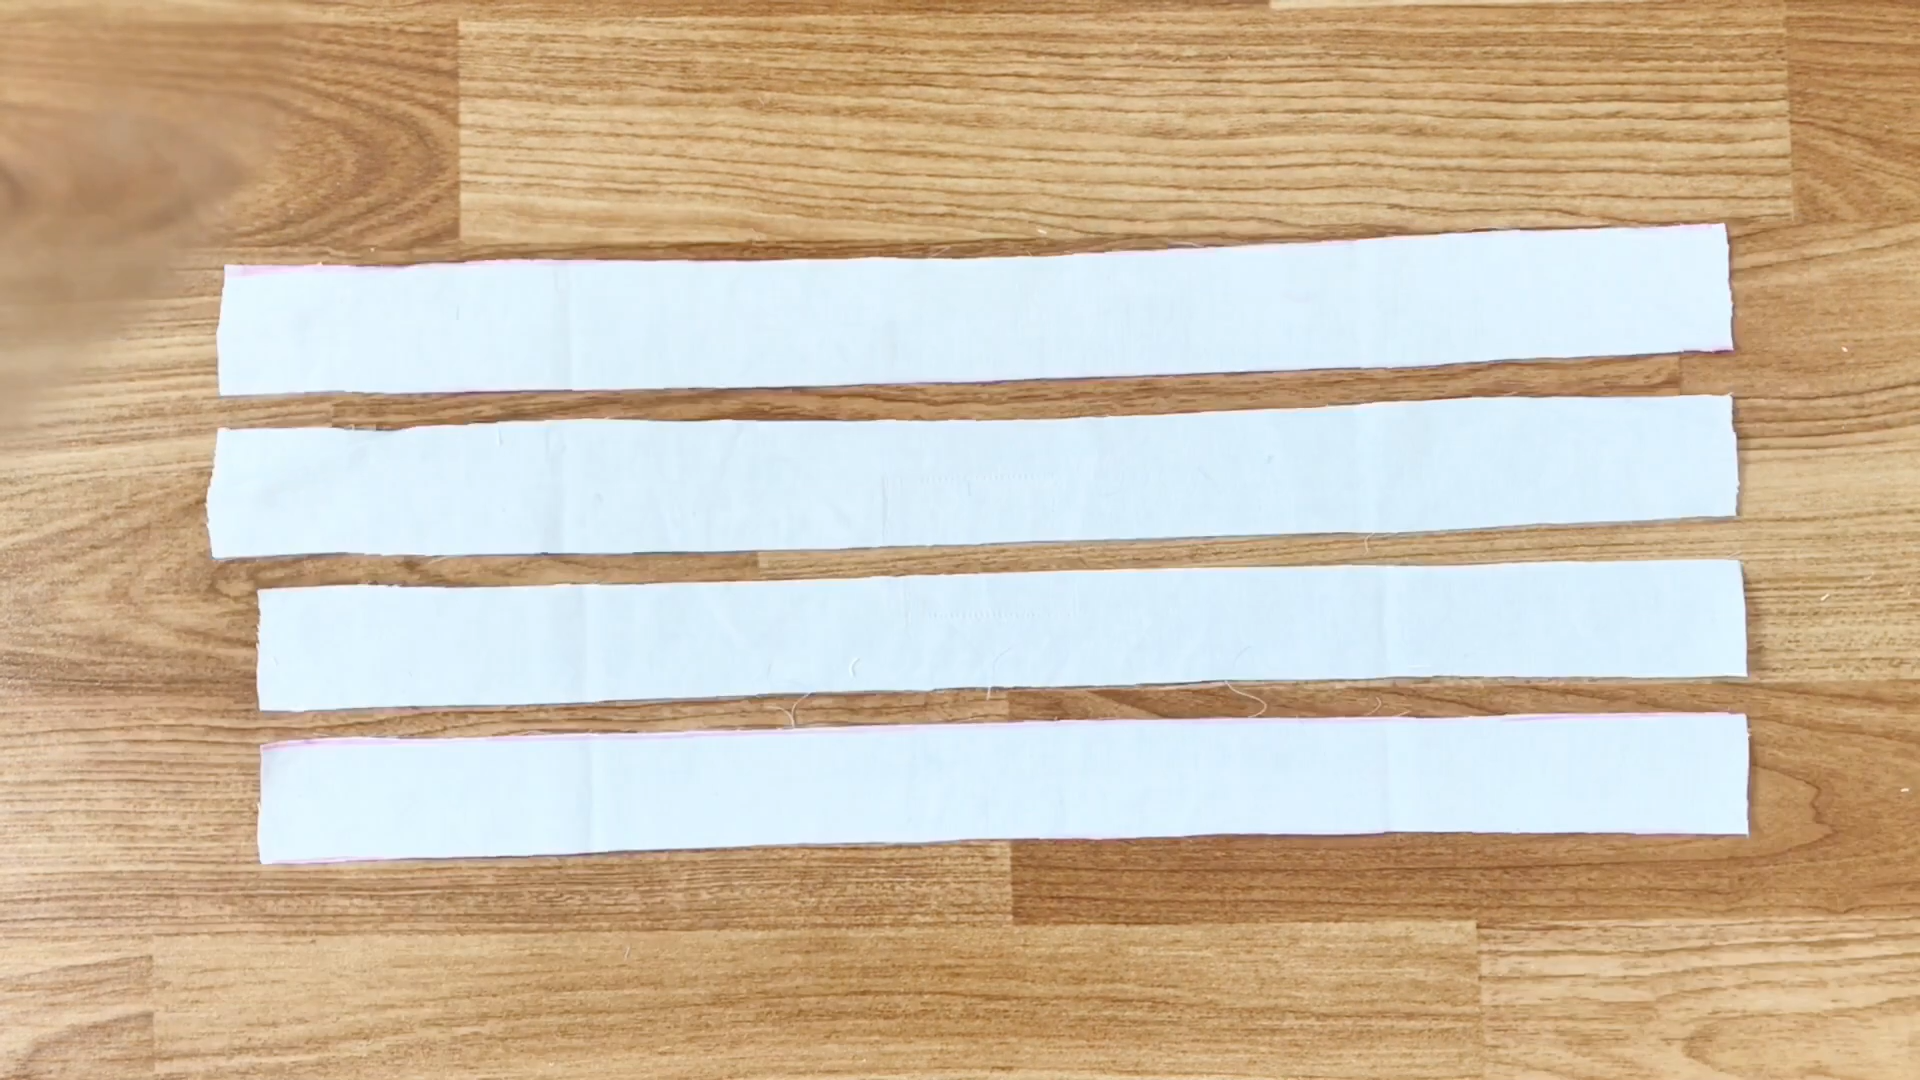
Next, create the bow ties for the dress by drawing four rectangles with a 4cm width from the fabric of the back of the shirt.
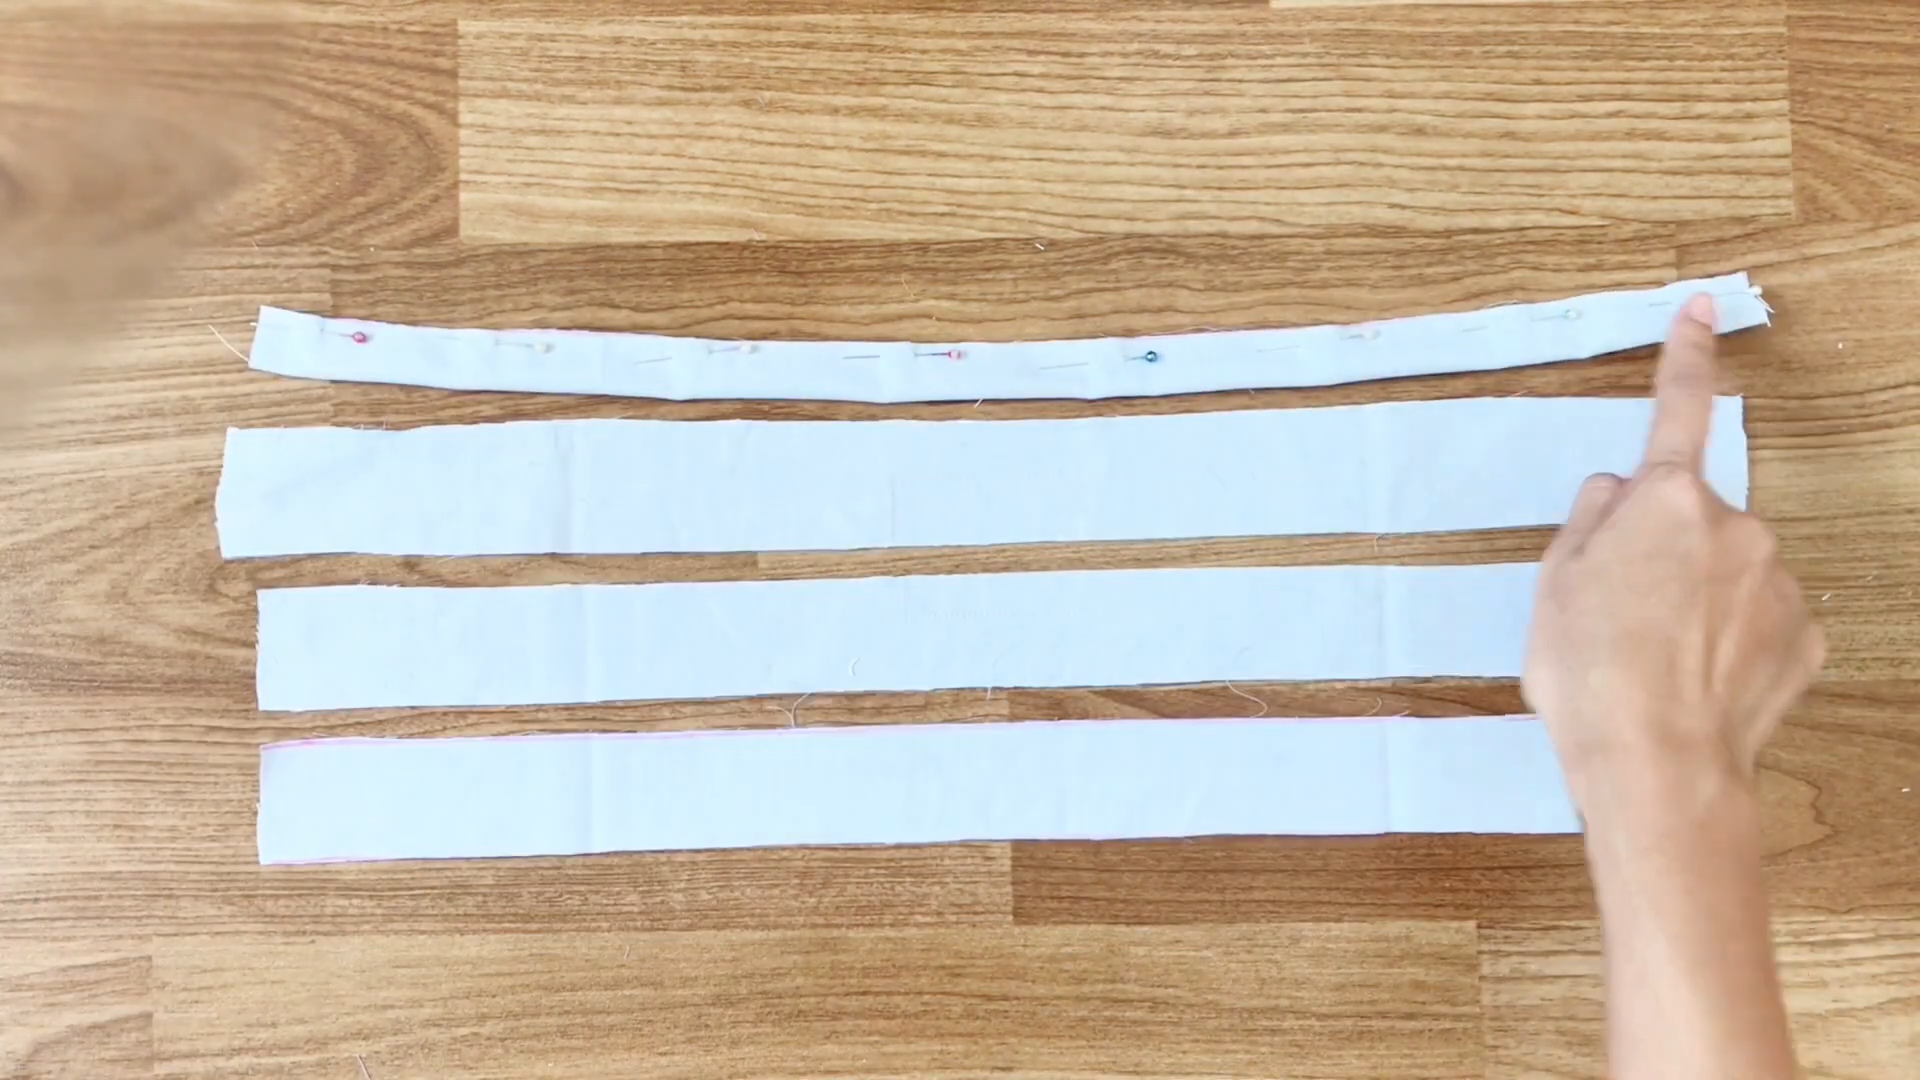
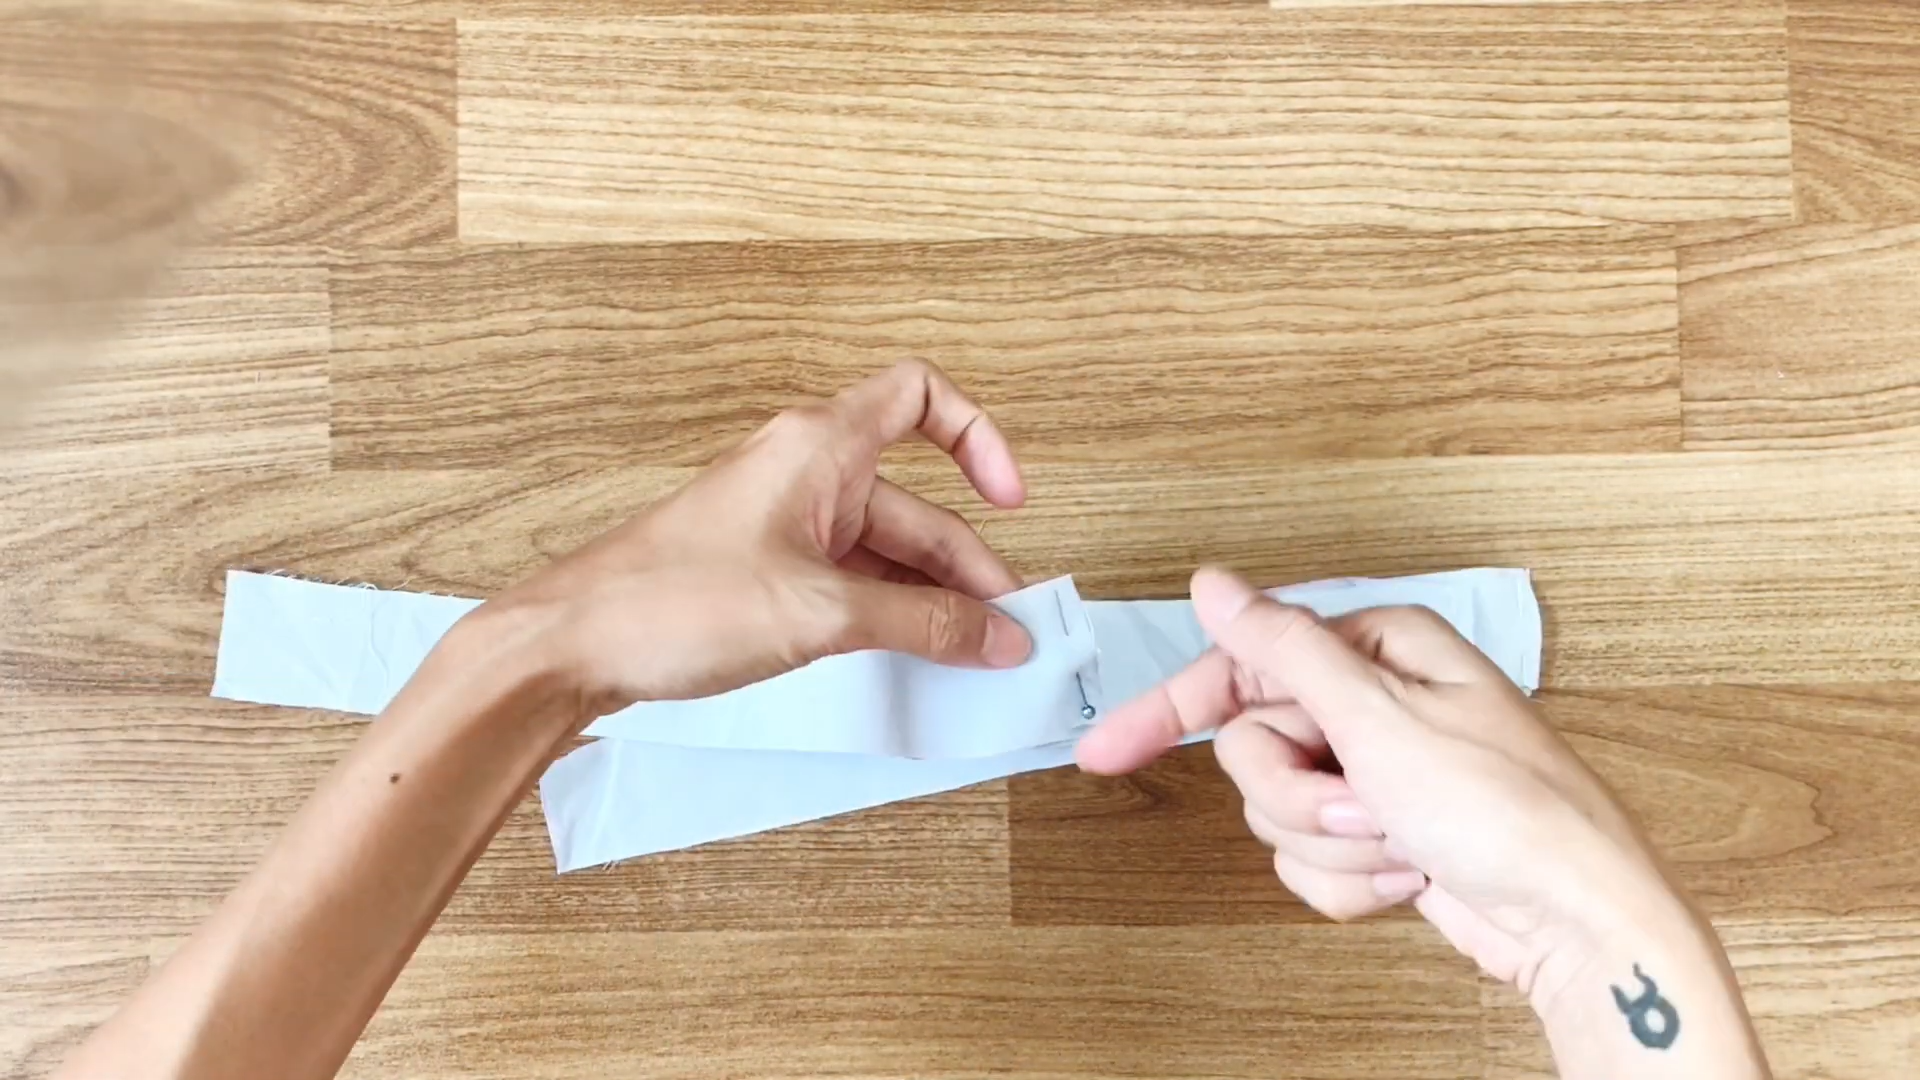
Fold the fabric in half and pin it before sewing.
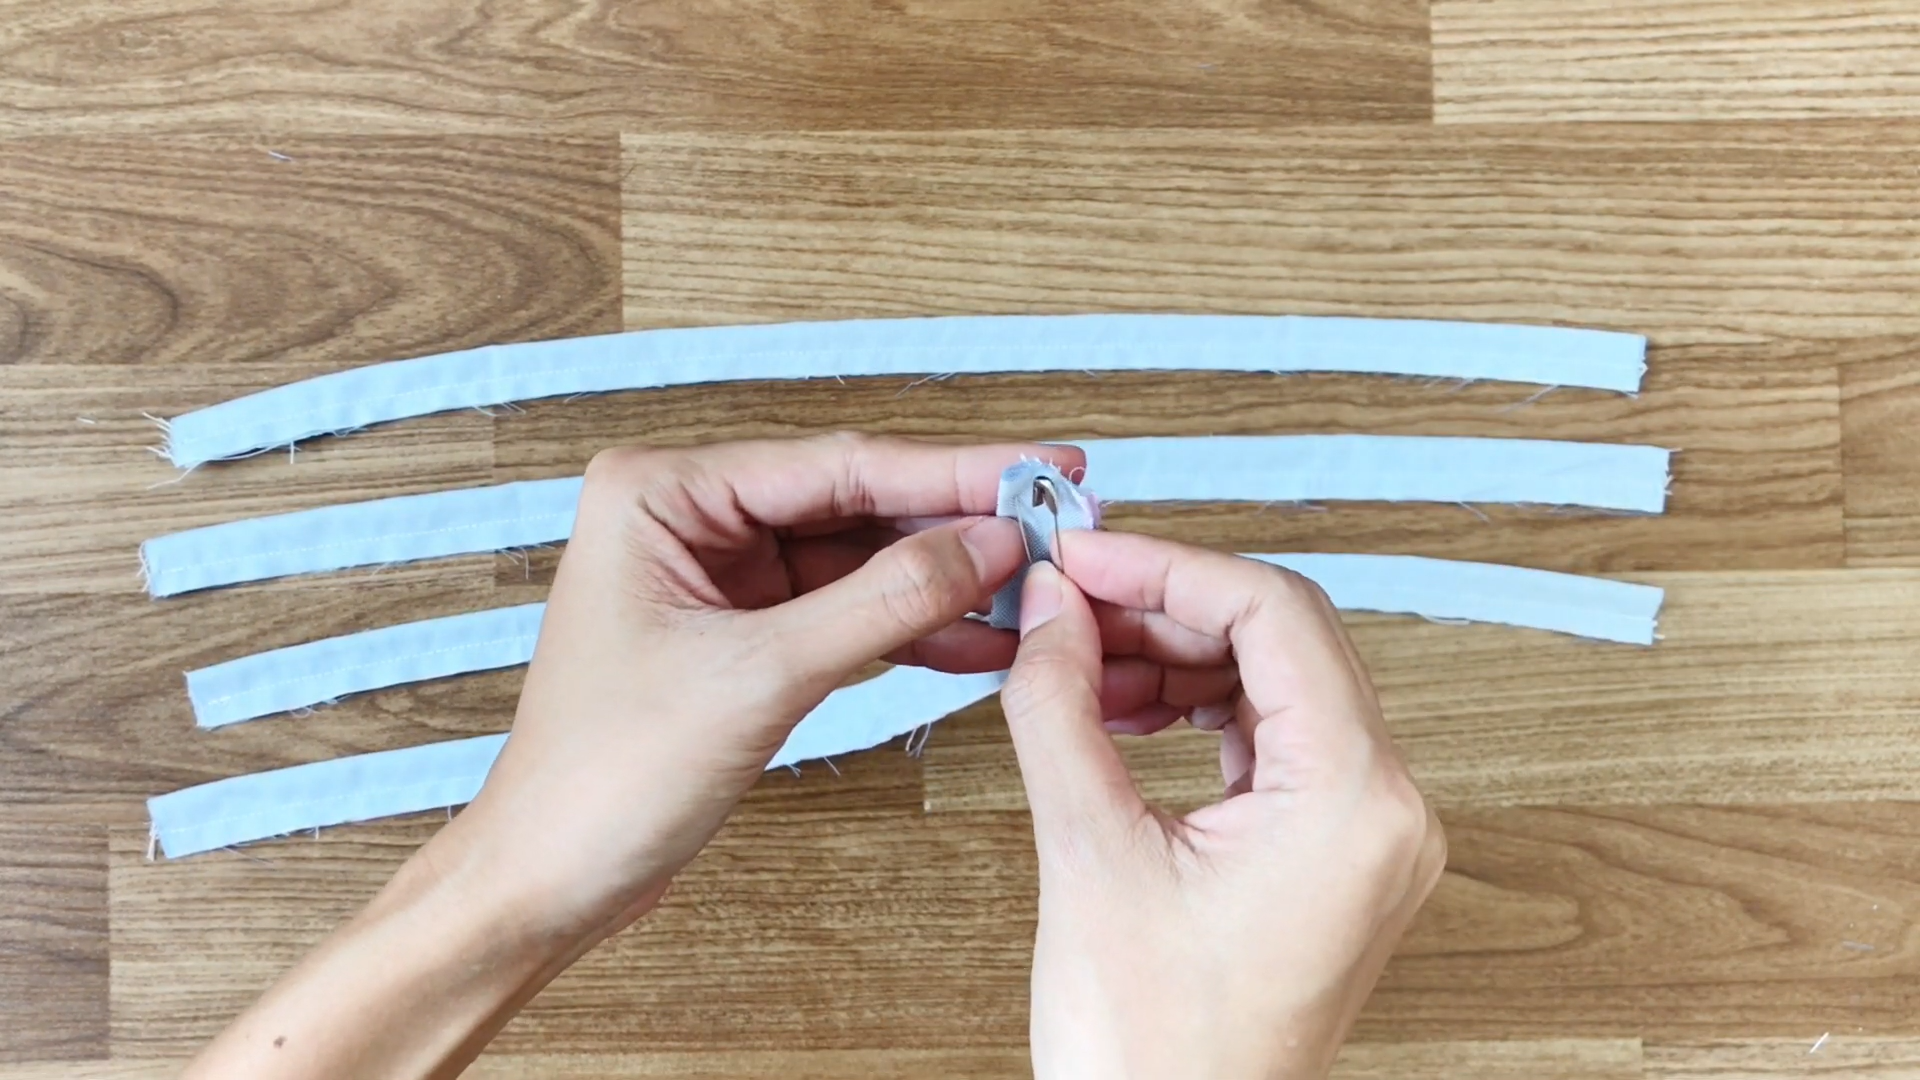
Then, use a safety pin to turn them inside out.
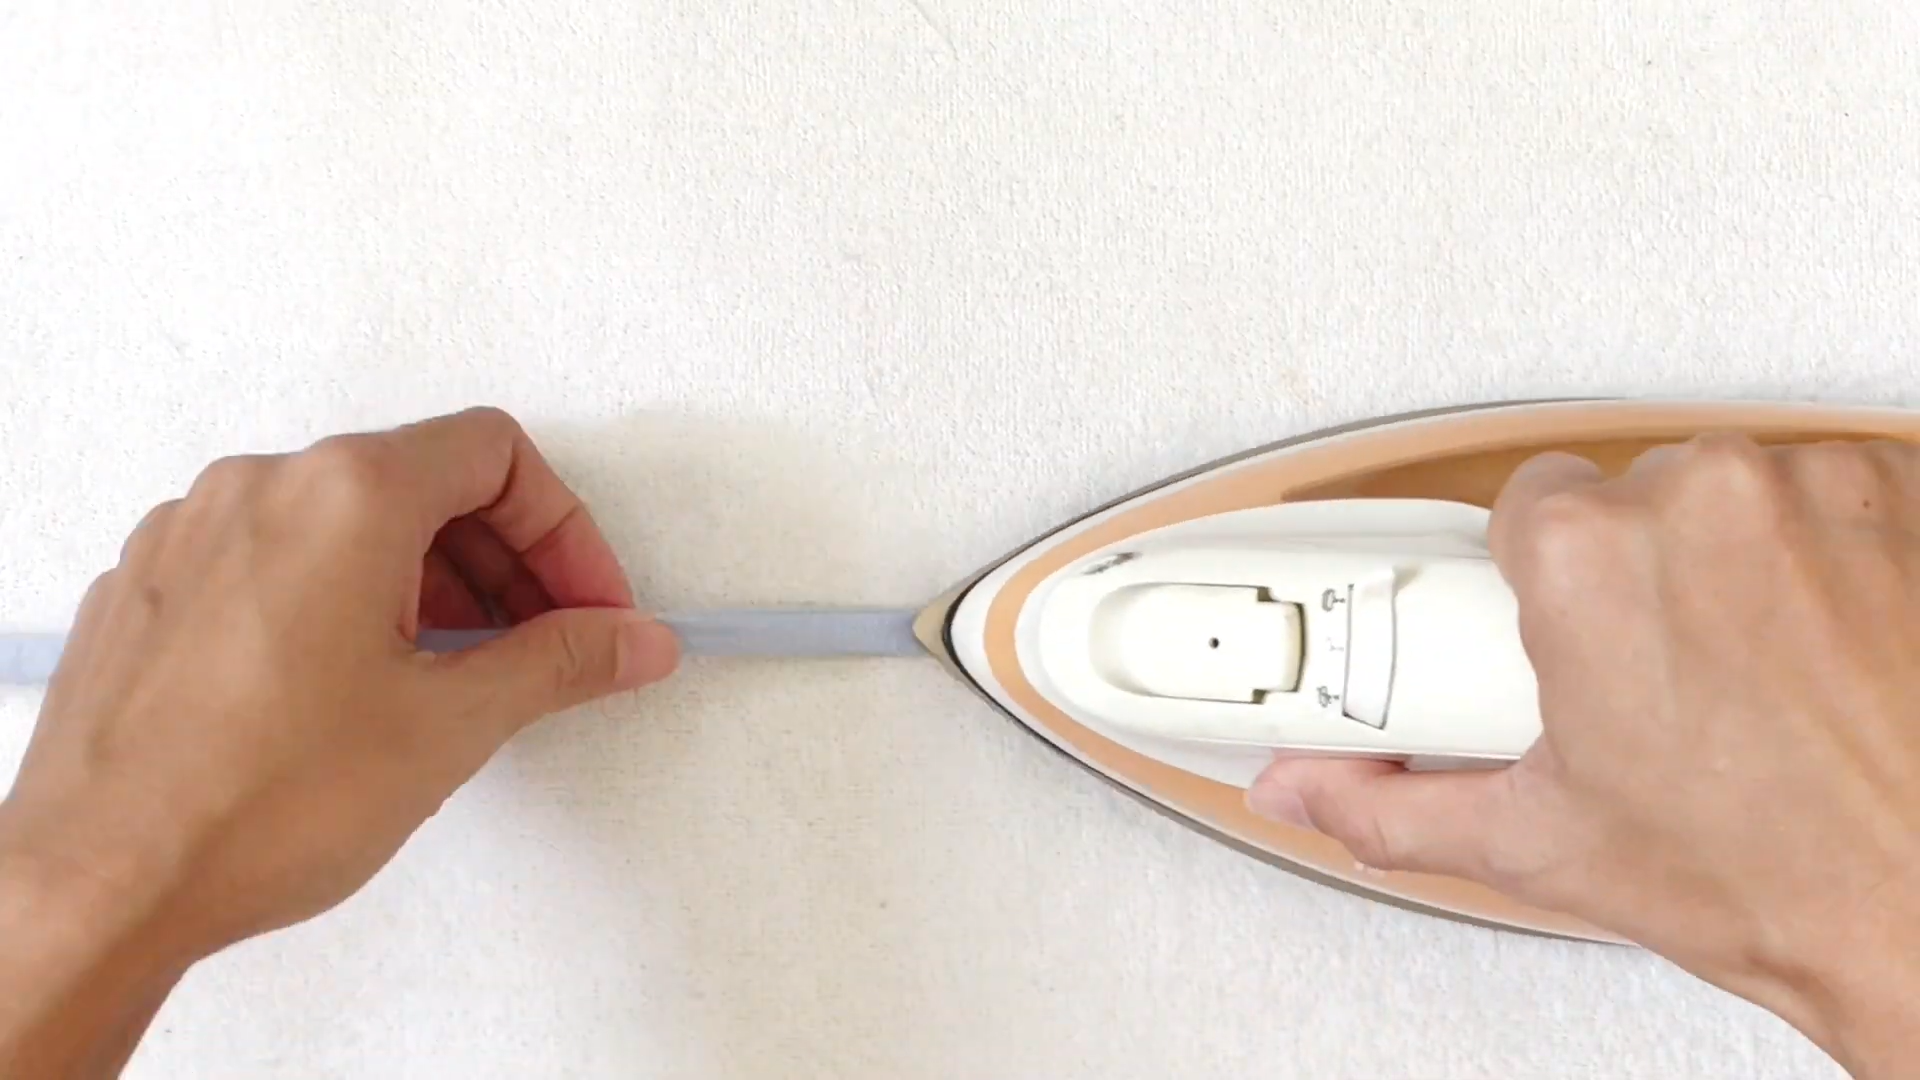
Iron the bow ties to keep them straight.
THE TOP
To make the top of the dress, use the two sleeves of the shirt.
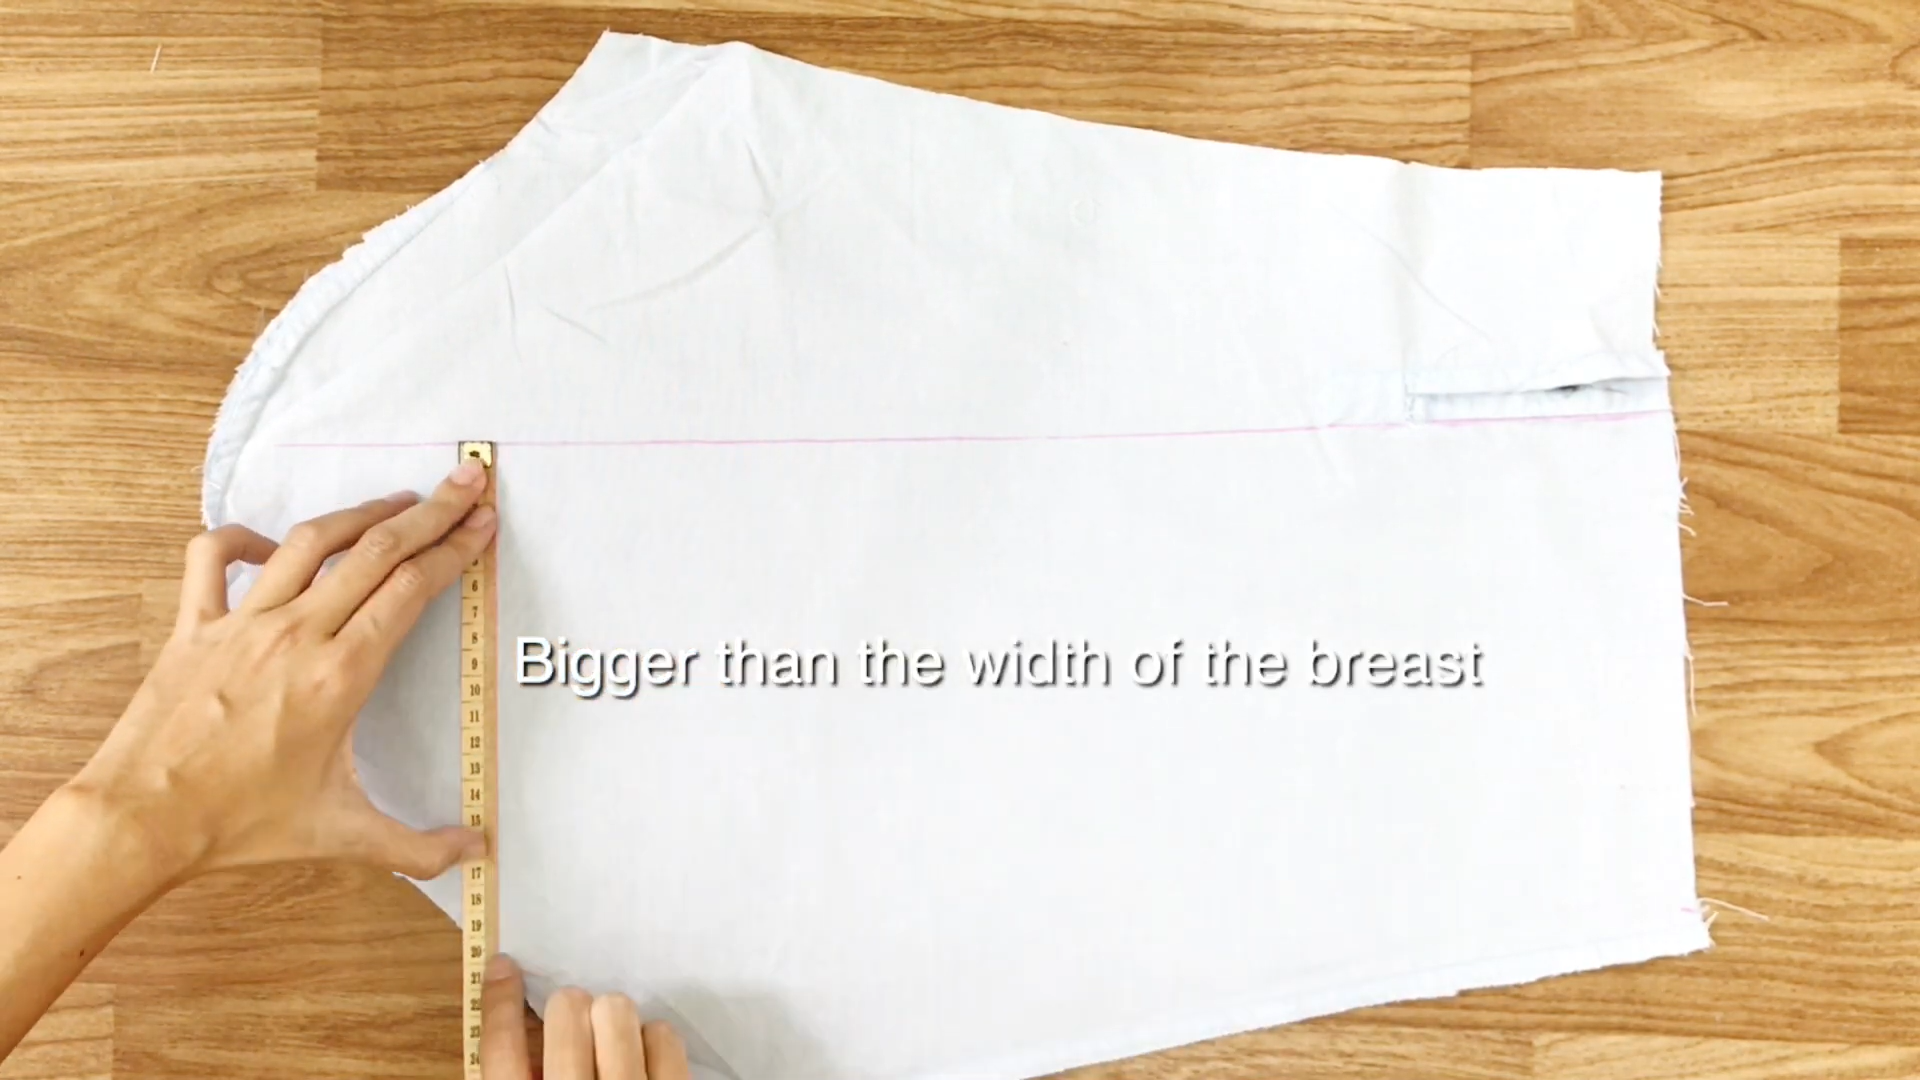
On each sleeve, draw a rectangle with a 19cm width and the maximum length of the sleeve.
Make sure that the width of the rectangle is larger than the breast width.
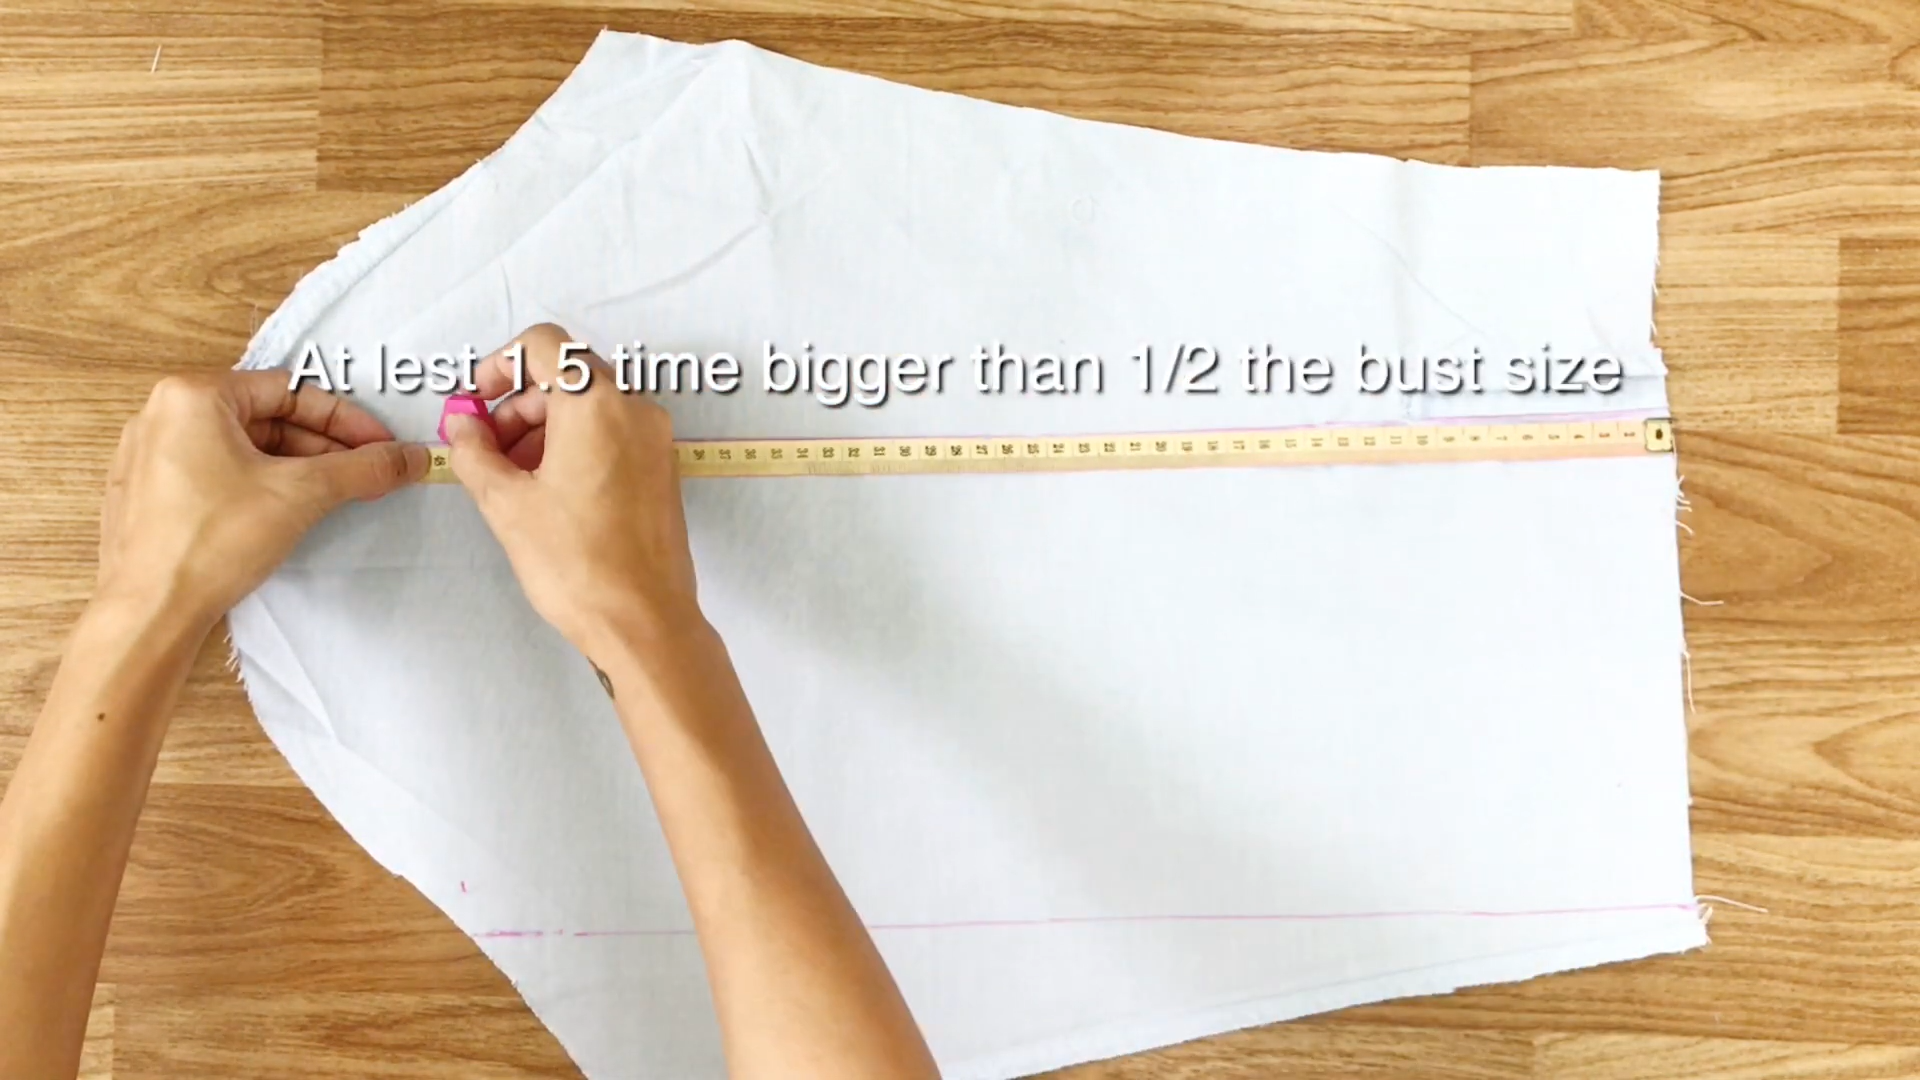
And, the maximum length of the rectangle is at least 1.5 times larger than half the bust size.
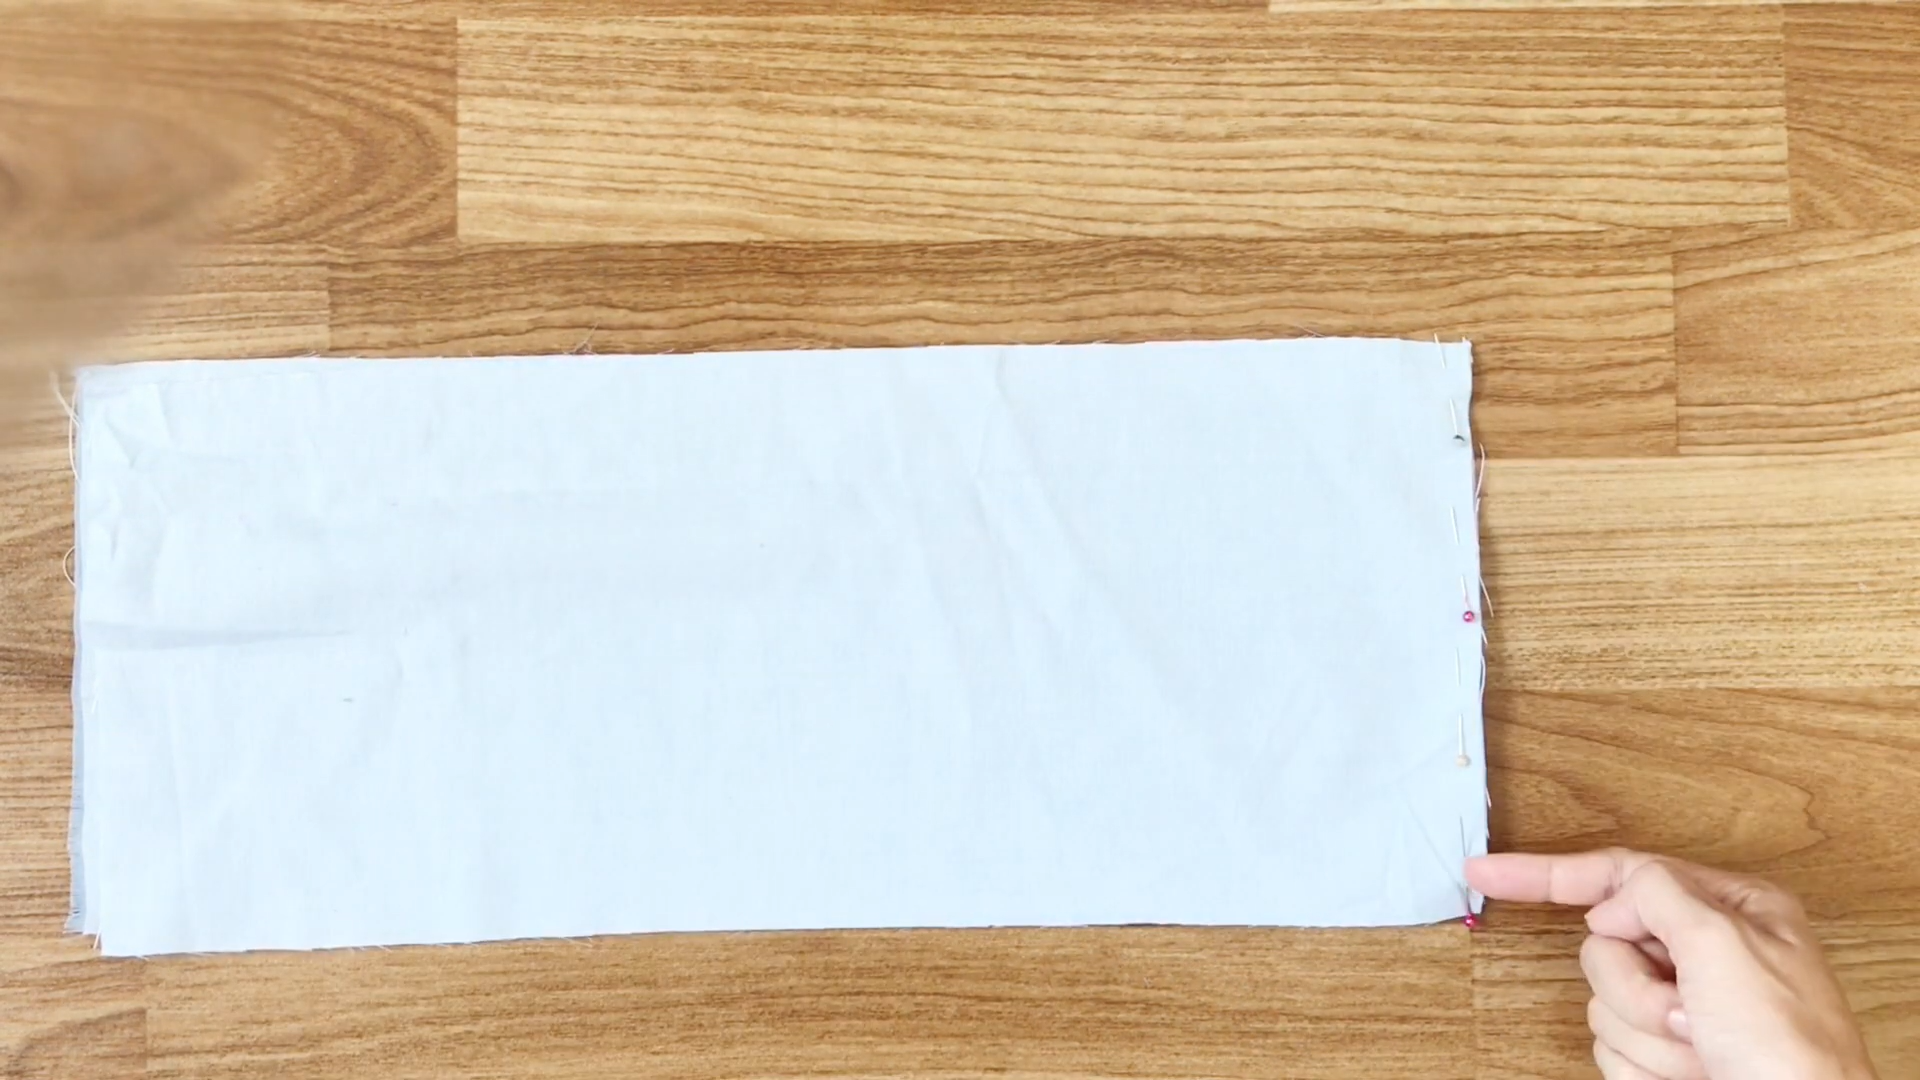
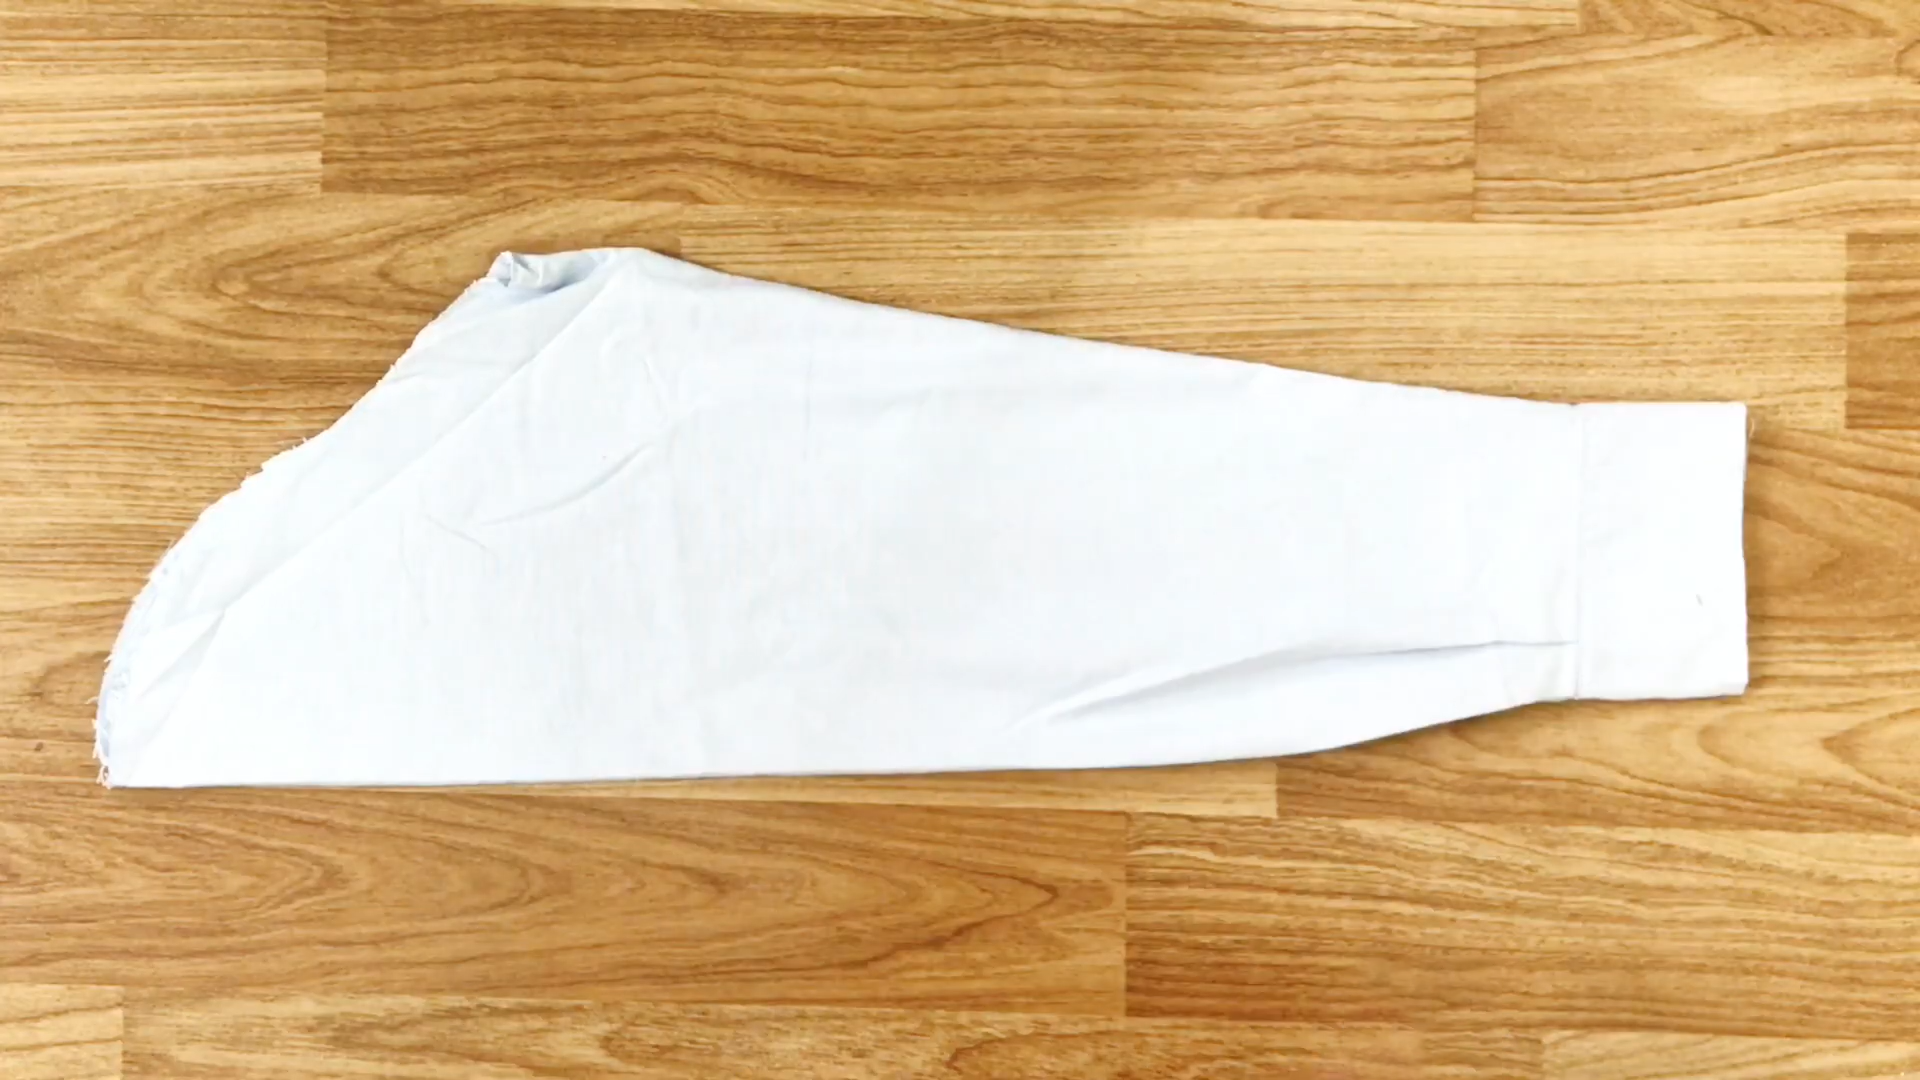
After cutting, sew the two rectangles together at one side and overlock the seam.
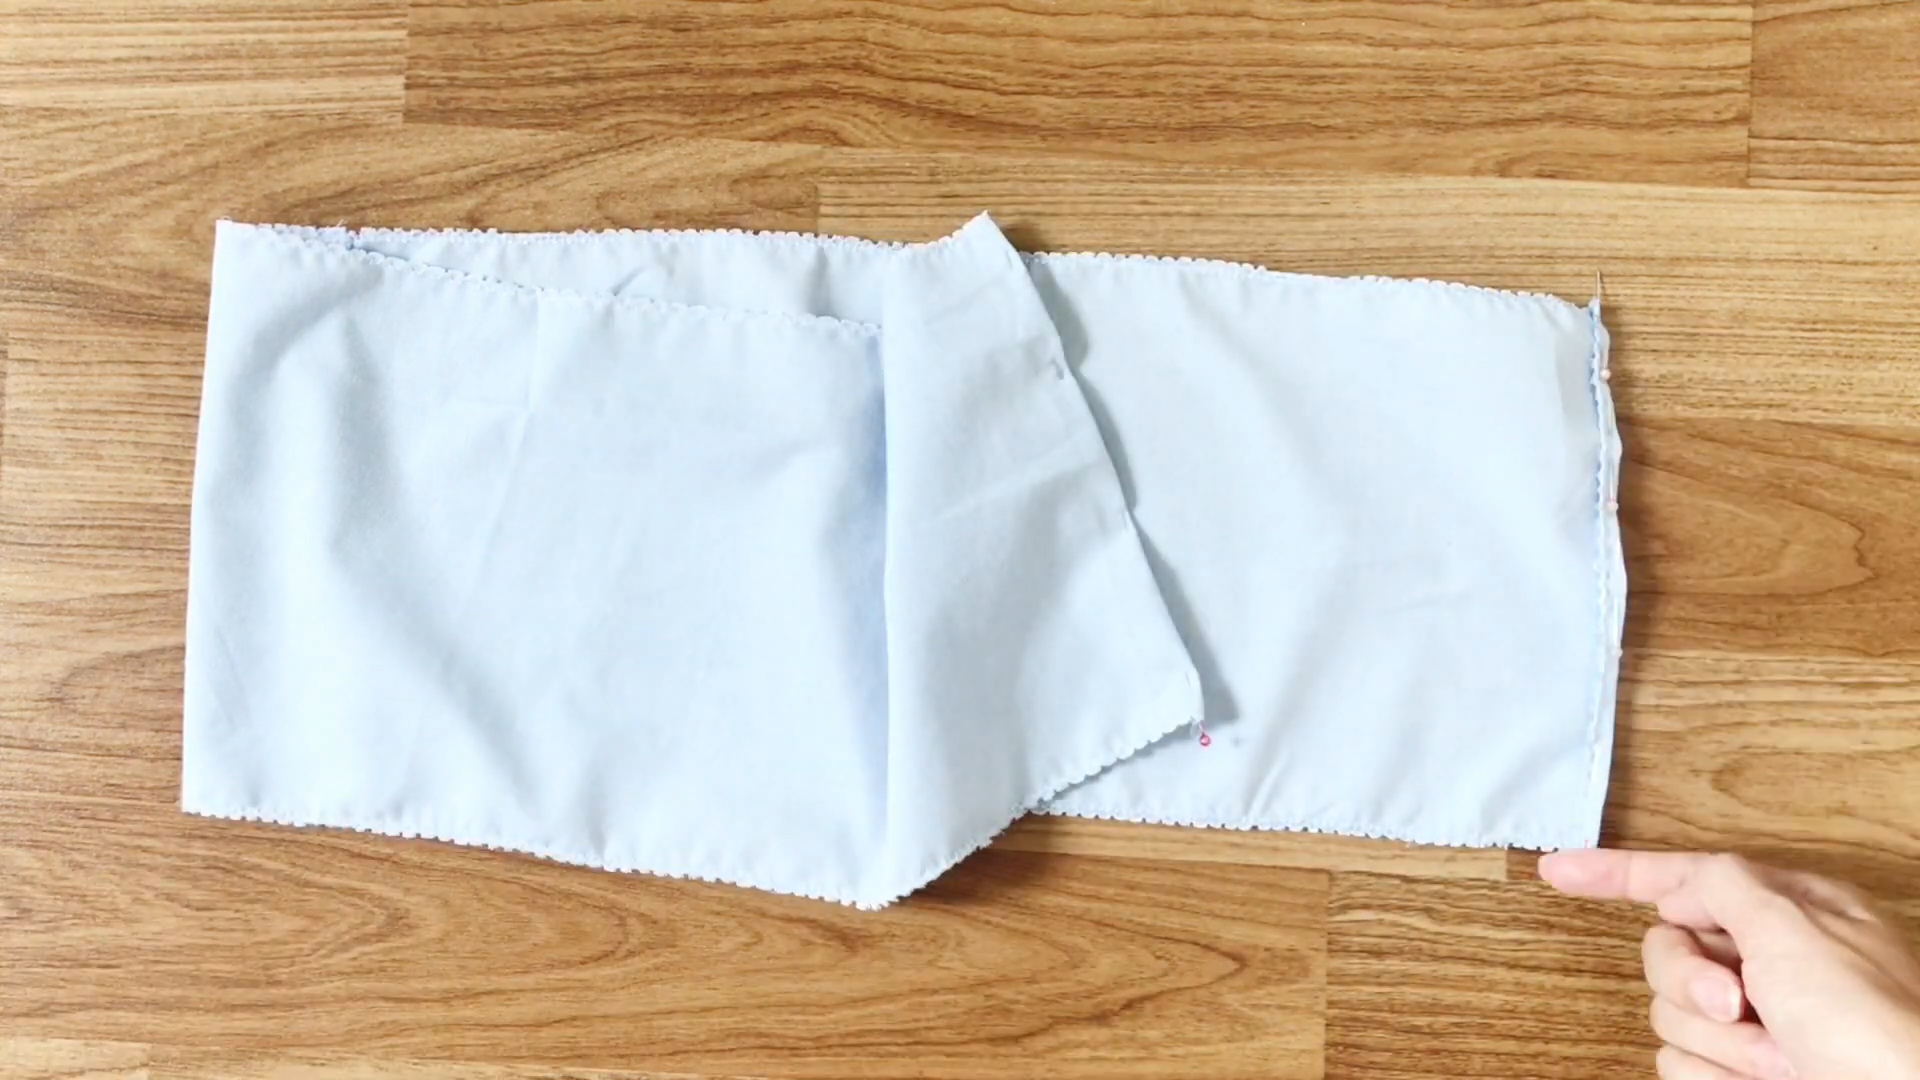
Fold both sides of the rectangle inside to hide the cutting. Use the pins to hold the folding before sewing.
Next, draw additional rectangles with a 4cm width from the leftover sleeve fabric.
Then, connect them to create a long fabric strip.

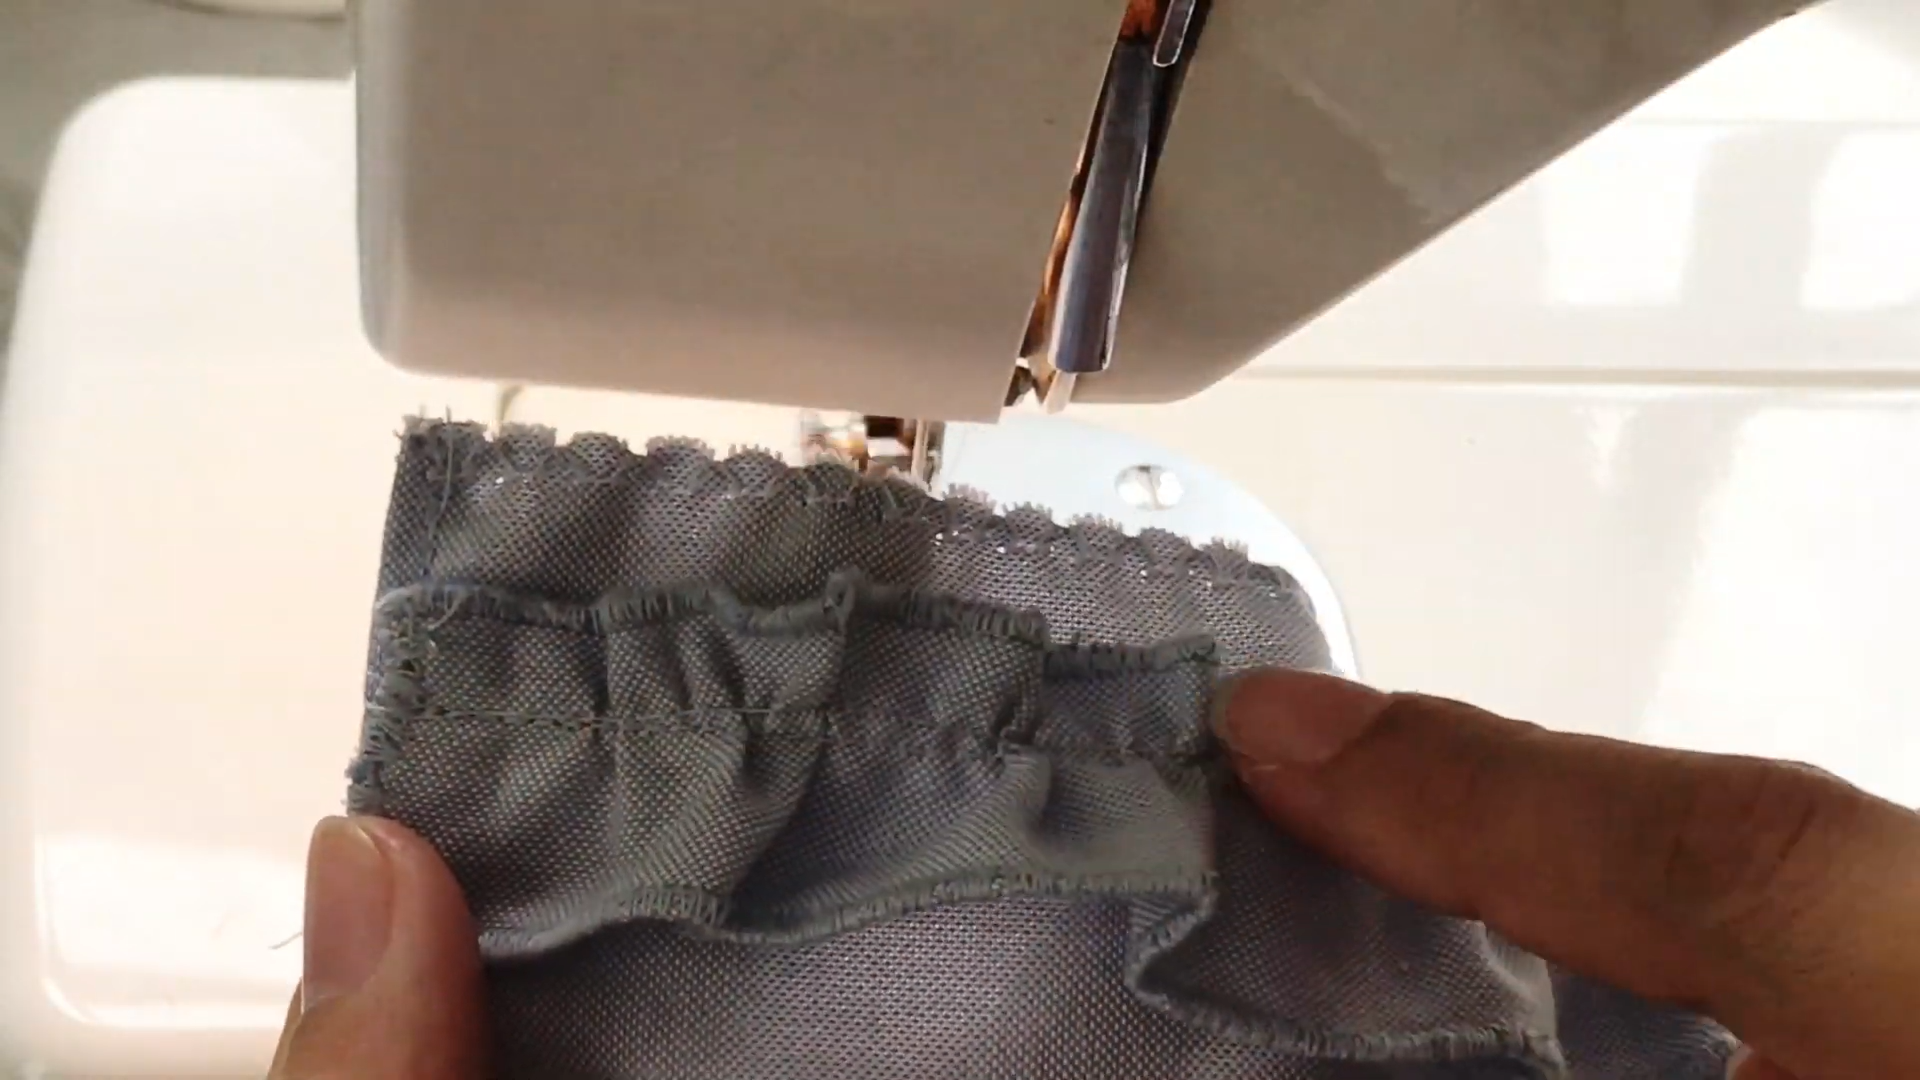
Use a closing stitch on the sewing machine to hide the raw edges
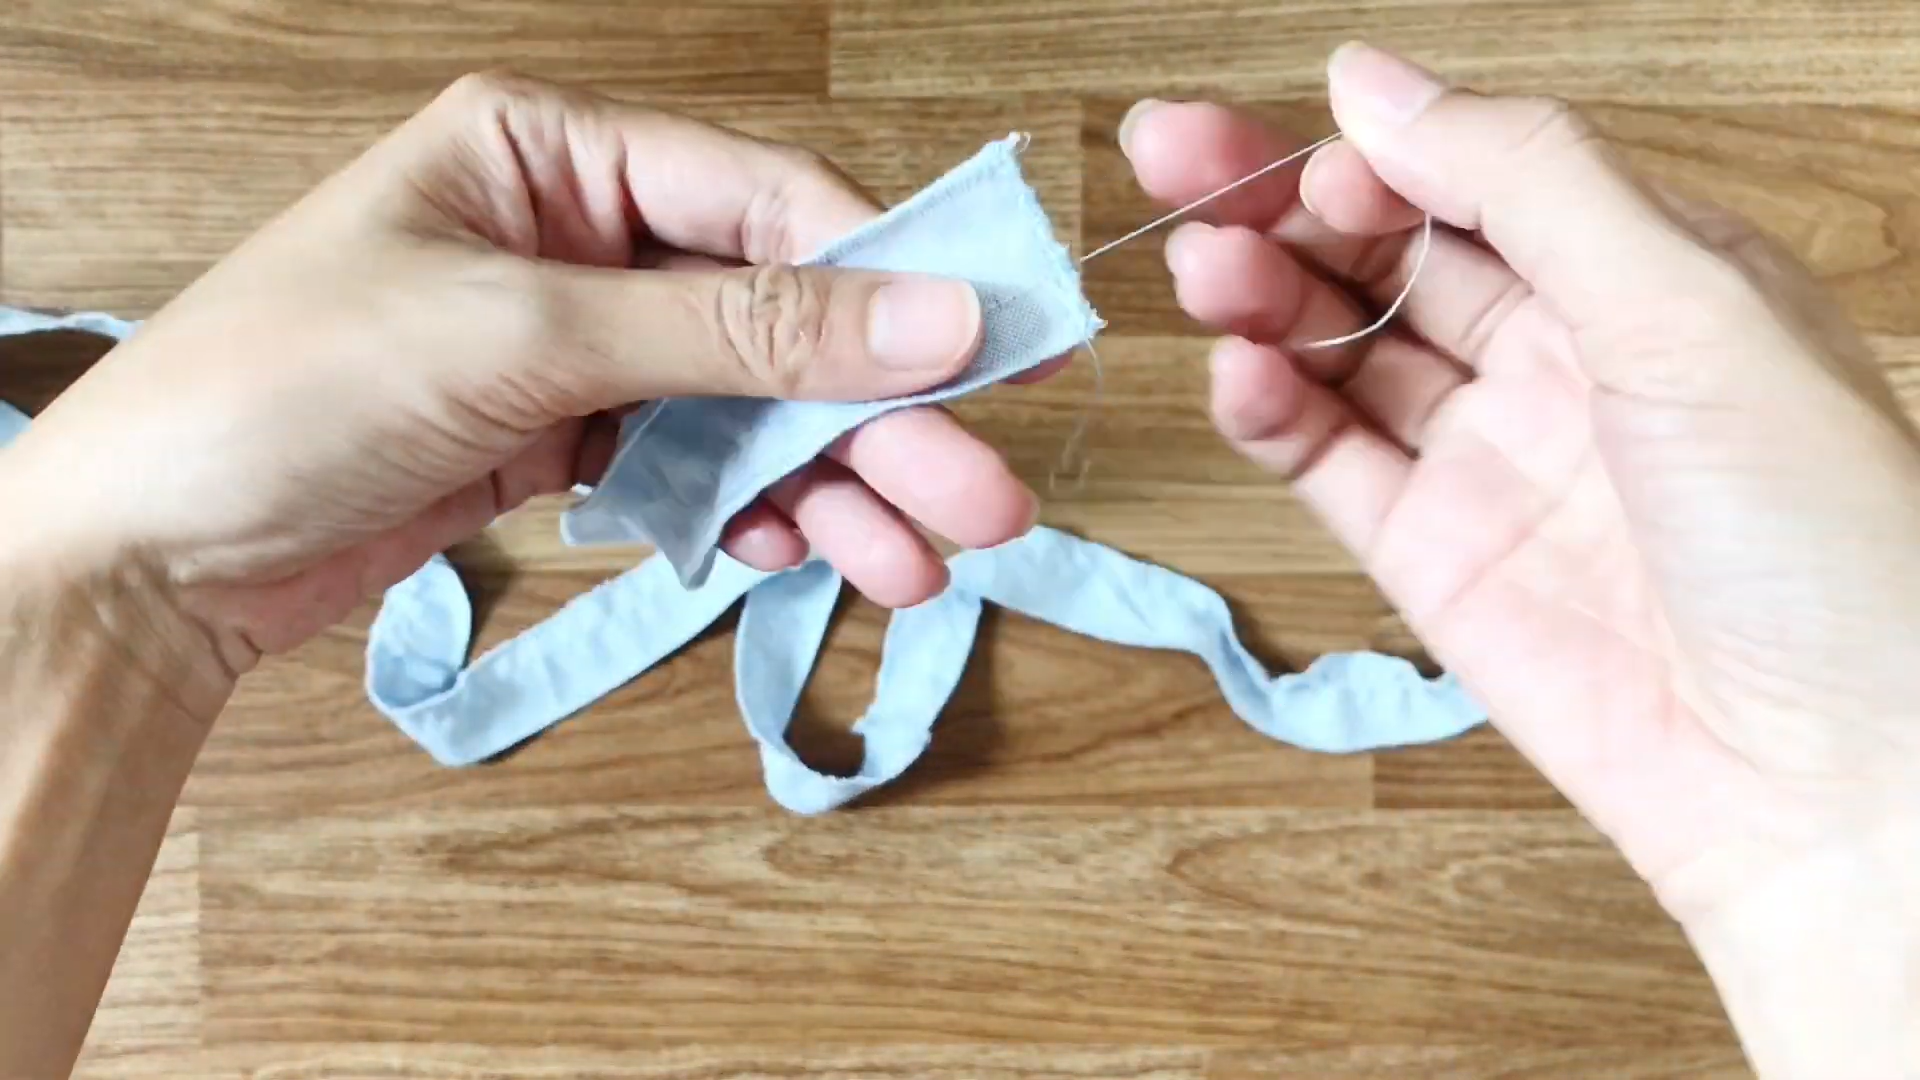
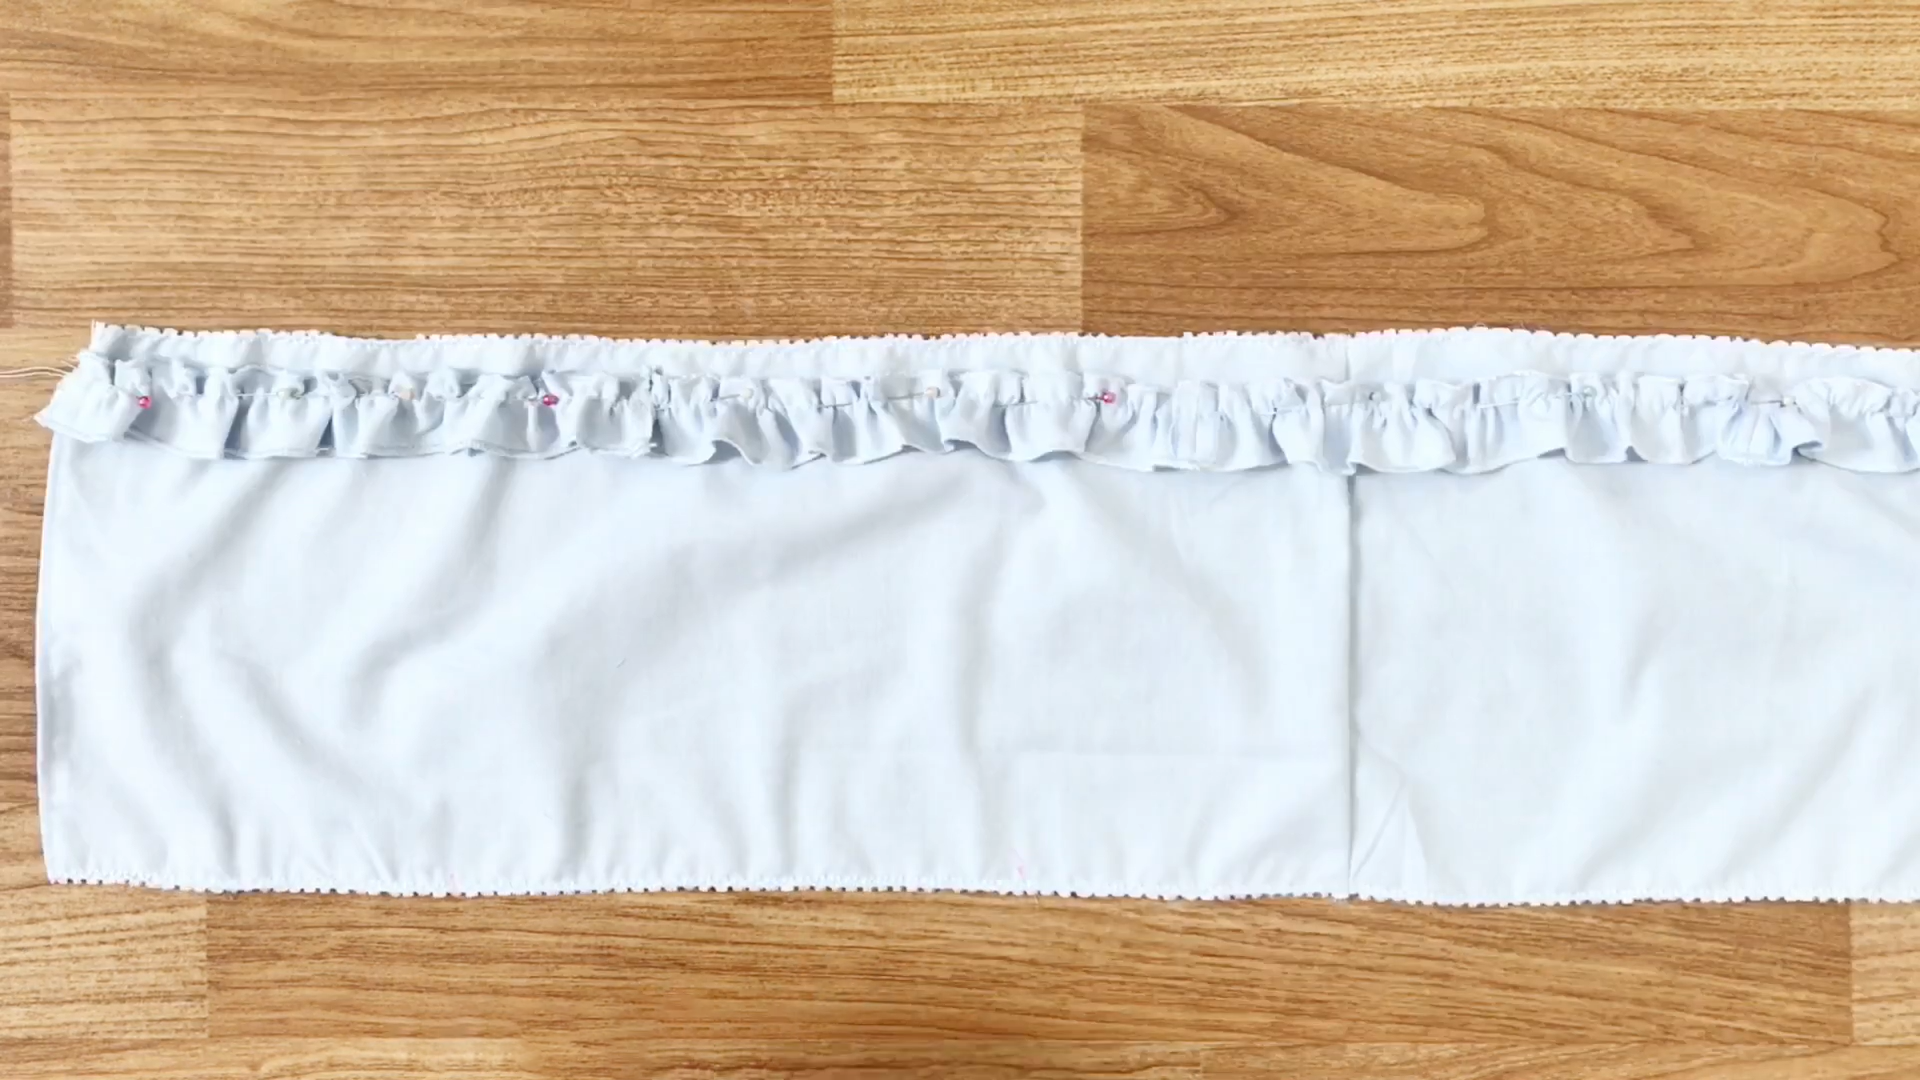
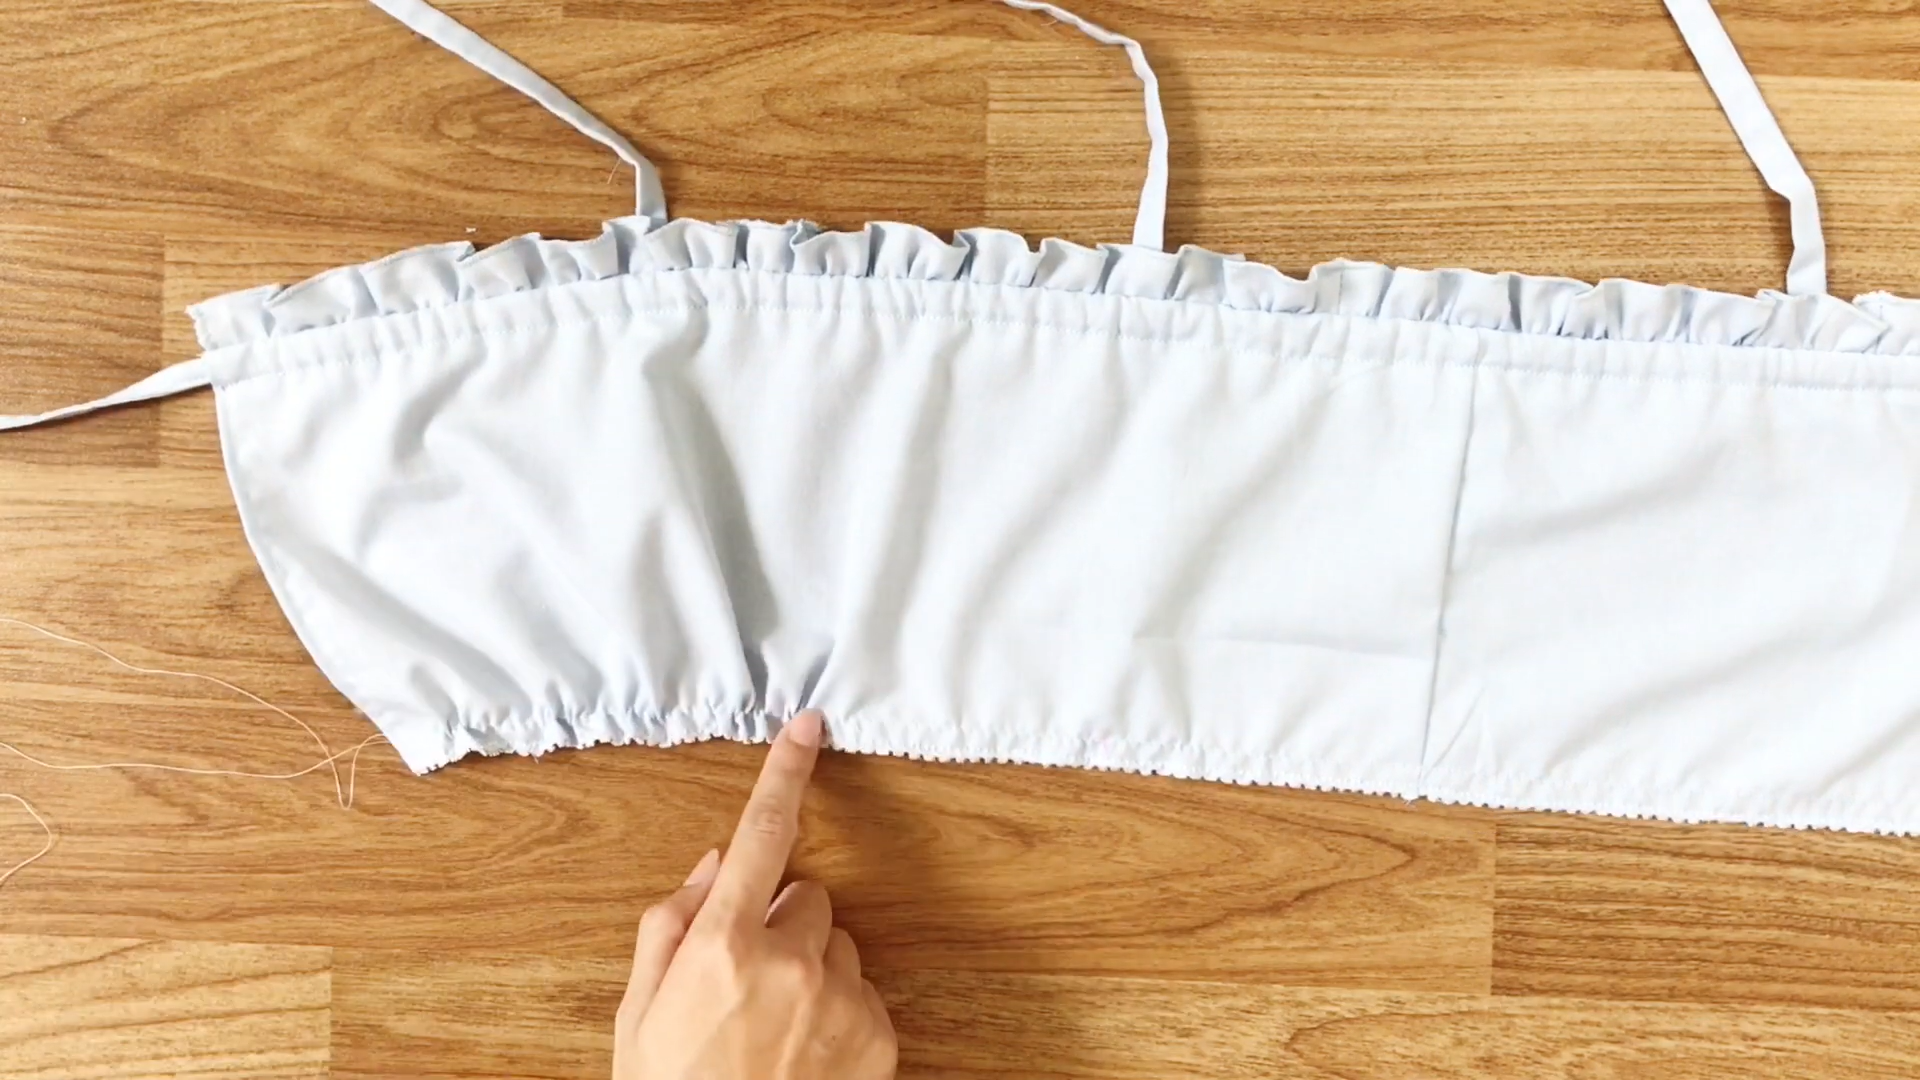
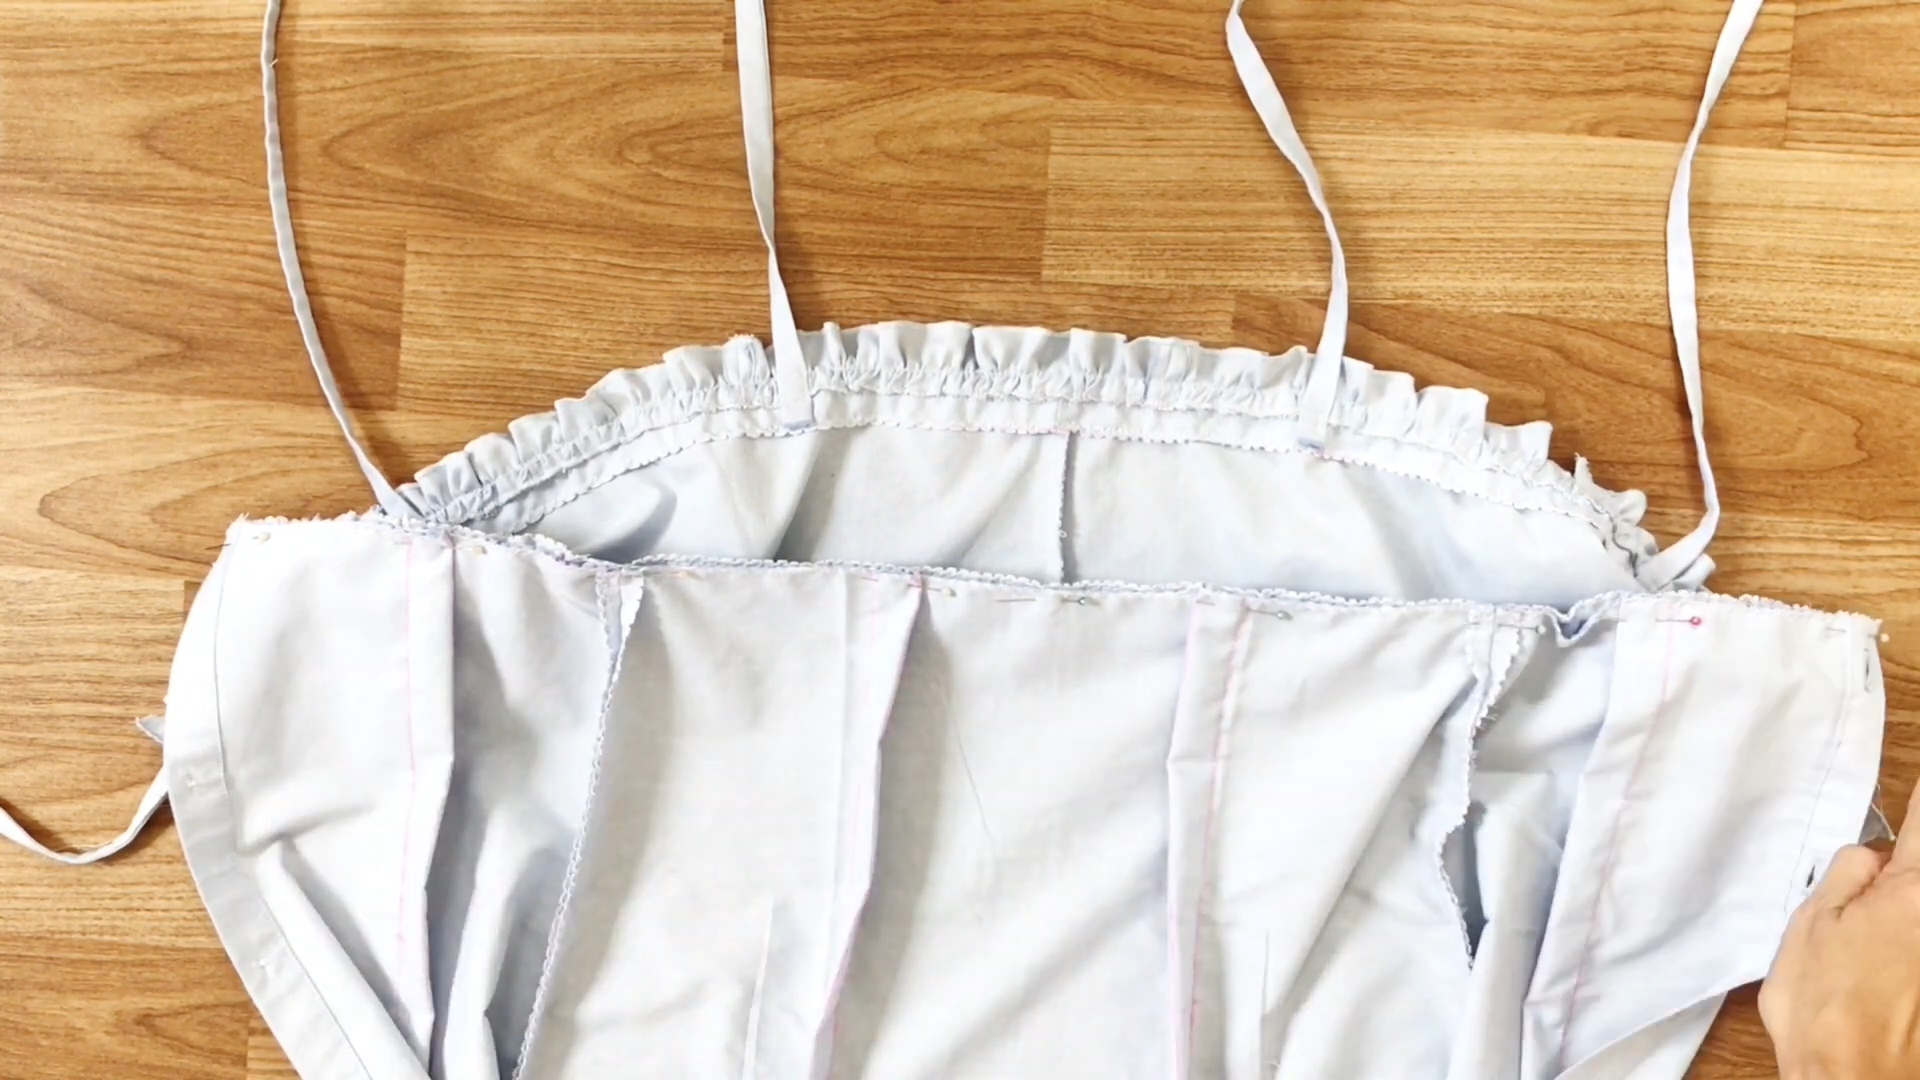
Then, make a bind stitch on one side of the fabric to create a ruffle.
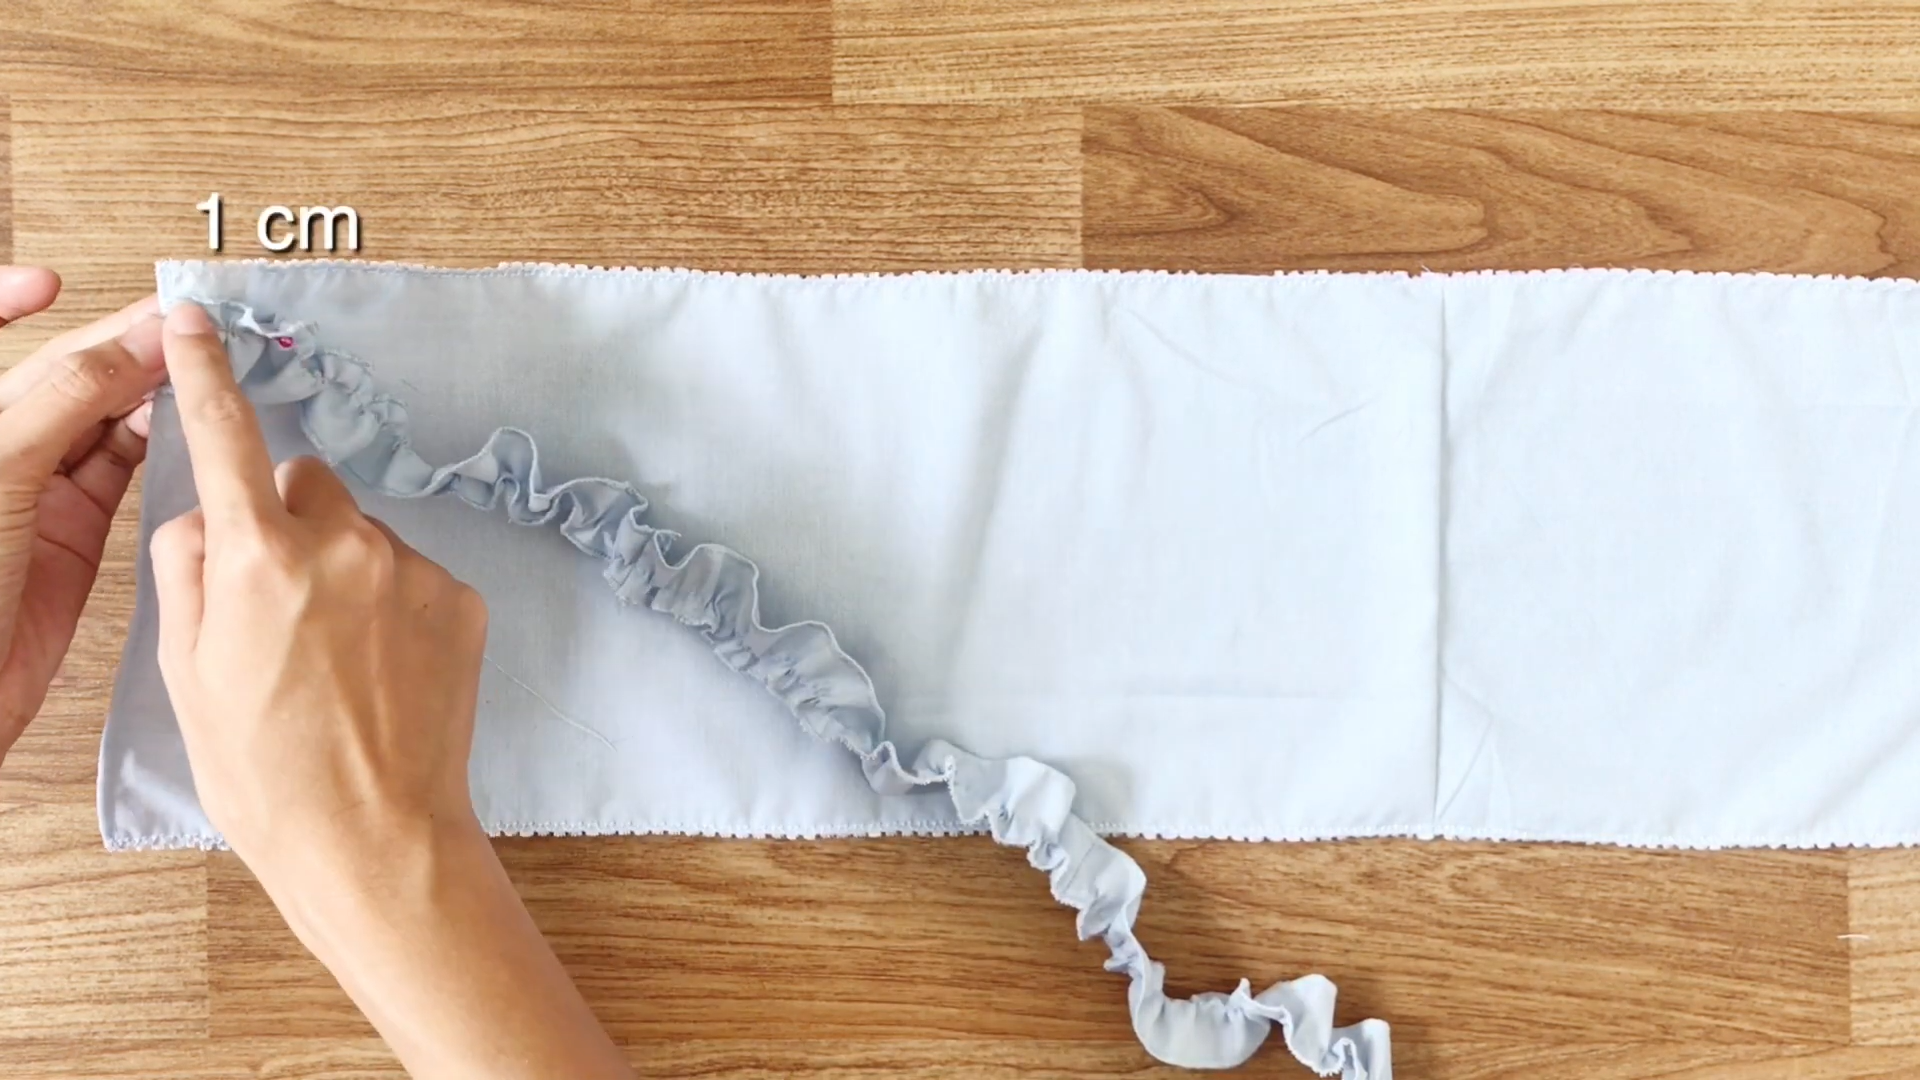
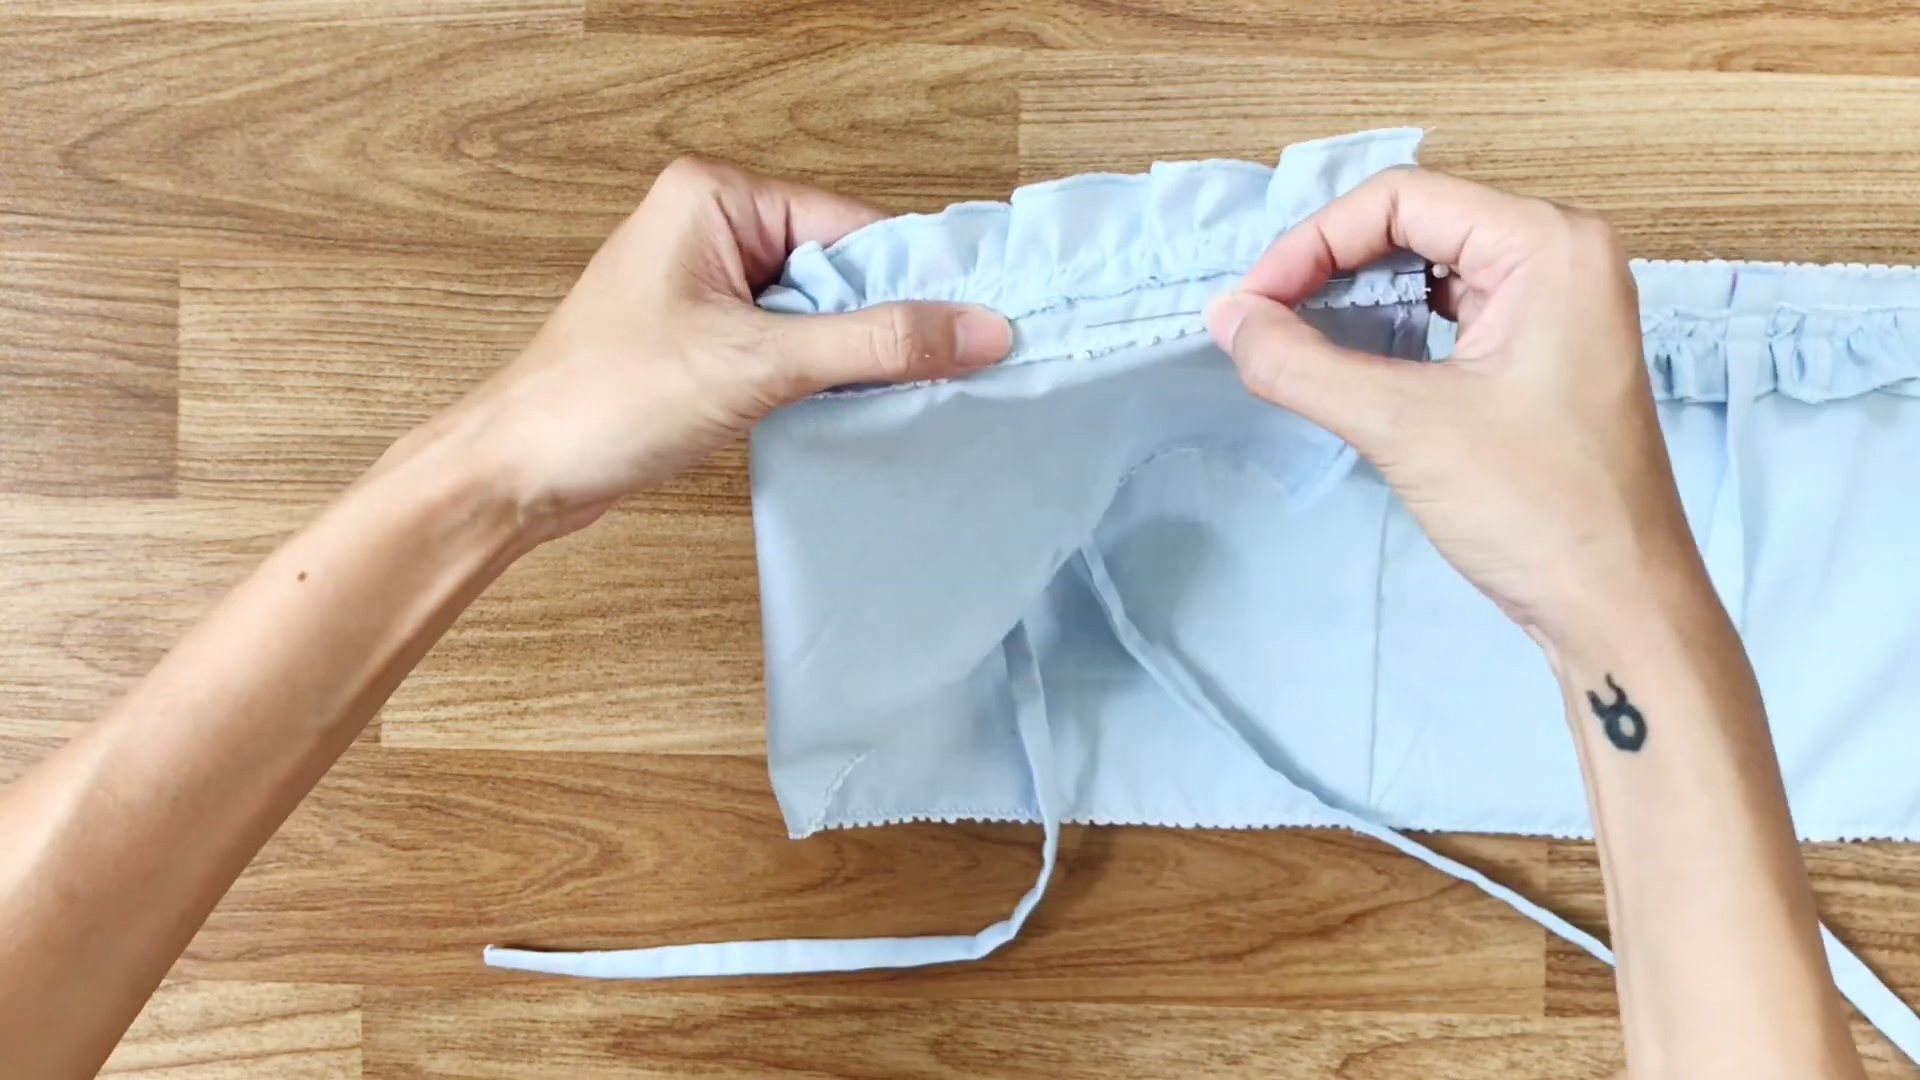
Attach the ruffle to the top of the dress, keep a 1cm margin from the top.
And, fix the bow ties to the top of the dress.
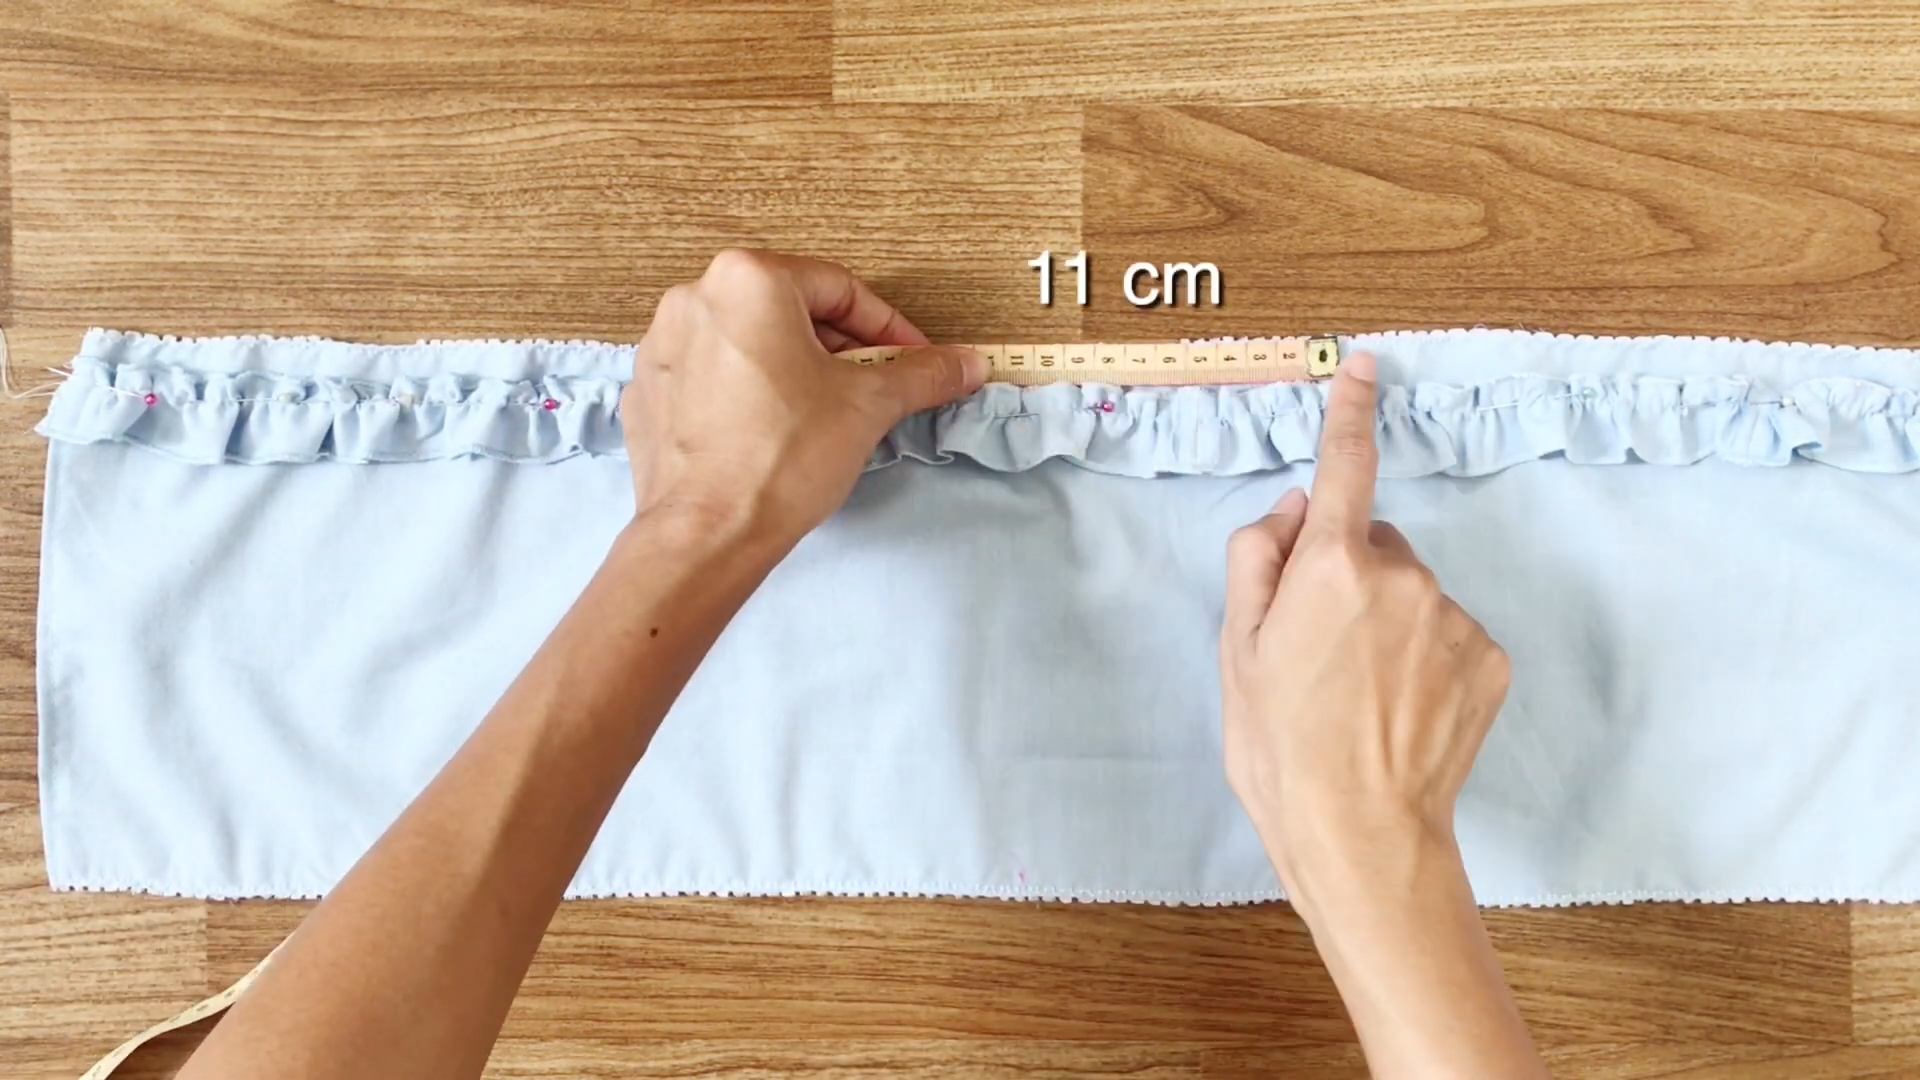
From the center of the top, measure 11cm to the left and mark the point.
CONNECT THE TOP AND THE PANTS
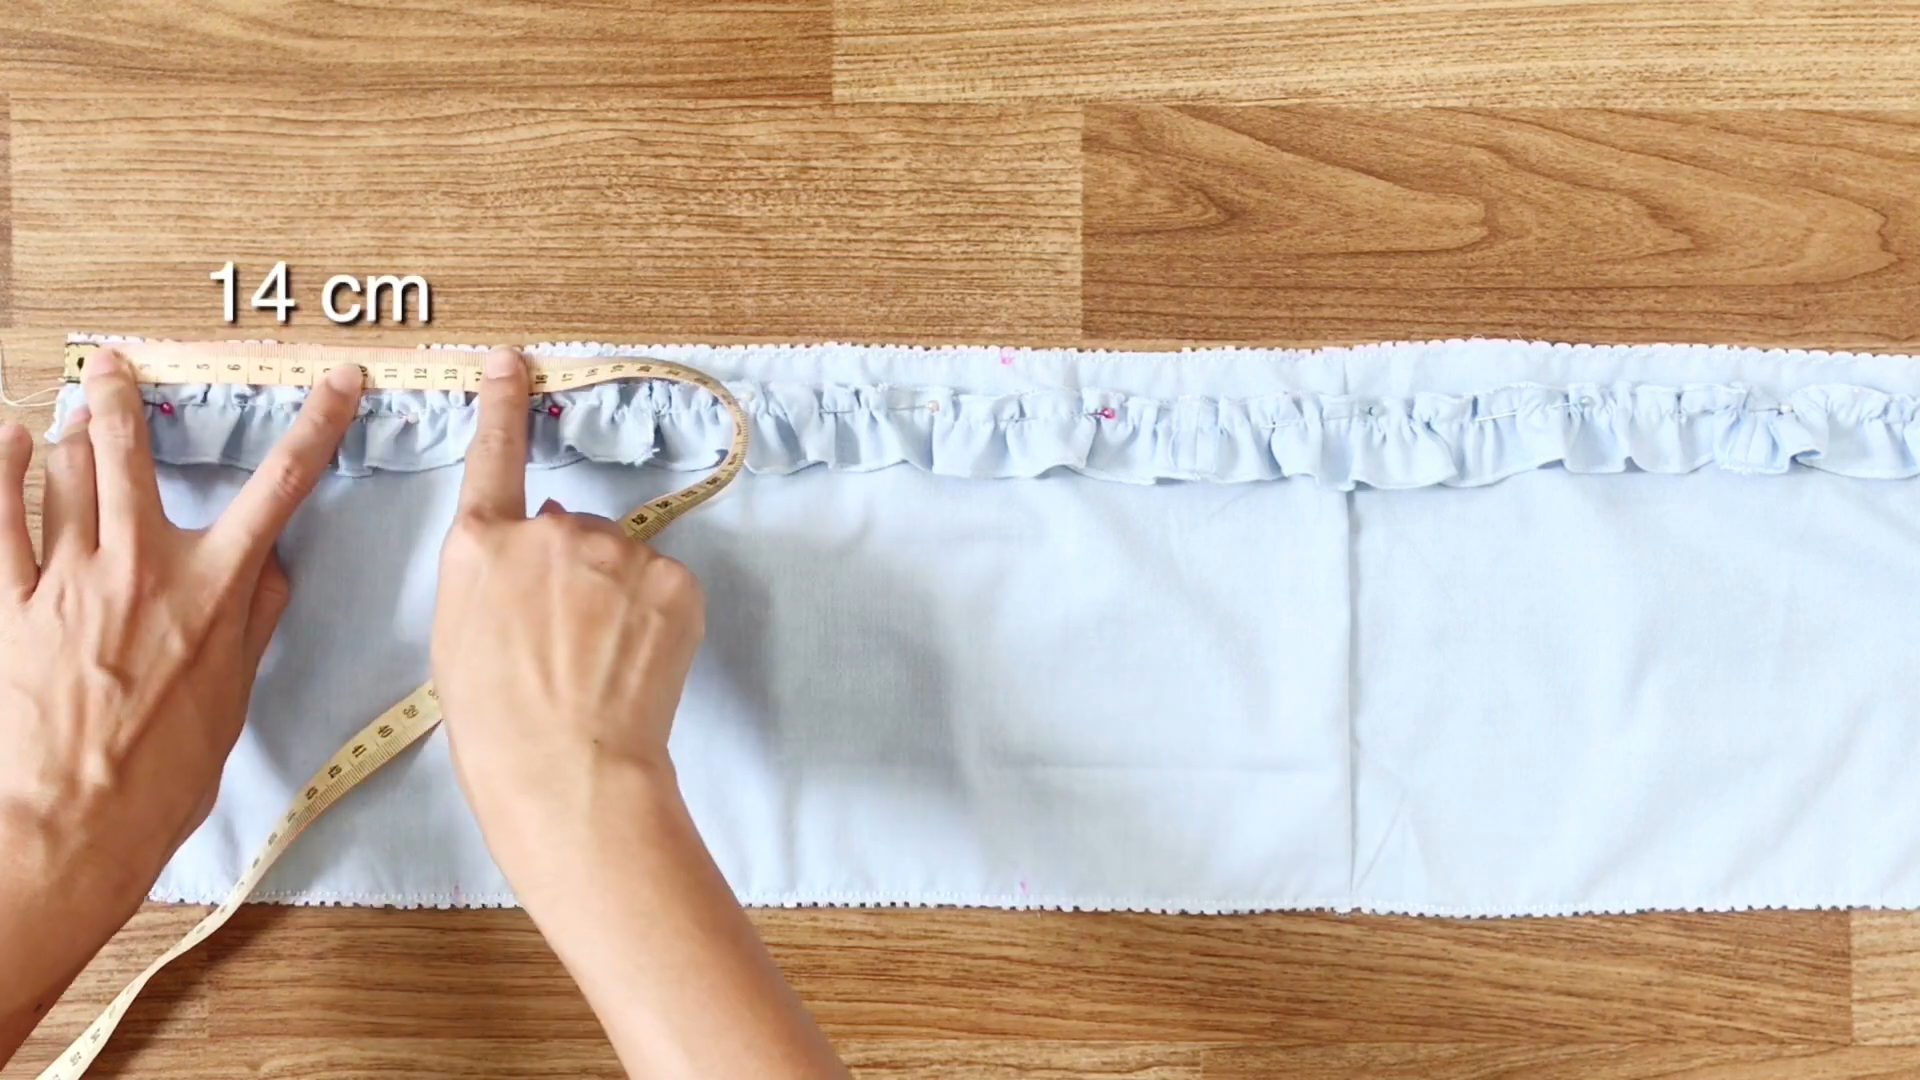
From the left side, measure 14cm inward and mark another point.
Attach the bow ties to the top of the dress at these marks, repeating the process for the other side, and then sew them in place.
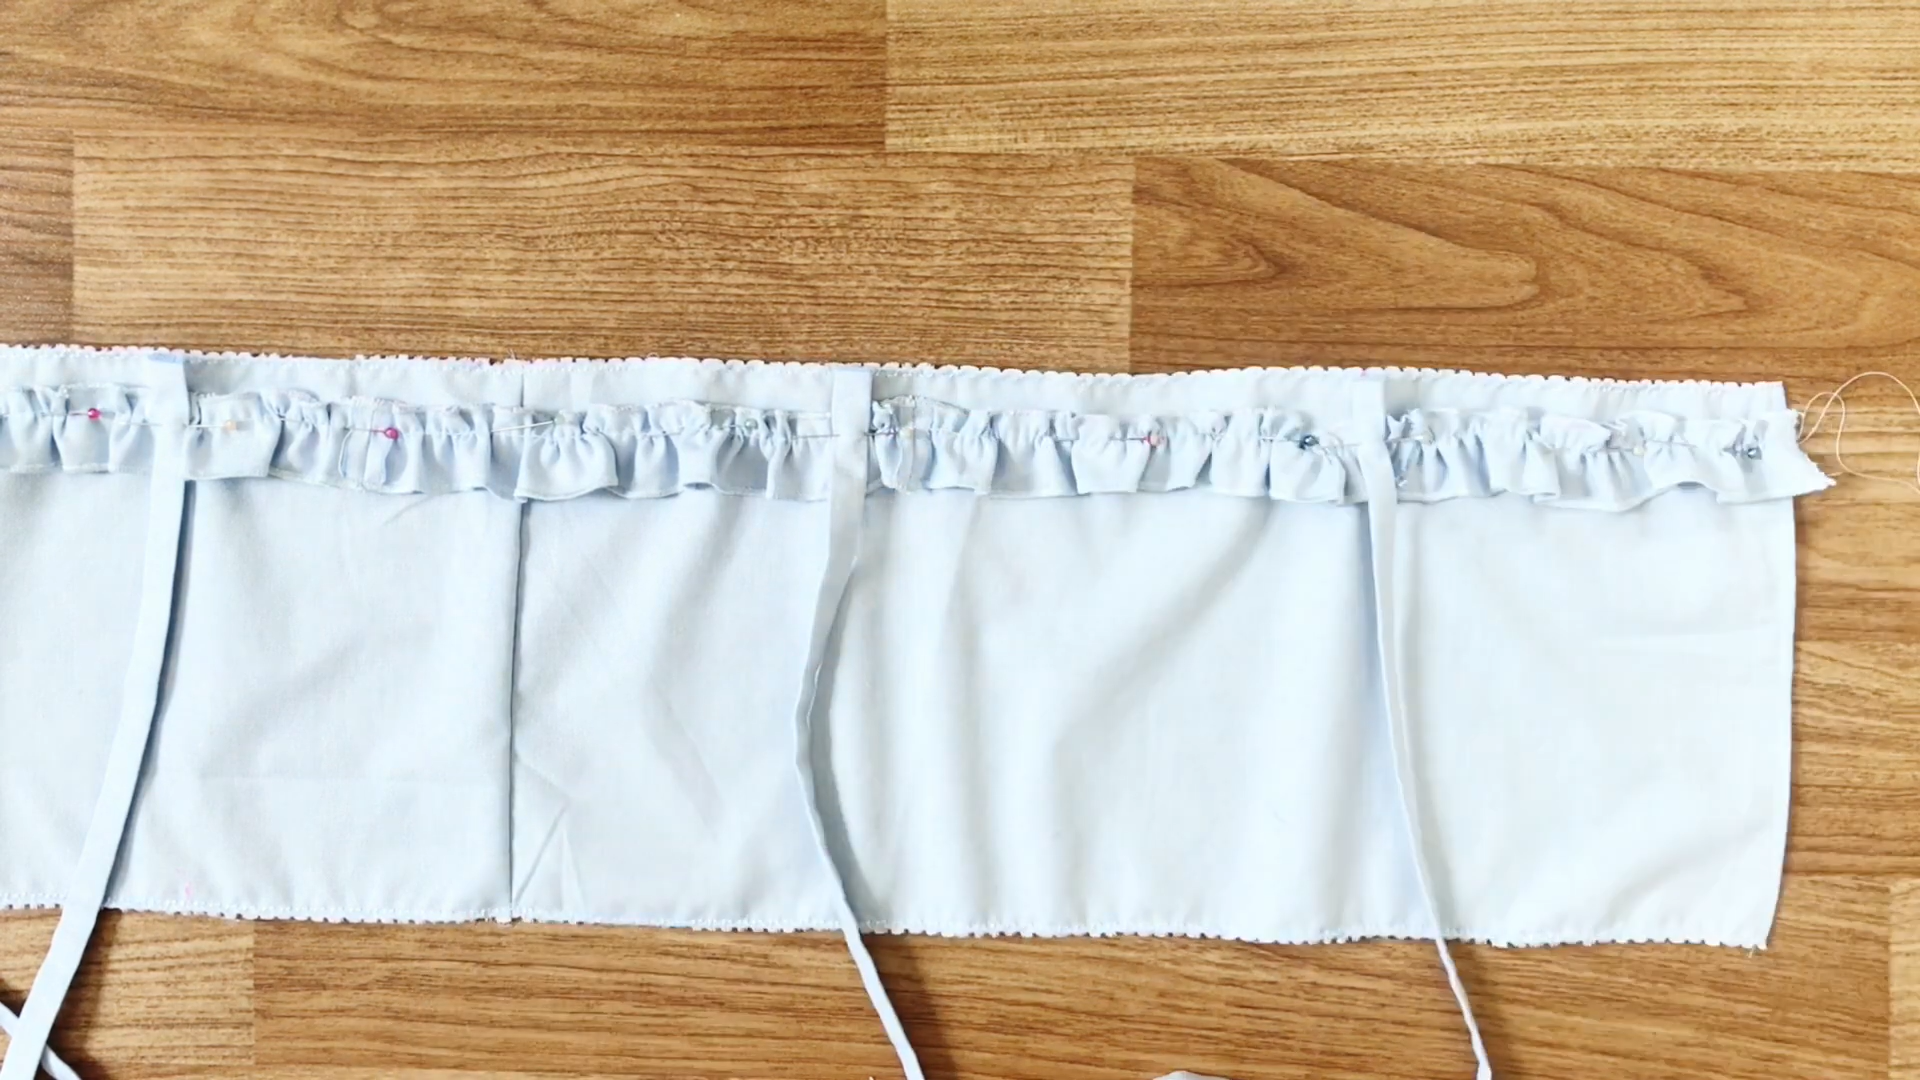
To ensure the seam remains straight, make an additional seam next to it.
Fold all remaining fabric inside, pin it in place, and sew.
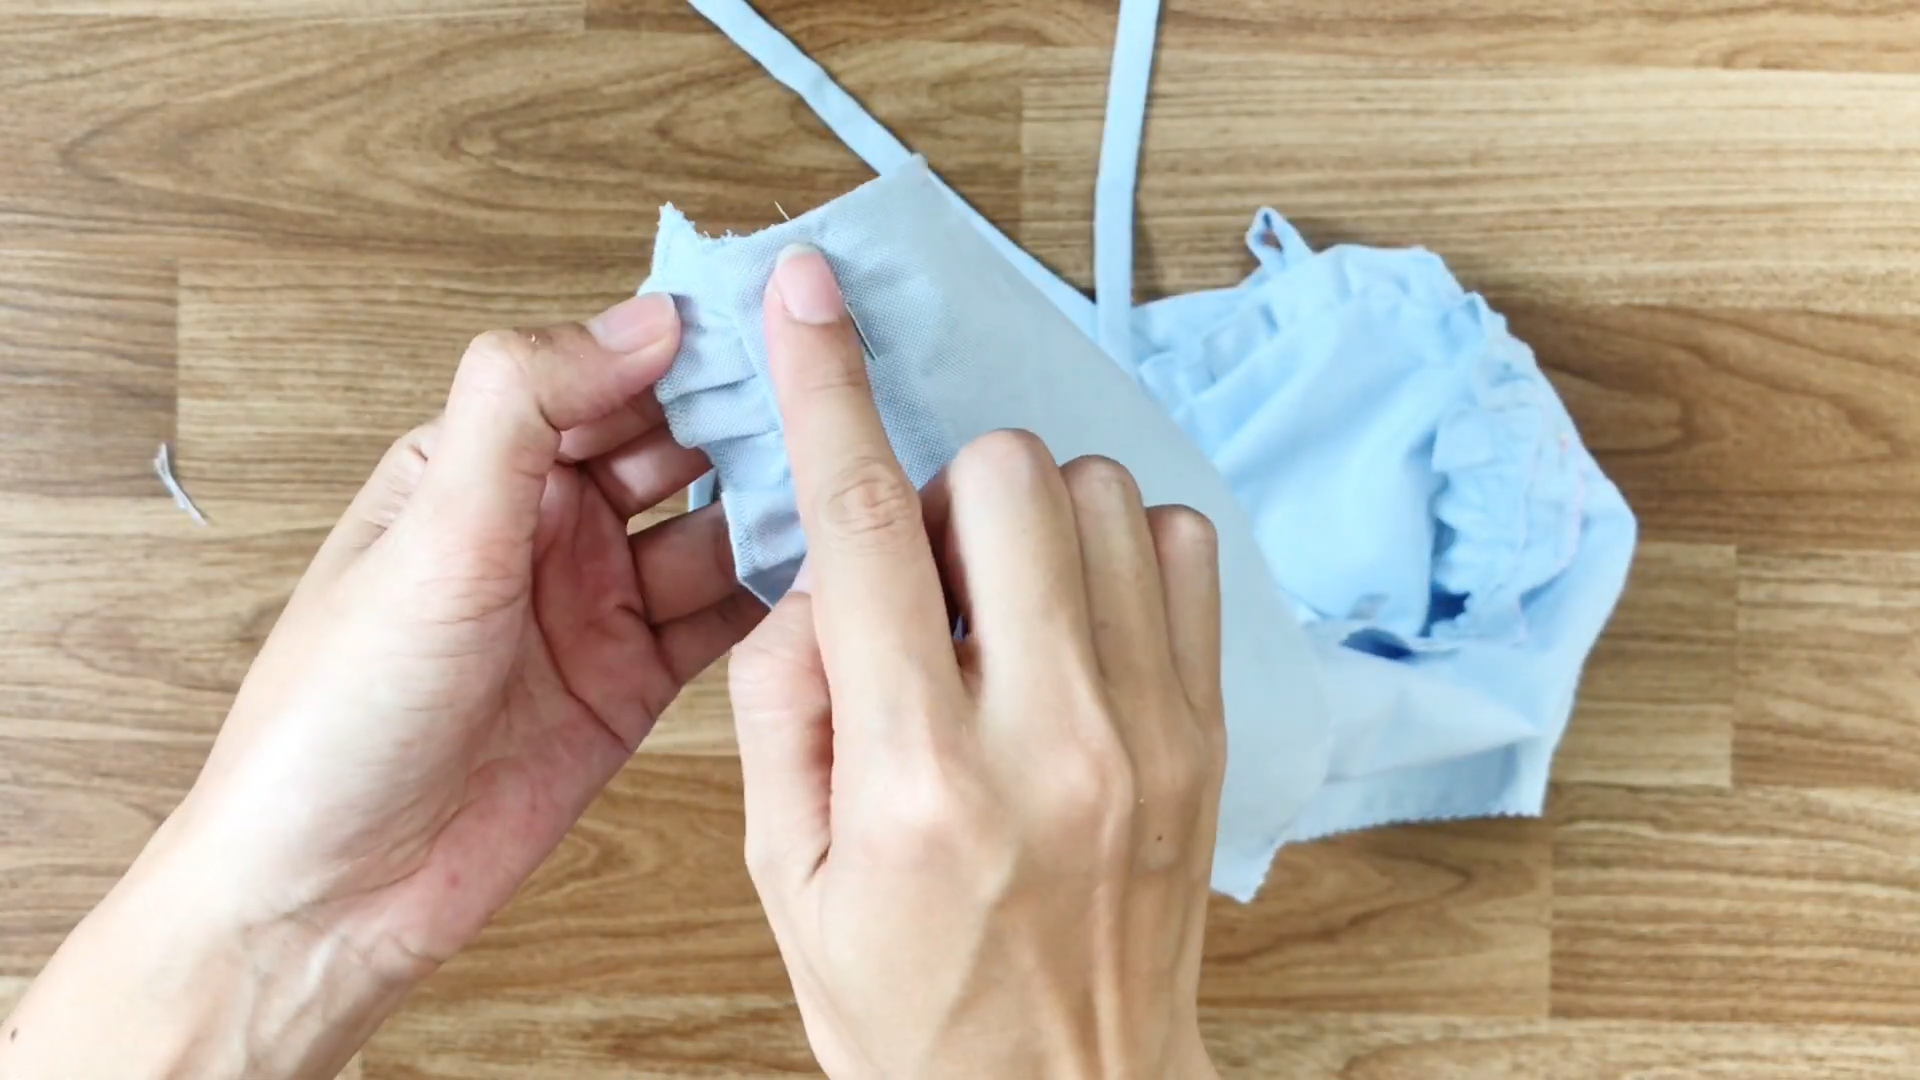
Leave a space for a hole to insert the tie later.
To create the tie for the hole, use fabric from the shirt's collar.
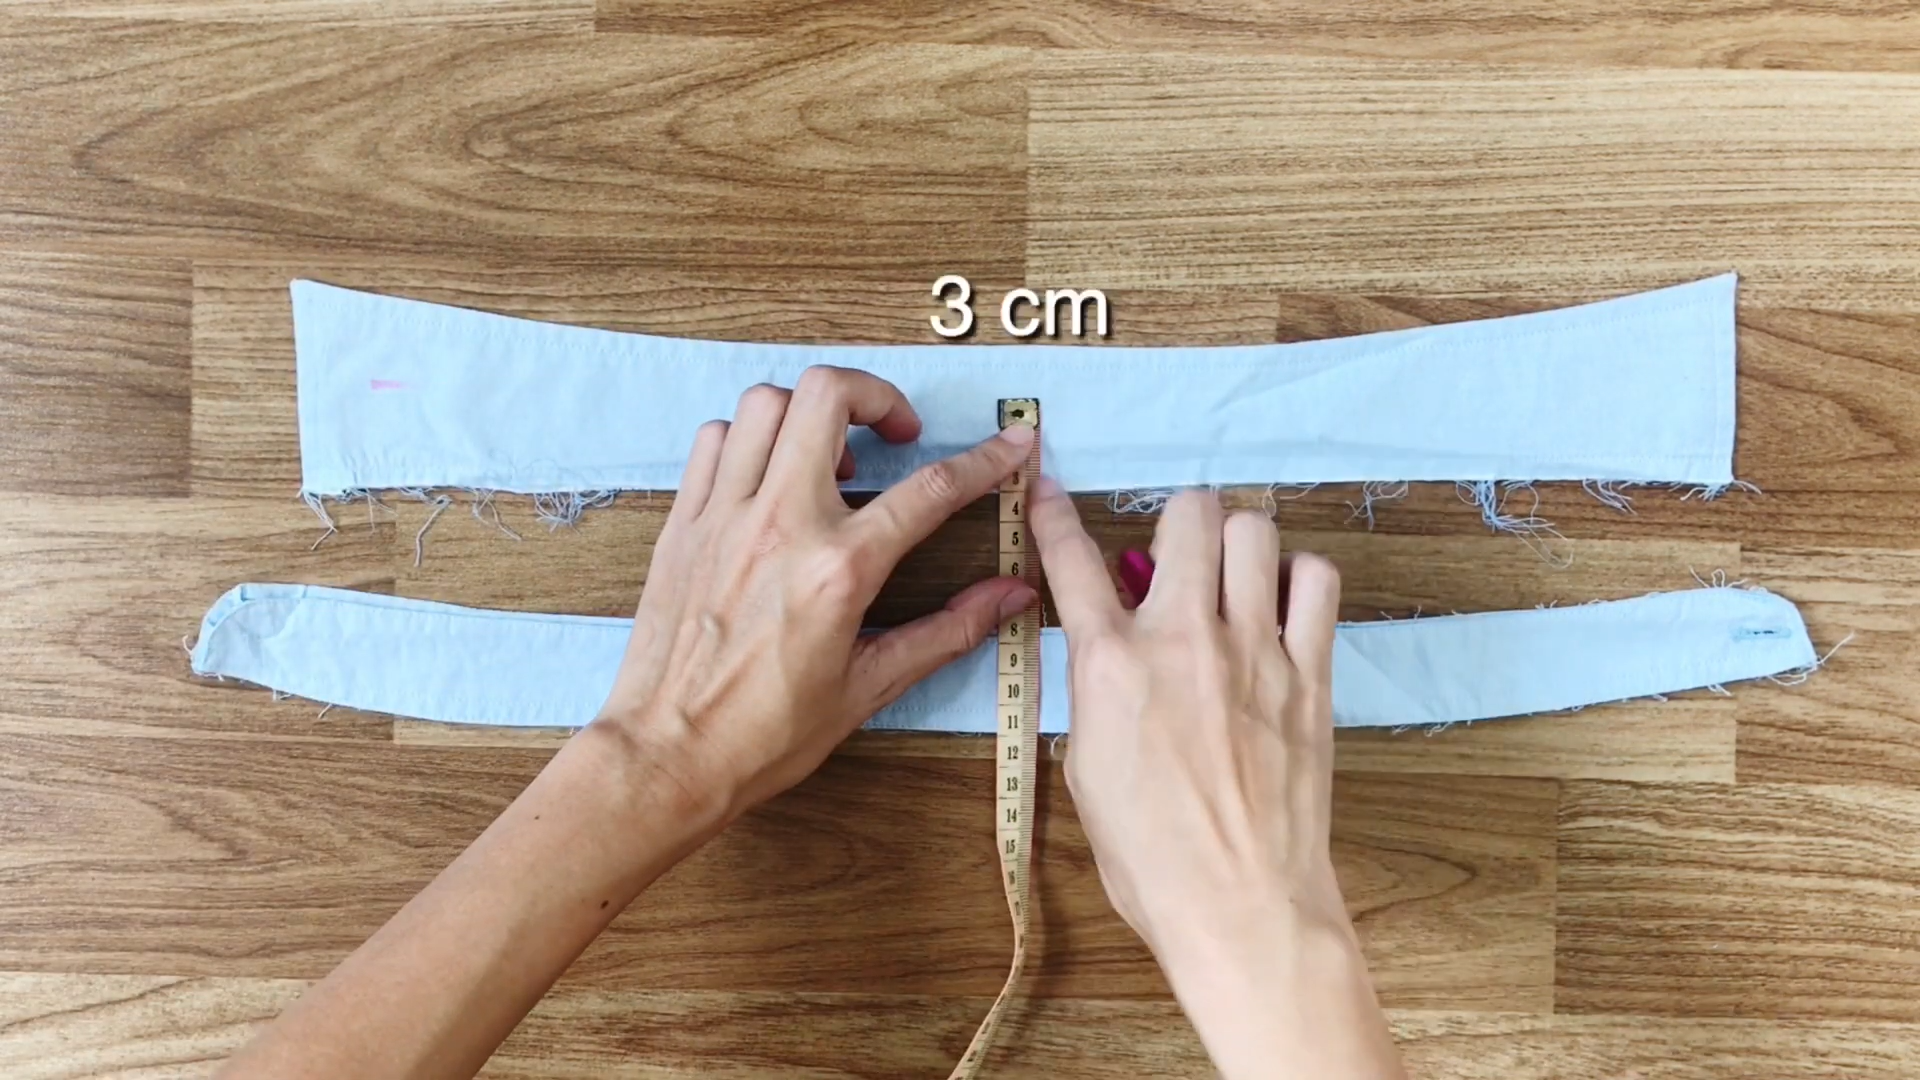
Cut a rectangle with a 3cm width.
And, connect the pieces to form the tie.

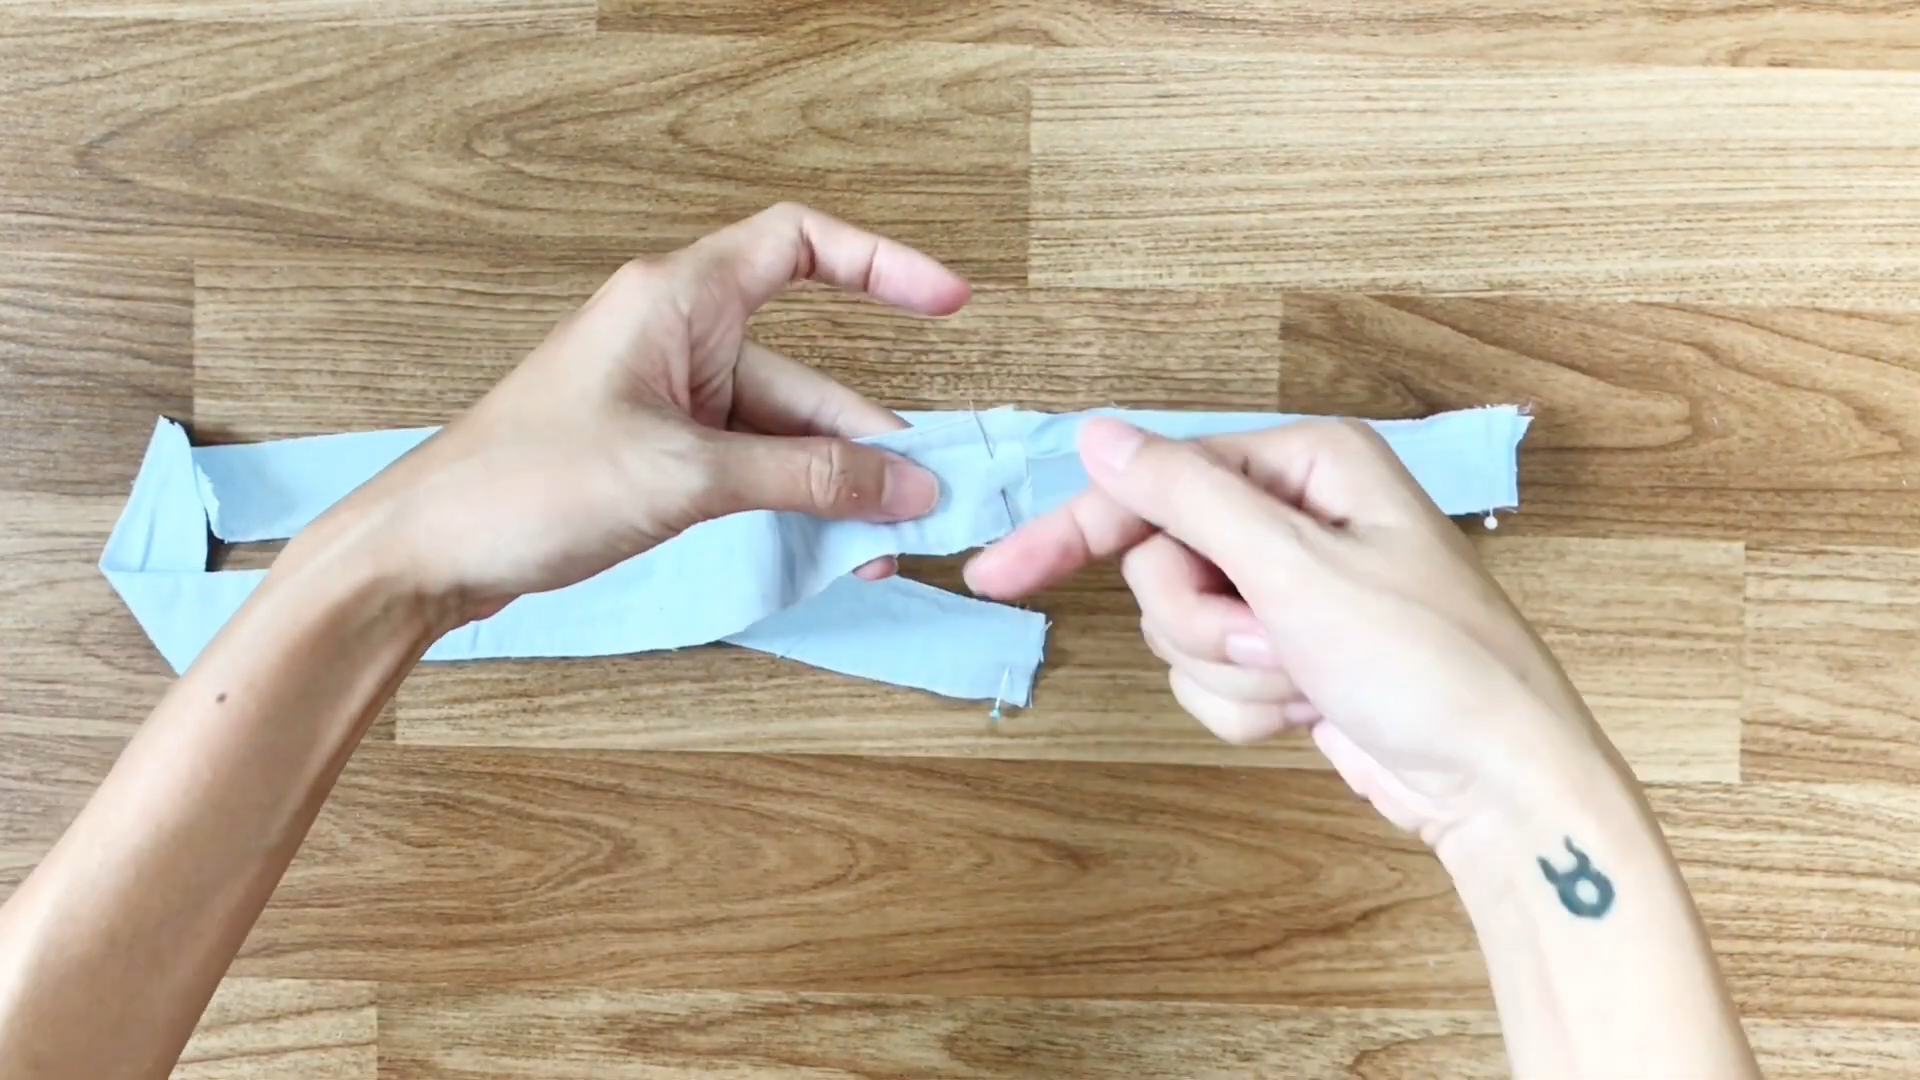
Iron the folds and then sew them.

Insert the tie into the hole using a safety pin.

At the bottom of the front part, create a bind stitch to form a ruffle on both sides.
Because the front of the dress is not very long, only create the ruffle for the front and keep the back straight.
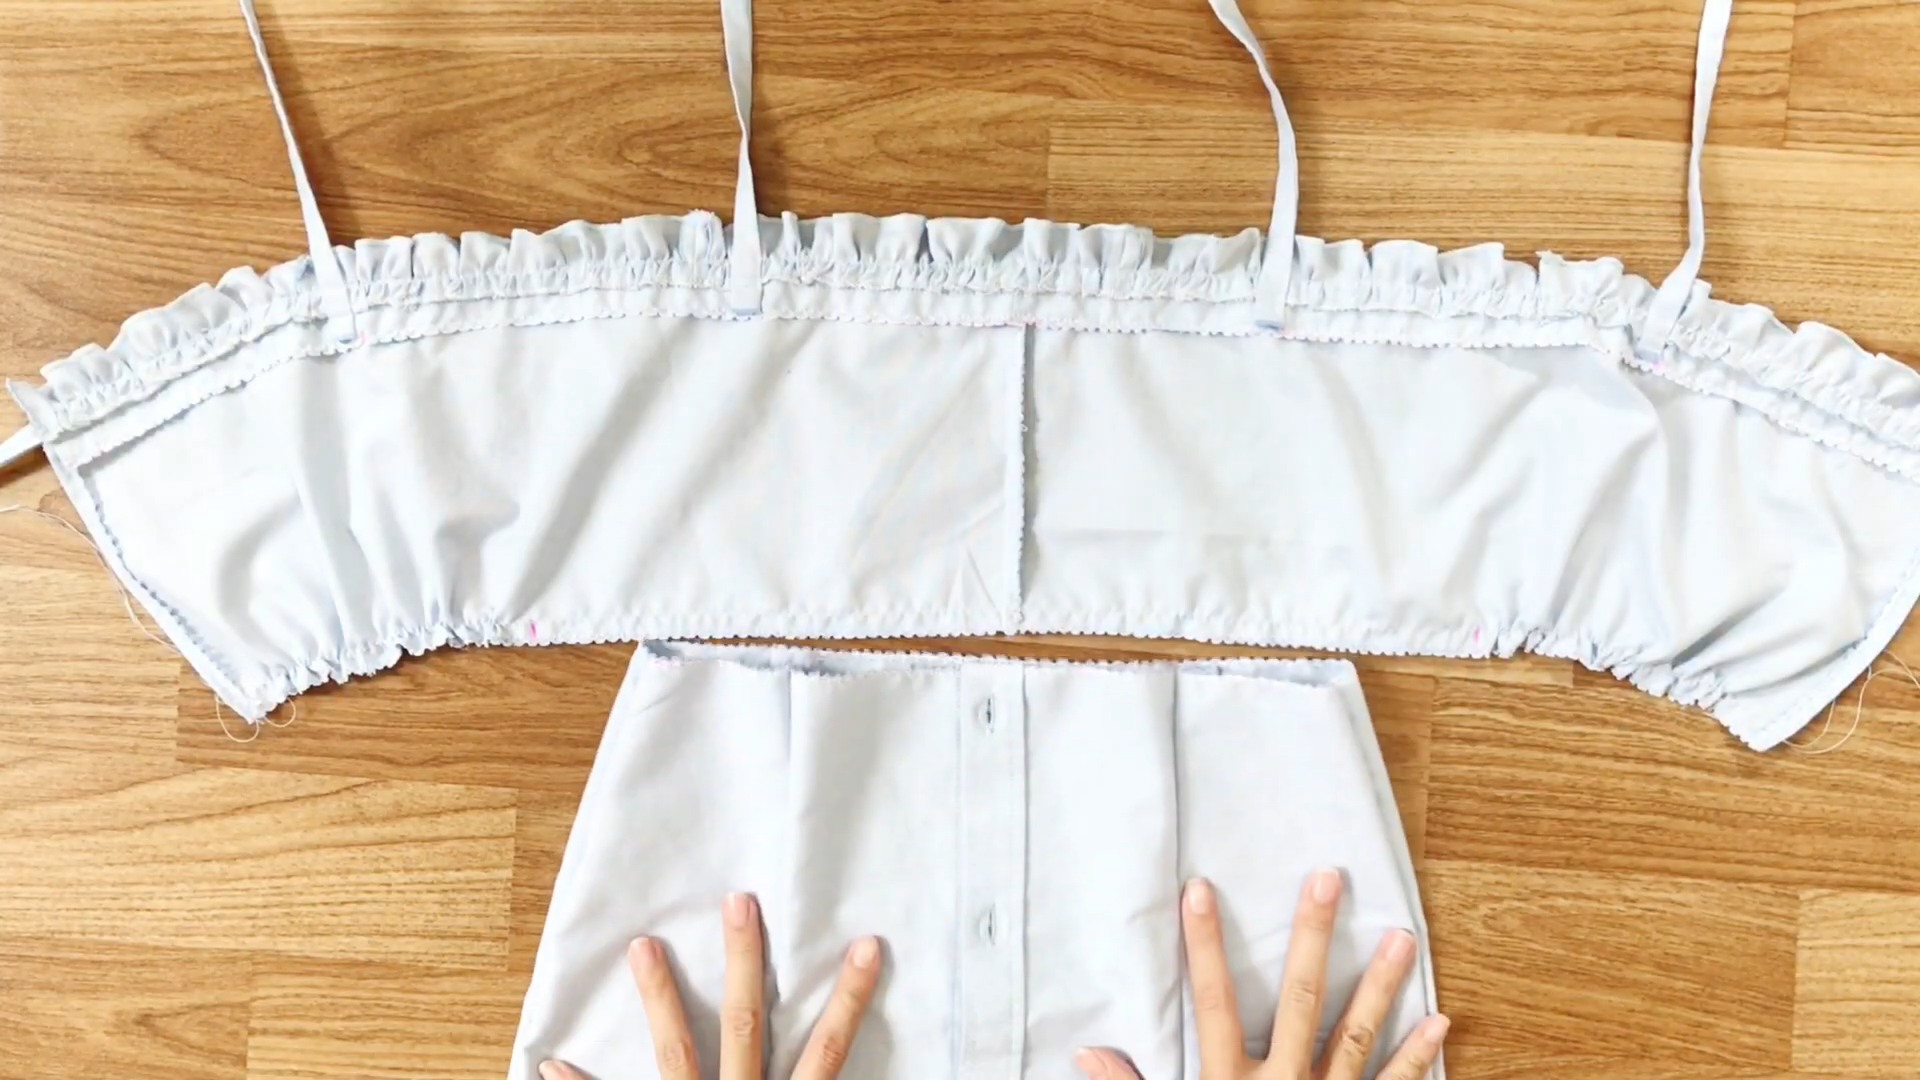
Make sure that the final length of the front matches the under bust size.
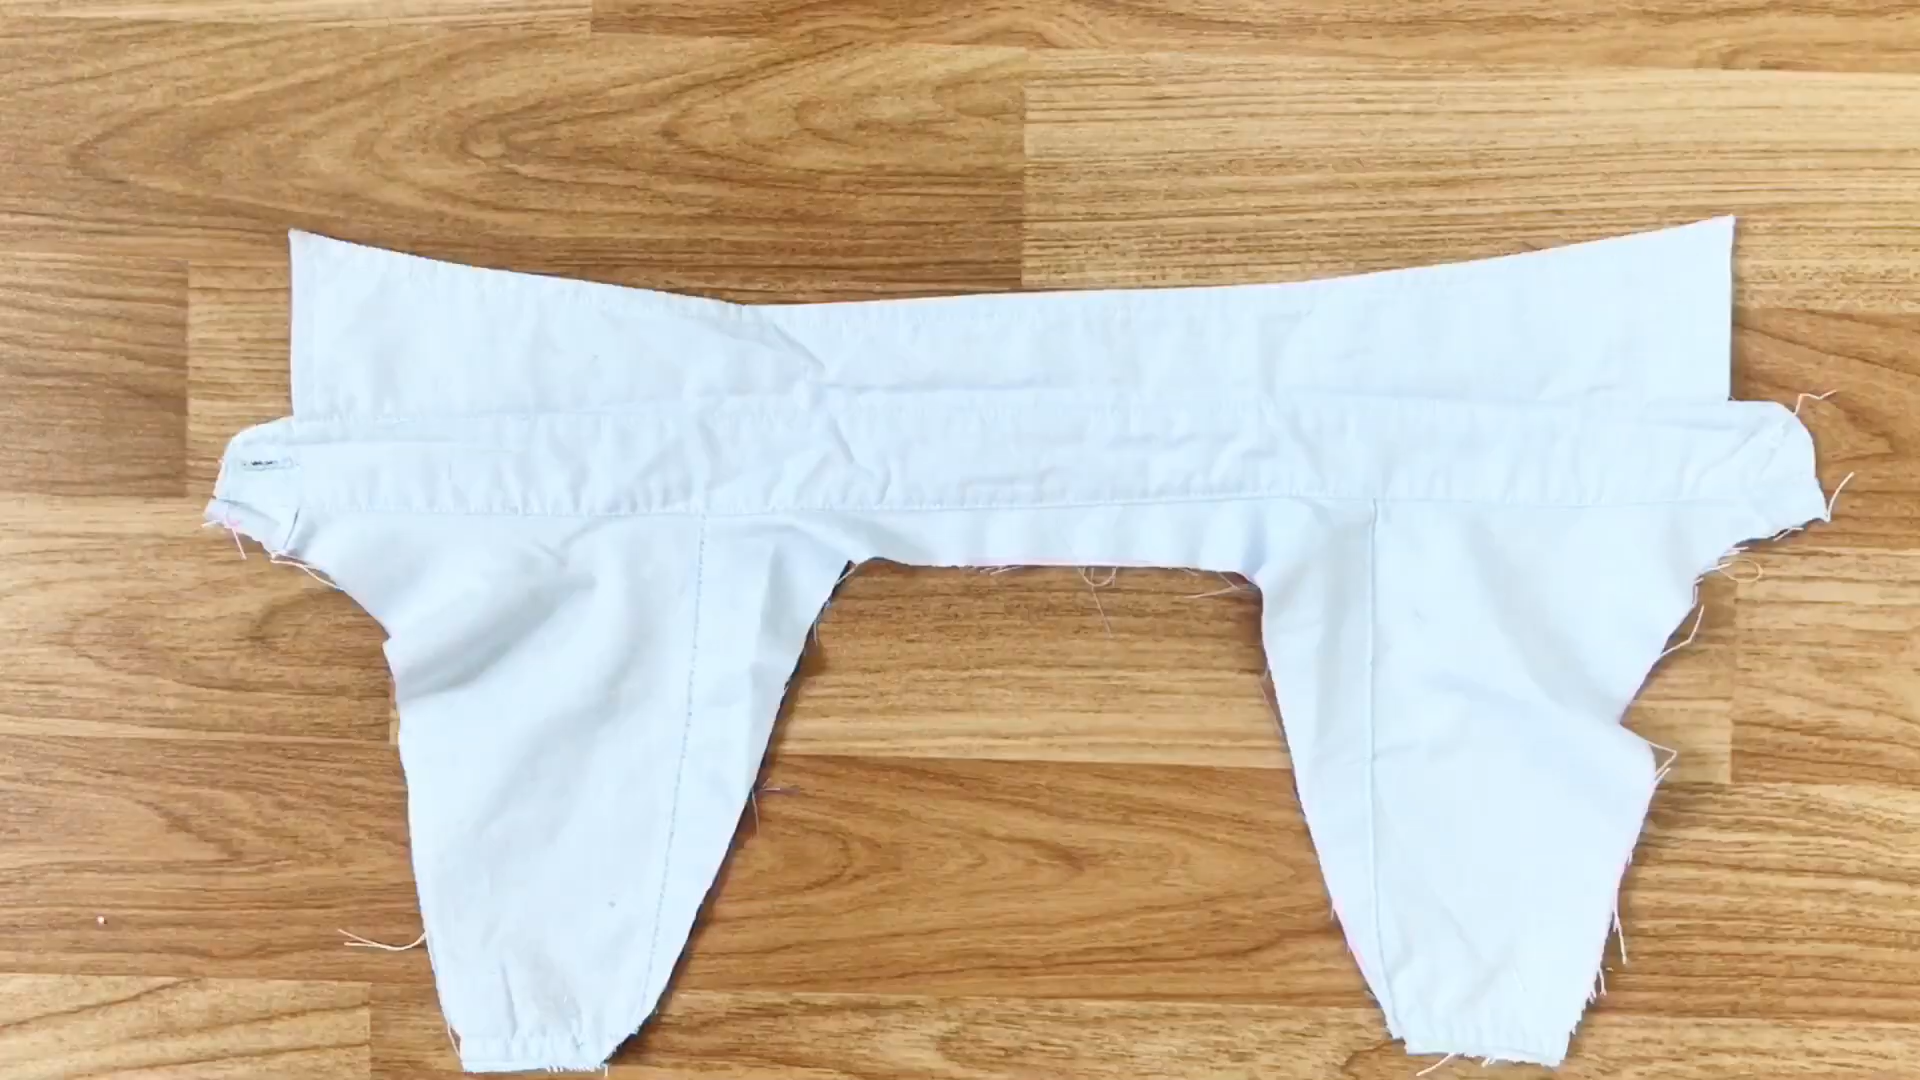
Finally, connect the front and back of the dress, securing the back first, followed by the front with the ruffle, and then sew them together.
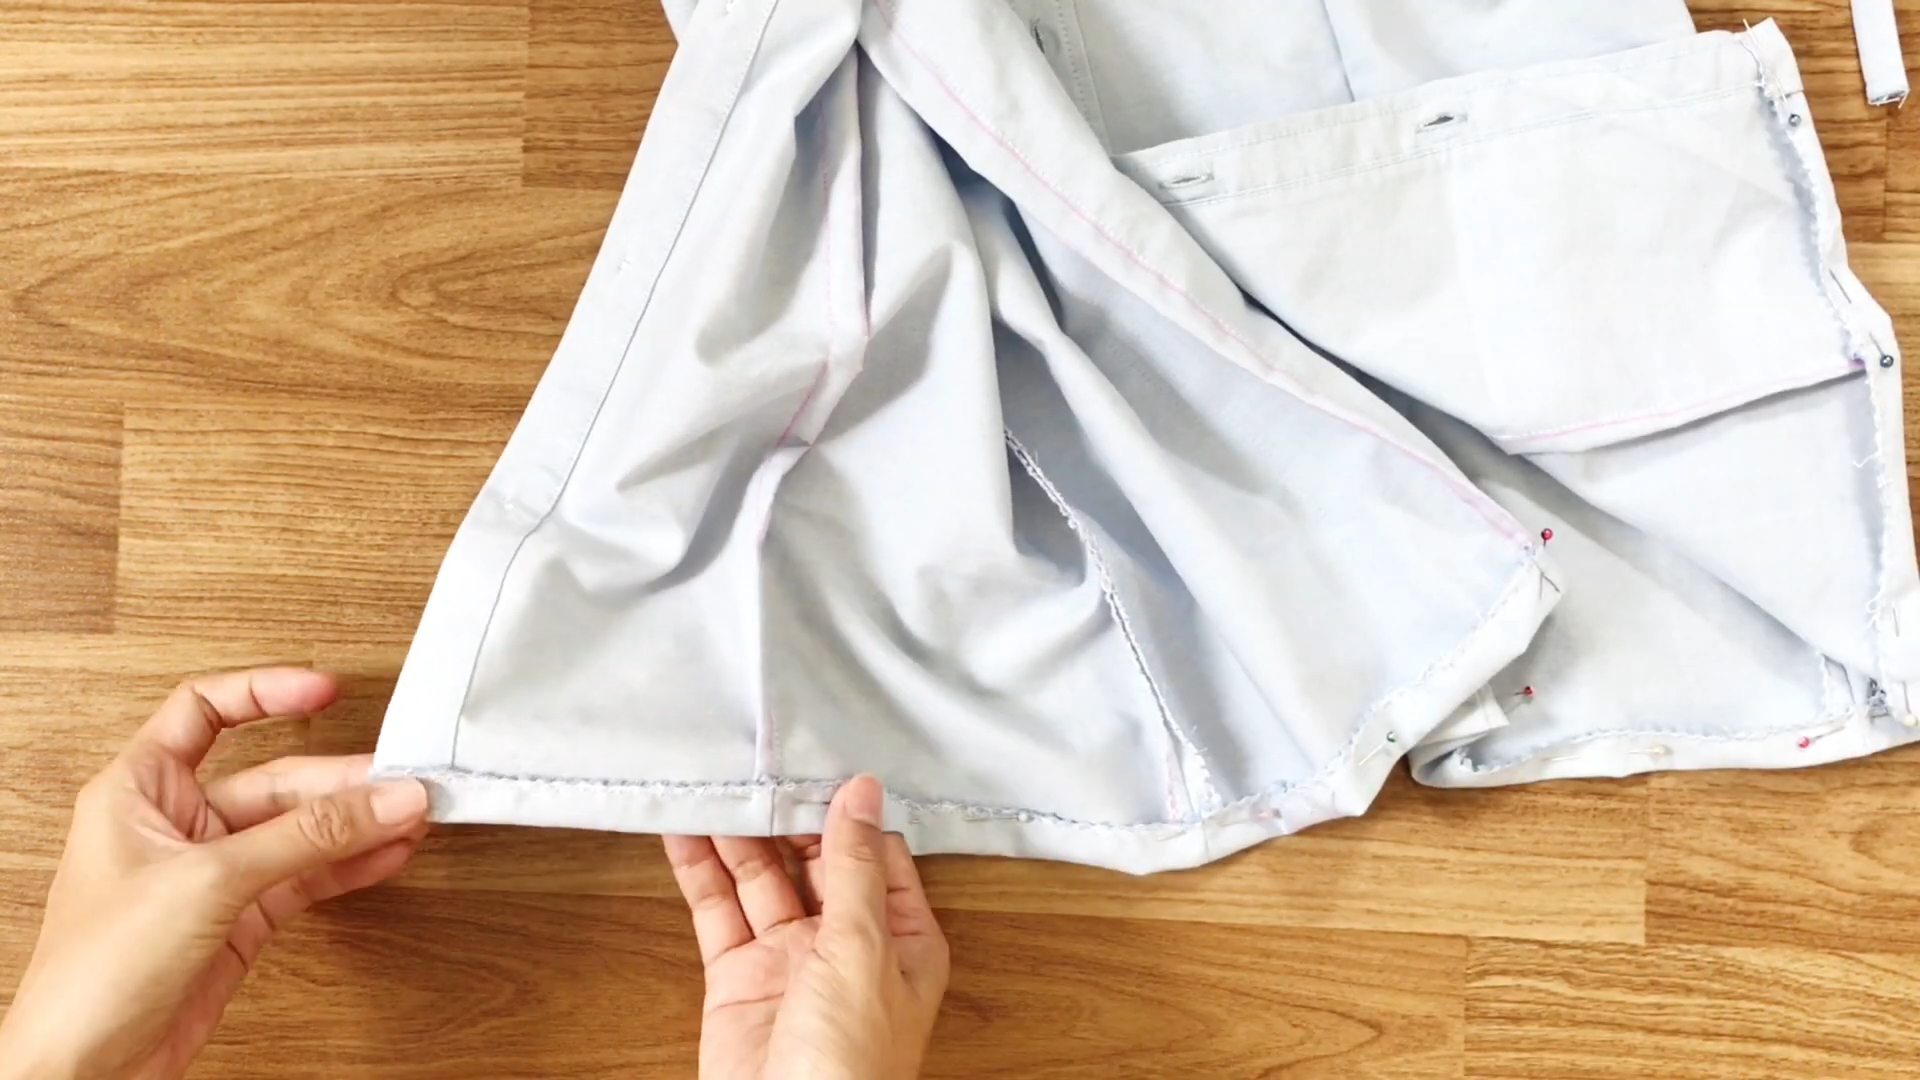
The last step is to finish the hem of the dress by folding it inside, pinning it in place, and sewing.

DIY Button up dress from men's shirt
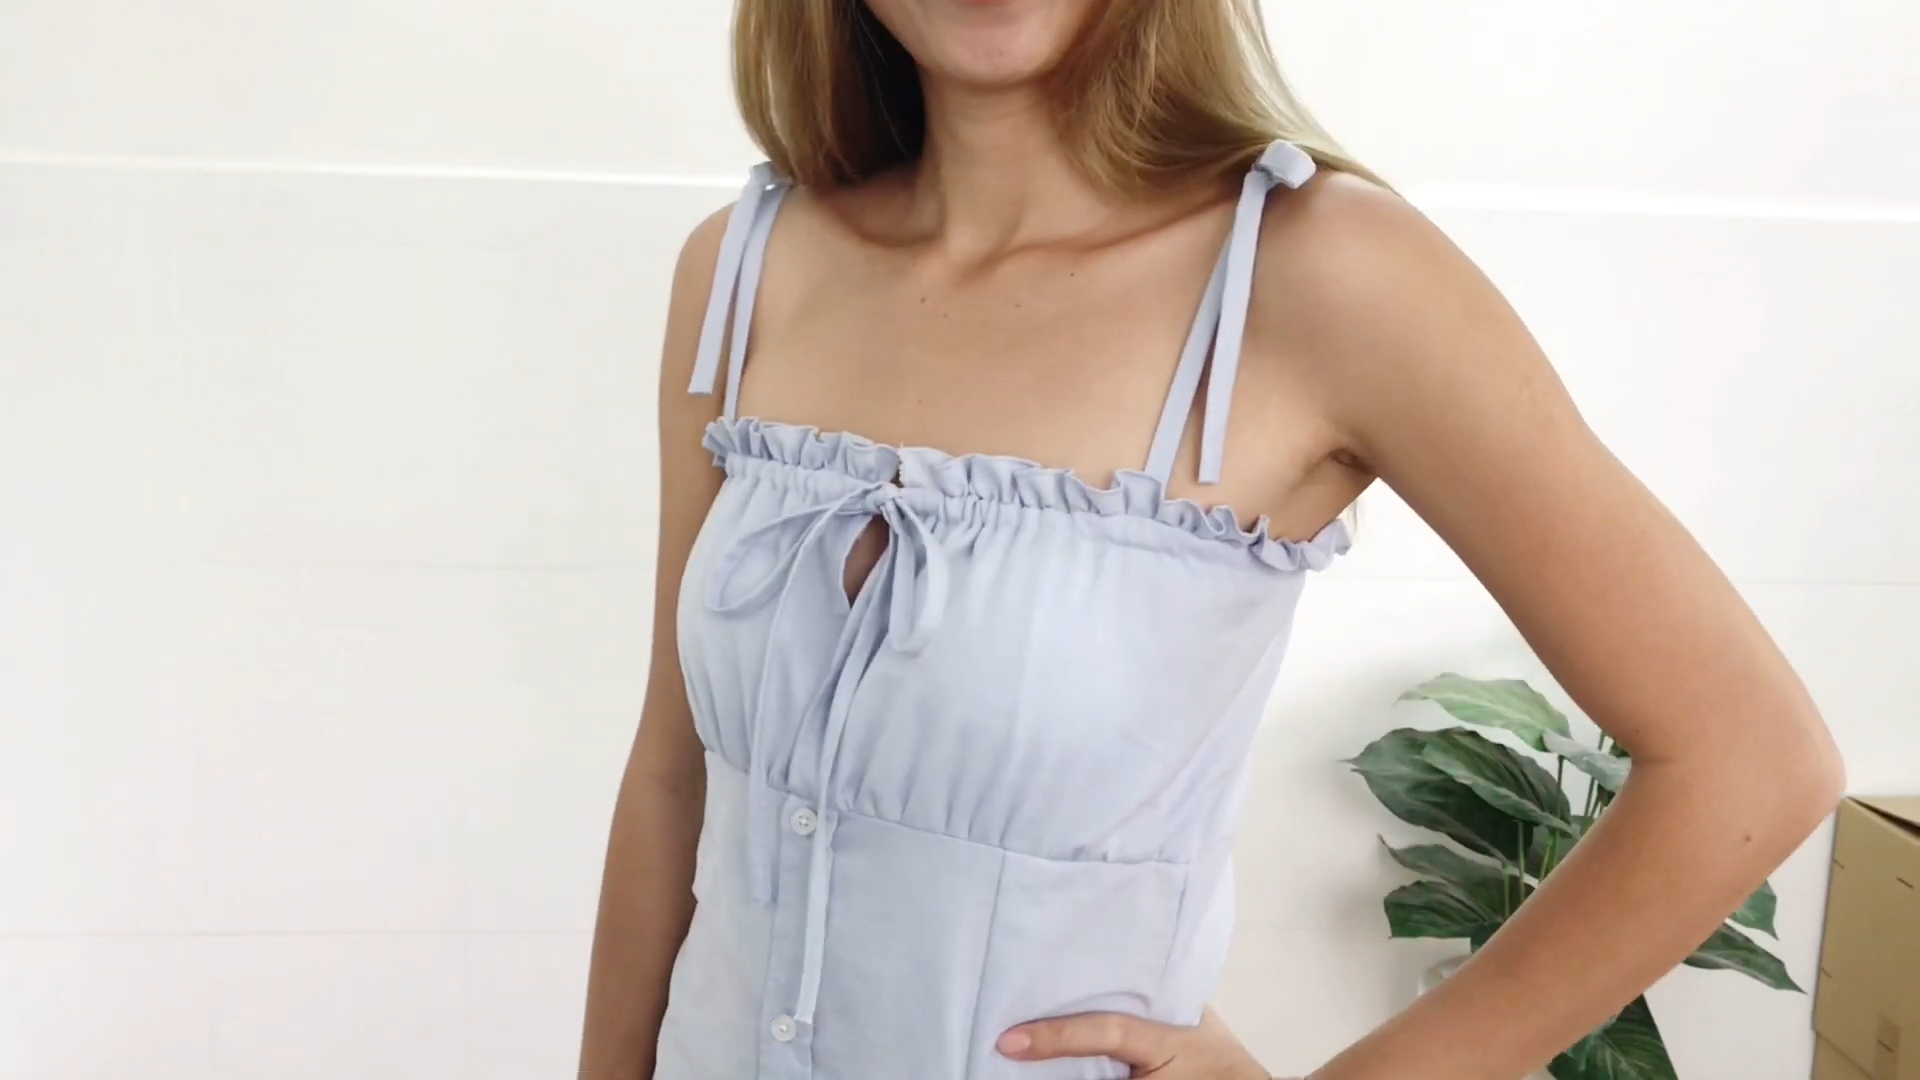
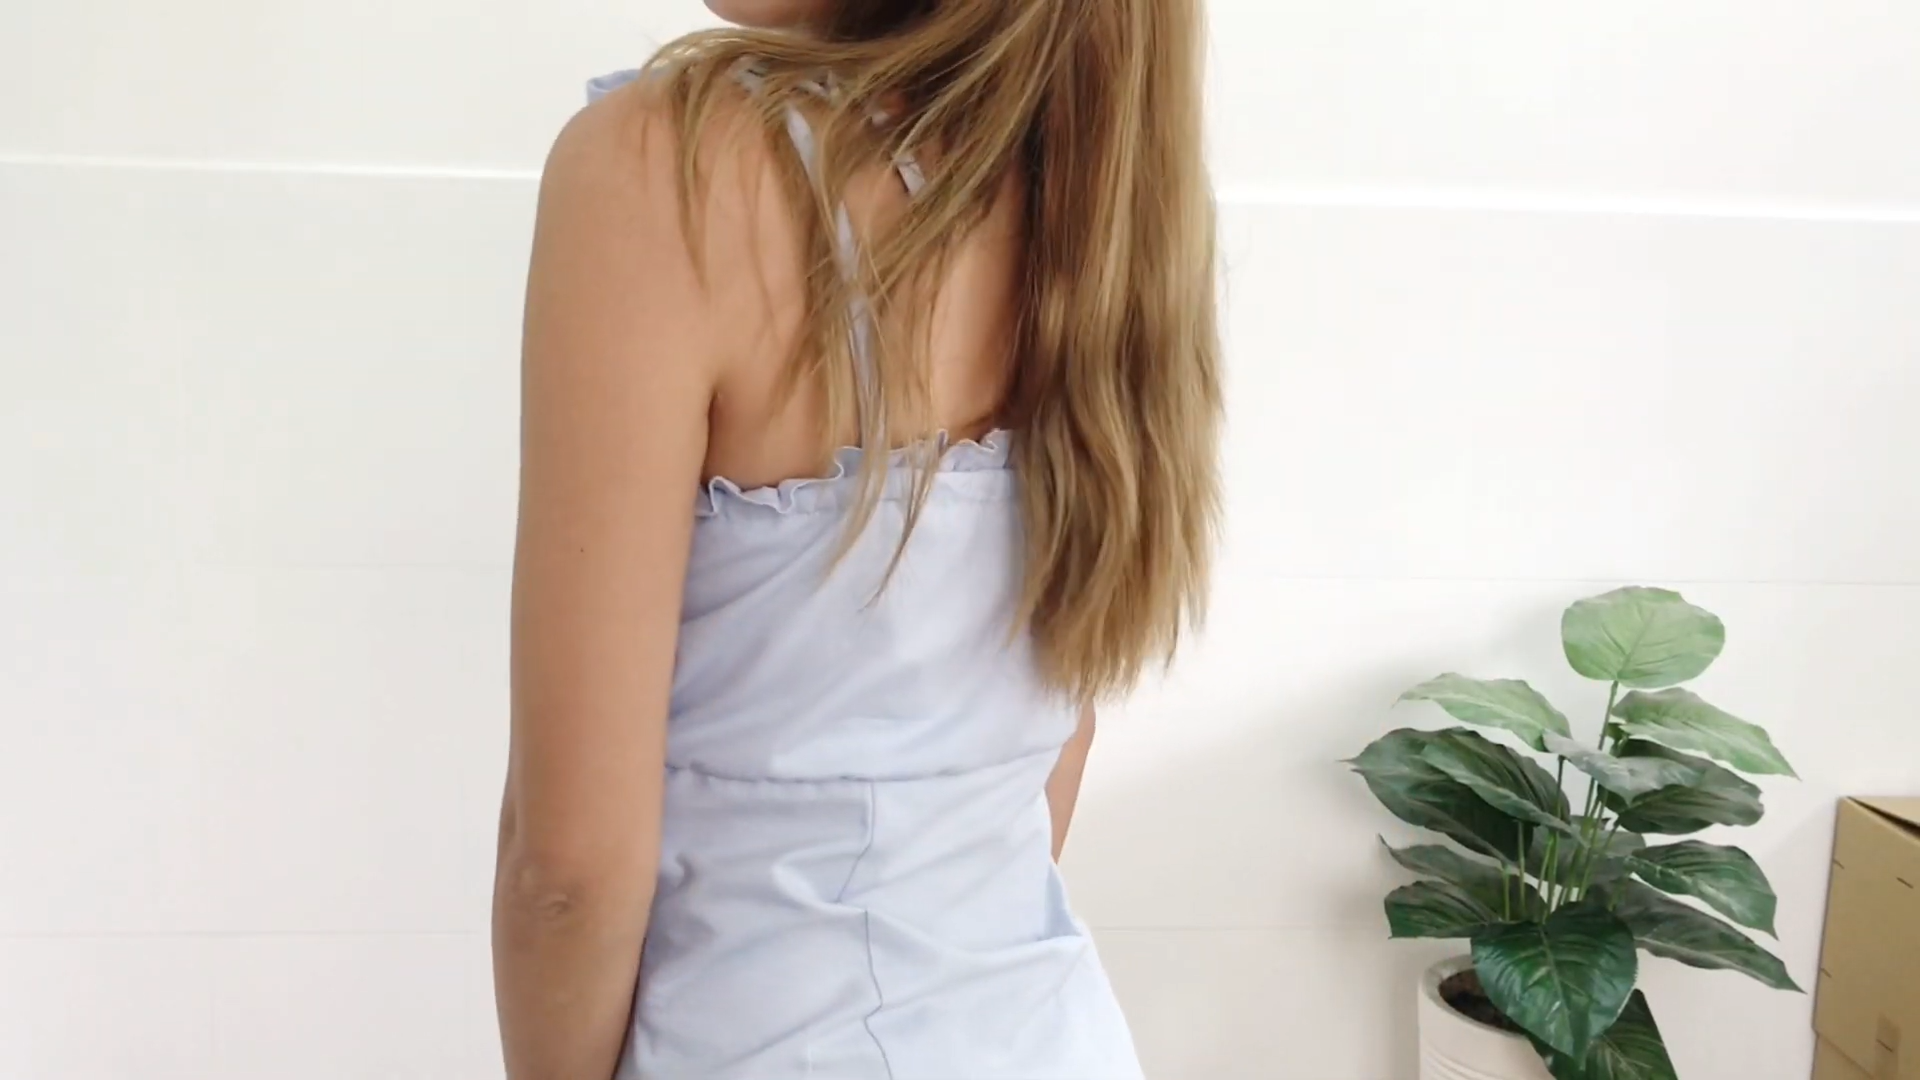
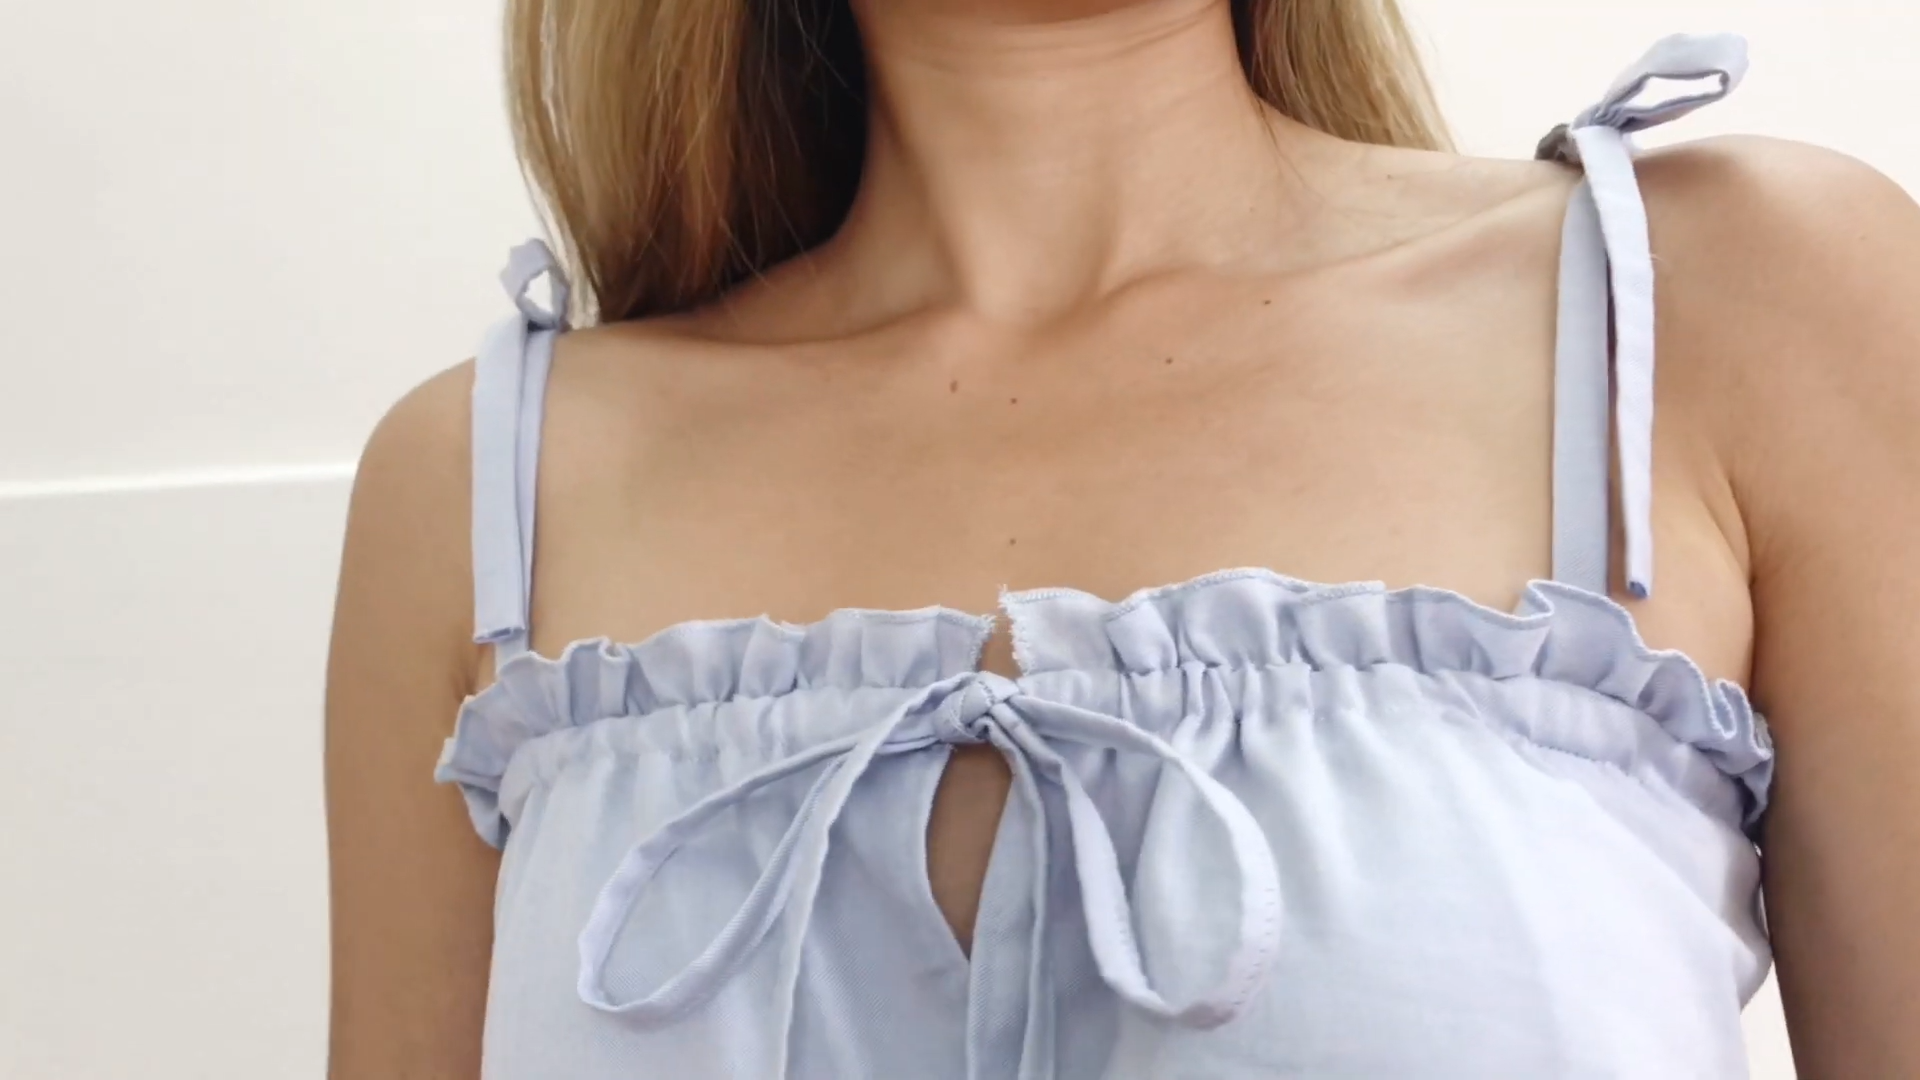
And that’s the final transformation!
This dress turned out so pretty—perfect for everyday wear. It’s fitted just right to show off your shape, with ruffles and bow ties adding that extra touch of cuteness.
And it won't be too difficult to make. So I hope you will give it a try.
If you liked this project, please share it and subscribe to my channel so you won’t miss any of my upcoming DIYs.
Until next week, happy sewing!