DIY Ruffle tiered dress from old maxi dress - Refashion idea for summer dress

DIY Ruffle tiered dress from old maxi dress
Welcome and welcome back to my sewing blog!
Even though fall is here and winter is on the way, it's still hot where I live. So, I decided to refashion an old maxi dress into a new summer dress. Today’s blog, I’m excited to share how I did it!
So let’s get started!
WHAT YOU’LL NEED

Old maxi dress
Measuring tape
Chalk
Scissors
Pins
Sewing machine
Overlocker (optional)
SEWING THE DRESS
THE STRAPS
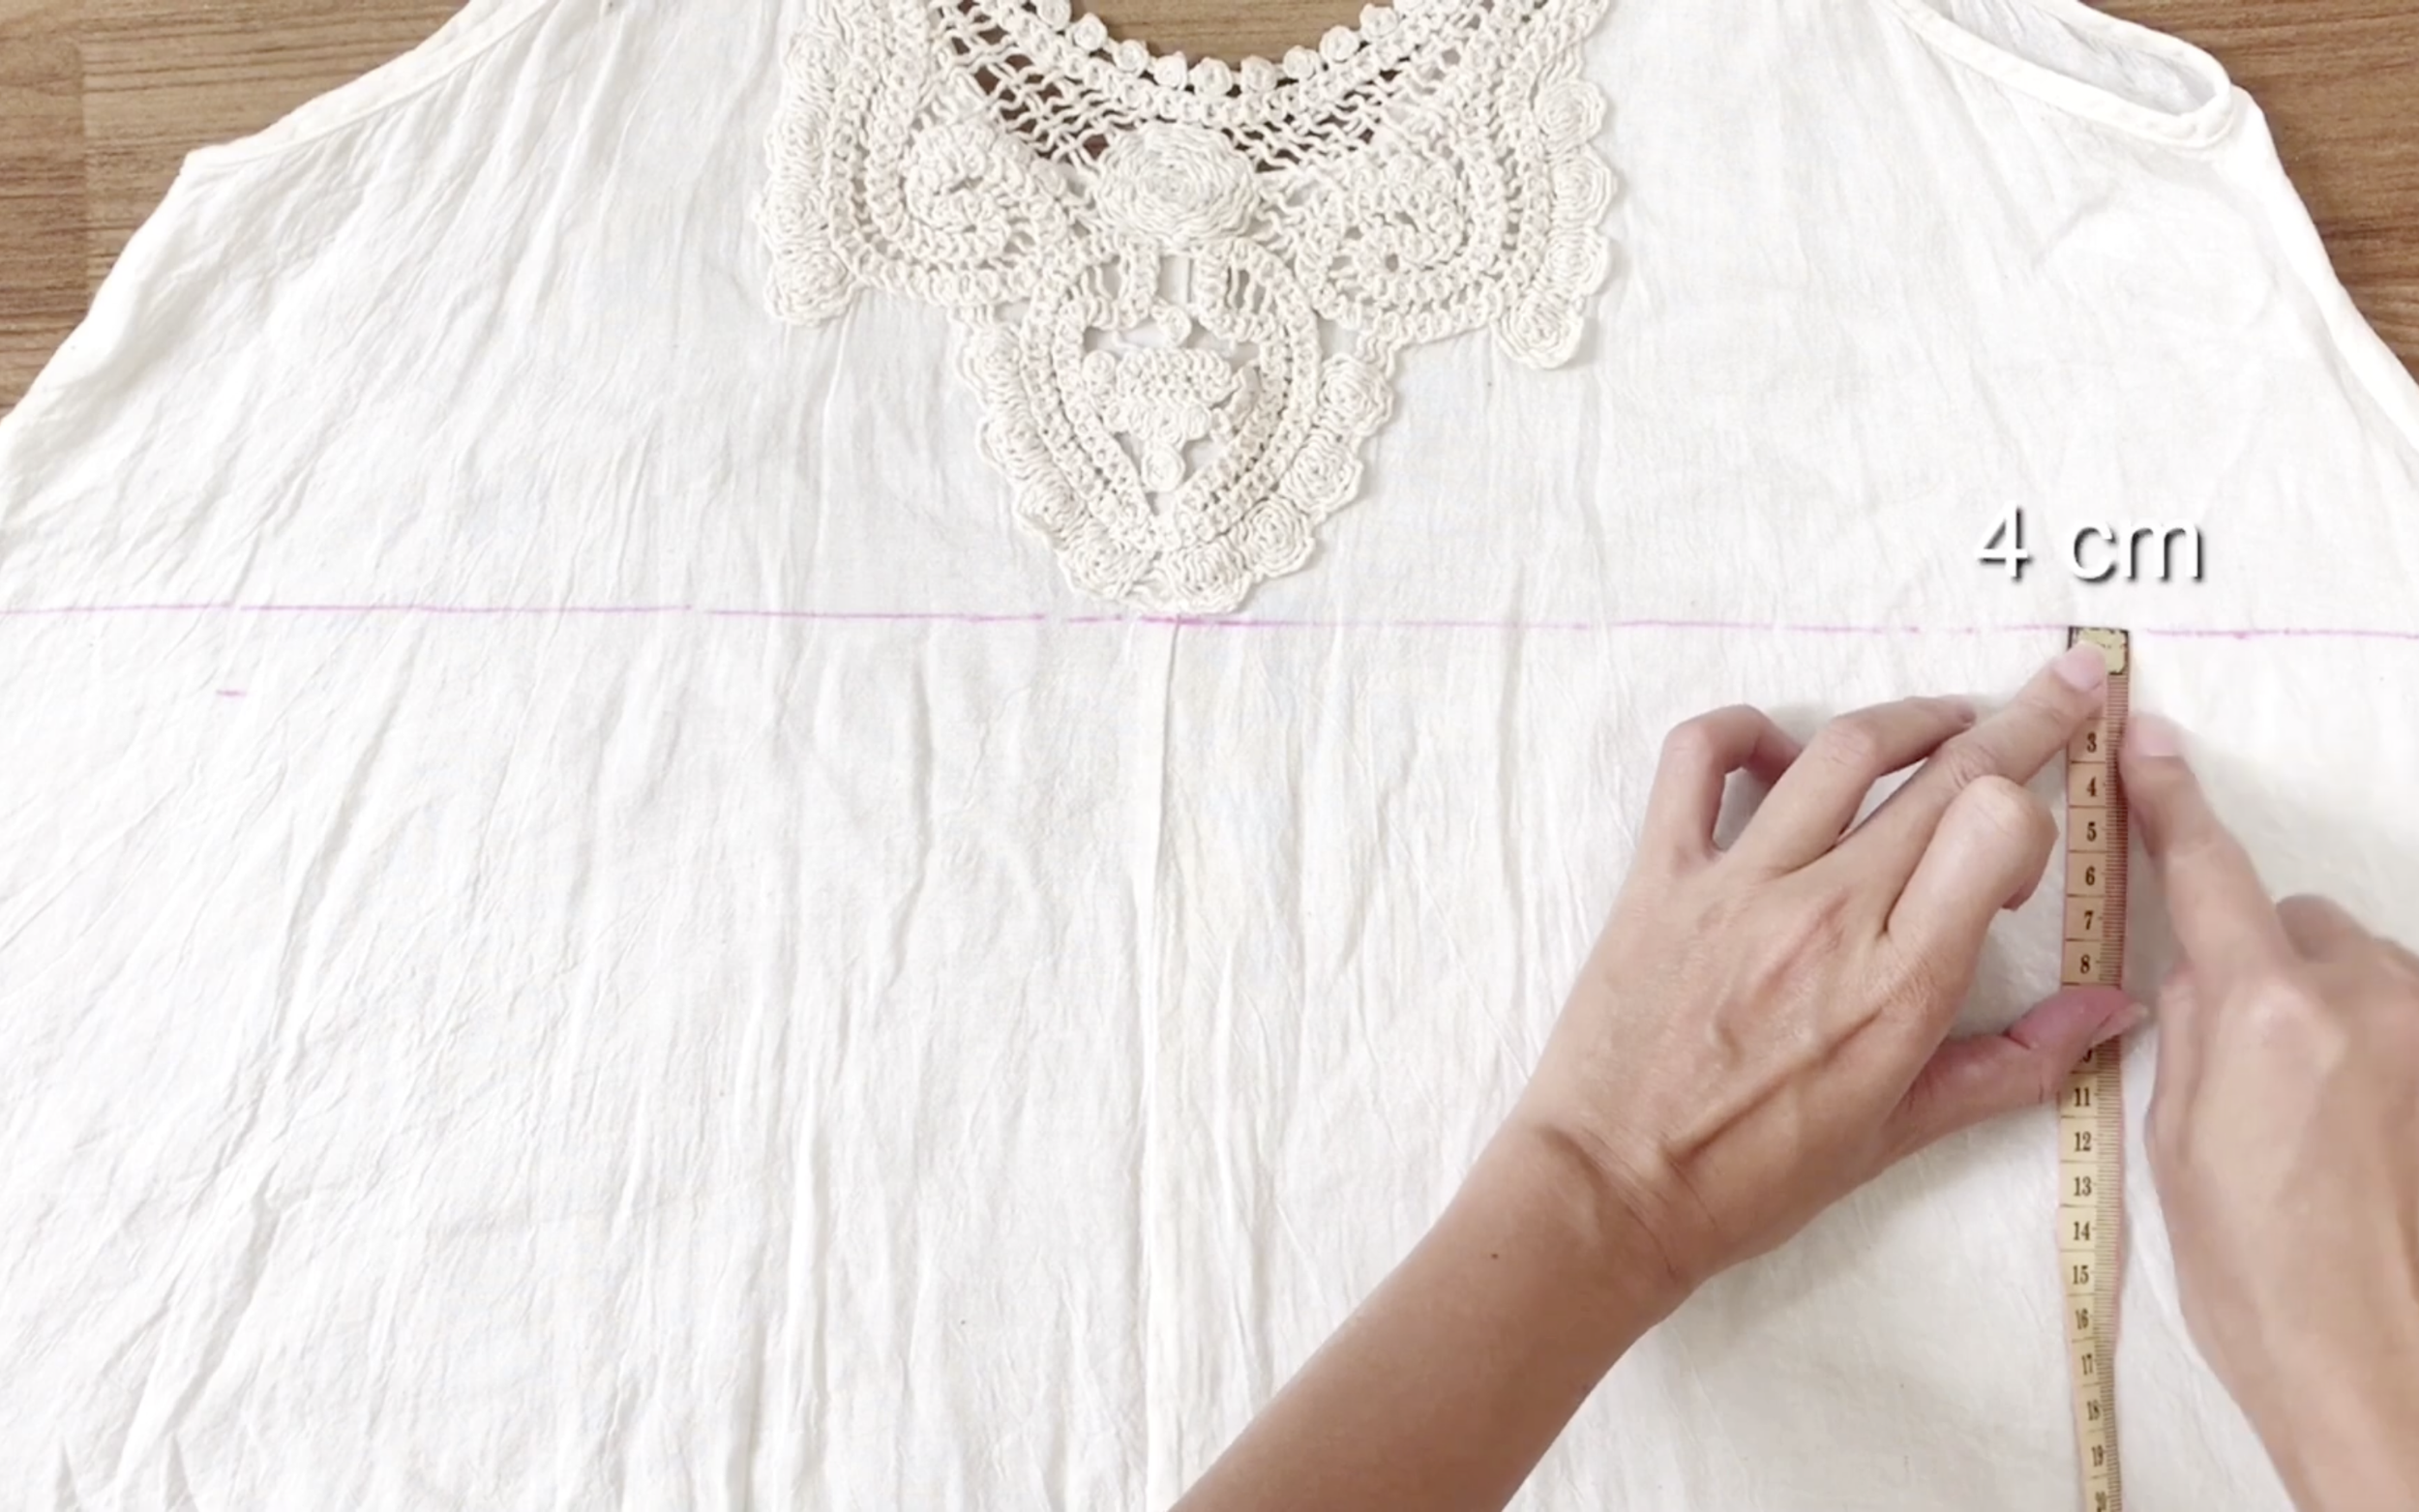
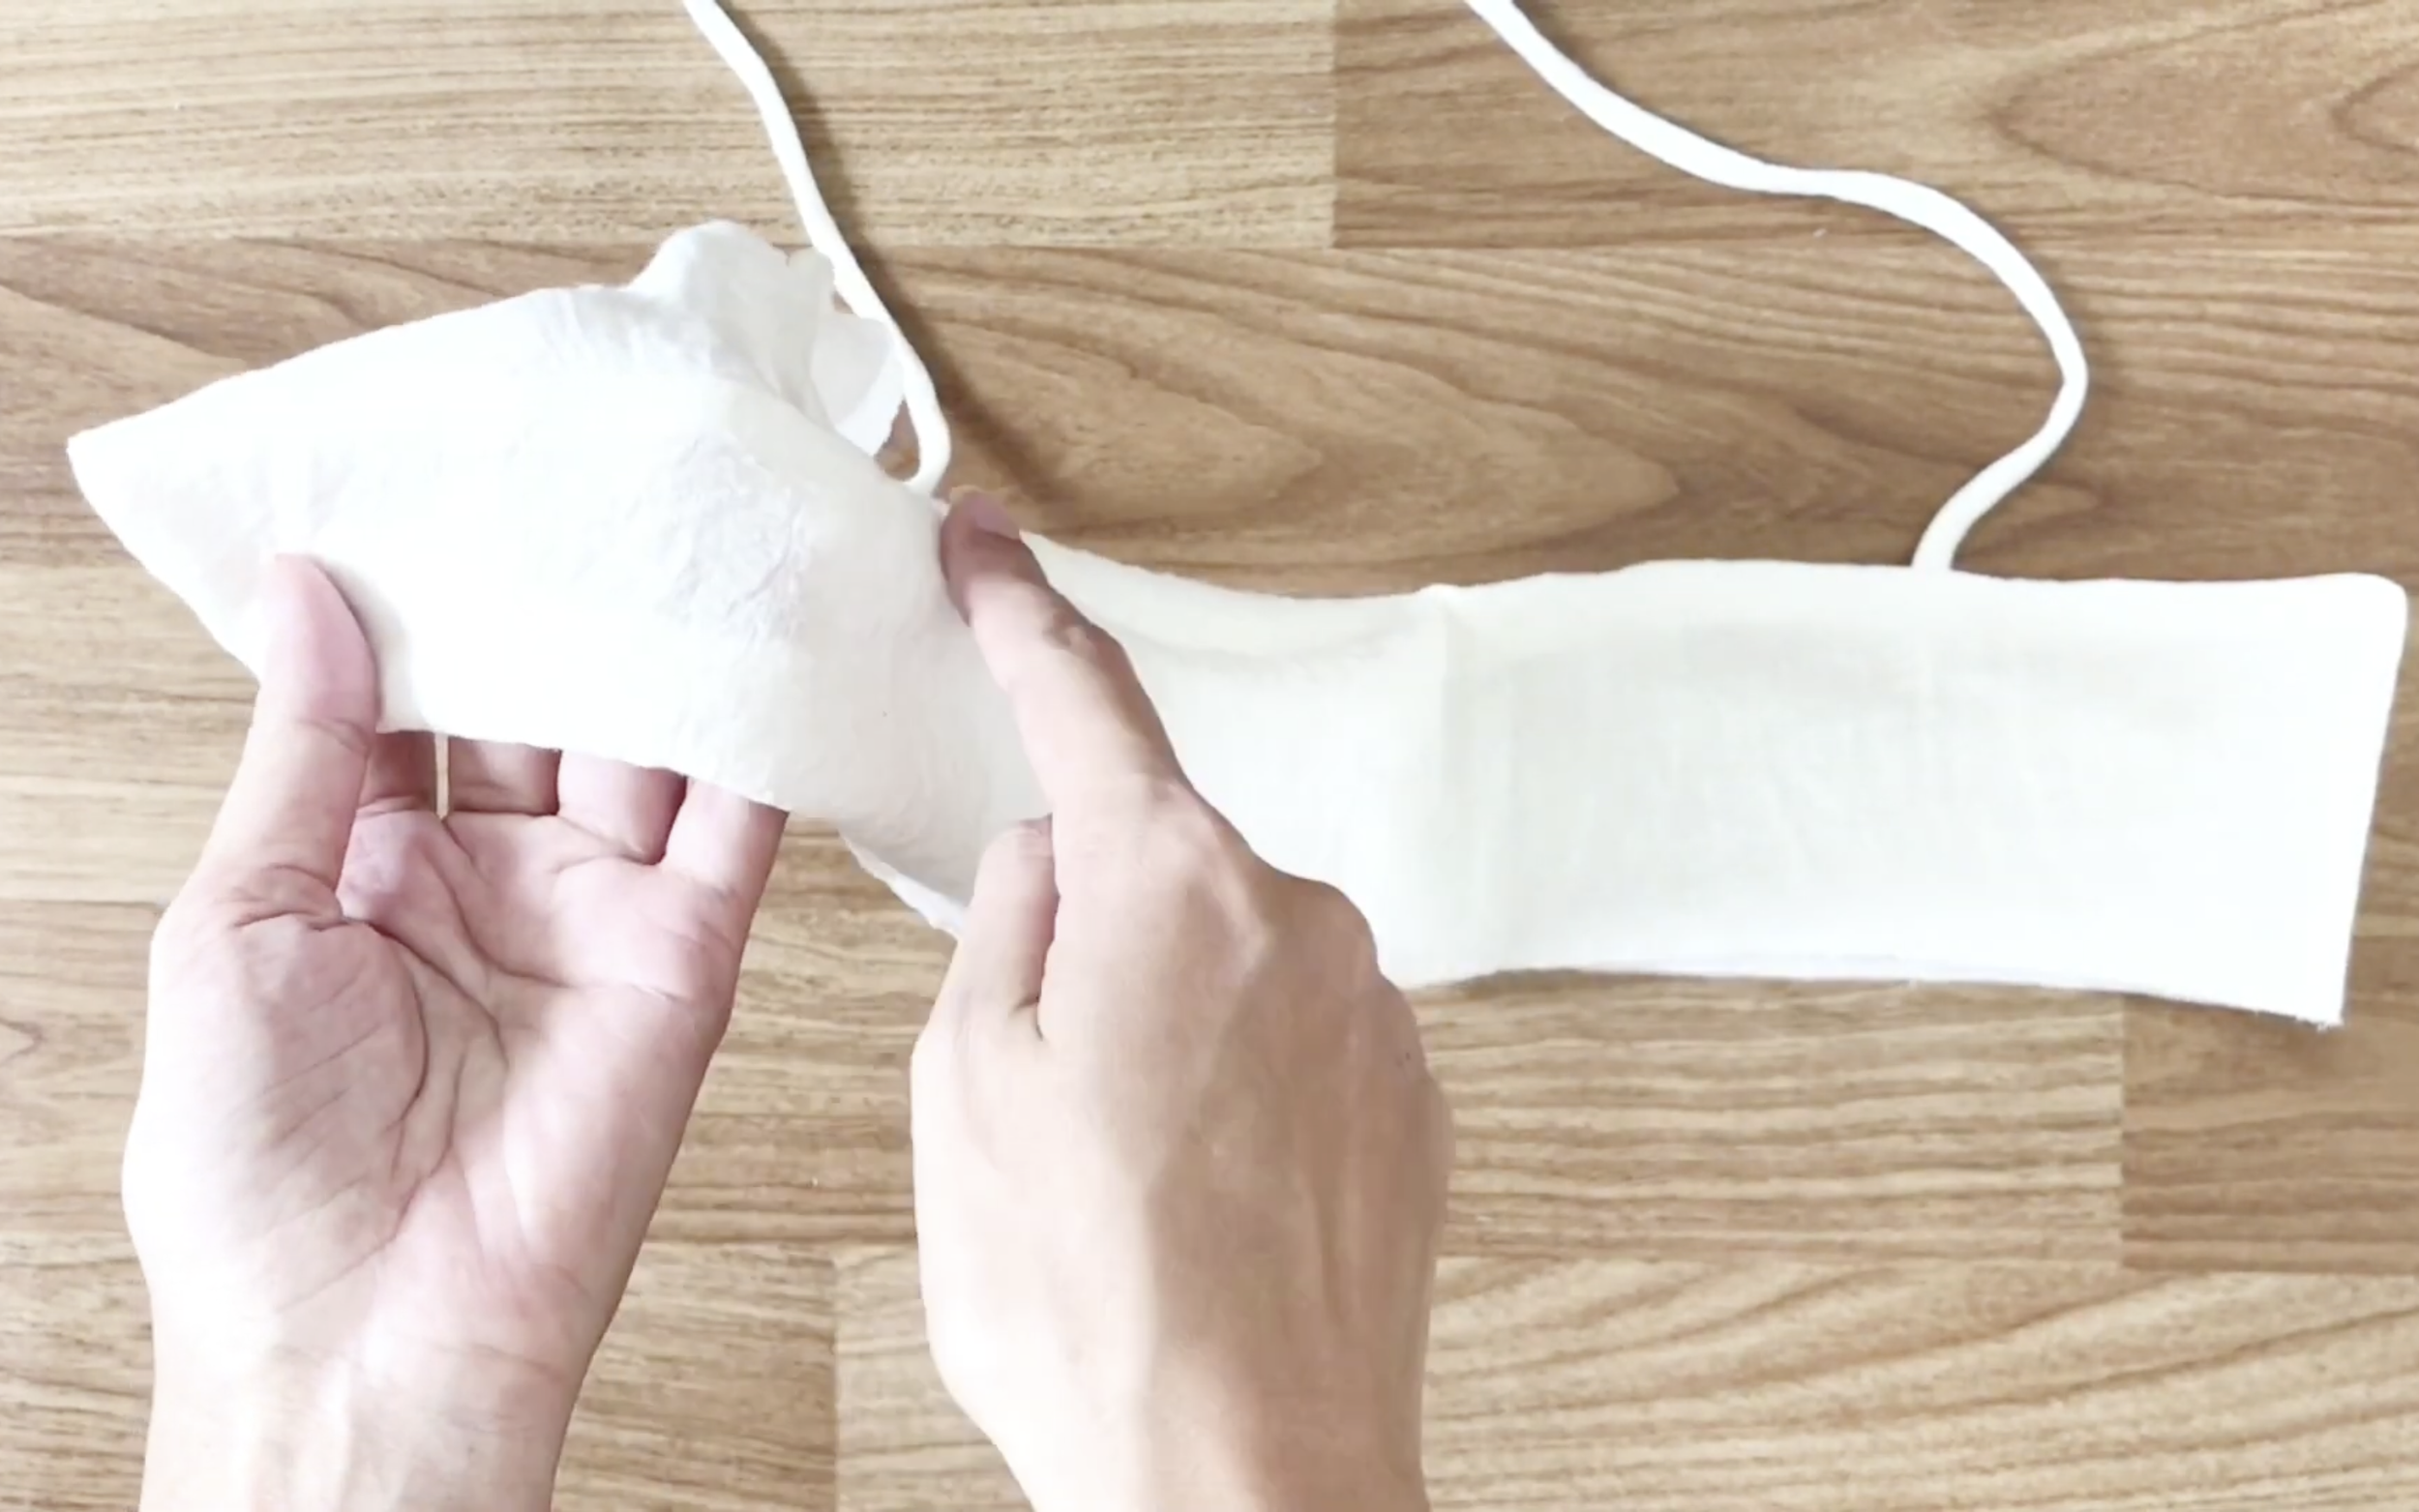
The first step is to make the shoulder straps of the dress by drawing lines with a 4cm width.

Draw 3 lines at the top of the maxi dress, right under the neck.
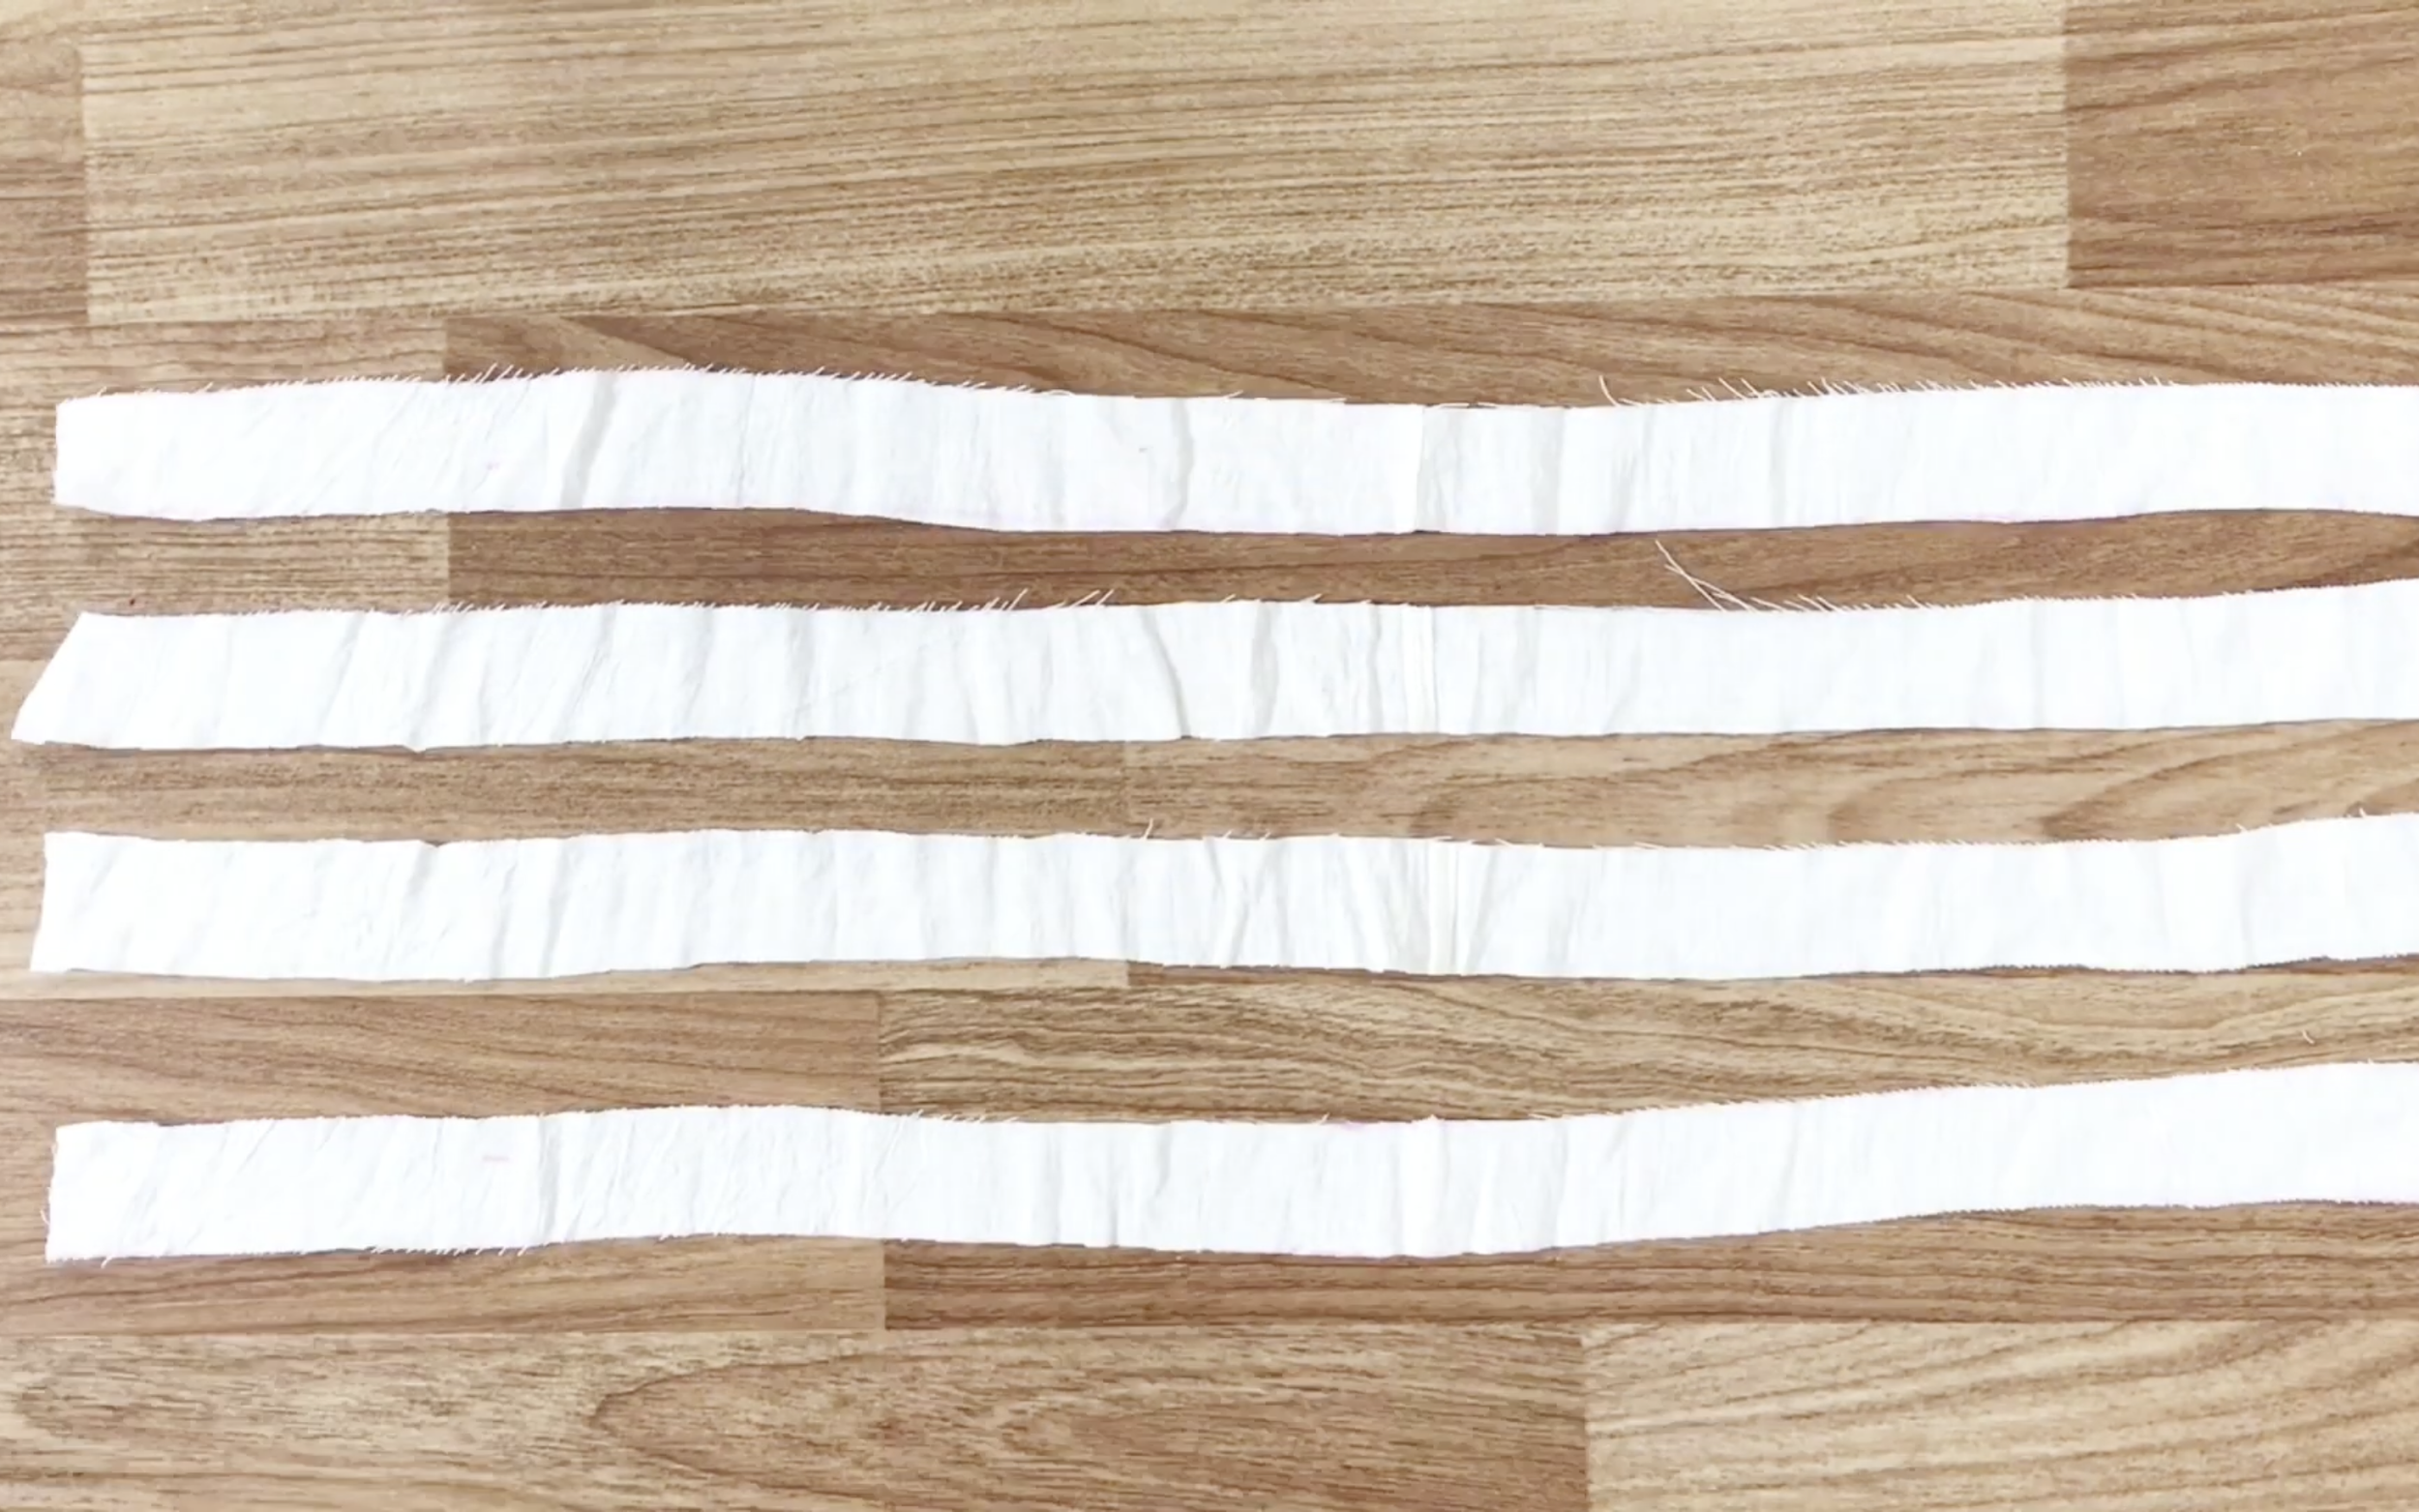
You'll have 4 lines of fabric after cutting.
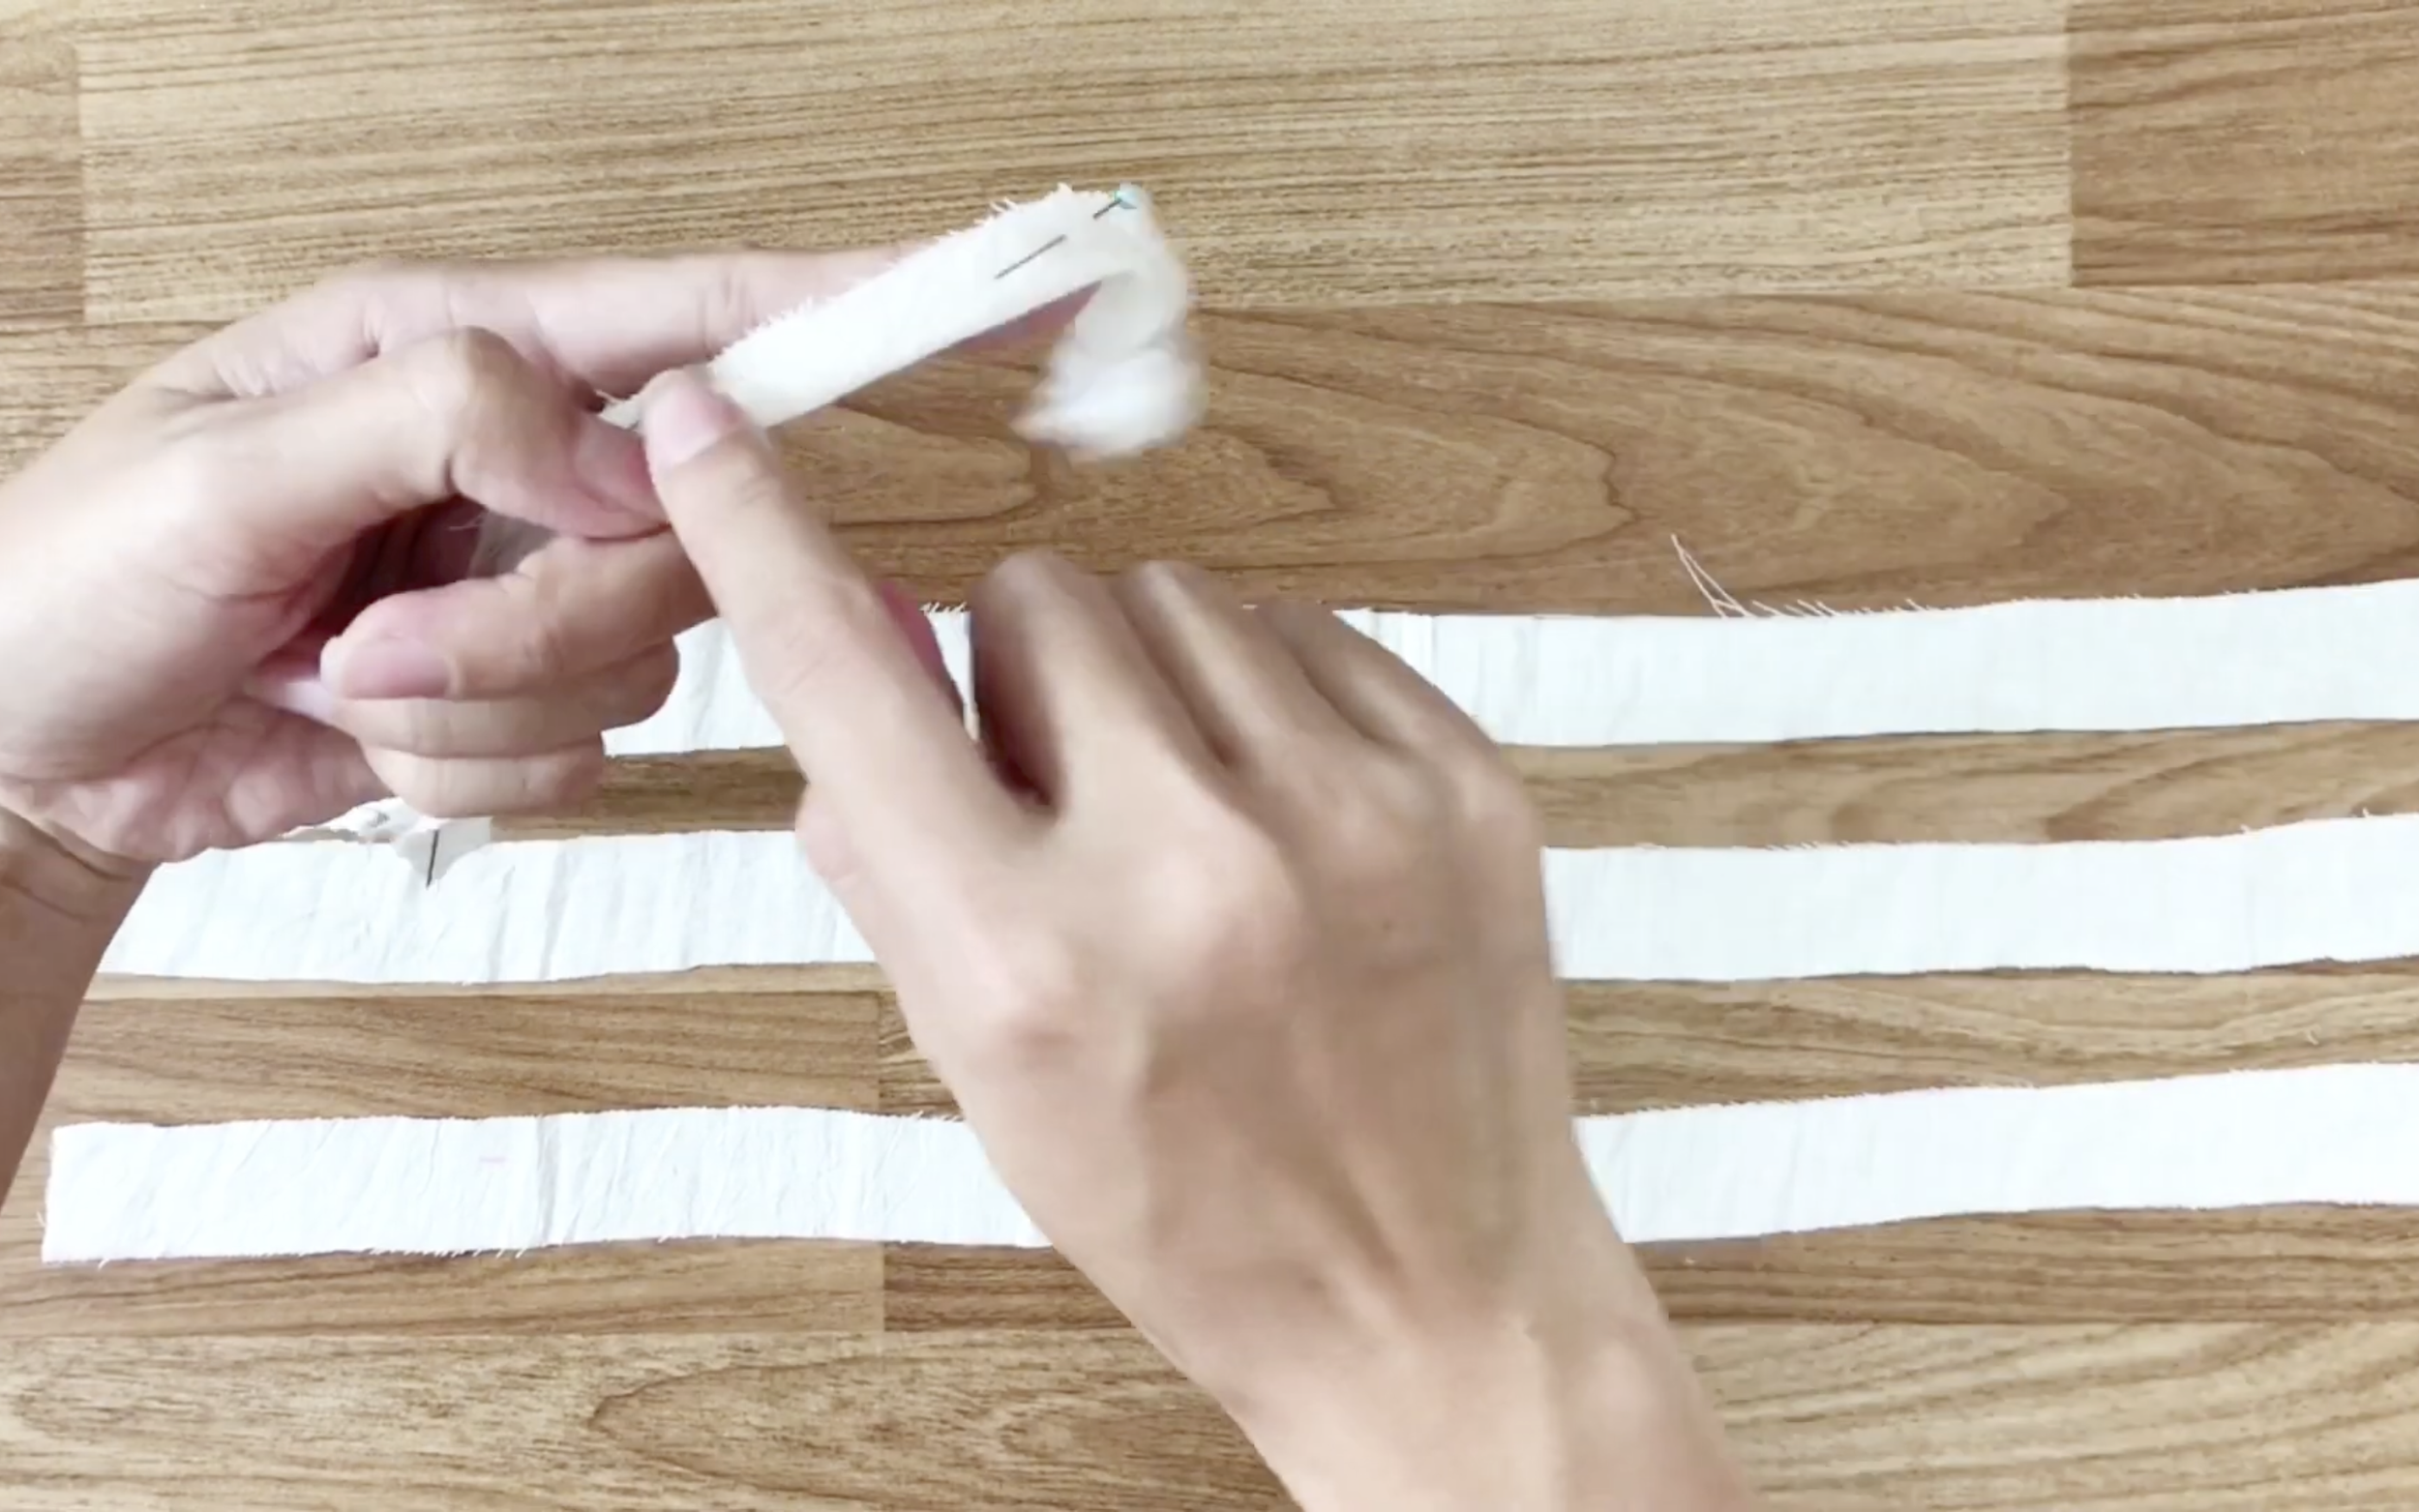
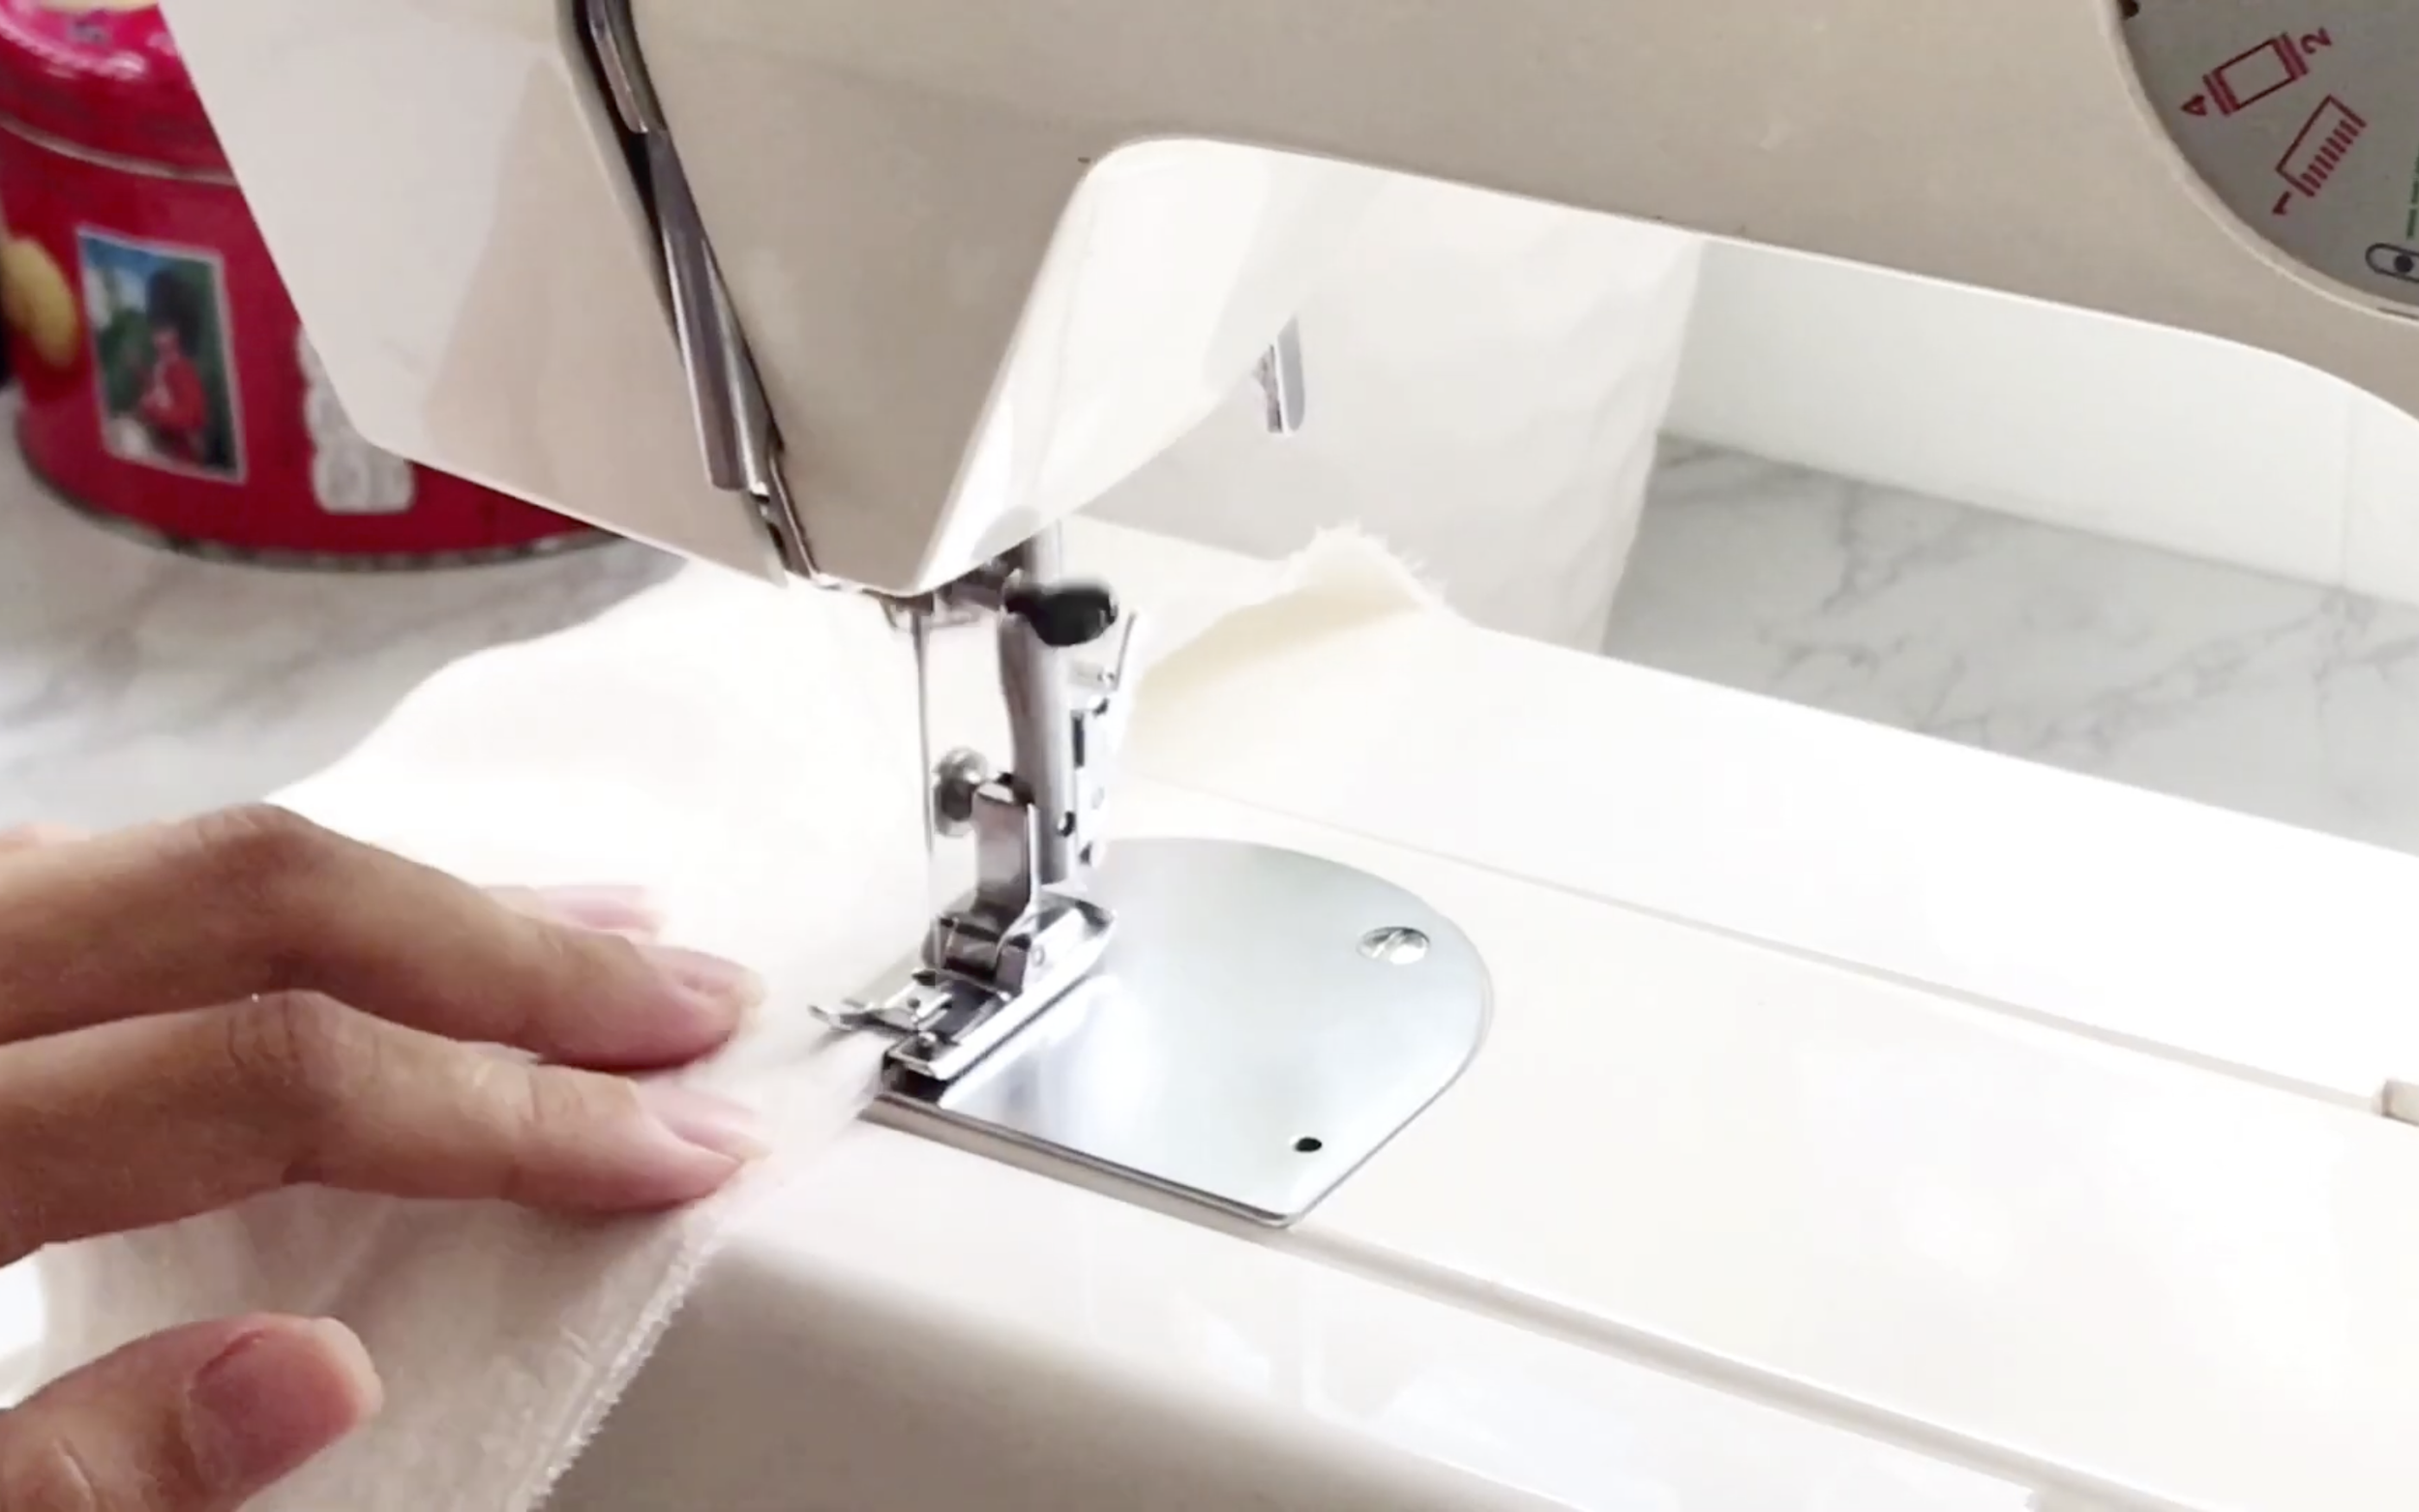
Double fold the fabric lines and use the pins to hold them. Then, sew.
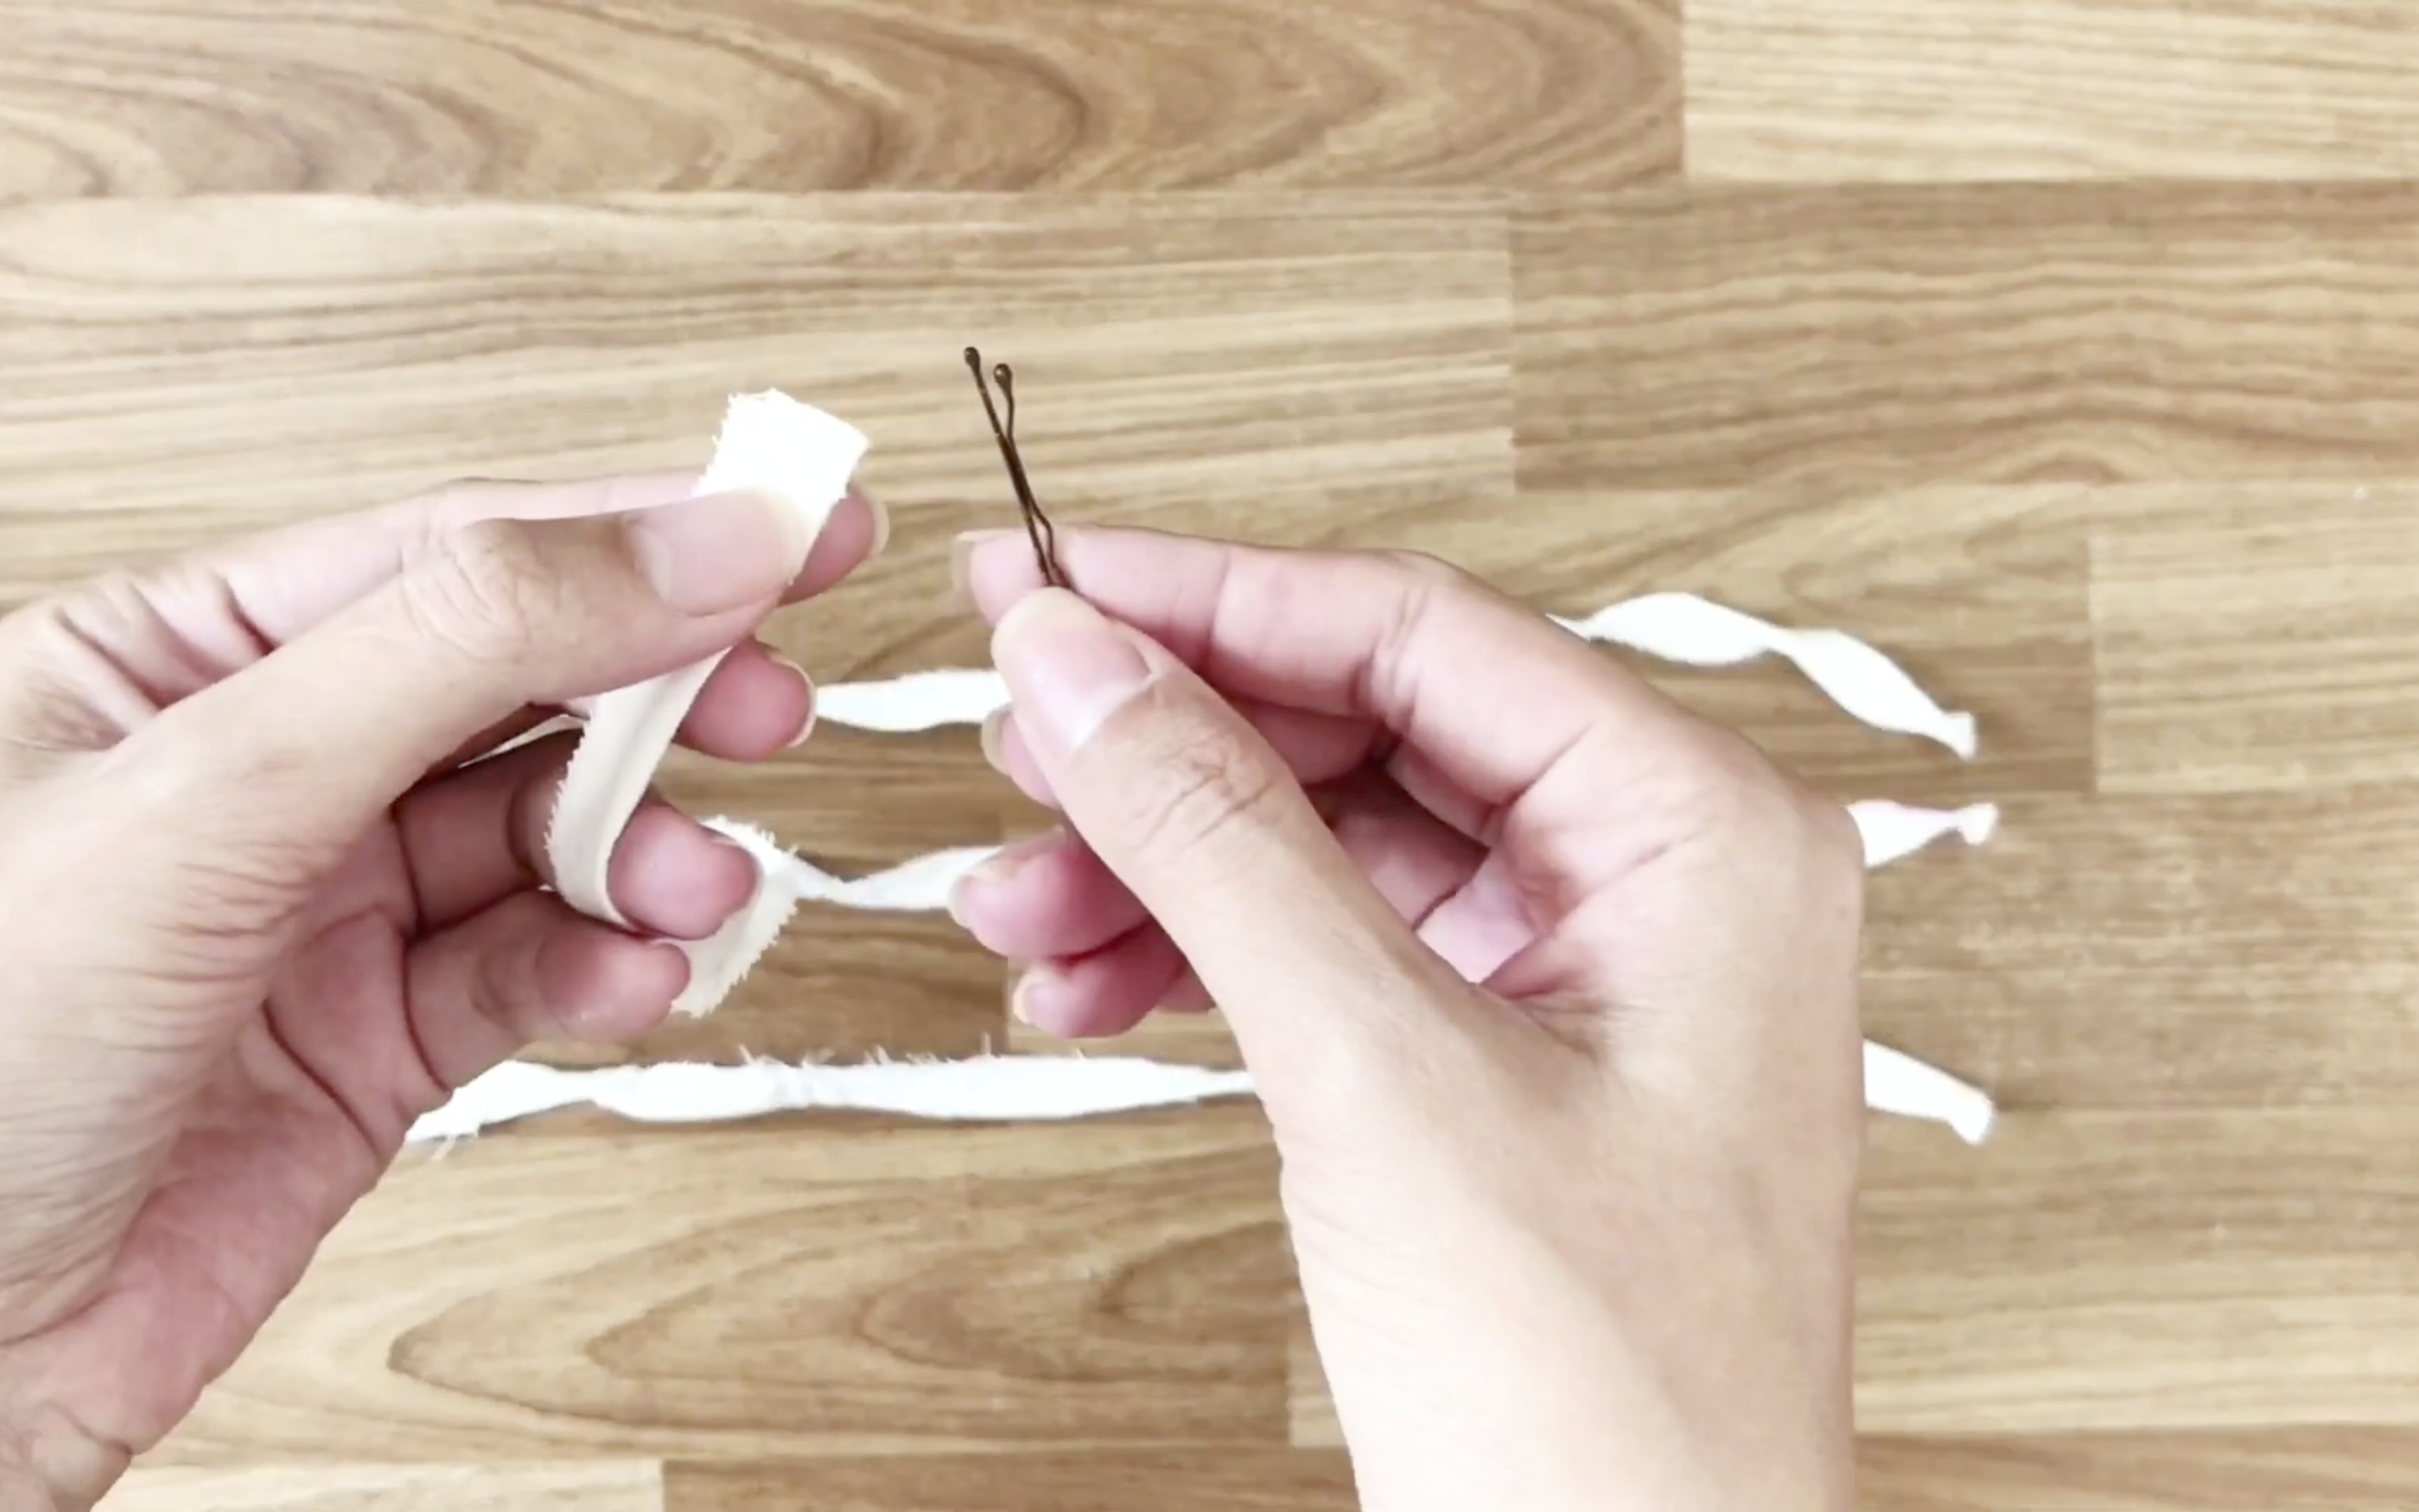
Because the straps are pretty small. So use the hair clip to upside them instead of the safety pin.
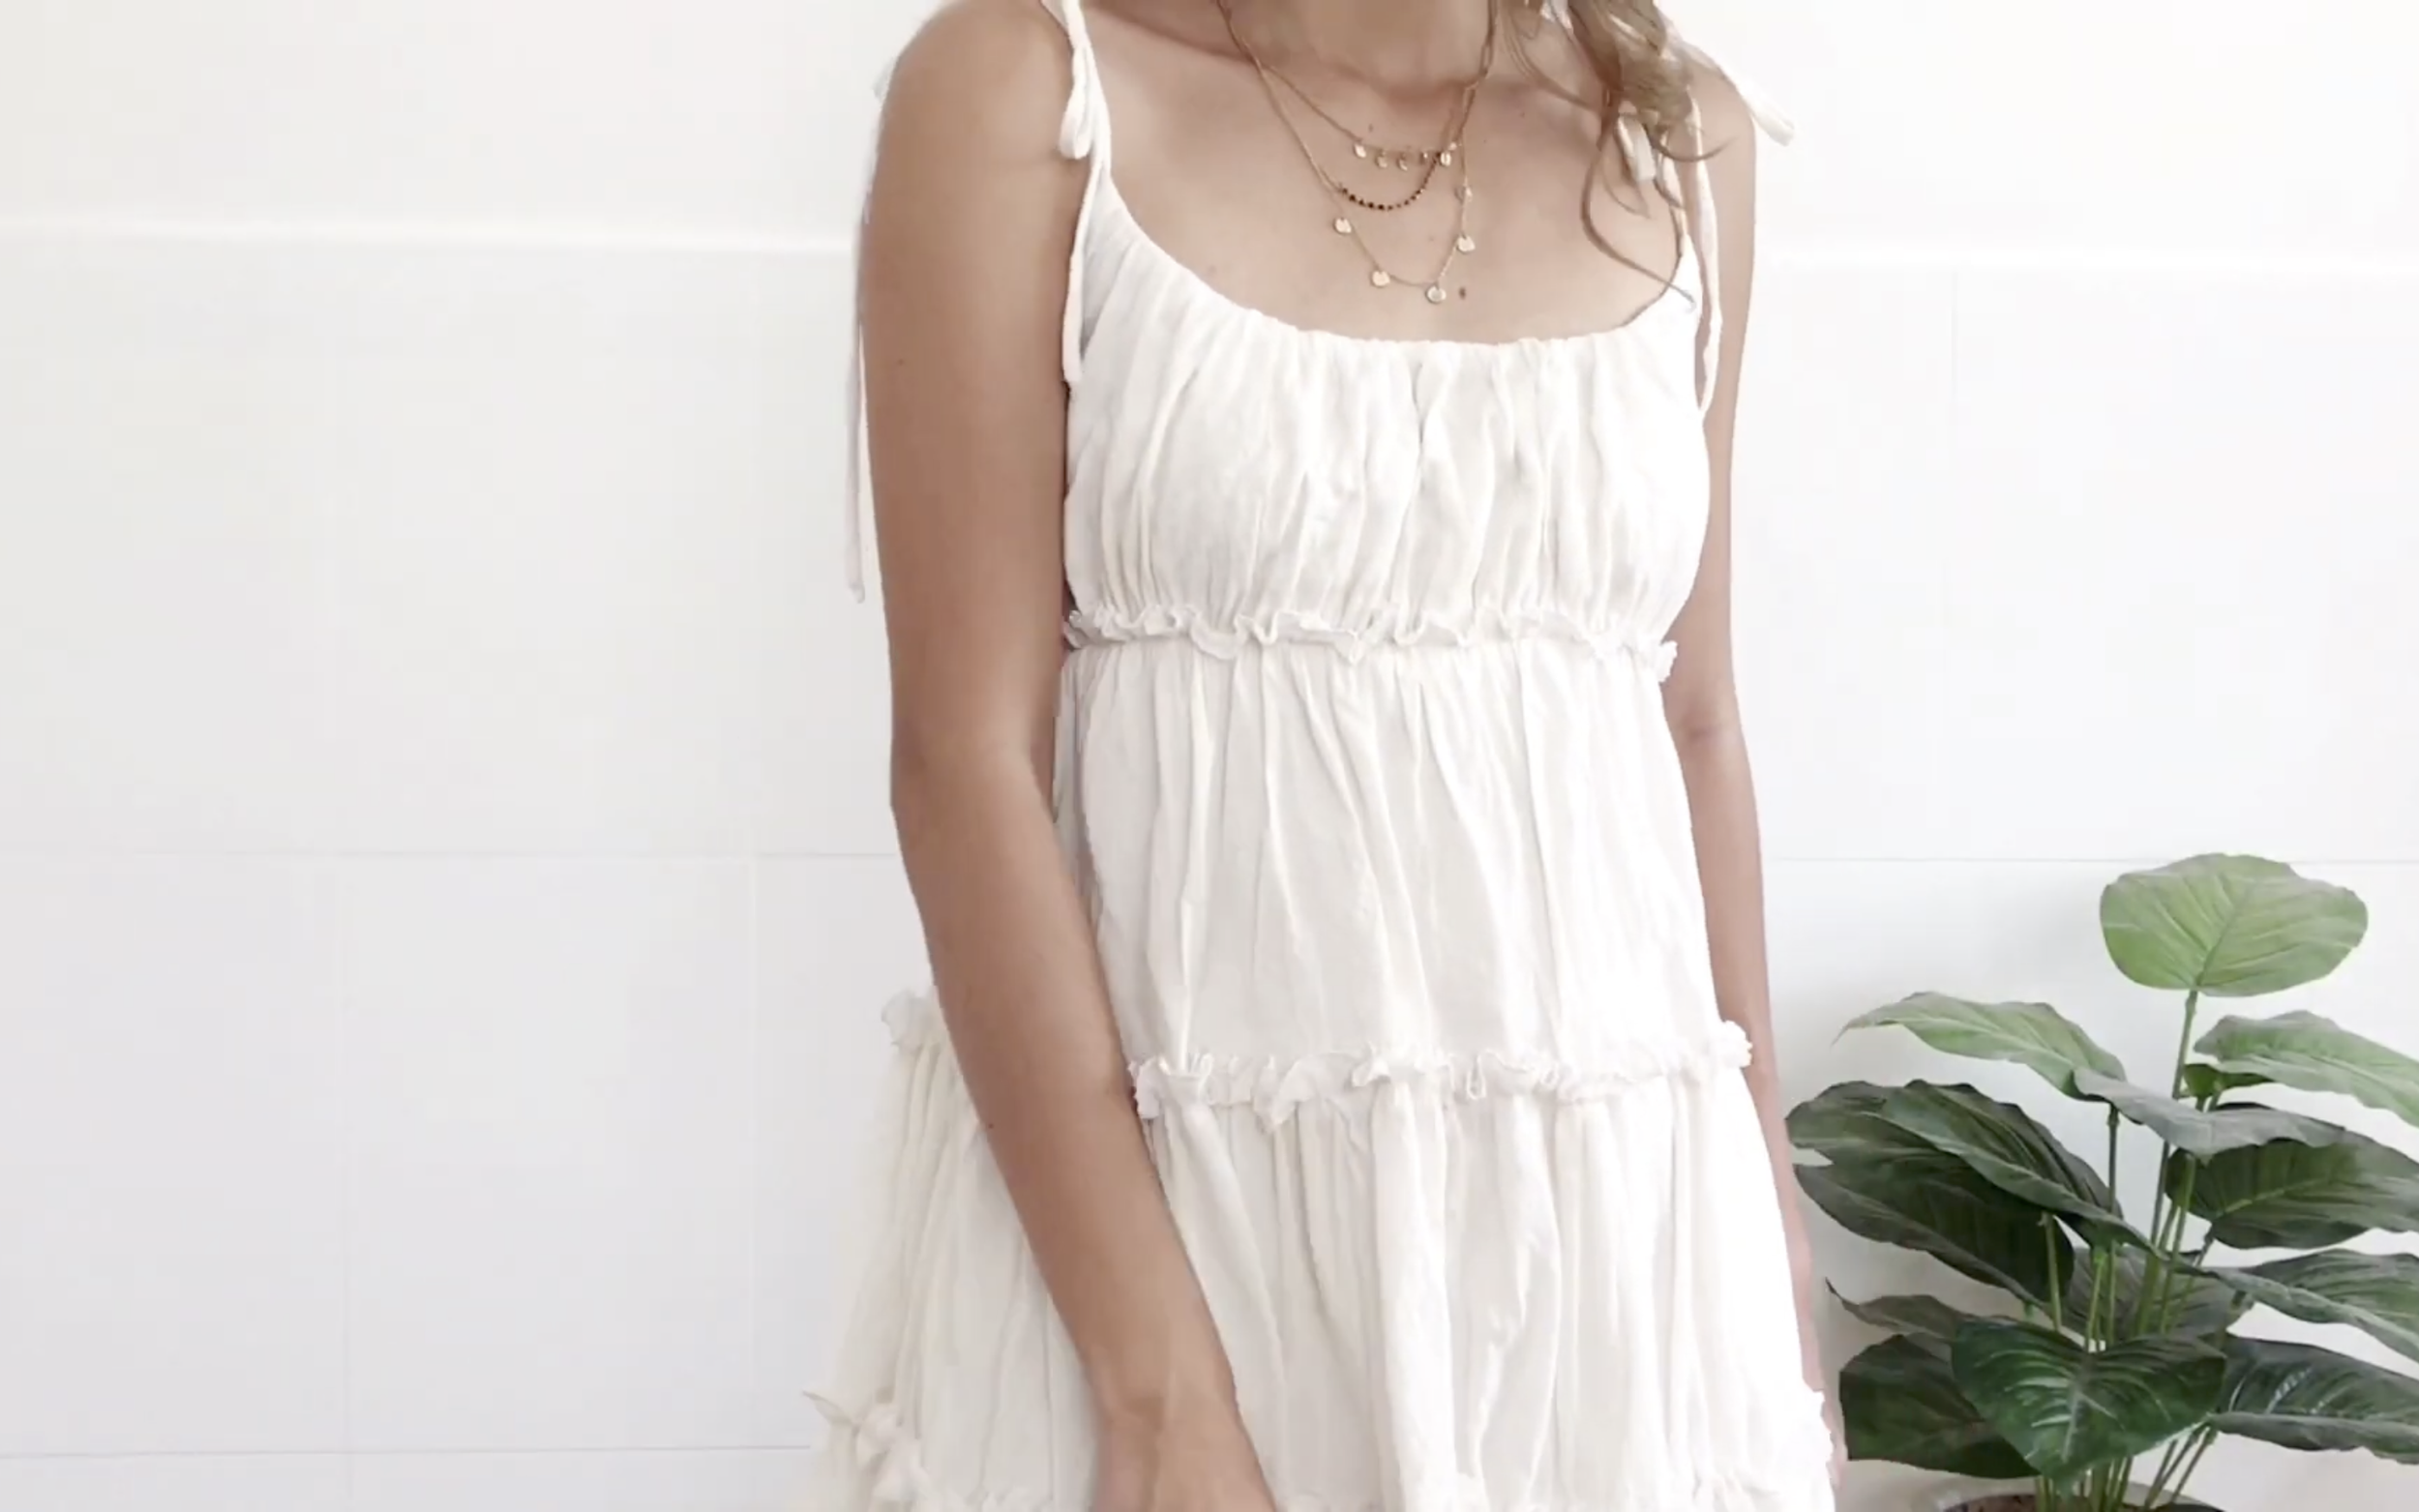
THE TOP
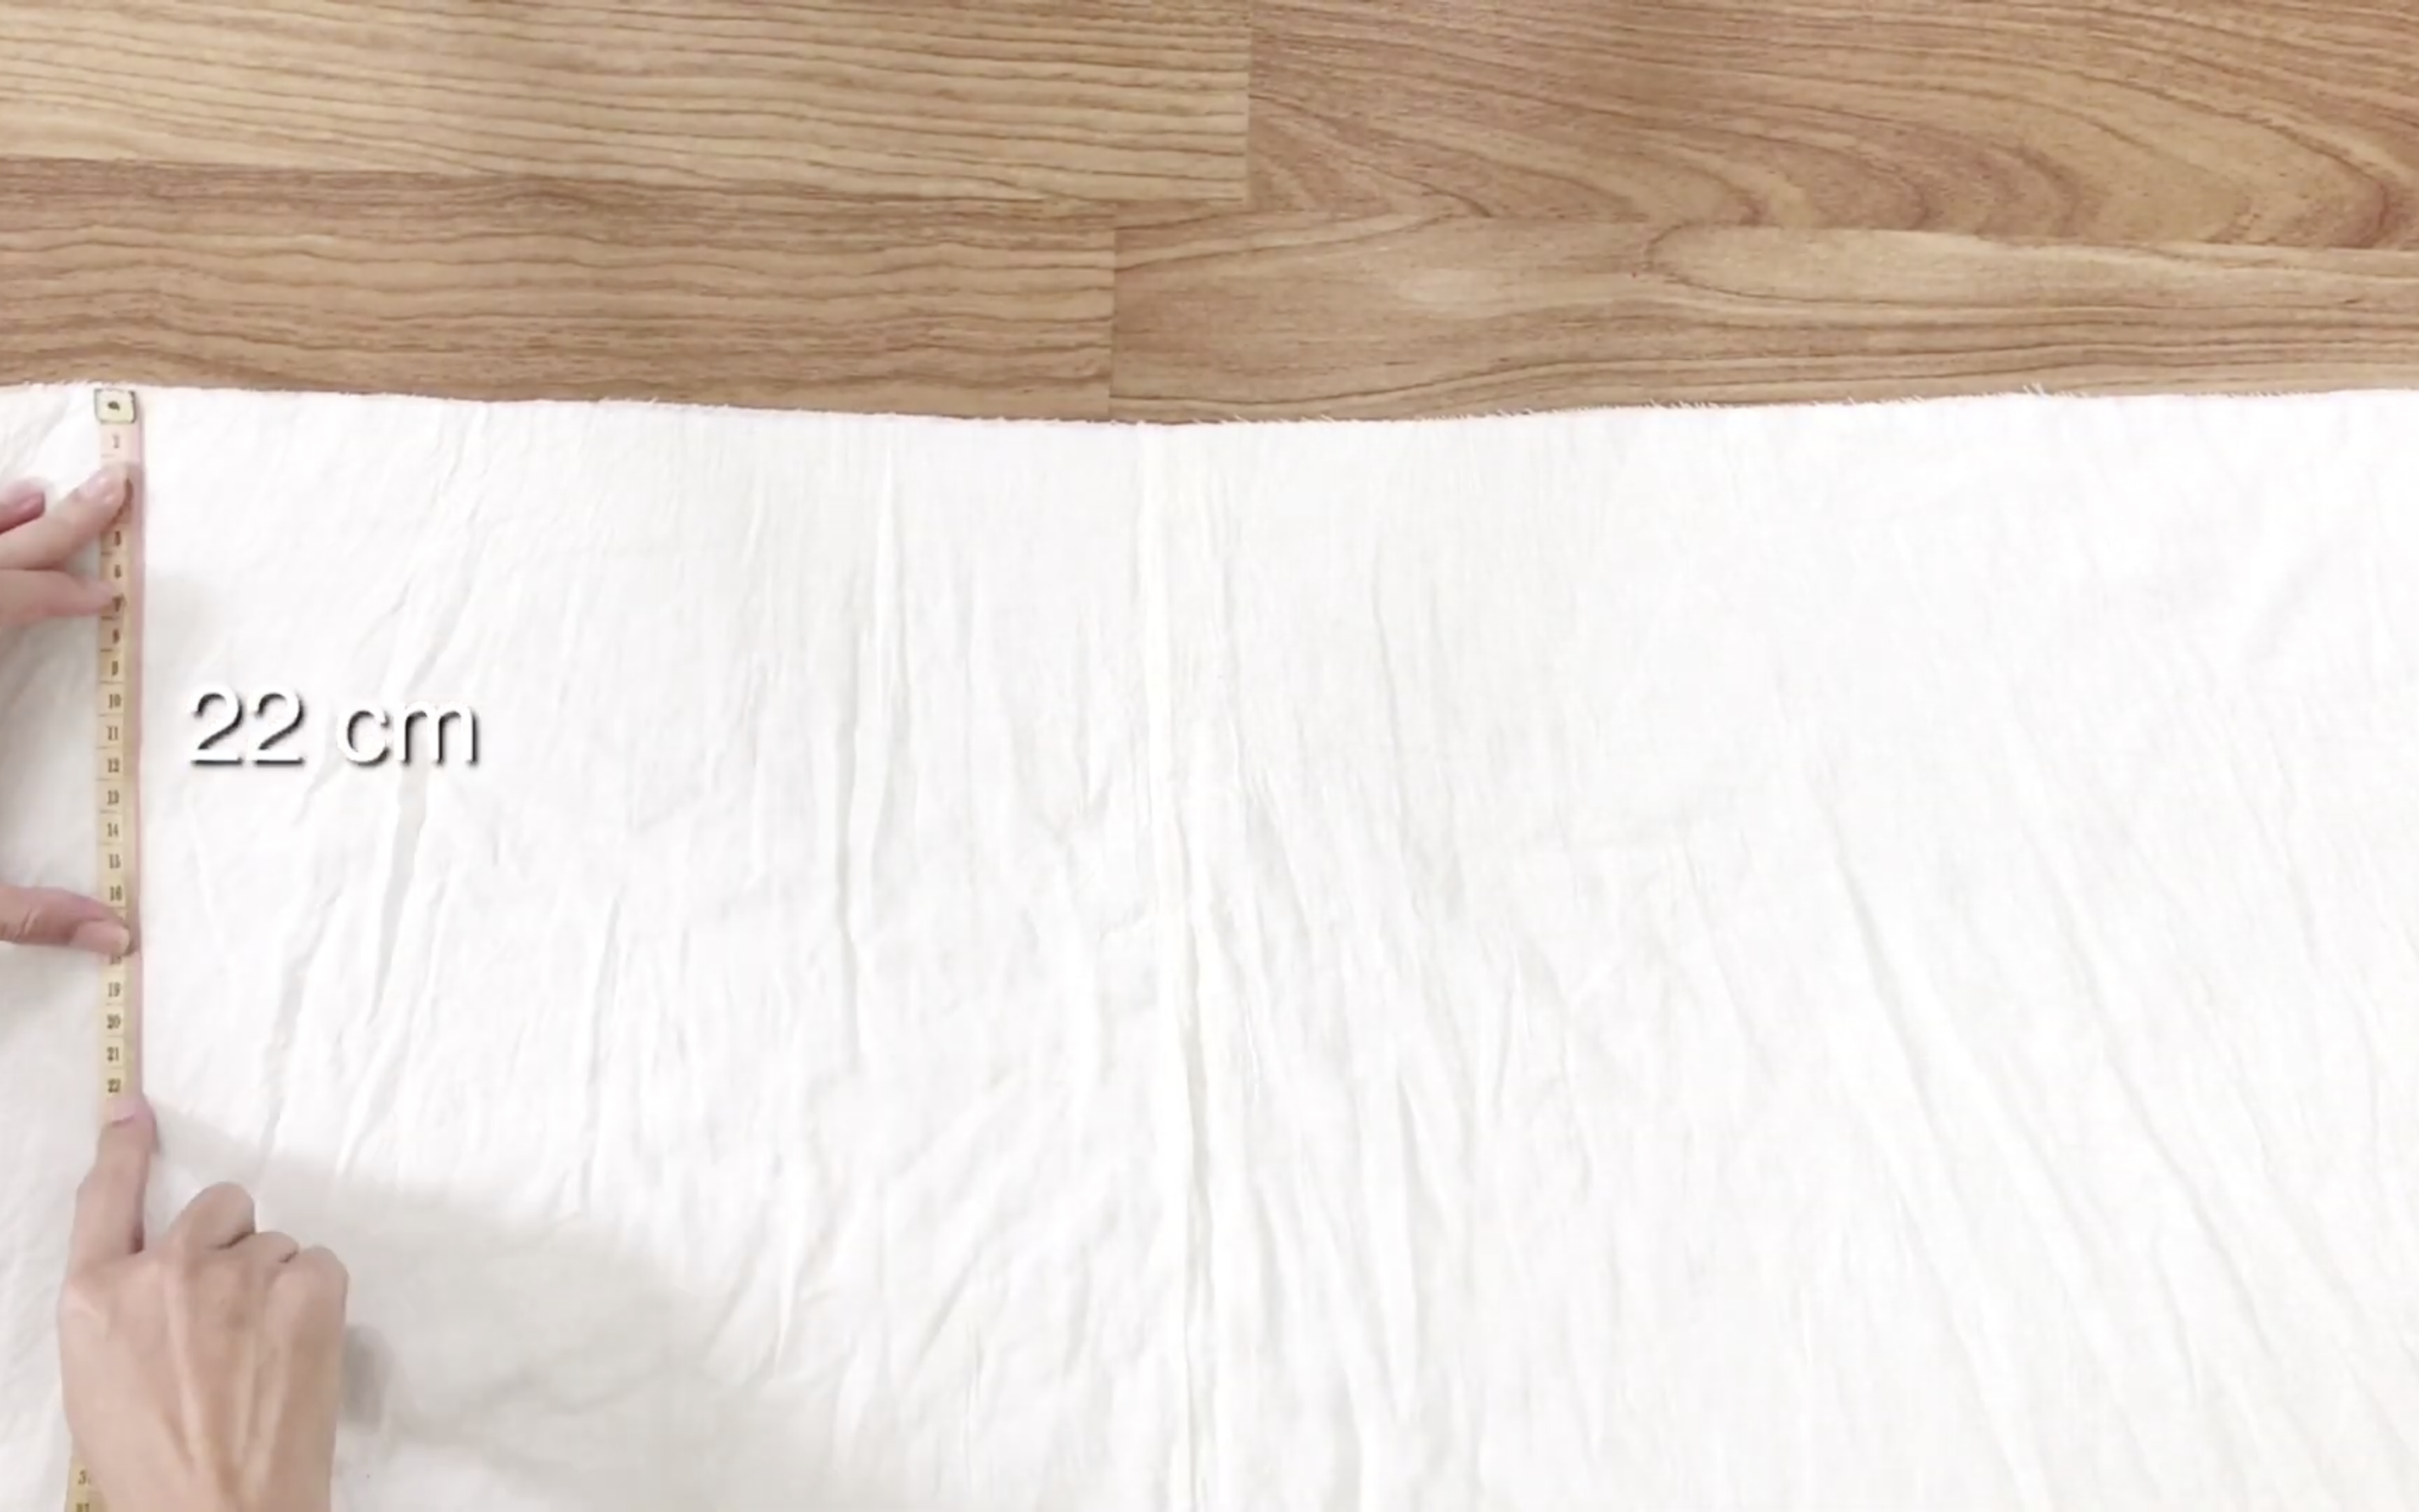
Next, draw a rectangle with a 22cm width to create the front top of the dress.
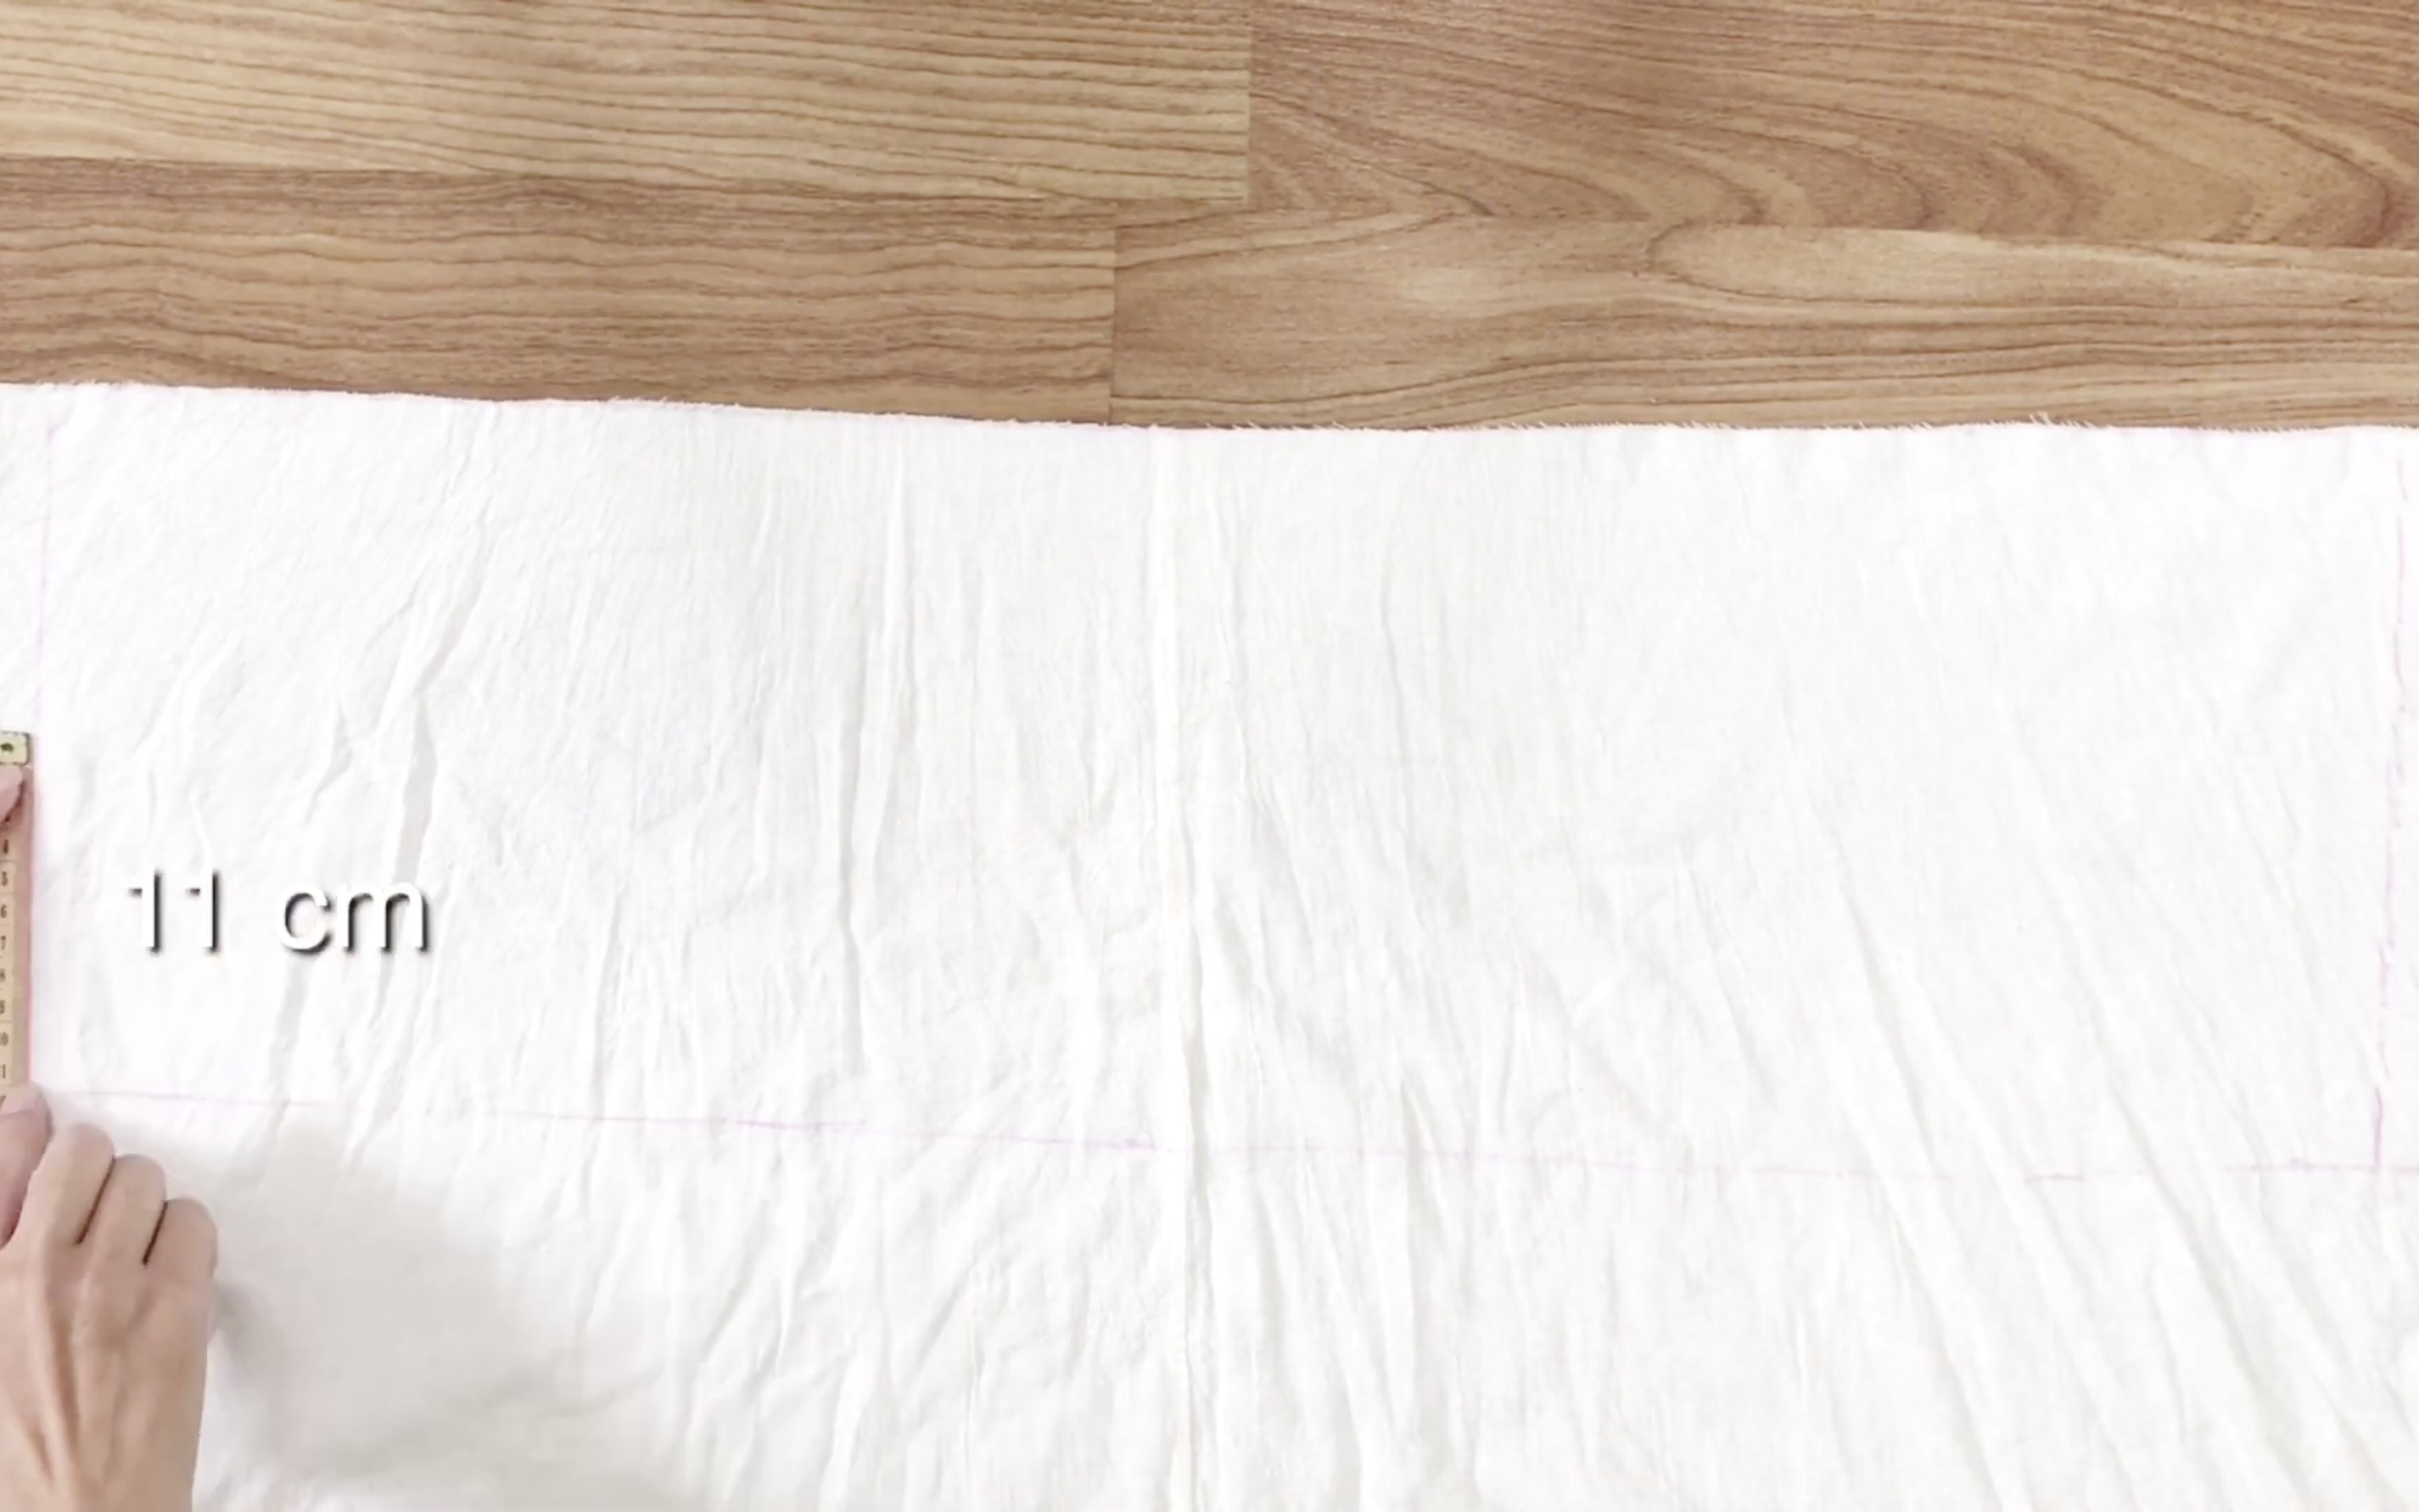
At both ends of the rectangle, measure up 11cm and mark the points.
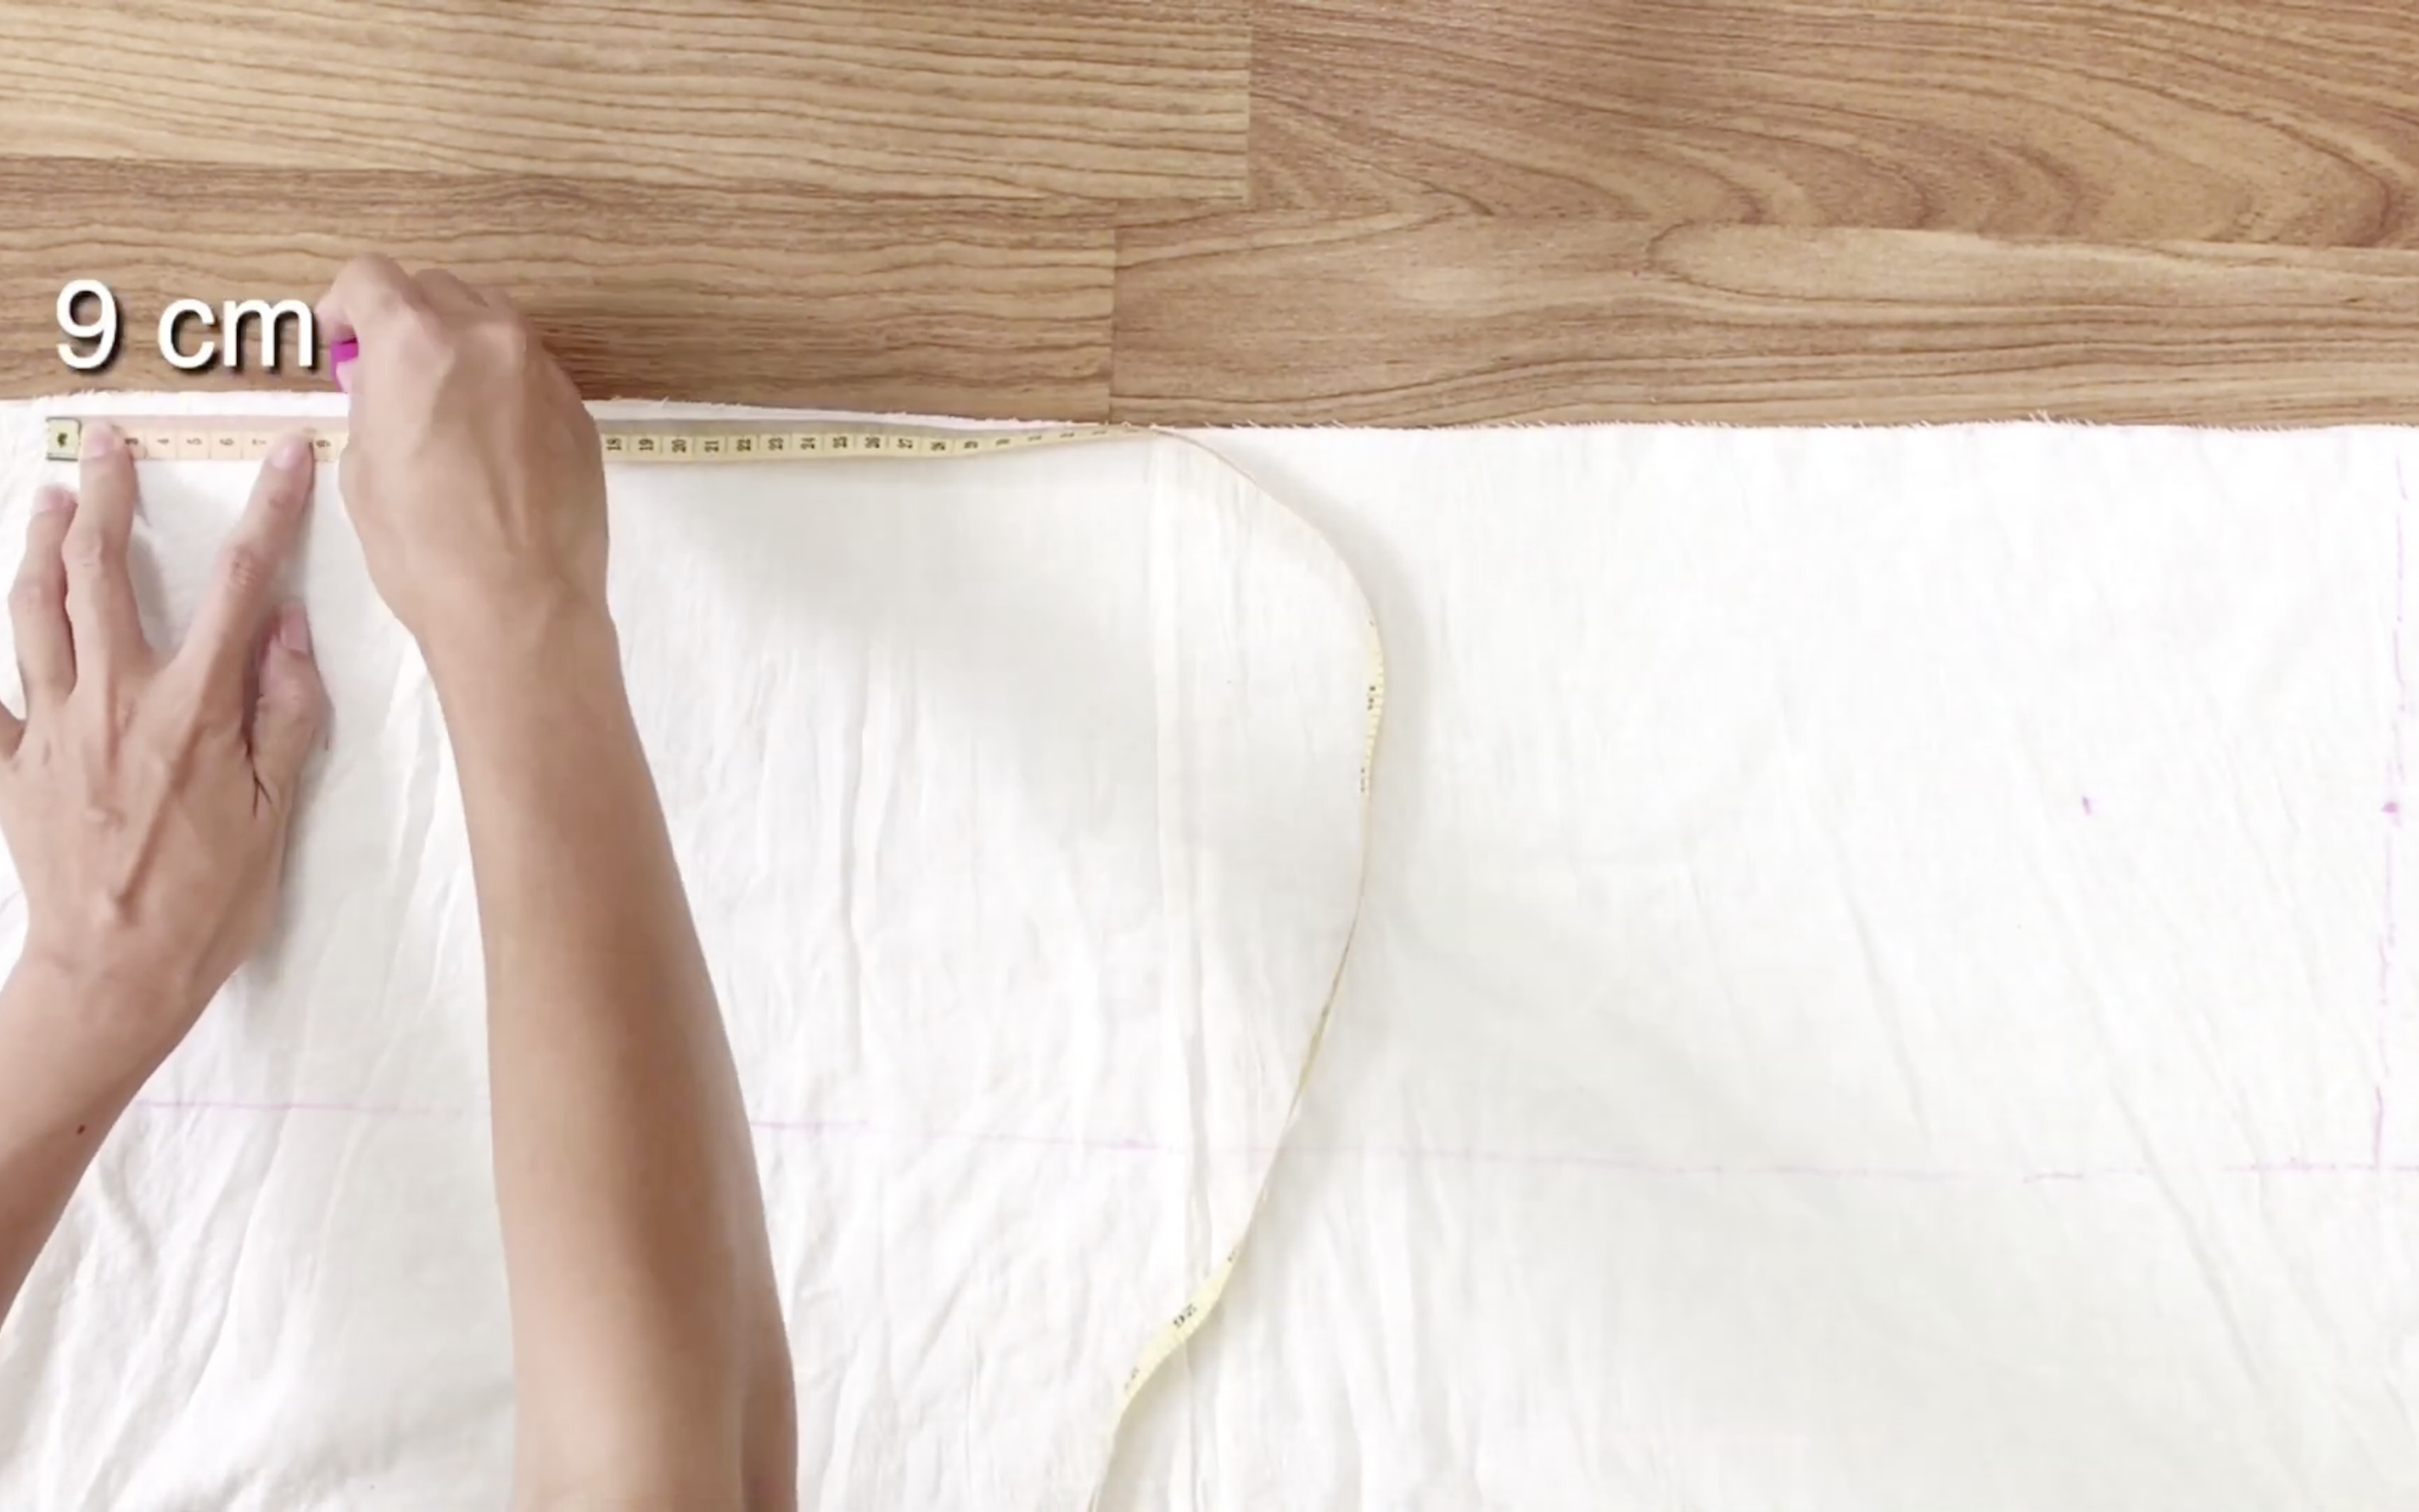
From the top on each side, measure inward 9cm and mark again.
Connect the two marks together.
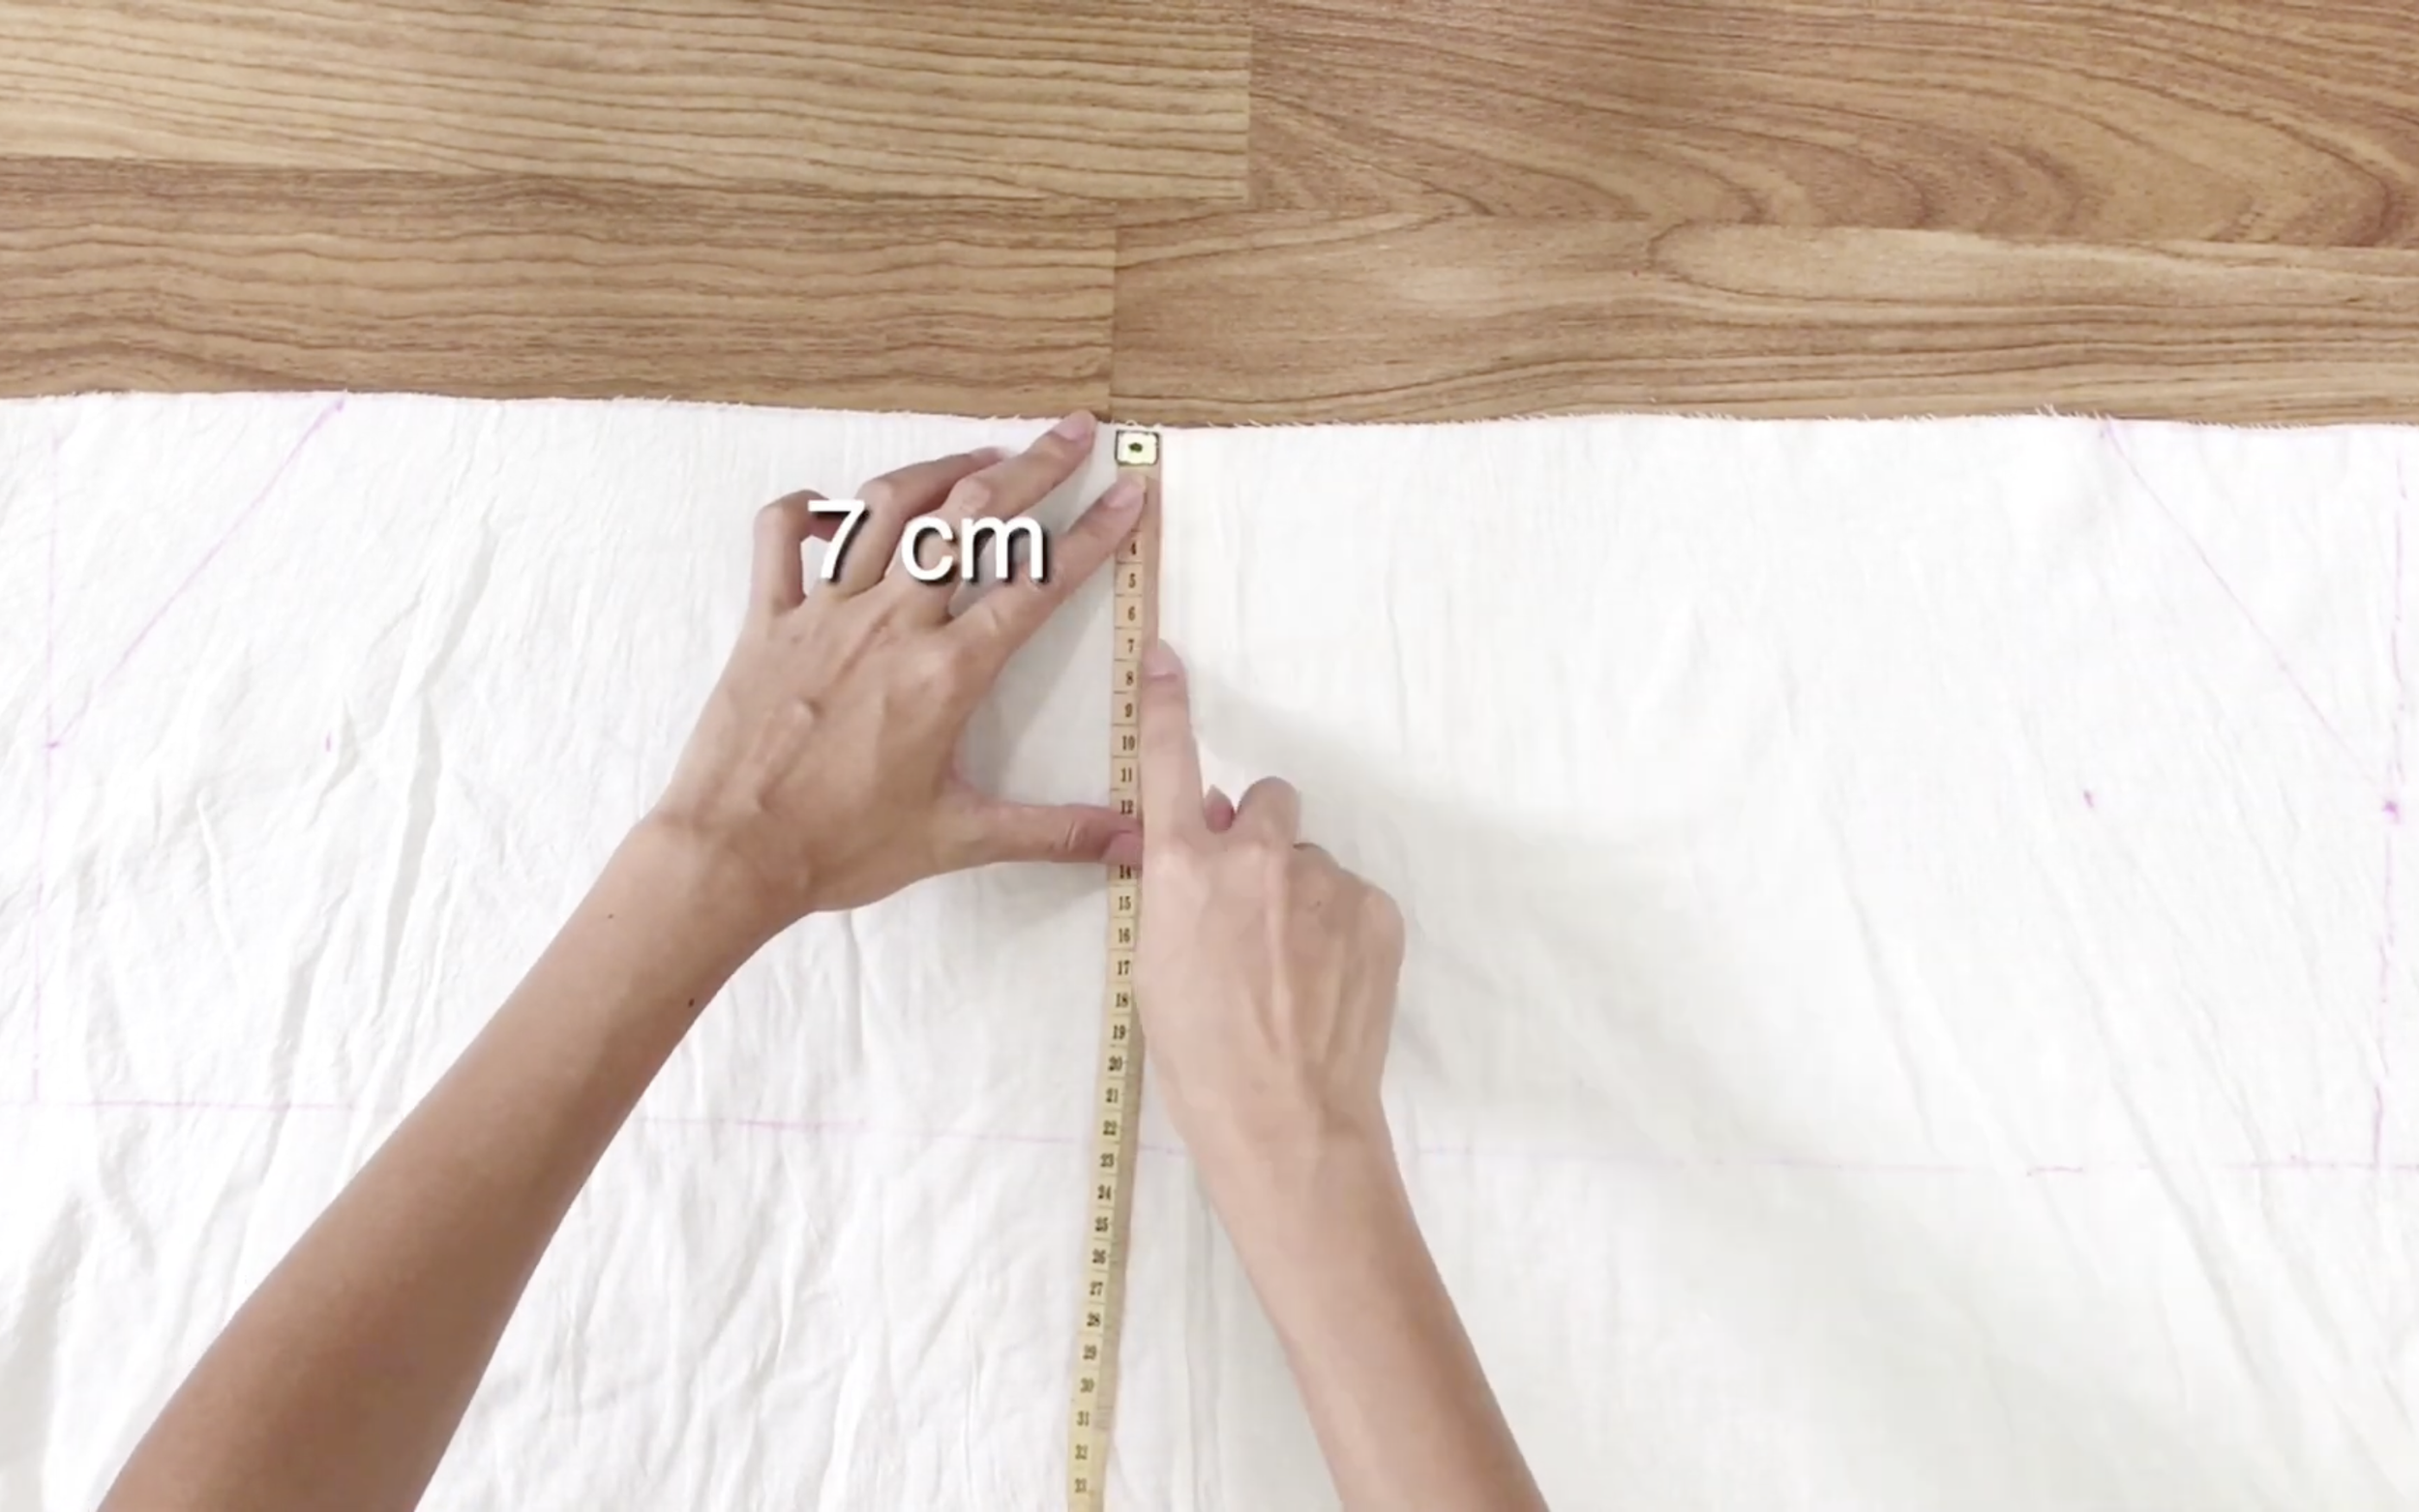
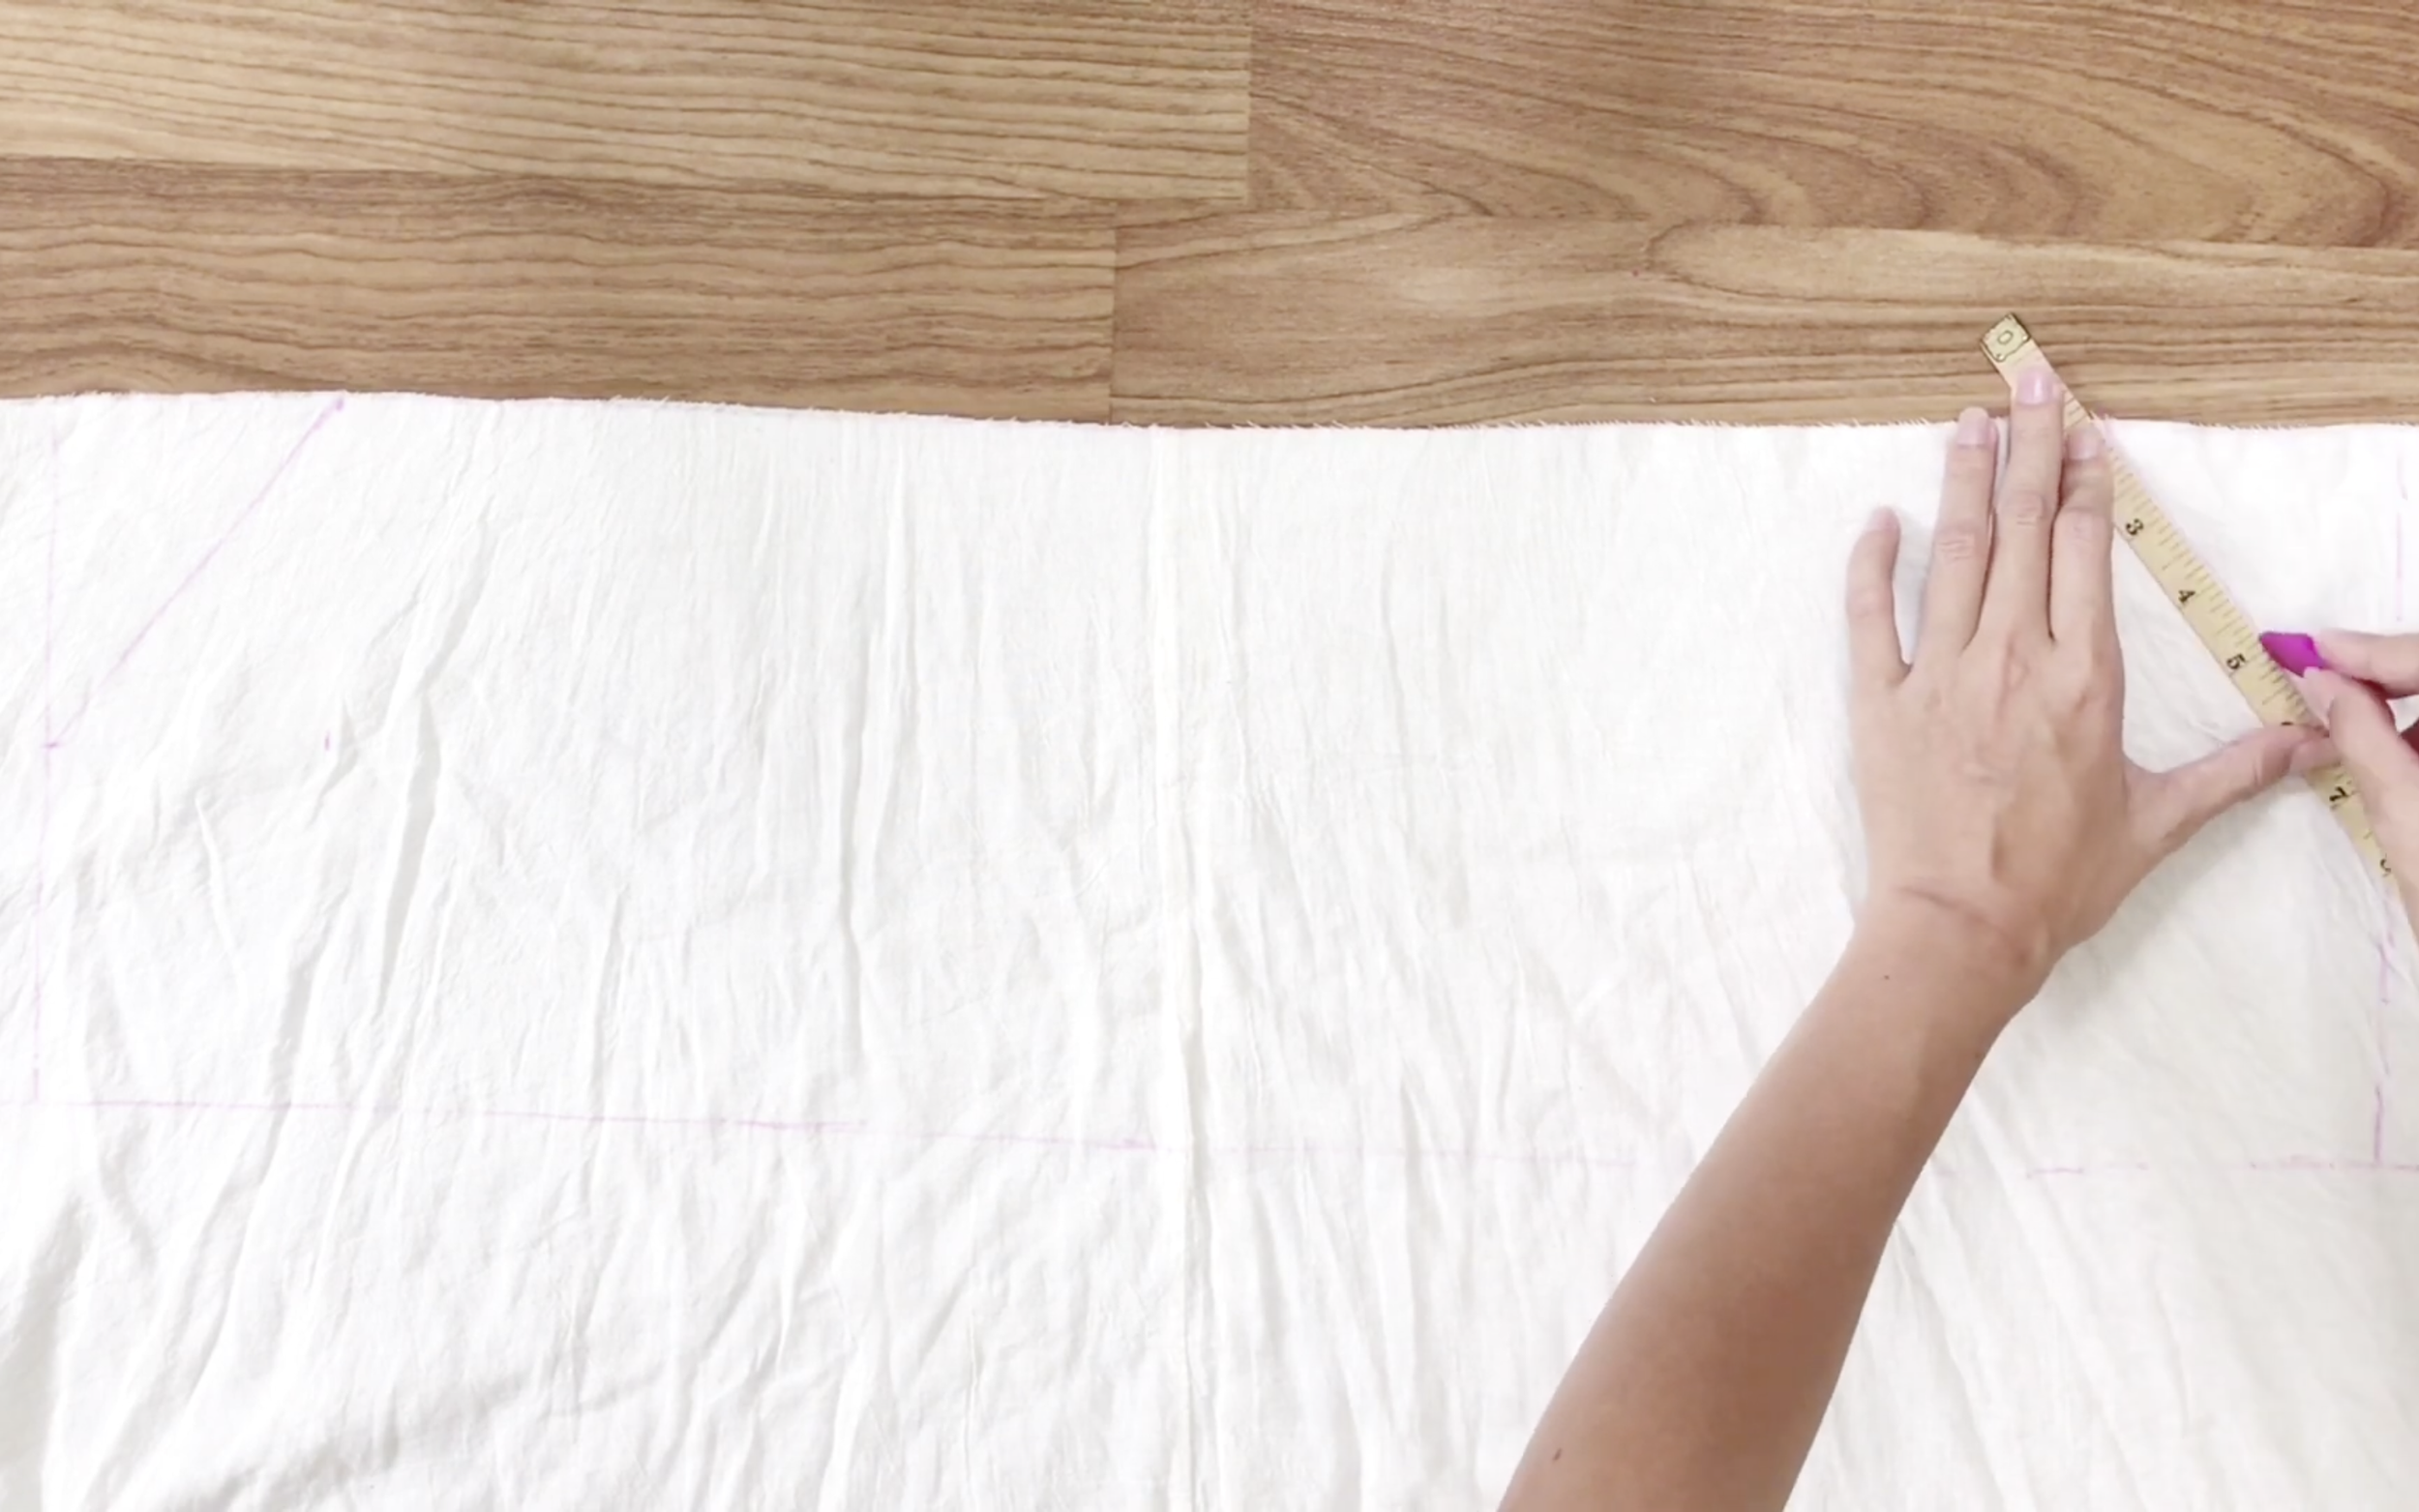
From the middle of the top, measure down 7cm and mark that point.
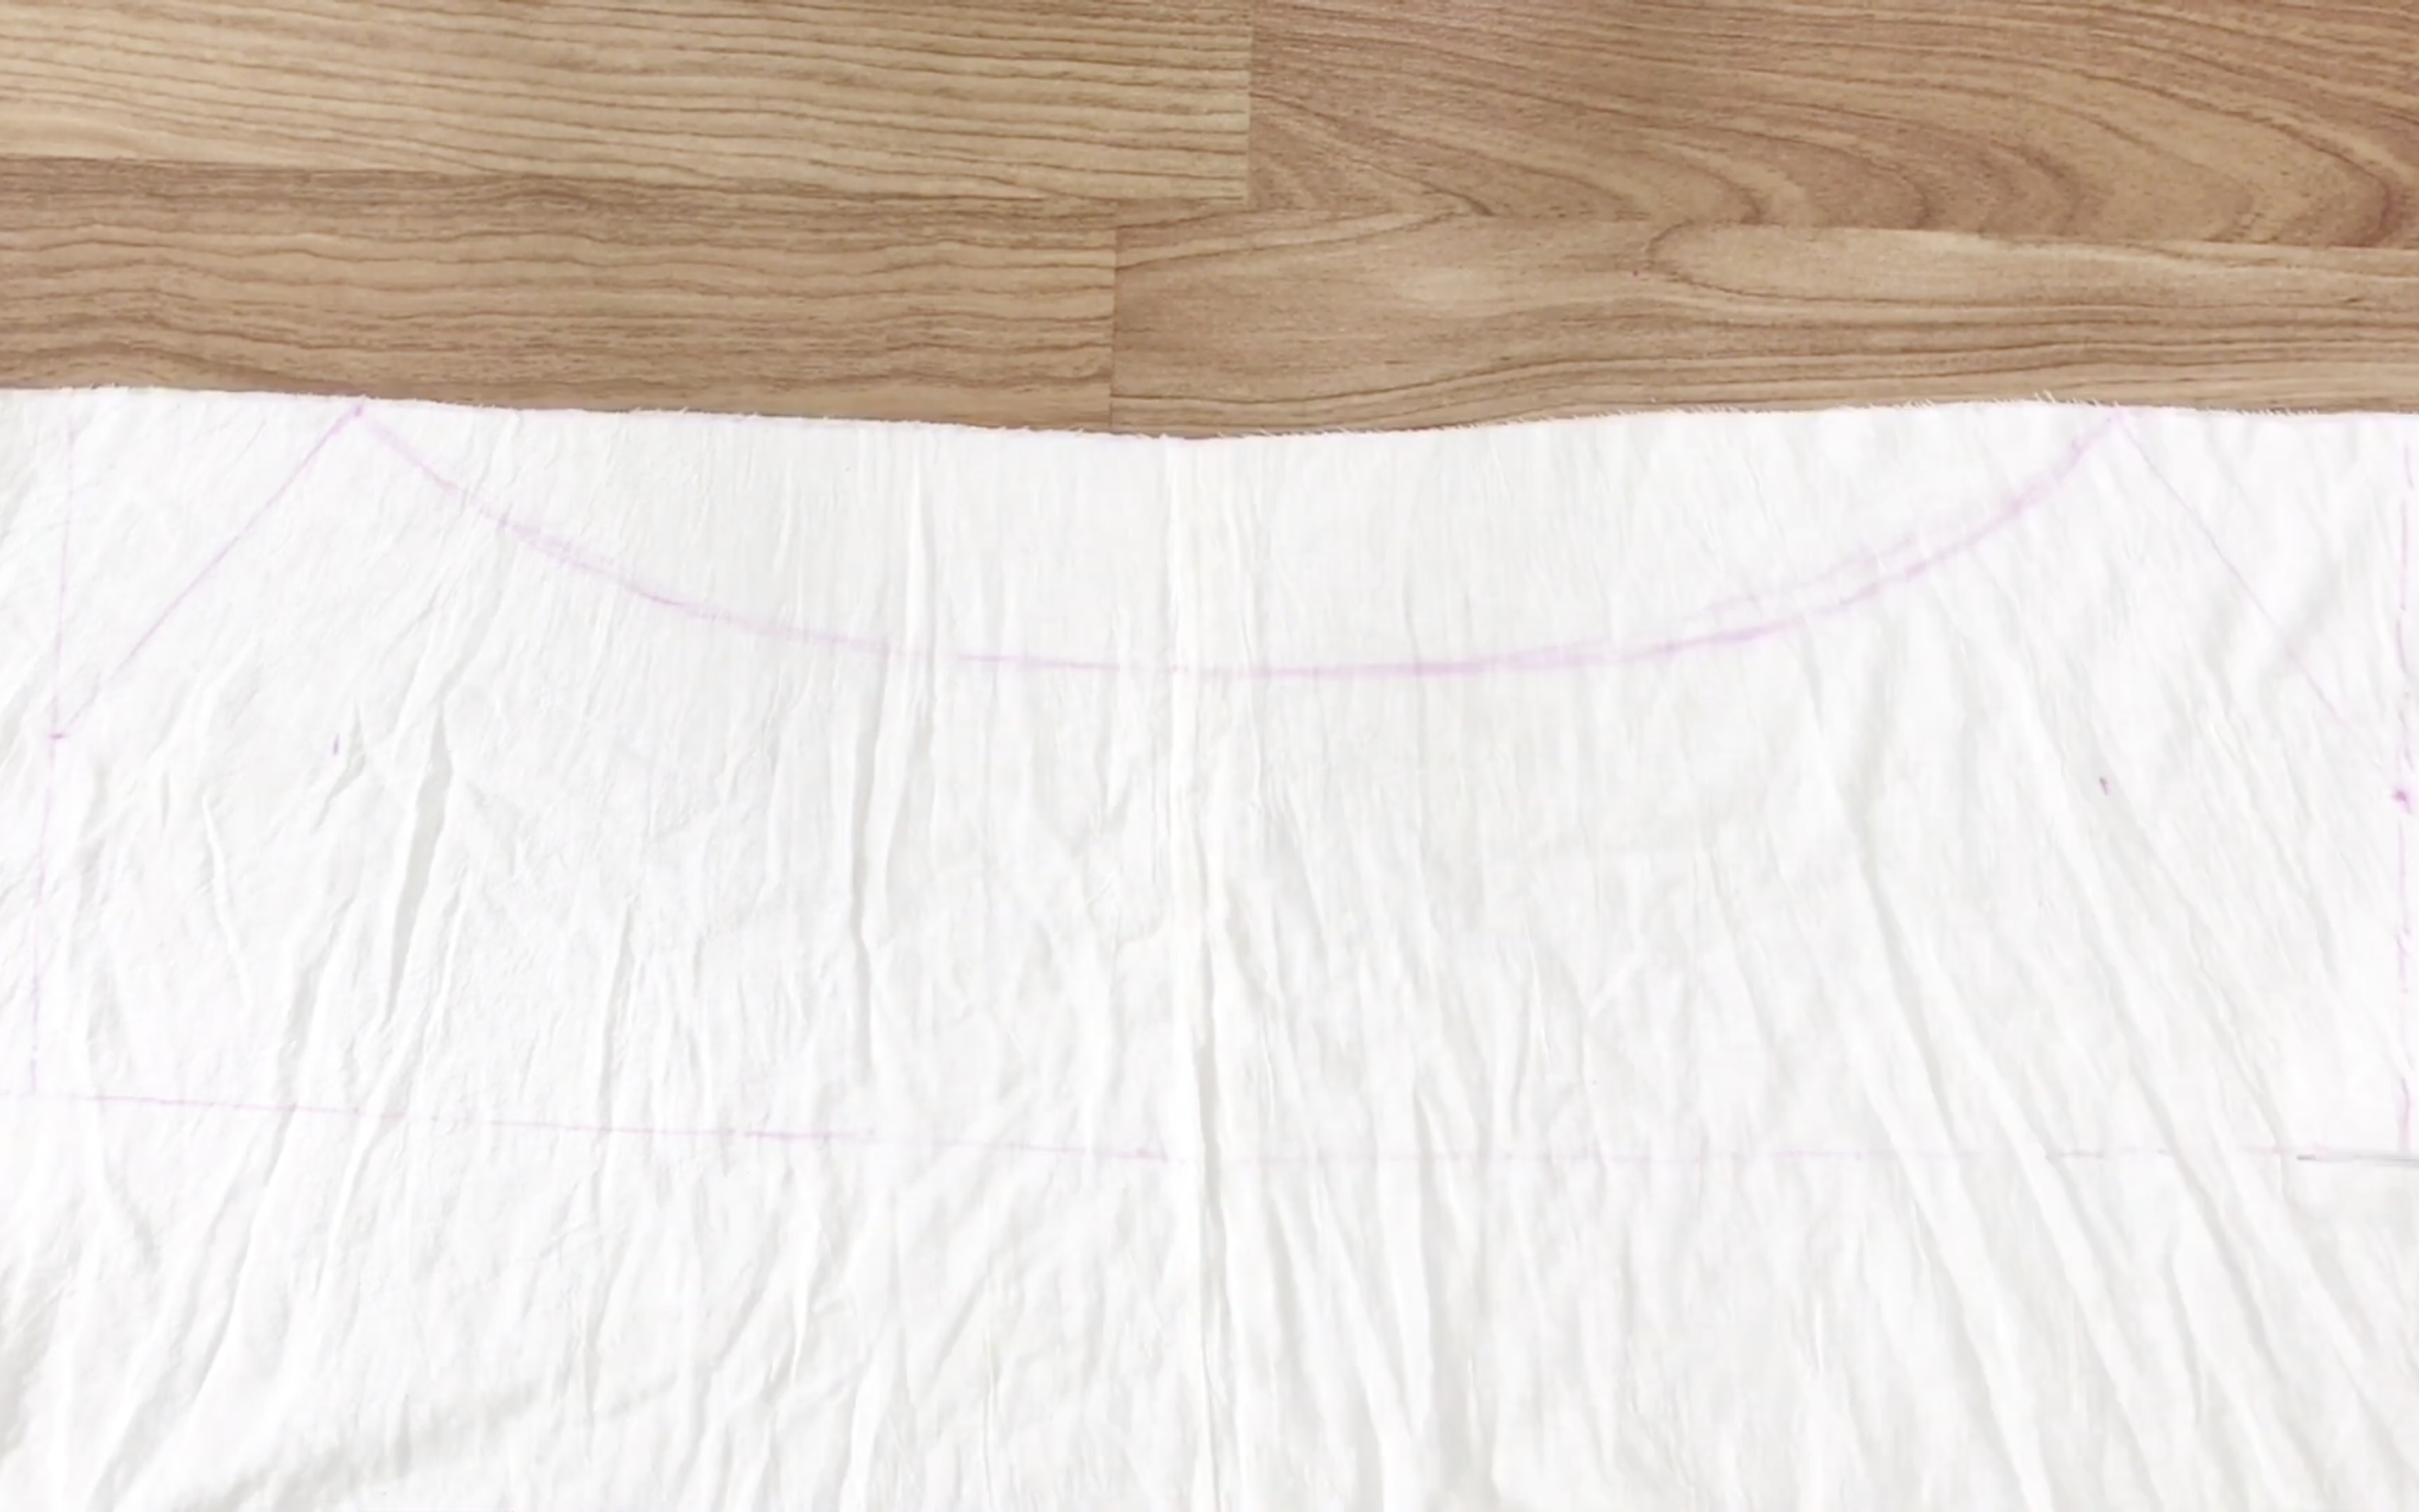
Then, draw an arc line from each side to meet that mark.
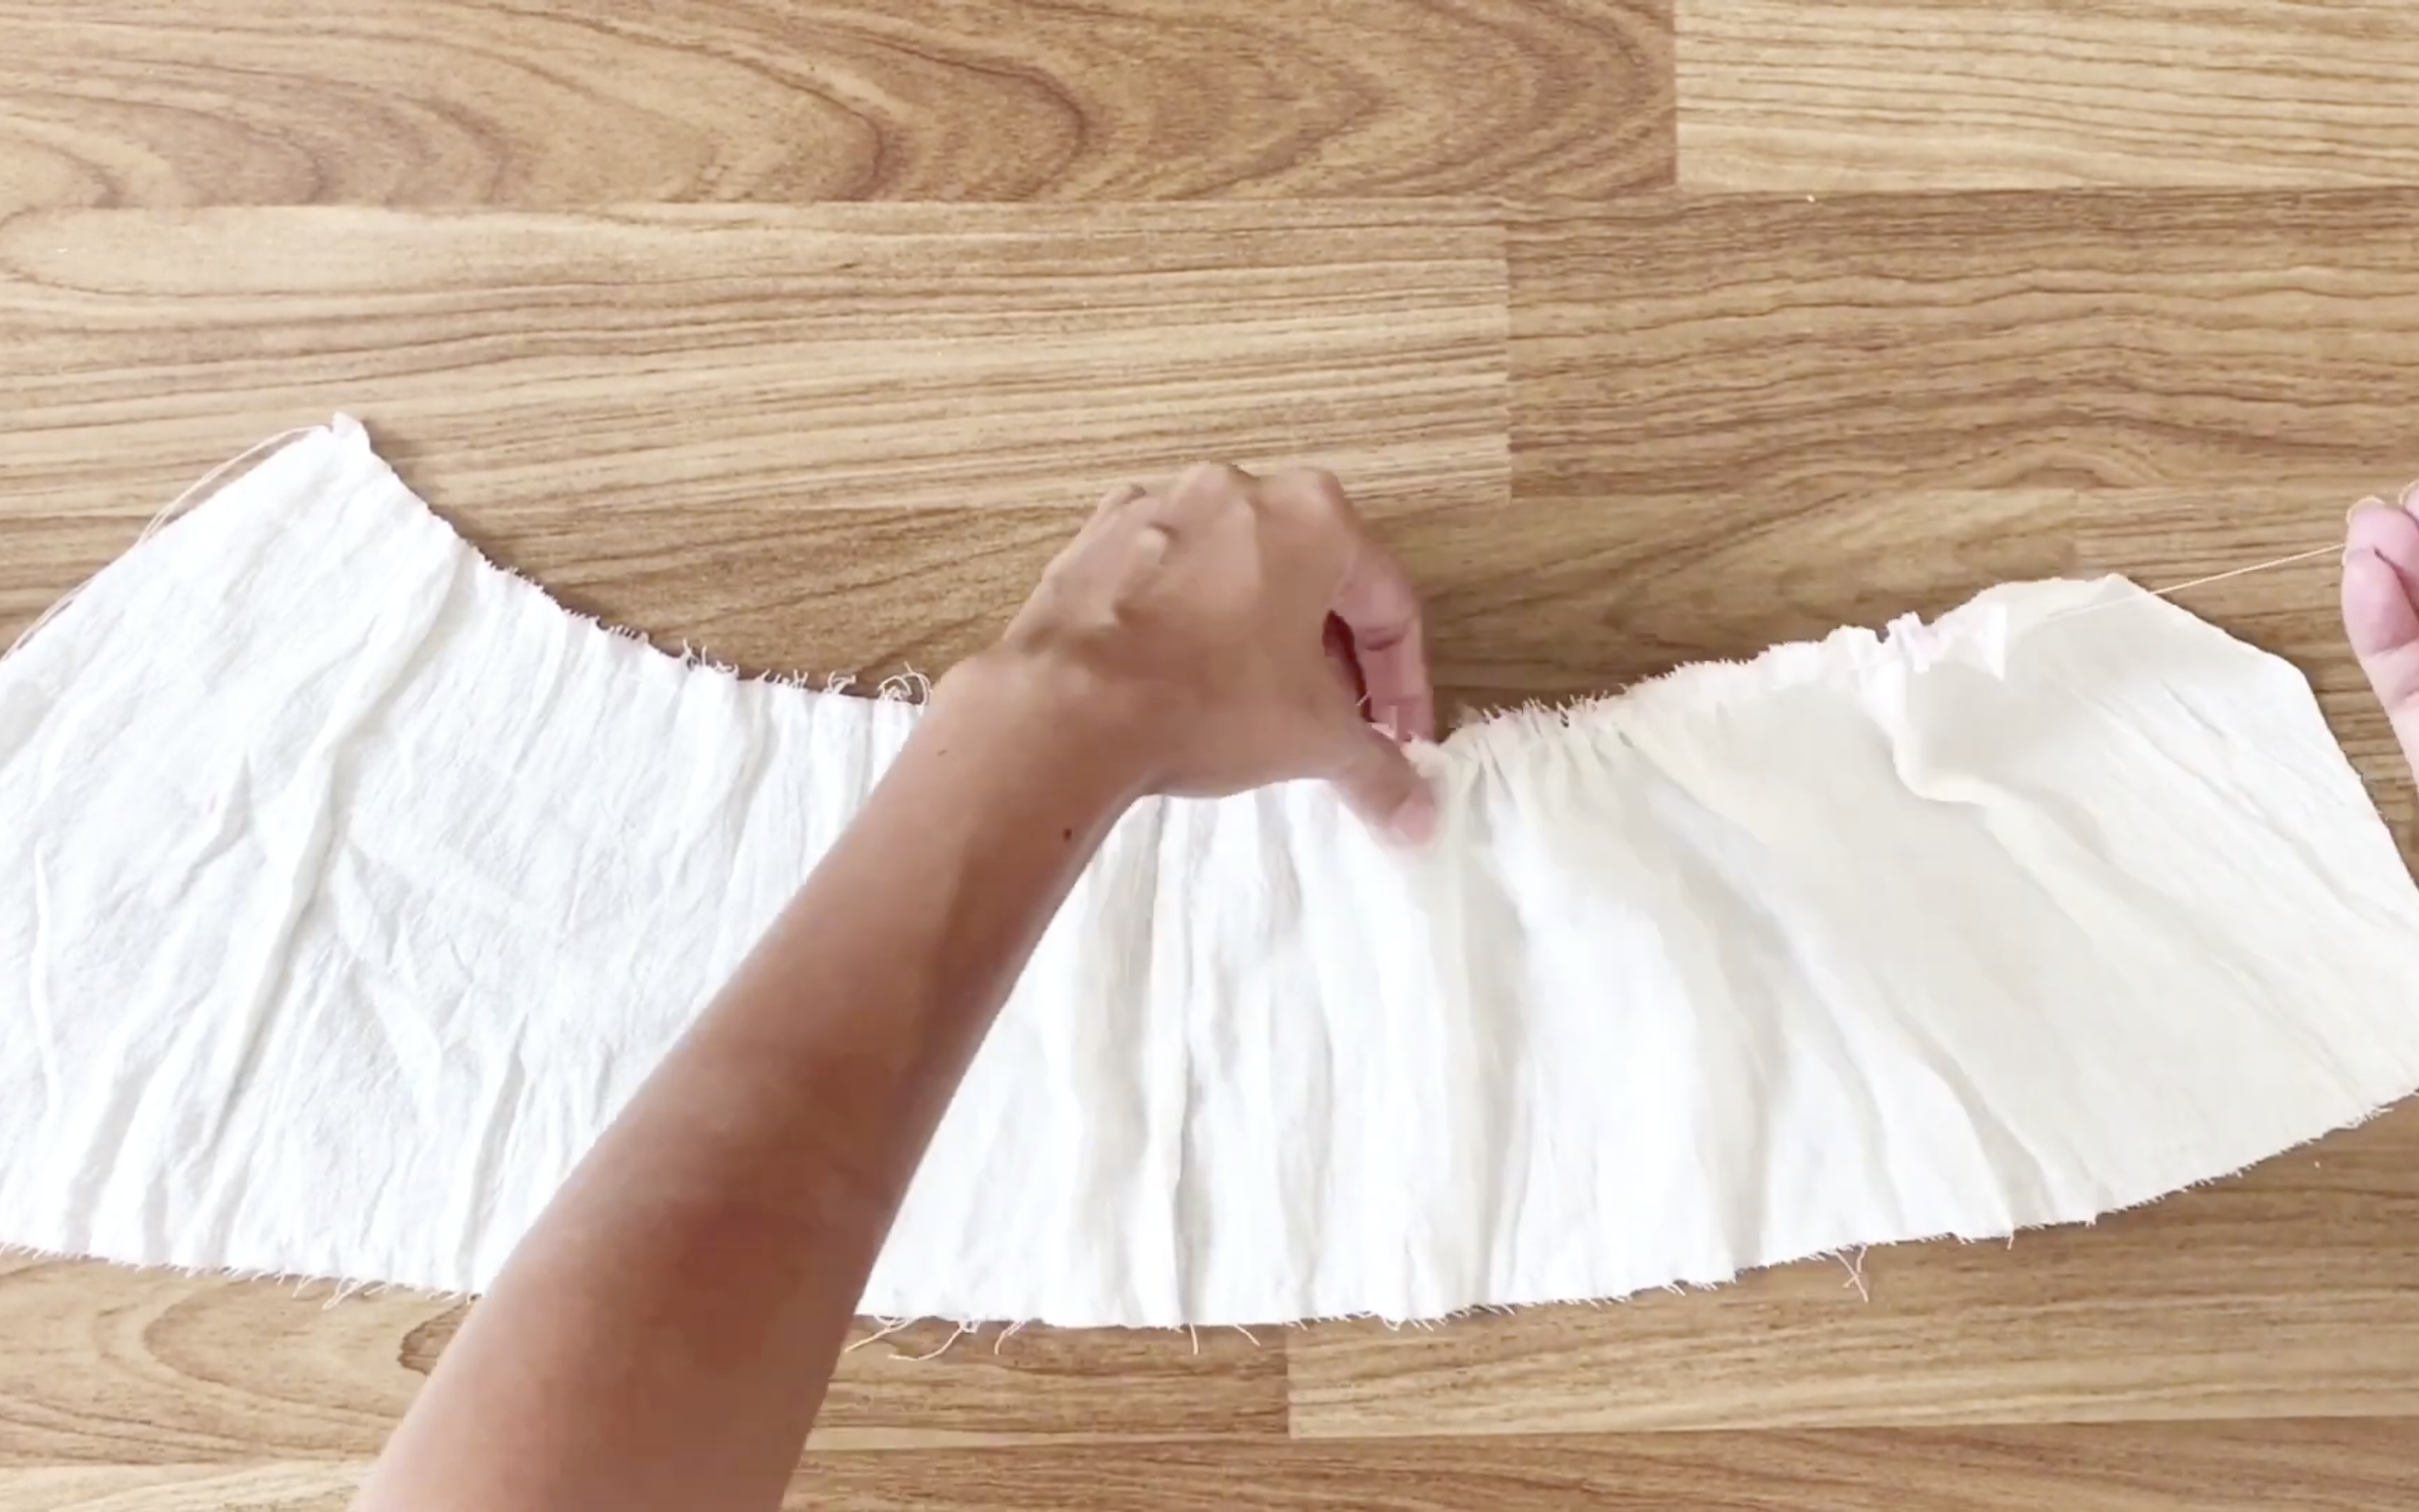
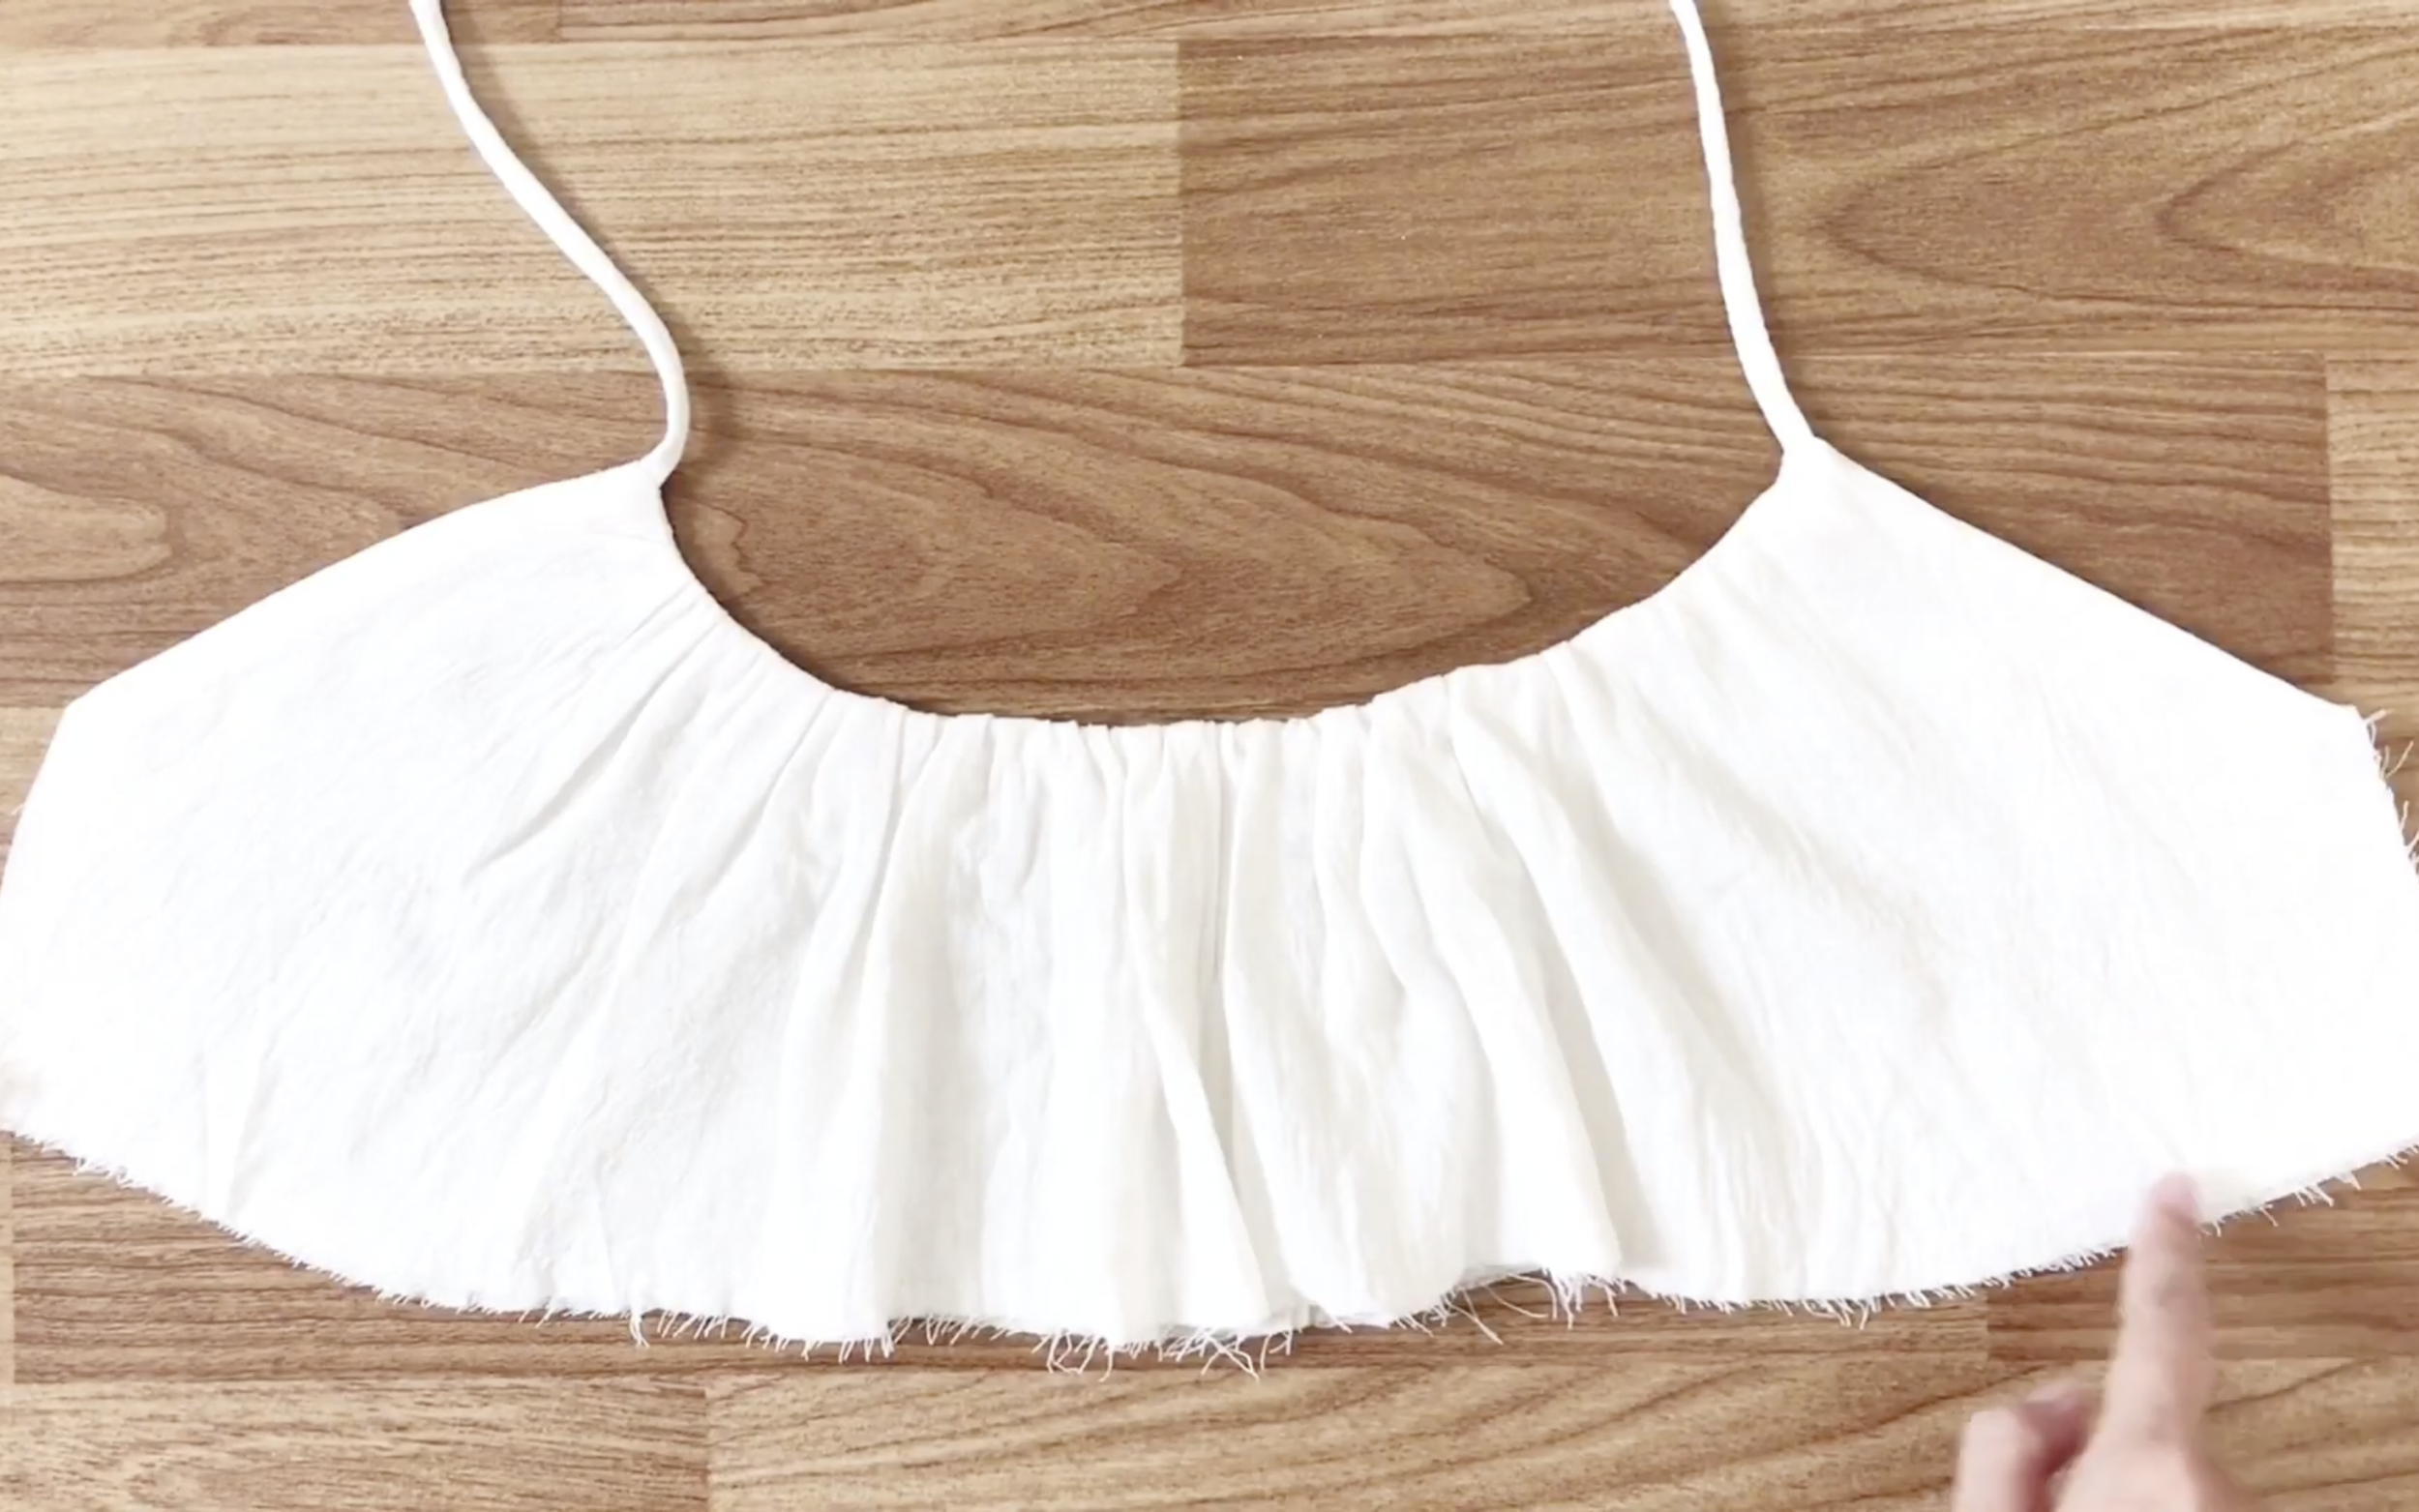
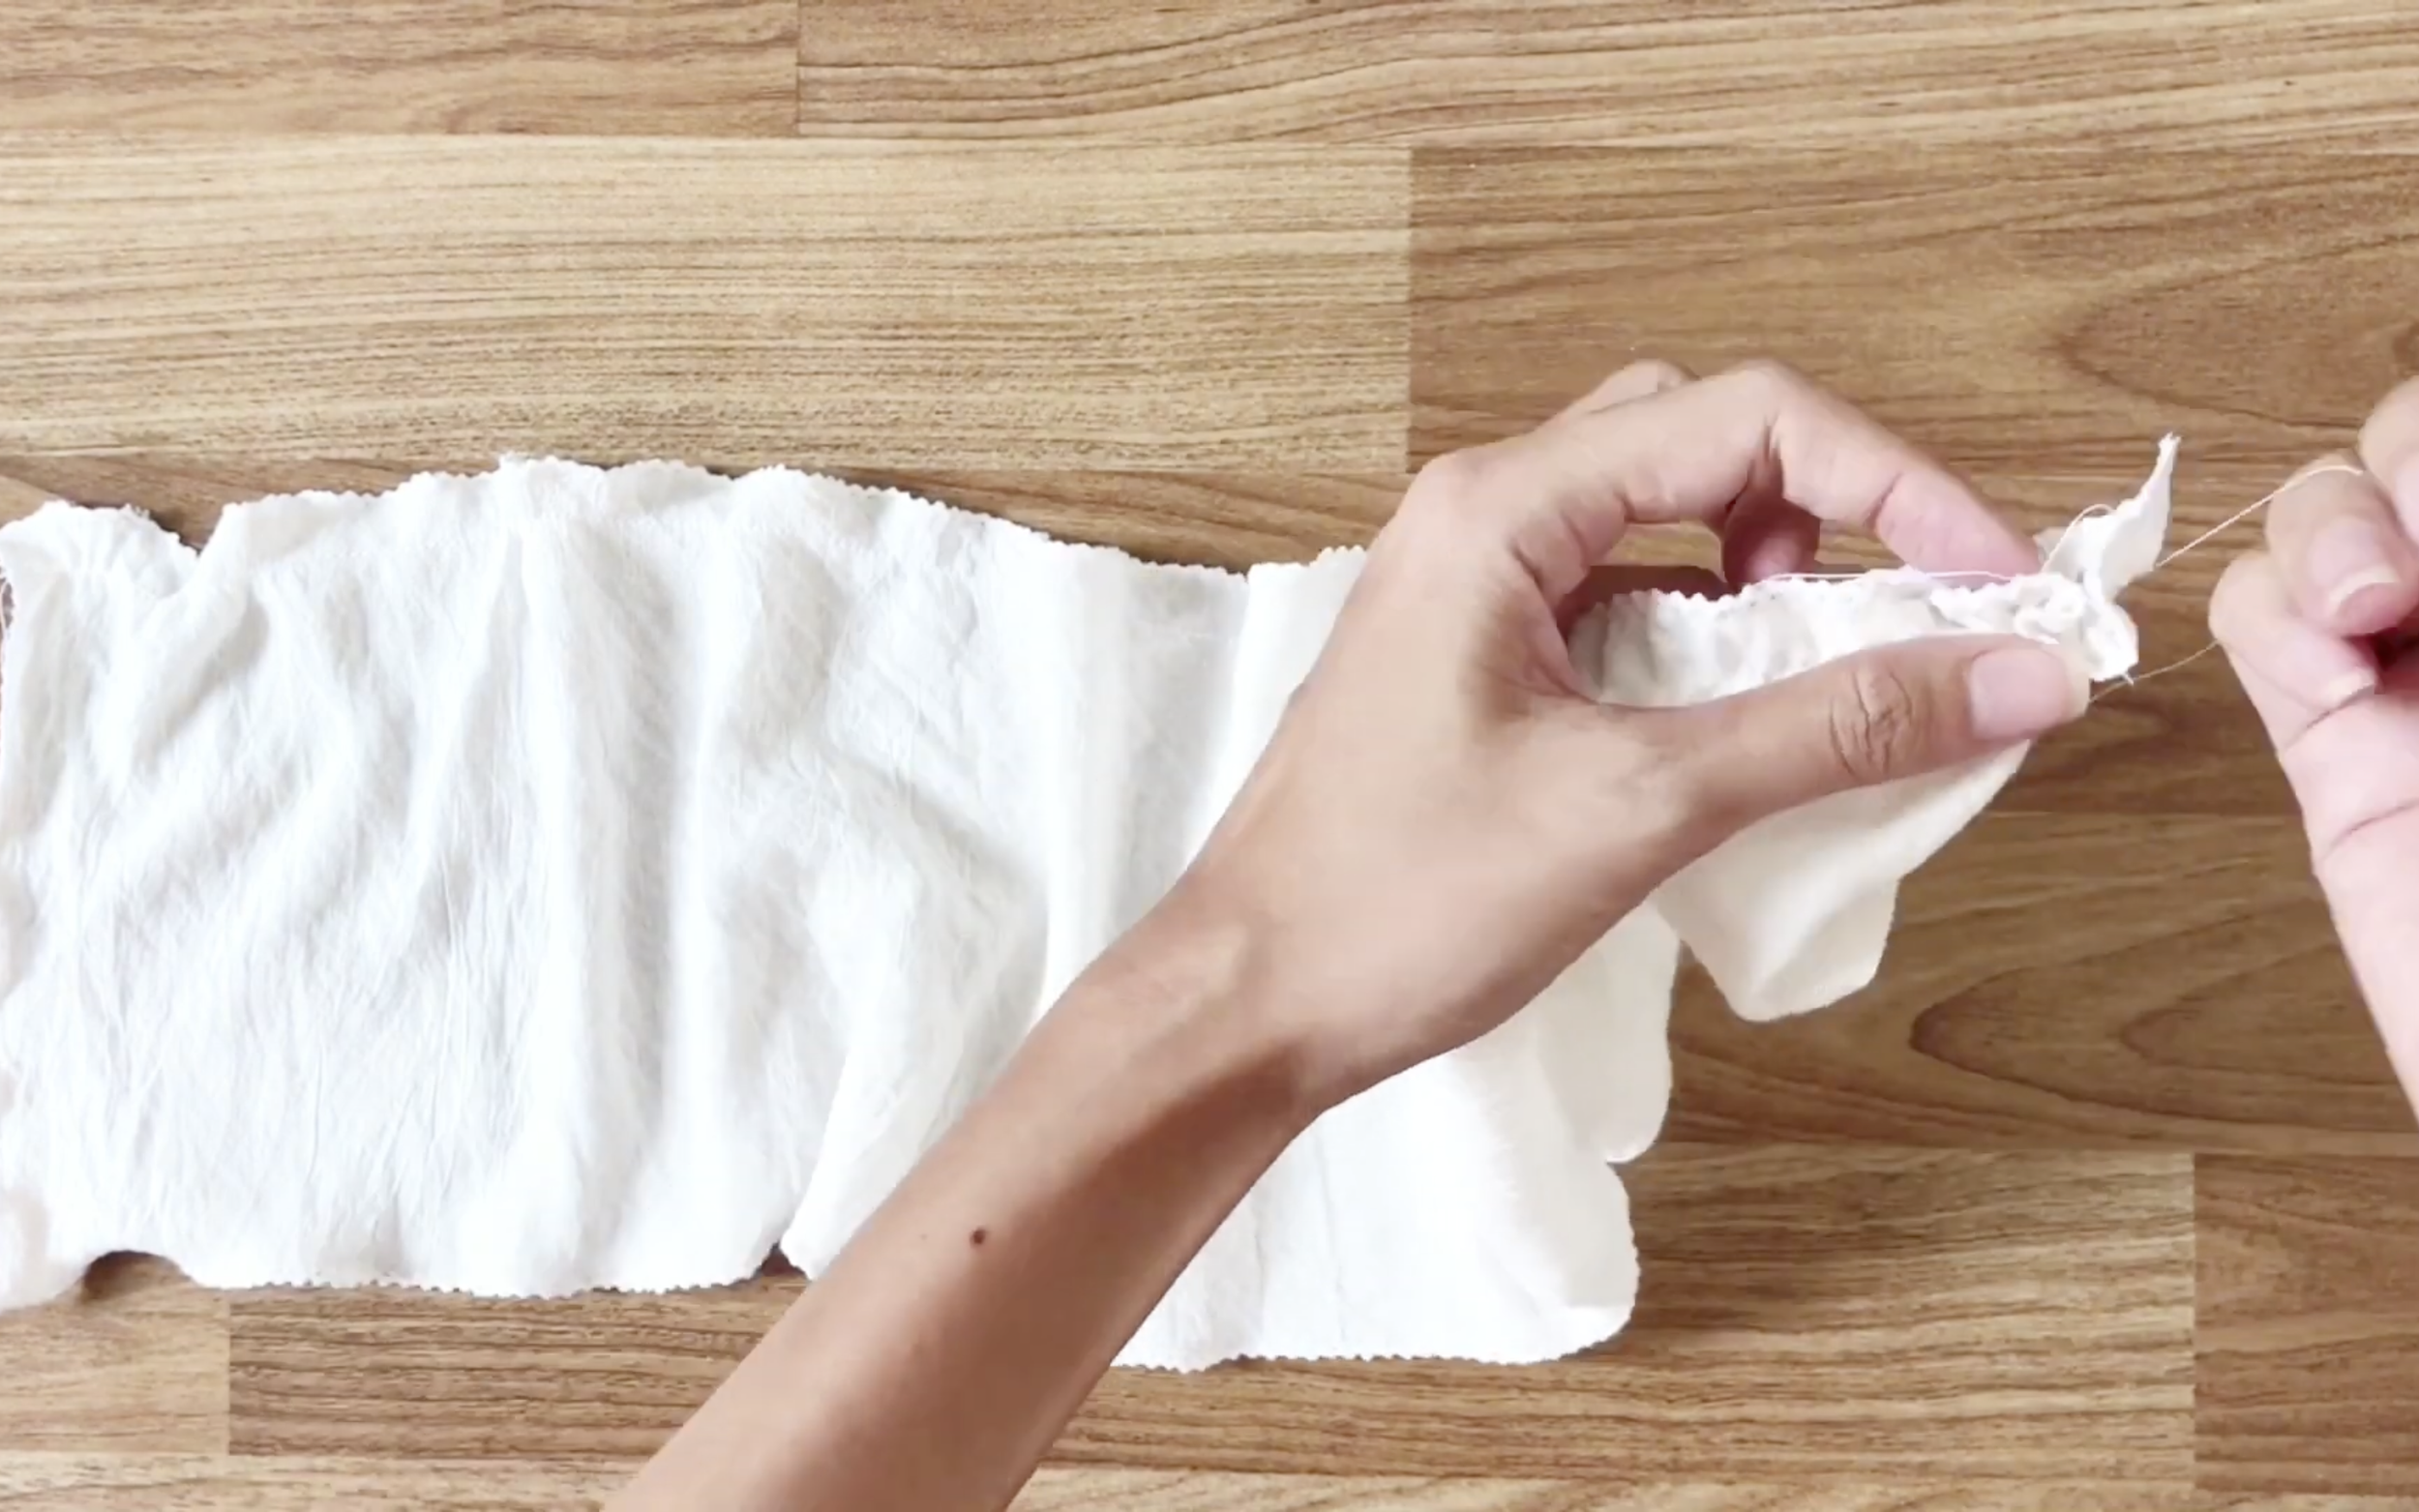
After cutting, gather the fabric along the arc line.
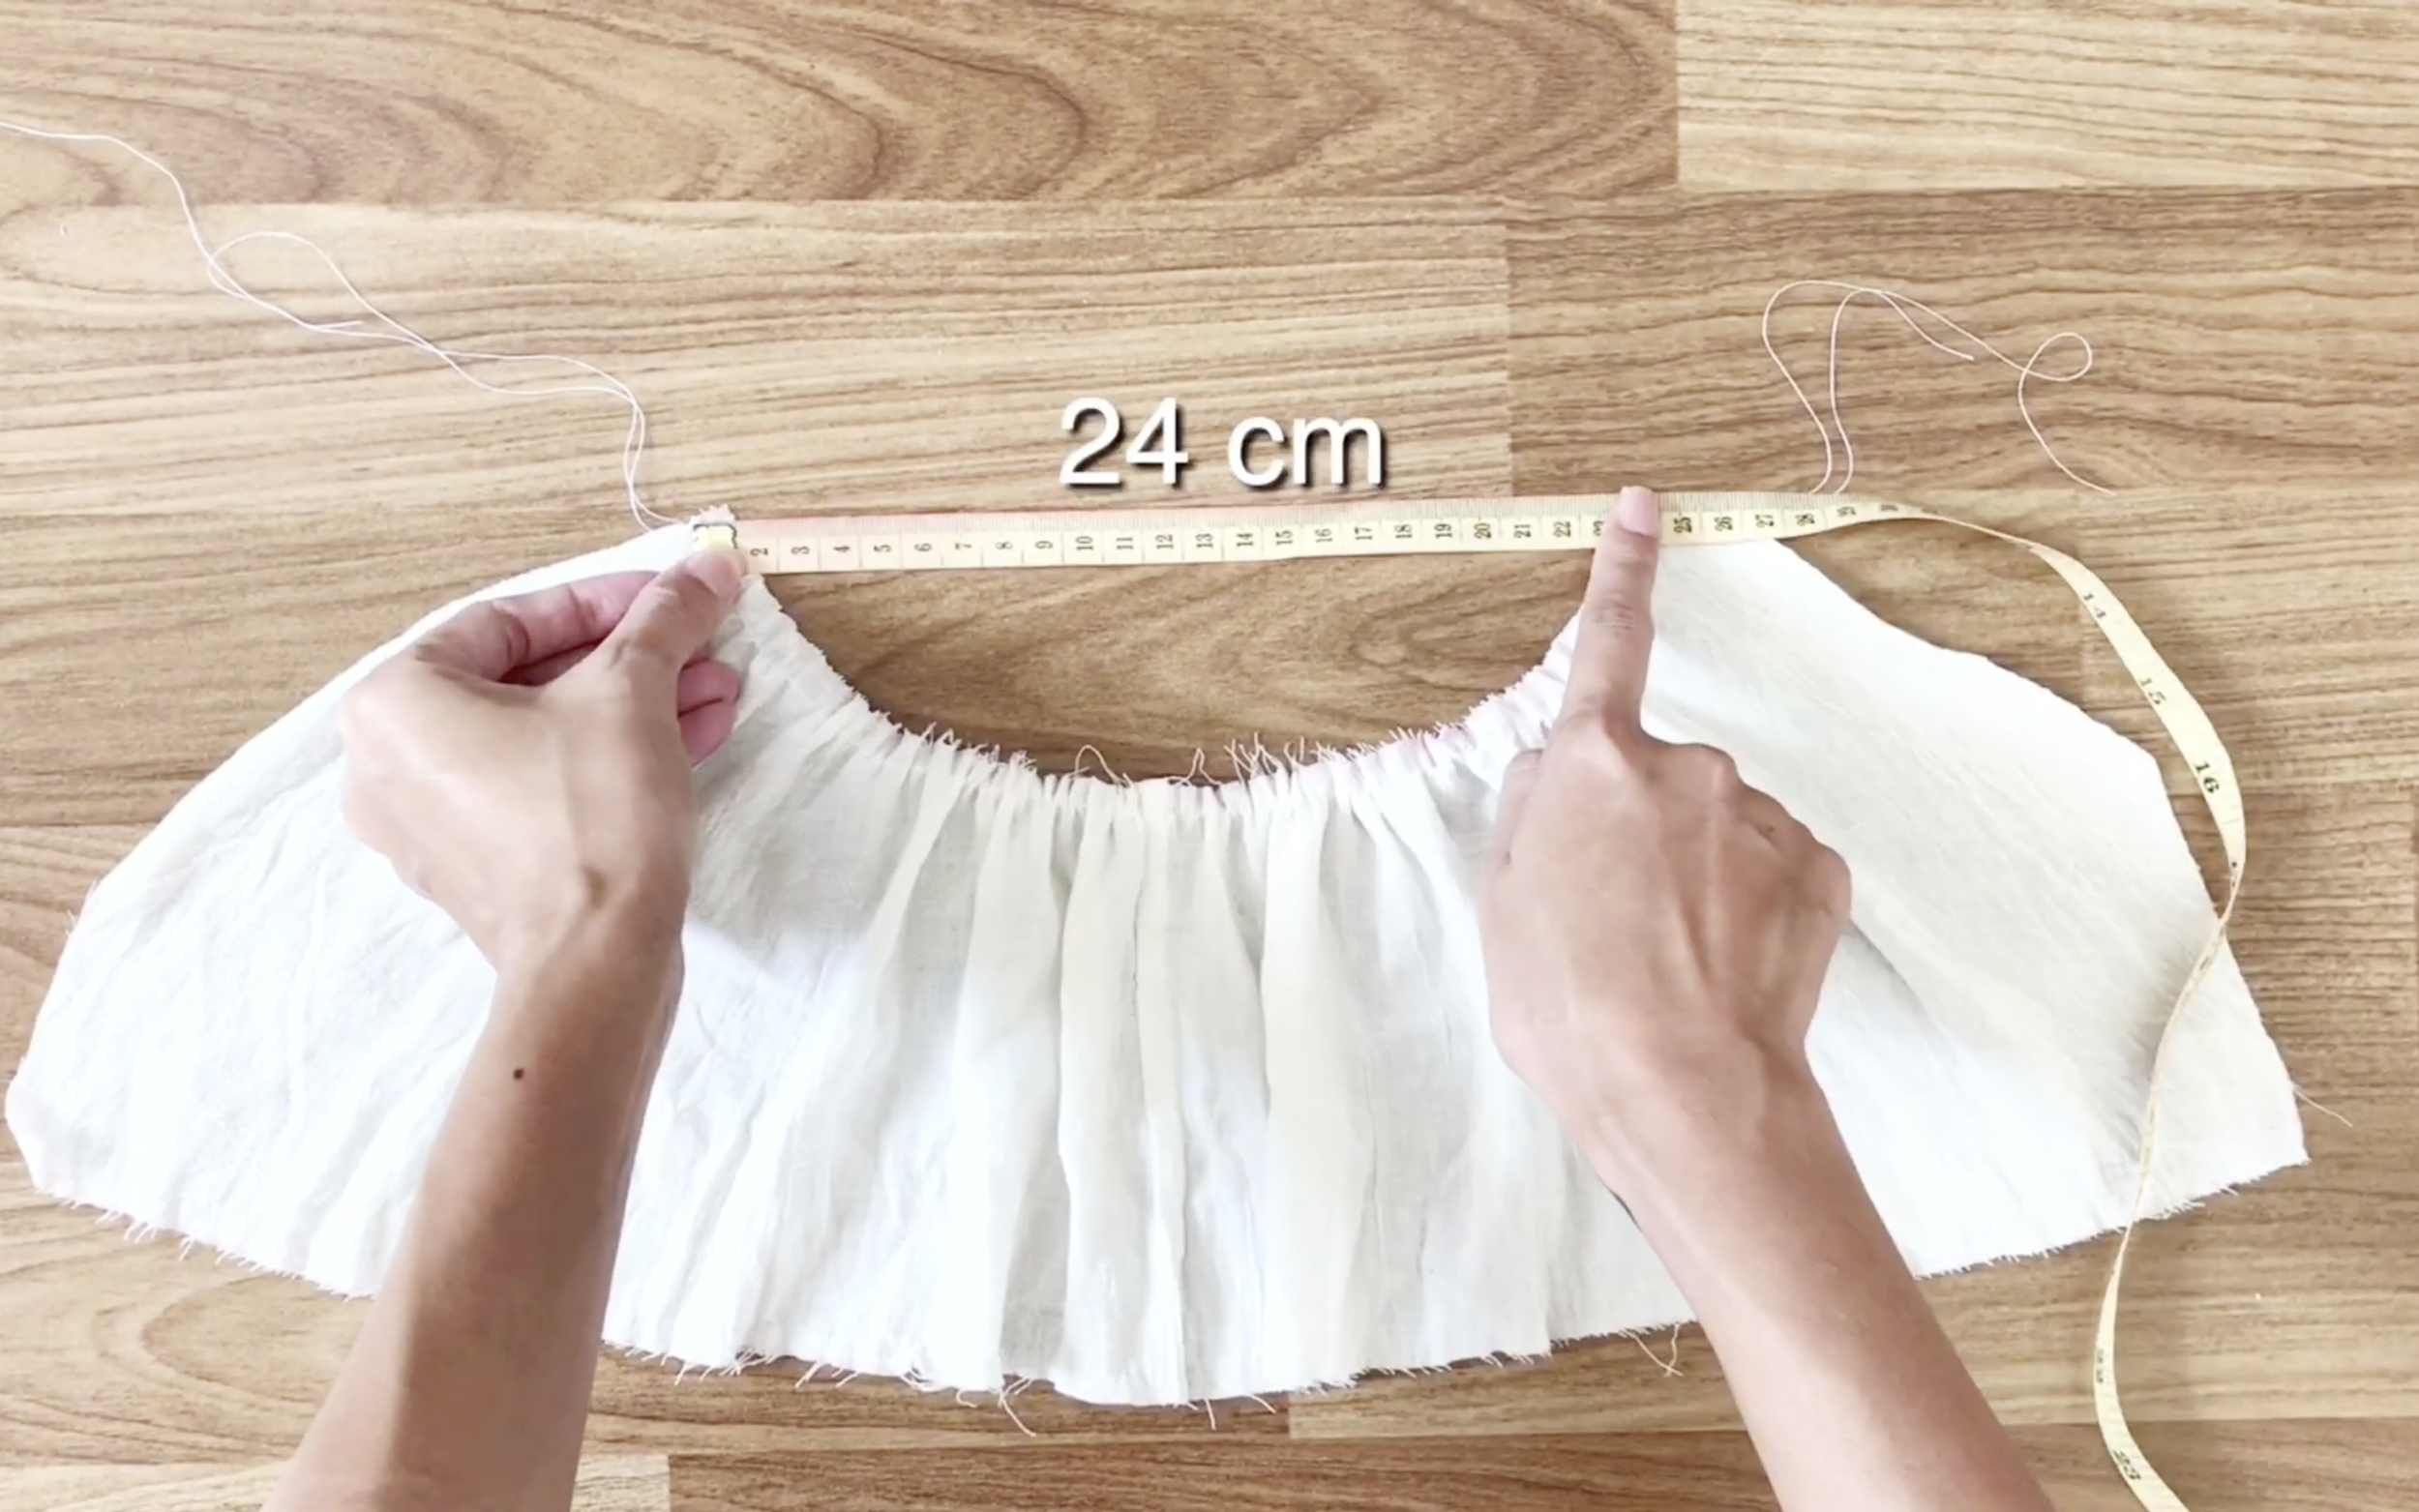
Make sure the width between the two ends is 24cm, which is the width of the front chest.
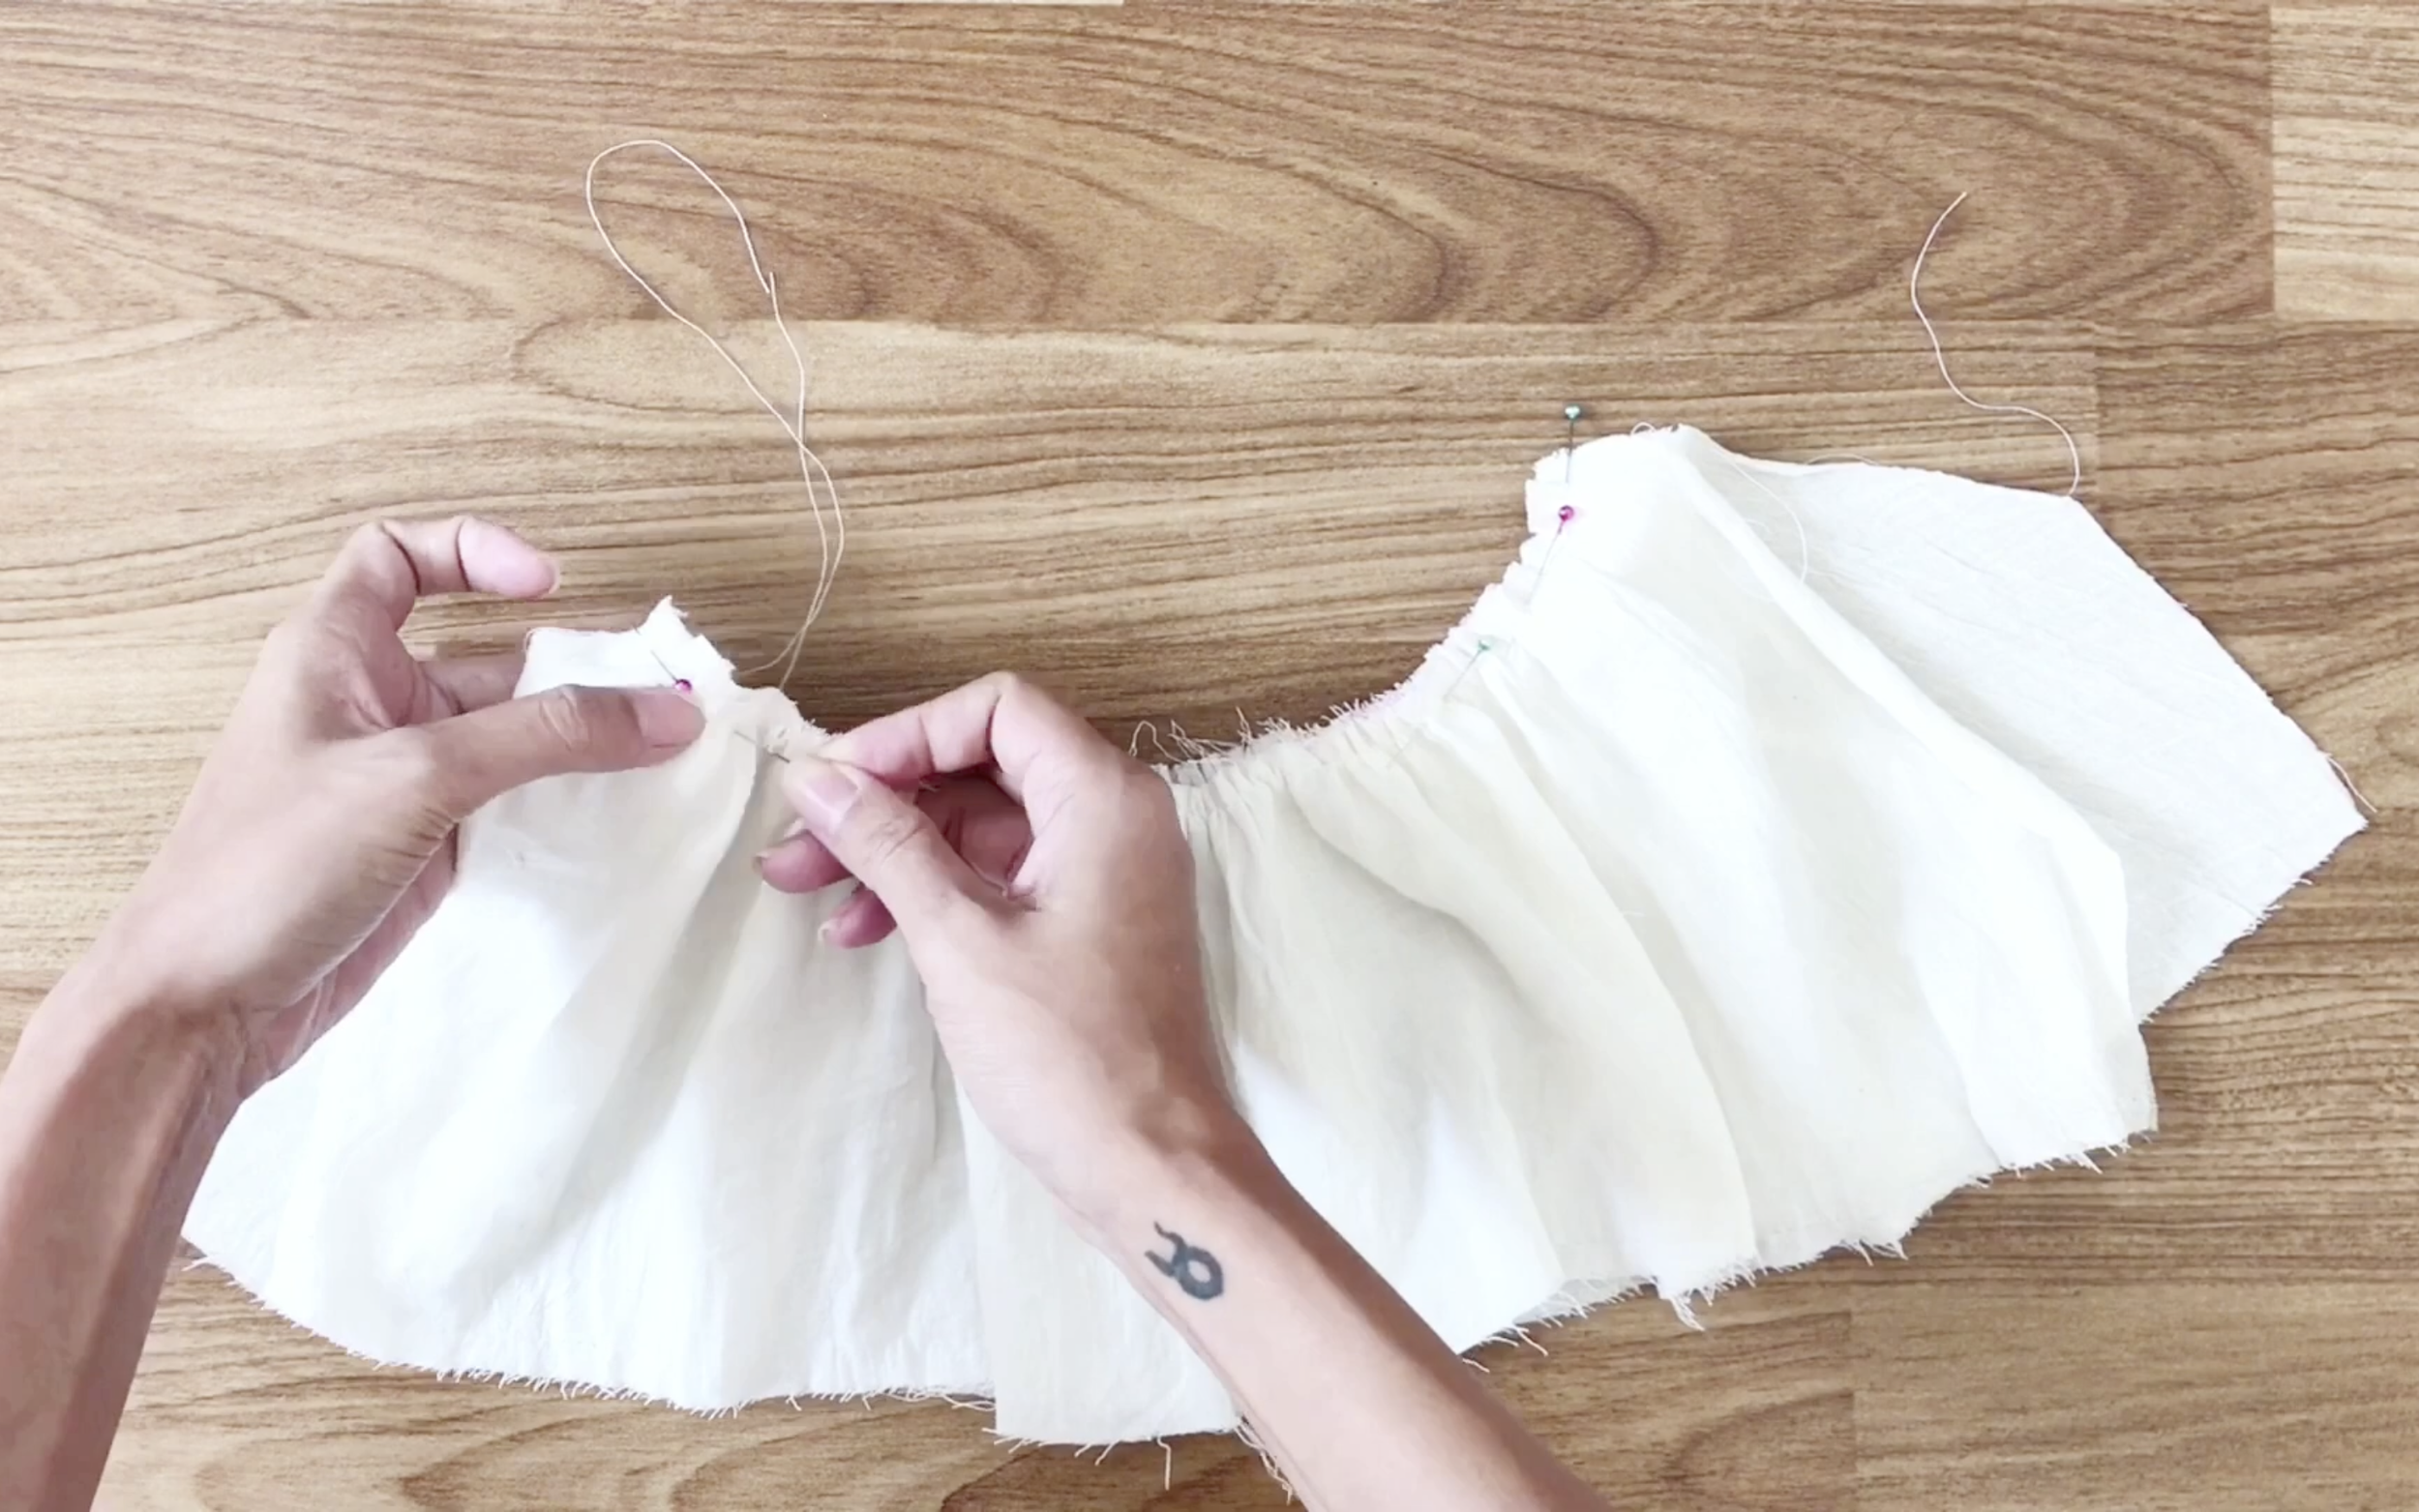
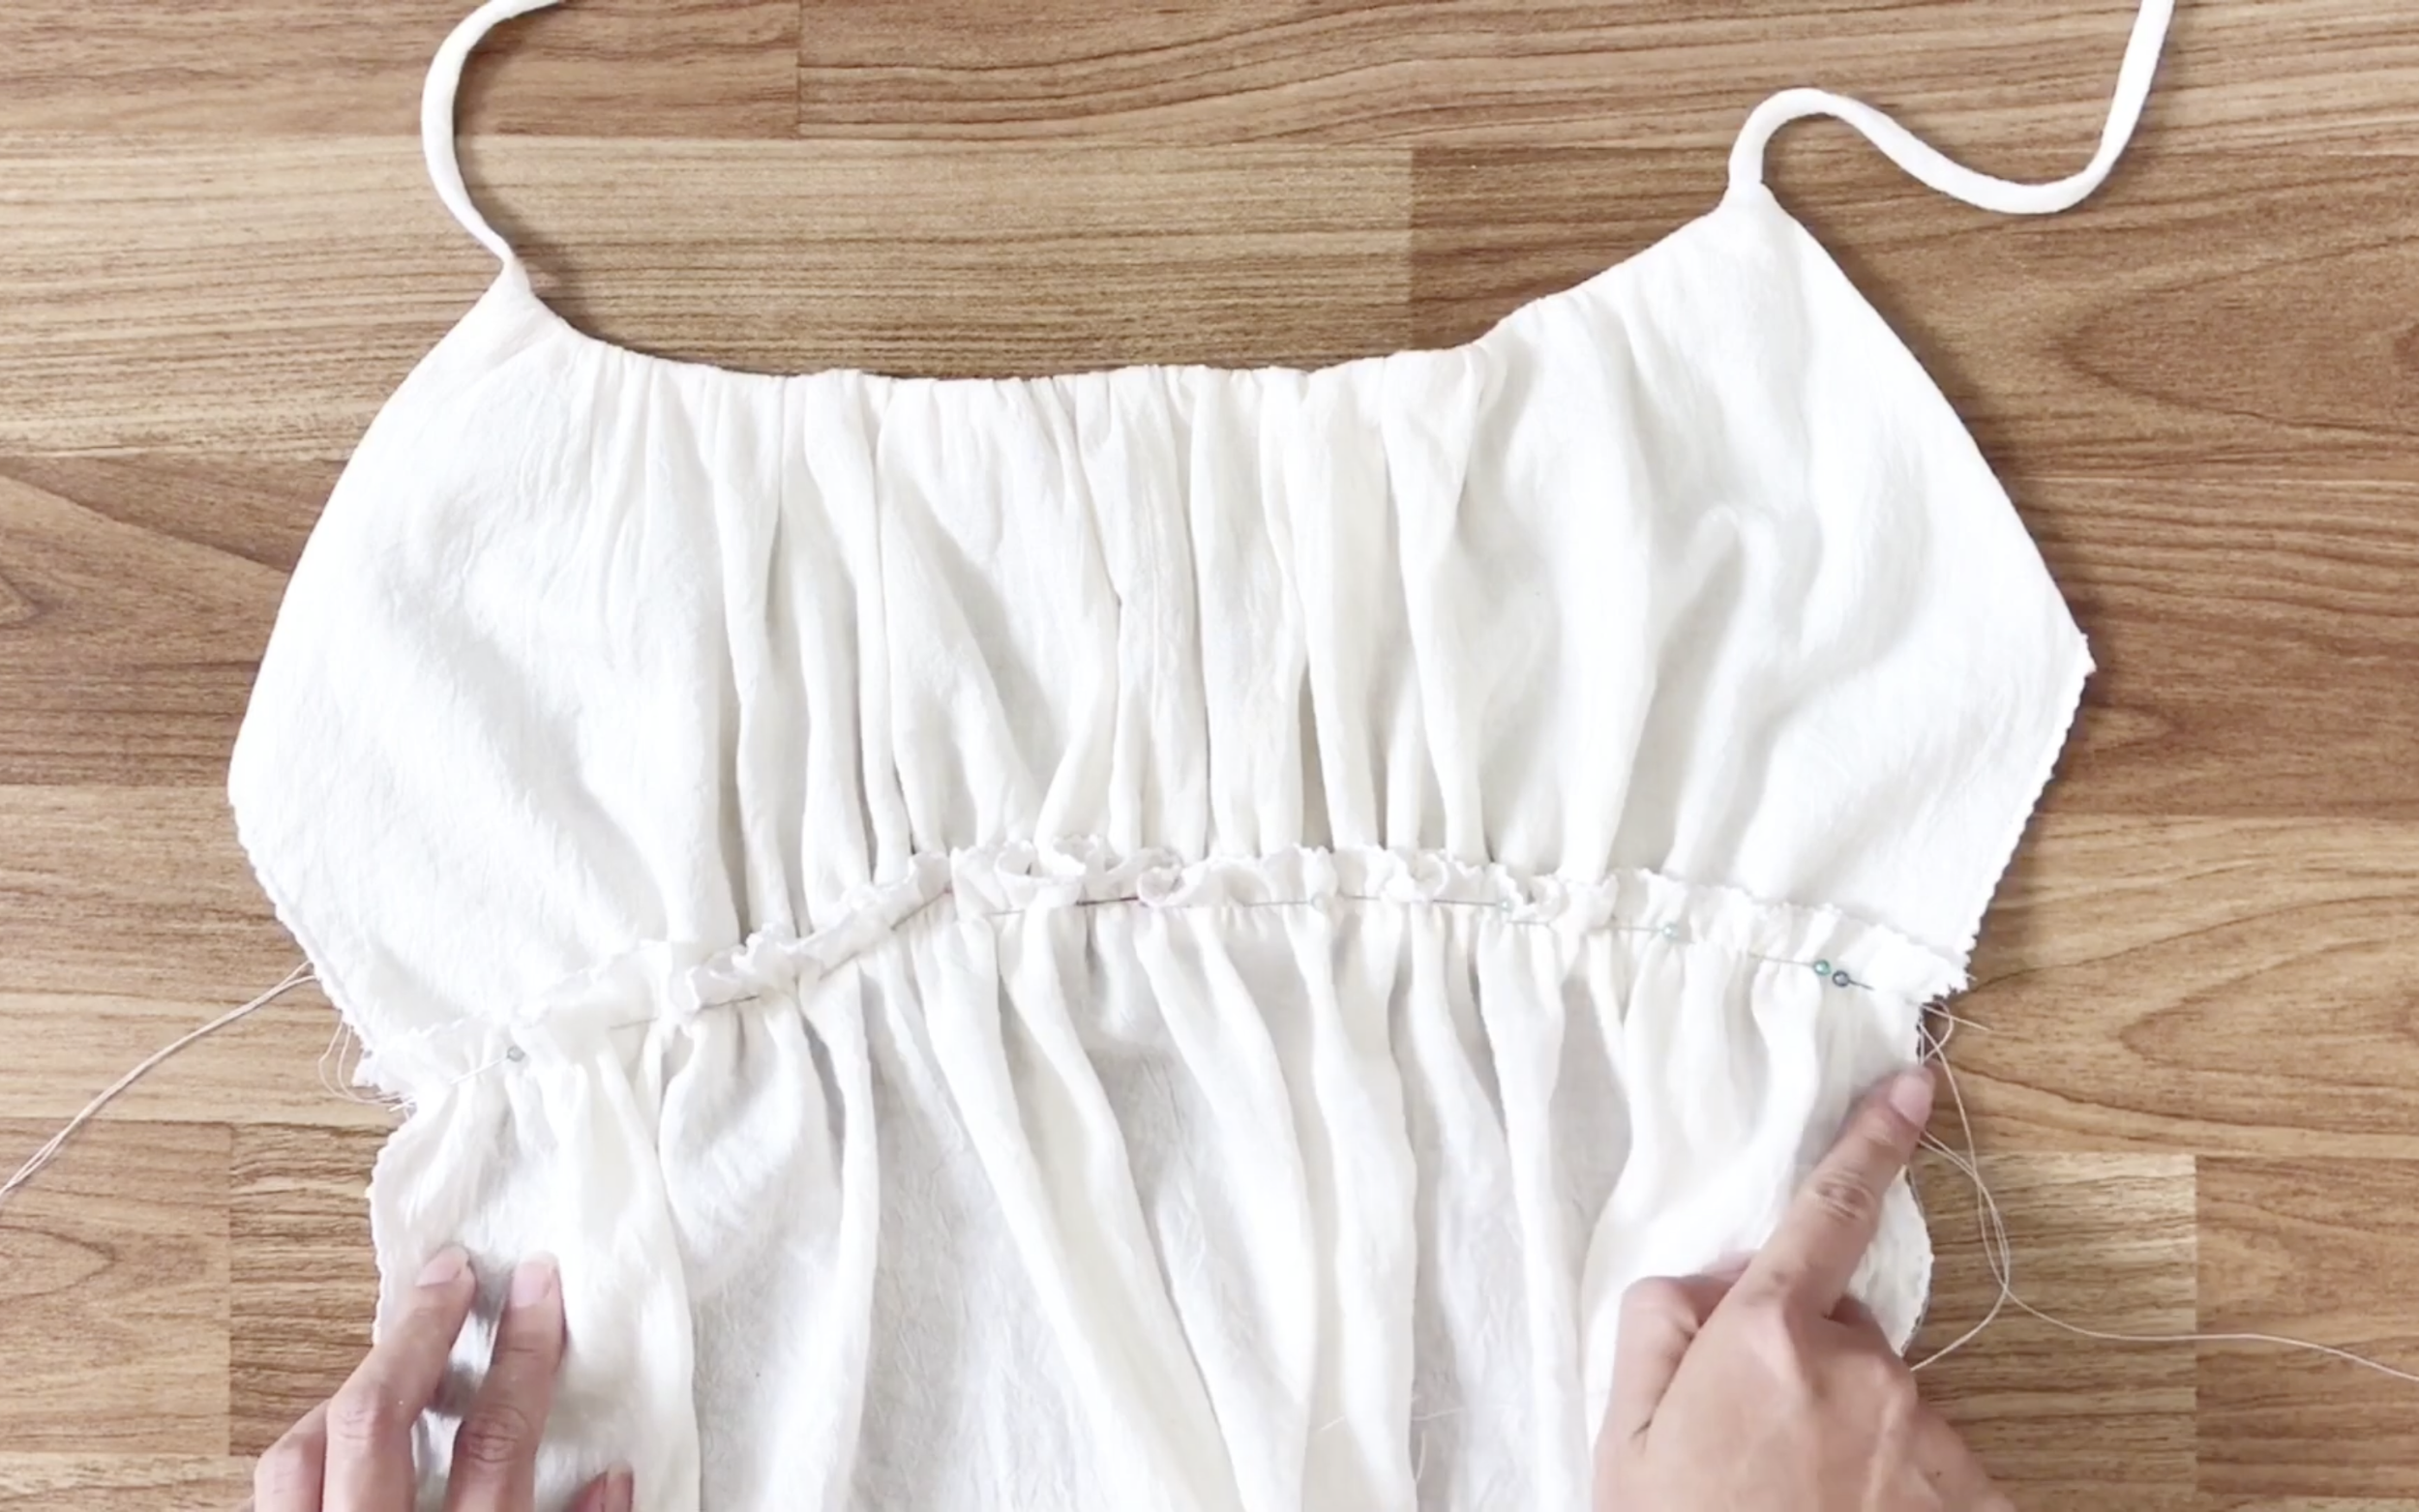
Then, connect 2 pieces of the front part together by the pins.
At the top of the front, put the shoulder straps between them.
Then, sew.
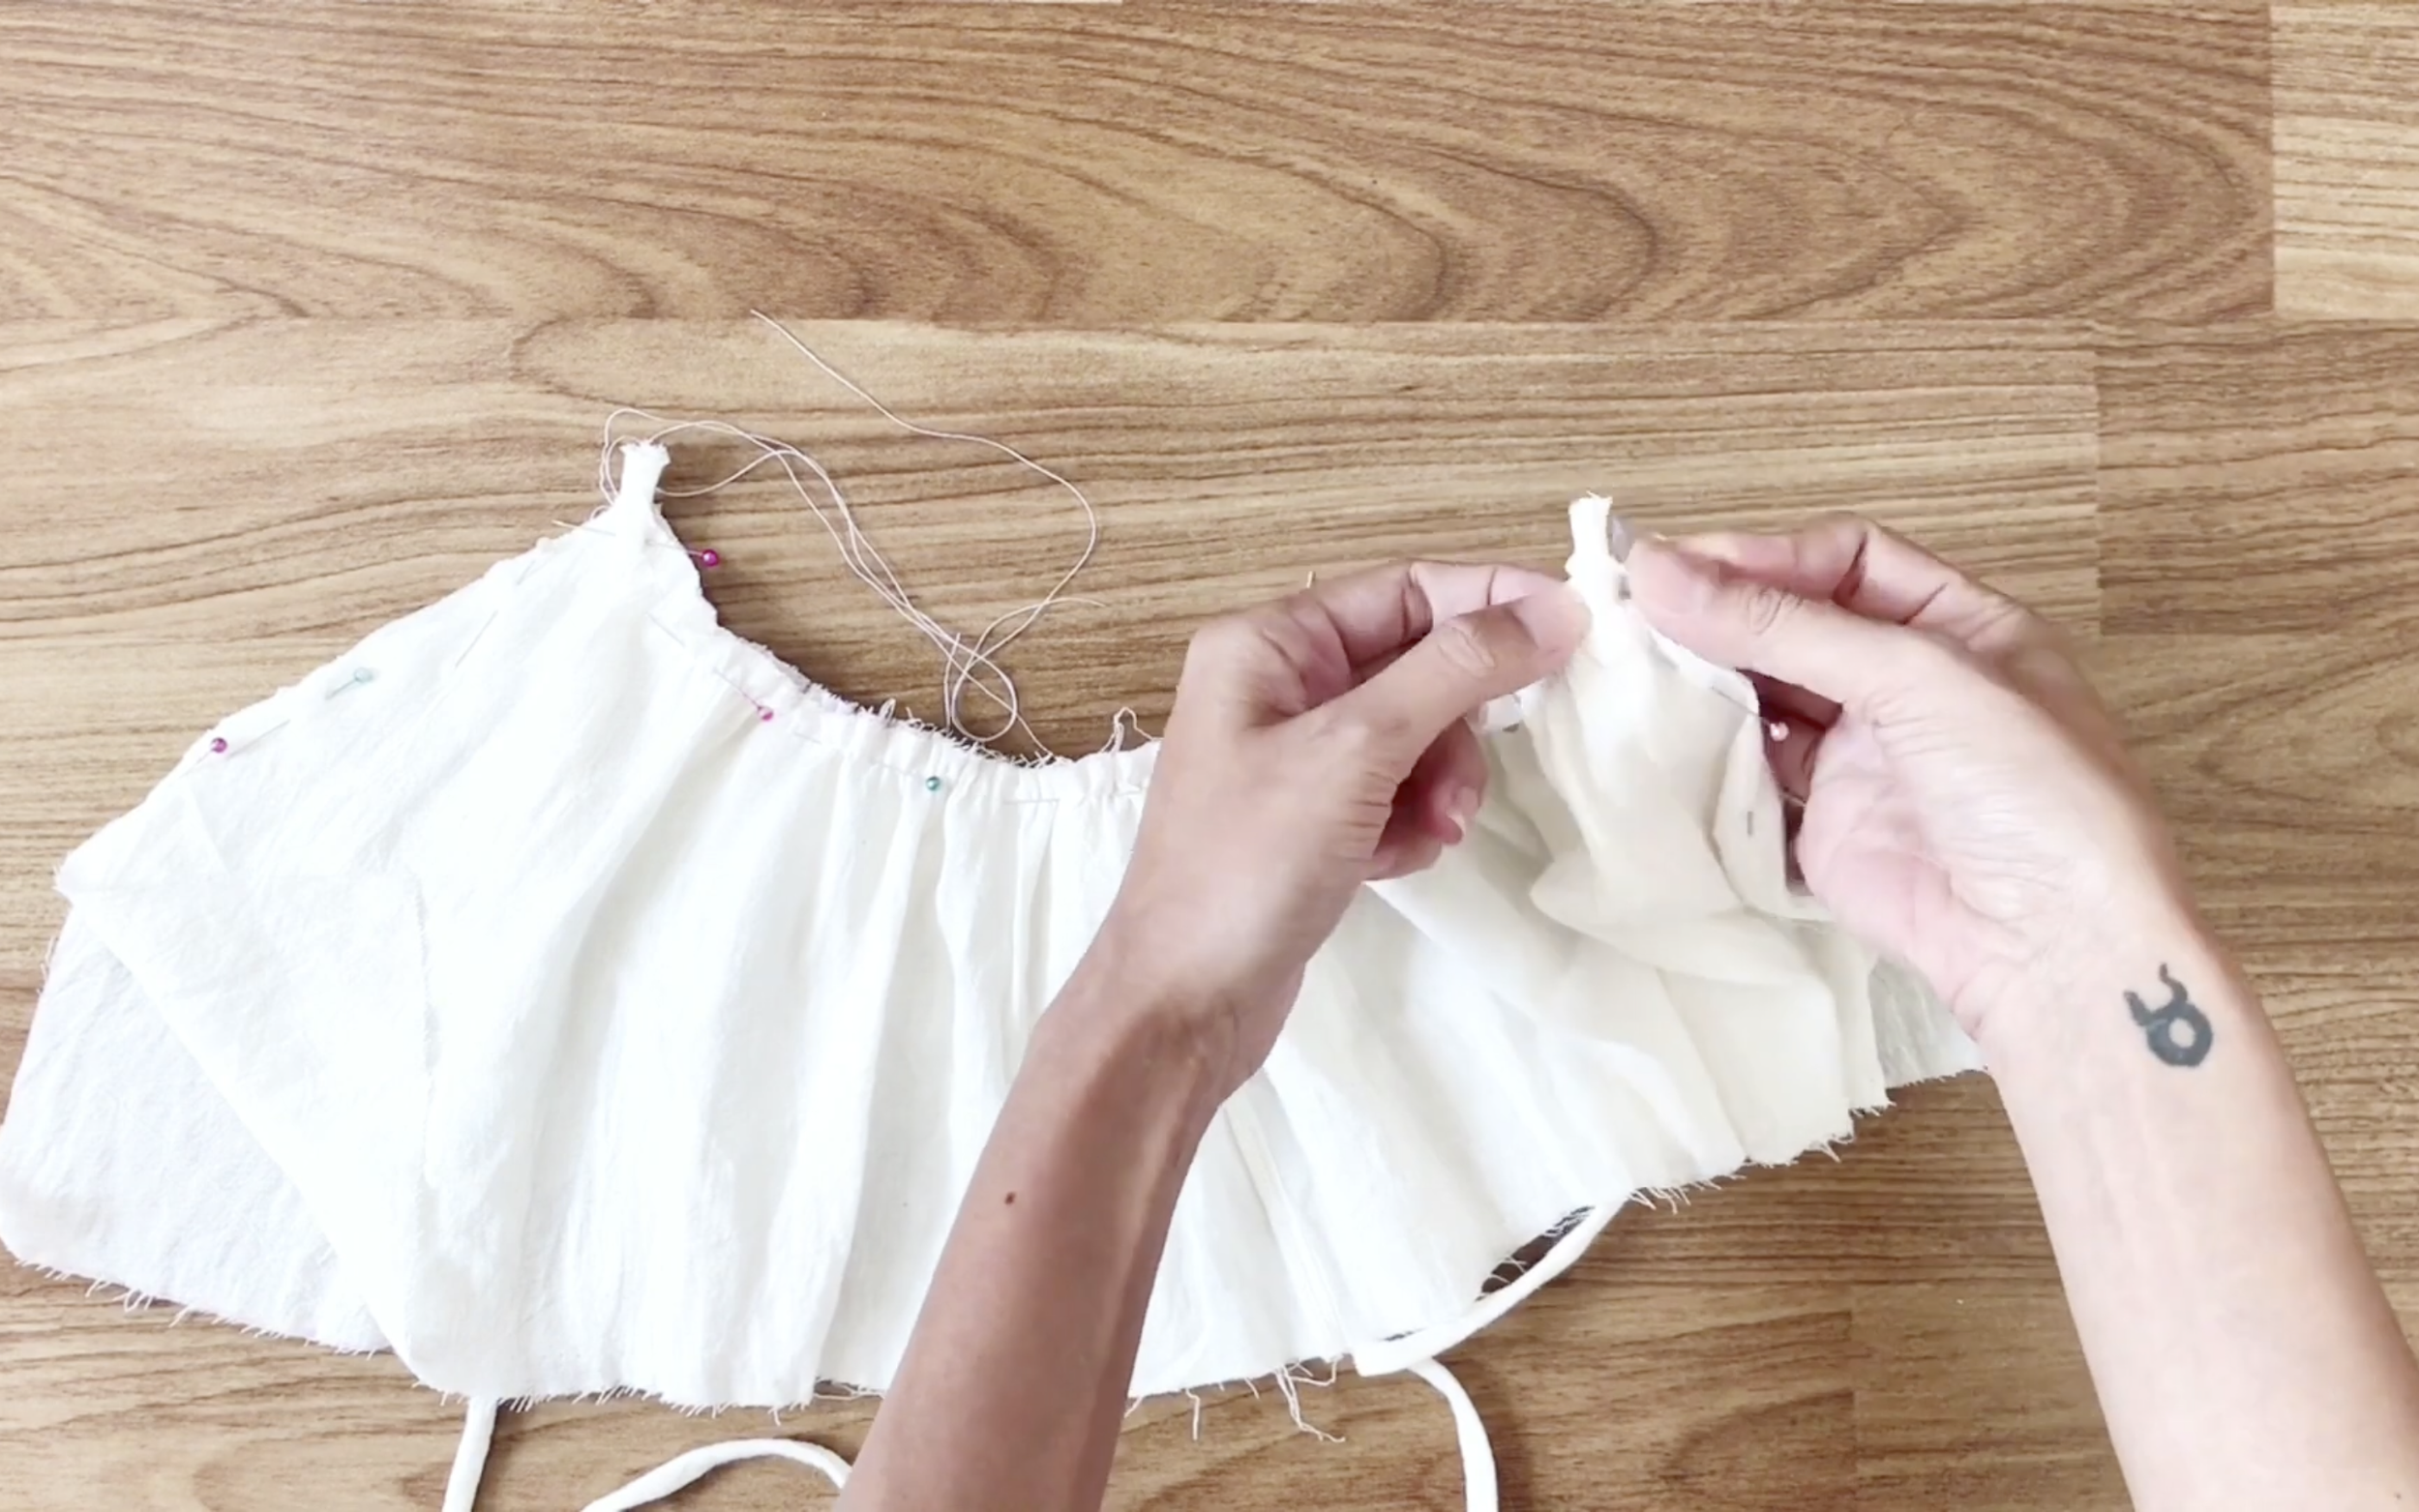
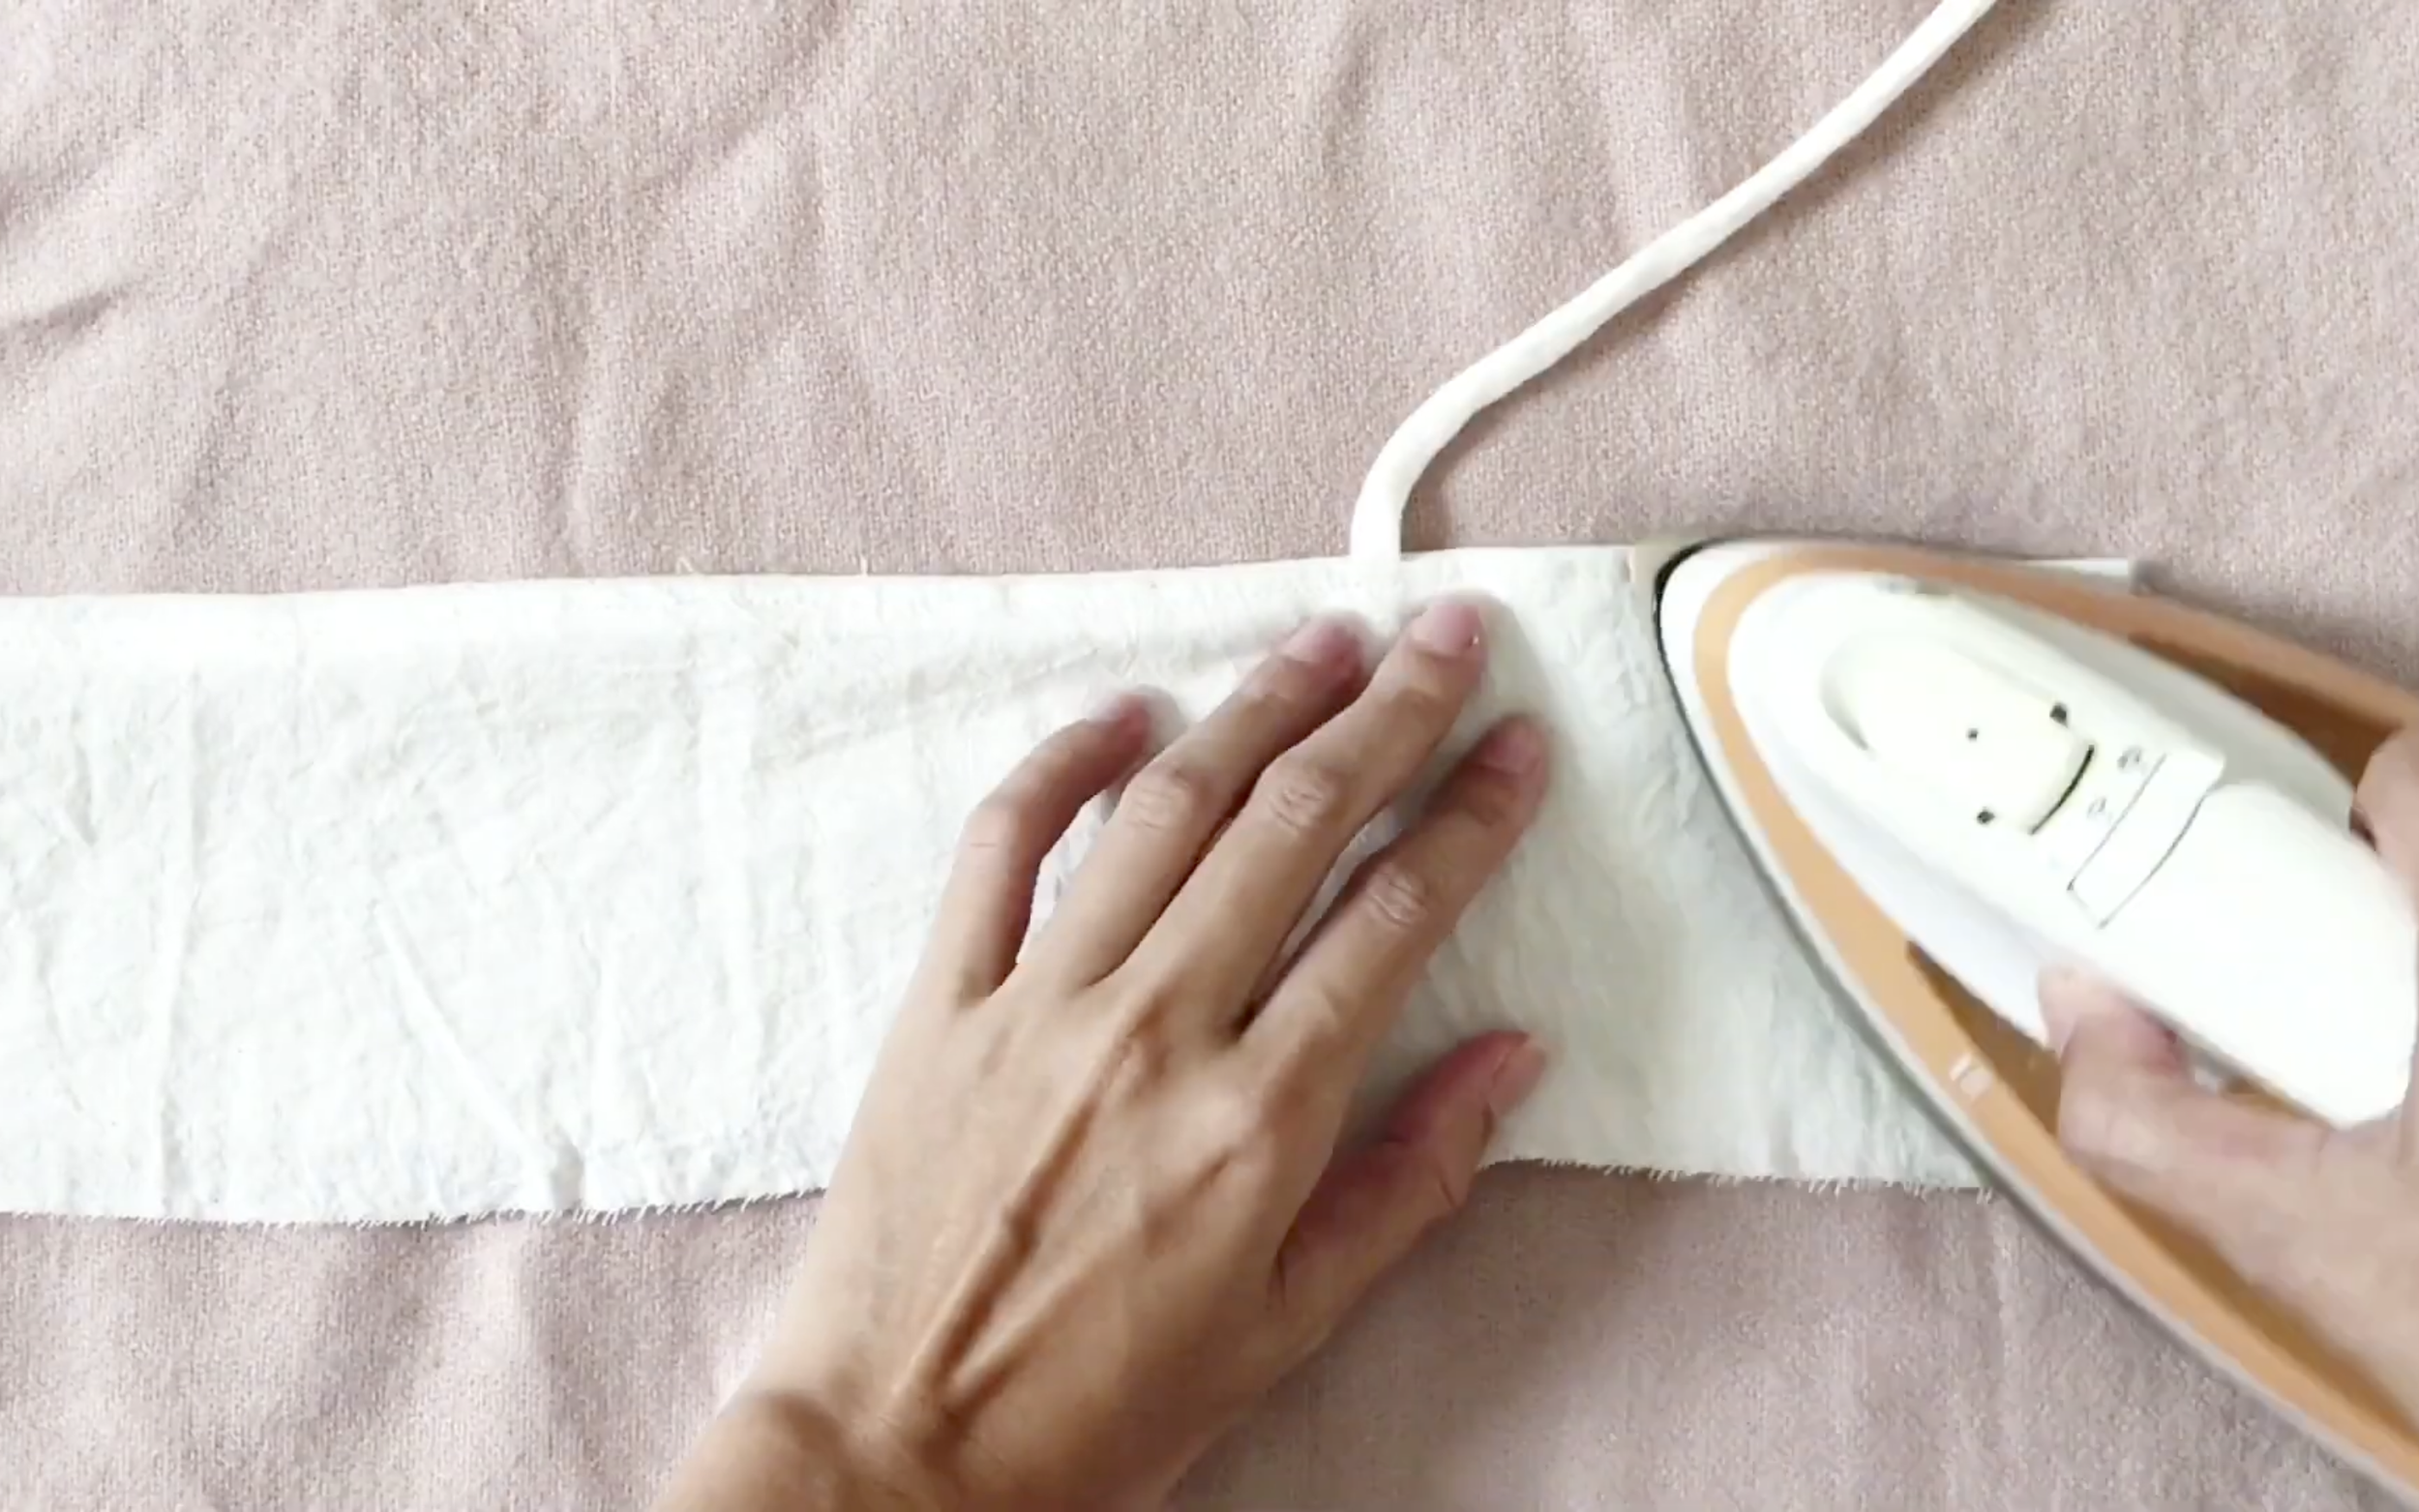
To keep the seam in the correct position, sew another seam on one piece of fabric, which will form the inside part of the front.
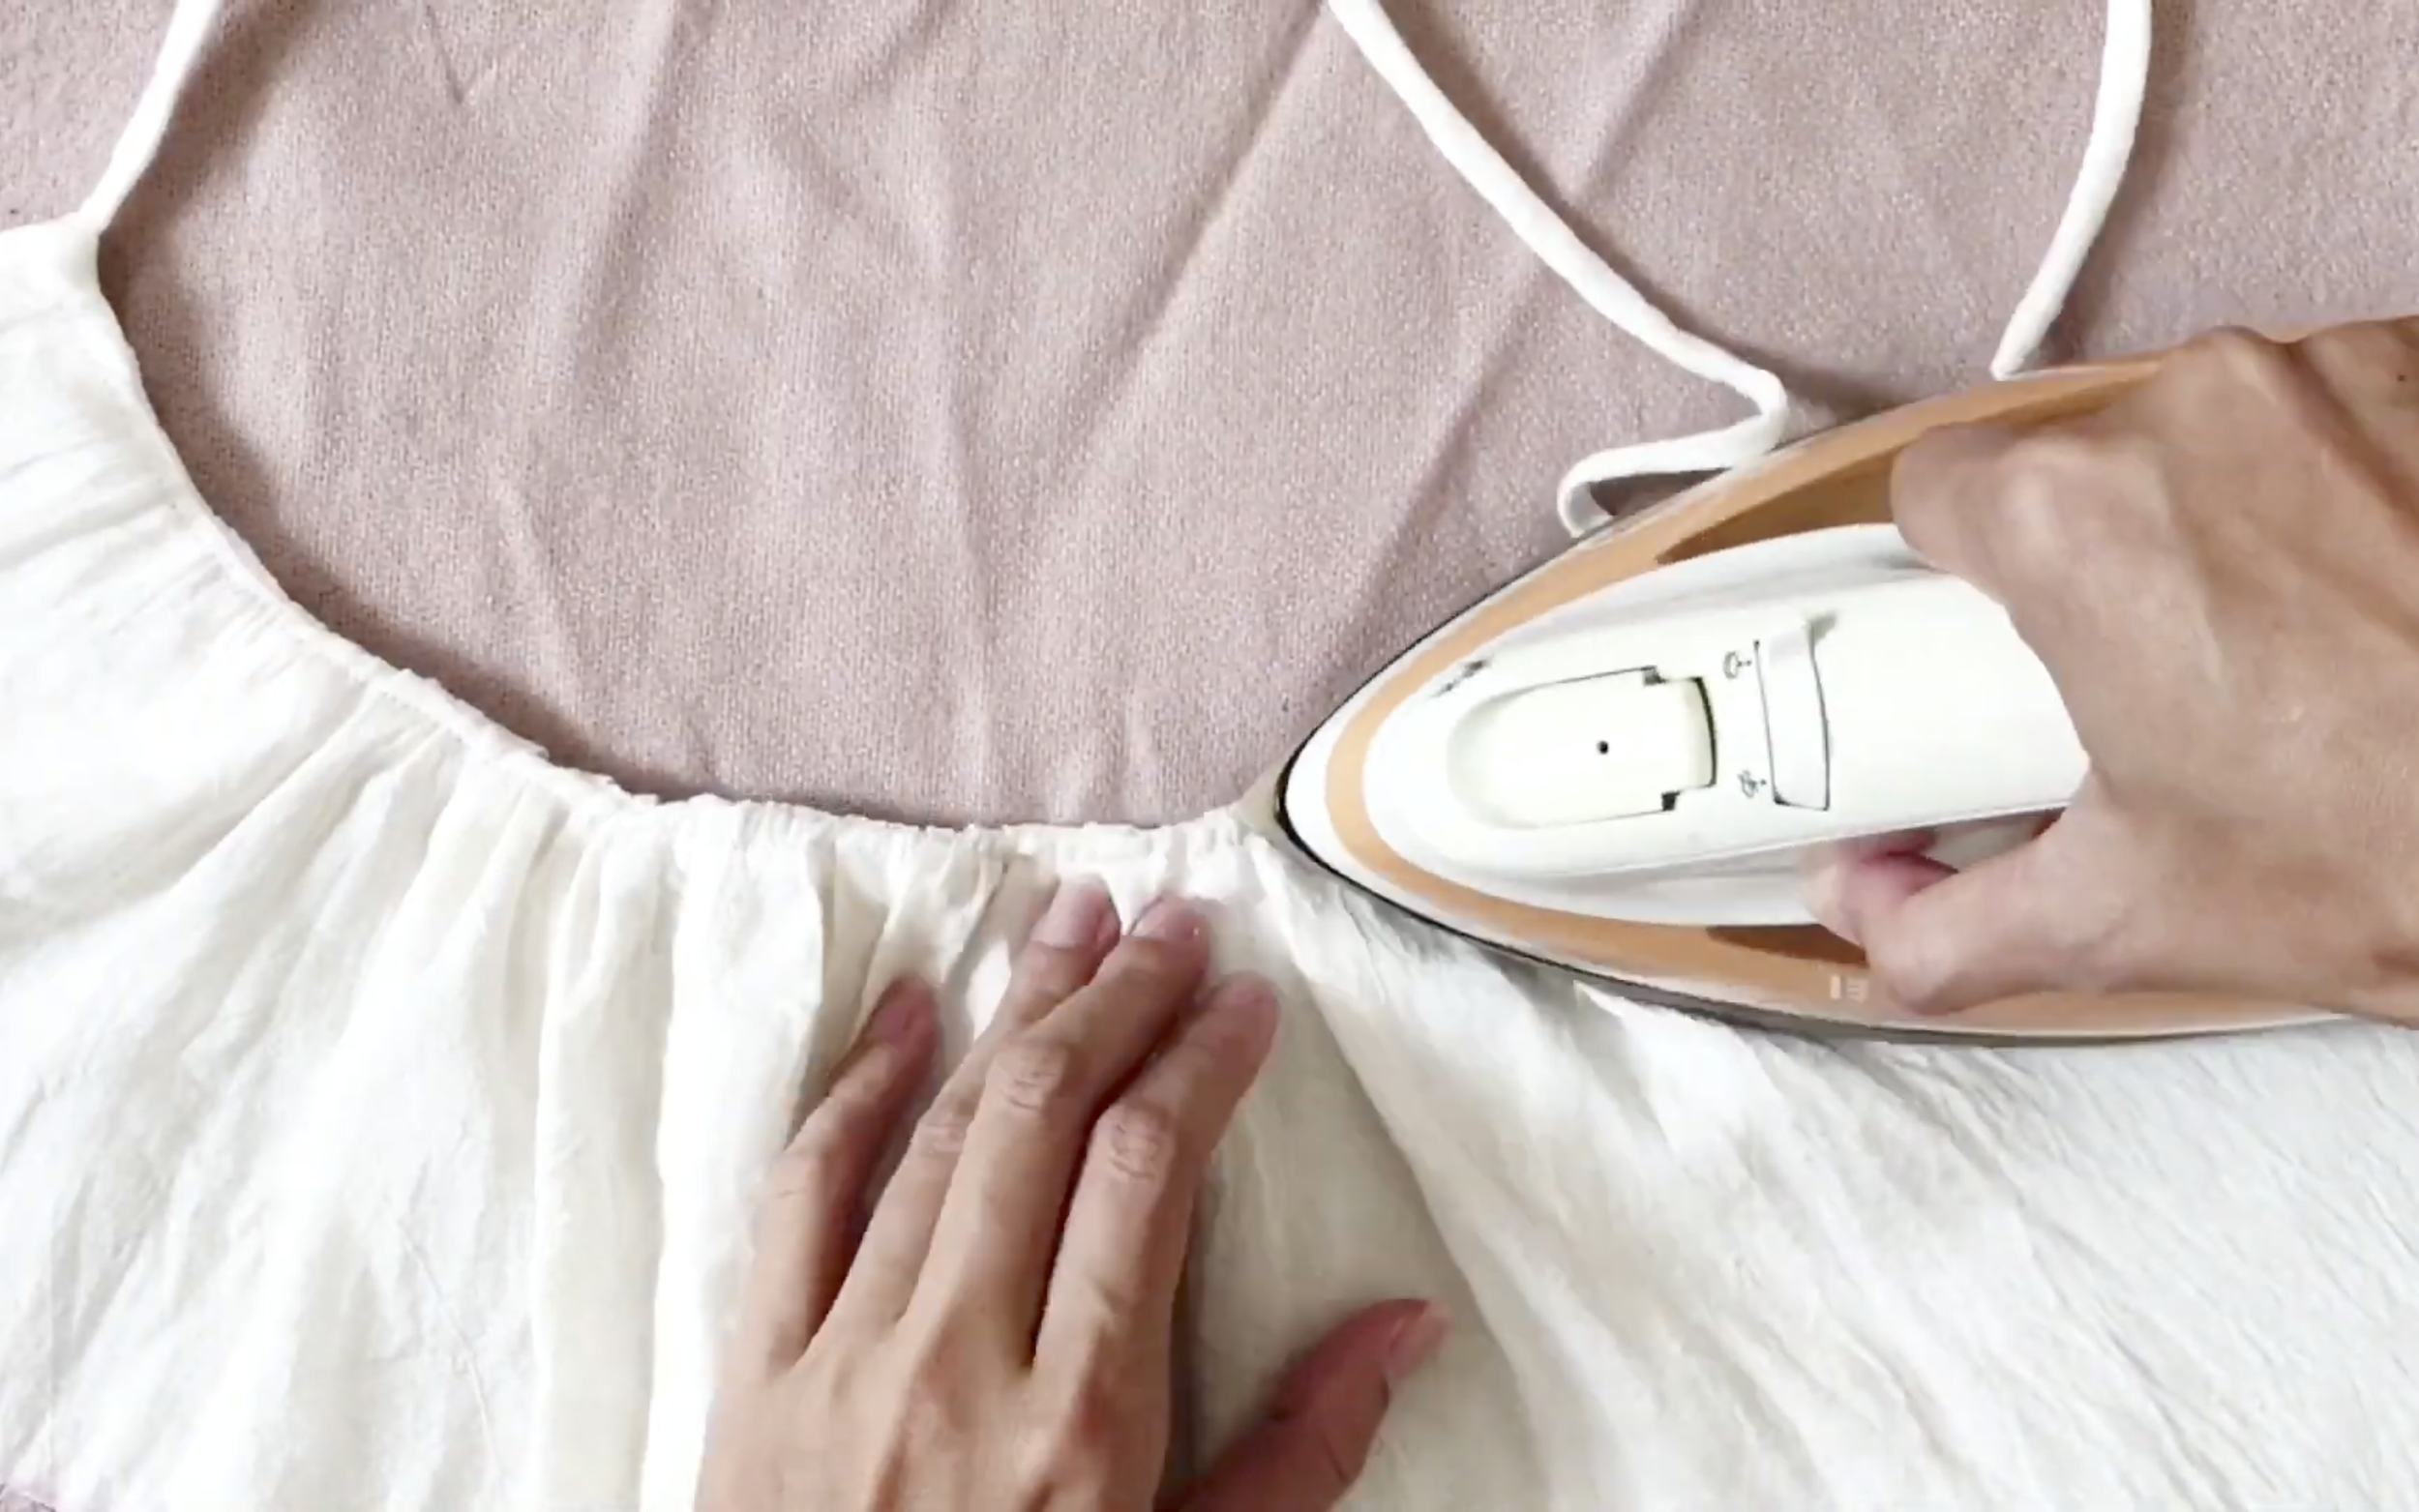
Then, iron the seam.
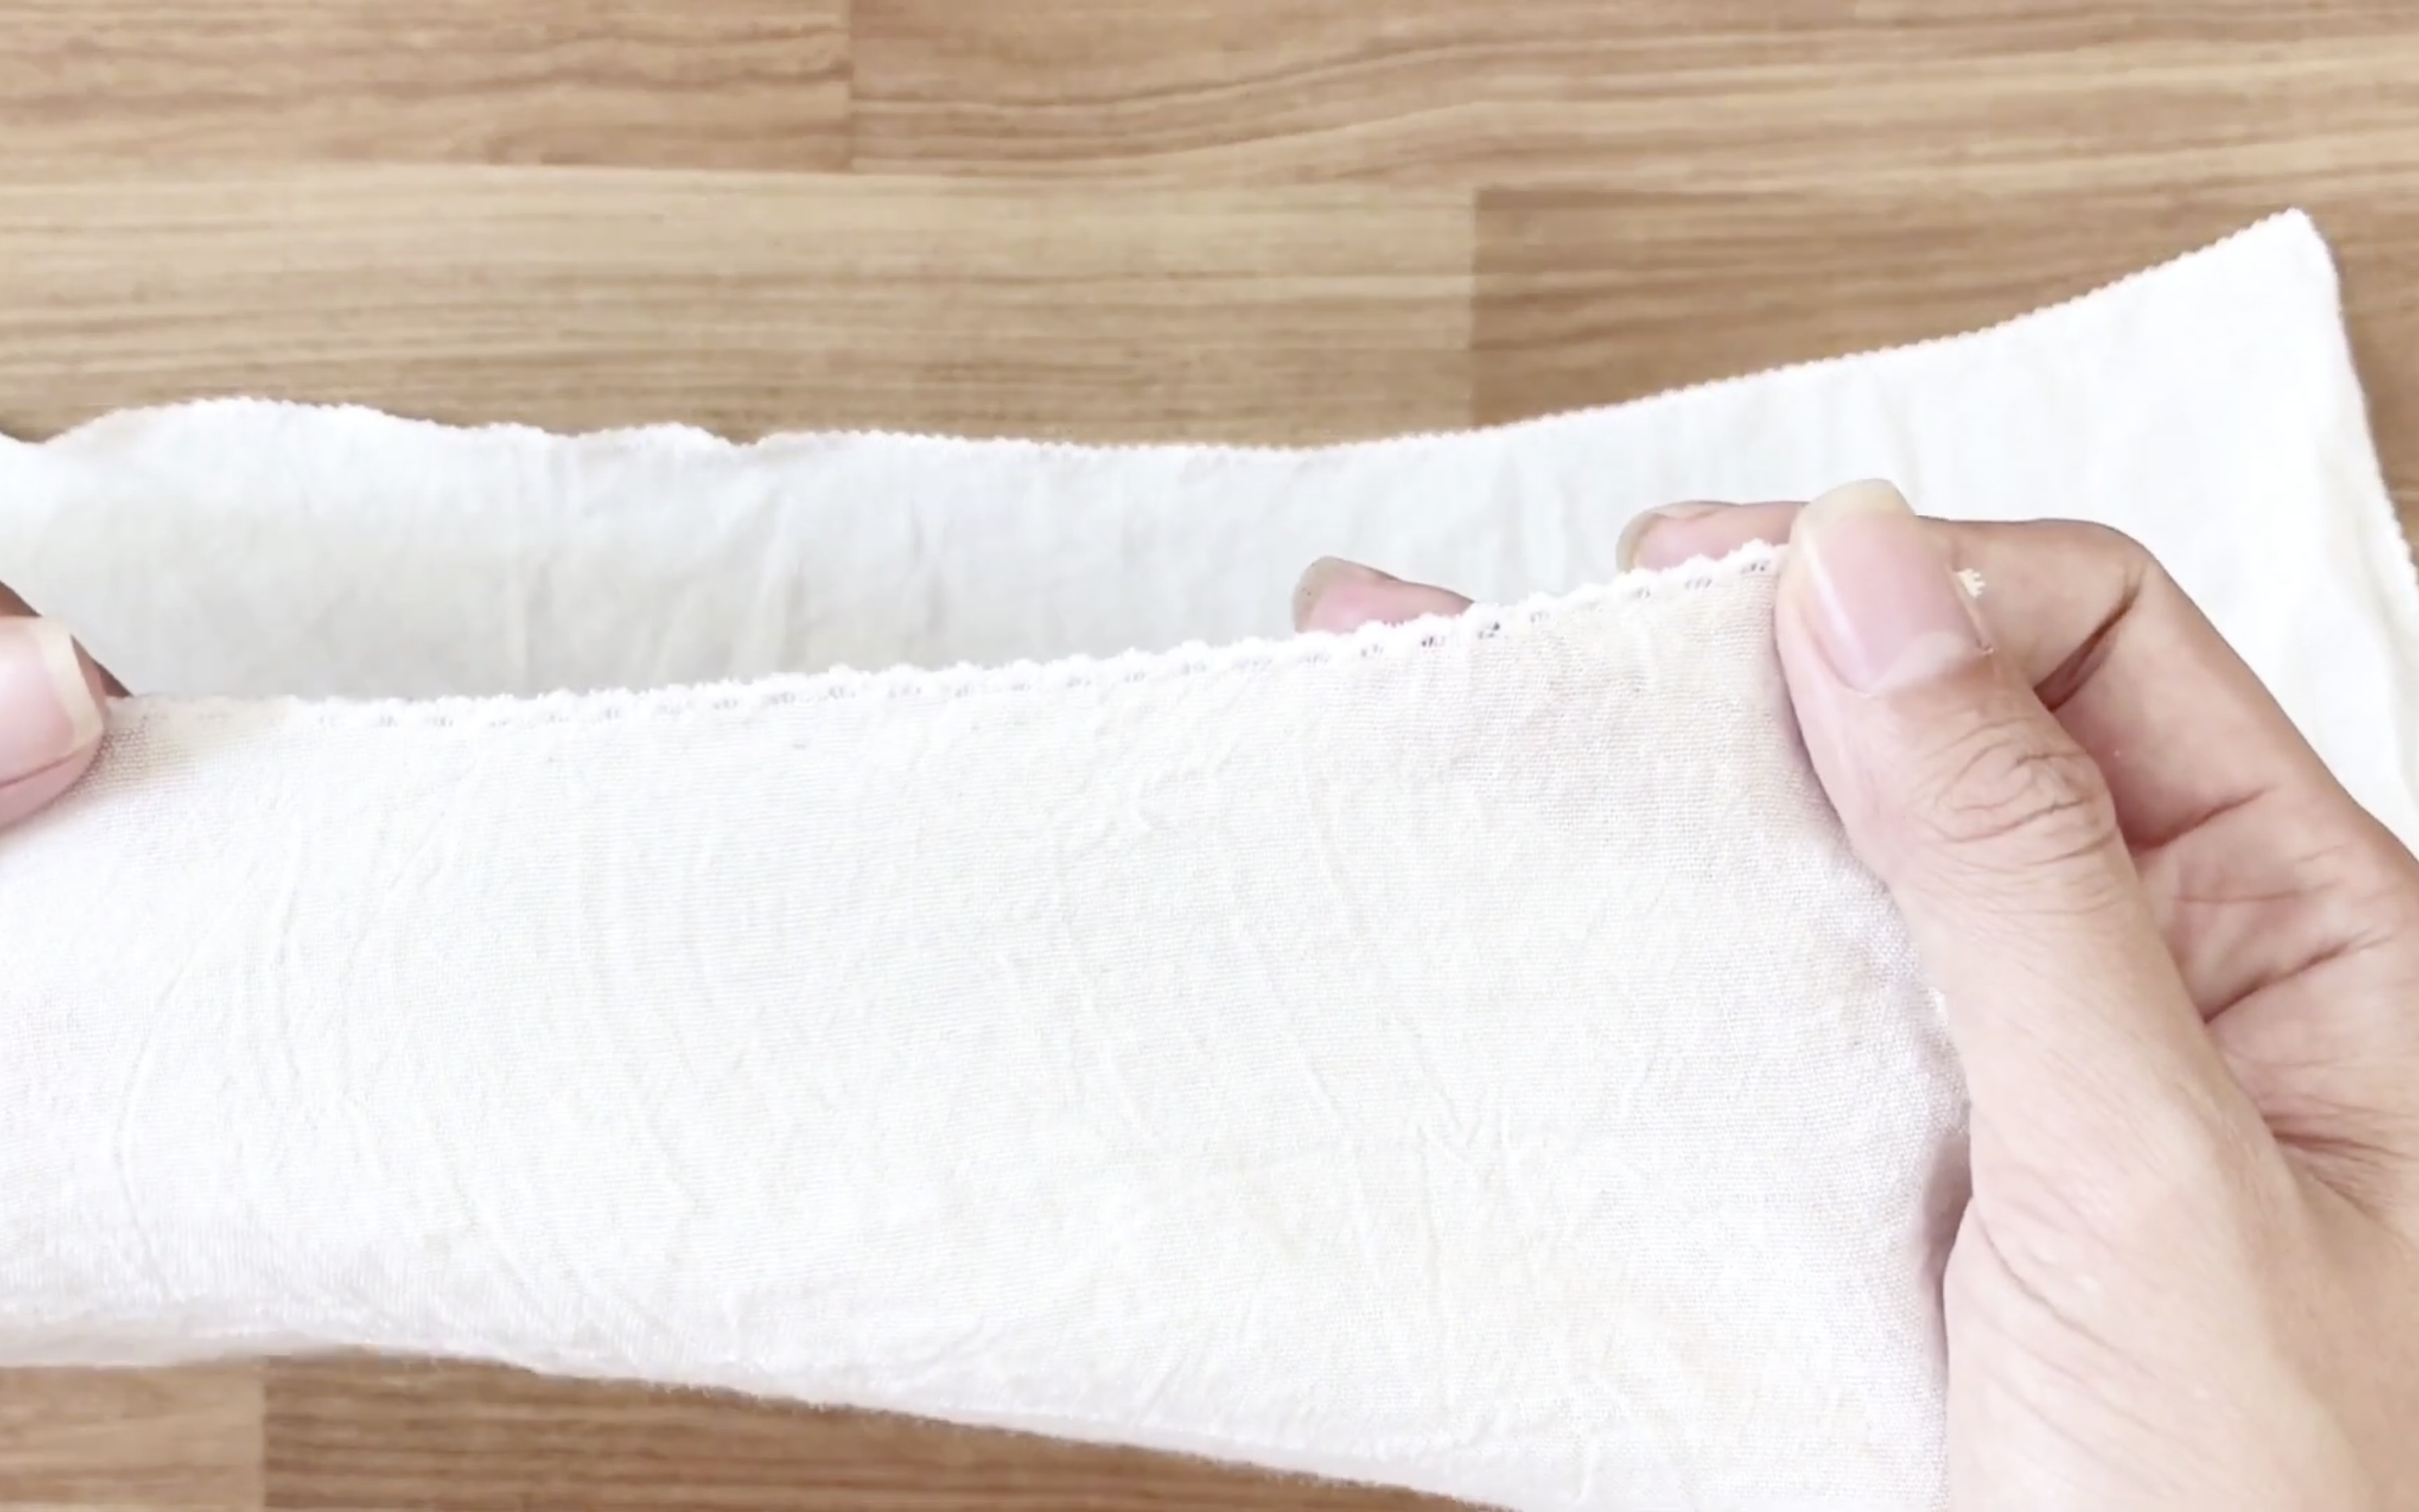
Overlock the bottom of the front.
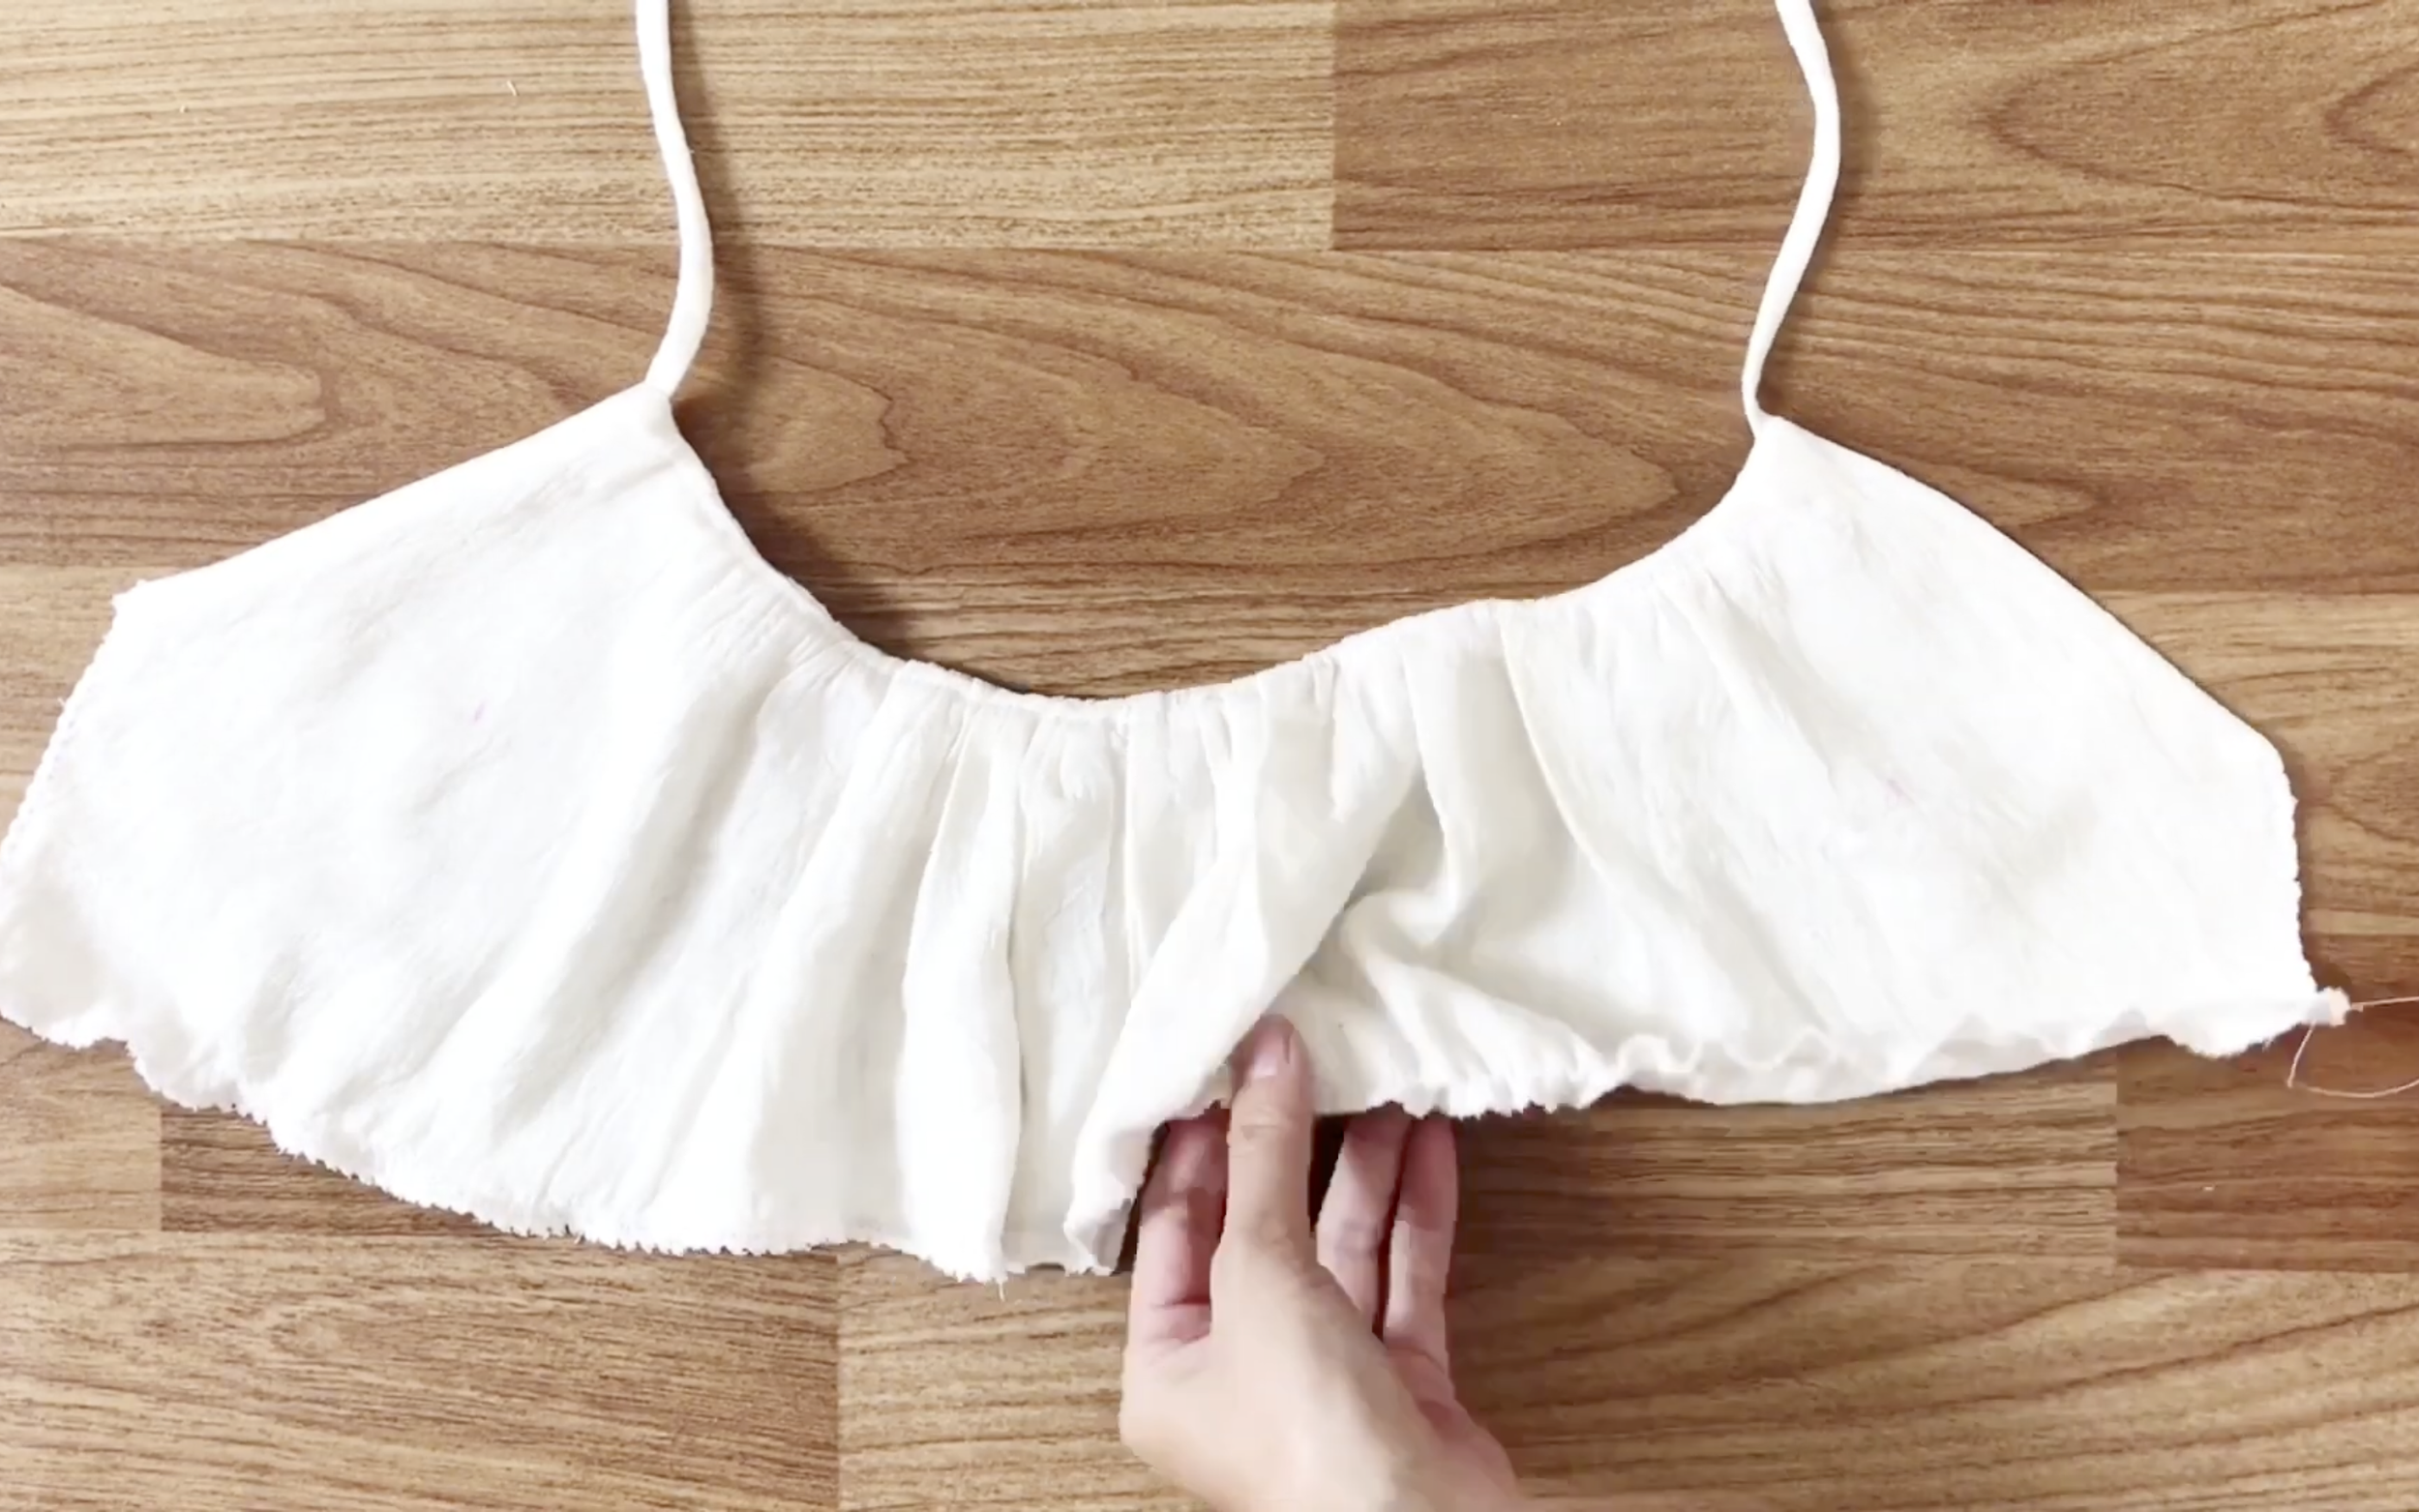
Then, sew a bind seam at the bottom to gather the fabric as done at the top.
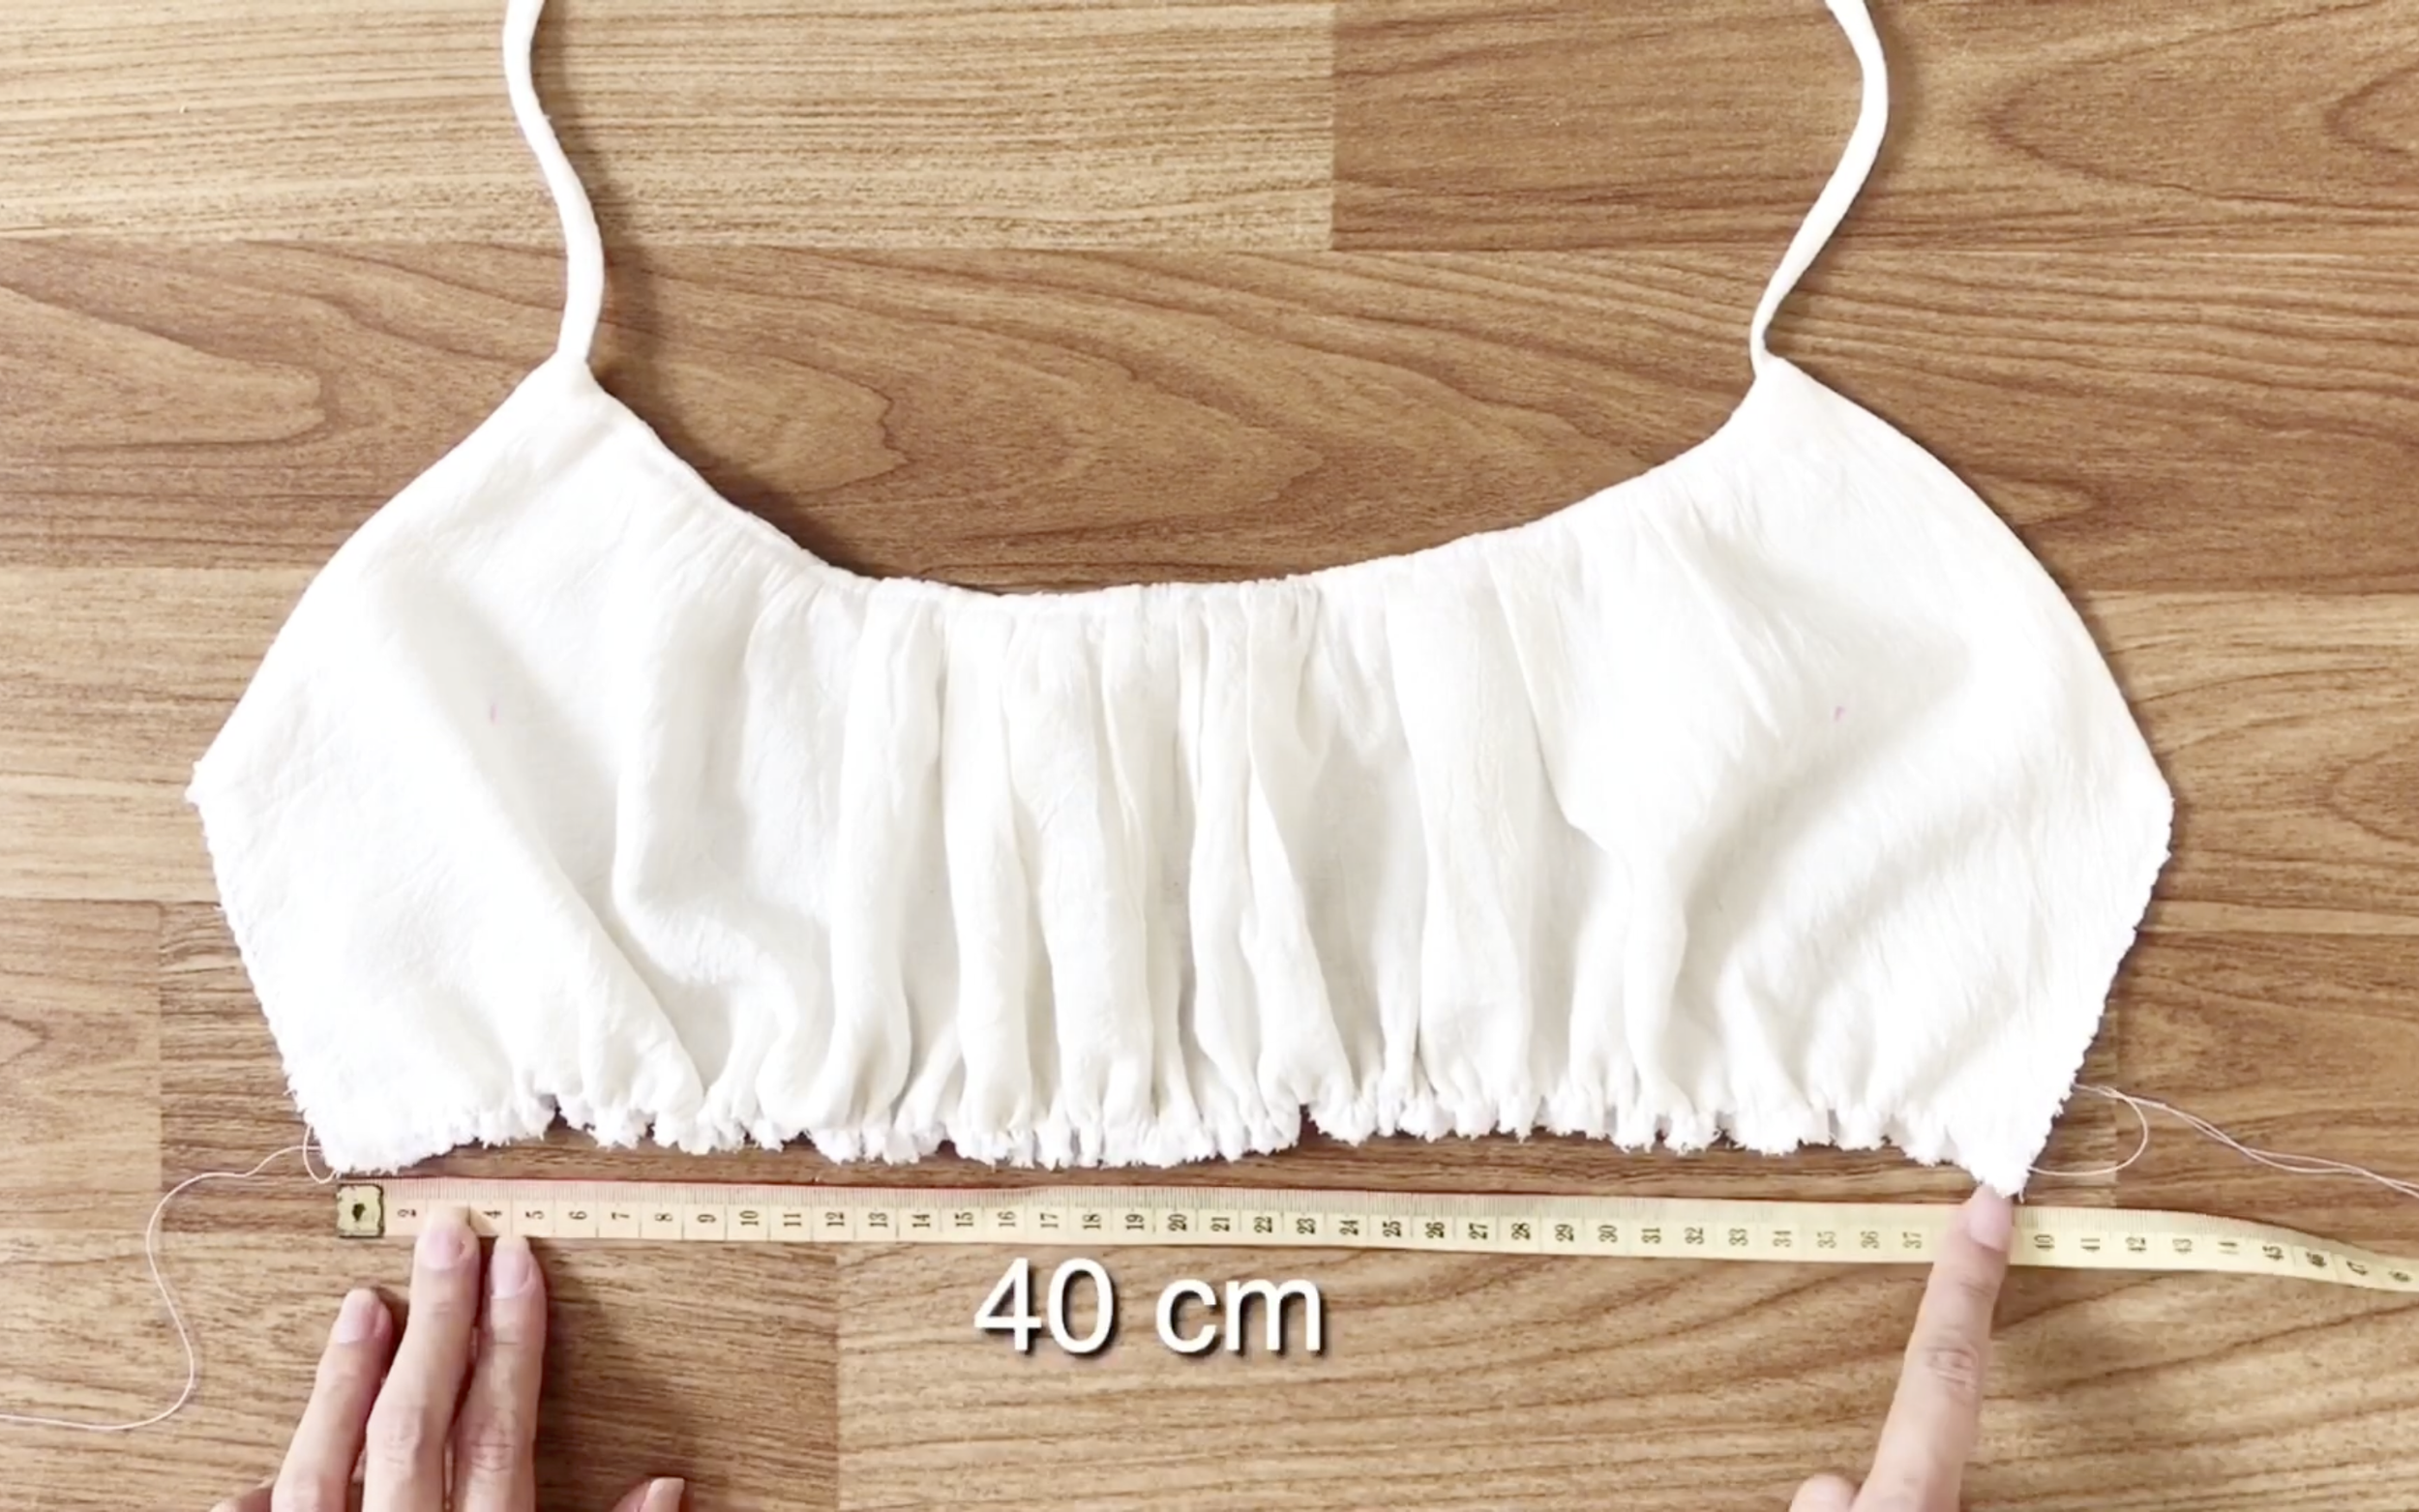
The width of the bottom will be 40cm, which is half the underbust size.
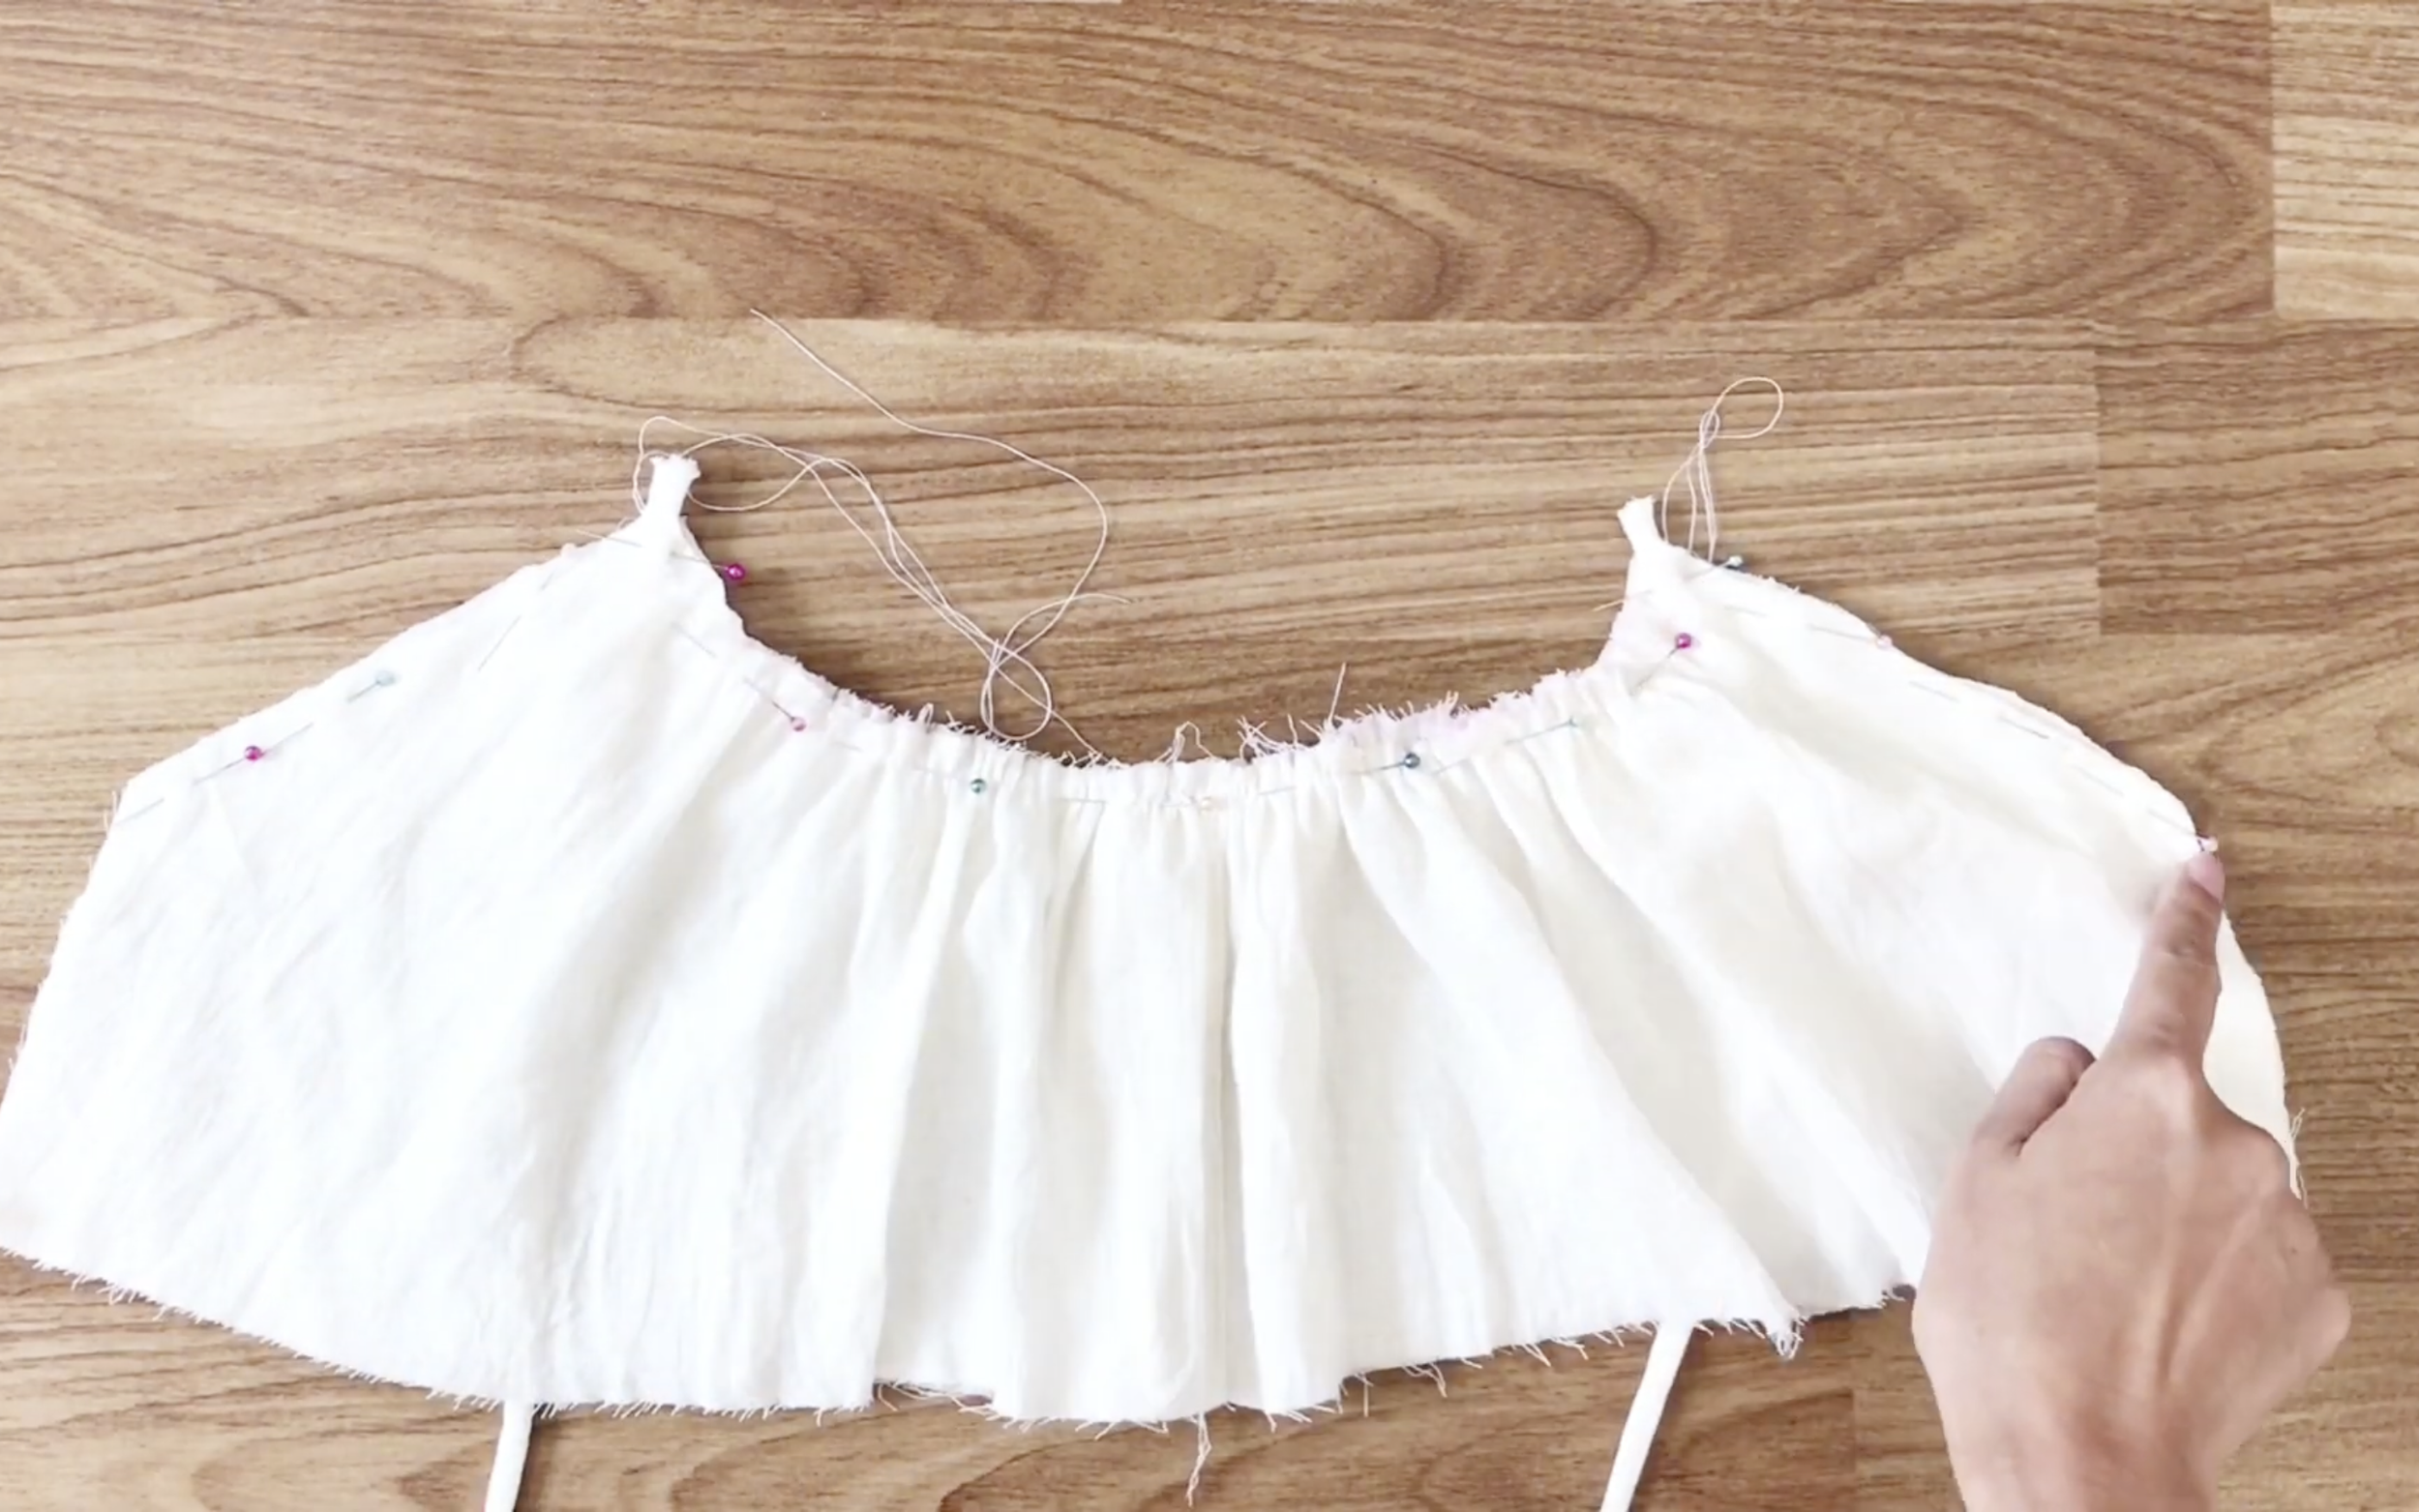
THE BOTTOM
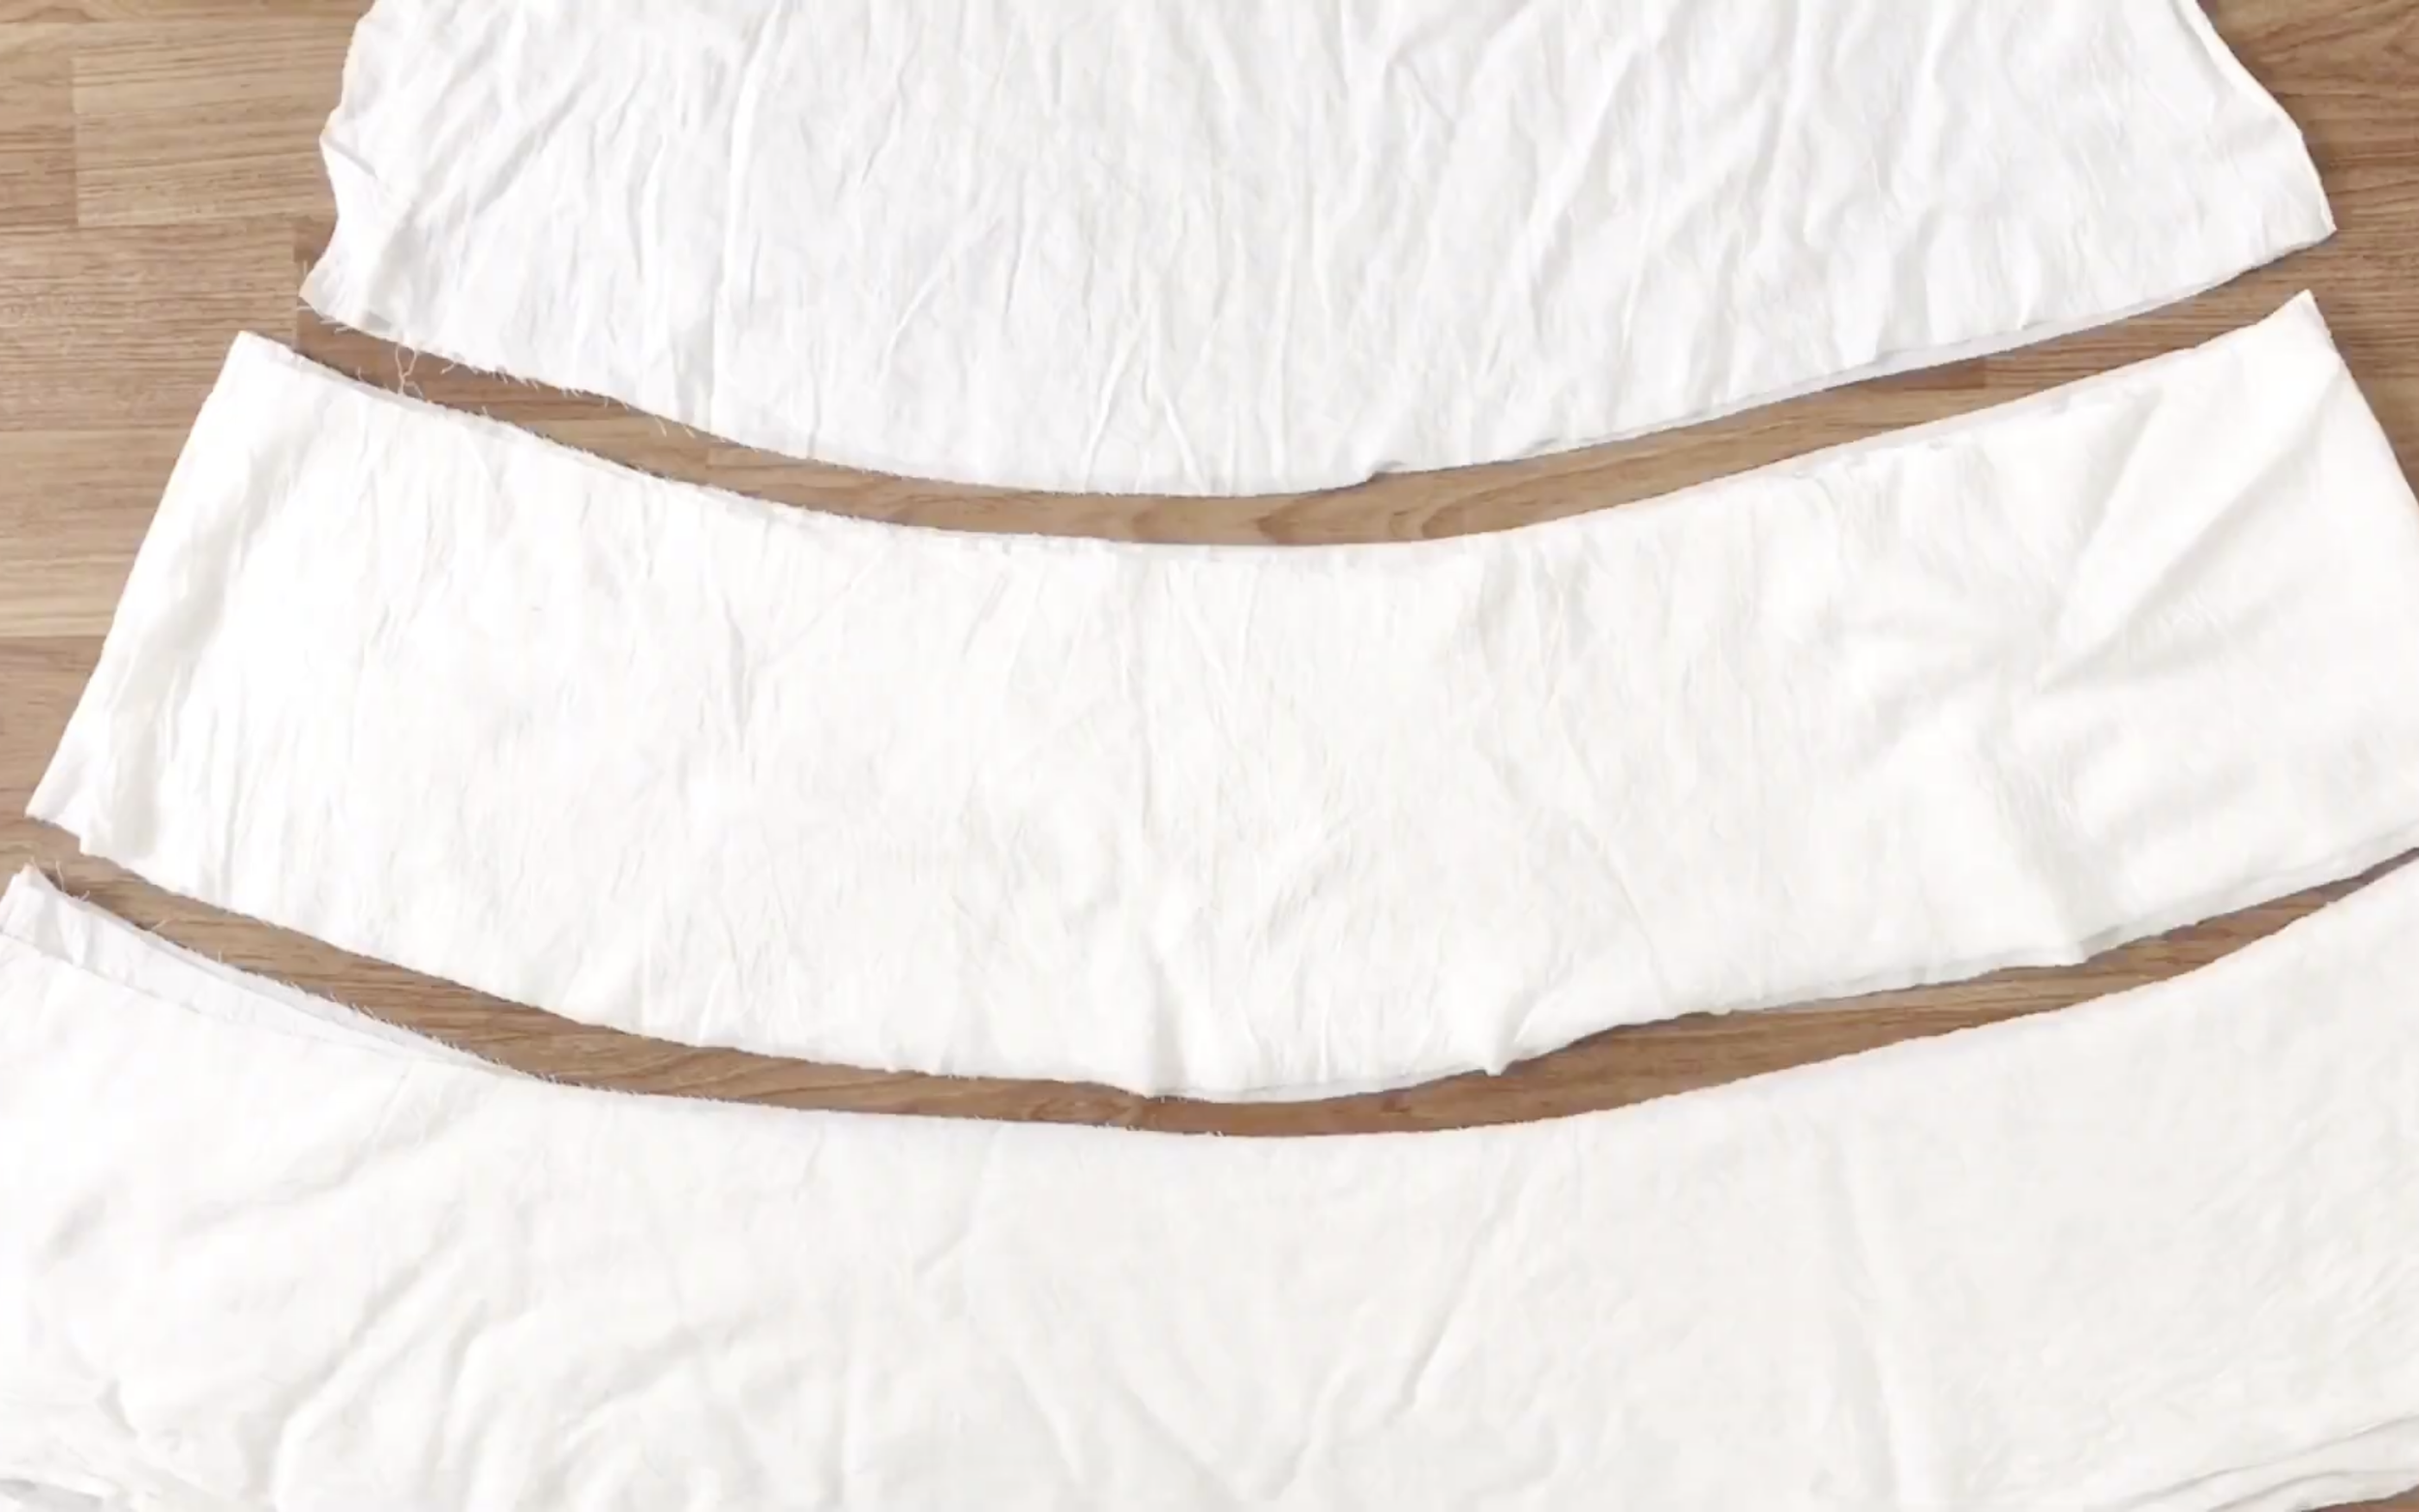
Cut the leftover fabric of the maxi dress into three pieces, each 20cm in length, creating three layers for the dress.
Use a zigzag stitch to sew along the raw edges of the fabrics before making the bind seams.
Gather the fabric until it matches the width of the end of the front part, which is 40cm.
Pin and sew the layers together.
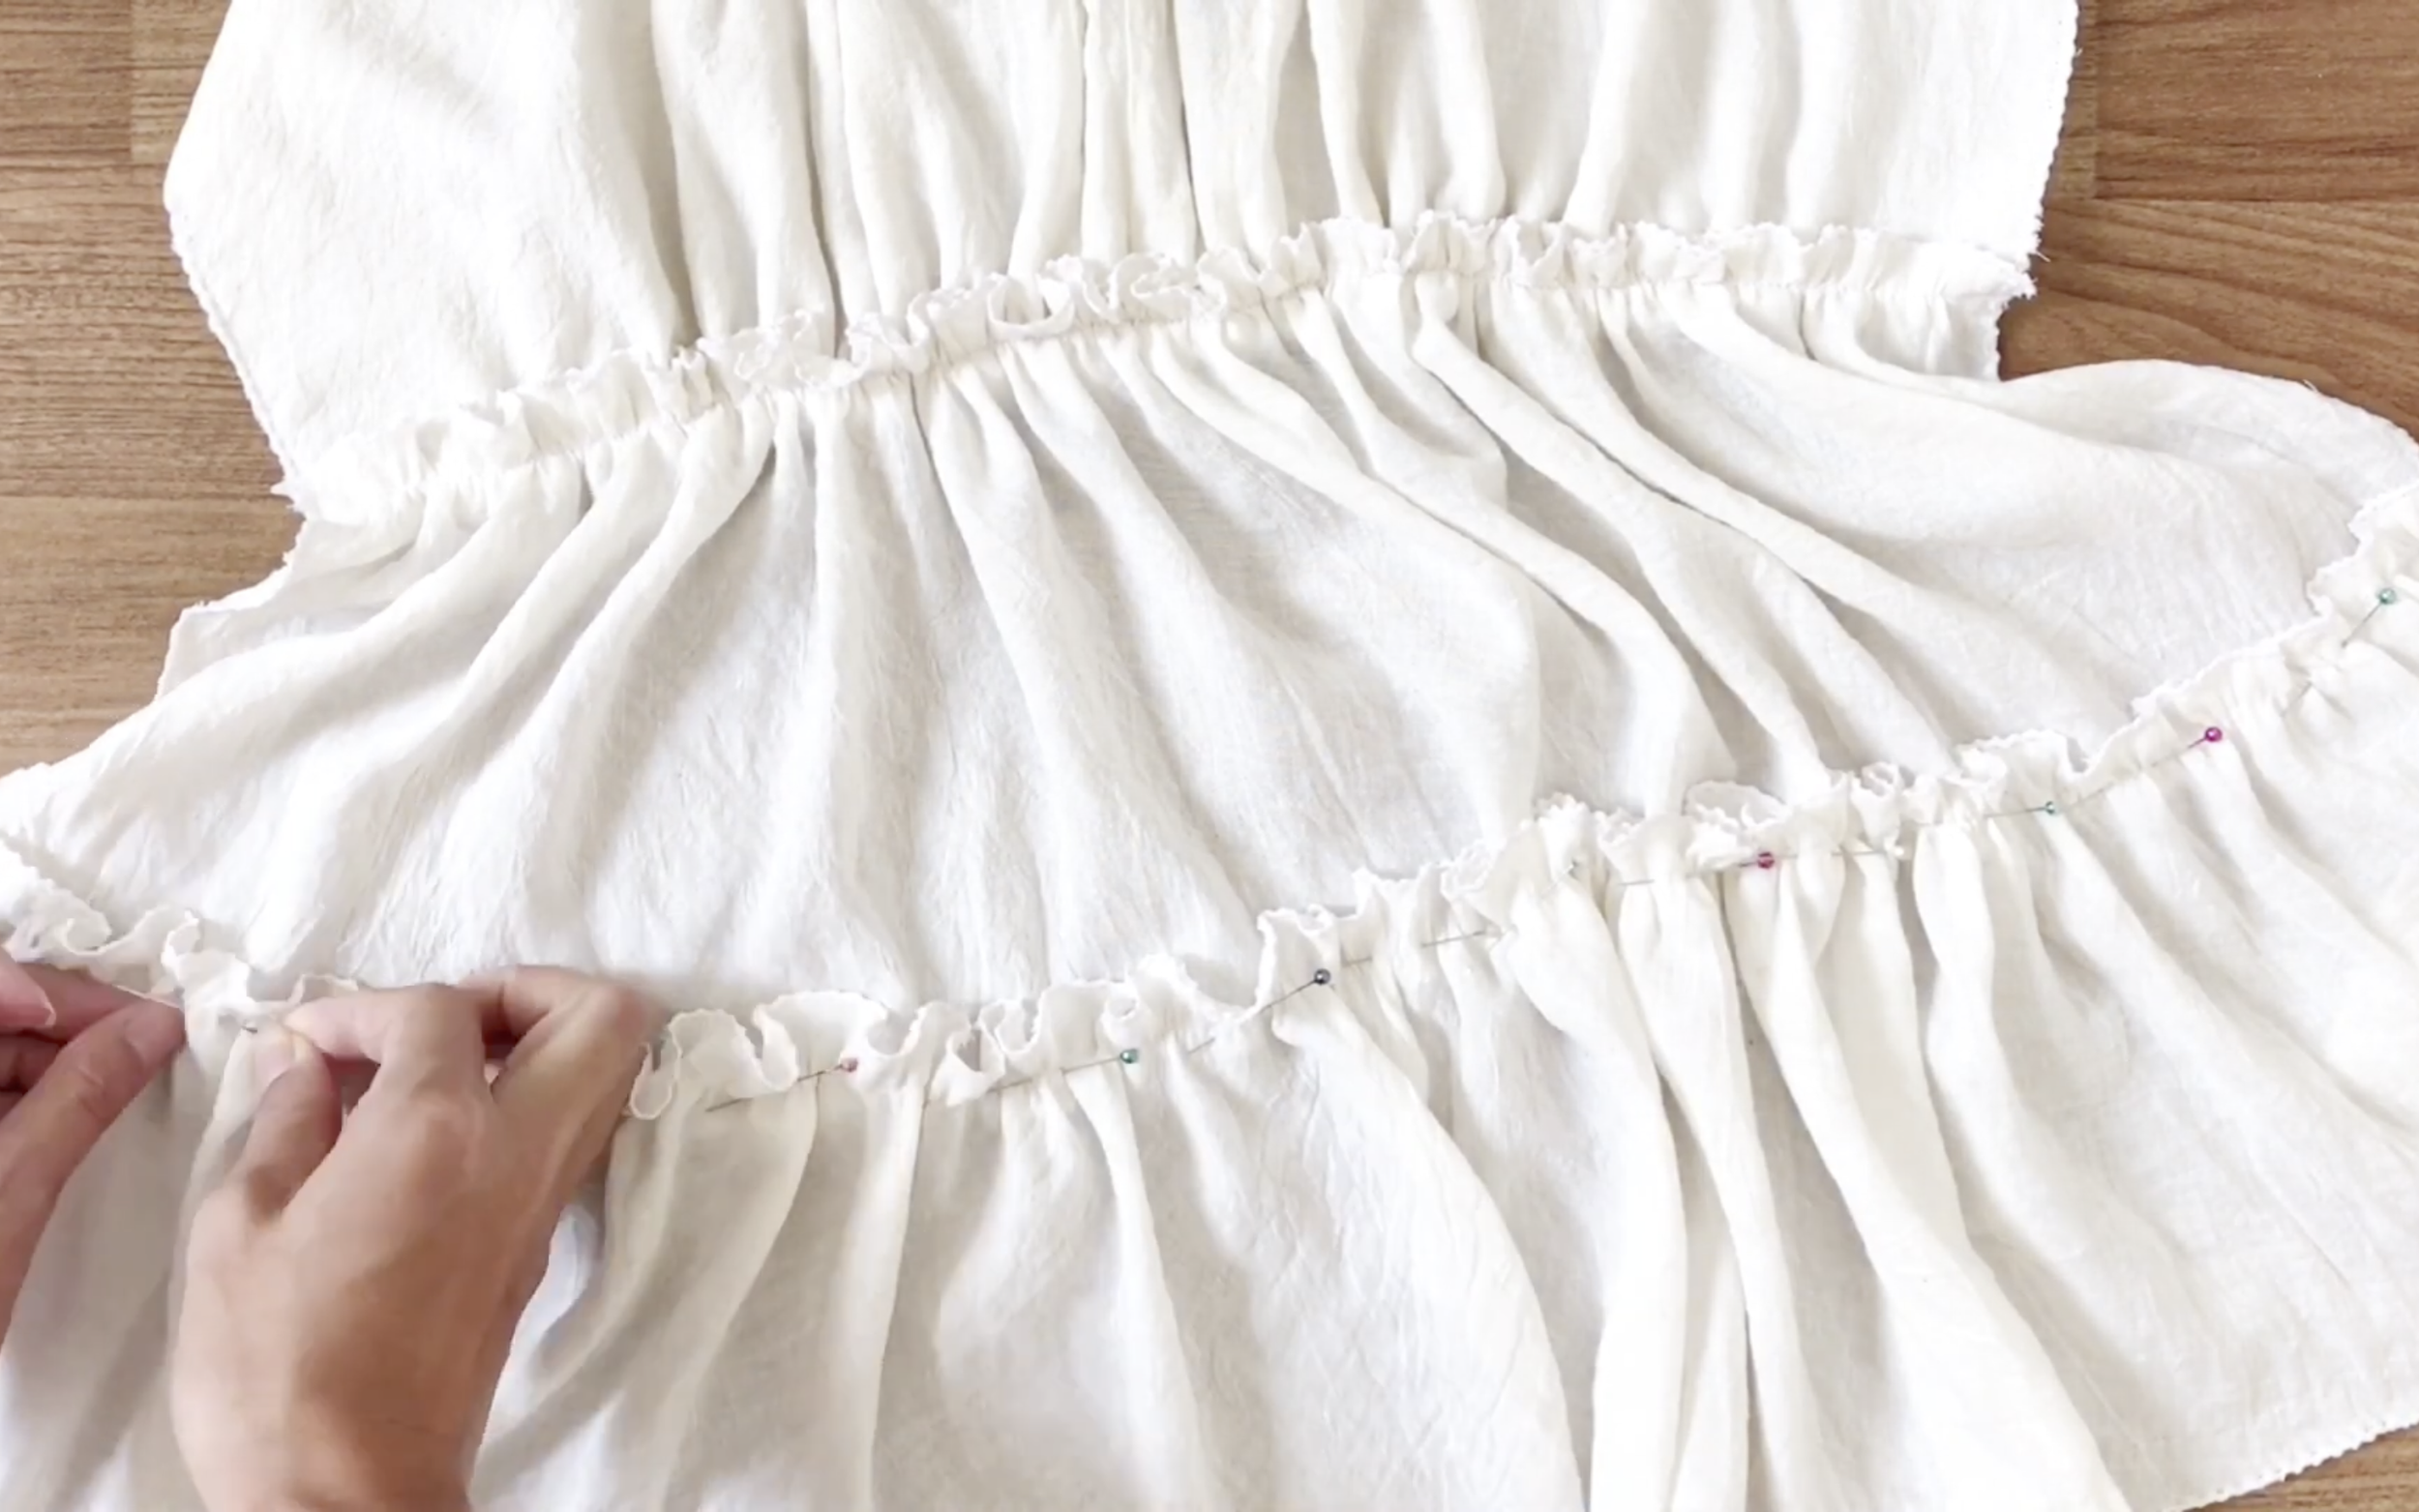
Repeat the process for the next two layers, completing the front of the dress.
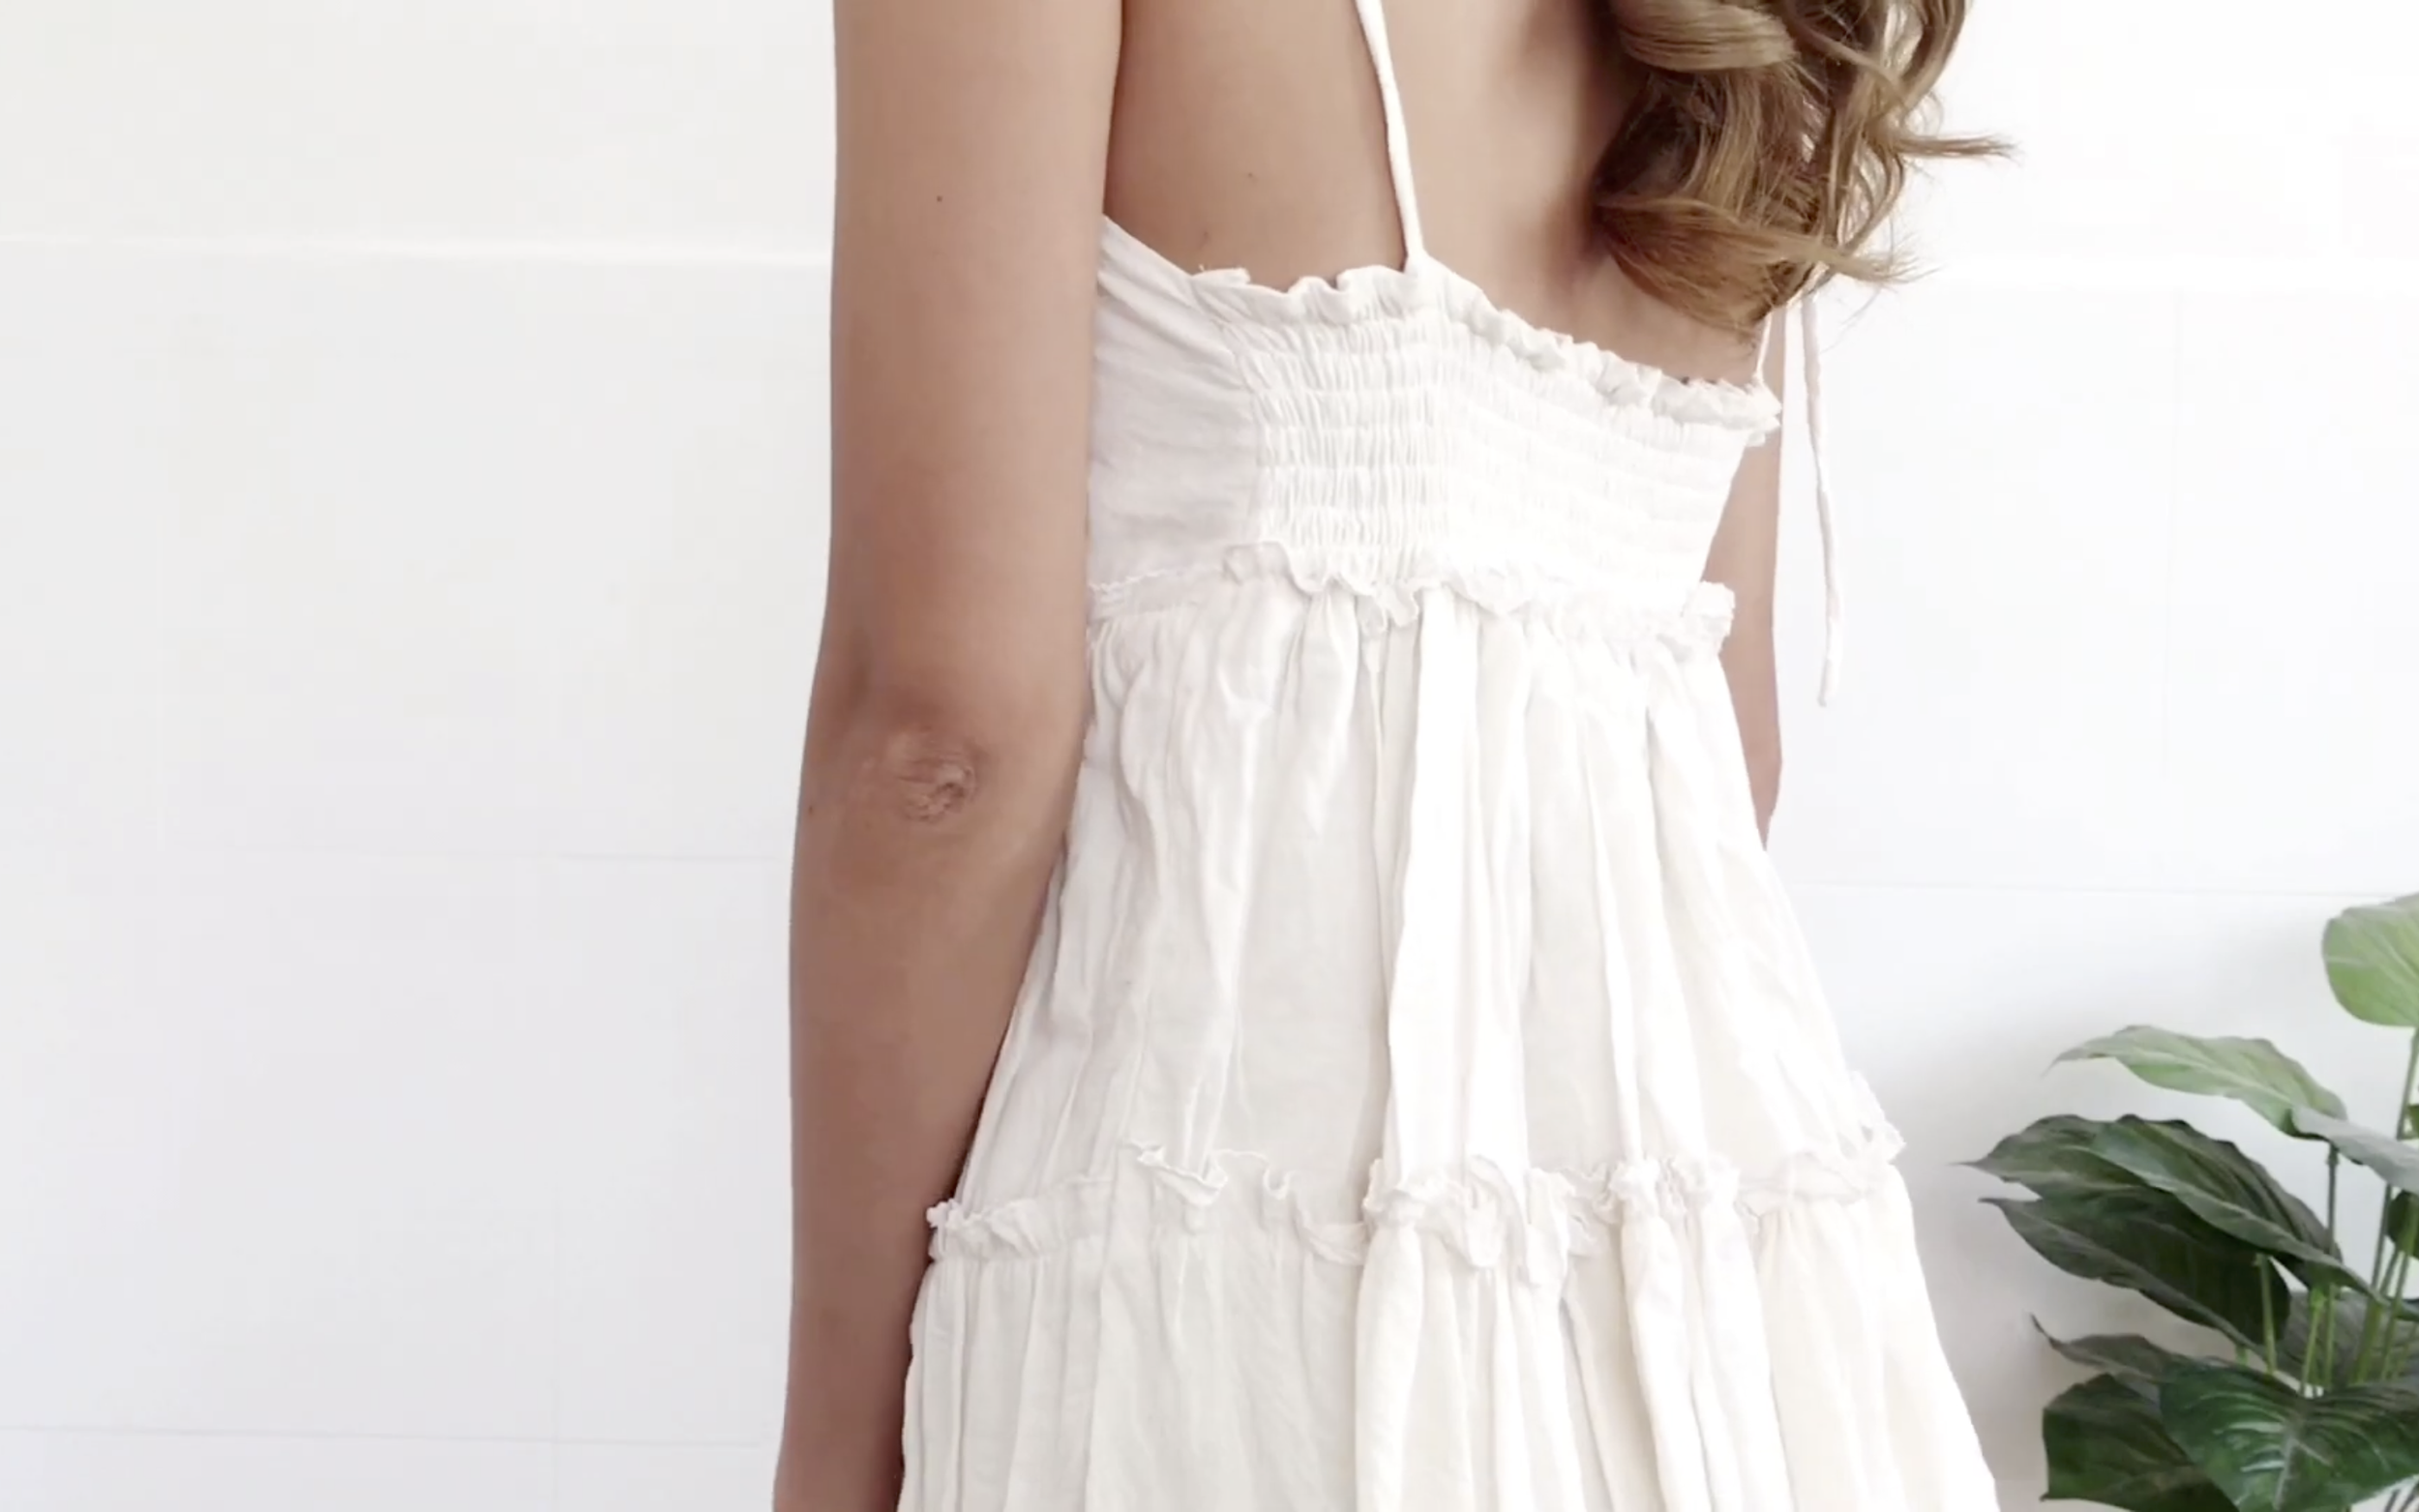
THE BACK
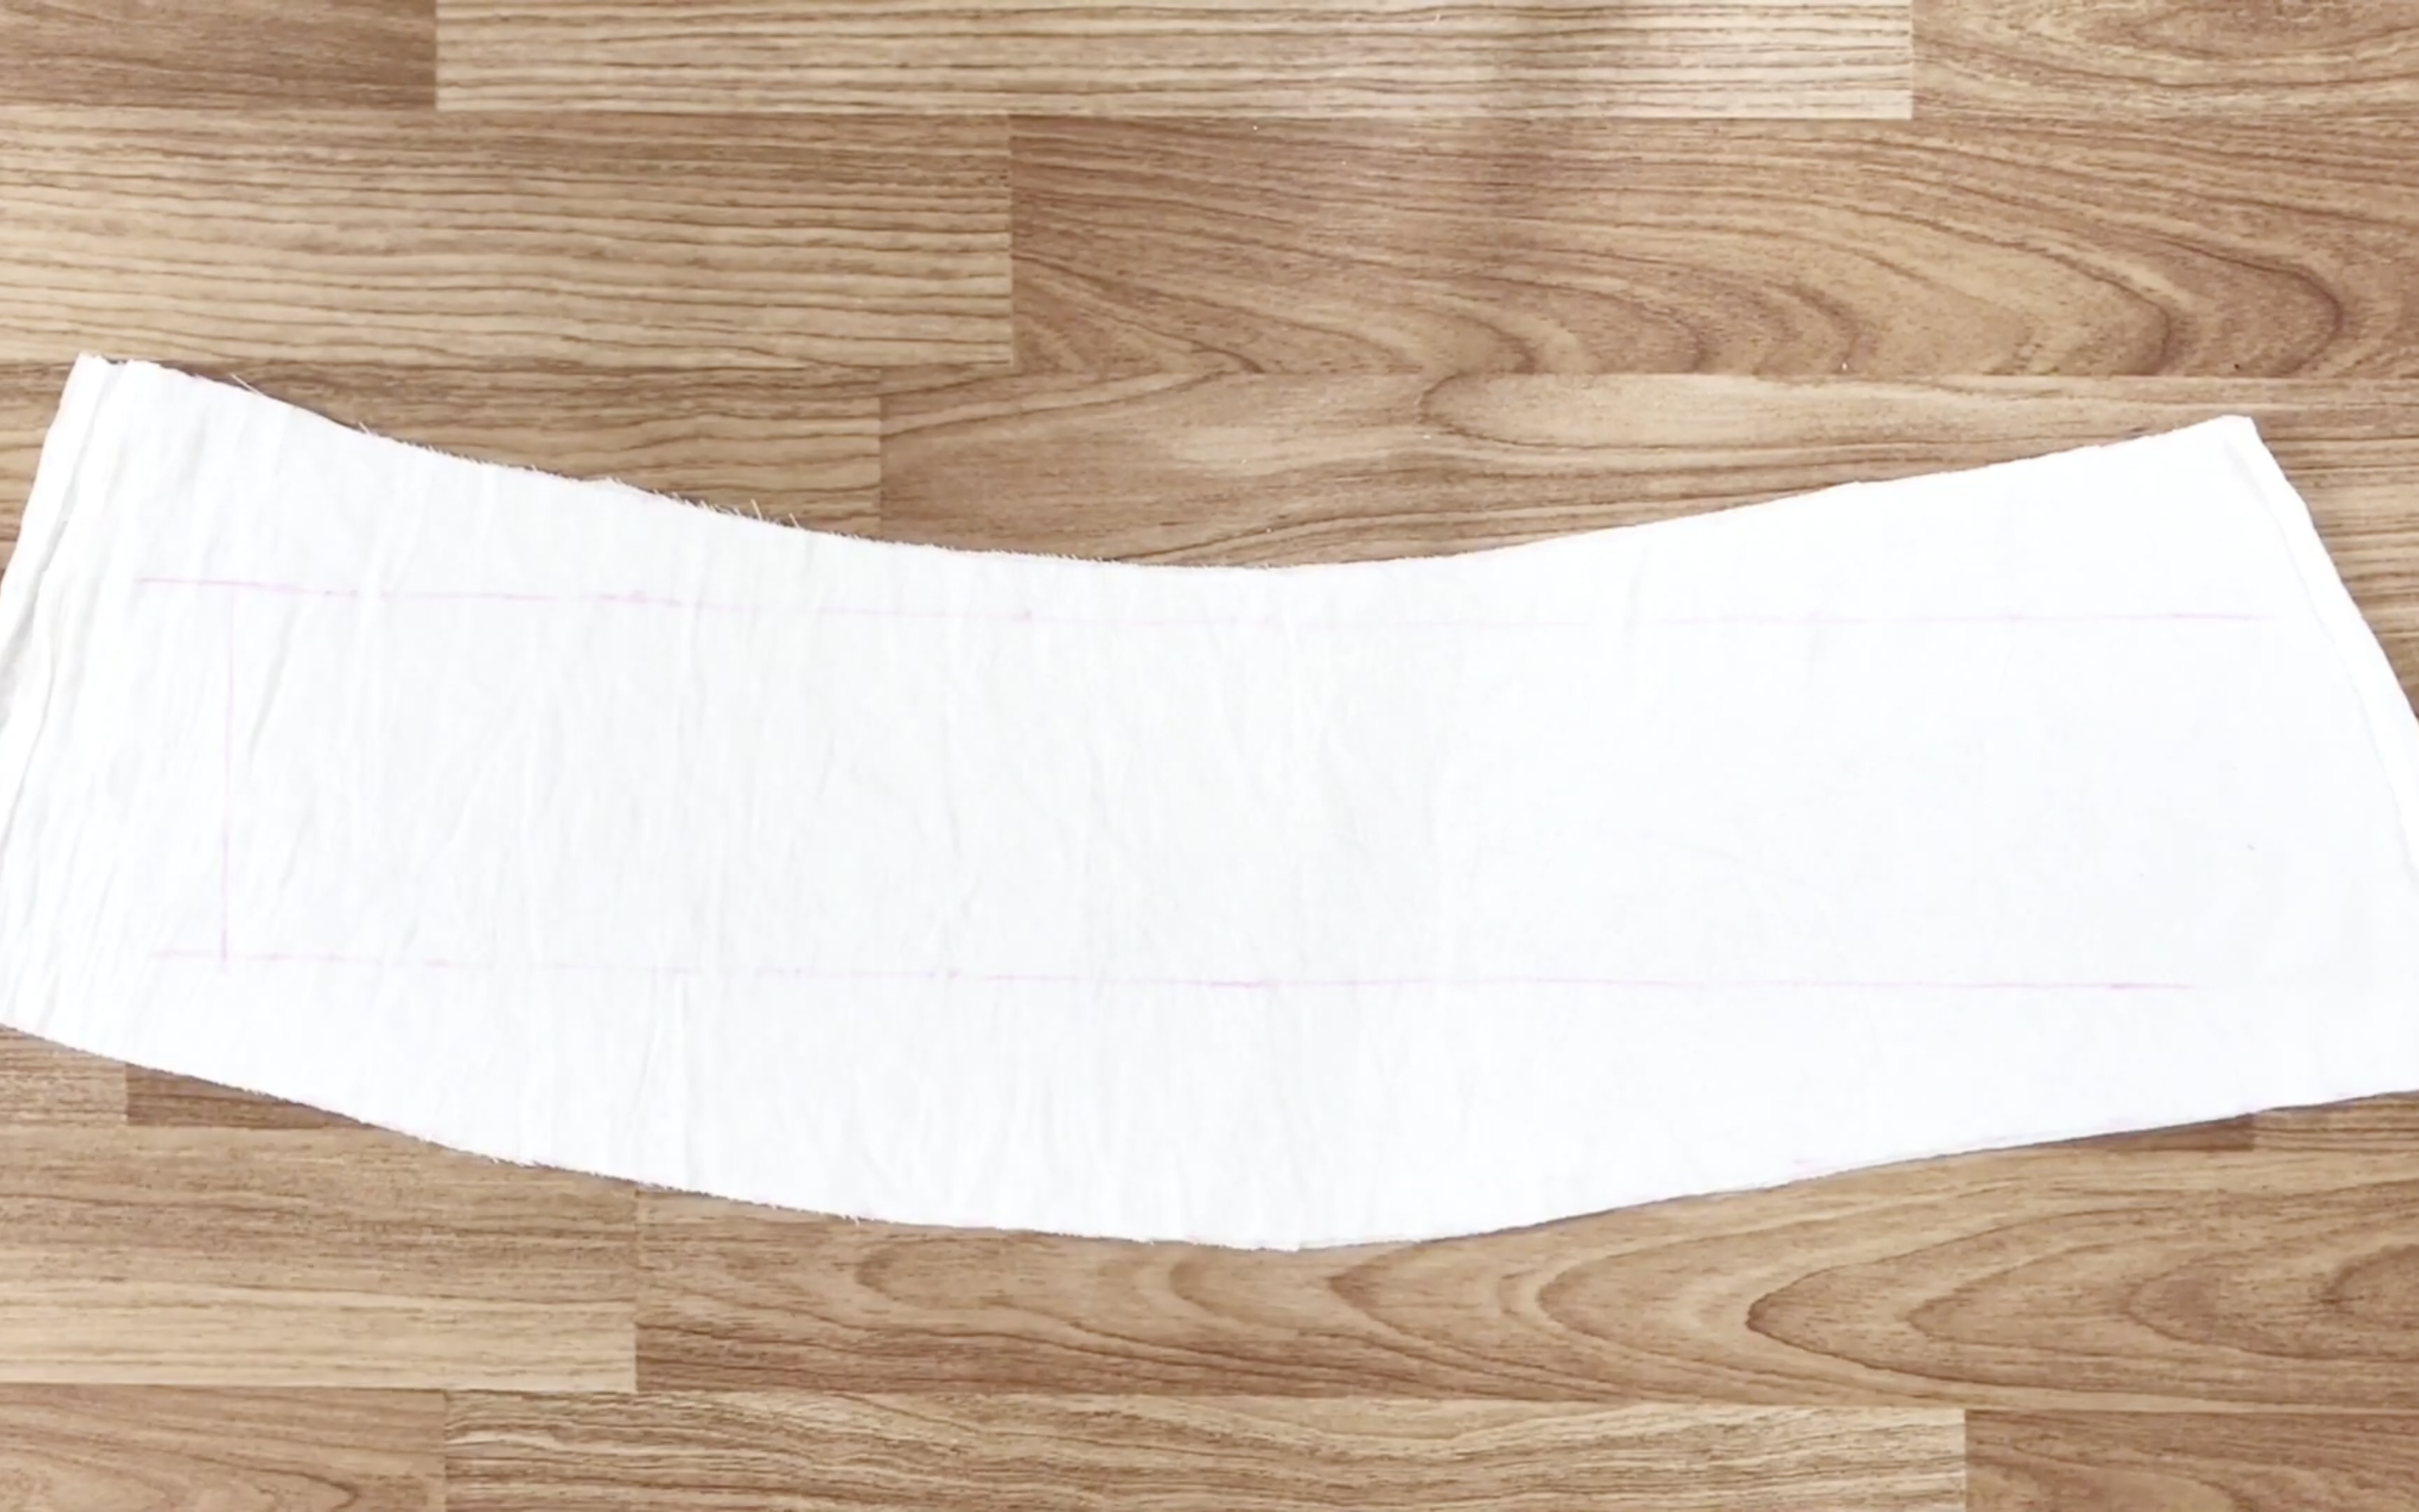
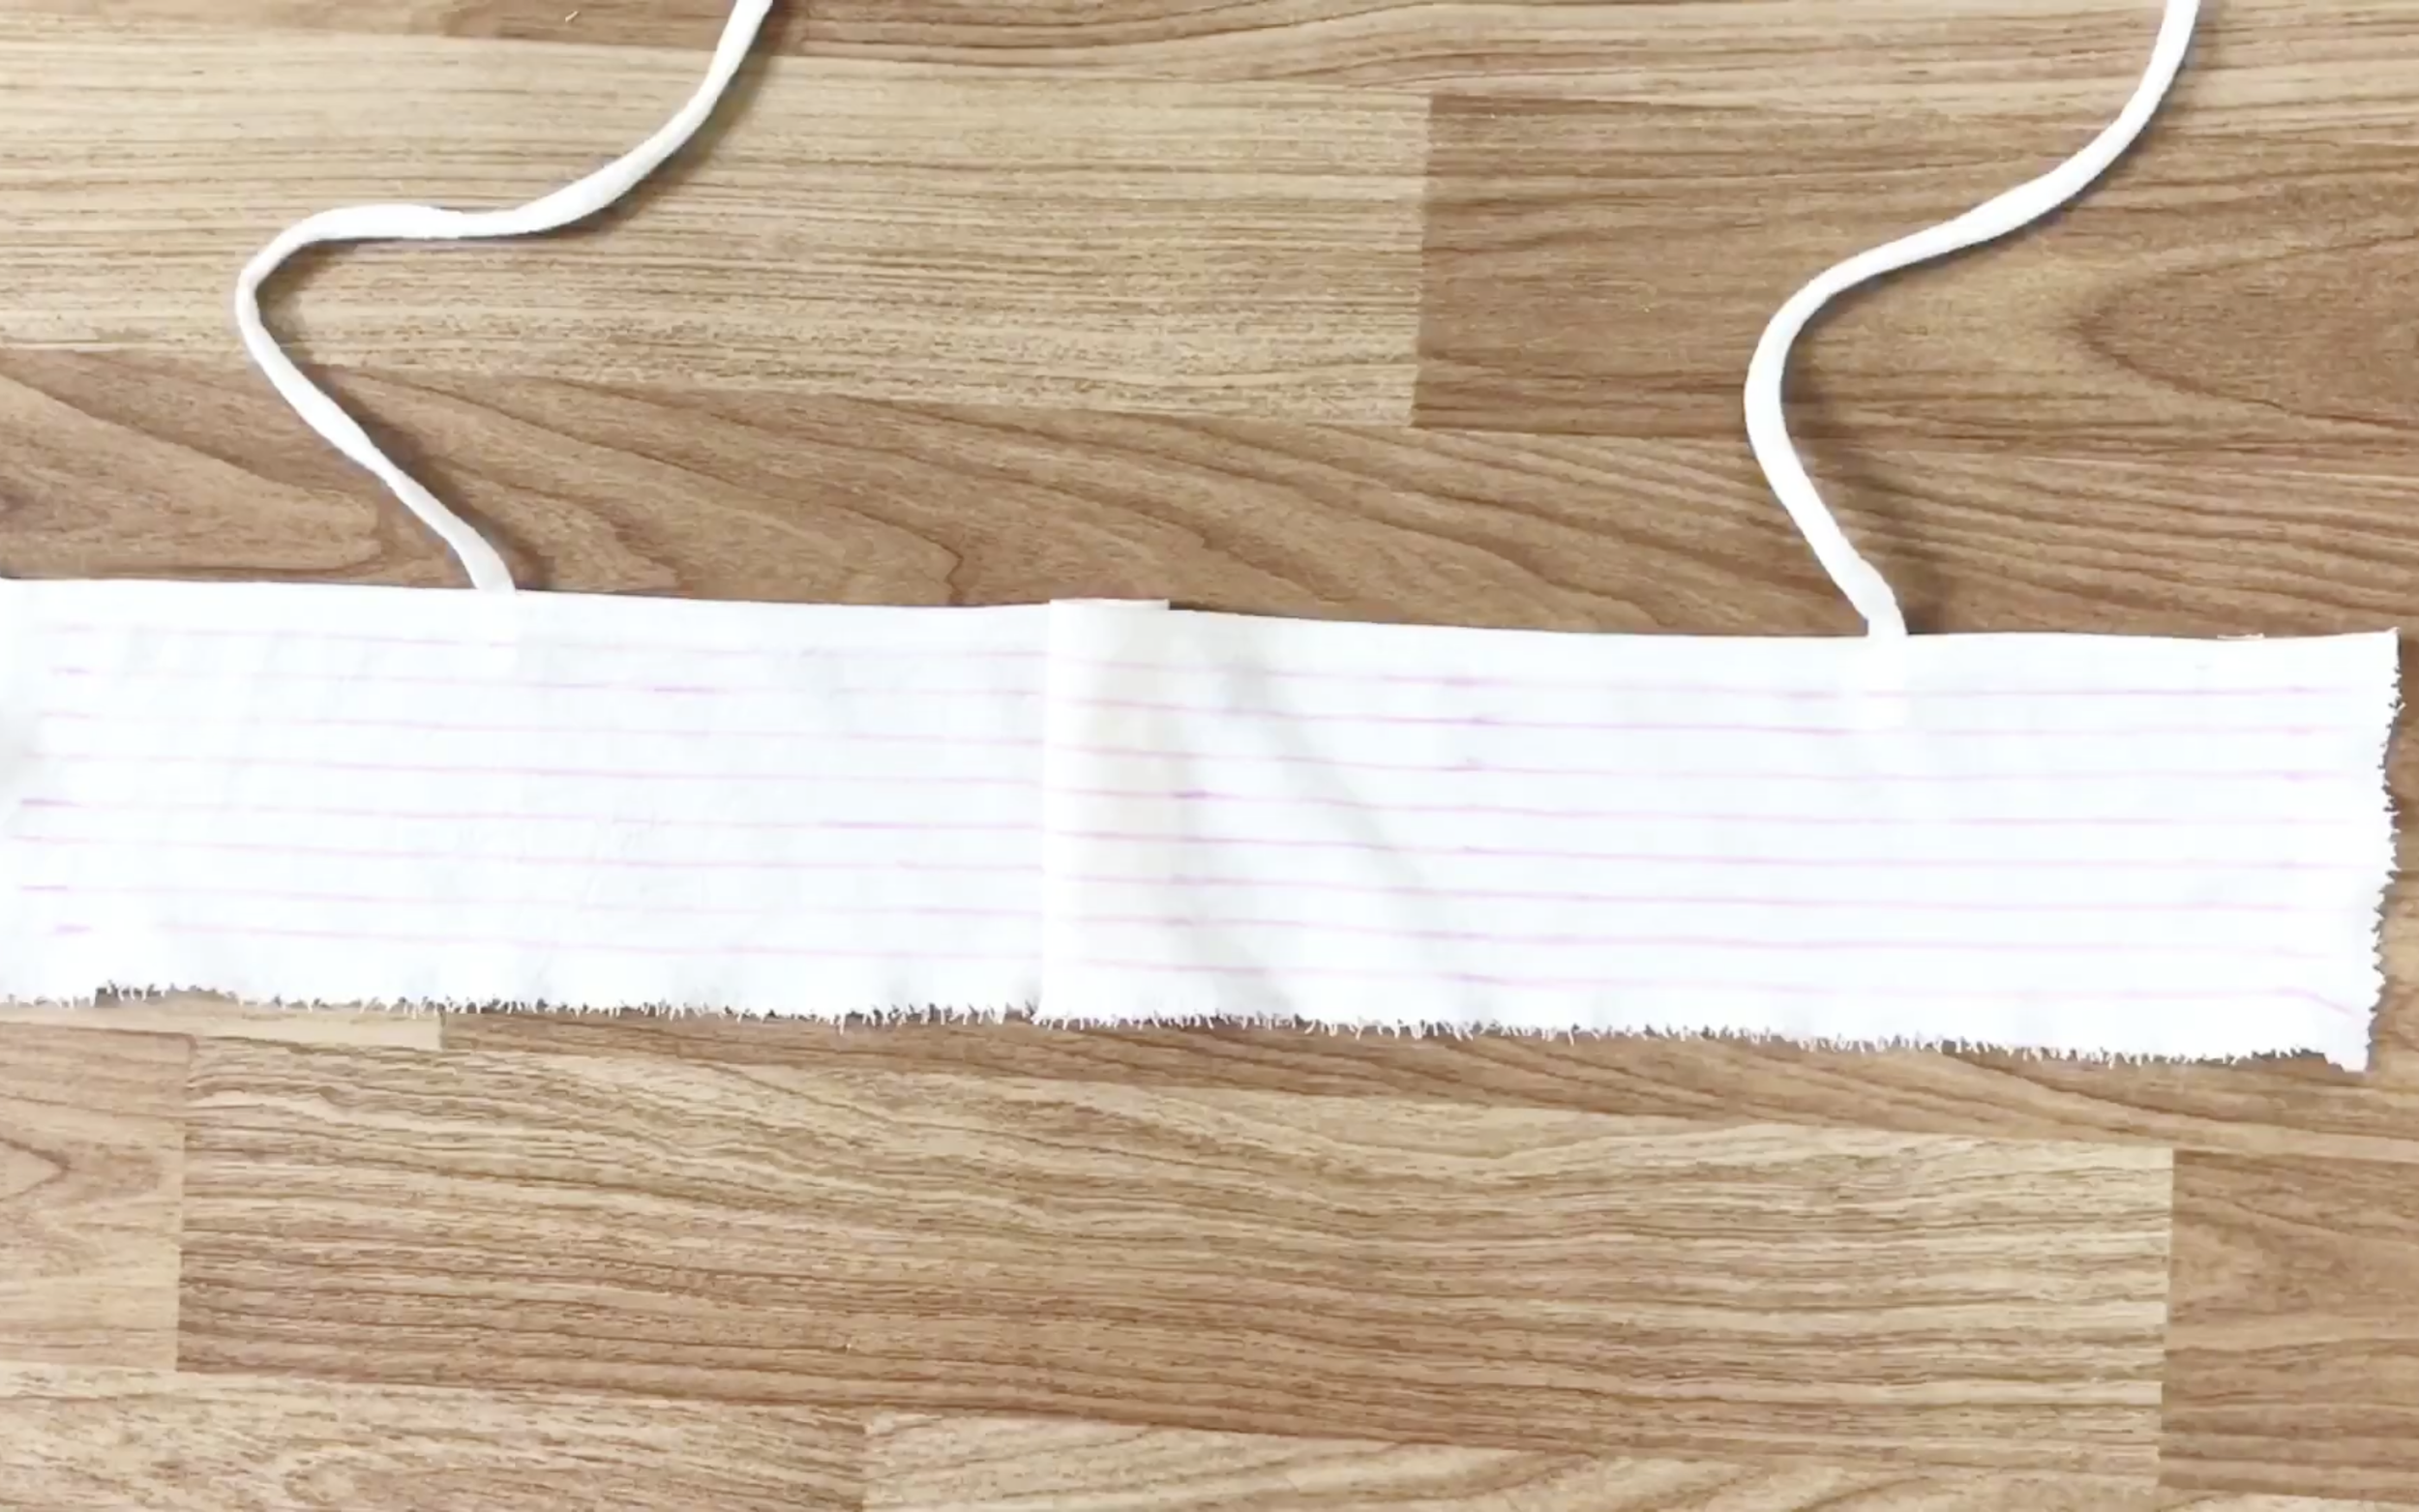
Make the top of the back by drawing a rectangle with the size is 11cm and 60cm.
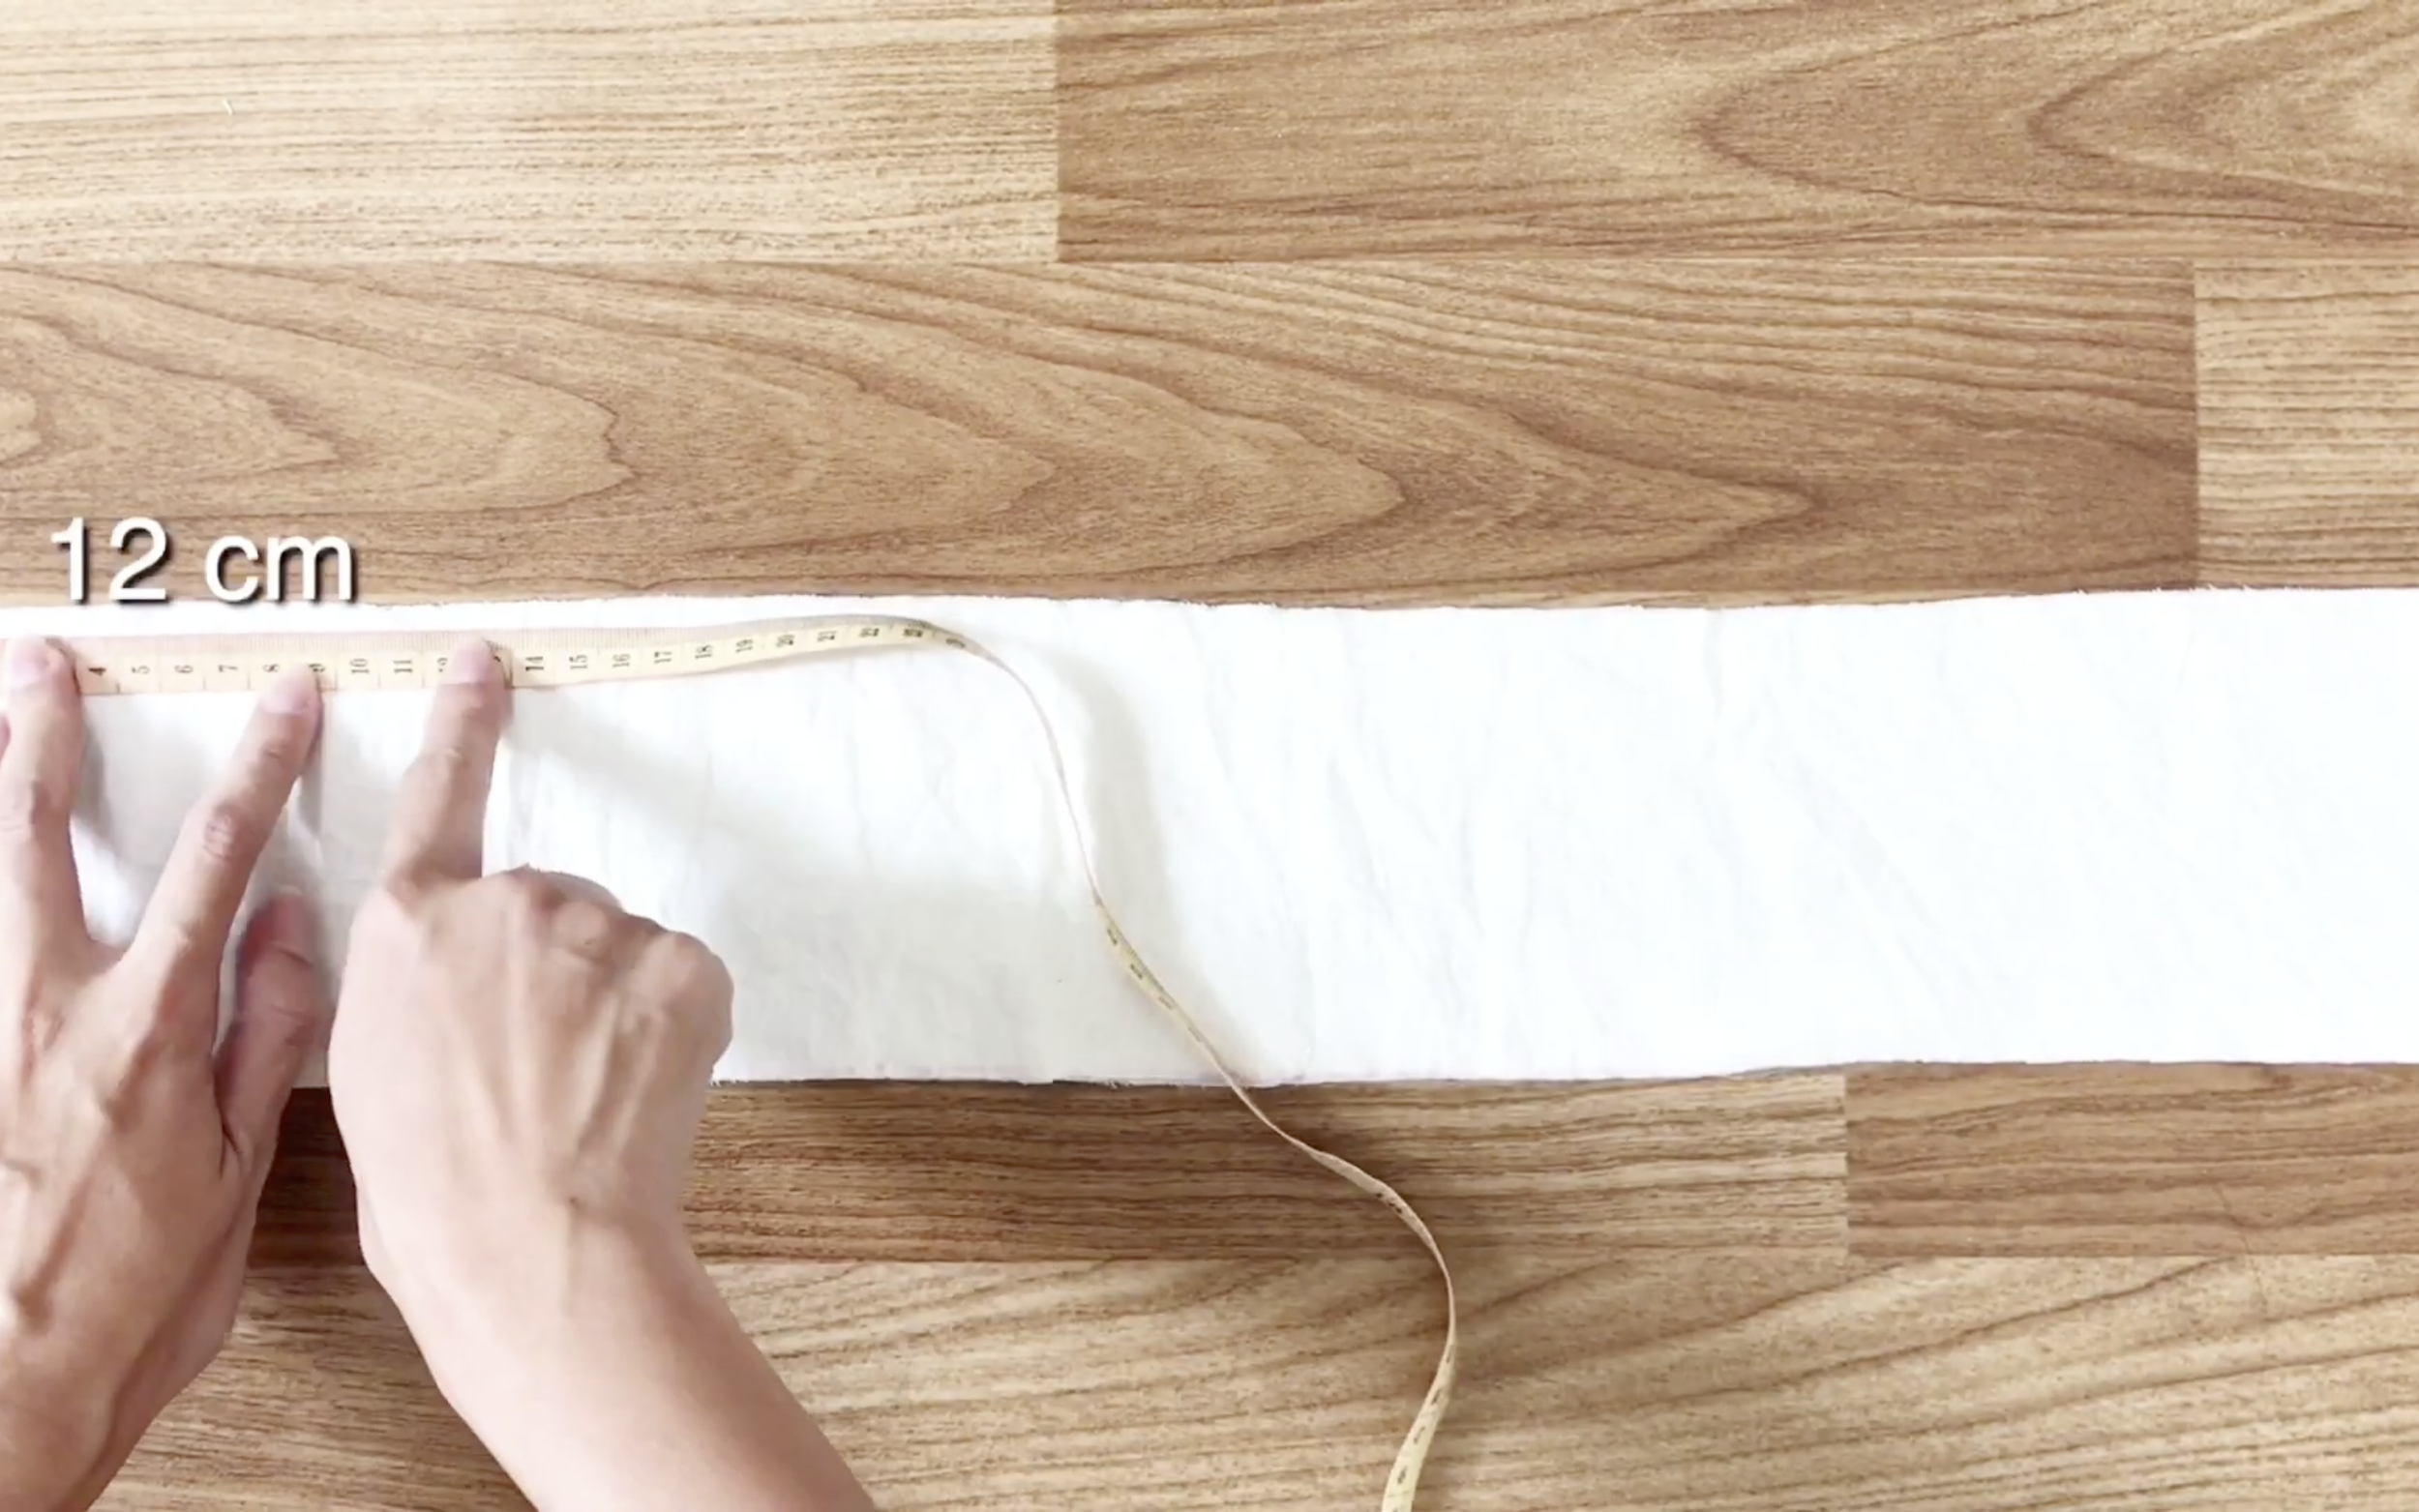
From two sides at the top, go to inside 12cm and mark there. They'll be the position for the shoulder straps.
They'll be the position for the shoulder straps. Then, sew.
After that, sew another seam at one piece of fabric like what I did to the front before.
Then, iron to straighten the seam.
Remember to overlock to protect the raw edge of the fabric.
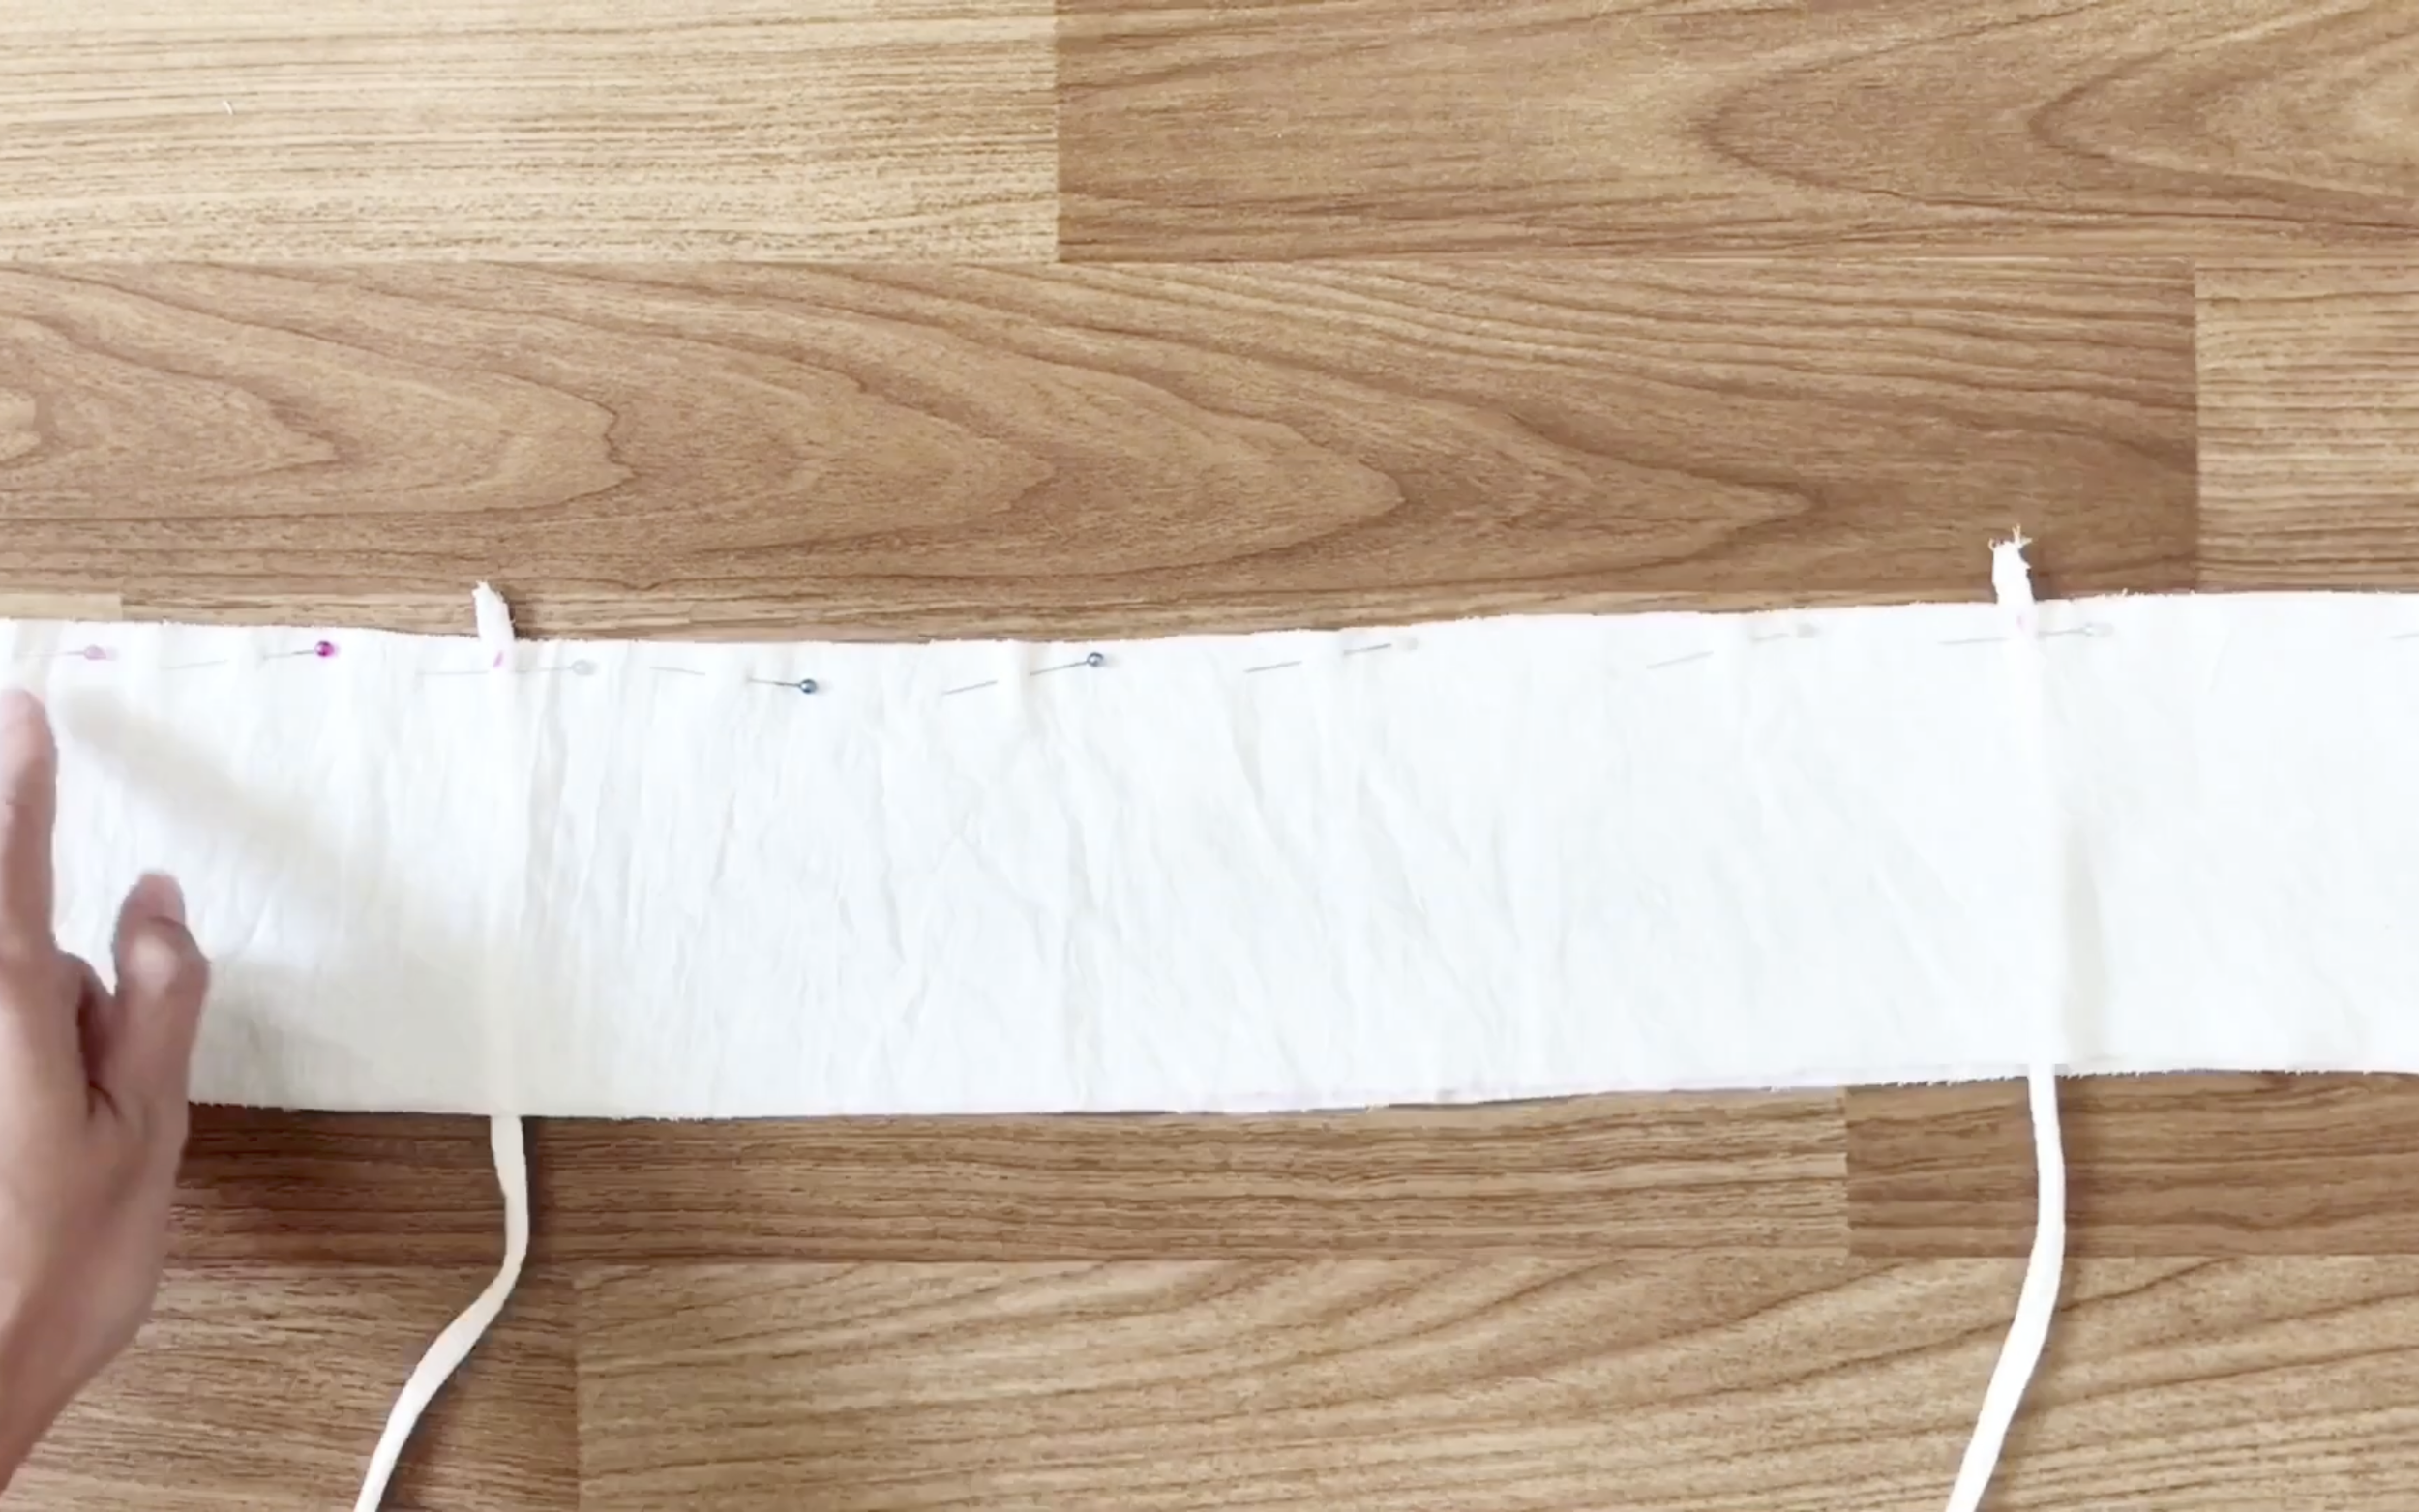
Next, draw lines 1cm apart.
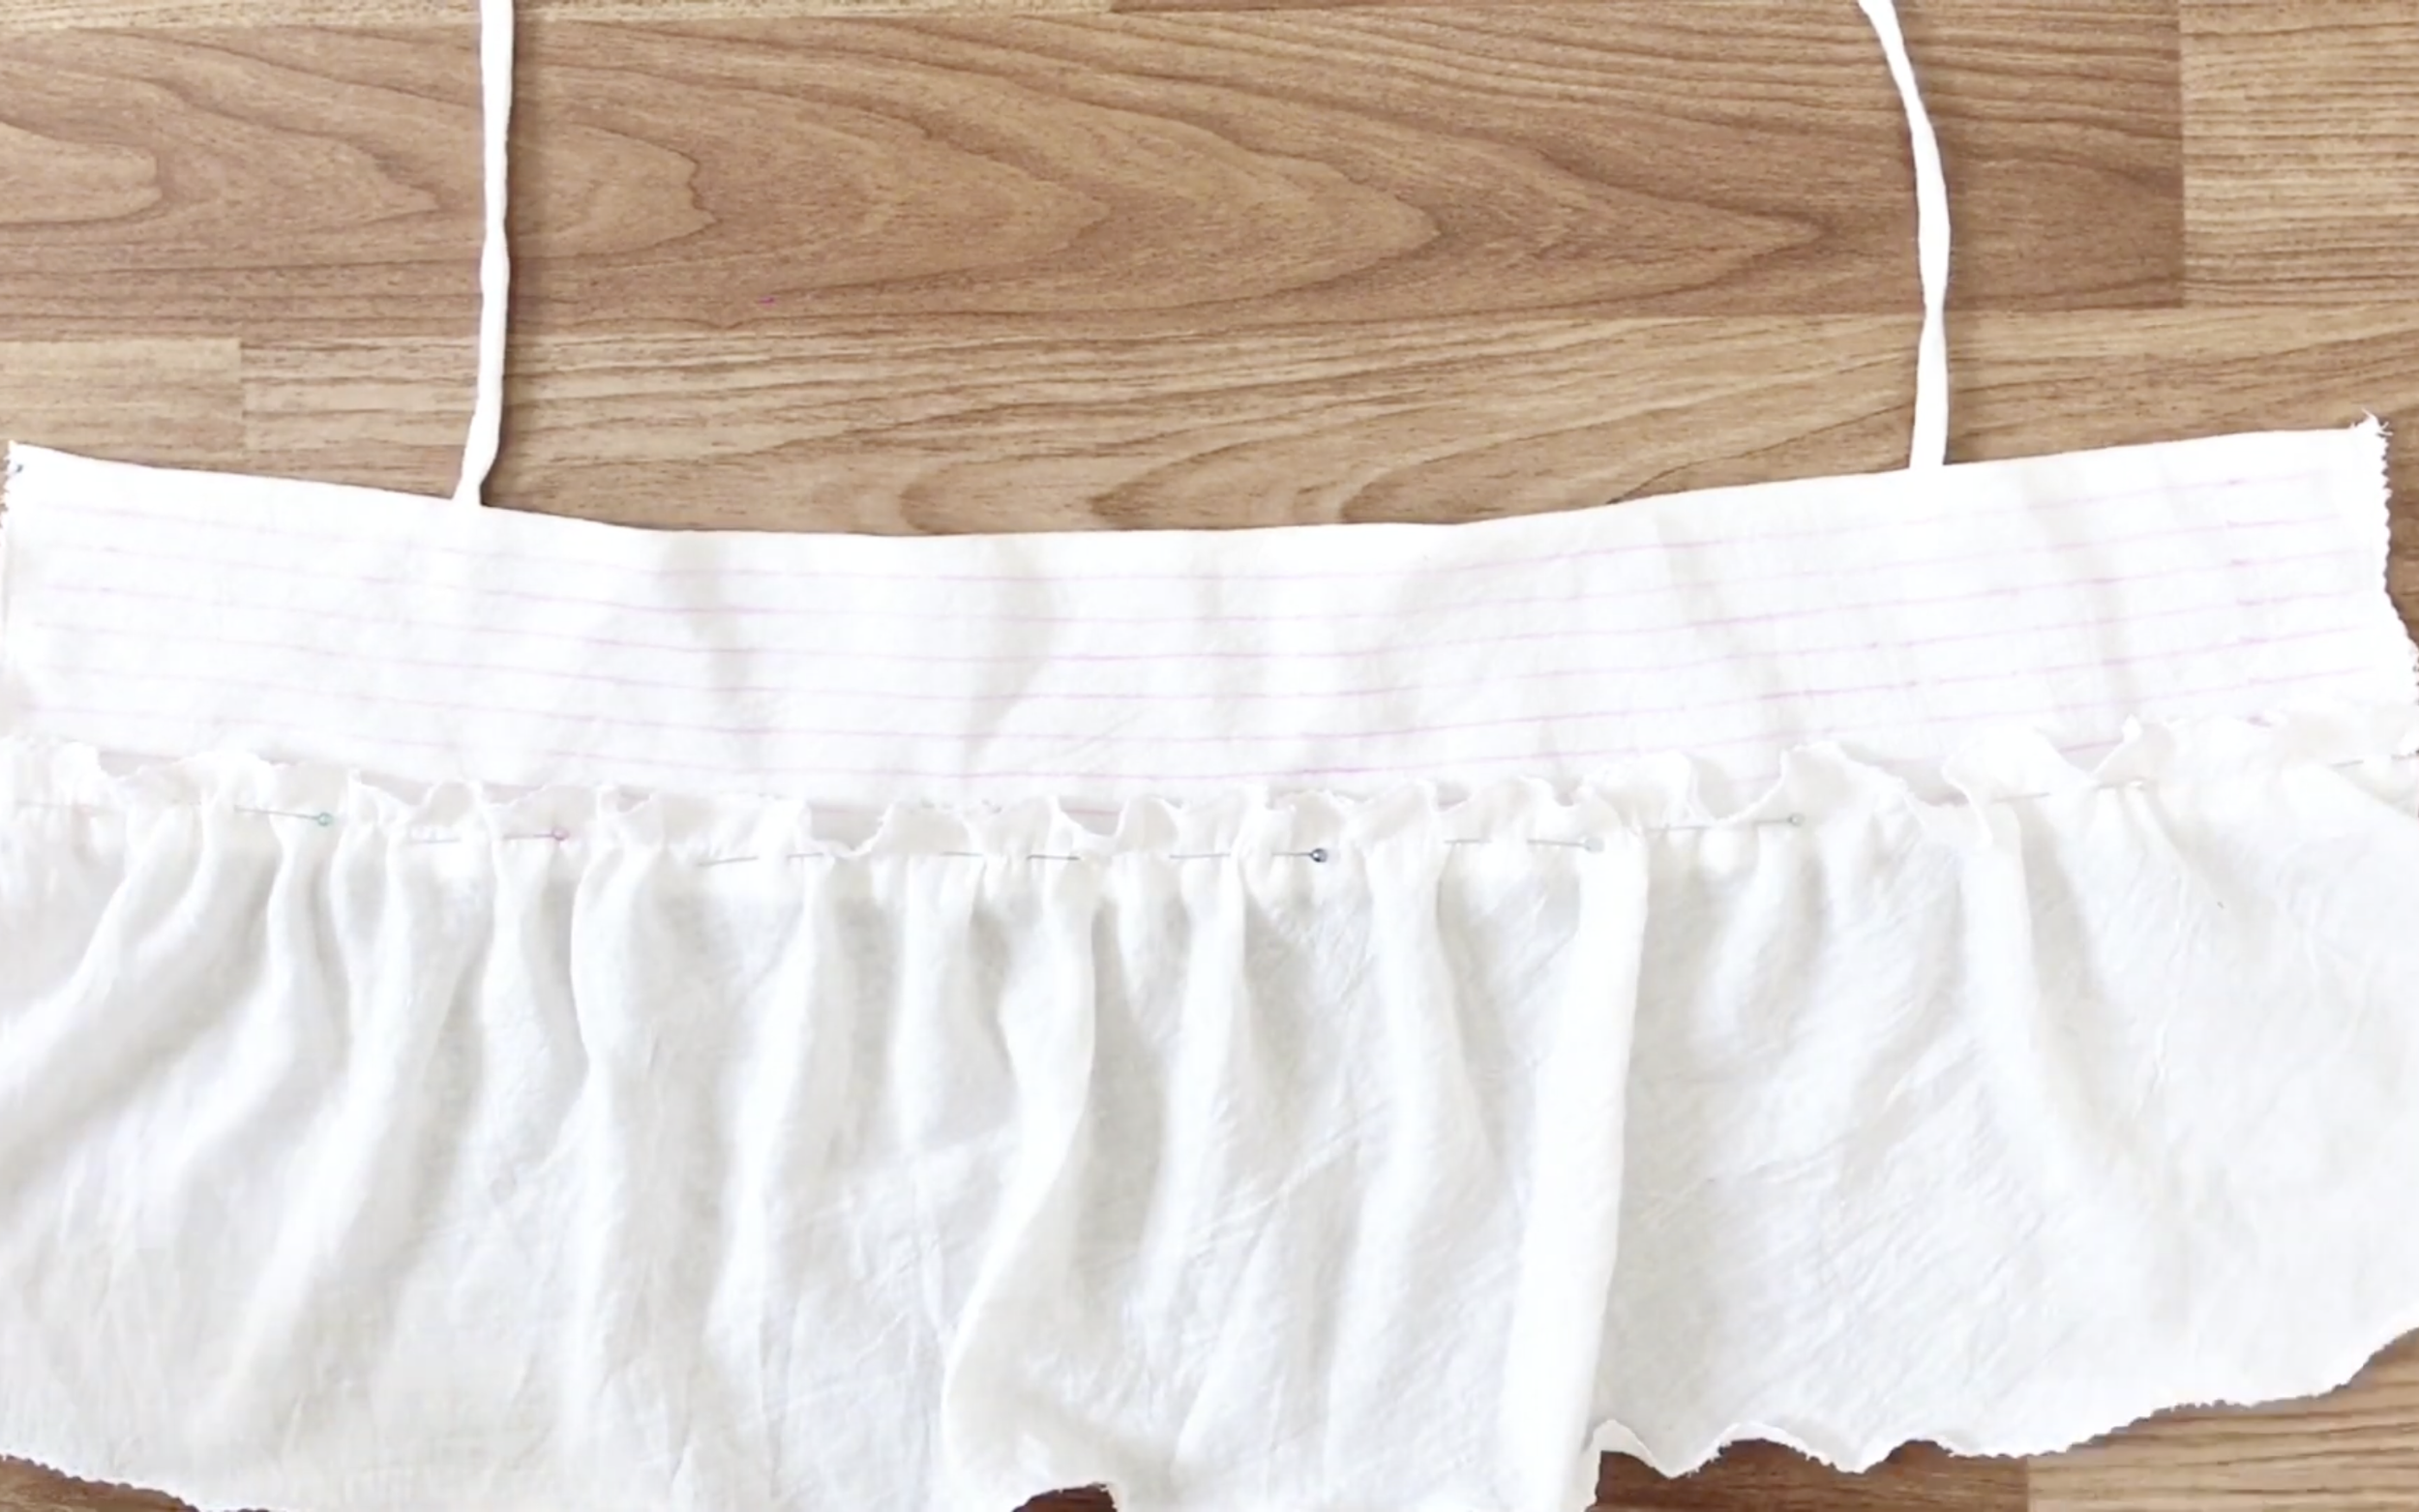
Then, connect the first layer of fabric to the end of the back.
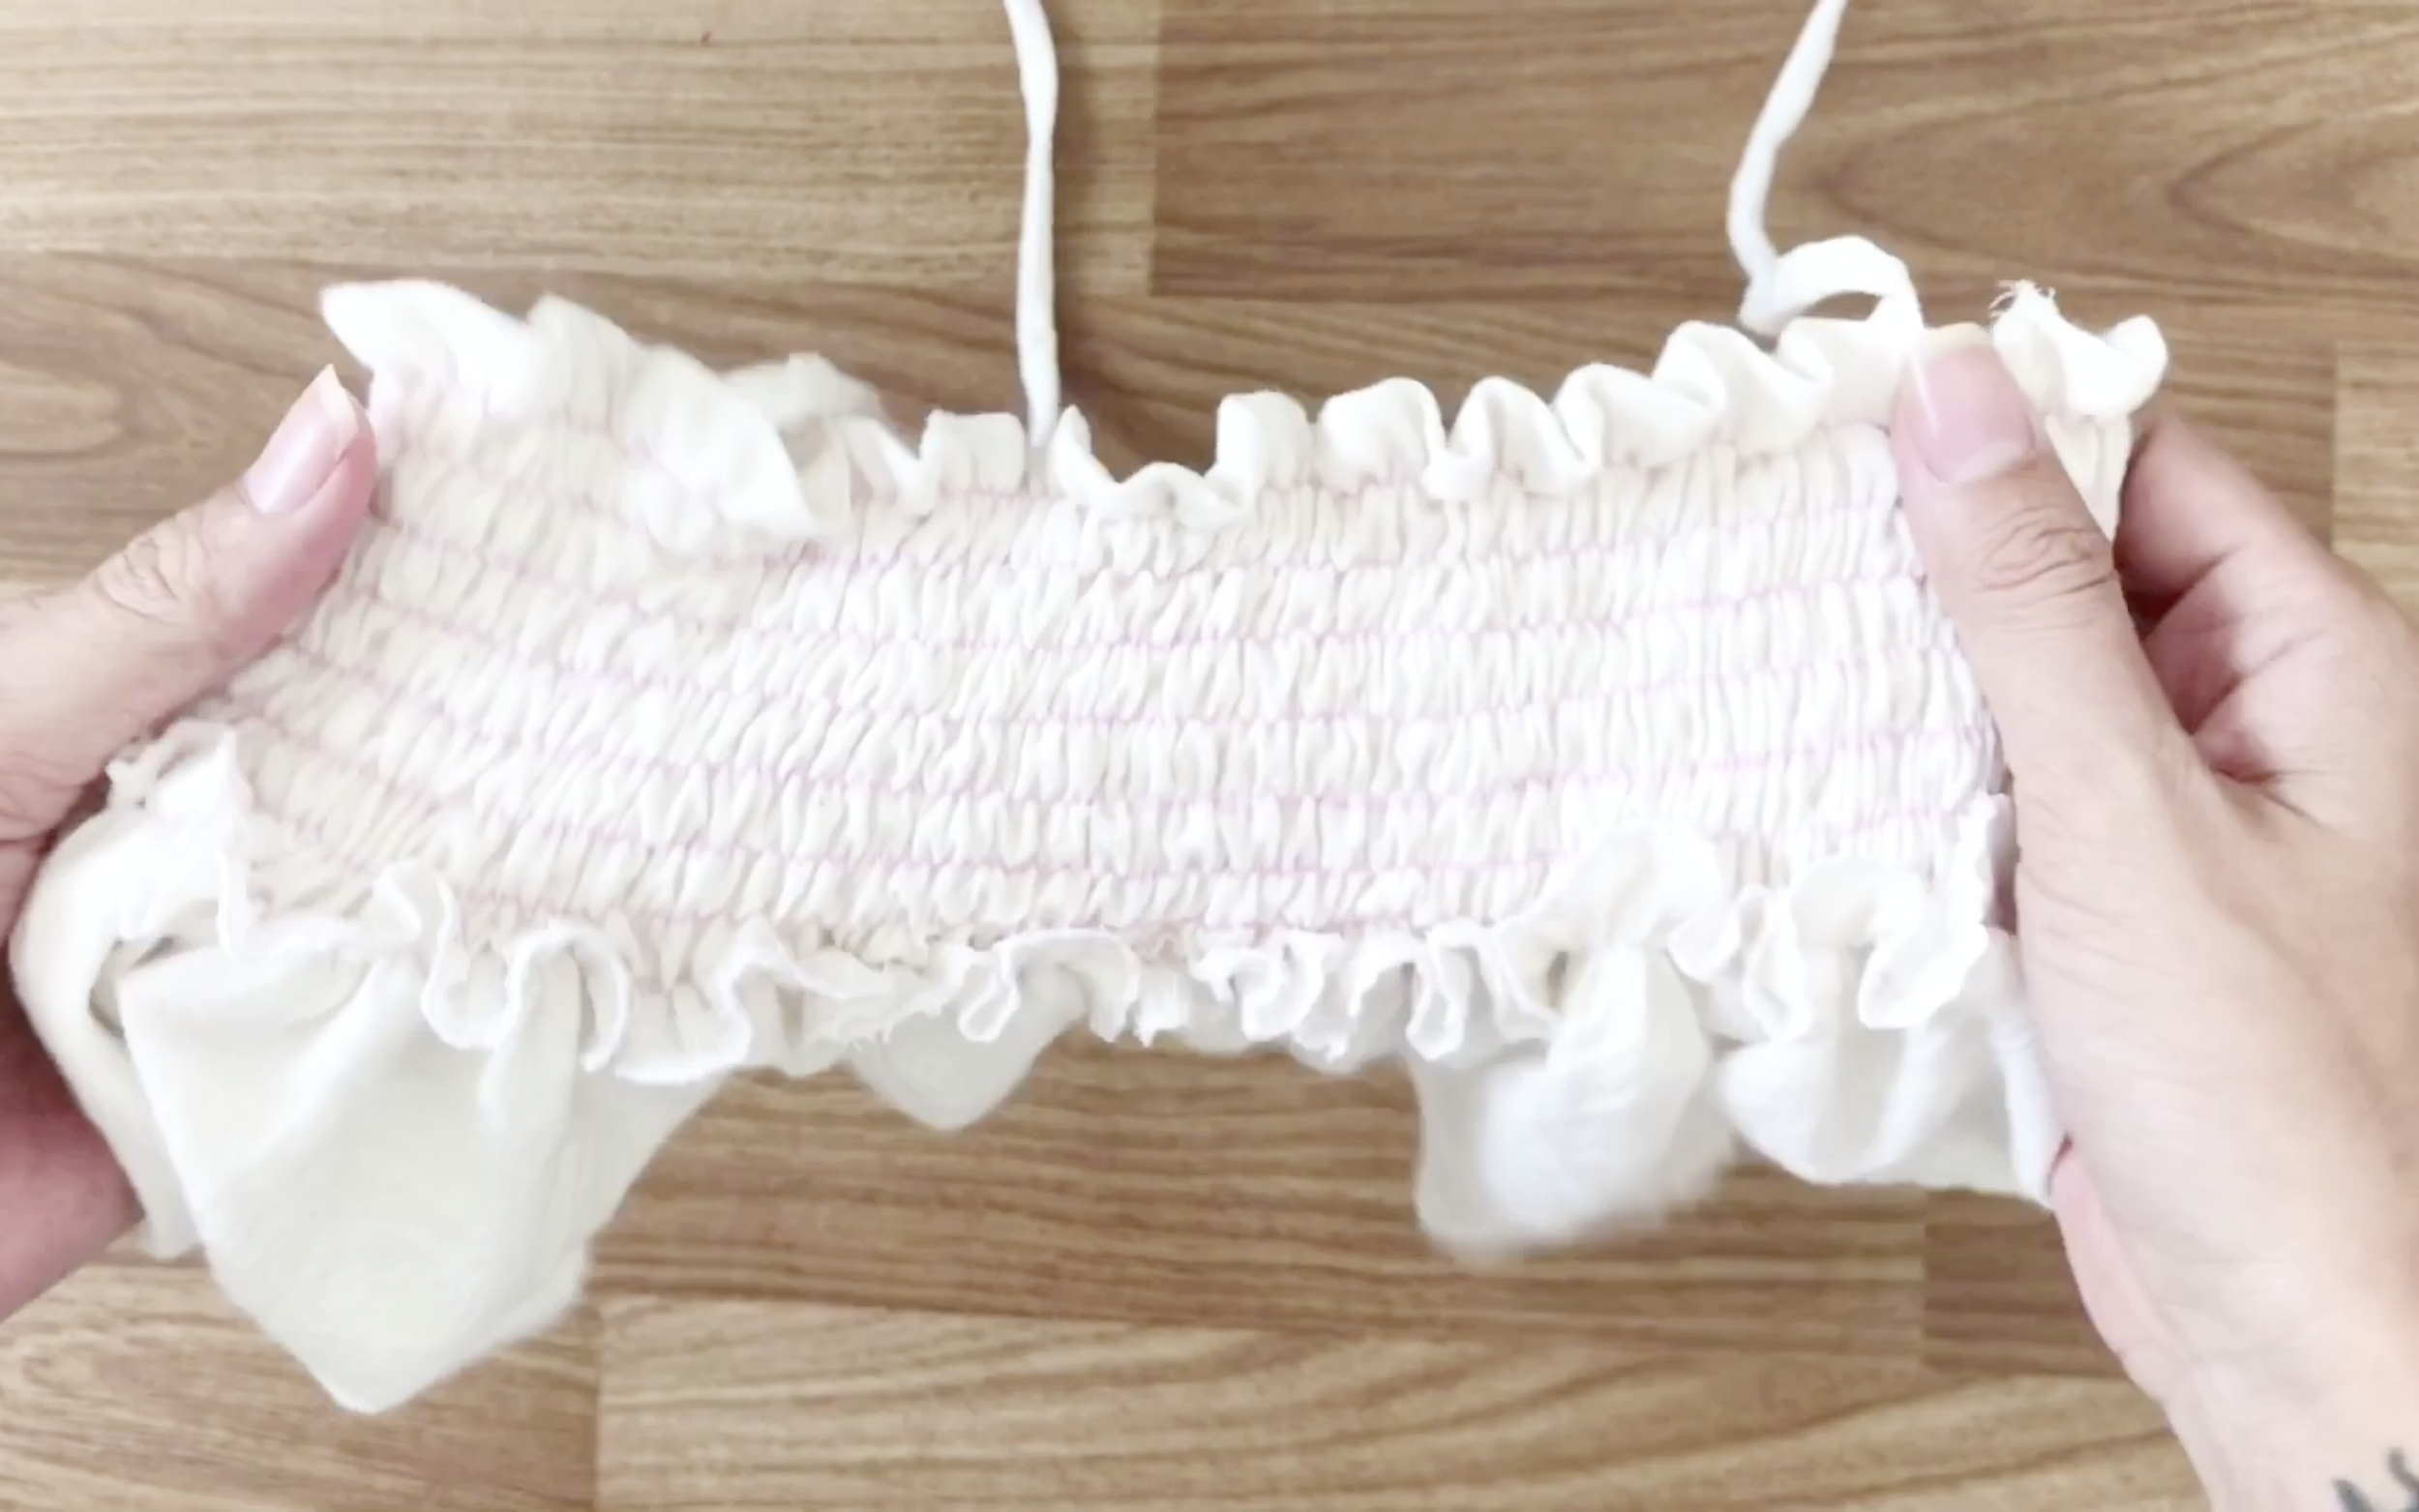
After that, sew the shirring stitch along the drawn lines. This method ensures that the dress fits body when wearing.
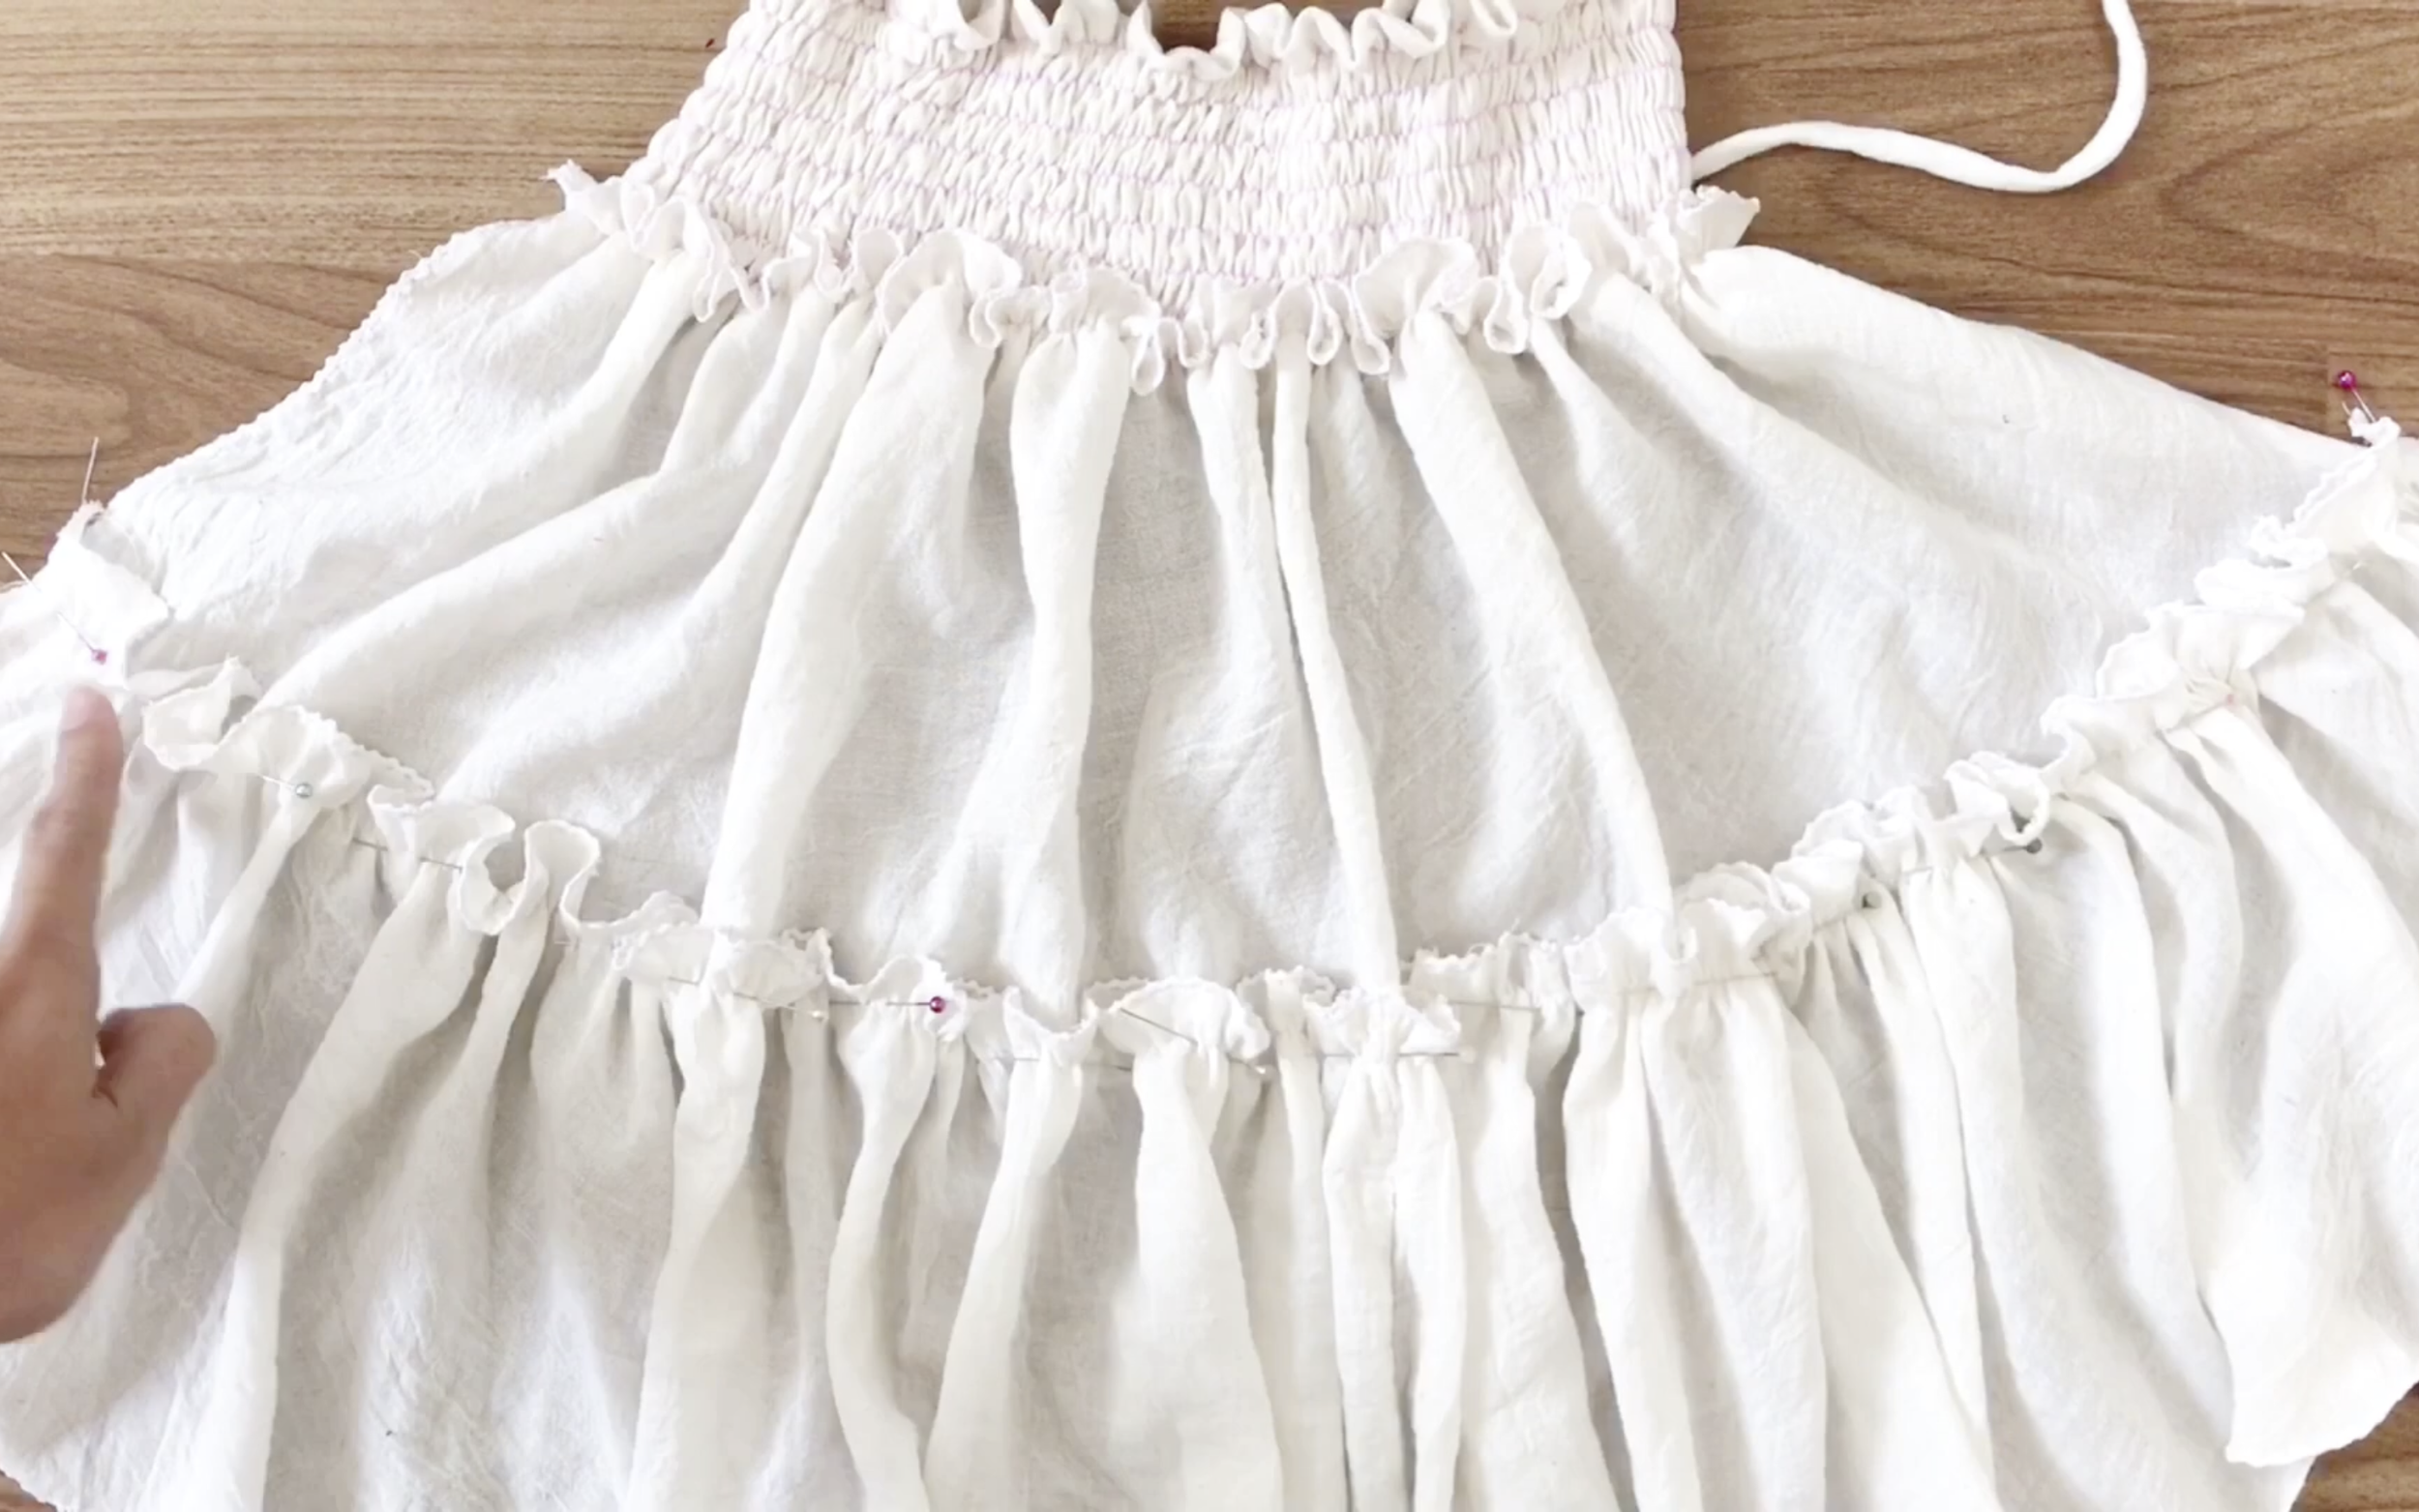
Then, connect two other layer fabrics under the first one to finish the back.
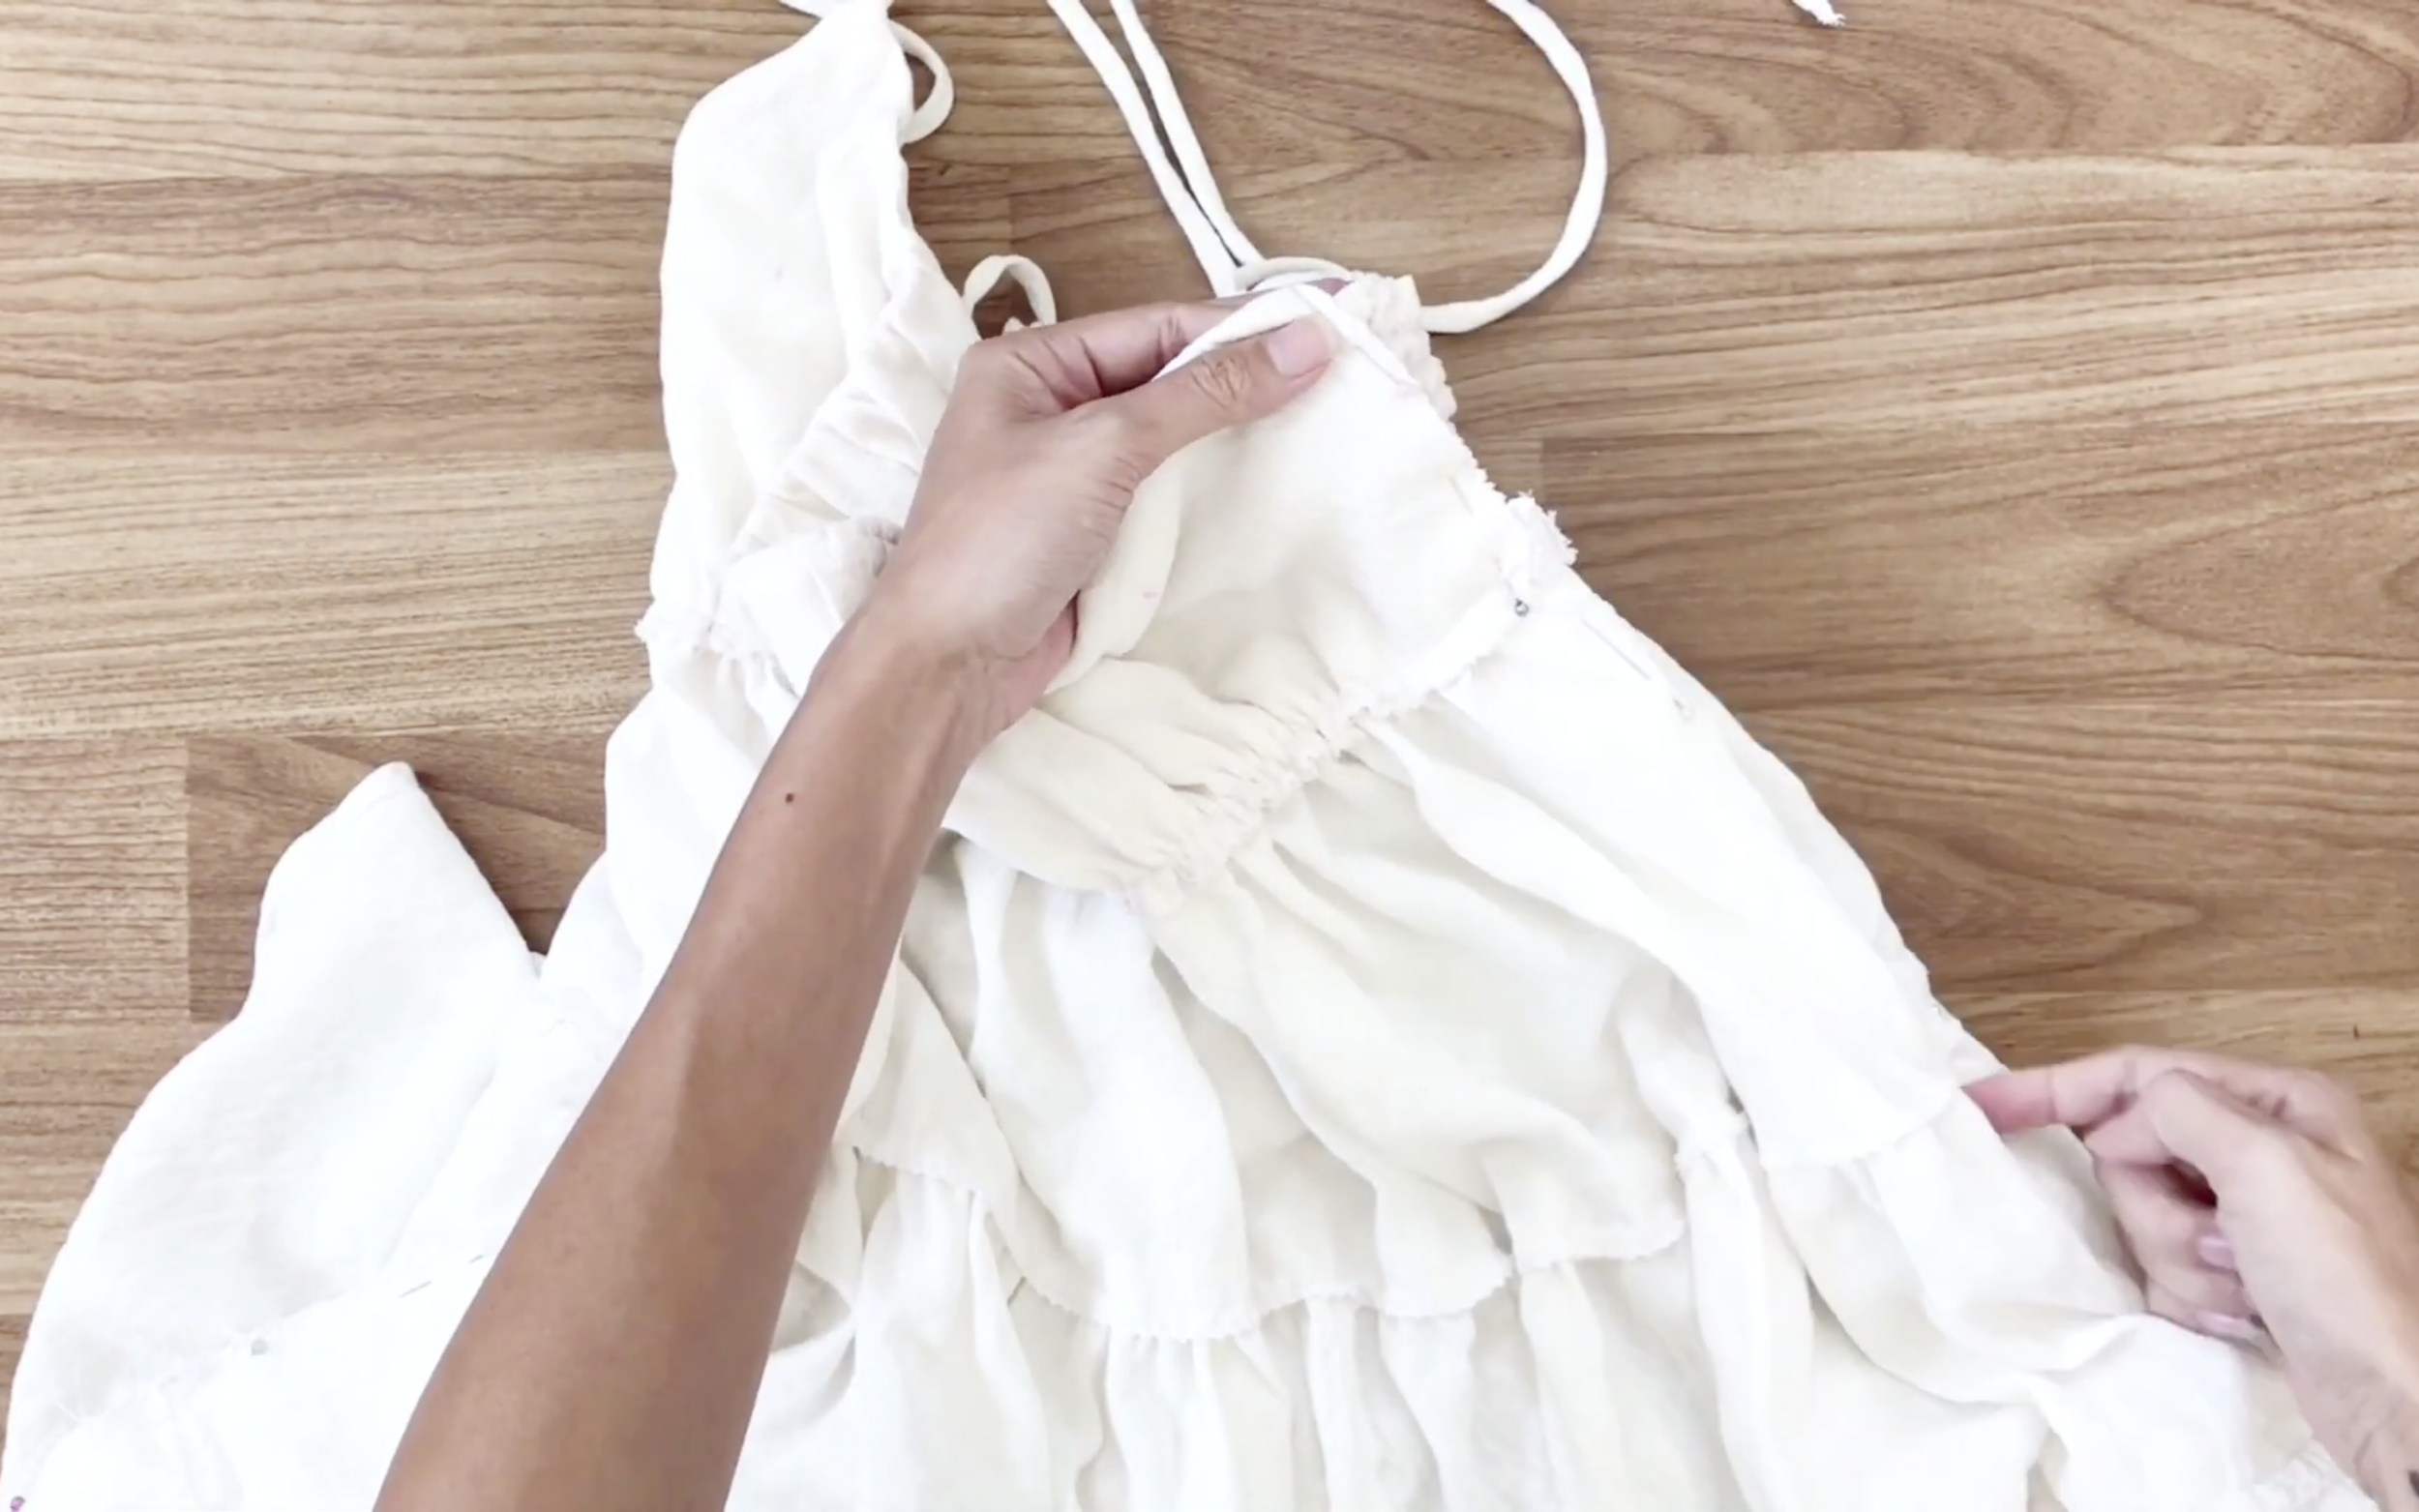
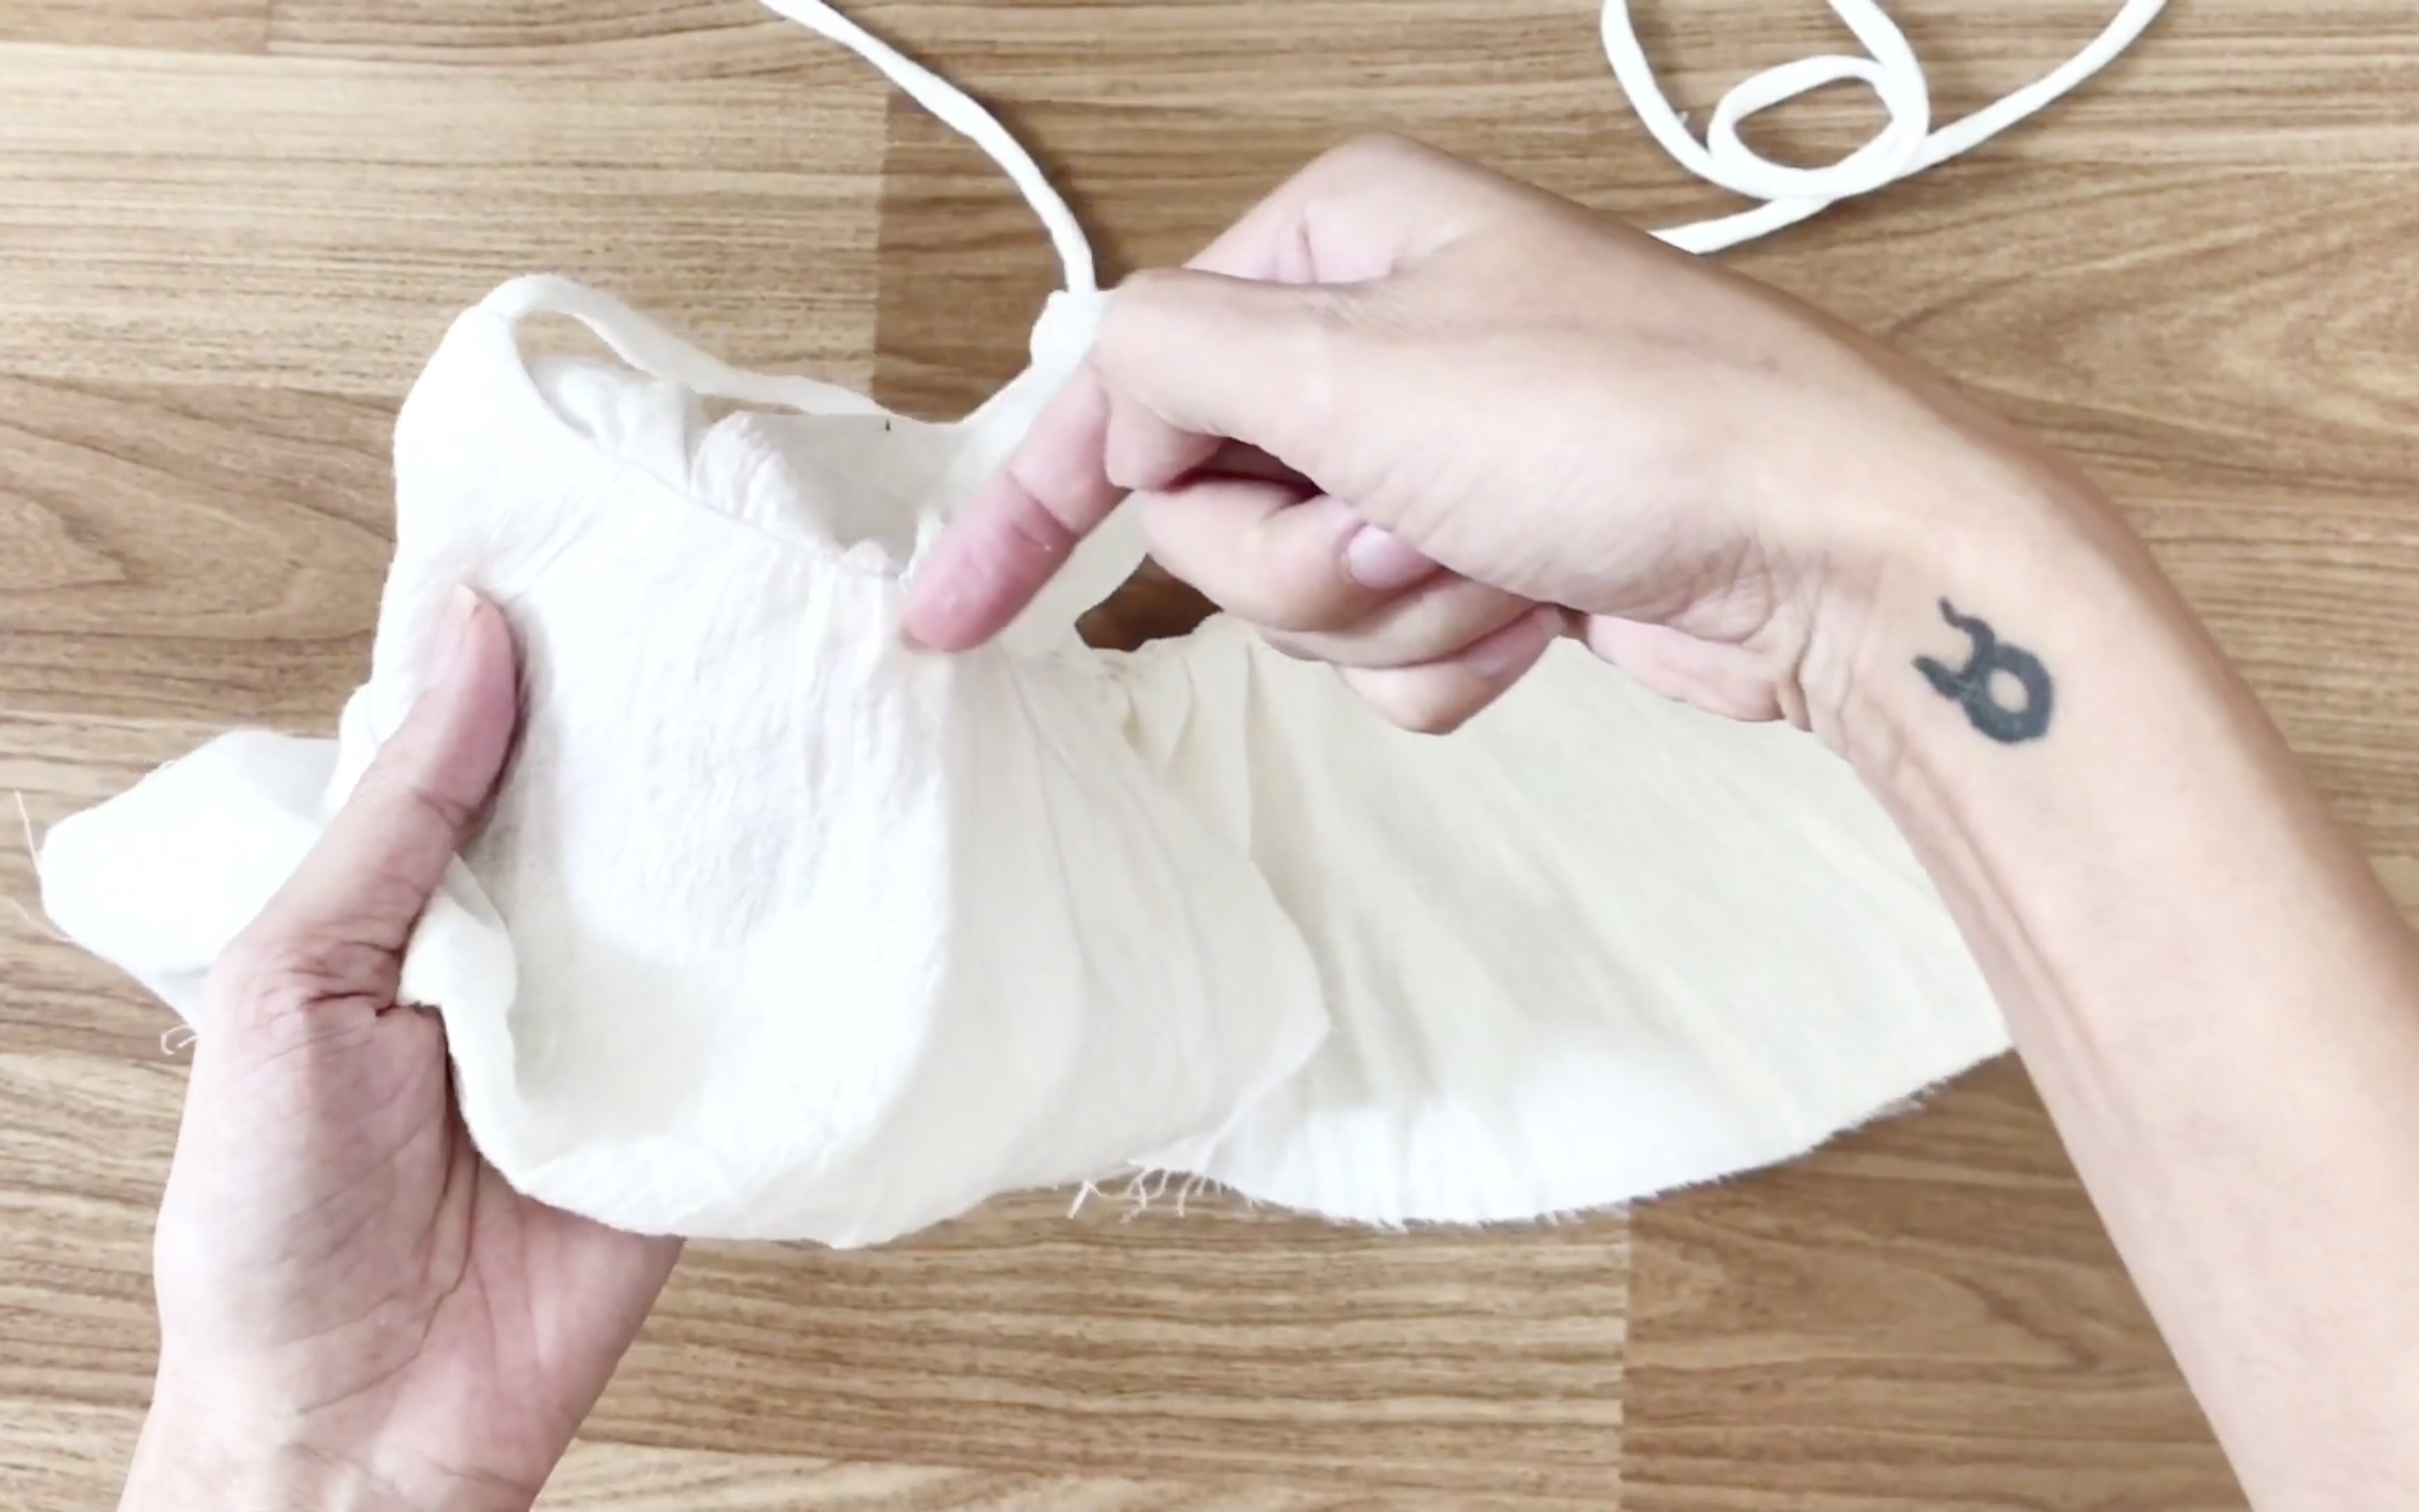
The next step is to connect the front and back of the dress at both sides.

Because the fabric can see through. So, add a lining underneath at the top of the first layer.

DIY Ruffle tiered dress from old maxi dress
And that’s a wrap on this DIY!
It took a little extra effort, but the result is totally worth it. I’m in love with how this piece turned out—perfect for a sunny day and my next vacation. It’s got that summer vibe with a hint of something special.

If you liked this project, please share it and subscribe to my channel so you won’t miss any of my upcoming DIYs.
Until next week, happy sewing!