DIY Cottagecore 2 piece matching set | Step by step sewing tutorial

DIY Cottagecore 2 piece matching set | Step by step sewing tutorial
Welcome or welcome back to my channel!
Today's video, I'm going to share with you how I made my 2 piece matching set from scratch with the cottage vibe. It’s a little twist on two DIYs I’ve already shared—the puff sleeve silky dress and the puff sleeve crop top from a men’s shirt. Since it was similar, I didn’t film the entire process at first, but after posting it on Instagram and mentioning it in other videos, many of you requested a tutorial. So, I decided to recreate it just for you!
Hope you enjoy and give it a try!
So, let’s get started!
WHAT YOU’LL NEED
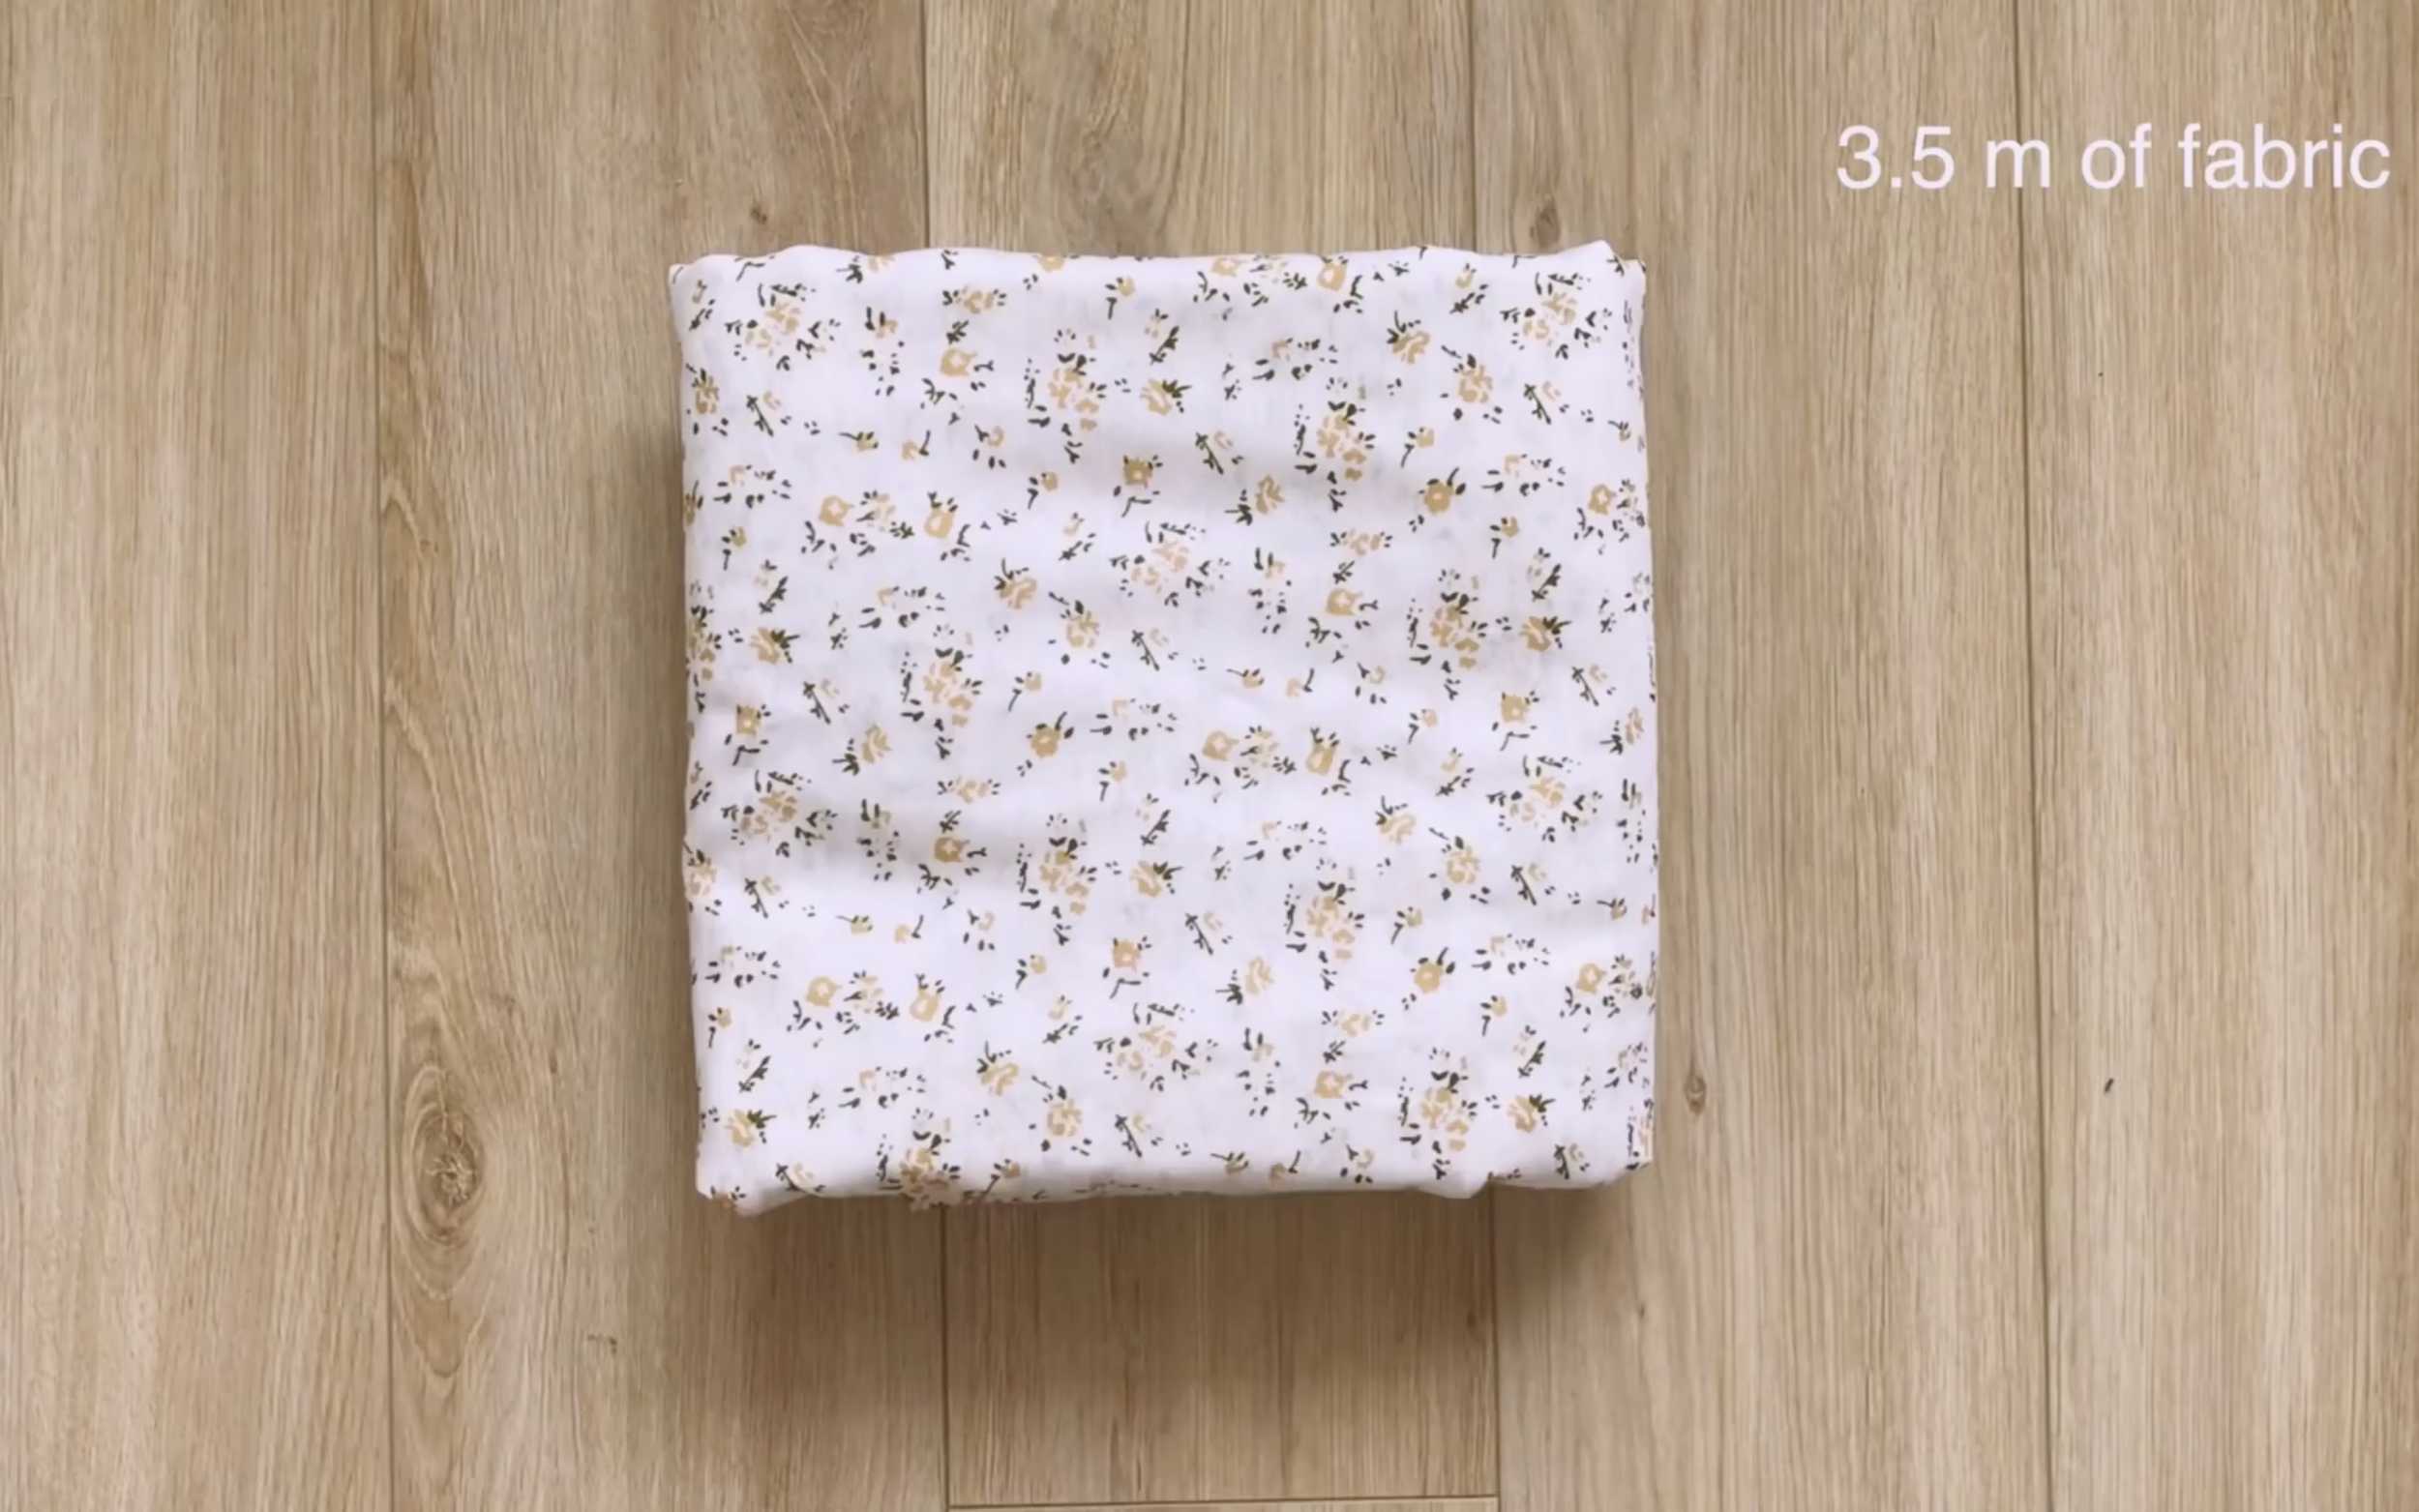
3.5m of Chiffon fabric in floral printing
Sewing machine
Pins
Scissors
Ruler
Long stick
Elastic band
SEWING THE DRESS
THE SLEEVE
Cut a rectangle with 40 cm length, which is the desired top length, and 80 cm width, which is twice the width of the sleeve.
The wider the fabric, the puffier the sleeve will be.
Fold the rectangle in half on the width line first.
At the end of the fold line, mark 13 cm on the width line and 6 cm on the side seam. This will be the connection between the sleeve and the main bodice of the top.
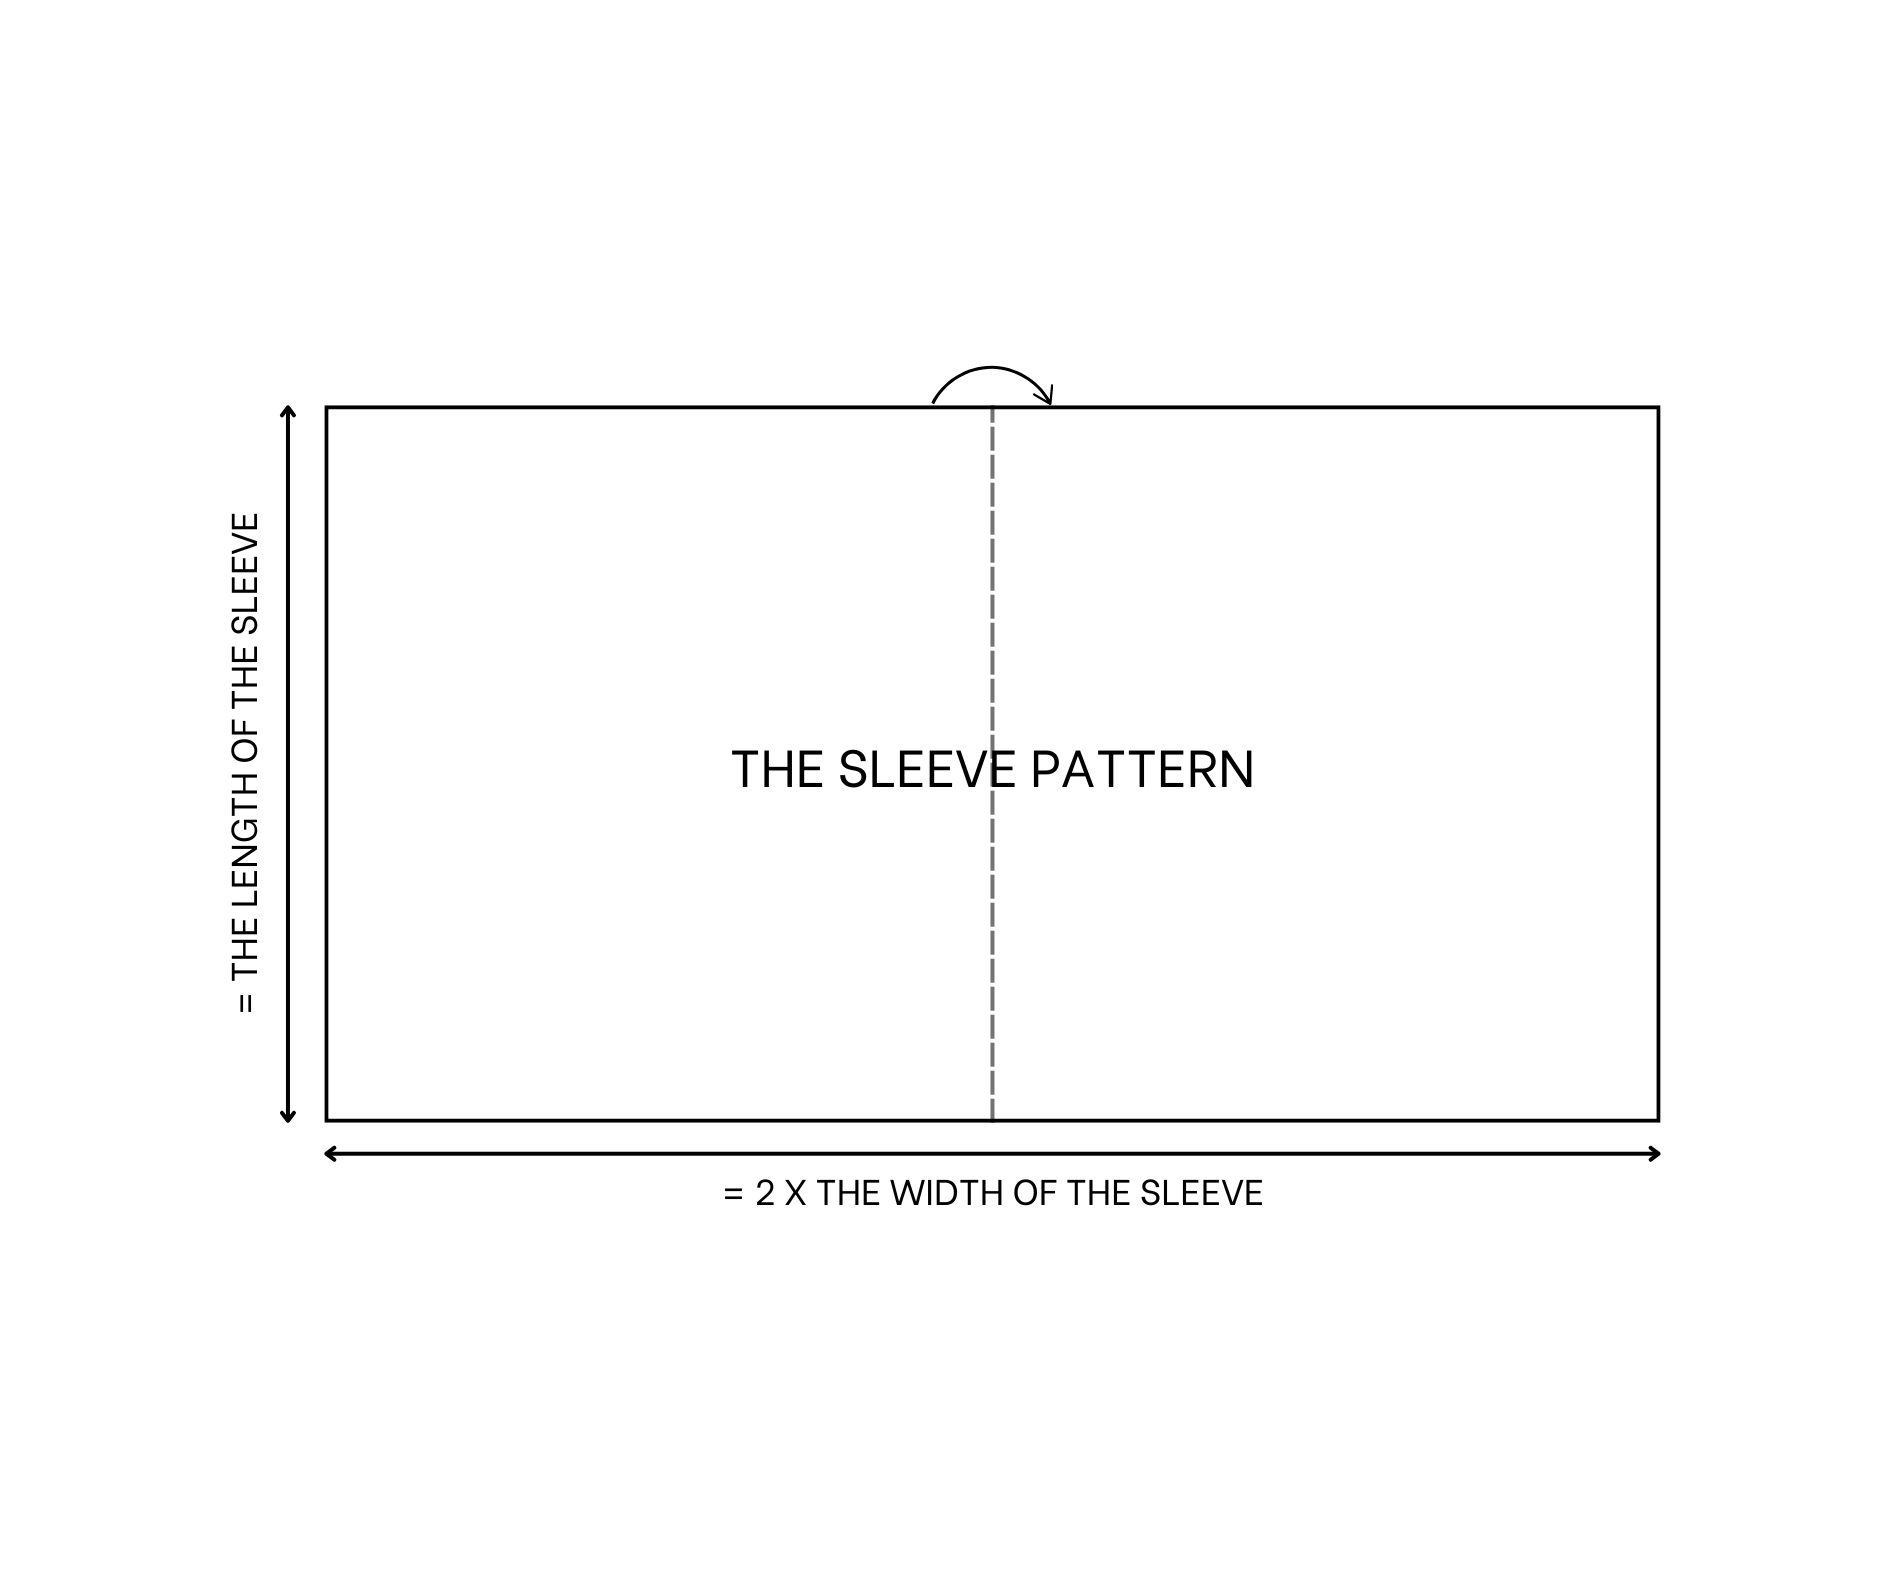
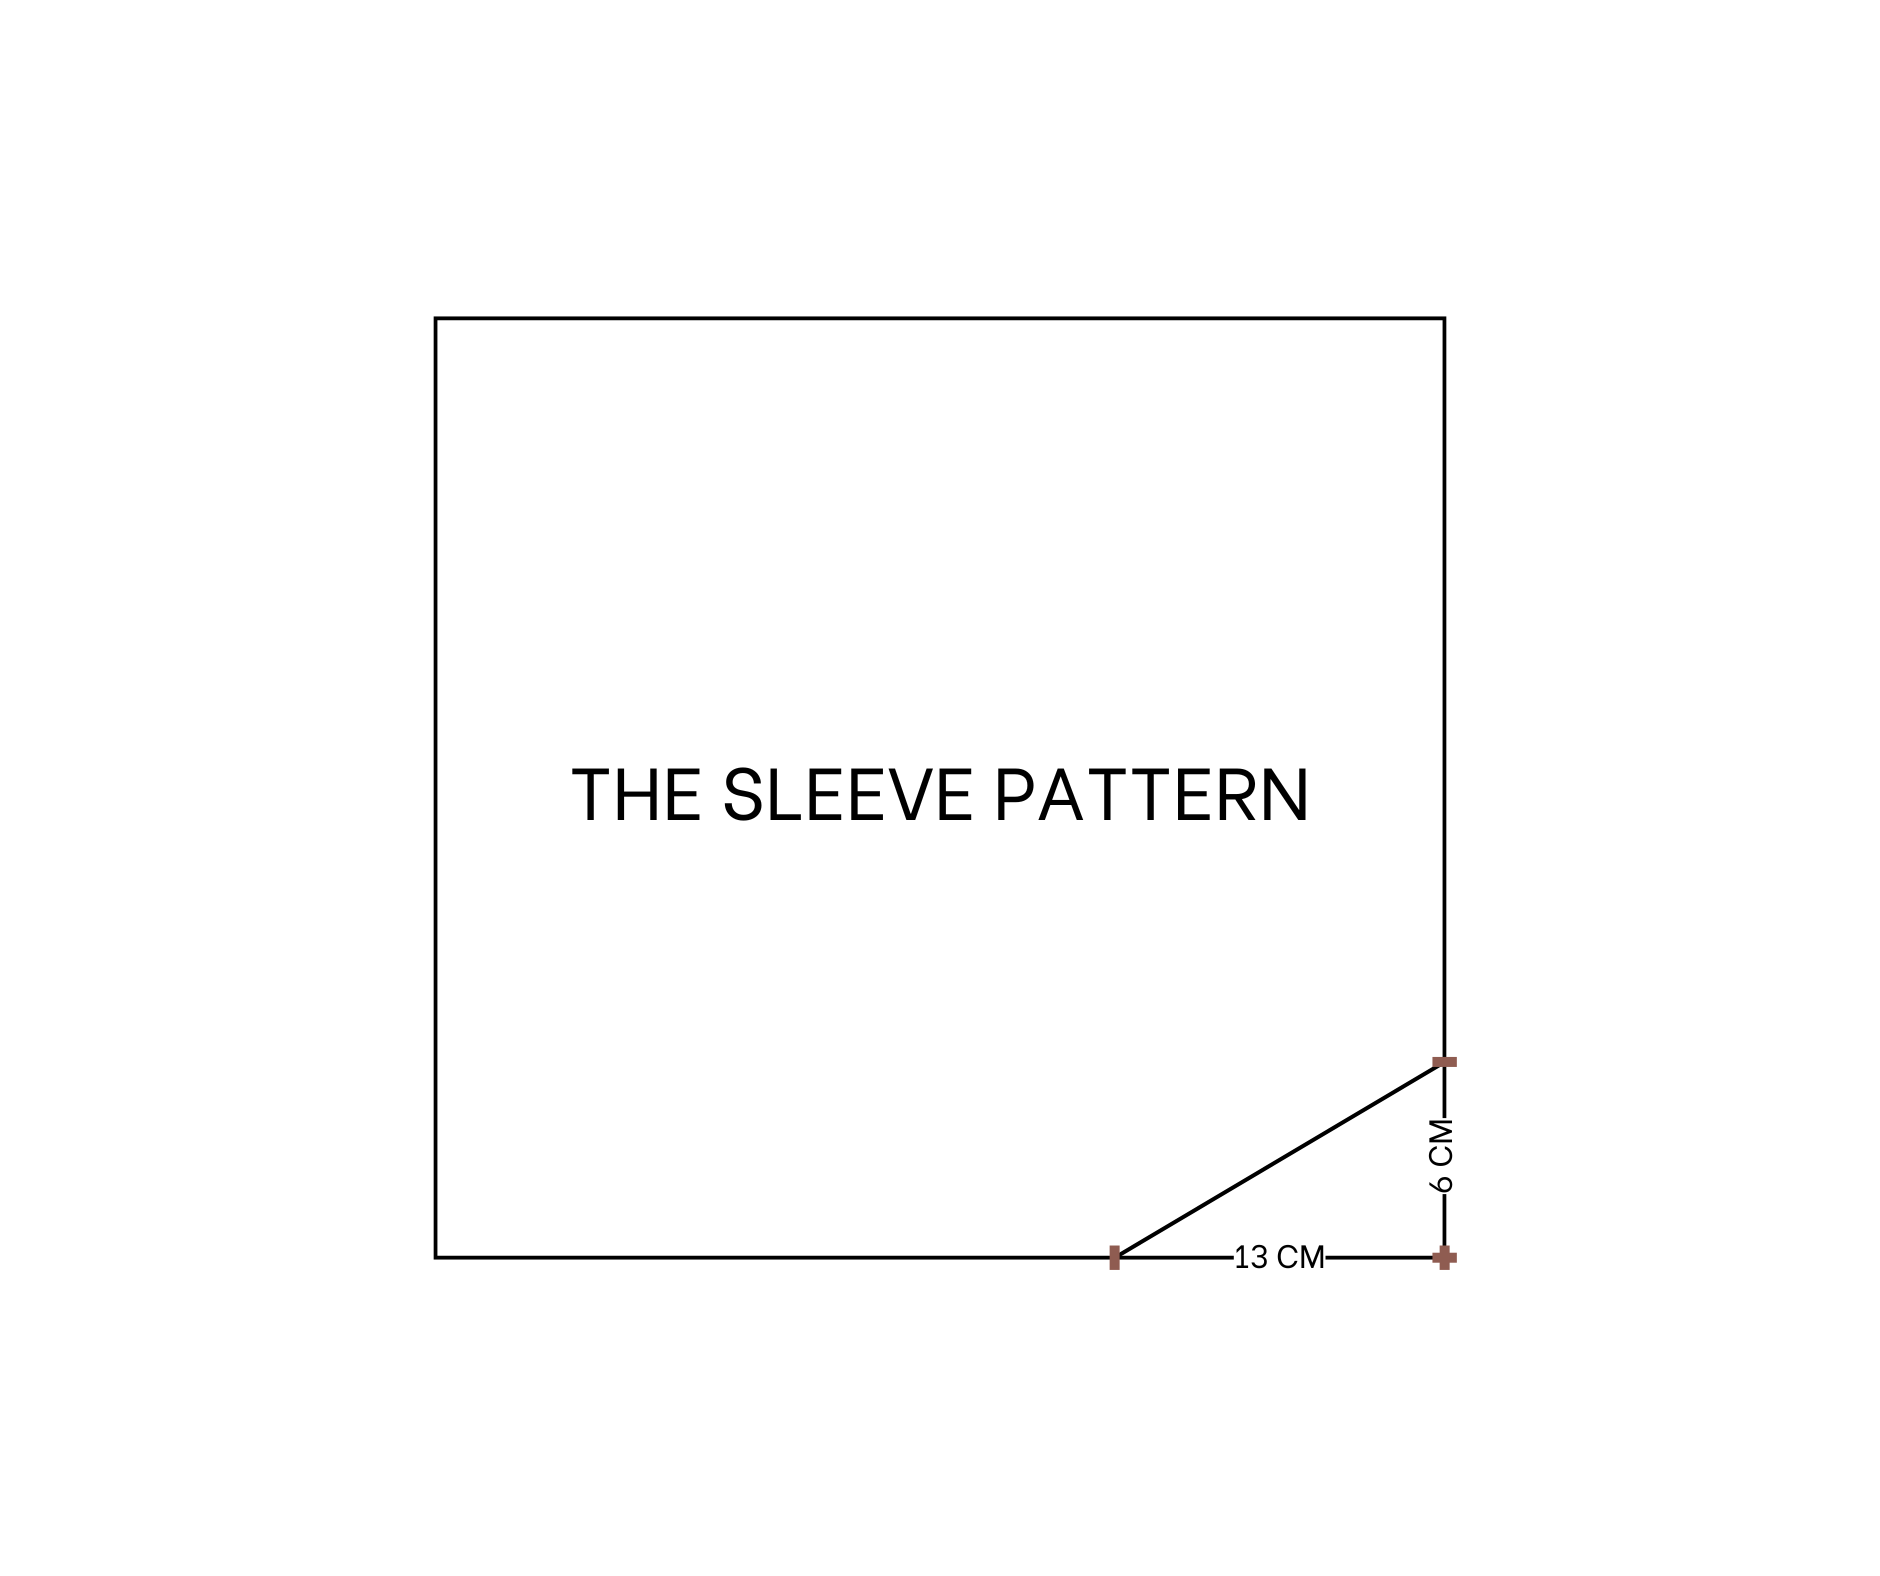
The sleeve pattern
After cutting, measure the elastic band’s width to create the fabric hole at the top of the sleeve.
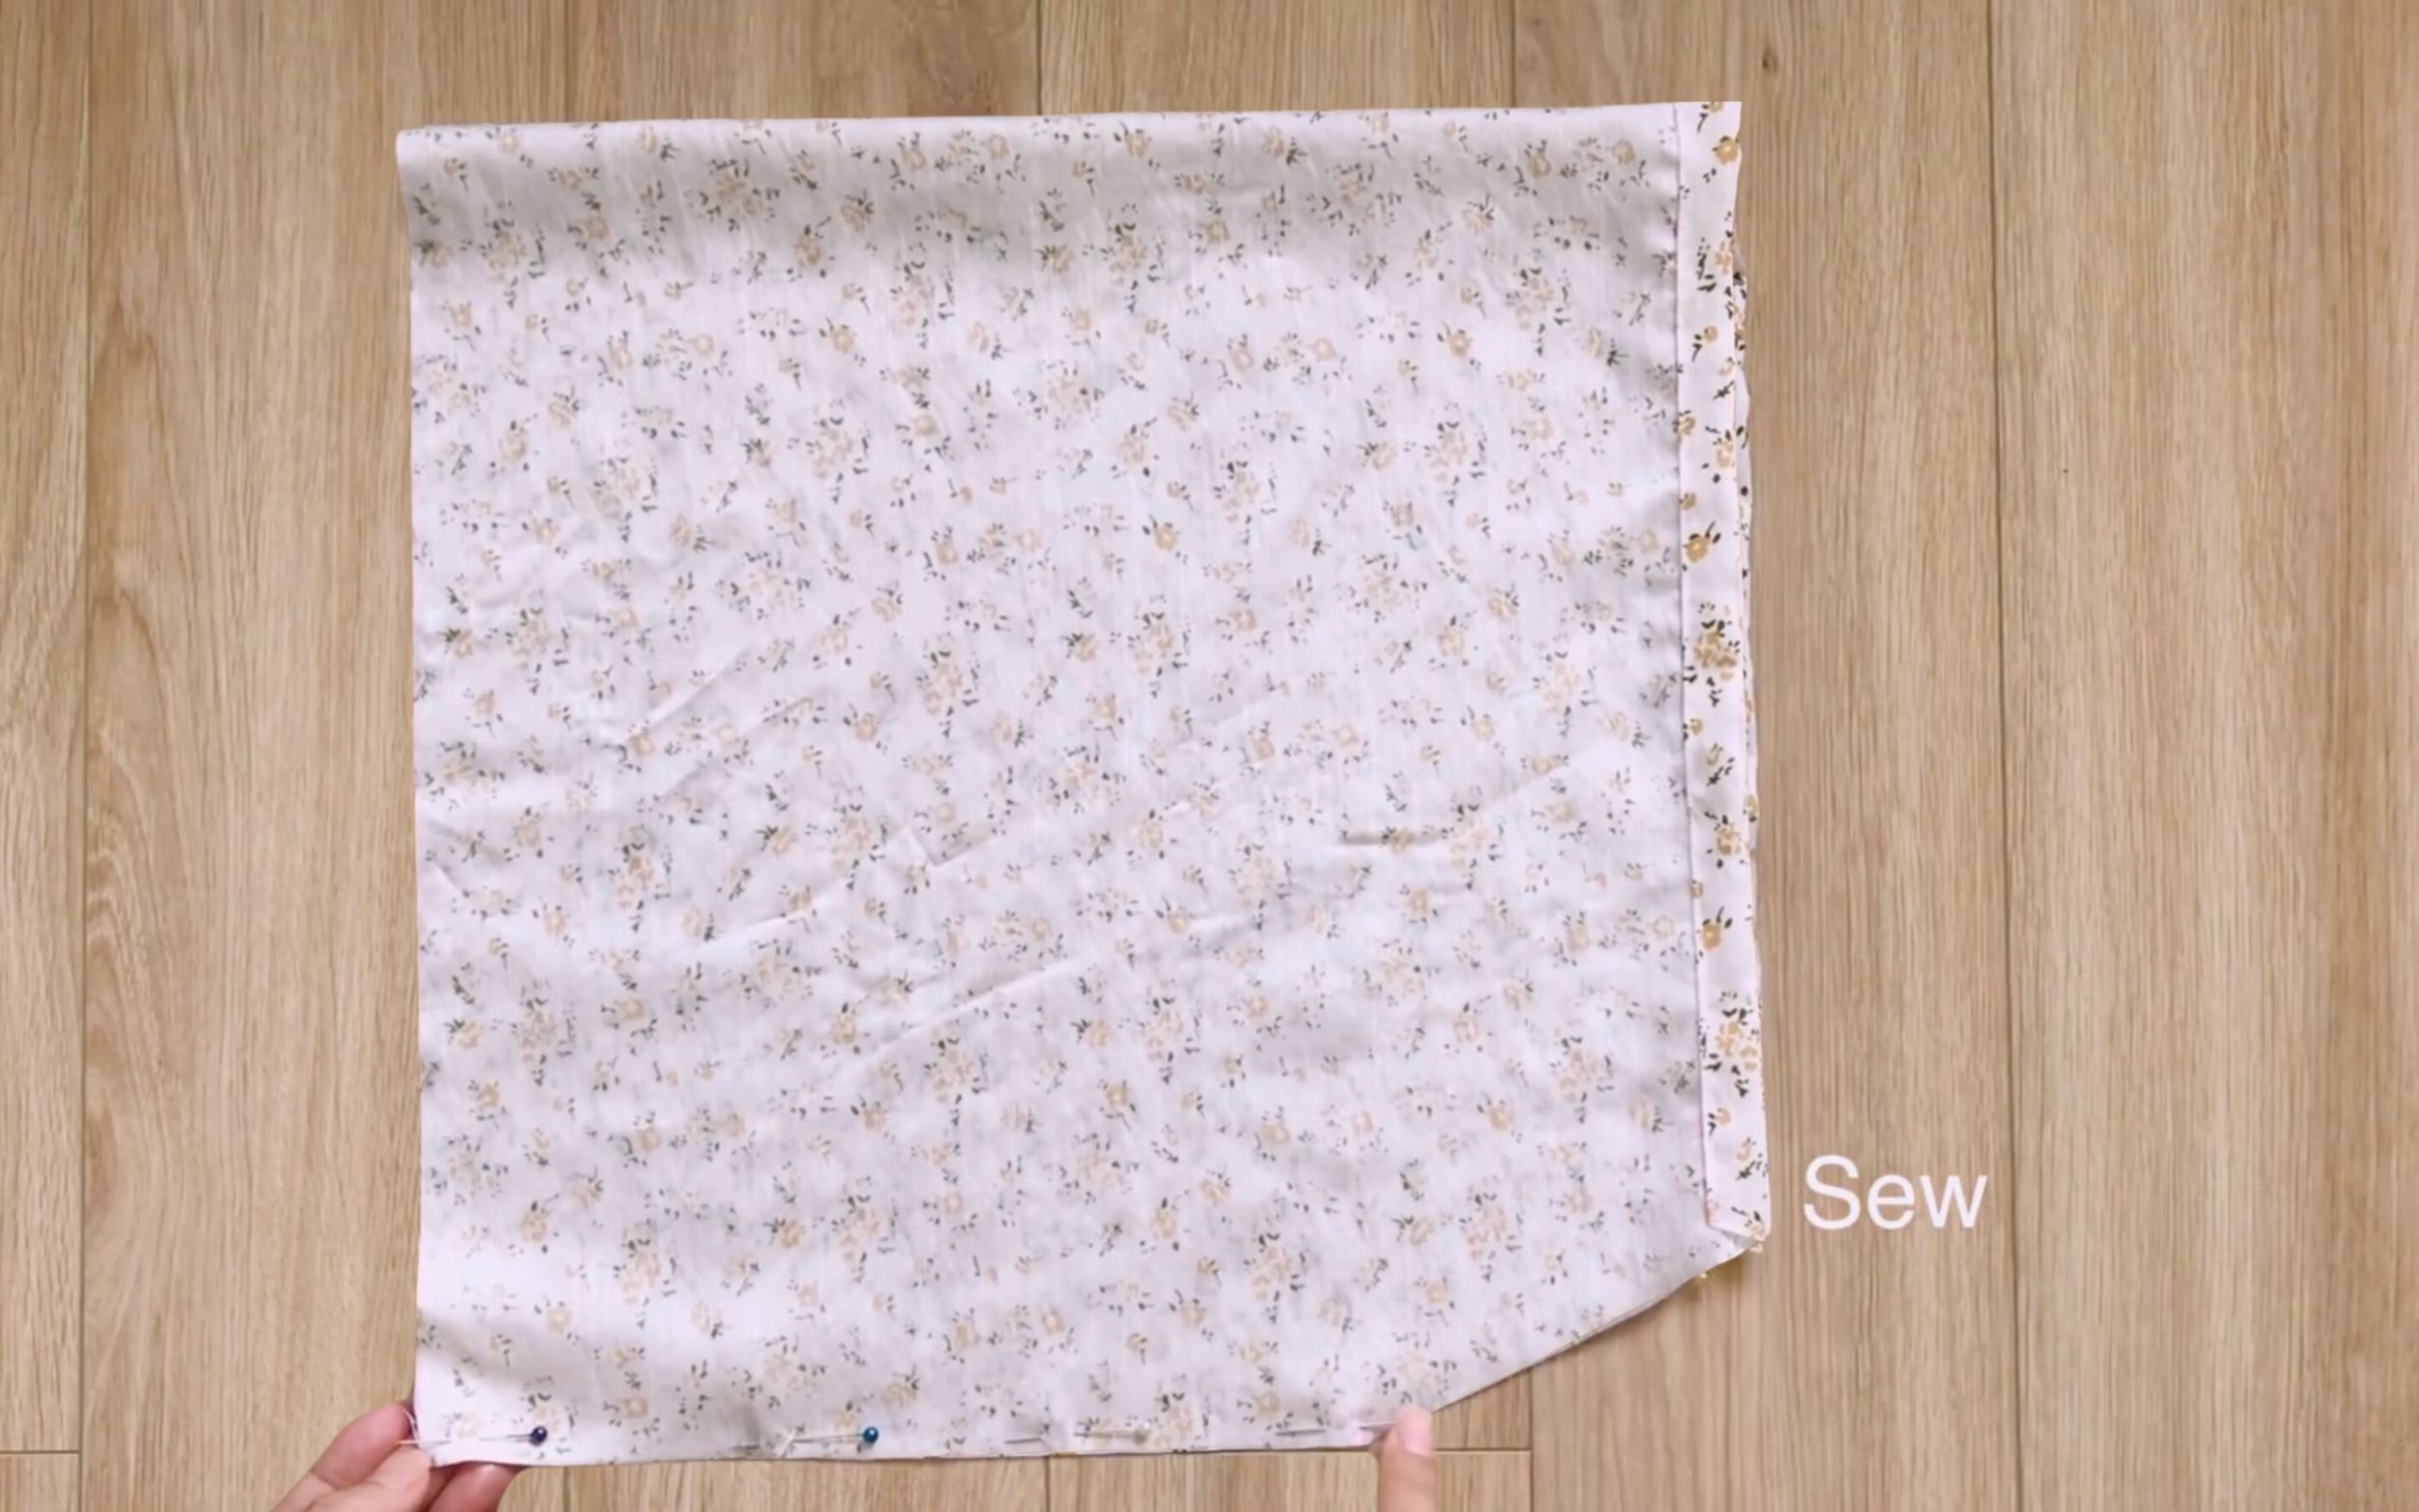
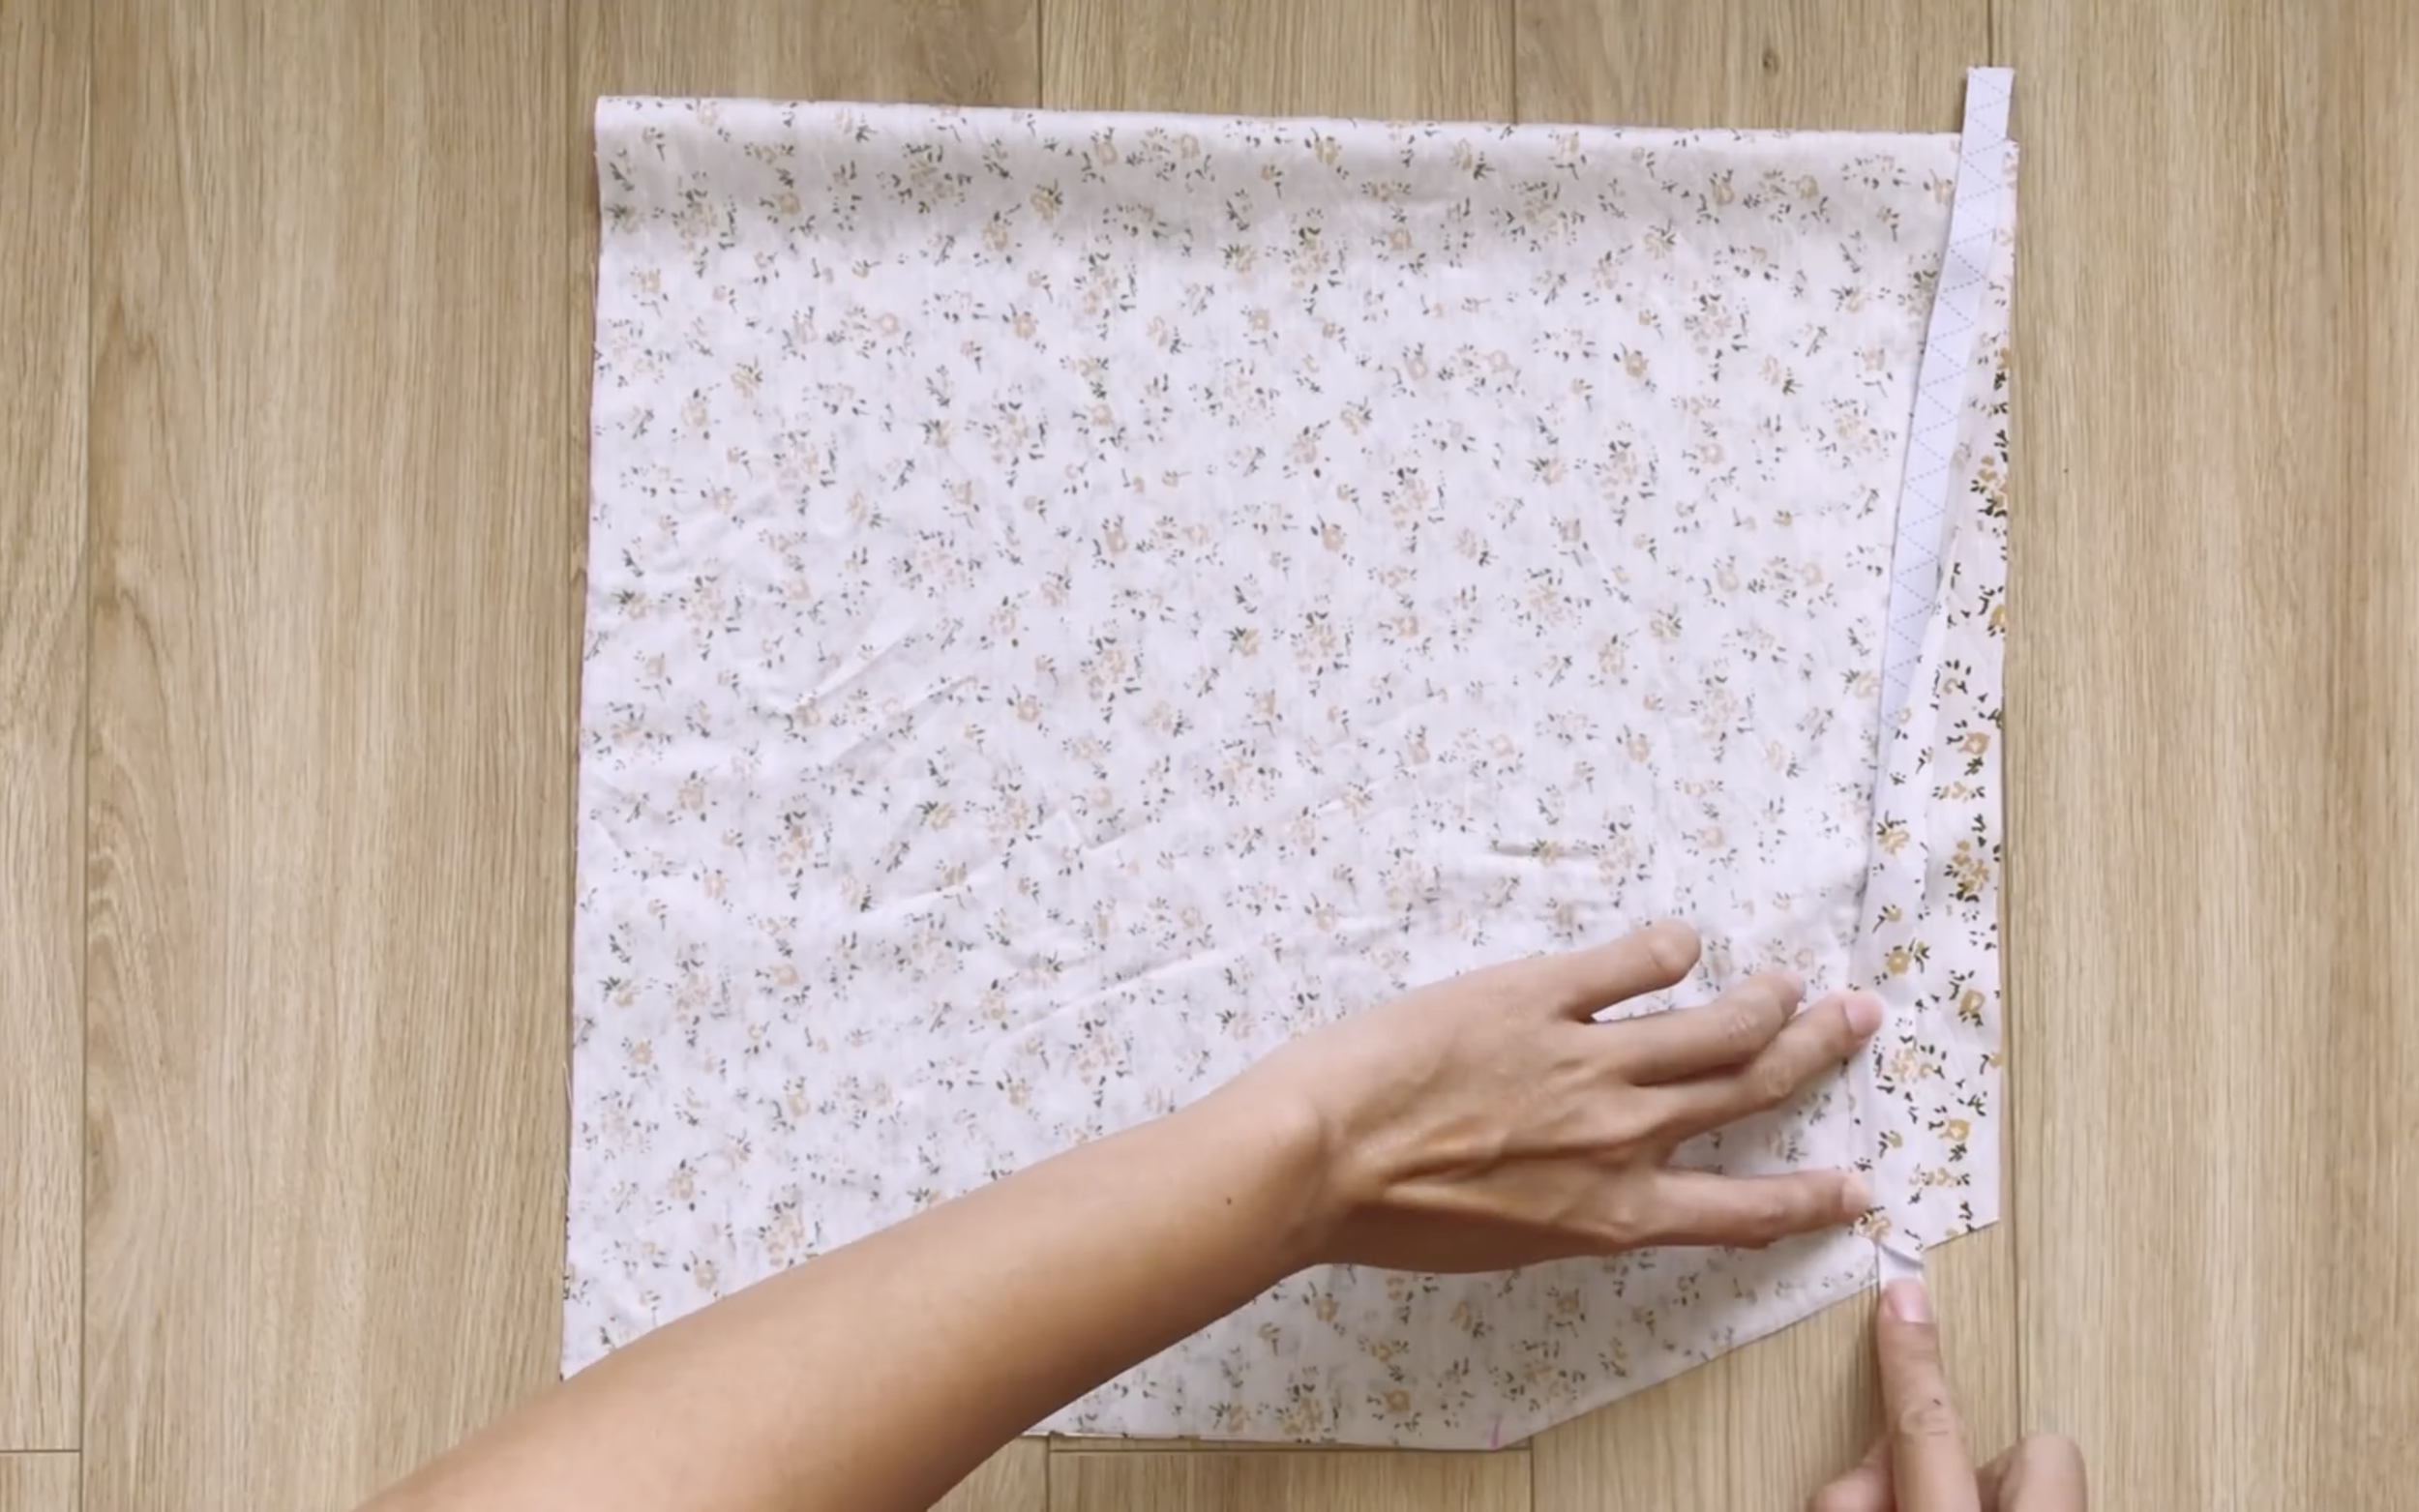
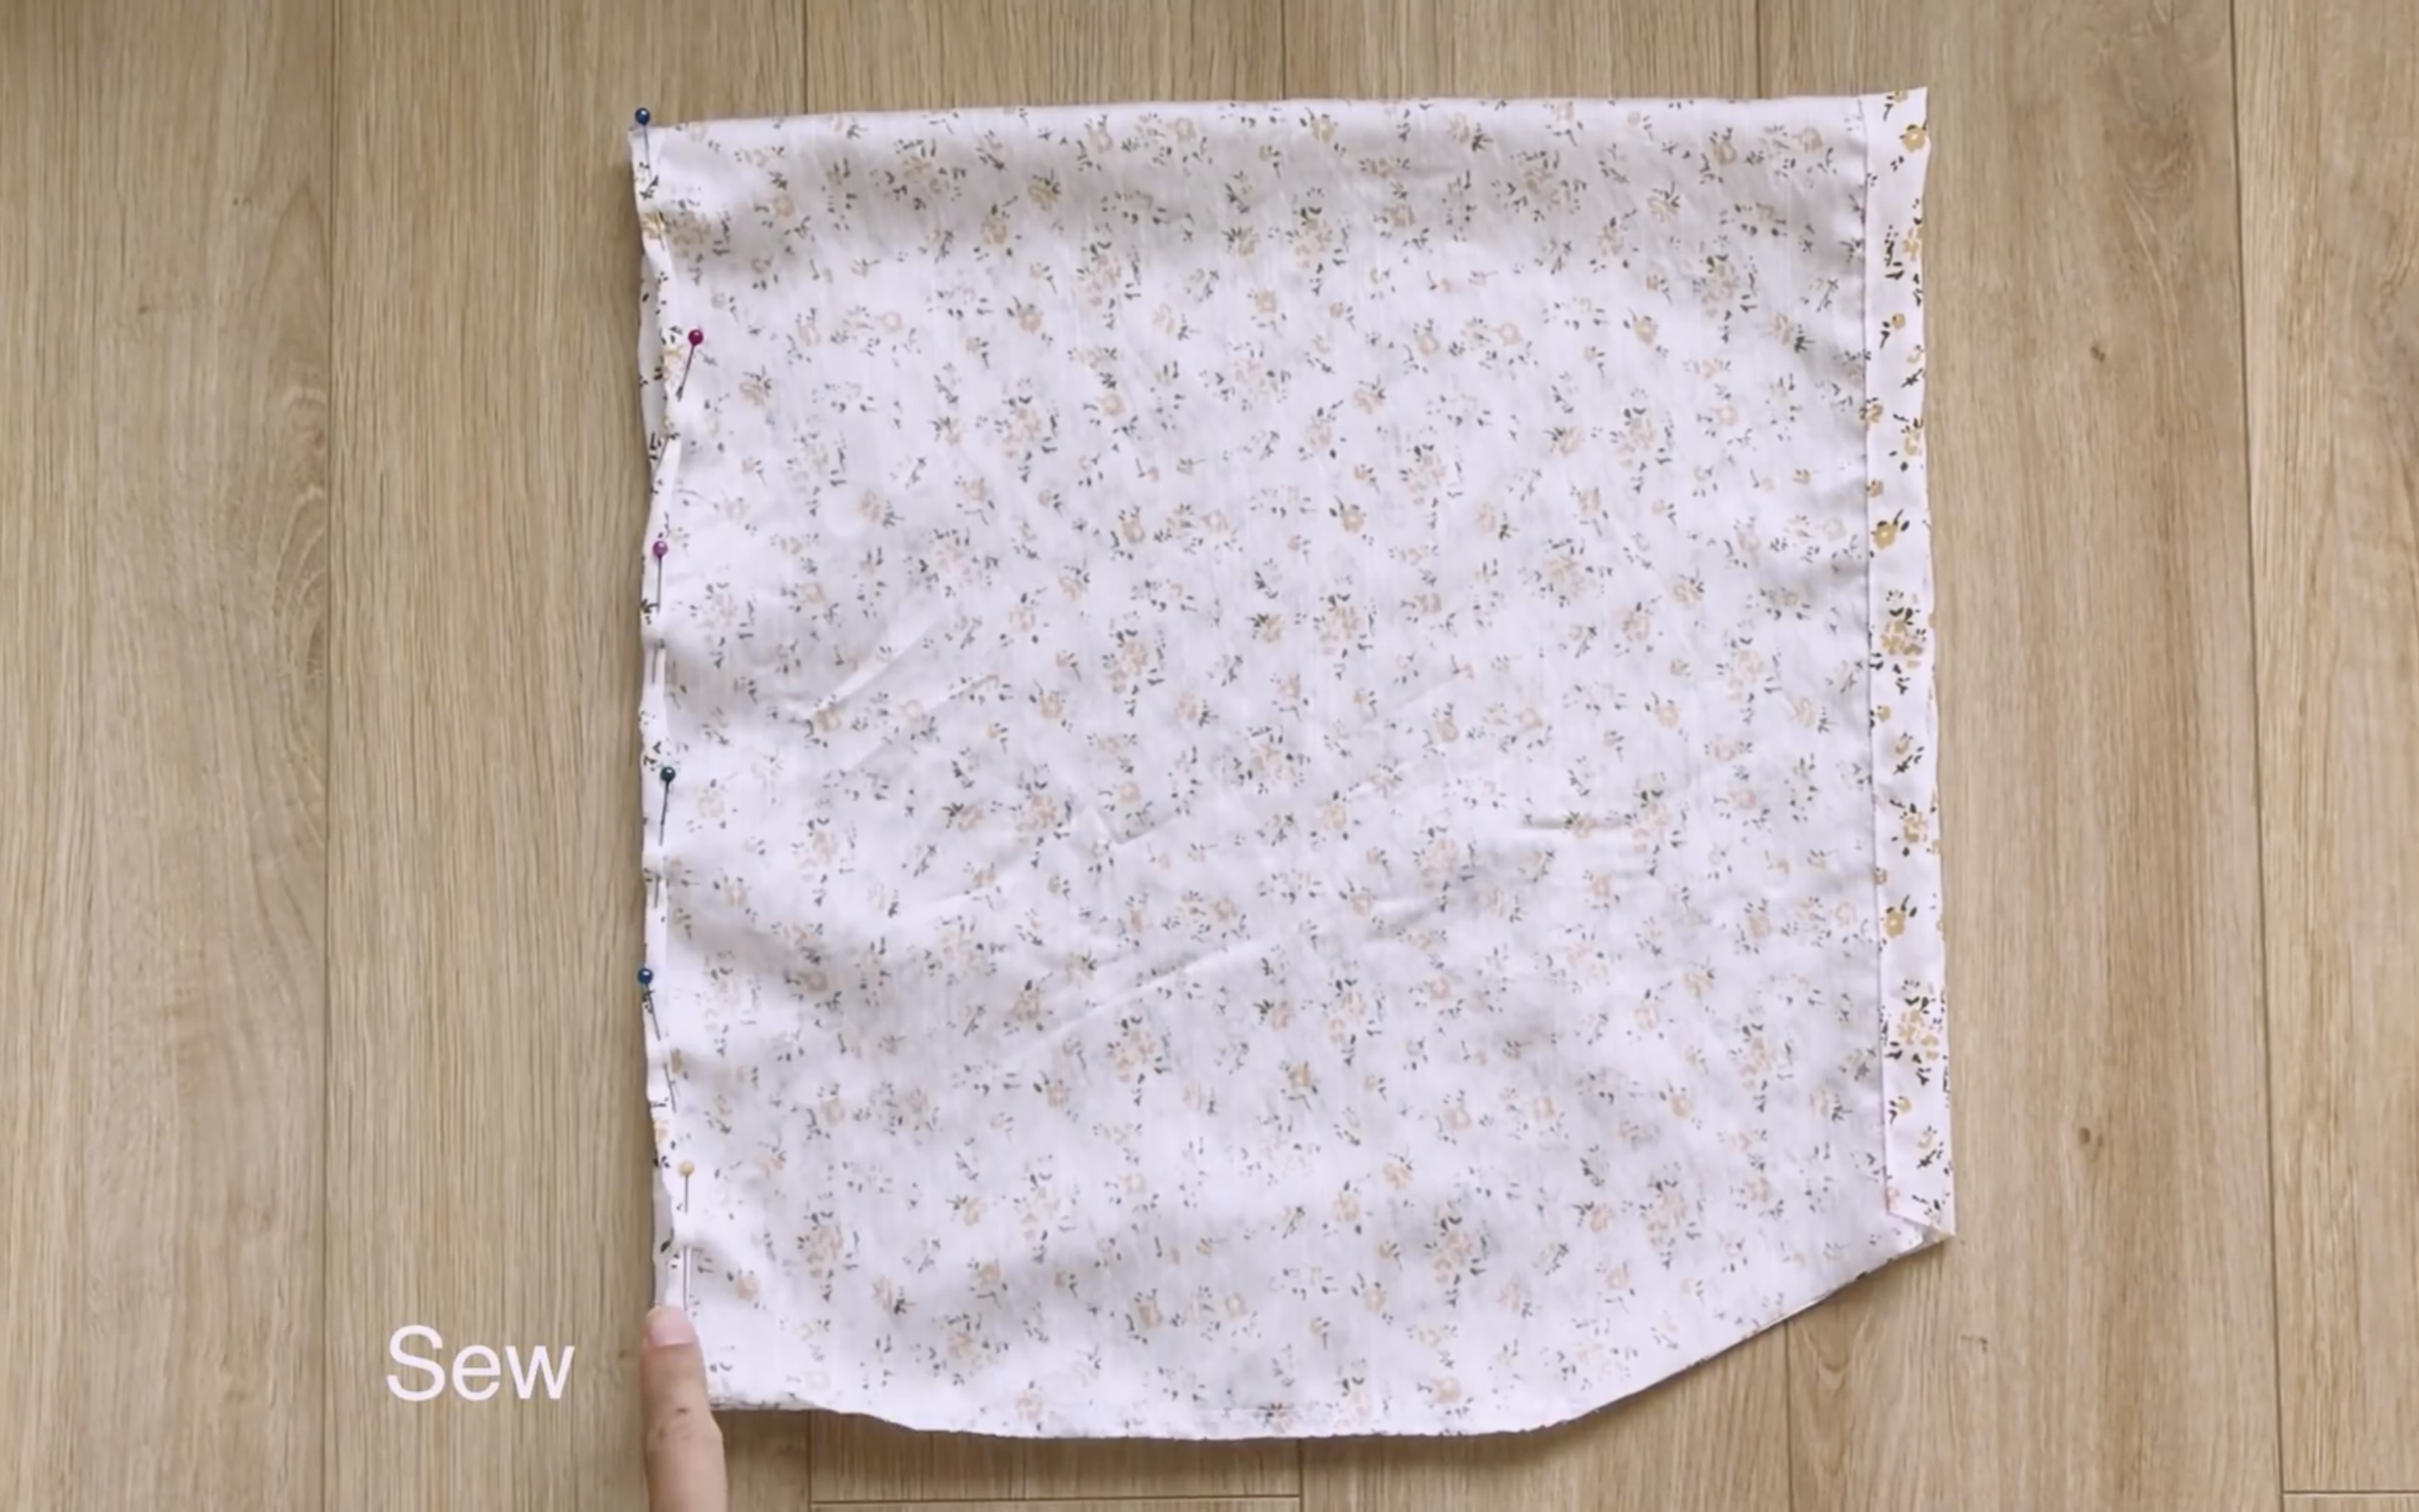
Sew the two underarm lines together.
Fold the sleeve's end fabric inside twice and sew to finish it.
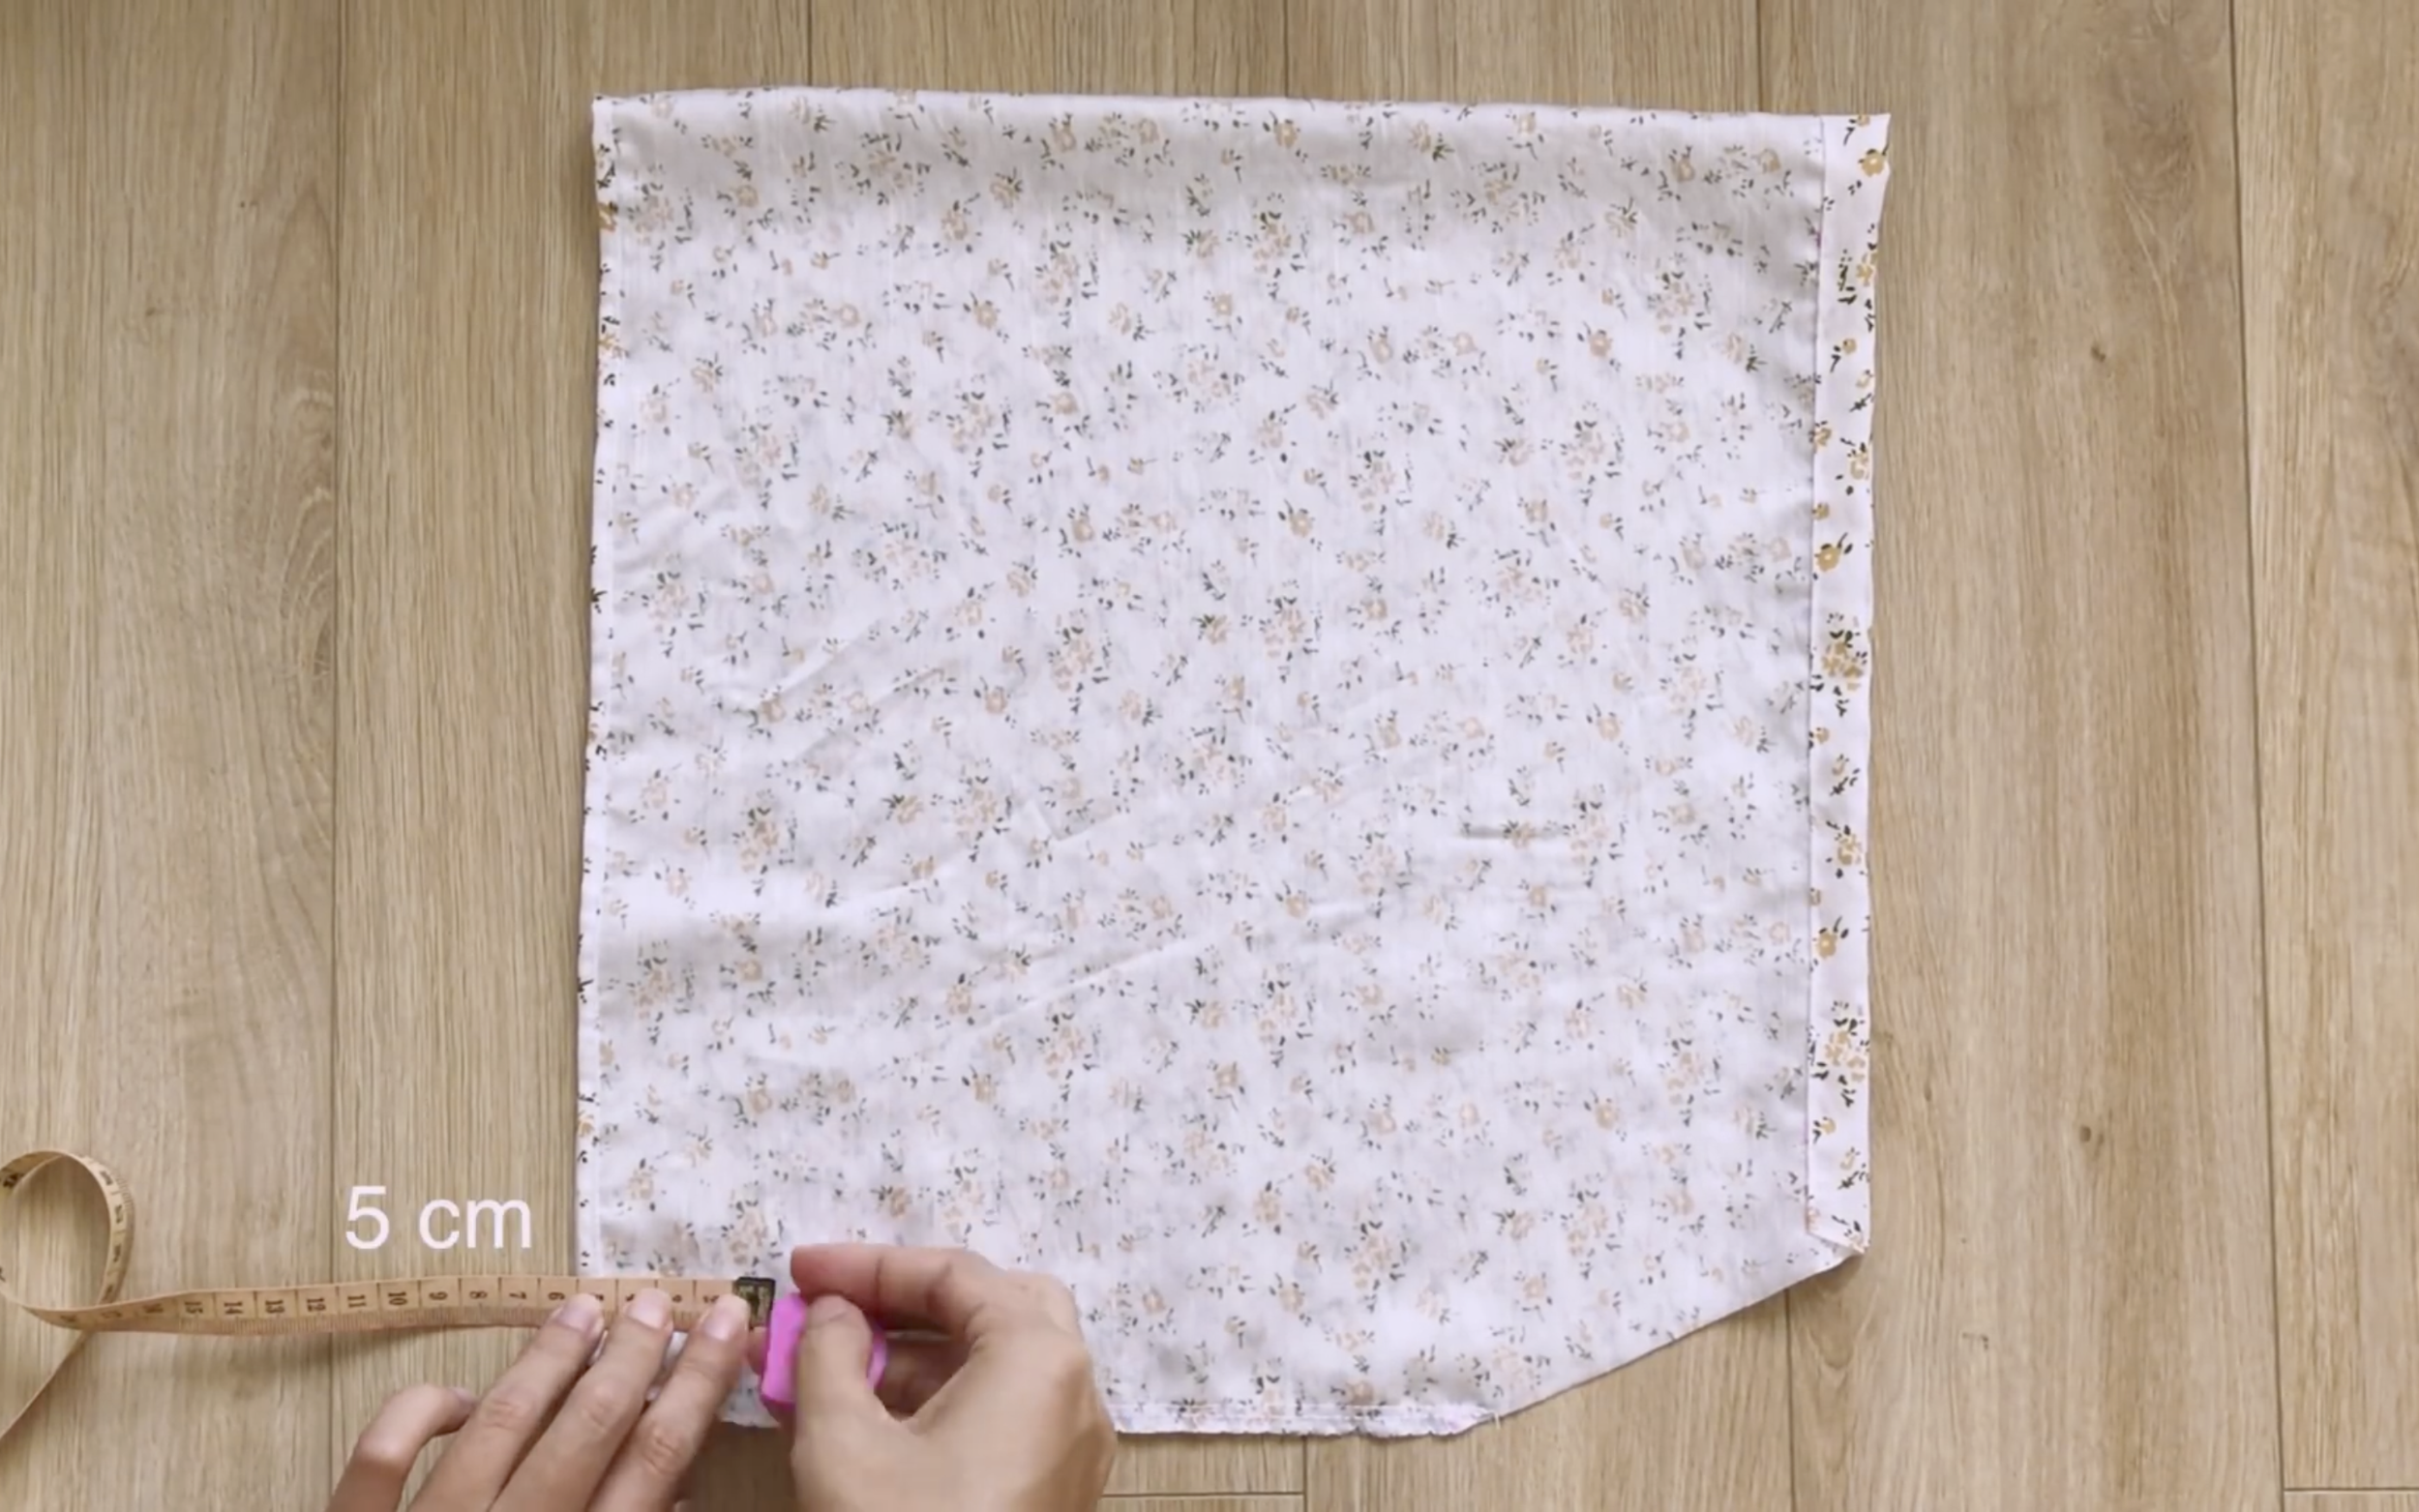
From the sleeve’s end, draw a line 5 cm inside to mark the position for the elastic band.
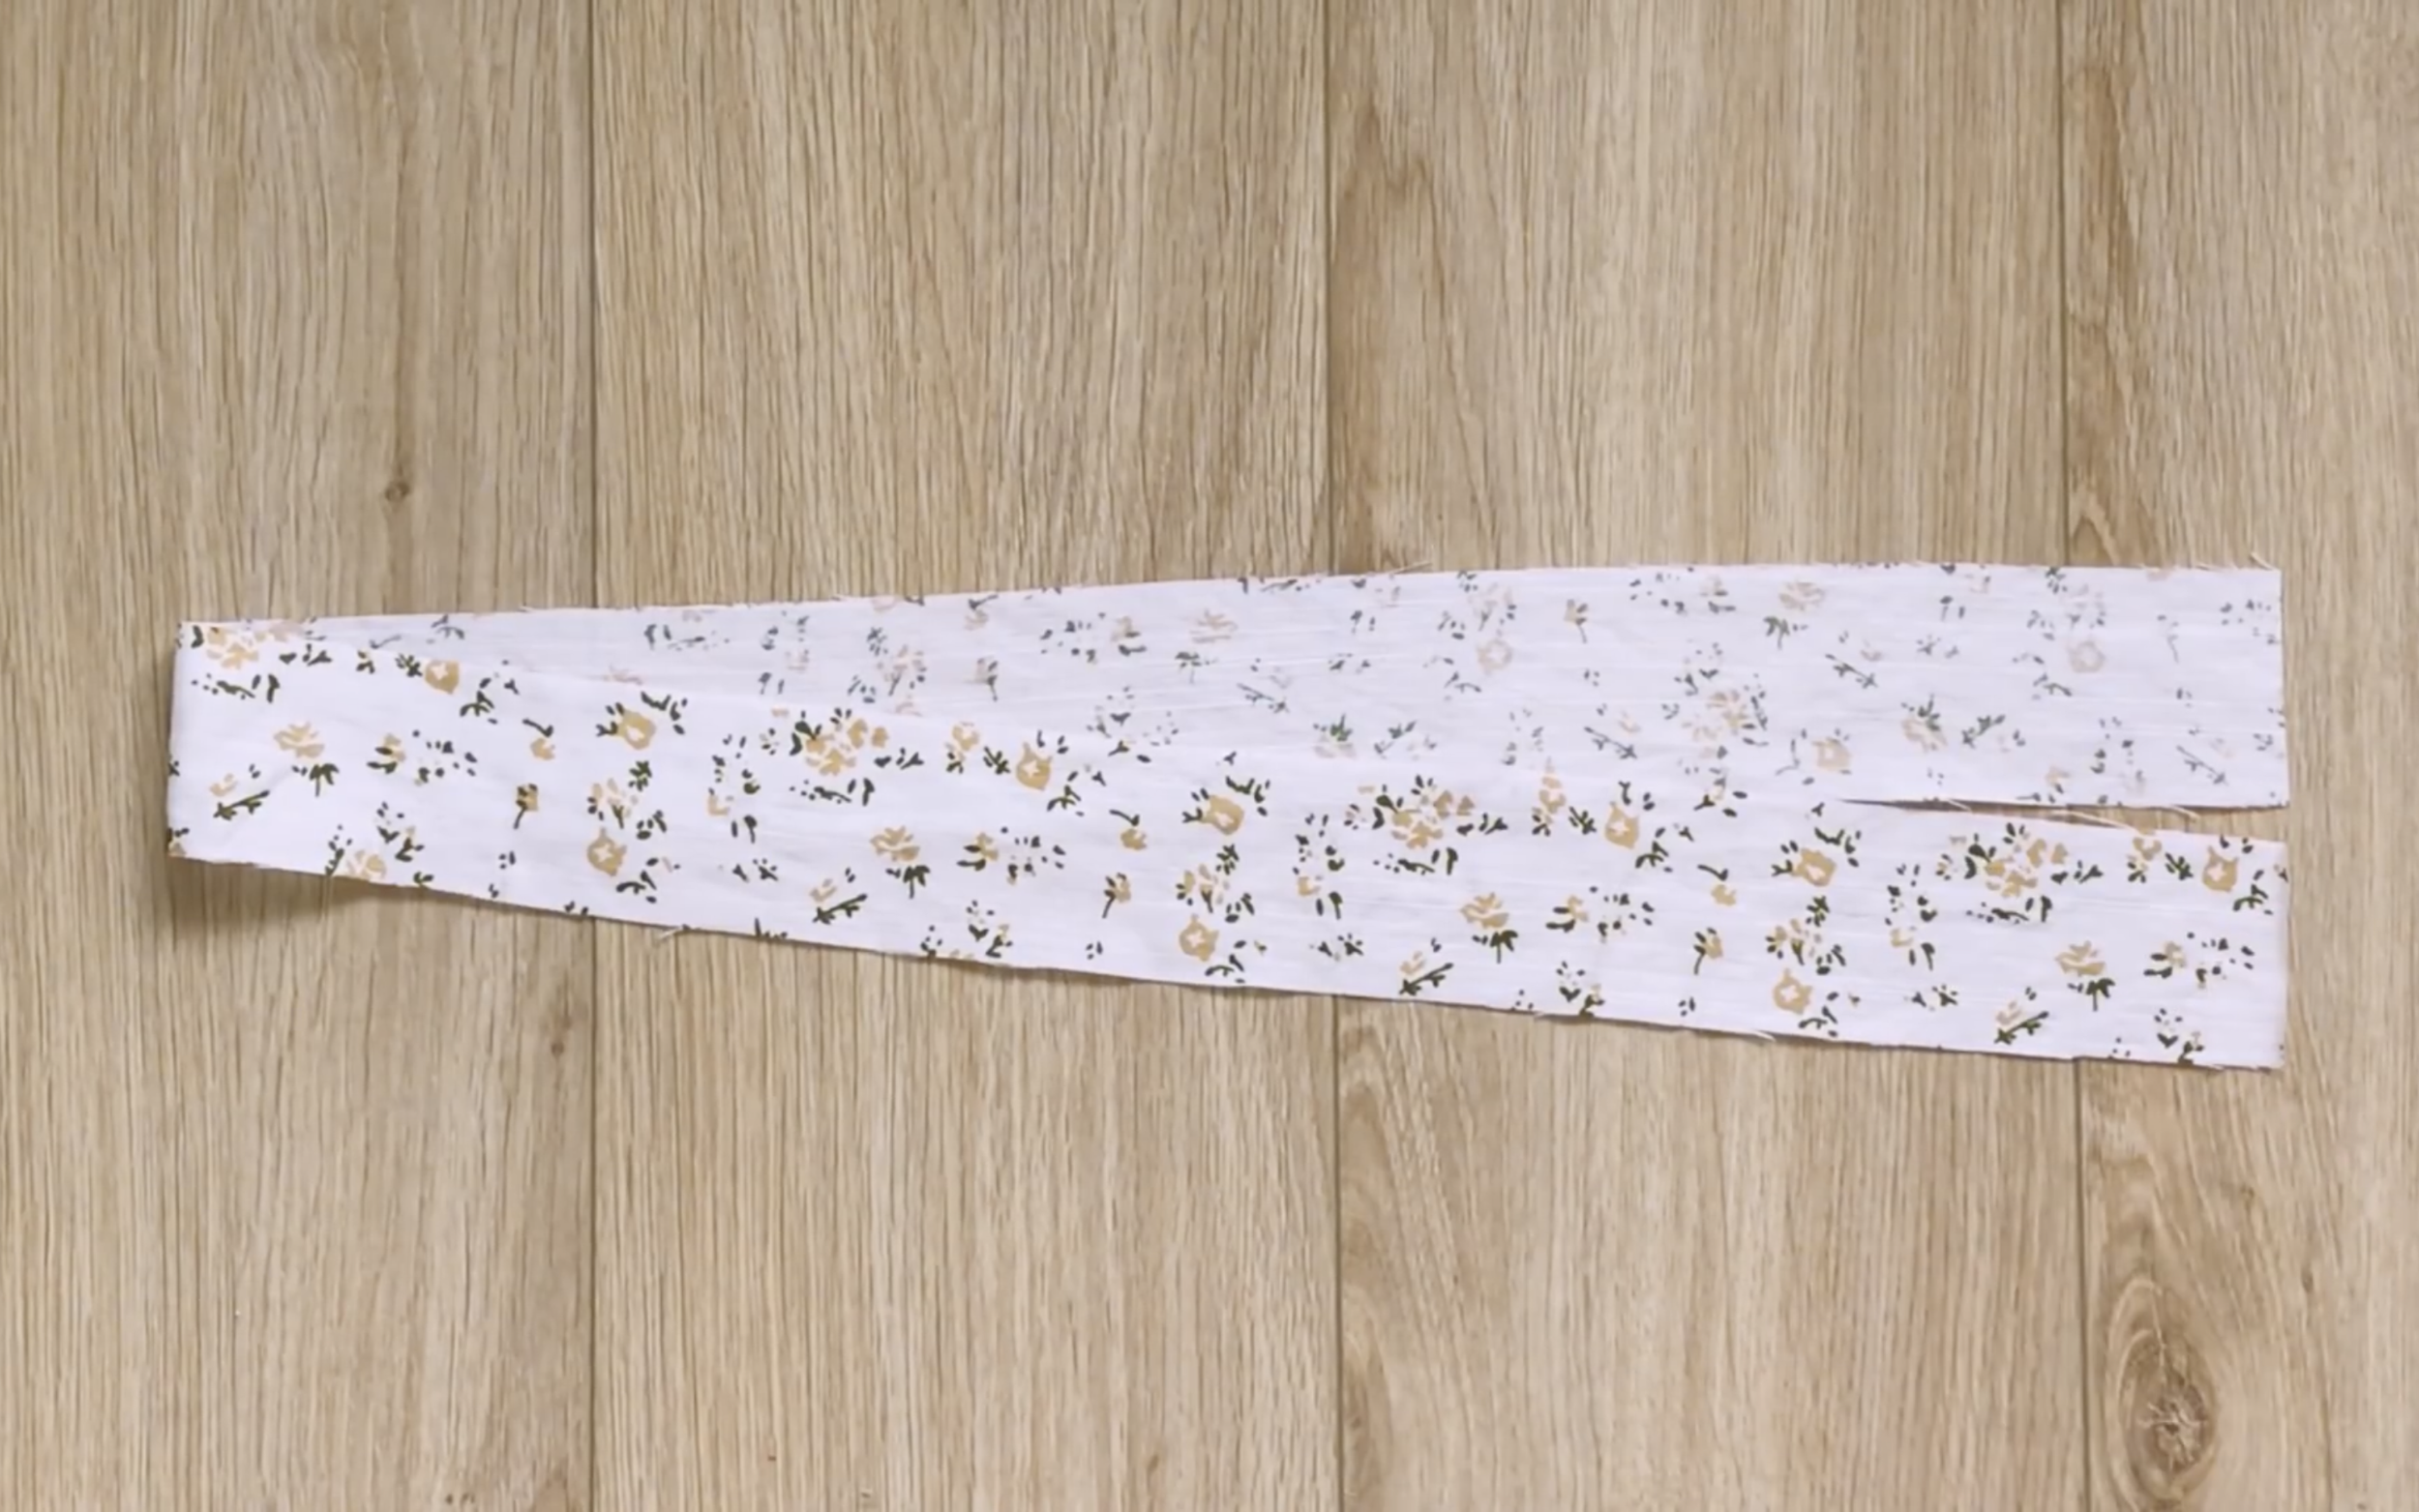
To create the fabric hole, cut a rectangle with 4 cm width and 80 cm length.
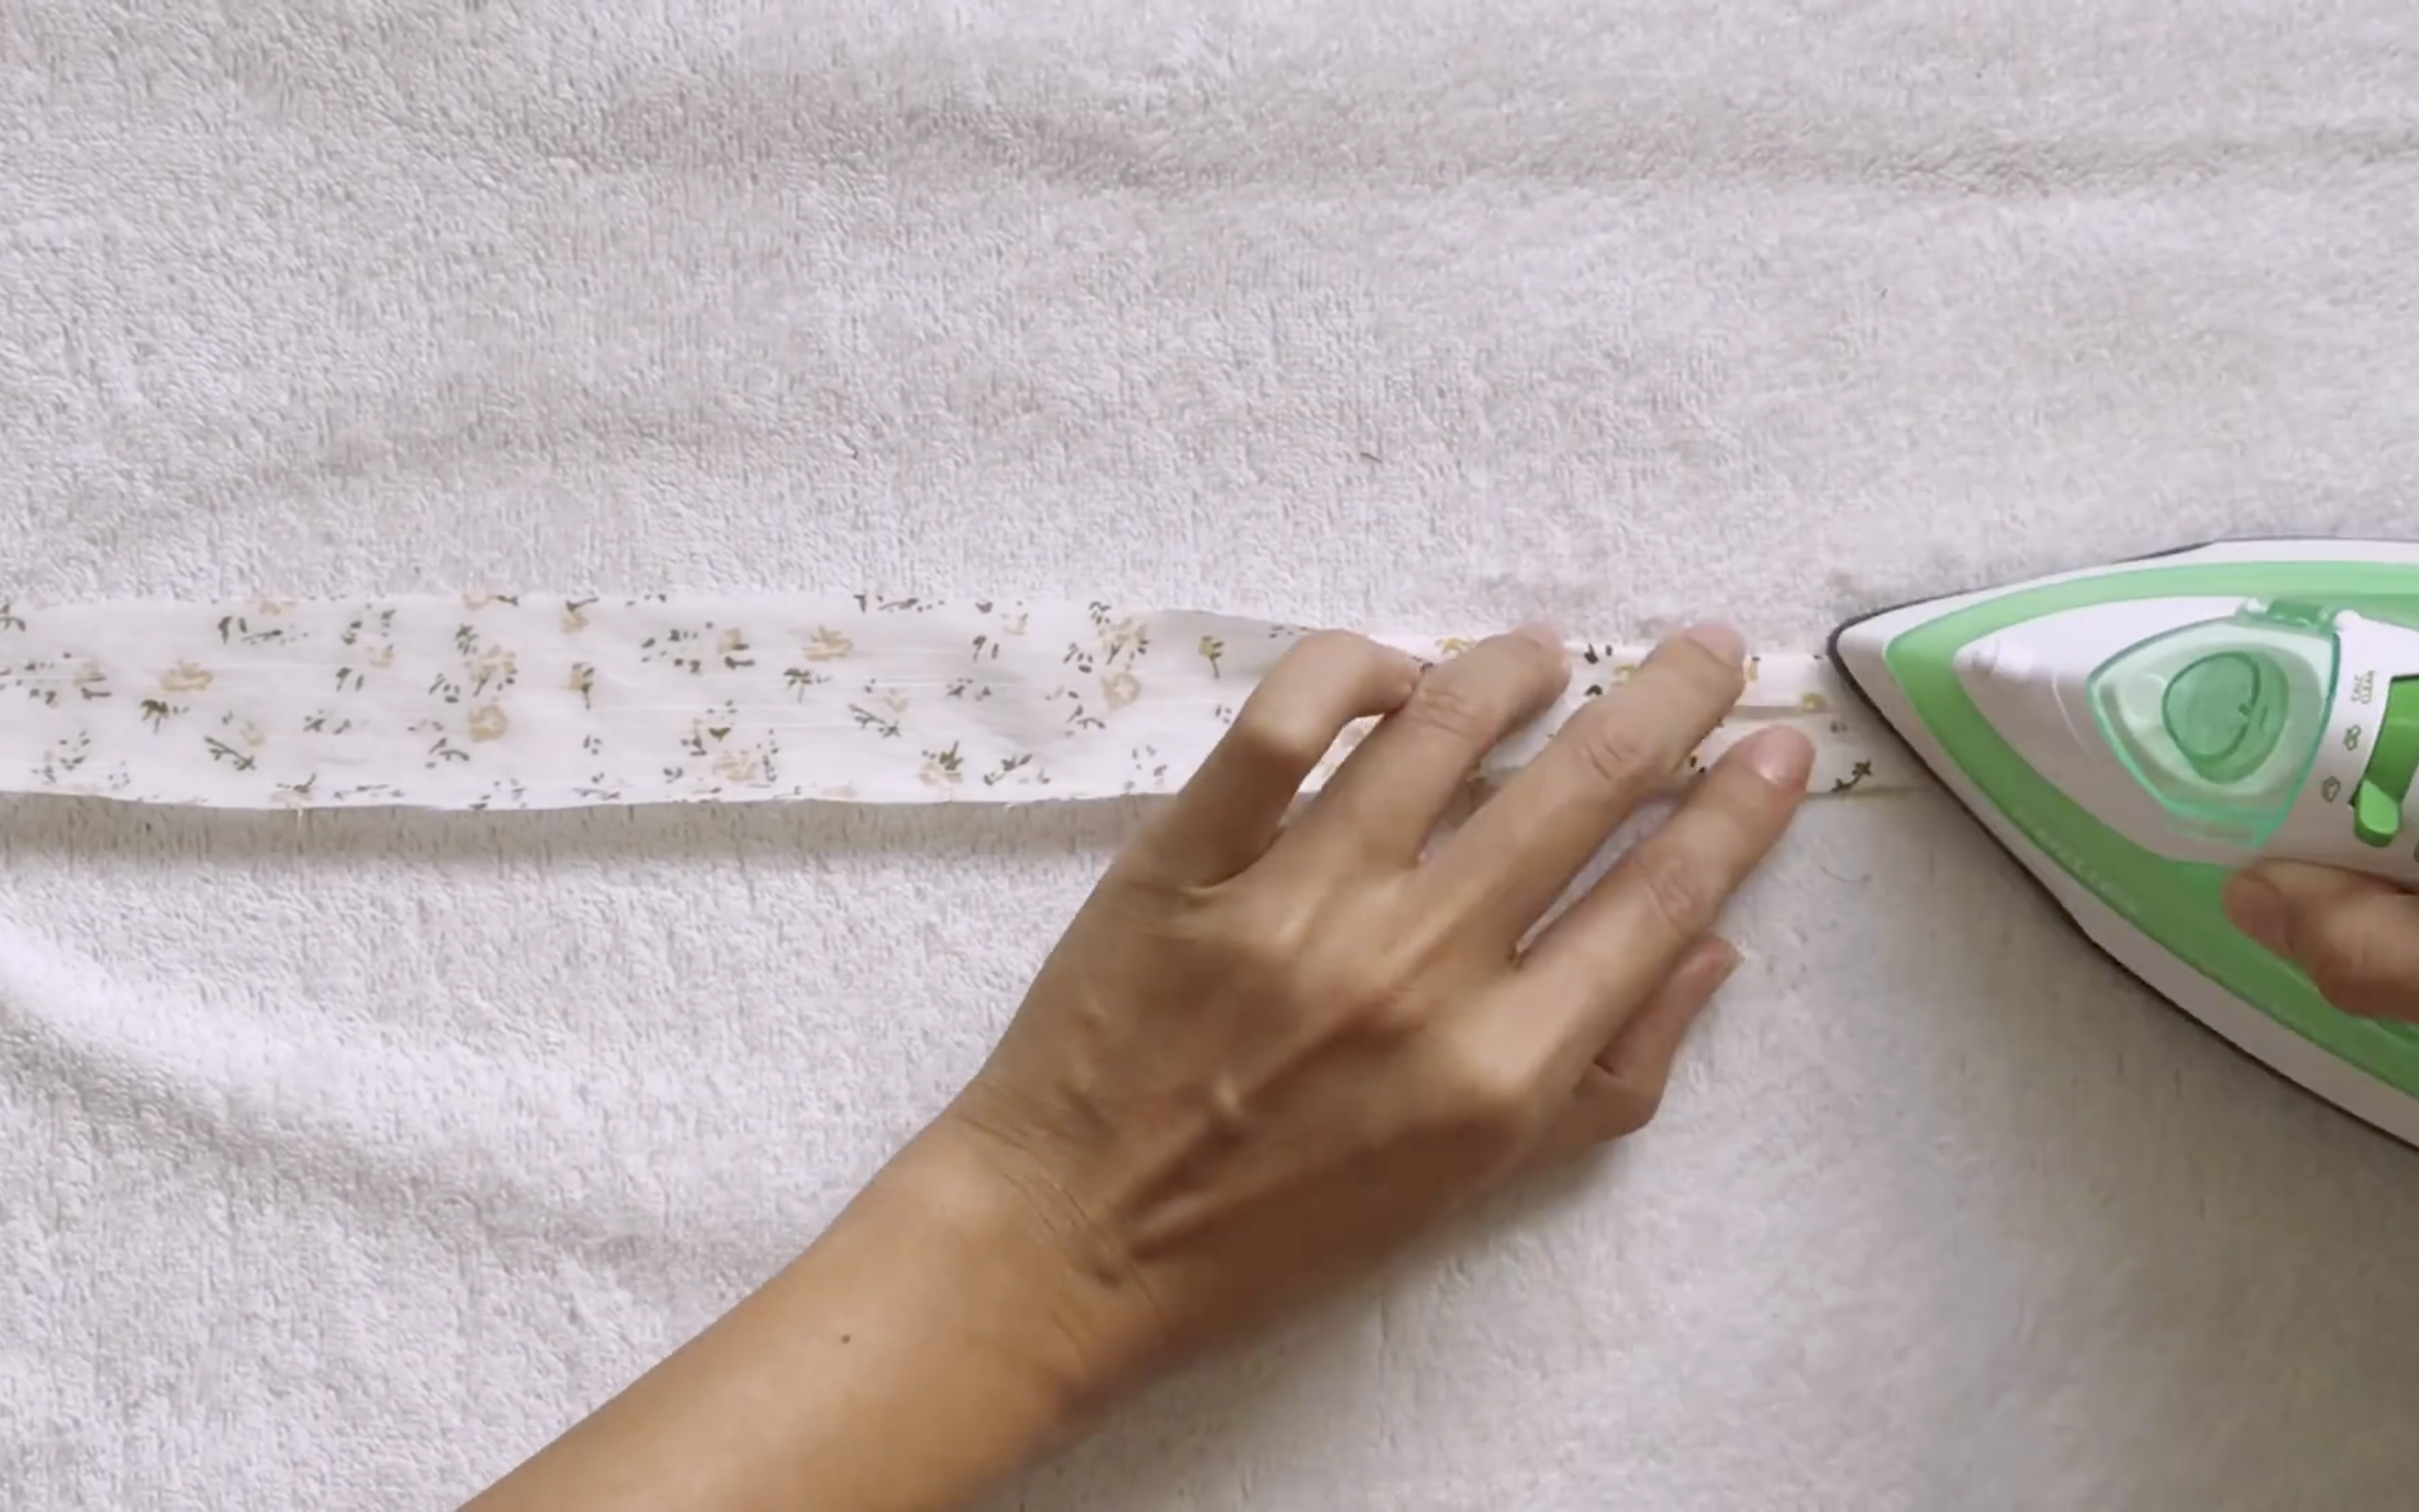
Use an iron to fold the fabric at the two edges, hiding the end fabric inside.
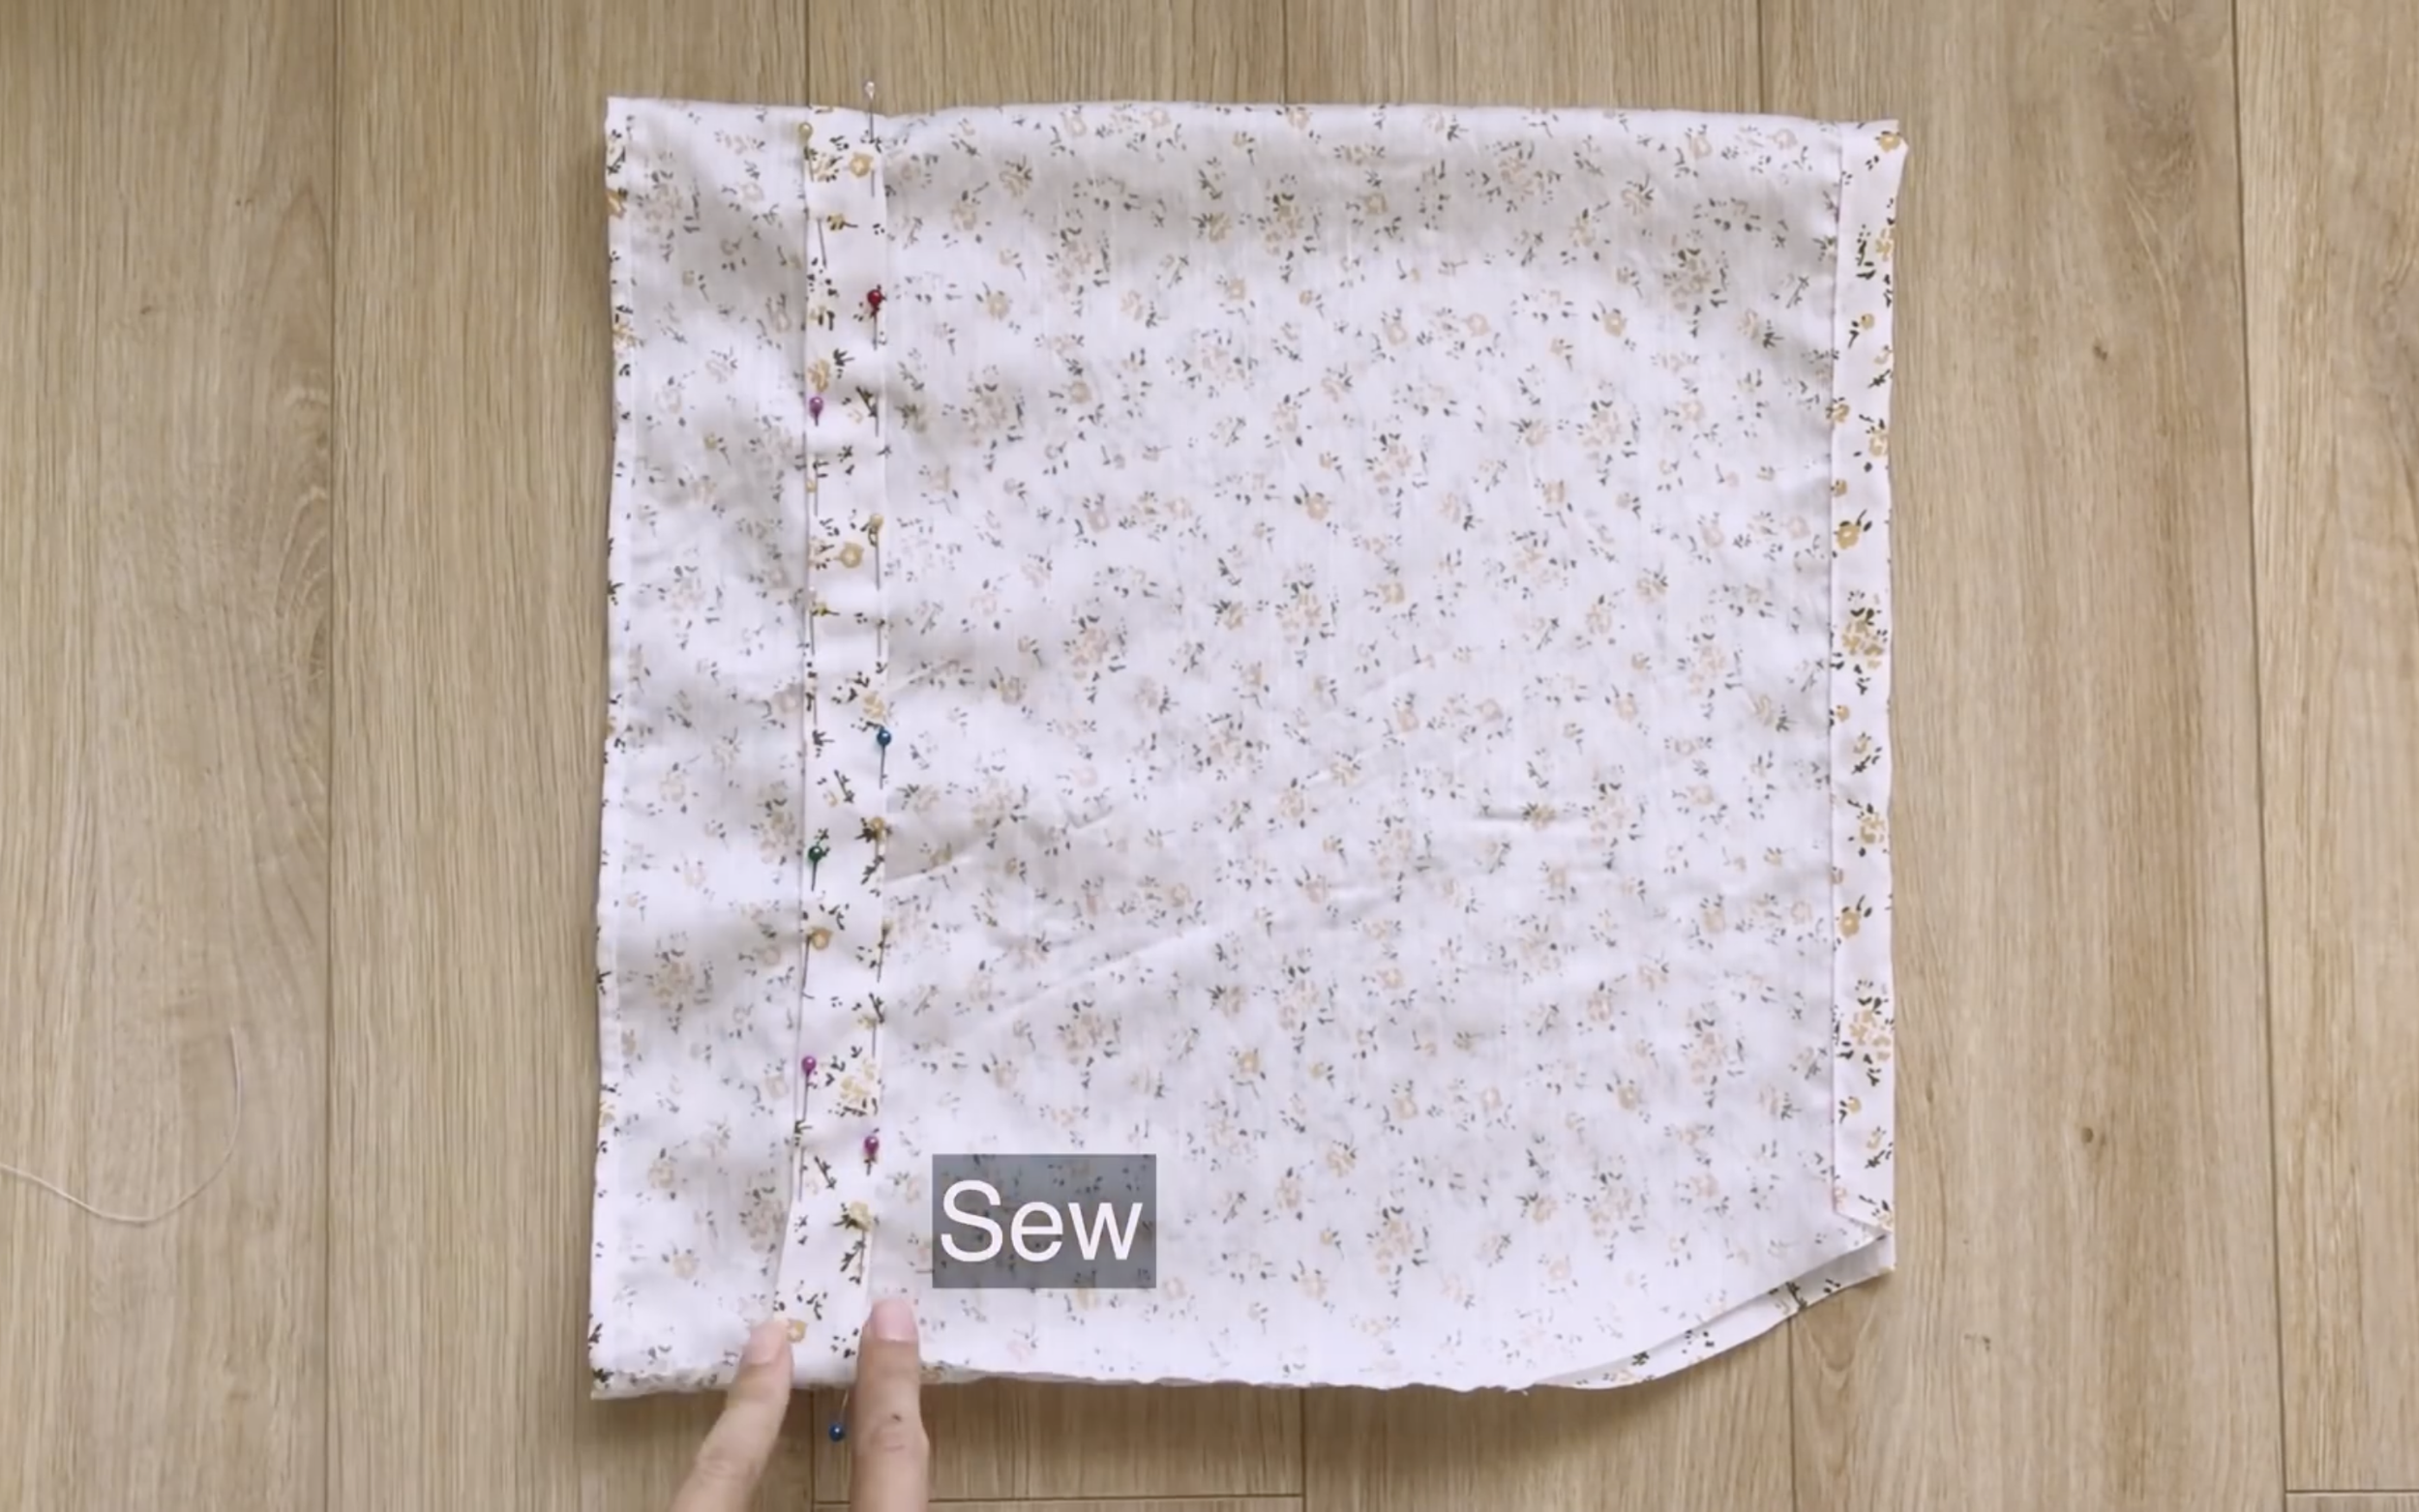
Fix the circle fabric to the marked position and sew at two sides to form a fabric hole.
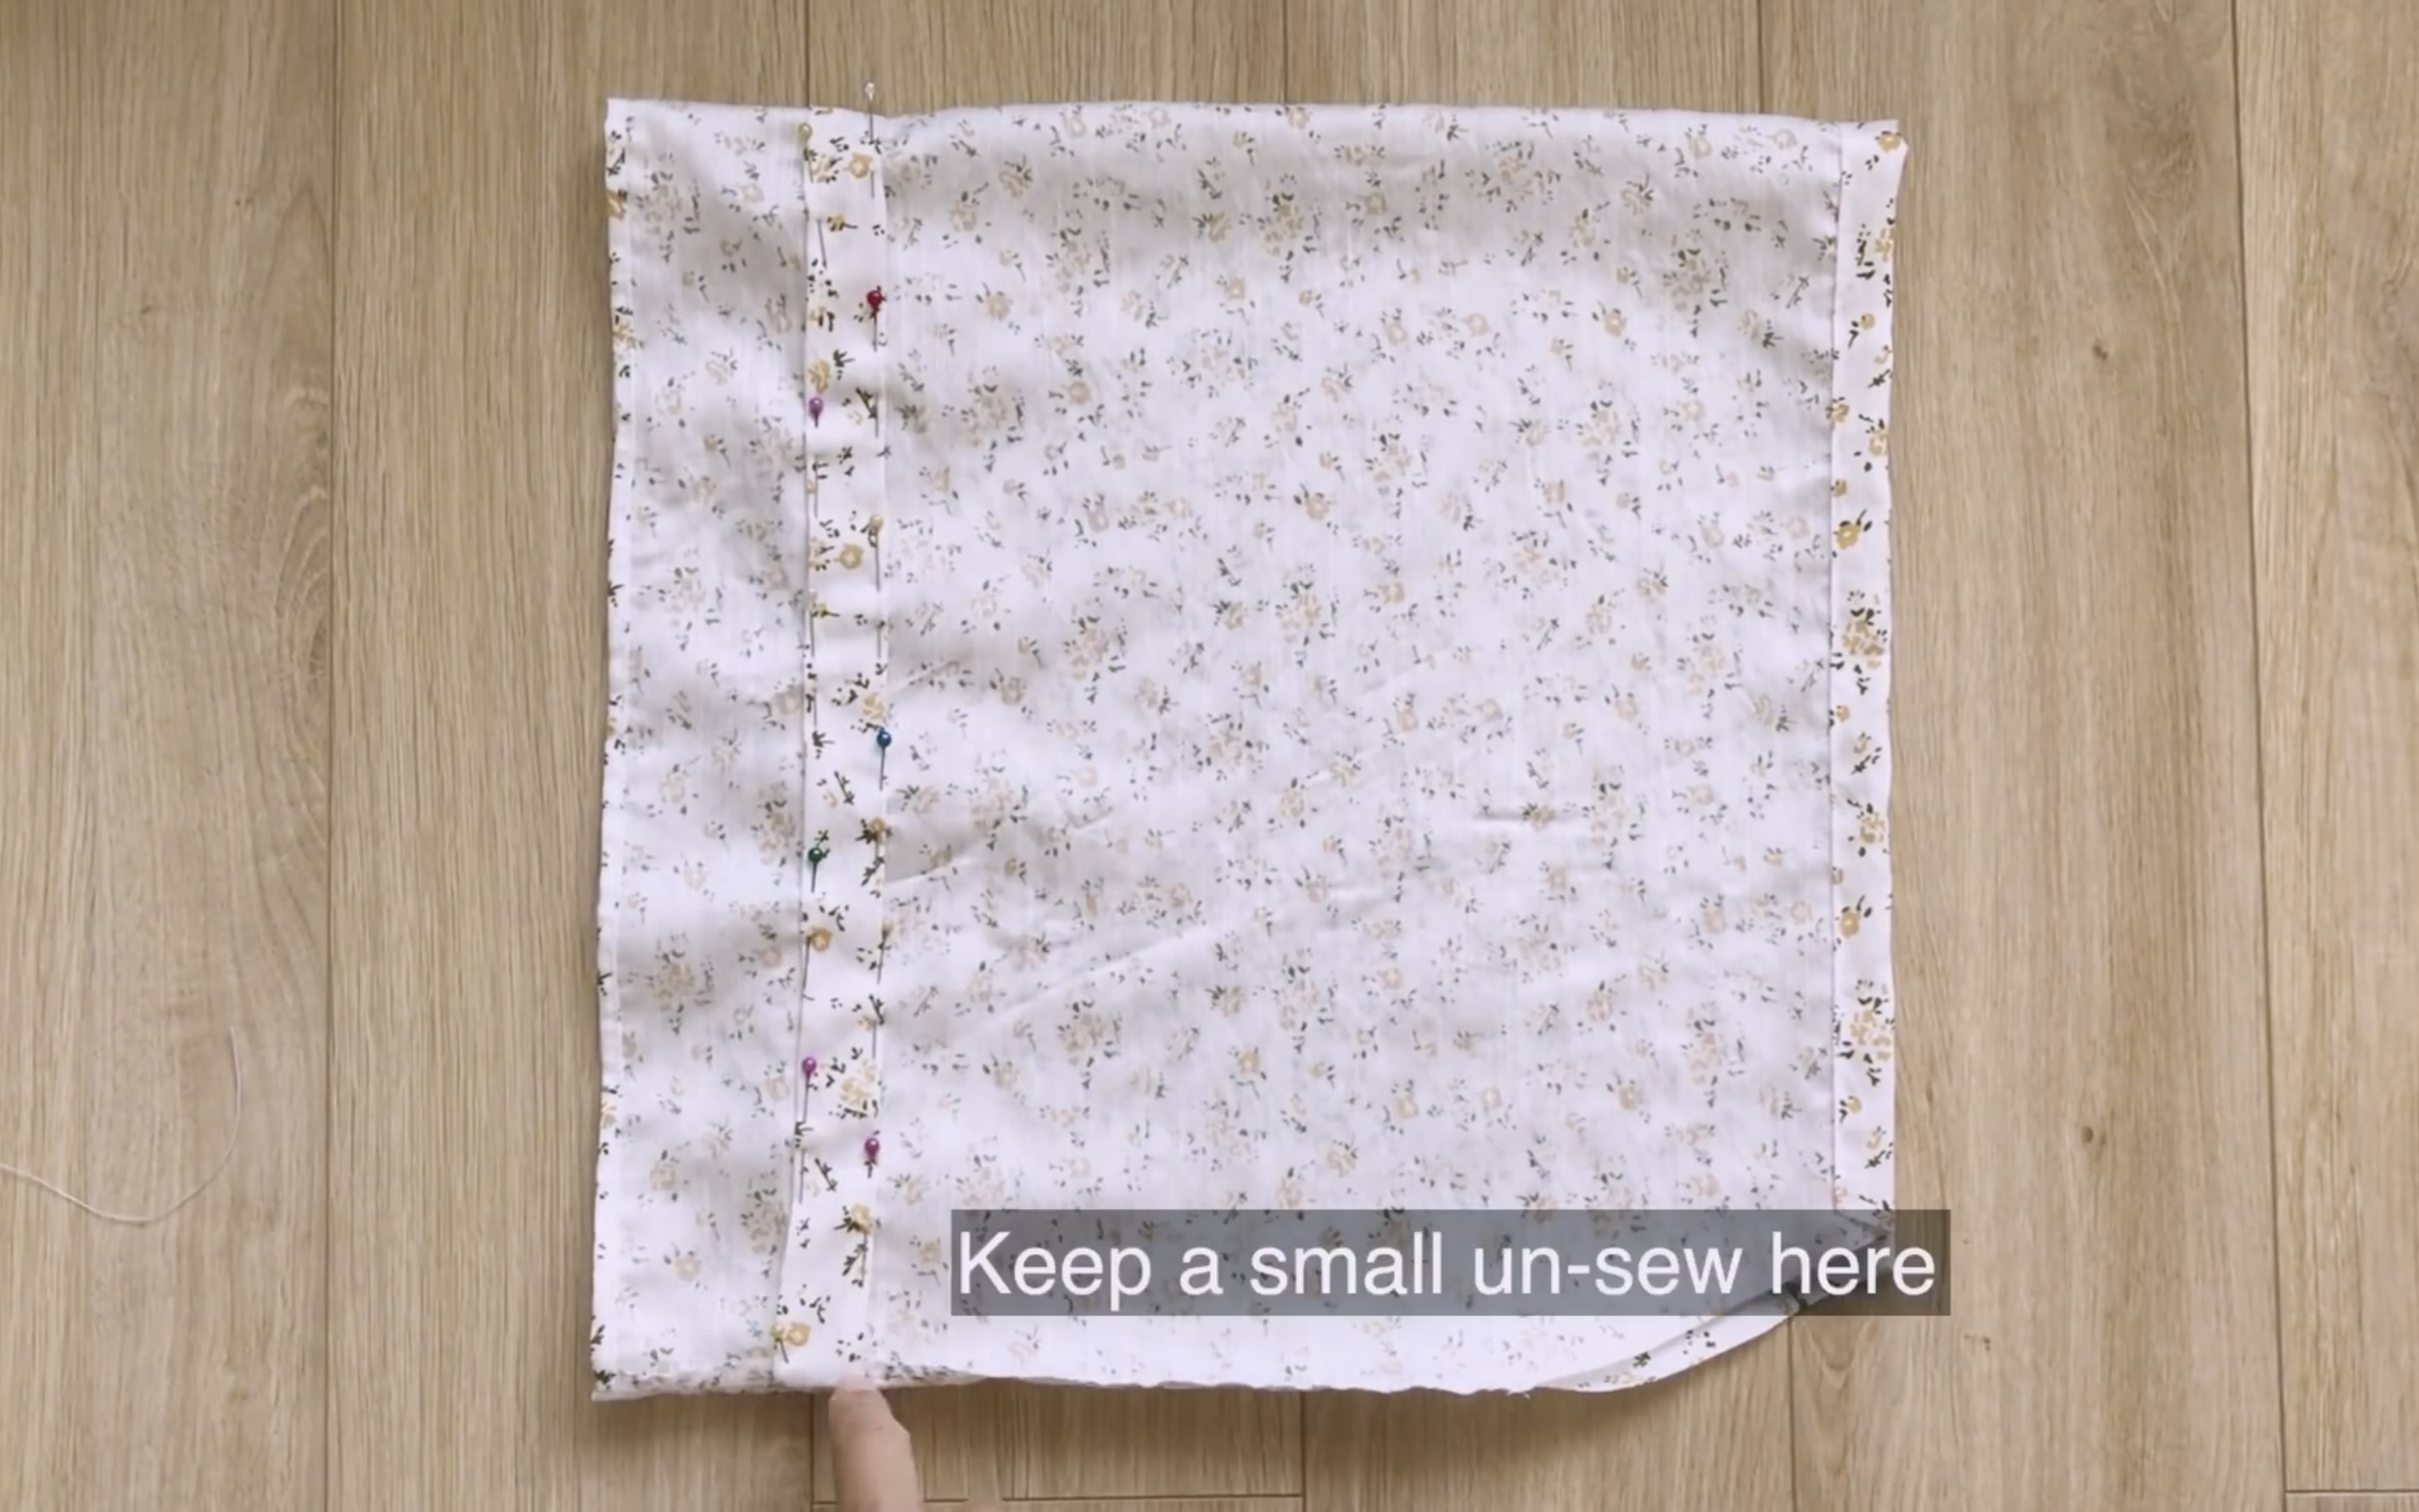
Remember to leave a small opening on one side for inserting the elastic band later.
Now it’s time to insert the elastic band.
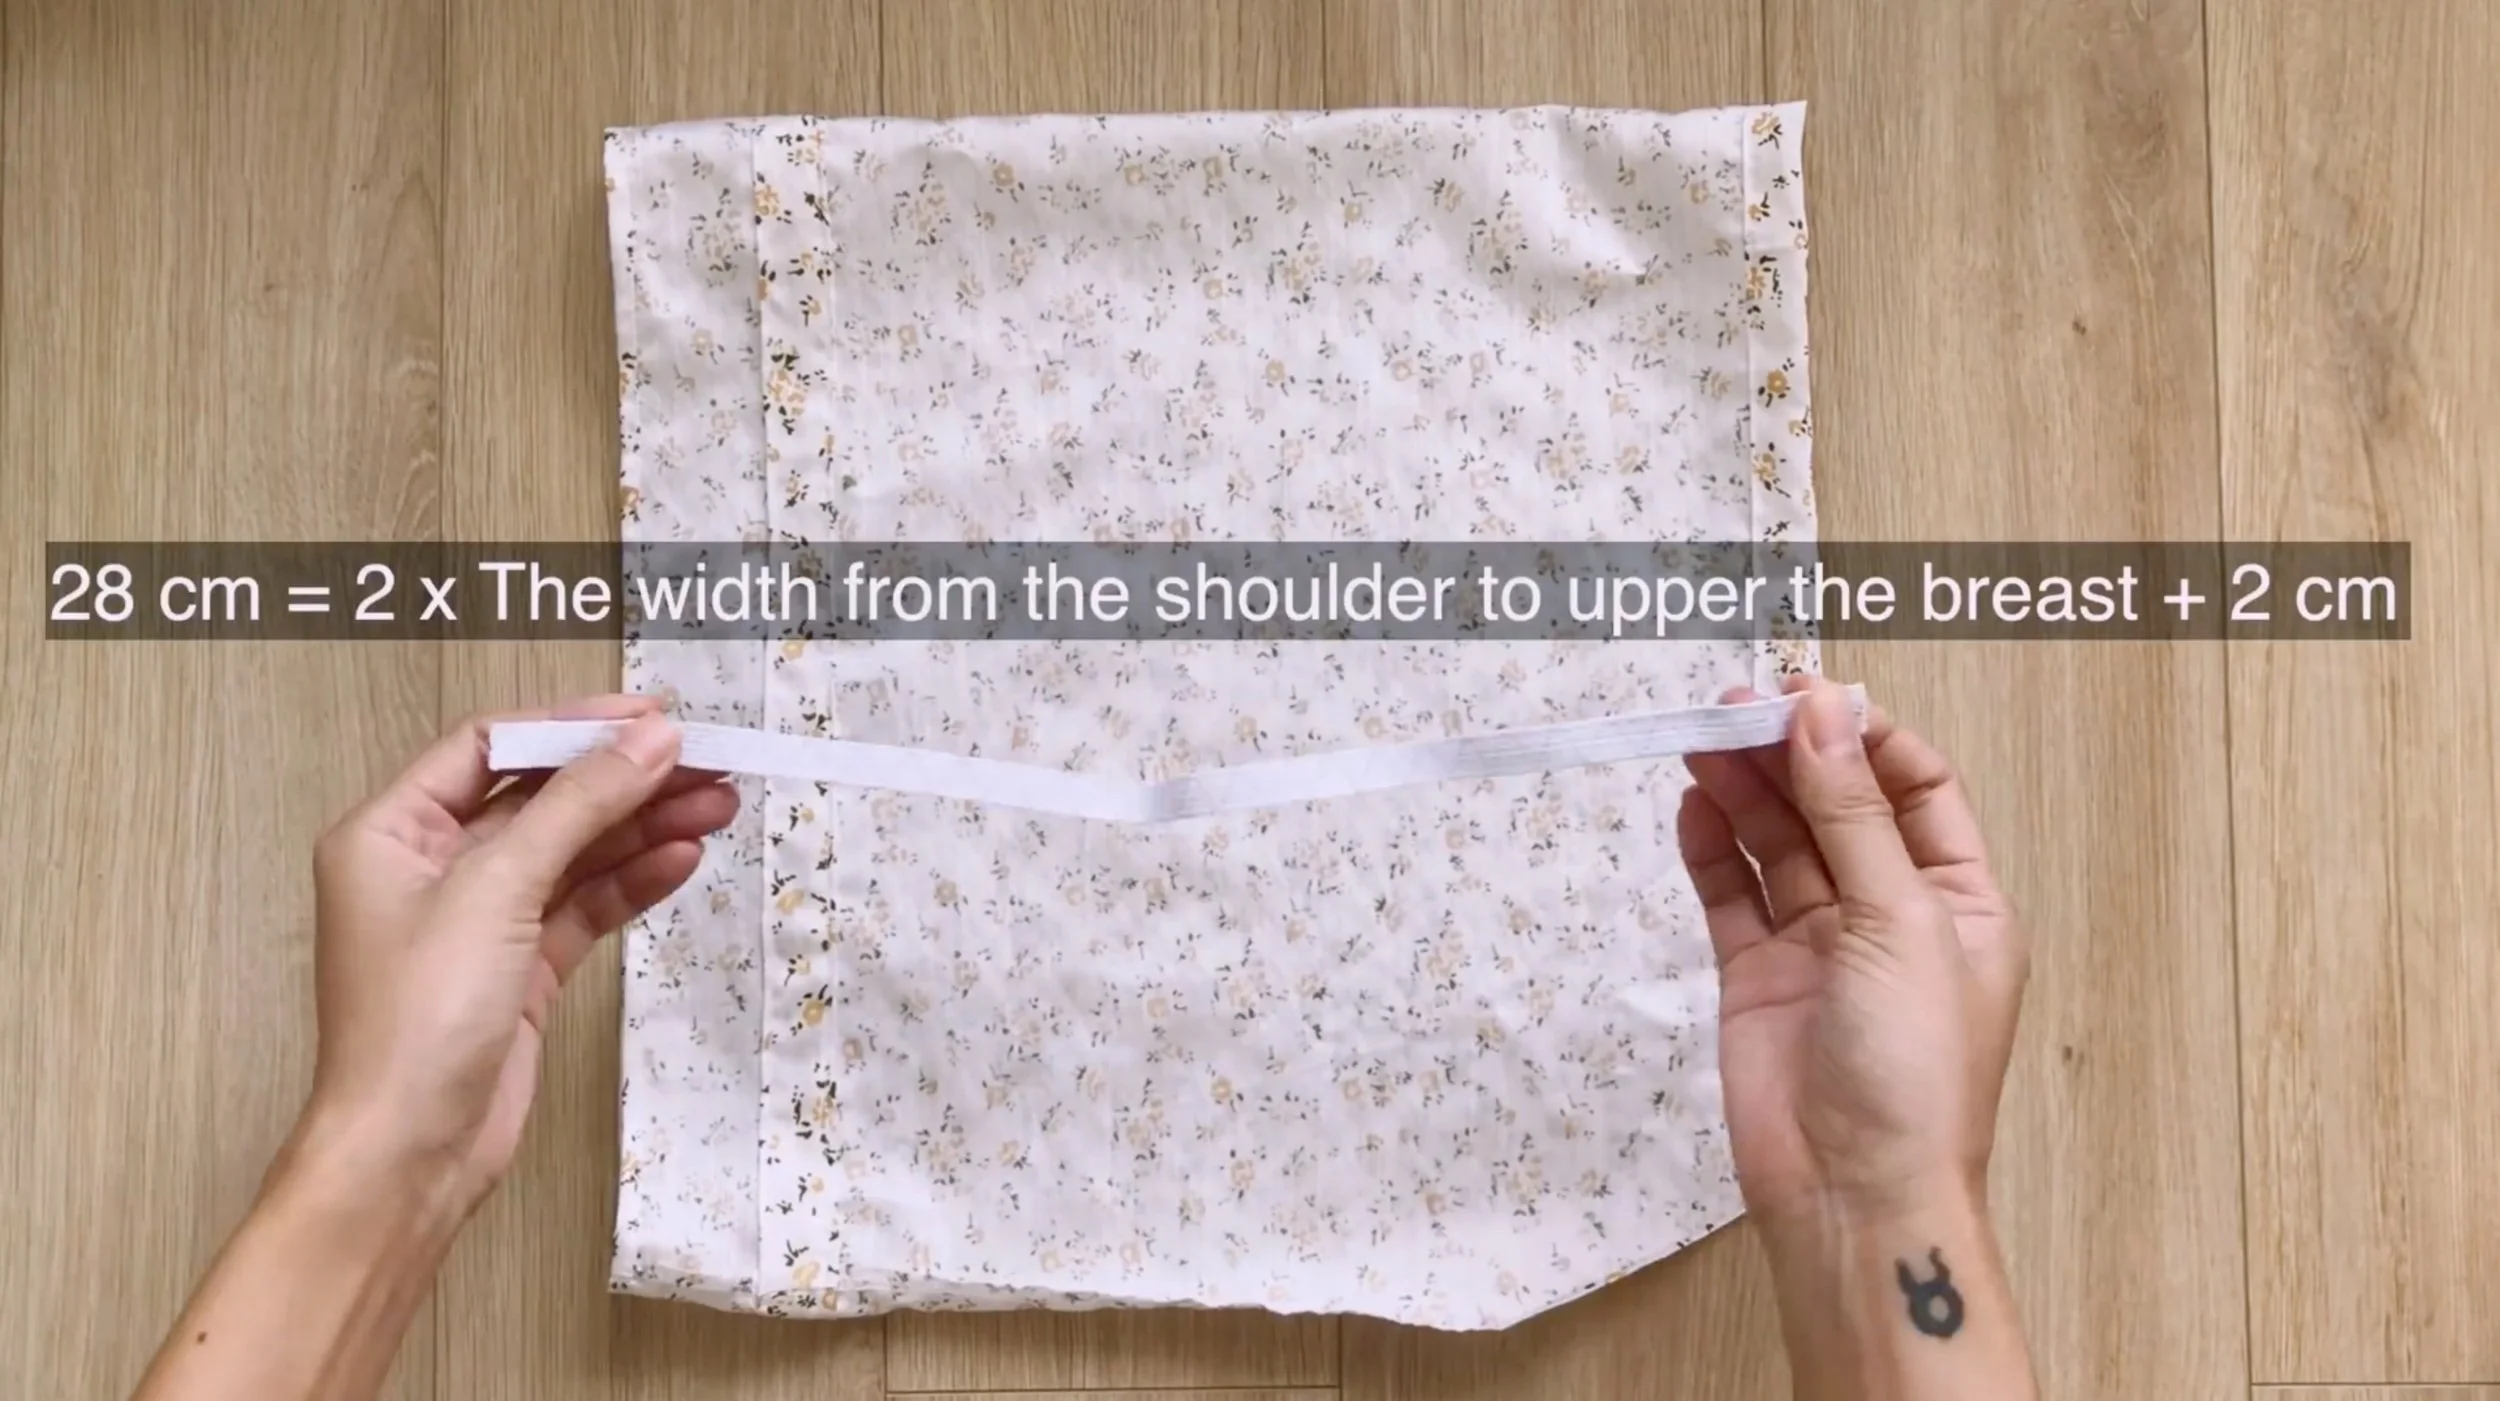
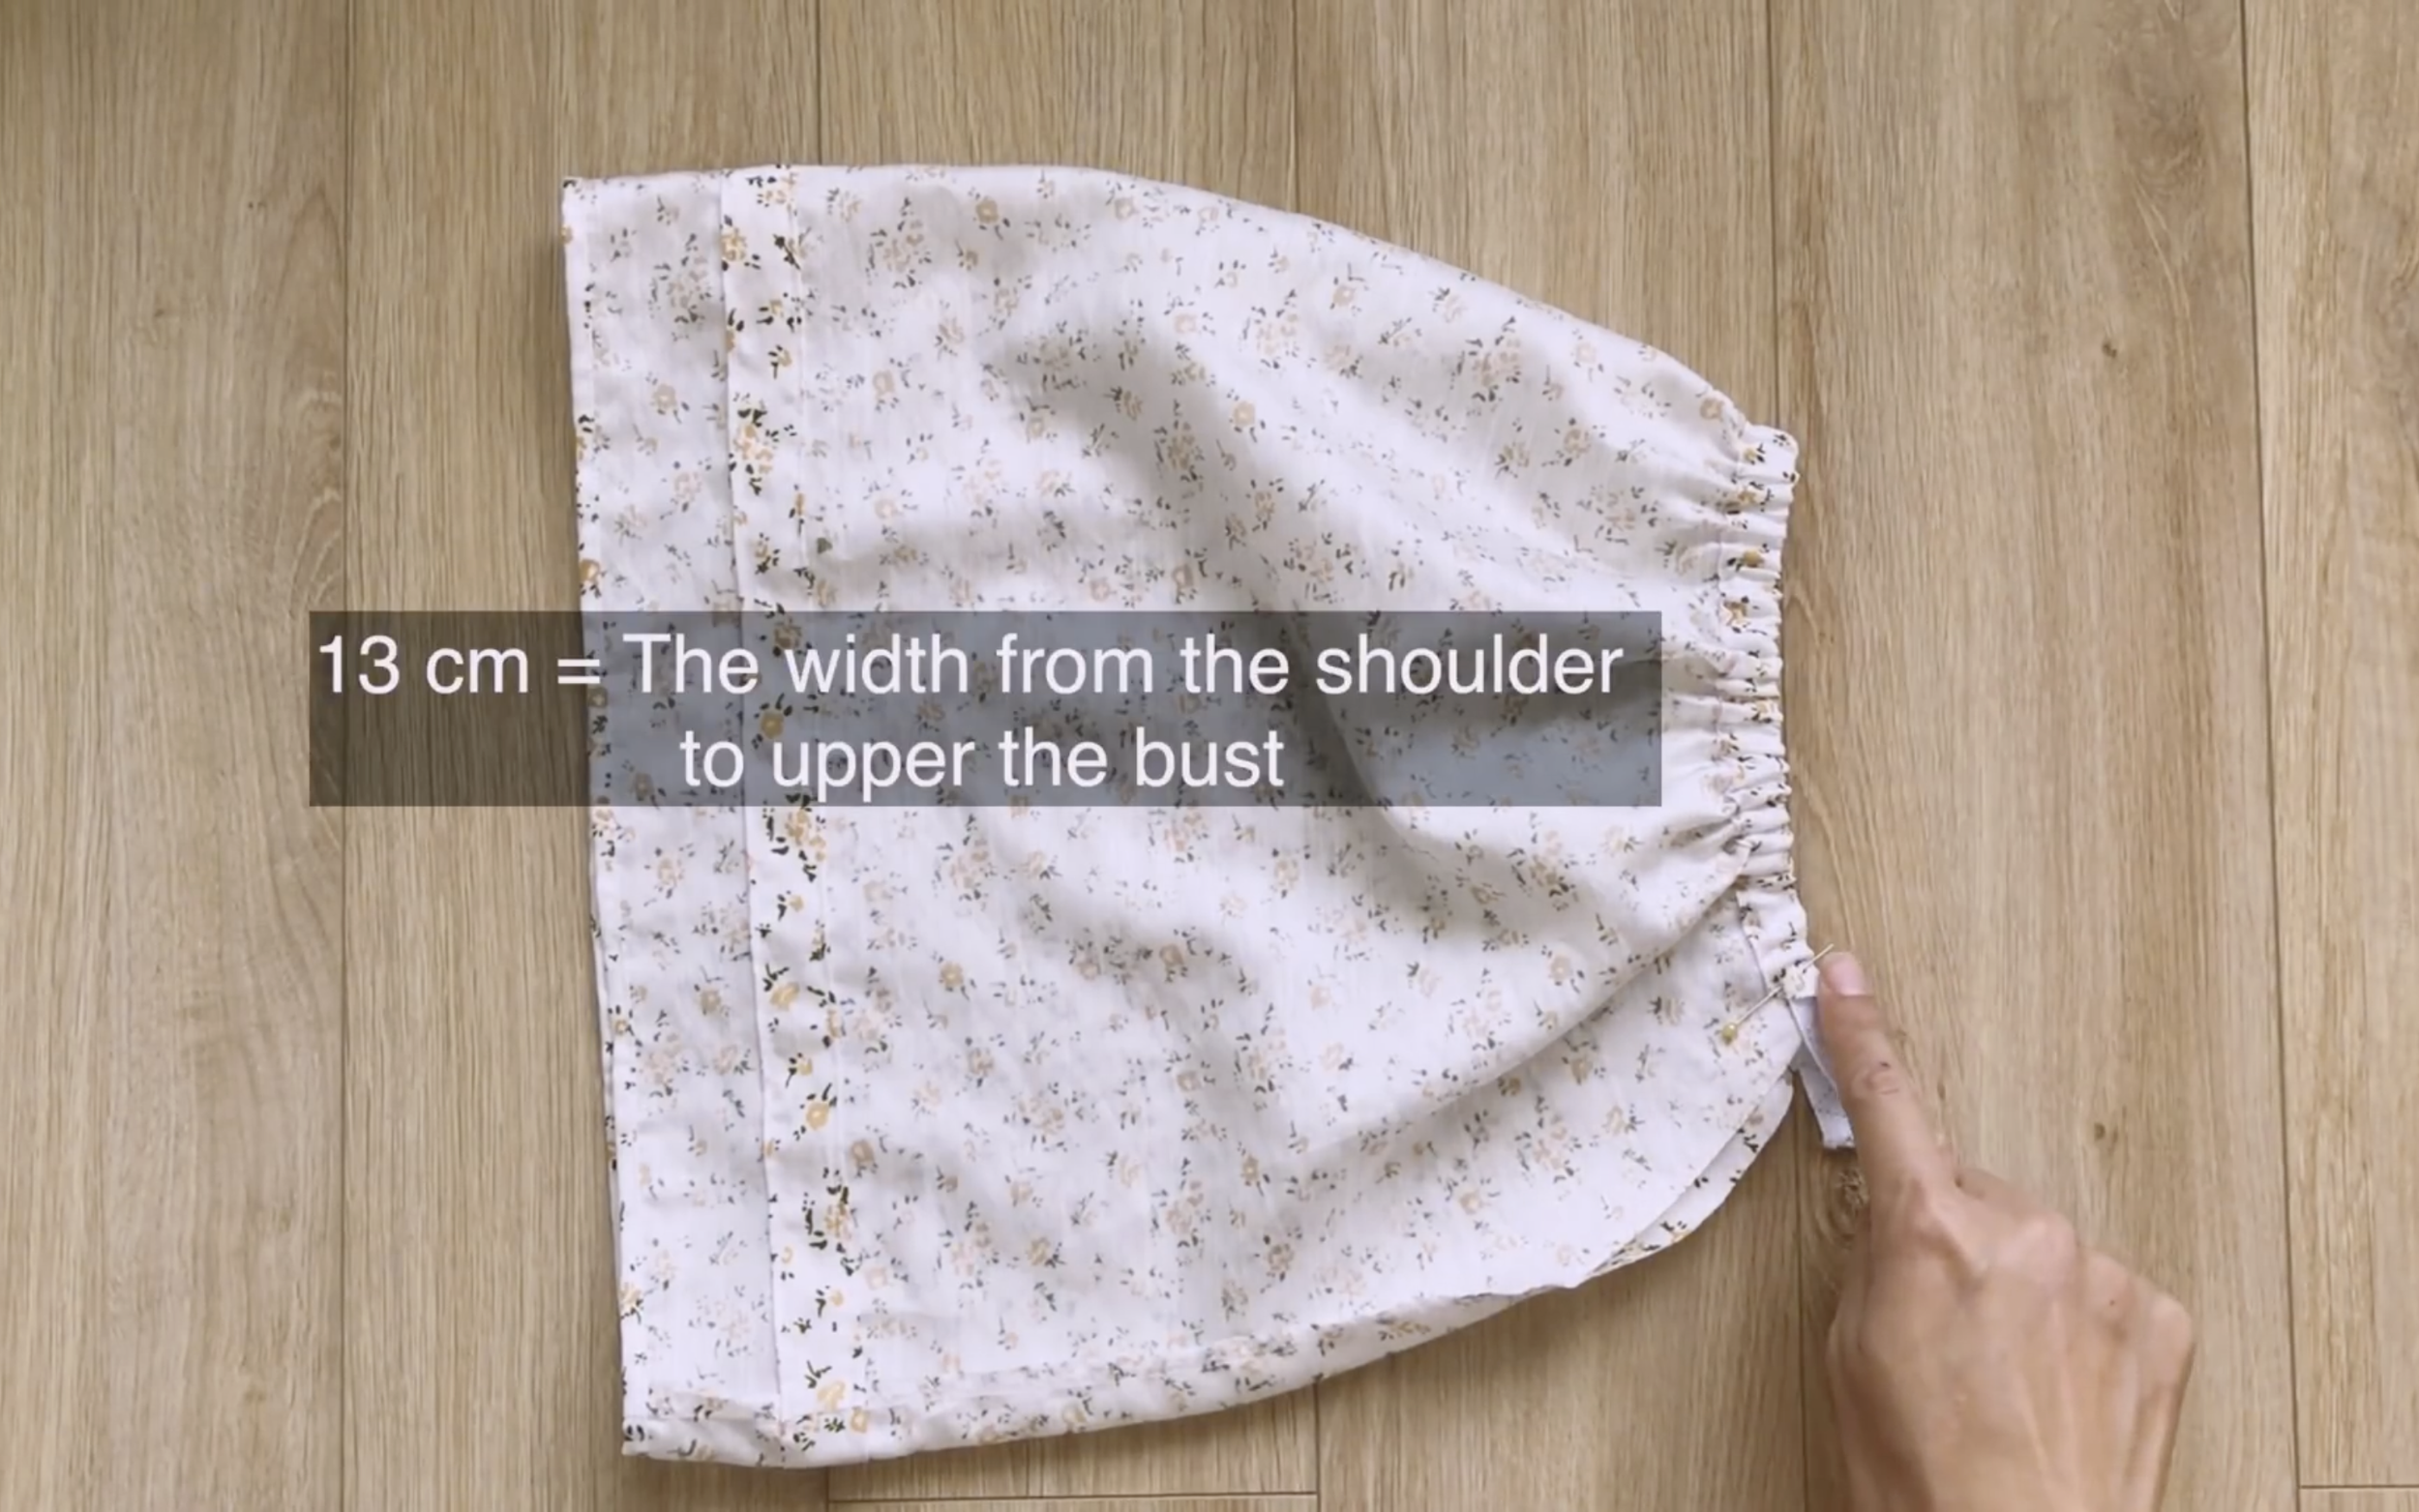
For the top of the sleeve, cut a 28 cm elastic band, which is twice the width from the shoulder to above the bust plus 2 cm.
After inserting the elastic band, sew the ends to secure it.
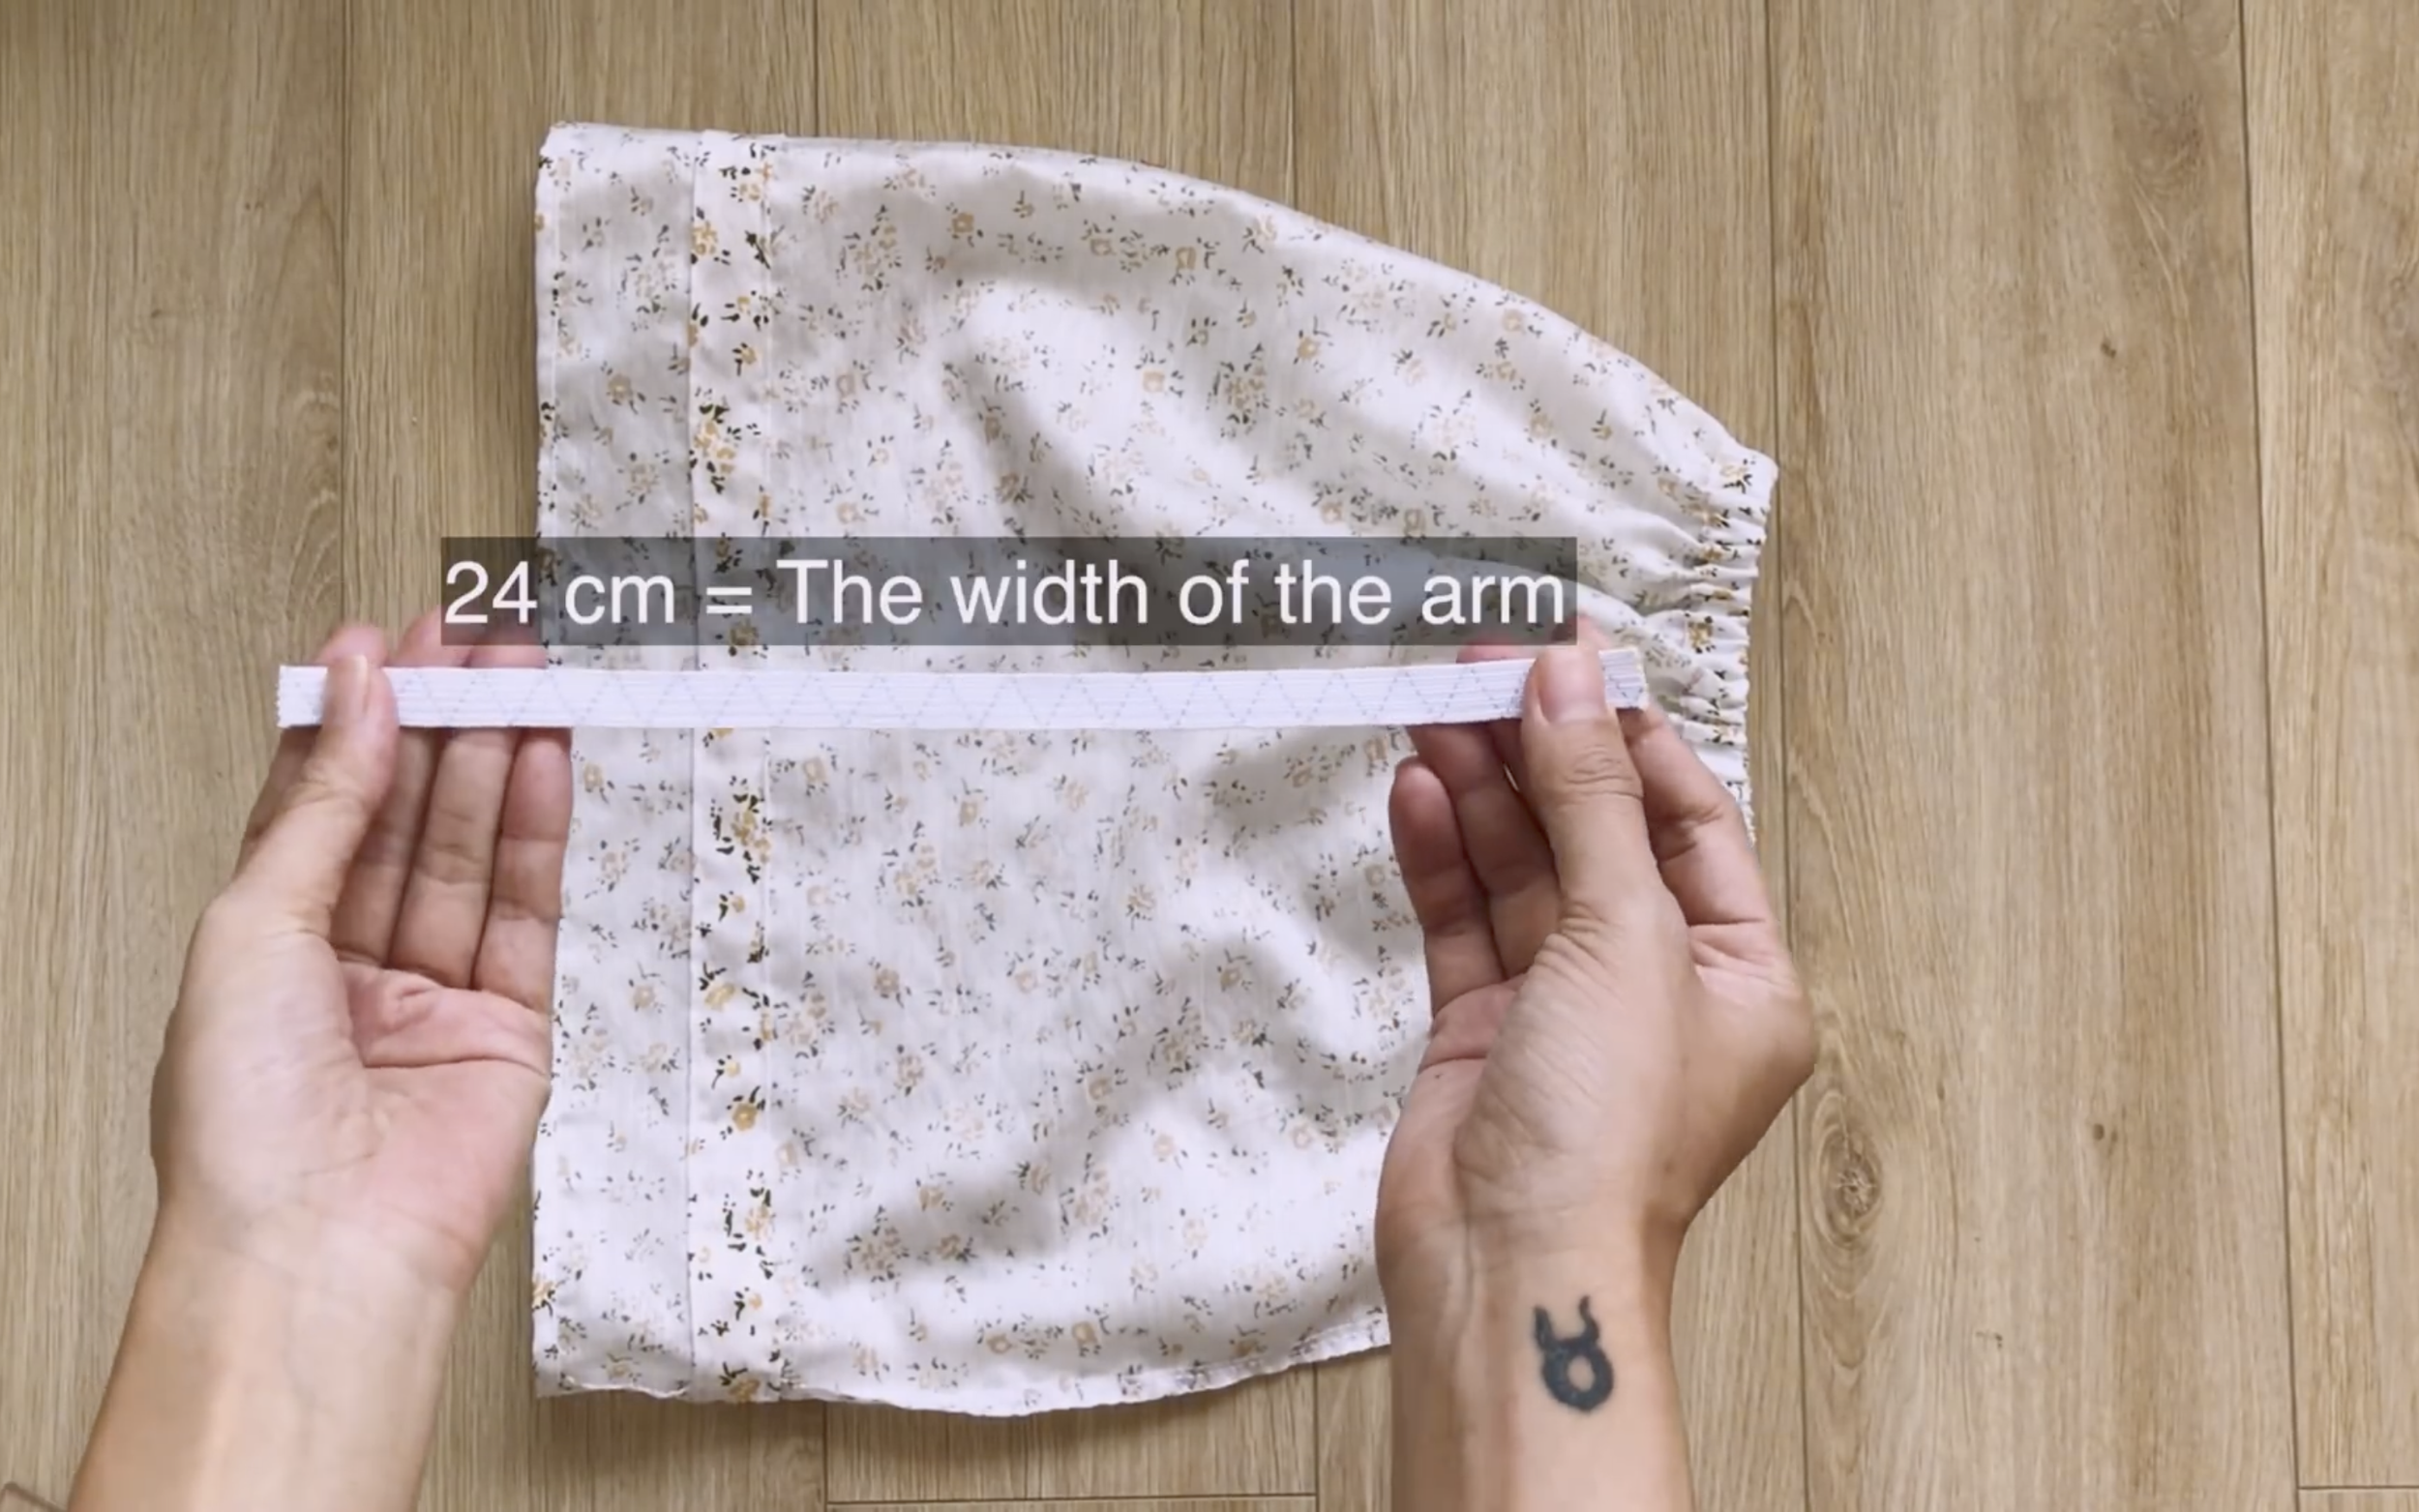
For the end of the sleeve, cut a 24 cm elastic band, matching the arm’s width.
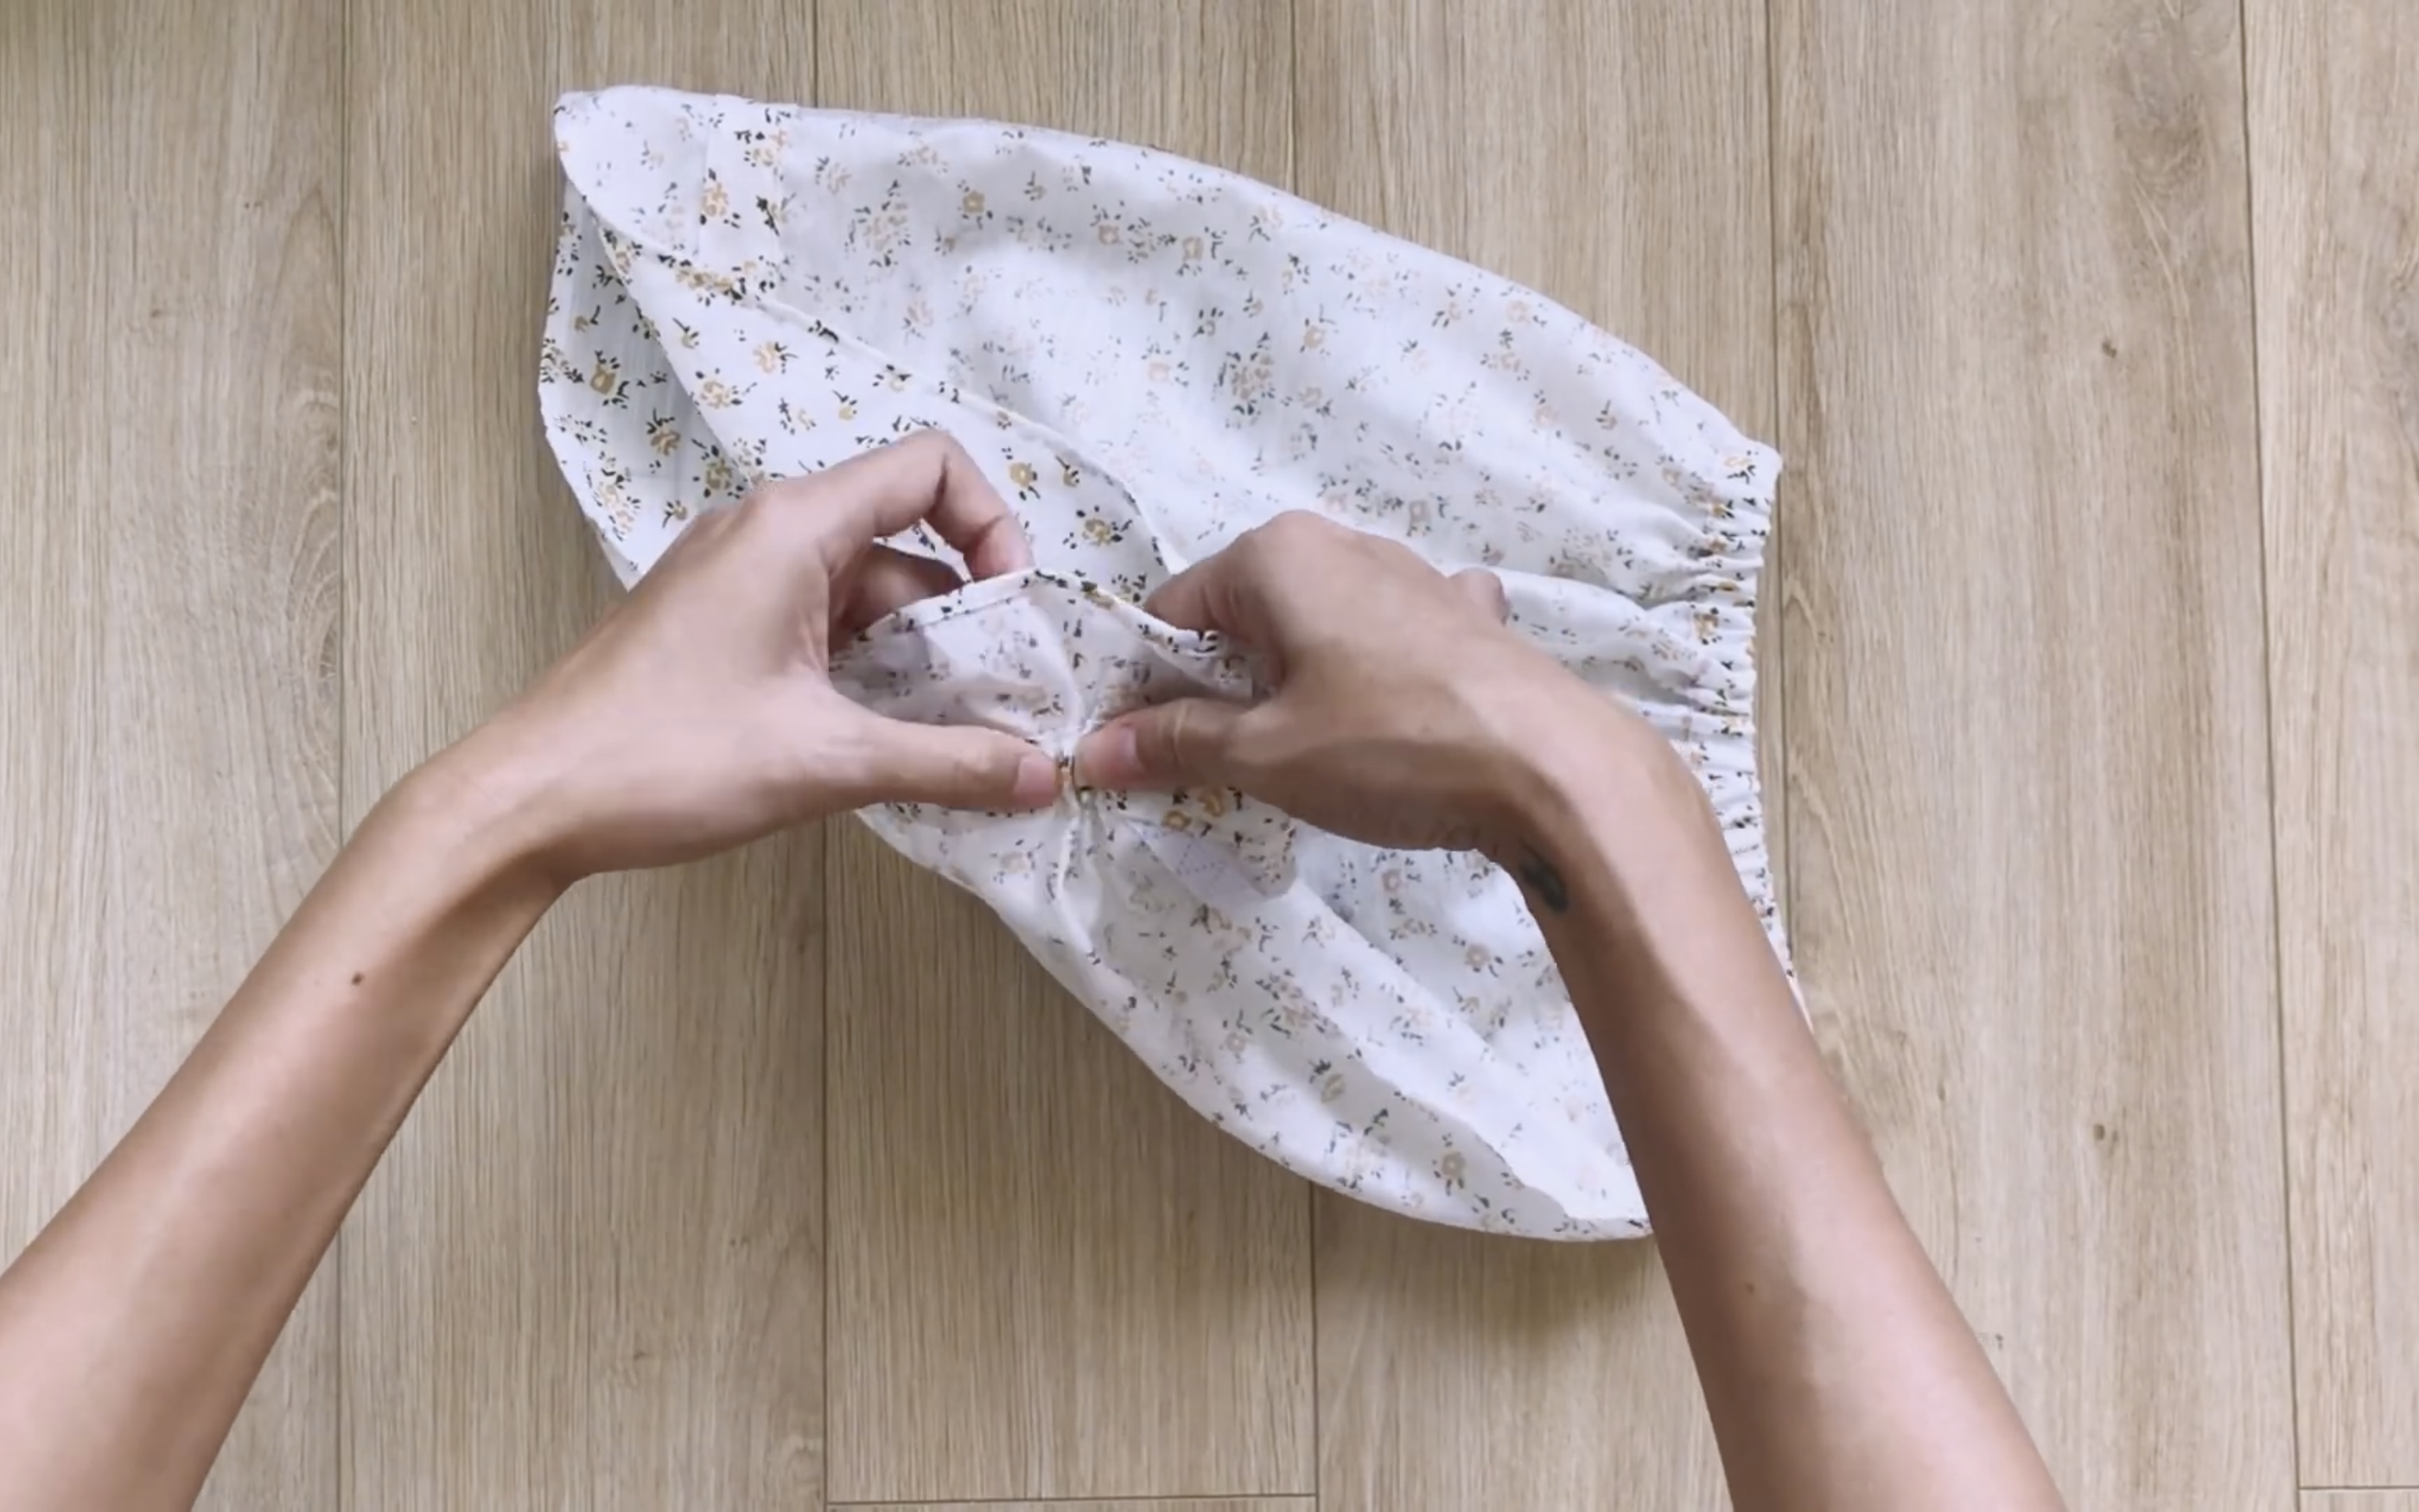
Insert the elastic band into the fabric hole
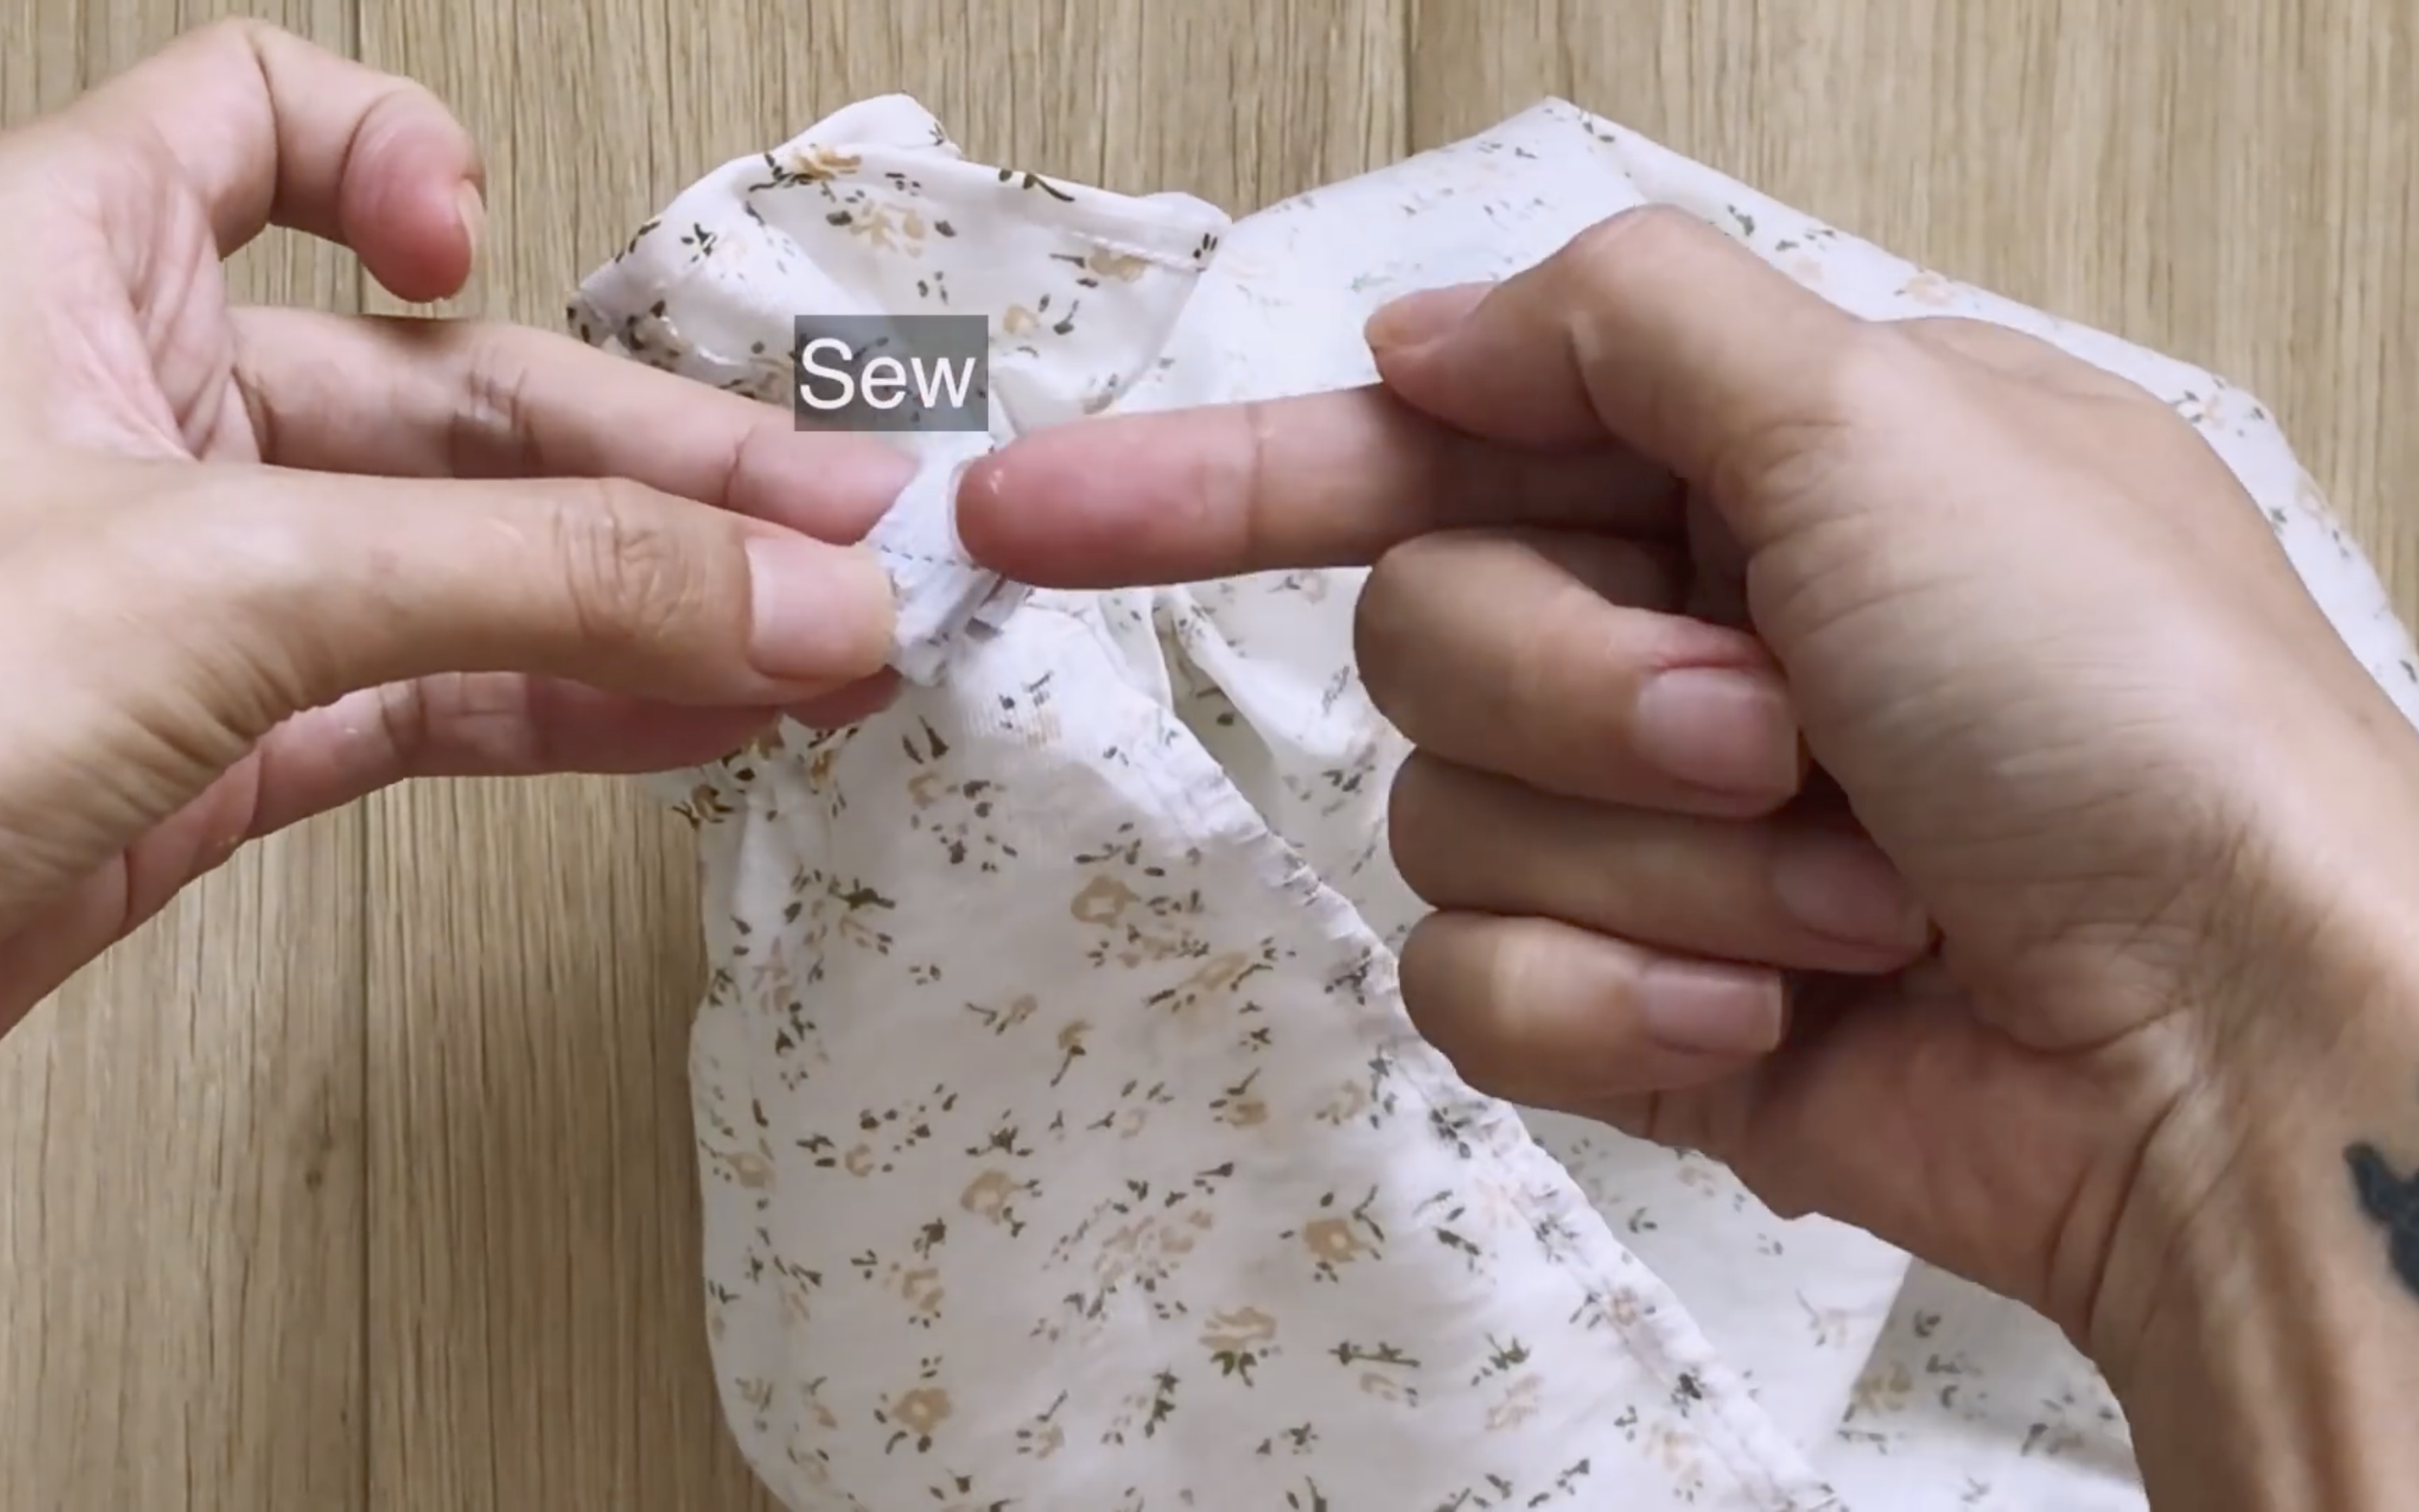
Sew the ends together, and close the hole to finish the sleeve.
Now the sleeves are ready.
THE MAIN BODICE
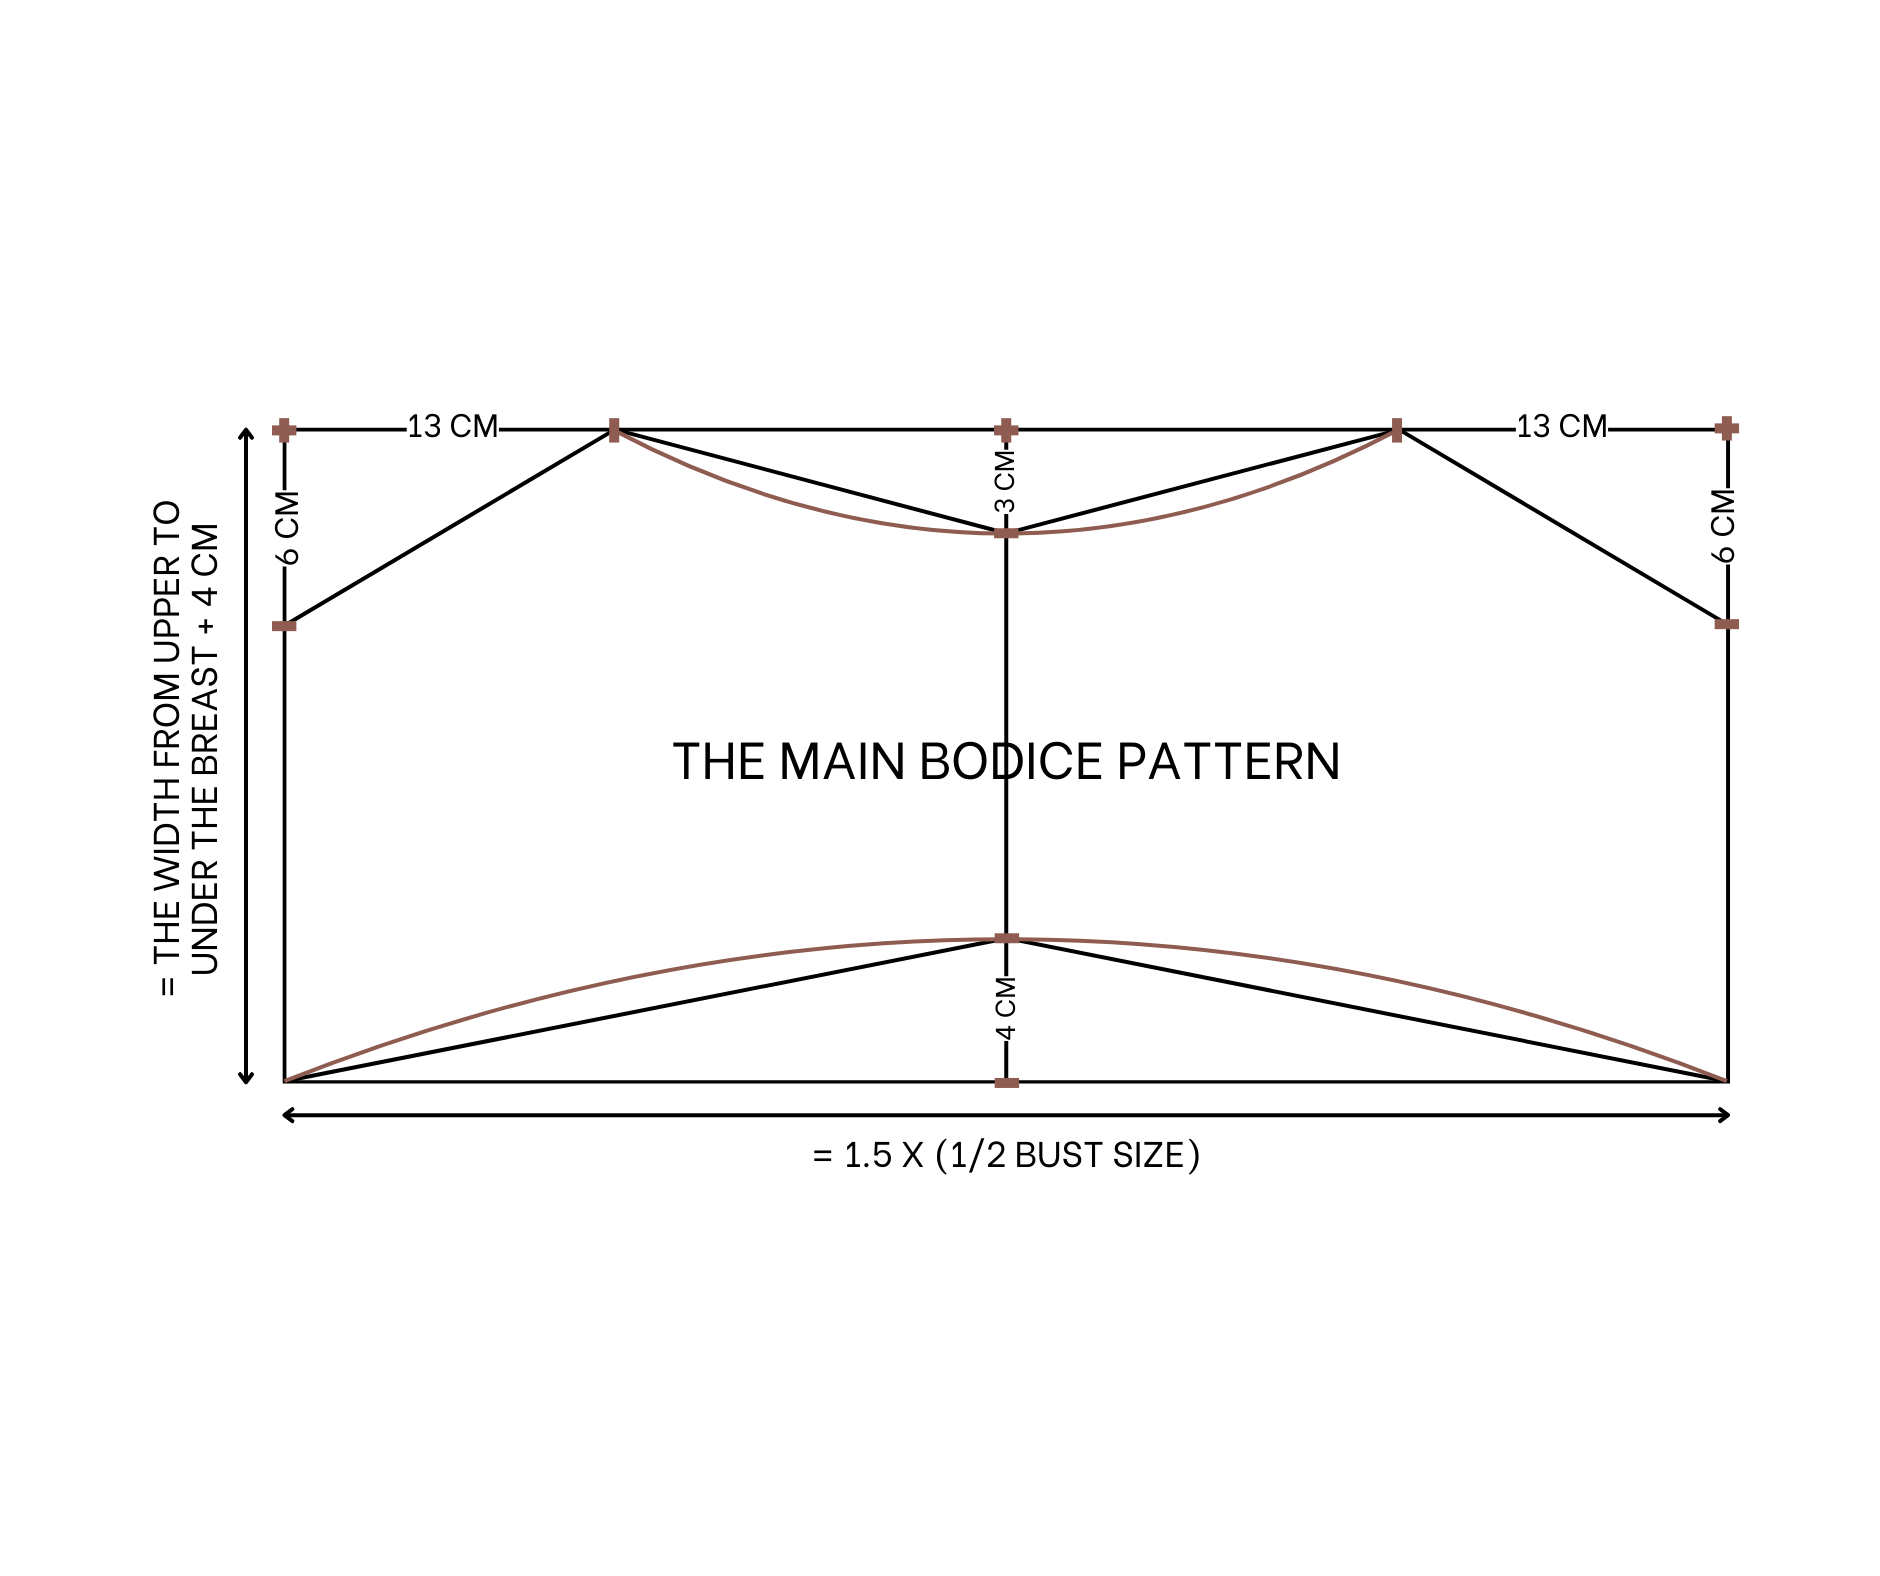
The main bodice pattern
Cut a rectangle with 24 cm length, which is the distance between the breasts plus 4 cm, and 61 cm width, which is one and a half times half the bust size.
On the side seam, mark 6 cm. On the width line, mark 13 cm. Connect the two marks to create the connection with the sleeve.
Draw a straight line in the middle of the rectangle.
From the top of this line, mark 3 cm down.
Draw a curved line from this mark to connect to the two width line marks.
At the bottom of the straight line, mark 4 cm up. Then draw a curved line connecting this mark to the two ends of the side seams.
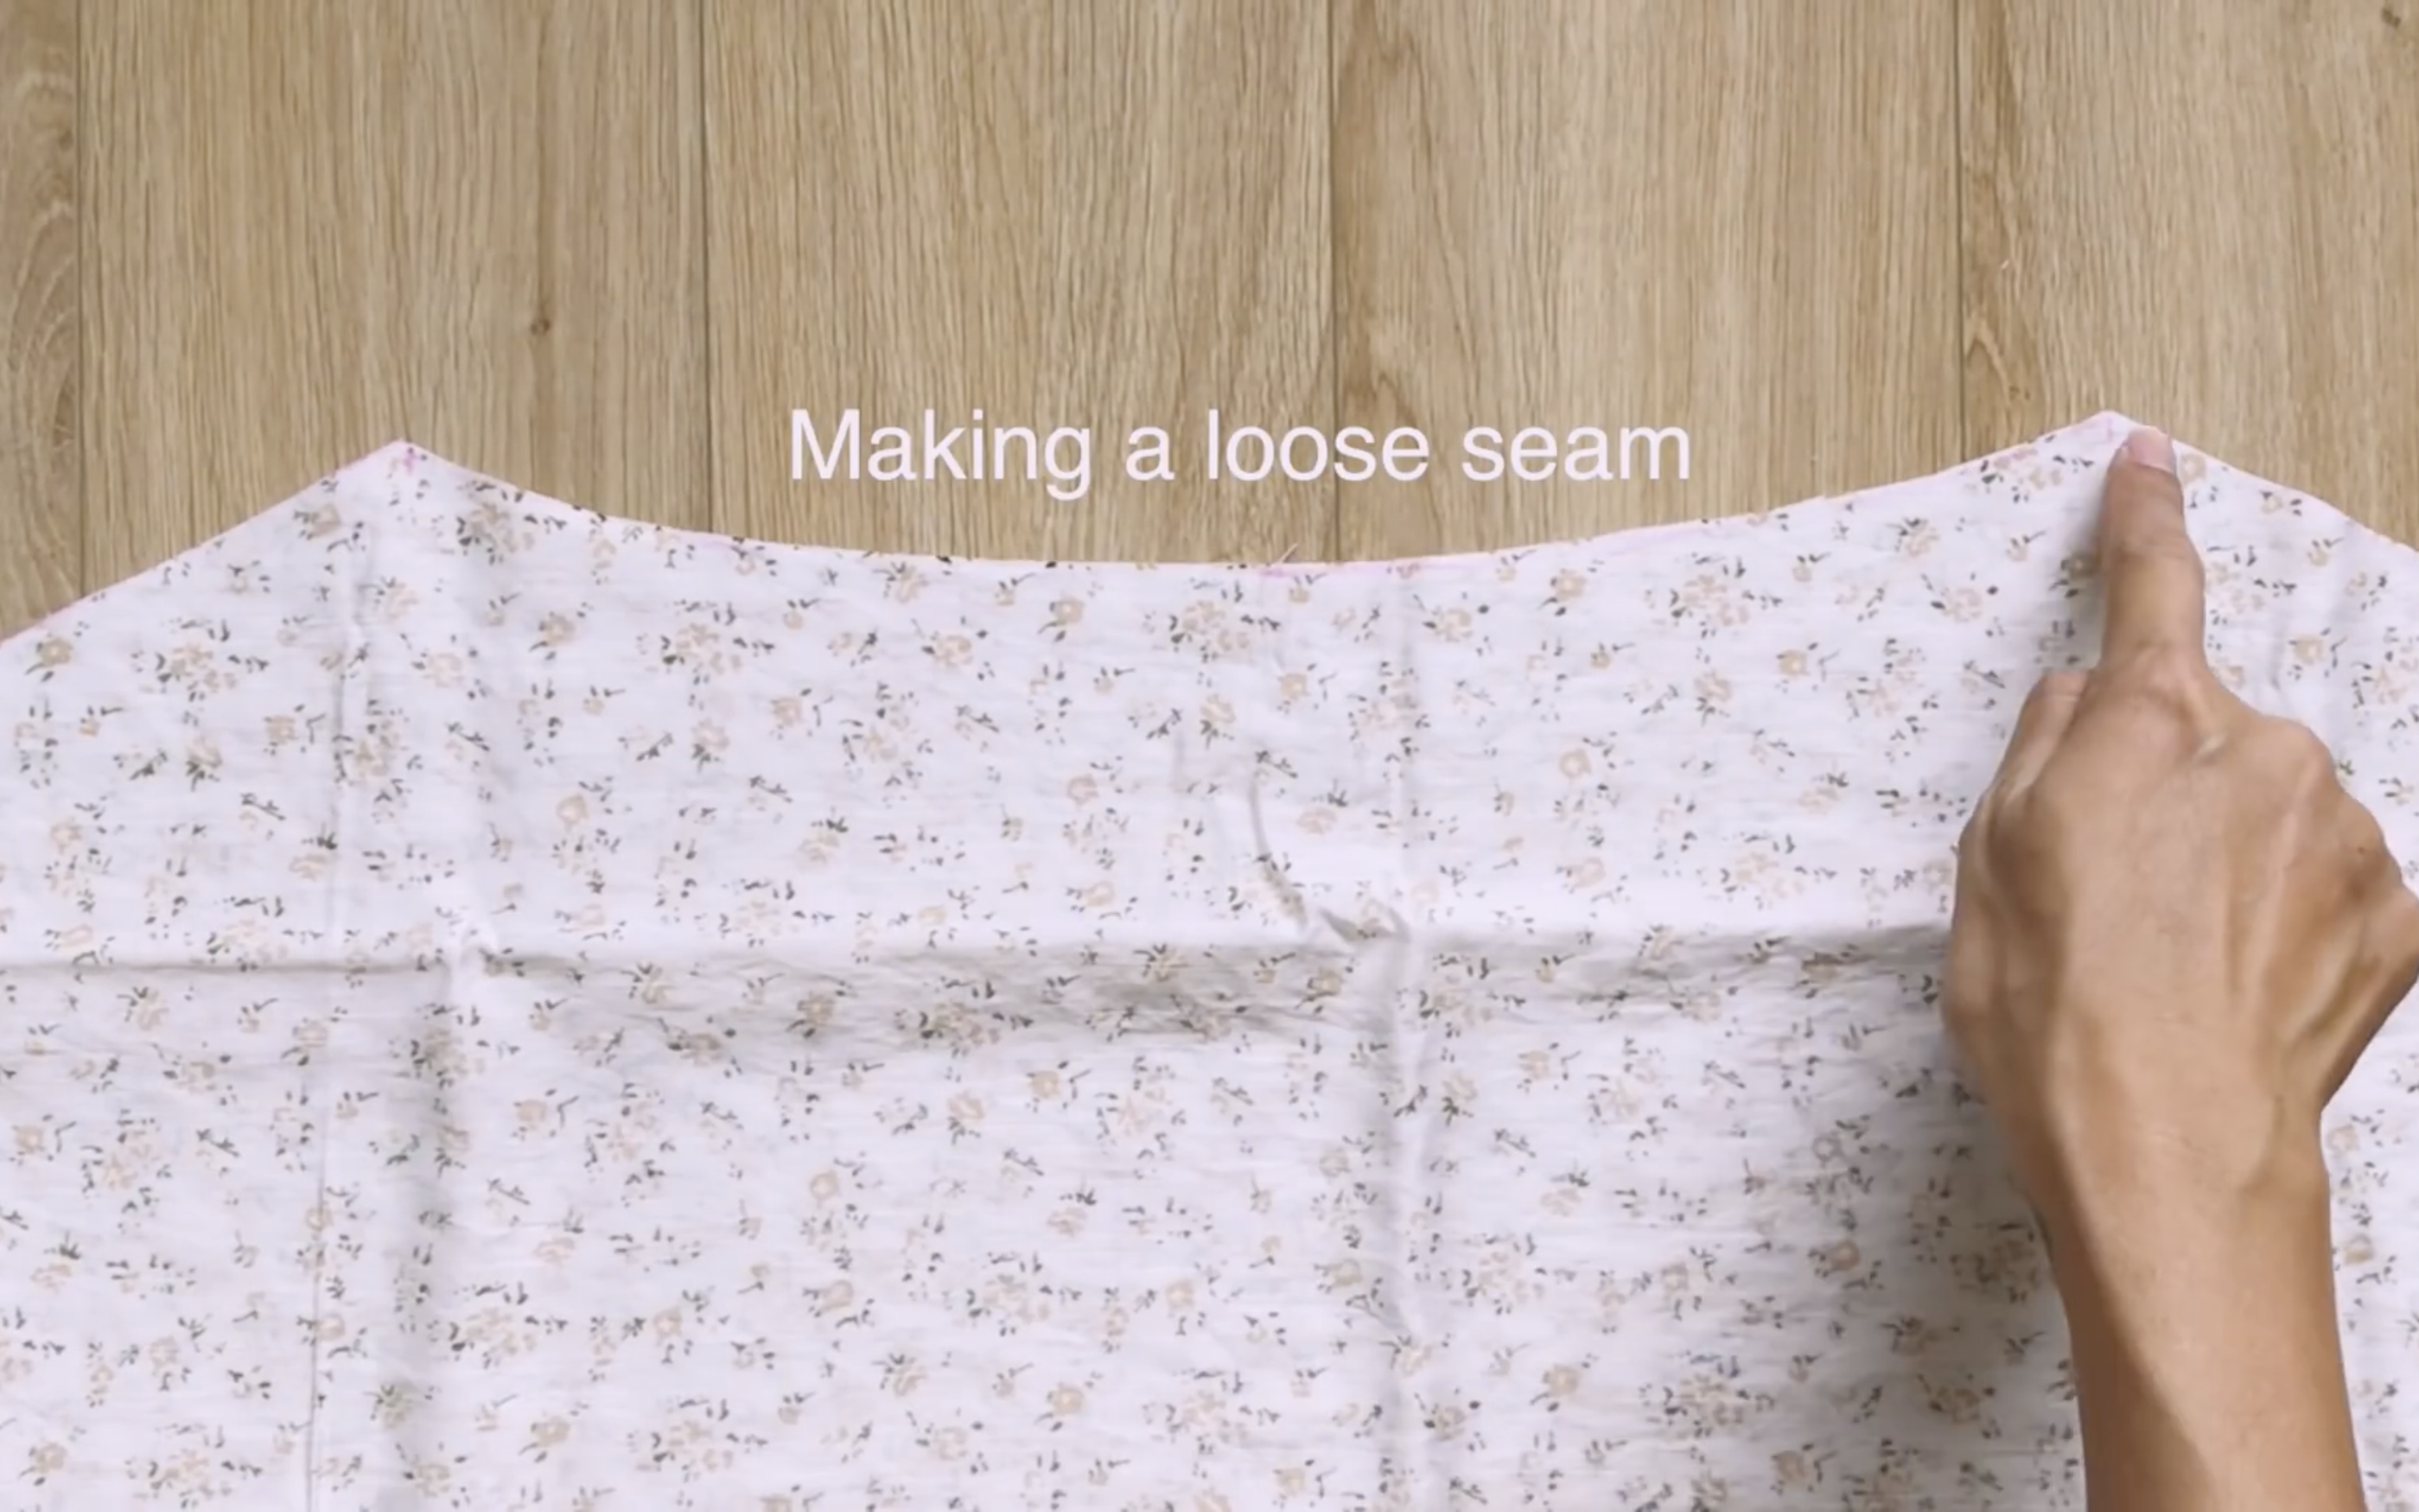
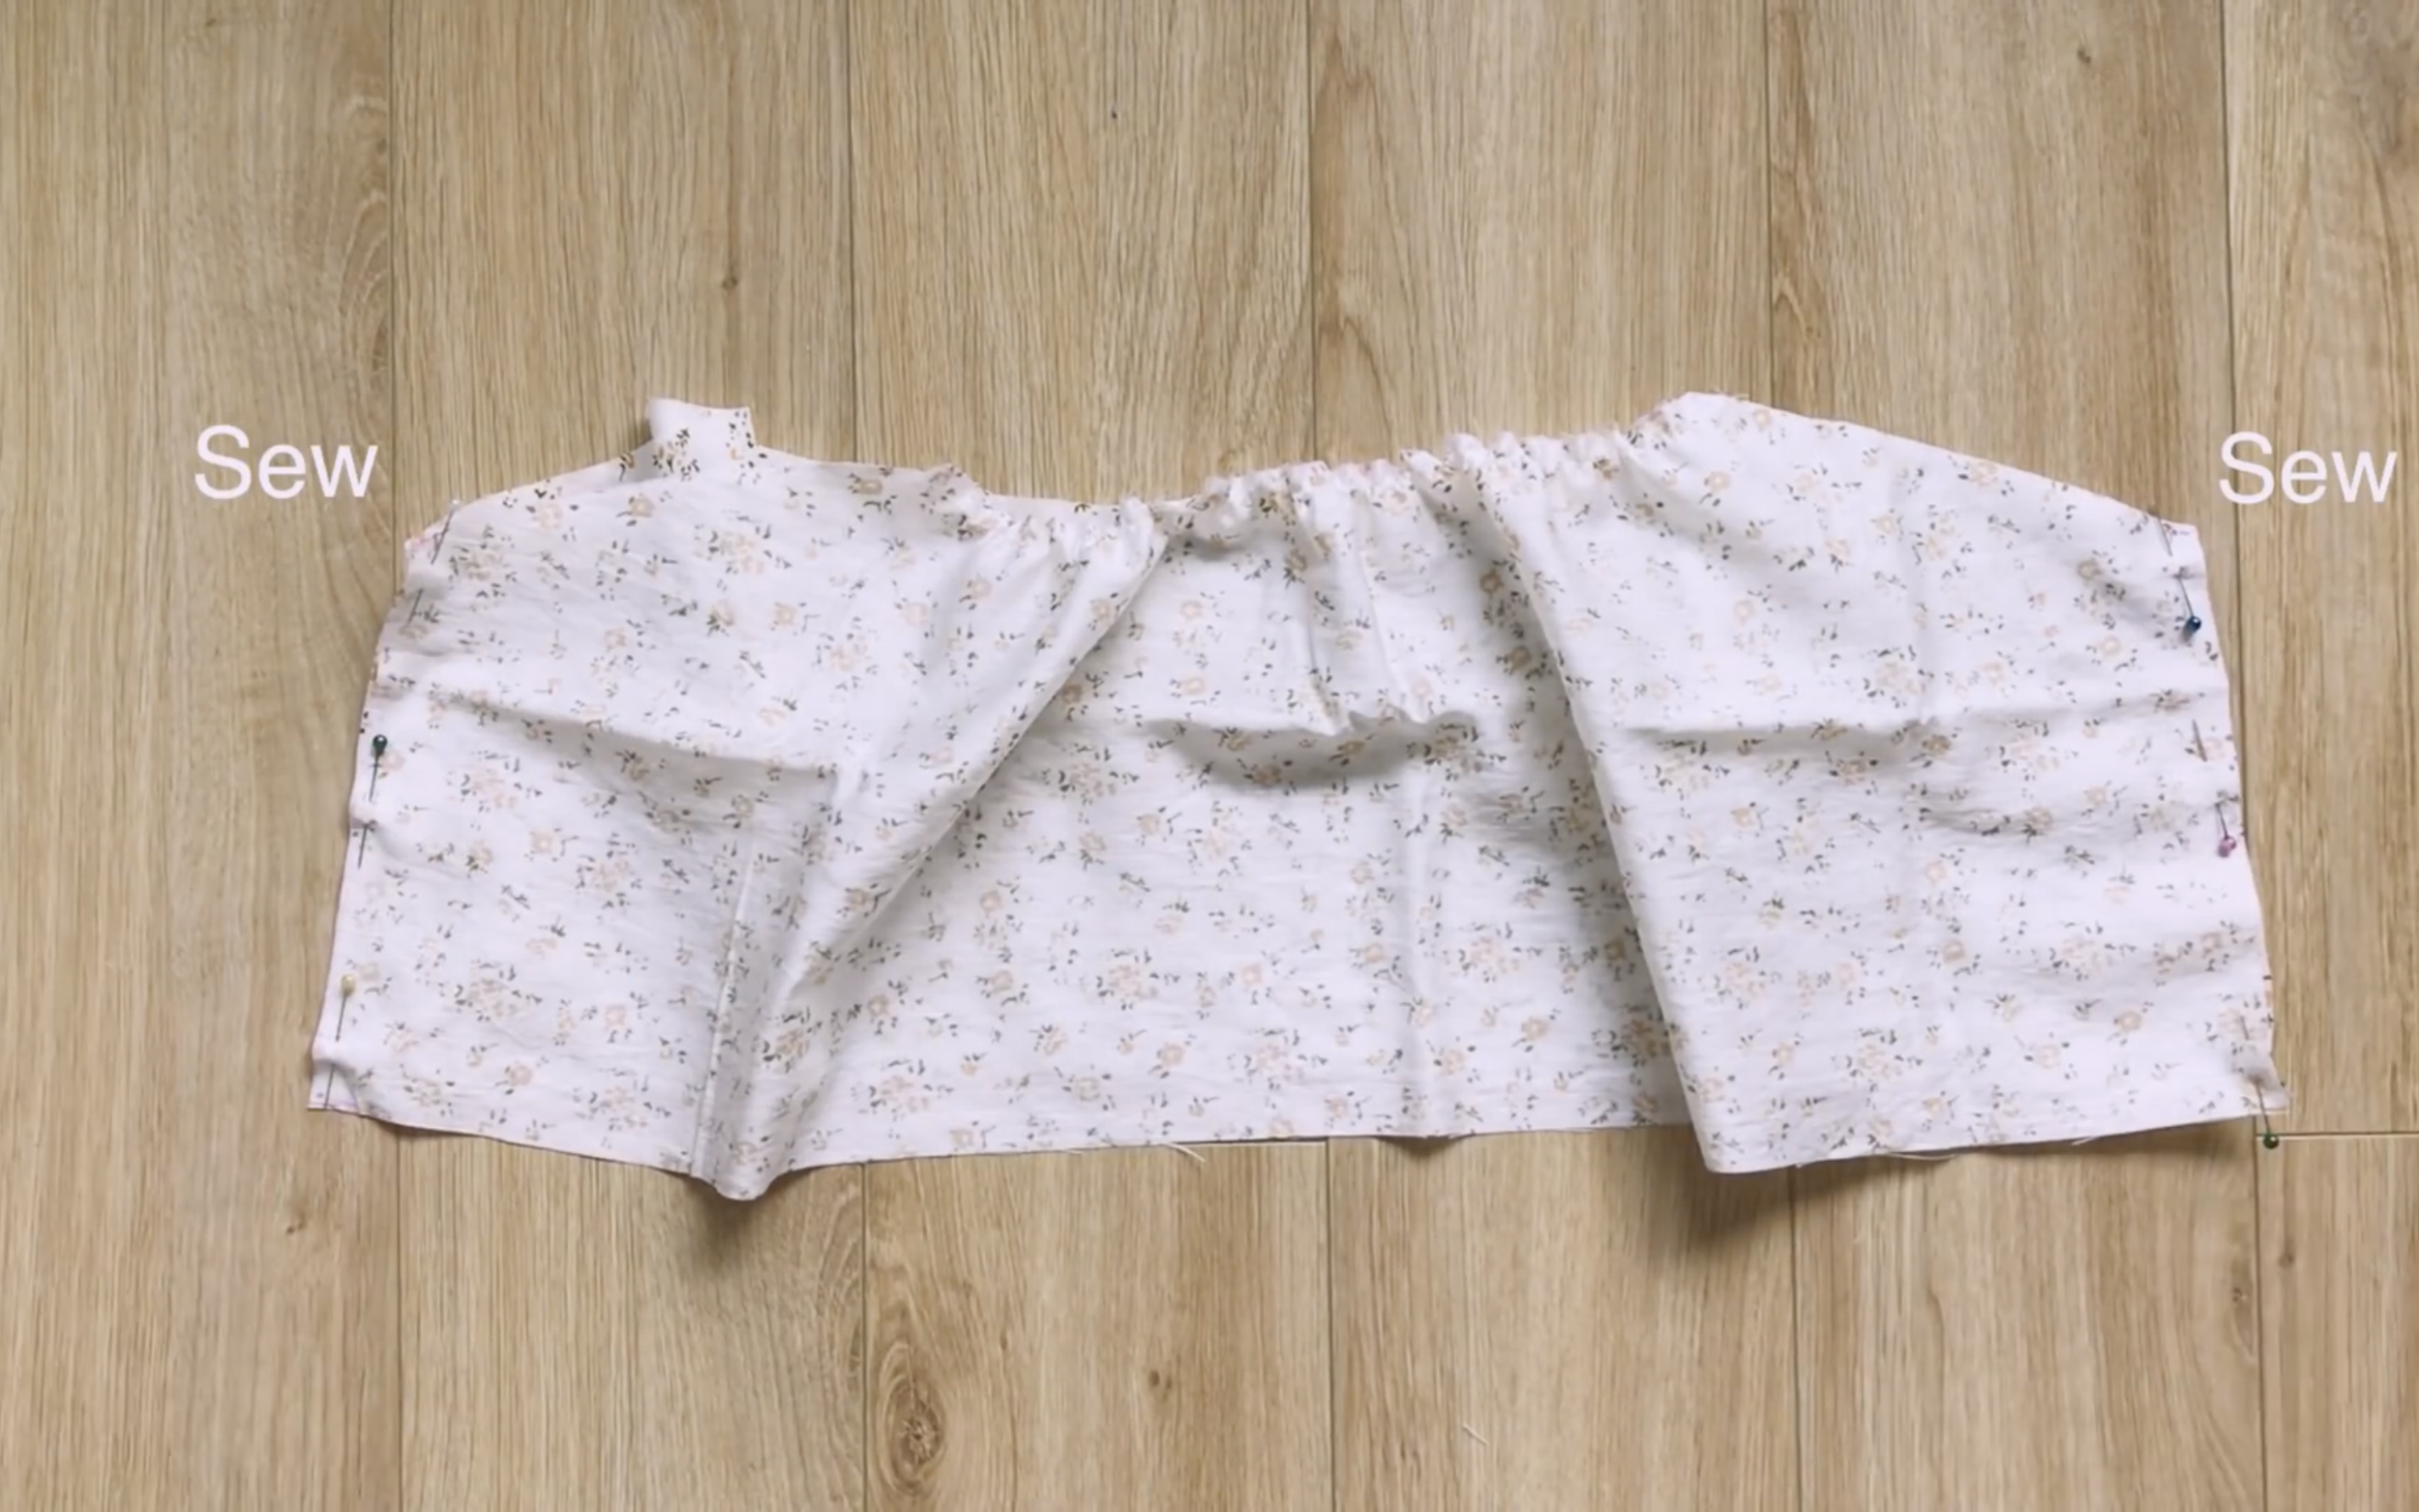
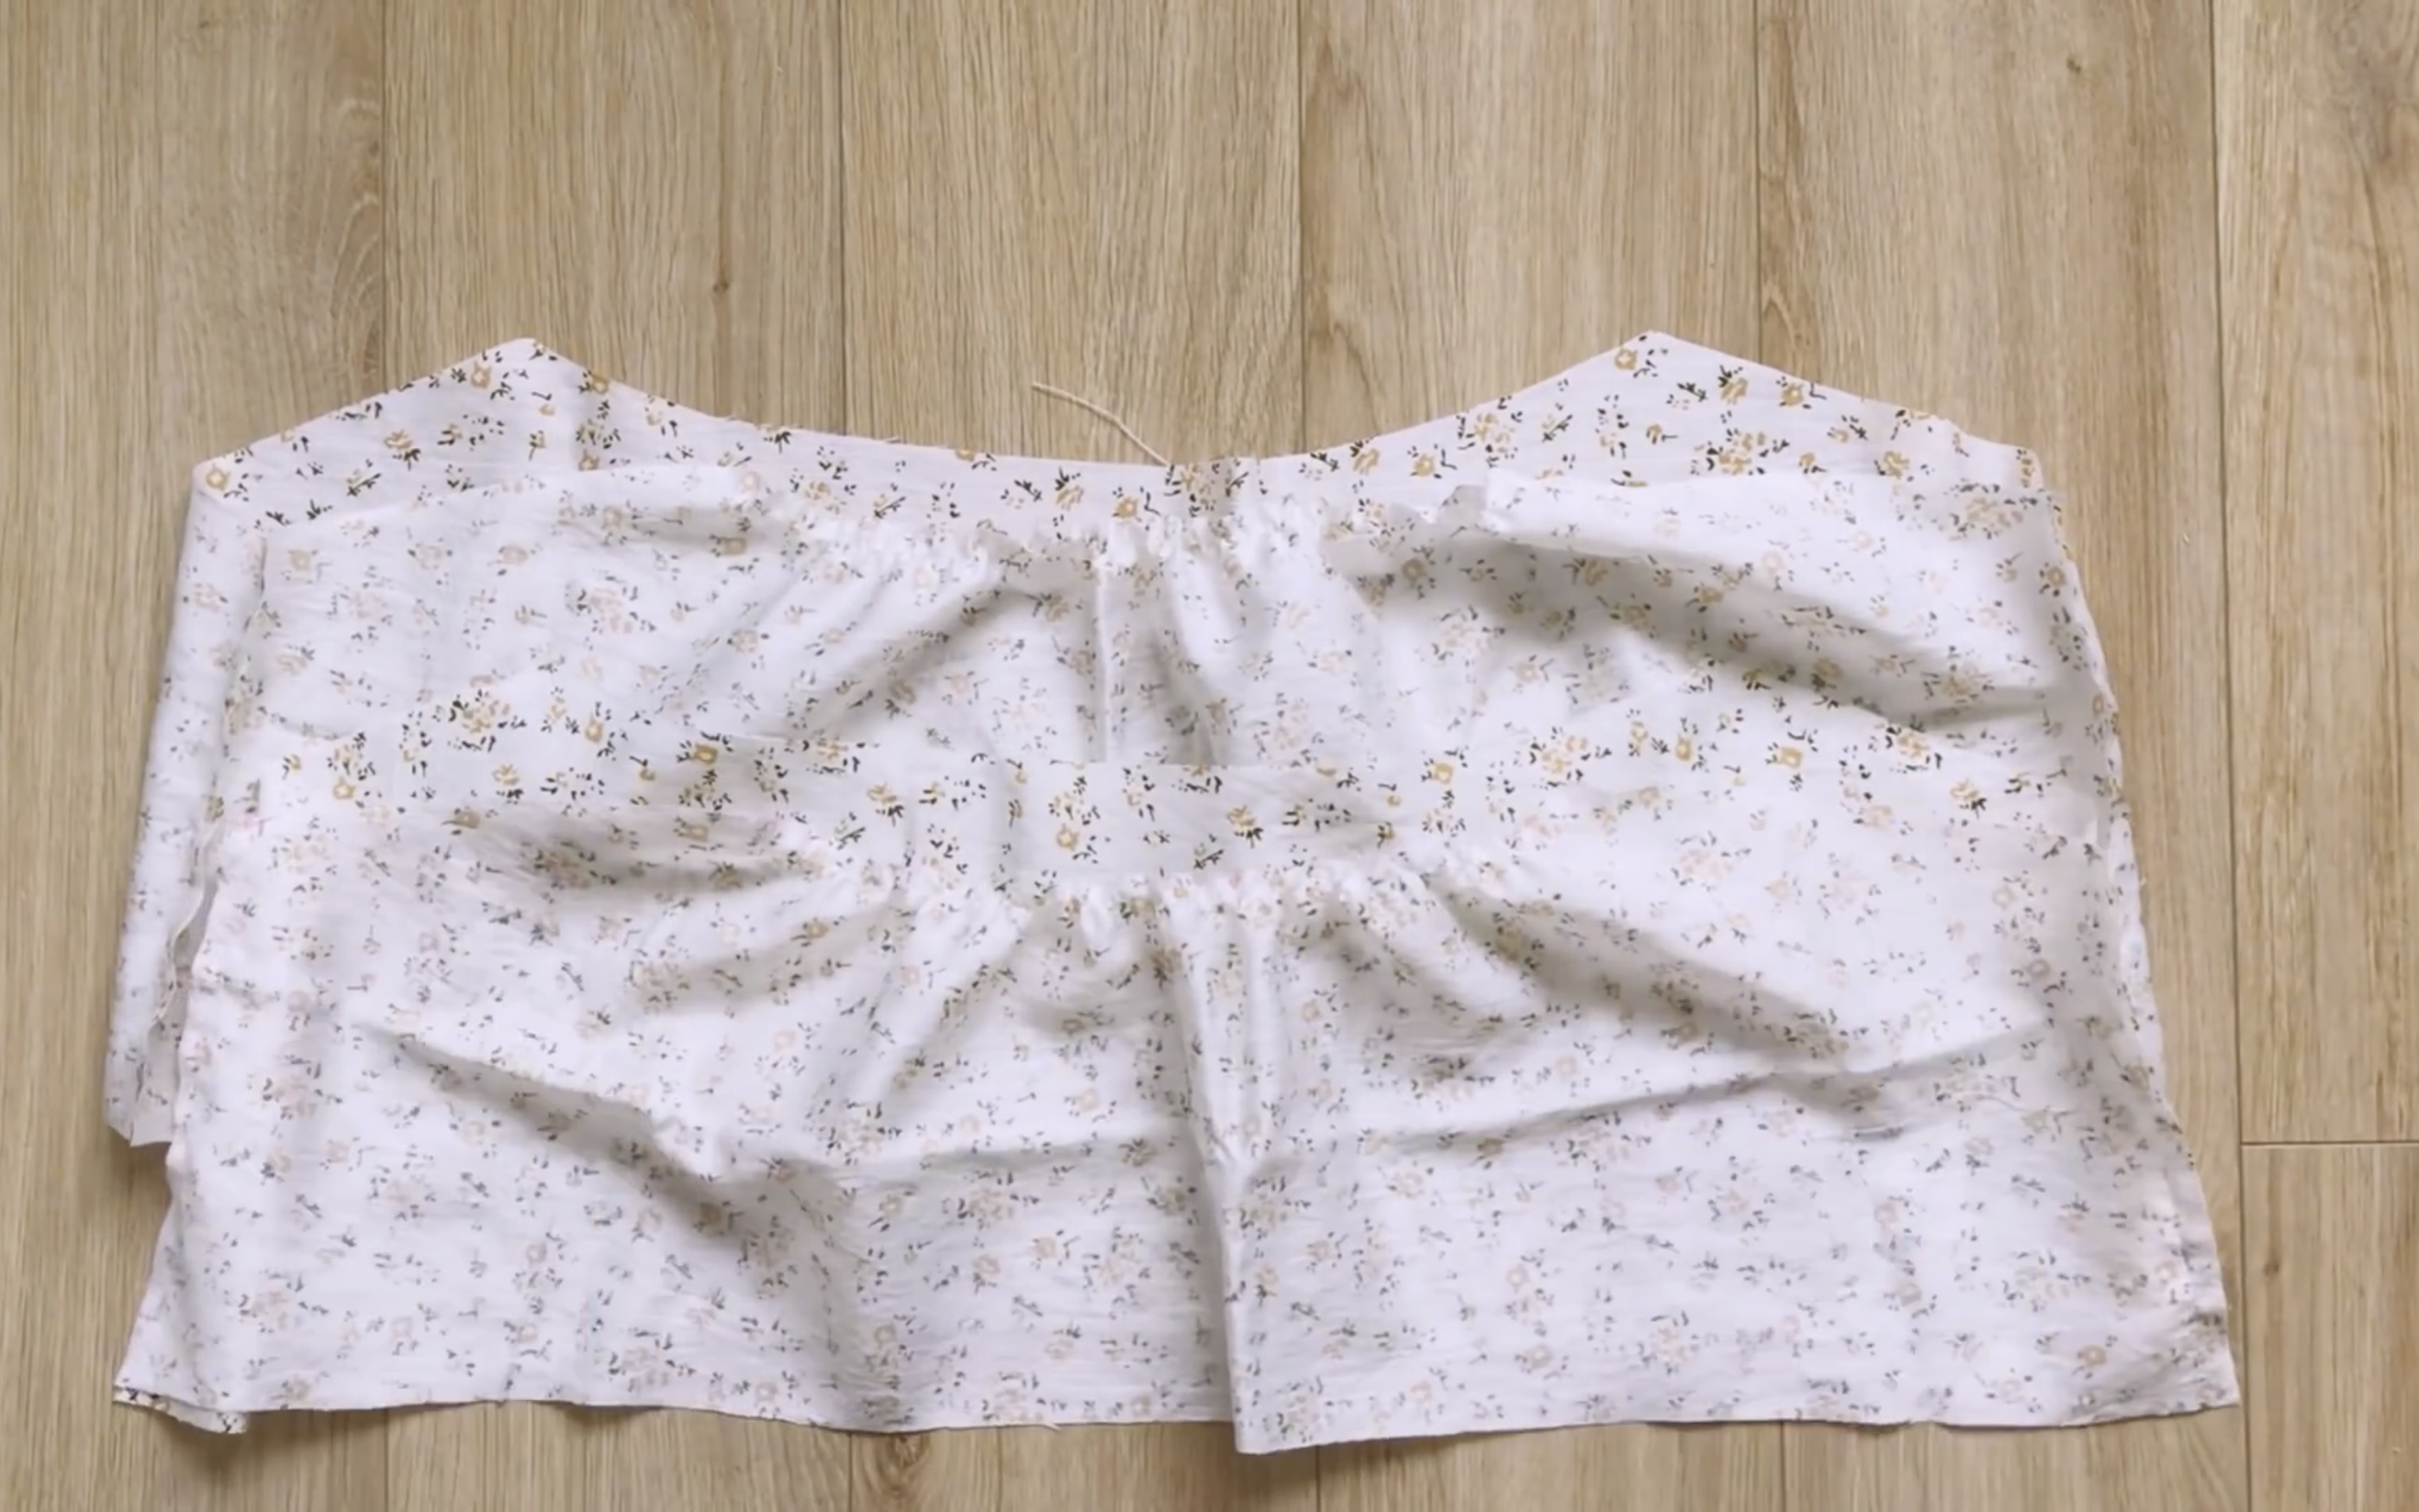
At the top curved line, make a loose seam first to create a puff later.
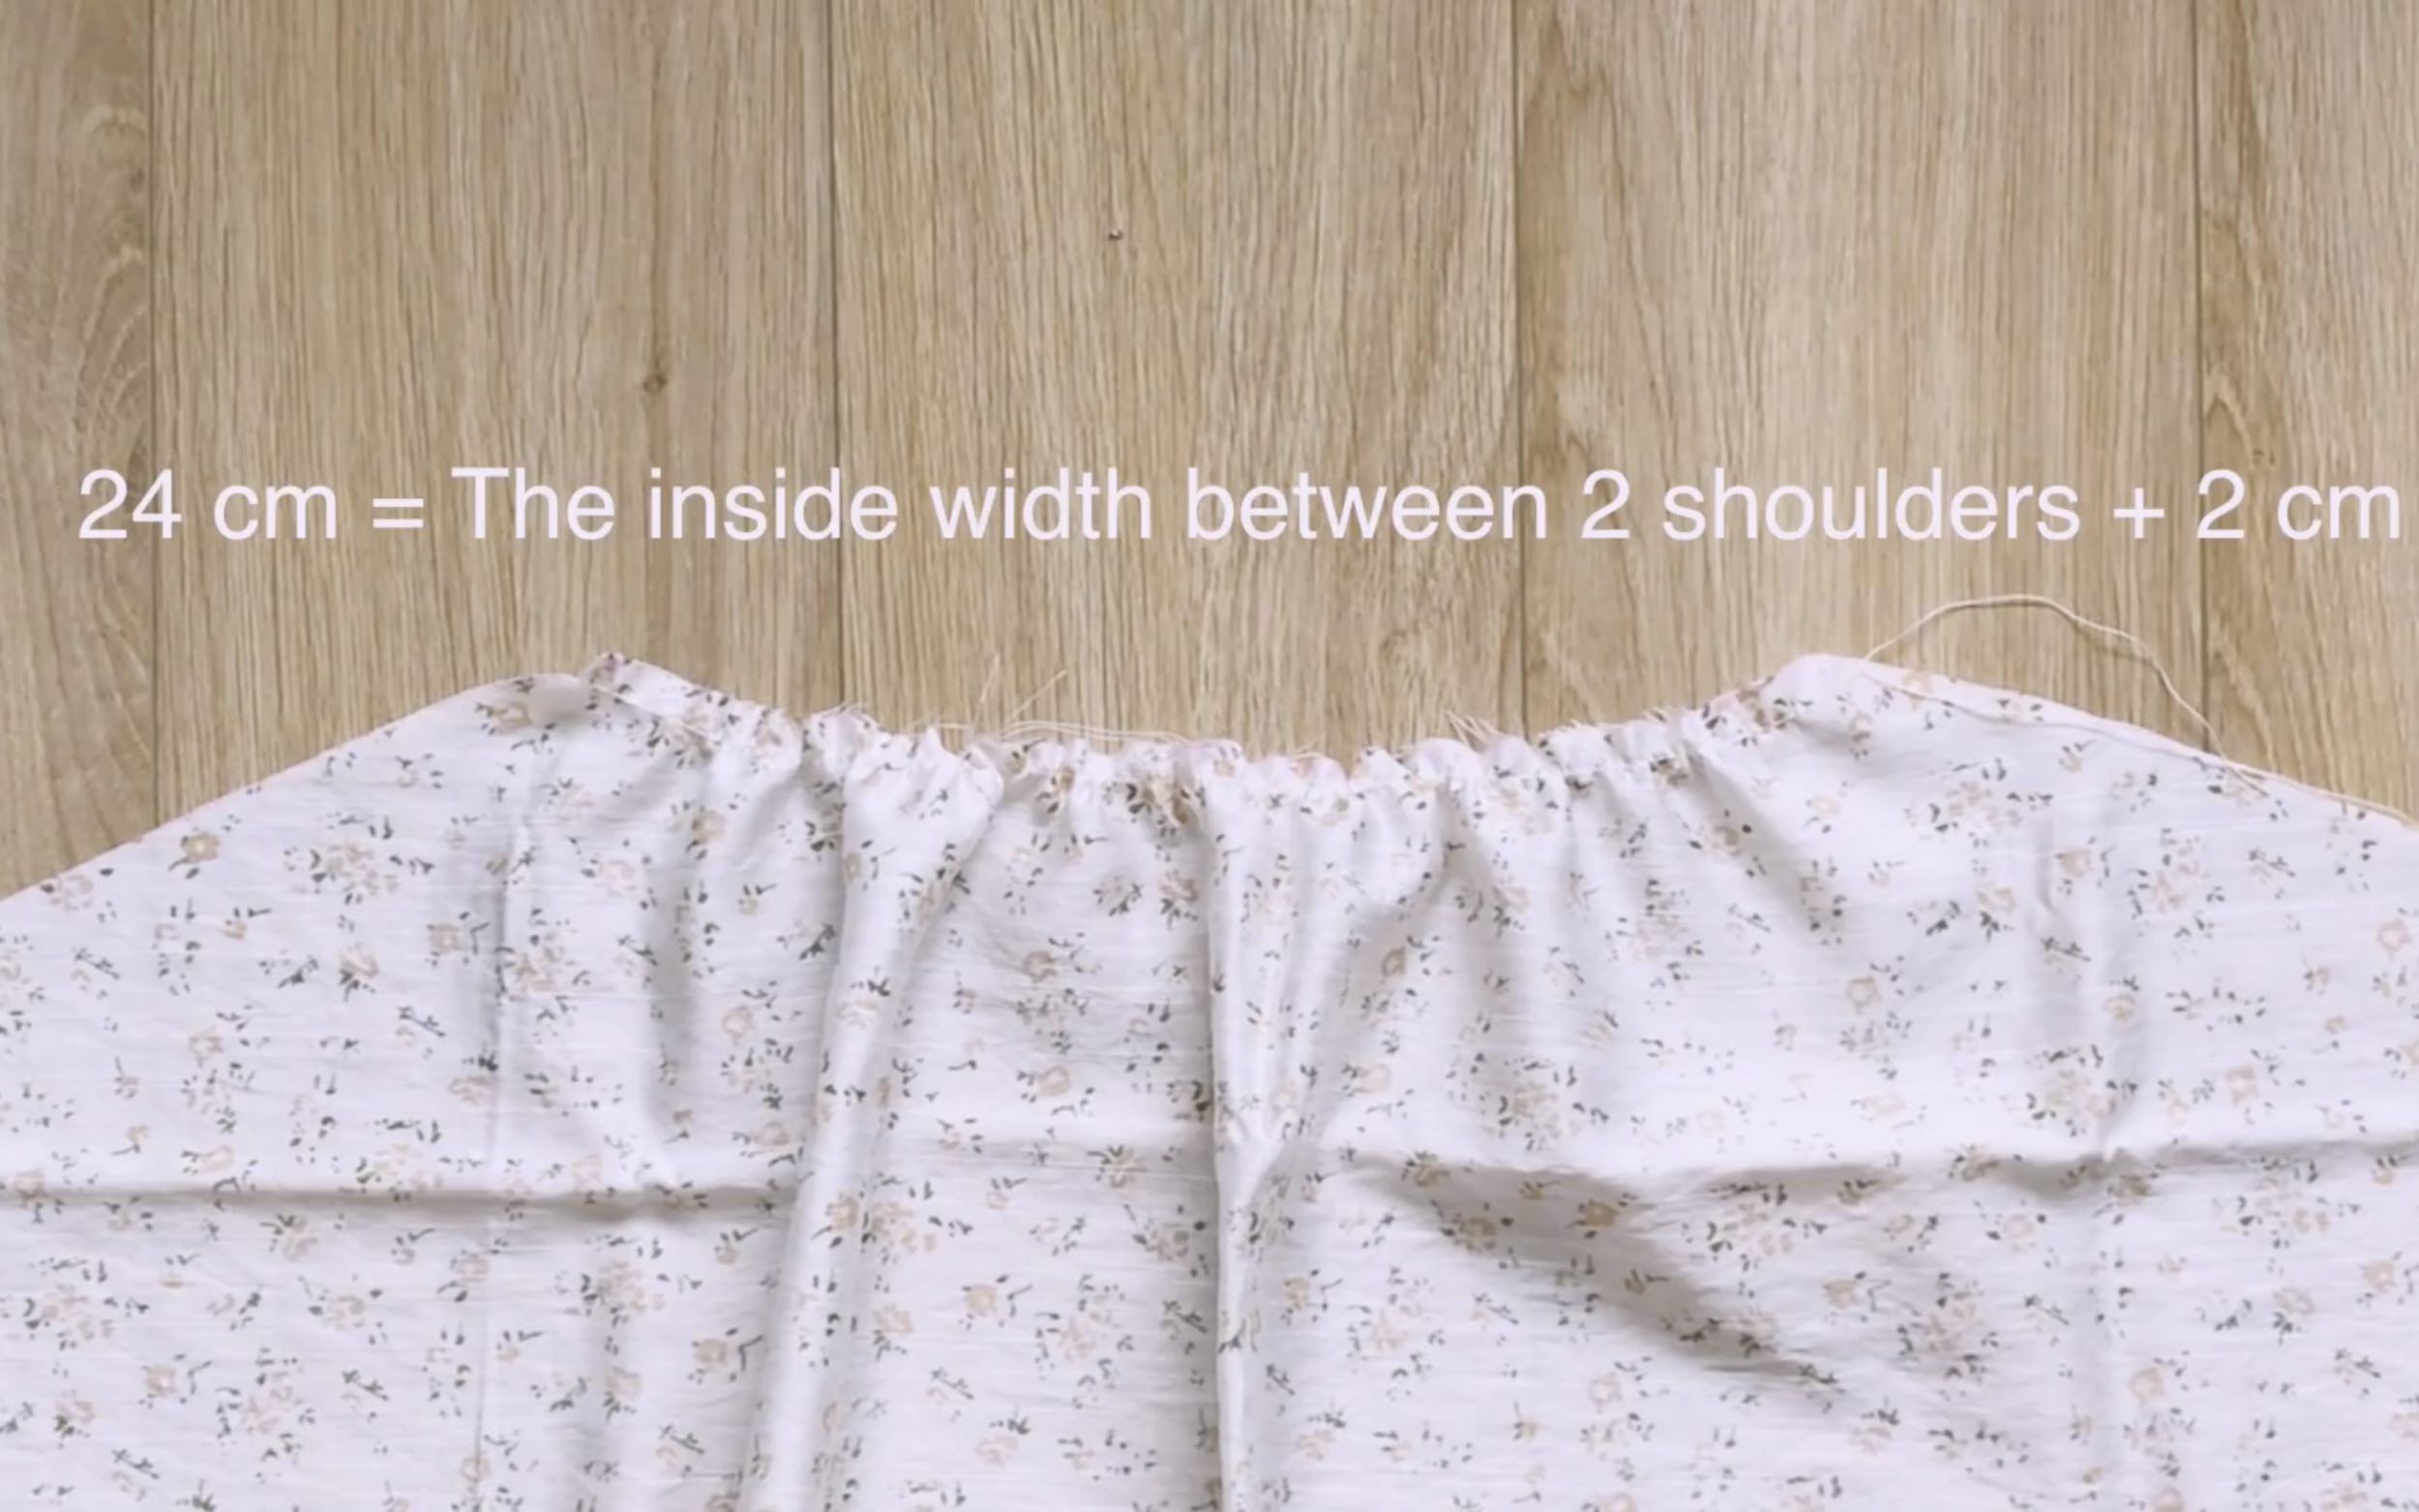
Make sure the final width is 24 cm, matching the shoulder width plus 2 cm.
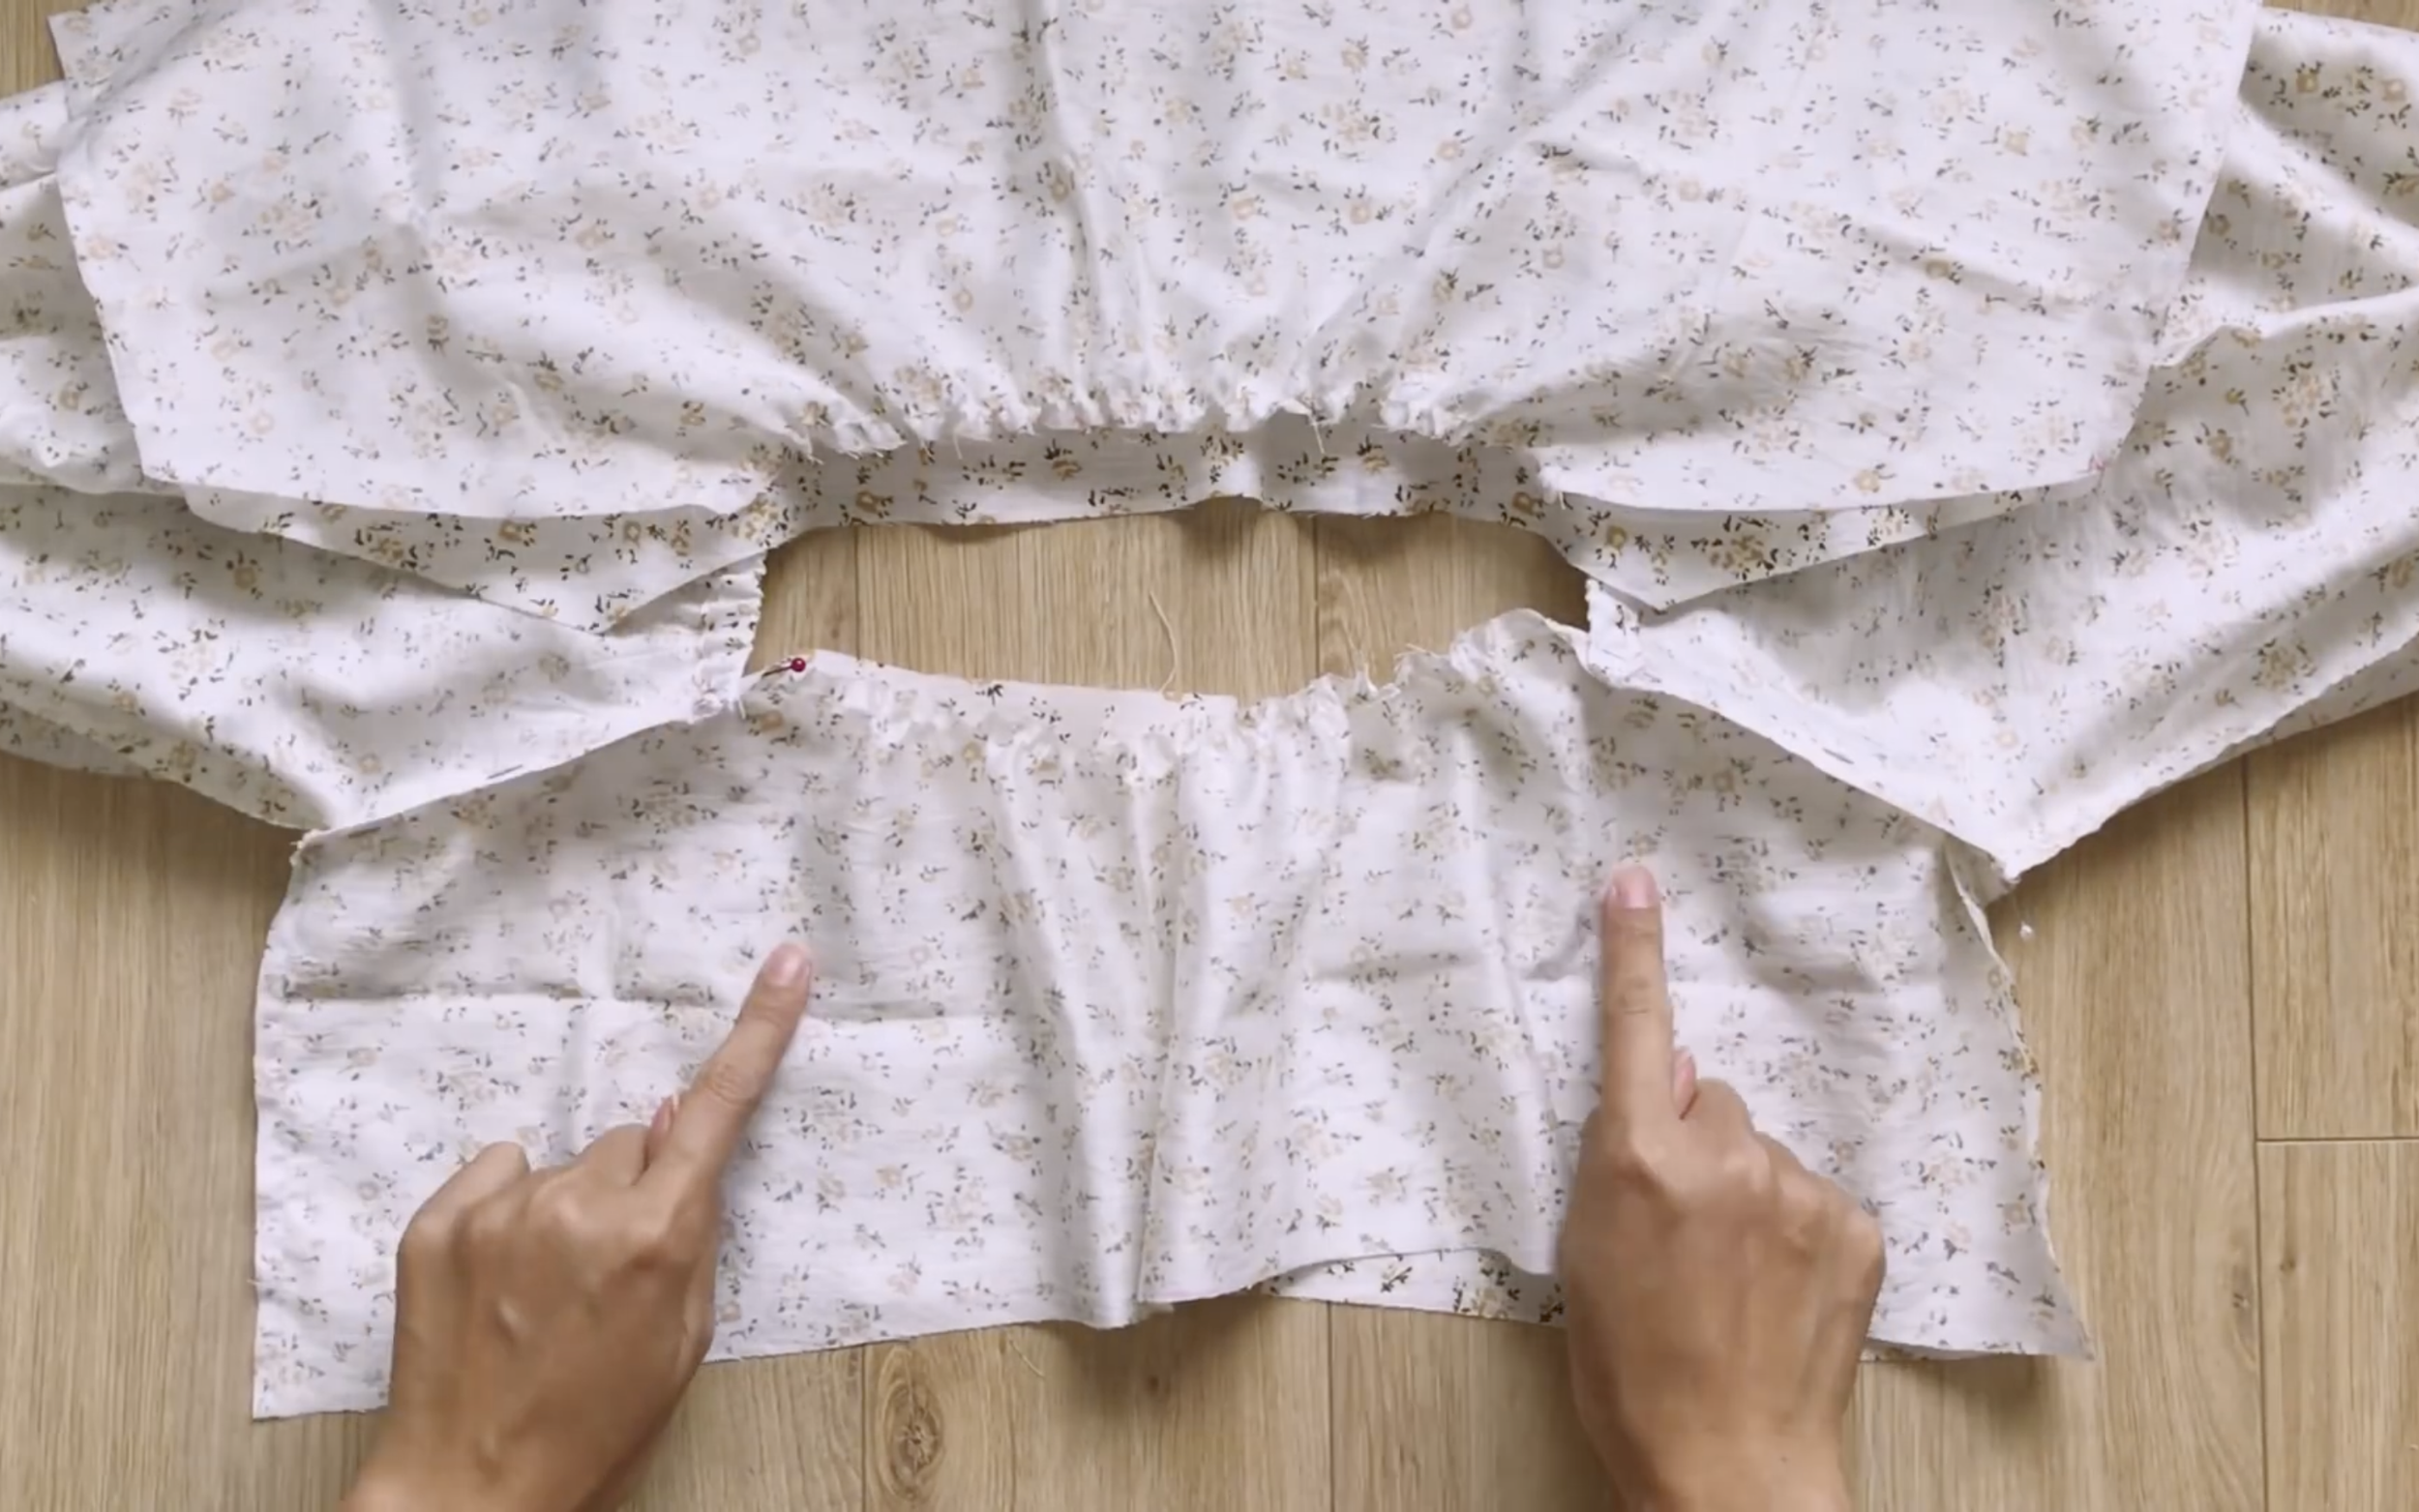
After that, connect this piece to the other side at the seams to finish the main bodice of the top.
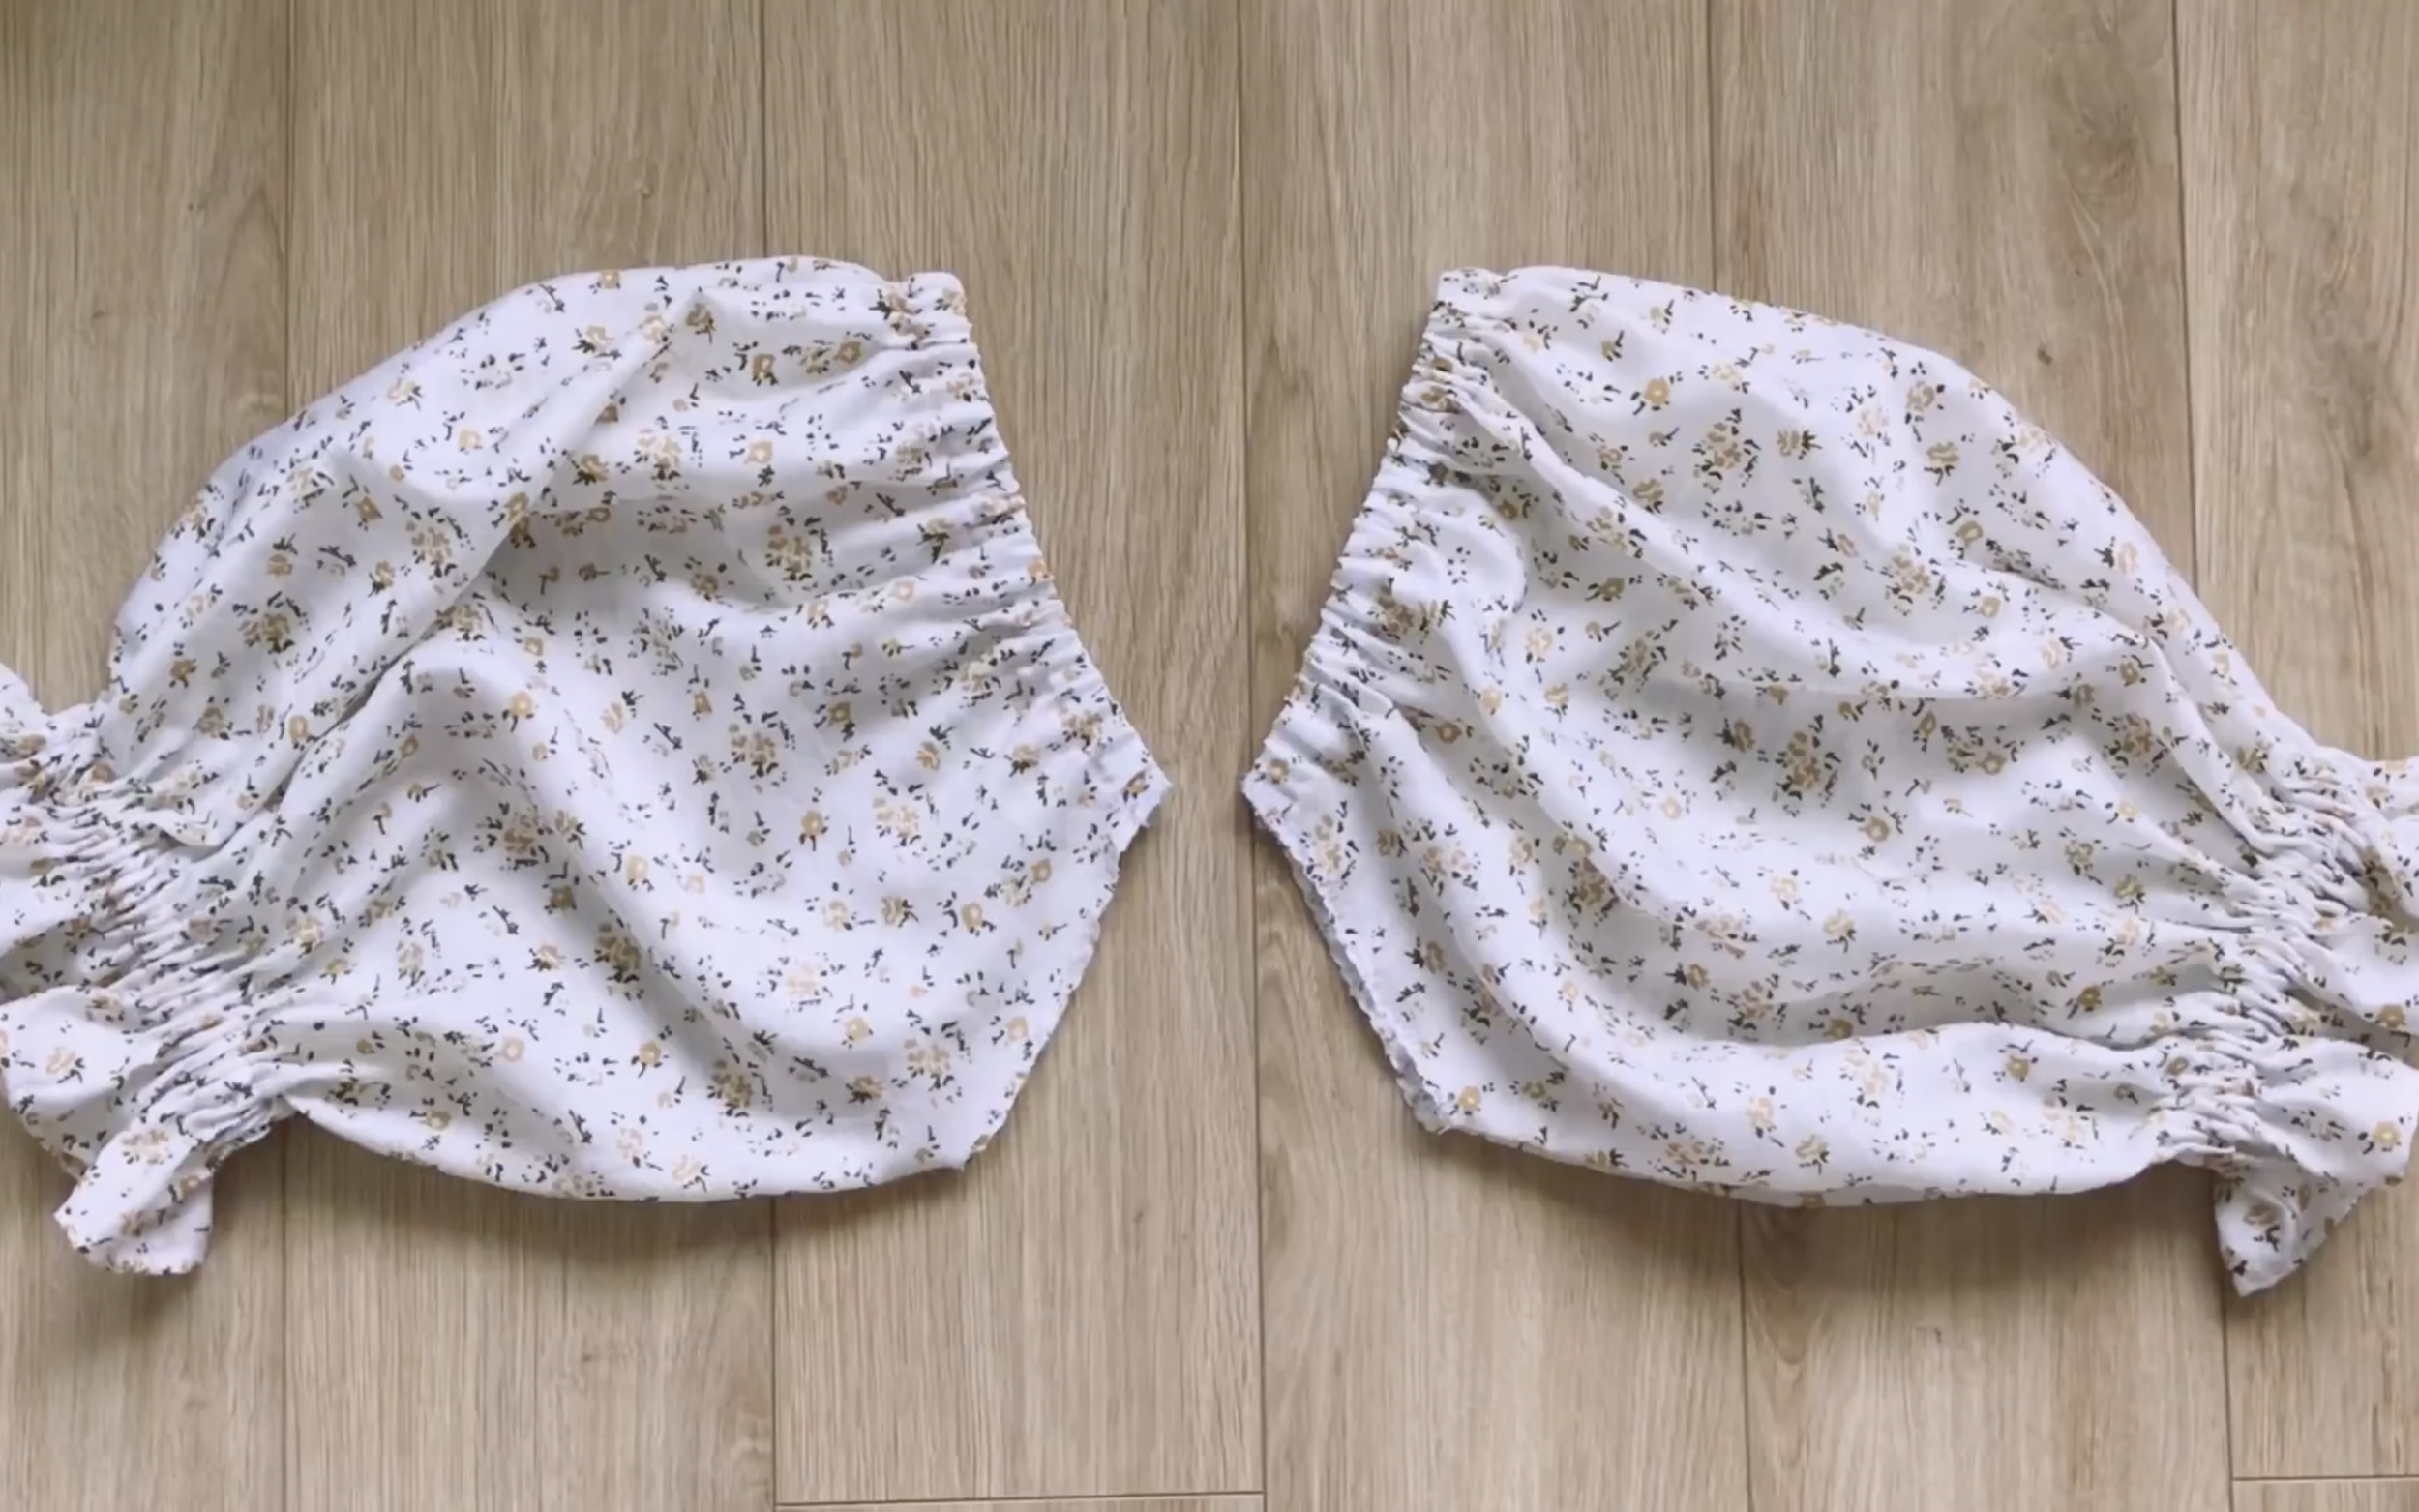
Make two pieces like this.
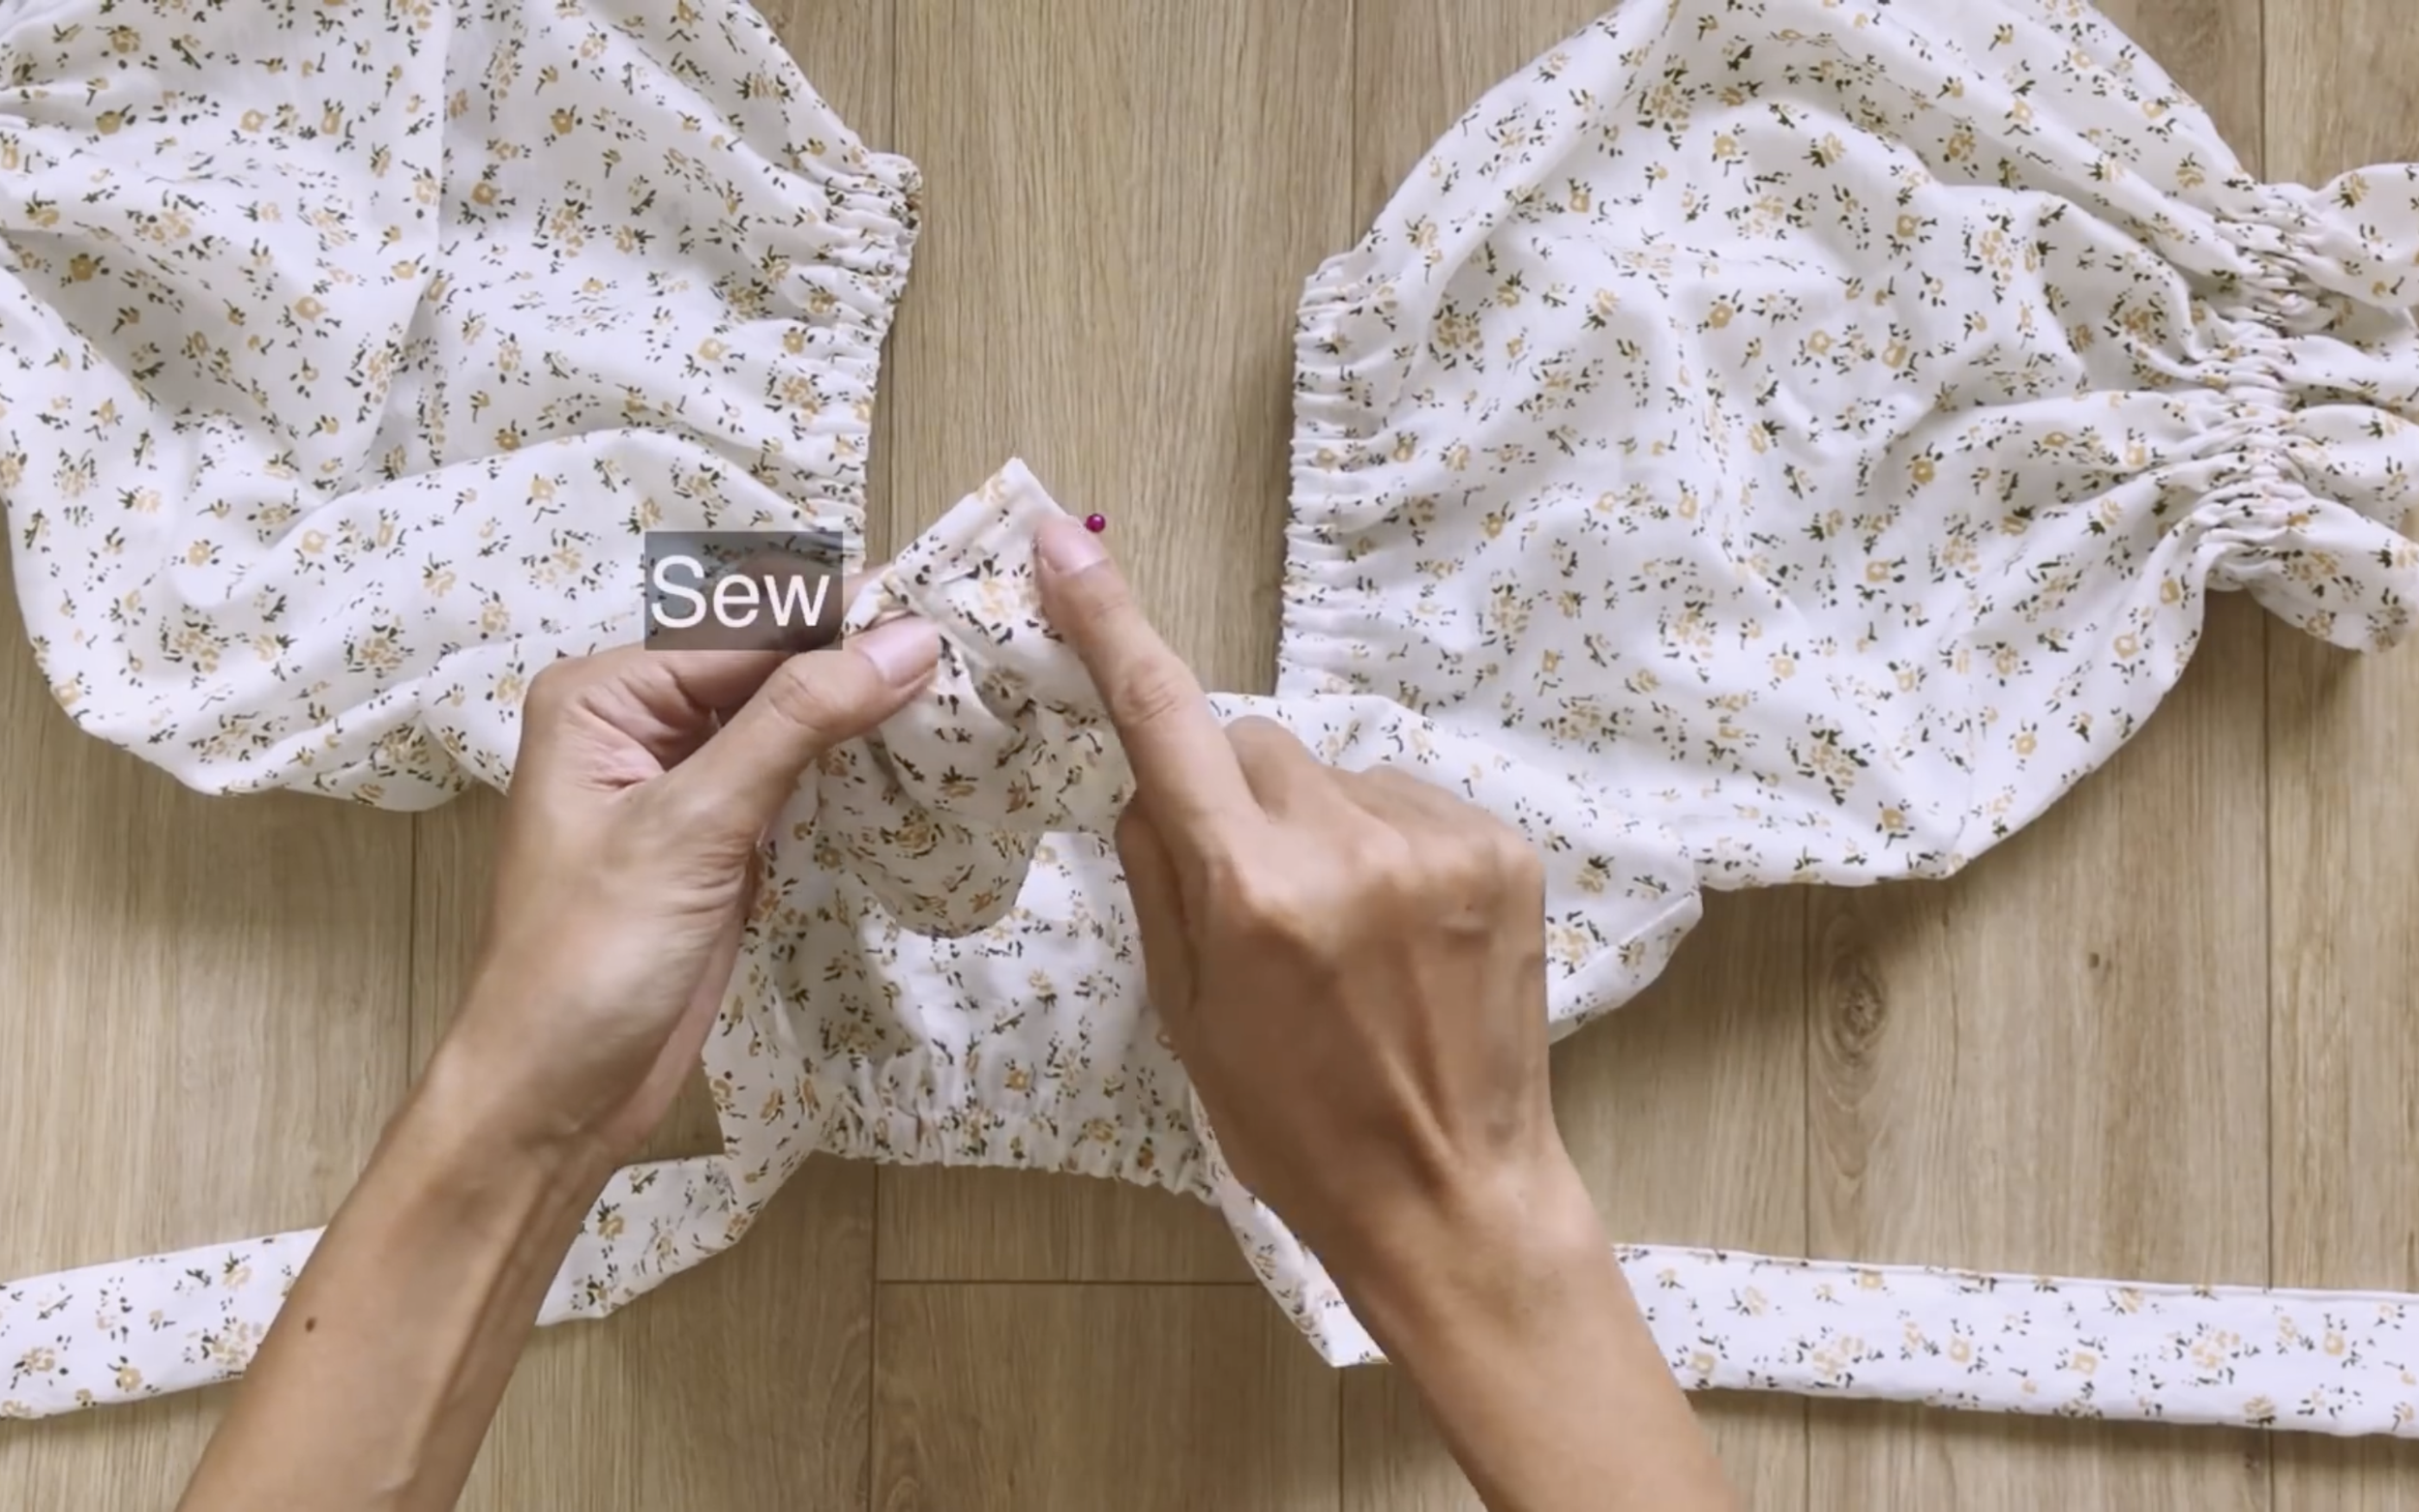
THE TOP
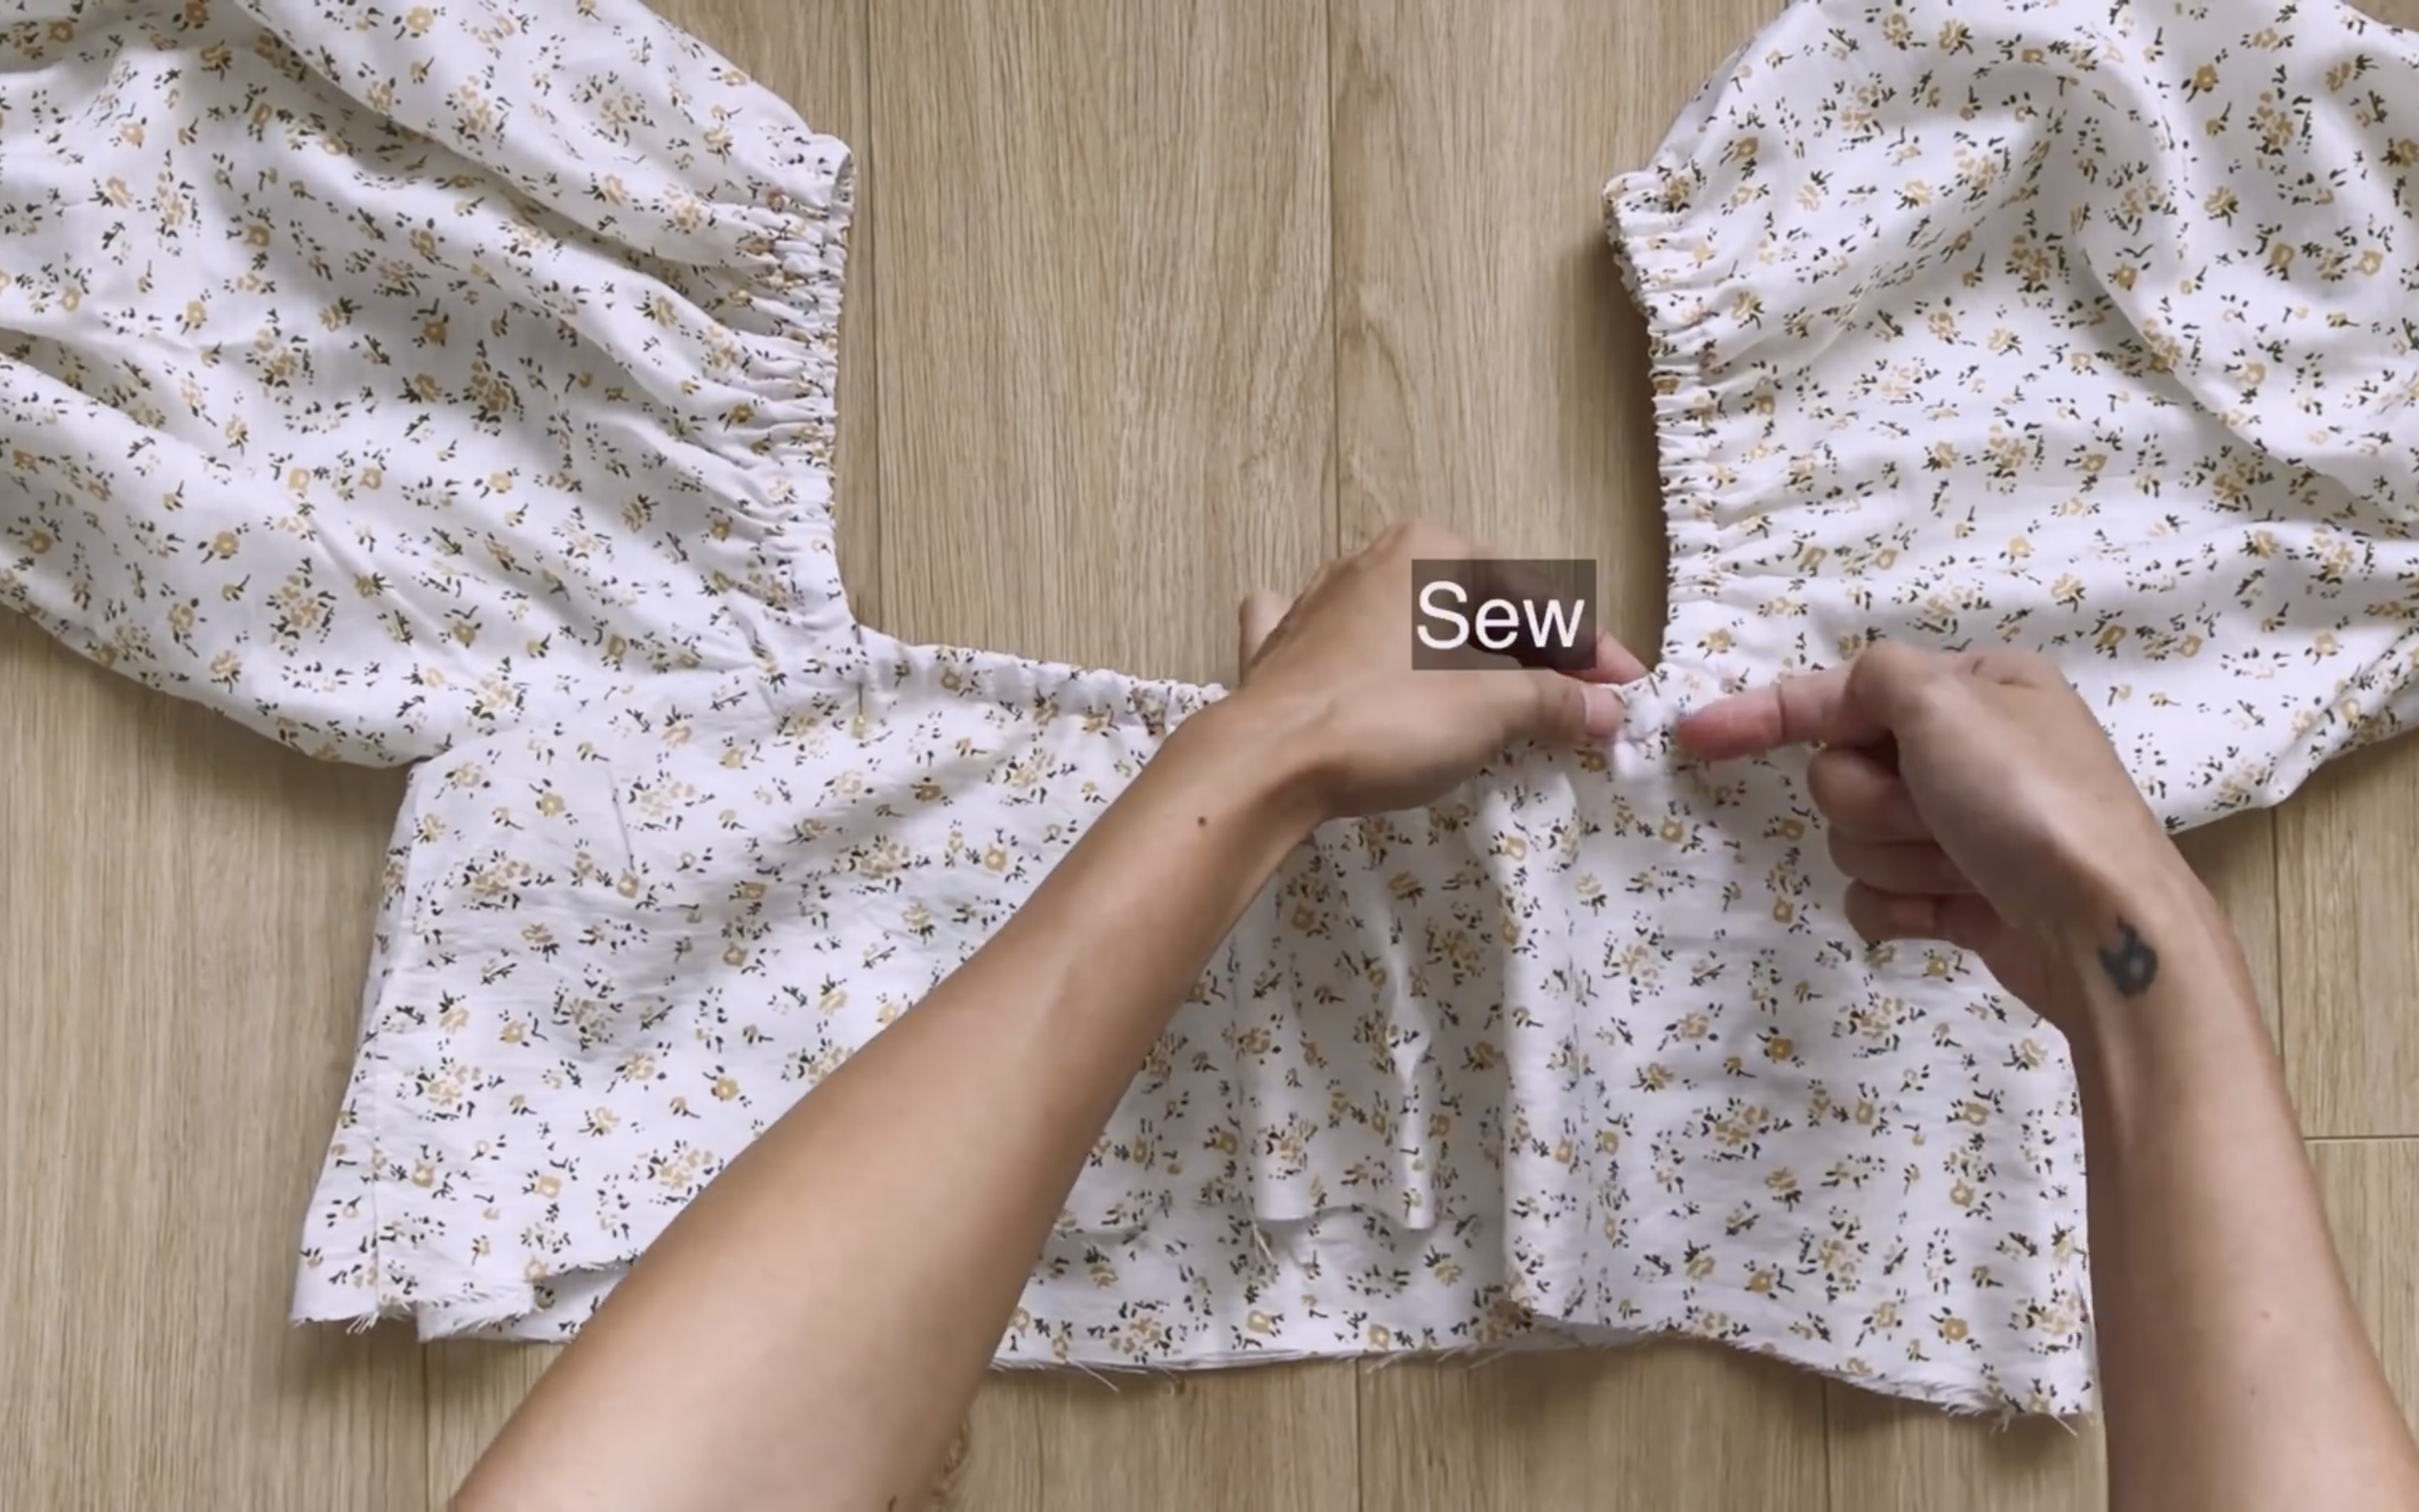
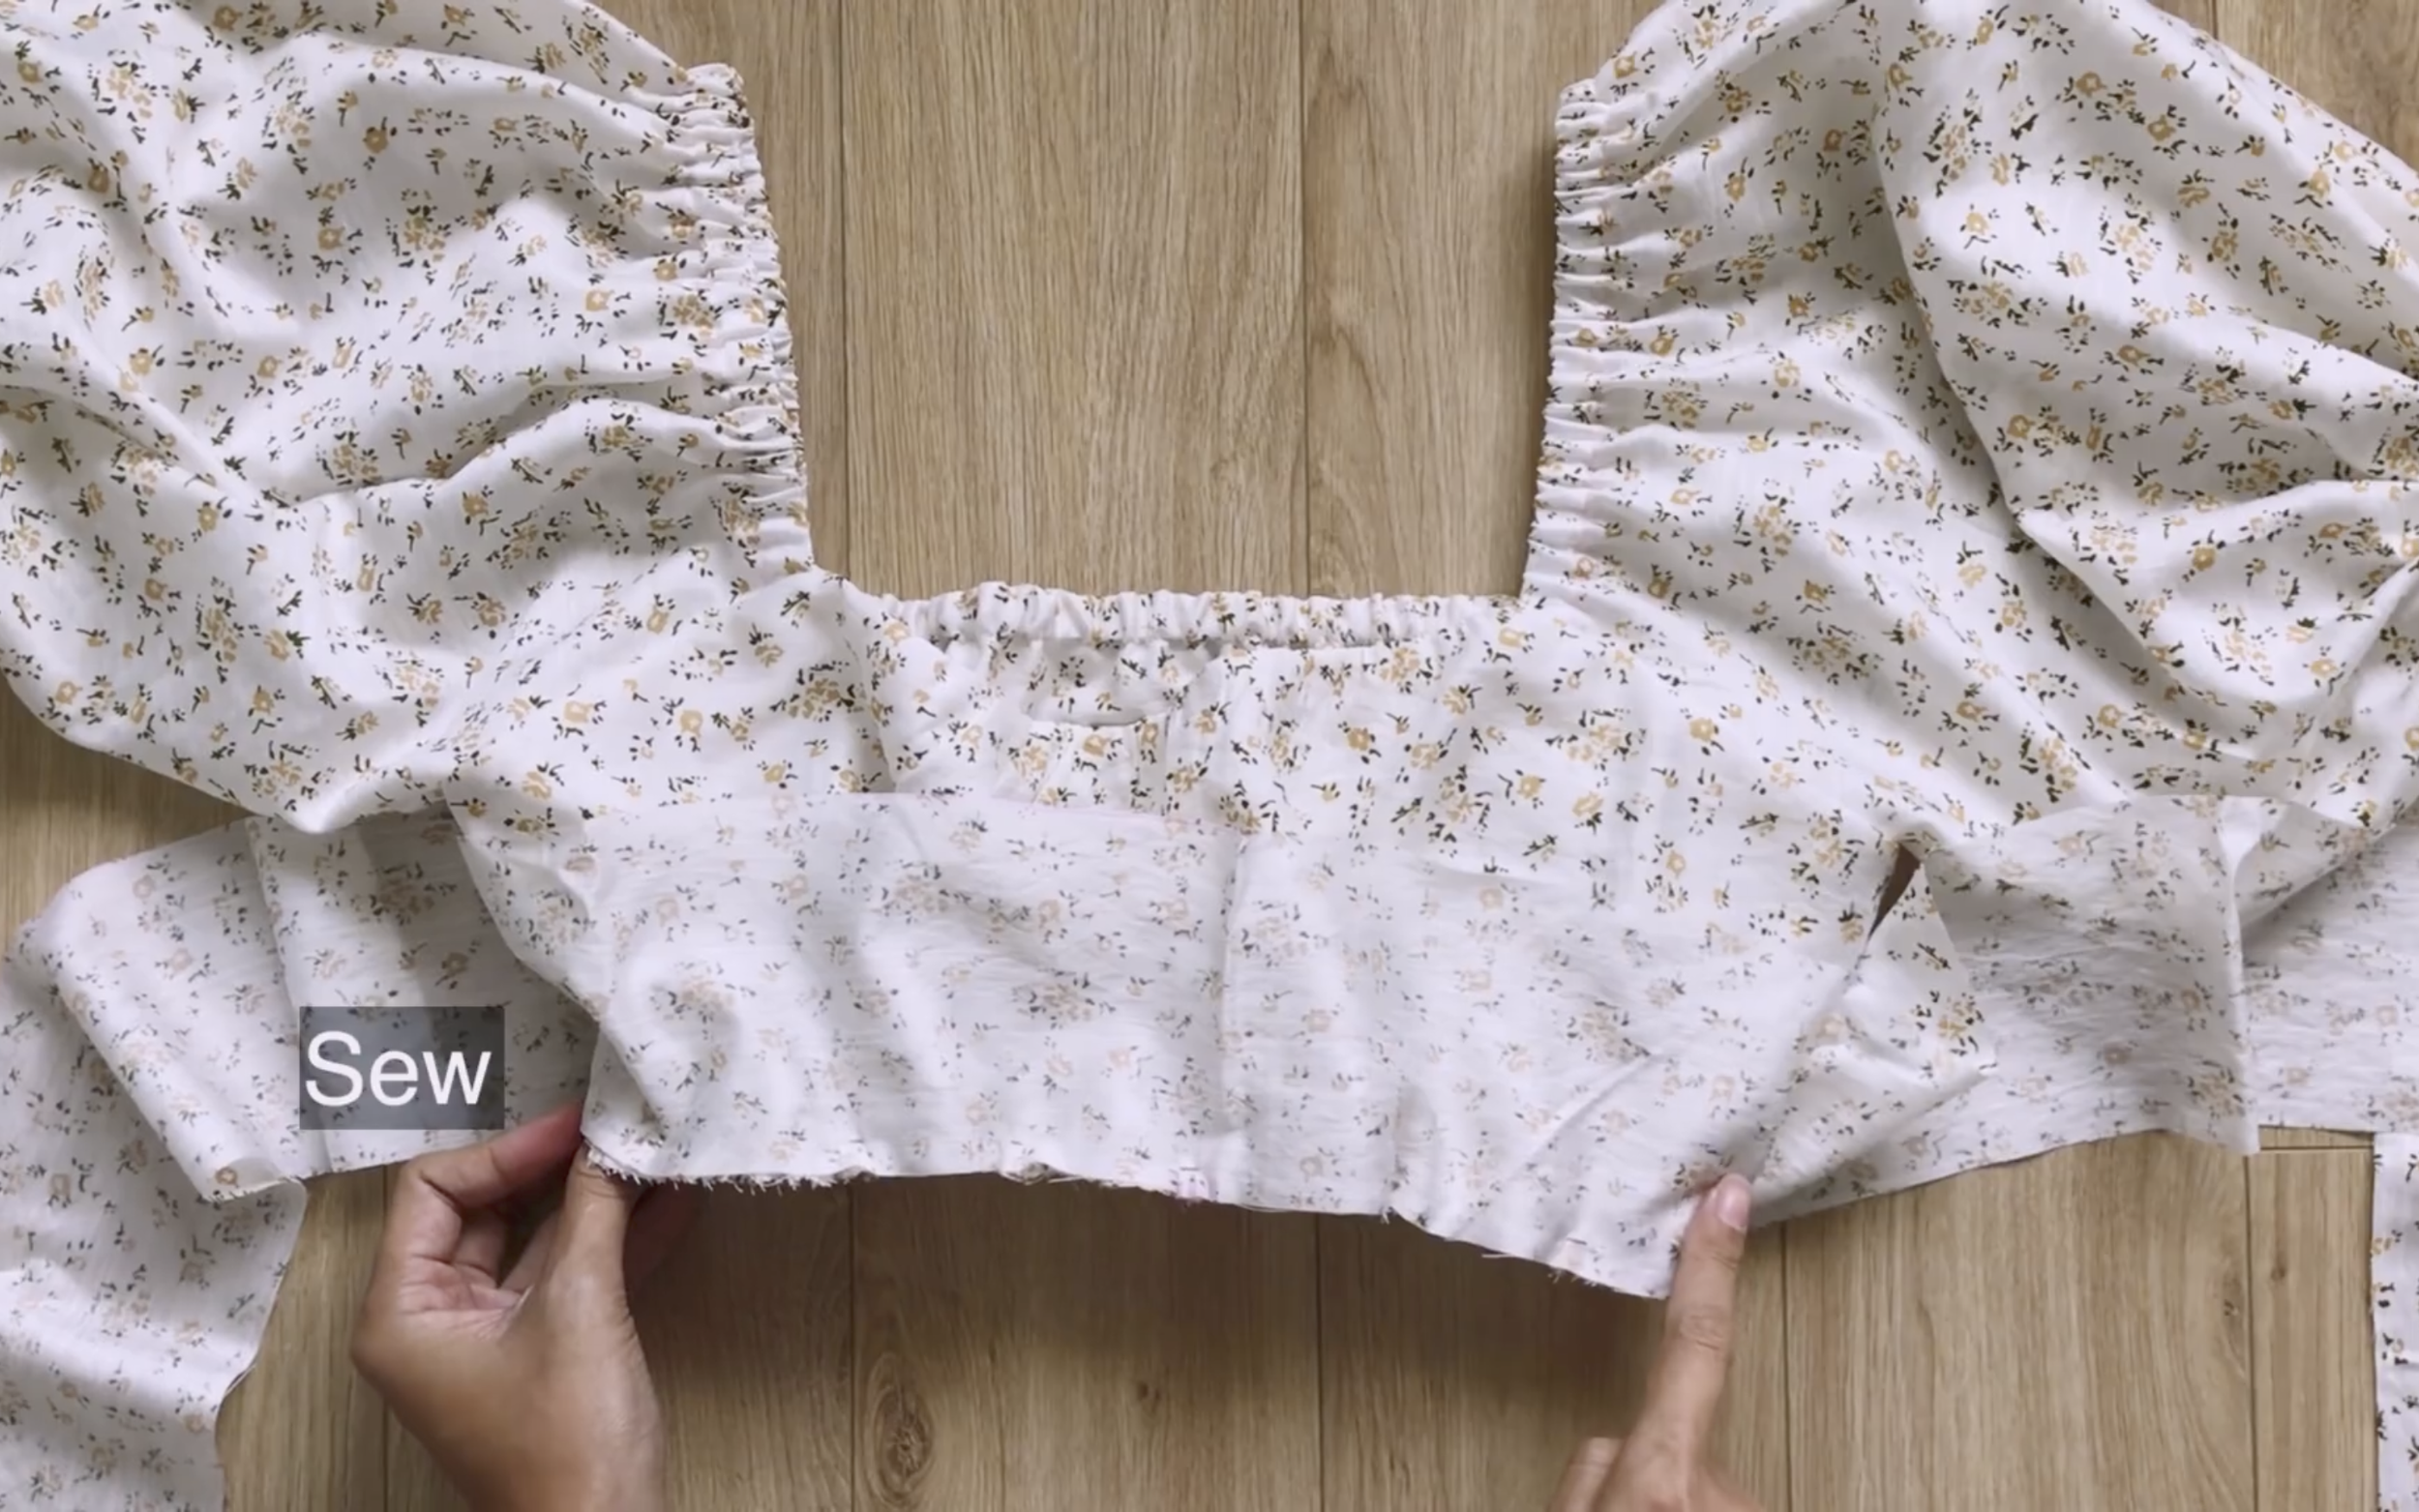
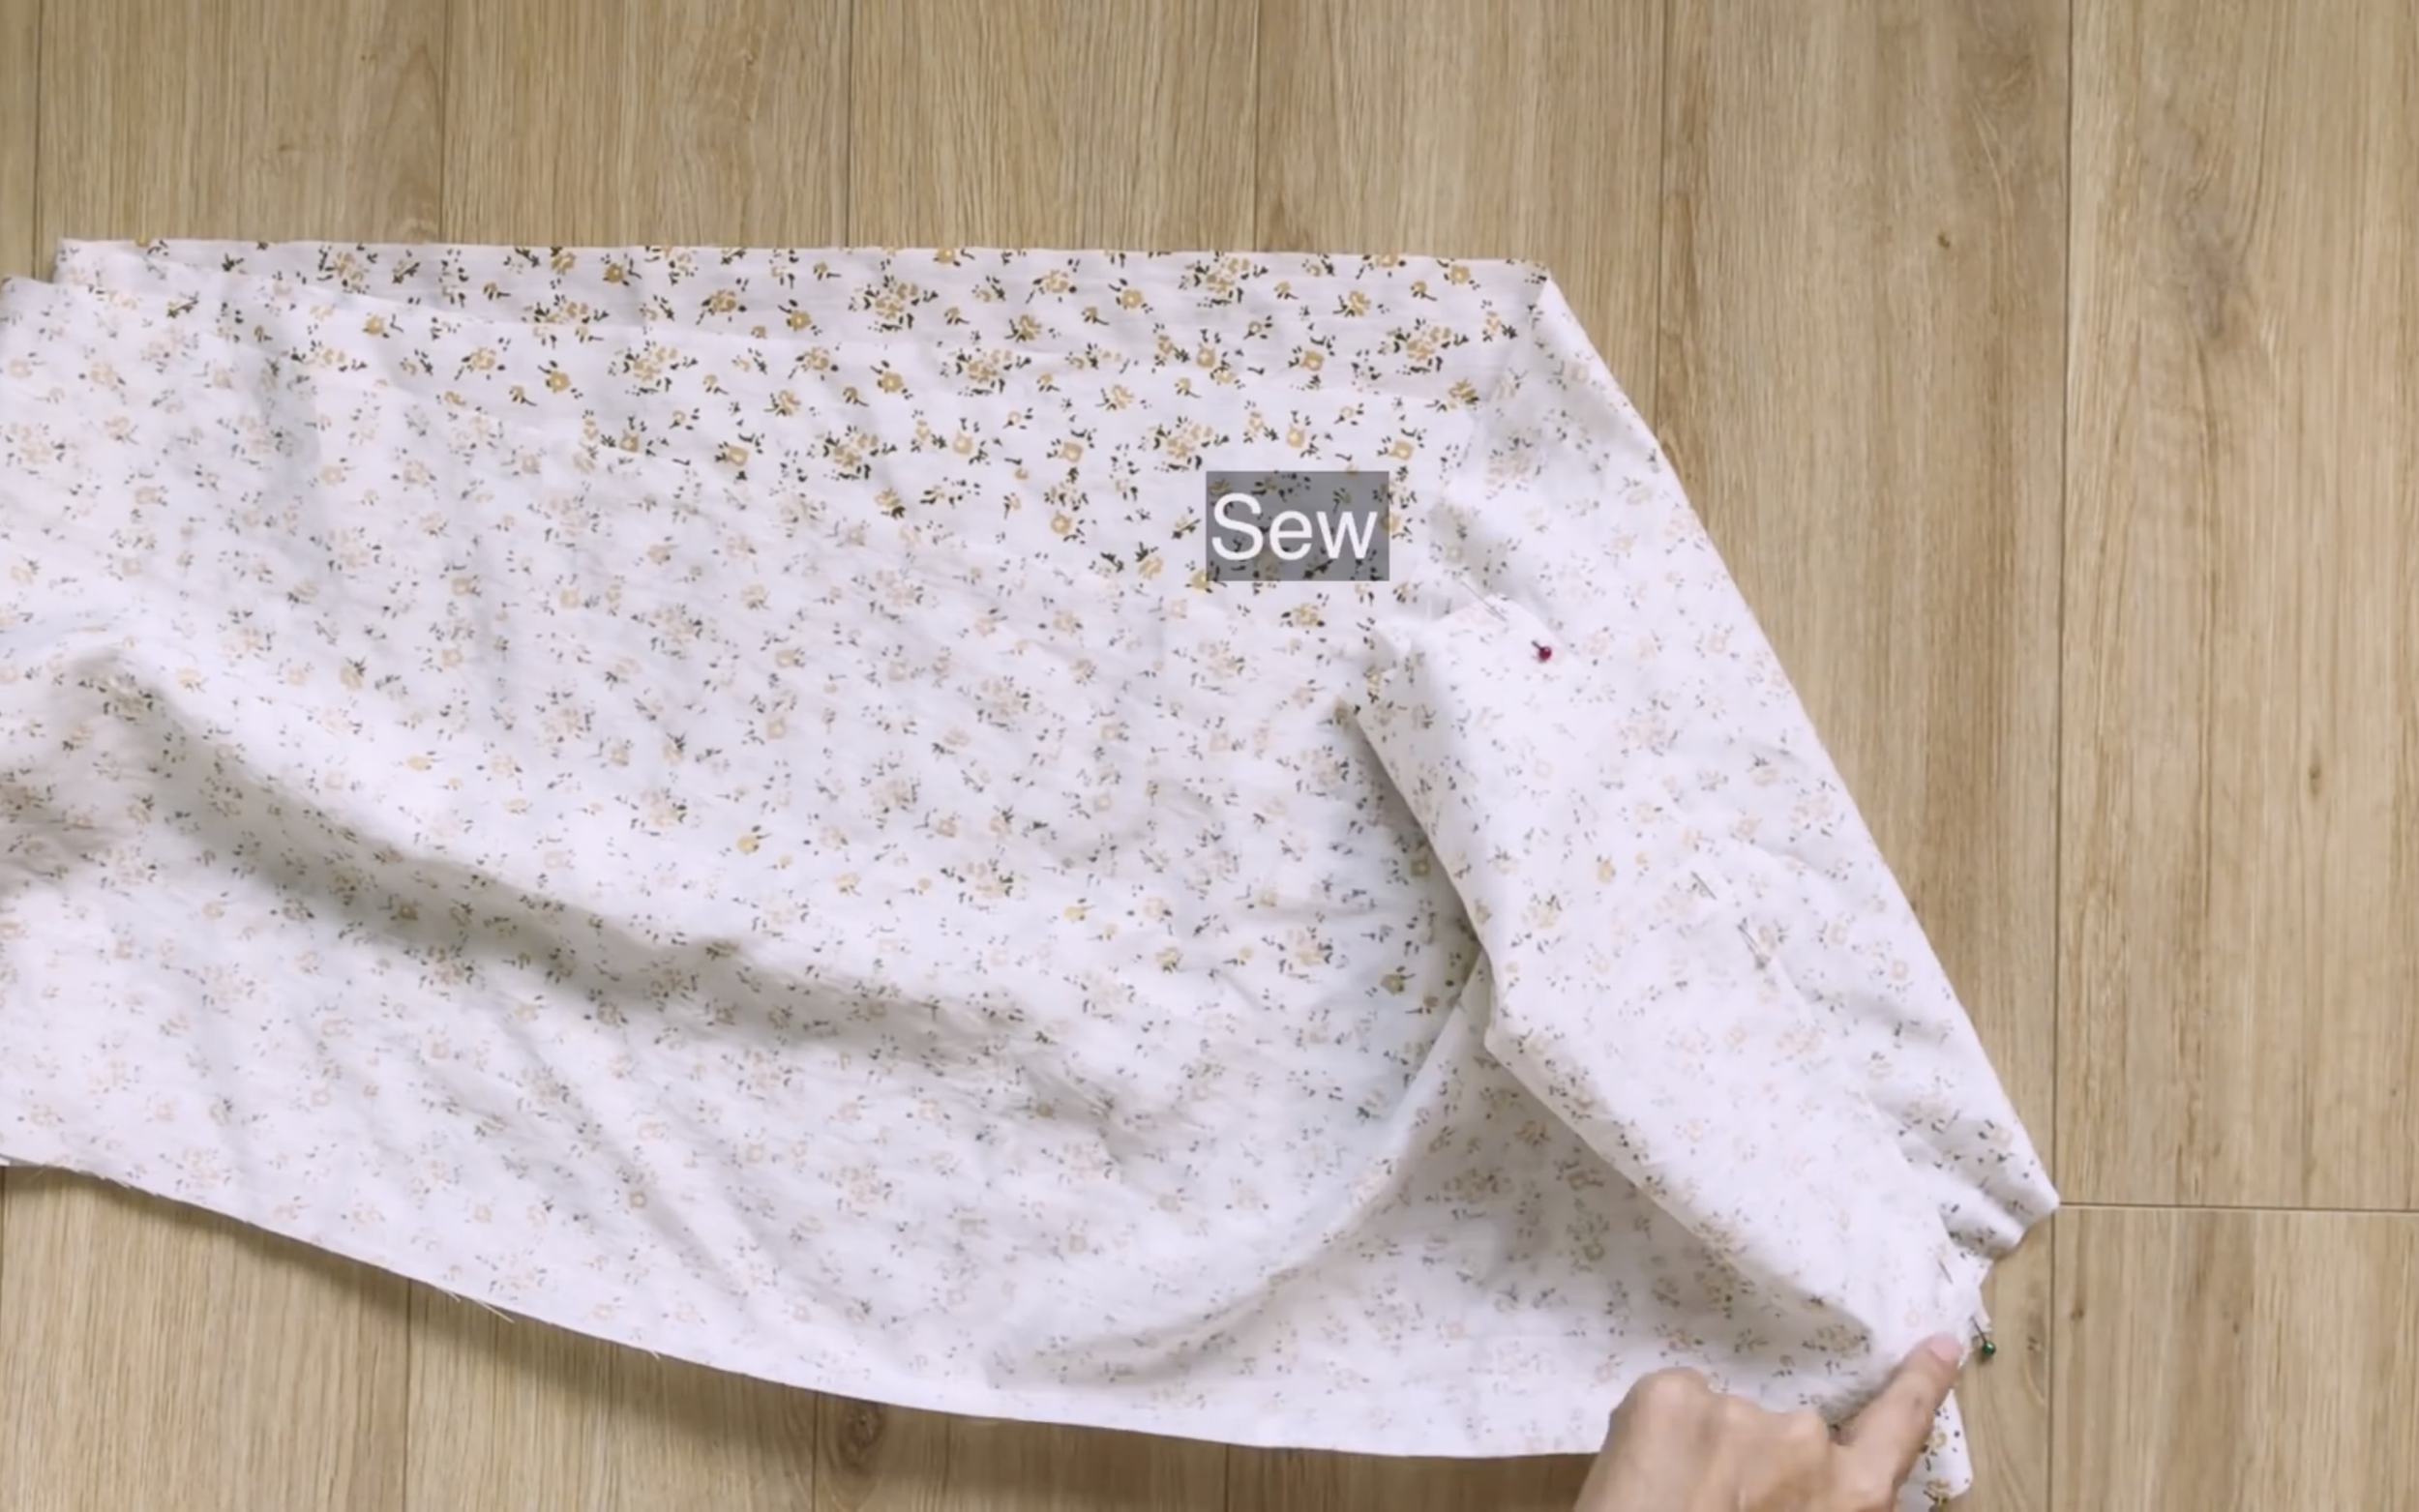
Now connect the sleeve to the main bodice of the top, ensuring the sleeve is positioned between the two bodice pieces. Then sew.
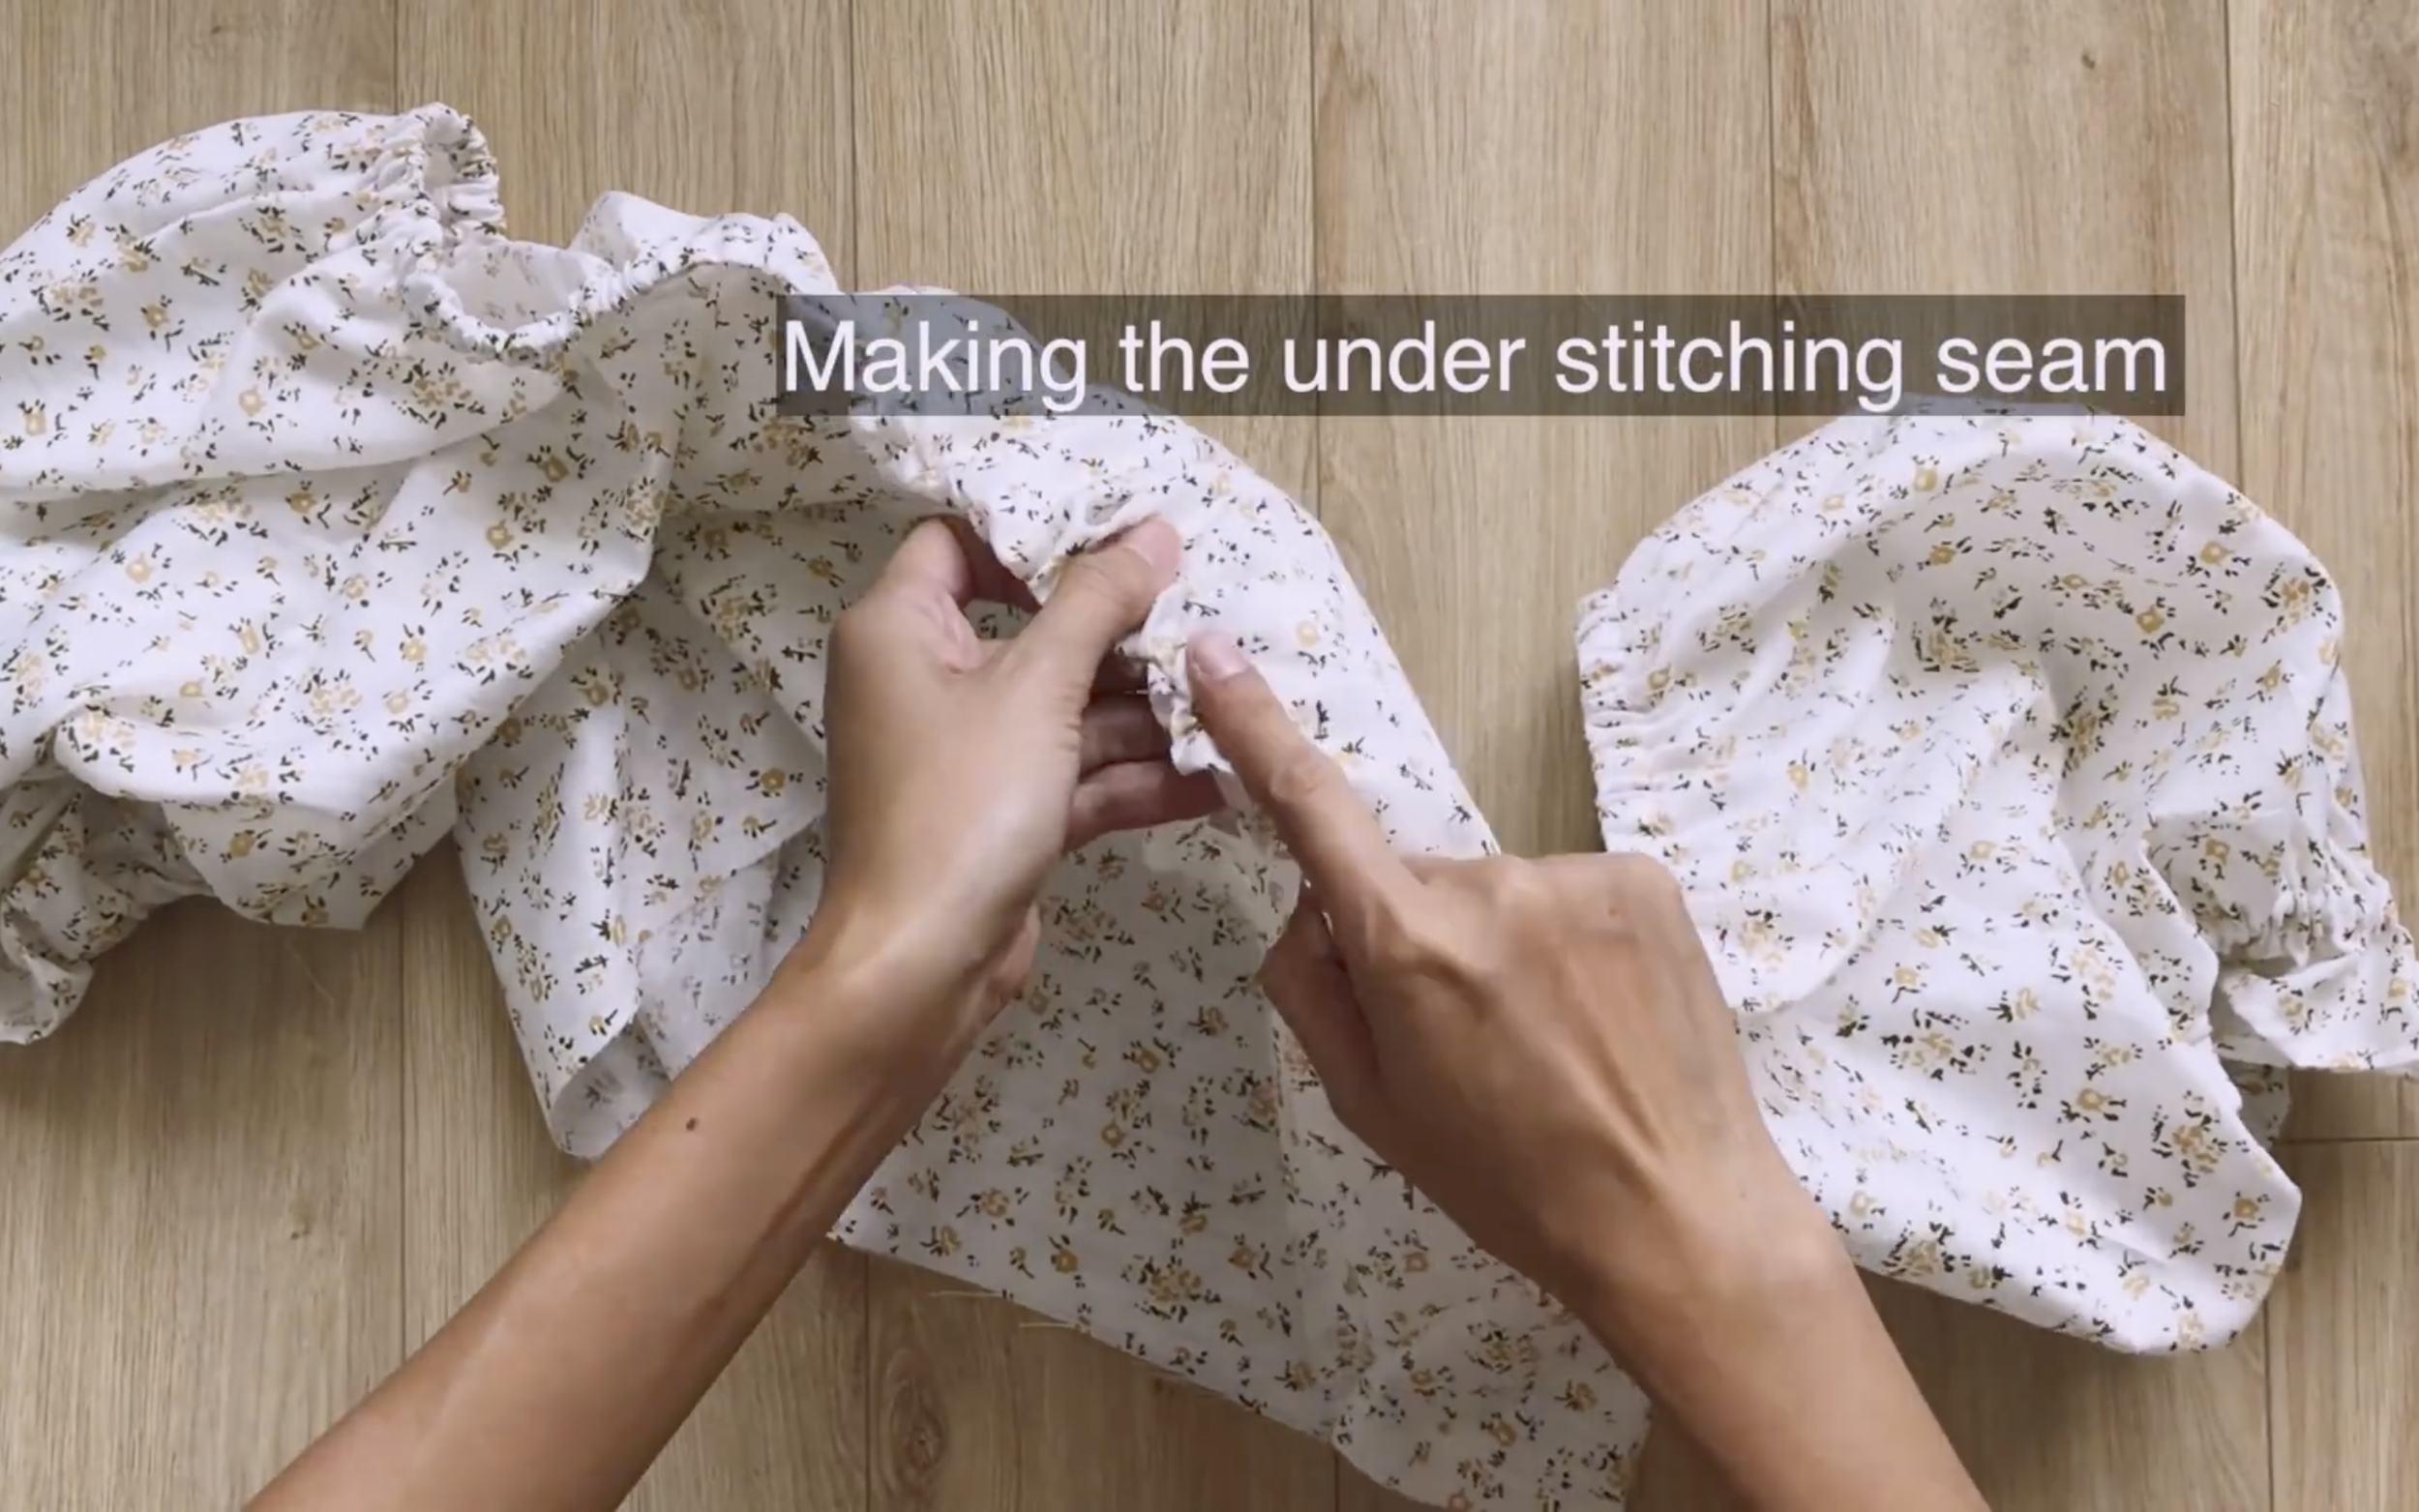
Next, create the understitch seam.
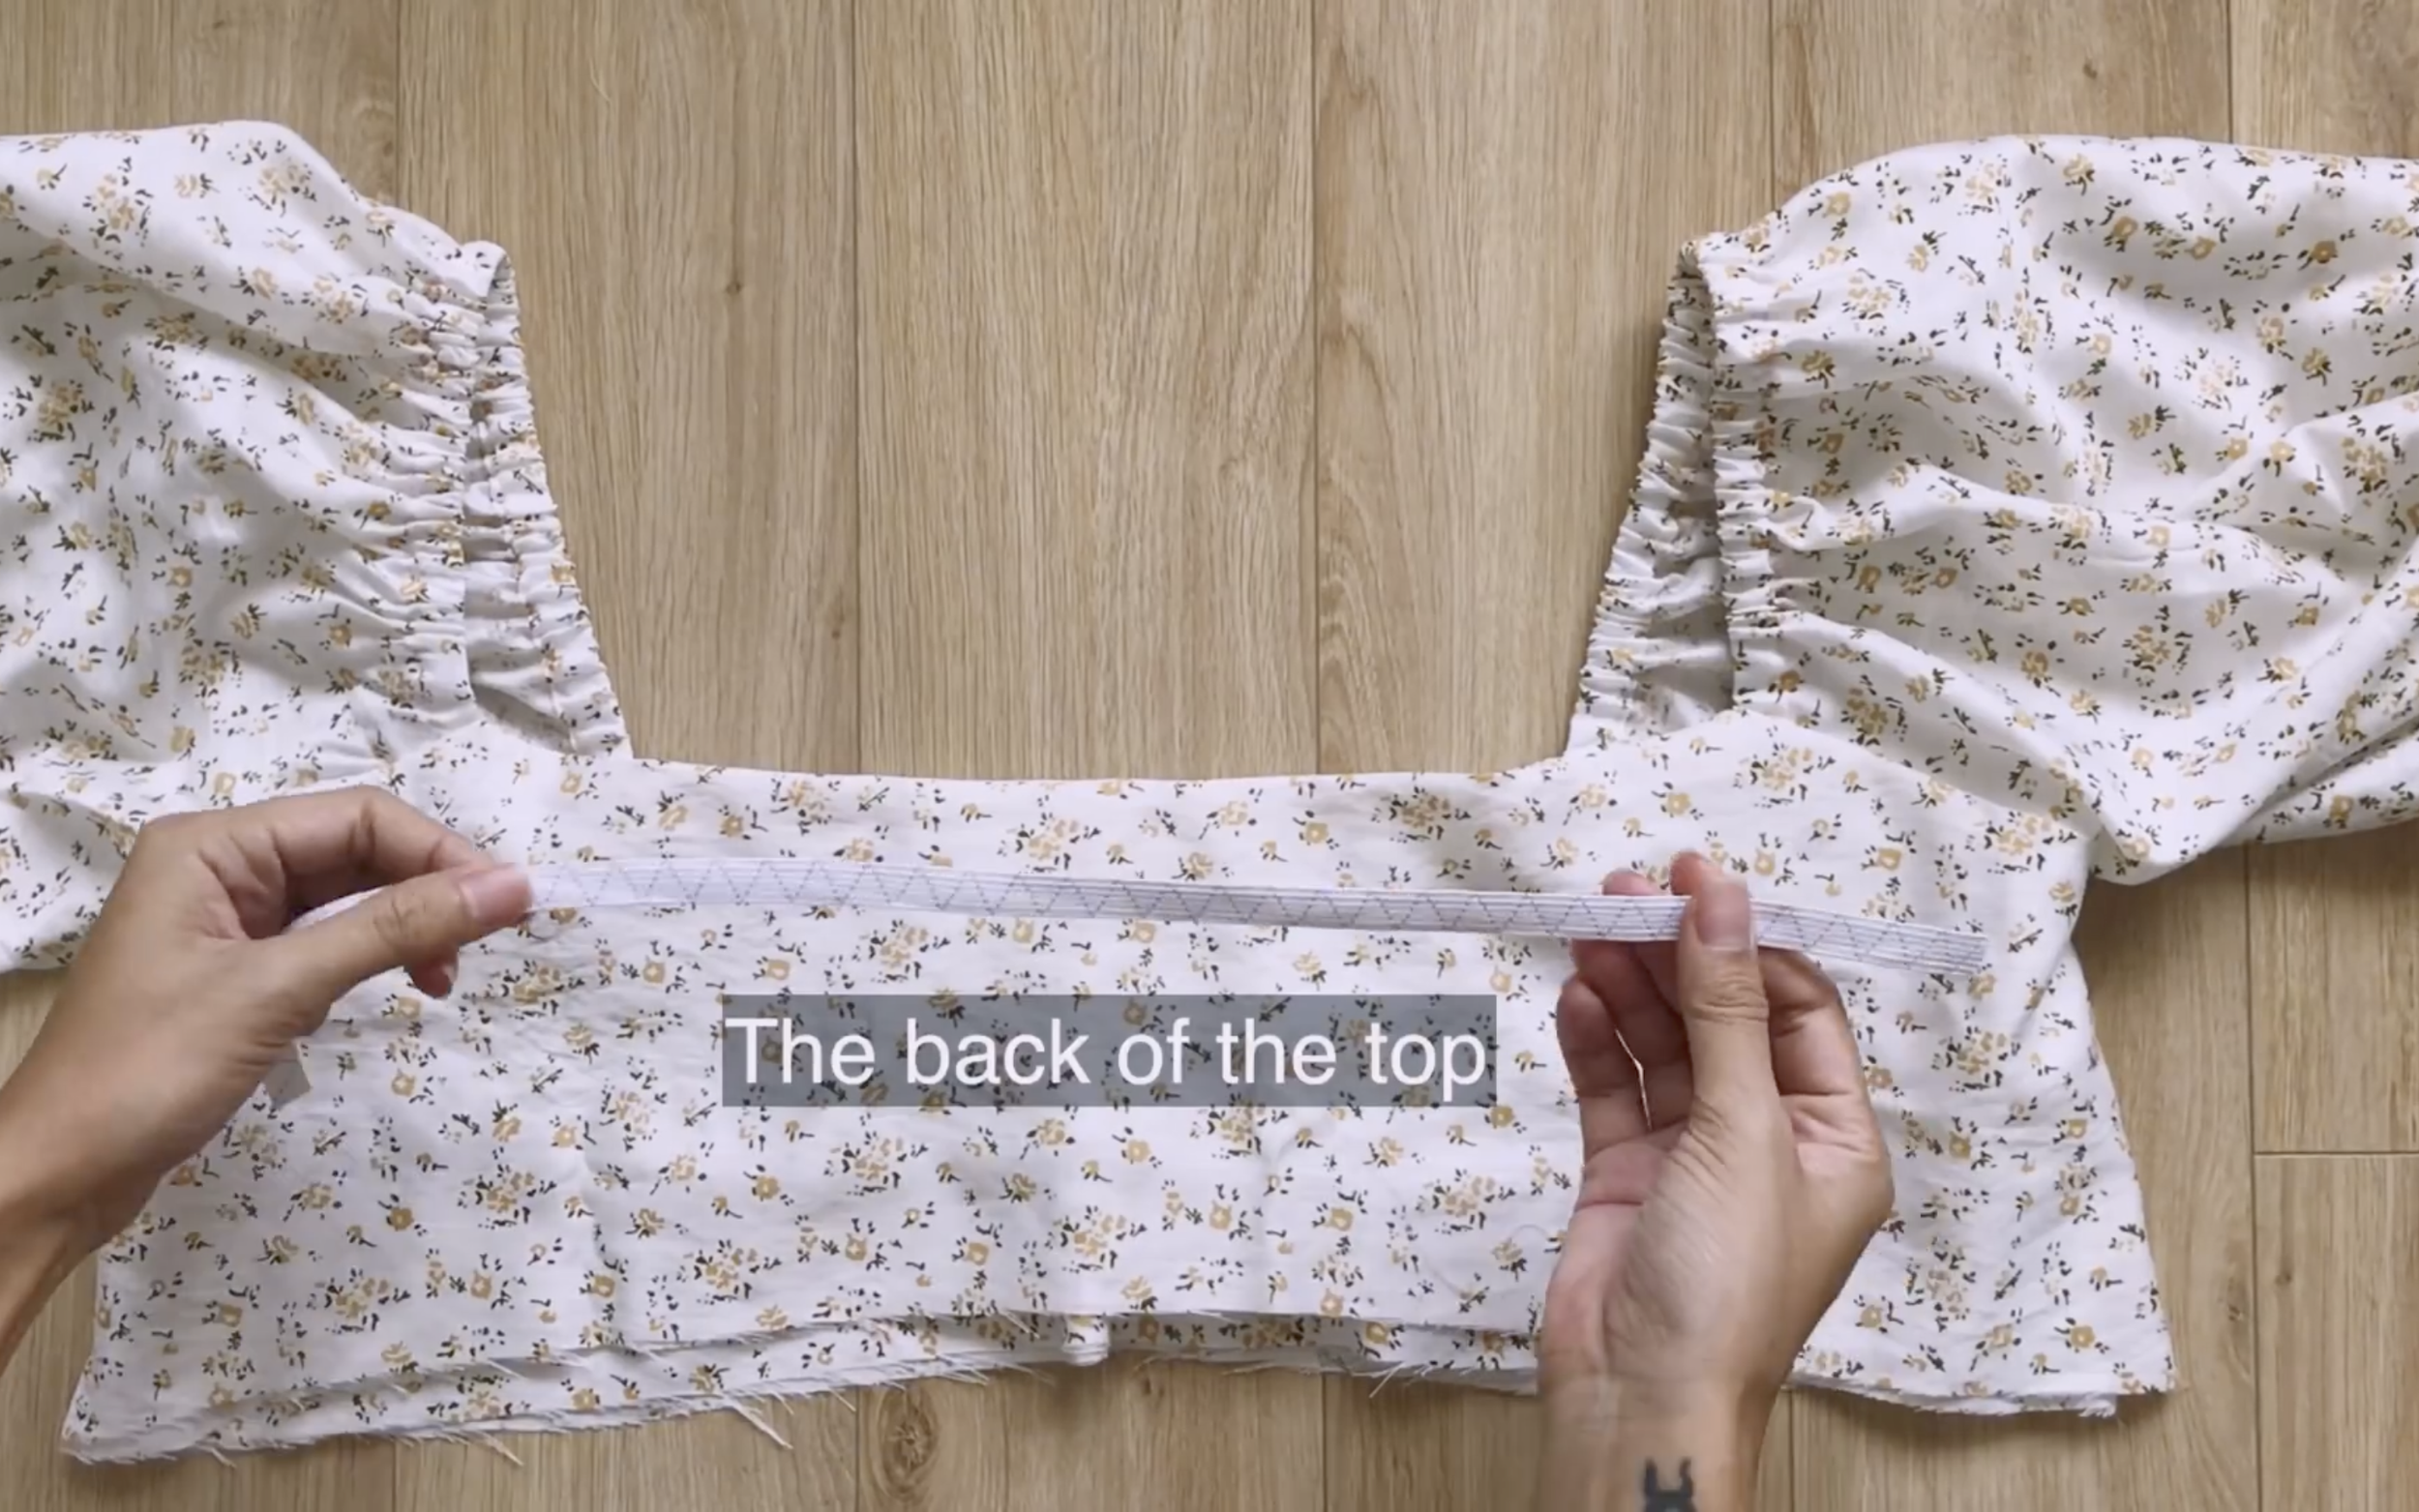
At the back of the top, use an elastic band to make it fit better.
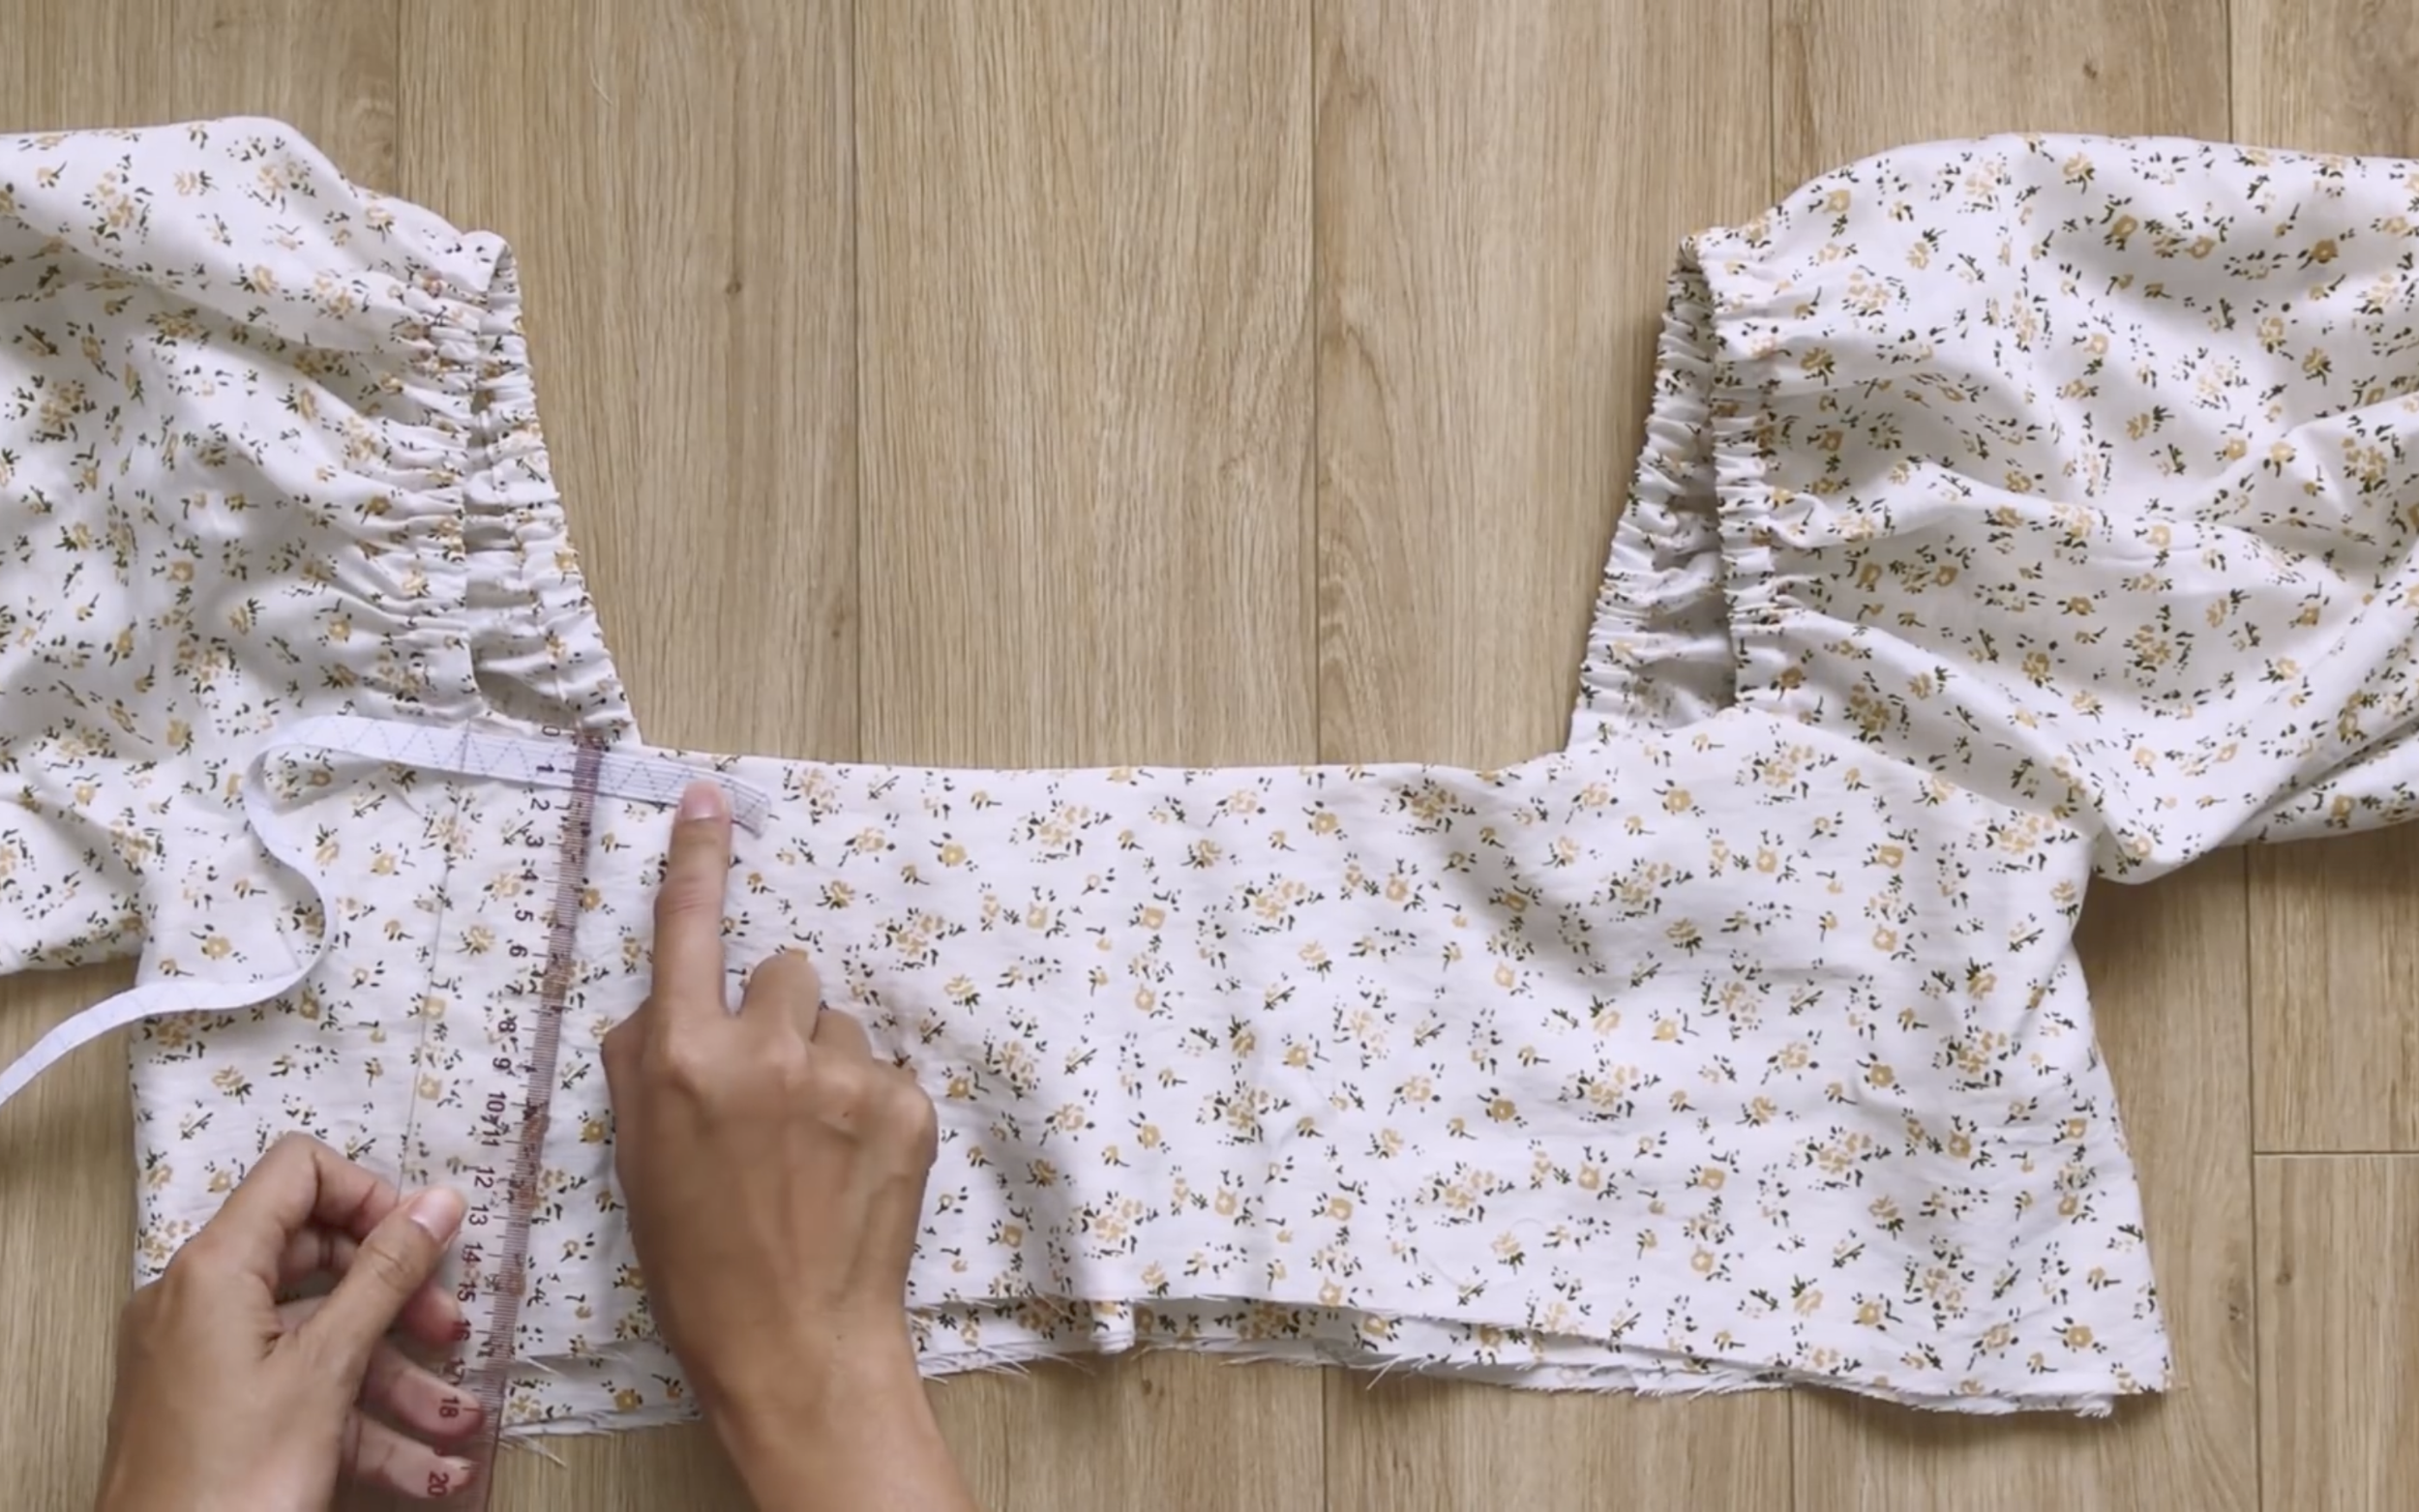
Measure the width of the elastic band to create a fabric hole, leaving two seam sides open for the elastic band’s ends.
Remember leave two seam sides open for the elastic band’s ends.
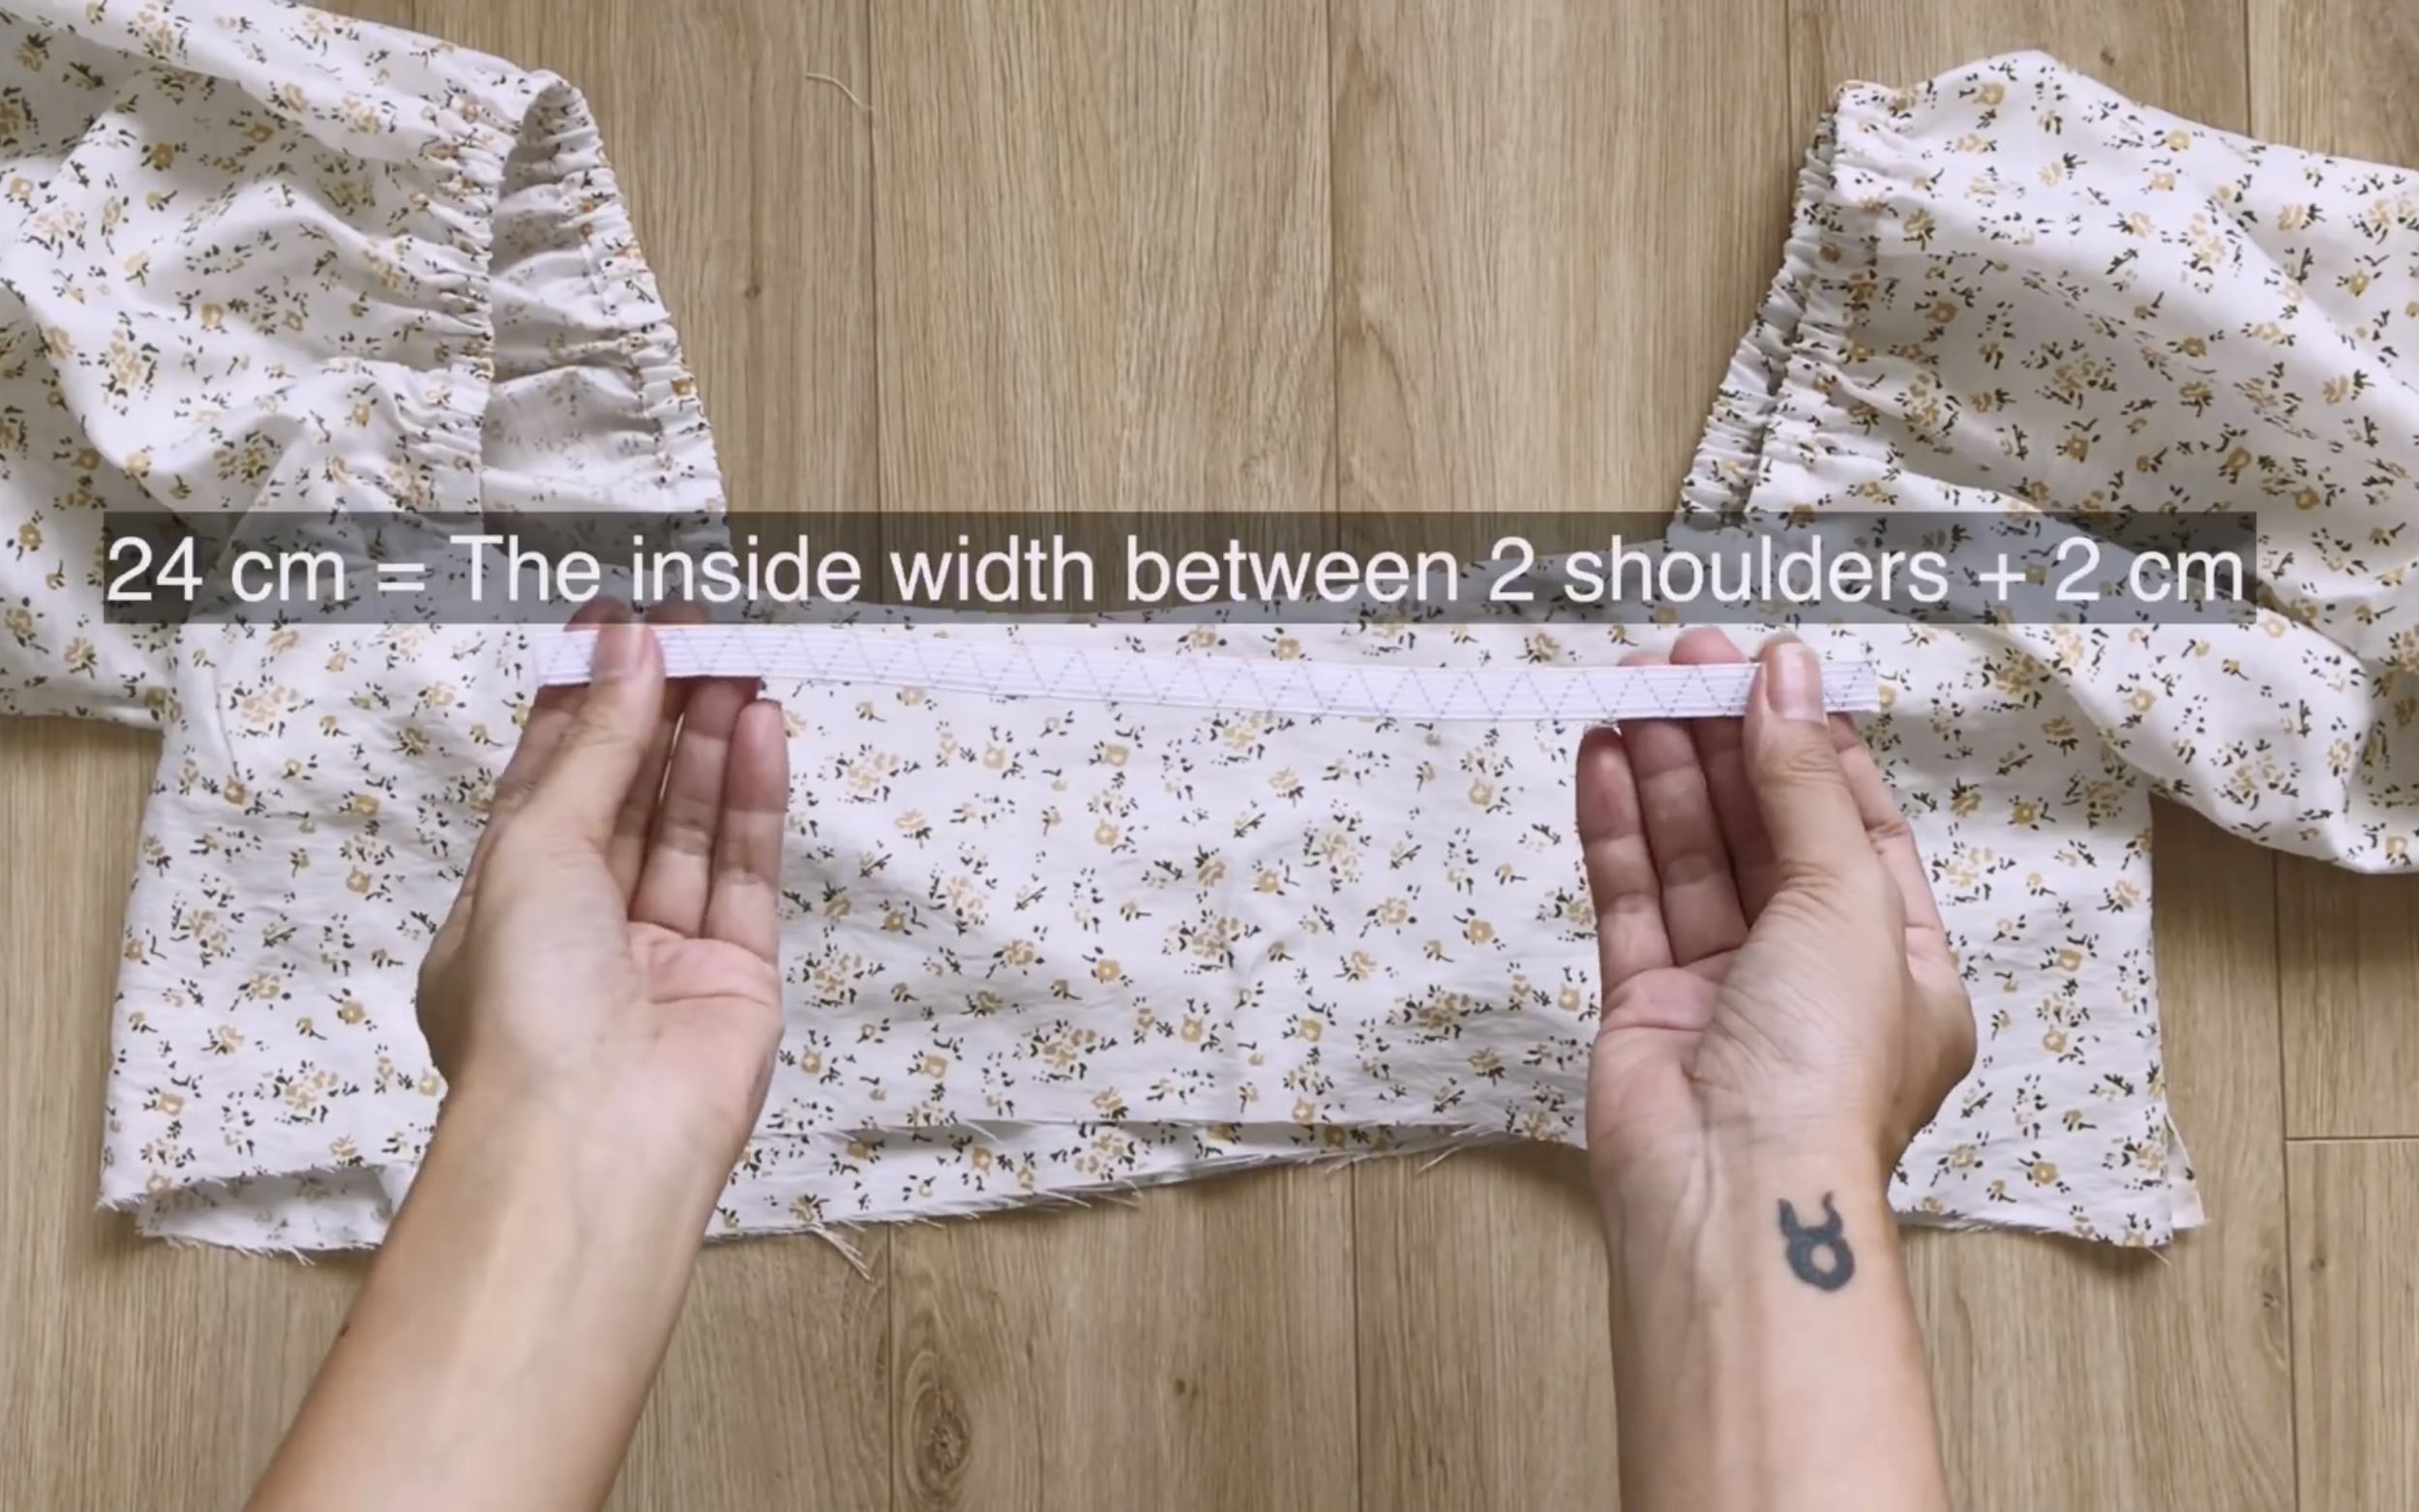
Cut a 24 cm elastic band, matching the shoulder width plus 2 cm.

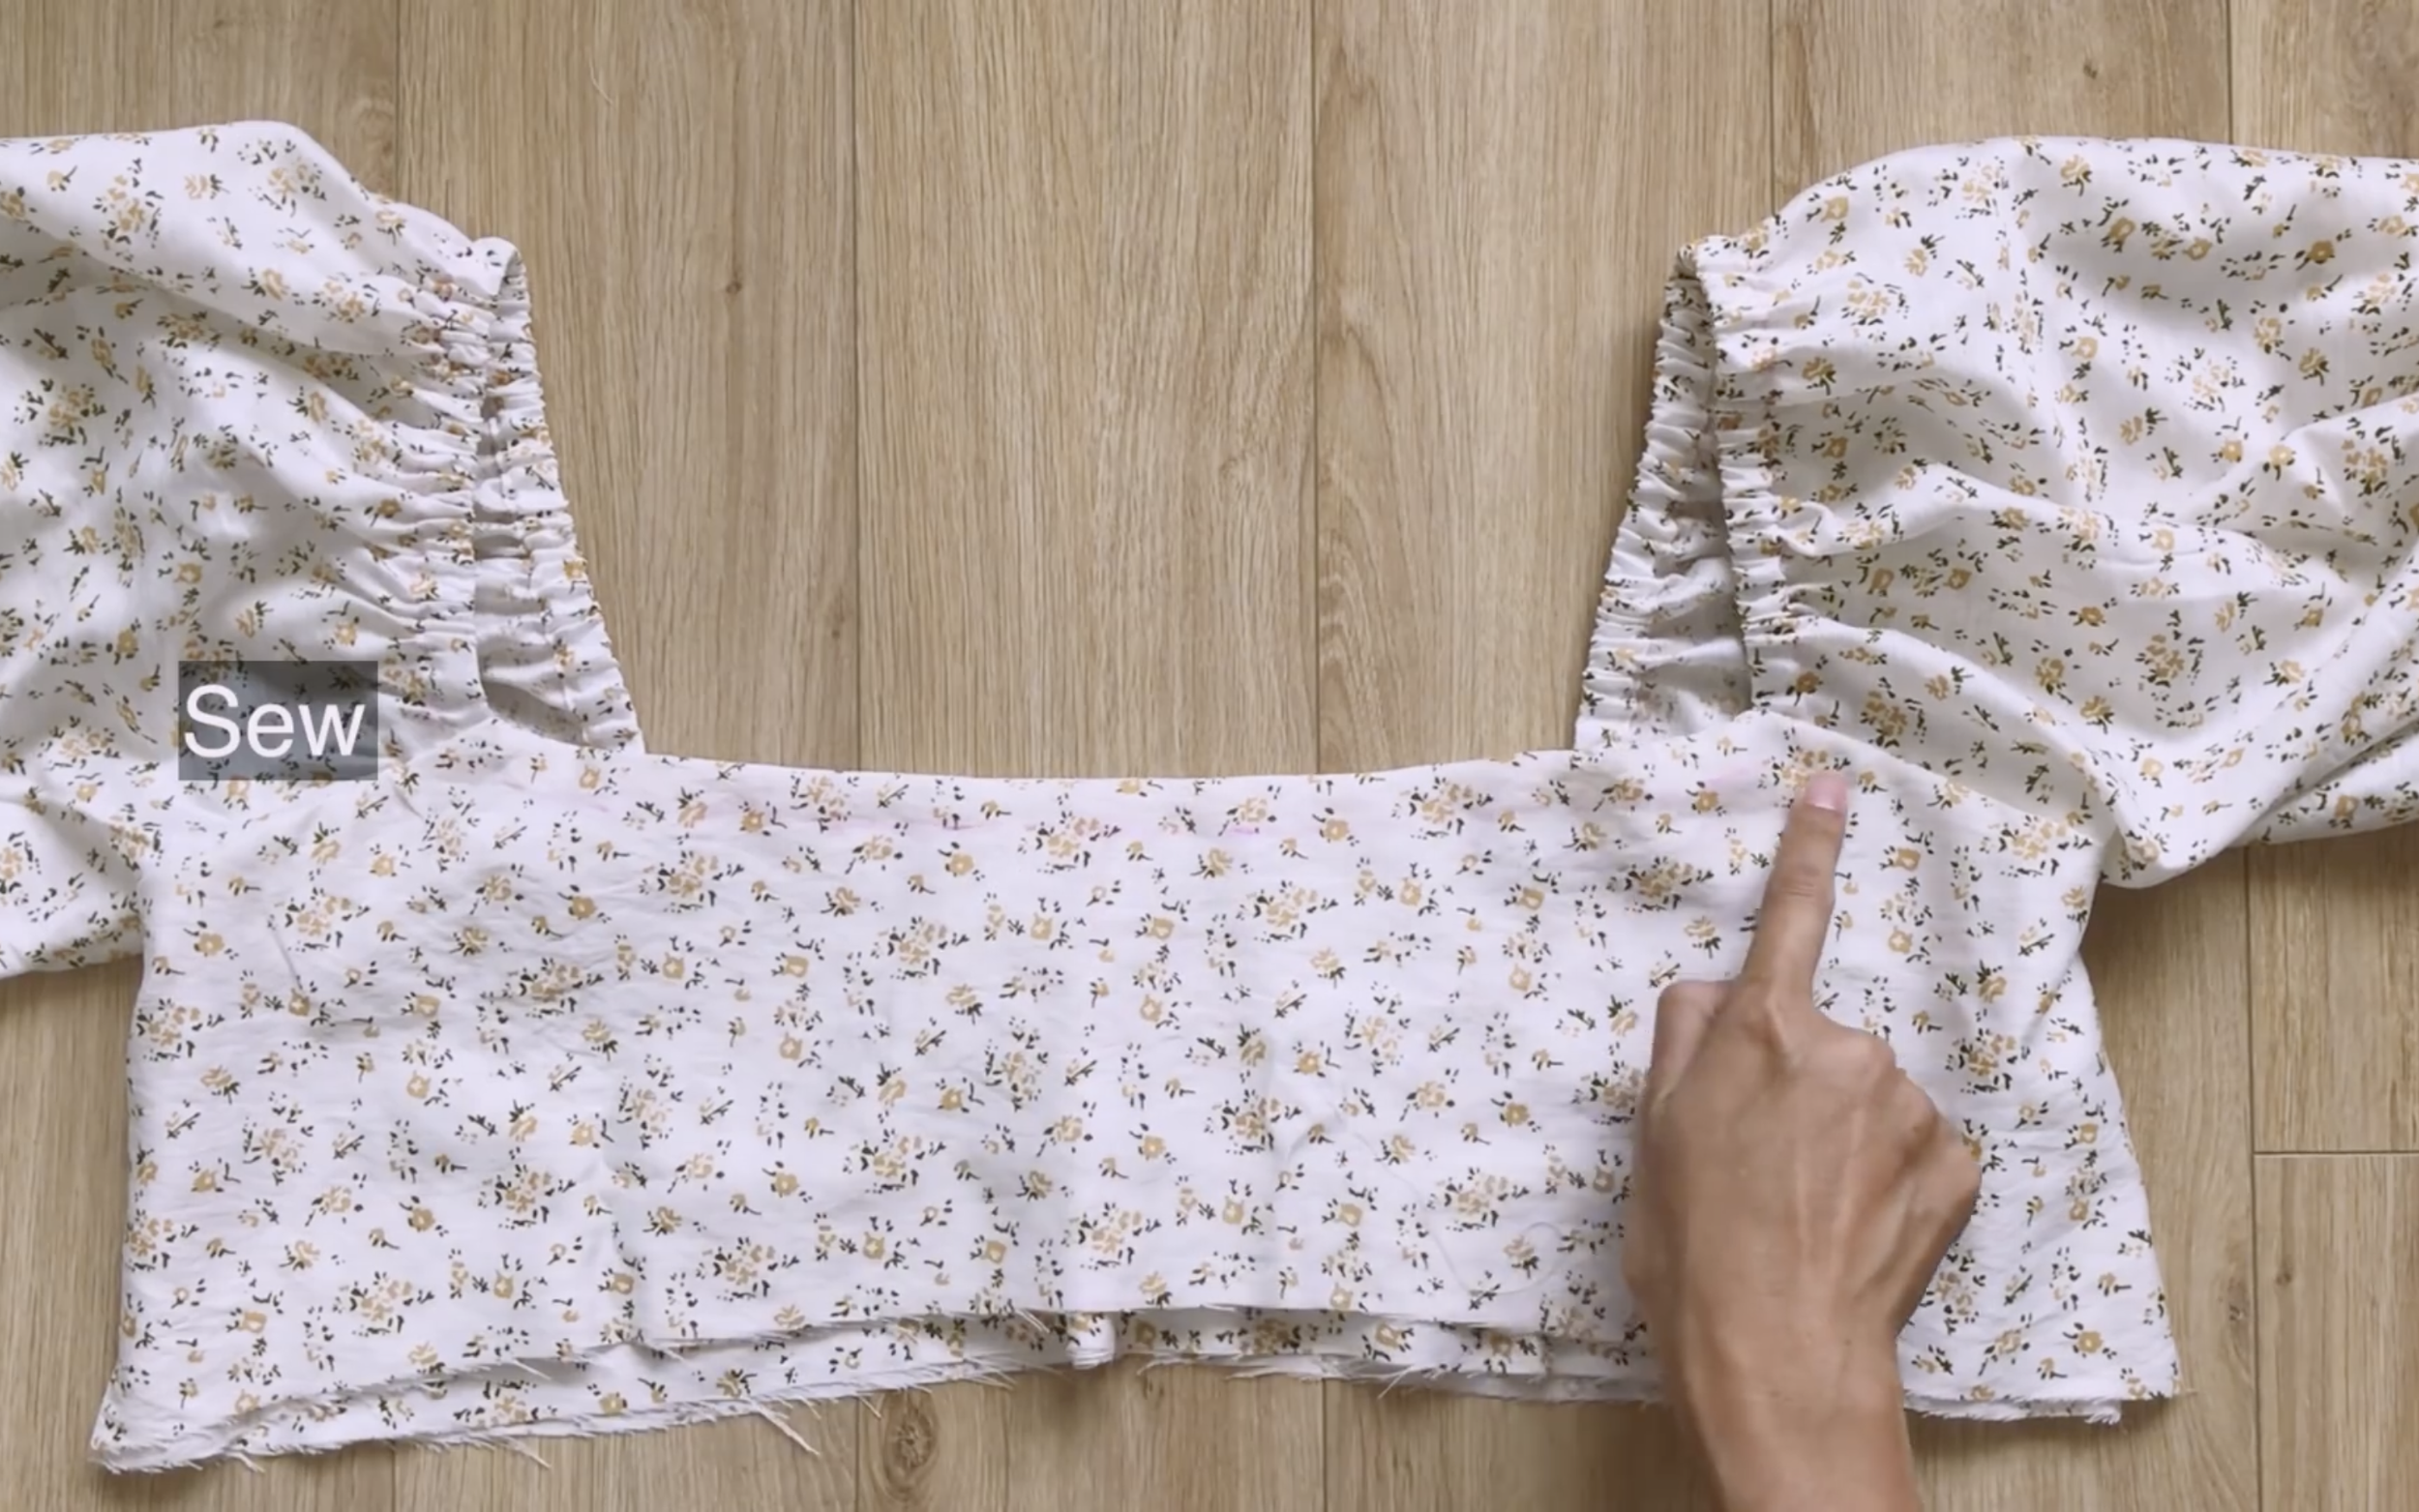
Insert it into the fabric hole.
Sew the ends of the elastic band to the fabric hole.
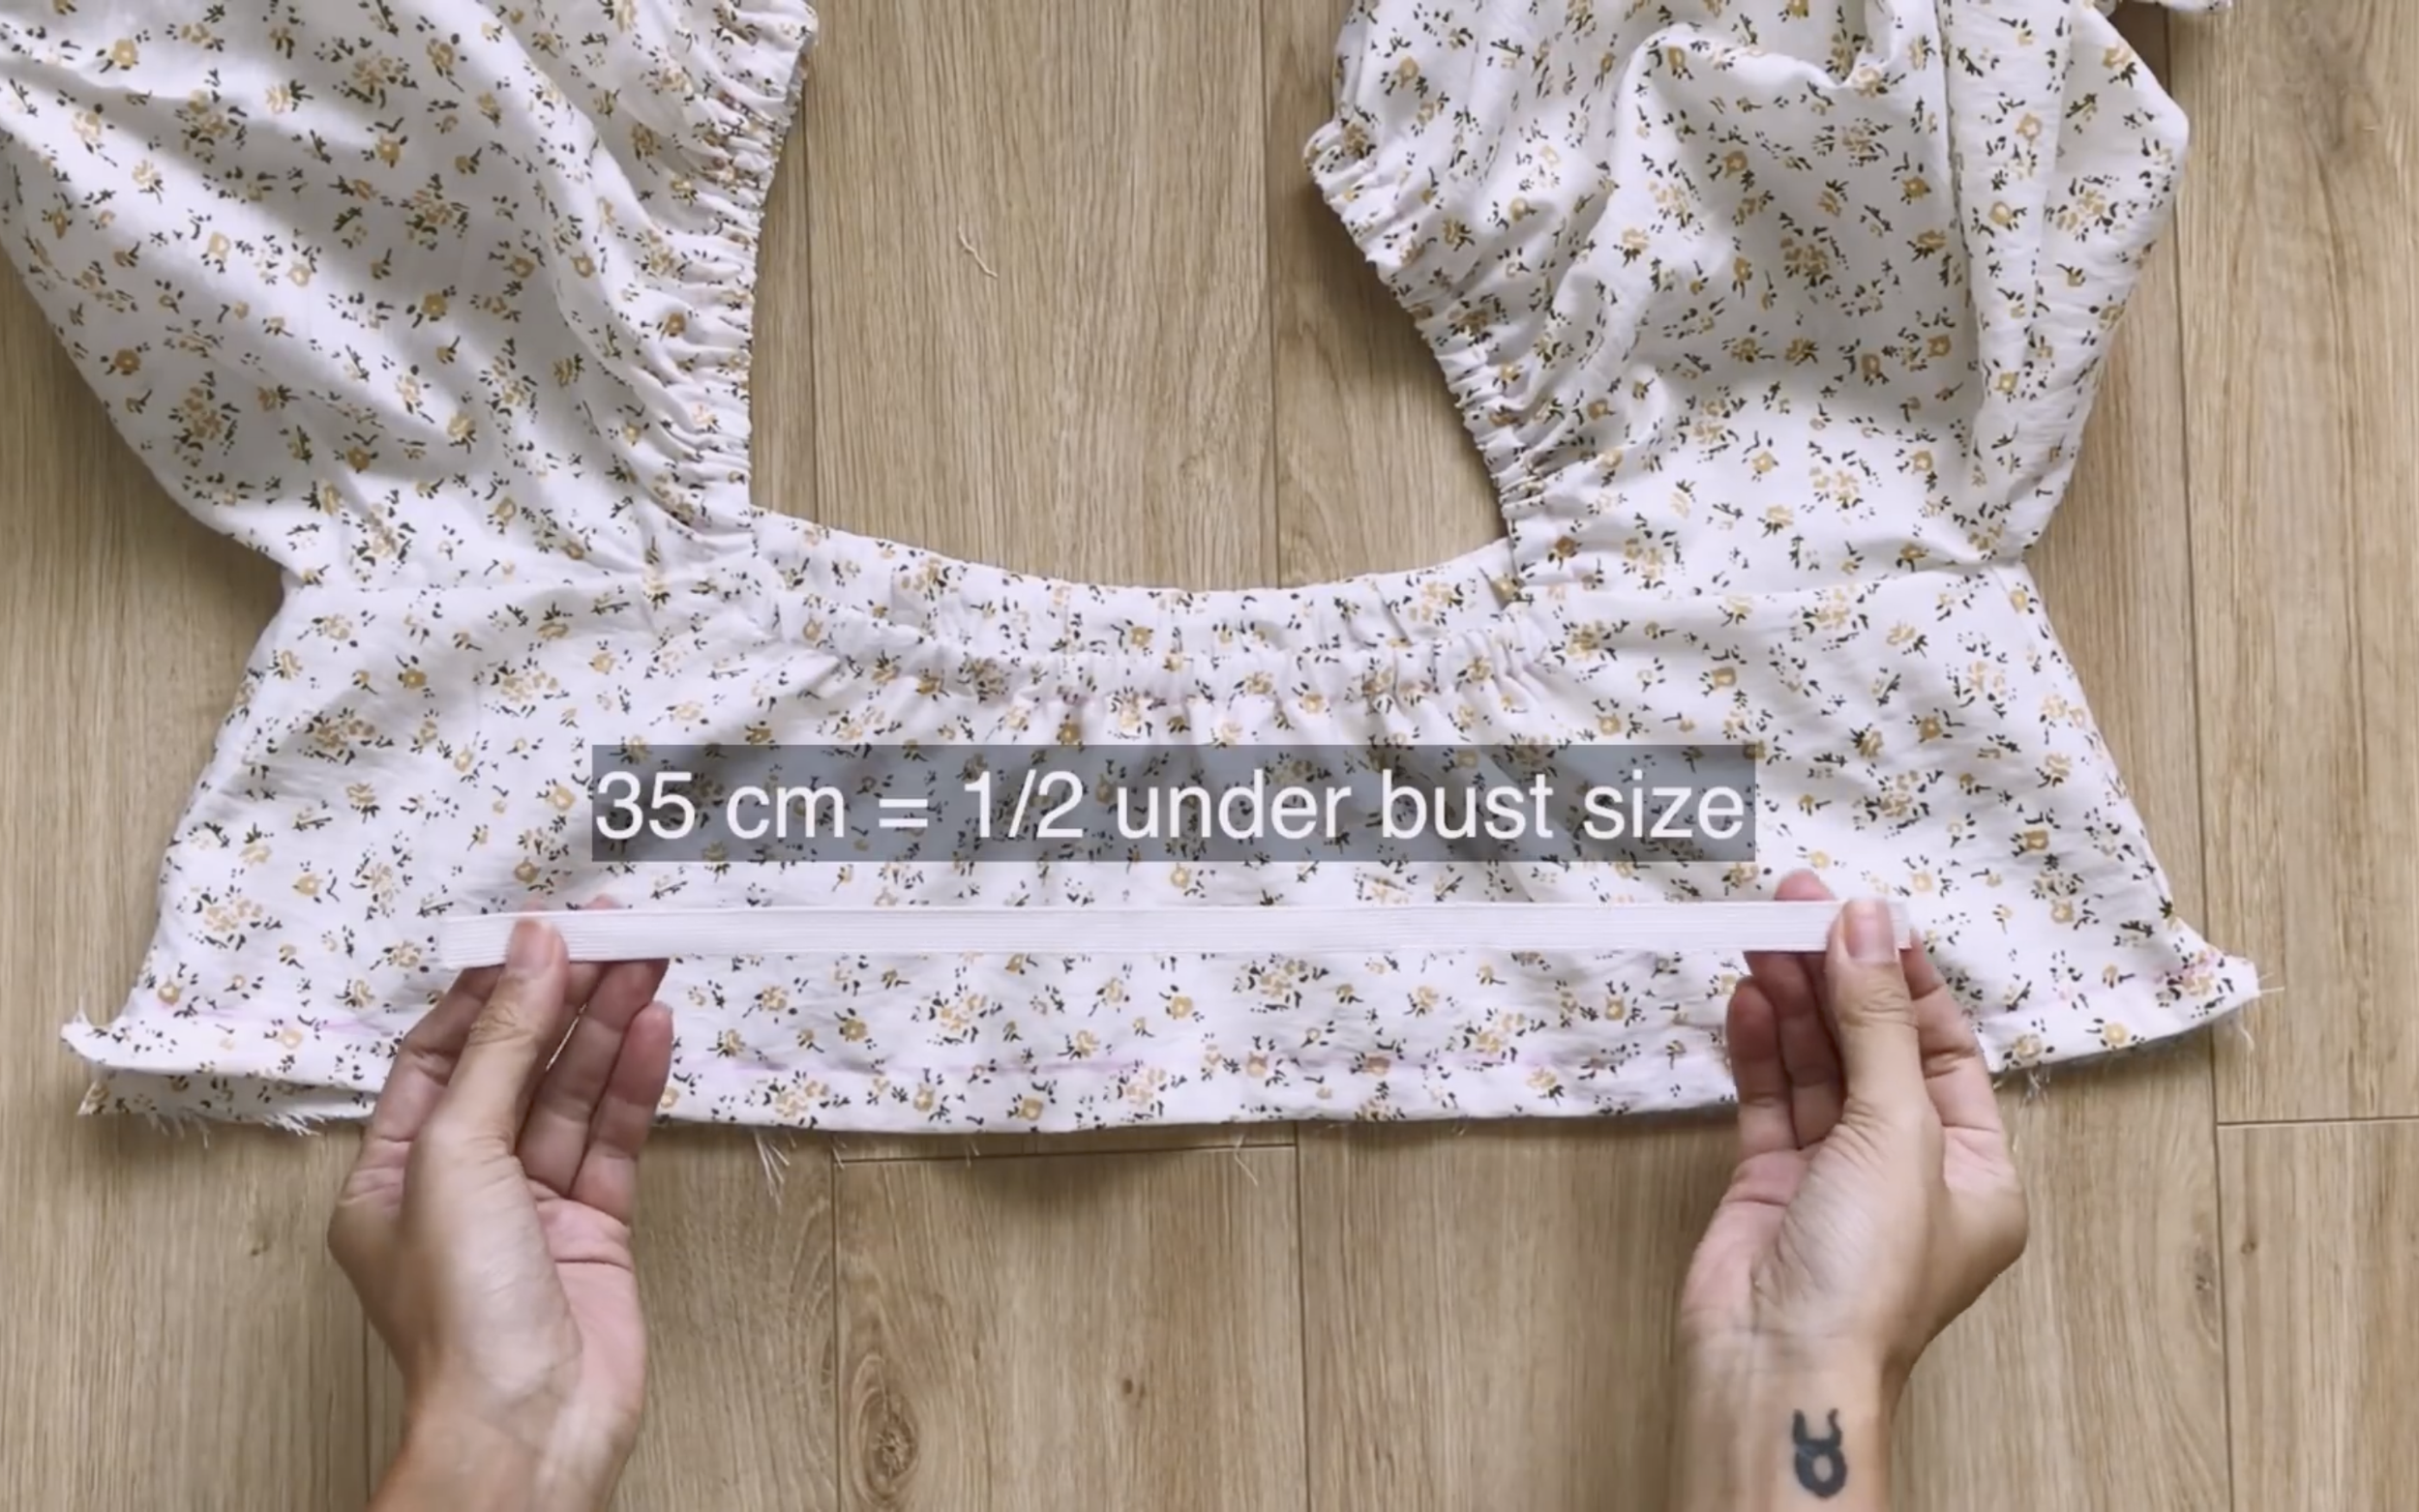
For the bottom of the back, cut a 35 cm elastic band, half the underbust size.
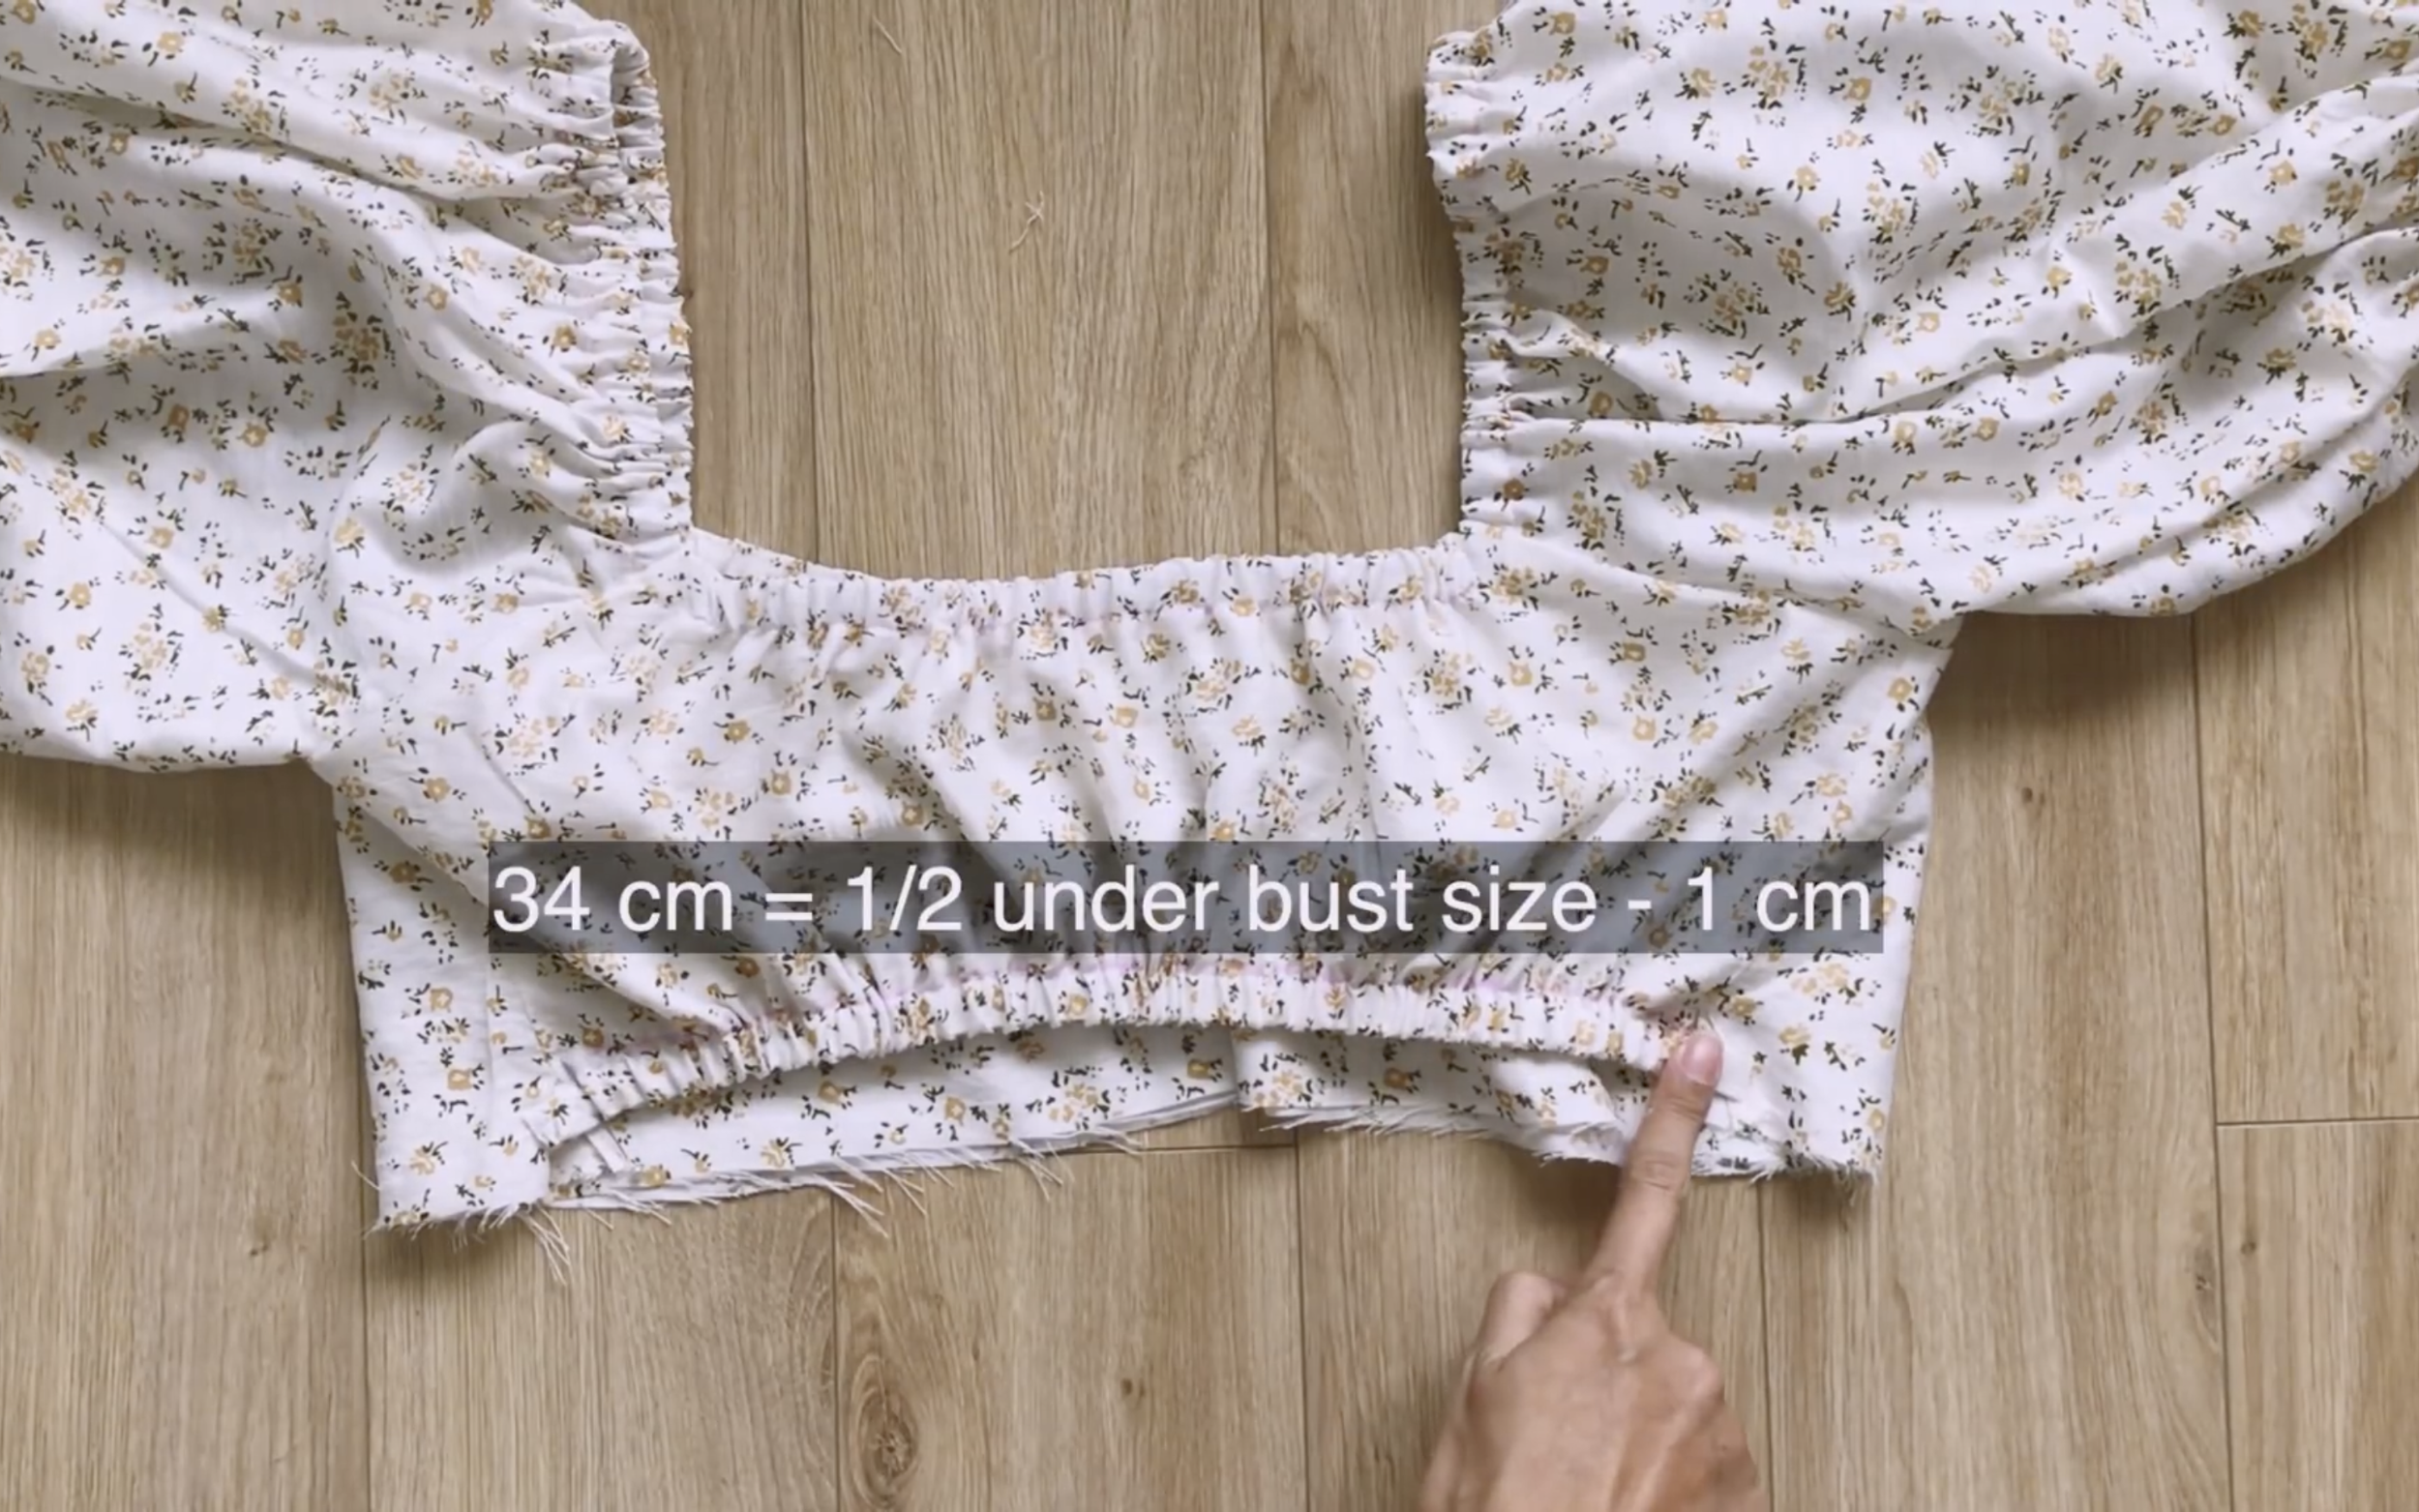
The final width of the back should be 1 cm shorter than the elastic band for a snug fit.
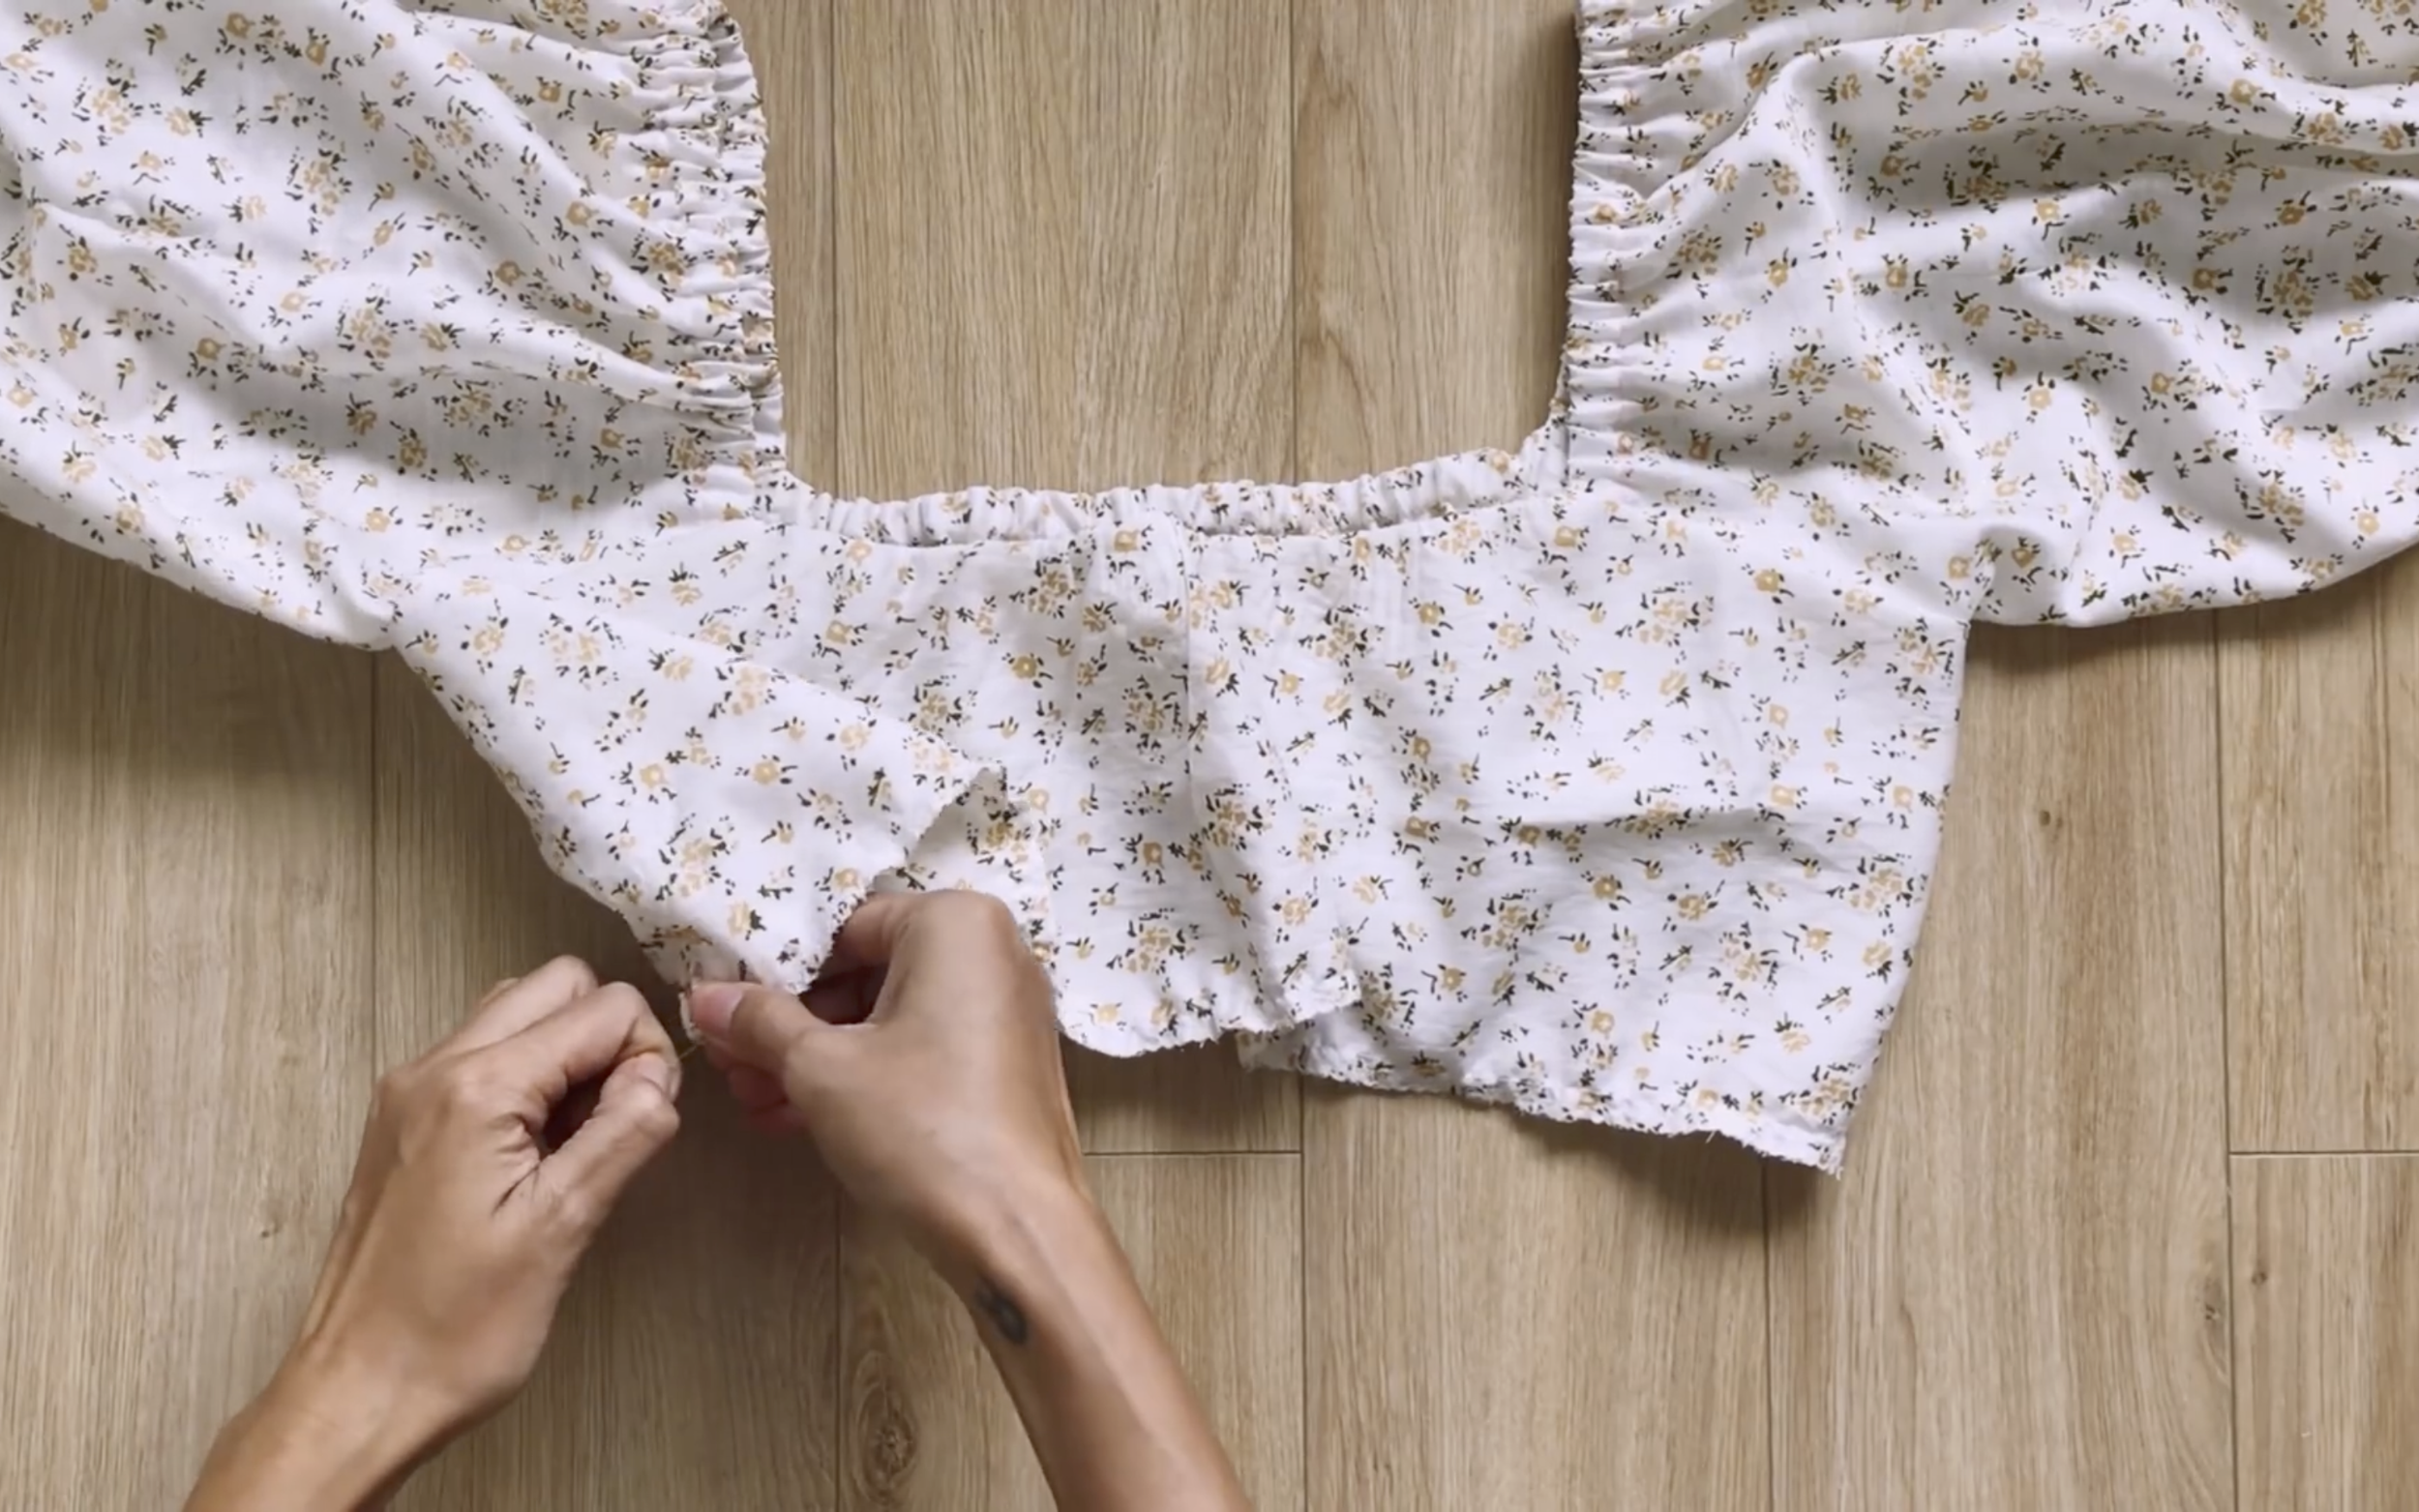
At the bottom of the front, make a loose seam first and create a puff later.
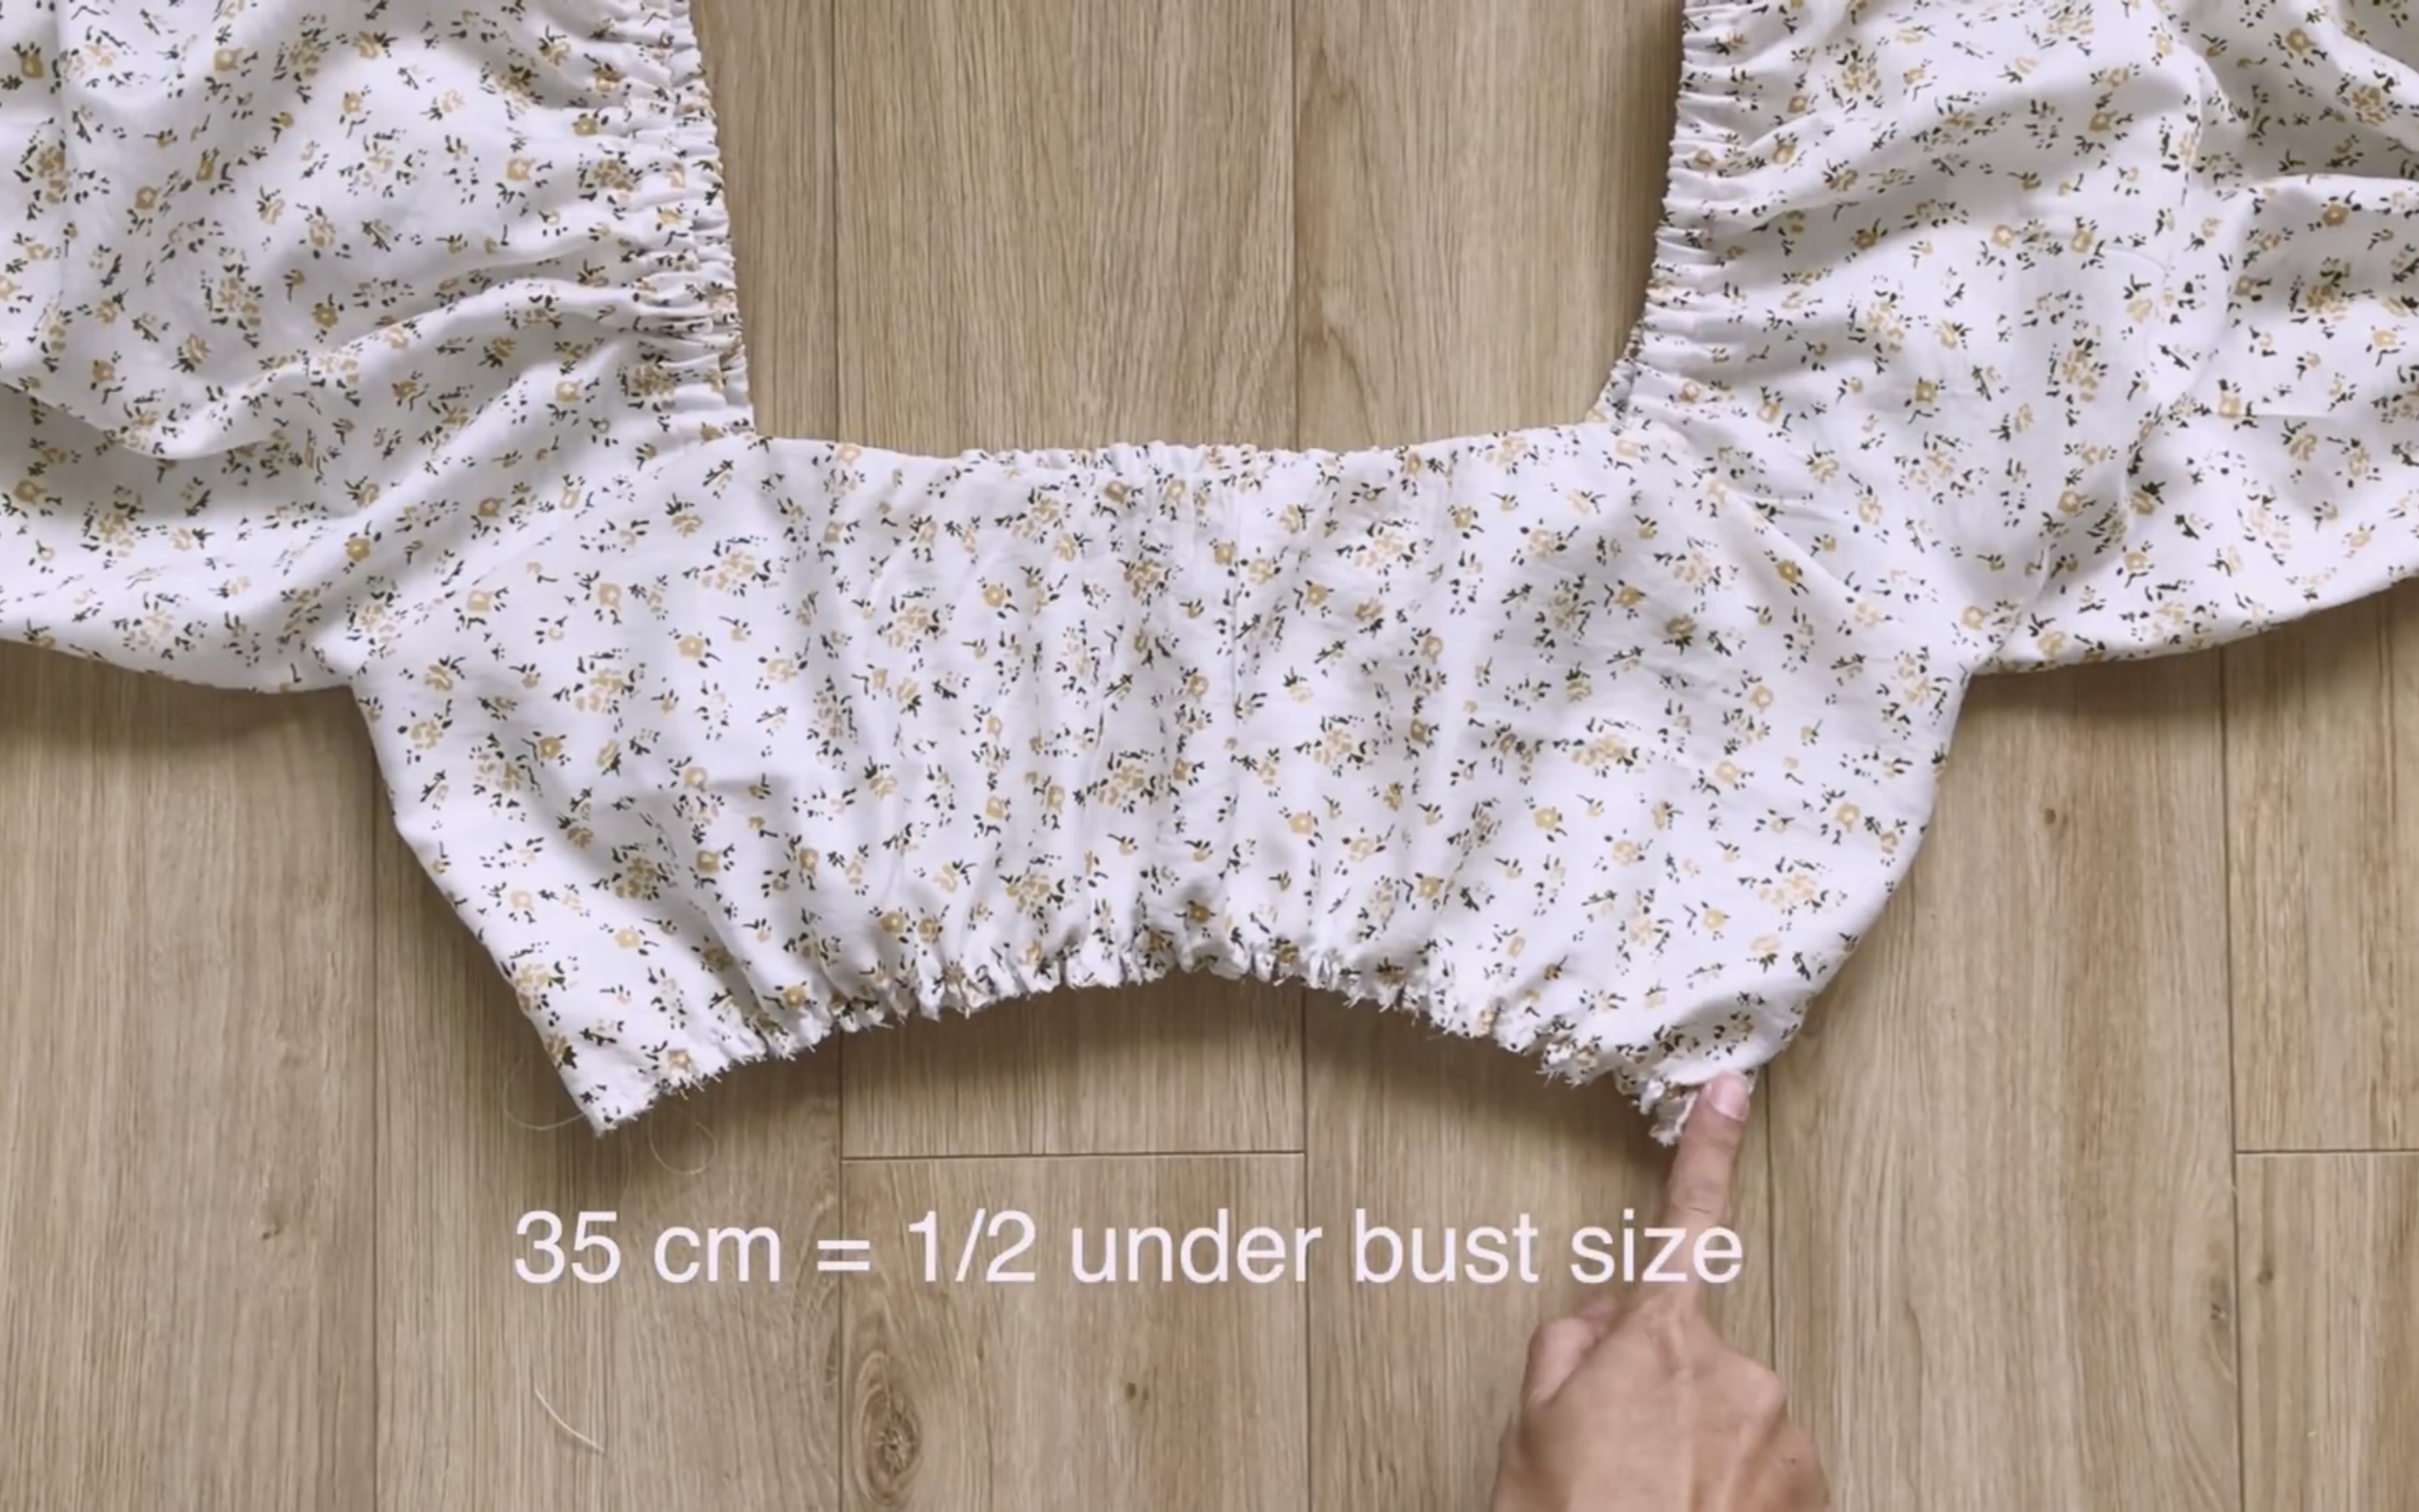
The final width of the puff will be 35 cm, half the underbust size.
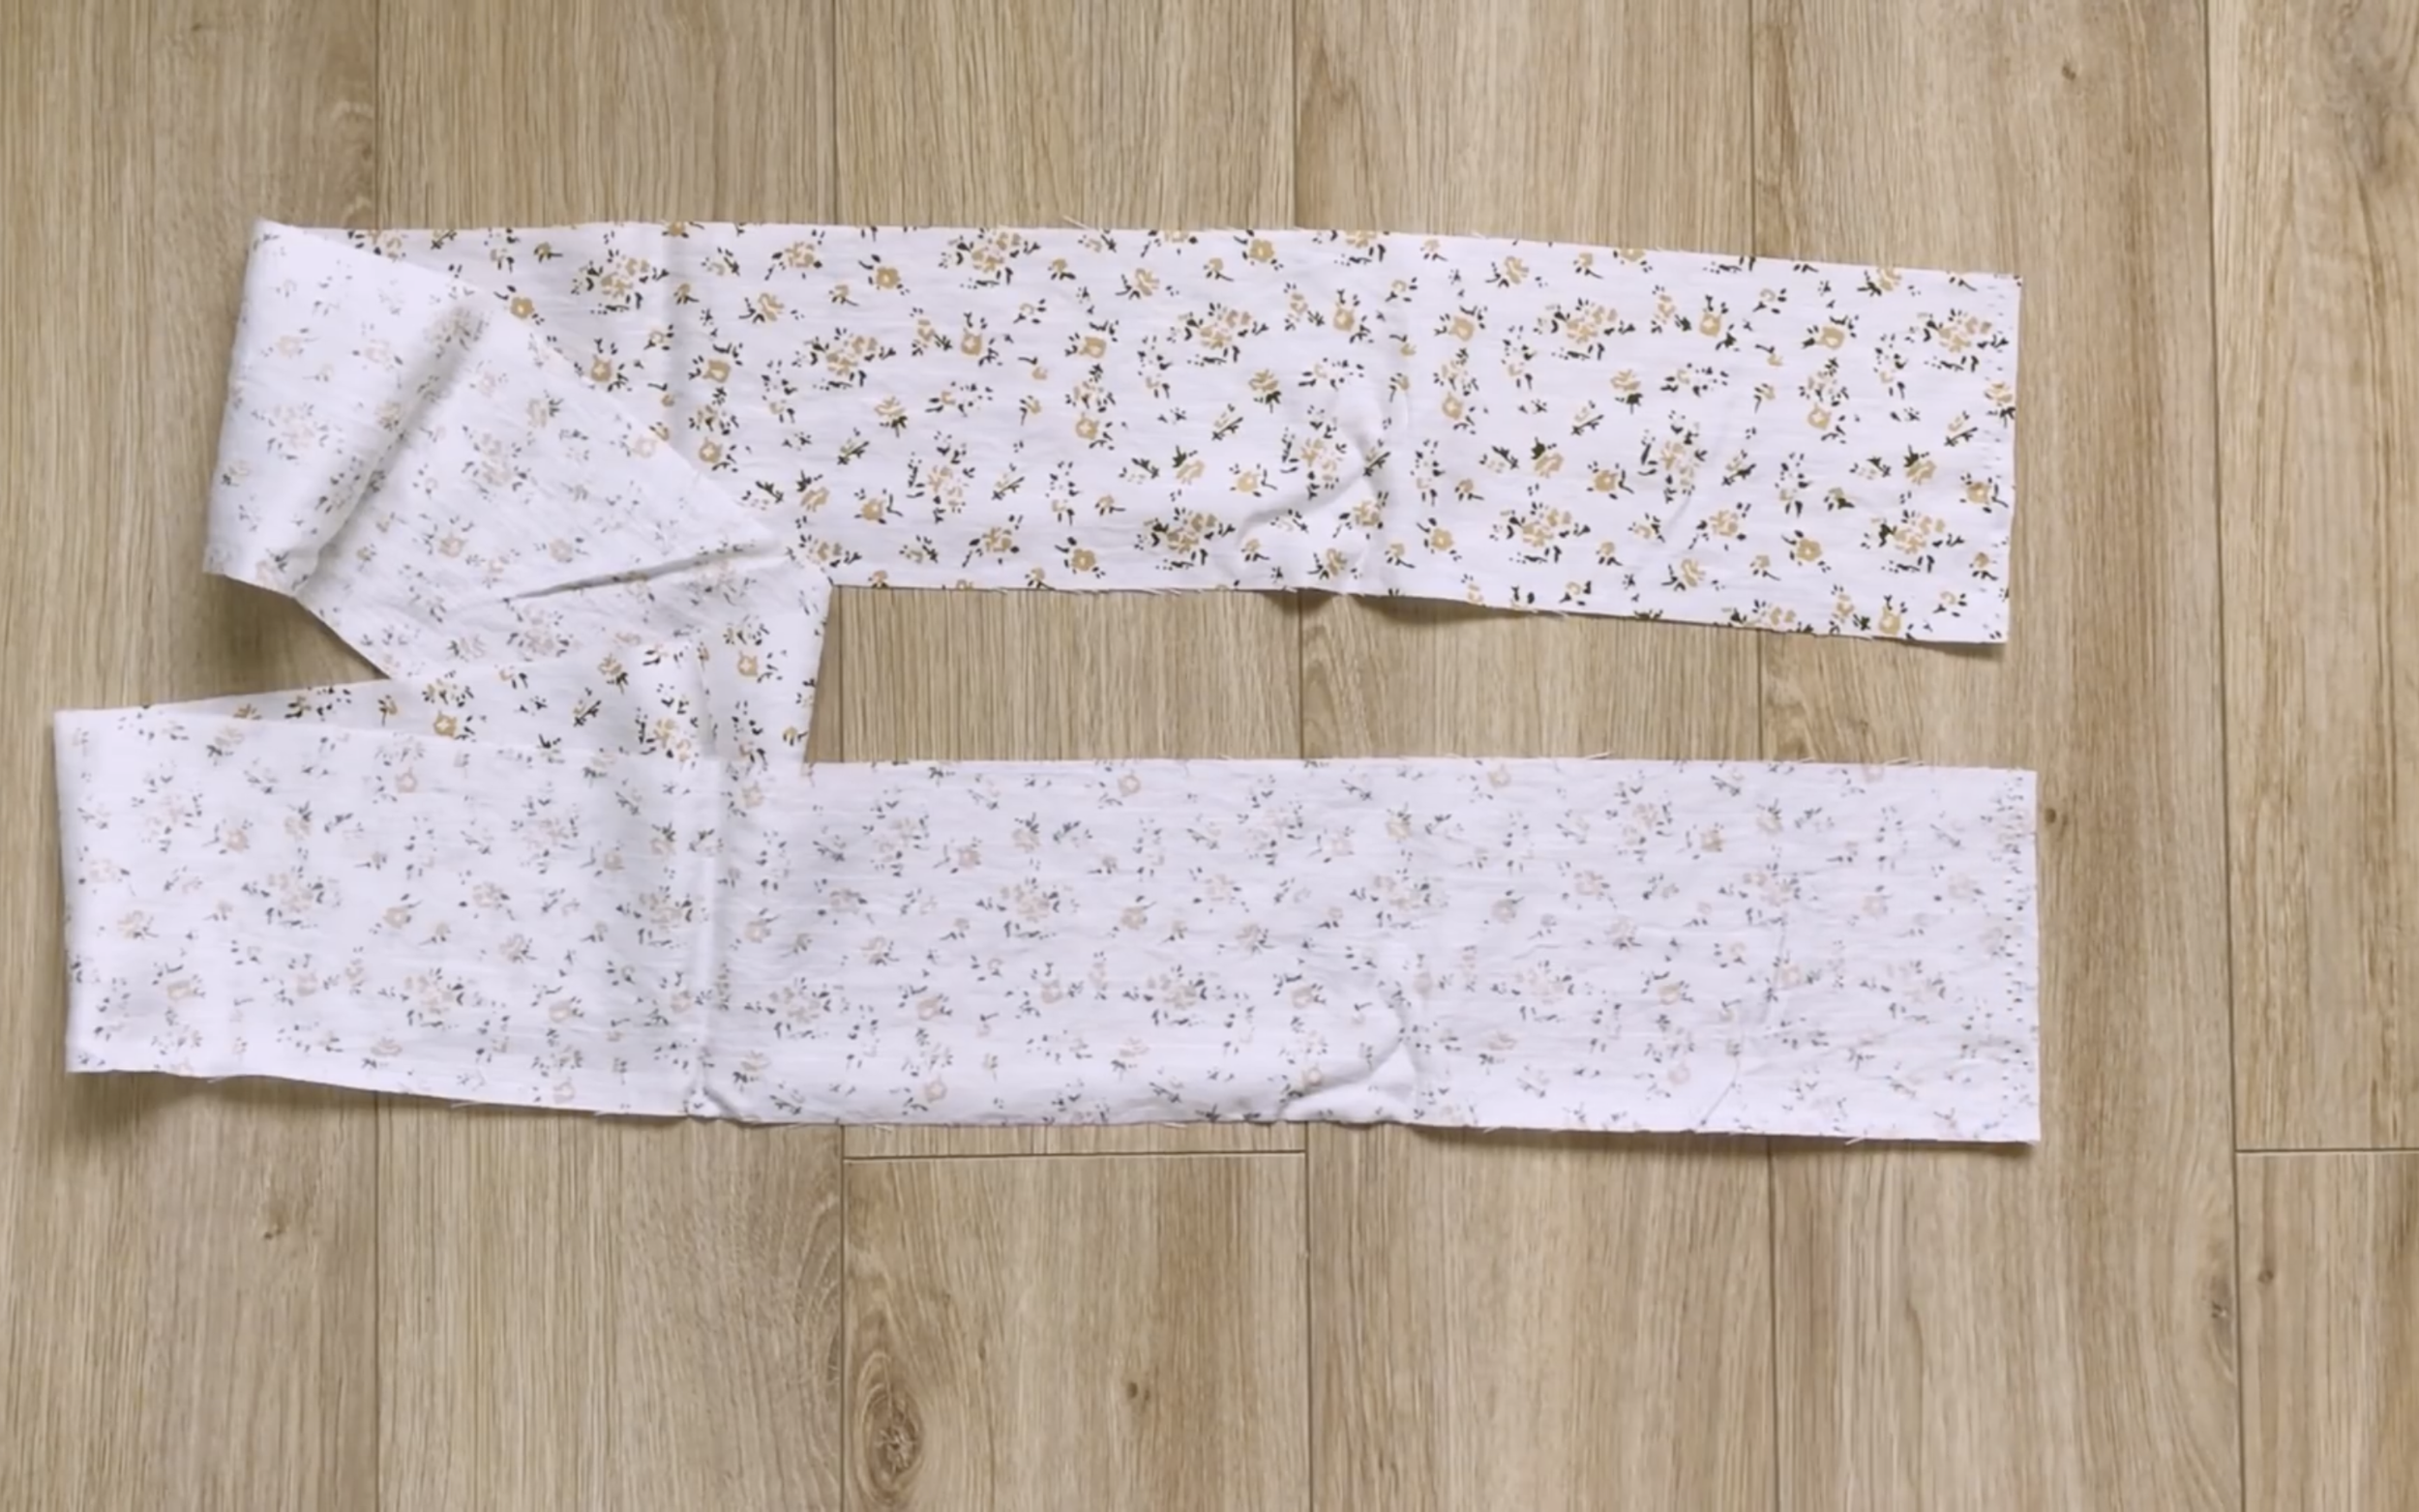
Cut a long rectangle with 8 cm width and around 150 cm length to create a tie under the bust.
Attach the center of the long fabric to the bottom of the front and sew.
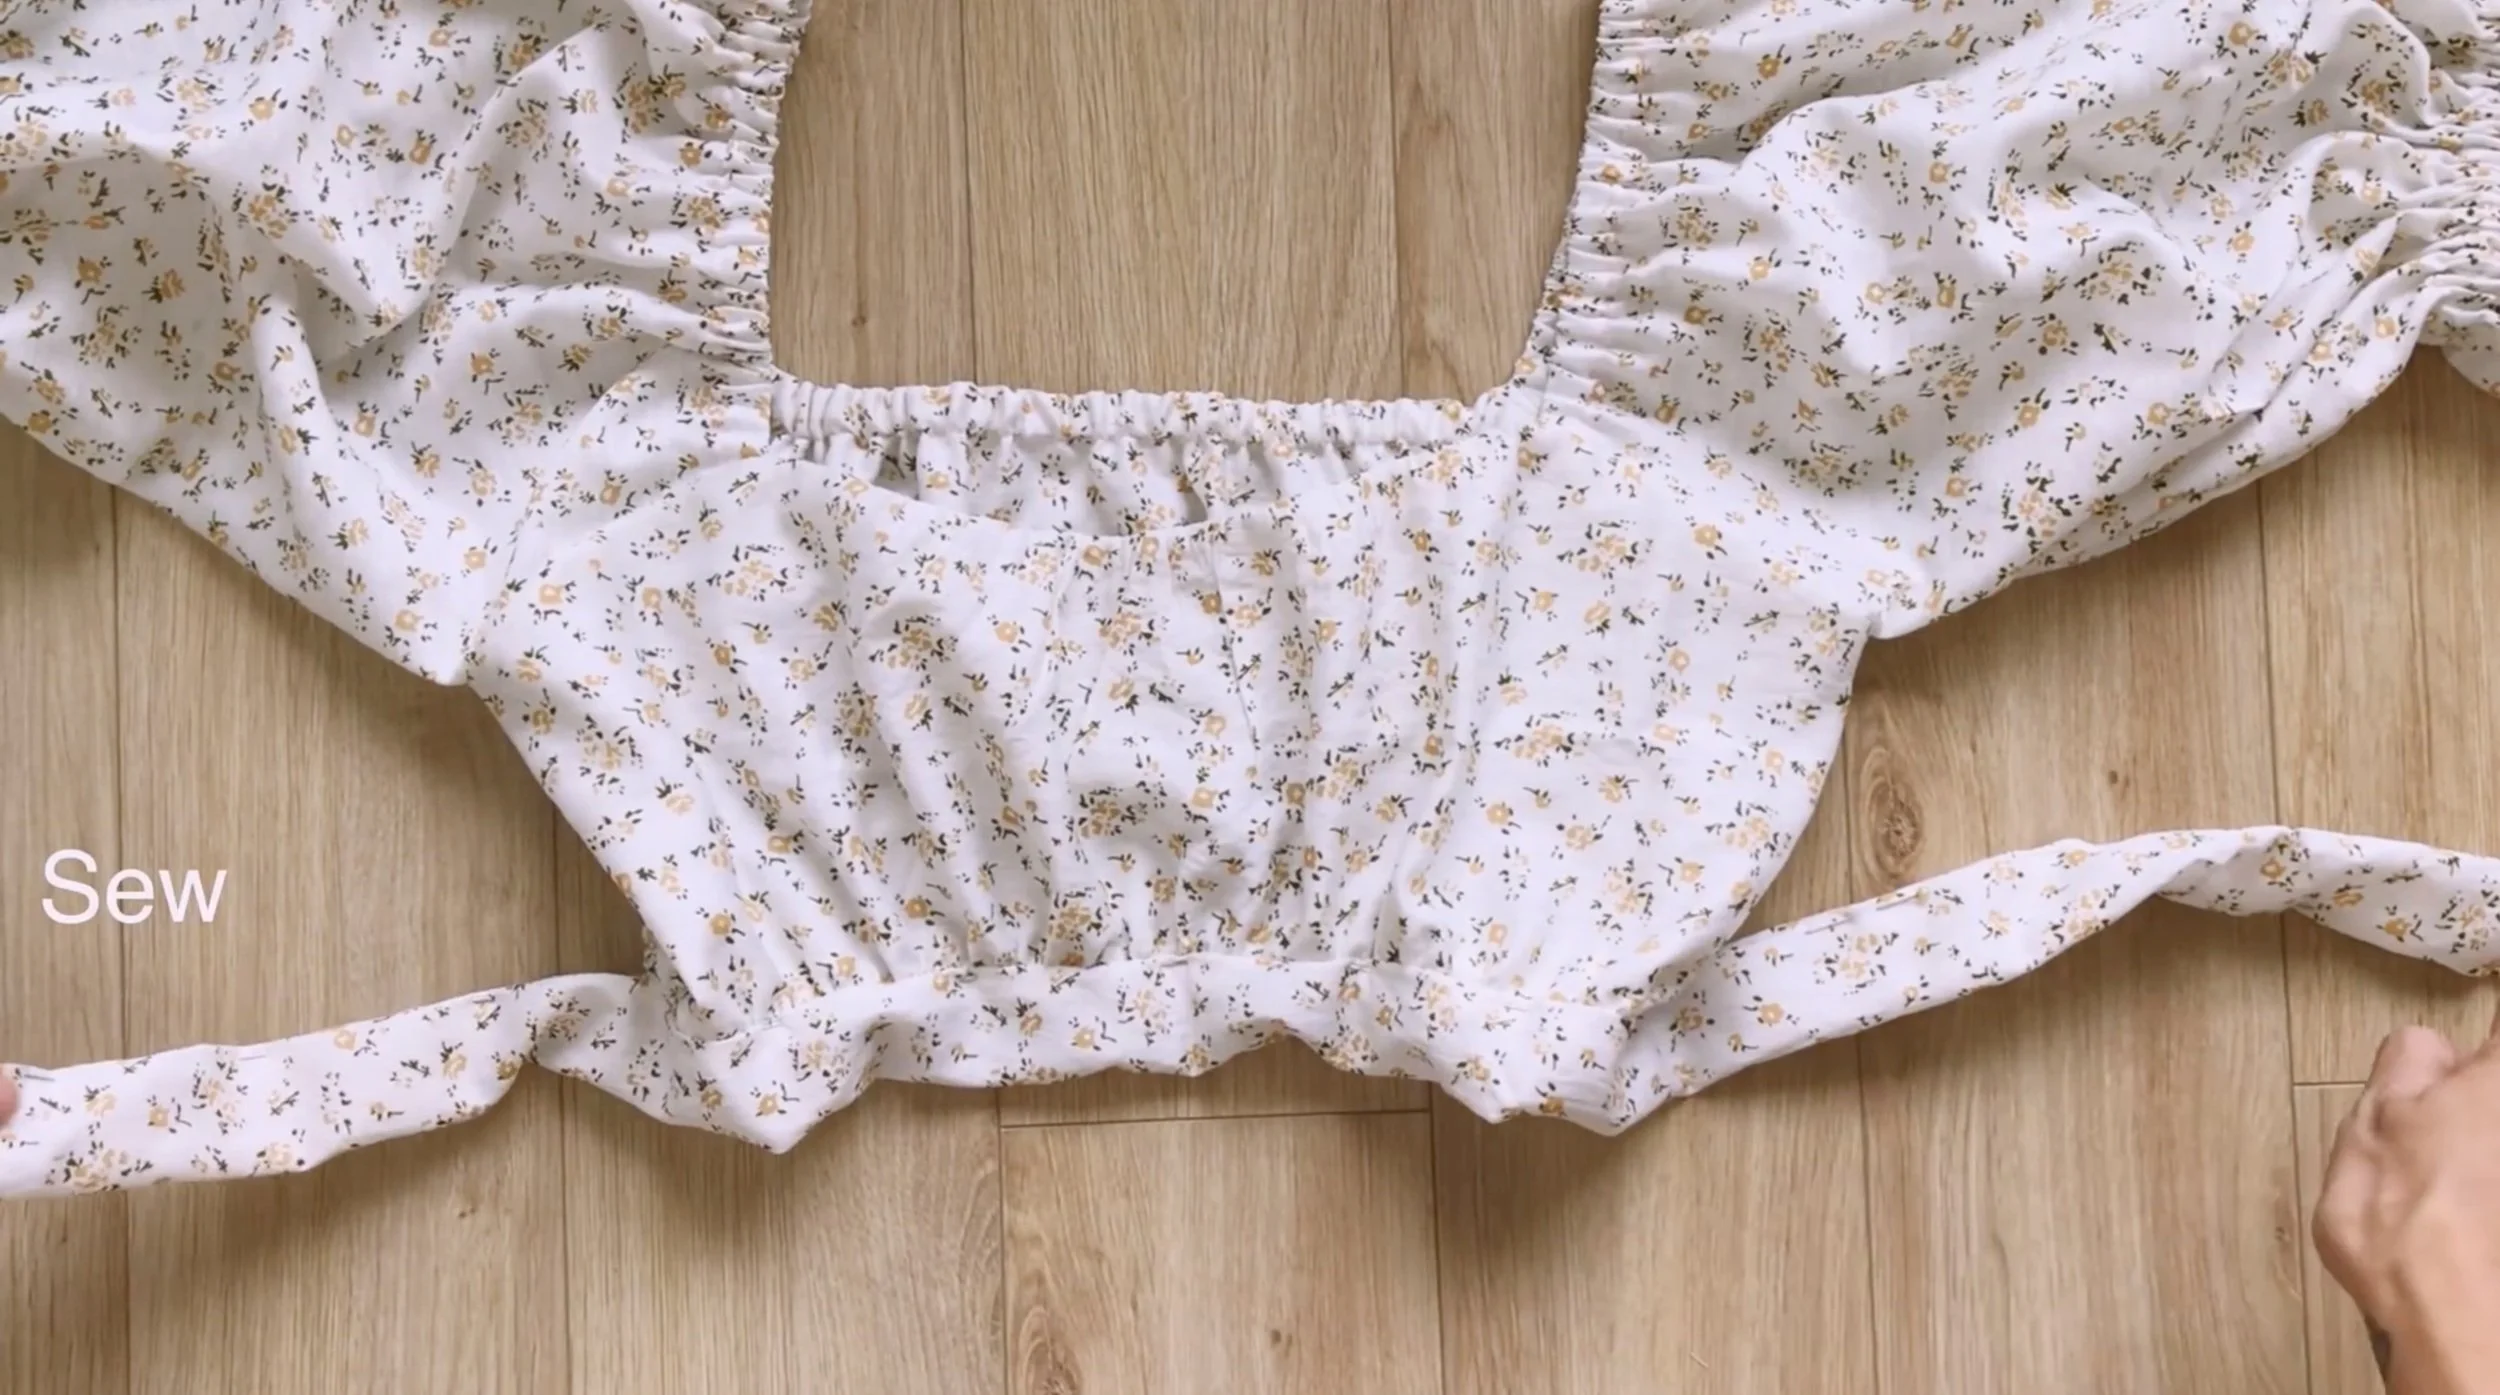
Fold the ends of the fabric twice to hide the edges and sew.
To create a V-shape at the front, sew the middle of the tie inside slightly.
THE SKIRT
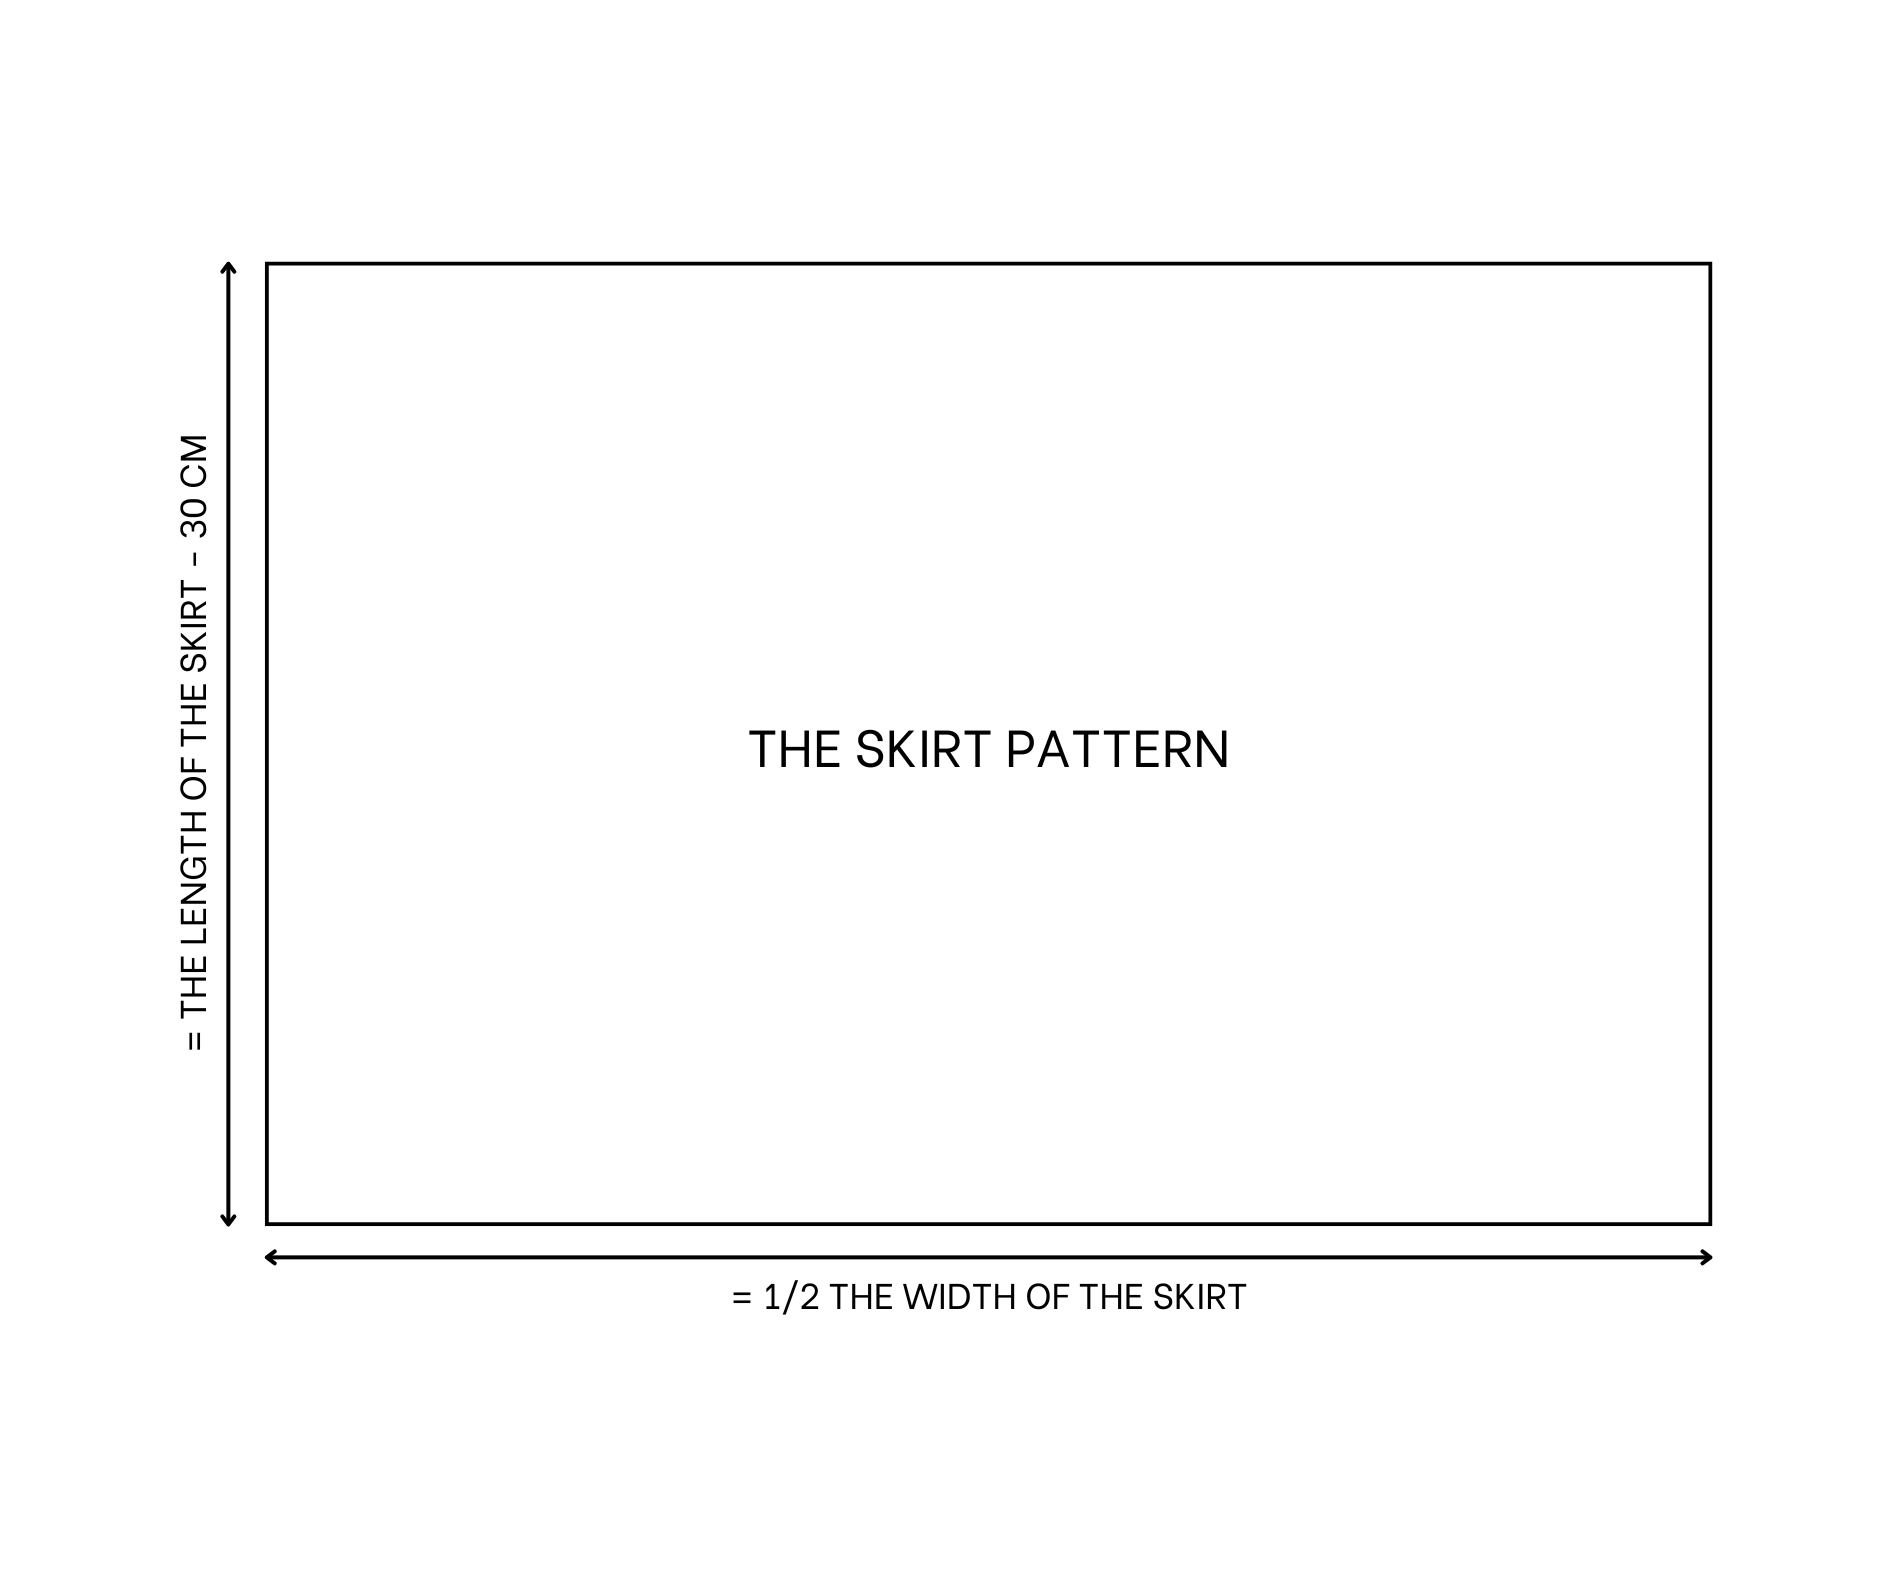
The skirt pattern
For the skirt, cut two rectangles with 50 cm length, which is the skirt length minus 30 cm for the ruffle, and 100 cm width, half the desired skirt width.
For a puffier skirt, increase the width.
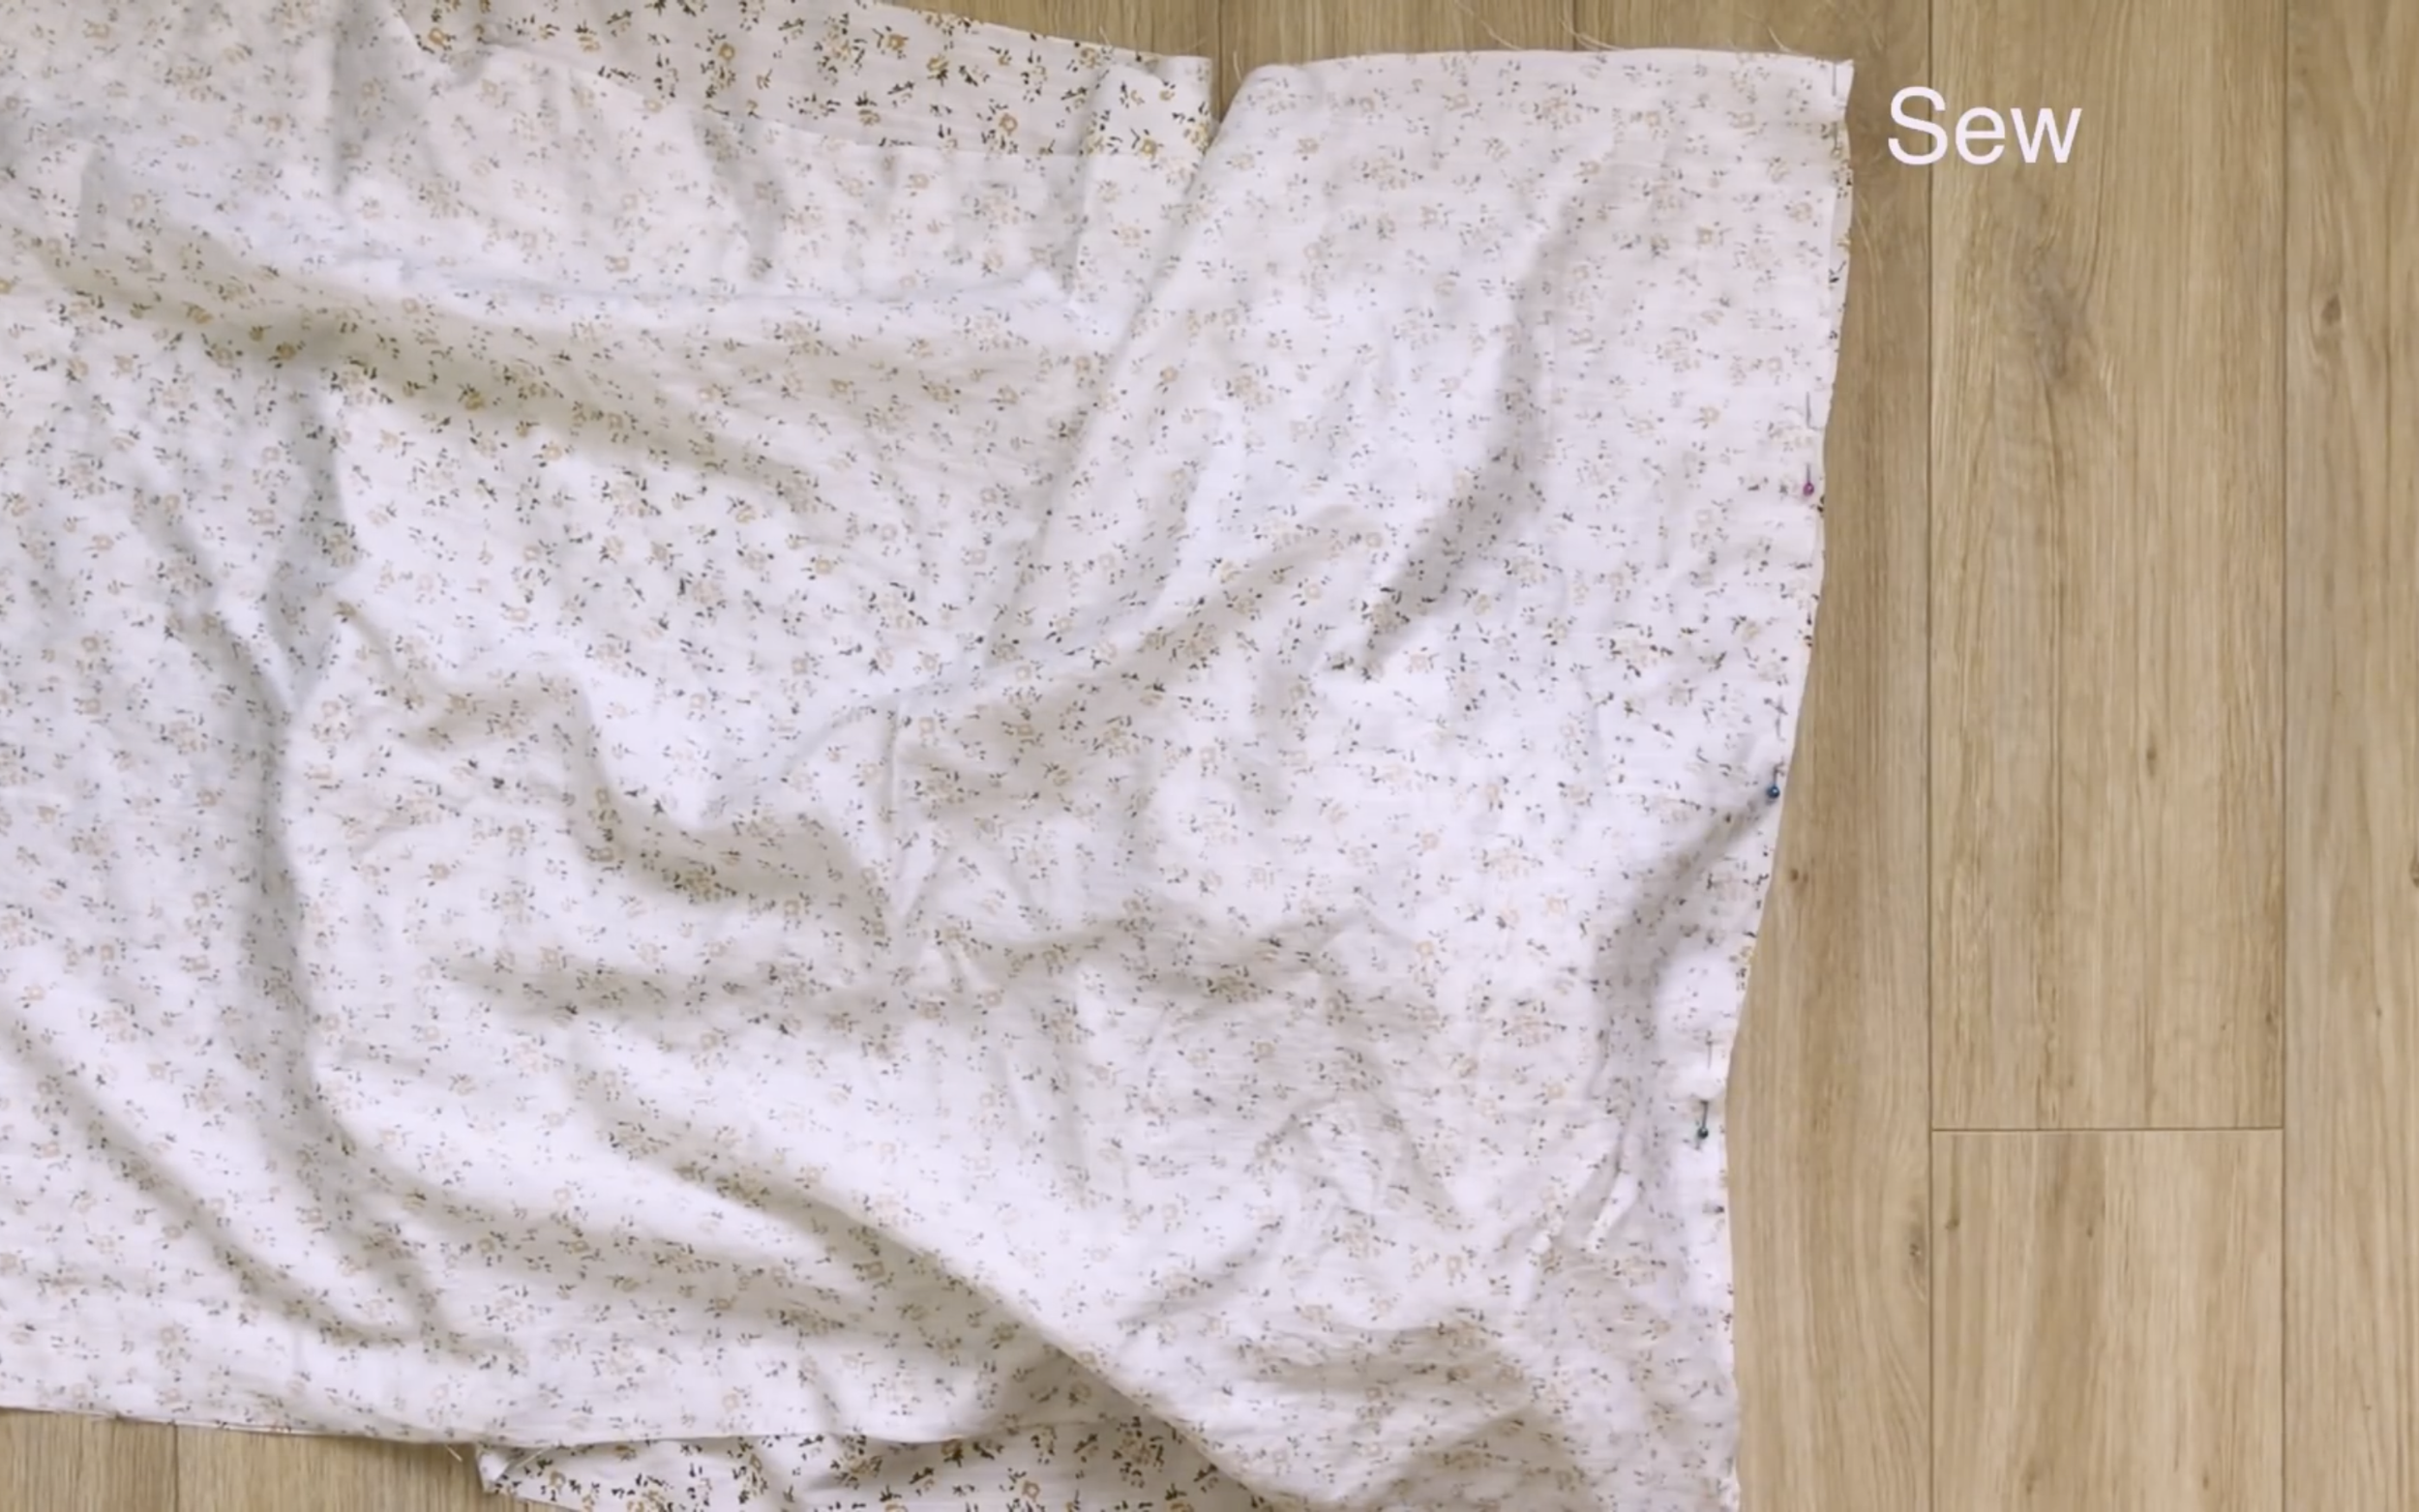
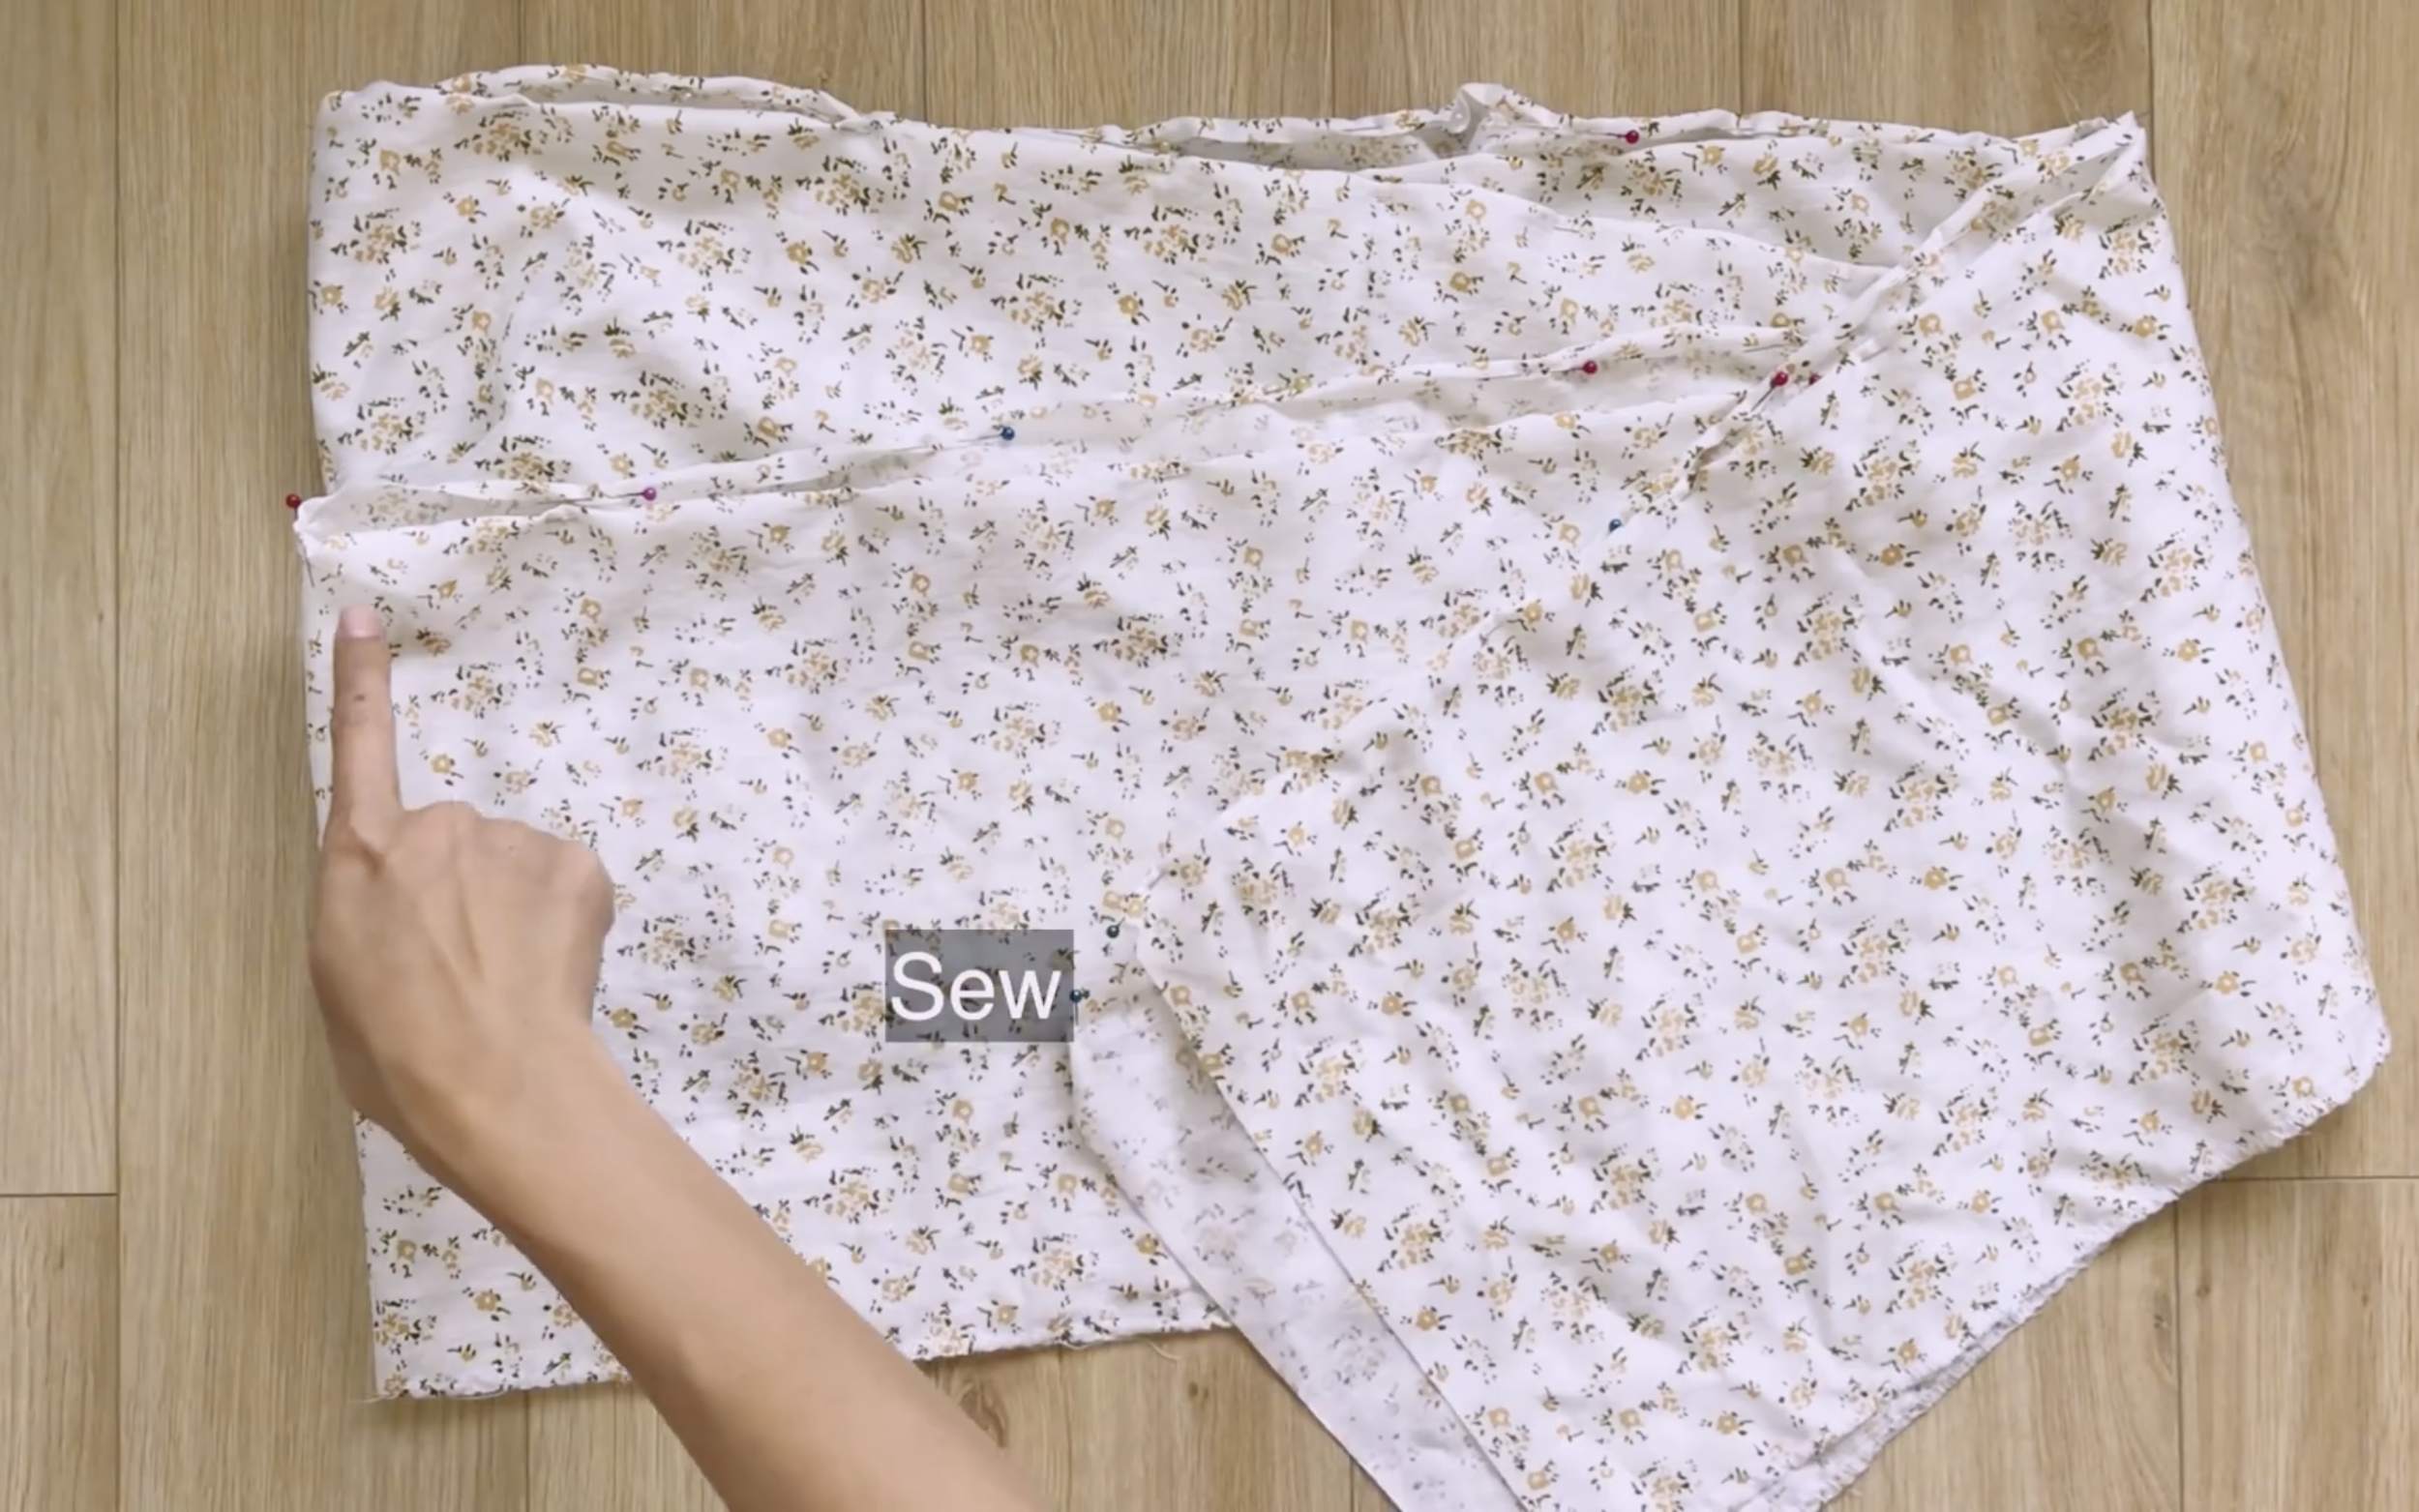
Connect the two rectangles at one seam.
Next, cut two other rectangles with 30 cm length and 150 cm width, which is one and a half times the width of the top rectangles.
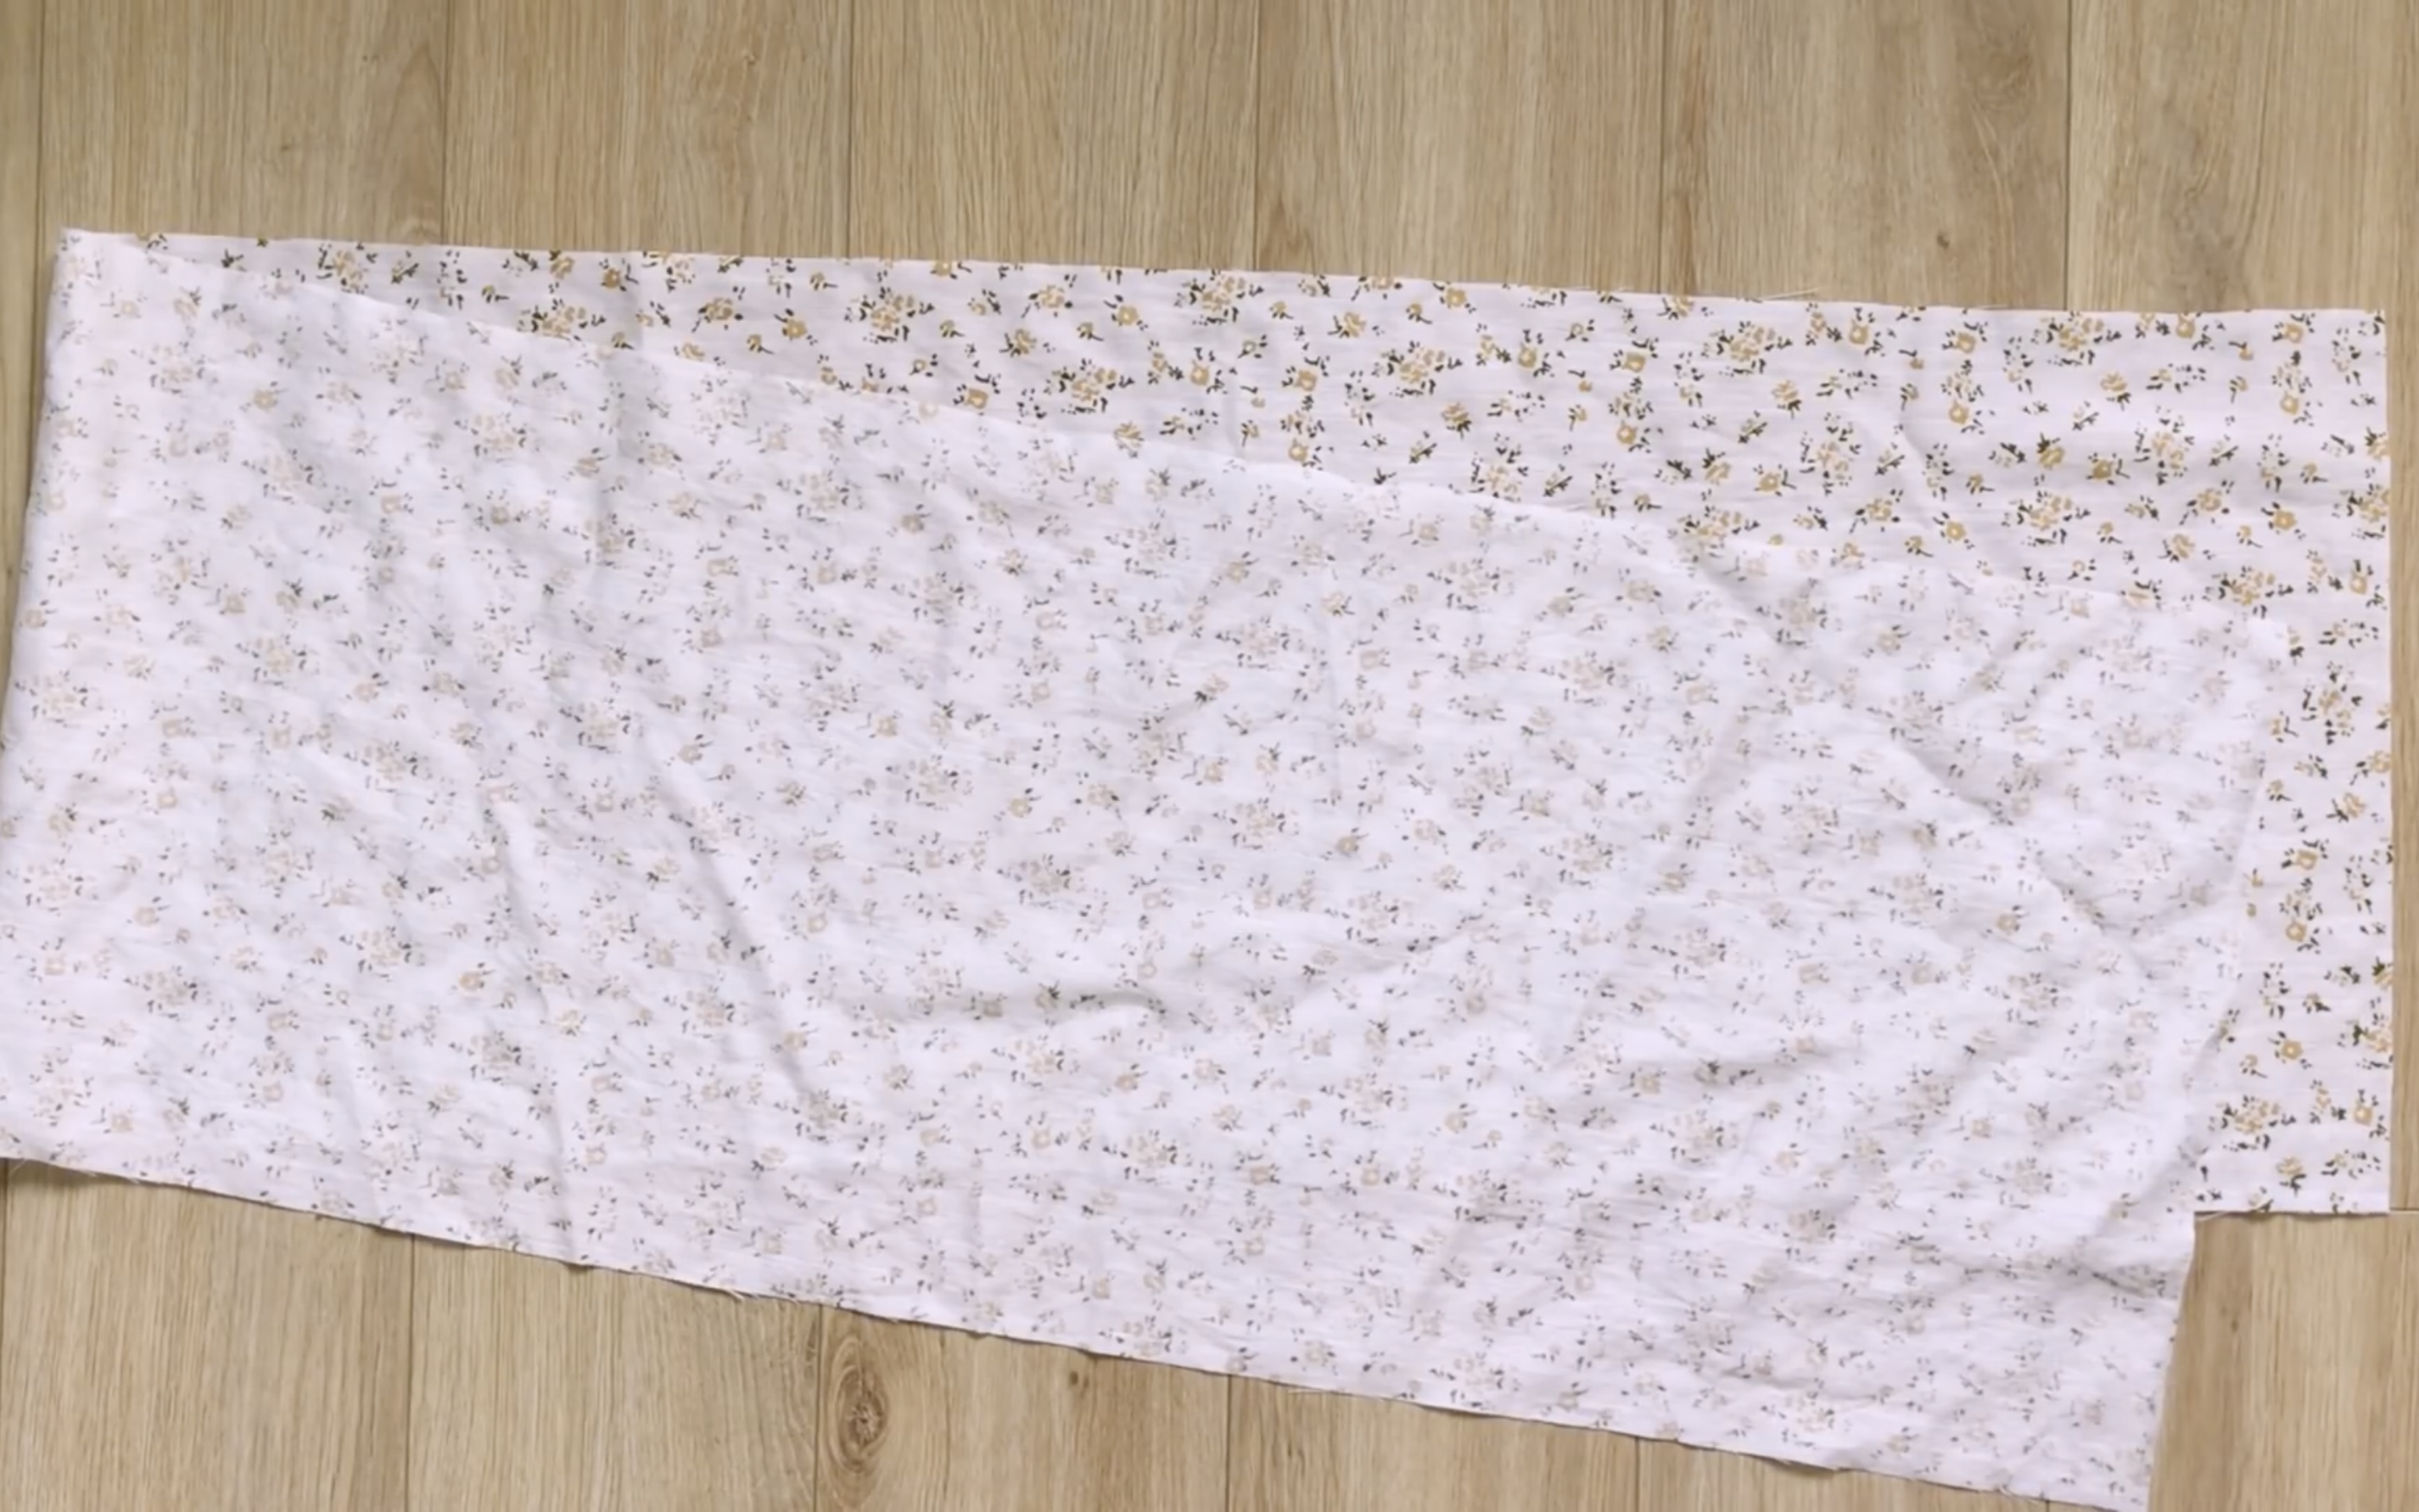
Connect them at one seam to form a long rectangle.
At one end, fold the fabric inside twice and sew to finish it.
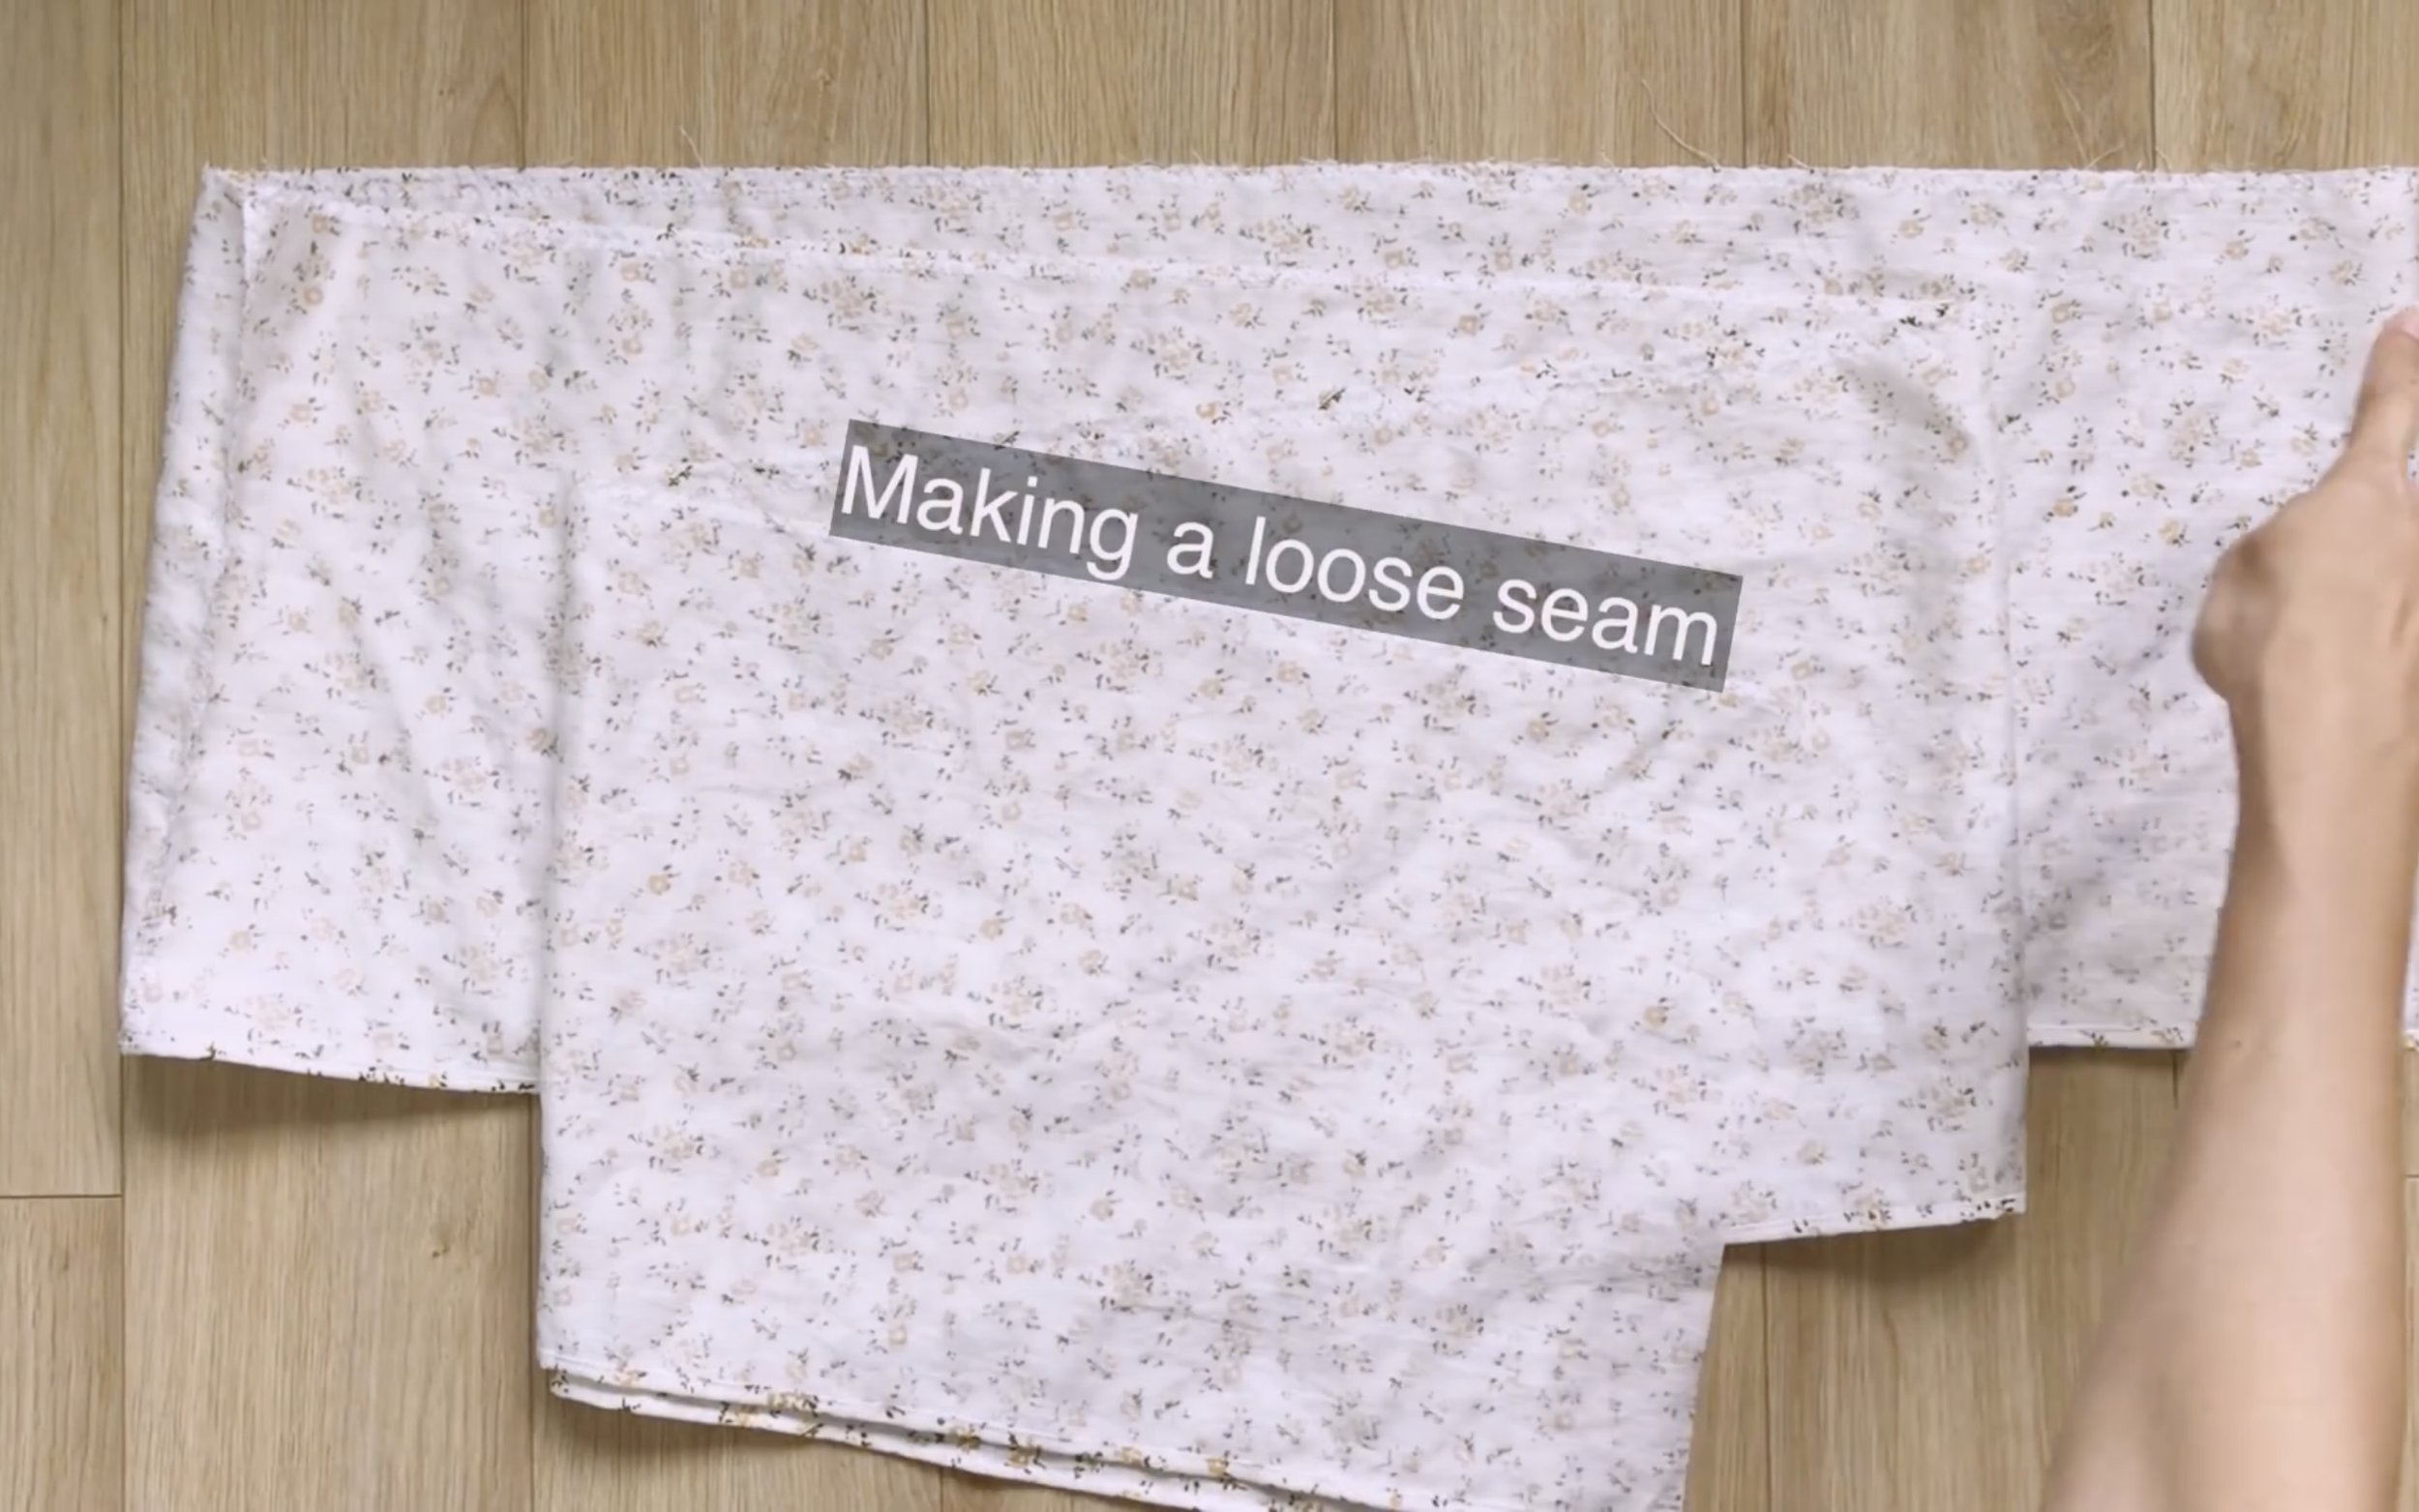
Make a loose seam at the other end to create a puff.
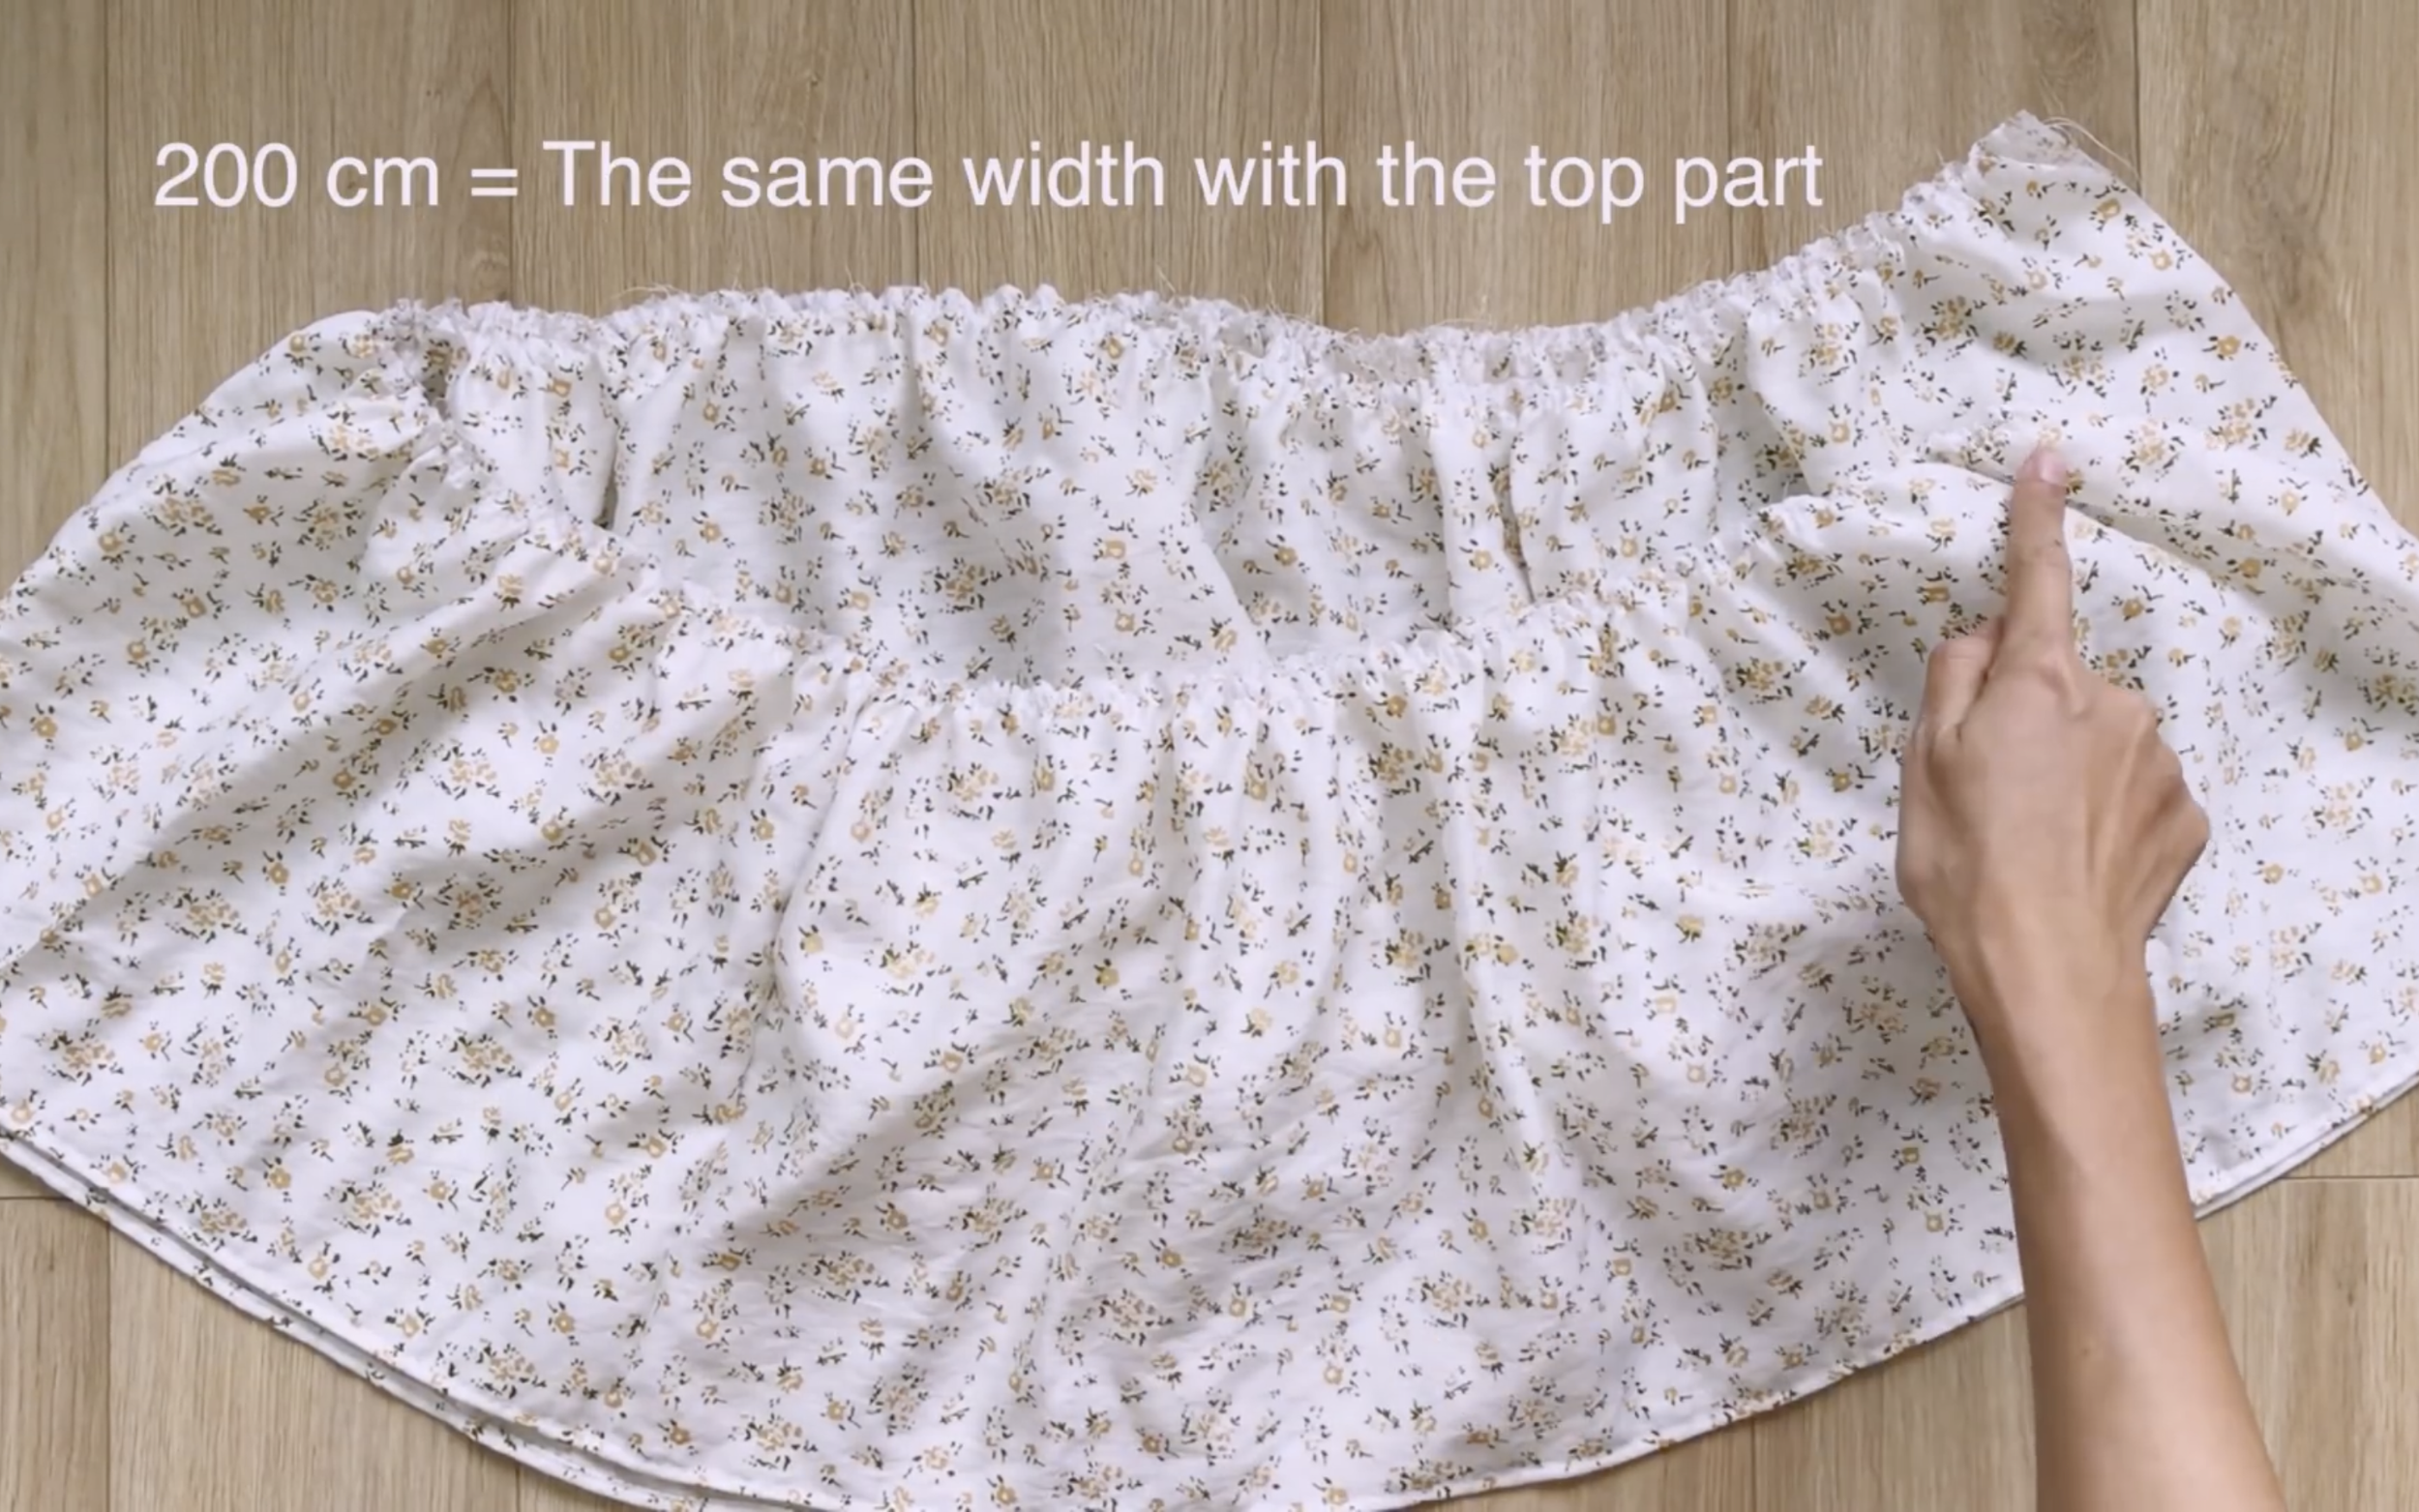
The final width of the puff should be 200 cm, matching the top rectangle.
Connect the ruffle to the top rectangle’s edge to finish the skirt’s ruffle hem.

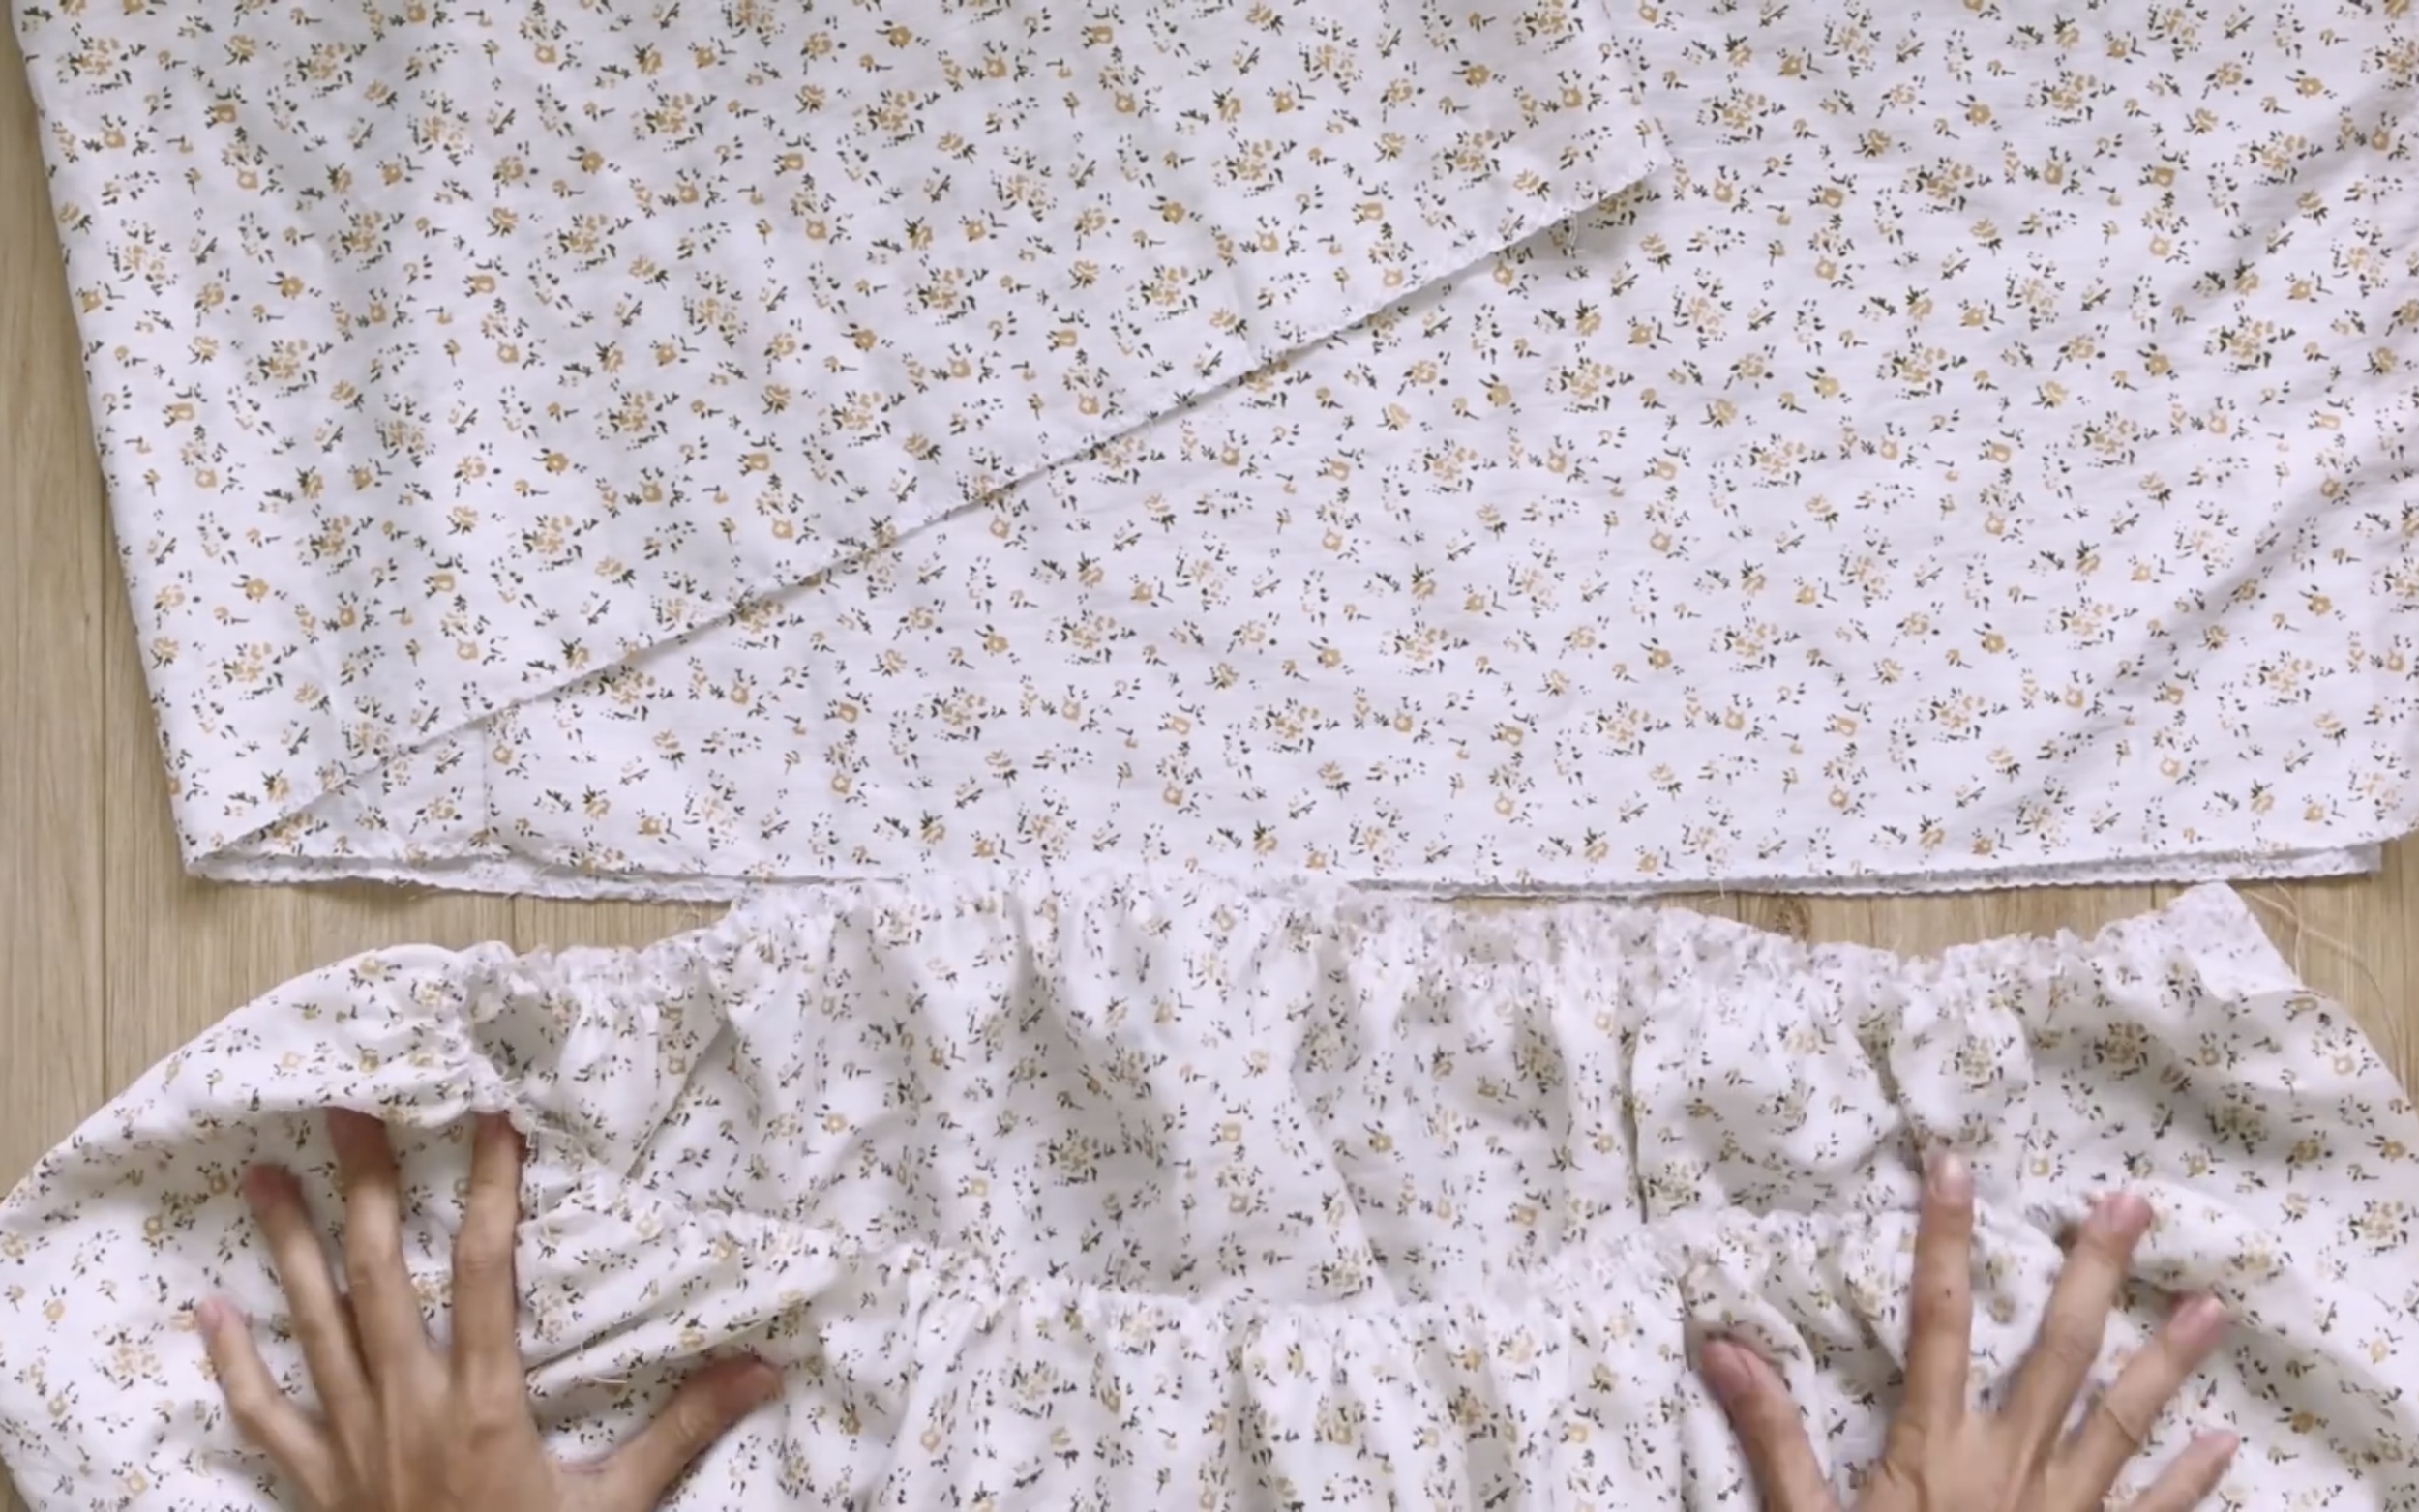
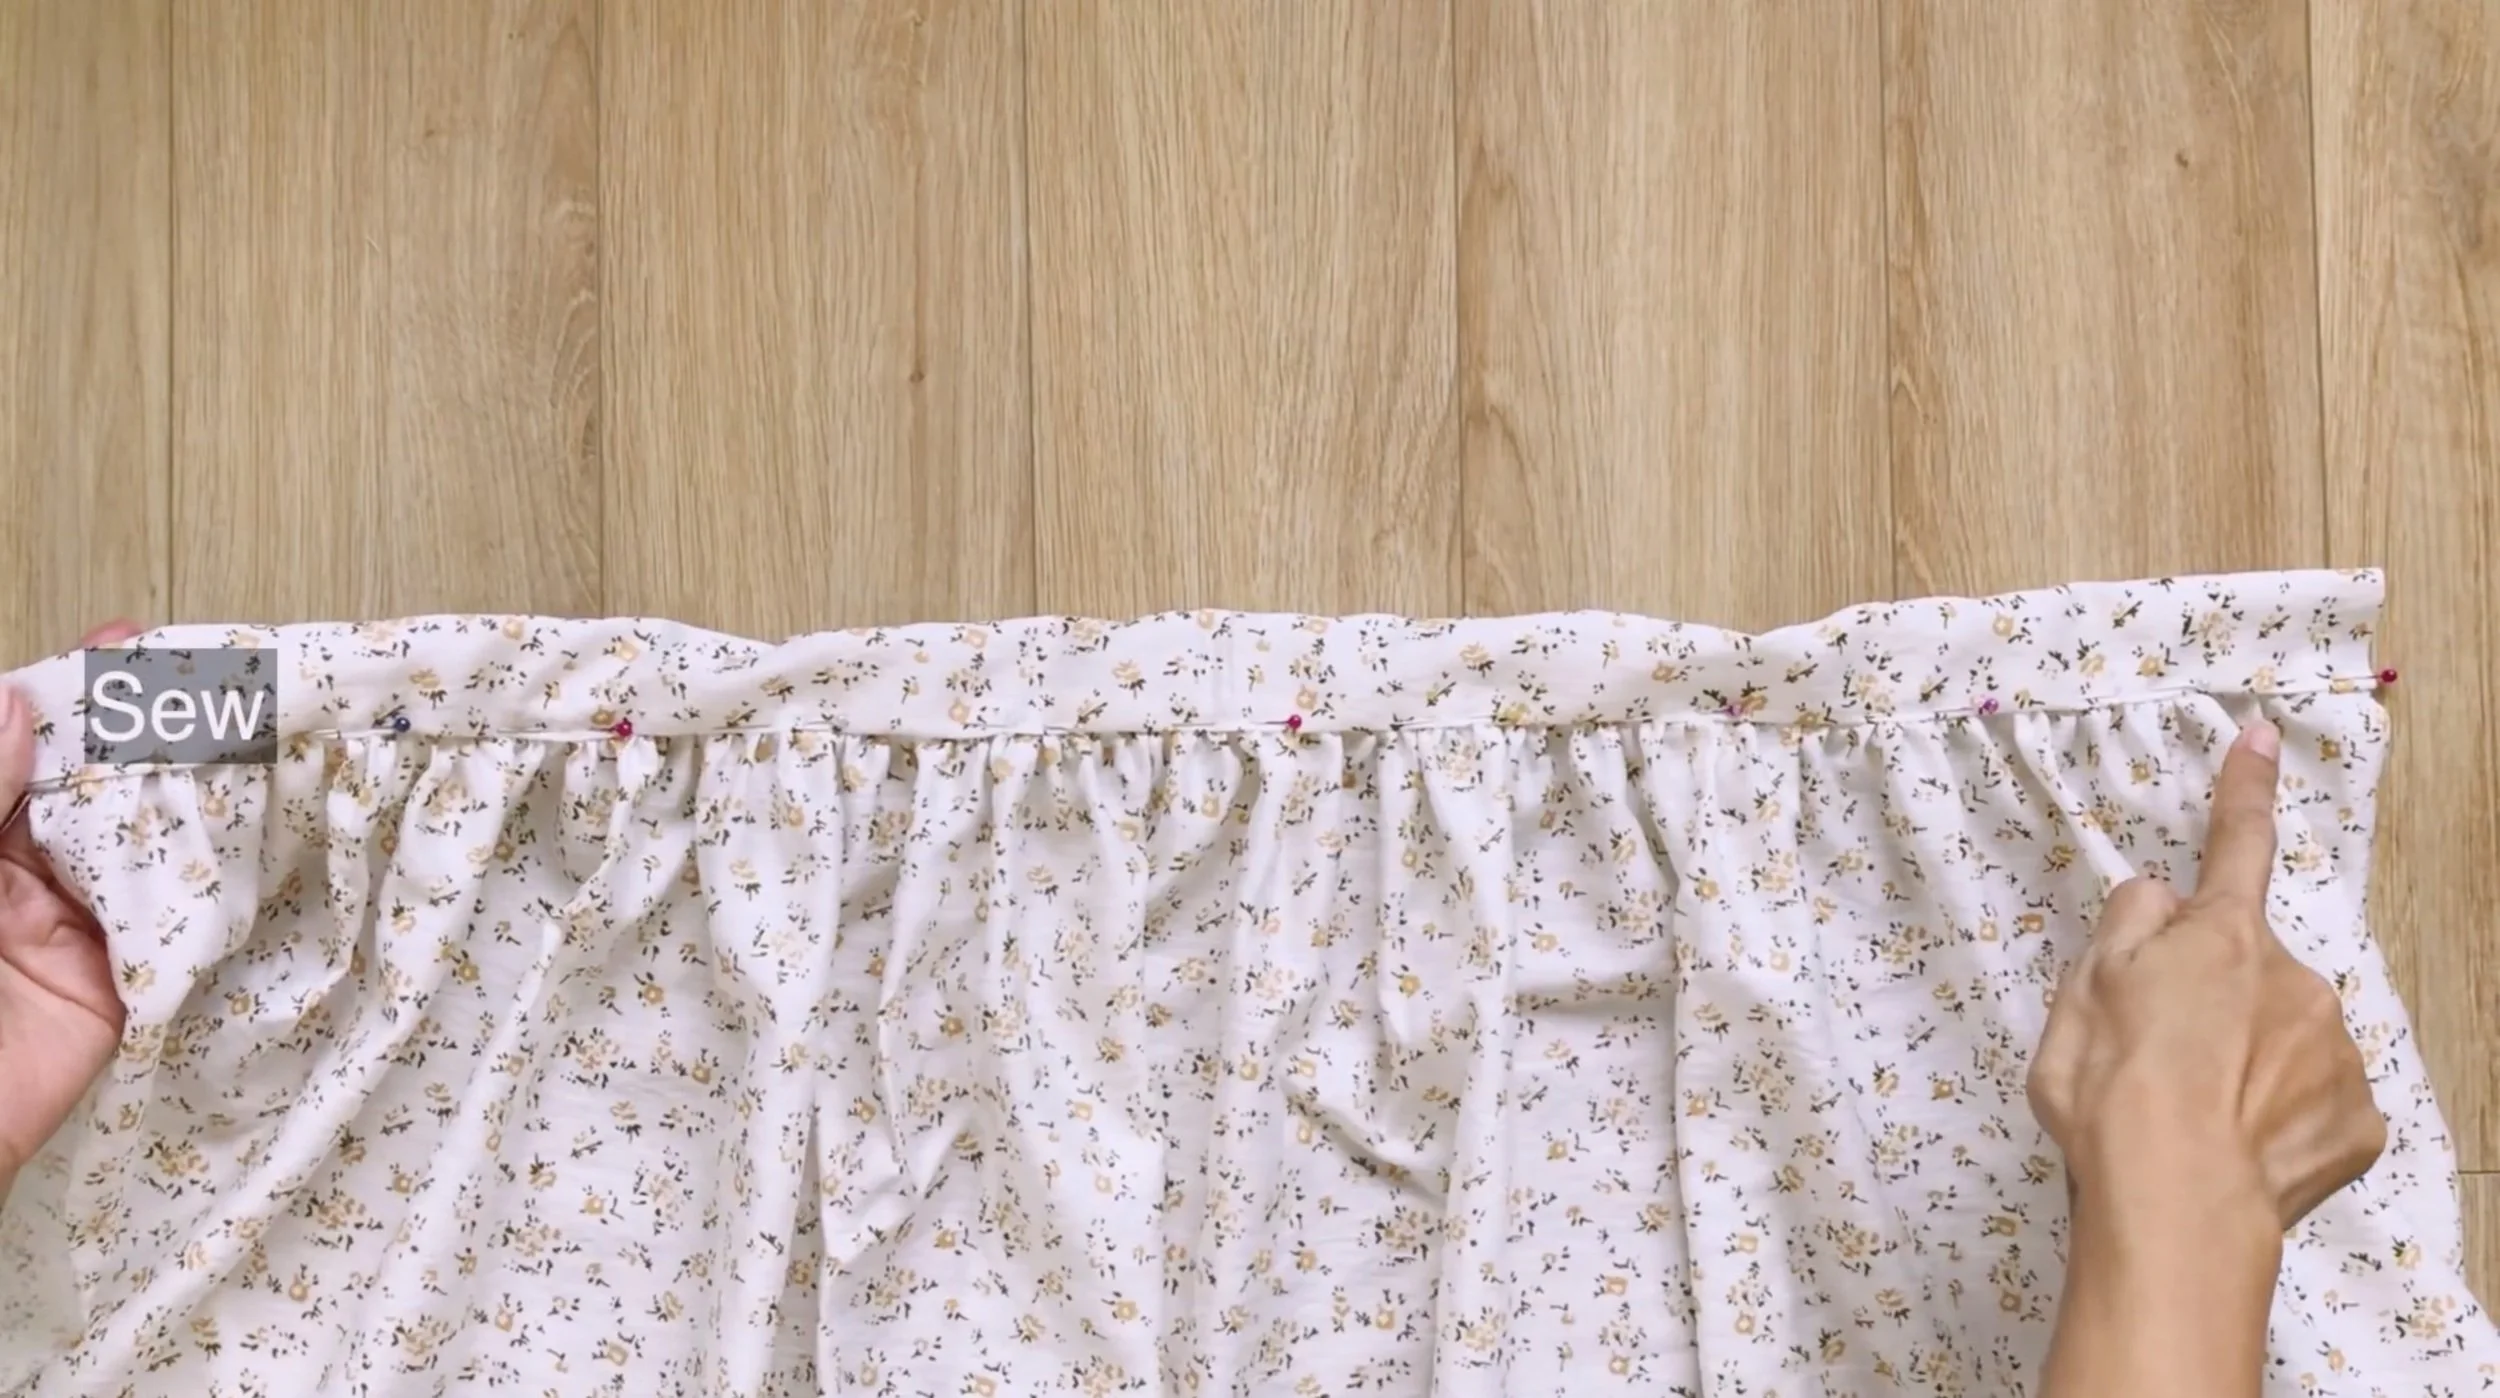
At the top of the skirt, make a loose seam first and create a puff later.
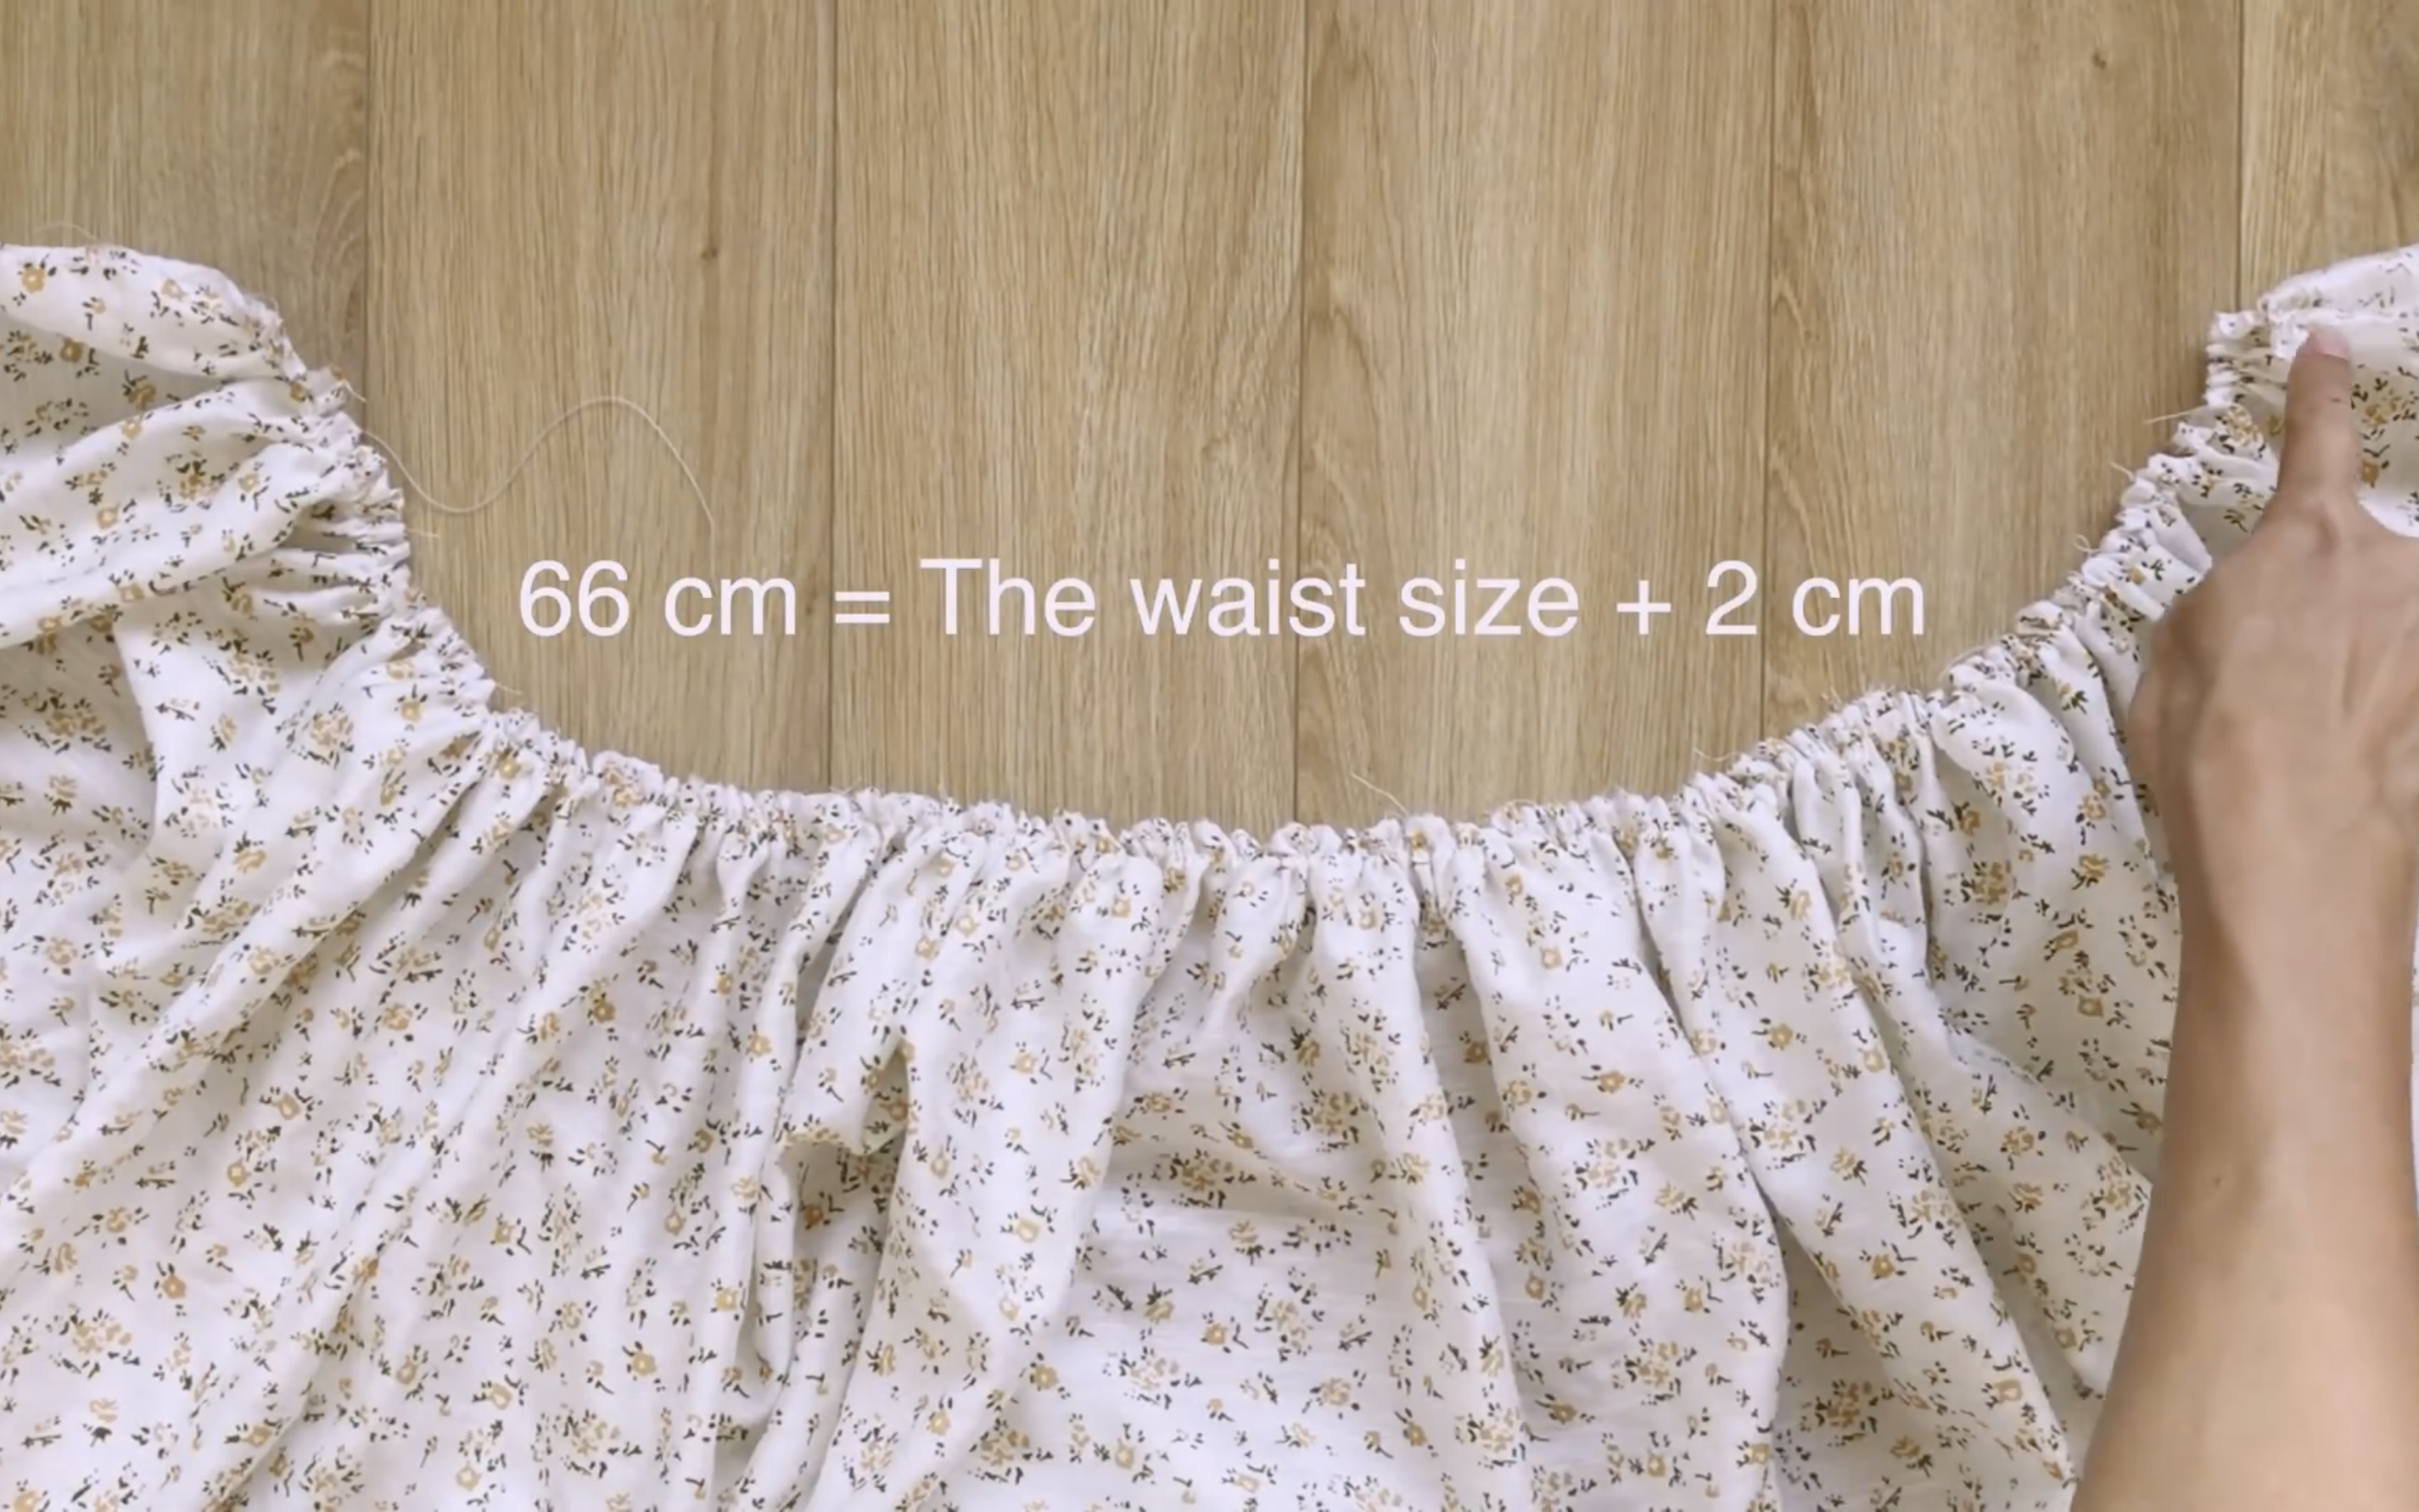
The final width of the top should be 66 cm, which is the waist size plus 2 cm.
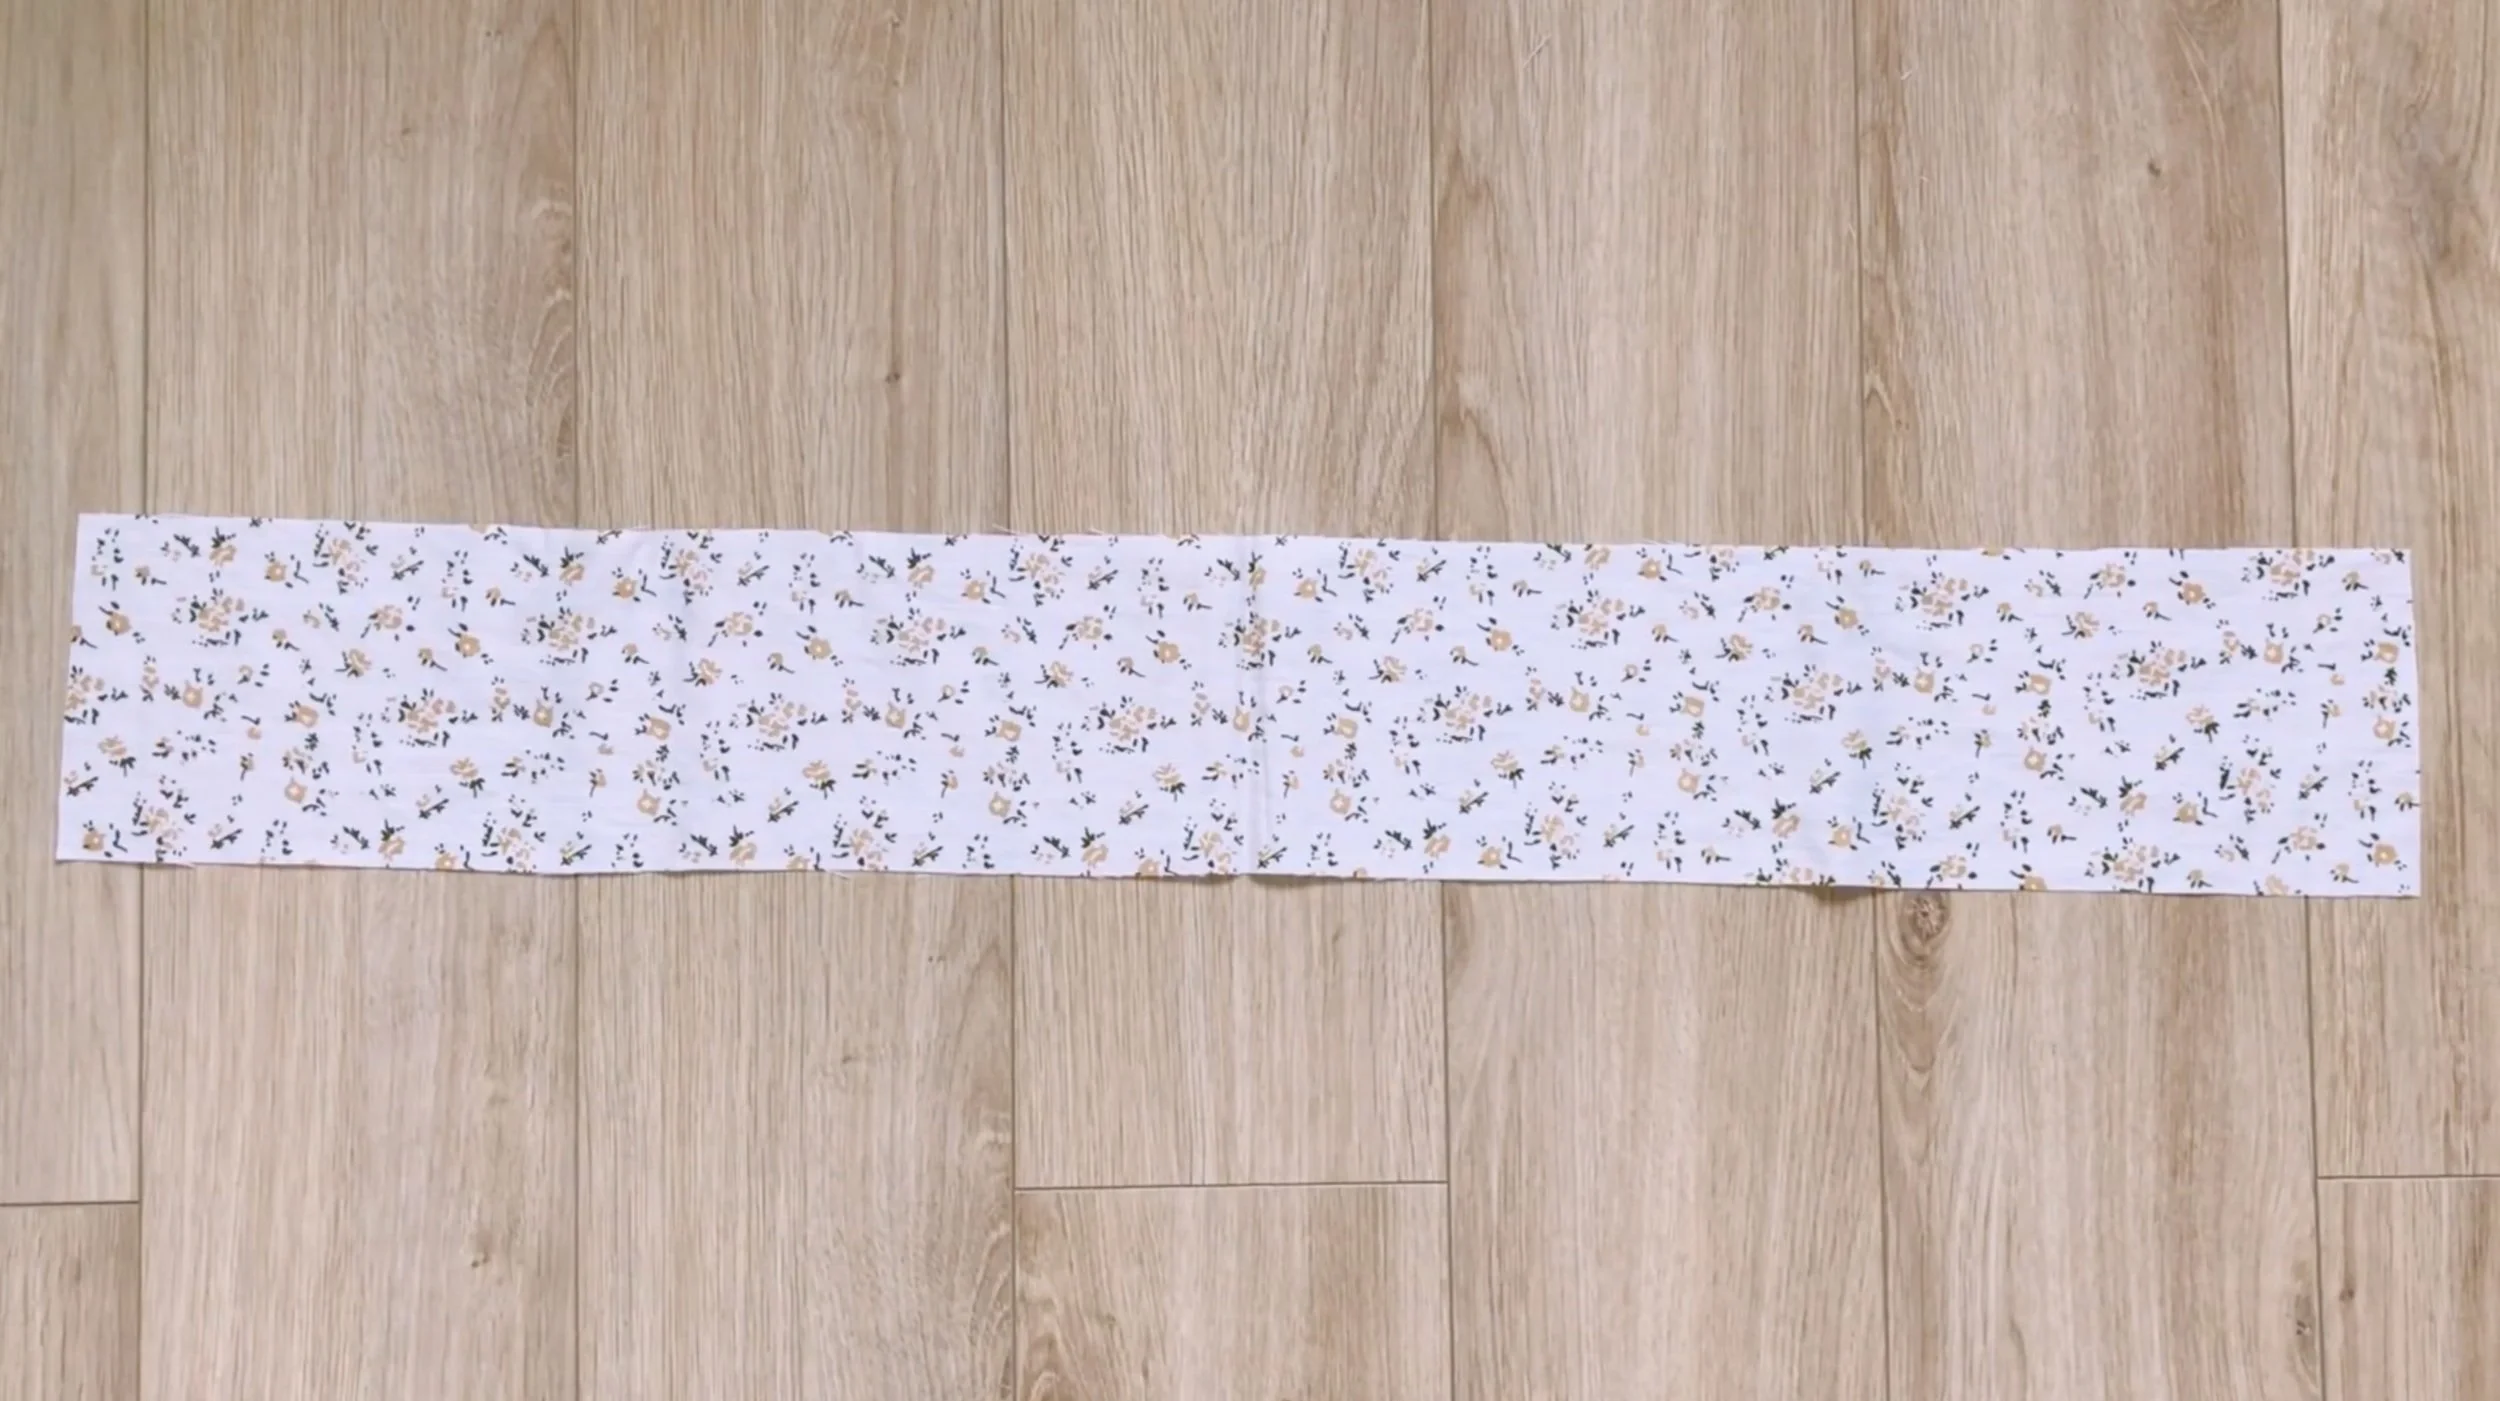
Cut a rectangle with 8 cm width and 66 cm length to make the waistband for the skirt.
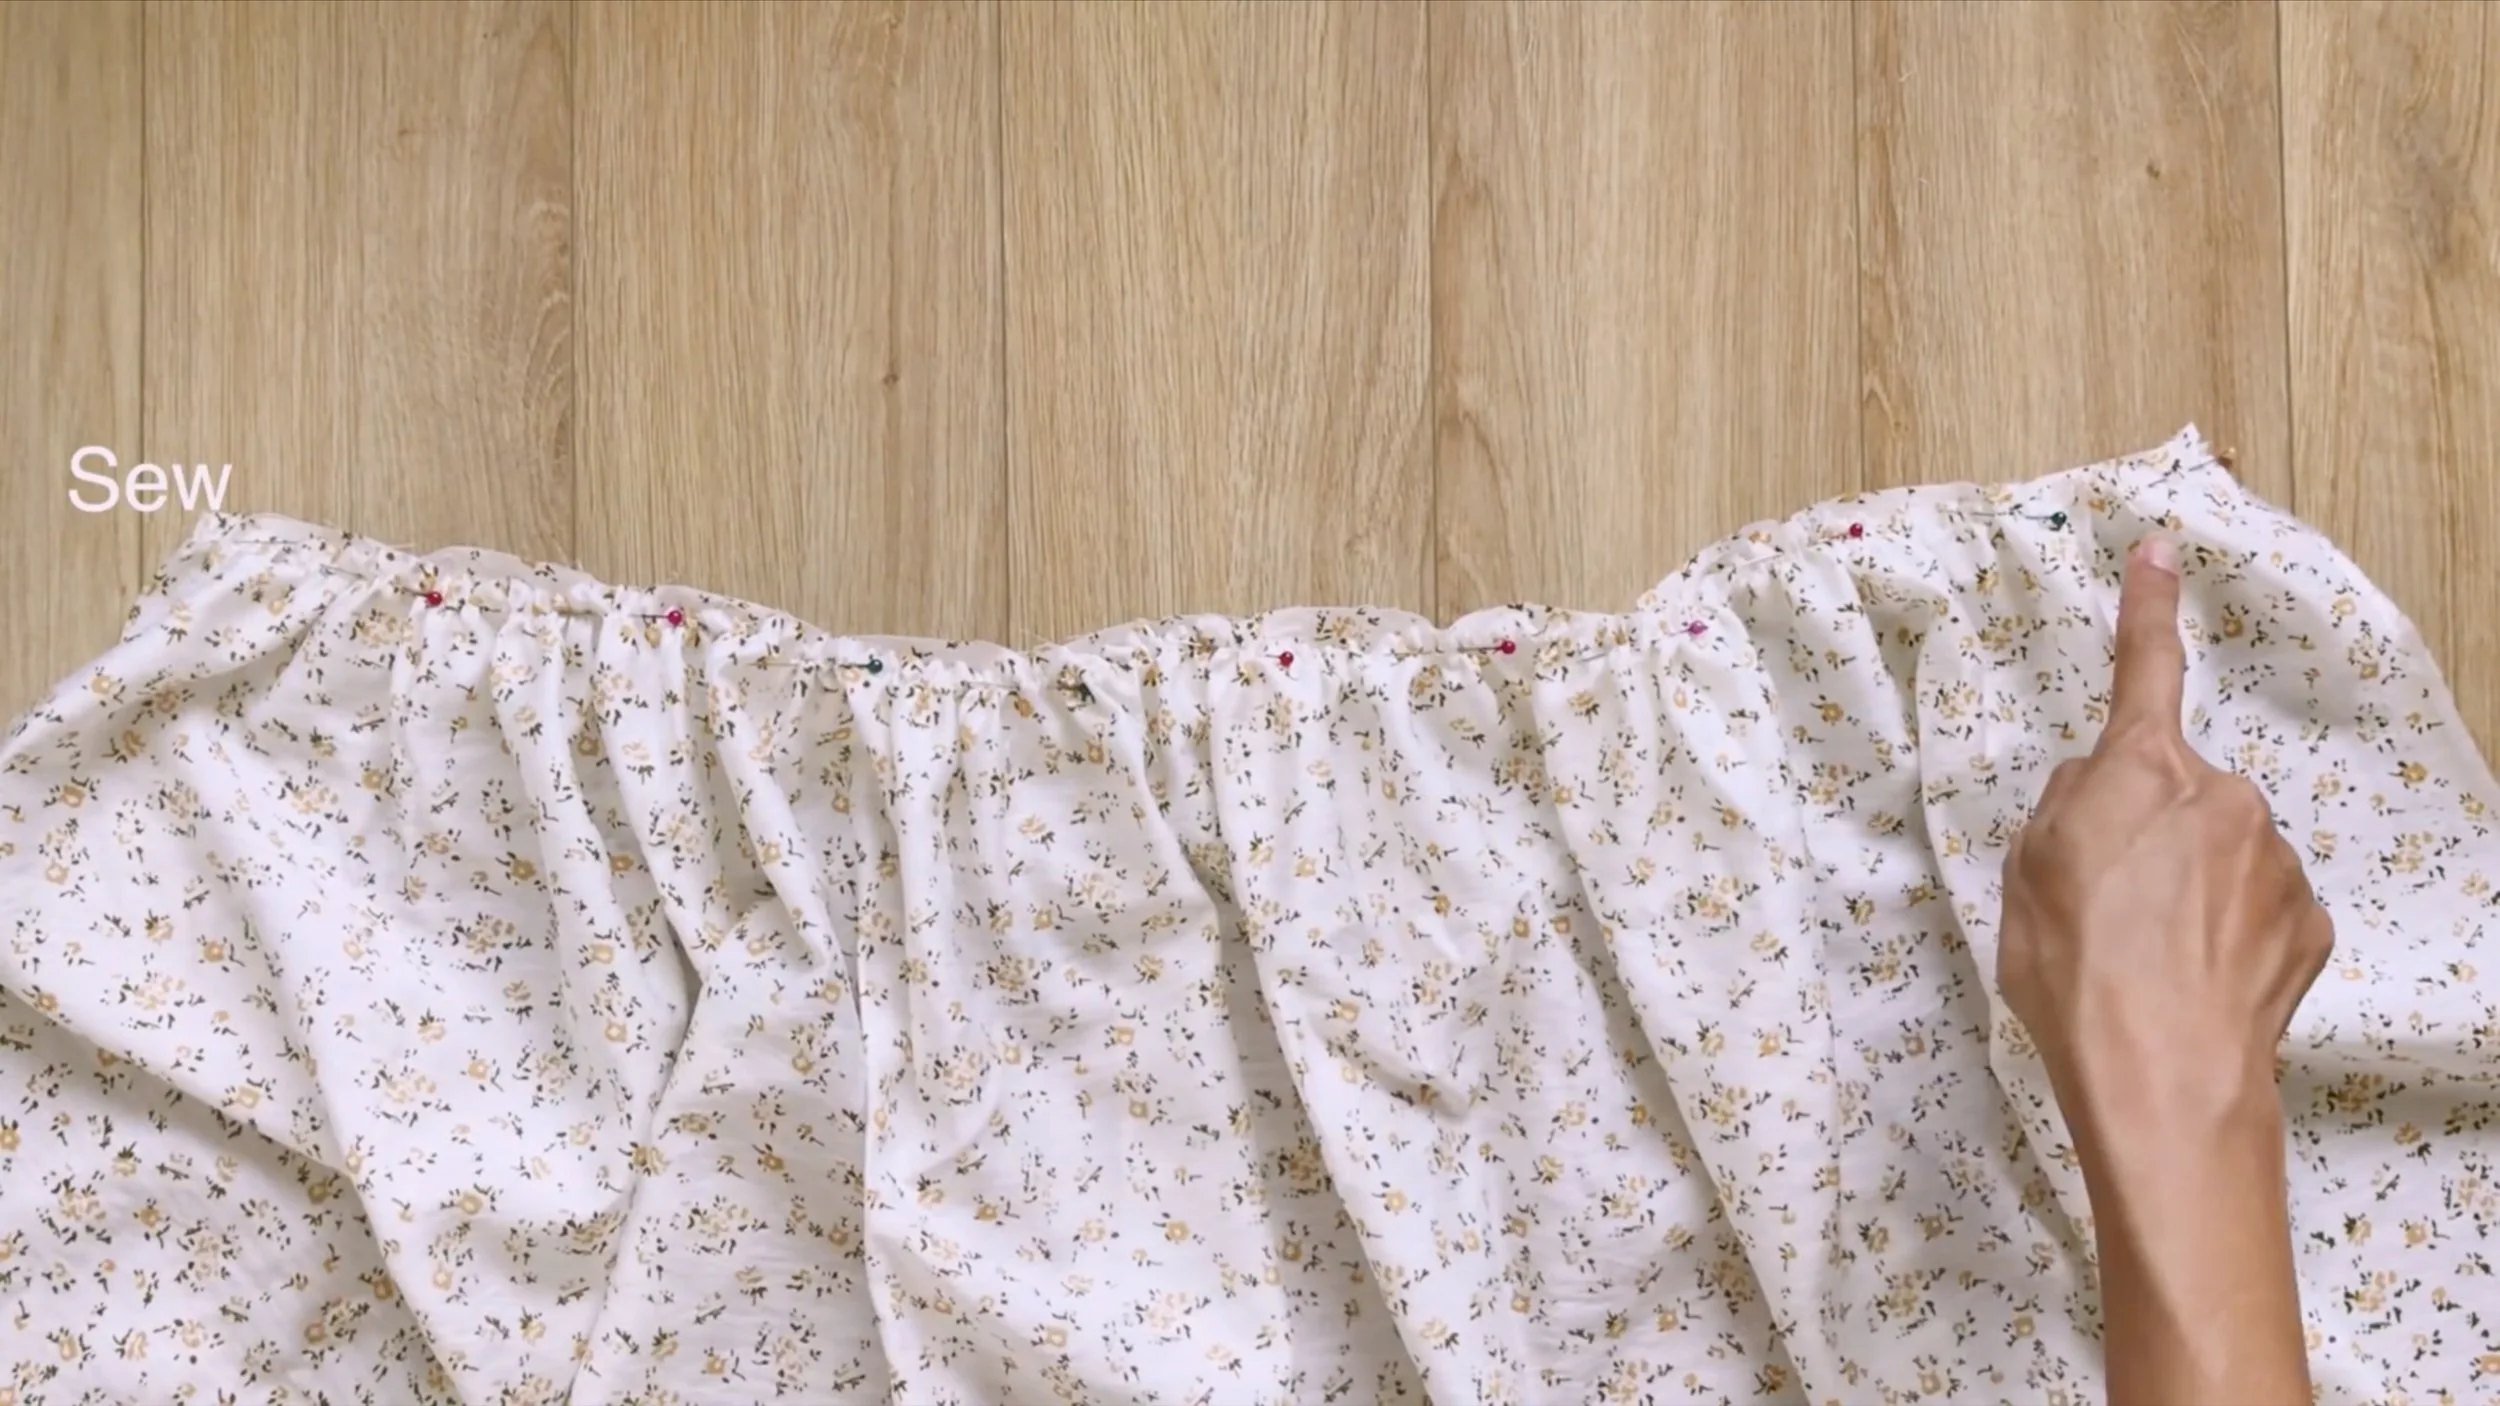
Attach the rectangle to the top of the skirt and sew the first seam.
Fold the fabric inside twice to hide the edges and make the second seam to finish the waistband.

Use an invisible zipper to connect the two ends of the waistband together.

DIY Cottagecore 2 piece matching set | Step by step sewing tutorial
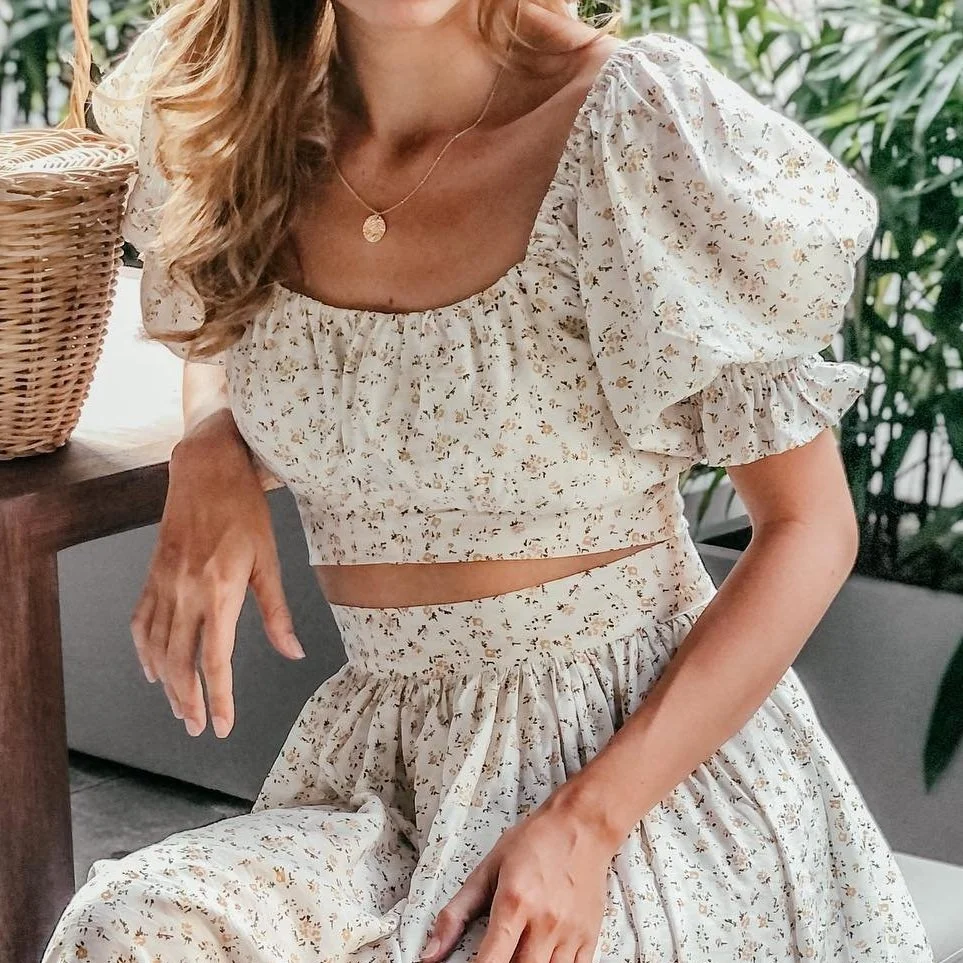
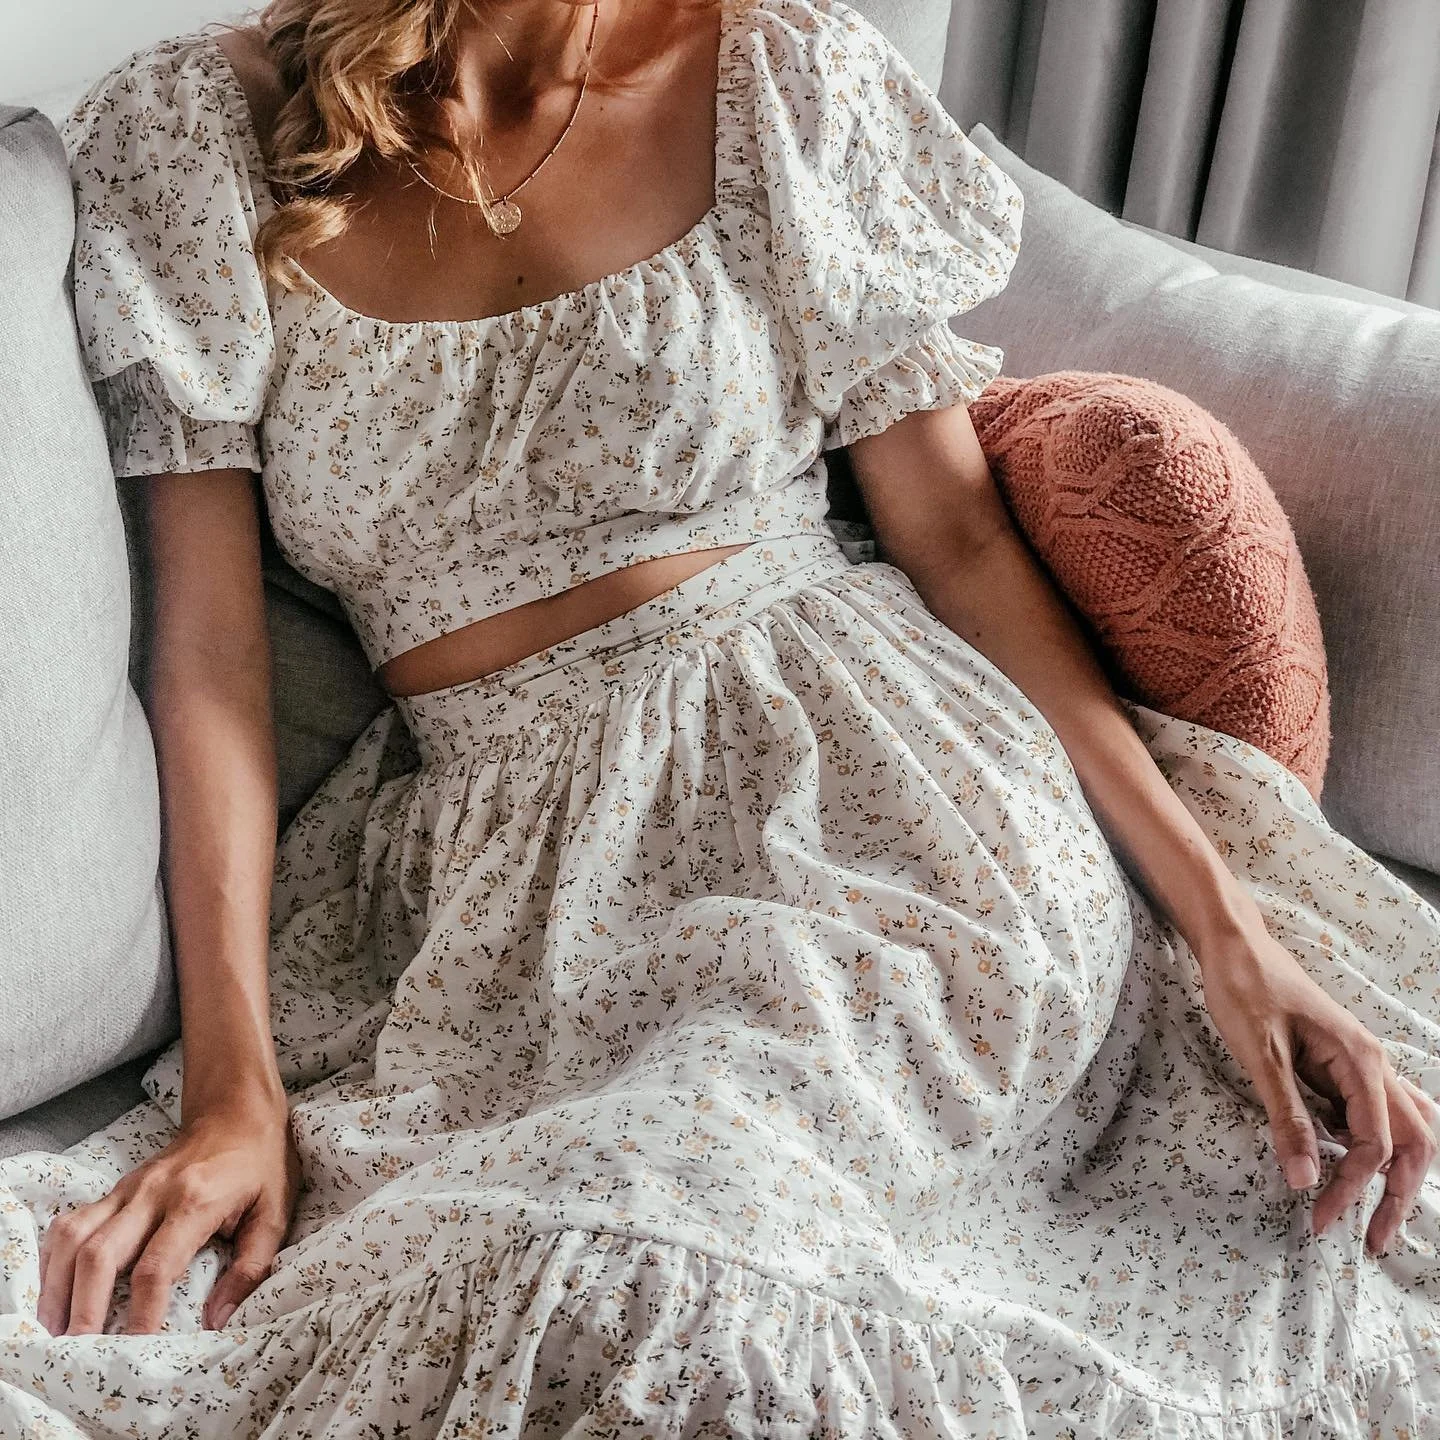
And that’s the finished DIY! Here’s the final result.
This is a perfect matching set for a picnic day. And you'll feel like a little country girl back in the old day.

I hope you enjoyed this video and you’ll give it a try soon.
See you next week with more DIYs!