DIY Puff sleeve wrap dress | Finding my perfect Spring dress - Episode 4

DIY Puff sleeve wrap dress | Finding my perfect Spring dress - Episode 4

Welcome or welcome back to my channel and the final episode of my "Finding My Perfect Spring Dress" series!
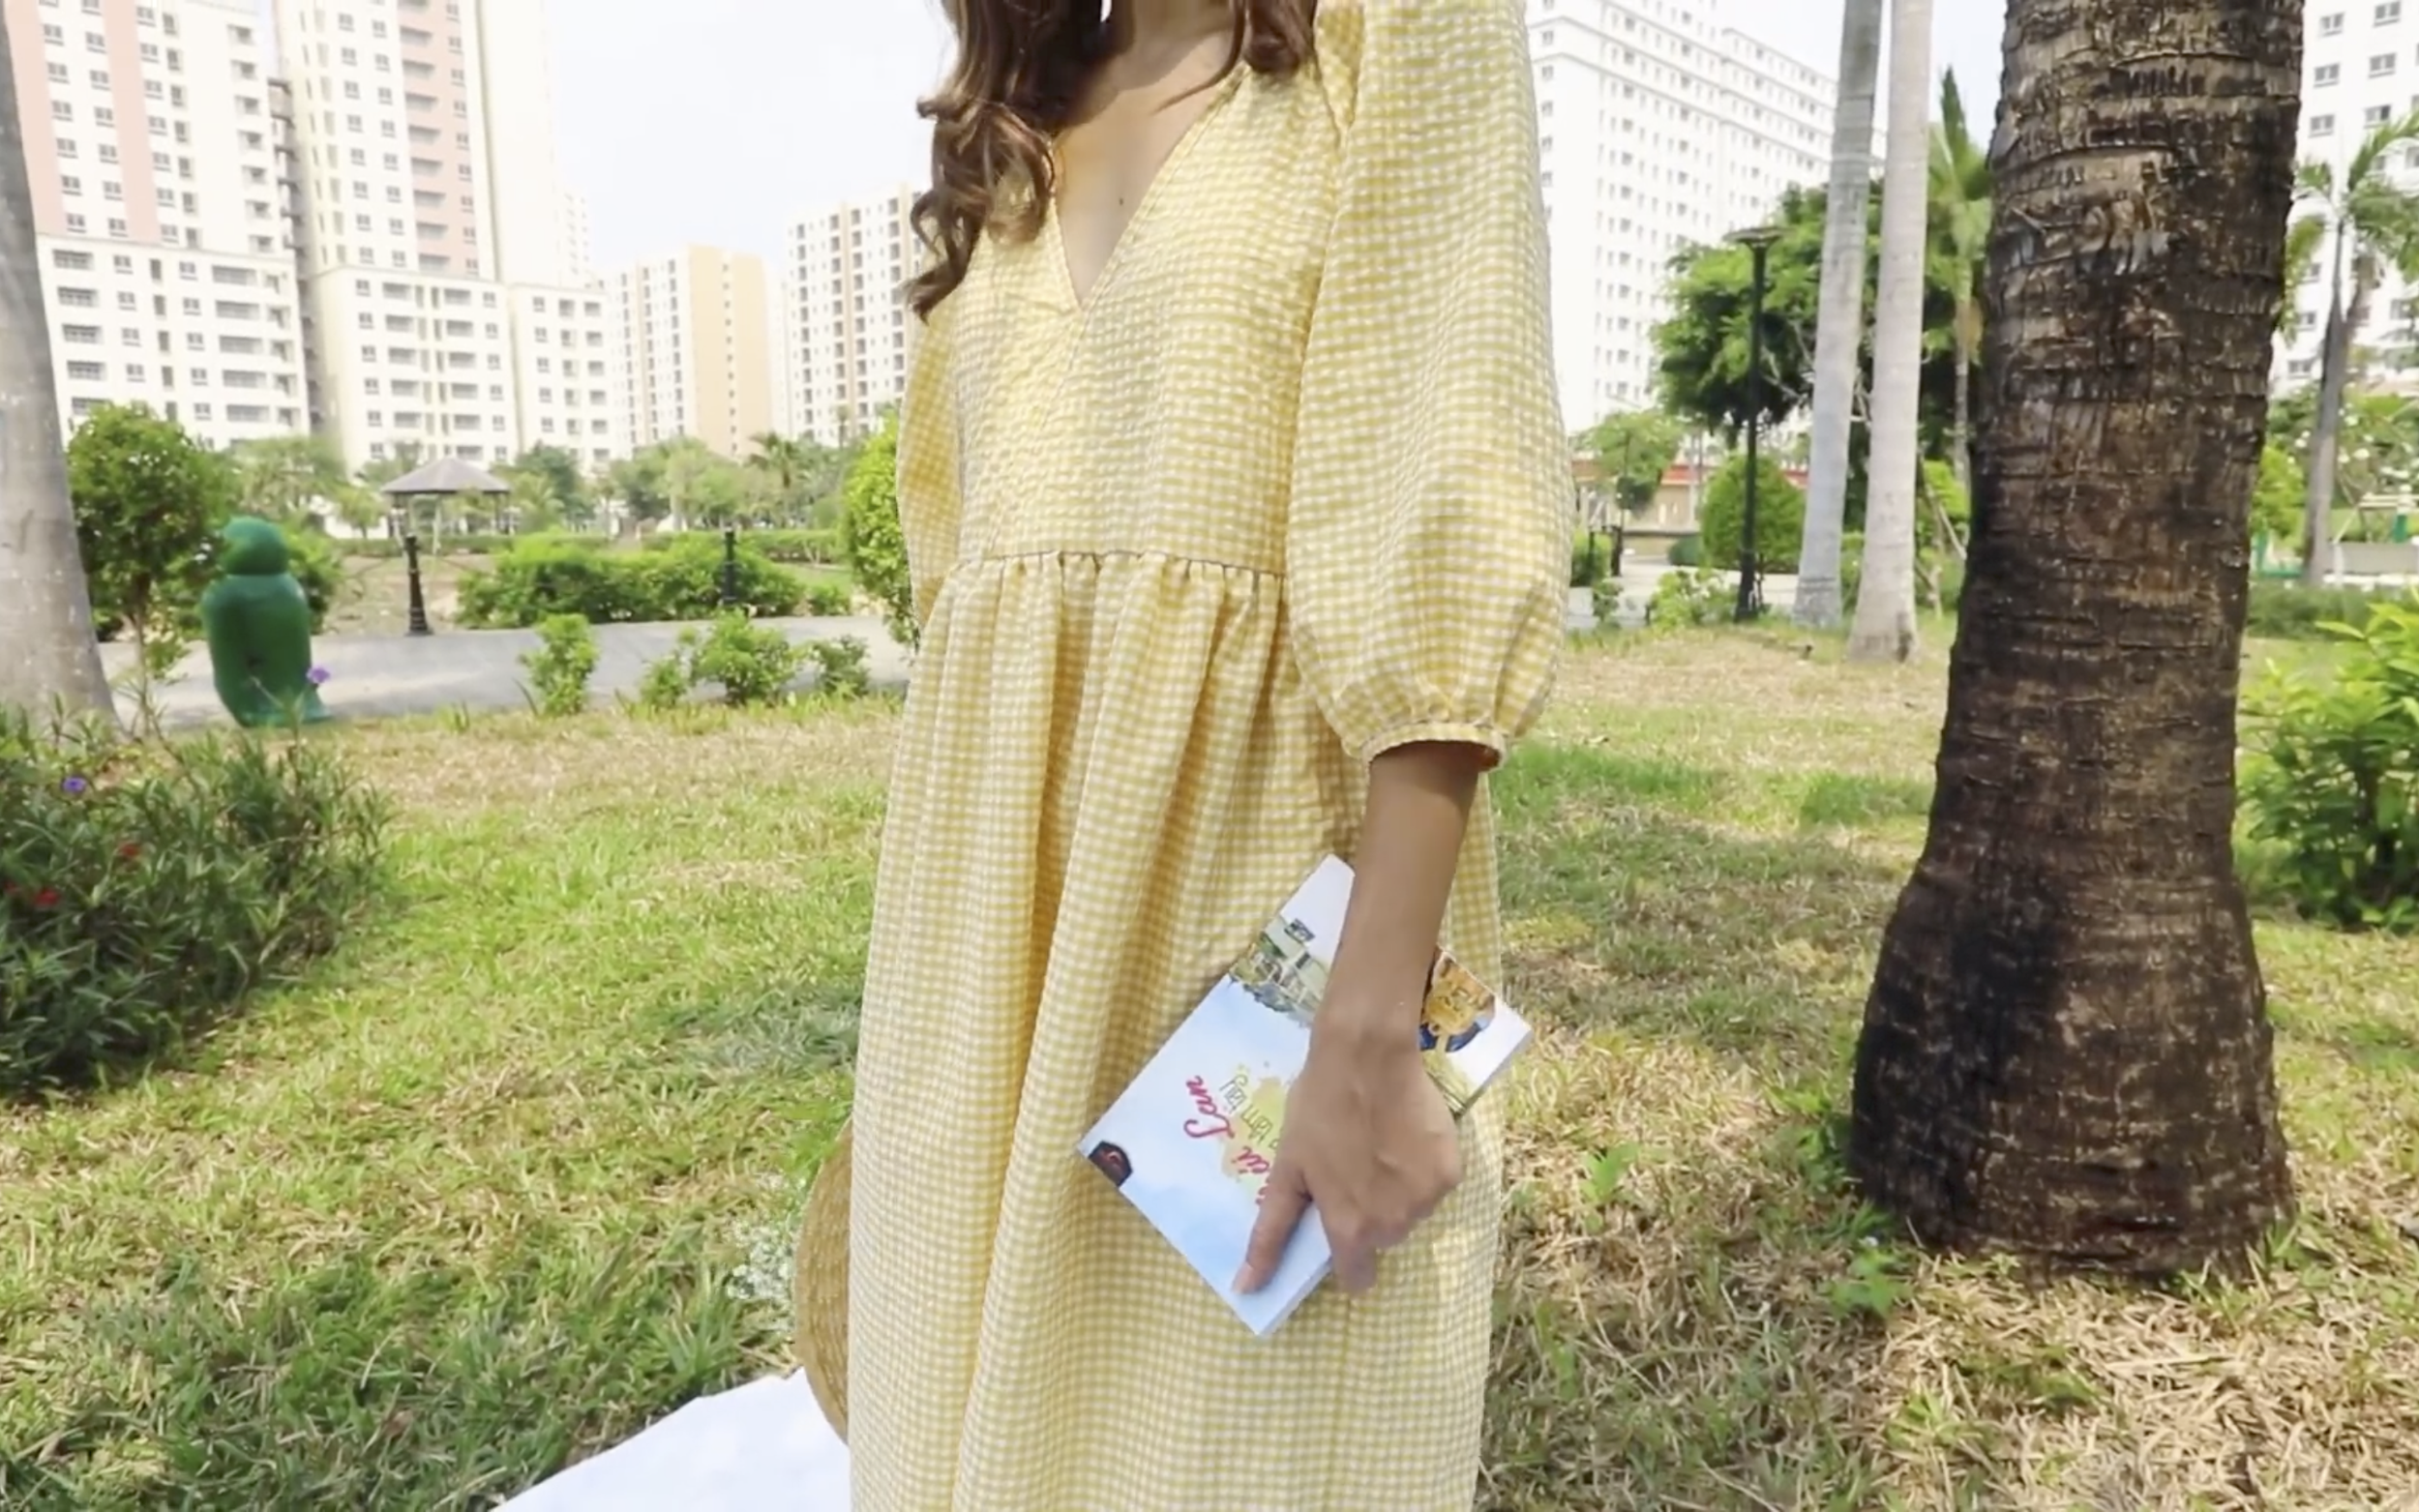
Today, I’m excited to share the dress I’m wearing right now—a puff sleeve wrap dress made from scrap fabric. It has such a soft, girly vibe, with a touch of vintage charm that makes me feel like a country girl. This dress is perfect for everyday wear, and the best part? It’s super easy to make!
So, let’s get started!
WHAT YOU’LL NEED
3m of gingham cotton fabric
Sewing machine
Pins
Scissors
Ruler
Long stick
Elastic band
SEWING THE DRESS
THE TOP BODICE
The top bodice pattern
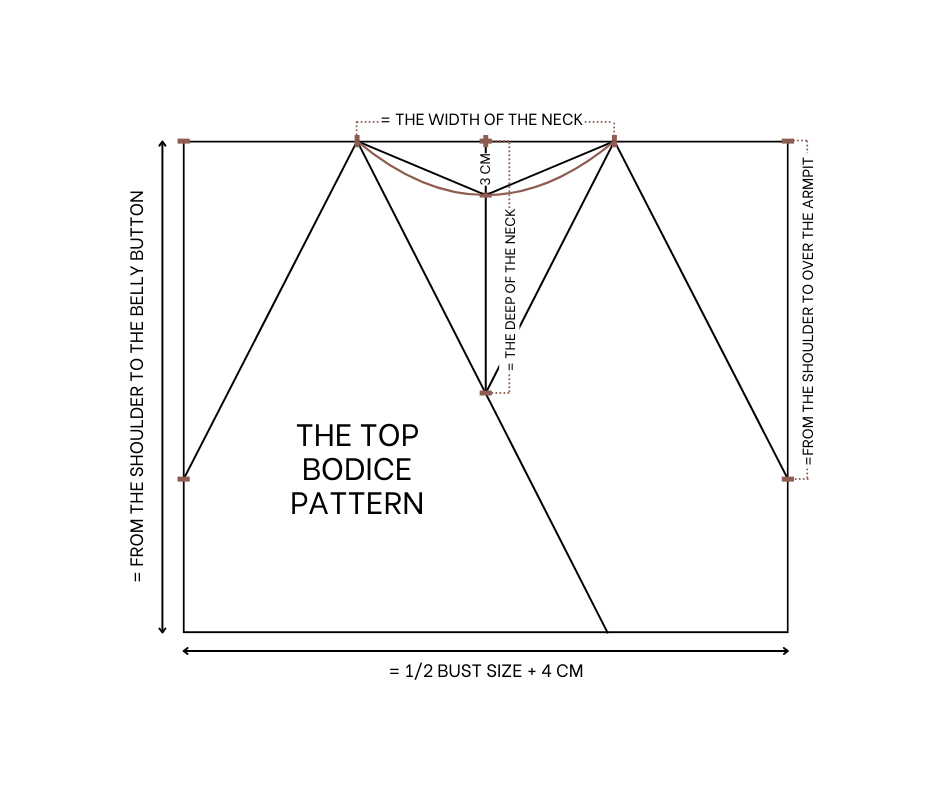
THE TOP BODICE PATTERN
Cut two rectangles with 40 cm length, which is the length from the shoulder to the belly button, and 45 cm width, which is half of the bust size plus 4 cm.
Mark the middle of the top width line.From that mark, mark 10 cm to each side. So the width between the two marks will be 20 cm, which is the width of the neck.
On the side seam, mark 28 cm from the top, which is the width of the sleeve from the shoulder to over the armpit. Then connect this mark to the neck mark on the width line.
From the first neck mark, move down 3 cm and mark there. Then connect this mark to the two neck marks to help draw a curved line.
From the first neck mark, move down again and mark at 22 cm, which is the depth of the neckline. Draw a line to connect this mark with the neck mark.
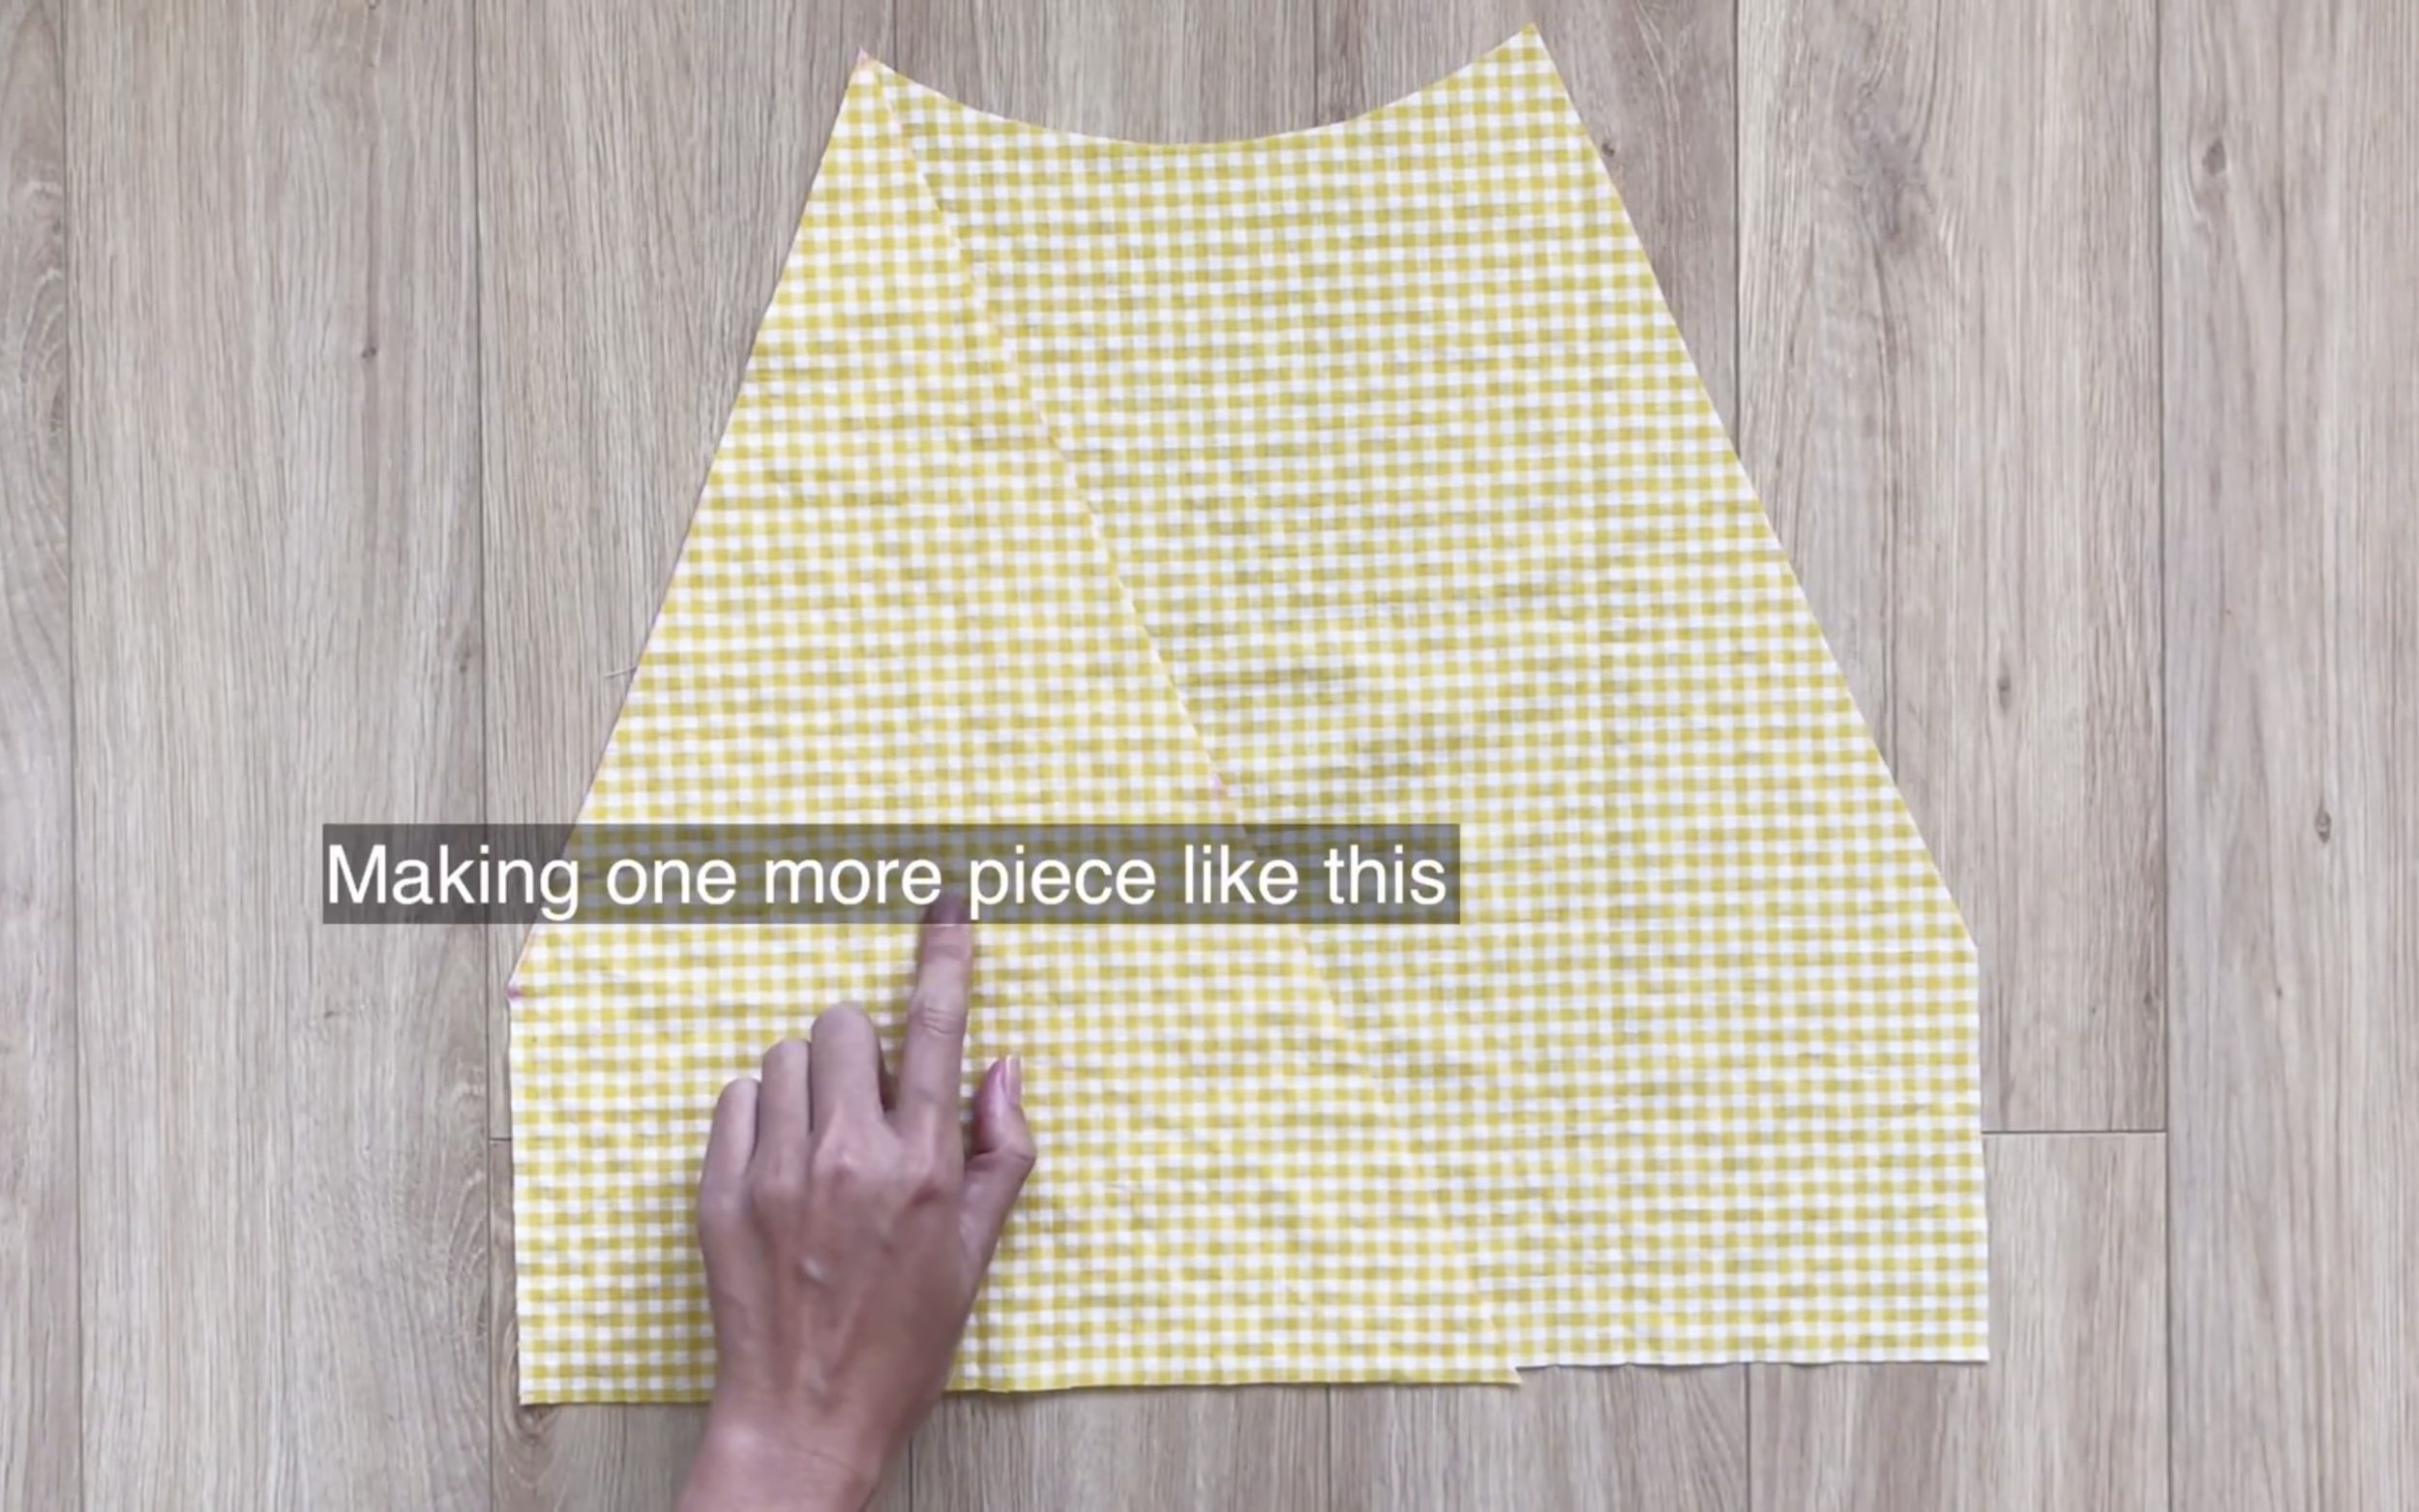
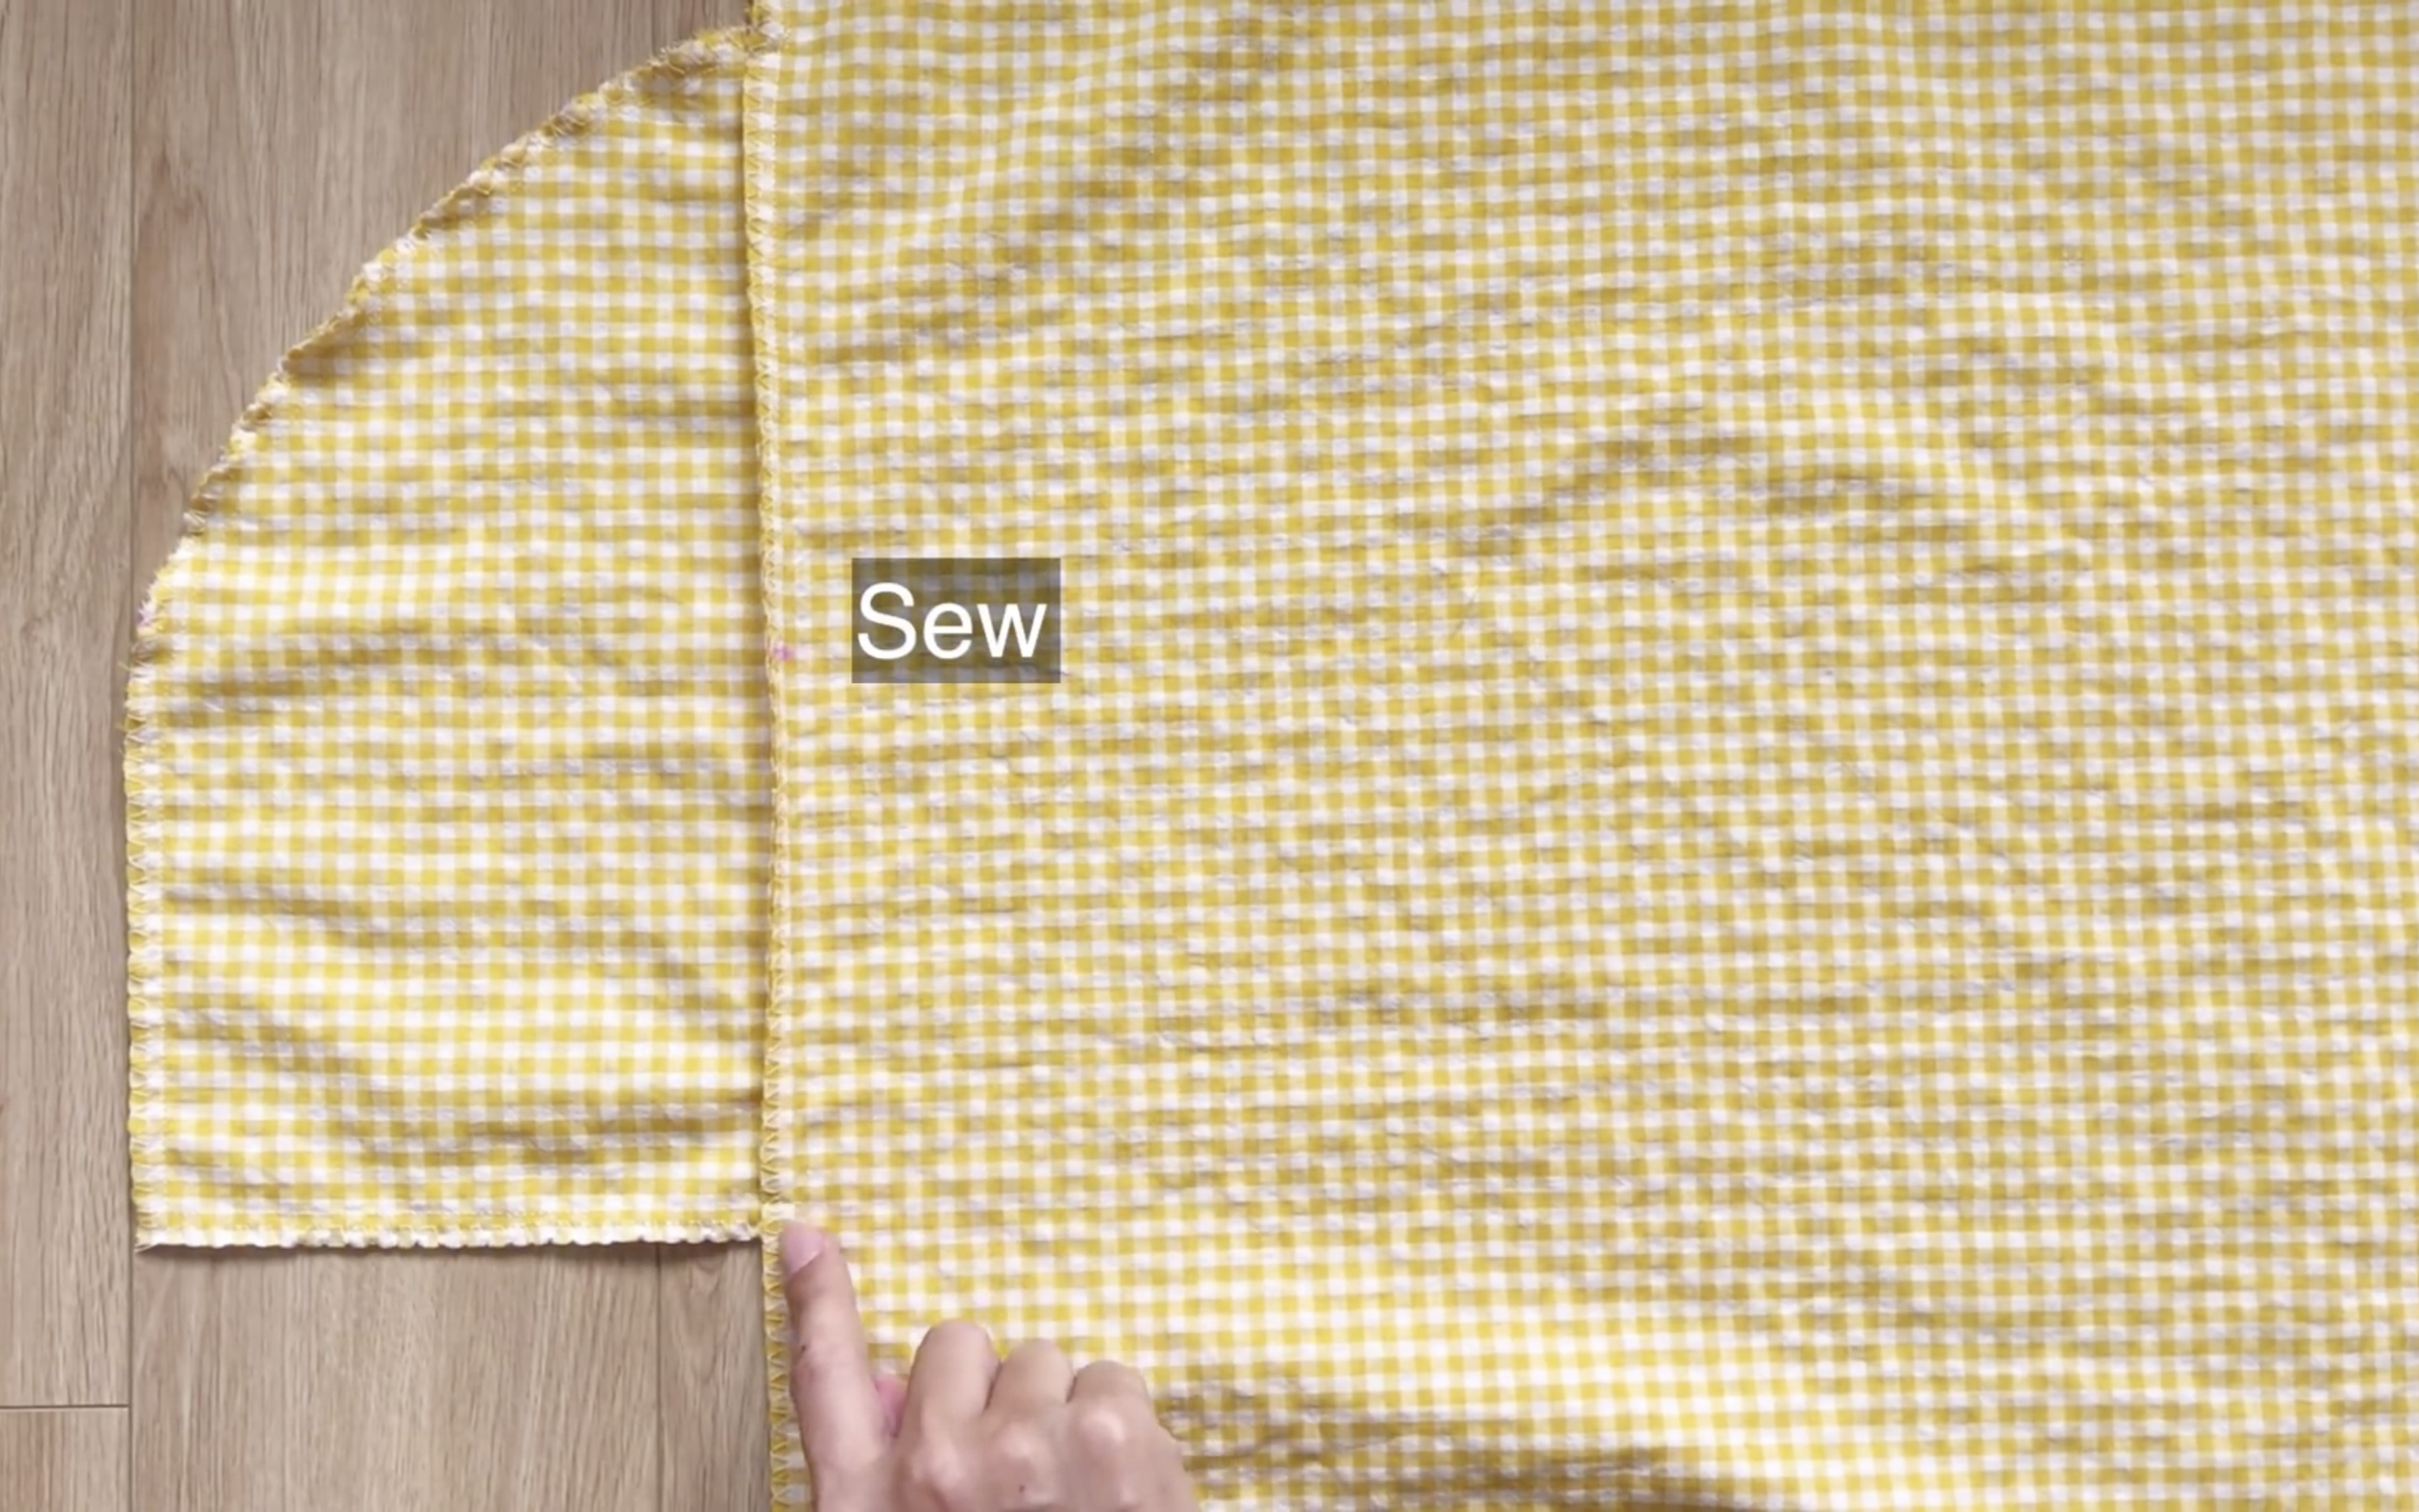
After cutting, make another front pattern piece to finish the top bodice.
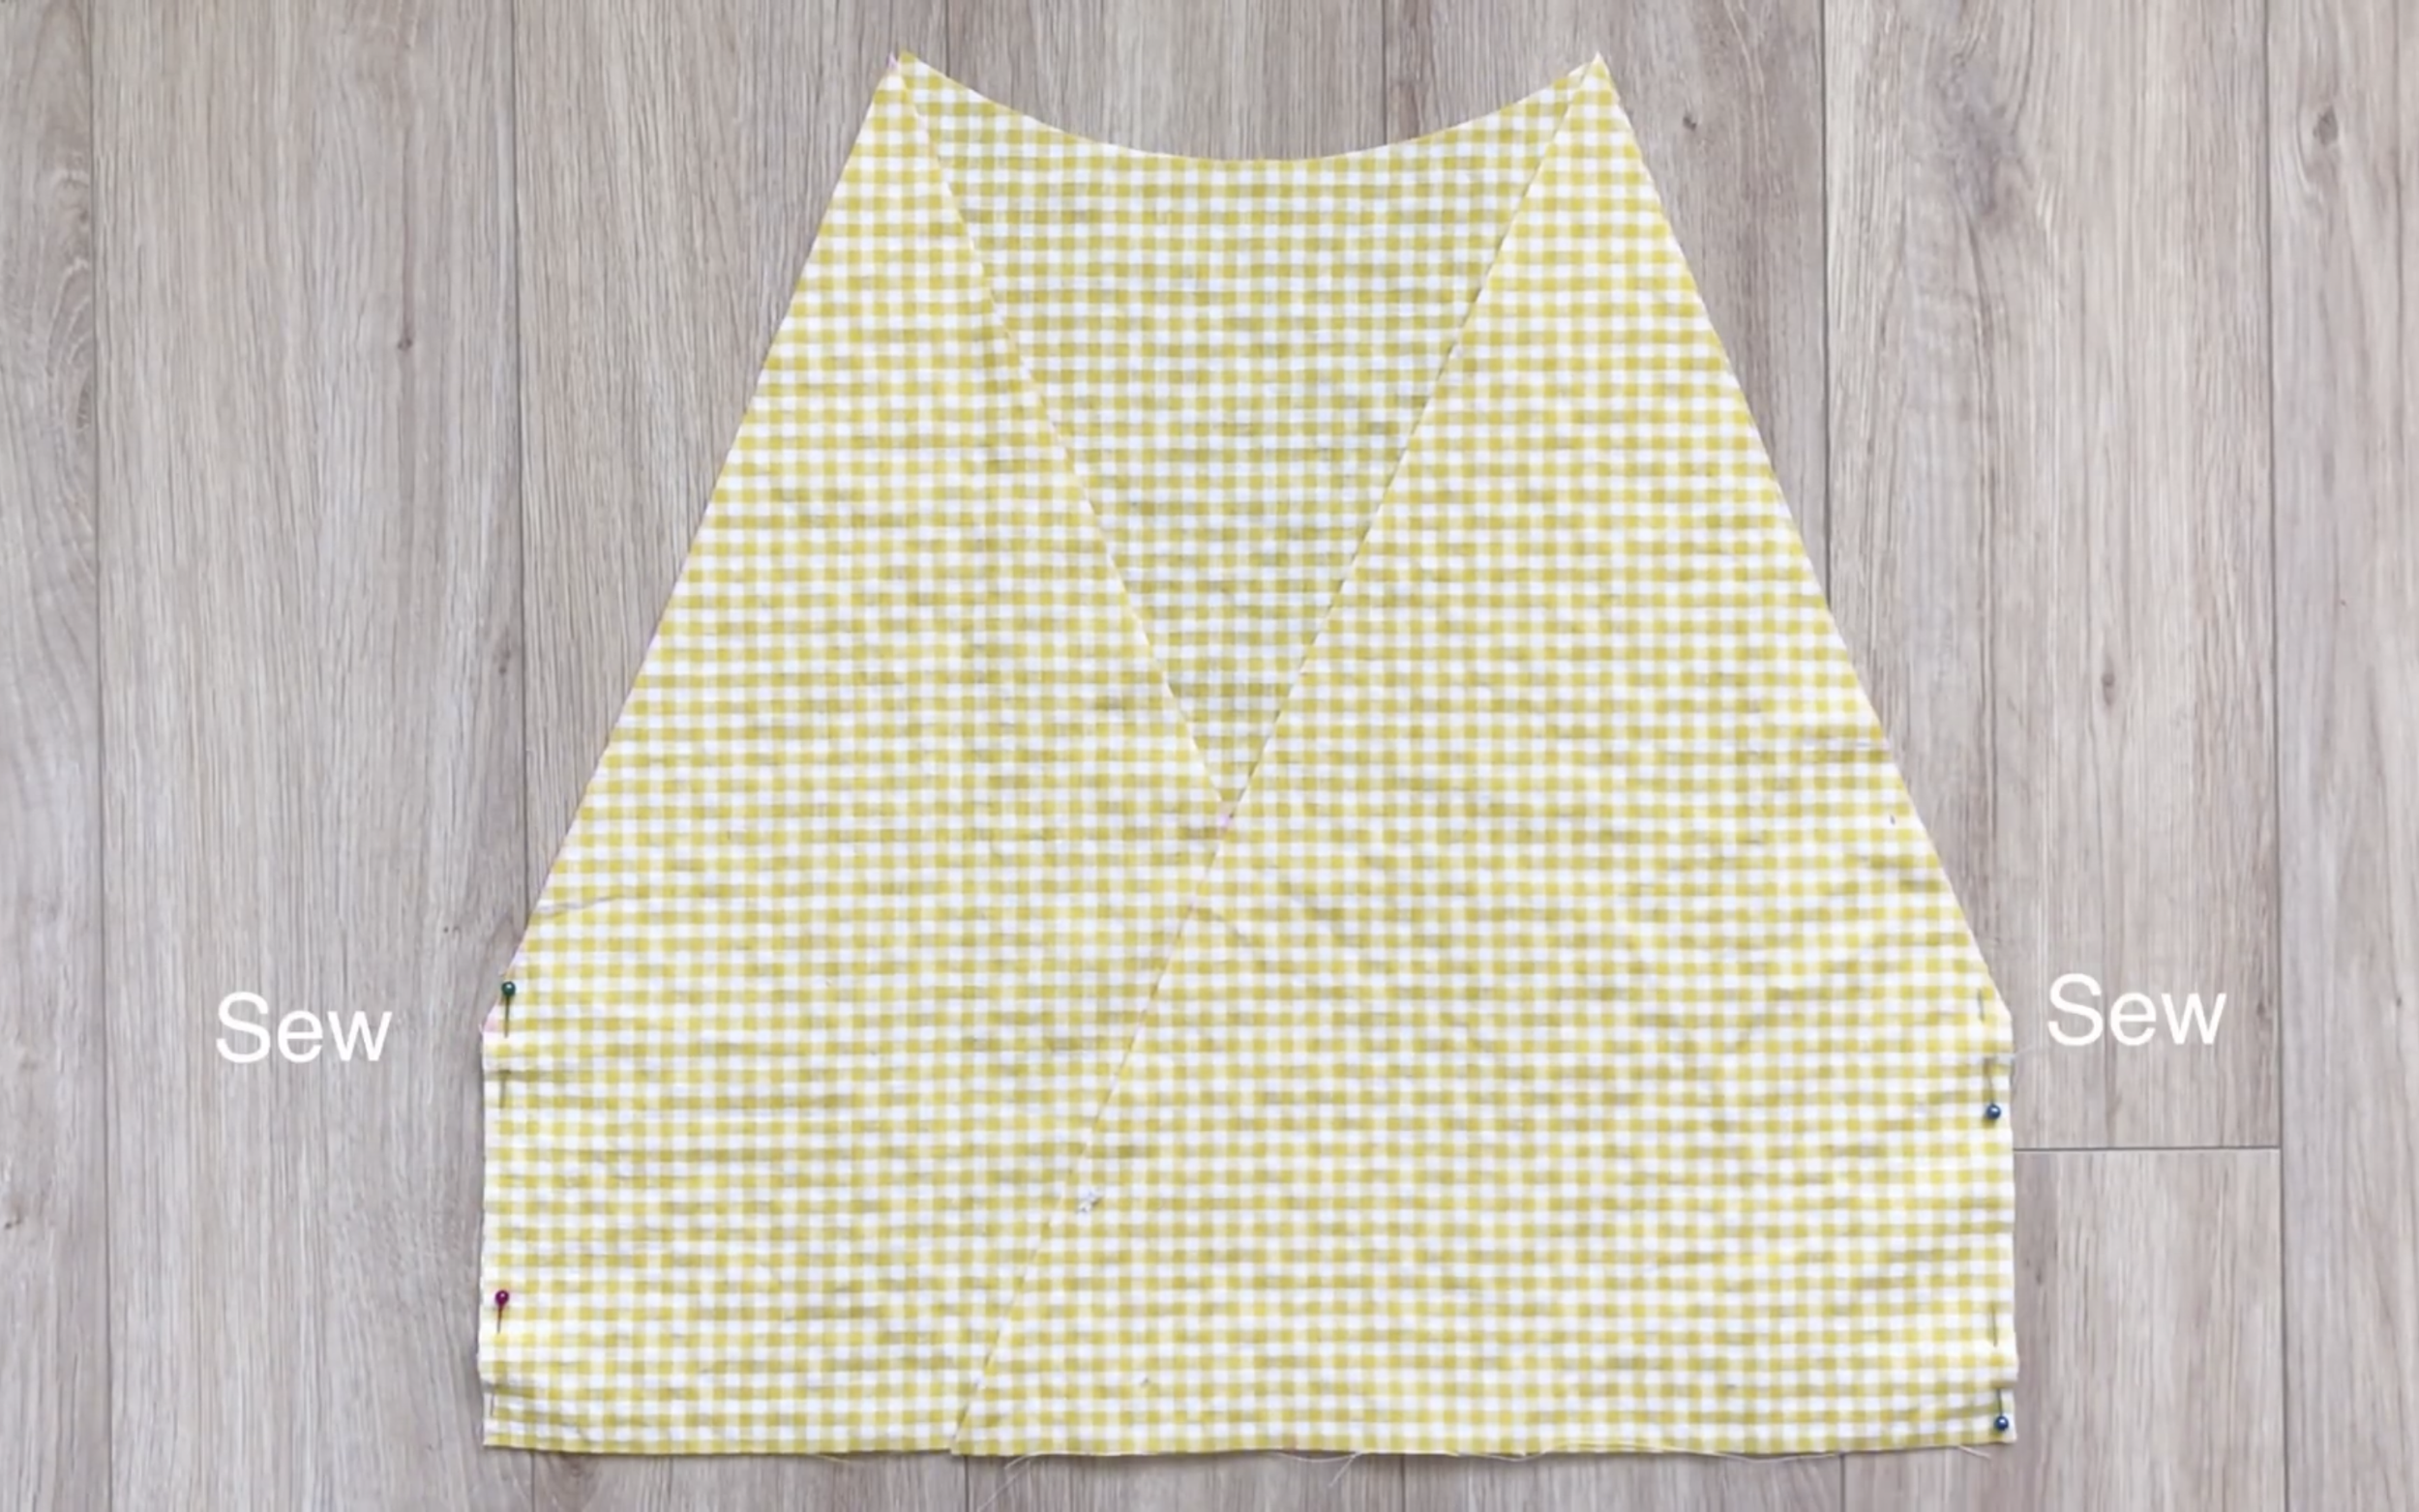
Now, connect the two sides of the top bodice together and sew.
THE SLEEVE
Cut a rectangle with 60 cm width, which is the width of the sleeve, and 50 cm length, which is the length from the shoulder to over the elbow.
Fold the rectangle in half on the width line.
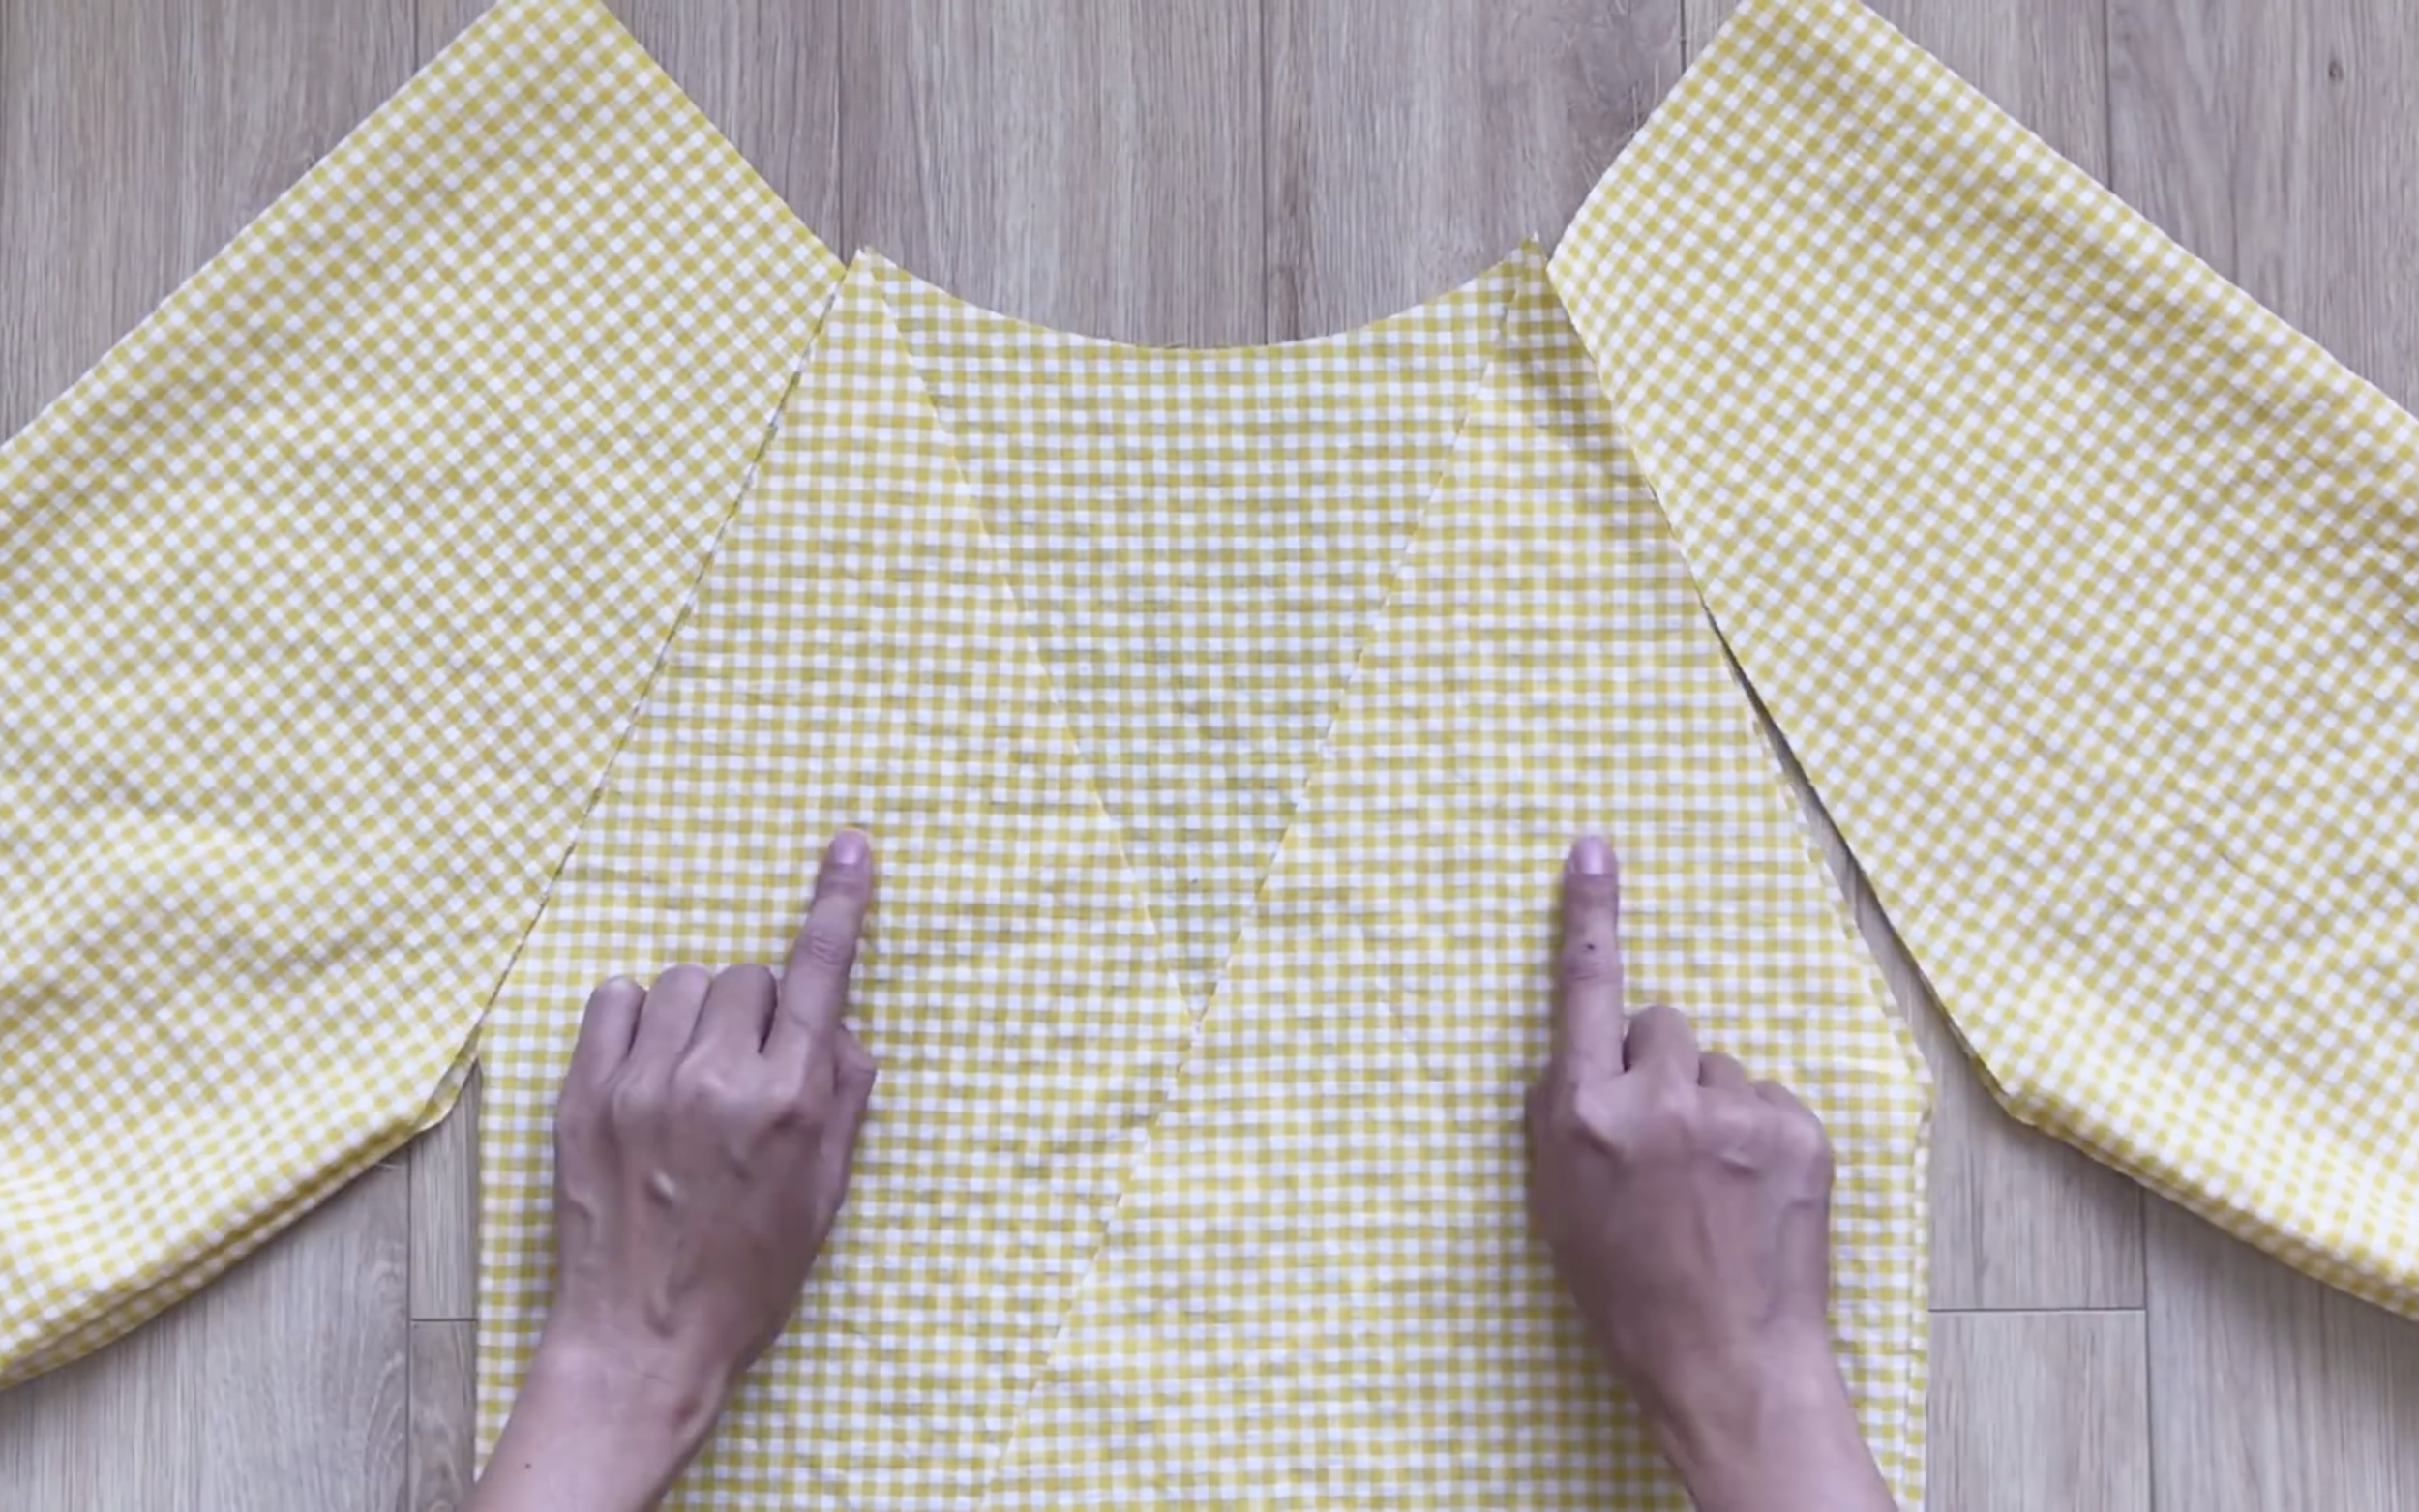
From the edge of the fold, mark 28 cm on the side seam and 12 cm on the width line, then connect the two marks.
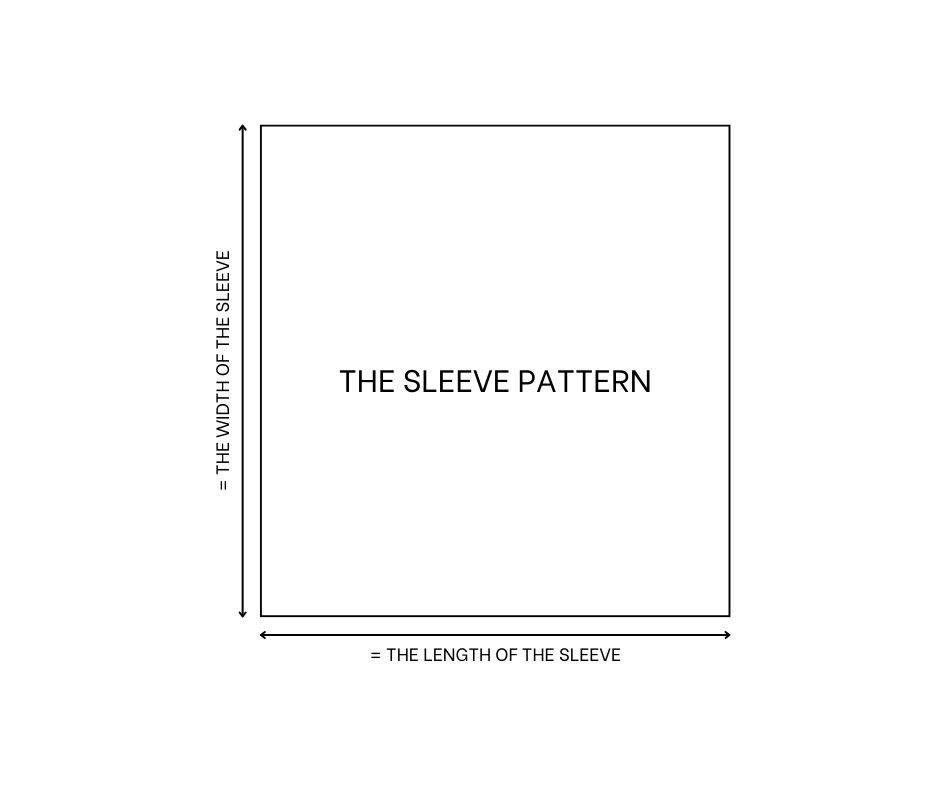
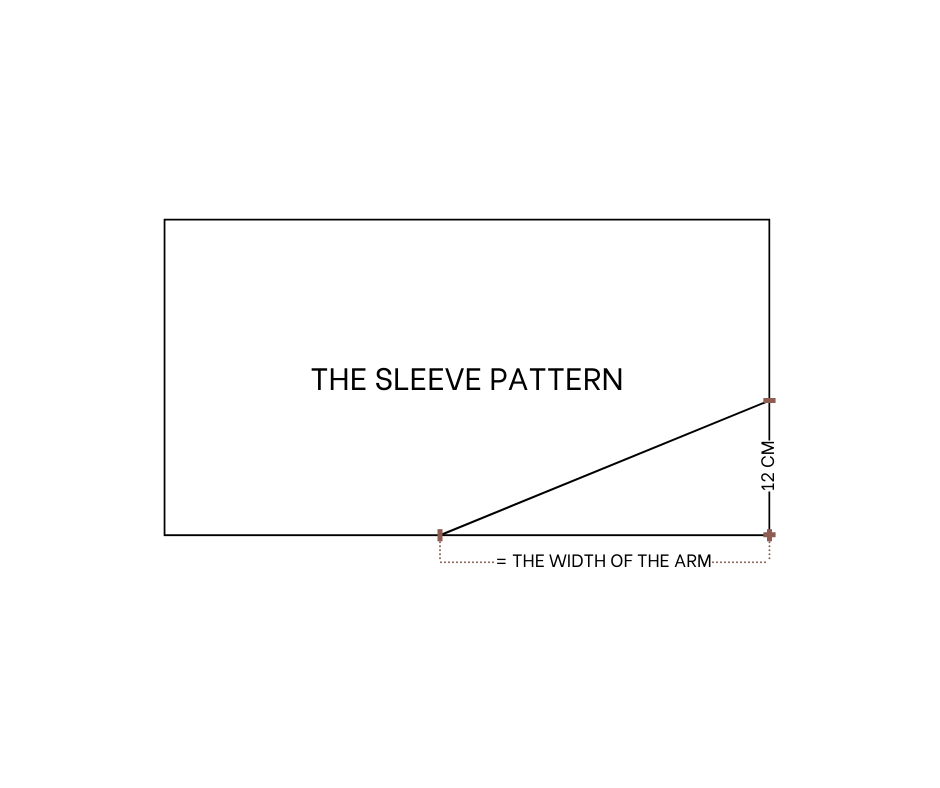
The sleeve pattern
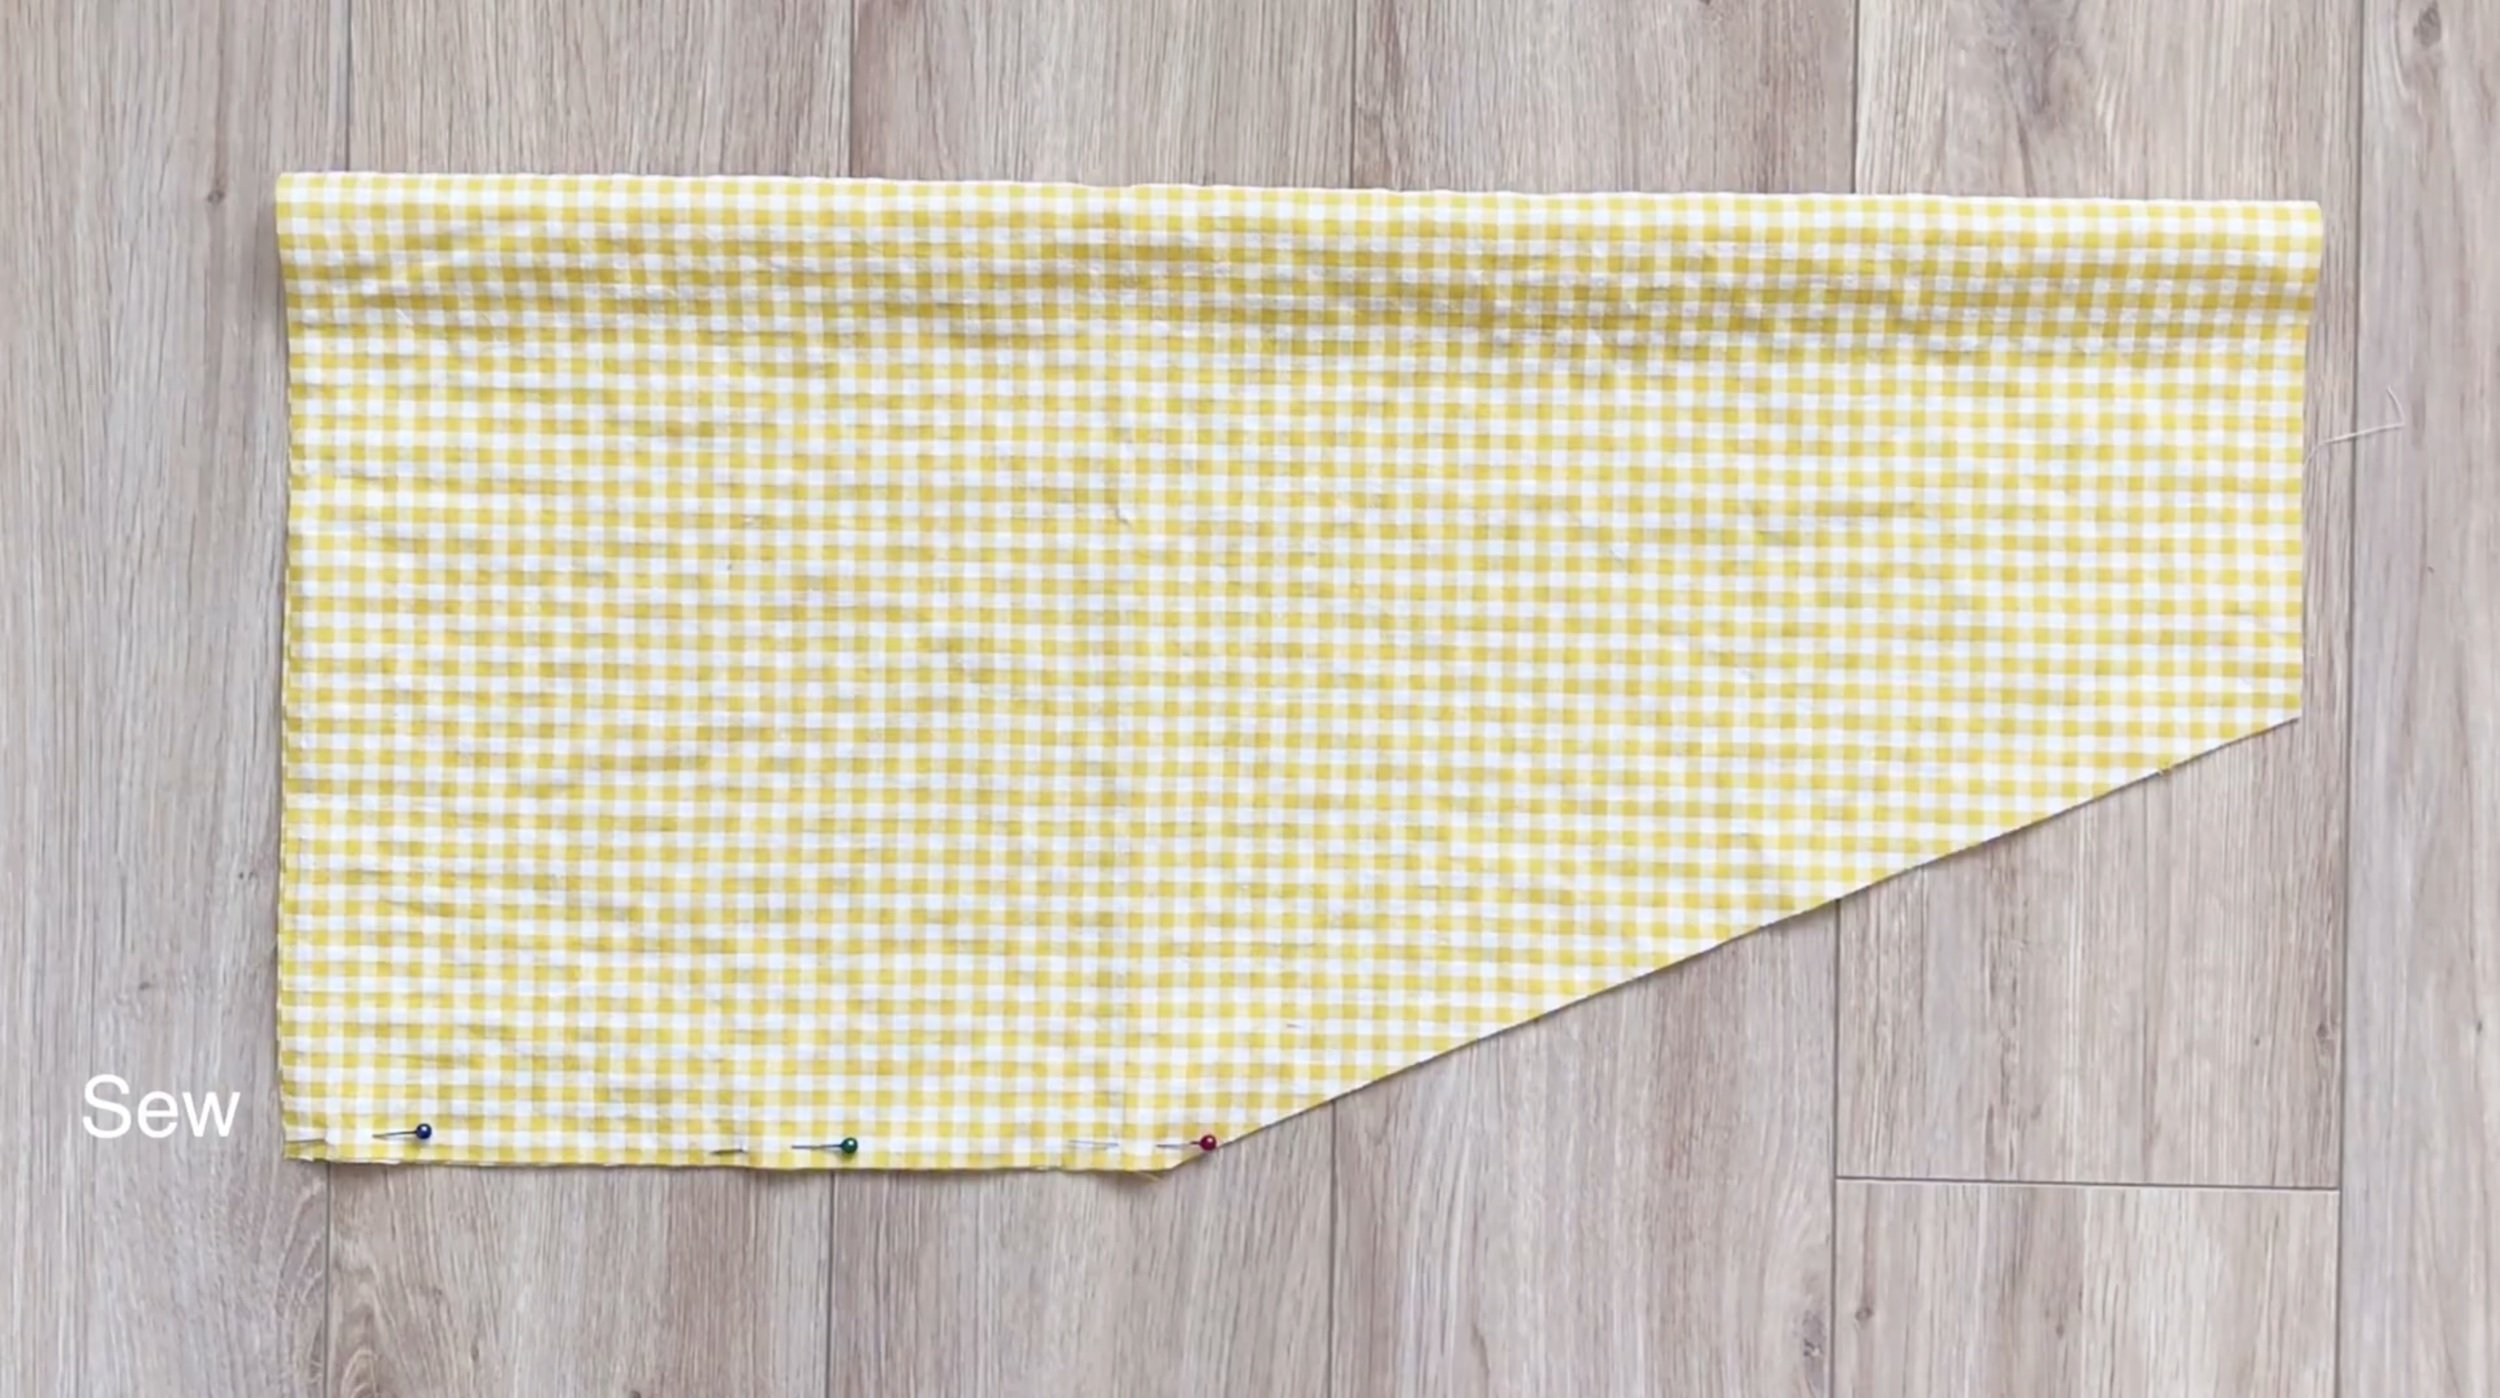
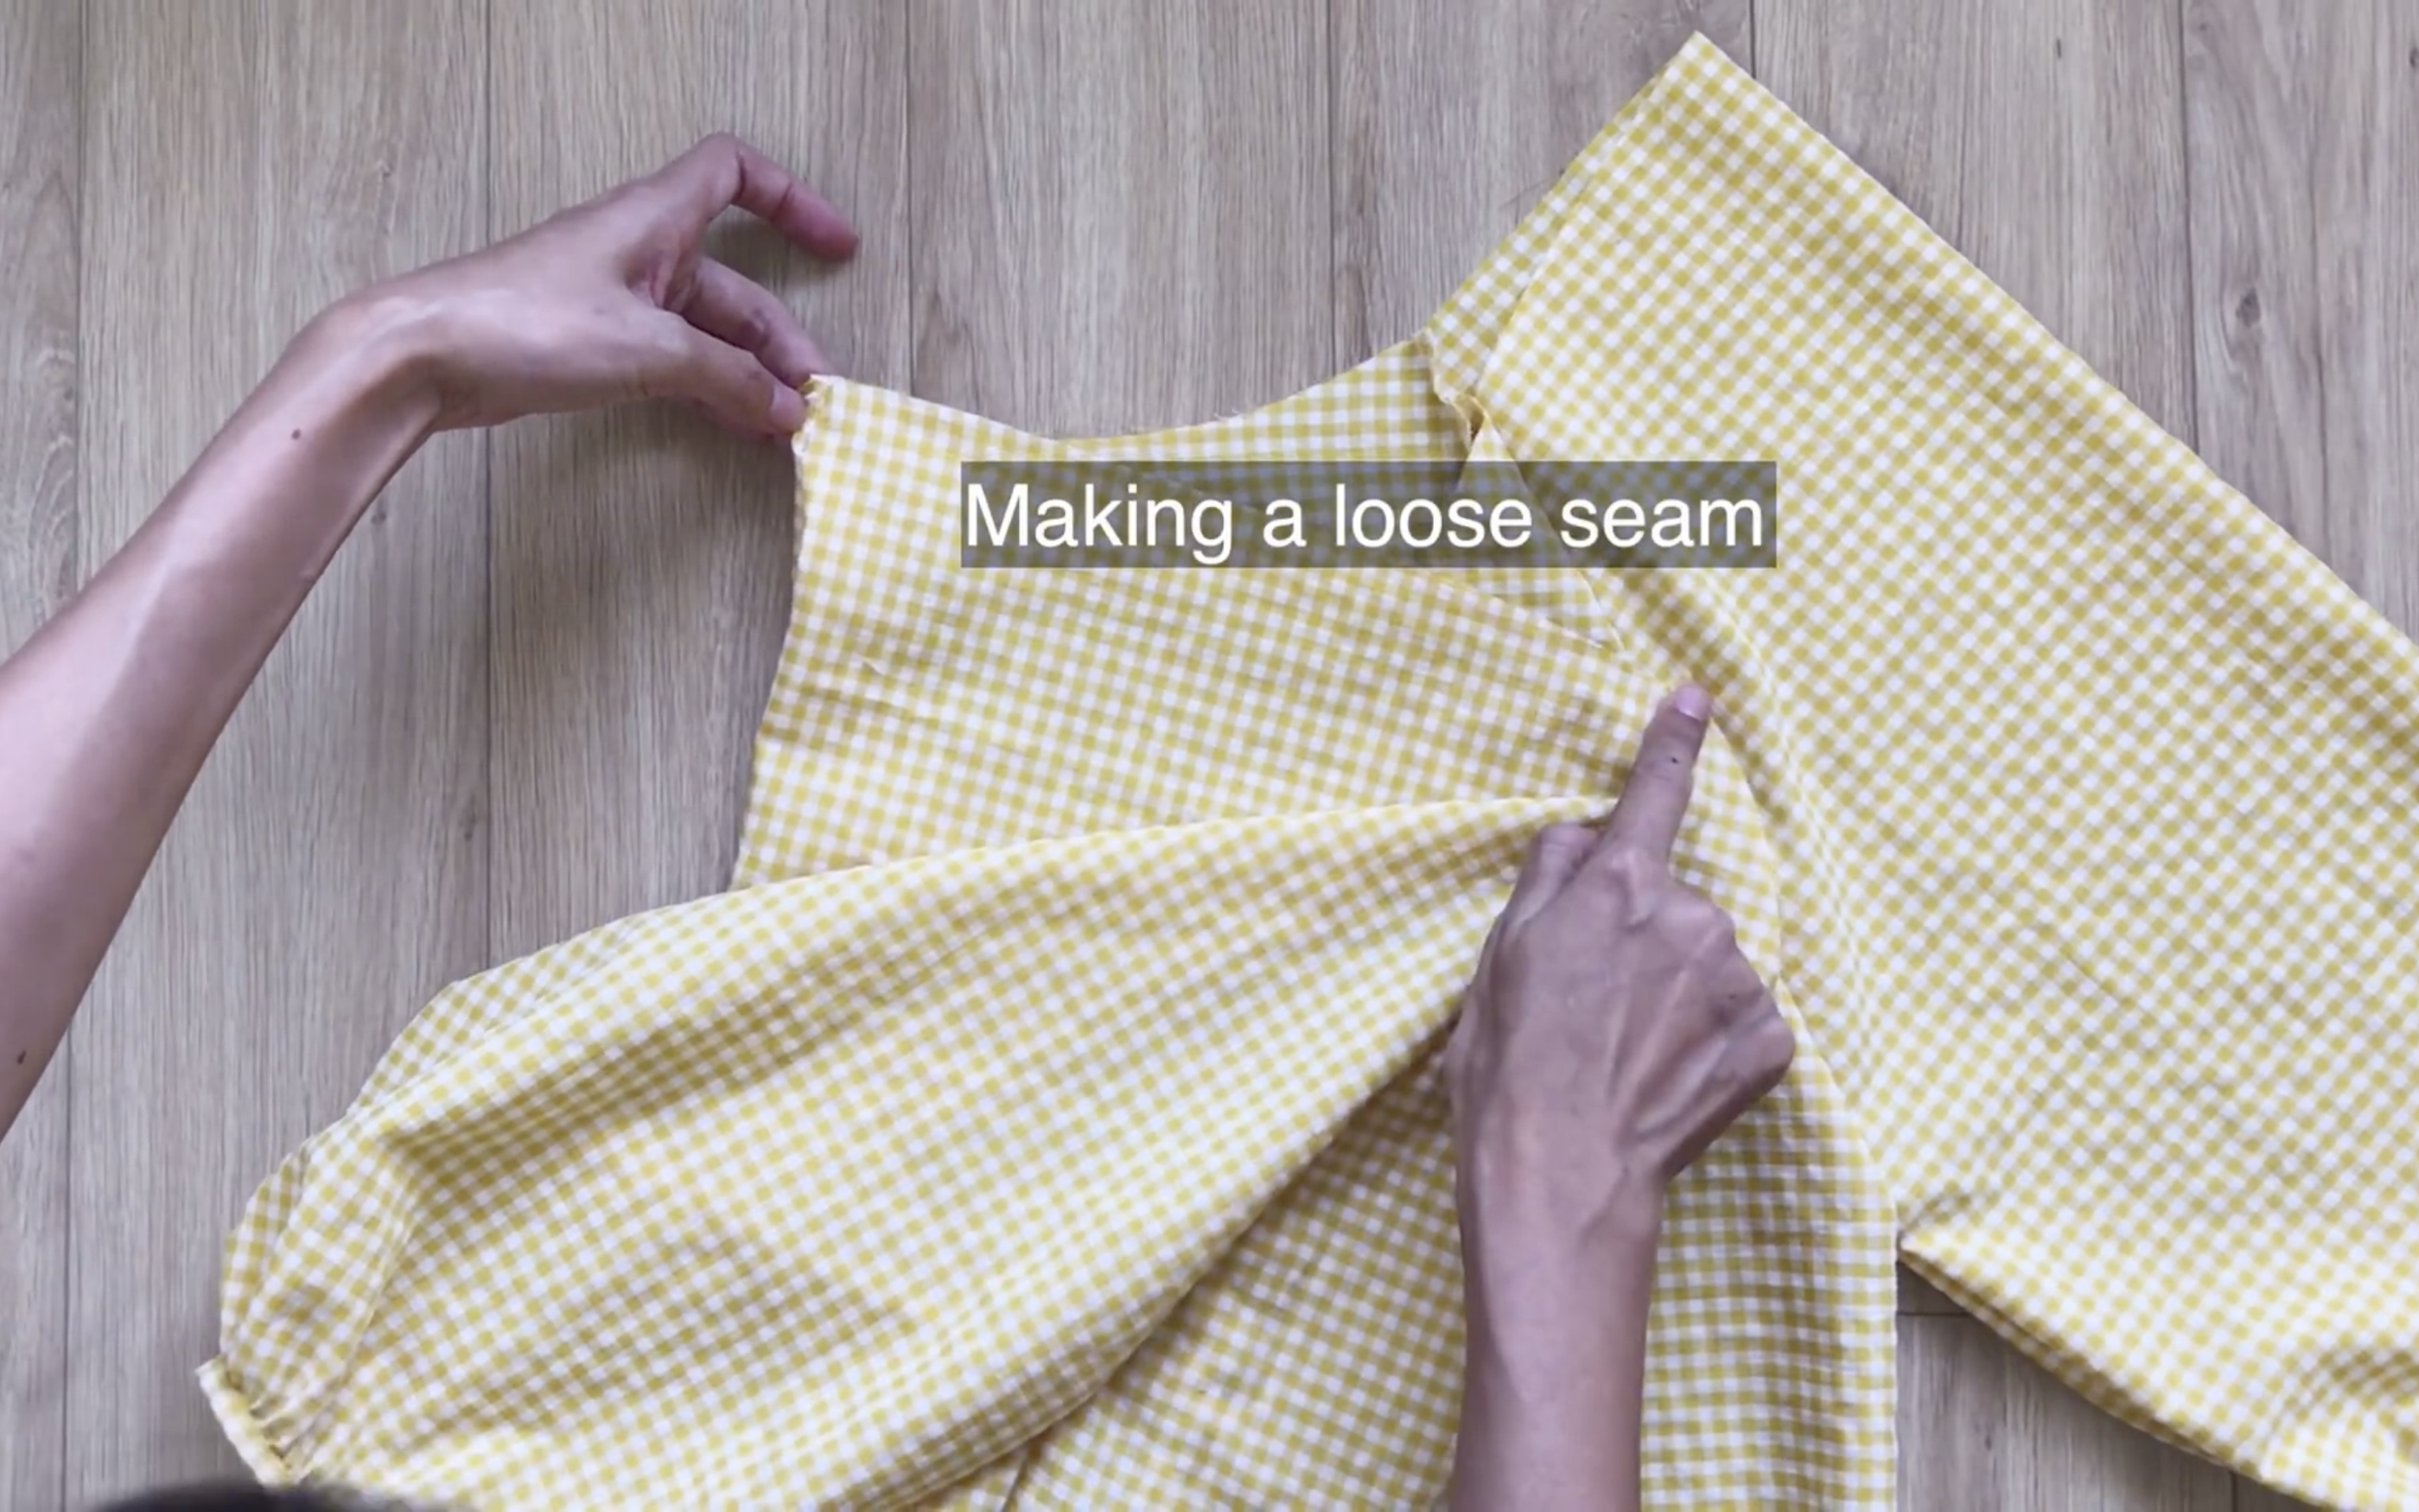
After cutting, connect the two underarm lines together first.
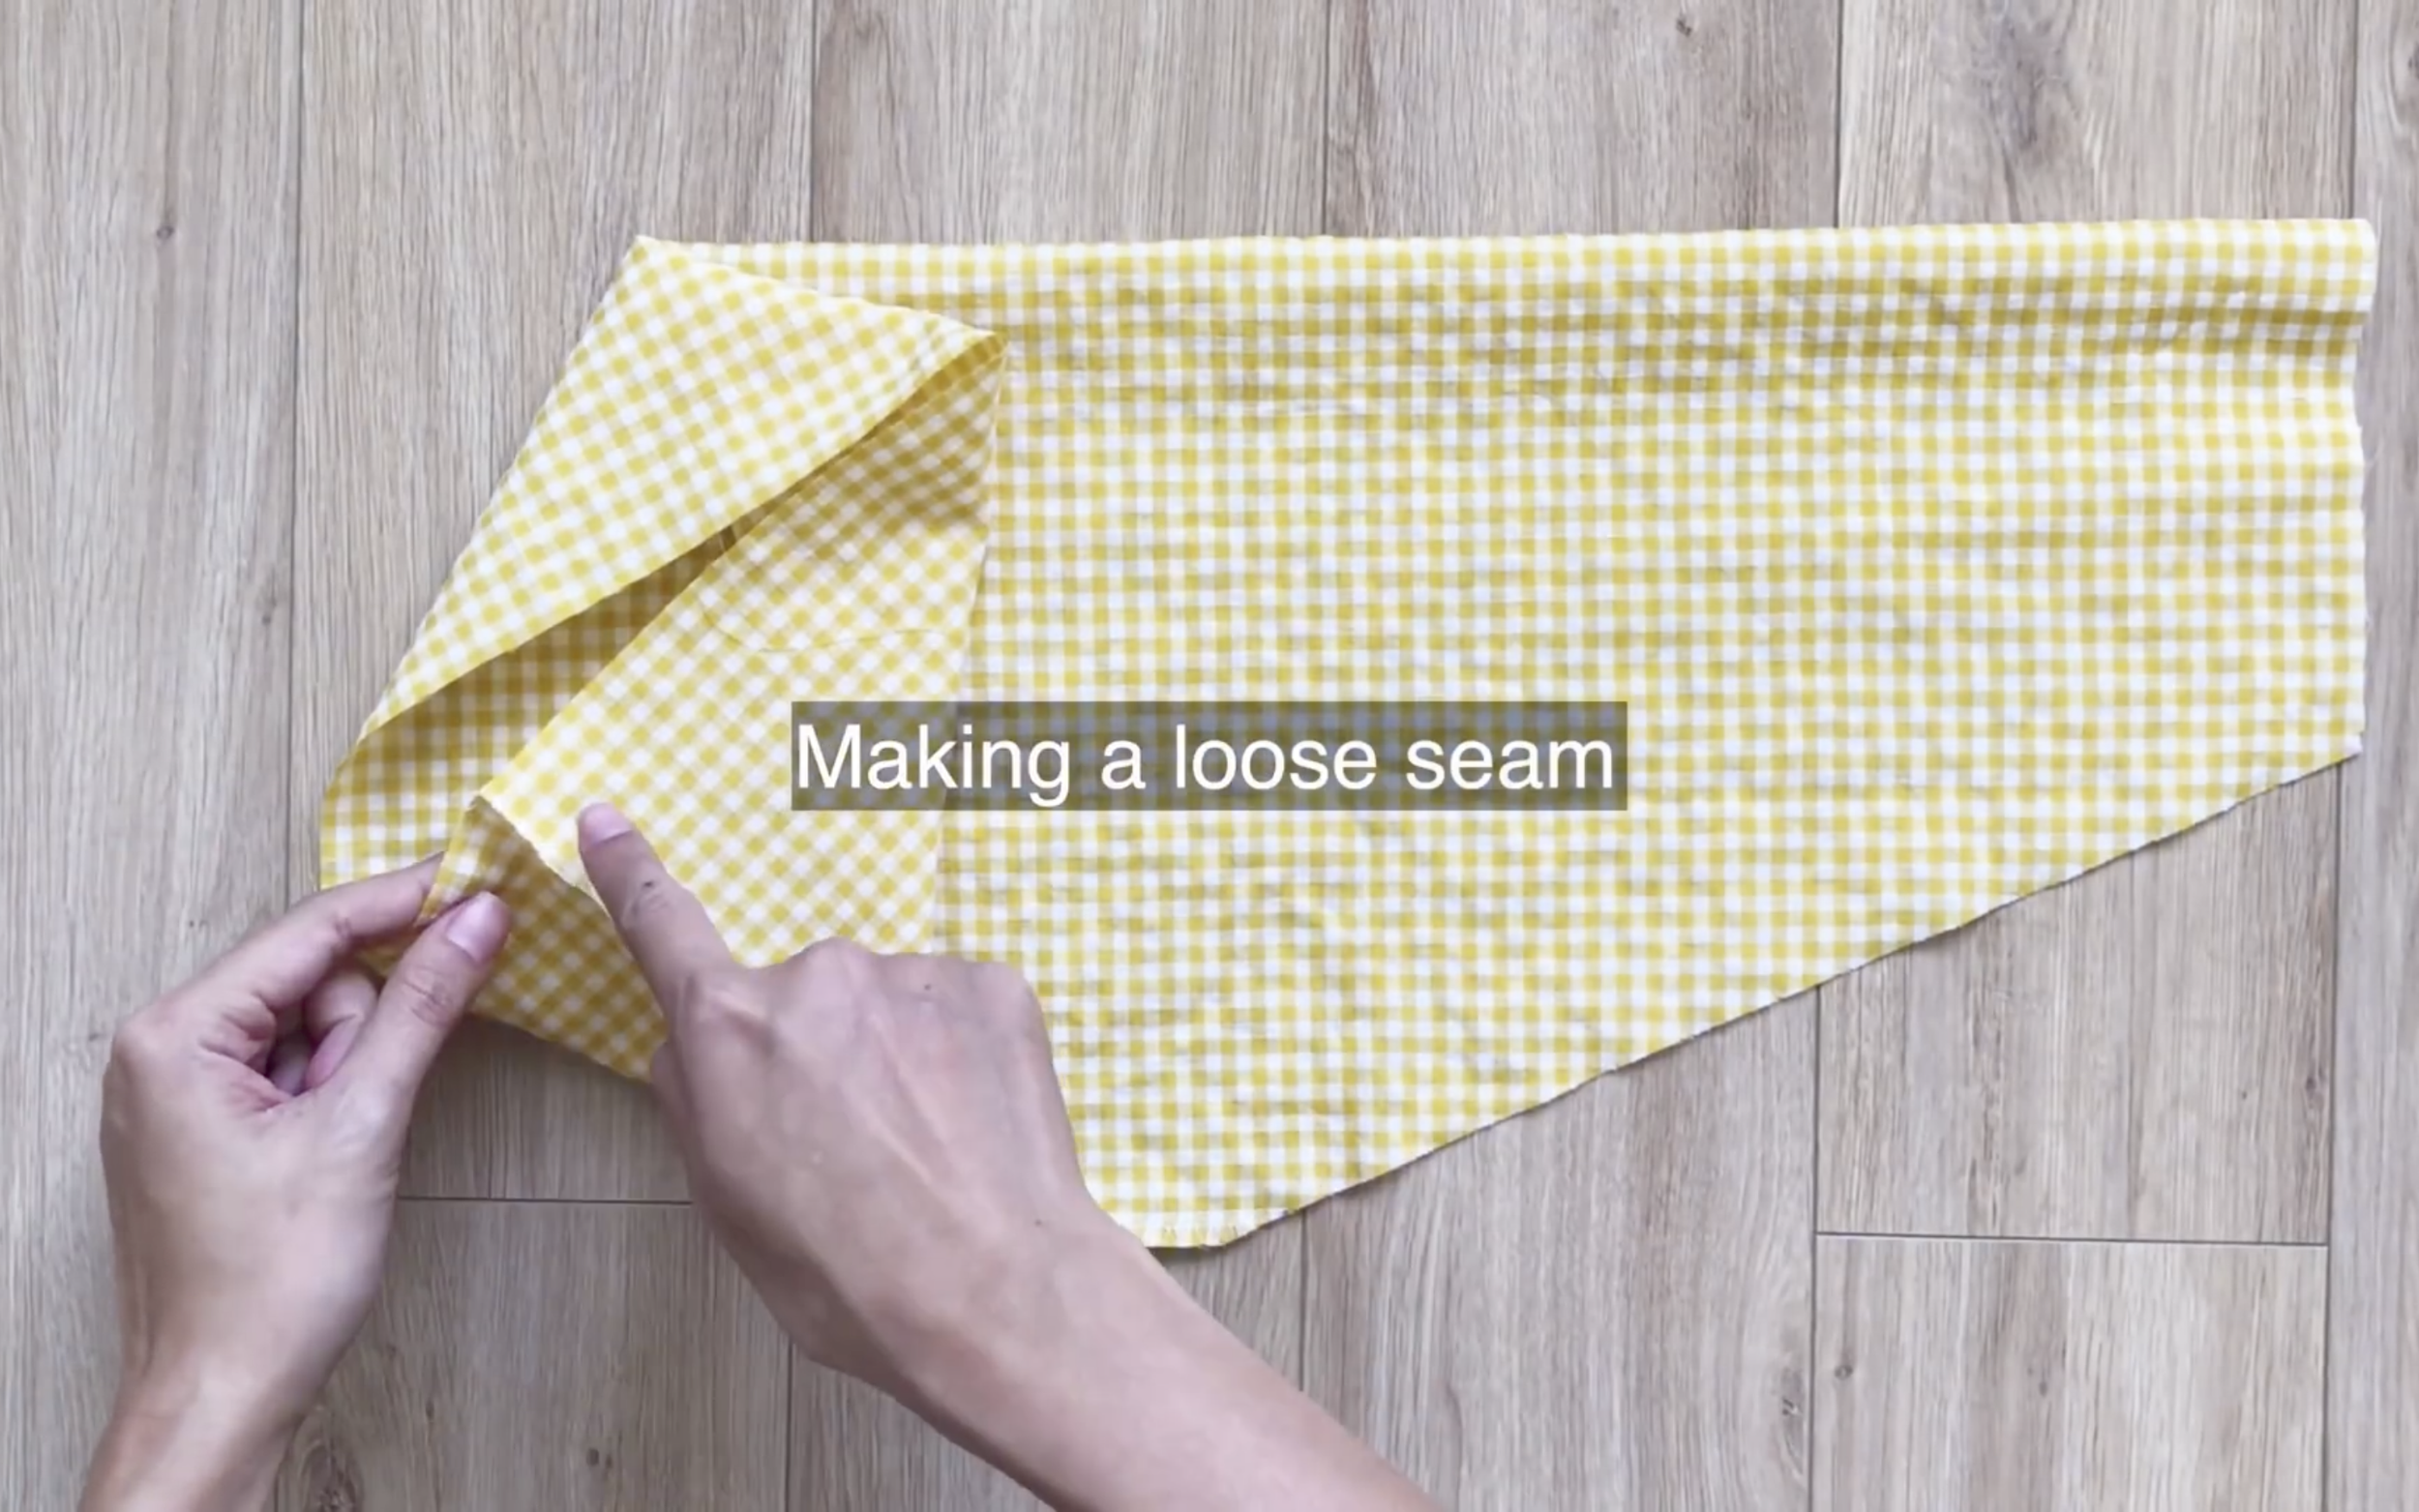
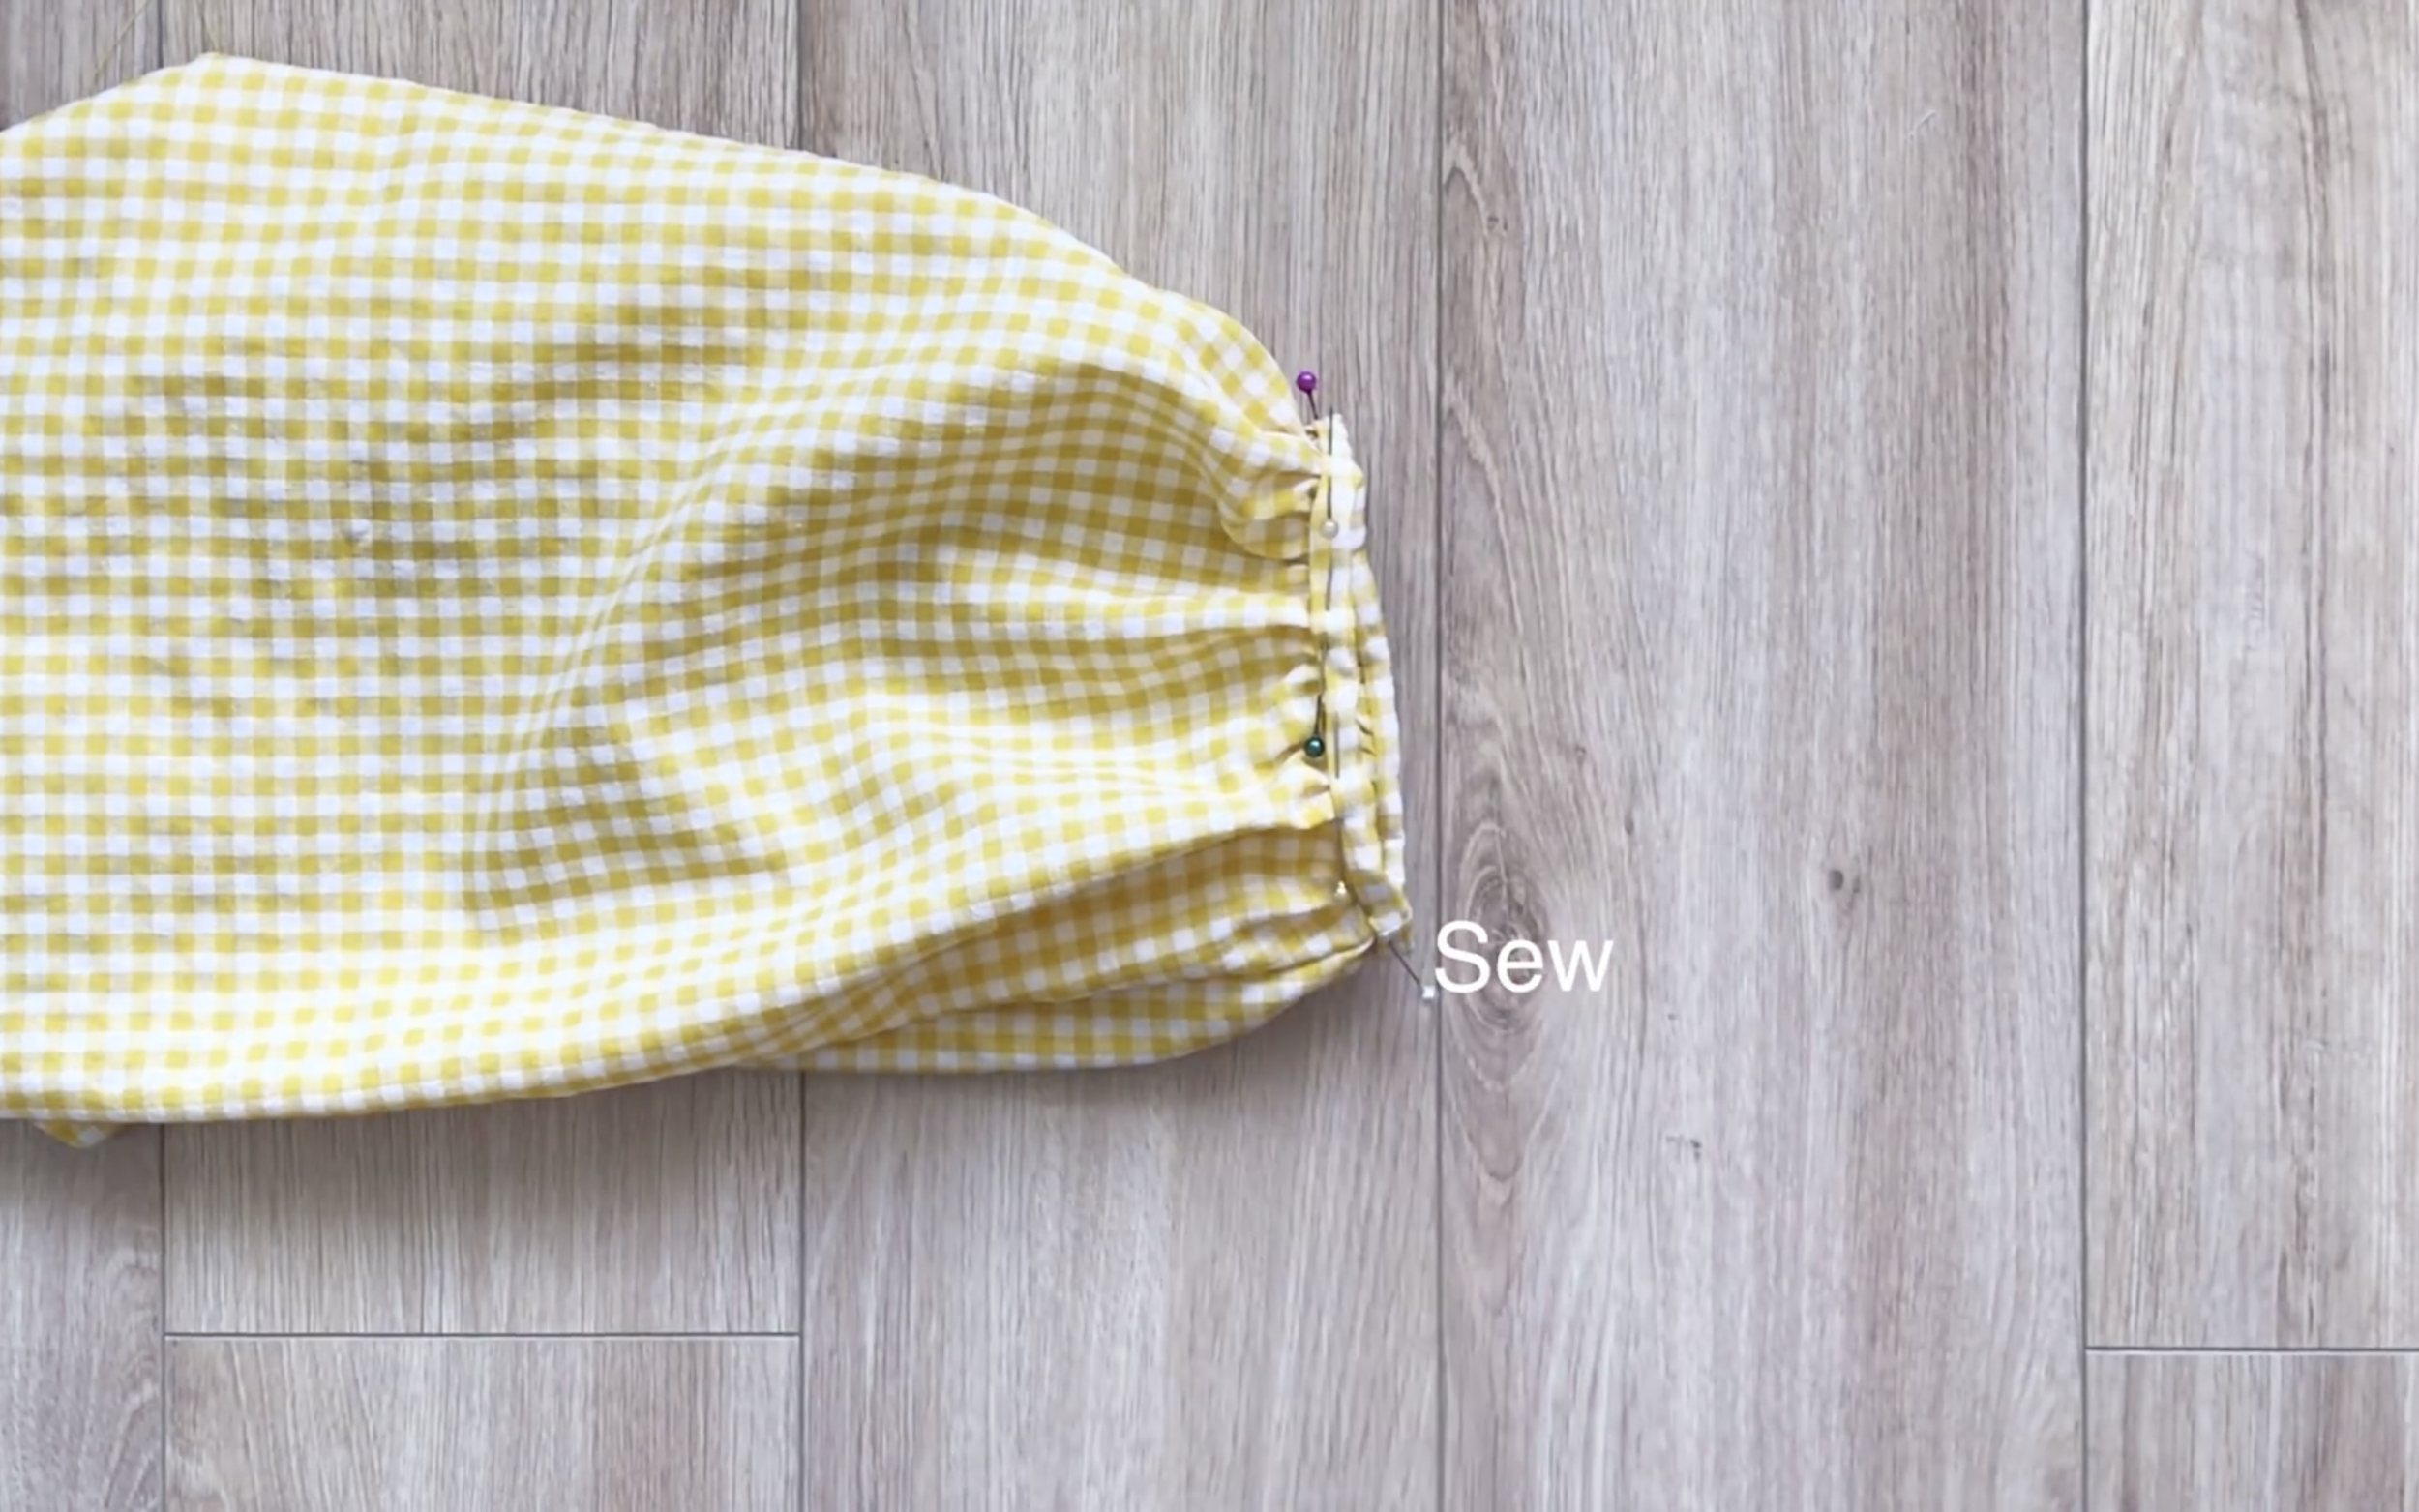
Then make a loose seam at the end of the sleeve to create a puff.
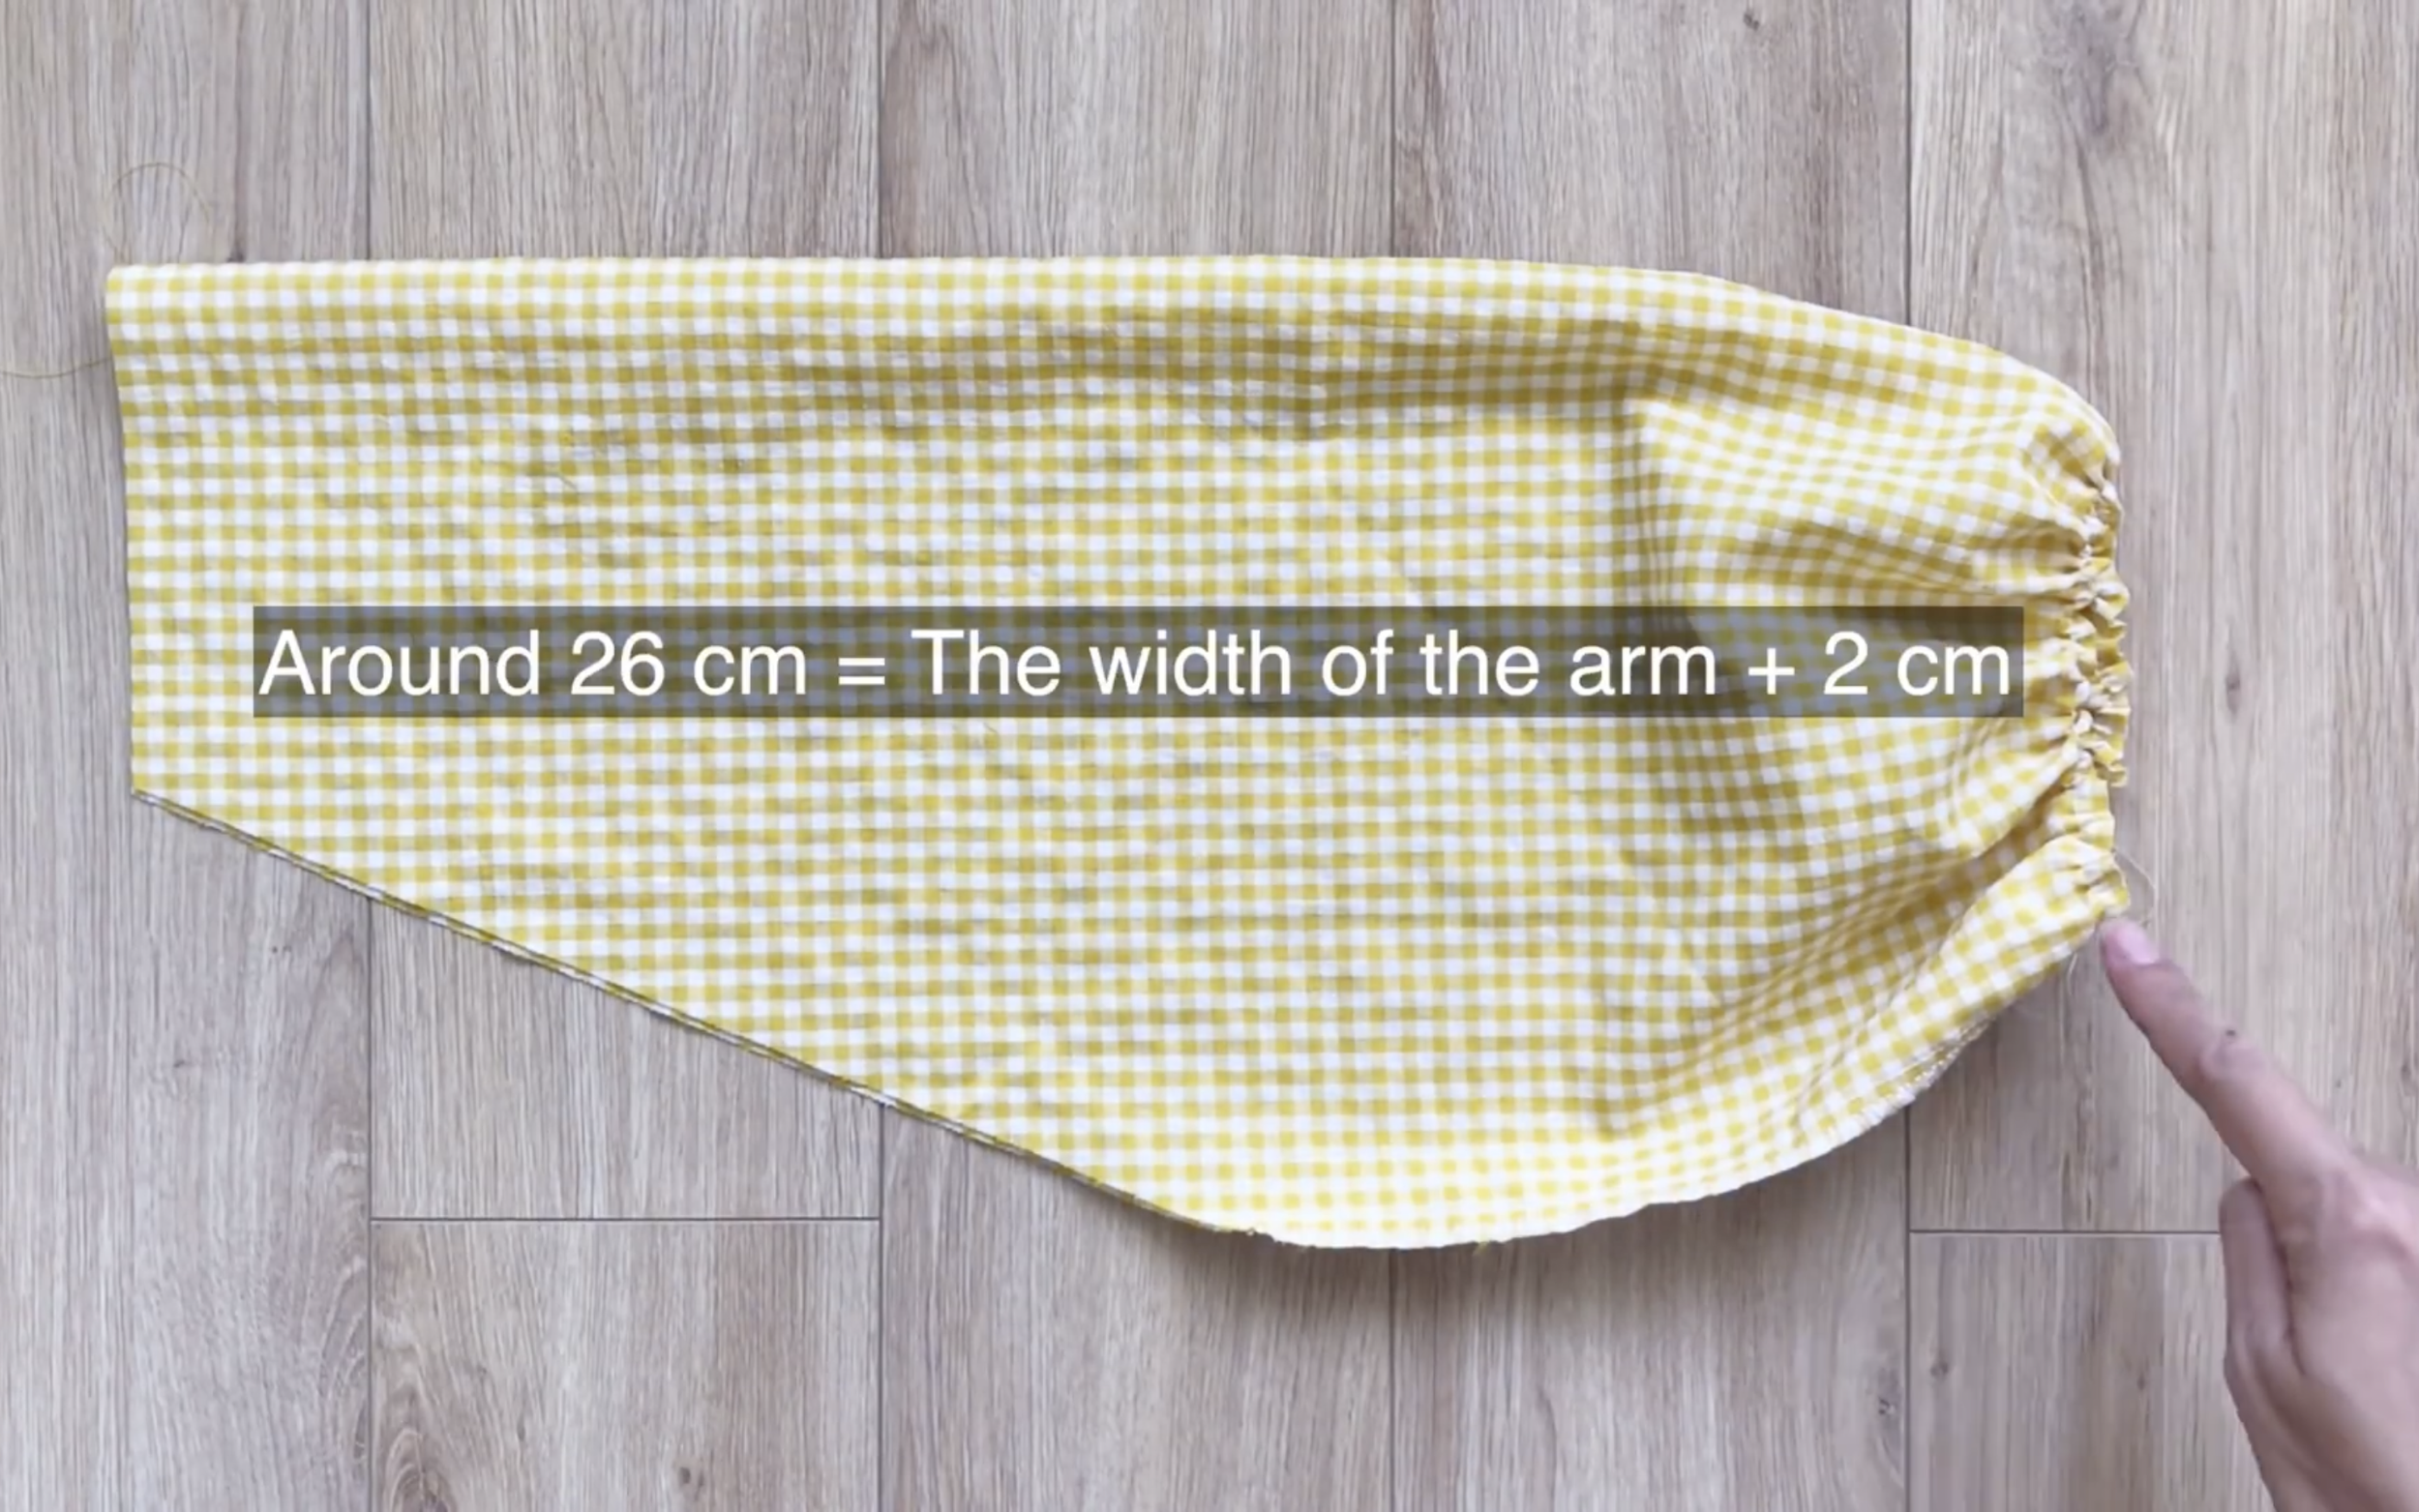
The width of the puff at the end of the sleeve will be around 26 cm, which is the width of the arm plus 2 cm.
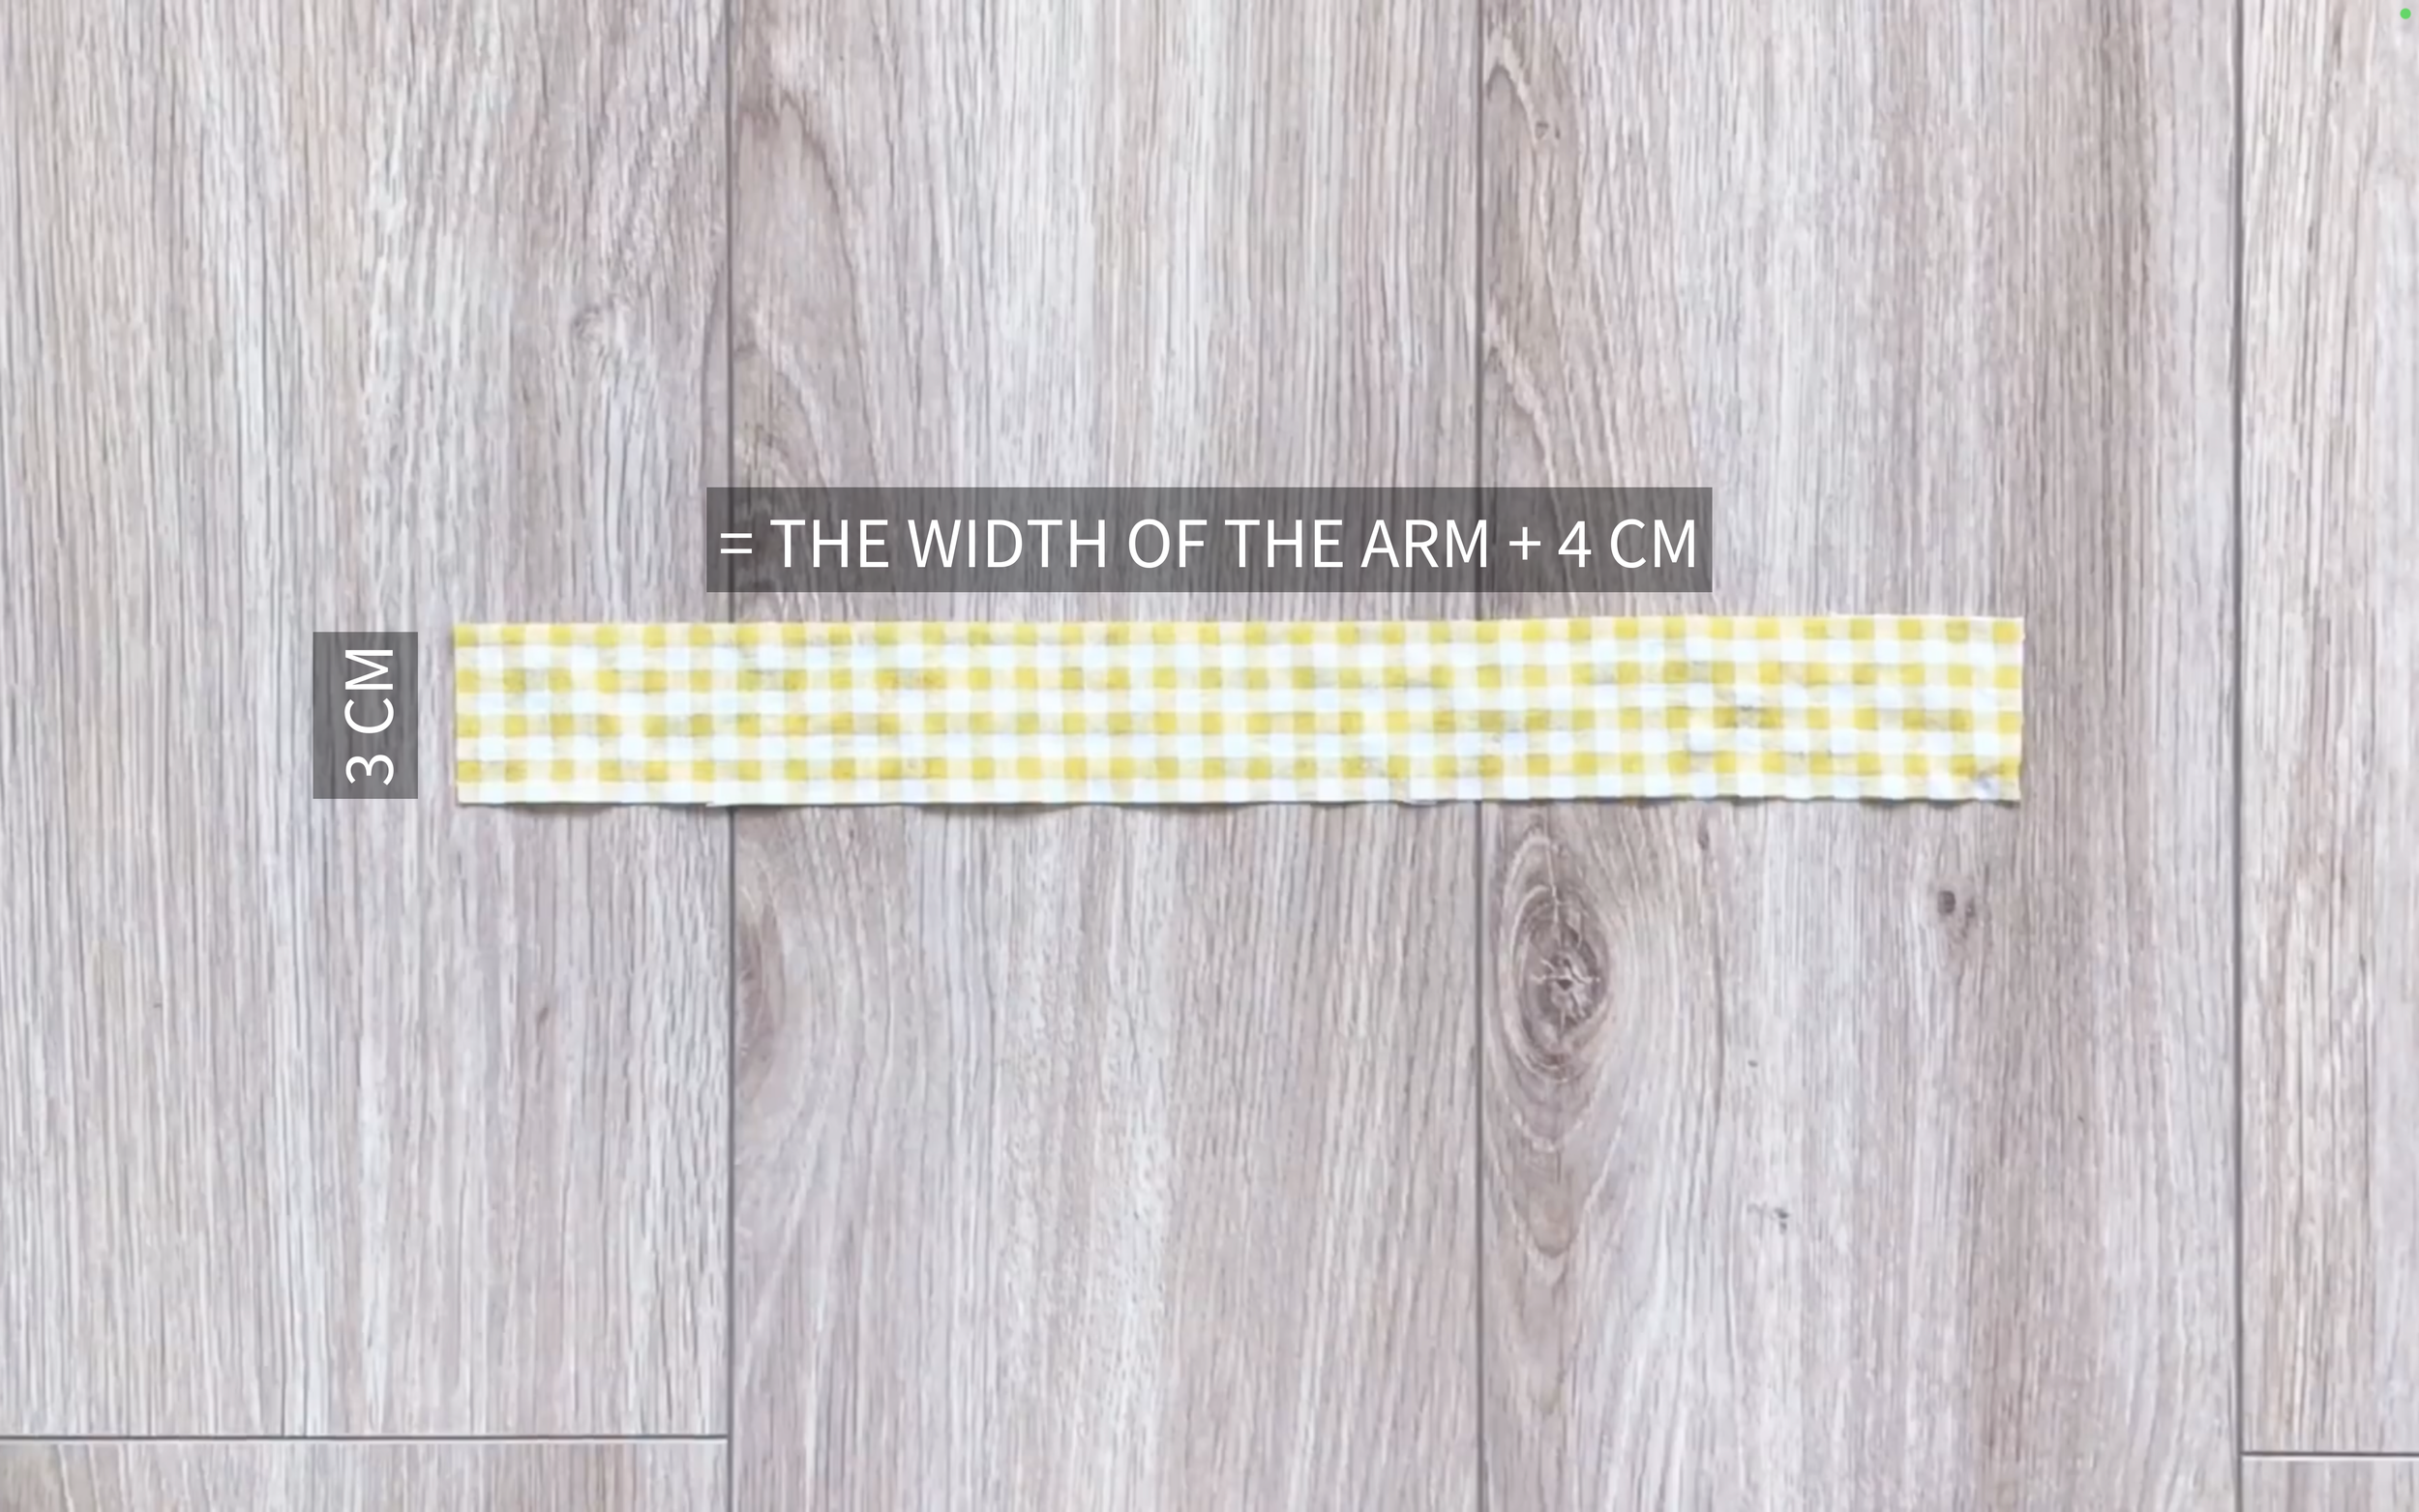
Cut a rectangle with 3 cm width and 28 cm length to finish the sleeve end.
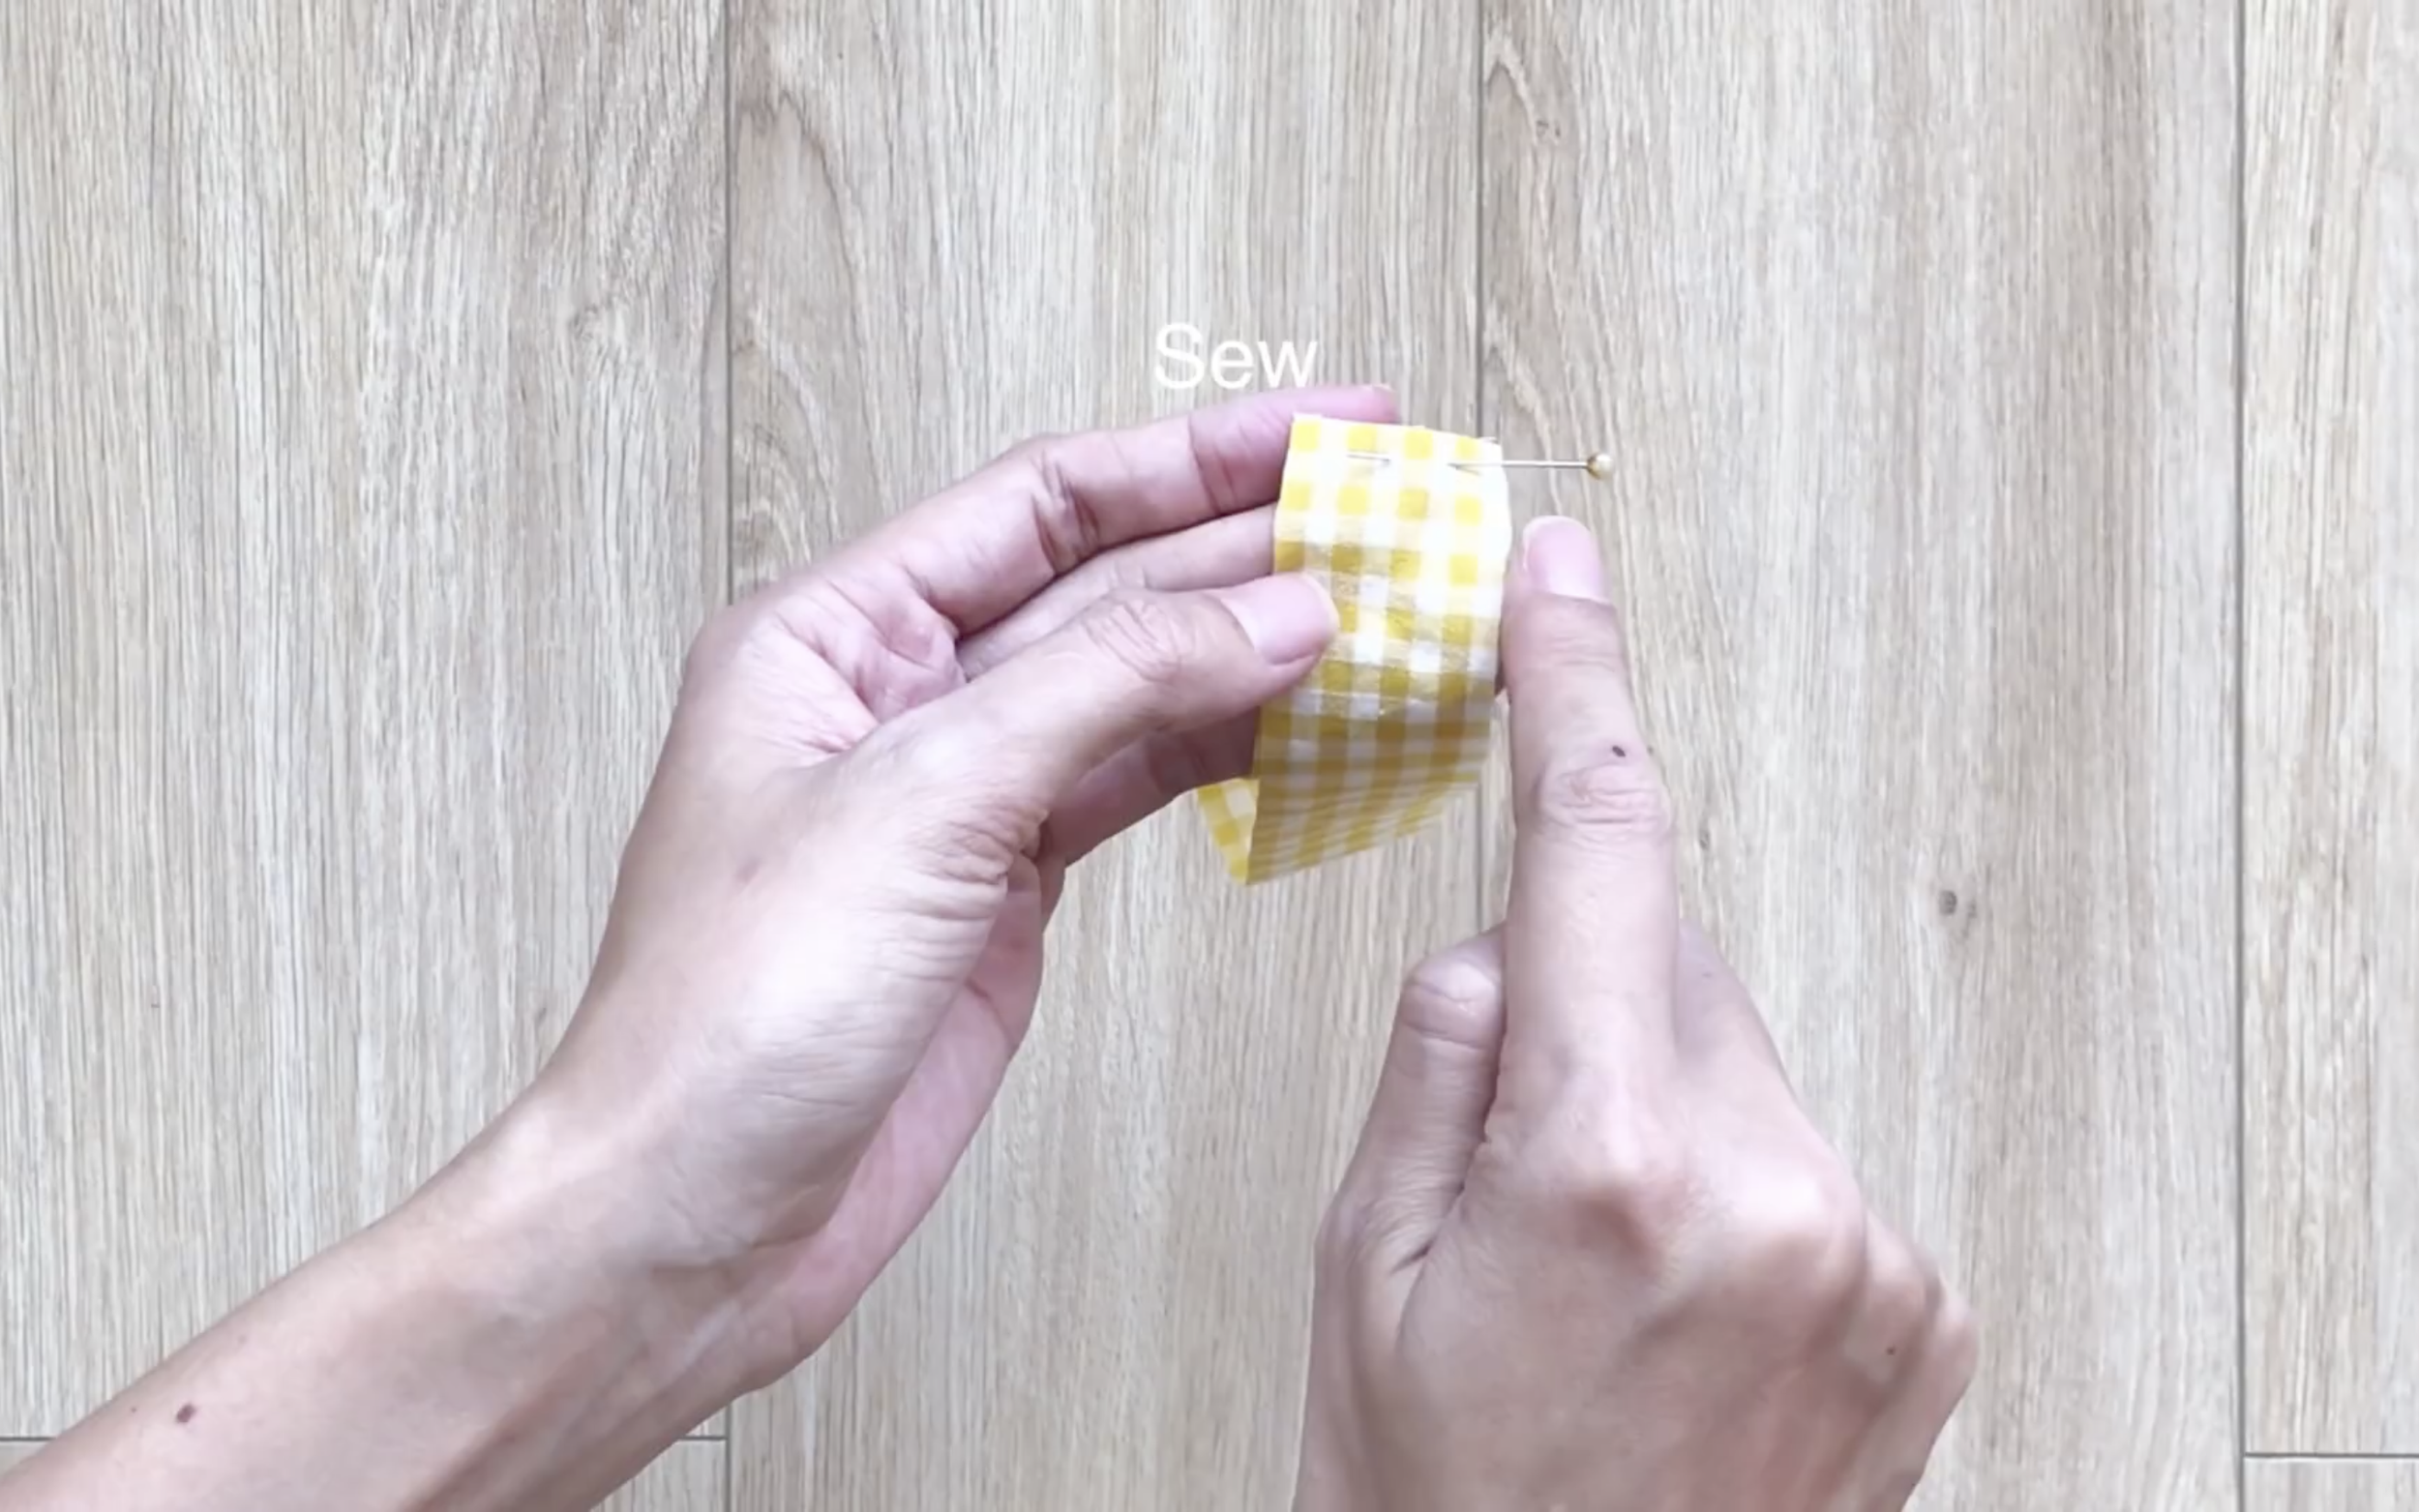
Fold the rectangle’s width ends together to form a circle.
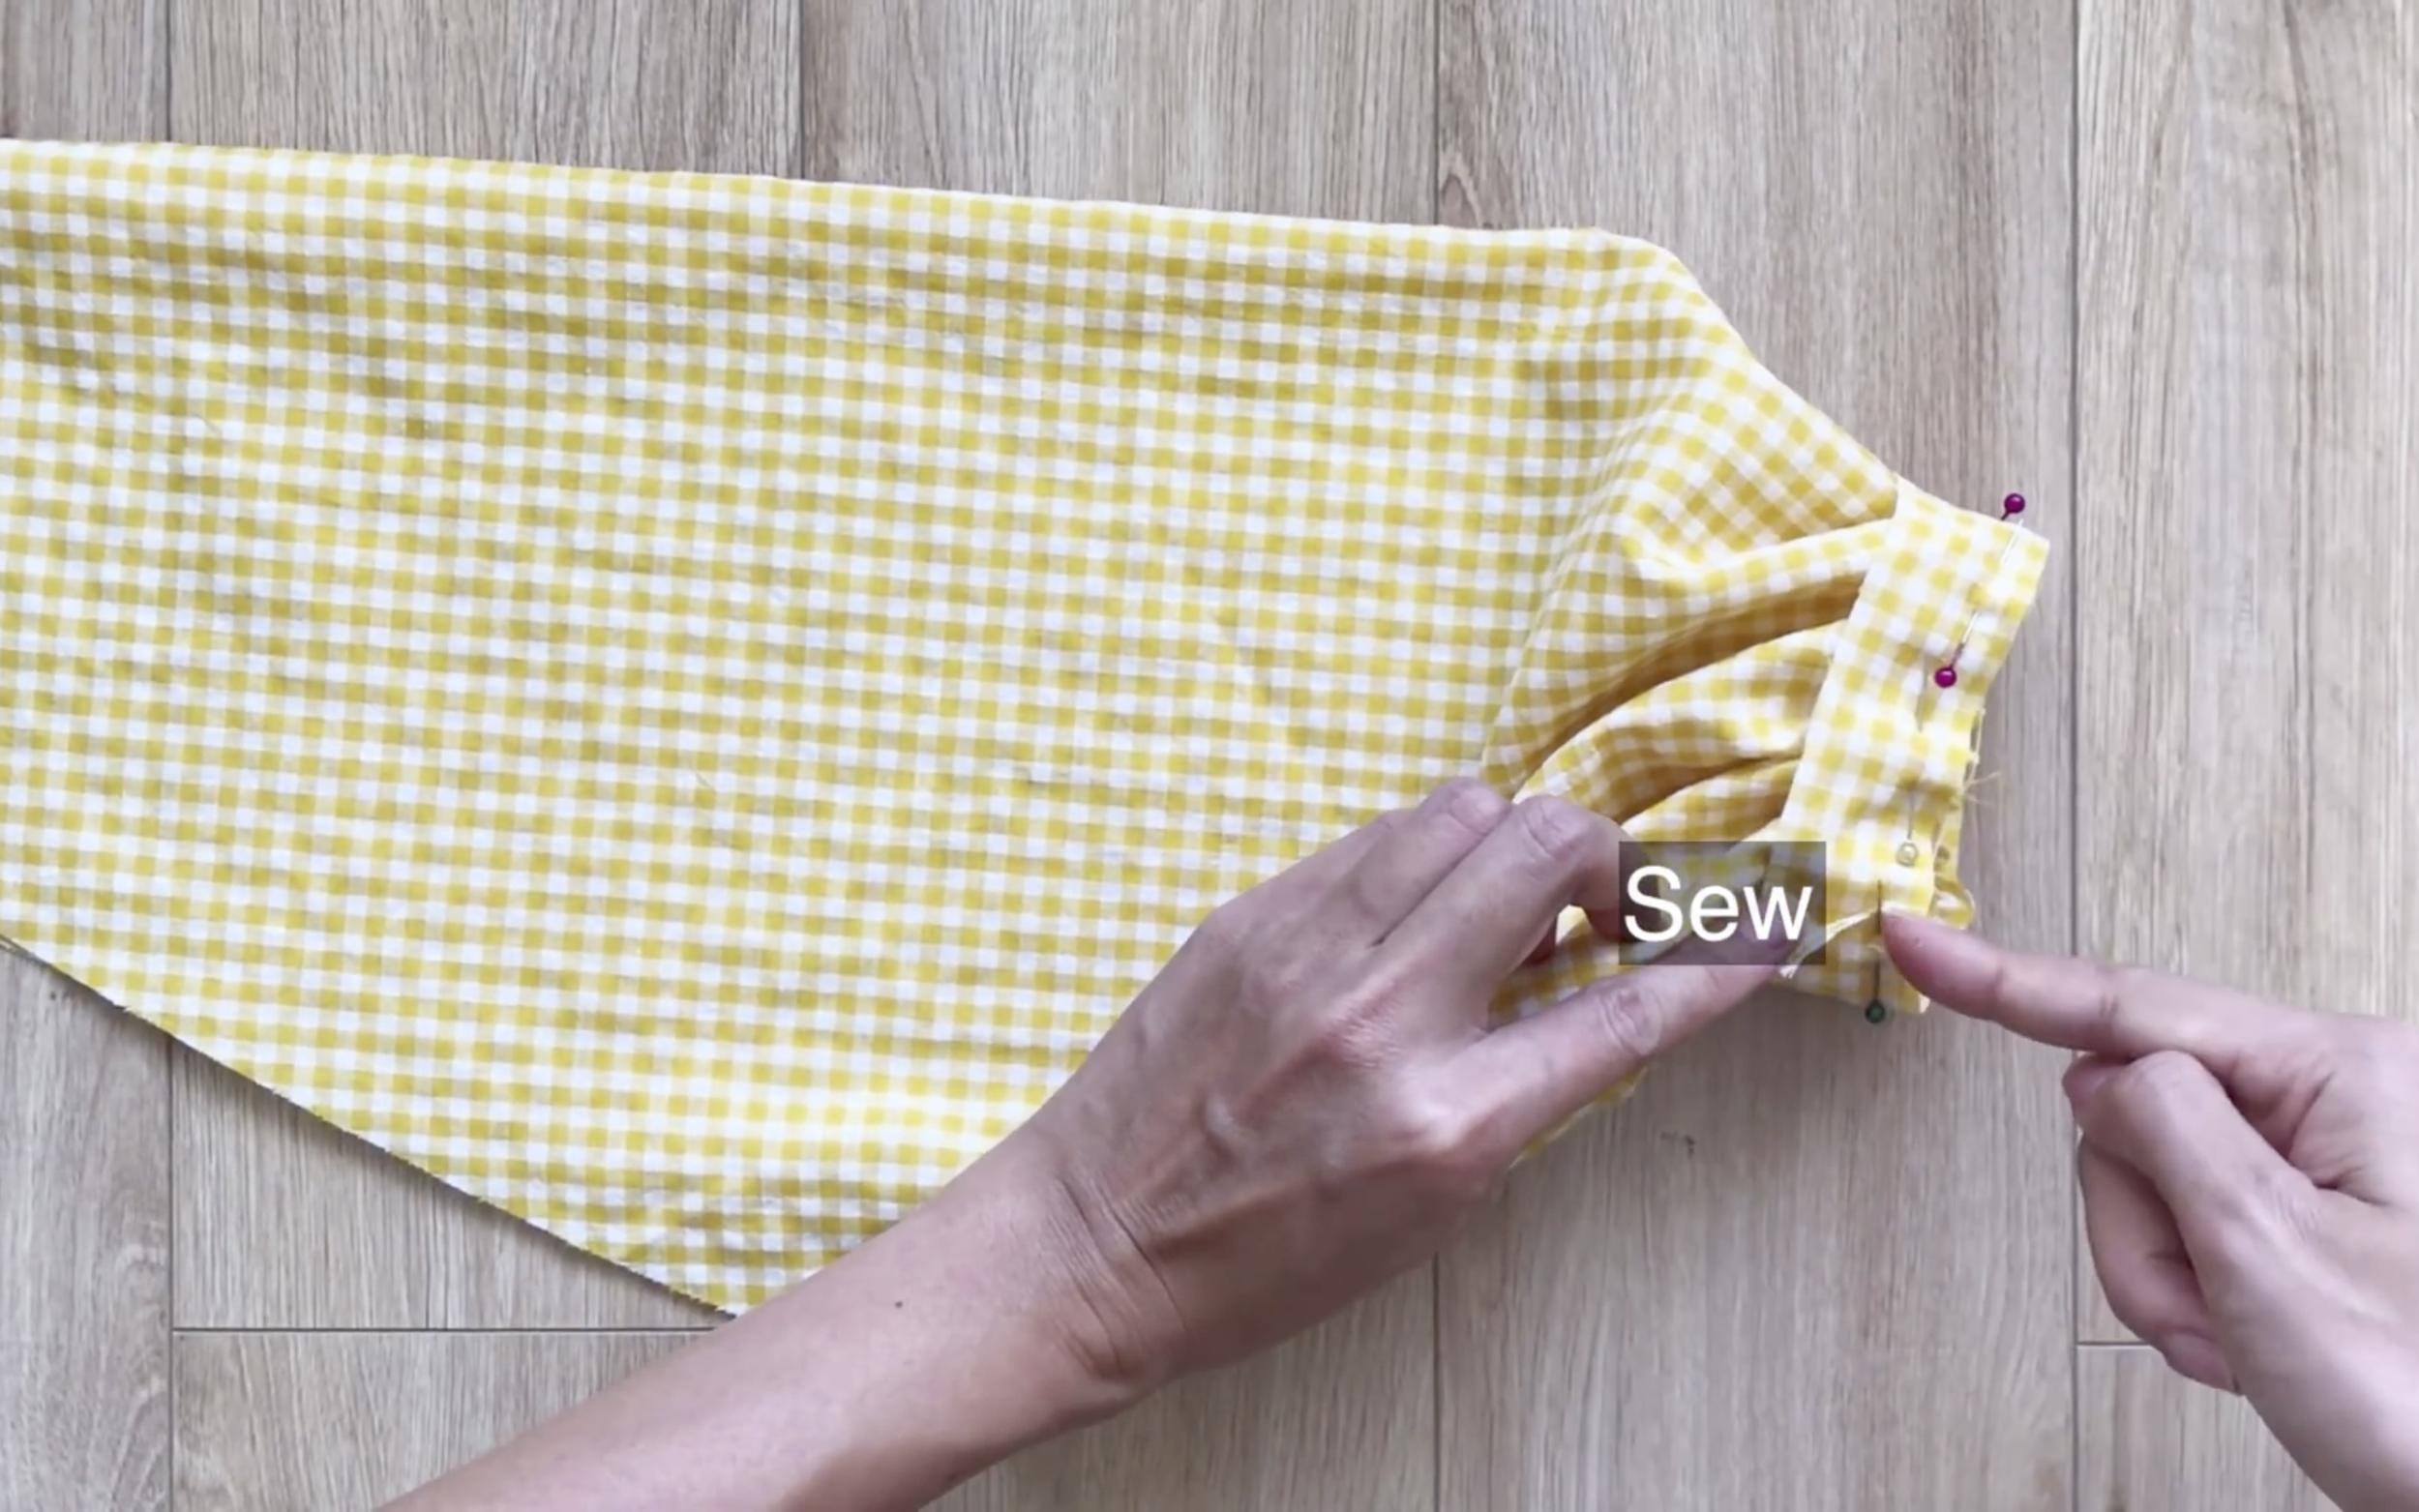
Then attach it to the sleeve’s end and sew.
After the first seam, fold the end of the circle fabric inside twice to hide the fabric and make a second seam to finish the sleeve end.
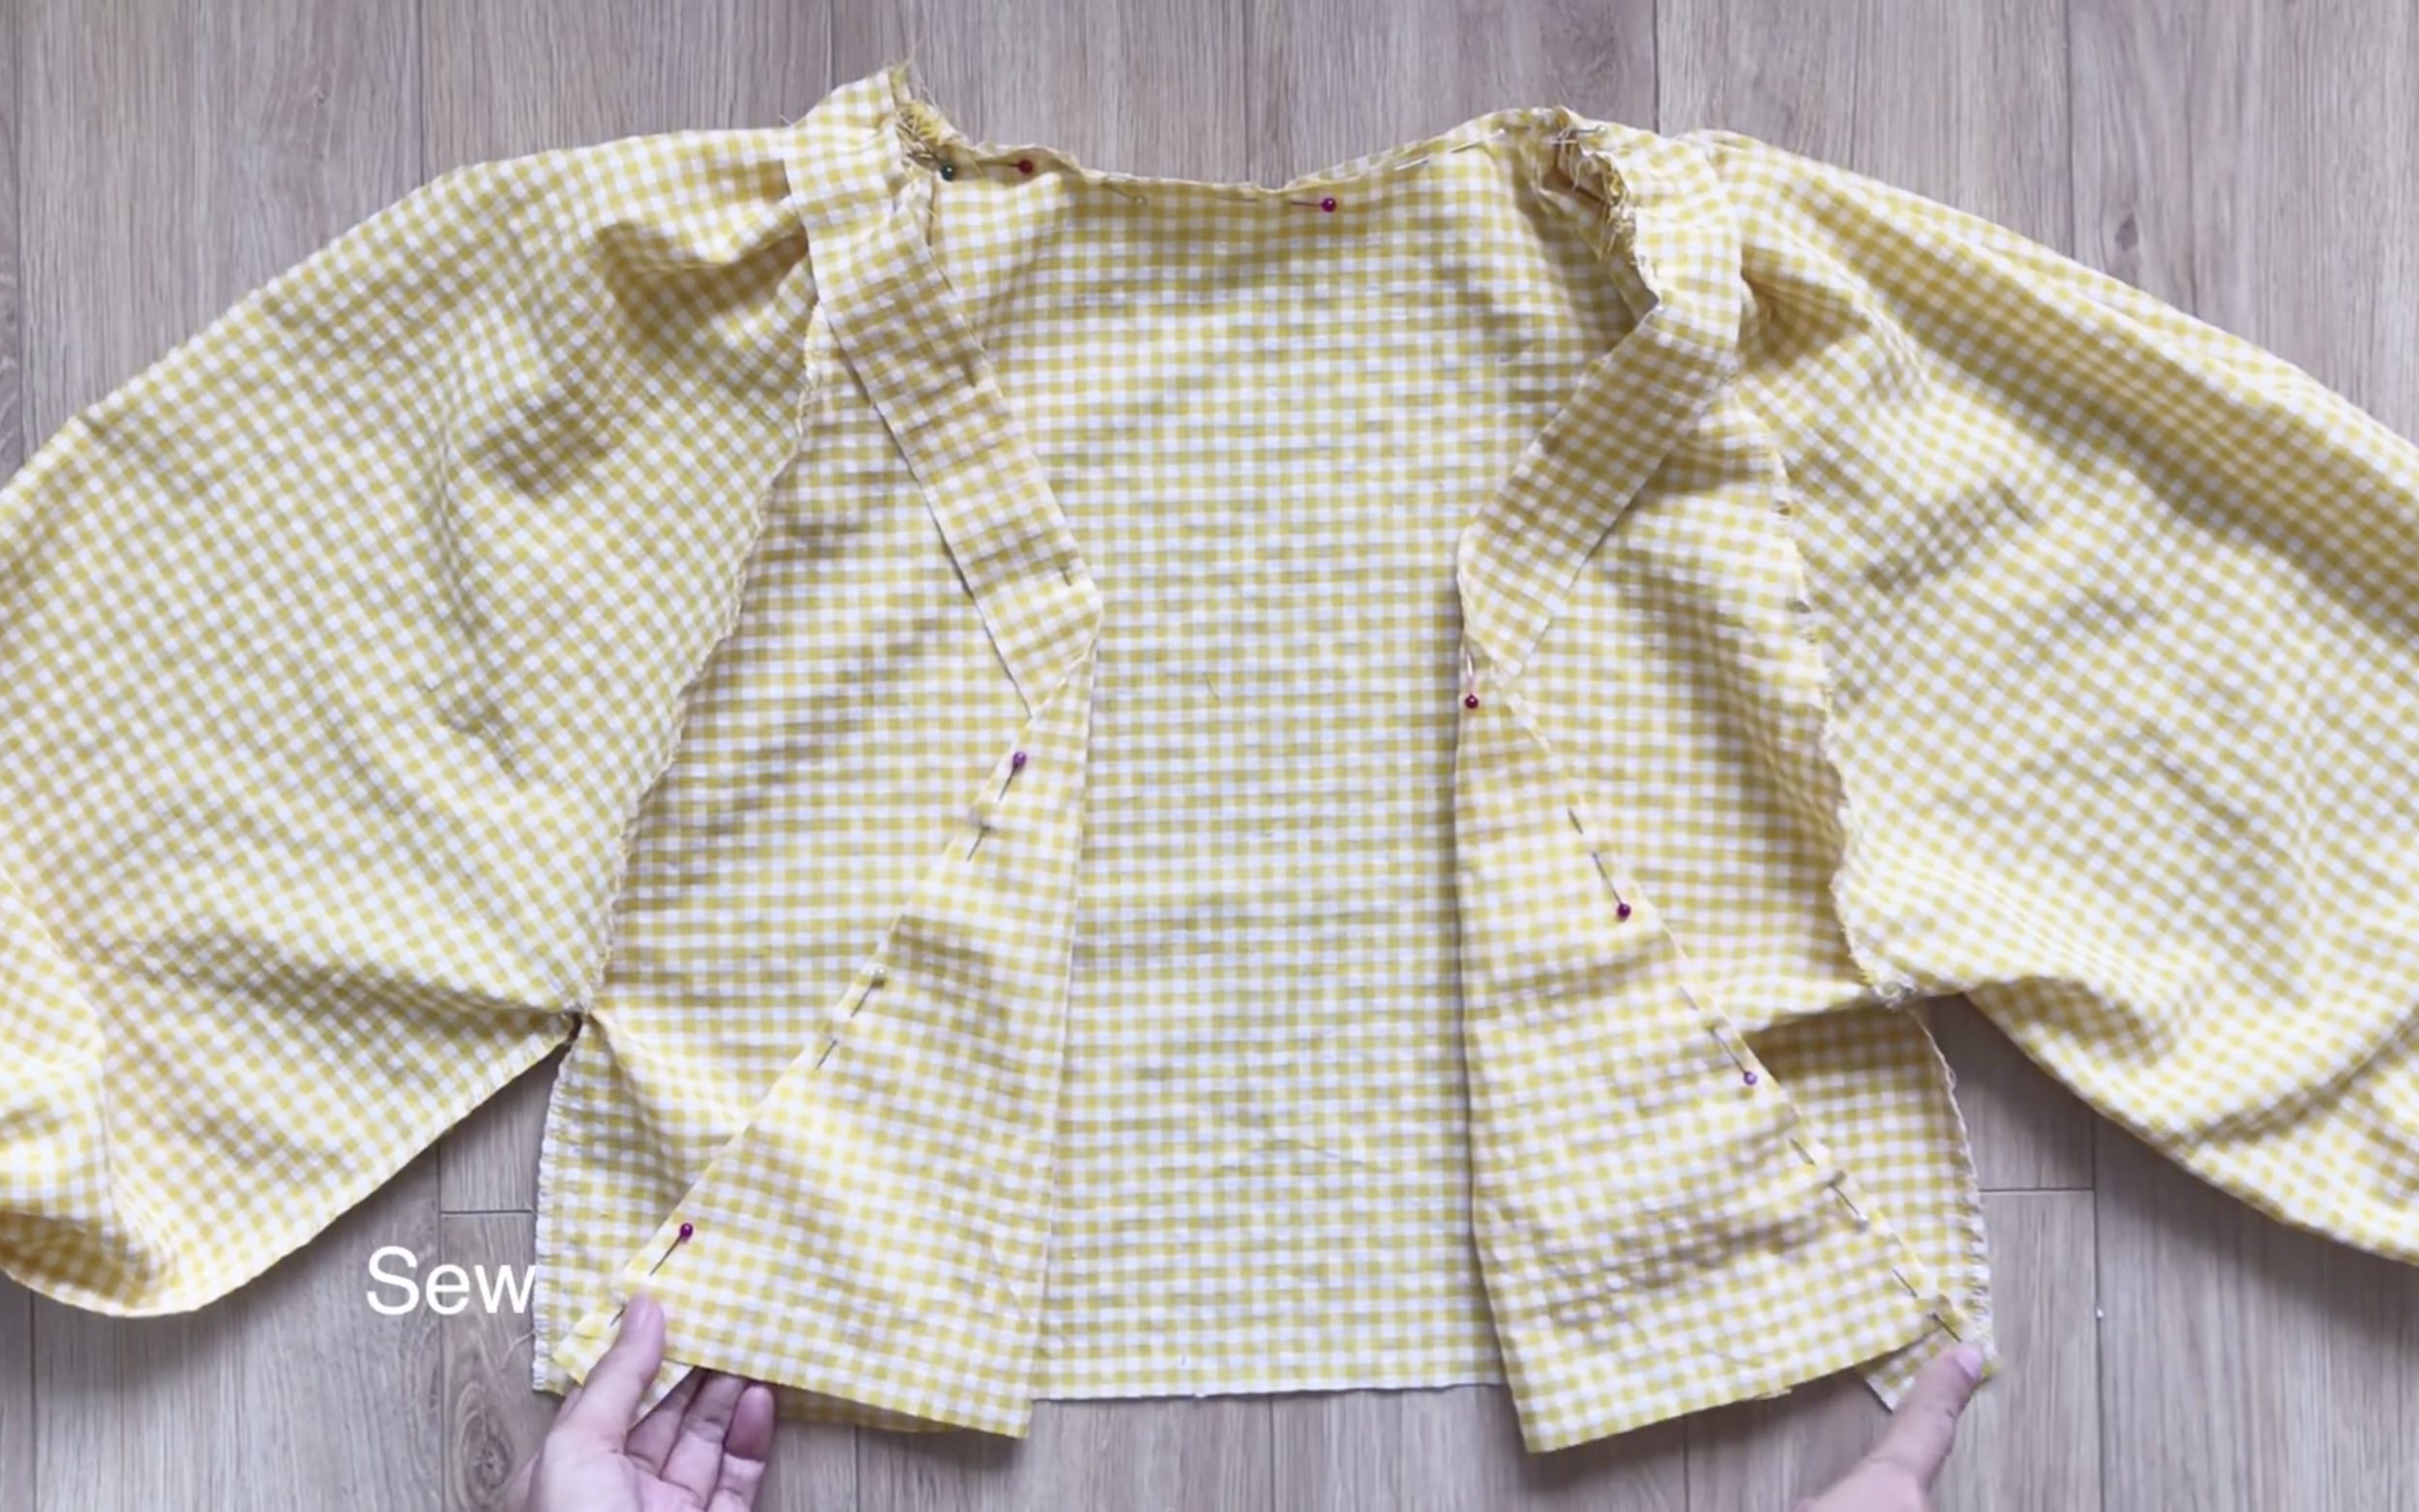
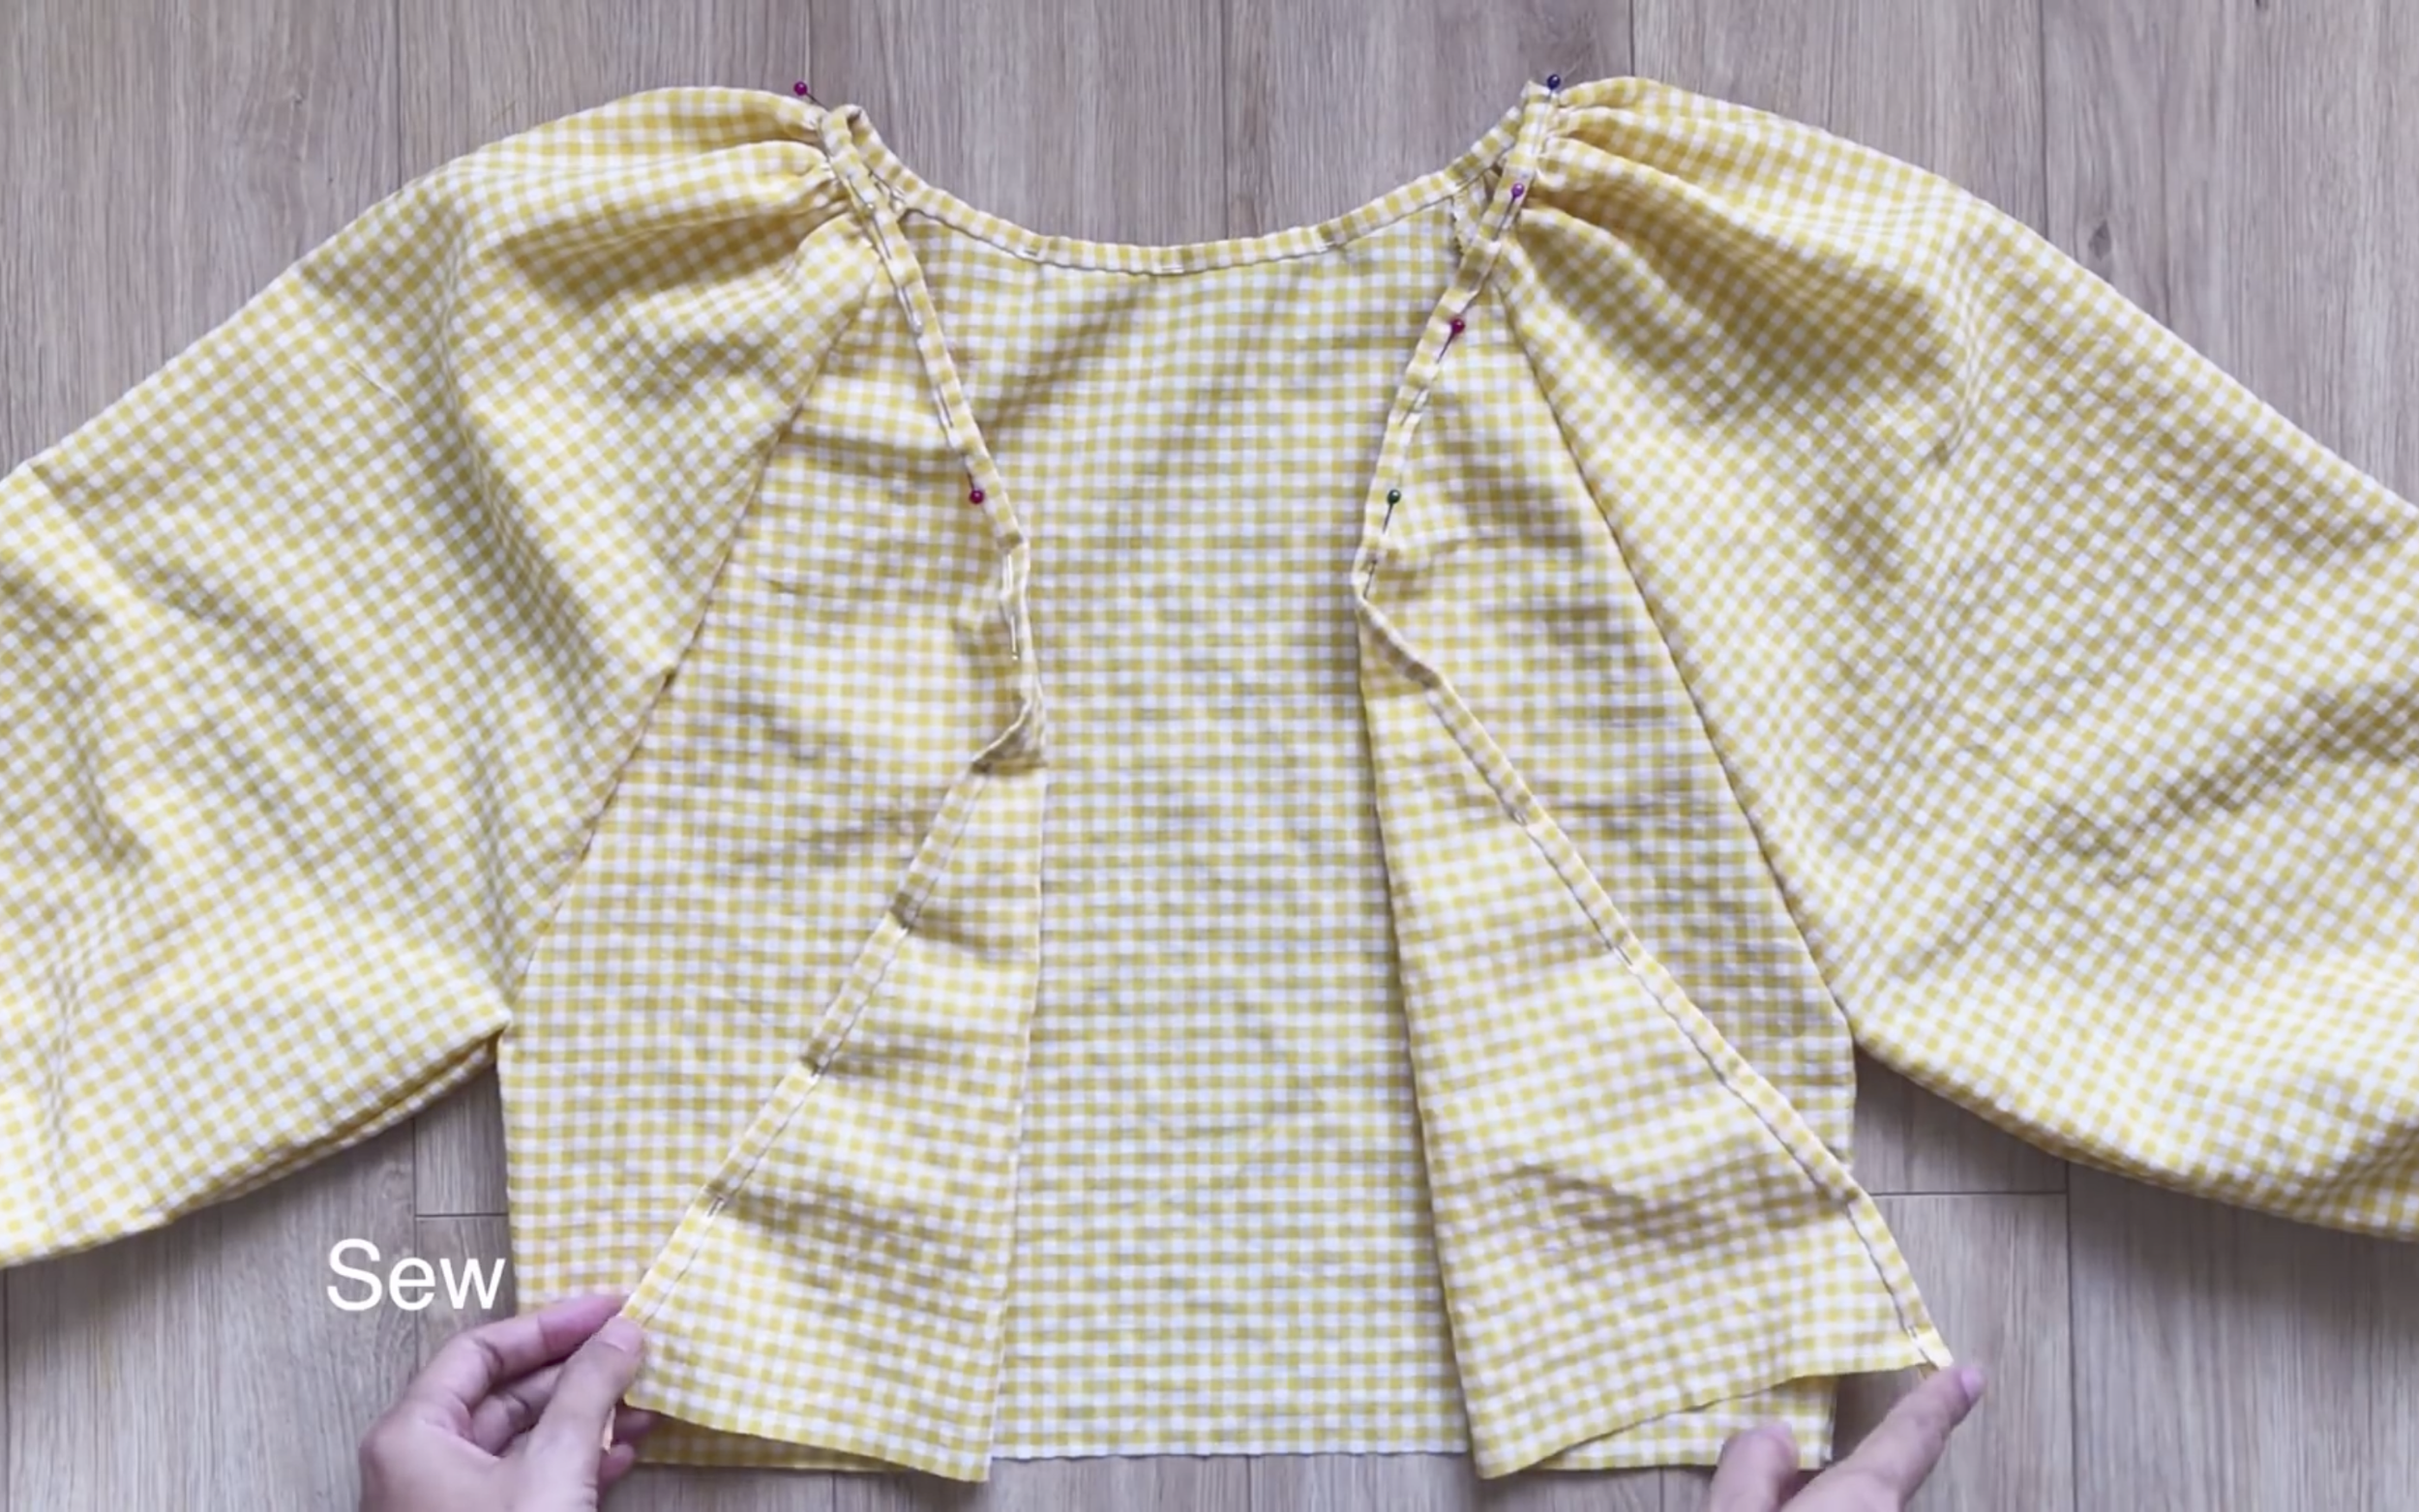
Now, connect the sleeves to the top bodice of the dress.
At the top of the sleeve, make a loose seam first.
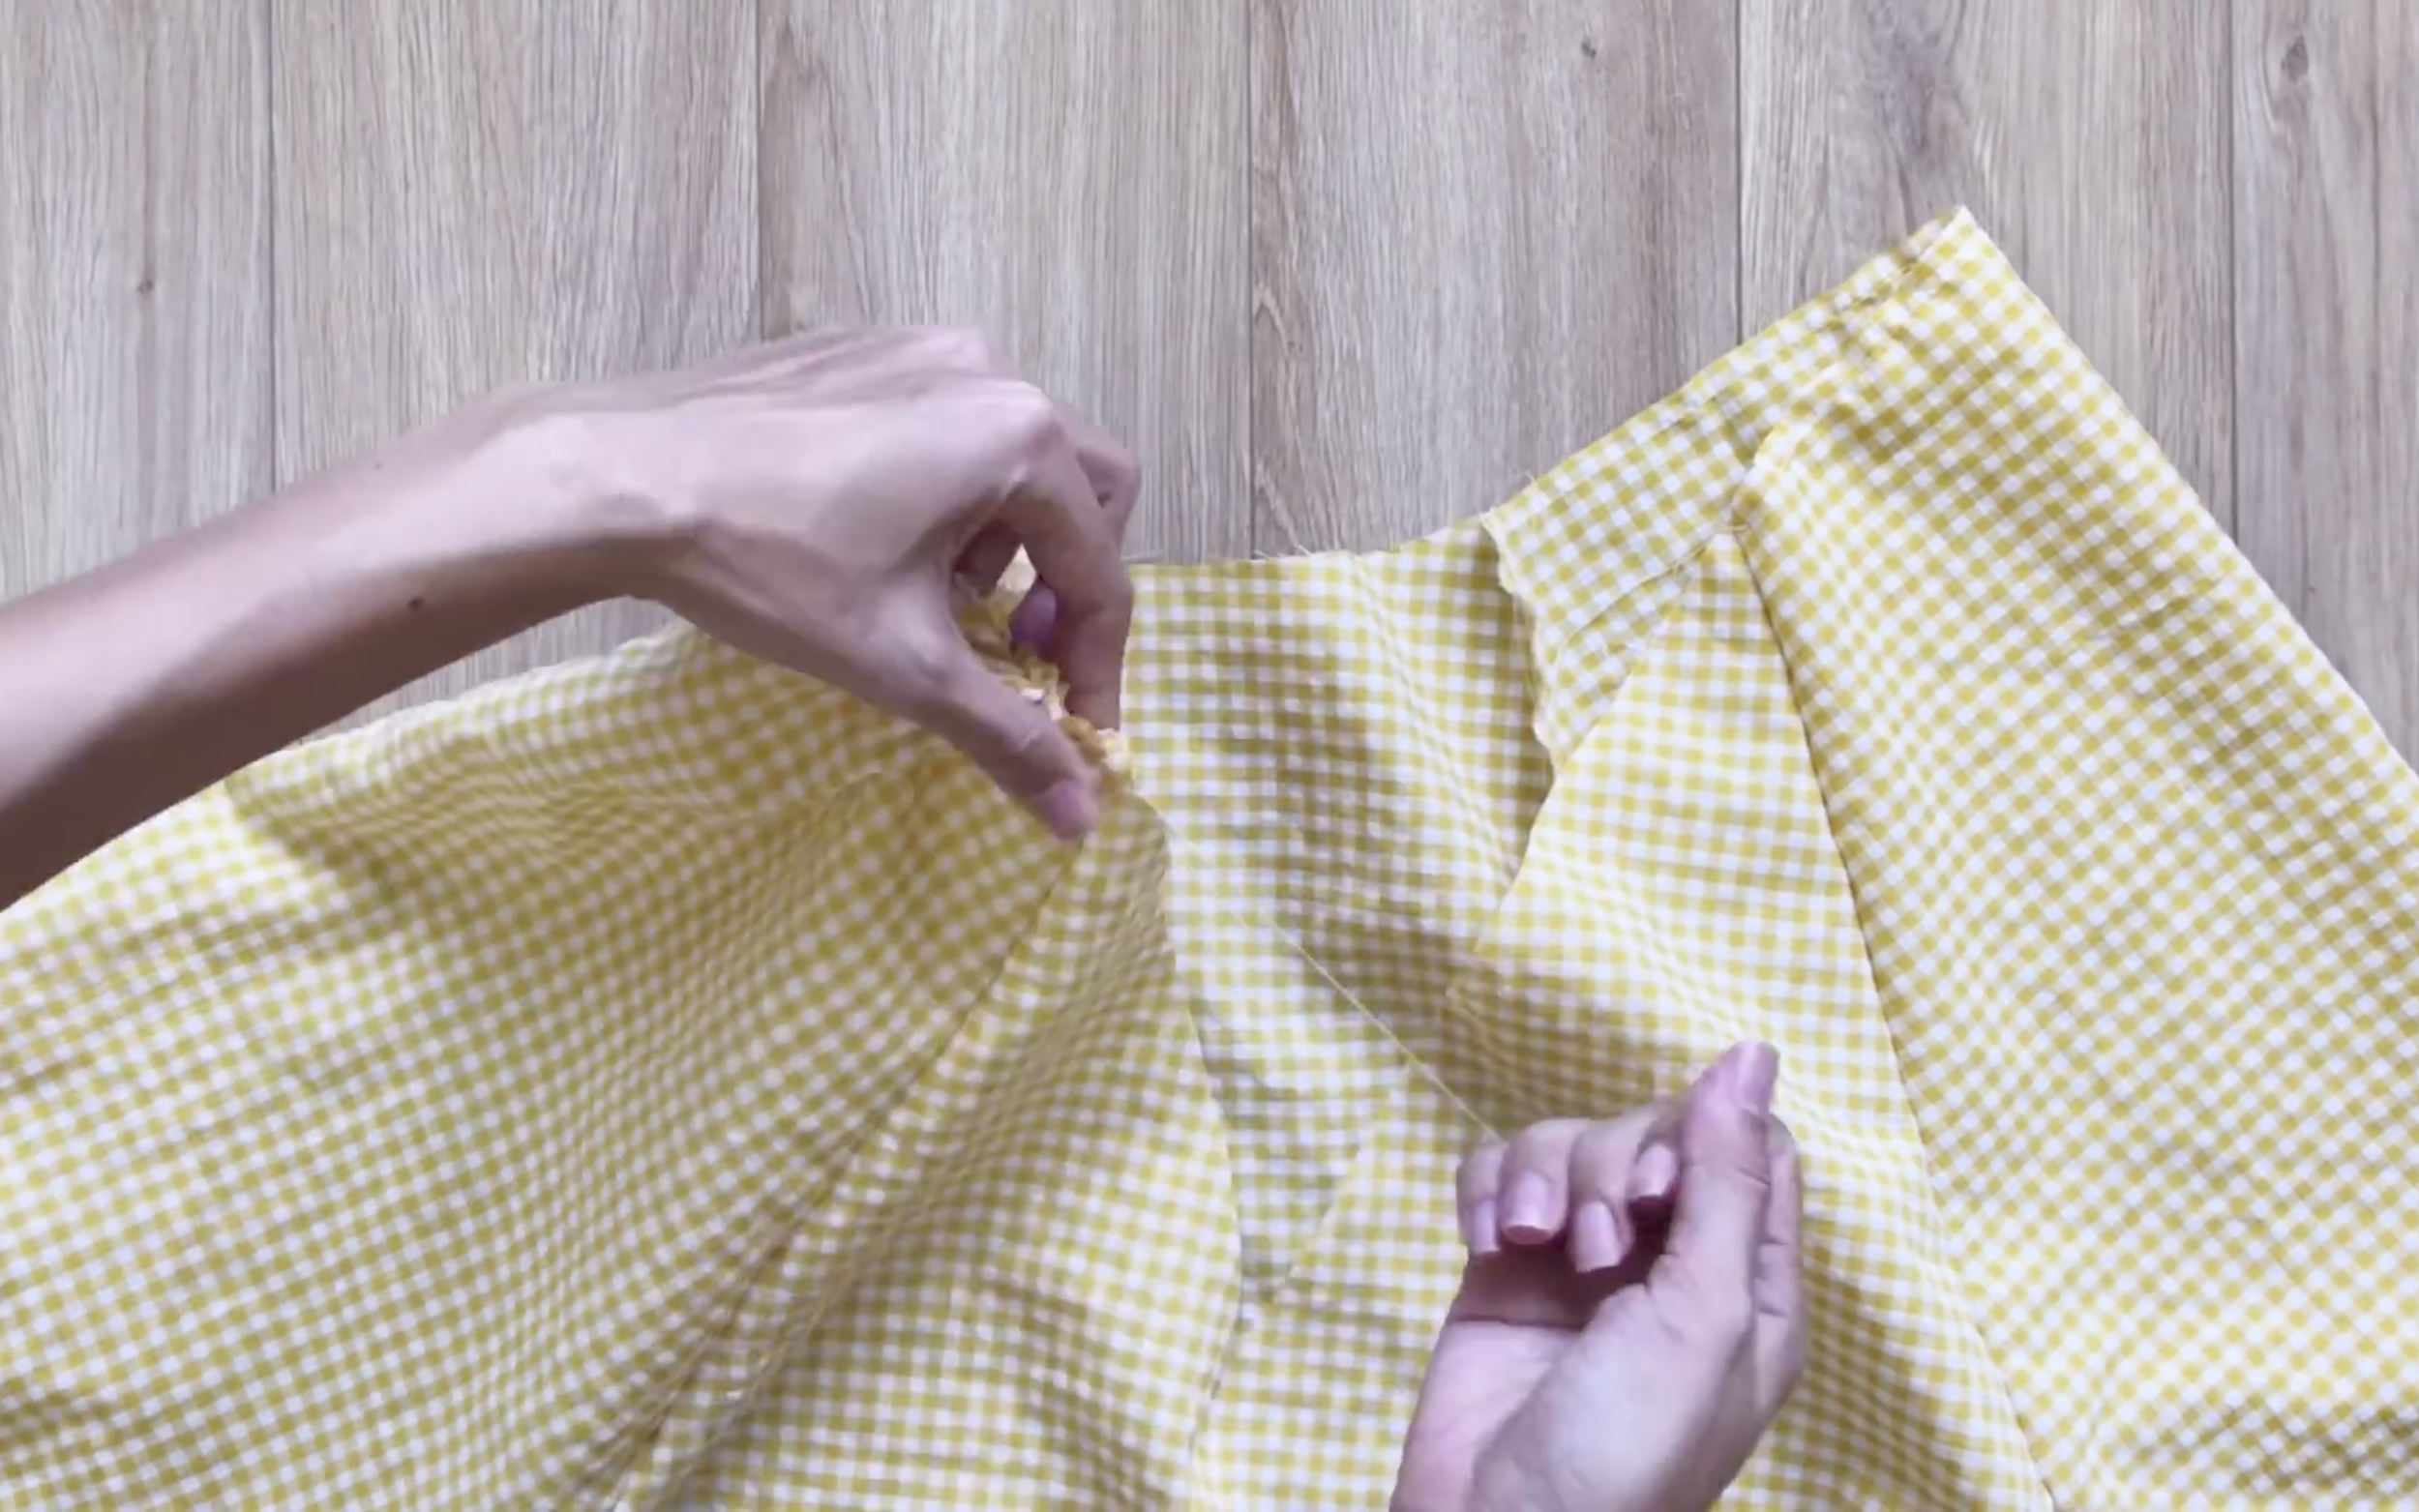
Then create the puff.
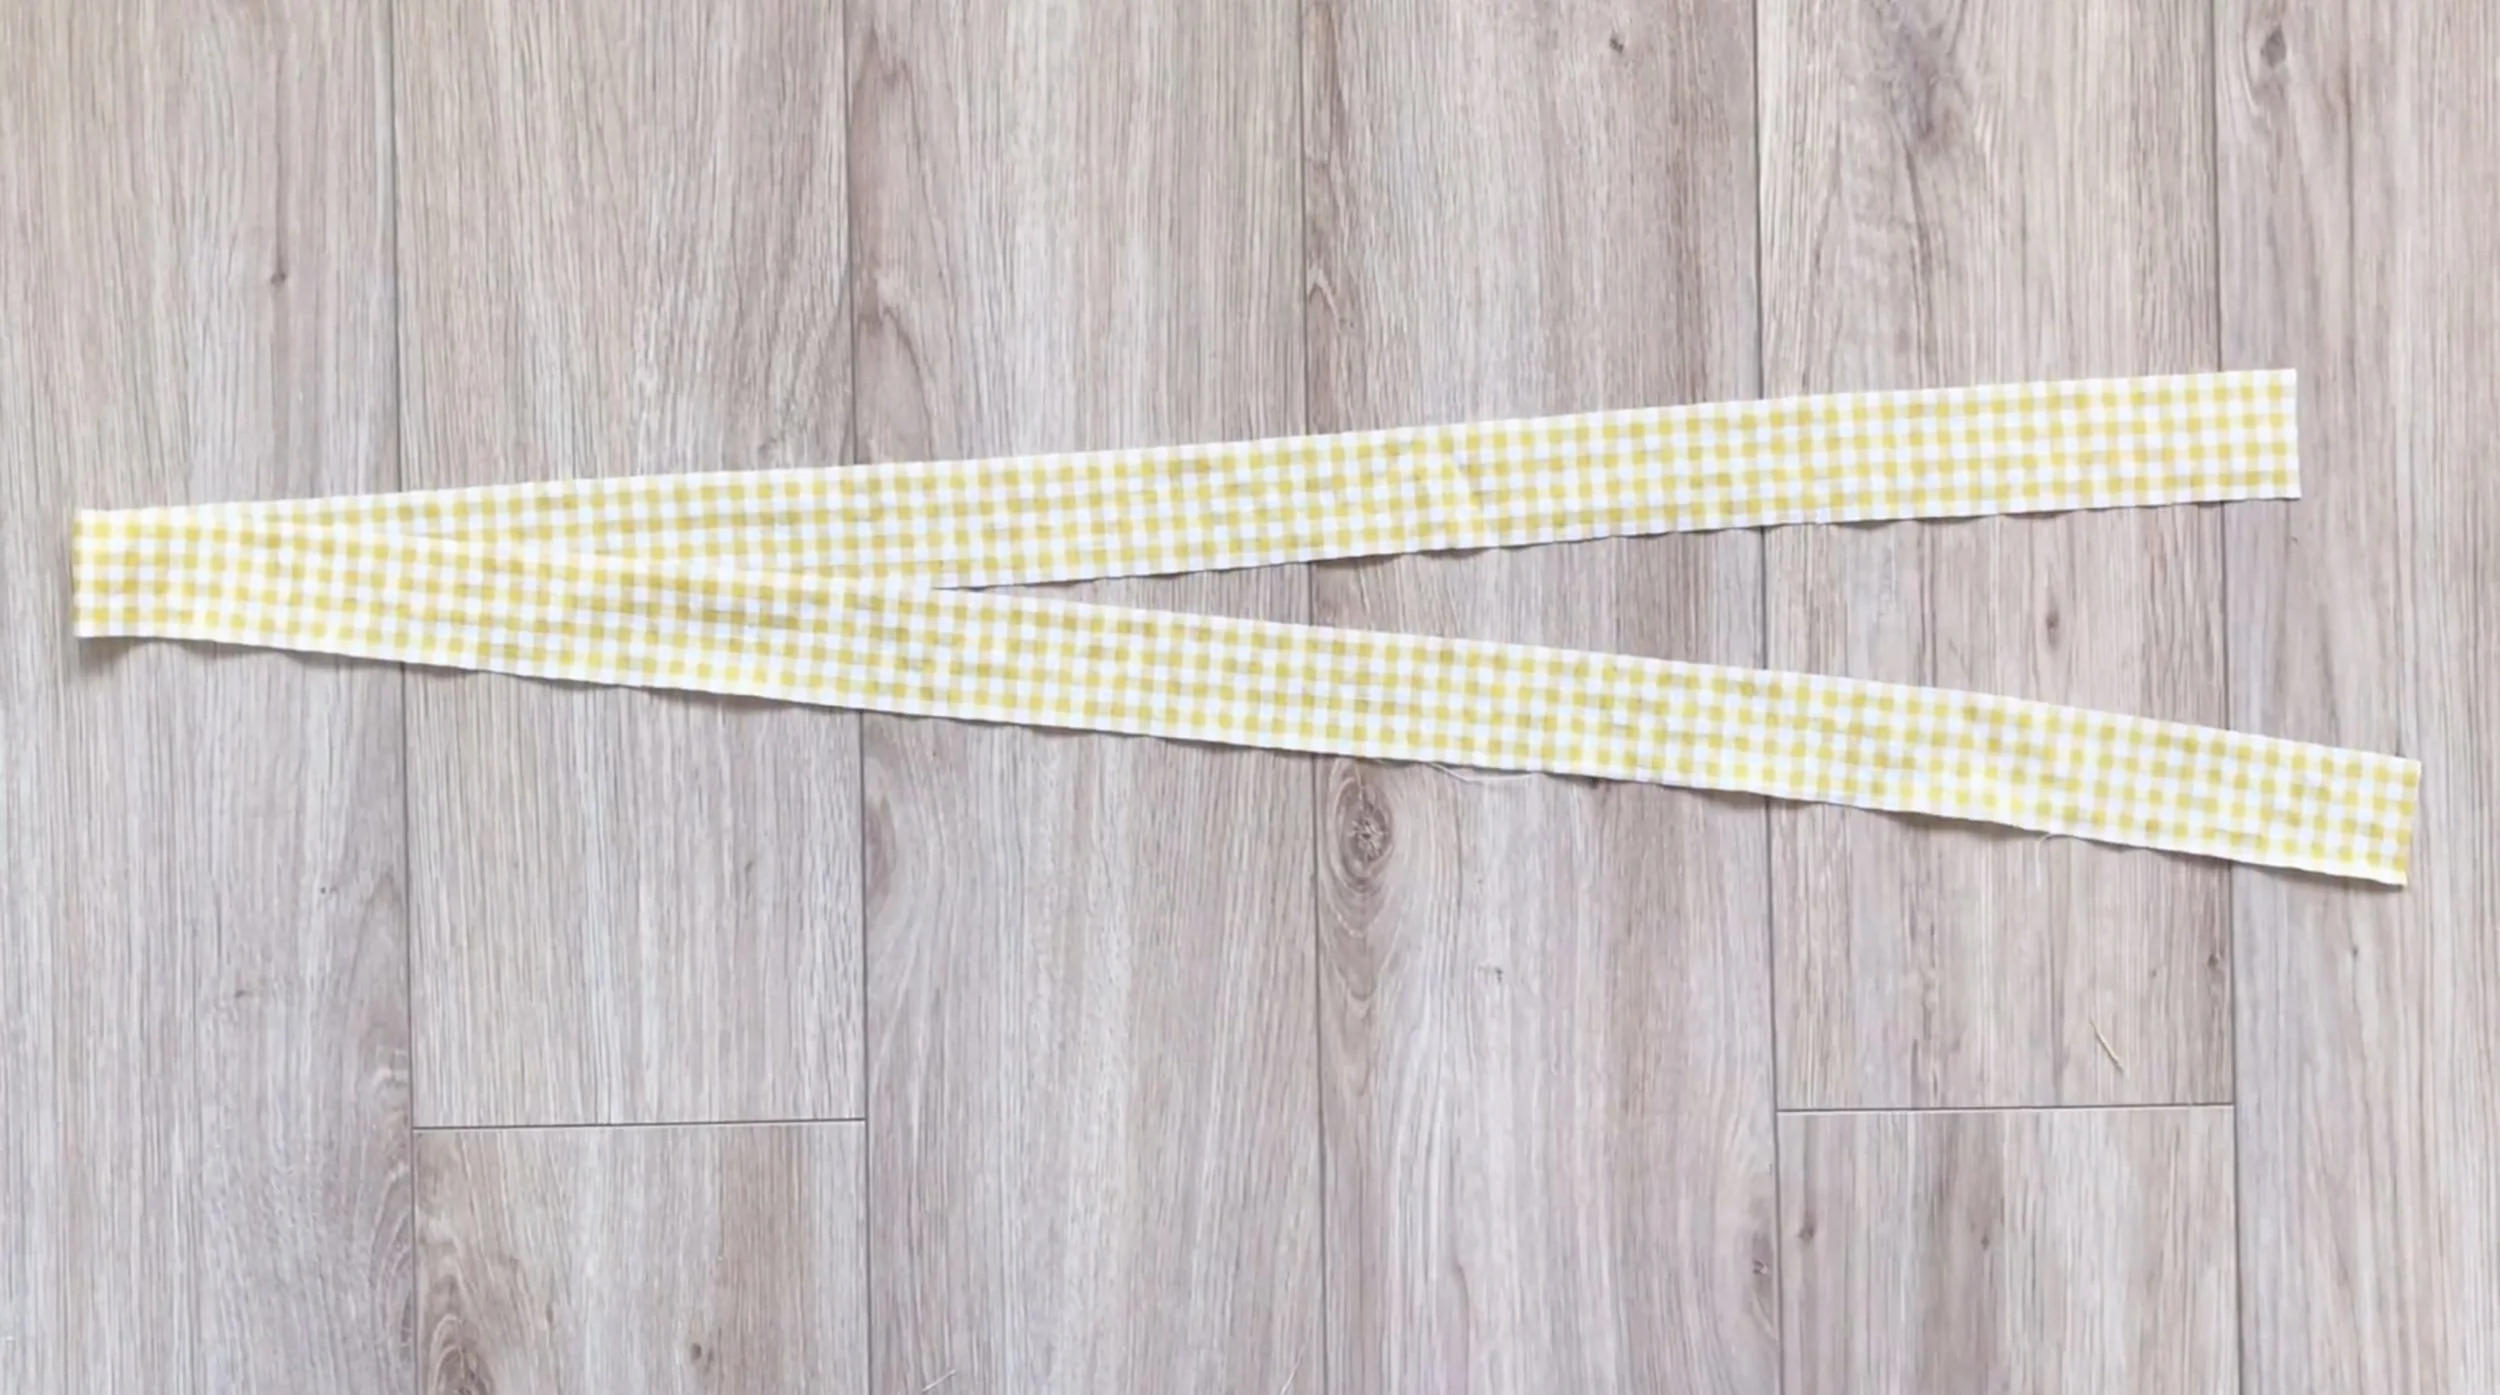
To finish the neckline, cut a rectangle with 3 cm width and around 120 cm length.
Attach the rectangle to the neckline of the dress and sew the first seam.
Afterward, fold the end of the rectangle inside twice to hide the fabric and make a second seam to finish it.
It’s similar to how the sleeve end was finished.
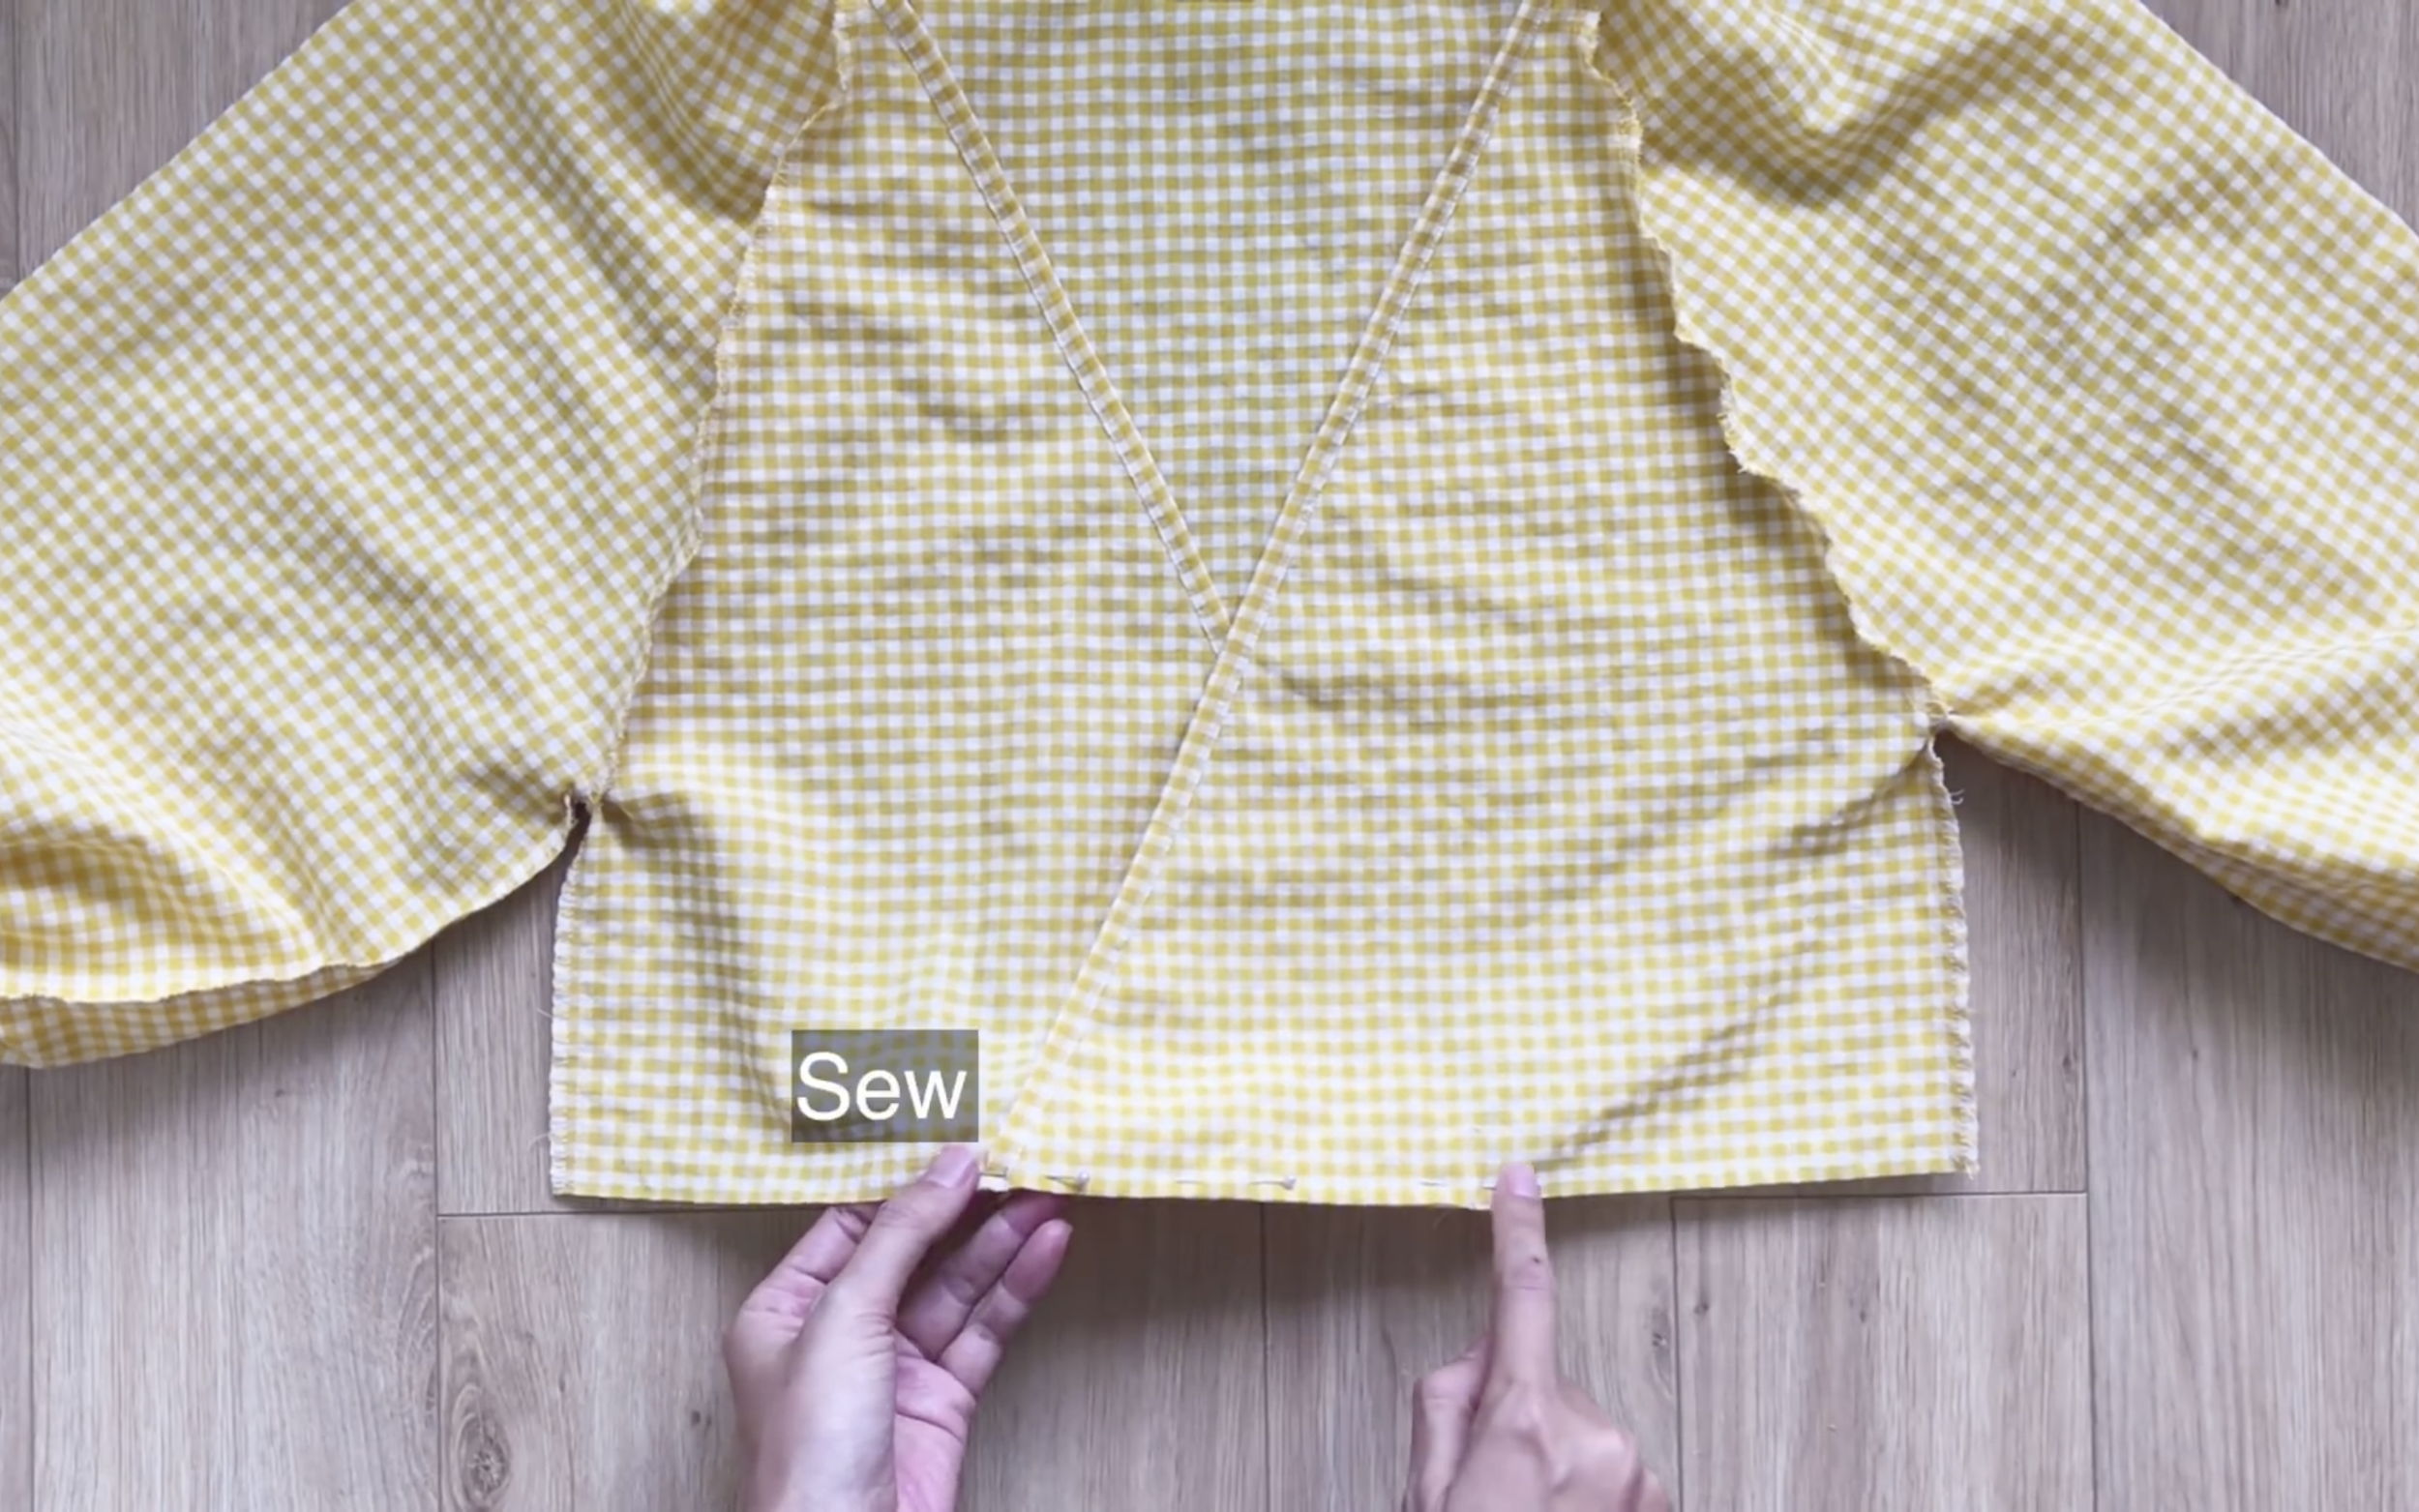
Now, connect the two front bodice pieces together at the gap.
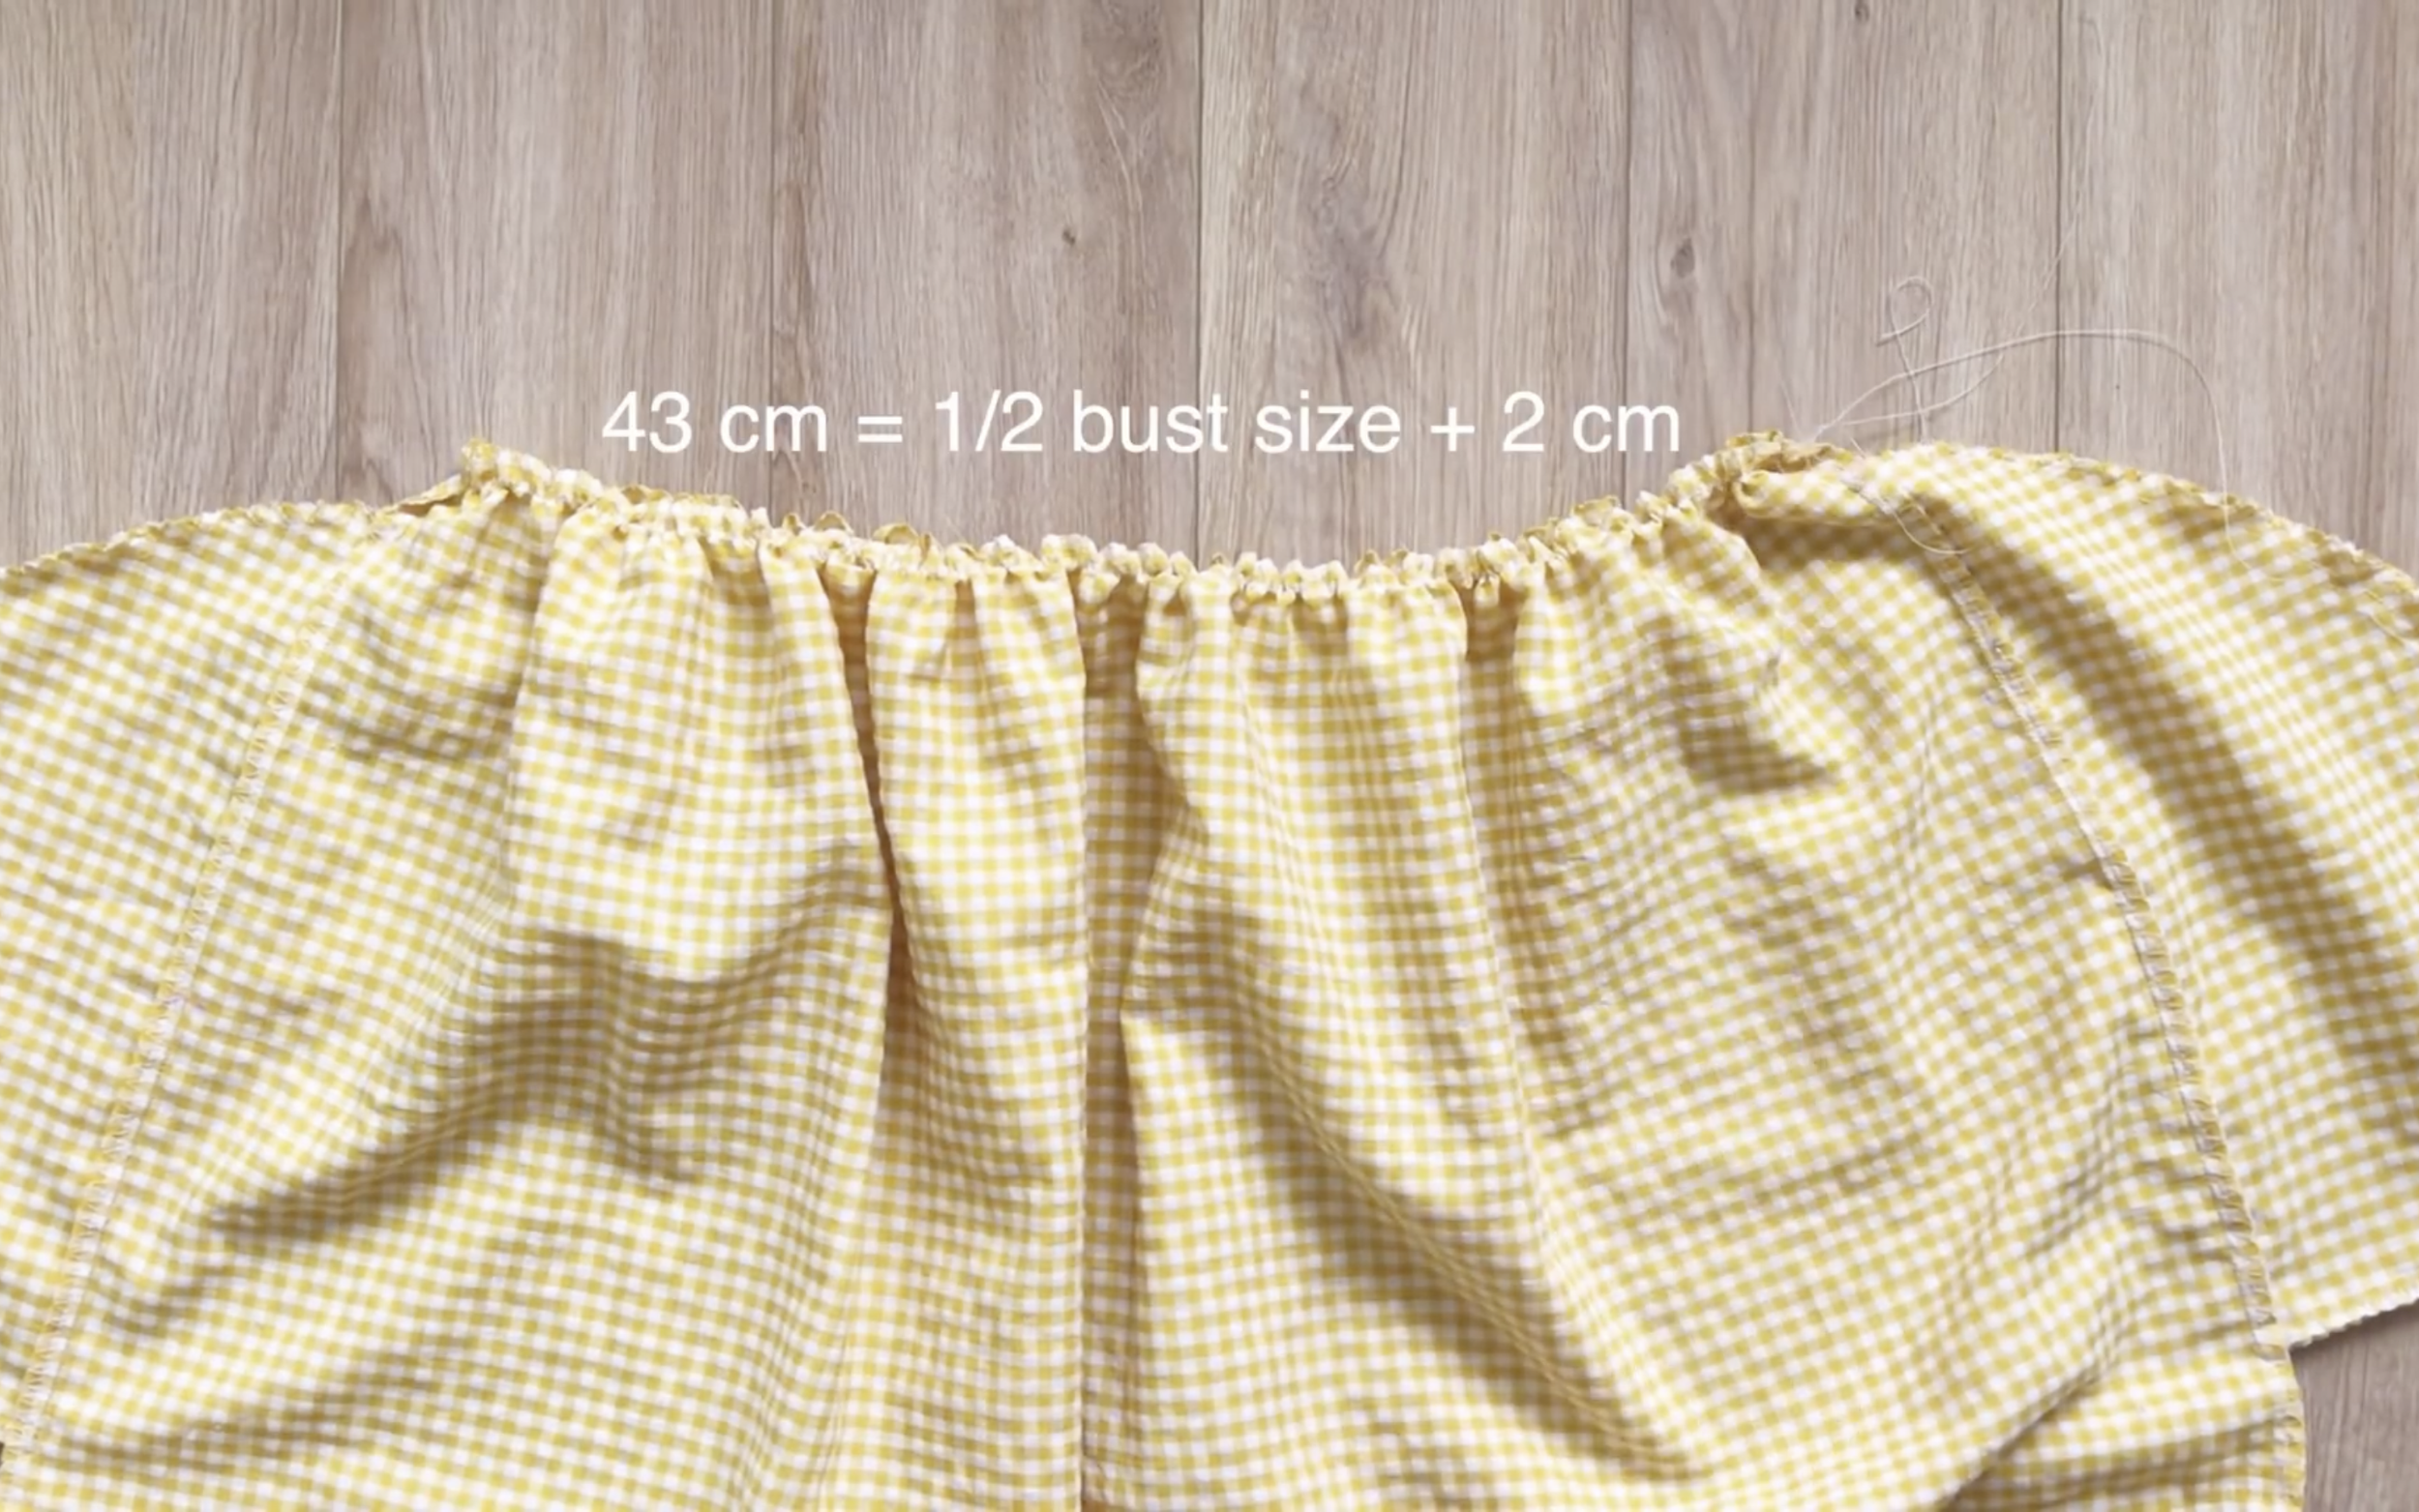
Make sure the width at the end of the bodice is half the bust size plus 2 cm.
THE BOTTOM
THE BOTTOM BODICE PATTERN
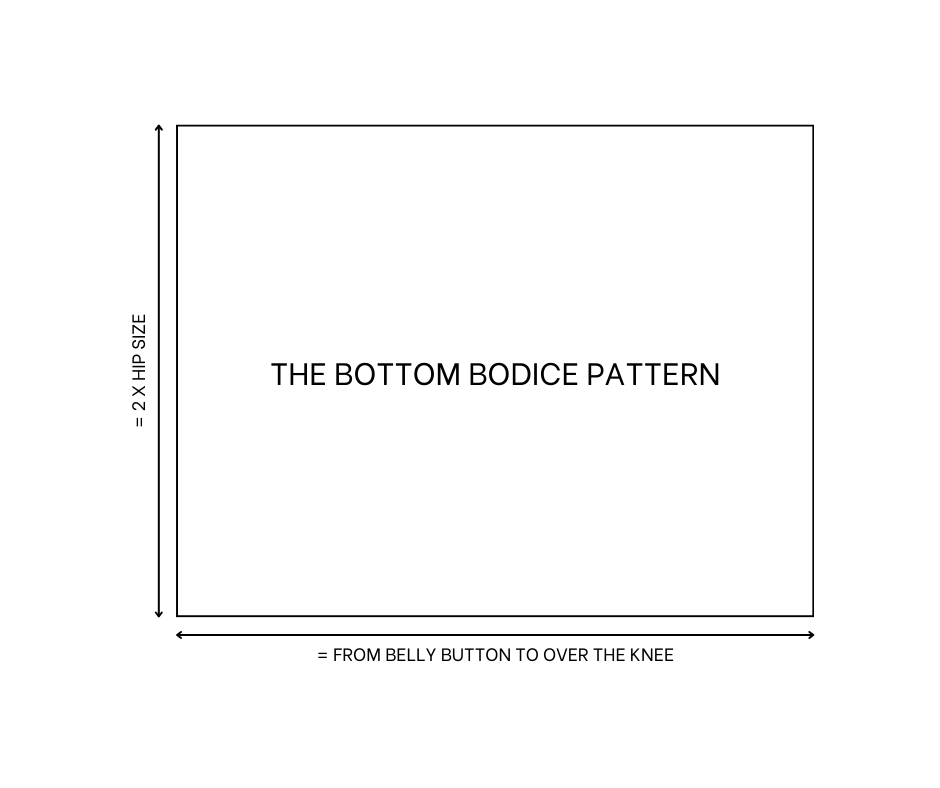
The bottom bodice pattern
Cut two rectangles with 70 cm length, which is the length from the belly button to over the knee, and 190 cm width, which is more than twice the hip size.
THE POCKET PATTERN
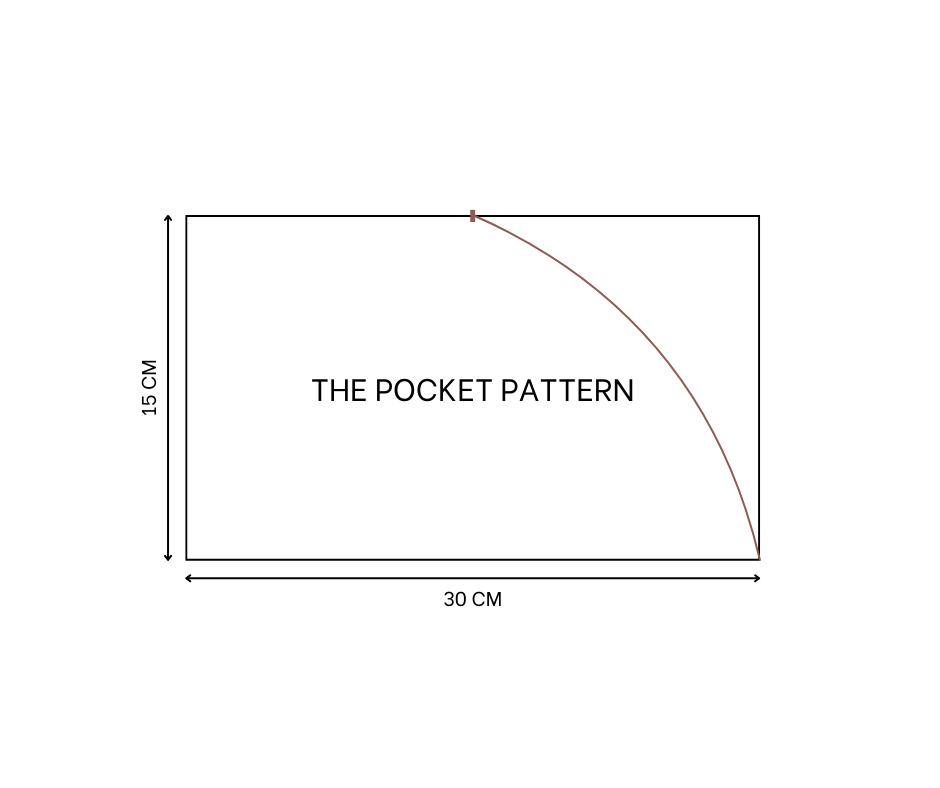
The pocket pattern
Cut two rectangles with 15 cm width and 30 cm length.
On the length line, mark the middle.
Then draw a curved line from that mark to the top of the side seam.
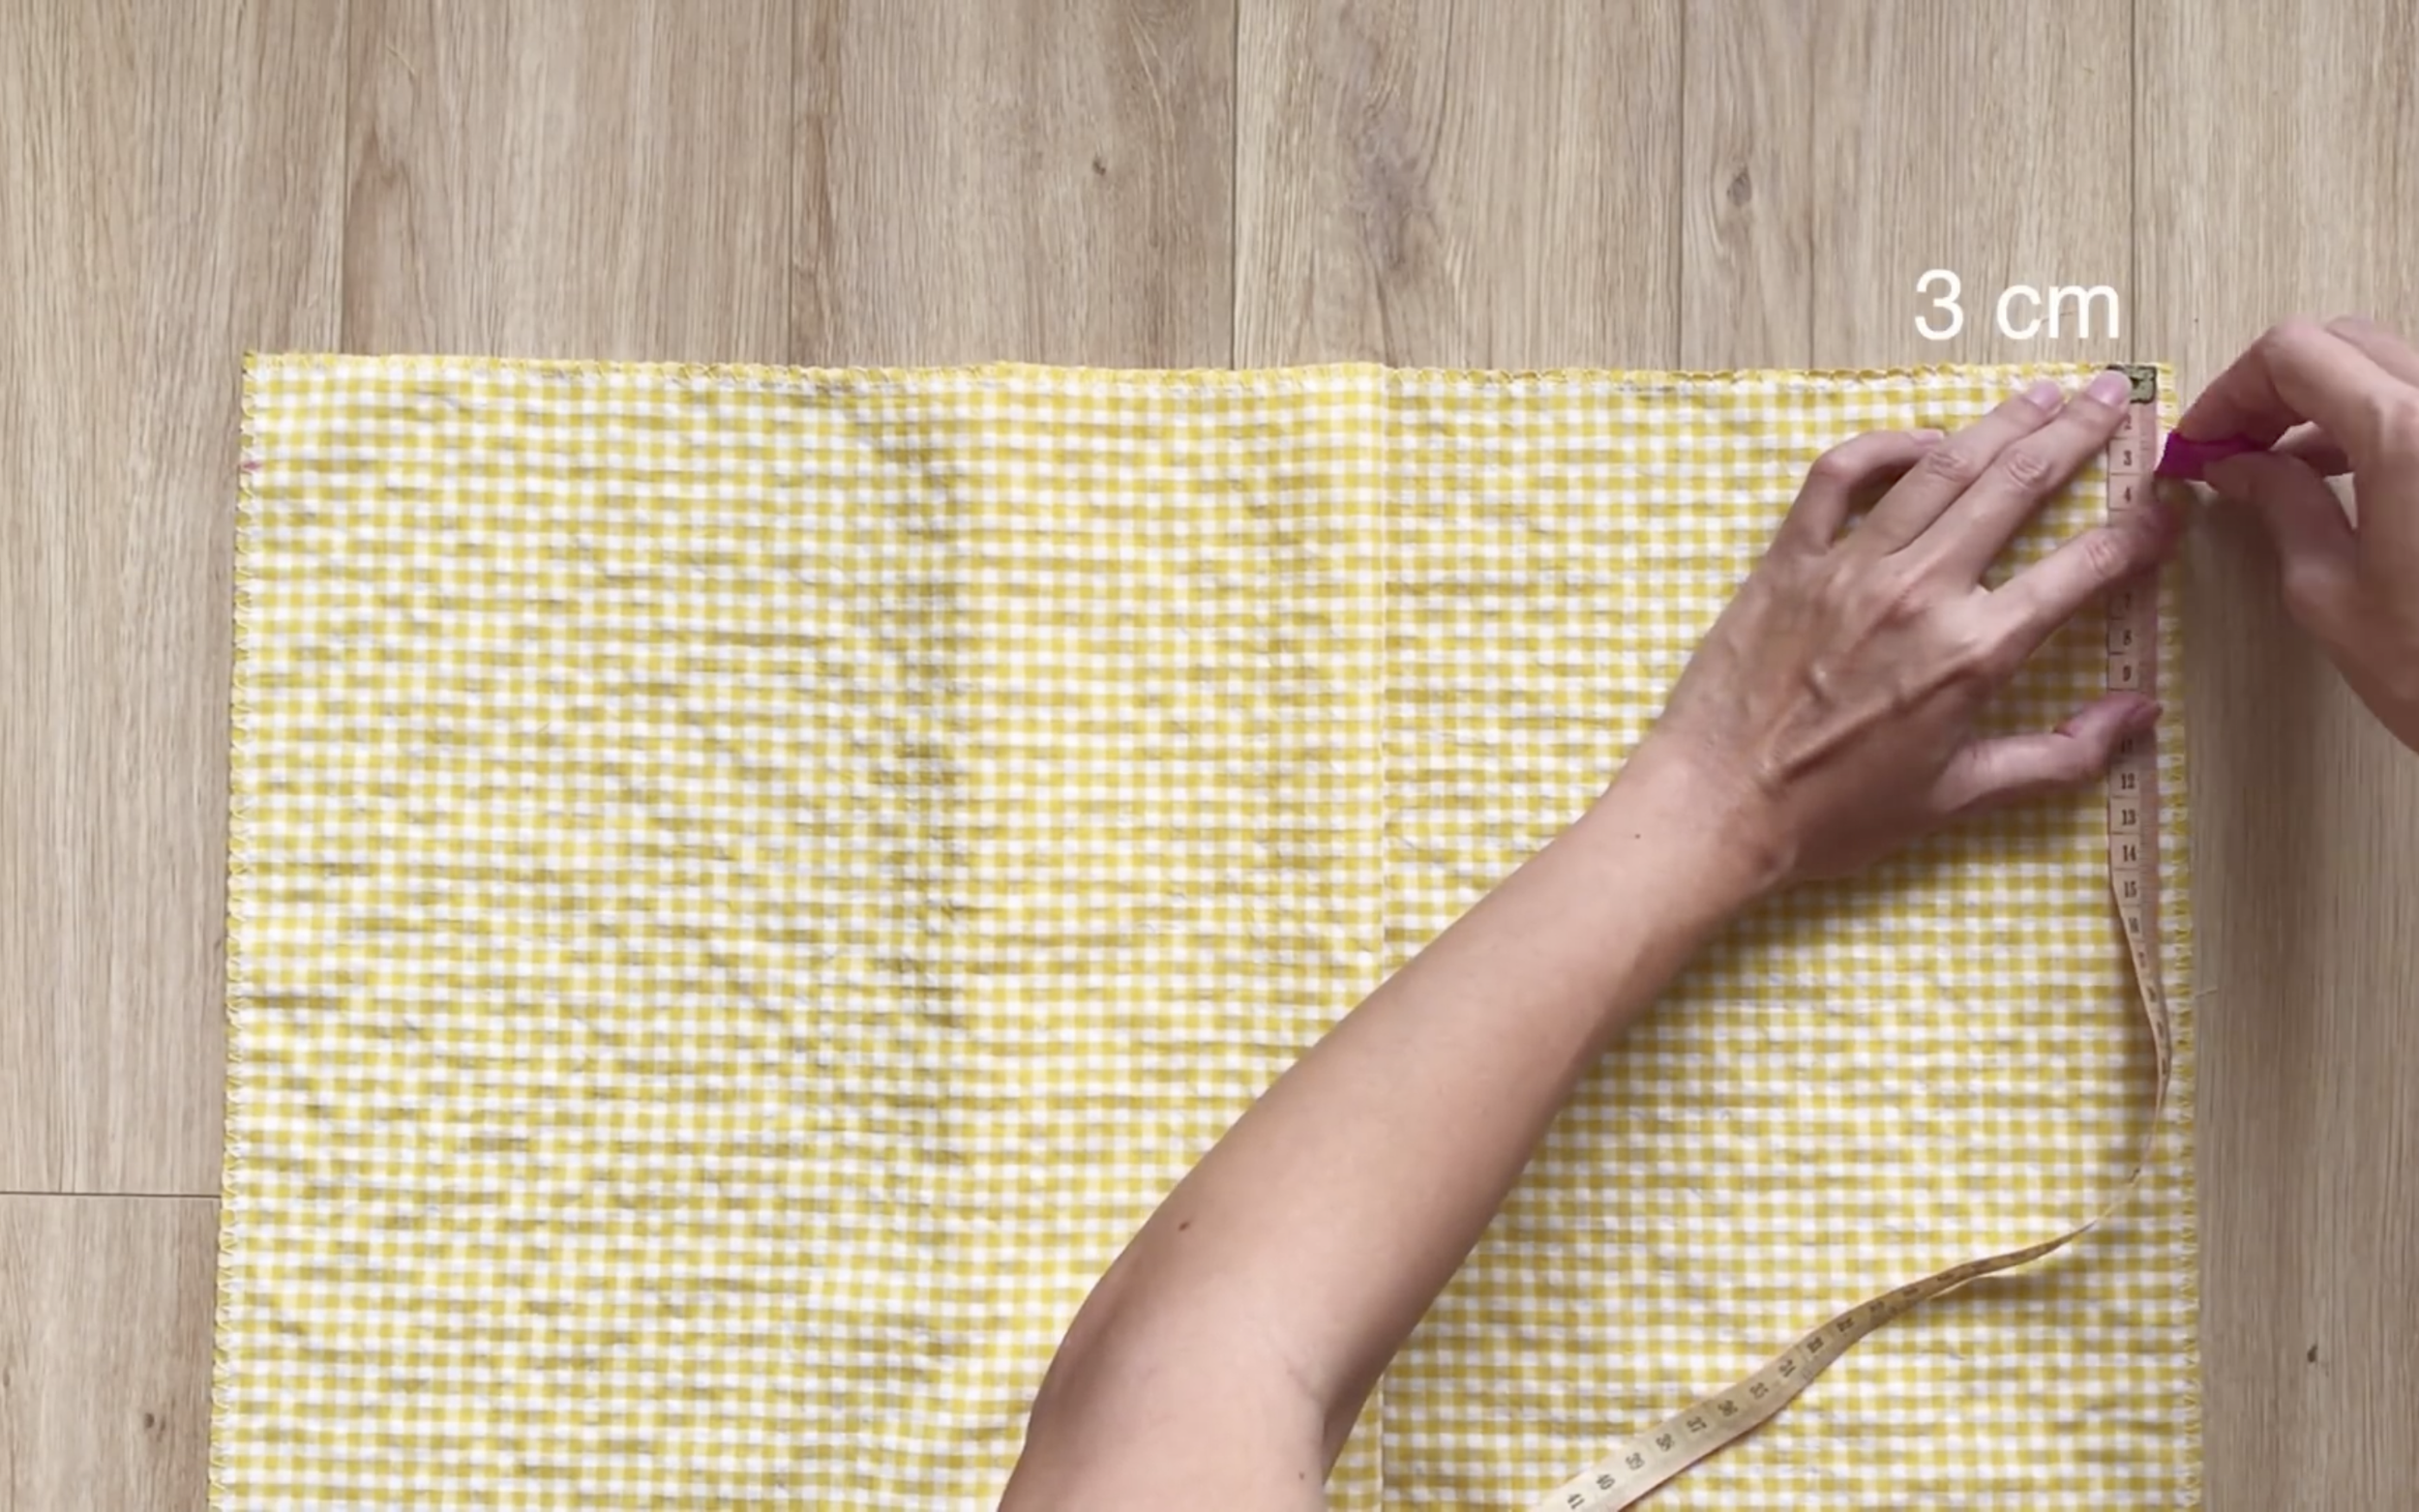
The pocket position is 3 cm below the top of the bottom bodice.

First, connect one piece of each pocket to both sides of the side seam.
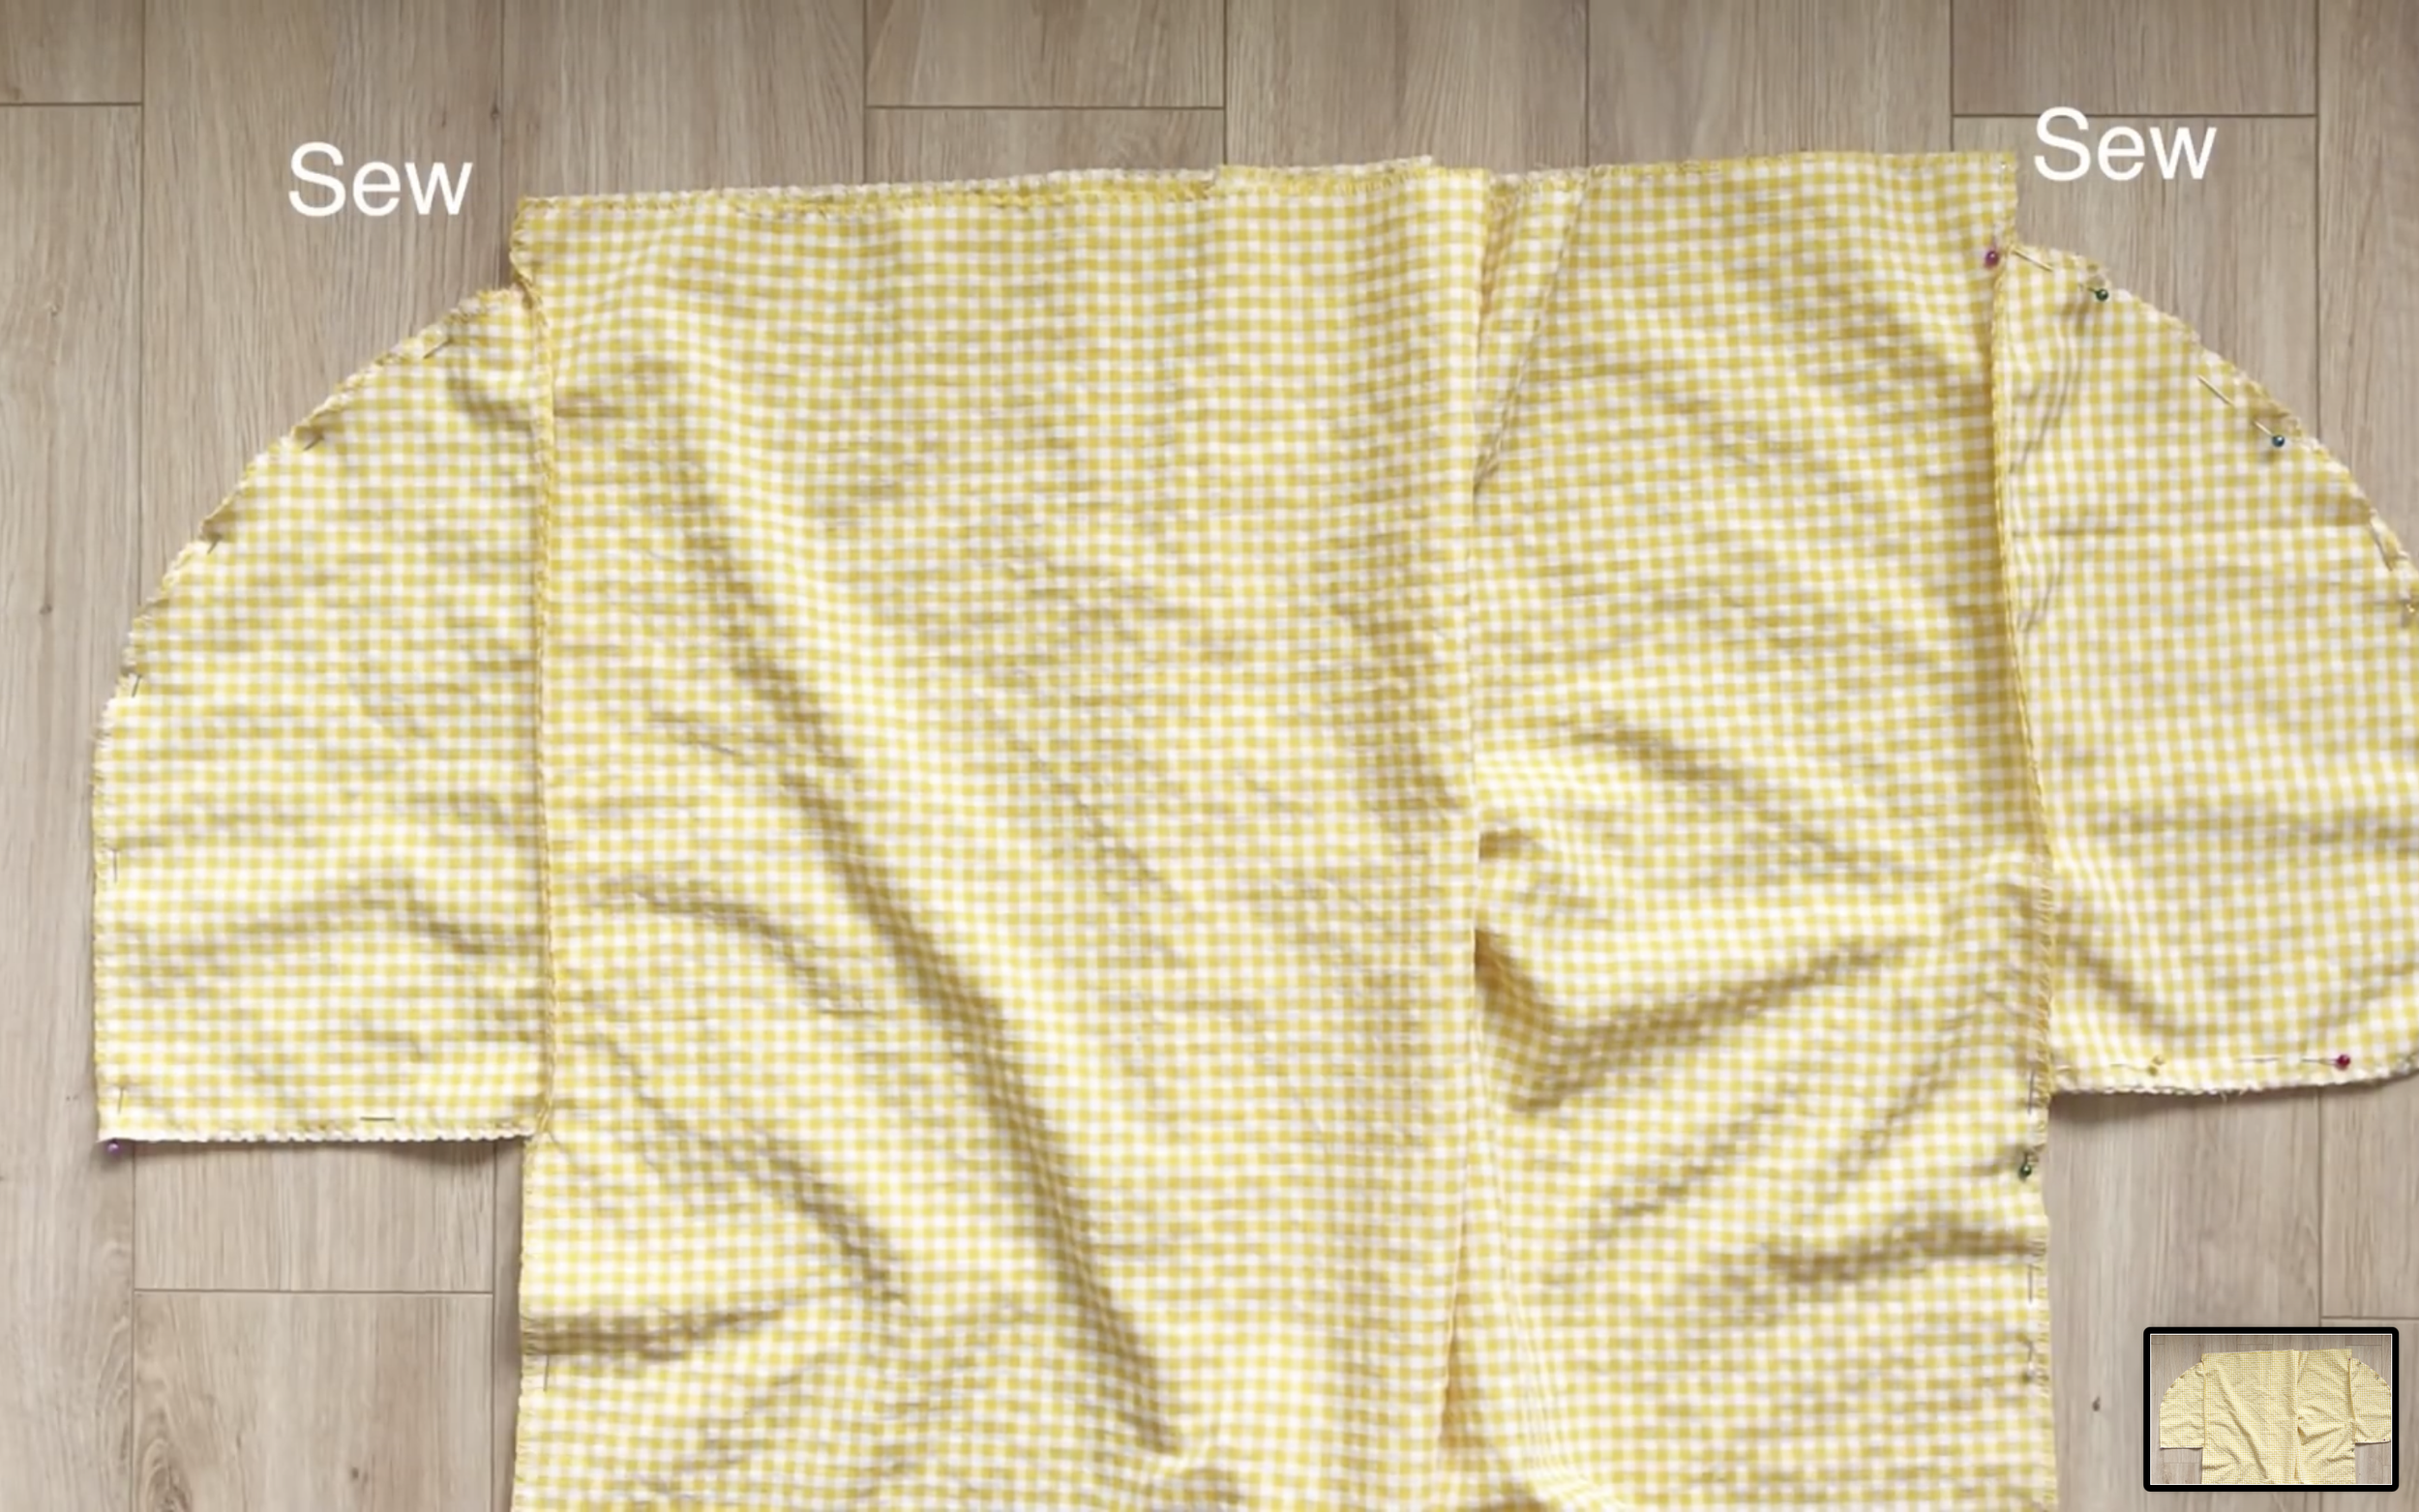
After that, connect the two pieces of the bottom dress together and sew.
From the top of the pocket, move down and mark 15 cm, which is the pocket width from the outside.

Then sew from this mark to the pocket’s end.
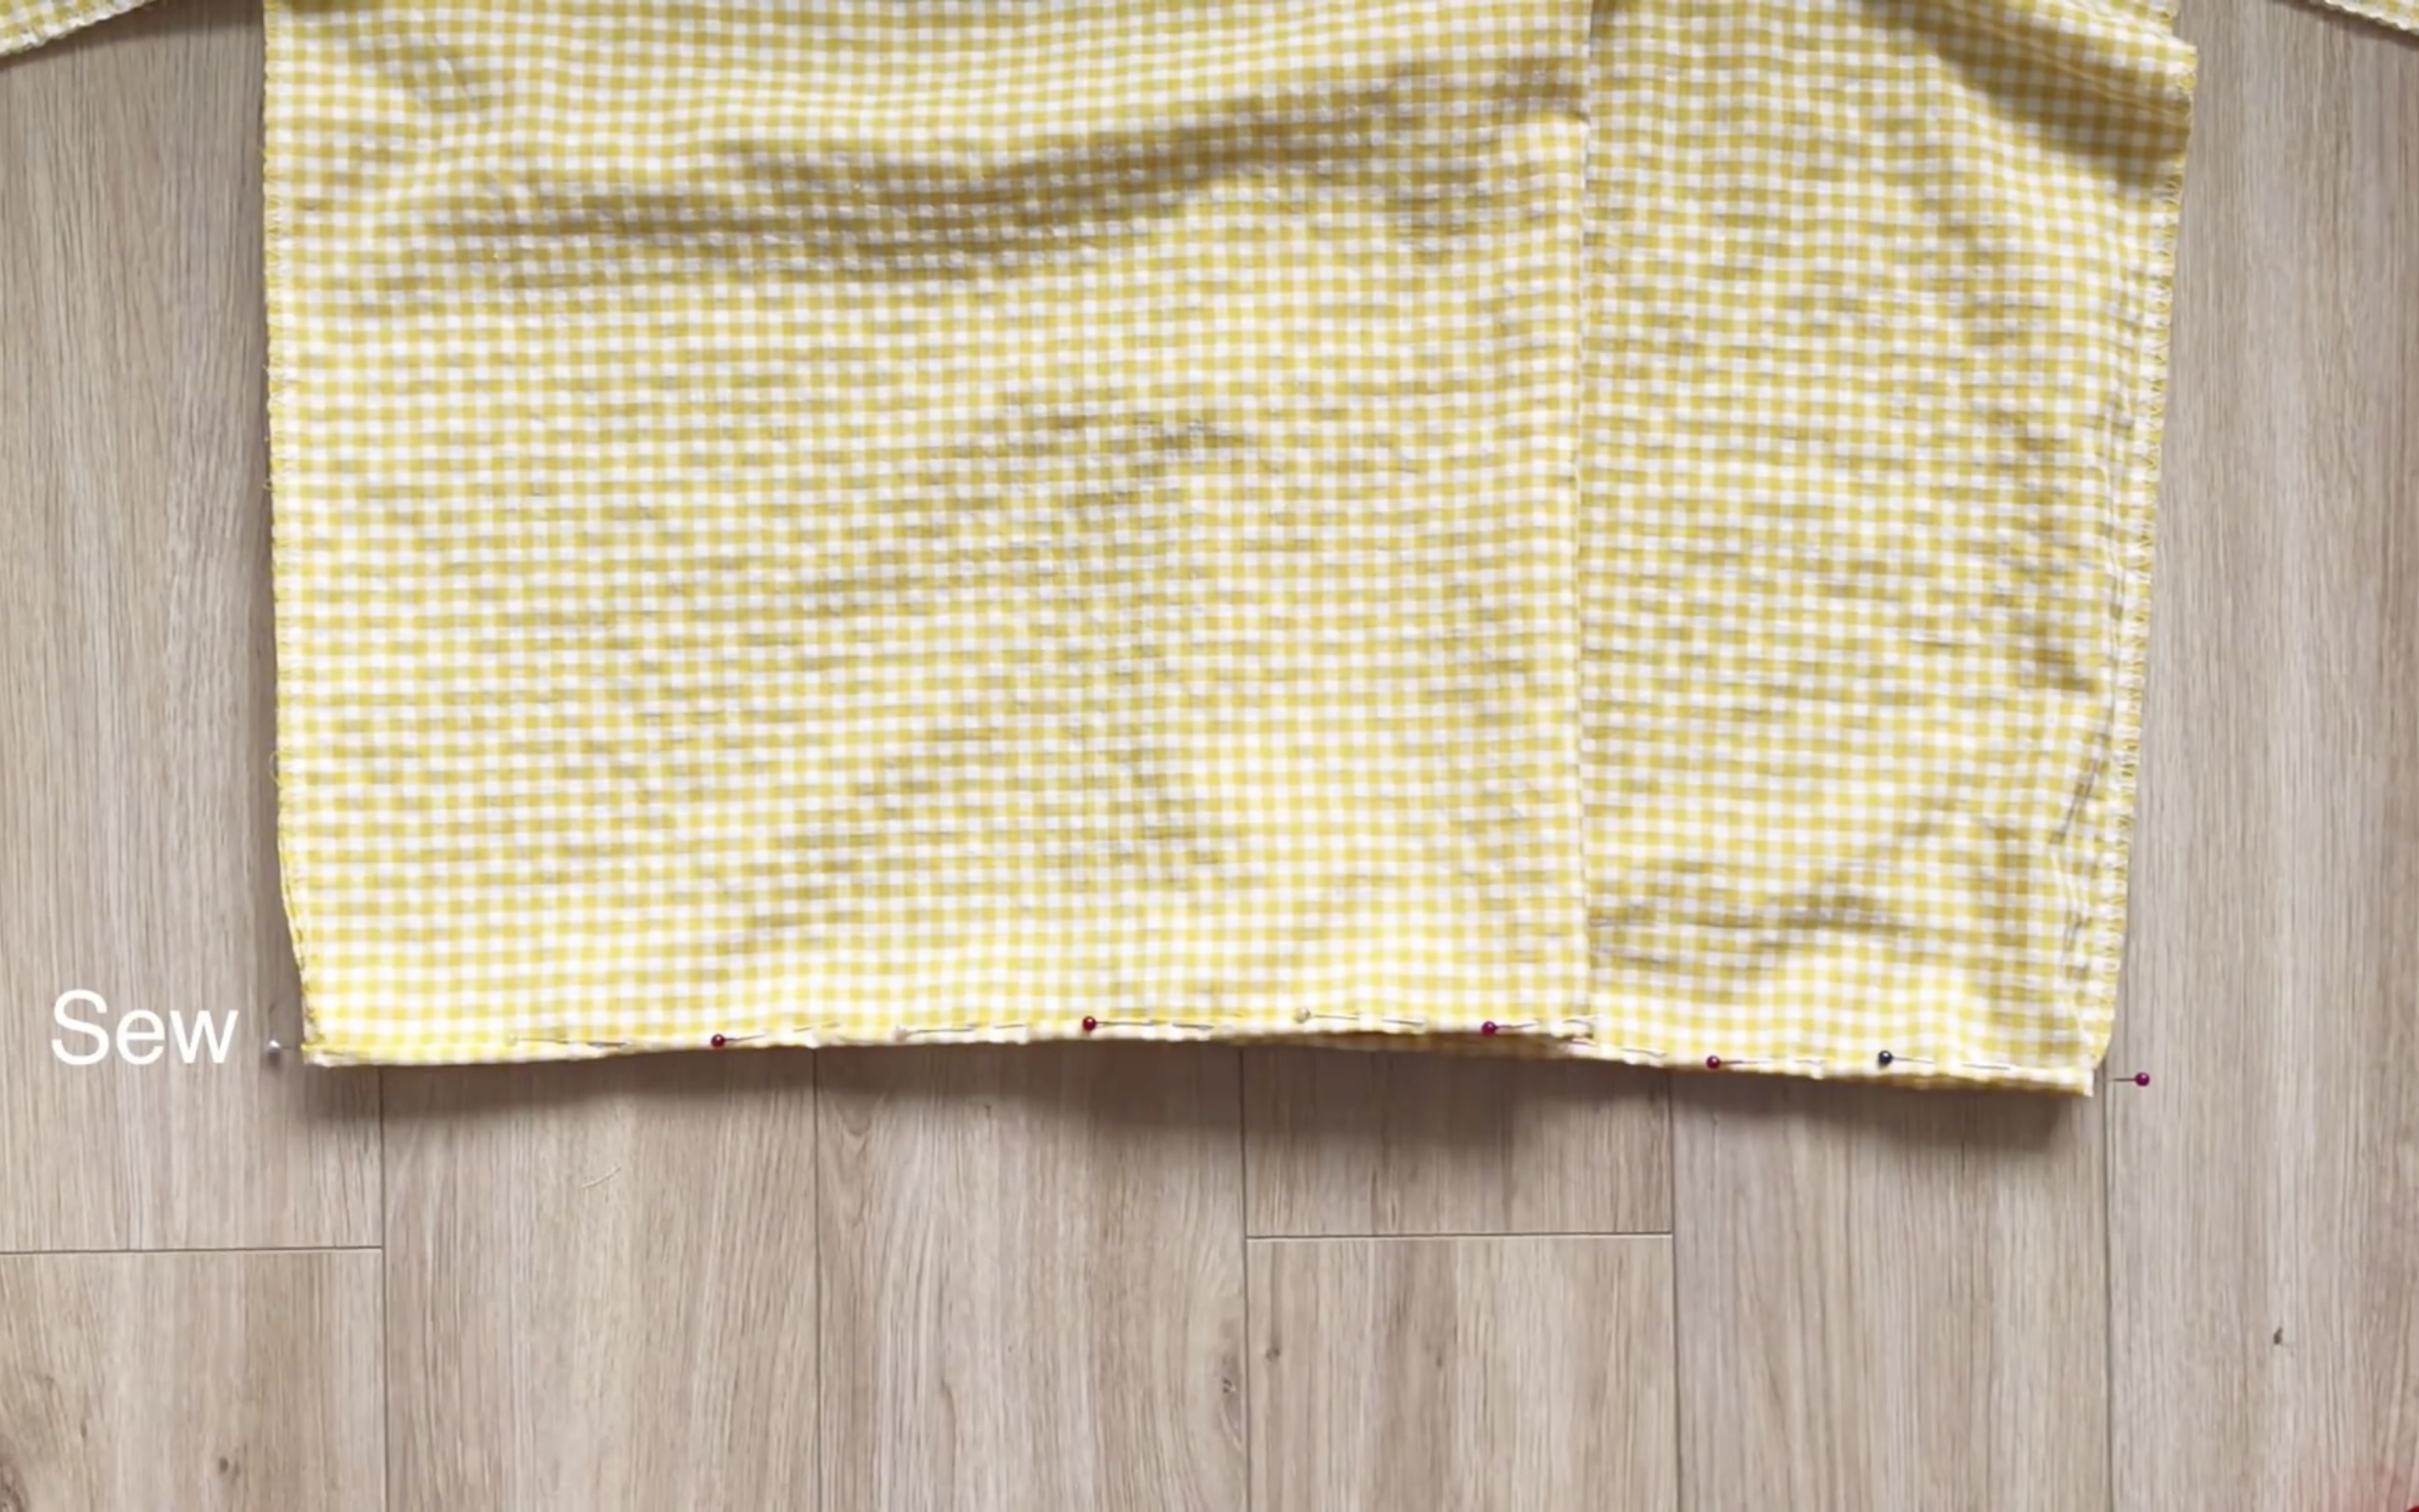
The next step is to finish the end of the bottom dress.
Fold the fabric end inside twice and sew.
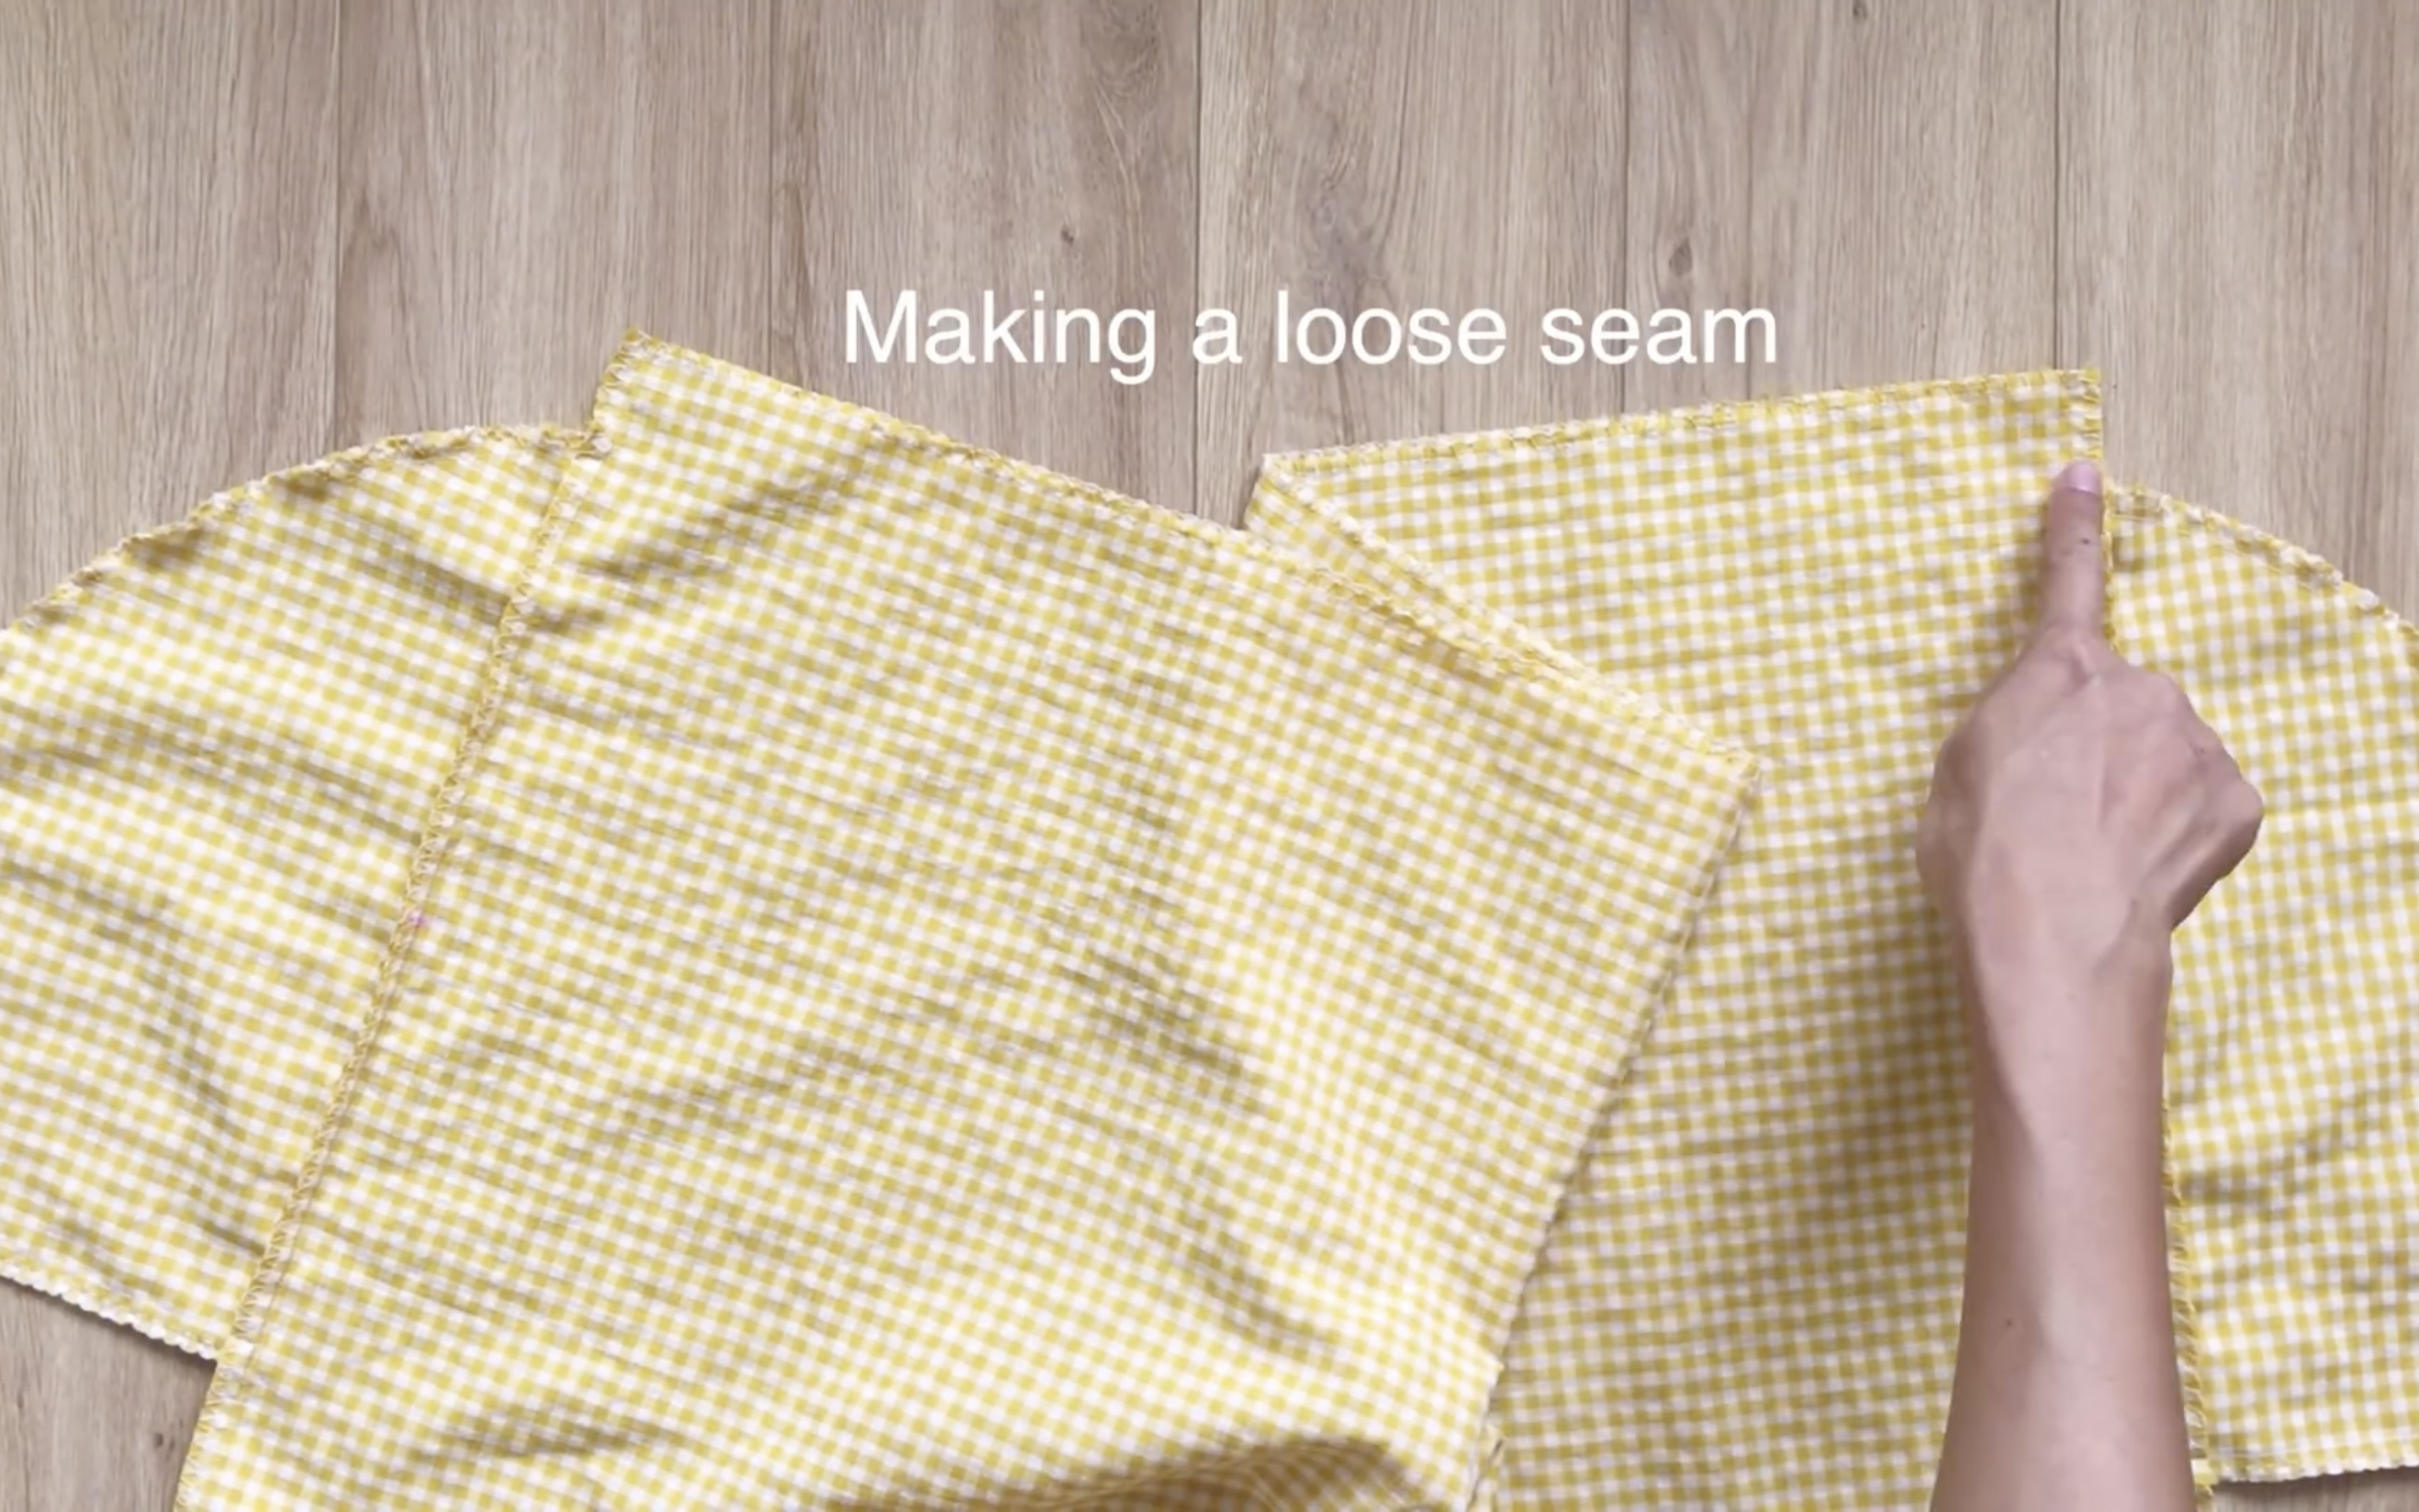
At the top of the bottom dress, make a loose seam first.
Then create the puff.
Make sure the final width of the puff matches the width of the top bodice end, which is half the bust size plus 2 cm.
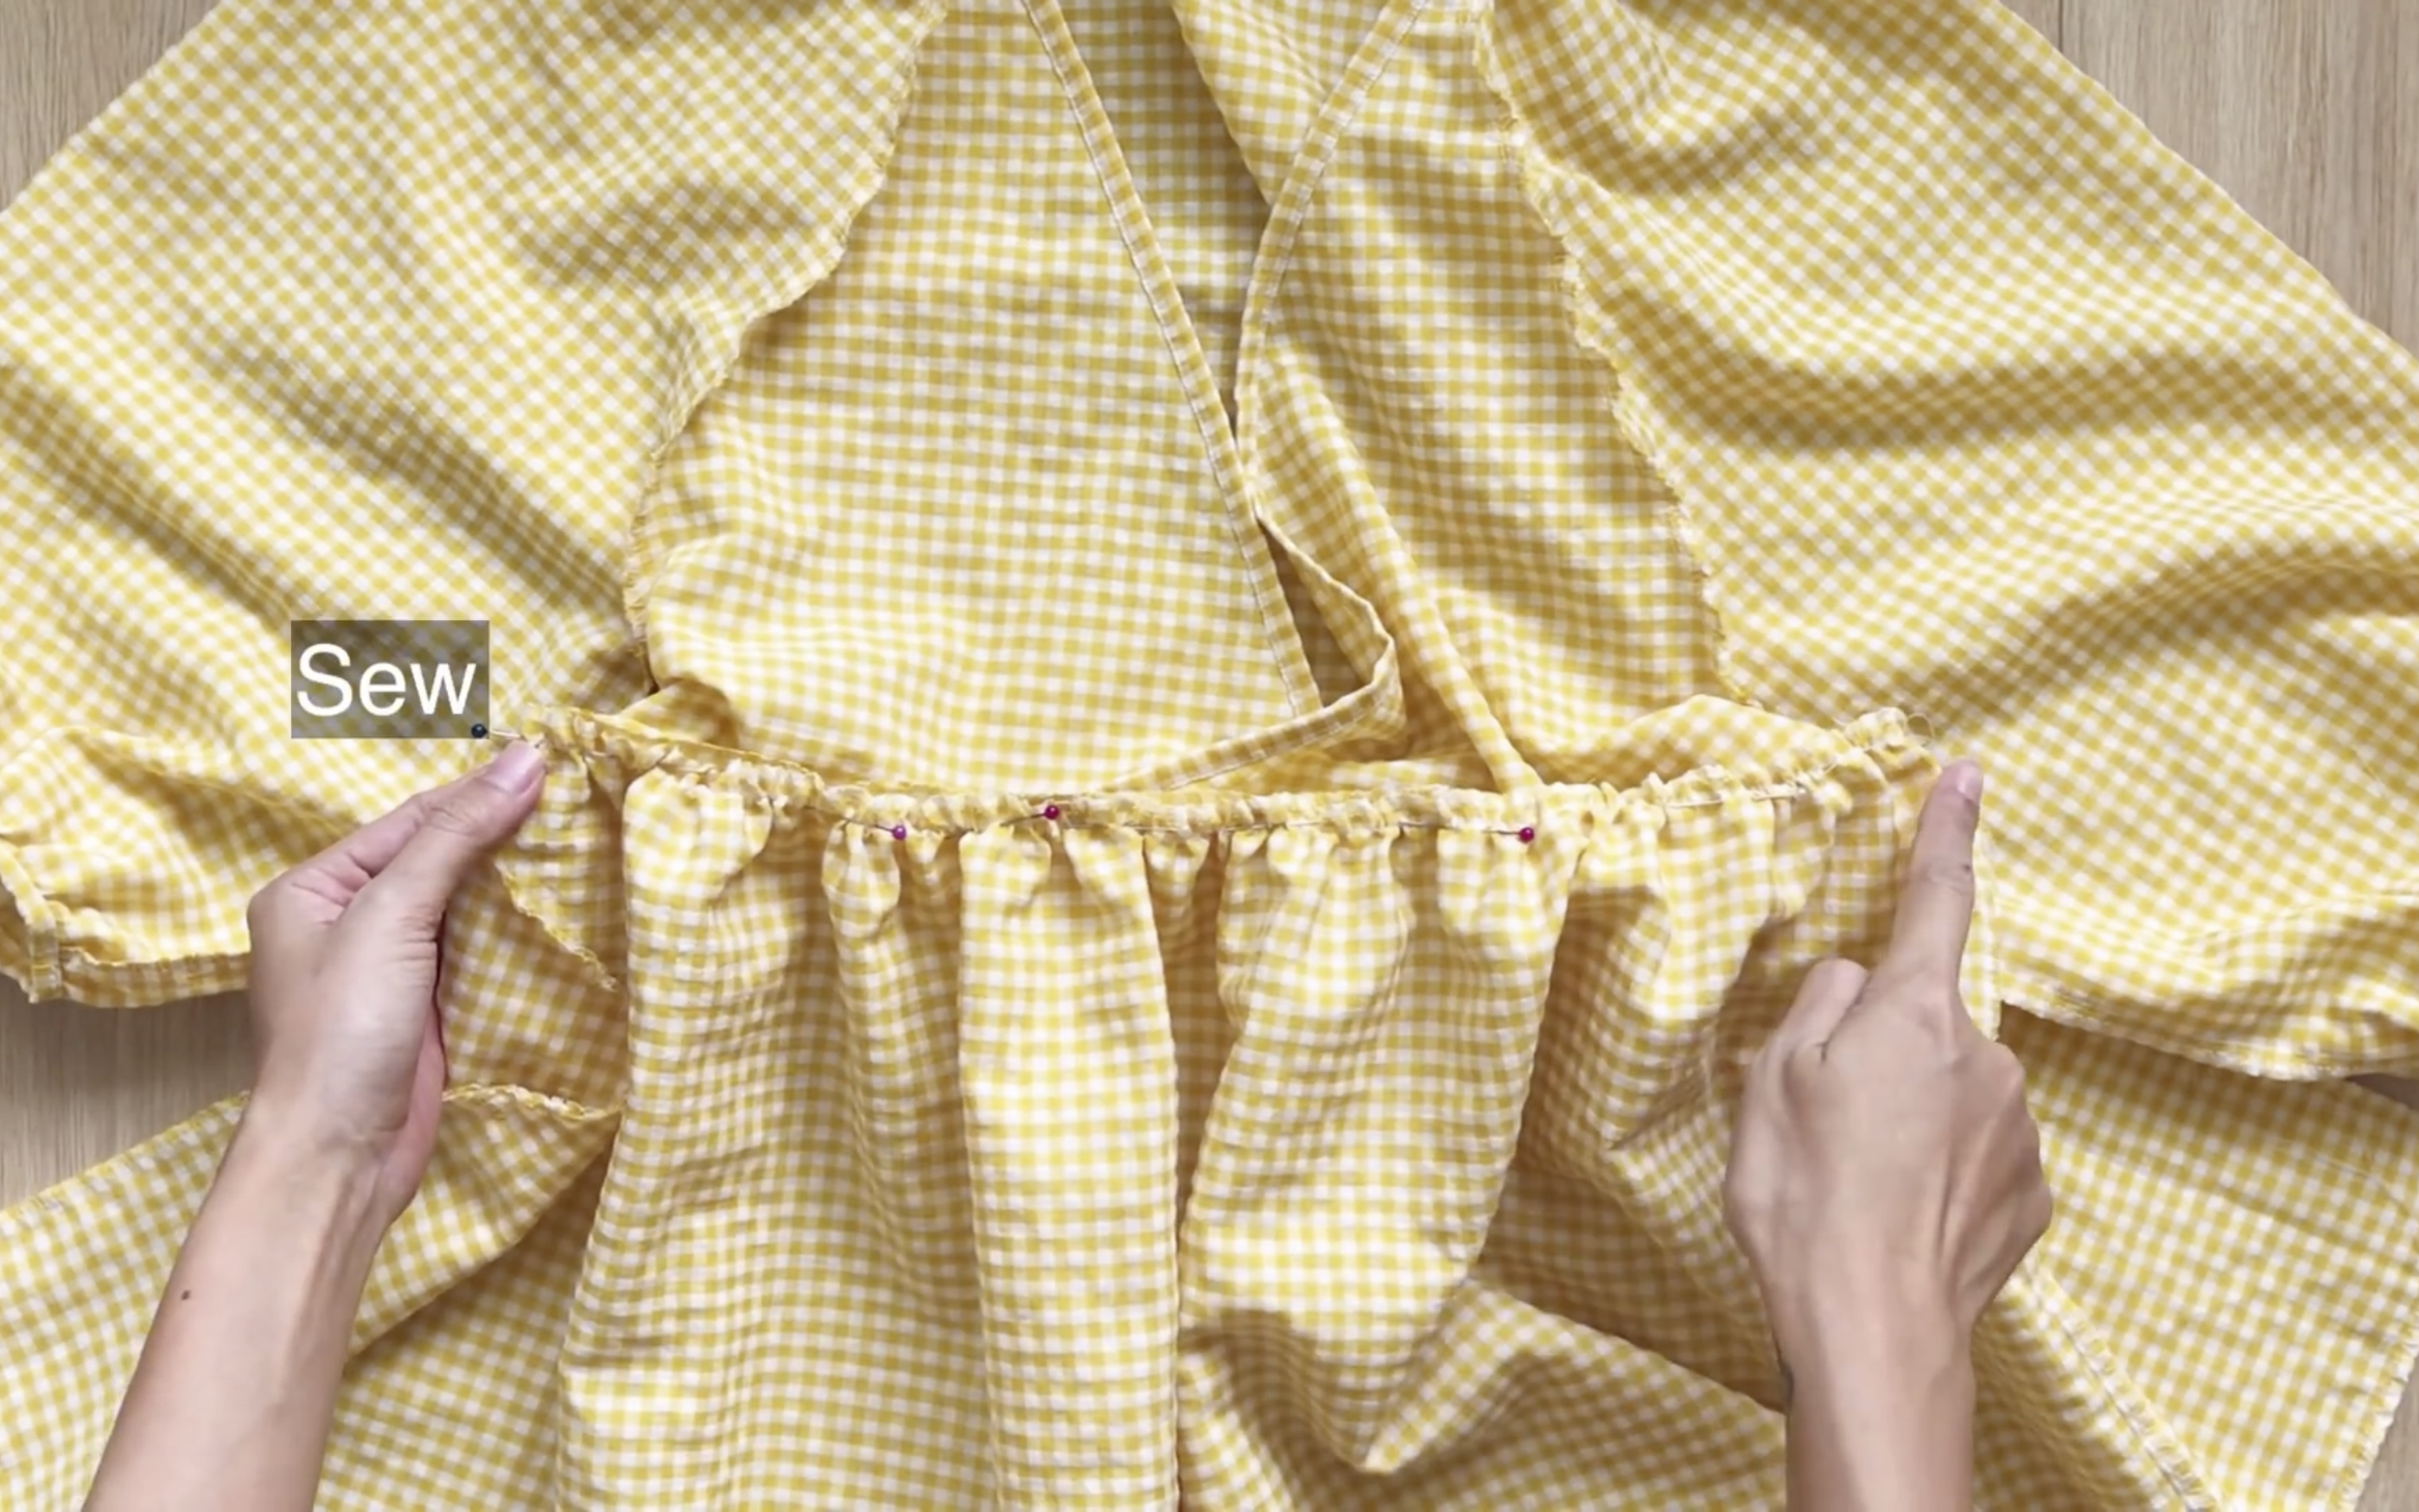
The last step is connecting the top and bottom of the dress together at the waist.

DIY Puff sleeve wrap dress | Finding my perfect Spring dress - Episode 4
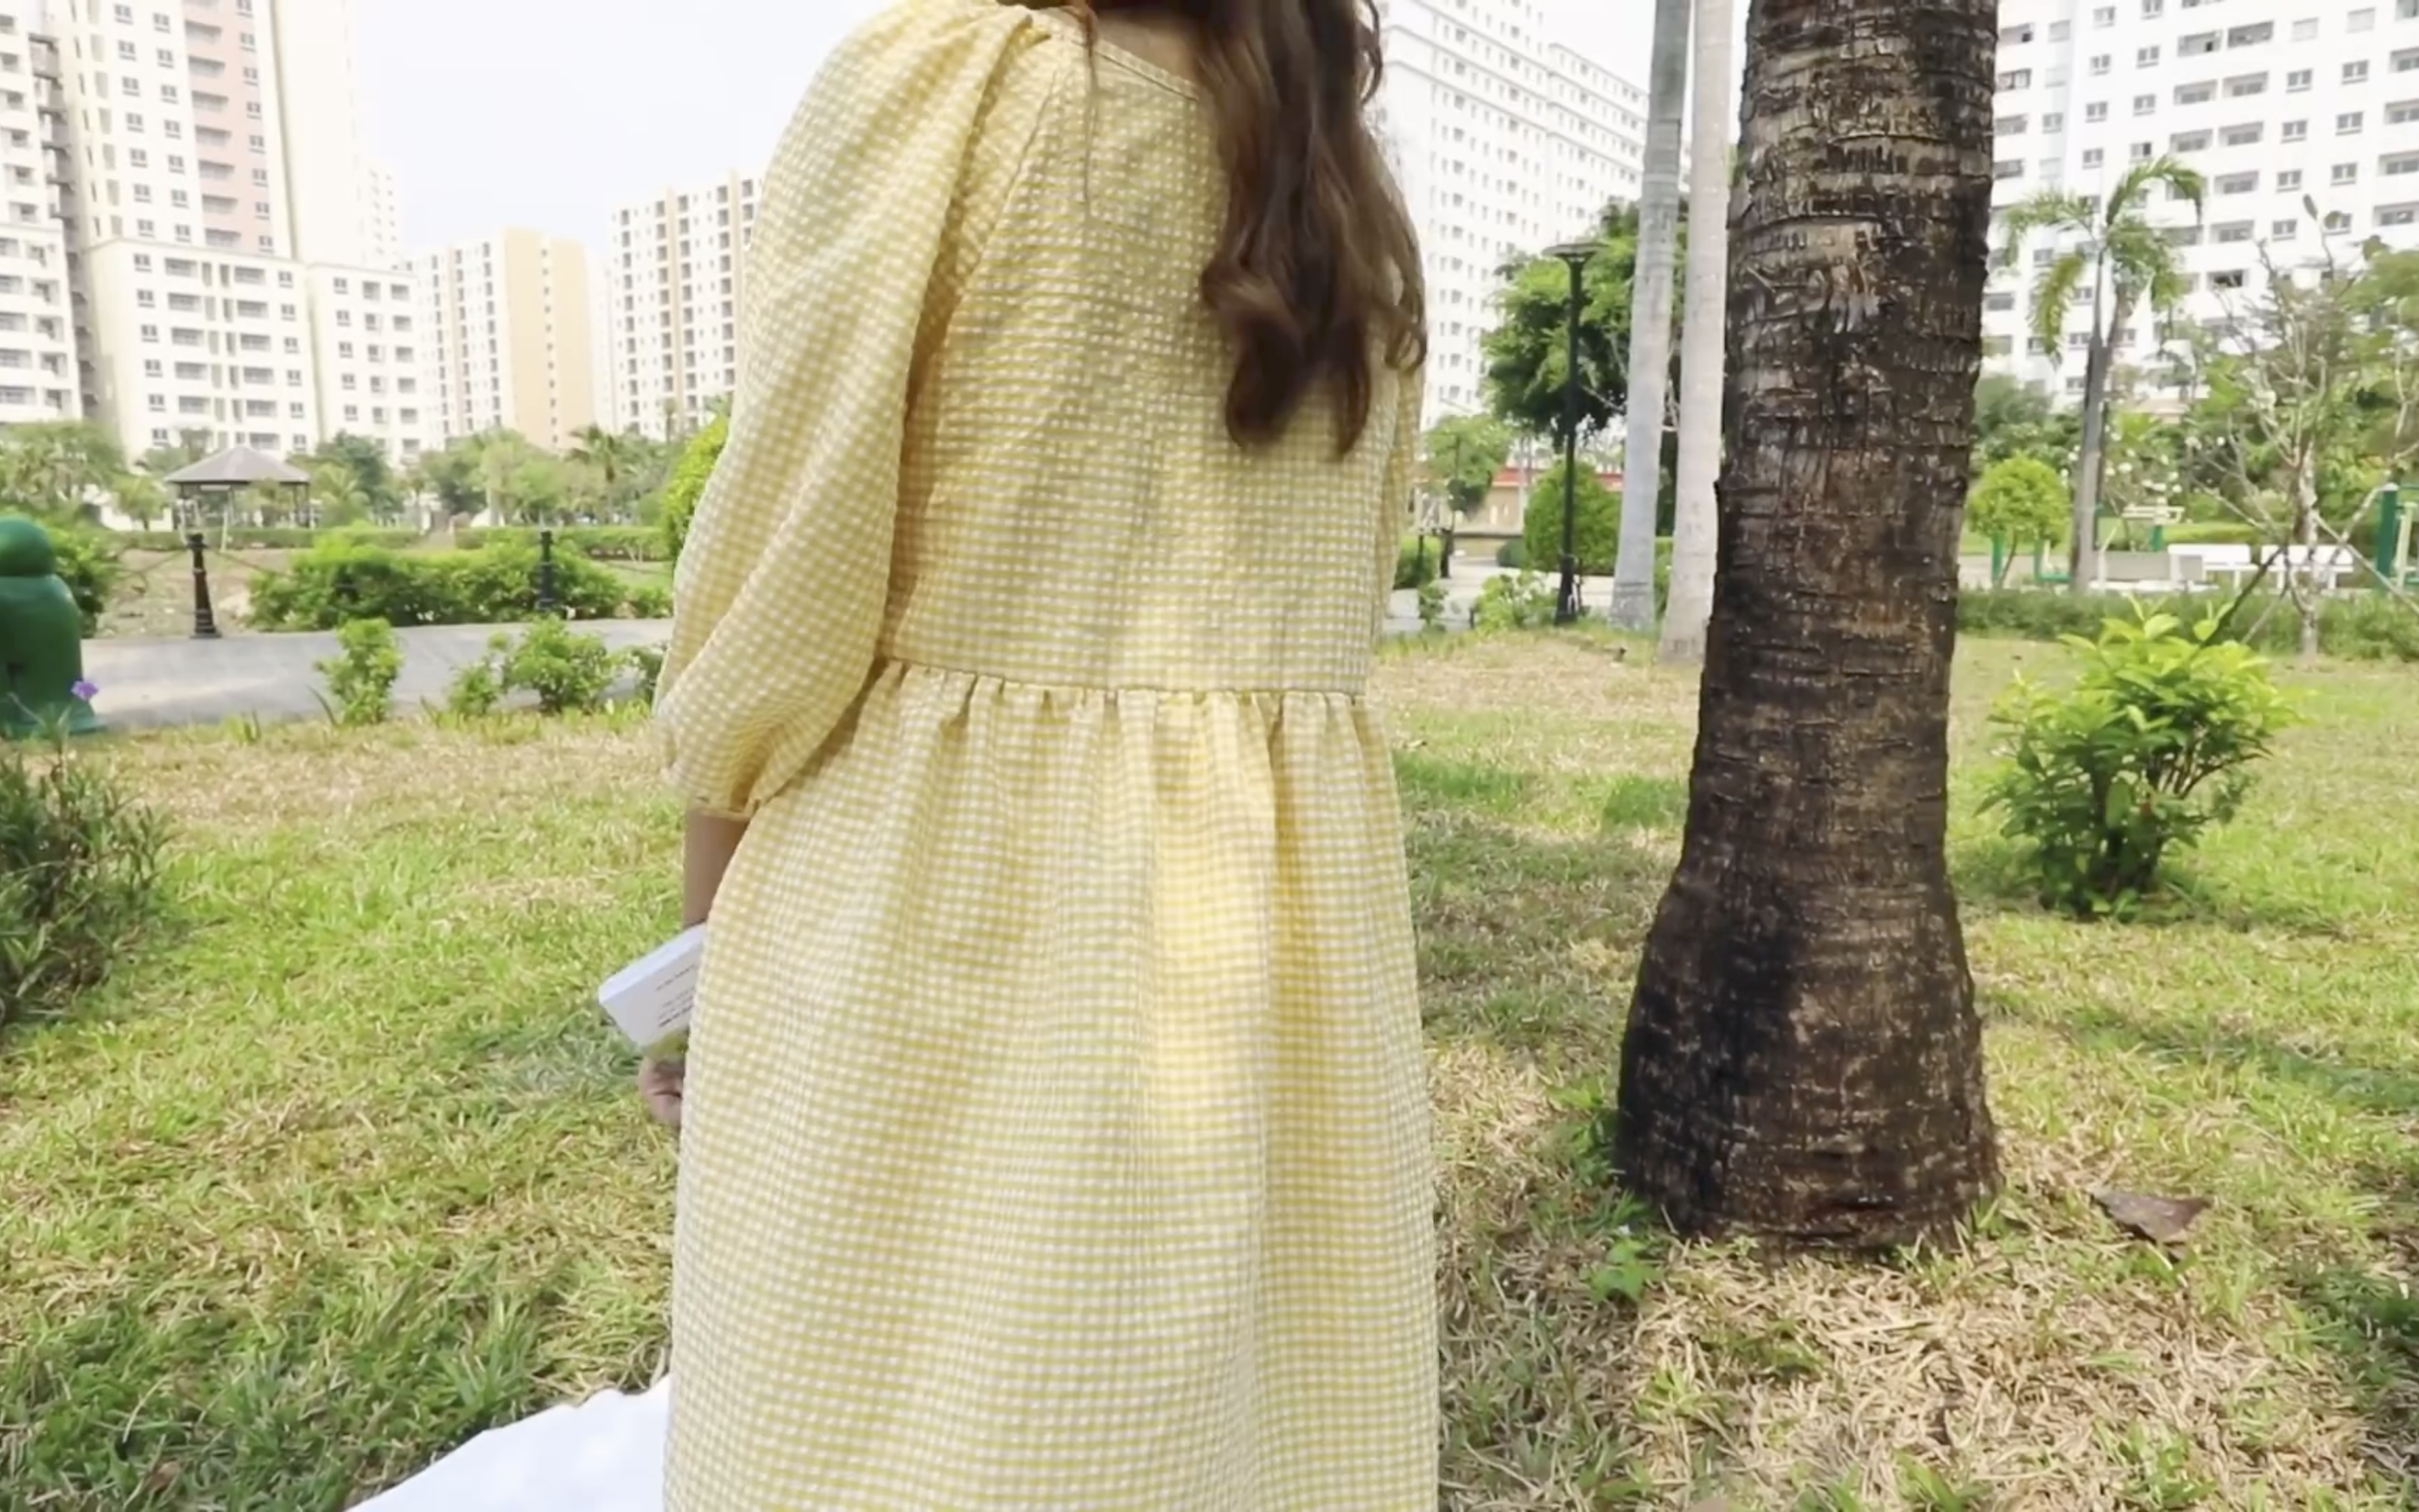
And that’s the finished DIY!
Here’s the final result—it’s the perfect dress for a picnic day, and it’s super comfortable too.


I hope you enjoyed this video and you’ll give it a try soon.
See you next week with more DIYs!