DIY Cottagecore Maxi dress | Butterfly sleeve, Deep V-Neck, Open back, Midi length | Sewing tutorial [+ Free Pattern]

DIY Cottagecore Maxi Dress
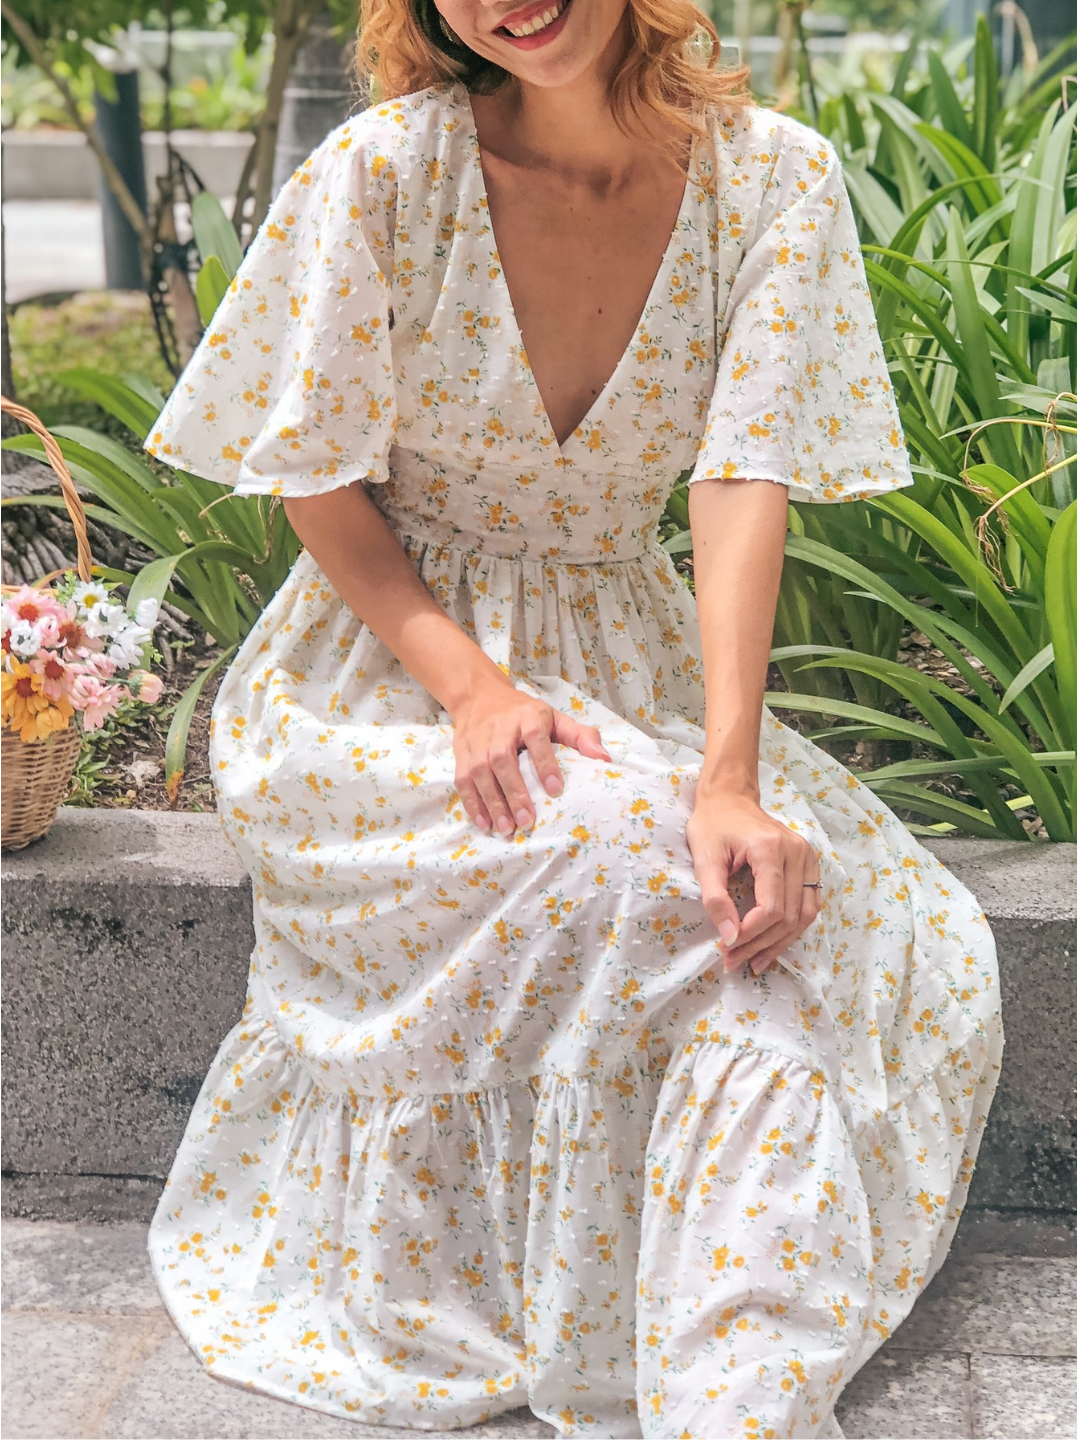
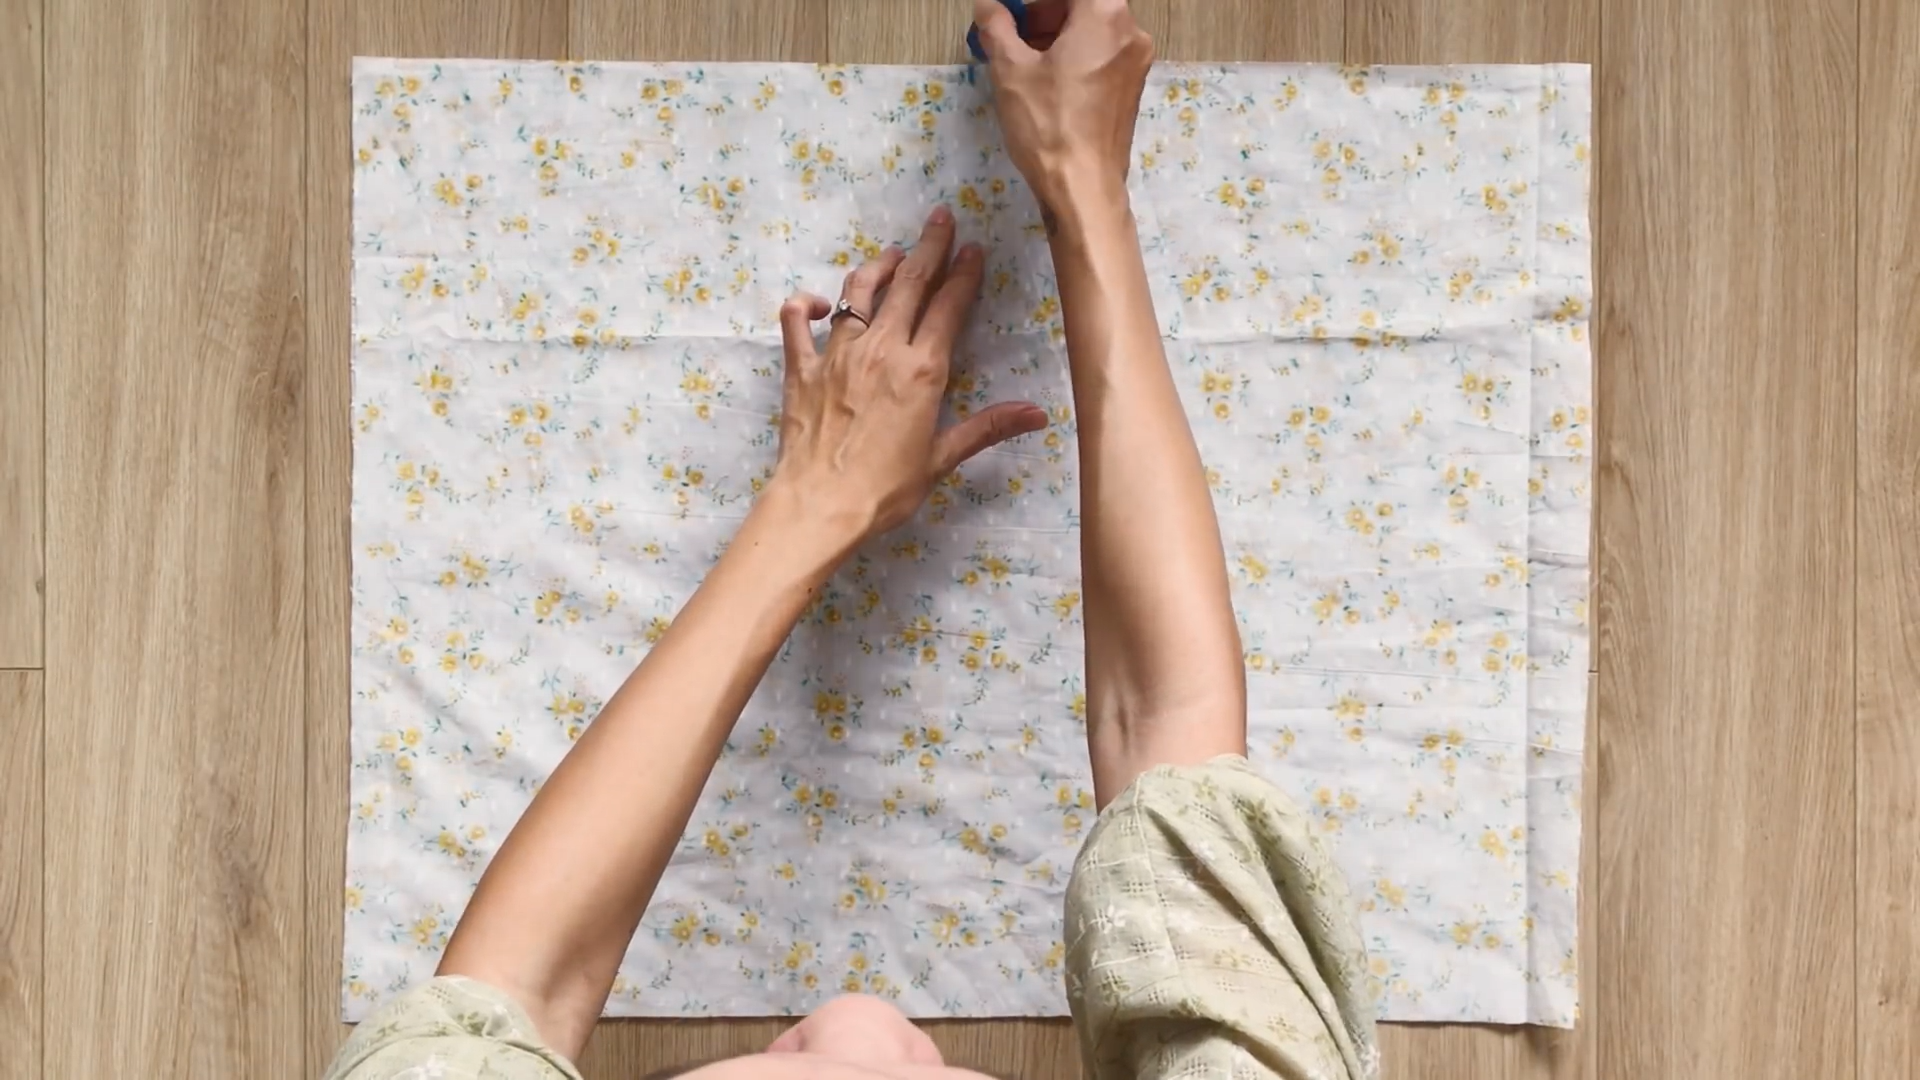
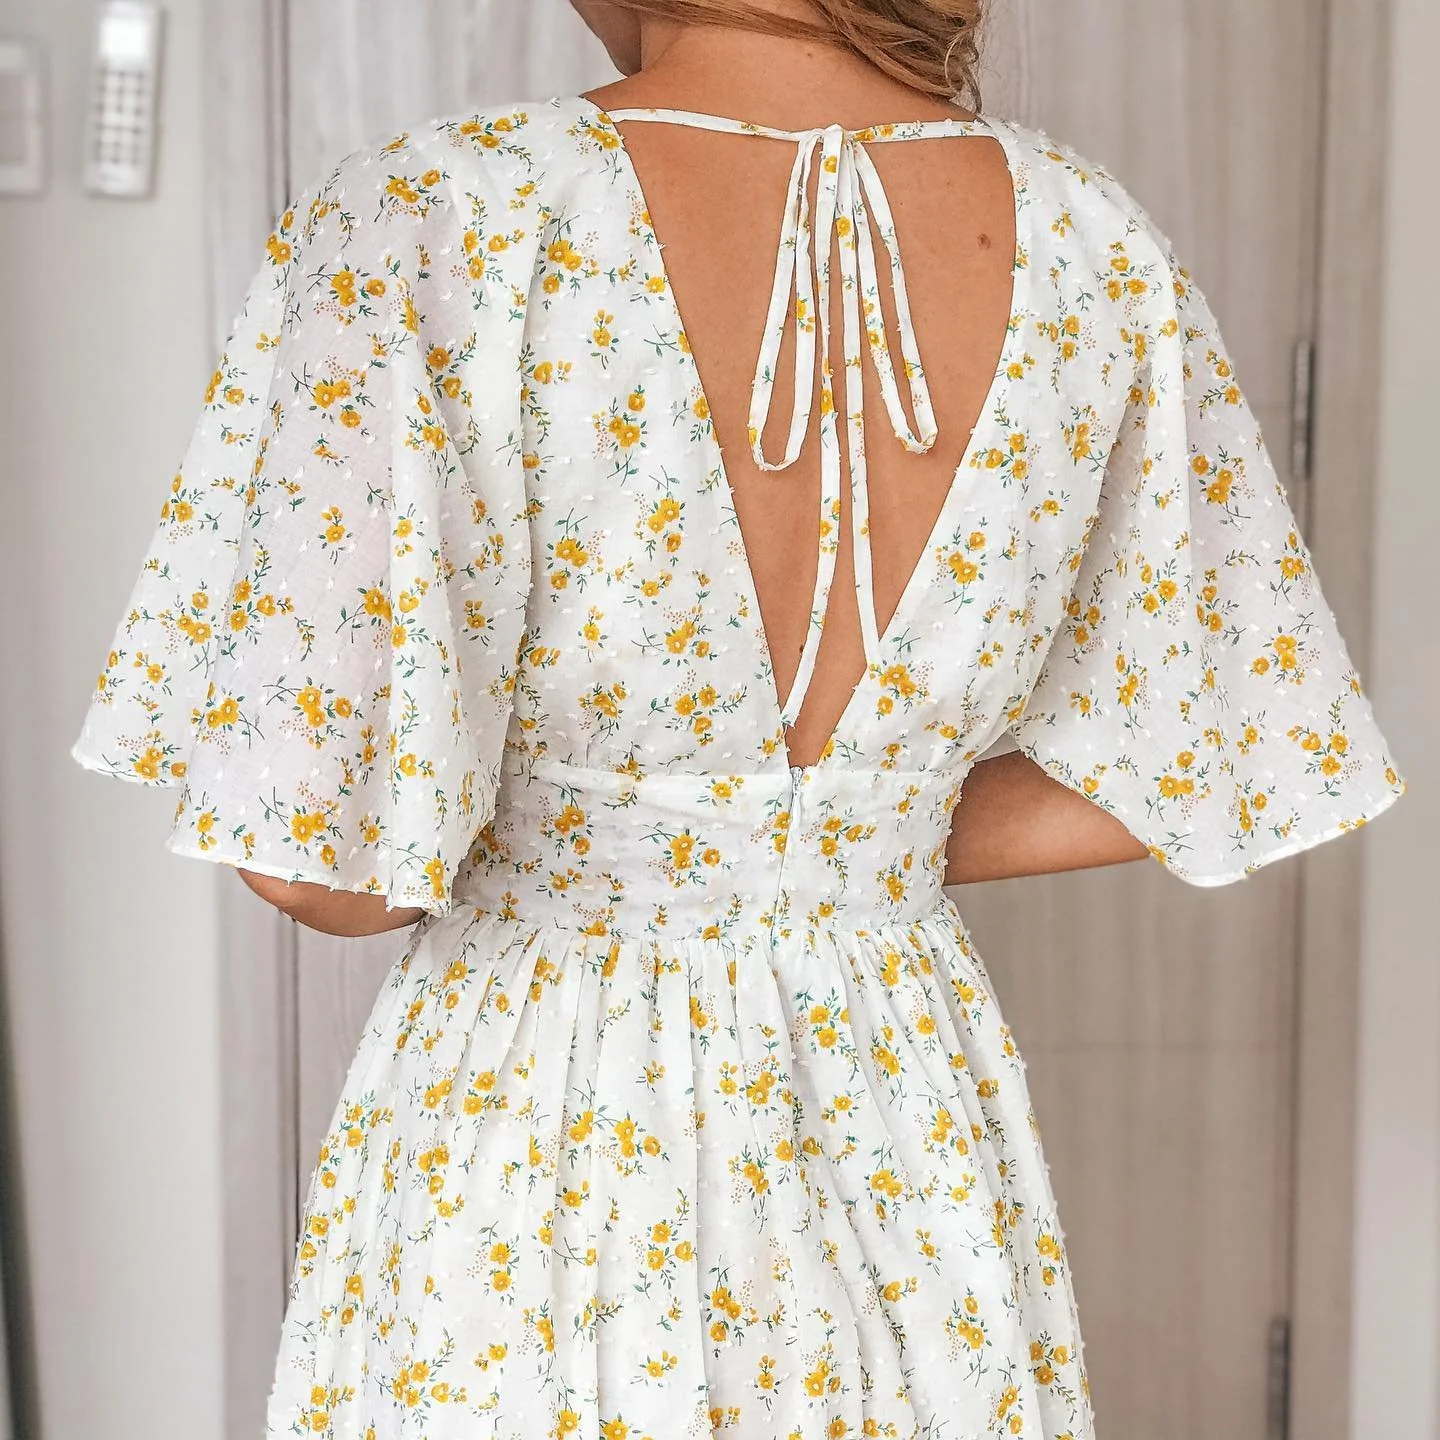
Hi everyone! In today’s tutorial, I'm going to share with you how I made my pretty Vintage/Cottagecore maxi dress from scratch.
The dress combines old and new styles, so it can be worn for many occasions. It has a floral design for a fun touch and a long length for a classic look. I couldn’t wait to start this project, and I’m happy to show you how to do it.
Let’s get started!
WHAT YOU’LL NEED
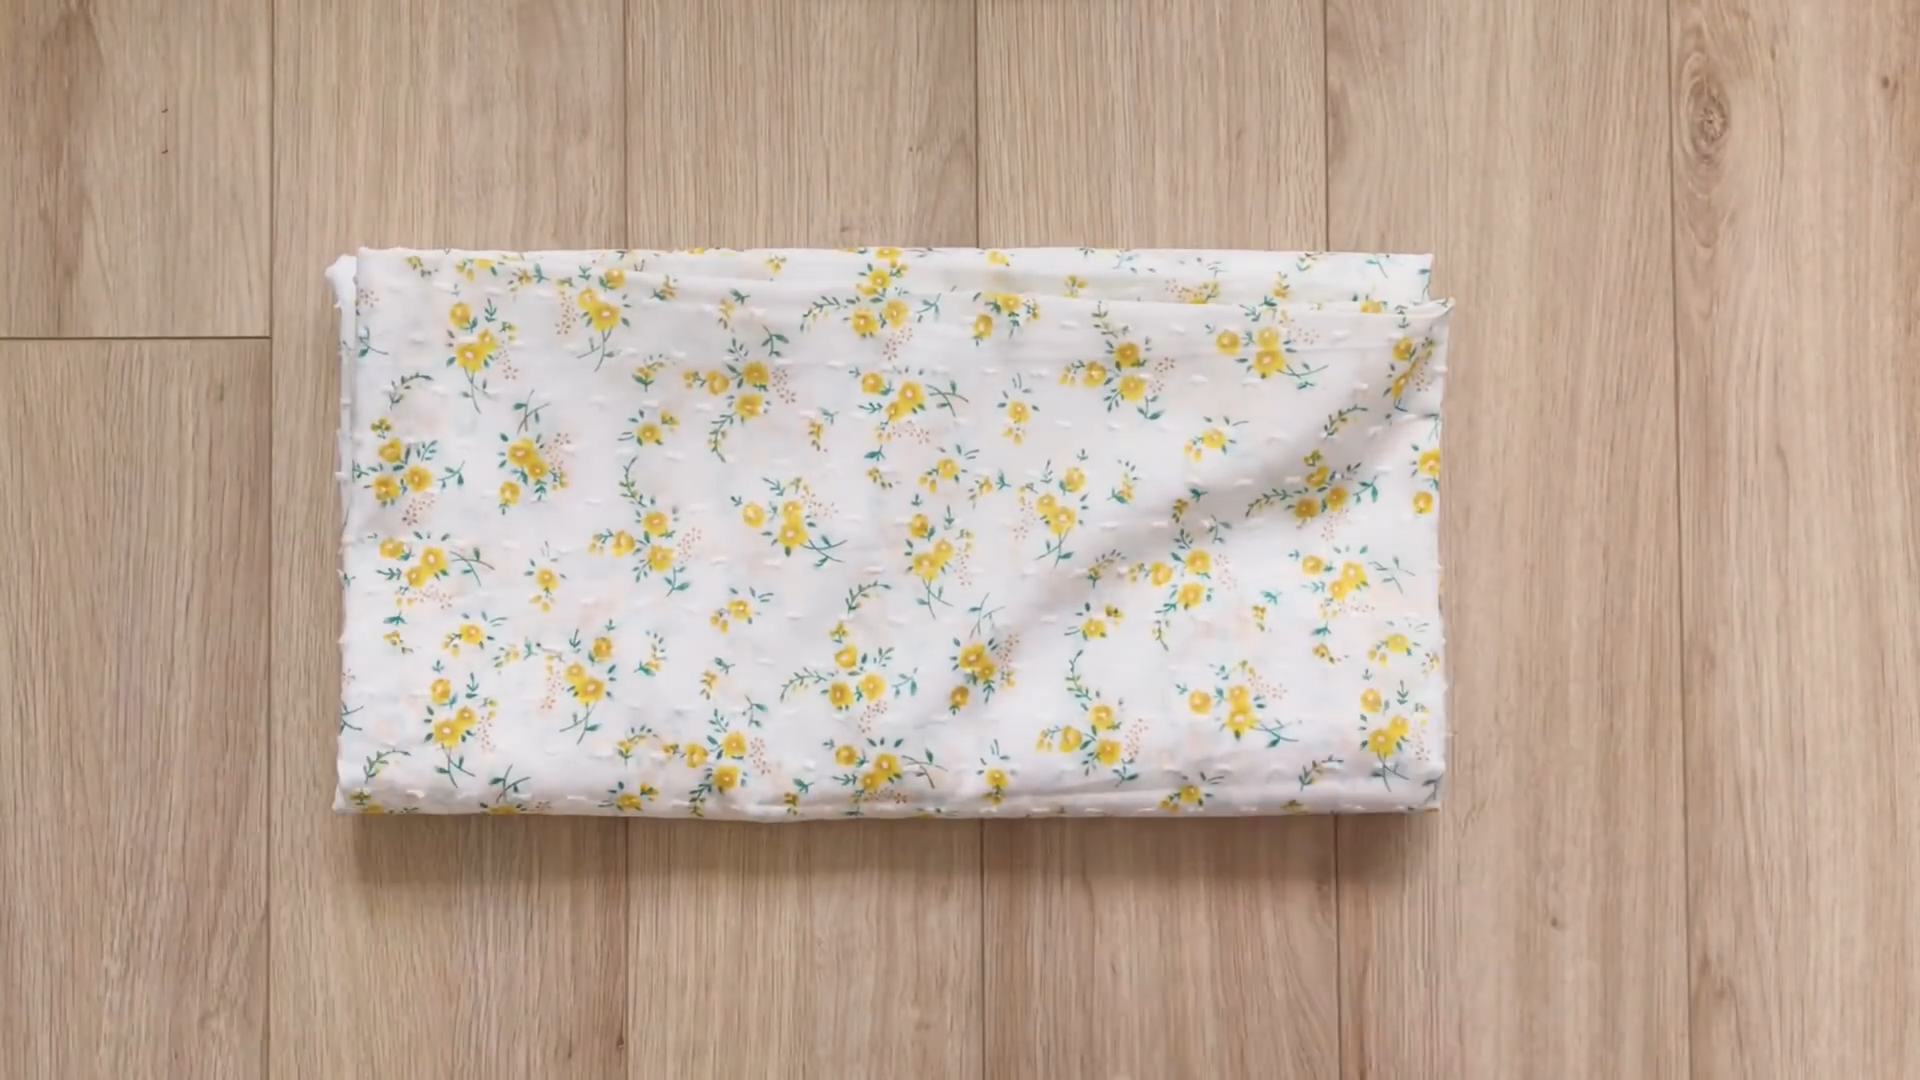
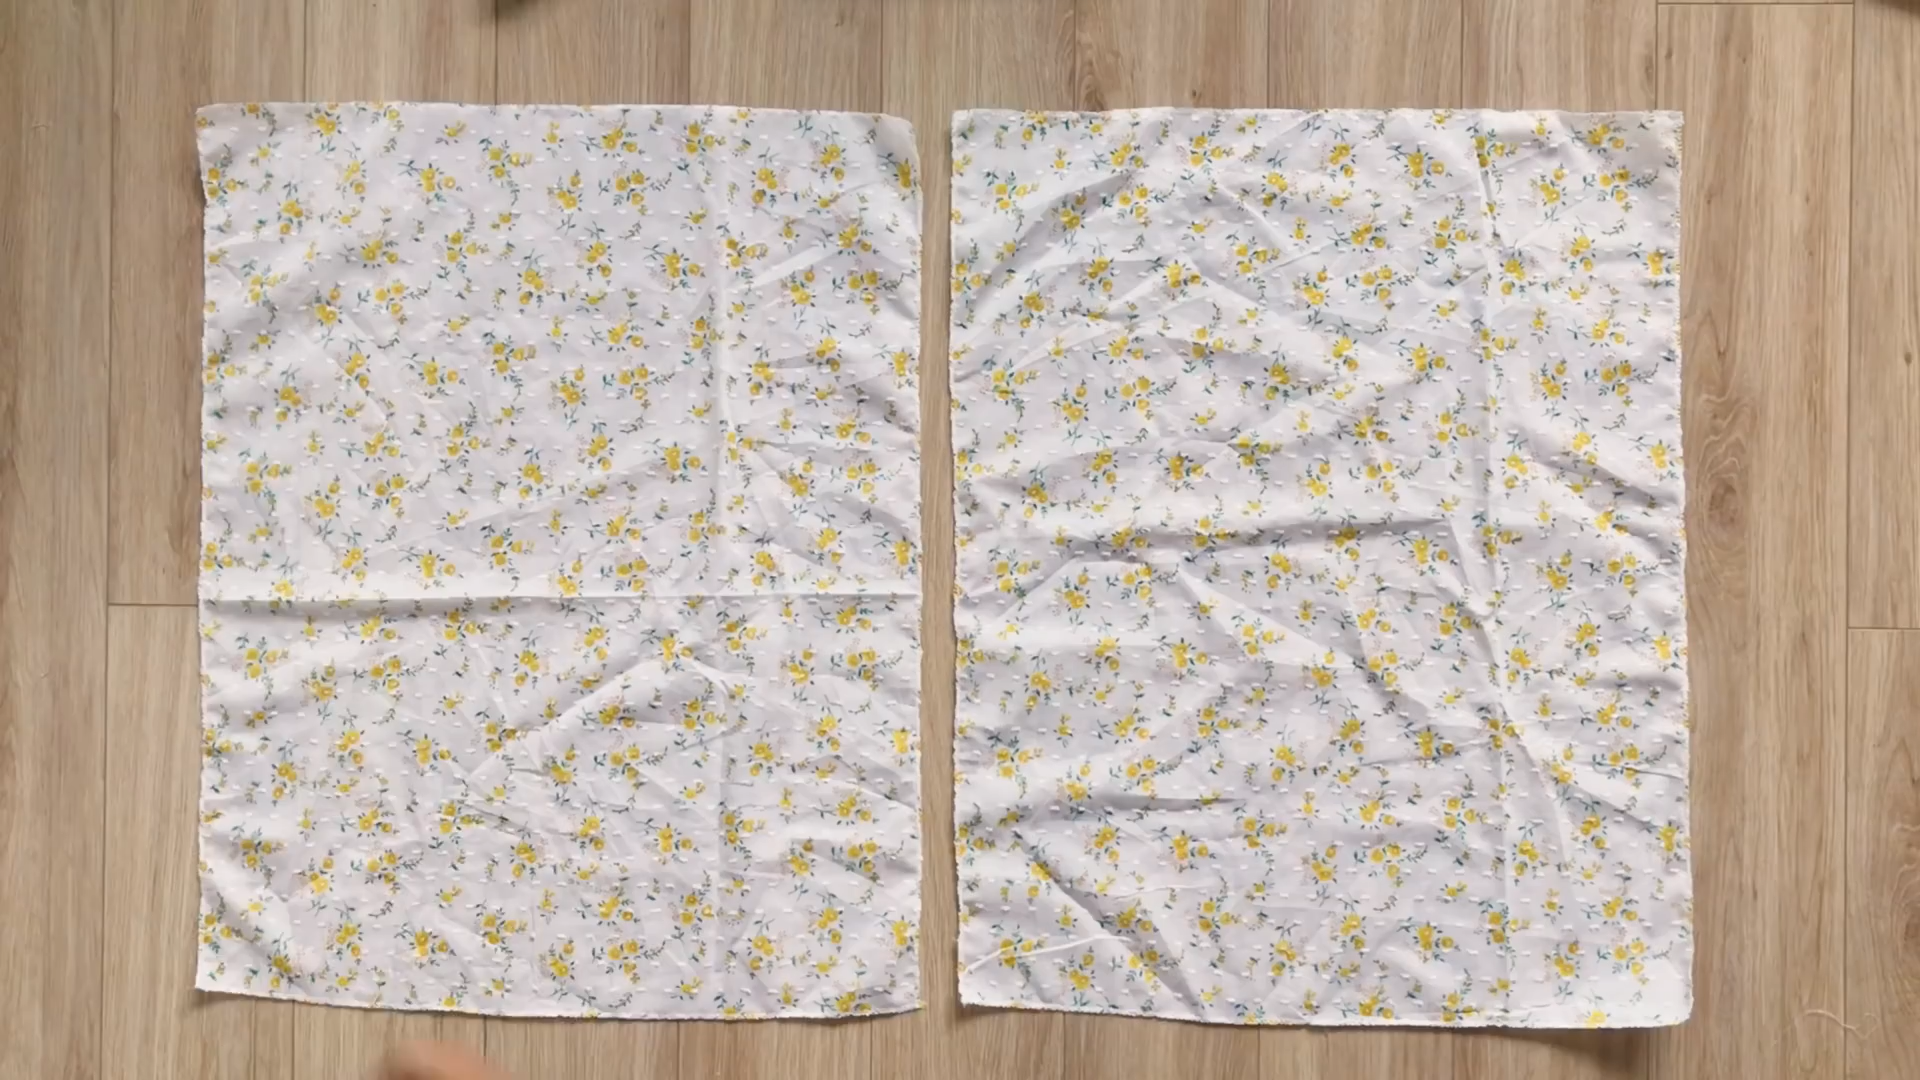
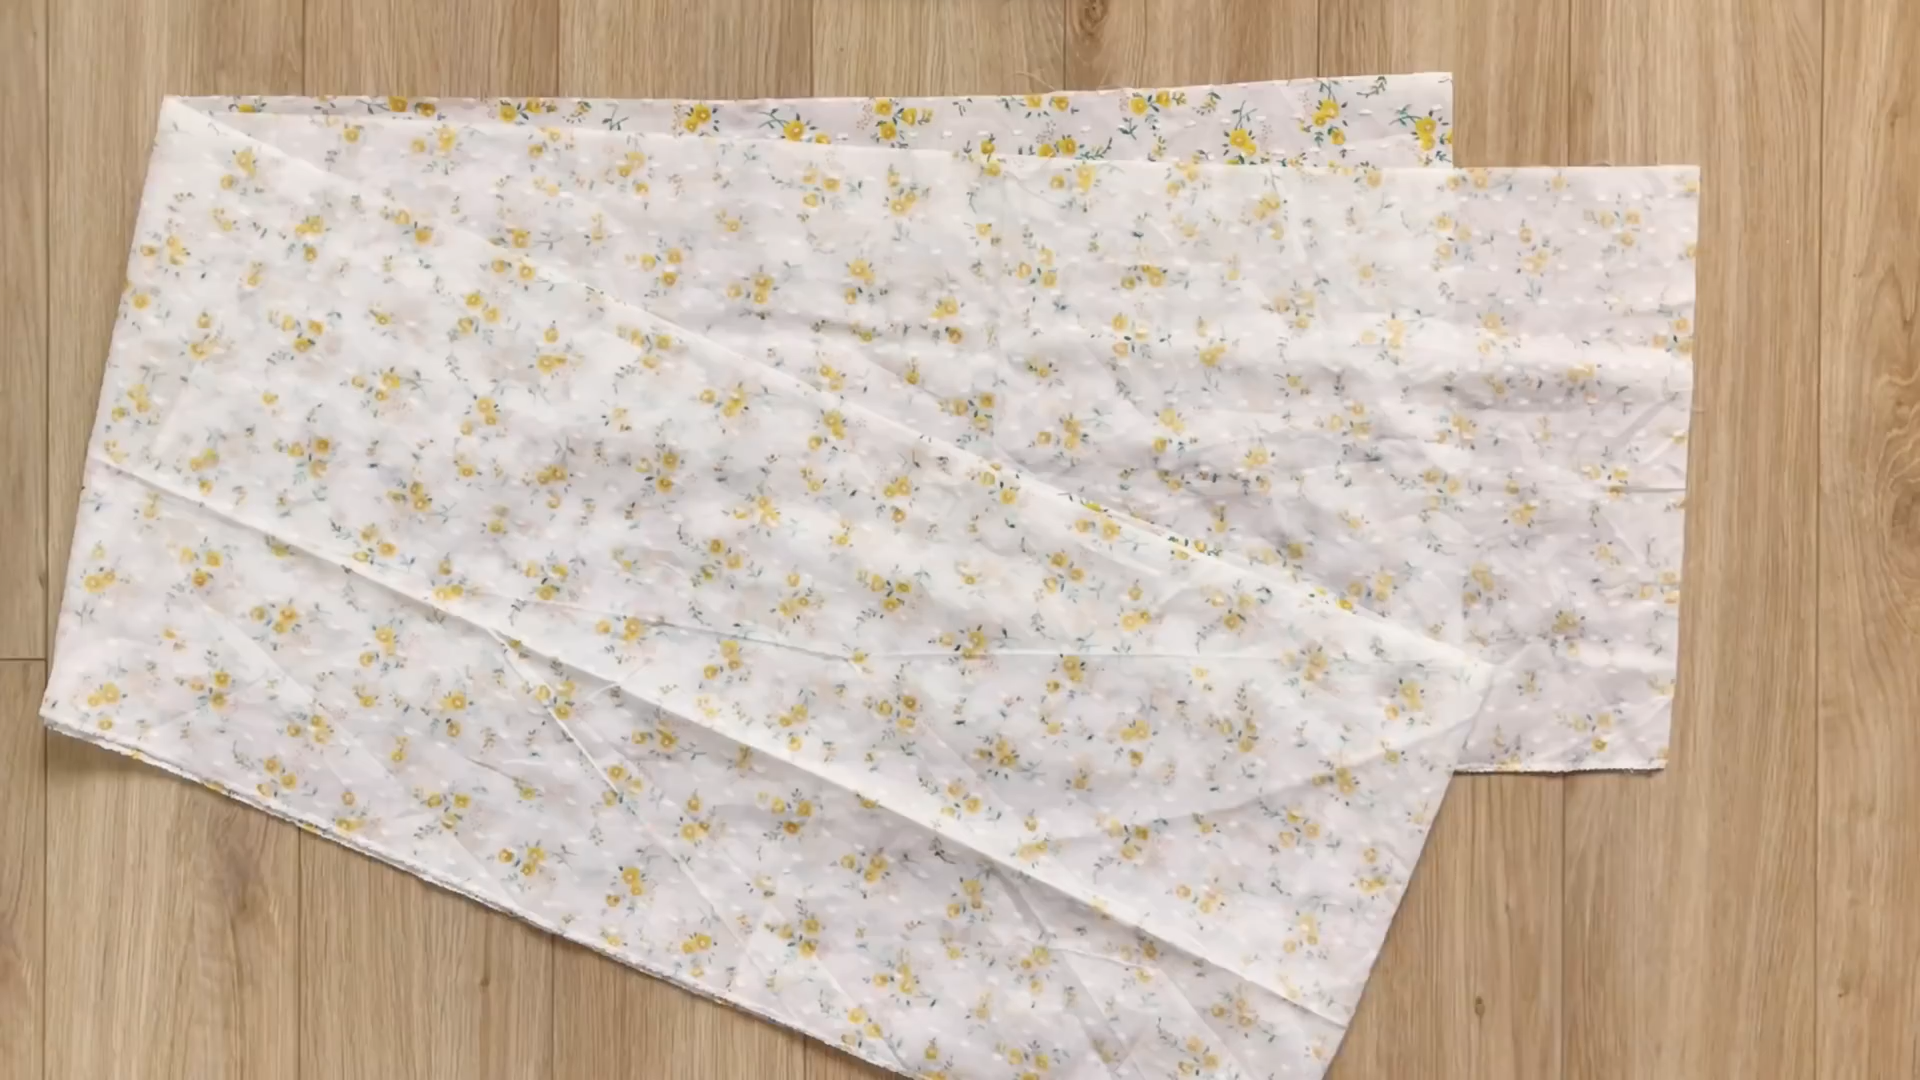
3.5m of boil fabric in floral printing
Pattern paper
Sewing machine
Pins
Scissors
Ruler
Long stick
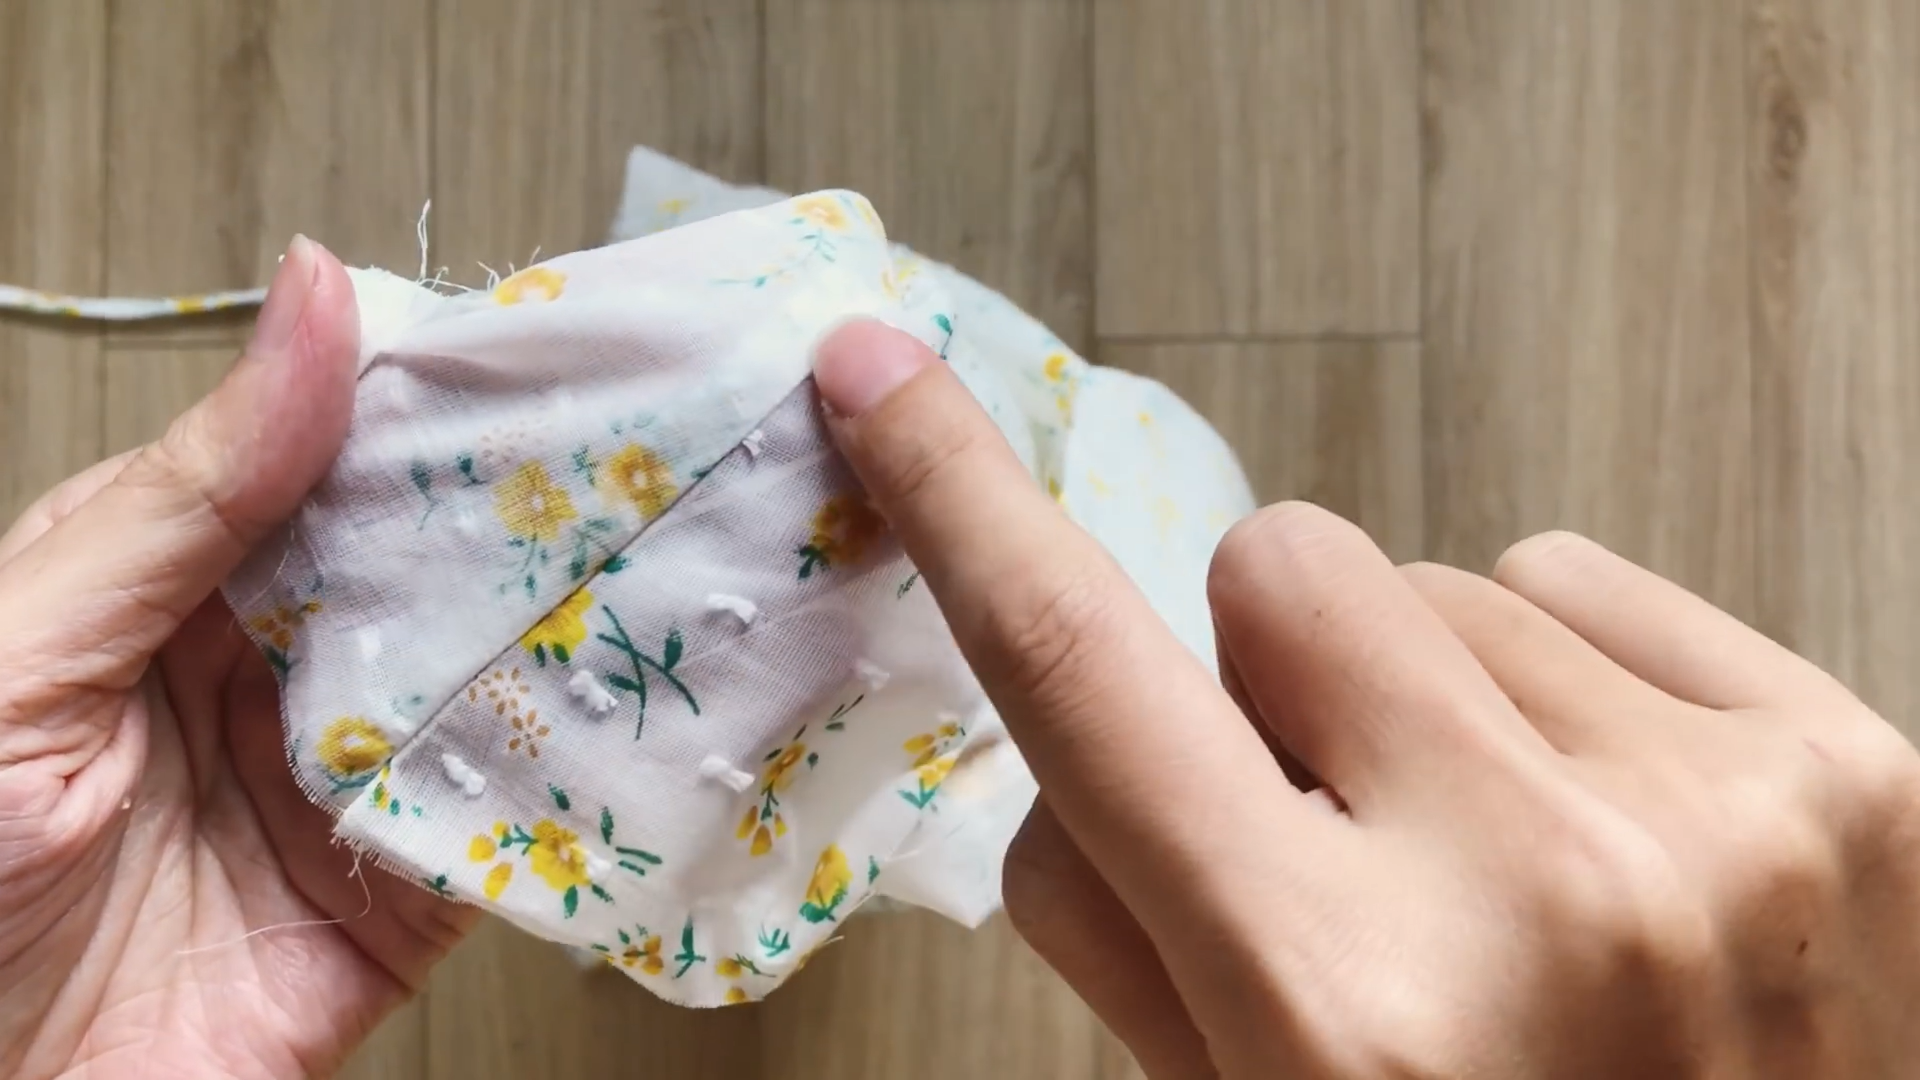
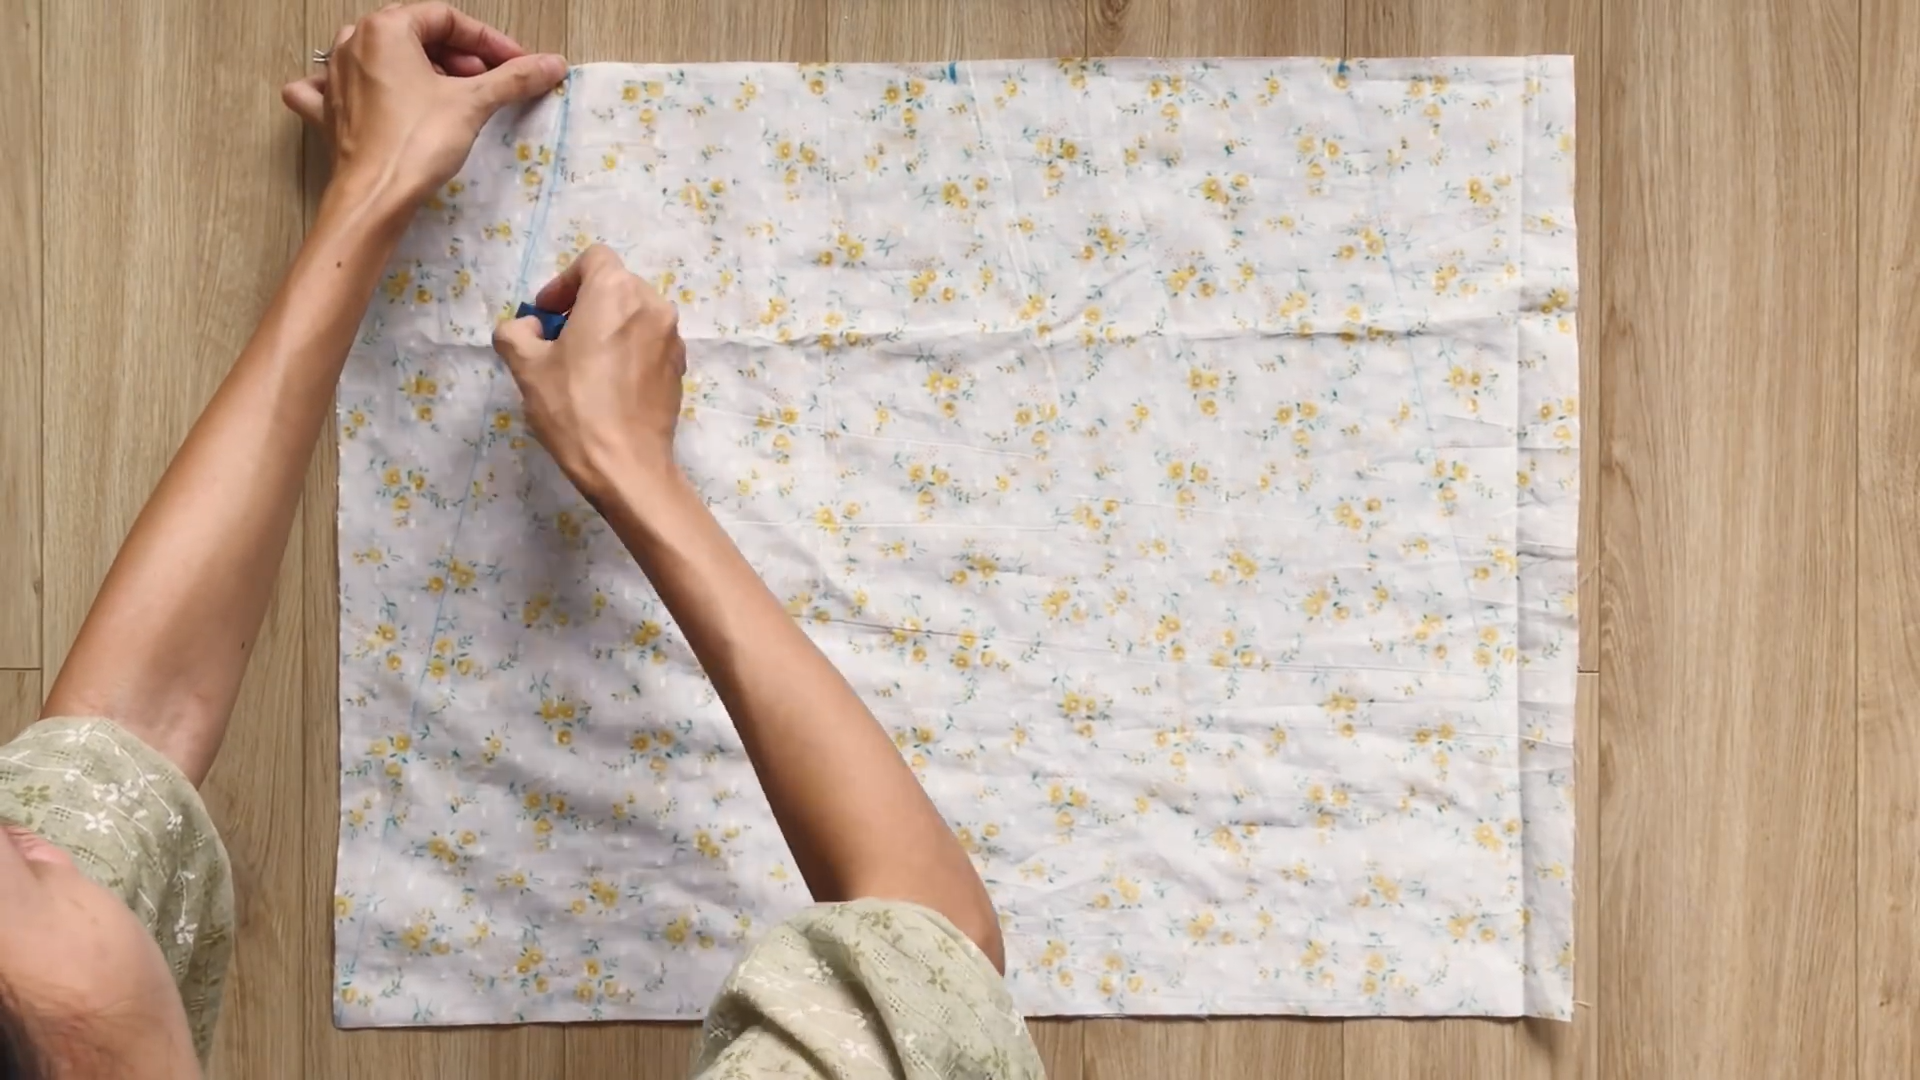
MAKING THE PATTERNS
Here’s the pattern for the project. To get a clear understanding of all the measurements needed for the pattern, watch the video from 1:10 to 4:35. Remember, you can adjust these measurements to fit your own dimensions!

THE INSIDE PATTERN
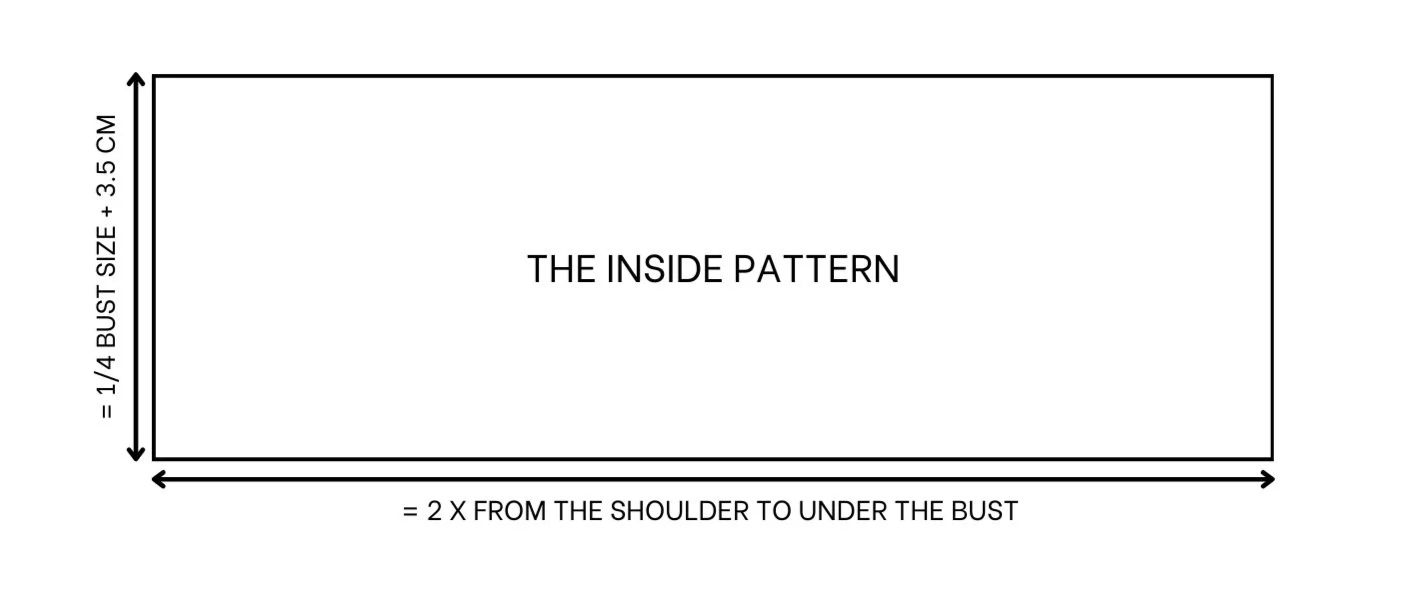
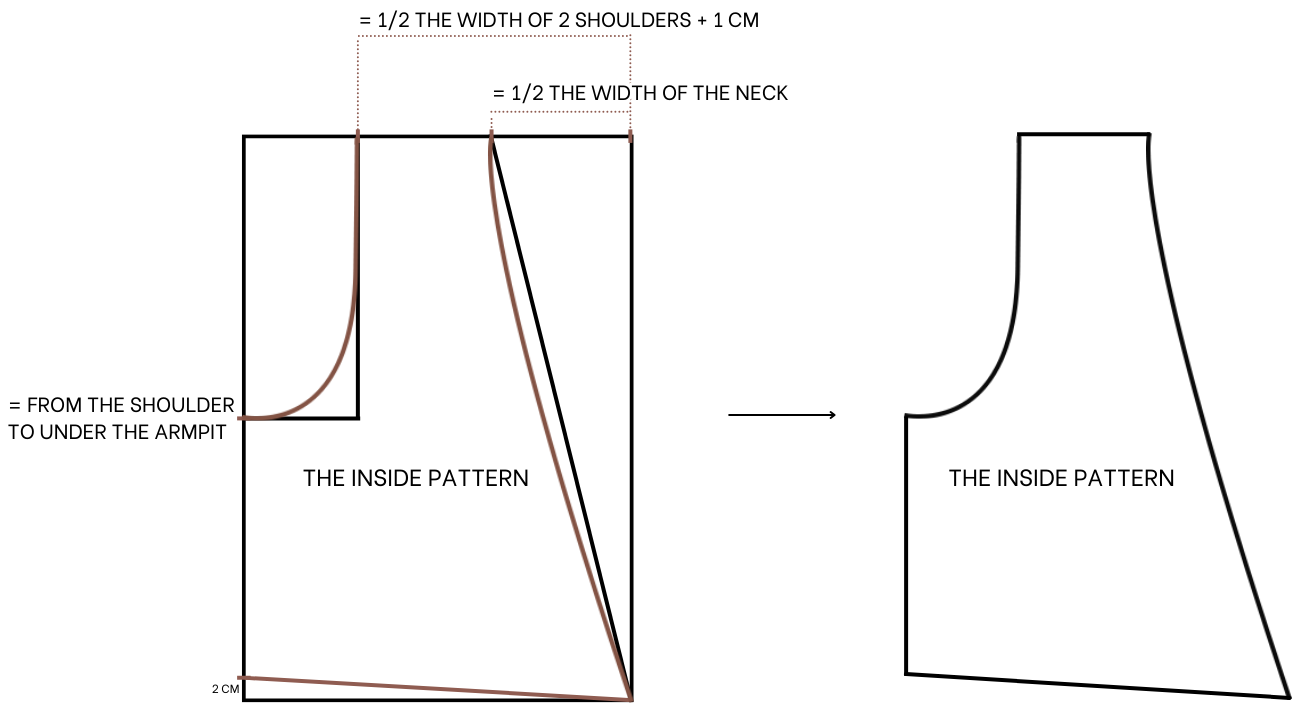
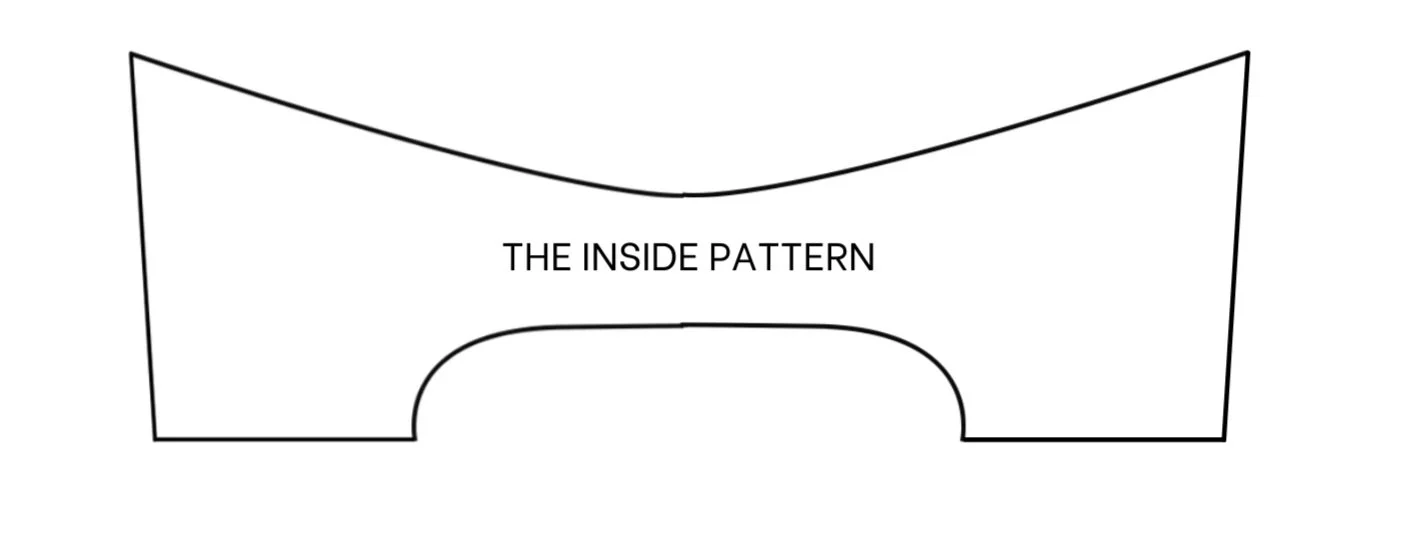
The inside pattern
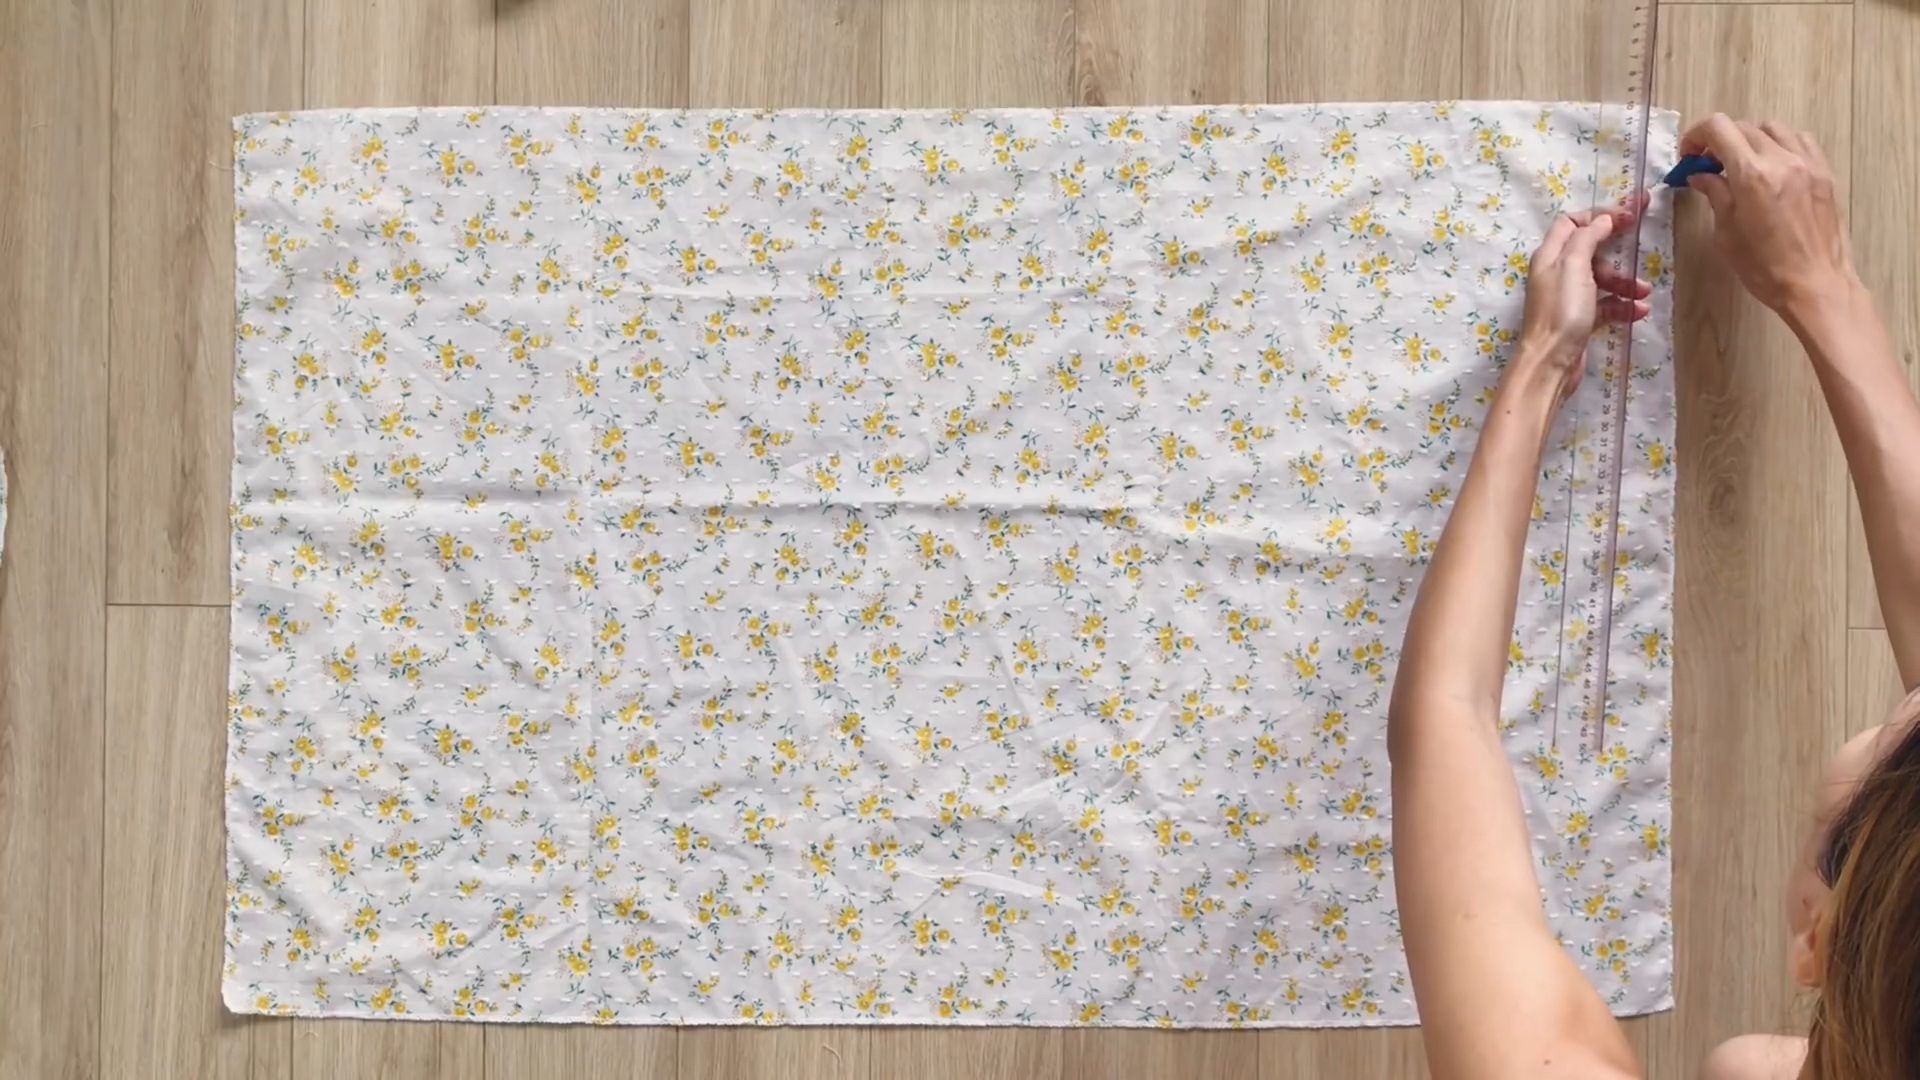
Cut a rectangle with a length of 24 cm (a quarter of the bust size plus 4 cm for seam allowance) and a width of 72 cm (two times the width from the shoulder to under the breast).
Fold the rectangle in half along the width line.
From the end of the folding line, mark inside 10 cm. This is half of the width of the neck. Then, draw a straight line from this mark to the end of the folded rectangle. This will be the neckline of the top.
To create the line from the front to the back of the top, make the top of the neckline a little curved.
Make another mark at 9 cm next to the first one. The width between this mark to the end of the folding line will be 19 cm, which is half of the width between two shoulders plus 1 cm.
From the other end of the folding line, mark down 18 cm. This is the width from the shoulder to under the armpit.
Draw a curved line to connect this mark to the second mark on the folding line. This will be the sleeve line of the pattern.
As the shoulder is usually lower on two sides, move up 2 cm on the sideline from the end then draw a line to connect it to the other side to create a new ending line of the pattern.
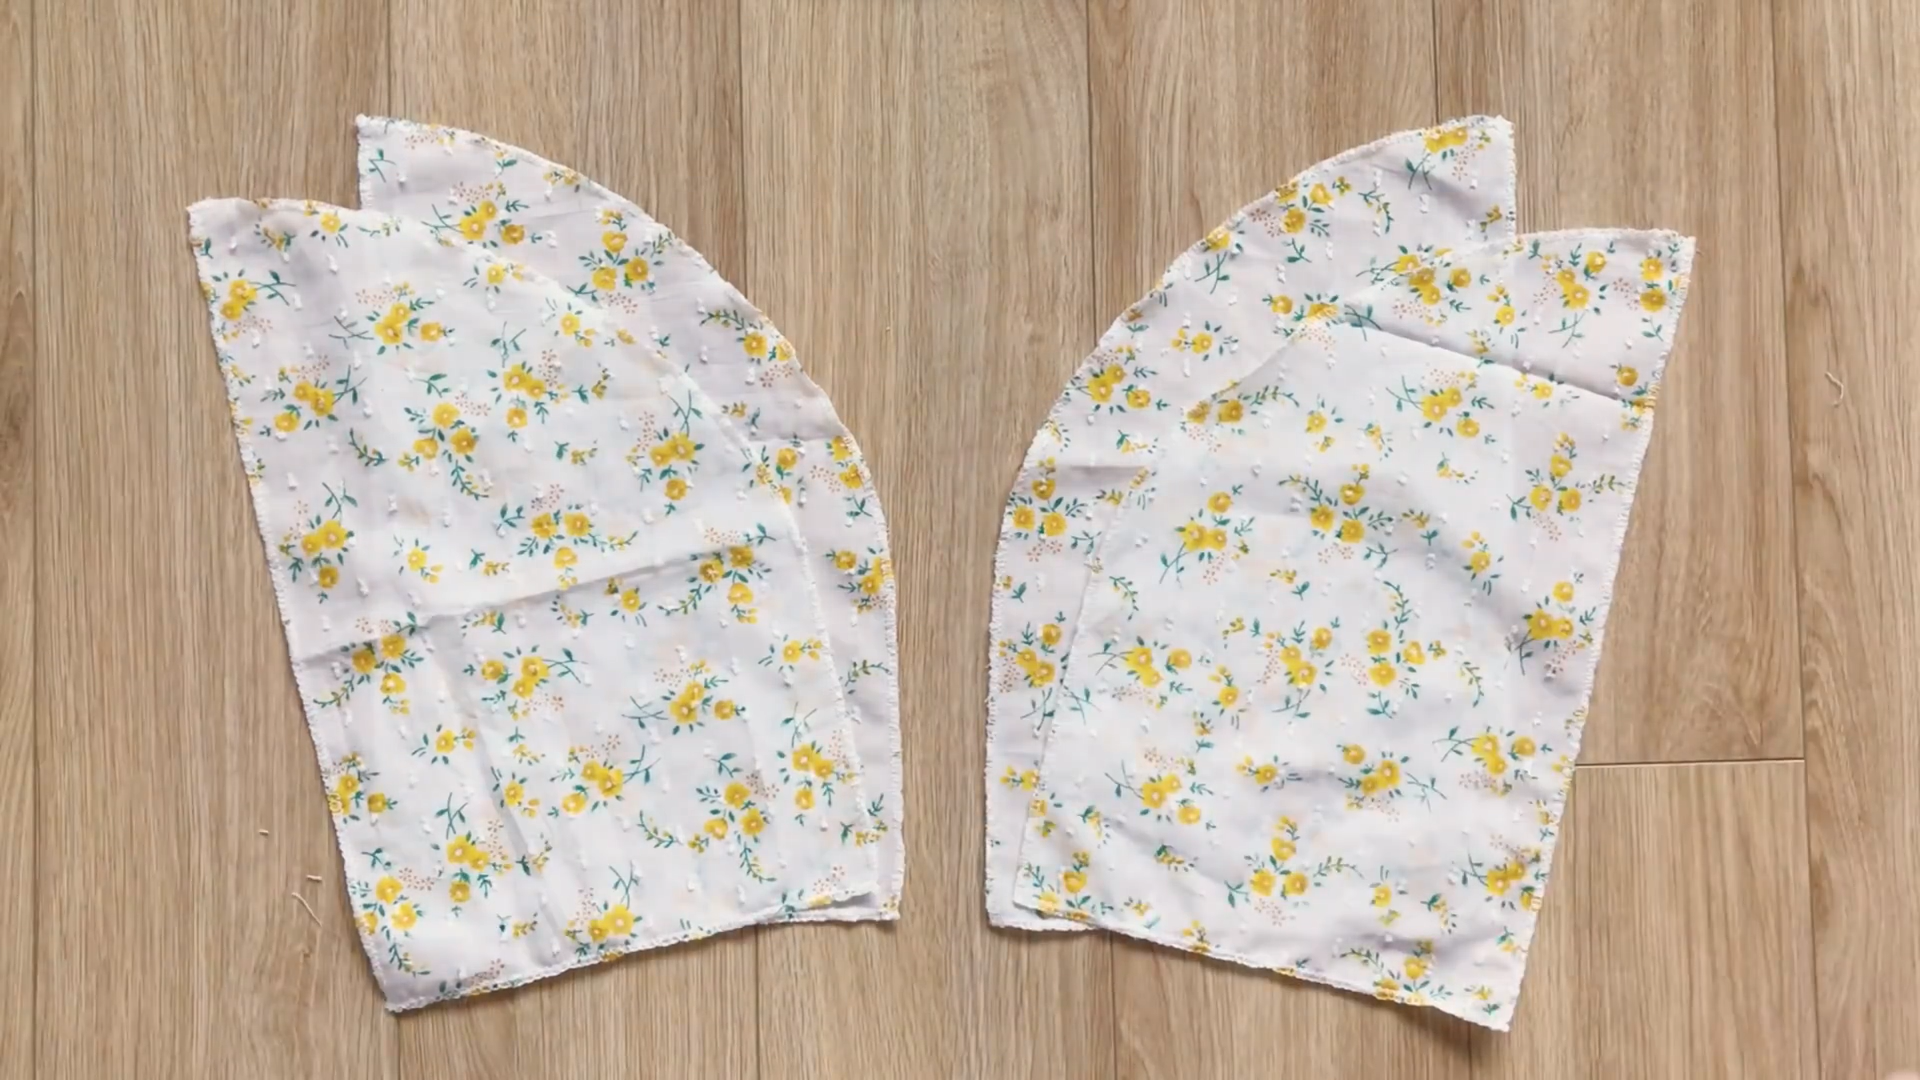
THE OUTSIDE PATTERN
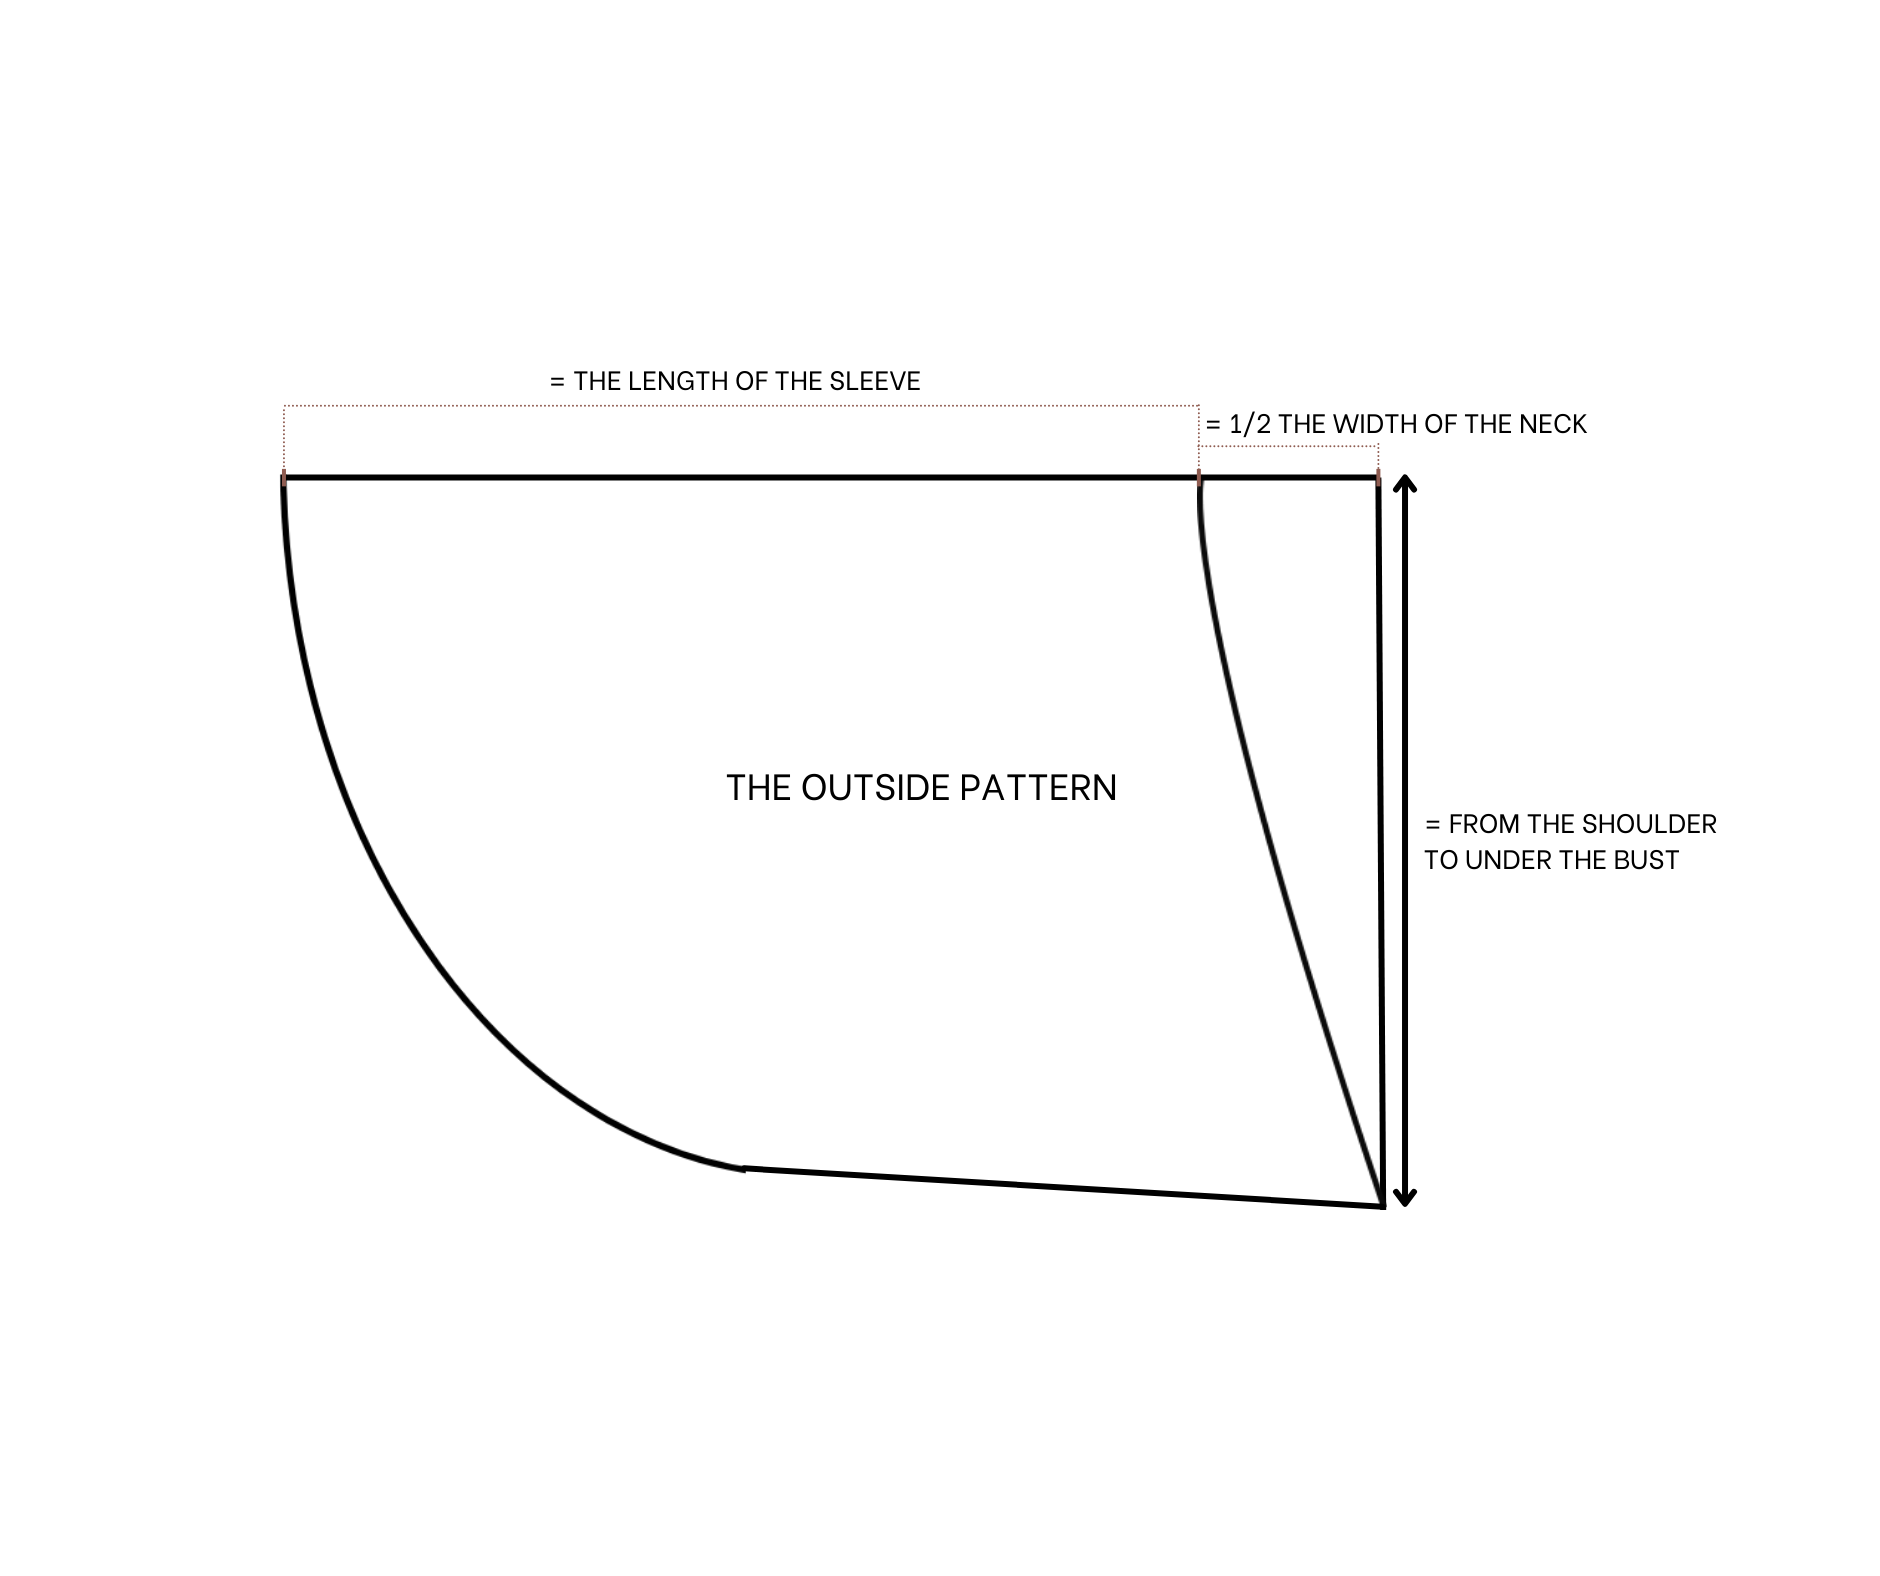
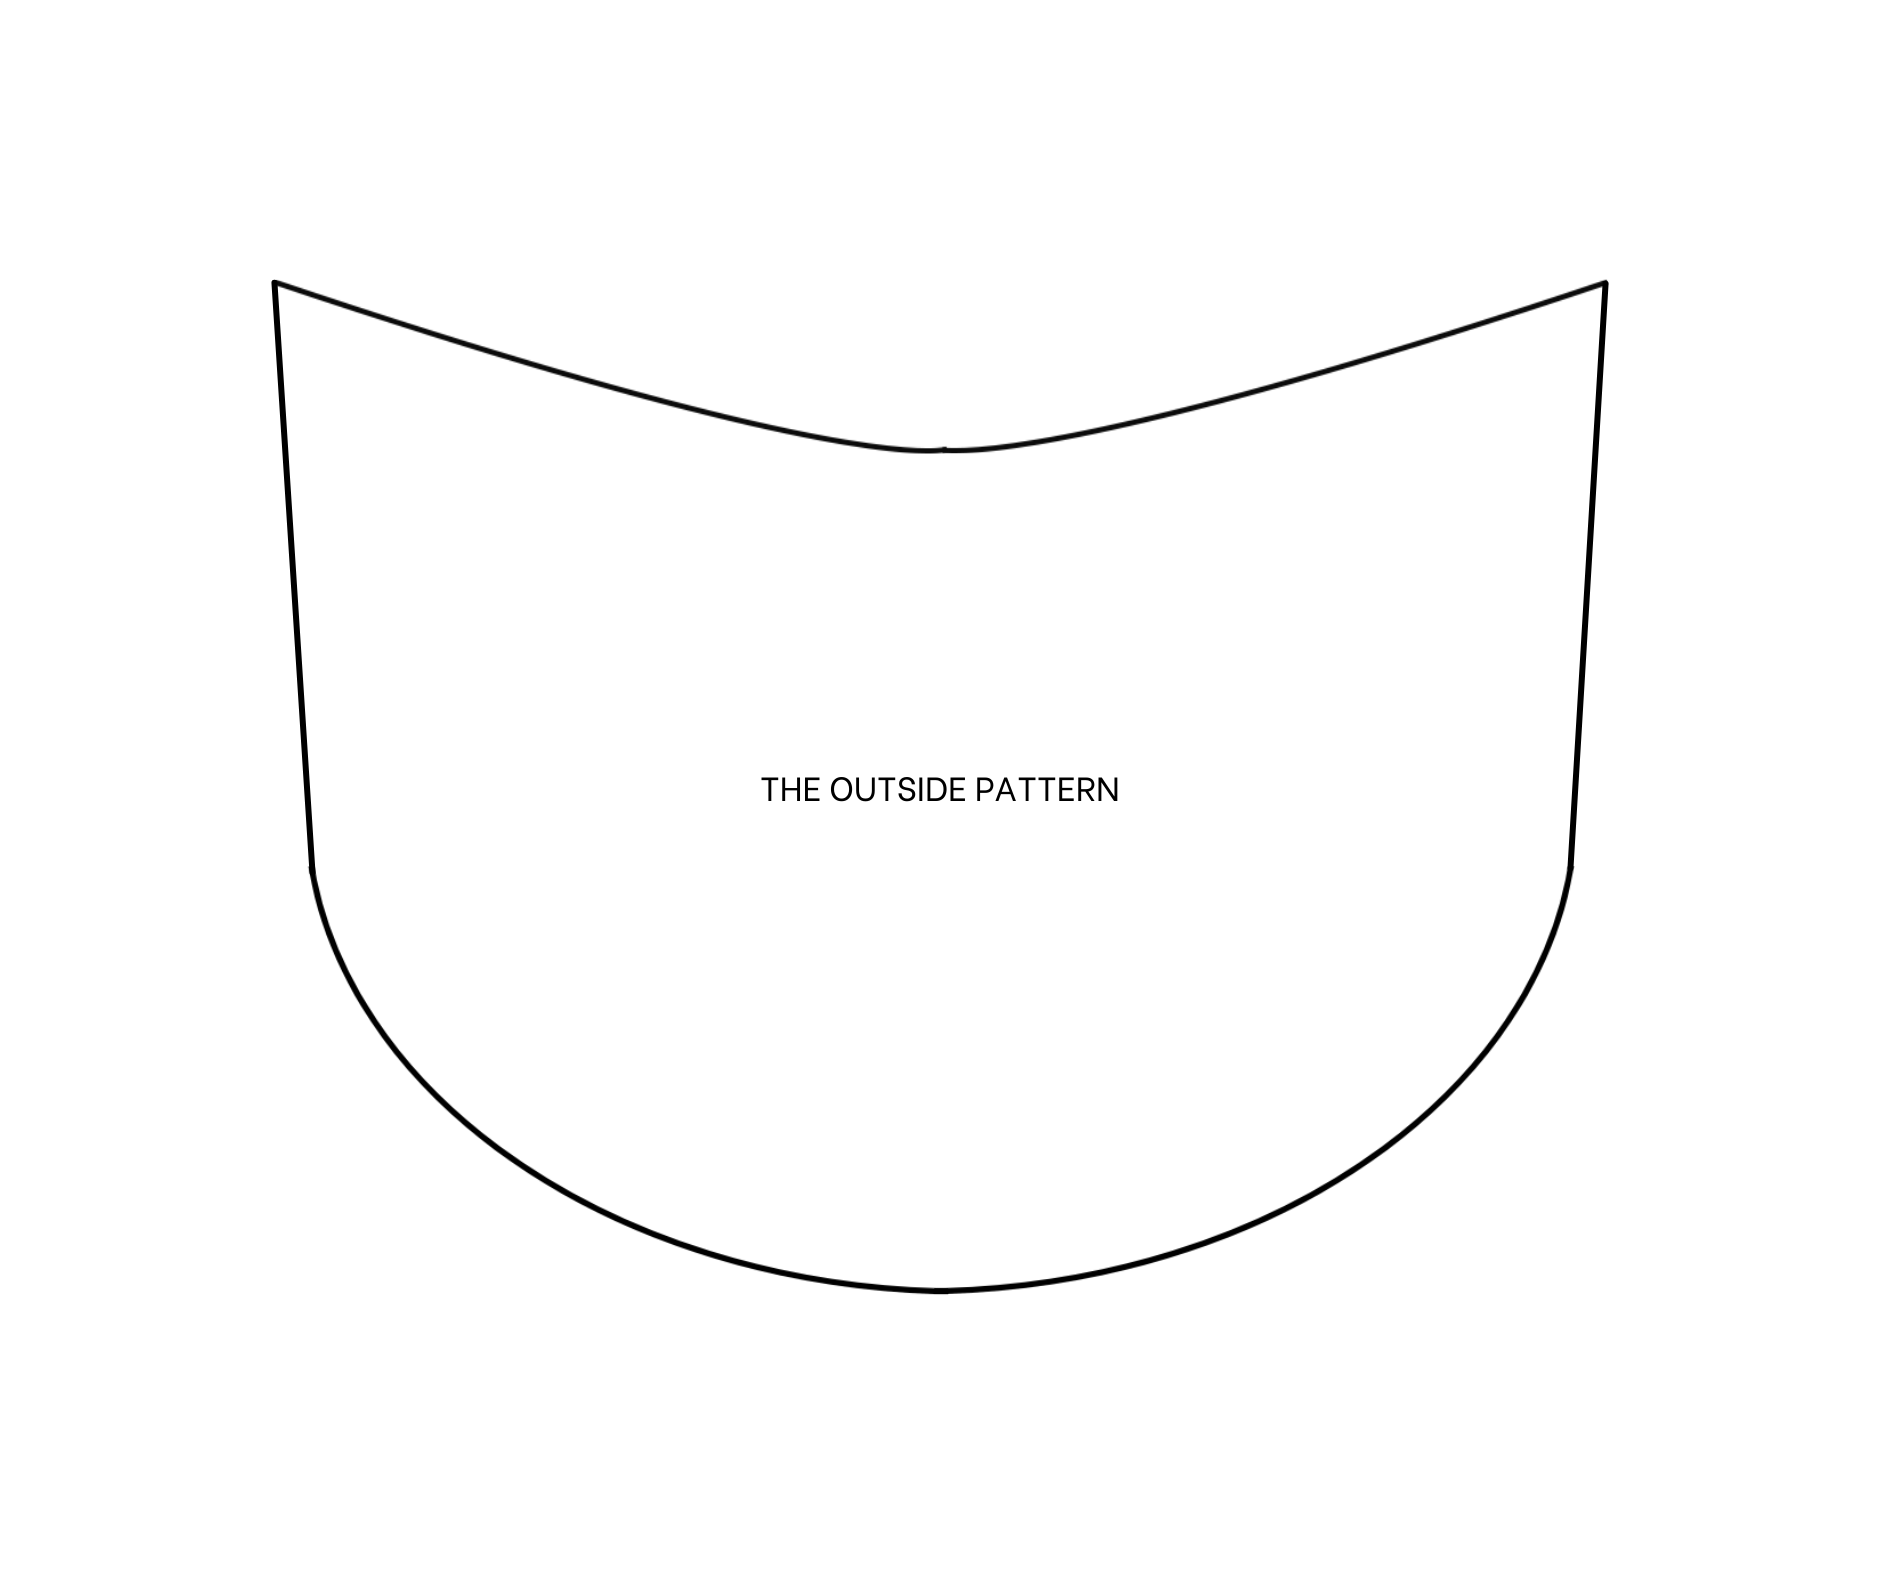
The outside pattern
Fold the paper in half. Then, draw a horizontal line at 36 cm under the folding line. This is the width from the shoulder to under the breast.
From one end of the folding line, mark at 10 cm inside. This is half the width of the neck.
Use the inside pattern to apply at this mark to draw the neckline for the outside pattern.
From the mark on the folding line, make another mark at 40 cm. This is the length of the sleeve that you want. Make sure the length of the sleeve is longer than the length of the top pattern.
Draw a circle line between the two ends of the sleeve line.
THE WAISTBAND PATTERN
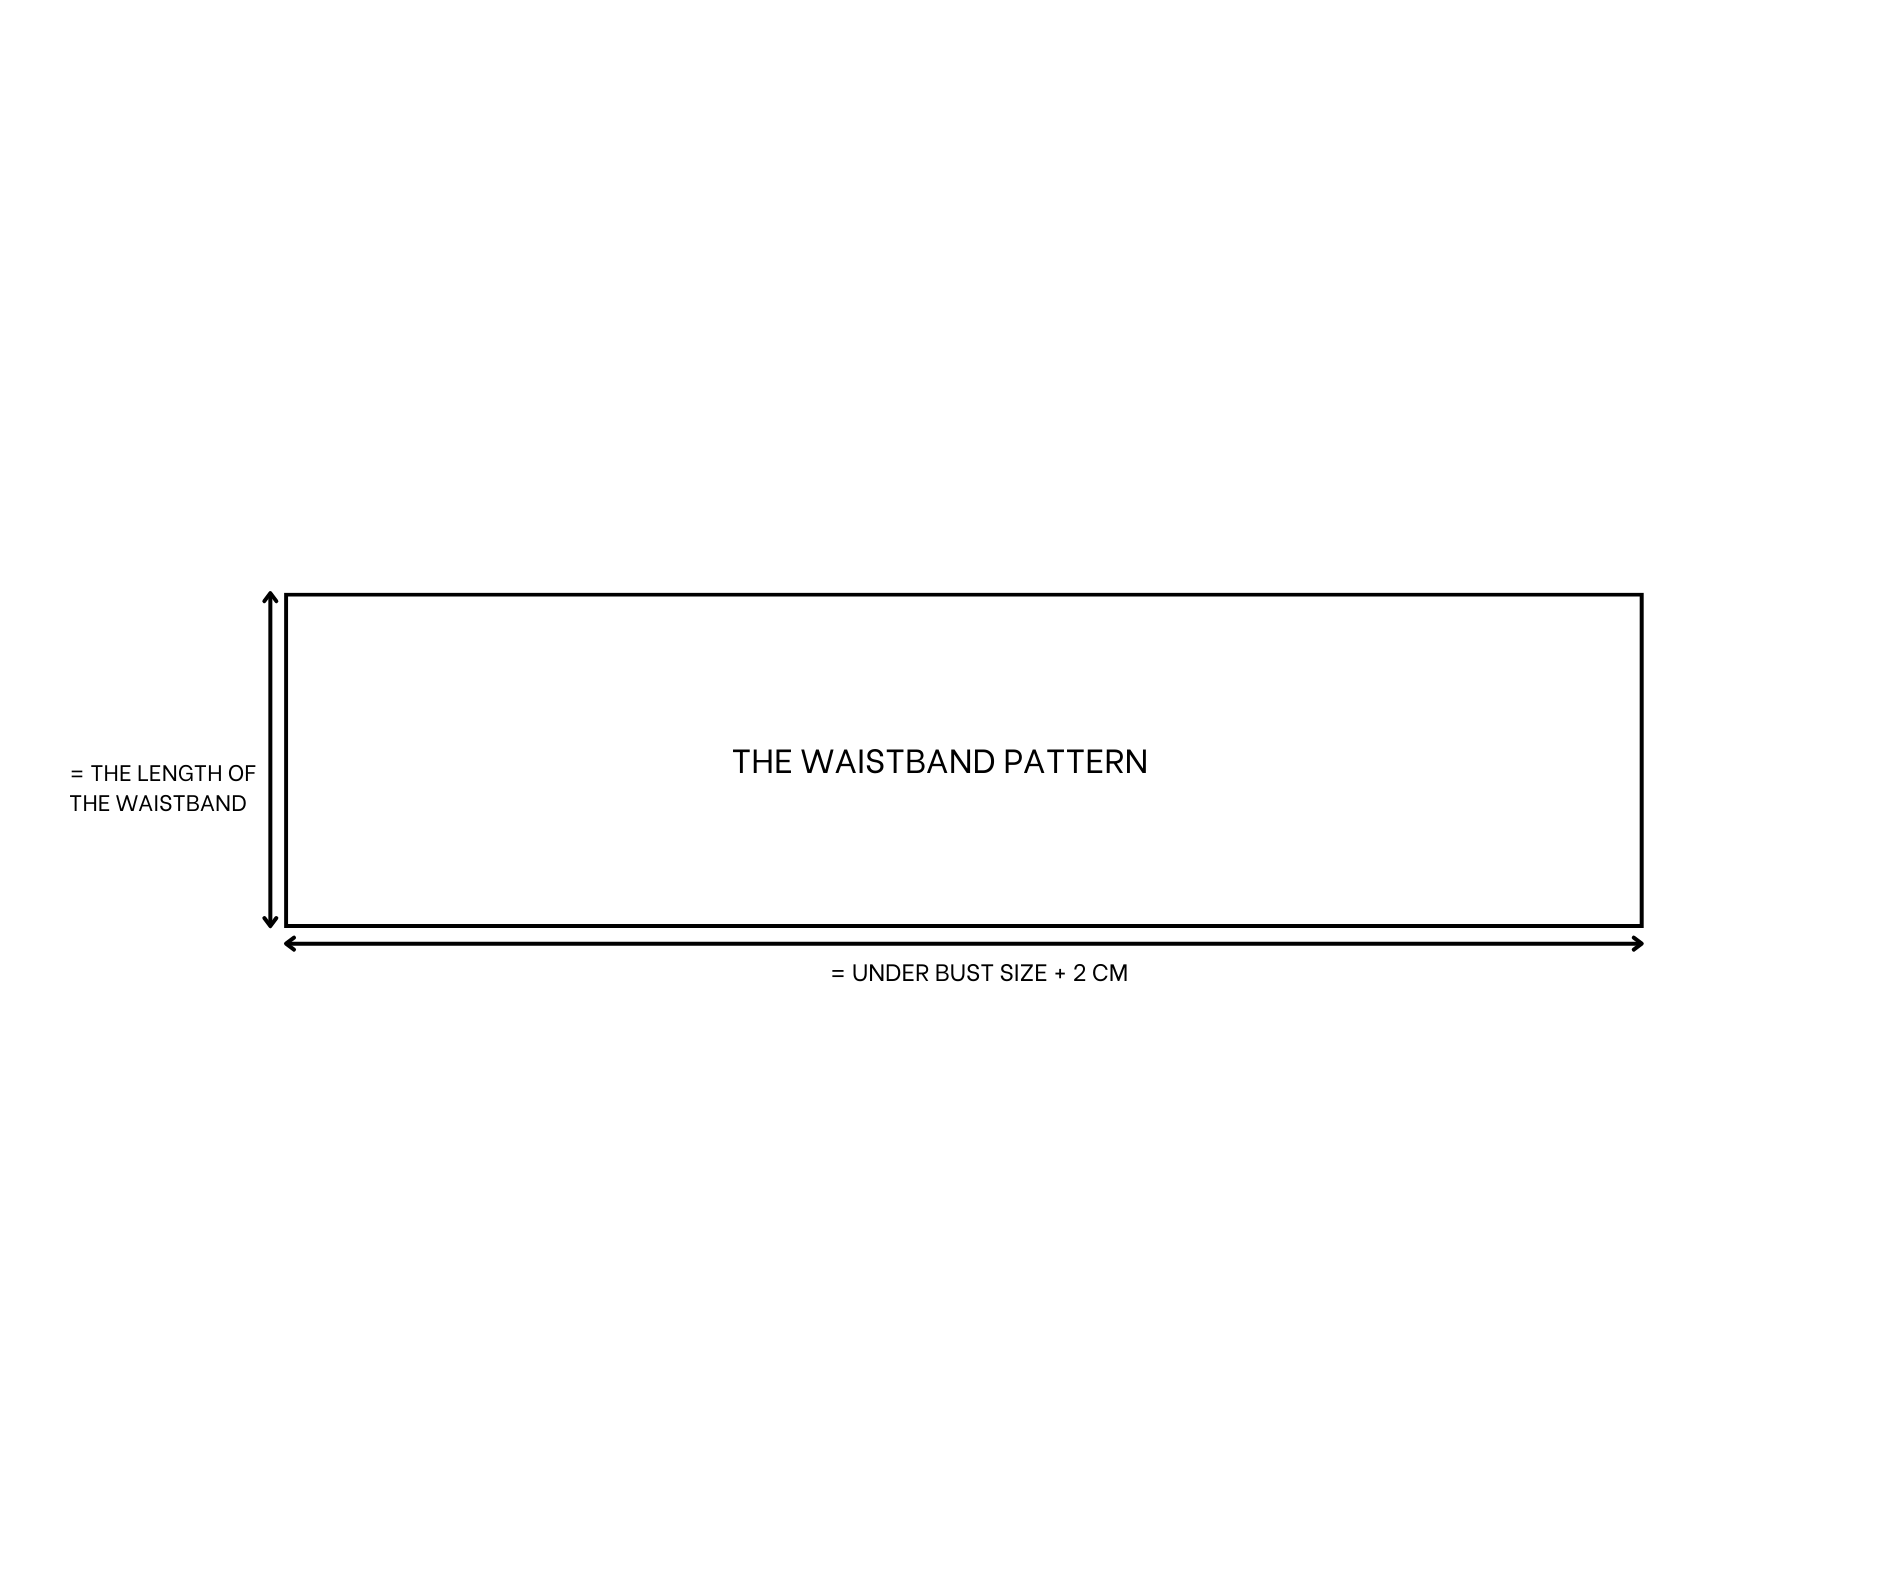
The waistband pattern
Cut two rectangles with a length of 10 cm and a width of 70 cm.
This width is the measurement of your under bust size plus an additional 2 cm for seam allowance.
THE POCKET PATTERN
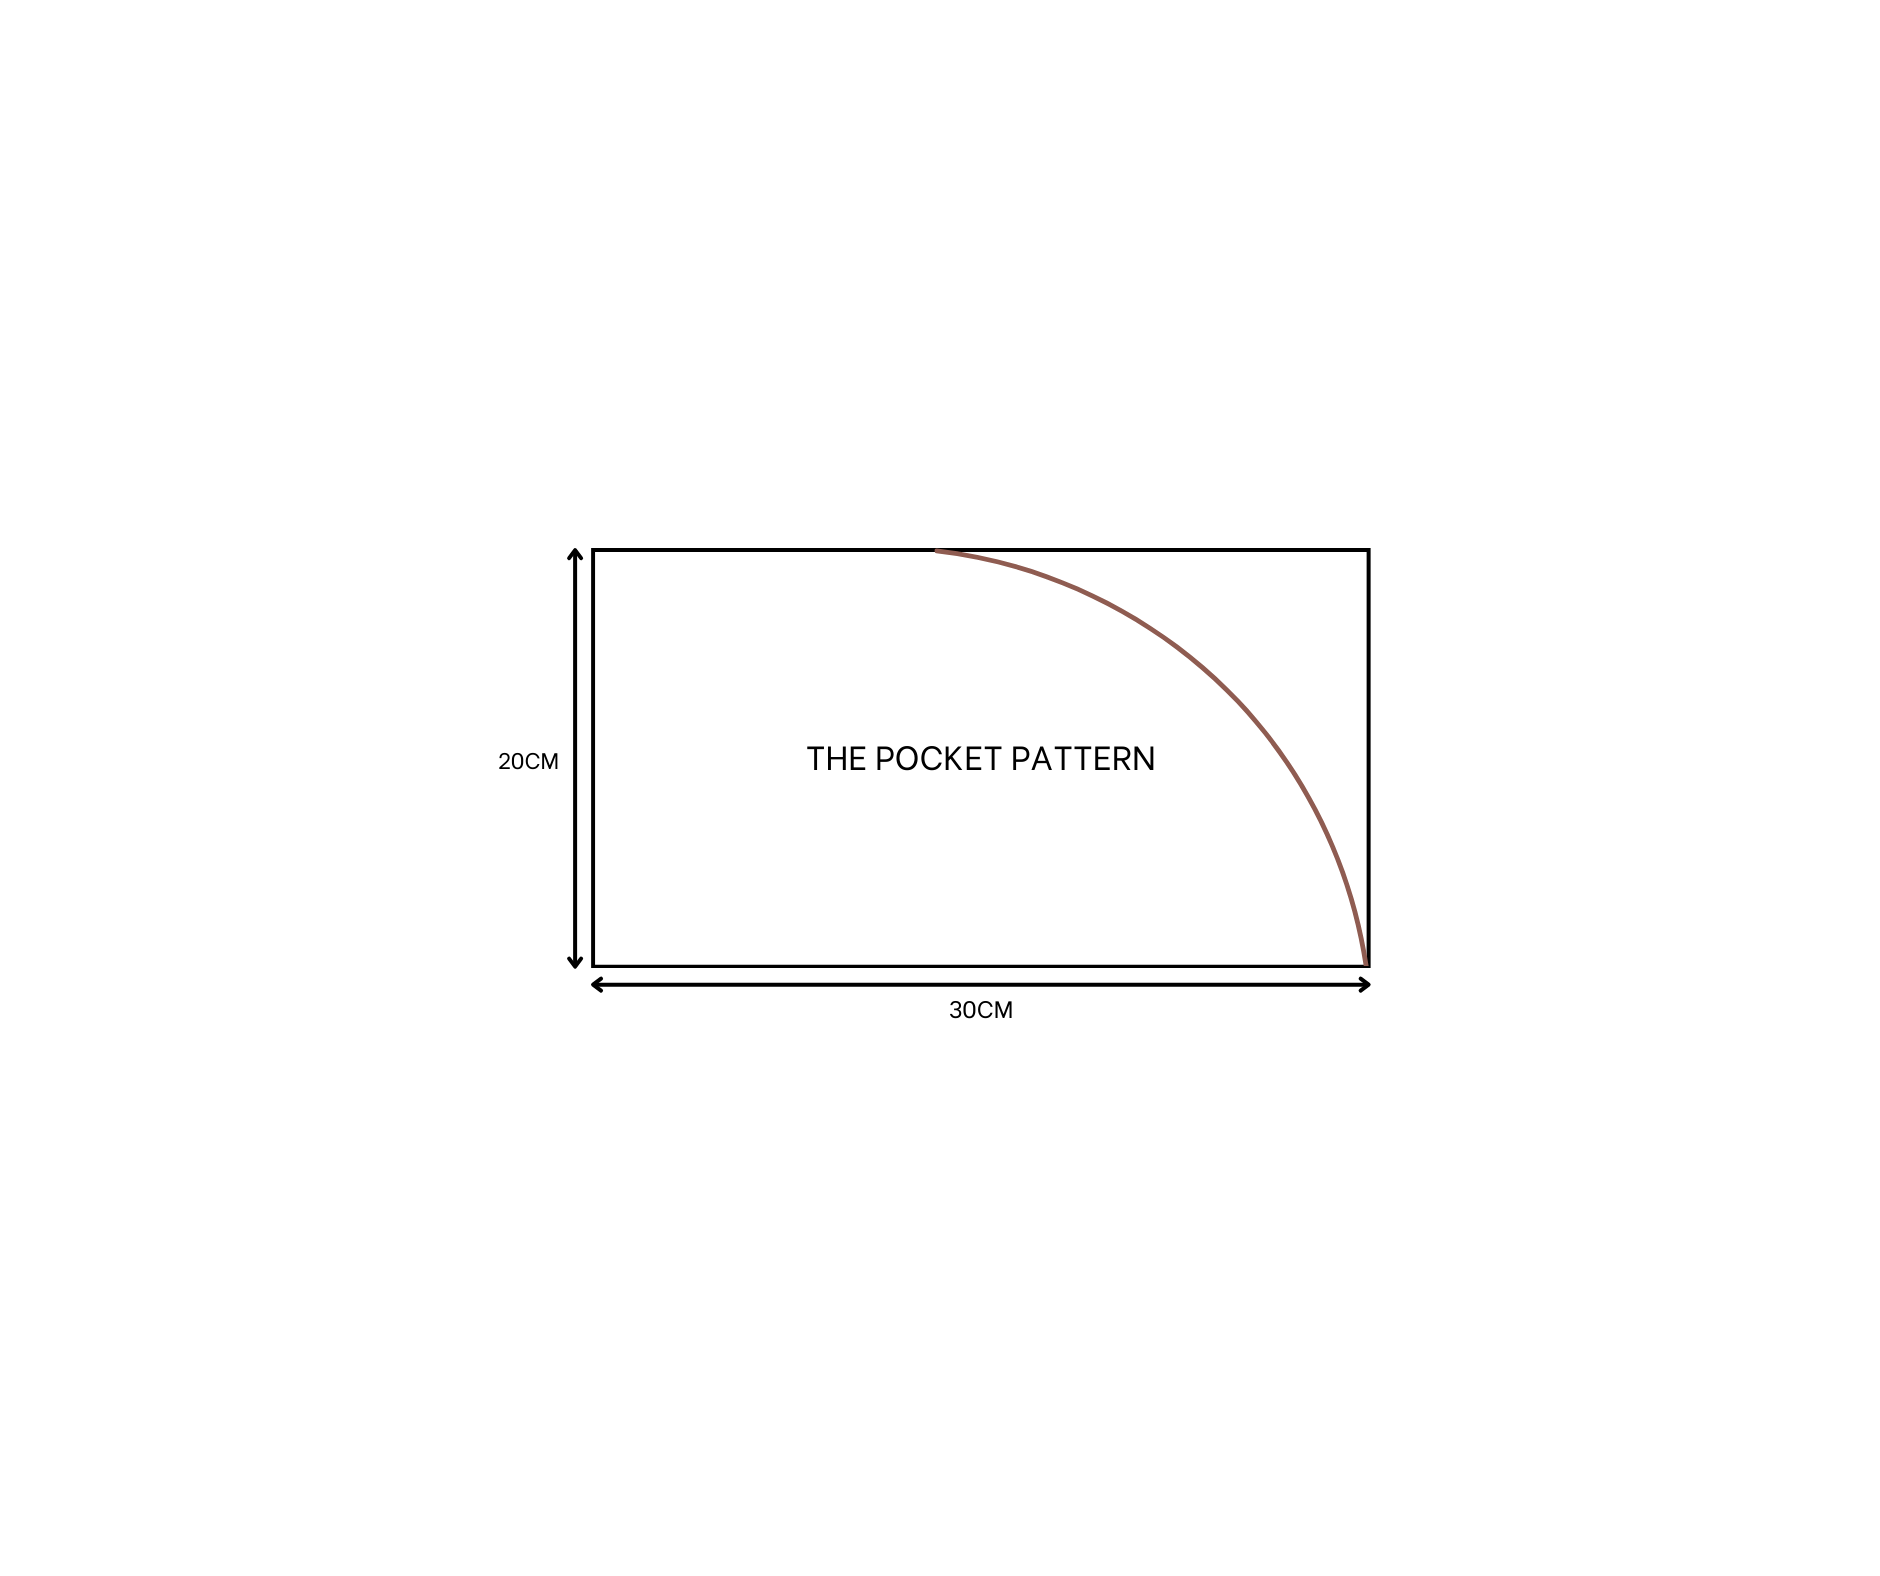
The pocket pattern
Cut a rectangle with a length of 20 cm and a width of 30 cm. This will form the base of your pocket.
On one width line, mark in the middle.
Draw a curved line to connect to one end of the other width line.
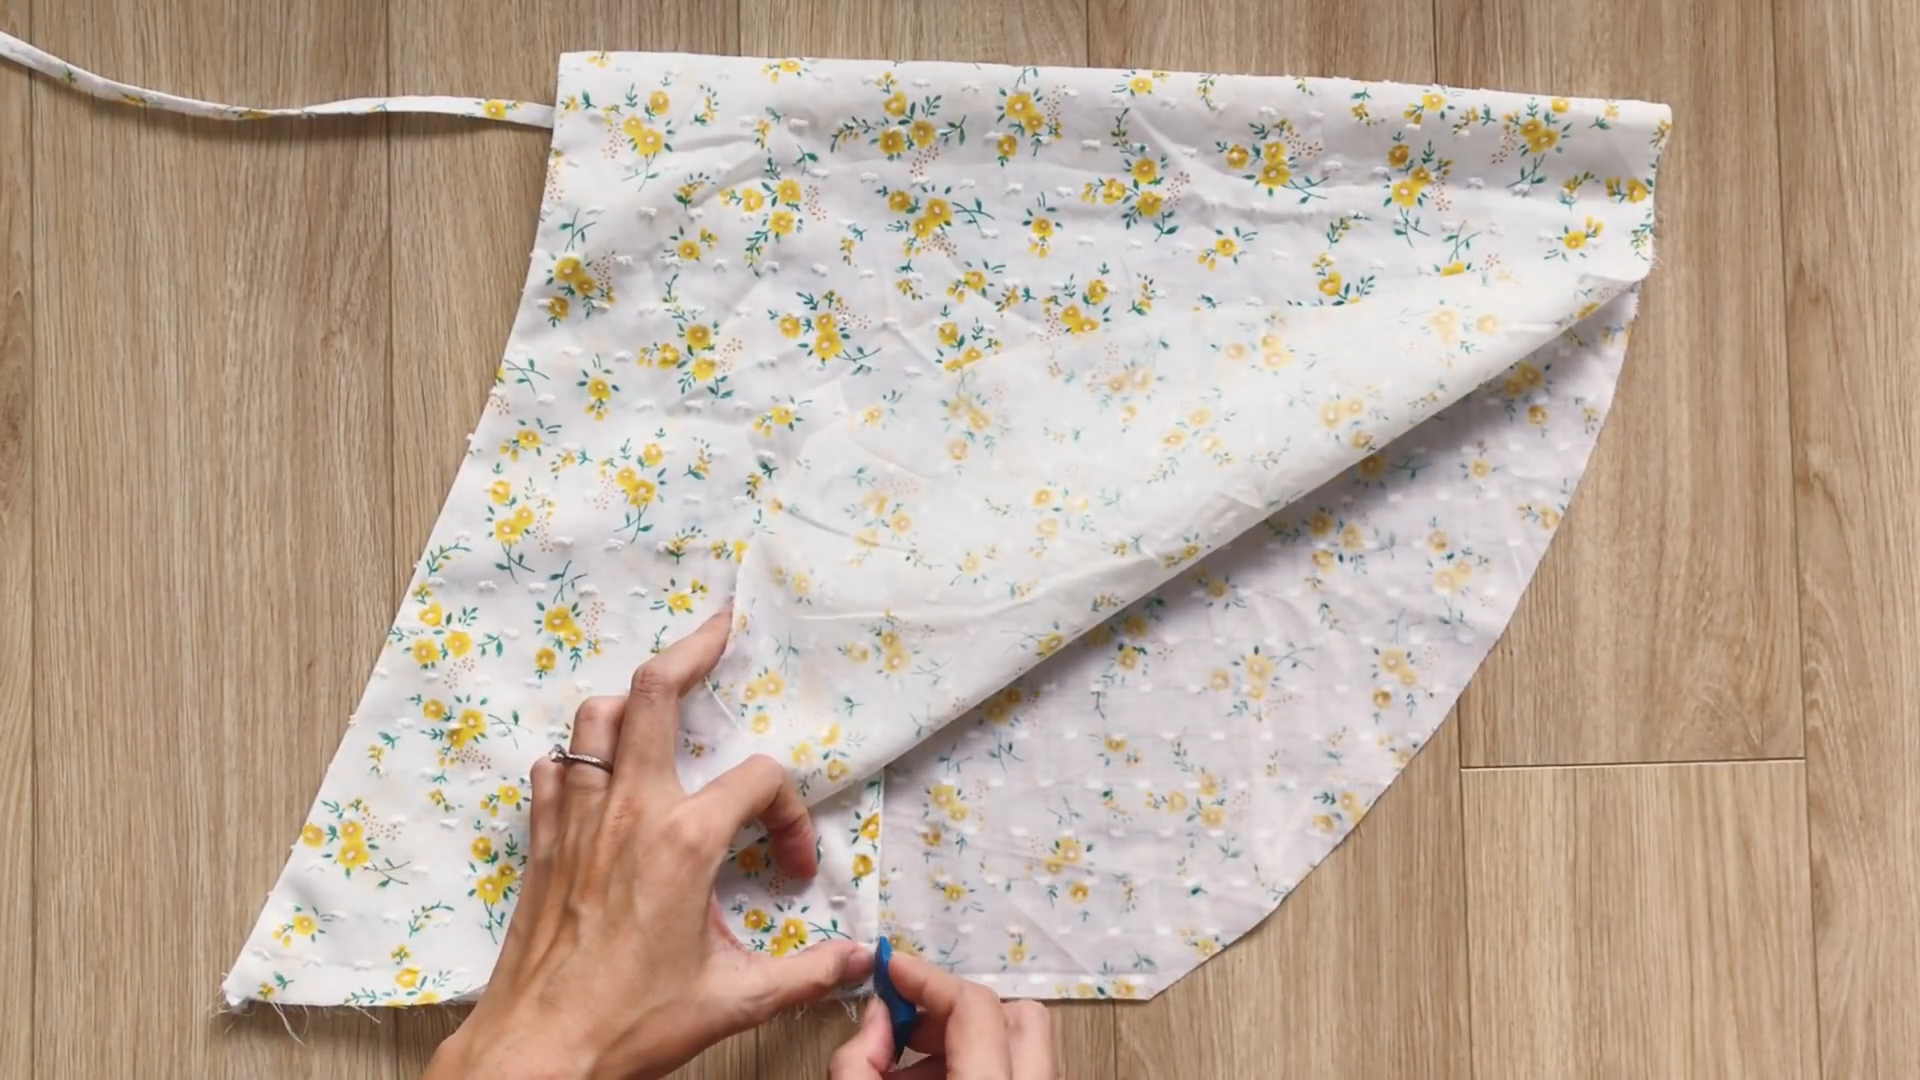
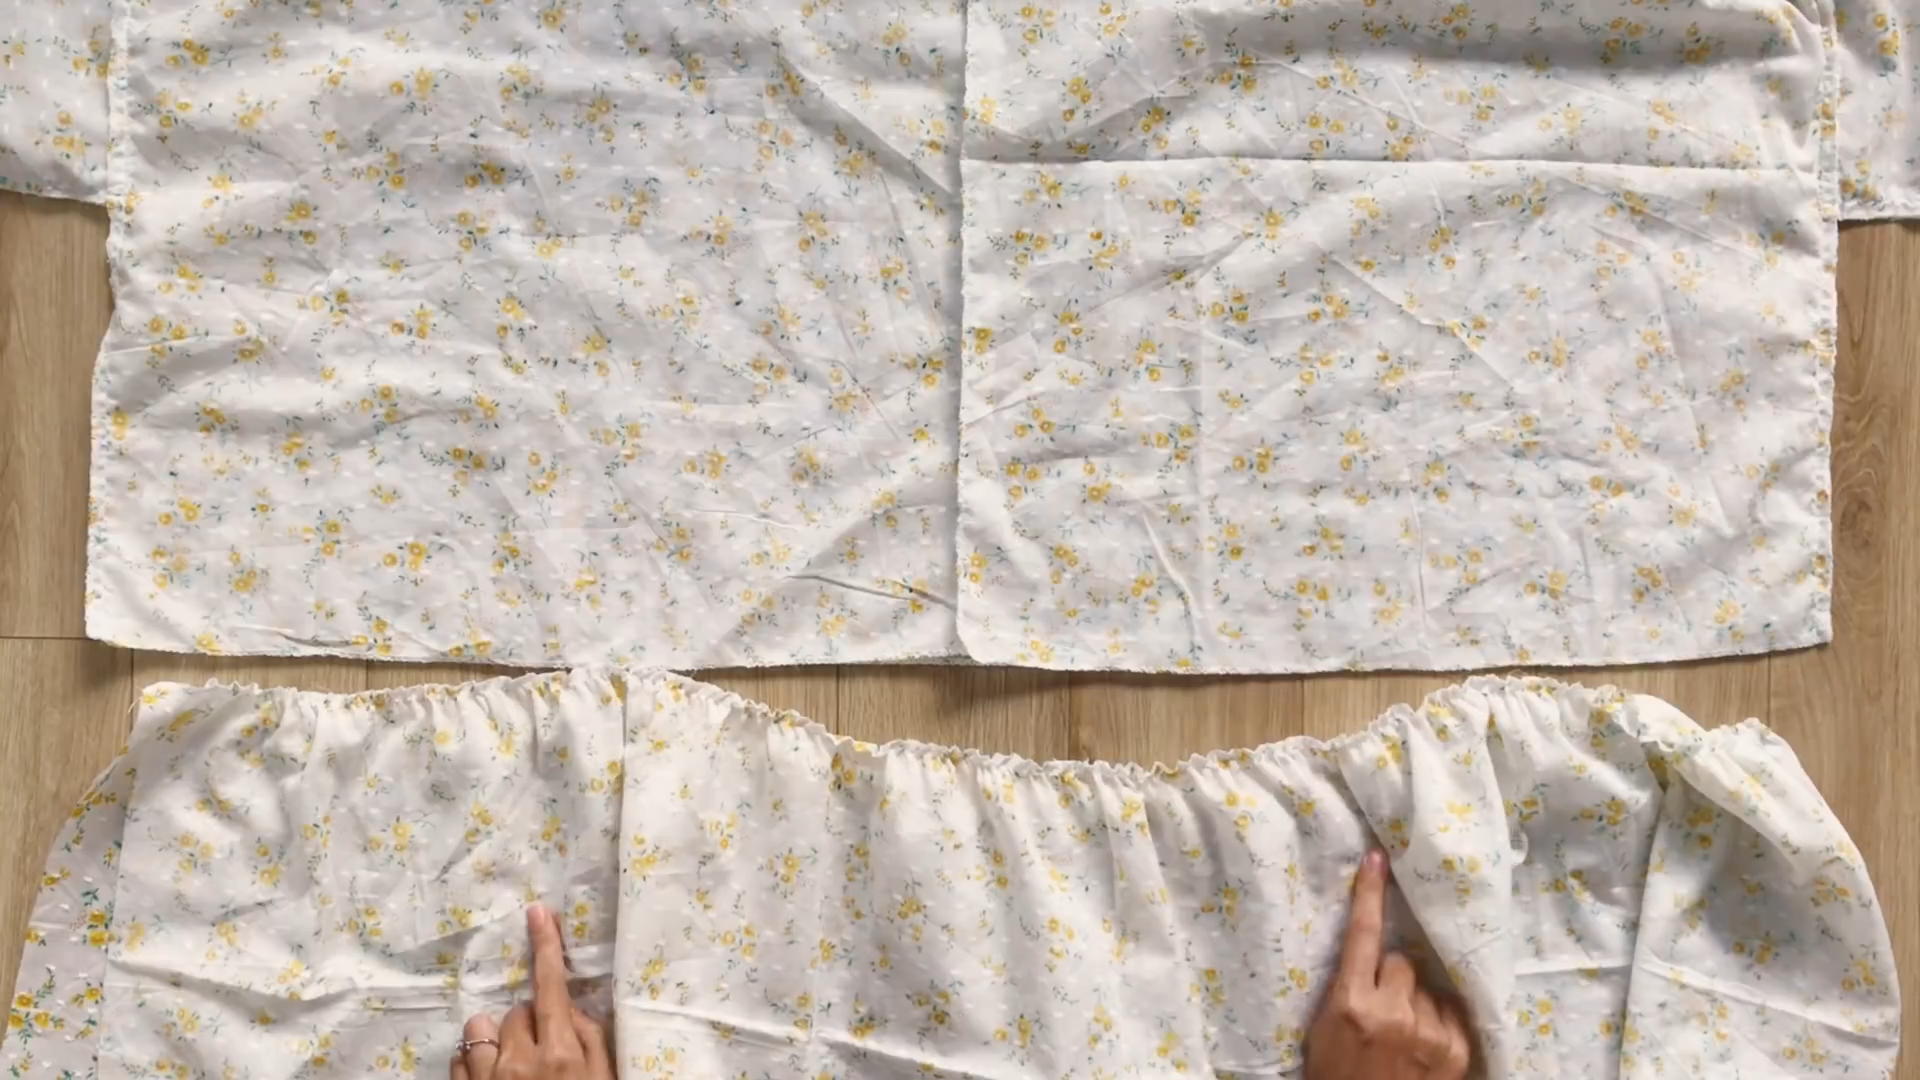
SEWING THE DRESS
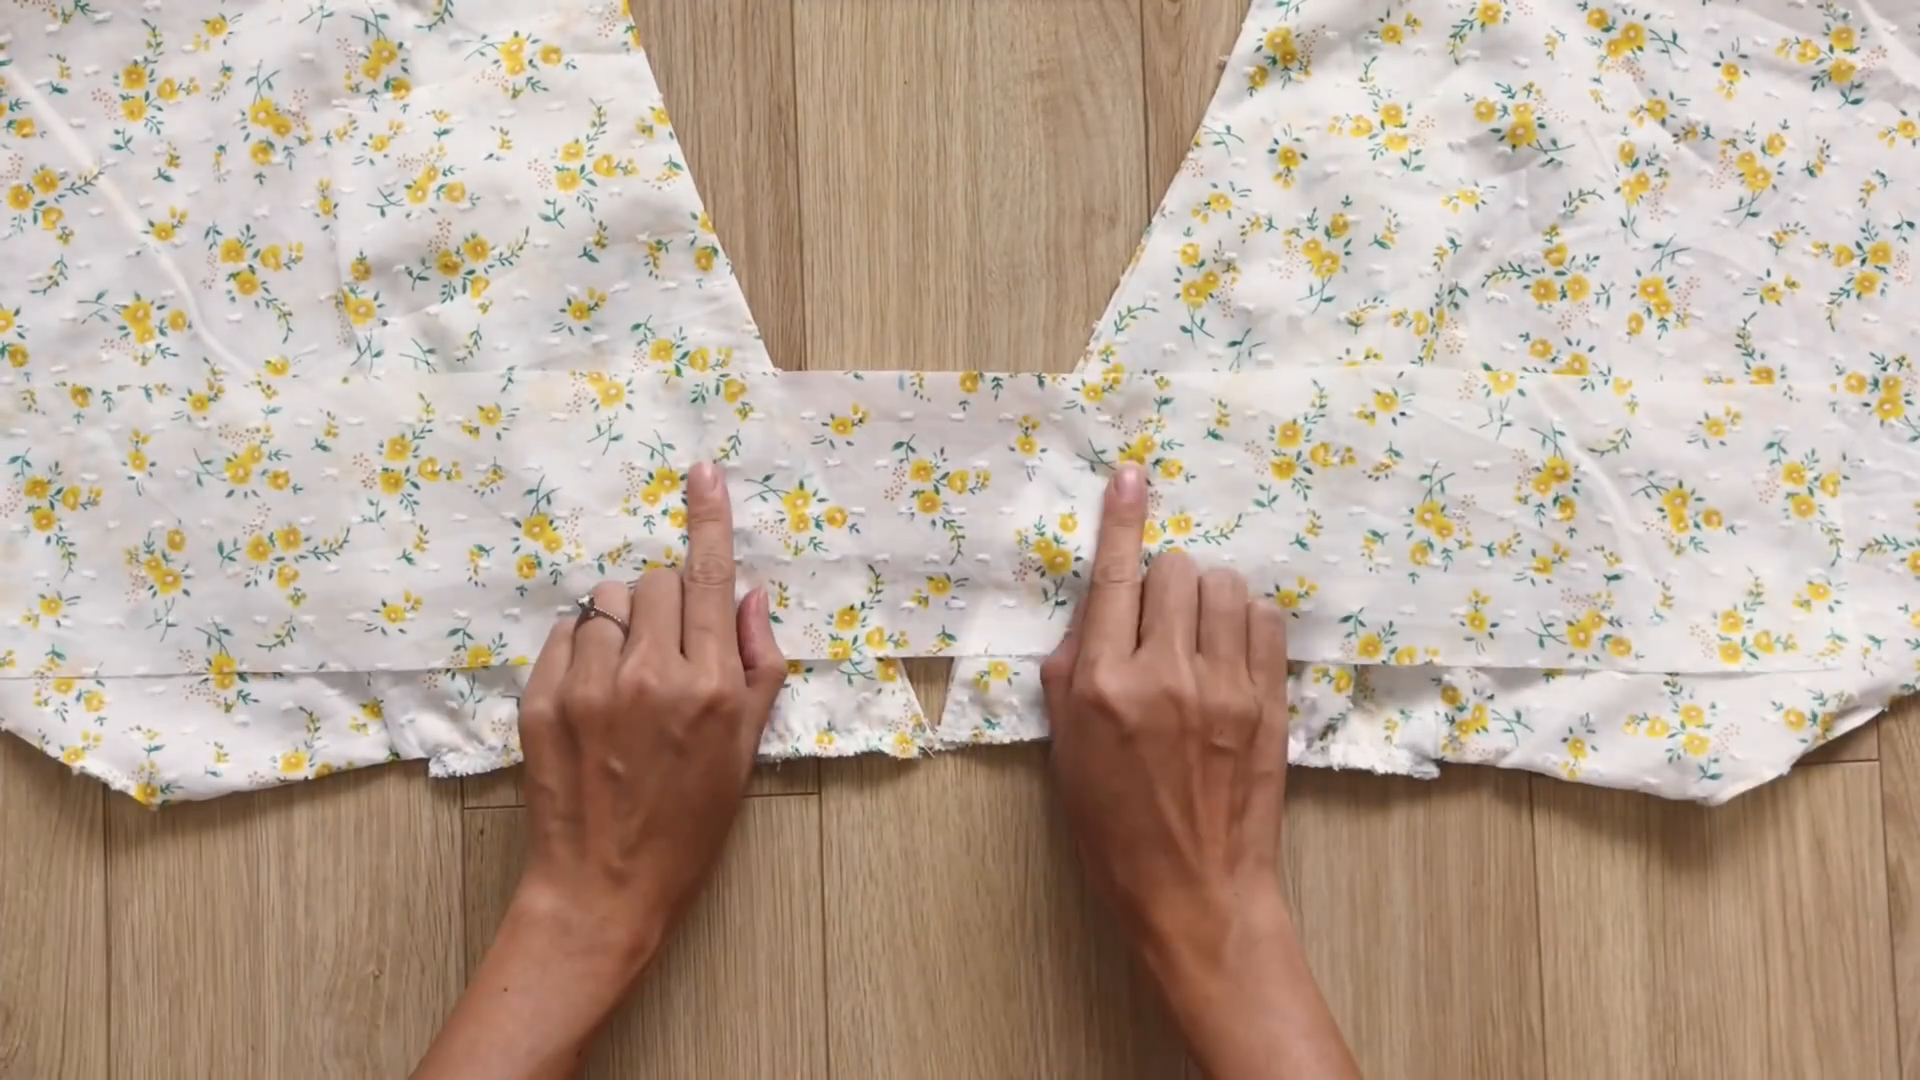
THE TOP
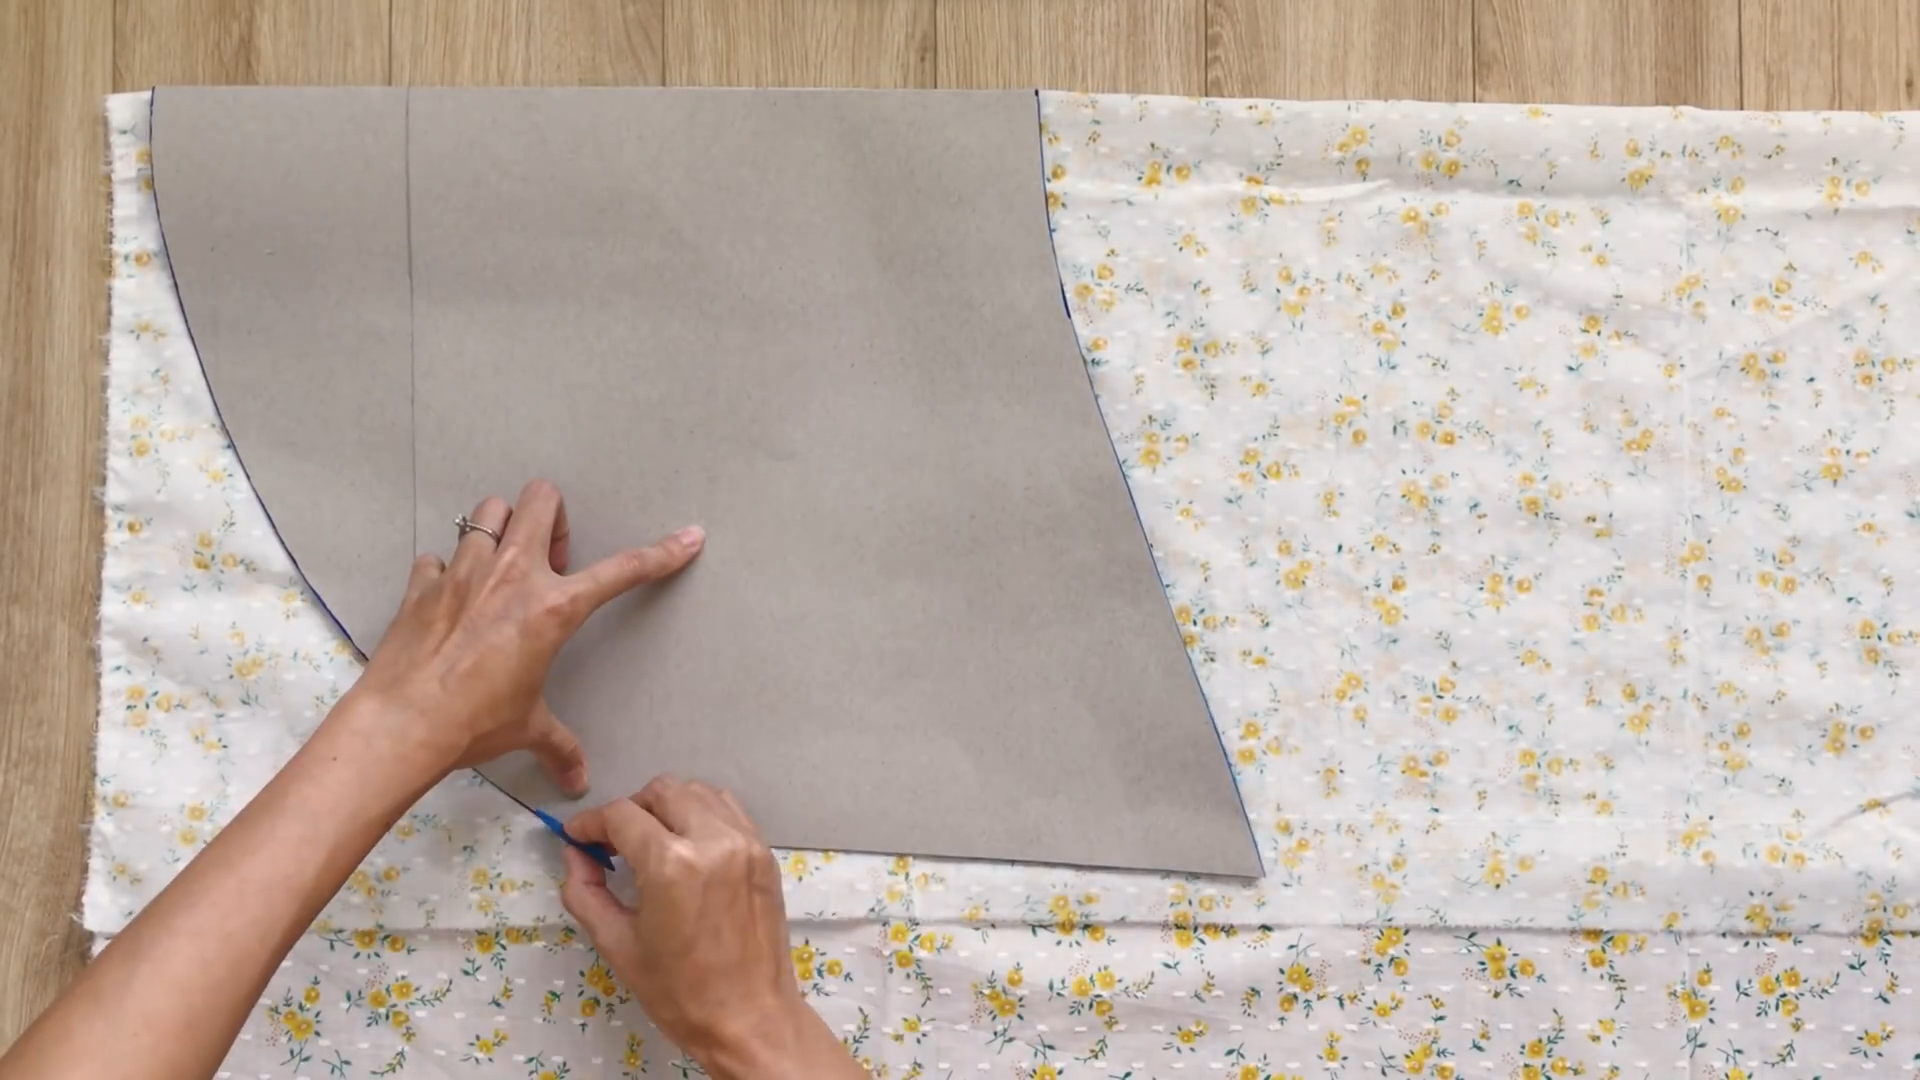
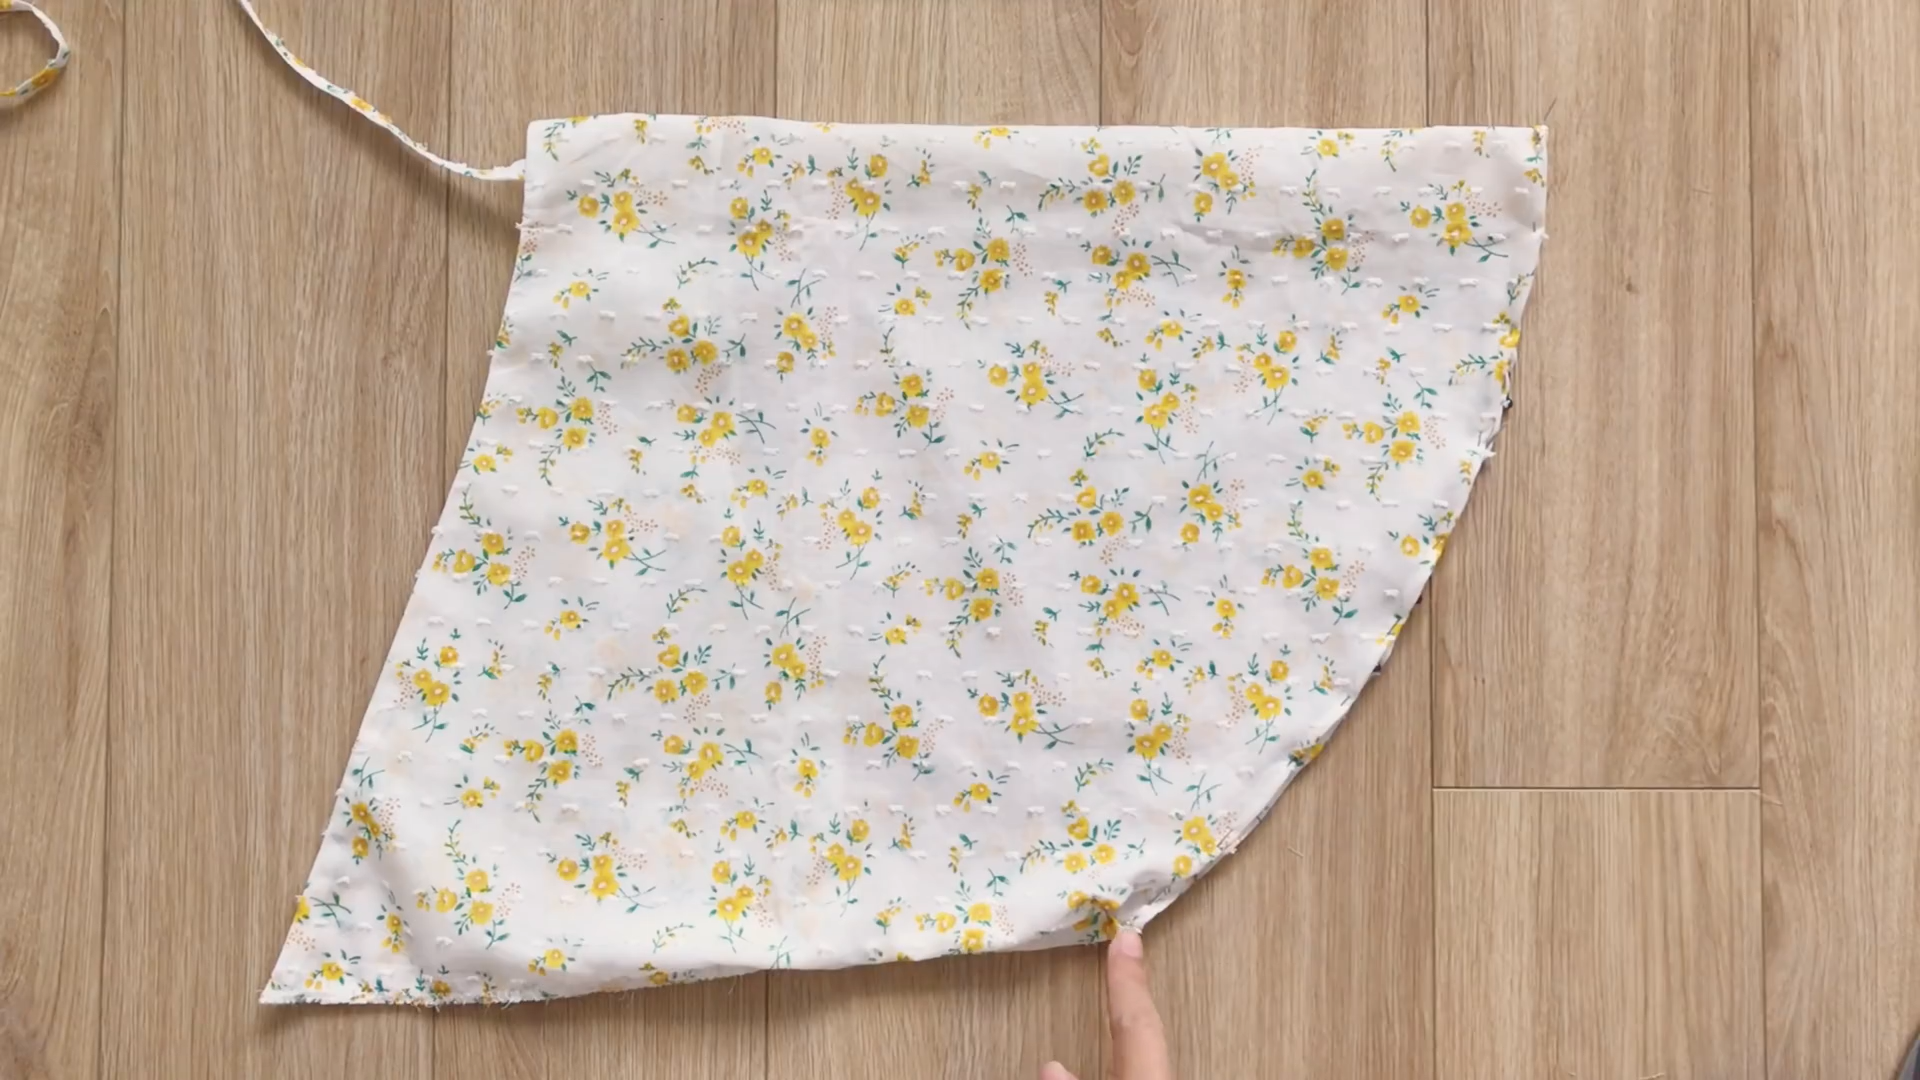
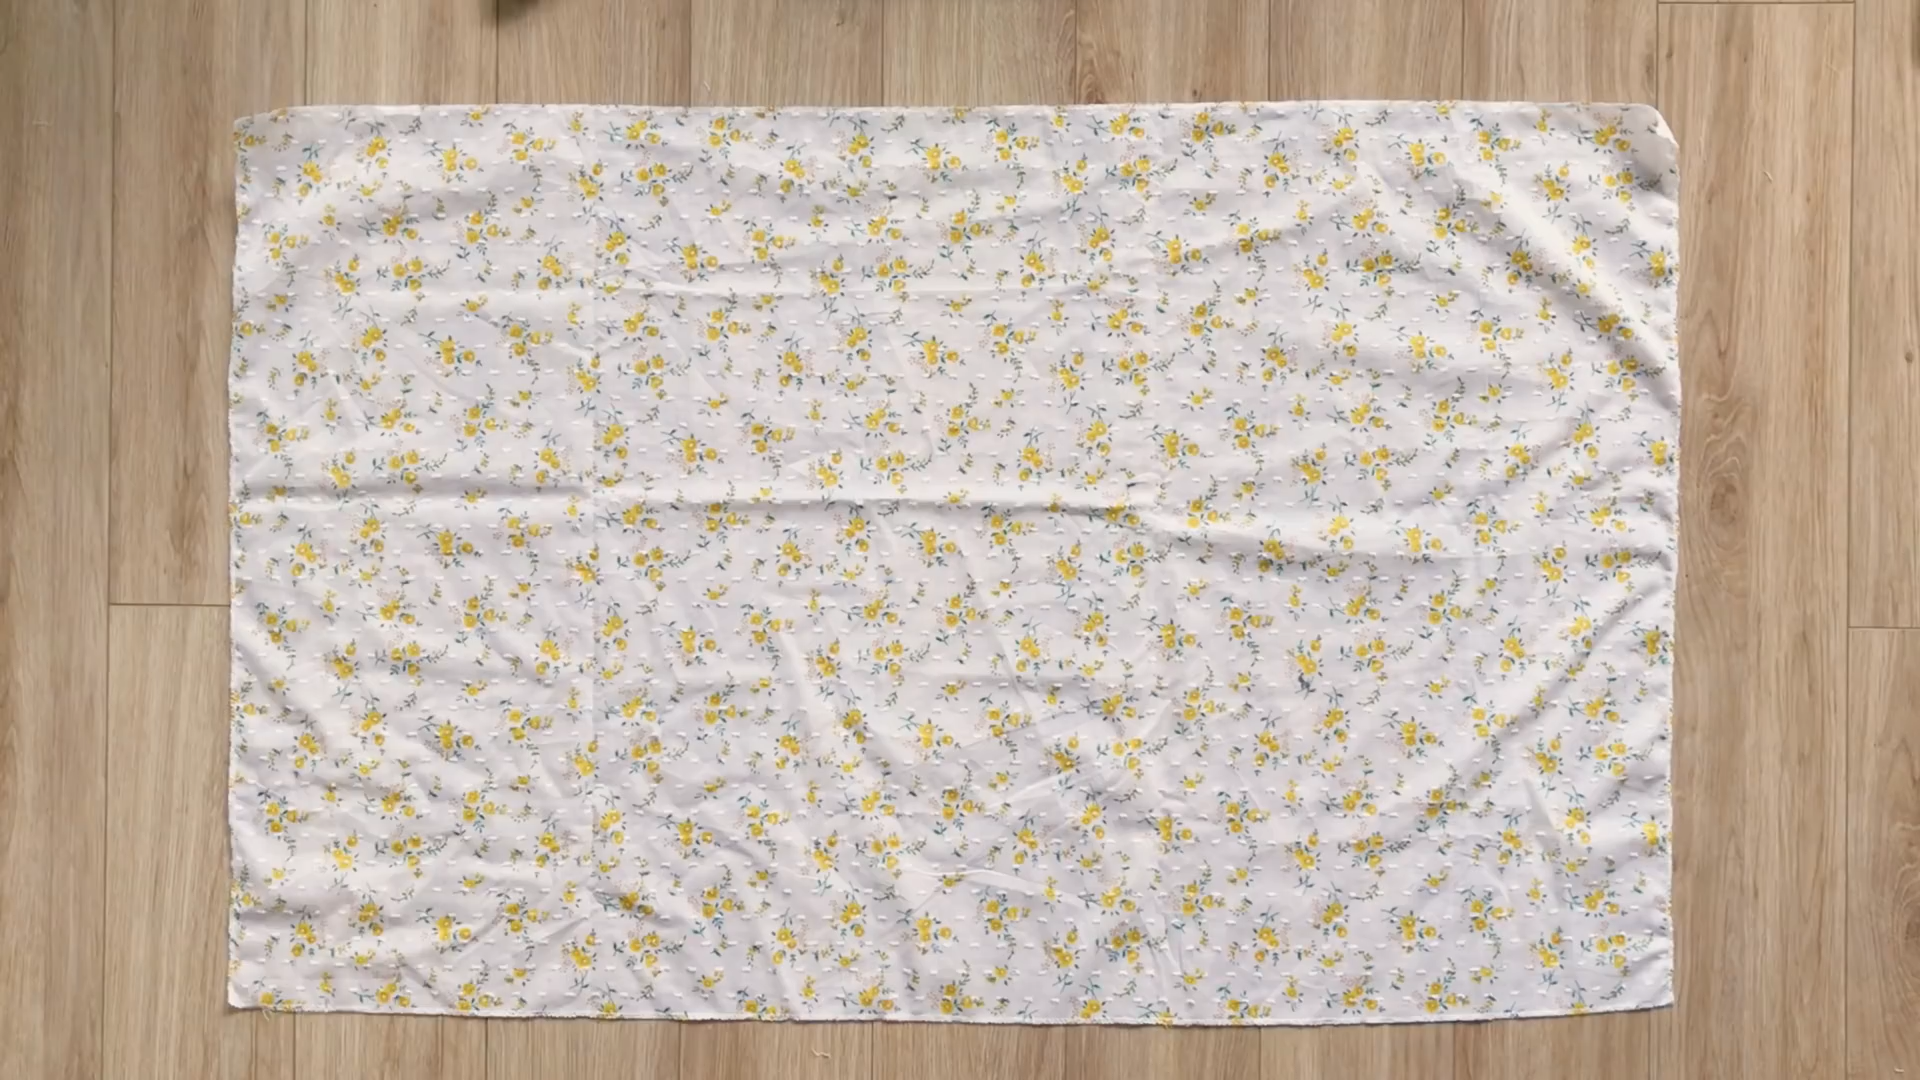
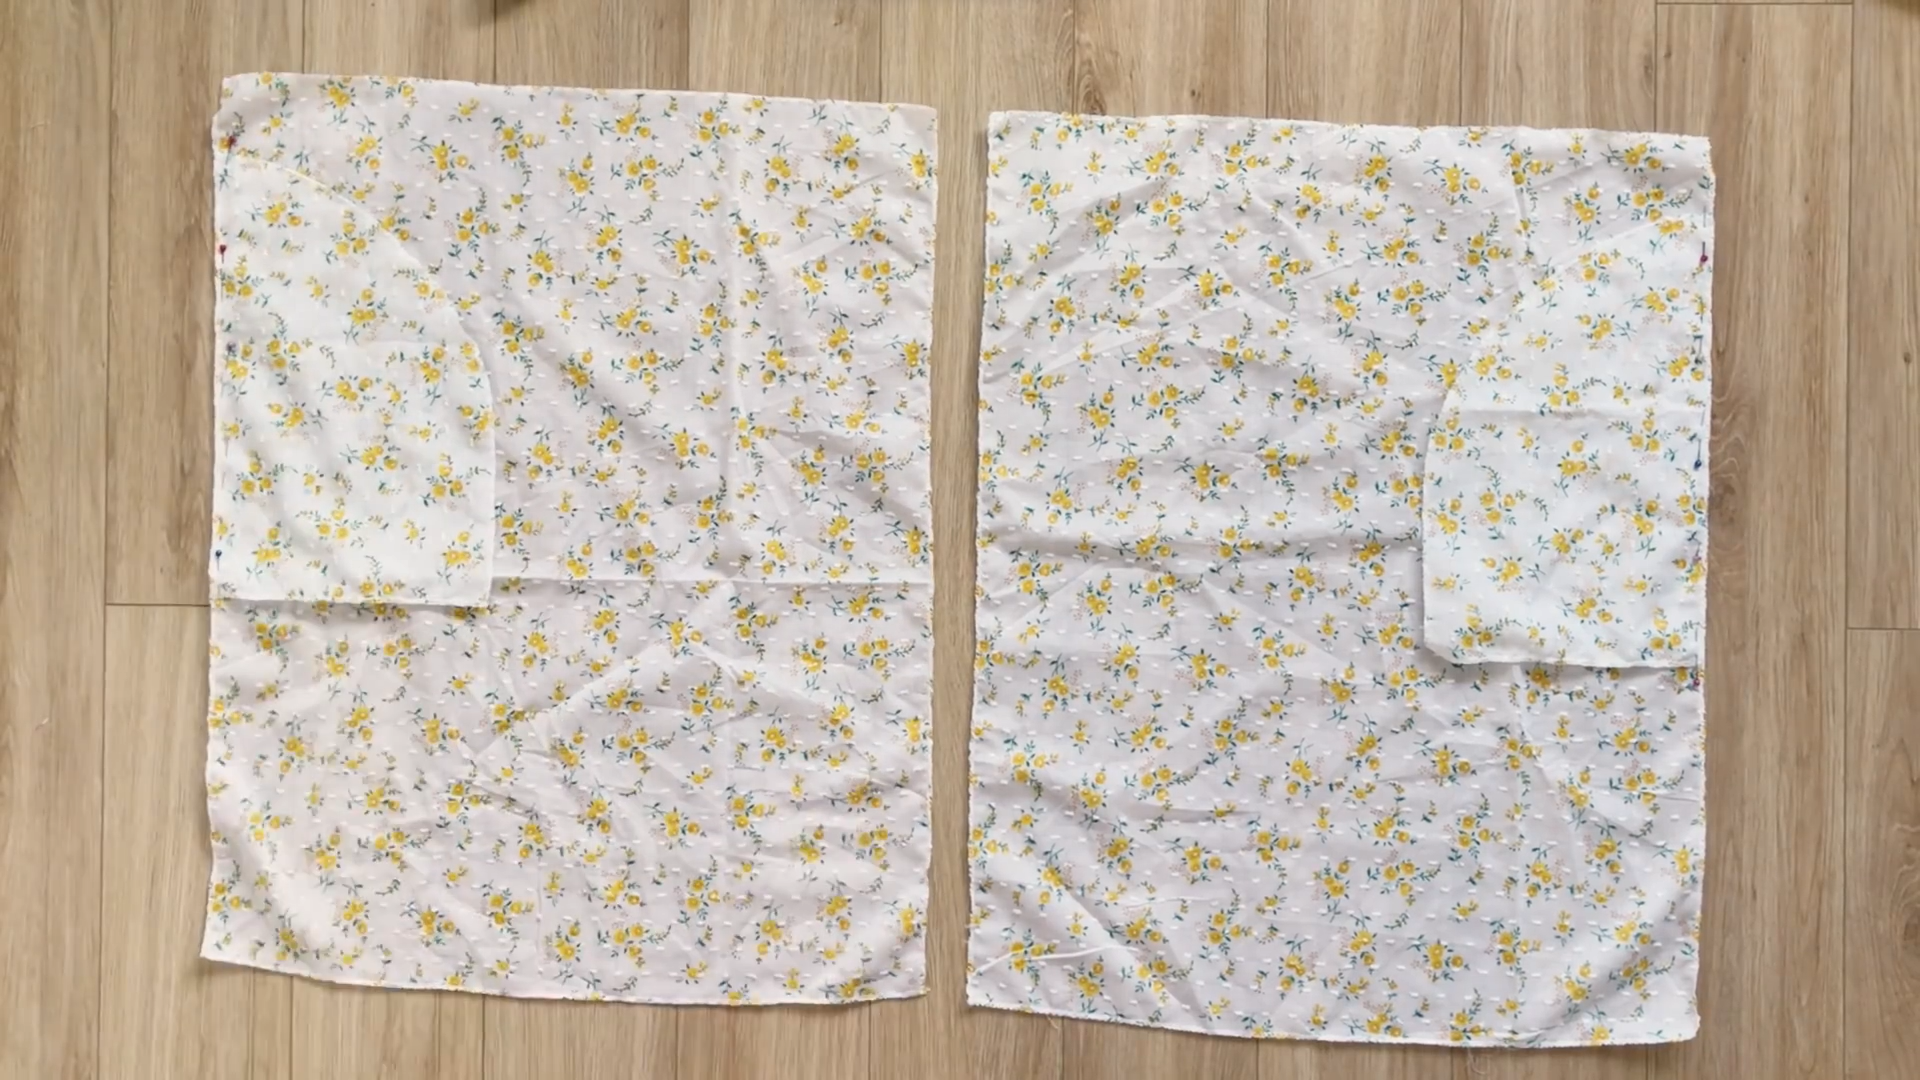
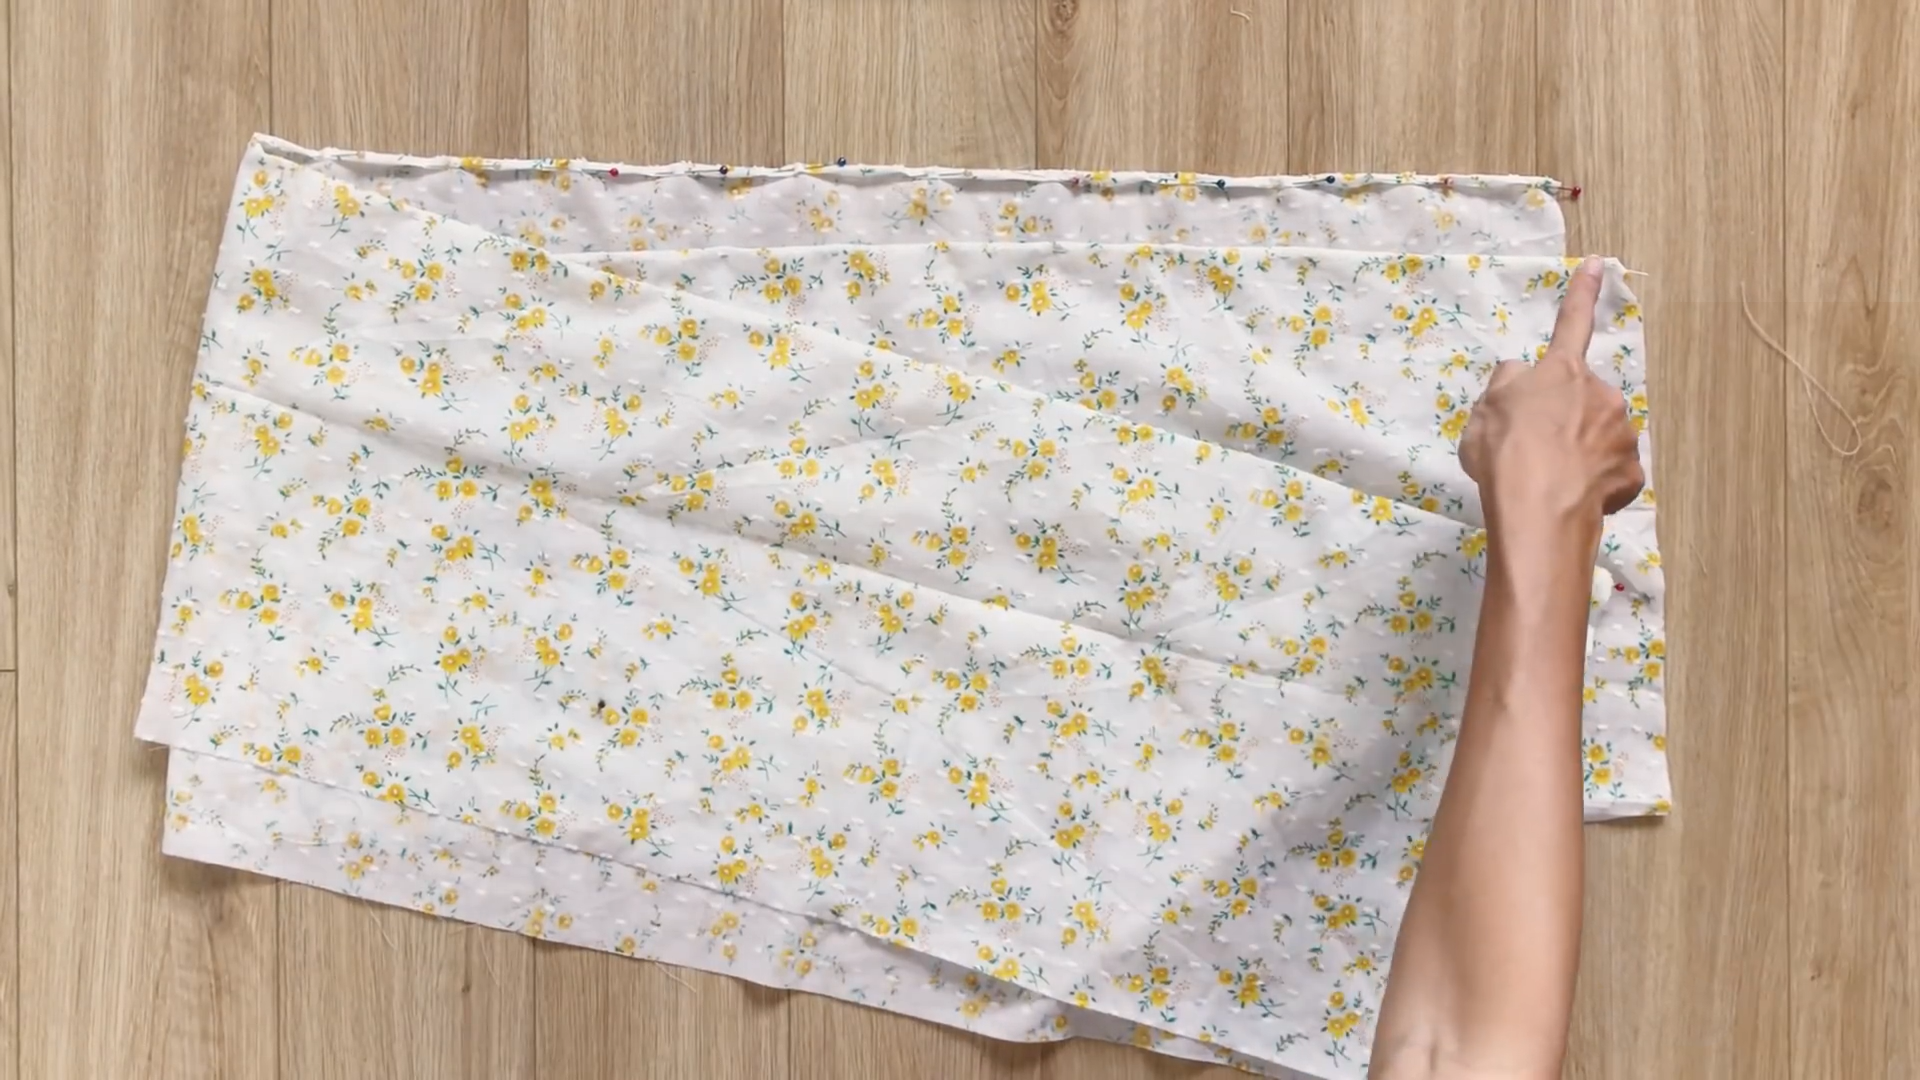
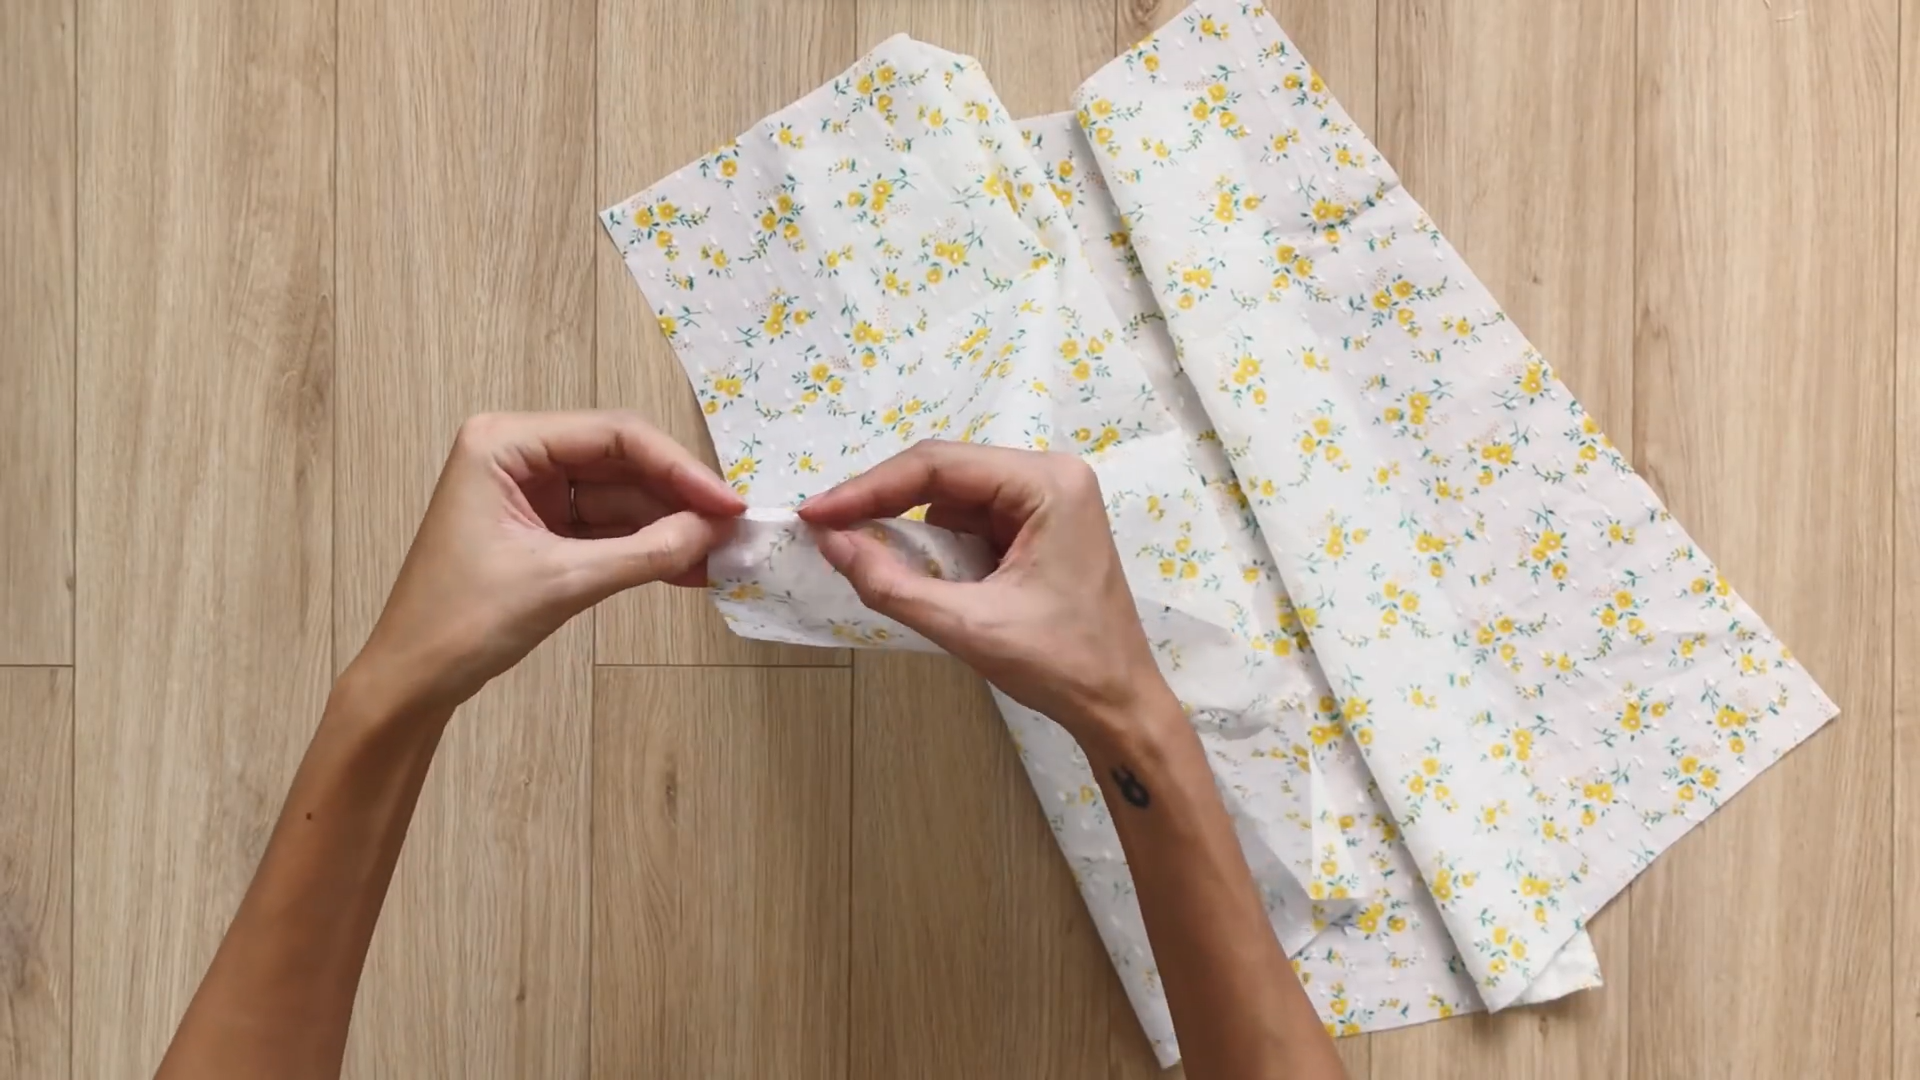
Apply the pattern on the fabric and cut along. You will need two pieces each for the outside pattern and inside pattern.
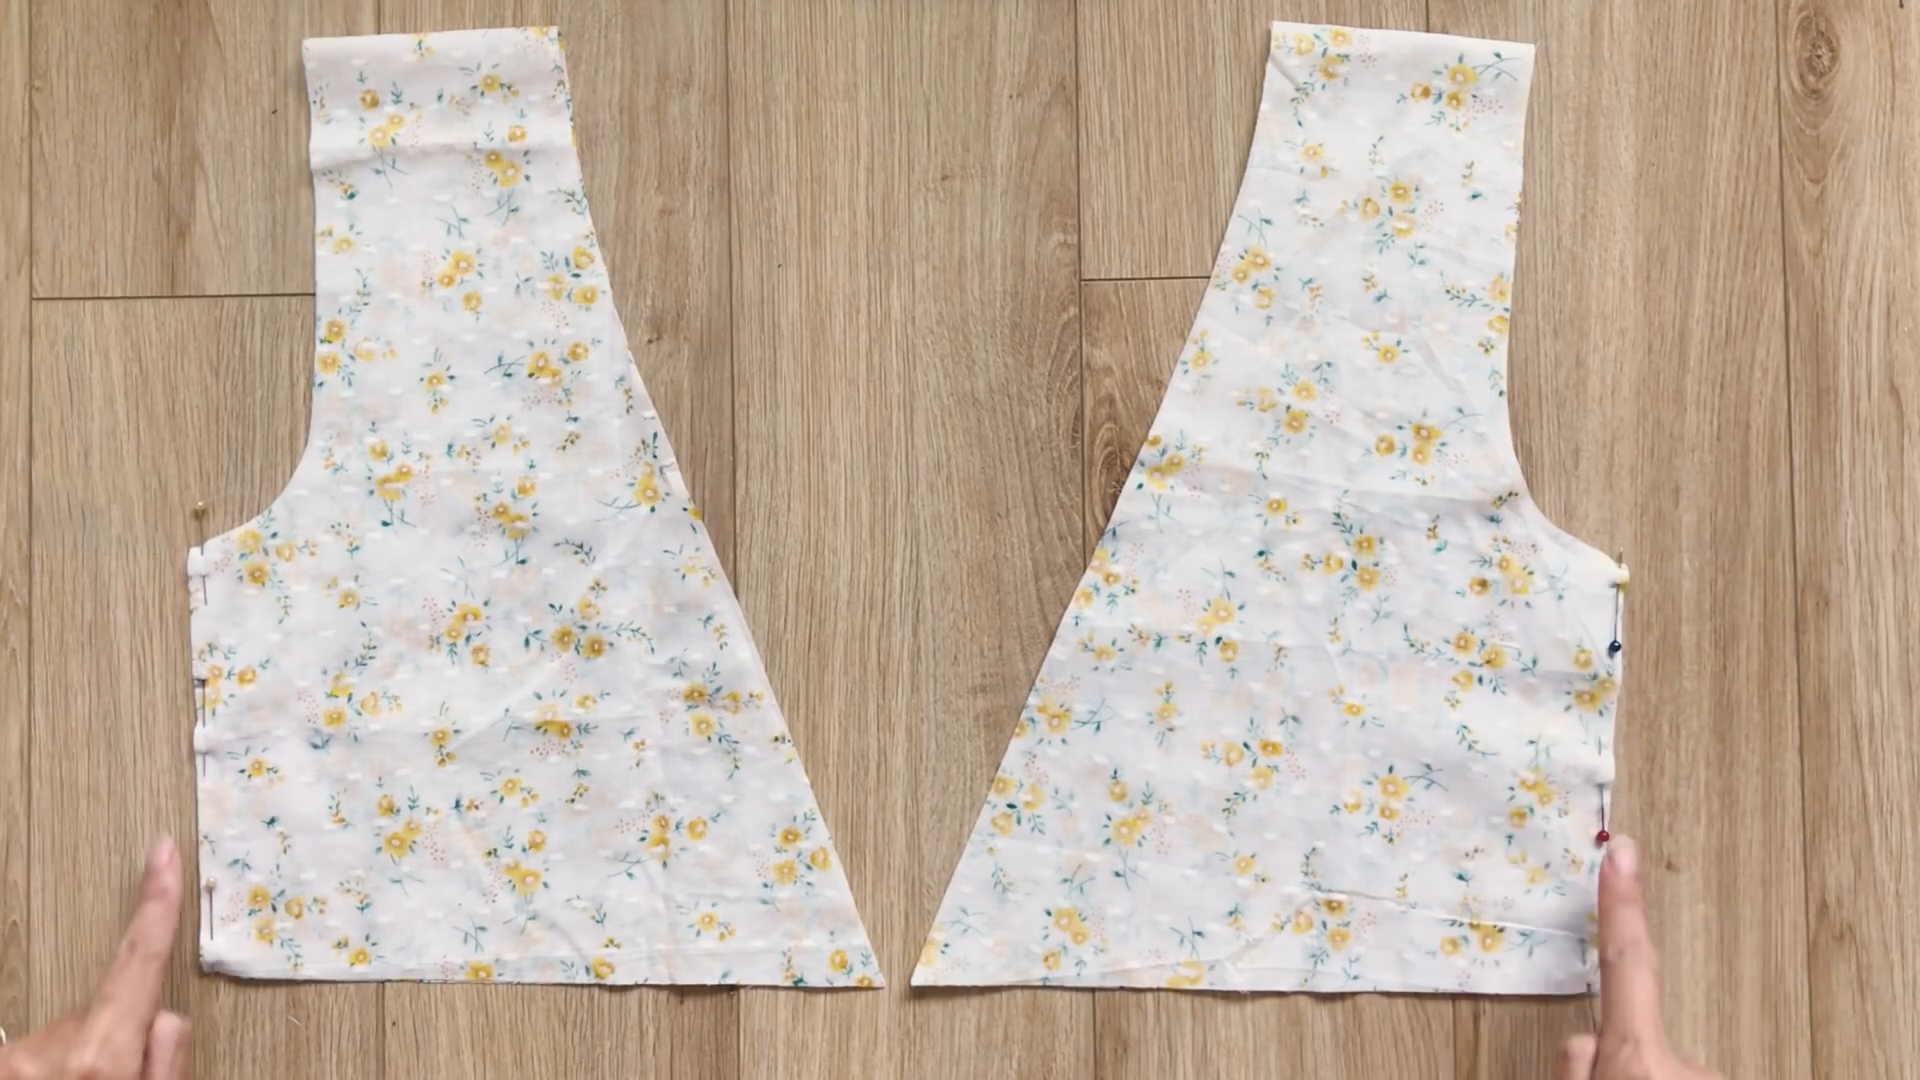
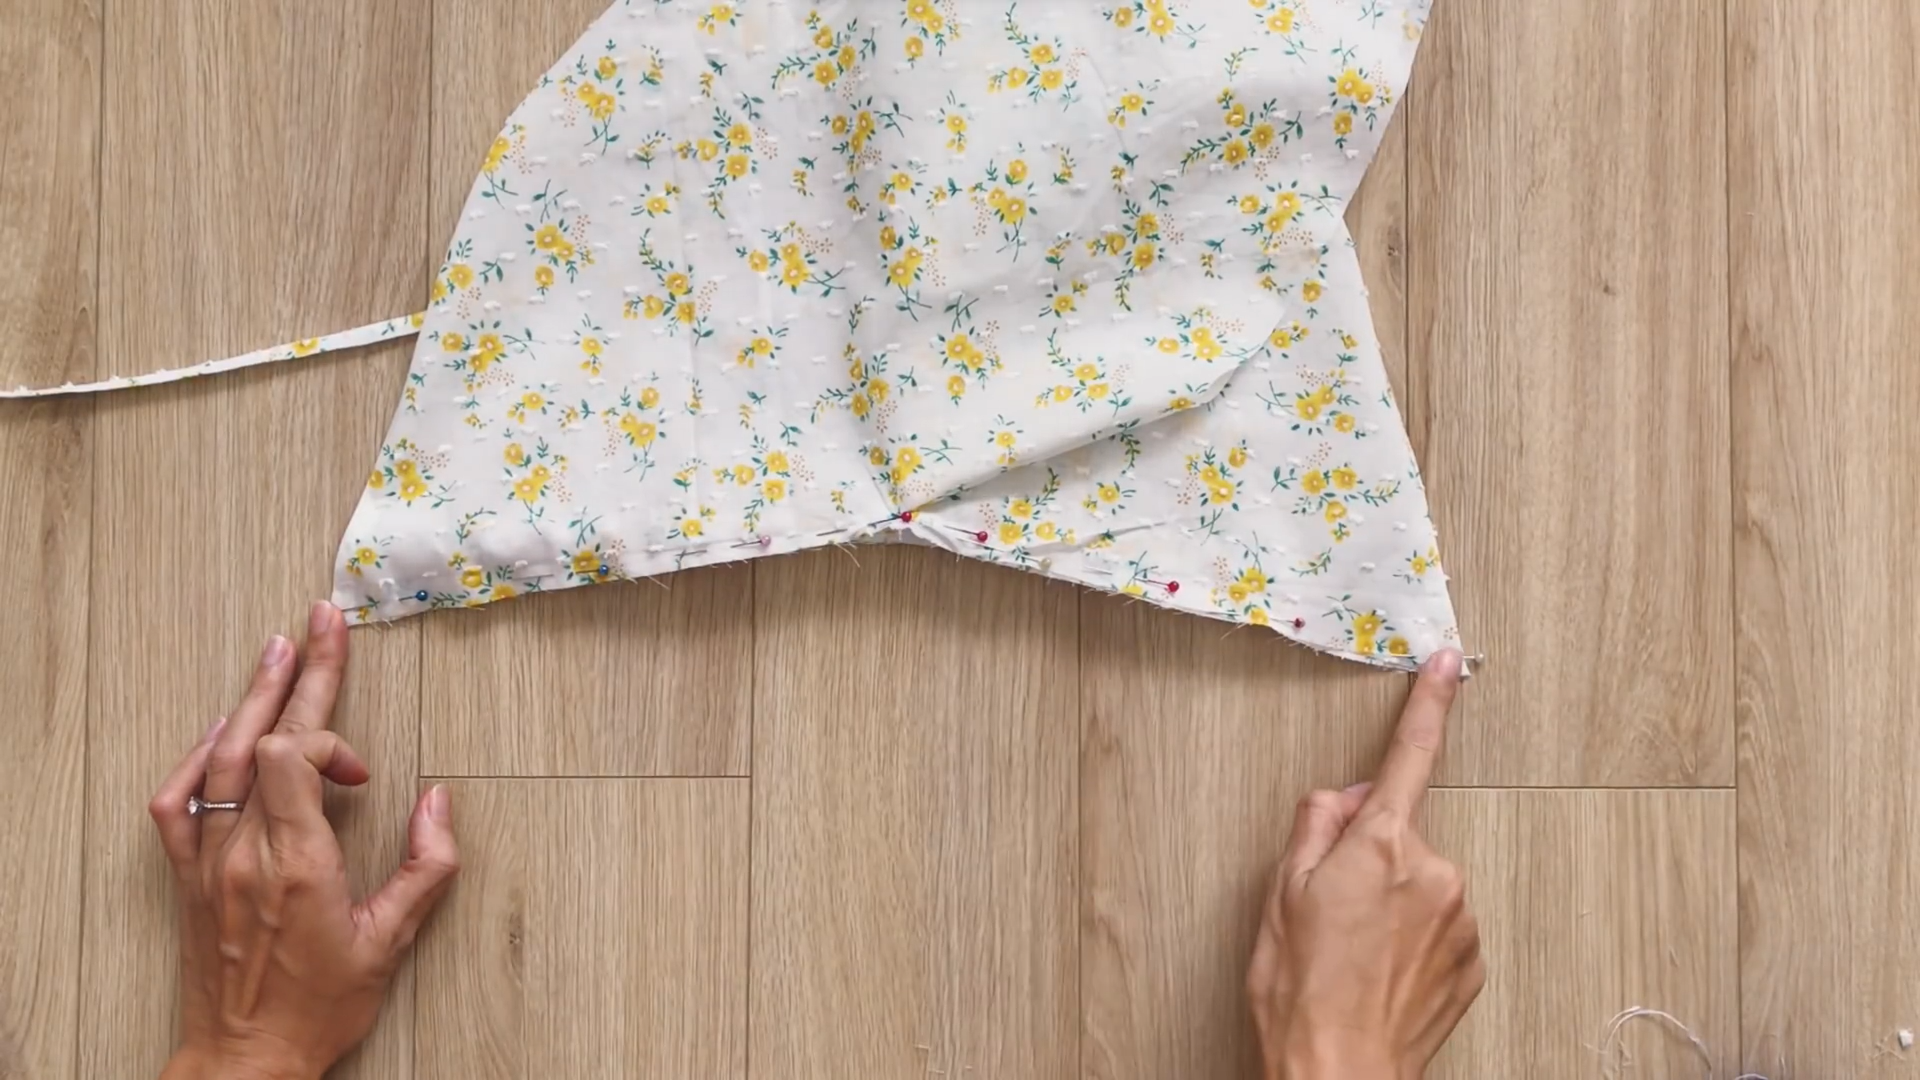
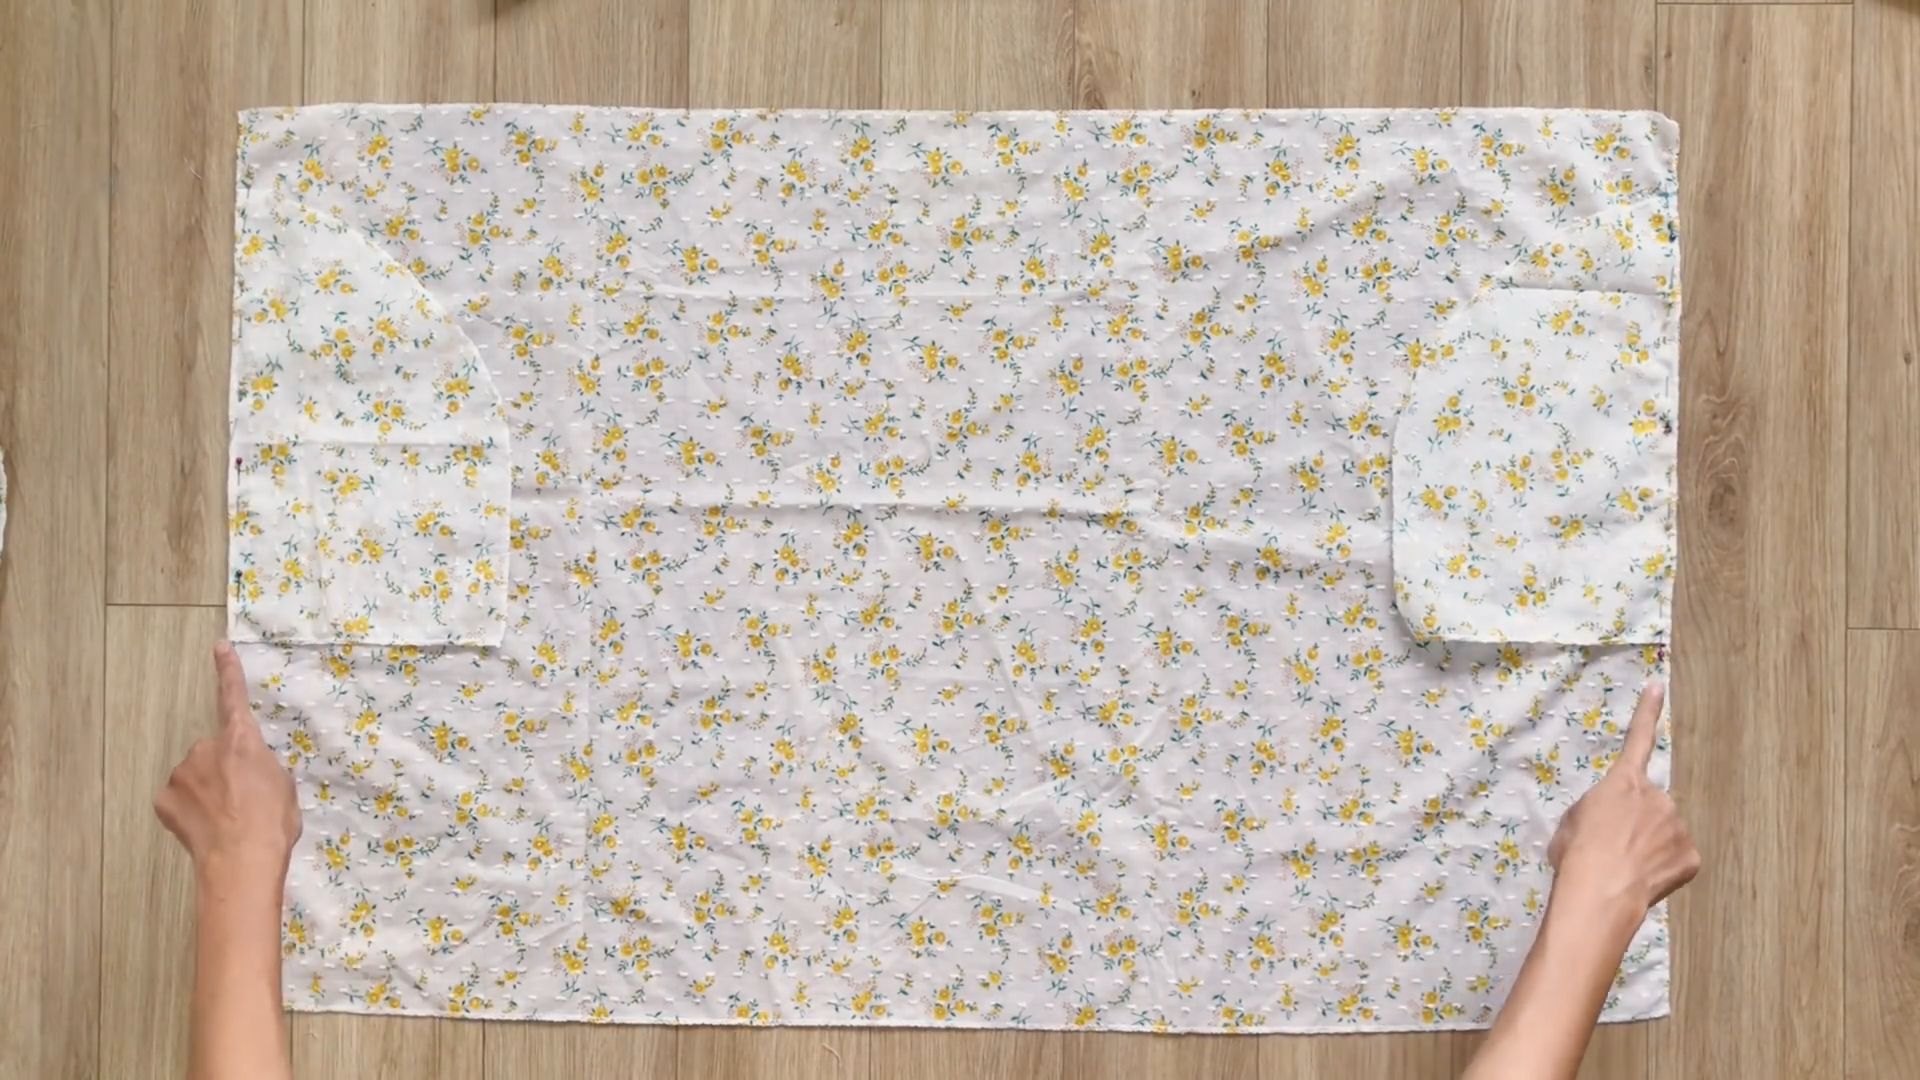
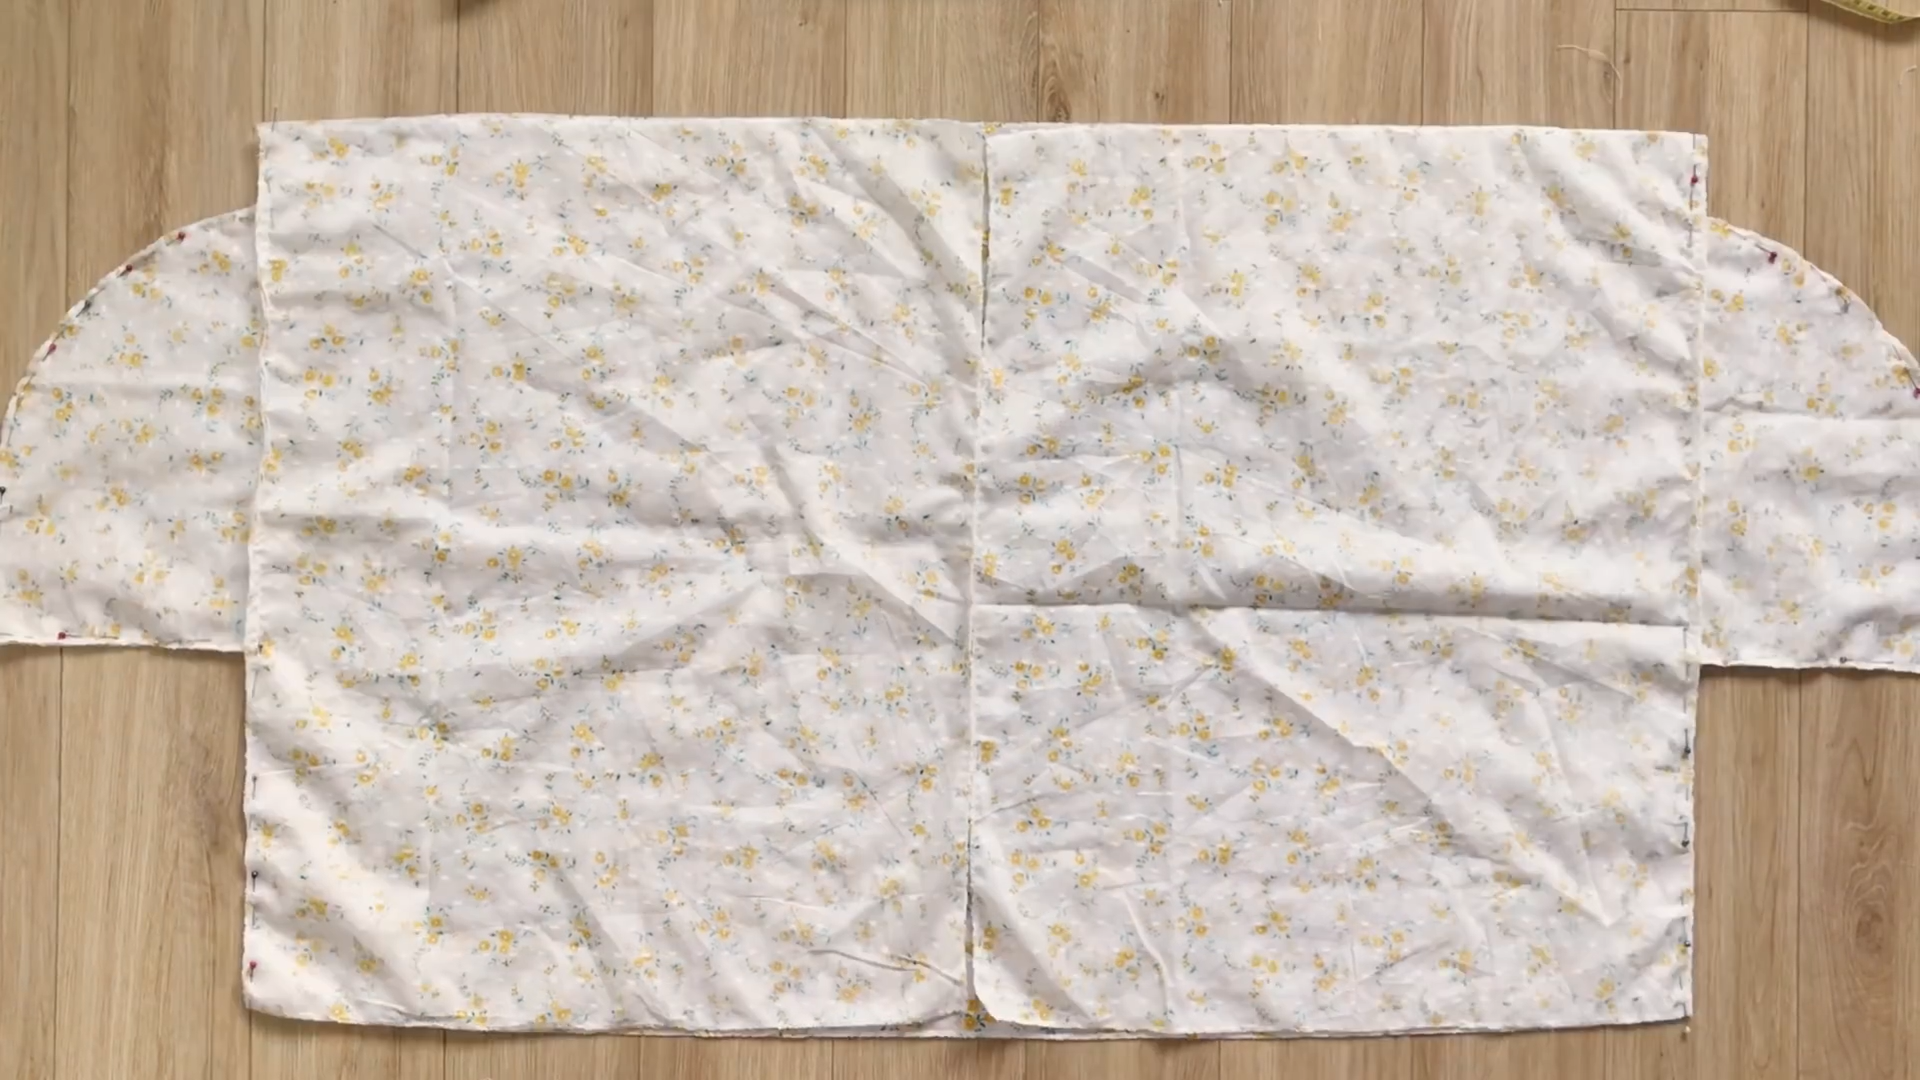
With two pieces of the inside pattern, connect two side lines together.
Finish the sleeve by folding the end fabric inside two times. Then, sew it together.
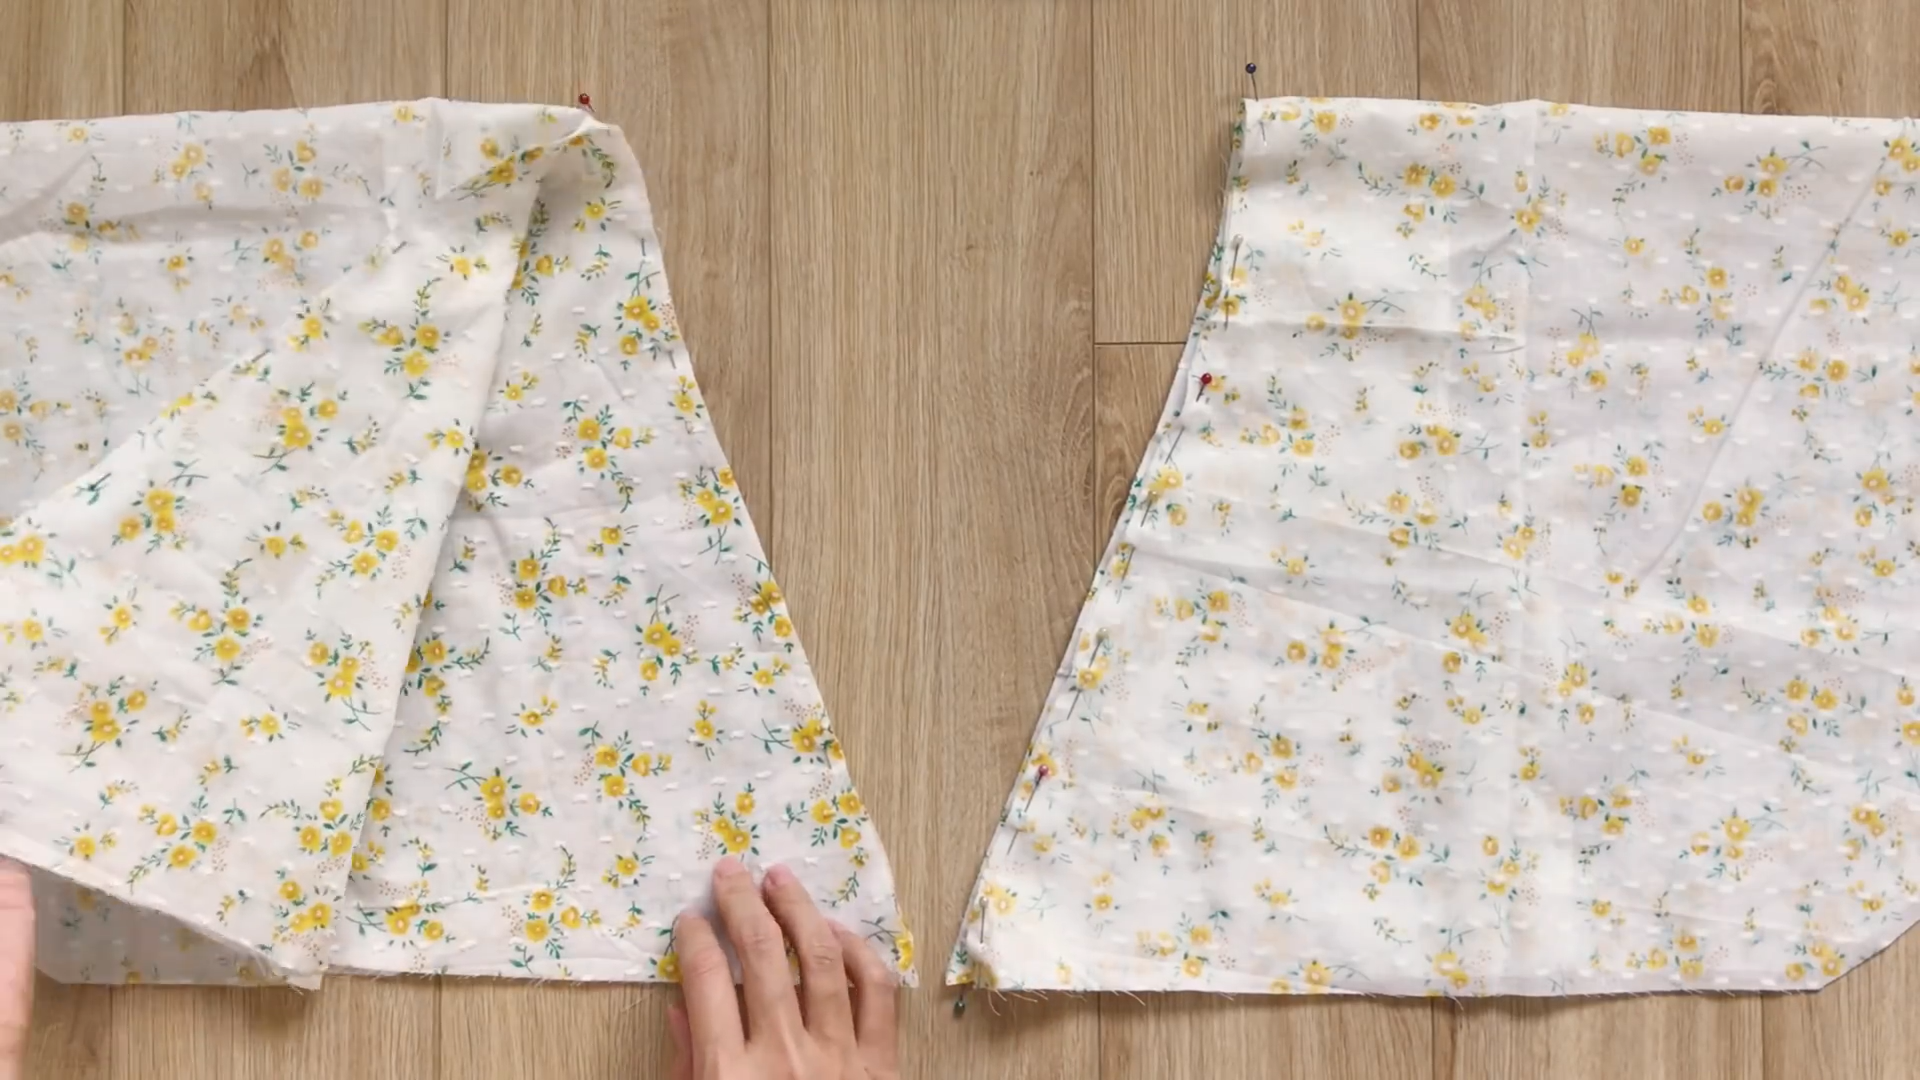
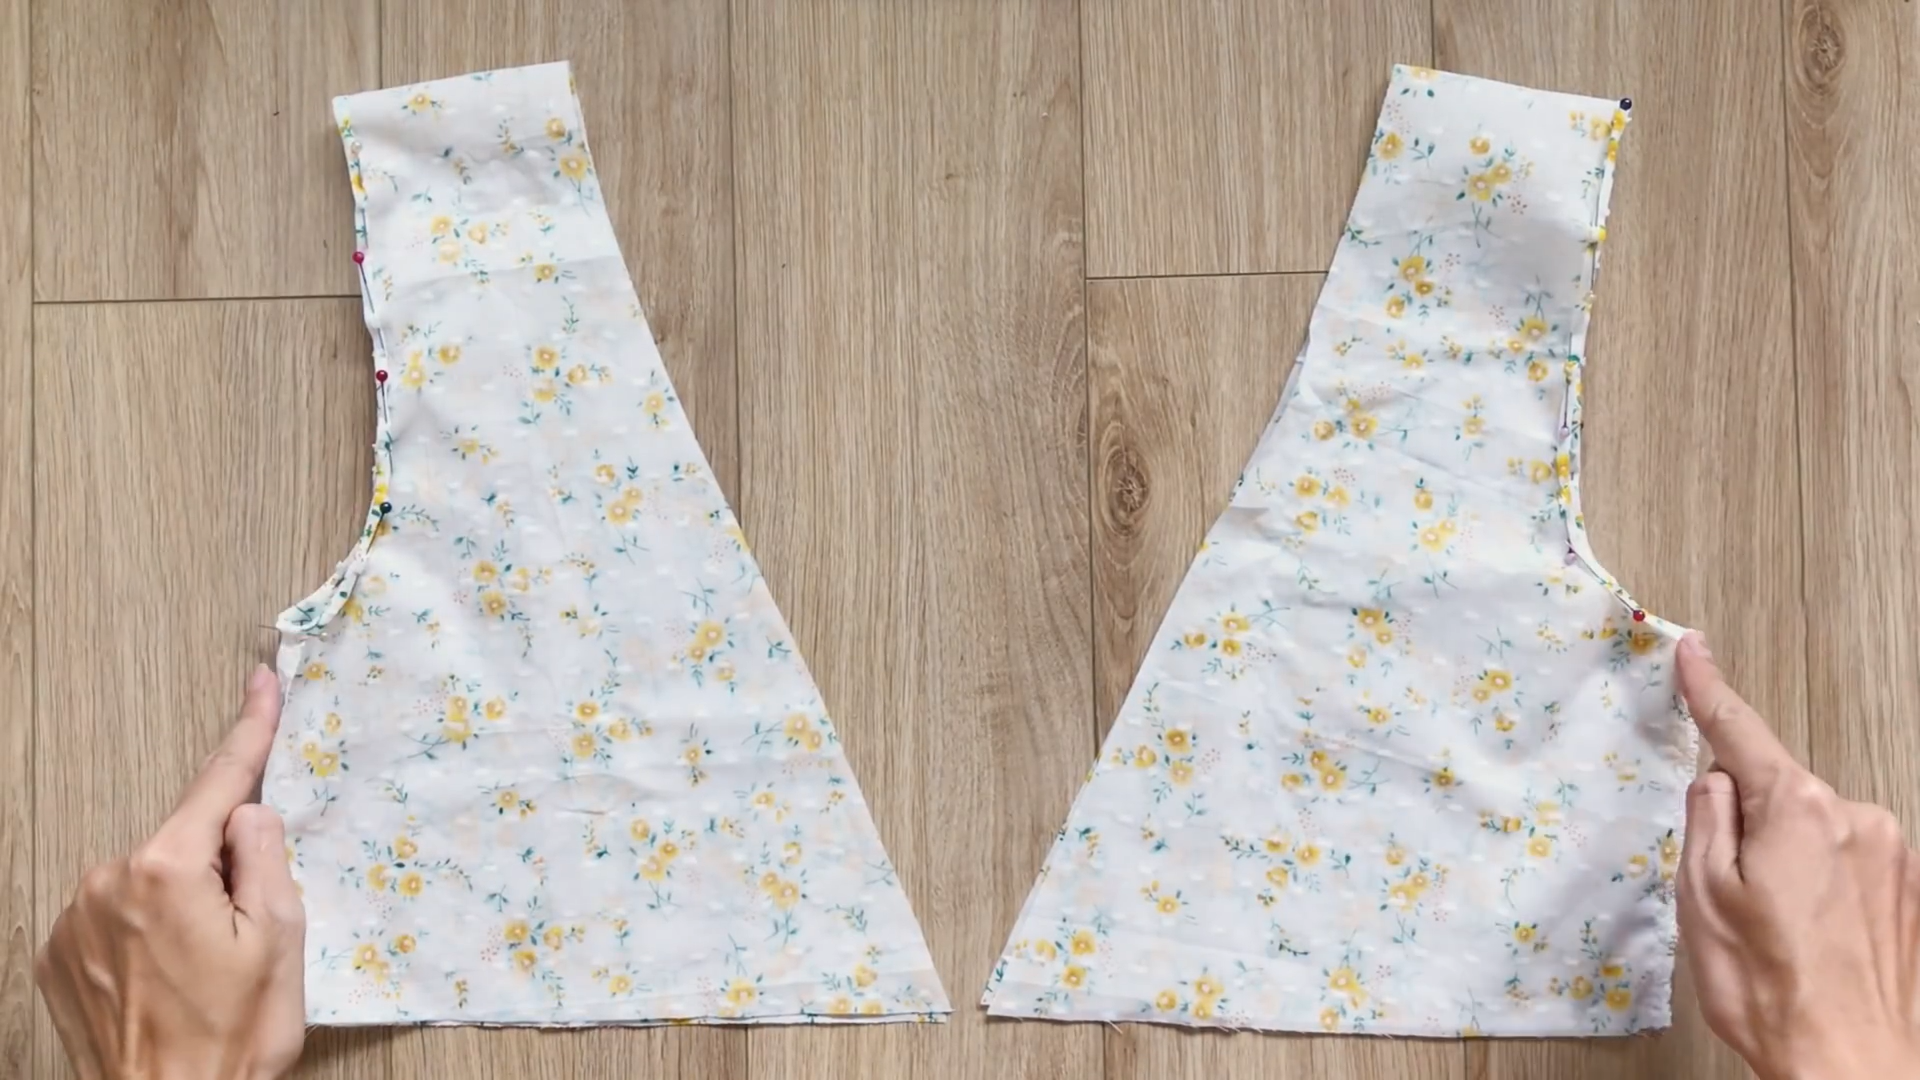
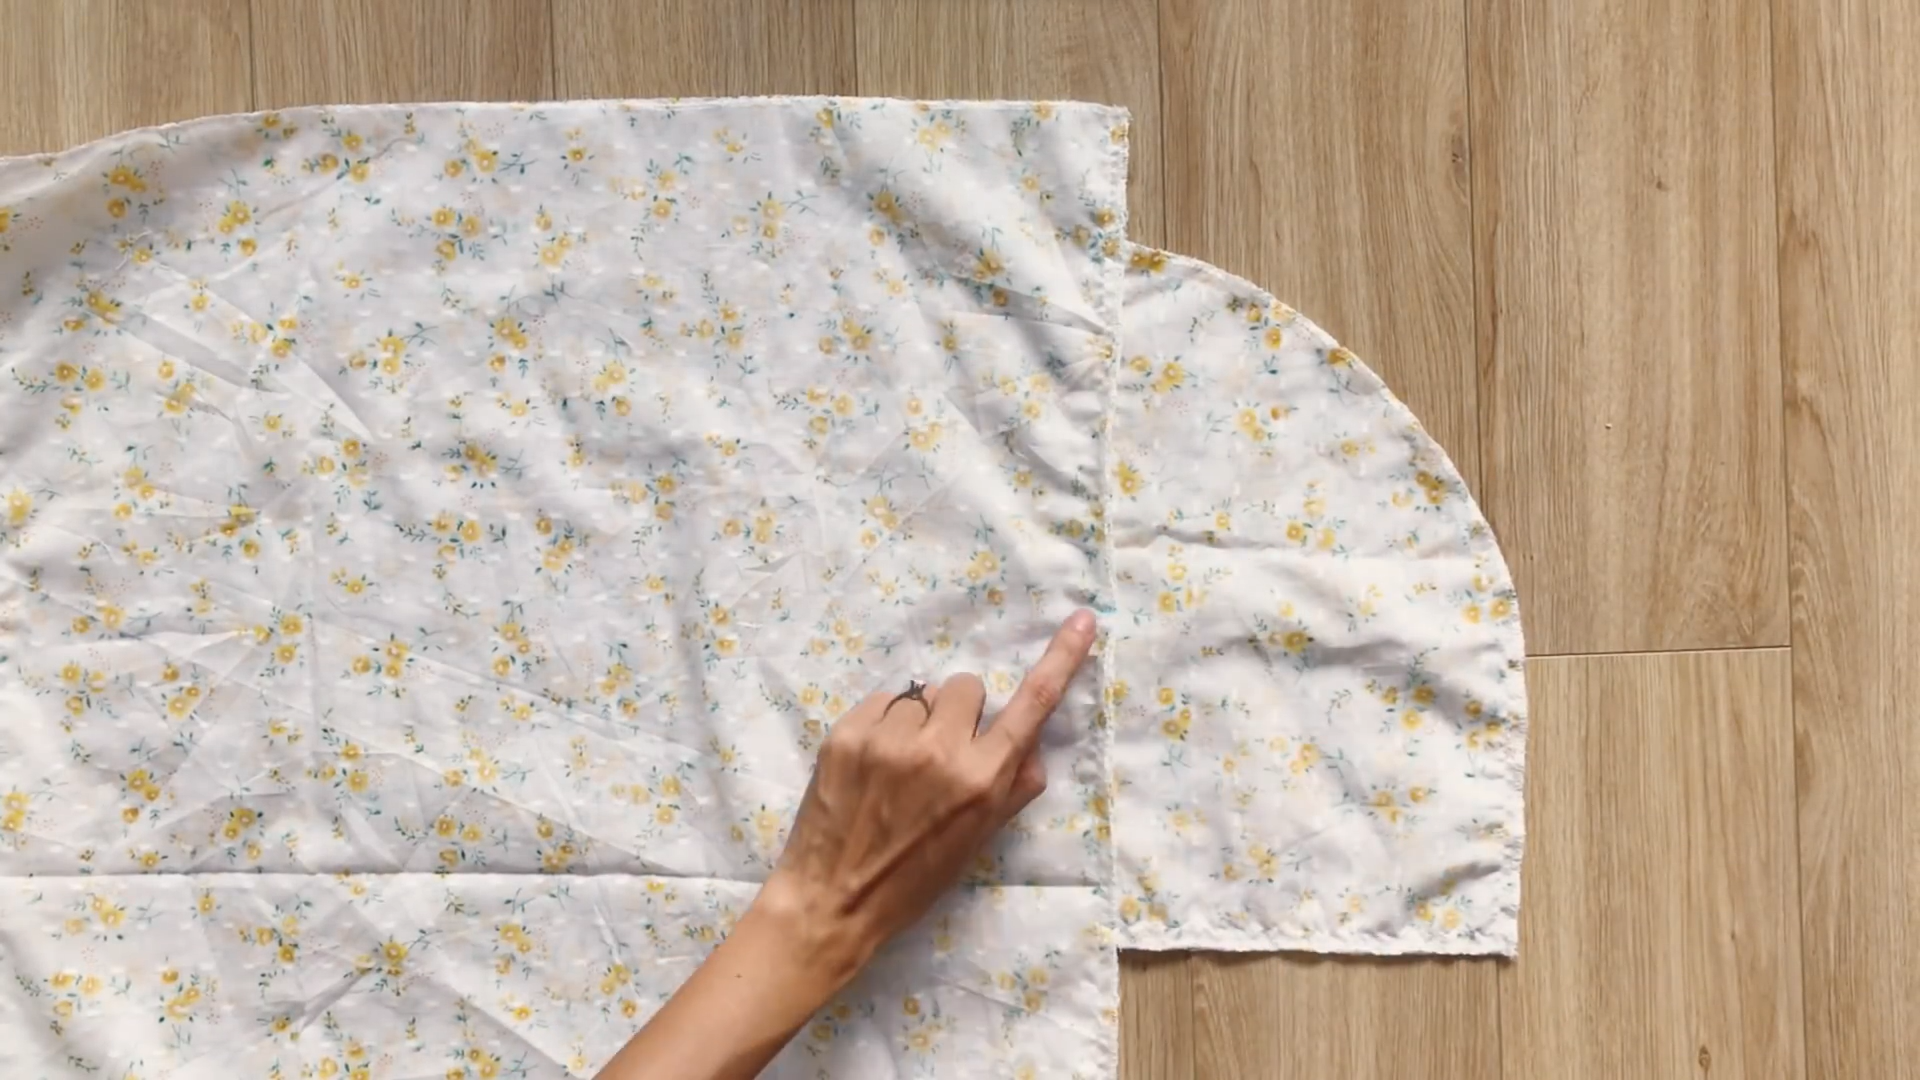
Connect the inside pieces to the outside pieces on the neckline. Then, sew it.
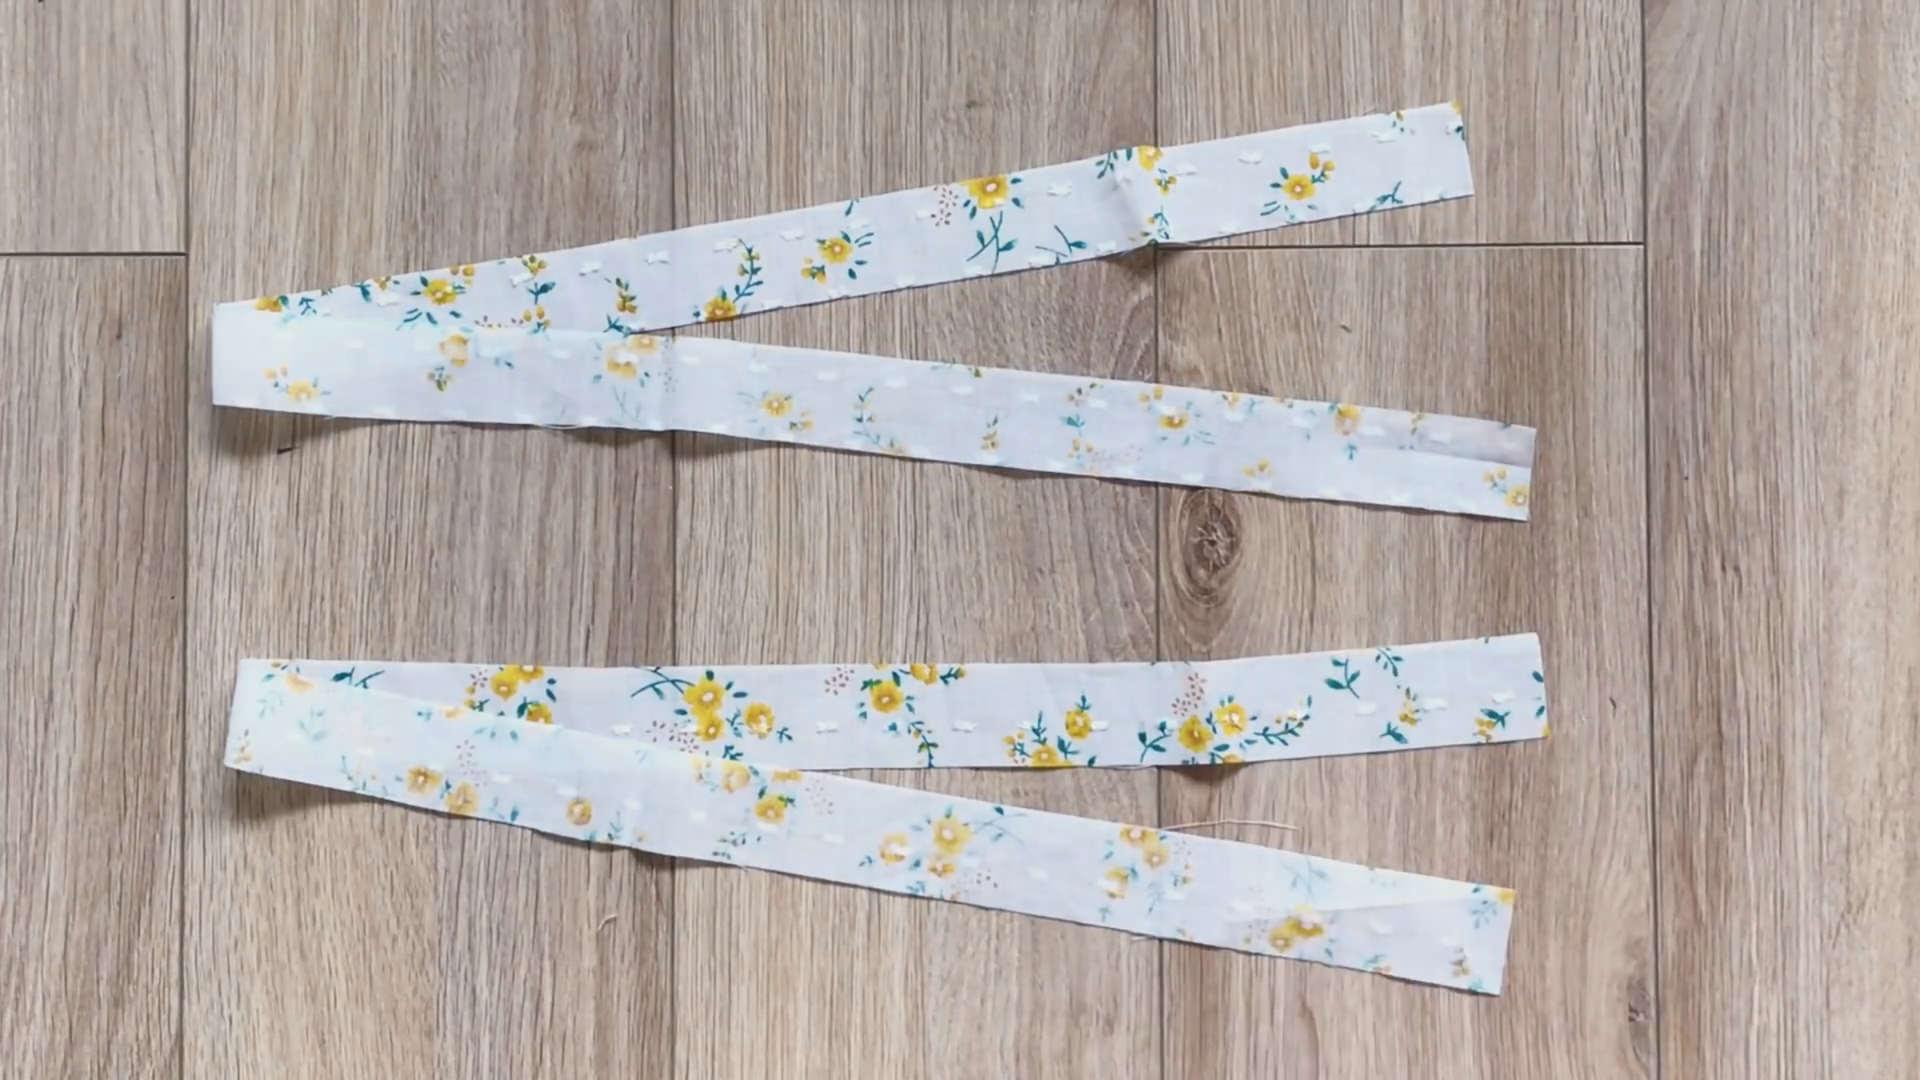
Cut two rectangles with 3 cm width and around 50 cm length.
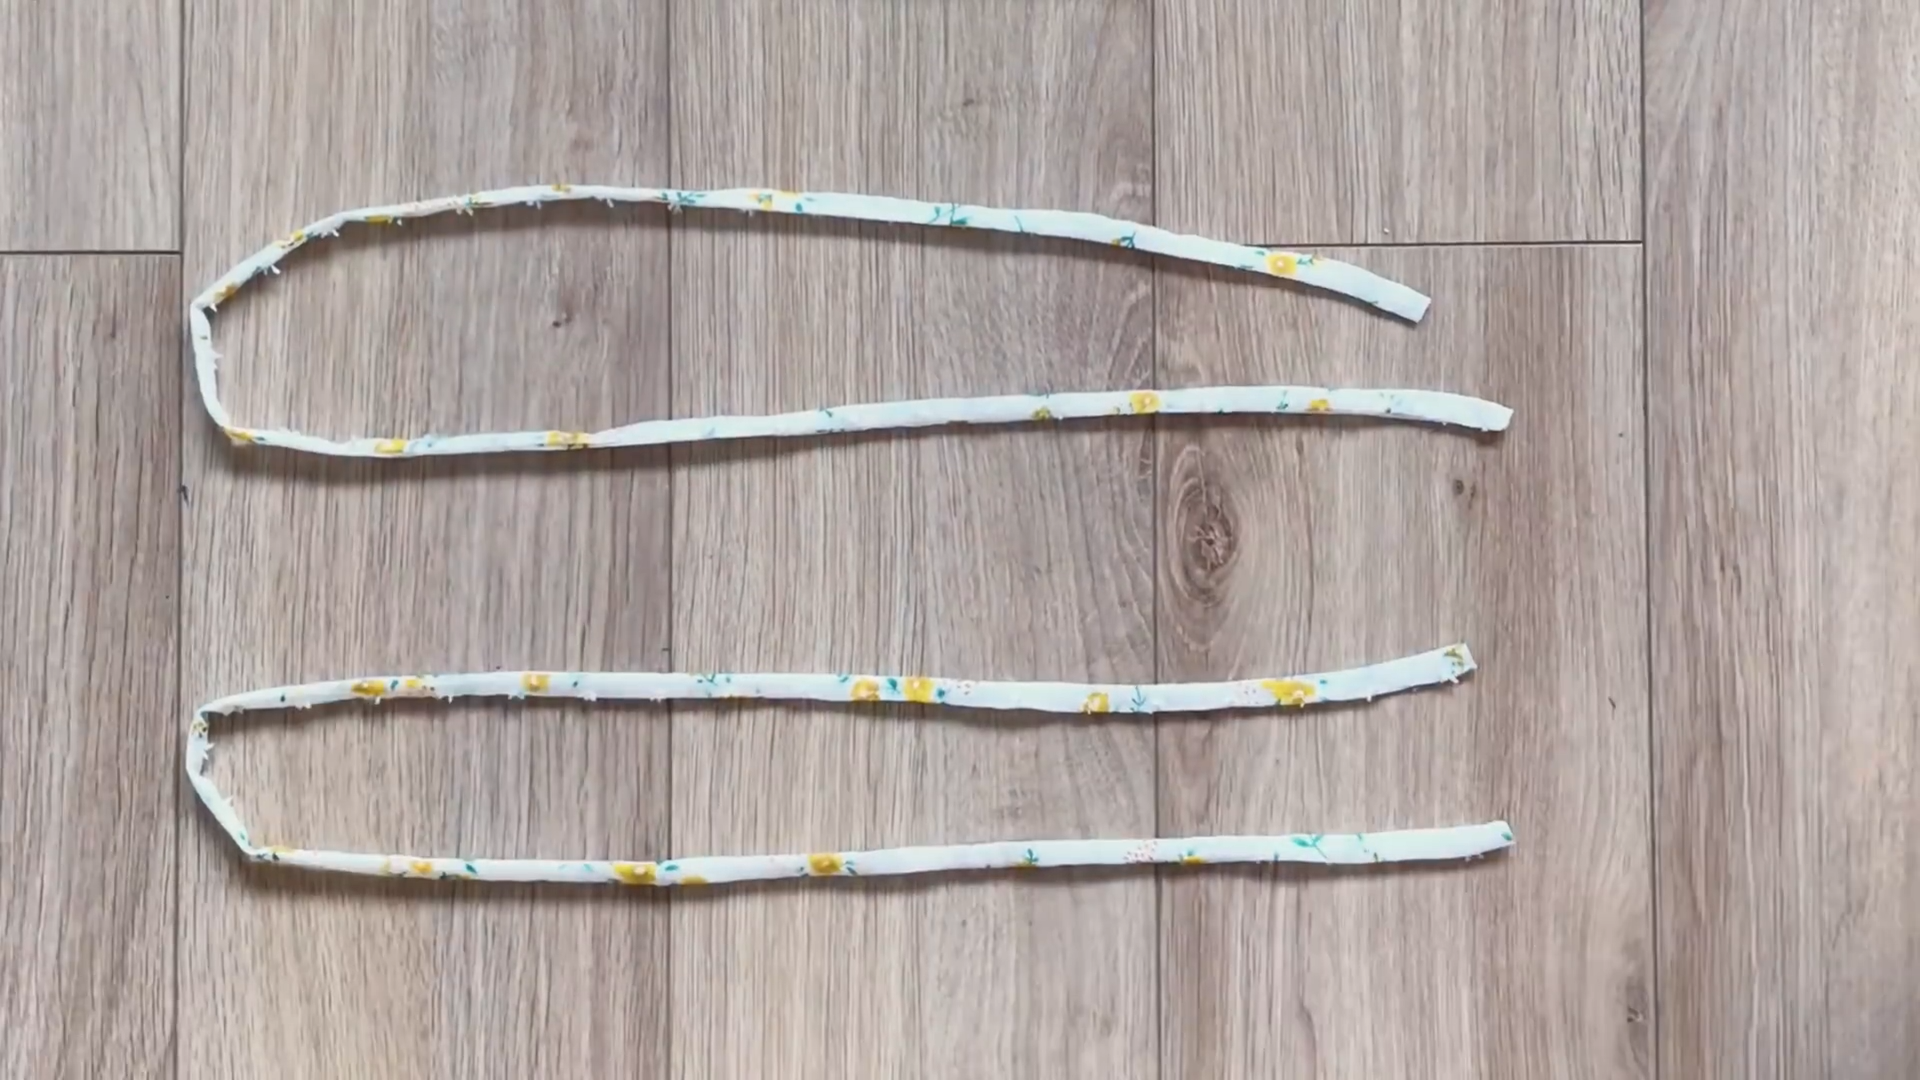
Fold two lane lines of the rectangle together and sew. Then, use a small hair clip to turn it right-side out.
From the shoulder, mark out at 2 cm on the neckline. It will be the position for the tie at the back of the top.

Put the ties in the middle between the inside and the outside pieces. Then, sew them together.
After the first seam, make another seam to fix the fabric to one side.
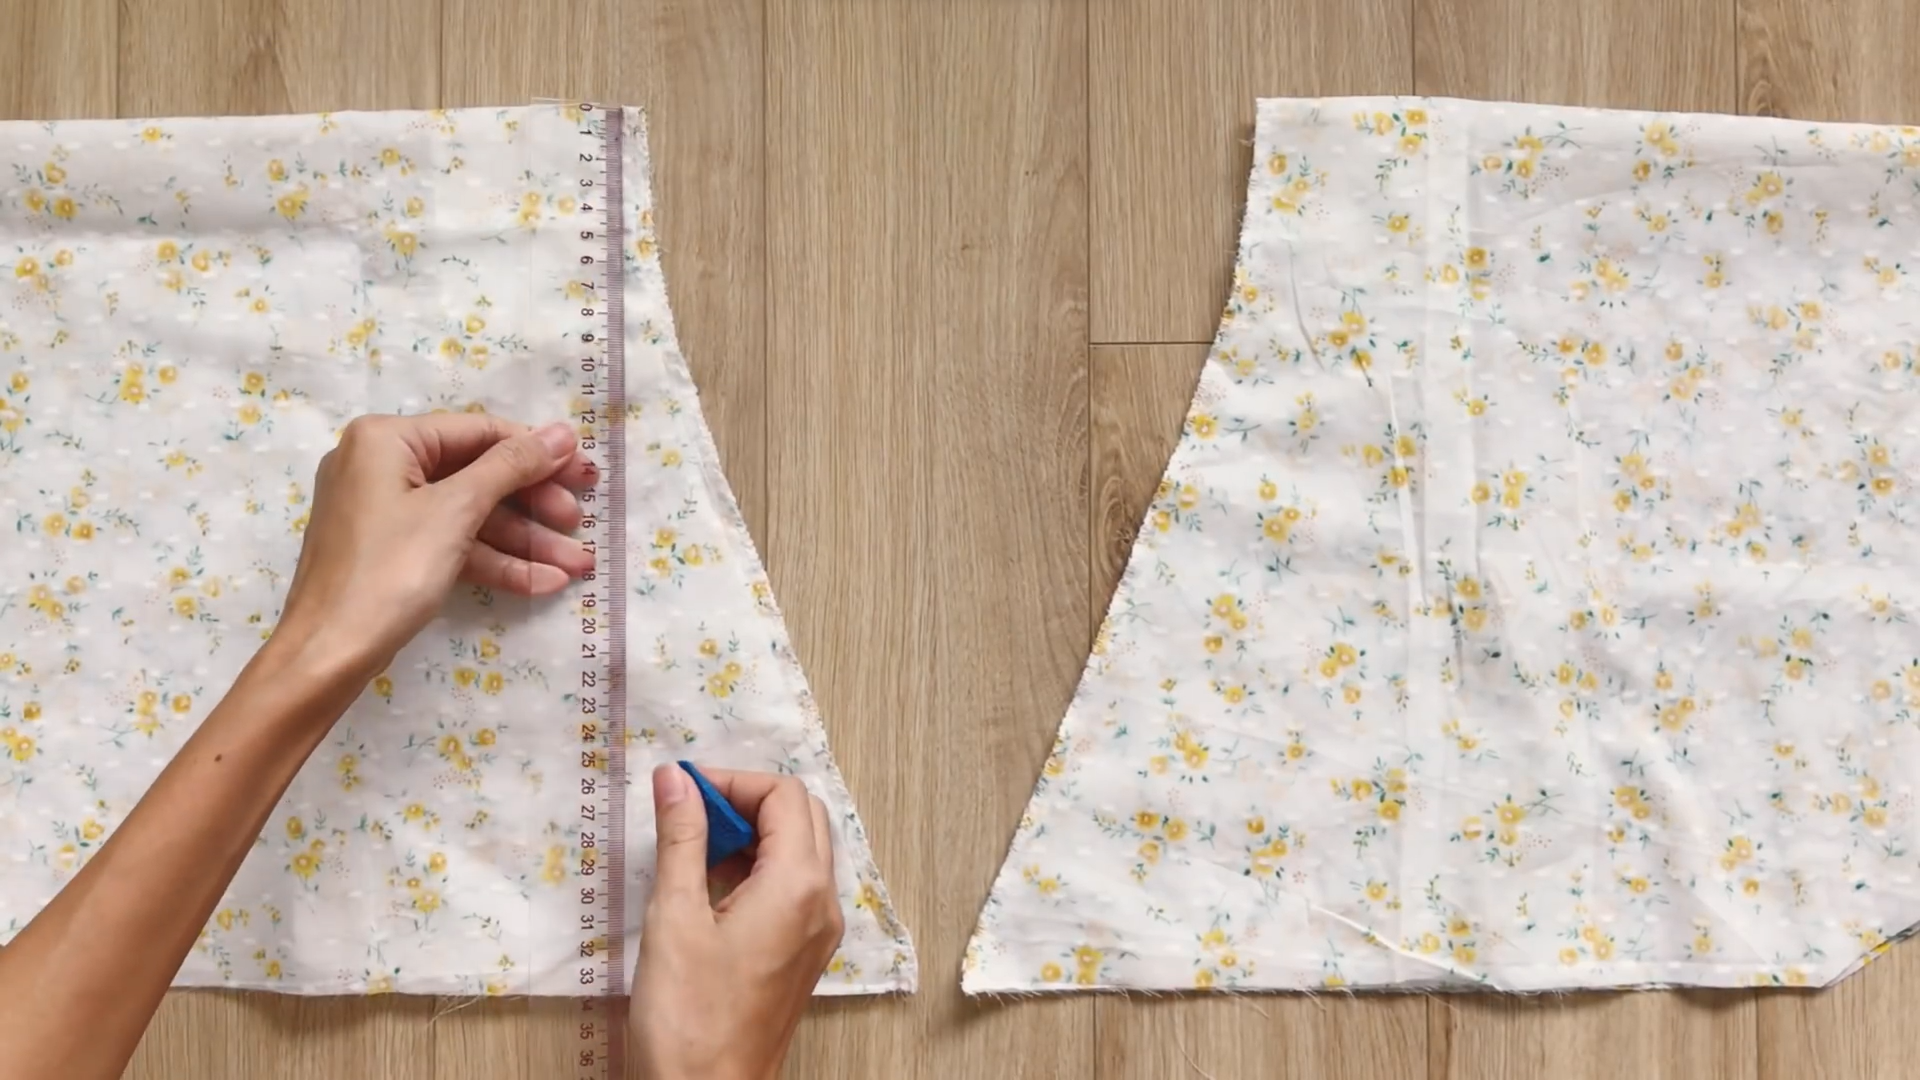
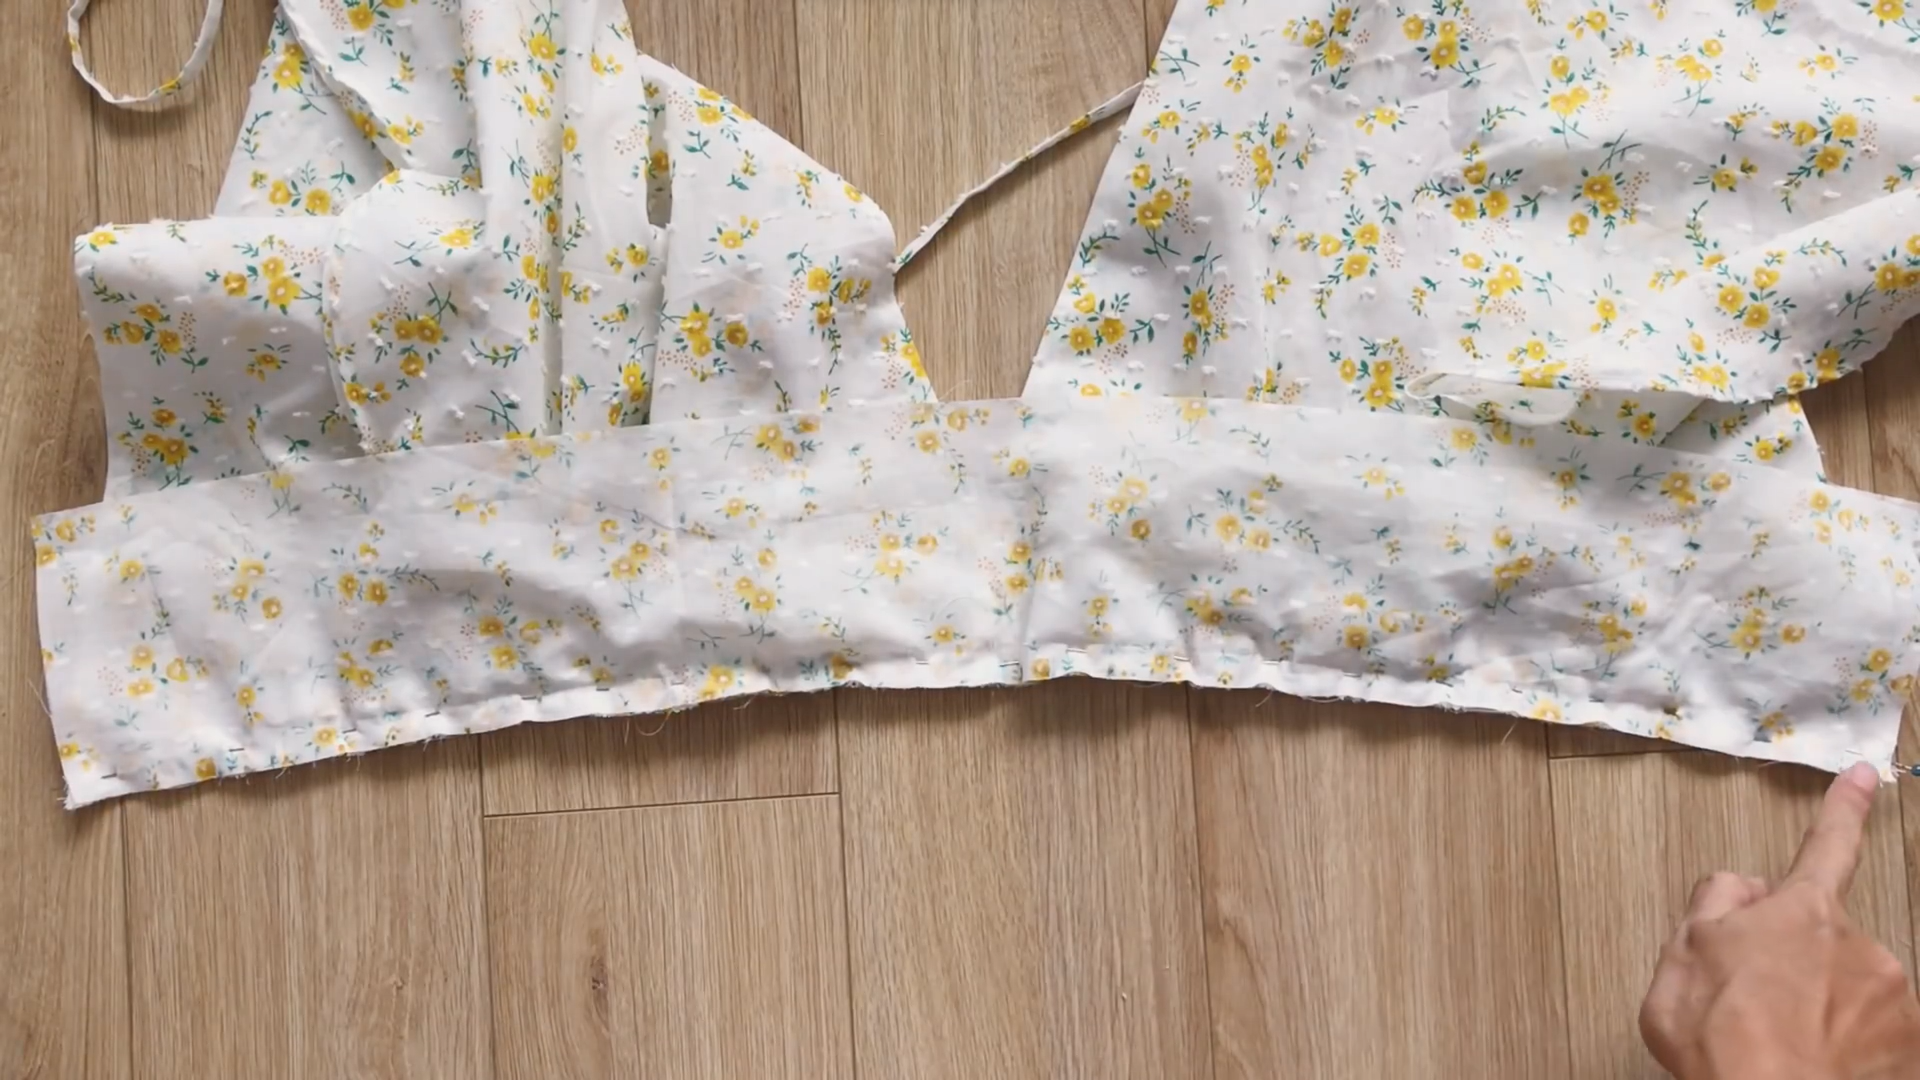
At the end of the top, mark where the outside piece meets the inside one. The remaining fabric will form the sleeve part. Connect them together to create a sleeve for the top.
Sew two ending lines of the inside and the outside pieces together to keep them from moving.
To finish the sleeve, fold the end fabric inside two times. Then, sew it together.
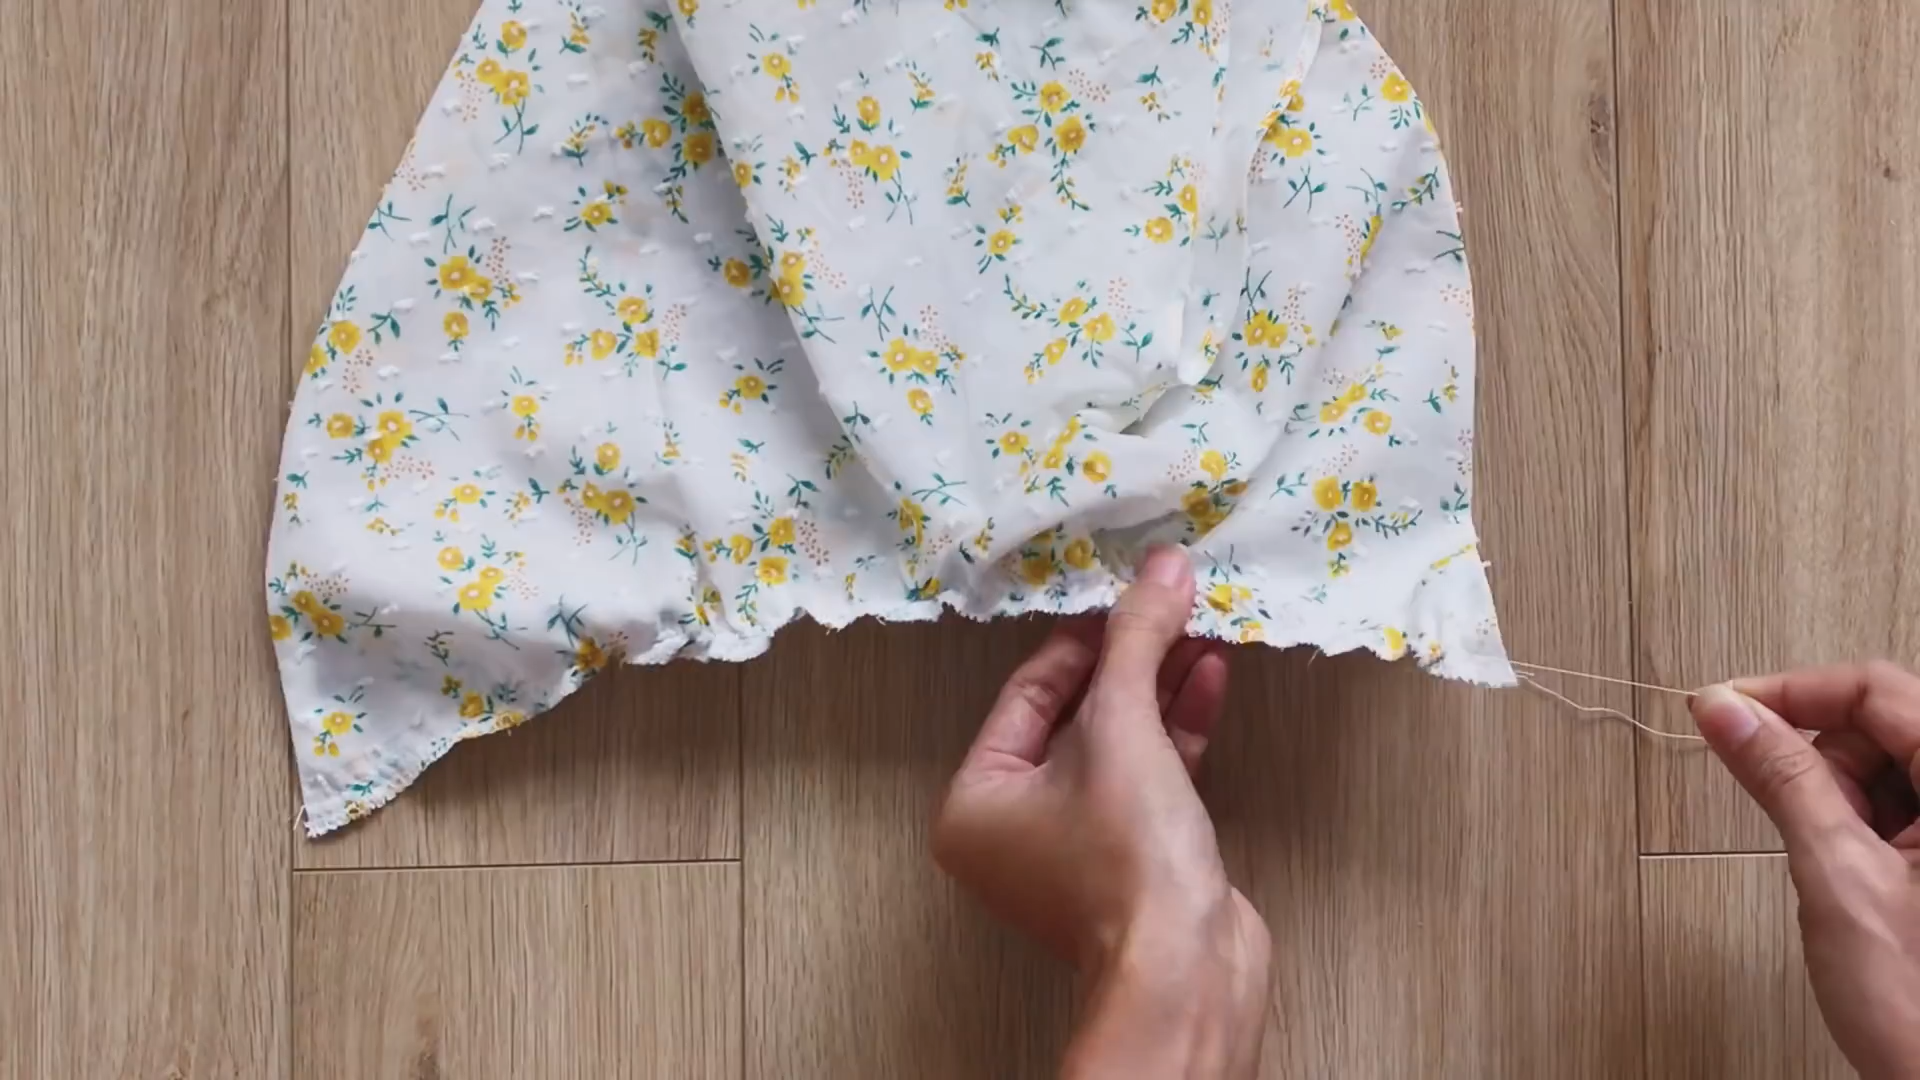
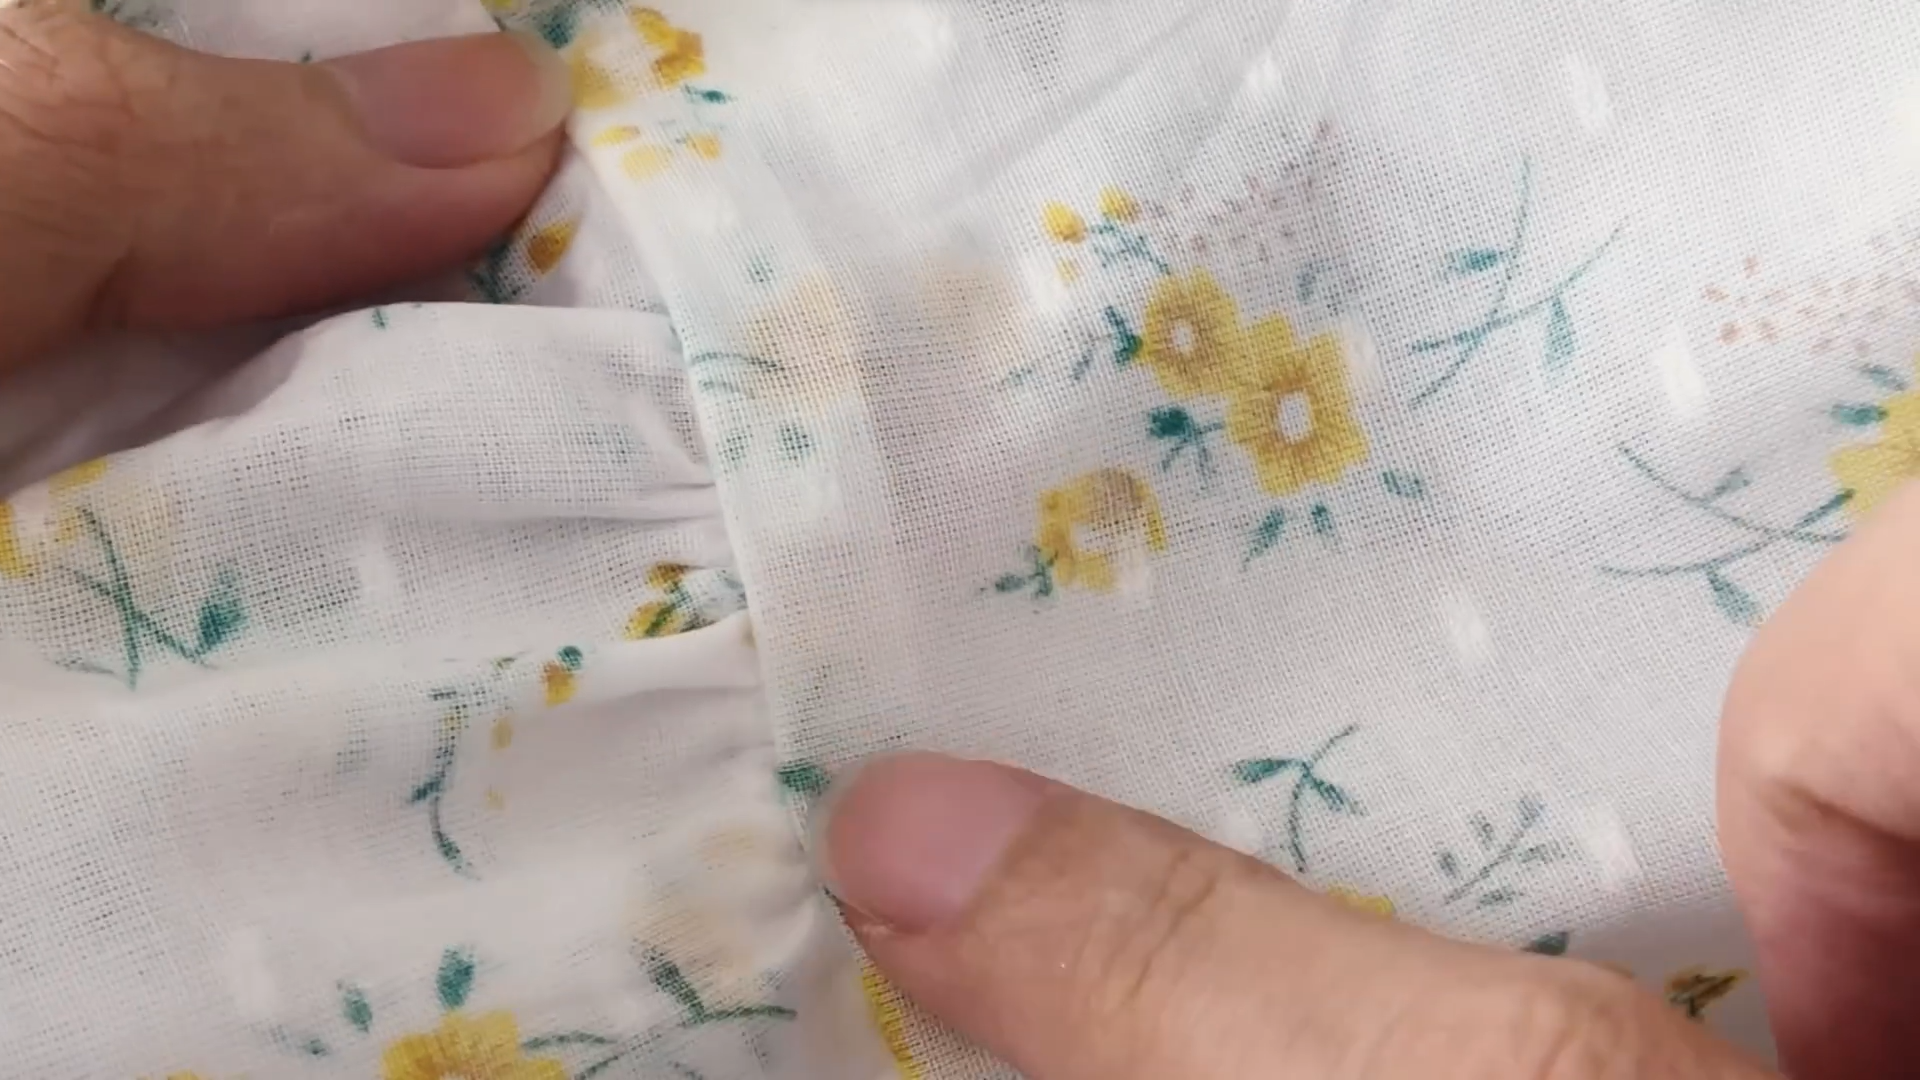
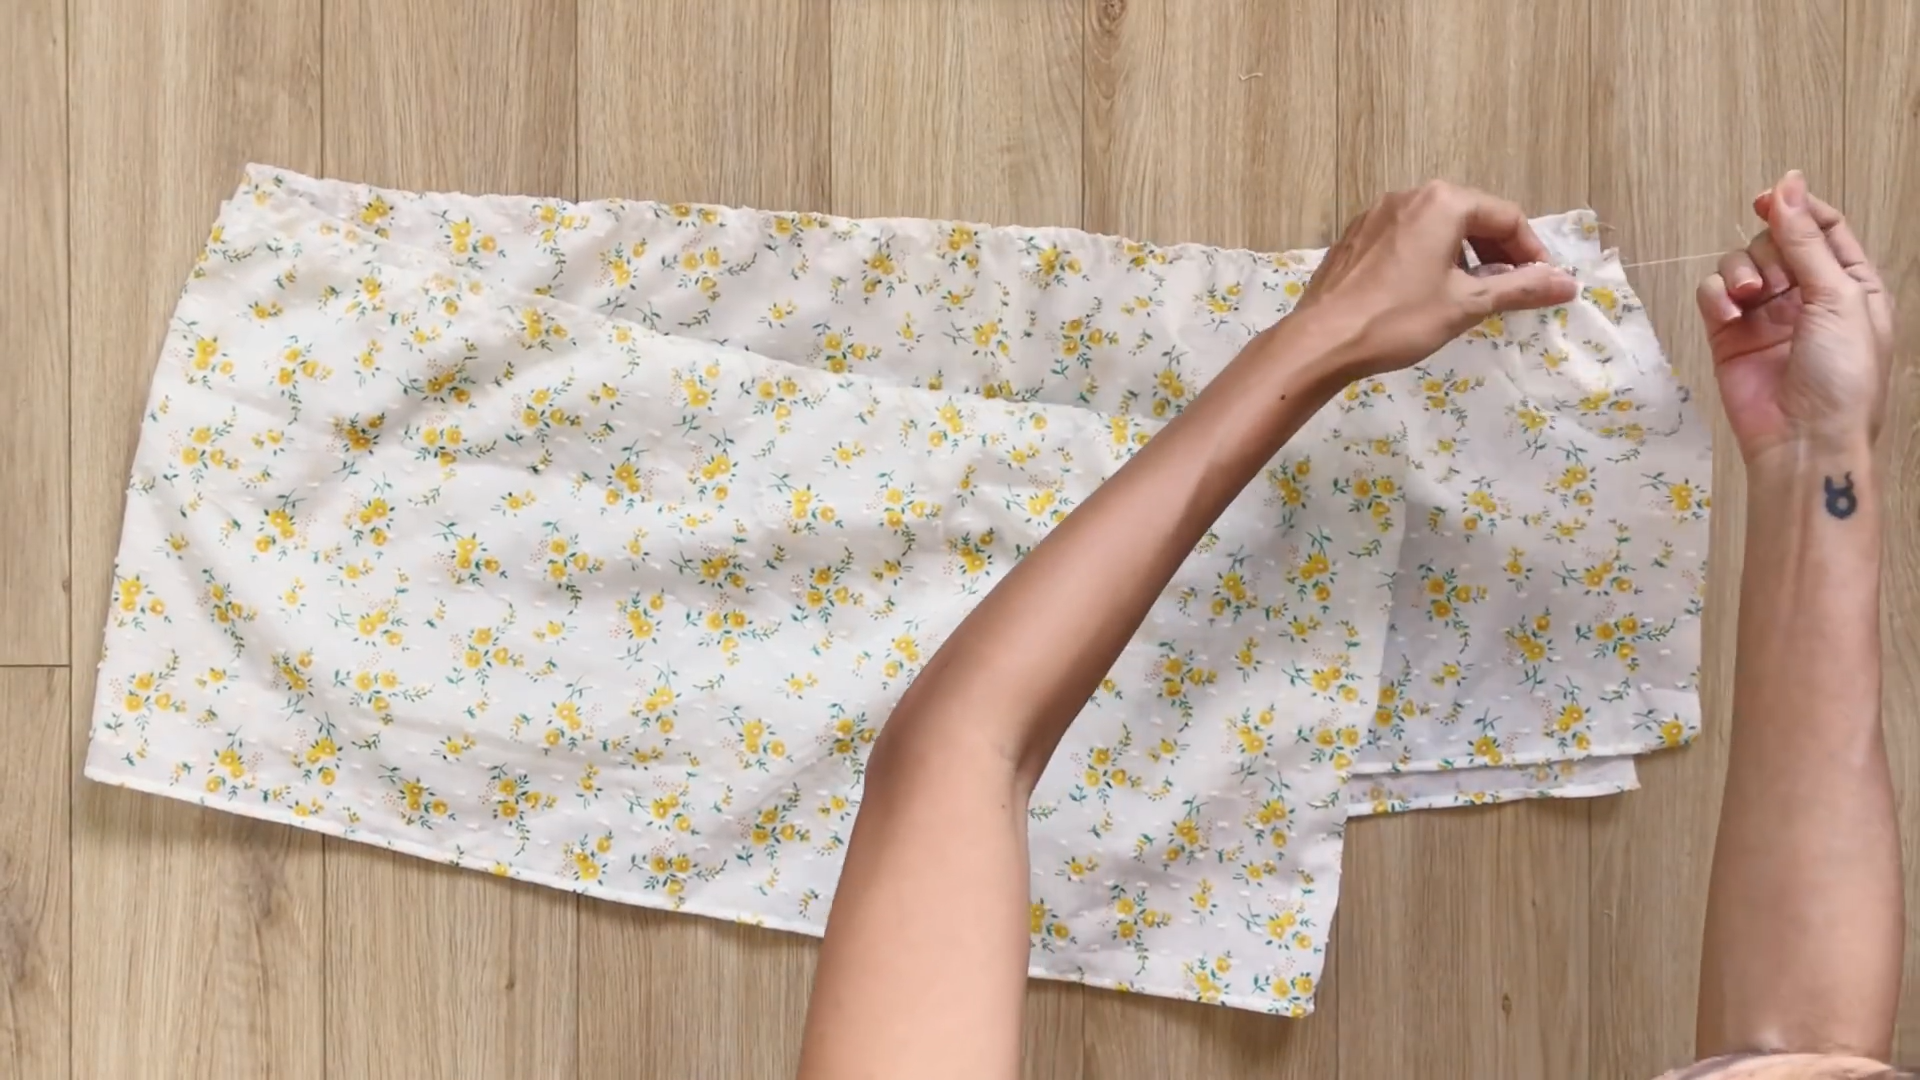
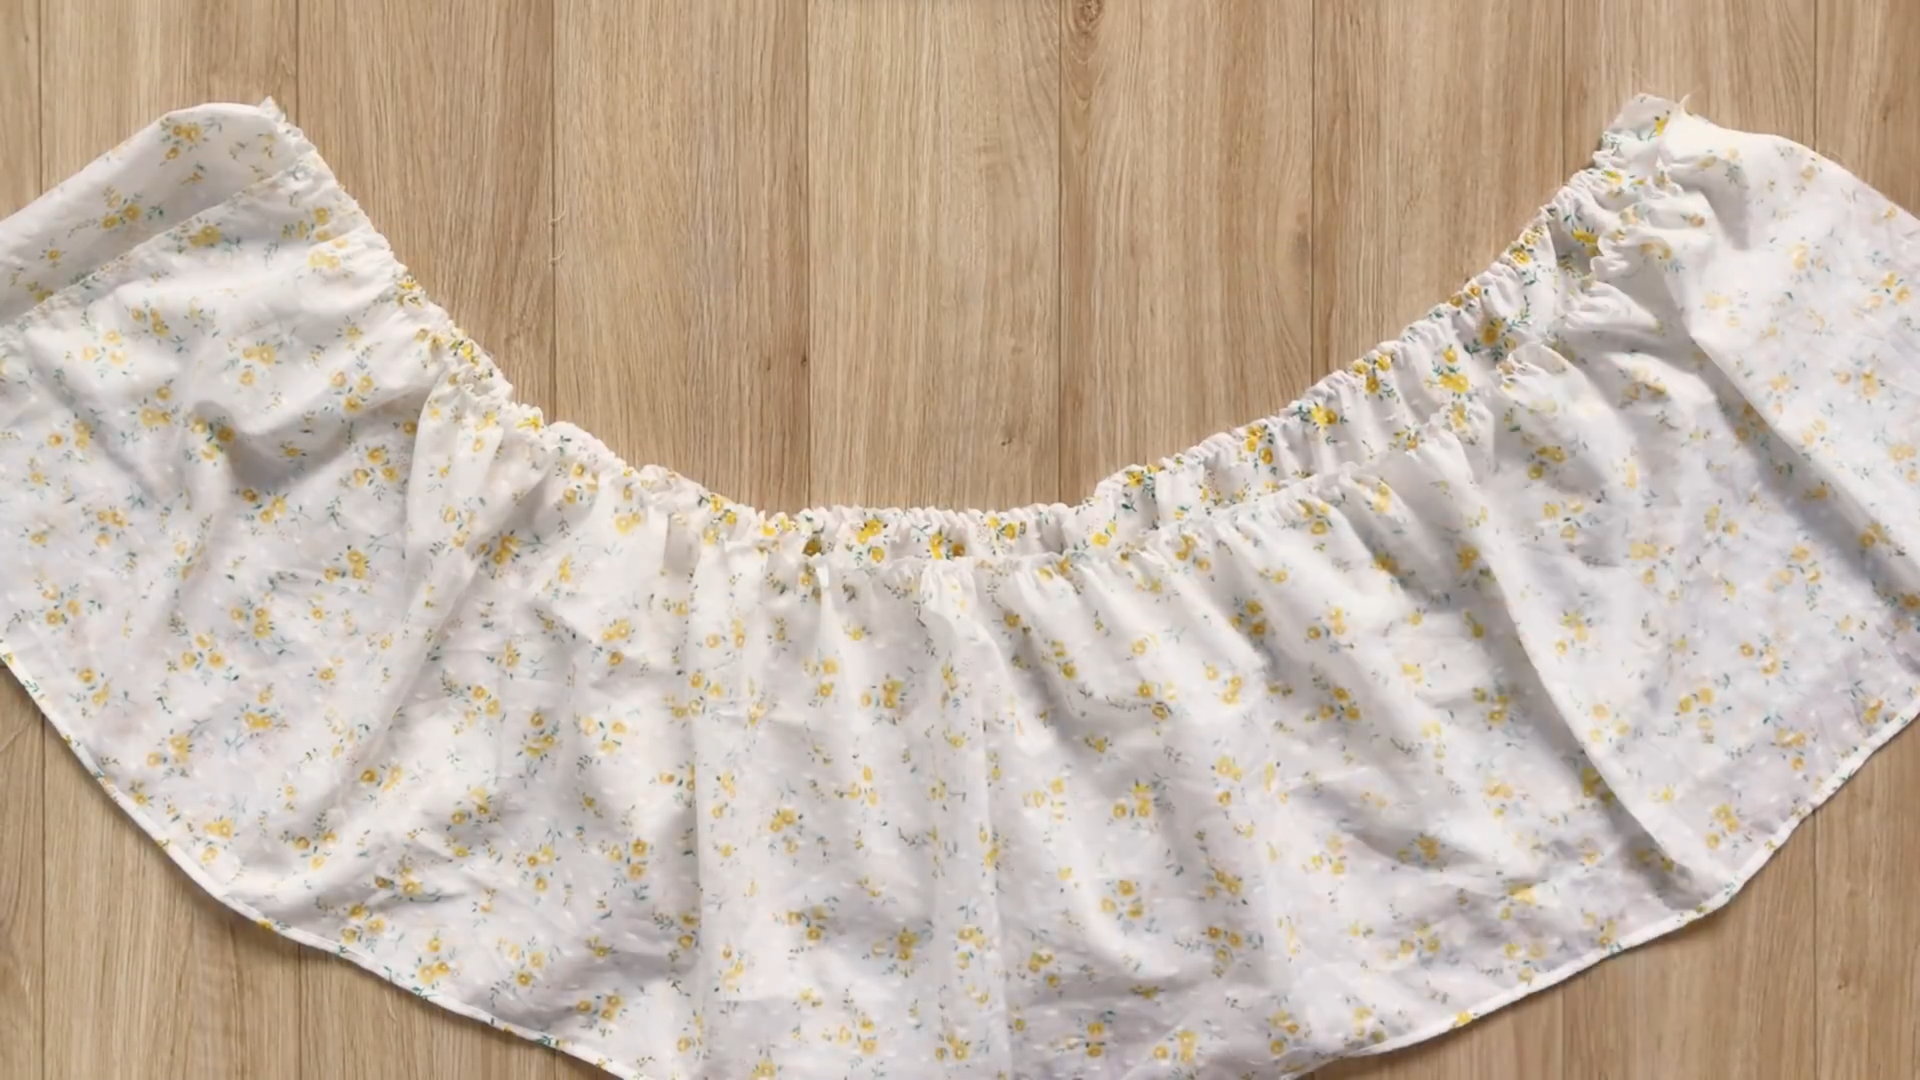
At the end of the top part, make a loose seam. Then, create a gathering fabric there.
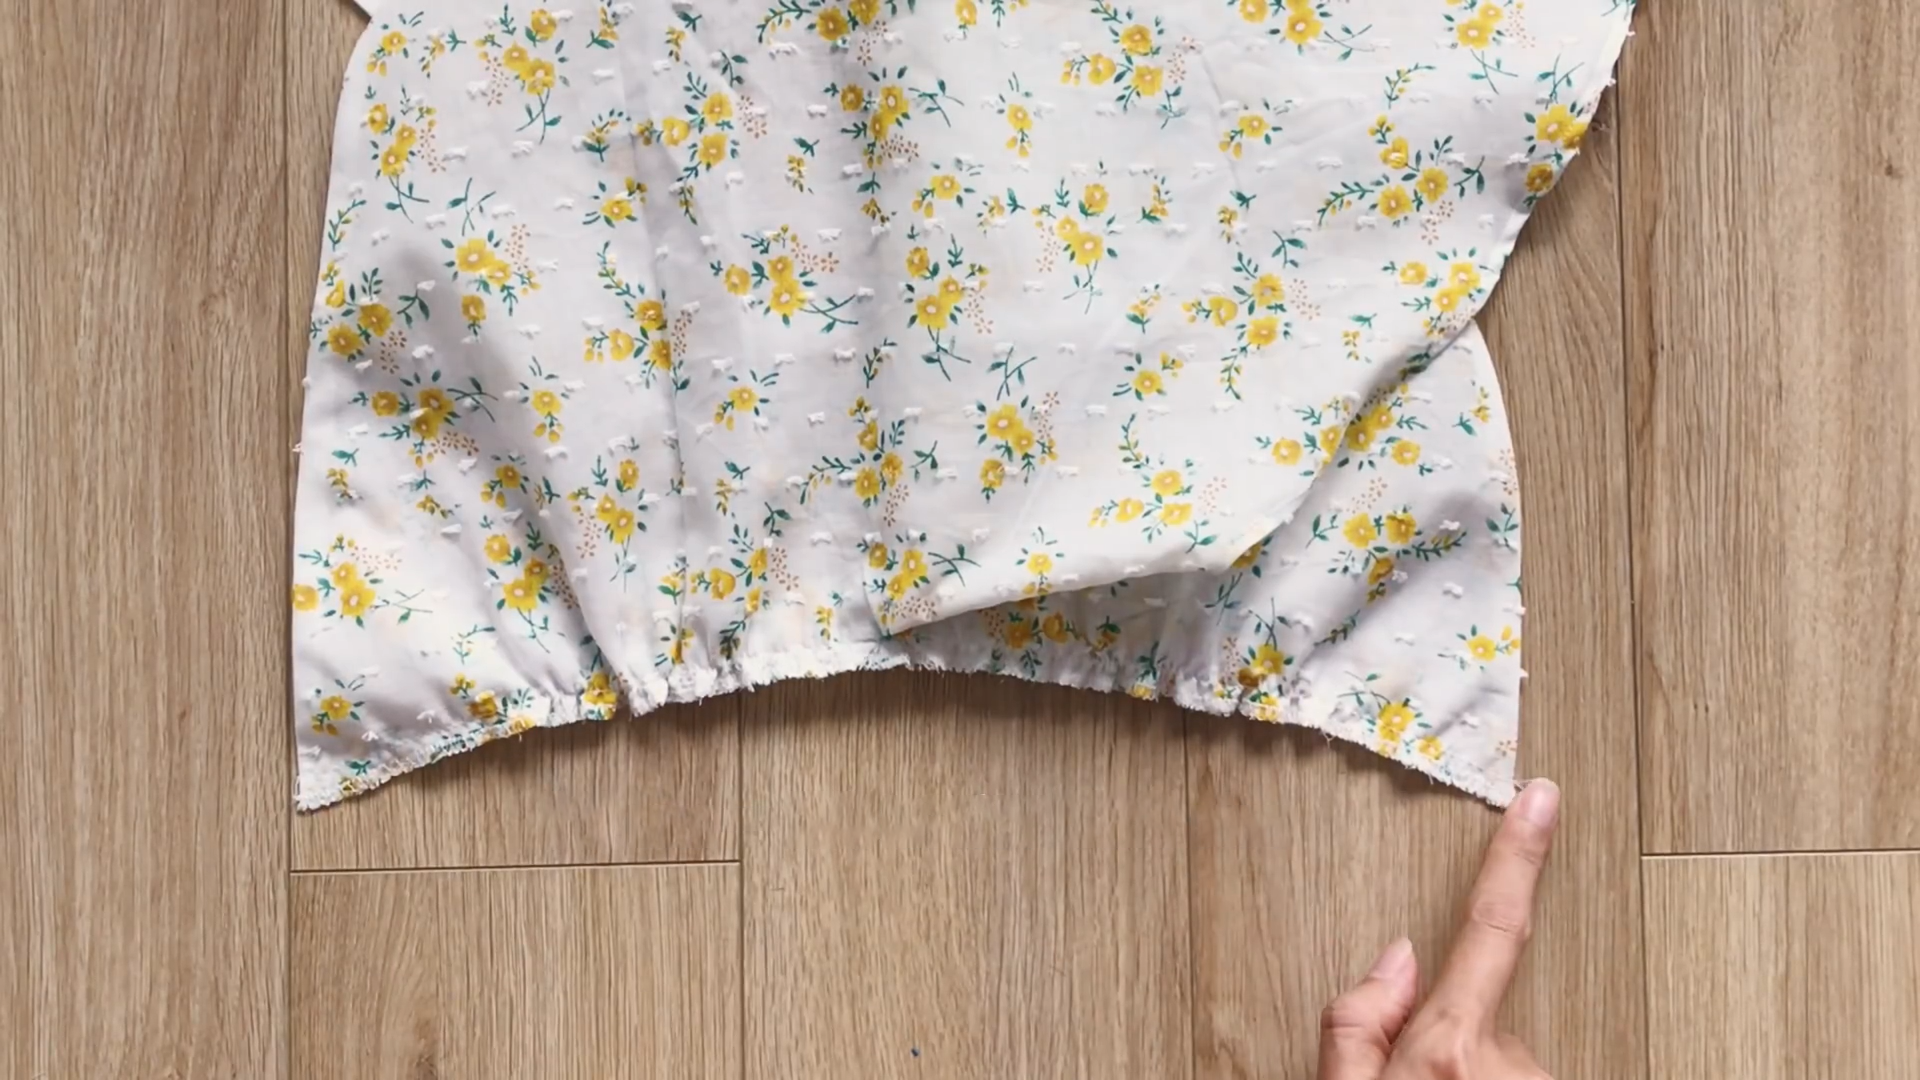
The width of the gathering fabric will be 34 cm, which is half of the under bust size.
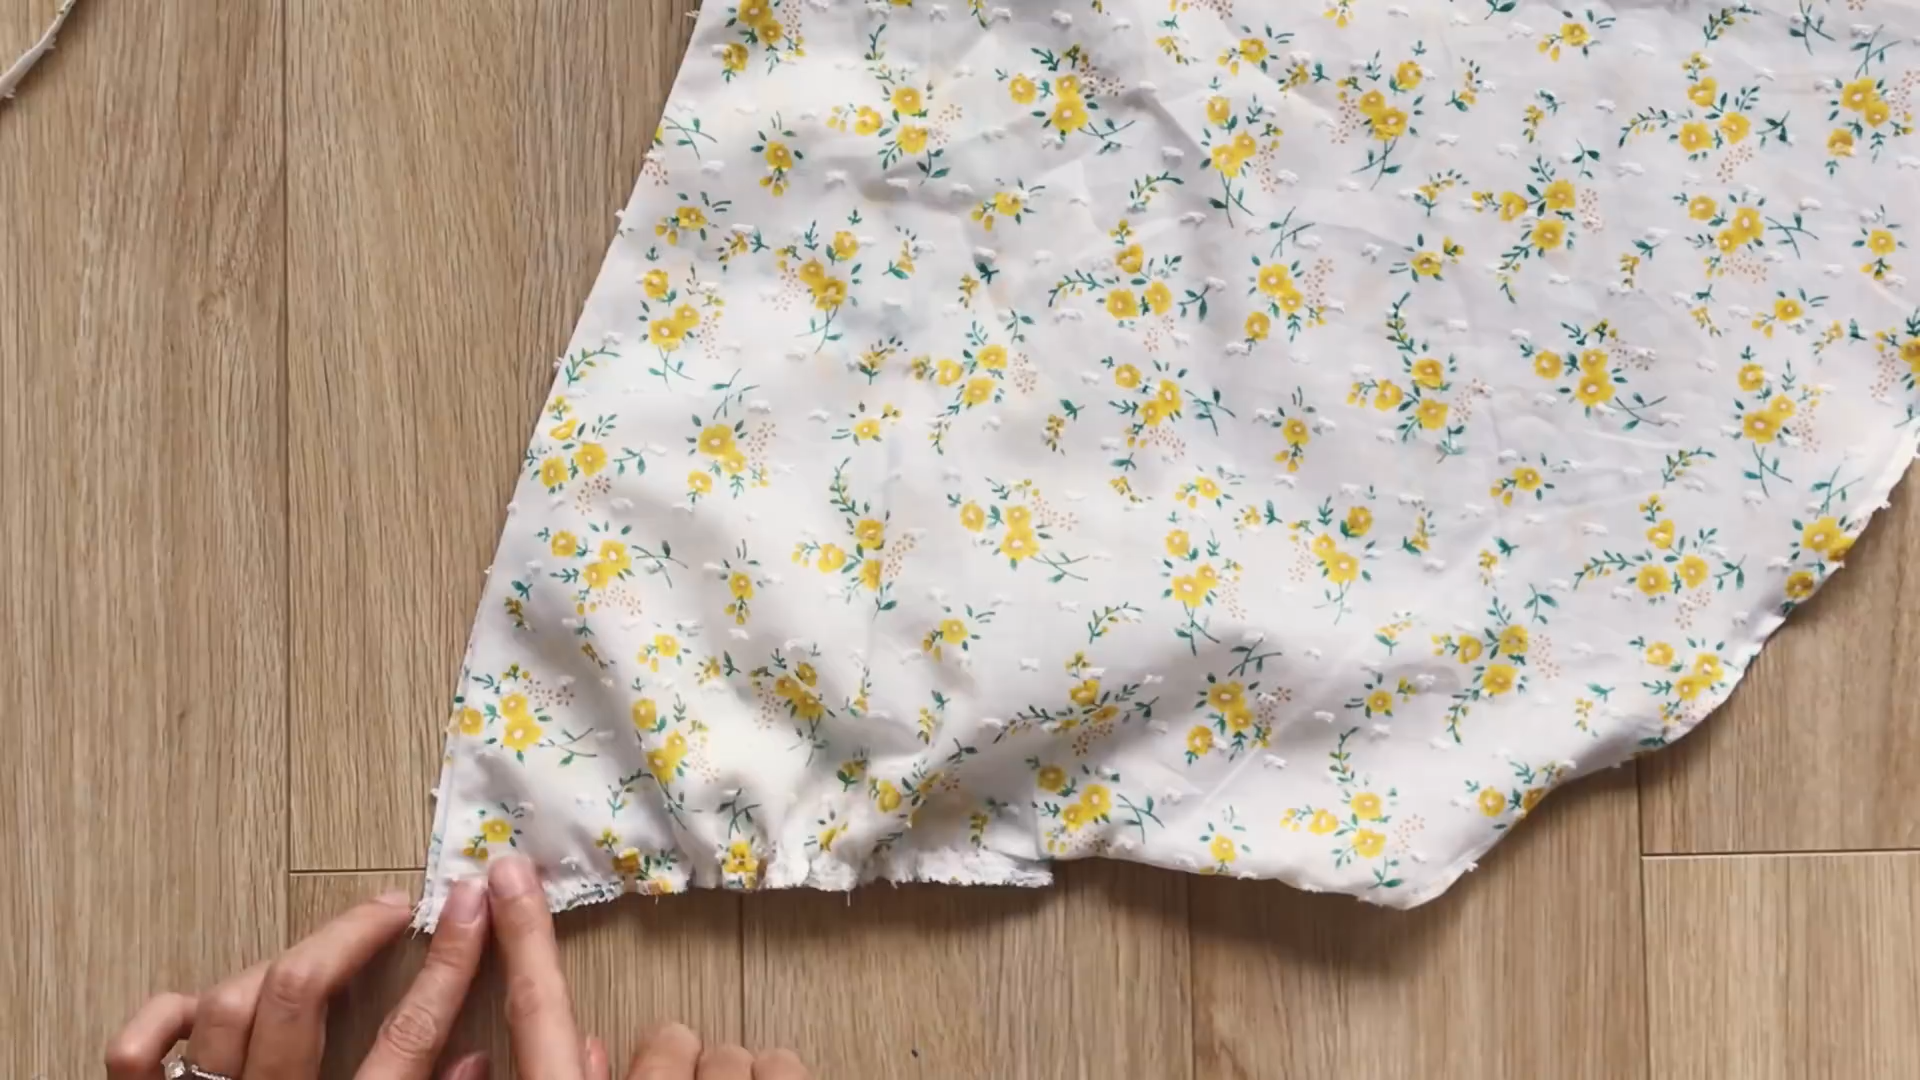
Make sure the front and the back are equal, and the gathering will be around the middle to create a space for the breast.
THE WAISTBAND
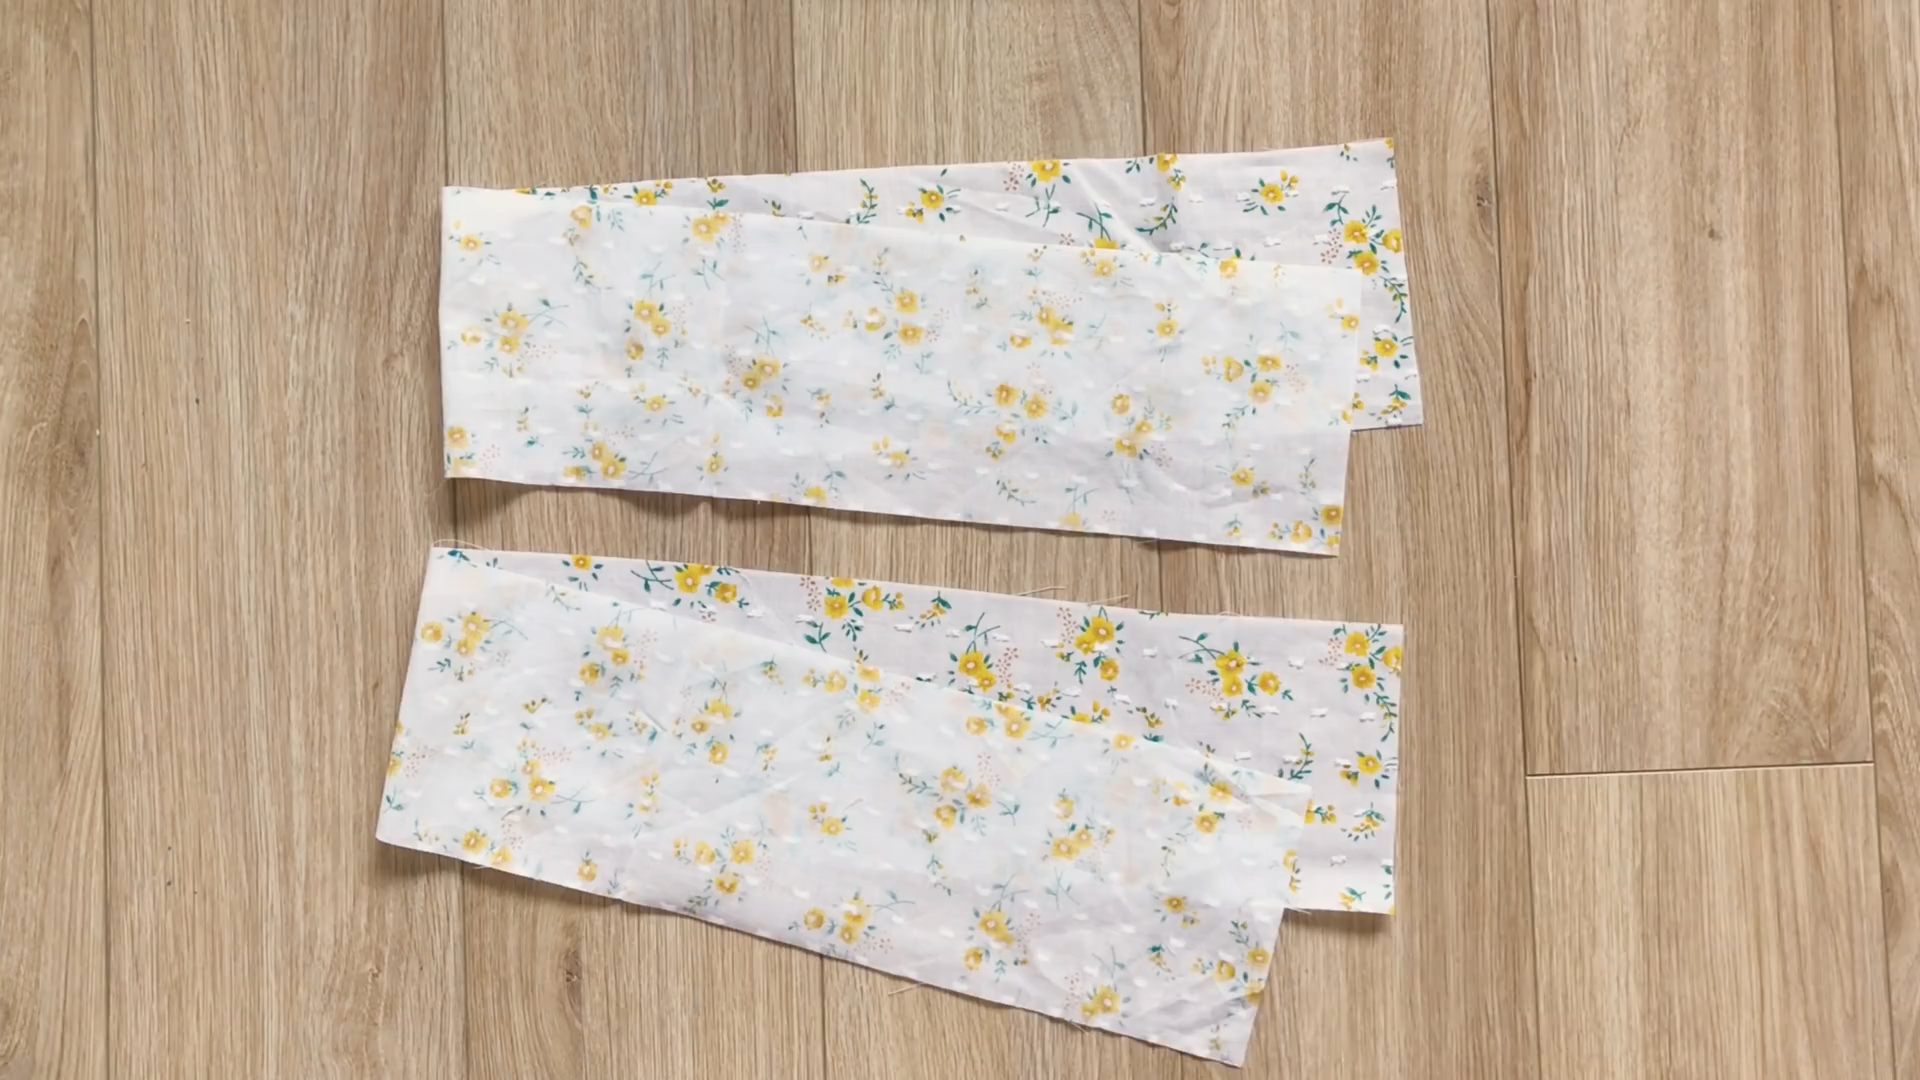
Cut two rectangles with a length of 10 cm and a width of 70 cm. This width is the measurement of your under bust size plus an additional 2 cm for seam allowance.
Connect one rectangle to the end of the top first, then connect the other one to it later.
Make sure two pieces of the top will be in the middle between two waistband rectangles.
Leave 1 cm extra at both ends of the rectangles. This will be the area for the zipper at the back of the dress later.
After the first seam, make a second seam at the inside waistband together on the end fabric to one side.
THE POCKET
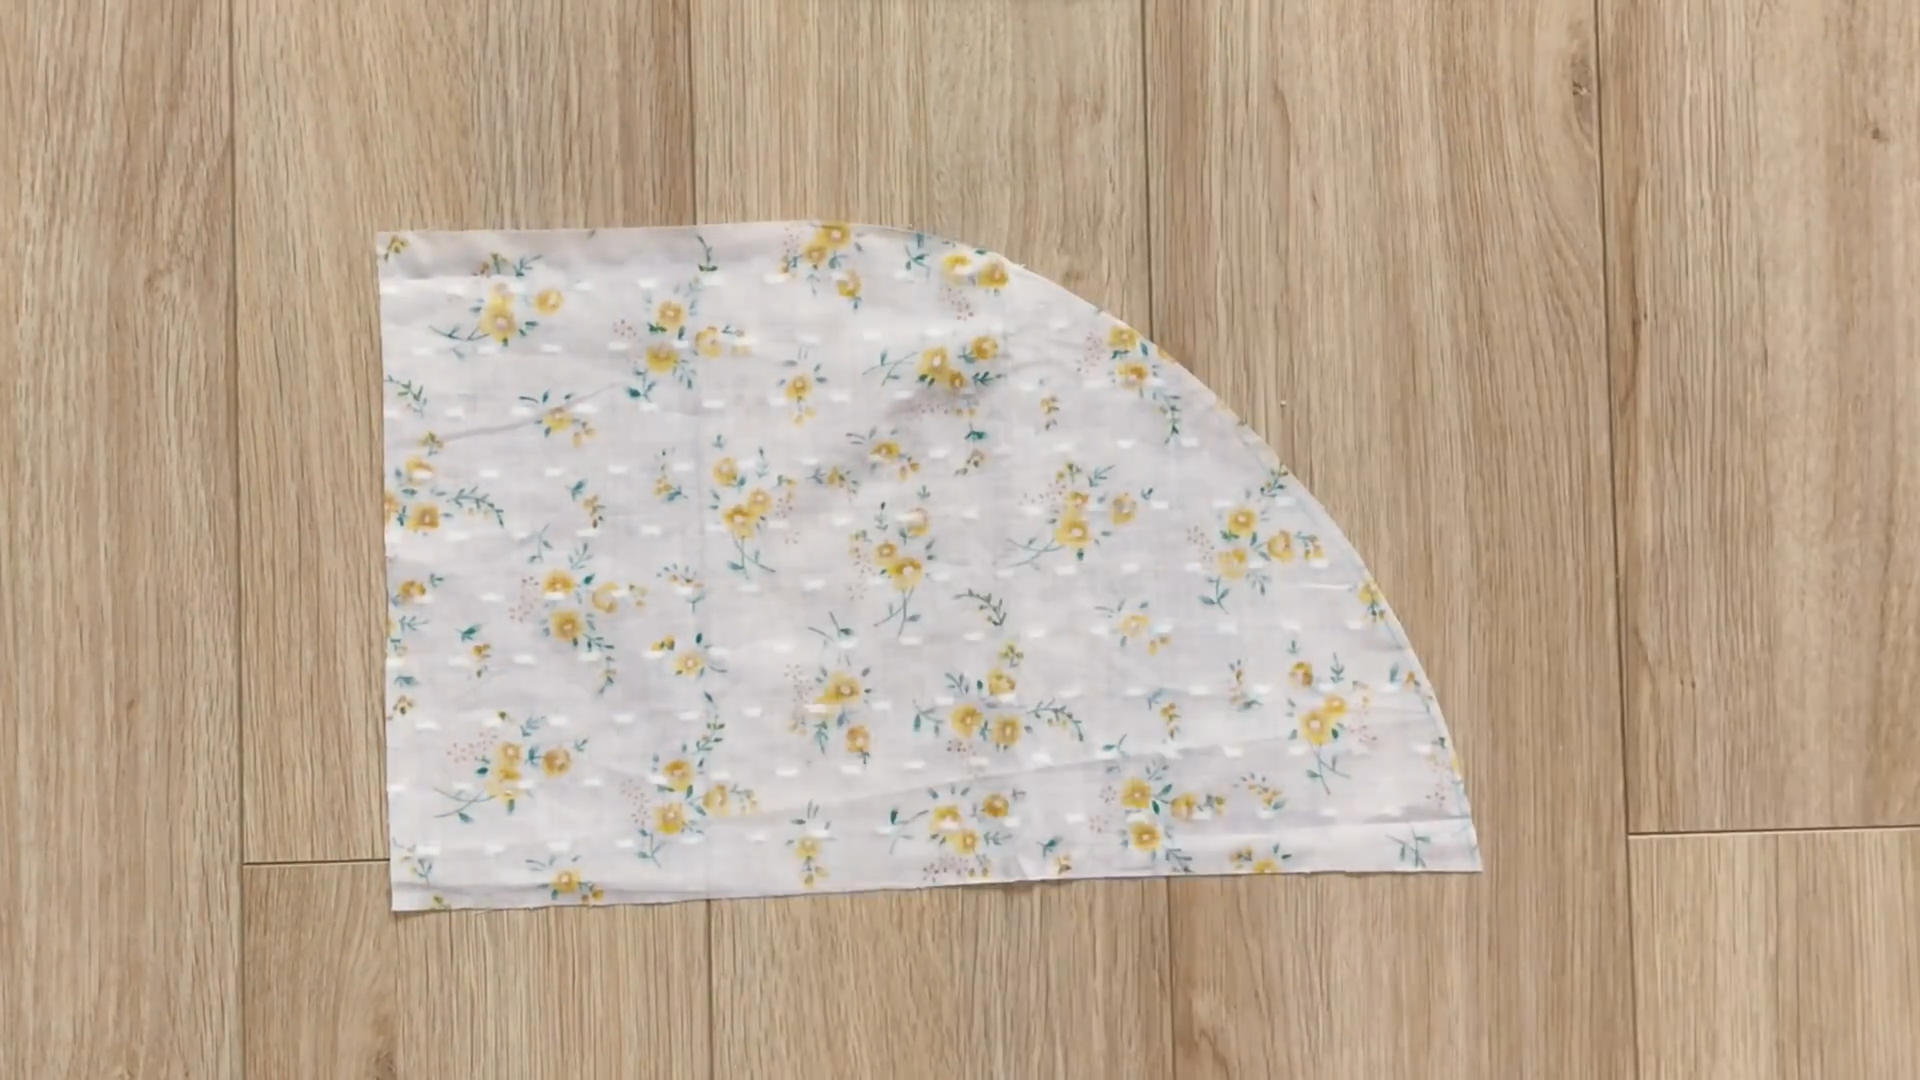
Cut a rectangle with a length of 20 cm and a width of 30 cm. On one width line, mark at the middle. Then, draw a curved line to connect to one end of the other width line.
After cutting, you will have the pattern for your pocket. You will need four pieces like this.
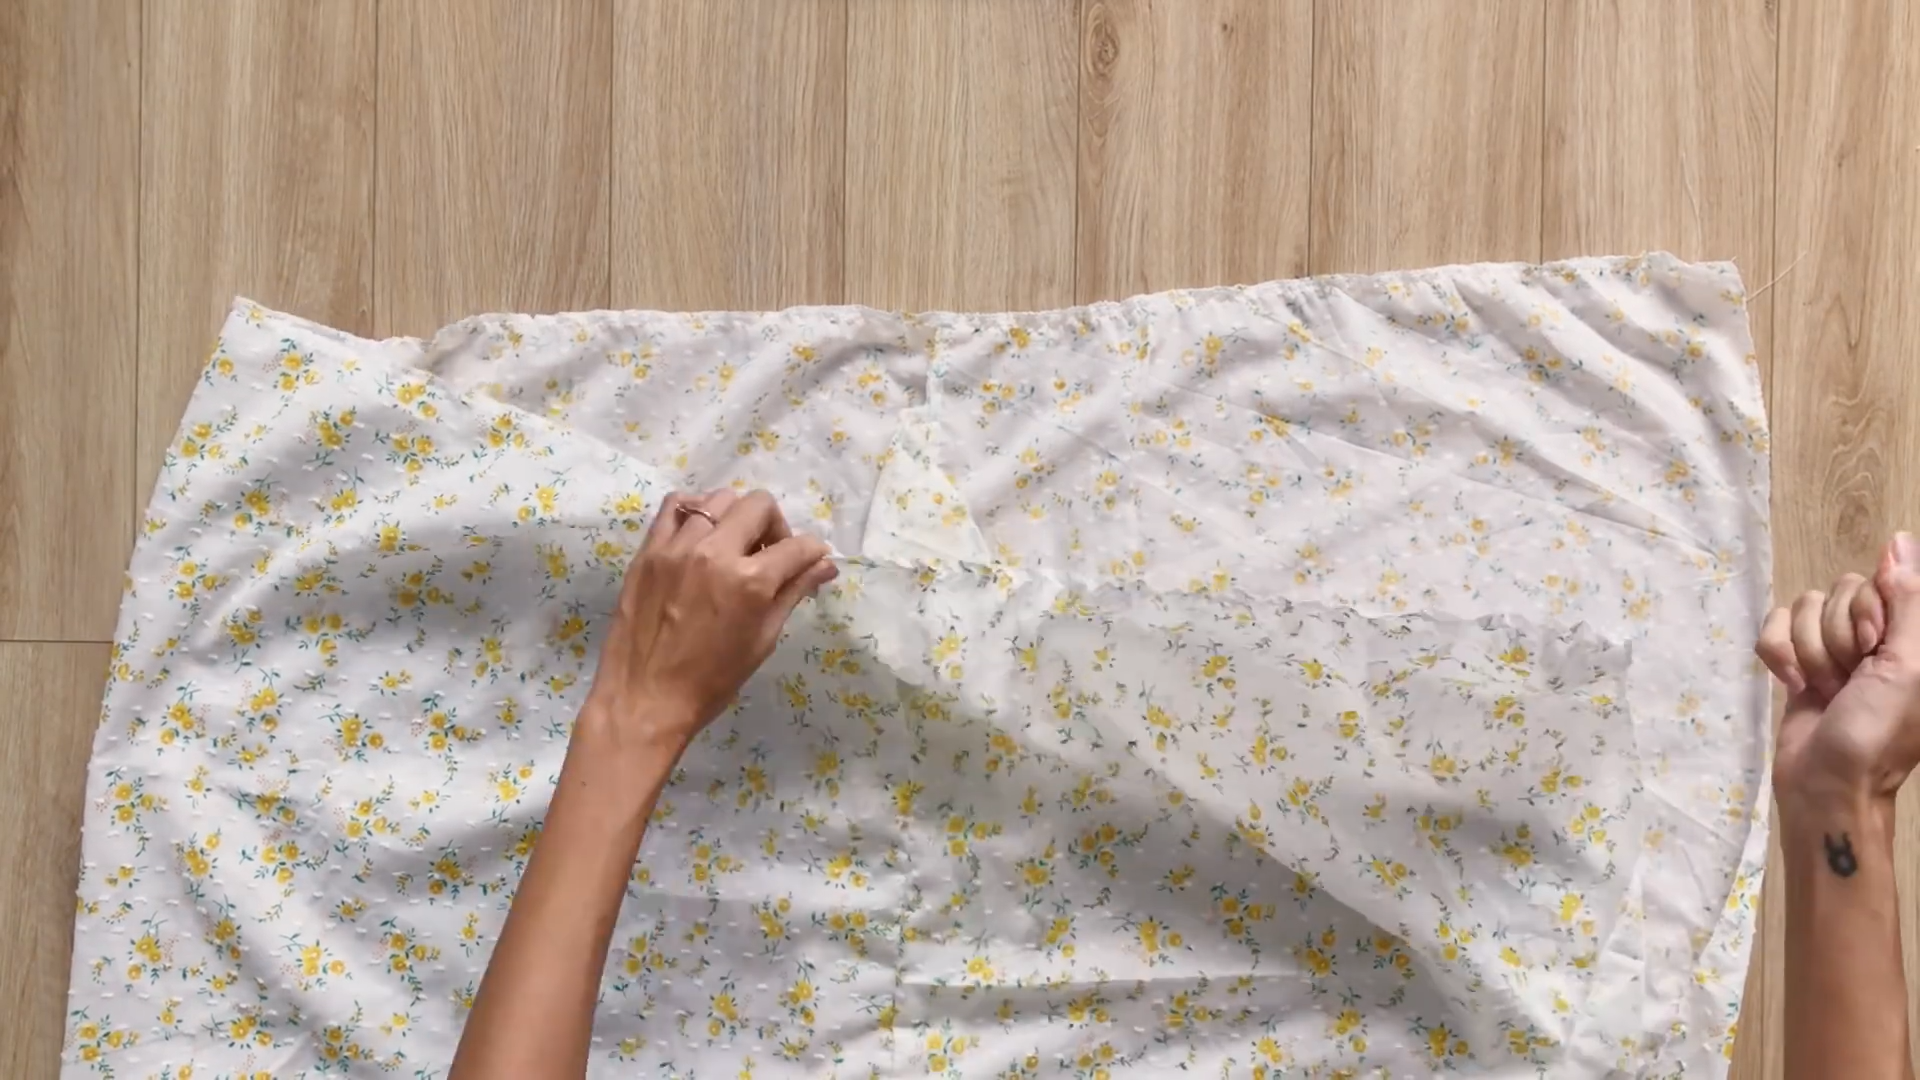
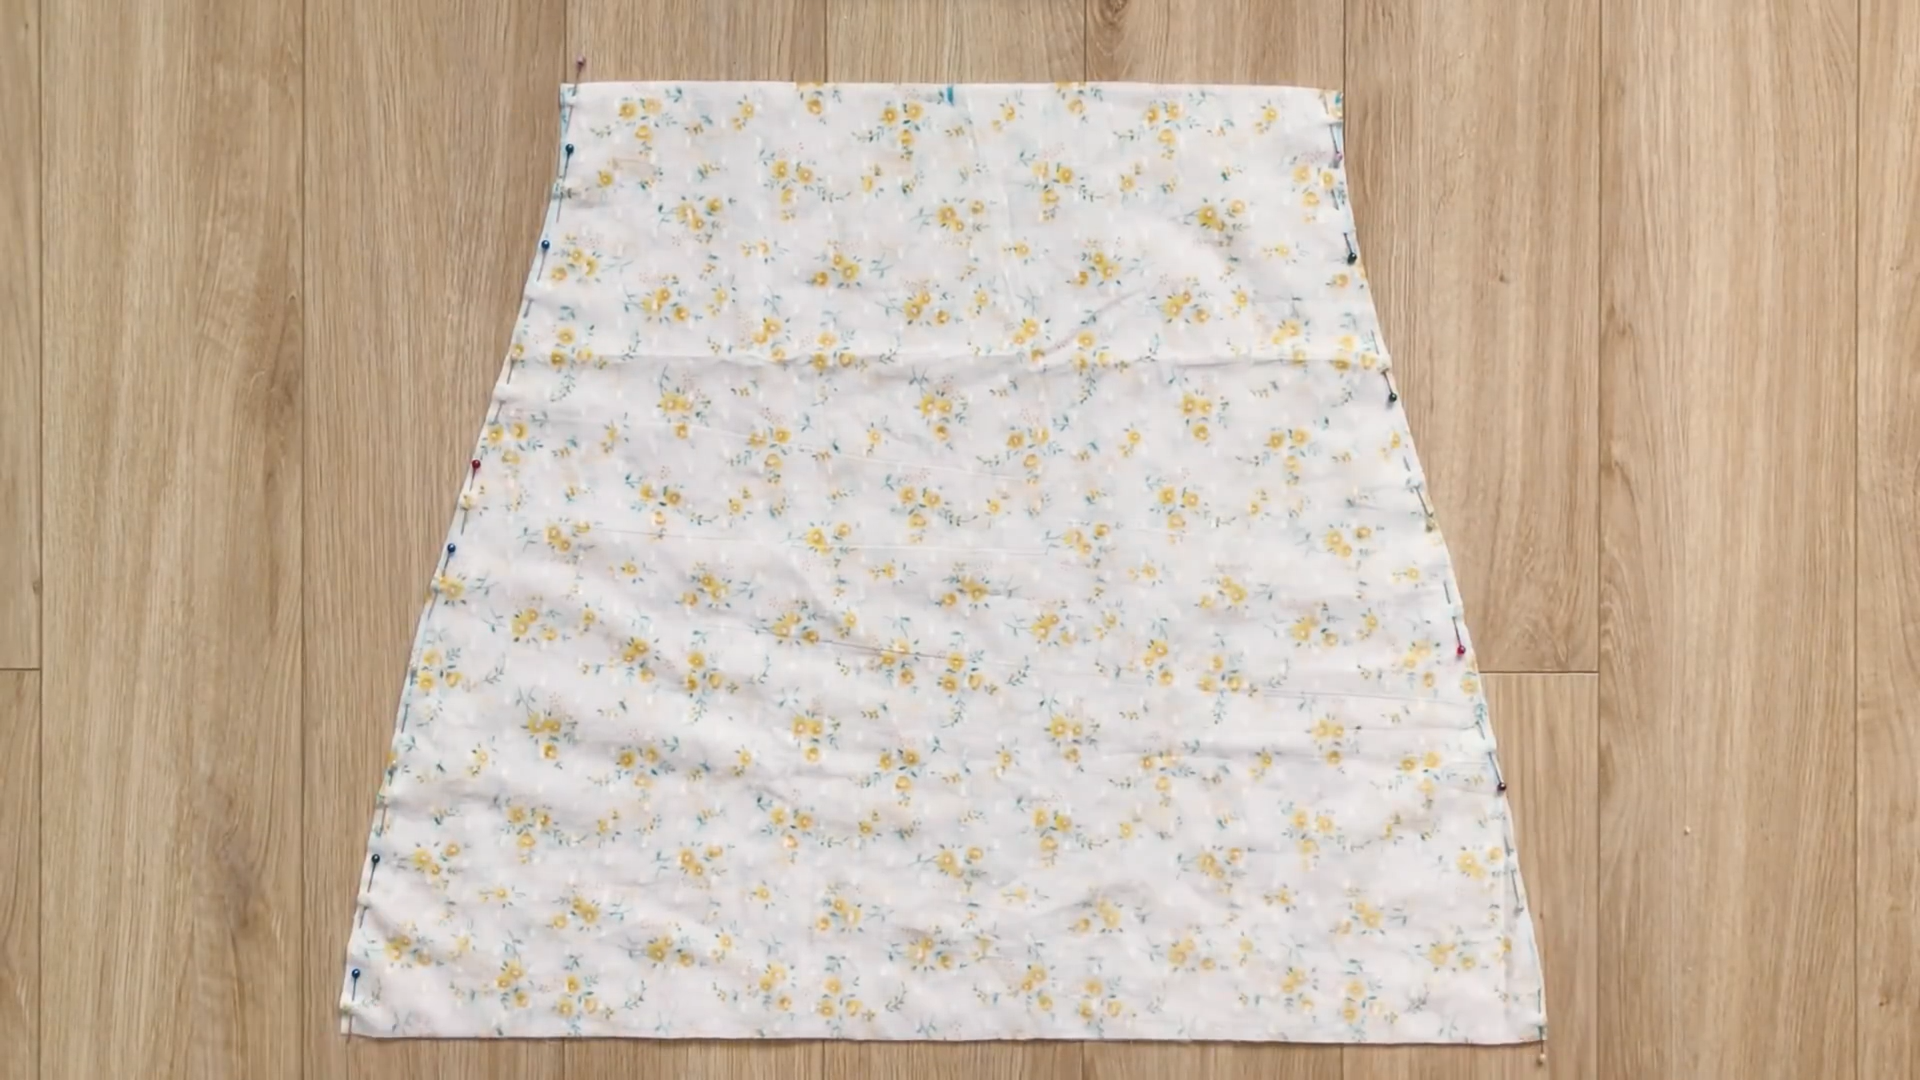
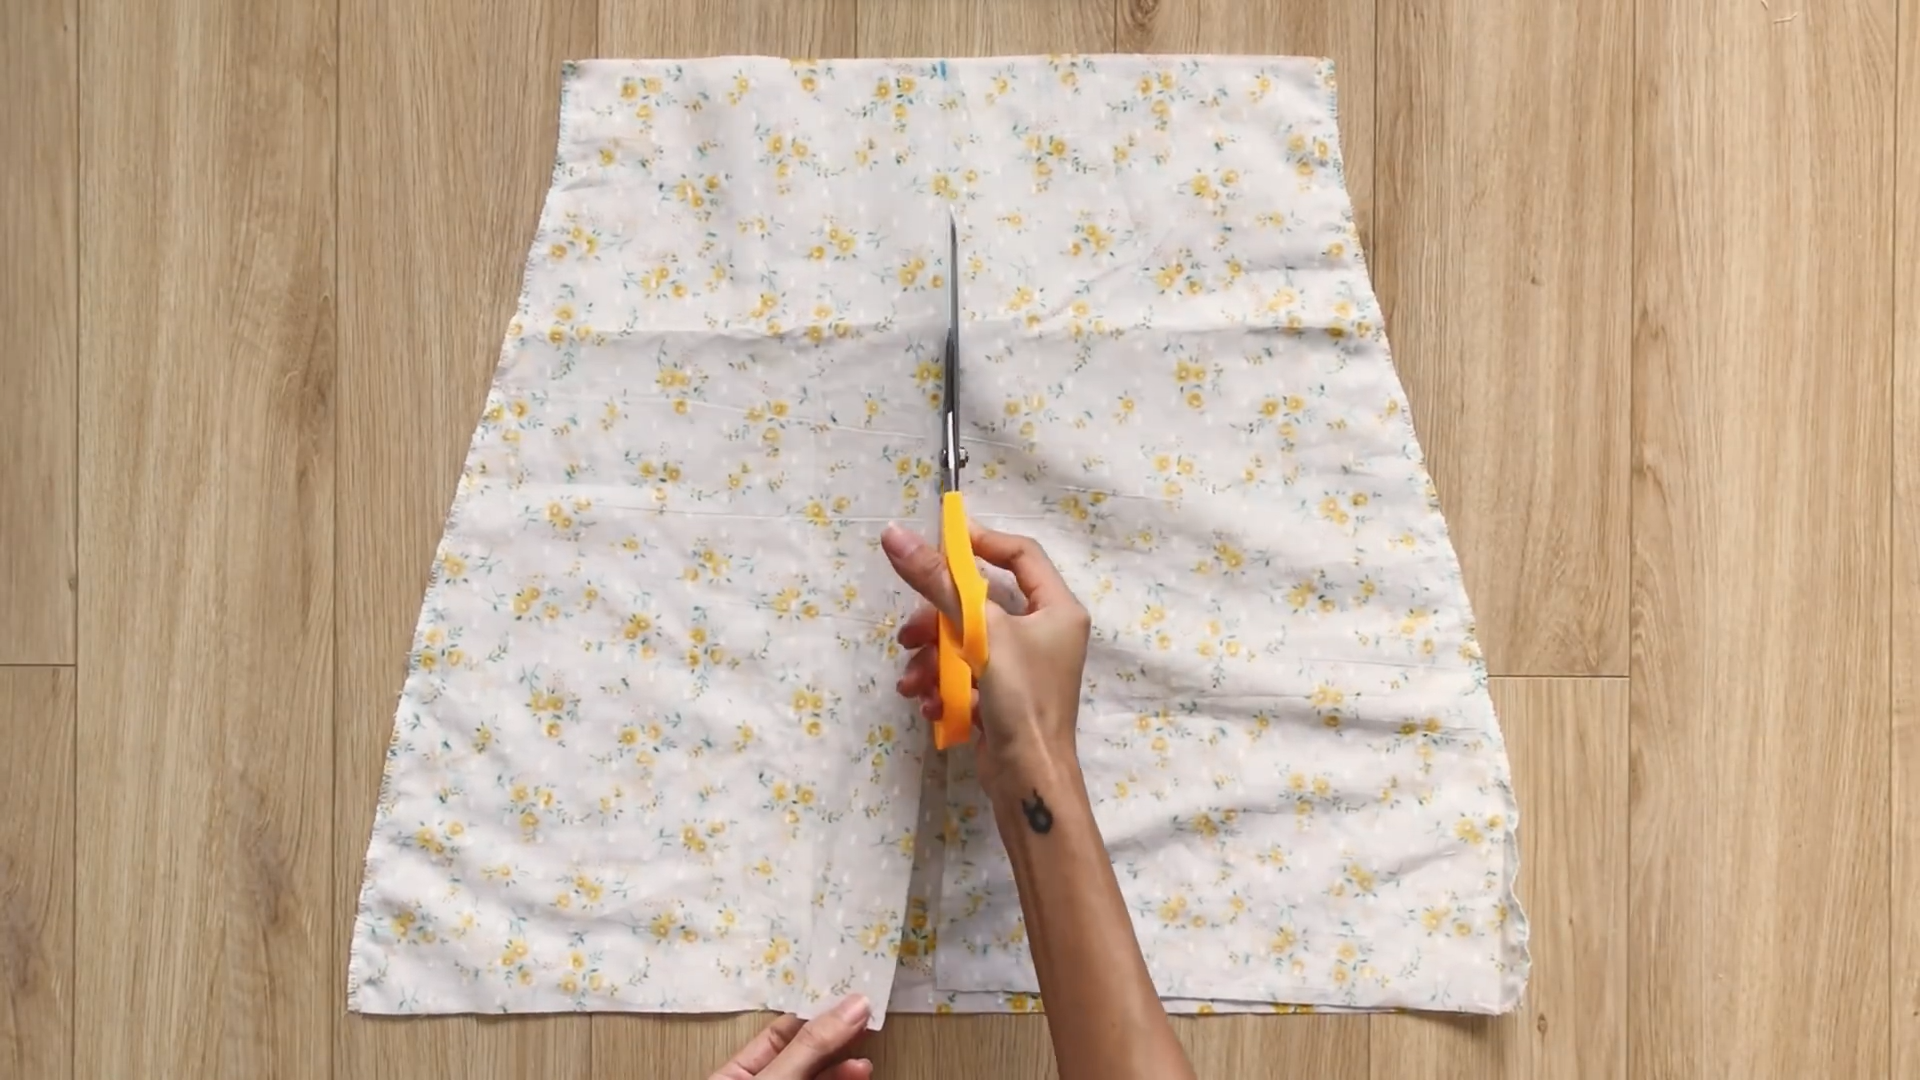
THE BOTTOM
Cut a big rectangle with a length of 60 cm (which is the length from the belly button to over the knee, minus the length of the ruffle part) and a width of 92 cm (which is your hip size).
From the top of the length lines, mark down at 5 cm. This will be the position for the pockets.
Connect the pocket to both sides of the rectangle. Then, sew them in place.
THE BACK
Cut two rectangles with a length of 60 cm (the same length as the front) and a width of 47 cm (half the width of your hip size plus 1 cm for seam allowance for the zipper later).
At two sides of the back part, mark down 5 cm to position the pocket.
After sewing, connect the front and the back of the bottom dress together at two sides.
From the top of the pocket, mark out at 14 cm for the open area of the pocket where you can put your hand. Then, sew the rest of it together to create a pocket.
THE RUFFLE
Cut a long rectangle with a length of 30 cm and a width of 276 cm (which is three times your hip size).
If you don’t have enough length of fabric, you can cut two rectangles and connect them together to make a long one.
At one width line of the rectangle, fold the end fabric inside two times and sew to finish the end of the ruffle.
At the other width line, make a loose seam. Then, create a gathering fabric there.
The final width of the gathering fabric will be two times your hip size, which is the width of the main bottom part.
Connect them together.
At the top of the bottom part, make a loose seam. Then, create a gathering fabric there.
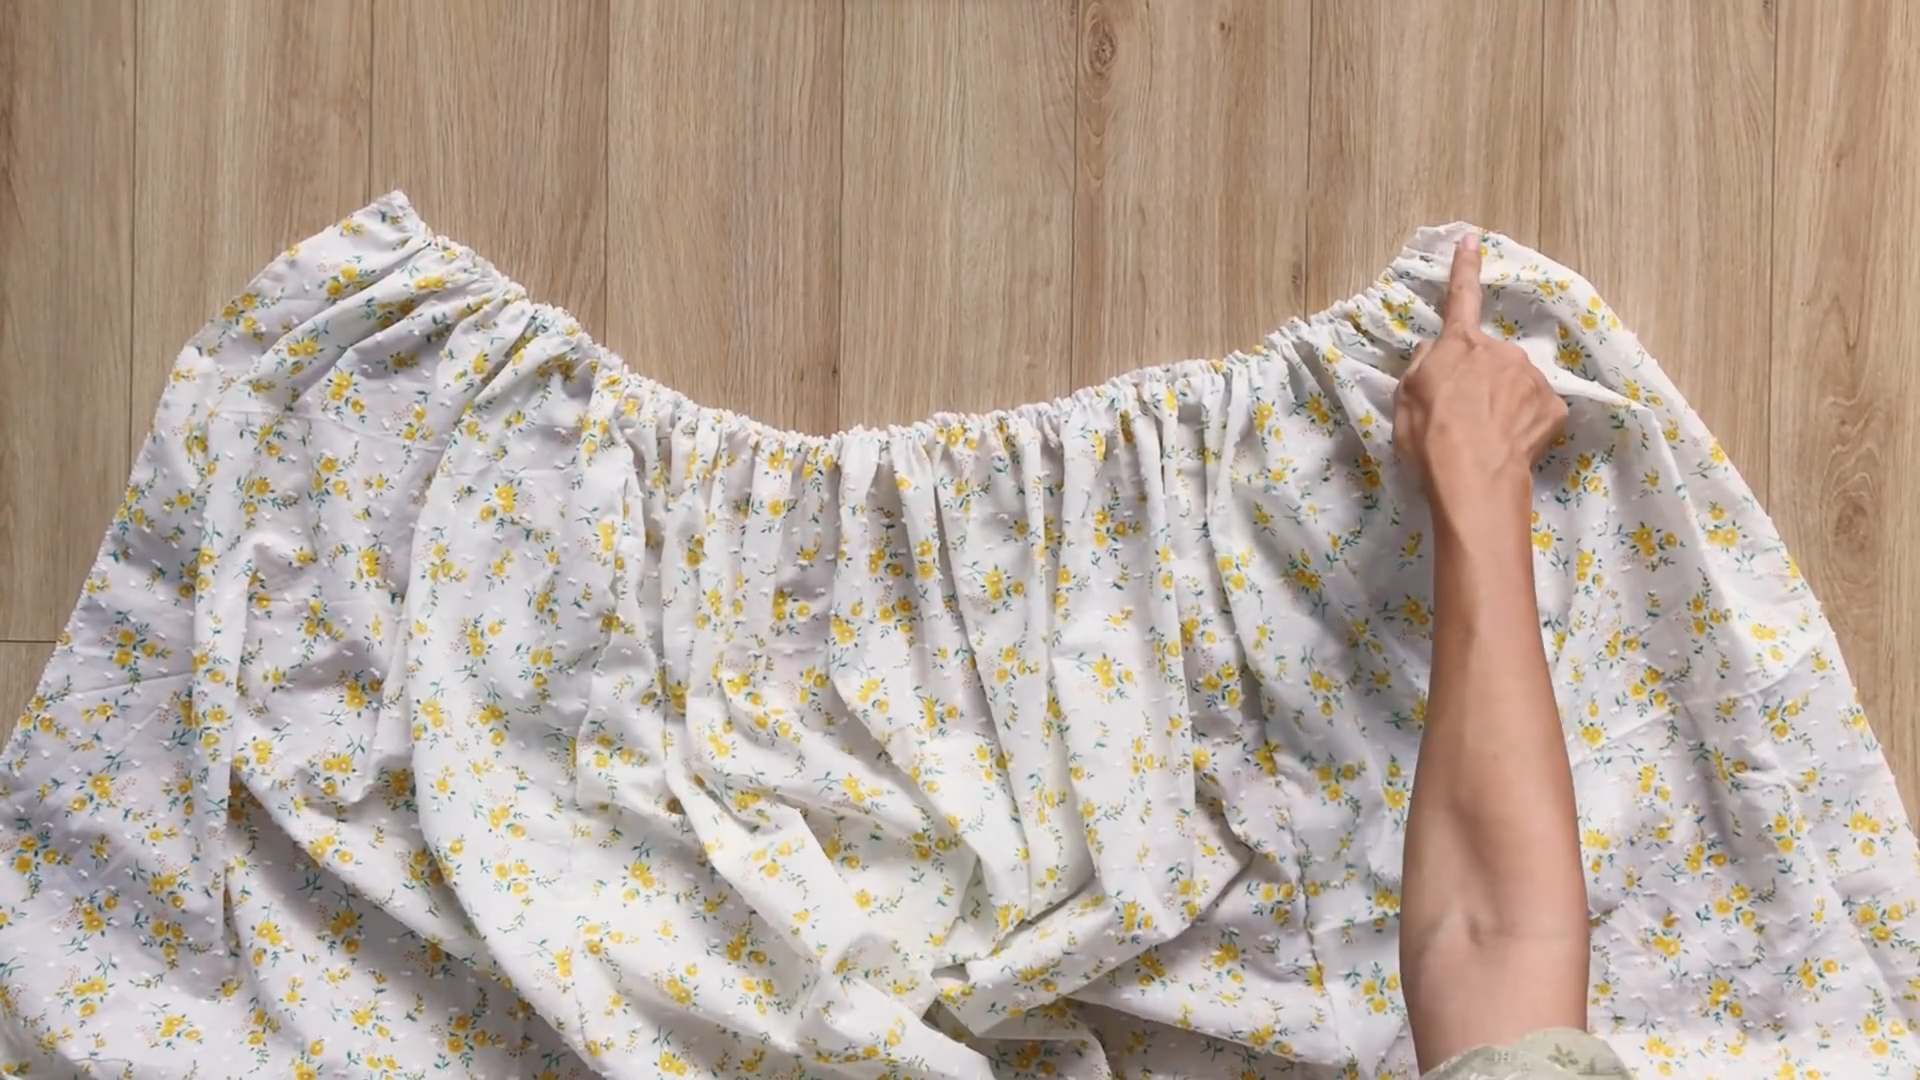
The final width of the gathering fabric will be 70 cm, which is the same as the width of the waistband.

Connect them together.
THE LINING (Optional)
Start by cutting two rectangles with a length of 50 cm (which is 10 cm shorter than the main part of the bottom dress) and a width of 69 cm (which is one and a half times half of your hip size).
At the top of the rectangle, mark at the middle foot. From this mark, mark at two sides 18.5 cm, which is a quarter of your under bust size plus 1.5 cm for seam allowance.
Connect this mark to two ends of the rectangle, but draw a slight curved line at the top of them to make them straight.
After cutting, connect two side lines of the lining together.
Then, cut it in the middle of one piece.
Fold the end fabric of the lining part inside two times and sew to finish it.

Connect the lining to the dress at the waistband and sew.
Make sure the waistband stays in the middle between the bottom part and the lining part.
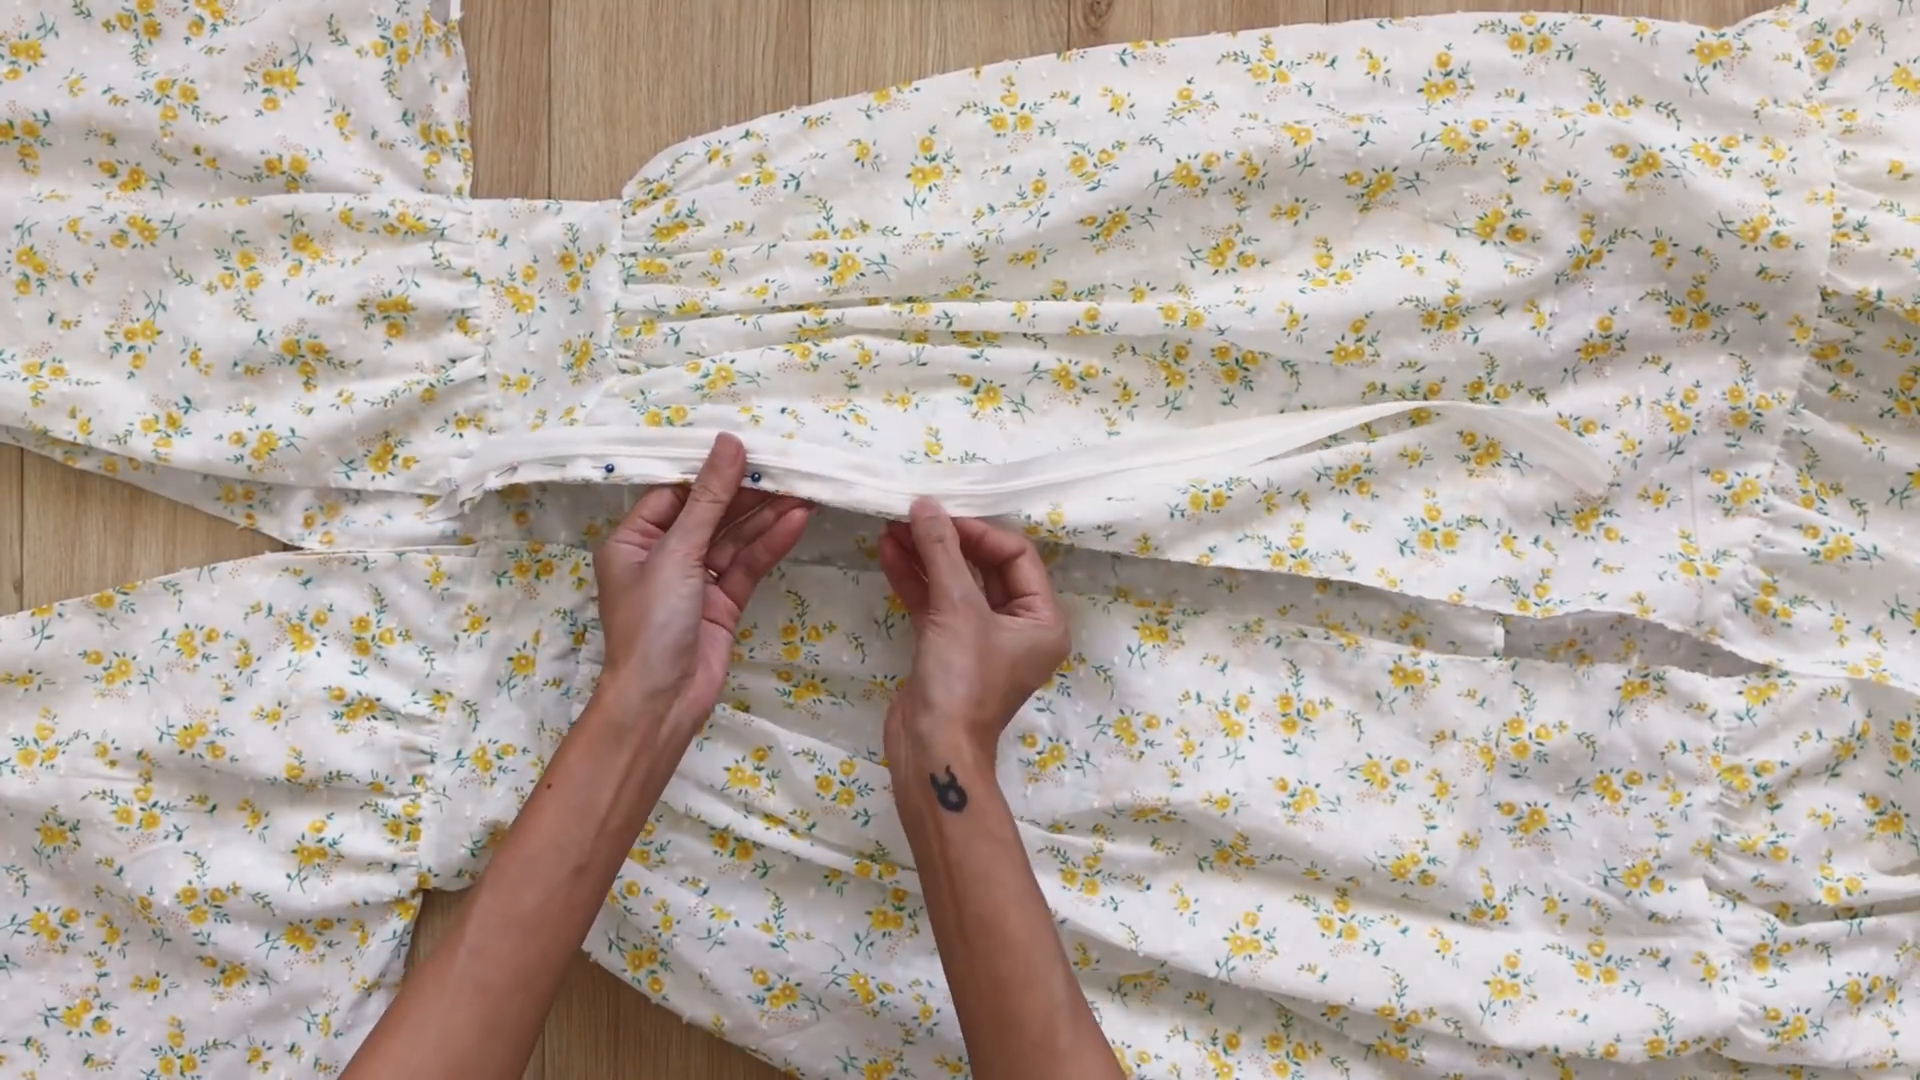
The last step is installing the zipper at the back of the dress.
DIY Cottagecore Maxi Dress
And there you have it!
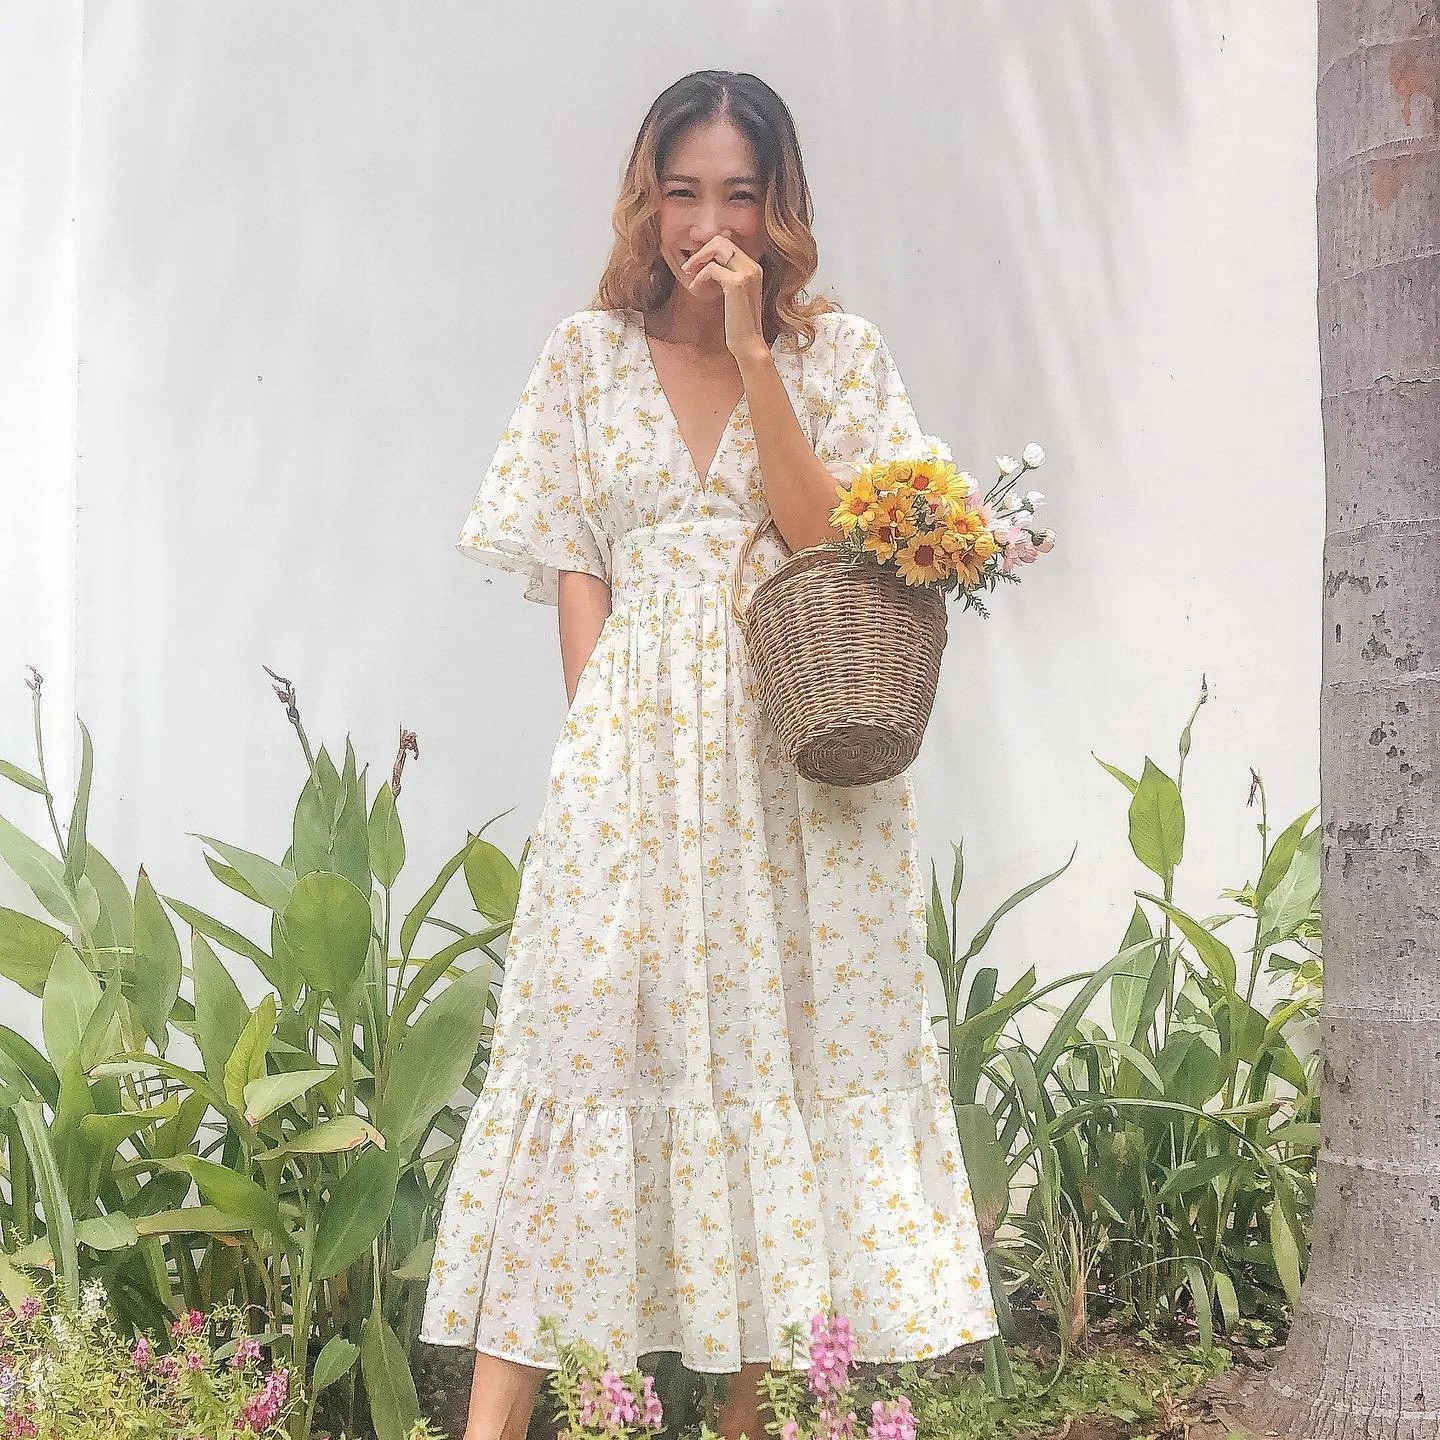
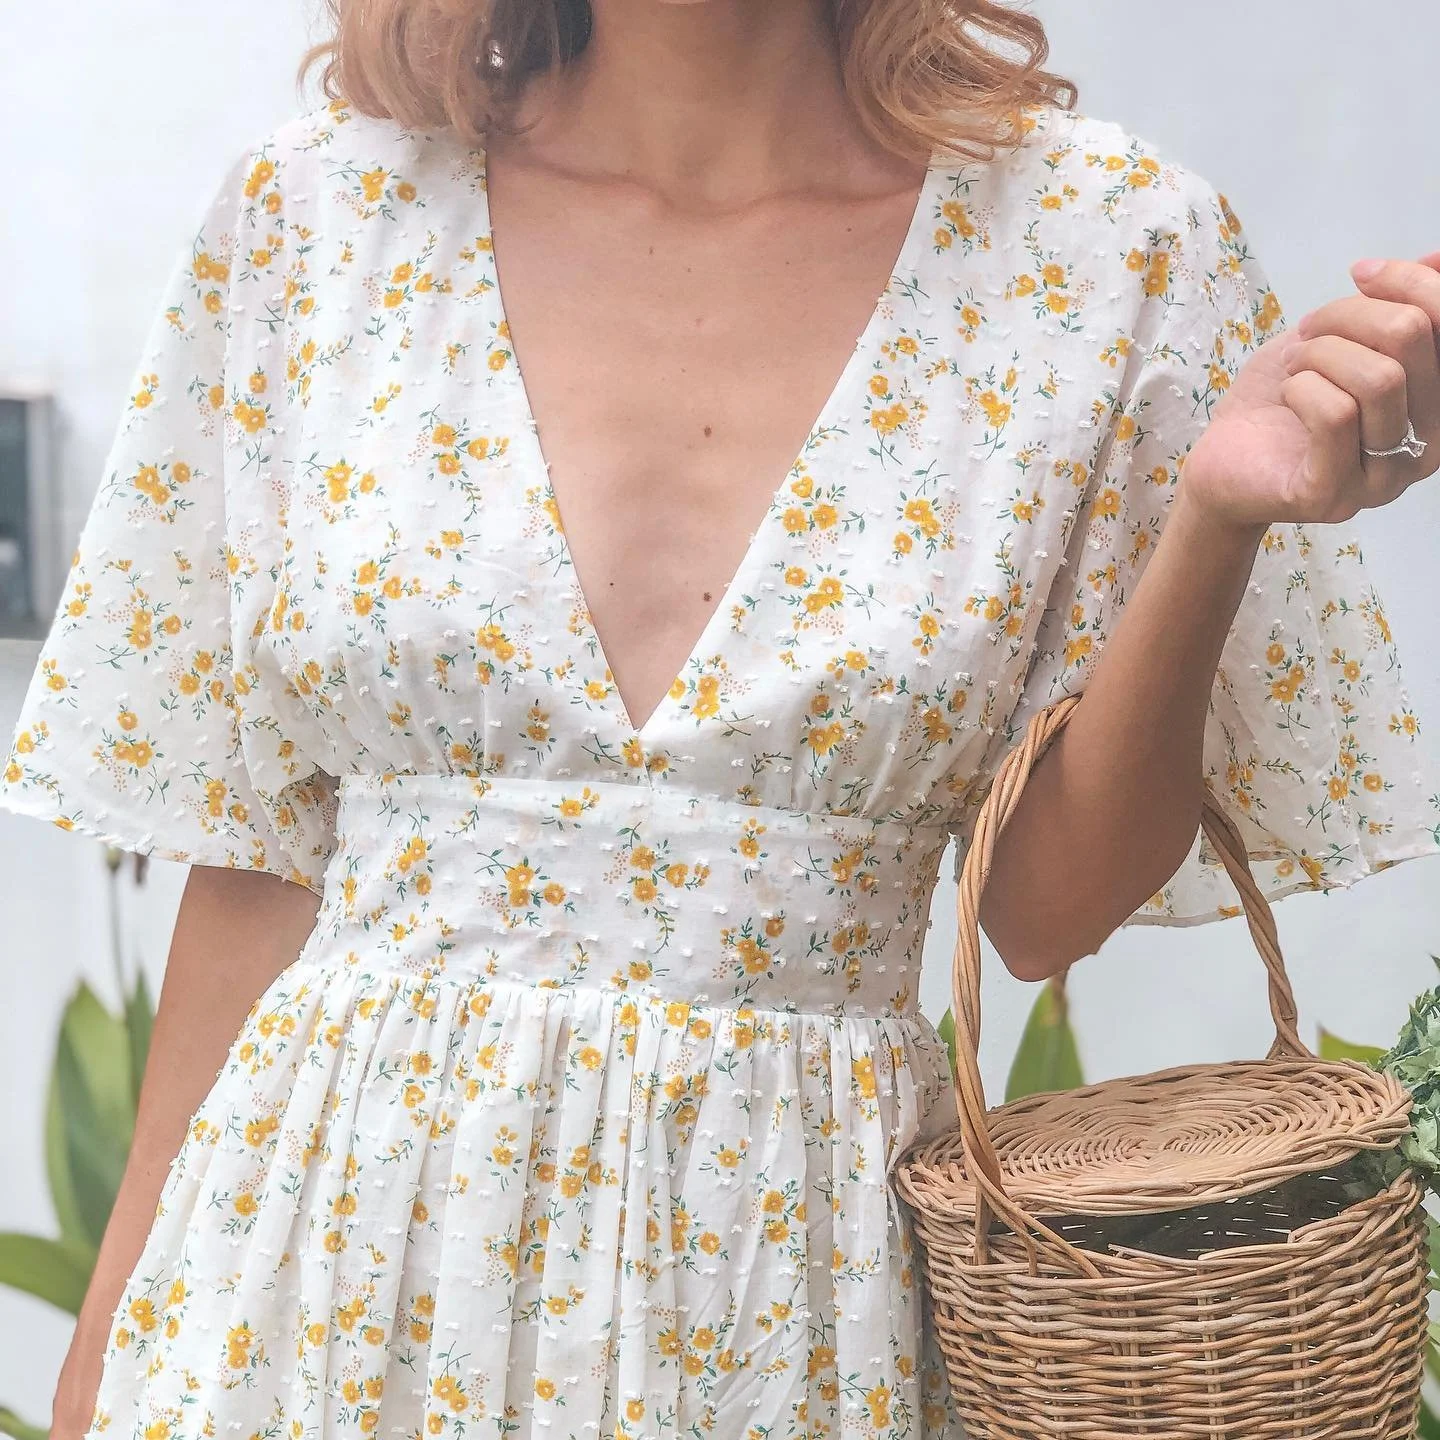
Here’s the final result of our beautiful vintage cottagecore maxi dress. This has quickly become one of my favorite maxi dresses, and I hope it will be yours too.
Thank you for joining me on this sewing tutorial. I can’t wait to see what we’ll create next week.
Until then, happy sewing!
Please let me know your thoughts in the comments below. I would love to know more from you guys to improve my skills.