DIY PUFF SLEEVE BUSTIER MIDI DRESS - COTTAGECORE DRESS - Step by step sewing tutorial [+ Free Pattern]

DIY Puff Sleeve Bustier Midi dress

Hi everyone! In today’s tutorial, We’re going to be creating a beautiful Cottagecore dress. This style has been a popular trend in the Cottagecore fashion scene, and it’s perfect for the summer season.
Interestingly, I had initially thought that the bust design of this dress might not suit those with a smaller bust, like myself. However, I was surprised to find out that it’s actually an ideal fit for smaller bust sizes. So, if you’ve had similar concerns, don't worry, it's gonna look good on you!
So, let’s get started!
WHAT YOU’LL NEED
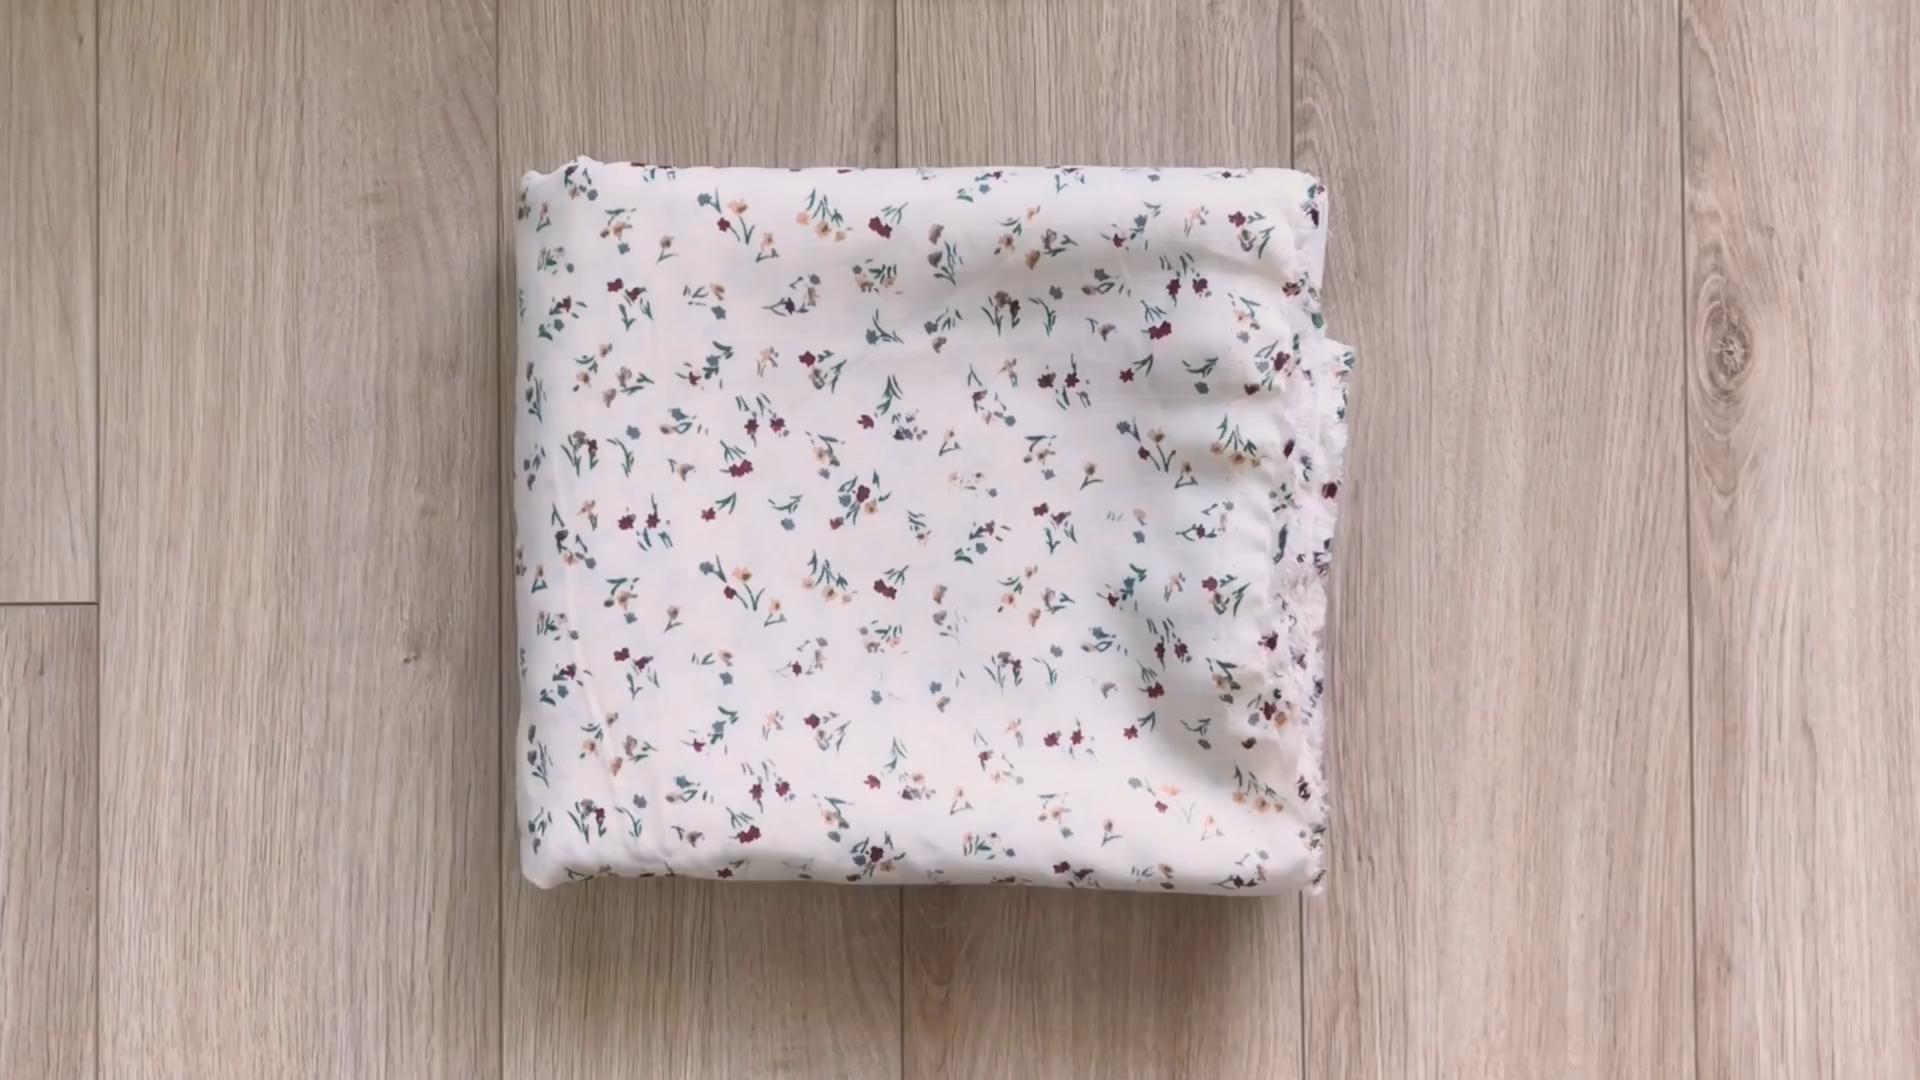
3m of soft cotton fabric
Pattern paper
Sewing machine
Pins
Scissors
Ruler
Long stick
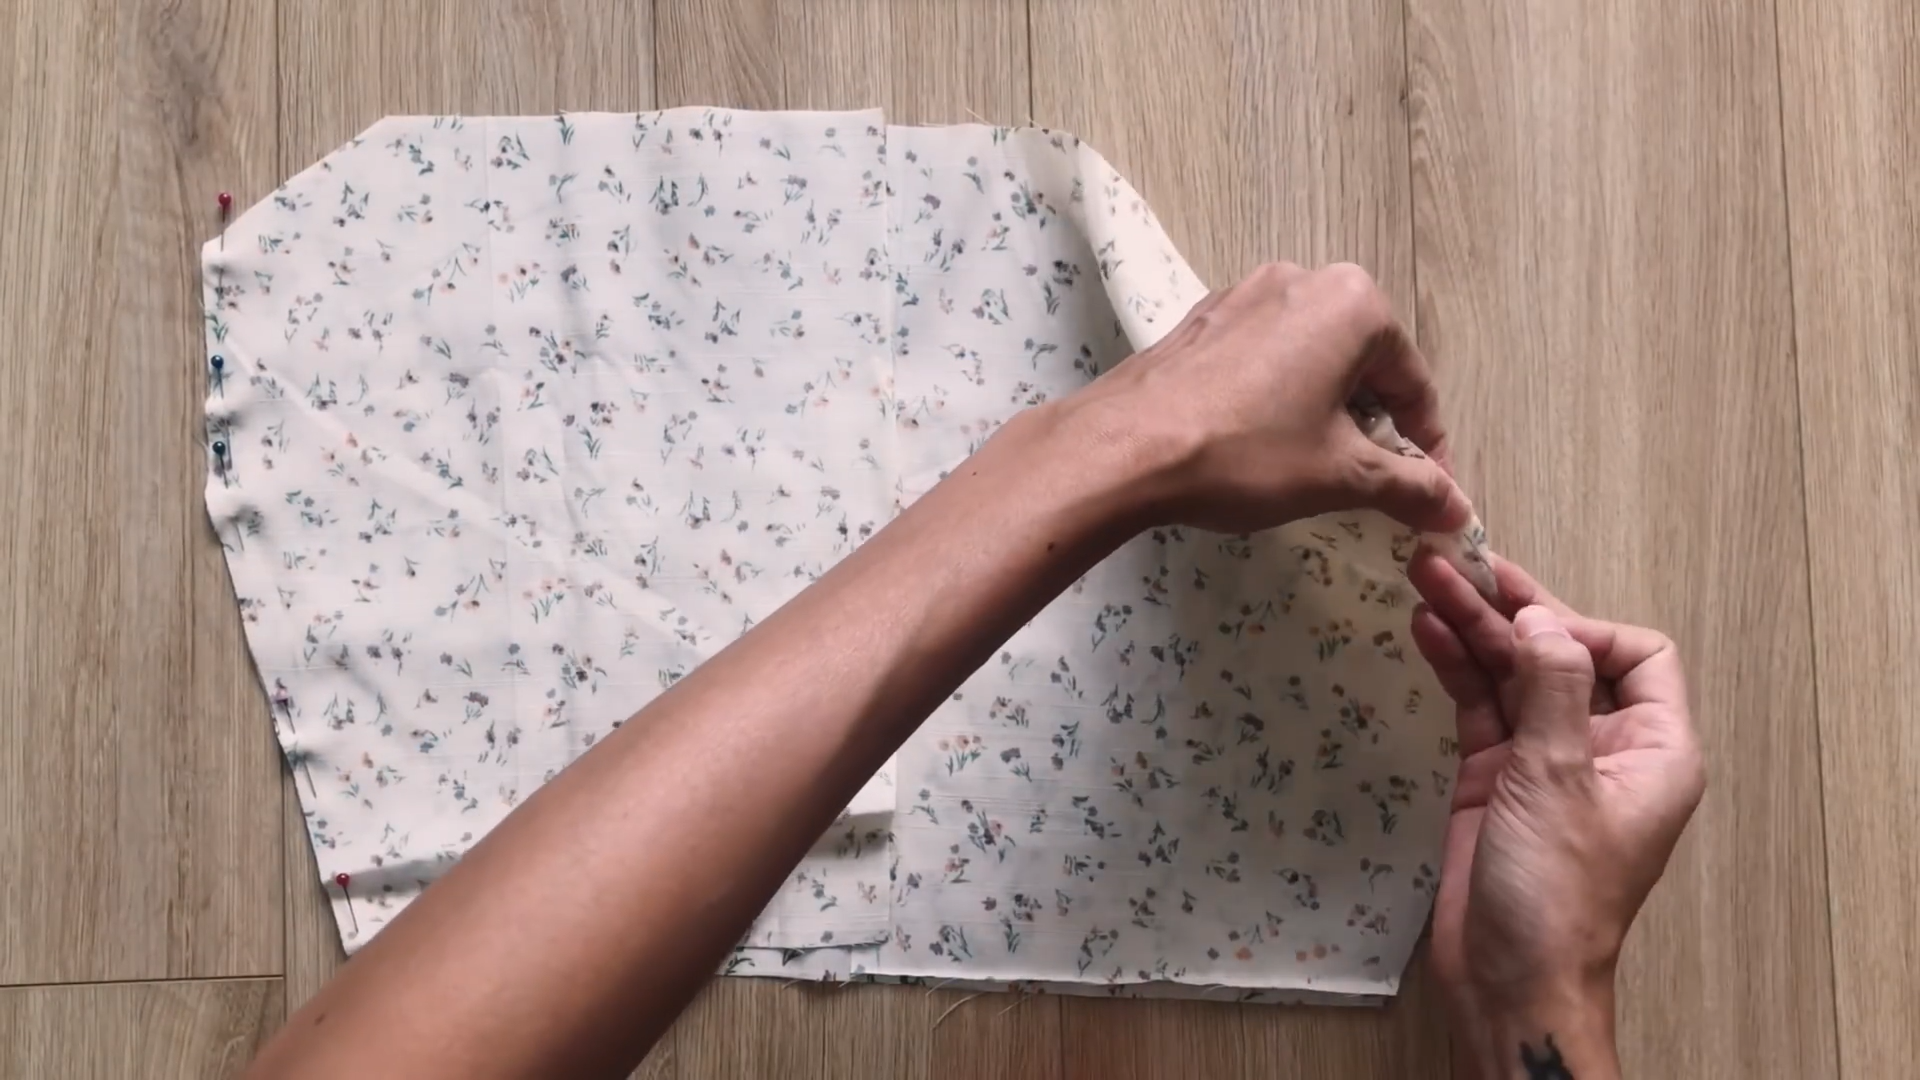
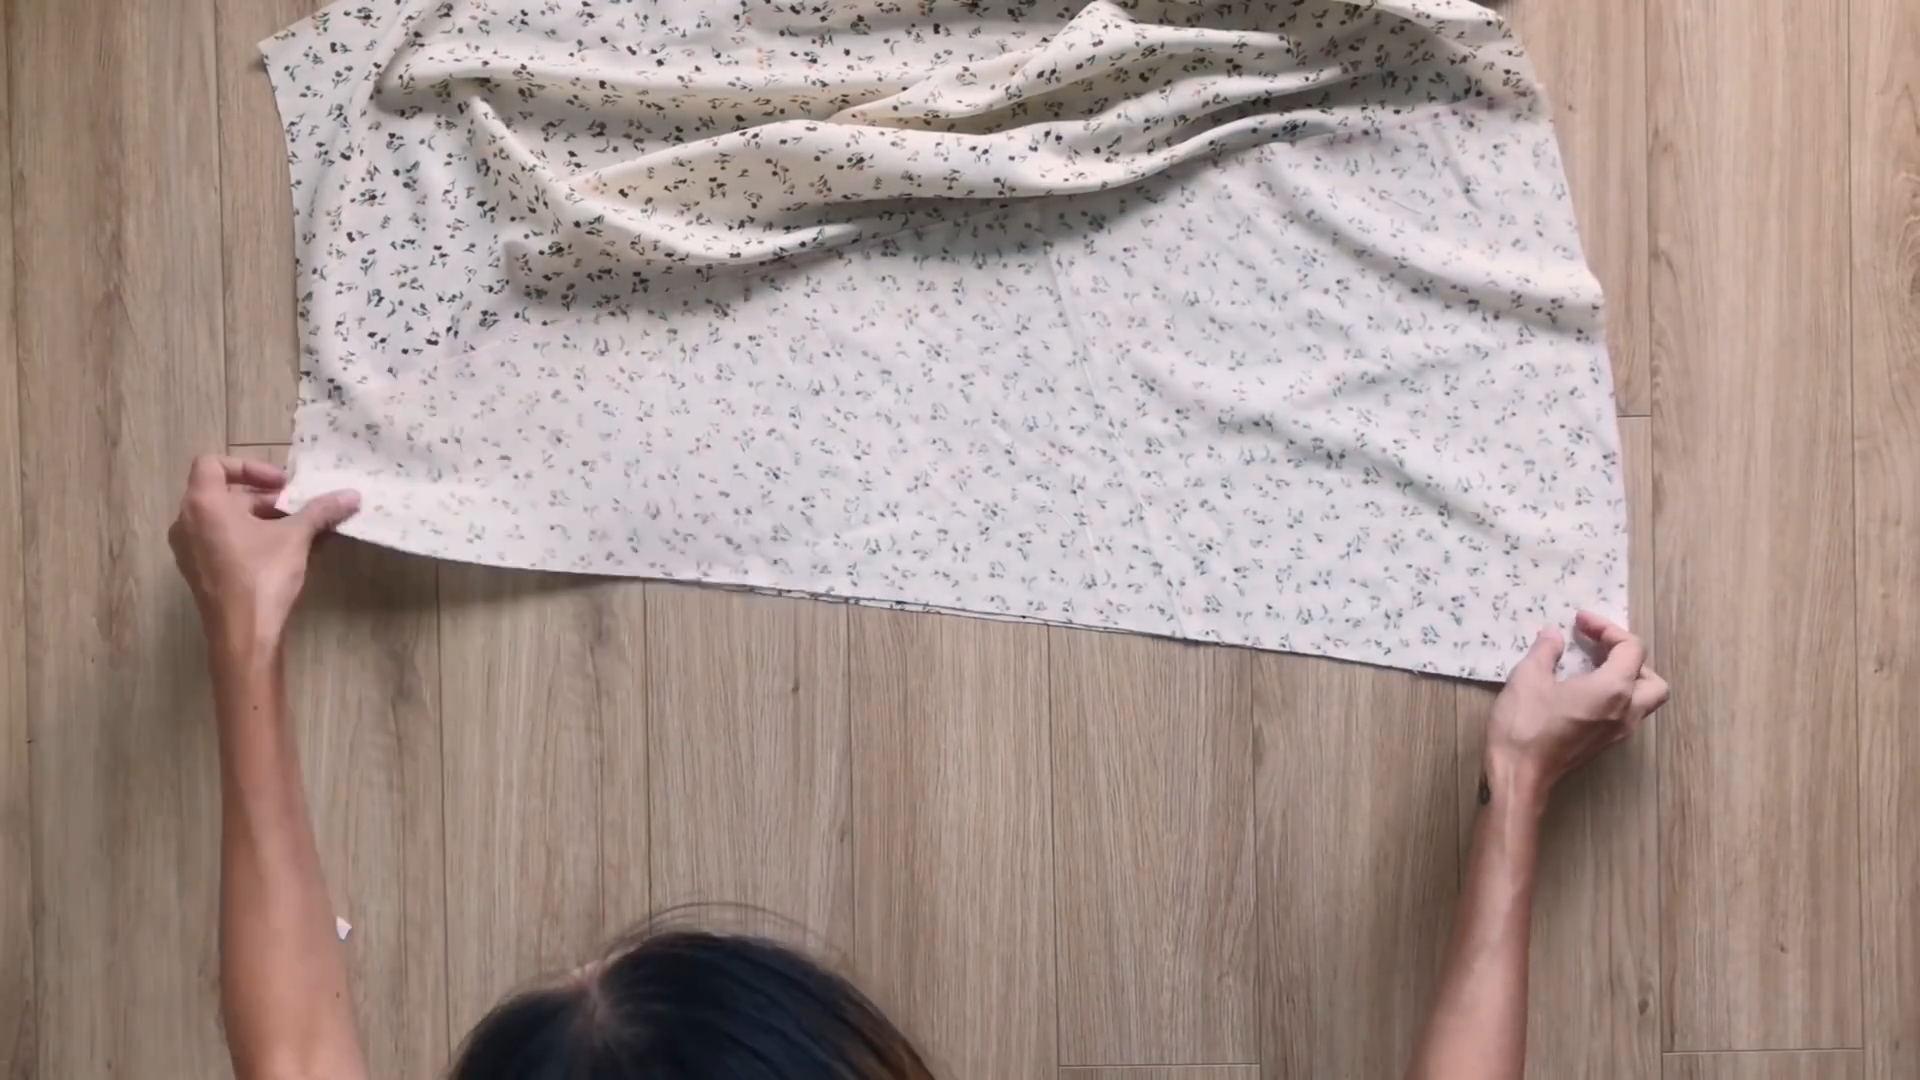
MAKING THE PATTERNS
Here’s the pattern for the project. To get a clear understanding of all the measurements needed for the pattern, watch the video from 1:10 to 6:40. Remember, you can adjust these measurements to fit your own dimensions!
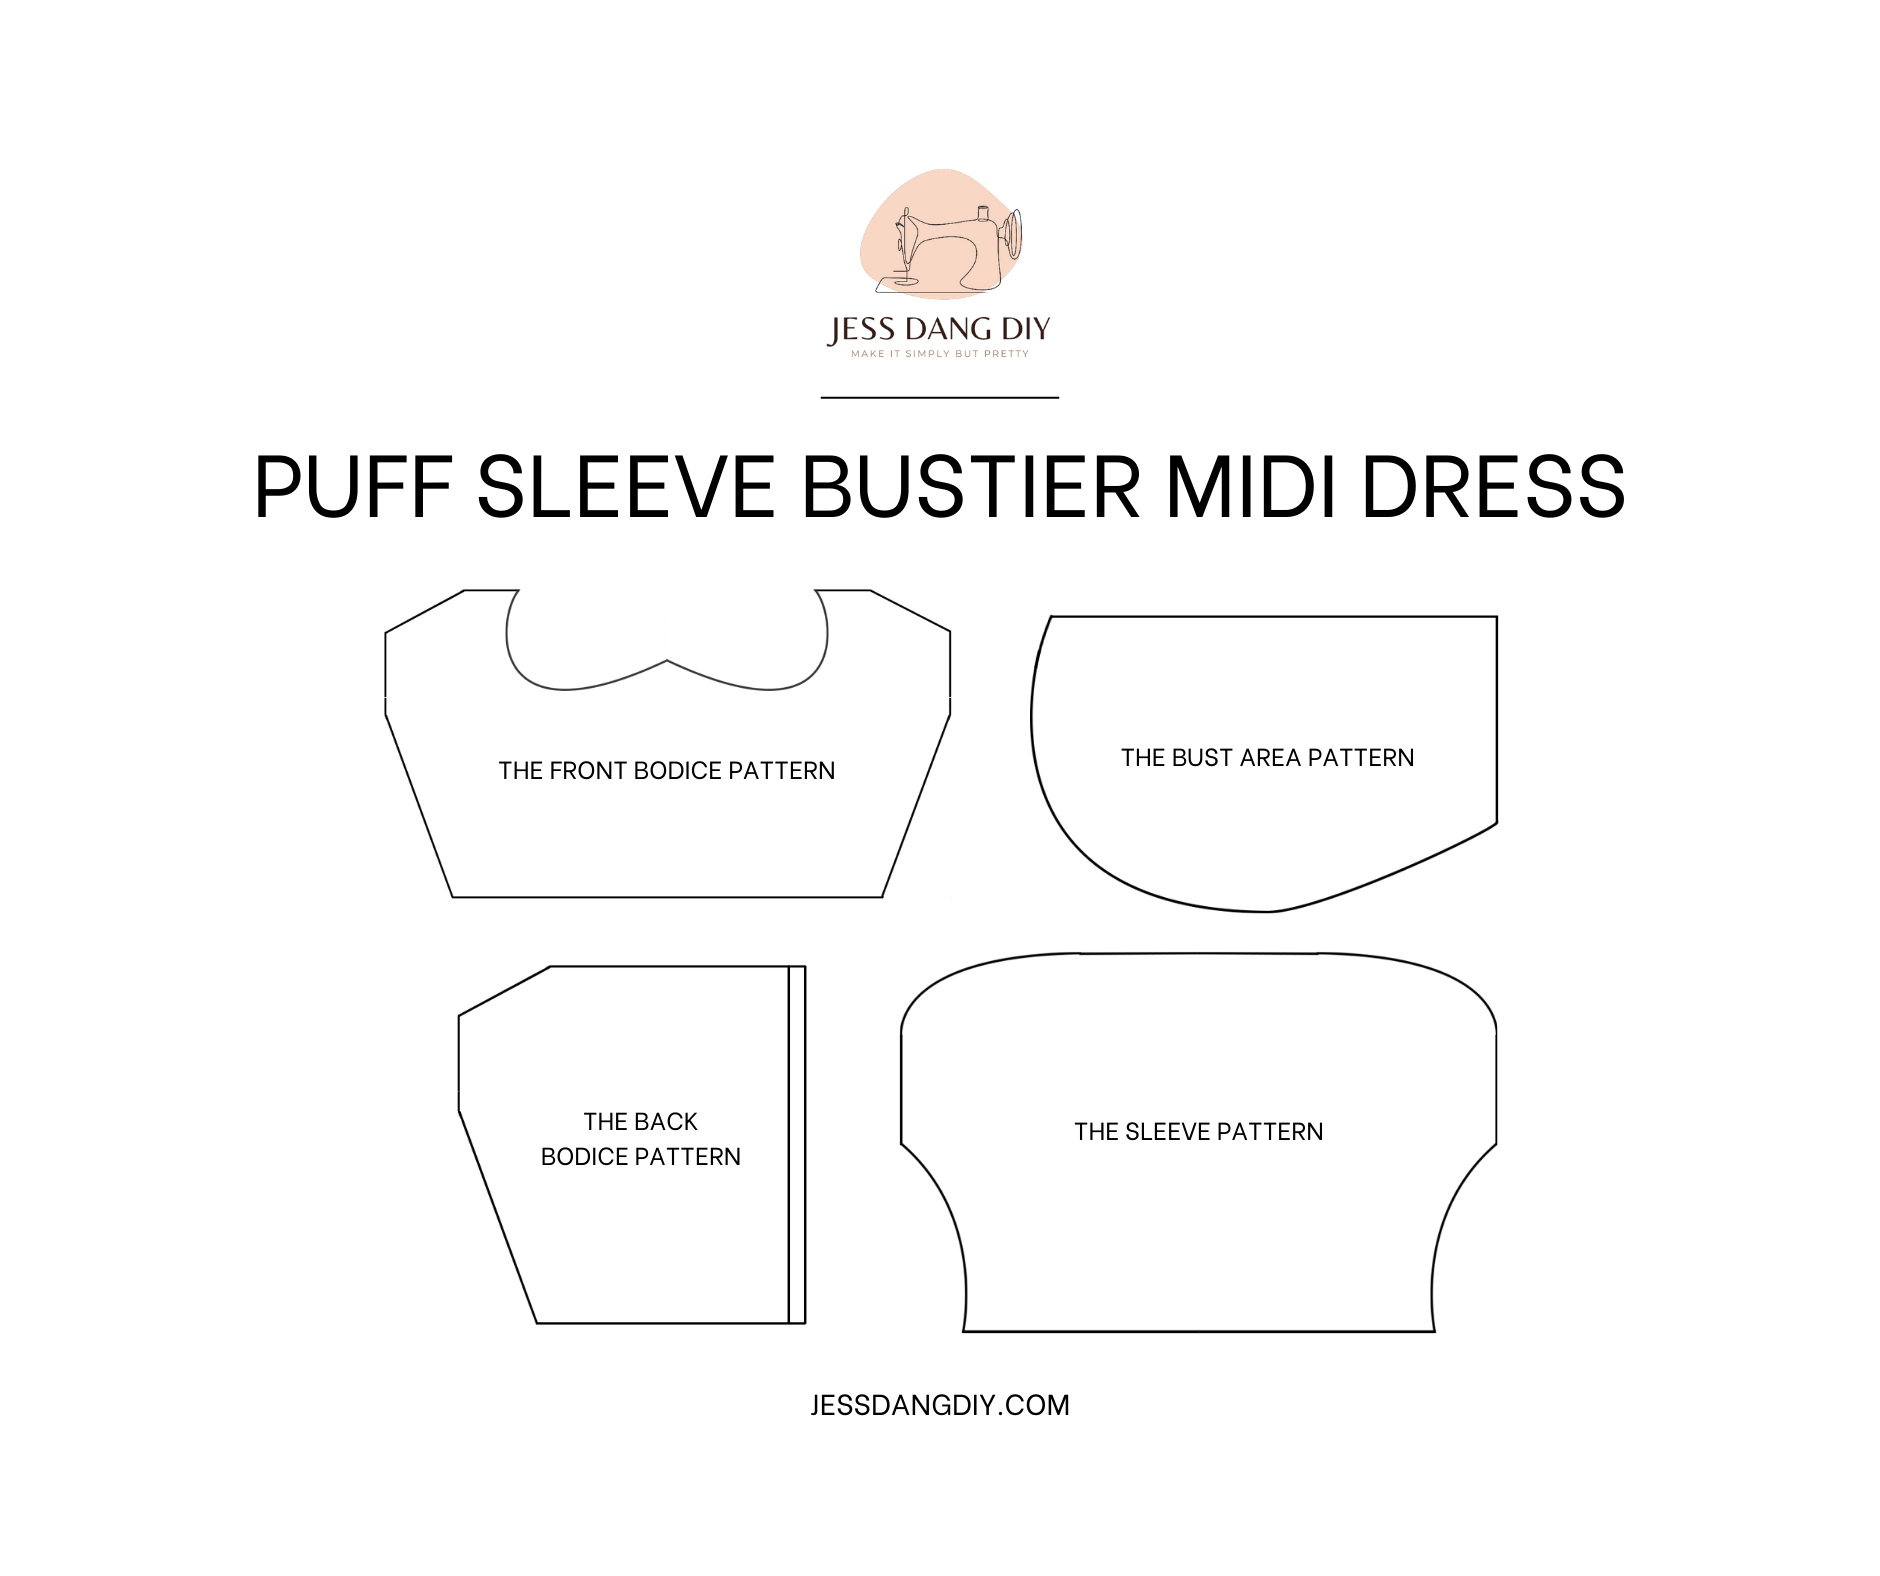
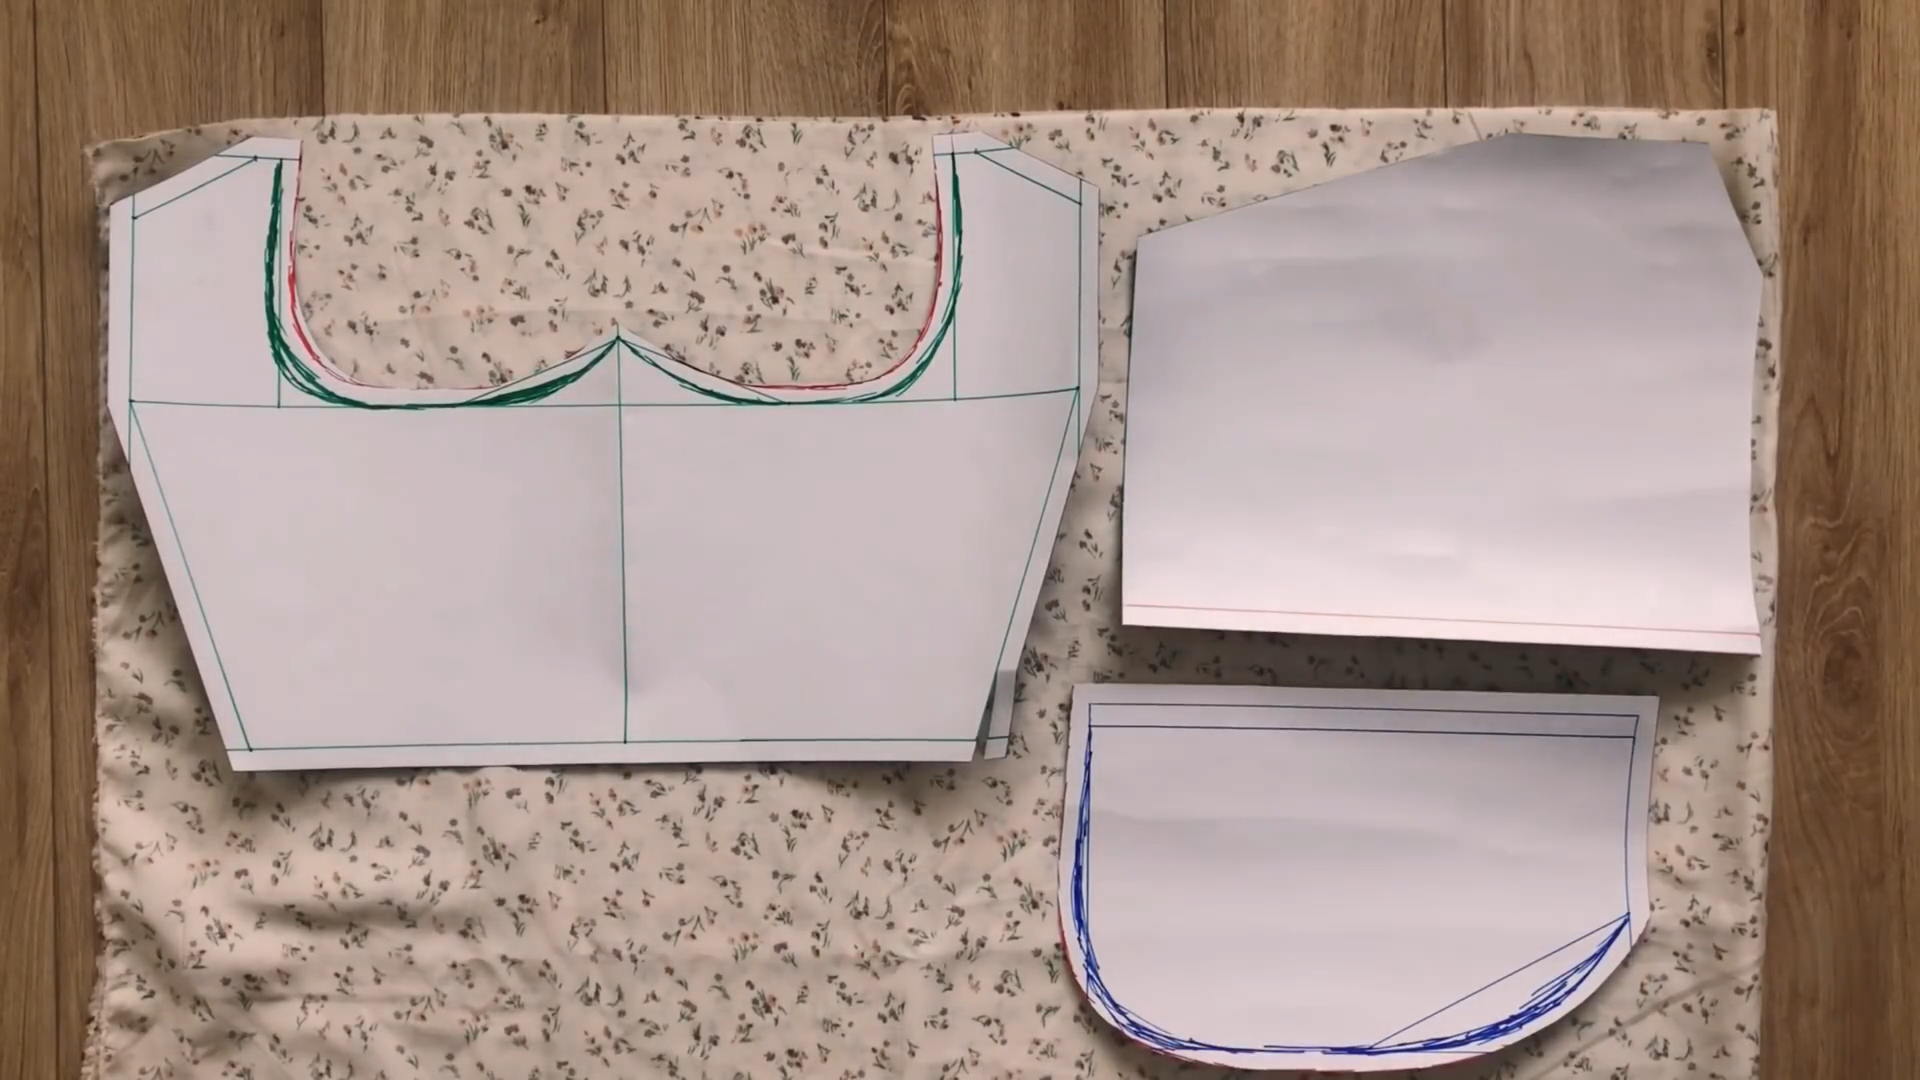
THE FRONT BODICE PATTERN

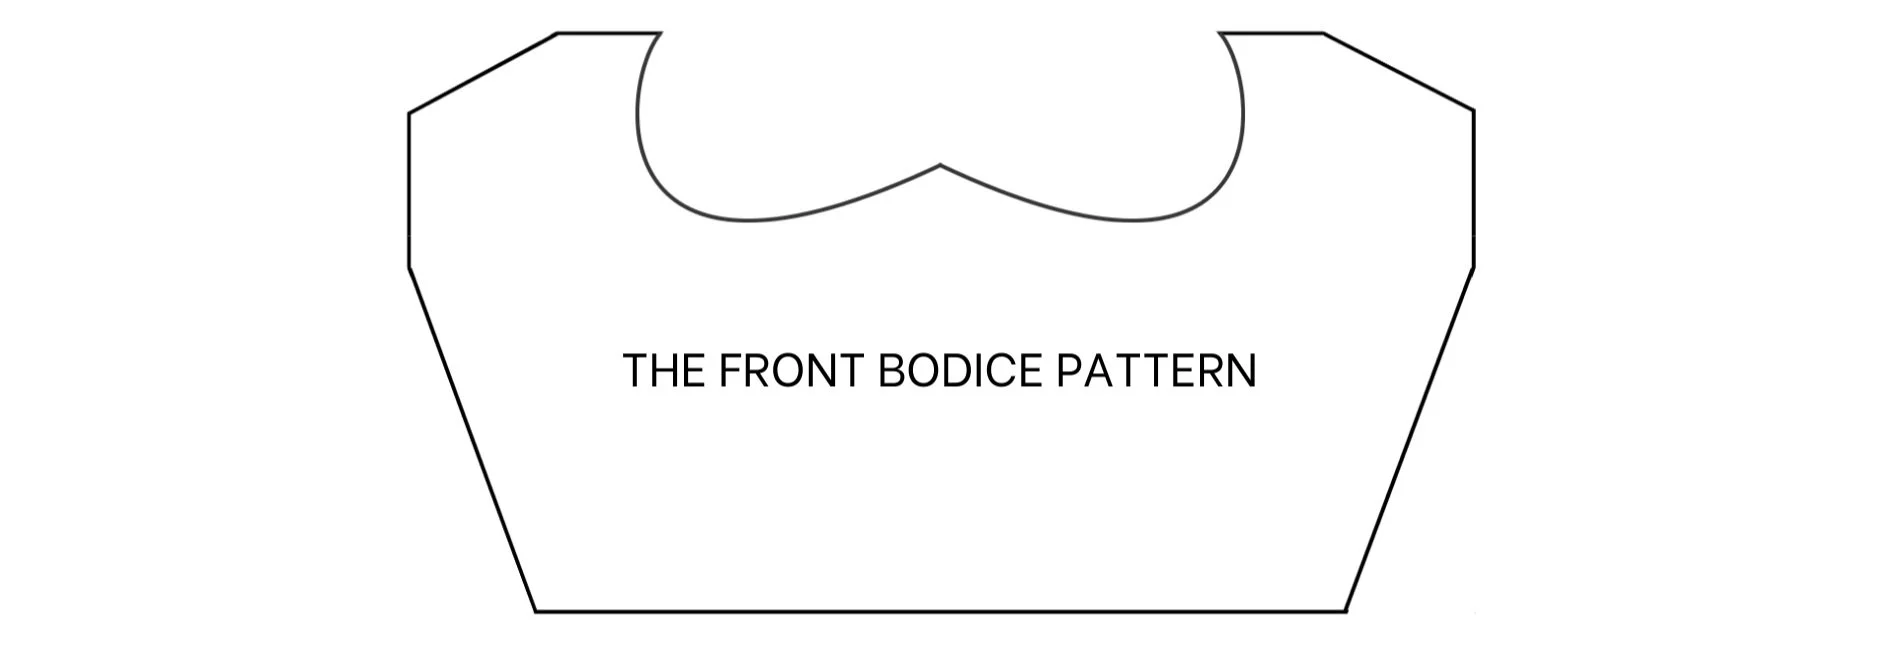
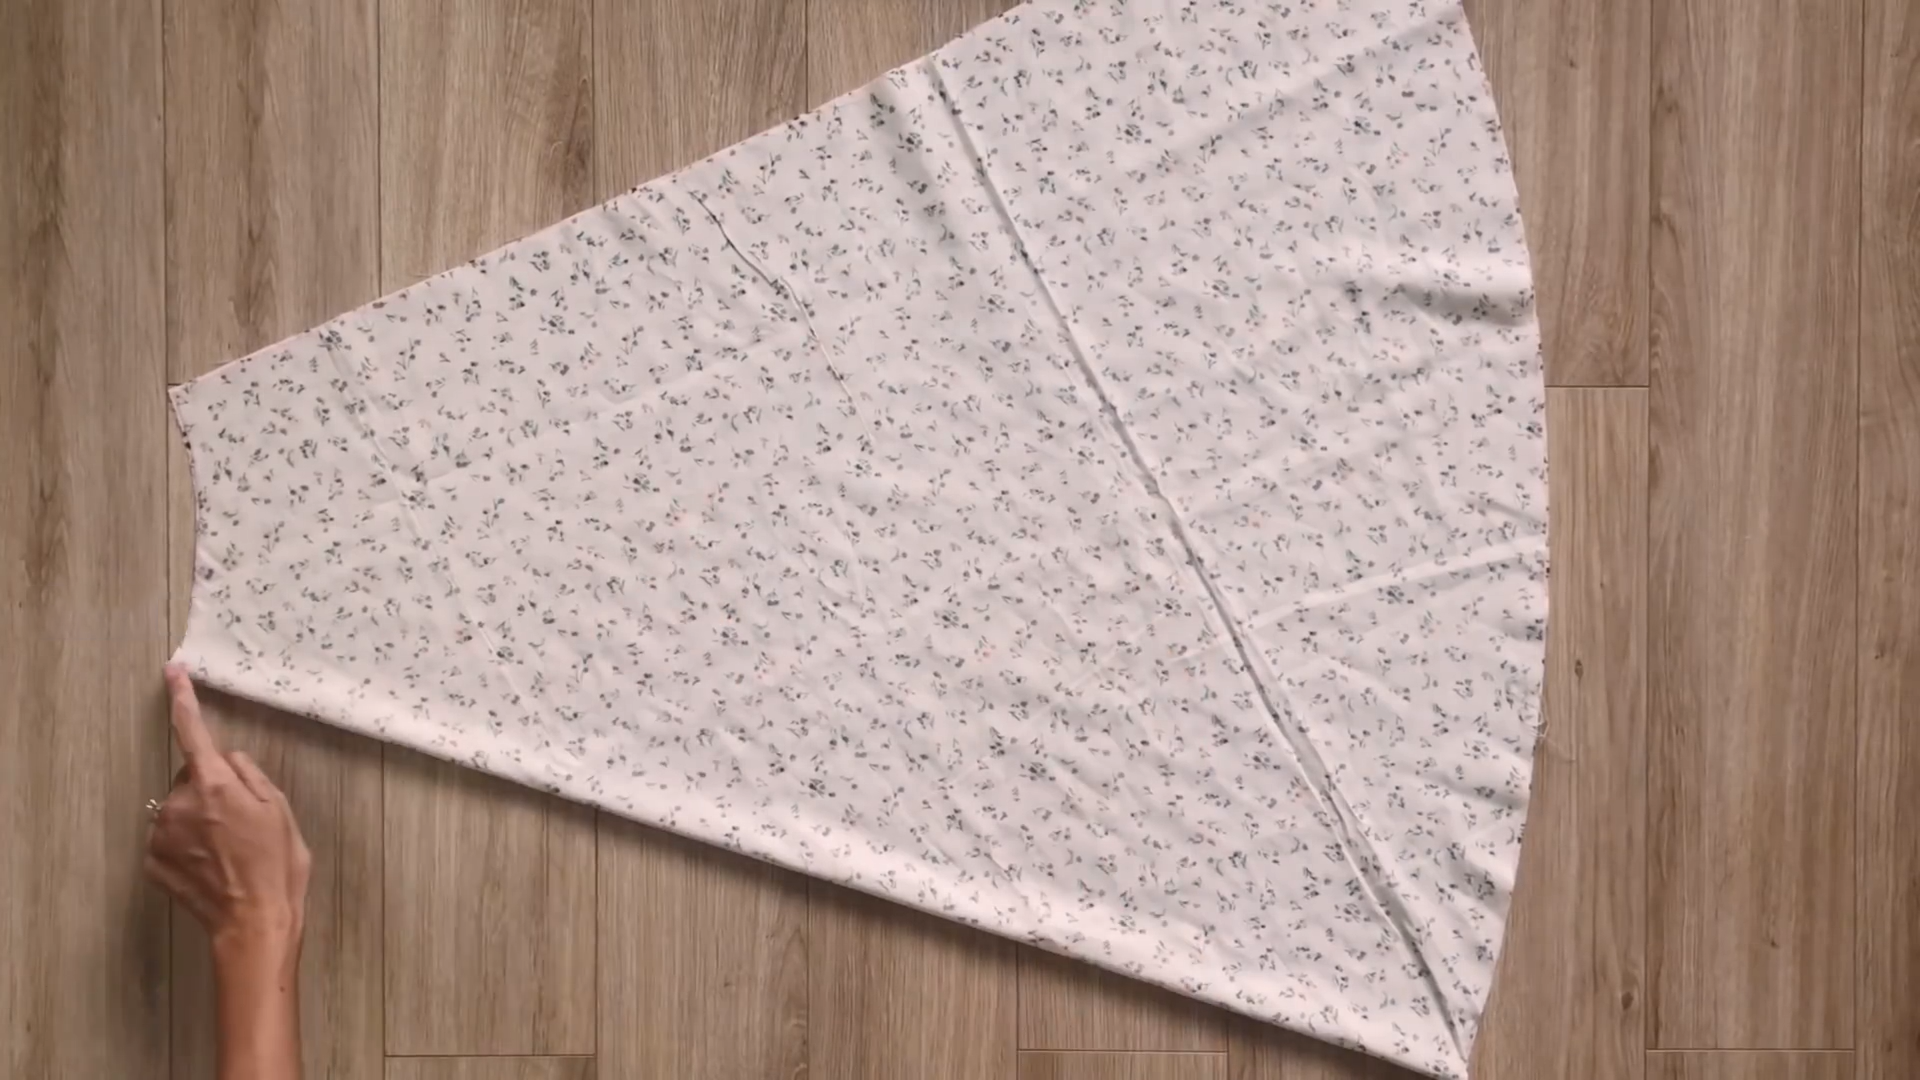
The front bodice pattern
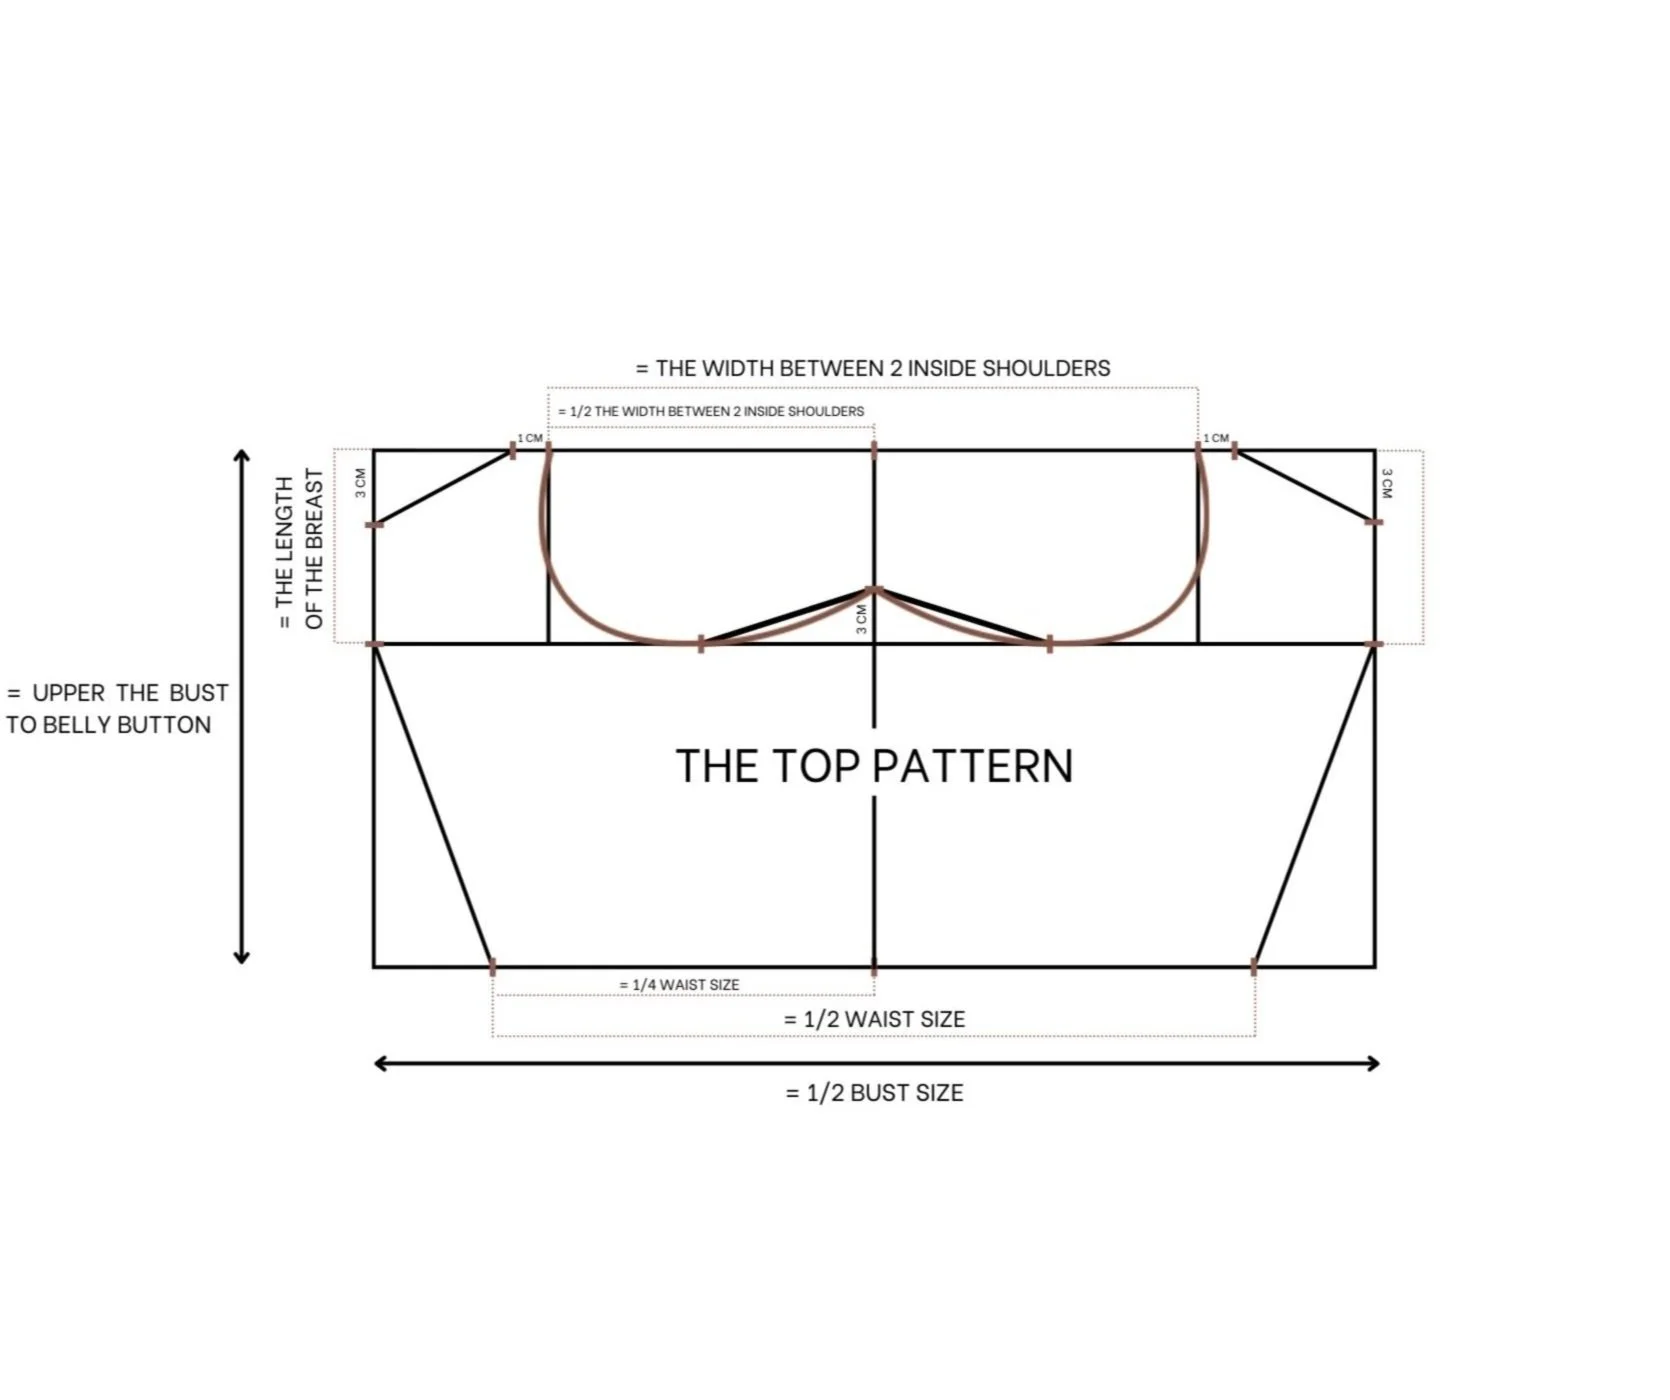
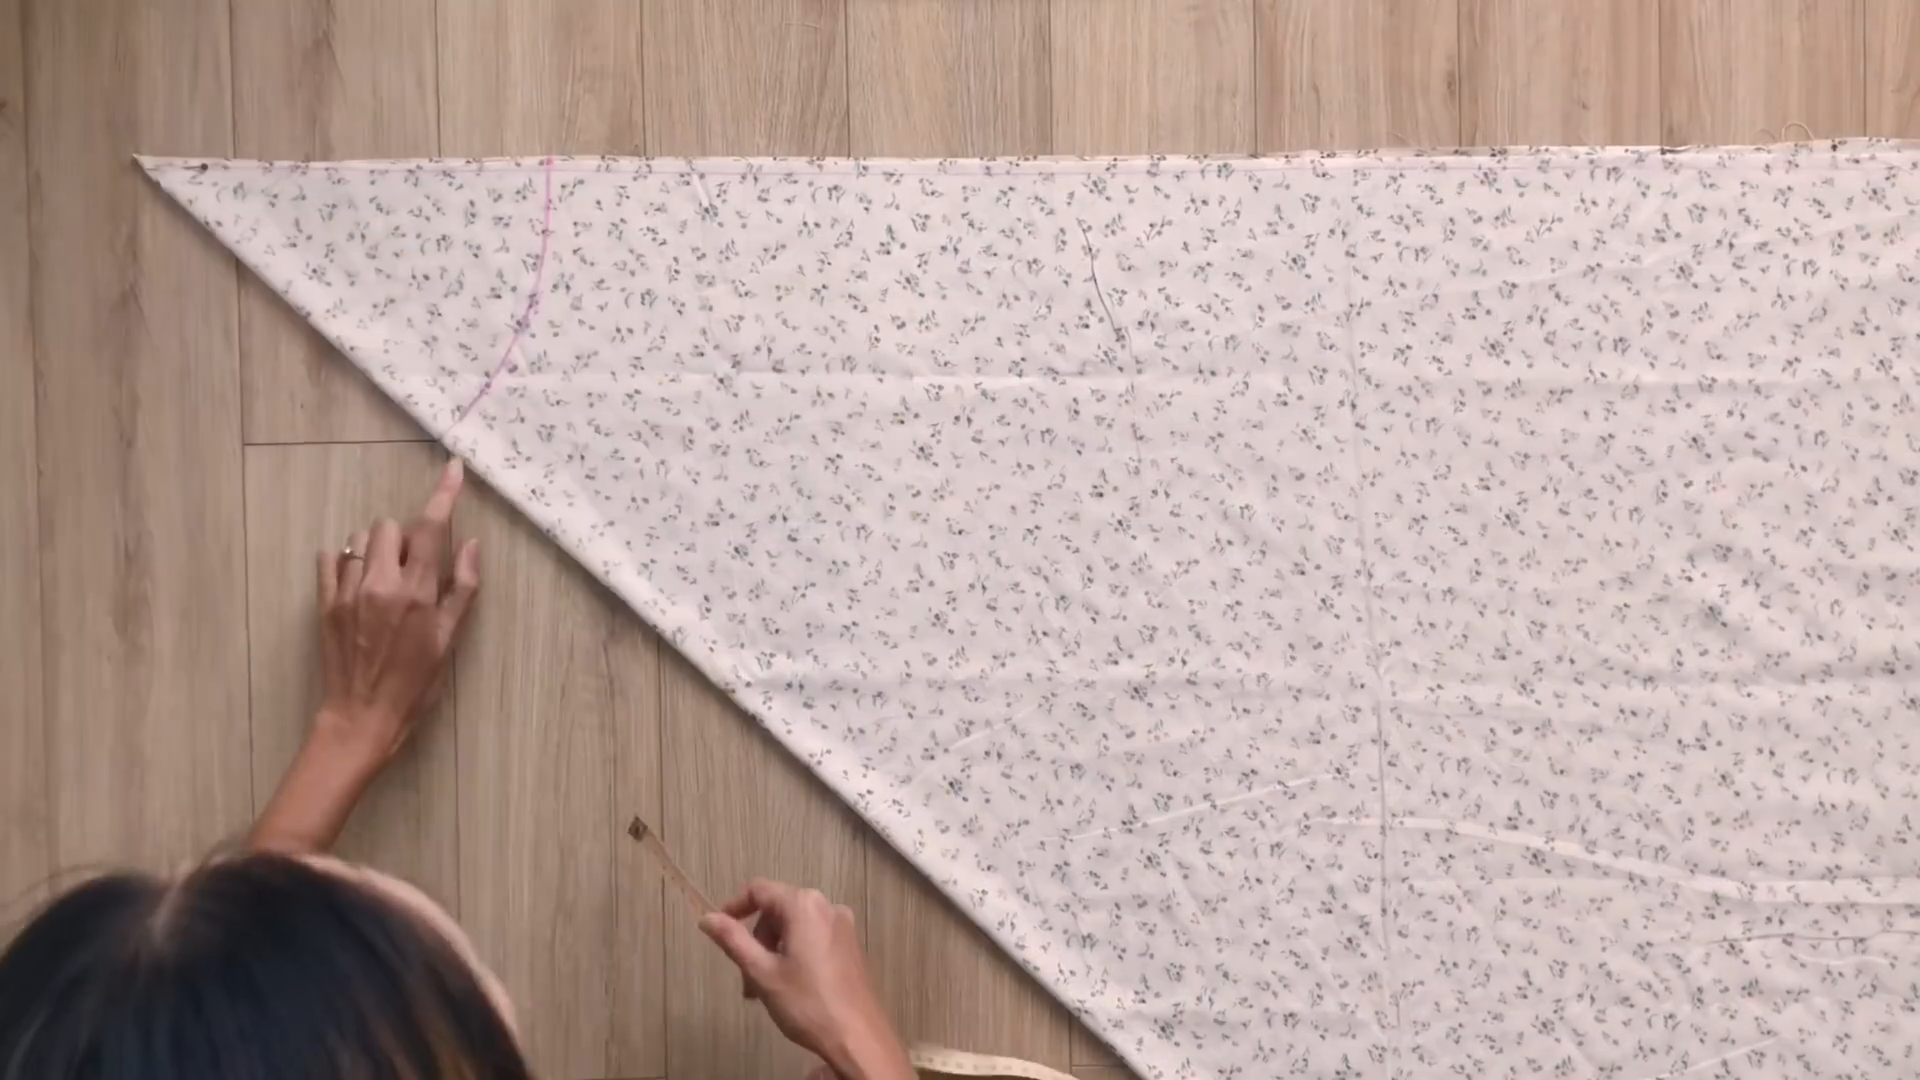
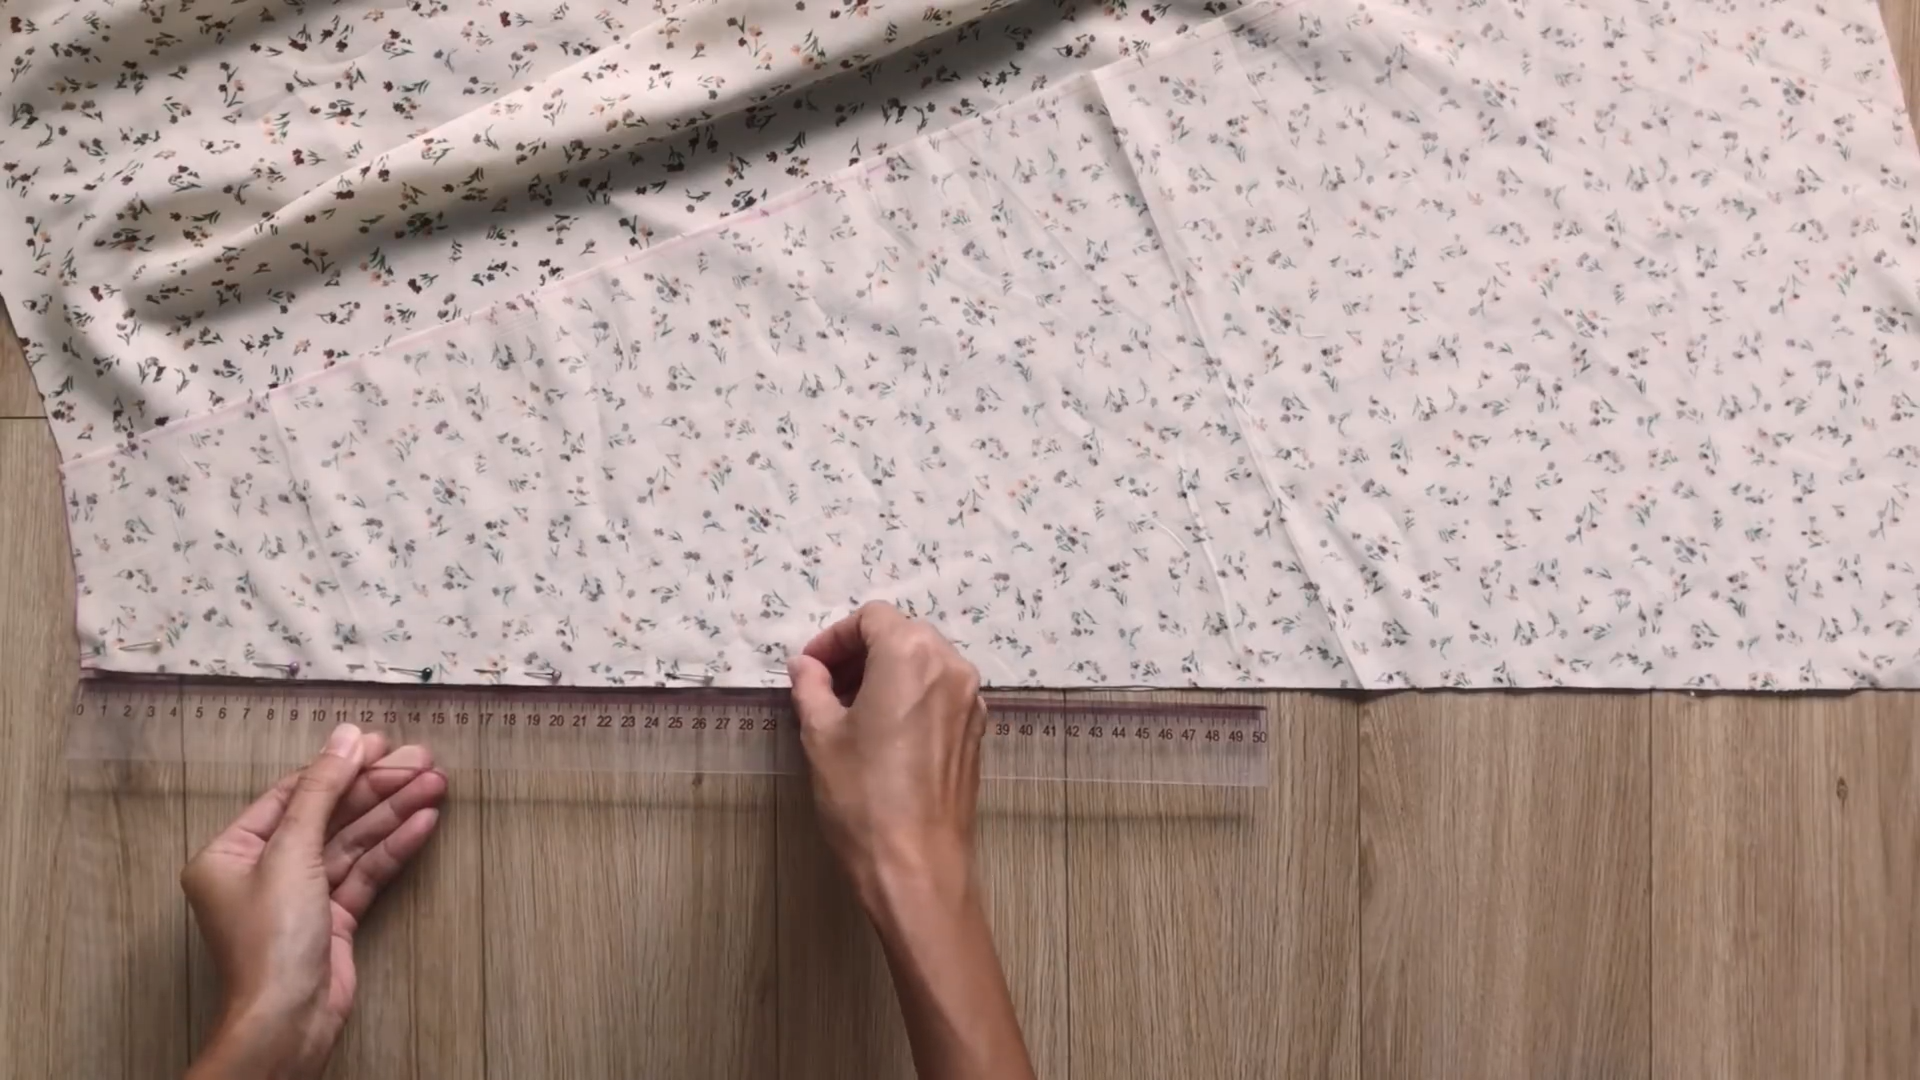
Cut a rectangle with a length of 26 cm (the length from the top of the bust to the belly button) and a width of 42 cm (half of your bust size).
Draw a straight line in the middle of the rectangle to divide it into two smaller ones.
Draw a horizontal line at 11 cm under the top line of the rectangle. This represents the length of your breast.
From the straight line, draw another straight line at two sides, 15 cm away from each other. The width between these two new straight lines will be 30 cm, which is the width between two inside shoulders.
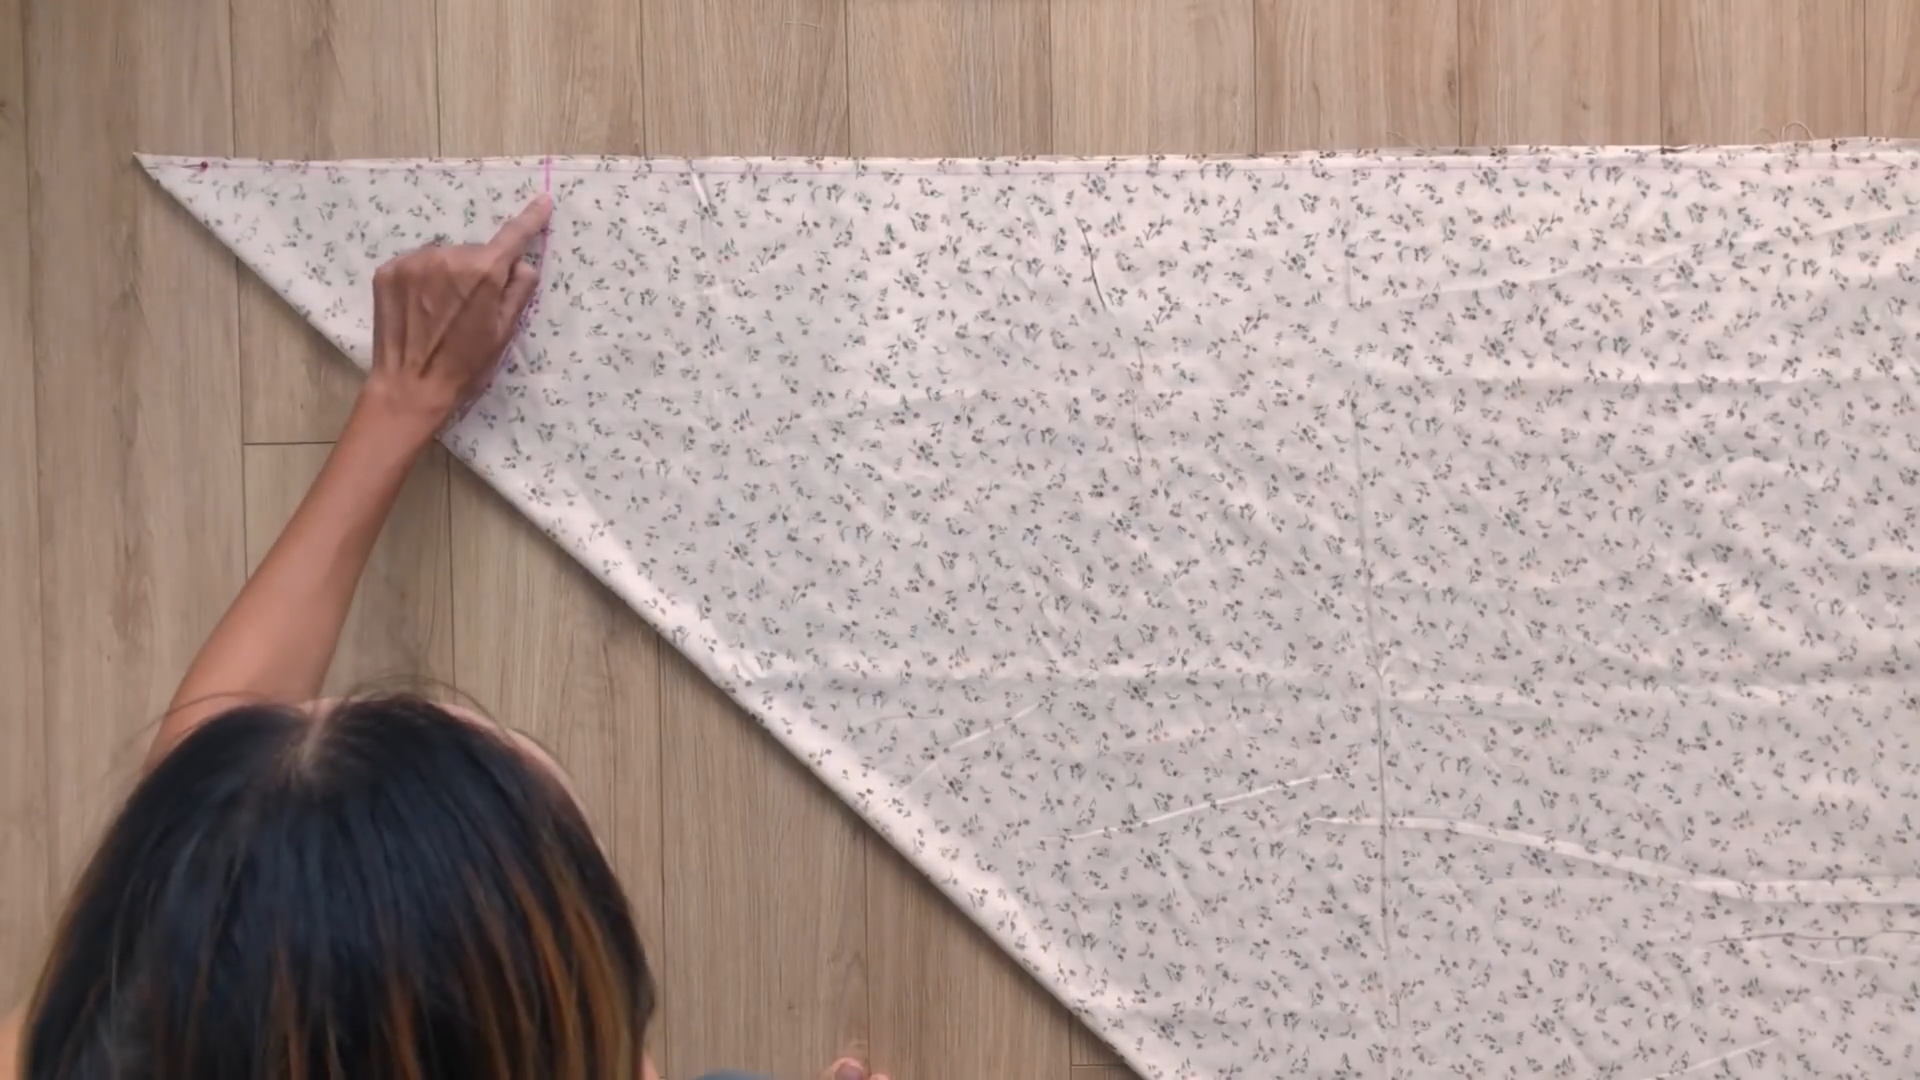
Add the cutting point between the first straight line and the horizontal line.
Move up and mark at 3 cm on the straight line then connect this mark to the mark at the middle of two straight lines at each side.
Based on this line, draw a curved line there to create a curved line from the middle between two breasts to two sides of the breast.
Also, draw two curved lines based on the straight lines at two sides to connect to the curved line you just drew before.
At the top of the bust area, mark at 1 cm outside then connect these marks to the mark at 3 cm under the top of the length lines of the rectangle. This will be the connecting part with the sleeve later.
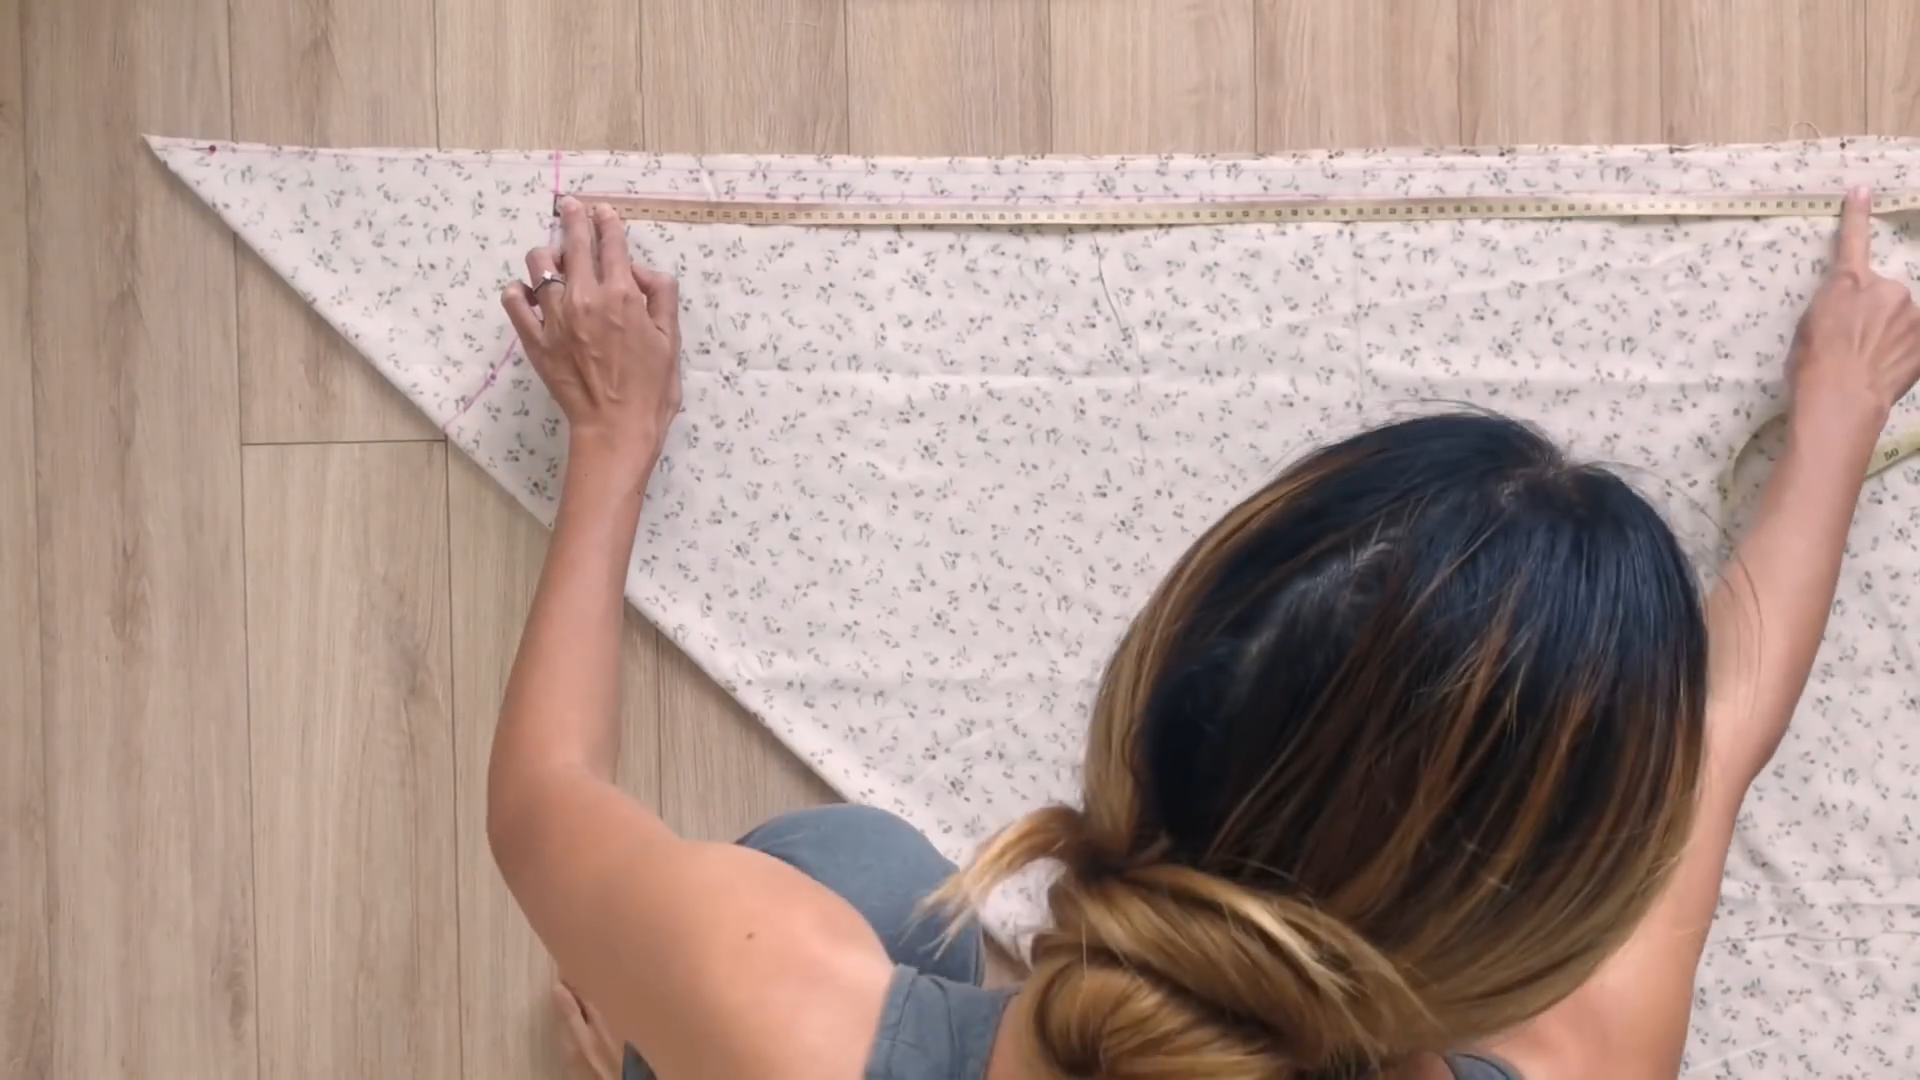
From the end of the first straight line, mark at two sides 16 cm, which is a quarter of your waist side then connect these marks to the mark on the length lines at the sleeve area.
Add extra 1 cm for seam allowance before cutting.
At the front pattern, add 1 cm for seam allowance at the bust area then cut along to finish the front bodice pattern.
THE BACK BODICE PATTERN
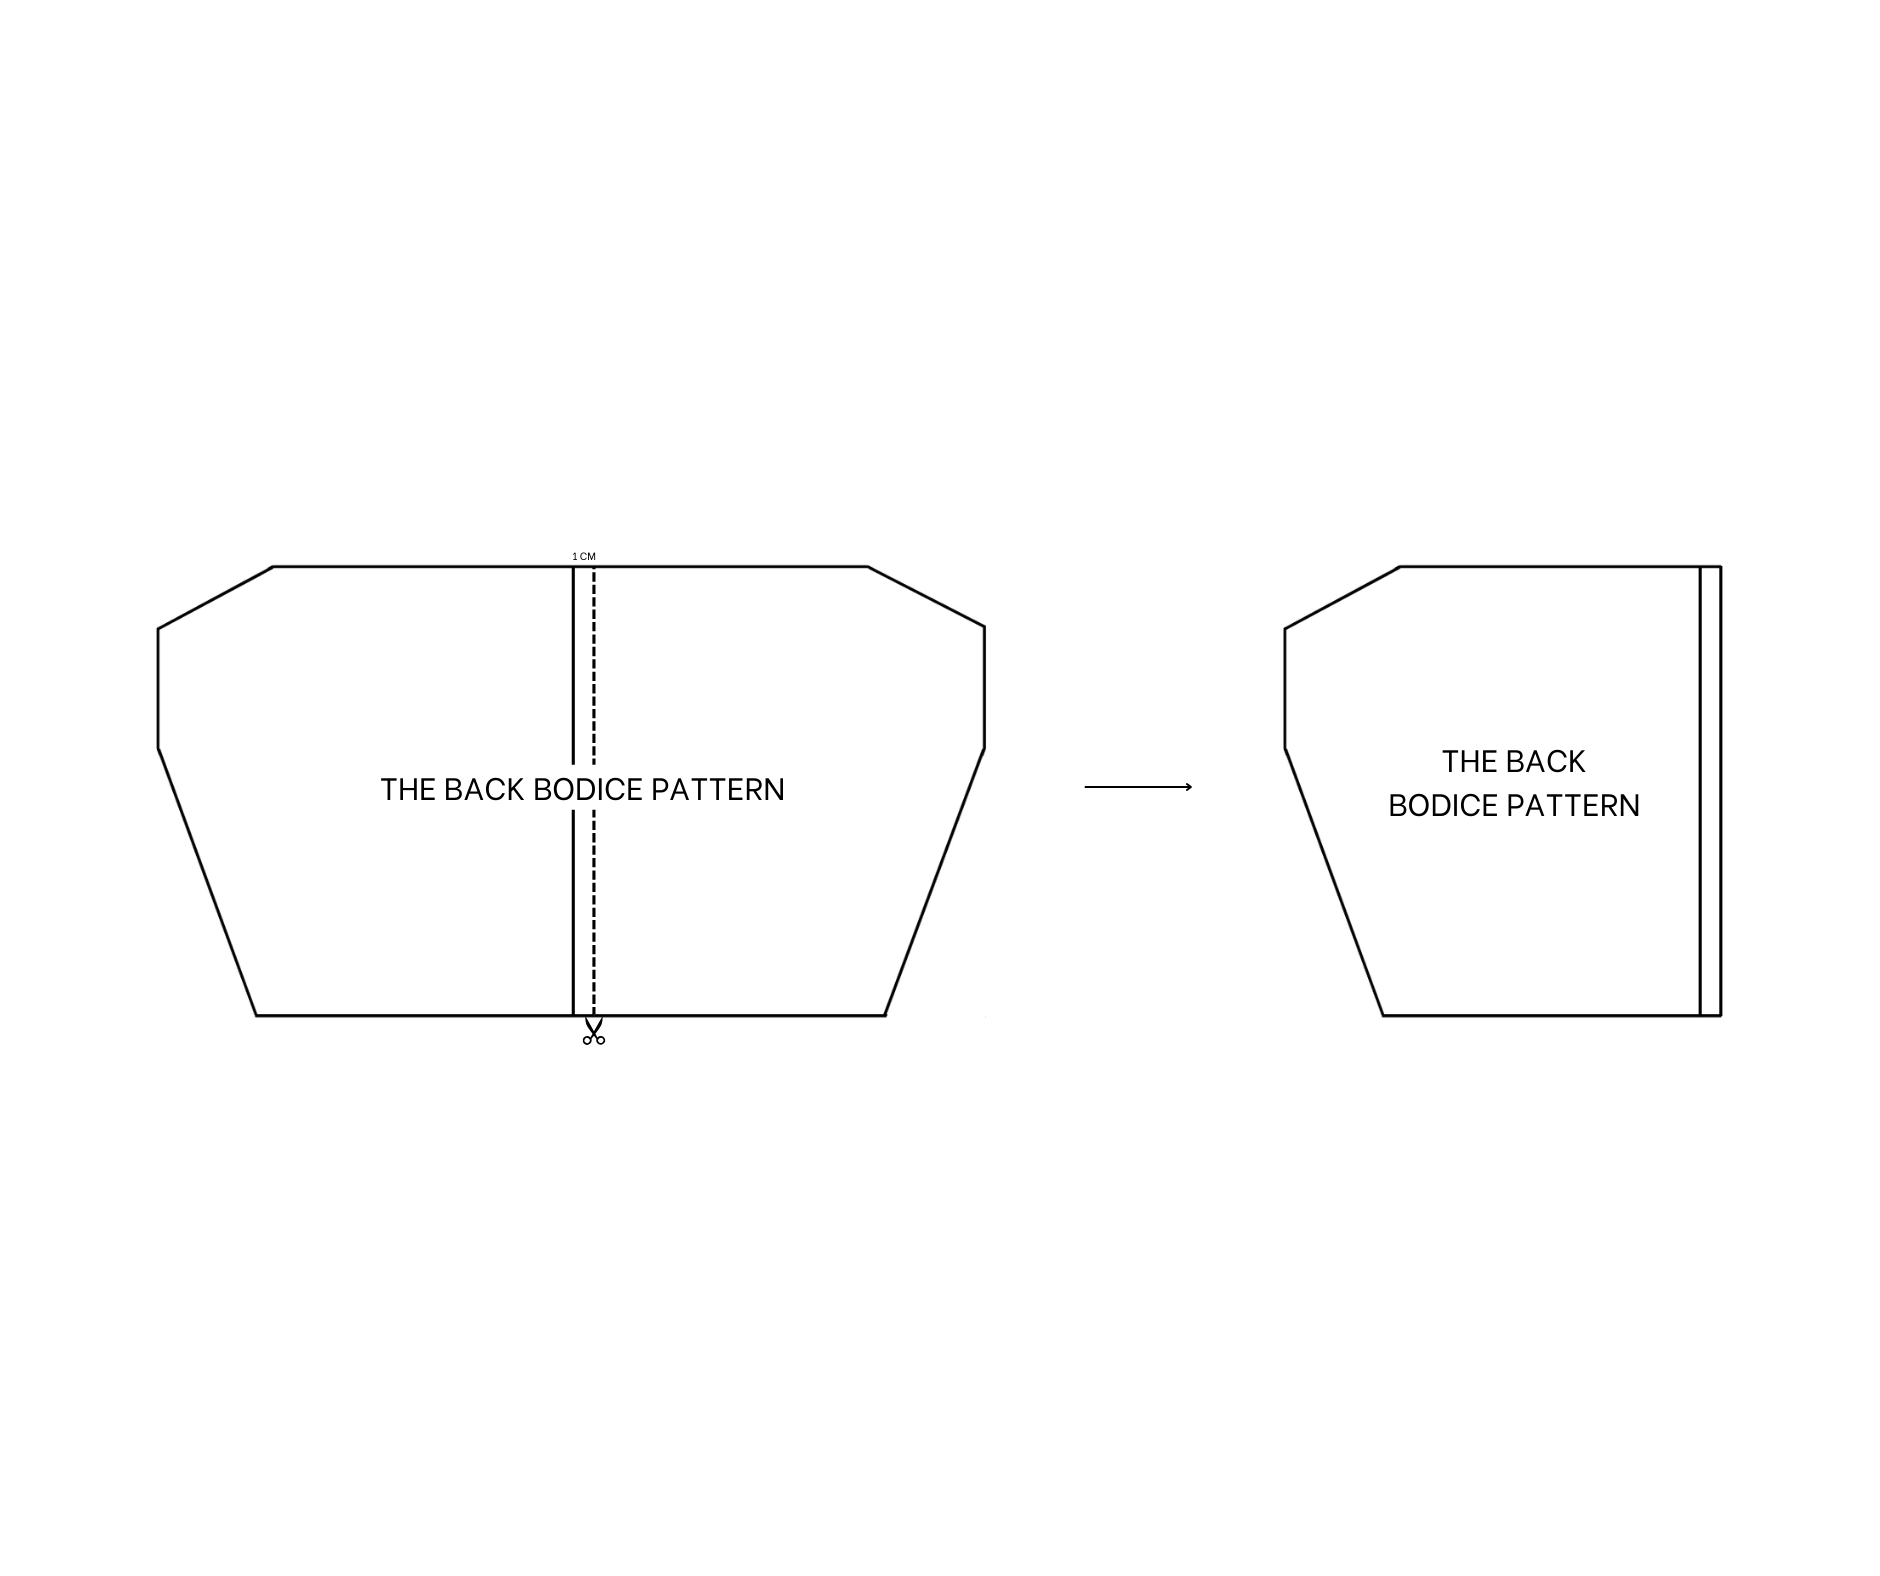
The back bodice pattern
Apply the same pattern you used for the front bodice to create the back bodice pattern.
Draw a straight line down the middle of the pattern to divide it into two parts.
Then, draw another straight line 1 cm next to it.
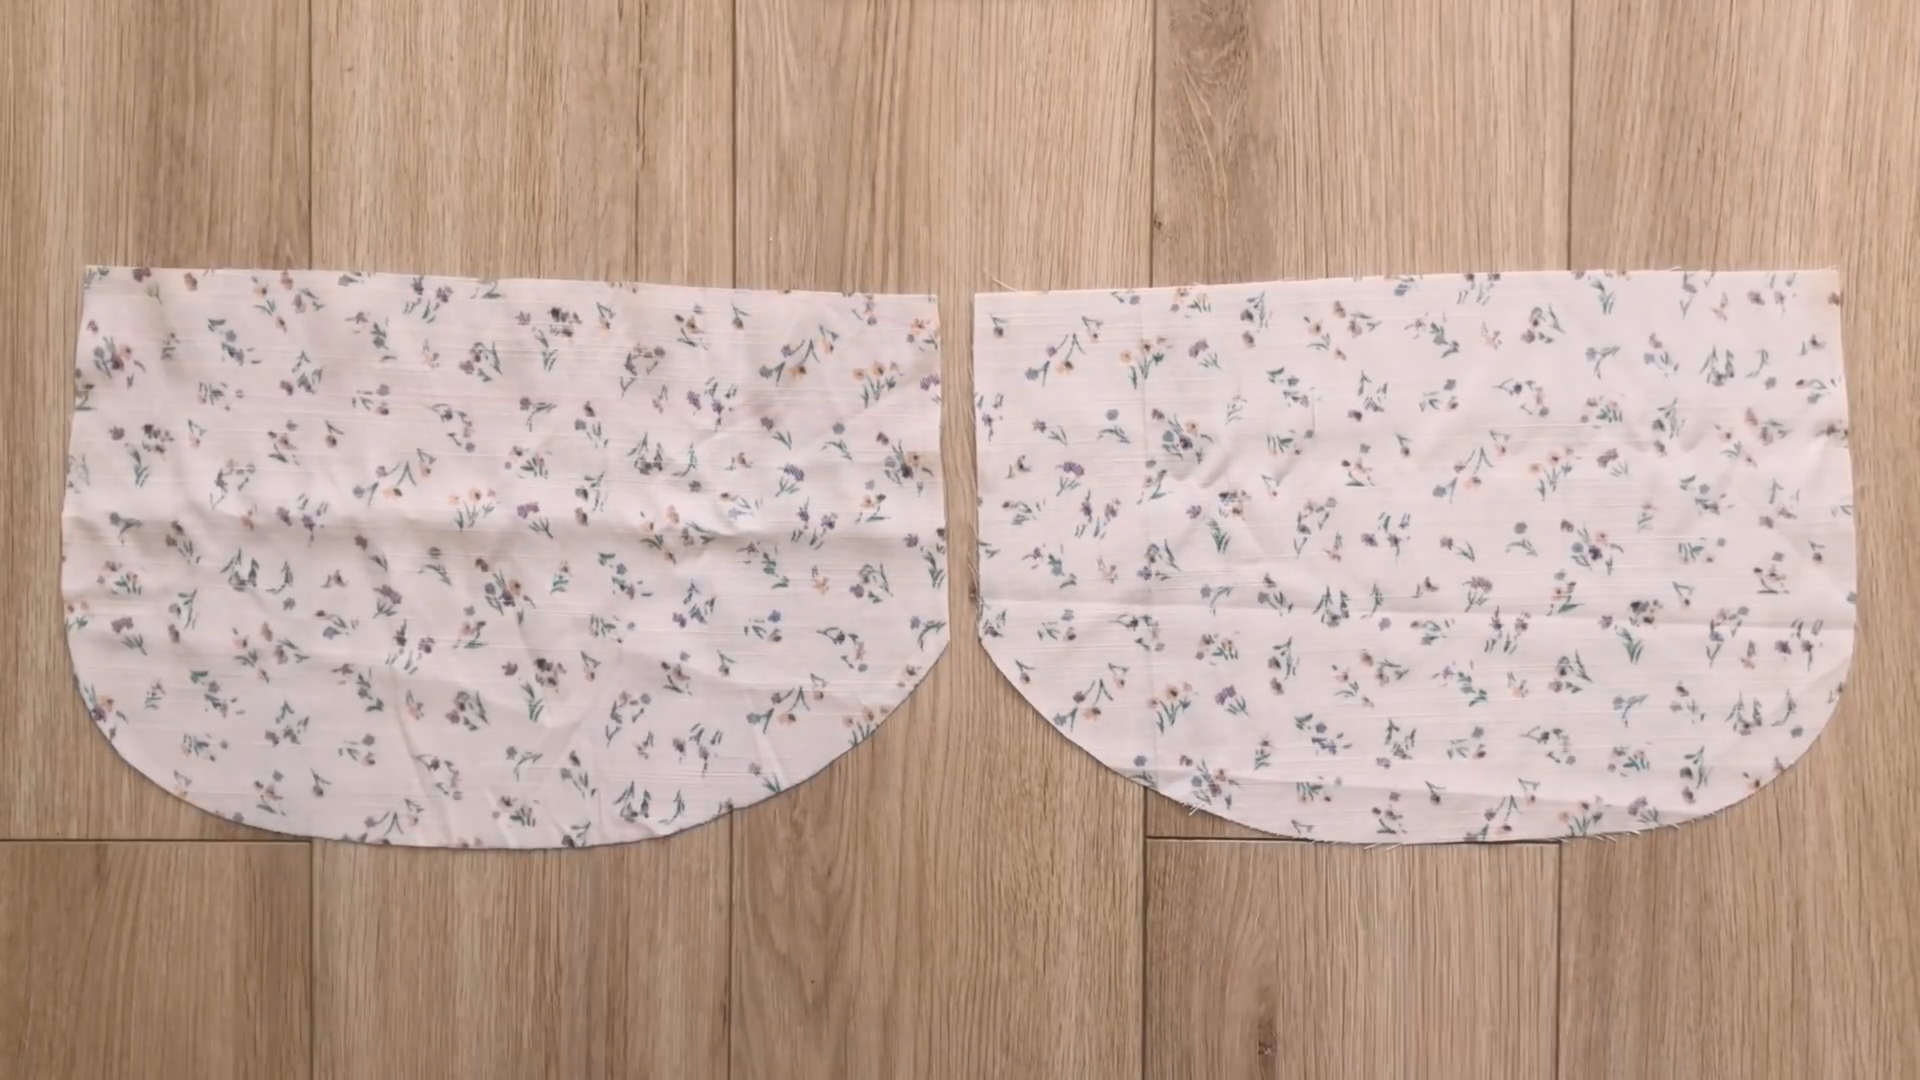
THE BUST AREA PATTERN
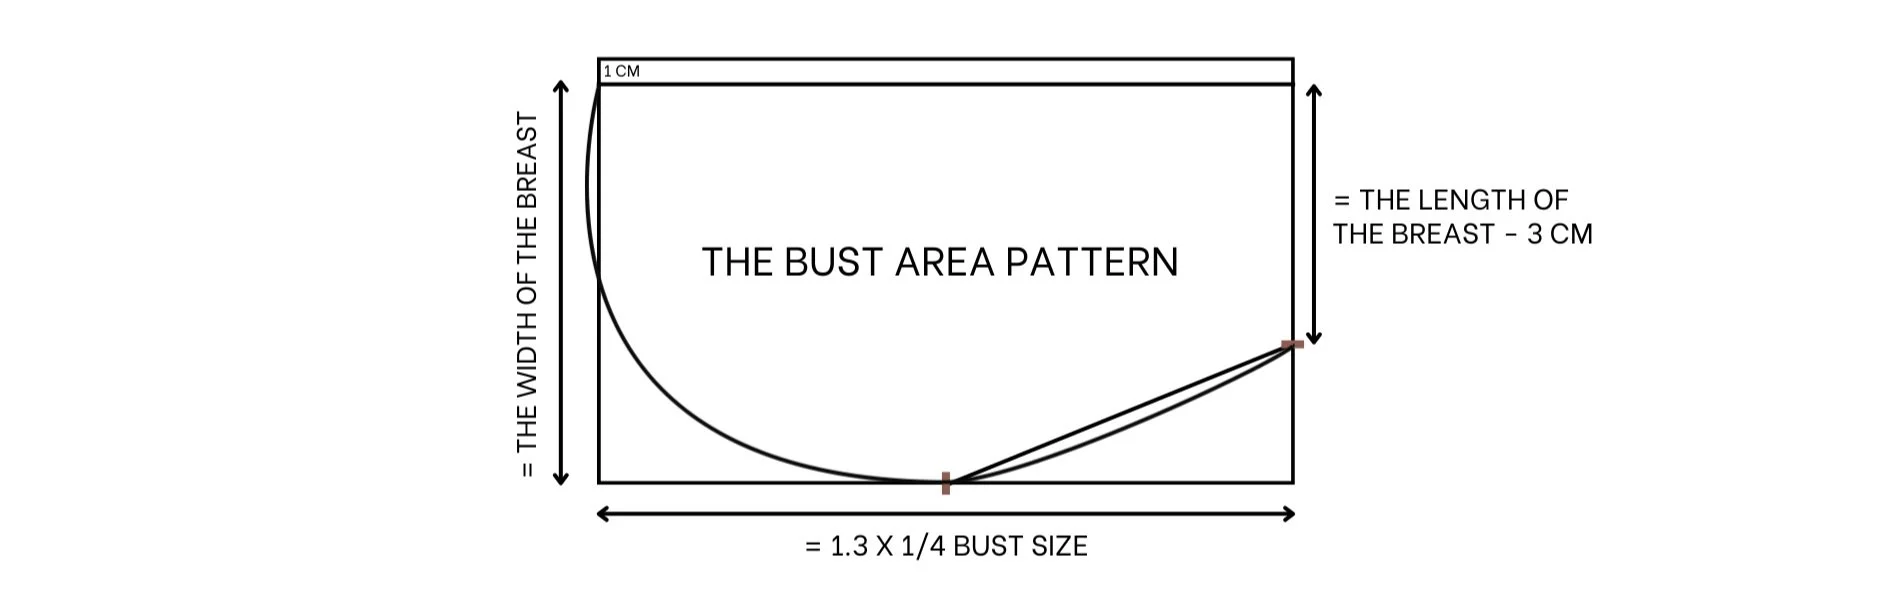

The bust area pattern
Cut a rectangle with a length of 14 cm (which is the width of your breast) and a width of 30 cm (which is 1.3 times a quarter of your bust size).
On one length line, mark out at 8 cm. This is the length of the breast minus 3 cm.
Connect this mark to the mark in the middle on the width line next to it.
Based on this line, draw a curved line to create a curved line from the middle of the breast to two sides.
Also, draw a curved line on the length line to connect to this curved line.
It’s similar to the way you created the bust area on the front bodice pattern. Because you will have a fabric hole at the top of the bust area, add 1 cm extra to create a fabric hole later.
Don’t forget to add 1 cm for seam allowance before cutting.
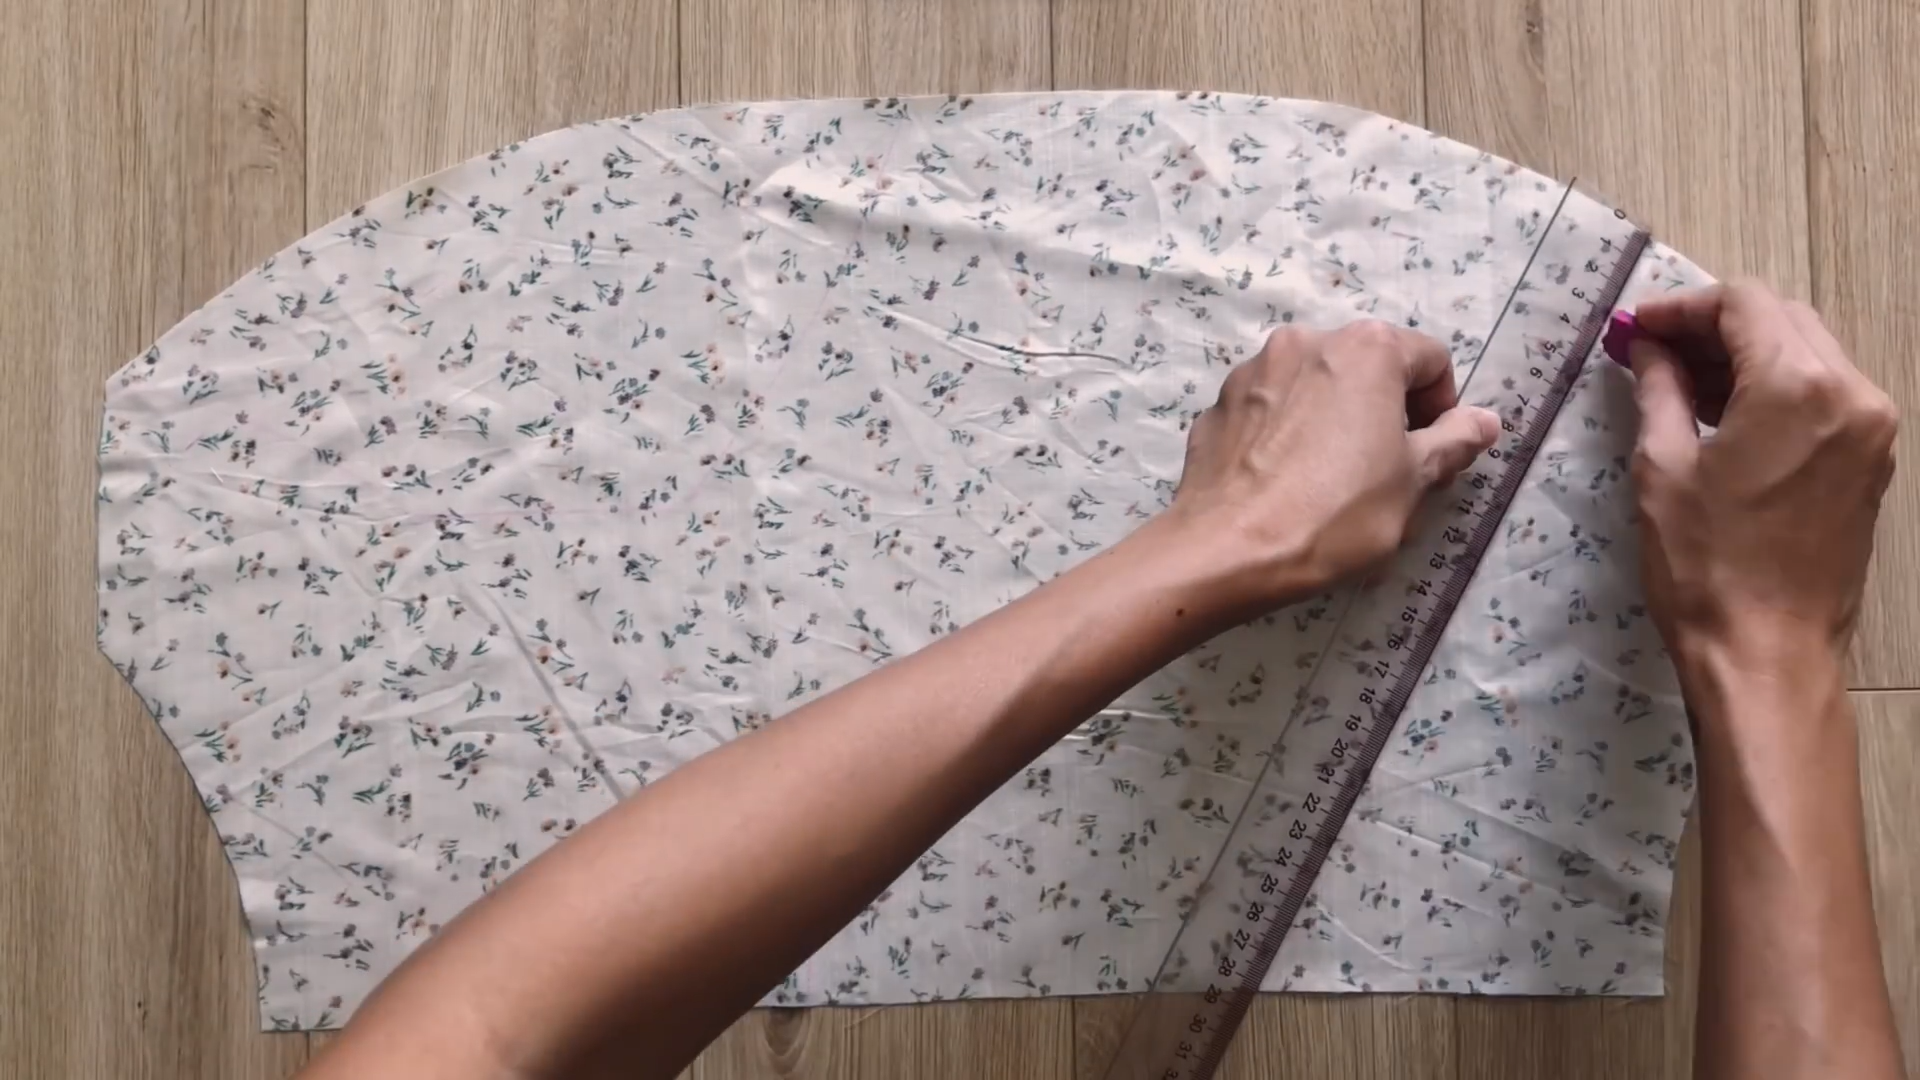
THE SLEEVE PATTERN
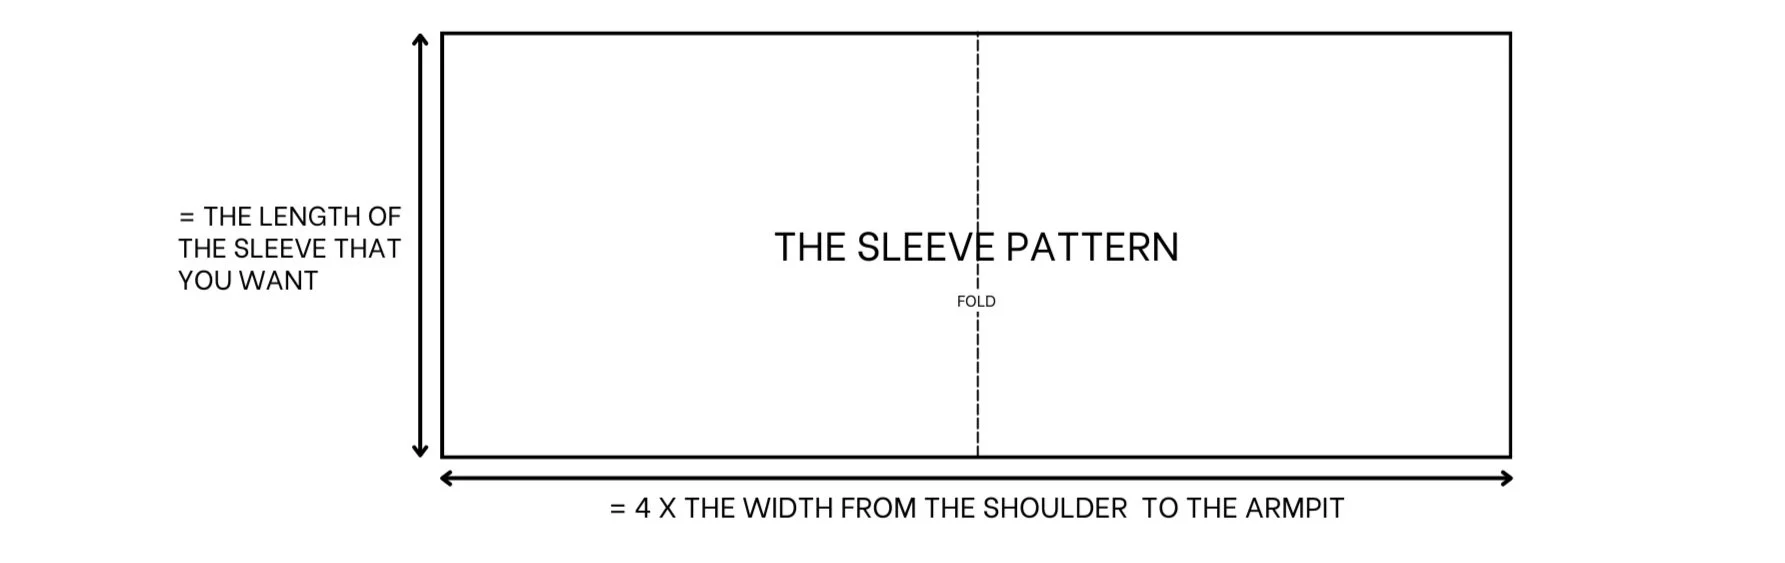
The sleeve pattern
Cut a rectangle with a length of 30 cm (which is the length of the sleeve that you want) and a width of 60 cm (which is four times the width from the shoulder to the armpit).
Fold the rectangle in half on the width line first. Then, from the end of the folding which is on two length lines, mark at the middle.
Use the front bodice pattern to mark the length of the sleeve part there to the sleeve pattern.
From this new mark, mark out a 2 cm to extra fabric to create a fabric hole at the shoulder obviously later.
Then, draw a curved line from this mark to the top of the folding rectangle.
If you want to make the end of the sleeve a bit smaller, mark up 5 cm from the end of the folding rectangle then connect it to the mark at the middle of the length line you made in the beginning.
SEWING THE DRESS
THE FRONT BODICE
You will need two pieces for the front bodice pattern, four pieces for the back bodice pattern, two pieces for the bust area pattern, and two pieces for the sleeve pattern.
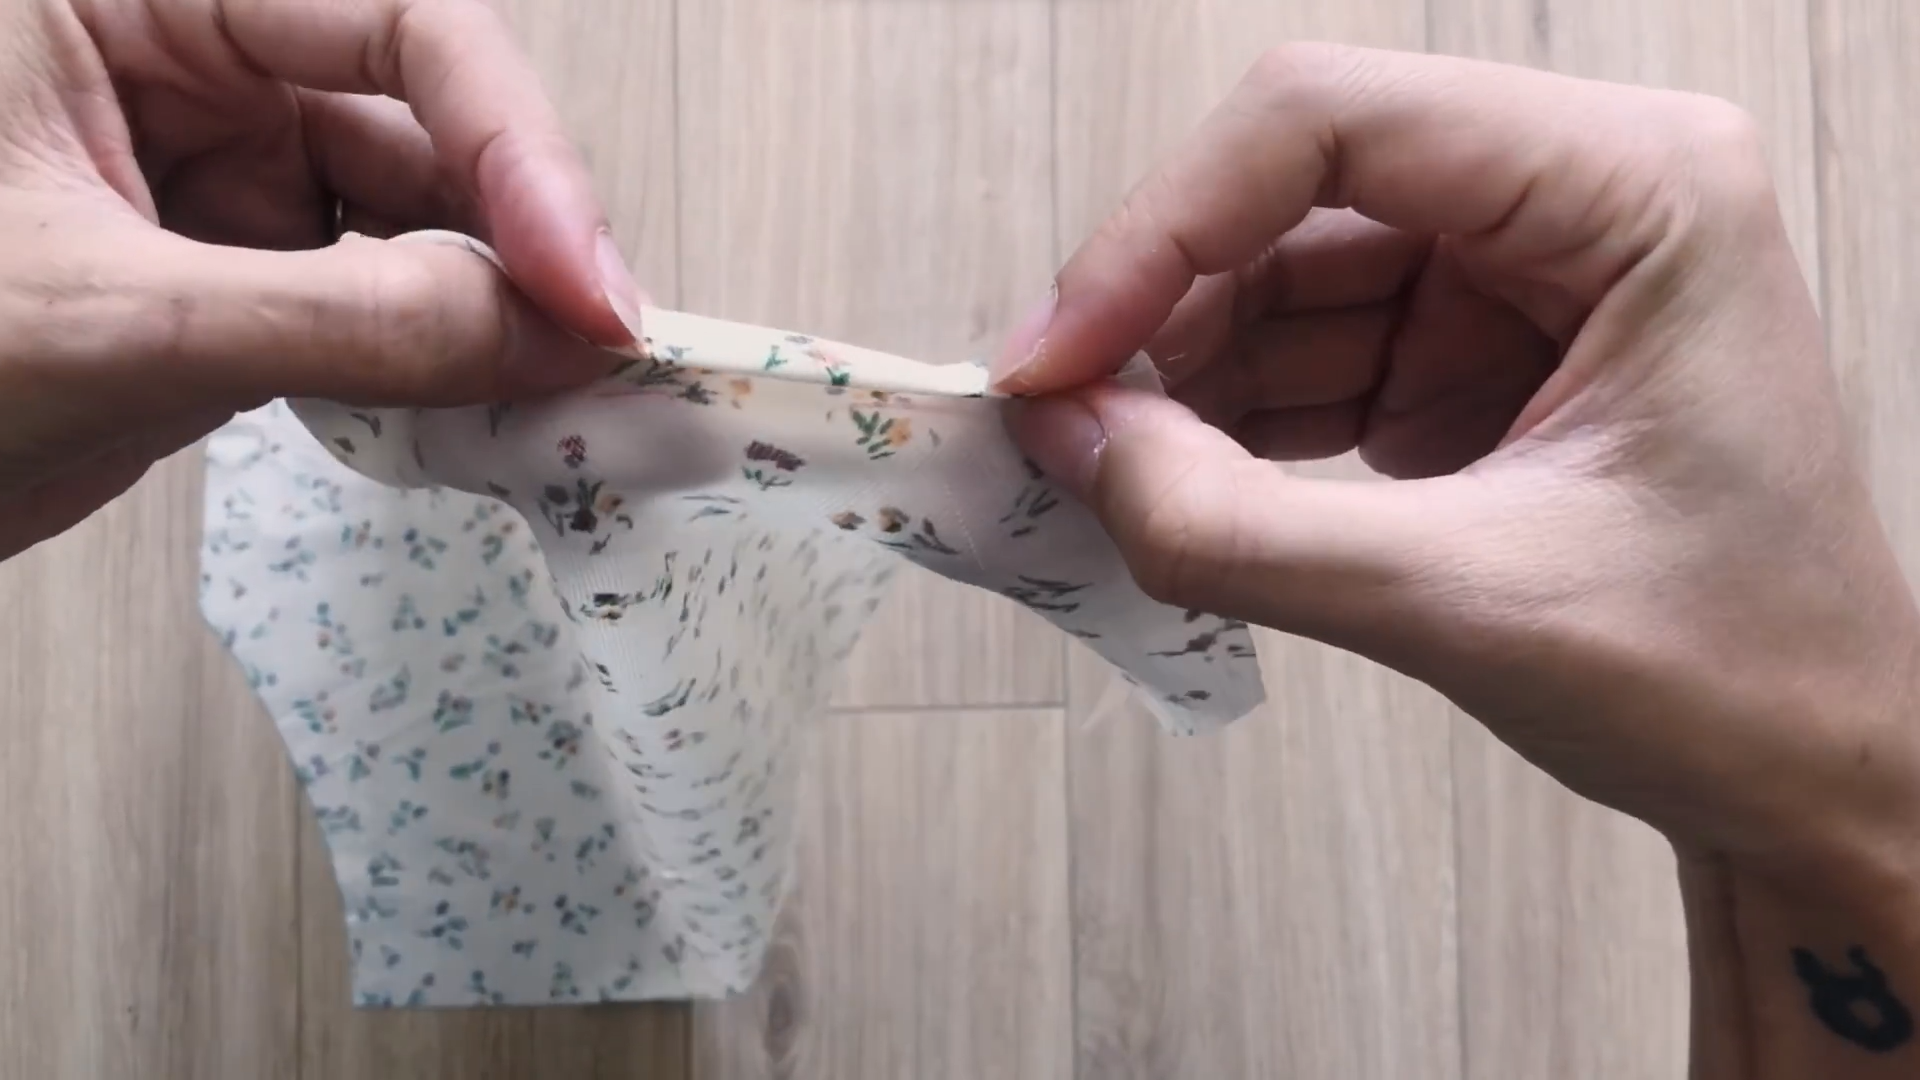
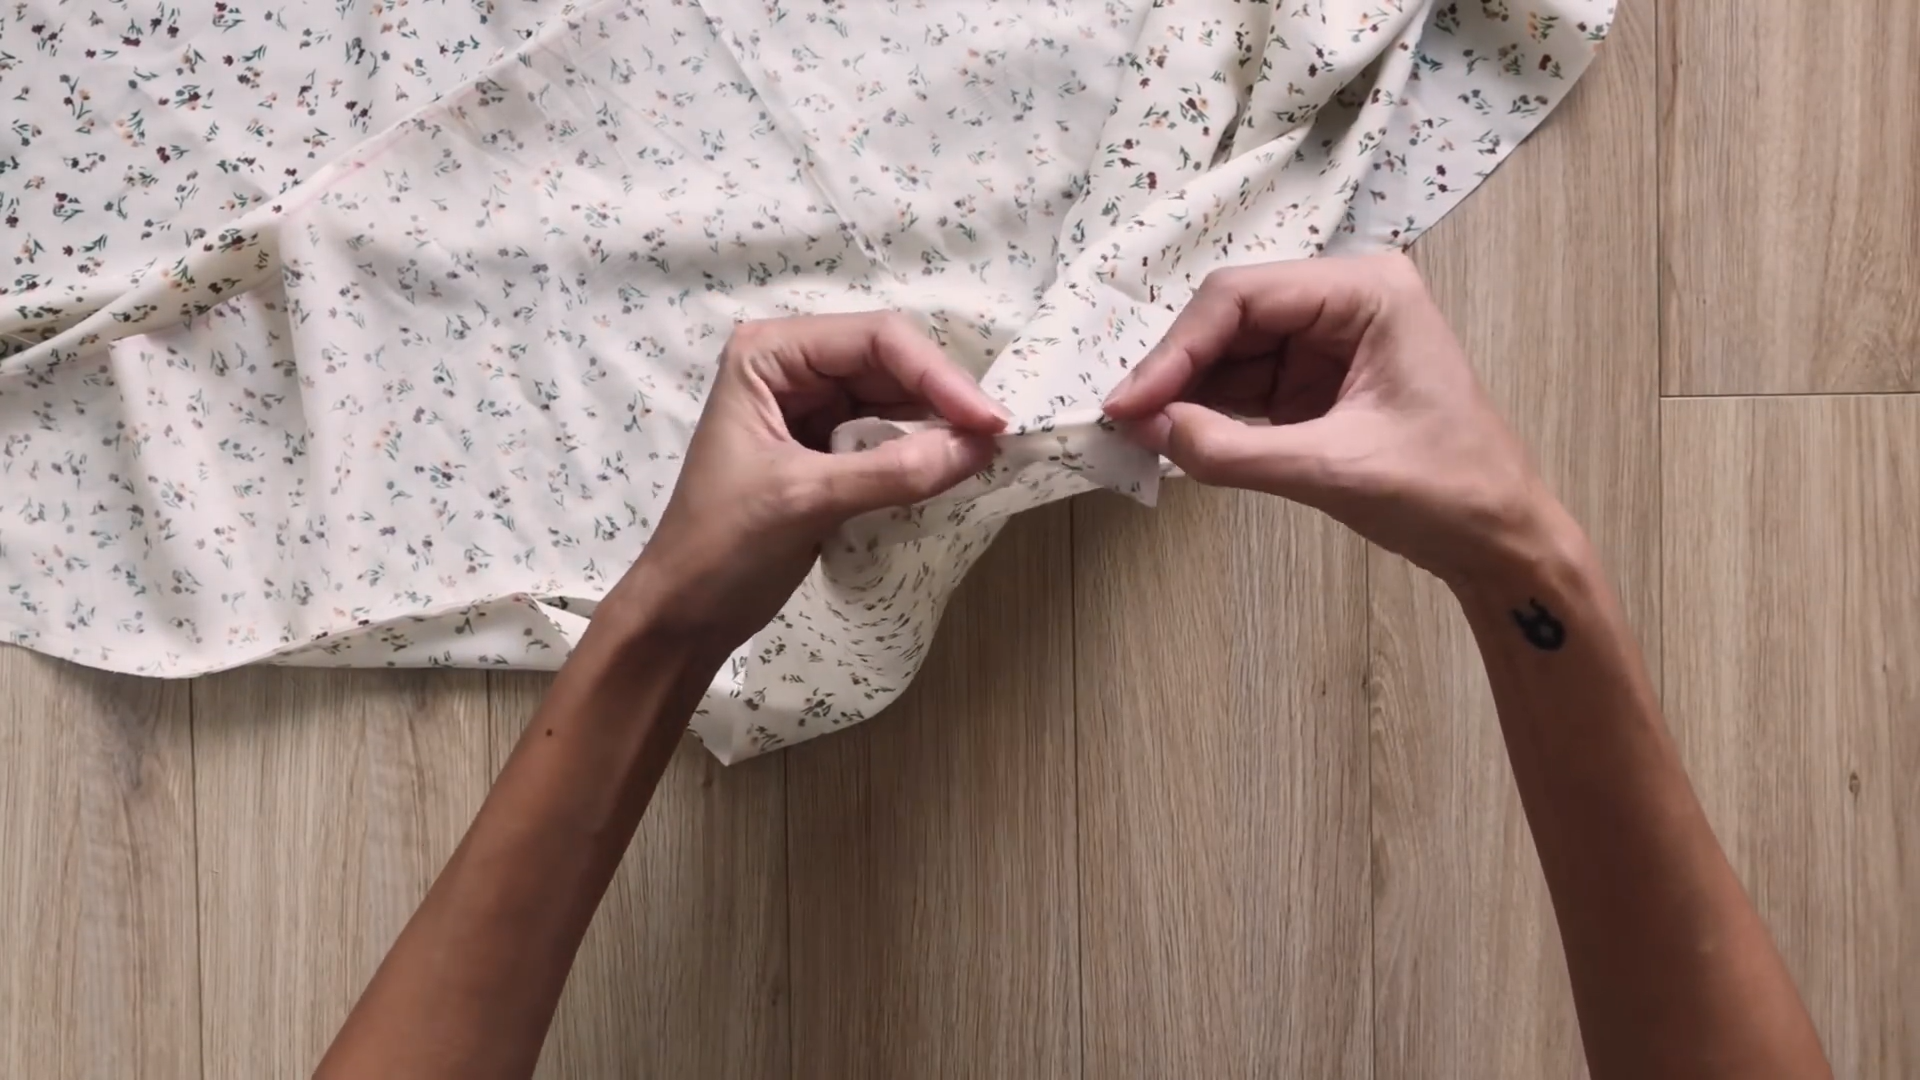
Start with one side of the bust area piece.
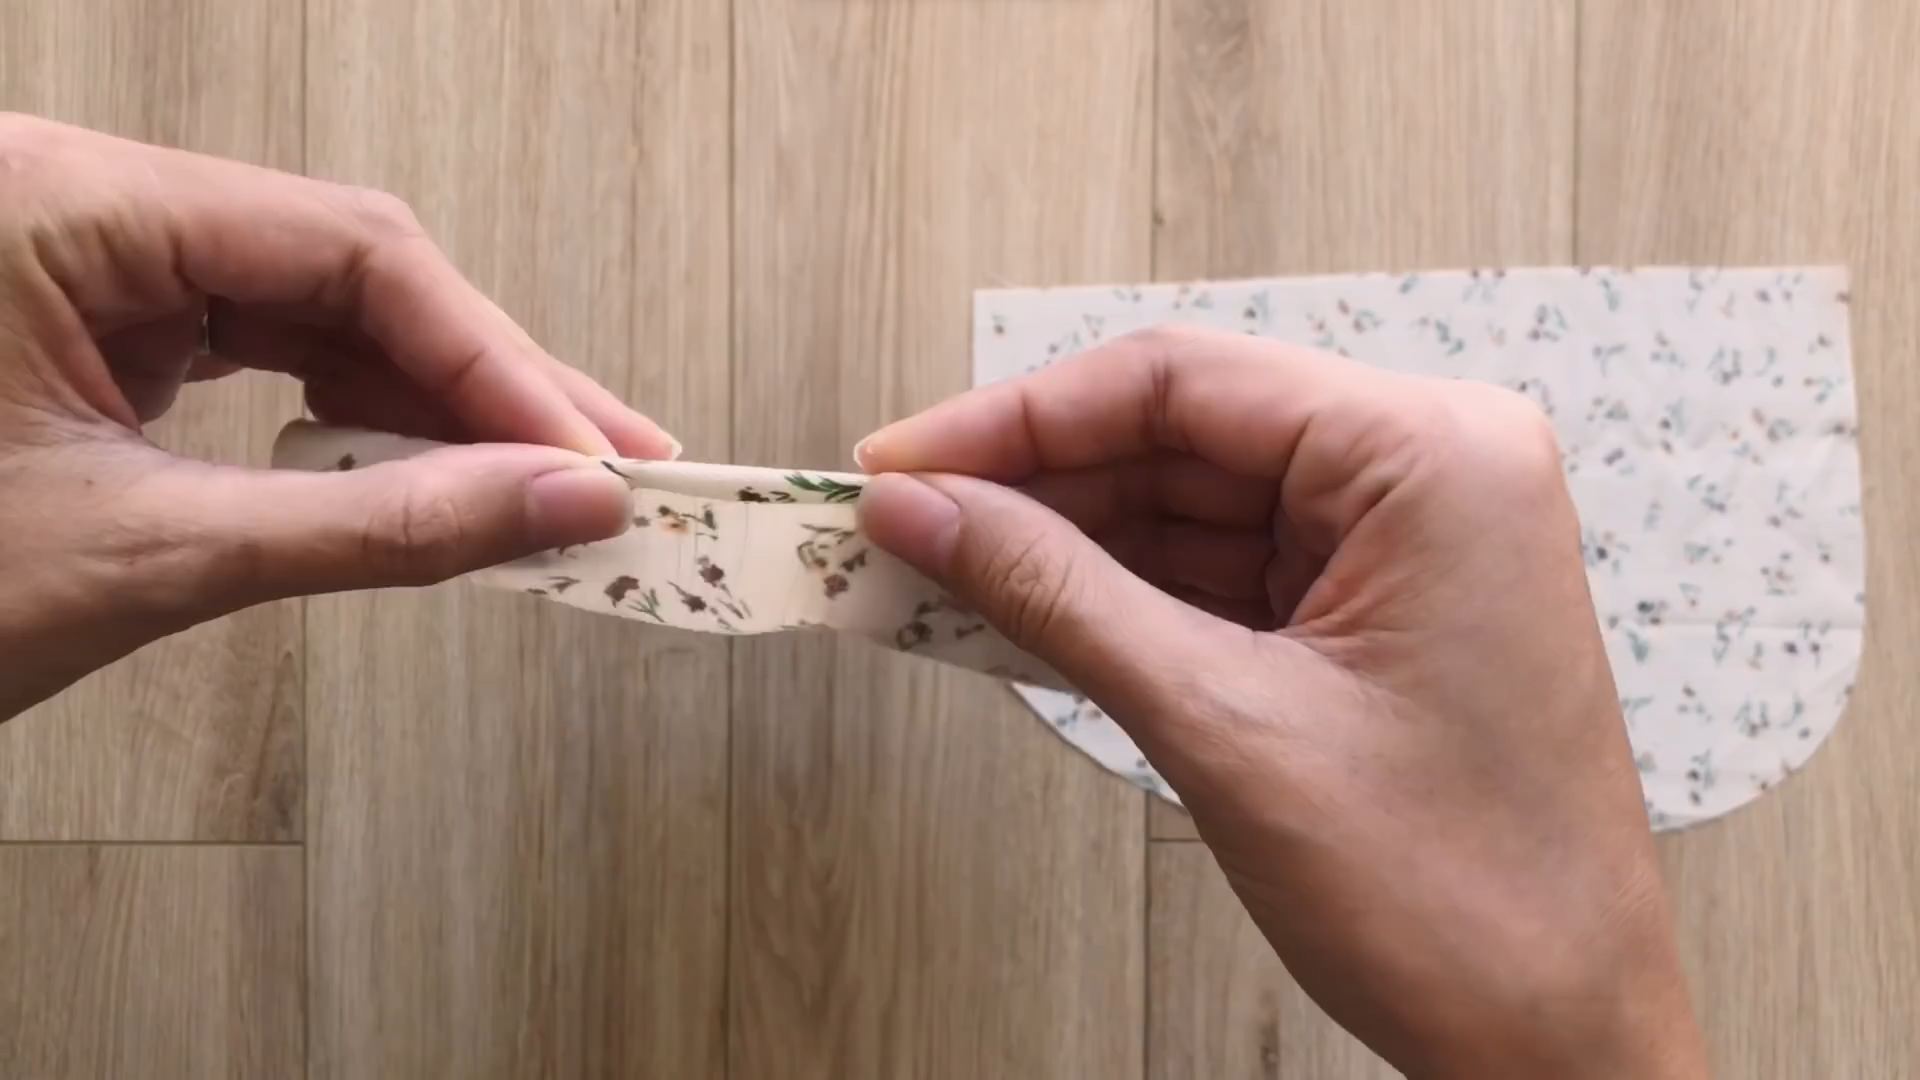
Fold the end fabric inside and sew it to give it a neat finish.
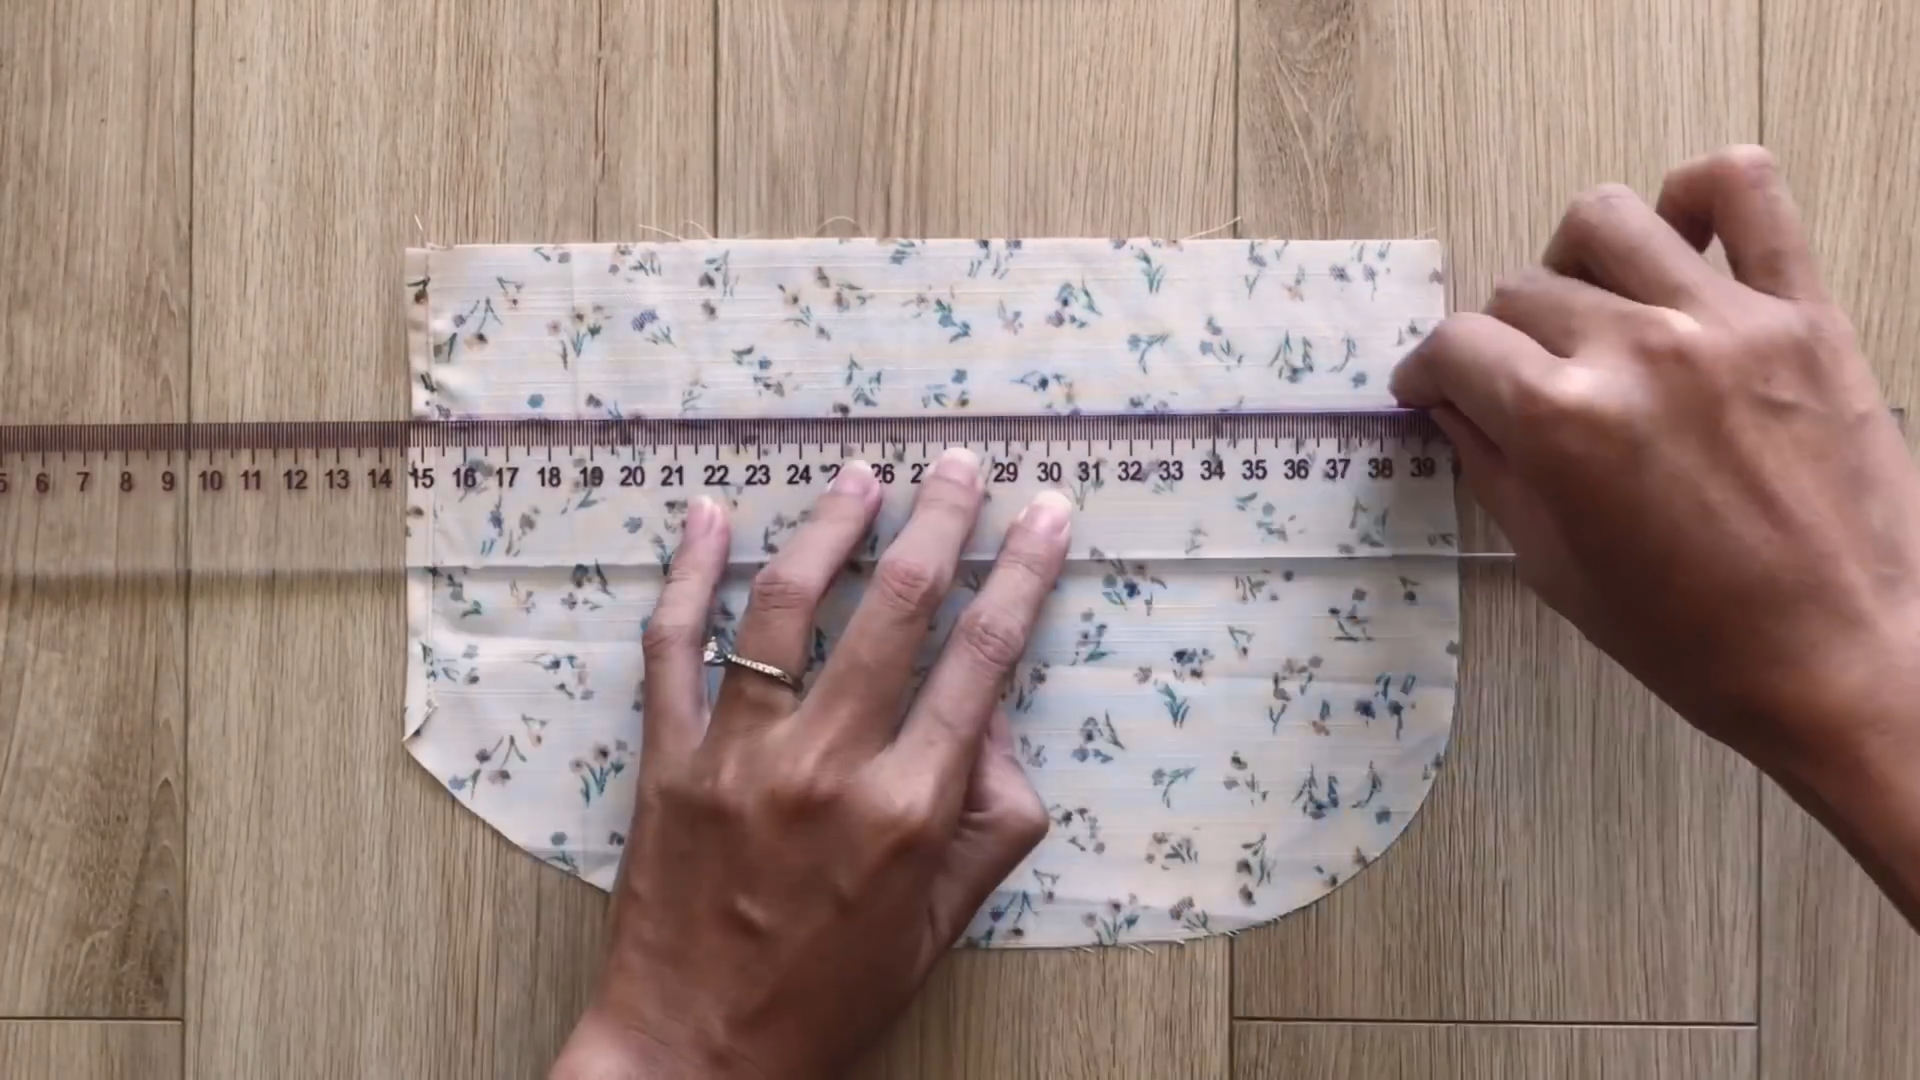
Draw a horizontal line at 4 cm under the top one.
Fold the end fabric into this line to create a fabric hole.
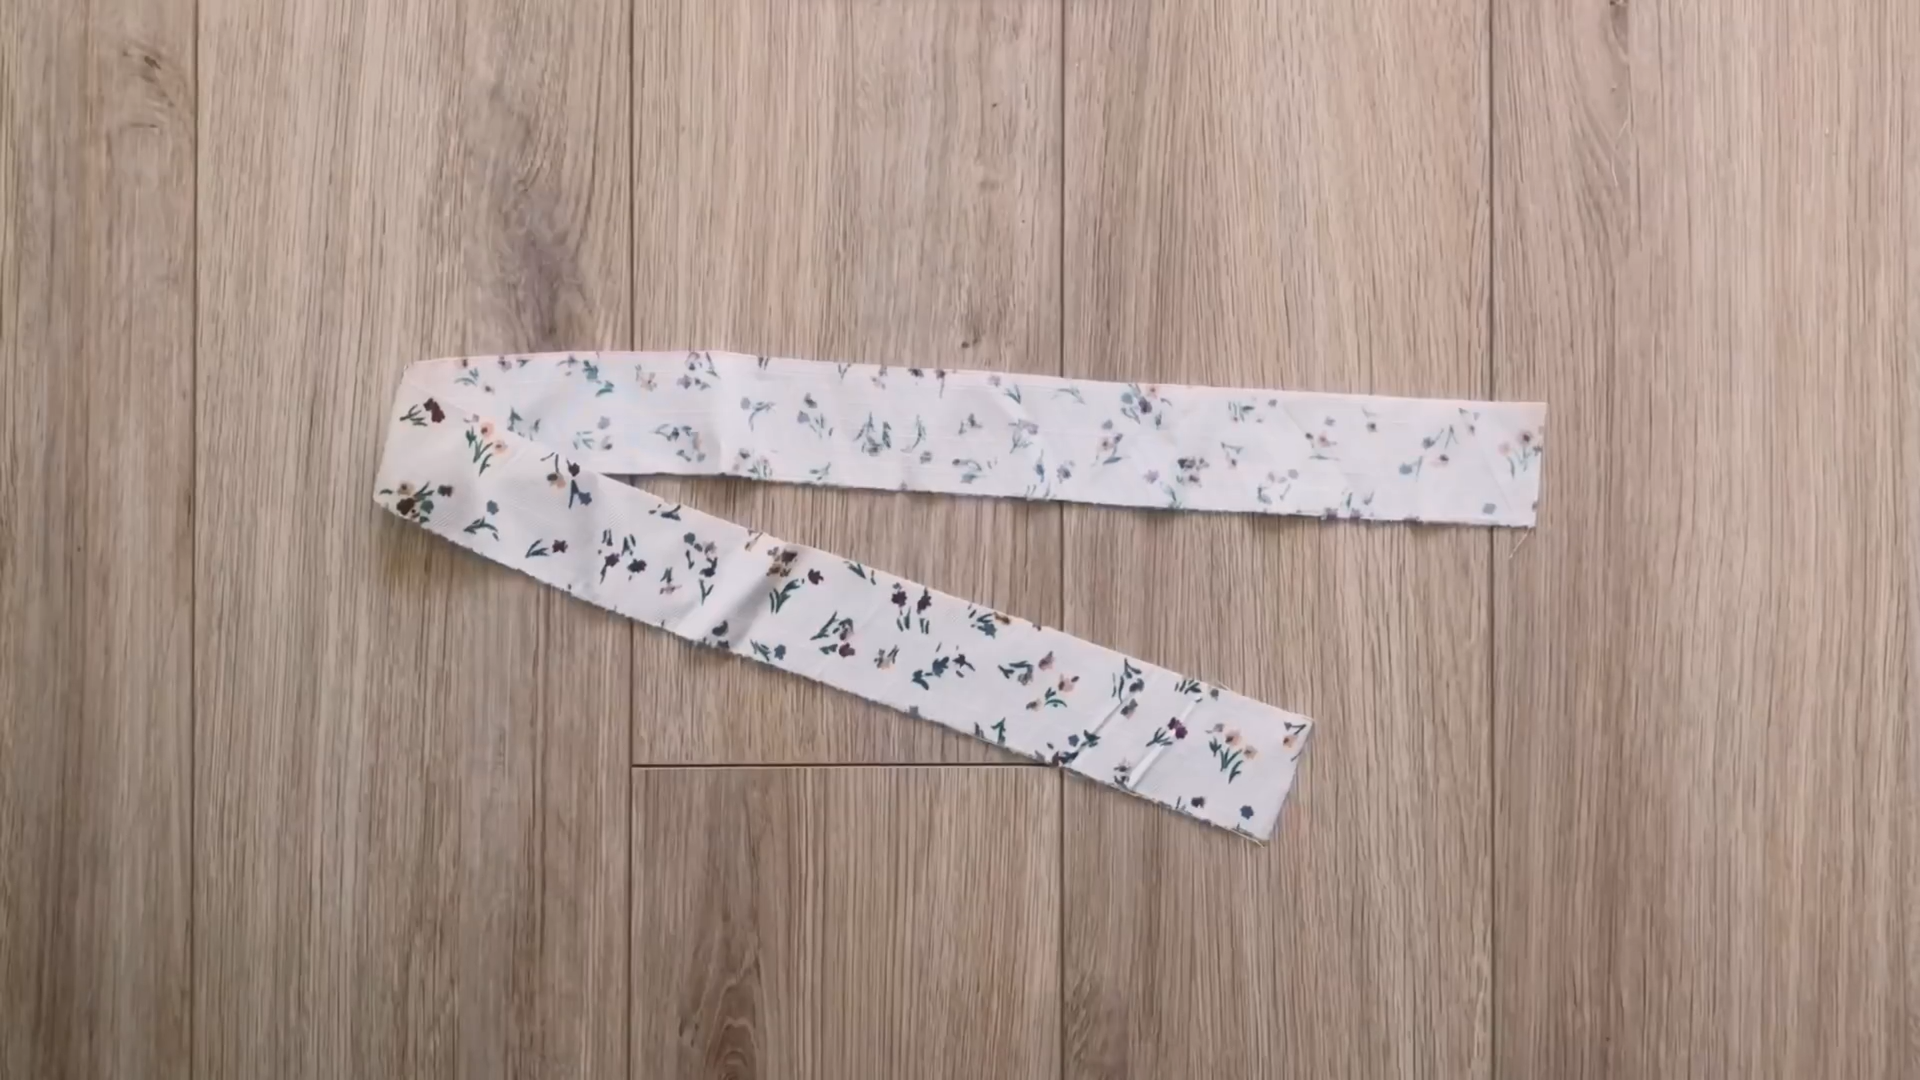
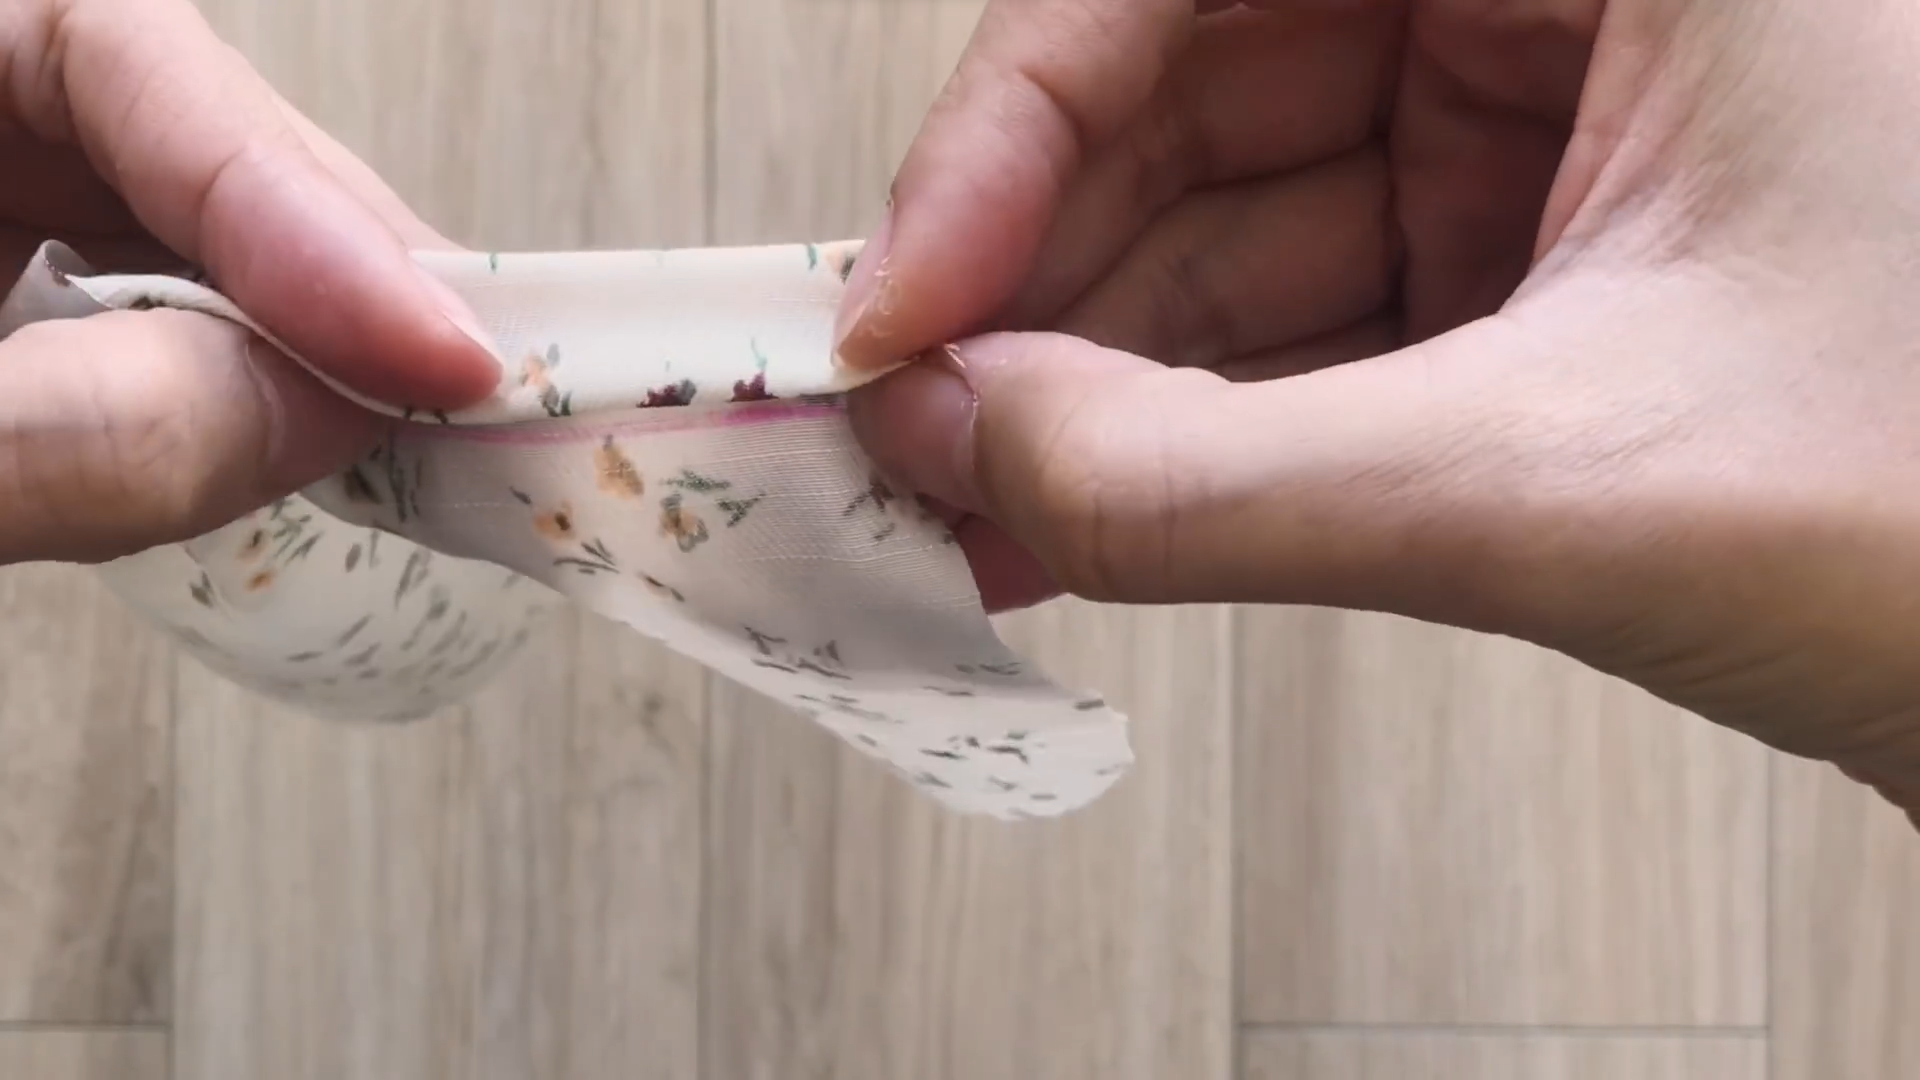
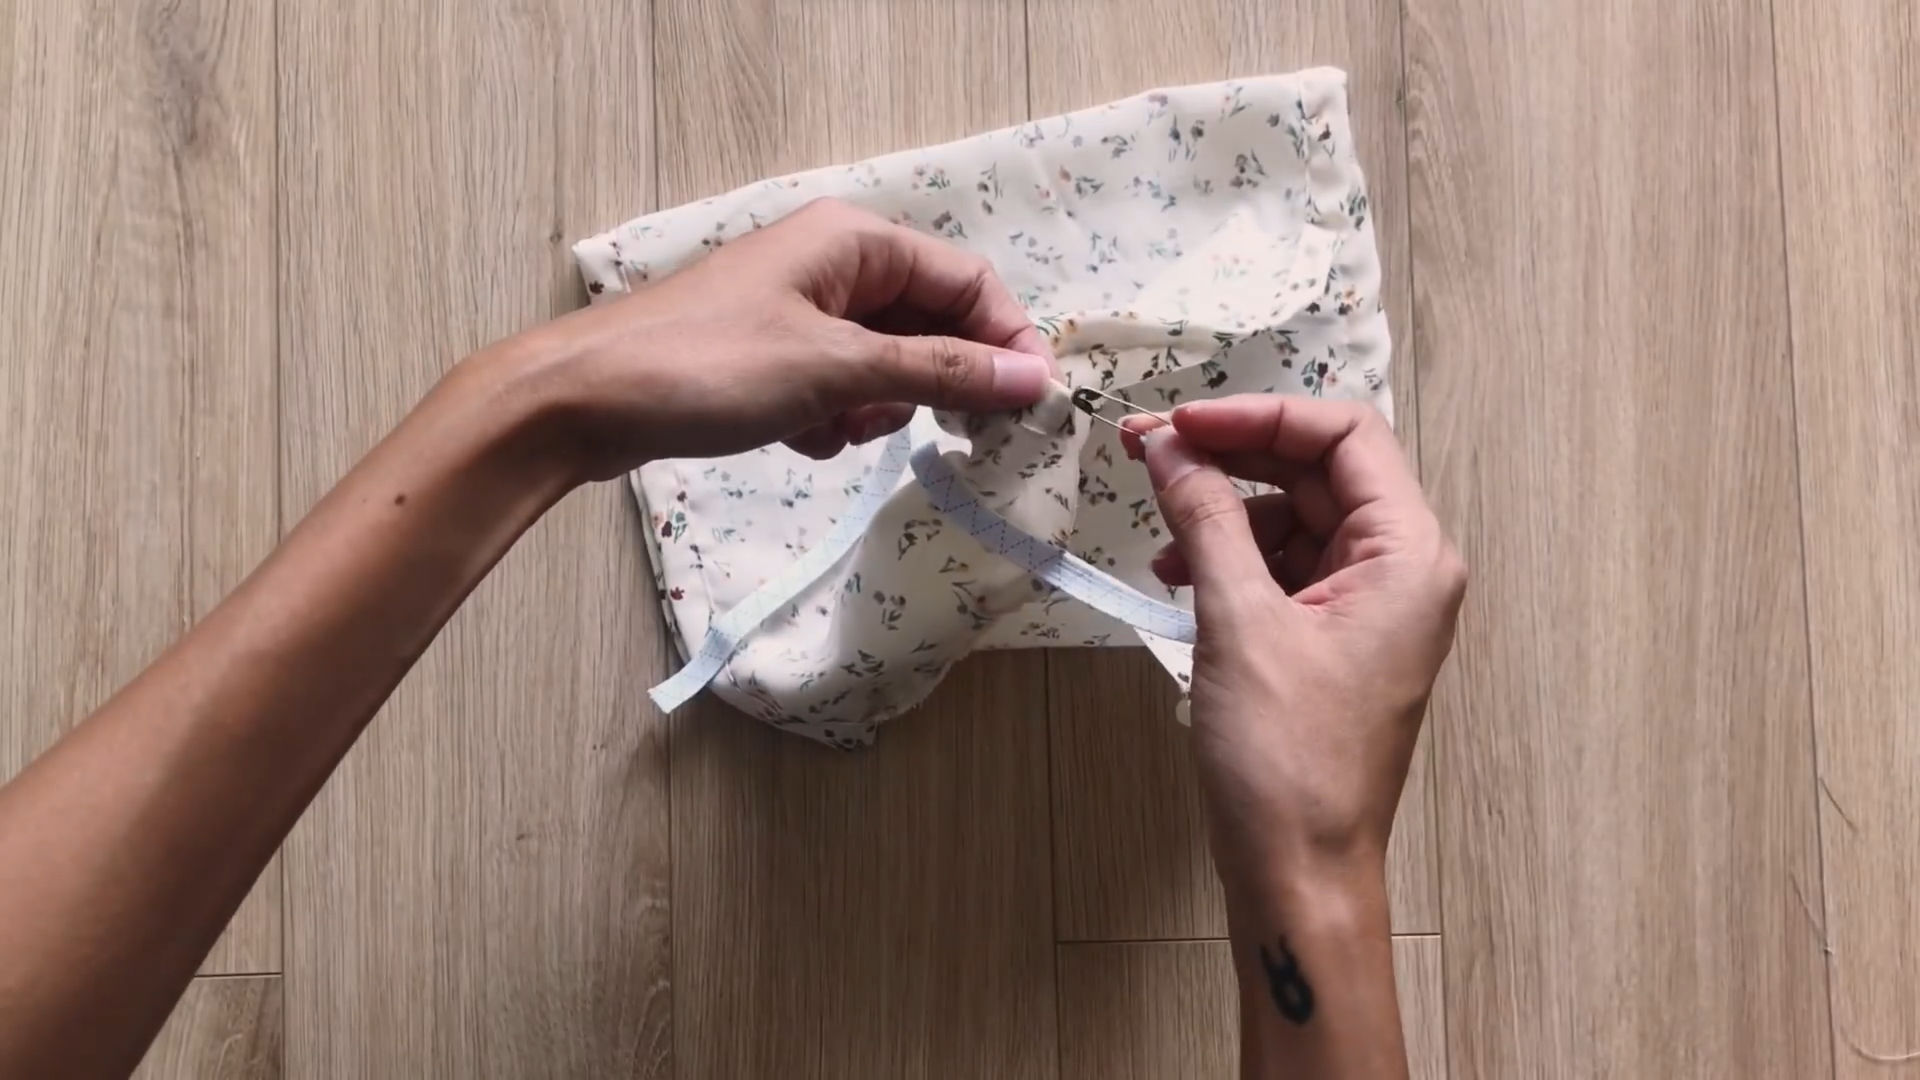
Cut two long rectangles with a width of 4 cm and a length of around 40 cm.

Fold two ends of the rectangle inside around 1 cm first. Then, fold it again to create a tie.
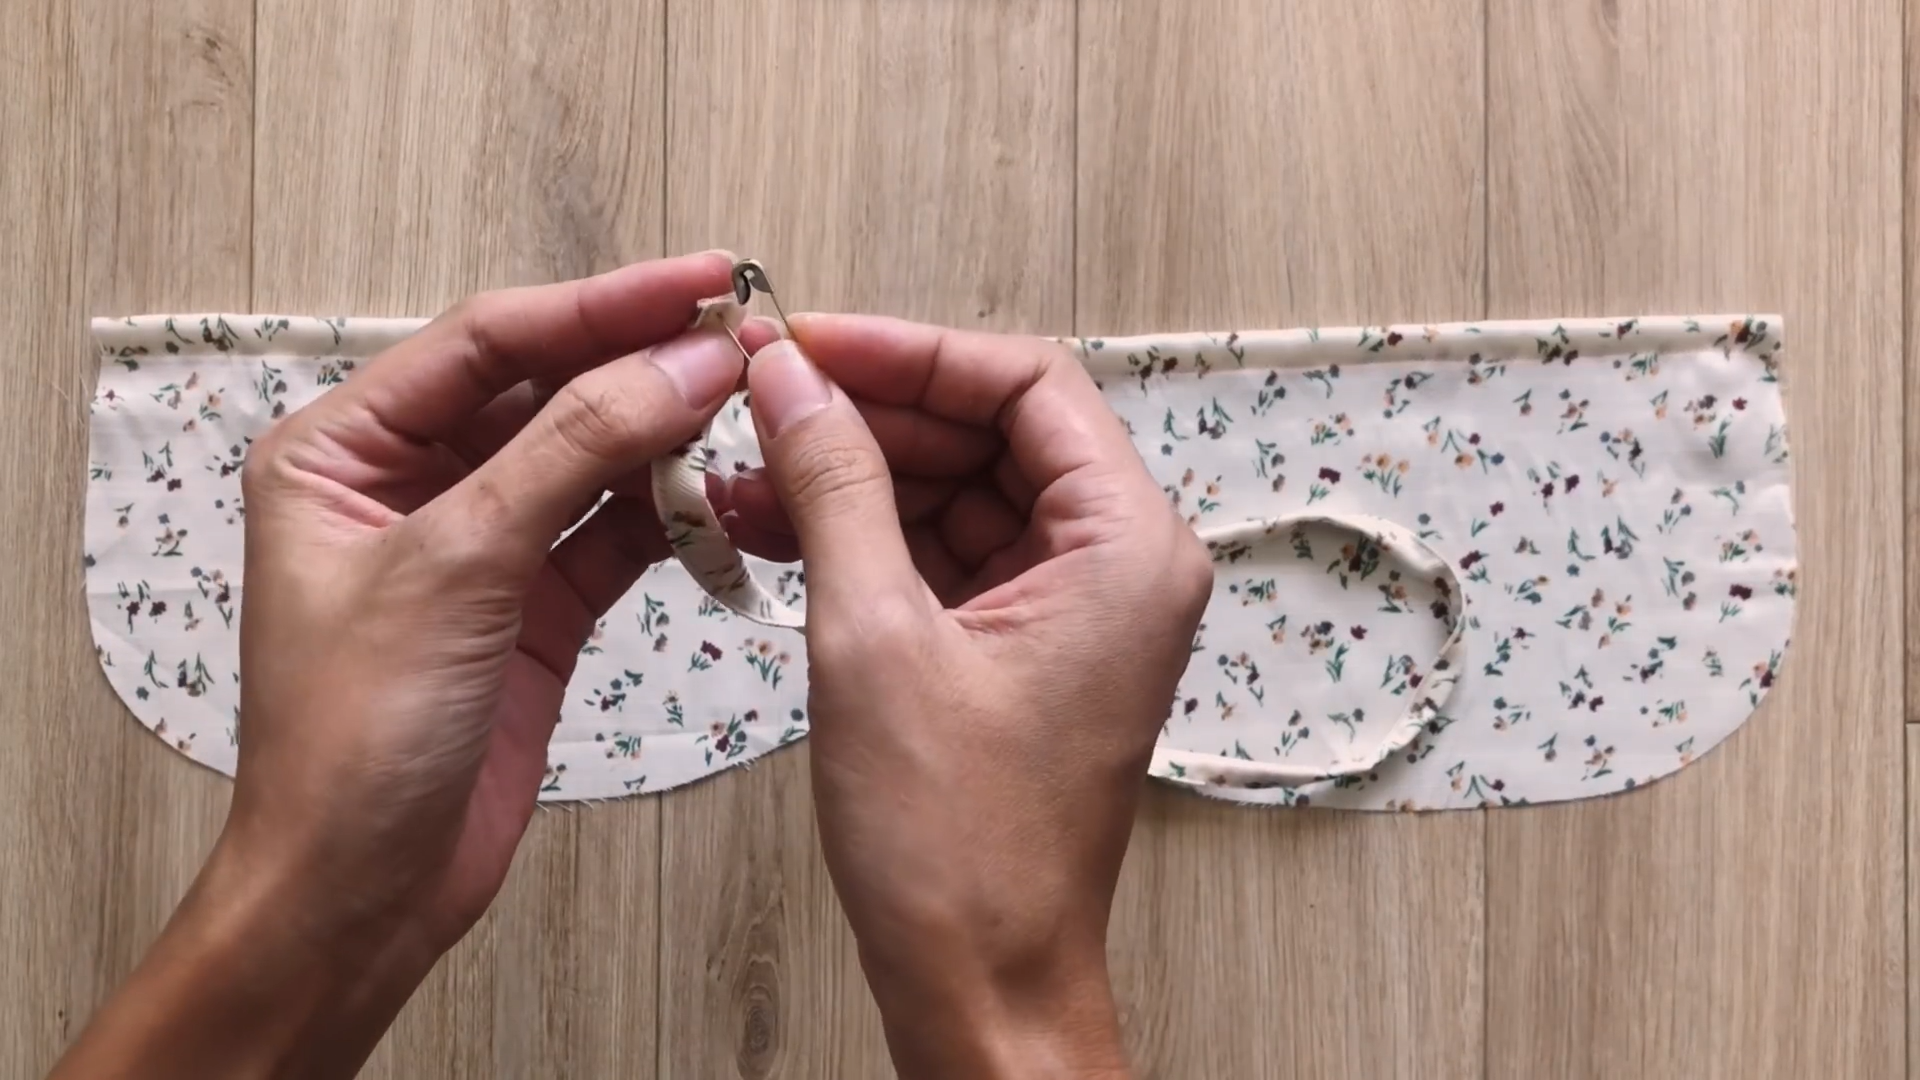
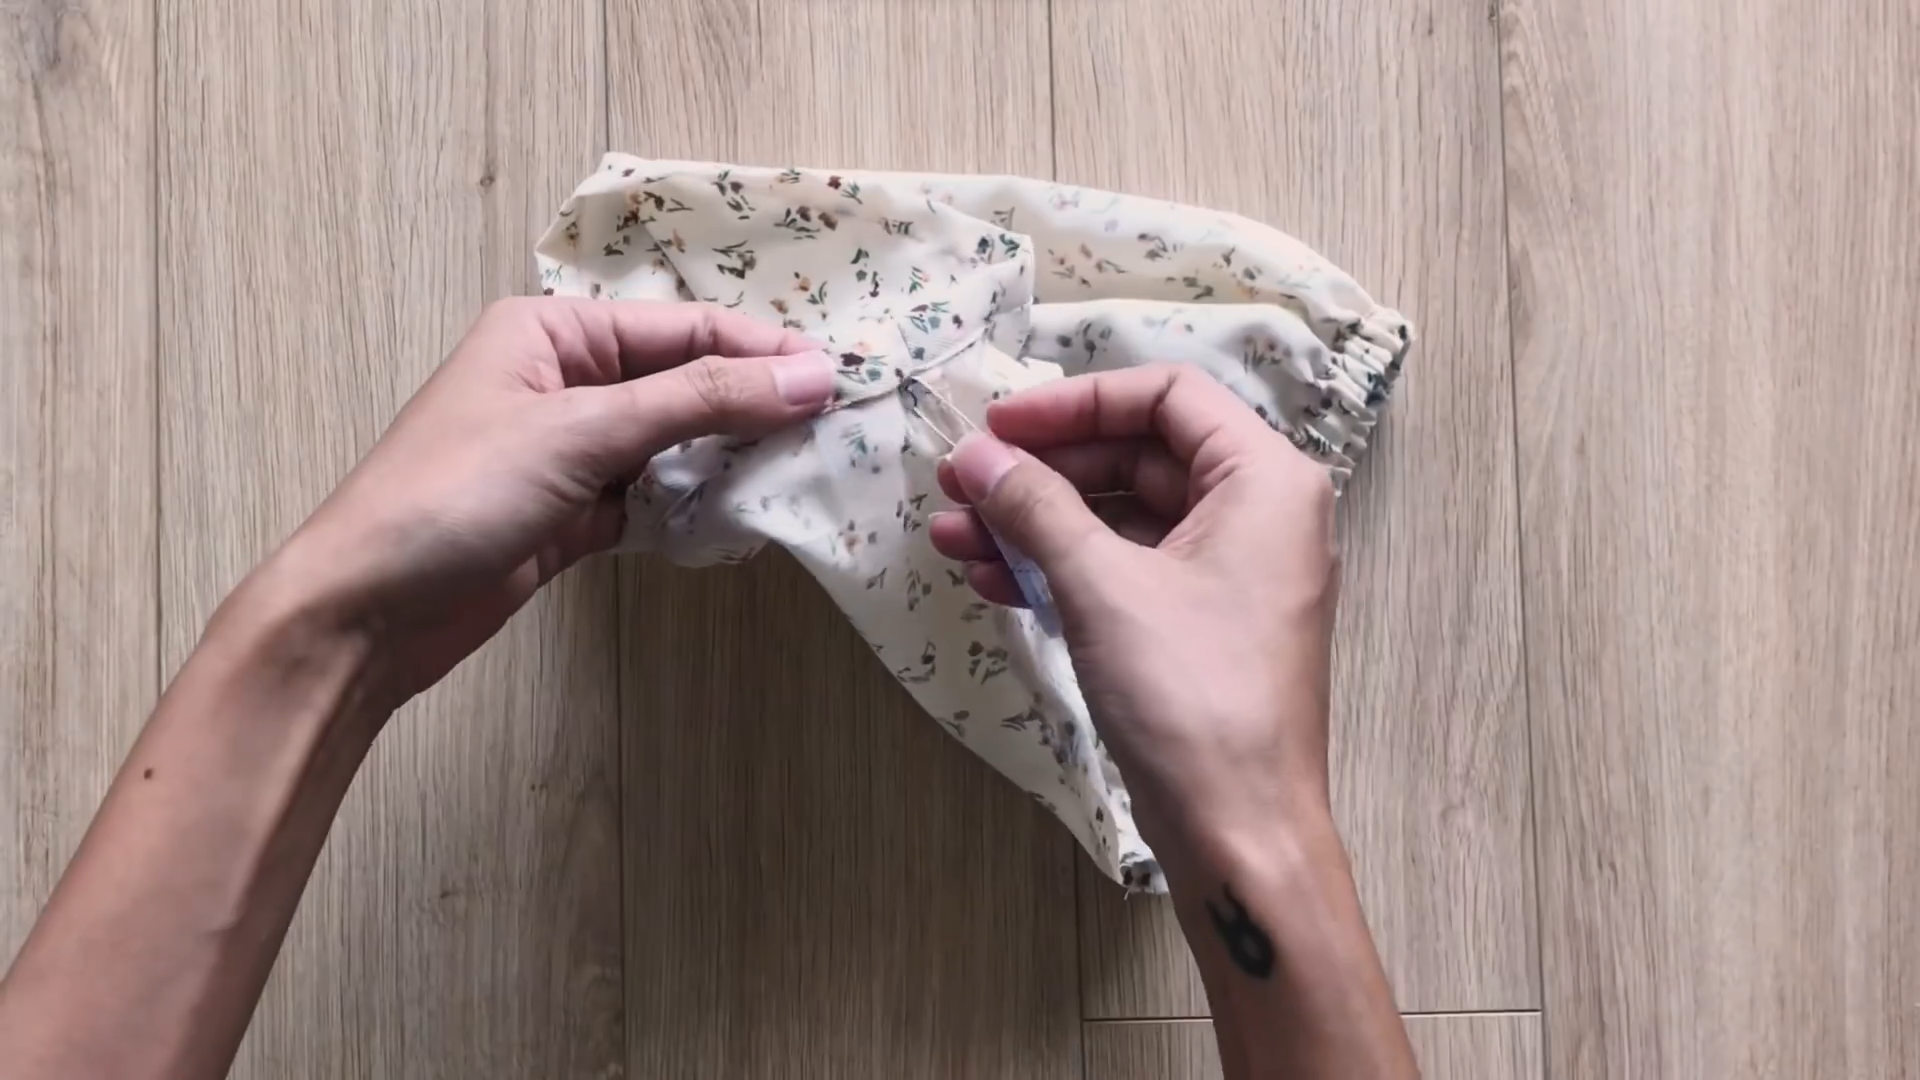
Use a small safety pin to thread the tie through the fabric hole.
Sew one end of the tie to one end of the fabric hole to secure it in place.
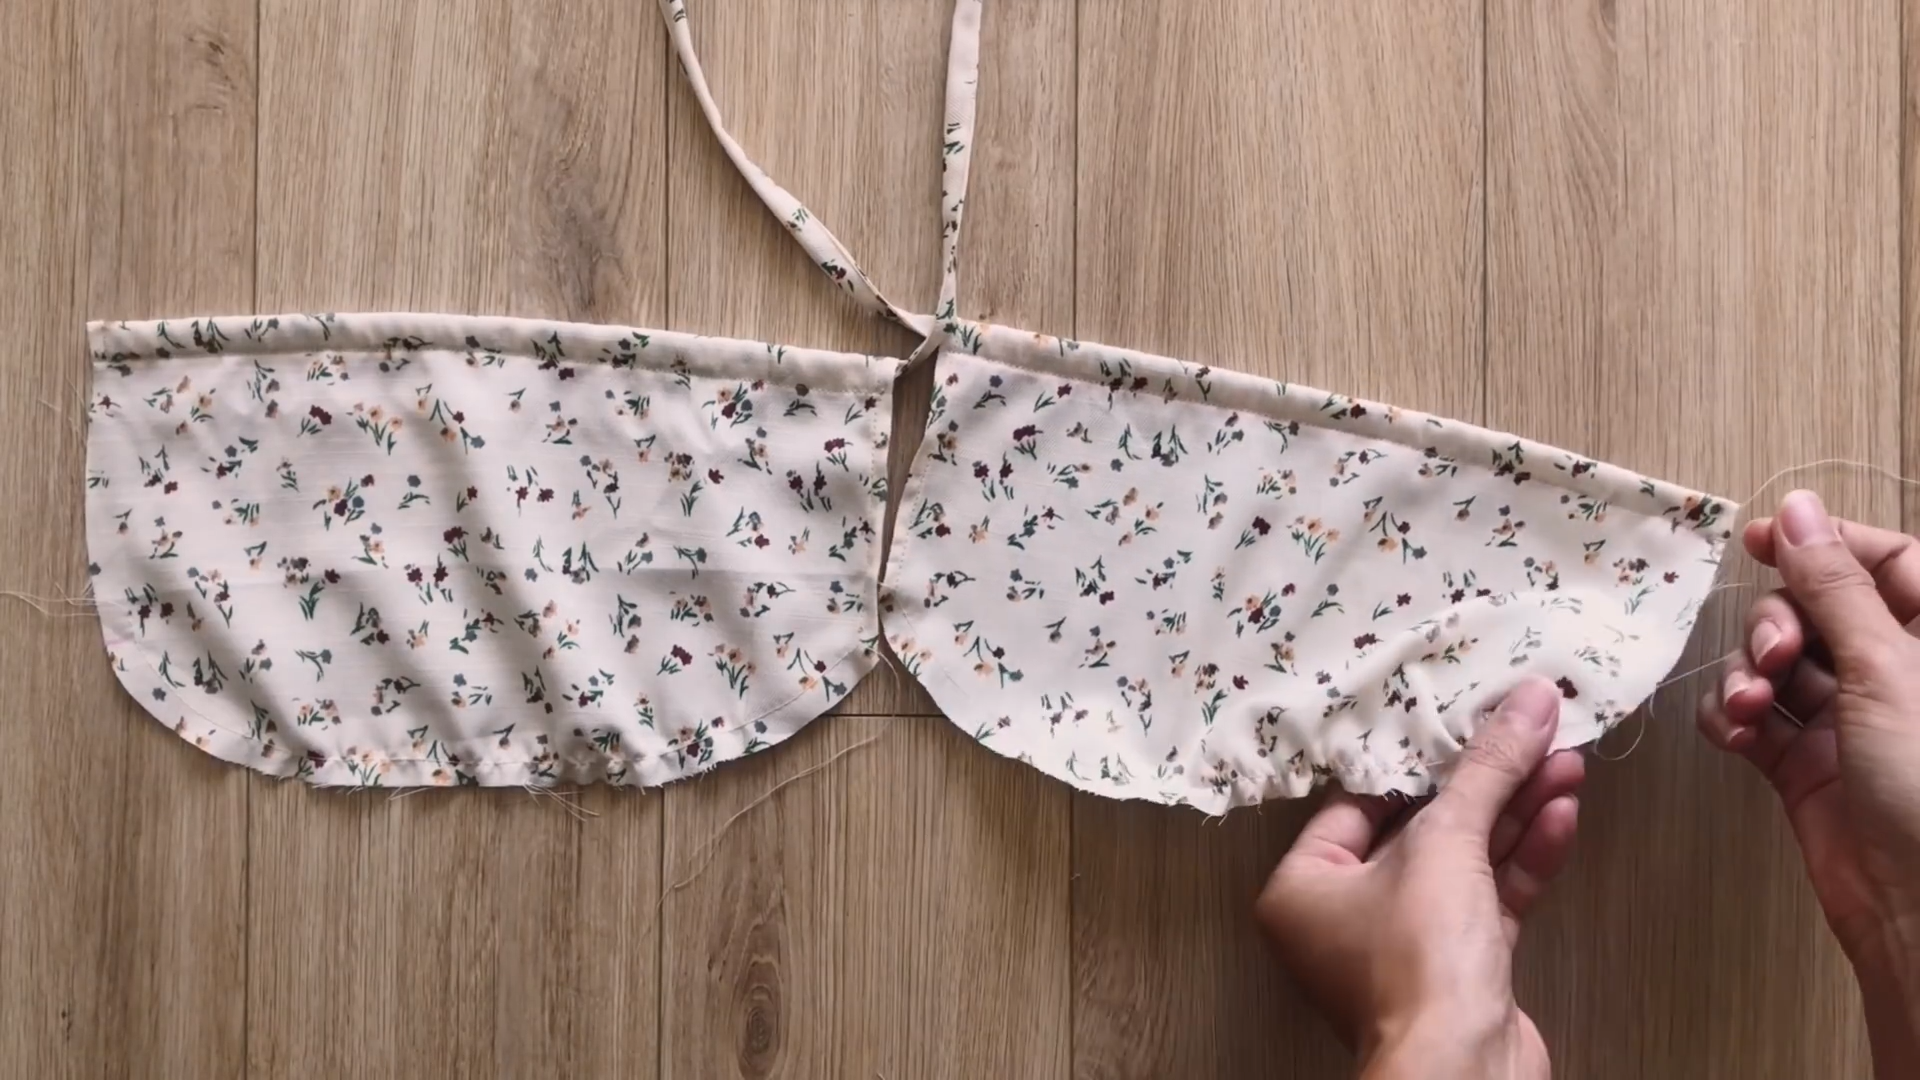
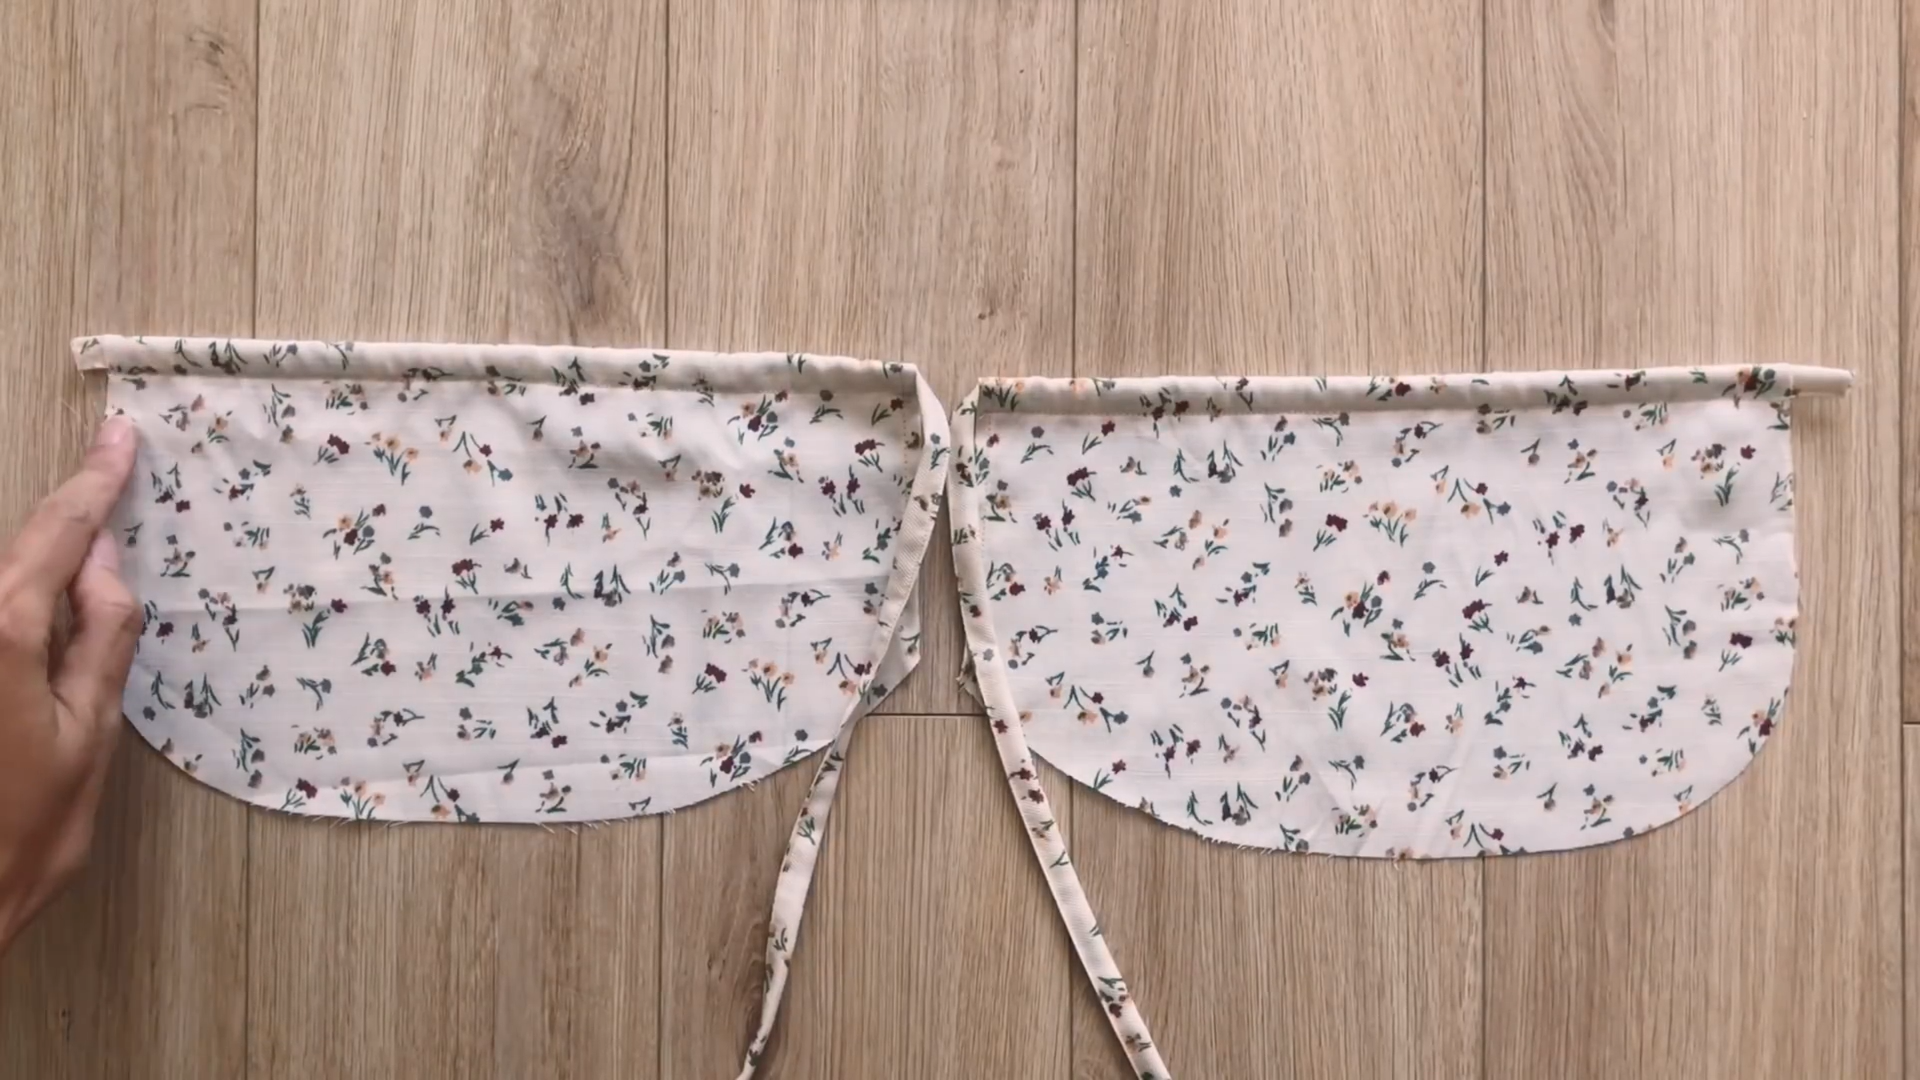
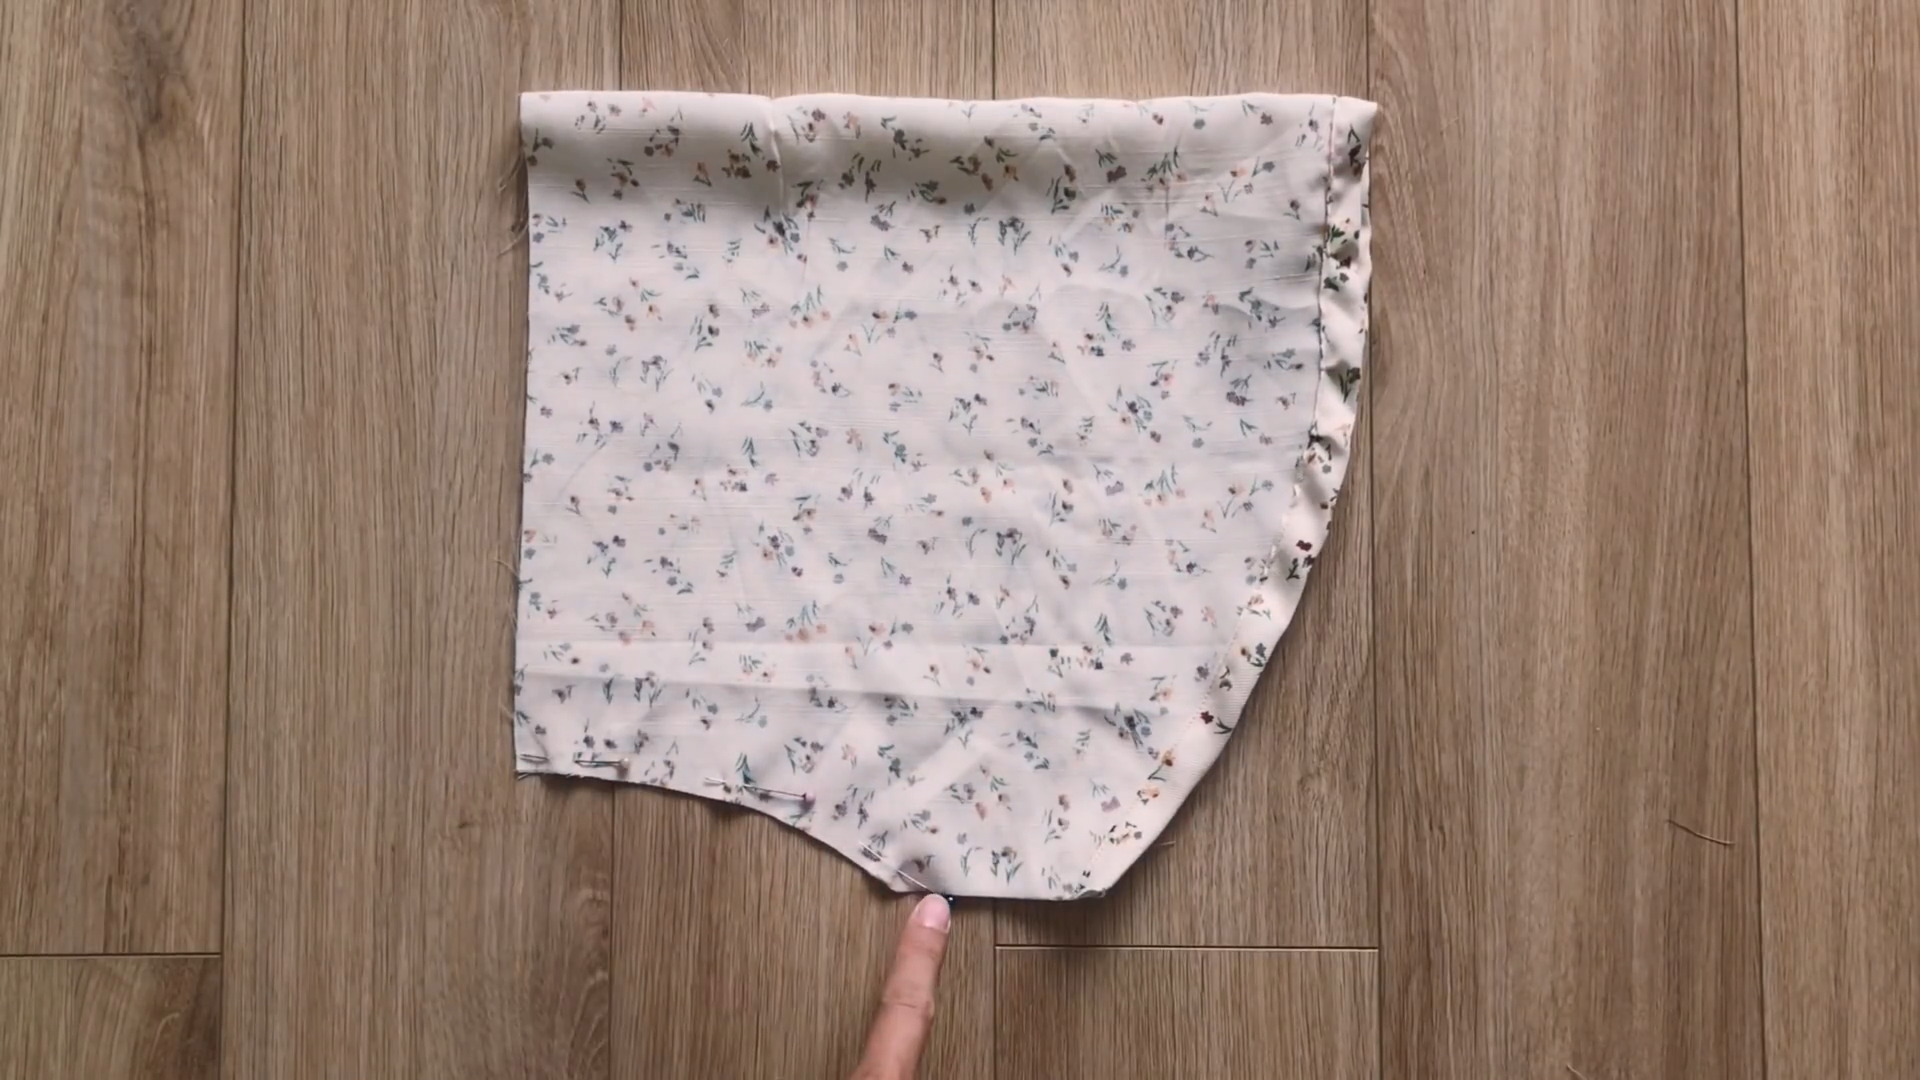
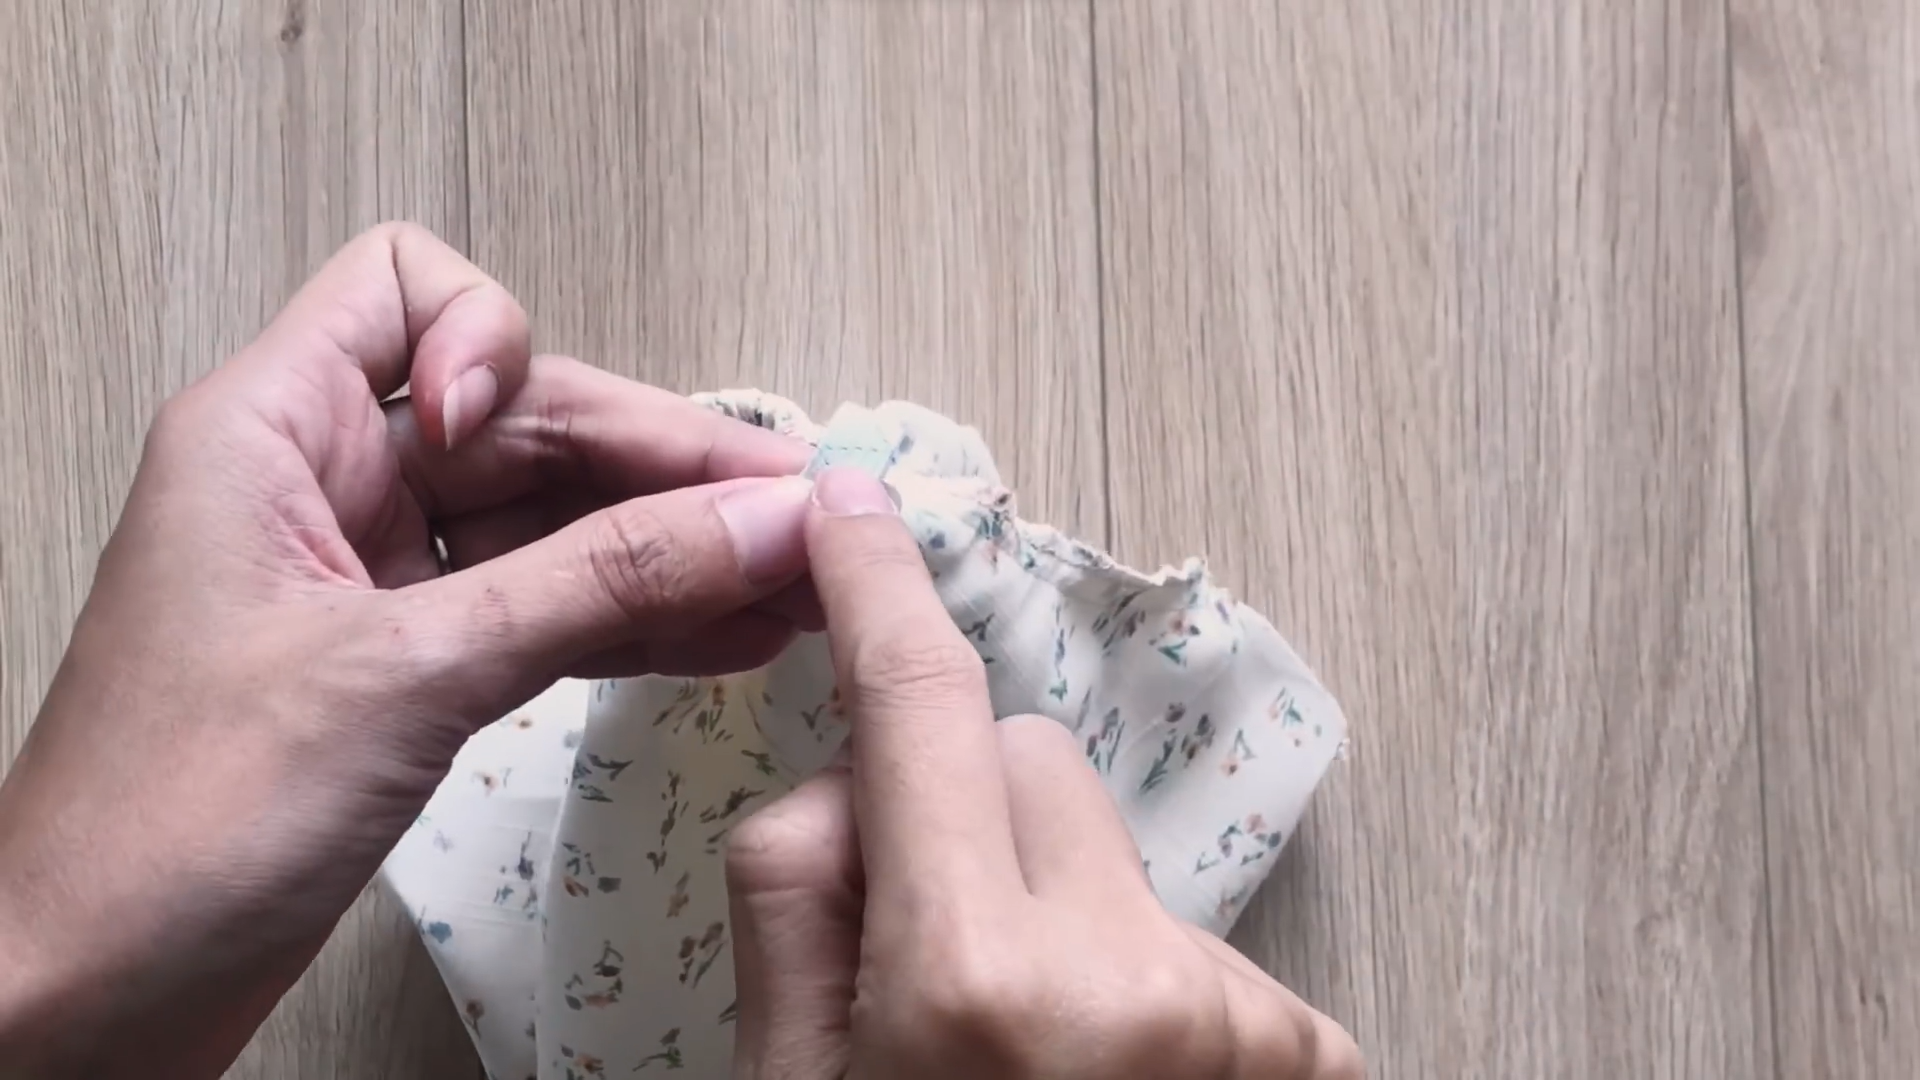
After sewing, make a loose seam at the end of the bust area piece. This will allow you to create a gathering fabric there later.
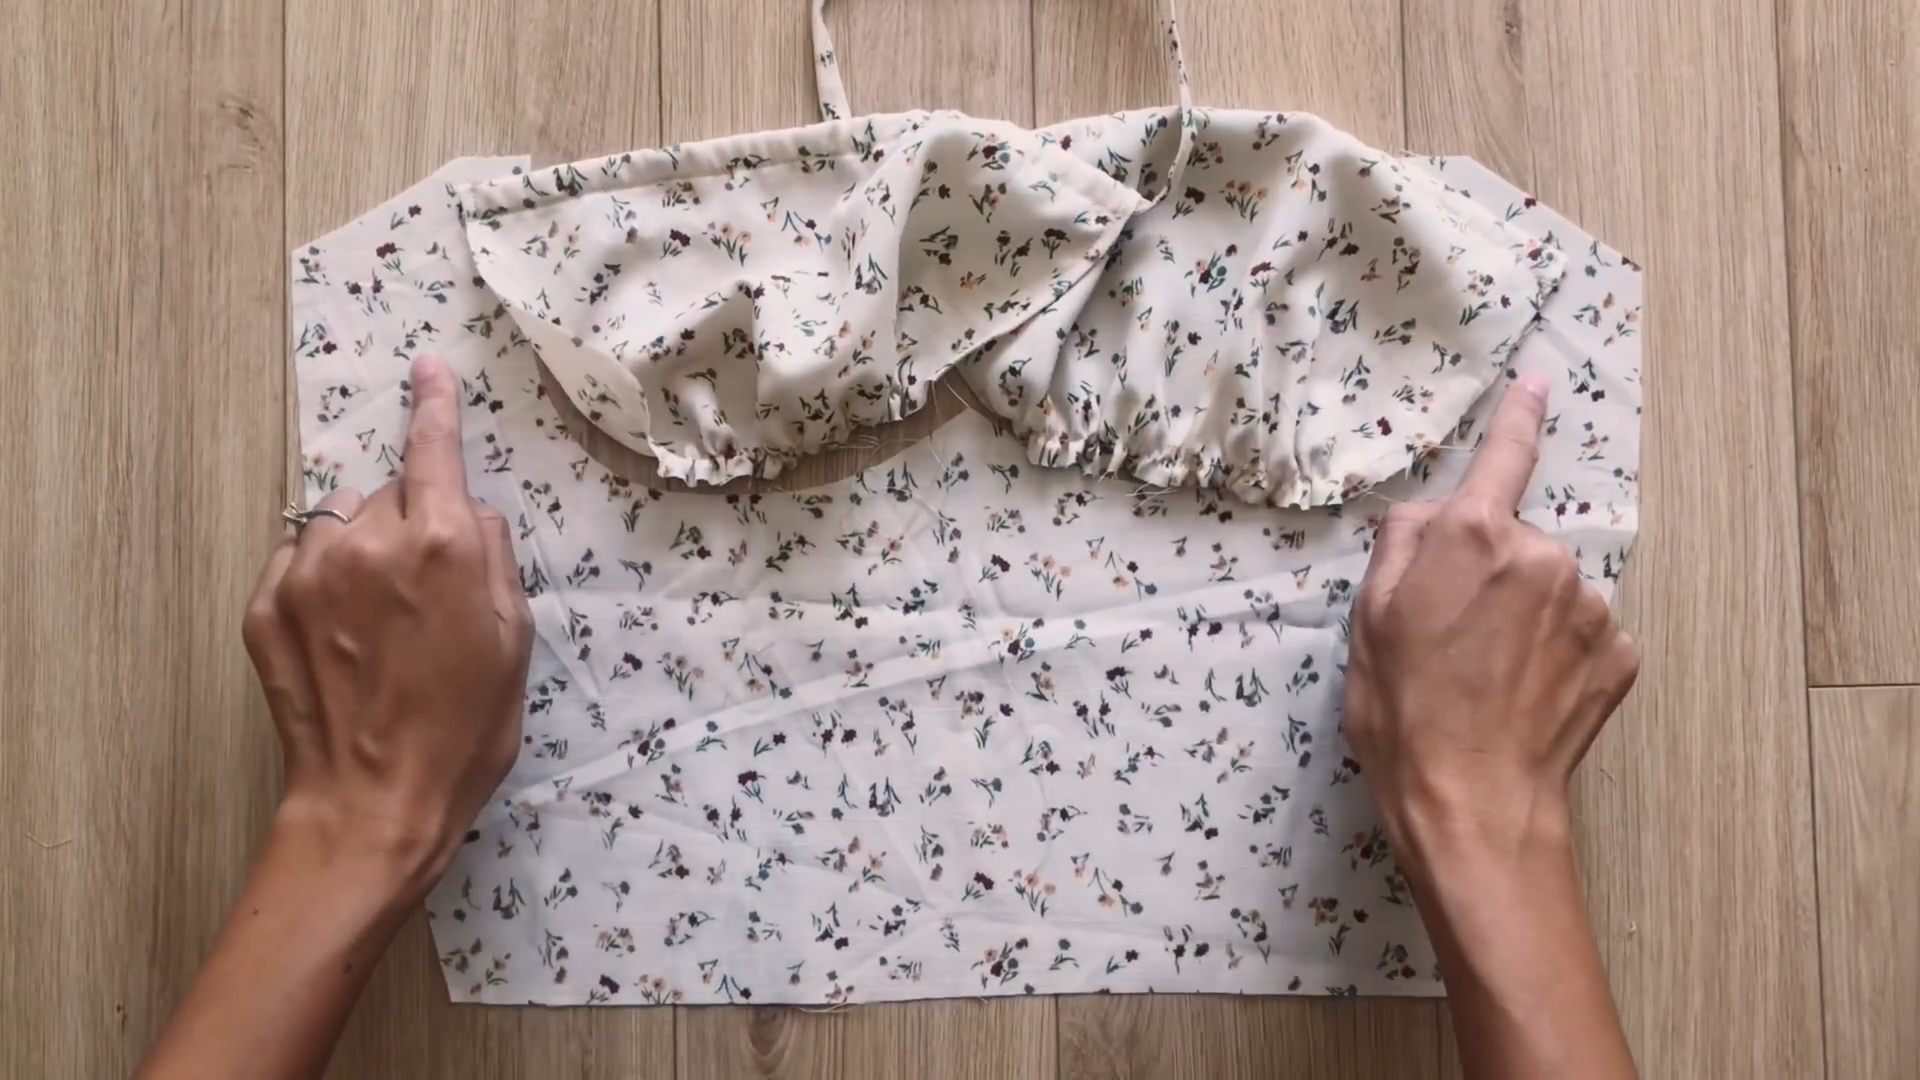
Ensure that the final width of this part is the same as the width of the bust area on the front bodice piece. This will allow you to connect them together later.
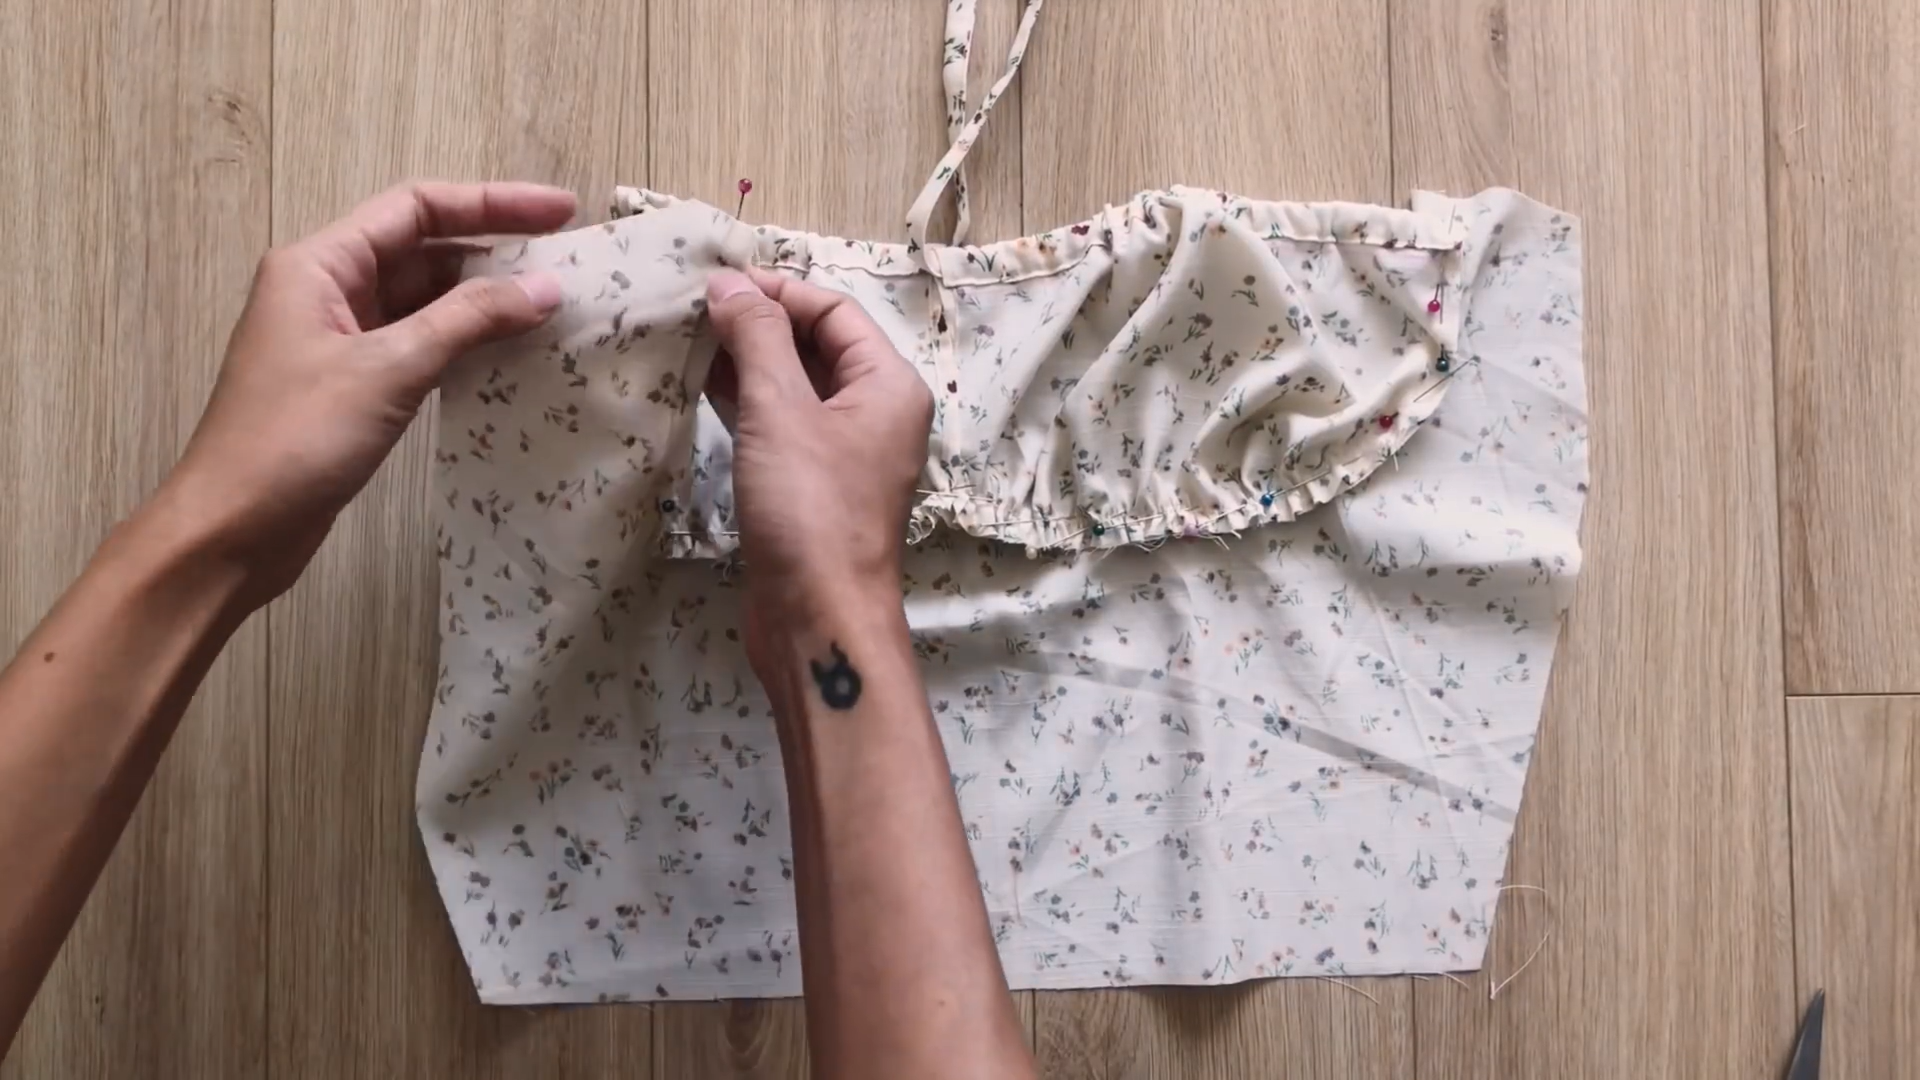
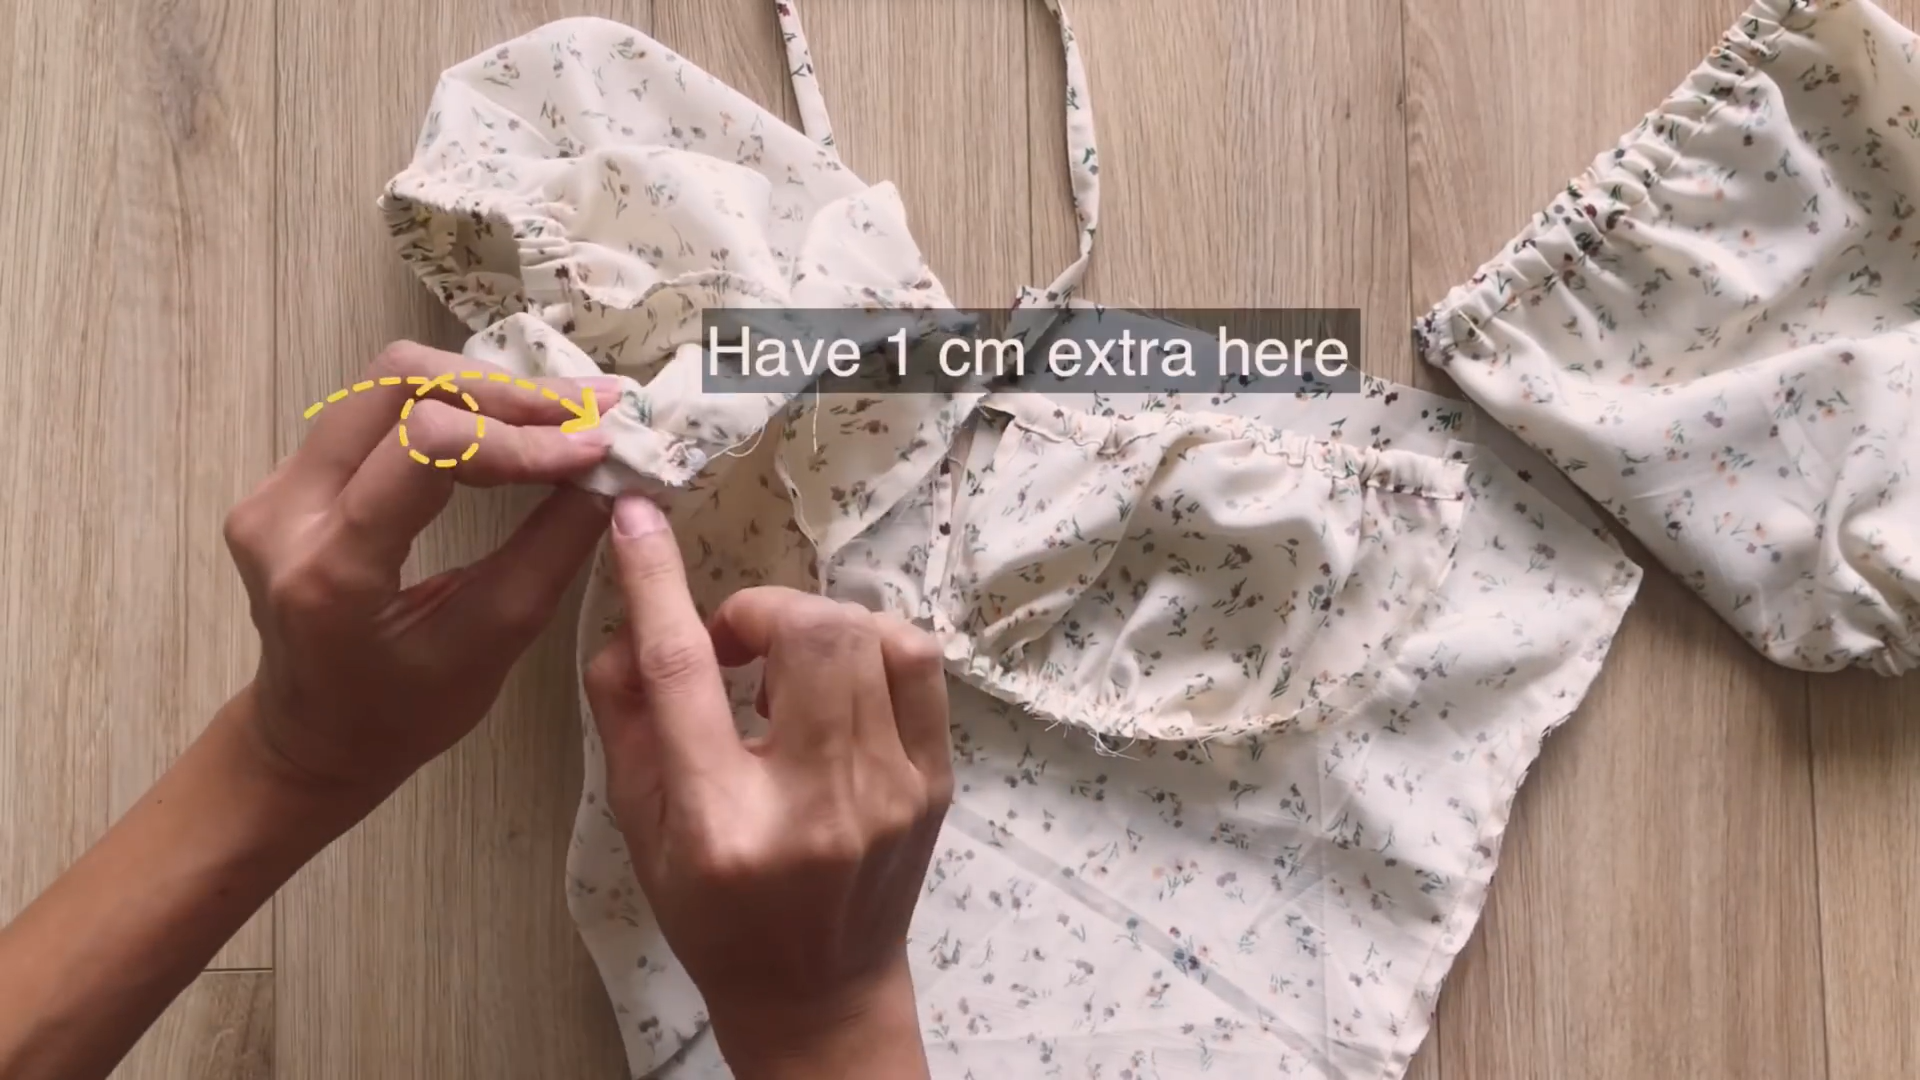
When connecting the bust area piece to the front bodice piece, leave 1 cm extra at this part so you can connect it to the other front bodice piece later.
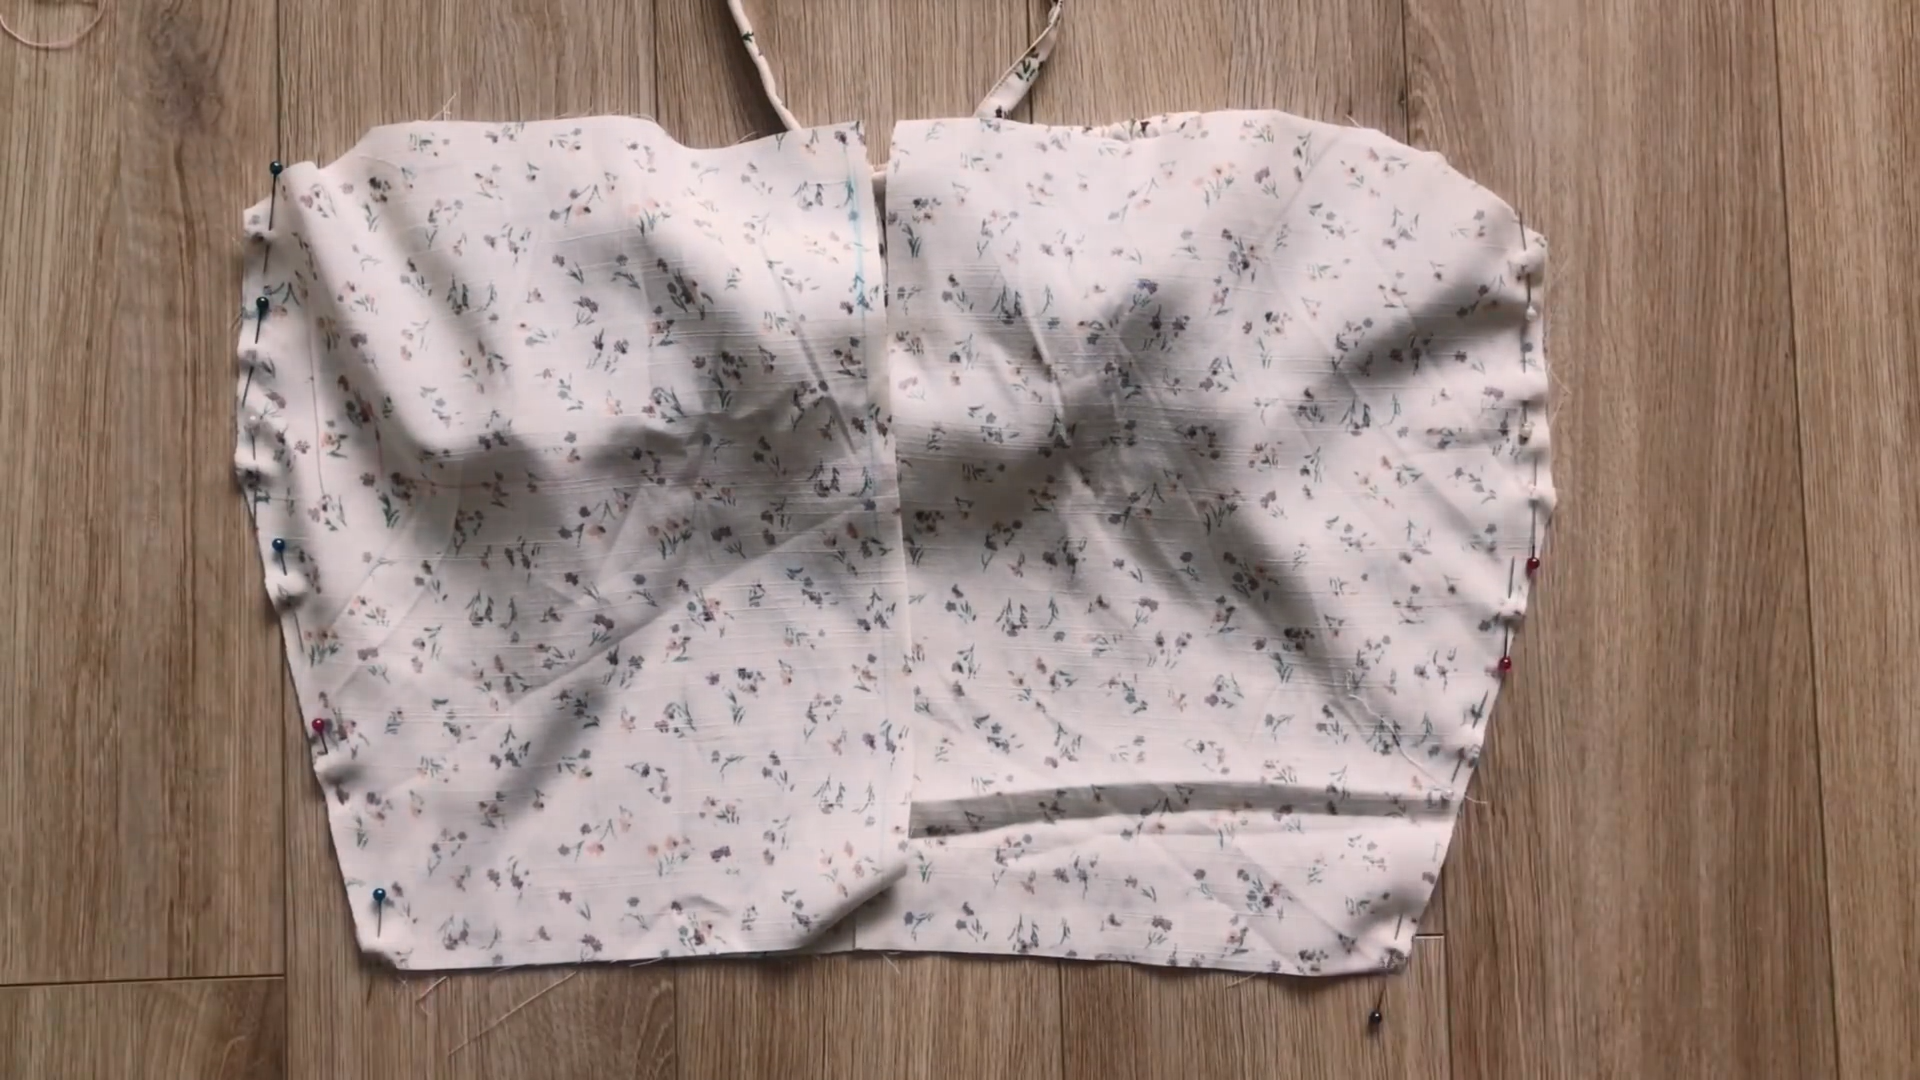
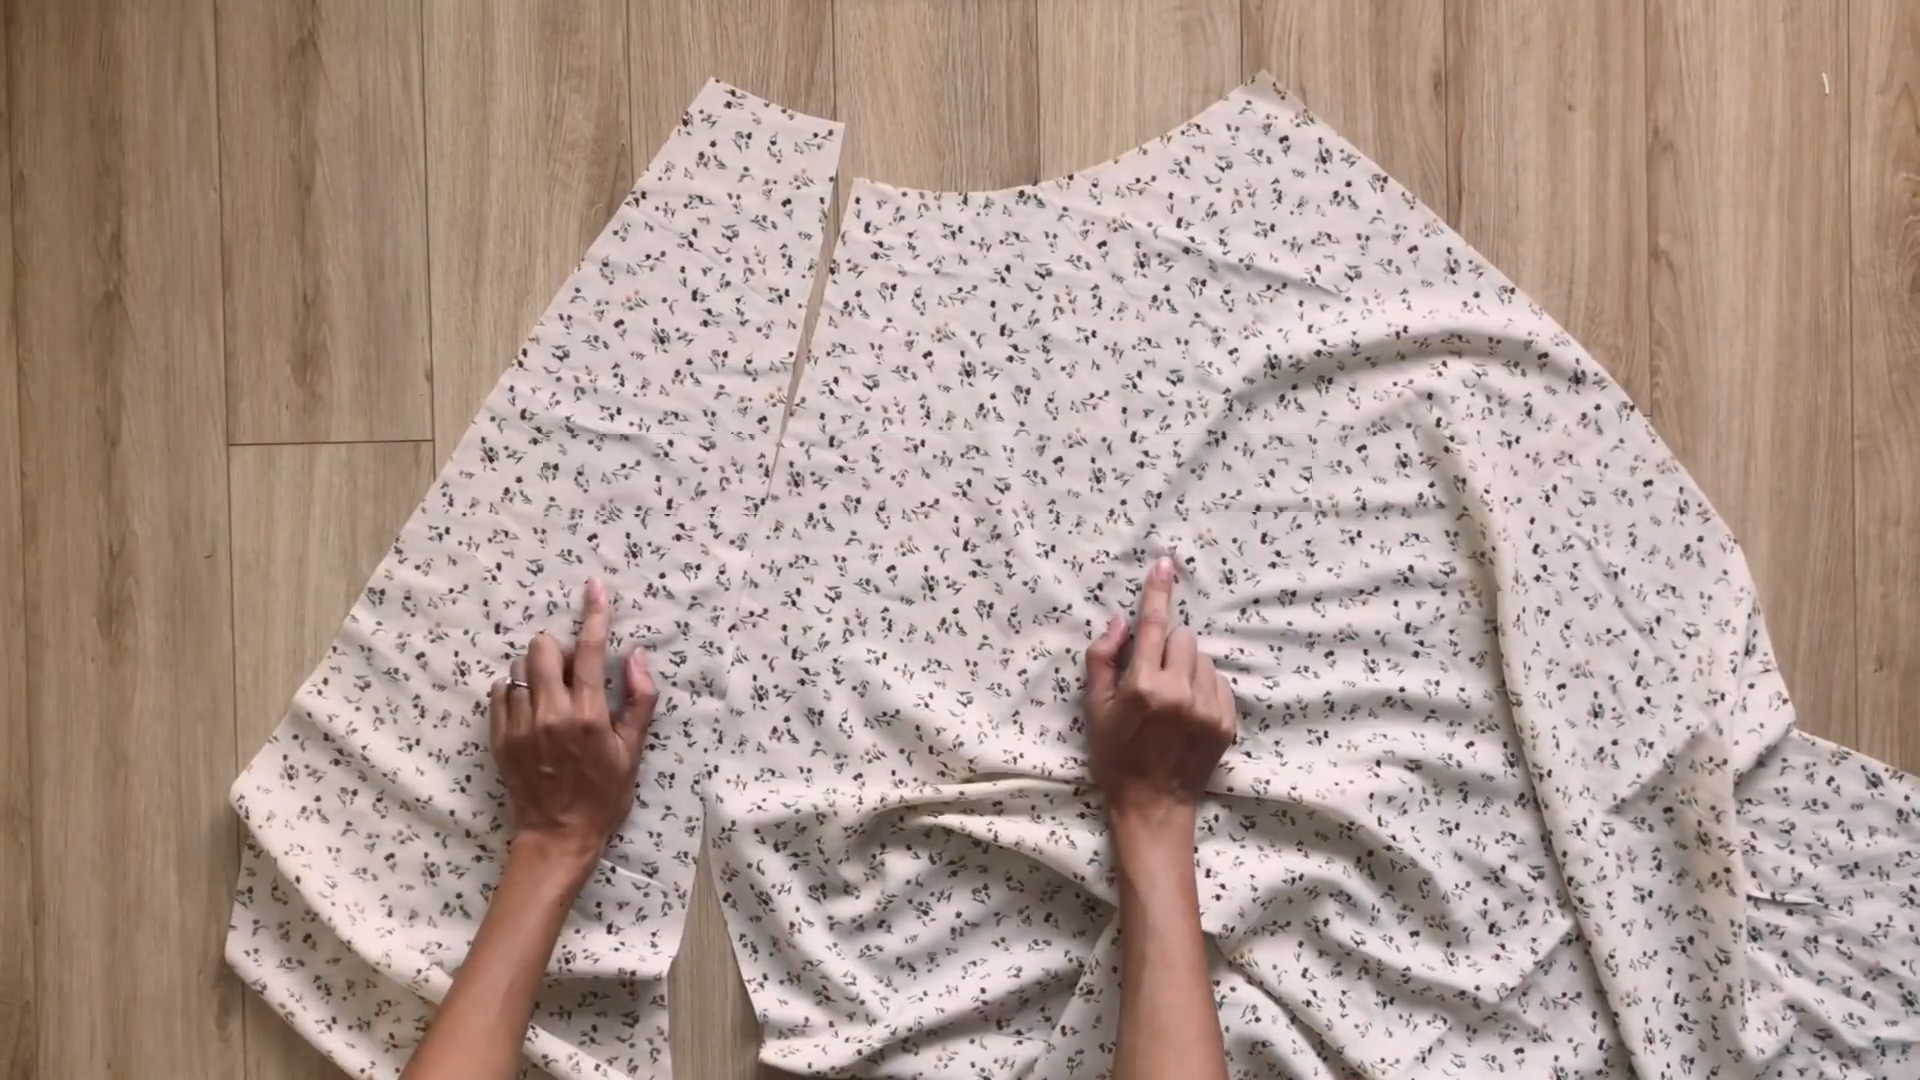
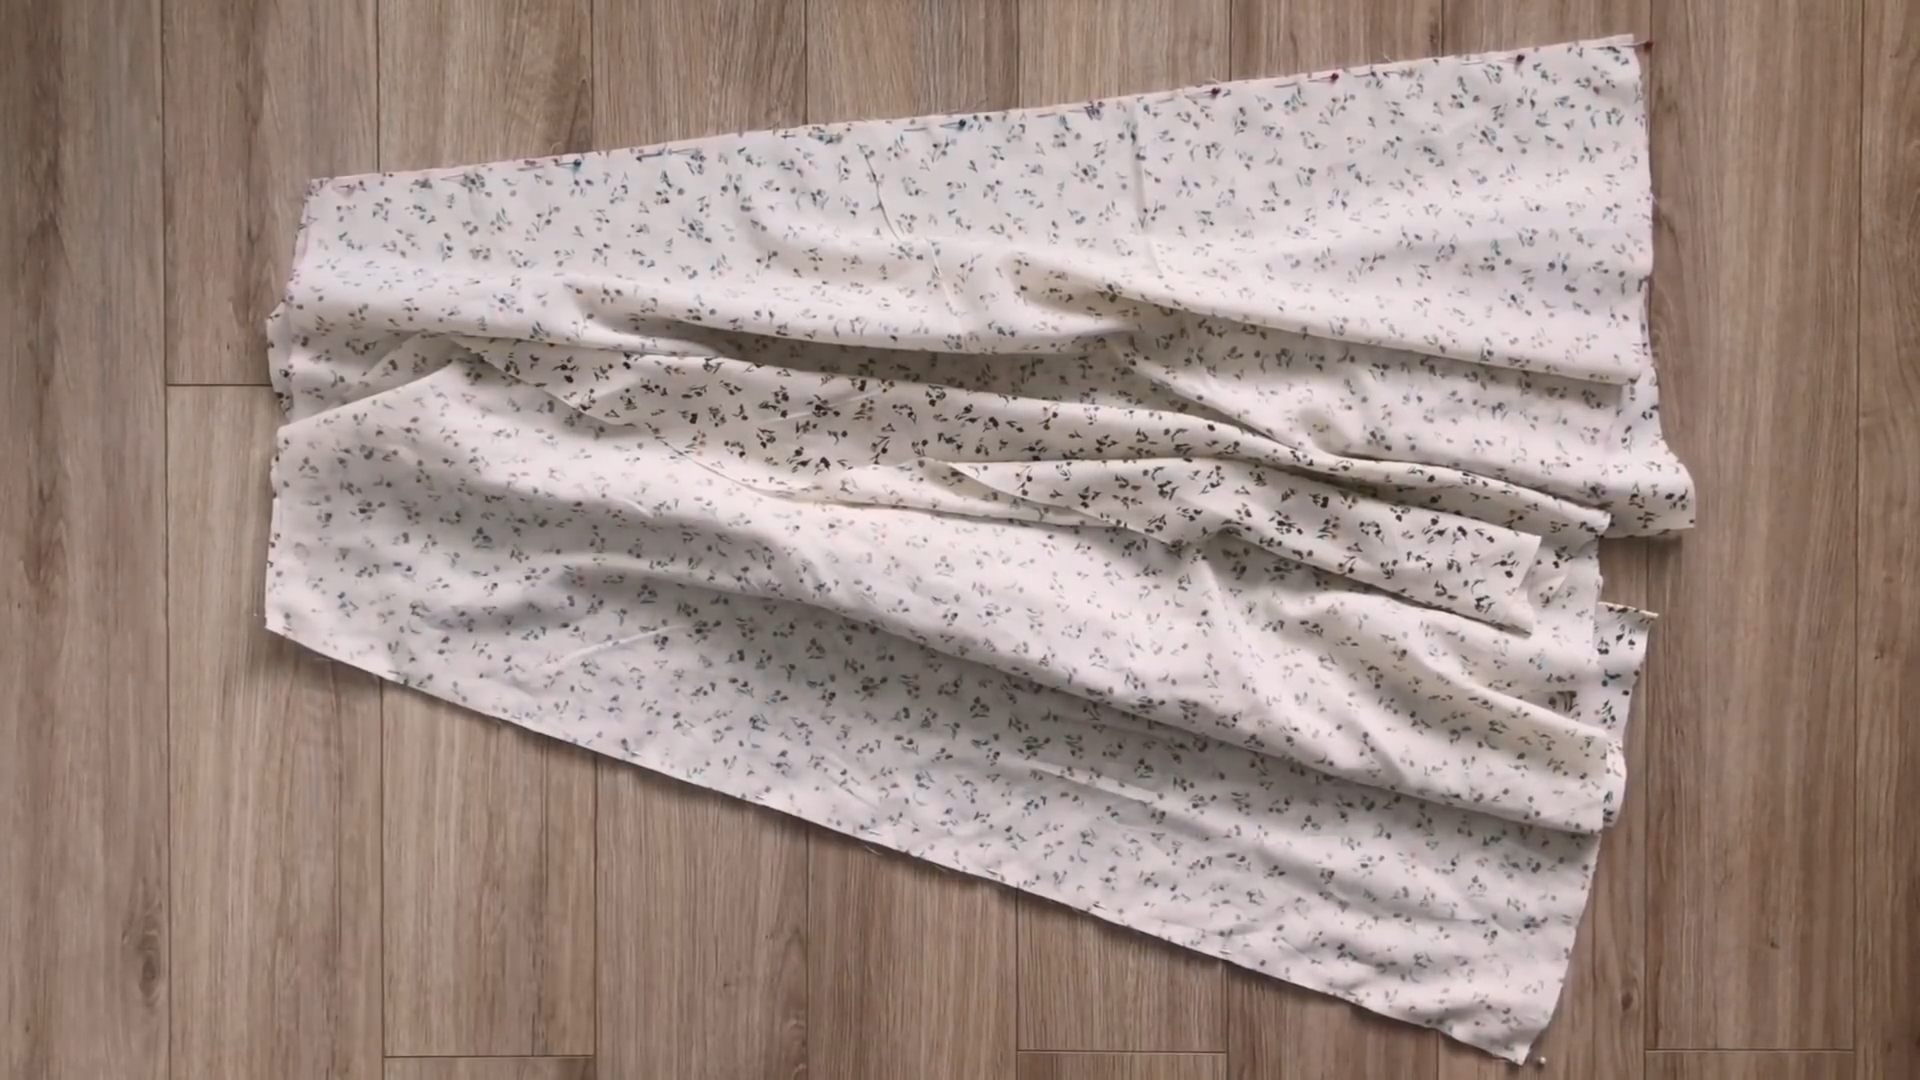
Once you’ve finished sewing, connect two pieces of the back bodice to the front bodice at two sides.

I draw a wrong line at the side of the front in the back bodice pattern, I will need to make a new seam when connecting them together at the side.
Repeat the same process when connecting the second front bodice piece to the other back bodice pieces.
THE SLEEVE
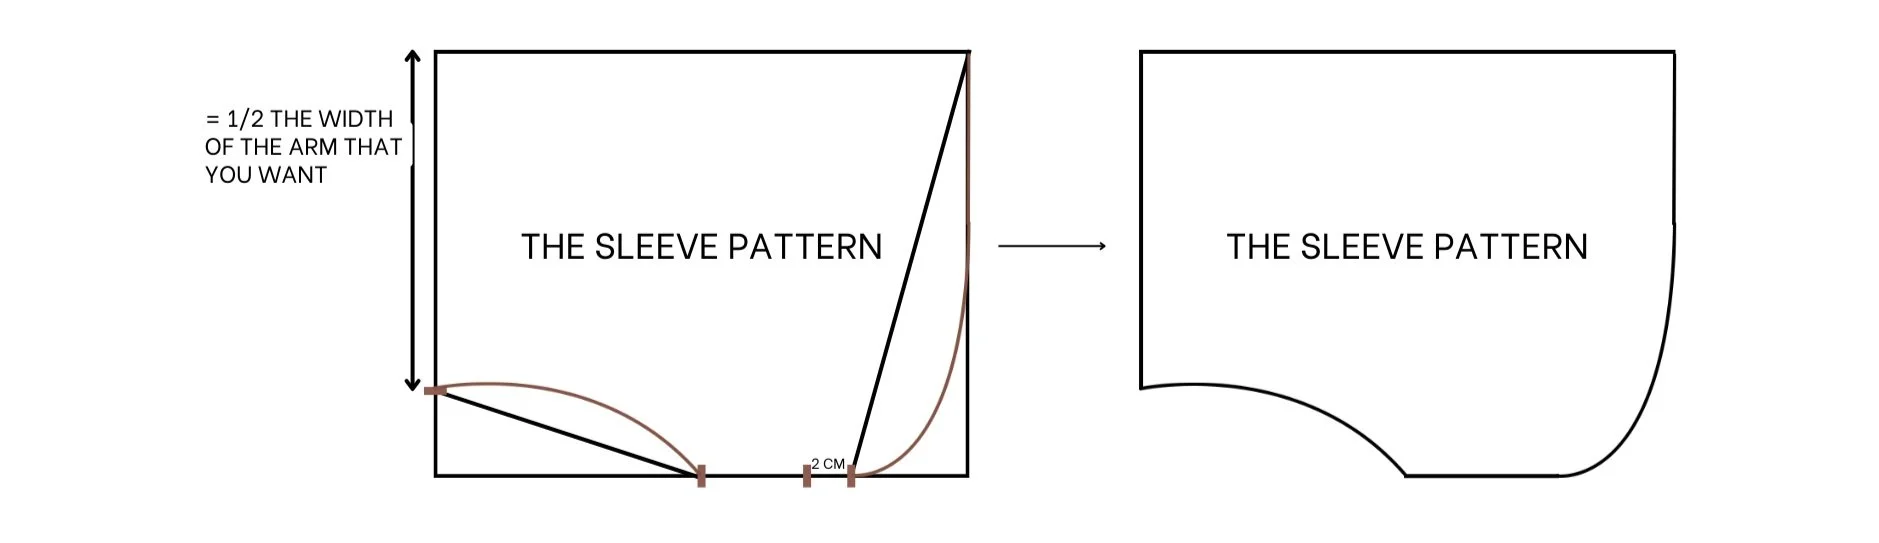
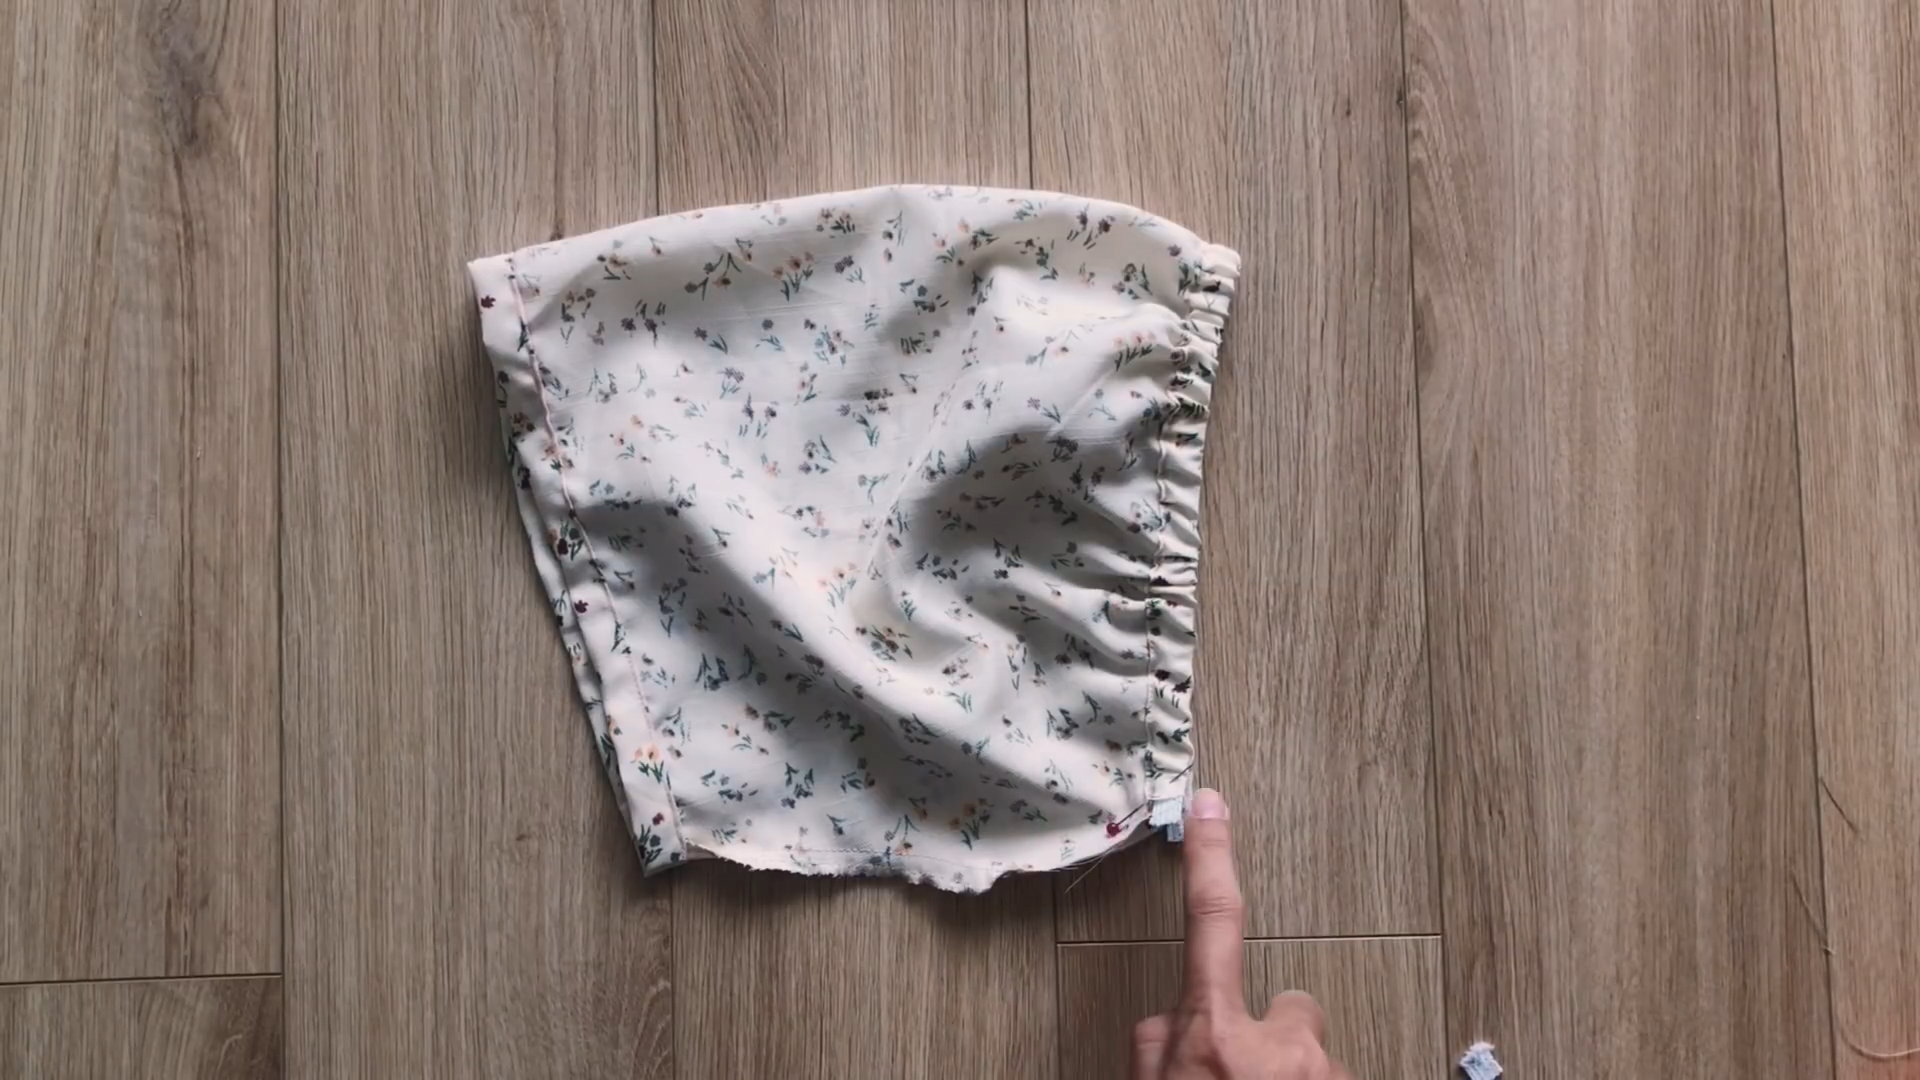
Draw a line at 4 cm under the curved line on the shoulder part of the sleeve.
Fold the end of the fabric to this line to create a fabric hole.
After sewing, fold the sleeve in half and sew it to the under armpit line.
From the end of the sleeve, draw a line at 4 cm inside it.
Fold the end fabric into this line to create another fabric hole.
Now, insert a 1 cm wide elastic band (about 30 cm long) into the fabric hole at the sleeve.
Ensure the final length of this part is 15 cm, which is the length from the shoulder to the armpit.
Don’t forget to sew two ends of the elastic band to two ends of the fabric hole to keep it in place.
For the end of the sleeve, cut around 24 cm of the elastic band, which is the width of your arm.
Close the fabric hole after connecting two ends of the elastic band together.

Now, connect the sleeves to the top bodice of the dress.
Remember to keep 1 cm extra at this part to connect to the other piece of the main bodice later.

After sewing, connect two pieces of the top bodice together.
THE BACK BODICE
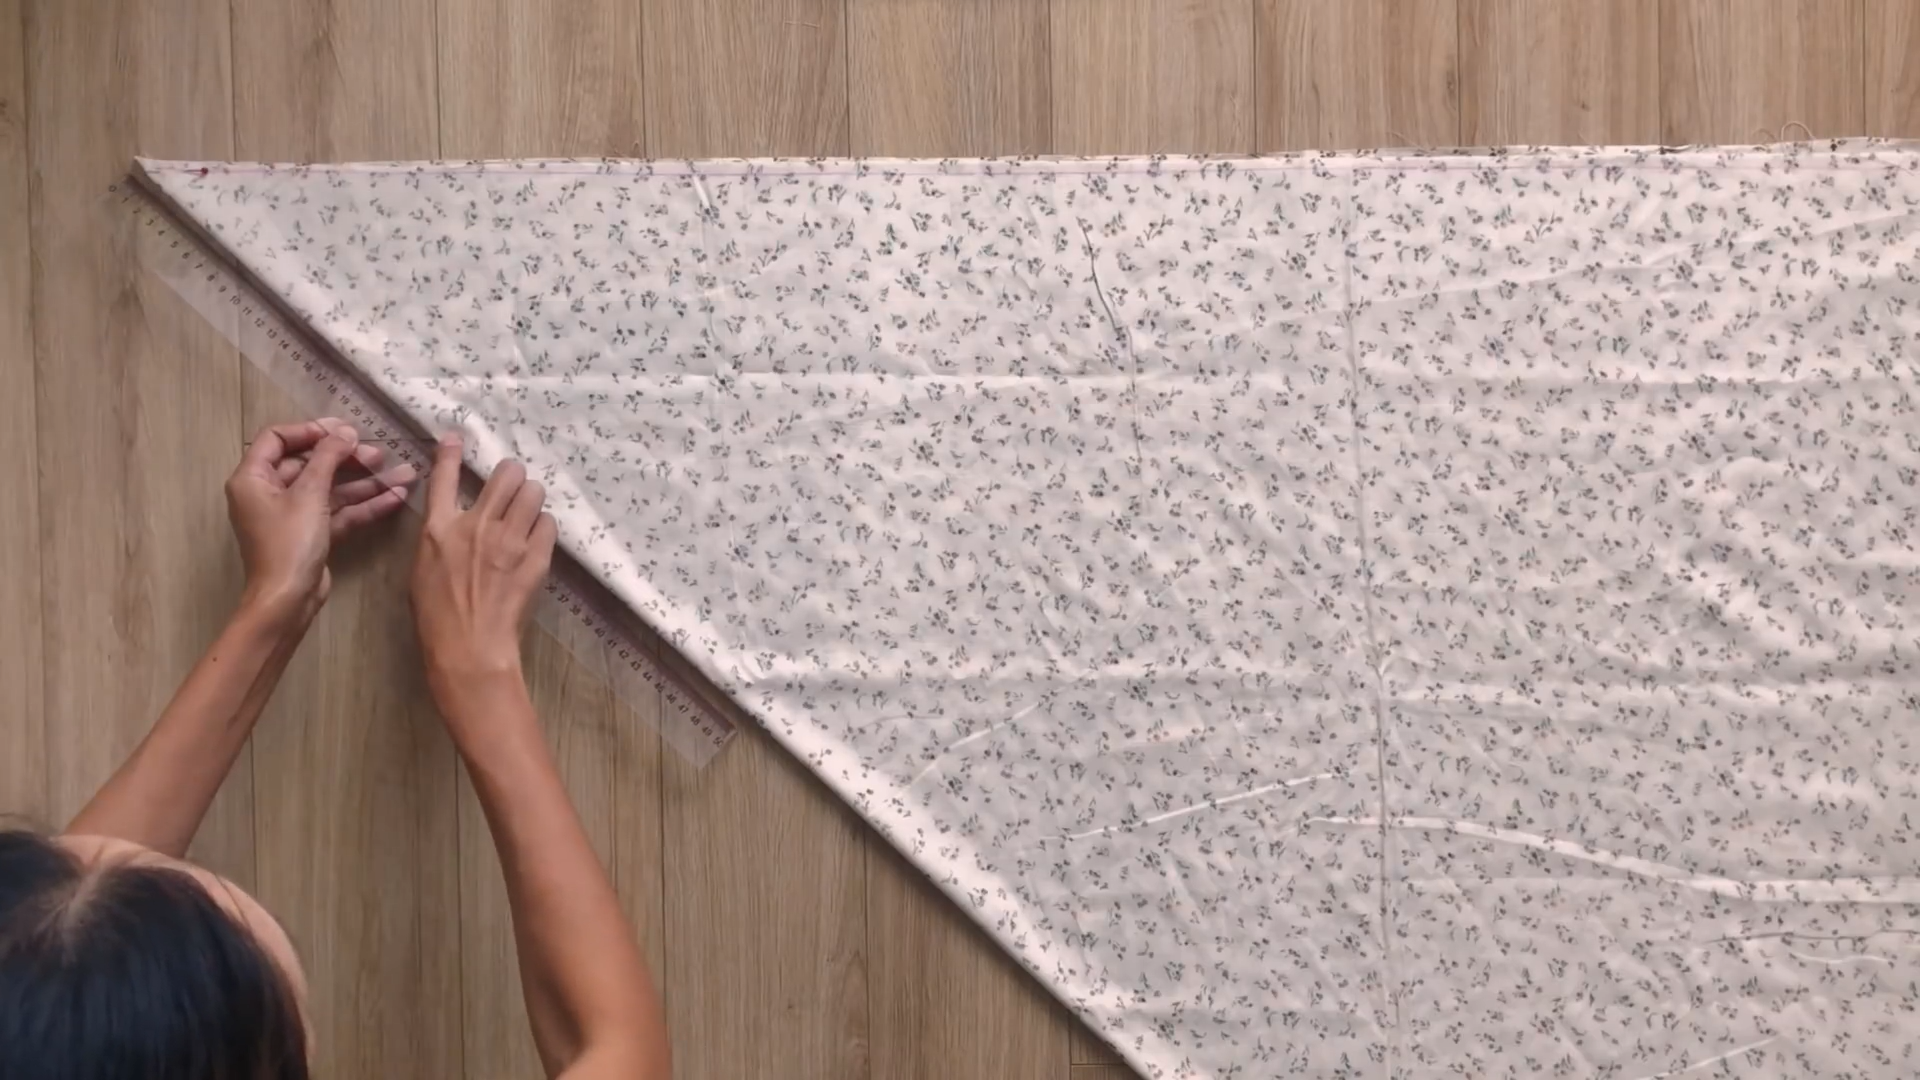
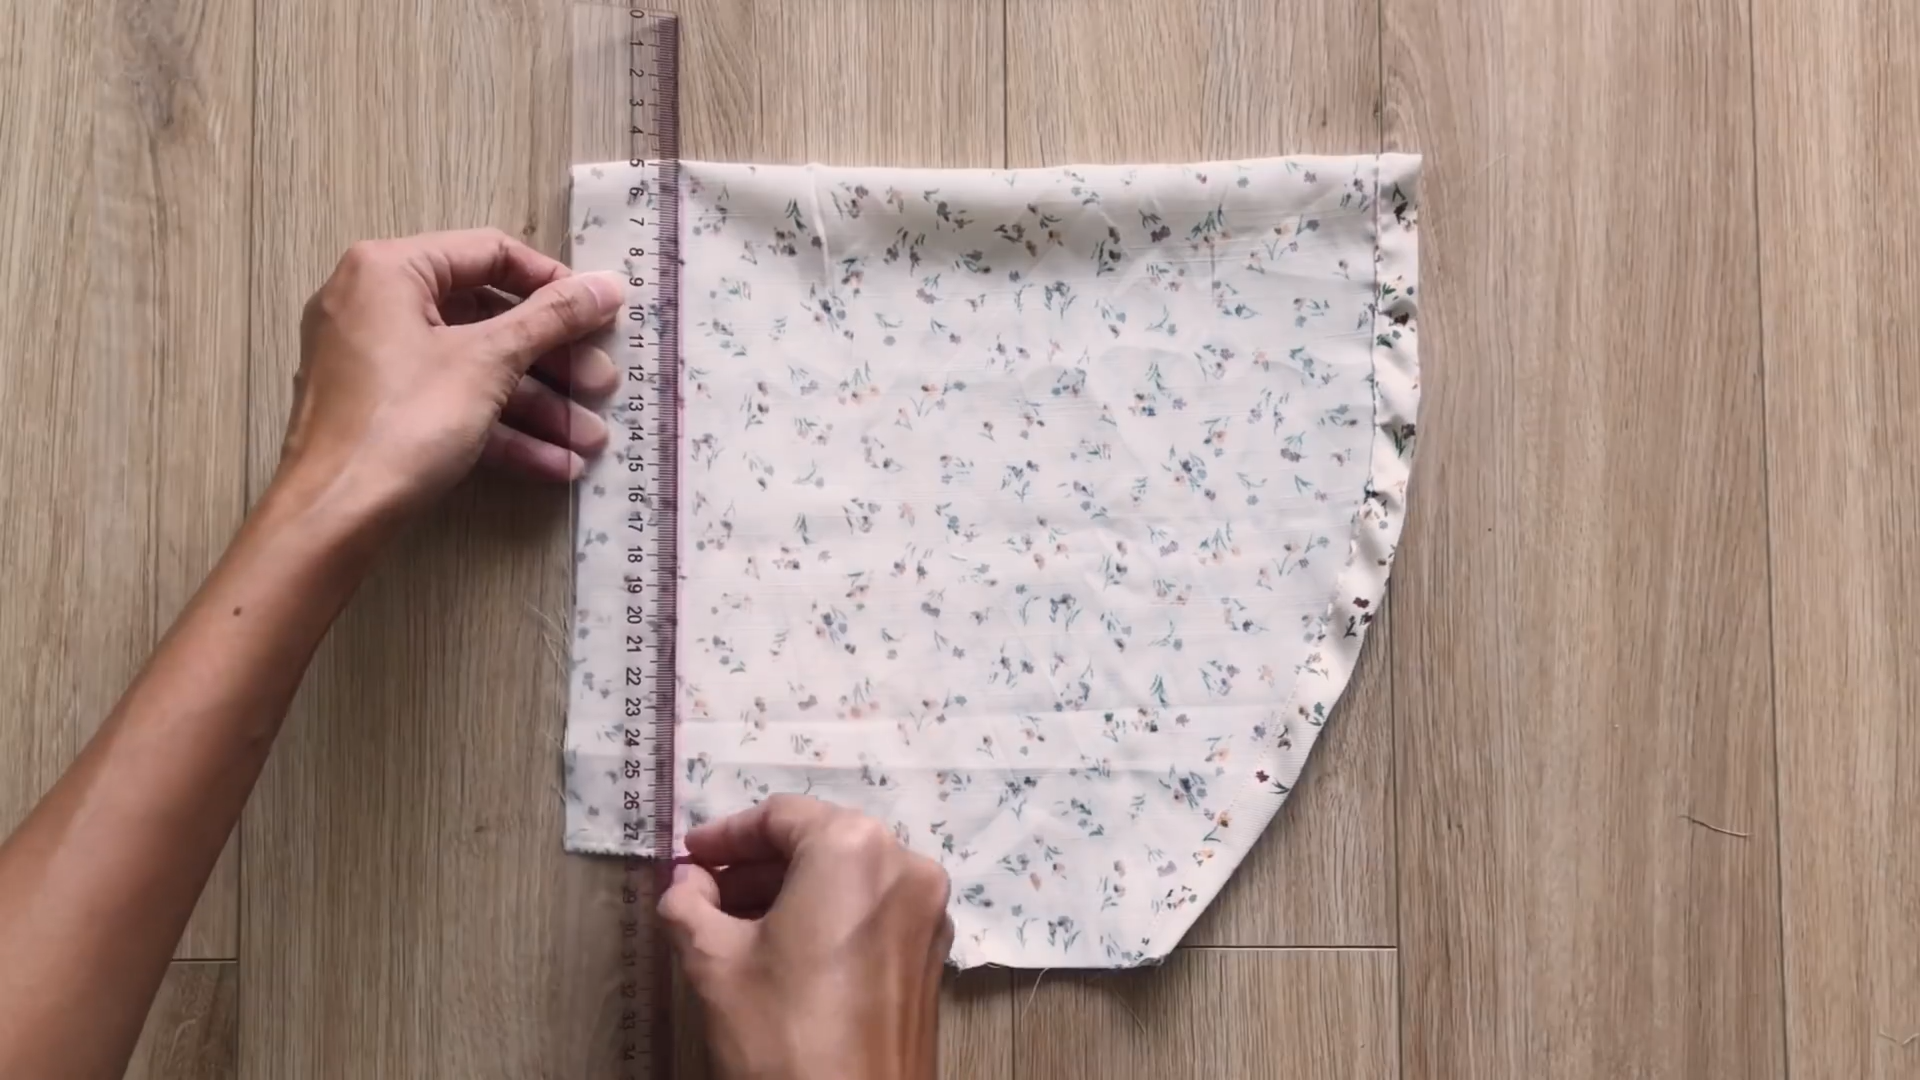
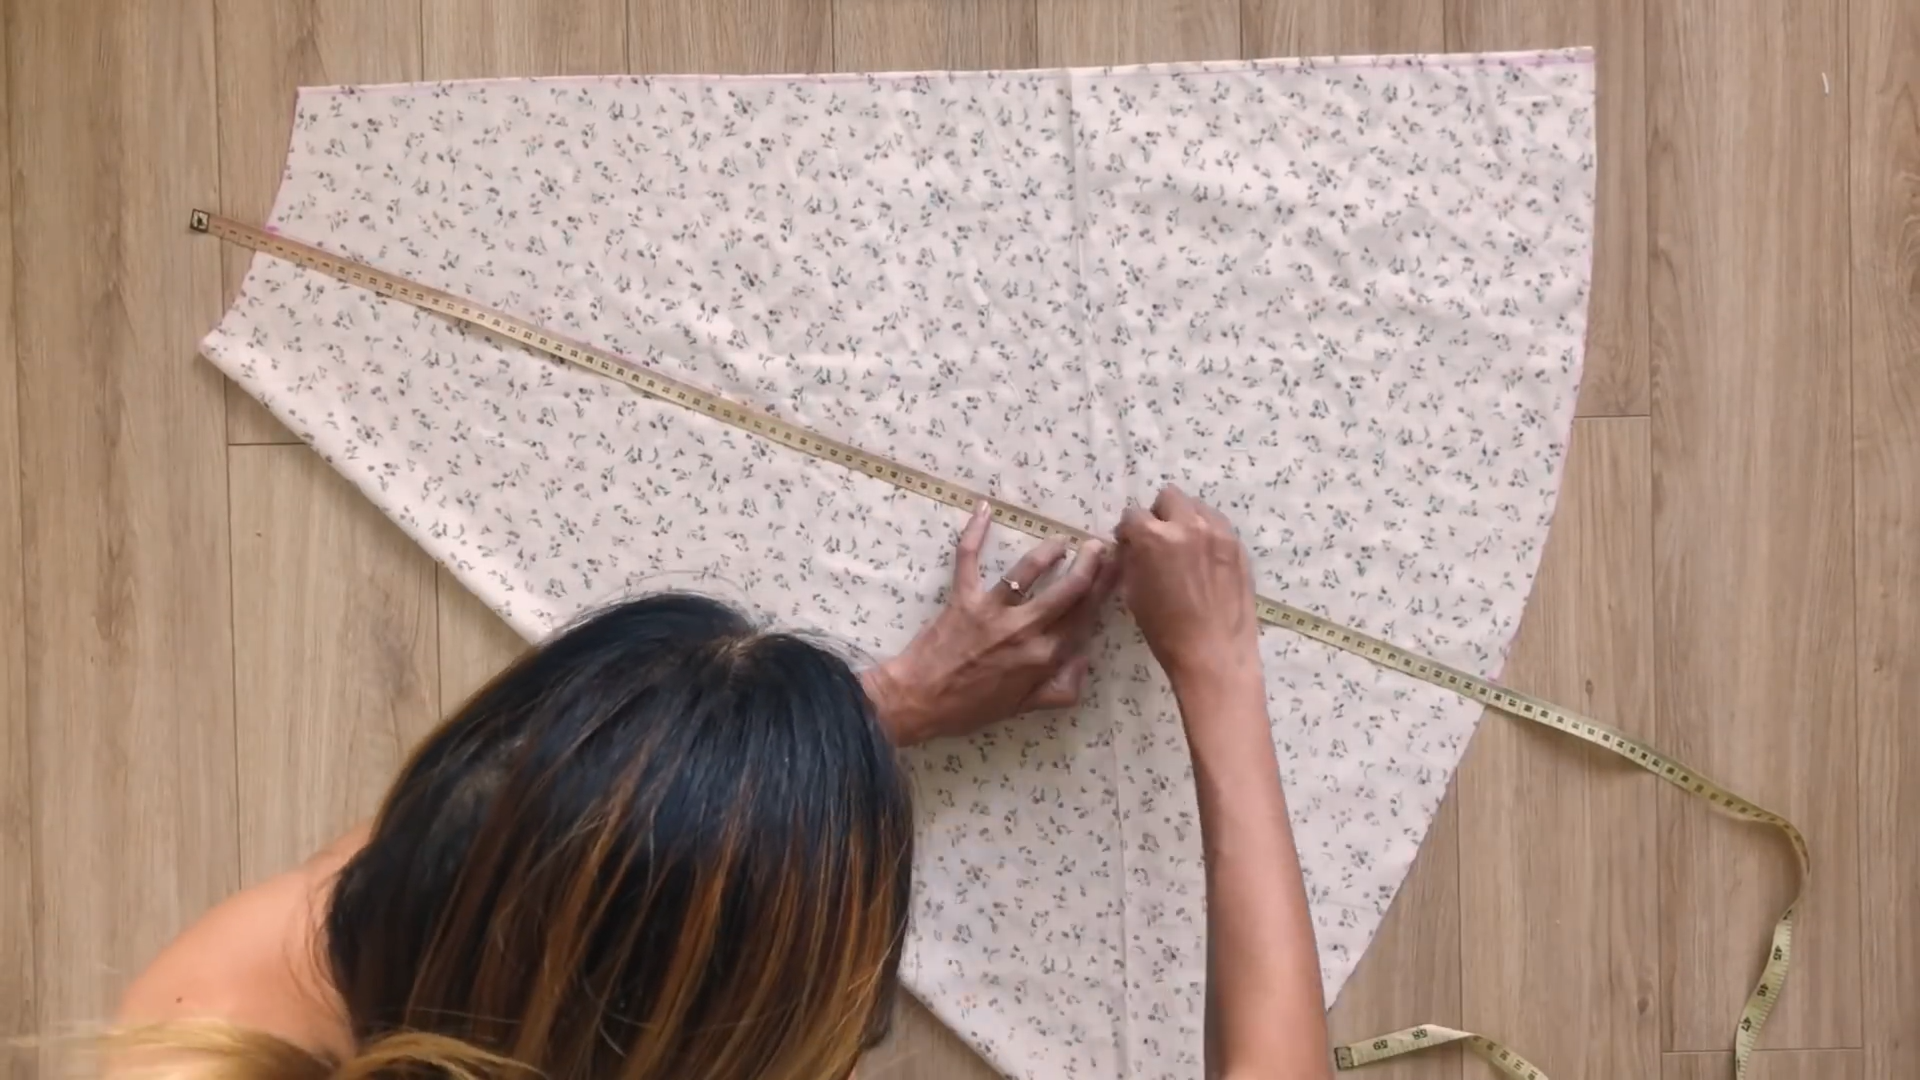
Fold the fabric between the width and the length together. Then, check and mark on the folding line, where it is 18 cm between two sides of the folding fabric. This measurement is a quarter of your waist size plus 2 cm.
Draw a circle line from this mark to create a waistline for the bottom part of the dress.
From the folding line, measure the width on the circle line and mark at 18 cm, which is a quarter of your waist size plus 2 cm.
From the waistline, mark down at 80 cm, which is the length from the belly button to over your knee. This will be the length of the dress.
Then, drawing another circle.
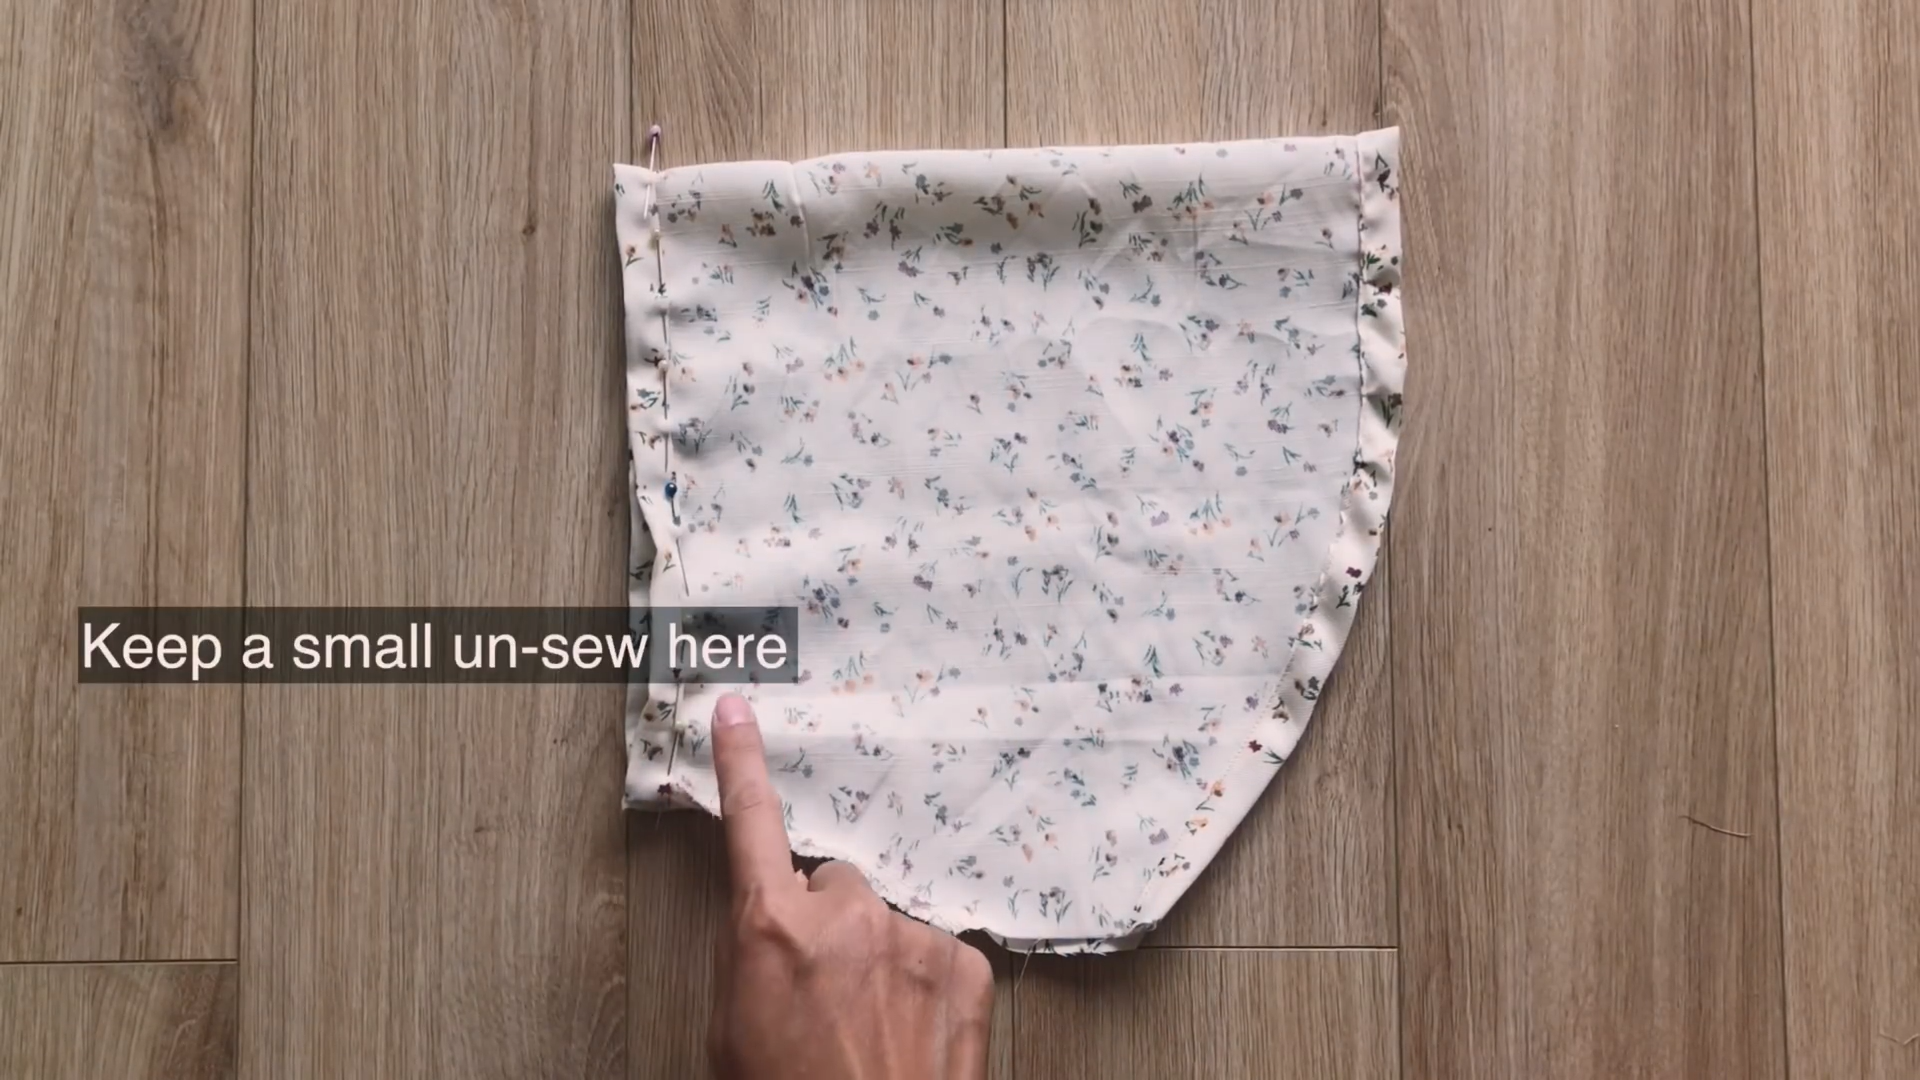
After cutting by the drawing line, don’t forget to cut at the folding fabric too.
Then, you will have two pieces of the back of the bottom part.
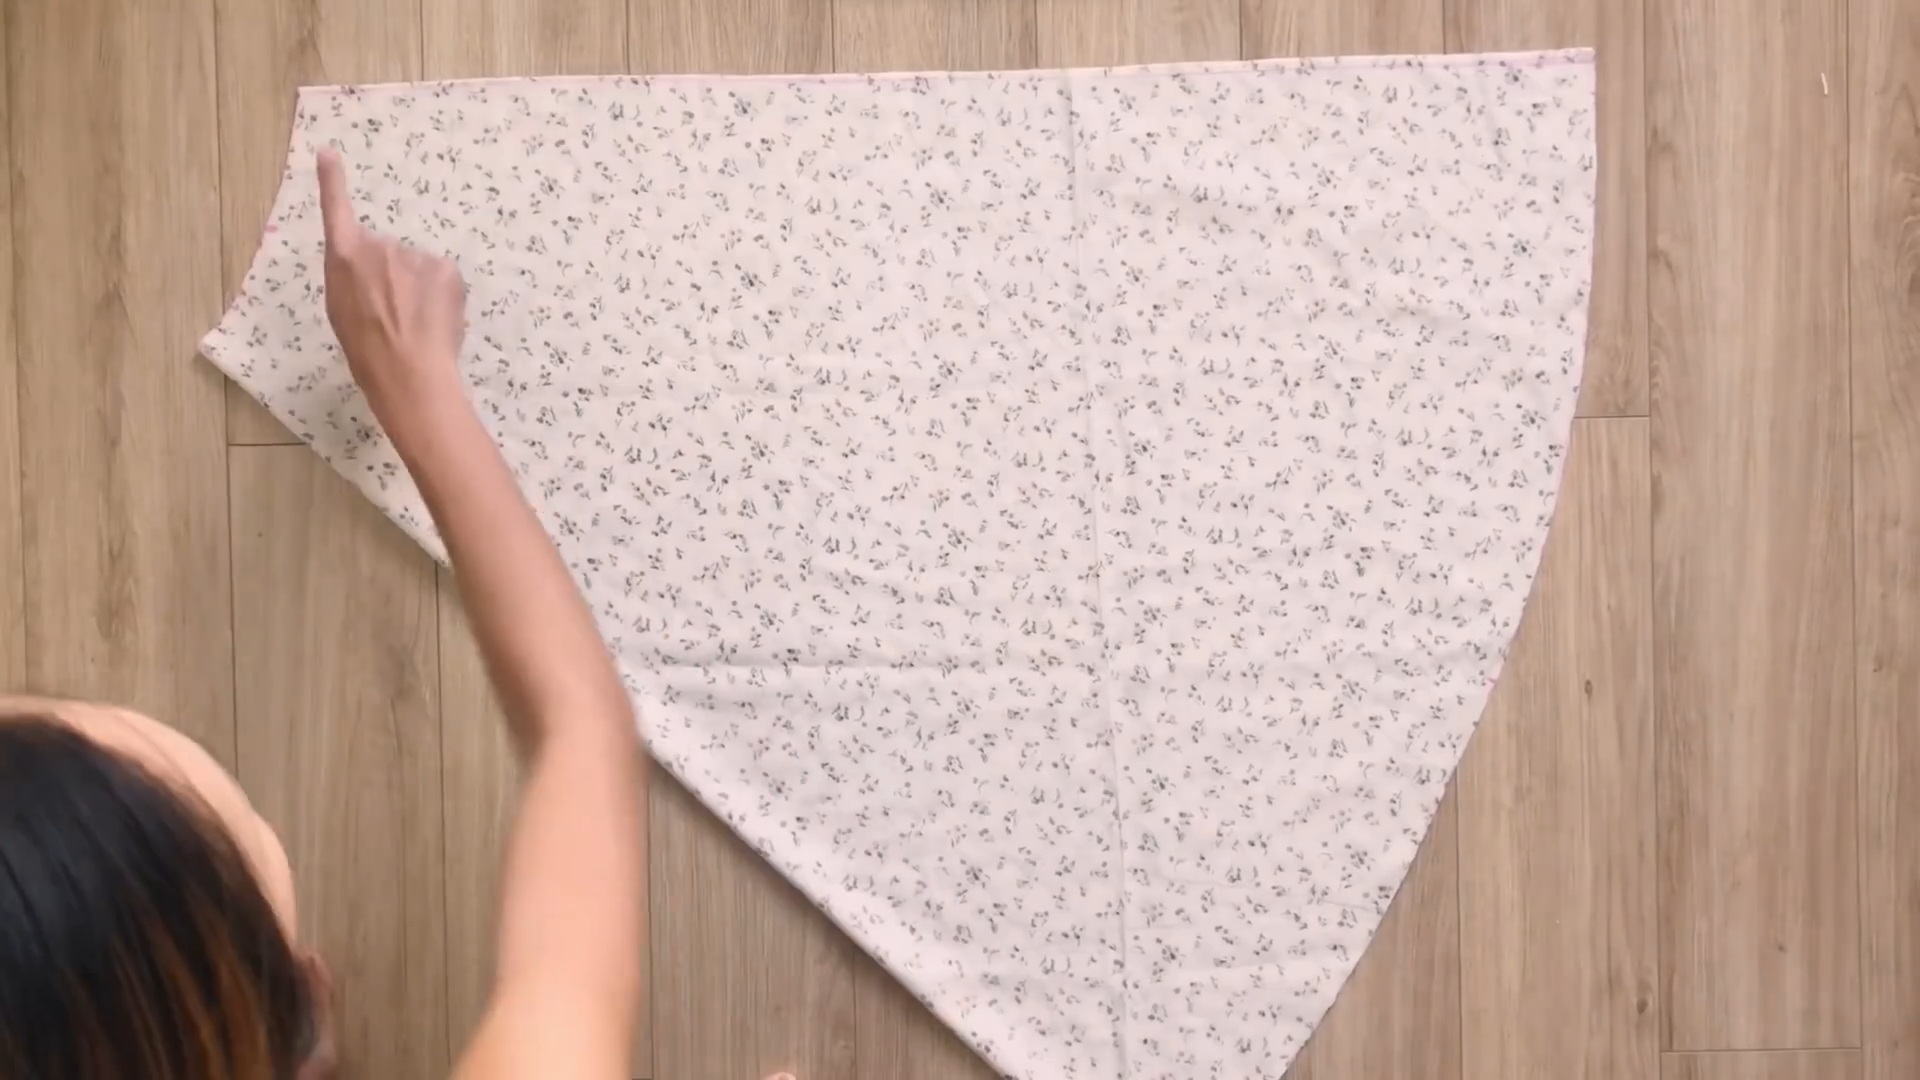
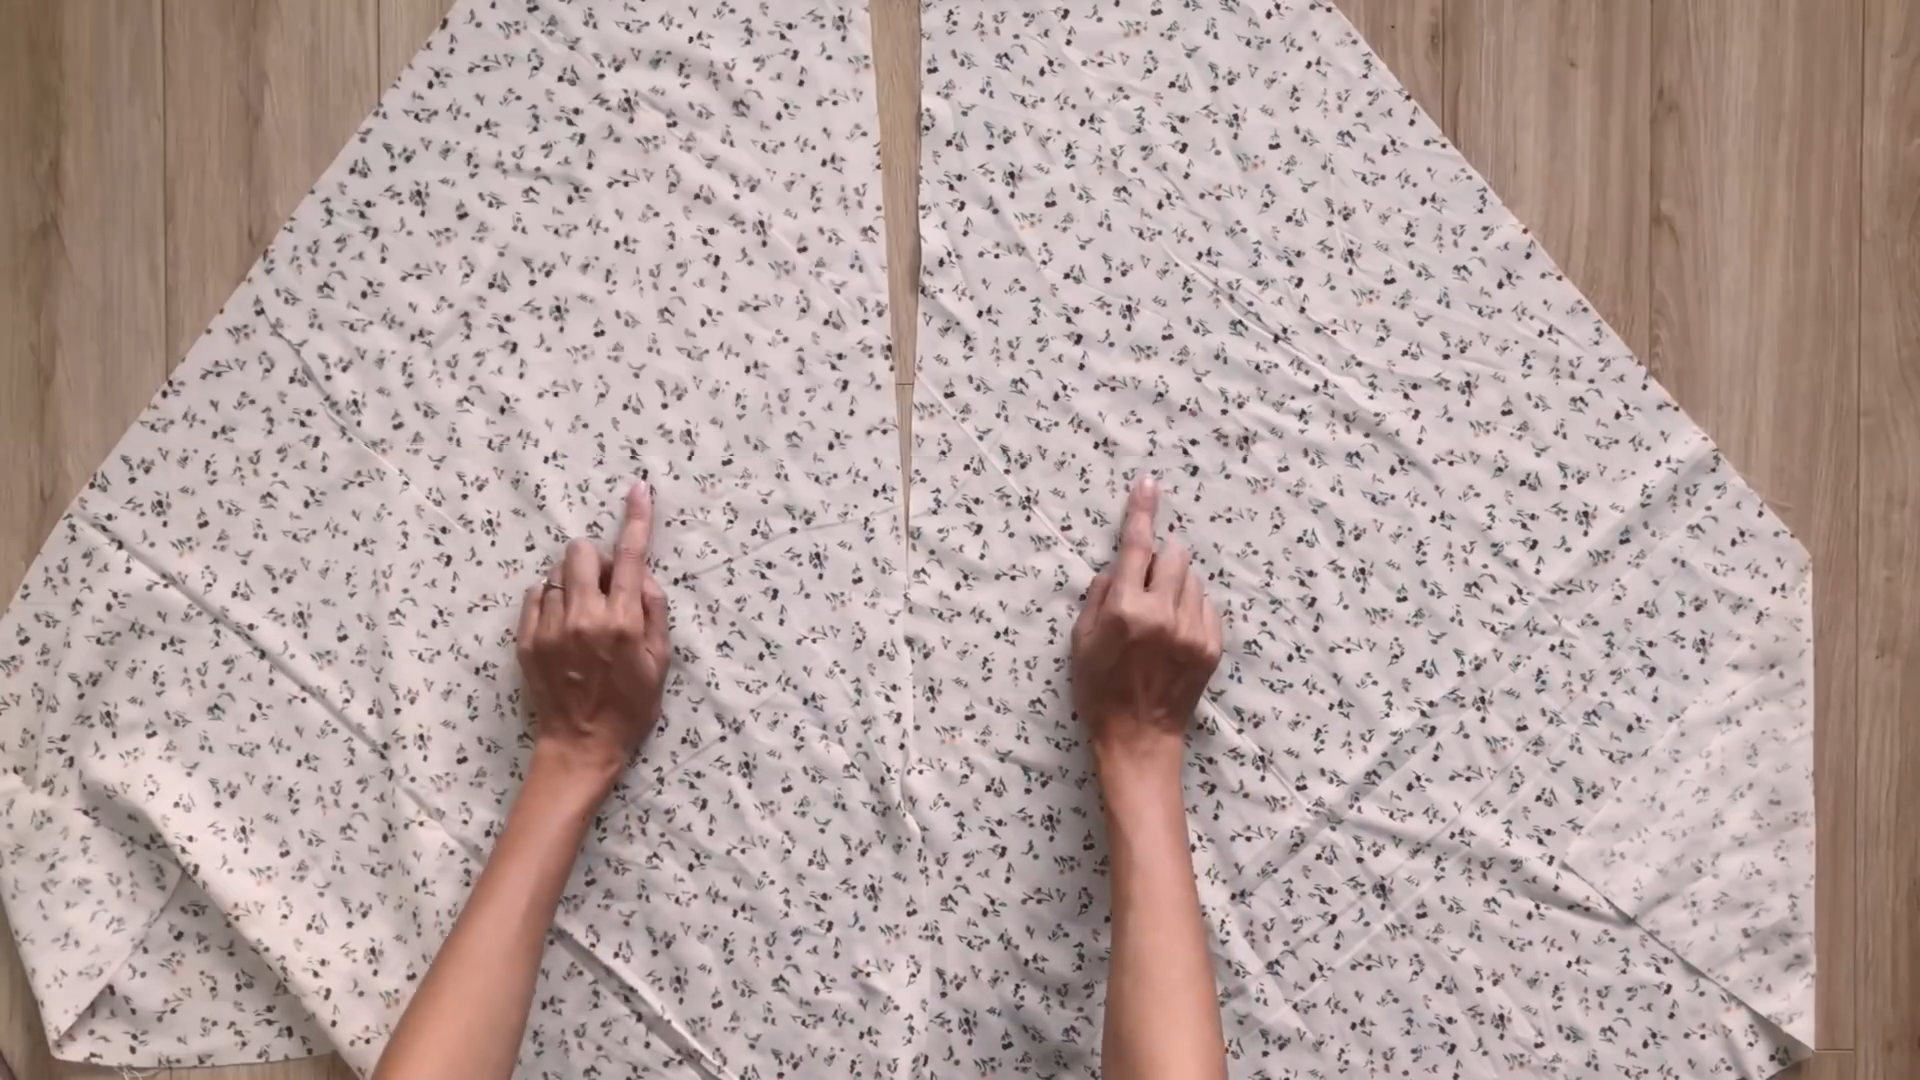
Draw the same folding circle fabric to make the front of the bottom part. However, don’t cut at the folding line.
At the top circle line, mark at the middle then connect this mark to the mark at the middle on the bottom circle line.
Cut by this drawing line and you will have two pieces of the front of the bottom part.
Connect two pieces of the front together first.
Then, mark at 30 cm under the waistline so the rest of them will be open and become the split part of the dress.
Fold the end fabric of them inside two times and sew to finish it.
Now, connect the front and the back of the bottom part together at two sides and sew.
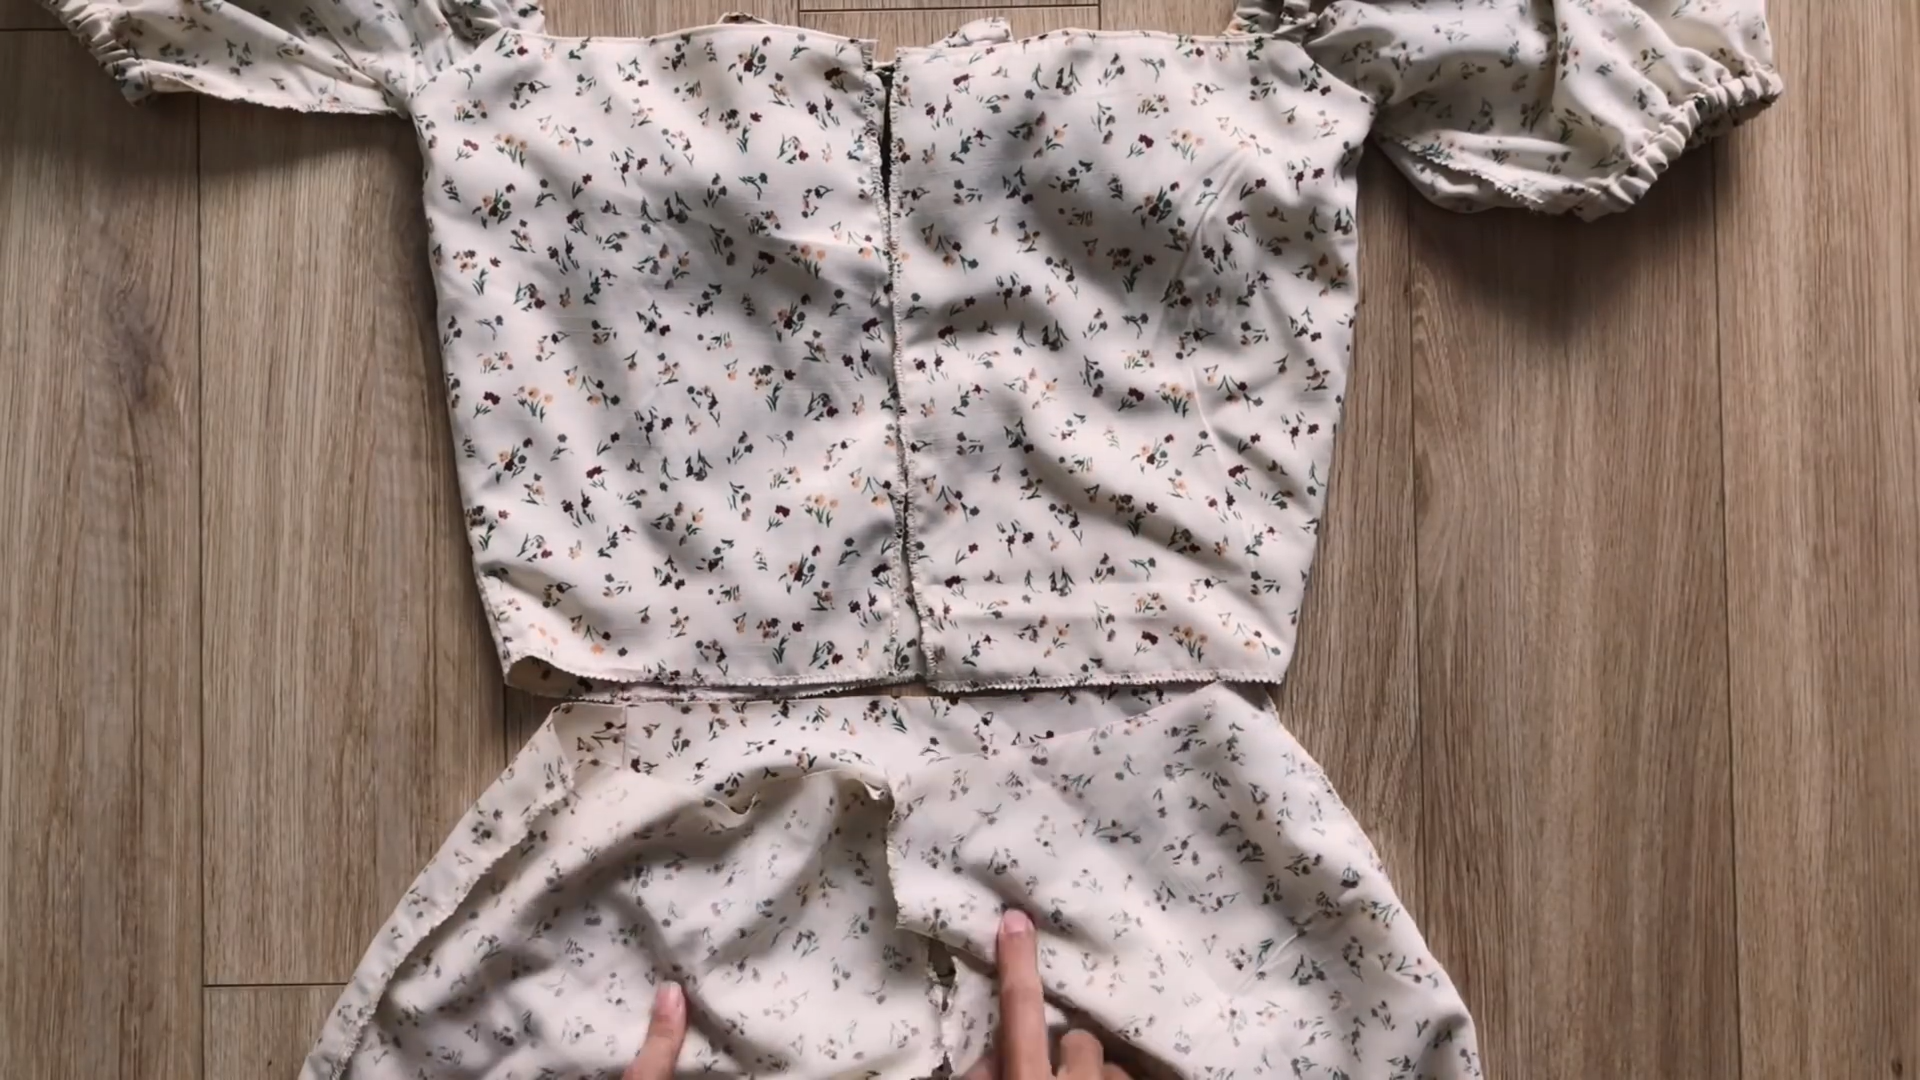
After that, connect the top and the bottom of the dress together at the waistline.
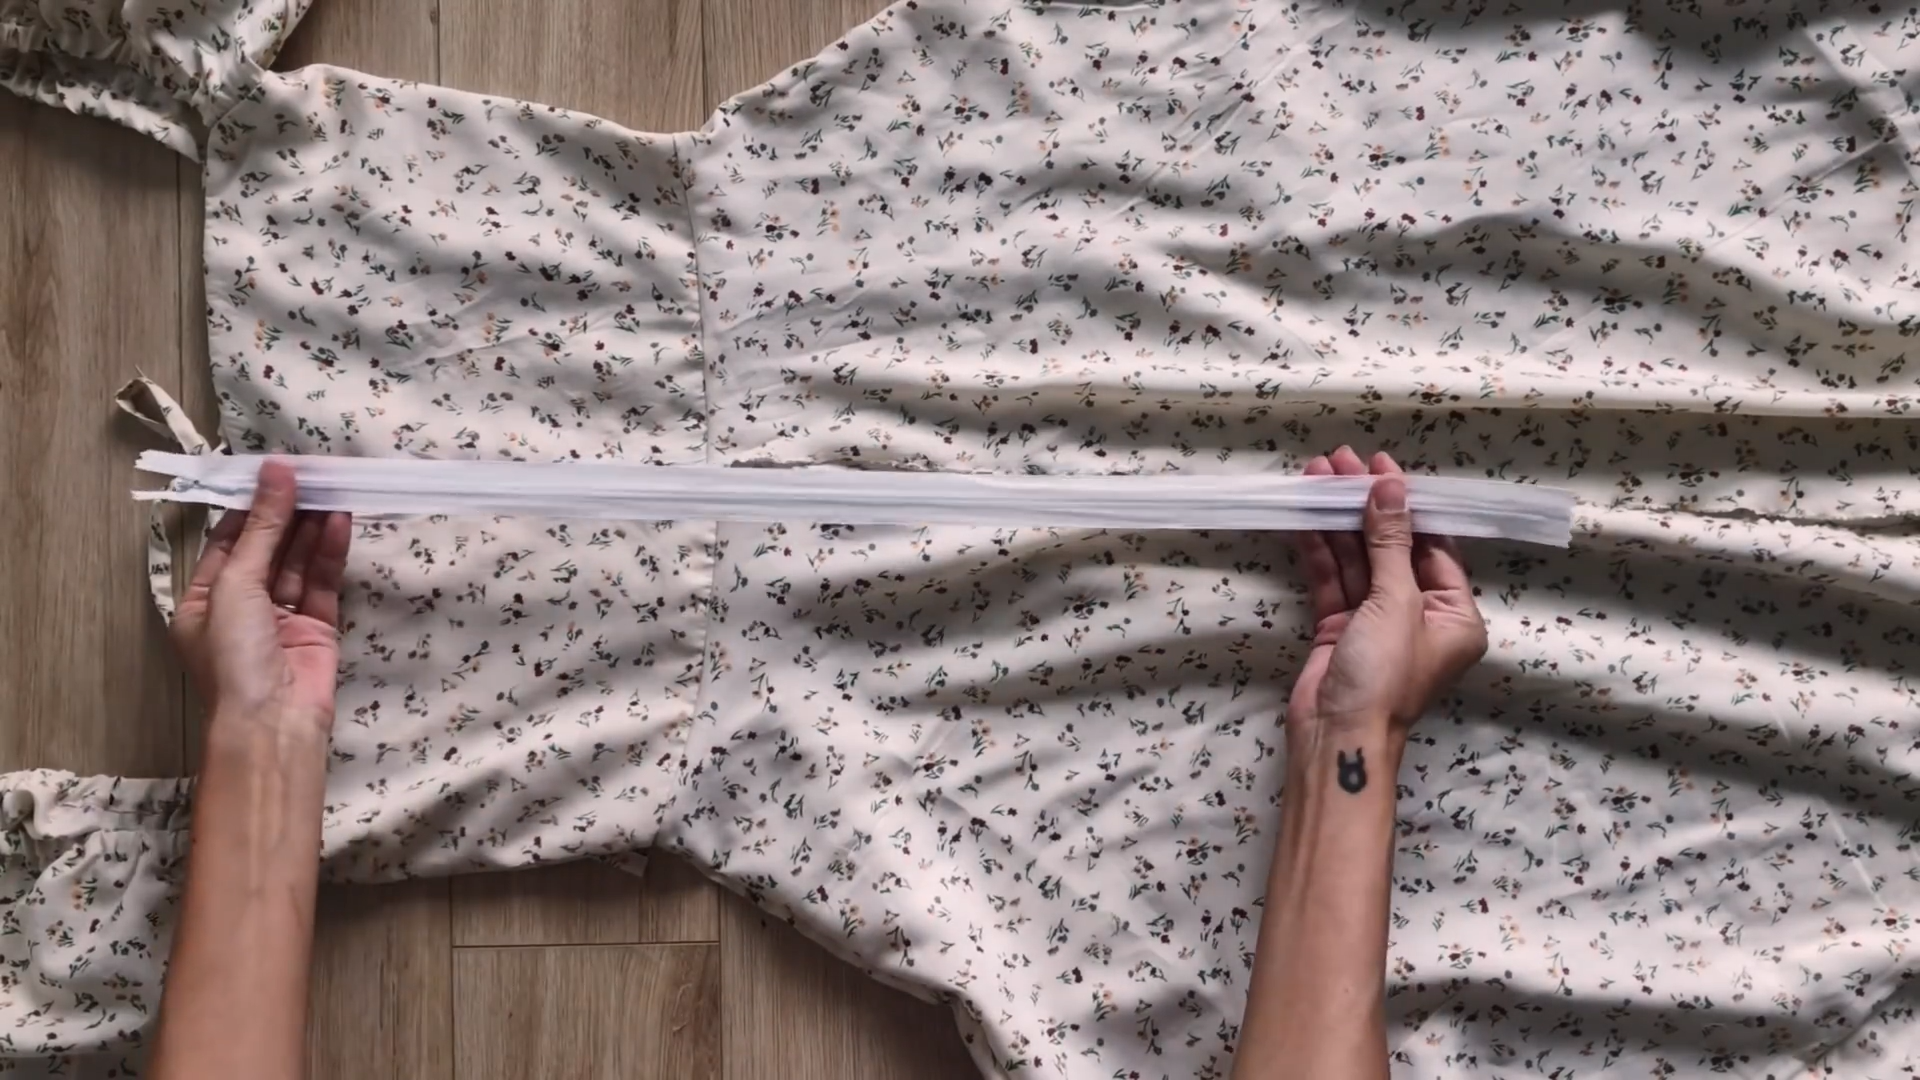
Use a long invisible zipper (around 50 cm) for the back of the dress.
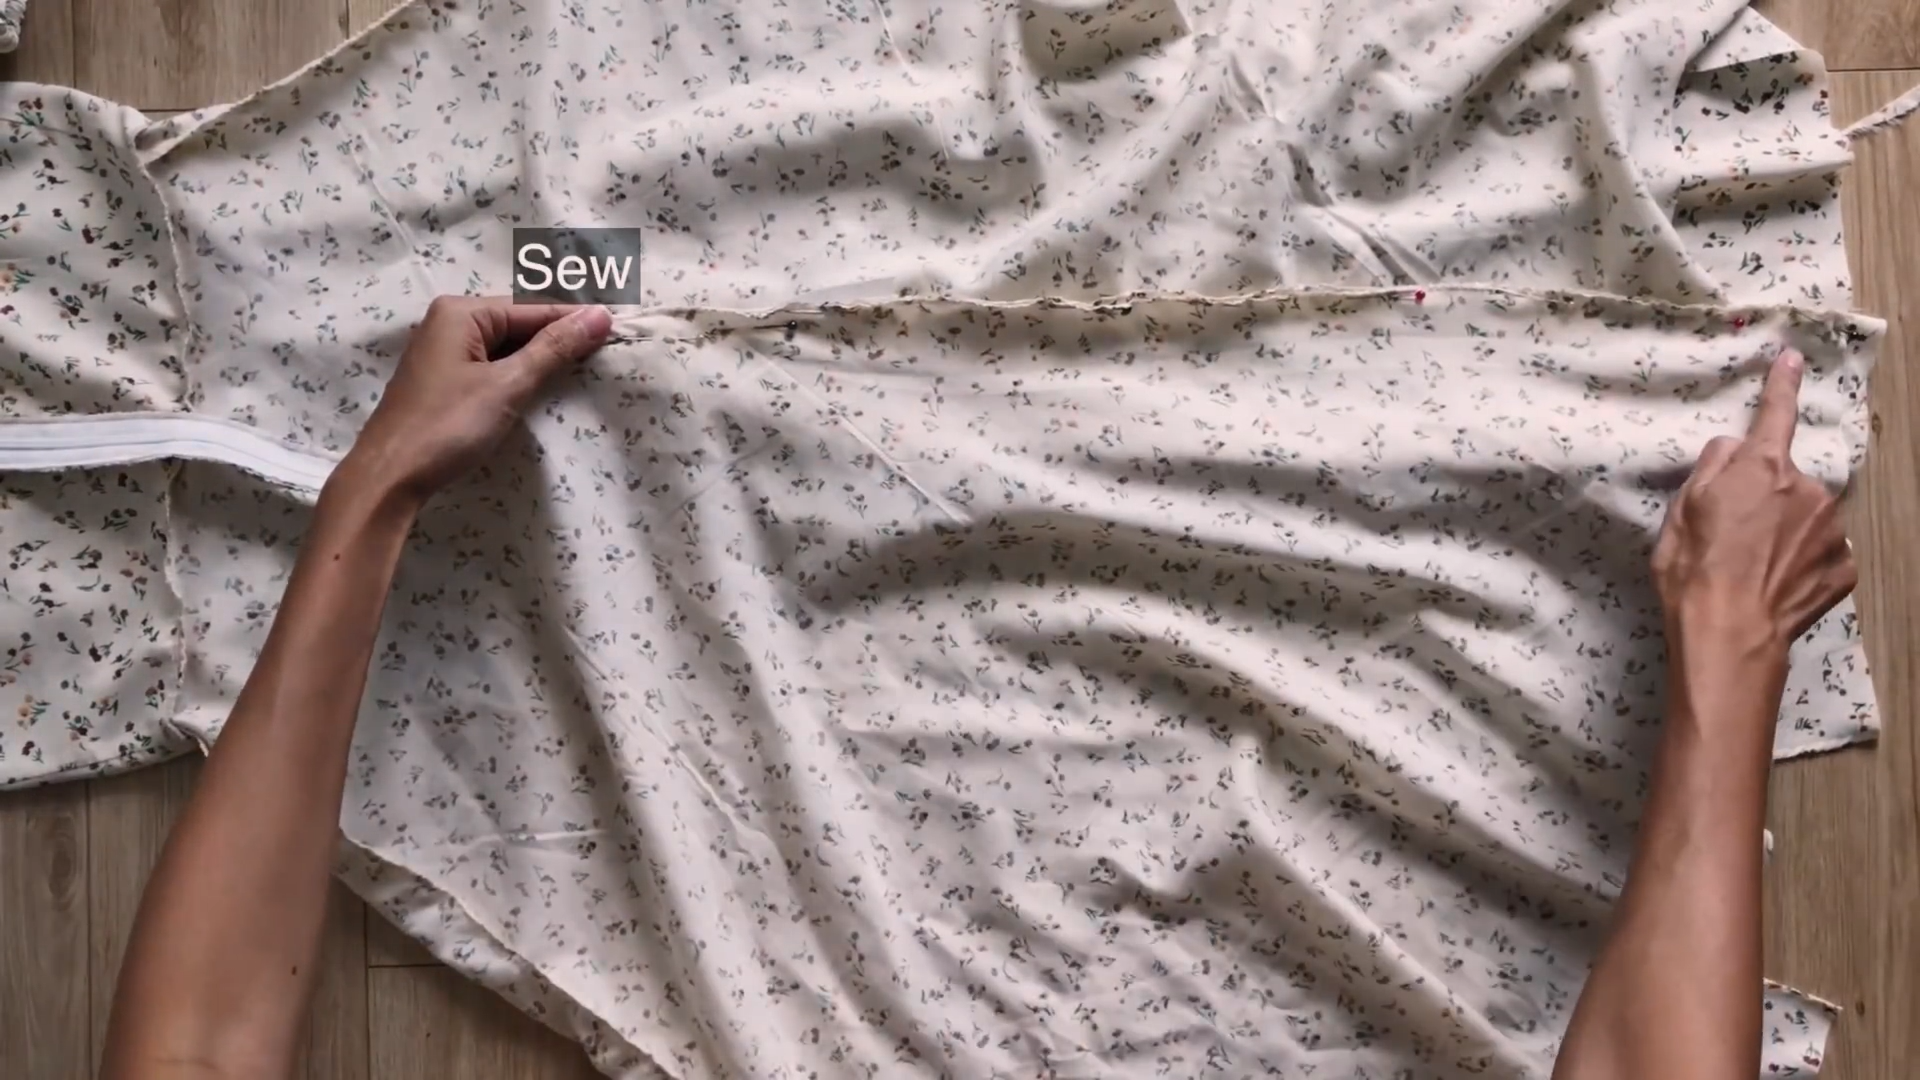
After fixing the zipper to the dress, connect the rest of the dress together.

The last step is finishing the end of the dress.
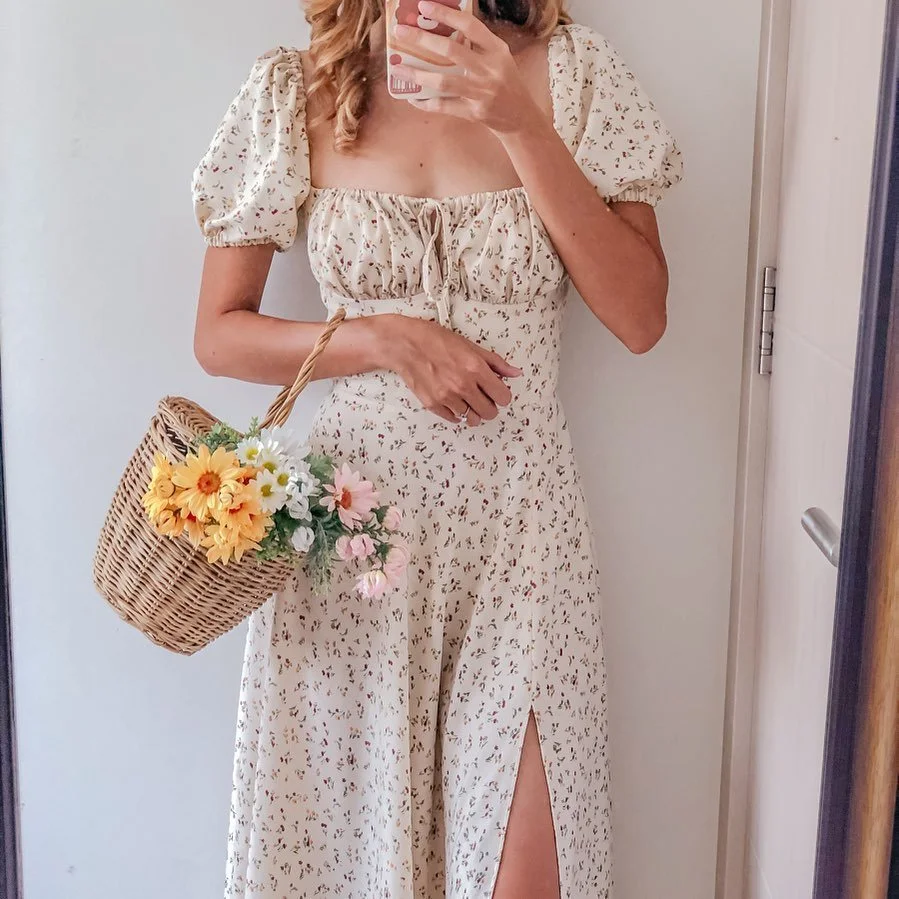
DIY Cottagecore Maxi Dress
And that’s it!
We’ve completed this DIY project and the final result is a dreamy Cottagecore dress. Now, it’s clear why this design is so popular - it’s truly a piece of art.

I hope you’re as excited about this dress as I am and that you’ll give it a try.
Happy sewing!