DIY CUTE SUMMER BLOUSES (Beginner friendly sewing projects) | Step by step sewing tutorial [+ Free Pattern]

DIY Cute summer blouse
Welcome or welcome back to my sewing blog!
It's going to summer soon. And for this season, I usually prefer to wear something light and comfortable. That's why in this video, I'm going to share with you some cute summer blouses. They're super cute, super comfy and perfect for summer. They're also quite easy to make with my step by step tutorial.
So I hope you like it and try it out.
WHAT YOU’LL NEED

2m of cotton fabrics (1m for each type of fabric)
Pattern paper
Sewing machine
Pins
Scissors
Ruler
Long stick
GATHERED NECK BLOUSE
THE PATTERN


The bodice pattern
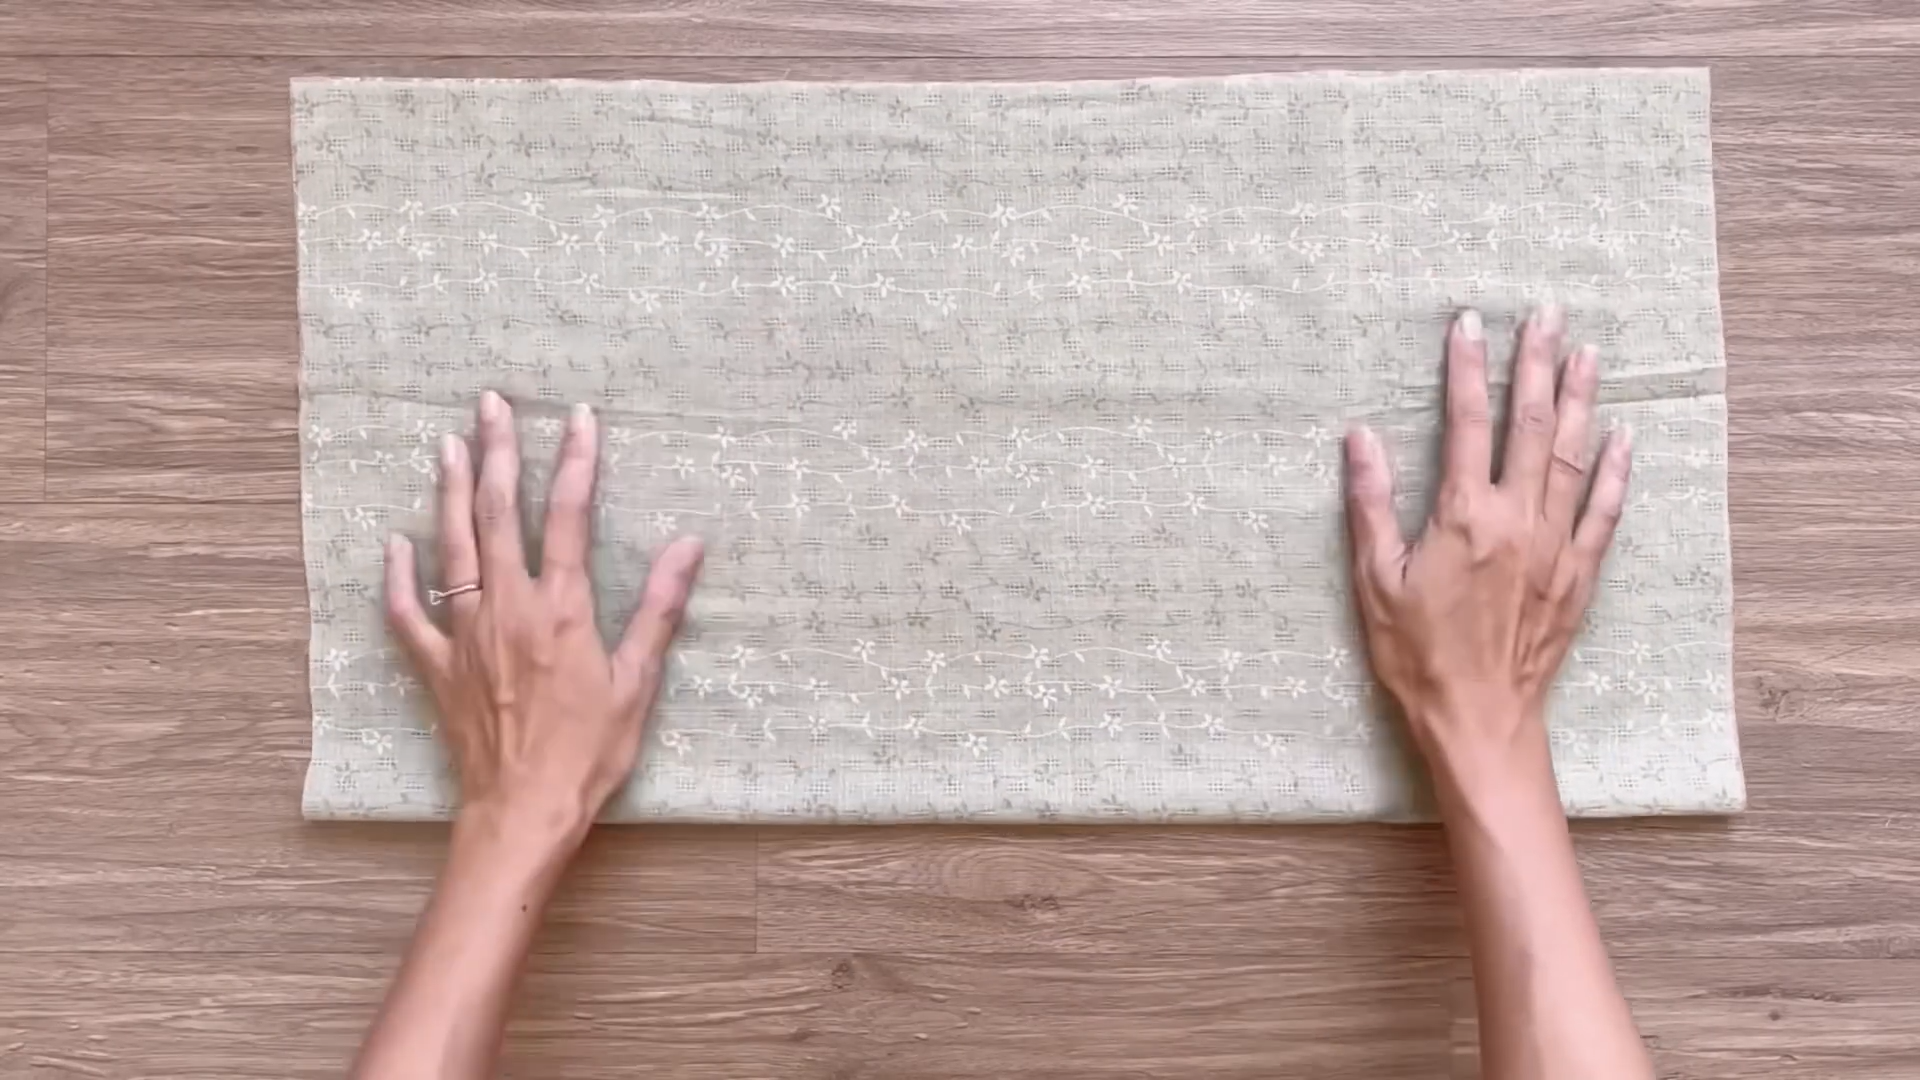
To make the front bodice, cut two rectangles with a width of 30 cm, which is one and a half times a quarter of your bust size, and a length of 60 cm, which is the length from your shoulder to your hip. This will also be the length of the blouse that you want.
Connect the two rectangles together along one length line using pins.
From one end of the connecting line, mark a 16 cm on the width line, which is one and a half times a half of the neck of the blouse that you want.
Also, mark down 10 cm on the connecting line, which is the depth of the neck that you want, then connect the two marks together.
Based on this, draw a curved line to create a neckline for the front bodice.
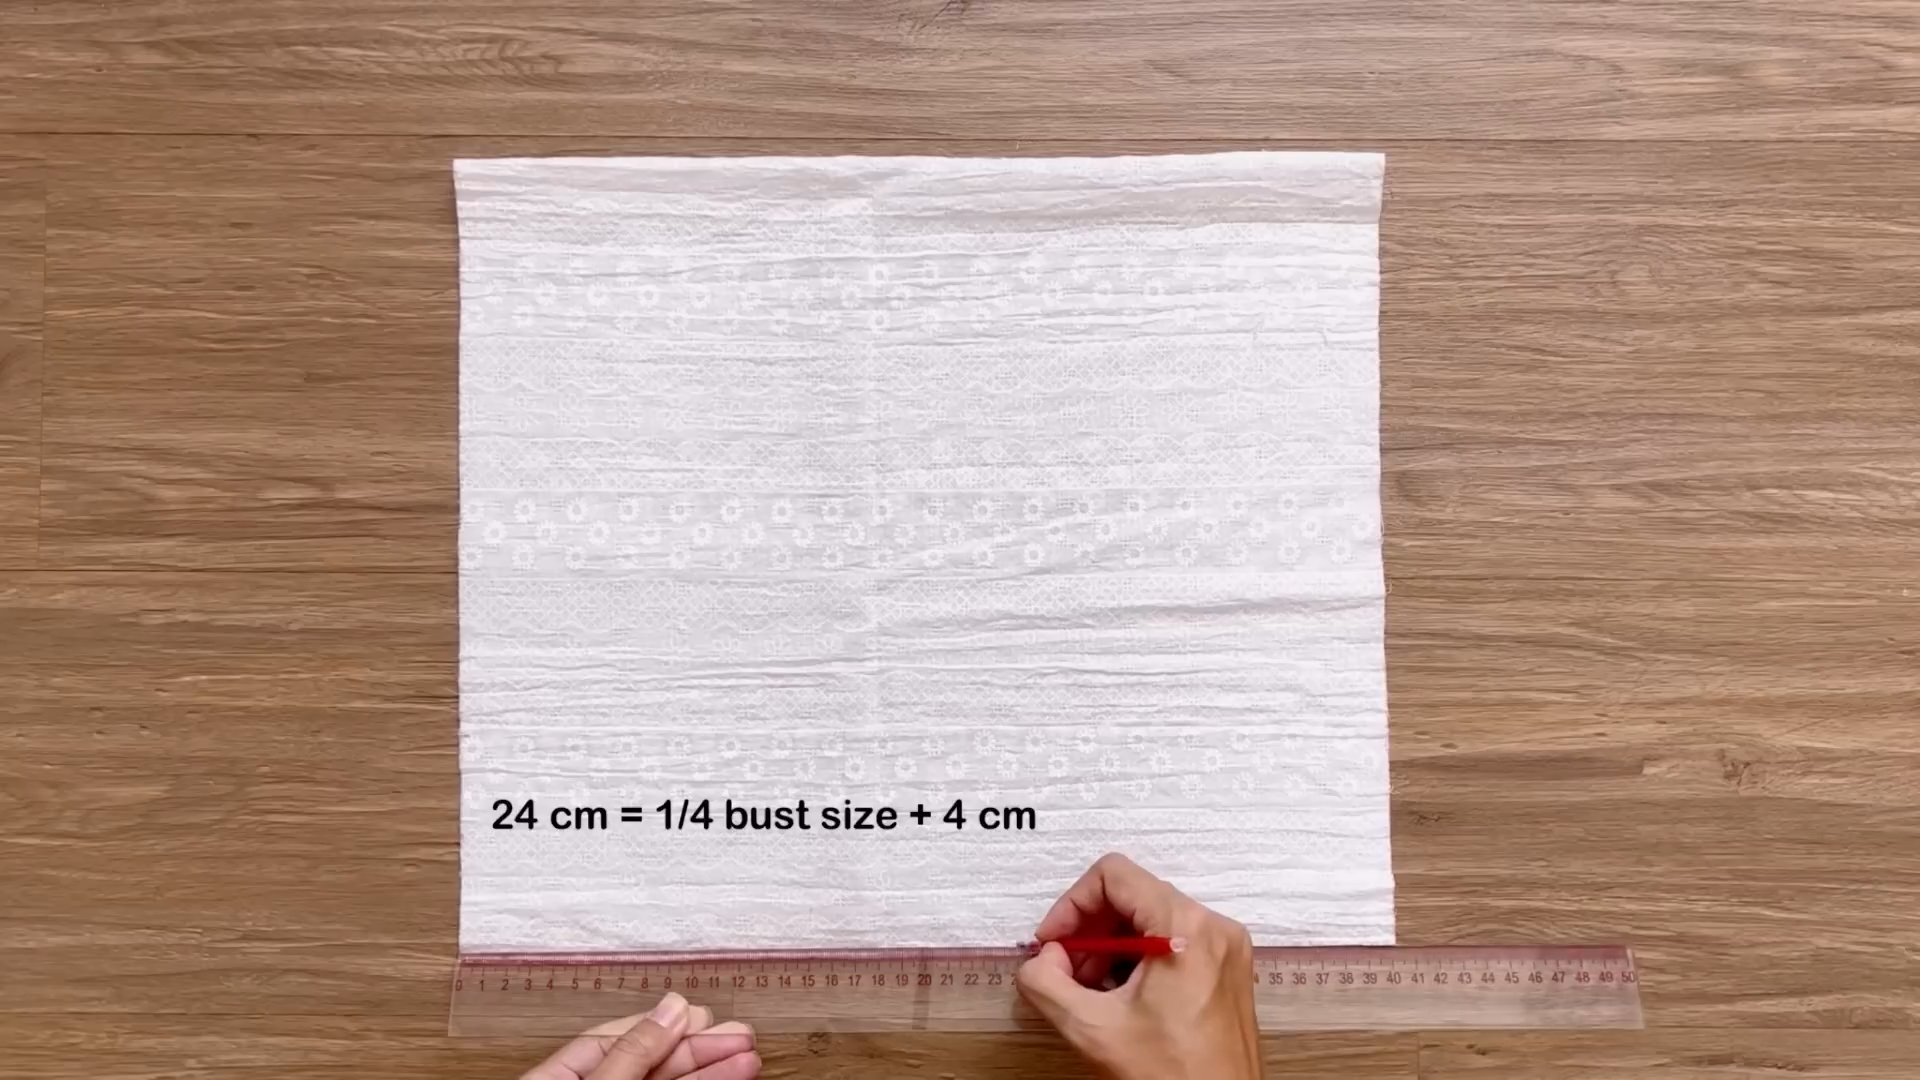
In another length line, mark down 24 cm, which is a quarter of your bust size plus 4 cm. This will be the depth of the sleeve of the blouse. Connect this mark to one end of the neckline.
Based on this, draw a curved line to create the sleeve line at the front bodice.
THE BODICE
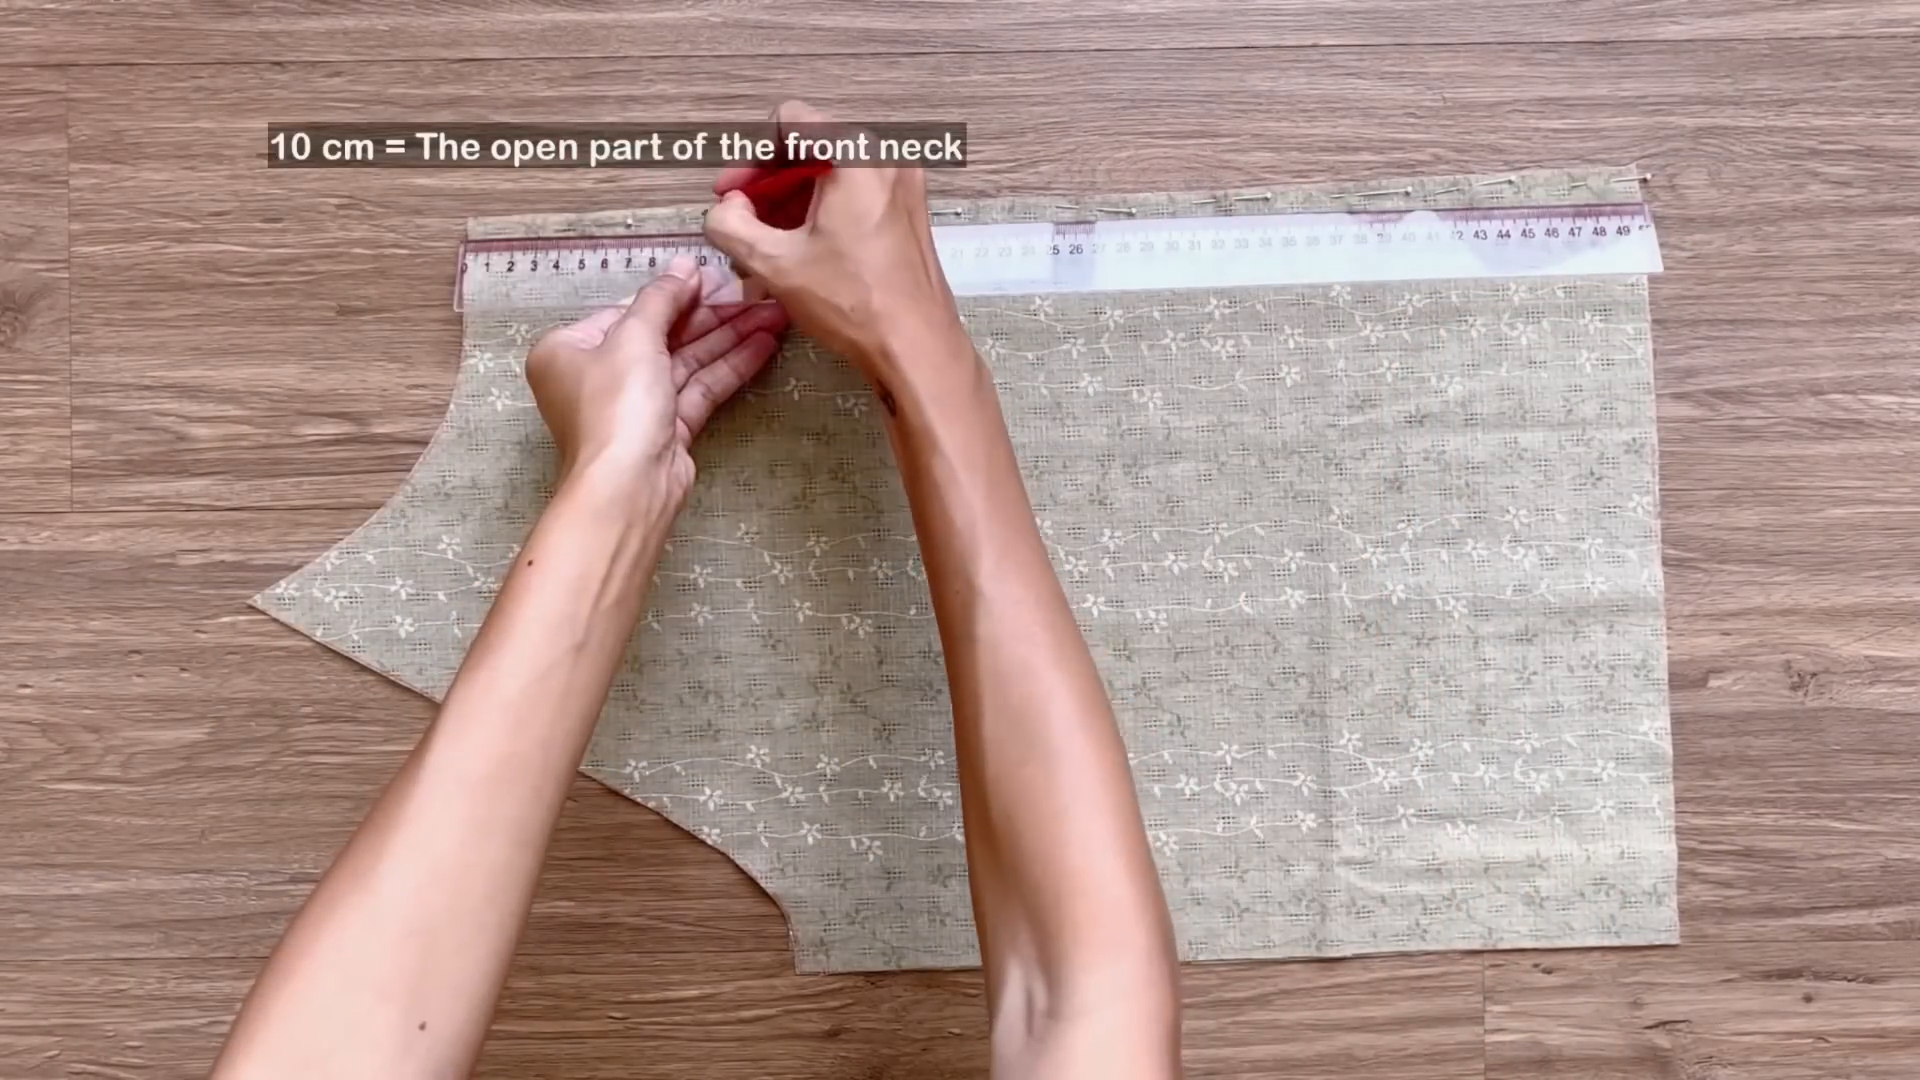
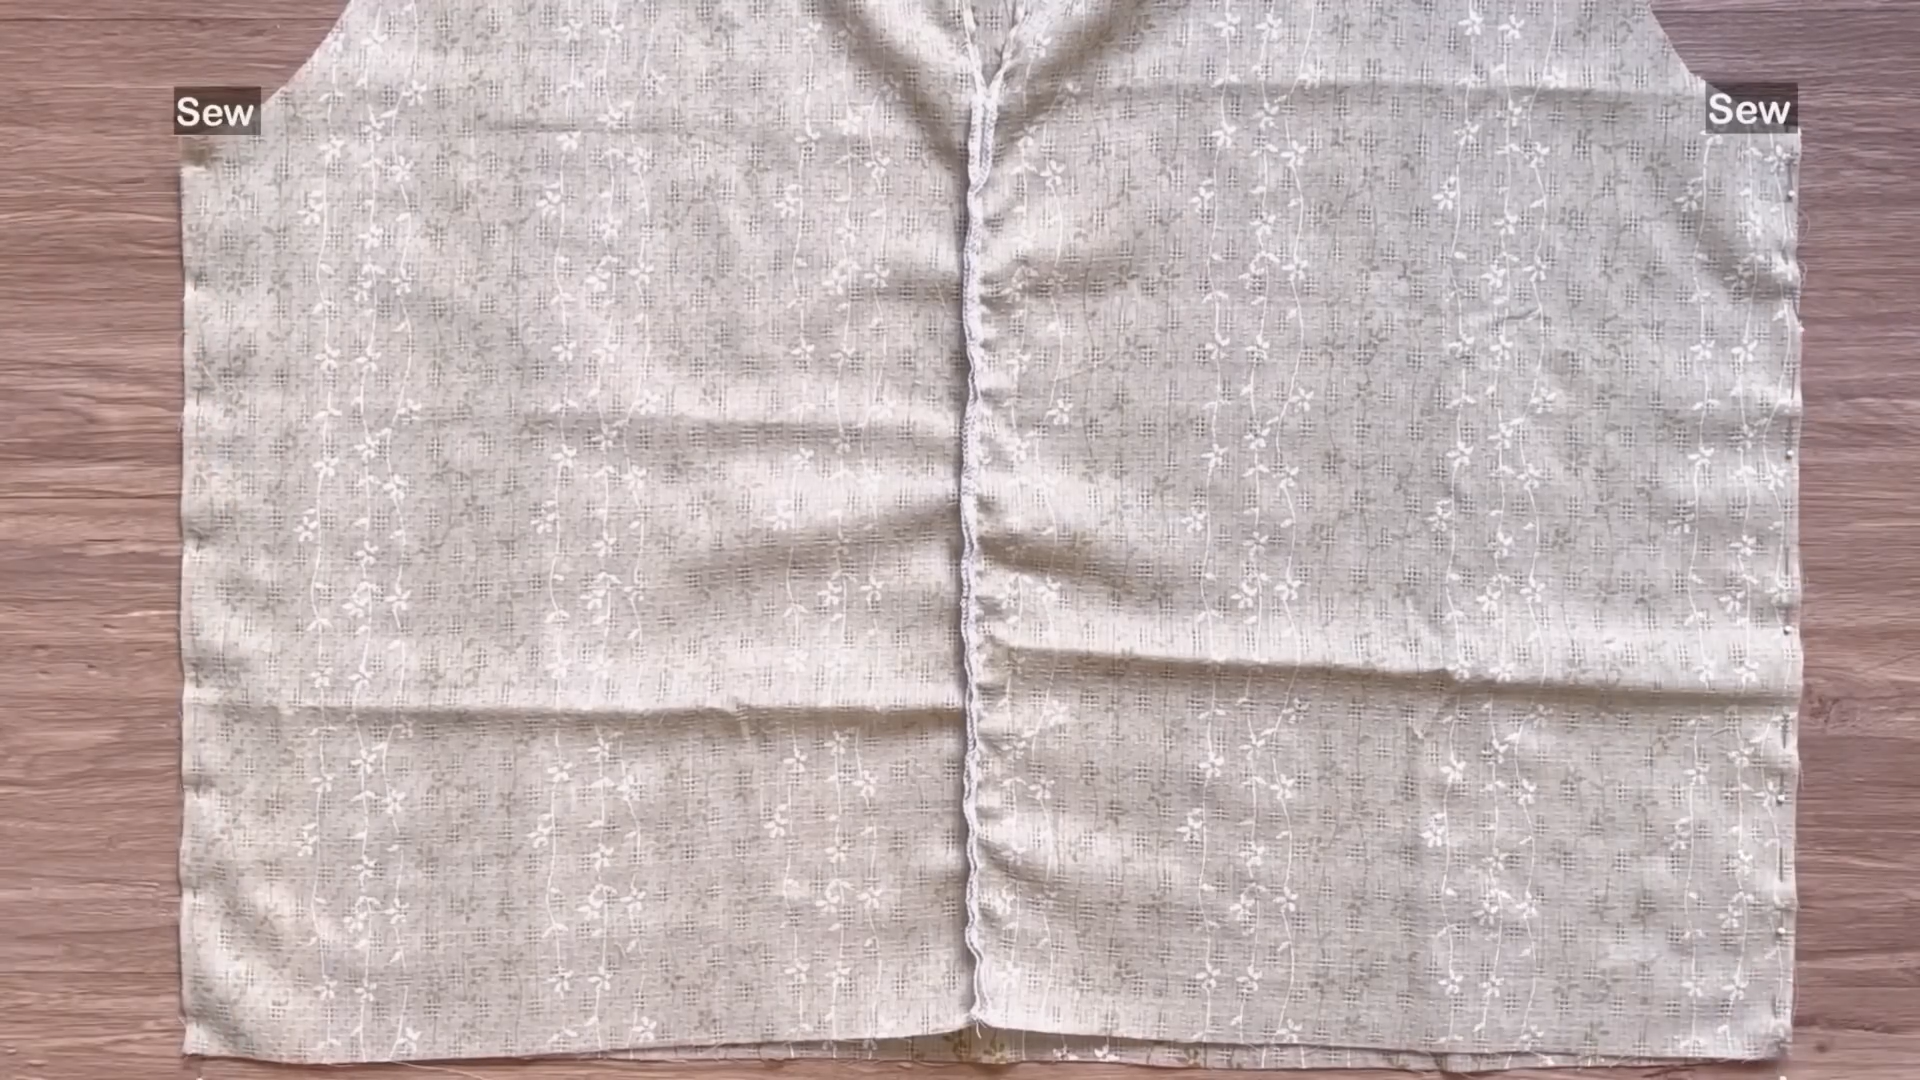
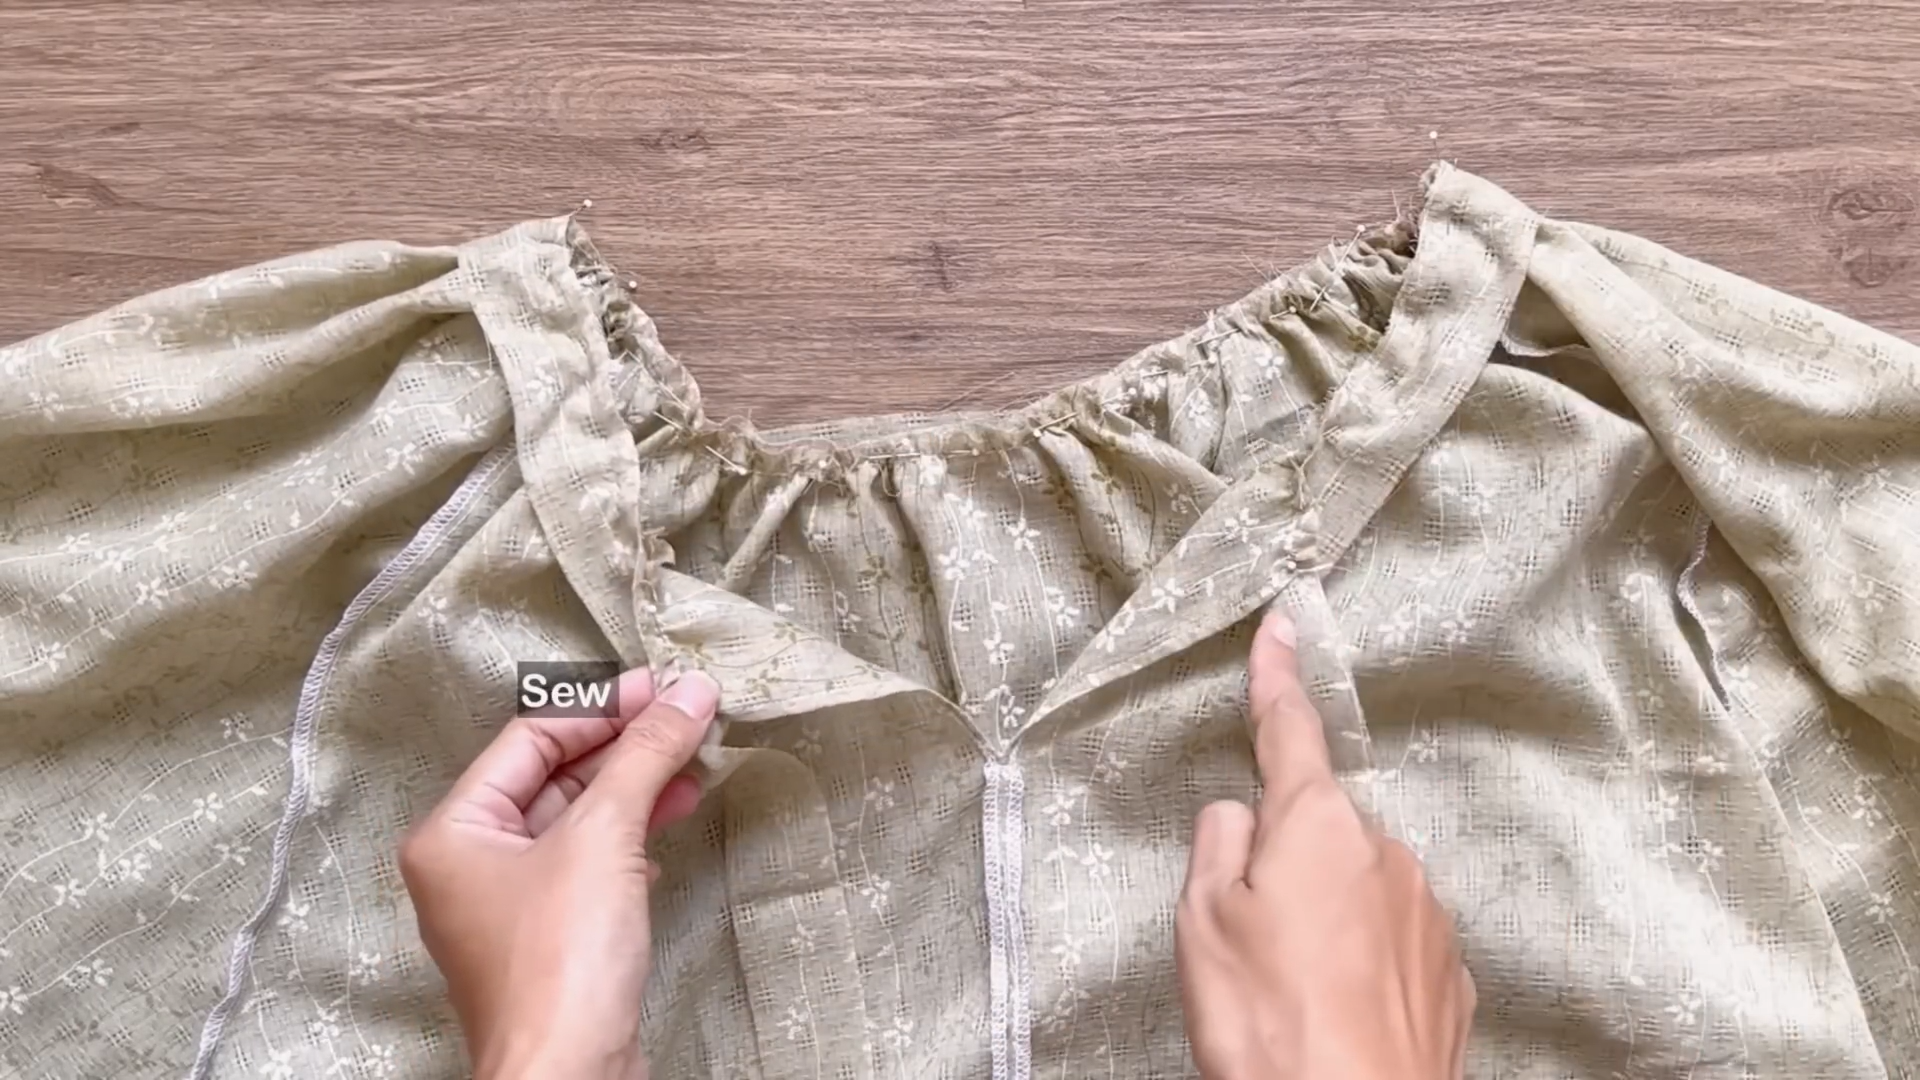
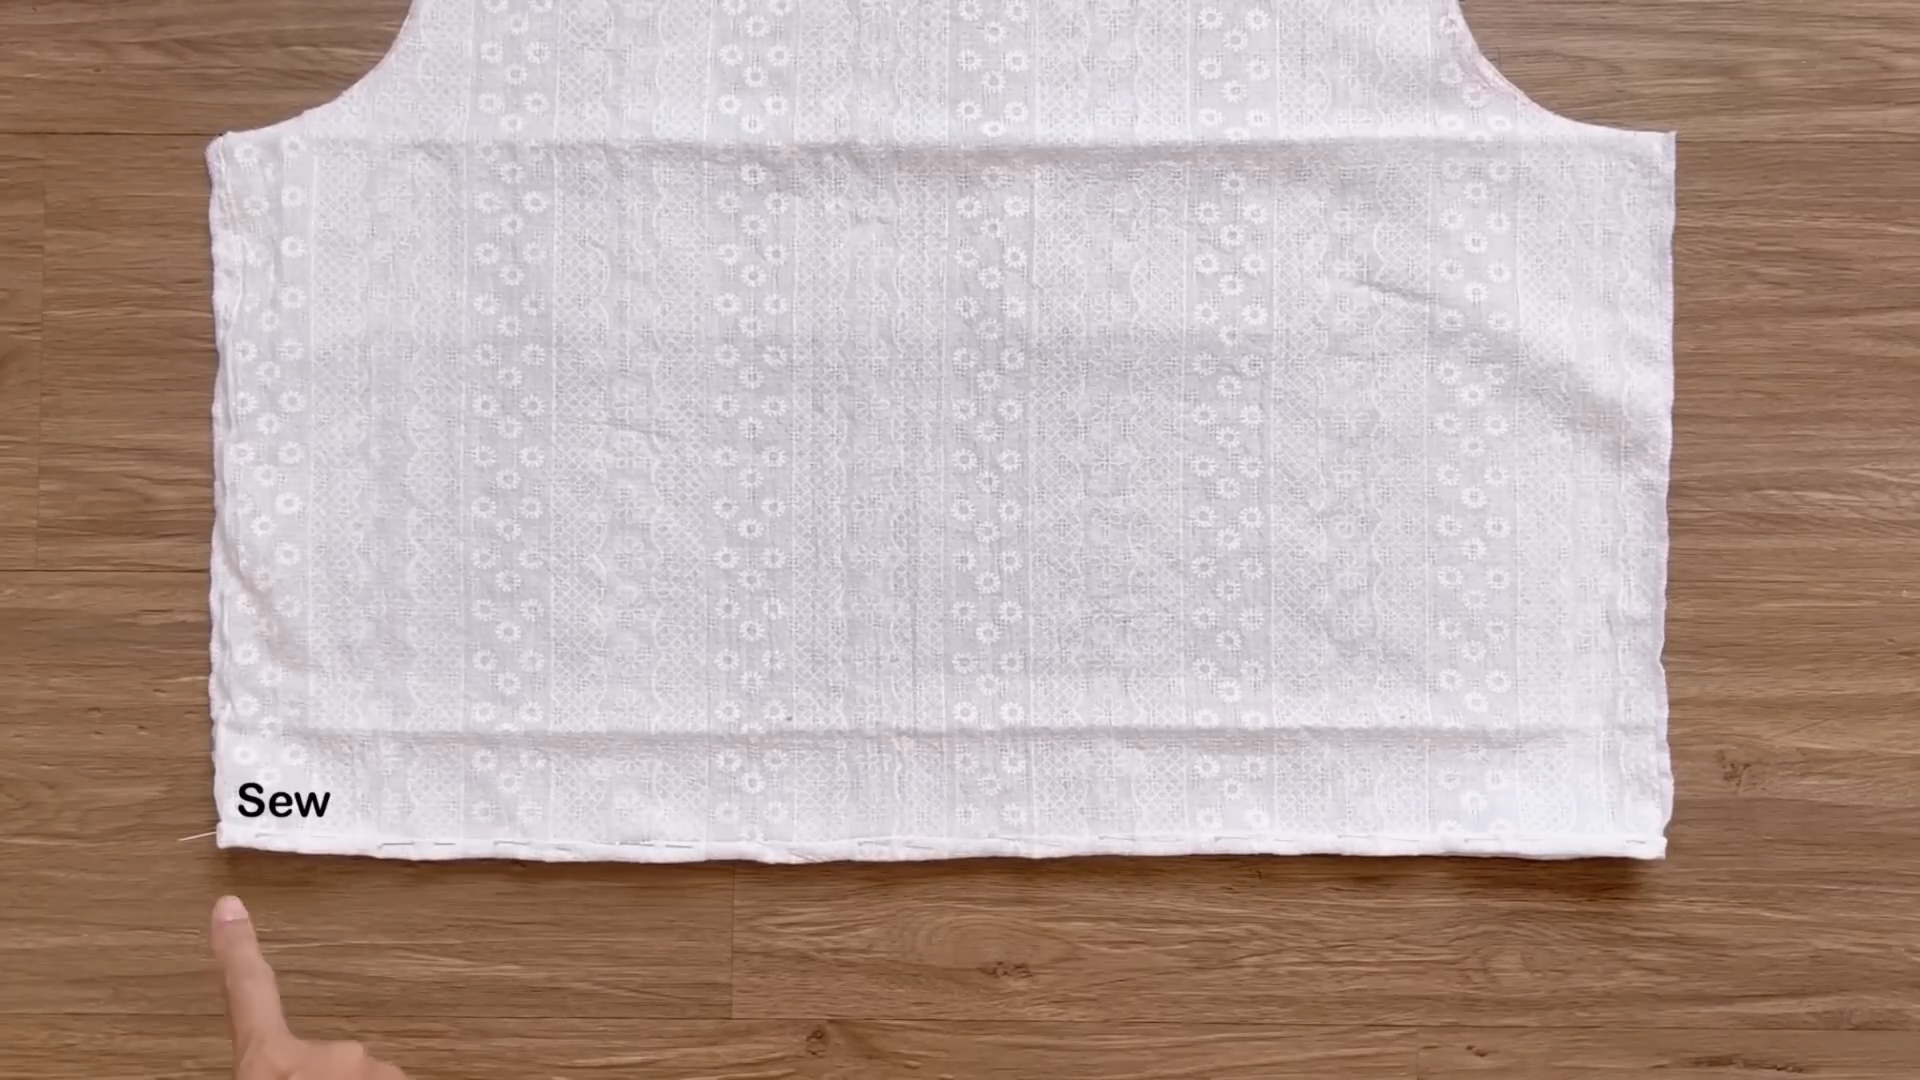
After cutting along the drawing line, mark out 10 cm on the connecting lines at the middle of the front bodice. This will be the open part of the neck at the front bodice.
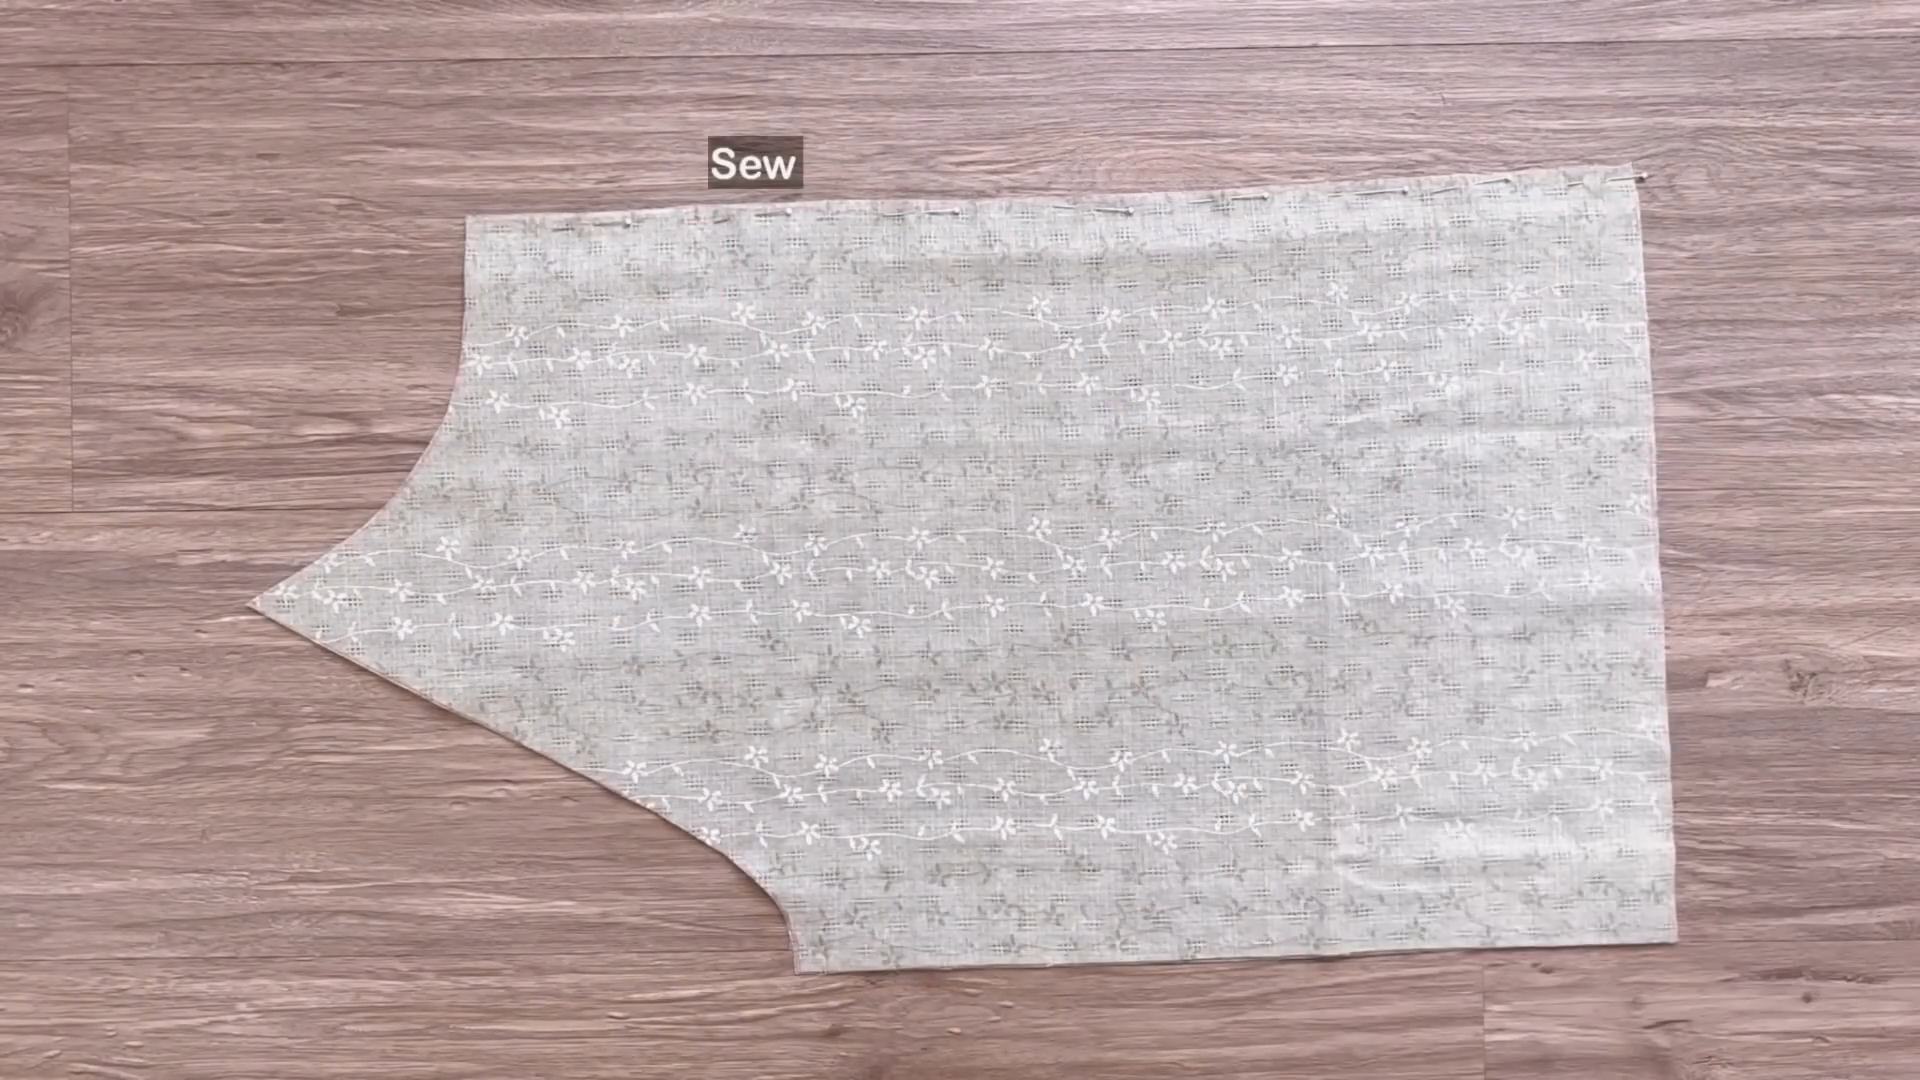
Then sew the rest together.
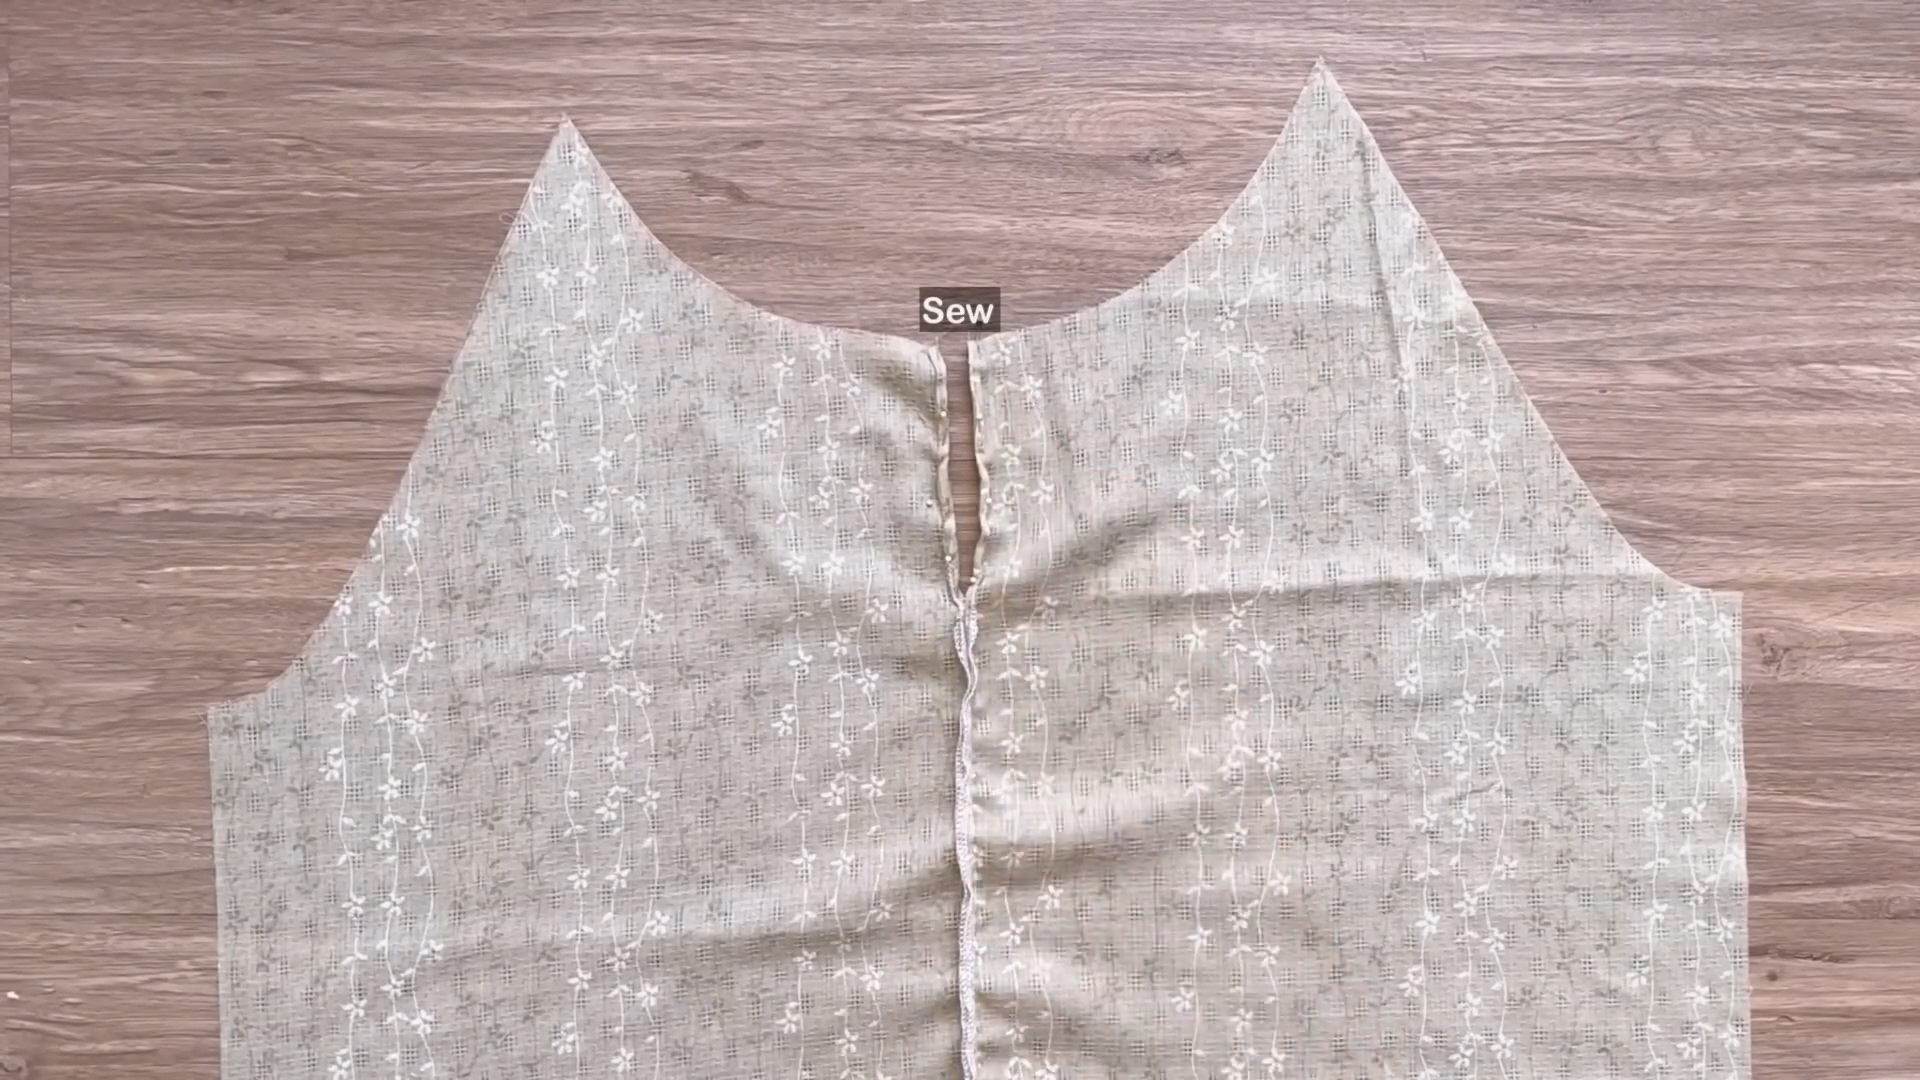
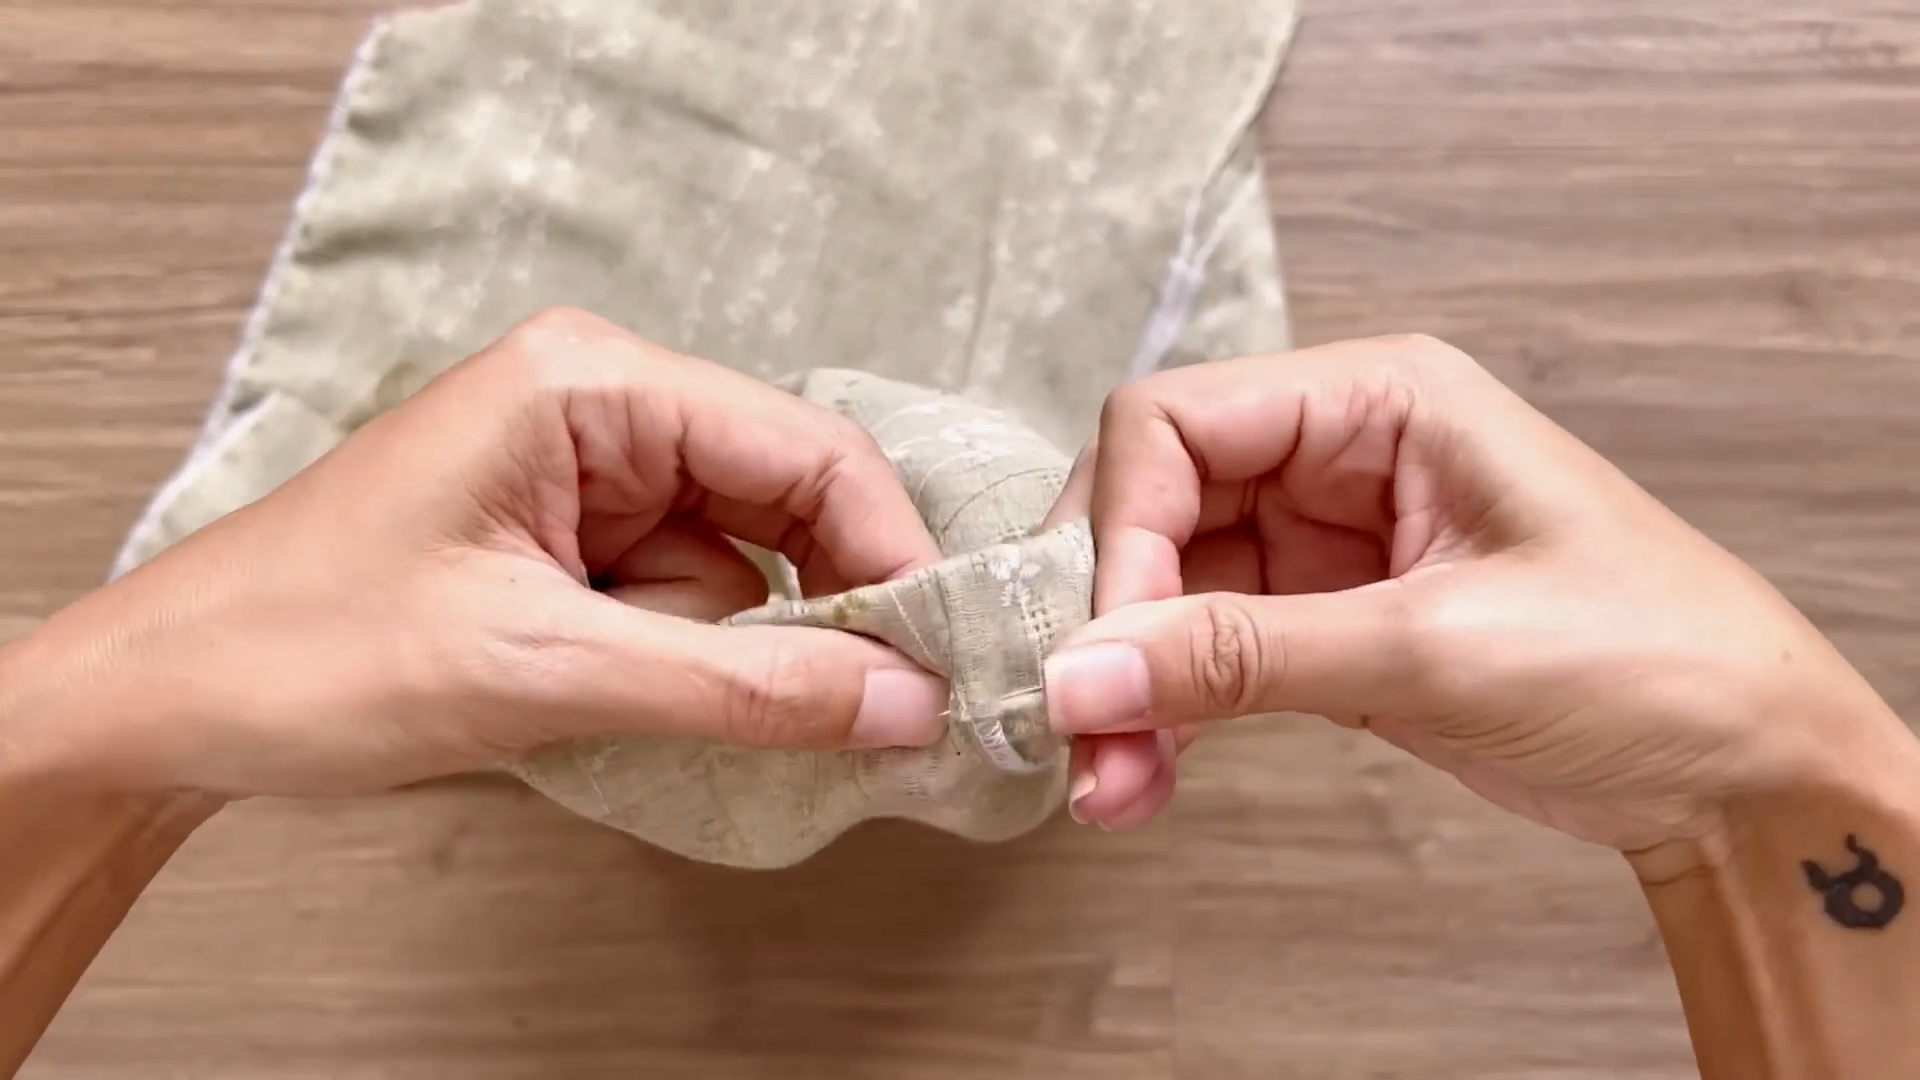
After sewing, finish the open part of the neck by folding the end fabric inside two times with a half centimeter each time and sewing.
THE BACK BODICE
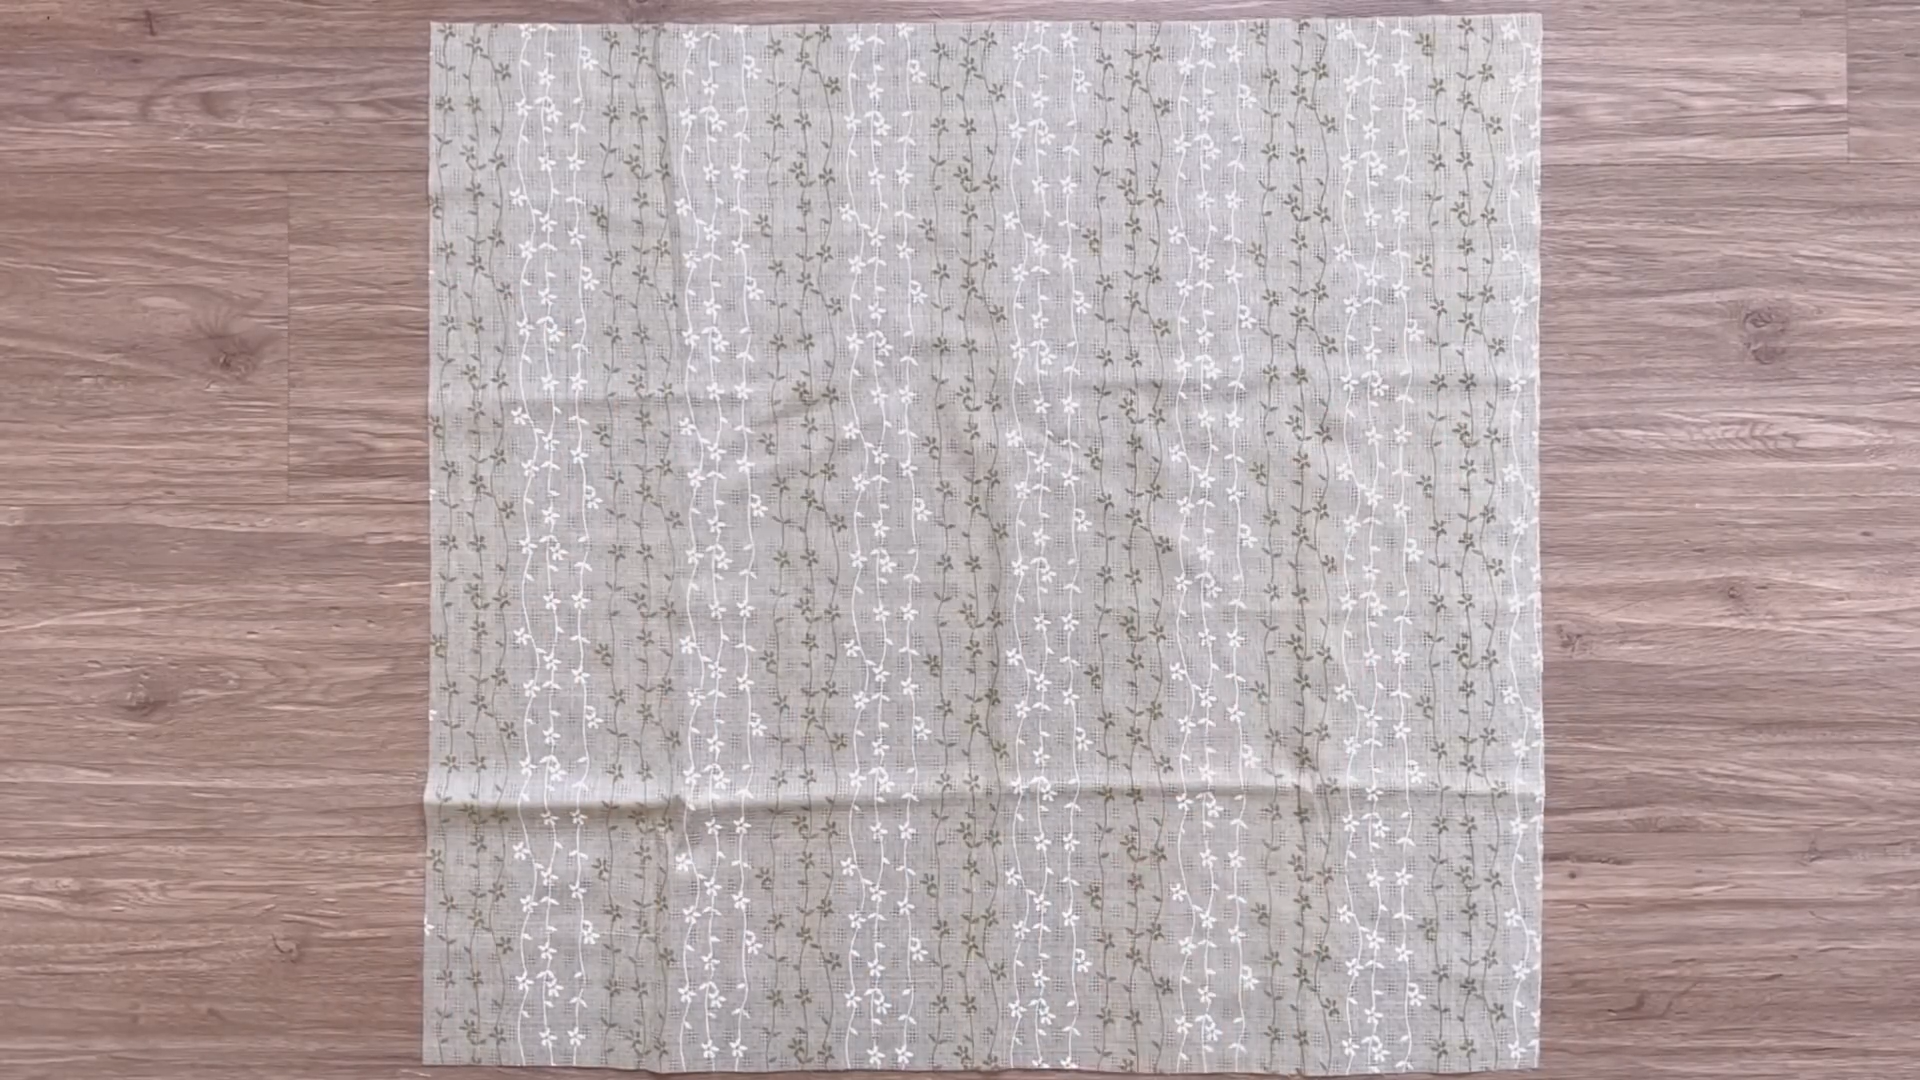
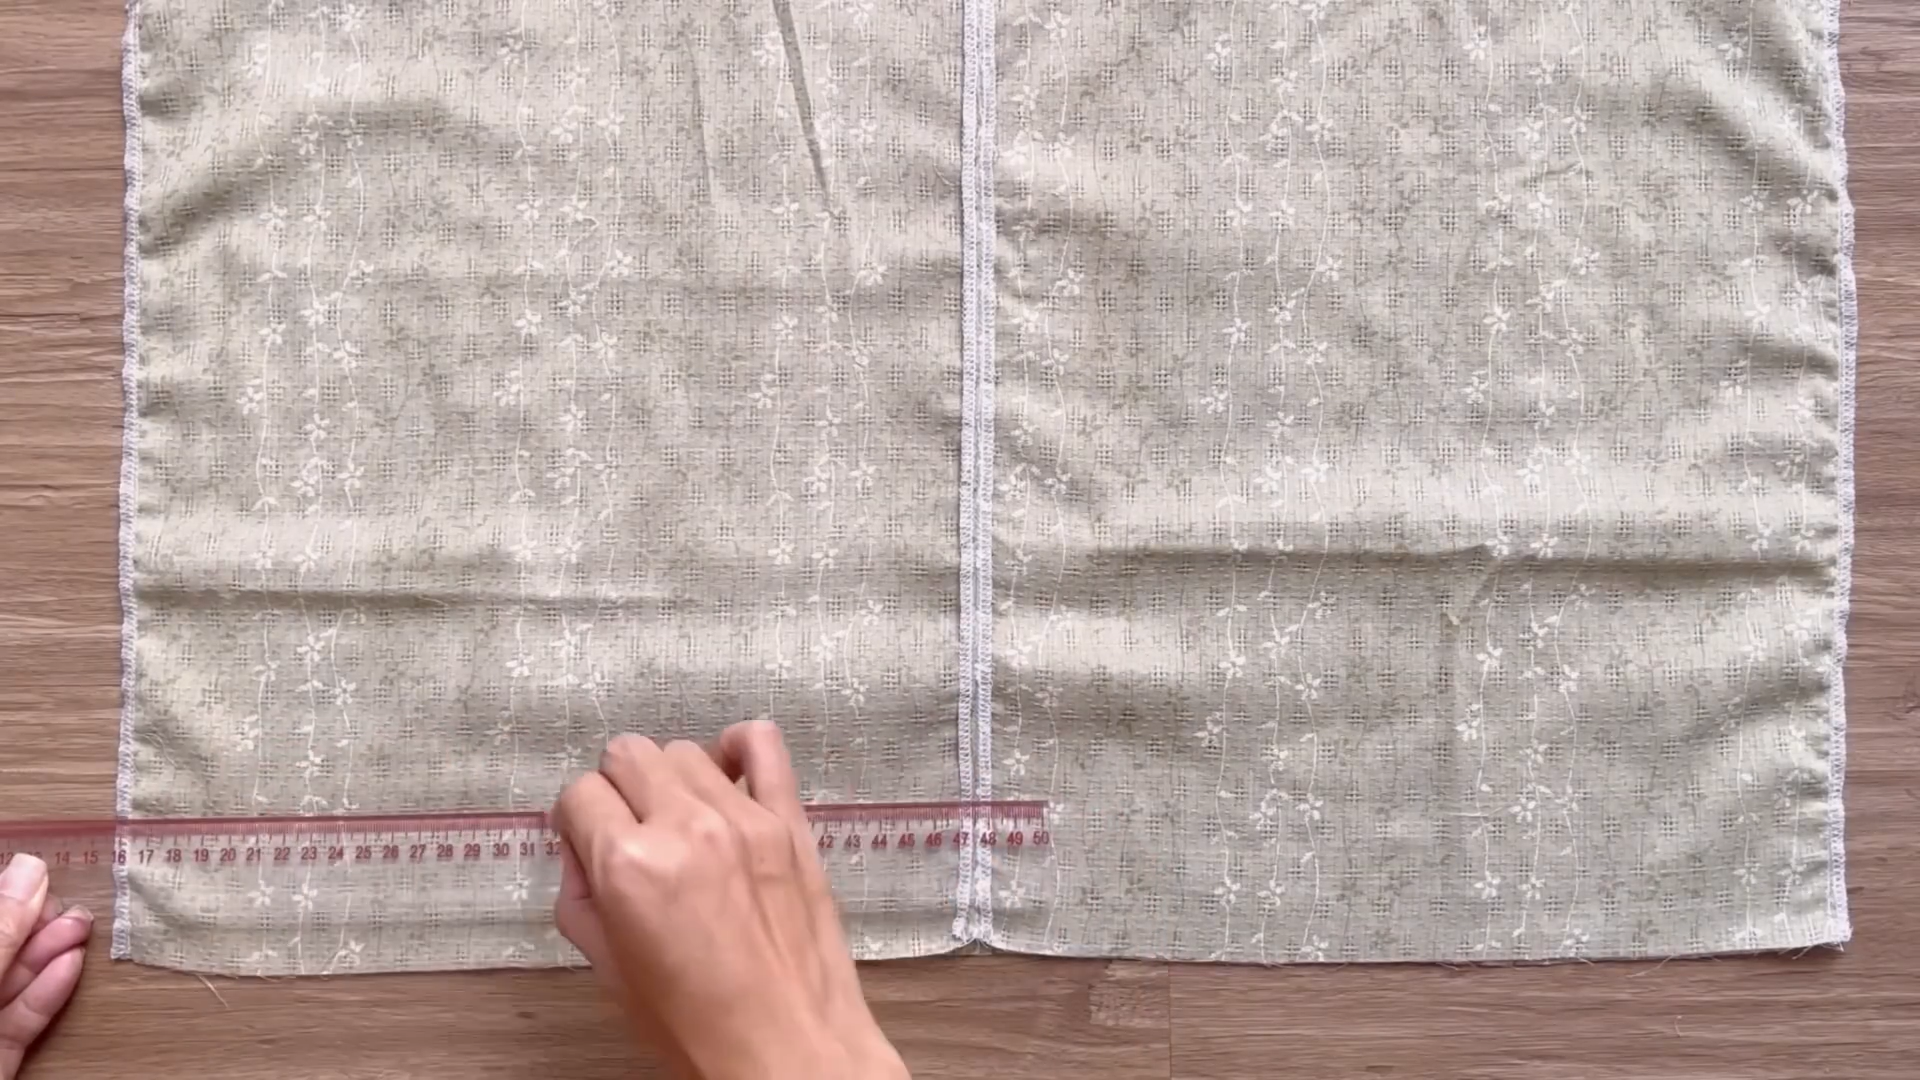
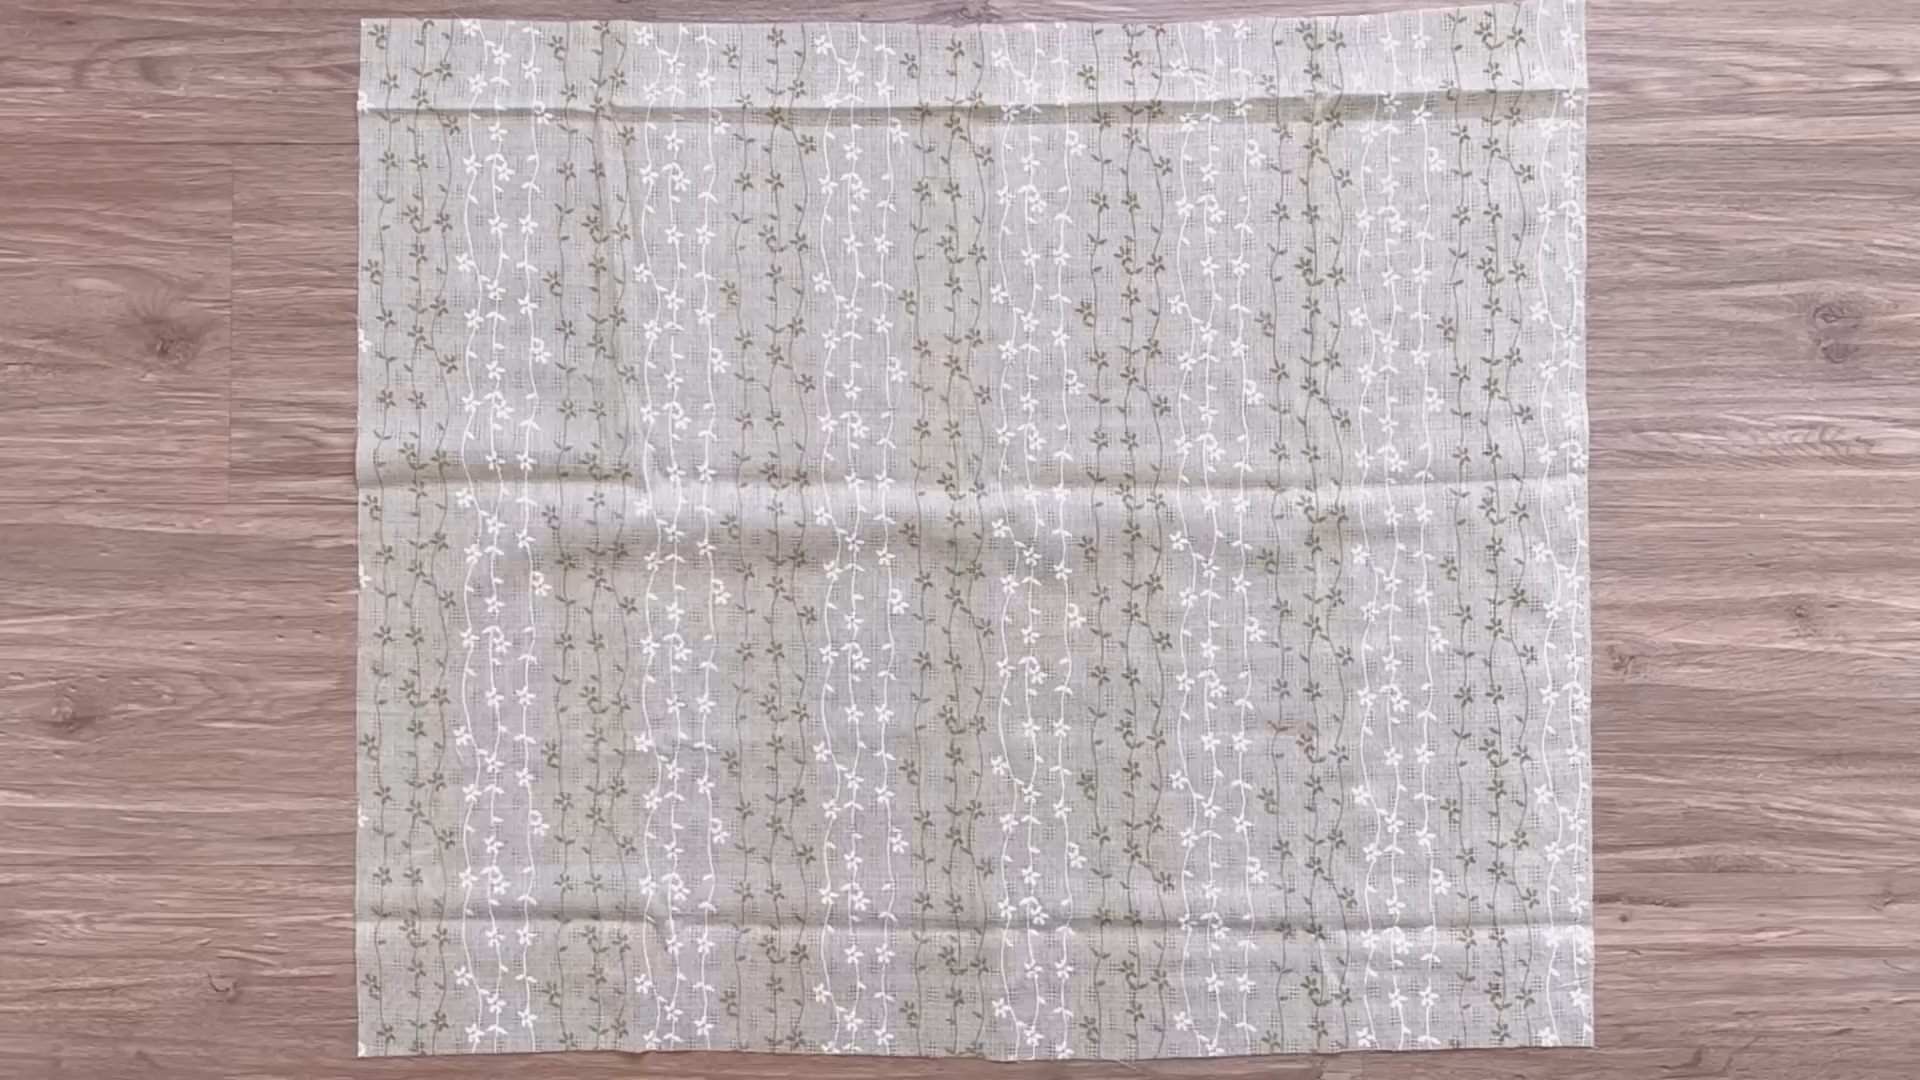
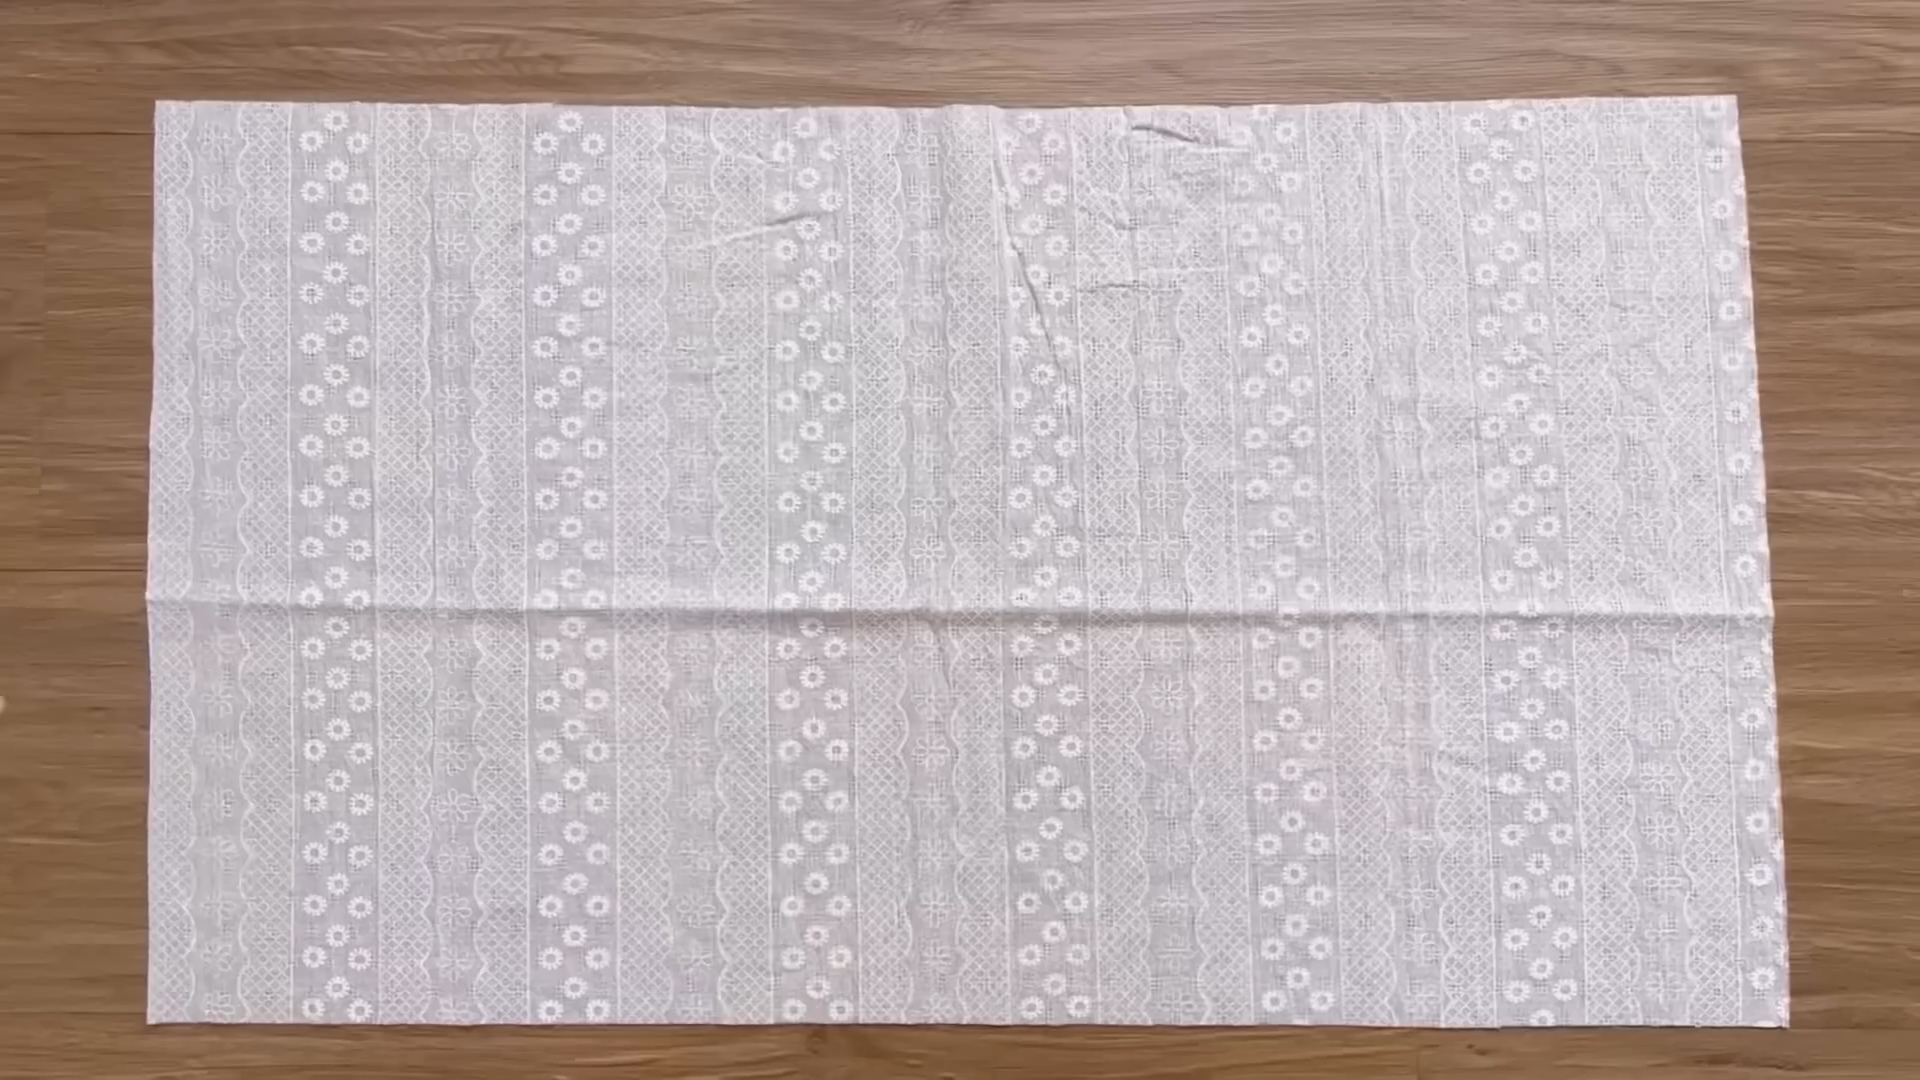
Cut a large rectangle with a length of 60 cm, which is the same length as the front bodice, and a width of 58 cm, which is one and a half times a half of your bust size minus 2 cm. This is also the same width as the front bodice you just finished.
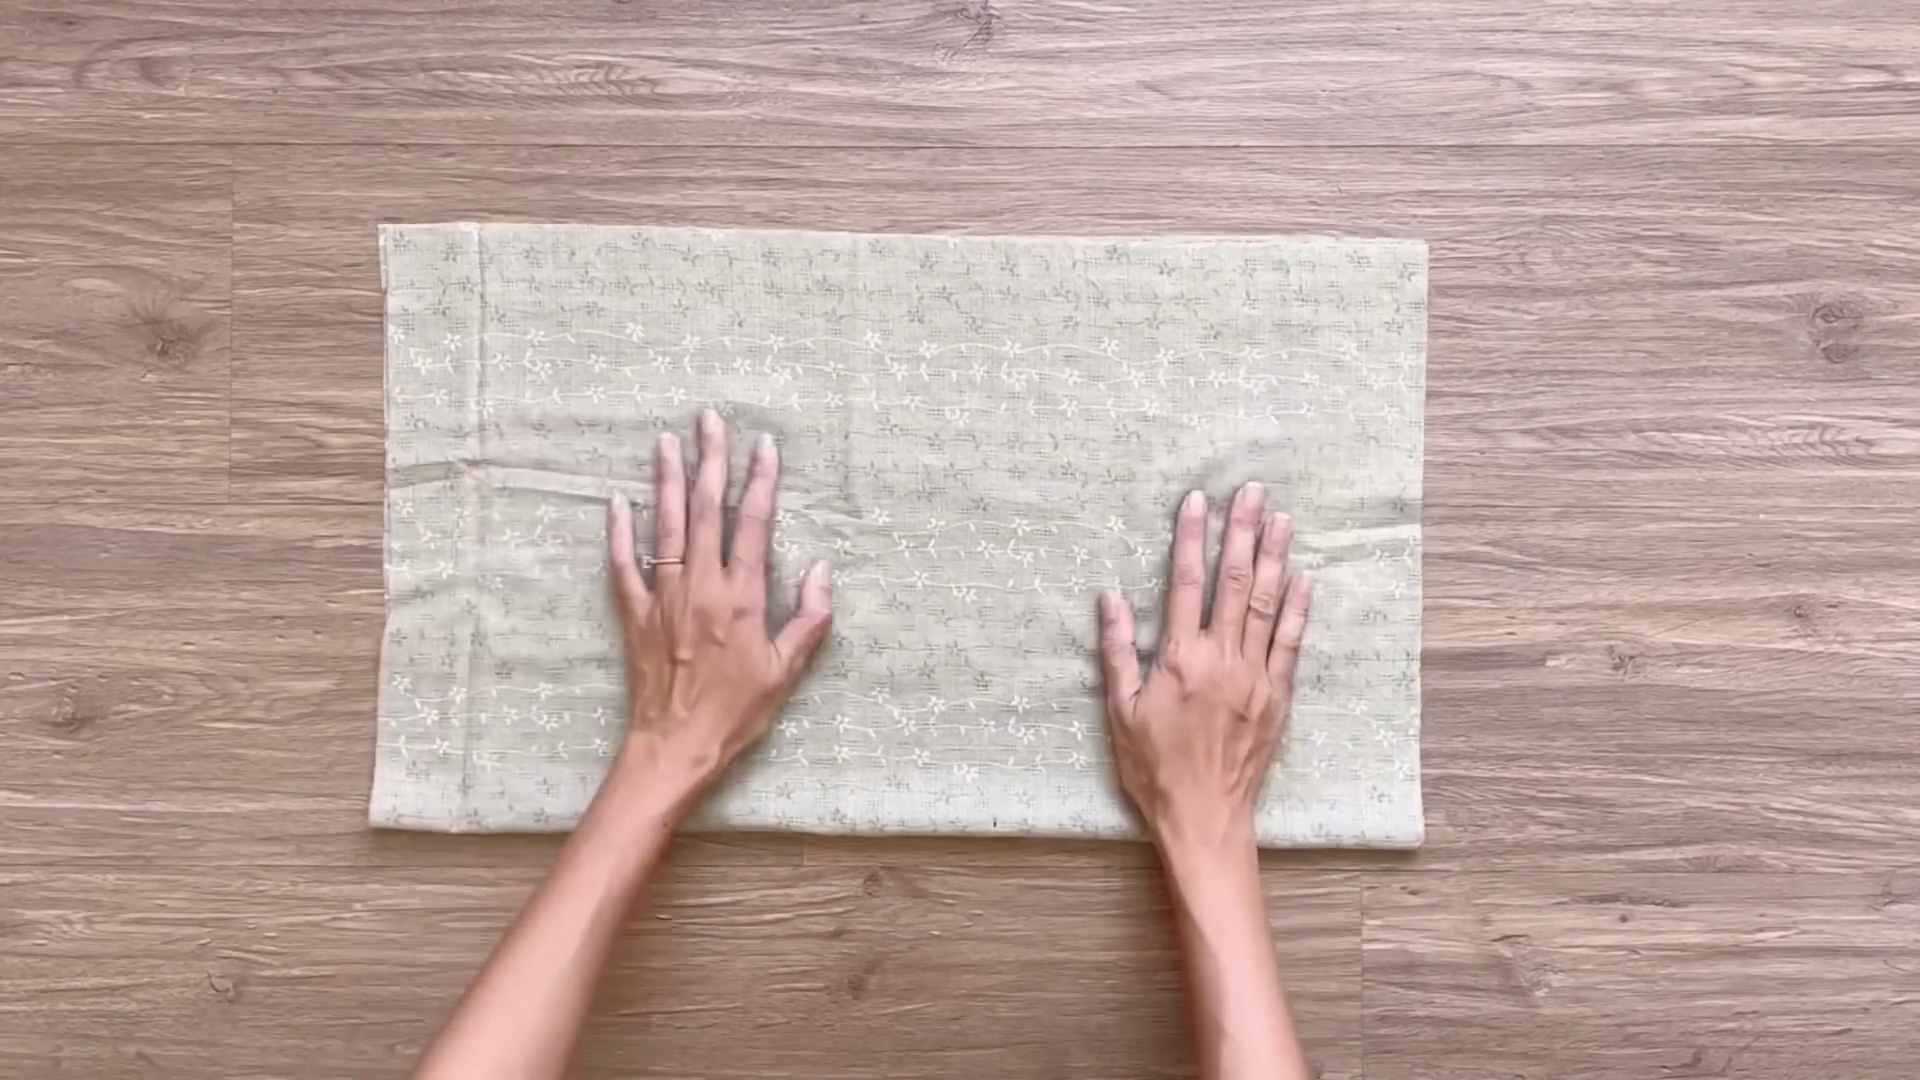
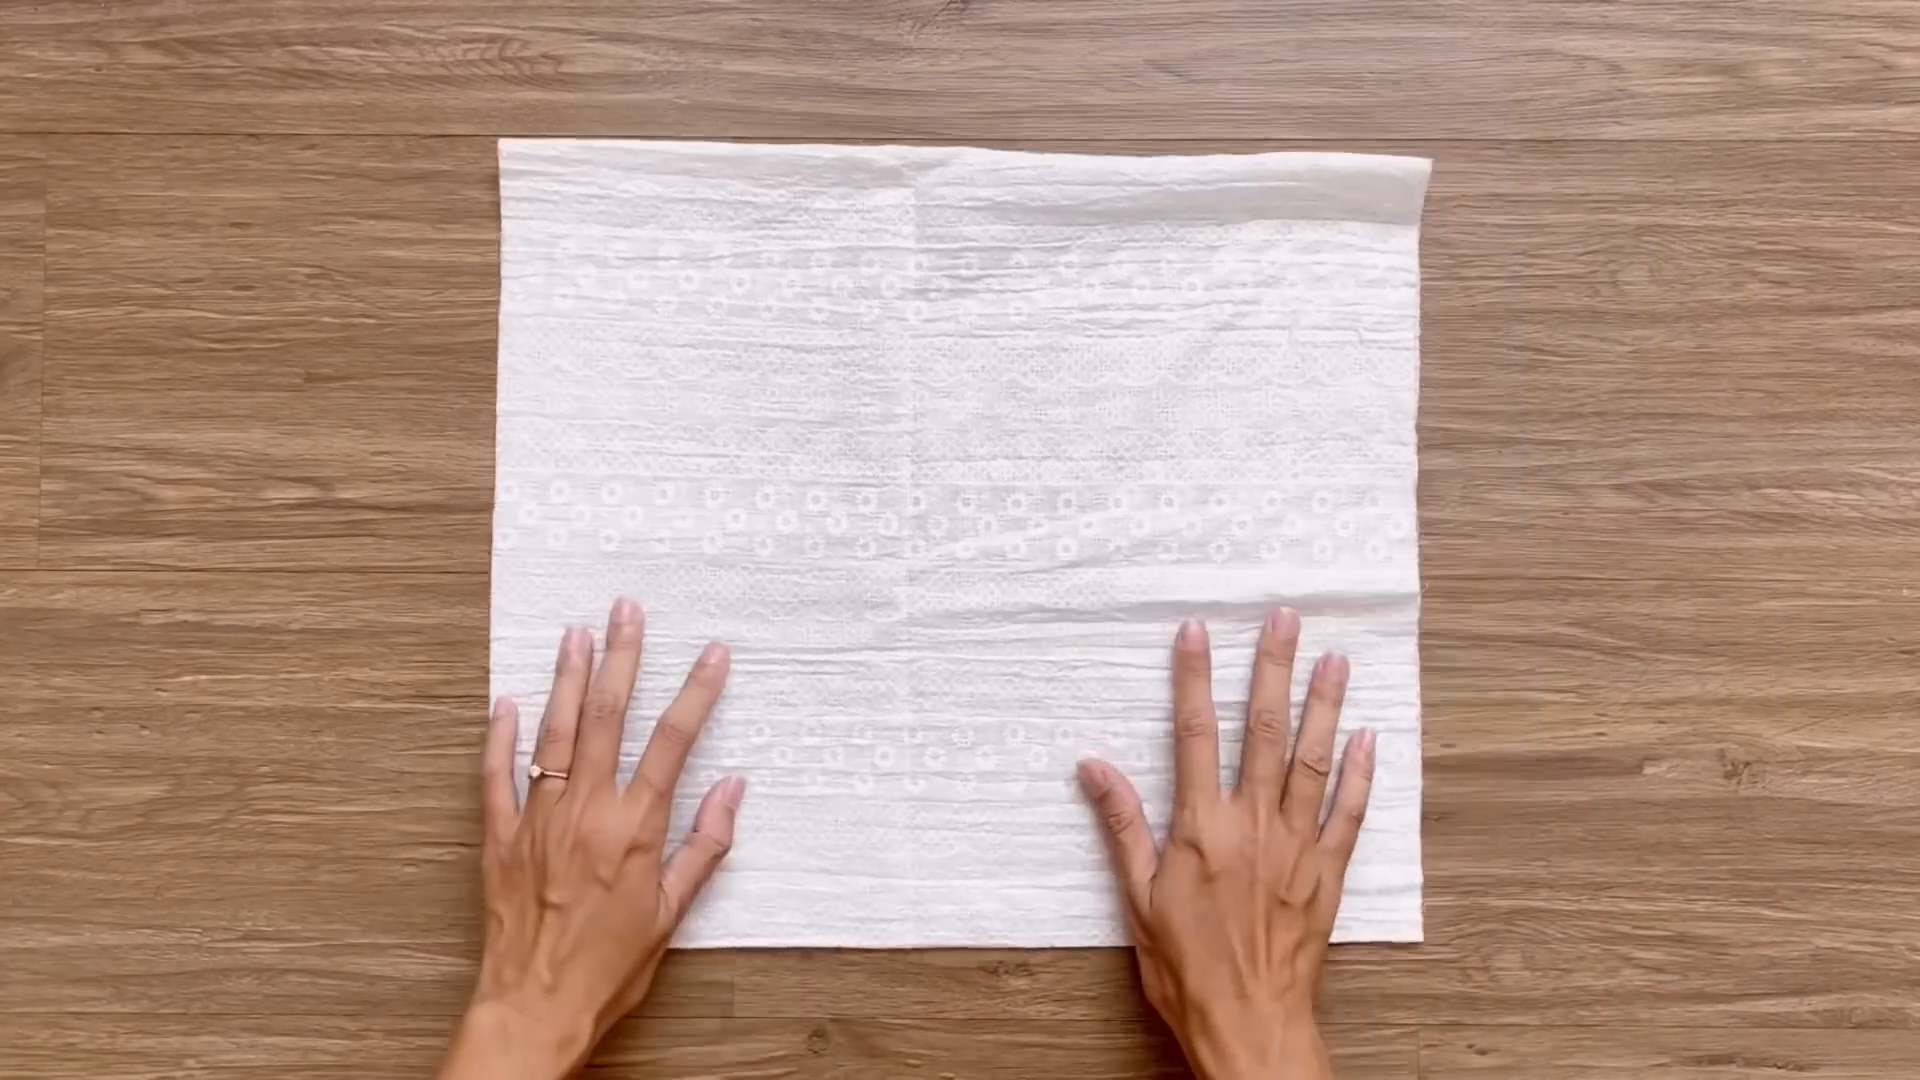
Fold the rectangle in half along the length line.
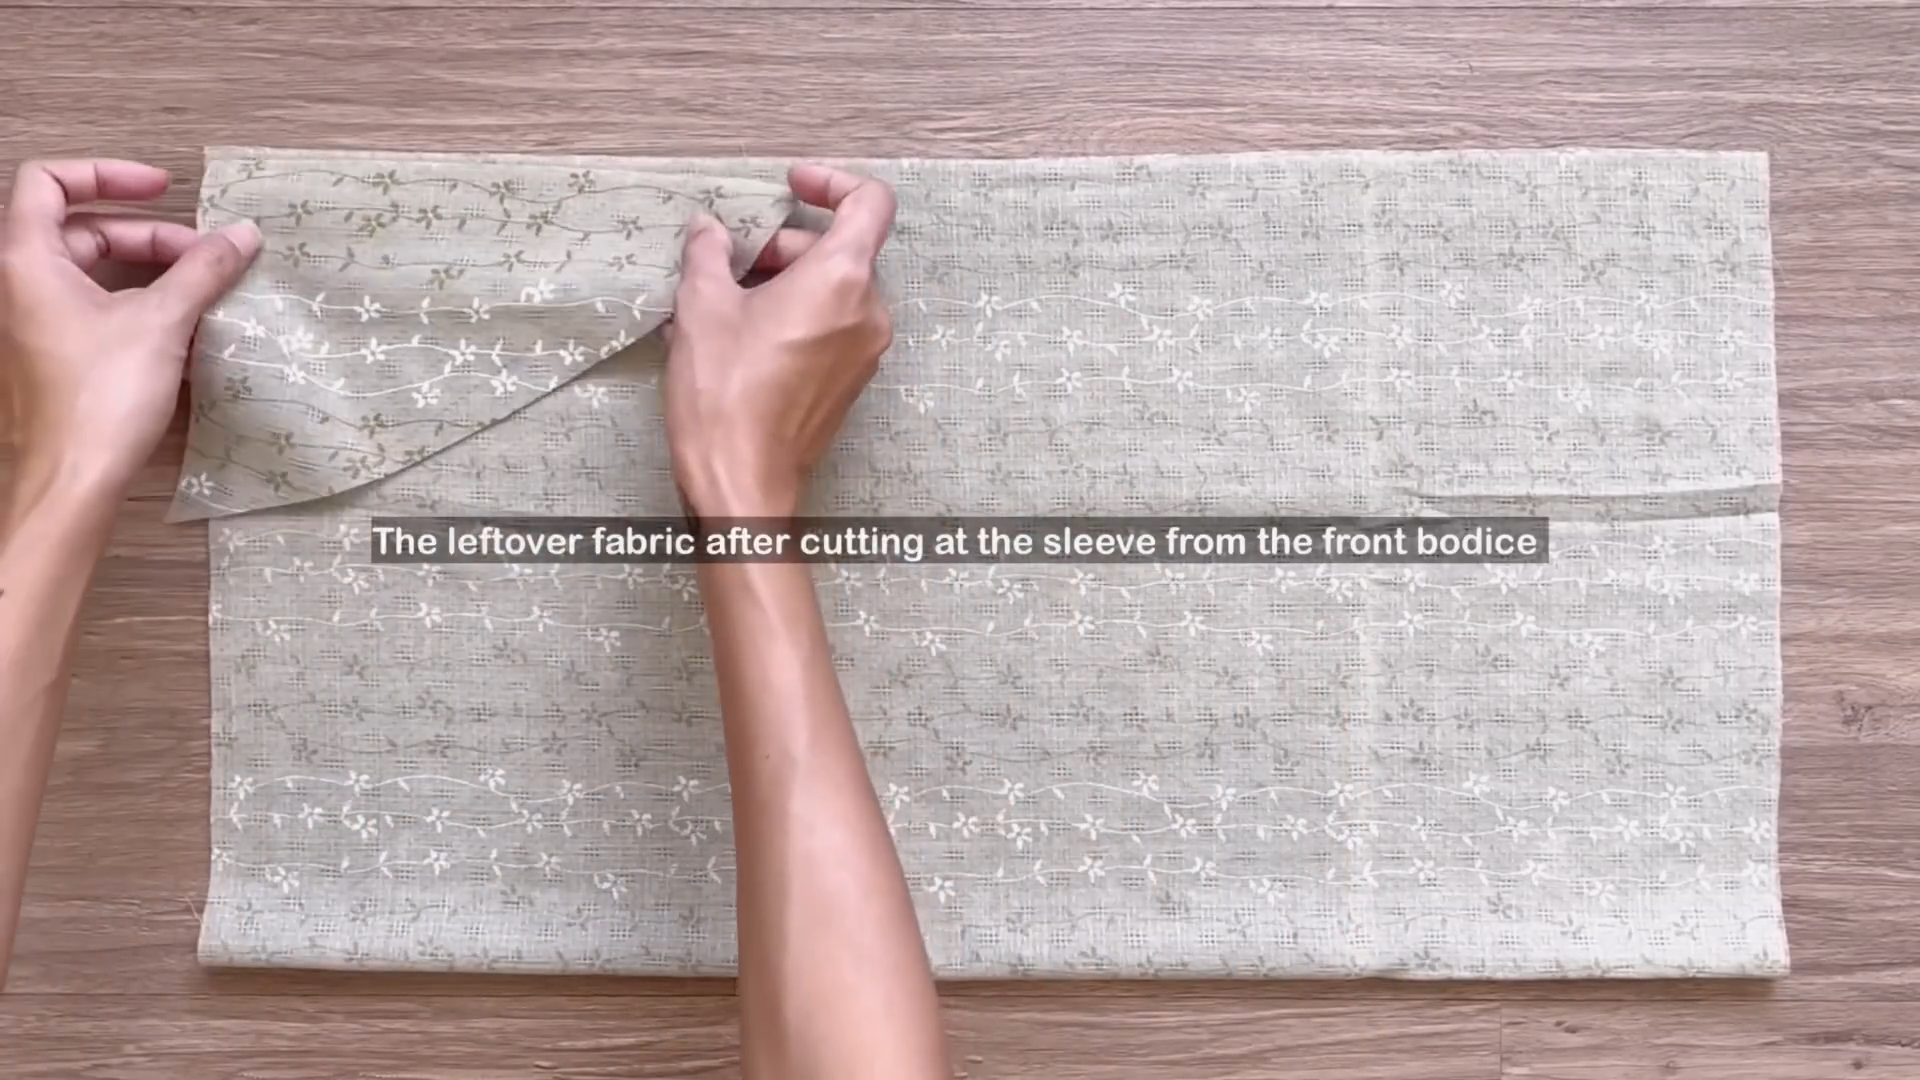
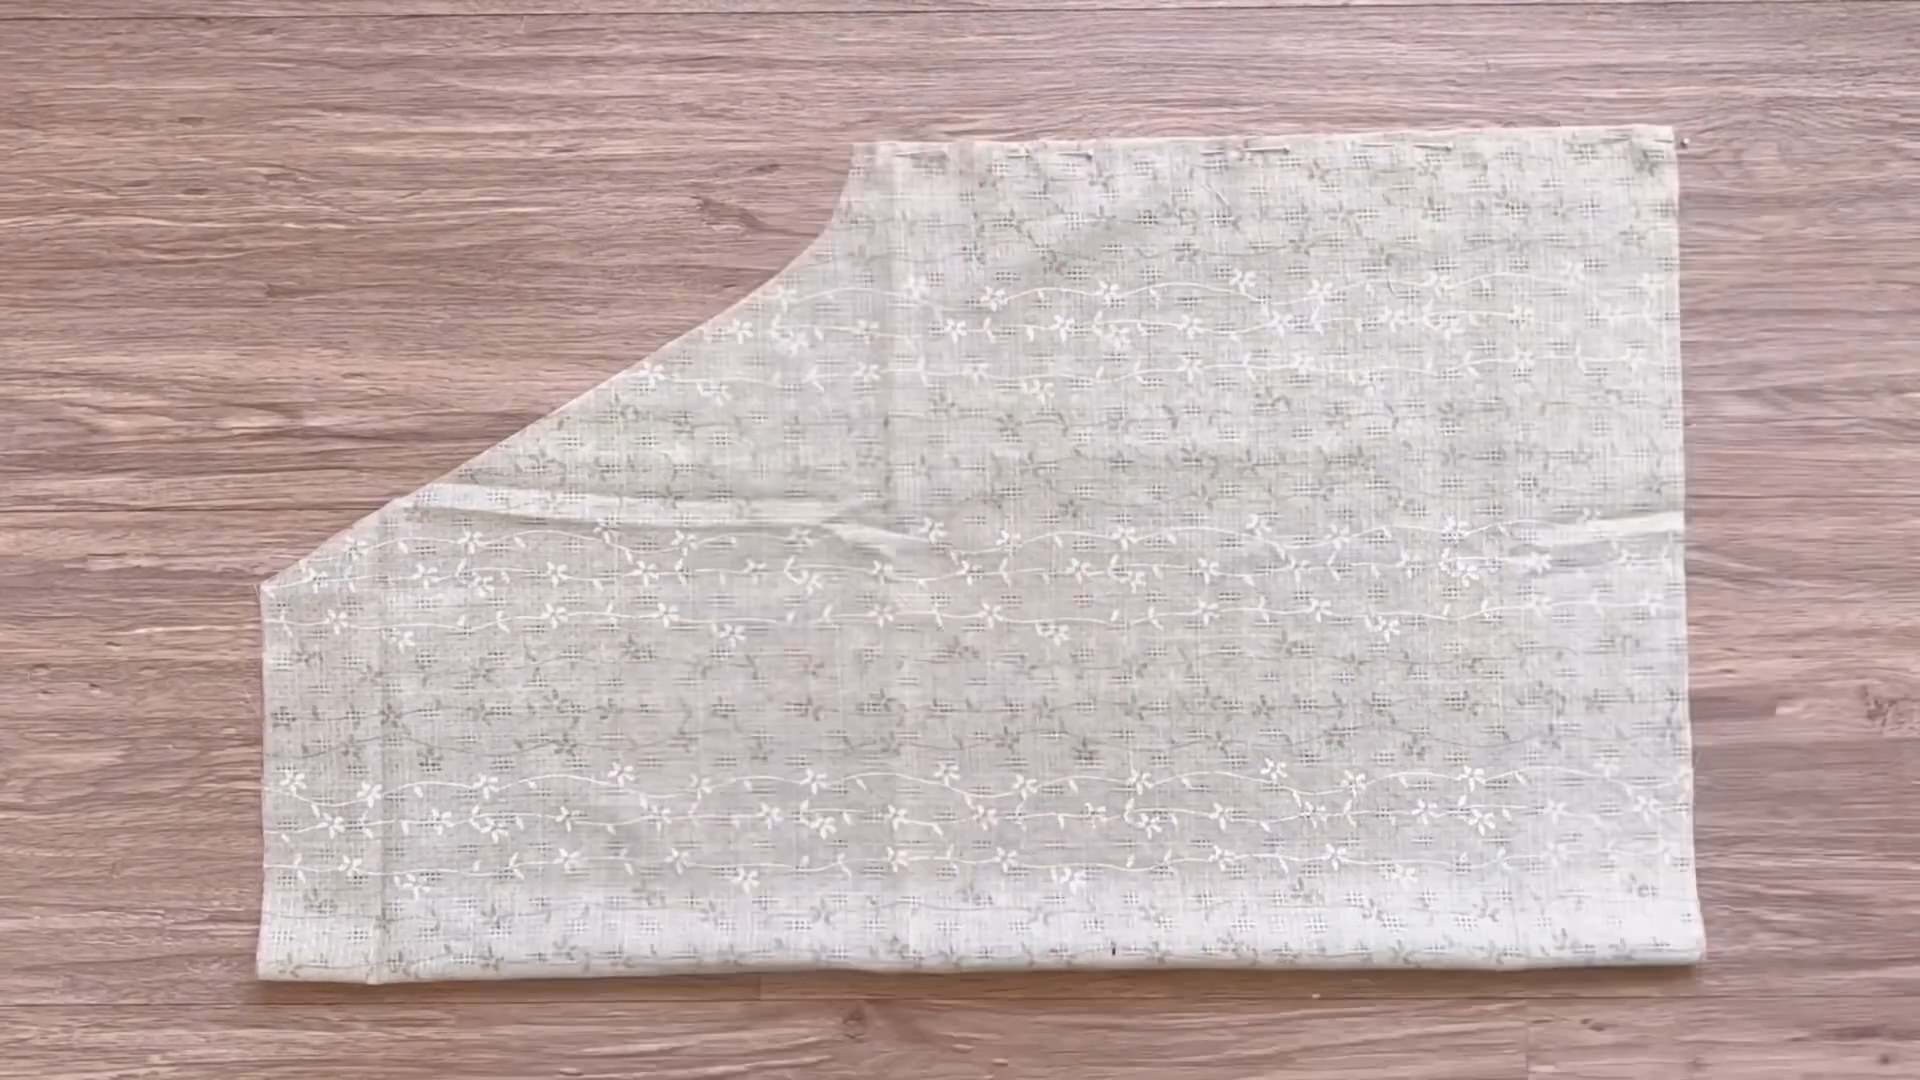
Then use the leftover fabric after cutting from the front bodice to copy the curved line at the neck and the sleeve so the lines there will be the same to connect them together later.
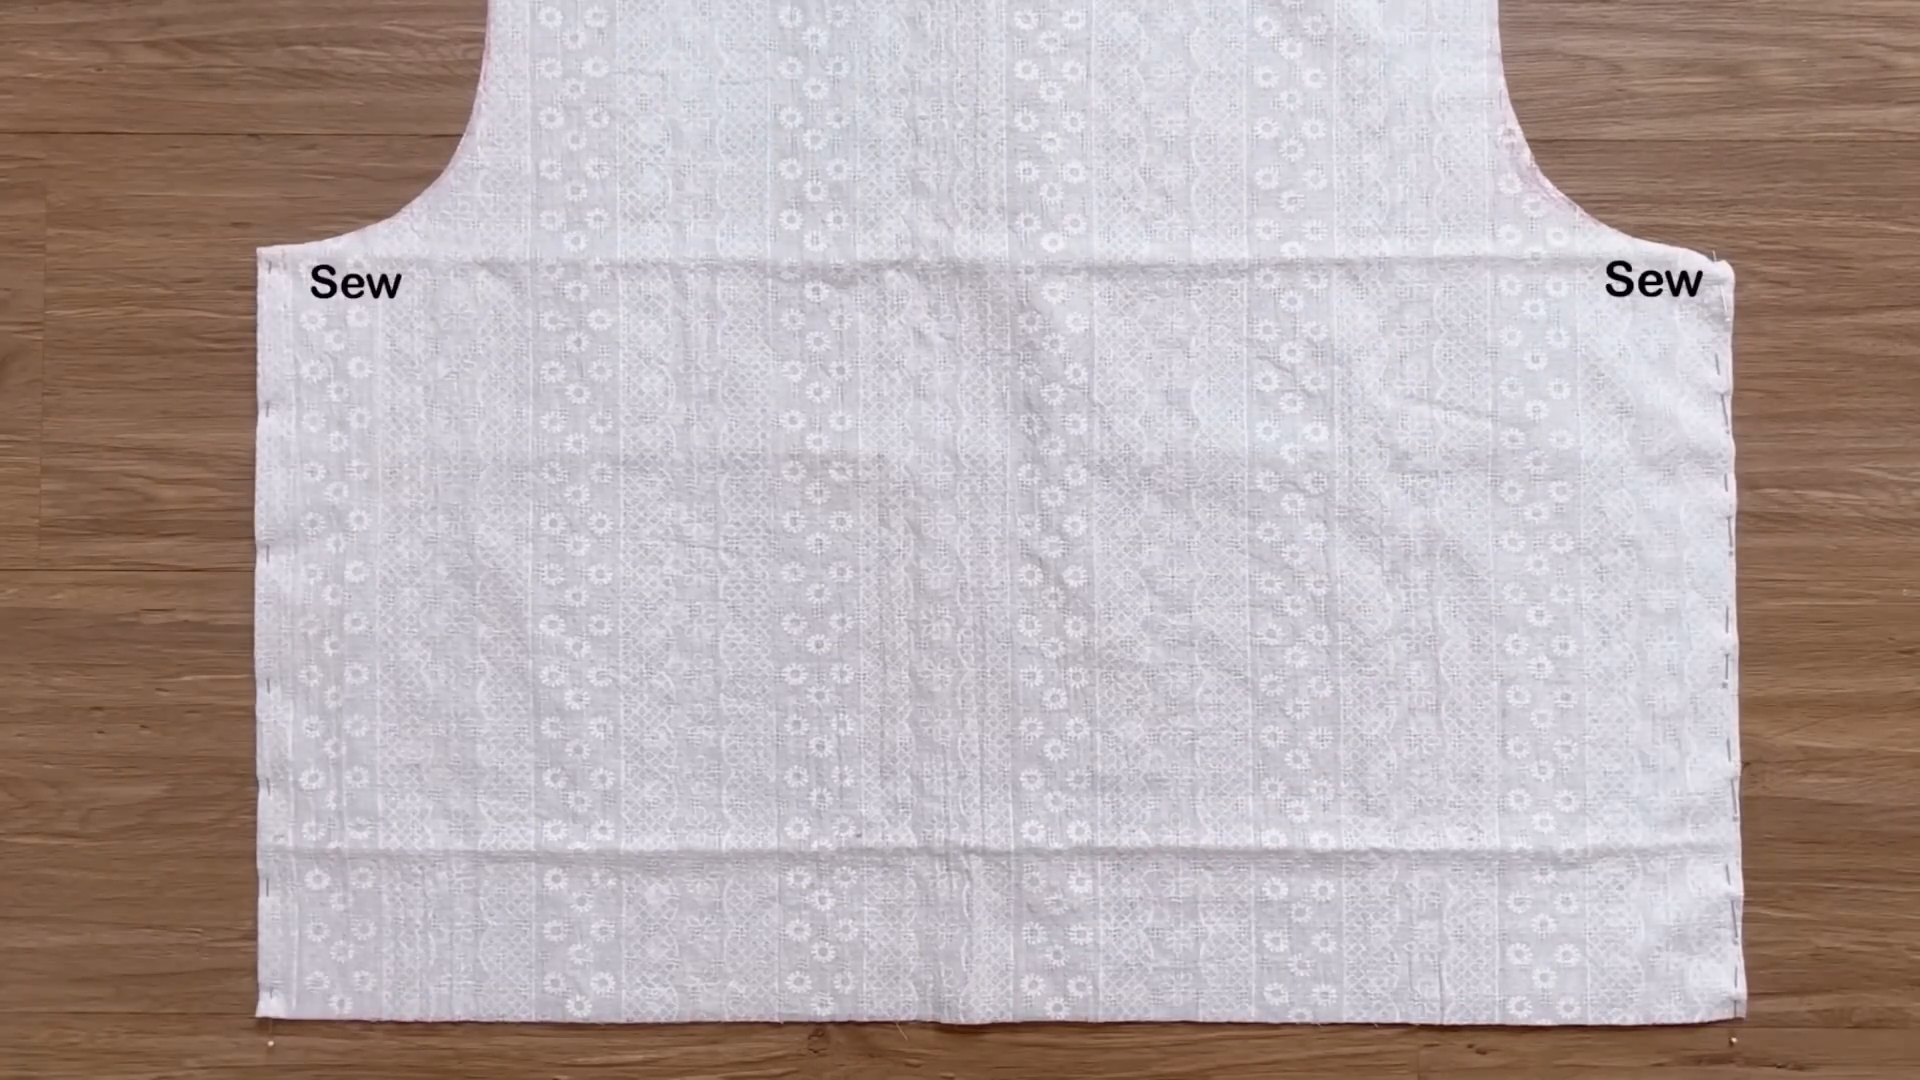
Now, connect the front and the back bodices of the blouse together at two sides and sew.
To finish the end of the bodice, start by drawing a line at 6 cm above the ending line.
Then, fold the end fabric inside around 1 cm and keep folding it again to the line you just drew.

Sew along this line to finish the ending line of the blouse.
THE SLEEVE
Cut a rectangle with a width of 60 cm, which is the width of the sleeve that you want, and a length of 55 cm, which is the length from your shoulder to your wrist. This will also be the length of the sleeve you want.
Fold the rectangle in half along the width line.

Then, use the leftover fabric of the sleeve from the front bodice to copy the curved line.
After cutting, sew the two under armpit lines together.
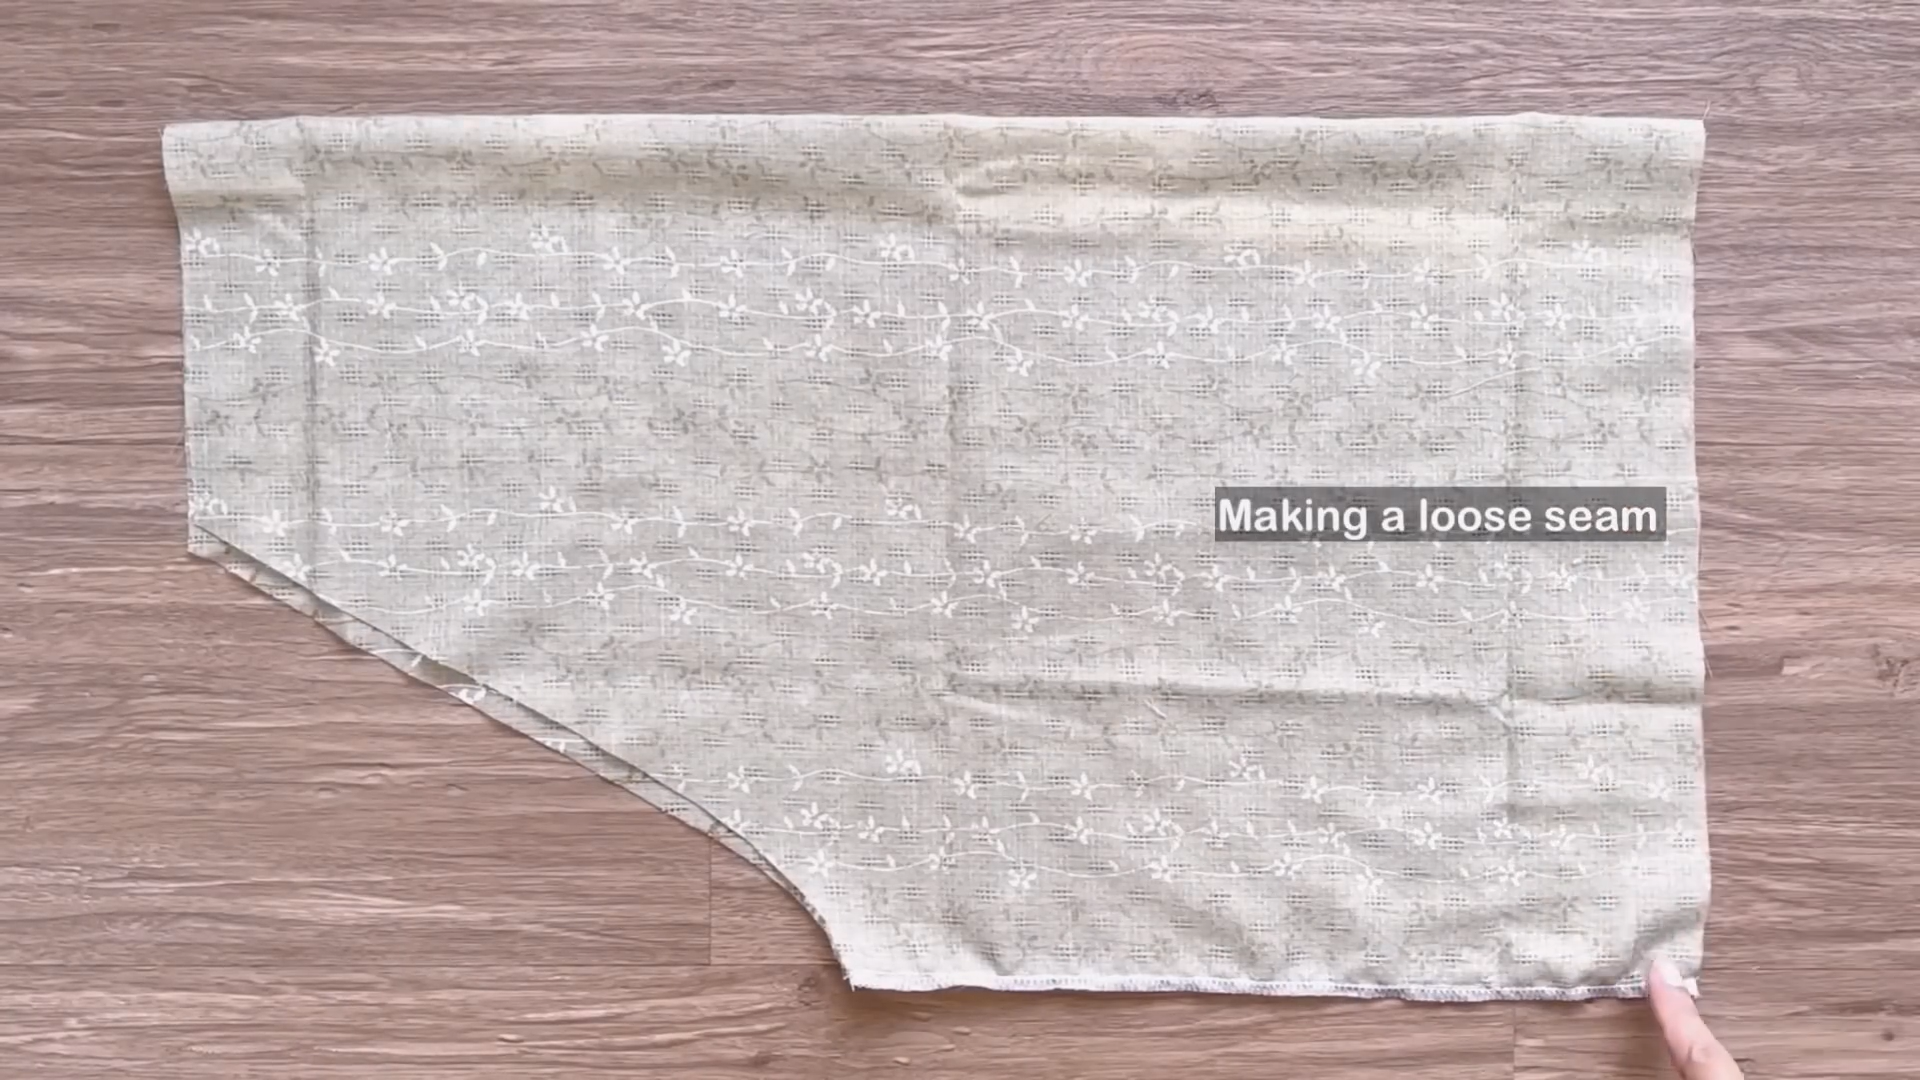
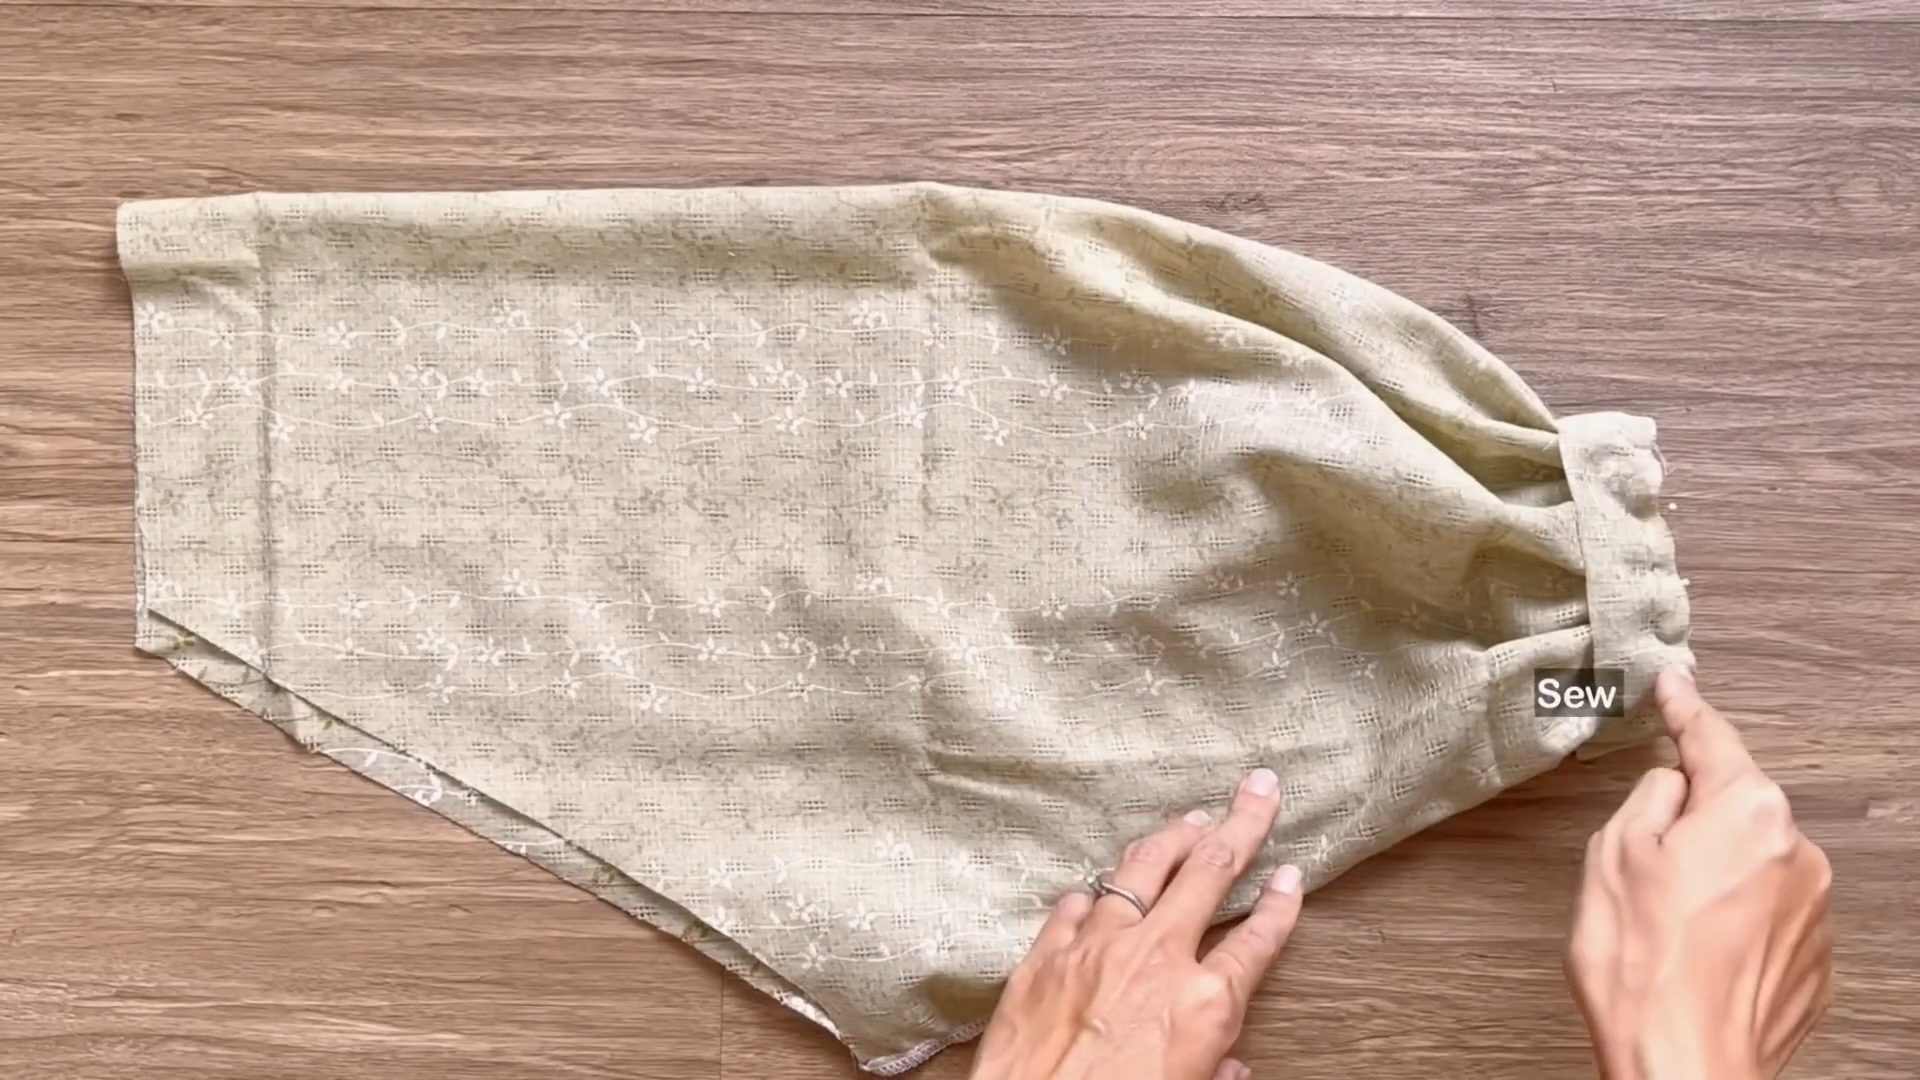
At the end of the sleeve, make a loose seam first, then create a gathering fabric there later.
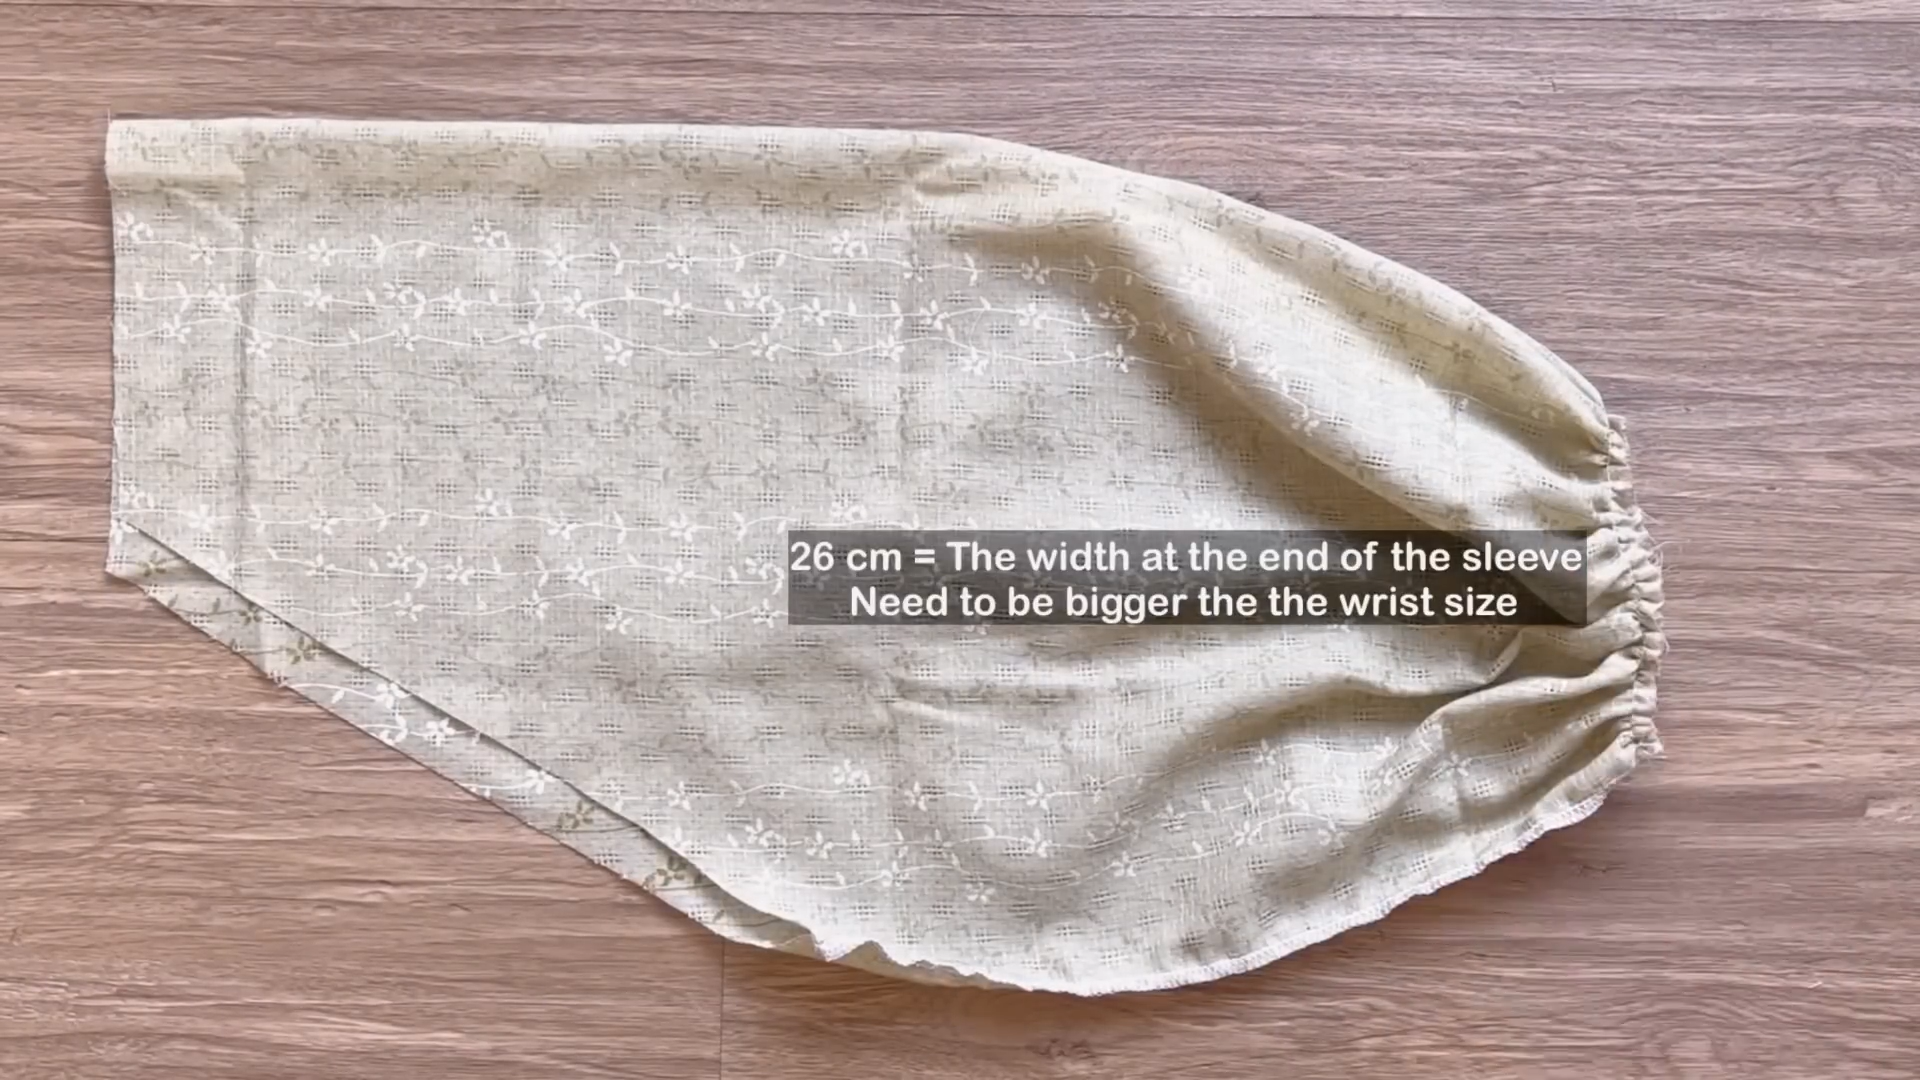
The final width of the gathering fabric will be 24 cm, which is the width at the end of the sleeve that you want. Make sure it’s bigger than your wrist size.
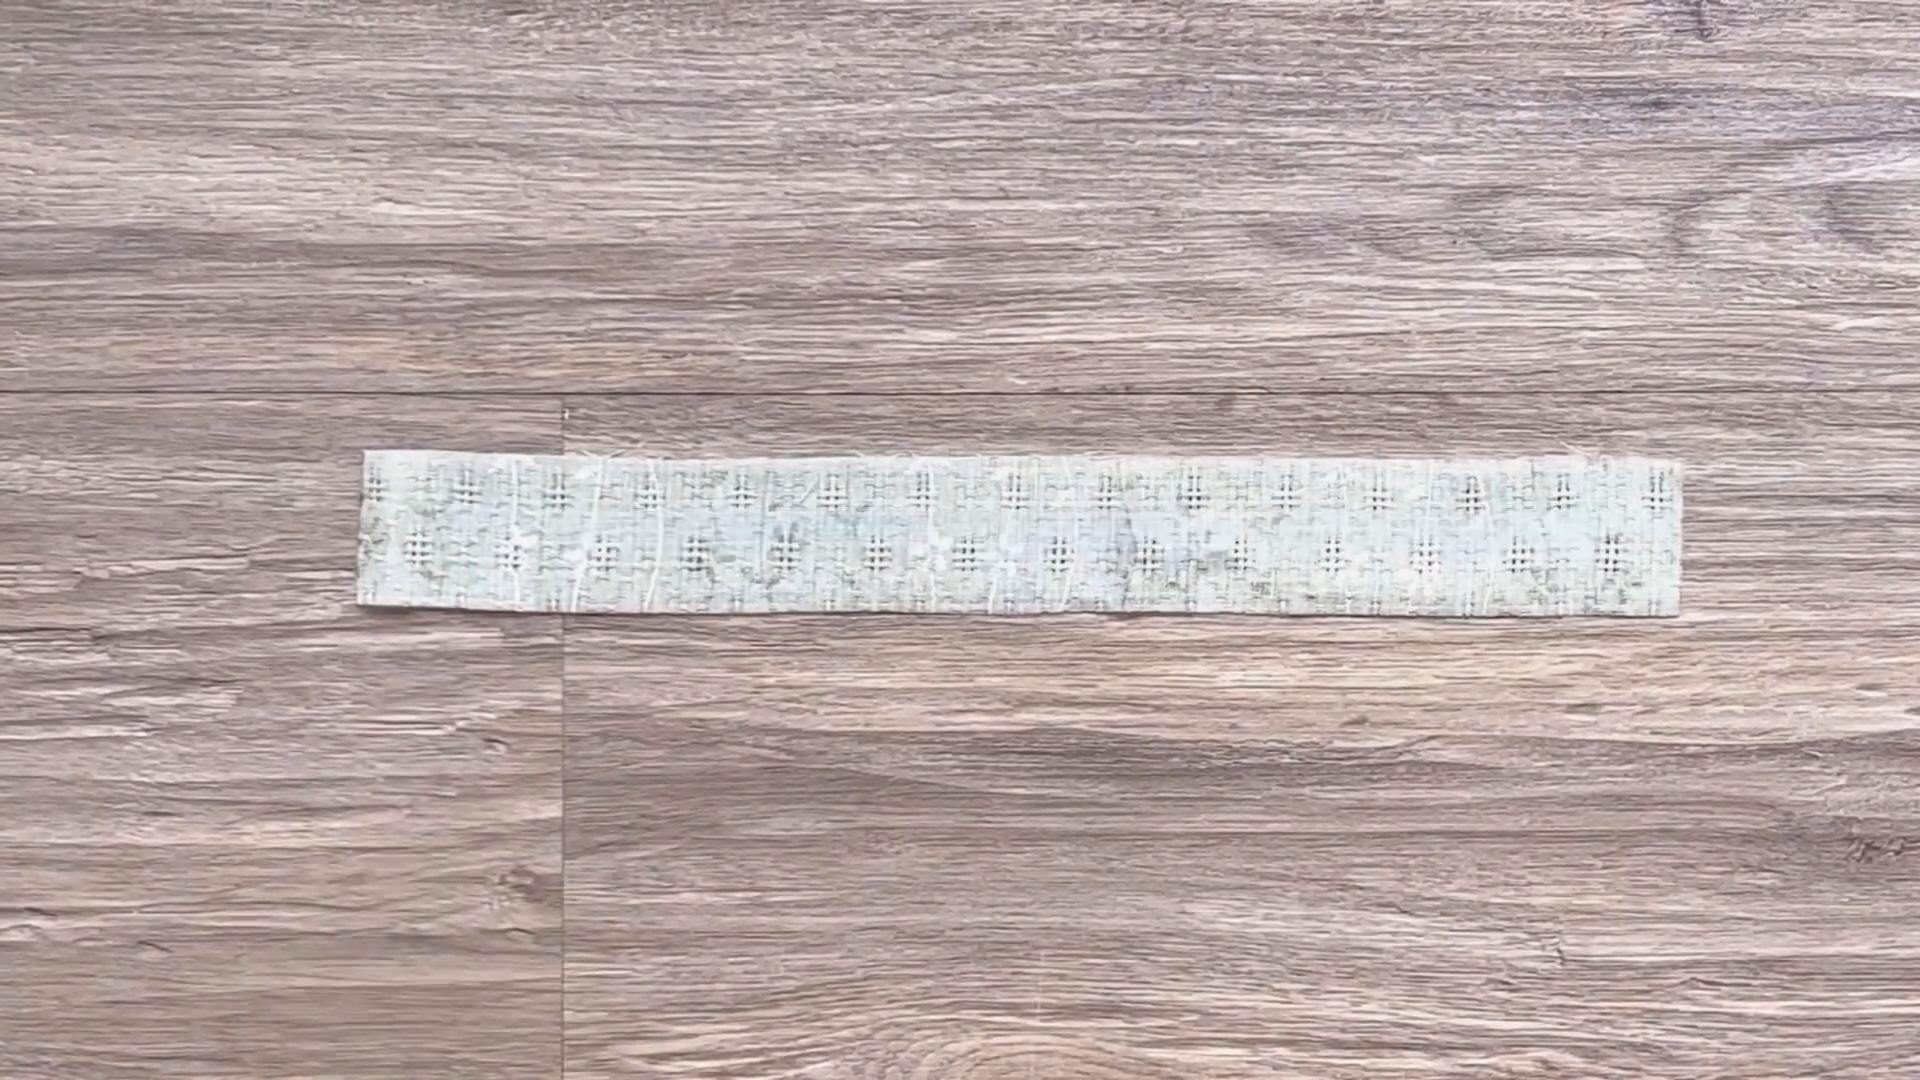
Cut a rectangle with a width of 4 cm, which is four times the width of the hem at the end of the sleeve that you want, and a length of 28 cm, which is 2 cm longer than the width of the gathering fabric you just finished at the end of the sleeve.
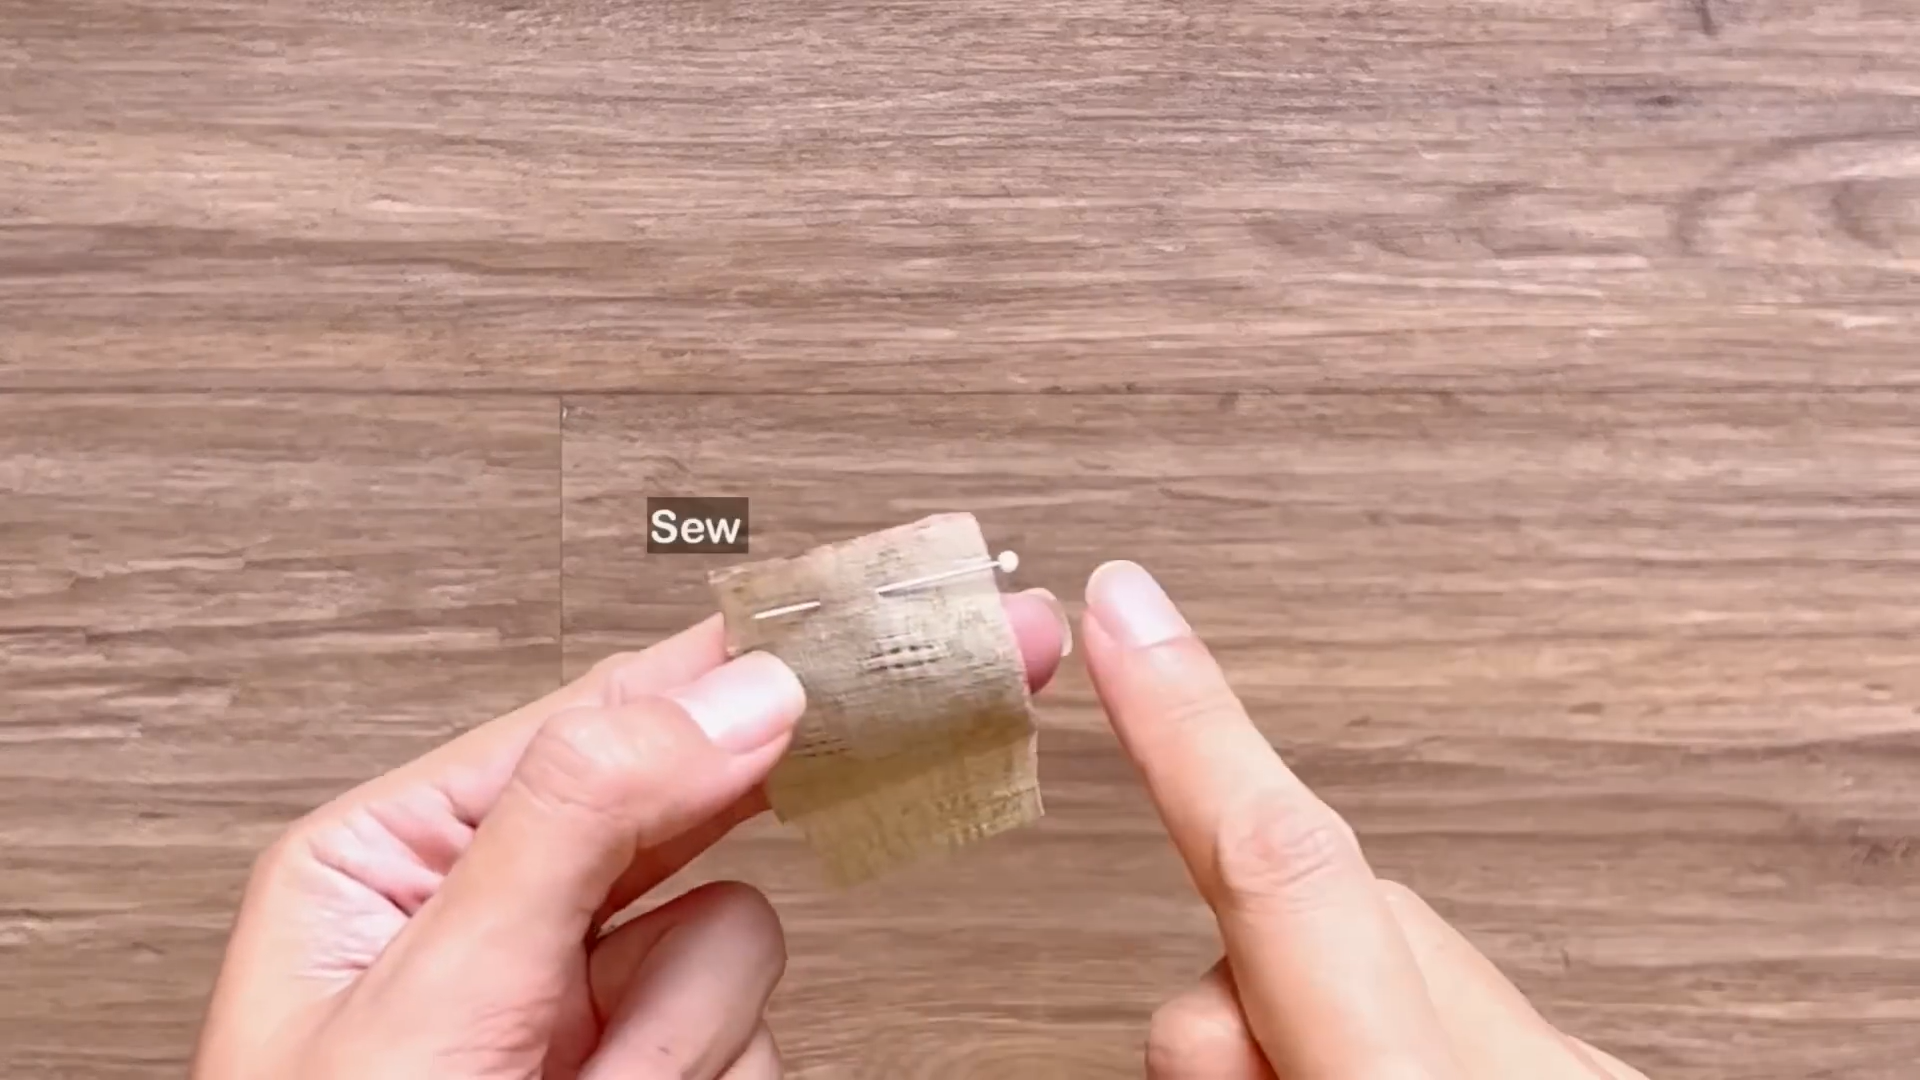
Connect the two width lines of the rectangle together to create a circle fabric first.
Then, connect one side of the circle fabric to the gathering fabric at the end of the sleeve and sew.

After the first seam, fold the other side of the circle fabric inside 1 cm first, then keep folding it over the first seam and make the second seam.

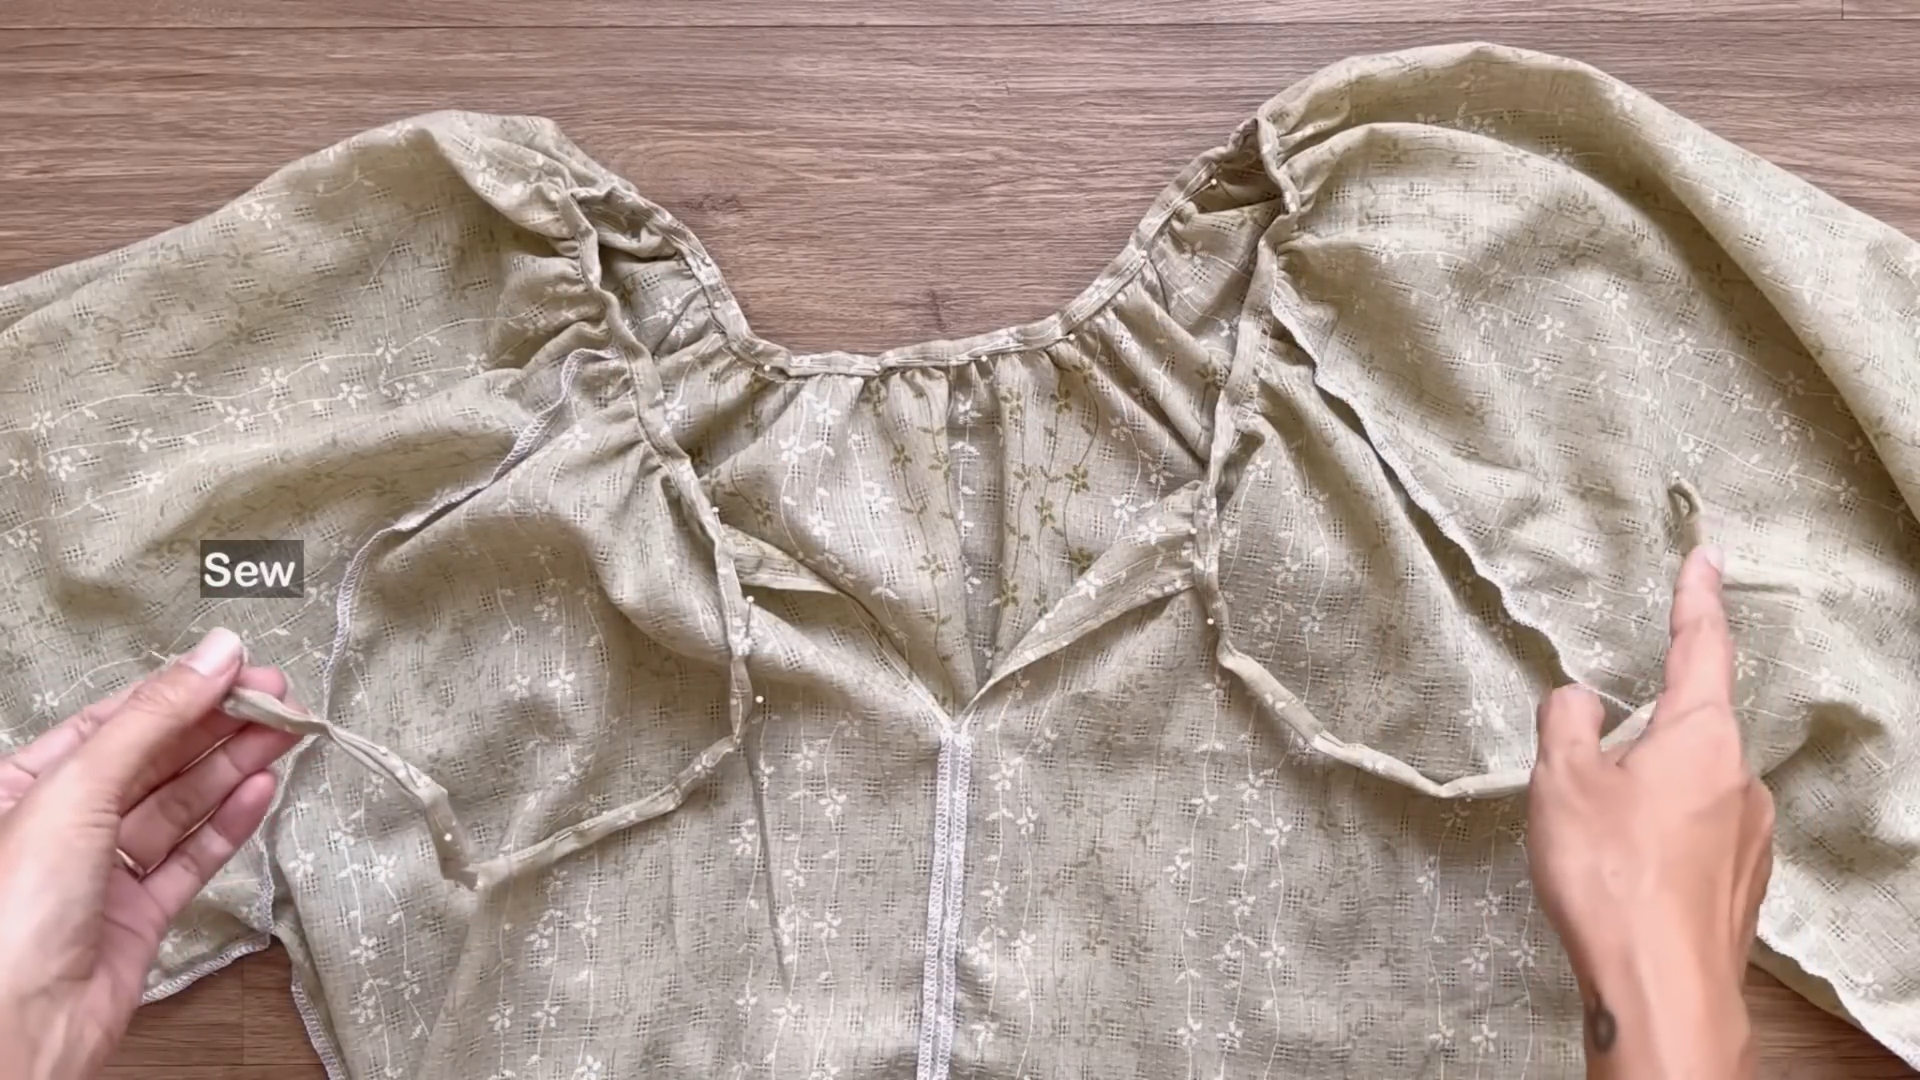
Now, connect the two sleeves to the main bodice at the sleeve lines.
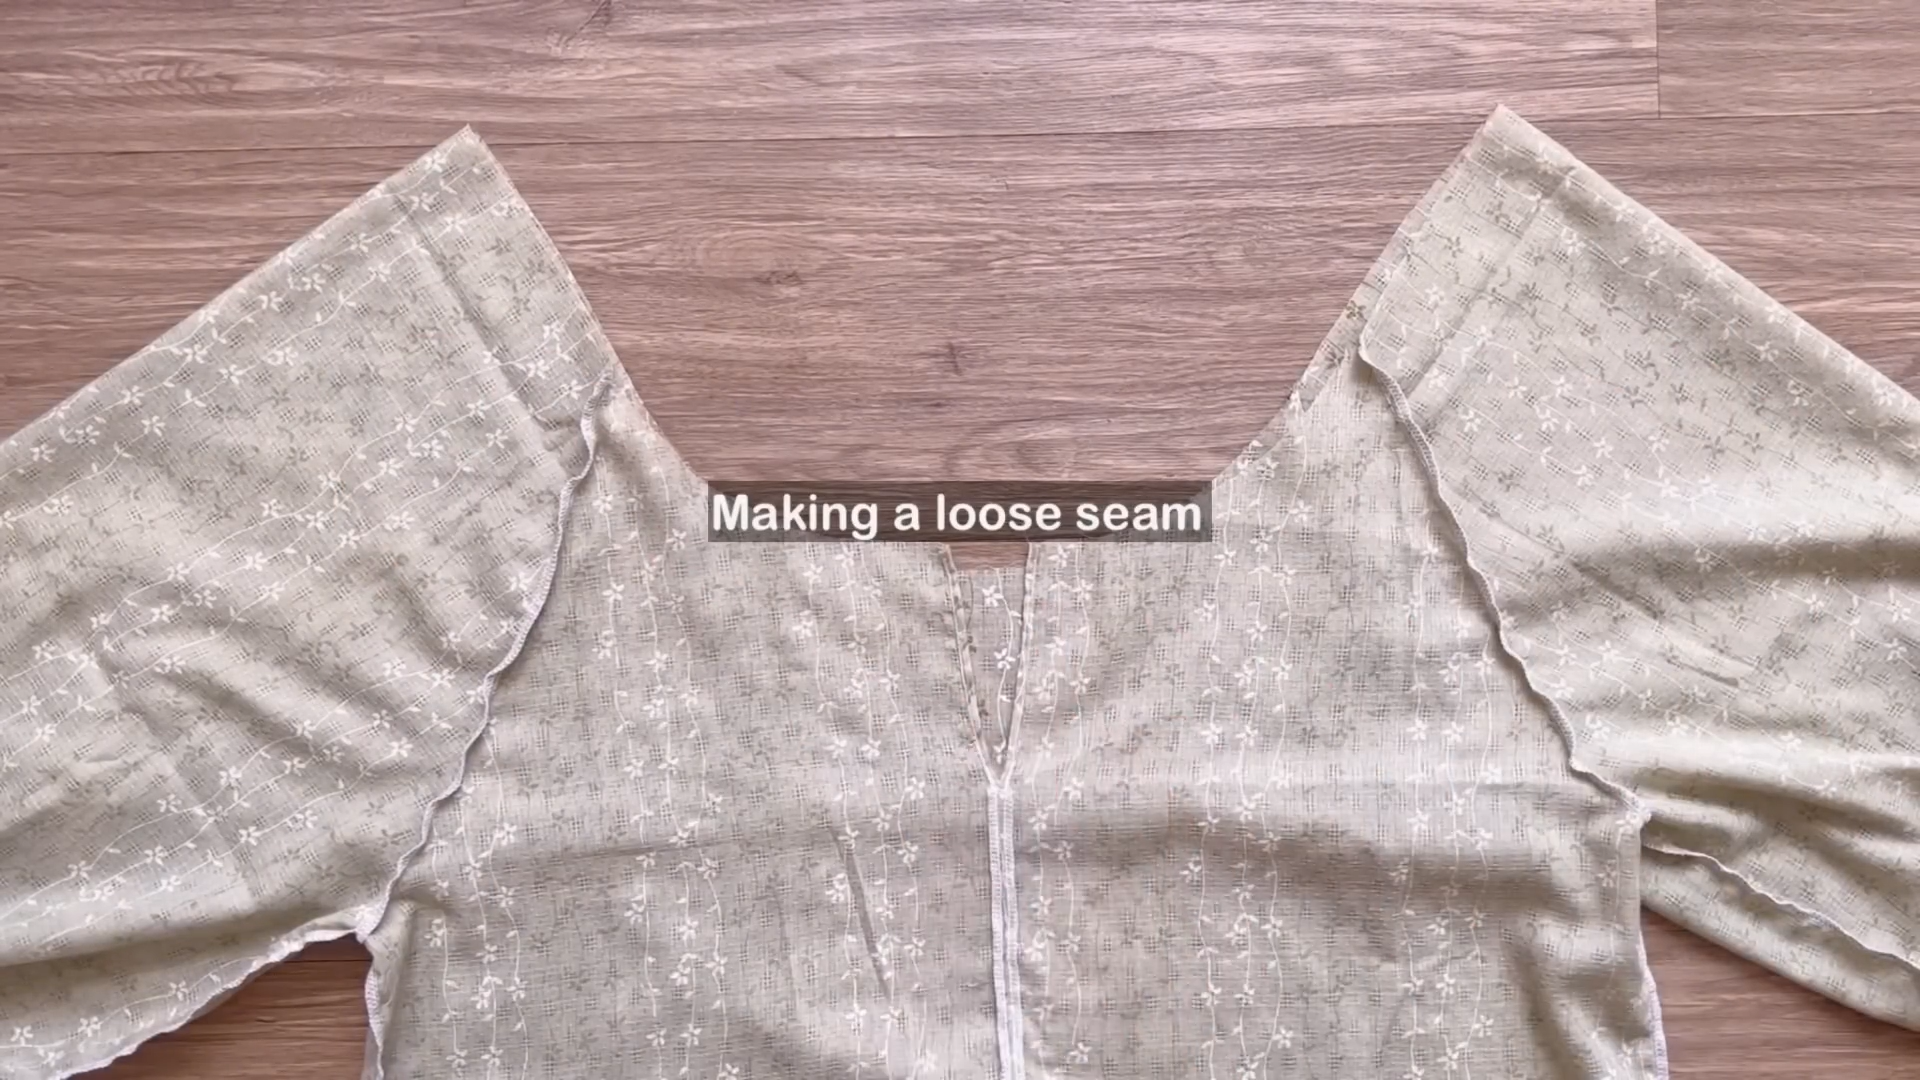
After that, make a loose seam at the neck of the blouse first, then create a gathering fabric there later.
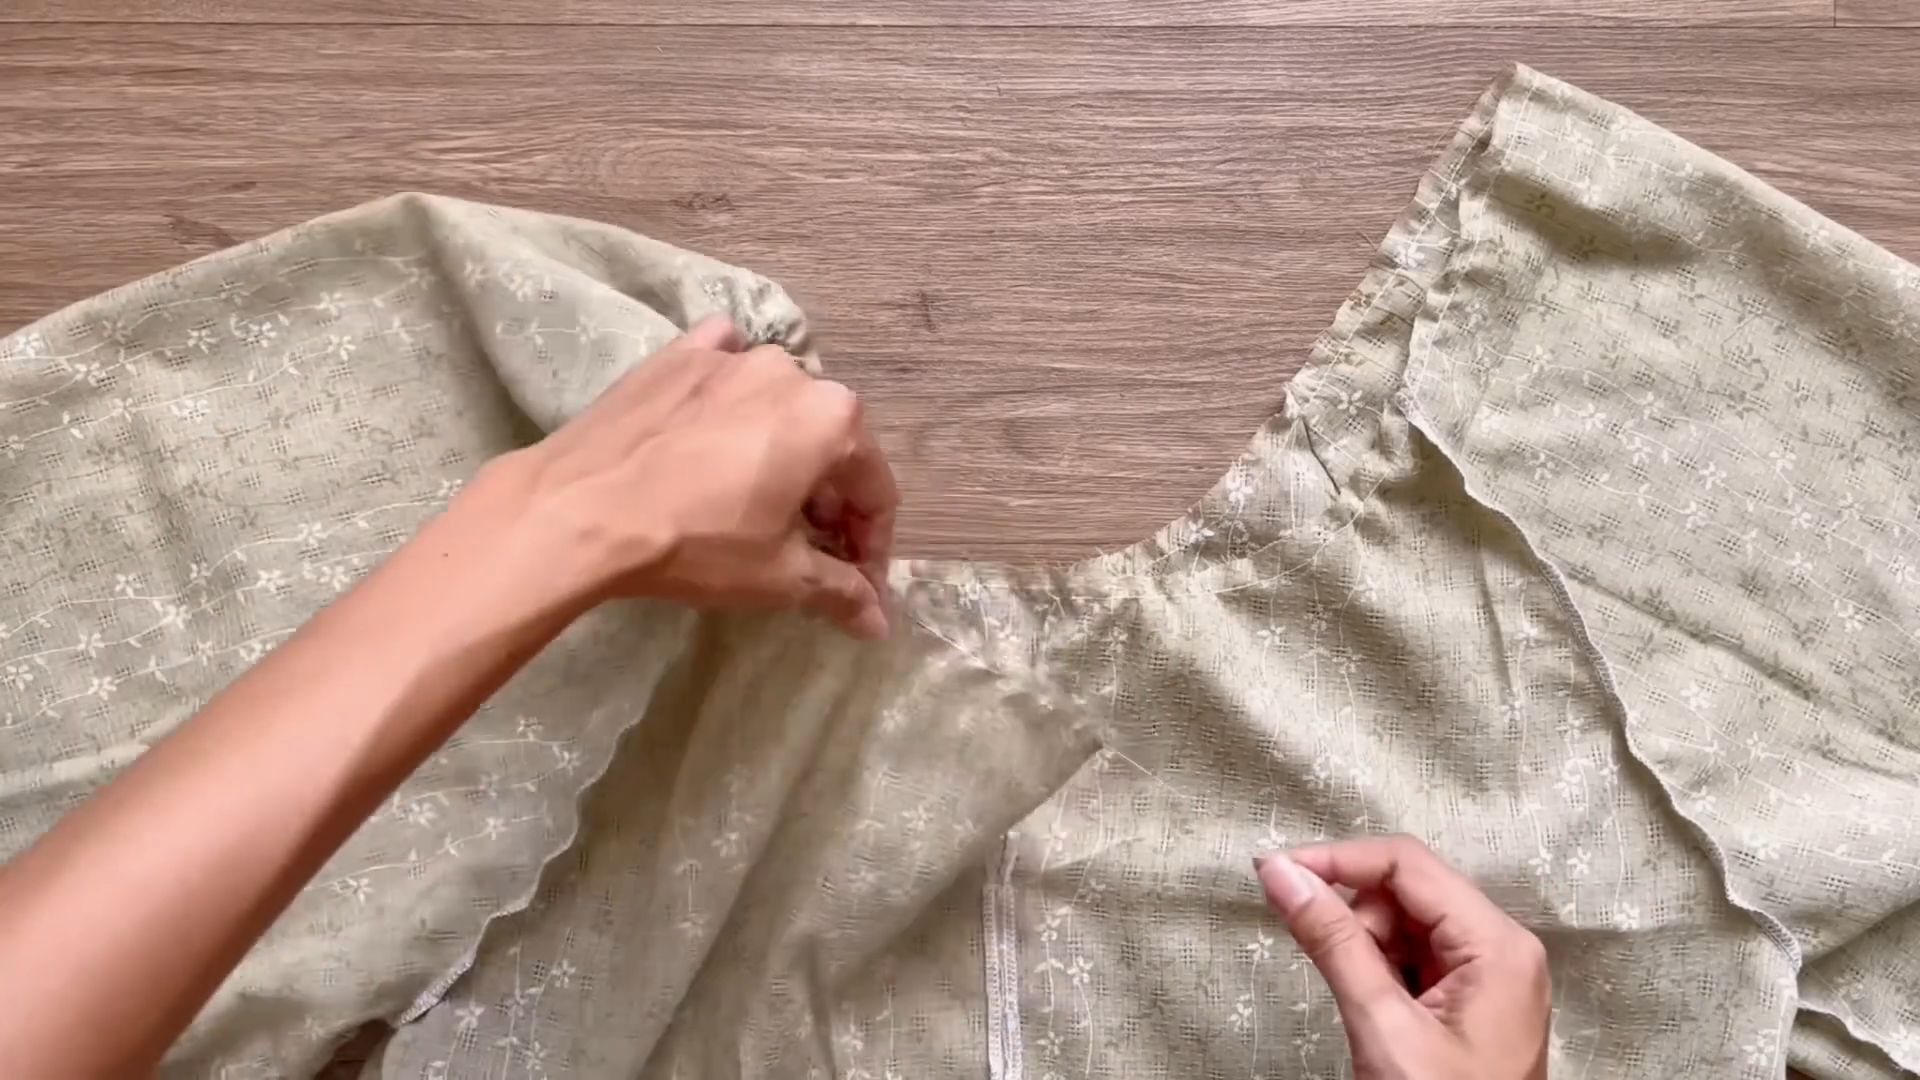
The final width of the gathering fabric should be bigger than the width of your head so you can wear the blouse over your head.

The width between the two sleeve lines at the front and the back of the blouse should be the same as the width between the two inside shoulders.
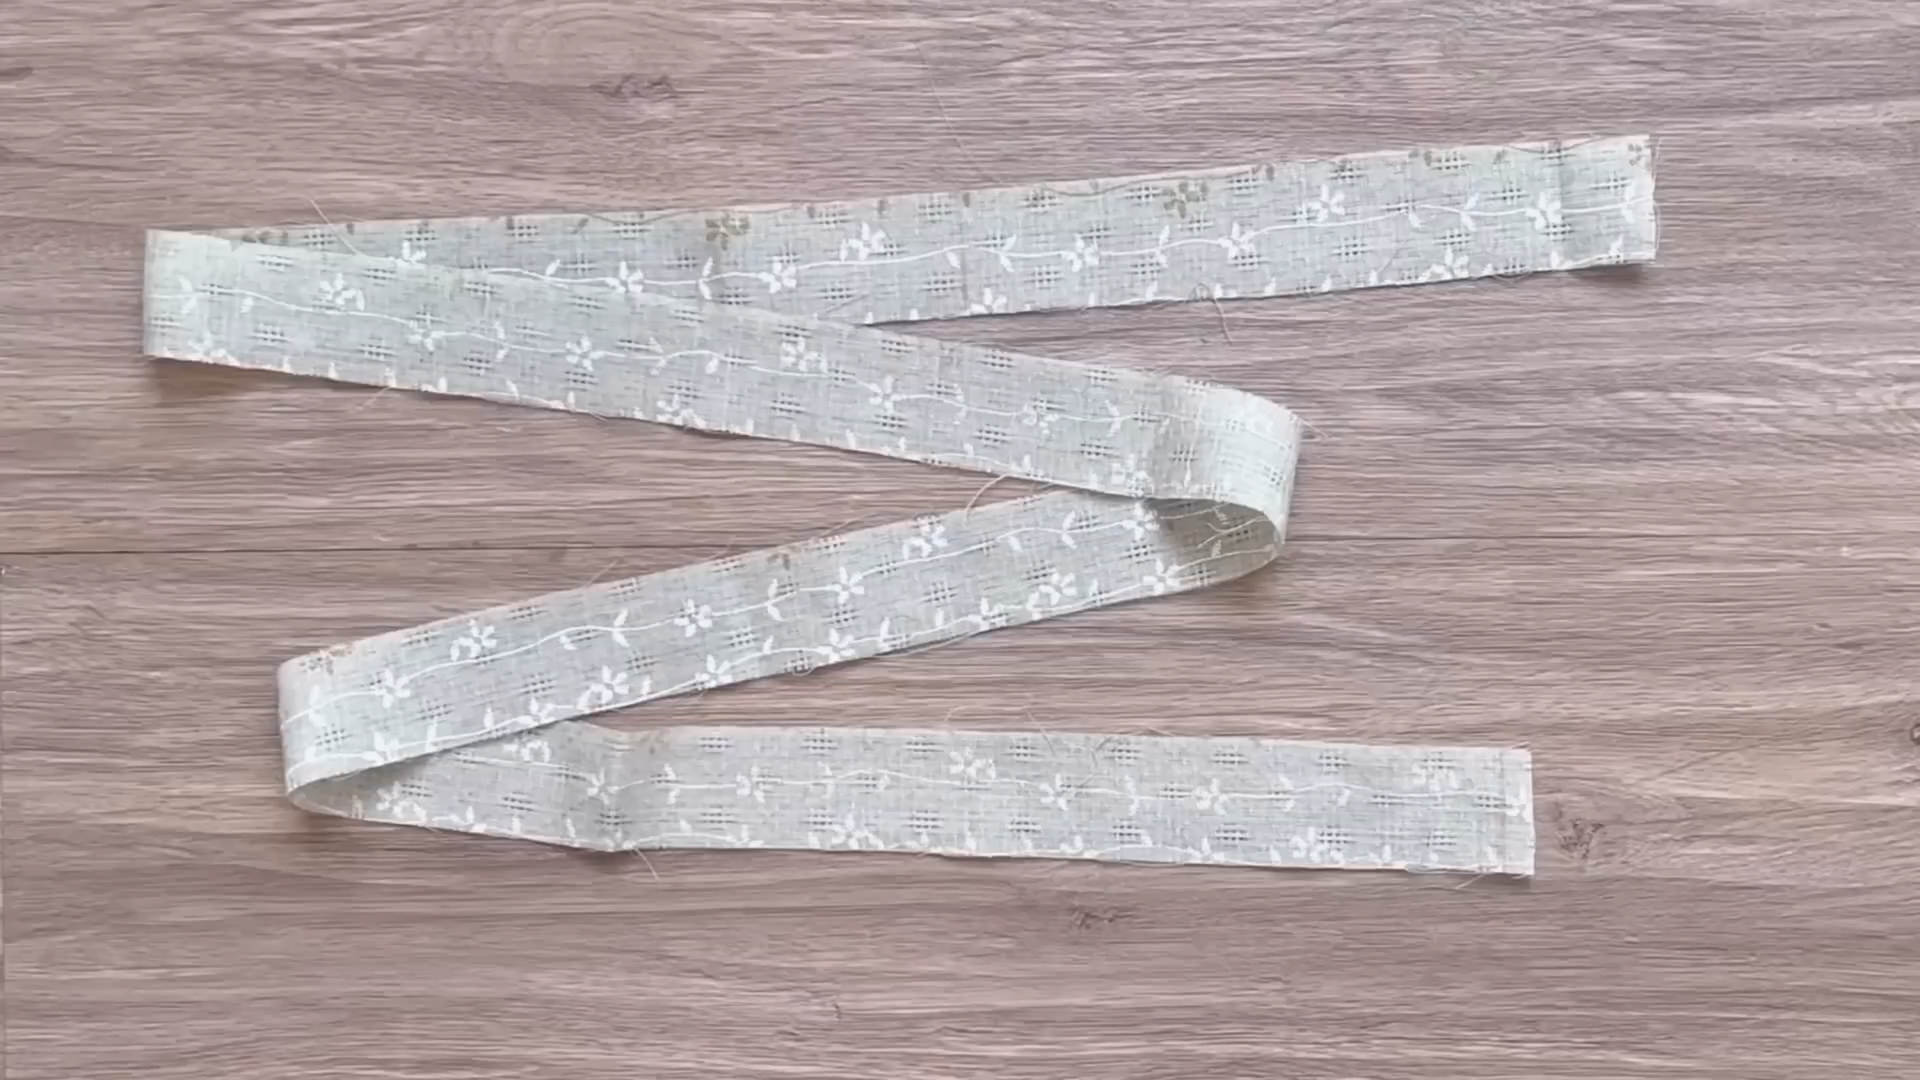
Cut a long fabric line with a width of 4 cm, which is four times the width of the hem that you want in the neck of the blouse, and around 120 cm in length, which is longer than the width of the gathering fabric so you can have extra fabric to create a tie for the blouse later.
Connect the middle of the fabric line to the middle of the neckline at the back first, then connect the rest together later and sew.
After the first seam, fold the other side of the fabric line inside 1 cm first, then keep folding it over the first seam and make the second seam.
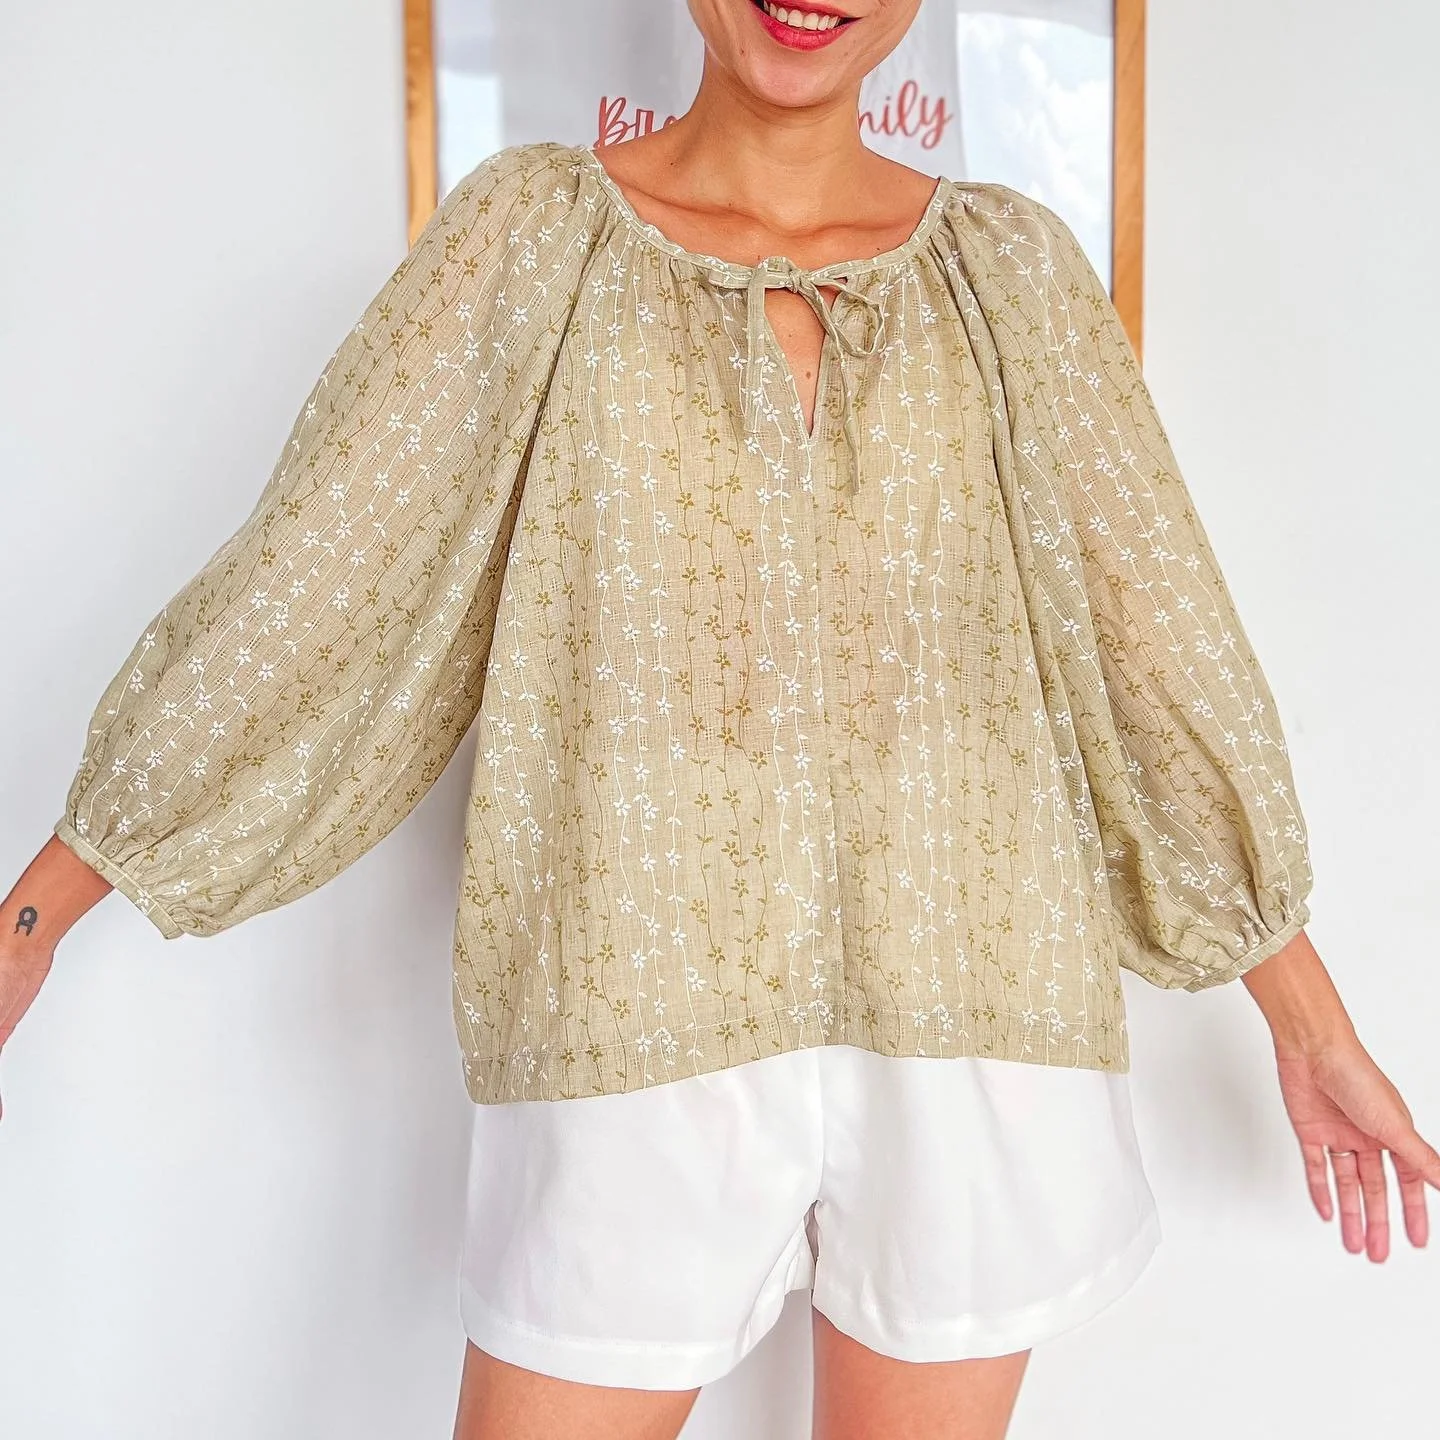
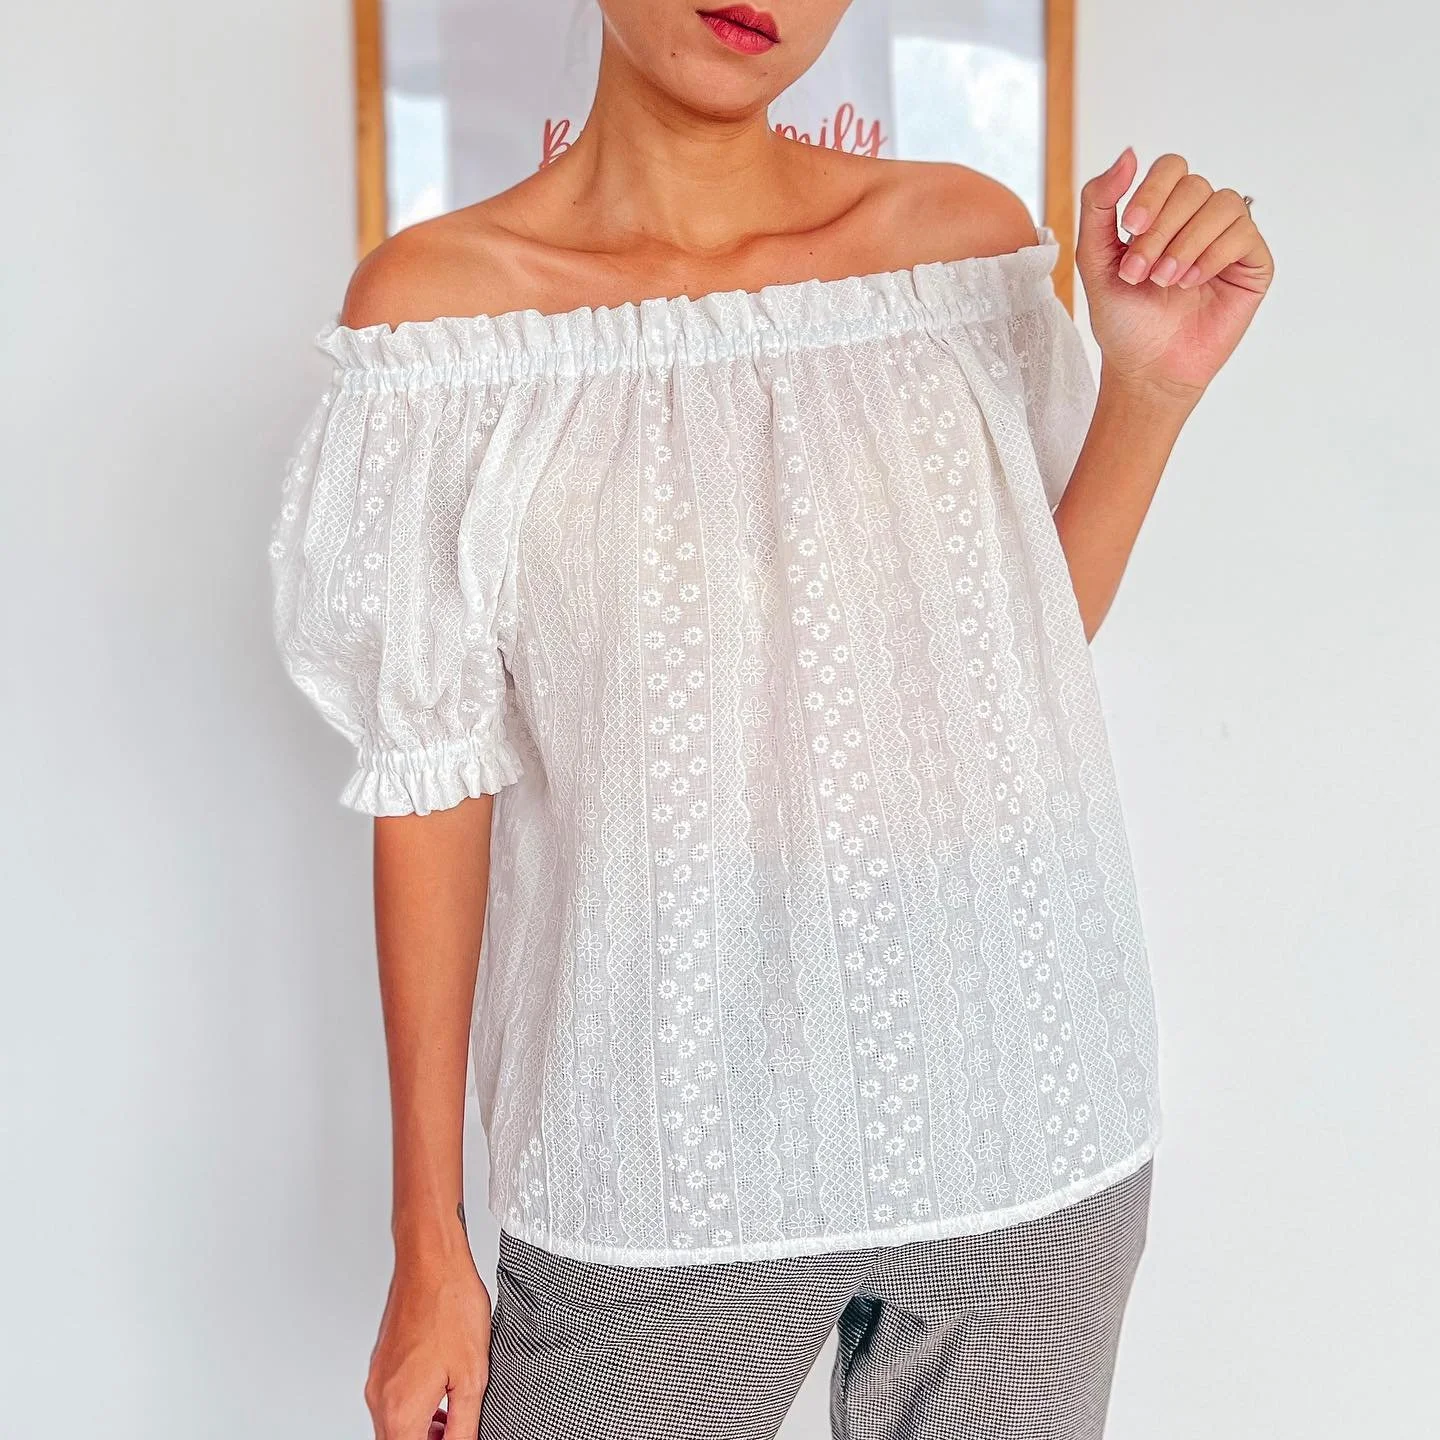
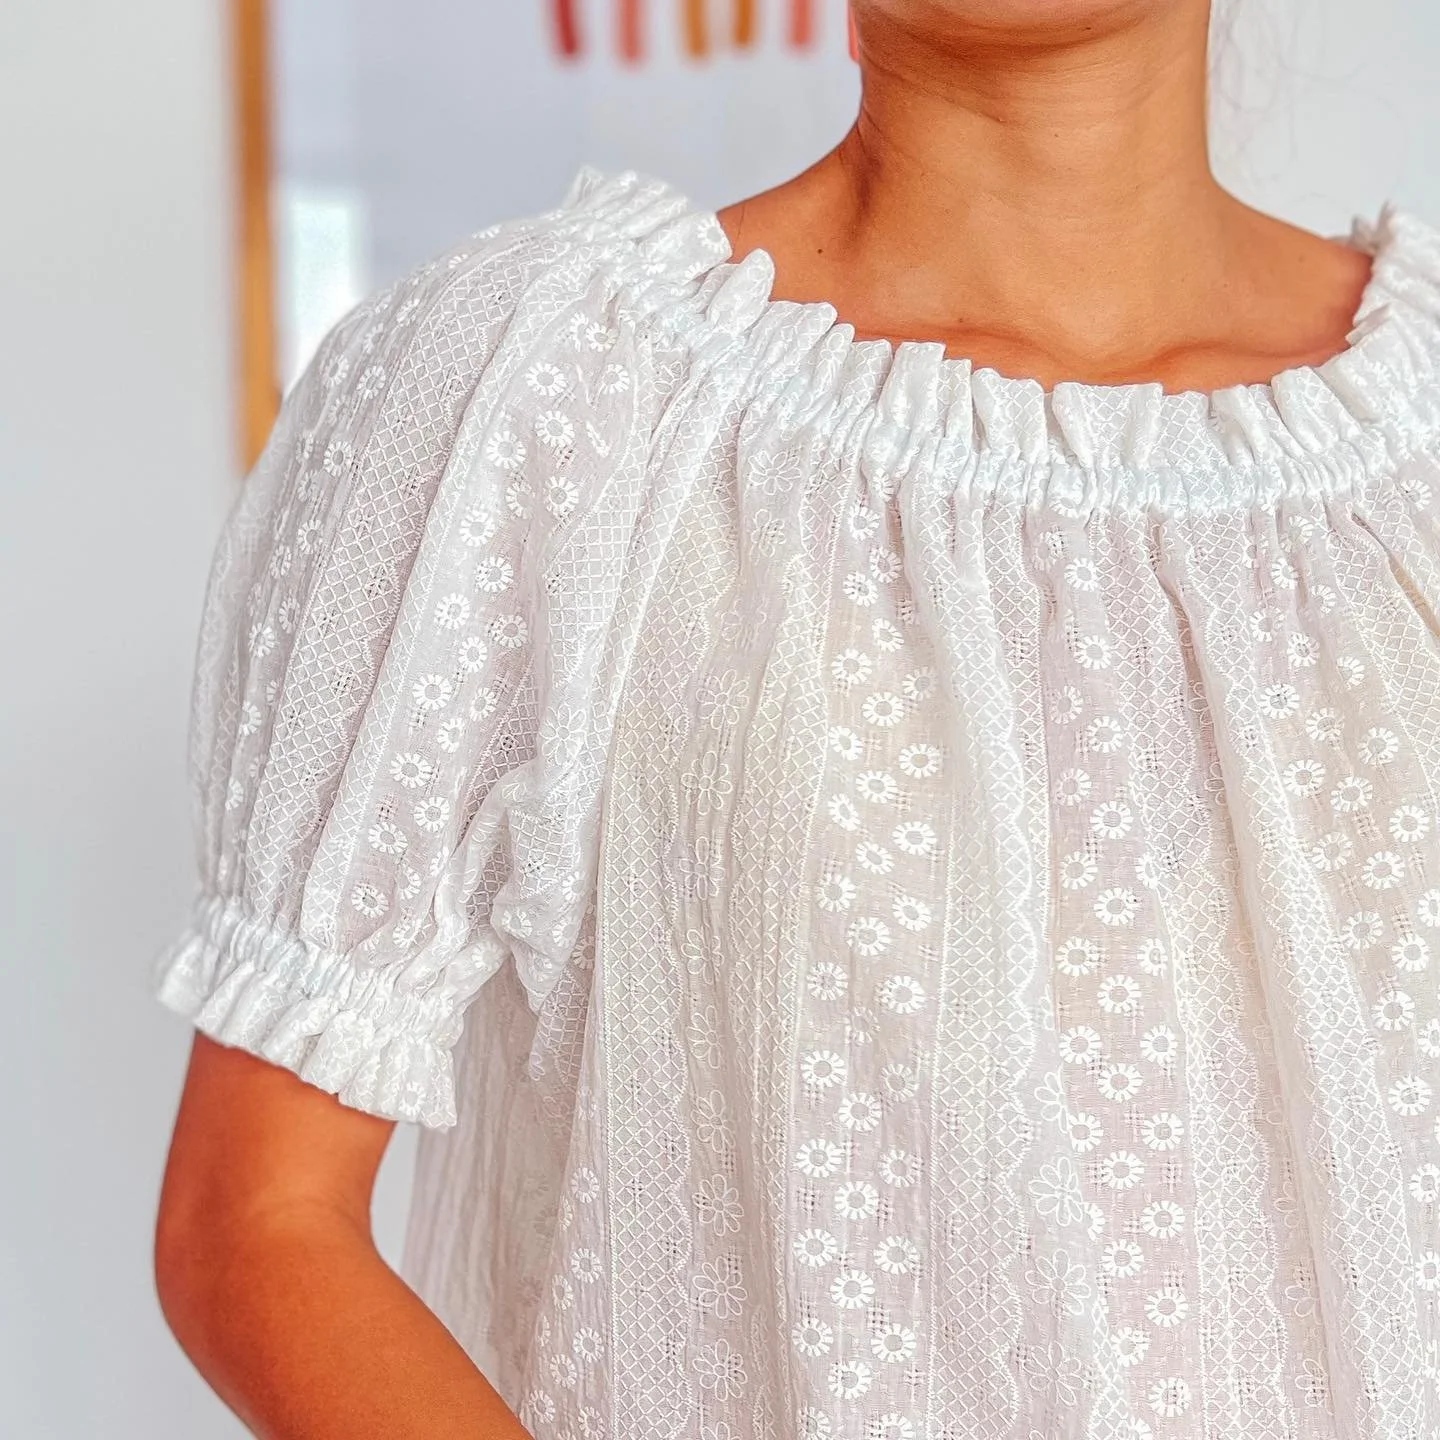
DIY Cute summer blouse - Gathered Neck Blouse
And voila! You’ve successfully completed gathered neck blouse, and the result is a cute and super comfy blouse. Made with light and breathable fabric, it’s perfect for the summer season.
2. ELASTIC NECK BLOUSE
THE PATTERN

The bodice pattern
To make the bodice of the blouse, cut two rectangles with a width of 60 cm, which is one and a half times a half of your bust size, and a length of 60 cm, which is the length from your shoulder to your hip. This will also be the length of the blouse you want.
Fold the two rectangles together before drawing. From the top of the length line, mark at 10 cm on the width line so the width between two marks on the width line will be 40 cm, which is half of your bust size. From the top of the length line, make another mark at 24 cm on the length line. This is a quarter of your bust size plus 4 cm for the folding of the neck later.
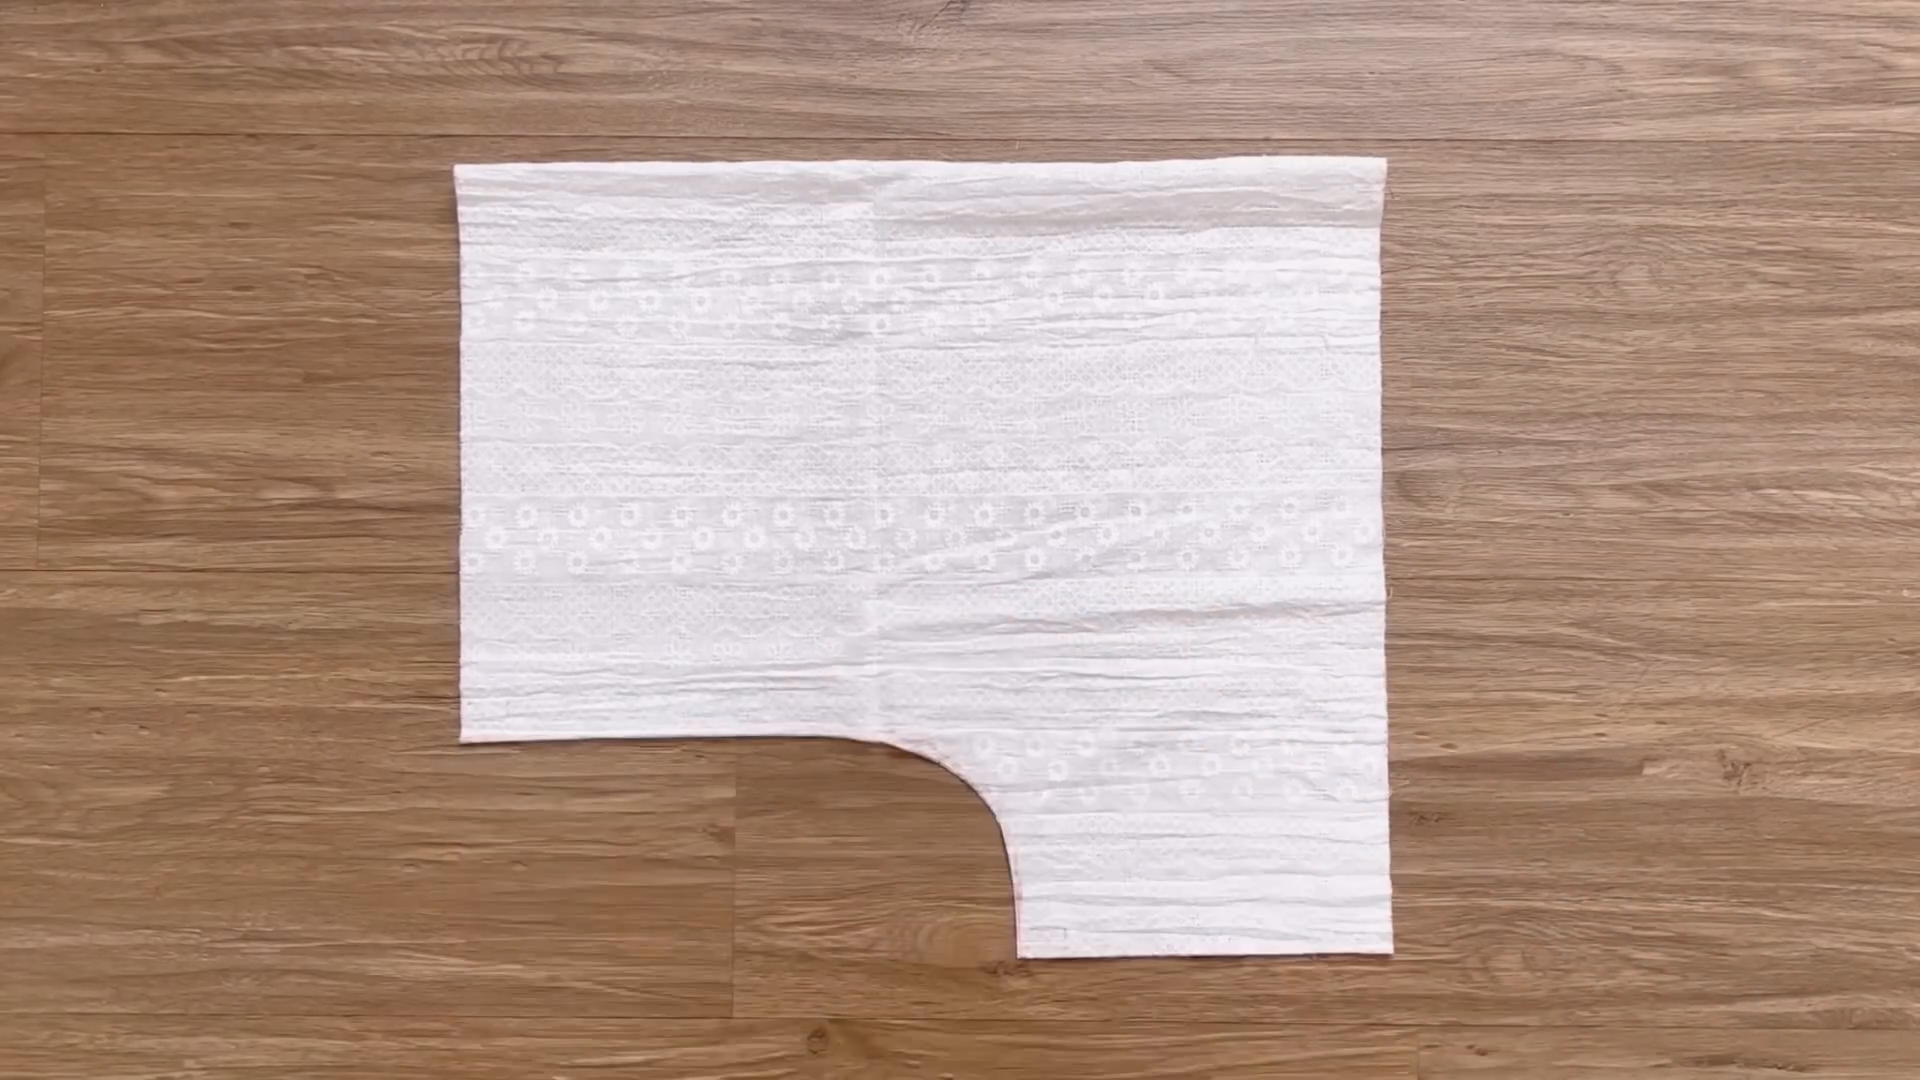
Connect the two marks together by a curved line.
THE BODICE

Then, cut along the drawing line.
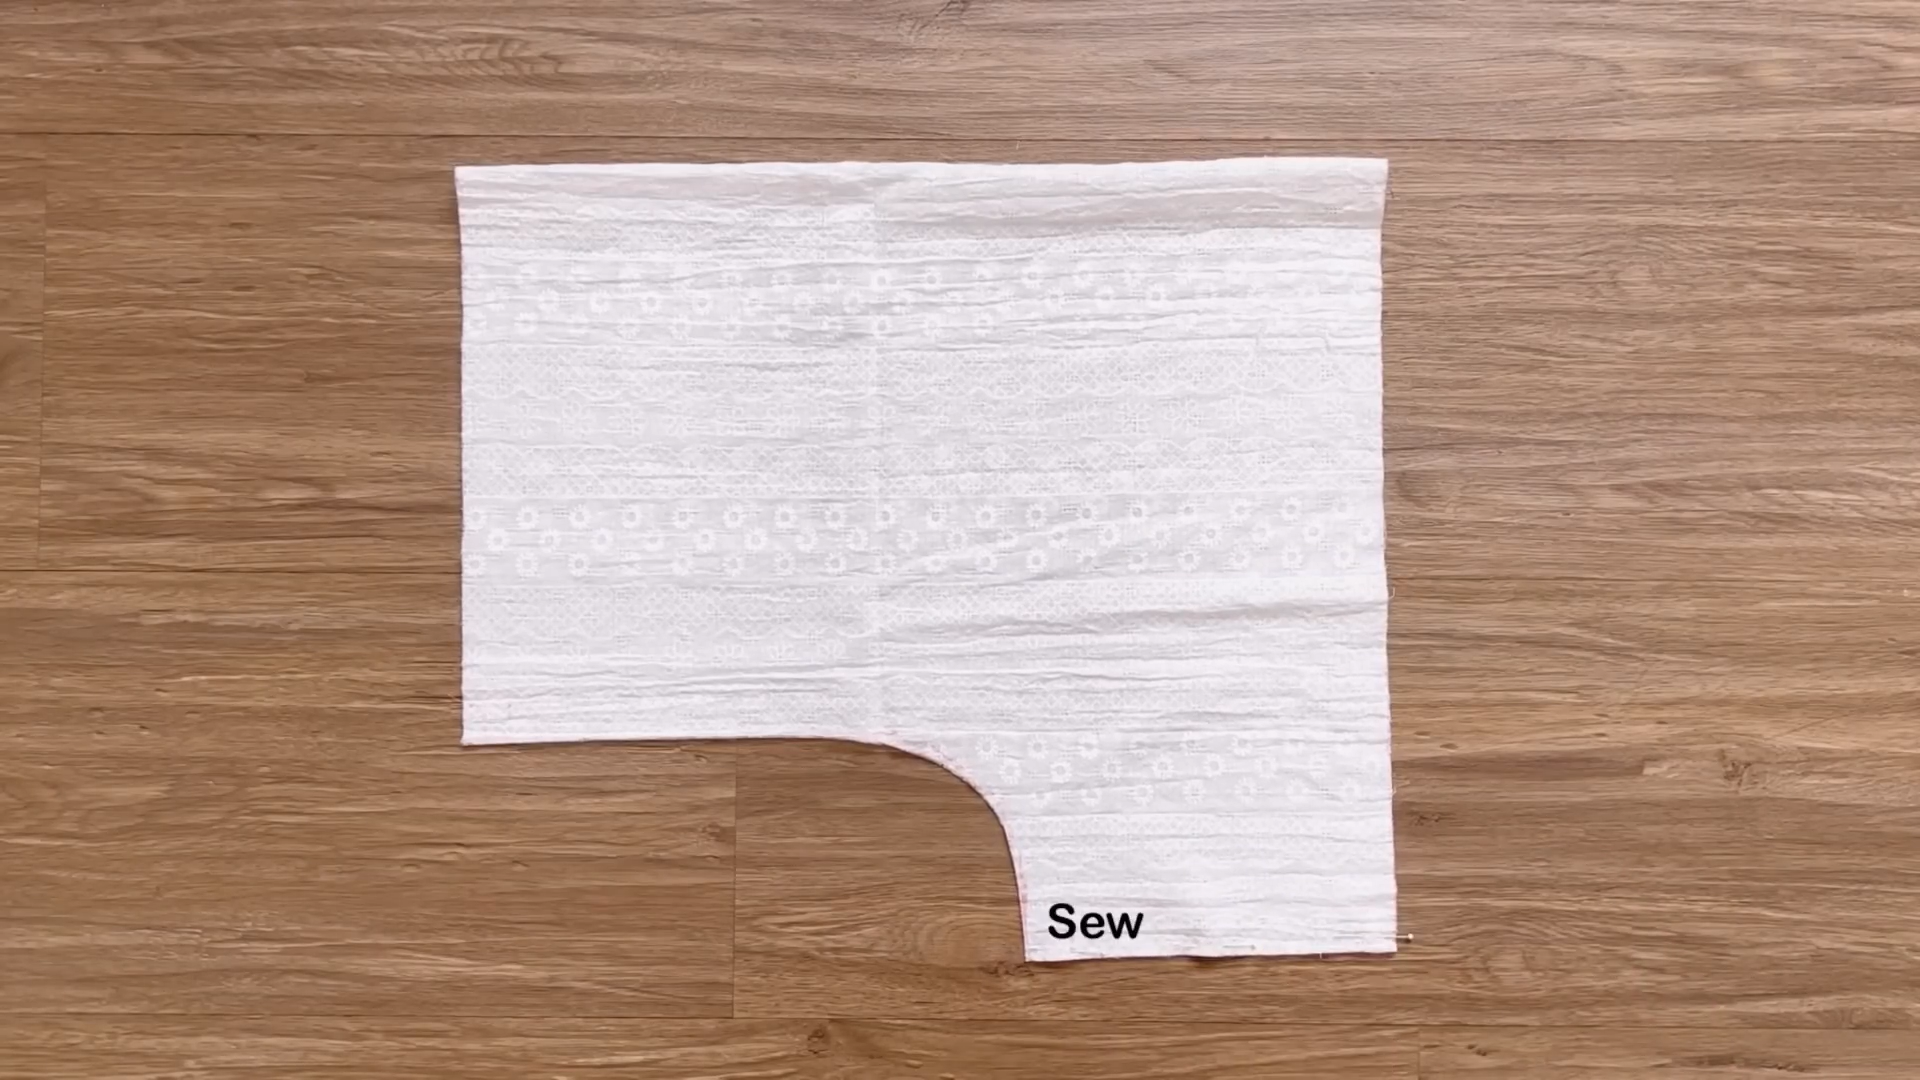
After that, connect the front and the back of the bodice together at two sides and sew.
To finish the end of the blouse, fold the end fabric inside 1 cm first, then keep folding it again and sew.
THE SLEEVE
Cut a rectangle with a width of 60 cm, which is the width of the sleeve that you want, and a length of 40 cm, which is the length from your shoulder to your elbow plus 8 cm for the folding of the neck and the end of the sleeve later.
Fold the rectangle in half along the width line first.
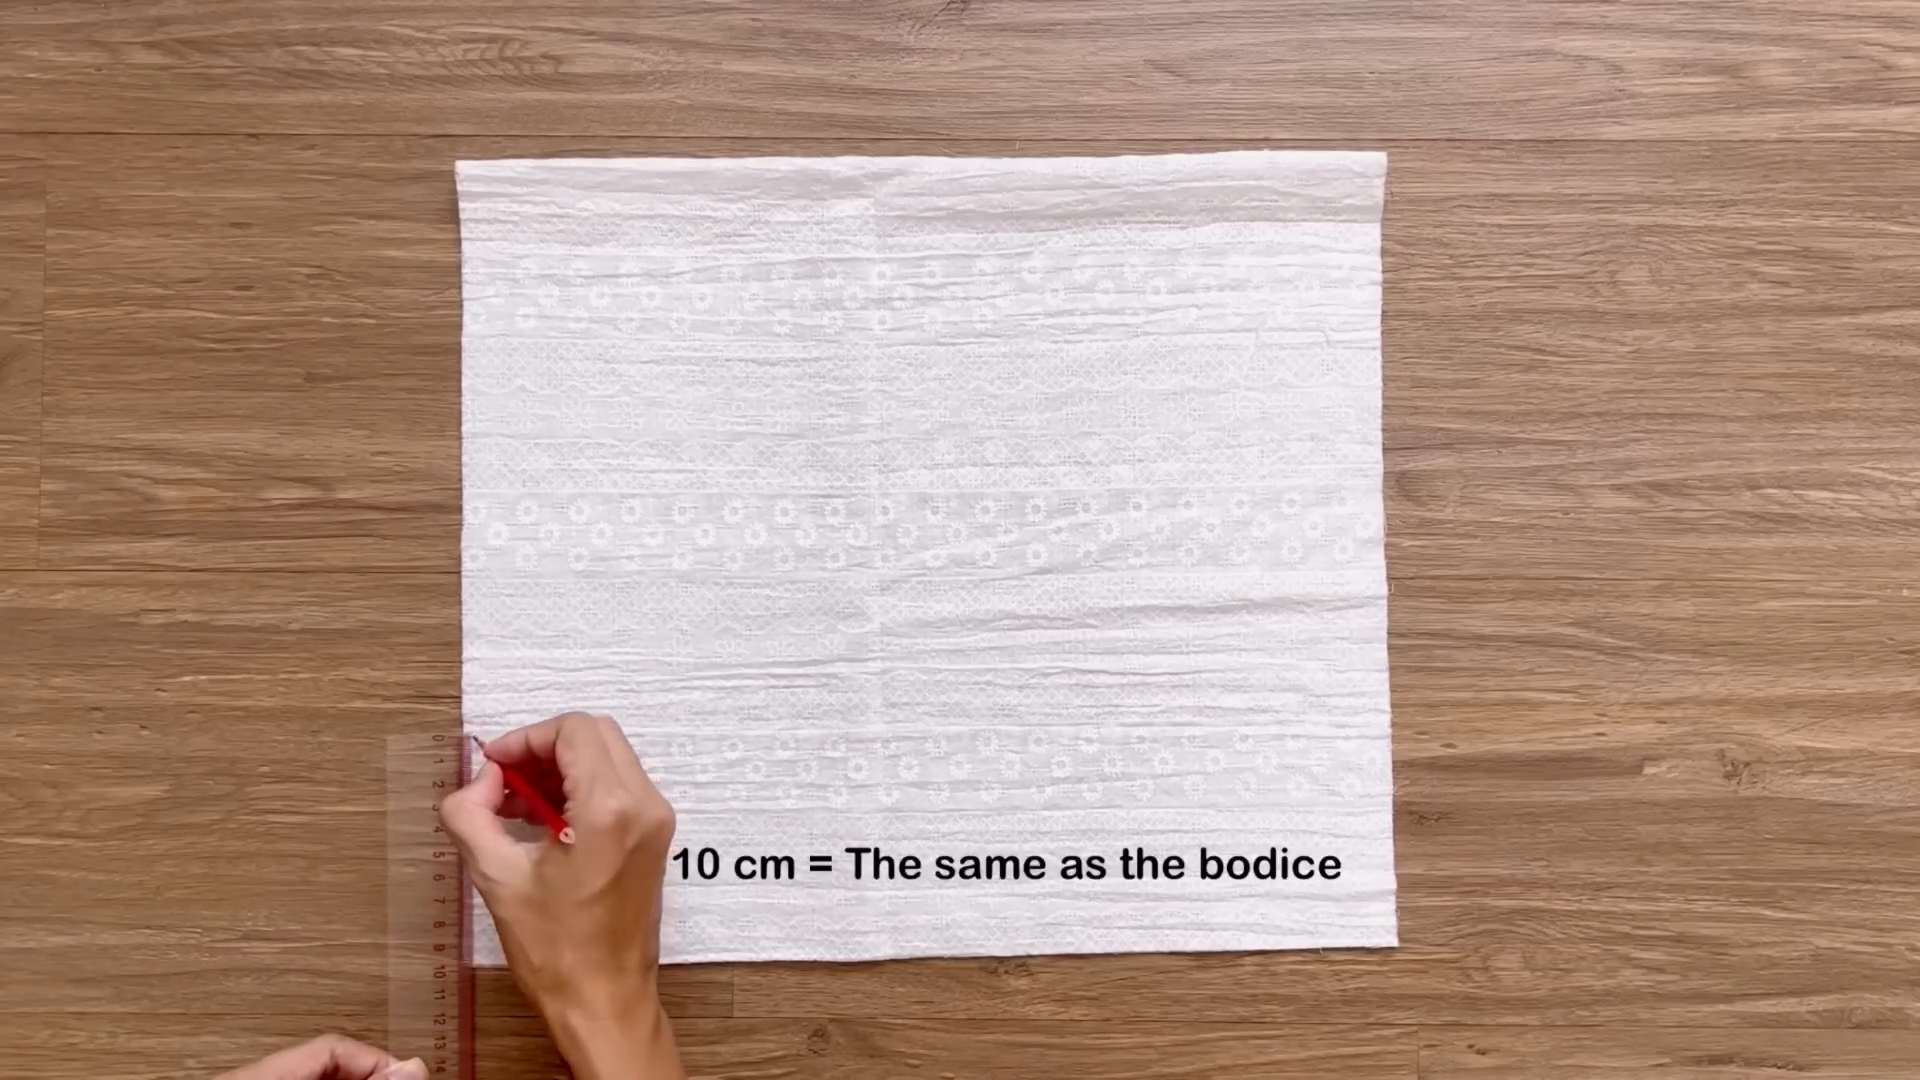
From one end of the length line, mark up 10 cm on the width line. This should be the same as the bodice you made before.
Also, make another mark at 24 cm on the length line, then connect the two marks together by a curved line.
Make sure this curved line will be the same as the curved line you made at the bodice before so you can connect them together later.
After cutting, connect the two under armpit lines together.
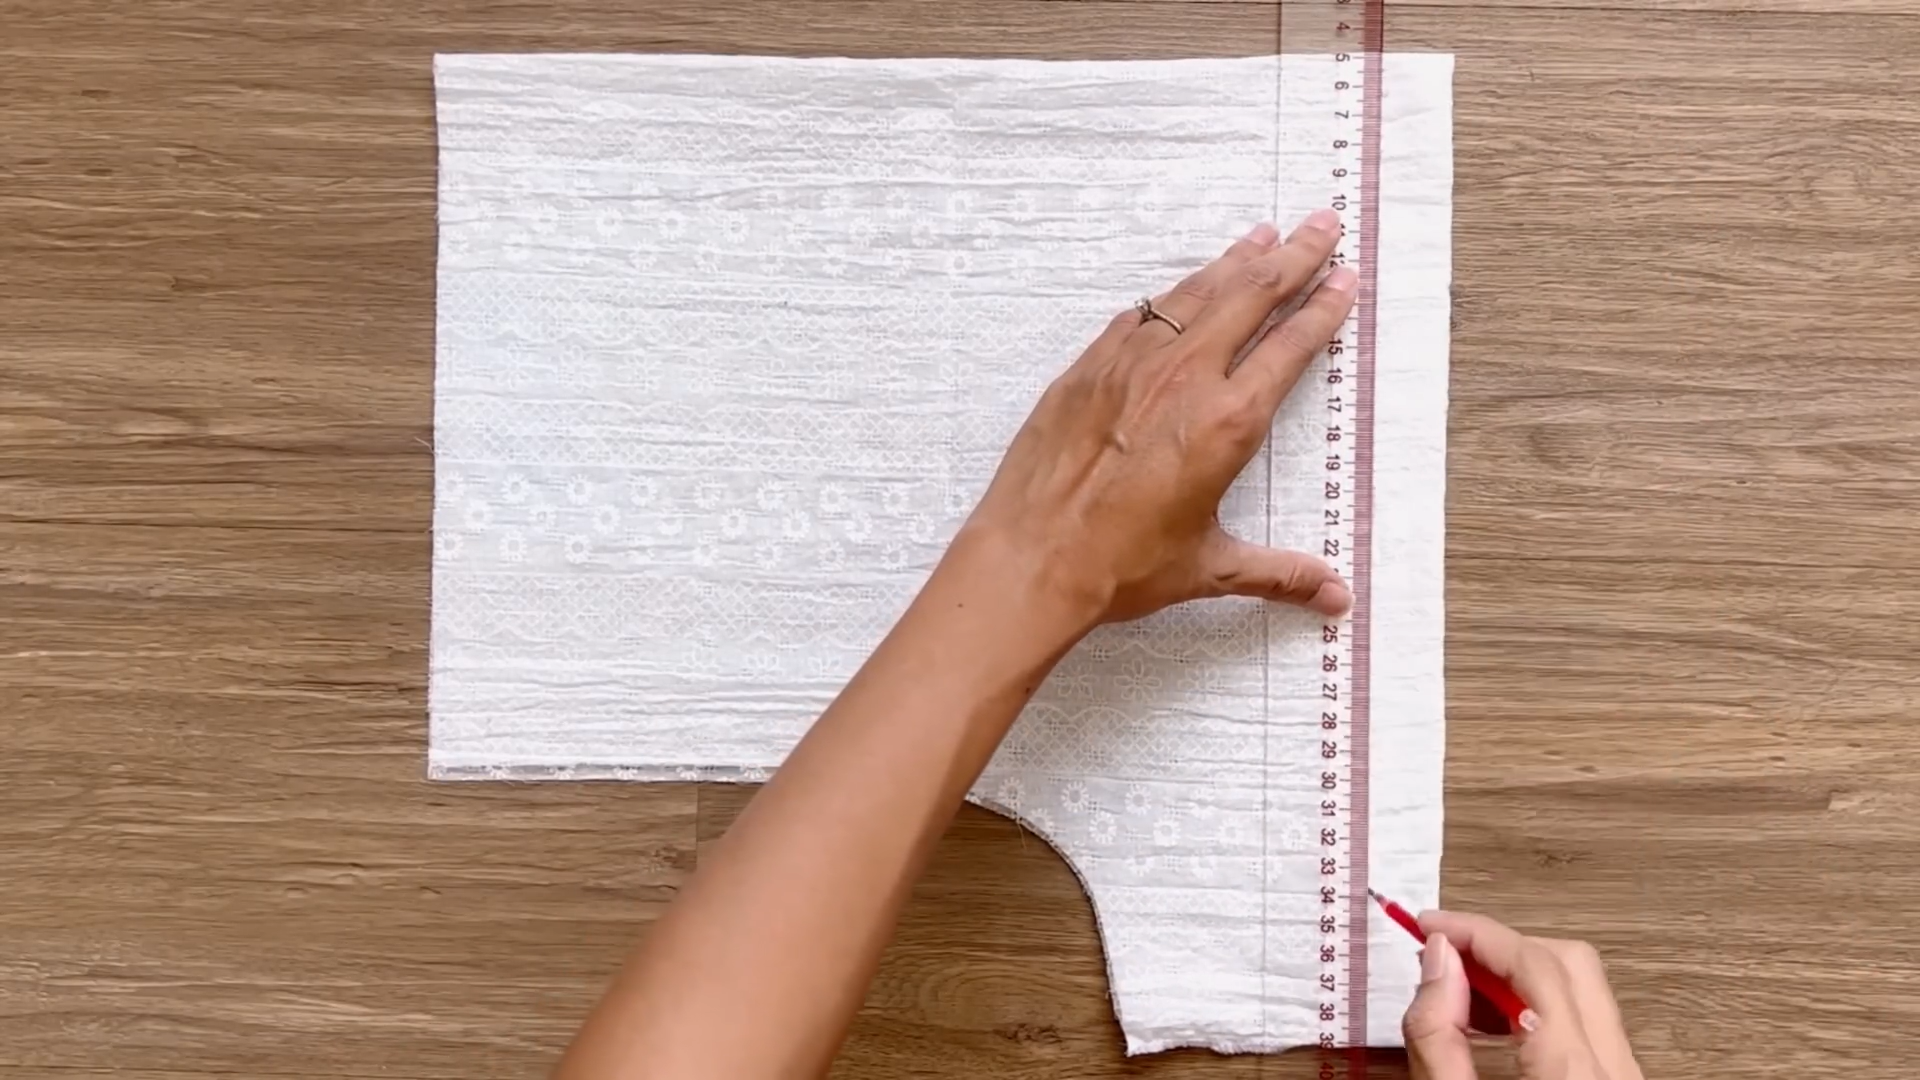
From the end of the sleeve, draw a line 8 cm above it.
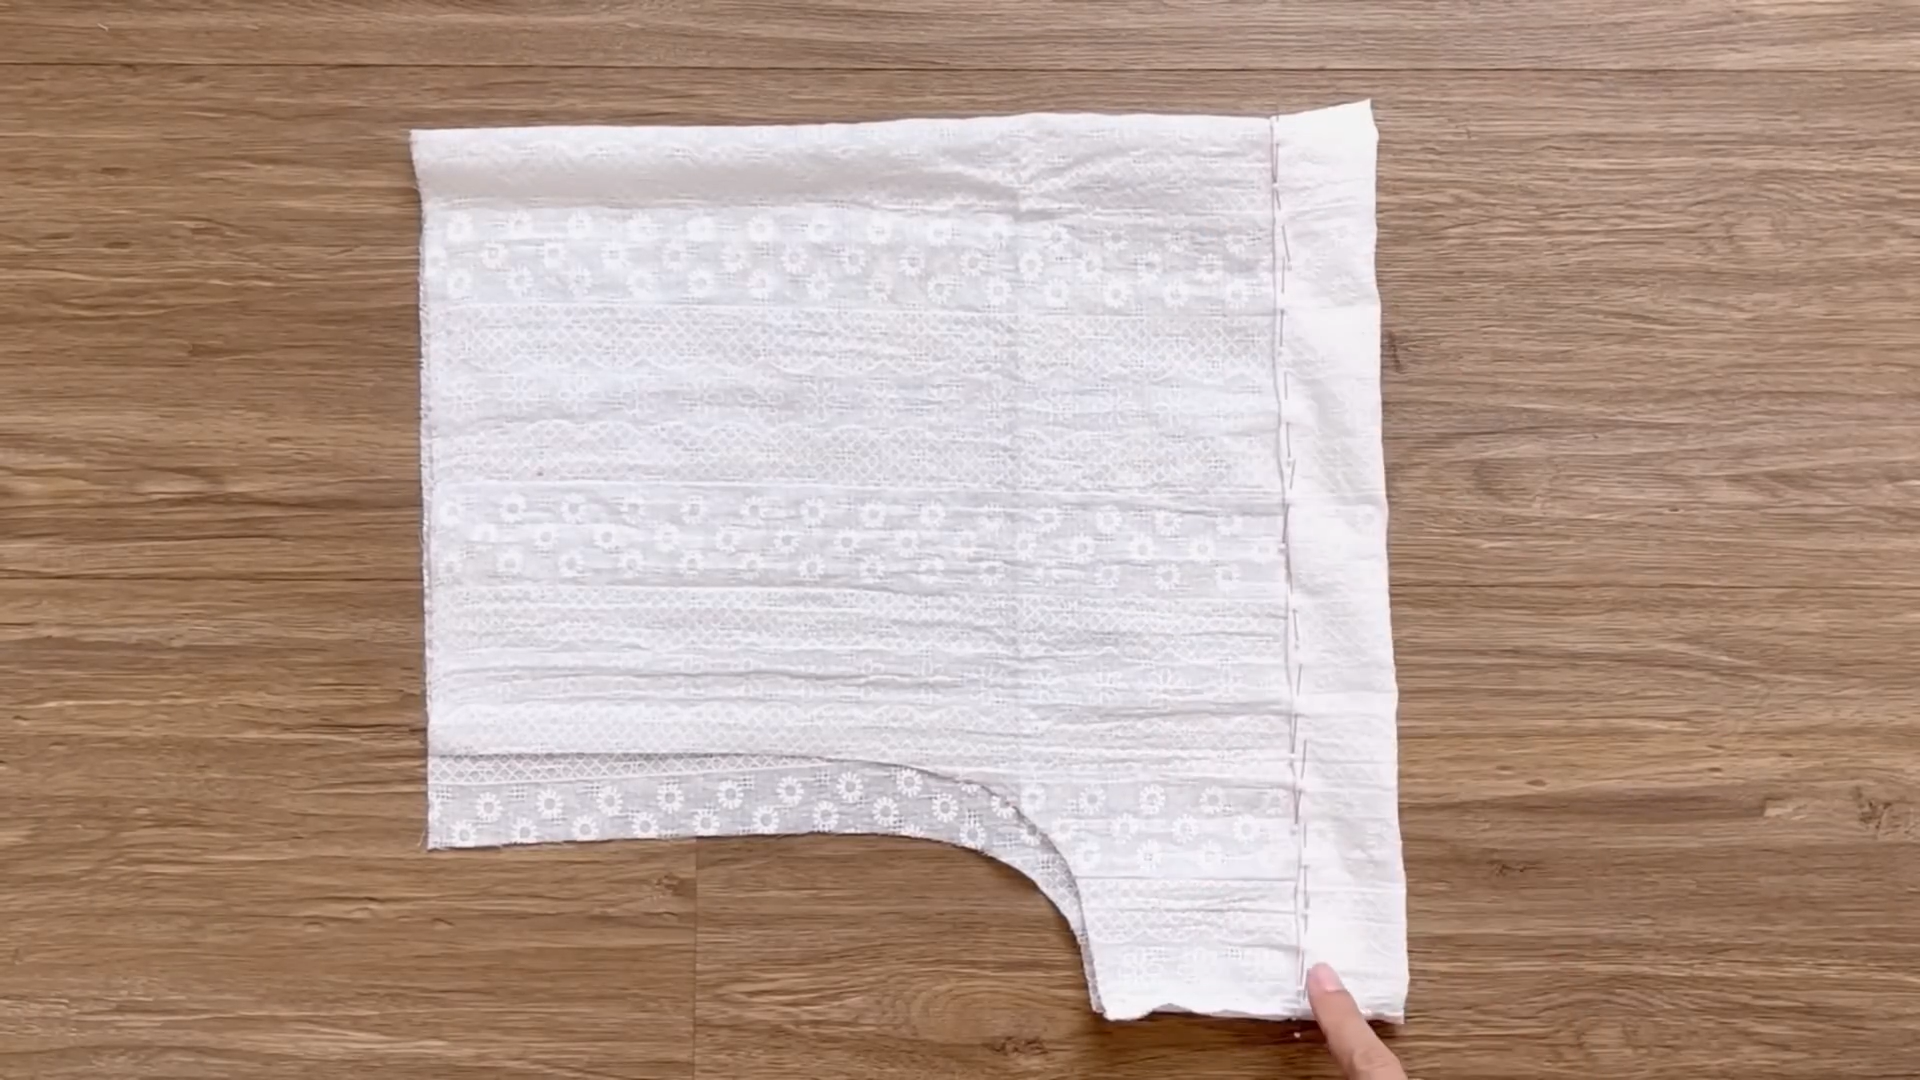
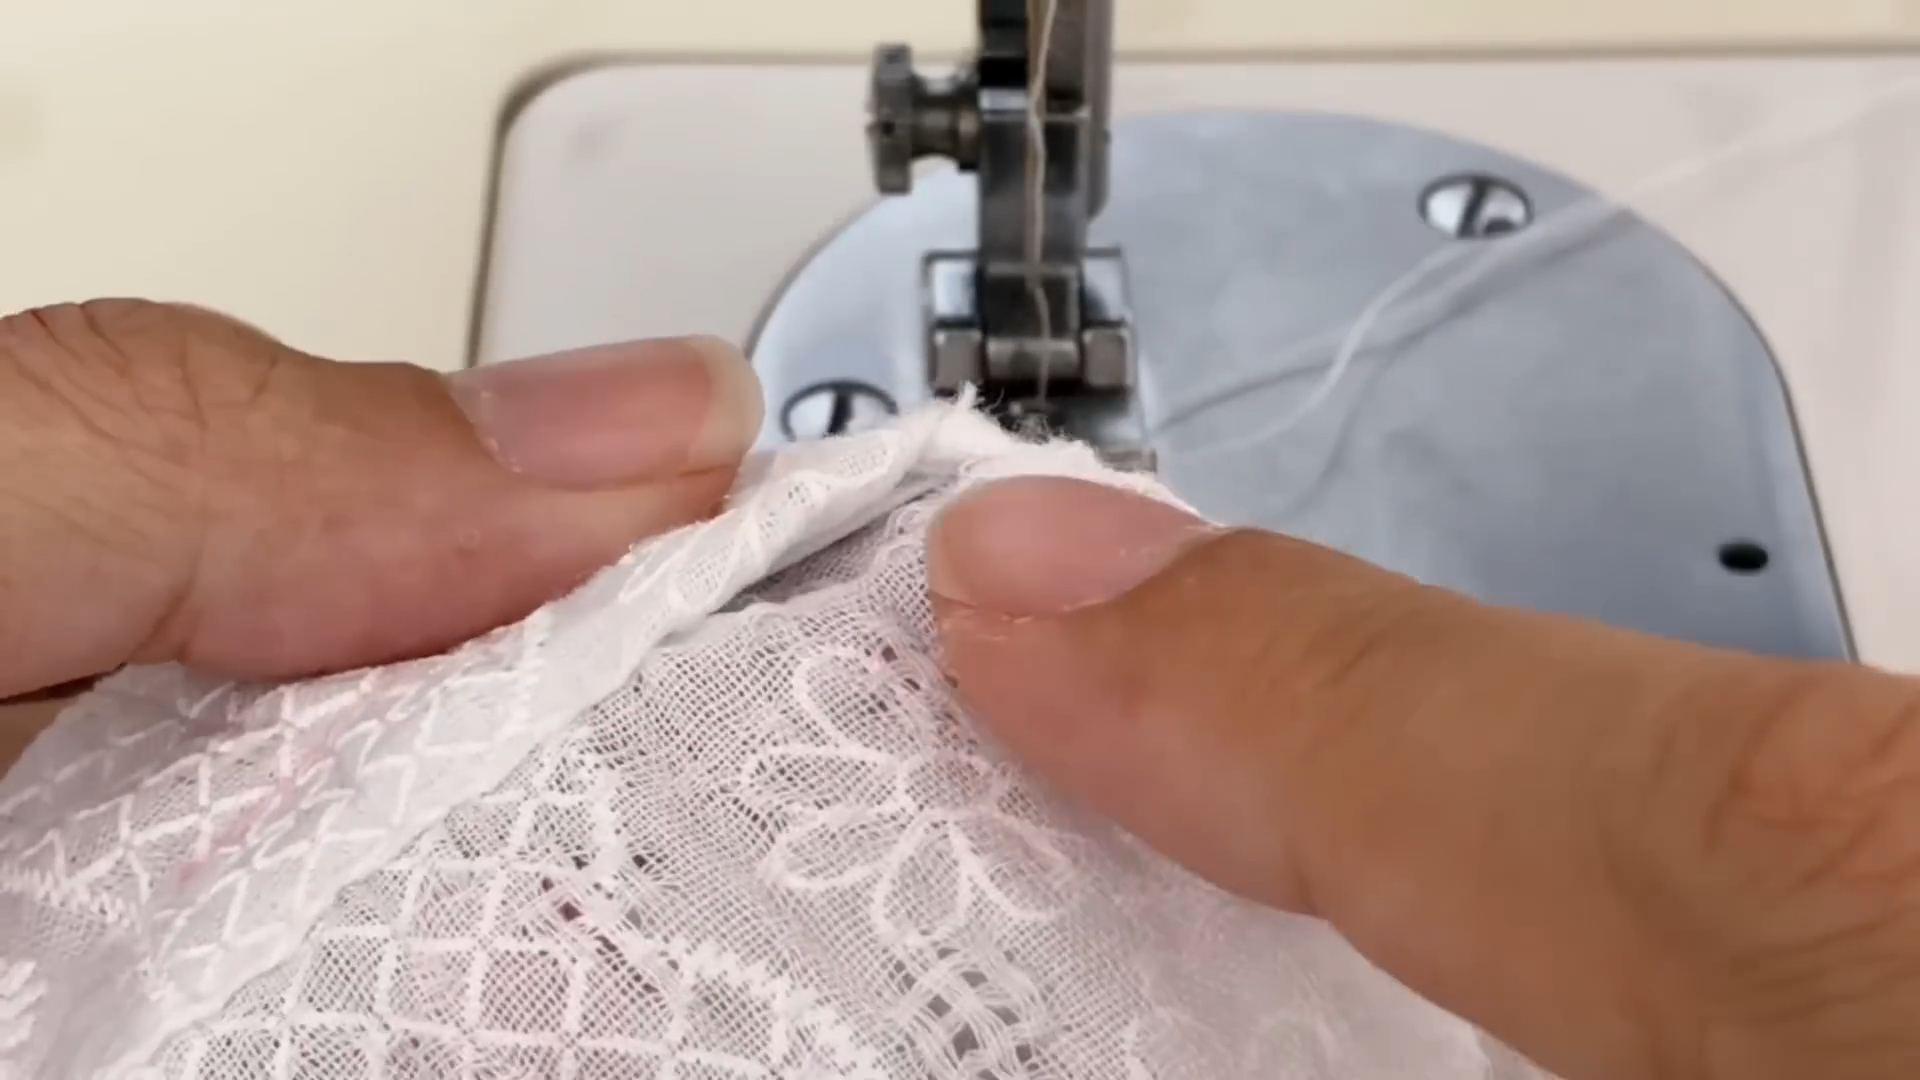
After that, fold the end fabric inside around a half centimeter first, then keep folding it to the line you just drew before and sew.
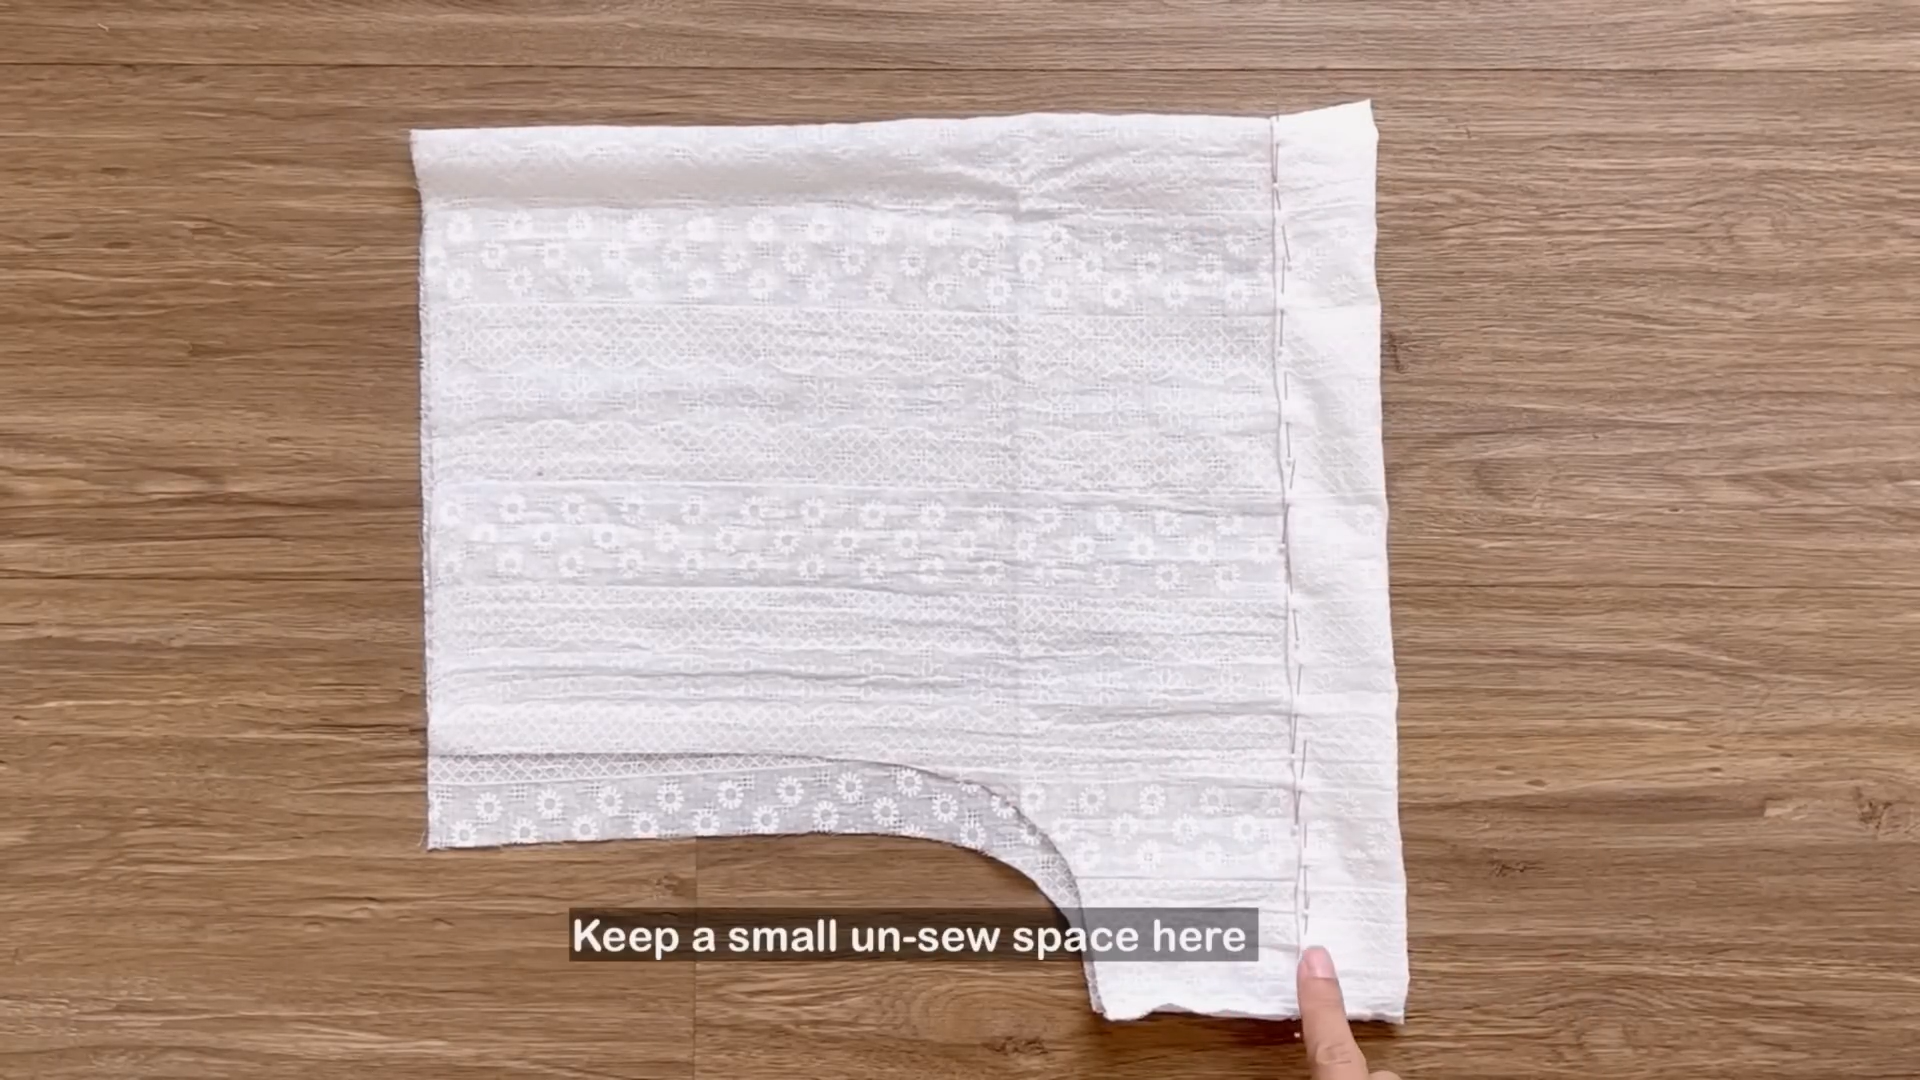
Keep a small un-sewn space there for the elastic band to go through later.
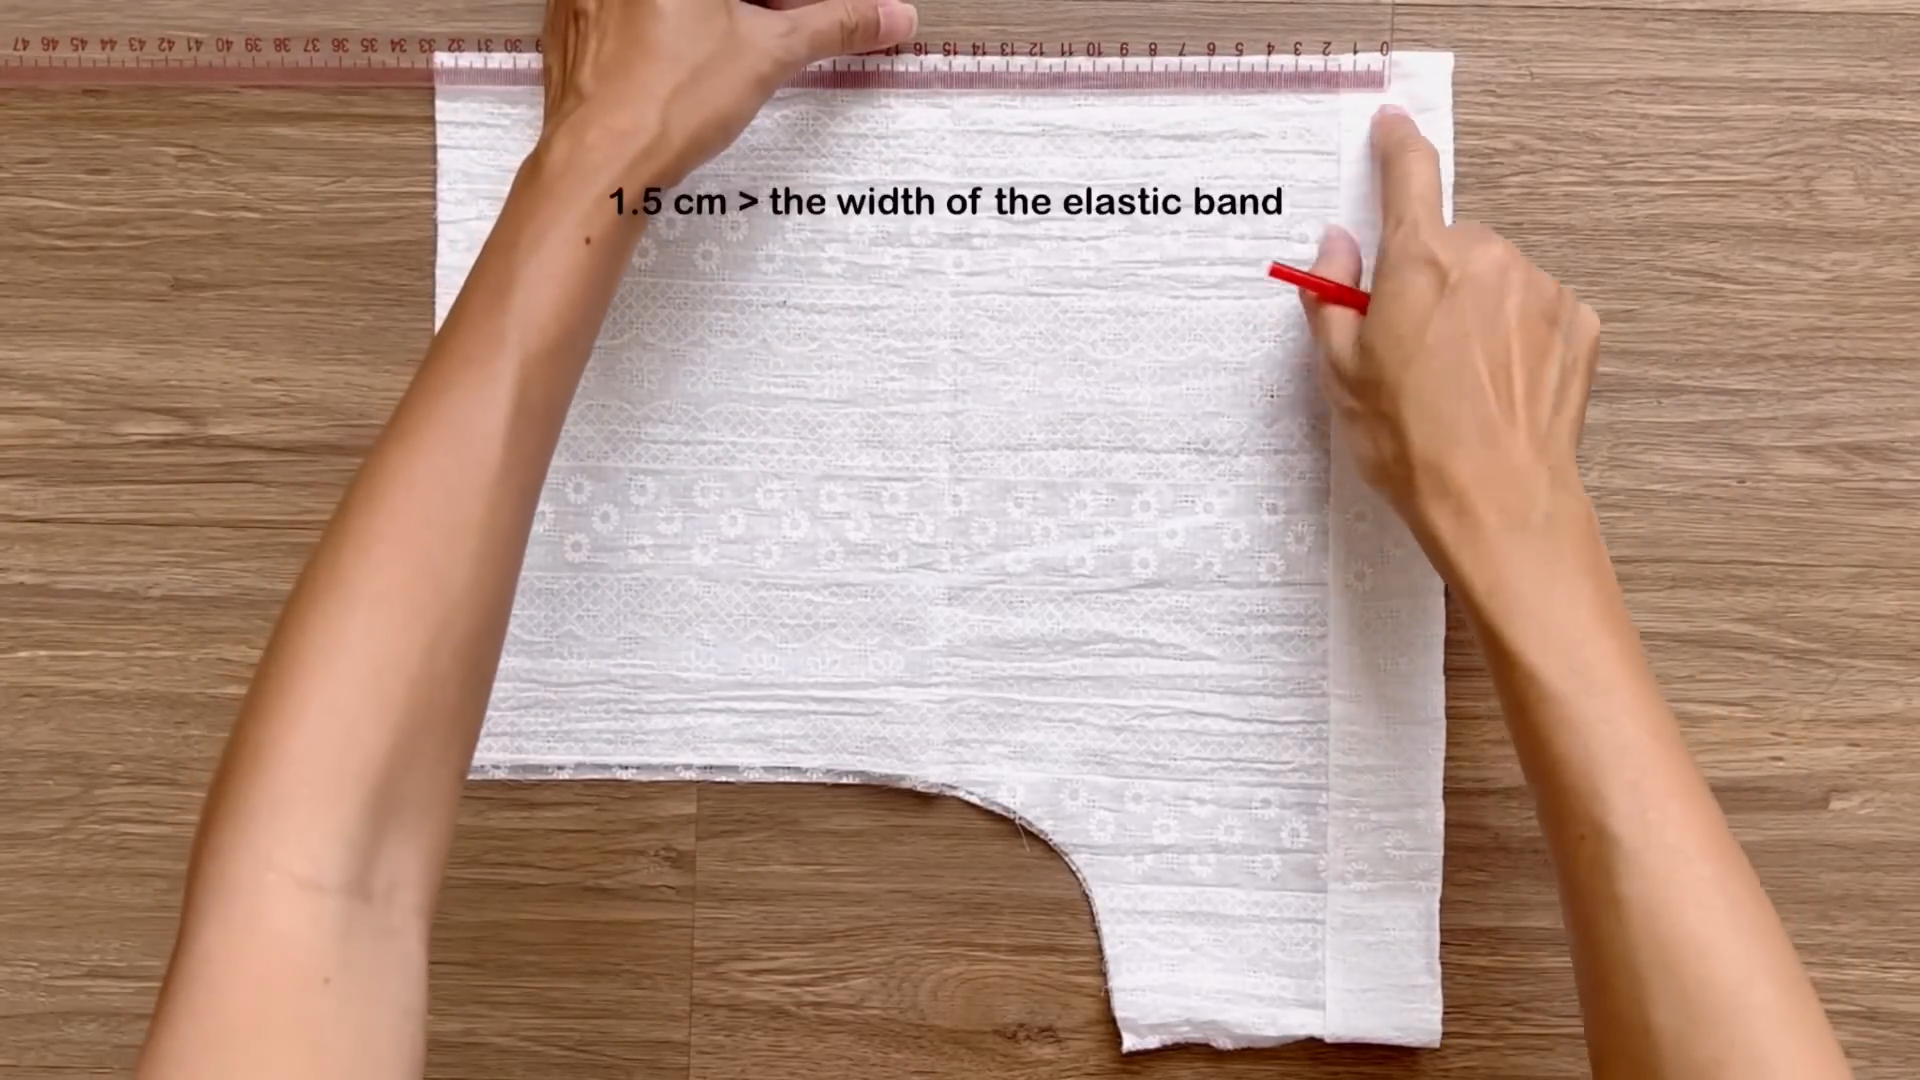
After sewing, draw a line one and a half centimeters from the first seam and make the second seam to create a fabric hole at the end of the sleeve.
Make sure the width of the fabric hole will be bigger than the width of the elastic band you will use.

Cut an elastic band with a width of 1 cm and a length of 30 cm, which is the length of your arm plus 4 cm.
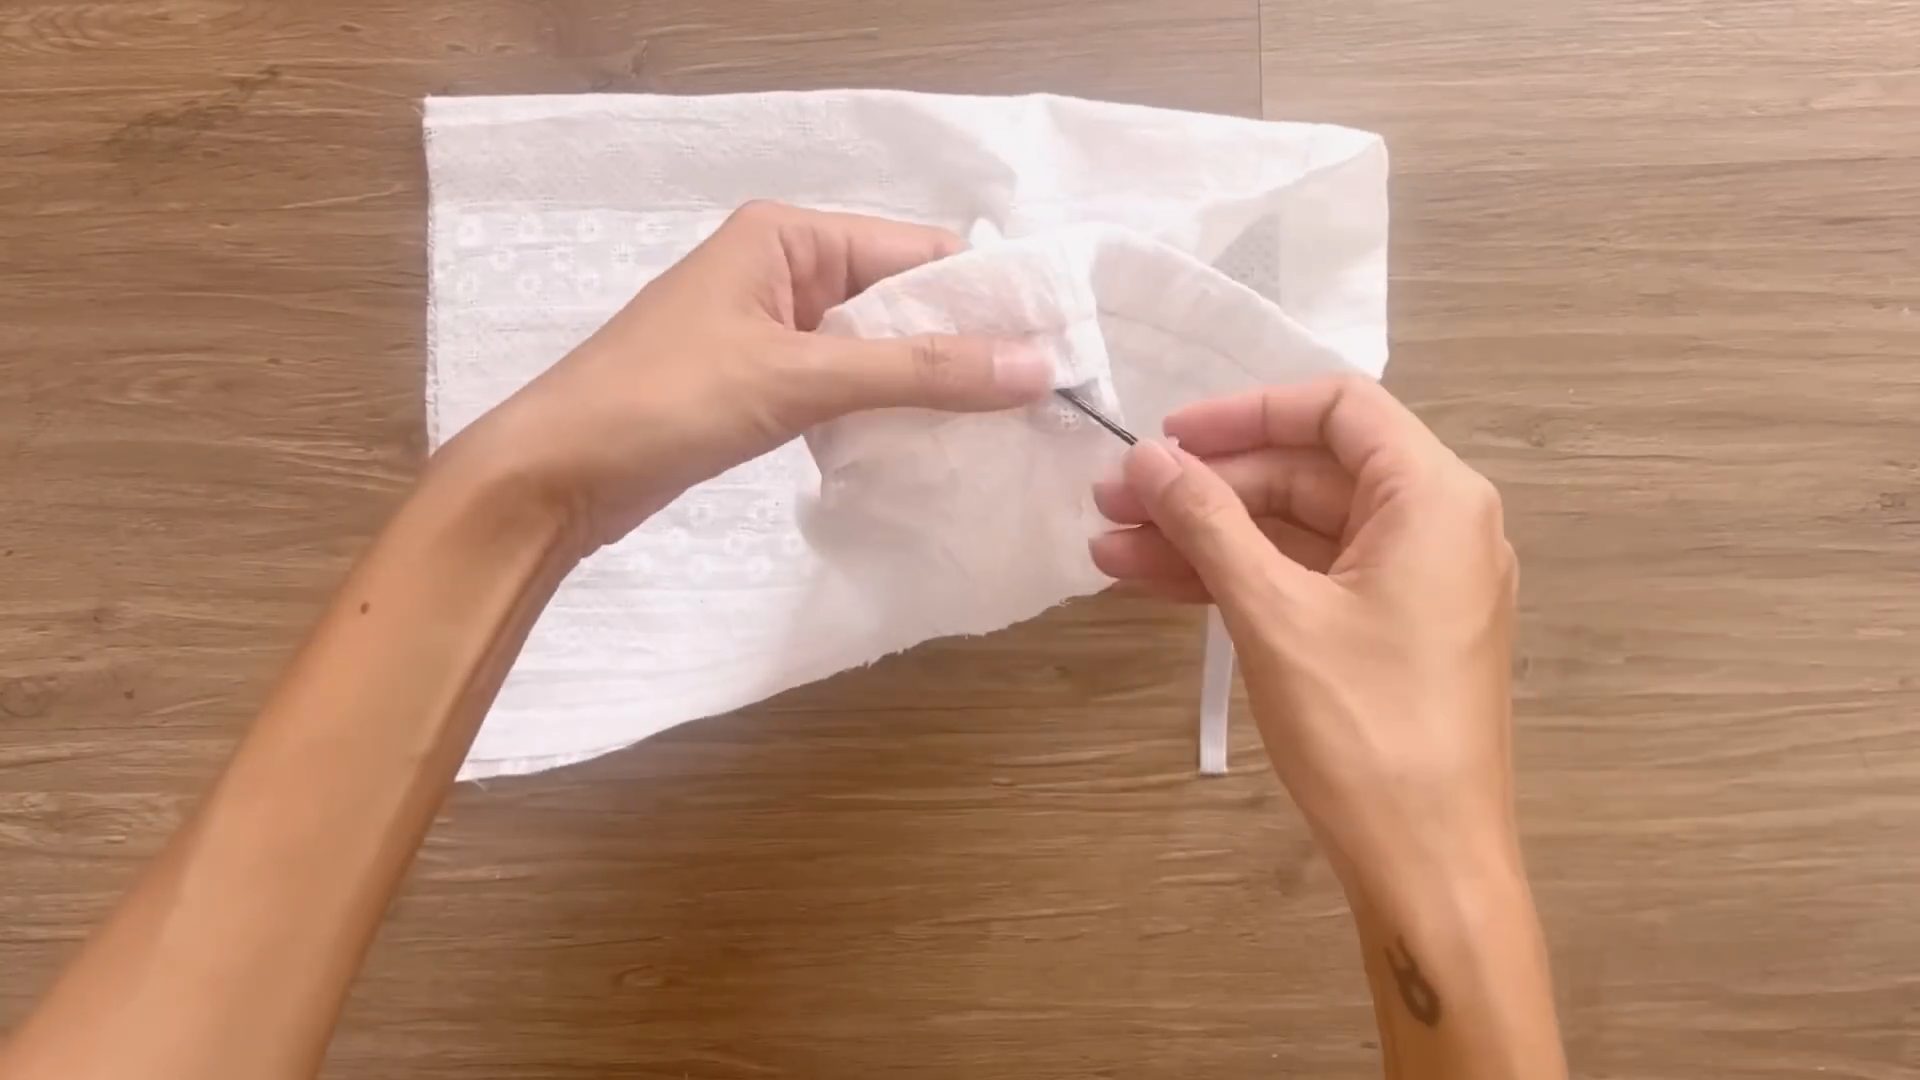
Use a small hair clip to put the elastic band through the fabric hole.
Then, connect the two ends of the elastic band together after that and close the un-sewn space you kept before.
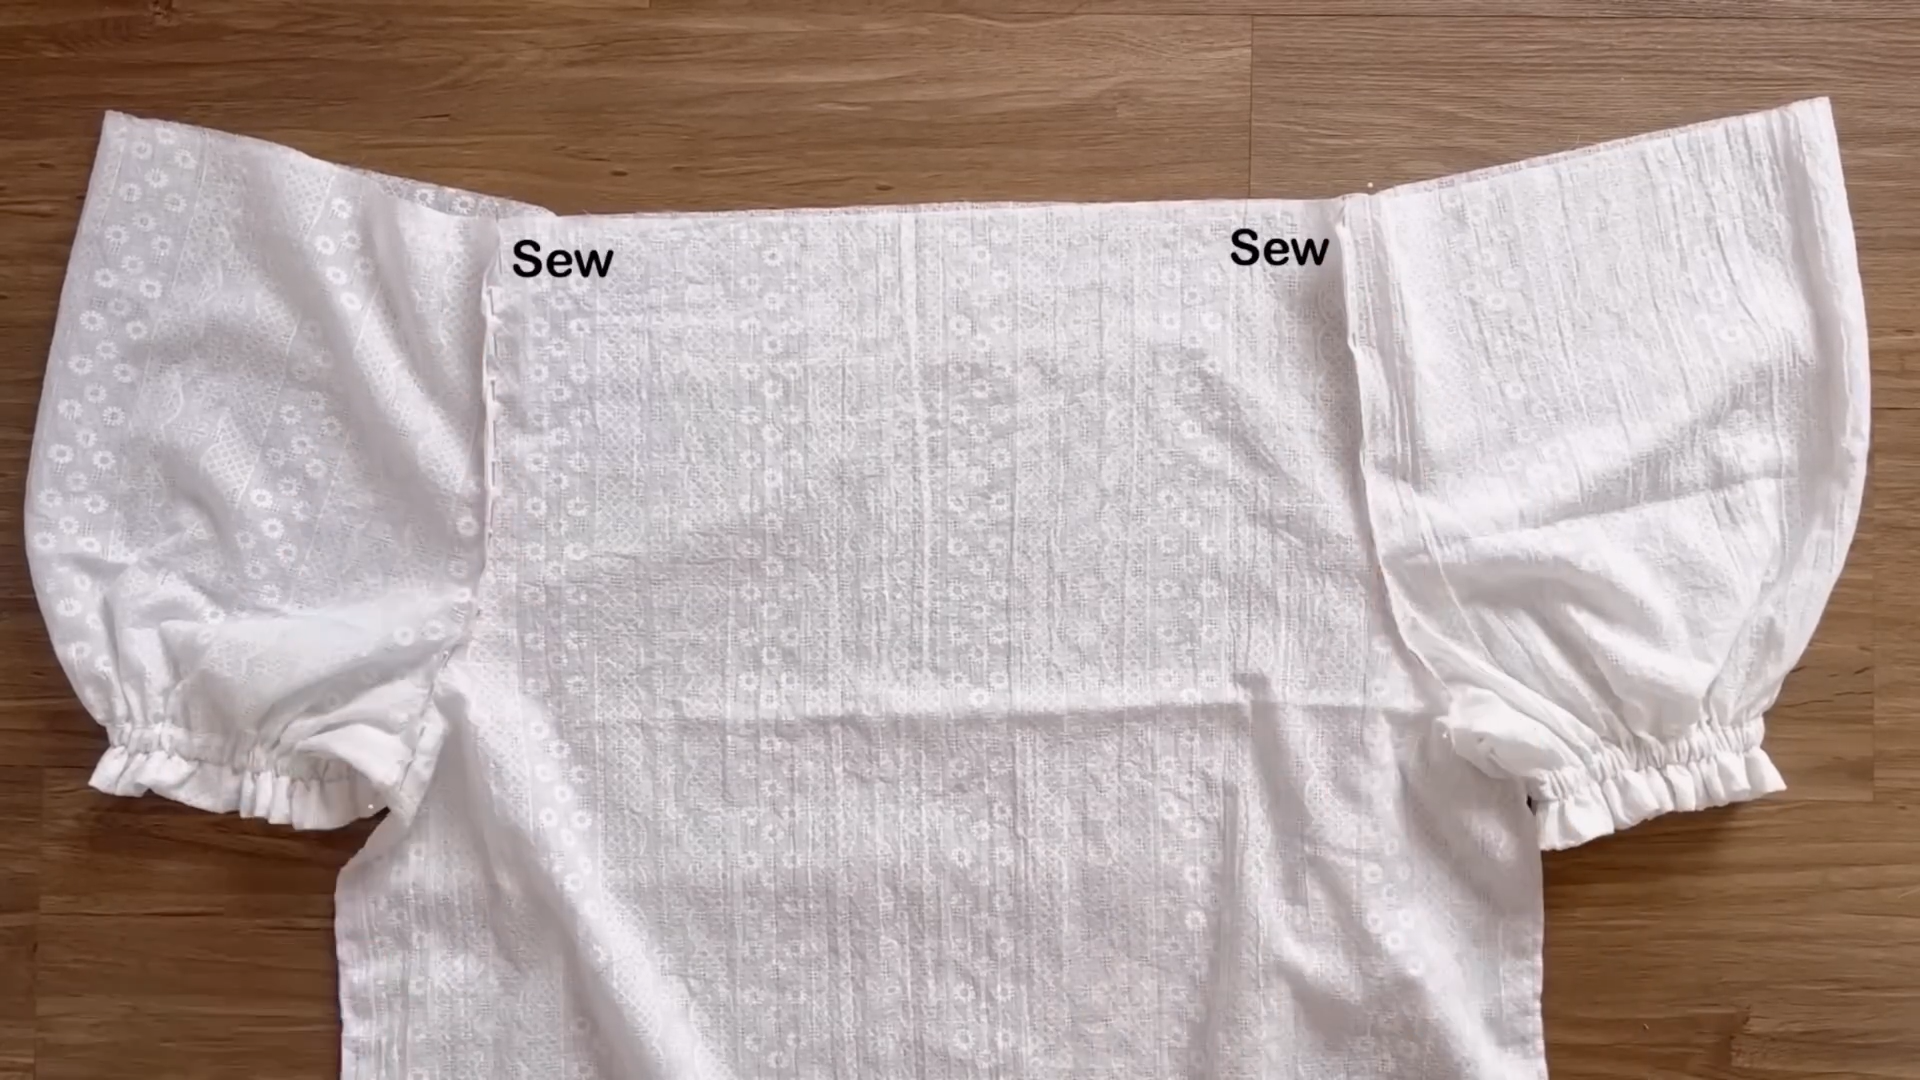
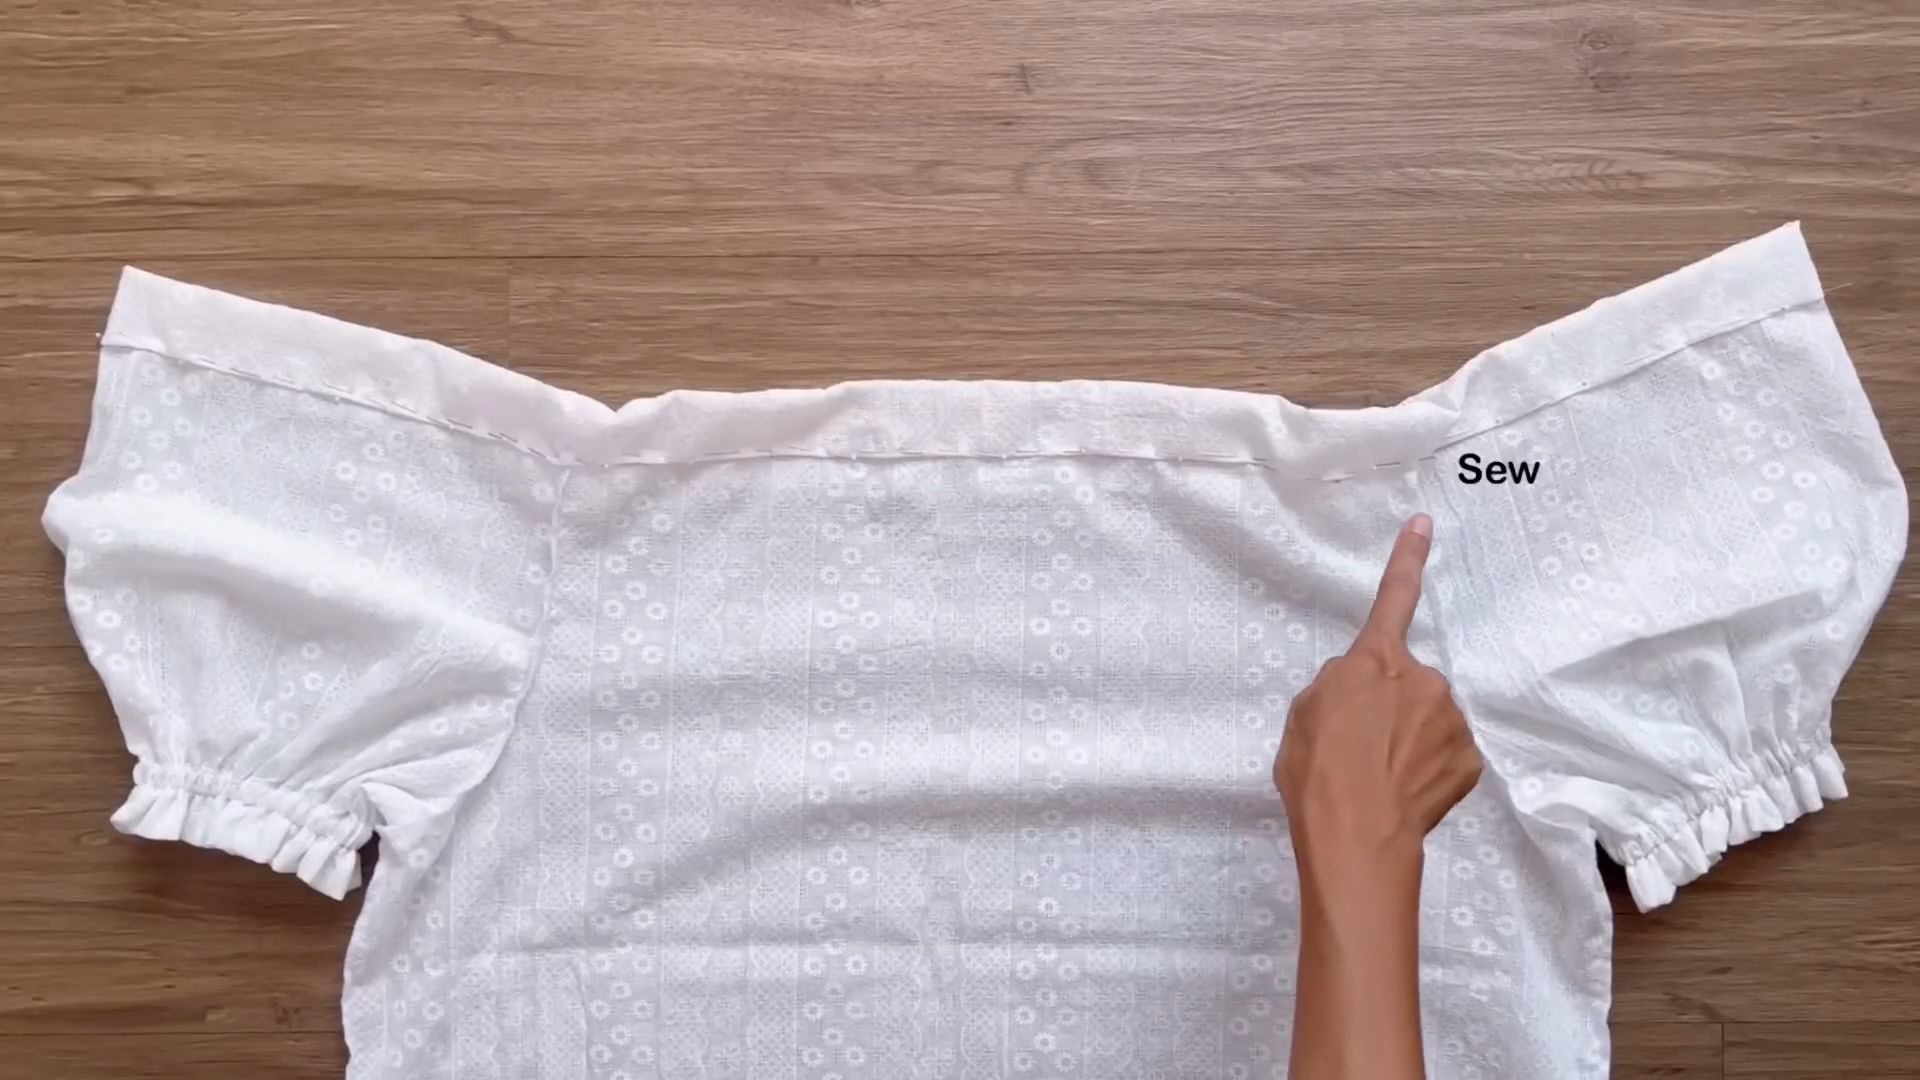
Now, connect the two sleeves of the main bodice to the blouse at the curved lines and sew.
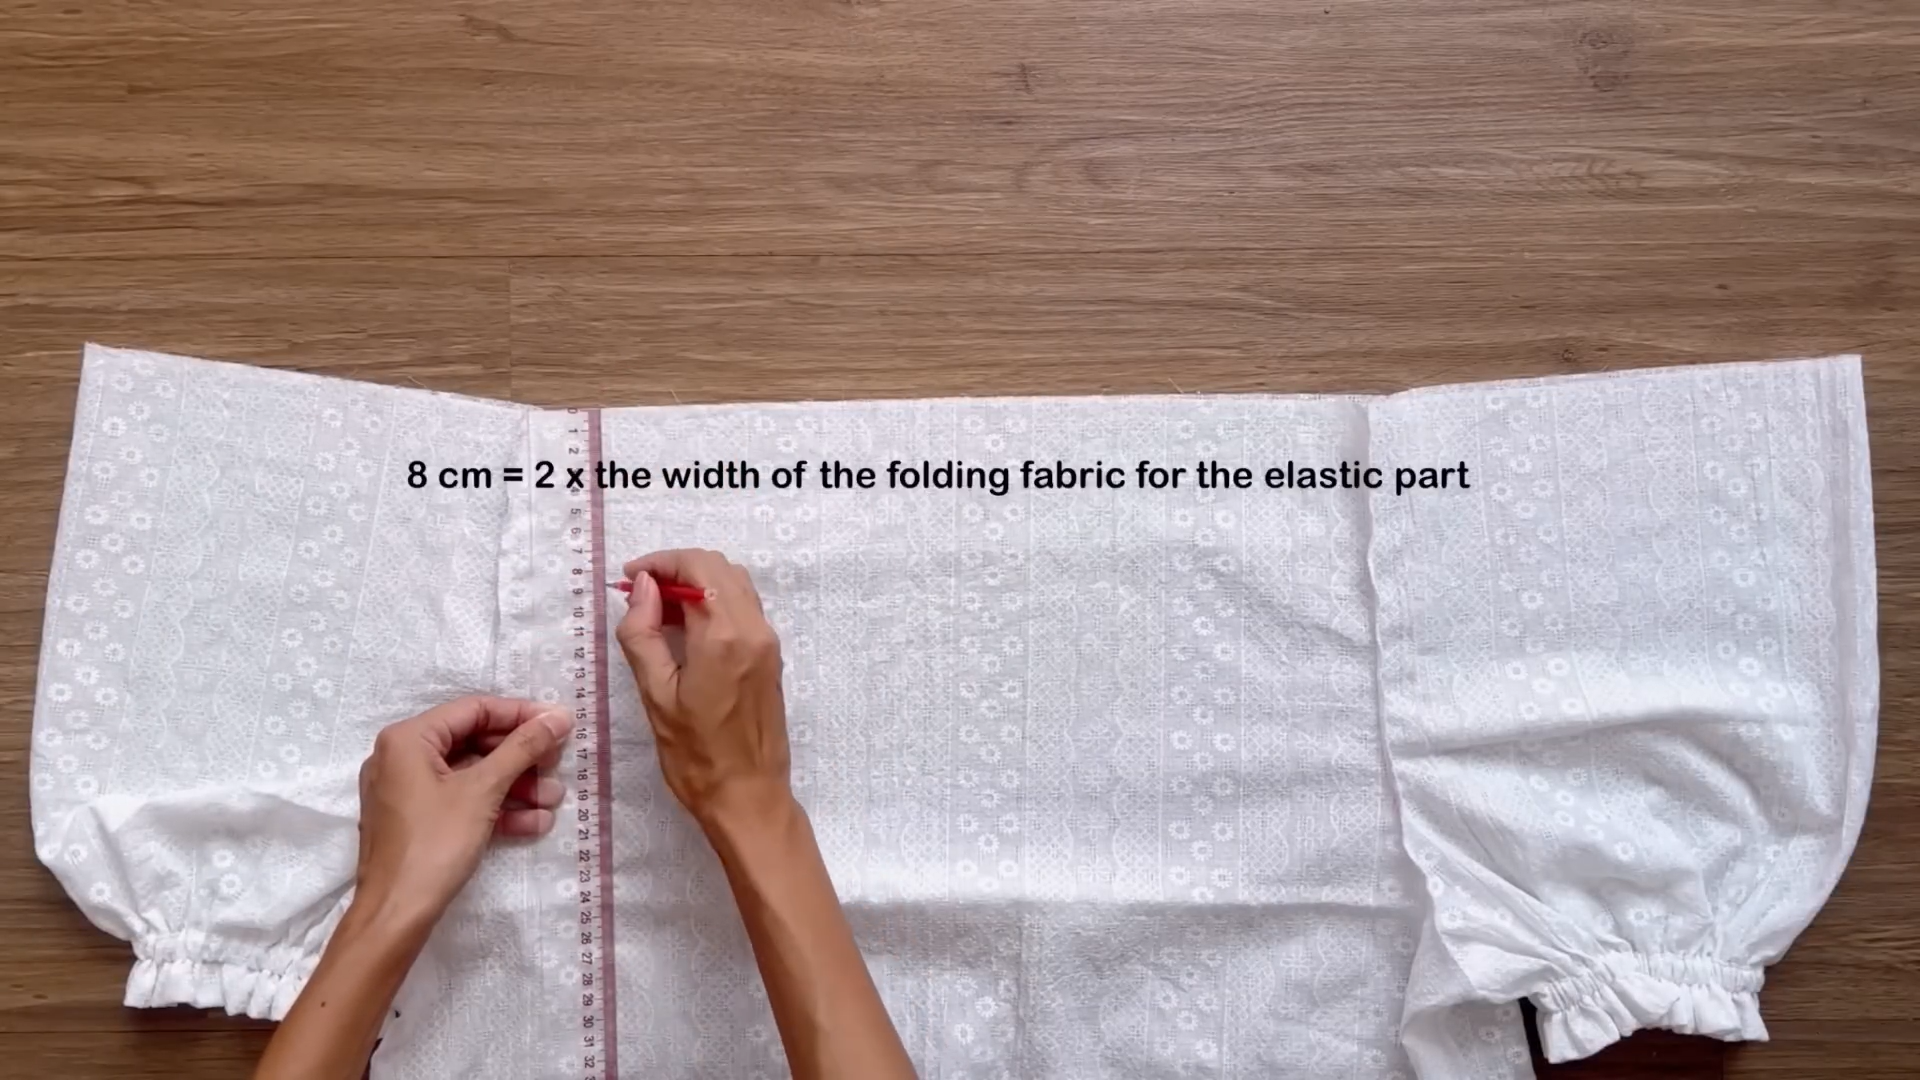
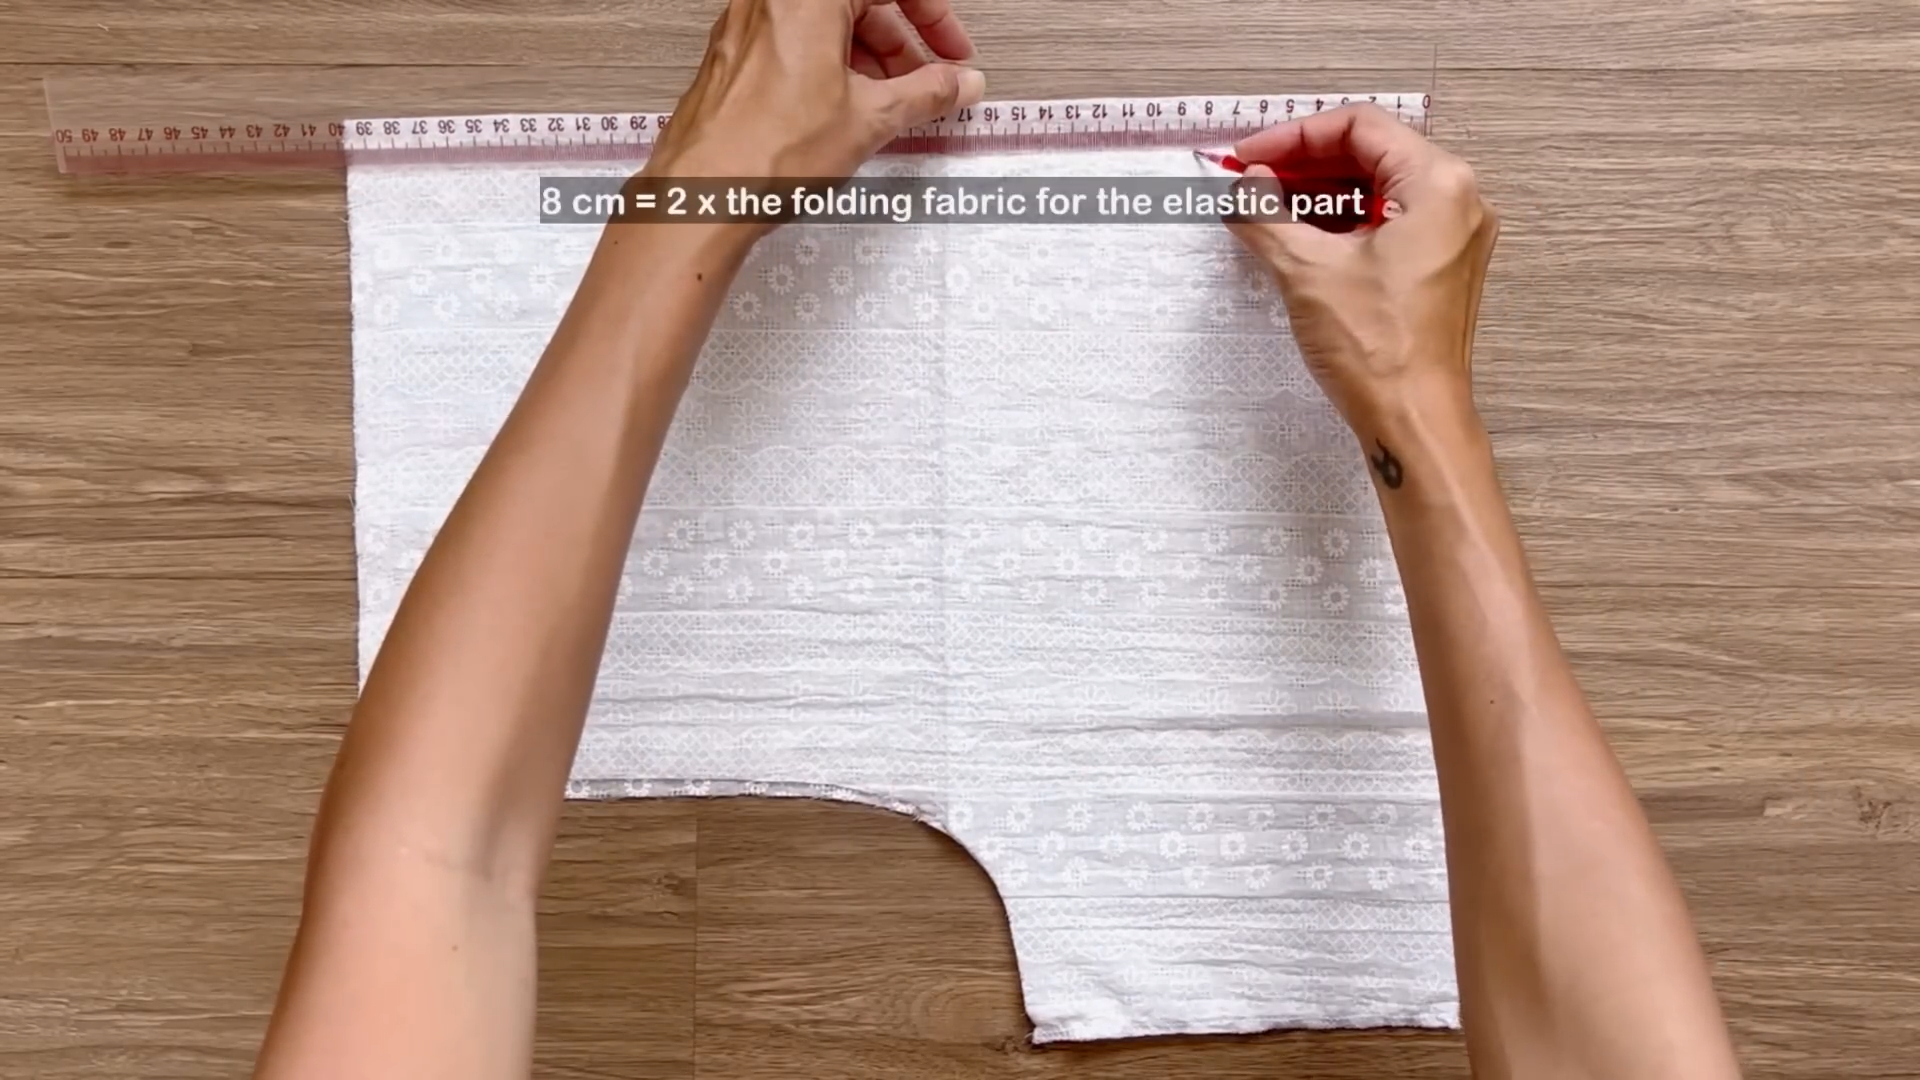
At the top of the blouse, create a fabric hole similar to the way you did at the end of the sleeve. Draw a line 8 cm under the top line first.
After that, fold the end fabric inside around a half centimeter and keep folding it again to the line you just drew before and sew.
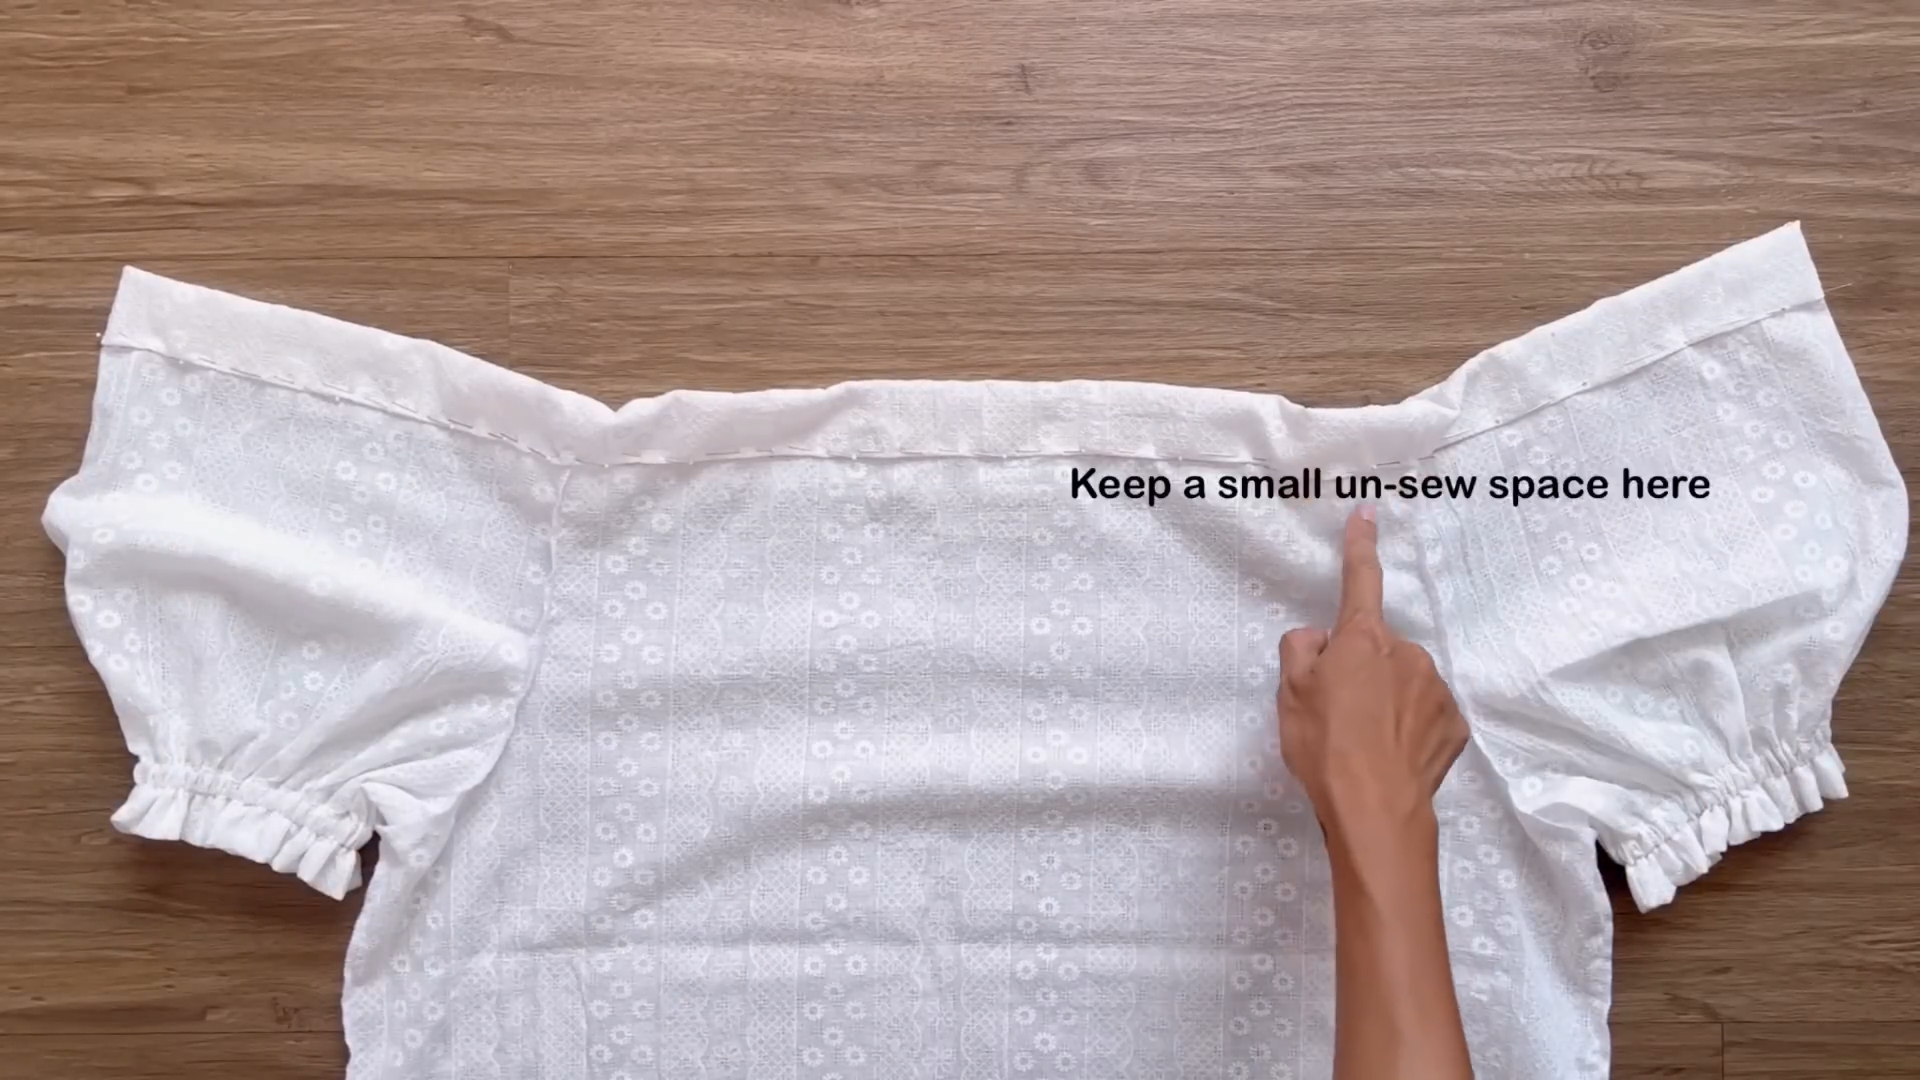
Make sure to keep a small un-sewn space for the elastic band to go through later.
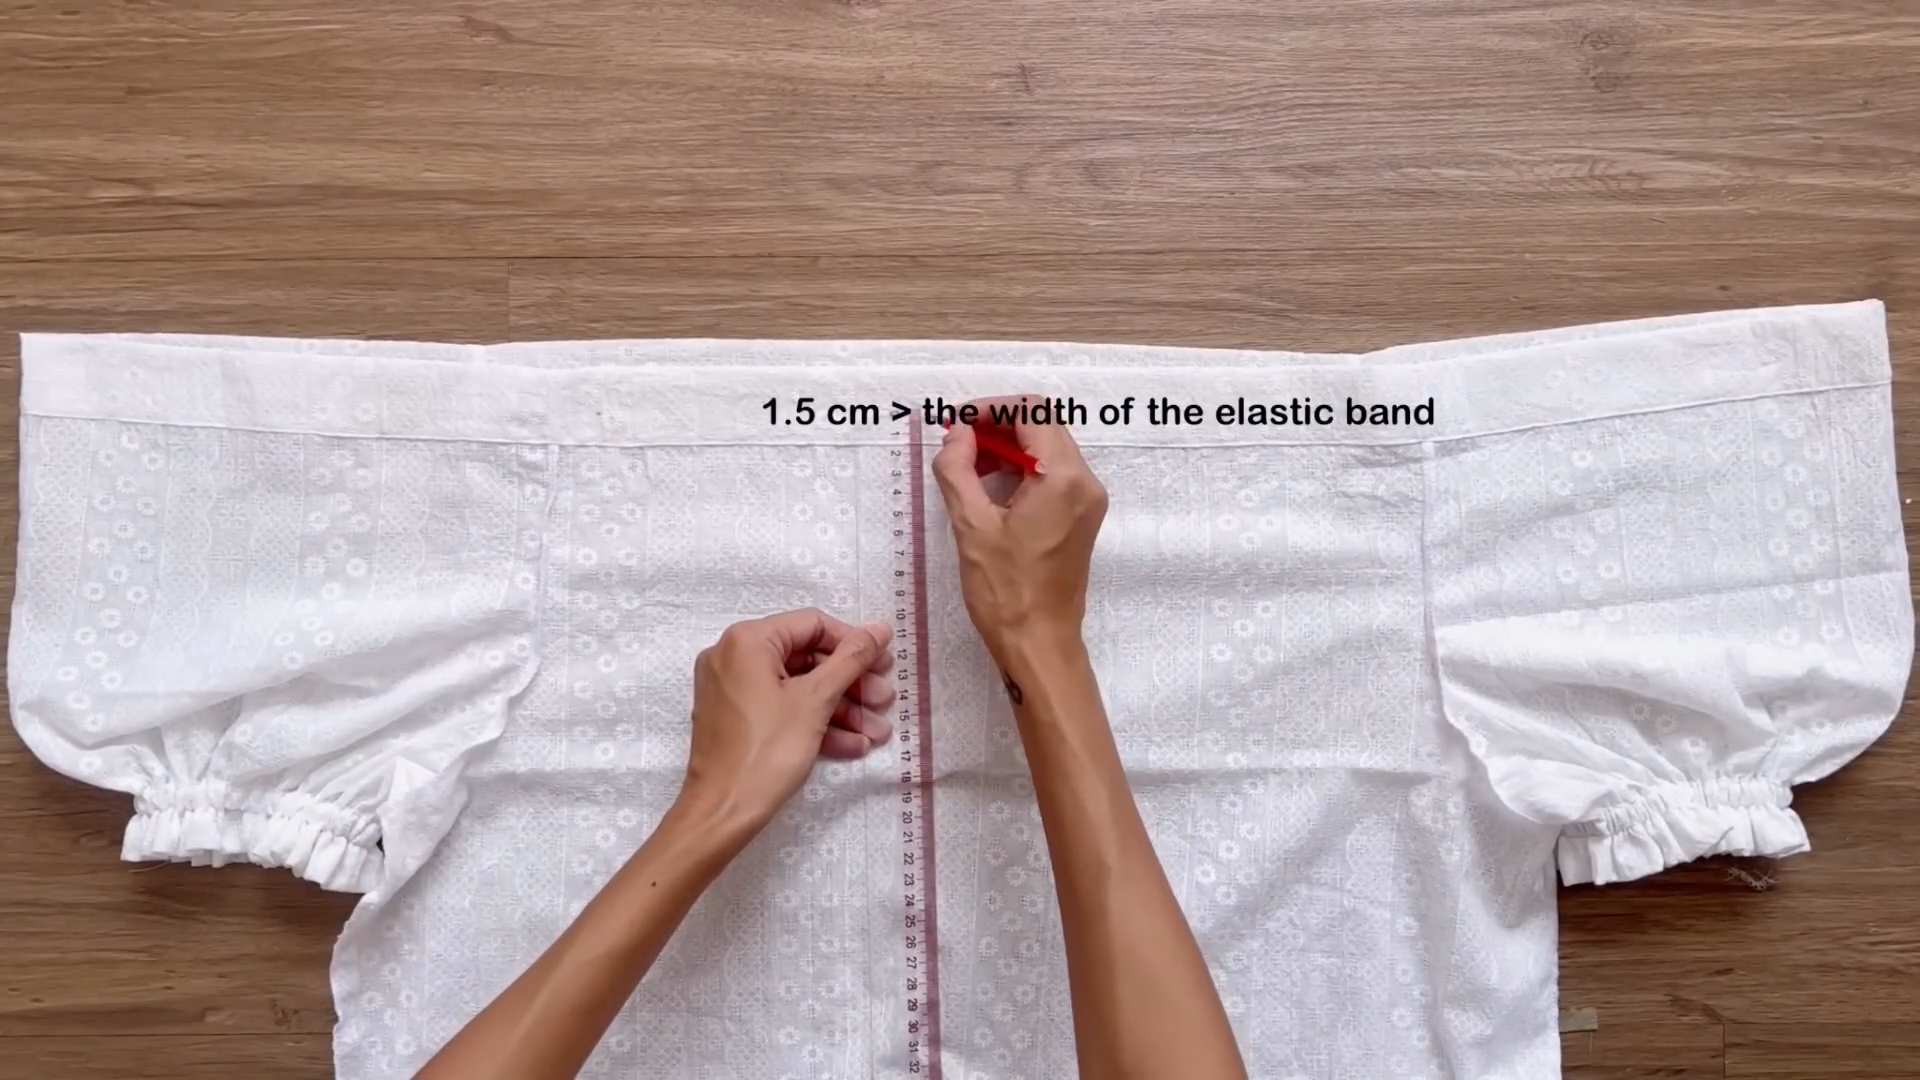
After sewing, draw another line one and a half centimeters from the first seam, then sew to create a fabric hole there. Make sure the width of the fabric hole will be bigger than the width of the elastic band you will use.
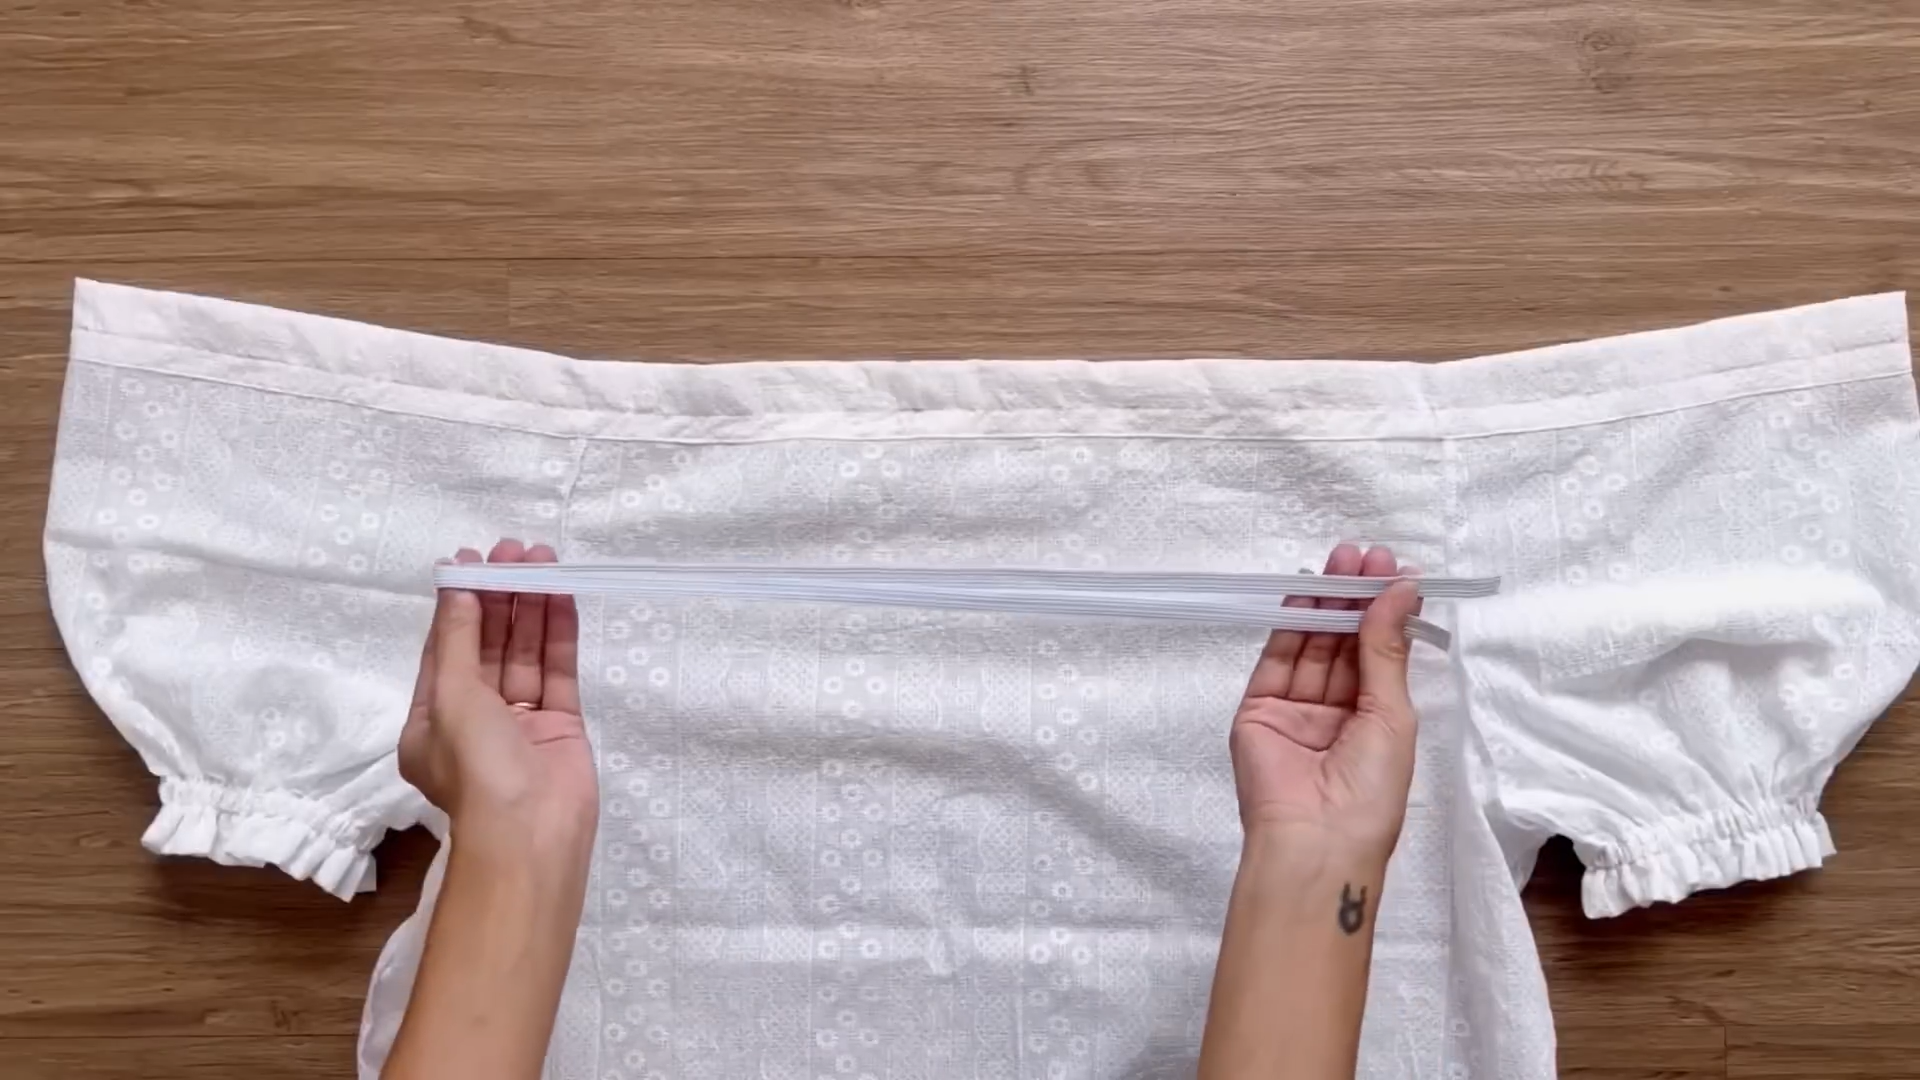
Cut an elastic band with a width of 1 cm and a length of 60 cm, which is the length of the neck of the blouse that you want.

After putting the elastic band through the fabric hole, sew the two ends of it together and close the un-sewn space you kept before that.
DIY Cute summer blouse - Elastic Neck Blouse
And that brings us to the end of this elastic neck blouse. You’ve just completed your second DIY Cute summer blouse. The result is a versatile blouse that can be worn in two ways - as a normal elastic neck or off the shoulder. Both styles are super cute and comfy, making this blouse a great addition to any wardrobe.