DIY JUMPSUIT (Ruffle shoulder strap, wide leg pants, side pockets) | Step by step sewing tutorial

DIY Jumpsuit

Welcome or welcome back to my sewing blog!
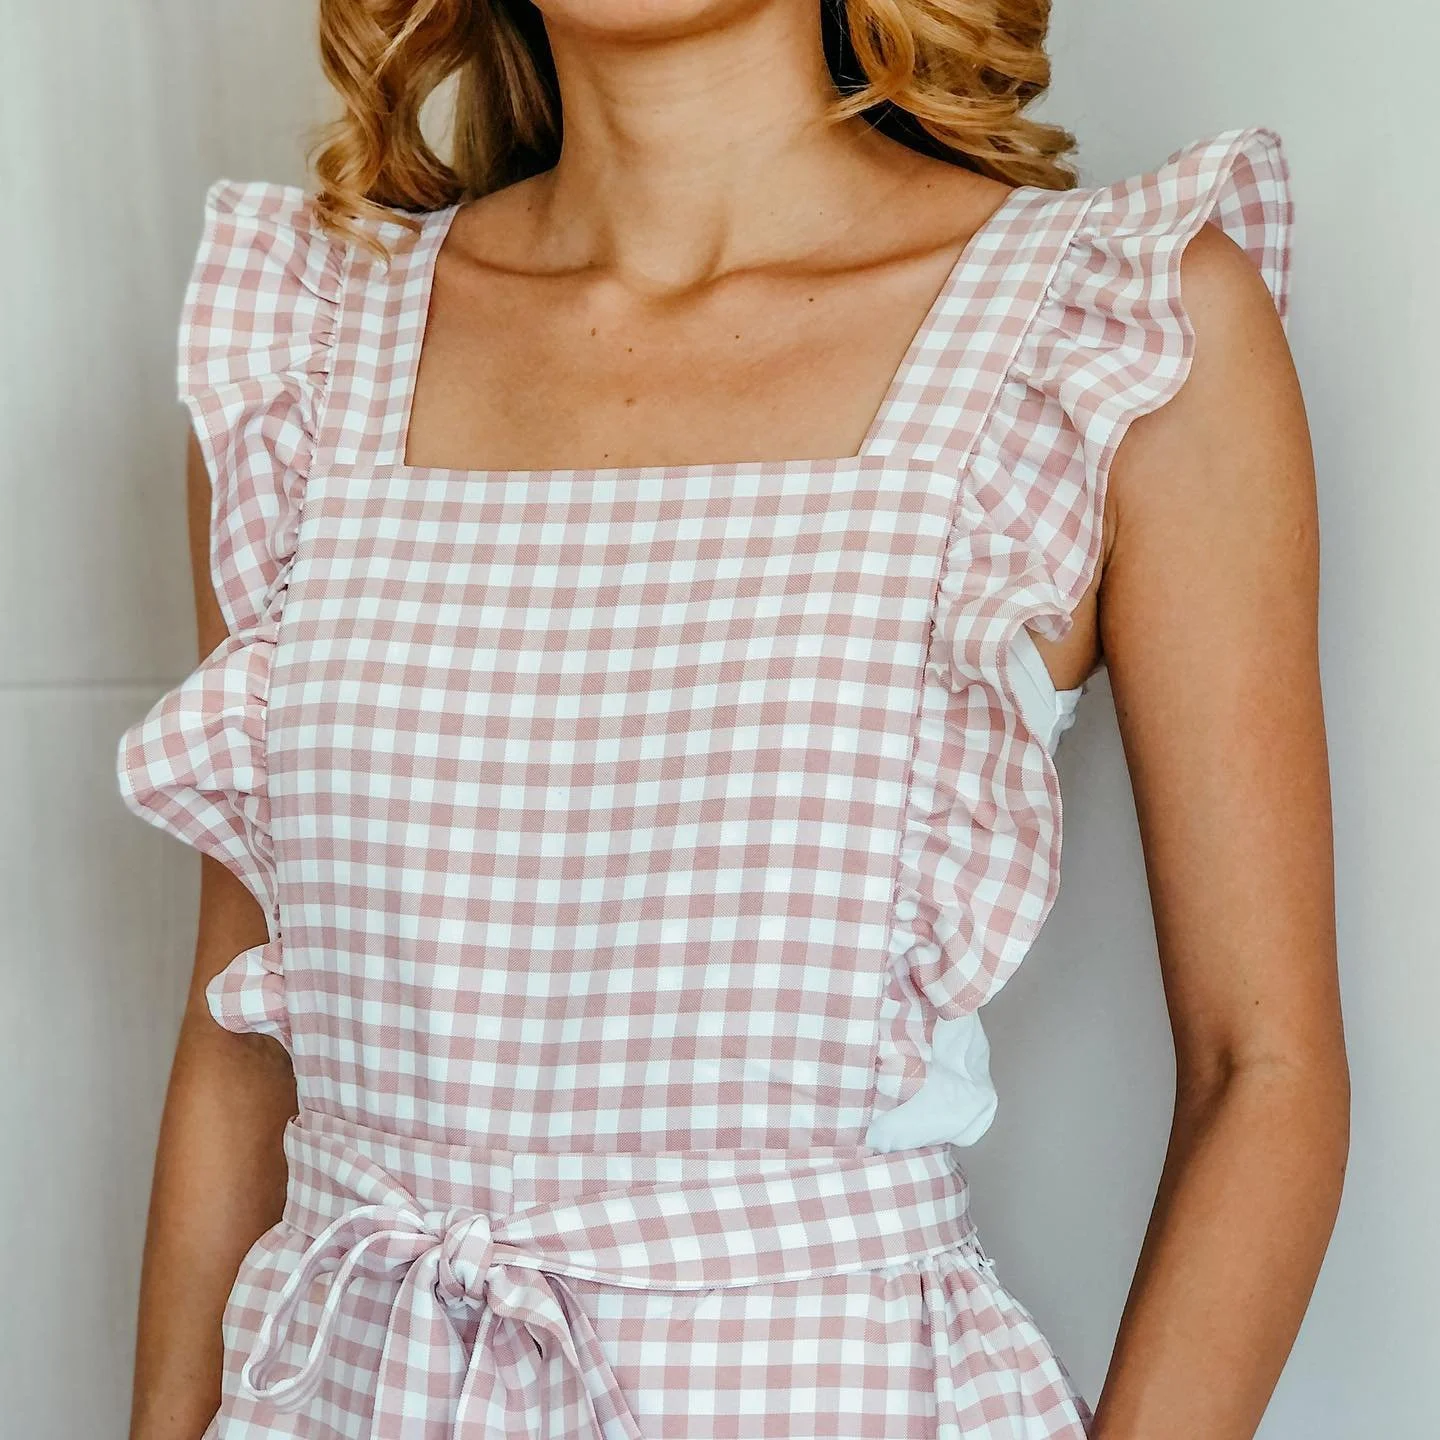
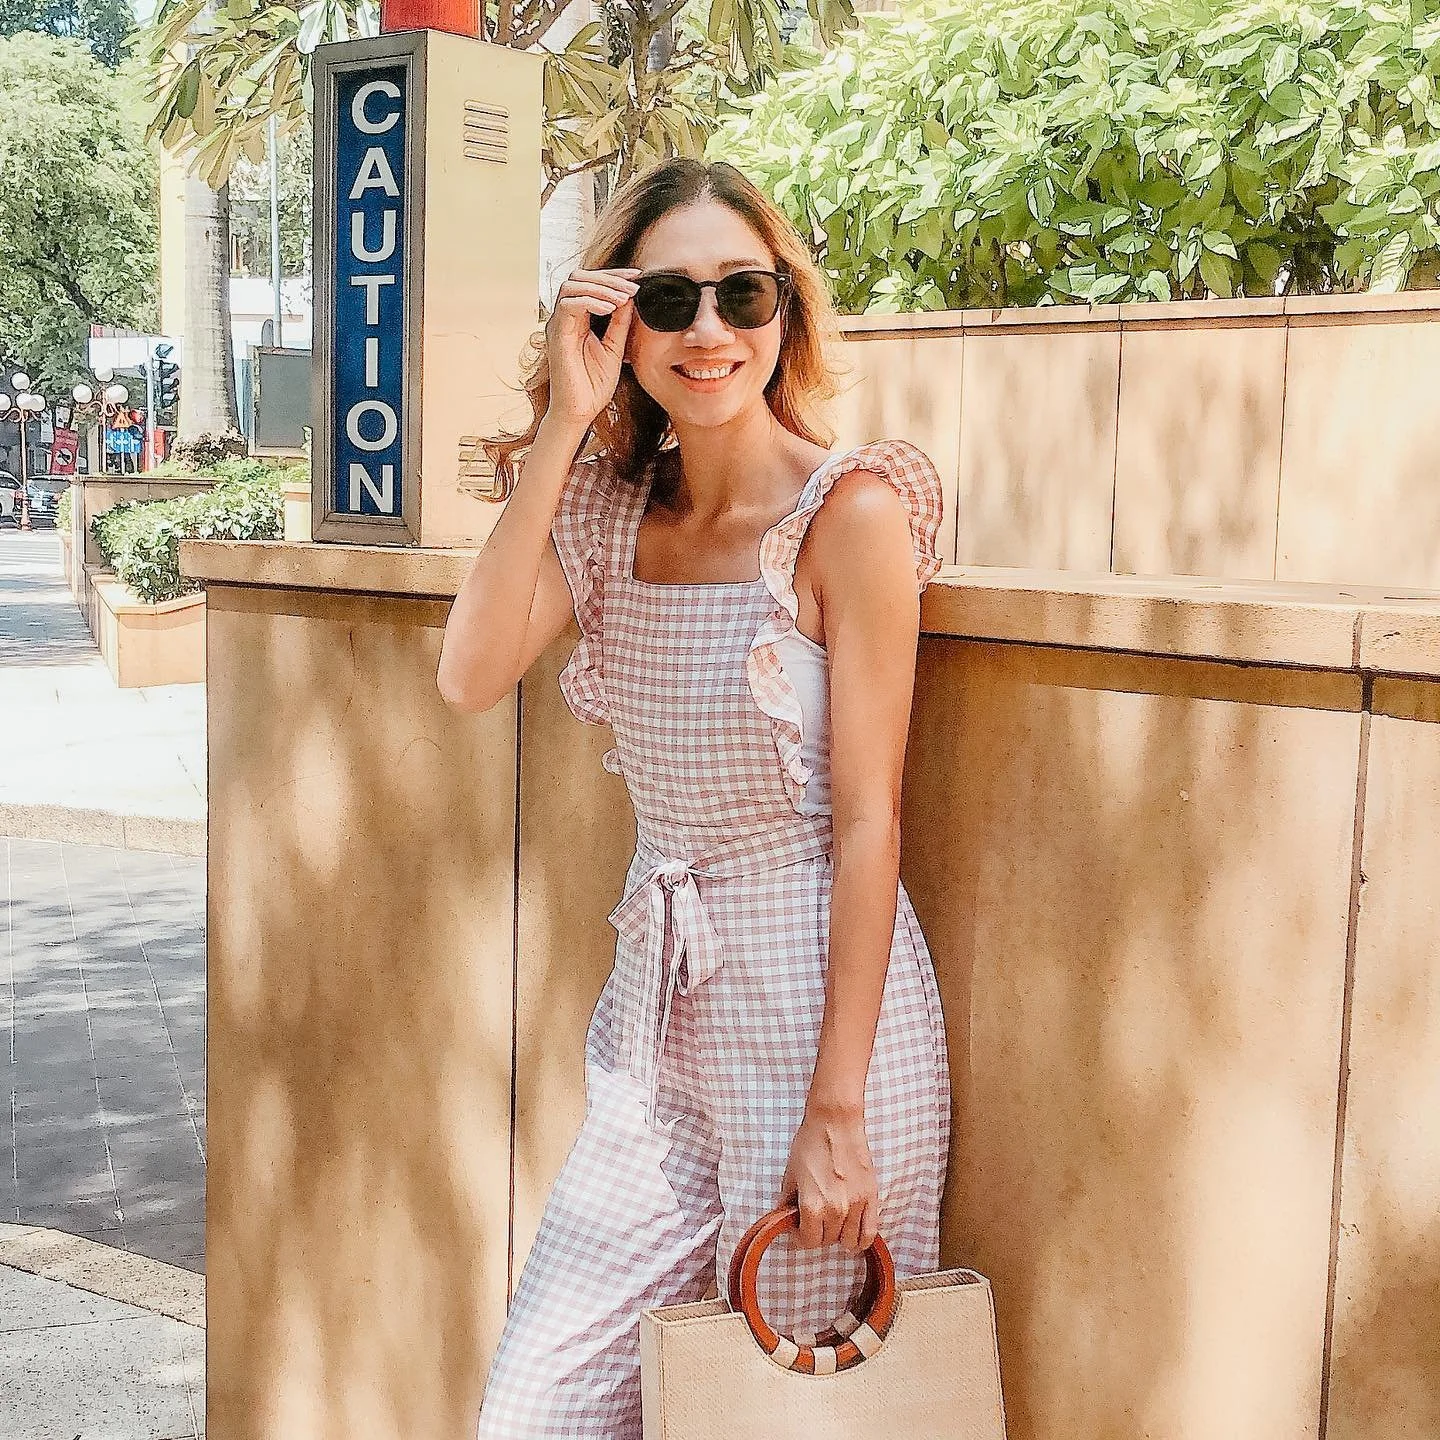
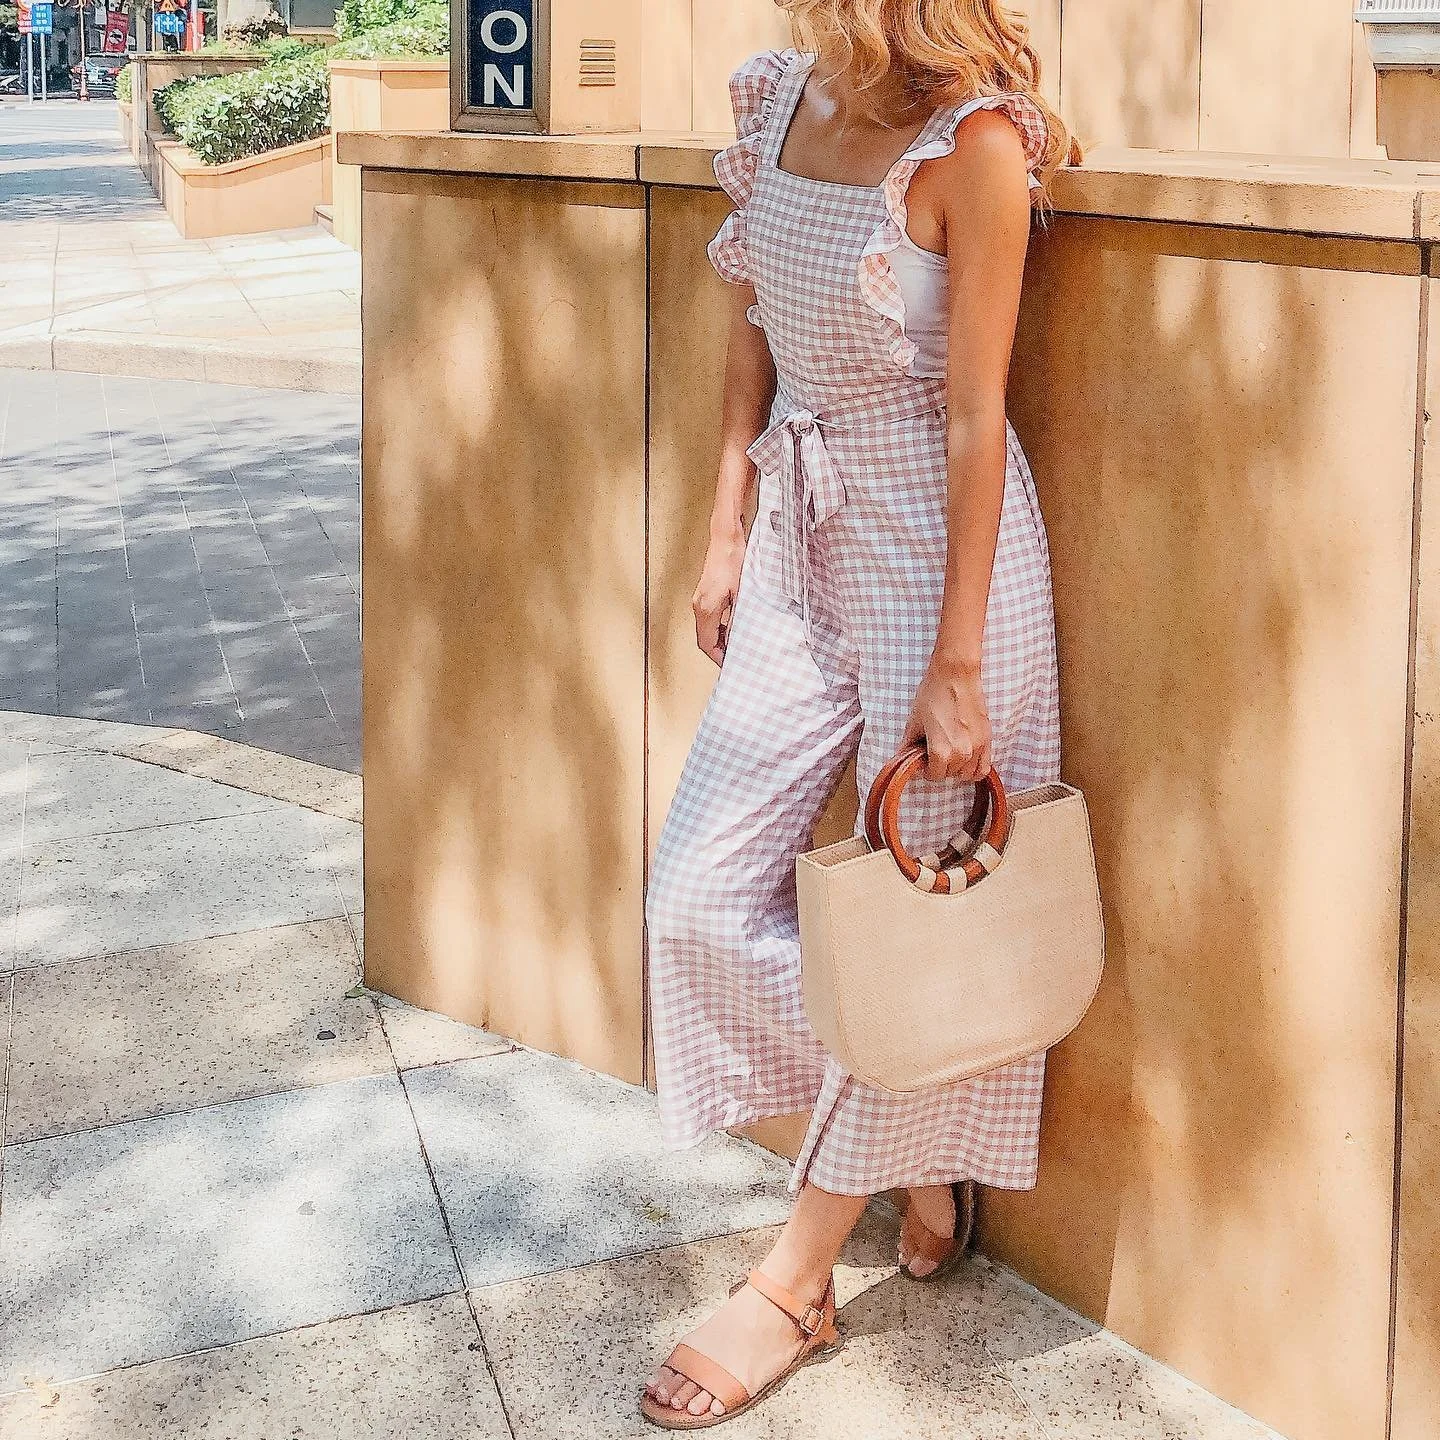
It's May, my birthday month. So I've selected some of my favorite designs to share with you this month. And today, it starts with a jumpsuit. This jumpsuit will come with ruffle shoulder strap & tie, wide leg pants and side pockets. It's a very sweet jumpsuit for all of you, my lovely sweet girls.
So I hope you will like this tutorial.
Let’s get started!
WHAT YOU’LL NEED
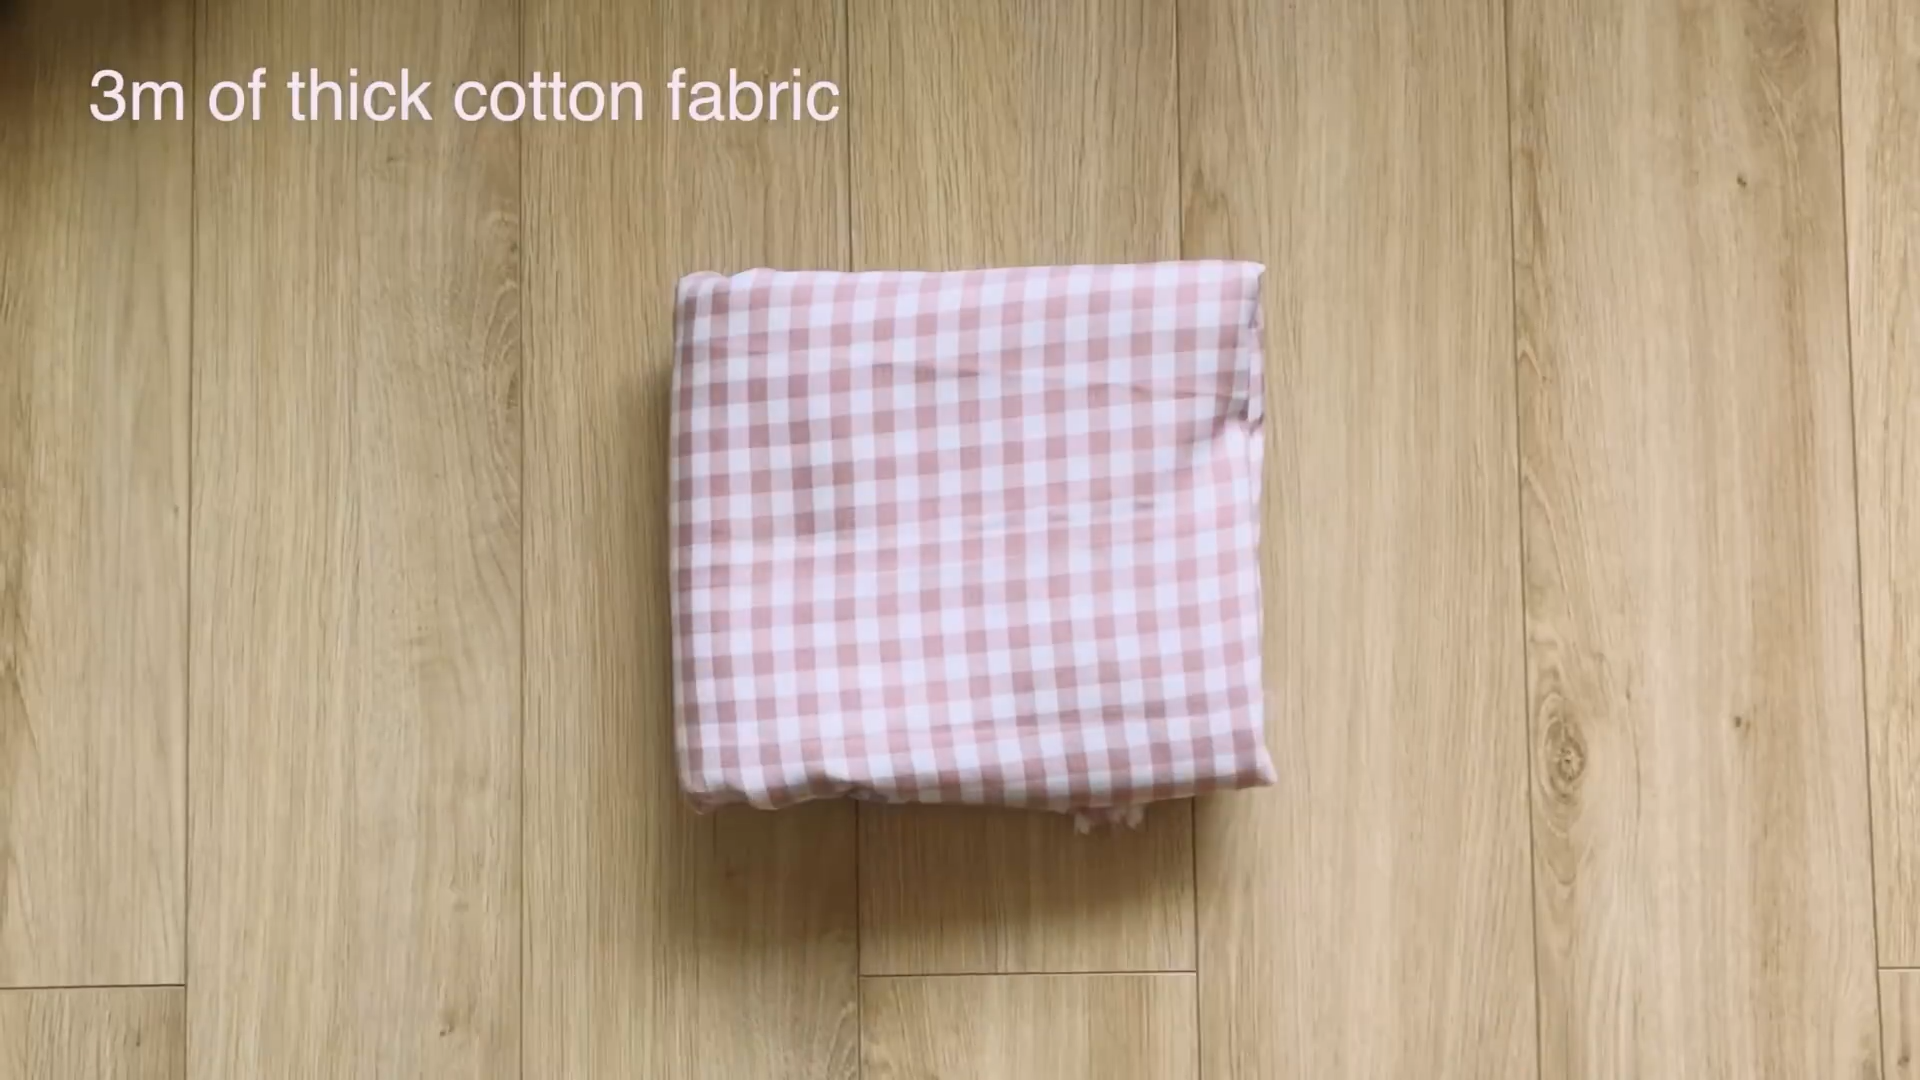
3m of cotton fabric
Pattern paper
Sewing machine
Pins
Scissors
Ruler
Long stick
MAKING THE PATTERNS
Here’s the pattern for the project. To get a clear understanding of all the measurements needed for the pattern, watch the video from 2:10 to 7:03.
Remember, you can adjust these measurements to fit your own dimensions!

THE FRONT PANTS PATTERN


The front pants pattern
The first step is making the pattern for the jumpsuit to make the front pattern of the pants. Draw a rectangle with 27 cm width which is a quarter of your hip size plus 4 cm and 95 cm length which is the length from your belly button to your ankle.
At one end on the length line, mark at 29 cm inside which is a quarter of your hip size plus 6 cm. It's the depth of the crotch of the pants then draw a straight line from that mark to cut the other length line.
After that, make another straight line at 7 cm from the first one. Back to the first straight line, mark at 3 cm outside the length line to create the crotch line for the front pants… (2:52 - 3:49)
Add seam allowance for the pattern of the front pants. Add one centimeter at most of the drawing lines except the end of the pants which is 3 cm.
THE BACK PANTS PATTERN


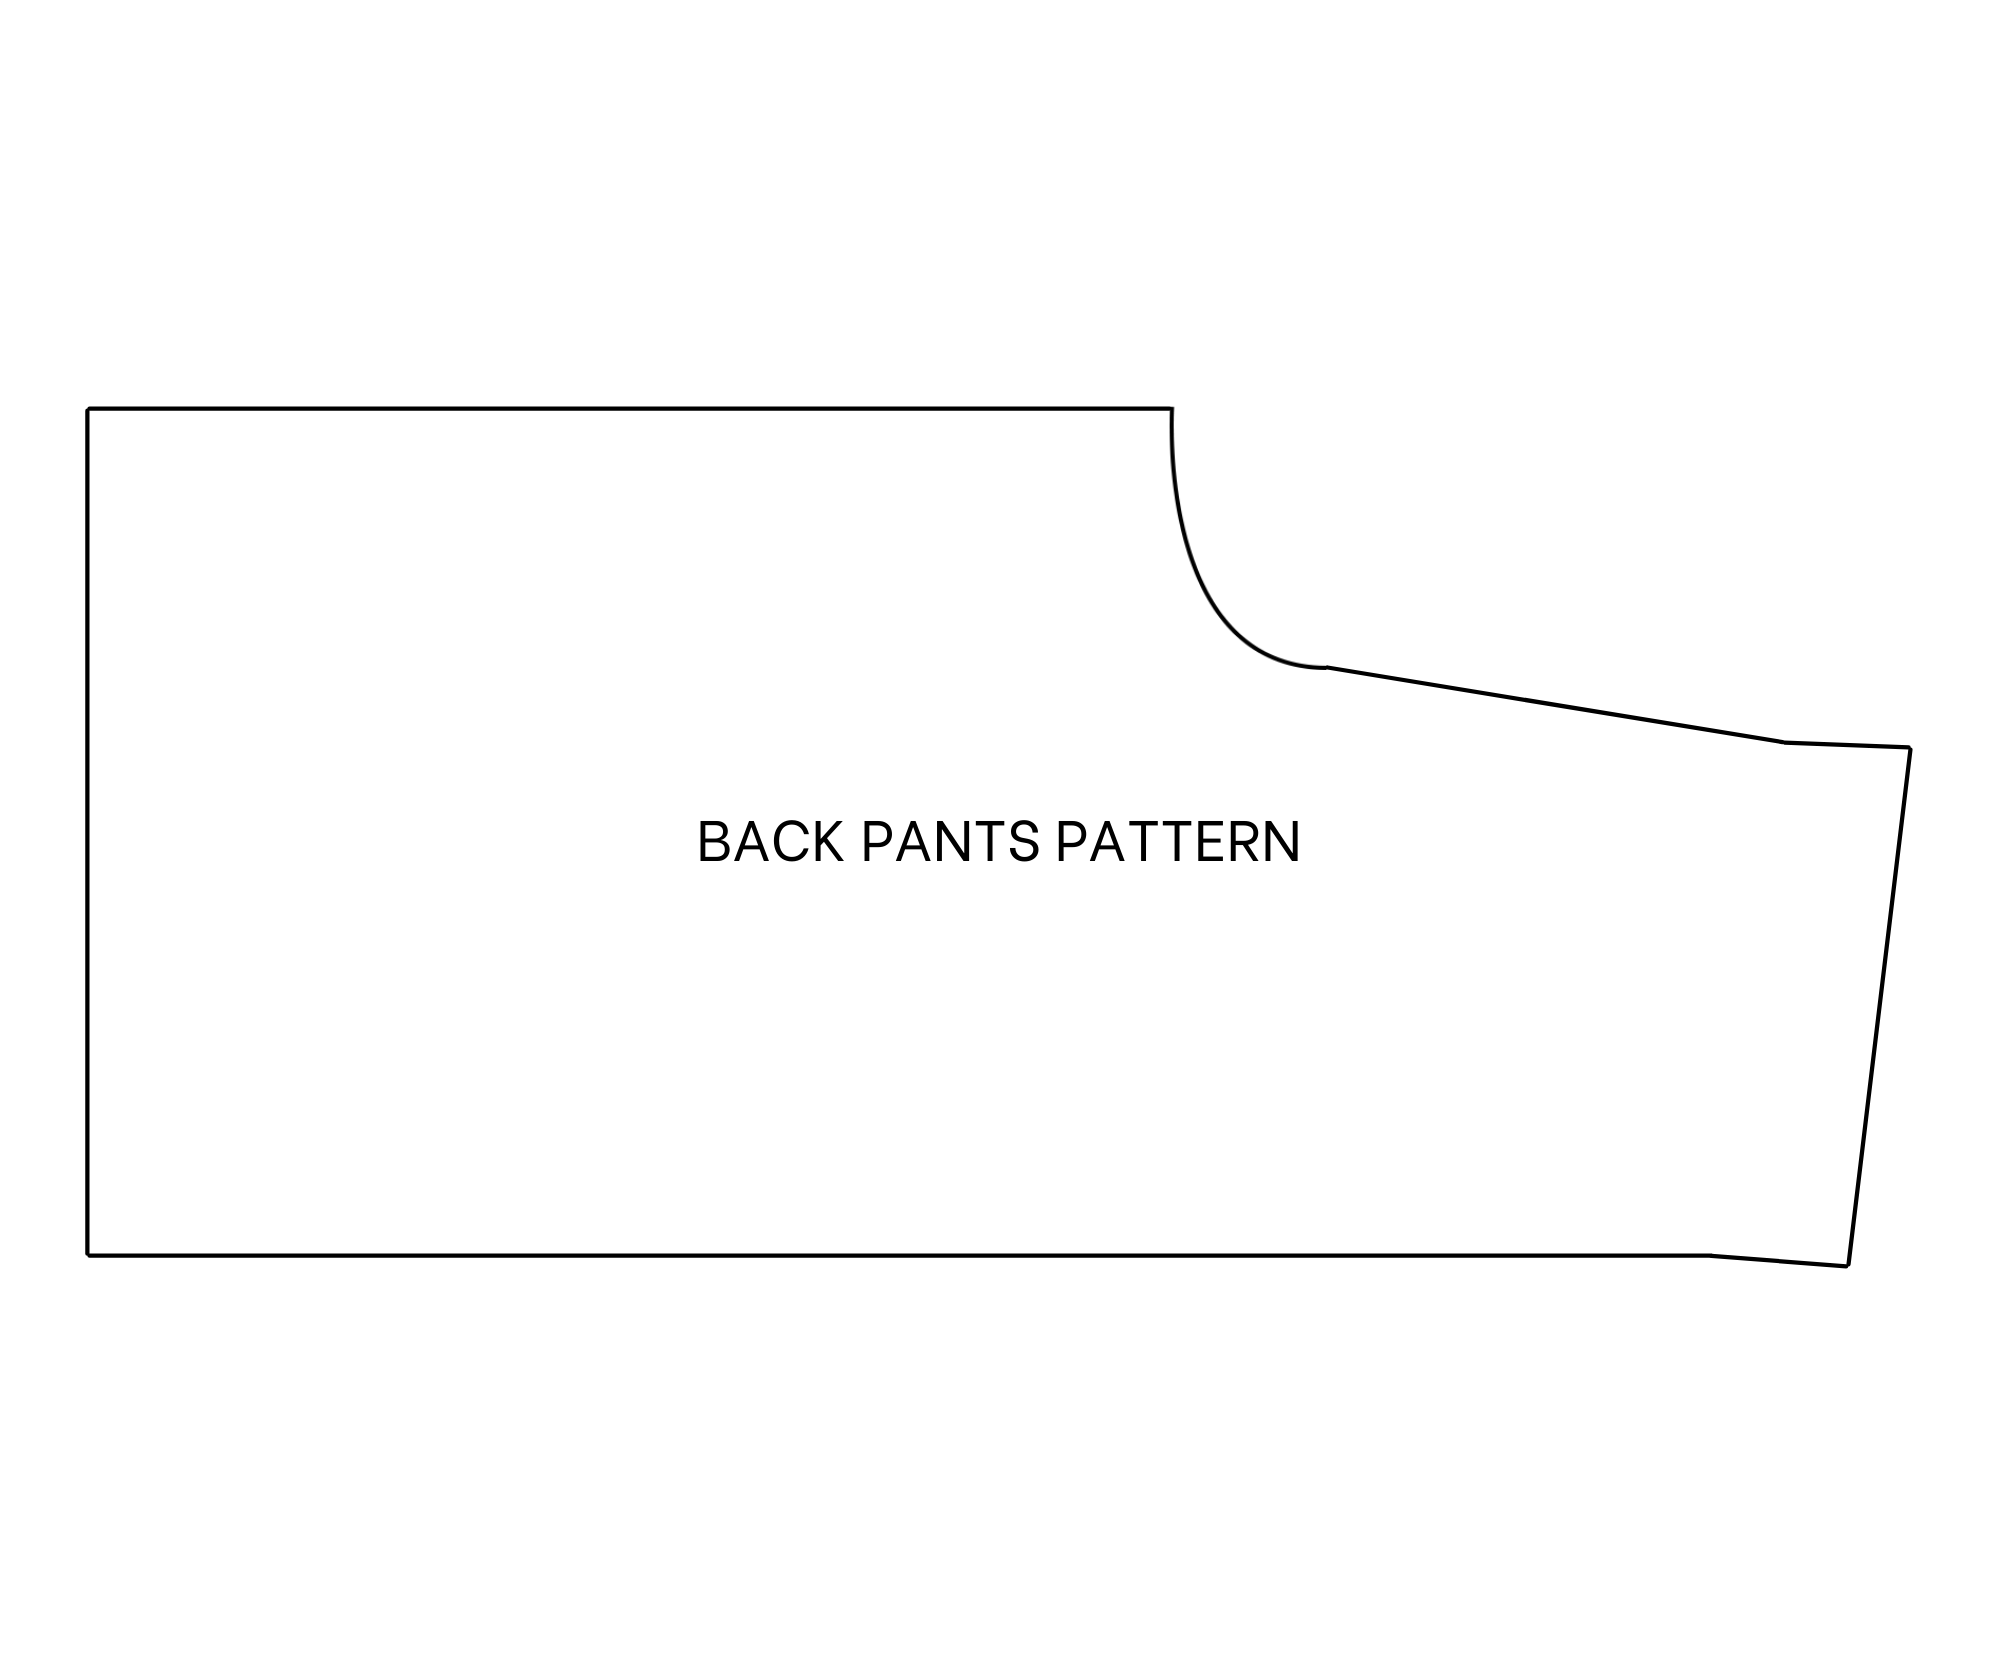
The back pants pattern
Moving to the back pattern of the pants, draw the same rectangle and make the same width of the hip. However the end of the crotch line will be at 9.2 cm outside the length line which is 1 per 10 your hip size … (5:09 - 6:43)
THE POCKET PATTERN

The pocket pattern
Draw a rectangle with 17 cm width and 28 cm length to make the pocket patterns for the pants of the jumpsuit.
At one length line, mark at the middle first then draw a curved line to connect to one end of the other length line at the same side.
THE MAIN BODICE PATTERN

The main bodice pattern
The pattern of the main bodice of the jumpsuit is a rectangle with 20 cm width which is the width between two breasts and 22 cm length which is a length from the breast to the belly button.
SEWING THE JUMPSUIT
THE PANTS
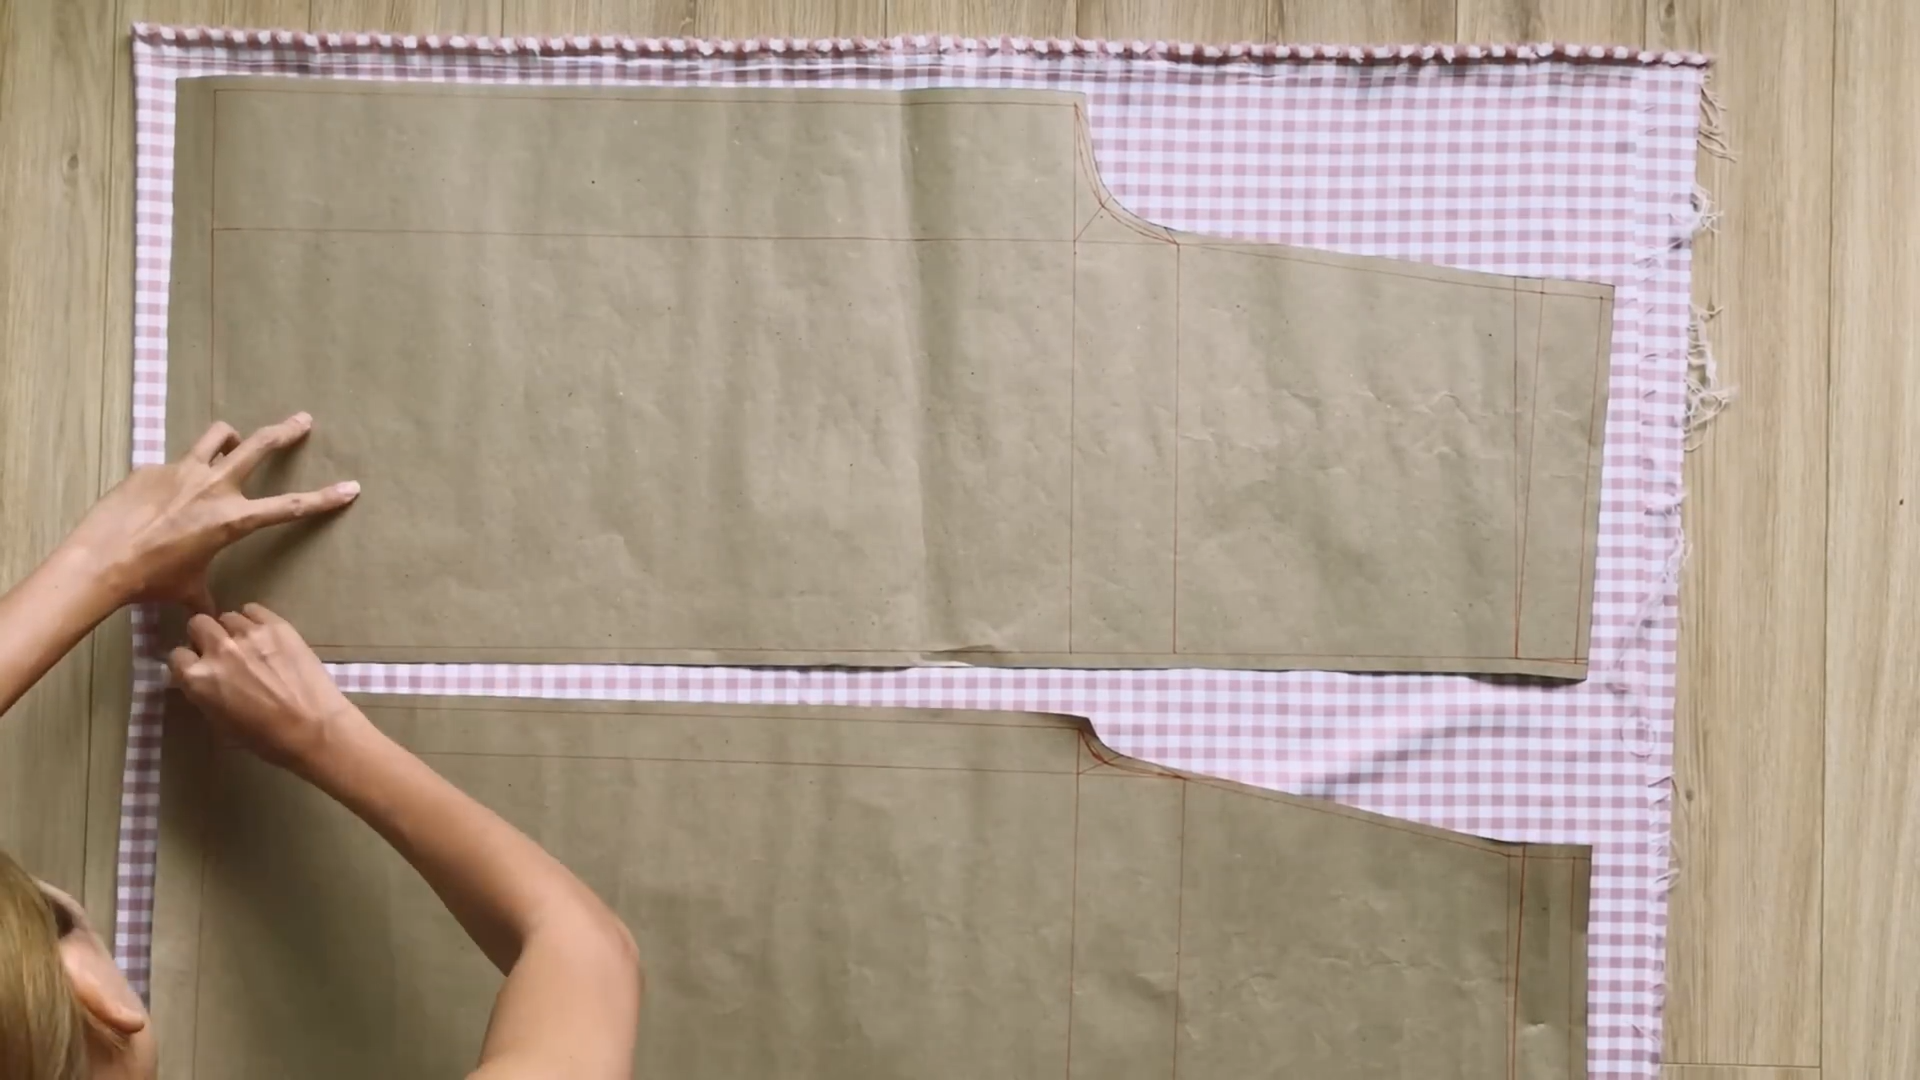
Apply the patterns to the fabric to draw and cut out the pieces for the jumpsuit.
You will need 2 pieces of the front and 2 pieces of the back pants, 4 pieces of the pockets, 2 pieces of the main bodice.
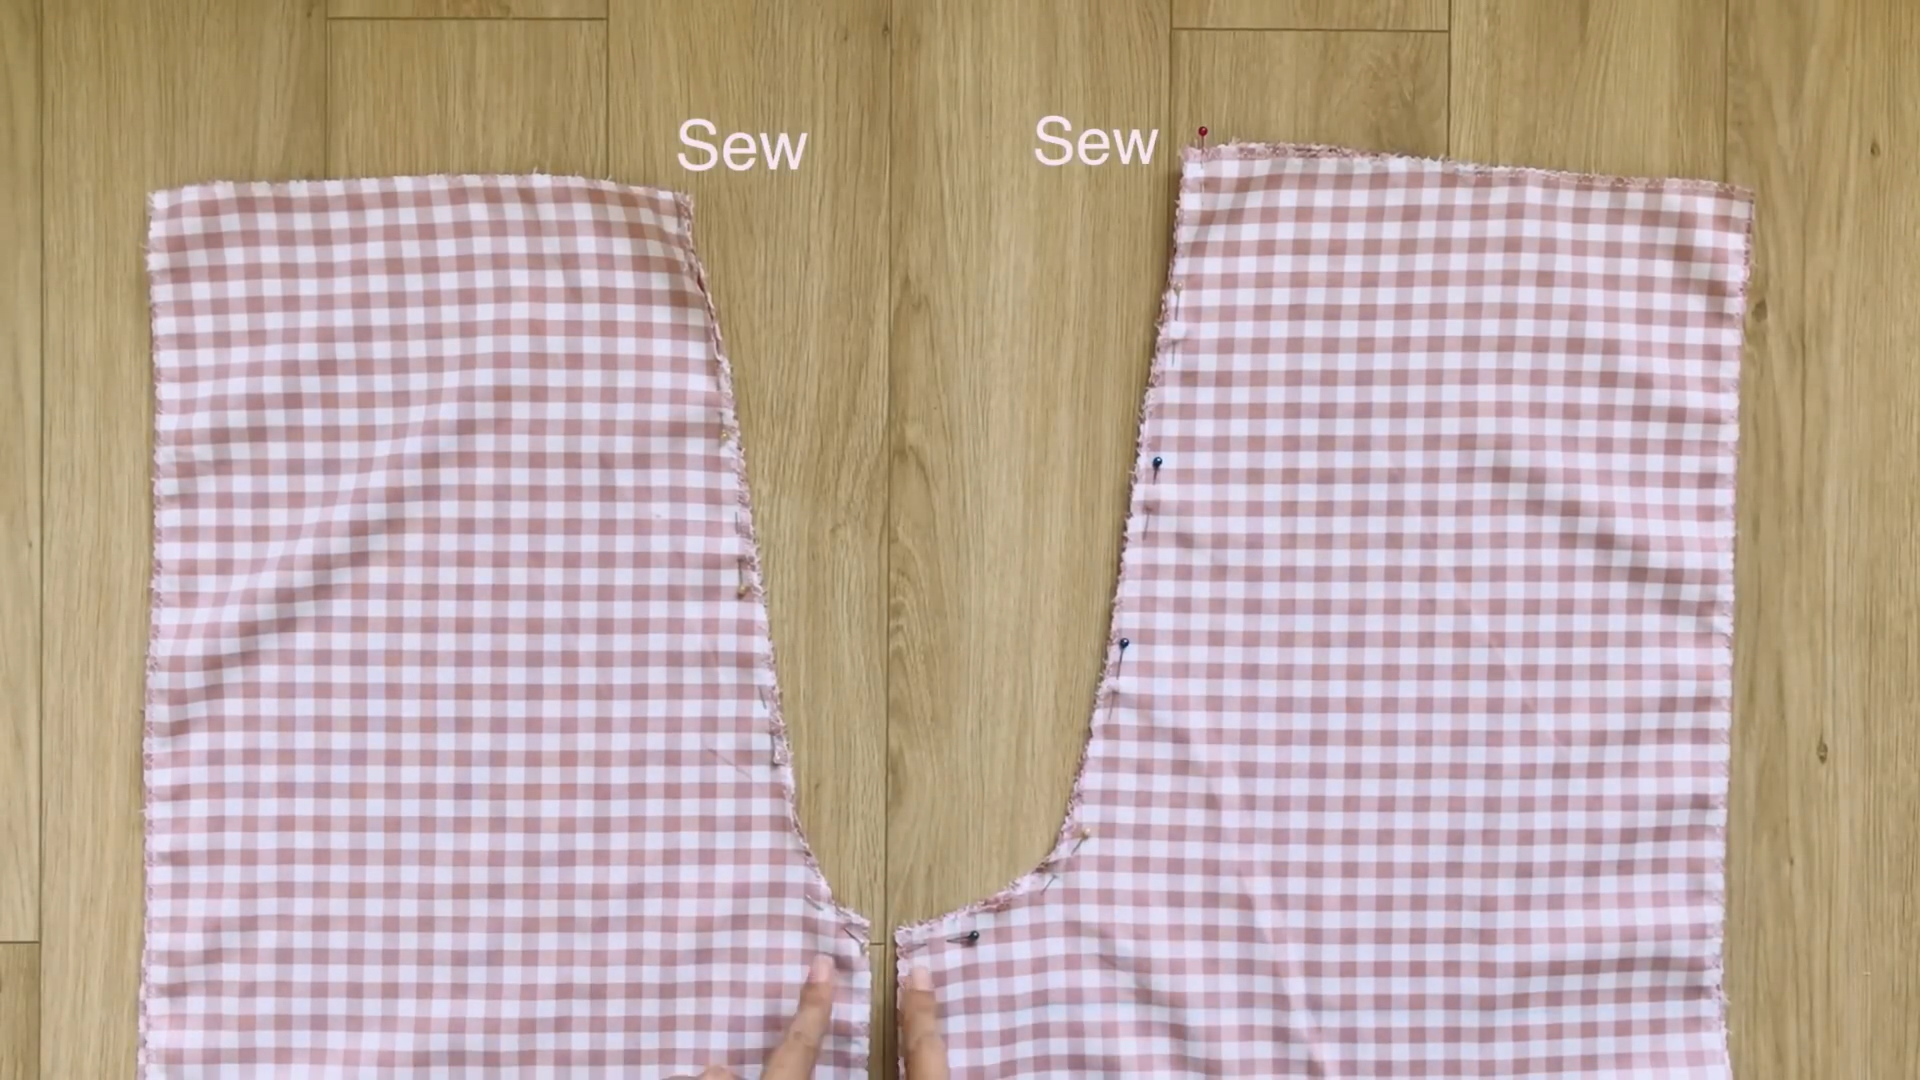
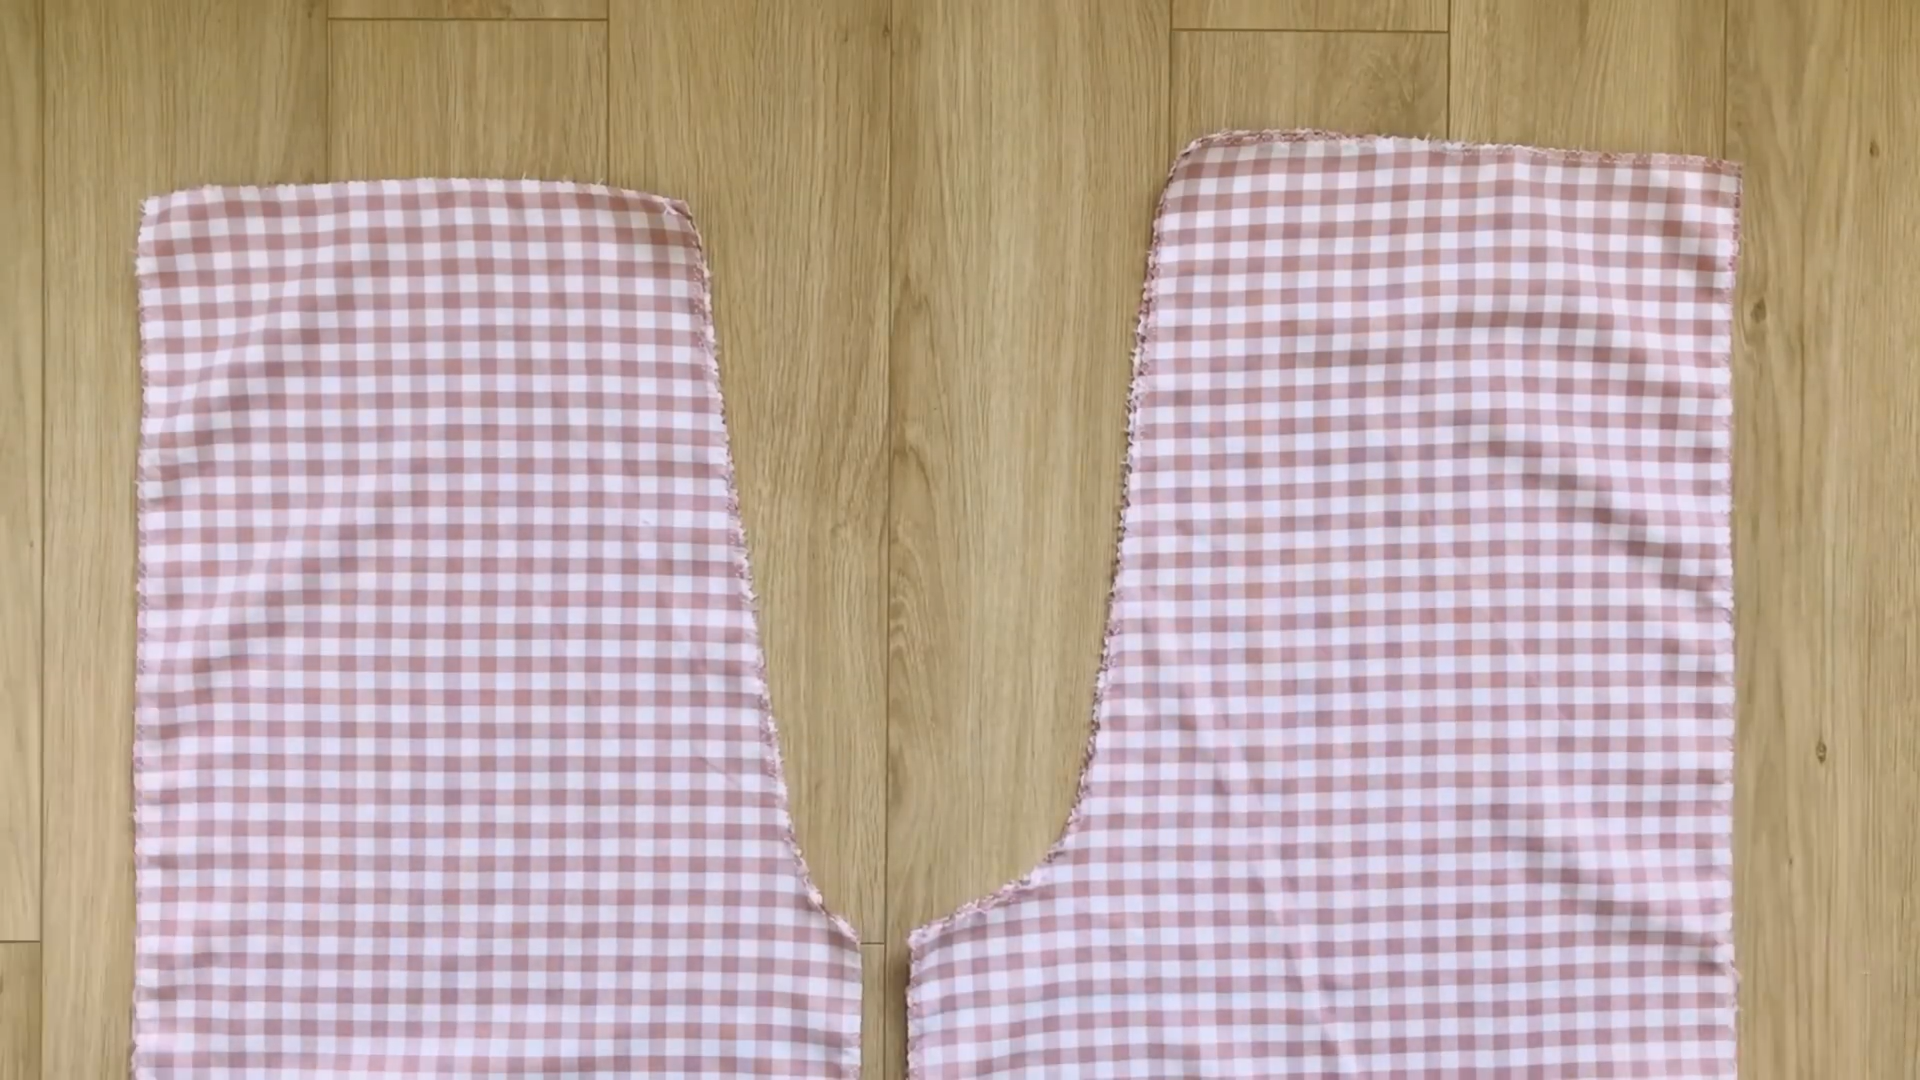
Sew two pieces of the front pants together along the crotch line.
Do the same with the back pants
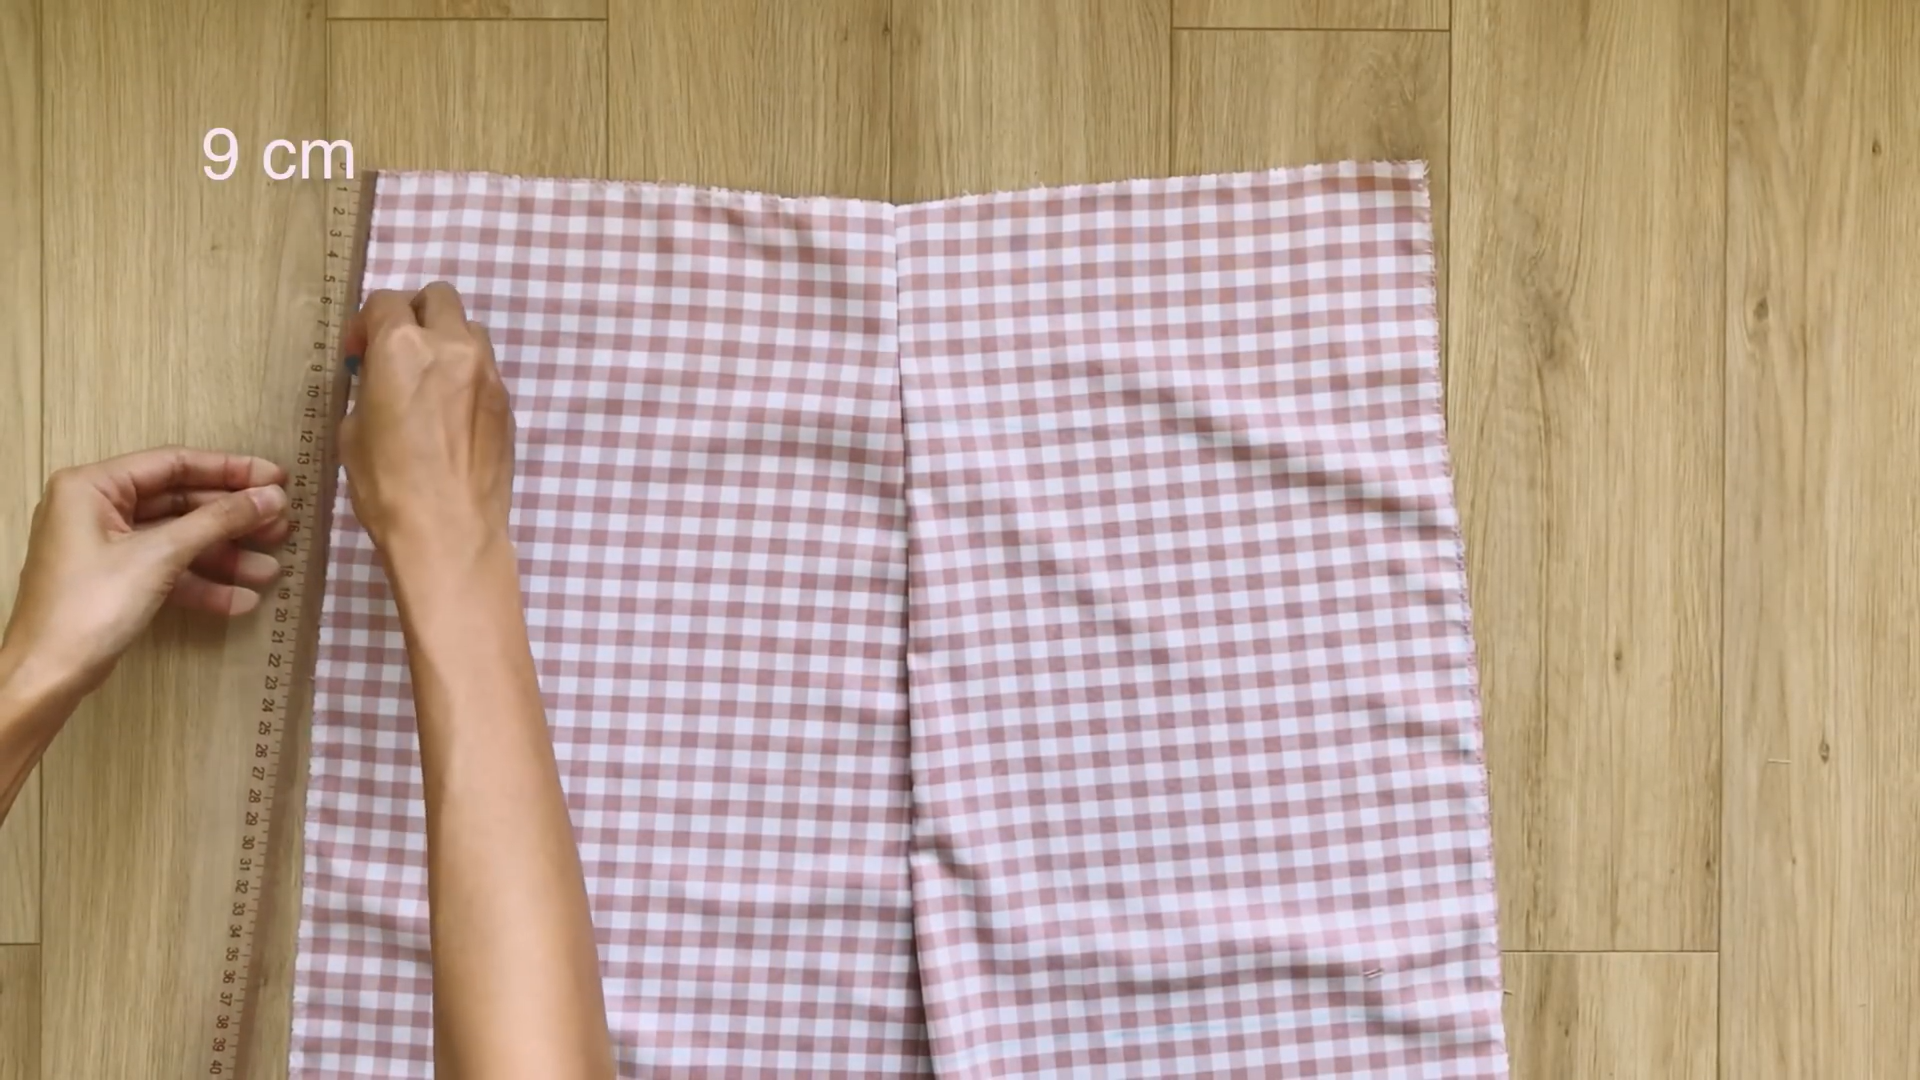
On the 2 sidelines of the front pants, mark down 9 cm from the waist. These marks are where the pockets will be.
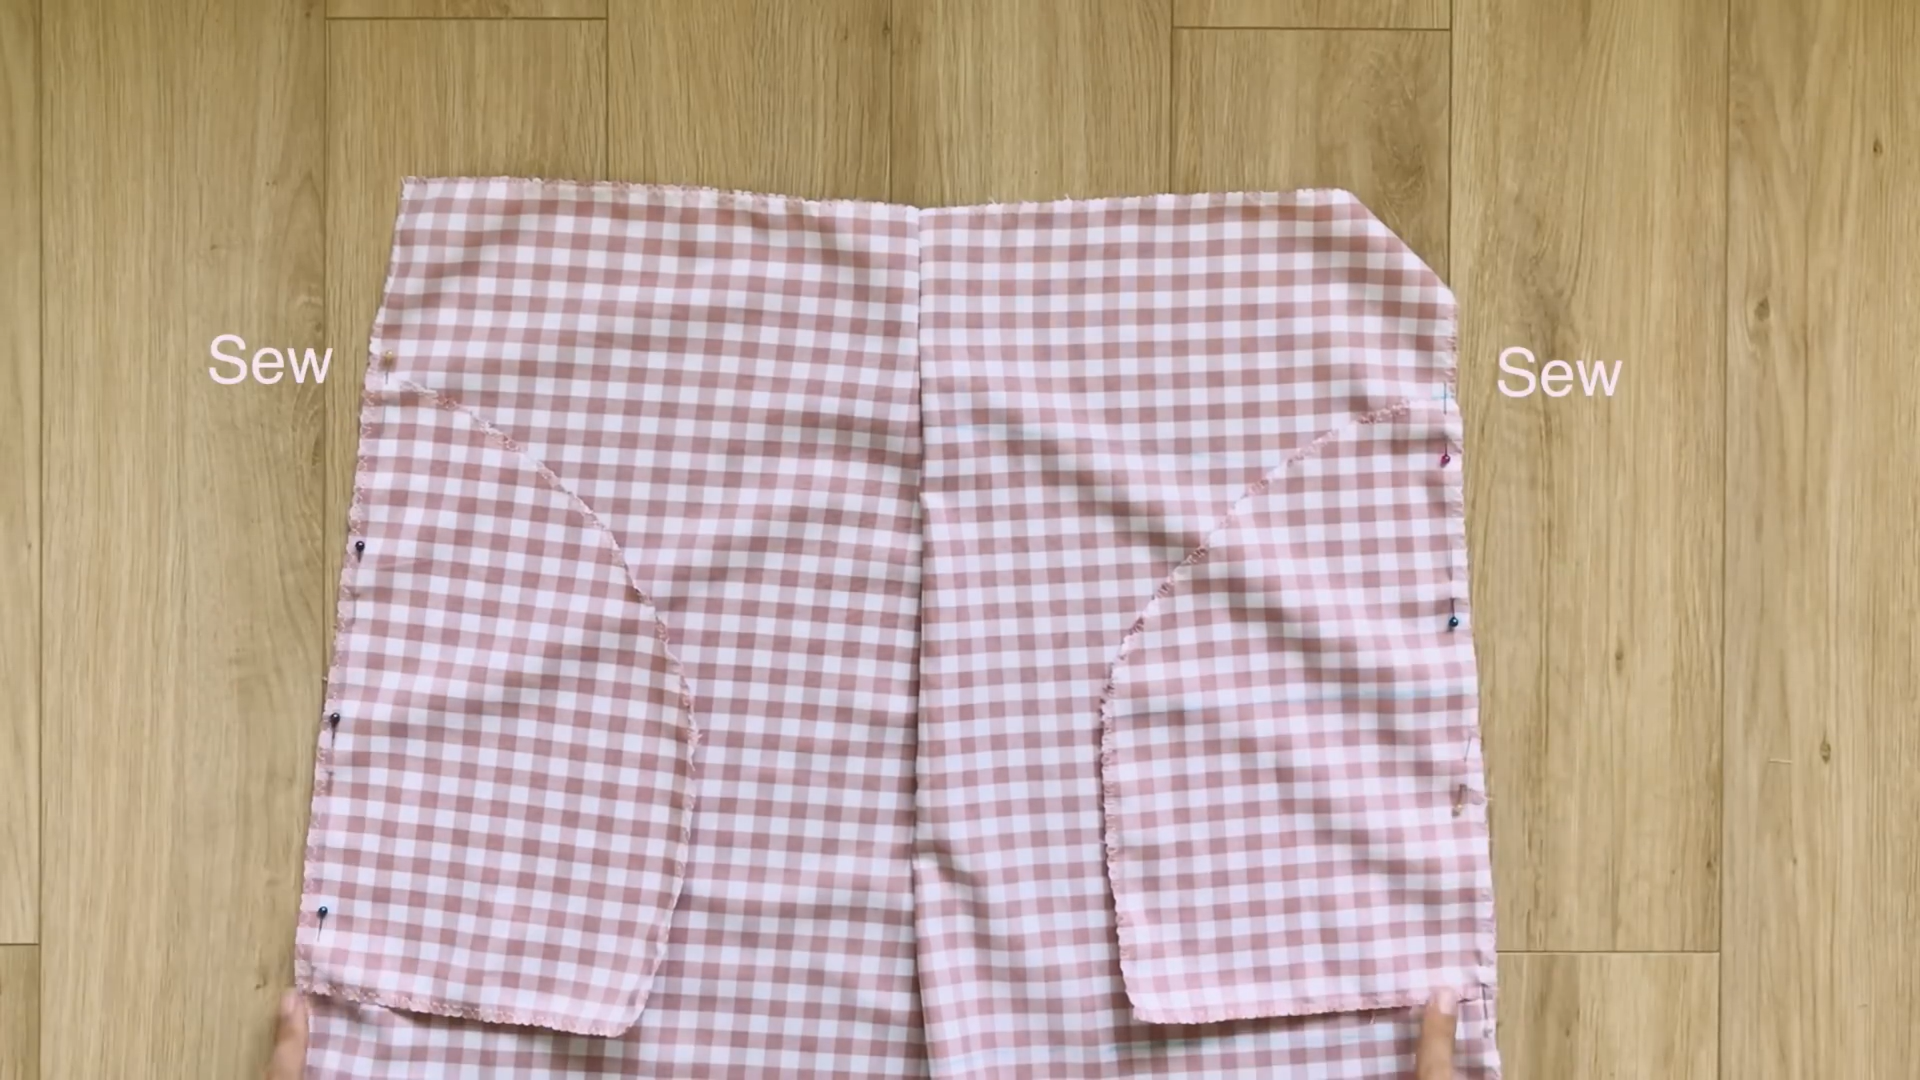
Attach 2 pocket pieces to the sidelines at the marks with pins. Sew them together.
Repeat the steps to add the pockets to the back pants
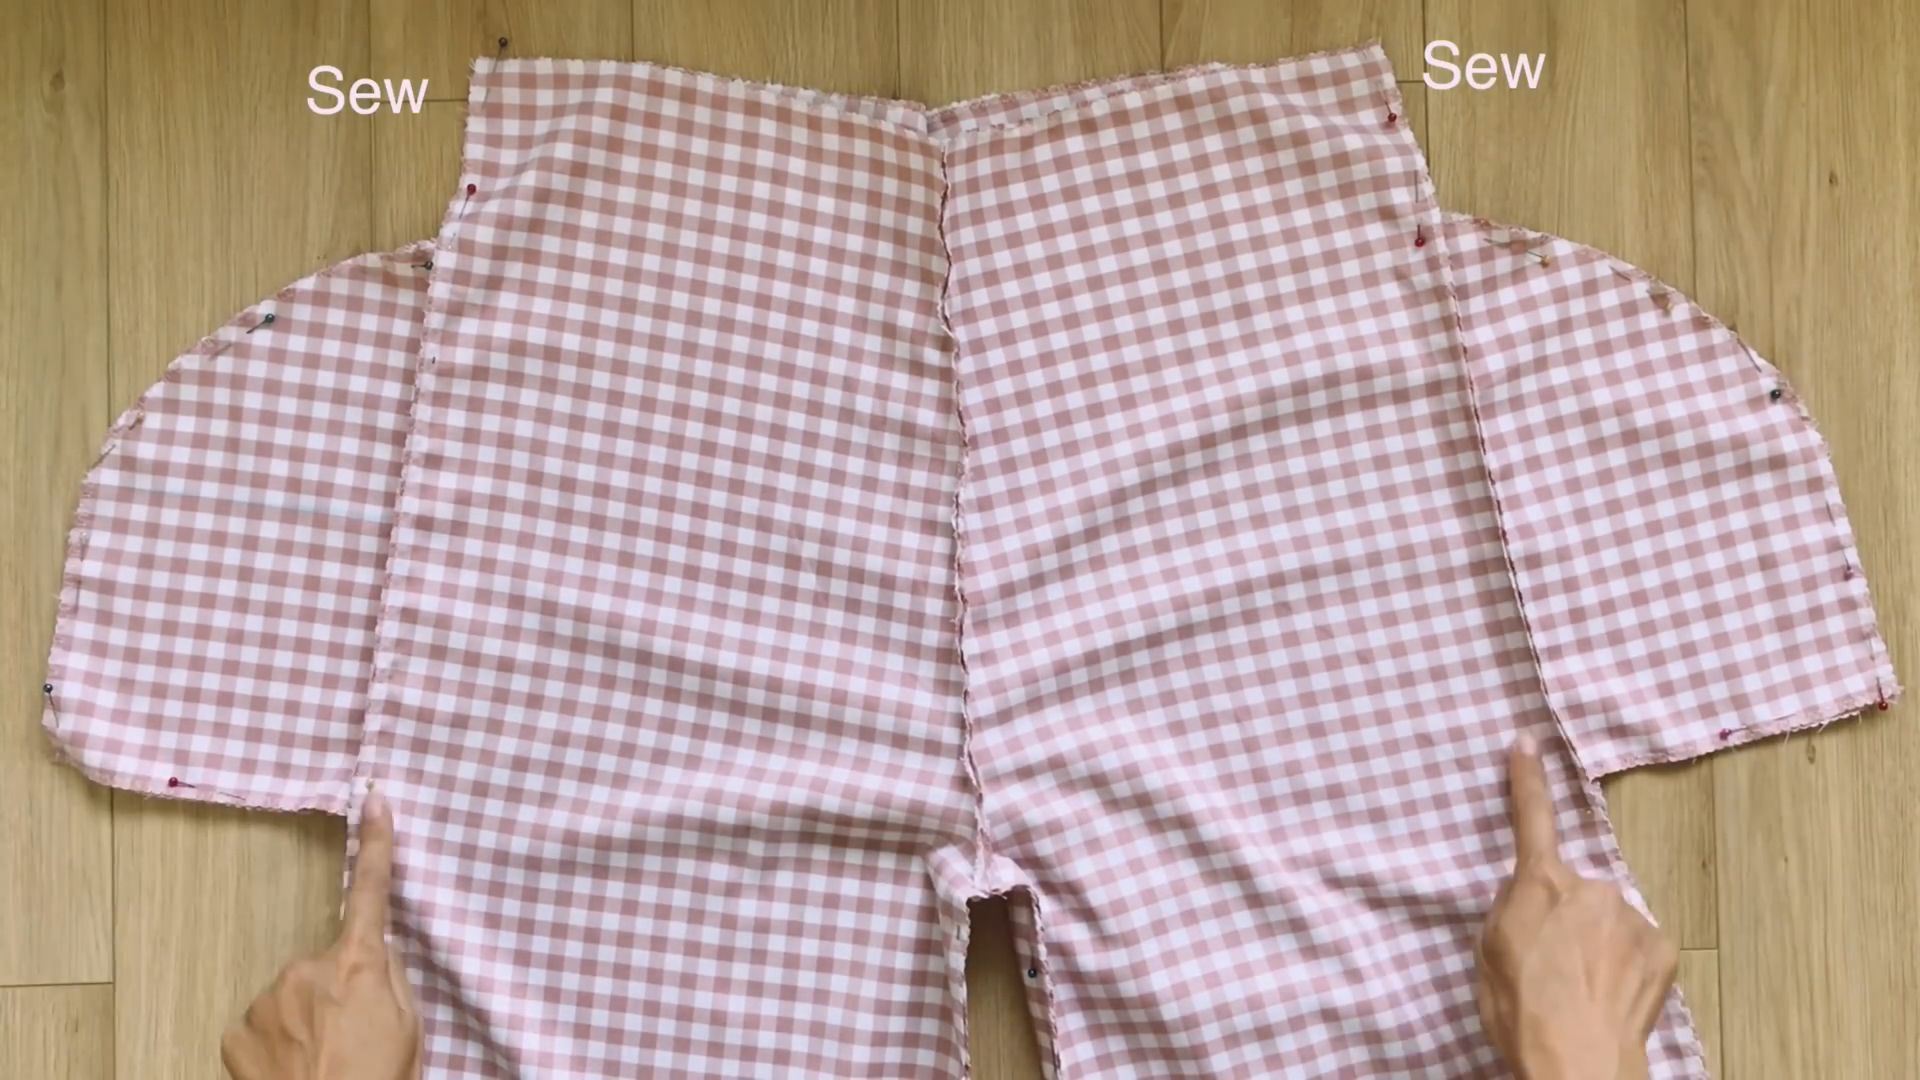
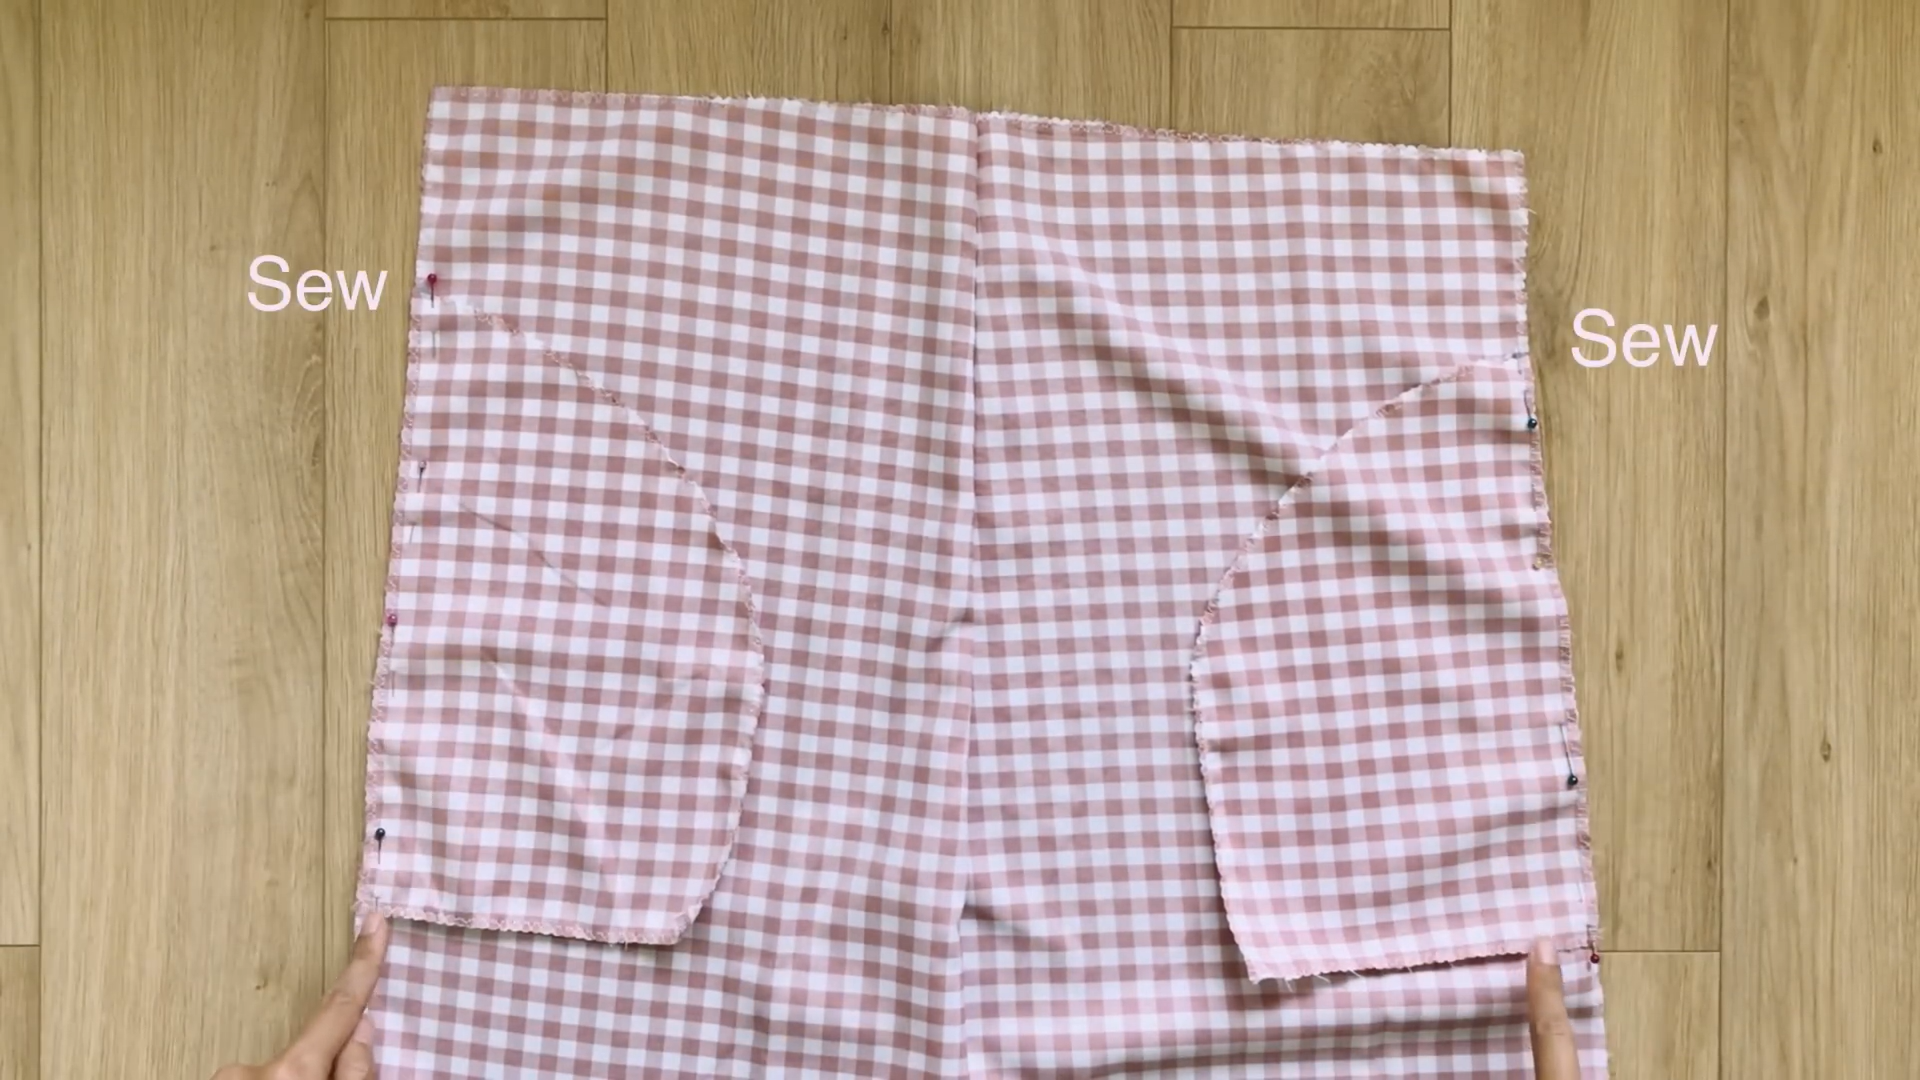
Attach the front to the back pants with pins so that the pockets are in the middle.
Sew them together at the sidelines and the pockets.
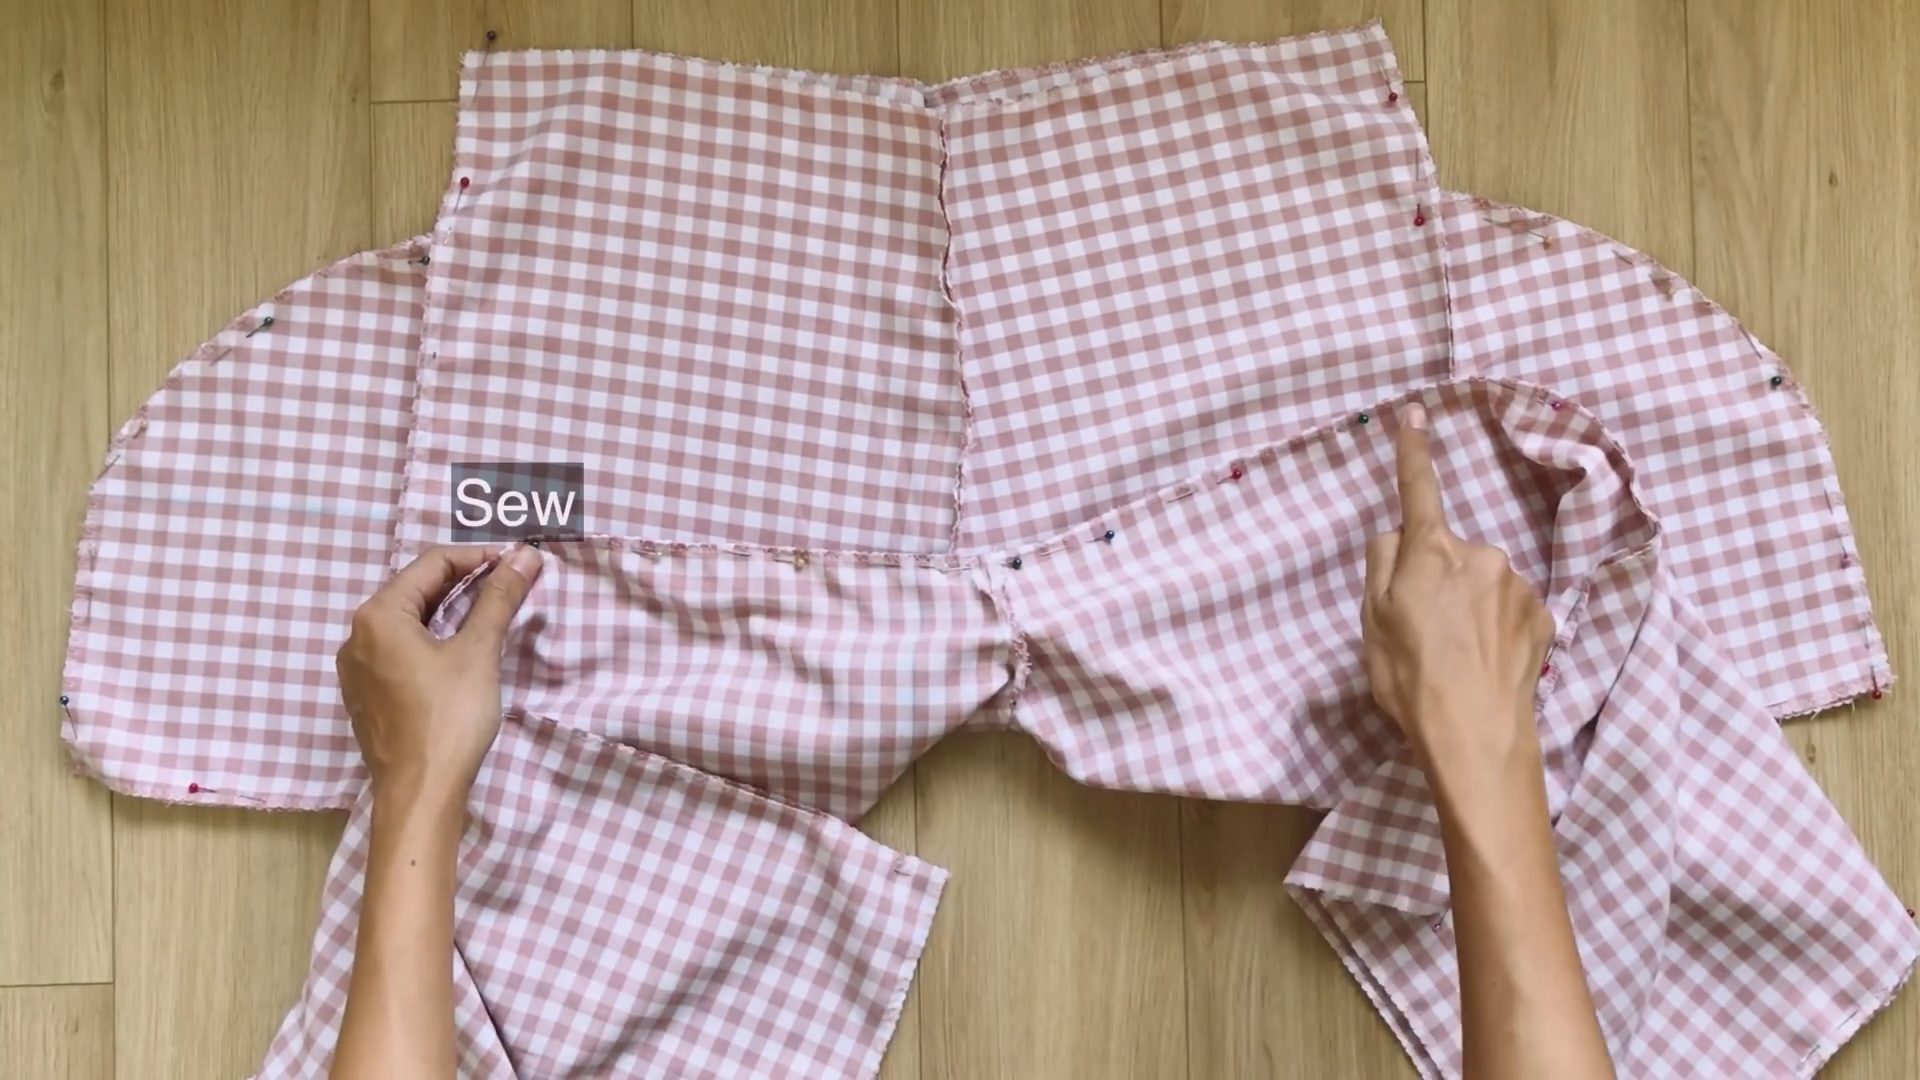
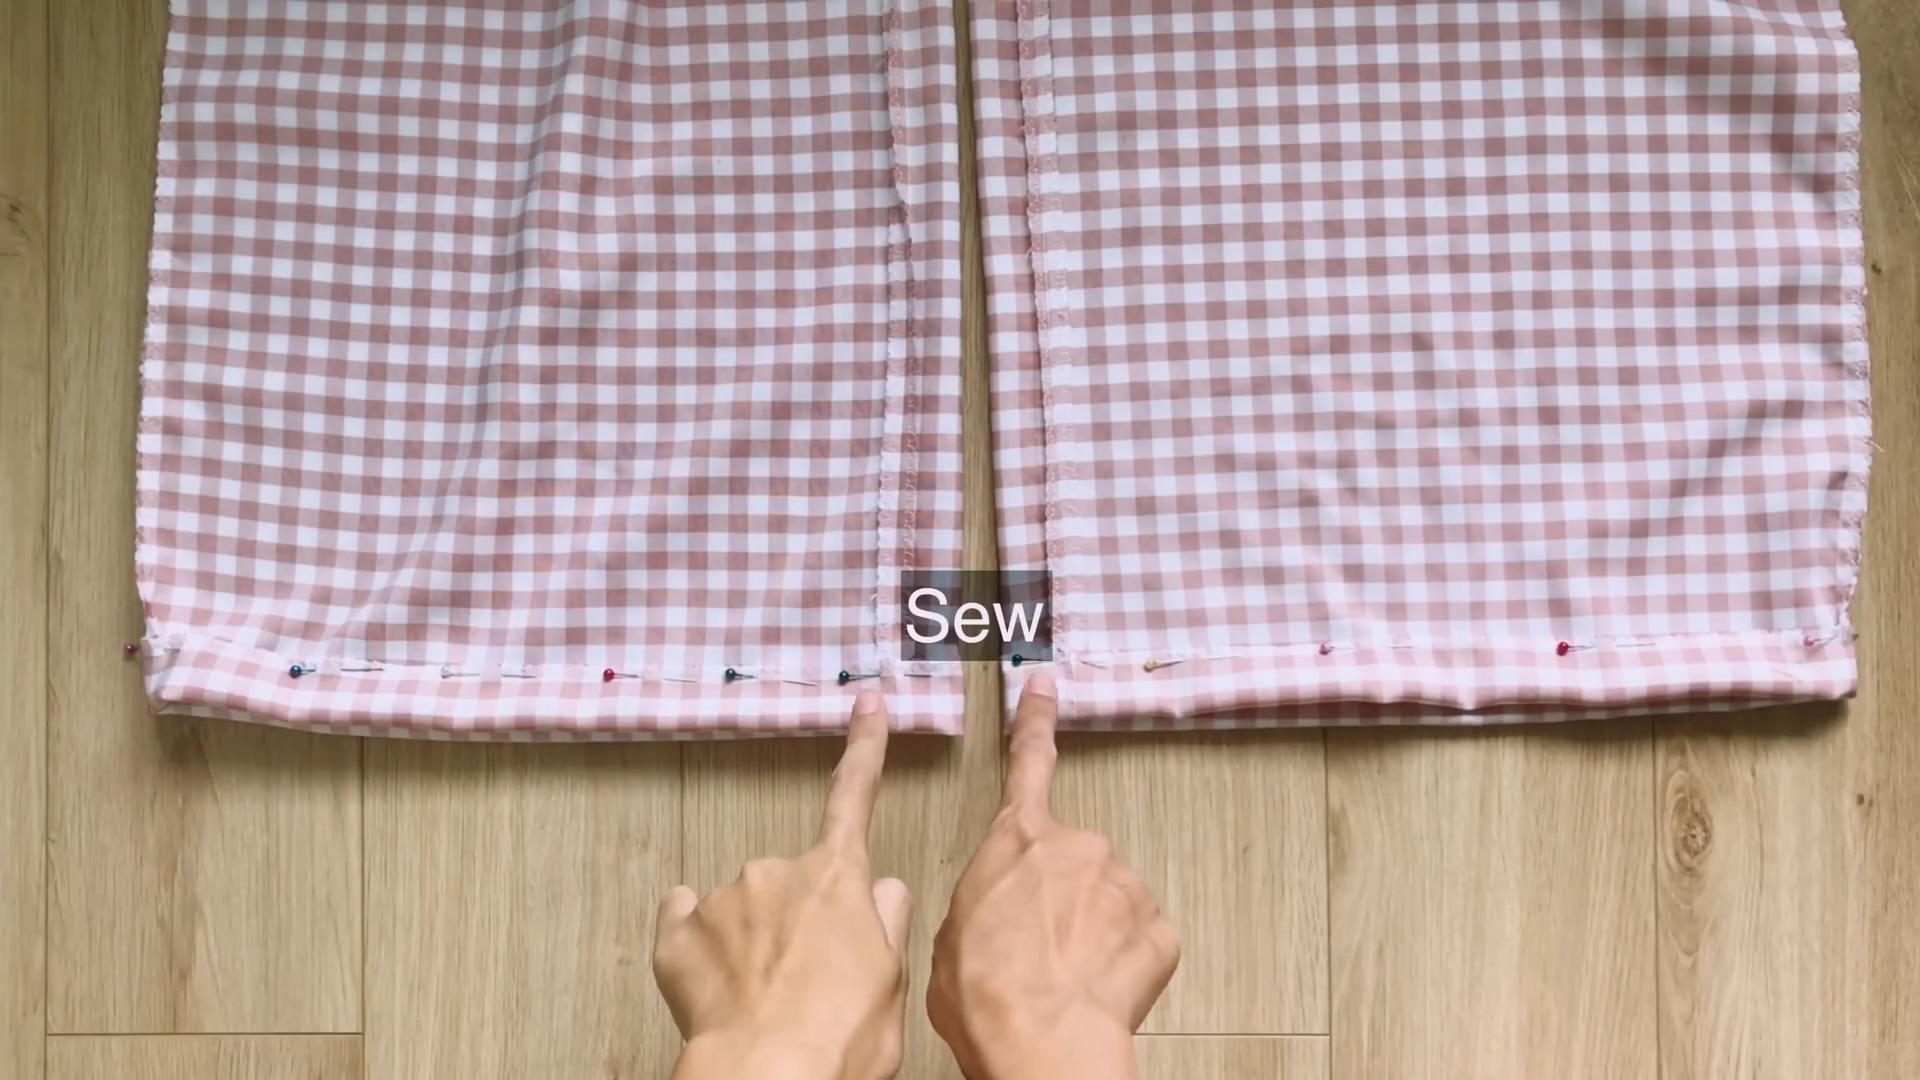
Then sew the inside sidelines together.
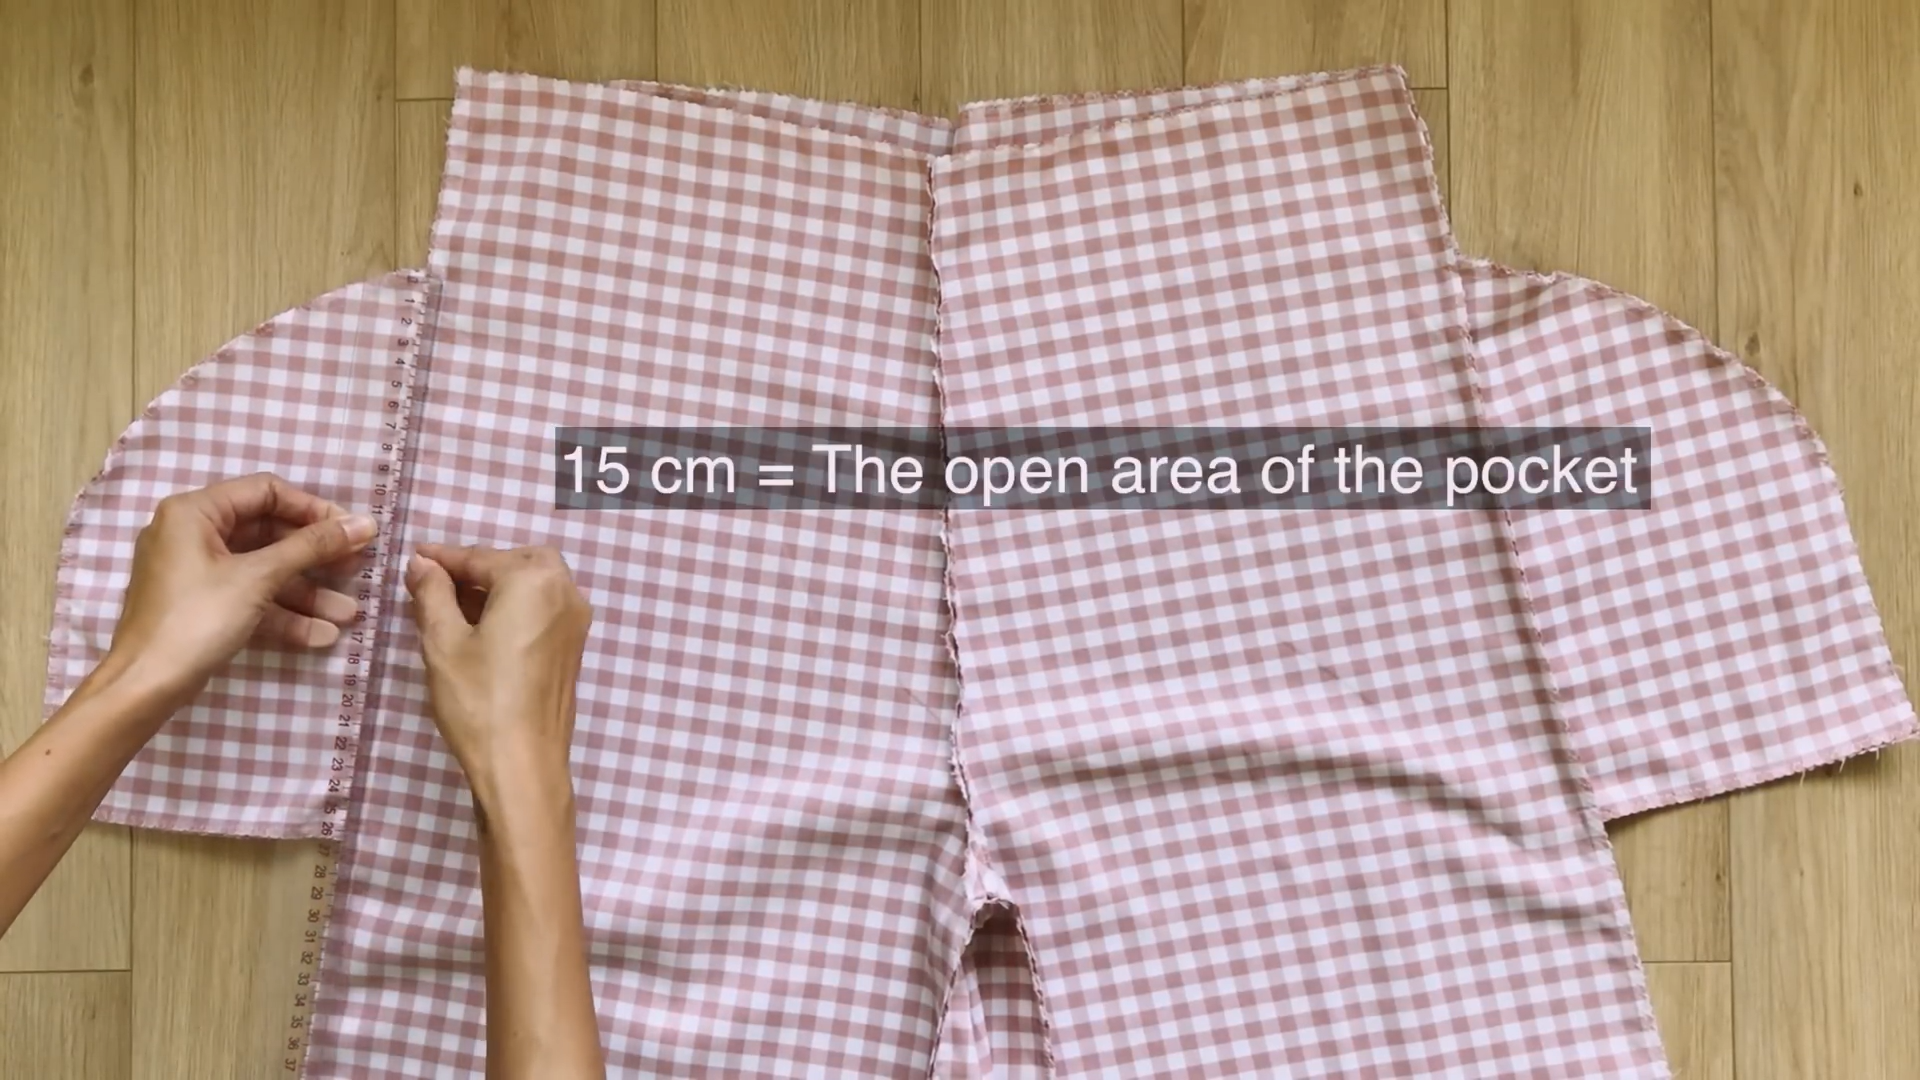
From one end of the pocket, mark down 15 cm. This is the opening of the pocket
Sew from that mark to the other end to finish the pocket mouth.
Do the same for both pockets of the pants.
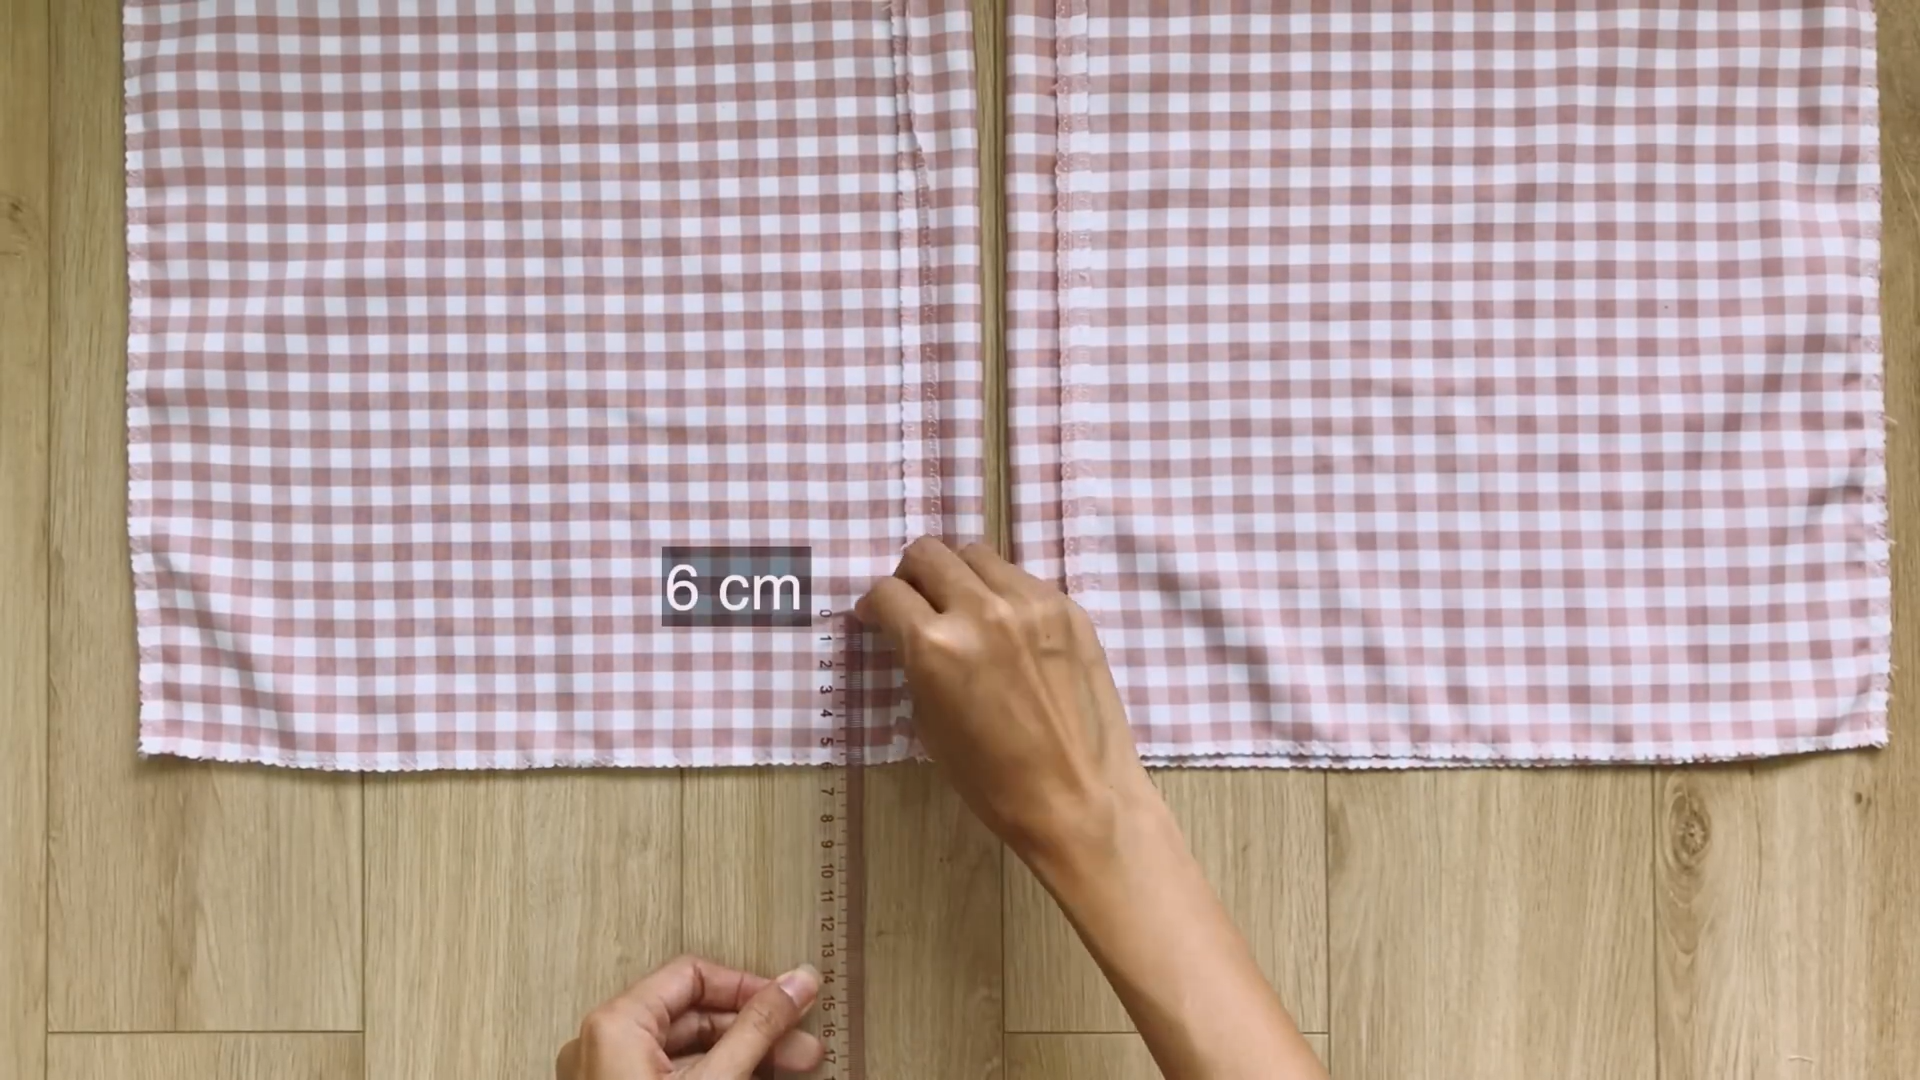
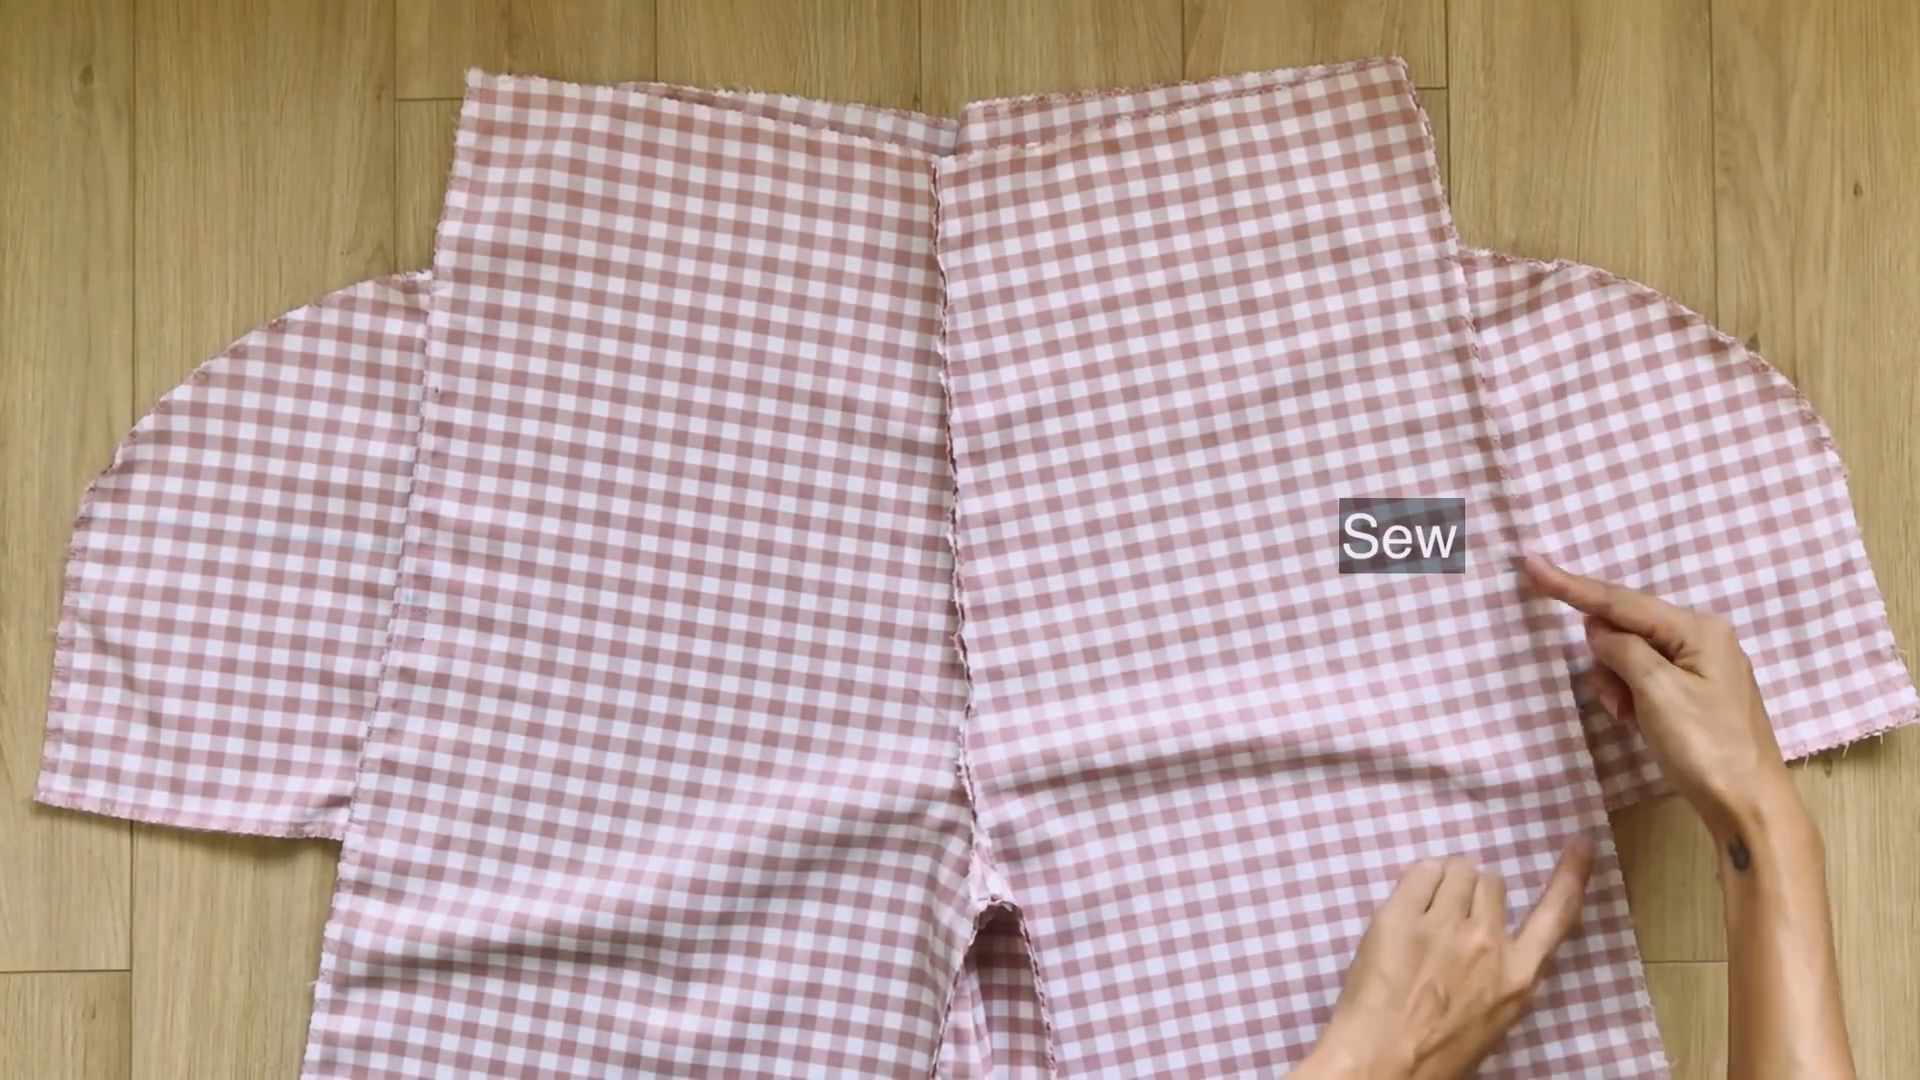
Mark at 6 cm above the end of the pants.
Fold the end lines of the pants to that mark and make a seam there to finish the edges.
THE TOP
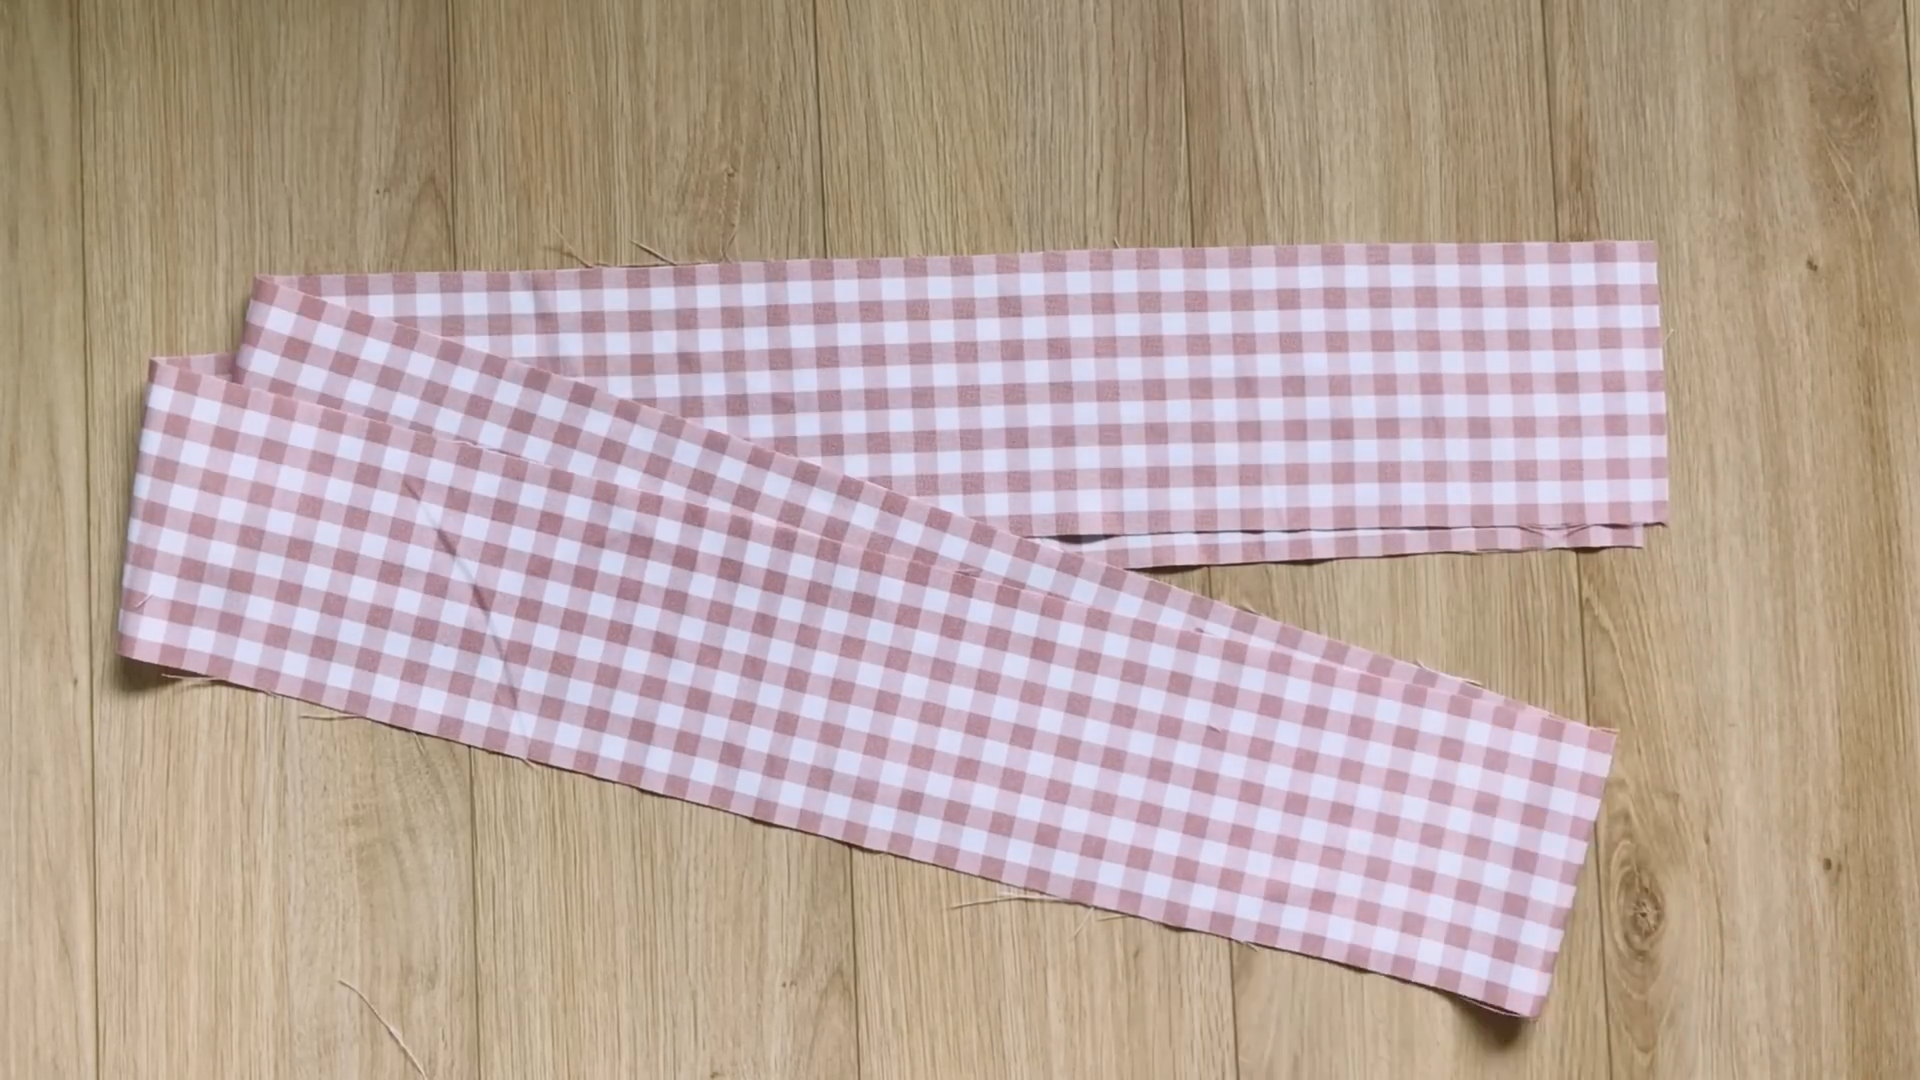
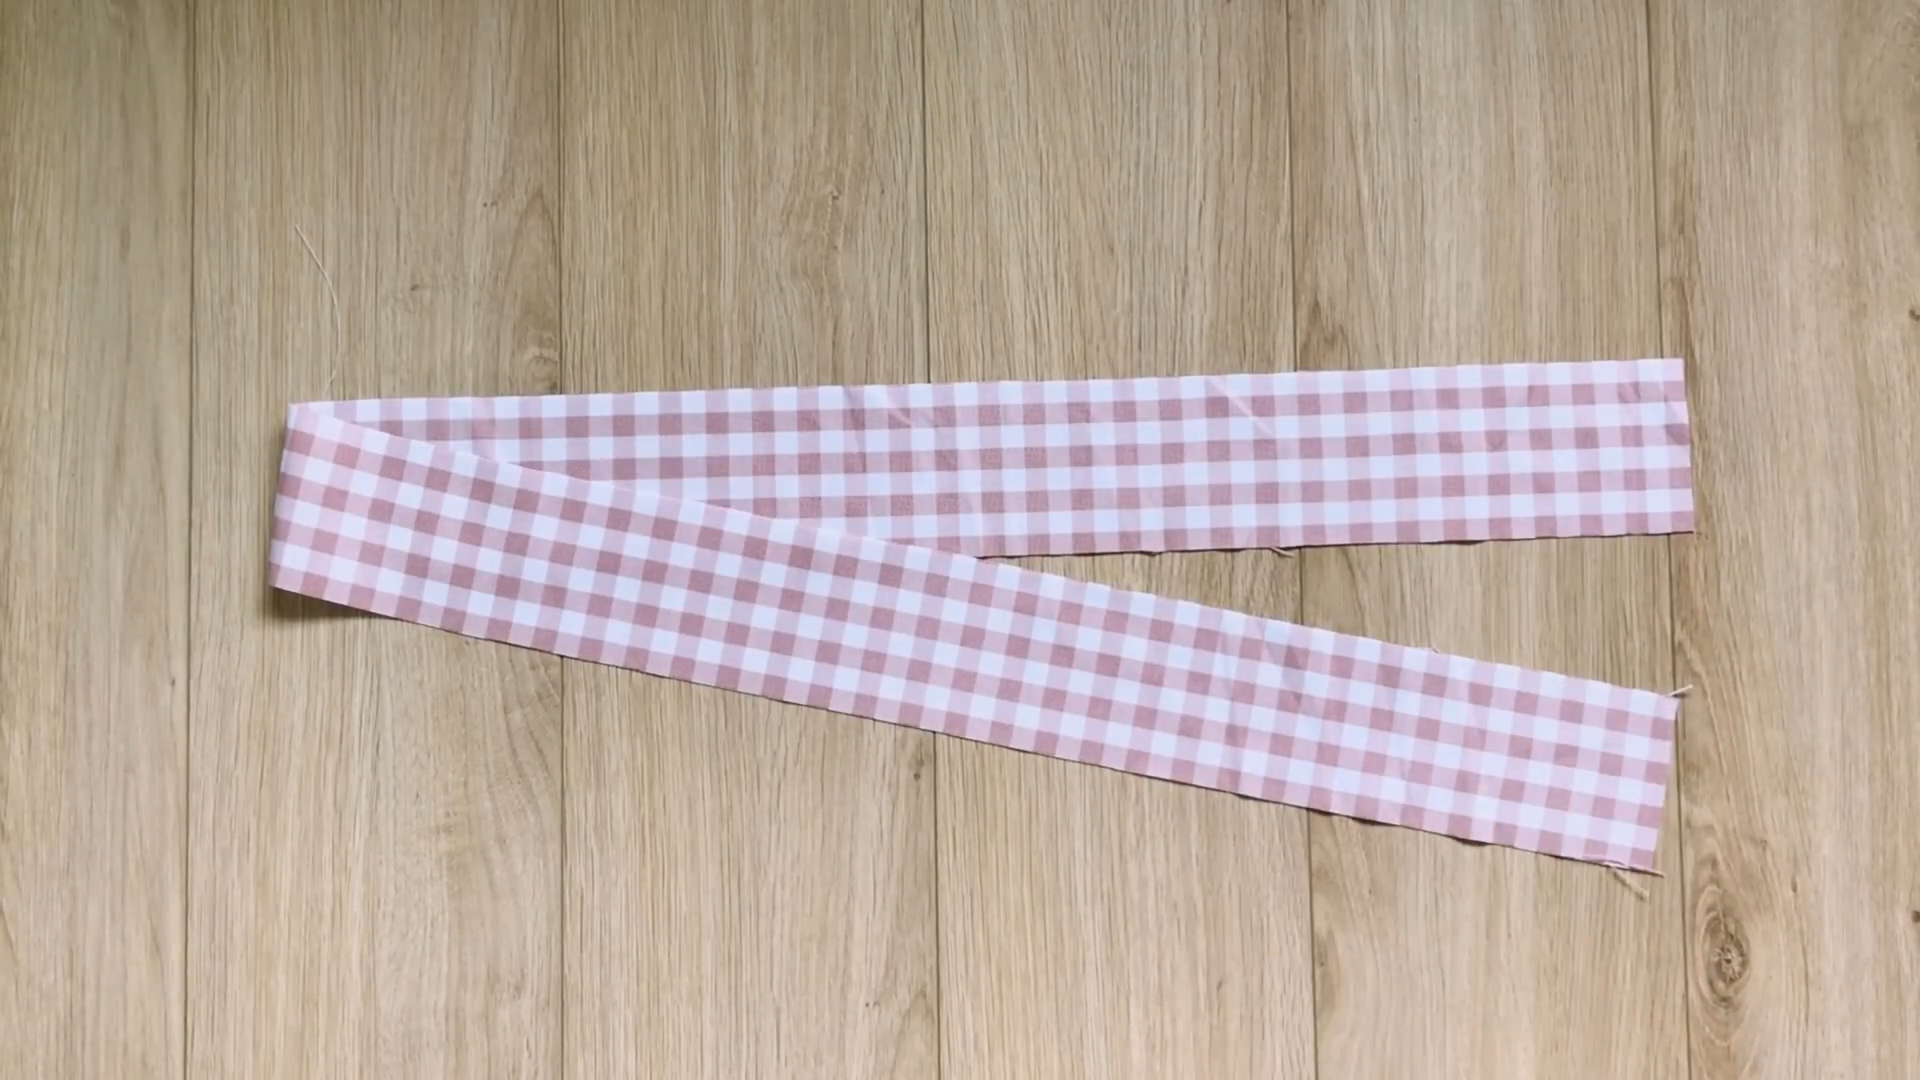
Cut 2 rectangles with 100 cm length and 10 cm width to make the shoulder straps.
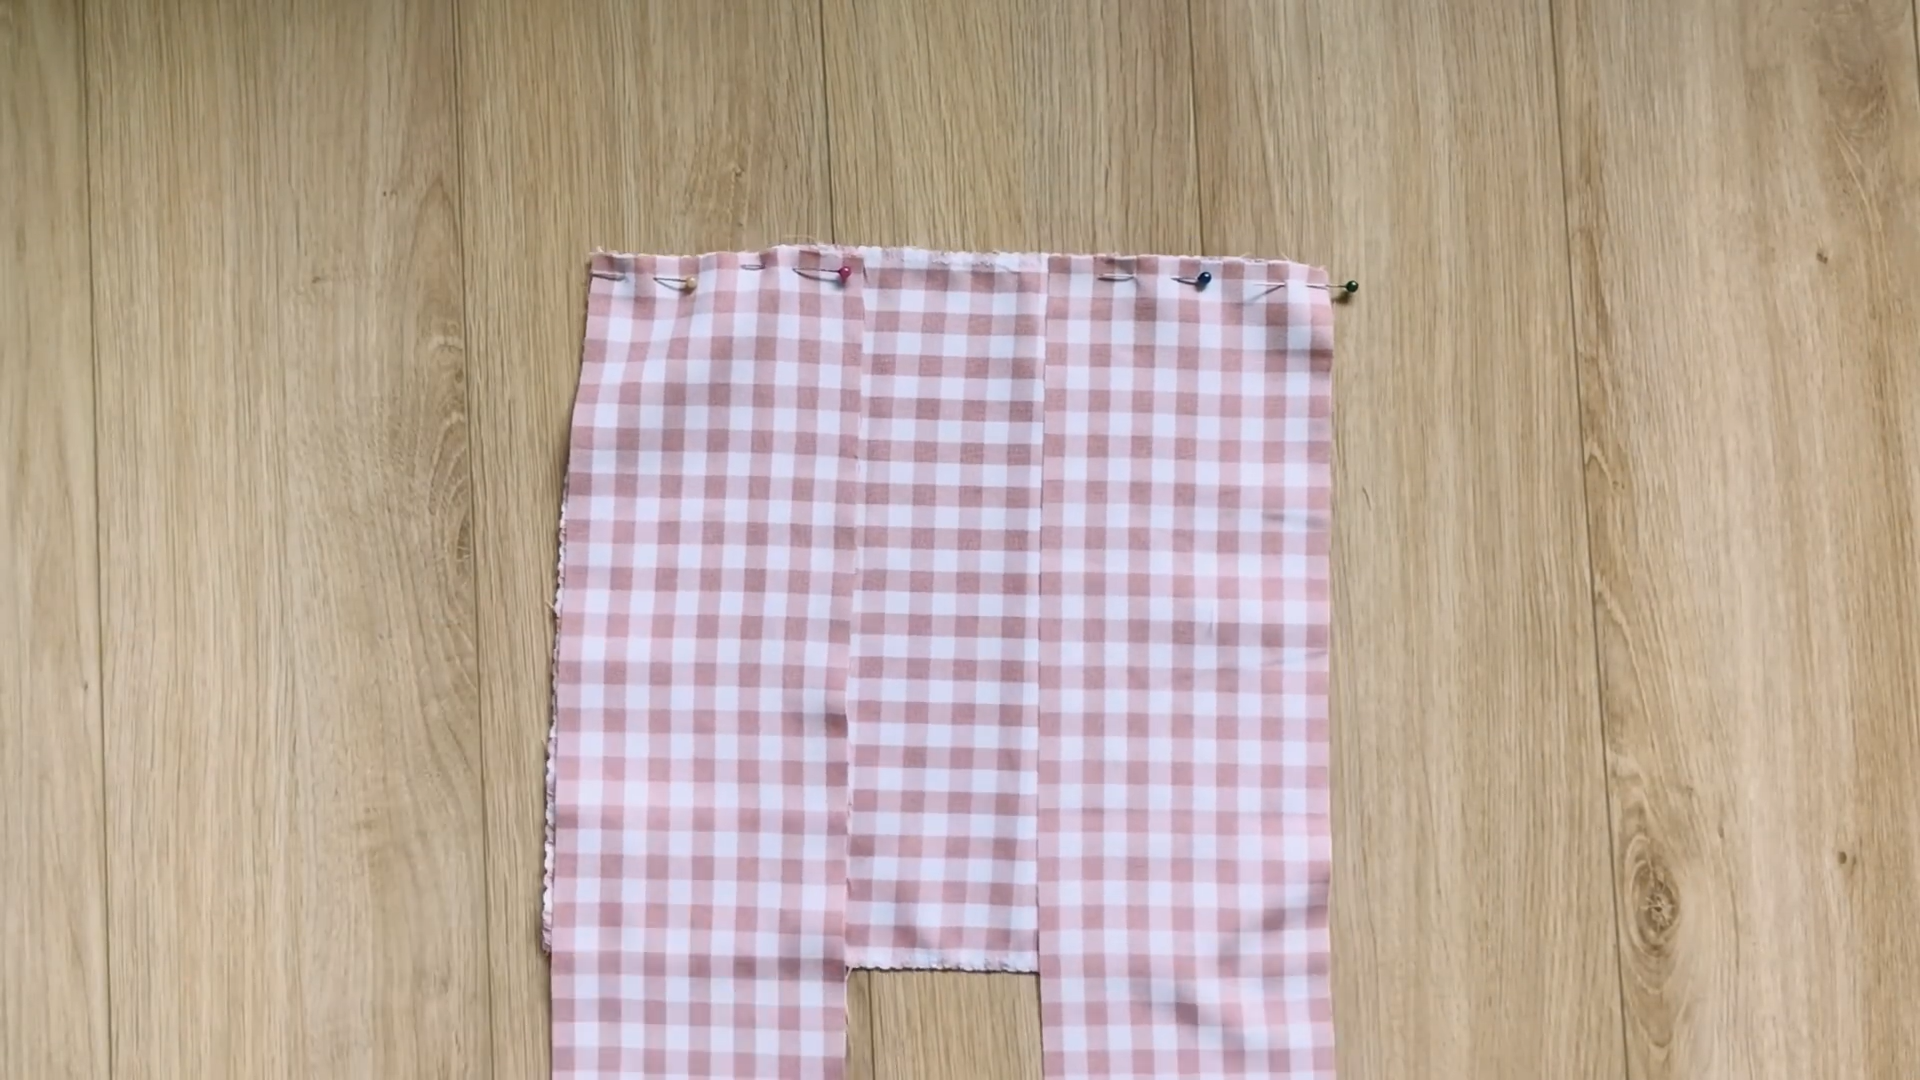
Connect the 2 rectangles to one bodice piece with pins along their width lines.
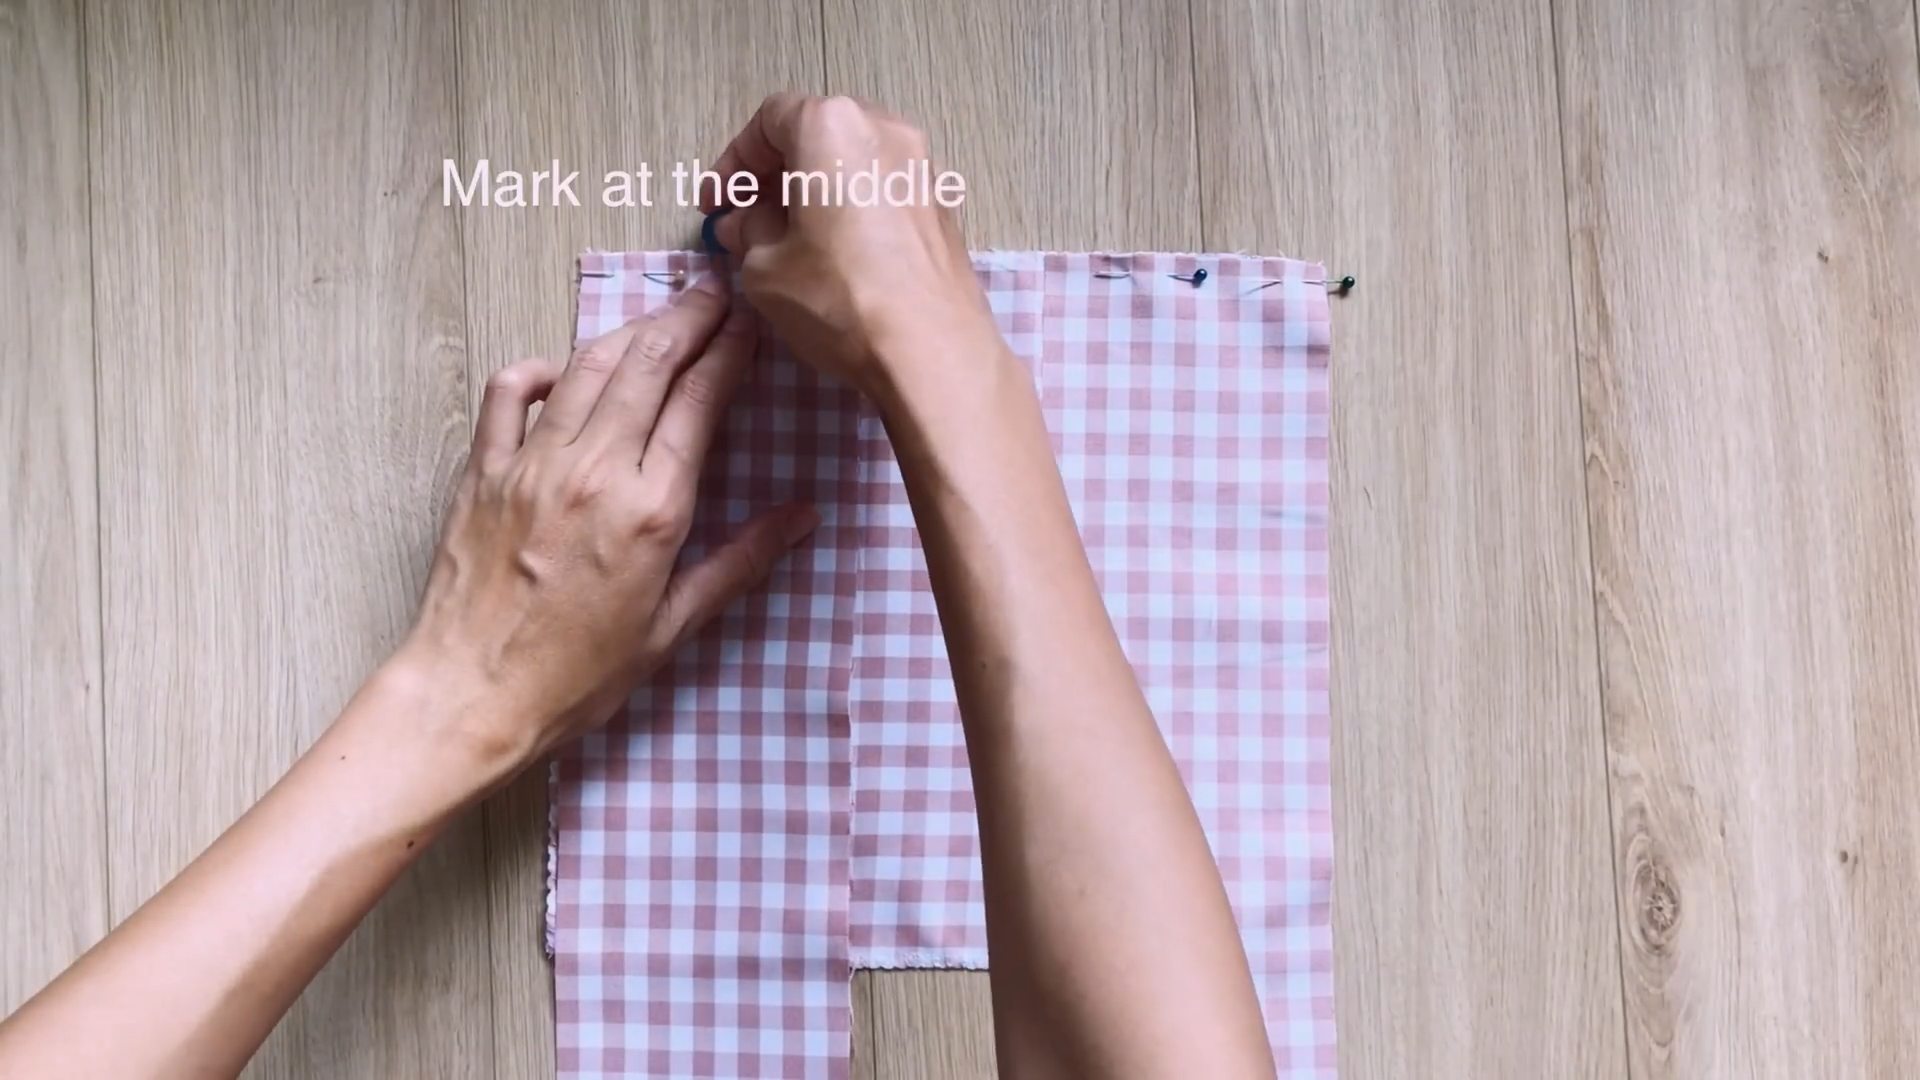
Mark at the middle of the rectangle’s width line.
Sew from that mark to length line. Do similarly with the other rectangle.
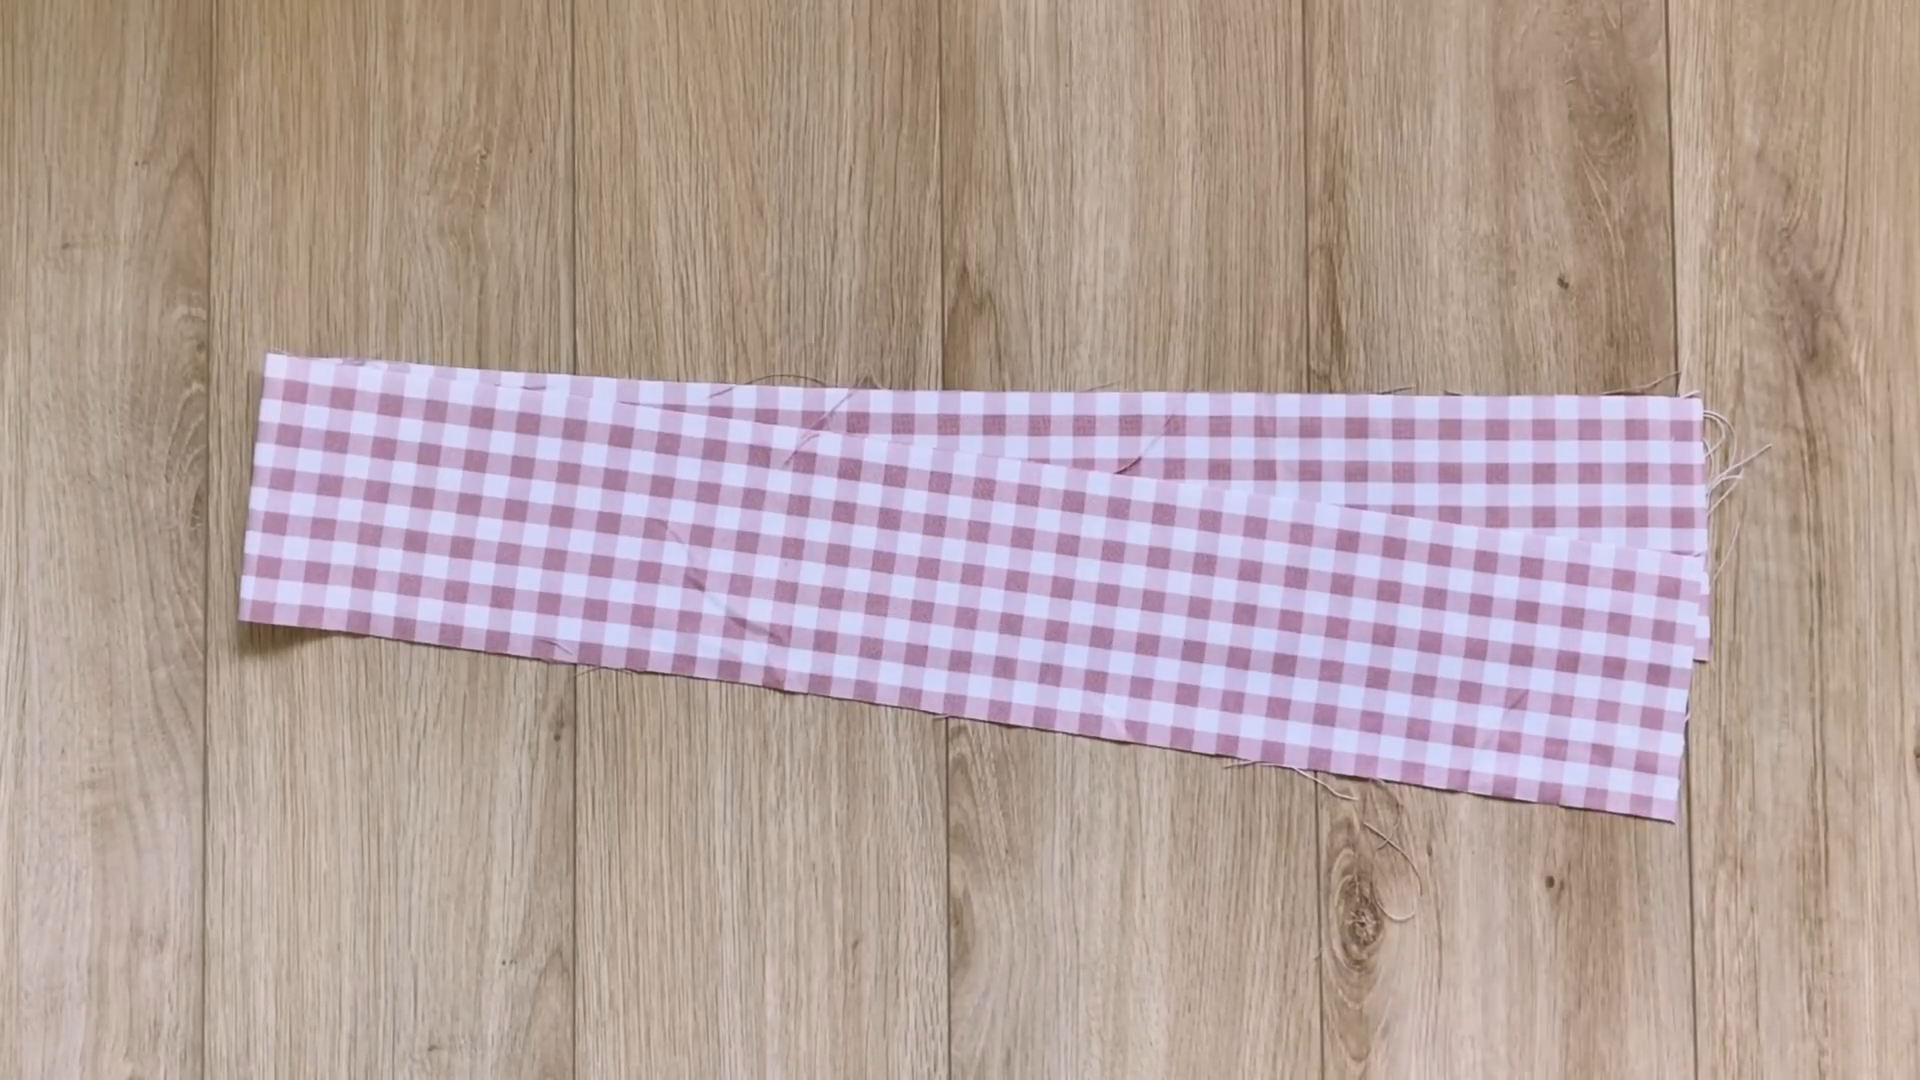
Cut 2 rectangles with 8 cm width and 80 cm length to make the ruffle parts of the shoulder straps. The length line is 1.5 times the length of the ruffle that you want.
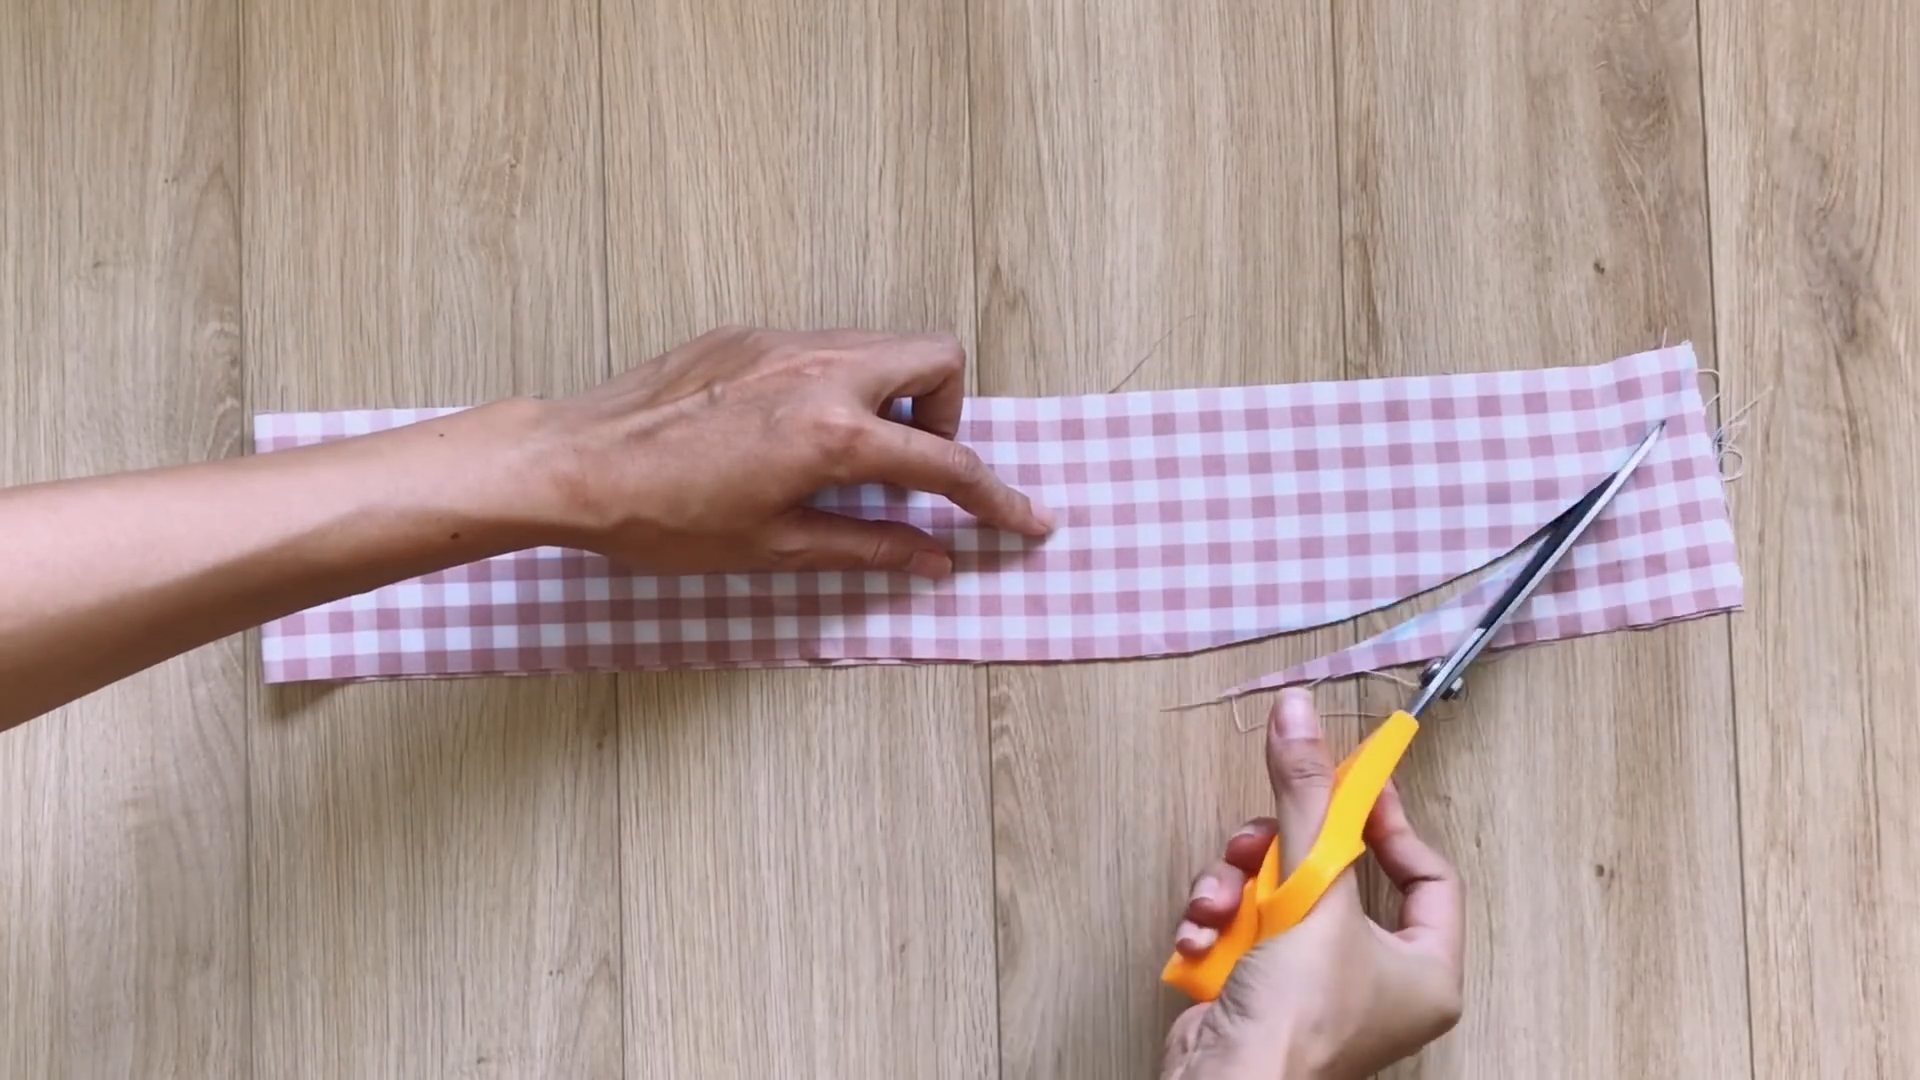
Fold the rectangle in half on the length line then draw a curved line at two ends for cutting.

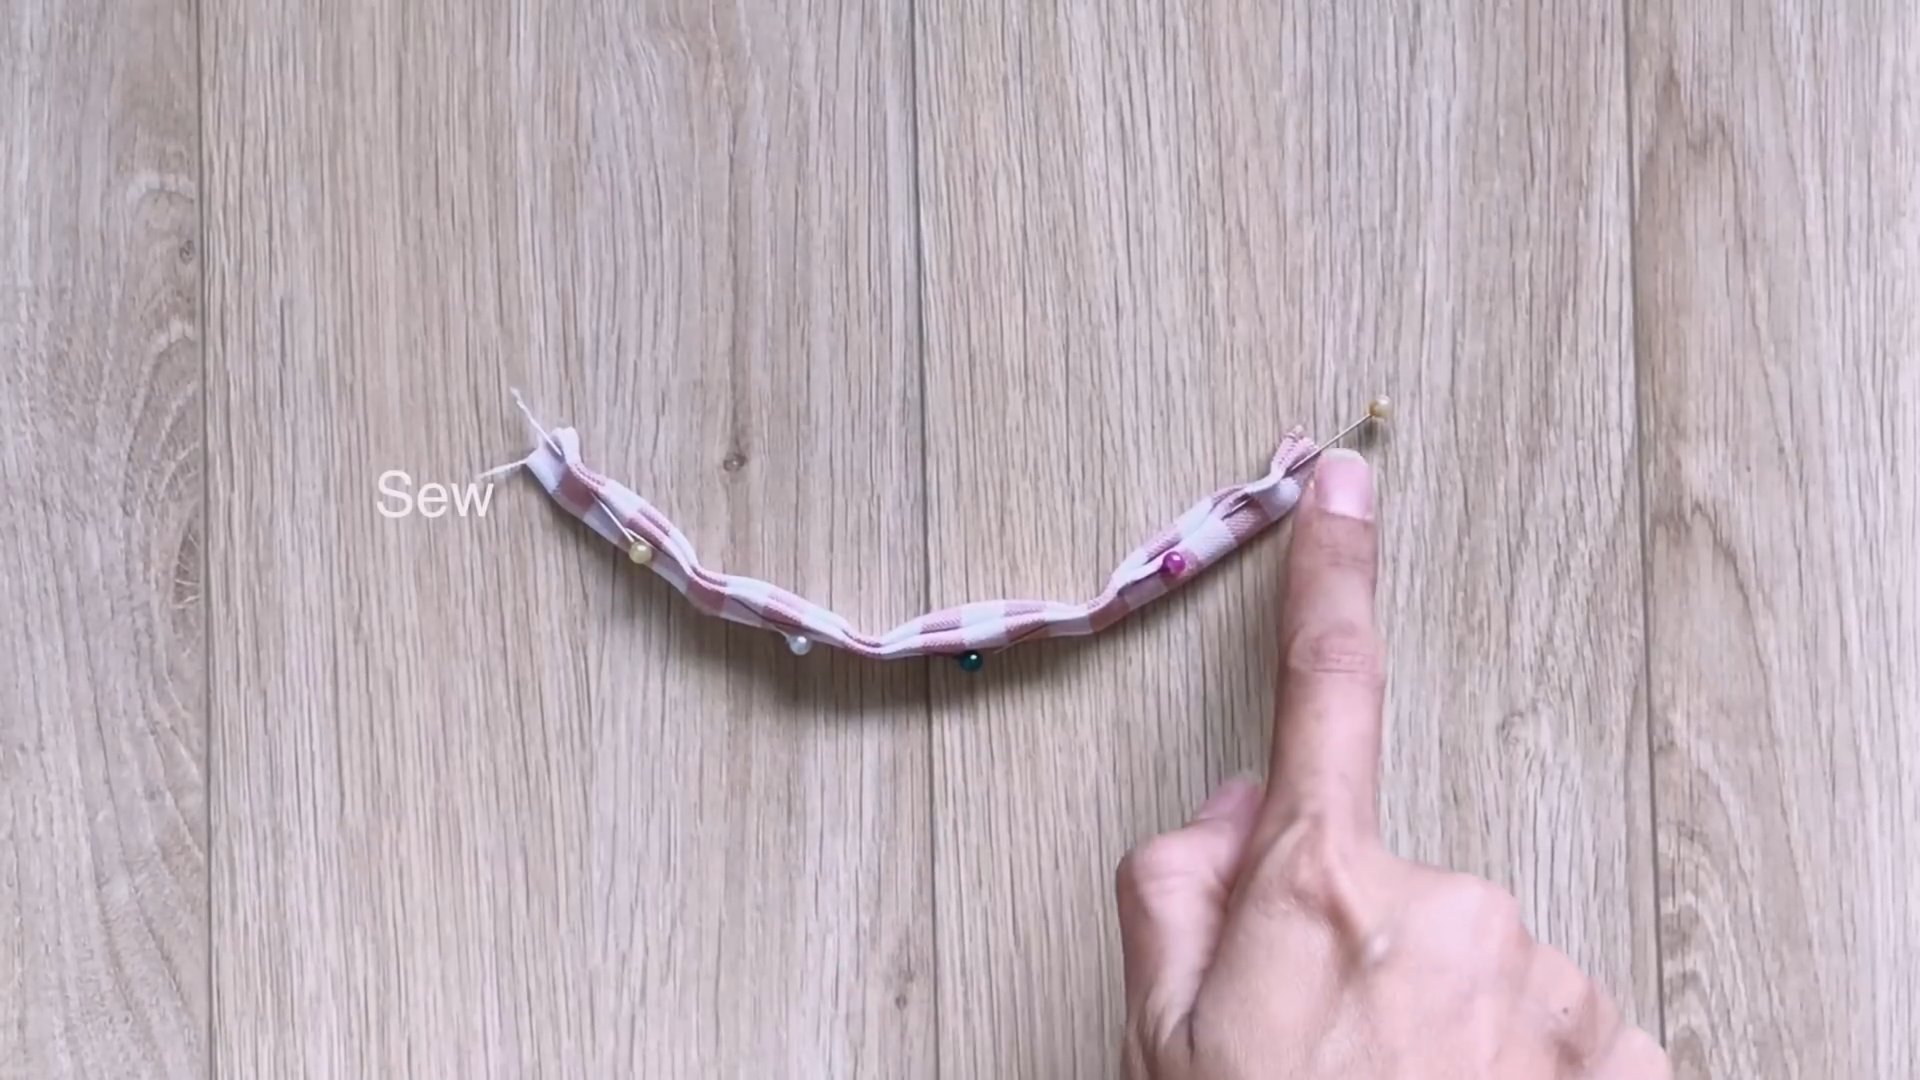
Fold the curved end inside 2 times and sew to finish the edge.
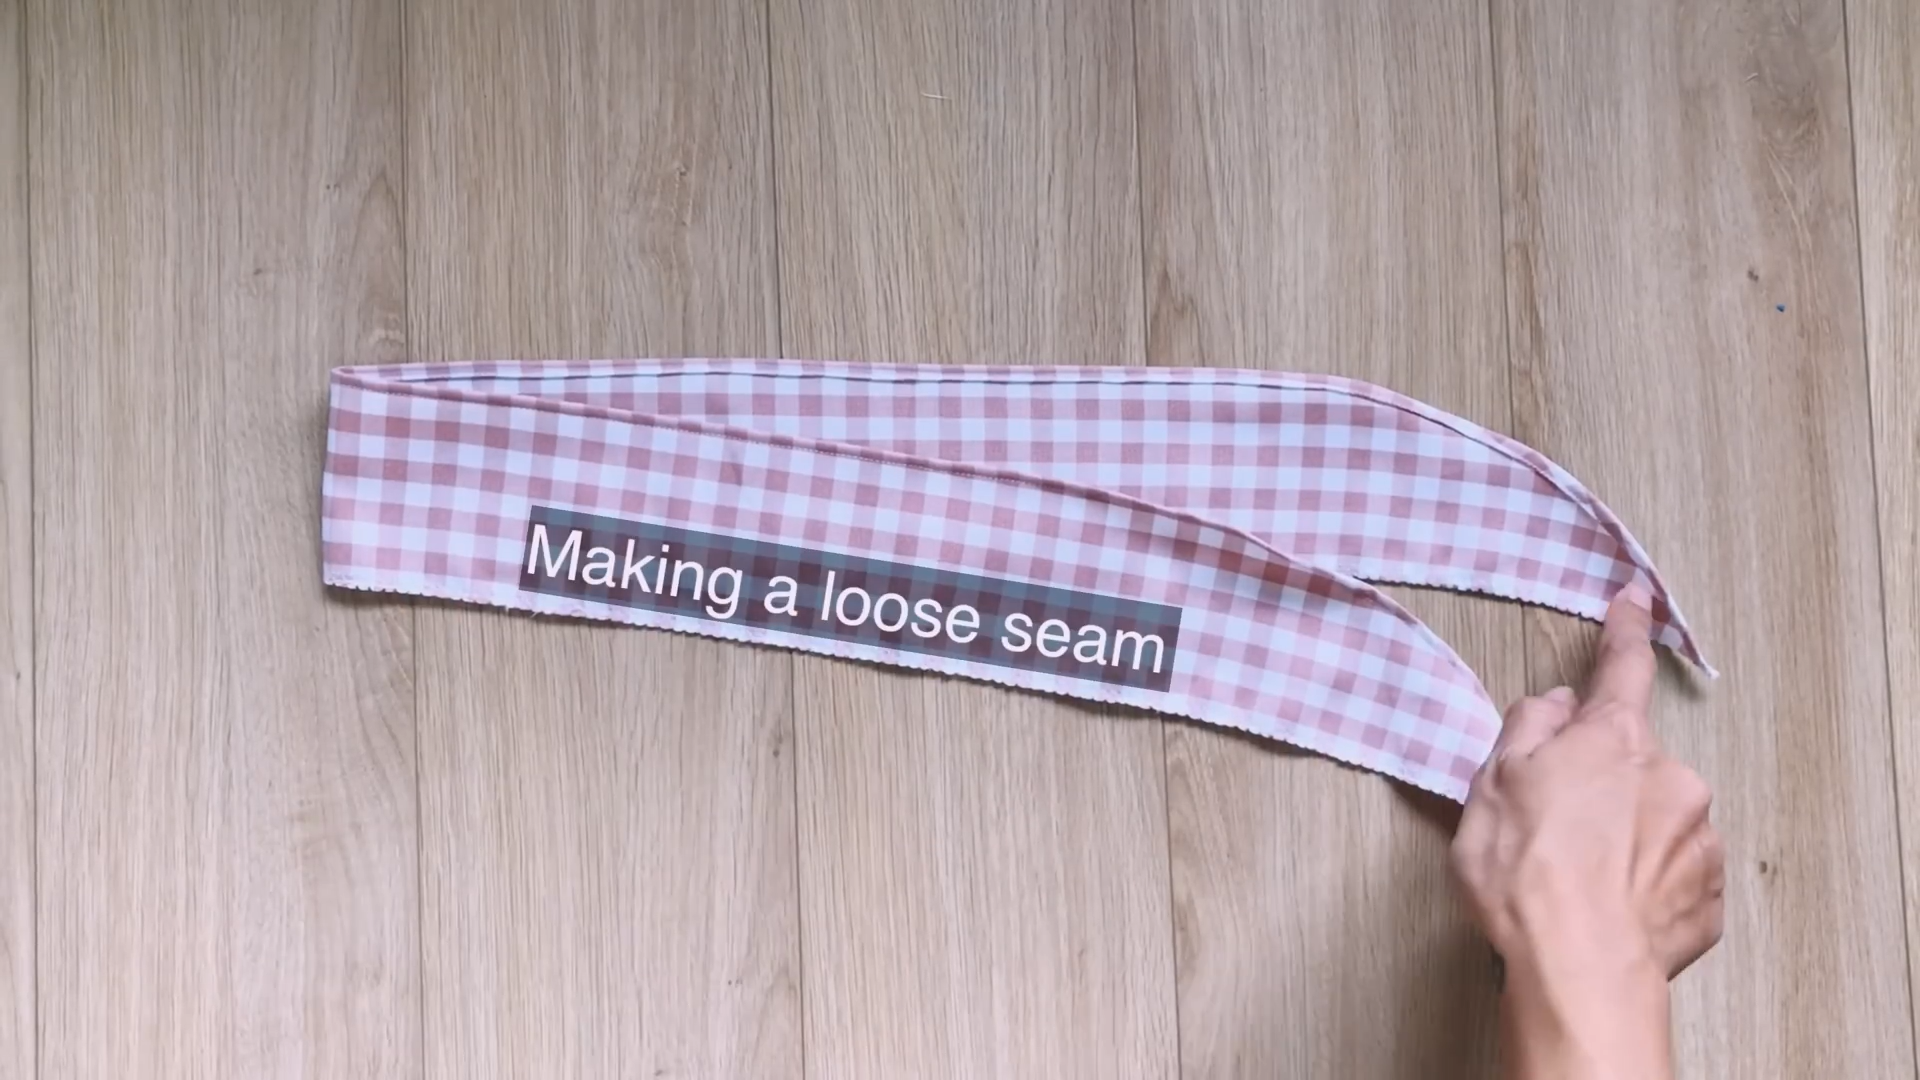
Making a loose seam along the other length line.
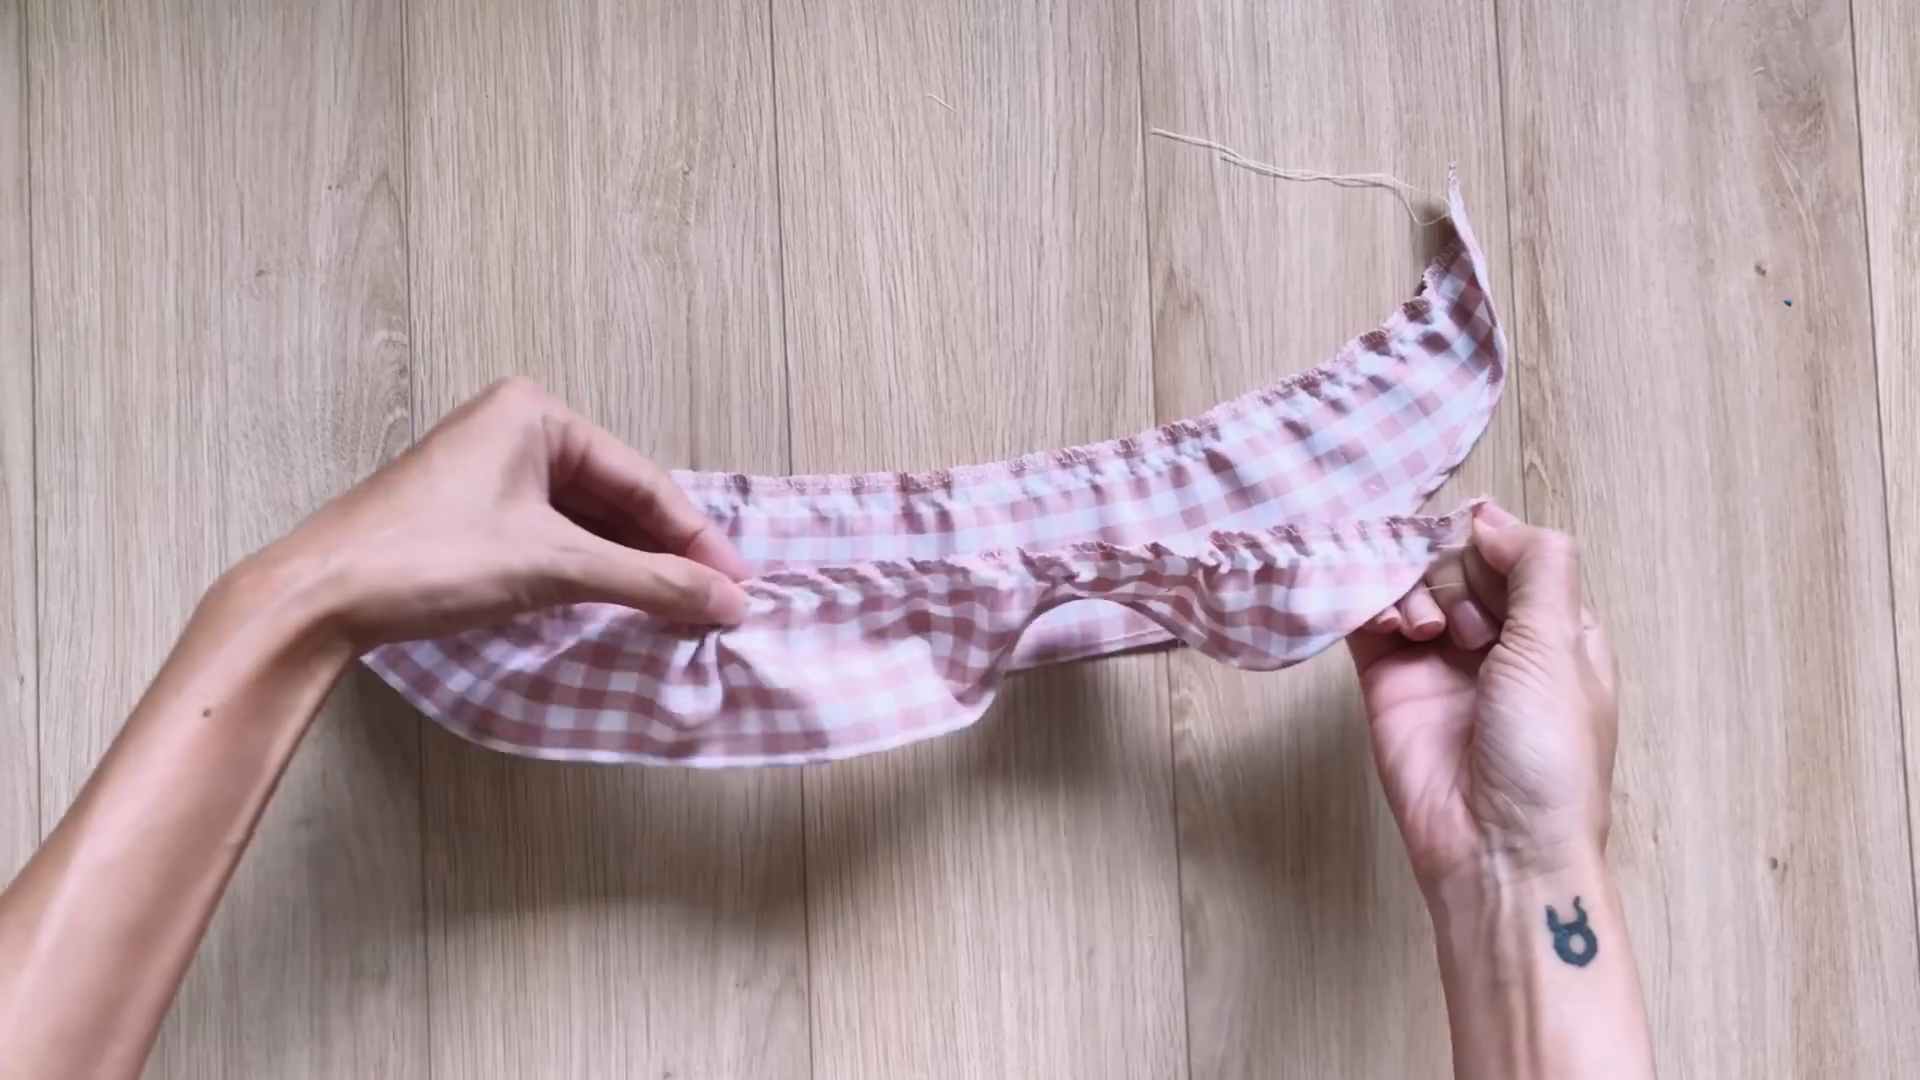
Use a gathering fabric on the curved line to create the ruffle side for the strap.
You will need 2 pieces of the ruffle parts.
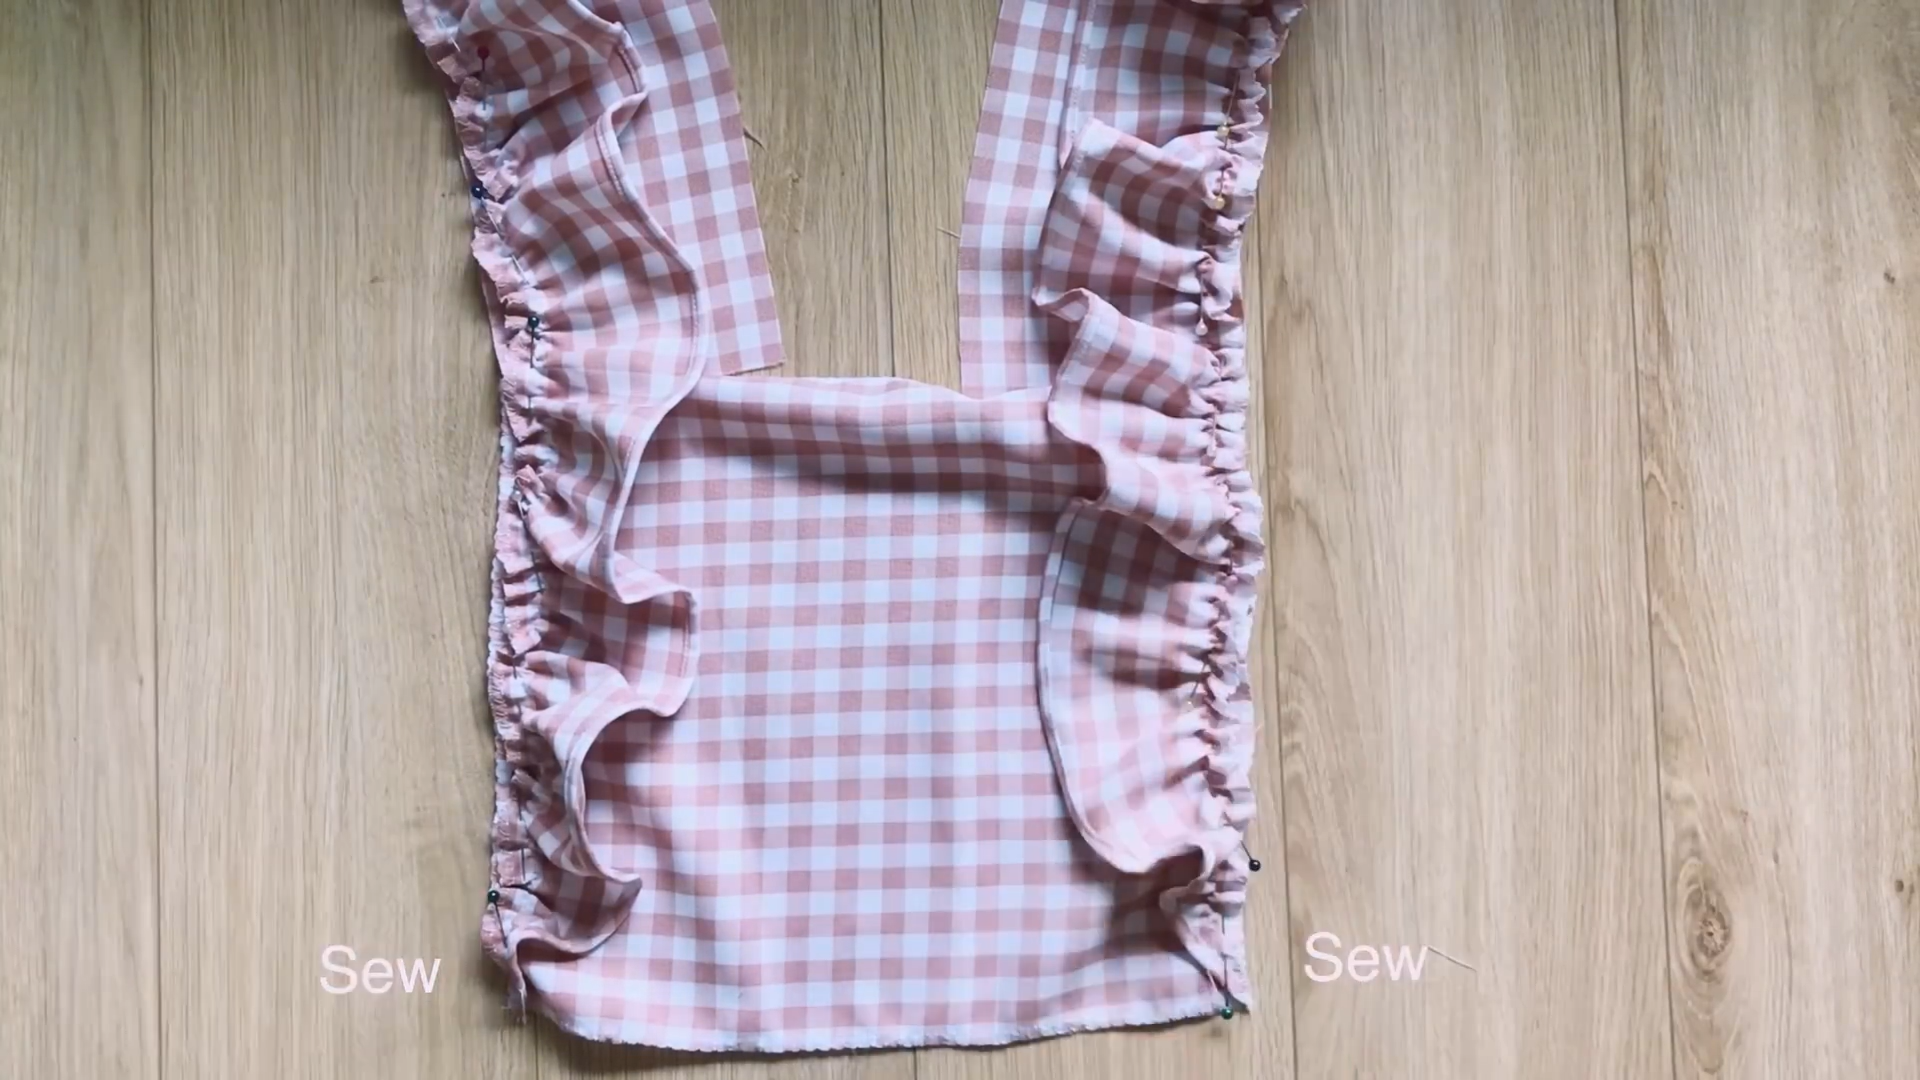
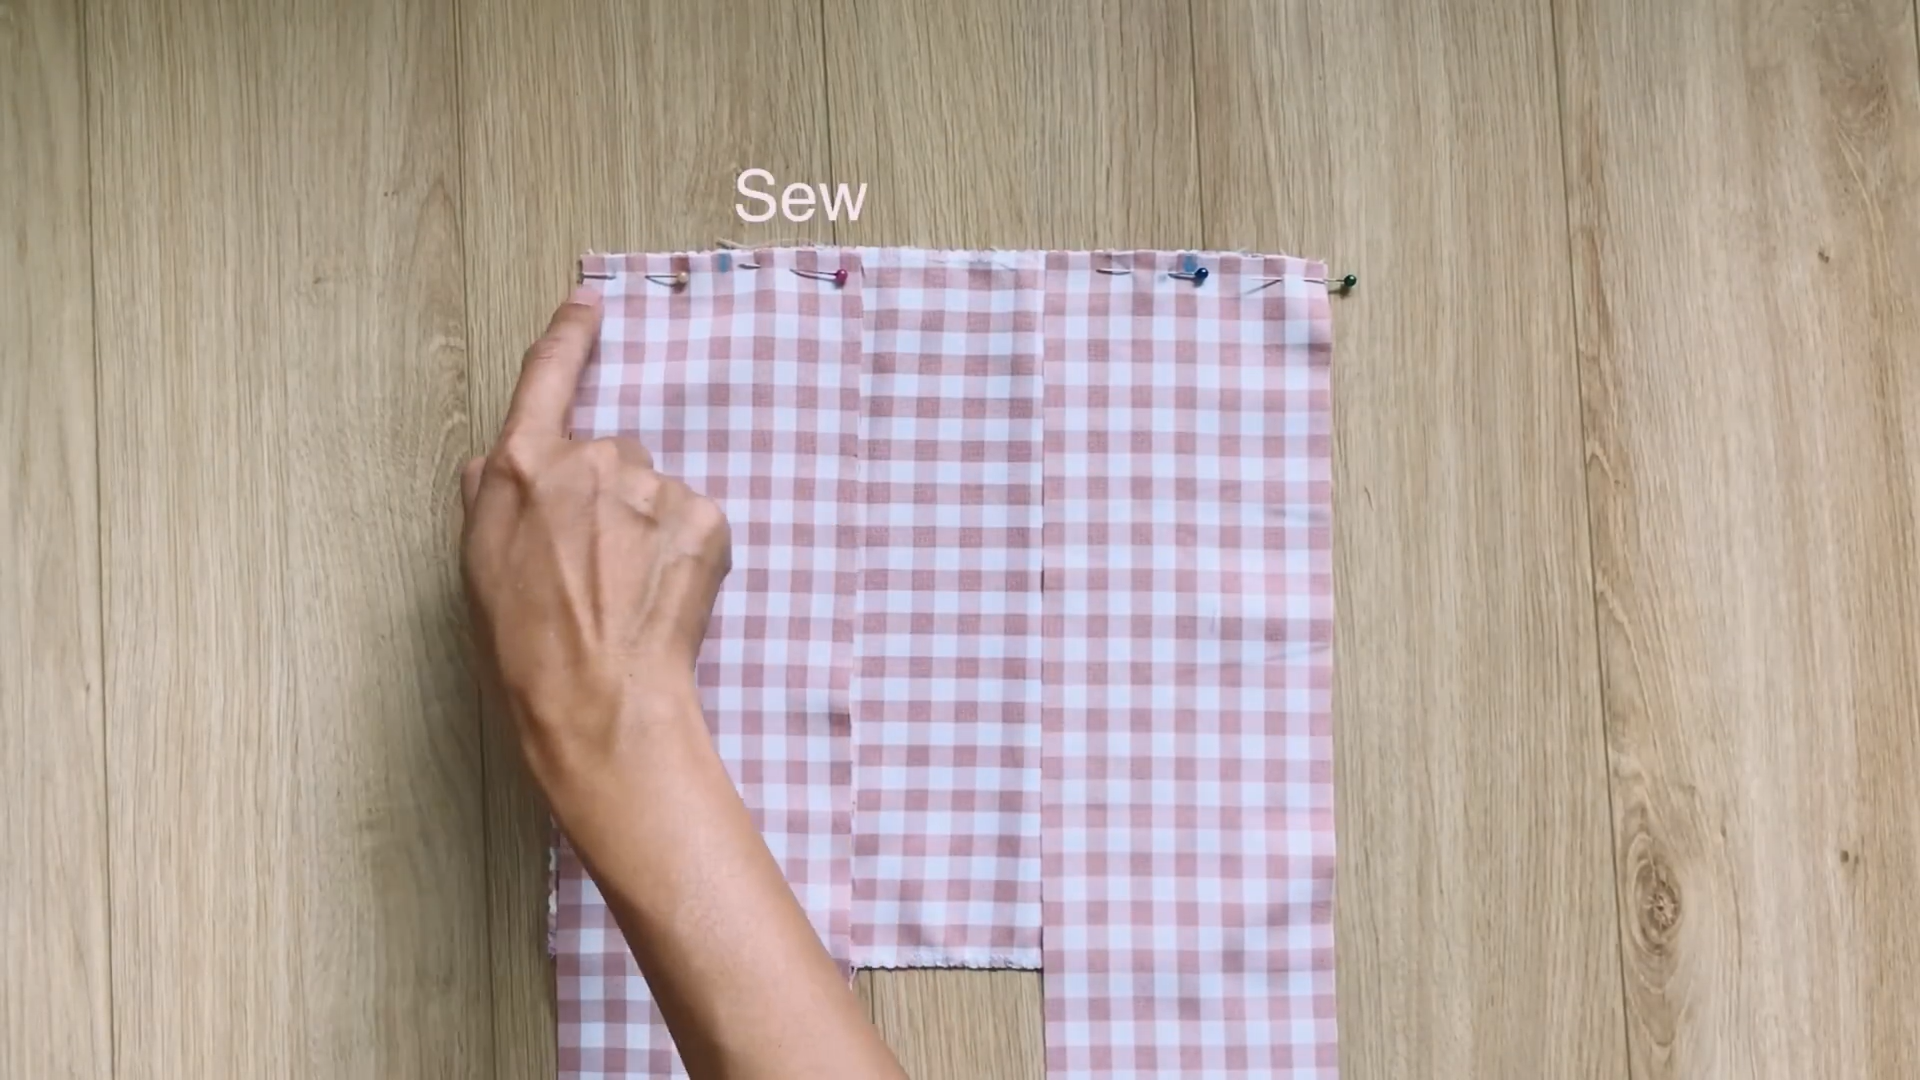
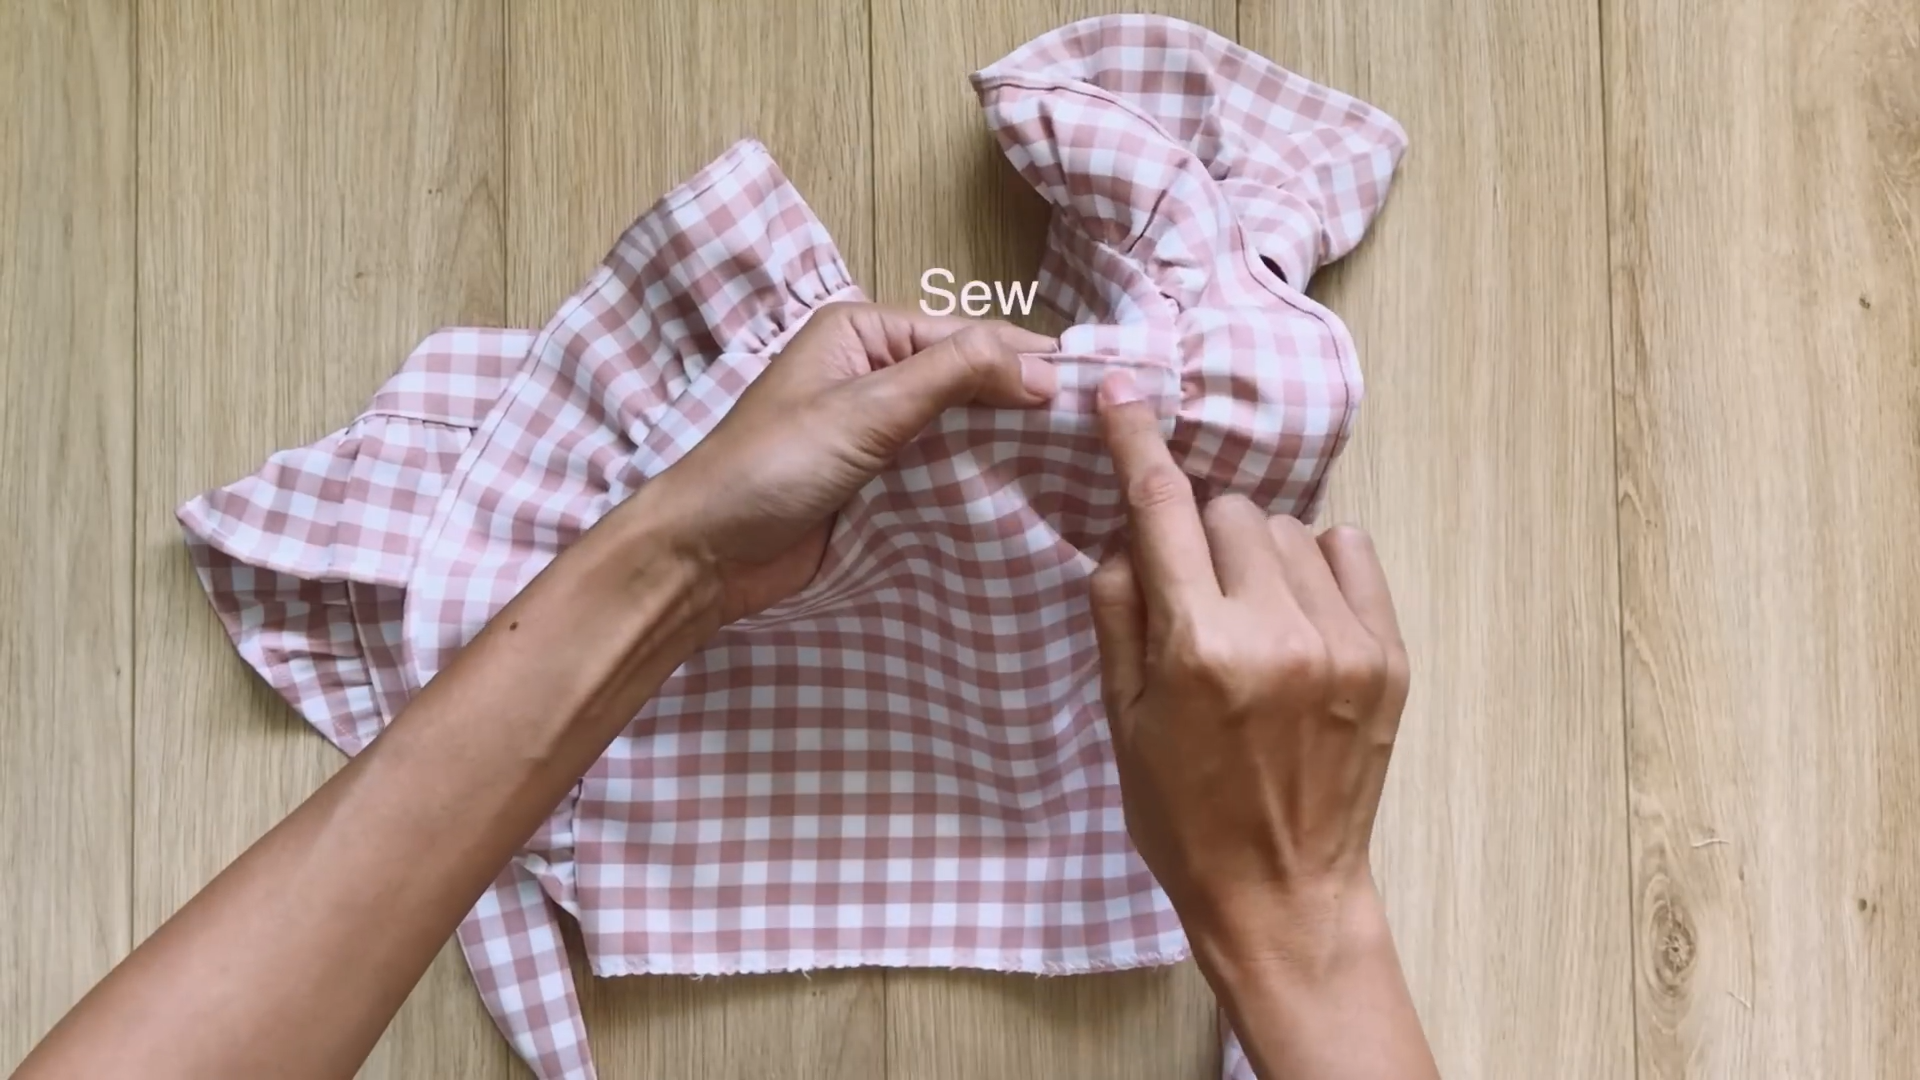
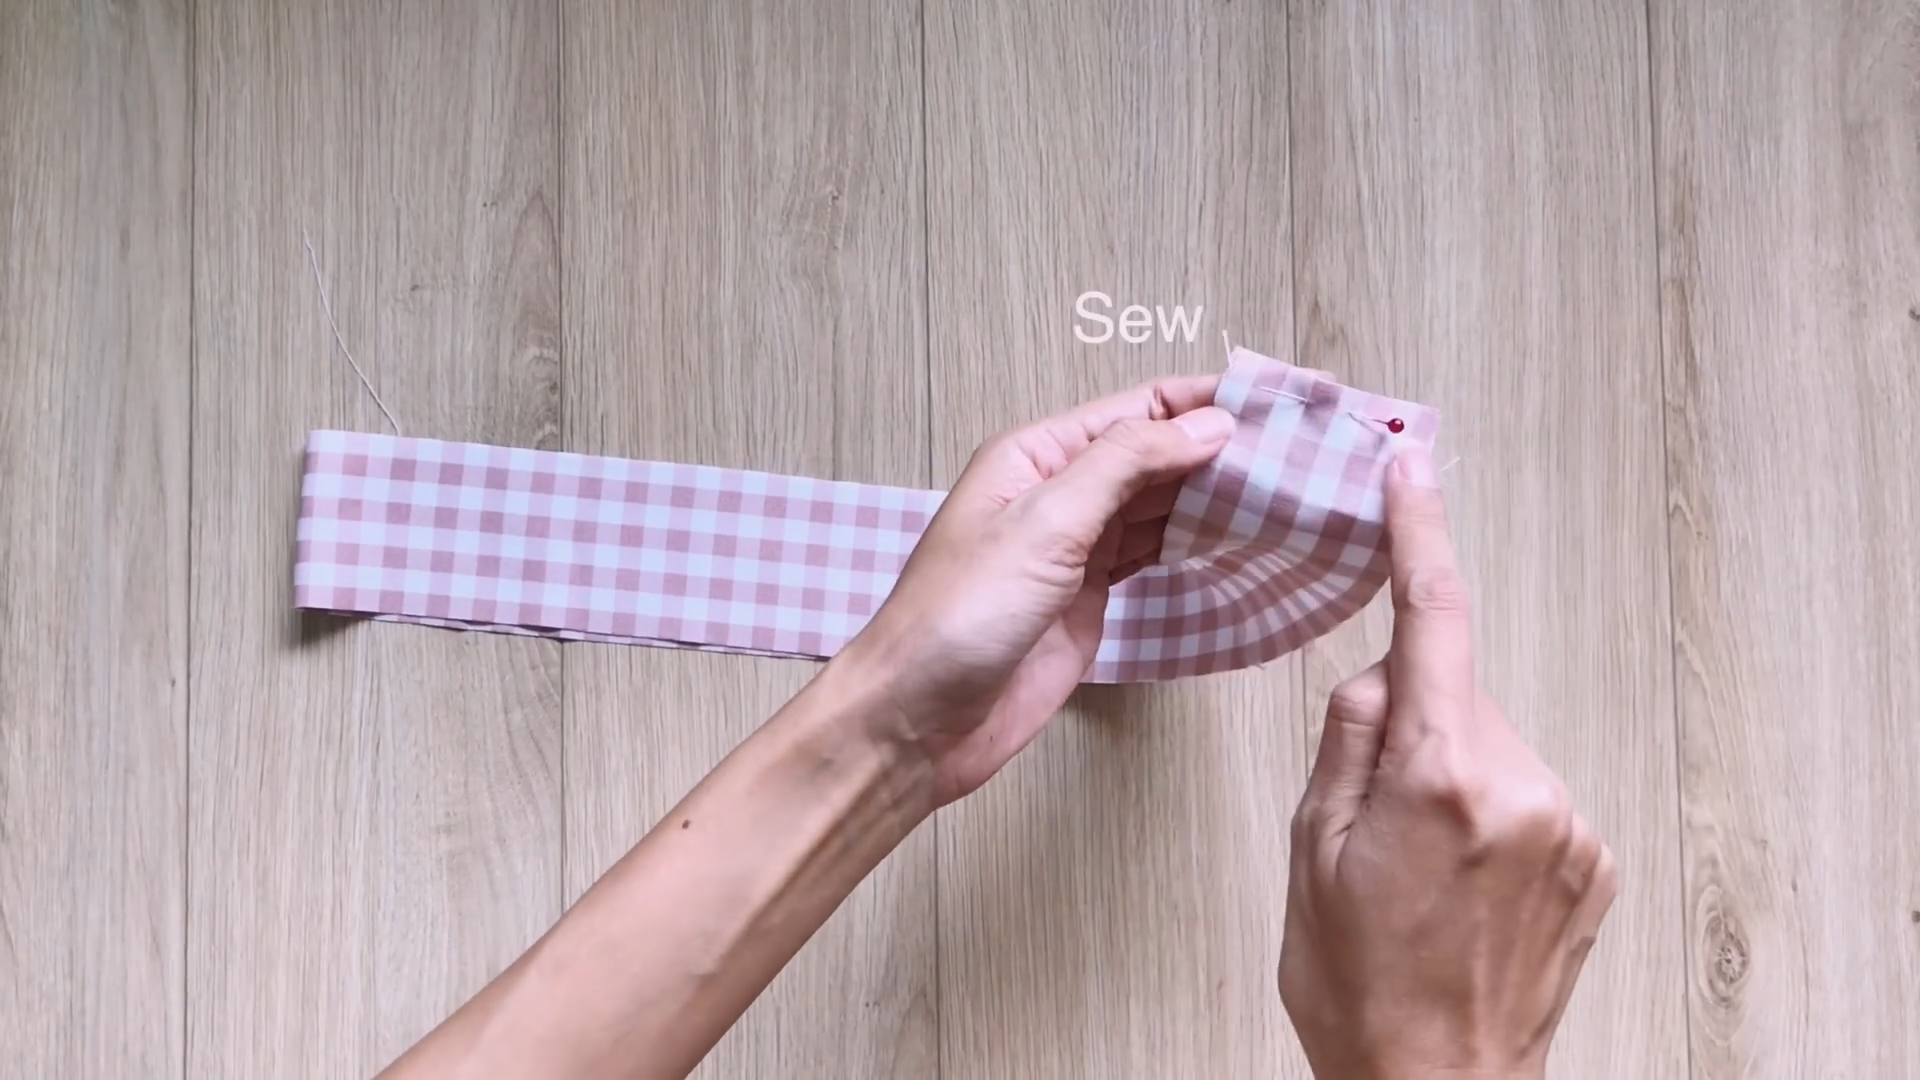
Attach the ruffle part starting from the bodice to the strap along their length lines with pins. Sew them together.
Do the same for both shoulder straps.
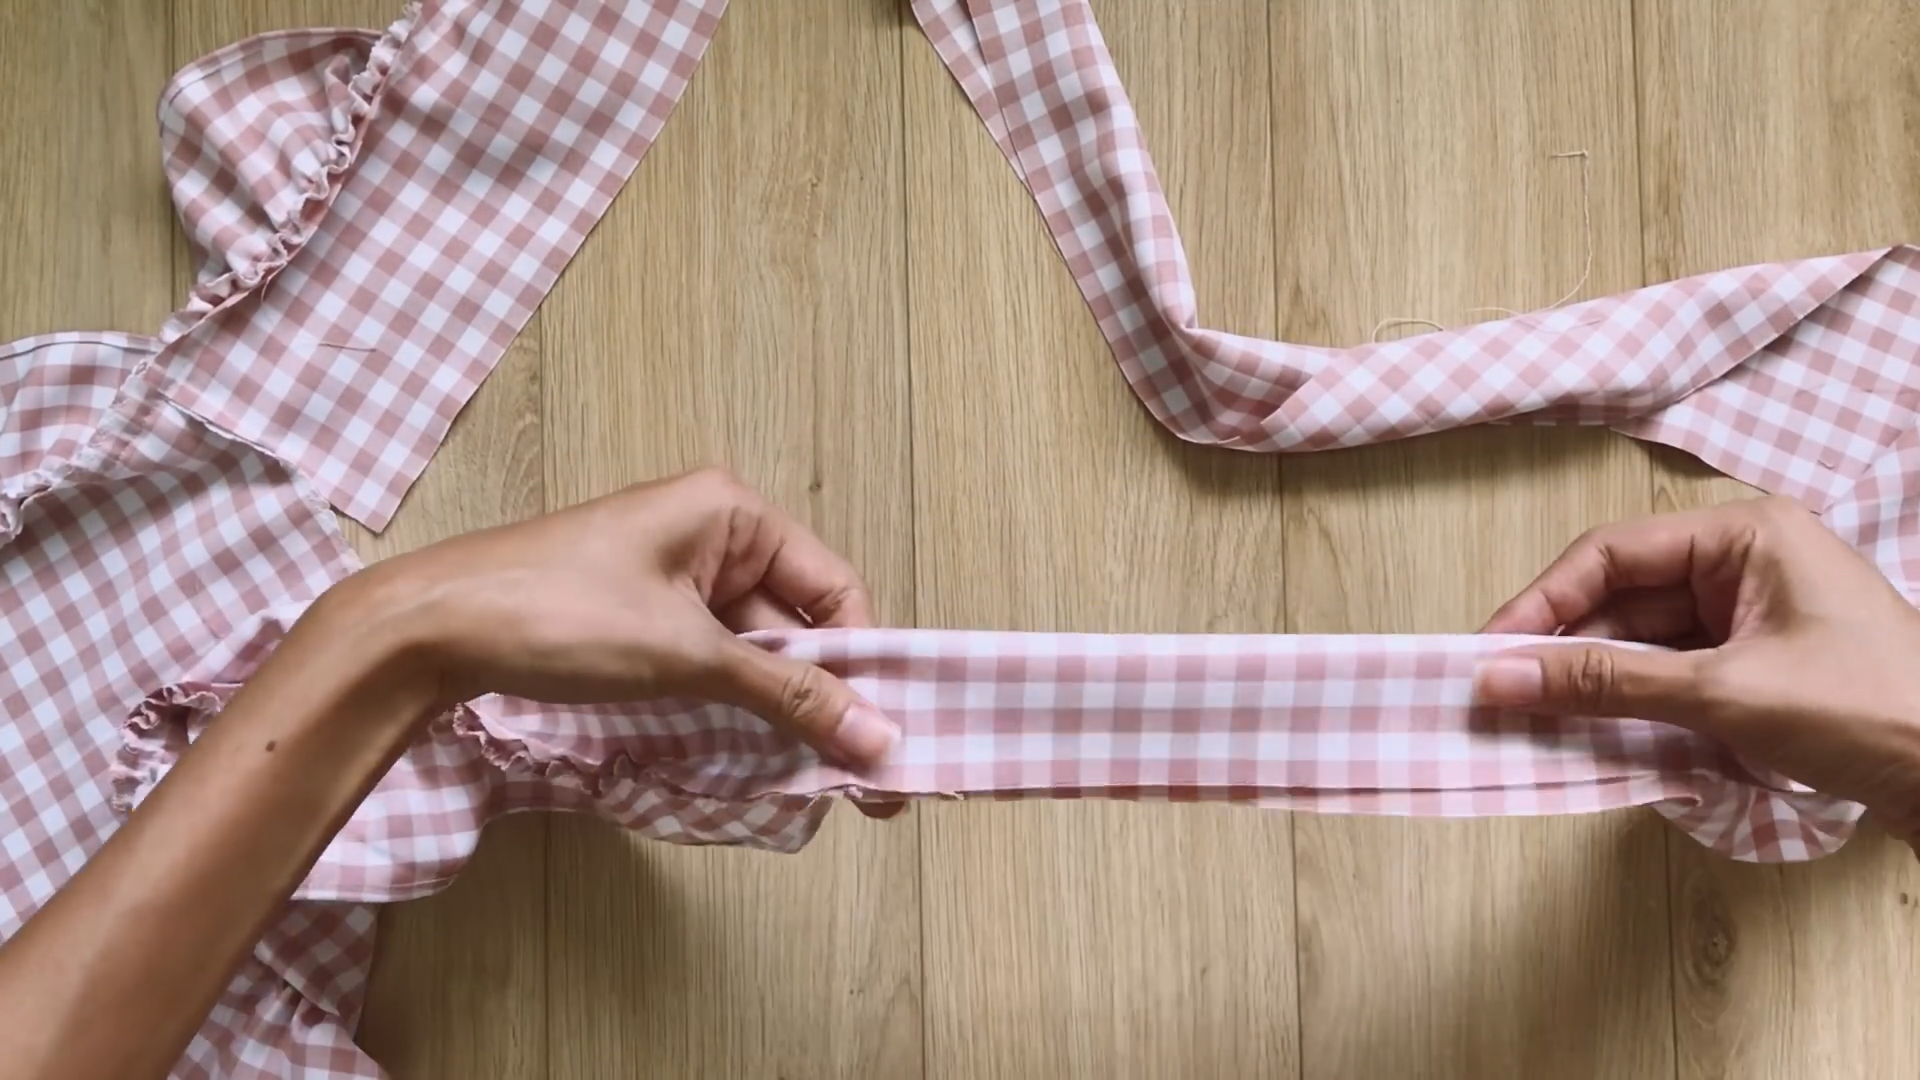
Fold one edge of the shoulder strap onto another and secure them with pins.
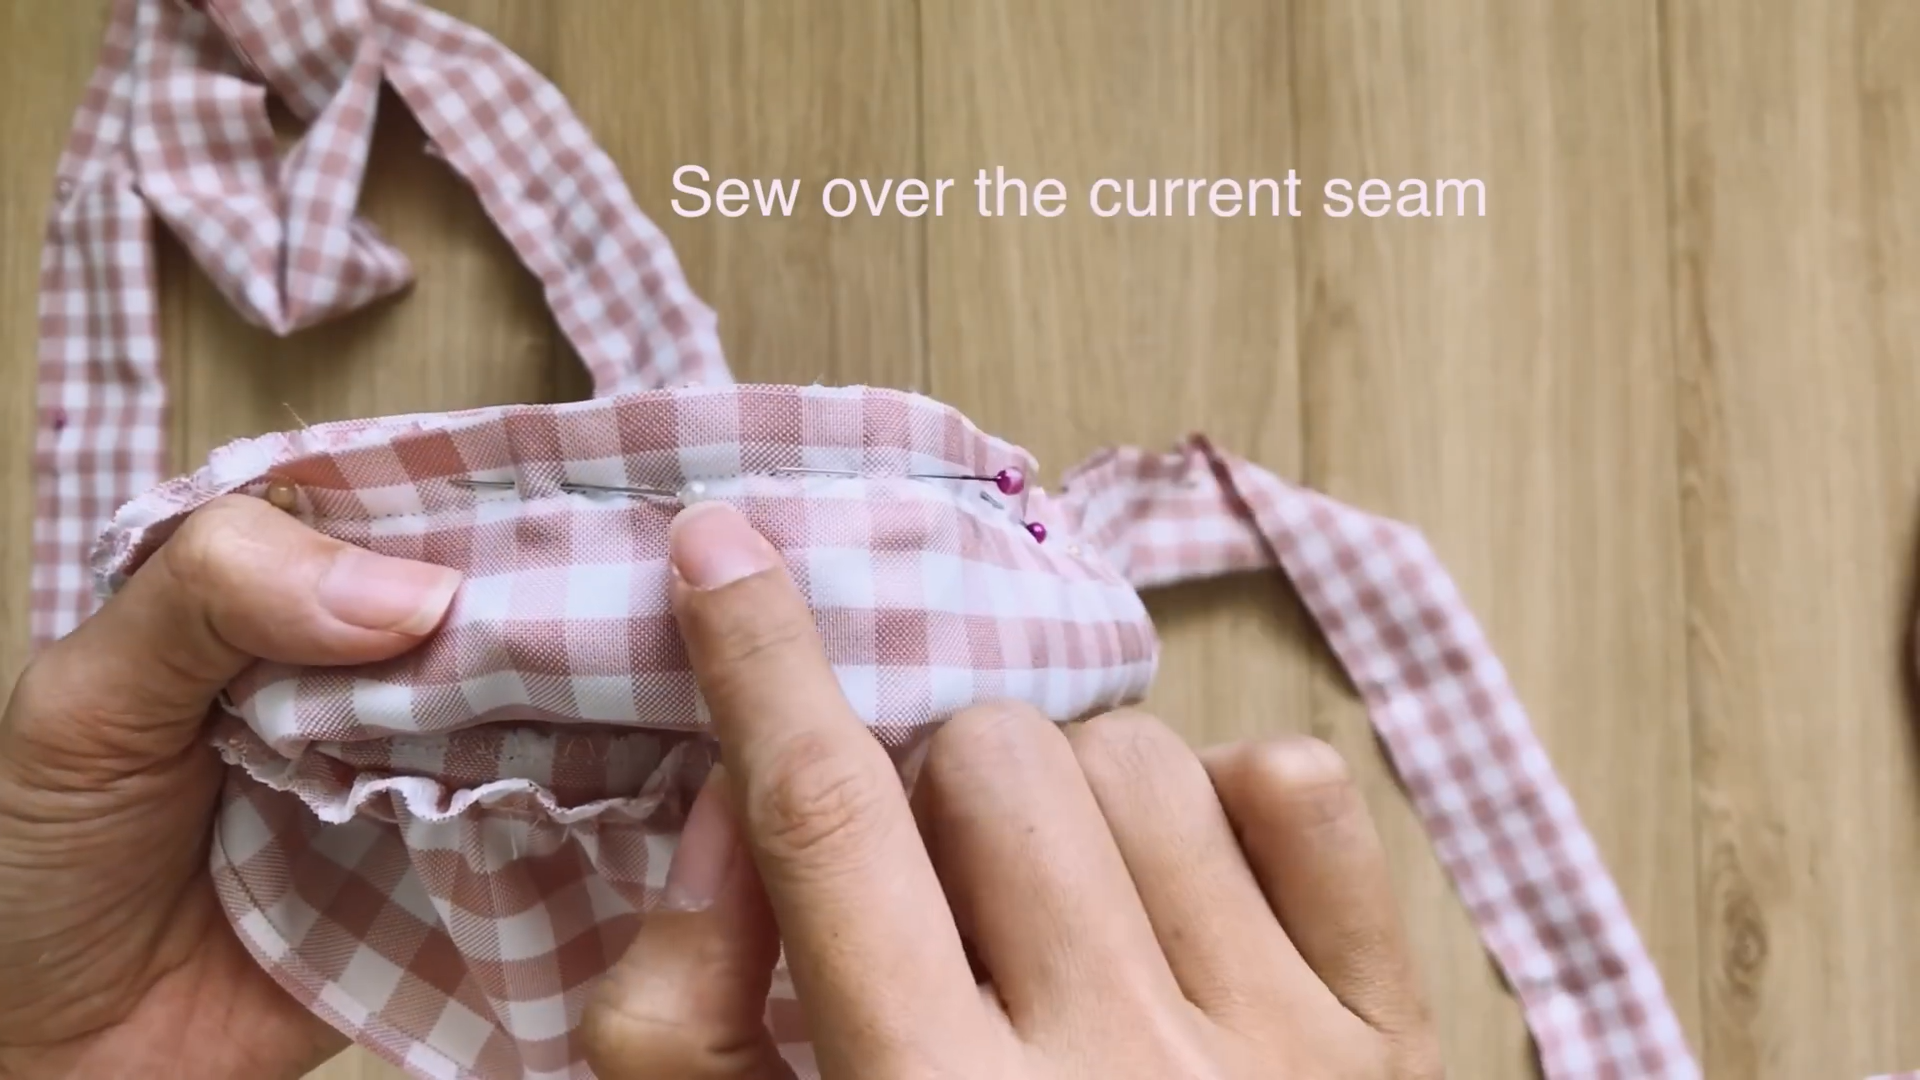
Sew along the existing seam to make the strap look nicer.
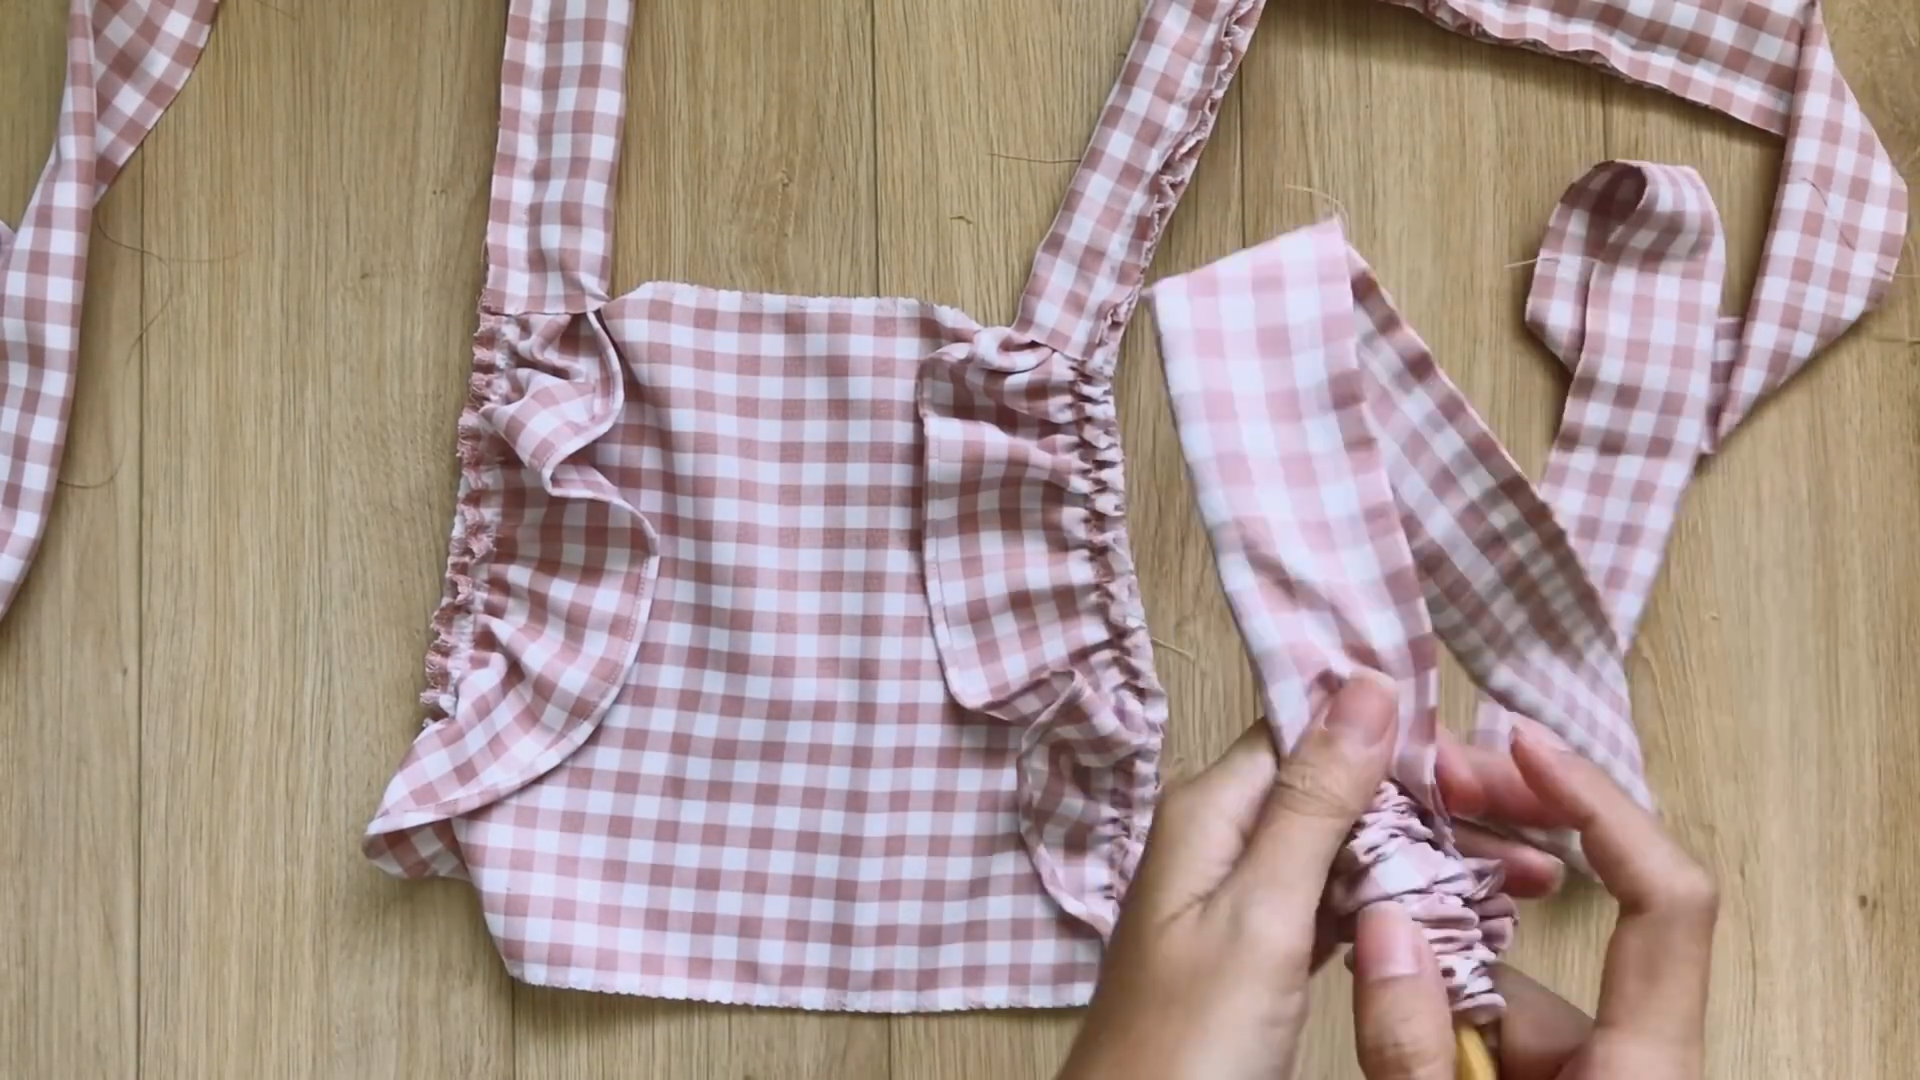
After sewing, turn the strap inside out using a stick to hide the seams.
Position the remaining bodice pieces over the previous one while the ruffle part is in the middle. Sew them together along the 2 length lines.
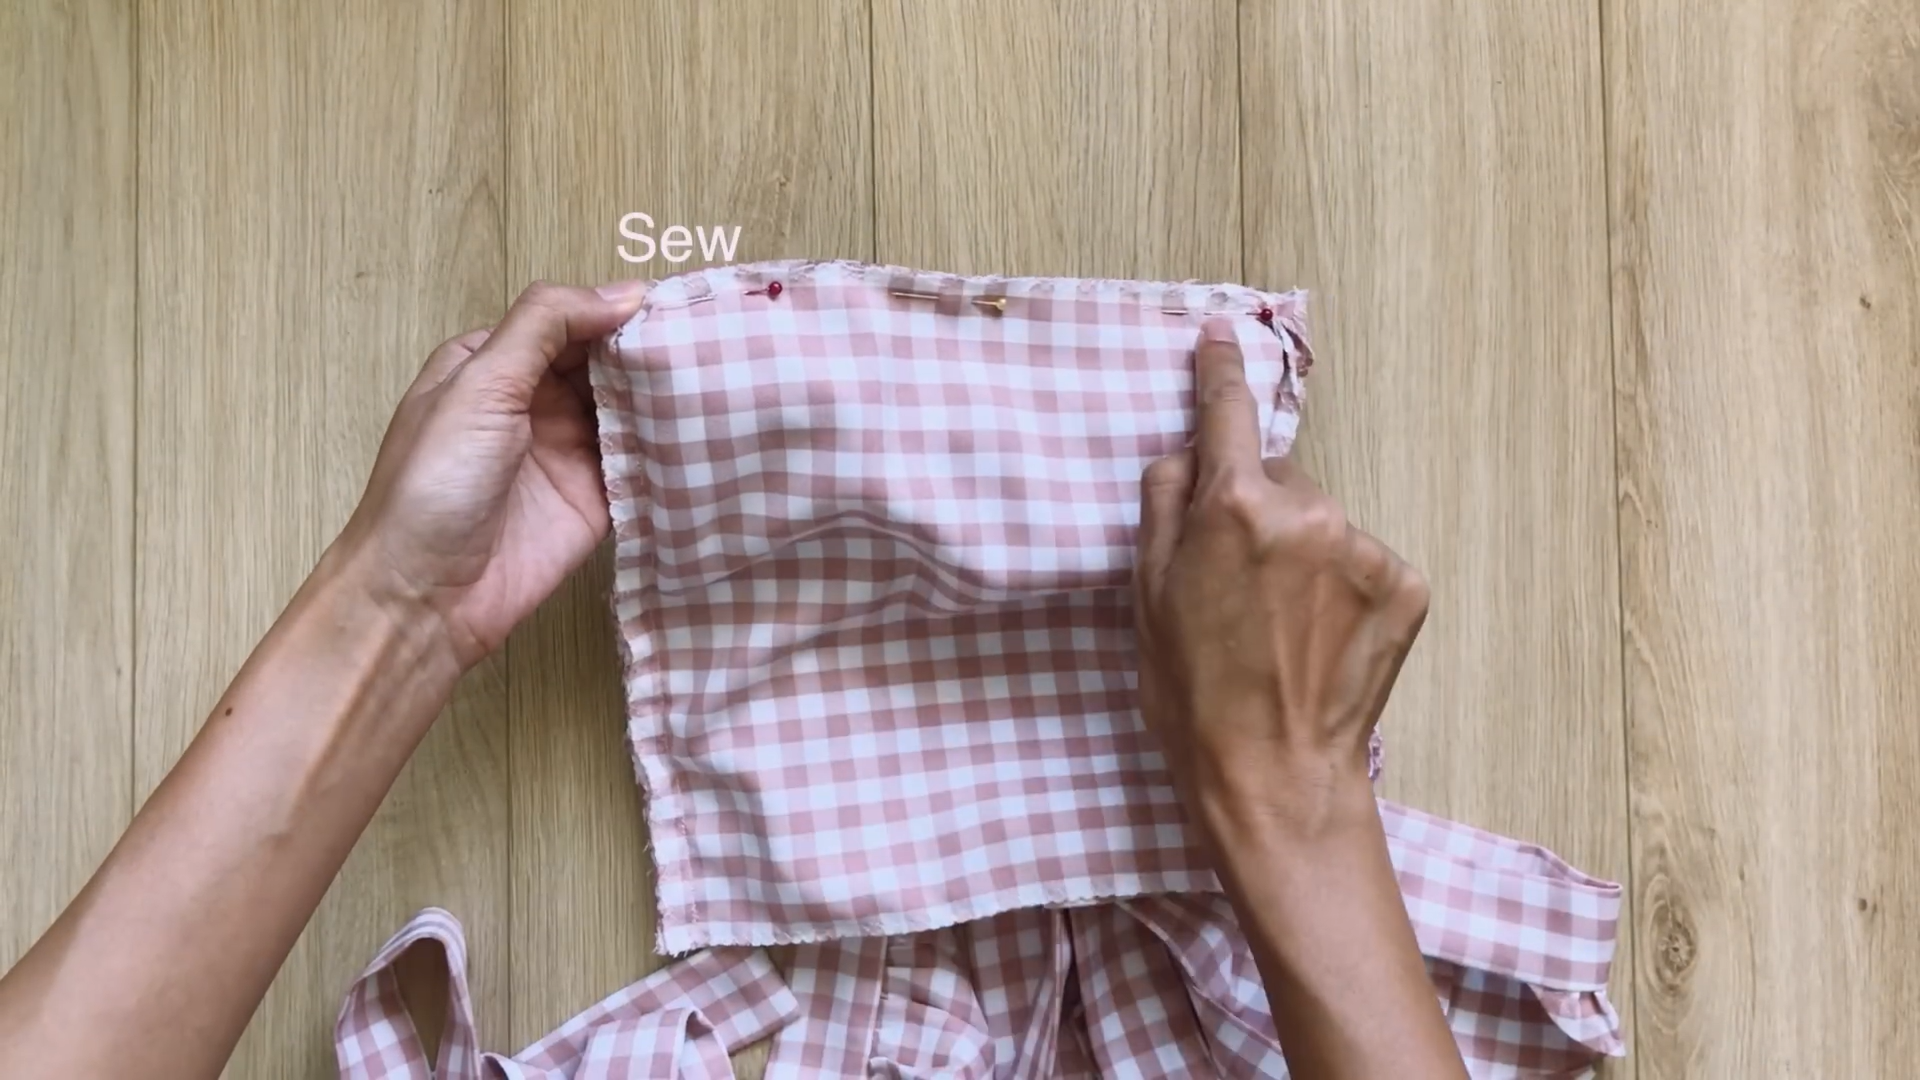
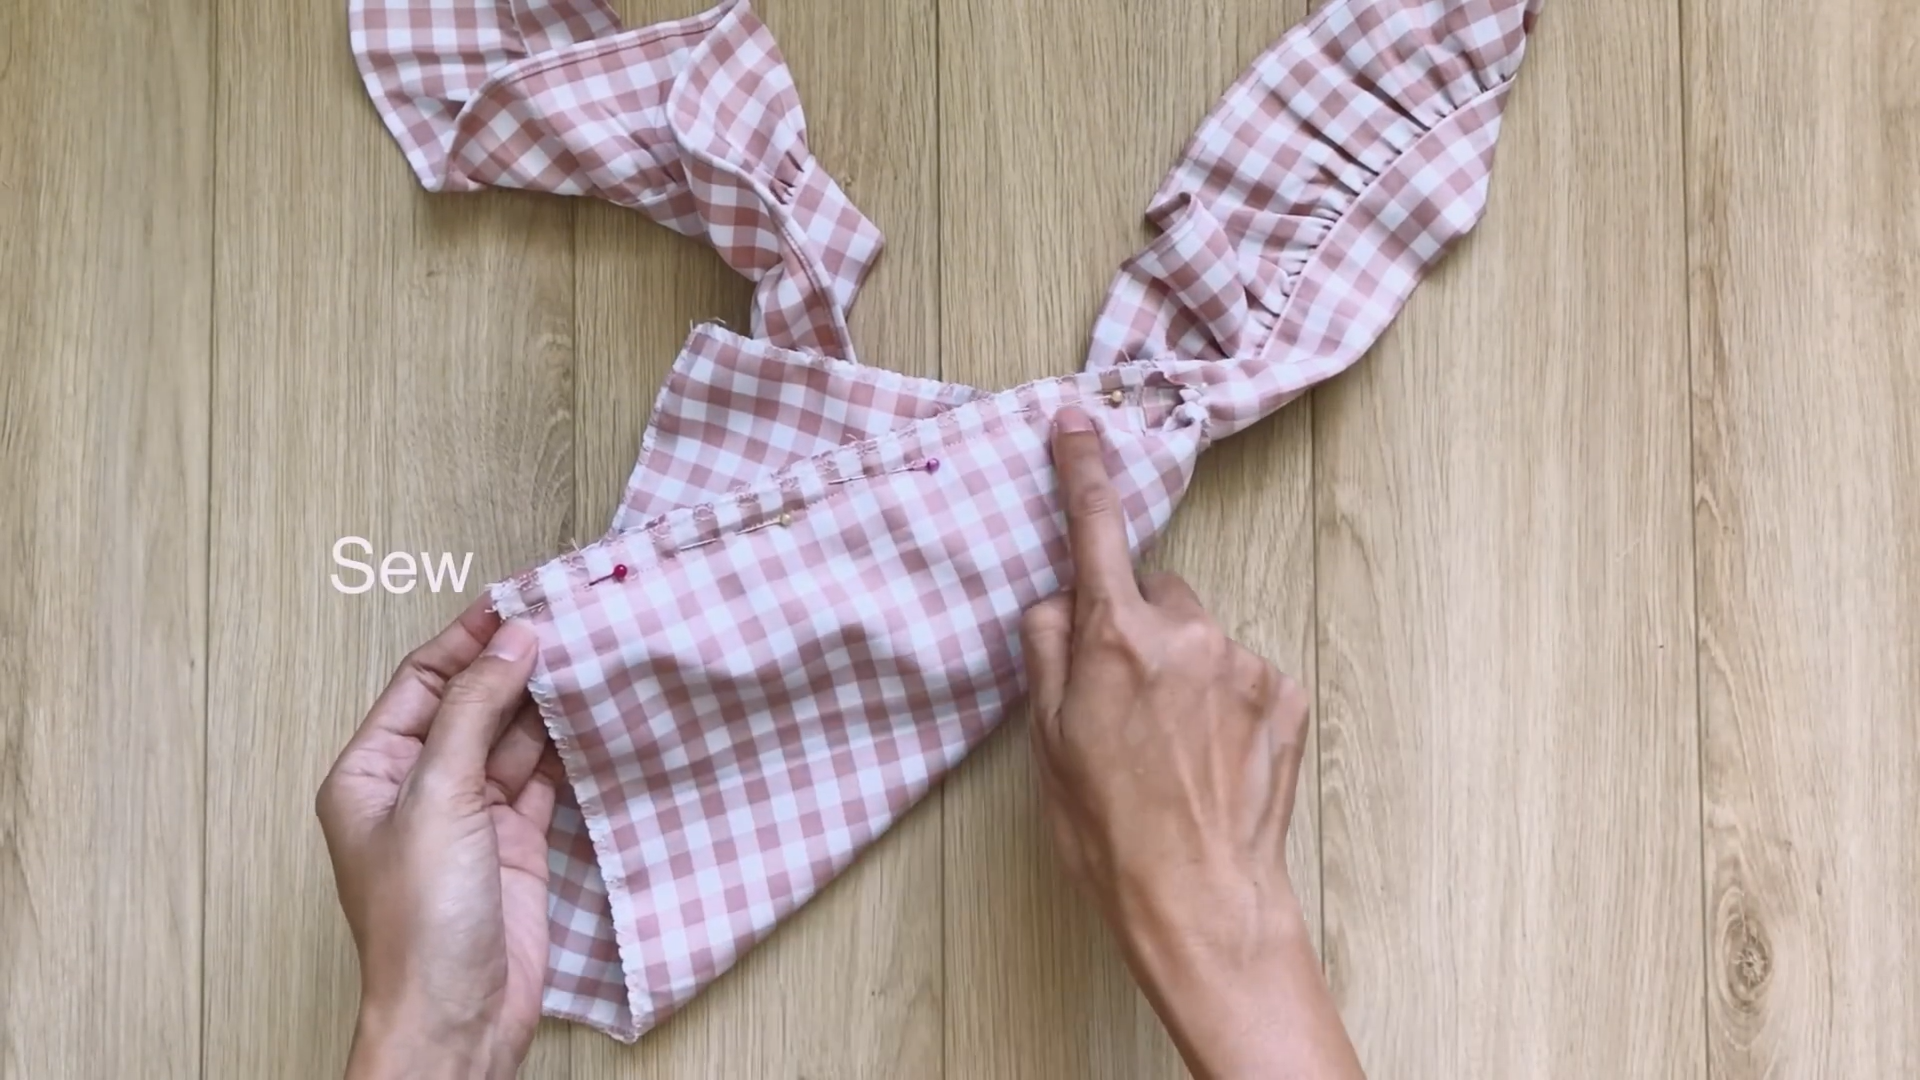
Sew the end lines of the bodice pieces, where the straps start, together except for the strap areas.
Turn the bodice right side out and stitch the open areas to finish the edge of the bodice.
THE WAISTBAND AND BELT LOOPS

Cut out a rectangle 14 cm length and 4 cm width to make the belt loops.
Fold 2 length lines inside and over each other before securing them with pins. Make a seam along the folded edges.
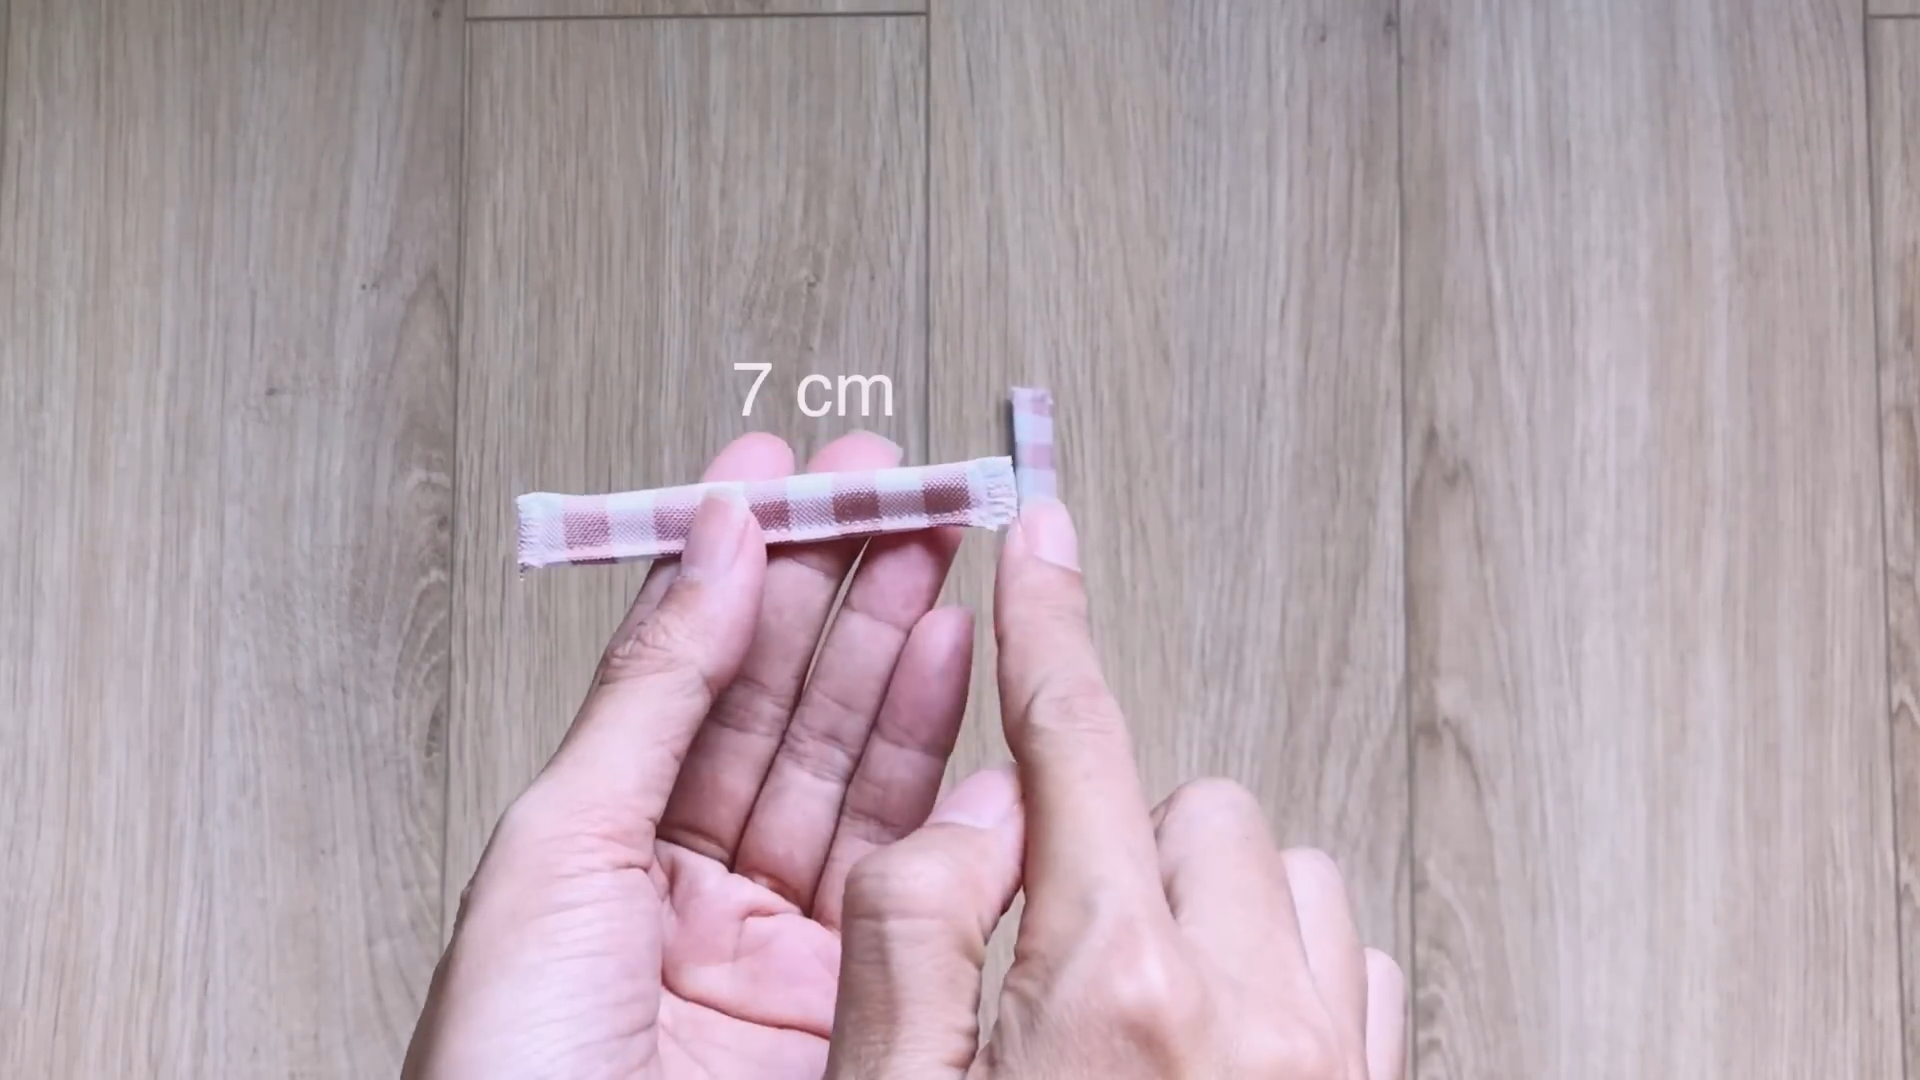
Cut it into 2 pieces after sewing. Each piece is 14 cm long.
Cut another rectangle with 6 cm width and 96 cm length which is your hip side plus 4 cm.
Connect 2 width lines of the rectangle and sew to create a 94 cm wide circle fabric. It’s the same with the width of the waist of the pants.
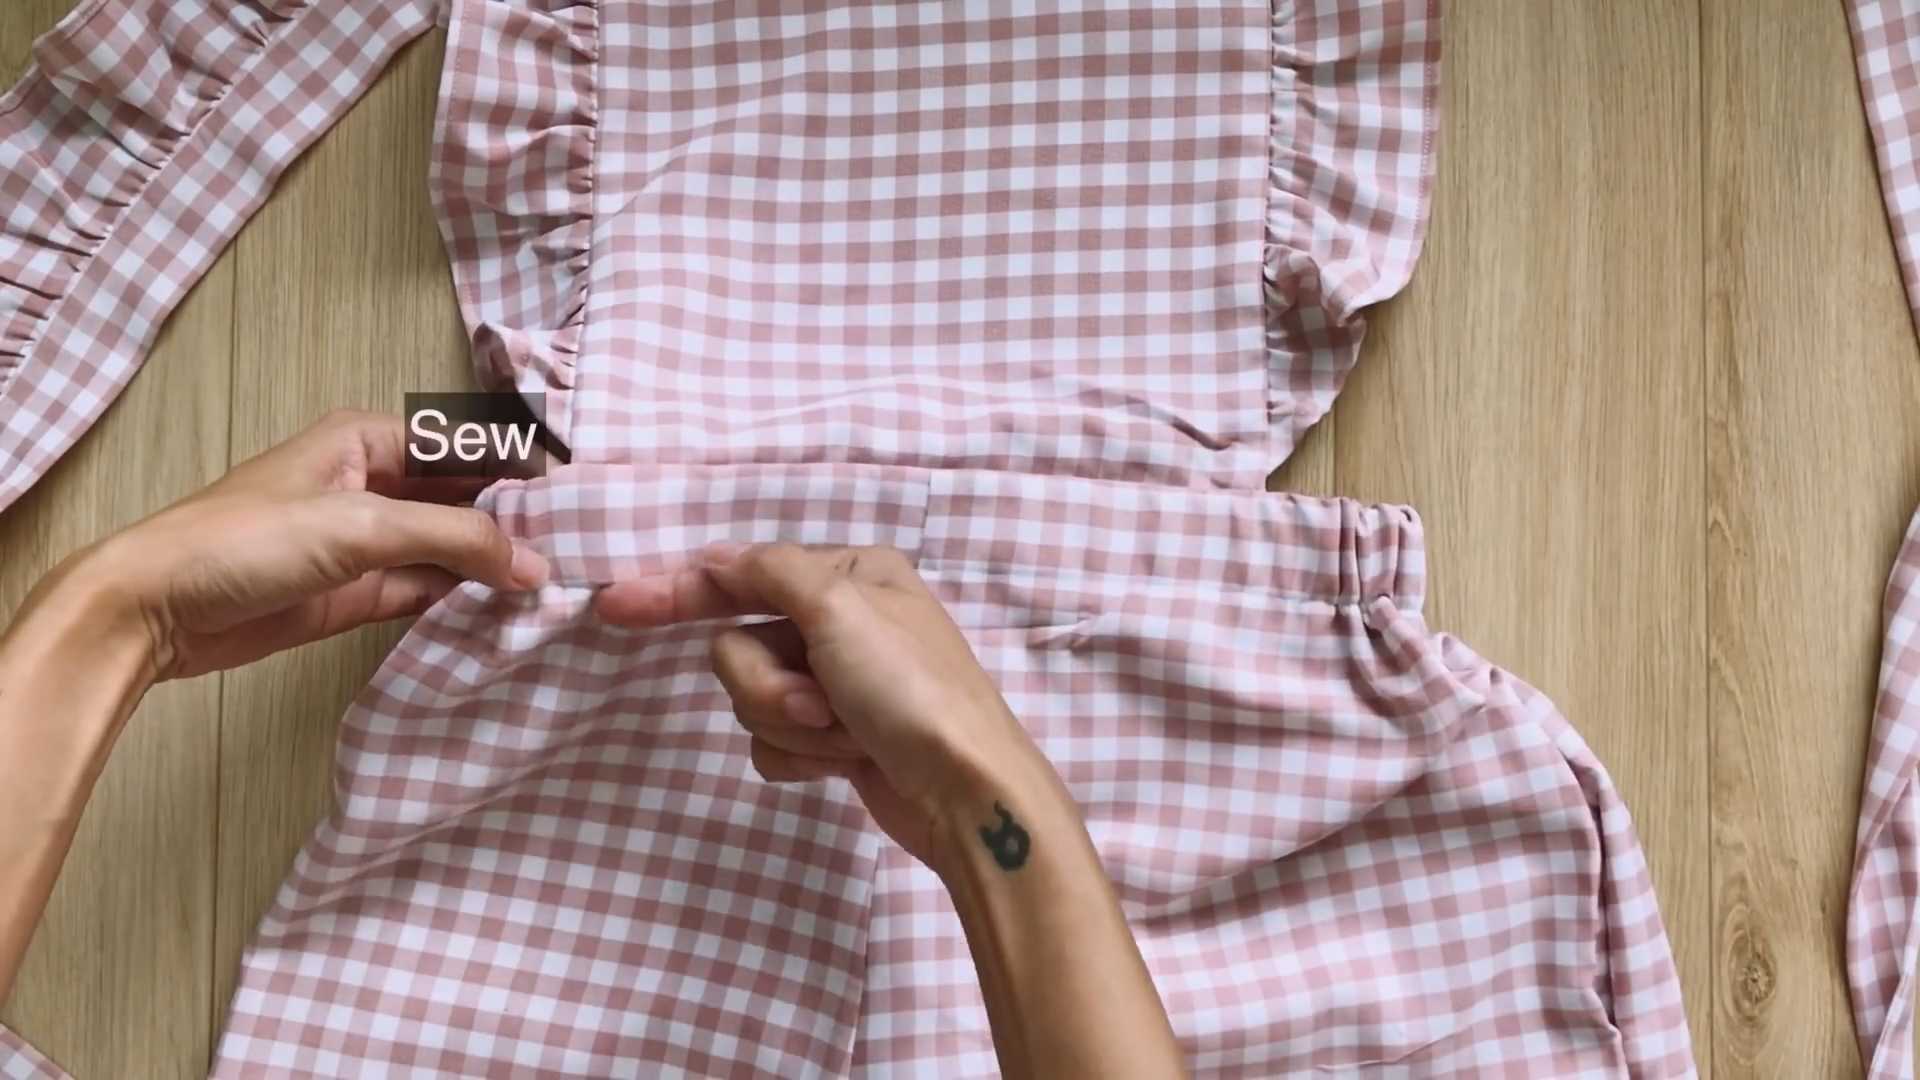
CONNECT THE TOP AND THE BOTTOM
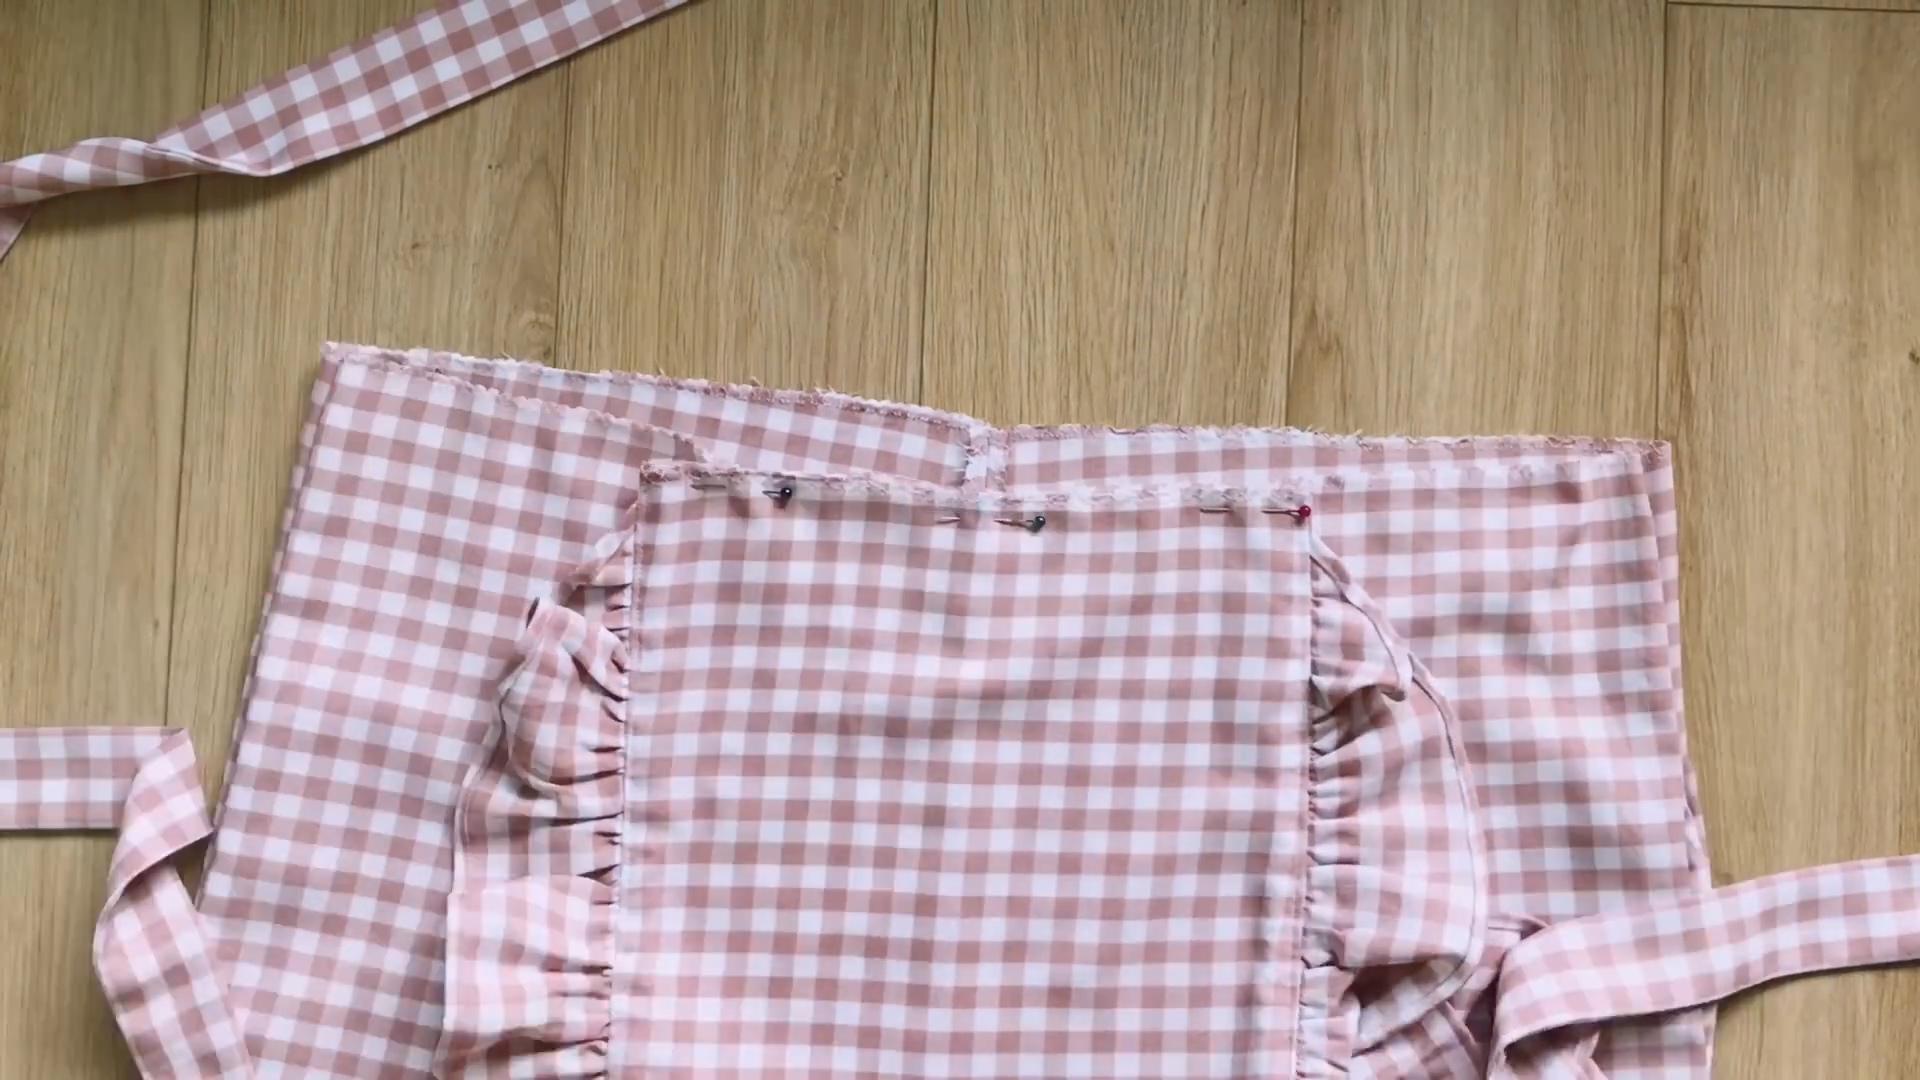
Connect the main bodice to the middle of the front pants with pins first.
After that, attach the circle fabric so that the top of the jump suit is in the middle.
Position the one end of the belt loops on 2 waist sides between the circle fabric and the bottom of the jumpsuit.
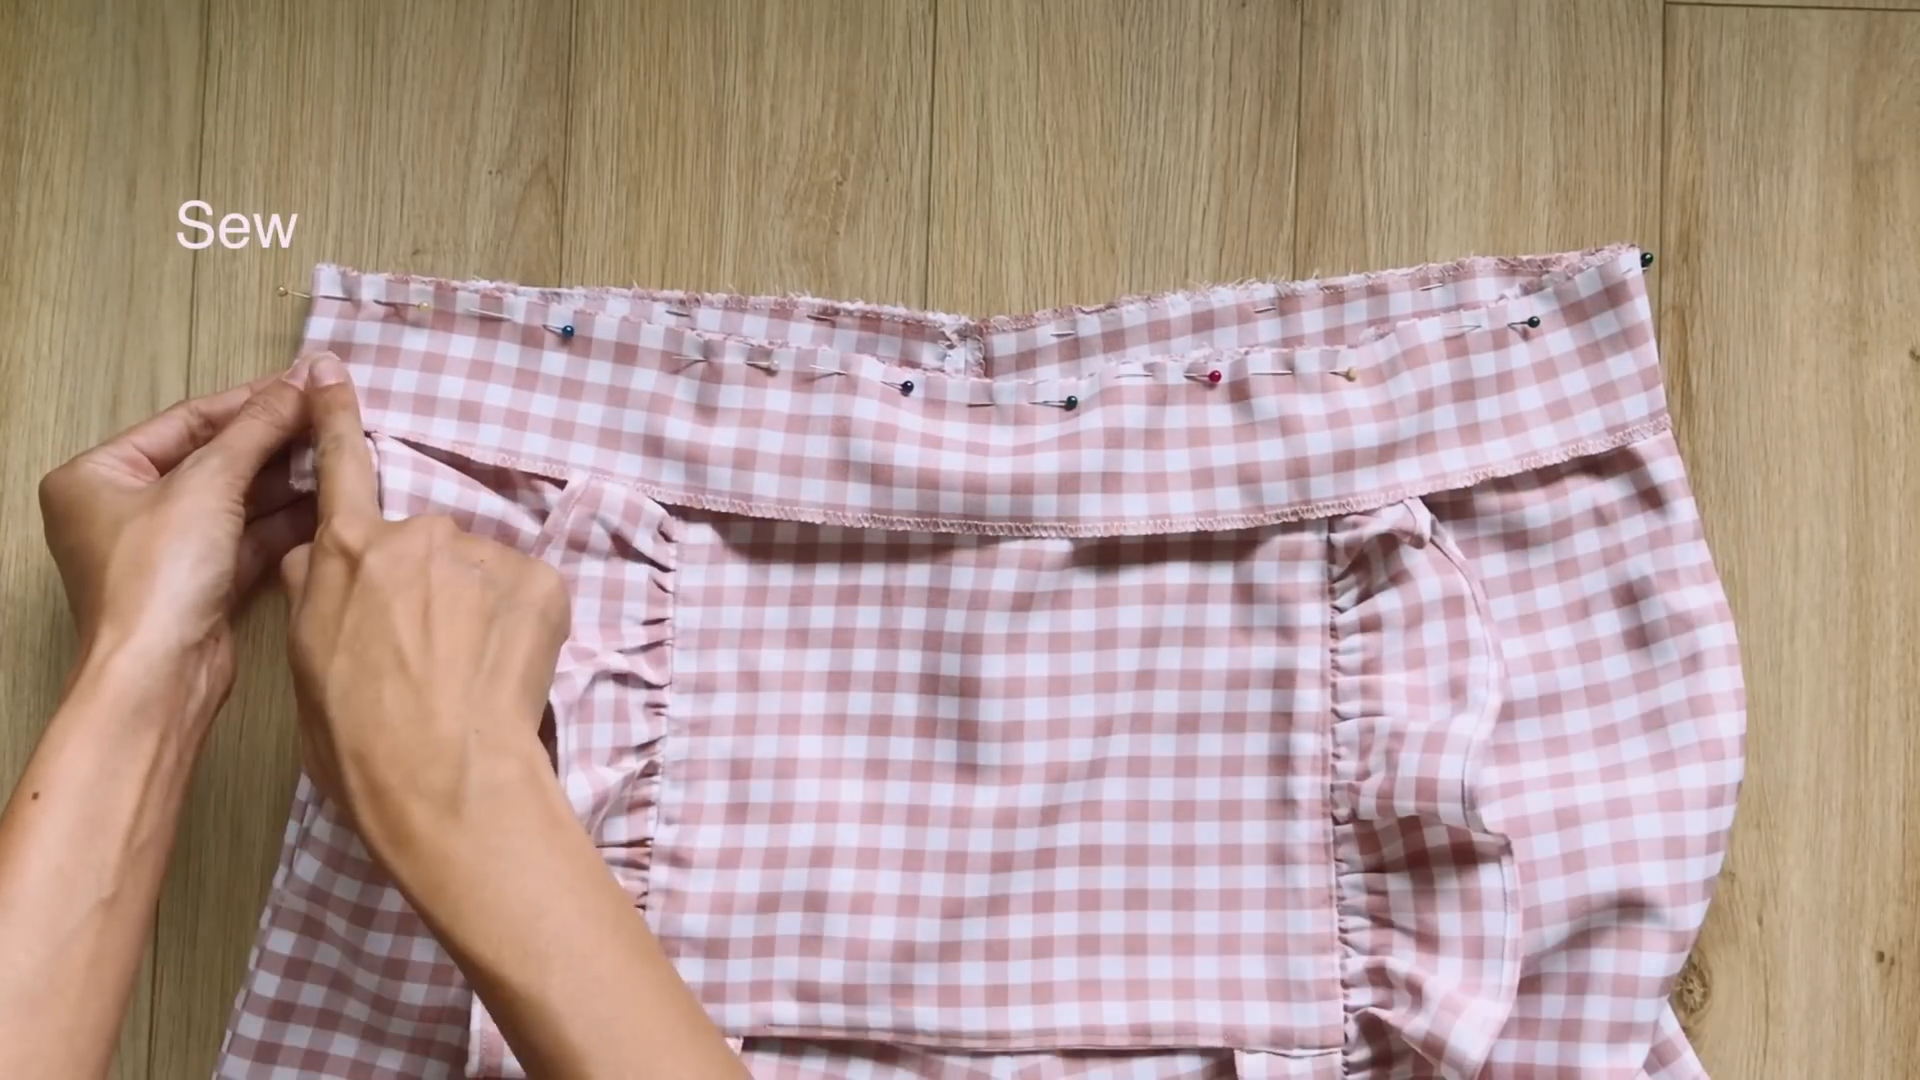
Sew the pieces together.
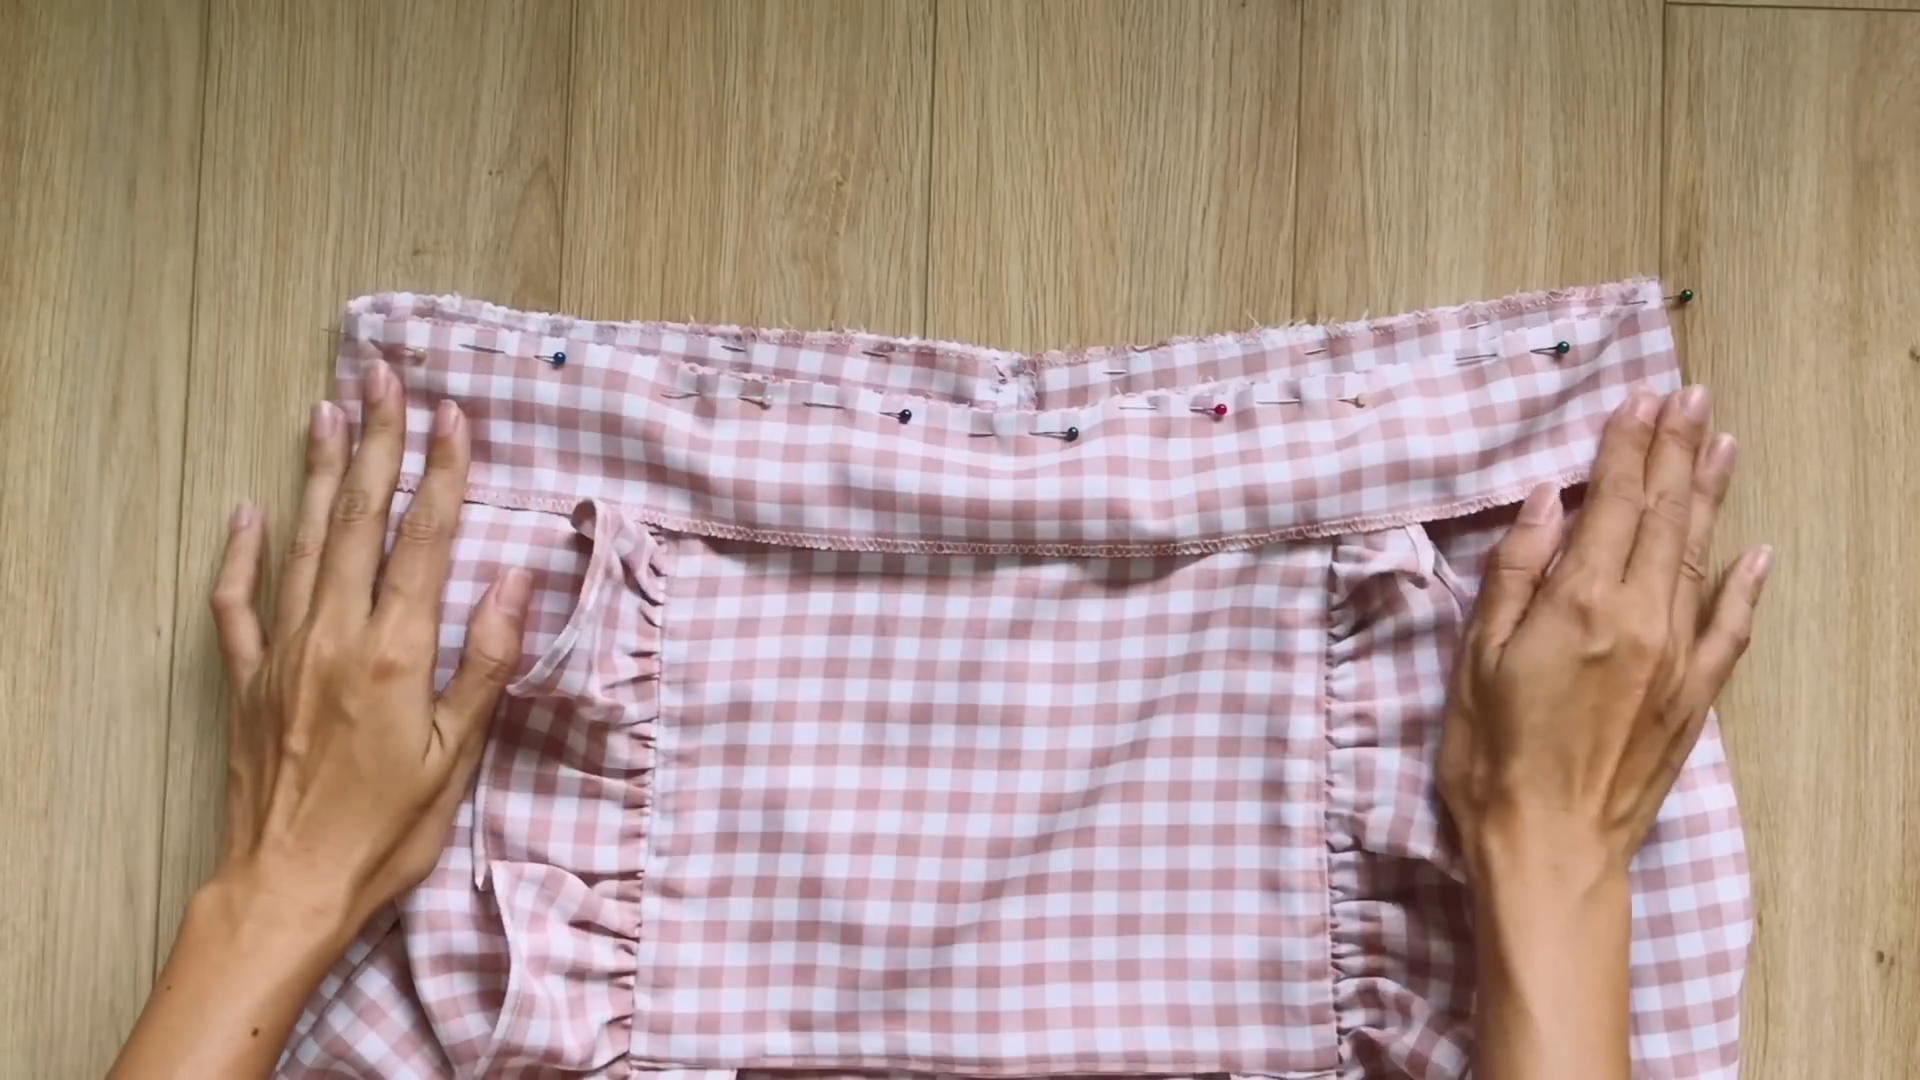
Add another seam over the previous seam to secure the waist band.
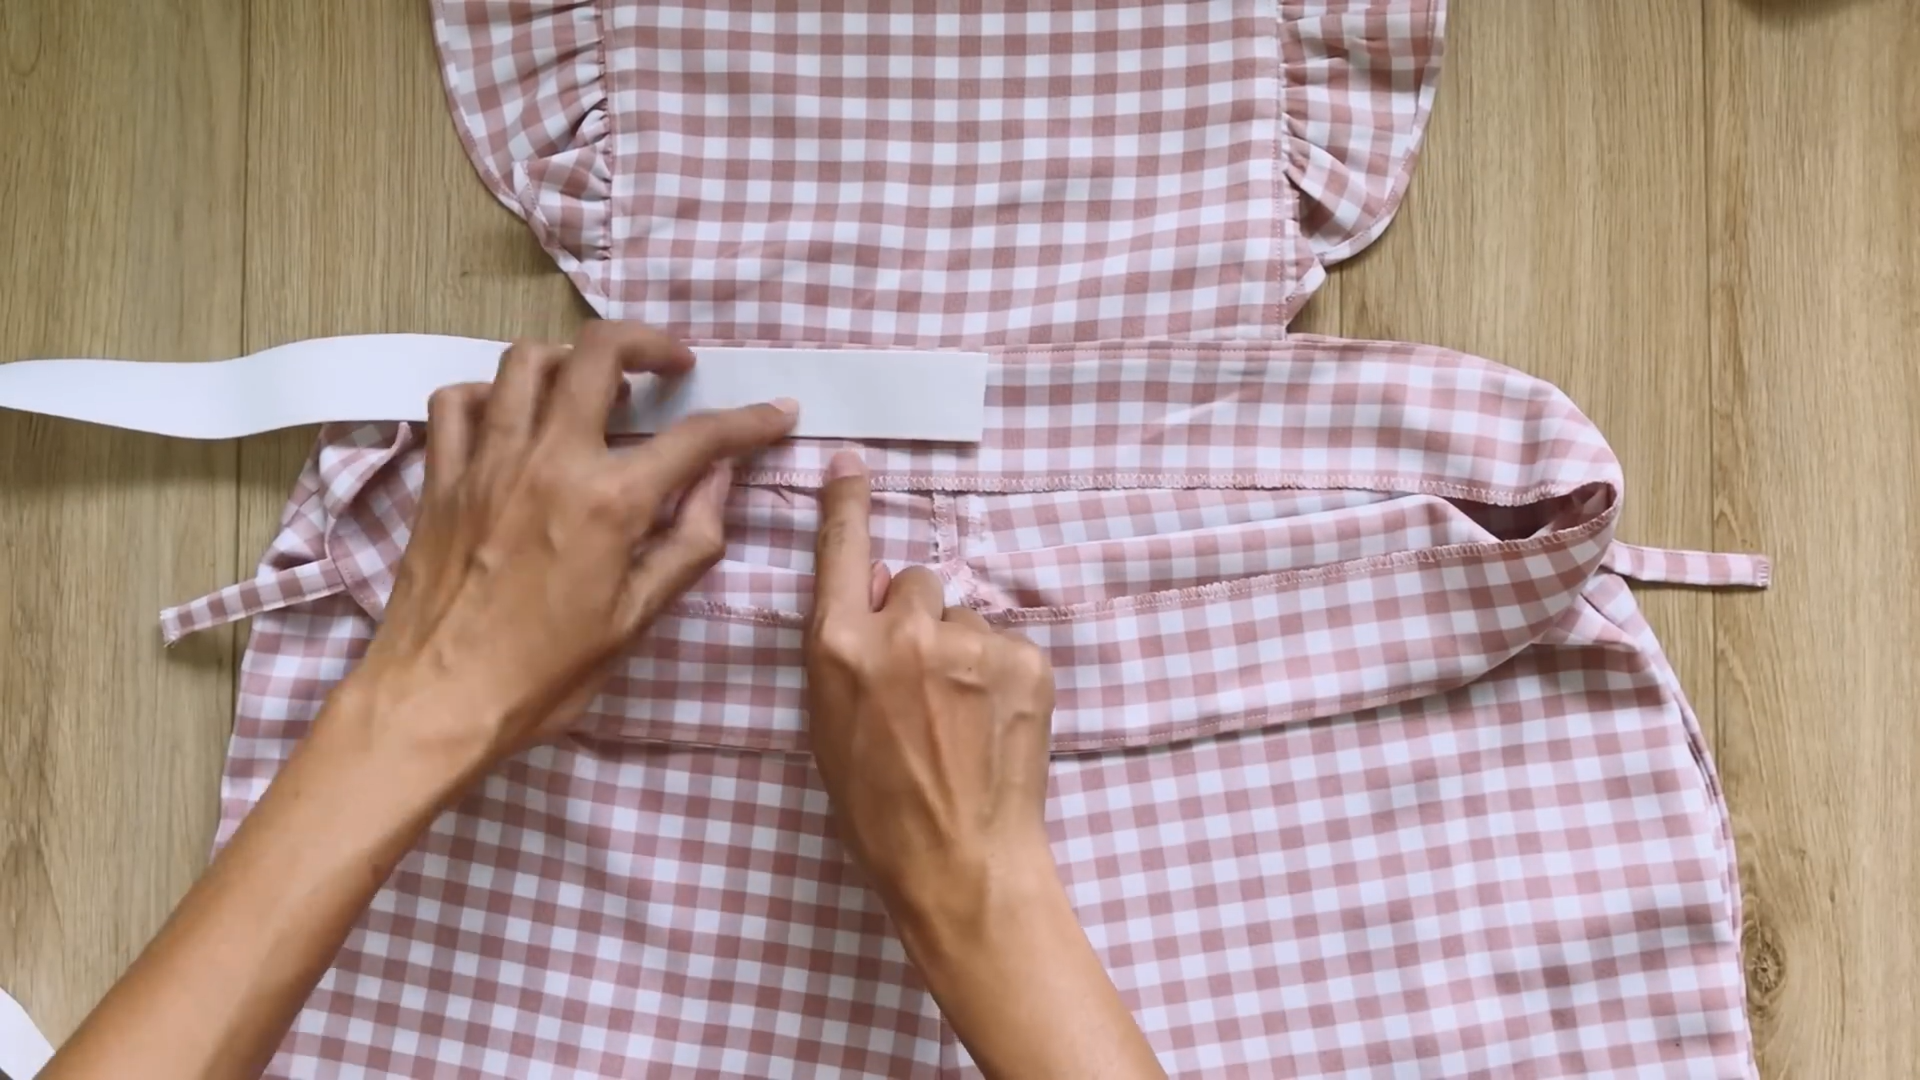
Use a rubber band and mark its width on the waist of the jumpsuit
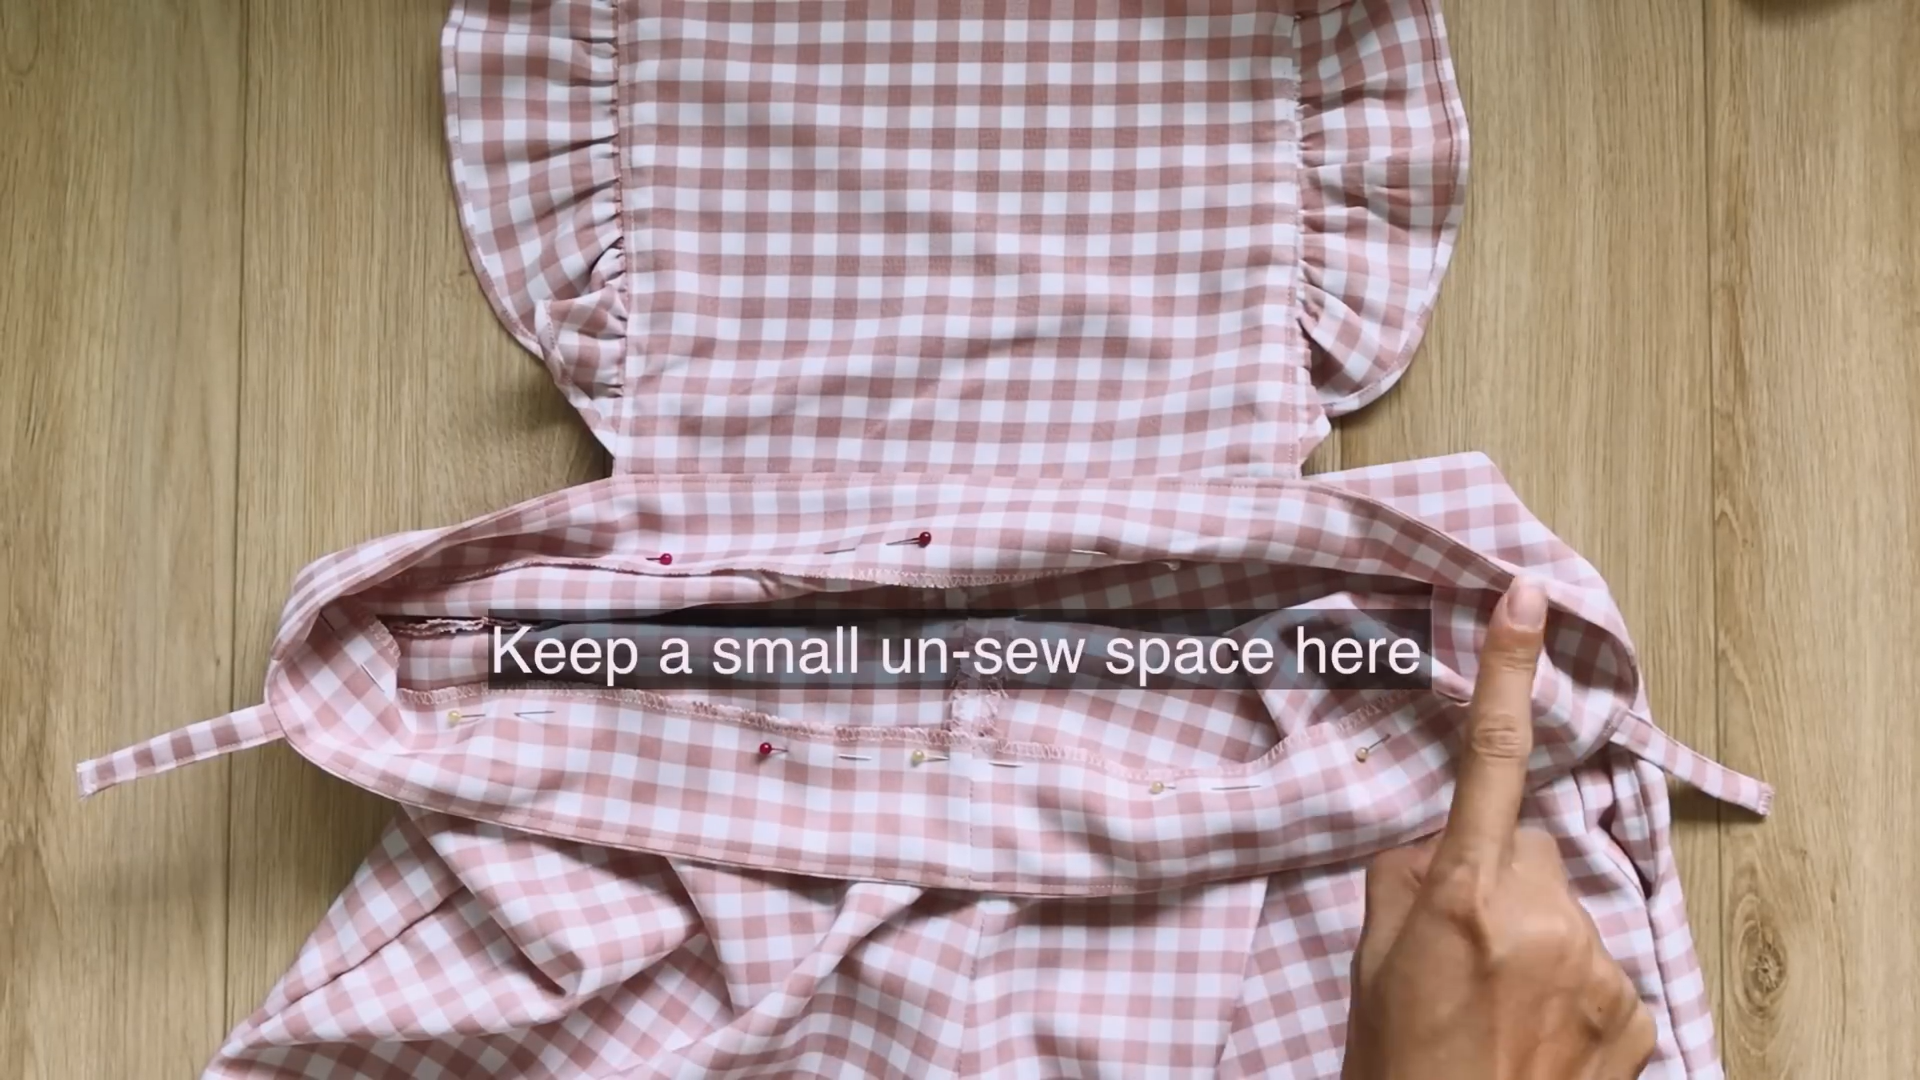
Sew along that mark but leave an opening to insert the rubber band.

Stitch 2 end of the rubber band together.
Then close the unsewn space
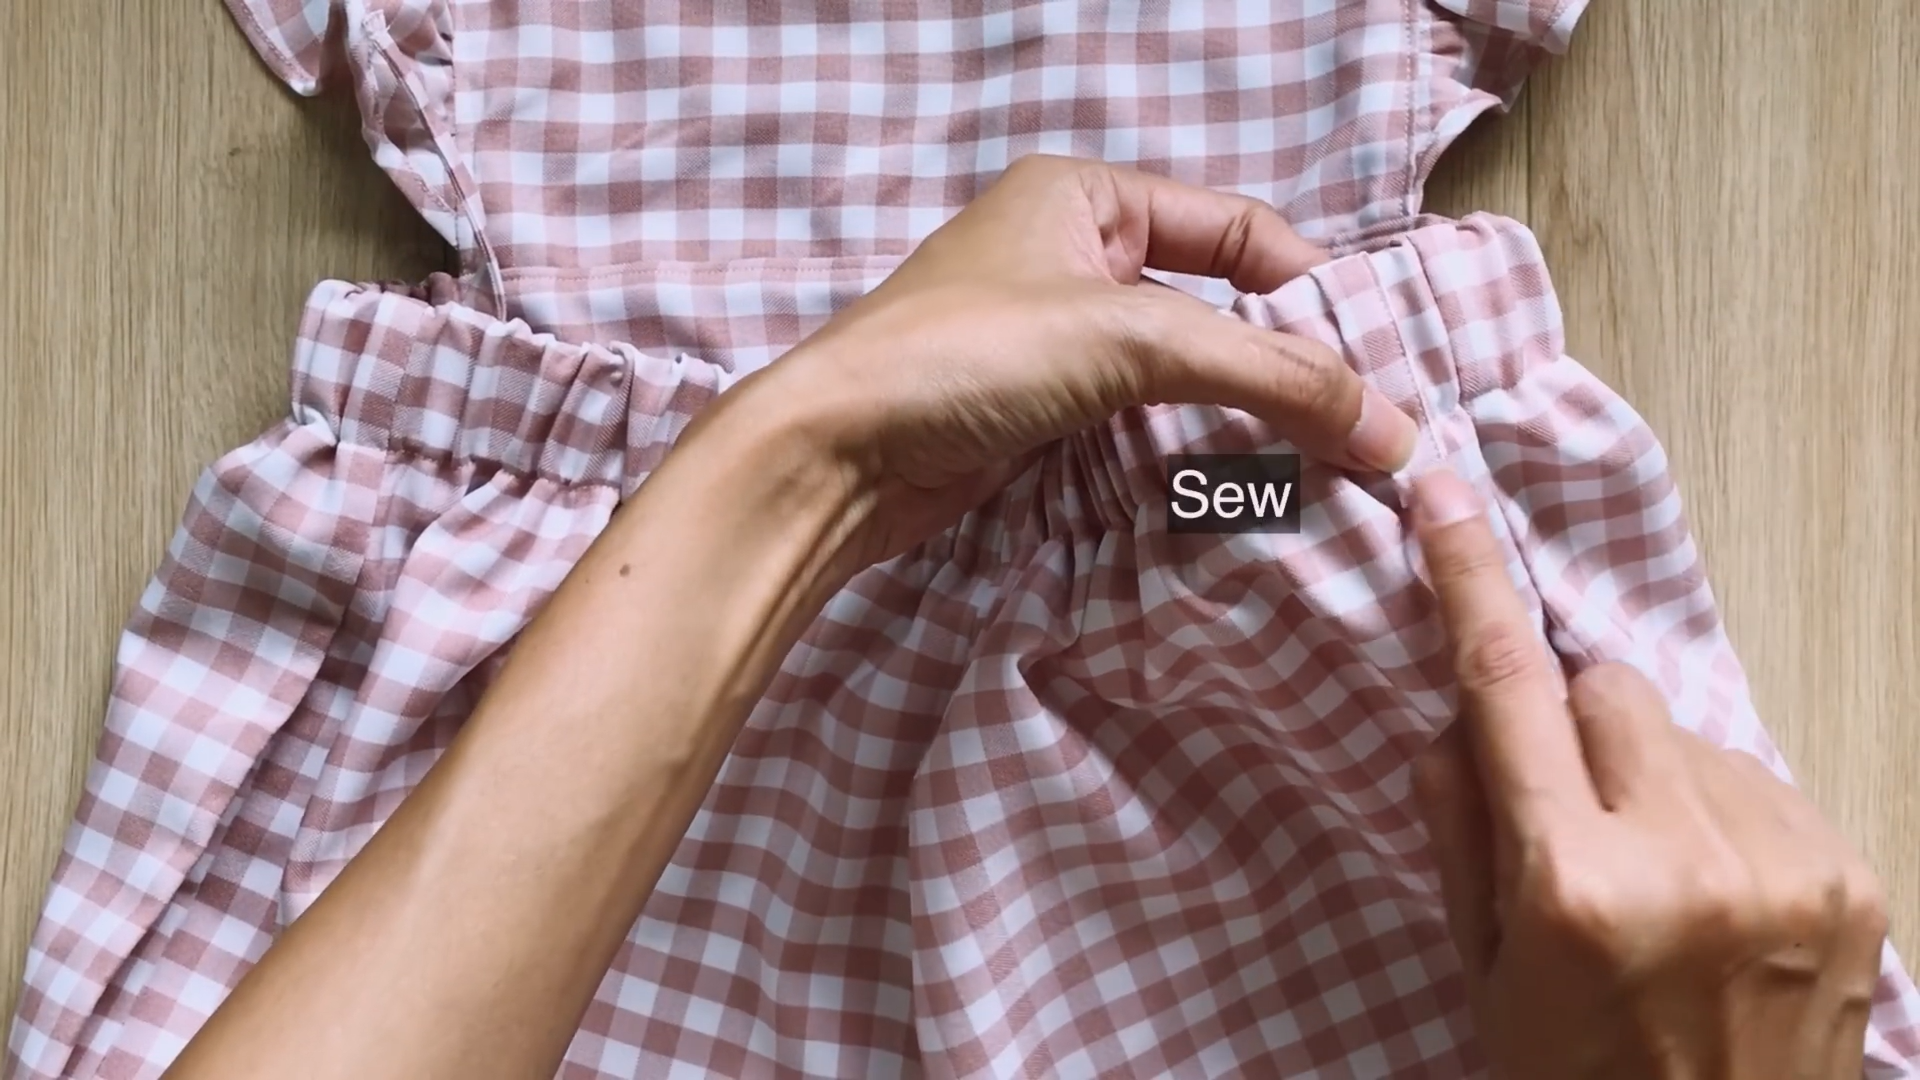
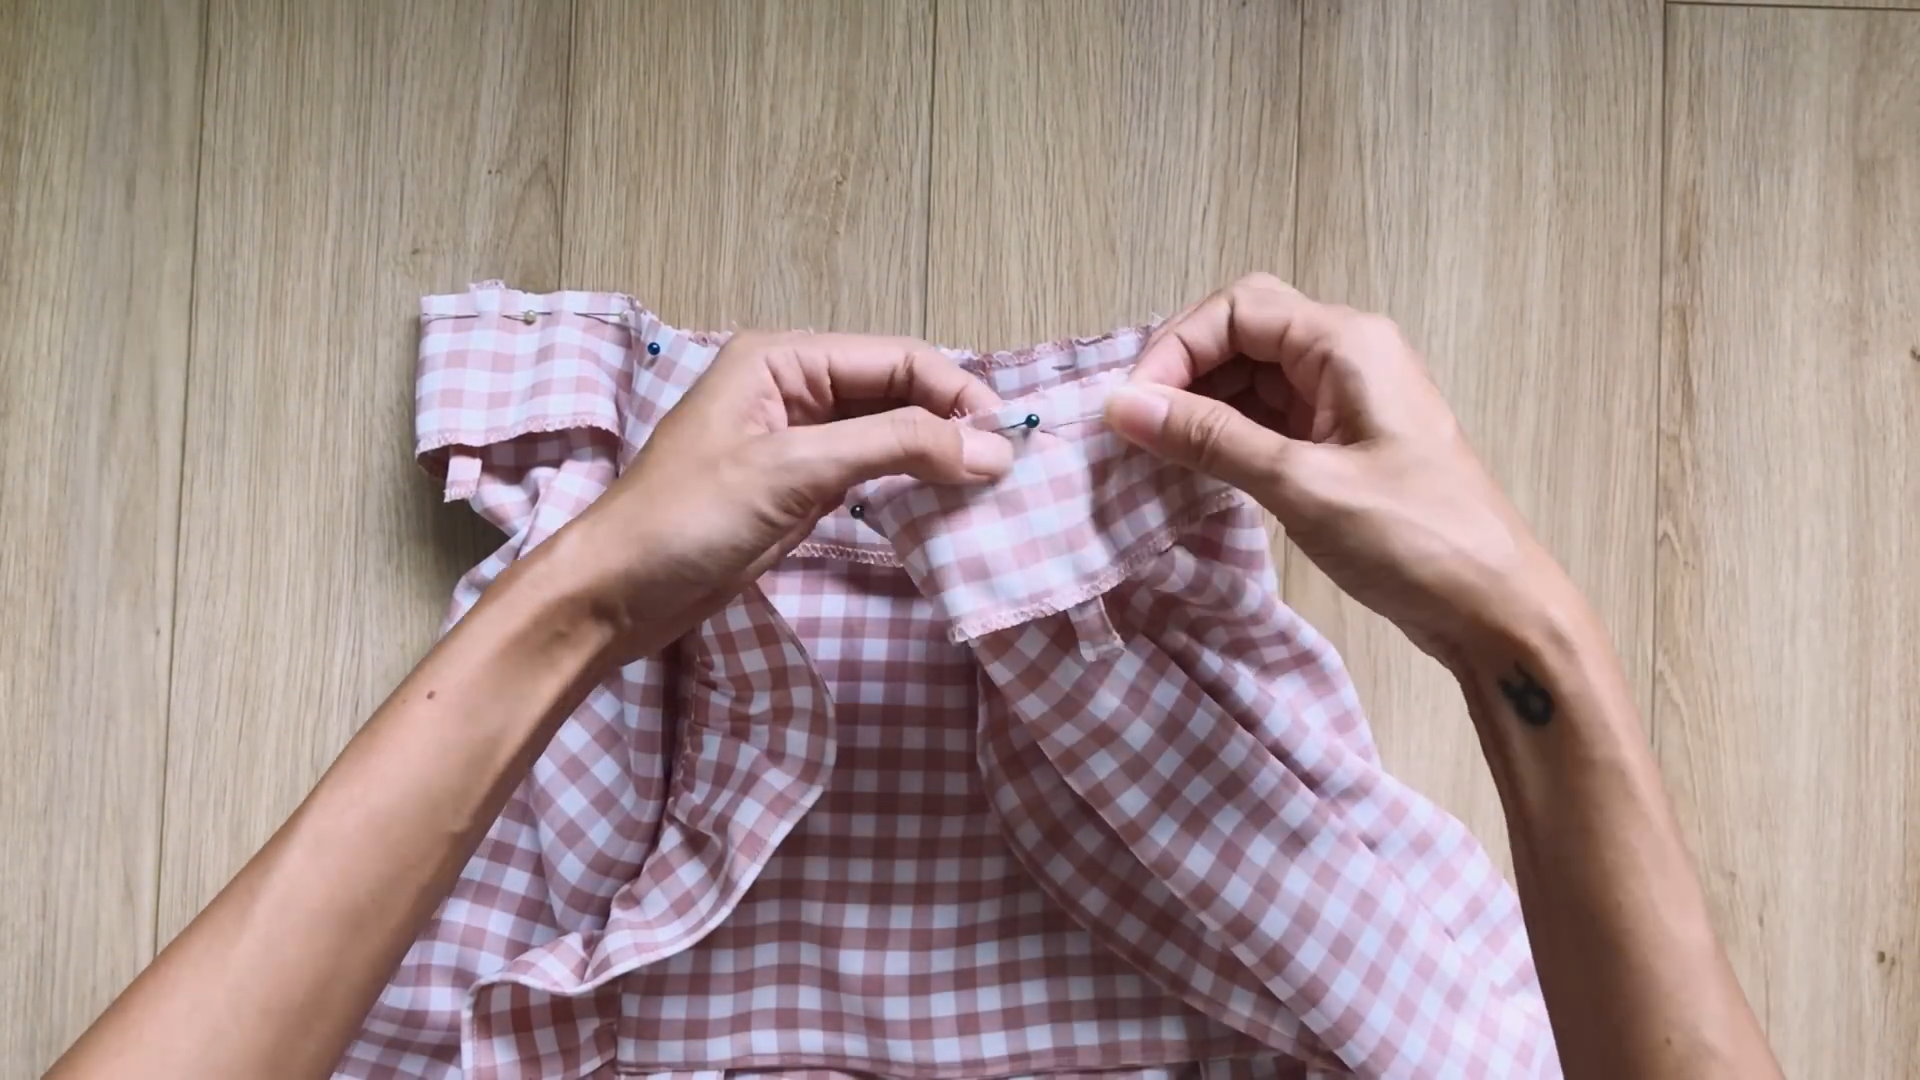
Sew the other end of the belt loops to the pants.
Make two seams at two sides of the front waist, right under the main bodice, to make it look nicer.
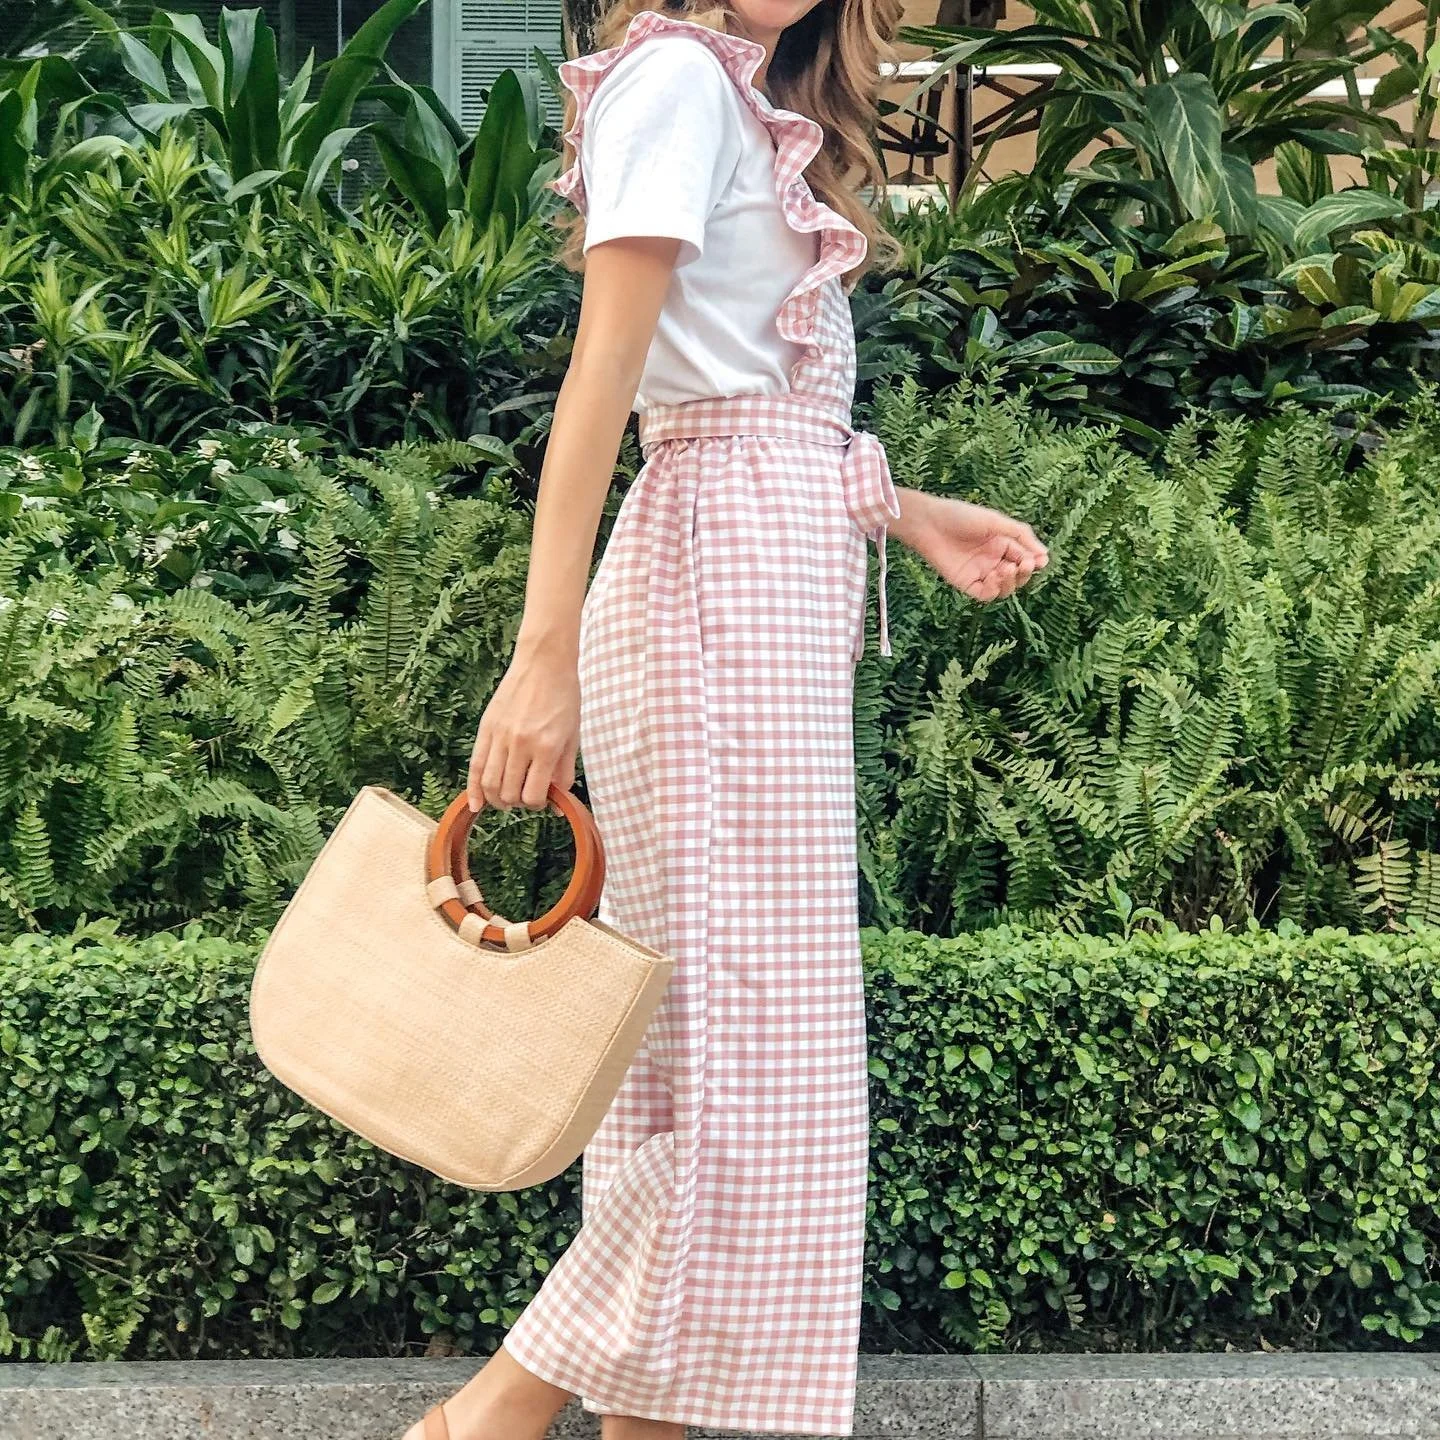
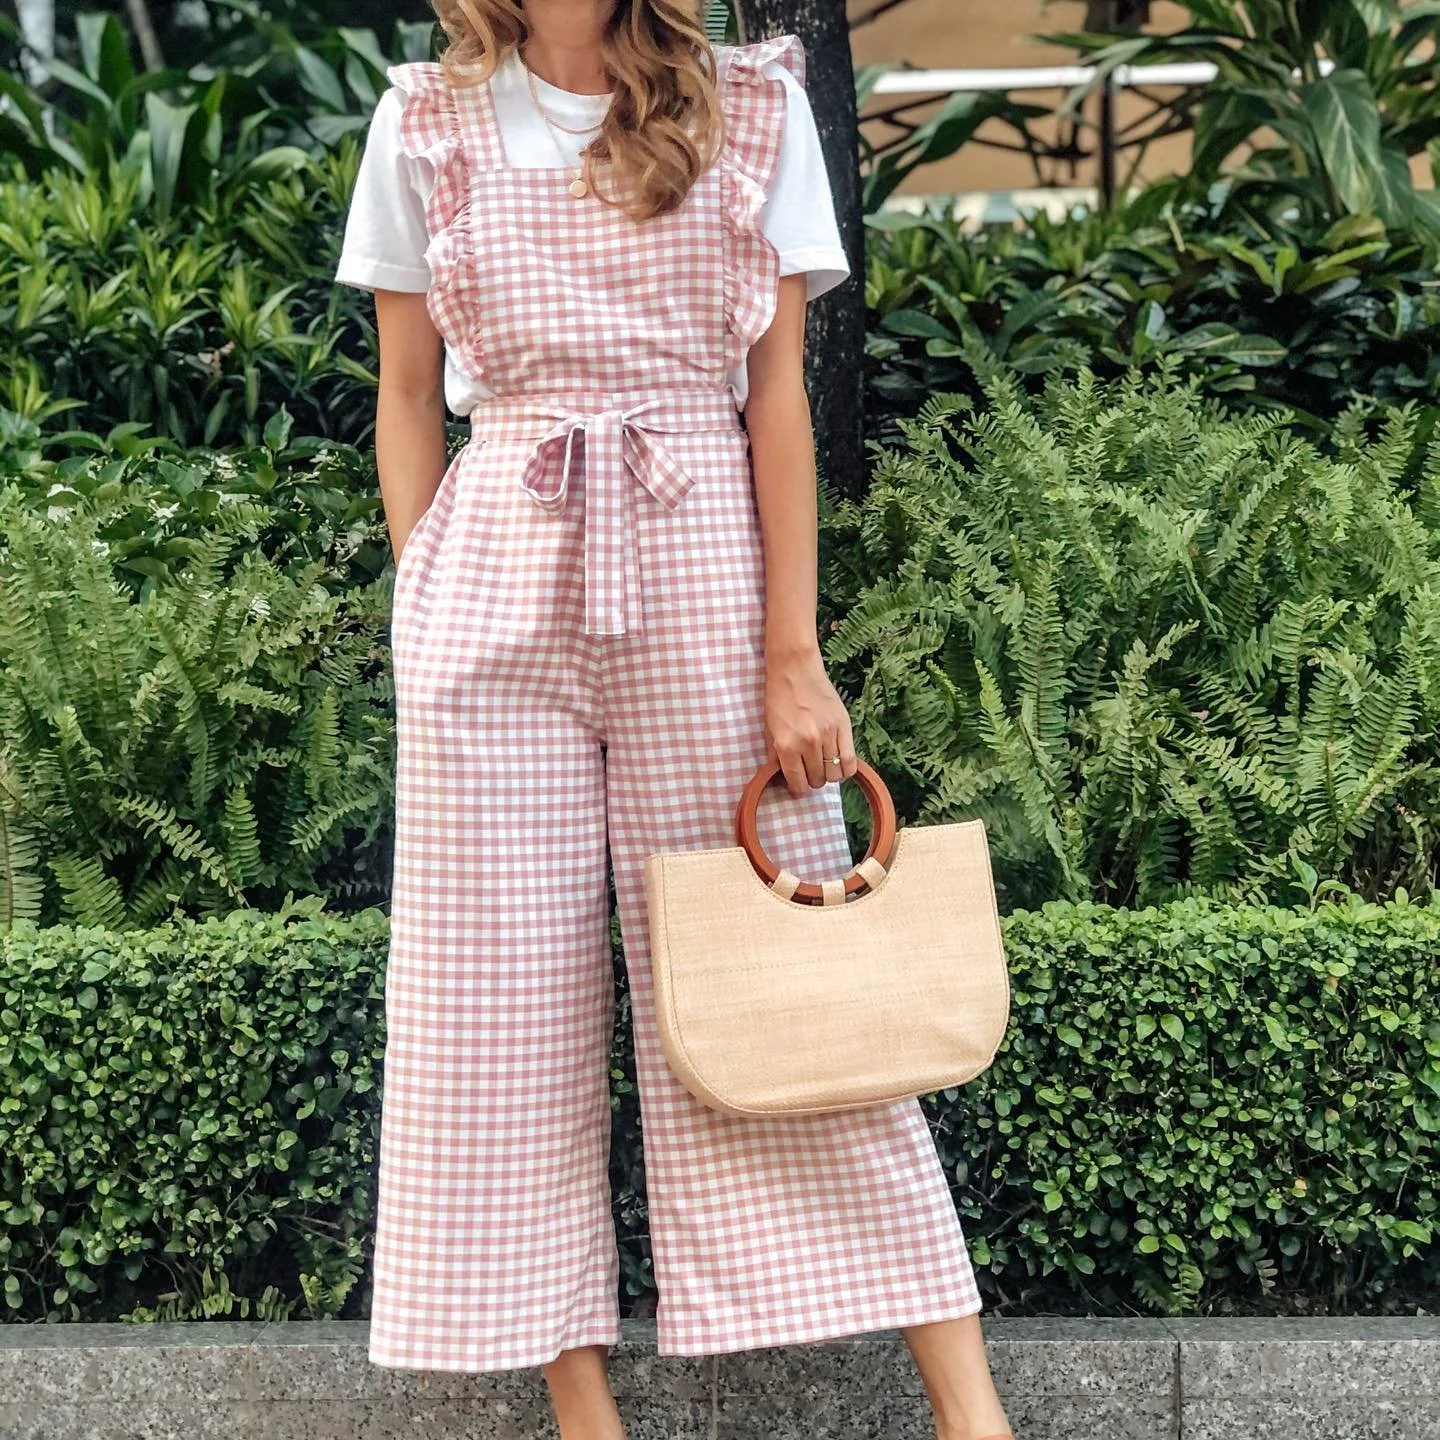
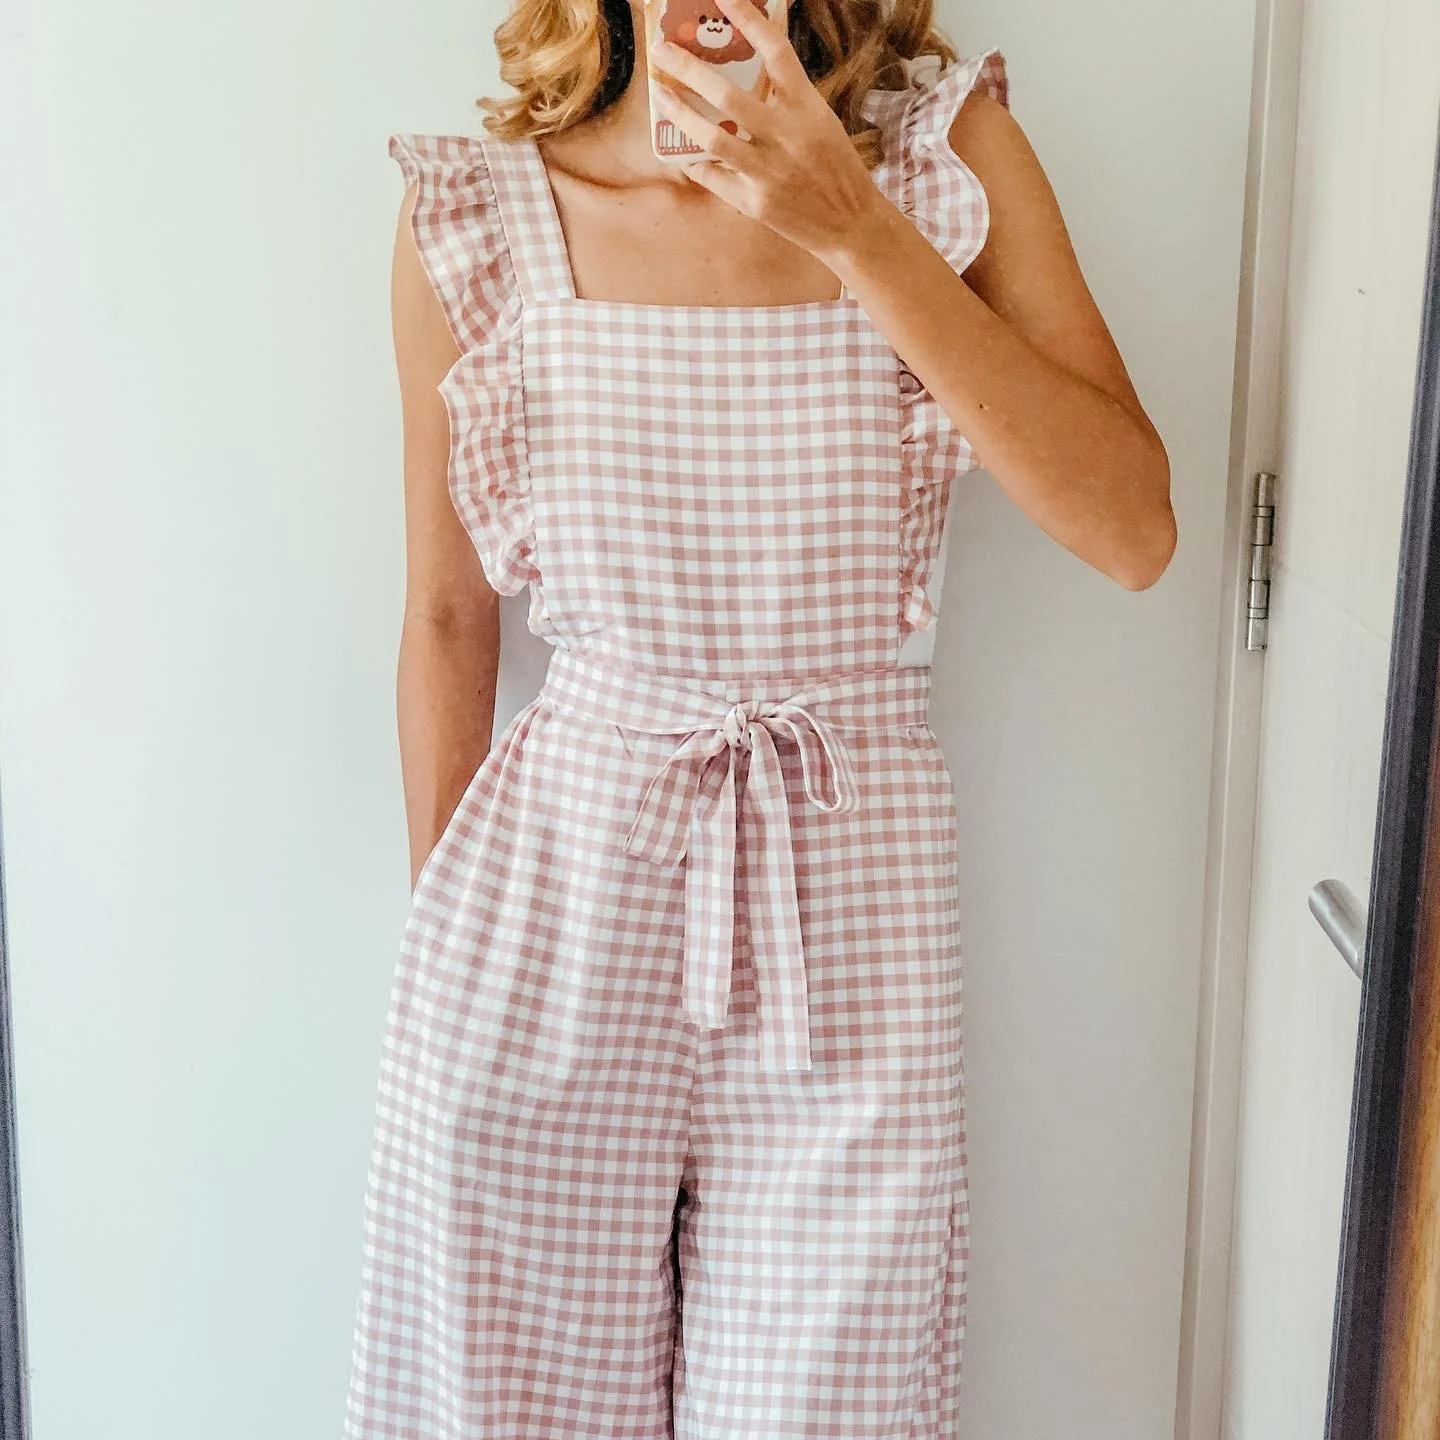
There you have it!
After all the stitches, fabric choices, and meticulous details, I present to you the final result of this delightful DIY project. You can experiment various top clothing with the jump suit the find the combination suits you the most.
I hope you found my step-by-step guide helpful and inspiring. If you’re interested in making your own waistcoat, give it a try and let me know how it goes!
Until then, happy sewing!