DIY Mini wrap dress | Step by step sewing tutorial
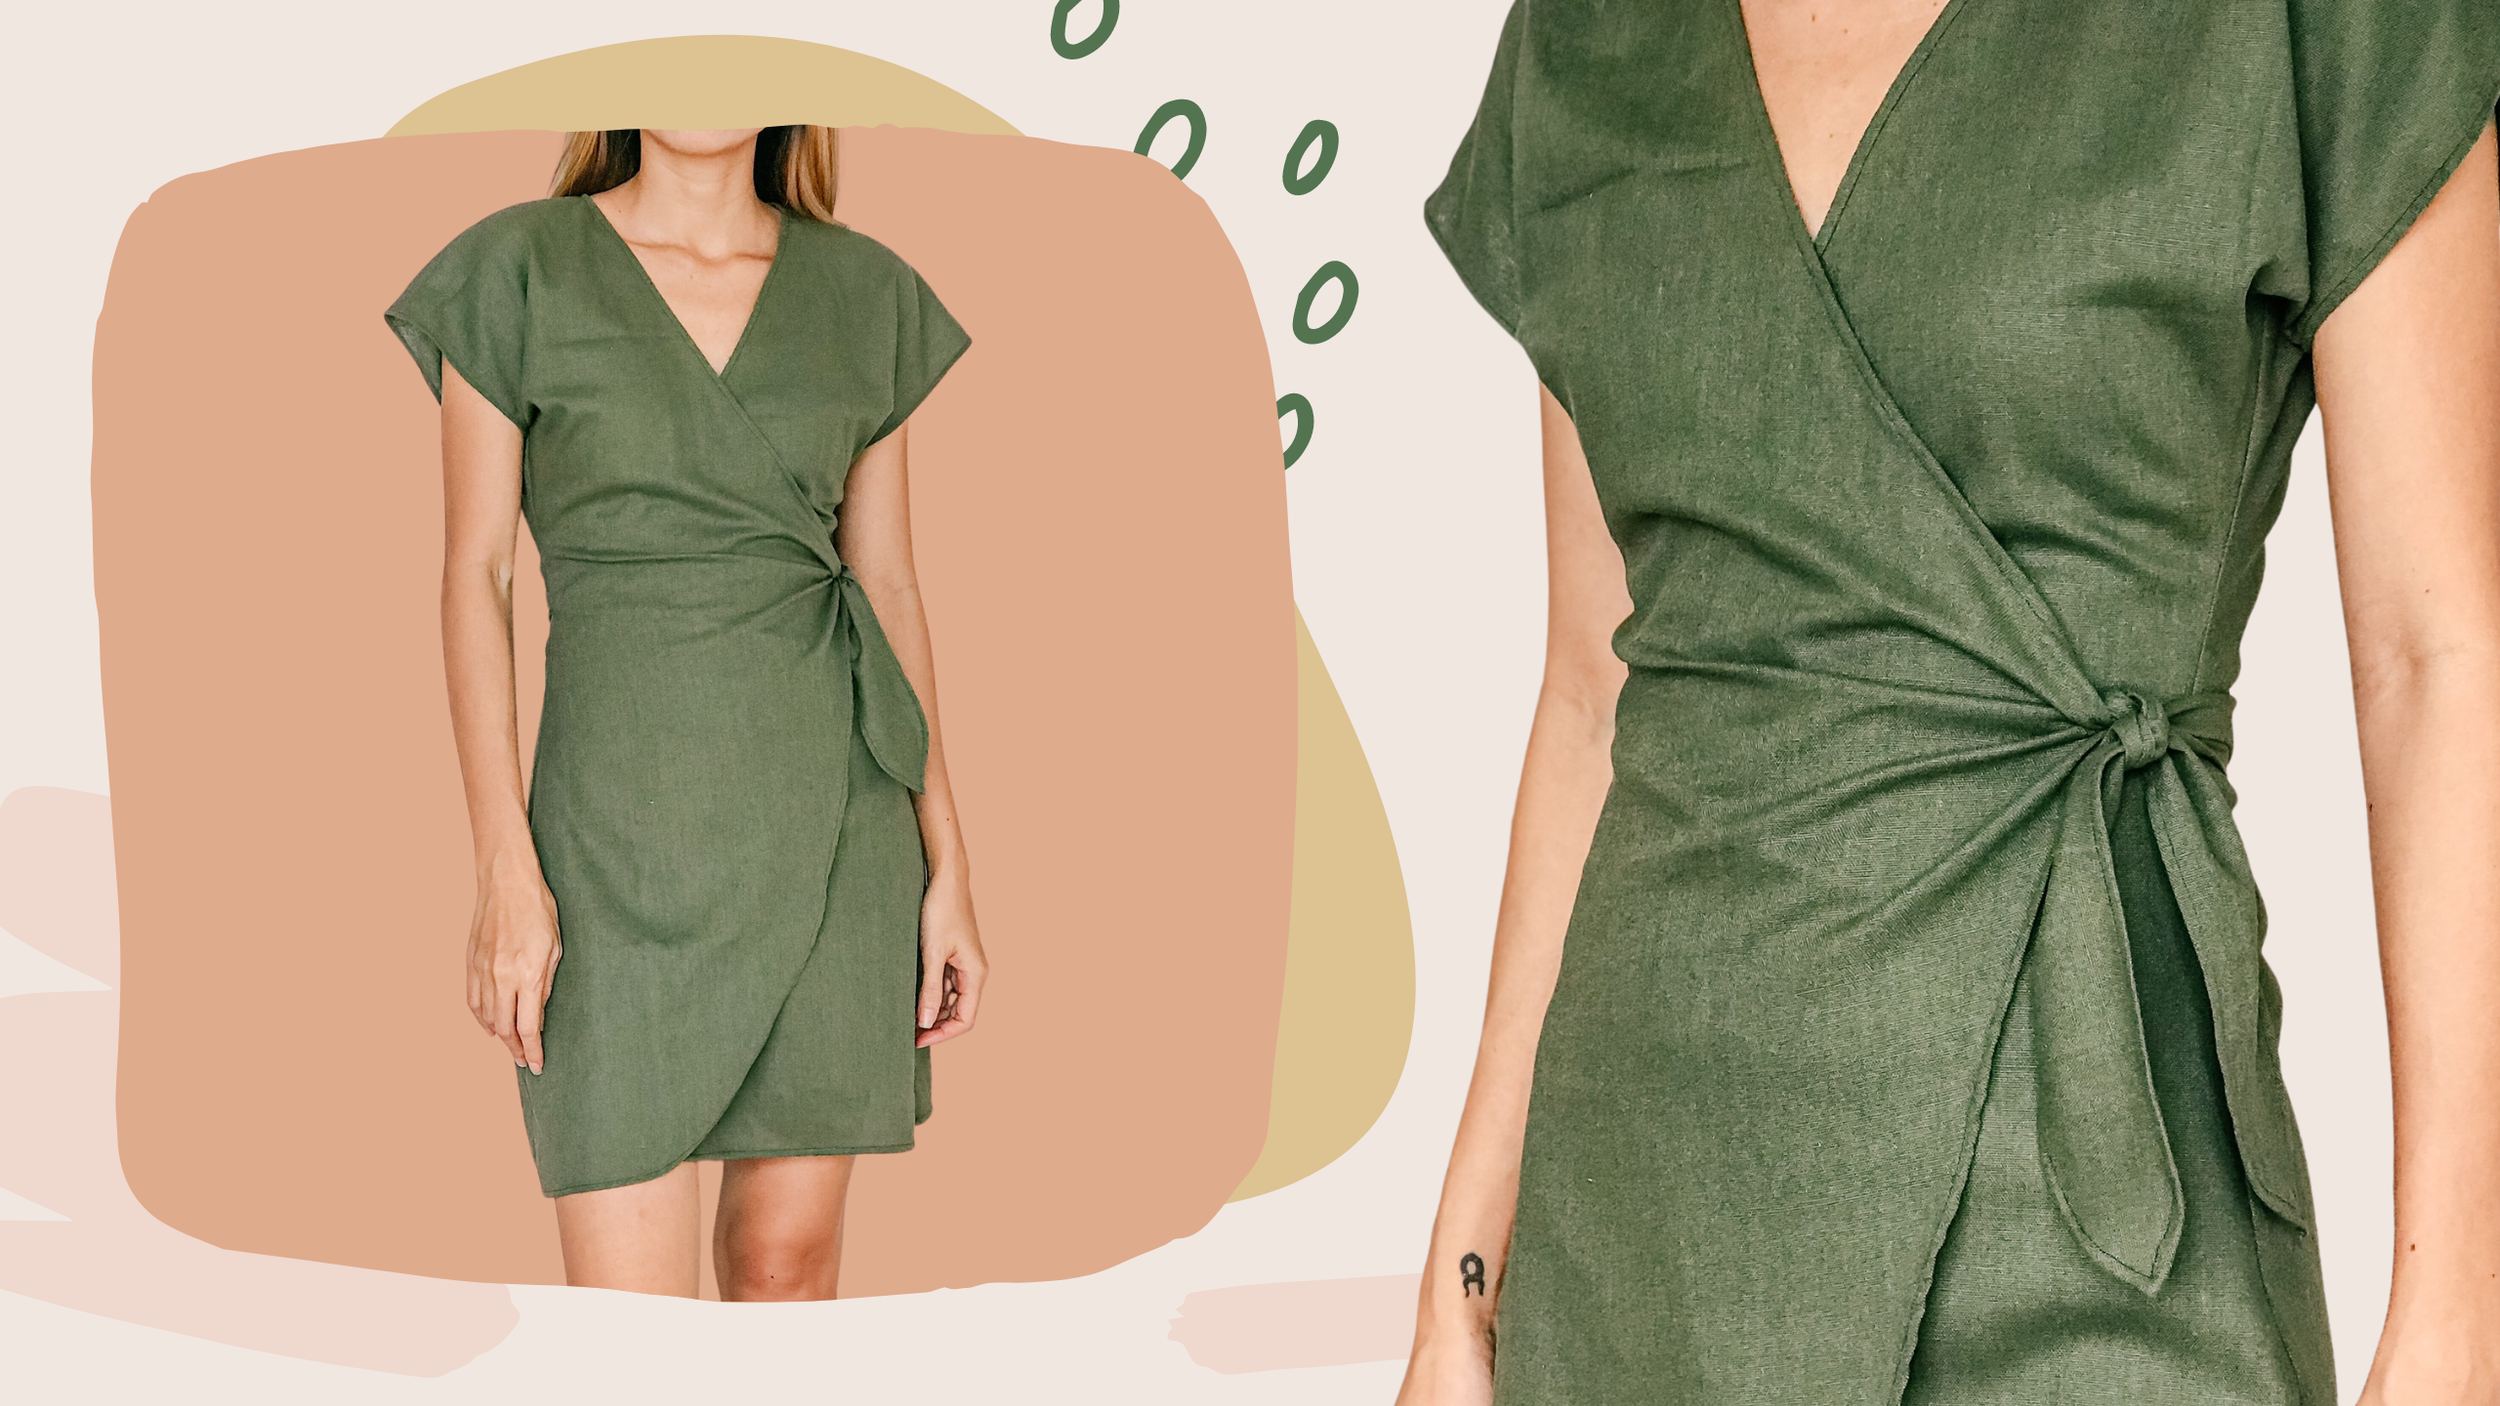
DIY Mini wrap dress
Welcome or welcome back to my sewing blog!
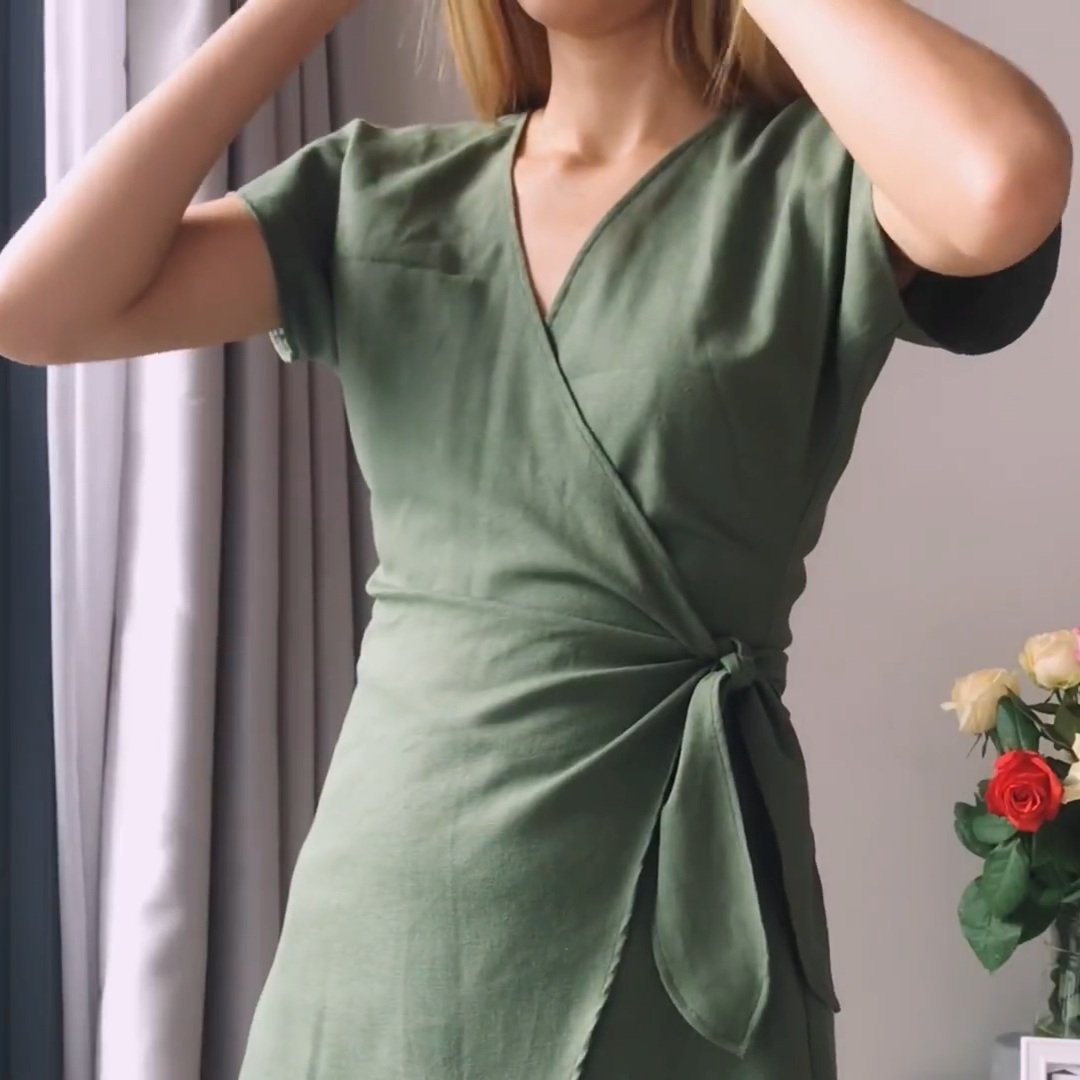
In today's video, I'm going to share with you how I made my Mini wrap dress from scratch. This dress has the top and the bottom of the dress in one piece. The tie of the front is belong to this piece too. So it will create the gathering fabric at the front when you tie the dress. It makes the dress look very pretty.
So I hope you will like this tutorial.
Let’s get started!
WHAT YOU’LL NEED
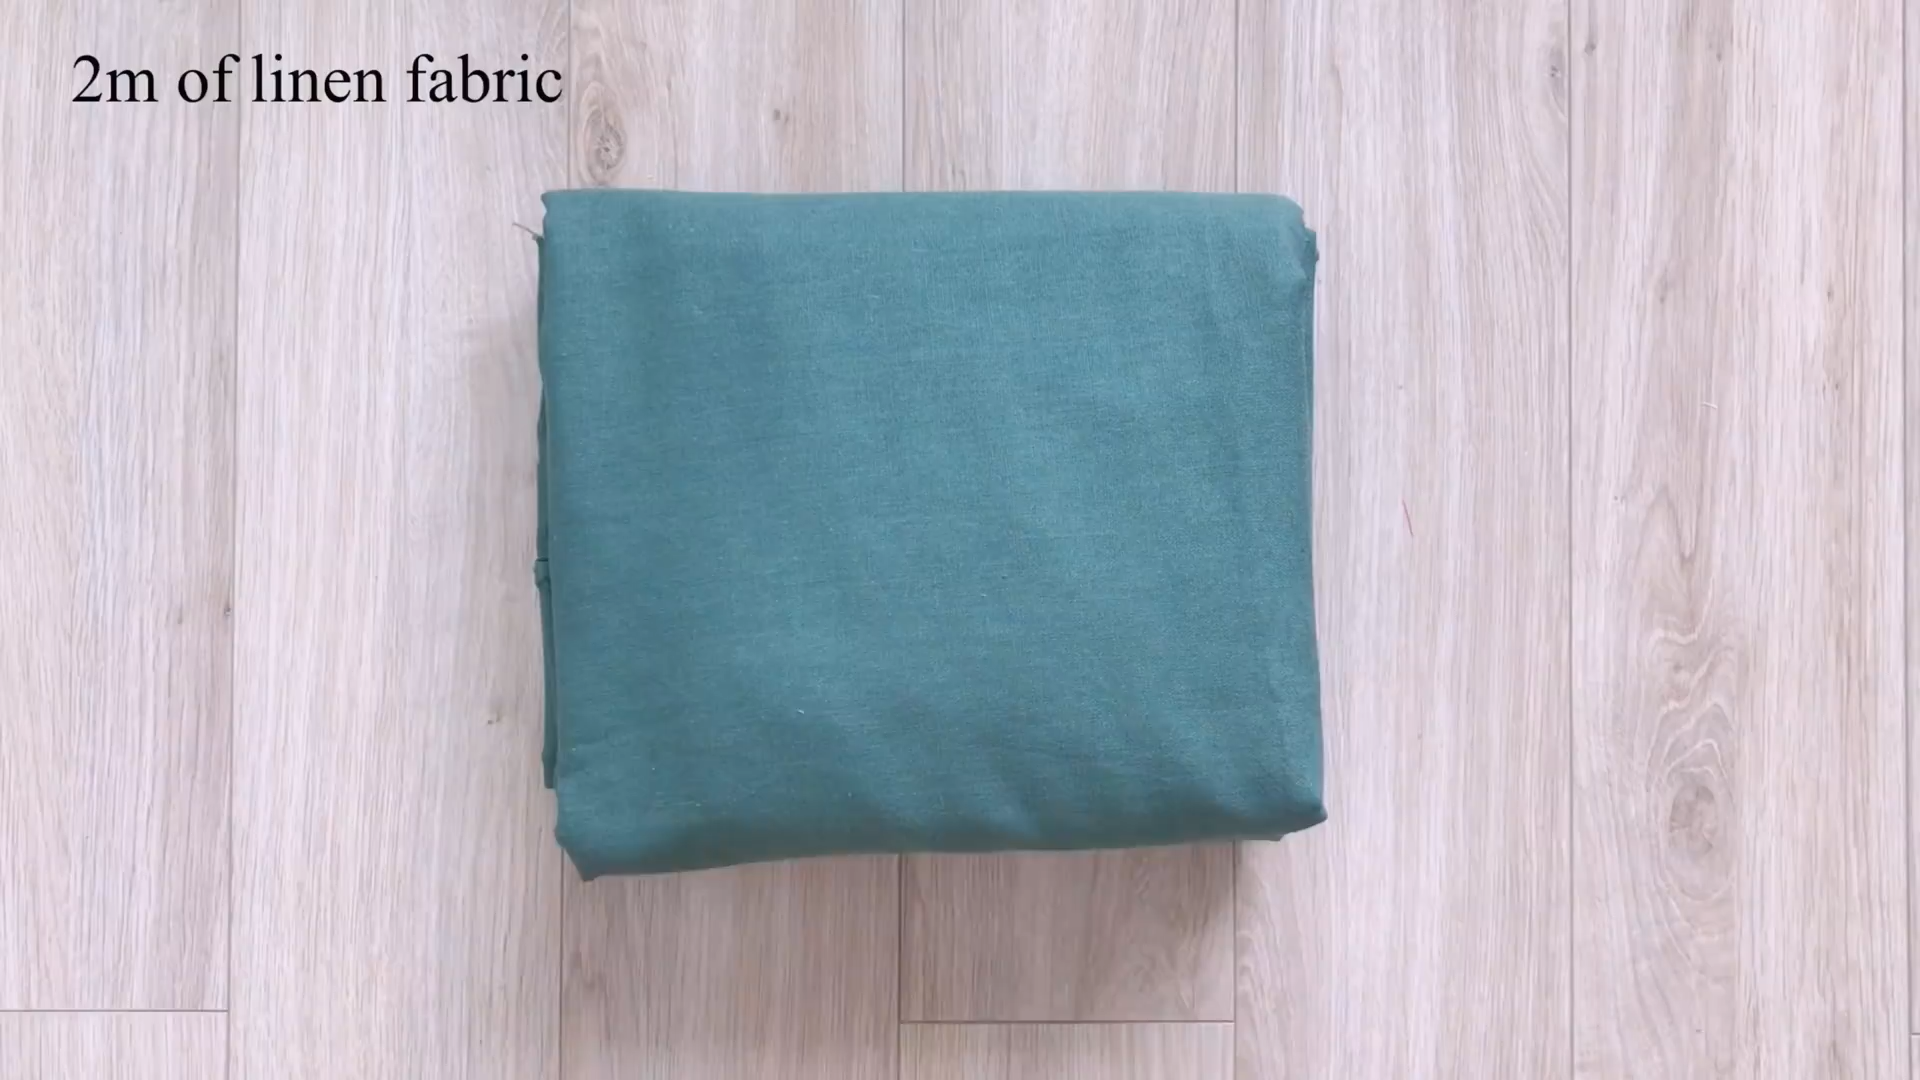
2m of linen fabric (The width of fabric should be 147 cm)
Pattern paper
Sewing machine
Pins
Scissors
Ruler
Long stick
MAKING THE PATTERNS
Here’s the pattern for the project. To get a clear understanding of all the measurements needed for the pattern, watch the video from 1:50 to 7:36.
Remember, you can adjust these measurements to fit your own dimensions!
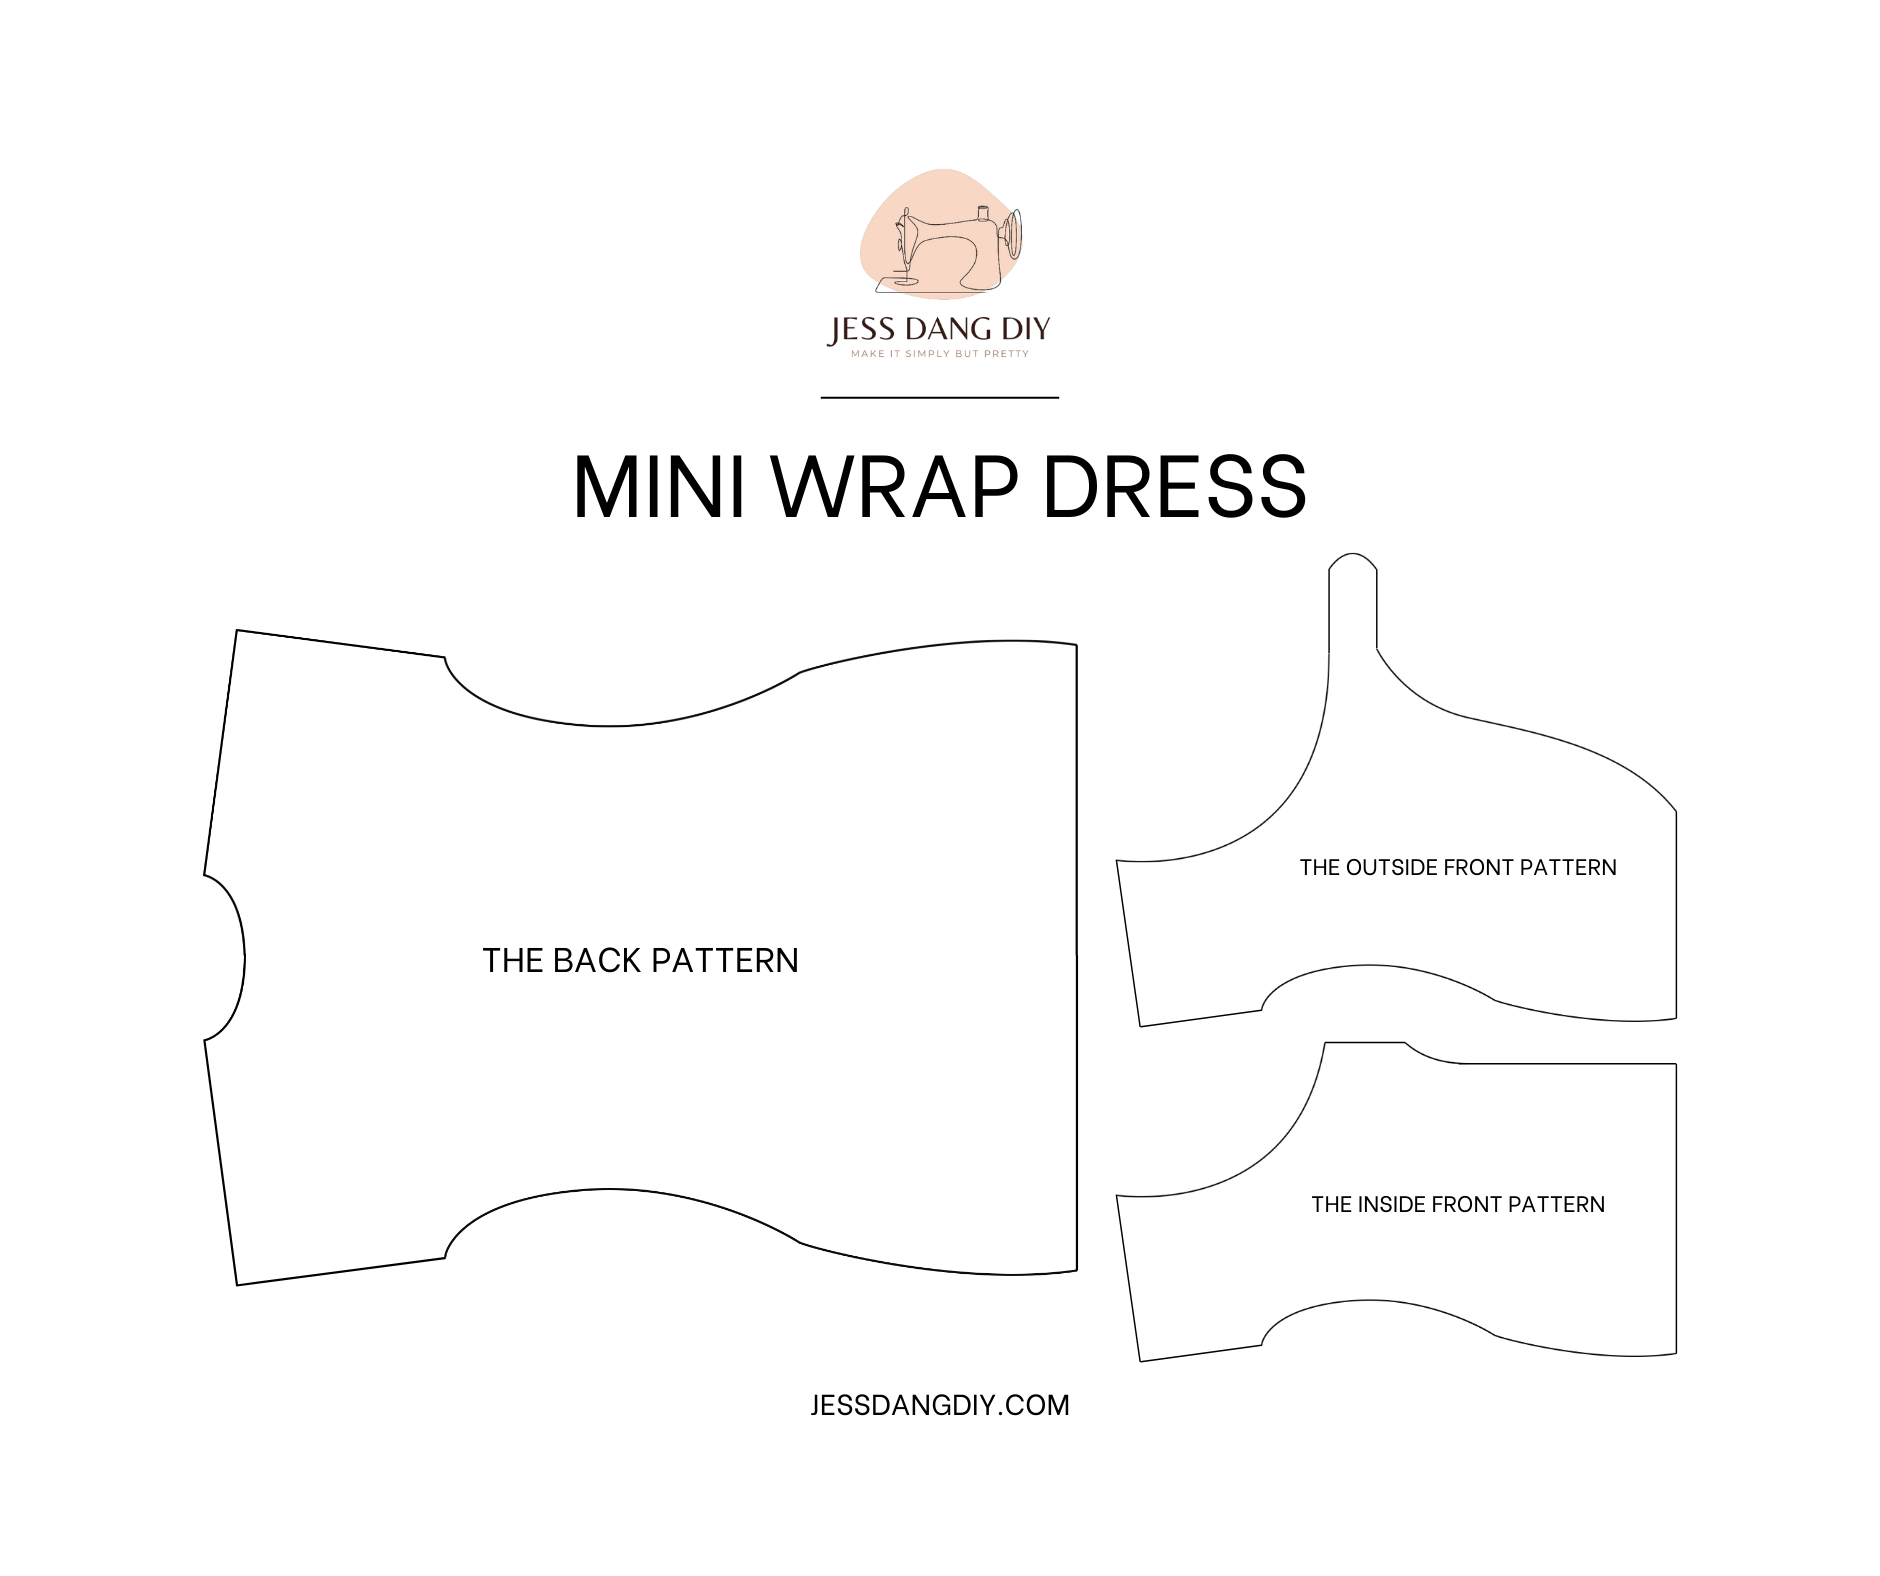
THE BACK PATTERN
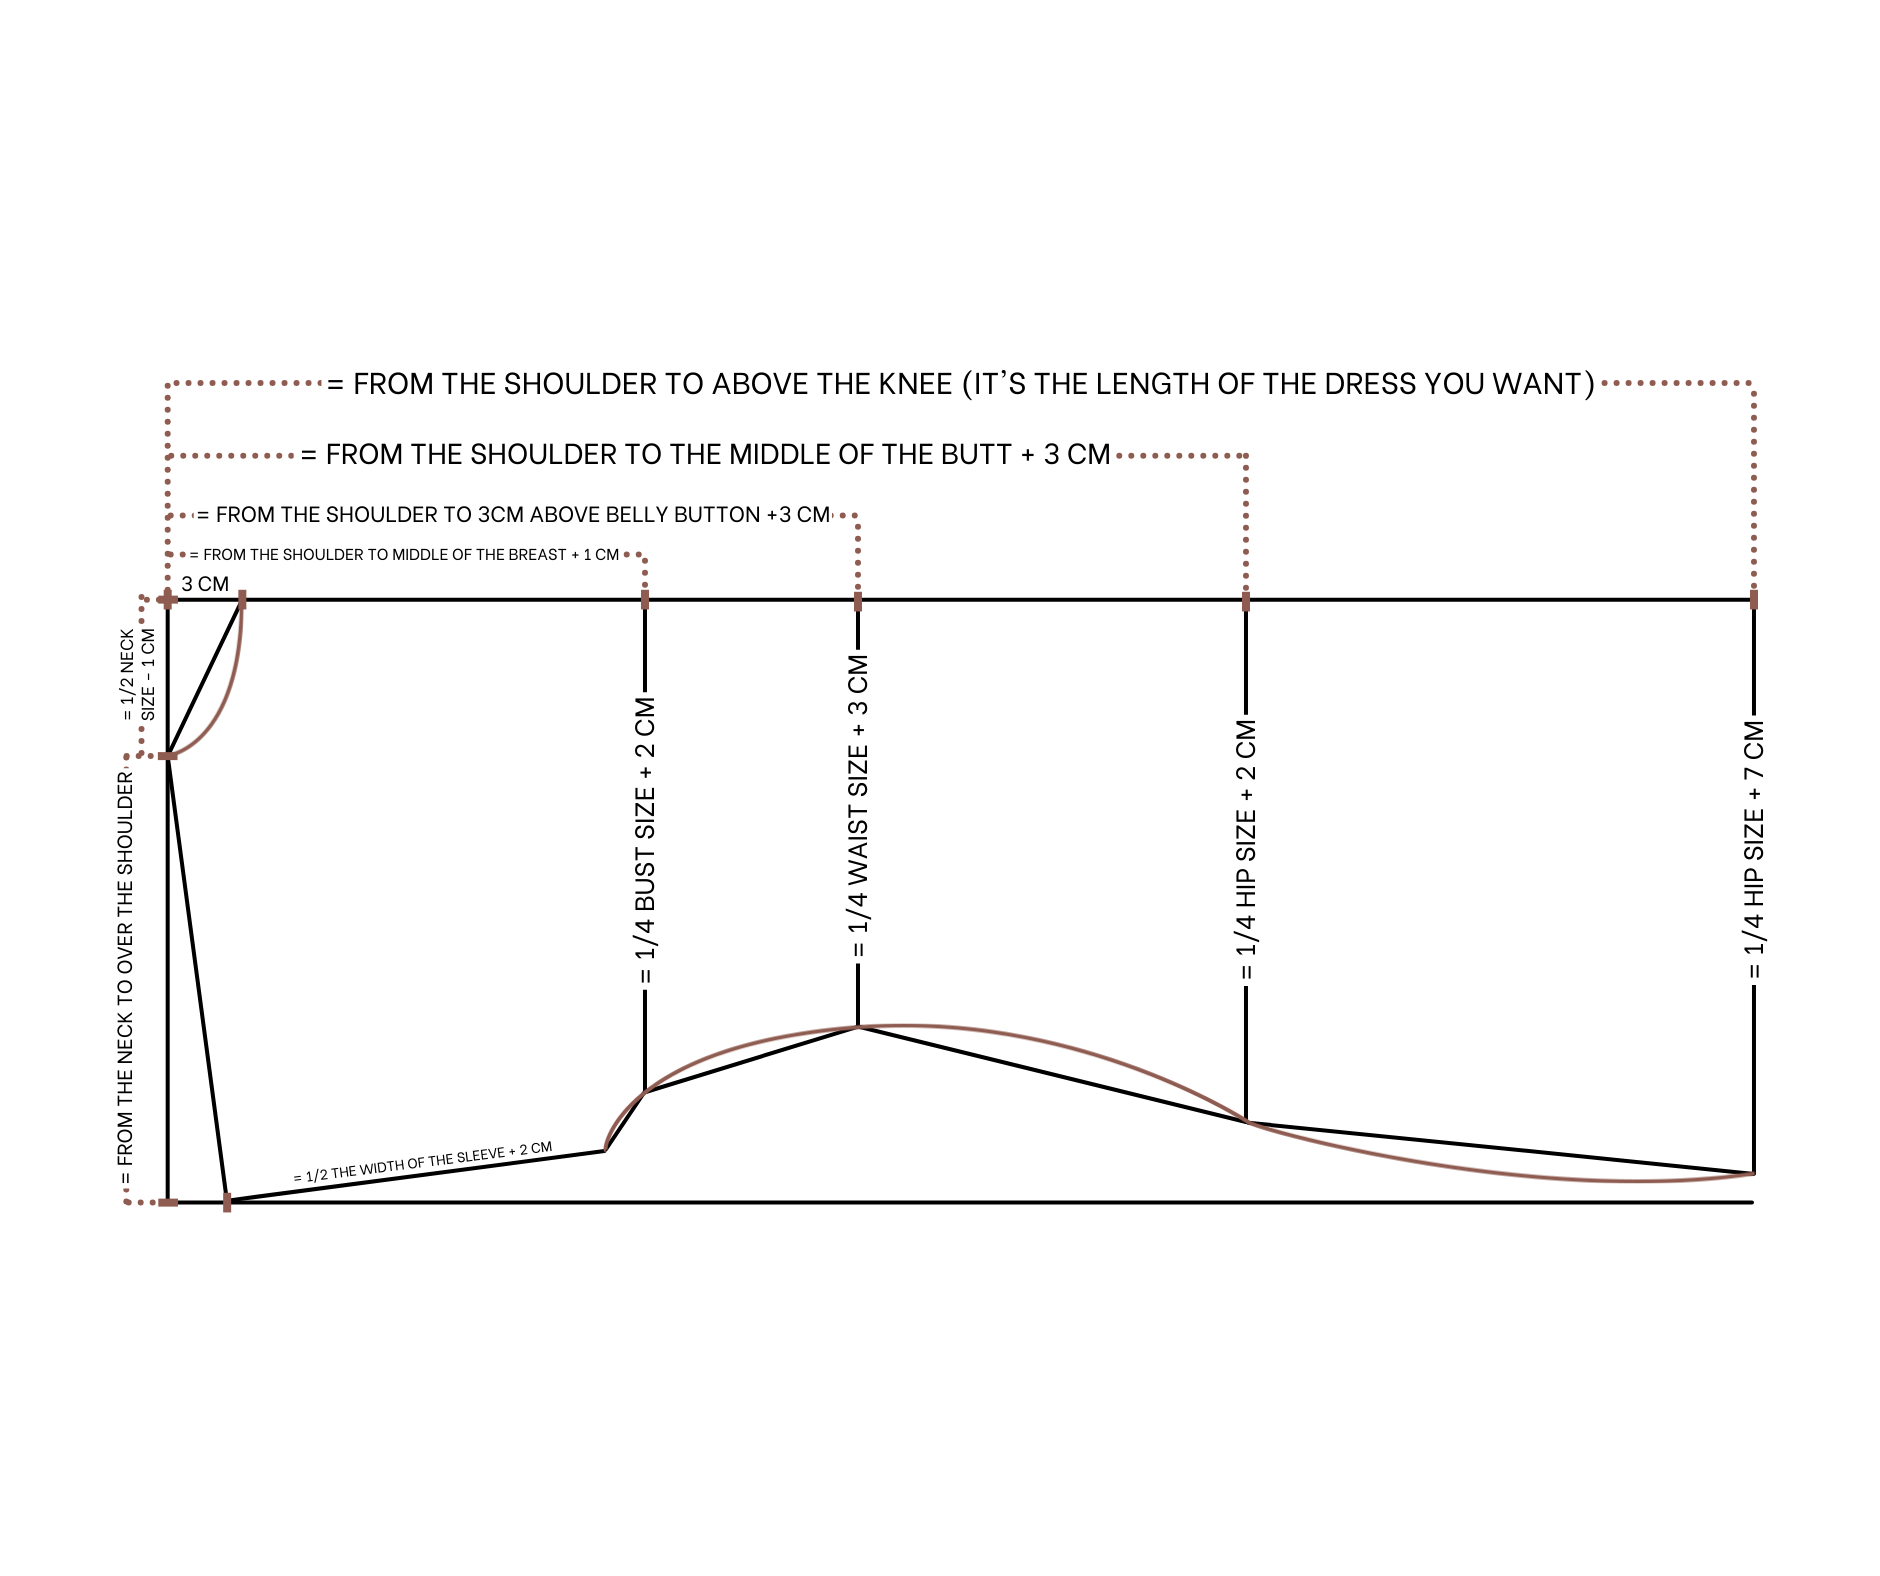
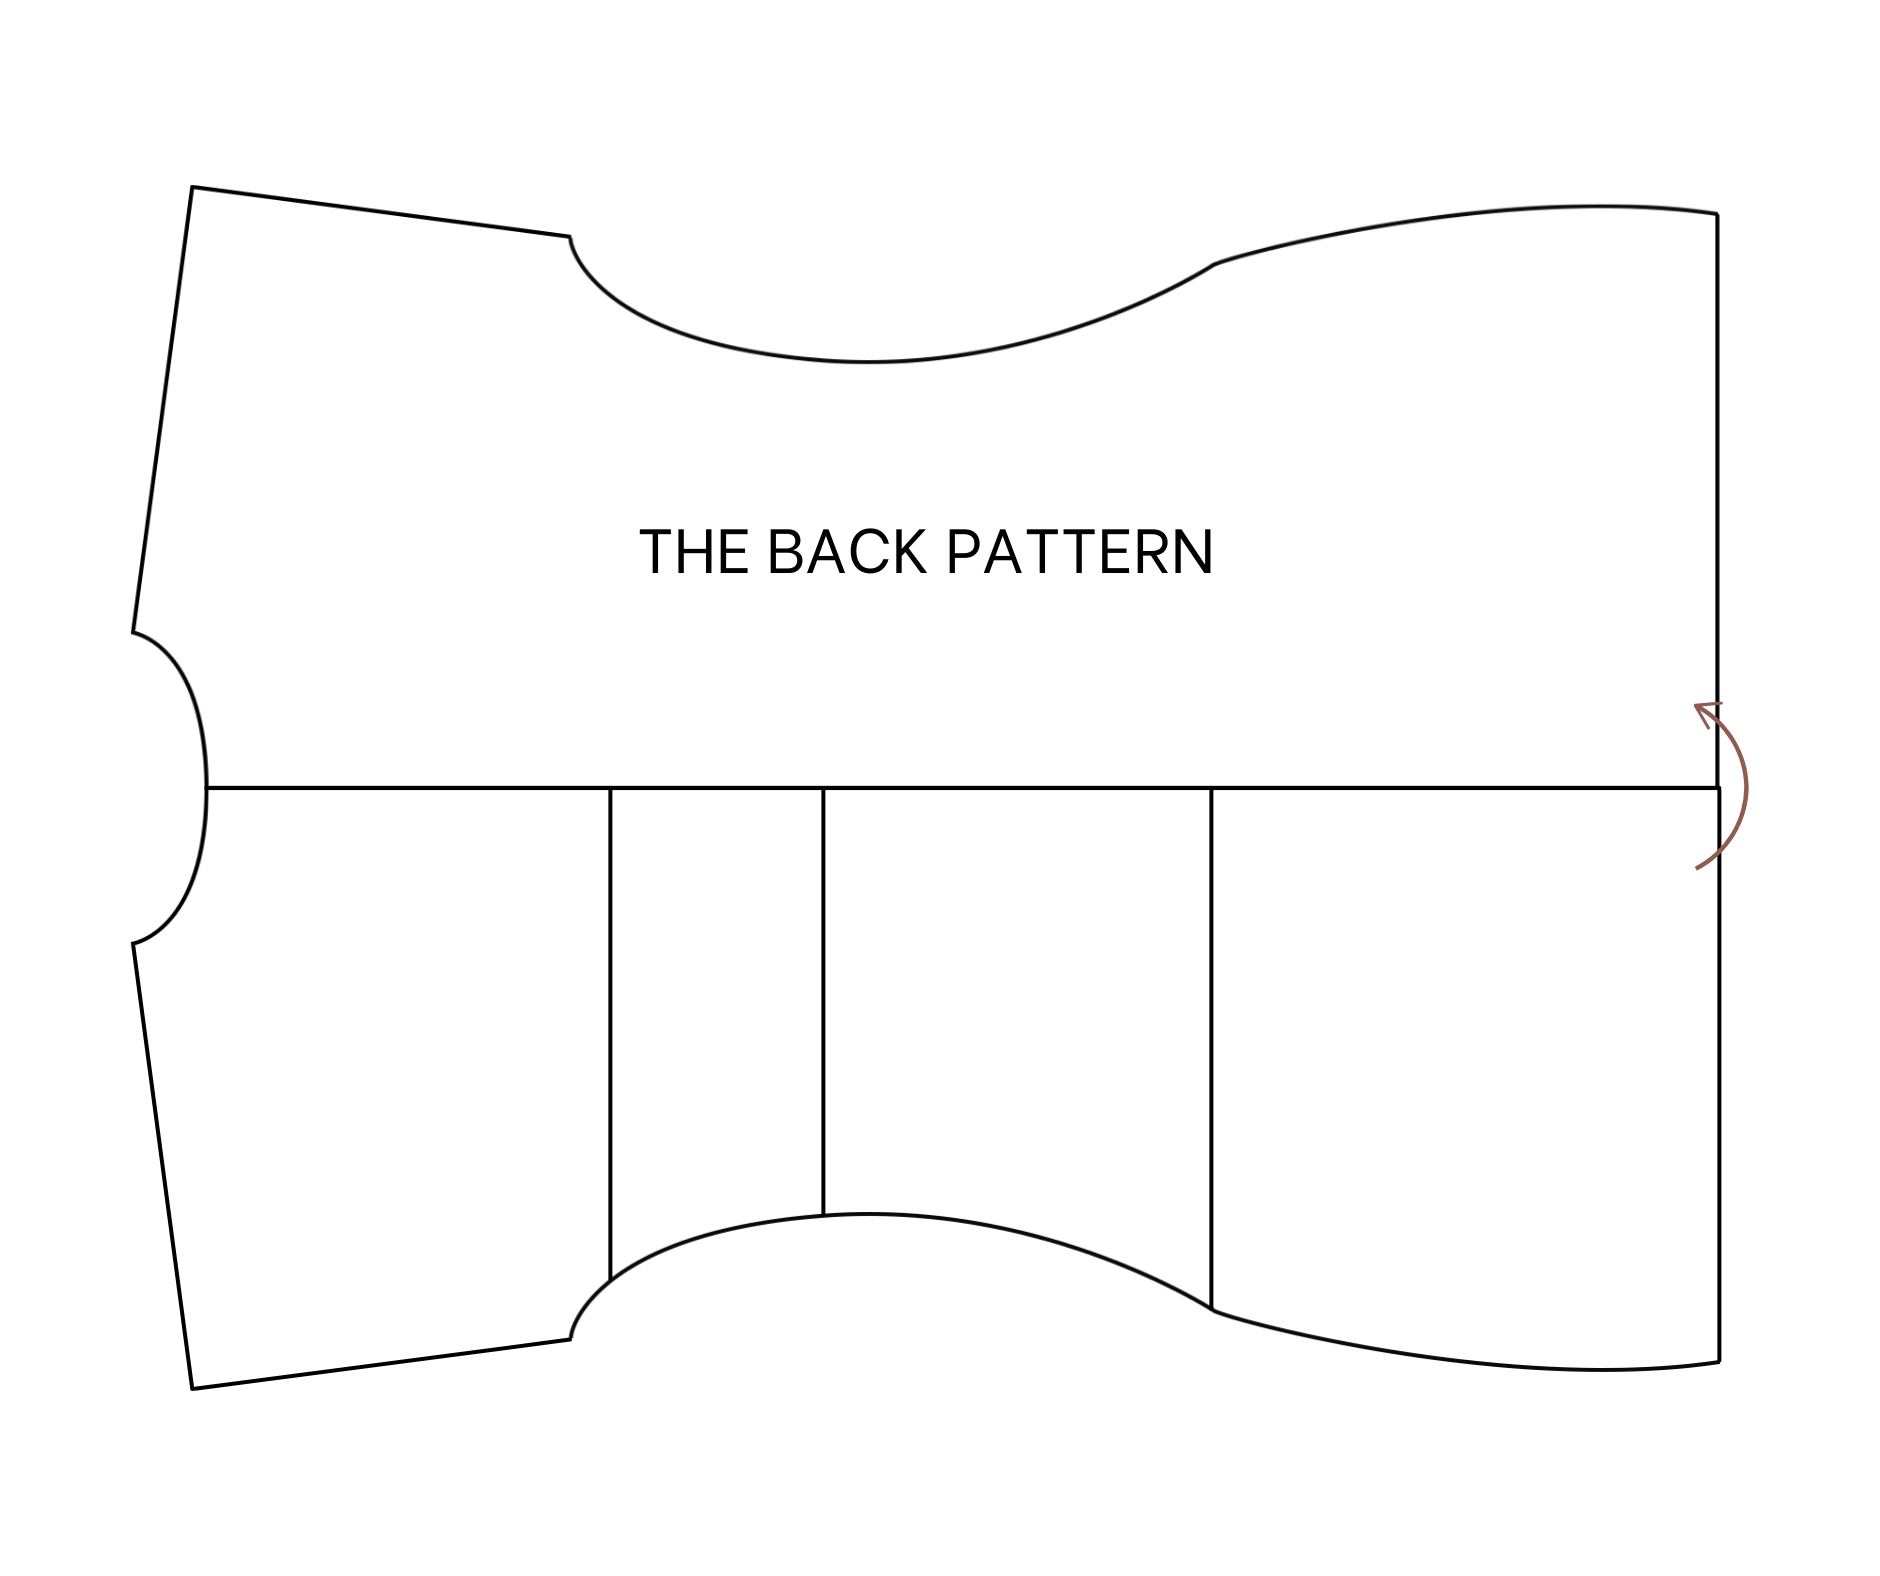
The back pattern
Drawing a horizontal line at the middle. From the top of this line, mark at one side 9 cm, which is half of the width of the neck that you want minus 1 cm for seam allowance later. Then, mark at 3 cm inside the horizontal line, connect this mark to the first one, and draw a curved line based on it later. This will be the neckline of the back pattern.
From the third mark, which is the top of the neckline, mark out 21 cm, which is the length of the sleeve that you want. Then draw a horizontal line from that mark. Mark at 2 cm on this horizontal line to create a slightly down of the shoulder line. Then connect it to the mark on the neck to finish the shoulder line.
From the end of this line, draw a new line that is perpendicular with it. The length of this line is 22 cm, which is the width of the sleeve that you want. From the top of the first horizontal line, mark down at 27 cm, which is the length from the shoulder to the middle of the breast plus 1 cm. Then draw a straight line from that mark later. The length of this straight line is 23 cm, which is a quarter of your bust size plus 2 cm. Then connect the end of this line to the end of the sleeve line.
From the horizontal line, keep marking at 40 cm, which is the length from the shoulder to 3 cm above the belly button. It will be the waist position of the dress that you want. Then draw a straight line after that. The length of this straight line is 19 cm, which is a quarter of your waist size plus 3 cm. Then connect the end of this line to the end of the burst line.
From the top of the horizontal line, make another mark at 60 cm, which is the length from the shoulder to the biggest part of the butt. Then draw another straight line from it later. The length of this straight line is 25 cm, which is a quarter of your hip size plus 2 cm. Then connect the end of this line to the end of the waistline.
Keep doing similar, mark at 90 cm from the top of the horizontal line. It is the length from the shoulder to above your knee. It’s also the length of the dress that you want. Then draw a straight line after that. The length of this line is 30 cm, which is a quarter of your hip size plus 7 cm. Then connect the end of this line to the end of the hip line so you can see the raw side line of the back pattern.
Draw a curved line based on it to finish the side line and you will have the half of the back pattern. Fold the paper at the third horizontal line and cut along the drawing.
You will have the back pattern of the dress.
THE FRONT PATTERN
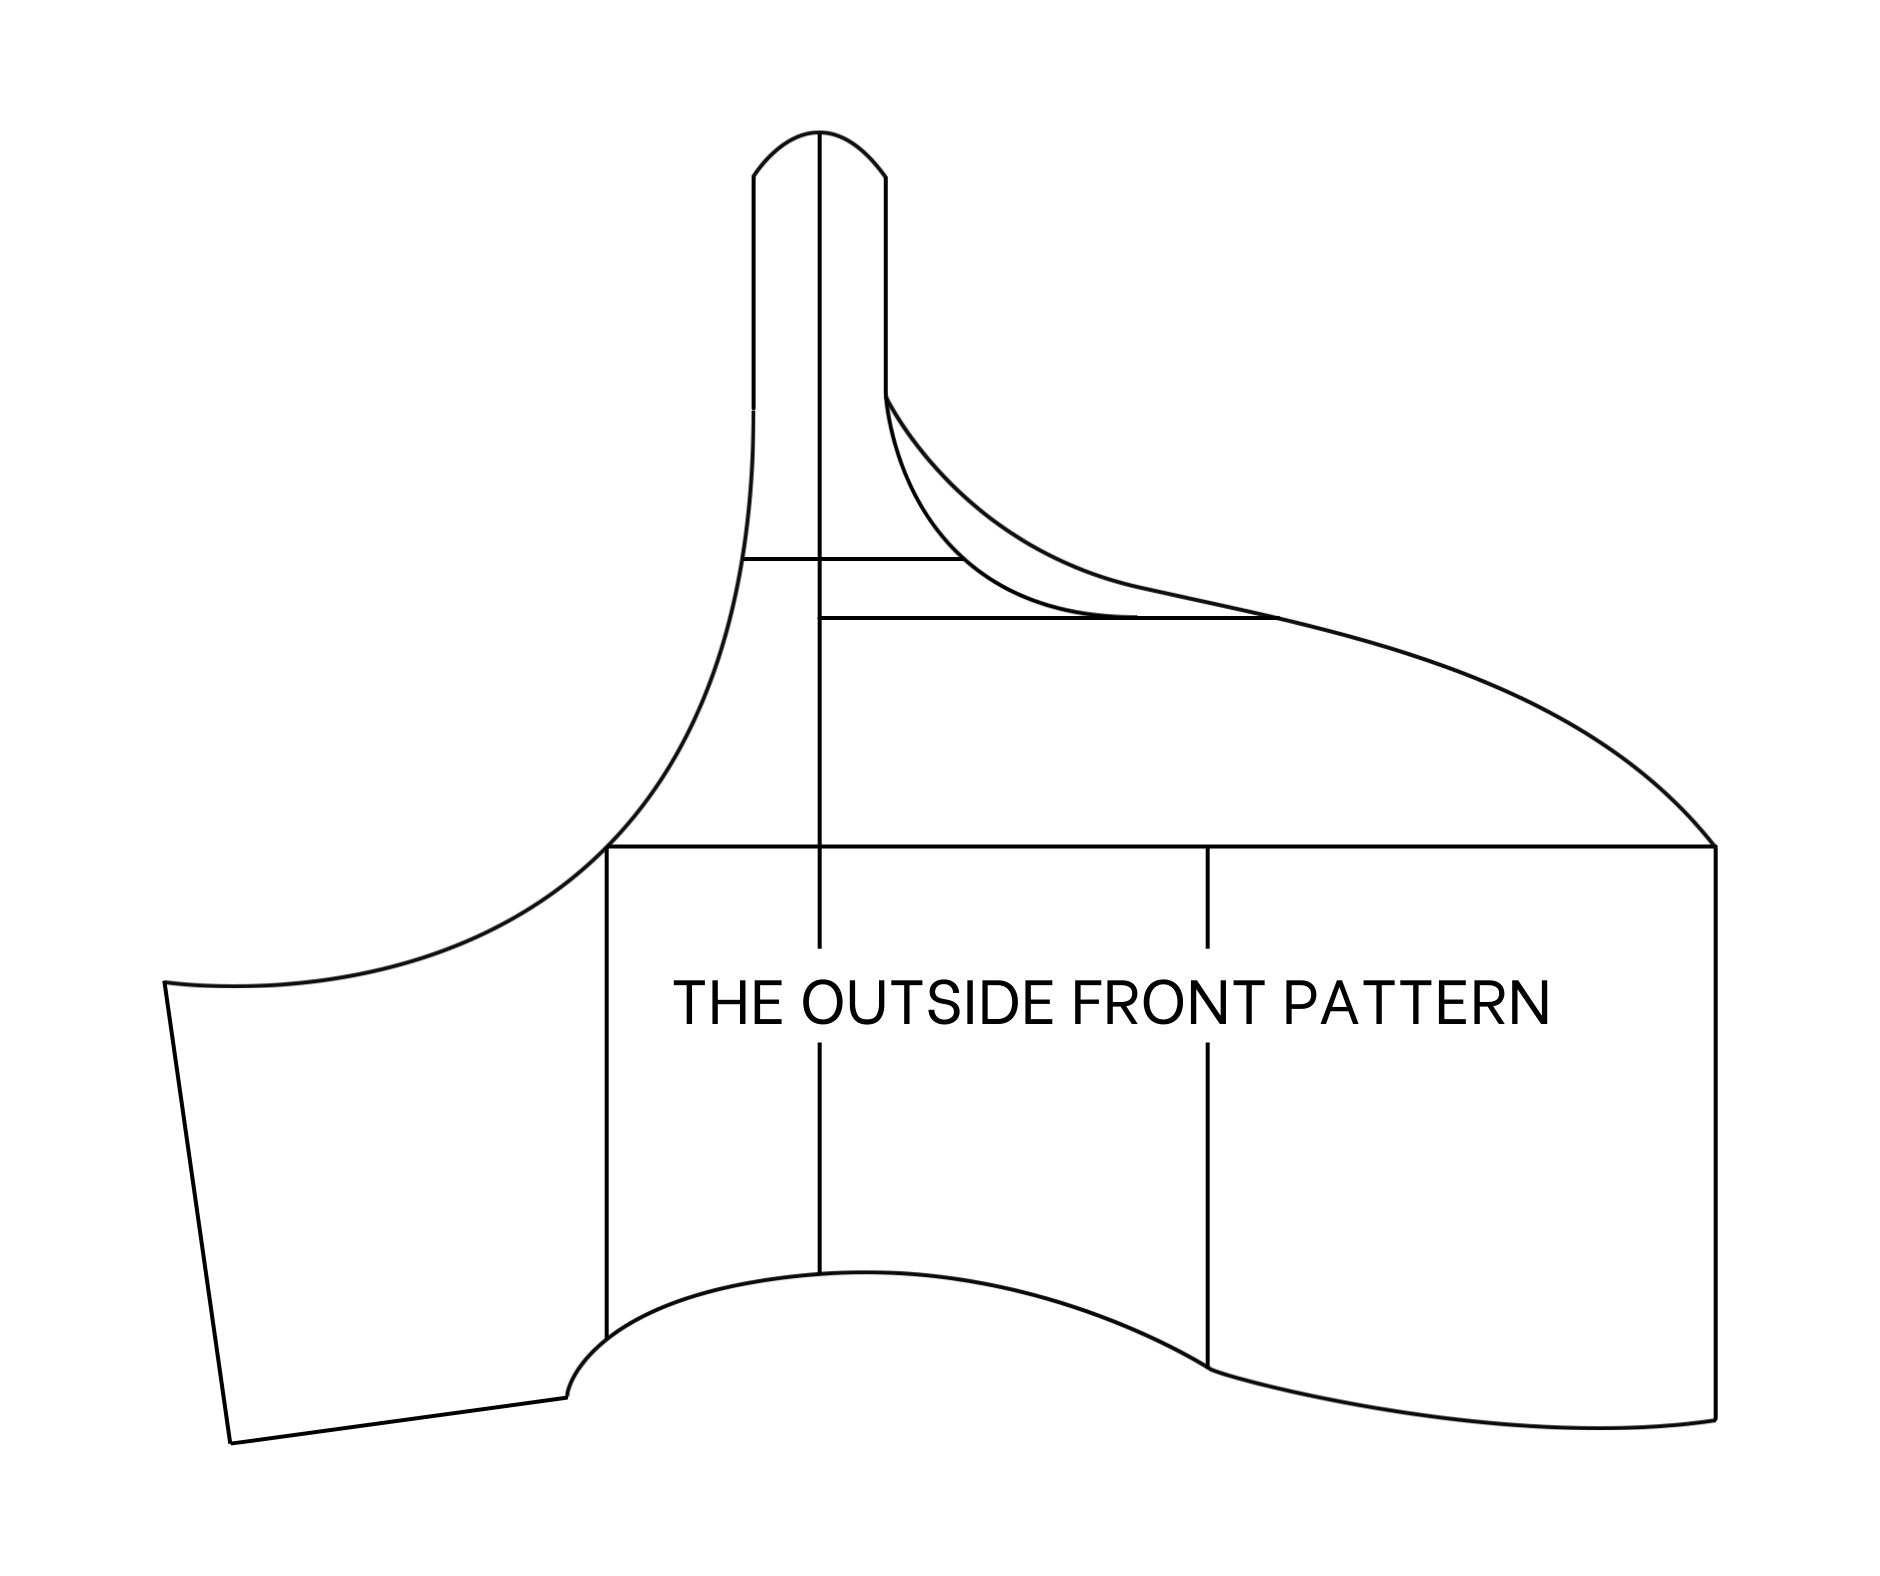
The outside front pattern
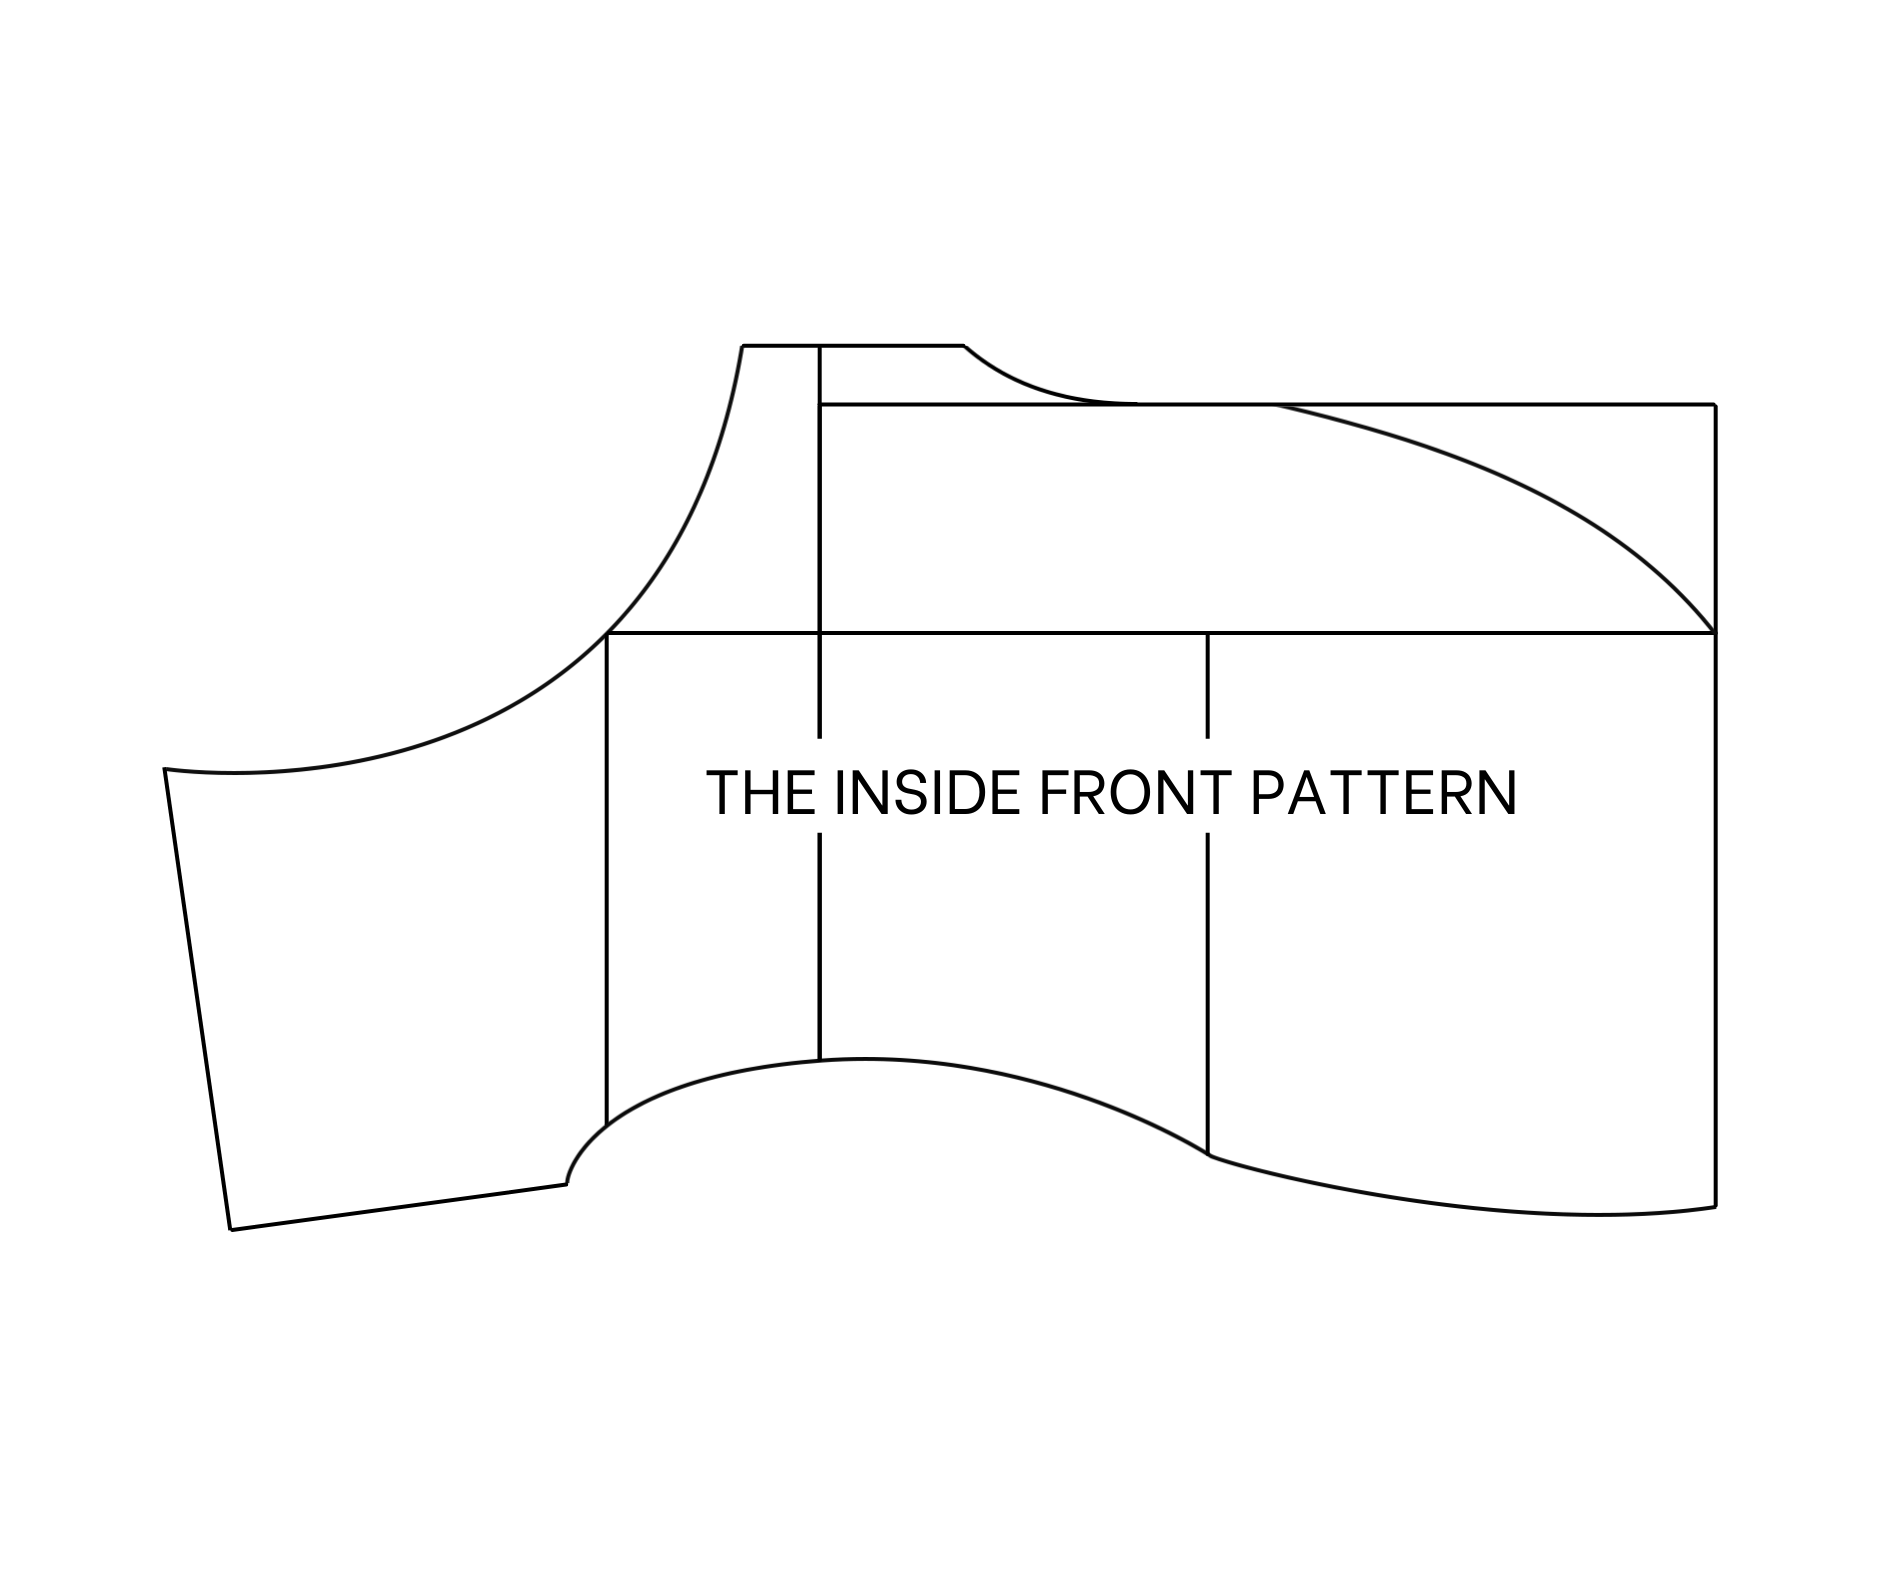
The inside front pattern
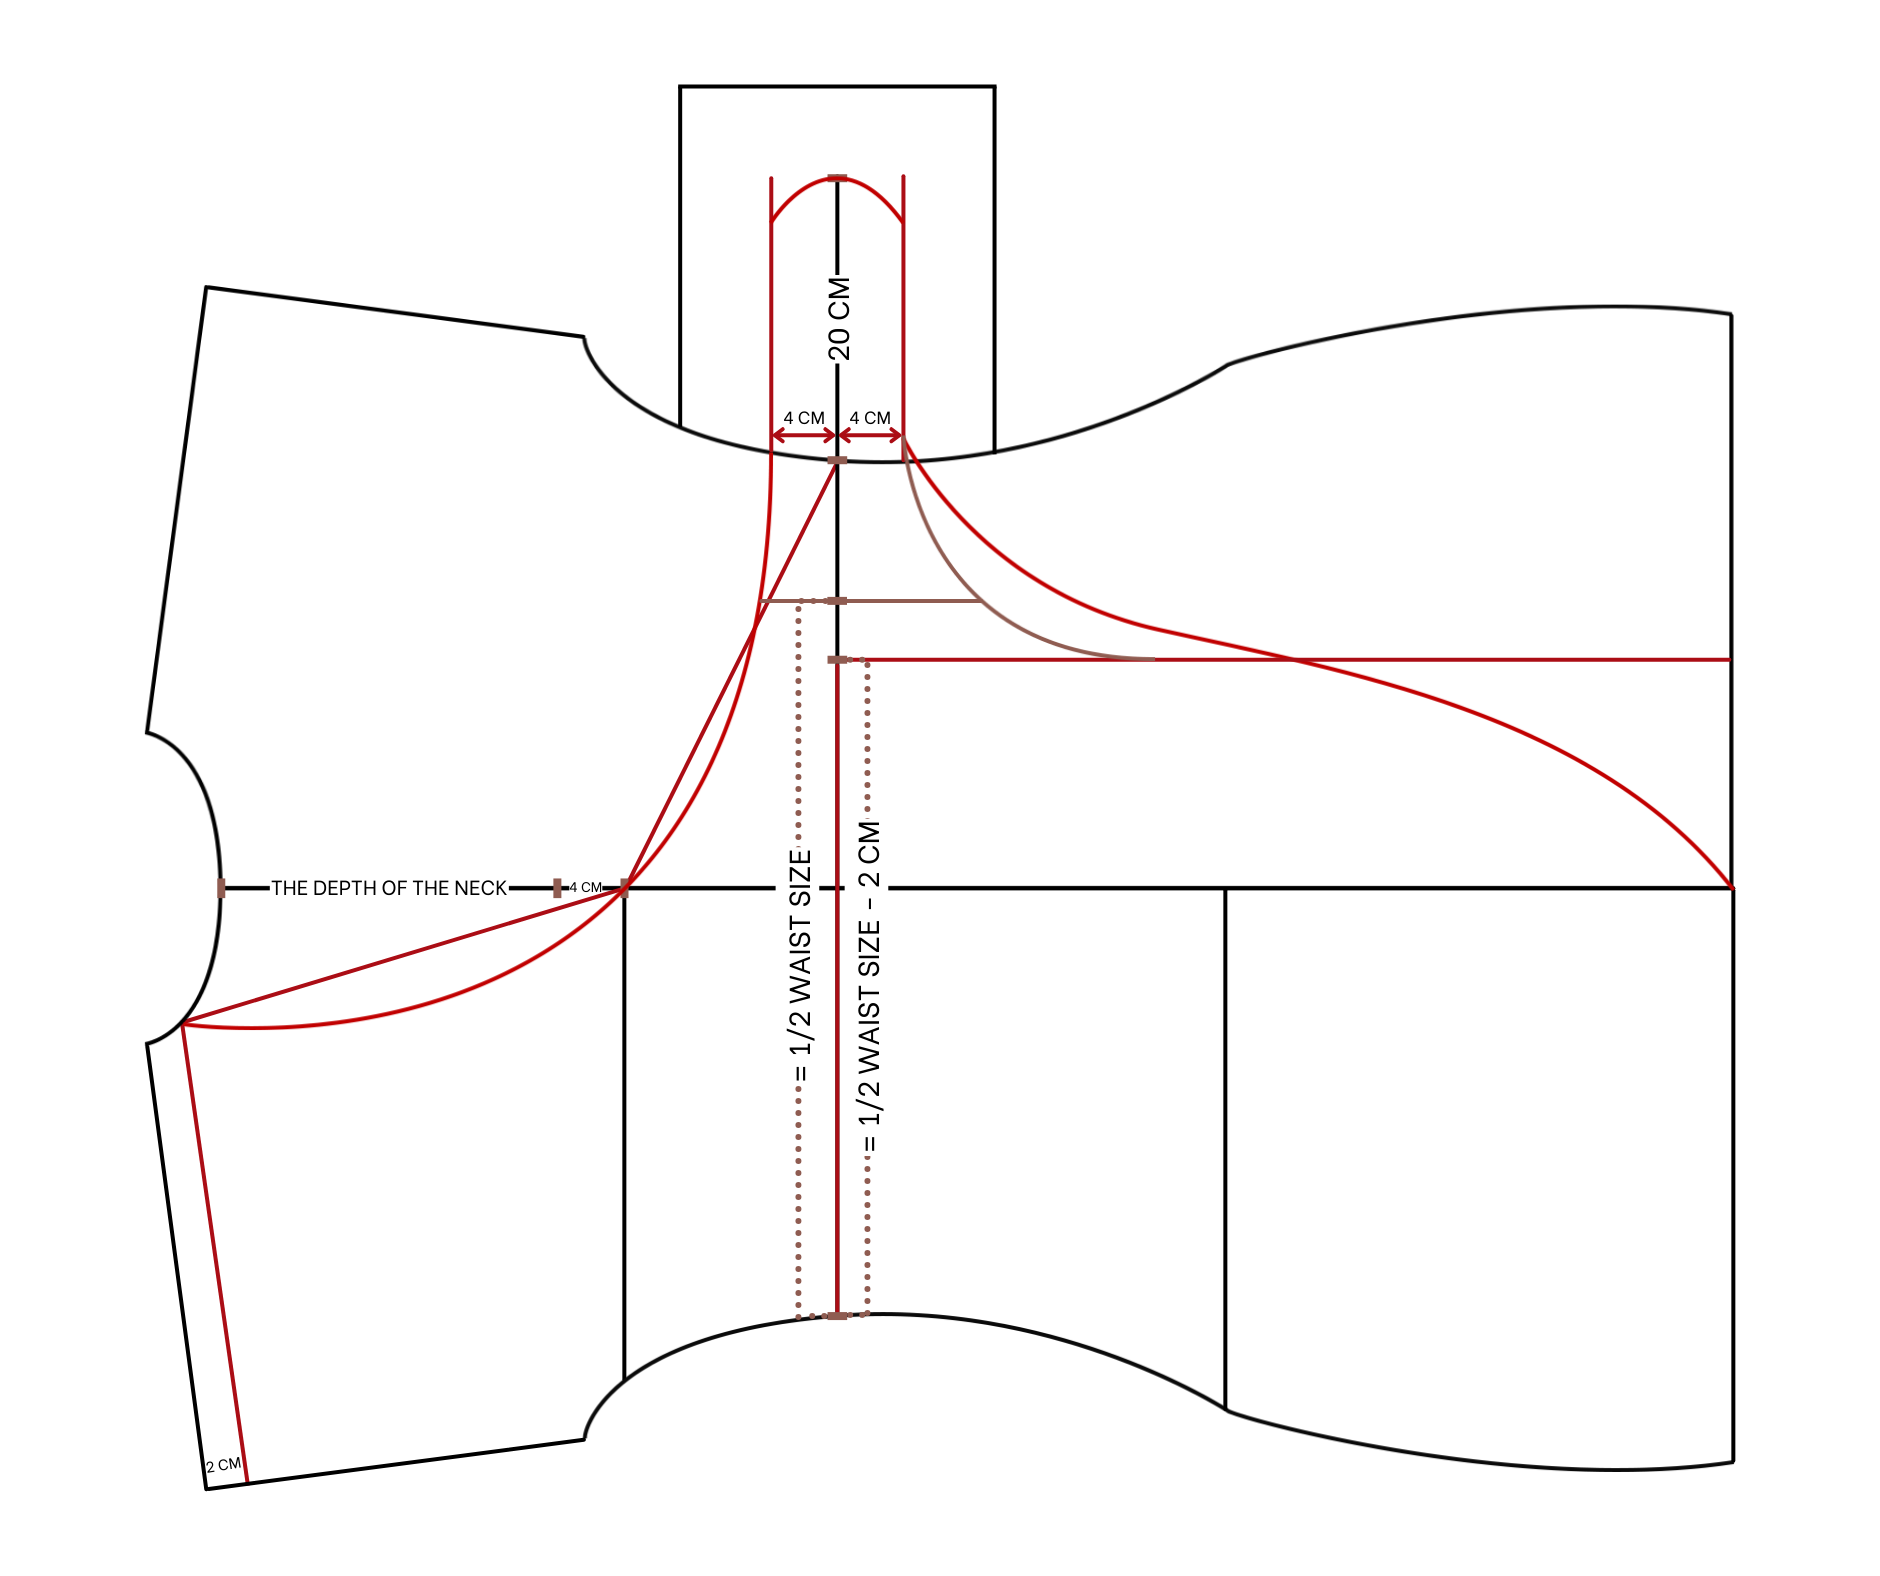
To make the front pattern, we will start from the back pattern. At the shoulder line, move down 2 cm. From the bust line, mark up 4 cm on the horizontal line so the width between this mark to the neck will be the deep of the neck that you want. Then connect this mark to one end of the neck to create a neckline for the front pattern. After that, connect the neckline to another end of the waistline.
Because of the tie is connected to the front of the dress, add a bit more paper at the waistline area to create it. From one end of the waistline, draw a 20 cm line which is the length of the tie that you want. Then based on this slide, draw another line with 4 cm to side of it. Draw a curved line at the top of the tie. Then draw another curved line to connect one side of the tie to the neckline. At the other side of the tie, draw a curved line to connect it to the end of the dress in the middle and this will be the outside part of the front dress.
To make the inside part, from the other side of the tie on the waistline, mark at 30 cm which is a half of your waist size minus 2 cm then draw a horizontal line from it to the end of the pattern. After that, draw a curved line from one side of the tie to connect to this horizontal line as the inside part will have a tie go through the back of the dress to connect to the outside tie so the tie will be long.
SEWING THE DRESS
THE BODICE
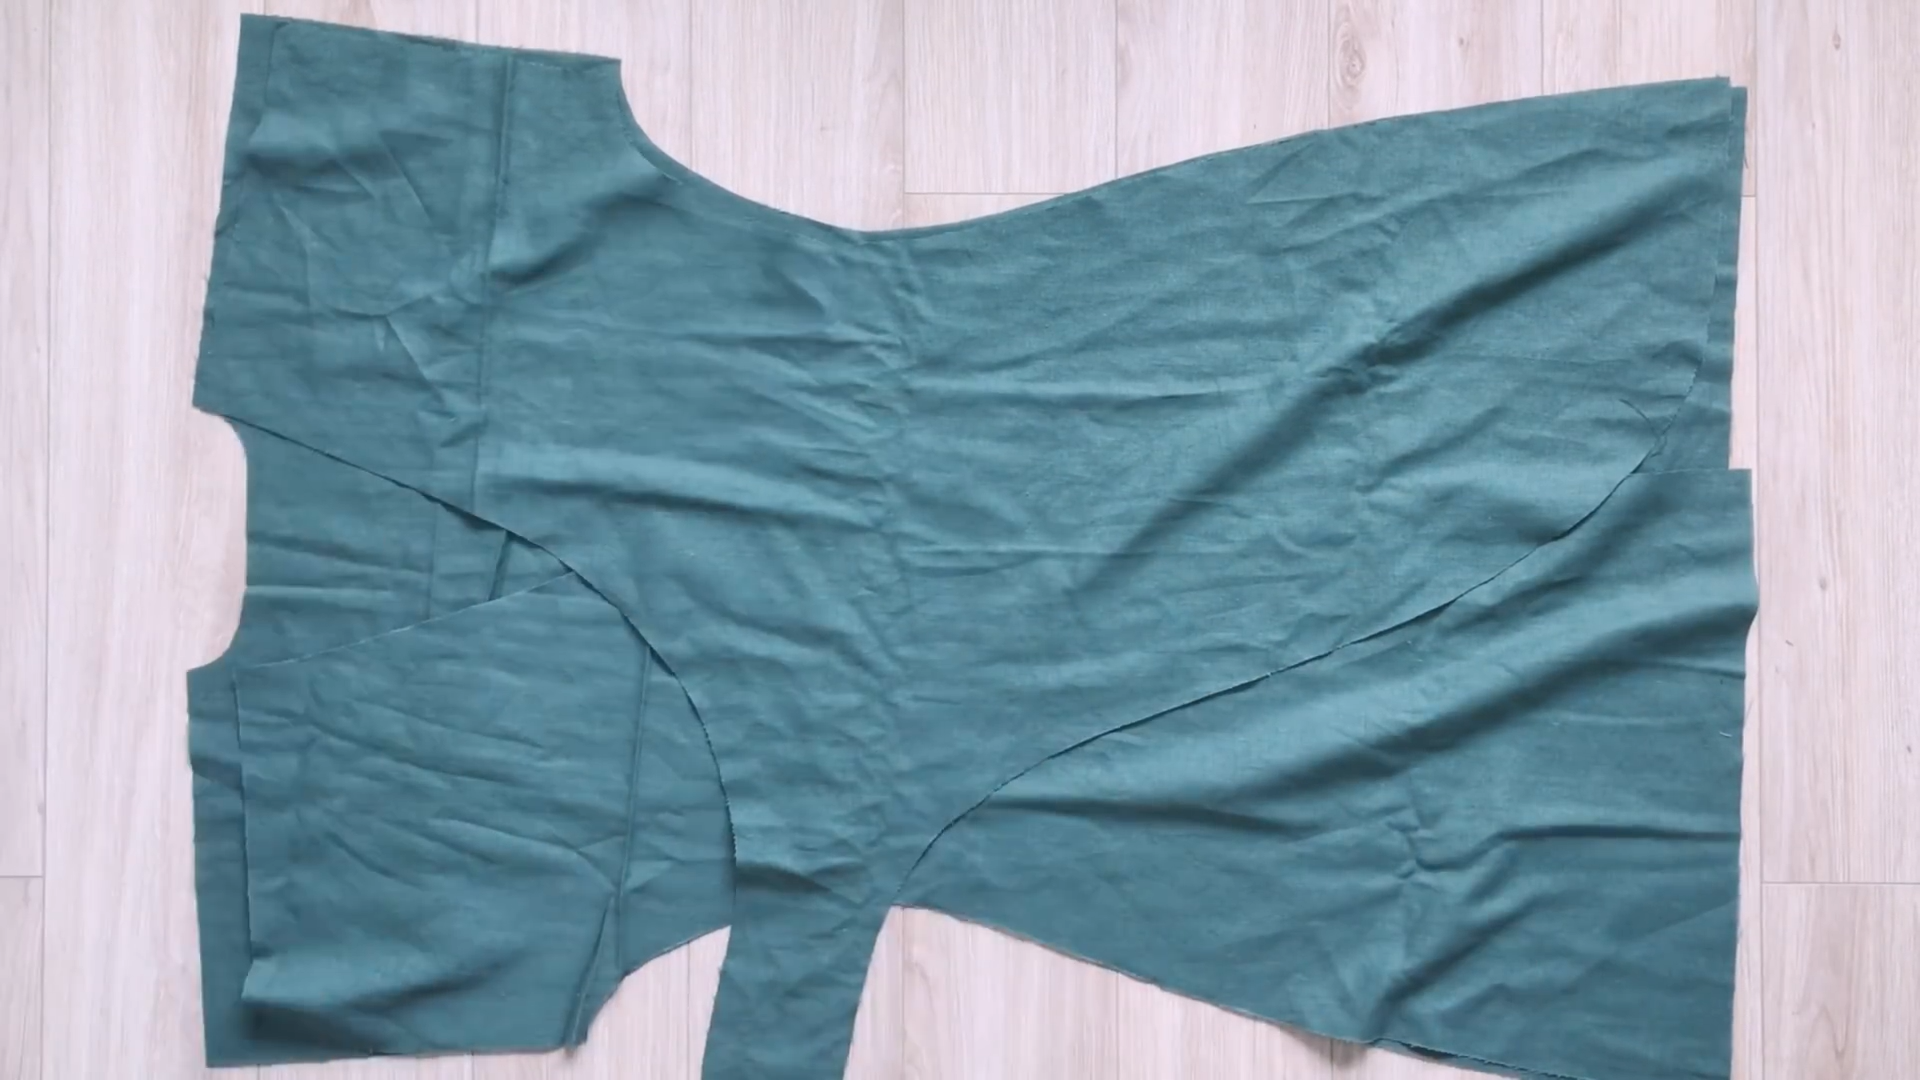
Apply the patterns on the fabric and draw along.
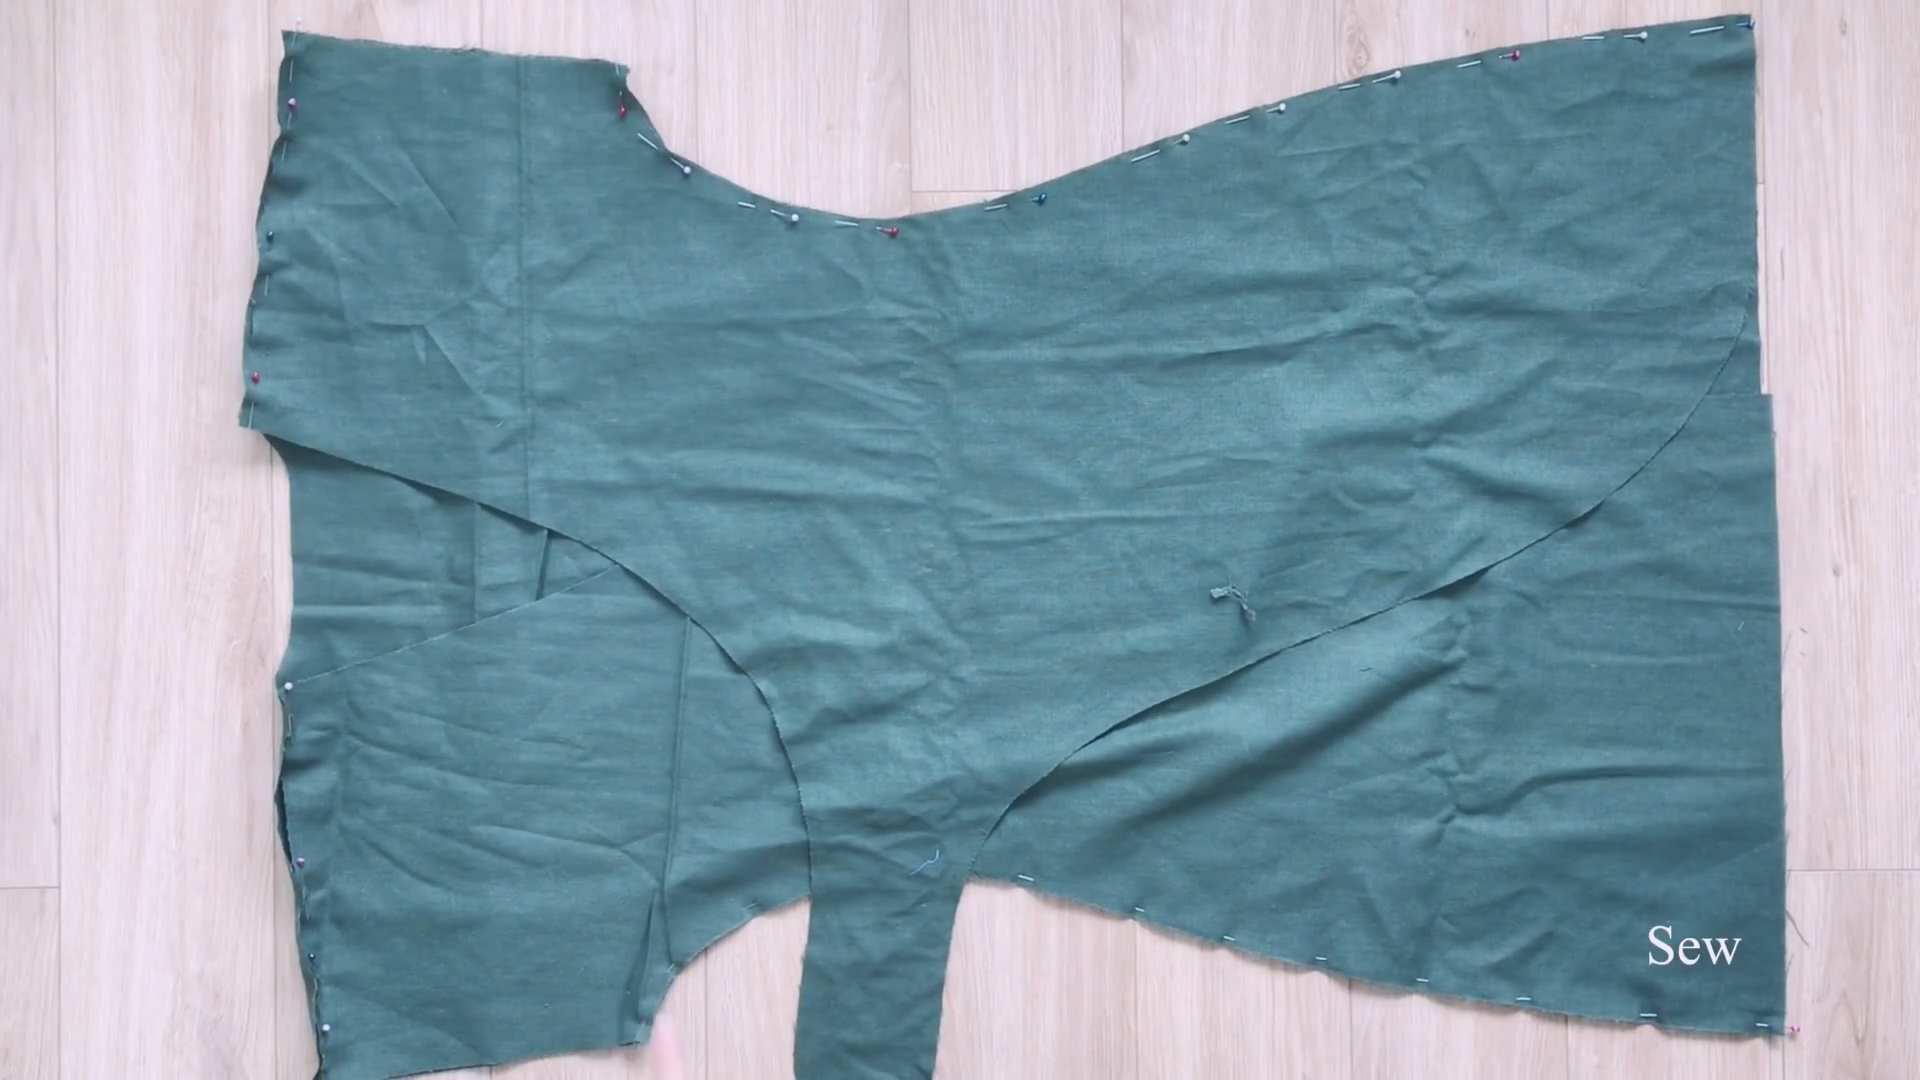
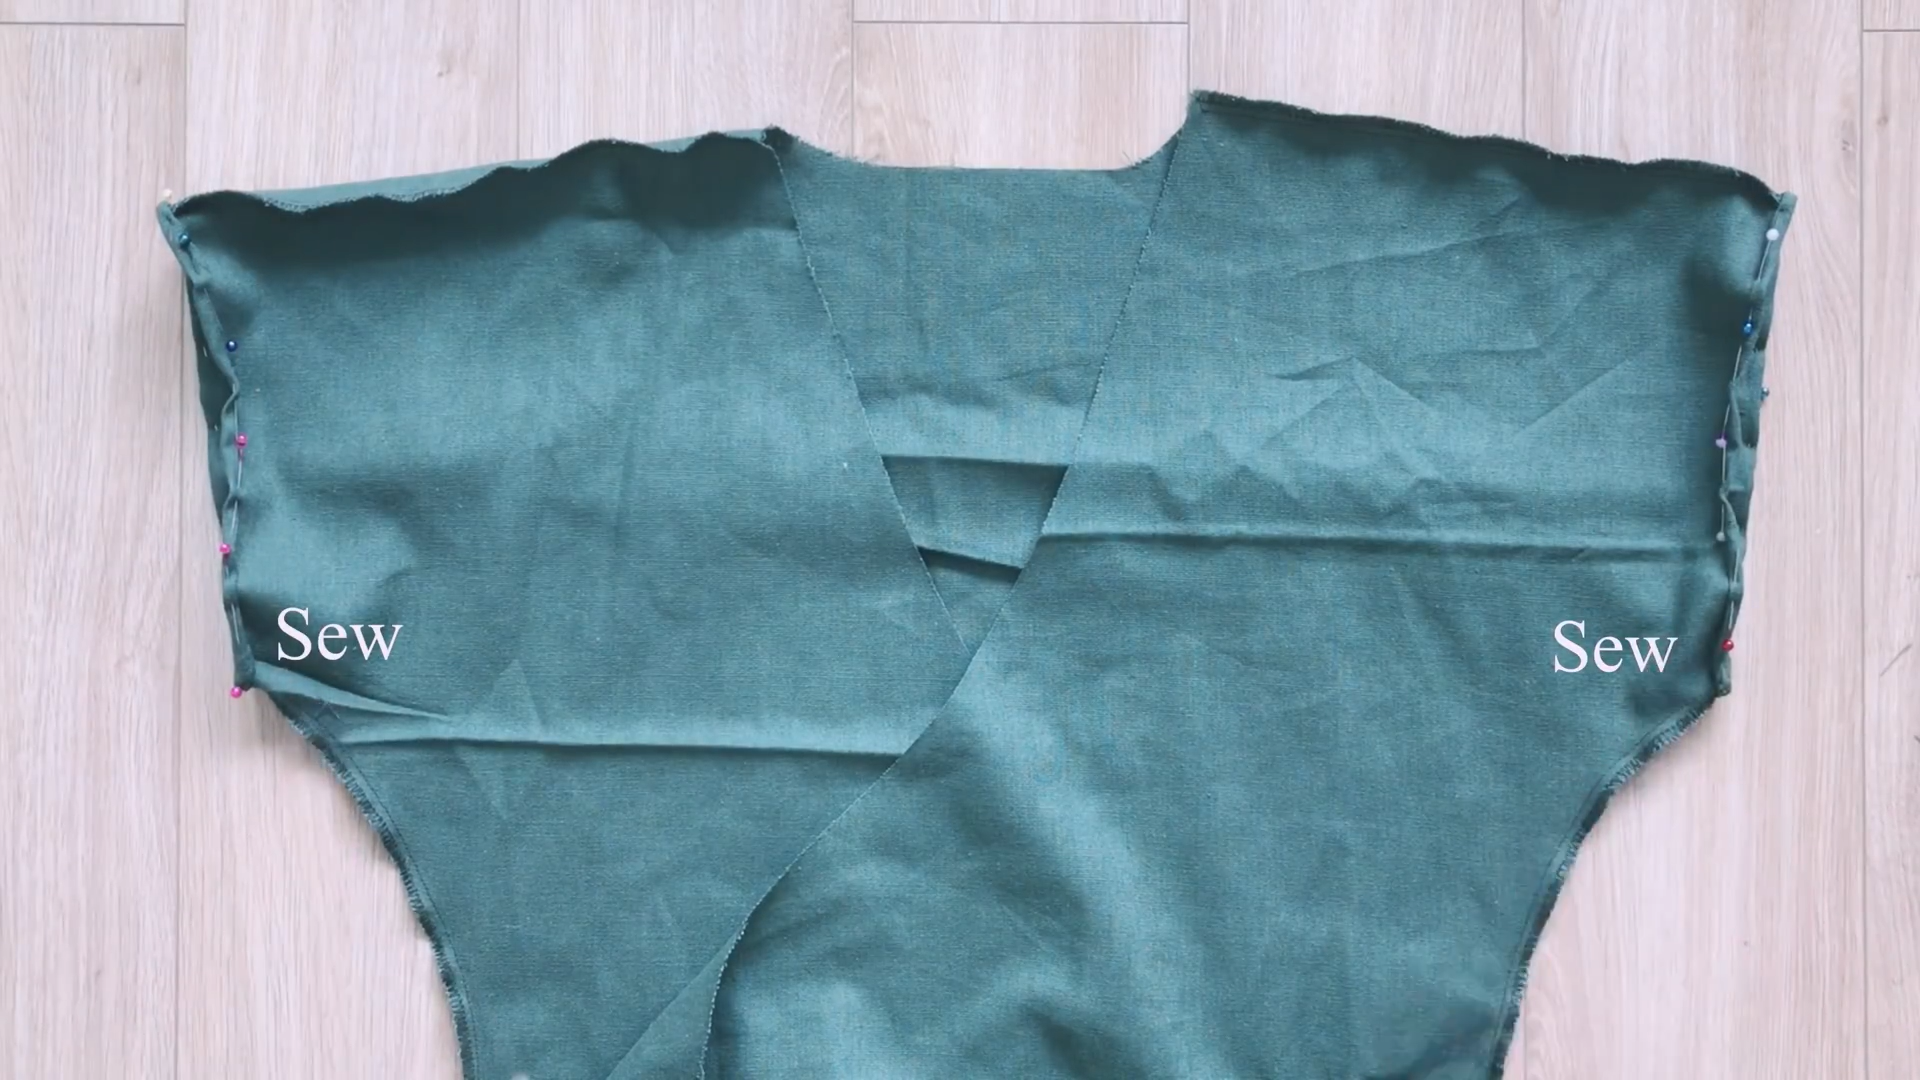
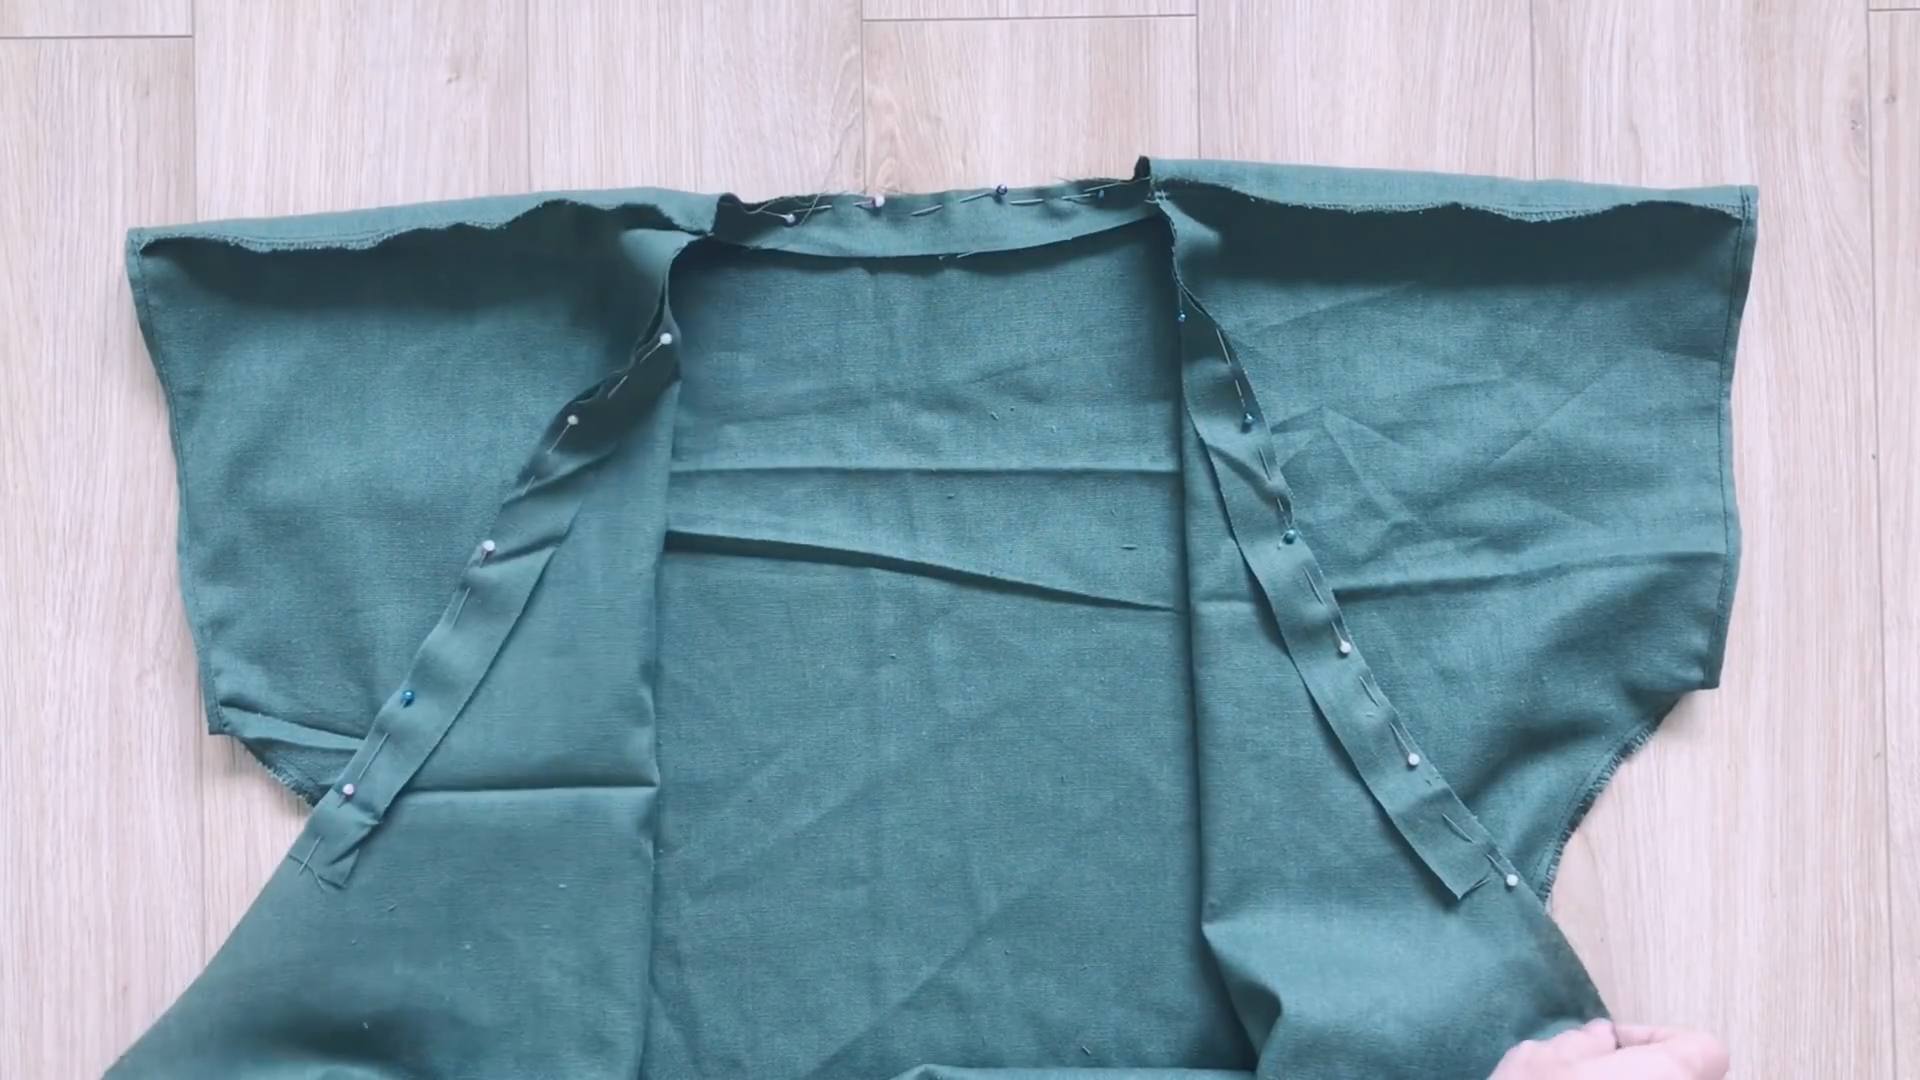
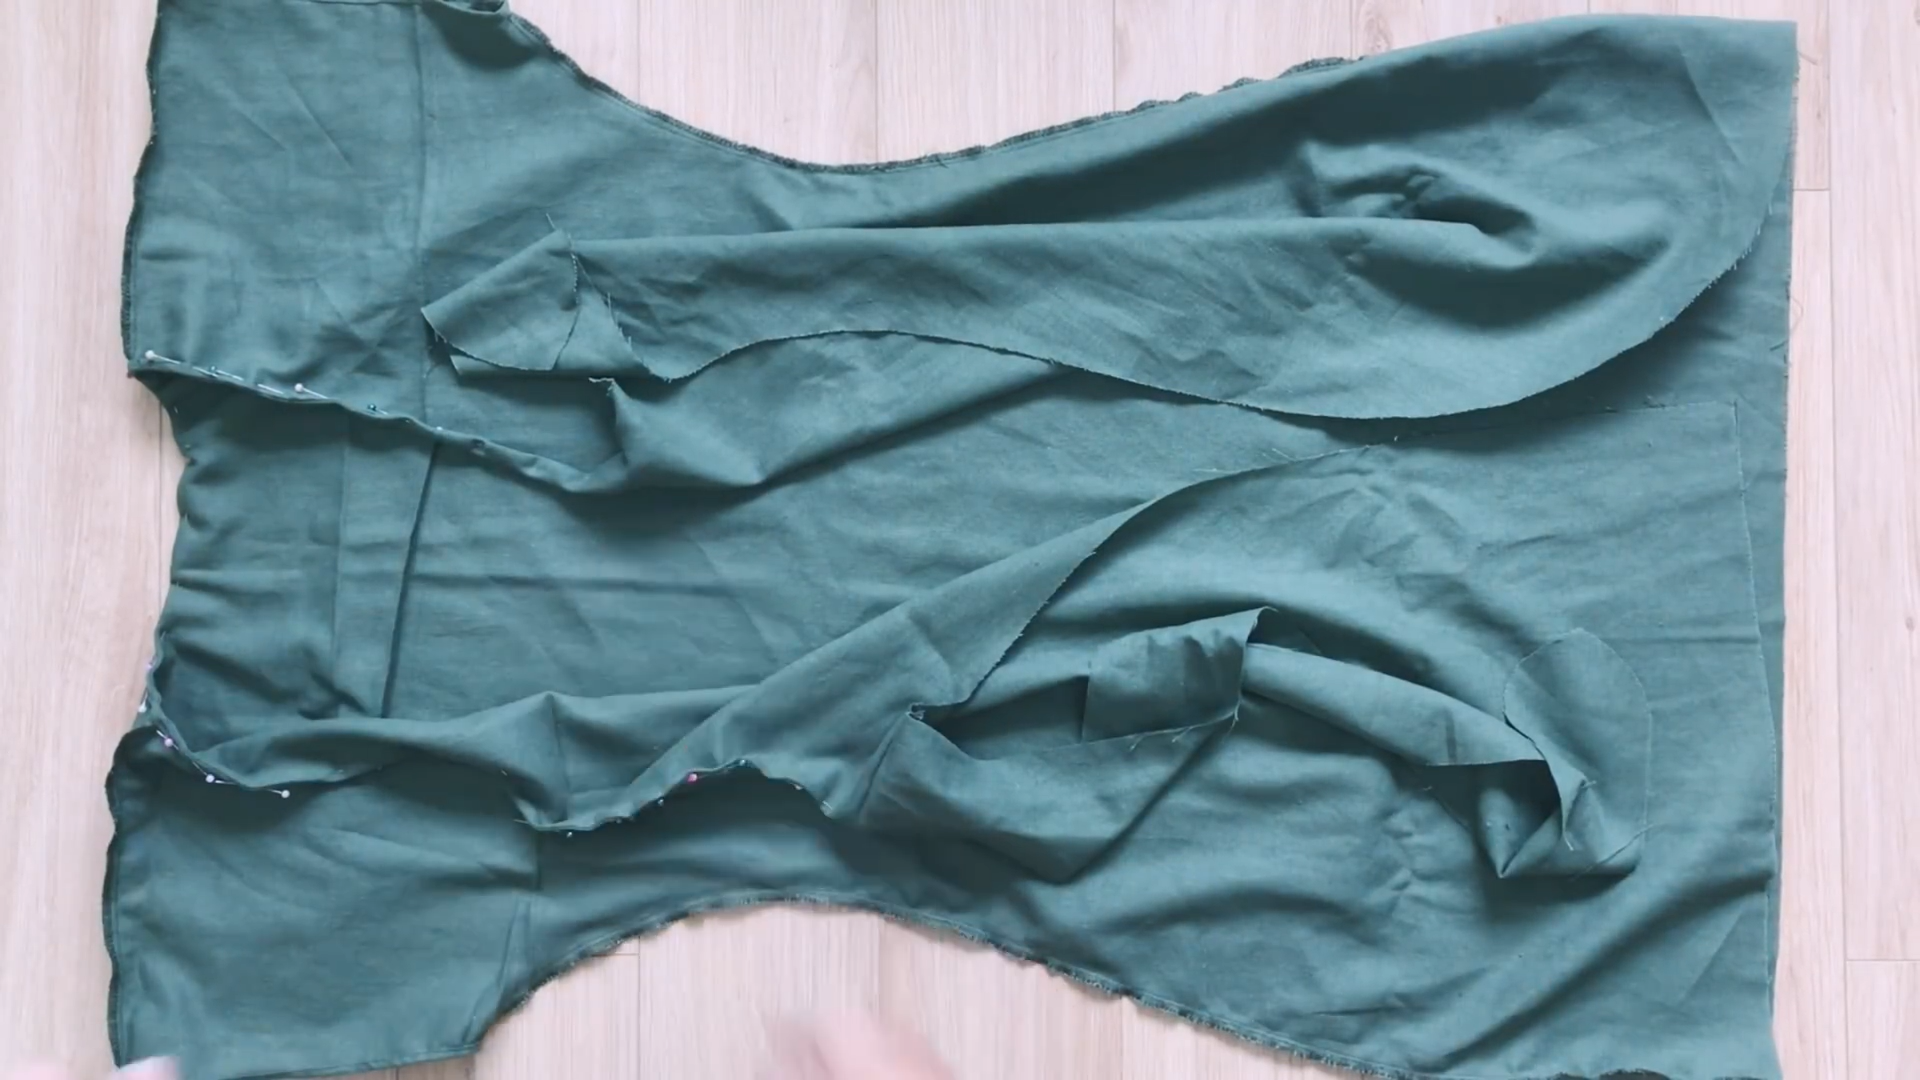
After cutting, connect the front and the back of the dress together at the shoulder and the sidelines.
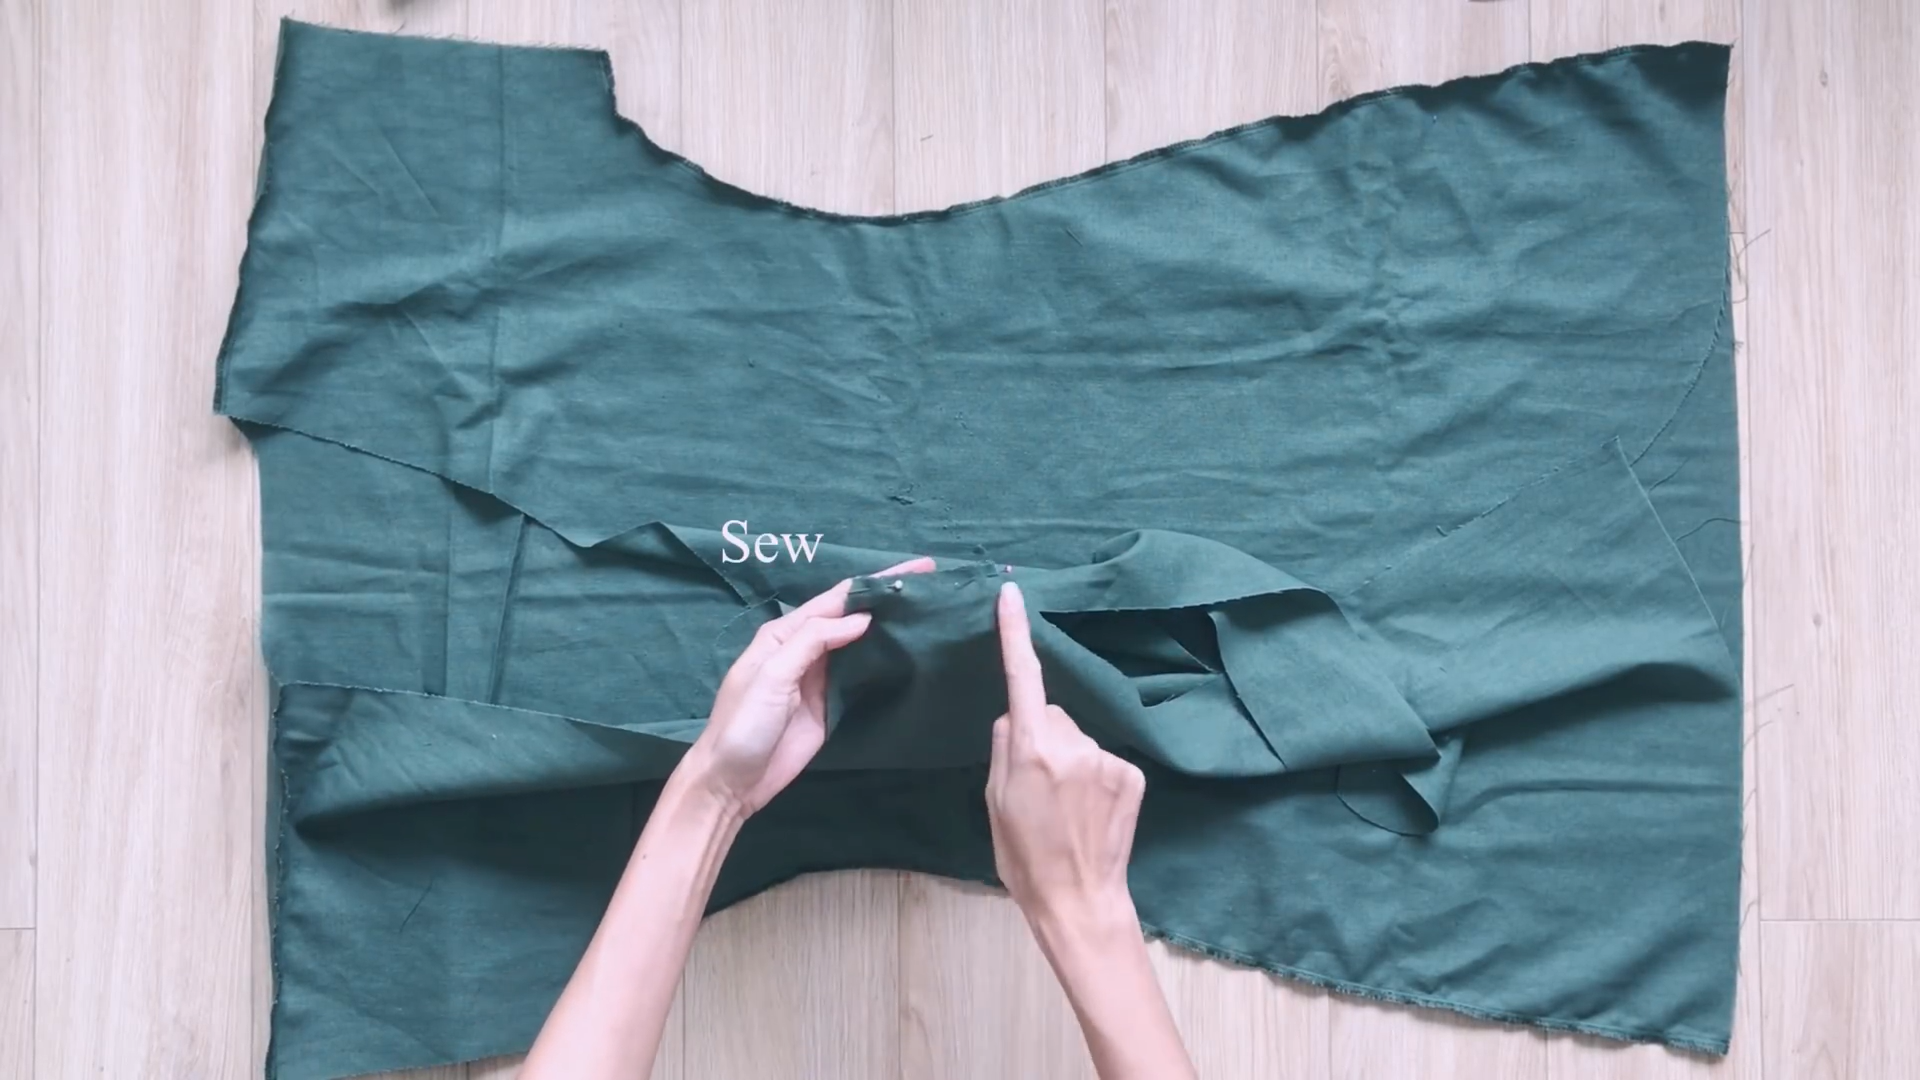
Then, connect the inside part to the tie.
THE SLEEVE
To finish the sleeve, fold the end fabric inside two times and sew it together.
THE NECK
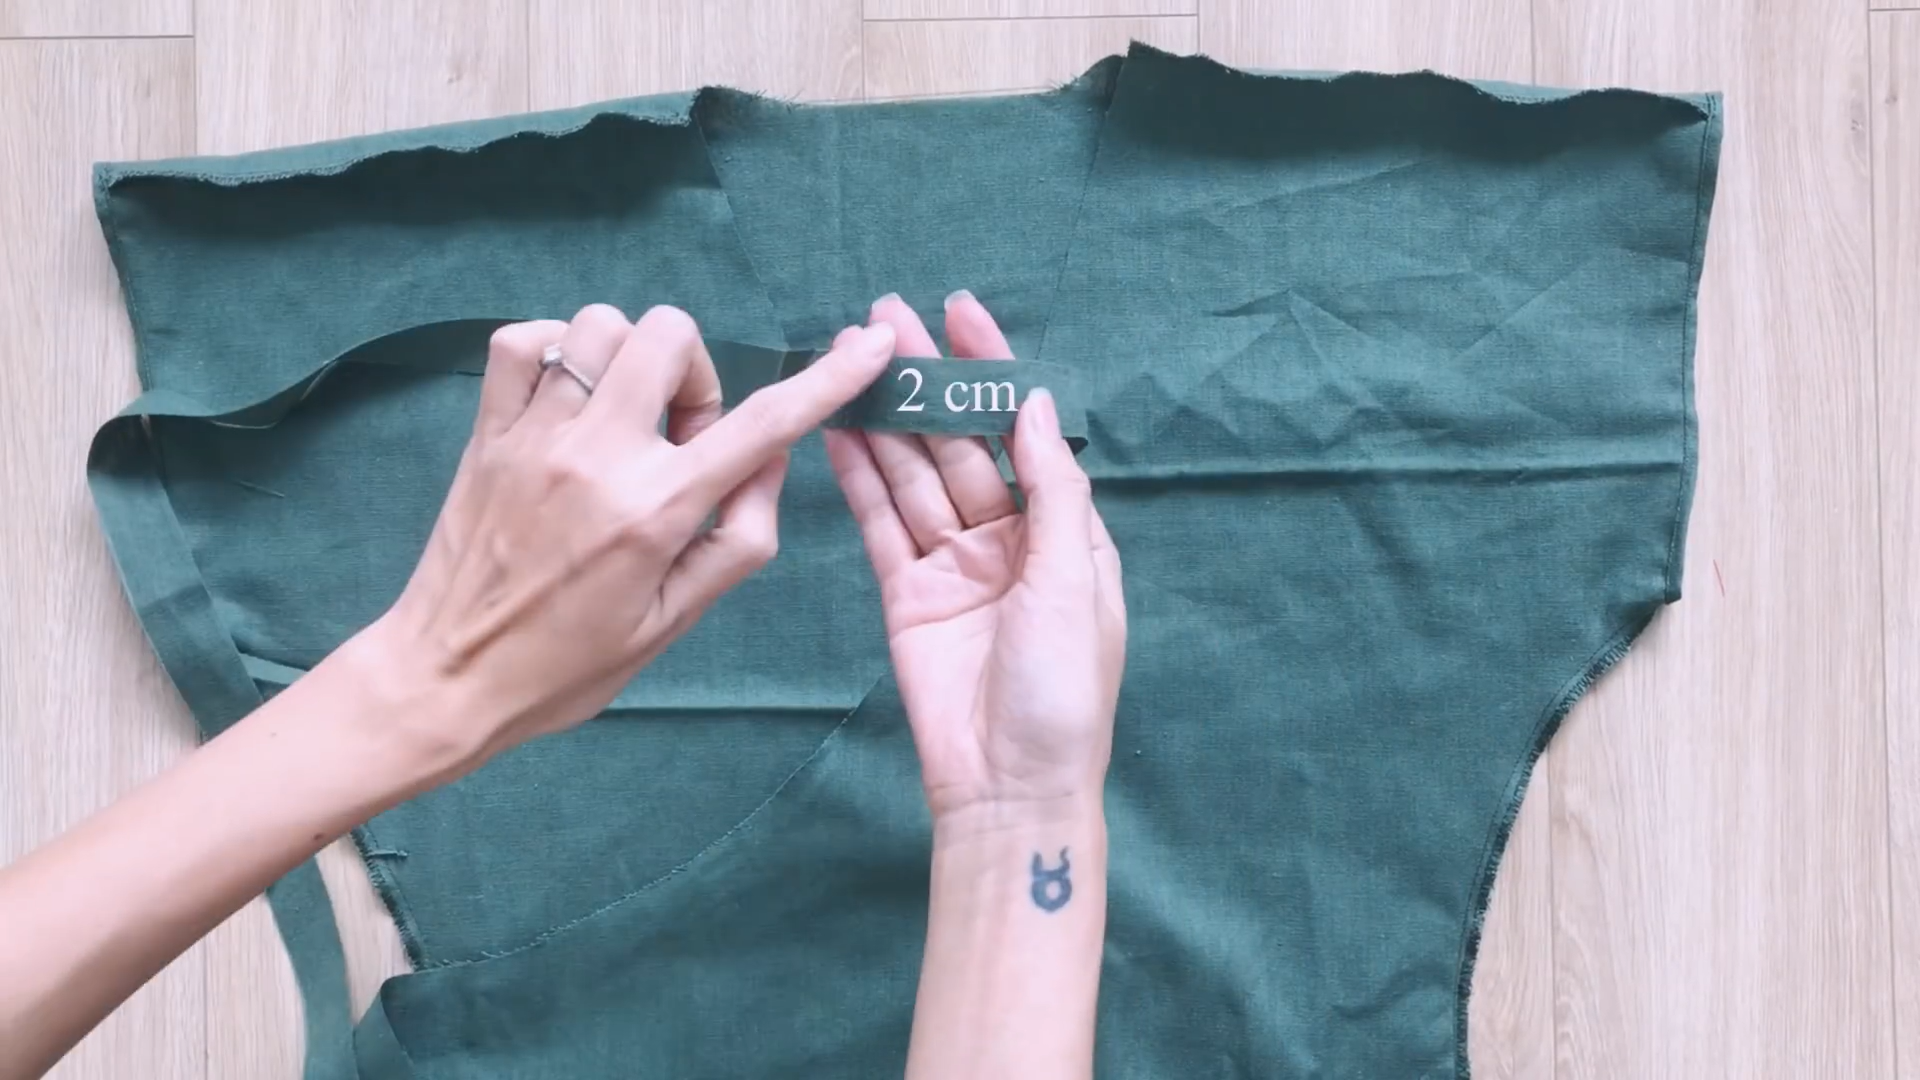
To hem the neck, use a small long fabric with 2 cm width.
Connect one side of the fabric to the neck and make the first seam.
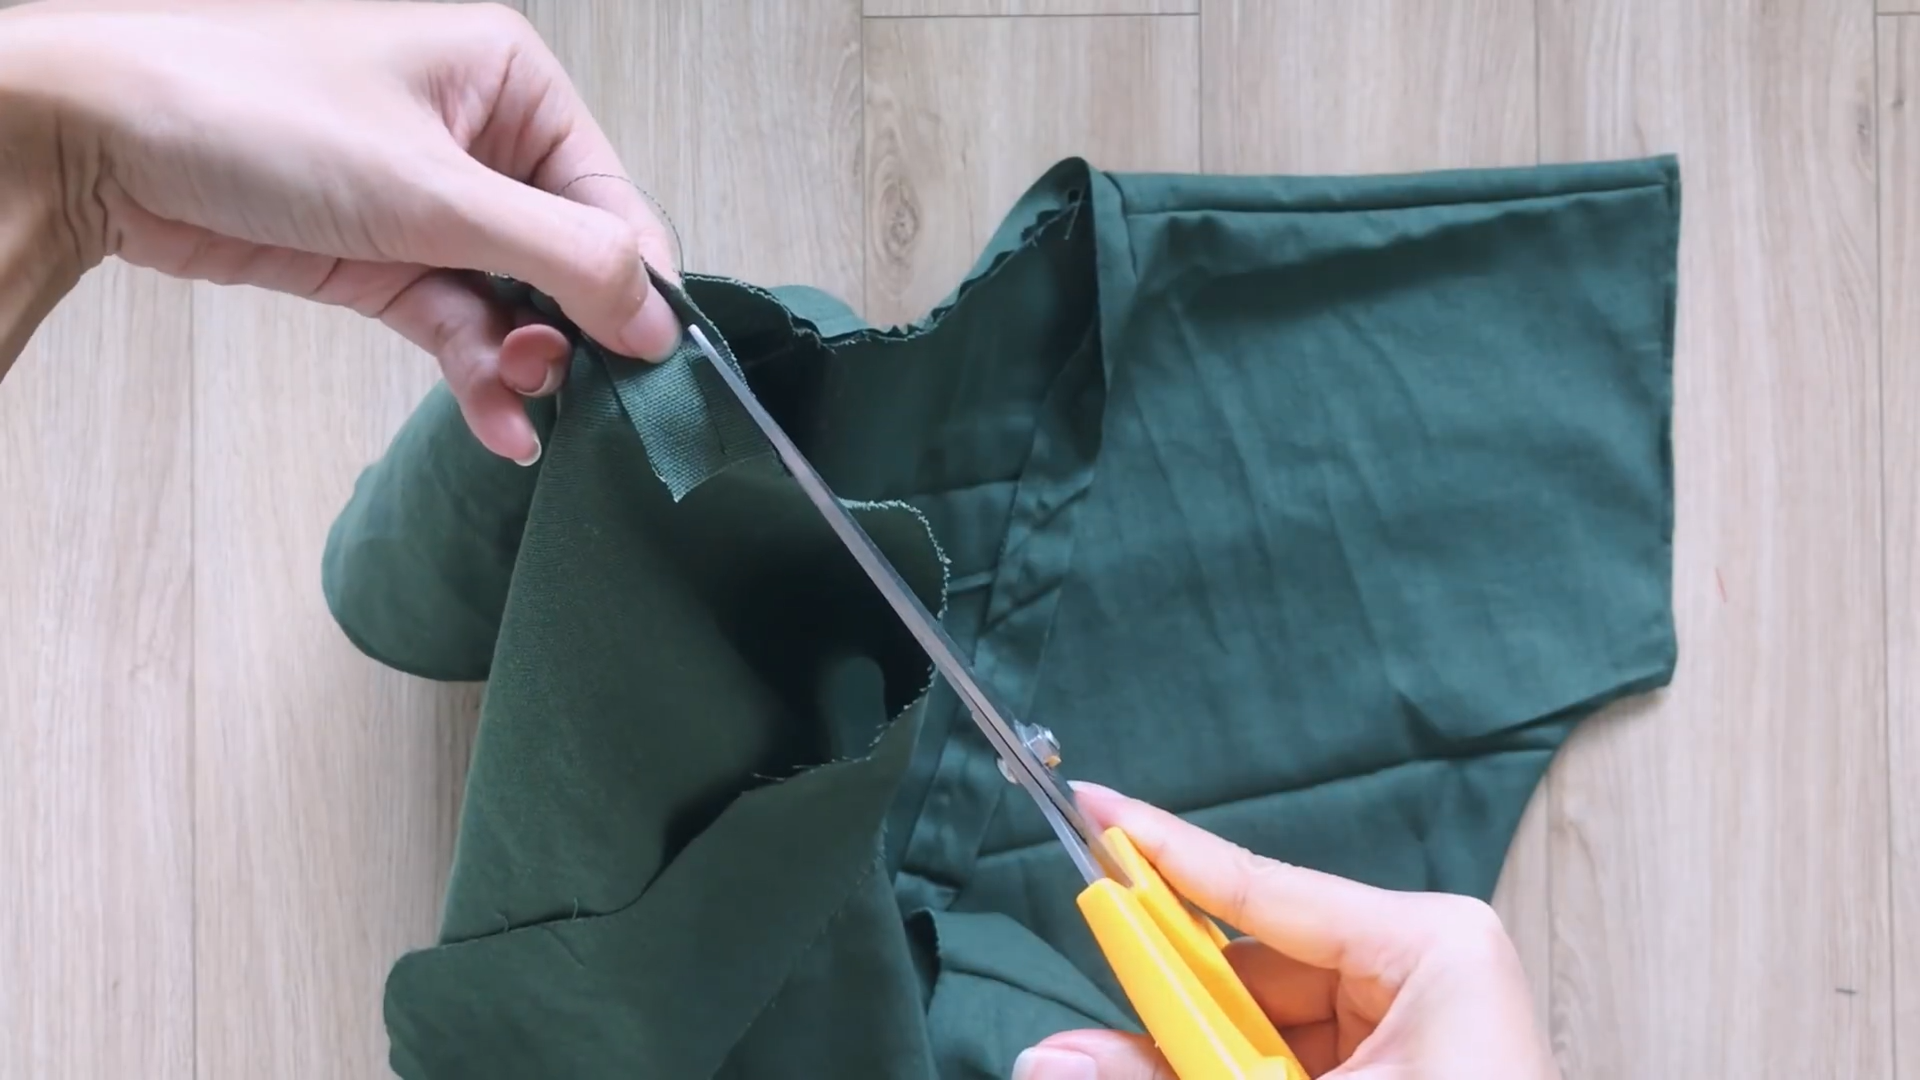
After that, cut half of the extra fabric first.
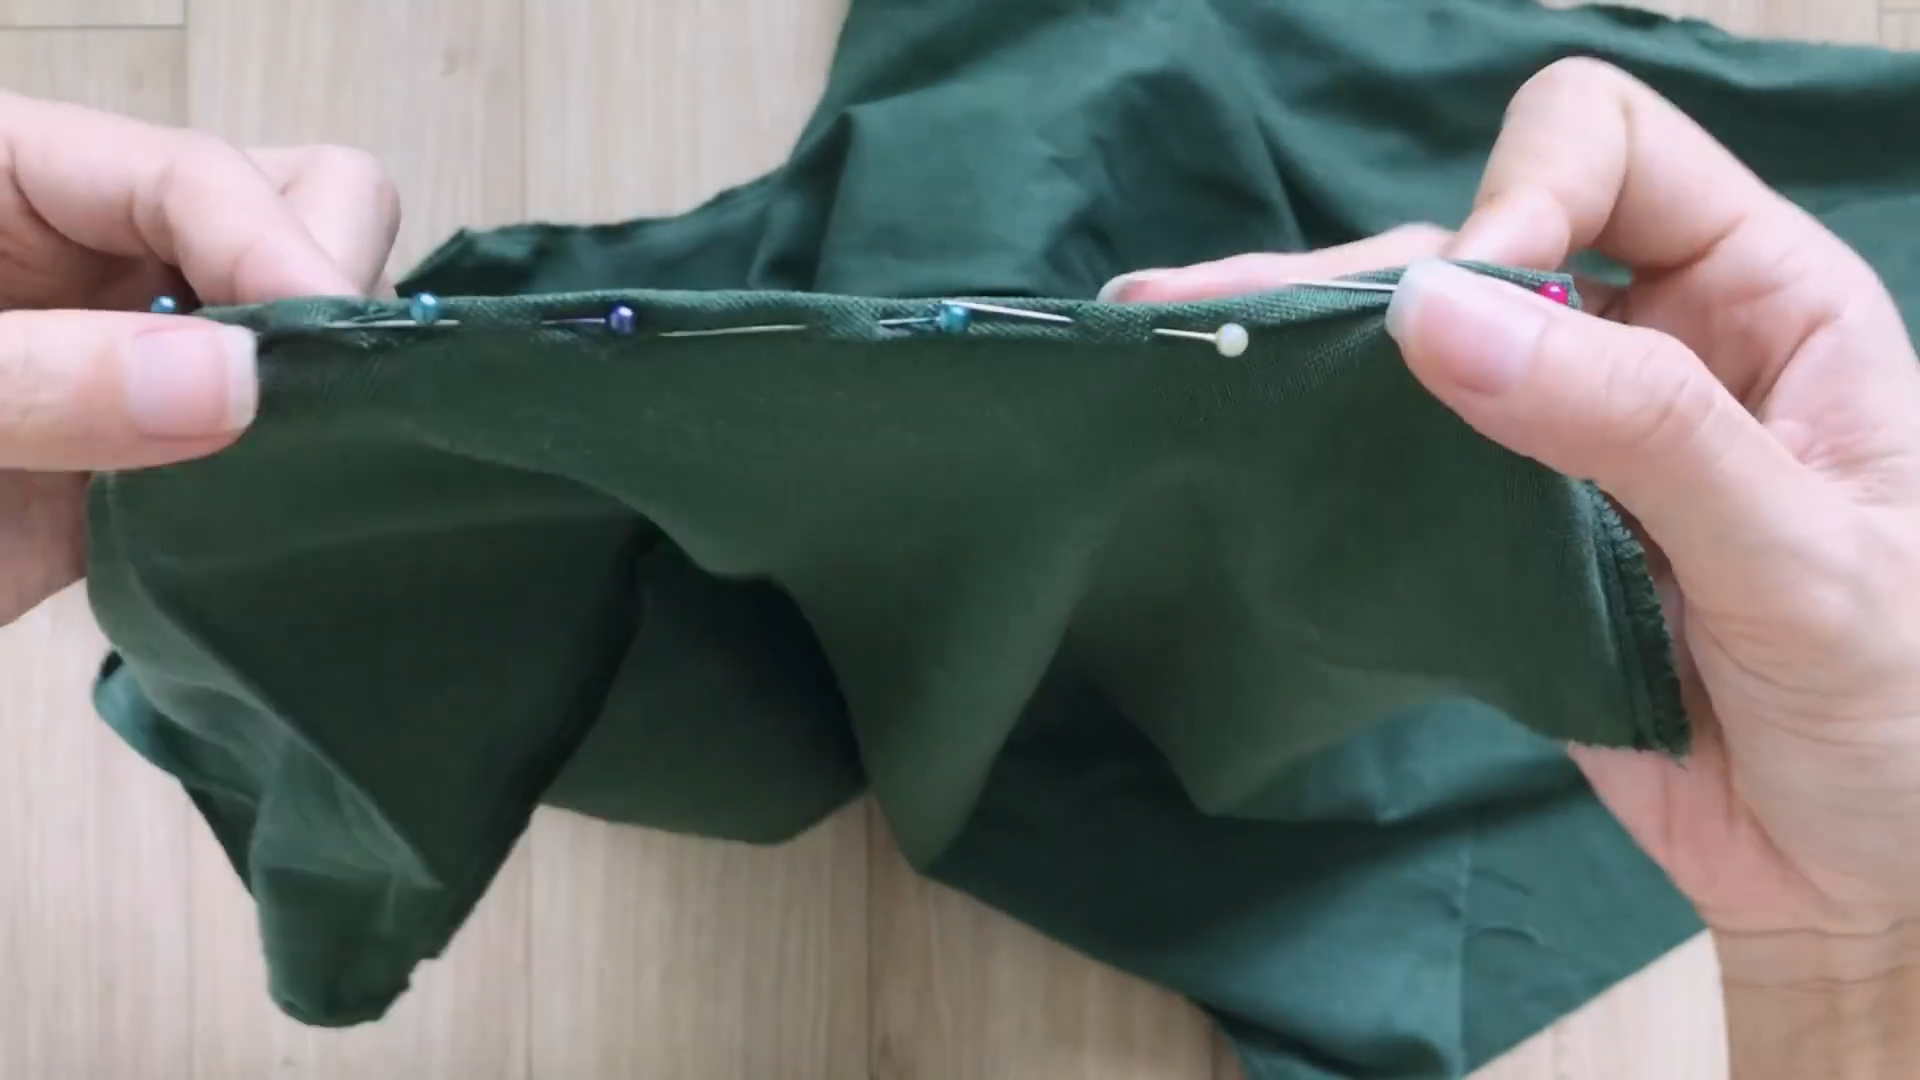
Then, fold the rest of the long fabric inside two times and make the second seam.
Do the same for the rest of the dress from the neck to the tie into the end of the dress.
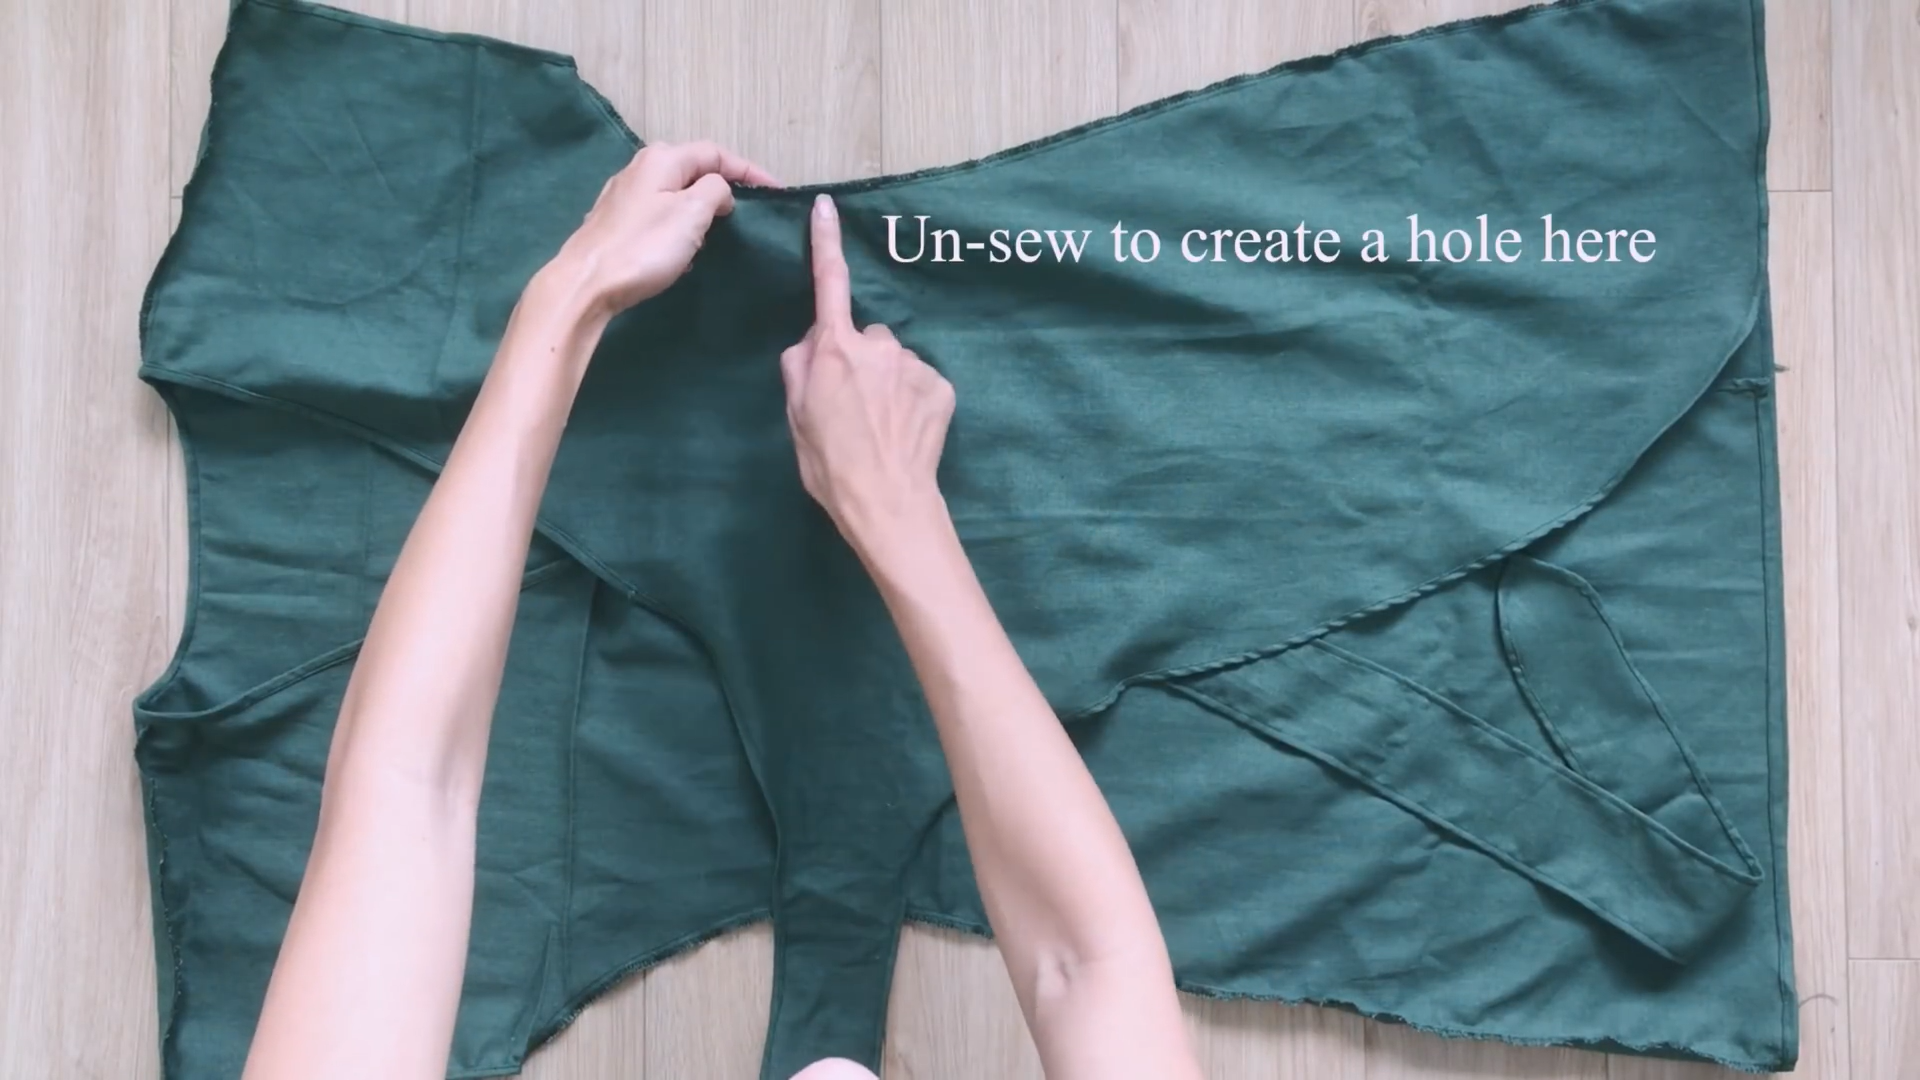
The last step is to unsew a small part of one side line for the inside tie to go through.

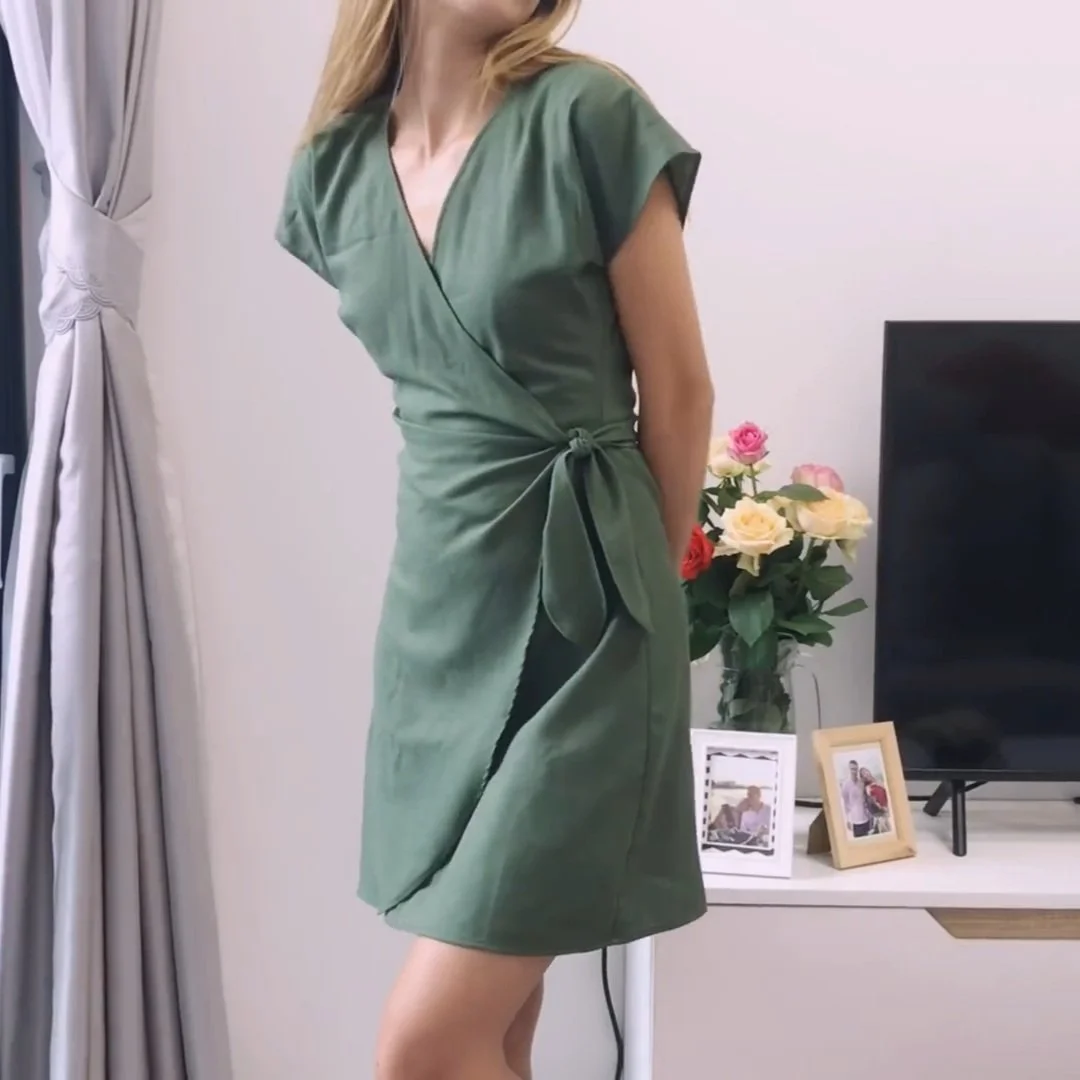
DIY Mini wrap dress
There you have it!
We’ve successfully completed this DIY project, and the result is a cute dress that’s easy to wear every day.
I hope you’ve enjoyed this journey as much as I have. If you’ve found this DIY helpful and enjoyable, I encourage you to try it out for yourself.
Until then, happy sewing!