DIY DENIM JACKET from Men's jeans - Great way to recycle old jeans

DIY DENIM JACKET from Men's jeans

Hey everyone, it’s Jess! In today’s tutorial, I’m going to show you how to make a denim jacket from men’s jeans. This is a project that many of you have been asking me to do, and I’m thrilled to finally bring it to you. I had so much fun making this jacket, and I’m really happy with how it turned out. It’s super cool and perfect for this season.
So, let’s get started !
WHAT YOU’LL NEED
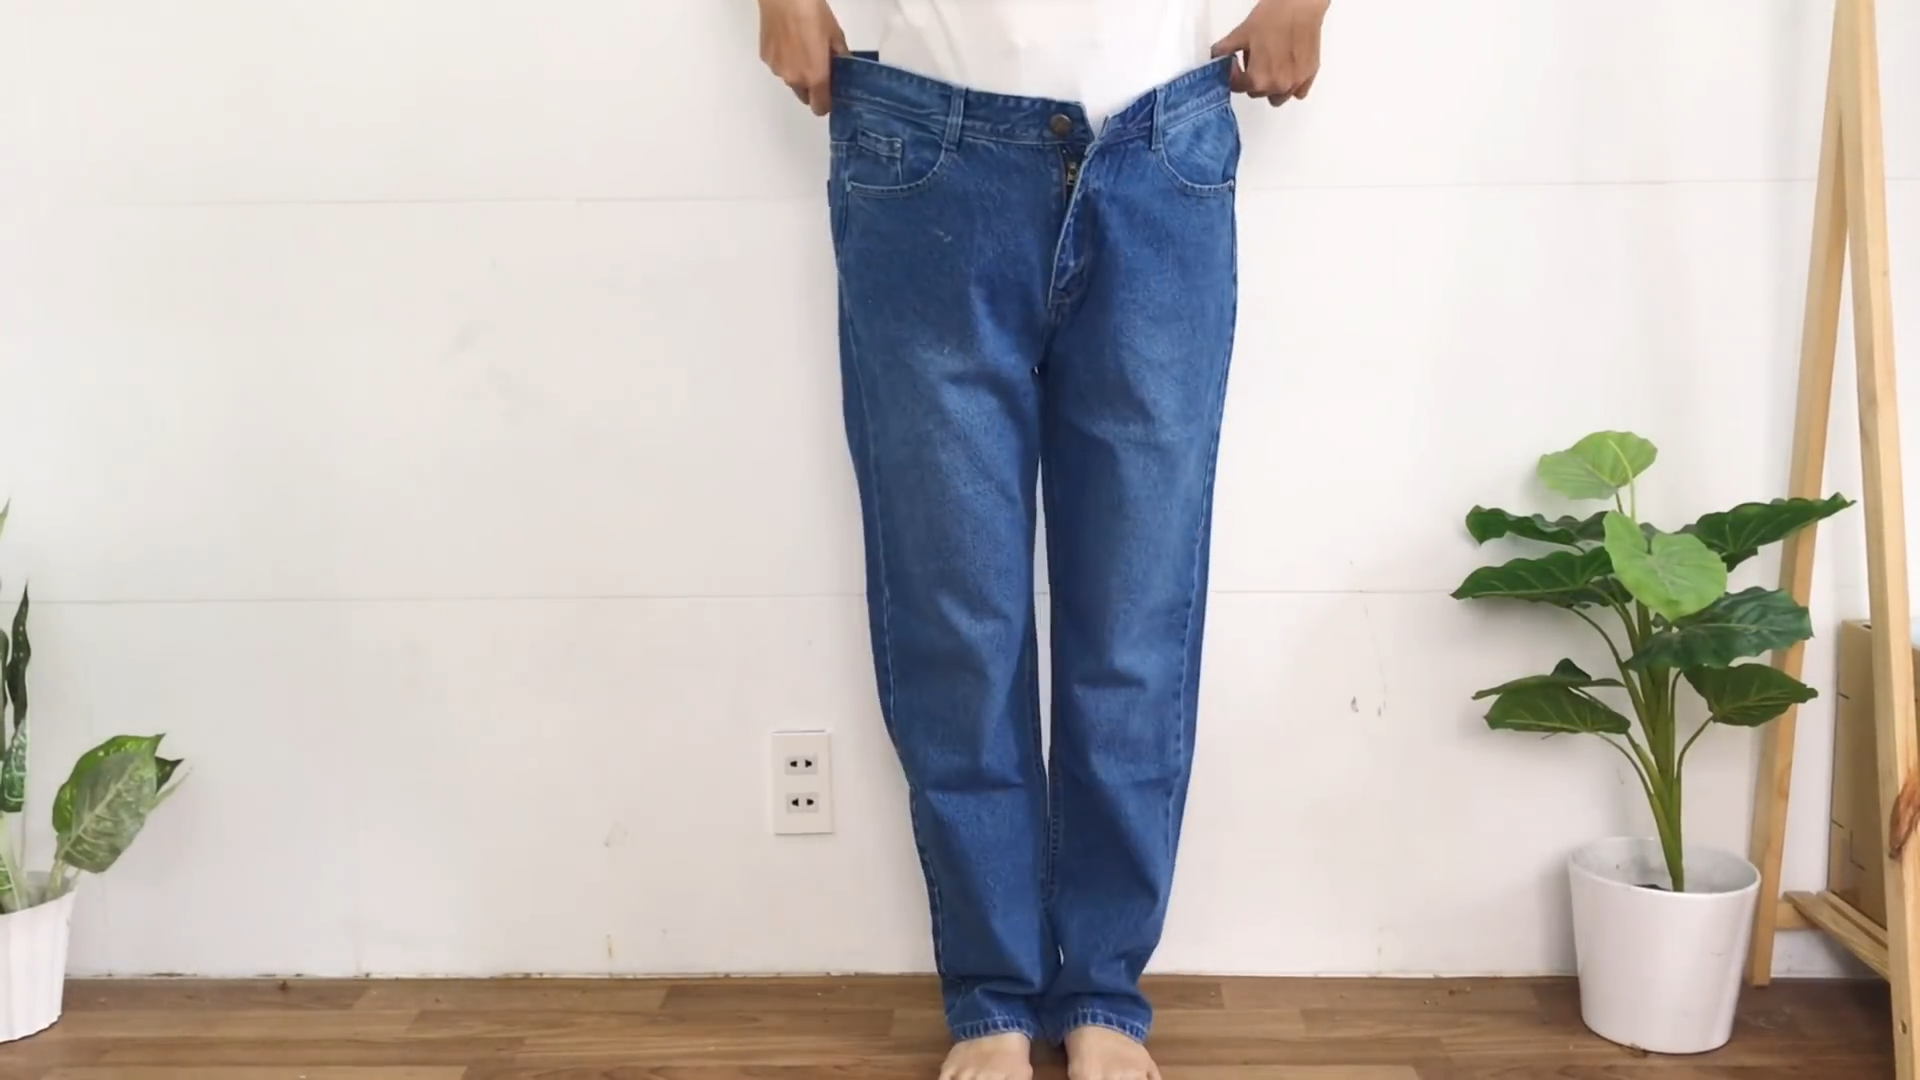
2 men's jeans of different color
Pattern paper
Sewing machine
Pins
Scissors
Ruler
Long stick
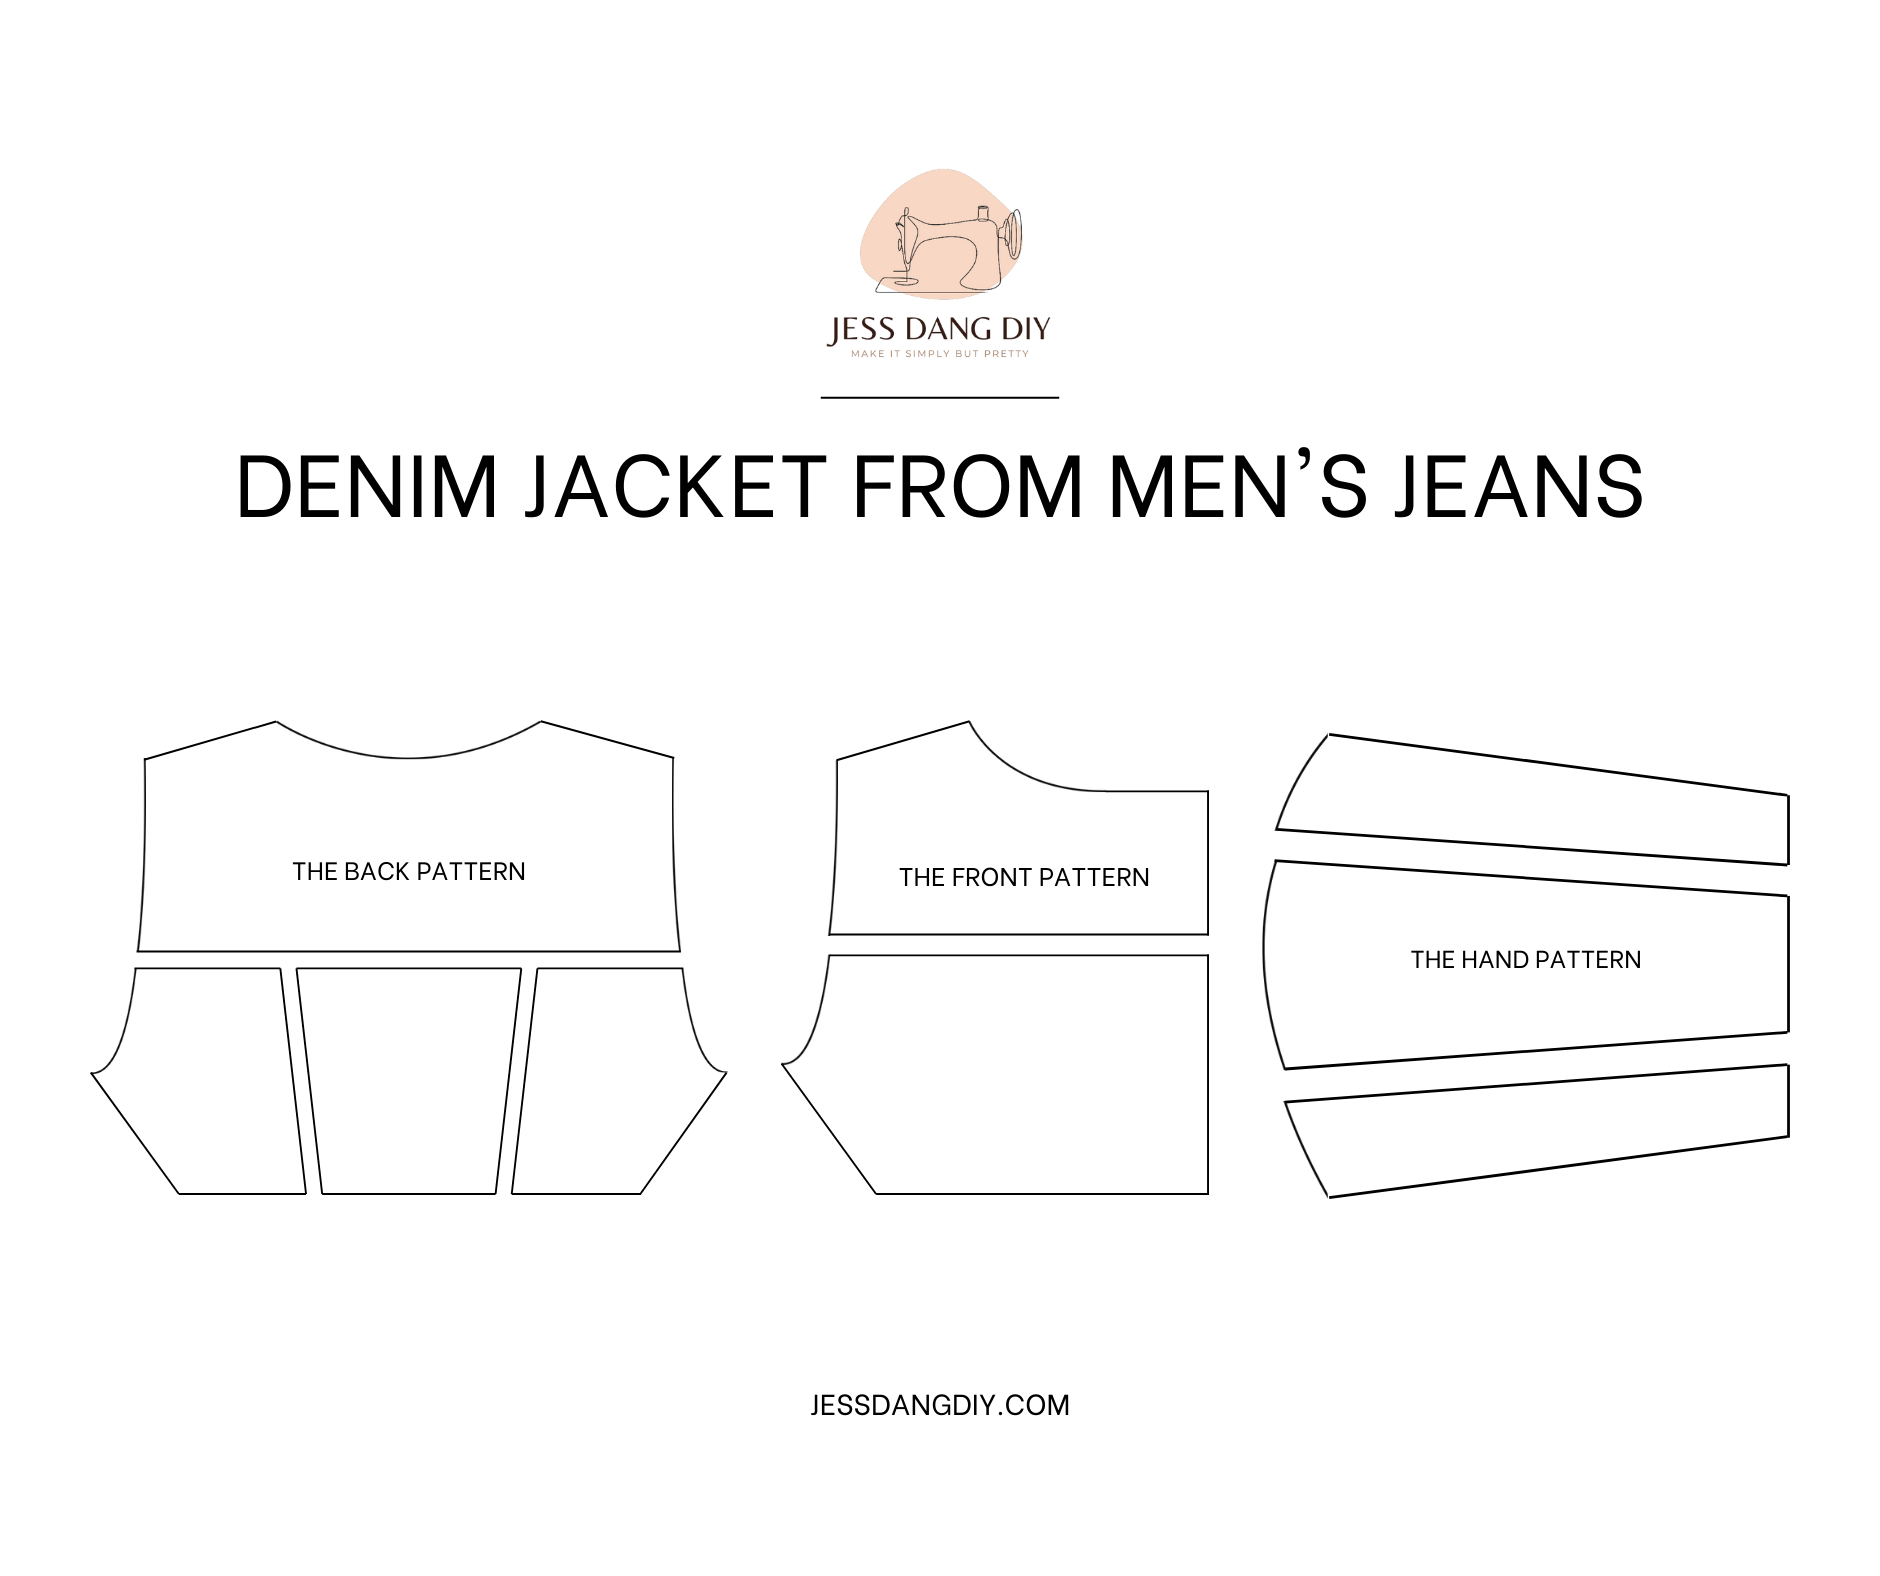
MAKING THE PATTERN
Here’s the pattern for the project. To get a clear understanding of all the measurements needed for the pattern, watch the video from 0:28 to 8:45.
Remember, you can adjust these measurements to fit your own dimensions!
THE BACK PATTERN
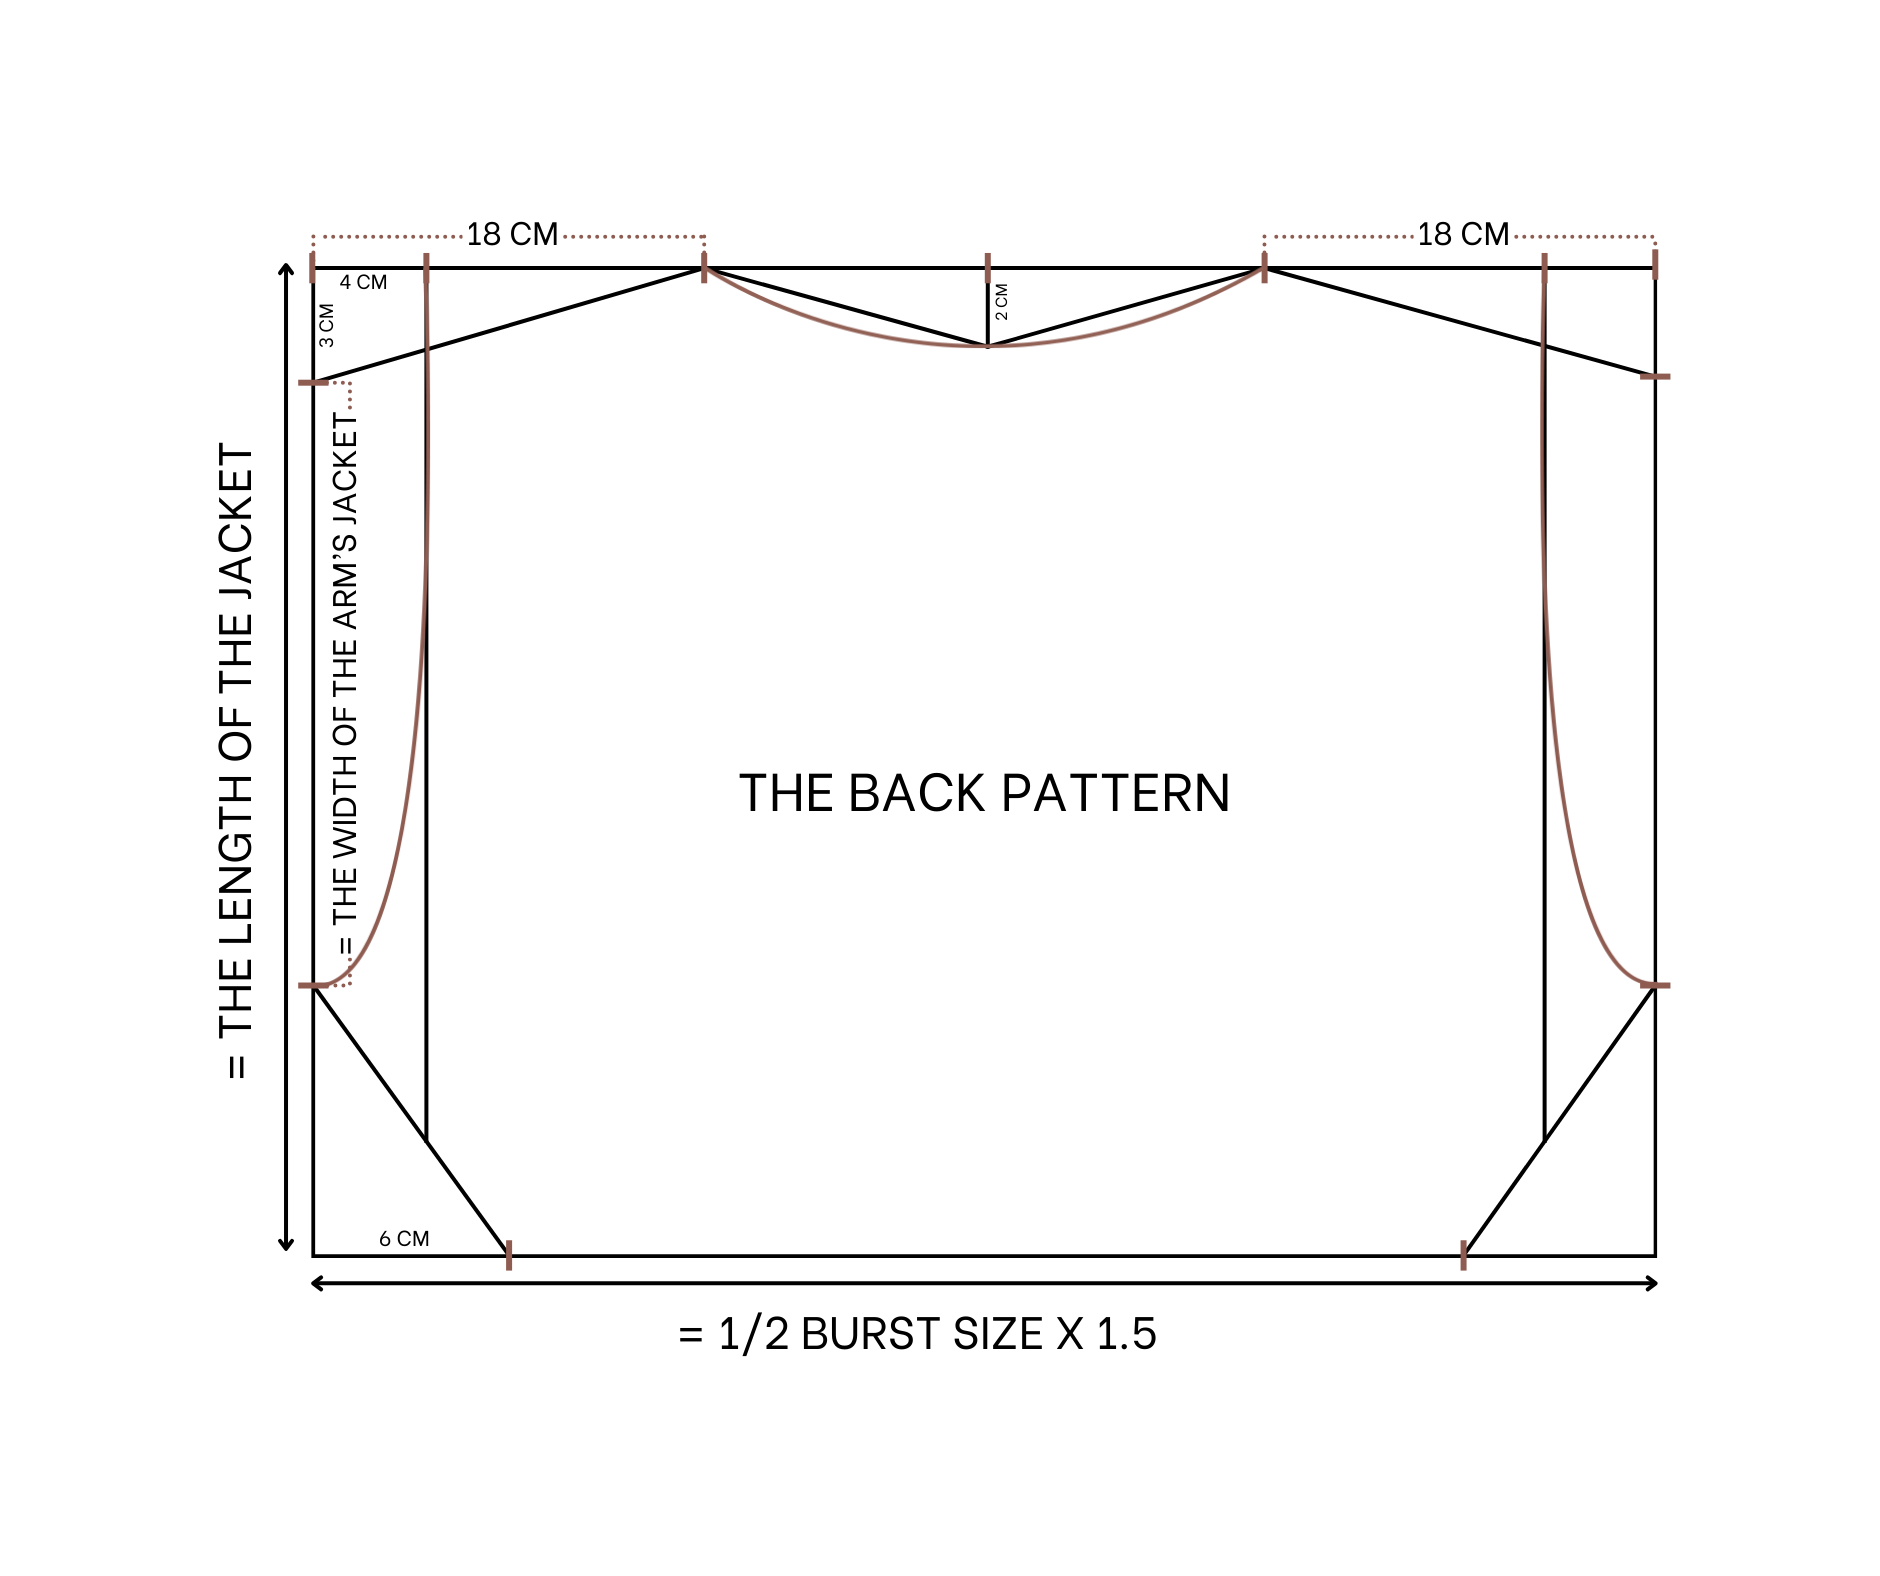
At two sides of the top, mark at 18cm inside. It'll divide the top into 3 parts.
On the middle part, mark at the middle. Then go down 2cm and mark there. Connect the last mark to 2 marks at two sides. Draw a curved line after that to create the neck line for the jacket.
At the top of the right side, go down and mark at 3cm. It's for the slope of the shoulder. From that mark, measure down at 26cm which is the width of the arm of the jacket you want.
At the end of the right, mark at 6cm inside. Then connect that mark to the mark at the arm to create the connected part under the armpit area.
Draw another line at 4cm inside the arm line. Then draw a curved line at the end to connect it to the arm line.
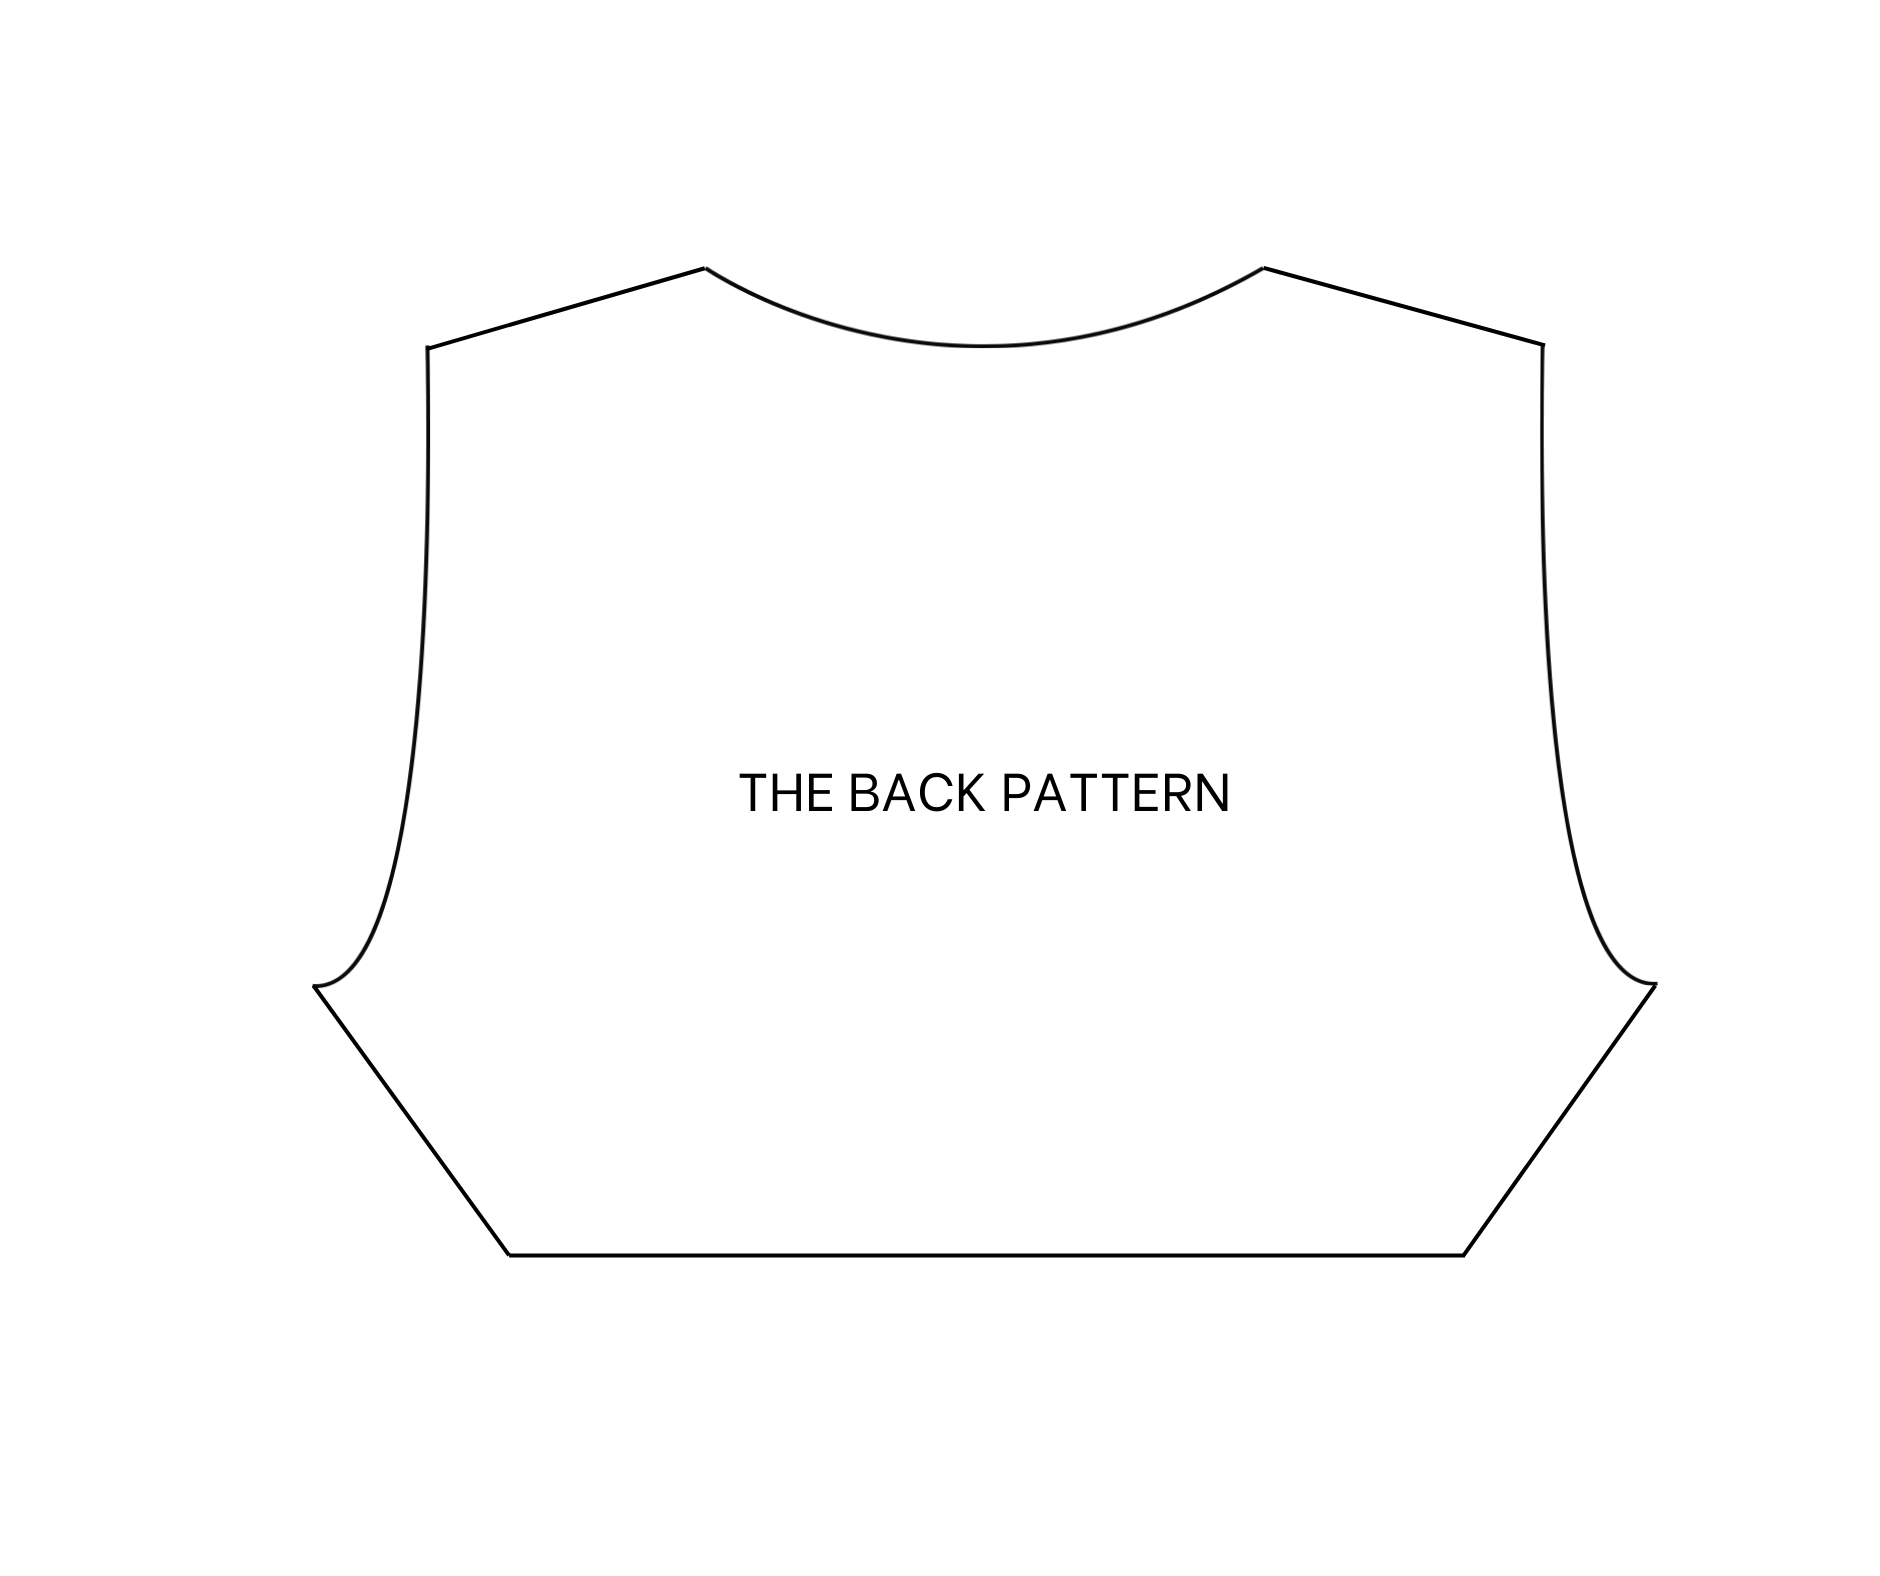
Do the same for the other side and you'll have a back pattern of the jacket after cutting.
THE FRONT PATTERN
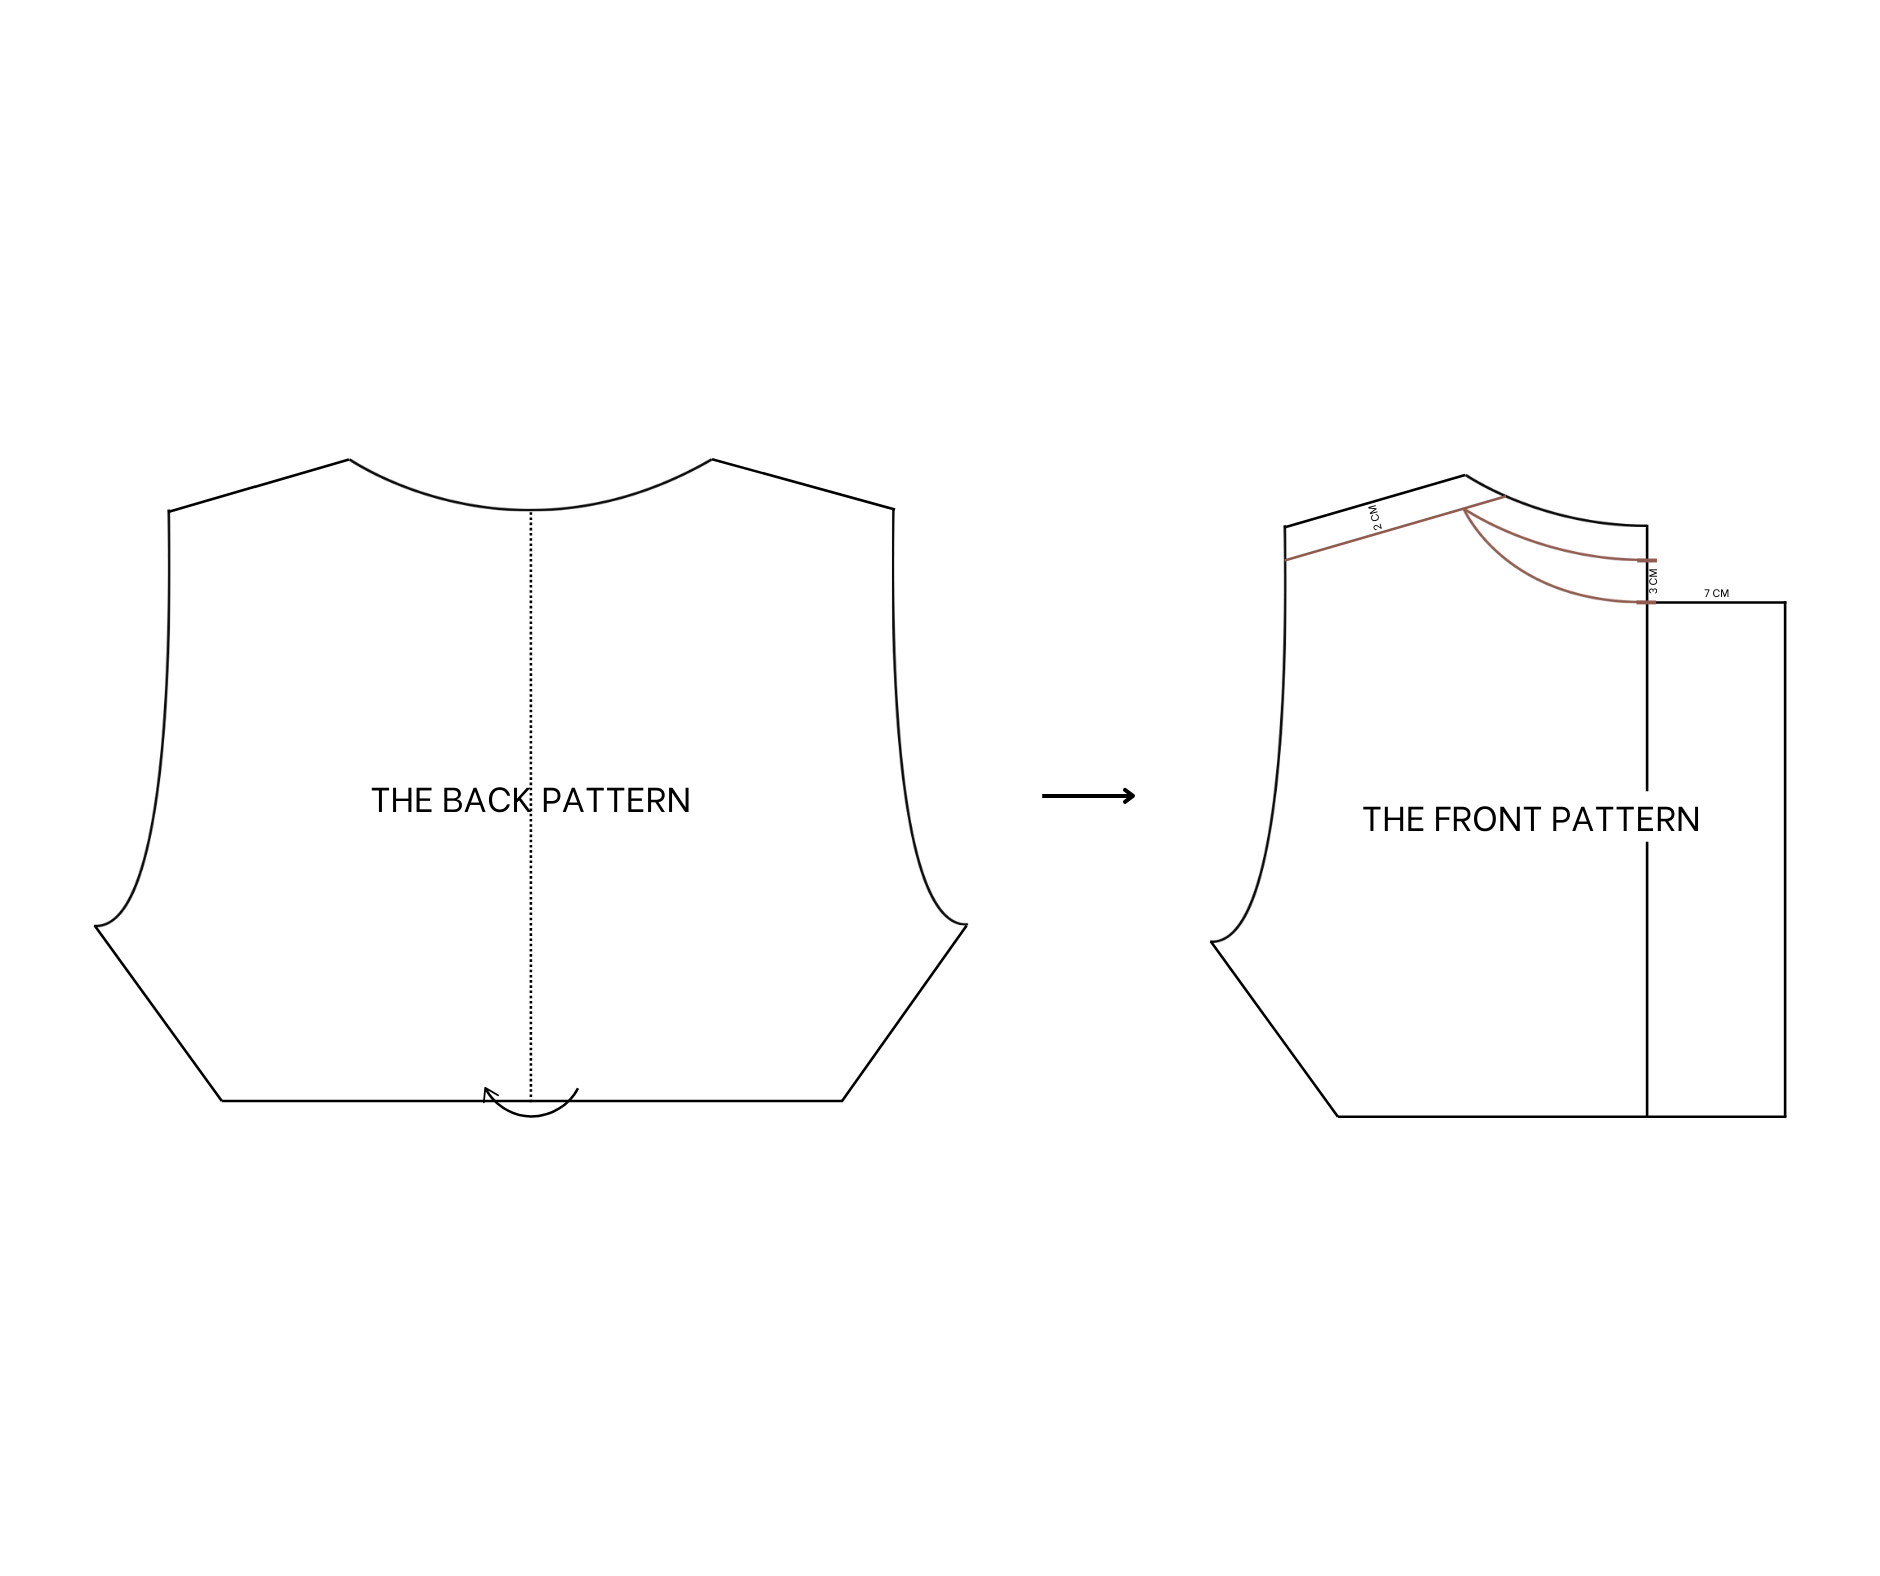
Fold the back pattern in half and apply it to draw the front pattern.
The front is usually shorter than the back at the shoulder. So move the shoulder line of the front down 2cm.
From the top of the neckline, go down 3cm and draw a new neckline for the front.
At the opposite side of the arm, add 7cm fabric for the button area of the jacket that you'll make later.
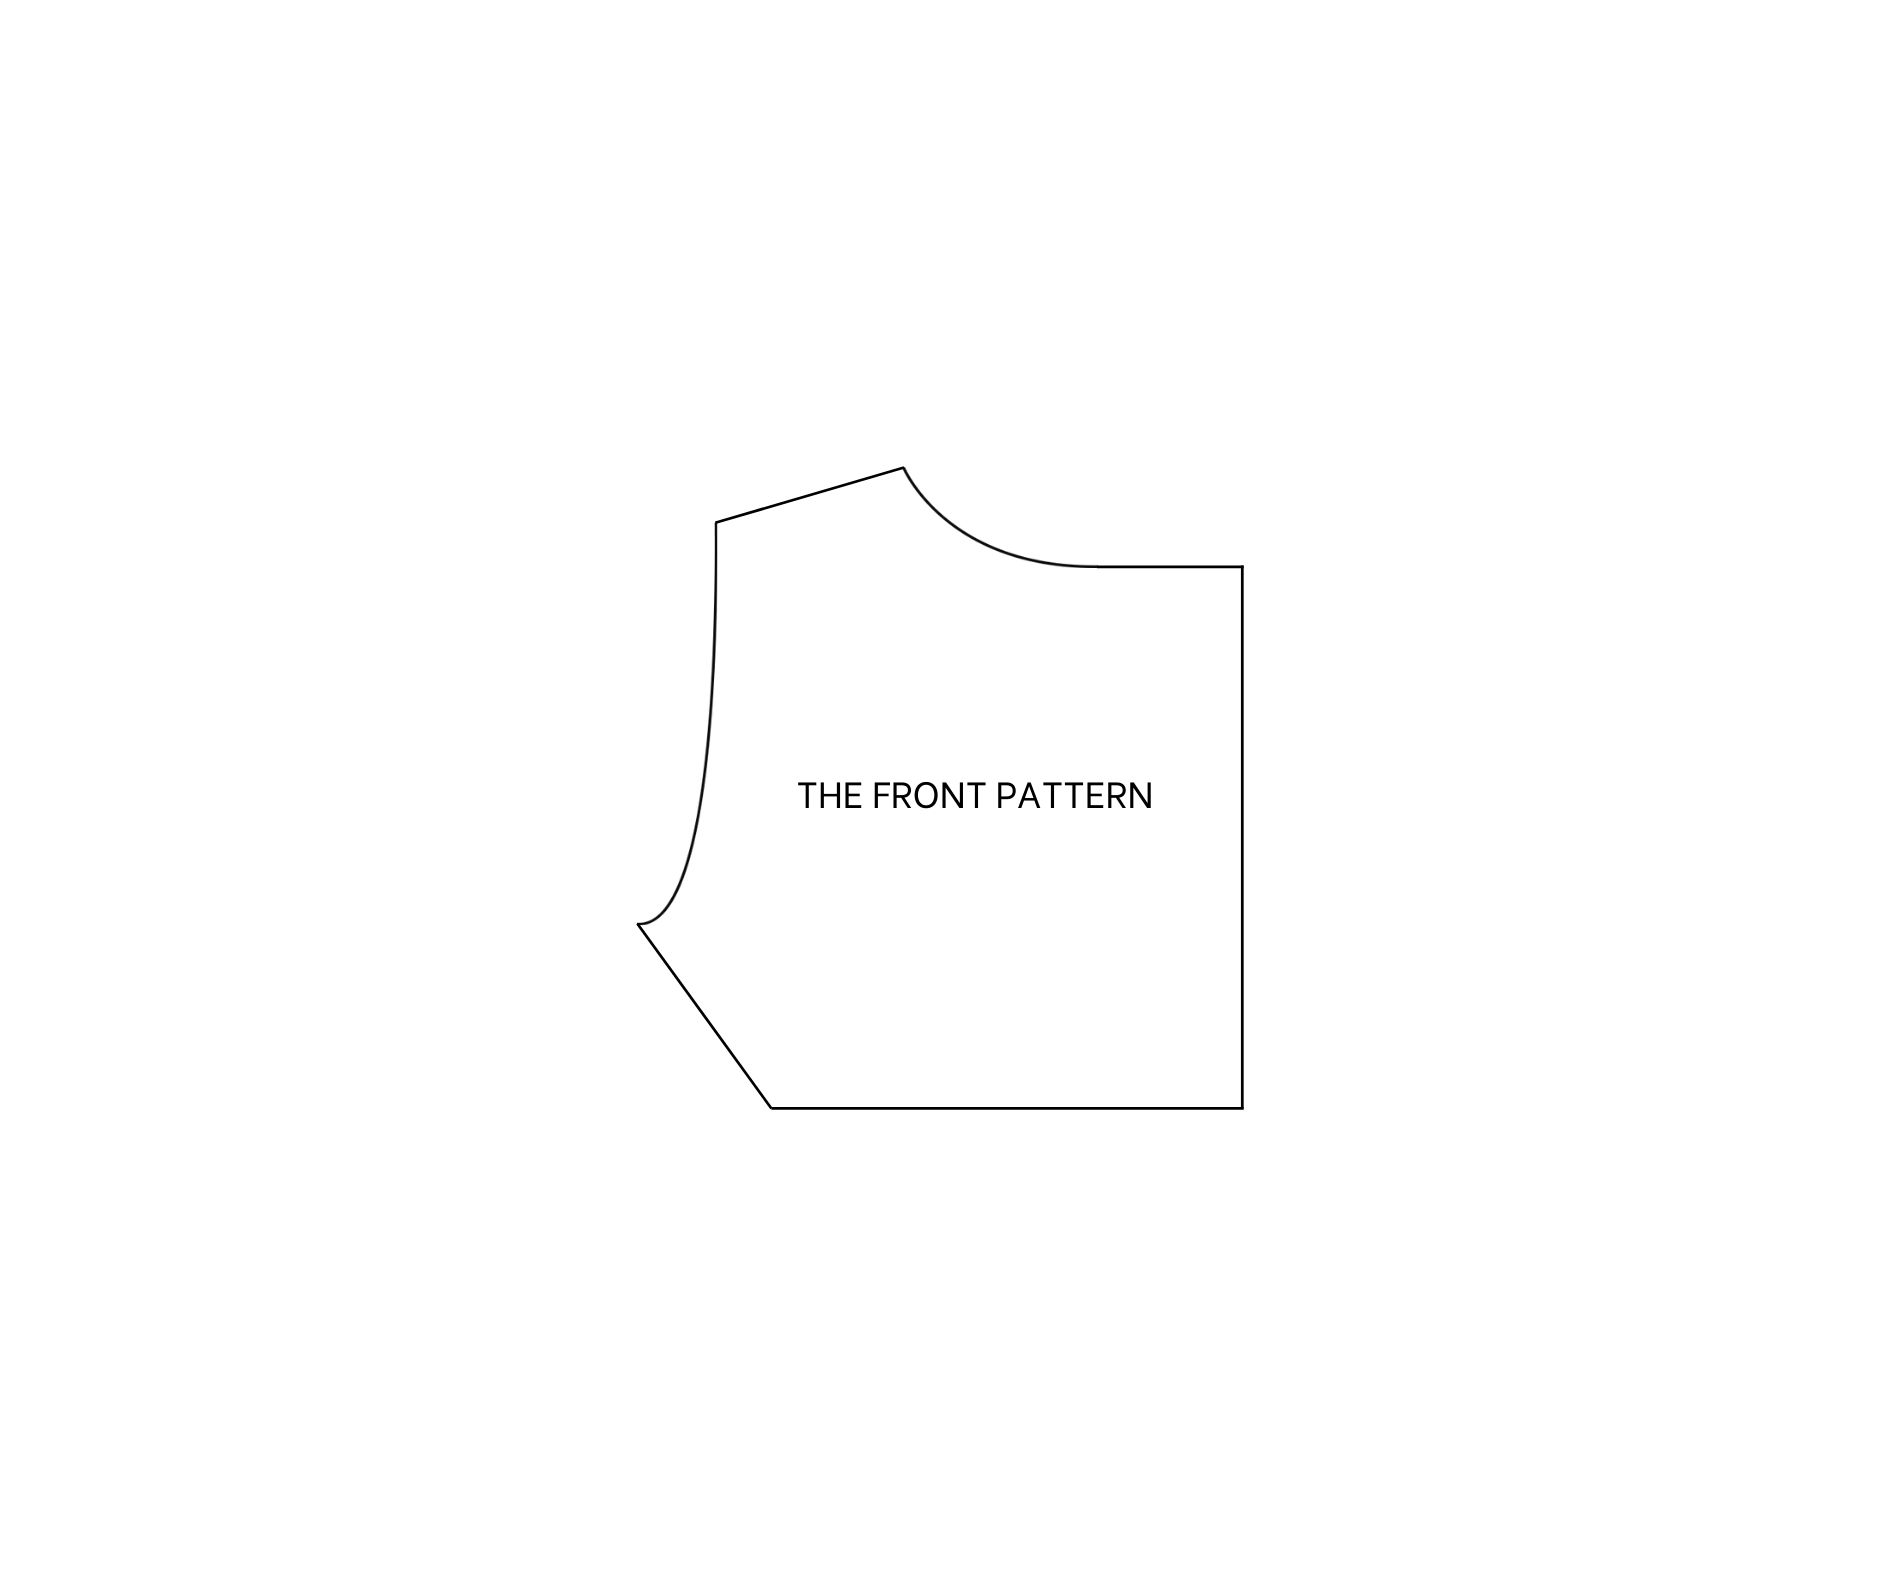
You will have the front pattern after cutting.
THE HAND PATTERN
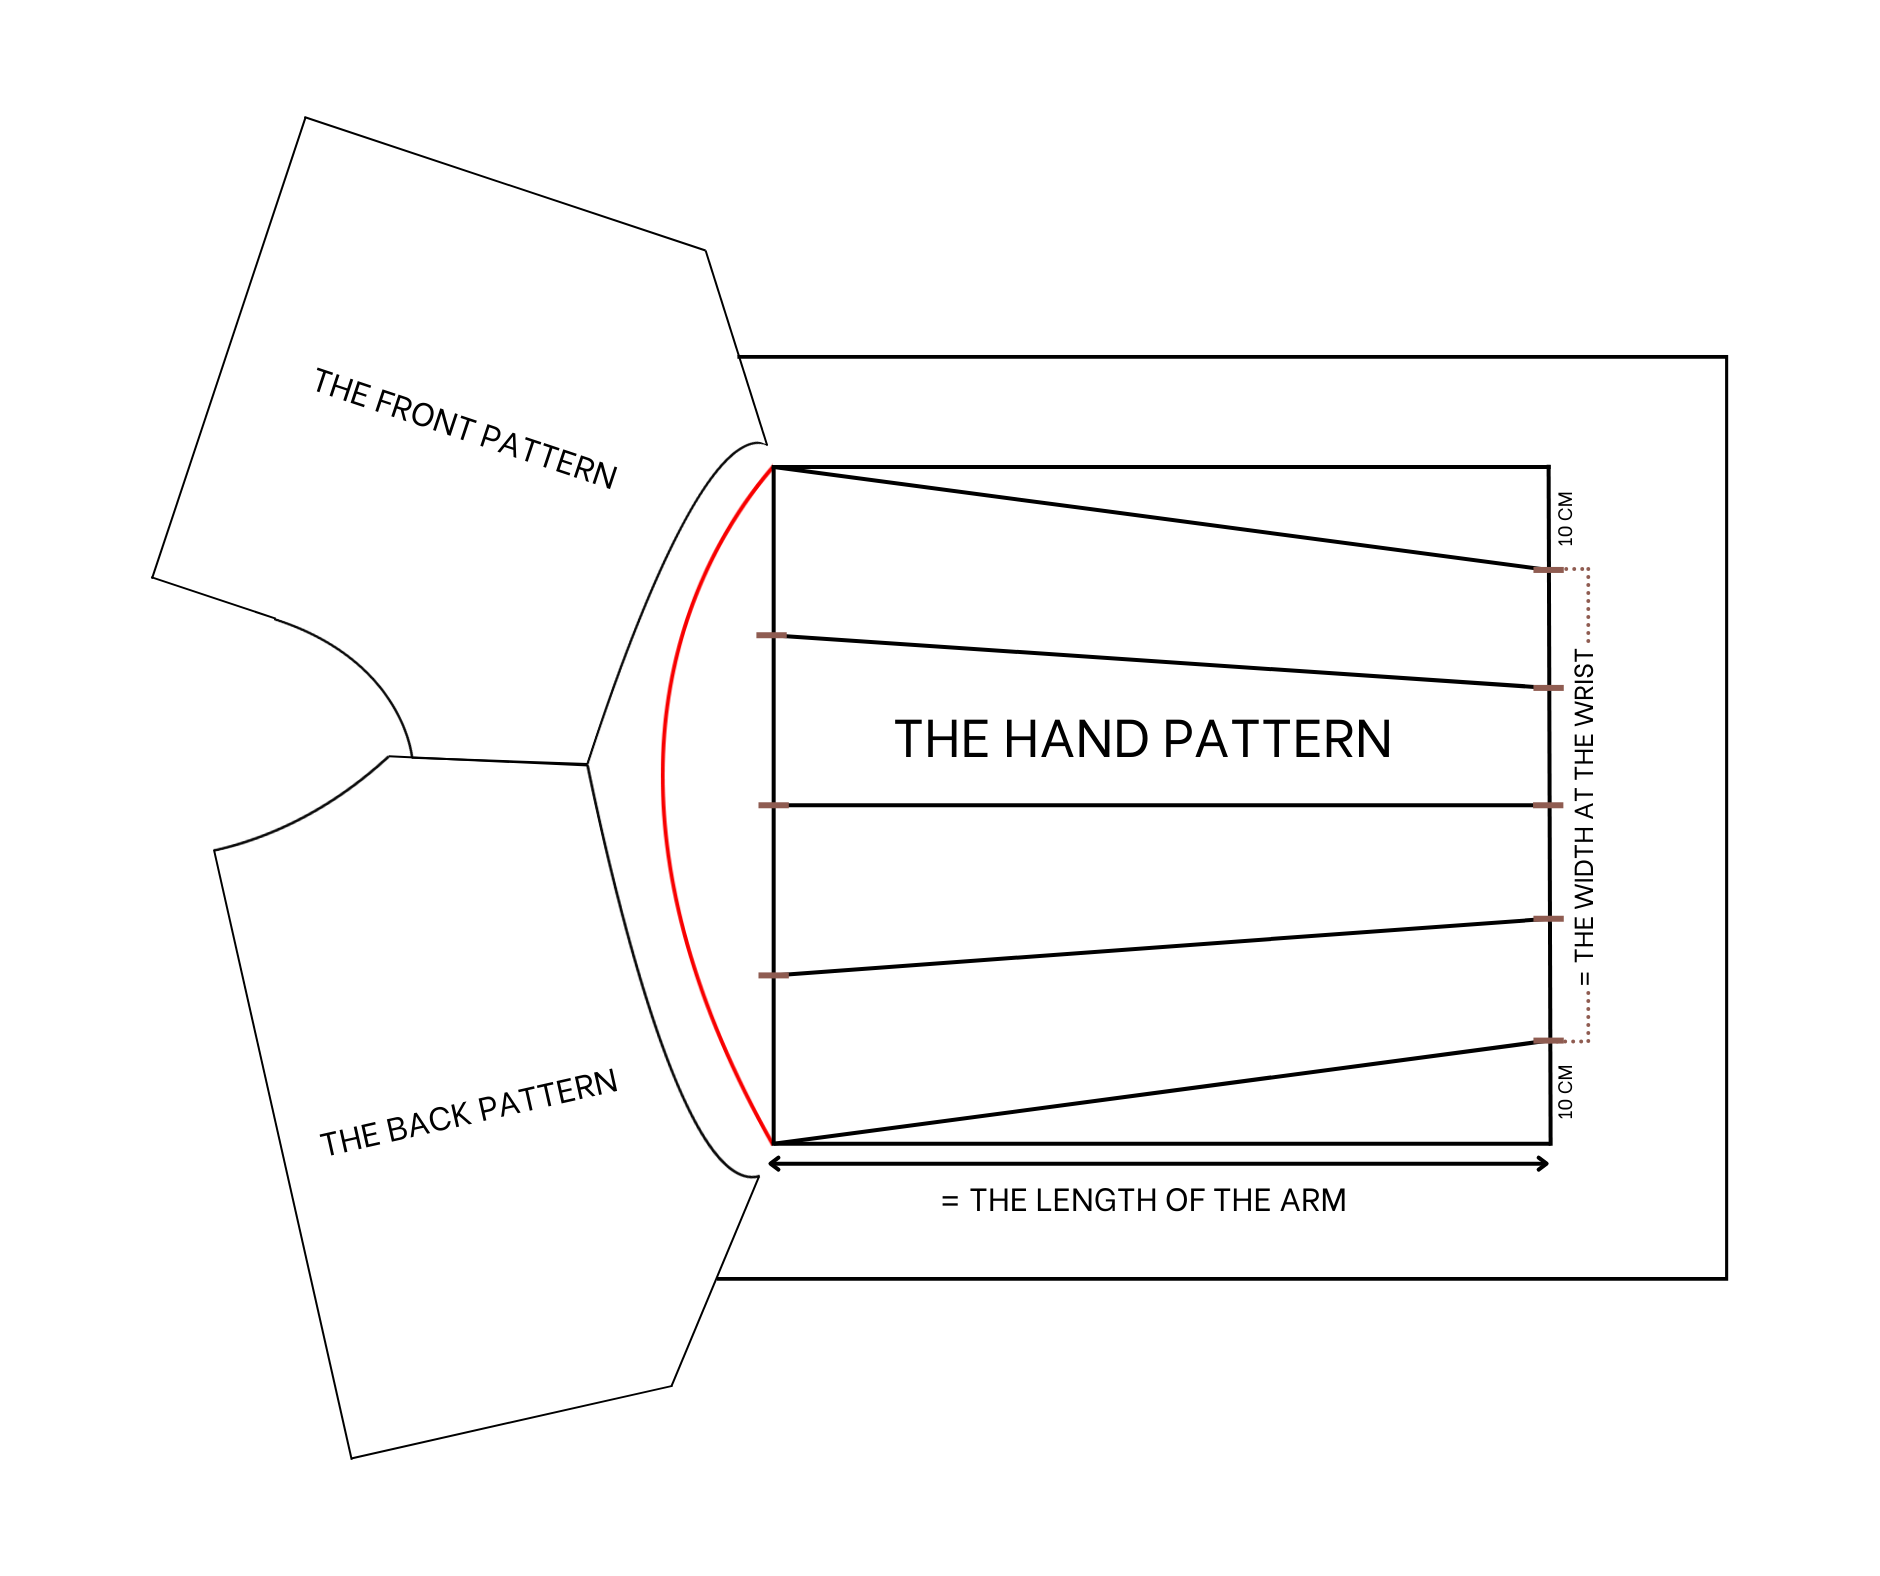
Gather the front and the back patterns together at the shoulder line. Then draw the curved line at the arms of these patterns. And it'll be the curved line of the hand pattern of my jacket.
Draw a straight line connect 2 ends of the curved line first. Then based on that line, draw 2 horizontal lines from 2 ends of the curved line.
Mark at 40cm at each line for the length of the arm of your jacket. Then connect them together.
After that, measure the width of the end of the arm which is at the wrist by moving in 10cm each side. So the width at the wrist will be 30cm.
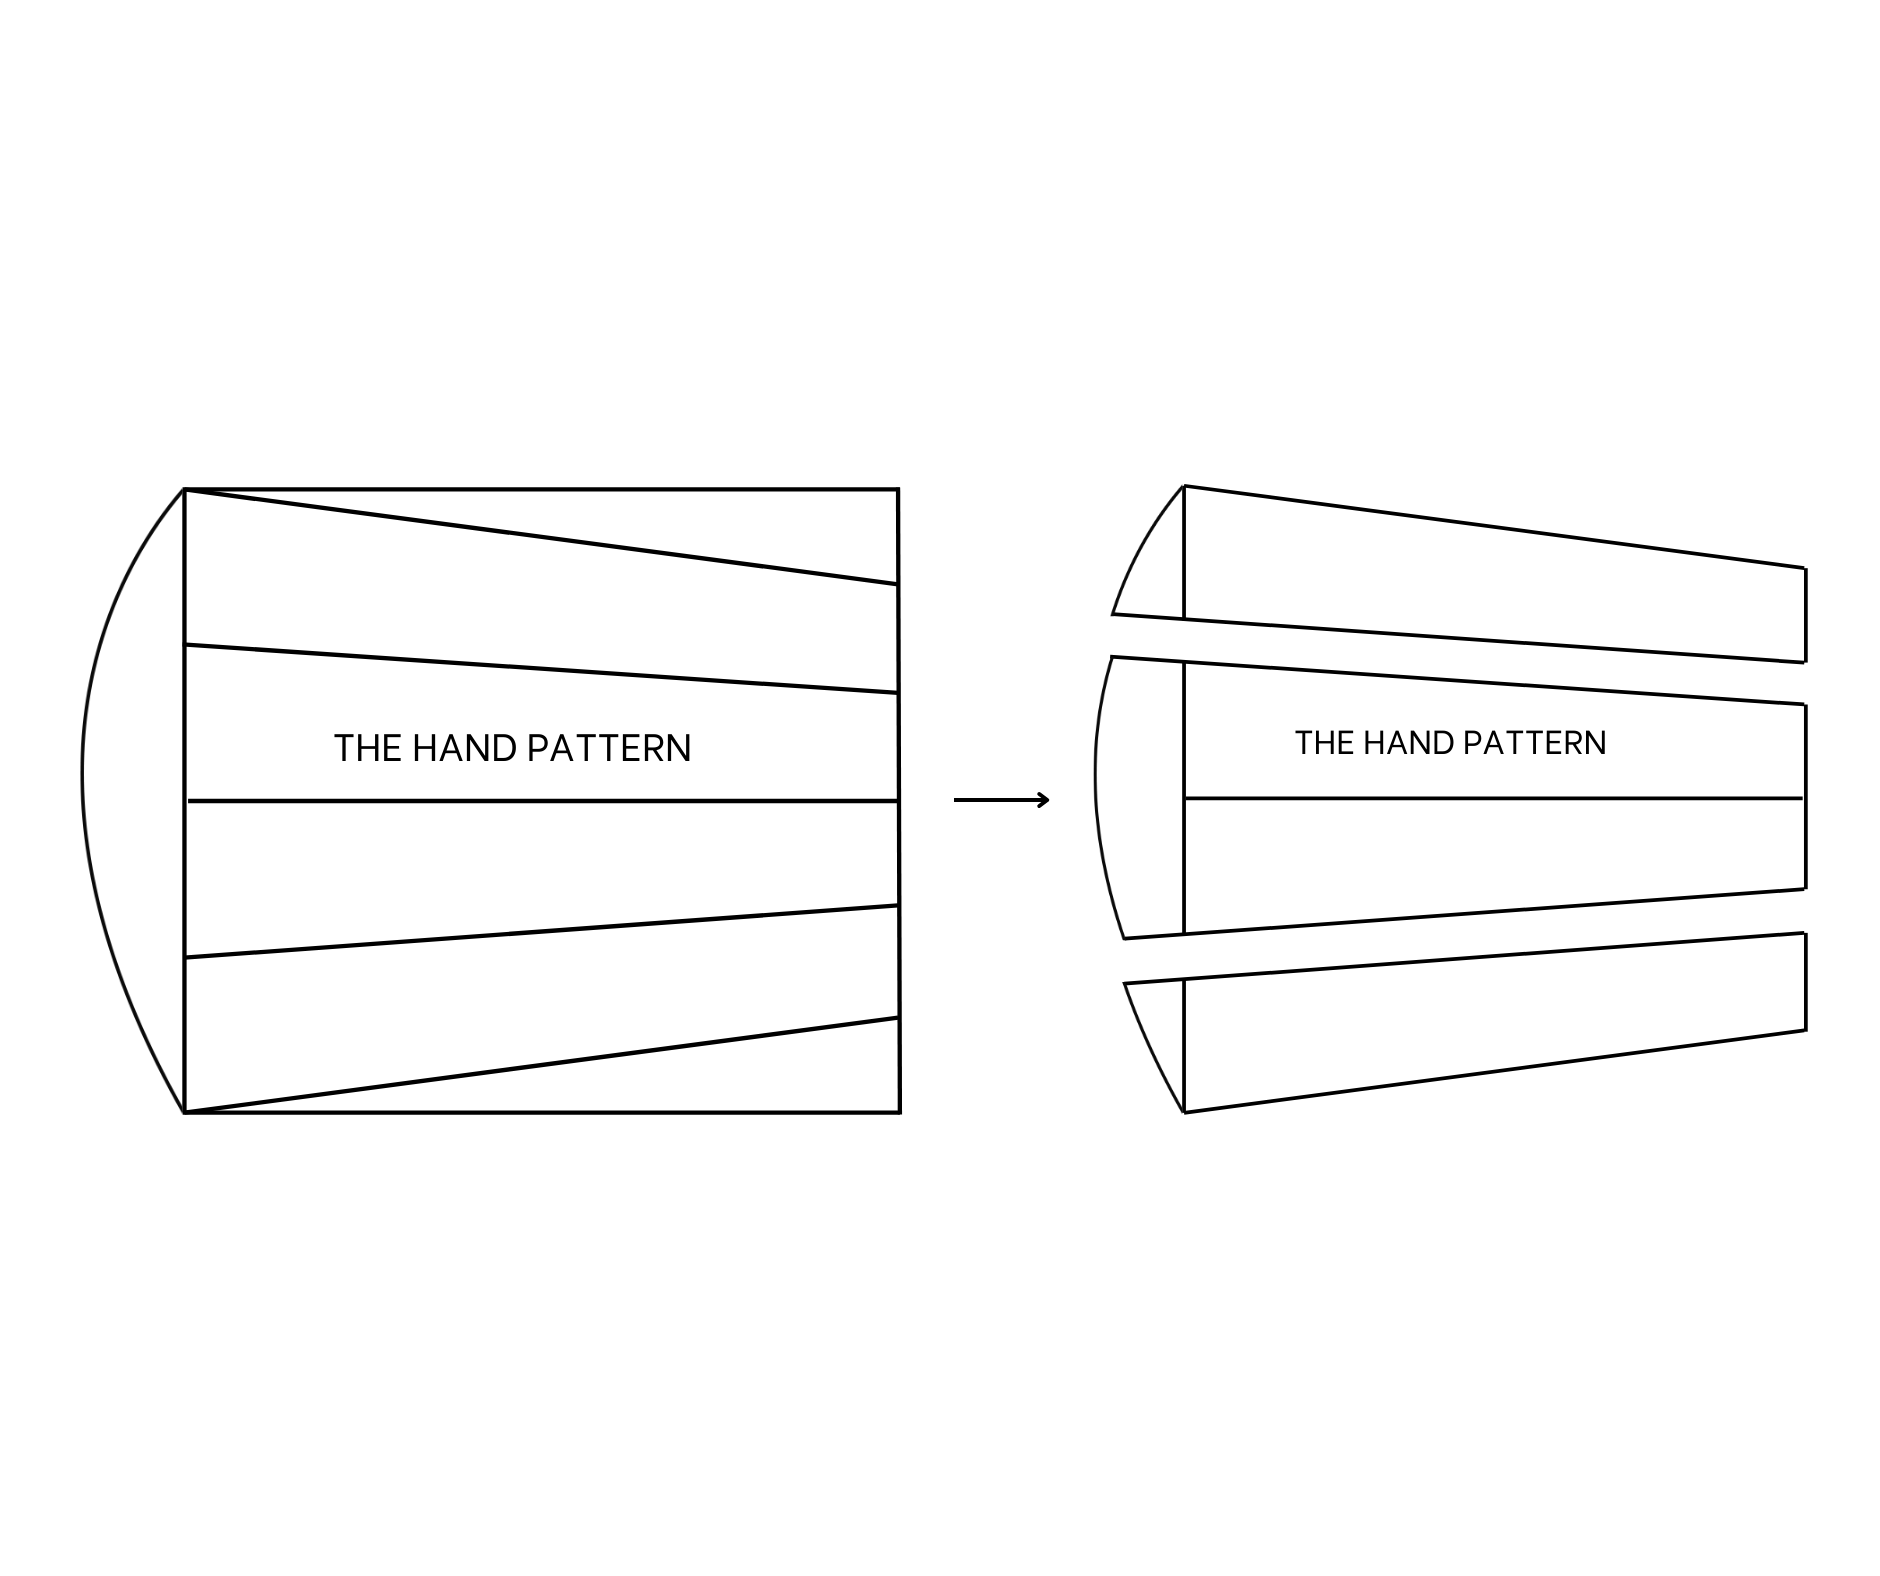
Divide the hand pattern in half by drawing a straight line in the middle. After that, divide 2 parts of the hand pattern in half again.
Then cut 2 small parts at two sides of the hand pattern to have 3 pieces of the hand pattern. 2 small pieces at two sides and 1 big piece in the middle.
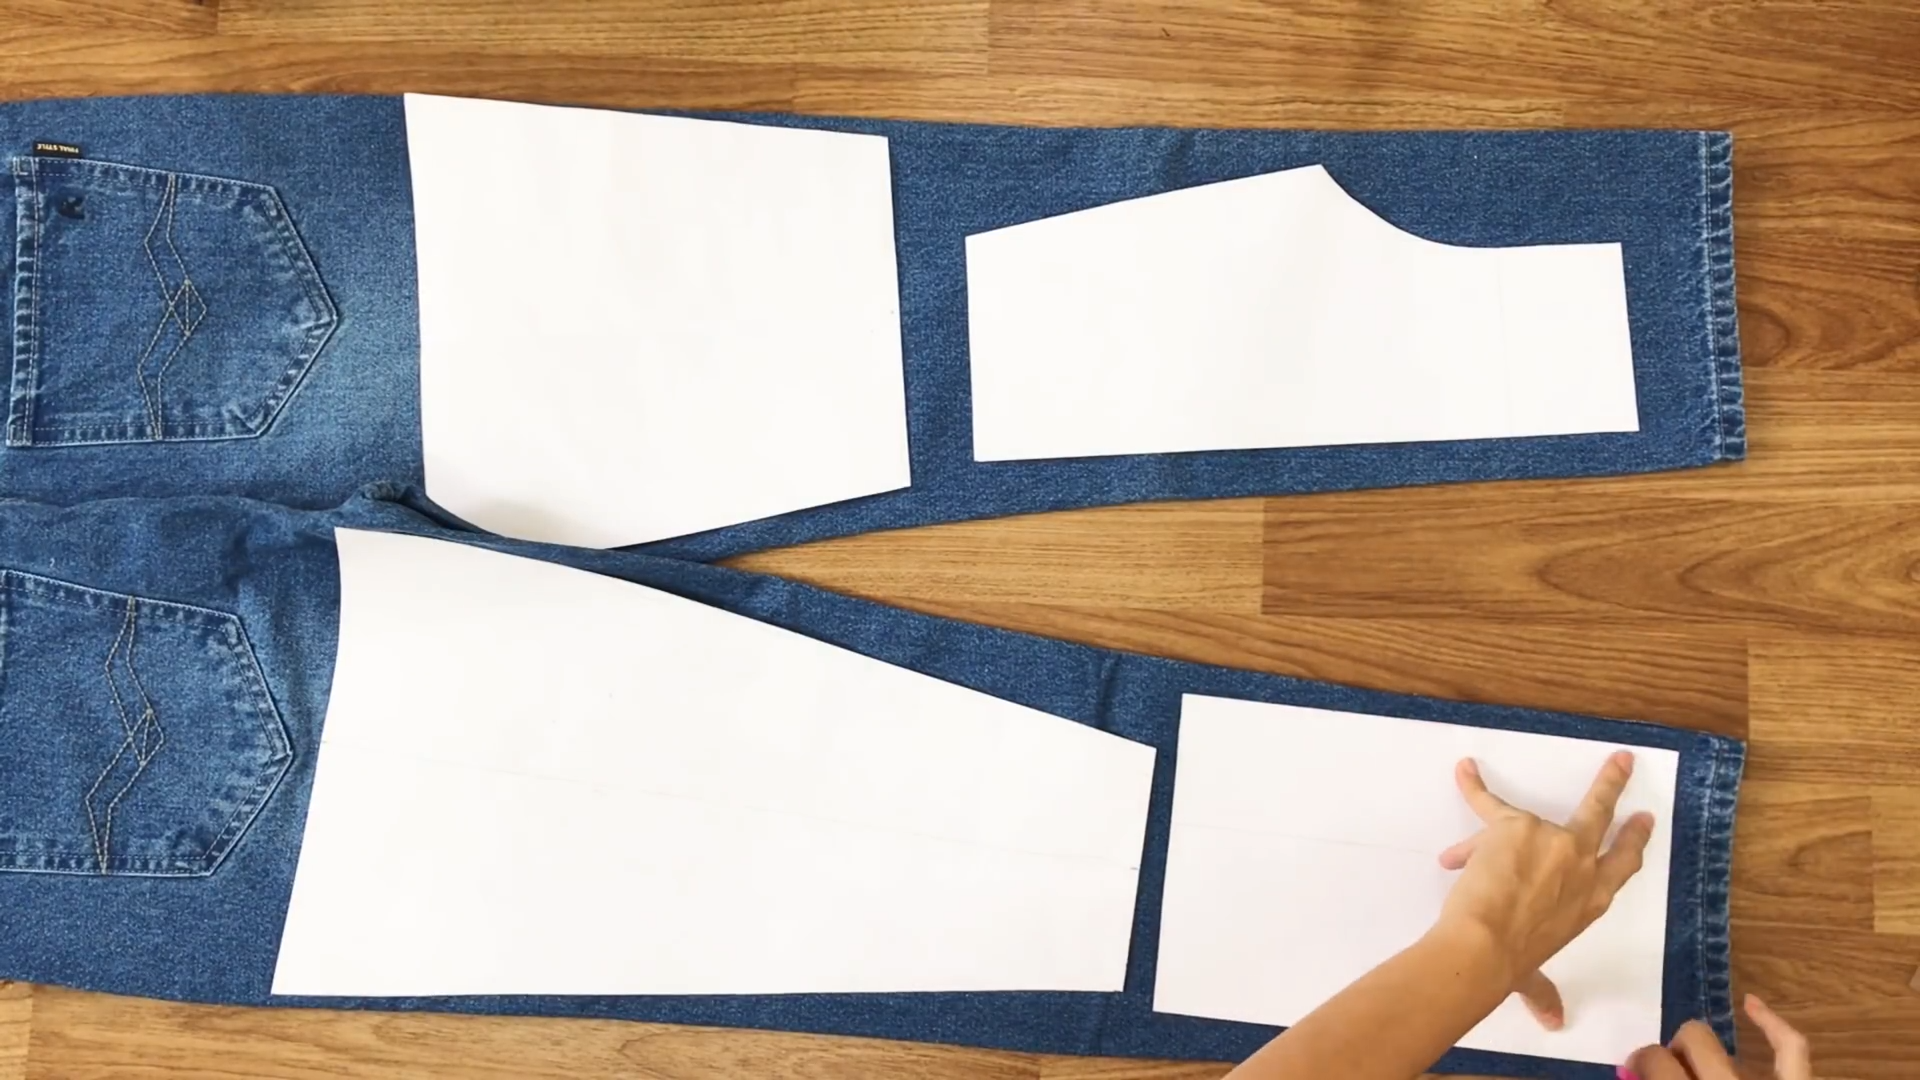
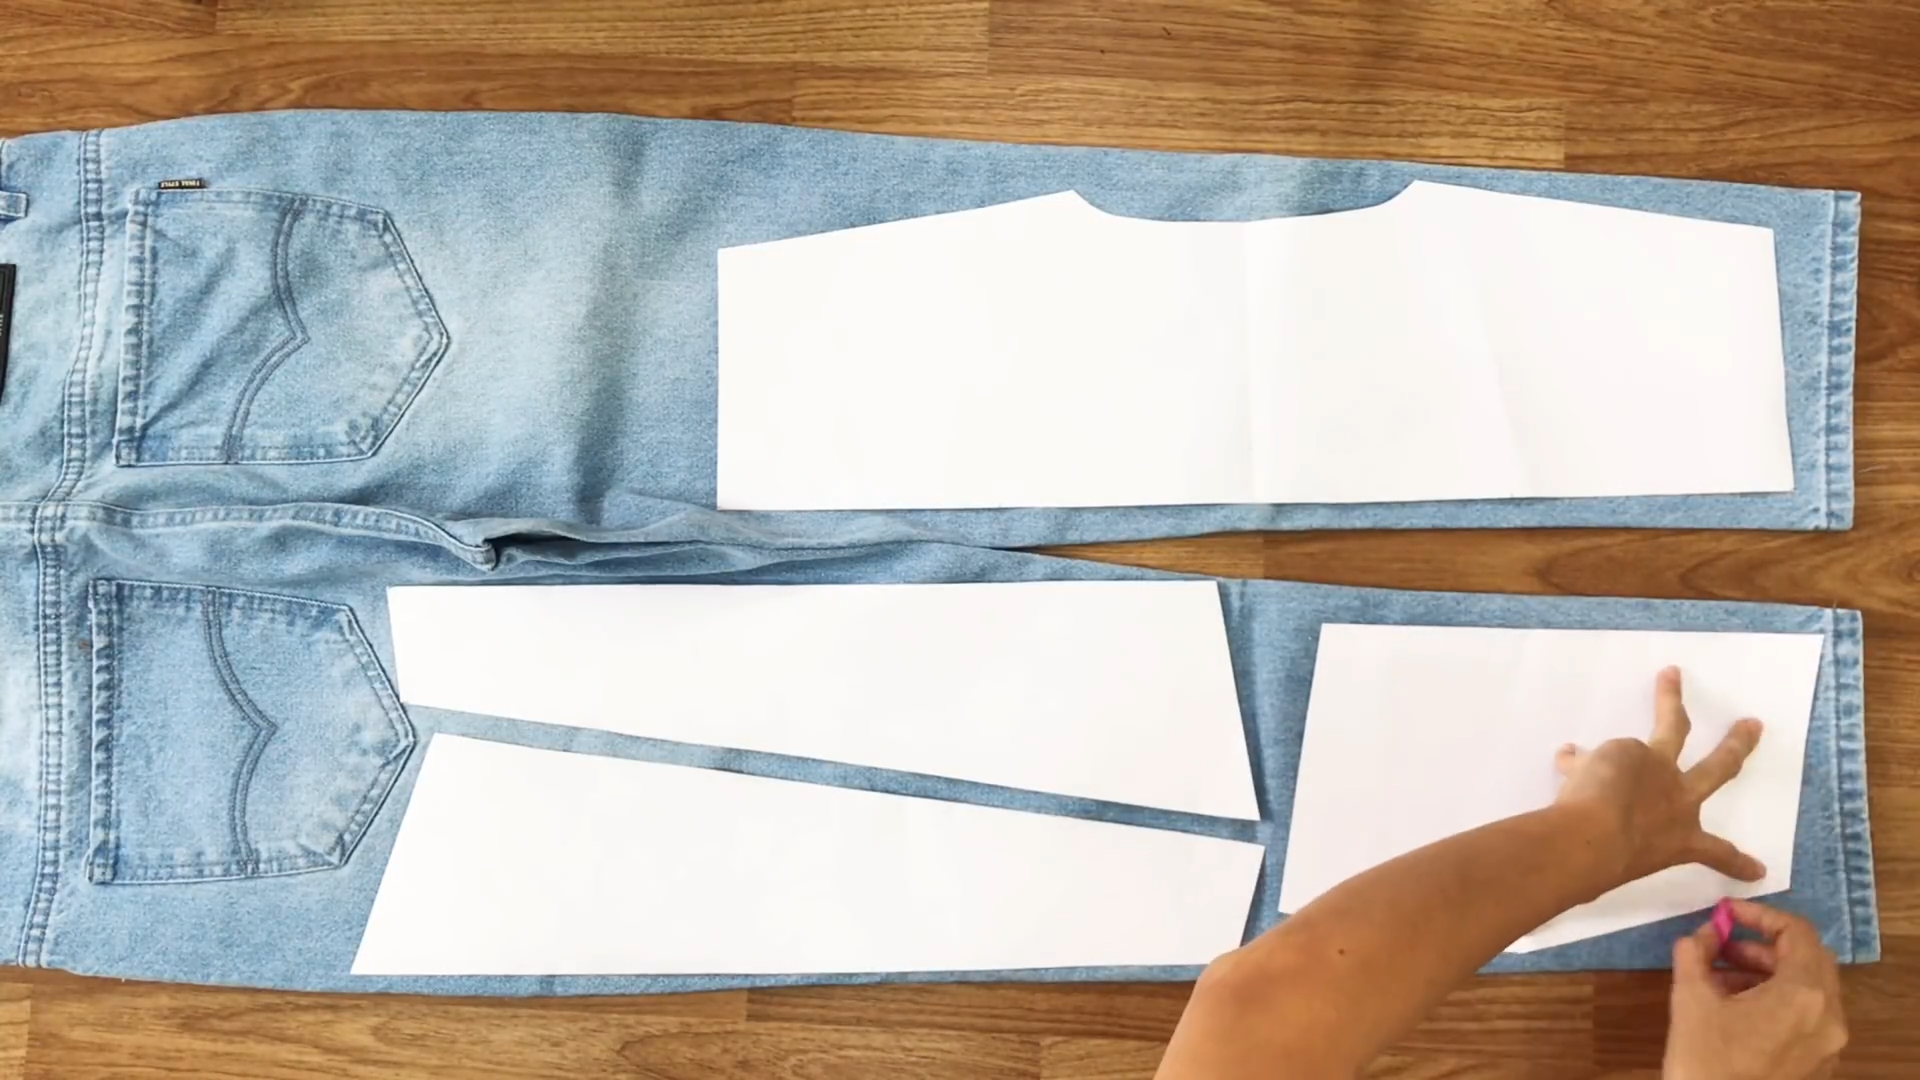
DIVIDING THE PATTERNS
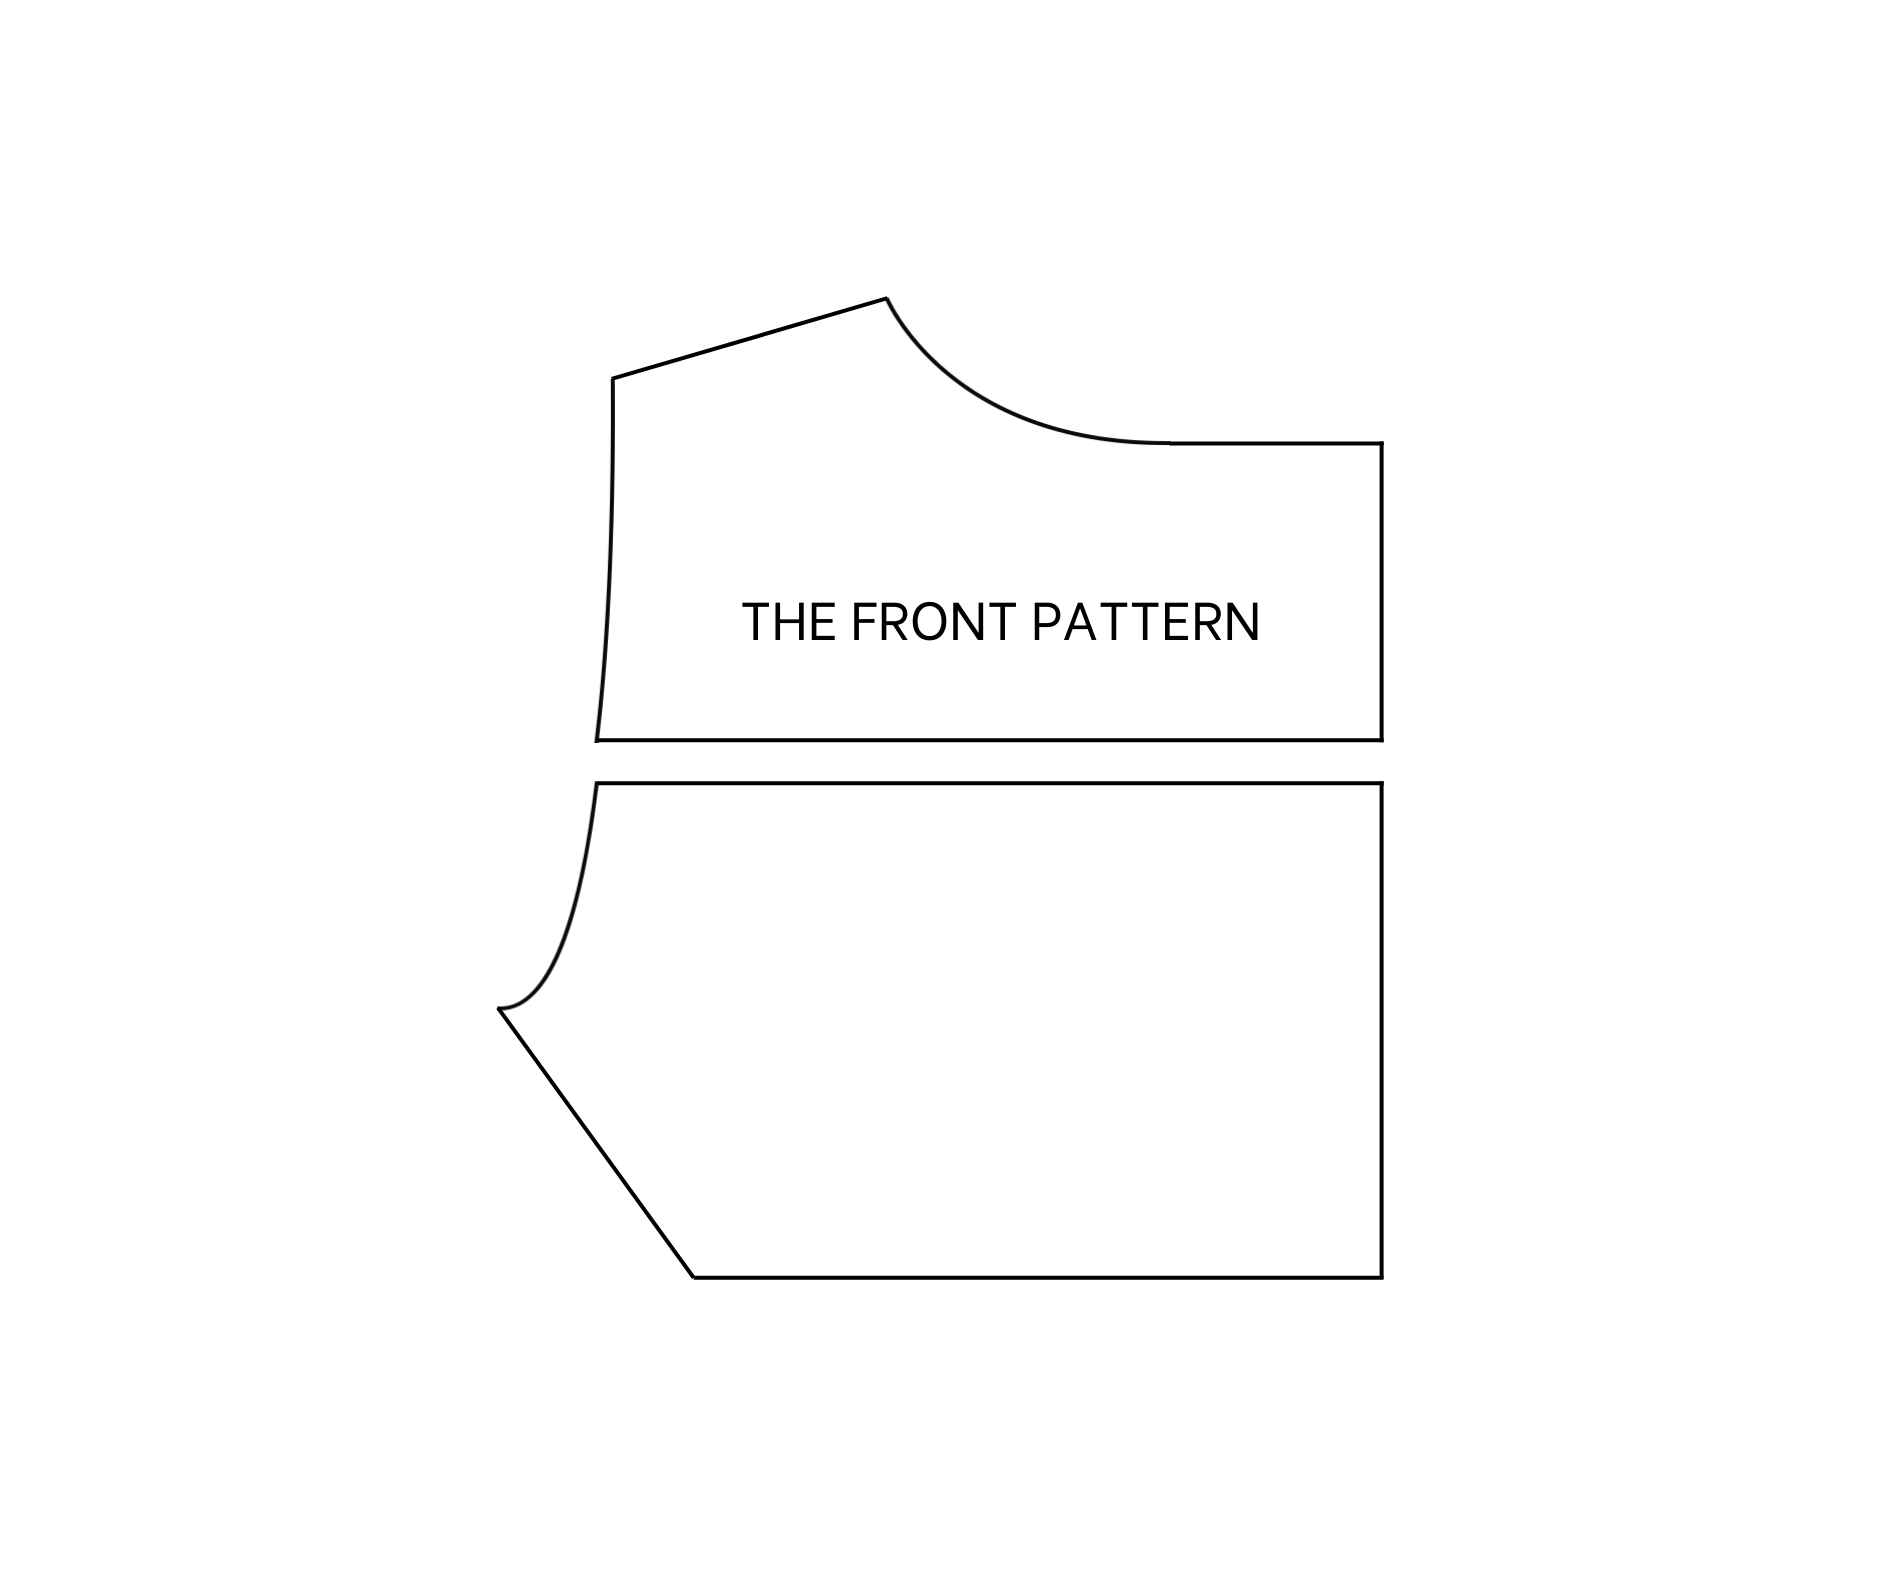
The front pattern
Use the small piece at the hand to mark where it will meet the front pattern. Then draw a horizontal line from that mark to divide the front pattern into 2 pieces.

The back pattern
Do similar steps to the back pattern. At the middle of the back pattern, draw 2 lines on two sides of it to divide the under part of the back pattern into 3 pieces.
After cutting, you'll have 4 pieces of the back pattern. Remember to cut with 1cm extra from the drawing lines of the patterns you just made for seam allowance.
You will use 2 different men jeans for this jacket. So write the number of the jacket onto each piece of your patterns to know which one you should apply to which jean.
SEWING THE JACKET
THE BACK
Cut out the patterns for the jacket.
Cut out the patterns for the jacket. Overlock all the patterns to protect the fabric.
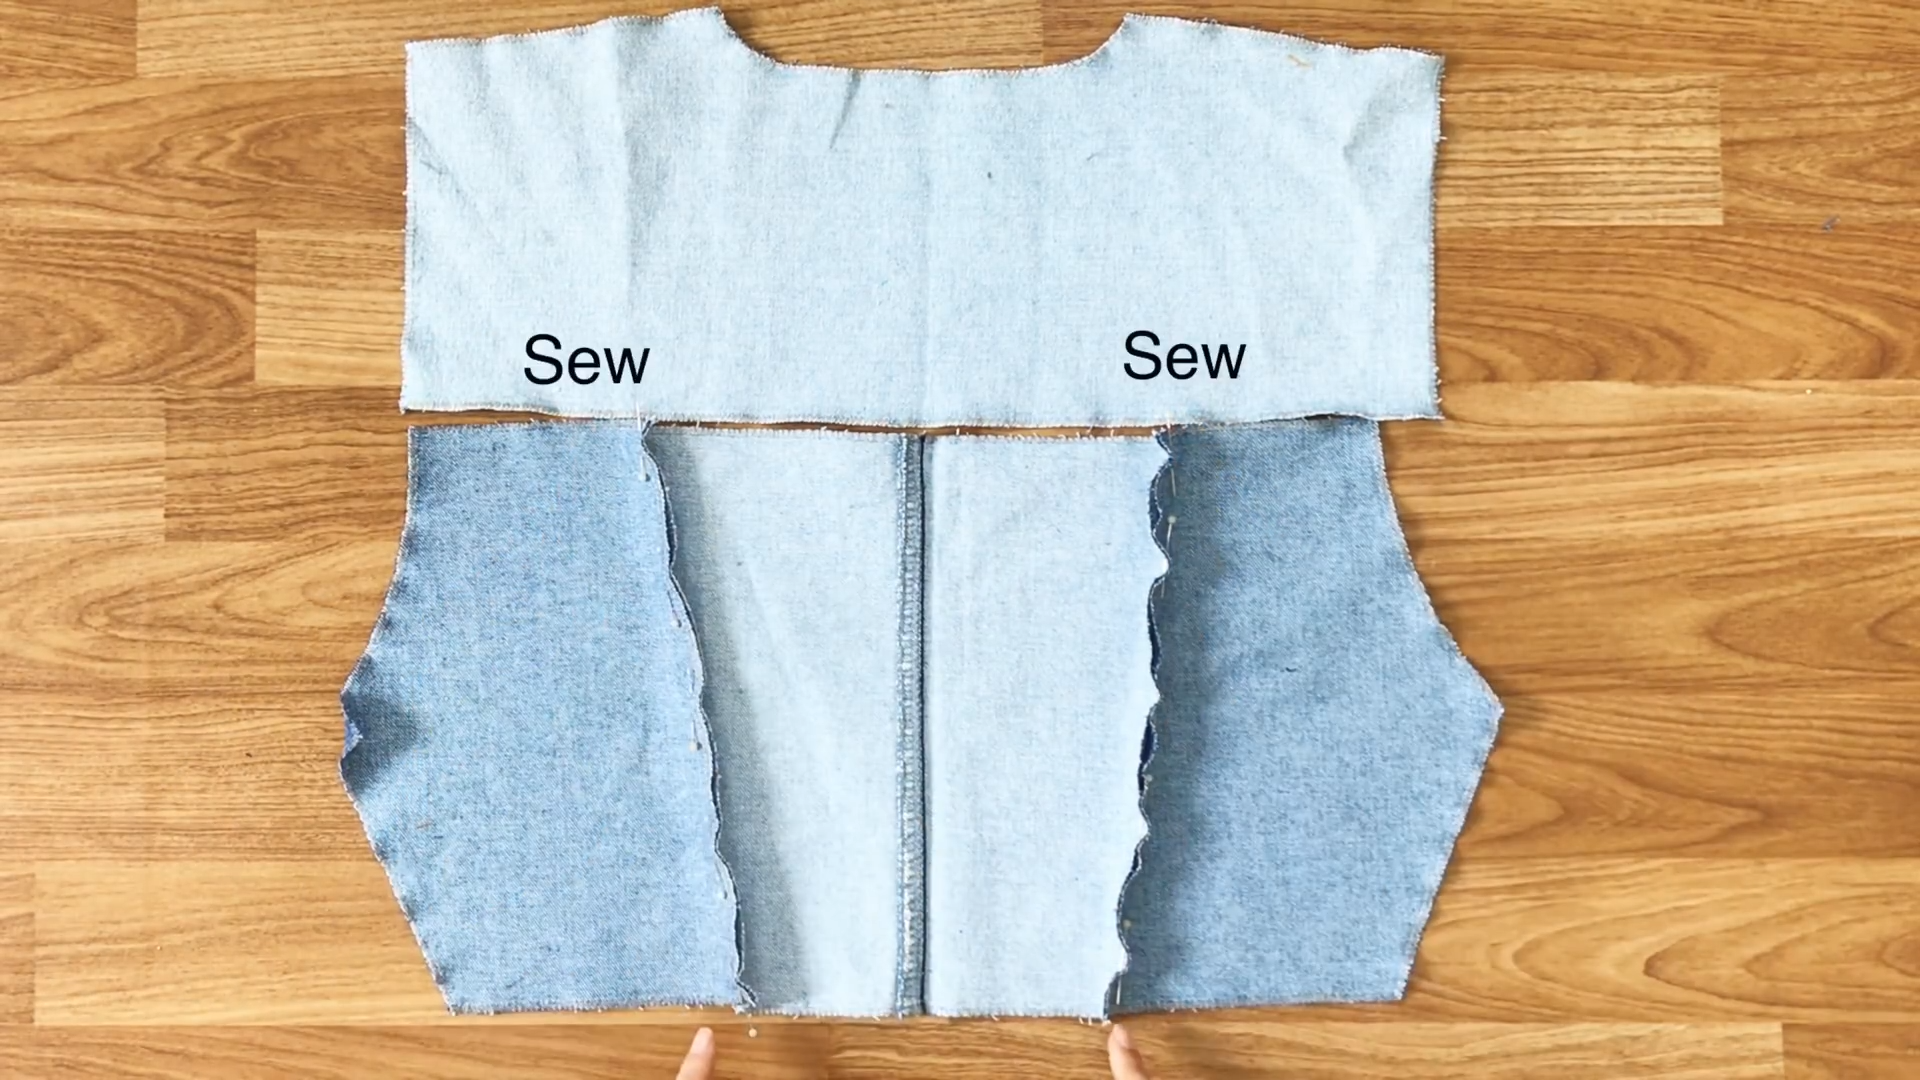
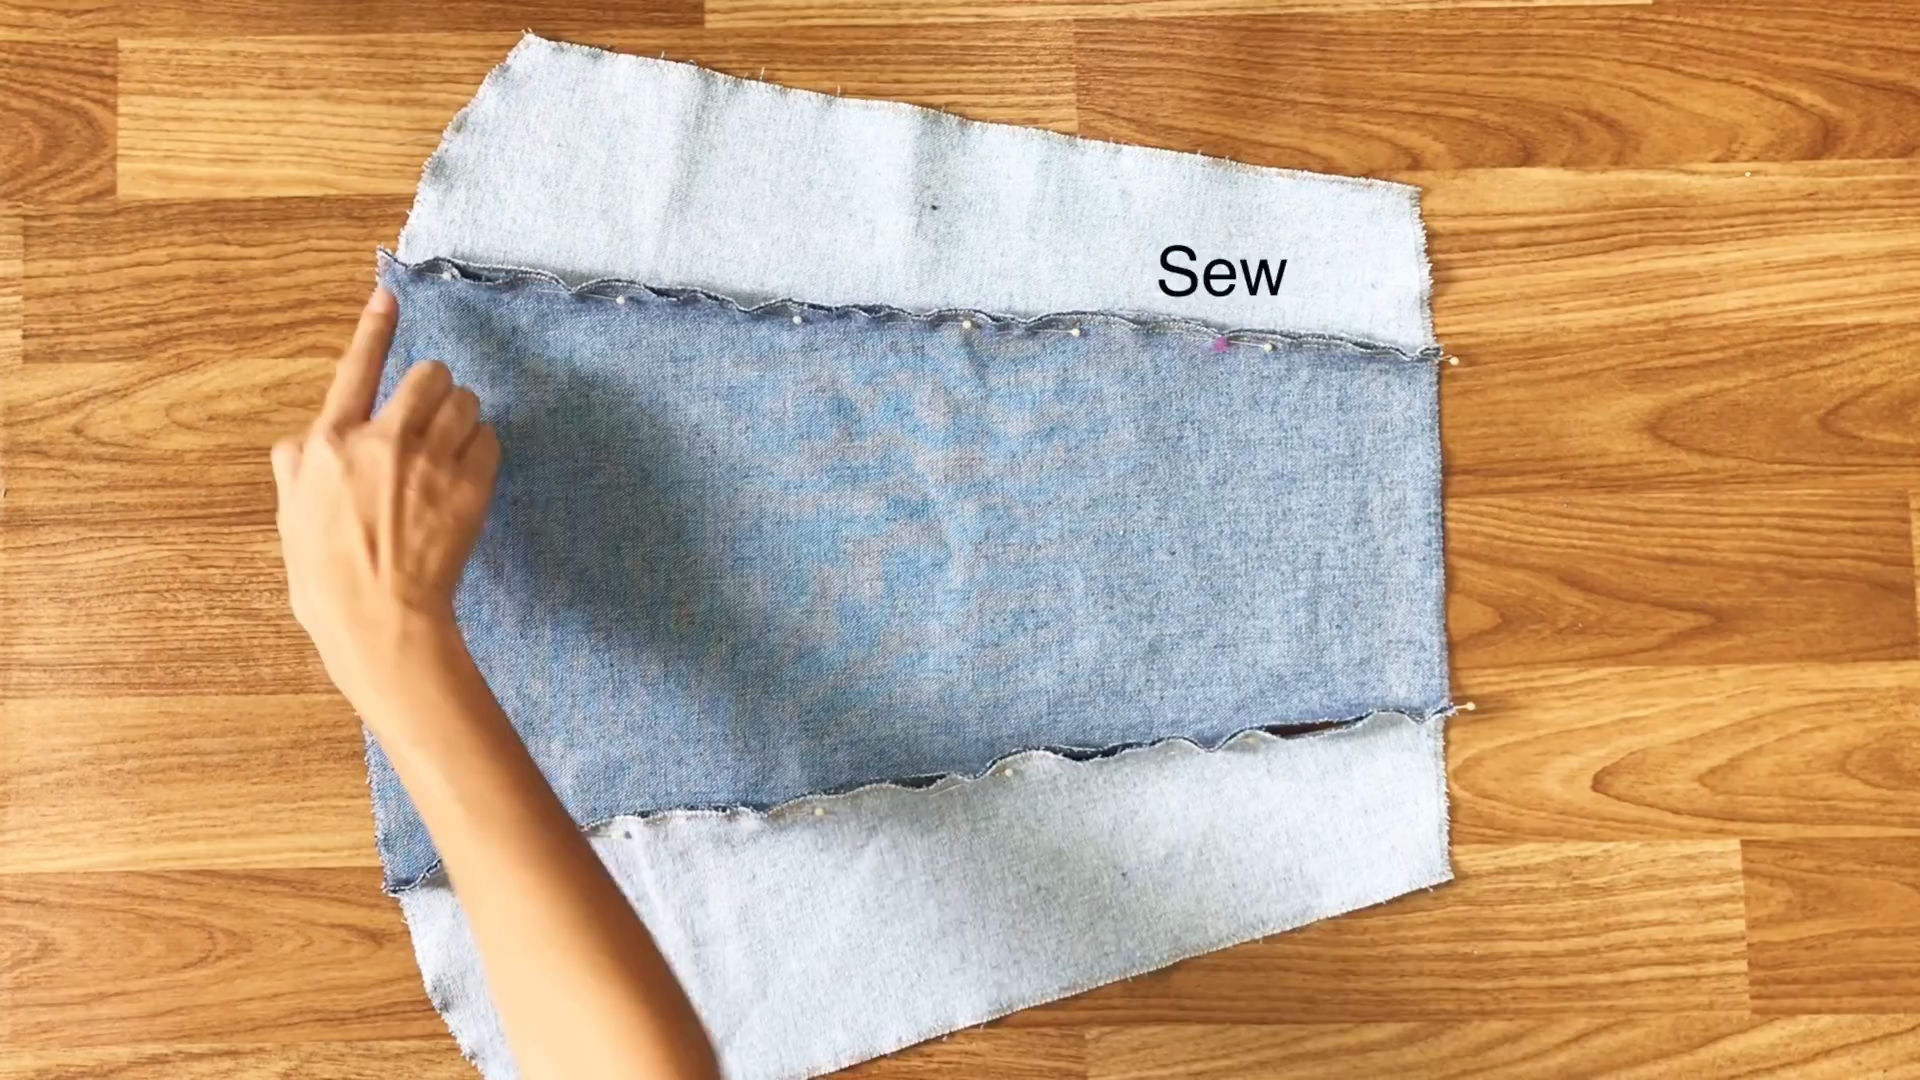
Connect two pieces of the back at two sides of the bottom to the middle one first.
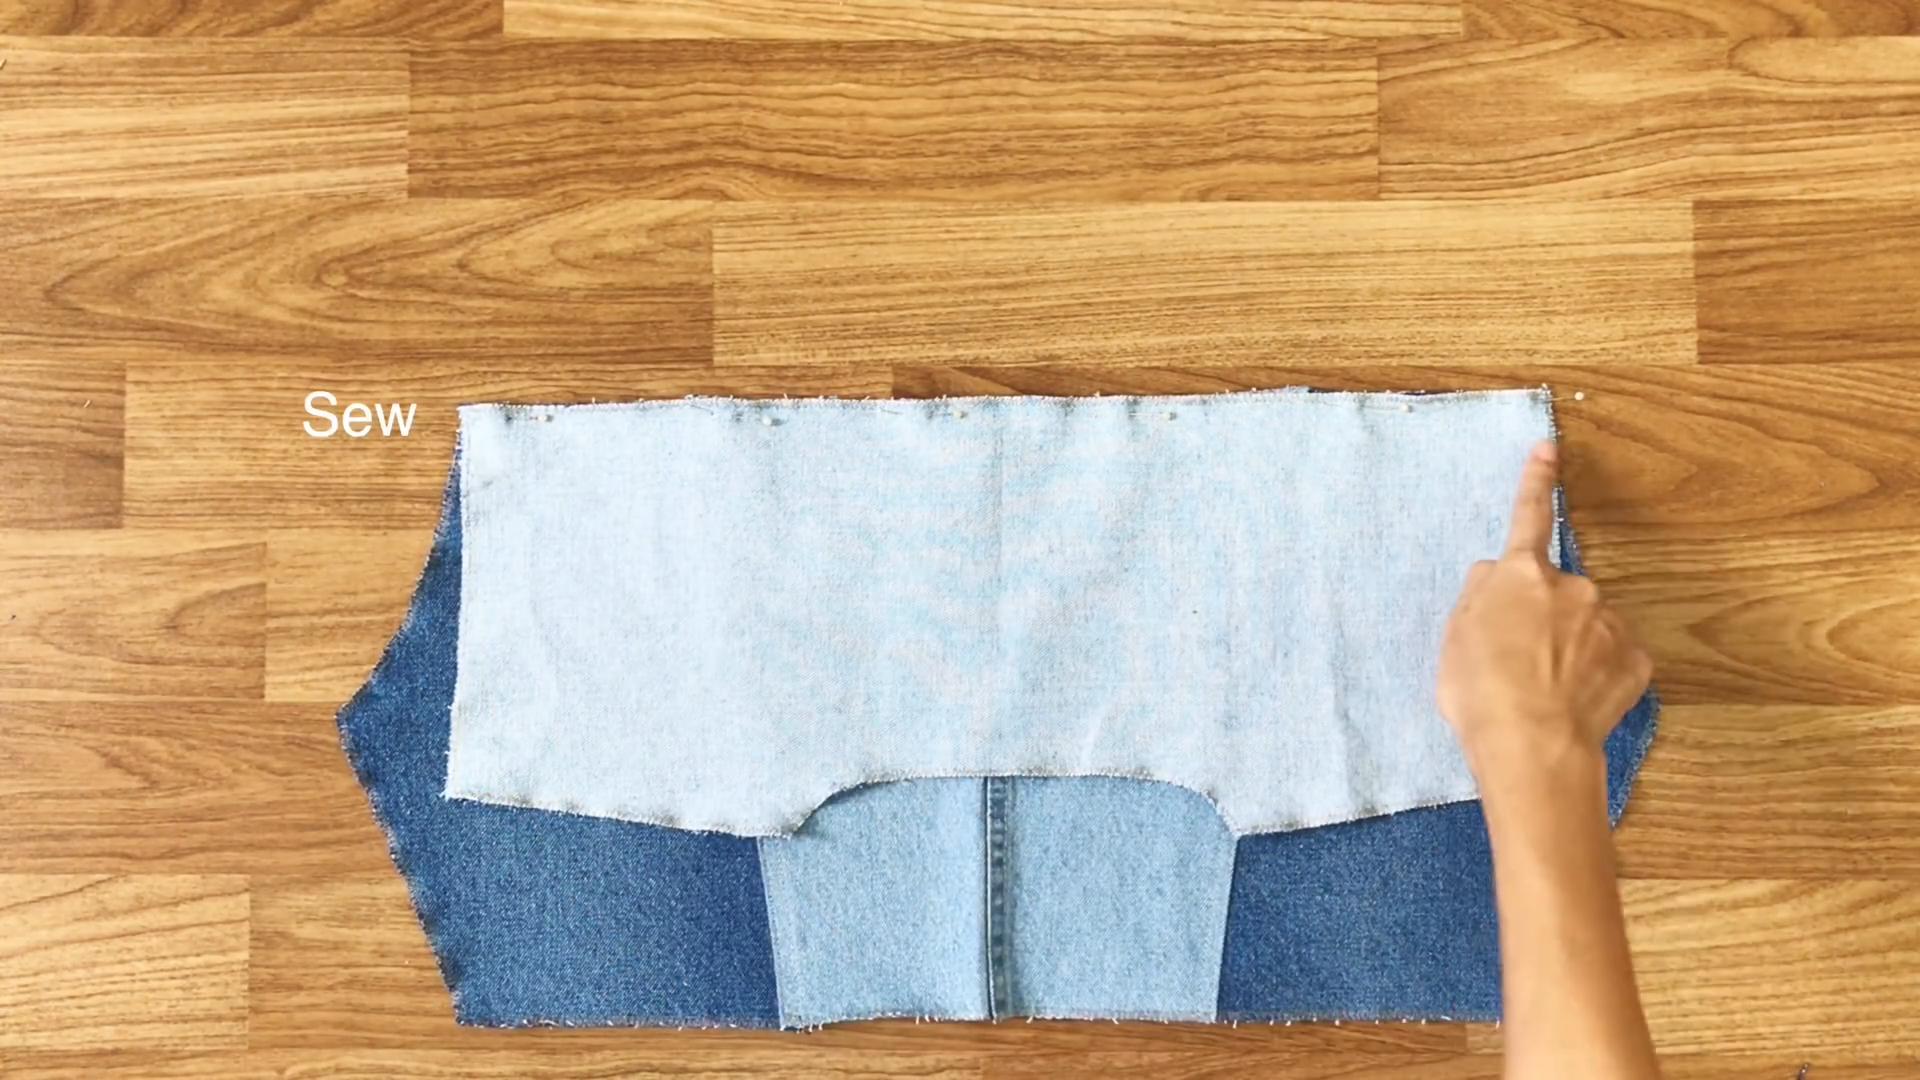
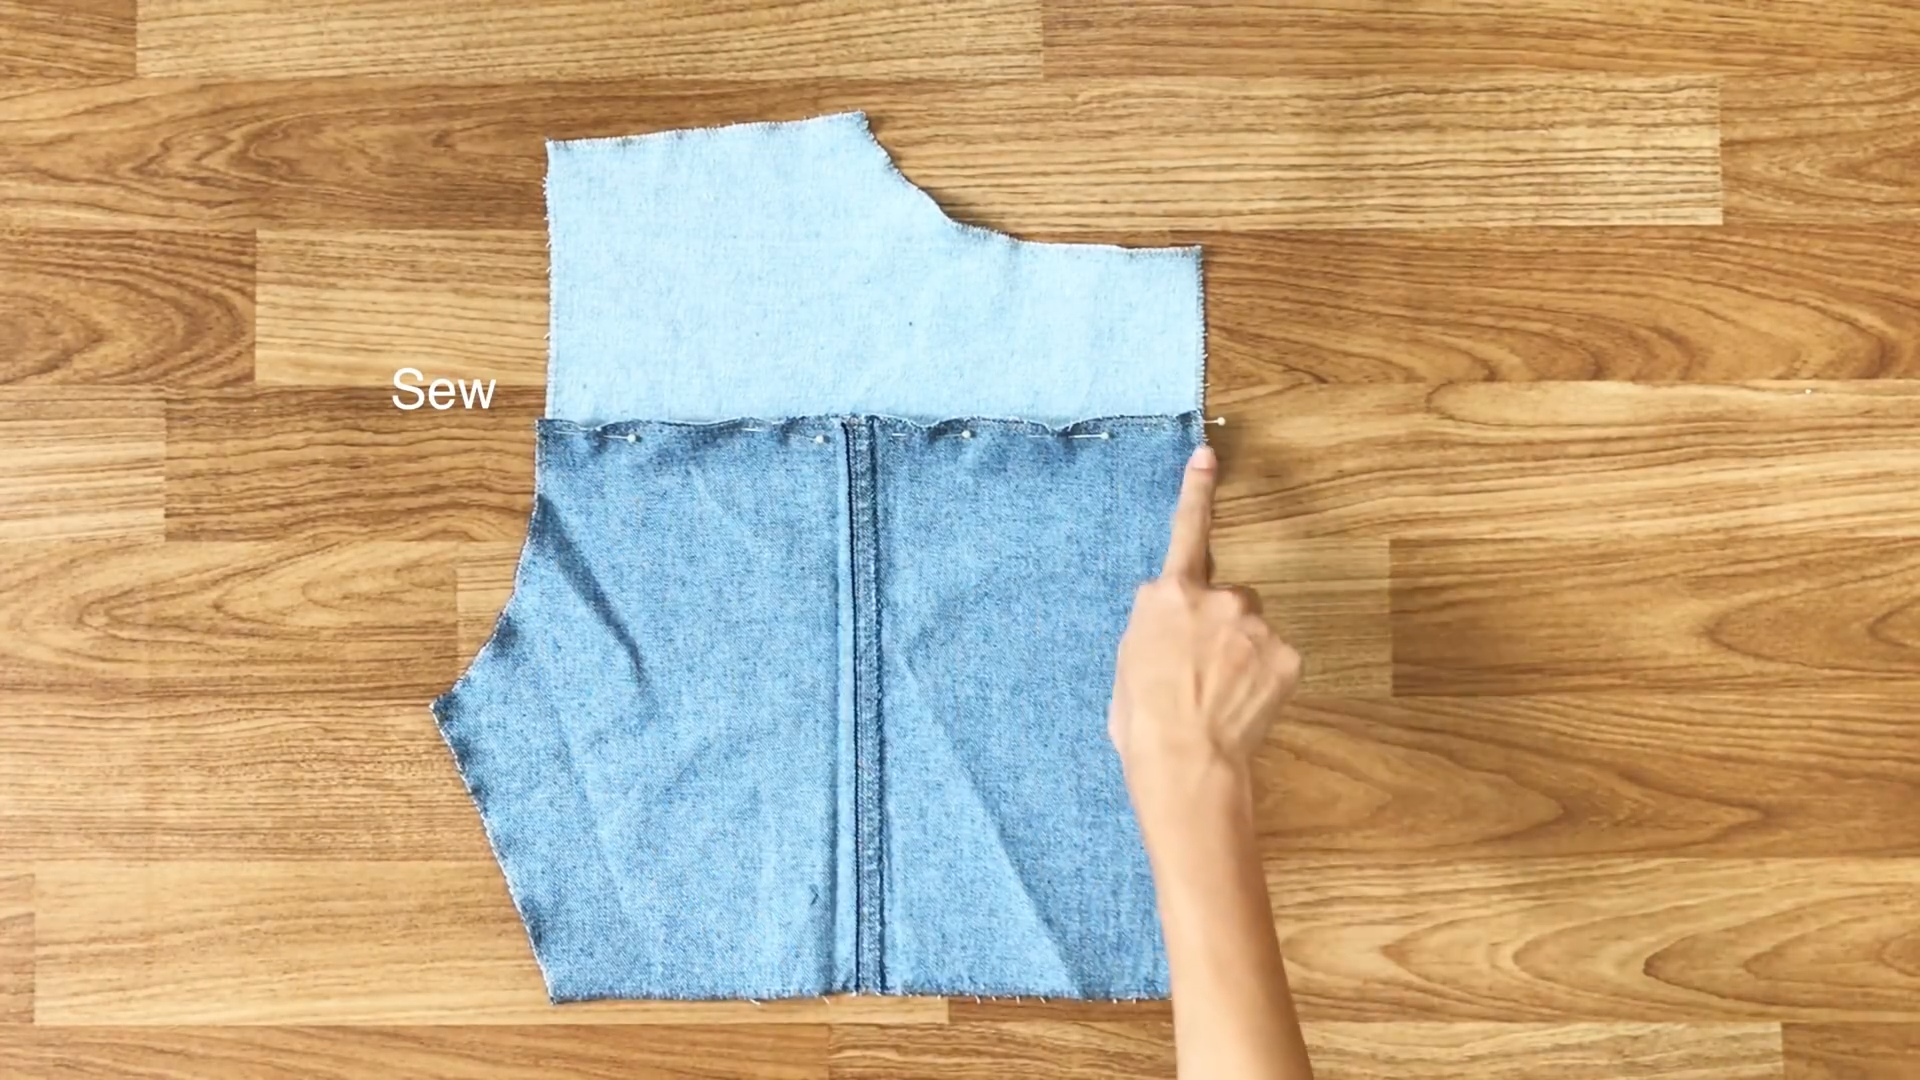
Connect the bottom part to the top part to finish the back of the jacket.
After the first seam, make two seams outside to fix the form and make it look similar to the real jacket.
THE FRONT
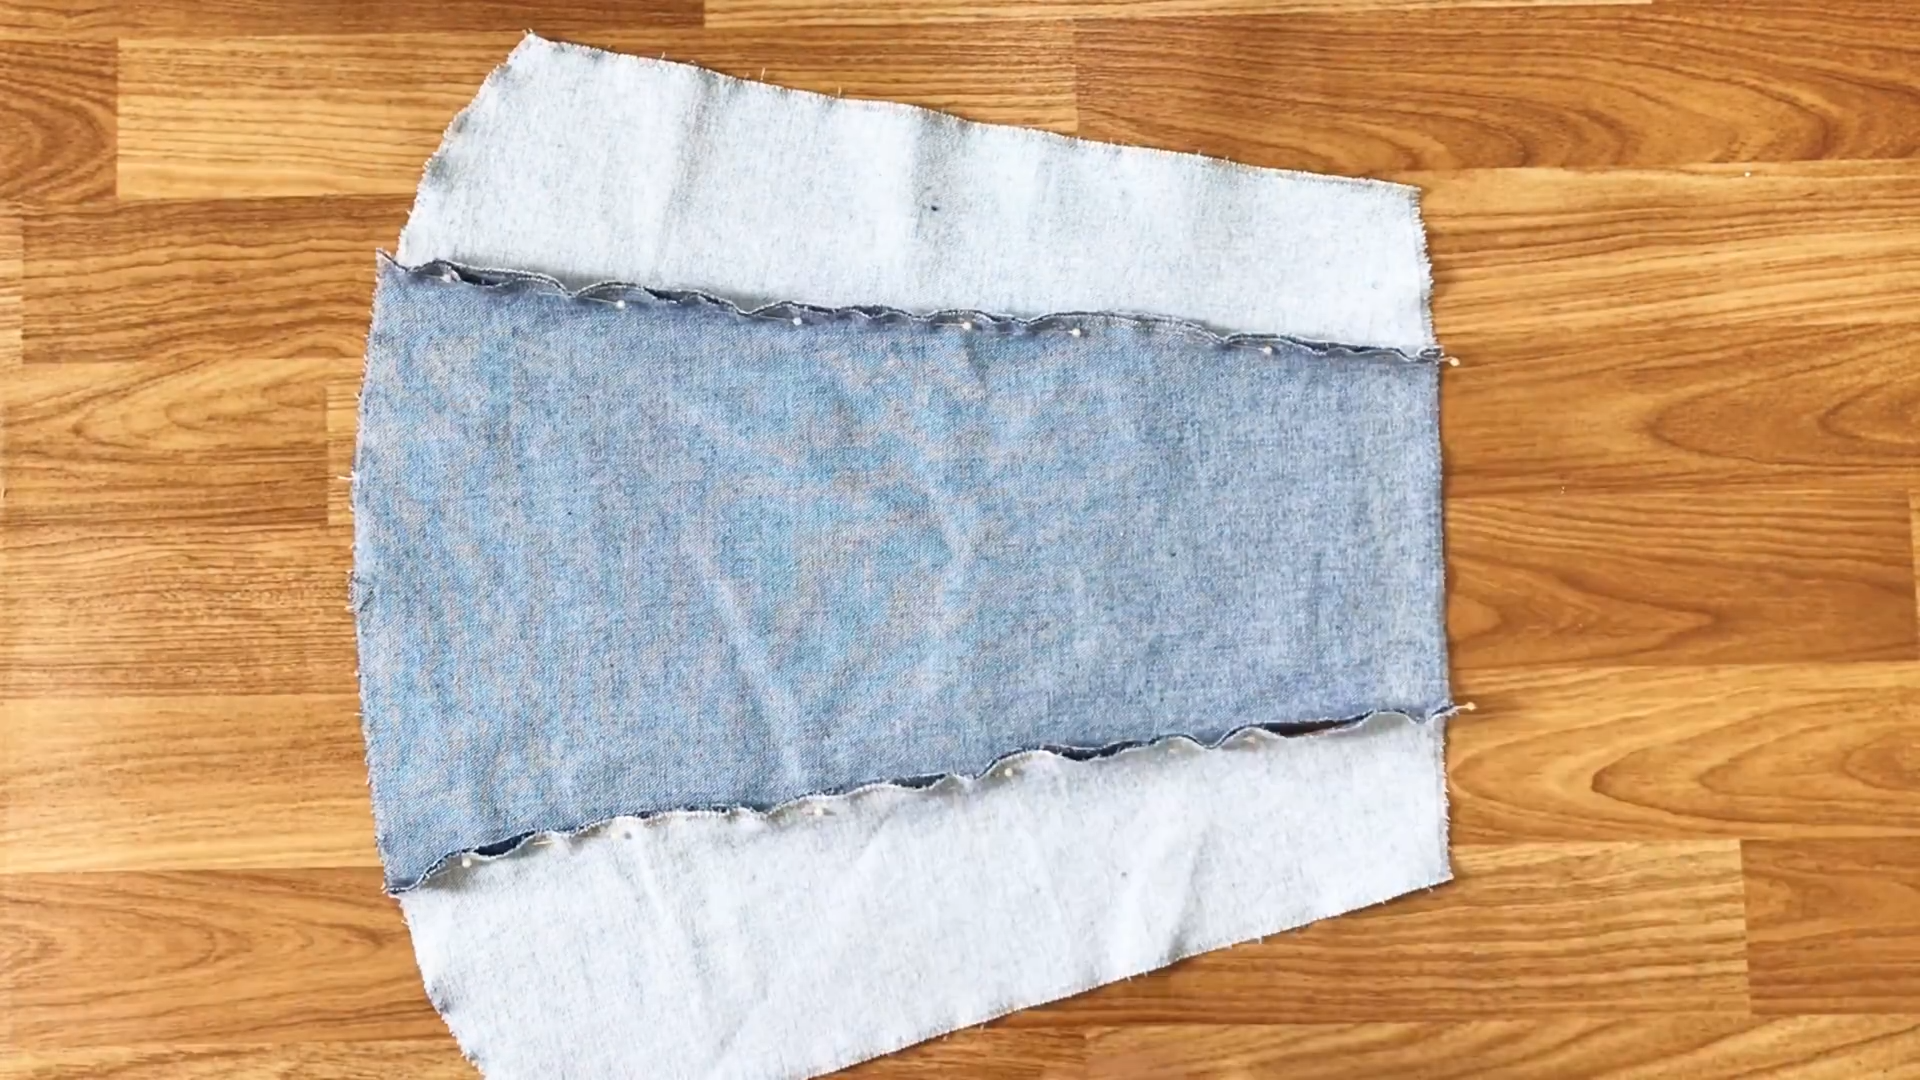
Connect the two parts of the front pattern and sew them together.
You will need two front parts for the left and right side respectively.
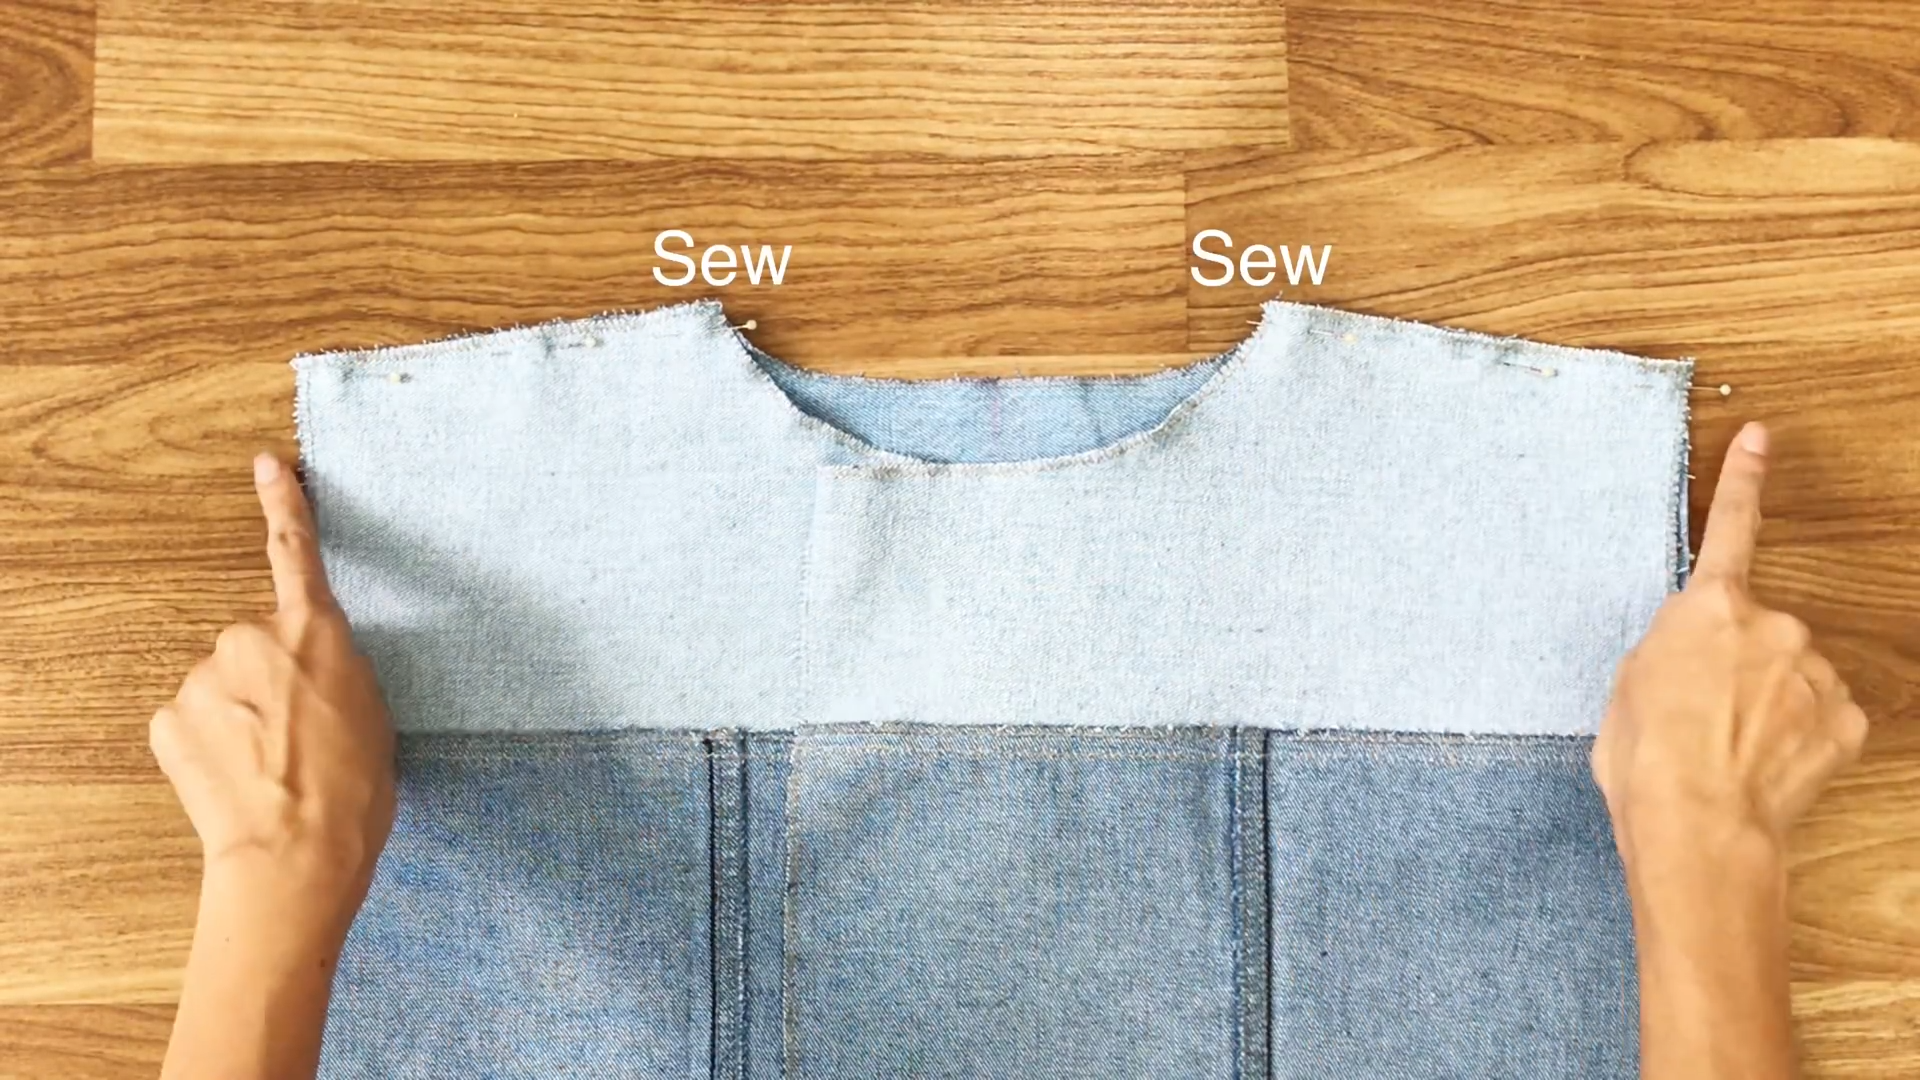
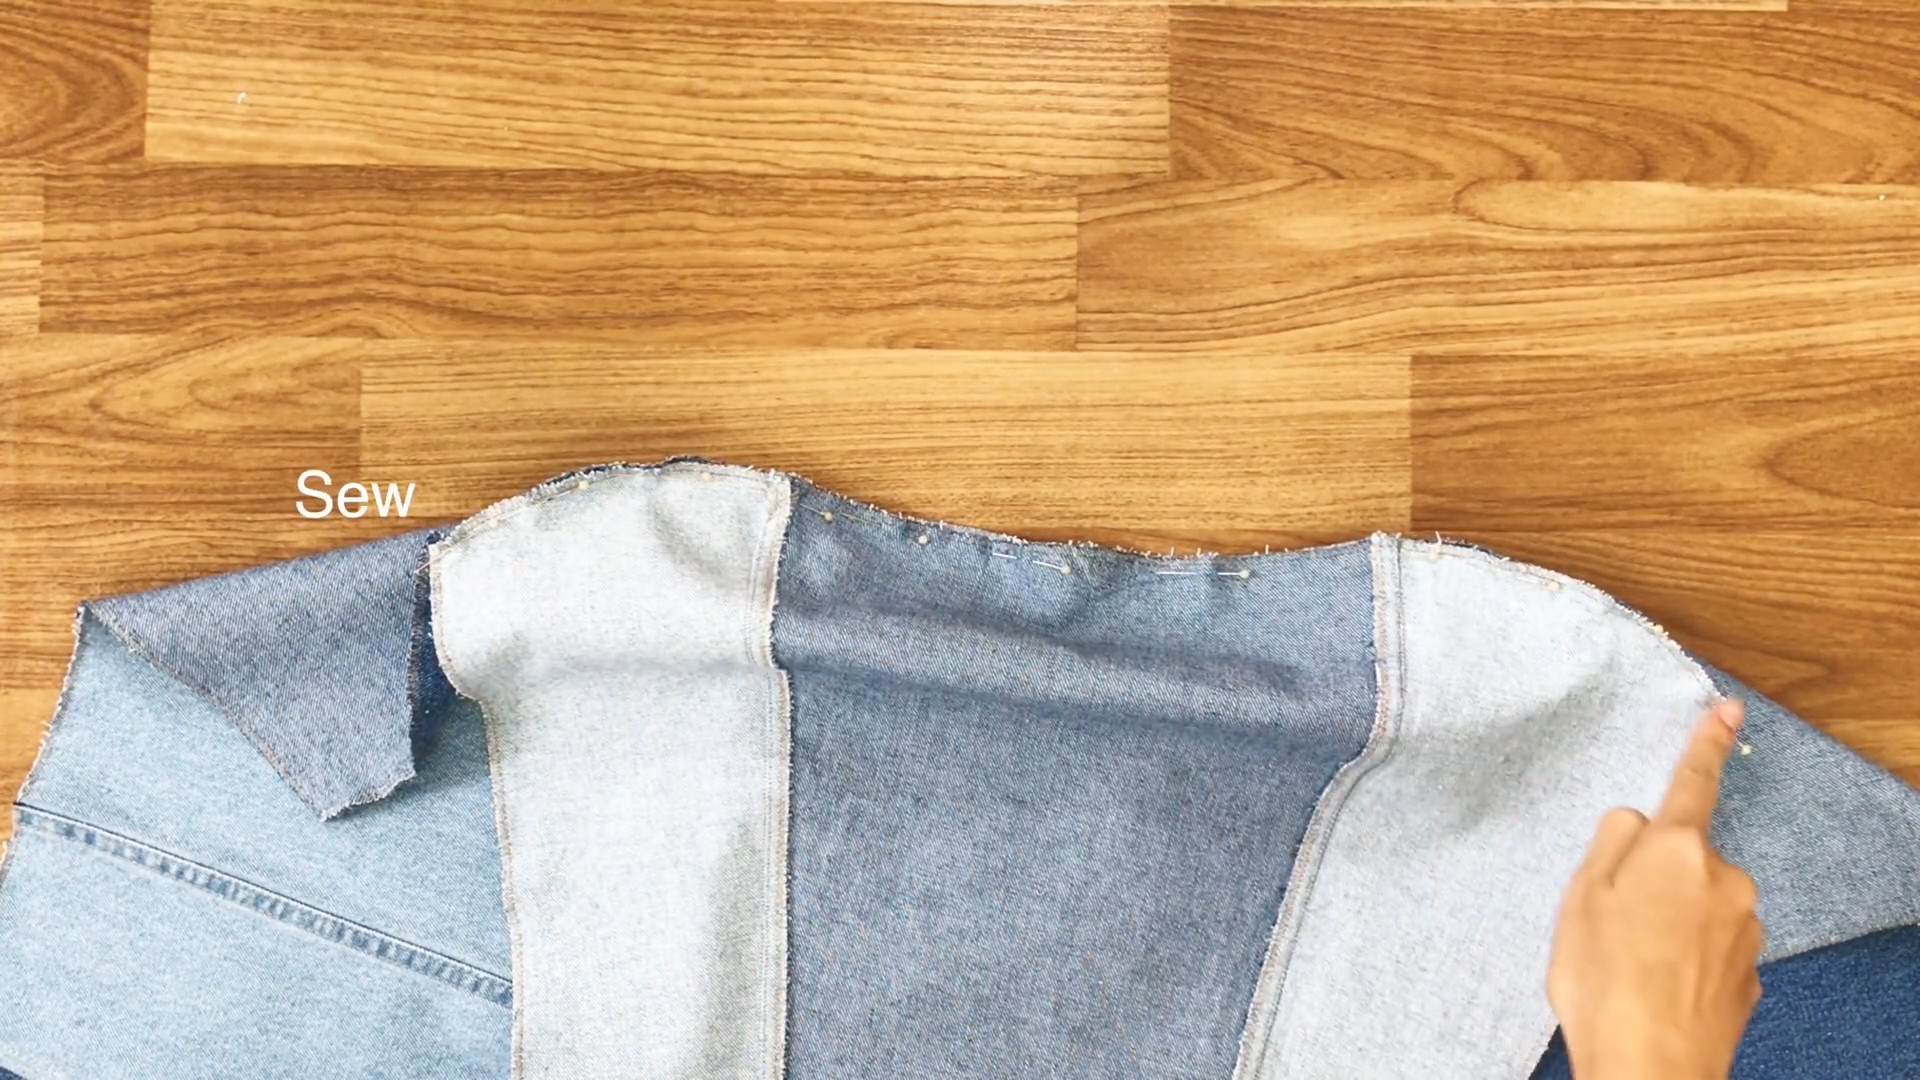
Connect the front and the back of the jacket together at the shoulder lines and sew them together.
THE ARM
Fix two small pieces to the big one first.
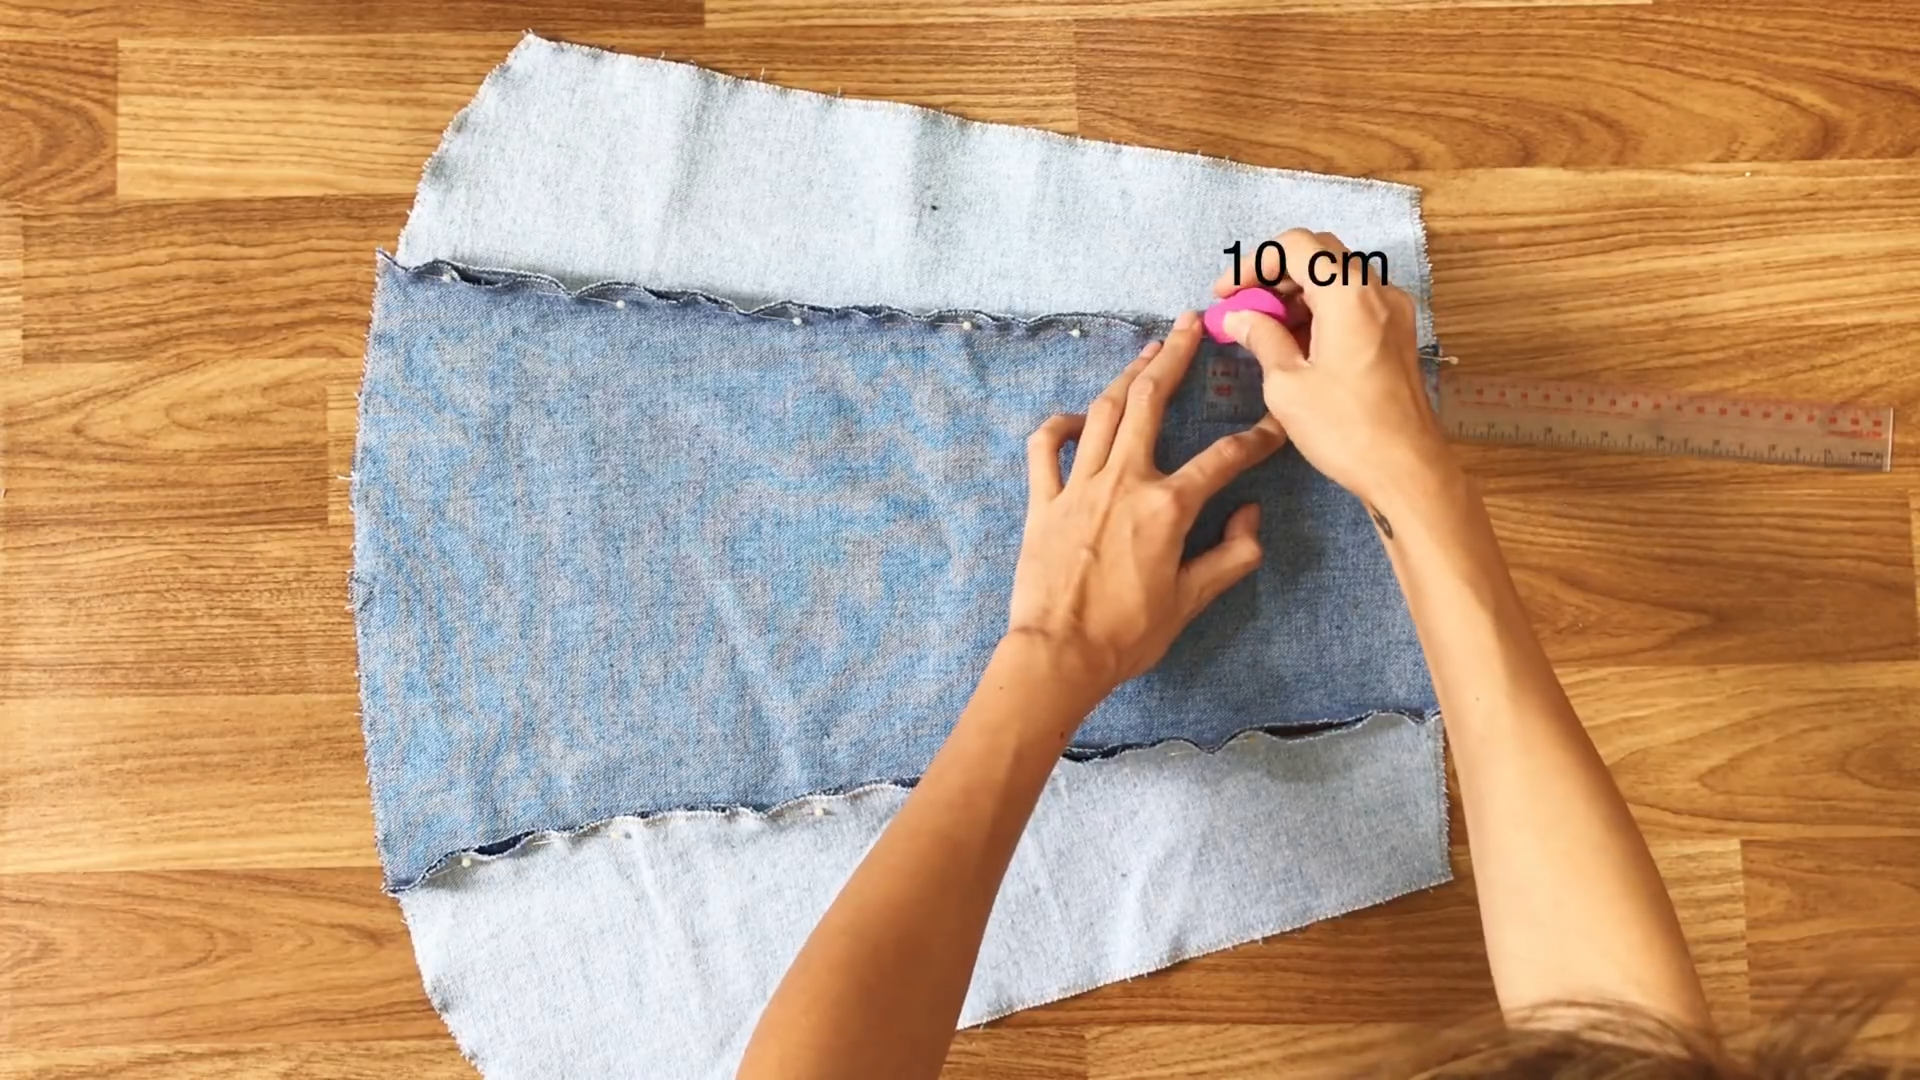
Decide which small part will be the back of the arm. Mark at 10cm inside from the wrist line. This will be the open part at the back of the hand.
Sew the arm pieces together.
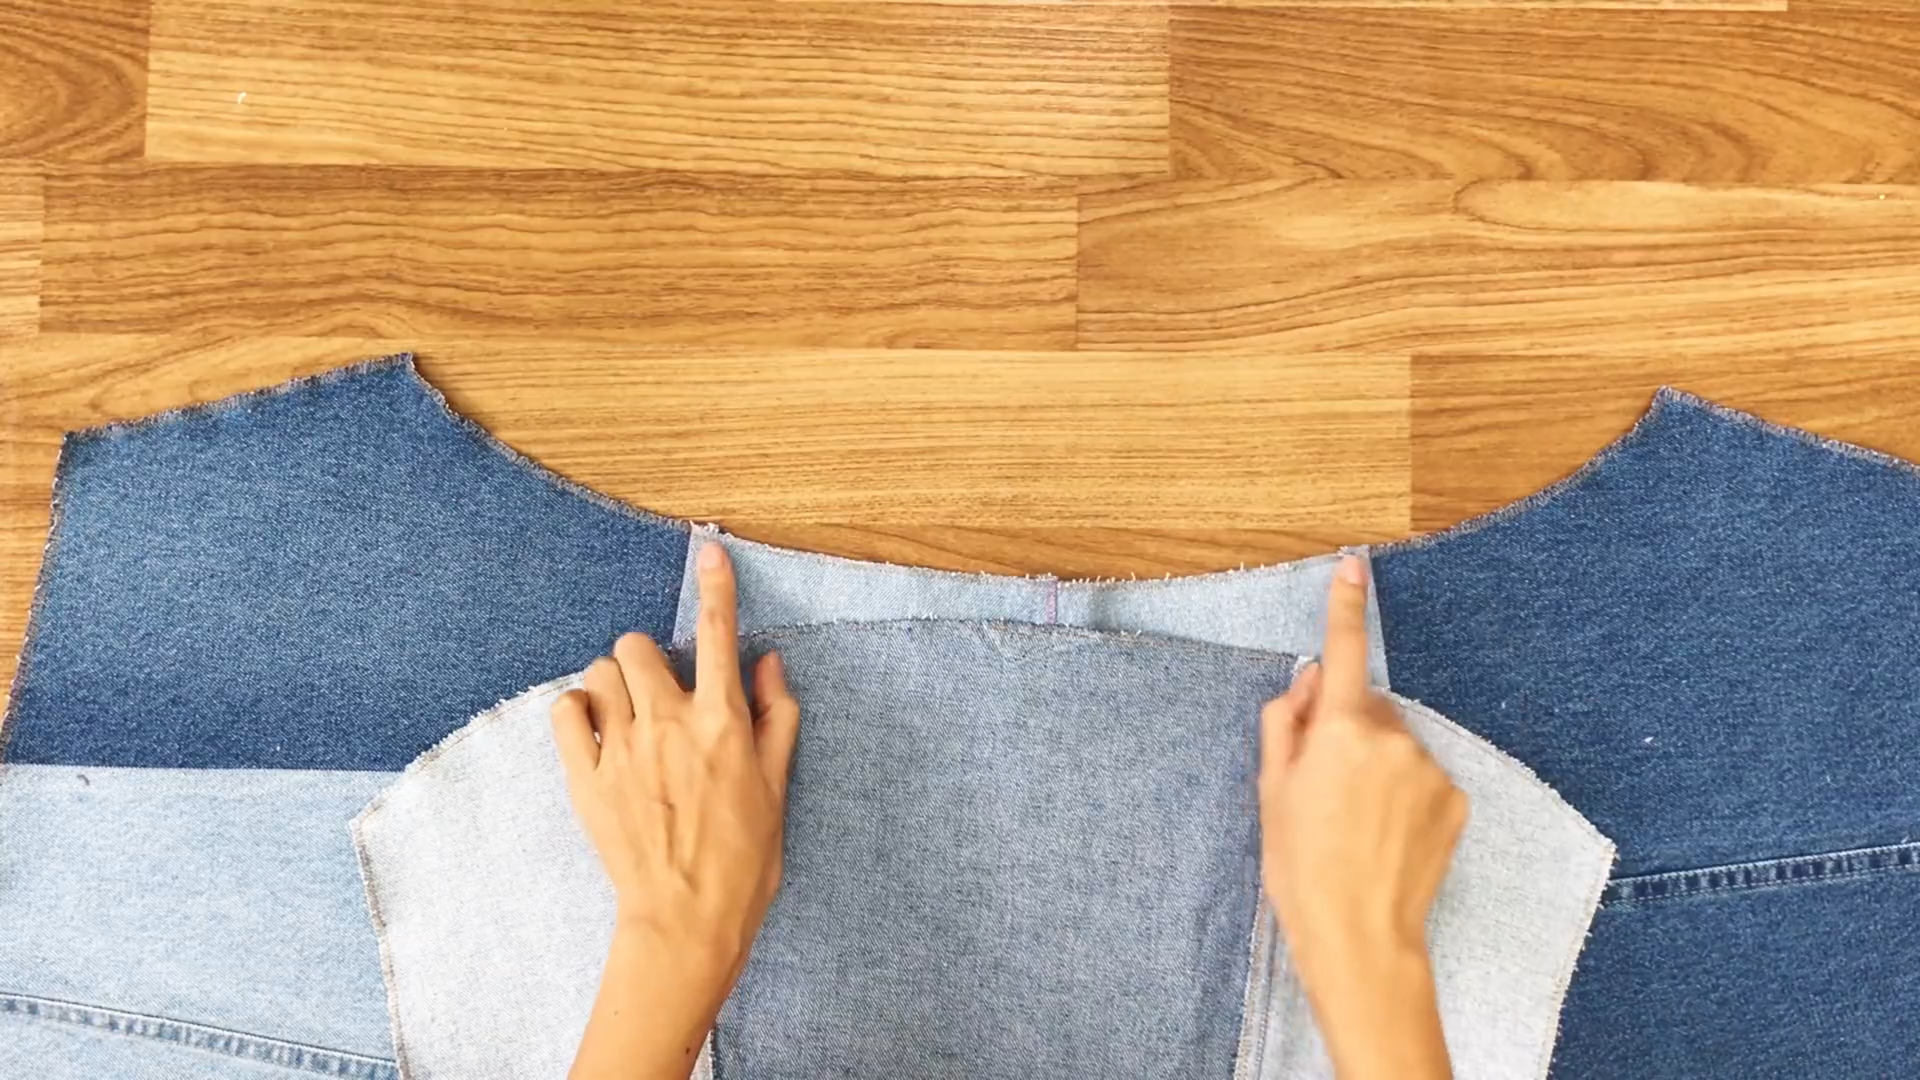
Connect the hand to the main body of the jacket.
Ensure that the open back of the hand is at the same side of the back of the jacket.
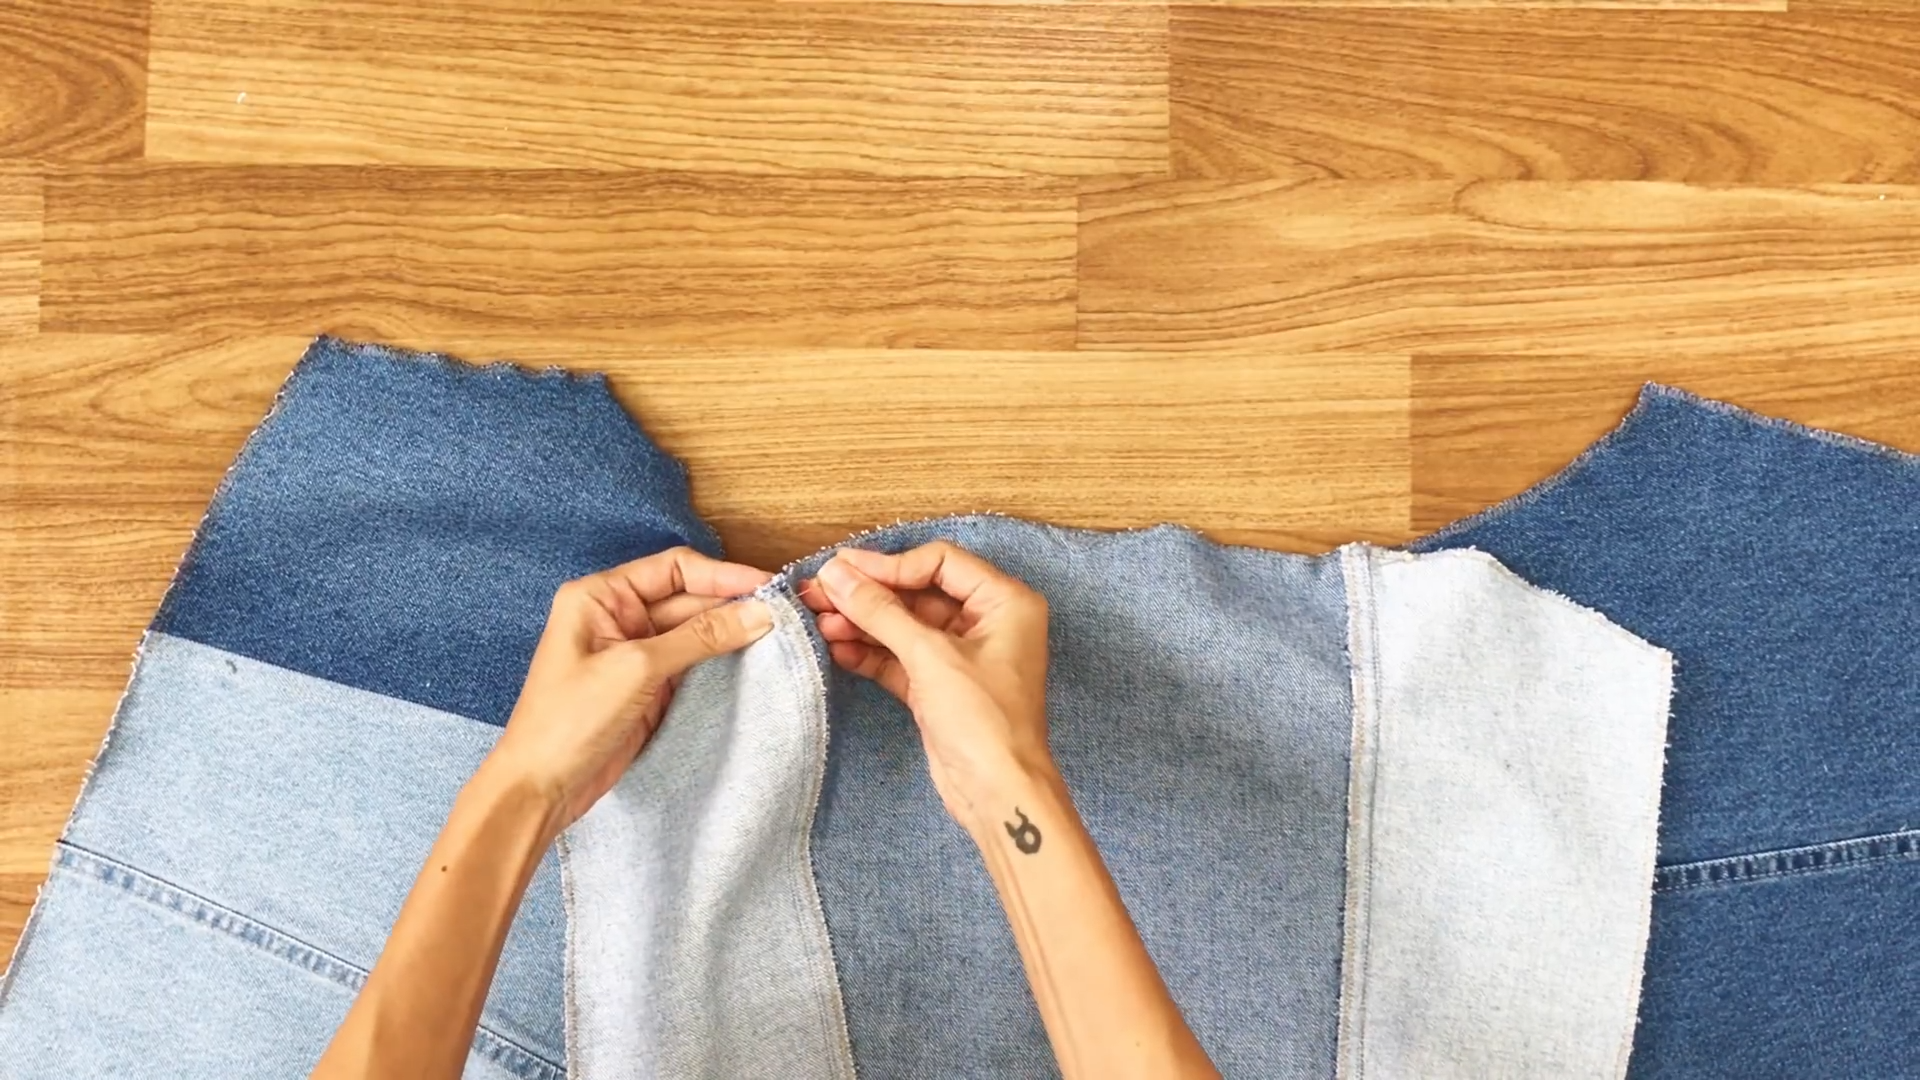
Connect them at the gap between 2 jeans first to have a nice matching for the jacket.
Connect the rest later and sew.
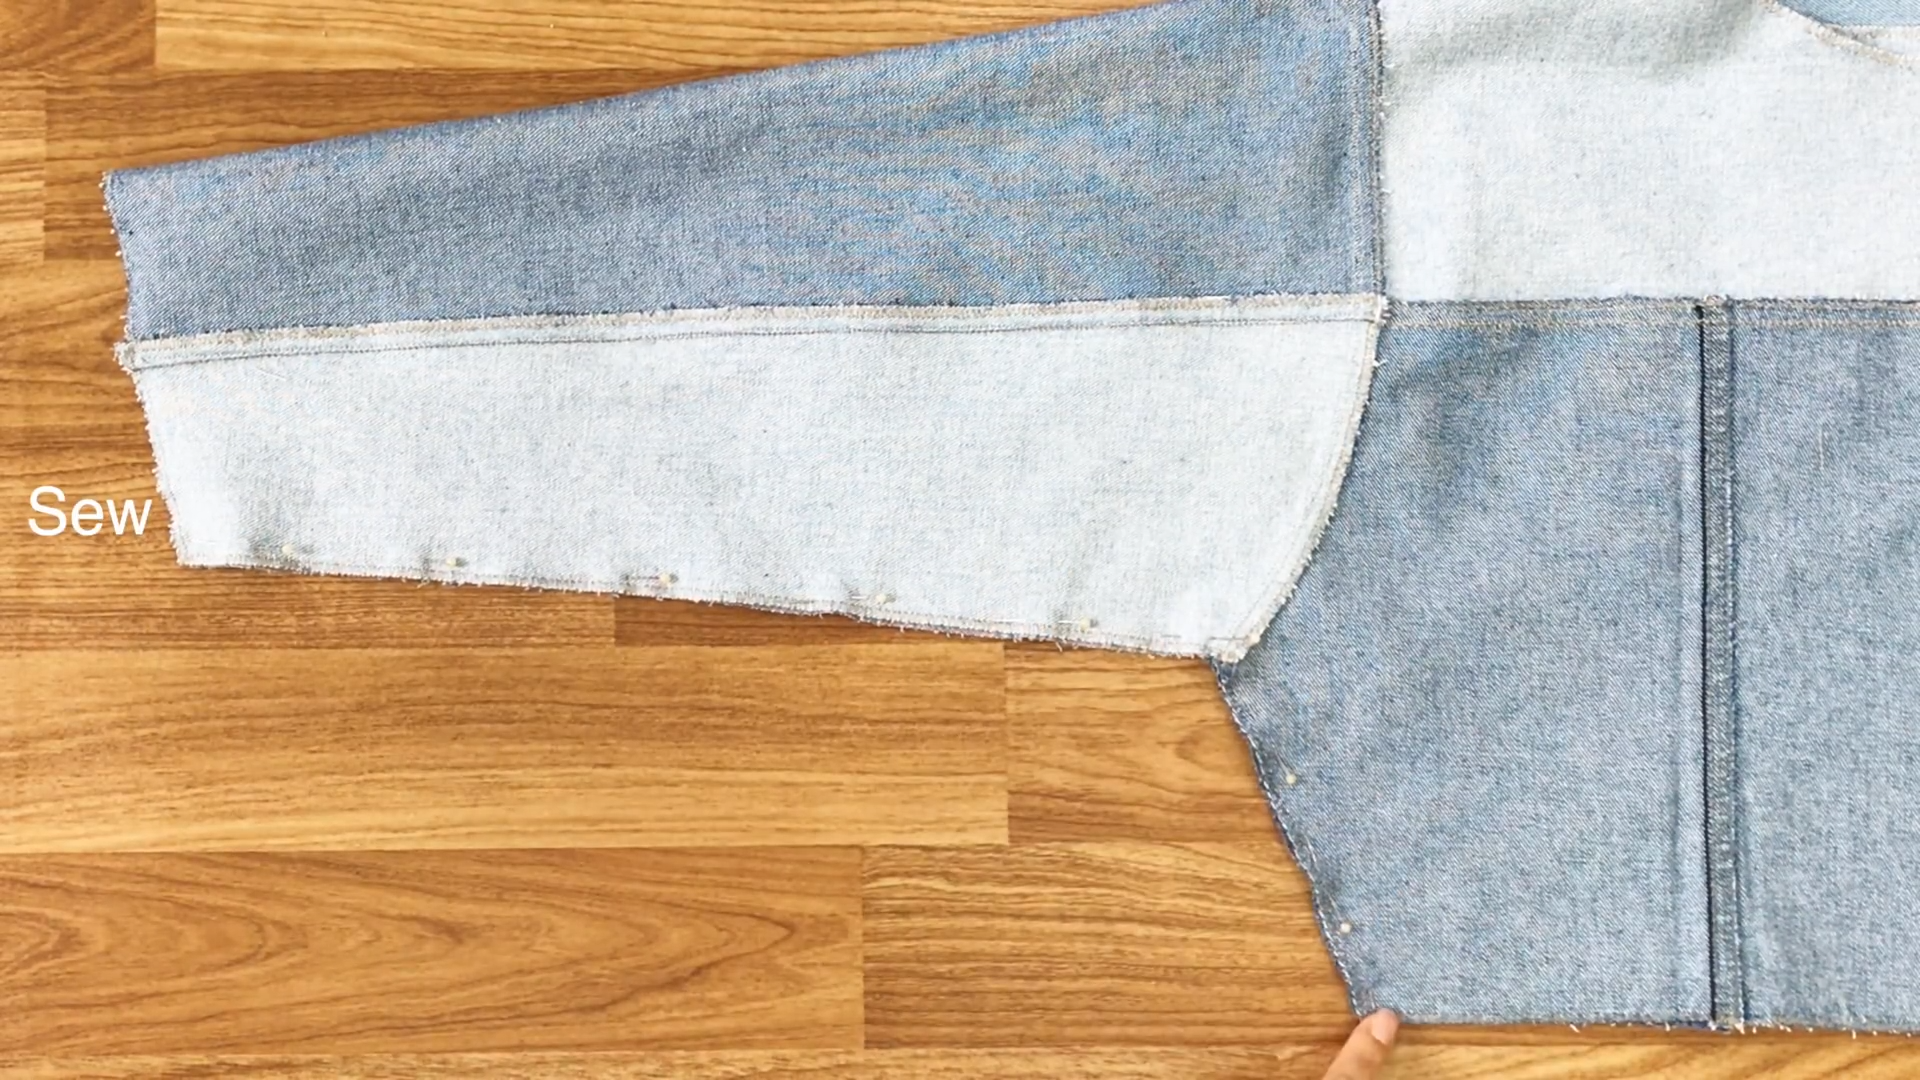
Sew two sides of the arm and connect with two sides of the jacket.
THE NECK
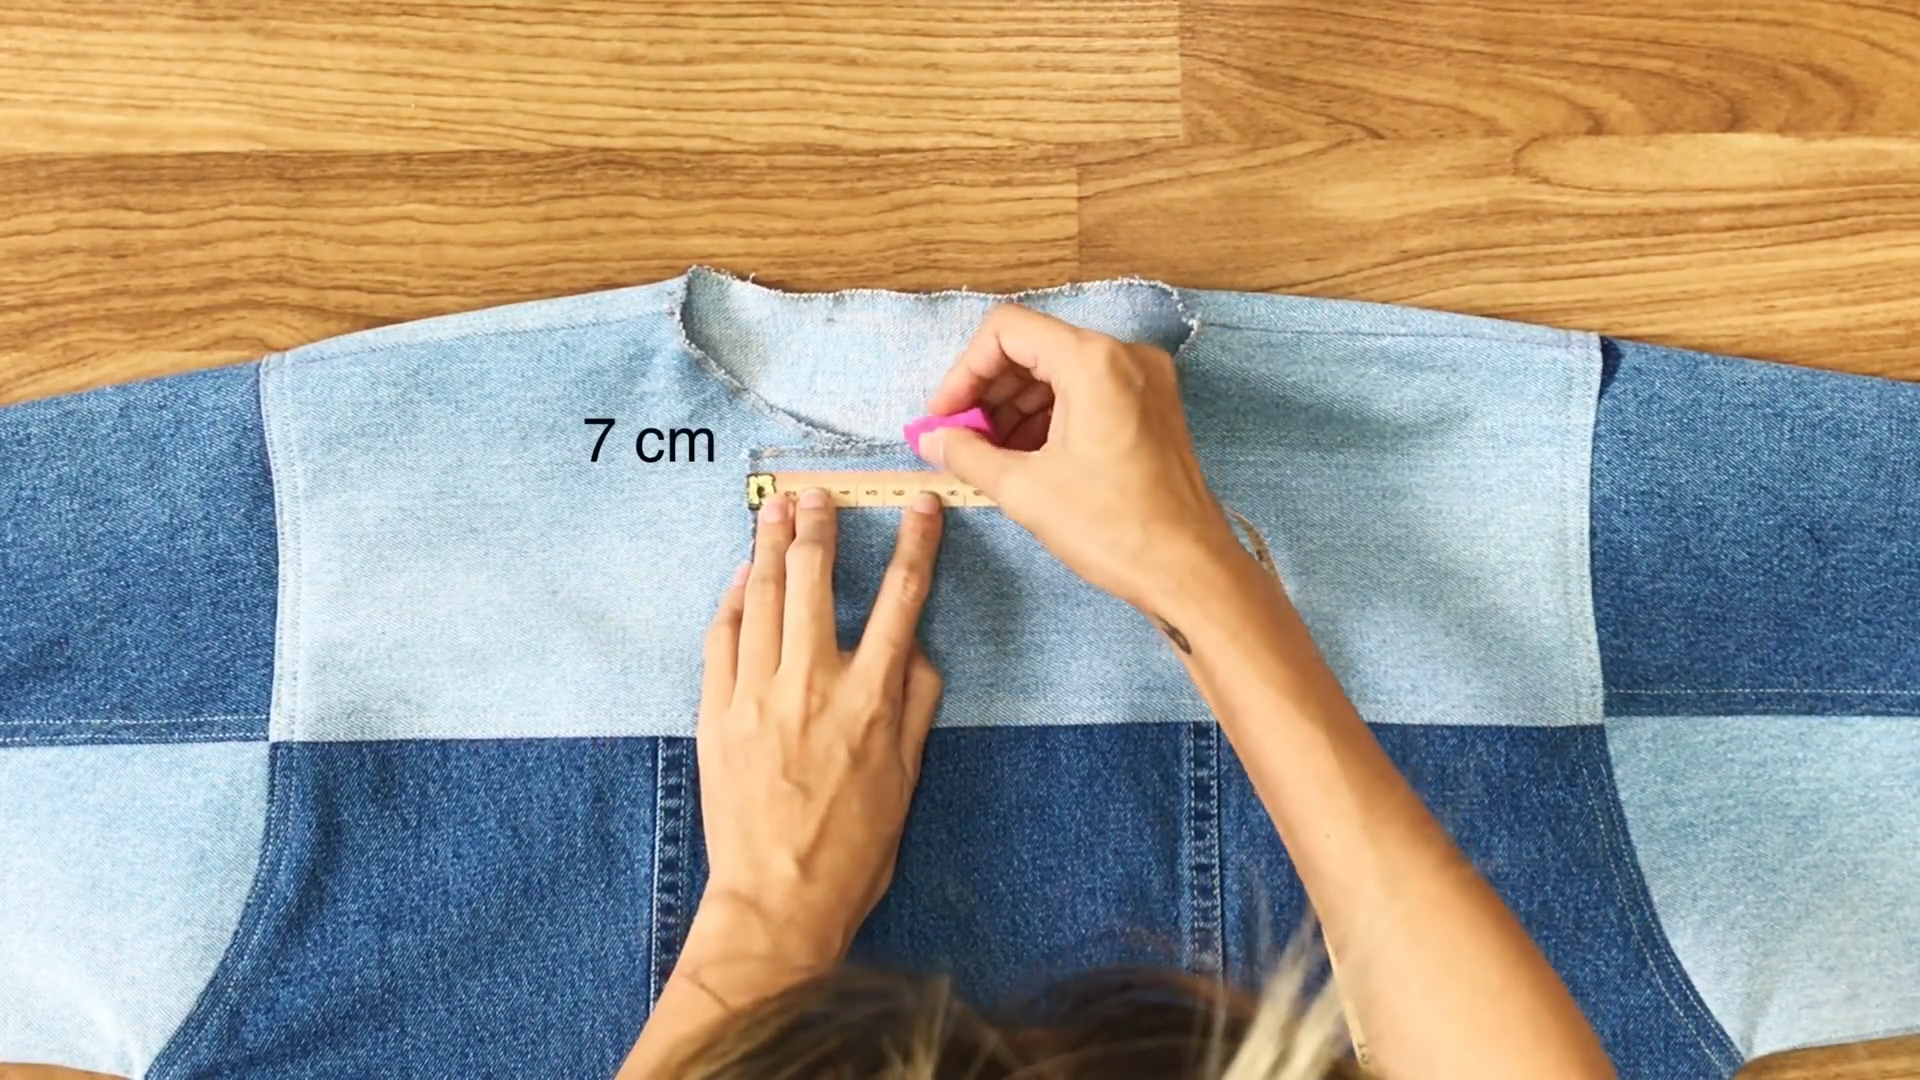
At the neck of the jacket, mark 7cm on each side. These will be the button areas of the jacket later.
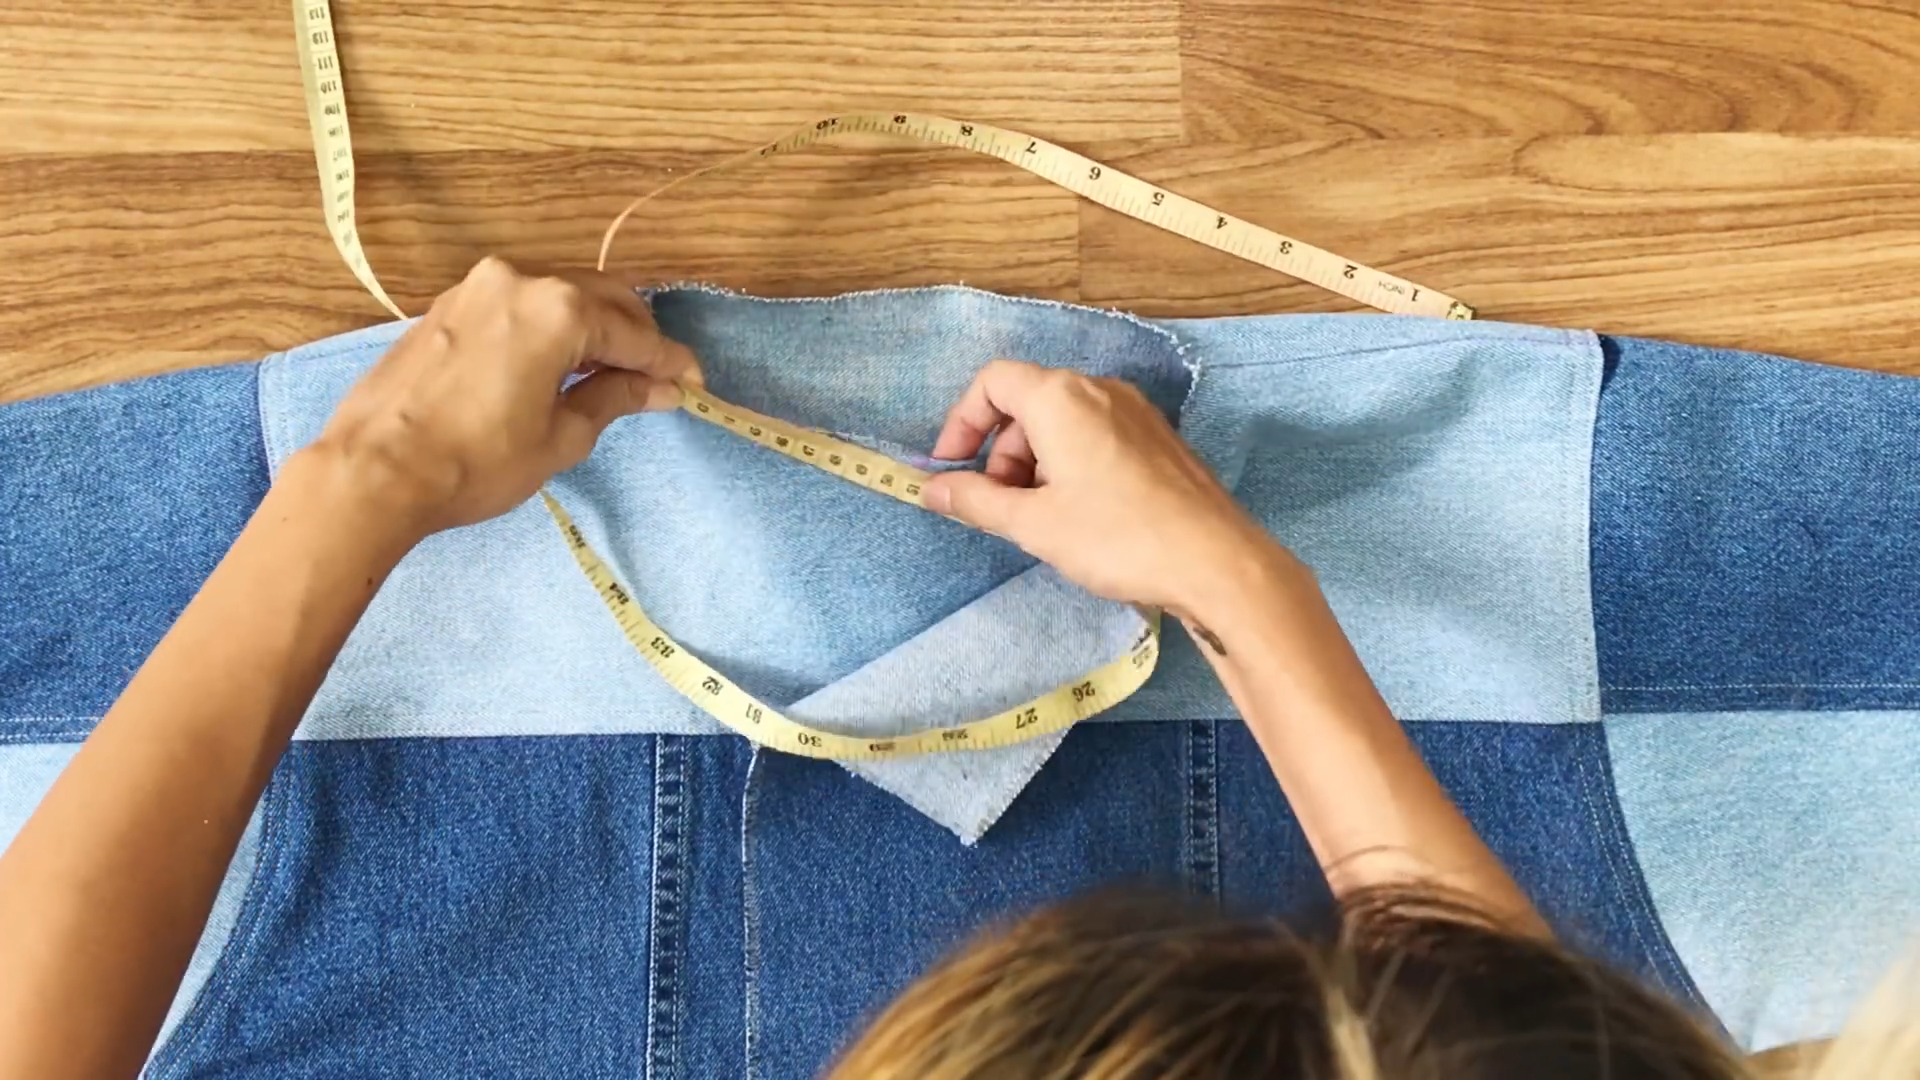
Measure the length of the neck between the two marks. Let’s say it’s 51cm.
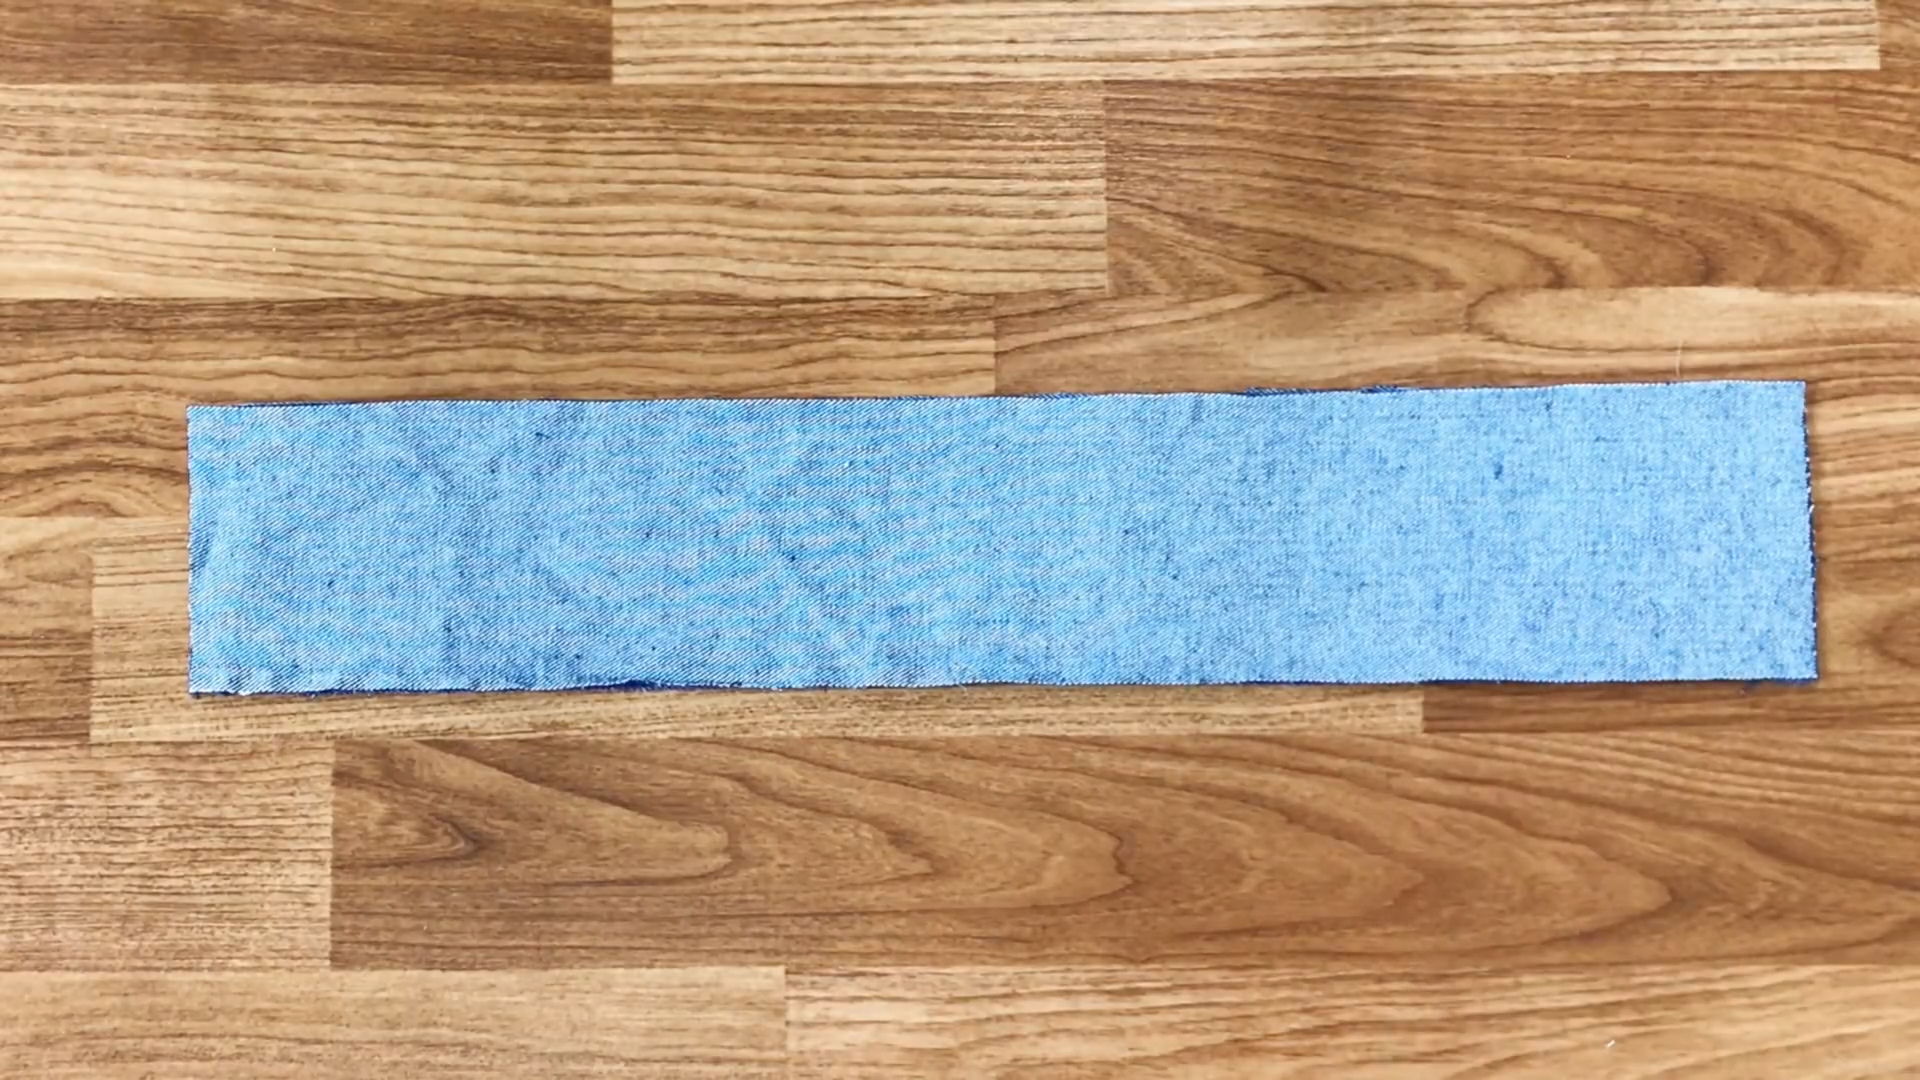
Cut two rectangles with 57cm length (6cm longer than the length of the neck) and 12cm width.
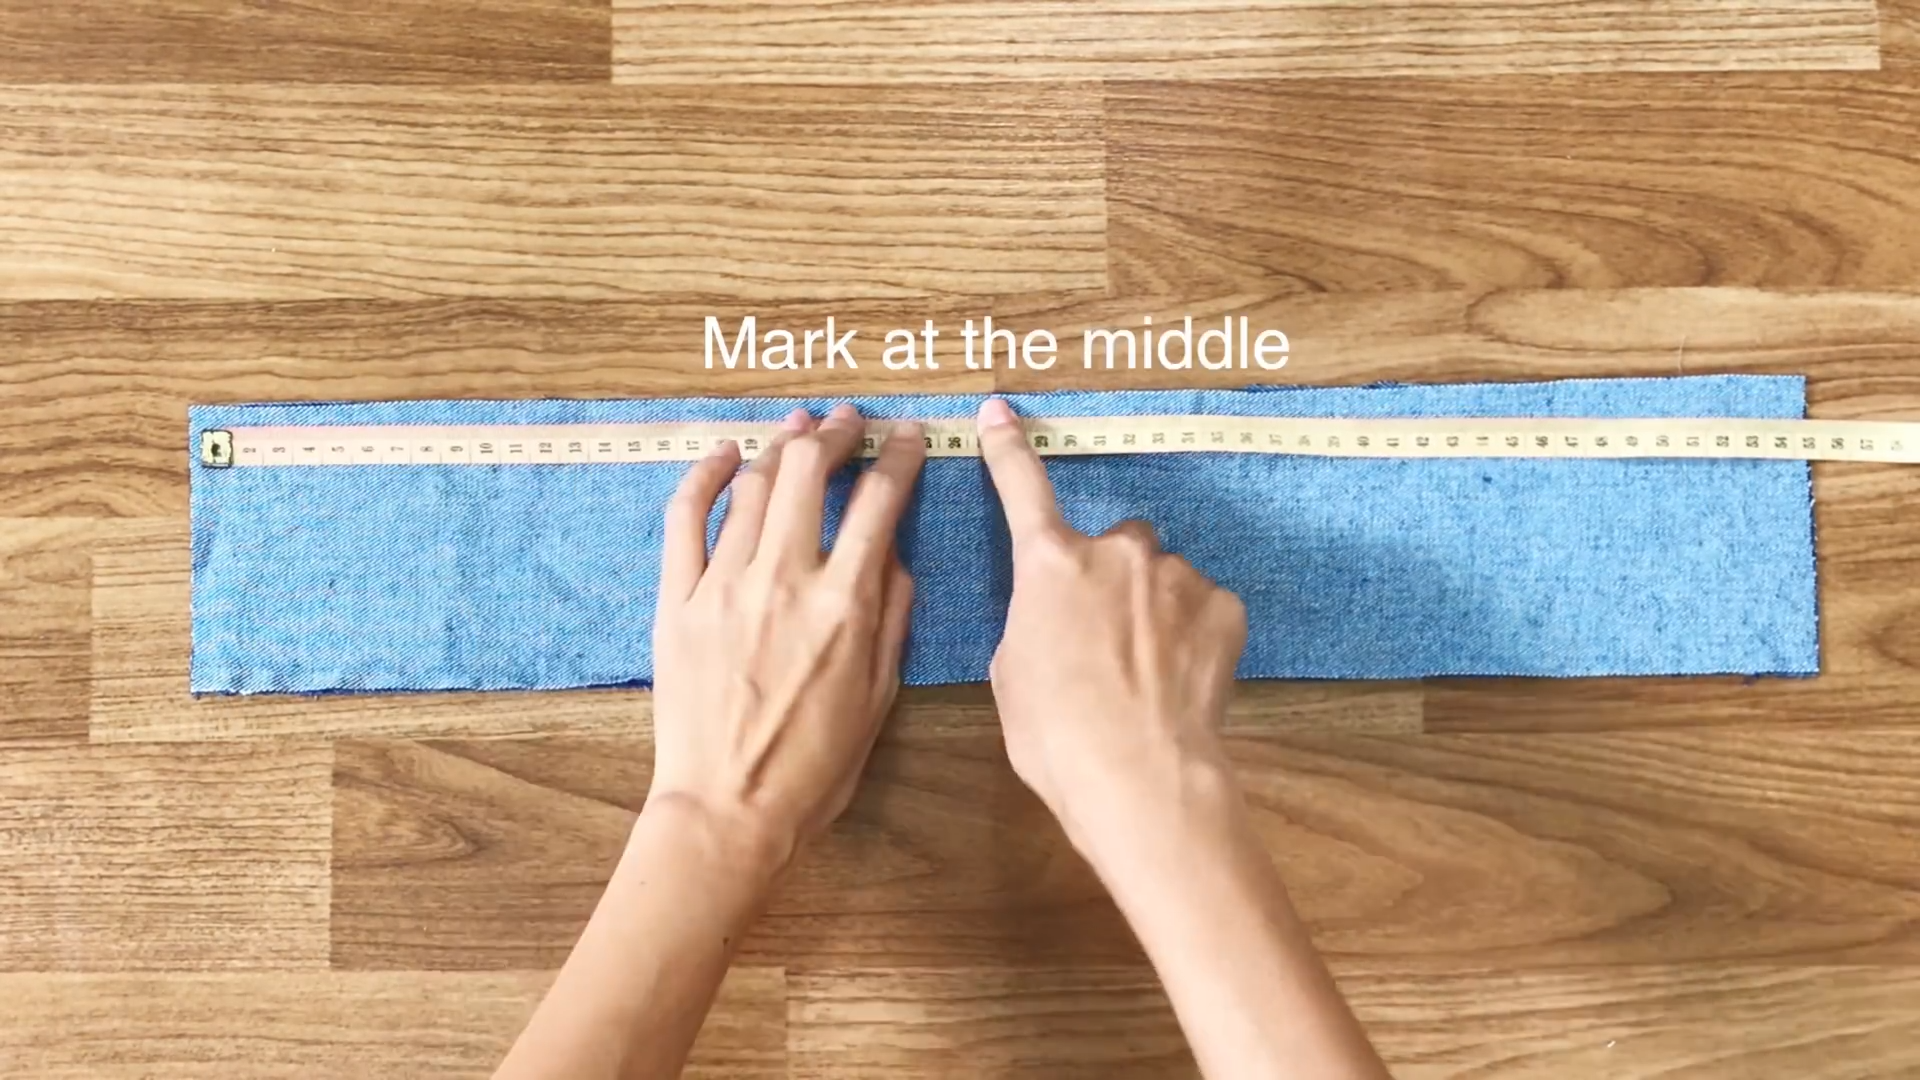
Mark the middle of the top of the rectangle first.
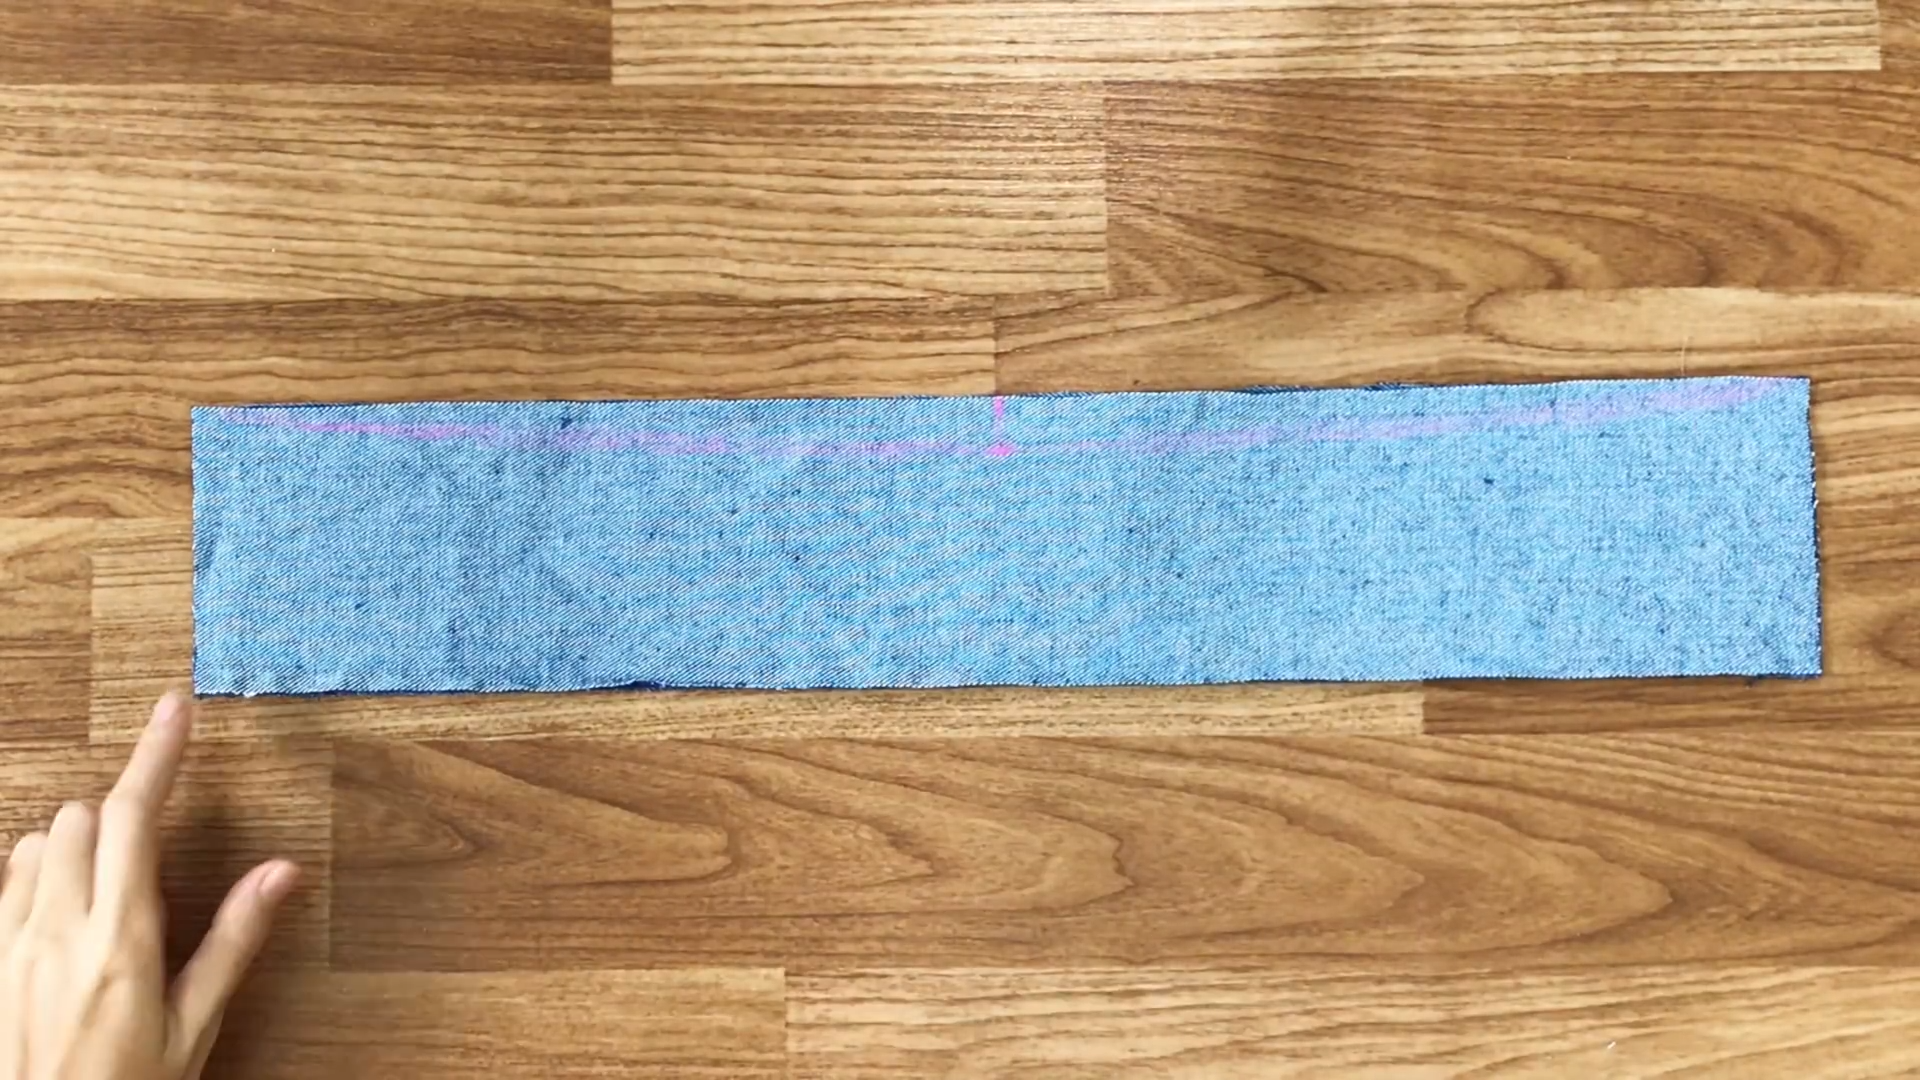
Move down 2cm from that mark to draw a curved line to connect to two sides of the rectangle.
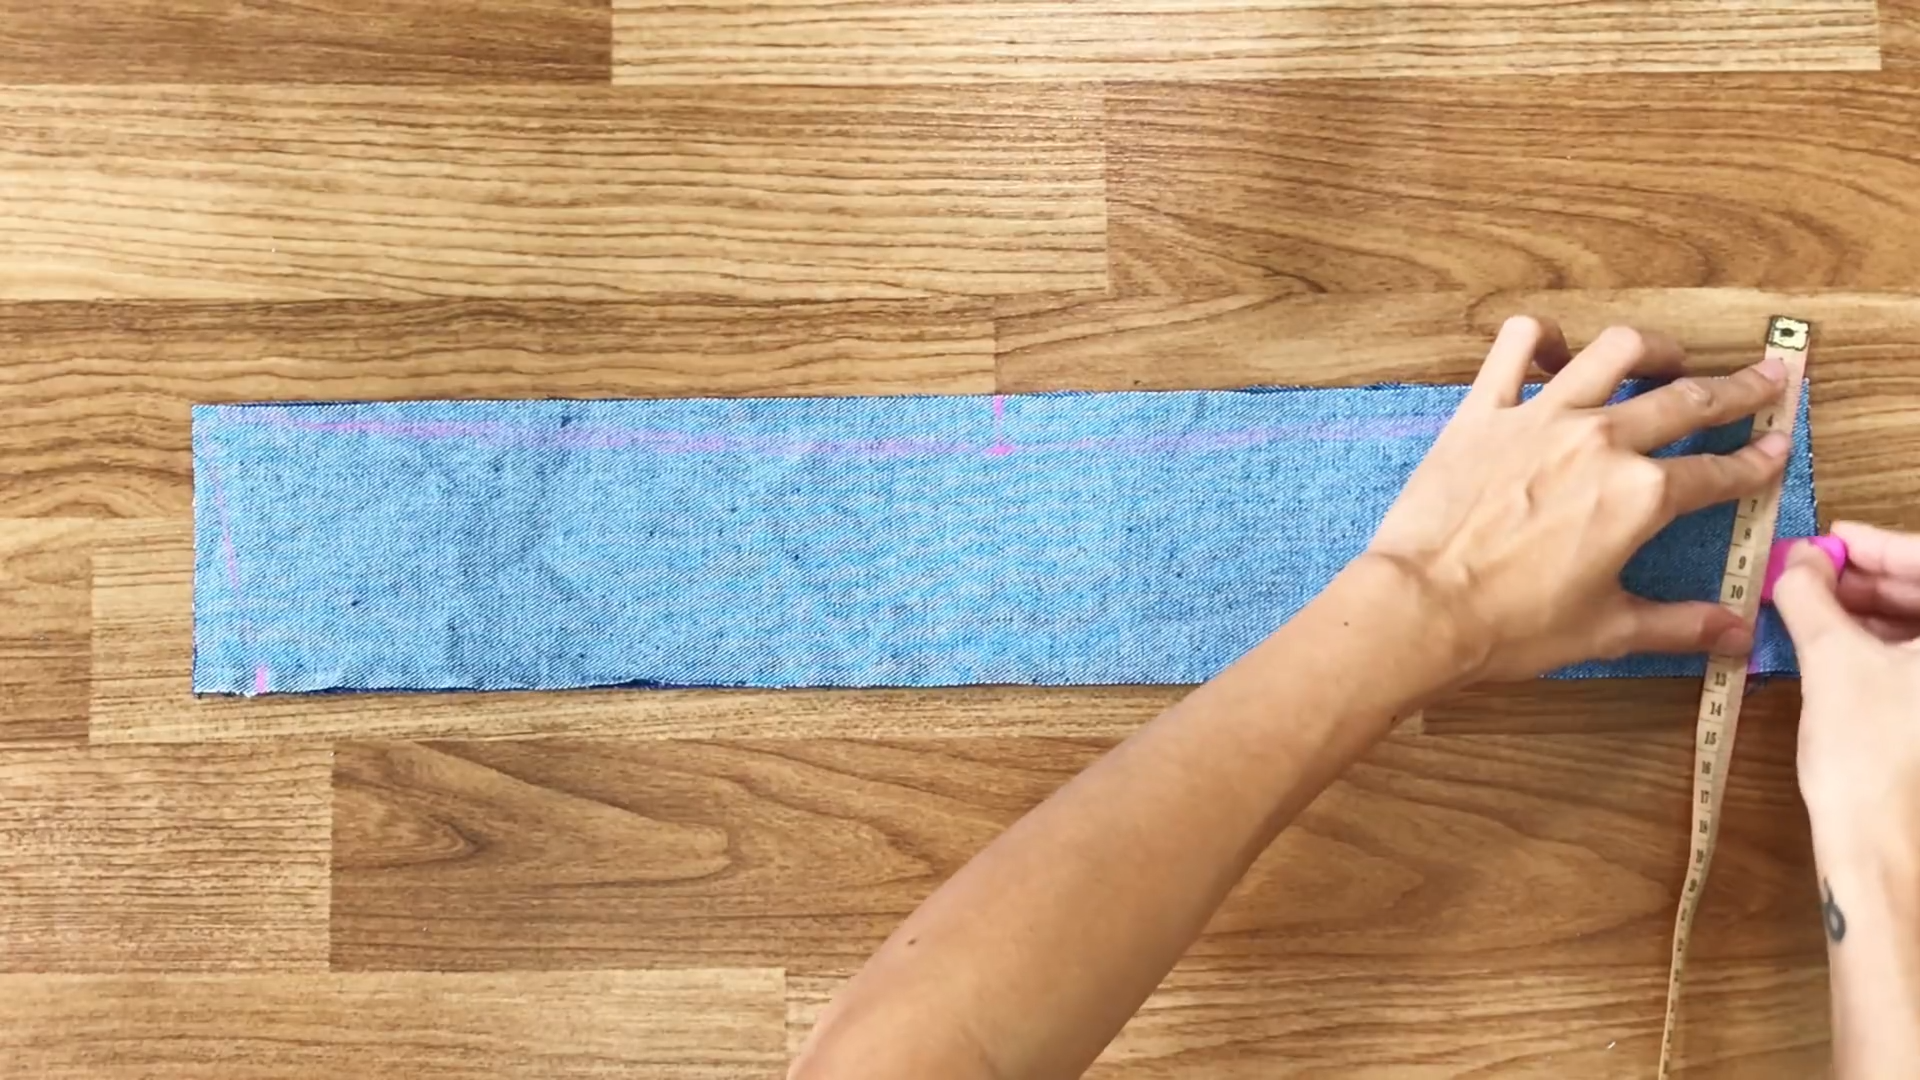
At the end of the rectangle, mark at 2cm inside. Then connect to the top of the rectangle.
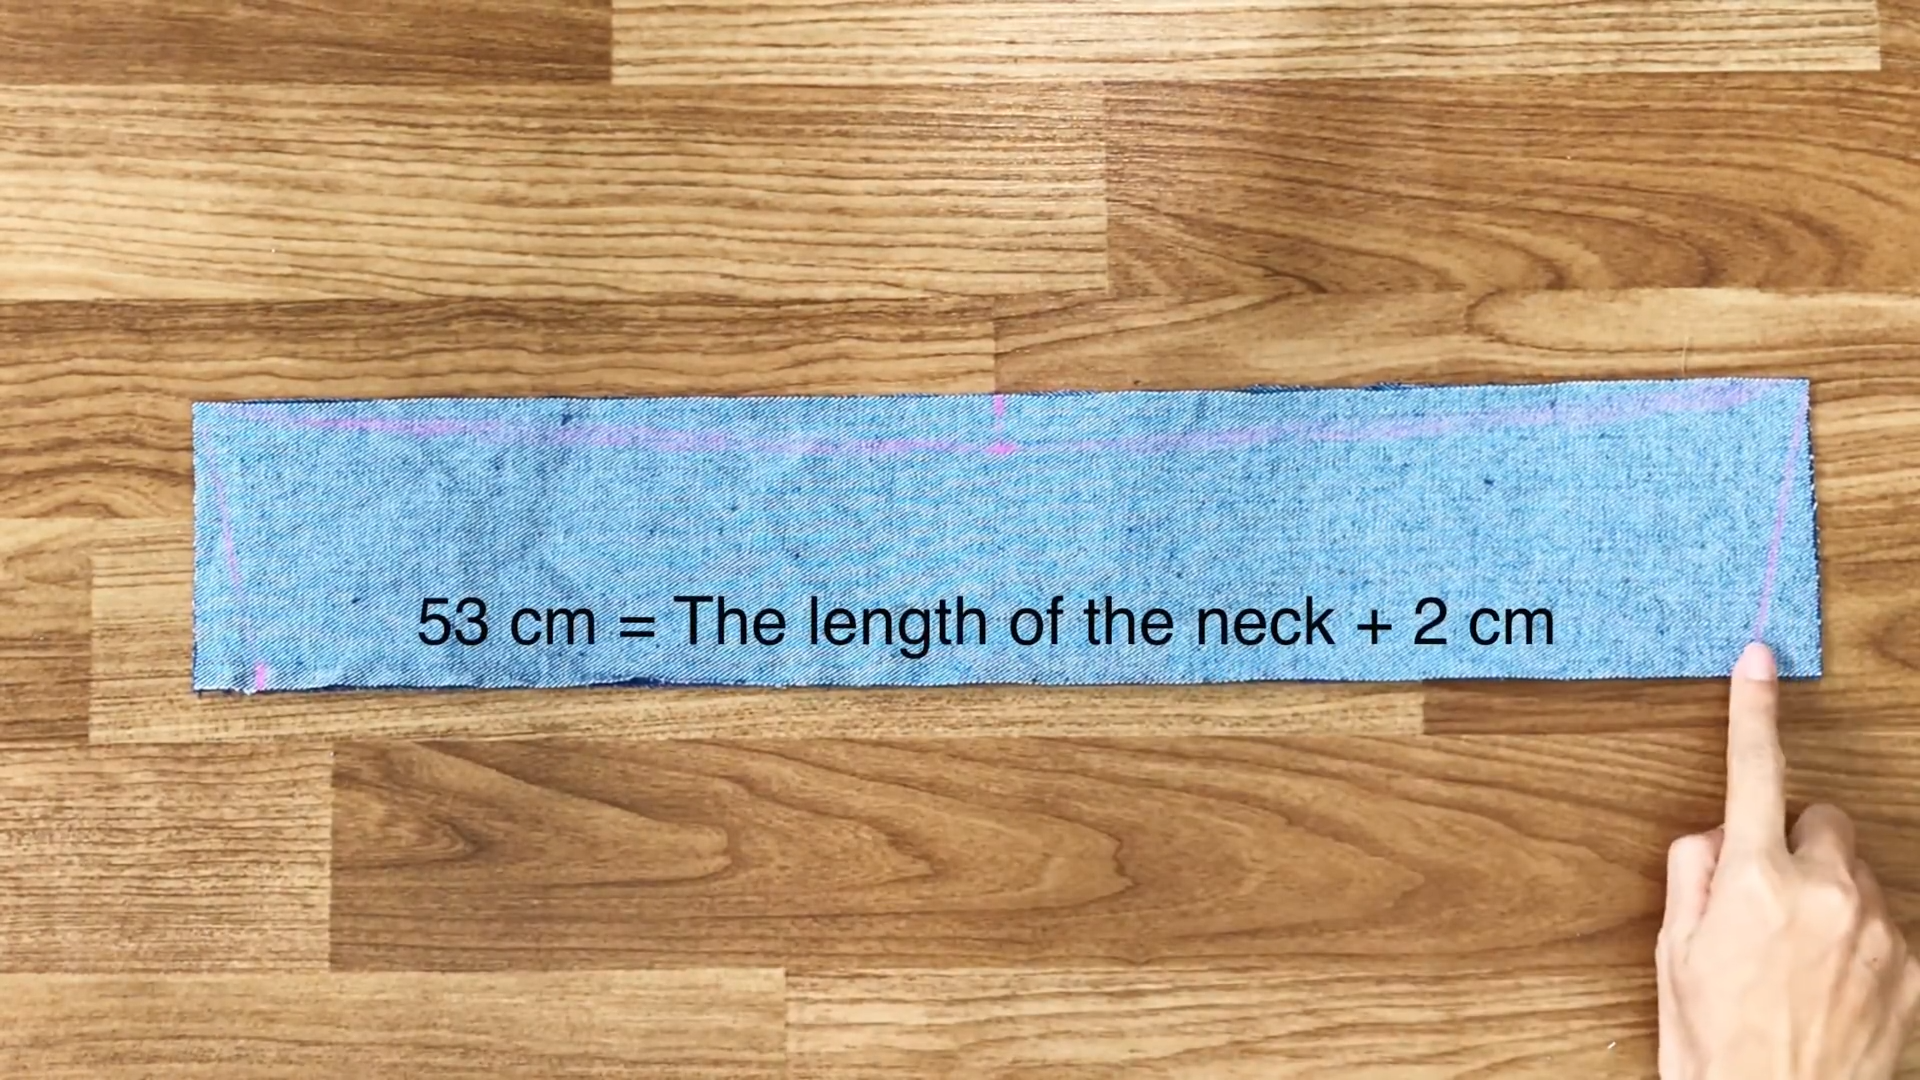
Make sure the length at the end of the rectangle has to be the length of the neck area plus 2cm for seam allowance.
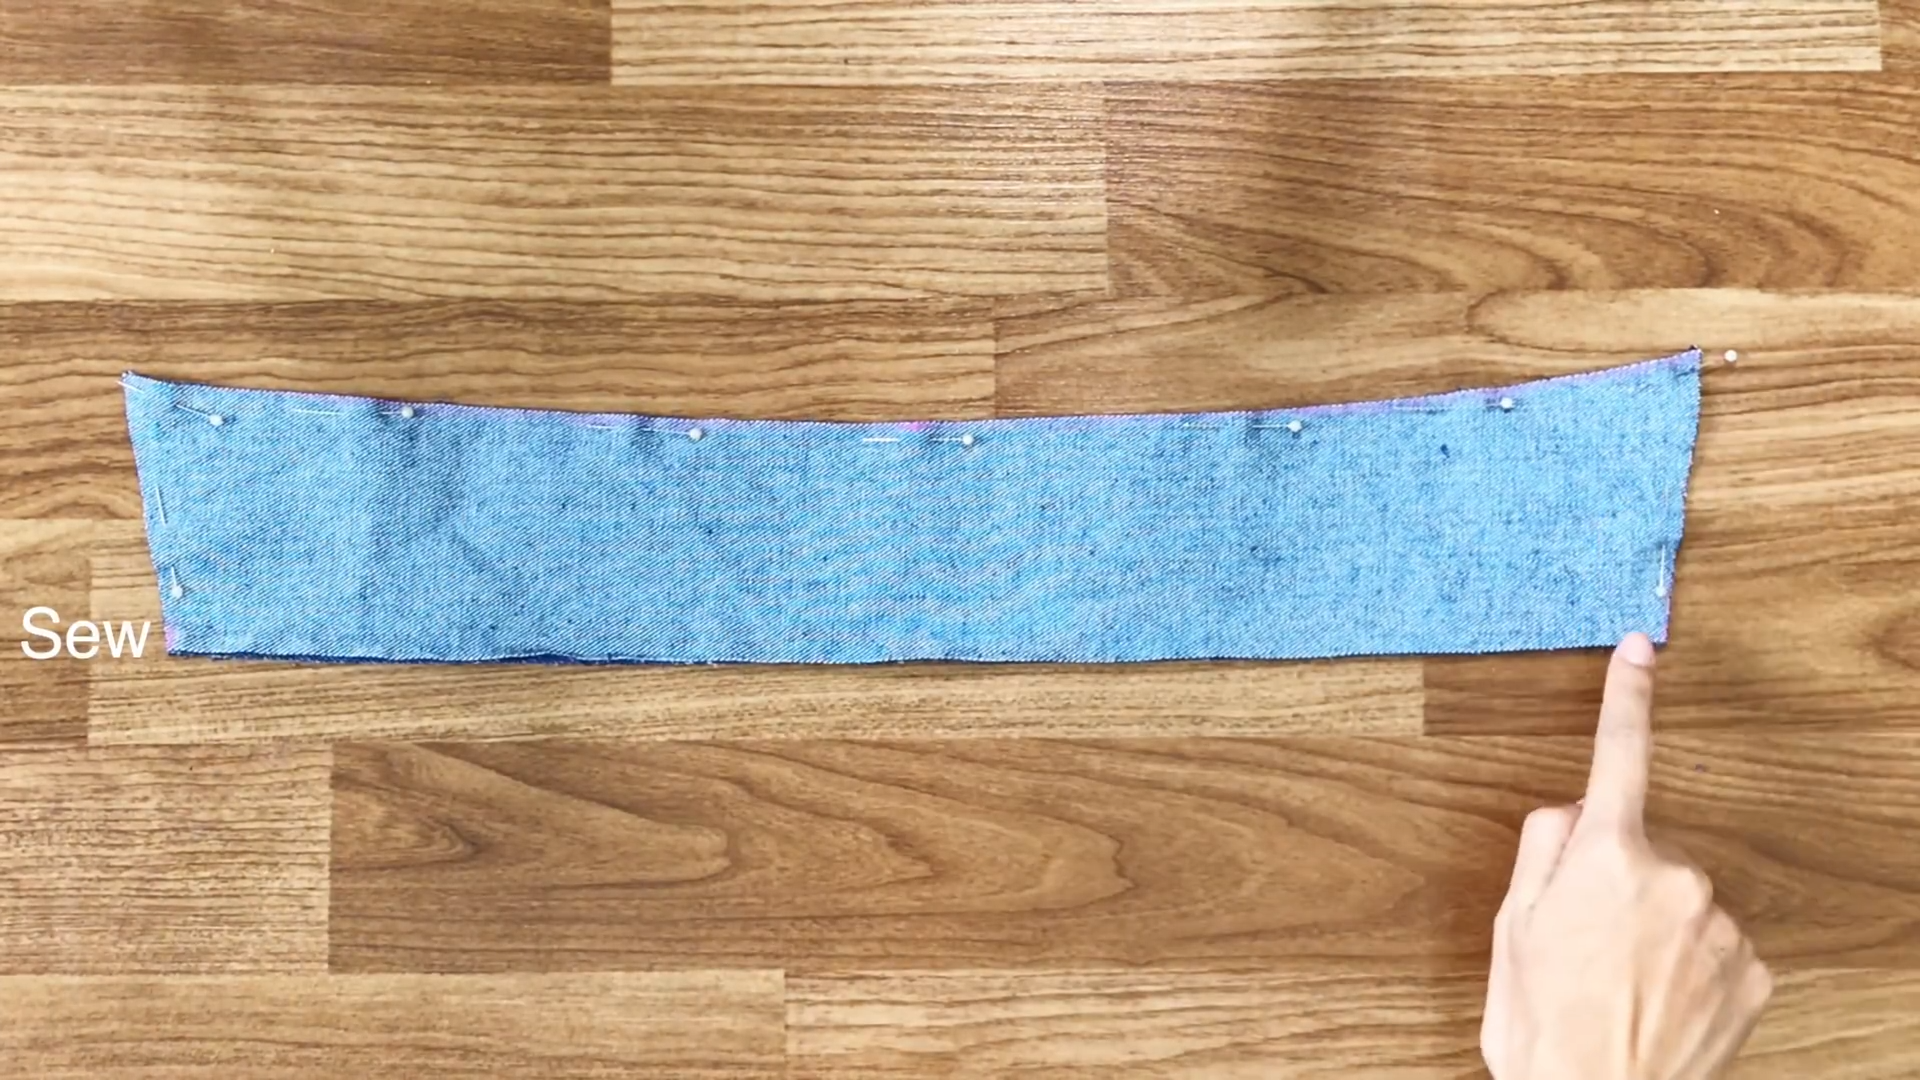
After cutting, fix the two rectangles together by pins and sew.
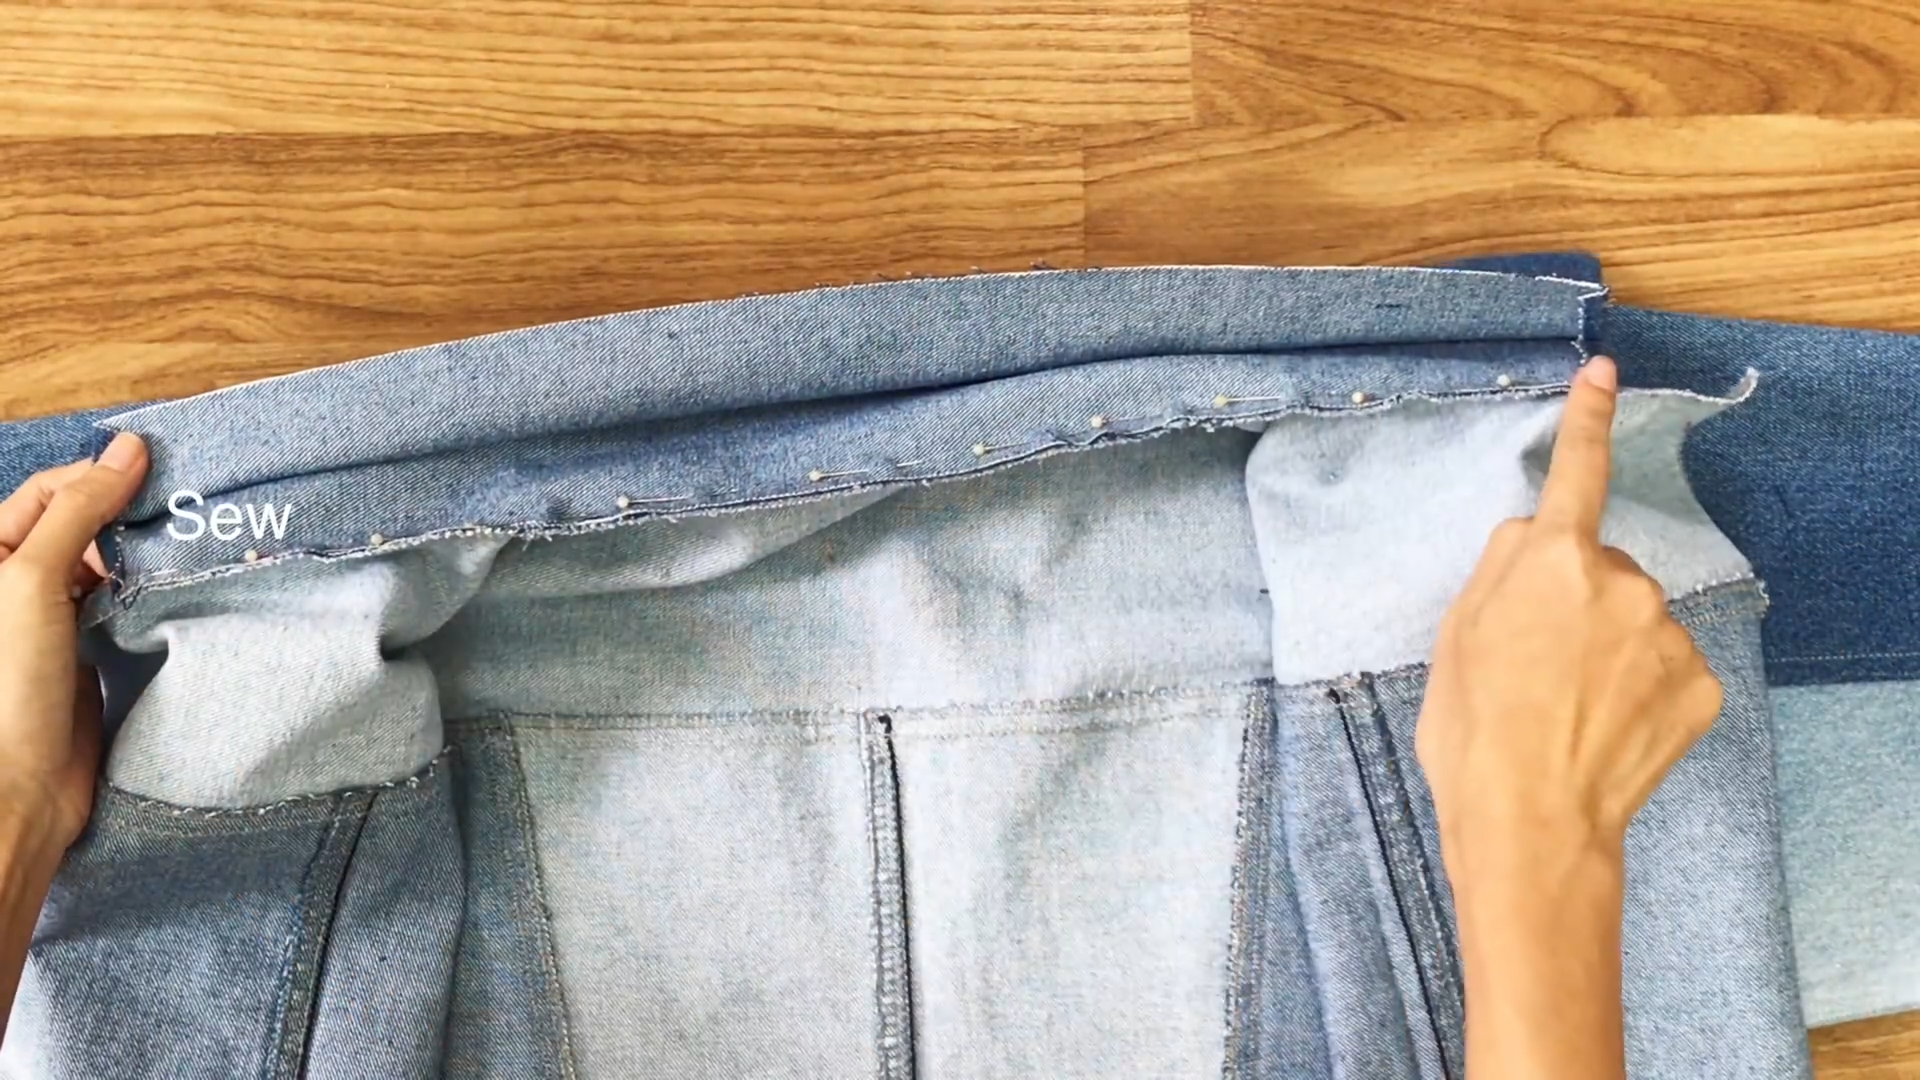
After inverting the neck, connect one part of the neck to the neck area of the jacket then sew.
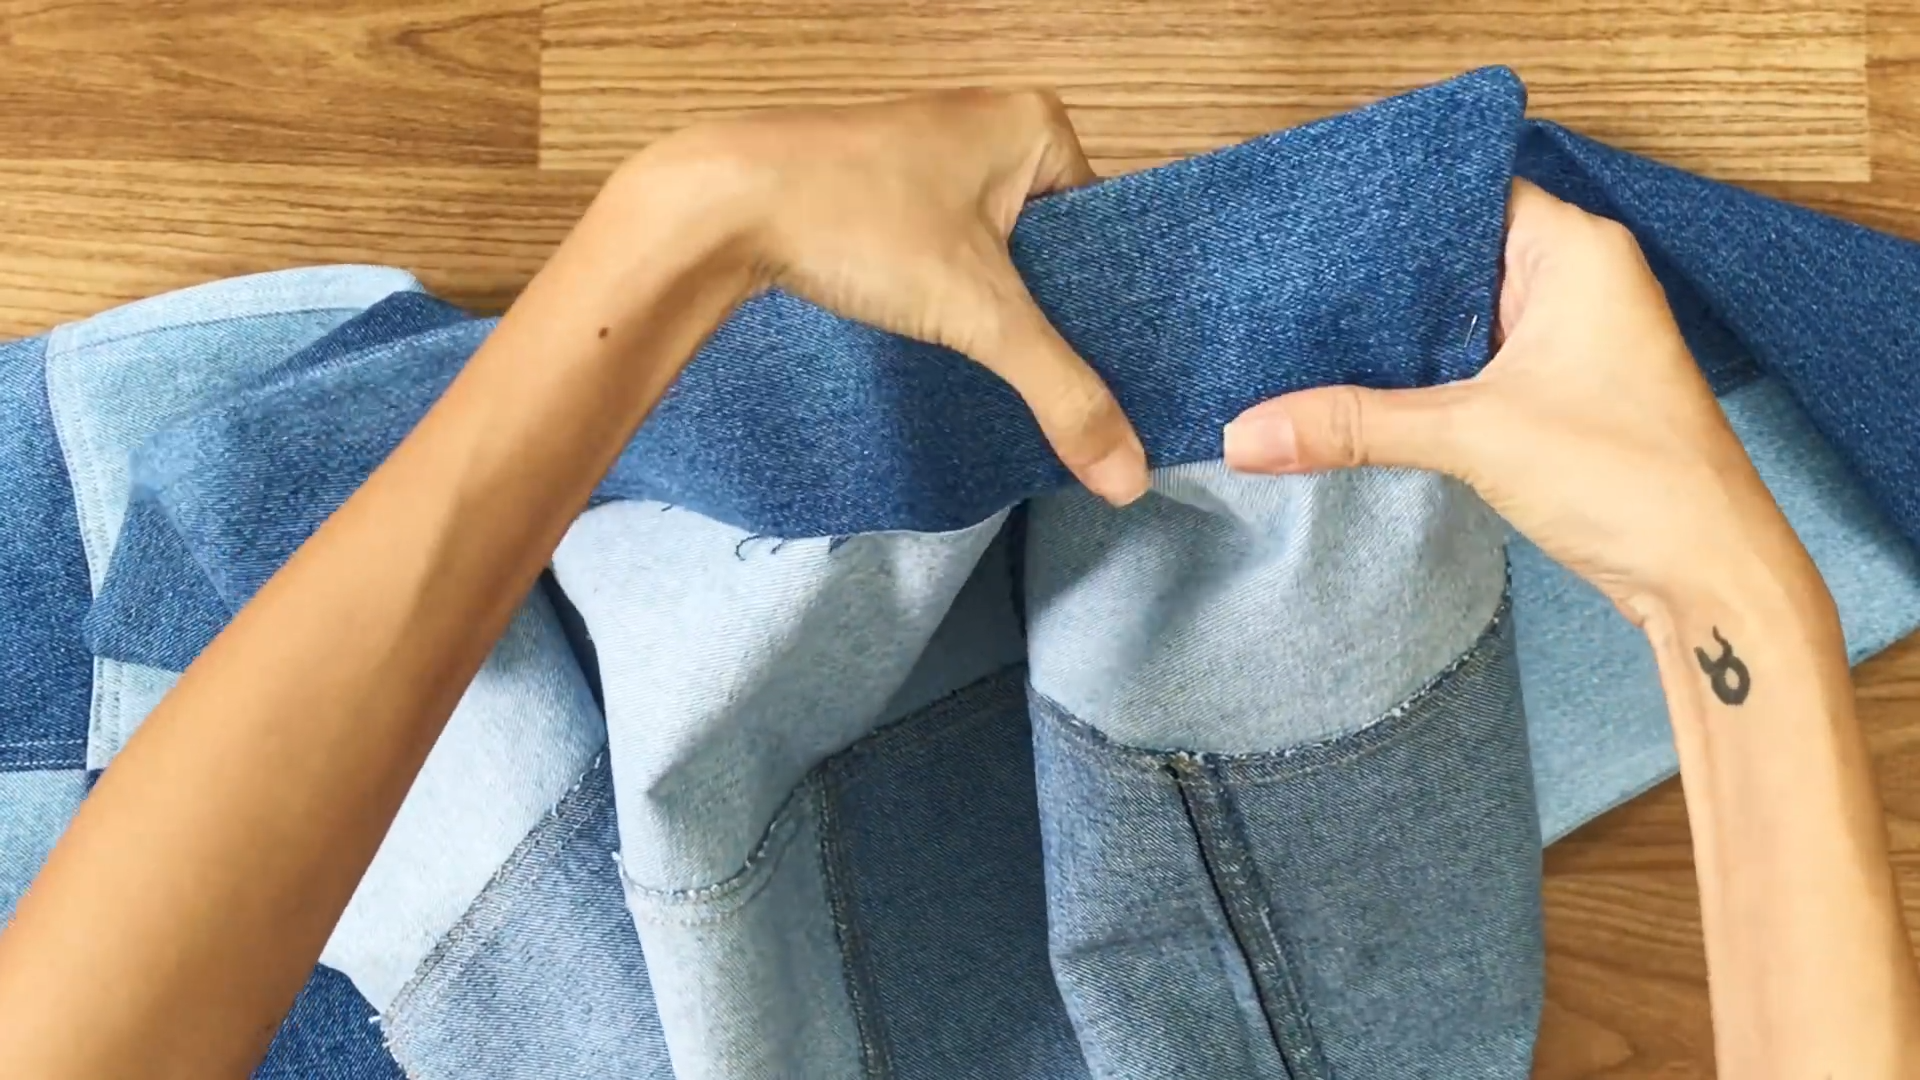
Fold the other part of the neck to the inside at the seam you just made.
Sew to finish the neck.
THE BUTTON AREA

At the extra part of the neck which is the button area, fold the fabric inside 4cm and sew at the top first.
Upside the top and fold the end fabric inside around 1cm.
So the button area will be 3cm.
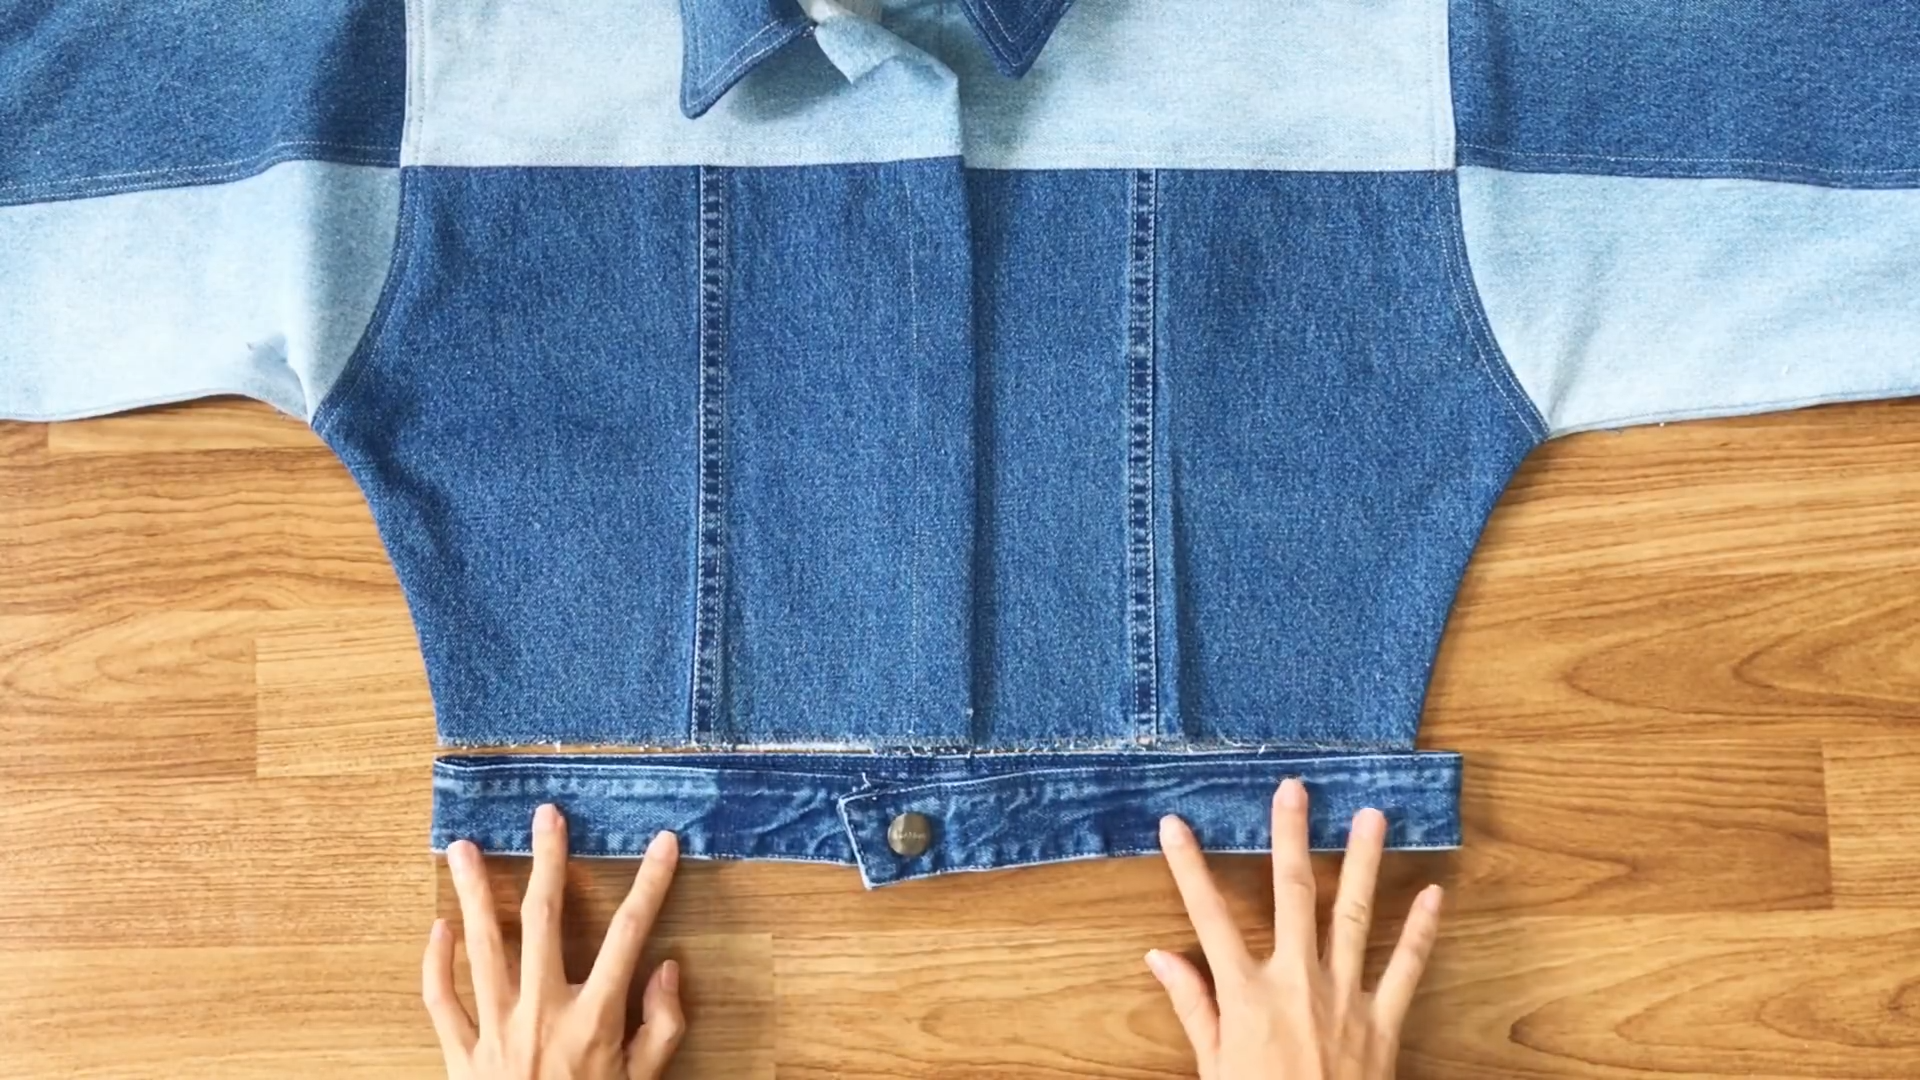
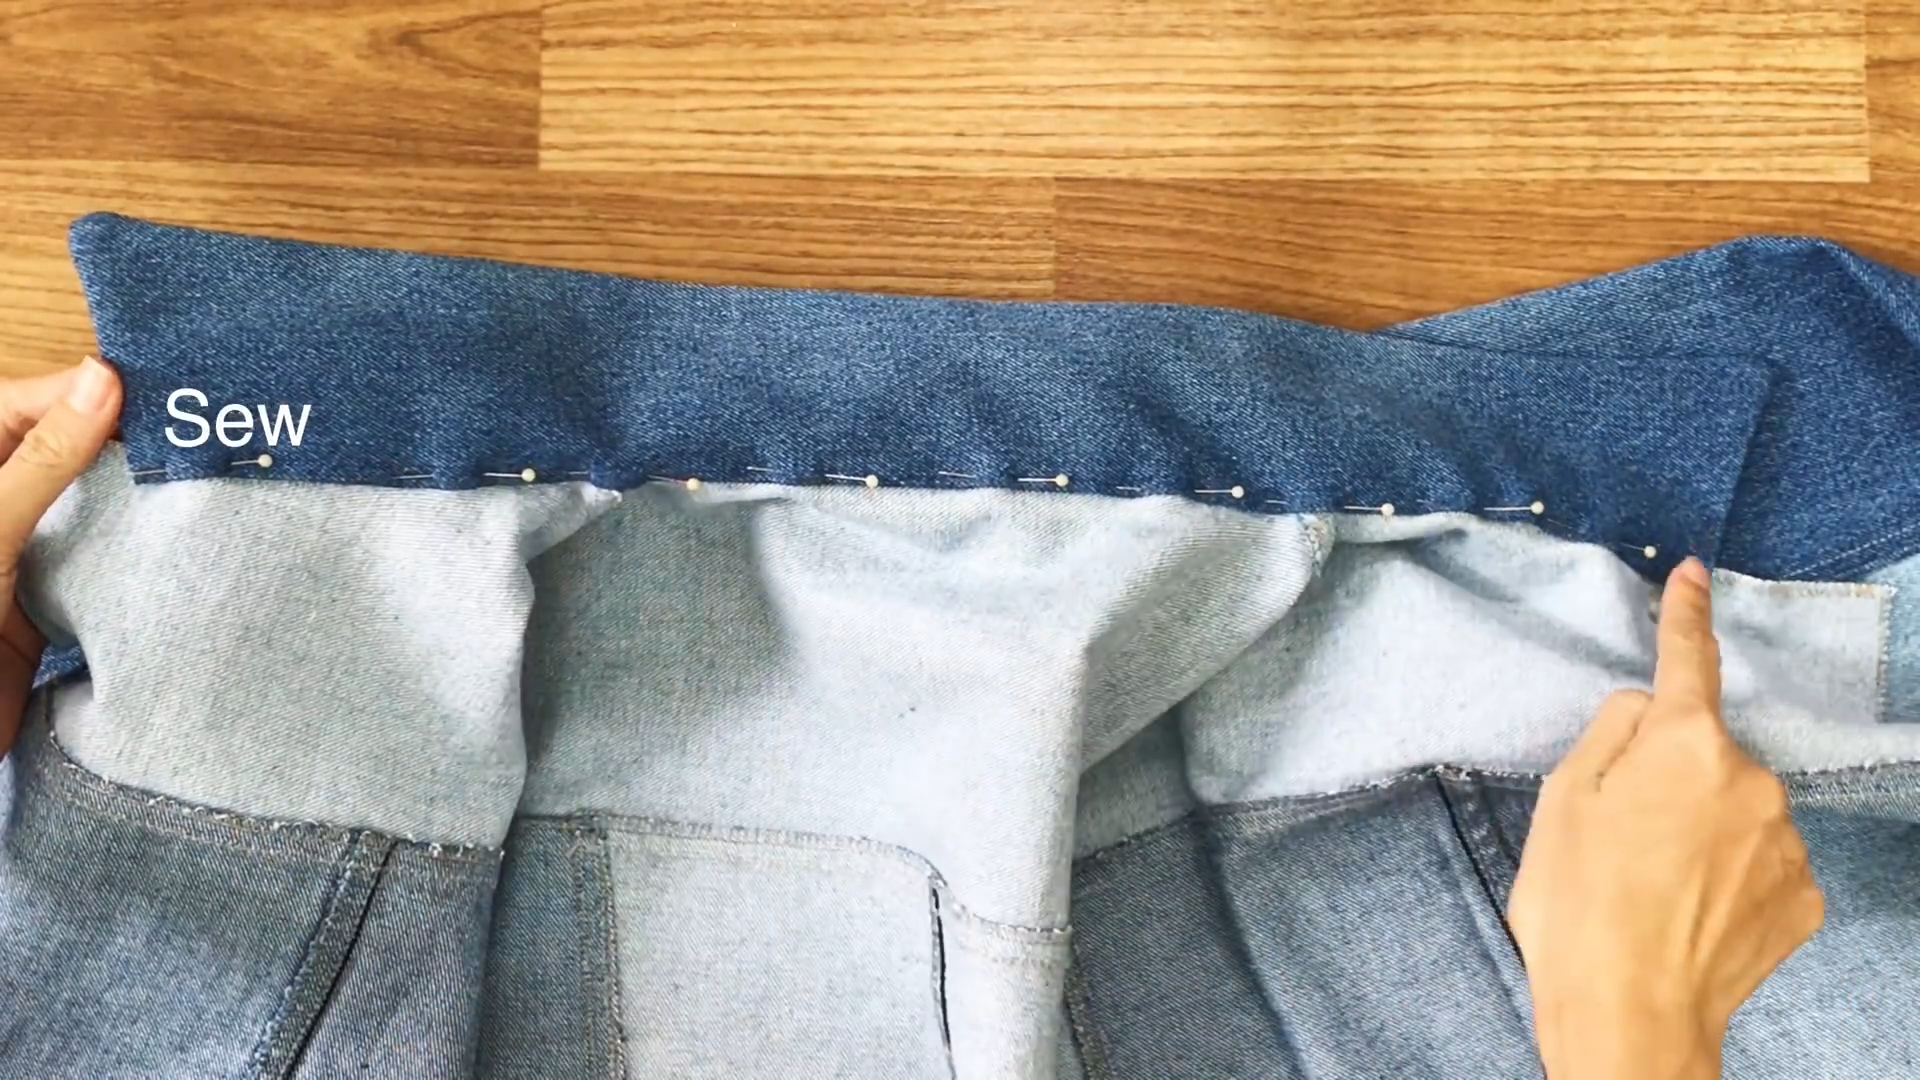
Use the waistband of one jeans to make the end for your jacket.
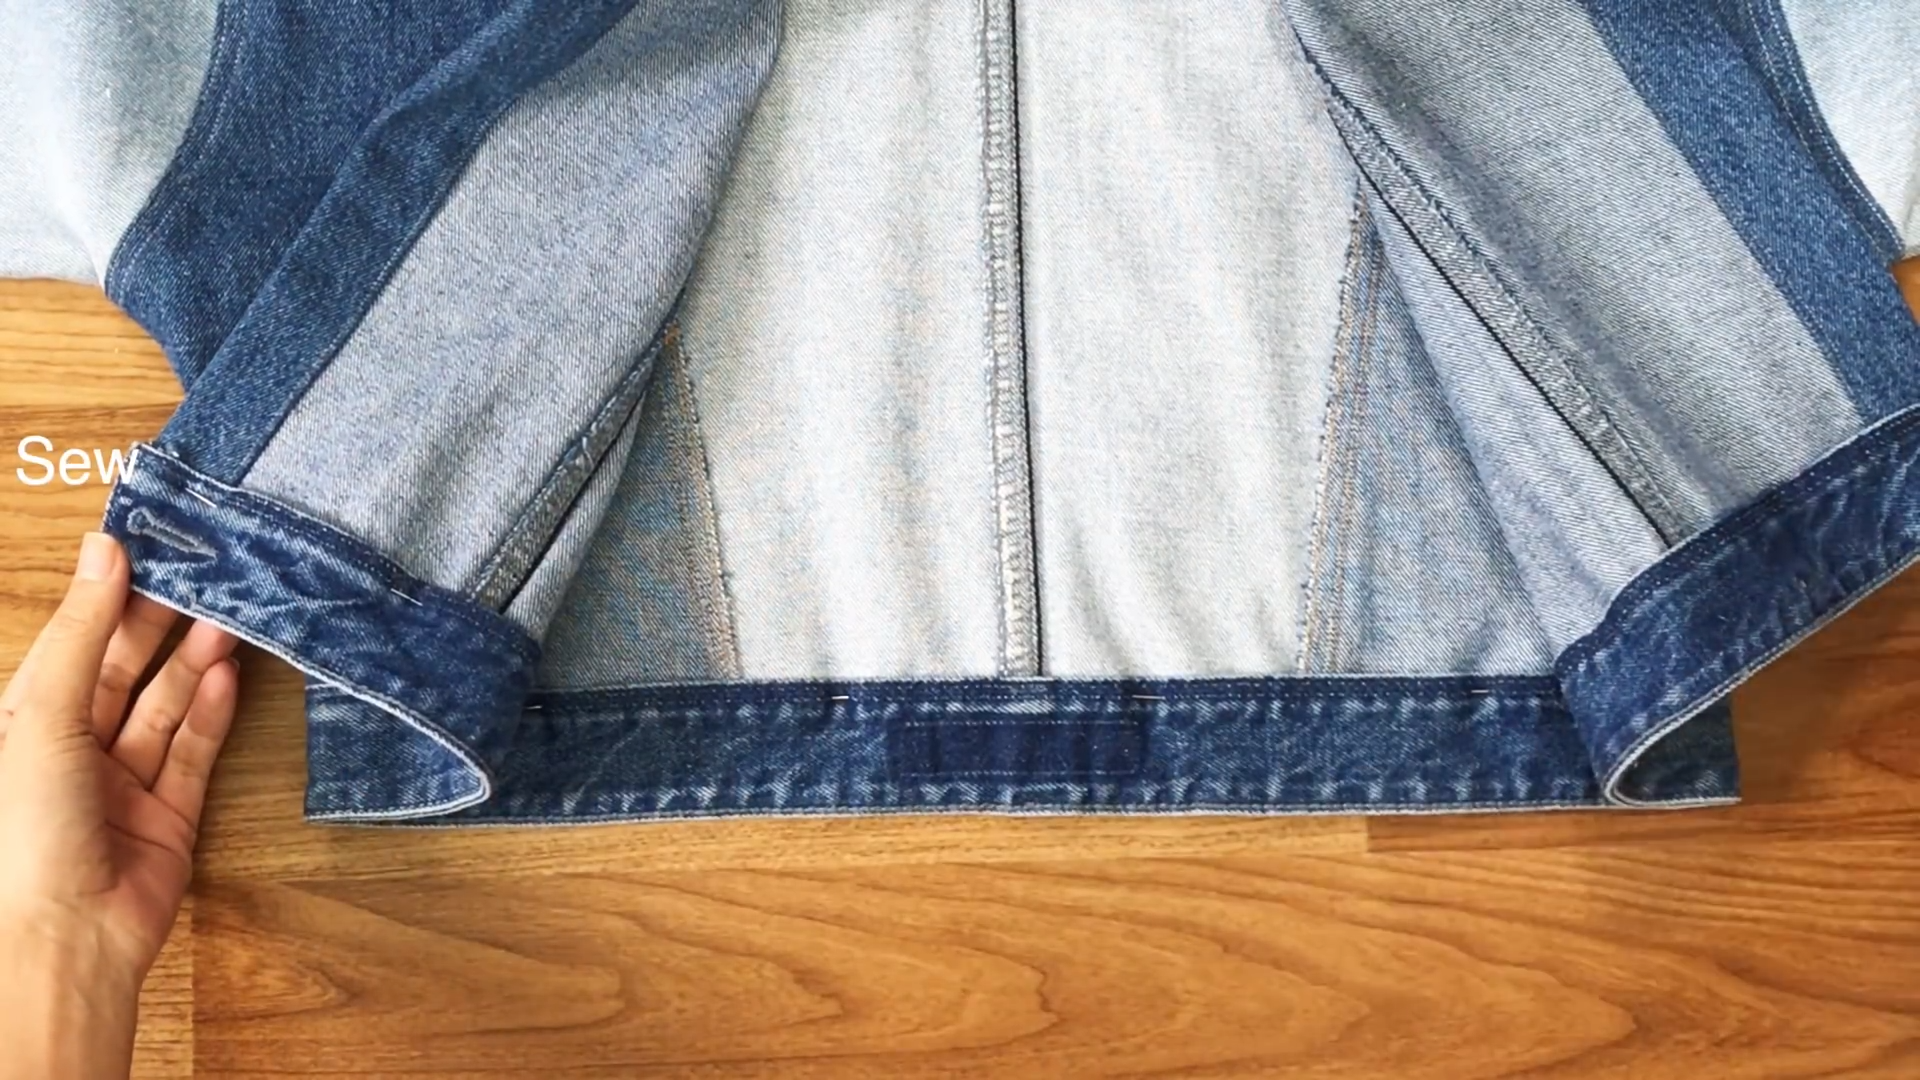
Sew them together to finish the end of the jacket.
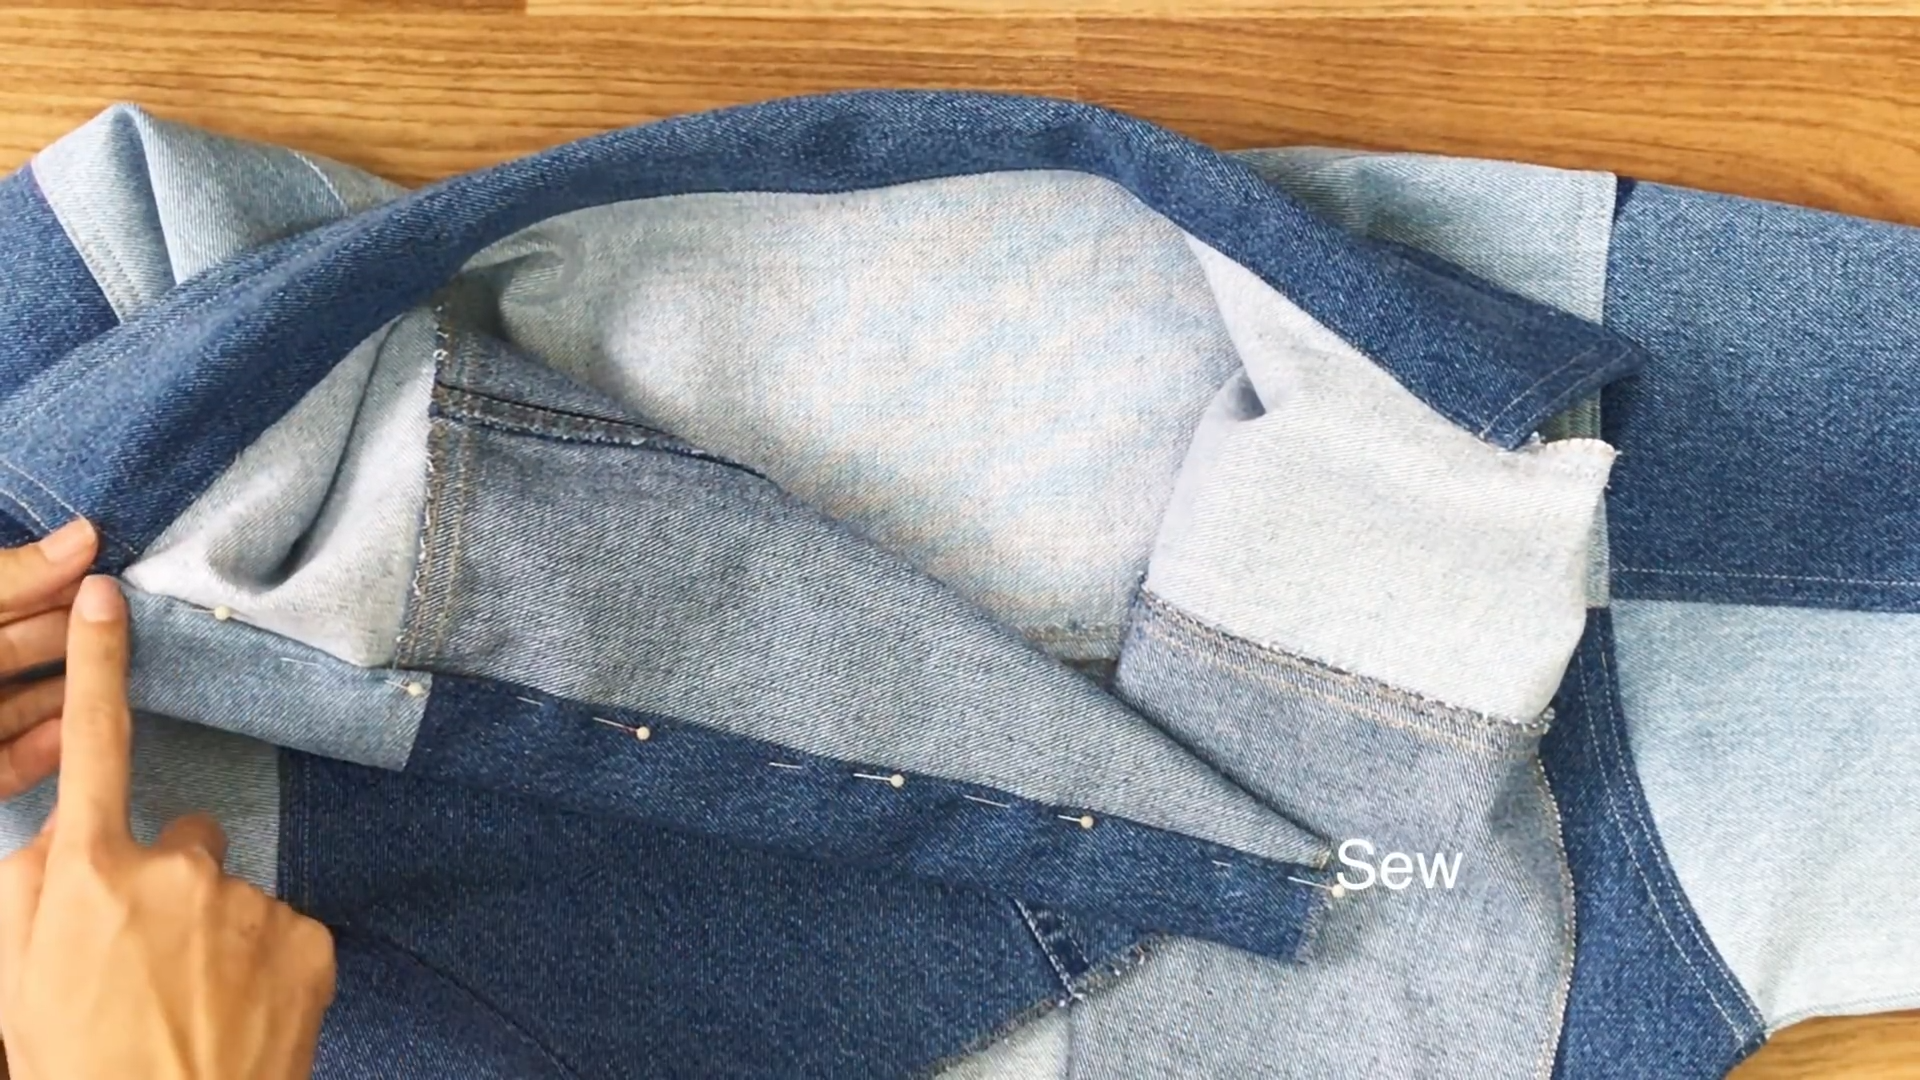
THE HAND
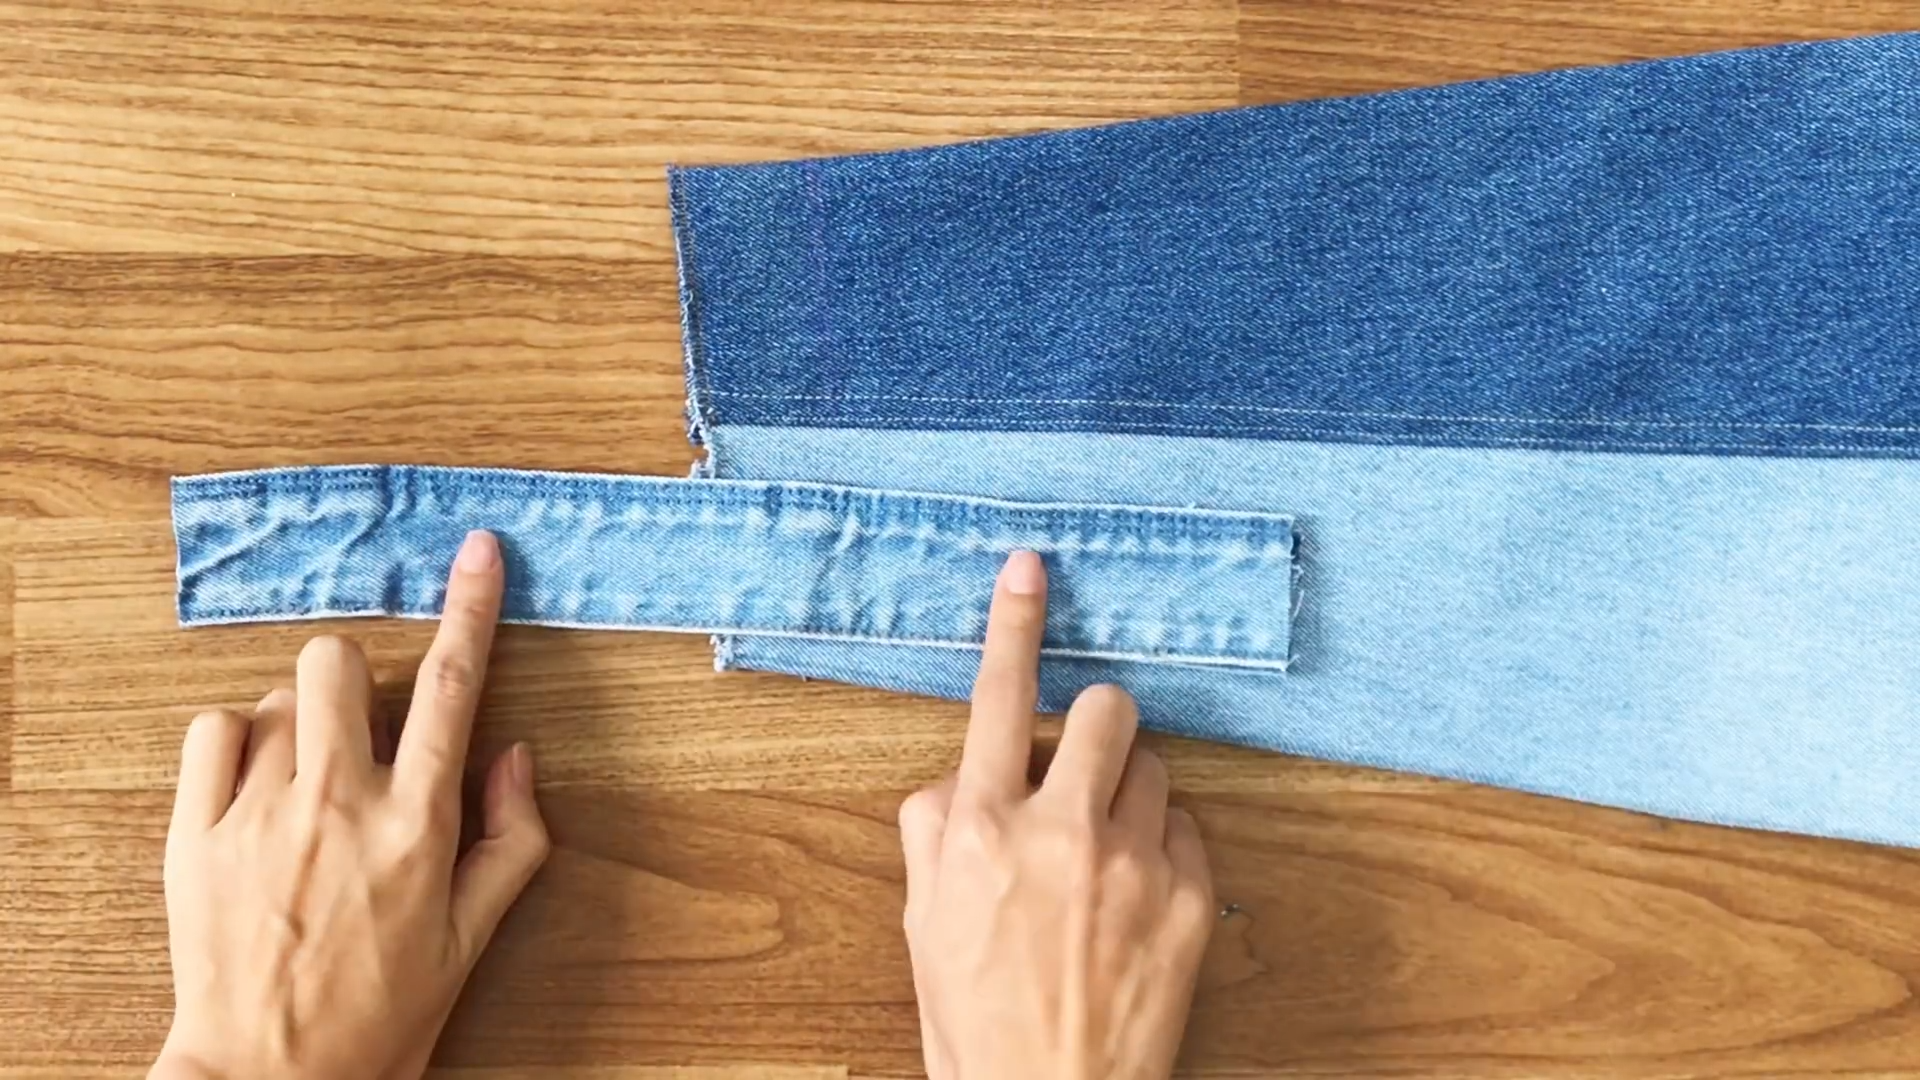
Use the waistband from the other jeans to make the end for the hand of the jacket.
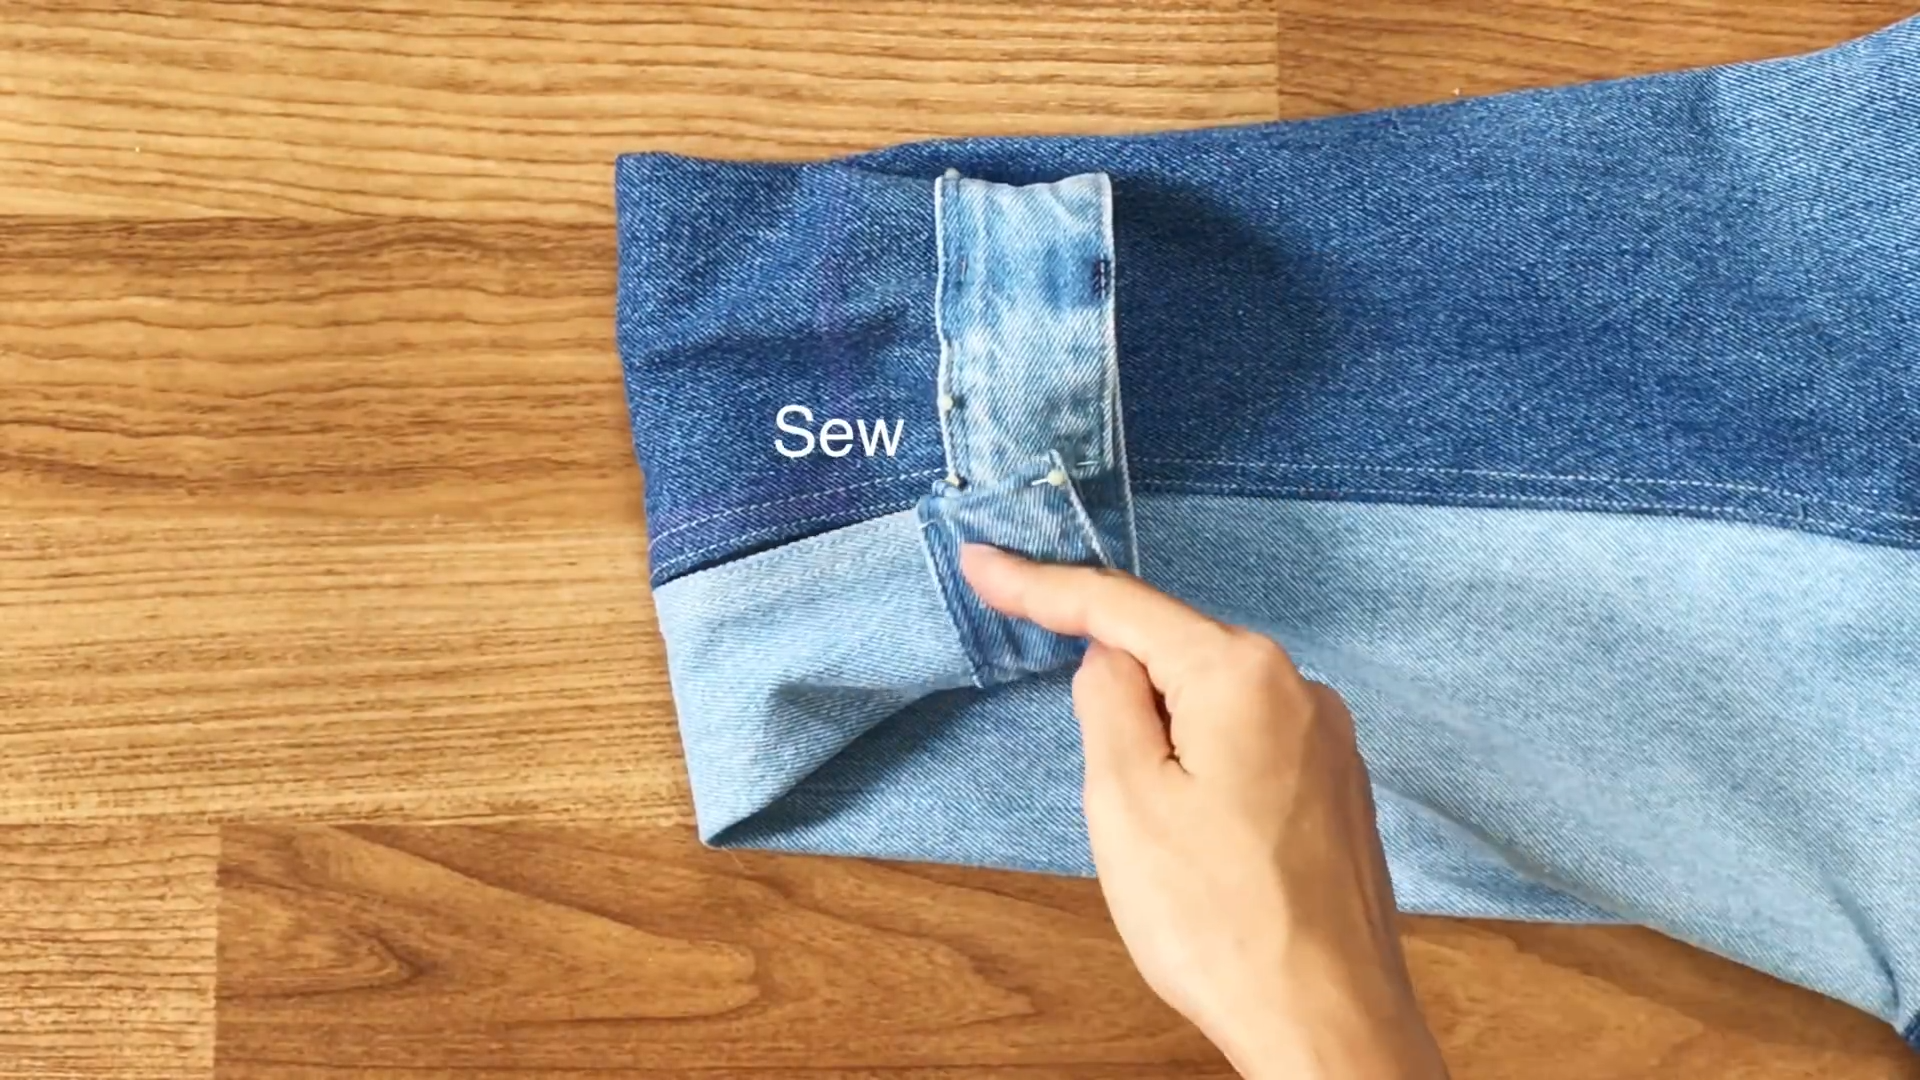
Sew the pieces together to finish the end of the hand.
THE POCKETS
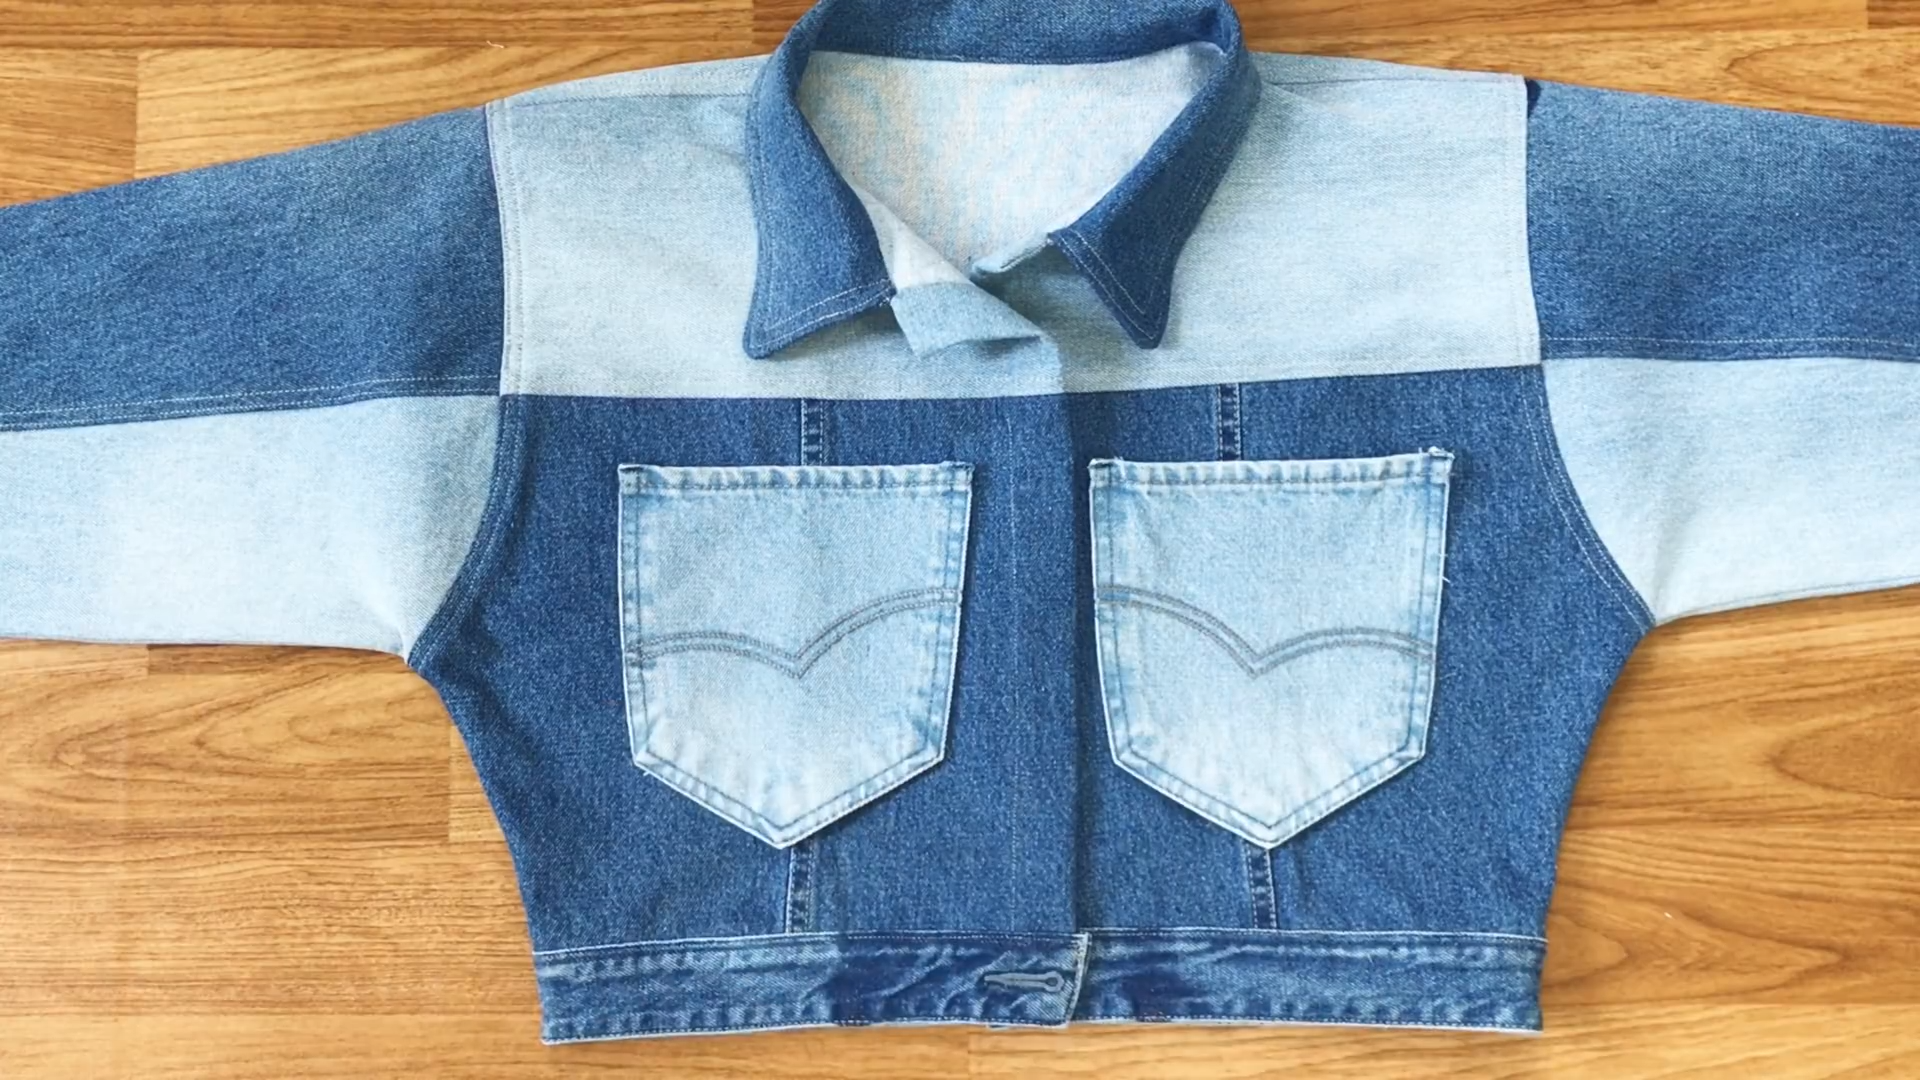
Cut out two pockets from the back pockets of jeans.
Use the opposite color of the jeans to create a nice matching effect.

Place the pockets on the front of the jacket, right sides together, and pin them in place.
Sew the pockets to the jacket at the sides.

DIY DENIM JACKET from Men's jeans
And voila!
The transformation is complete, and we now have a new denim jacket. It looks so cool and full of energy.

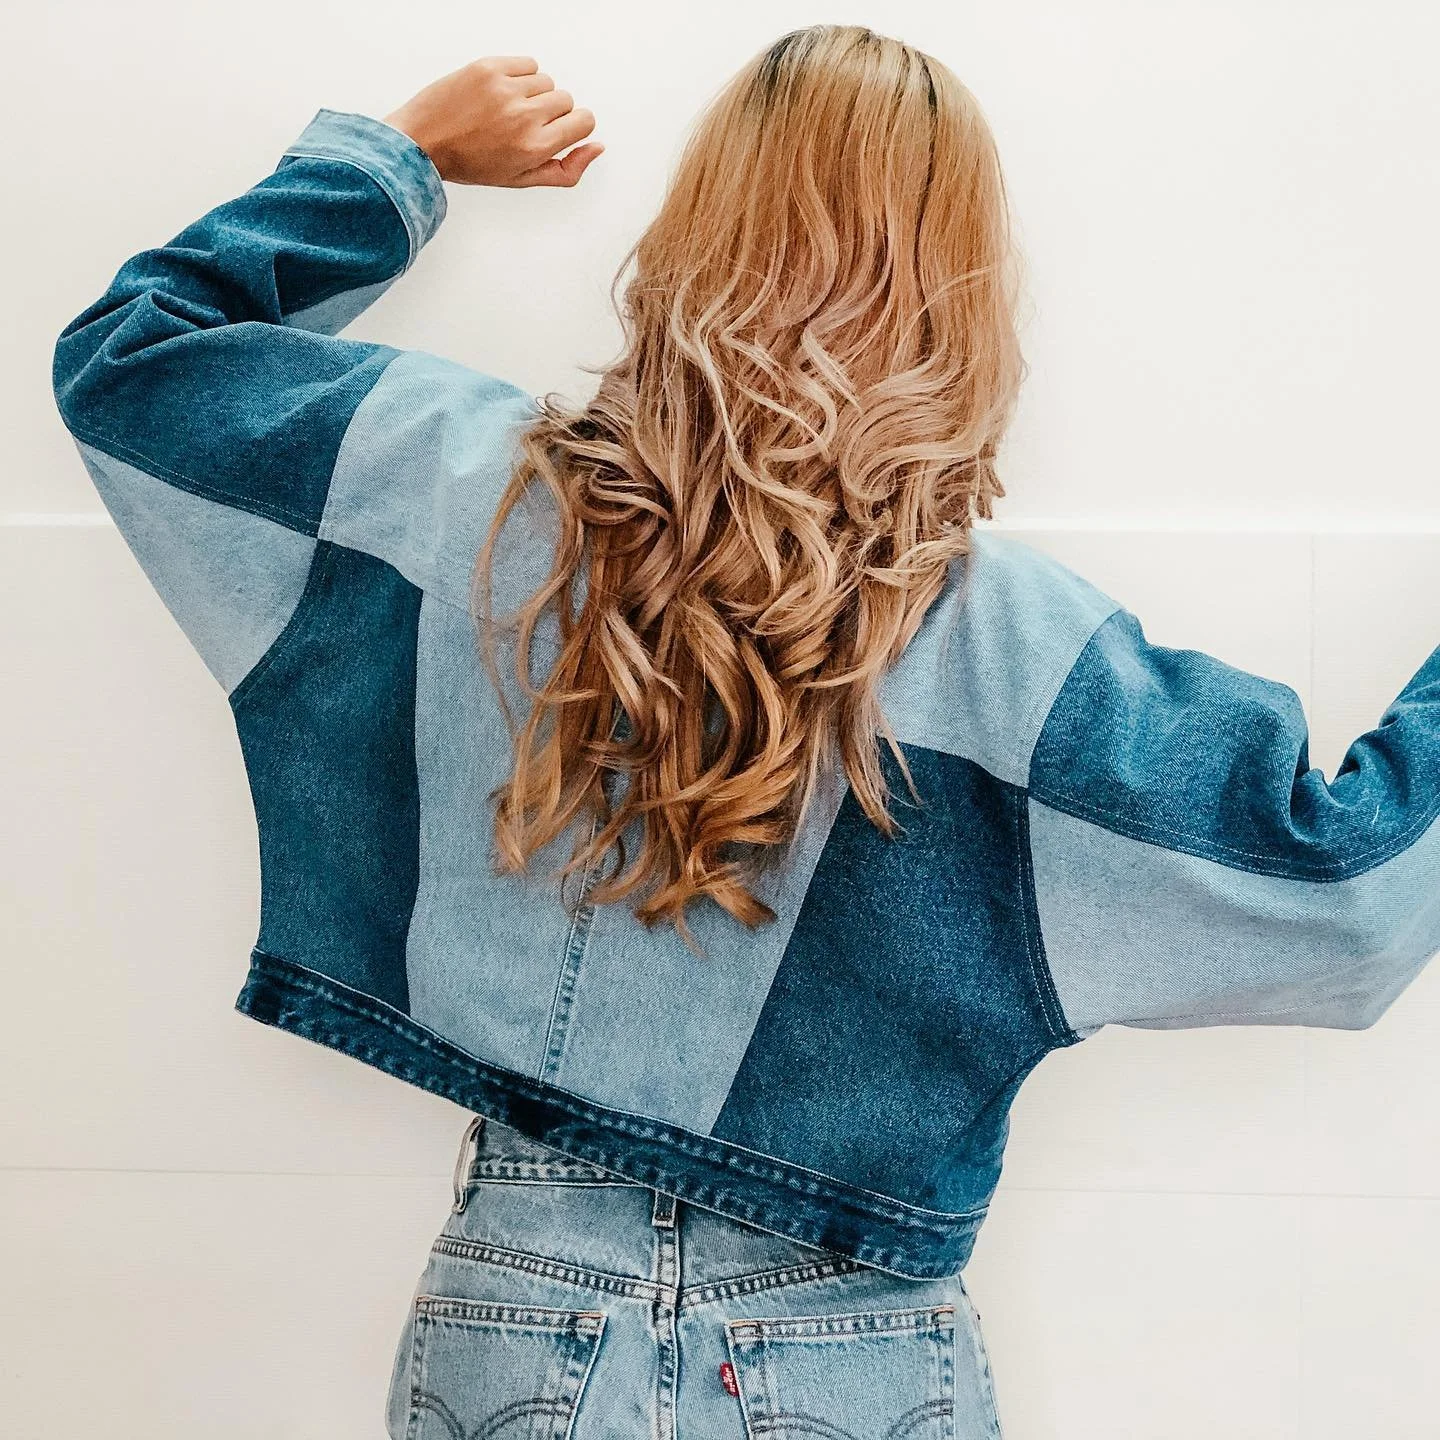
I hope you’ve enjoyed this DIY journey as much as I have, and I encourage you to try it out for yourself.
What are your thoughts on this DIY project? I’d love to hear from you in the comments. Don’t forget to subscribe to my channel for more DIY fashion transformations.
Happy sewing!