DIY Puff sleeve crop top from Men's shirt - Men's shirt refashion idea [+ Free Pattern]
DIY Puff sleeve crop top from Men's shirt

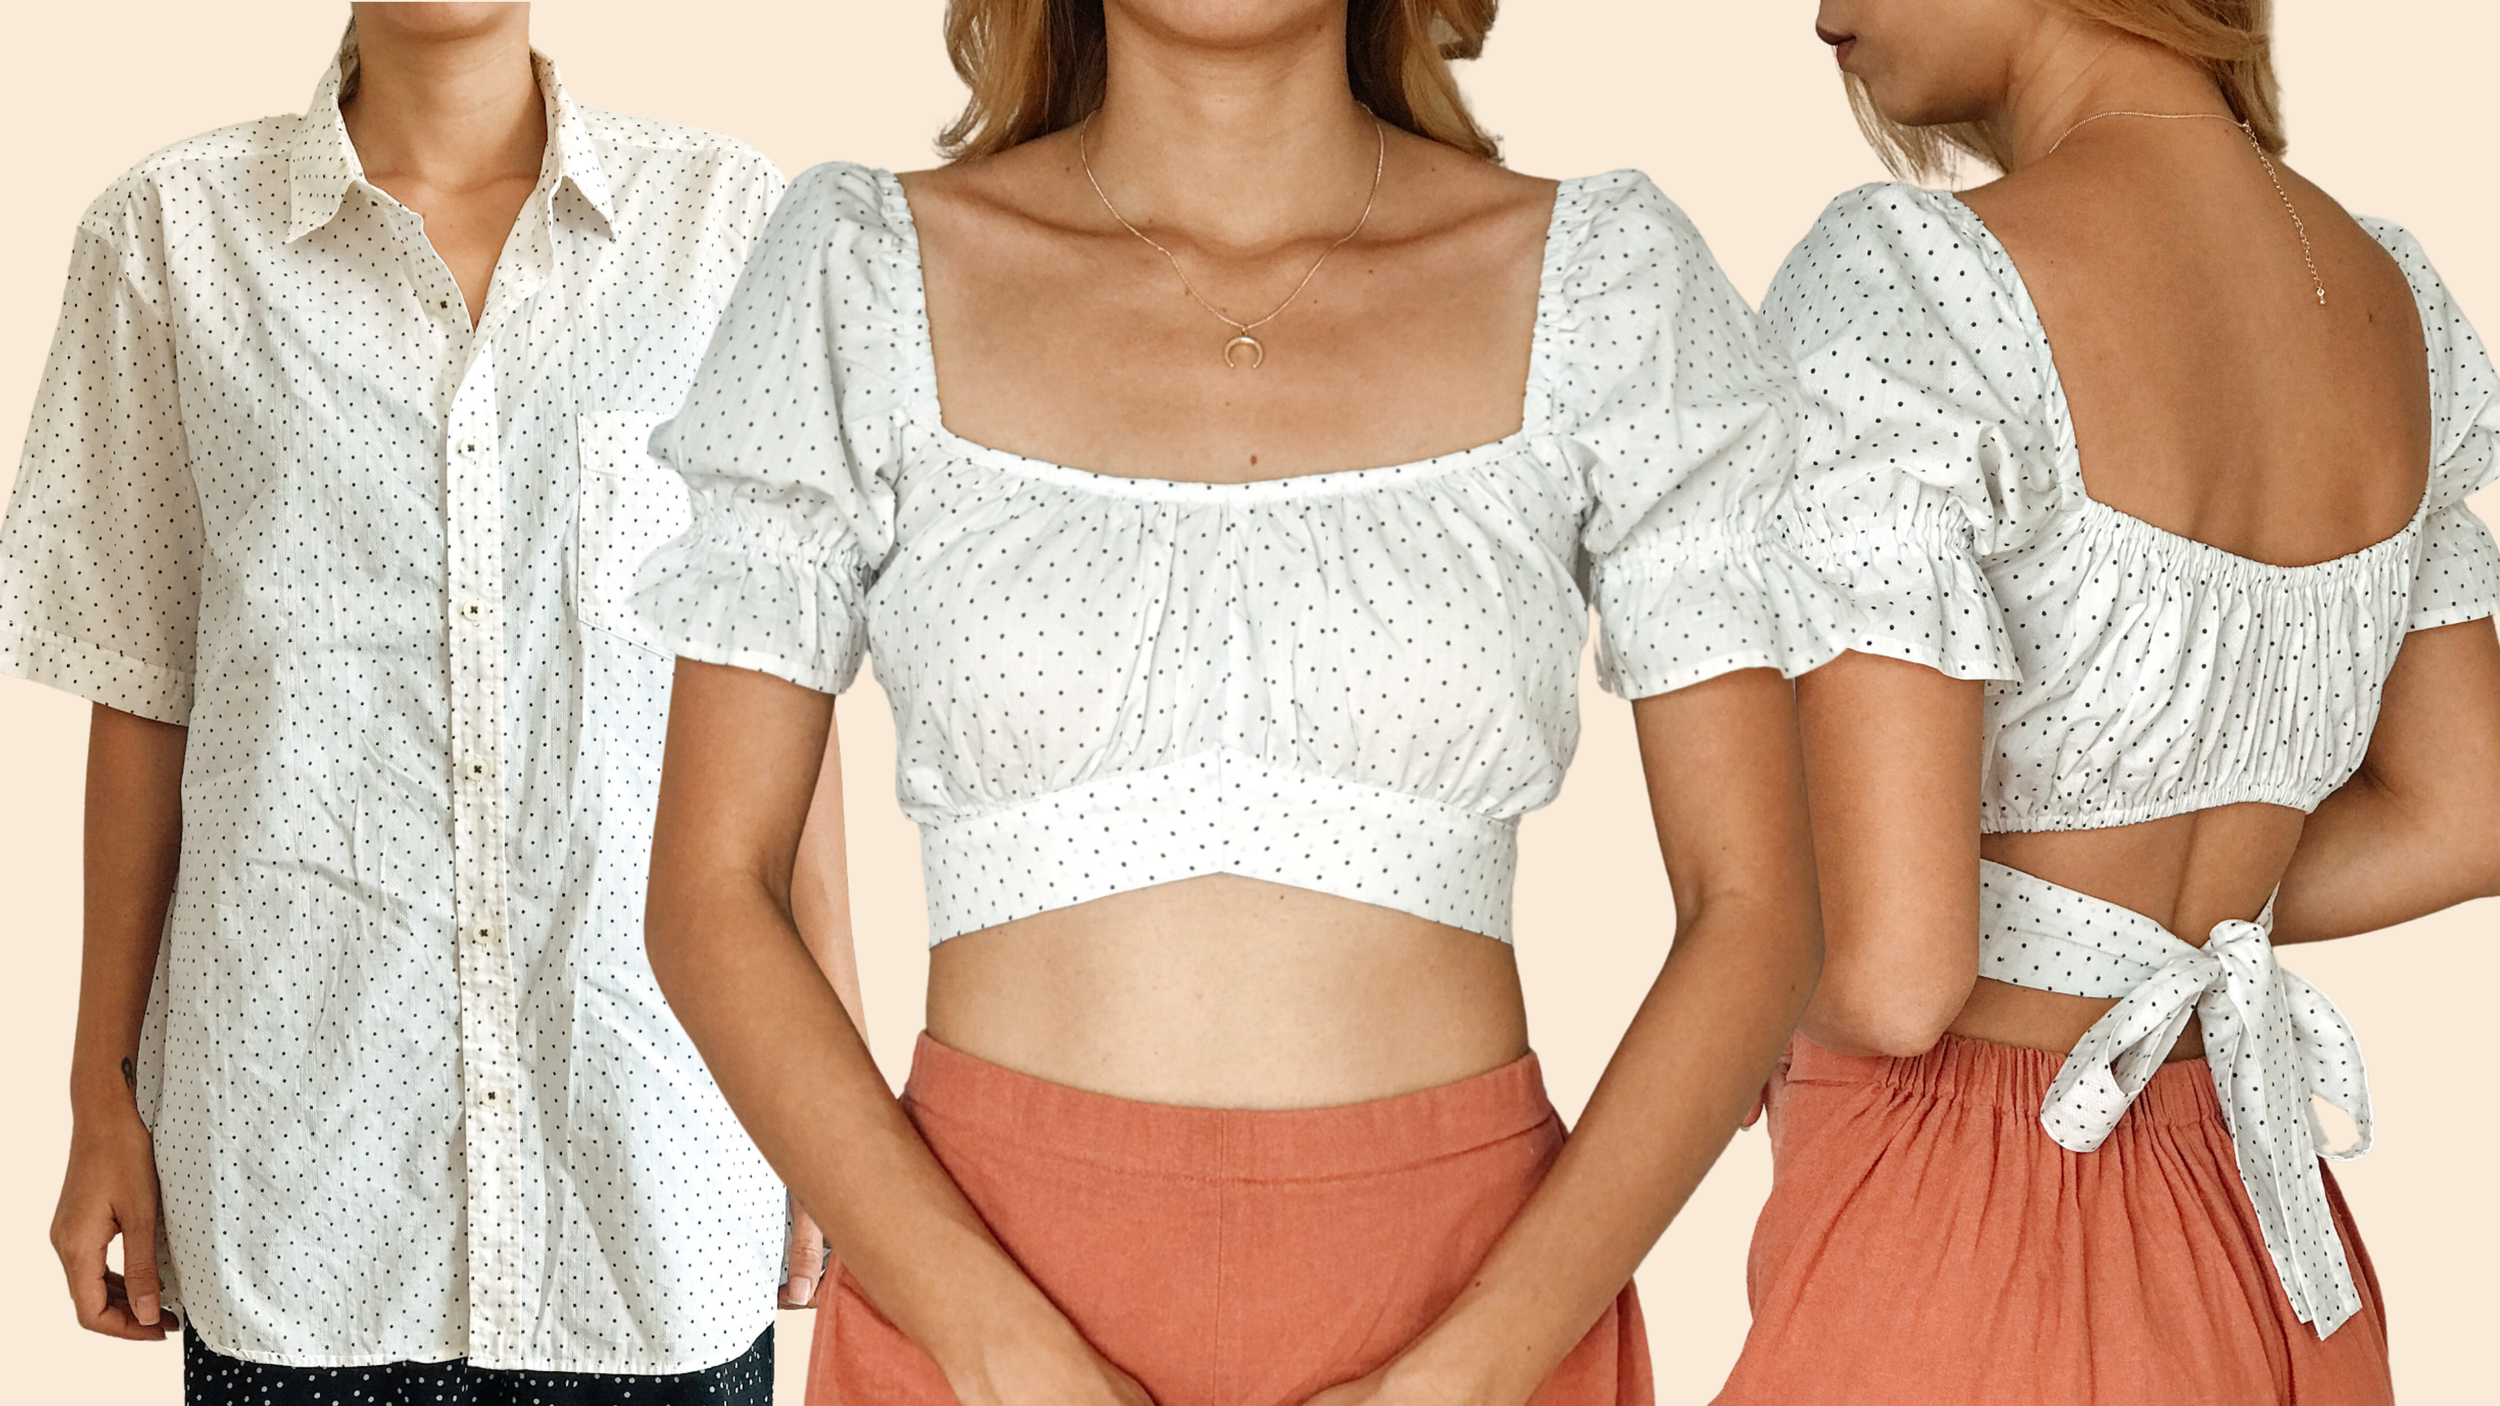
Hi everyone! In today’s video, I’ll be showing you how I turned a men’s shirt into a chic puff sleeve crop top with a tie back. This top is not only adorable but also has a touch of allure, making it perfect for a sunny day out.
If you’re interested in DIY fashion and love the idea of giving old clothes a new, stylish life, you’re in the right place. Let’s get started!
WHAT YOU’LL NEED
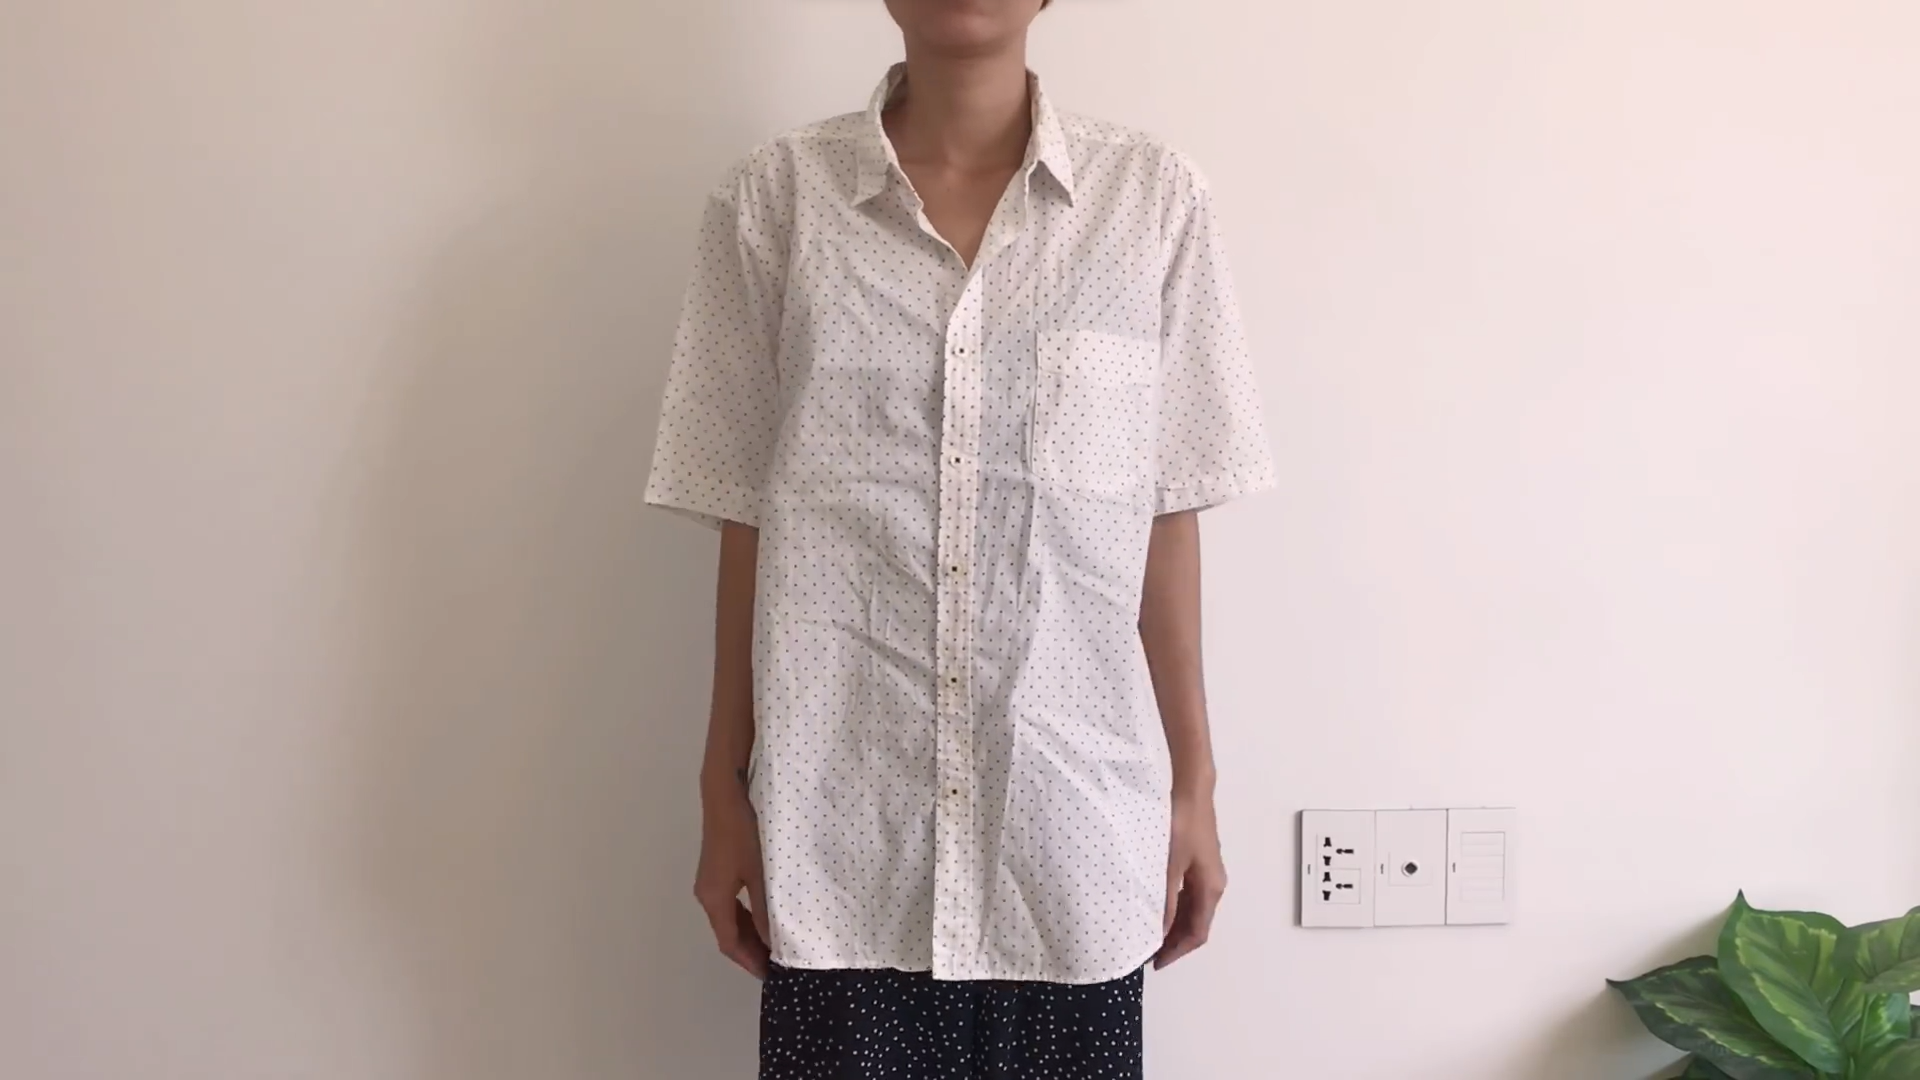
Men's shirt in XL size
Pattern paper
Sewing machine
Pins
Scissors
Ruler
Long stick
SEWING THE CROP TOP
THE MAIN BODY
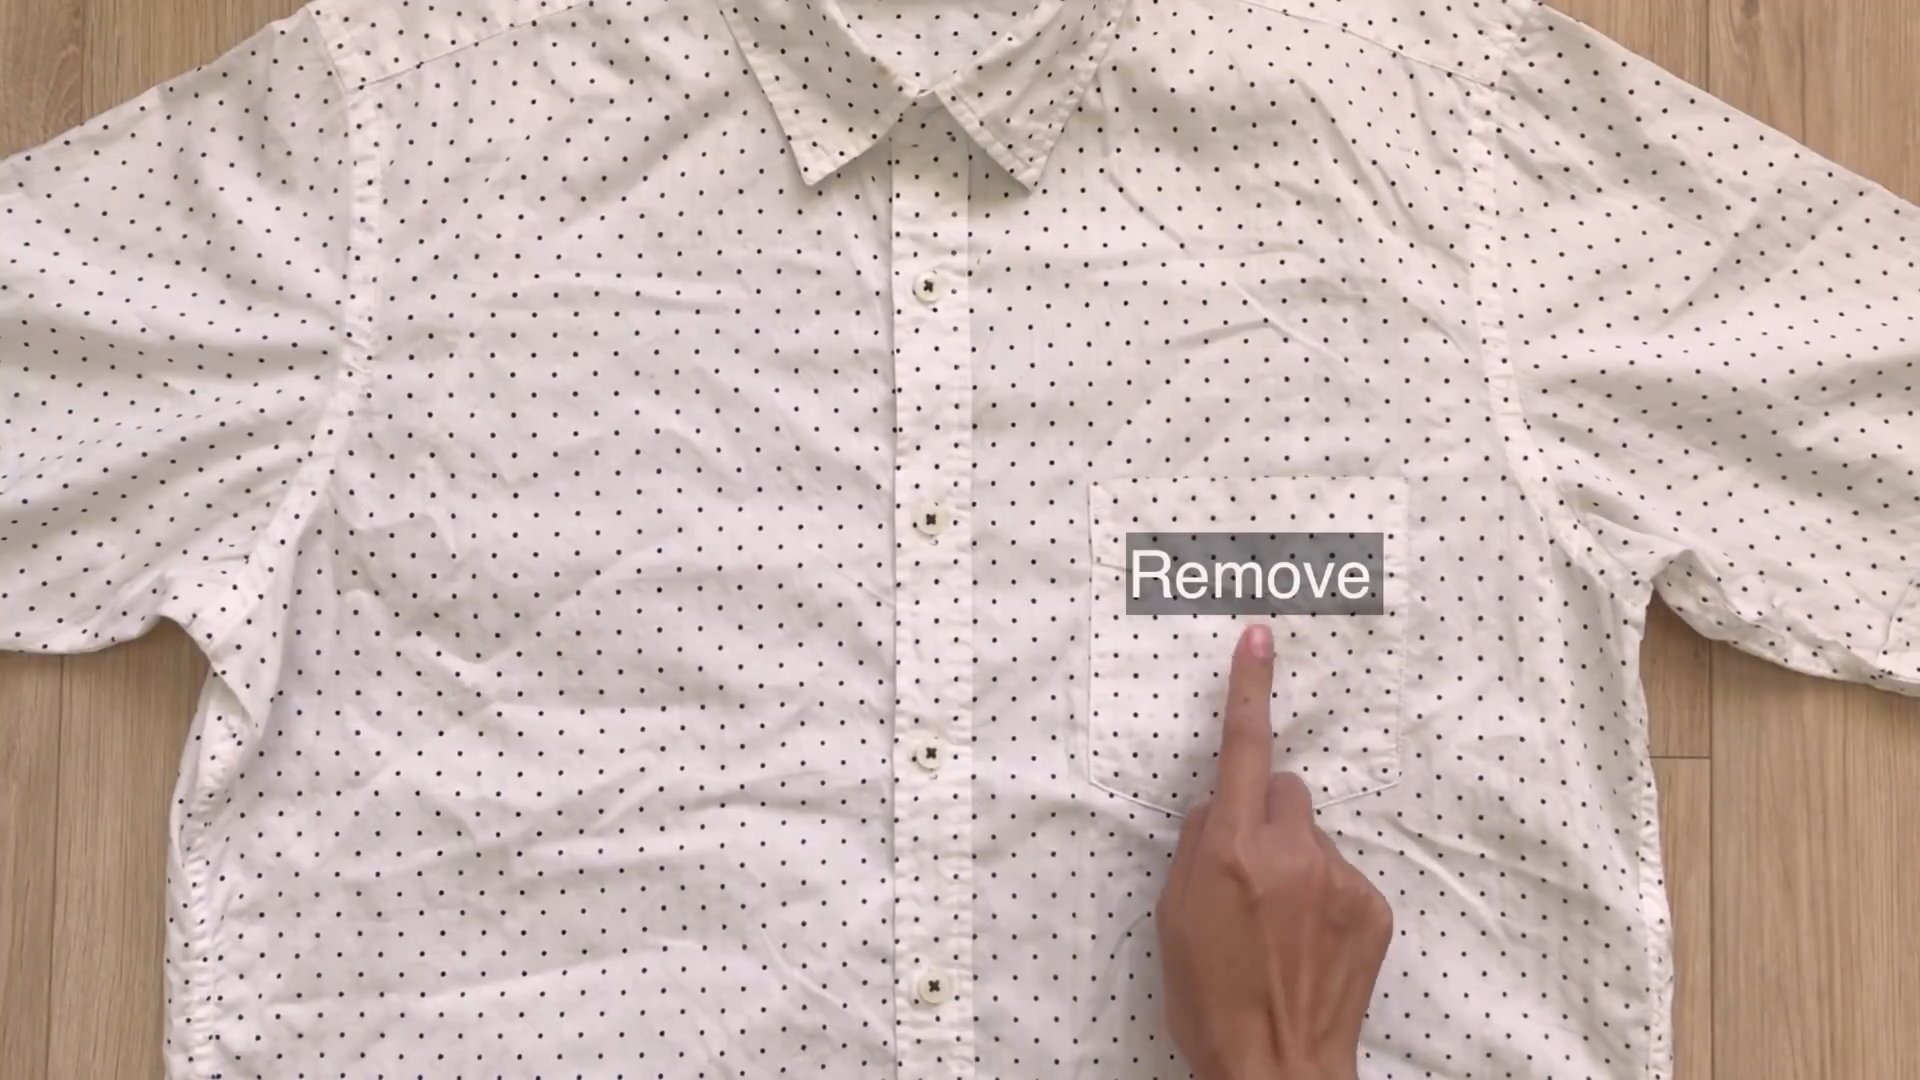
Remove the front pocket of your t-shirt.
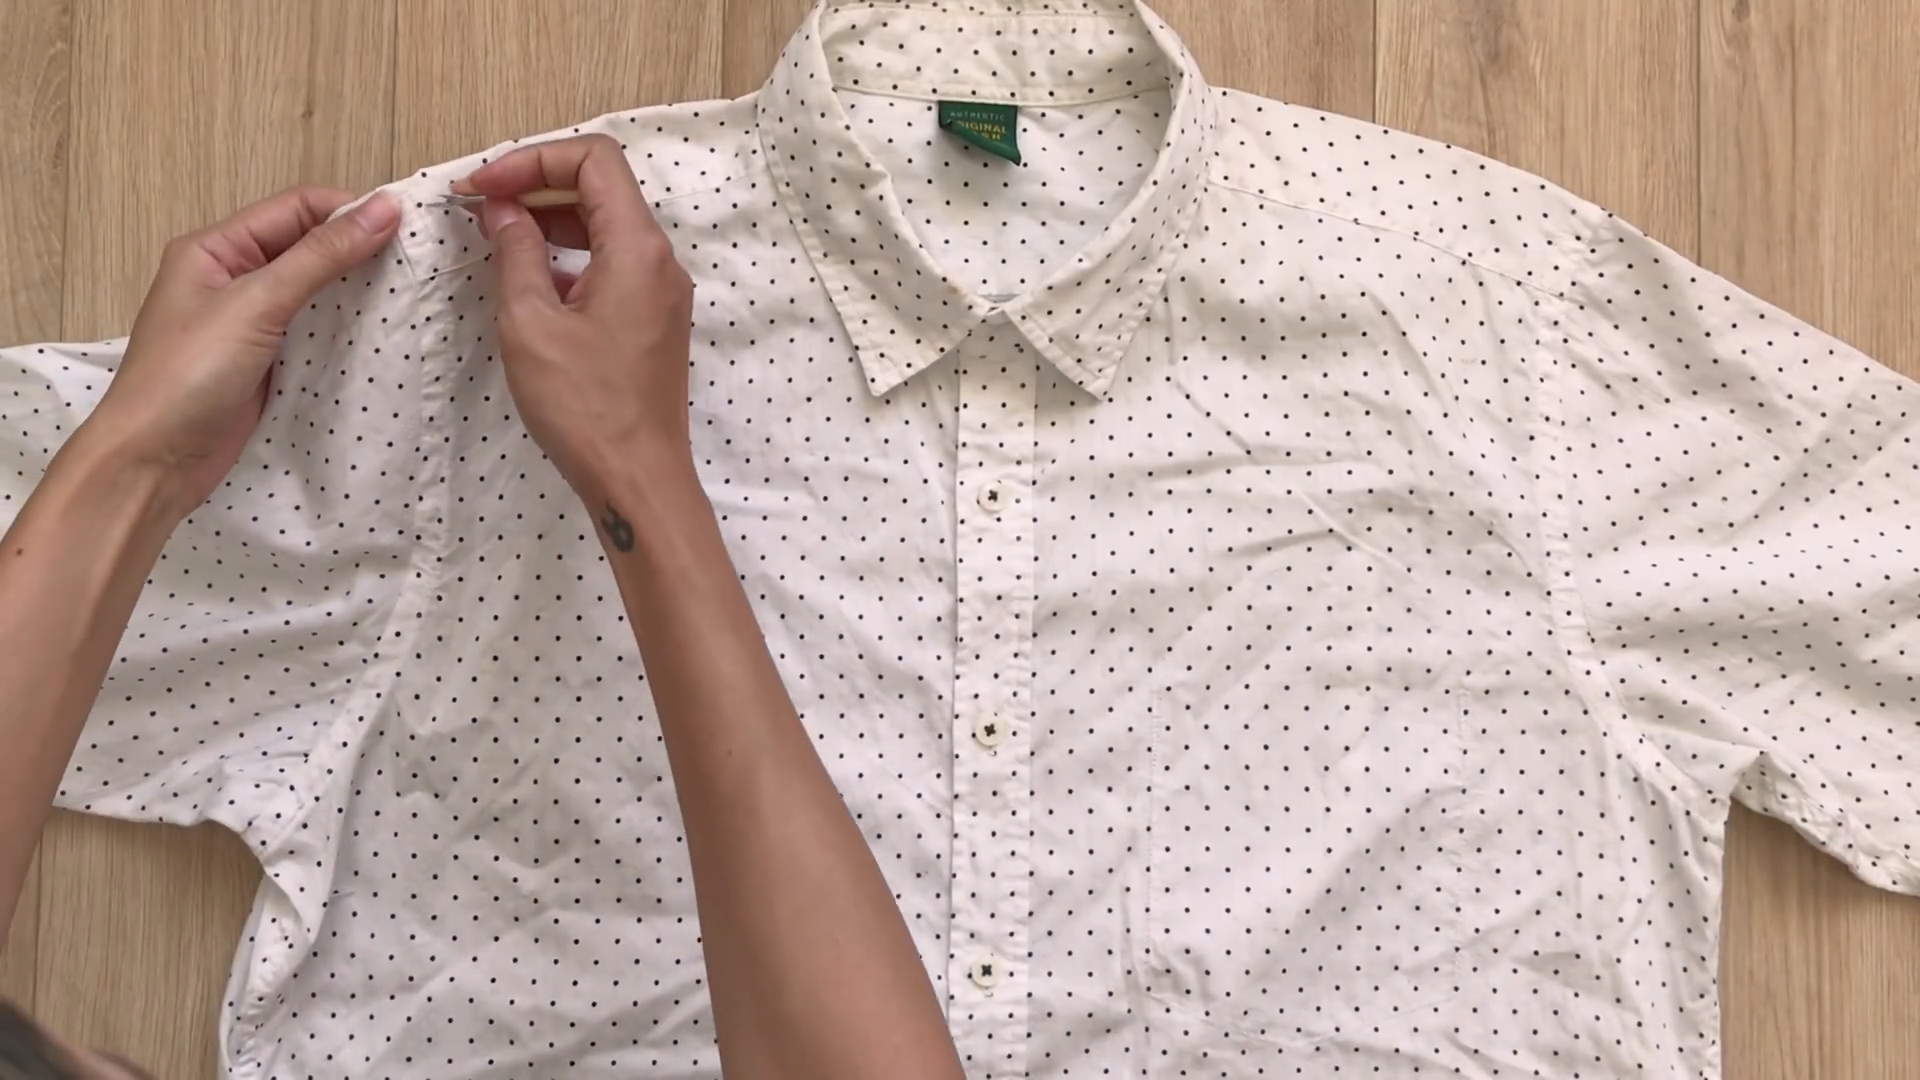
Then, unsew the seam at the hand part, but remember to keep a small one at the armpit area.
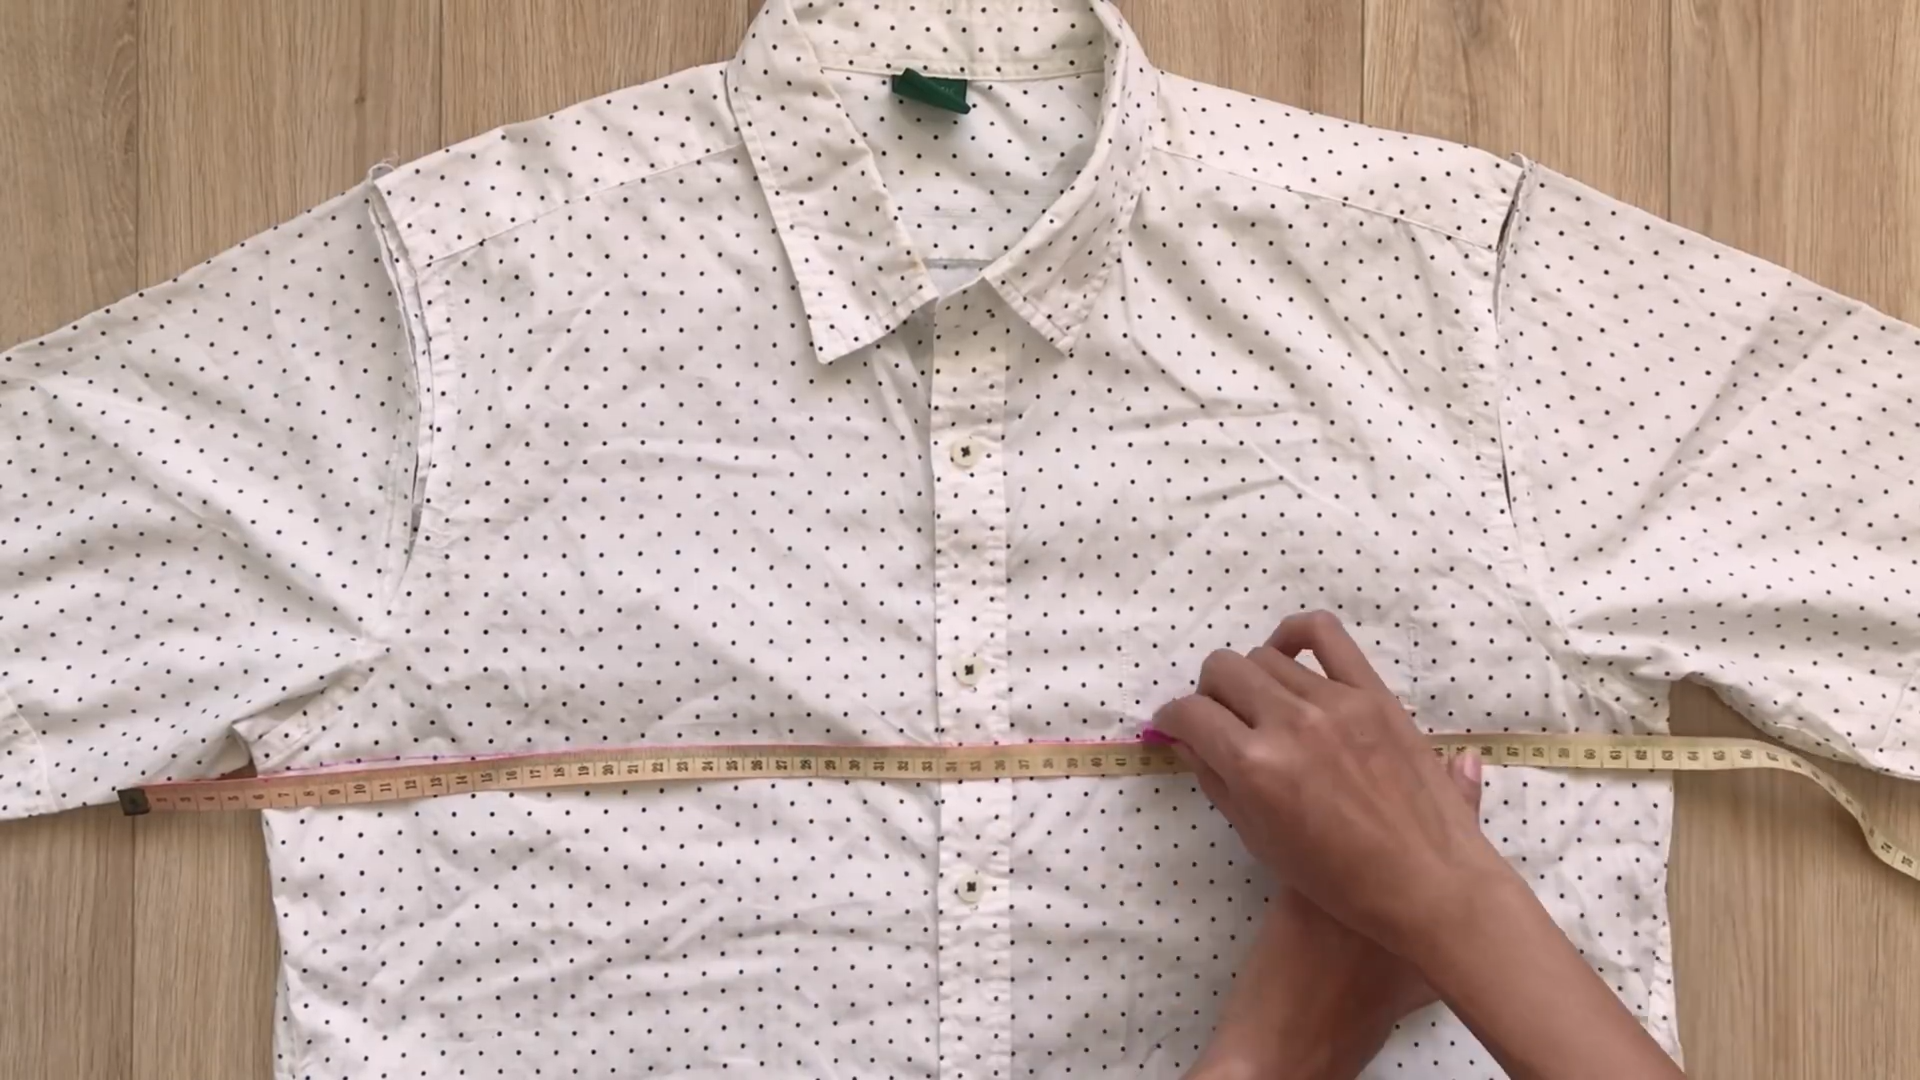
Draw a horizontal line under the armpit.
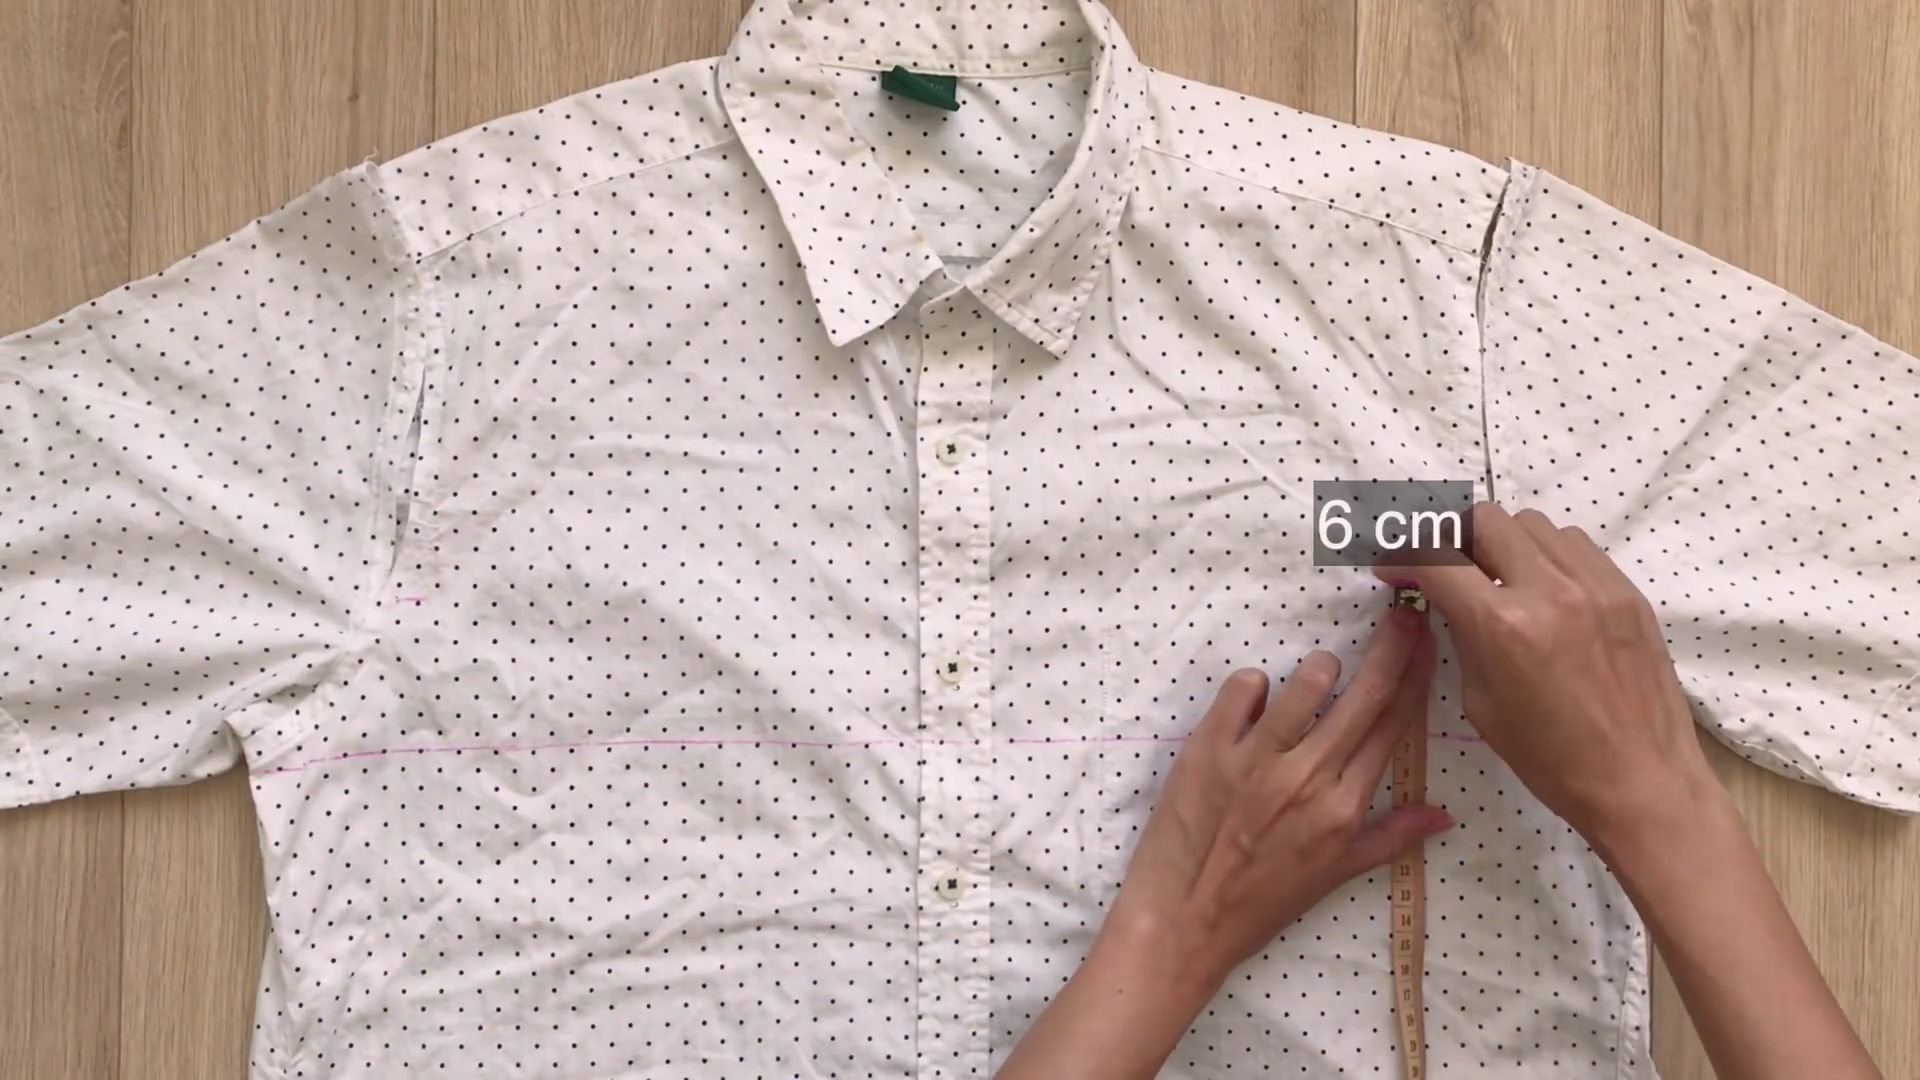
From that line, draw another line 6 cm above.
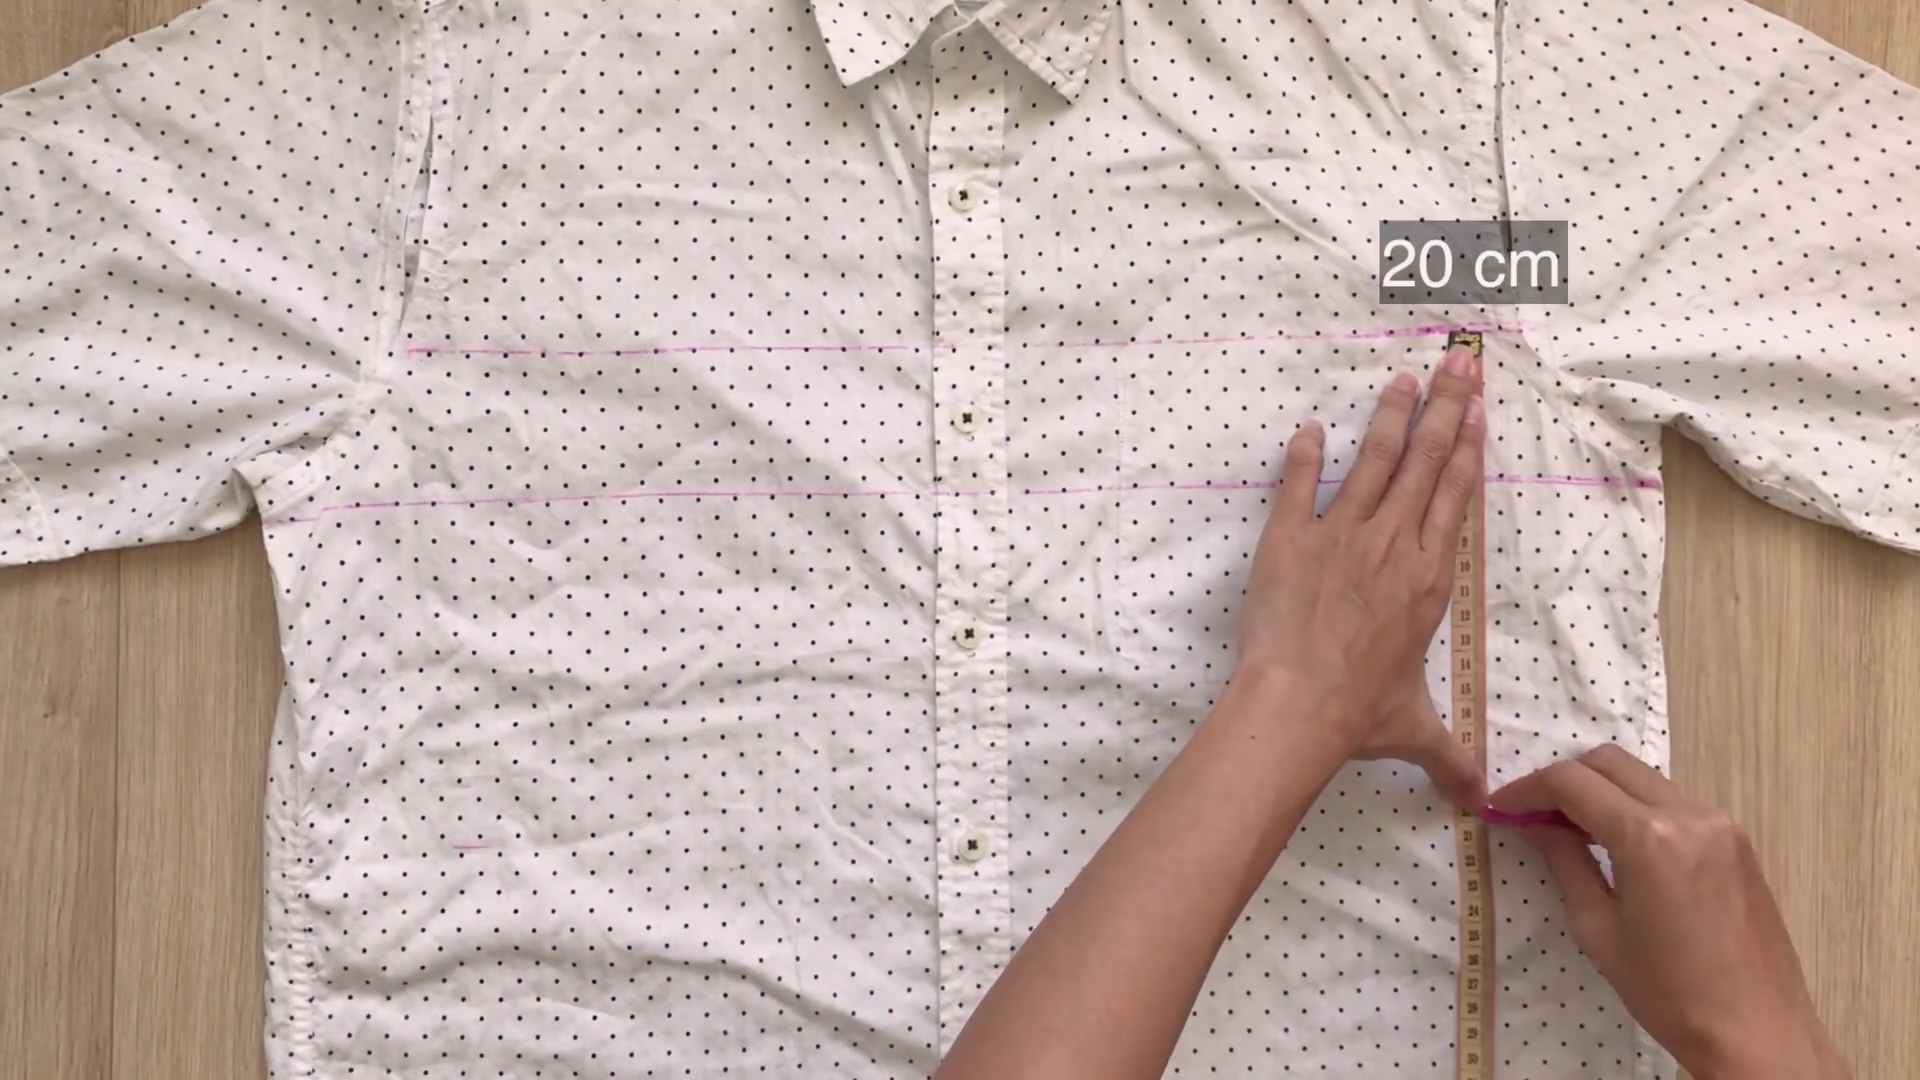
From the second horizontal line, draw another line 20 cm under it (this is the width of your breast, so you can adjust it if you want).
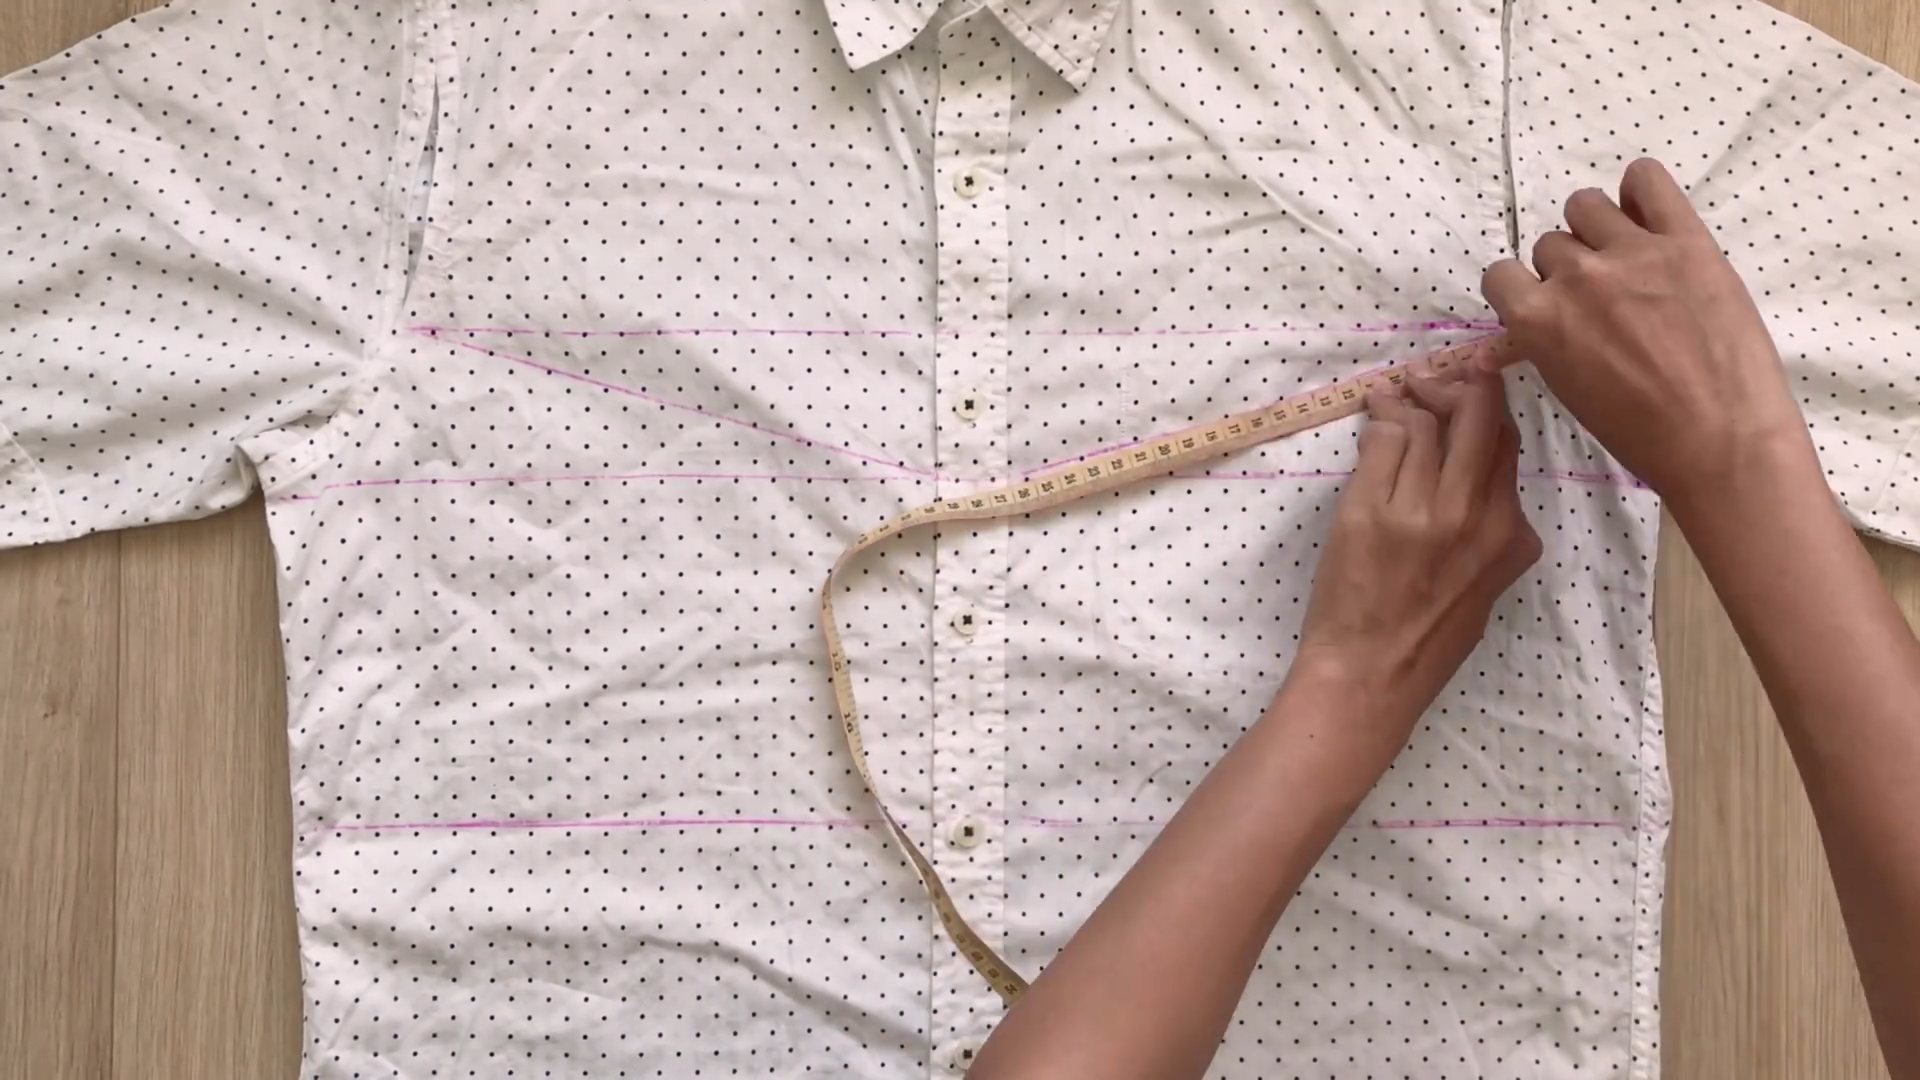
Connect two ends of the second horizontal line to the middle of the third line, which is the button area.
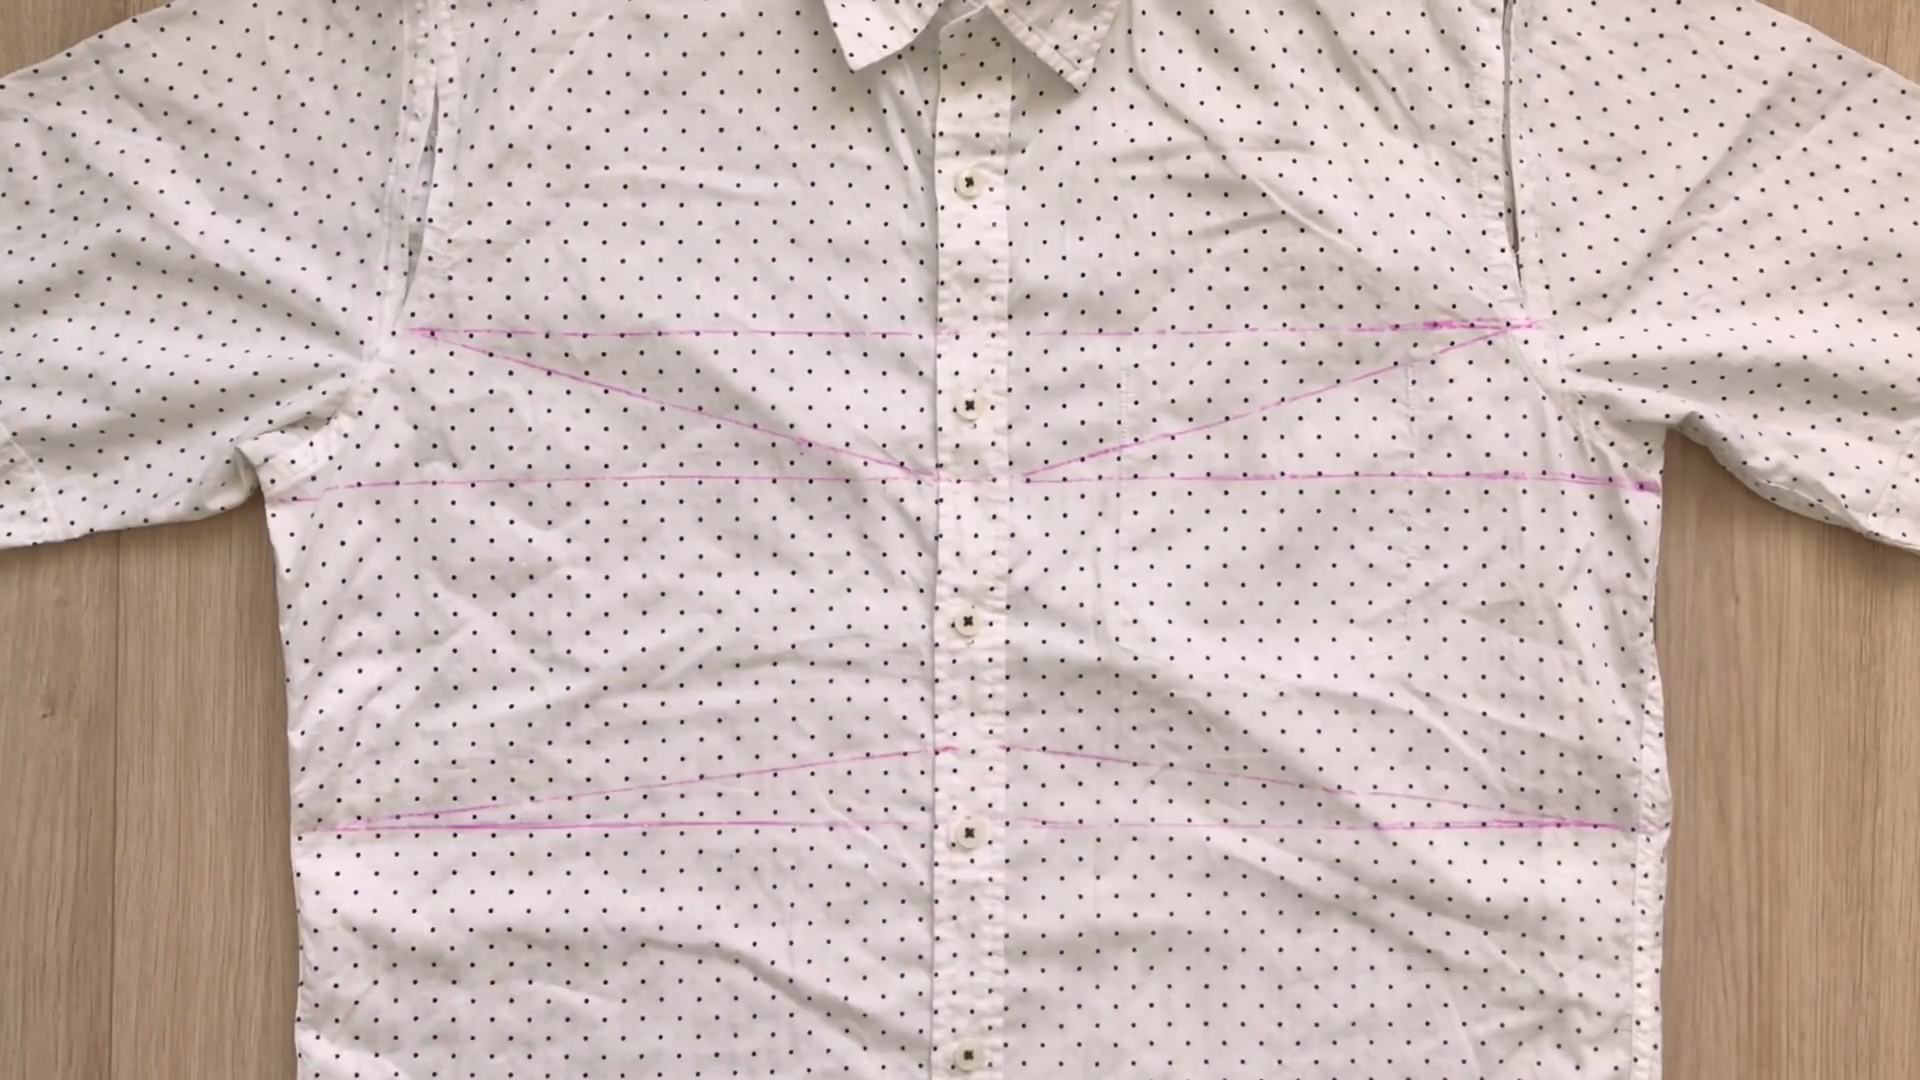
From the middle of the third line, mark 10 cm under it. Then, connect this mark to two ends of the third horizontal line.
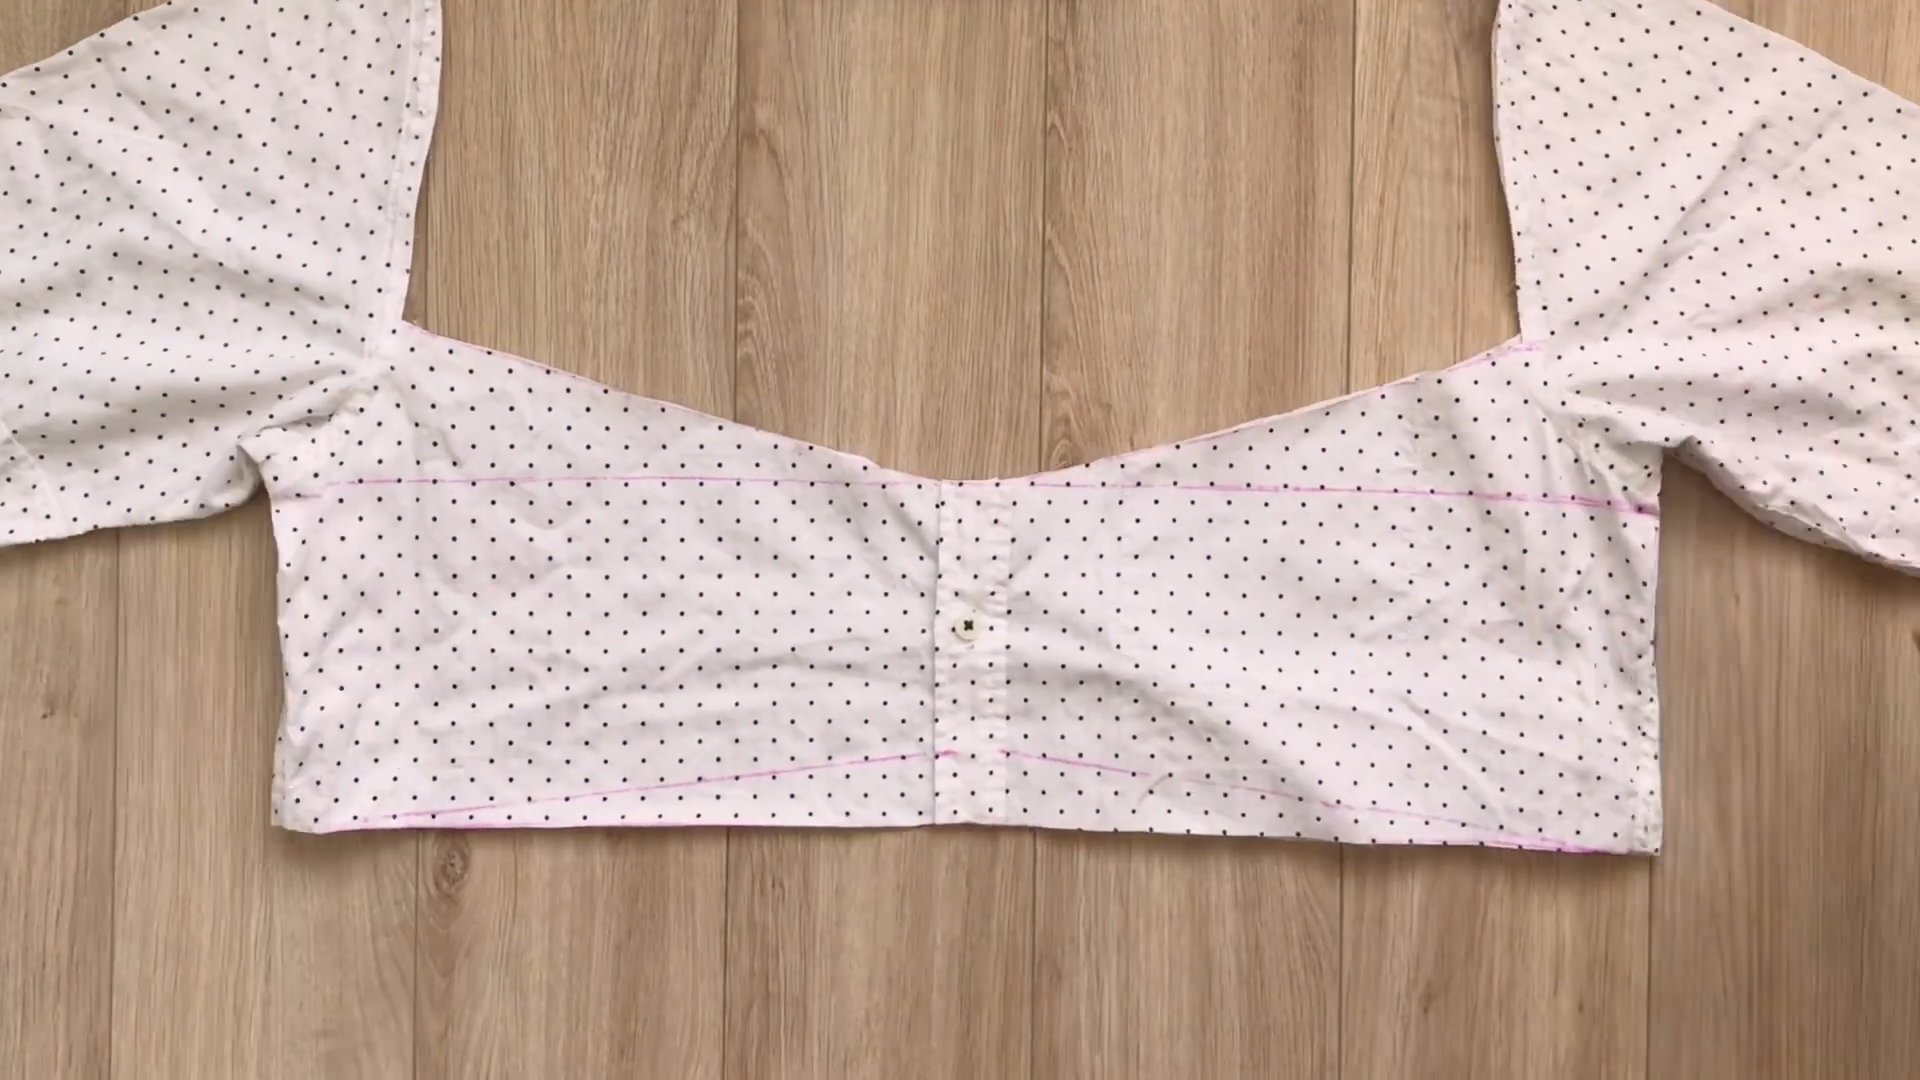
After cutting, you will have the main body of the crop top.
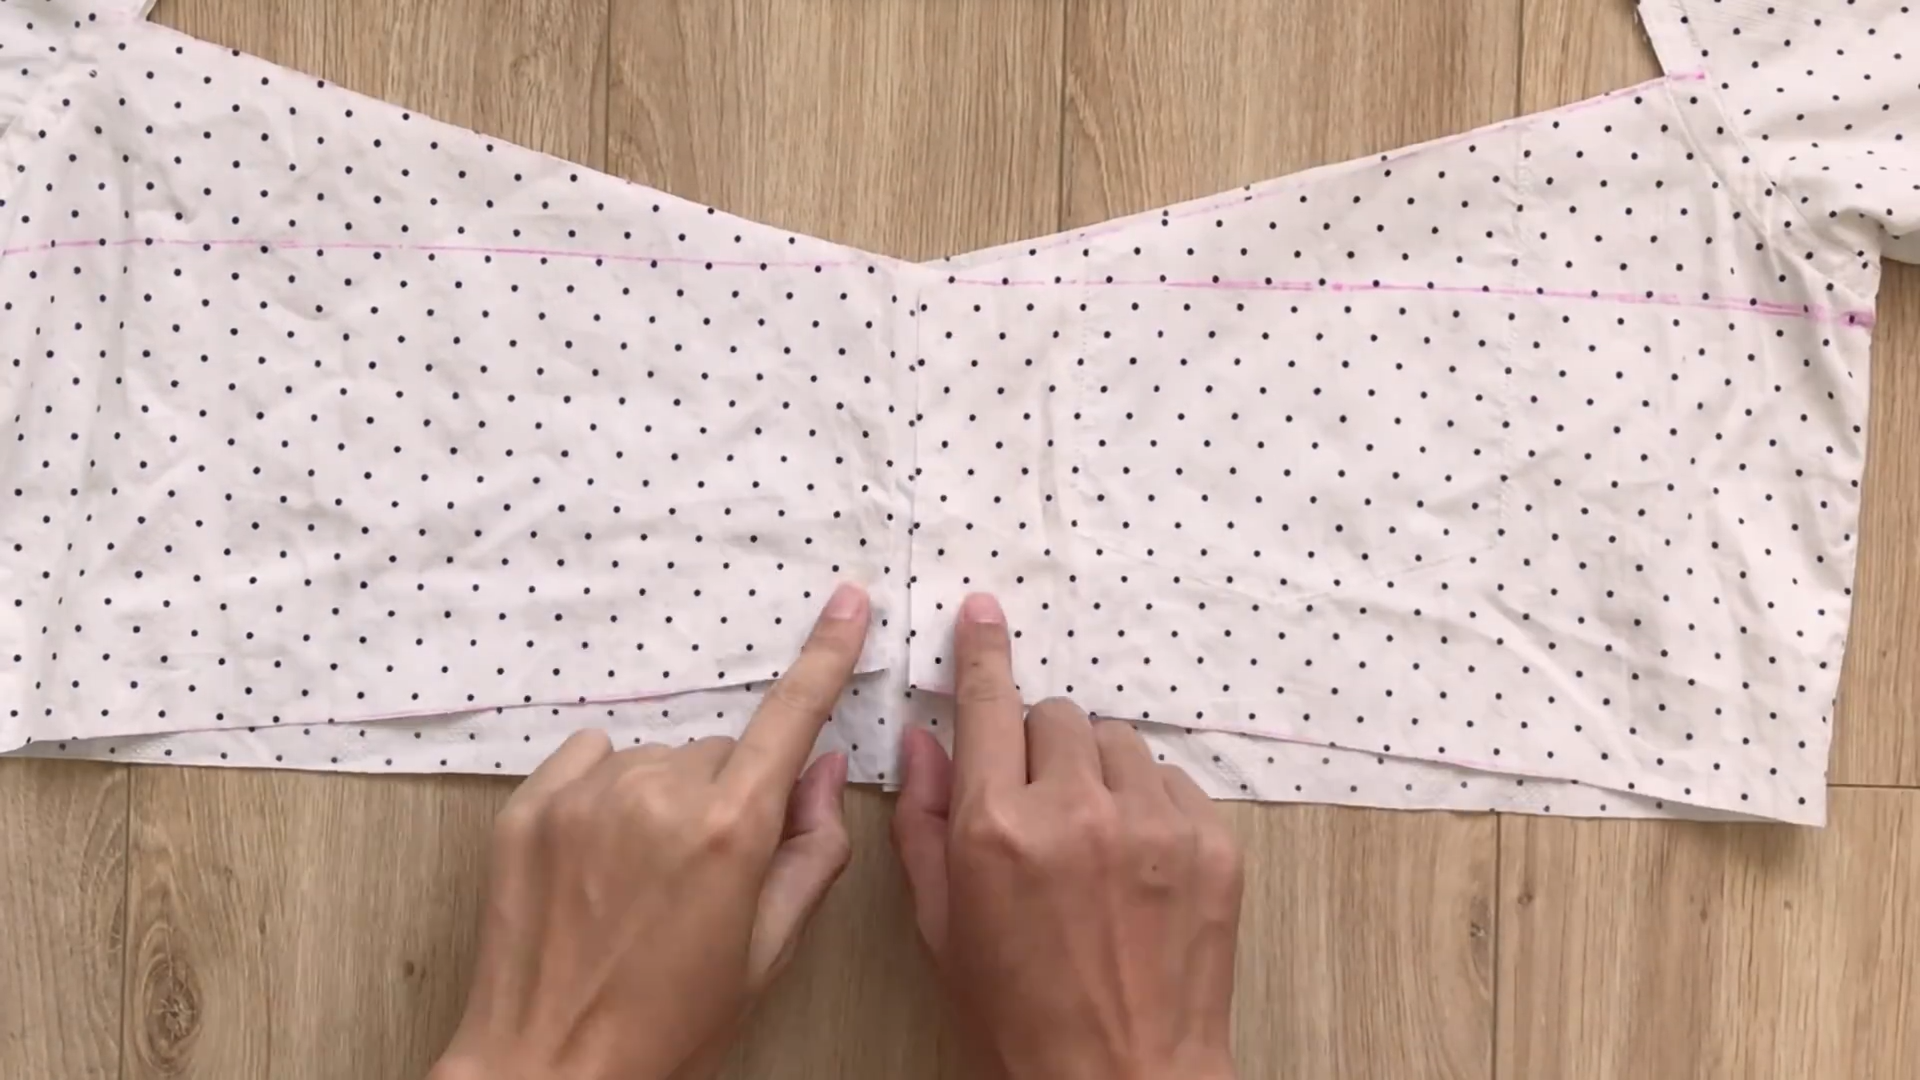
Connect the front of the crop top in the middle first, then overlock the whole crop top to protect the cutting lines.
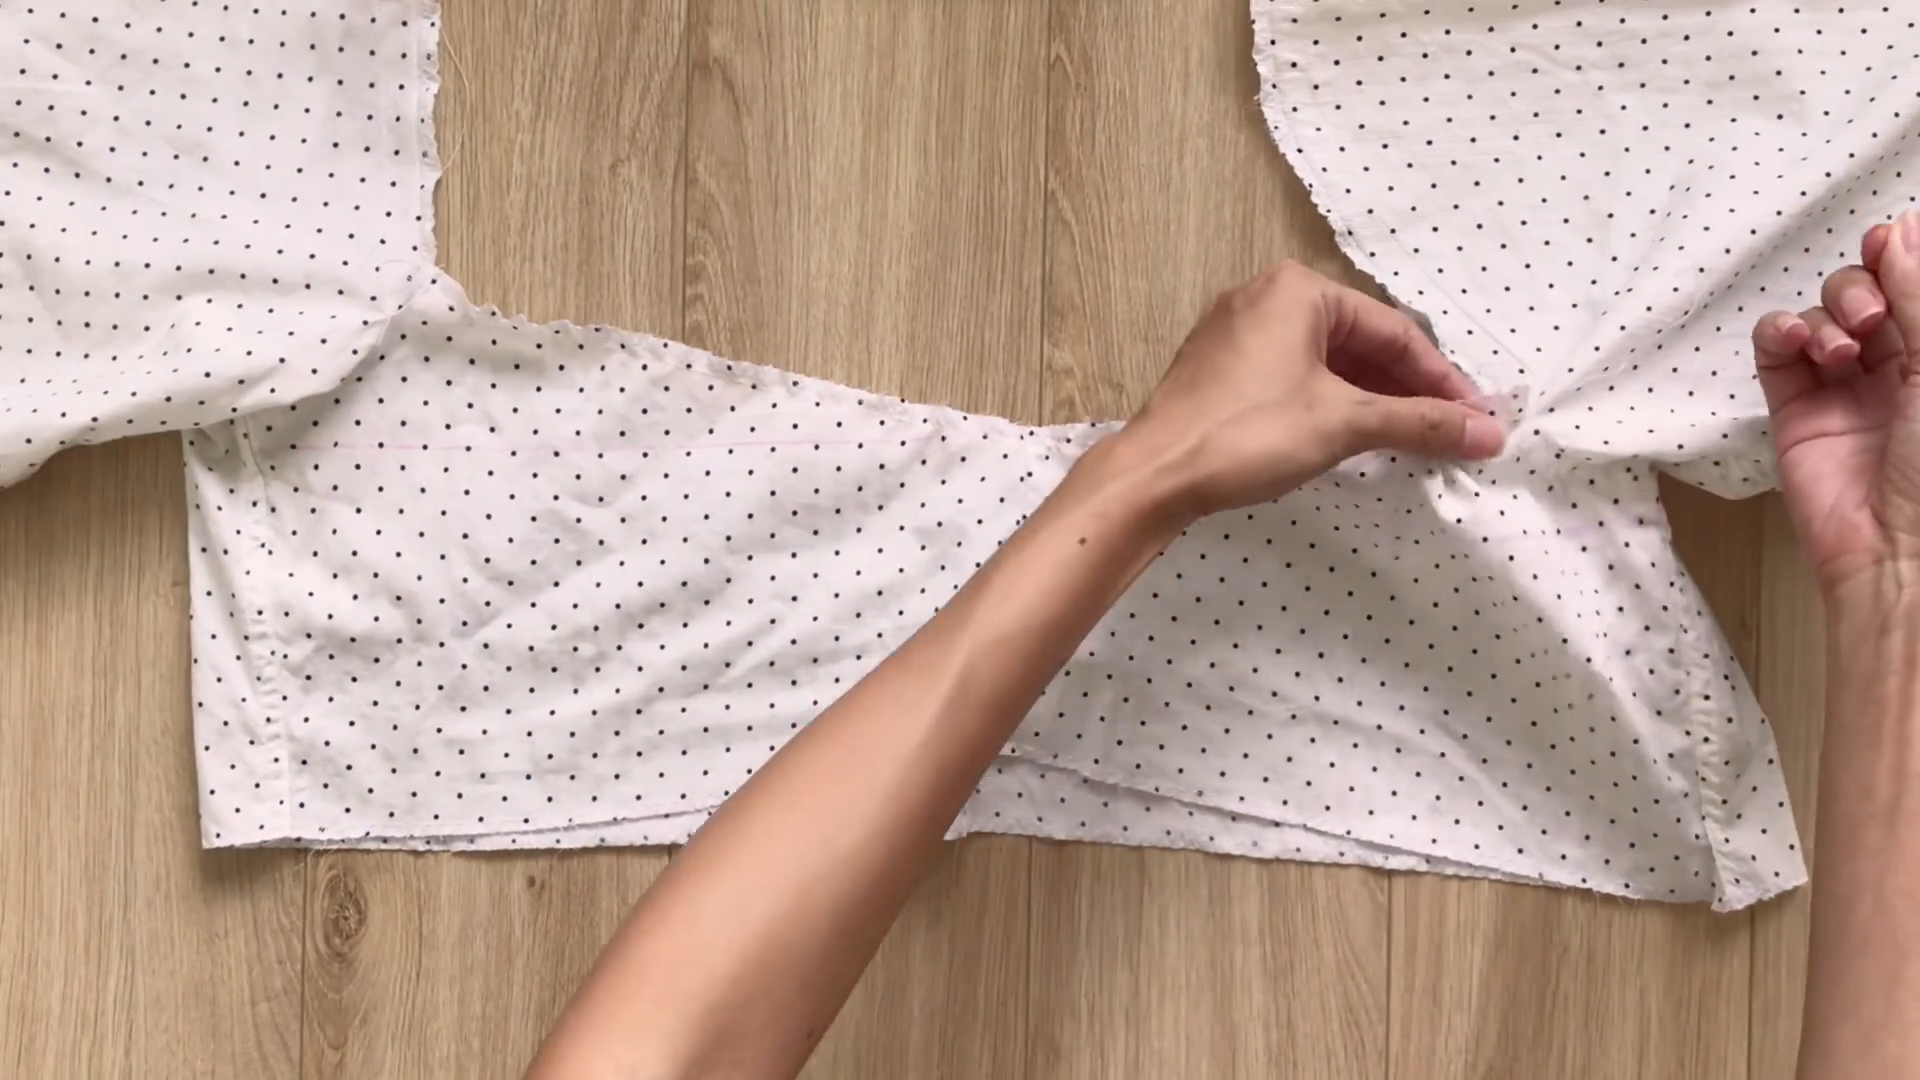
At the top of the front, make a loose seam to create a puffy look.
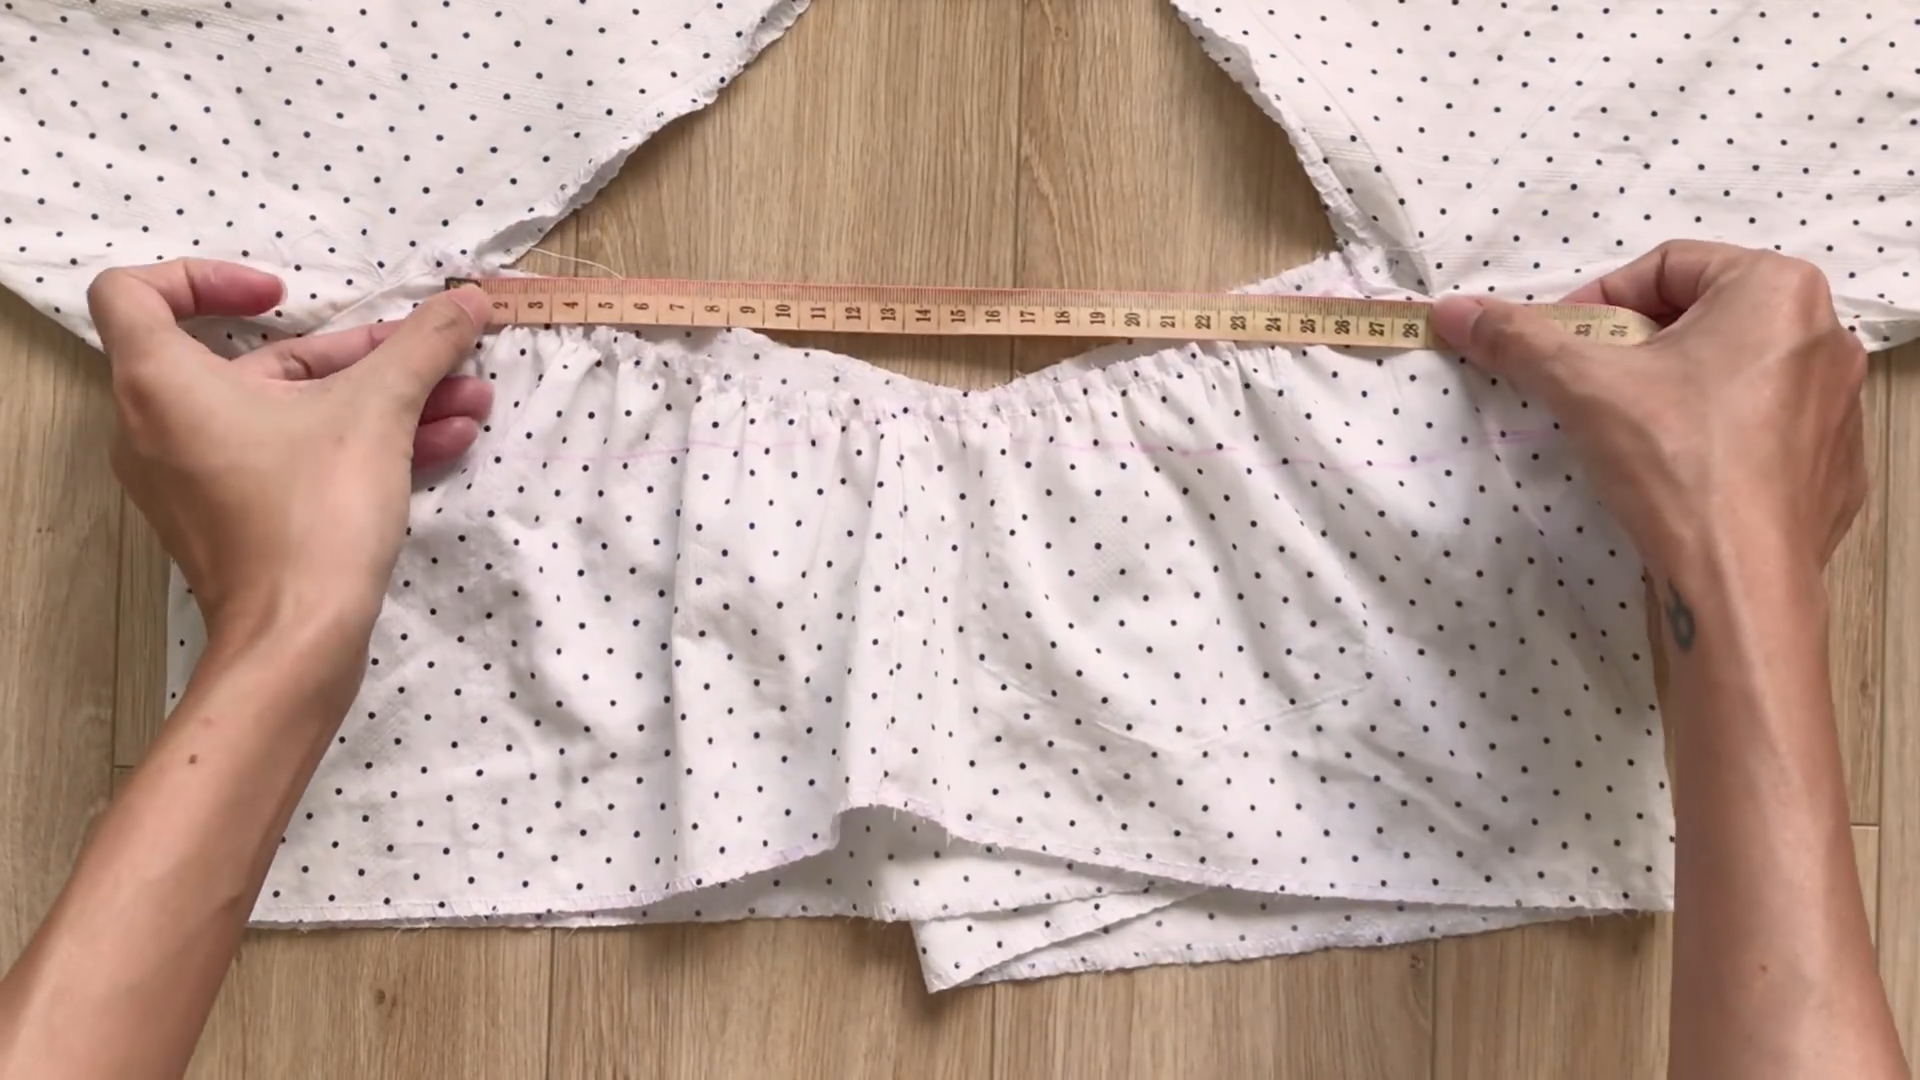
Make sure the width of the top in the end is 24 cm, which is the width between two breasts.
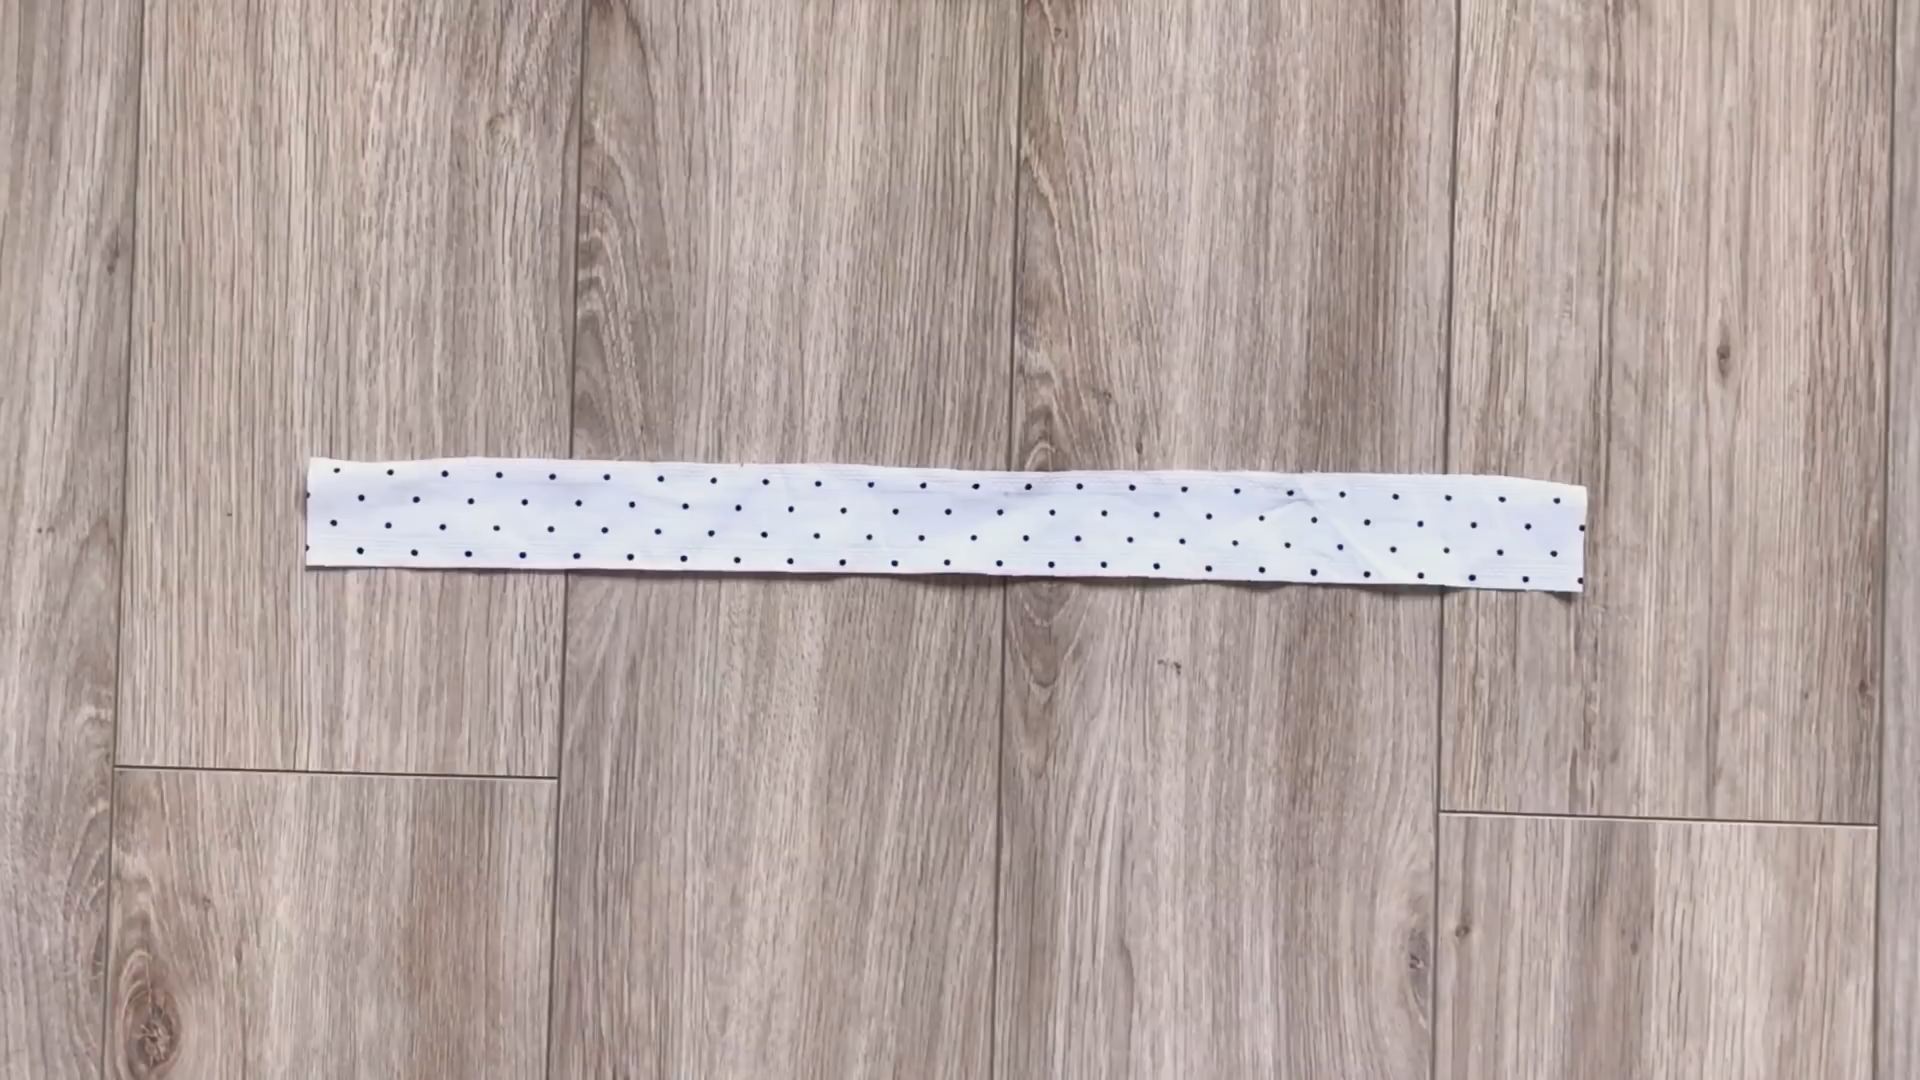
Use a long rectangle with a width of 3 cm and a length of 26 cm to hem the top.
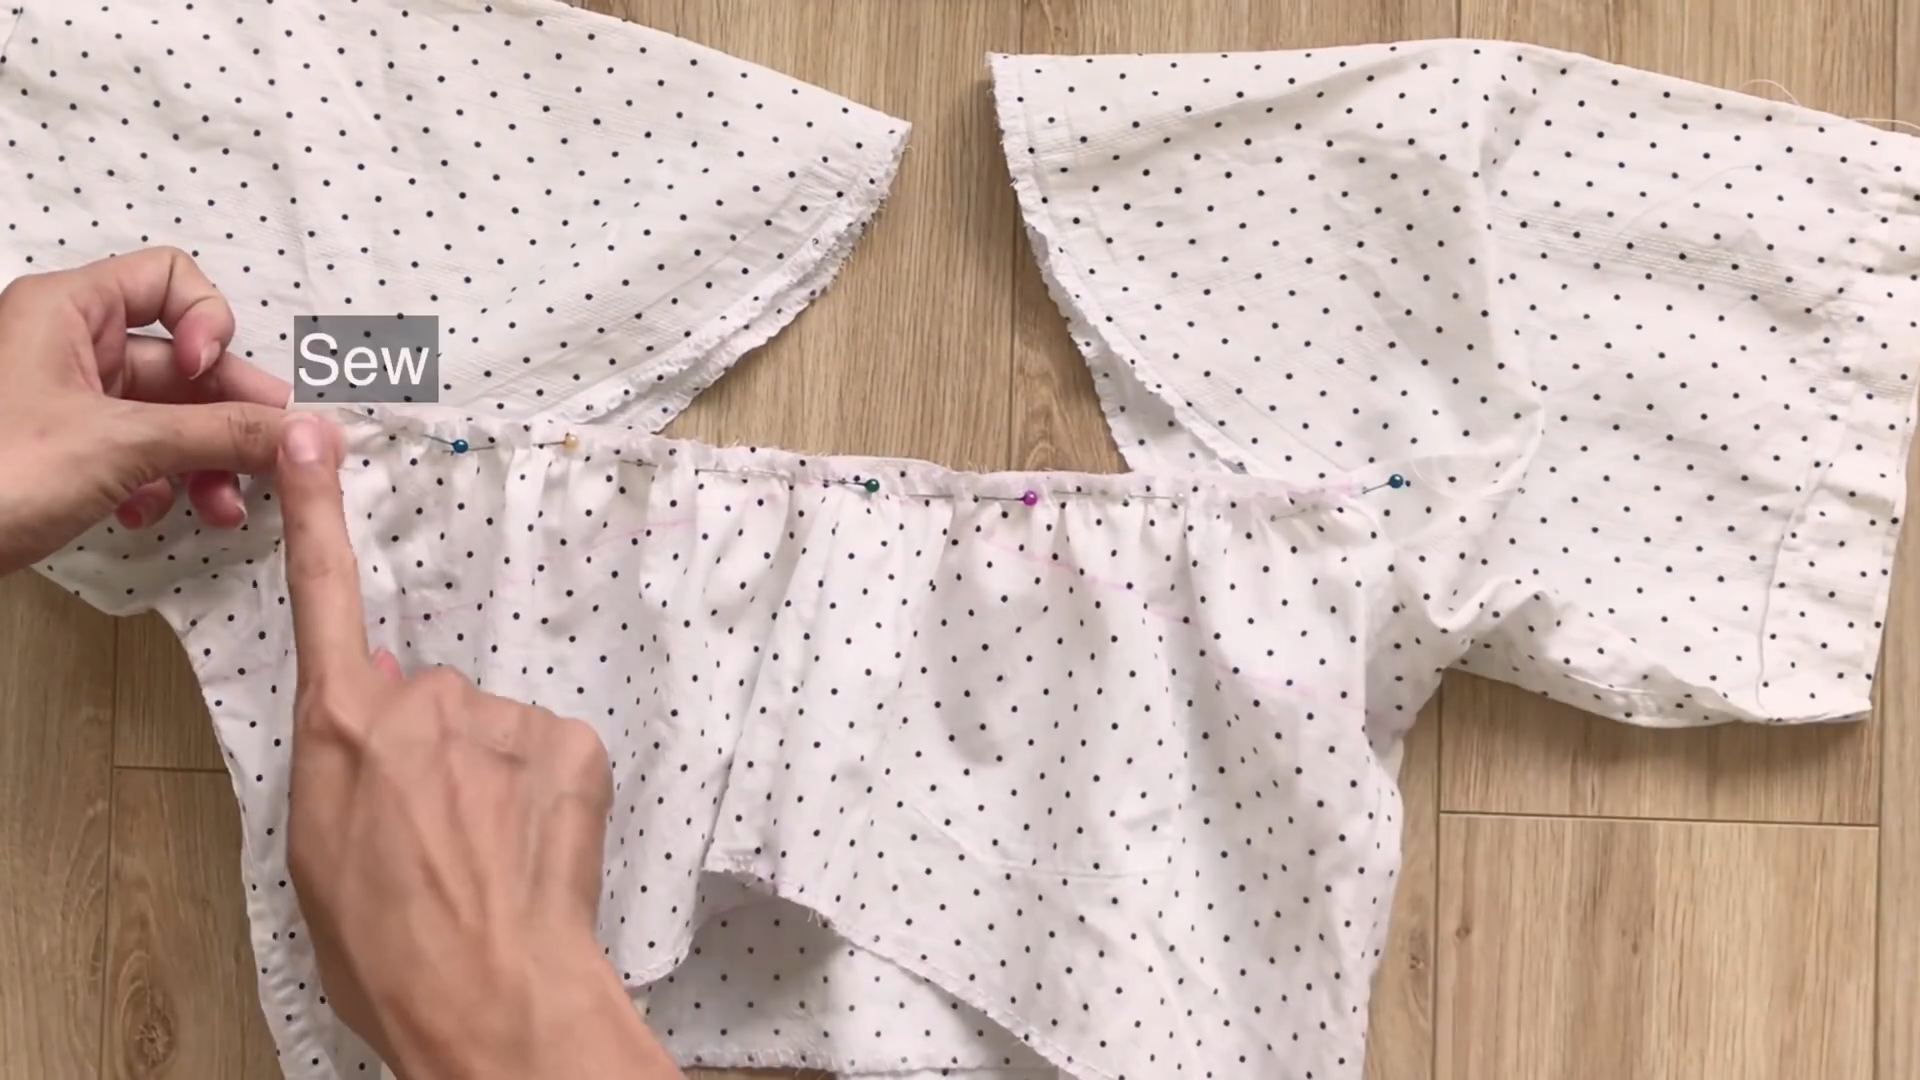
Connect the rectangle to the top of the front first, then make the first seam.
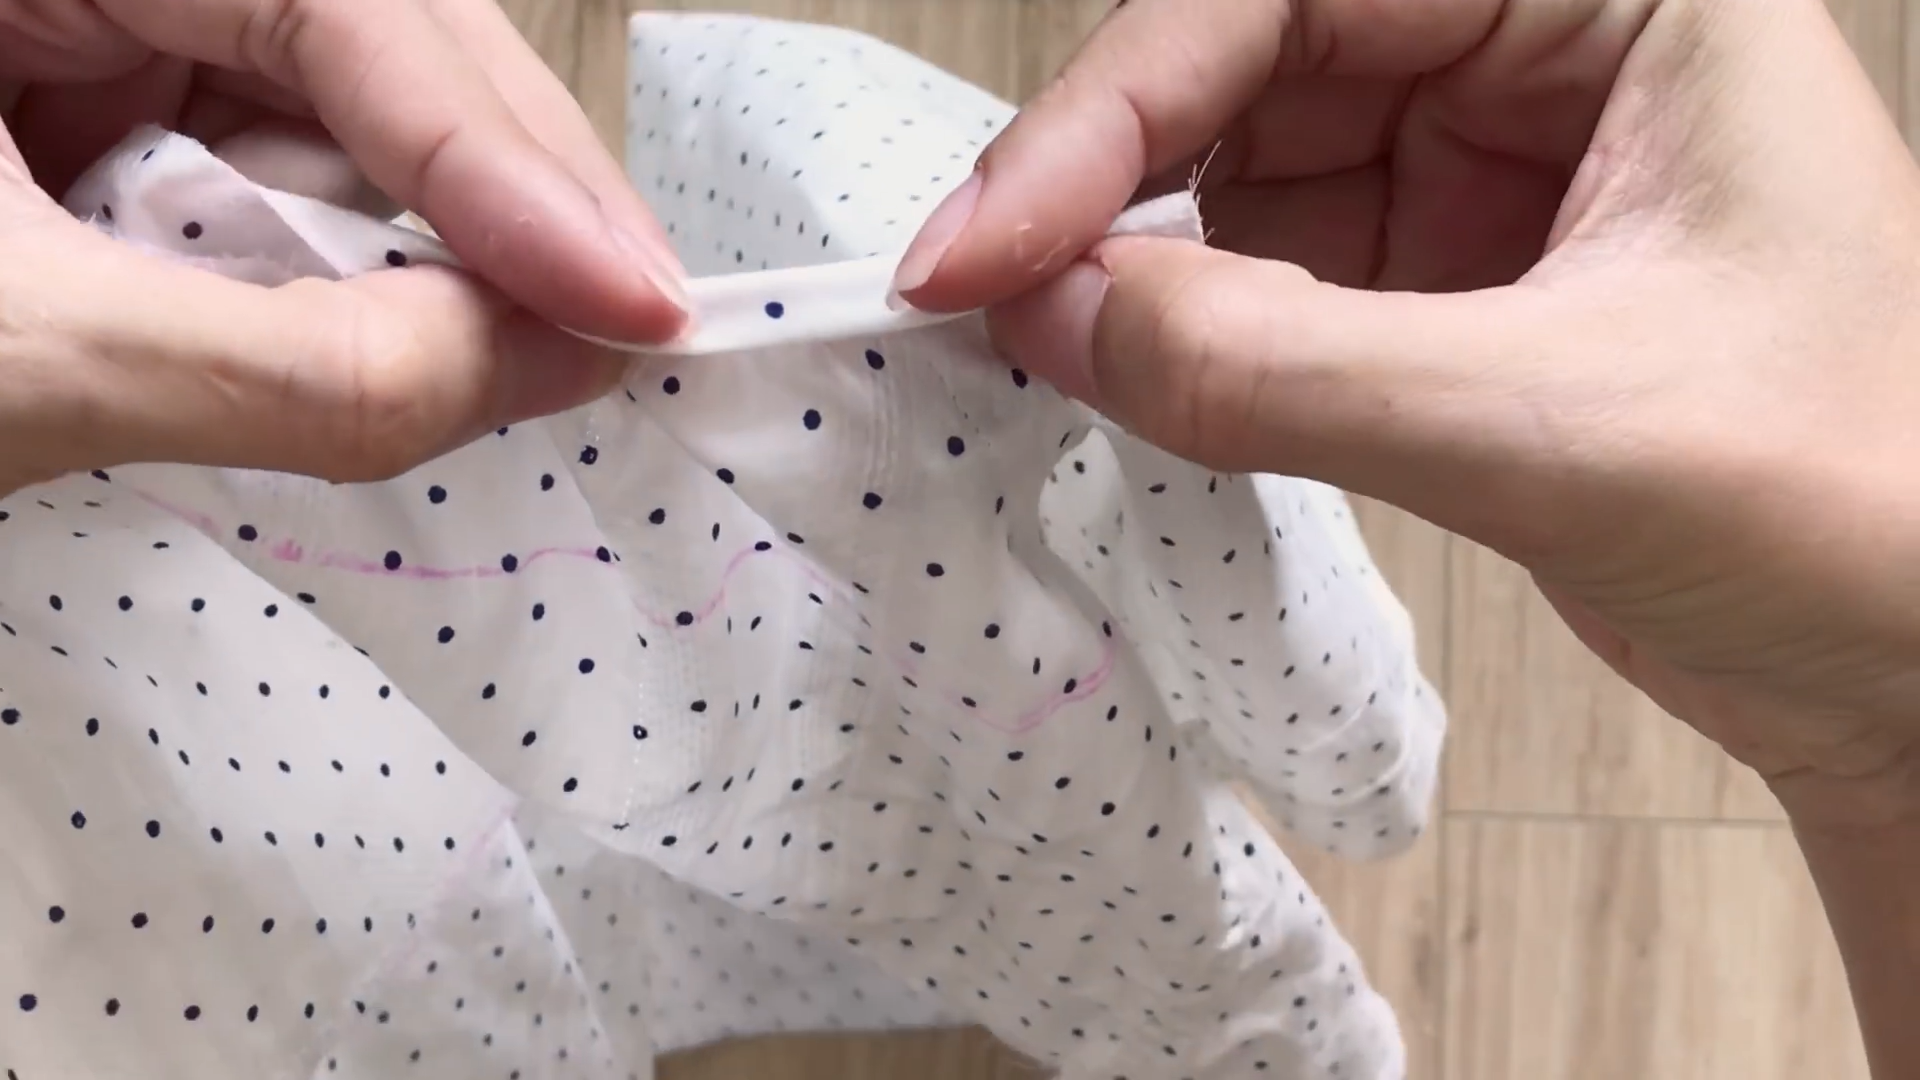
After that, fold the rectangle twice to hide the end fabric inside and make the second seam to finish the neck area of the crop top.
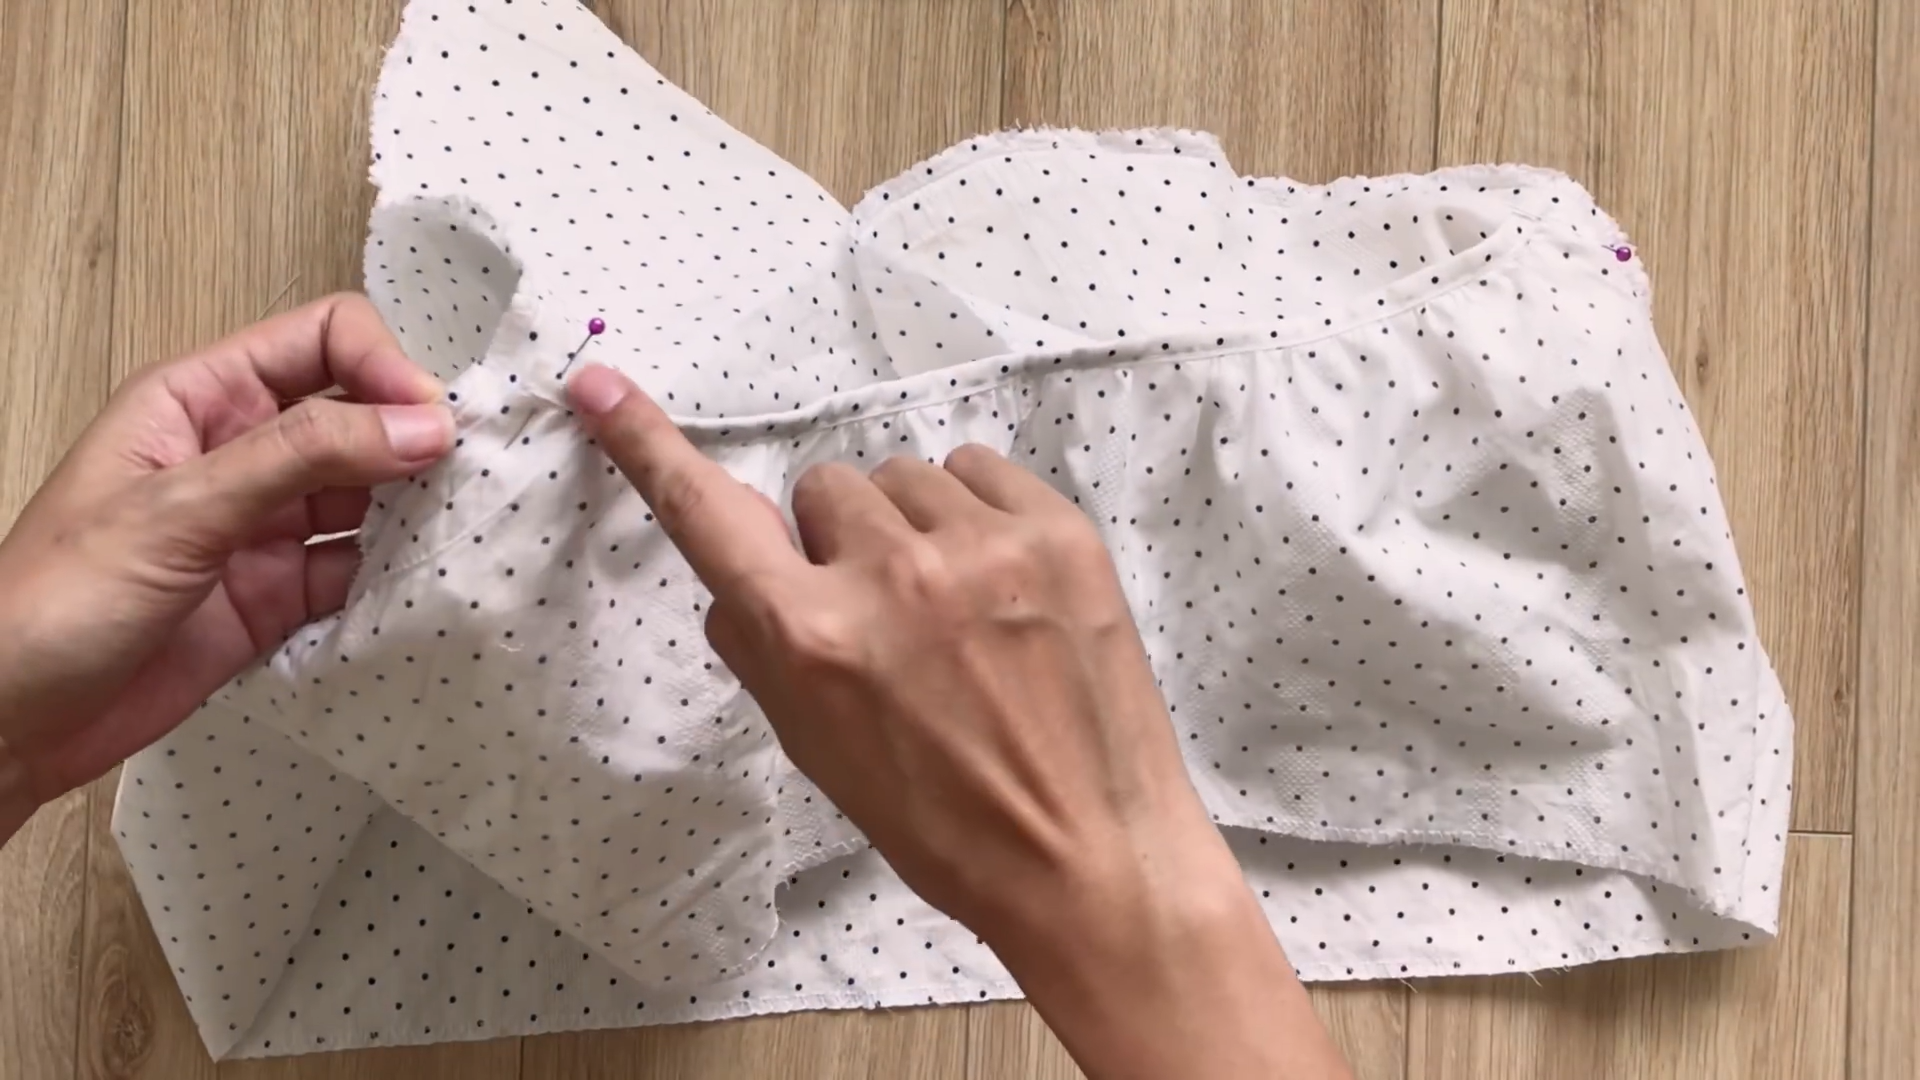
Now, connect two ends of the neckline to the sleeve.
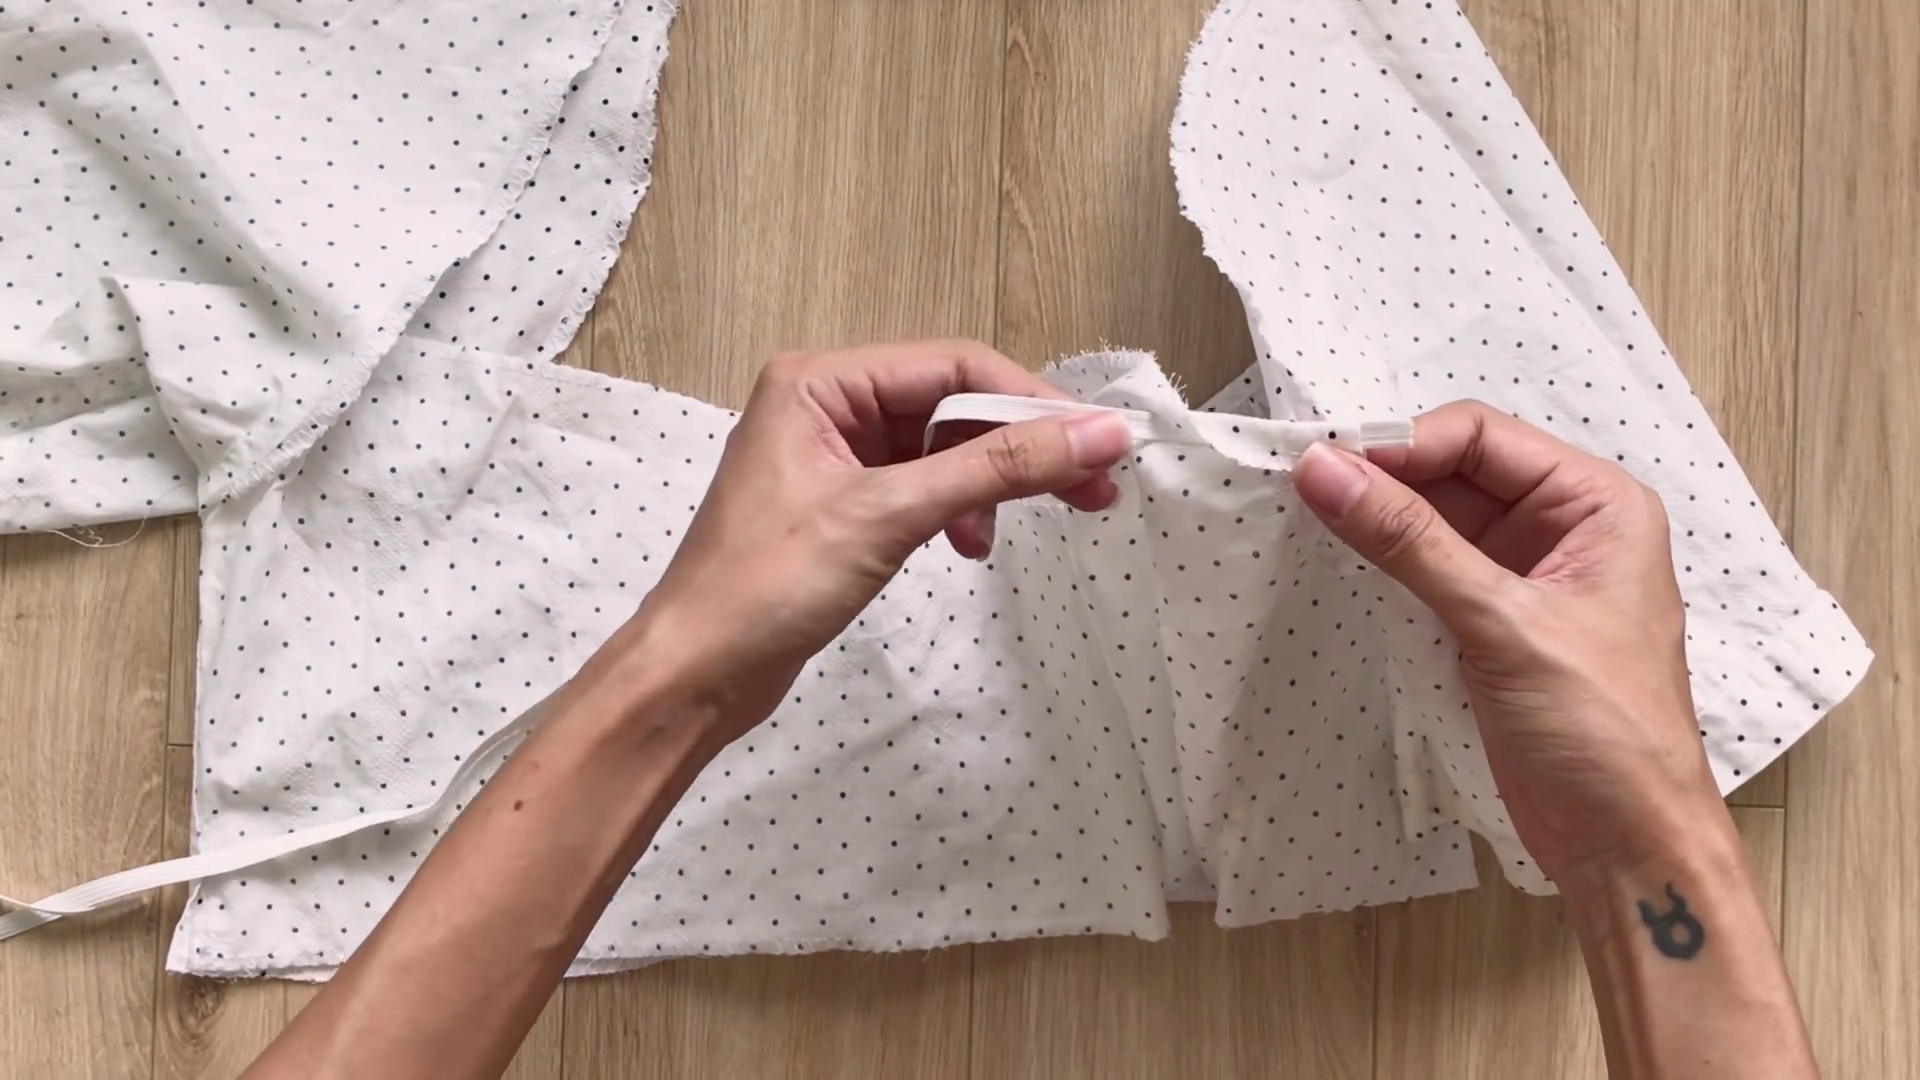
At the back of the crop top, use a small elastic band to gather the fabric together to make it fit your body.
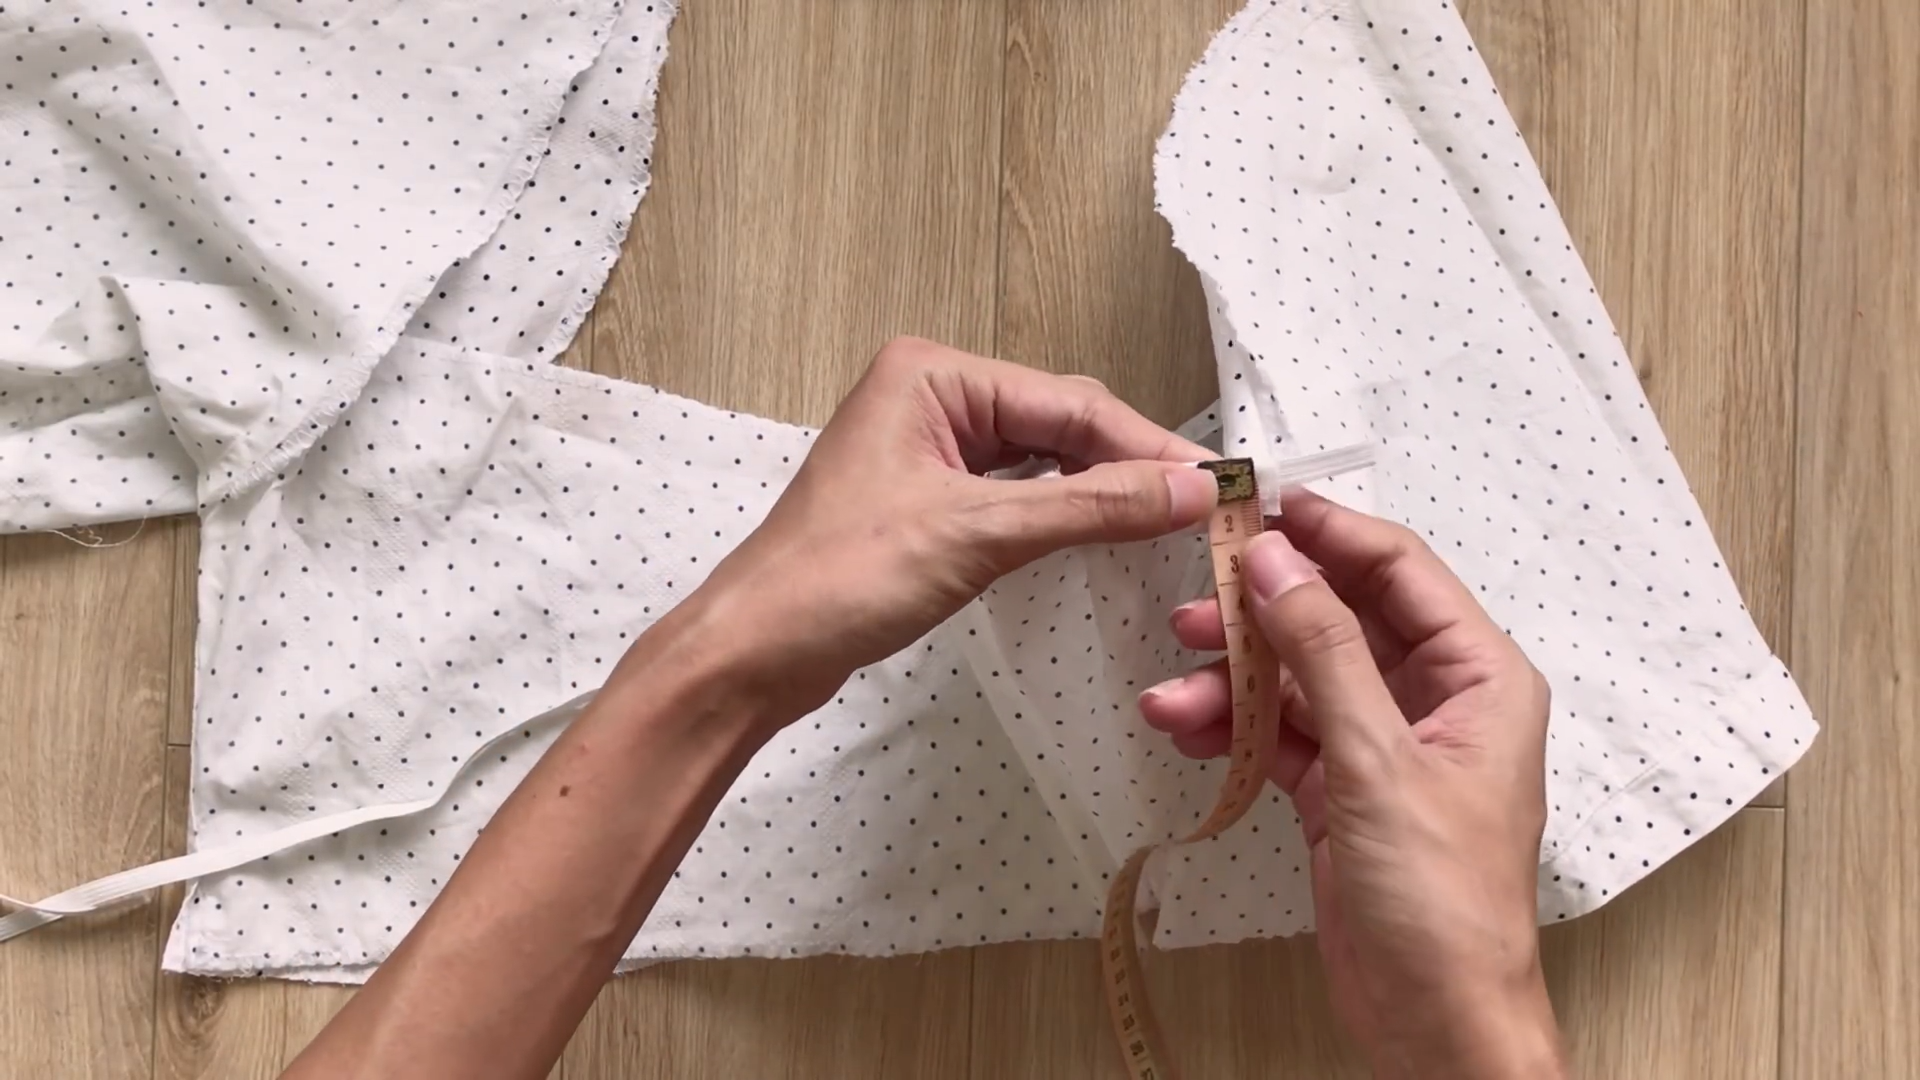
Measure the width of the fabric you need to fold in to create the fabric hole.
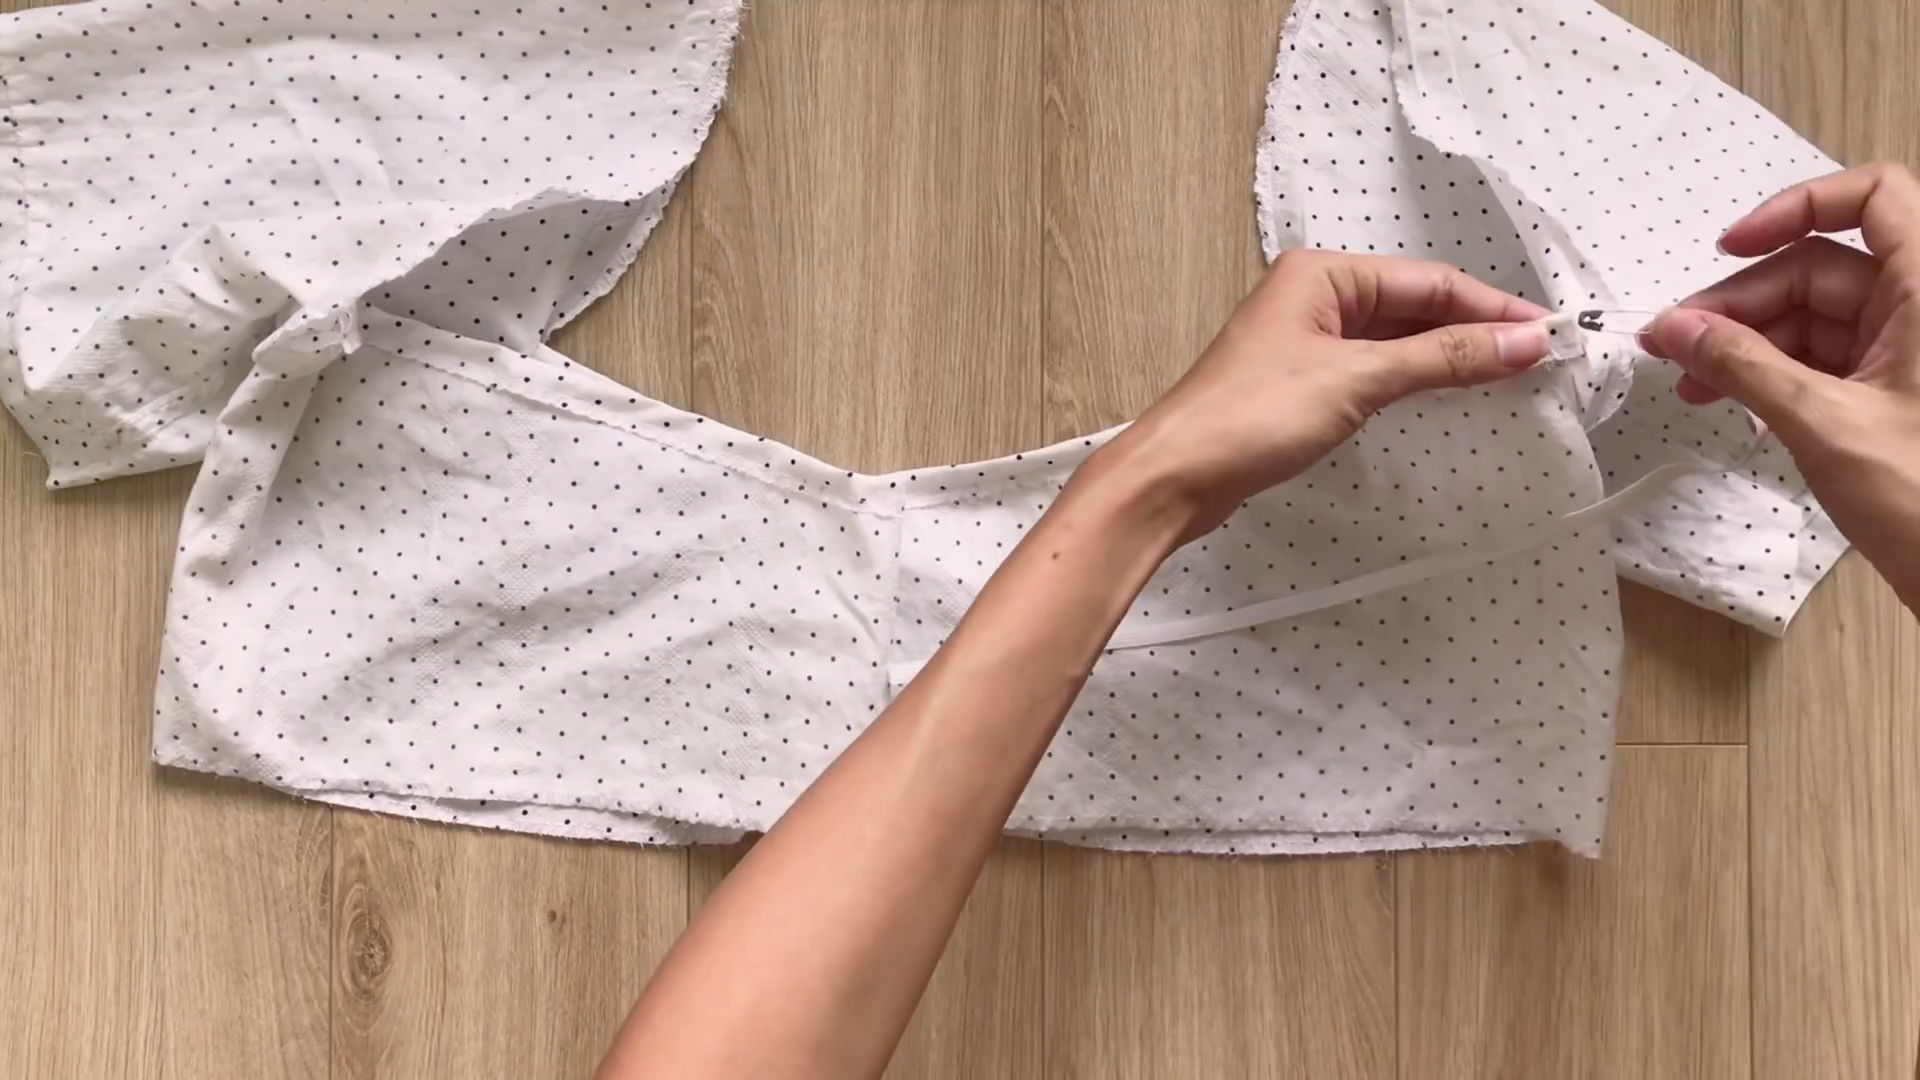
Then, use a small shaped tipping to move the elastic band through it later.
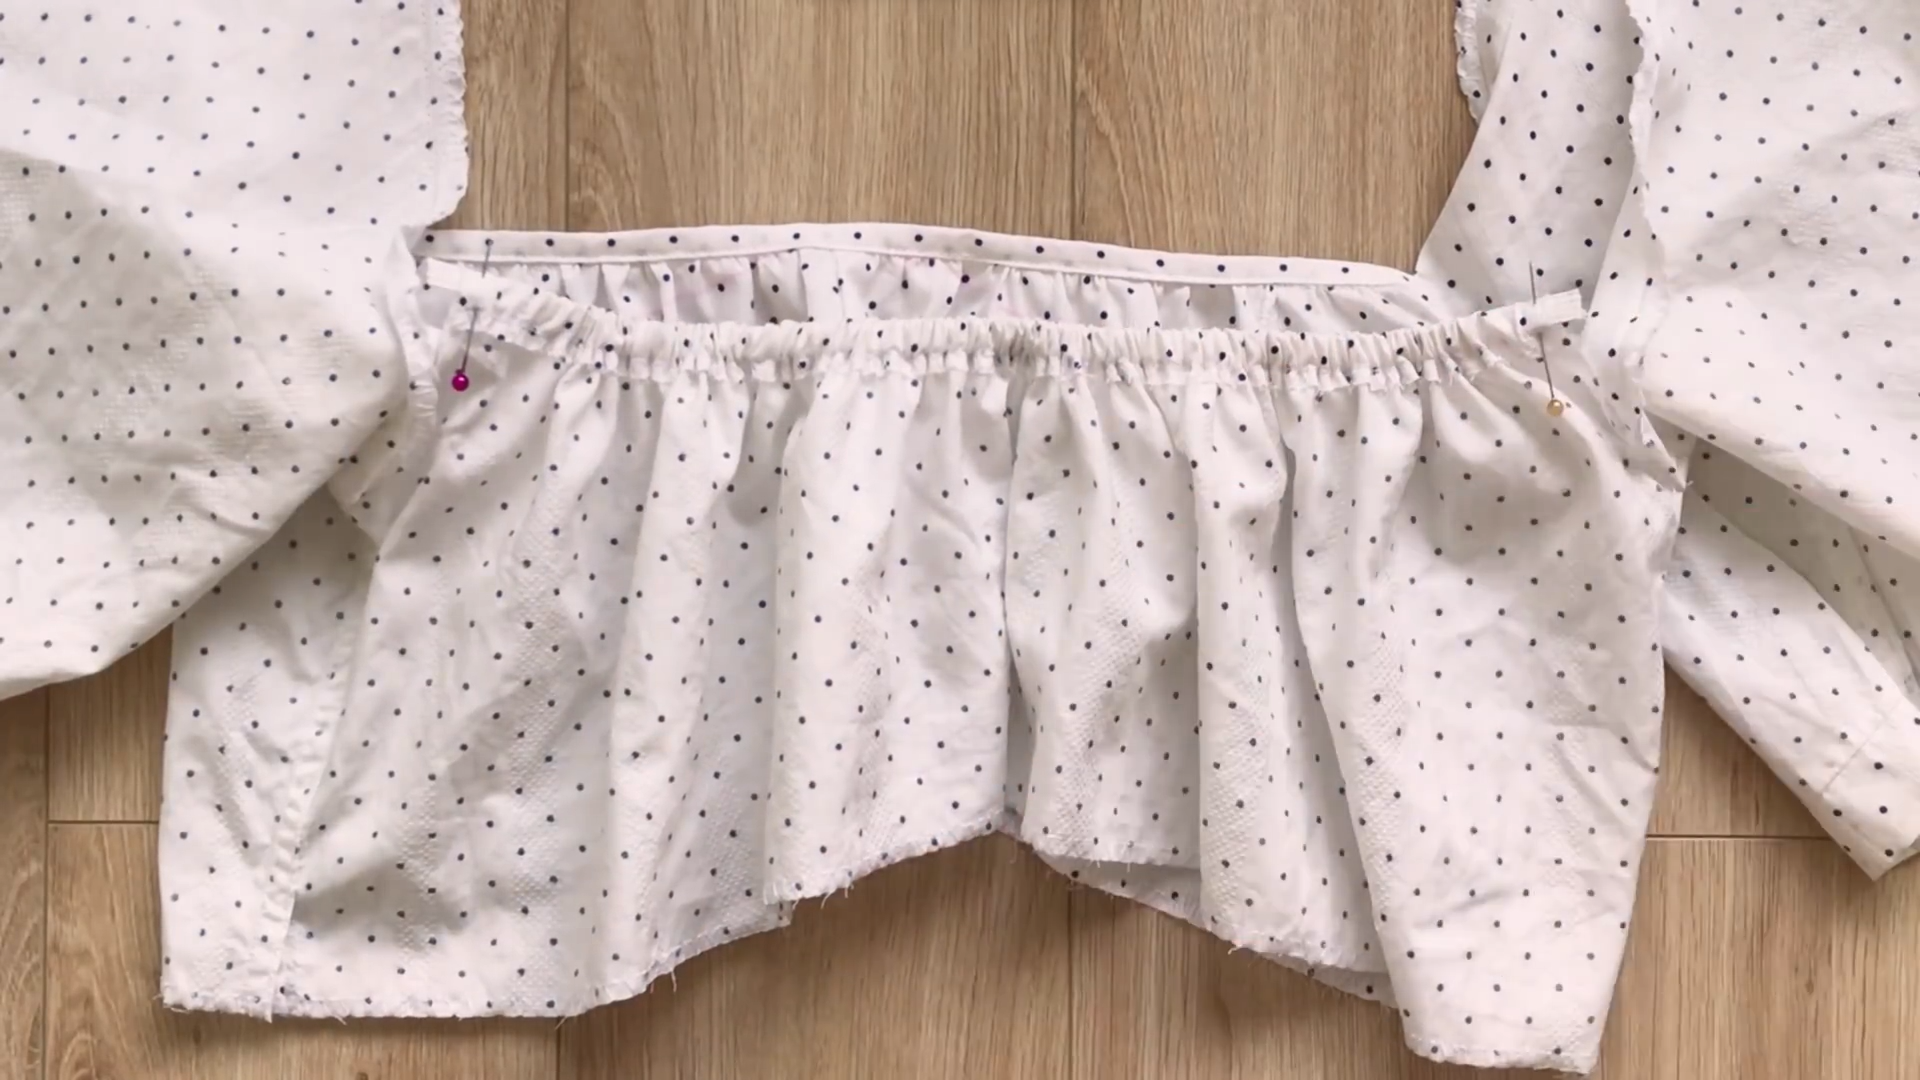
Make sure the width of the back is the same as the width of the front, which is 24 cm.
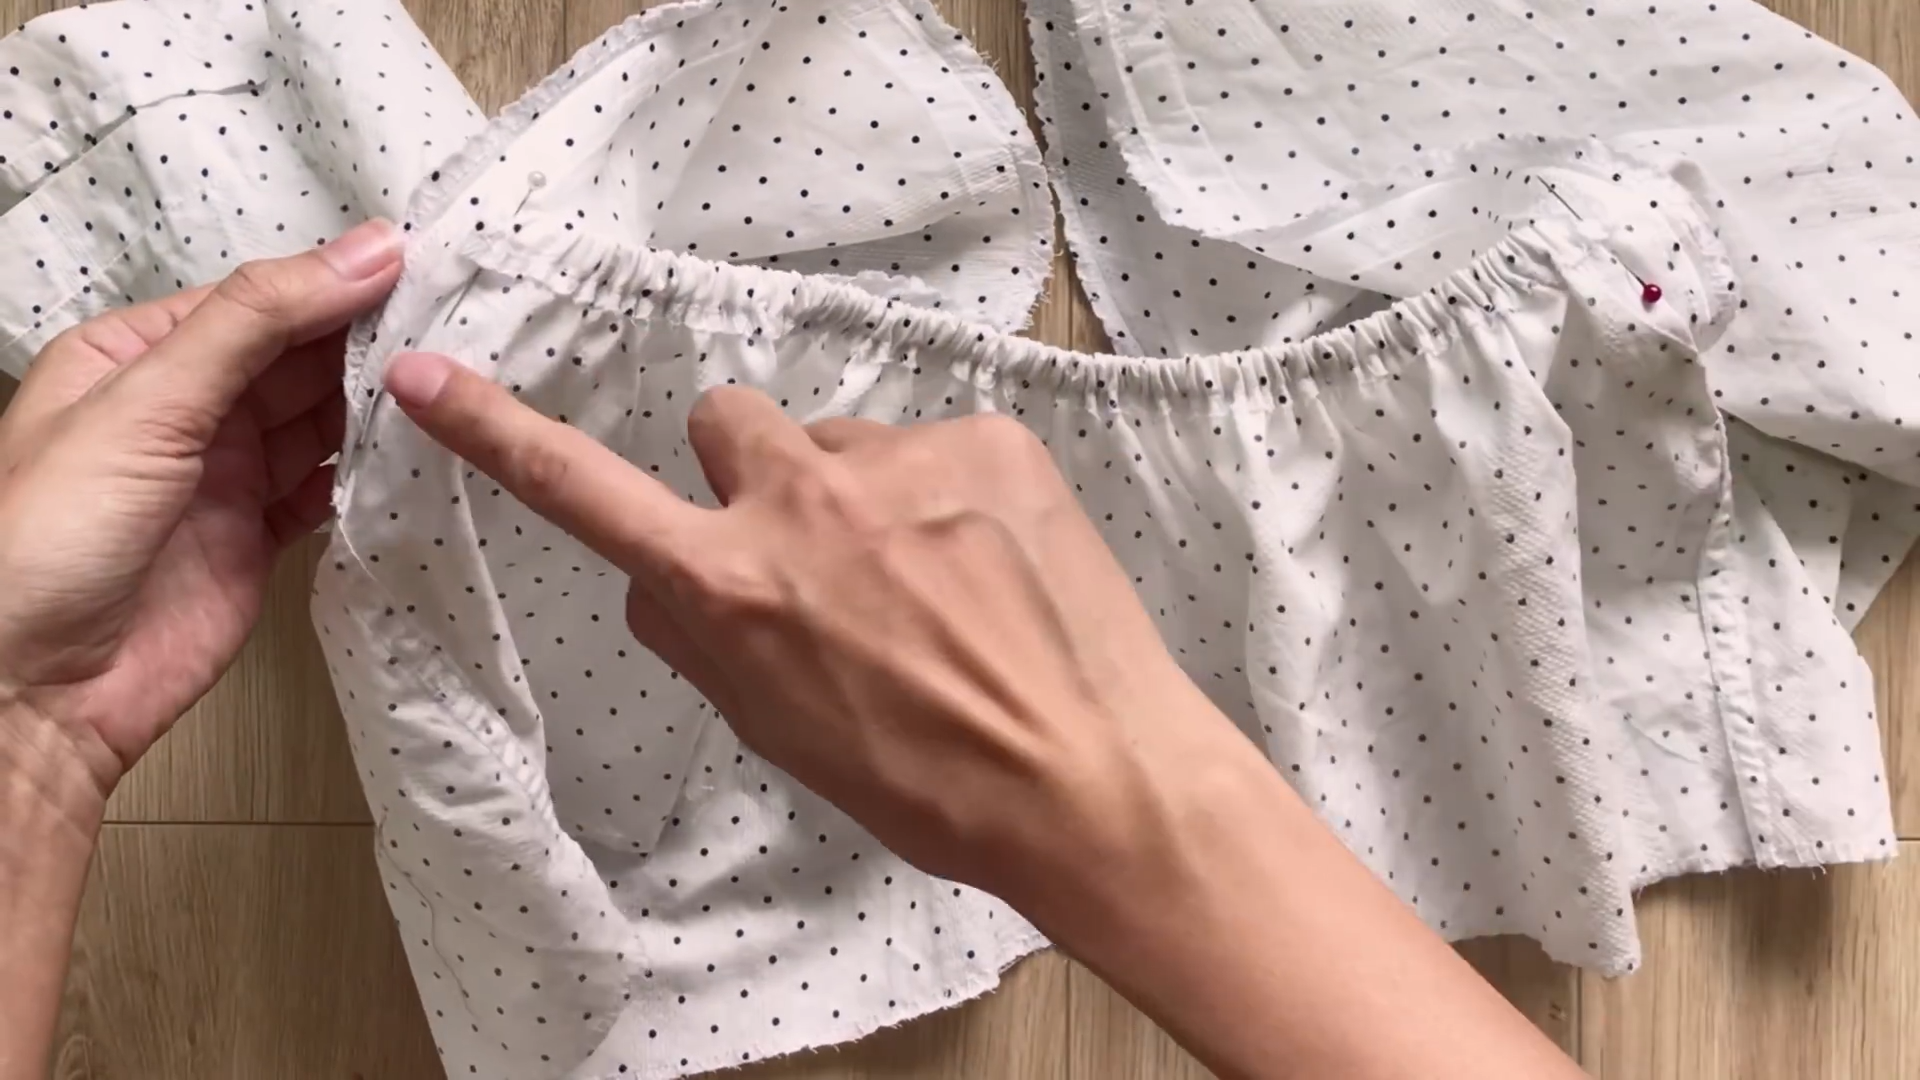
Sew two ends of the back to the sleeve after that.
THE SLEEVE
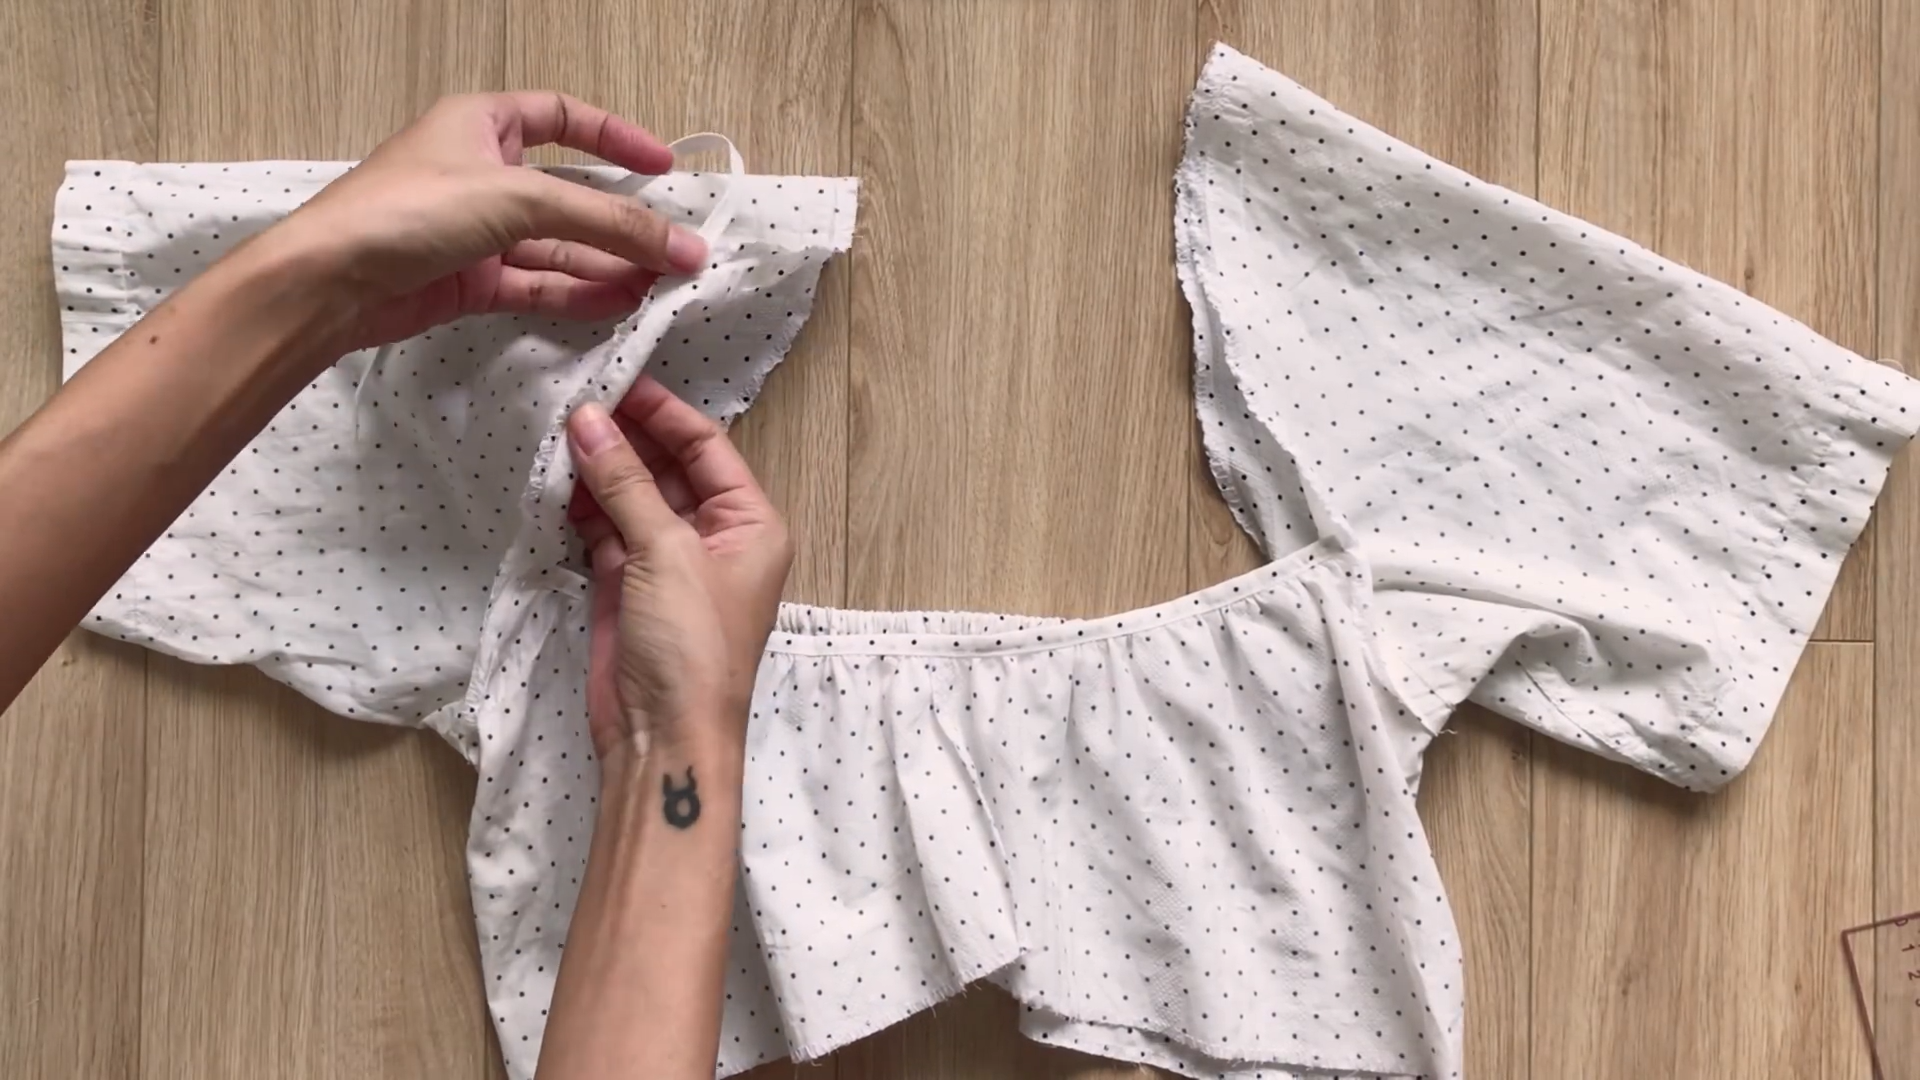
Move to the sleeve and use another elastic band with the same width to create a puff sleeve for the crop top.
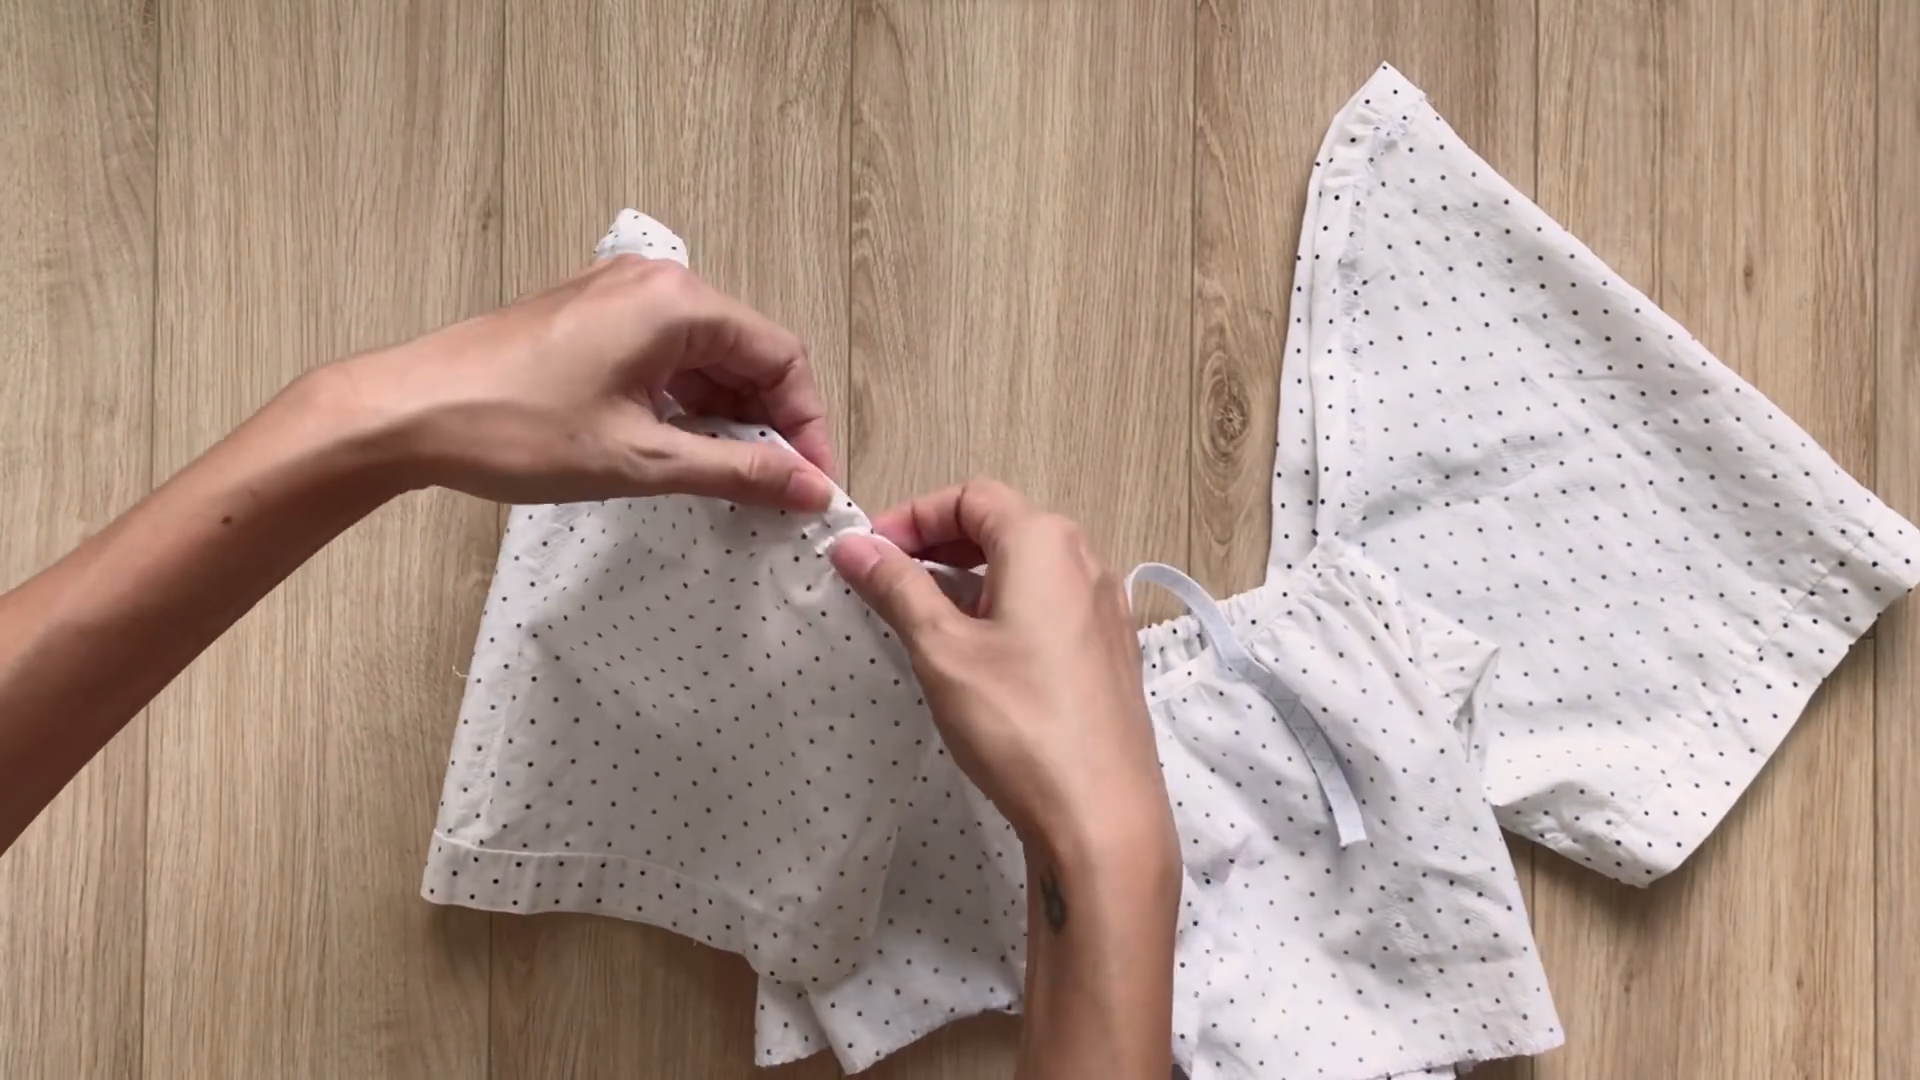
Make the fabric hole first, then put the elastic pan through it later. It’s quite similar to what you did to the back of the crop top.
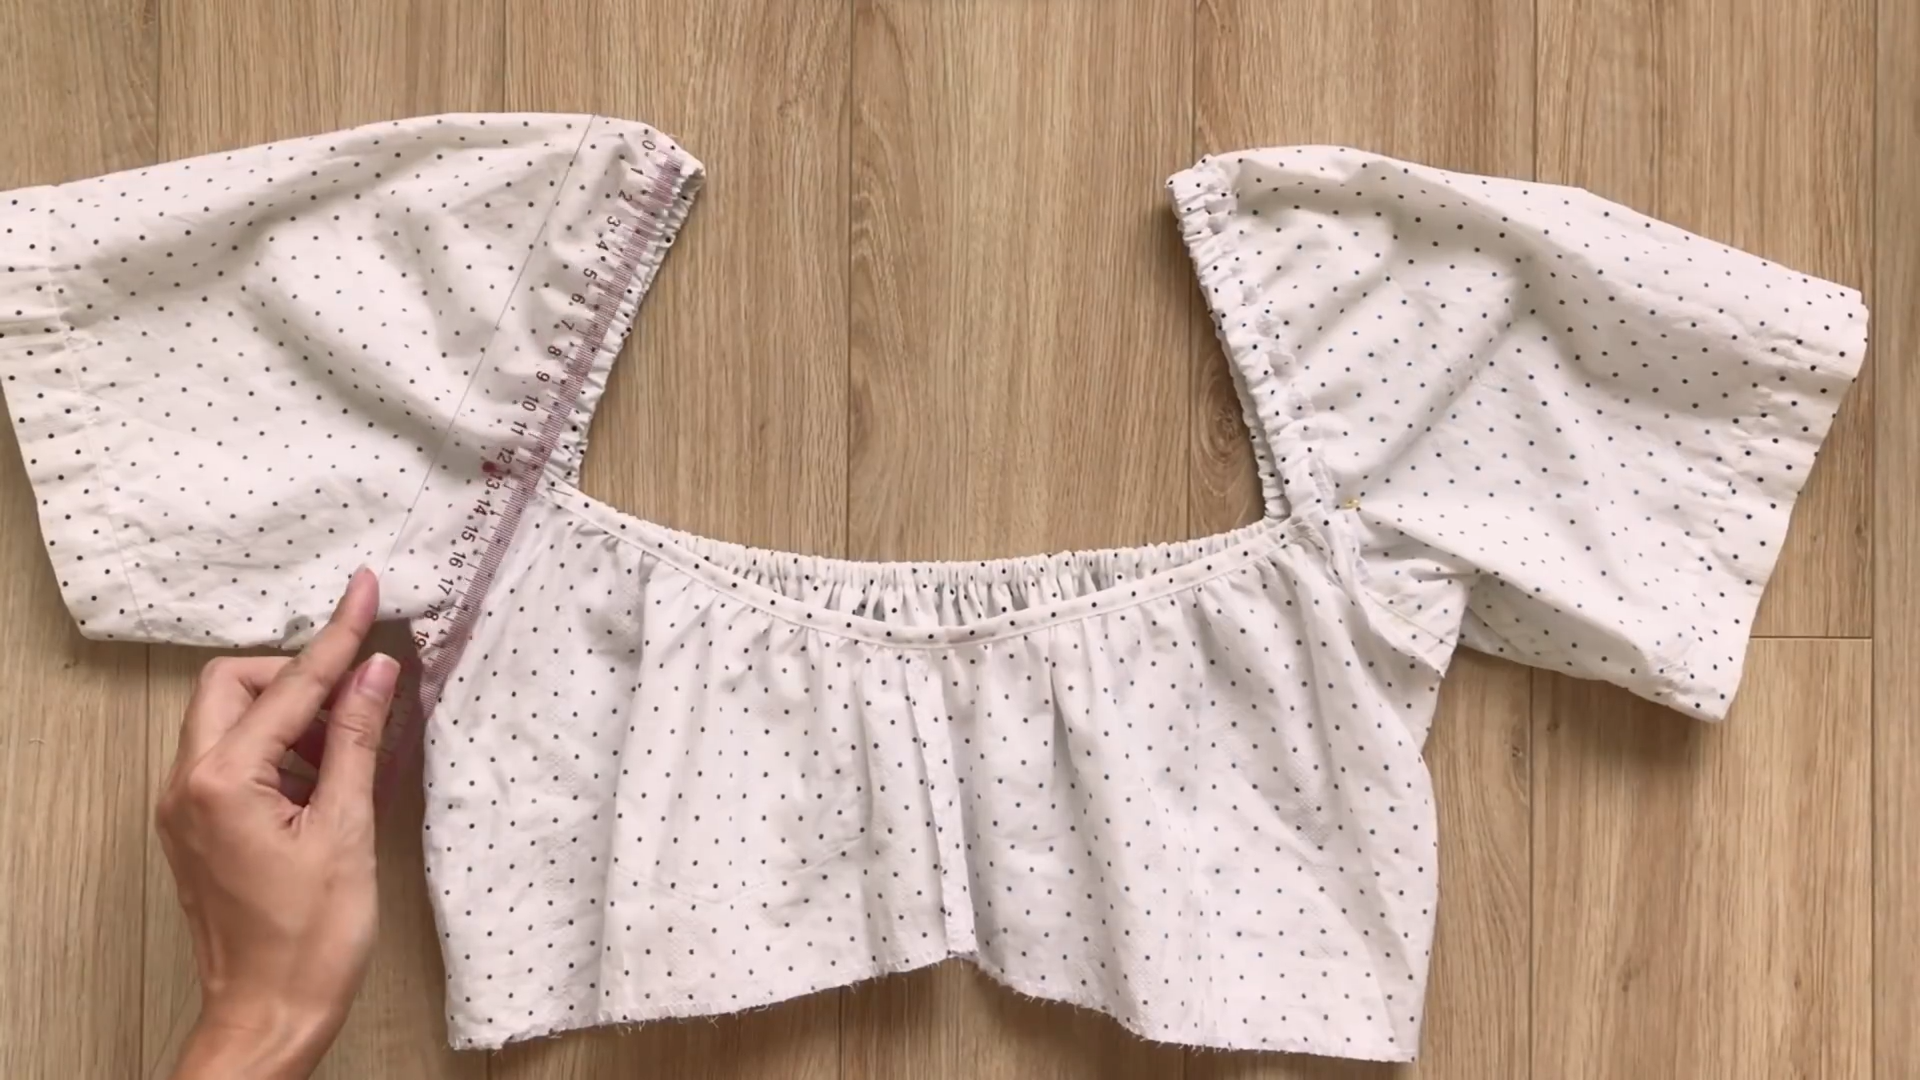
Make sure the width of the sleeve is around 13 cm, which is the width from the shoulder to the upper breast, then sew two ends of the elastic band to fit it there.
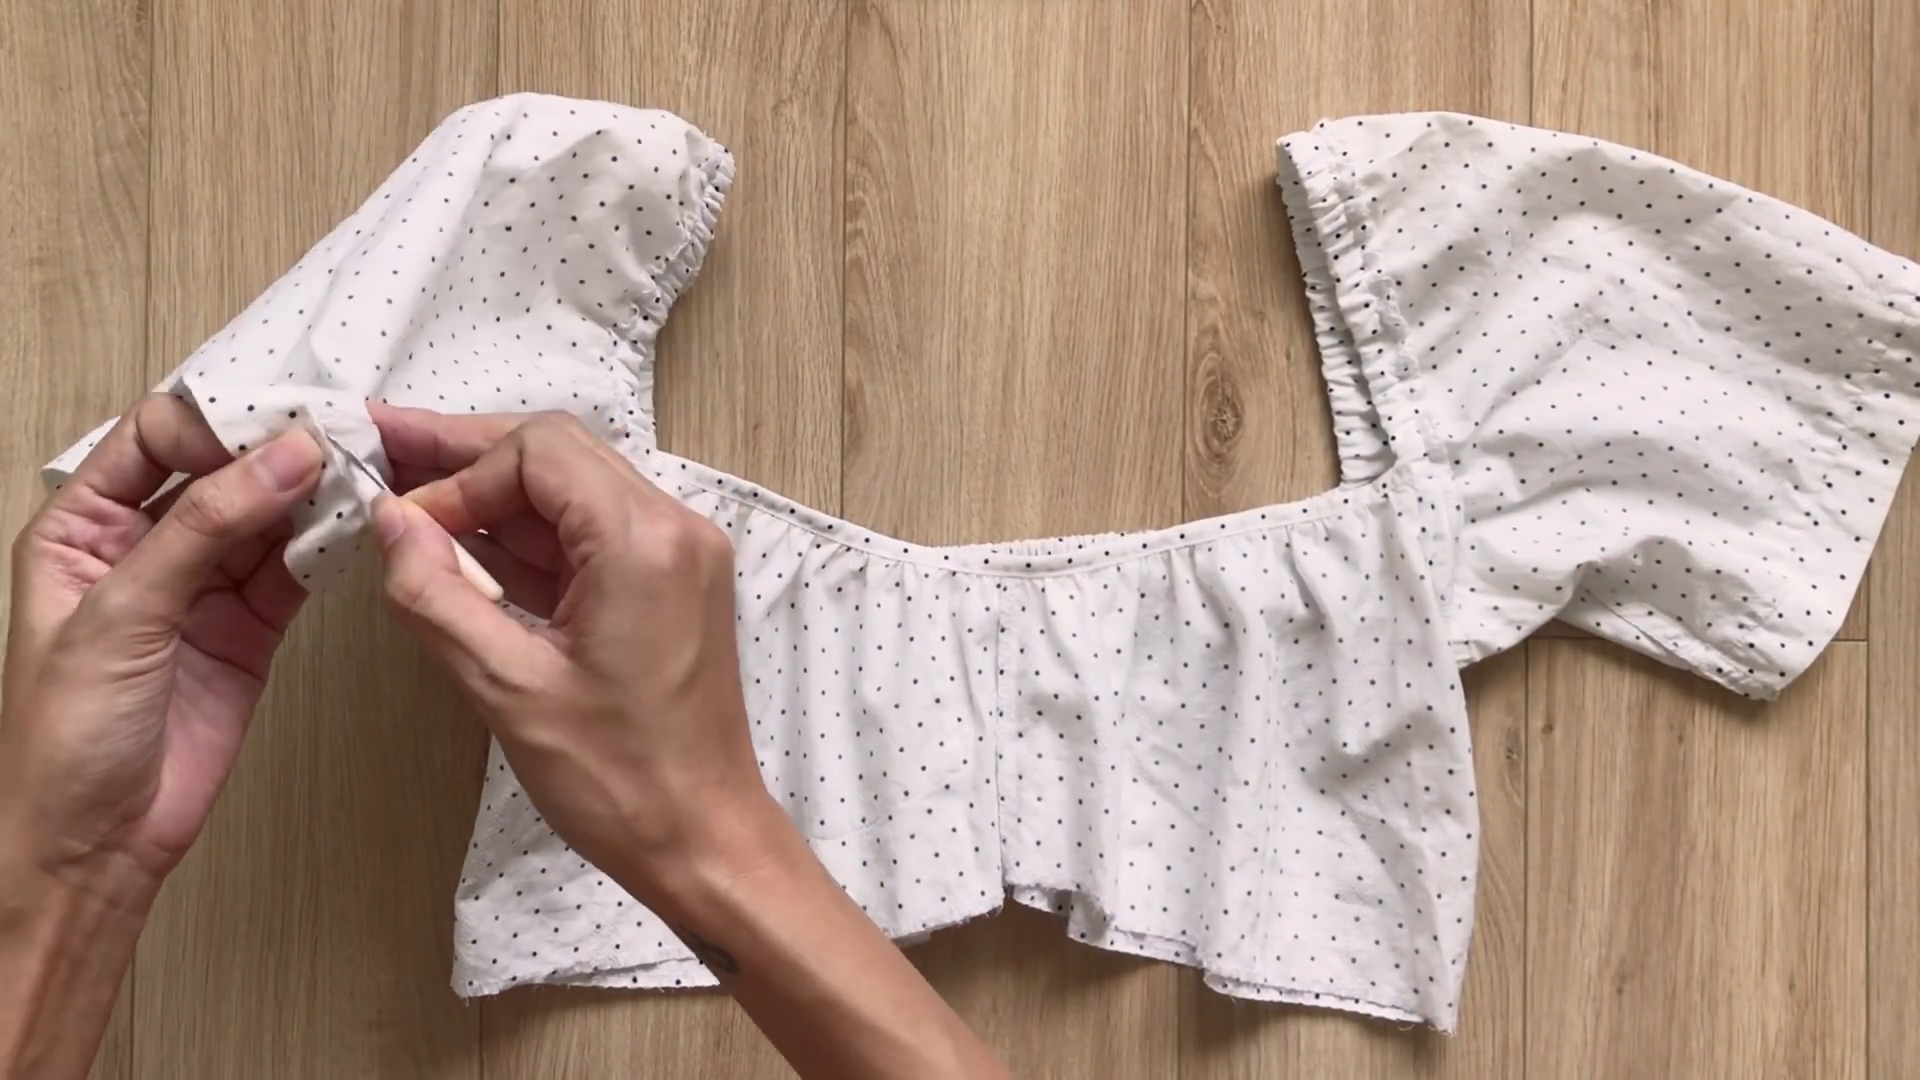
At the end of the sleeve, if you want to create a puffy look there too, unseal the current seam first.
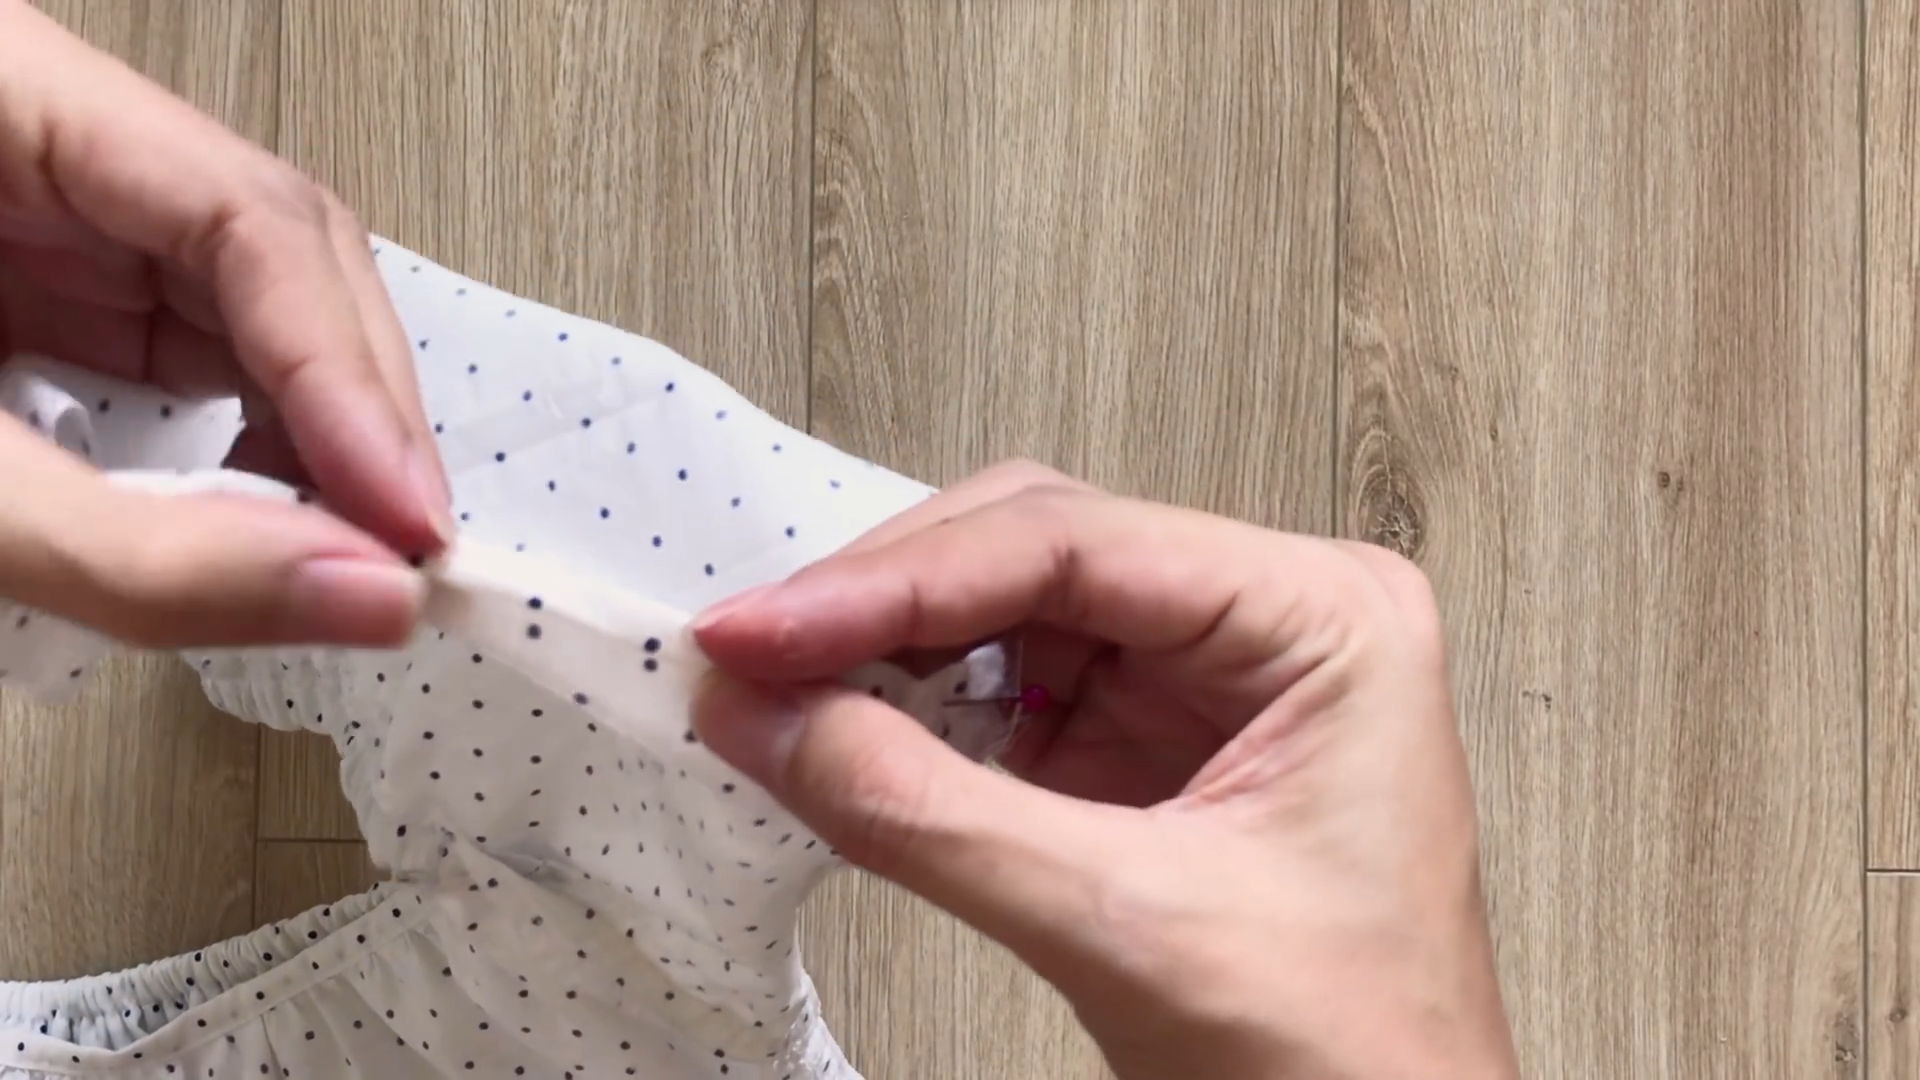
Then, fold the end twice inside and sew.
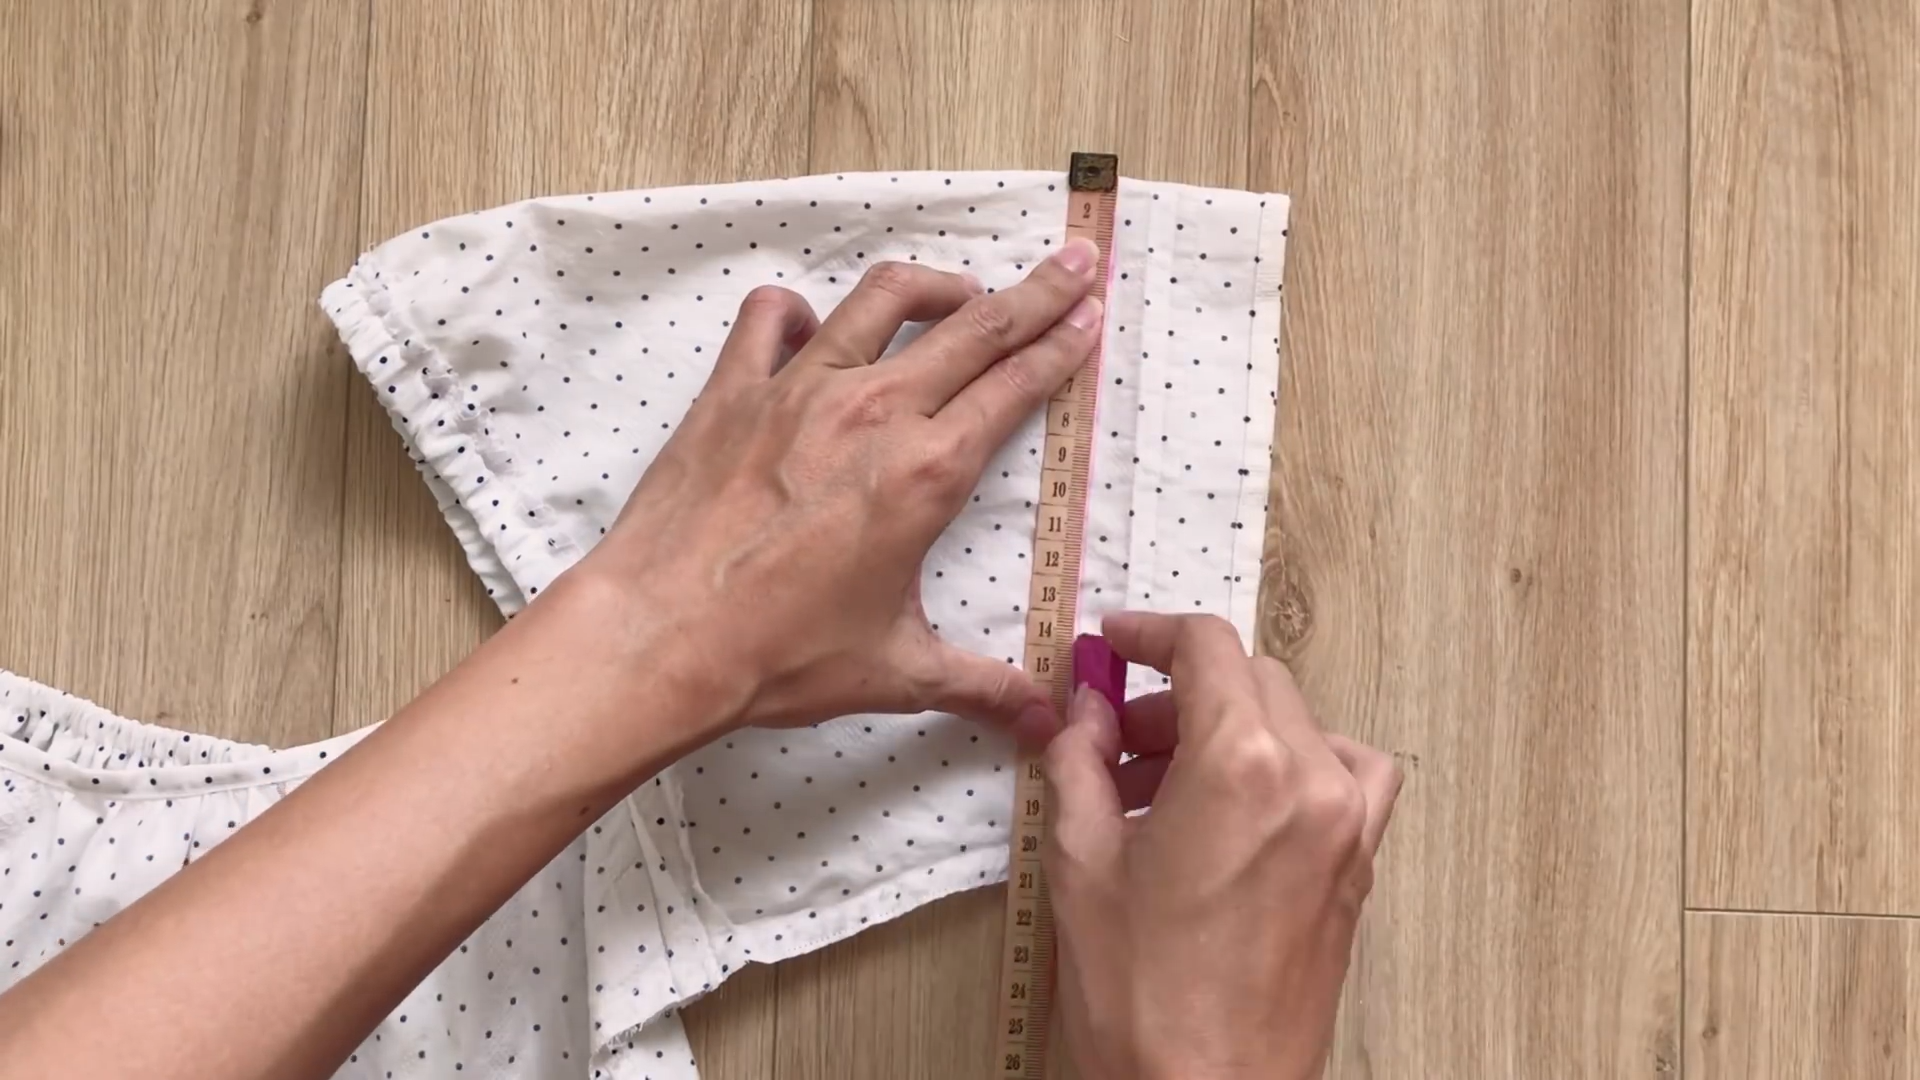
From the end of the sleeve, draw a line 5 cm inside.
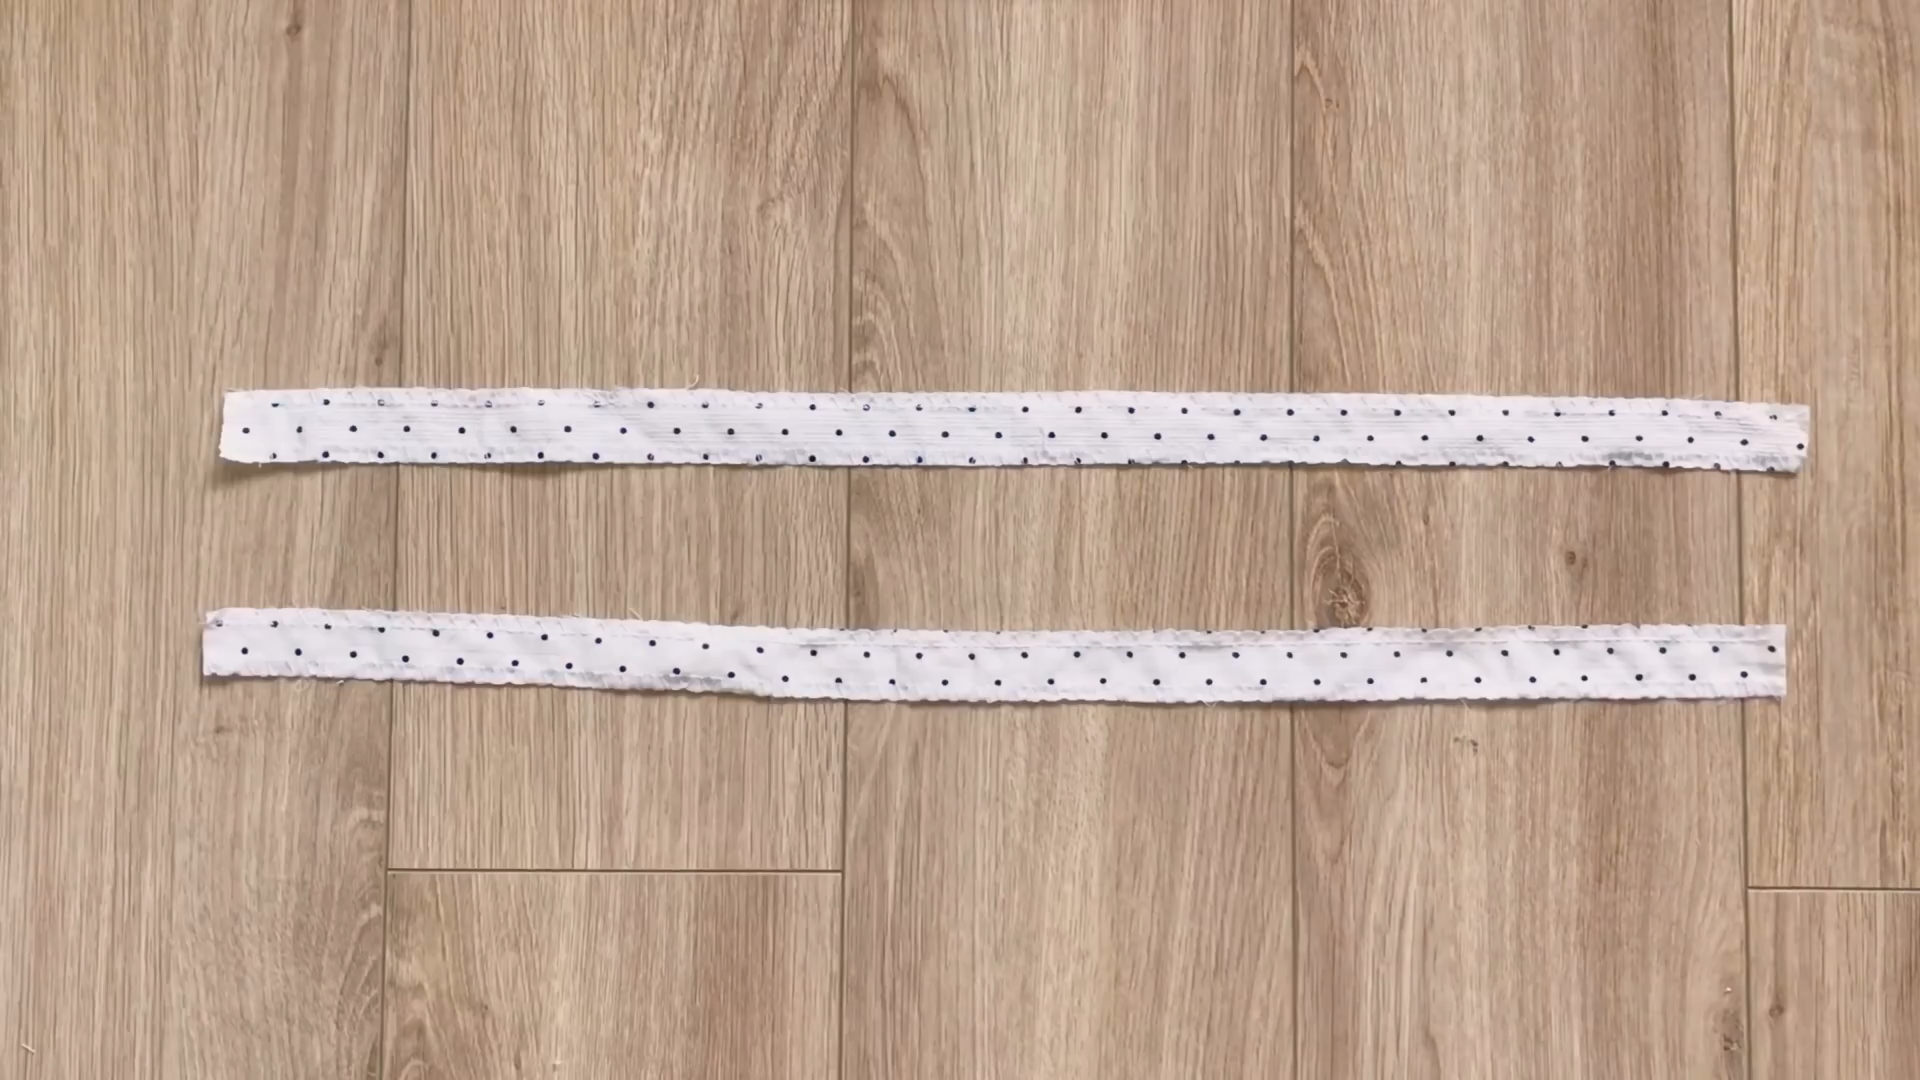
Then, use a small rectangle with a width of 2 cm and a length of 30 cm to create the fabric hole there.
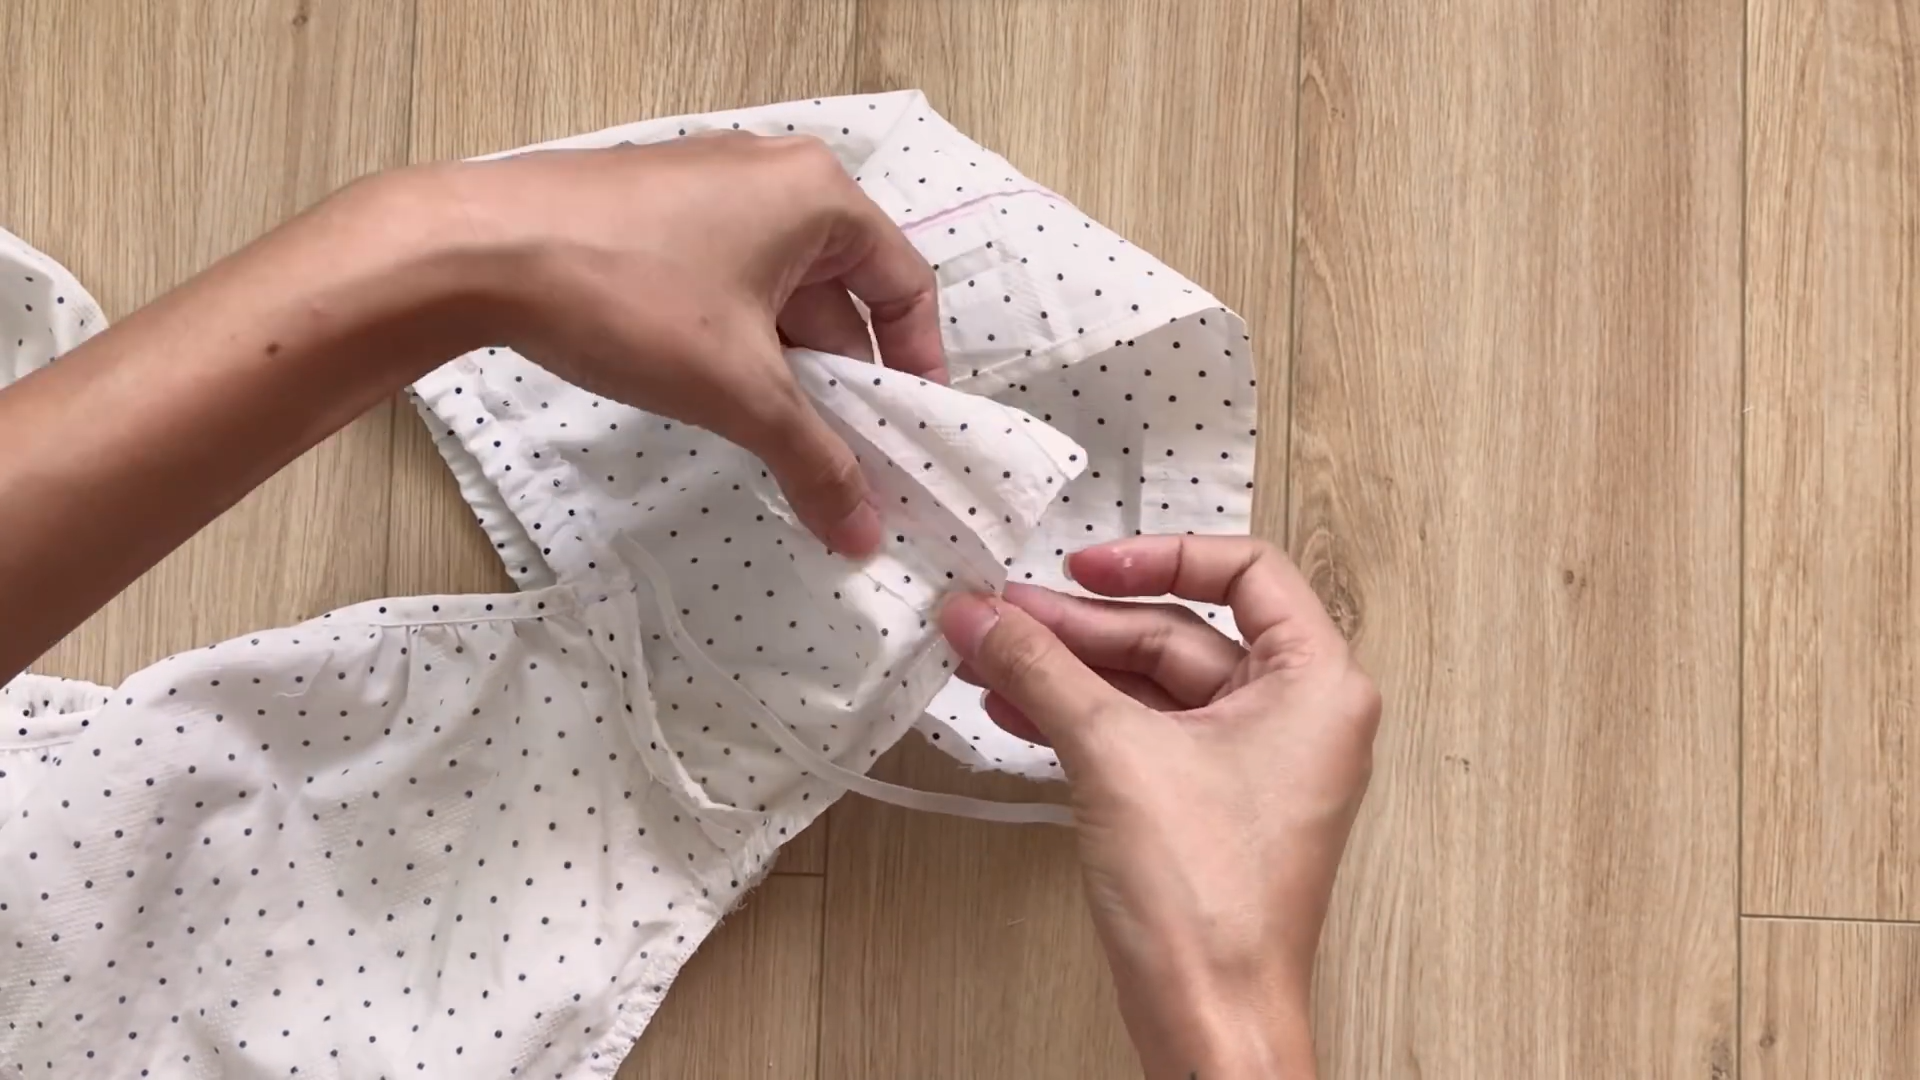
After that, put the elastic band through the fabric hole and sew two sides of the sleeve to finish it.
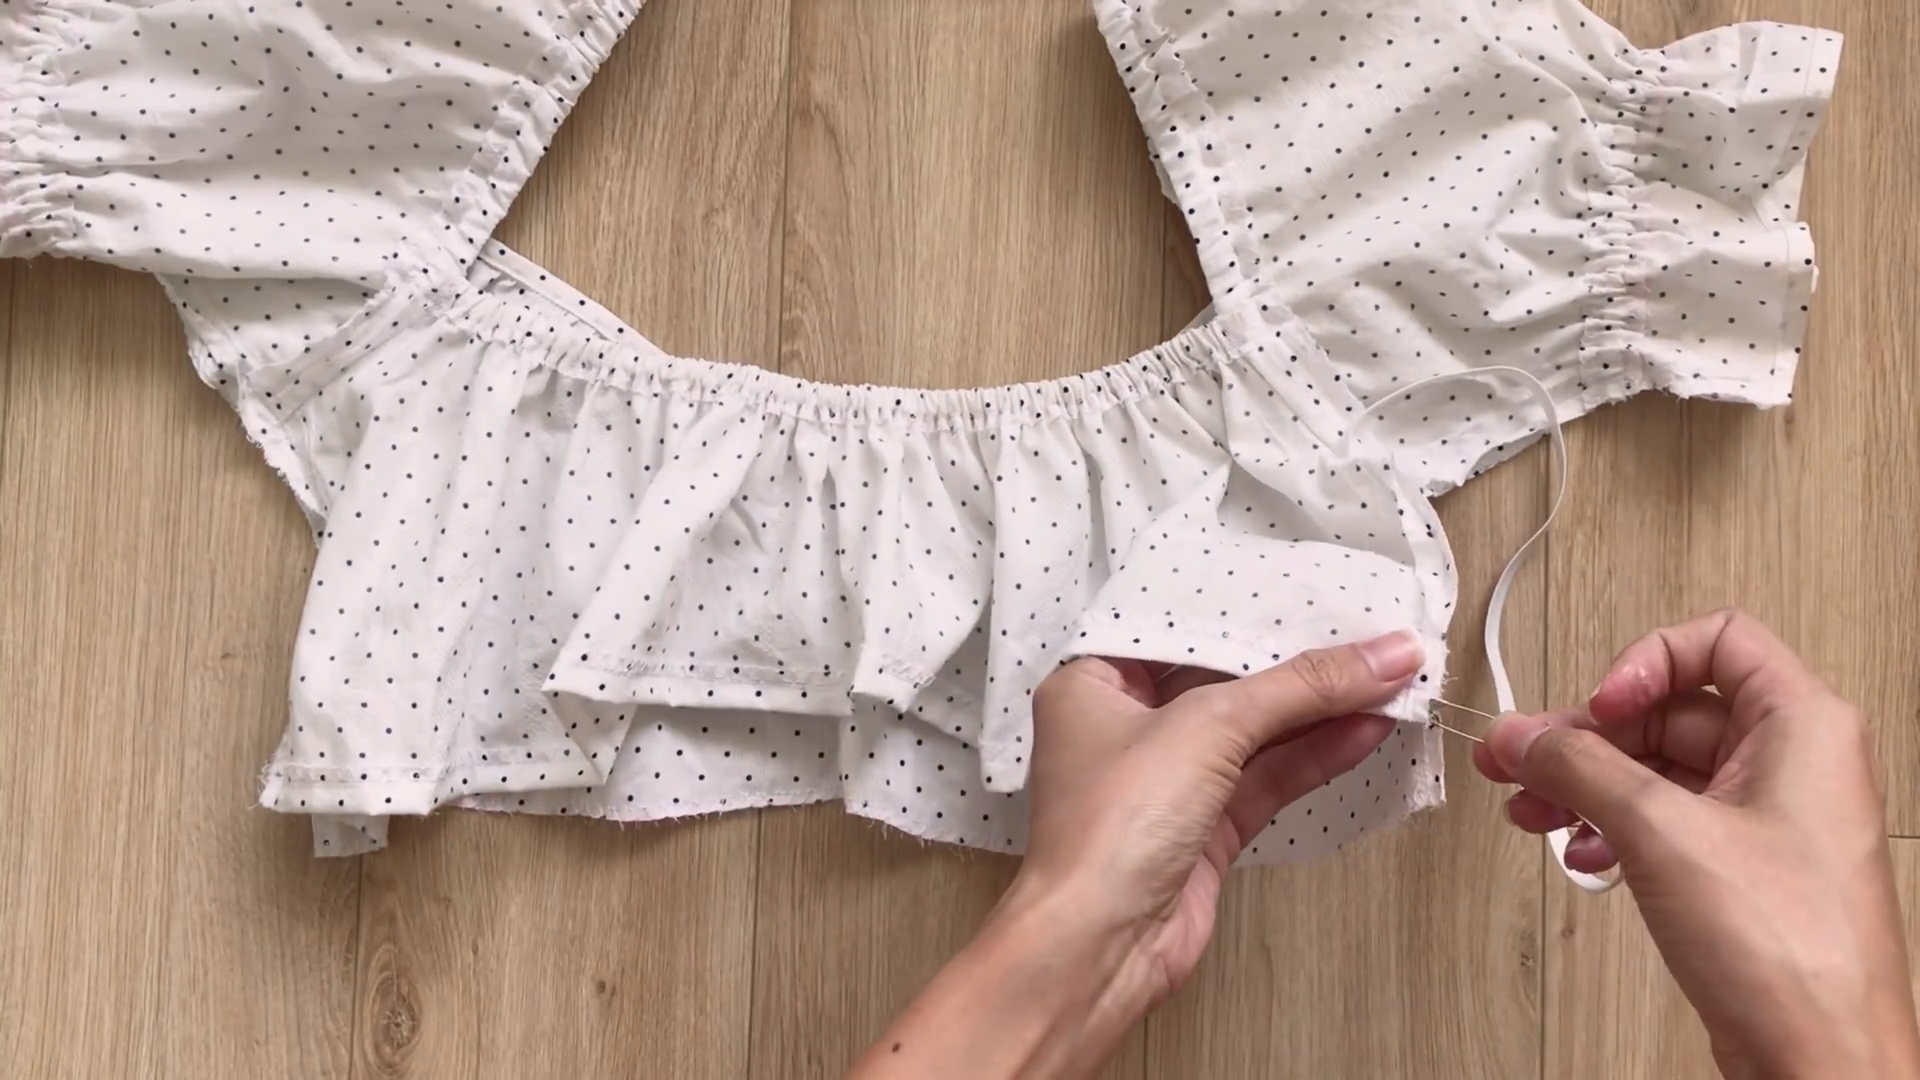
At the end of the back, do the same as you did at the top of the back. However, the length of the elastic band will be around 34 cm, which is half of the underbust size.
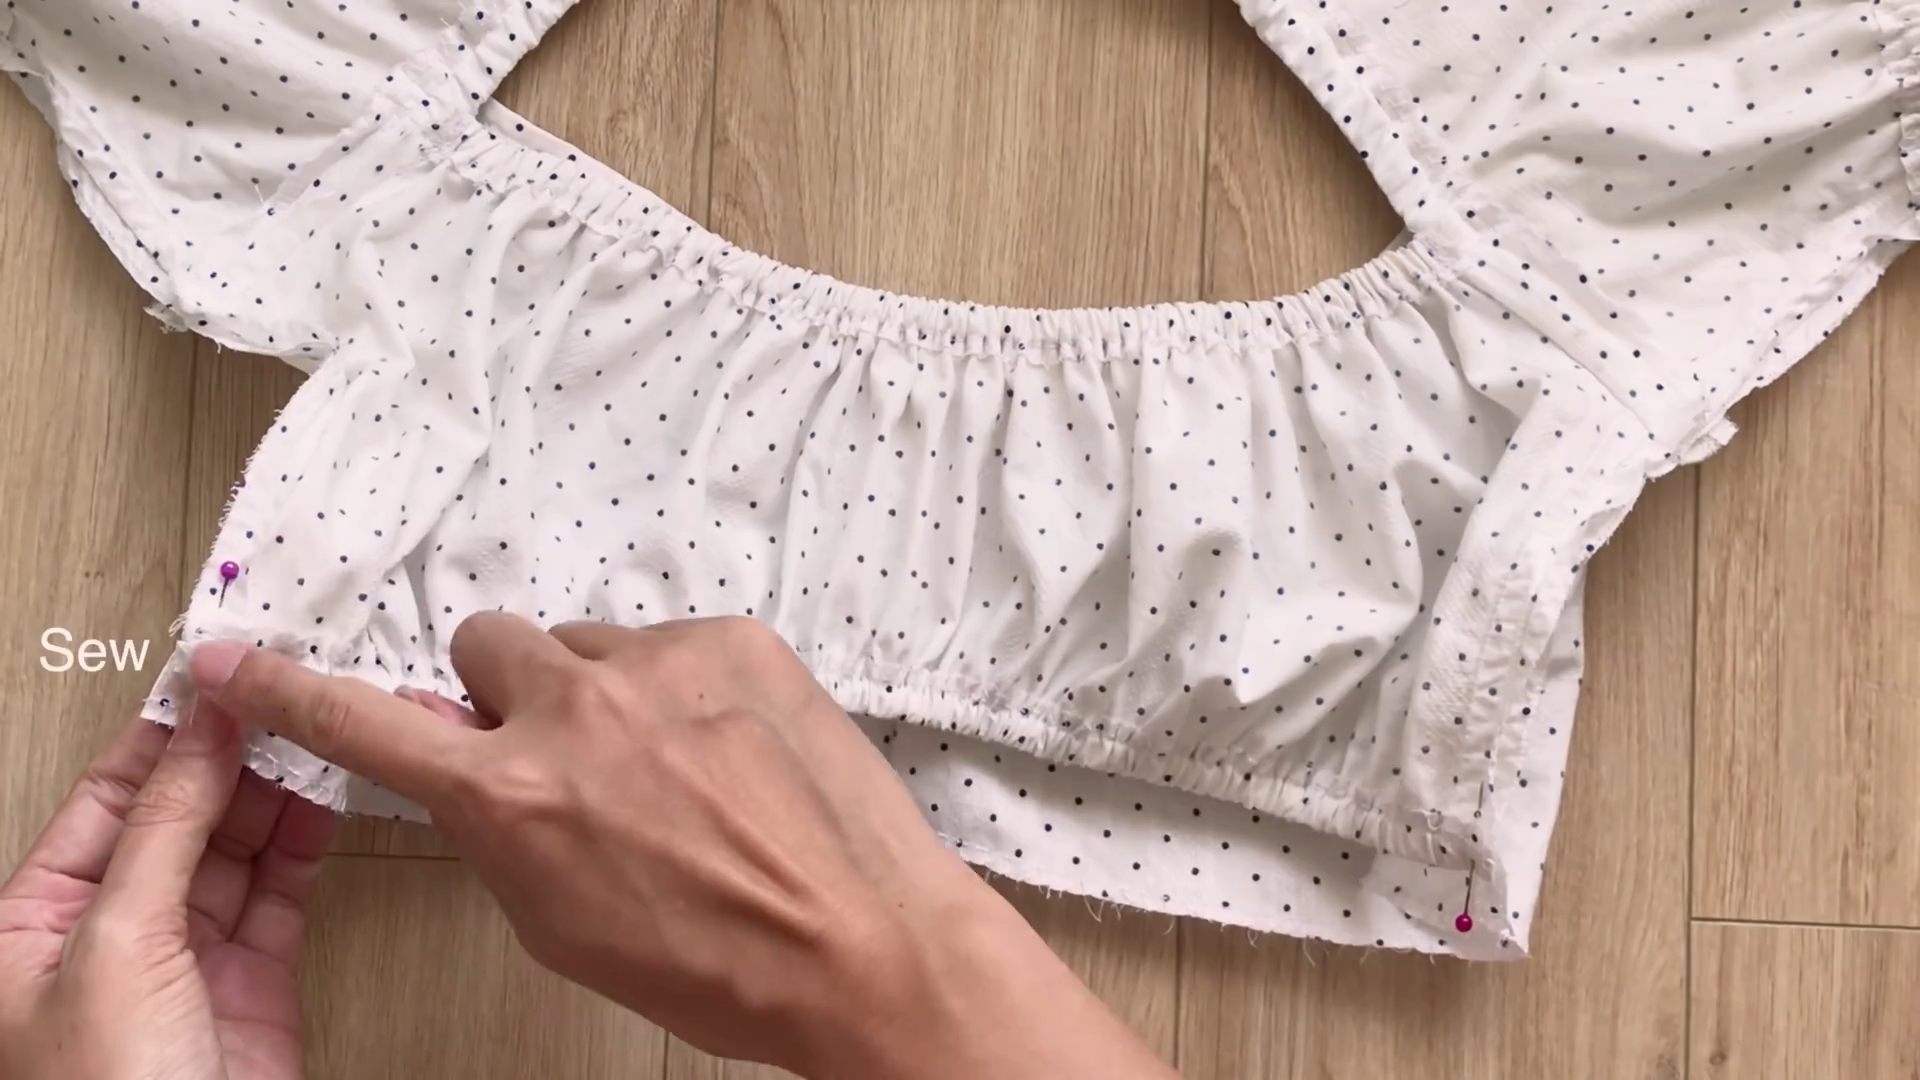
Then, connect two ends of the back to the sideline.
THE TIES
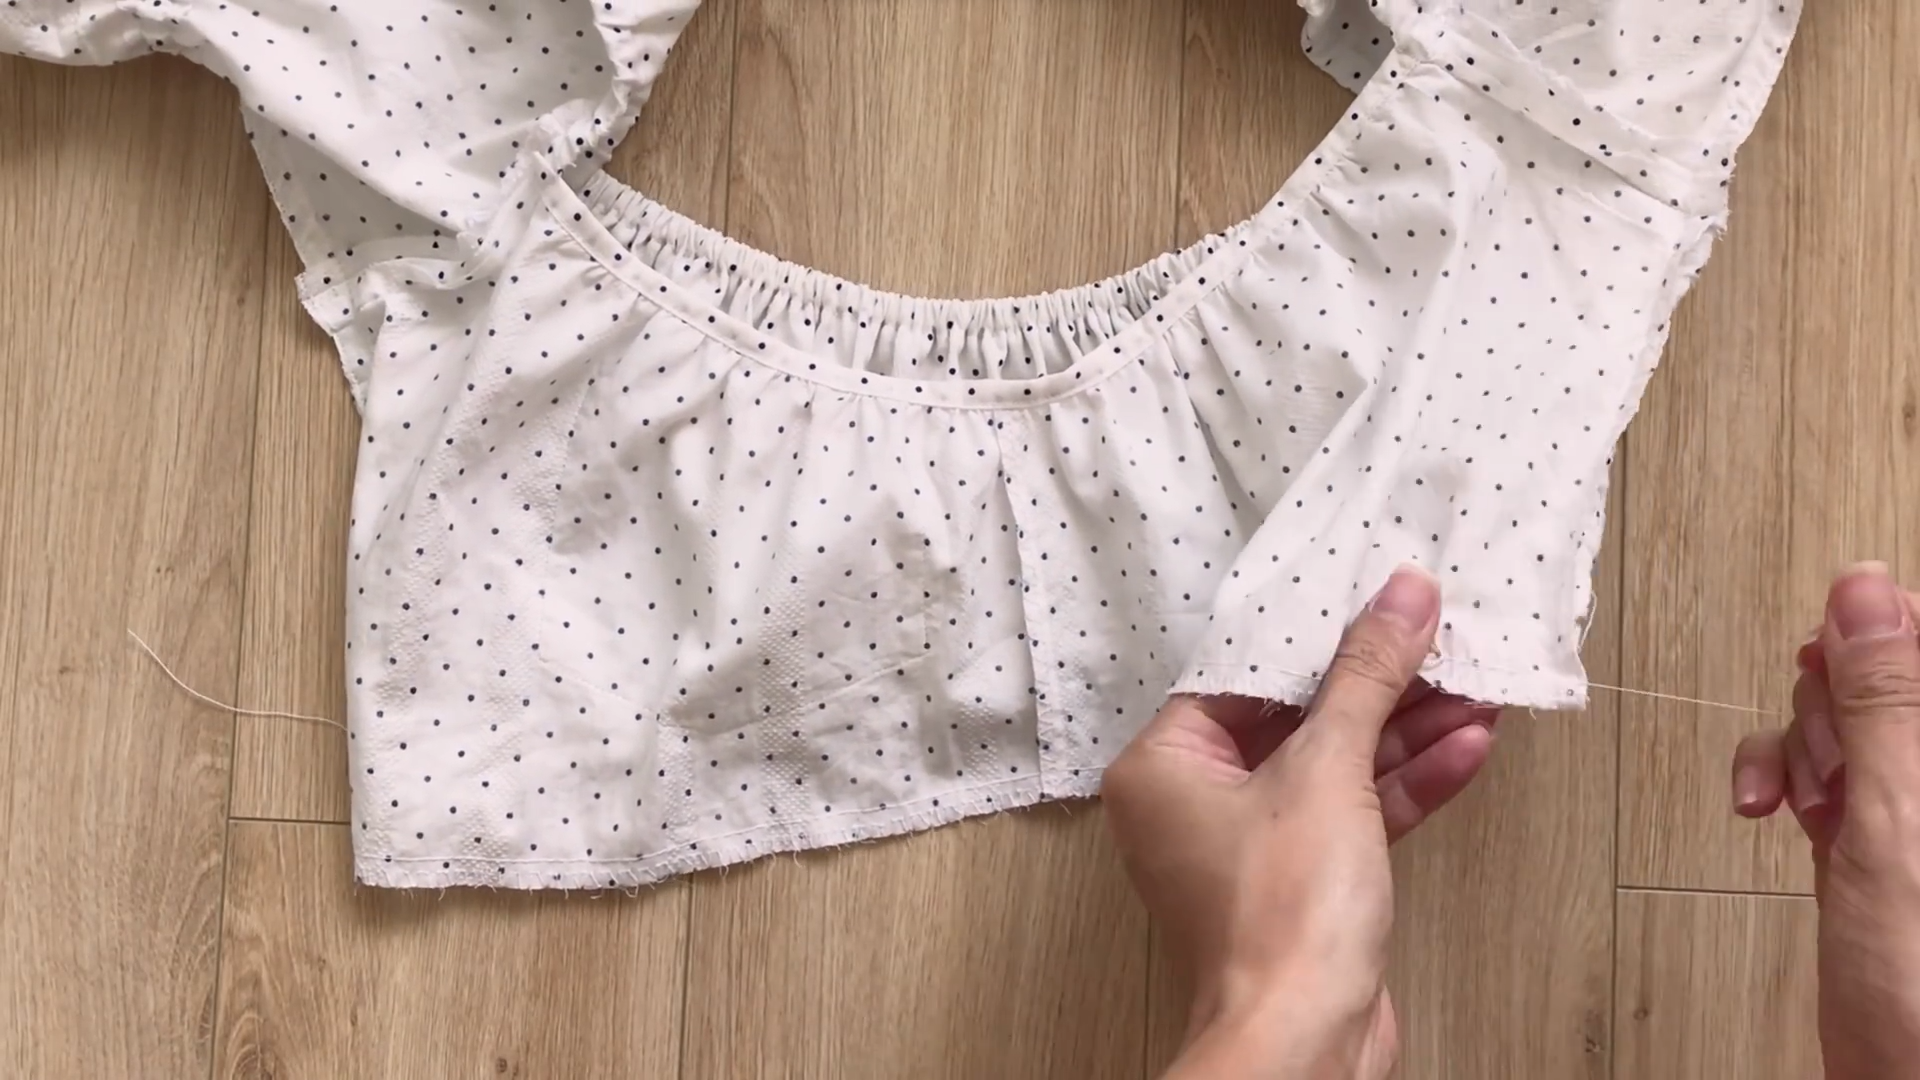
At the end of the front, make a loose seam first, then put the thread to gather the fabric together until it’s around 34 cm, which is half of your under breast size.
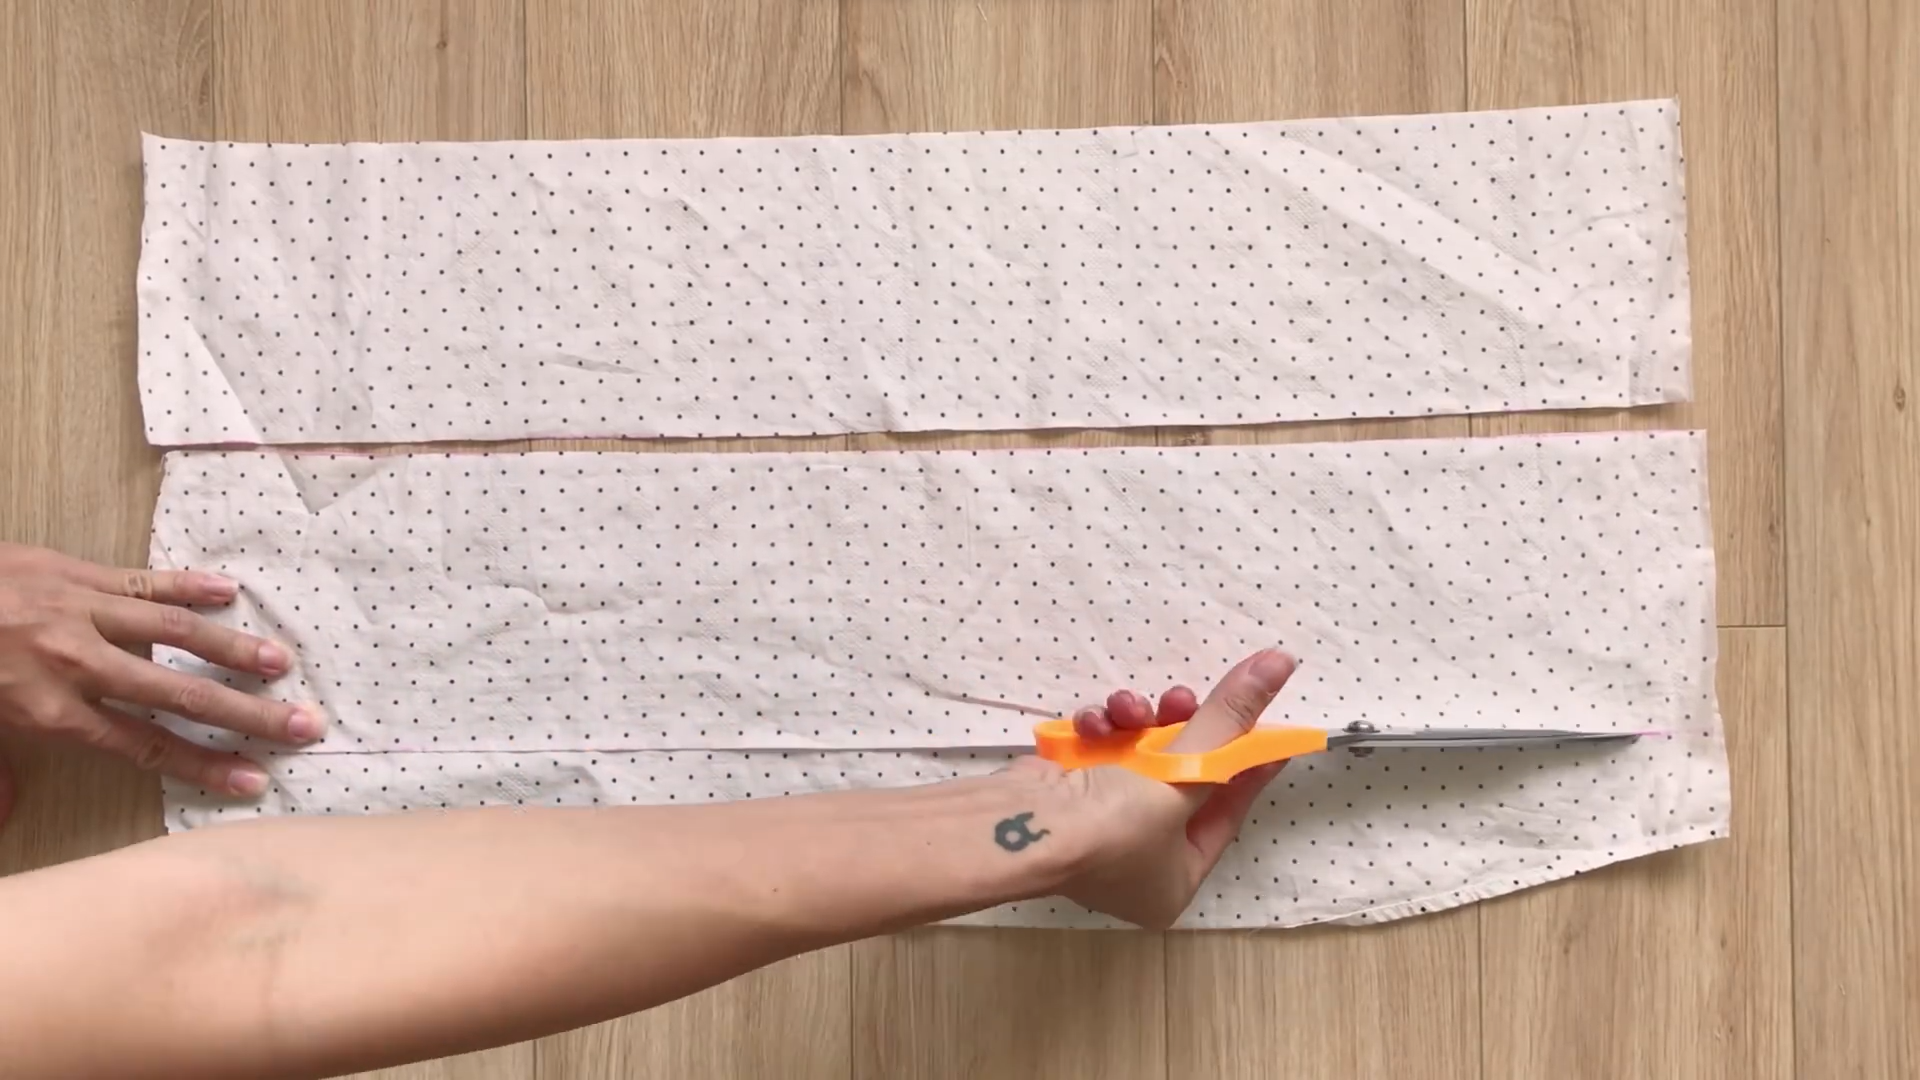
Use the leftover fabric of the main shirt to cut long rectangles with a width of 12 cm.
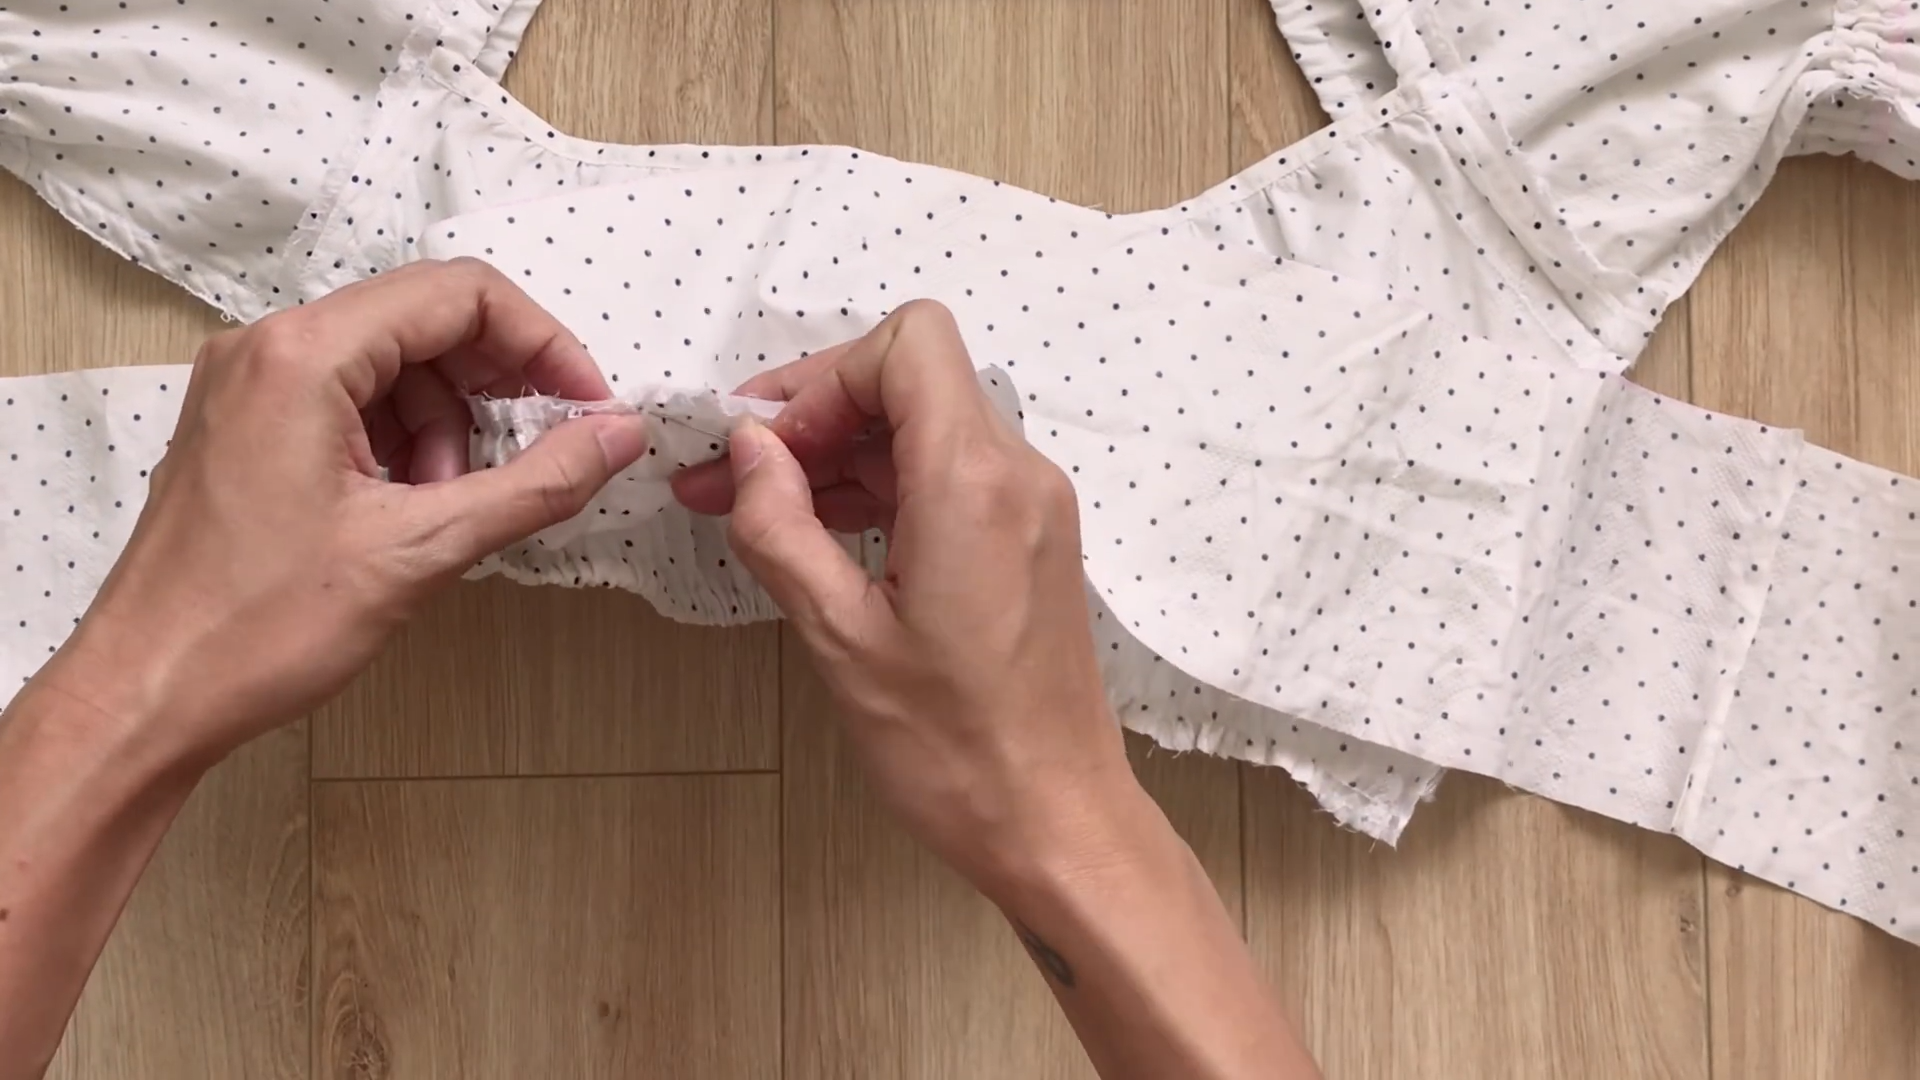
After connecting the rectangles together to have a long one, connect it to the end of the front. Remember to connect at the middle of the rectangle so you can have the extra fabric at two sides of it.
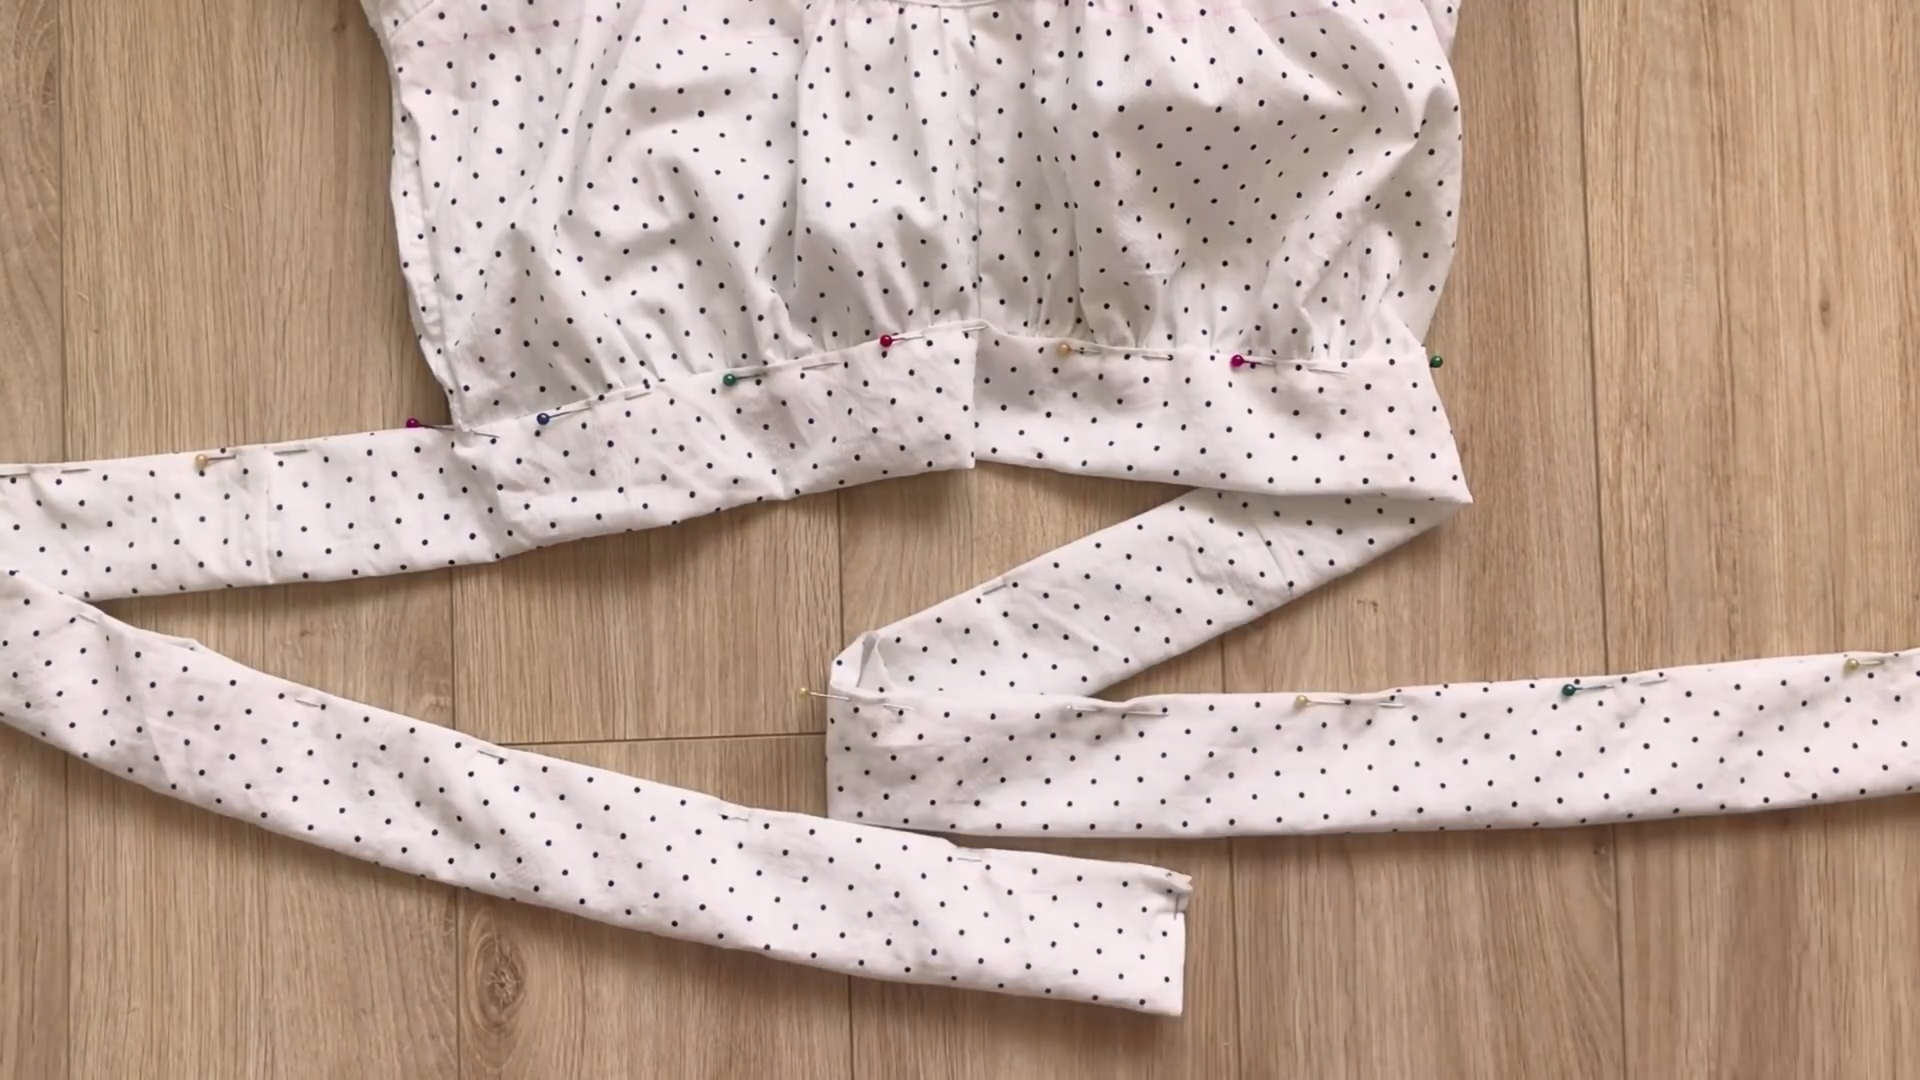
After the first seam, fold the rest of the fabric of the rectangle inside twice to hide the cutting and make the second seam to finish the tie.
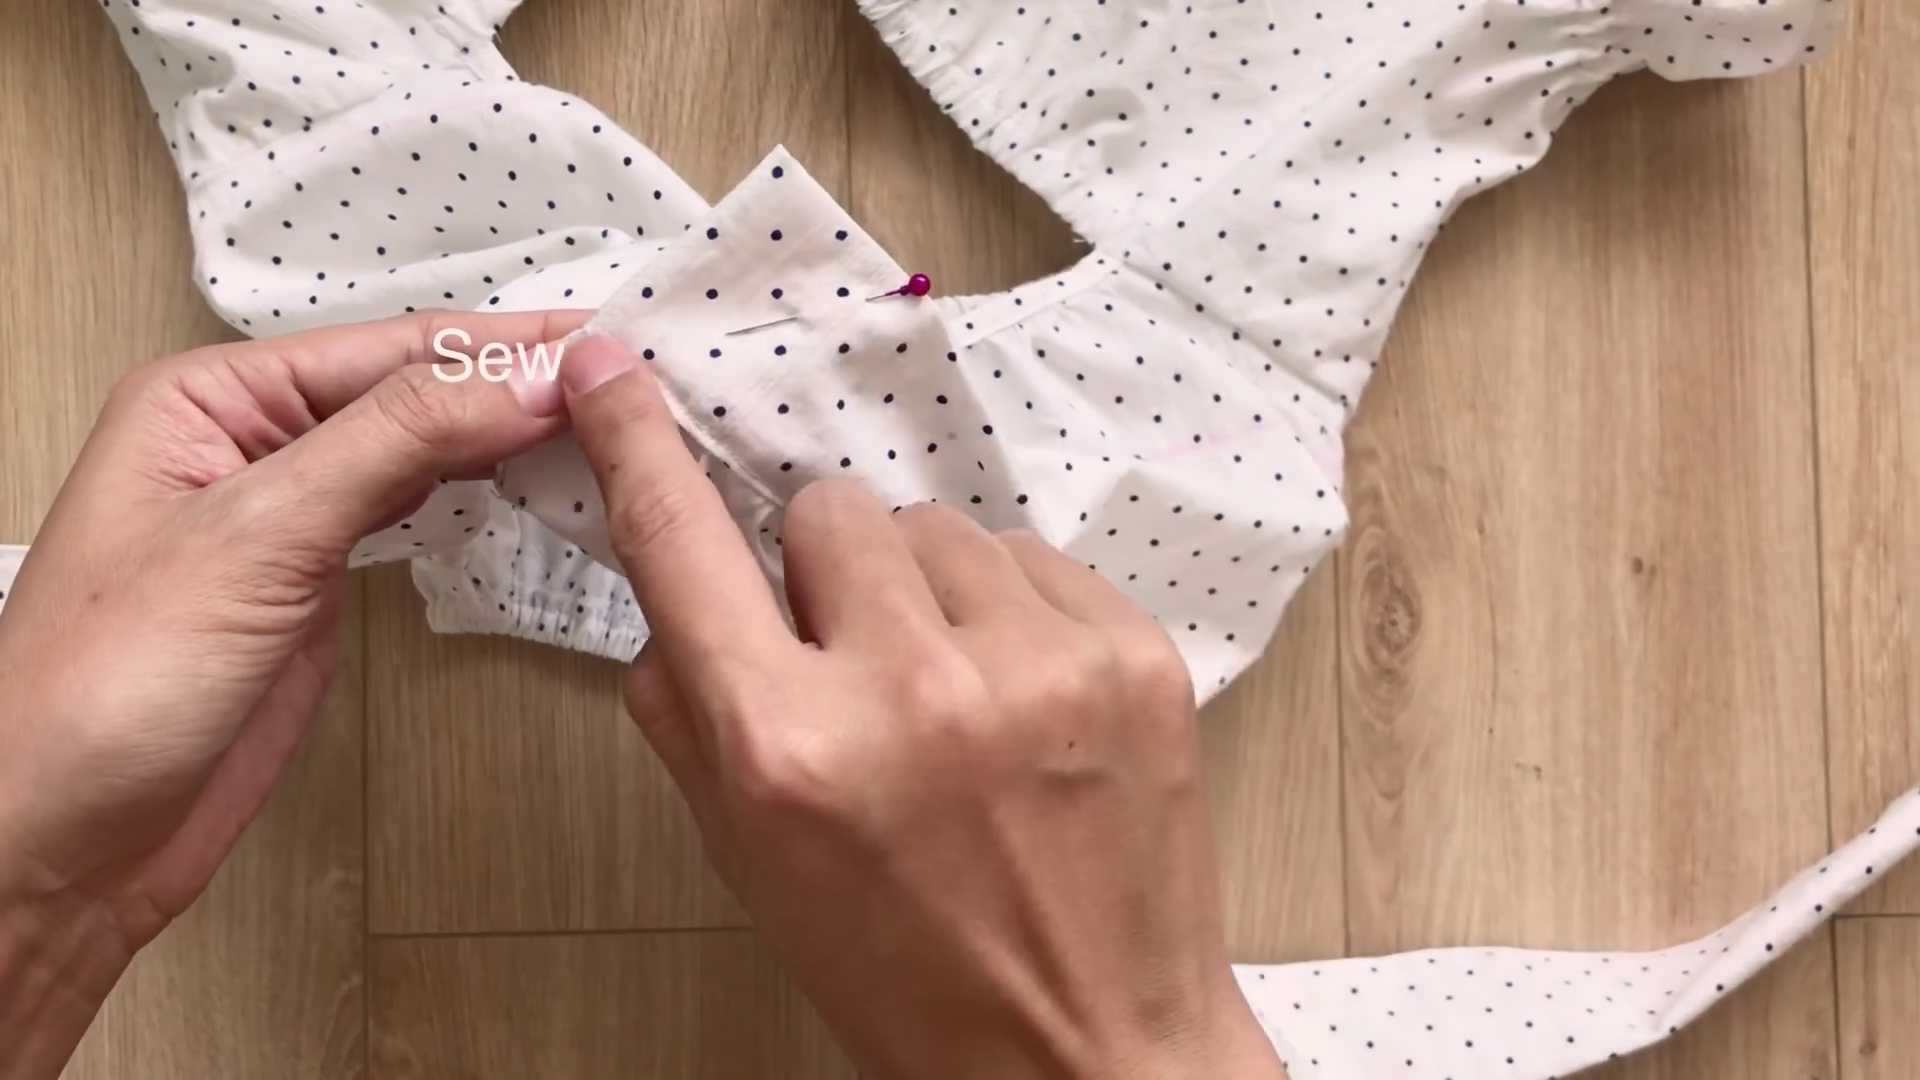
The last step is making a short seam at the middle of the tie so this can create a V-light at the end of the front crop top.
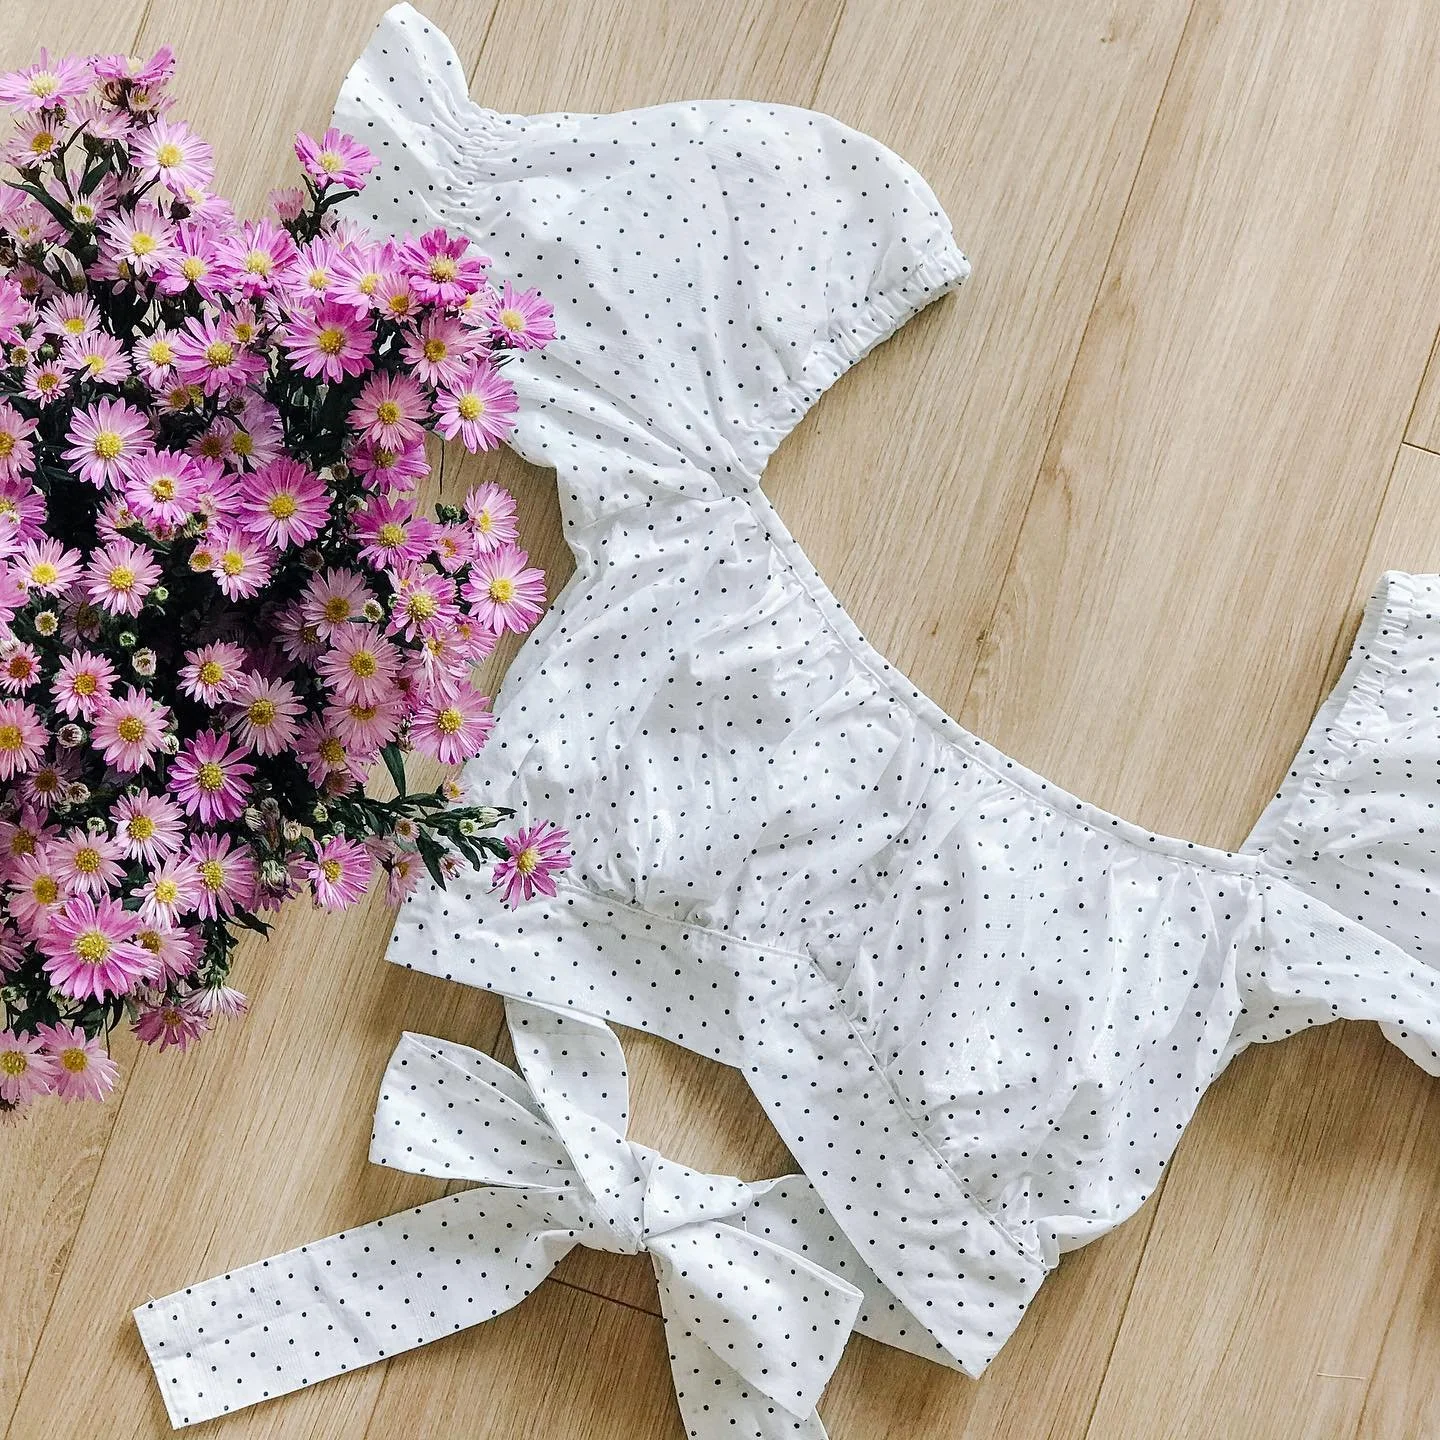
DIY Puff sleeve crop top from Men's shirt
And there you have it!
The transformation is complete, and we now have a crop top that’s both cute and sexy. Paired perfectly with wide-leg pants, it’s a look that’s sure to turn heads.
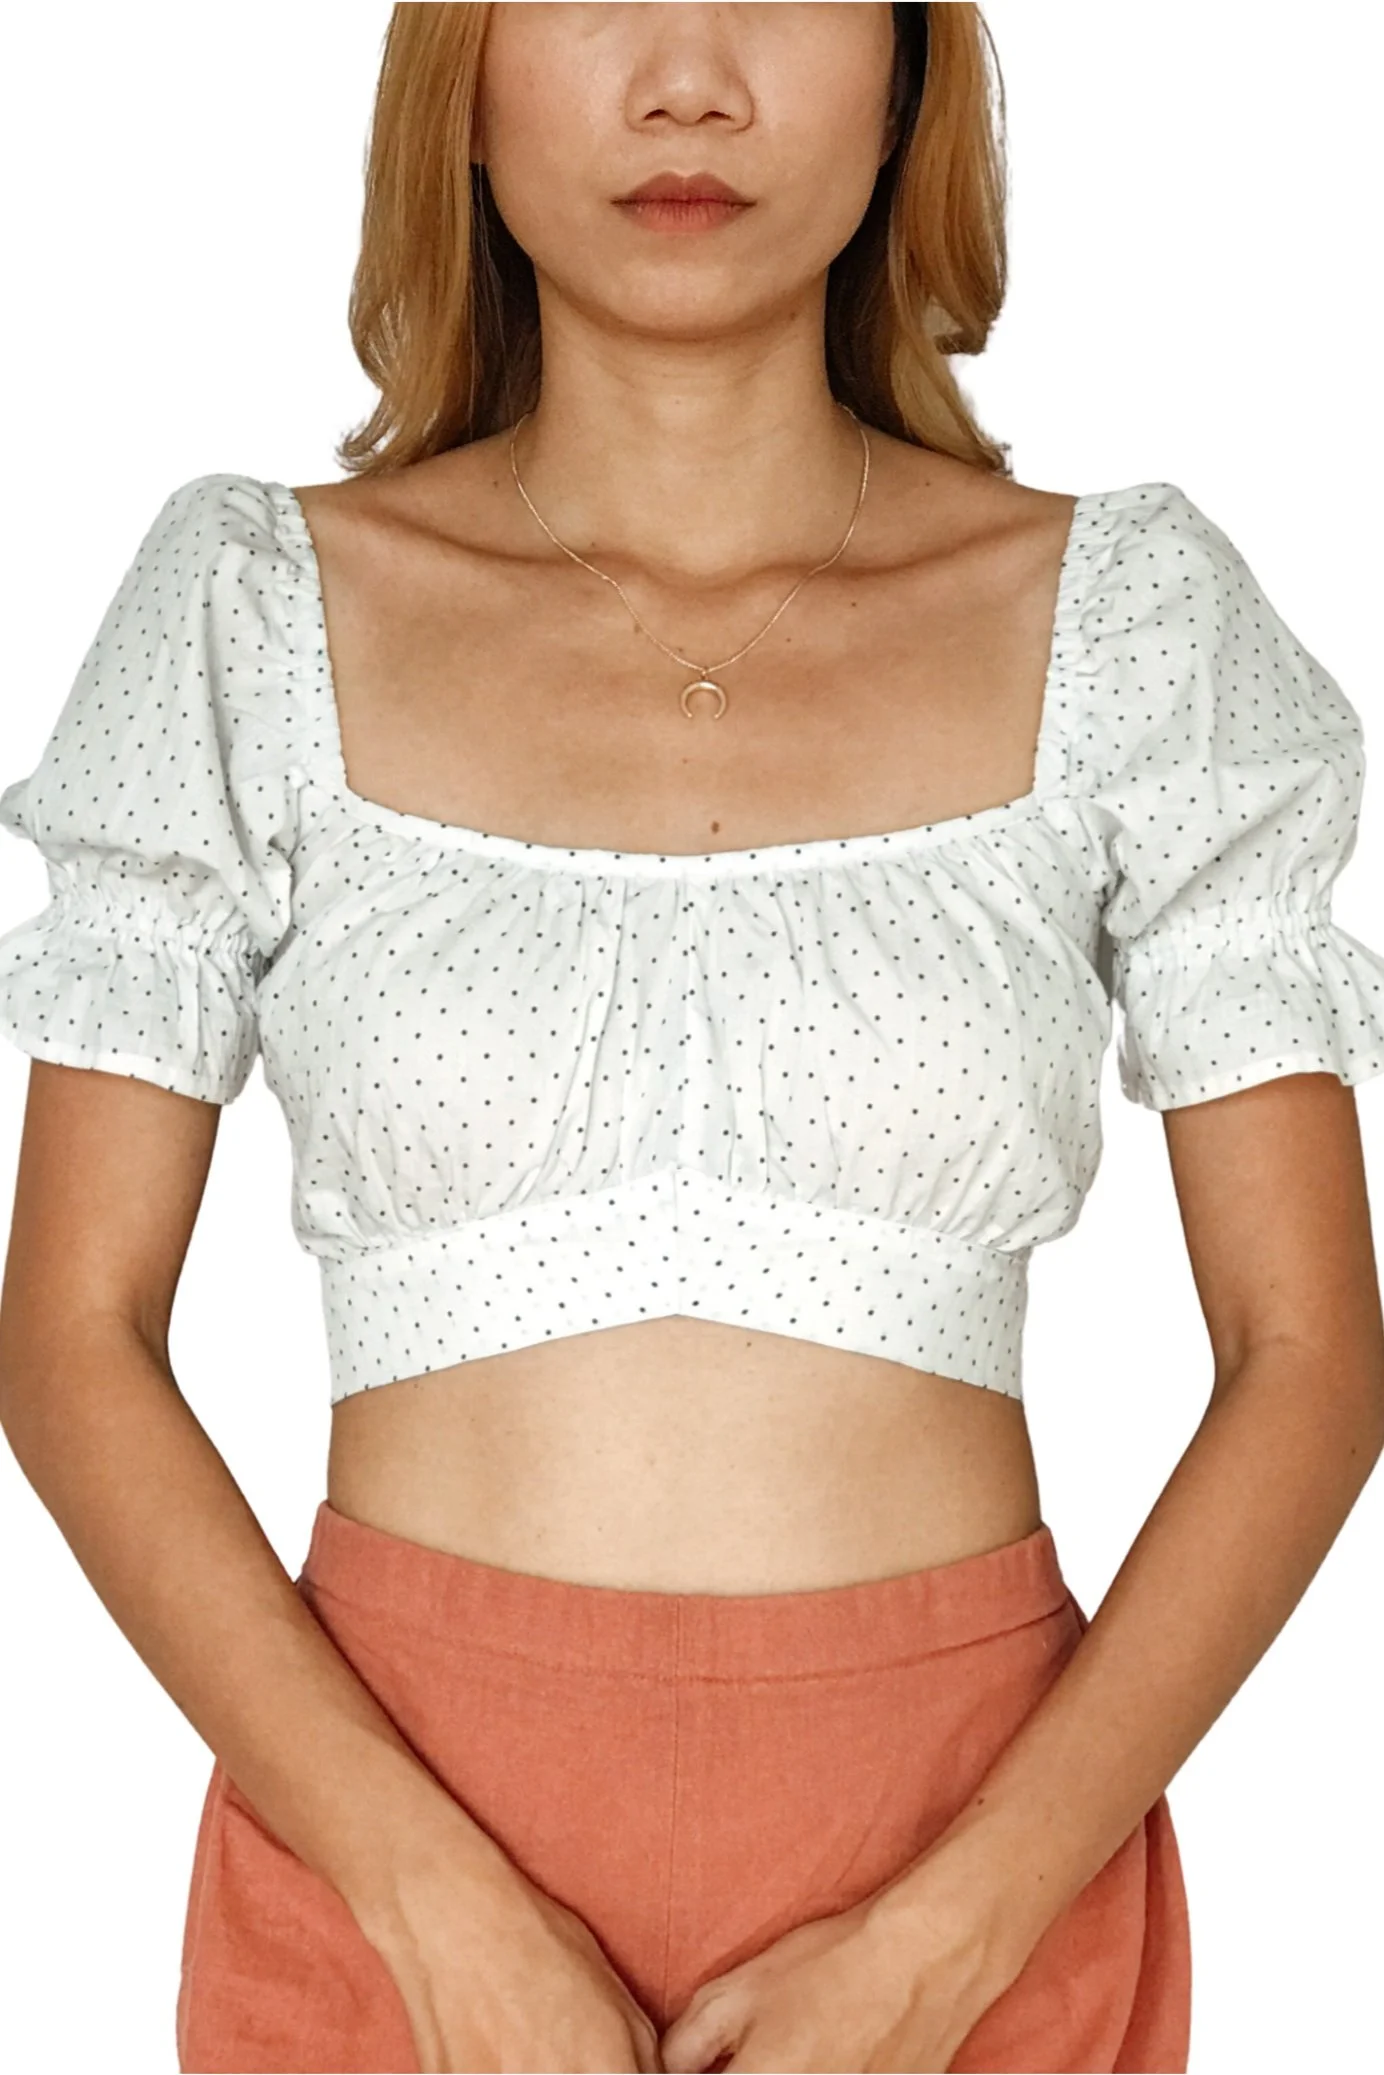
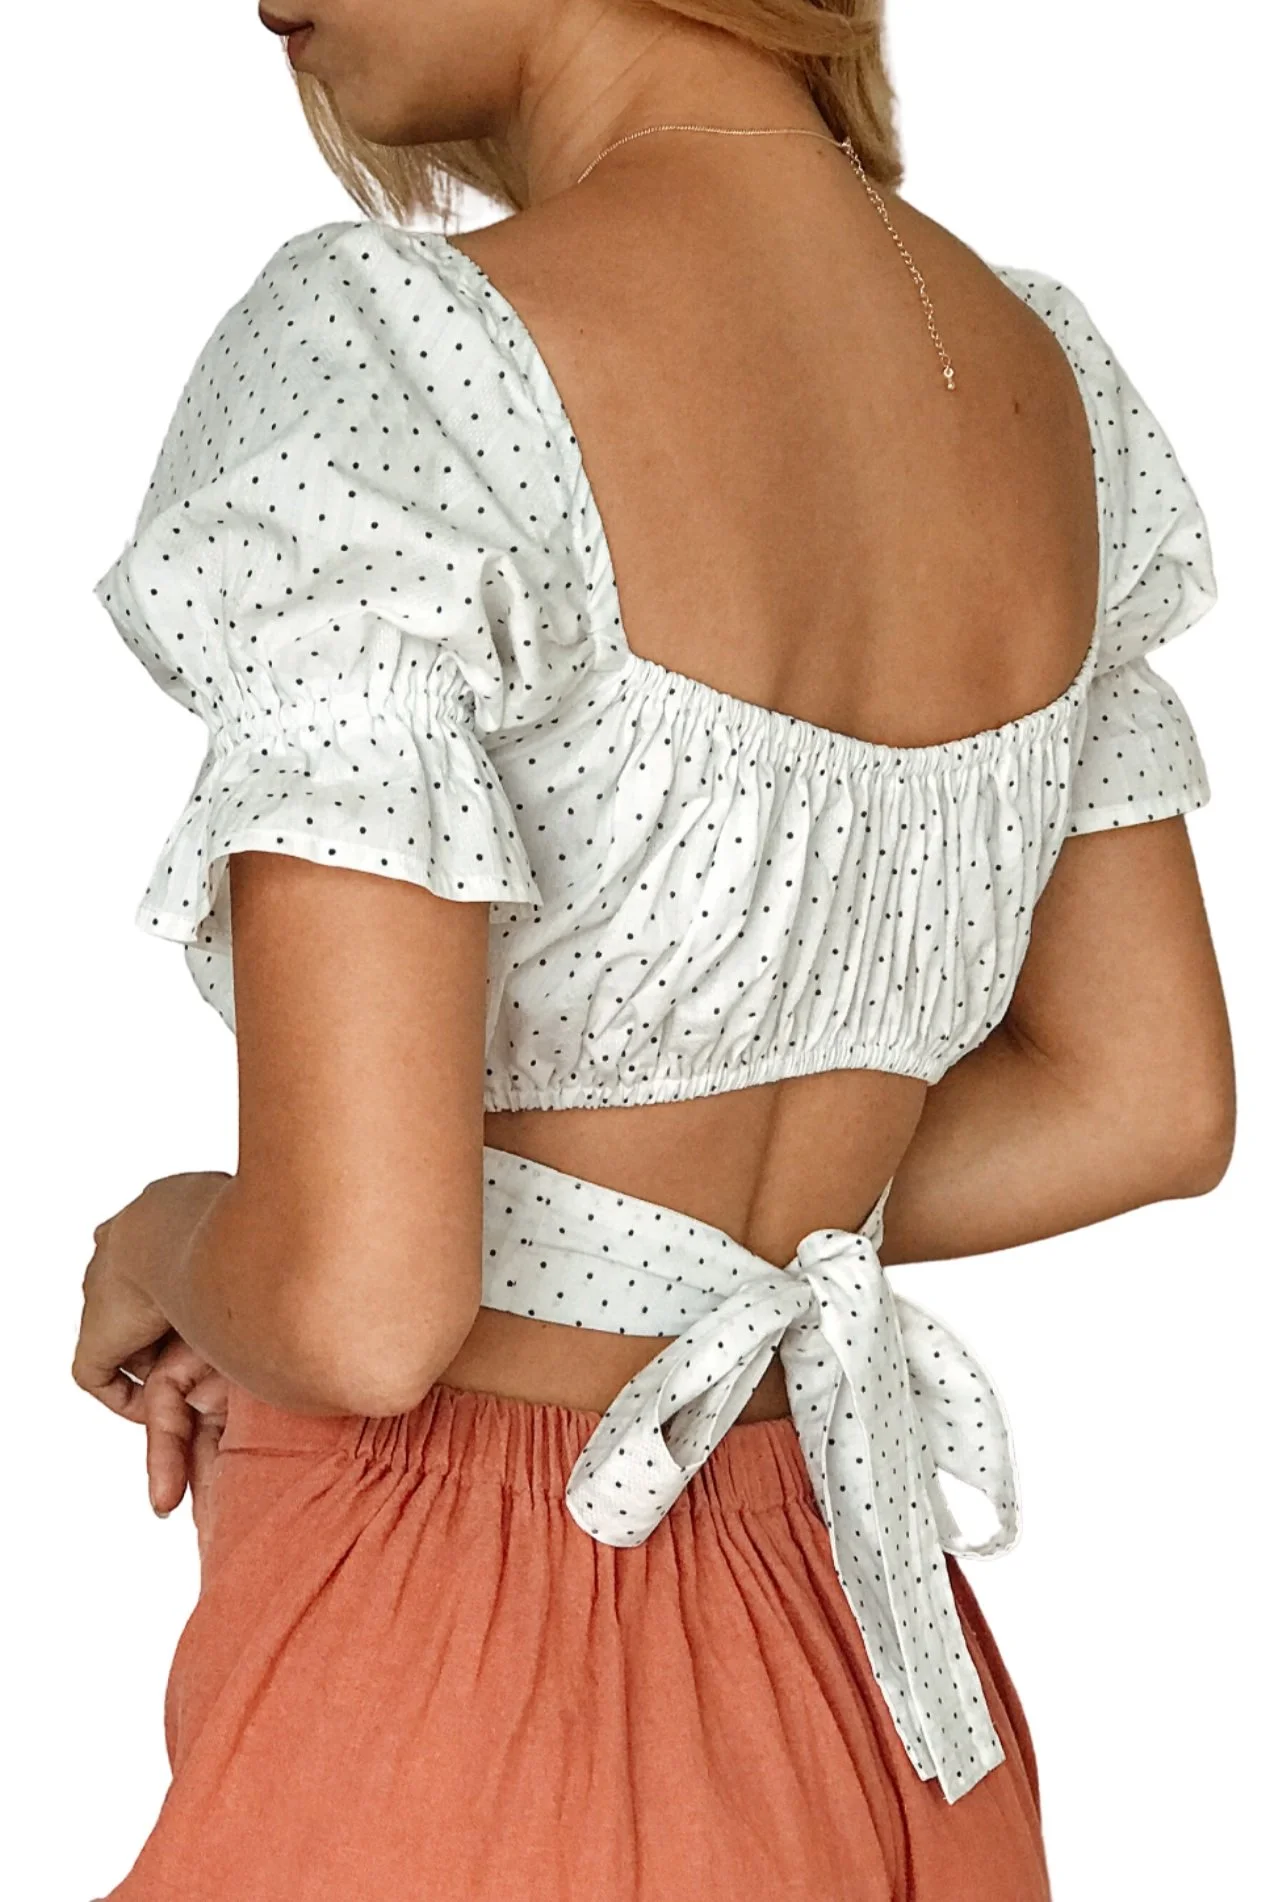
I hope you’ve enjoyed this DIY journey as much as I have, and I encourage you to try it out for yourself.
What are your thoughts on this DIY project? I’d love to hear from you in the comments. Don’t forget to subscribe to my channel for more DIY fashion transformations.
Happy sewing!