DIY FRILL TOP from old shirt - Refashion/Recylce old shirt into Frill blouse/crop top

DIY Frill top /Frill blouse /Crop top from old shirt
Welcome to “Sewing with Jess”!
Today's video, I'm going to share another way to refashion/recycle your old shirt into frill top/blouse. This's a very easy DIY that you could finish in 30 minutes. And it gives a great elegant look like a French girl.
Let’s get started!
WHAT YOU’LL NEED

Shirt with M size
Pattern paper
Sewing machine
Pins
Scissors
Ruler
Long stick
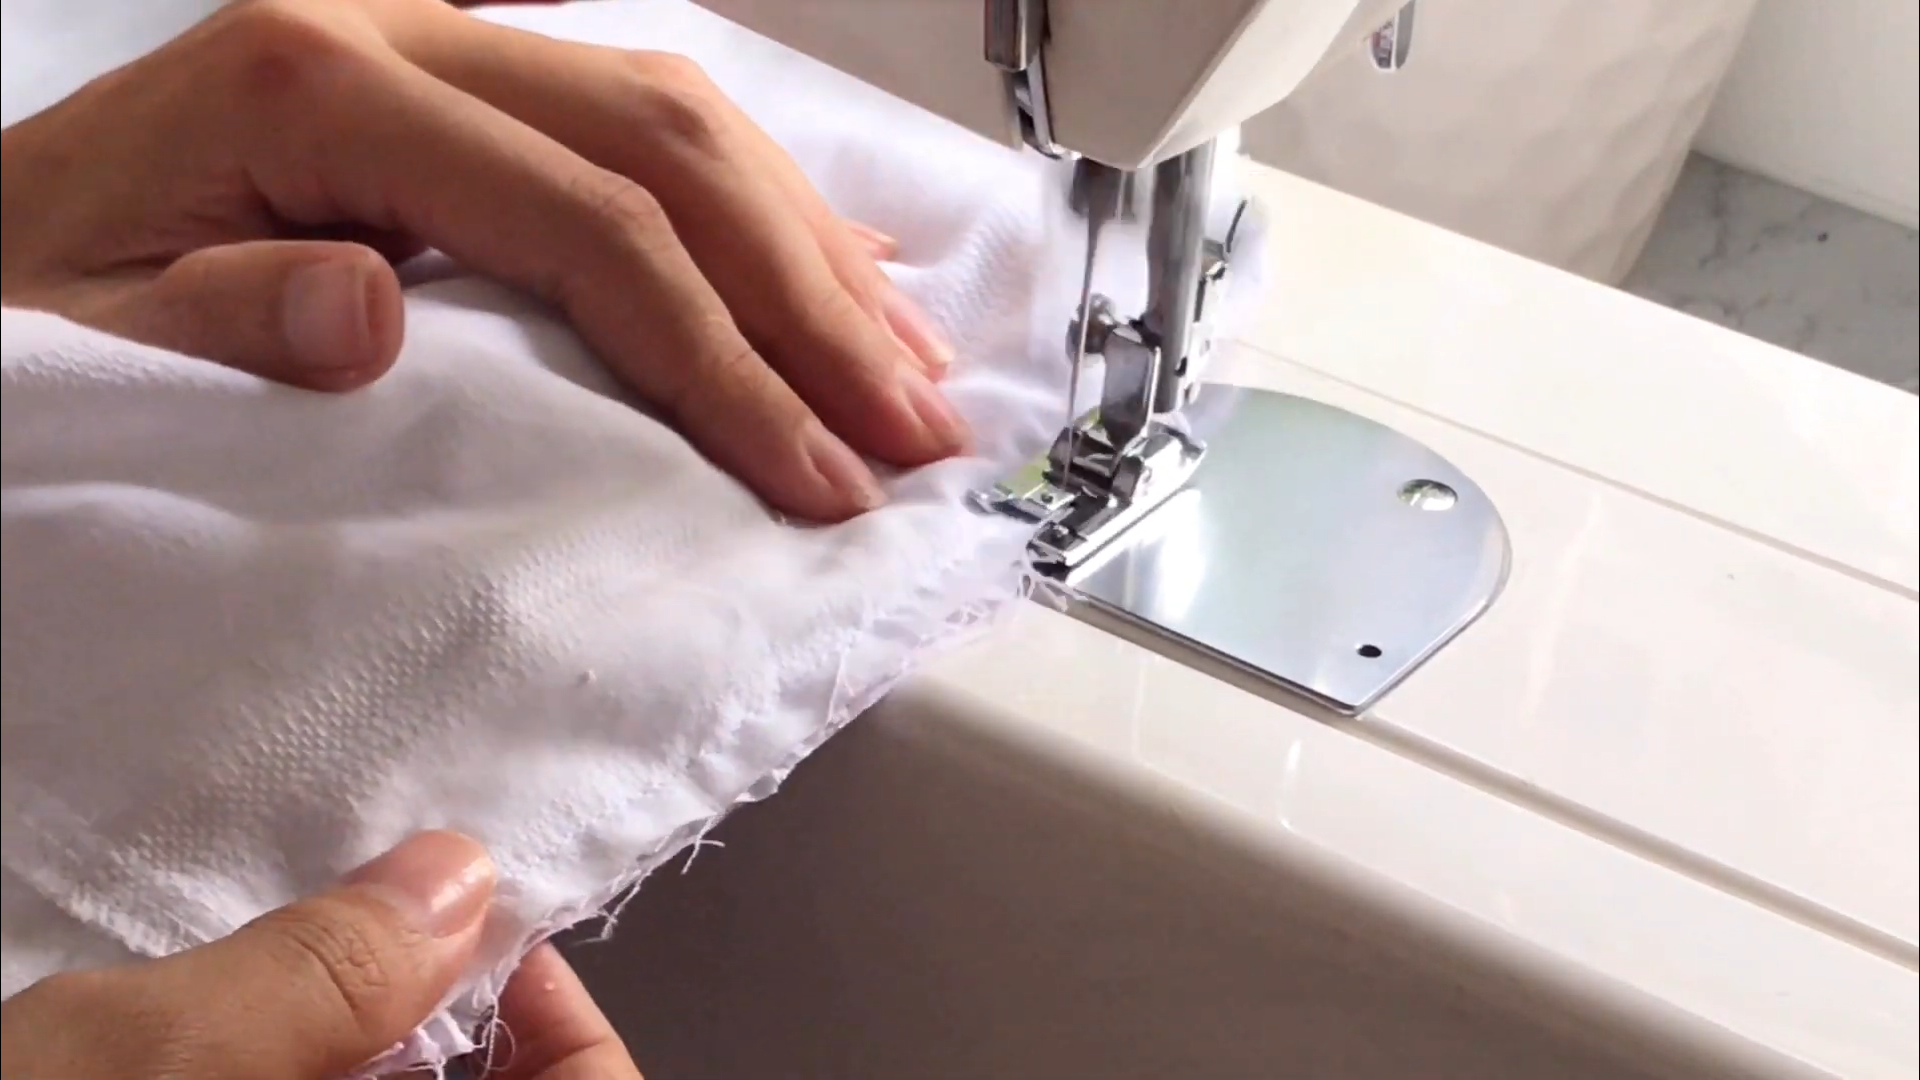
SEWING THE TOP
THE MAIN BODY
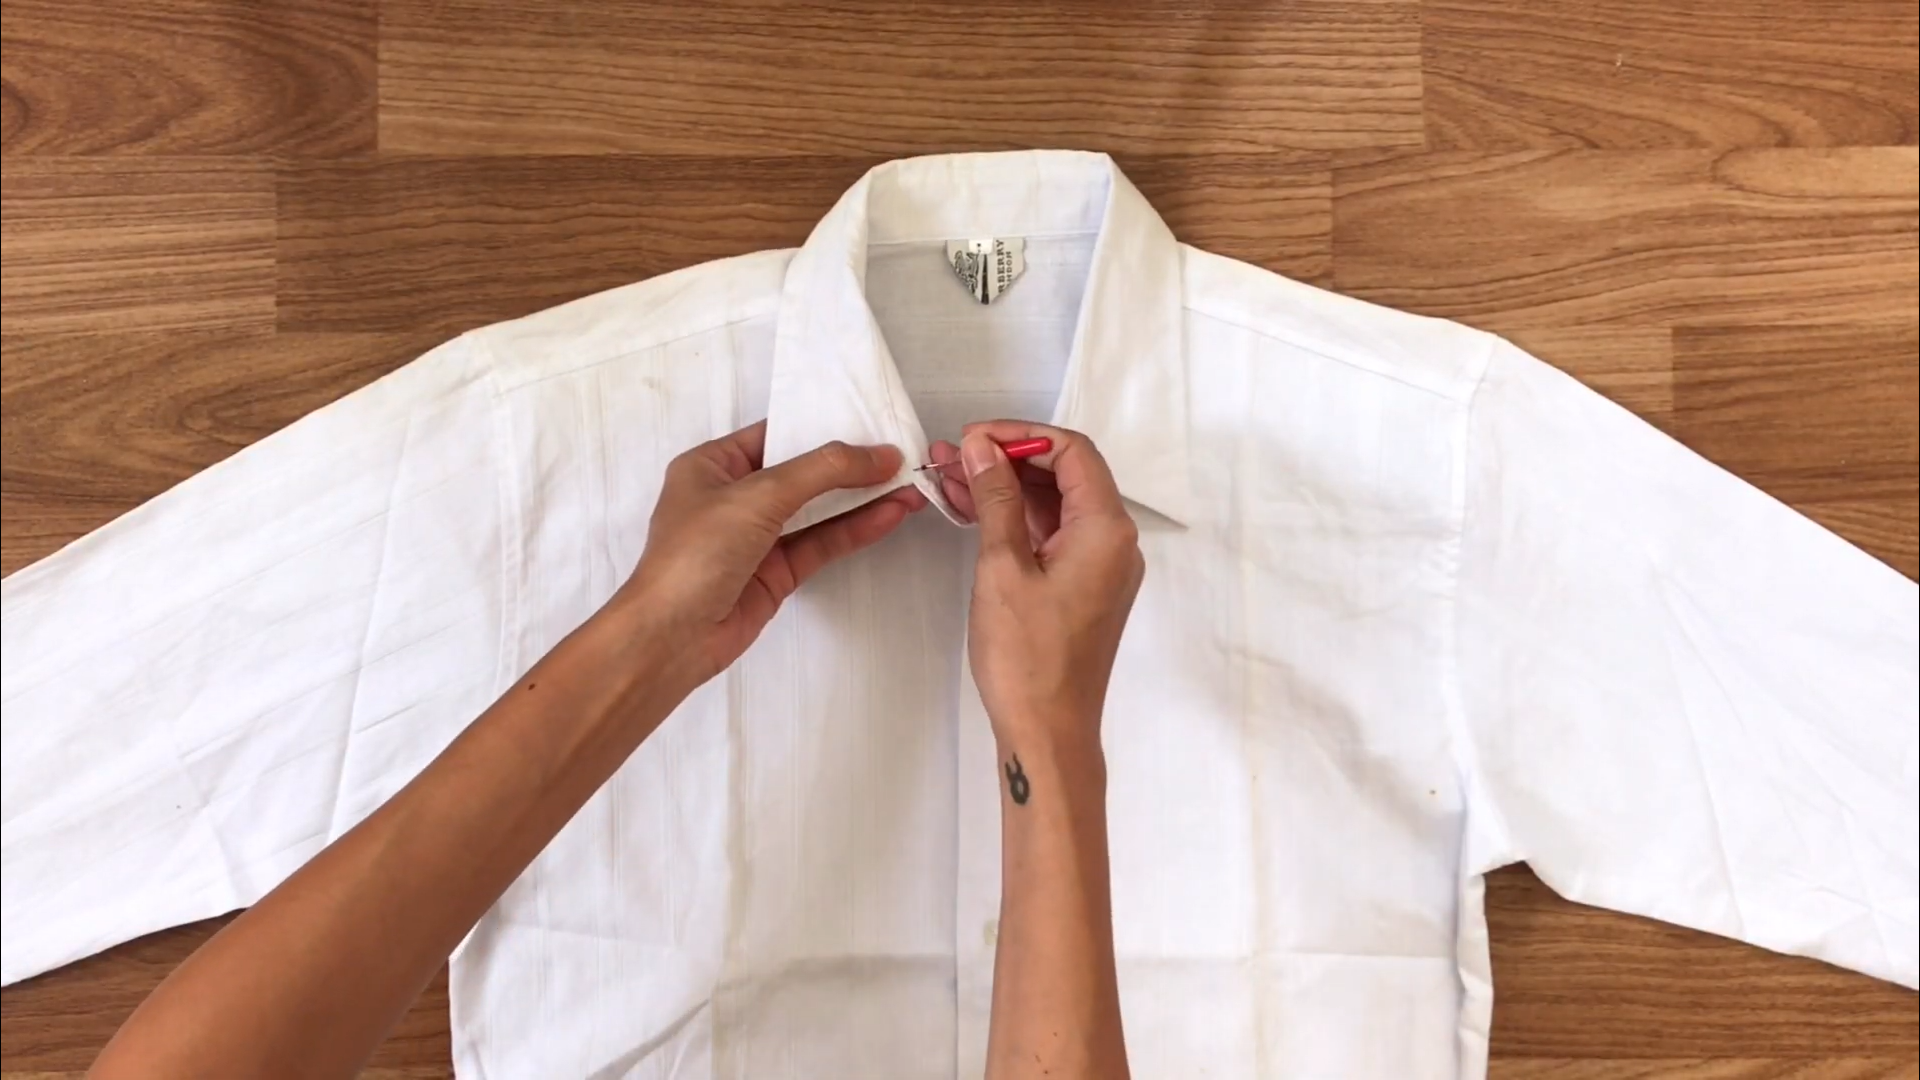
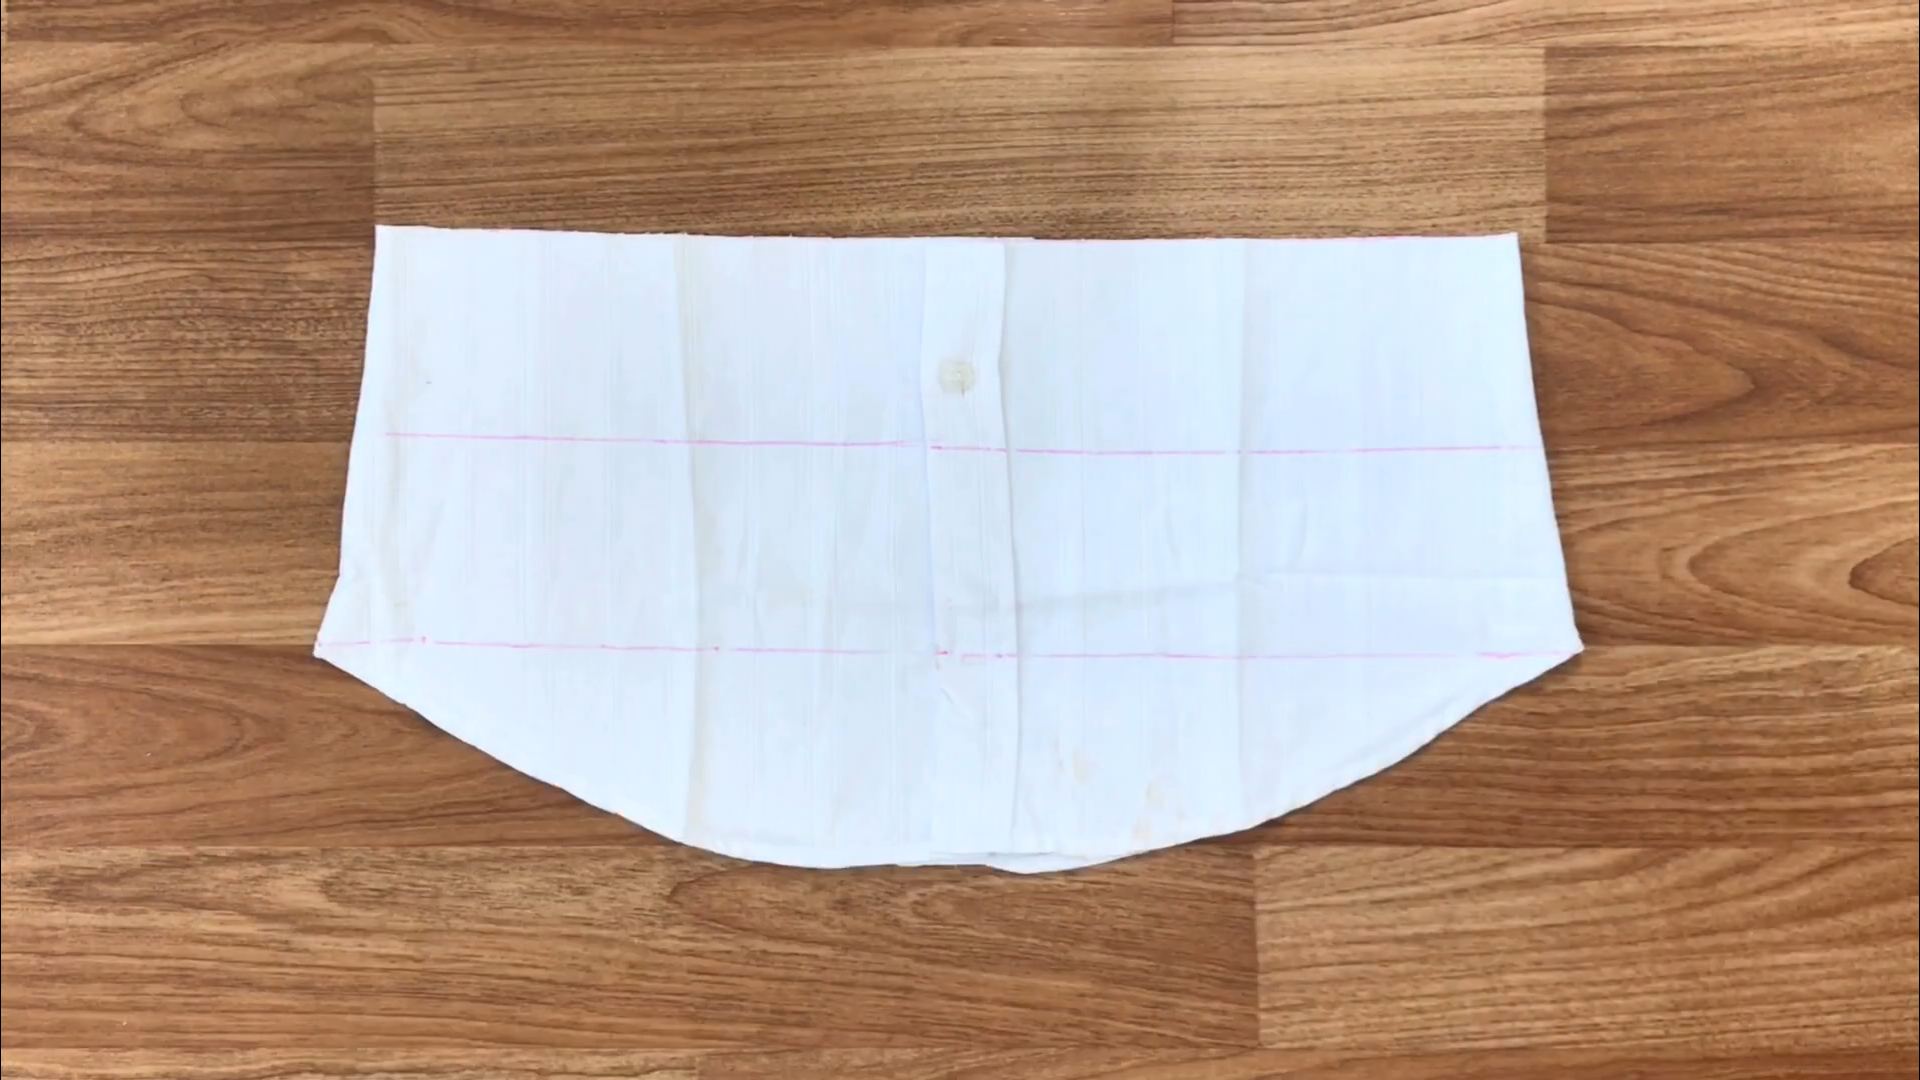
First, removing the neck of the shirt.
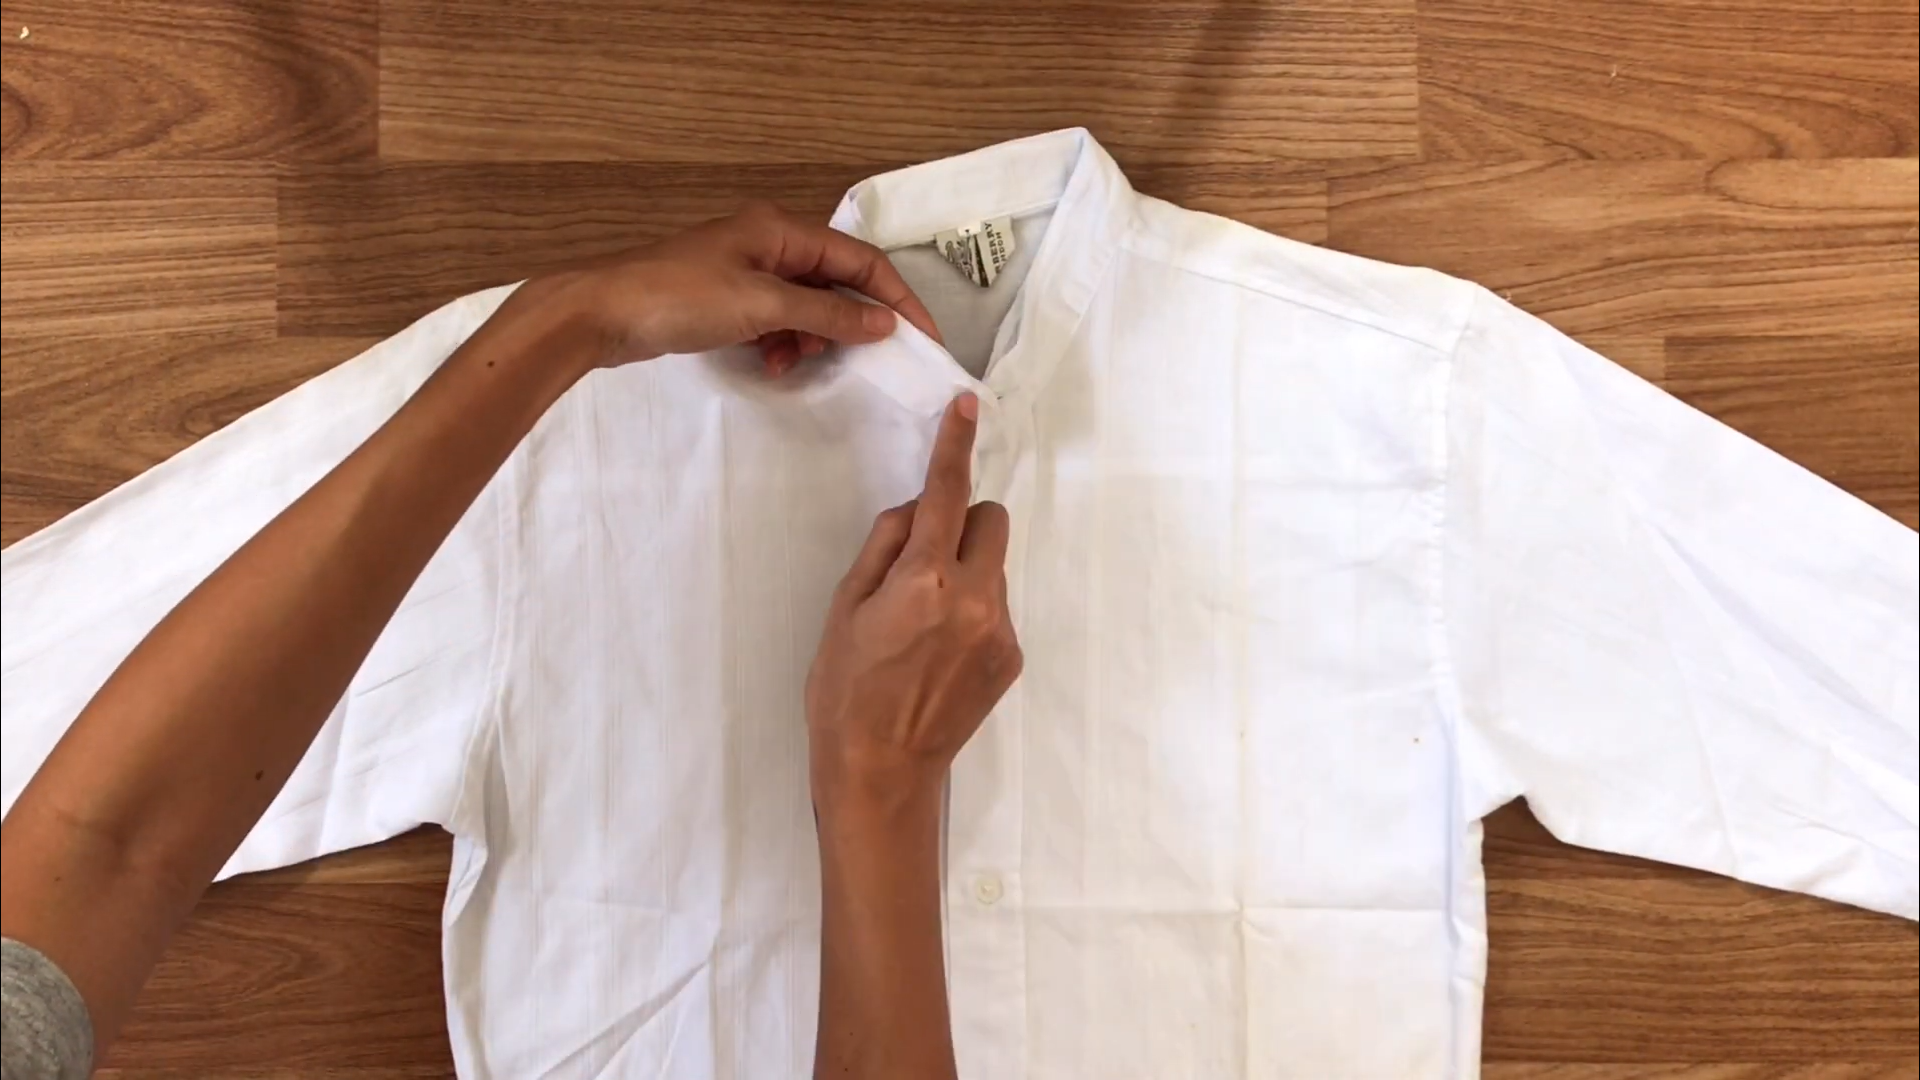
Then, sew the top to create a new look for the neck.
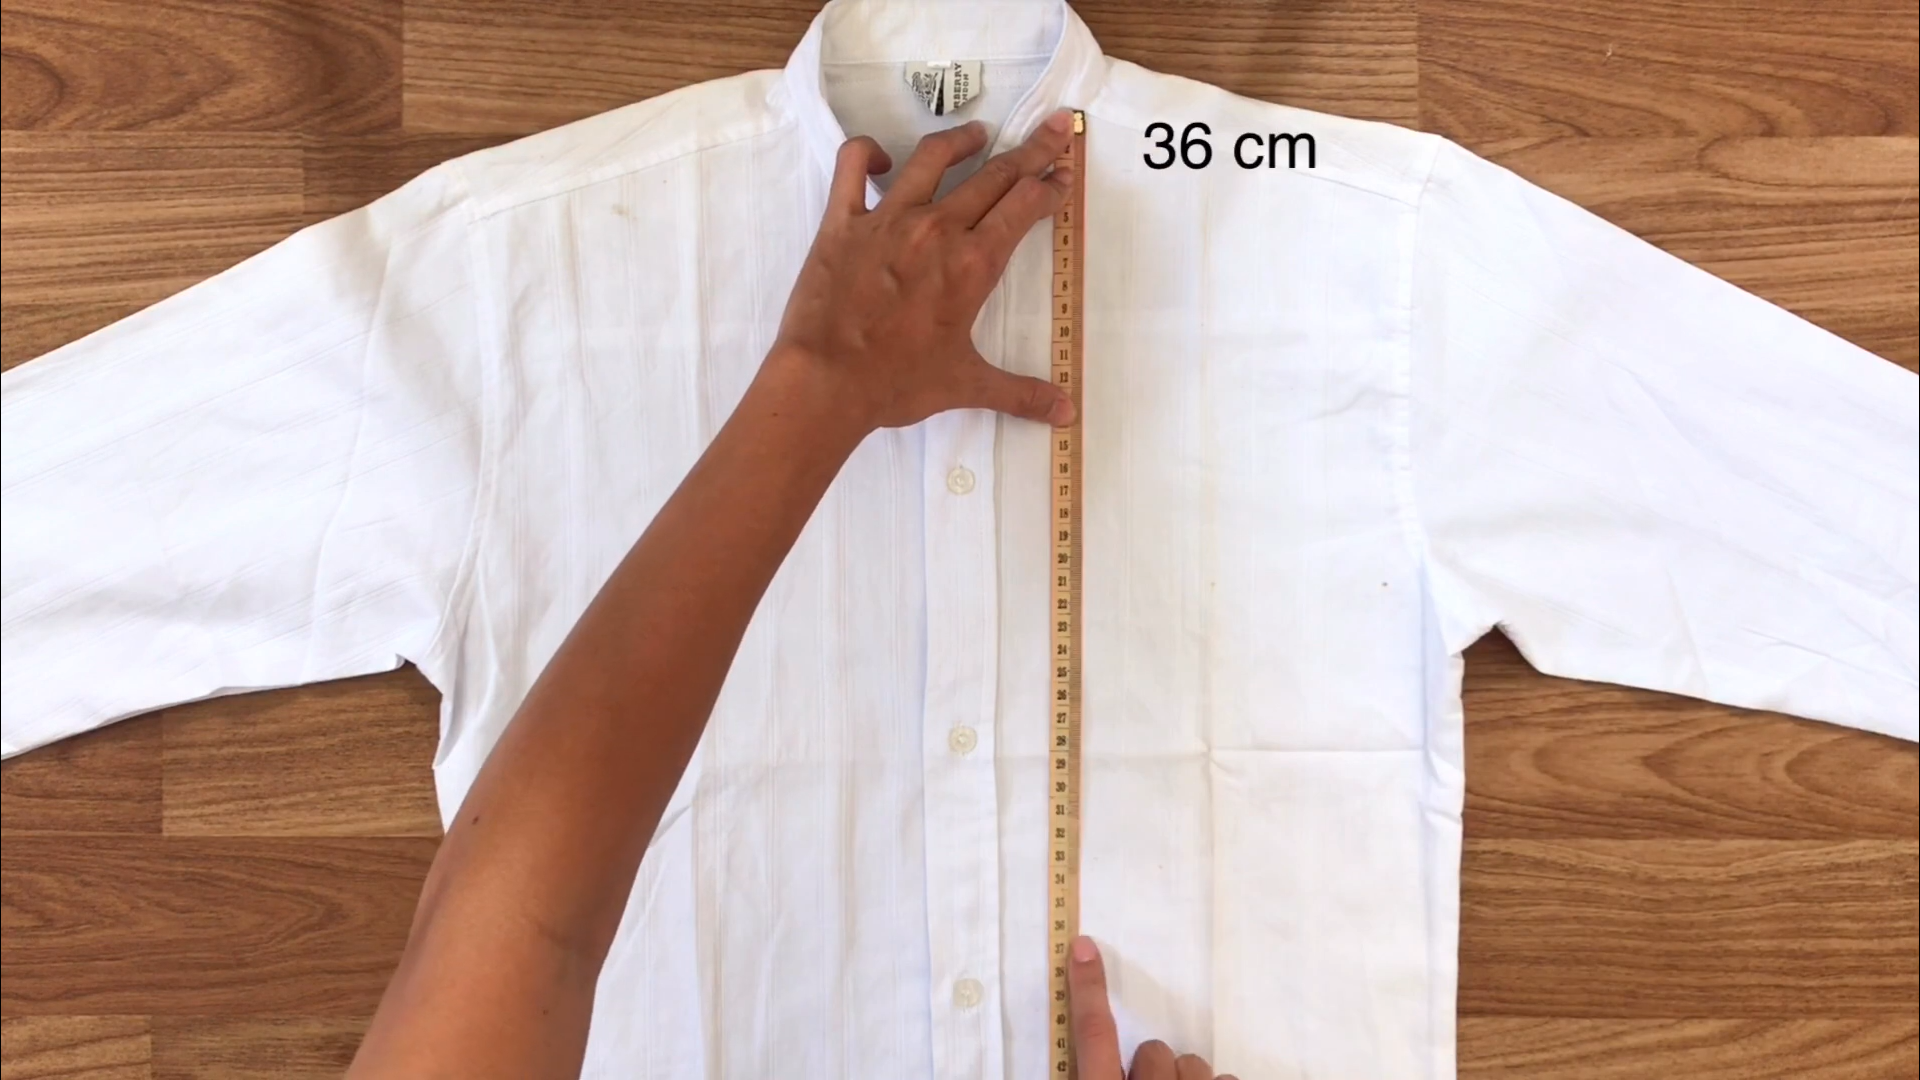
From the shoulder right next to the neck, measure down 36 cm, which is the width from your shoulder to belly button minus 2 cm.
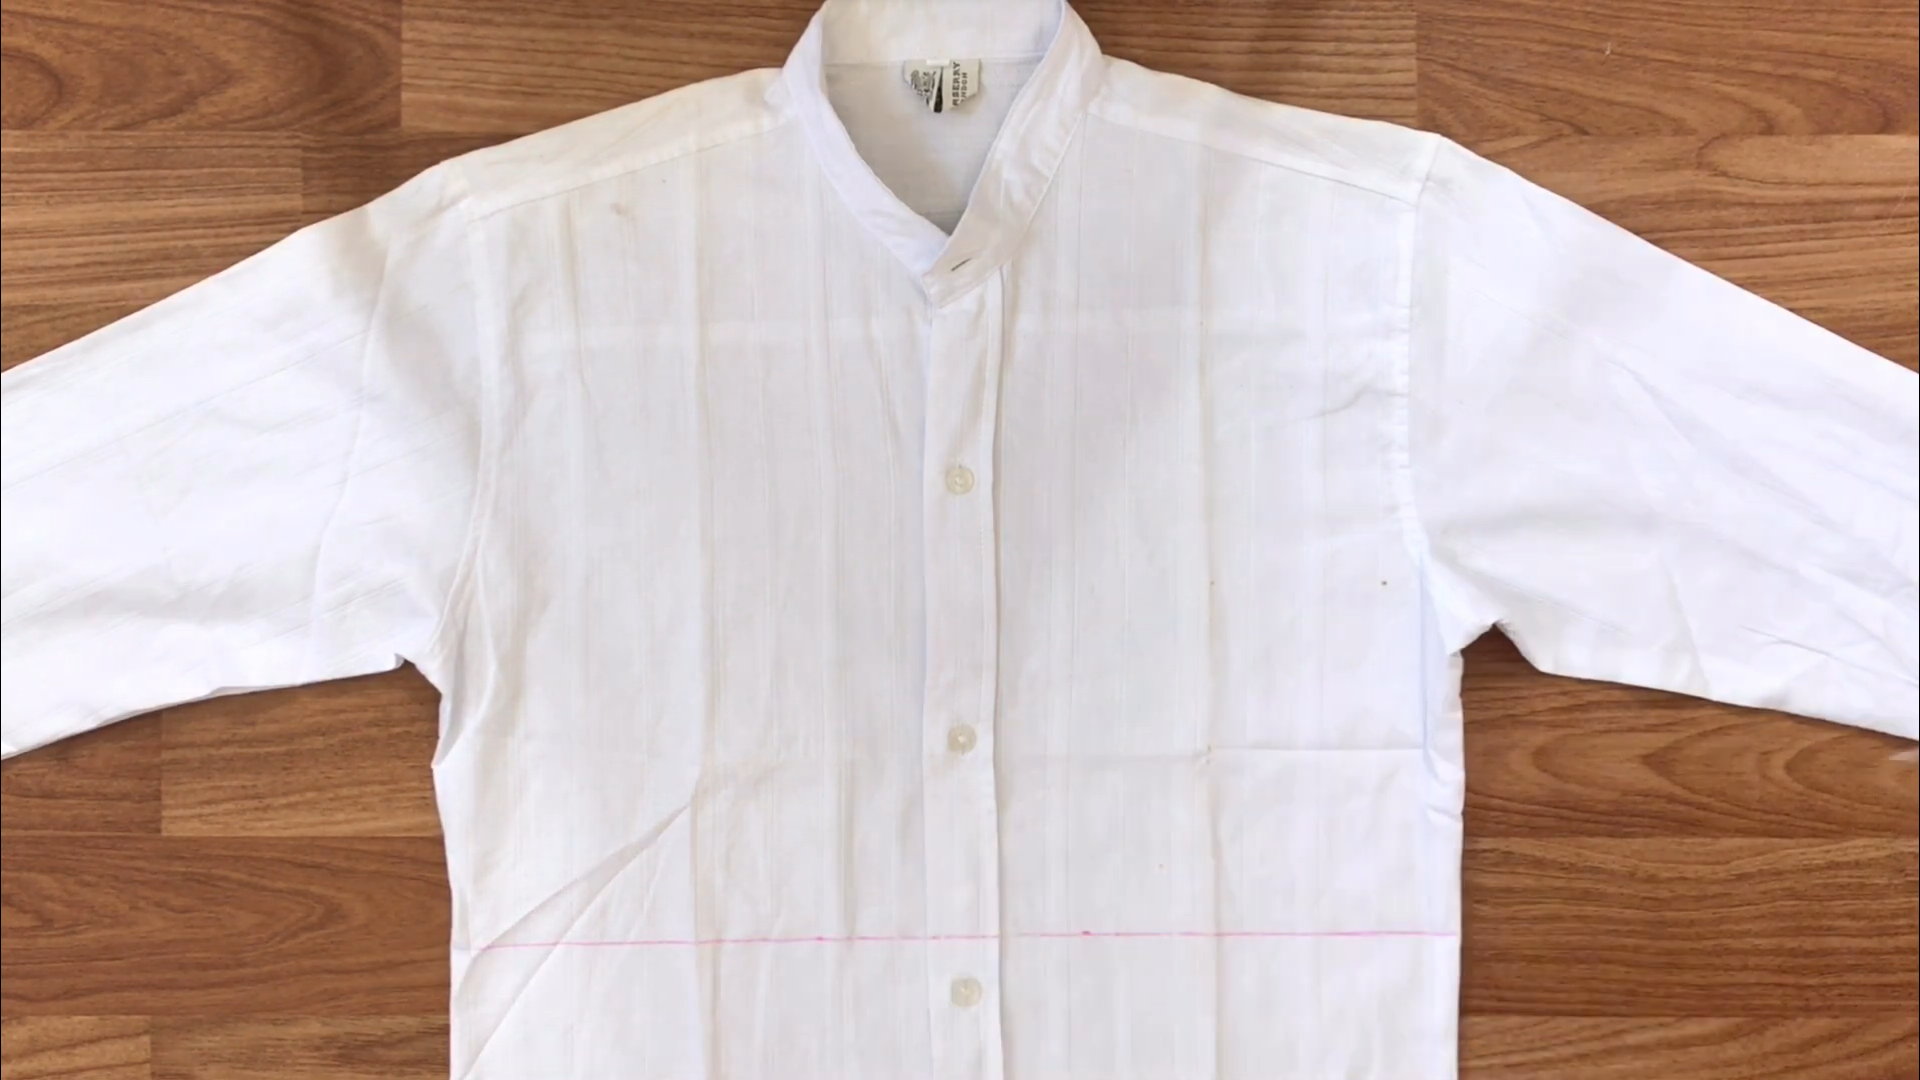
Draw a horizontal line at this point.
After cutting along this line, you will have the main body of the crop top.
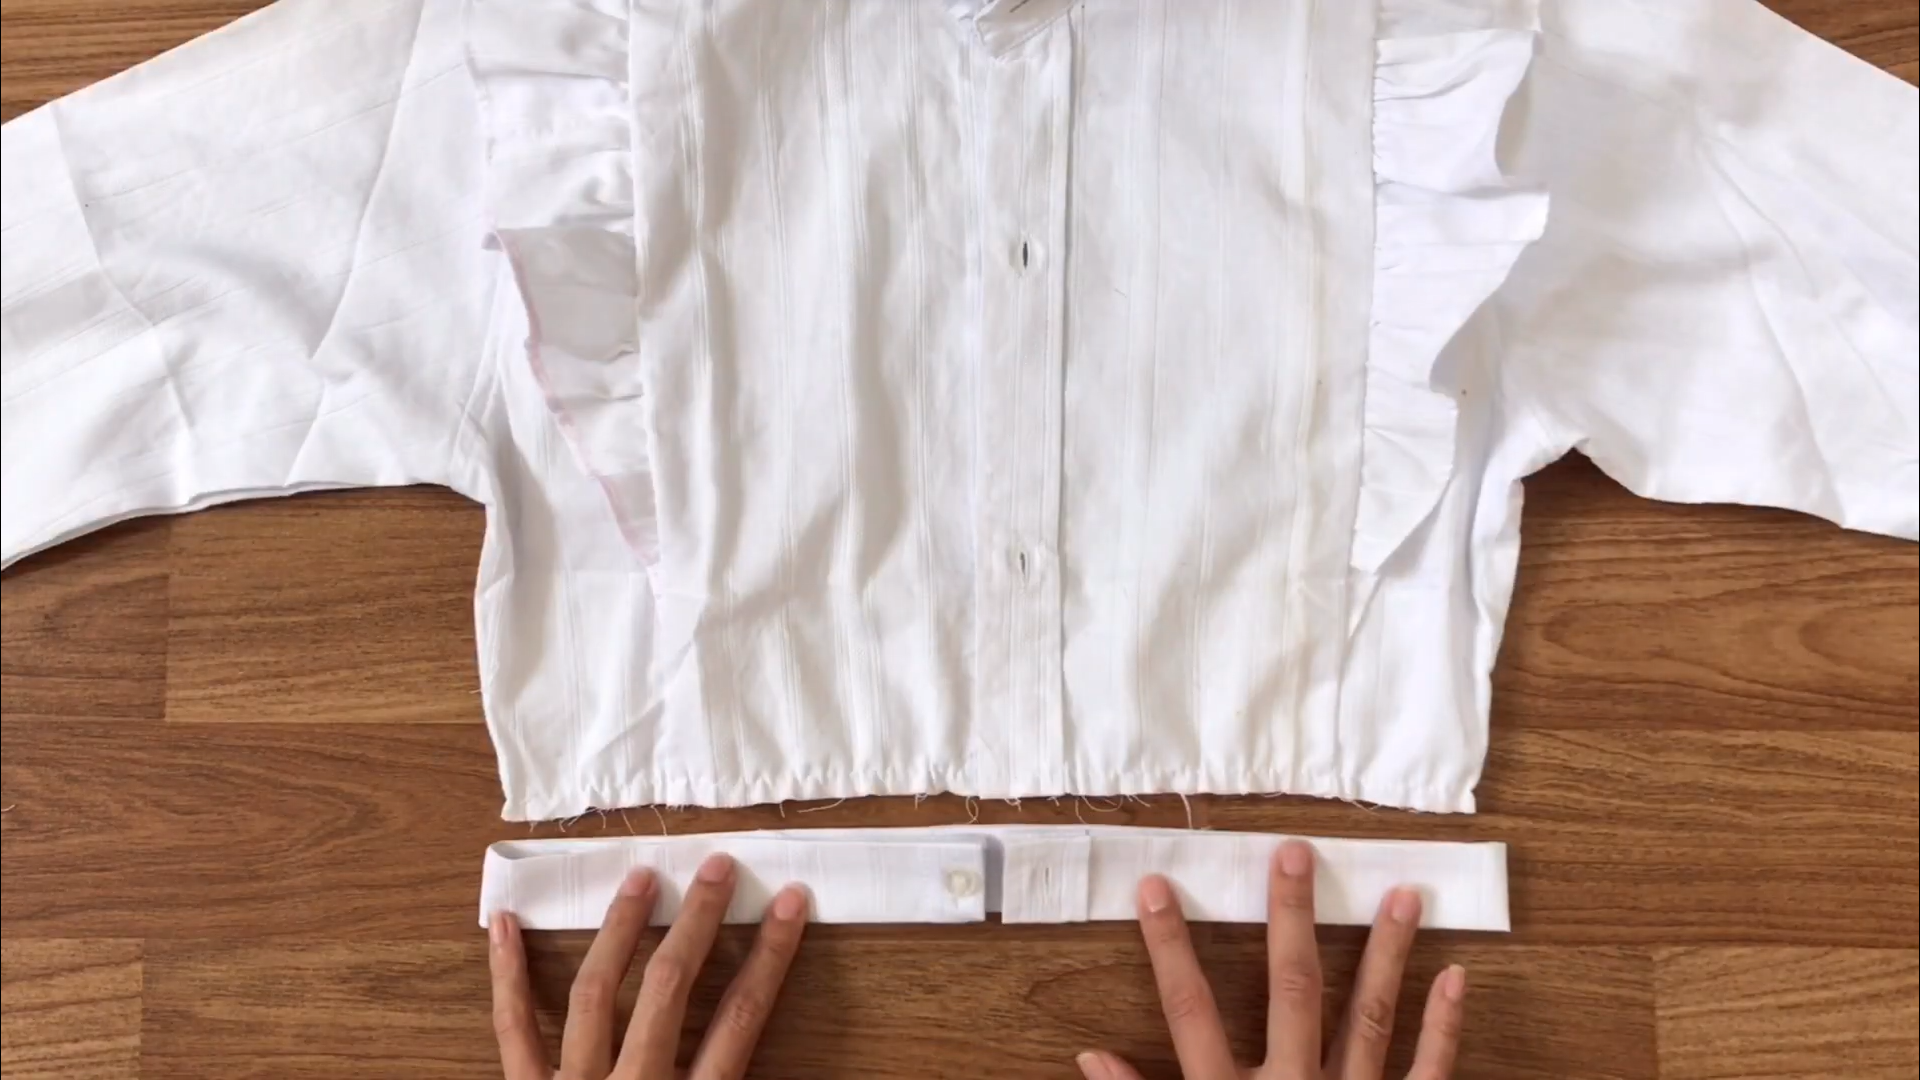
THE FRILL

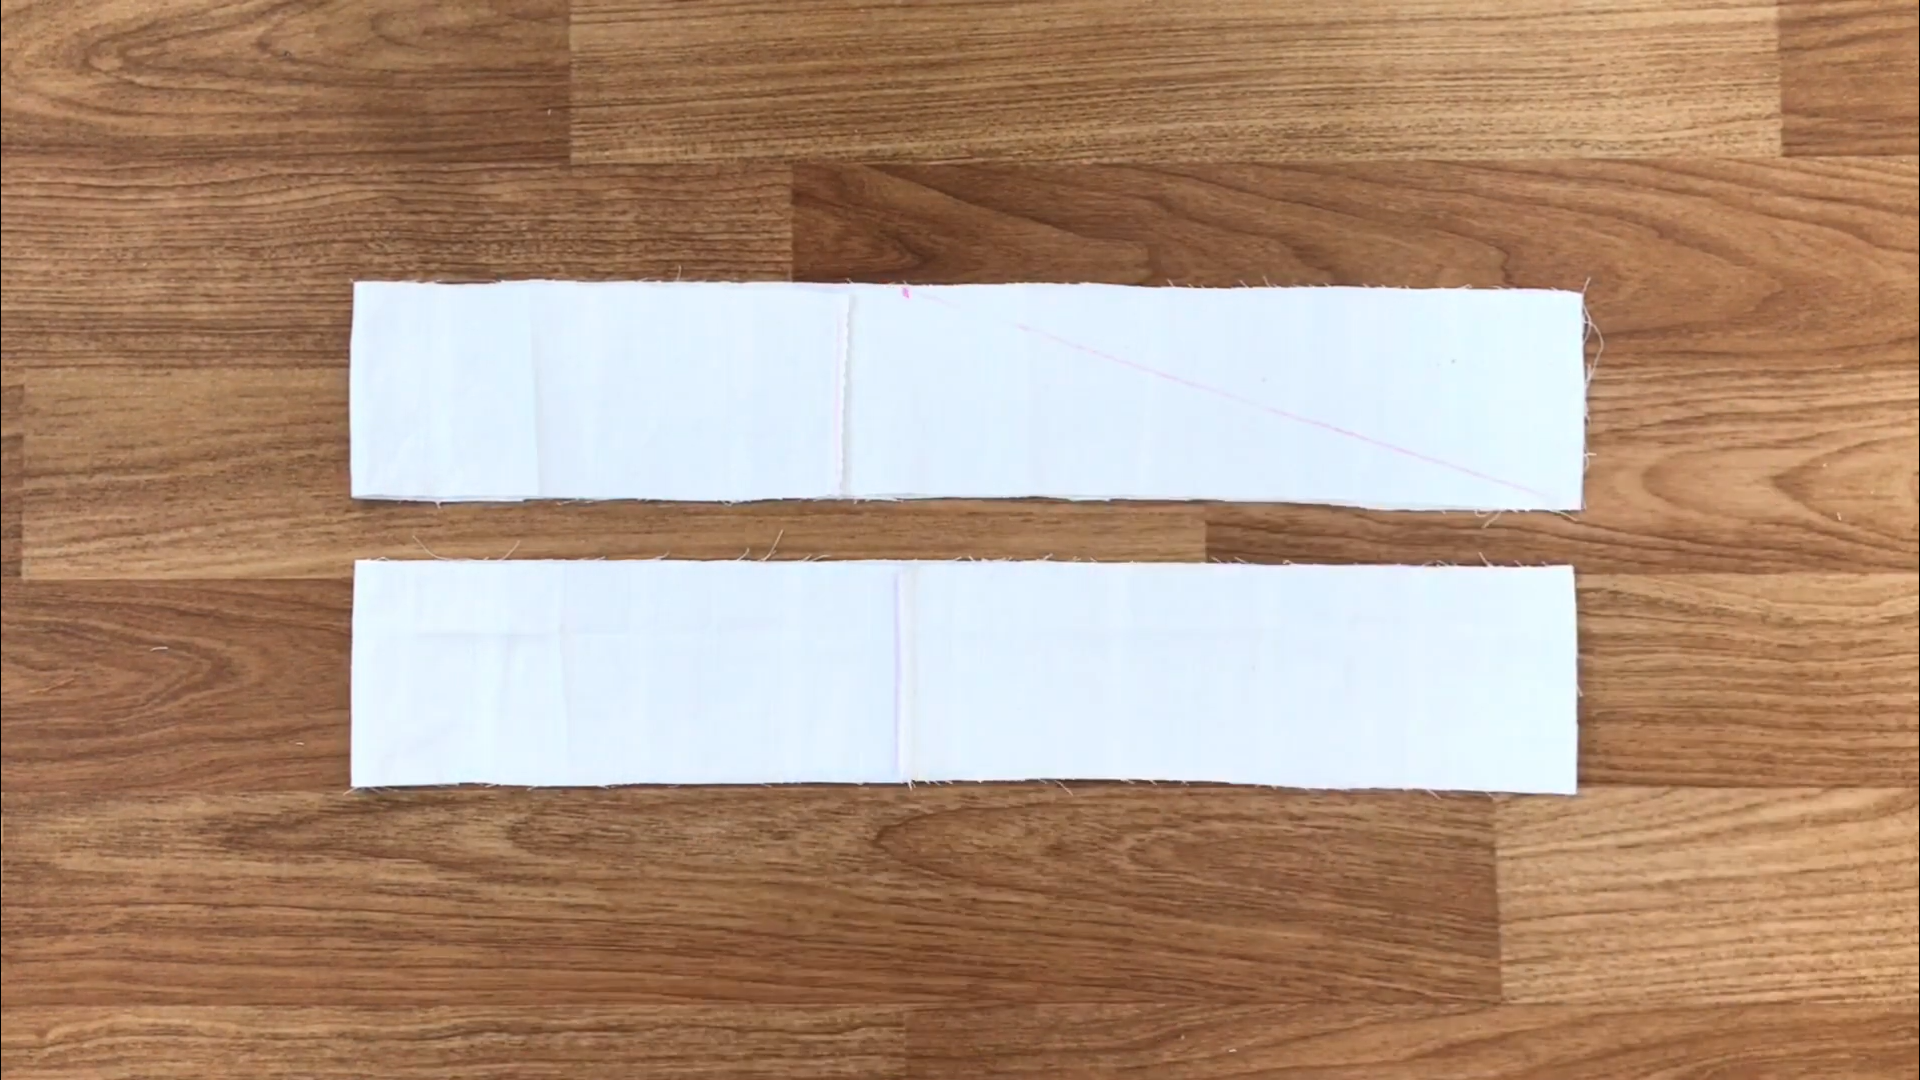
At the top of the leftover fabric of the shirt, measure down 8 cm and draw a horizontal line.
This will be the waistband of the crop top.
Measure the width of the remaining fabric and divide it into two pieces, each 8 cm wide.
These will be the frilled parts of the crop top.
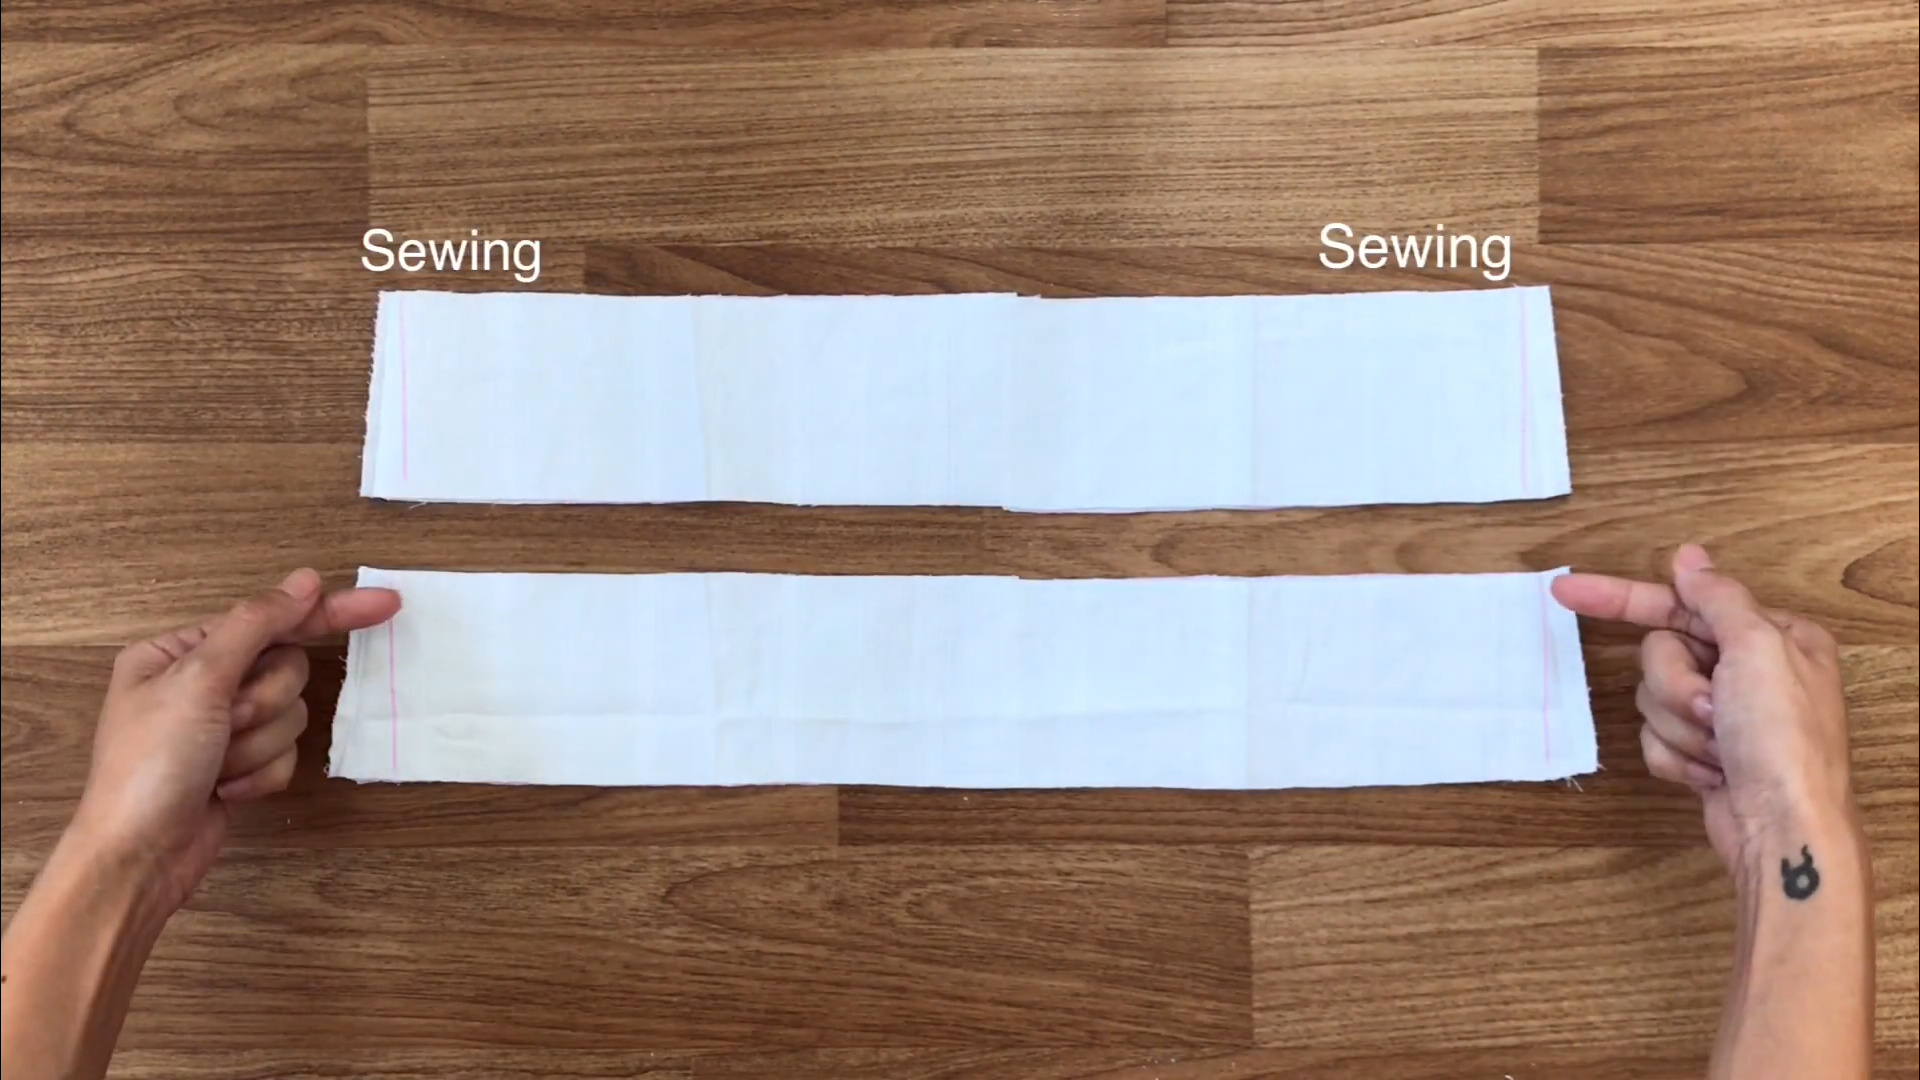
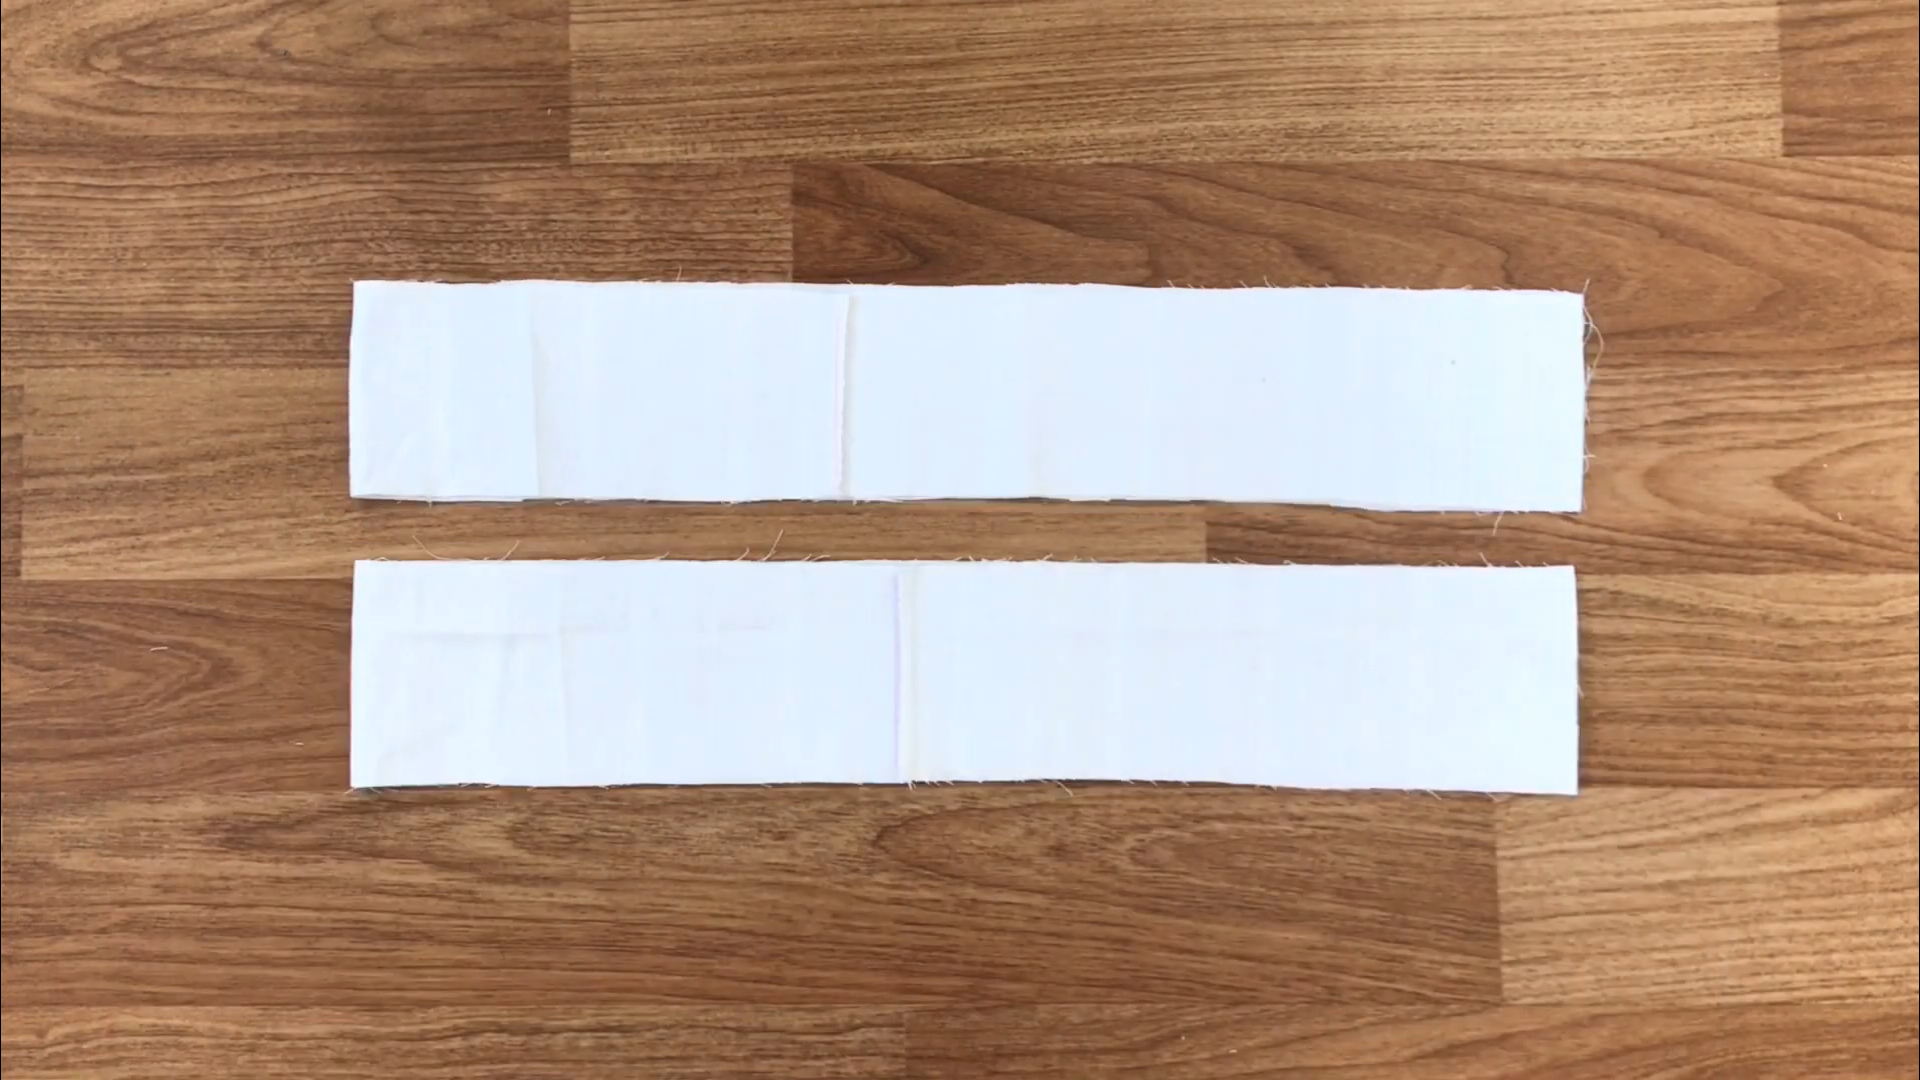
Because the current seam at two sides of the rectangle is not straight, draw a new straight line and sew along it.
Fold each rectangle in half first.
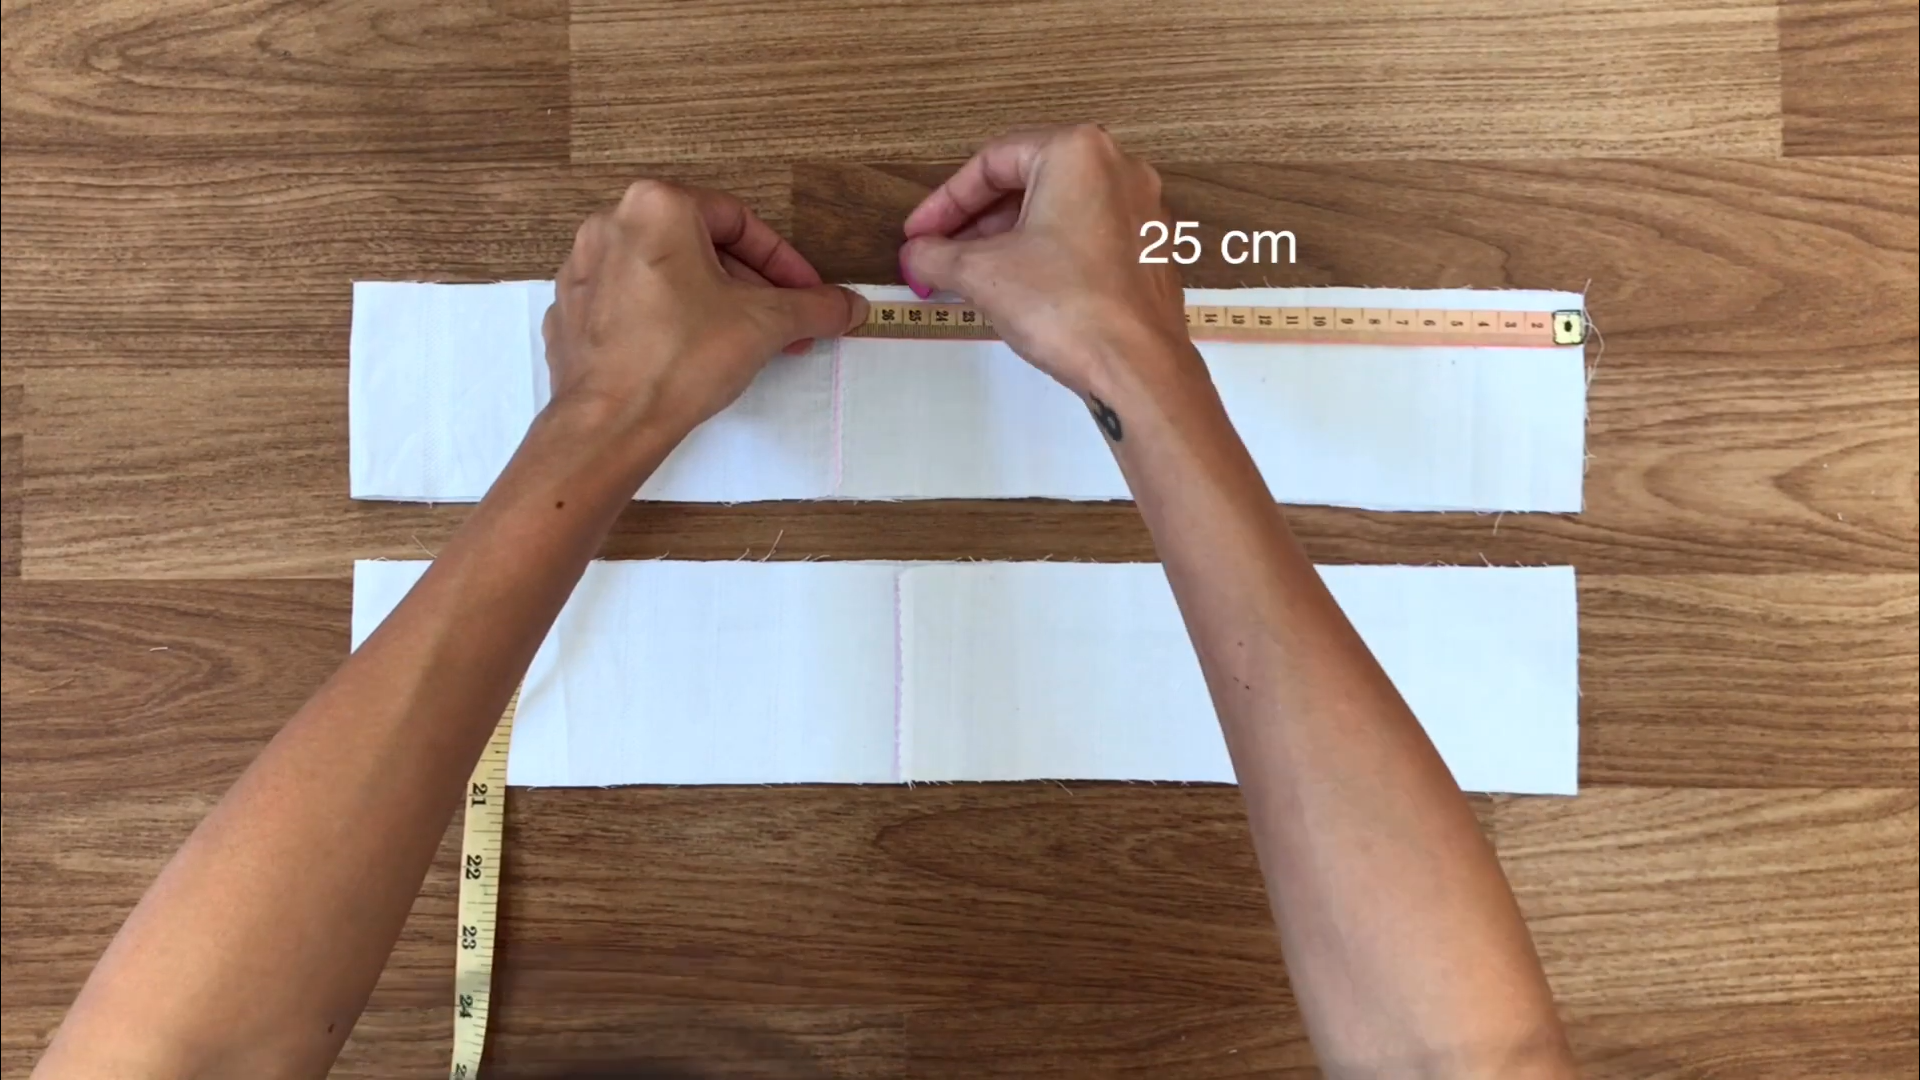
Then, from the right, measure 25 cm towards the inside and mark there.
From that mark, draw a line to the end of the right side.
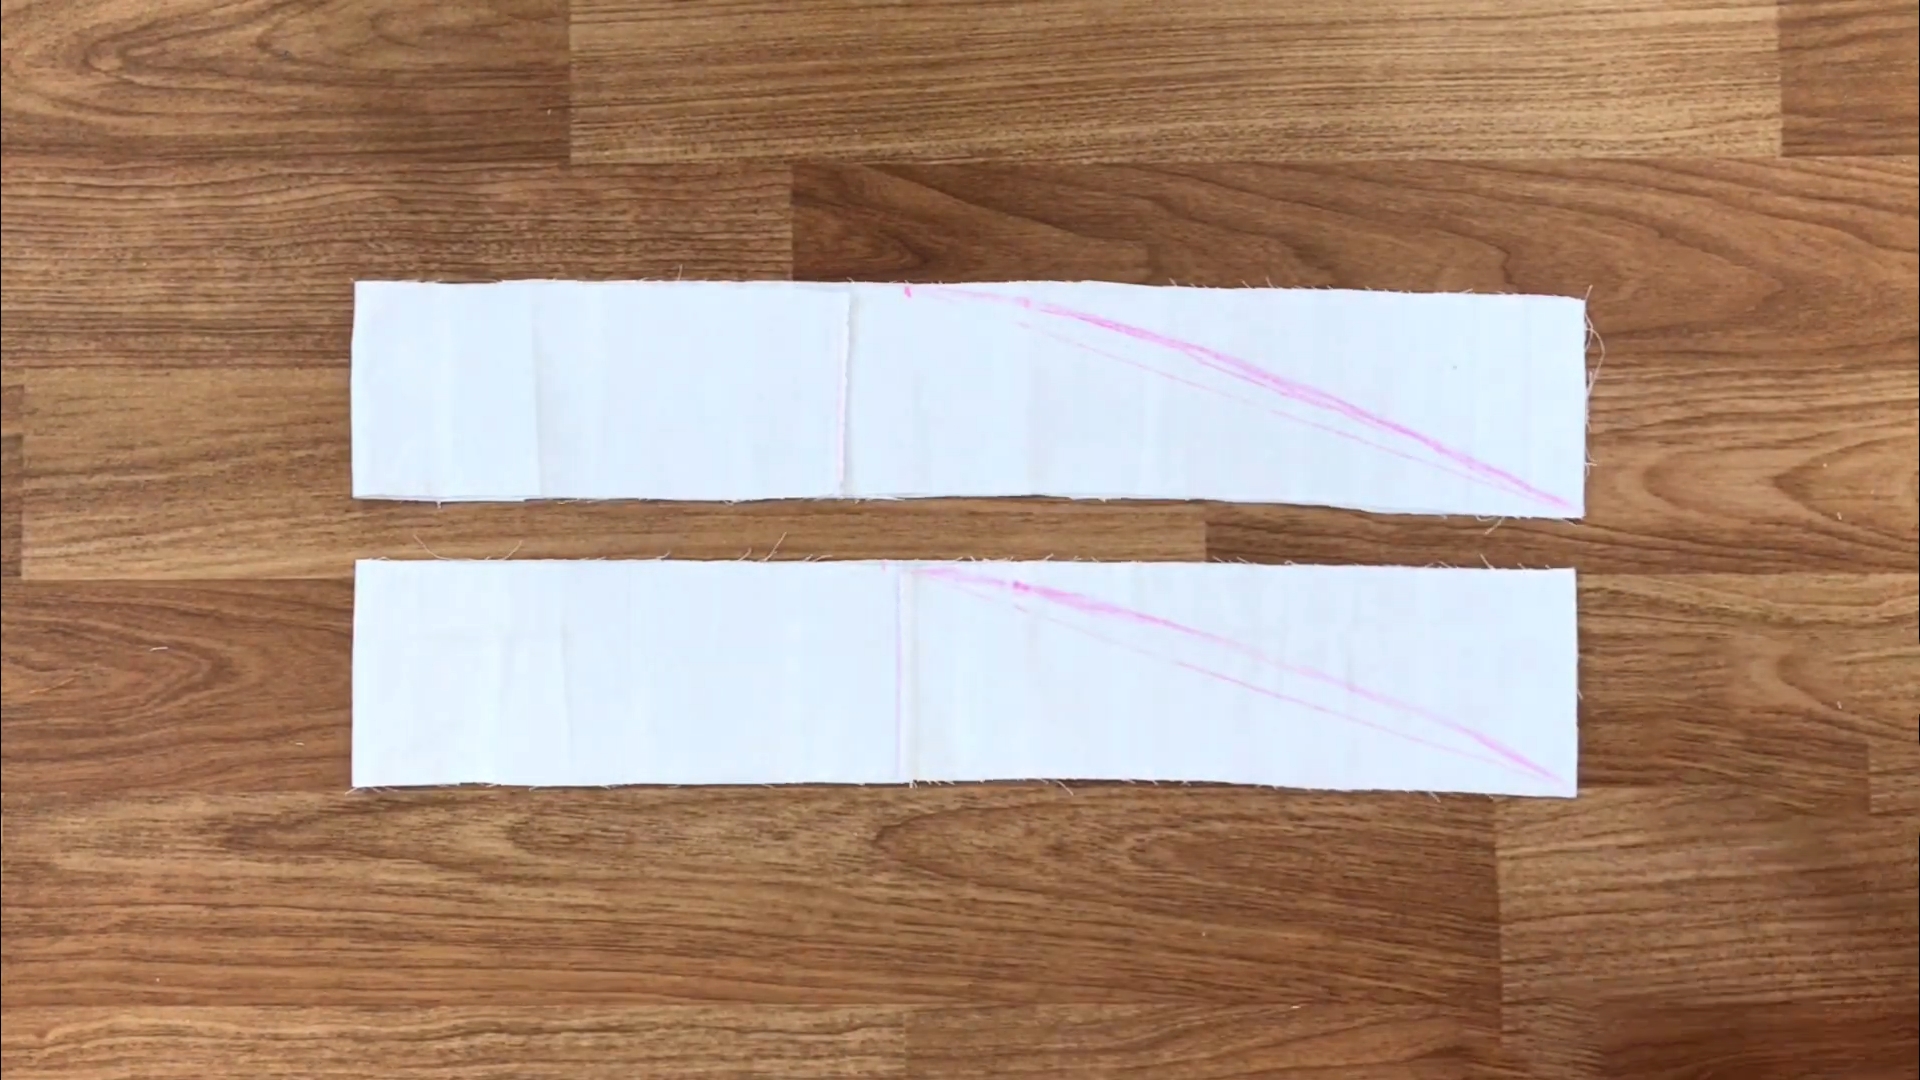
Then, draw a curved line.
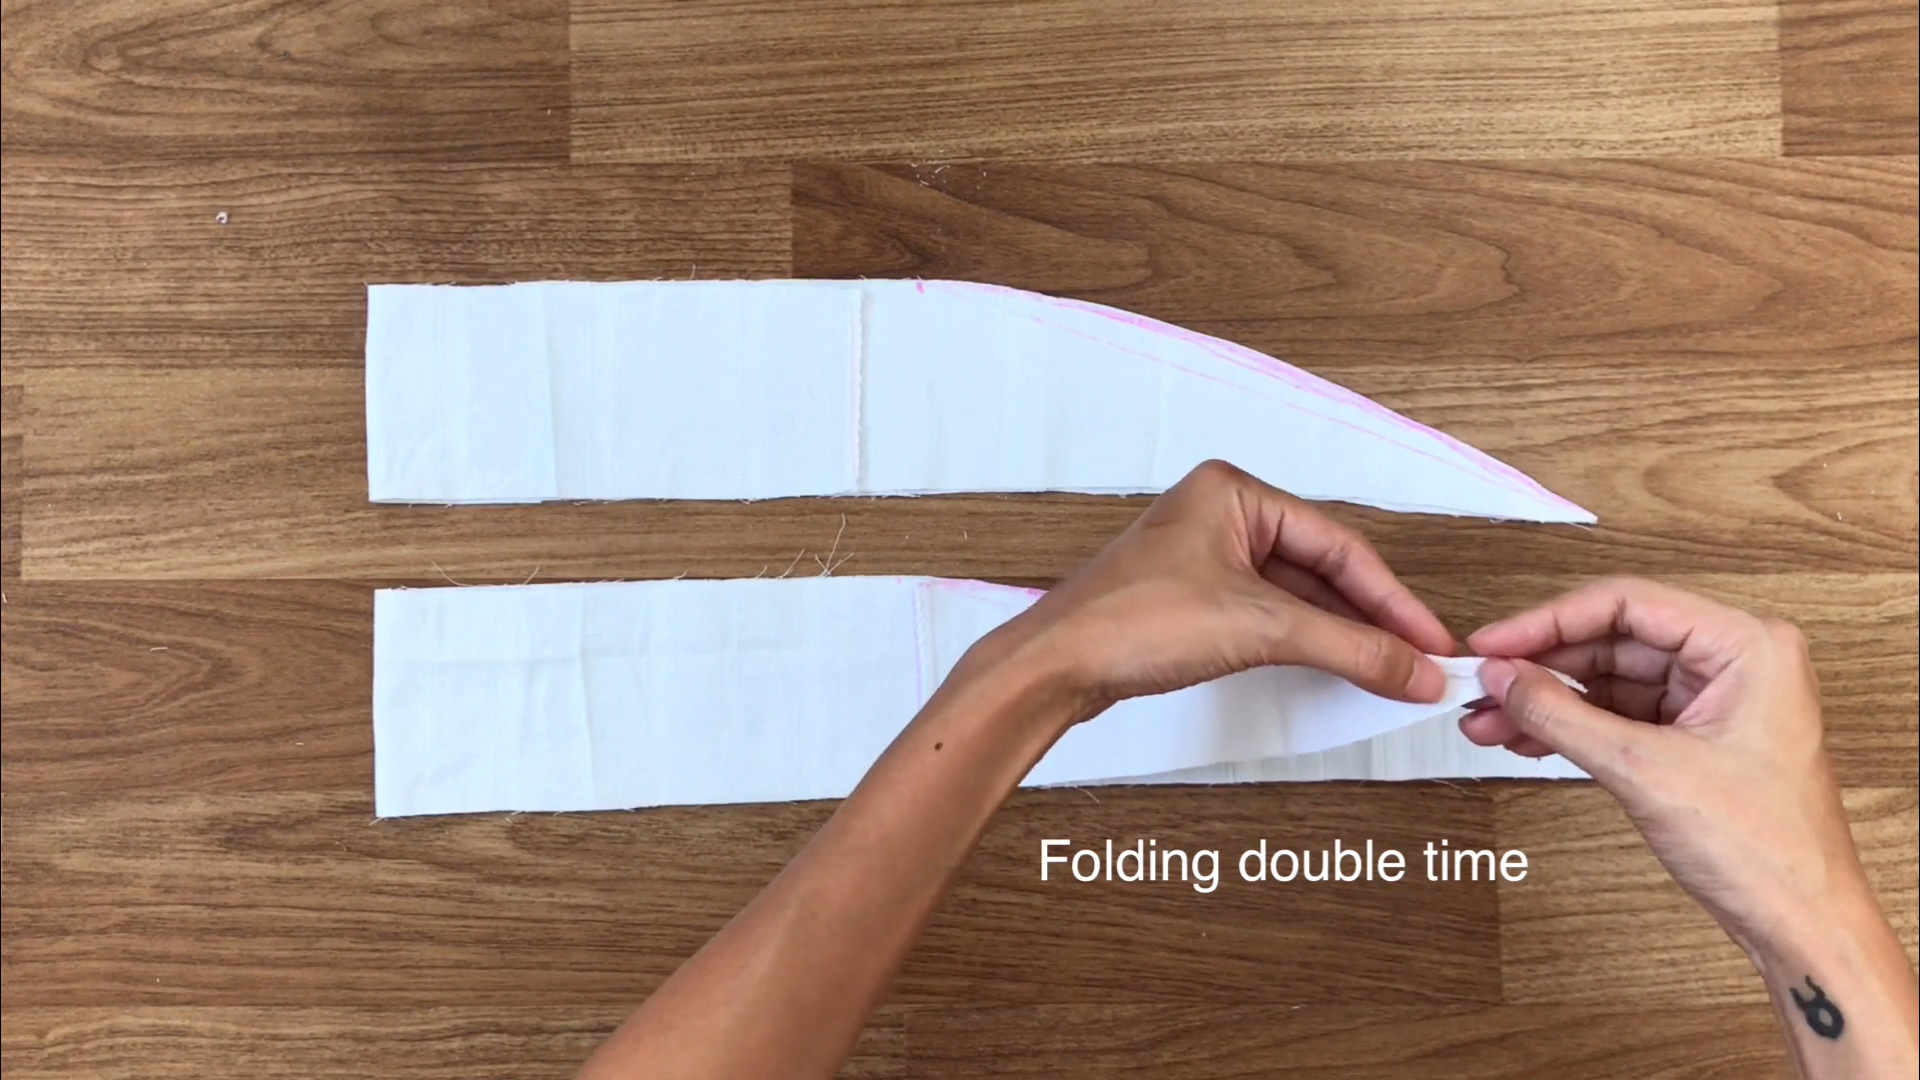
After cutting along this line, fold the curved part twice to hide the cutting and finish one side of the rectangle.
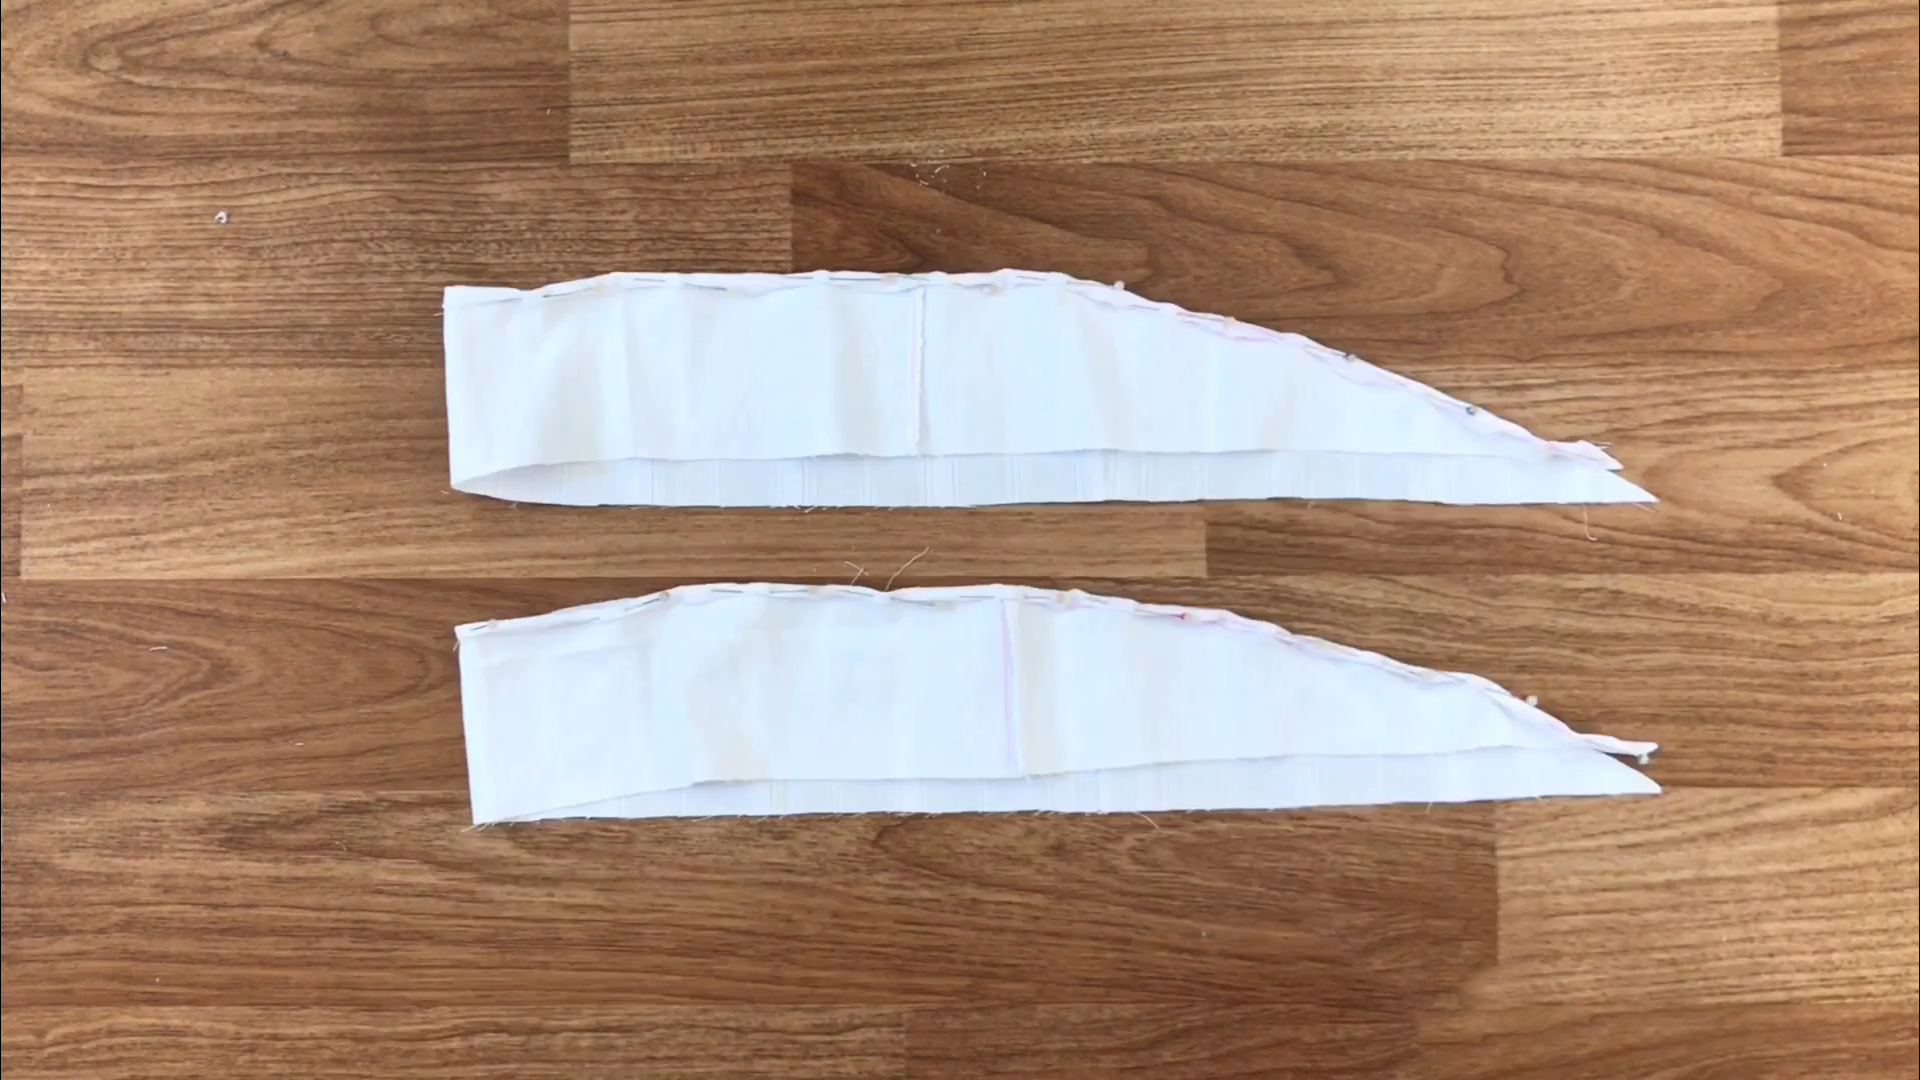
Use pins to hold your folding in place and sew along it.
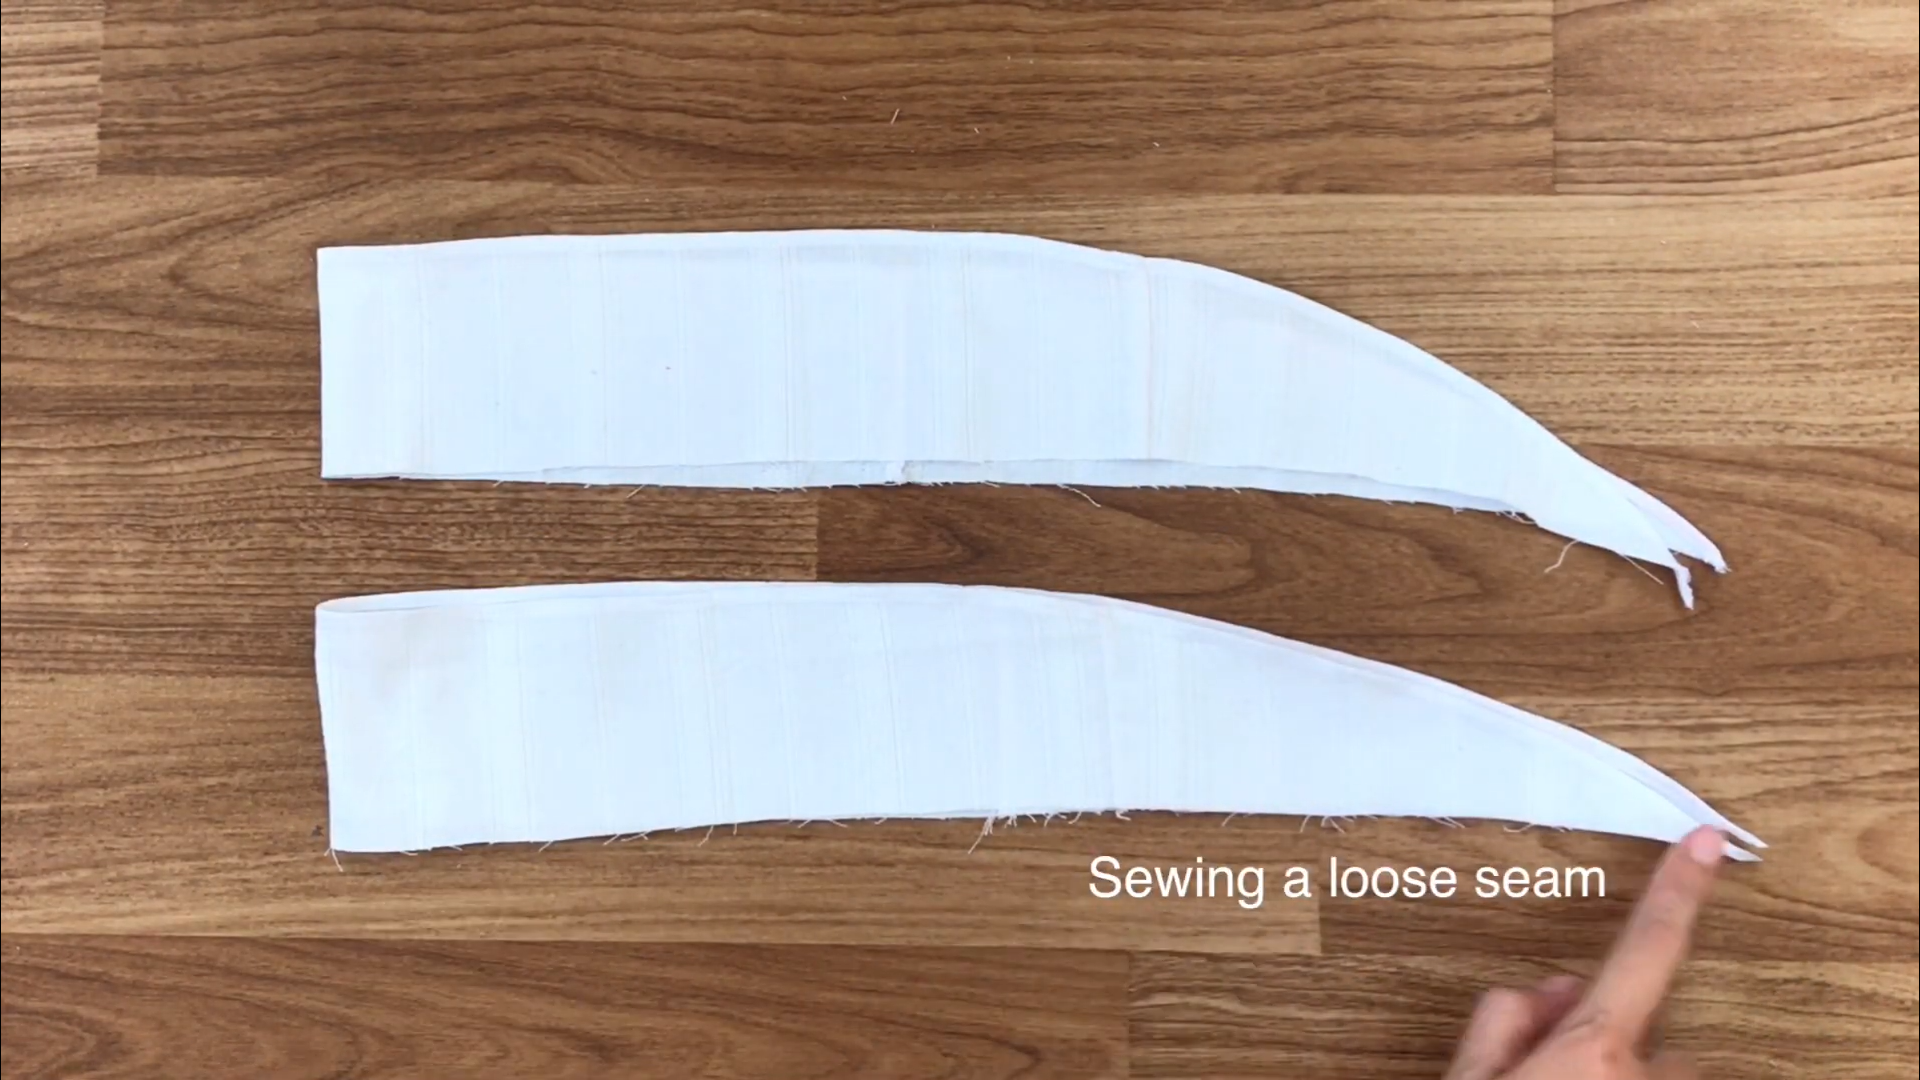
Now, make a loose seam at the other edge of the rectangle to create the frill.
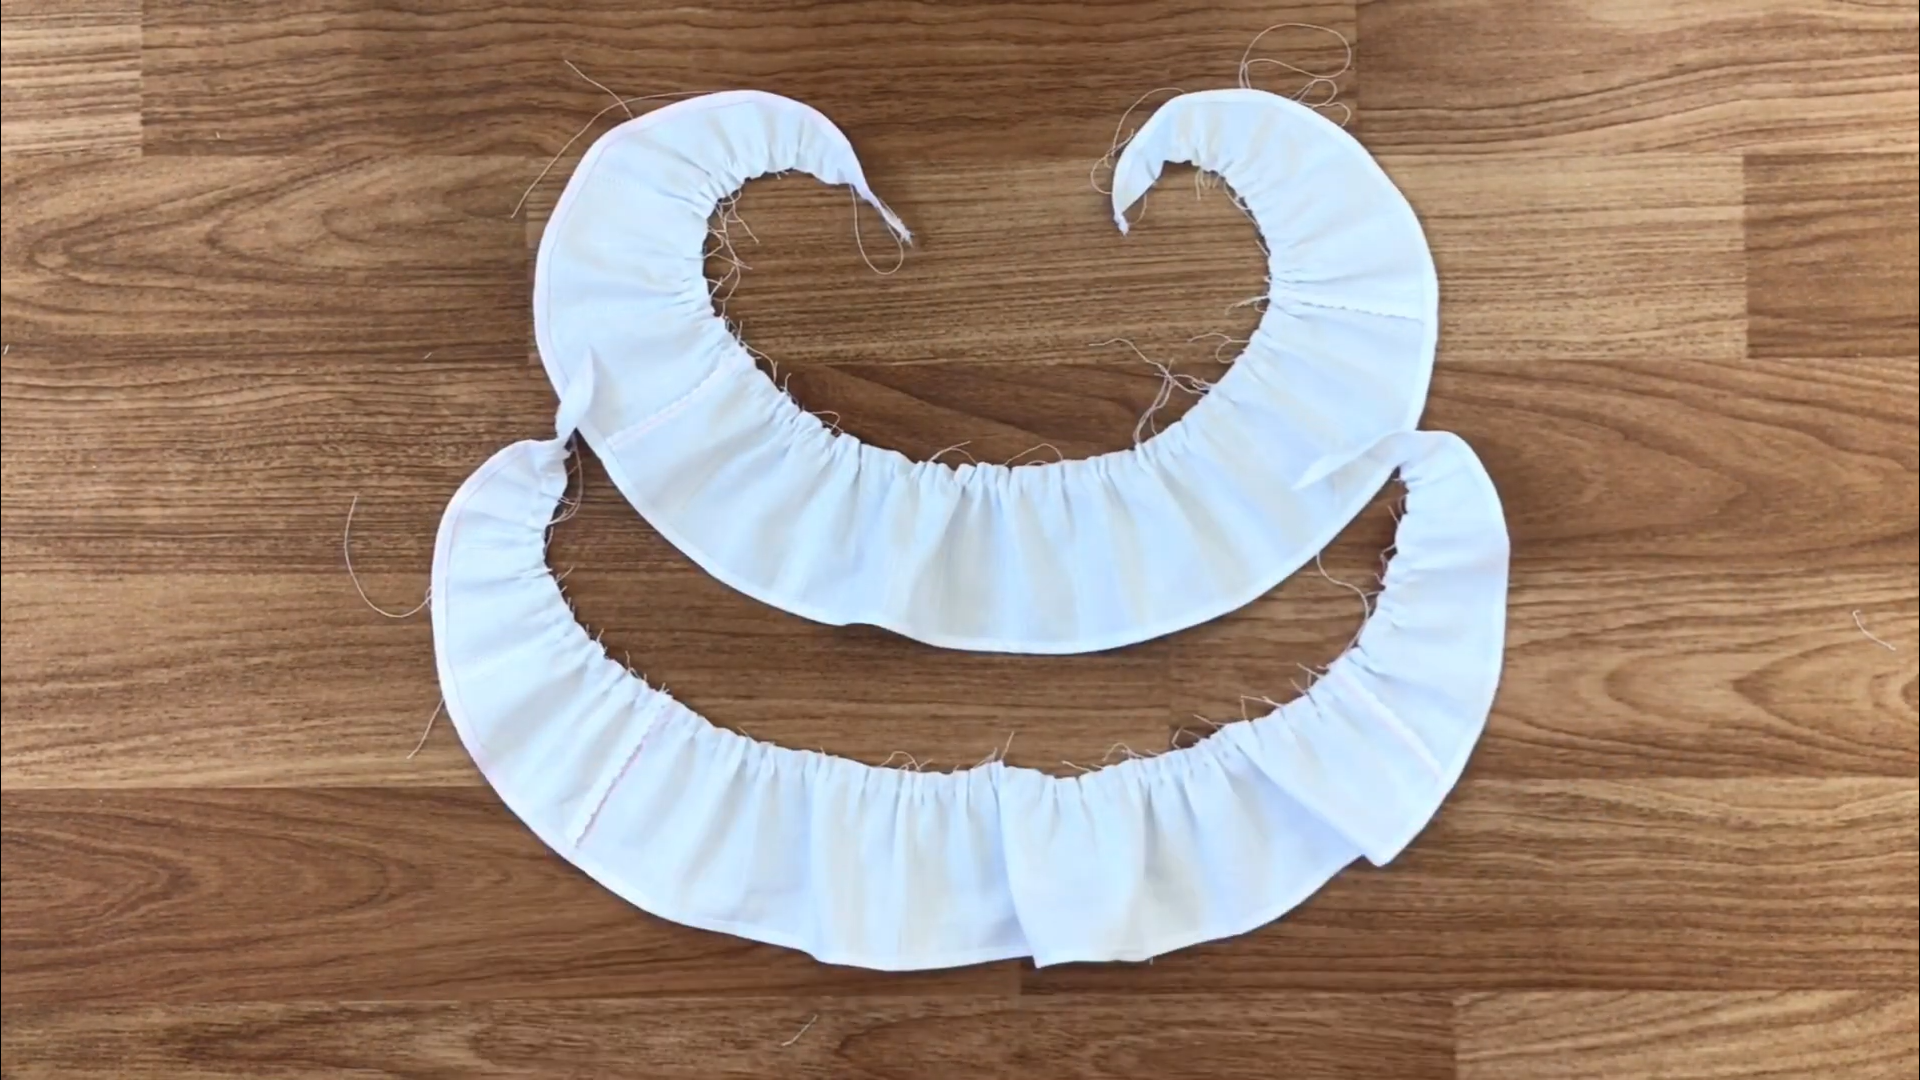
Keep one thread and pull the other one to gather the fabric.
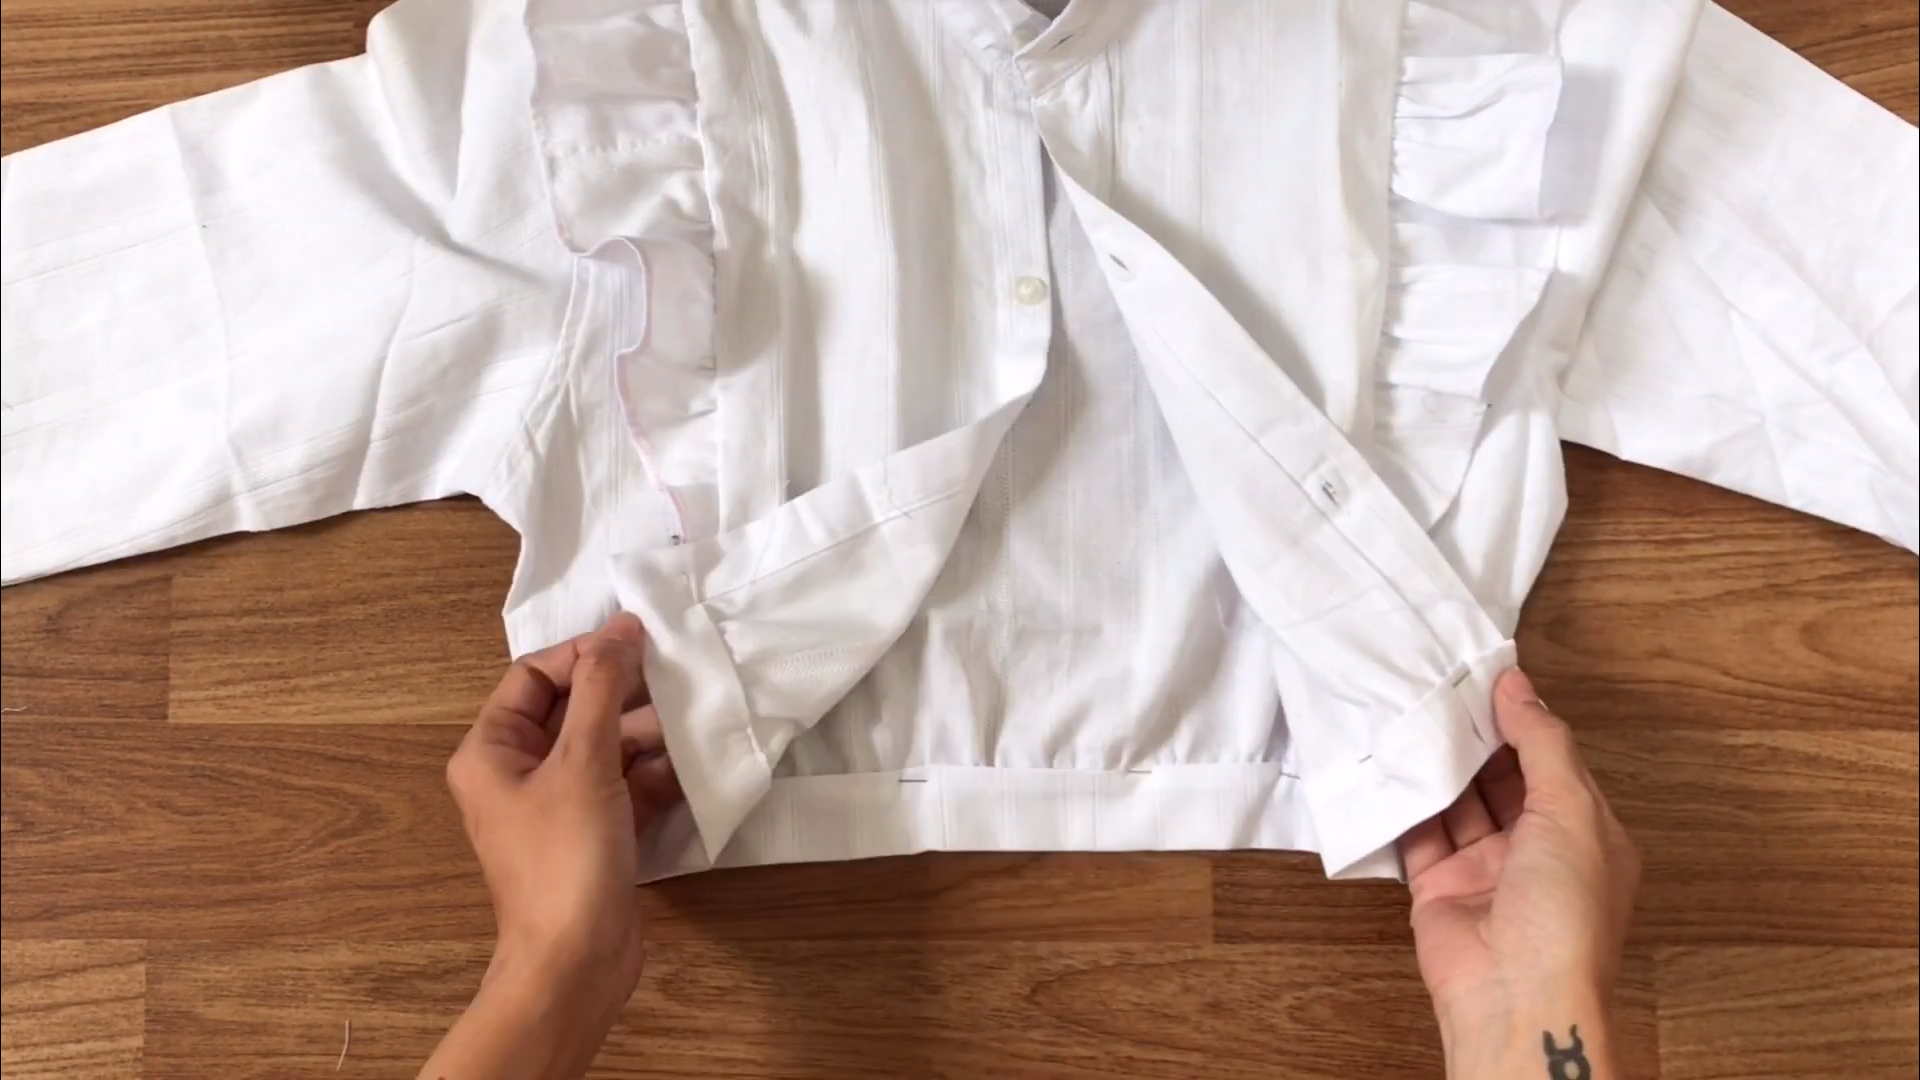
THE TOP
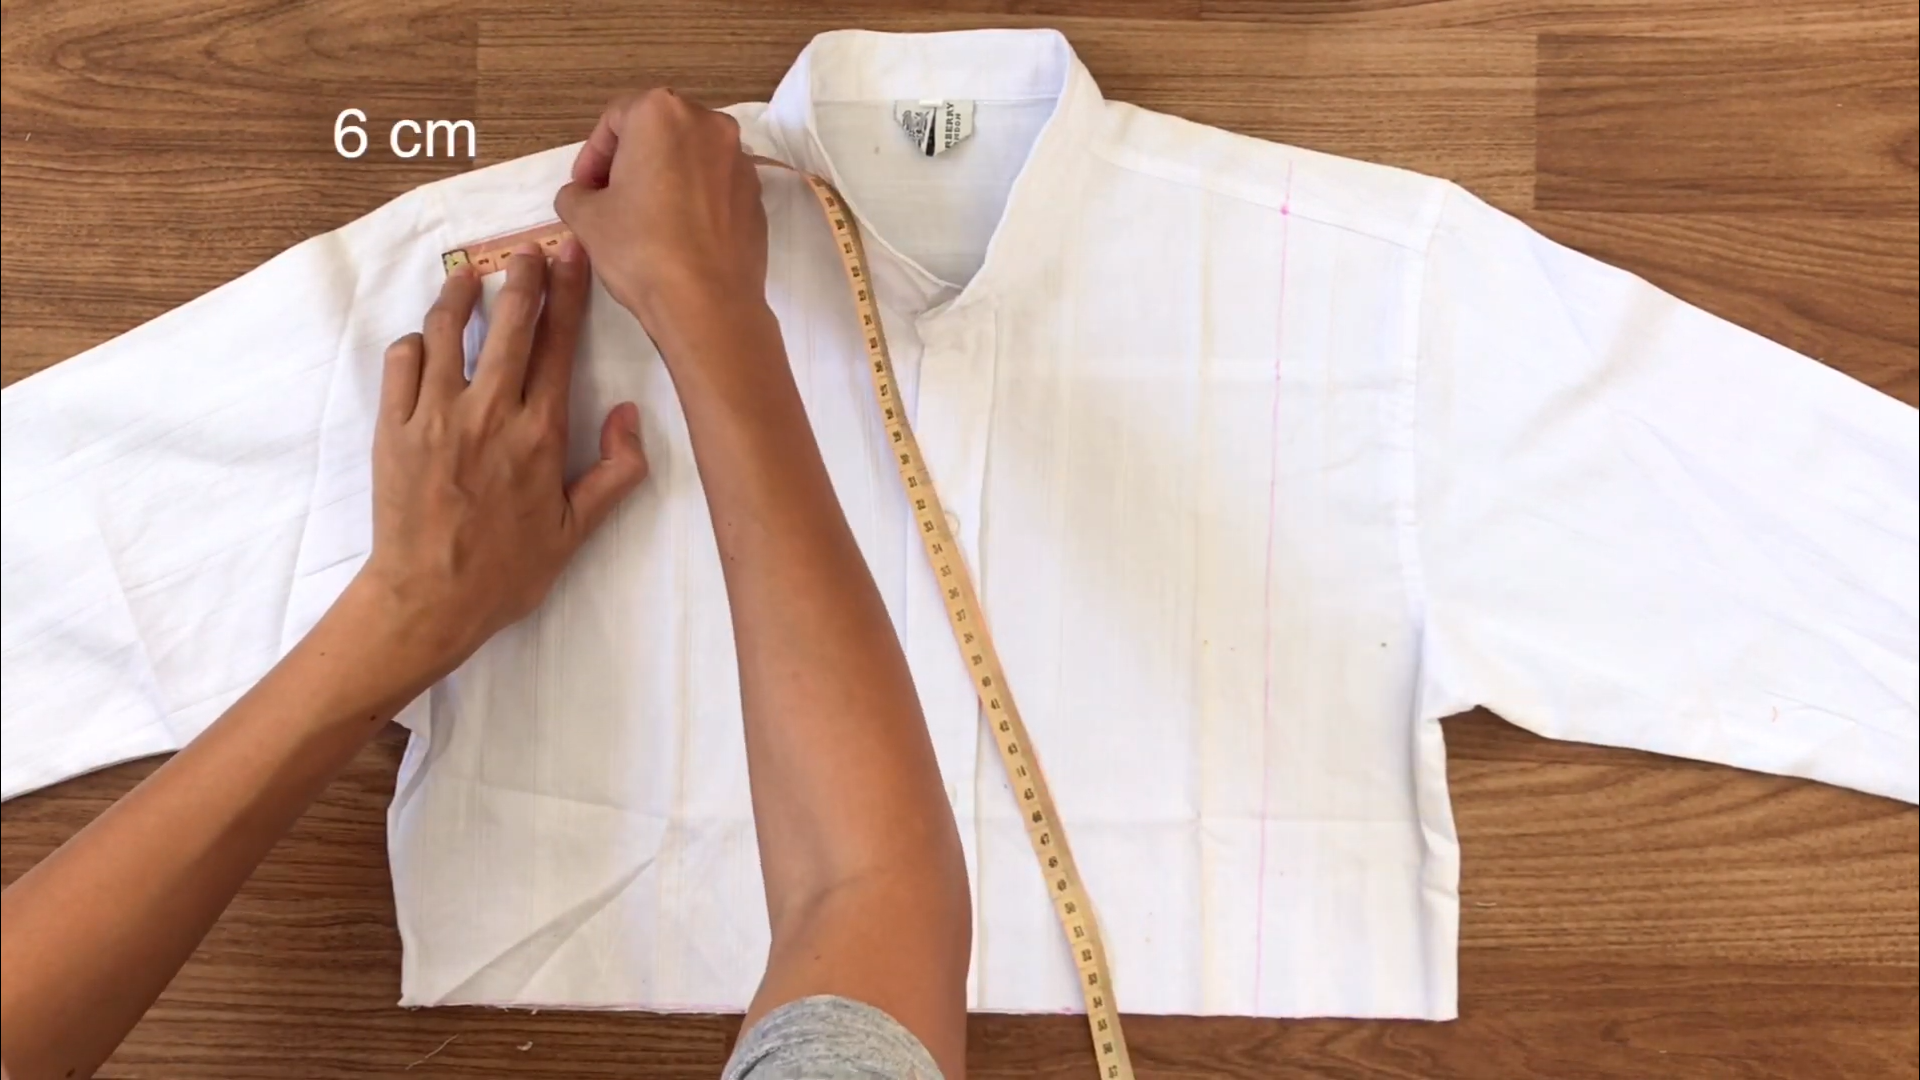
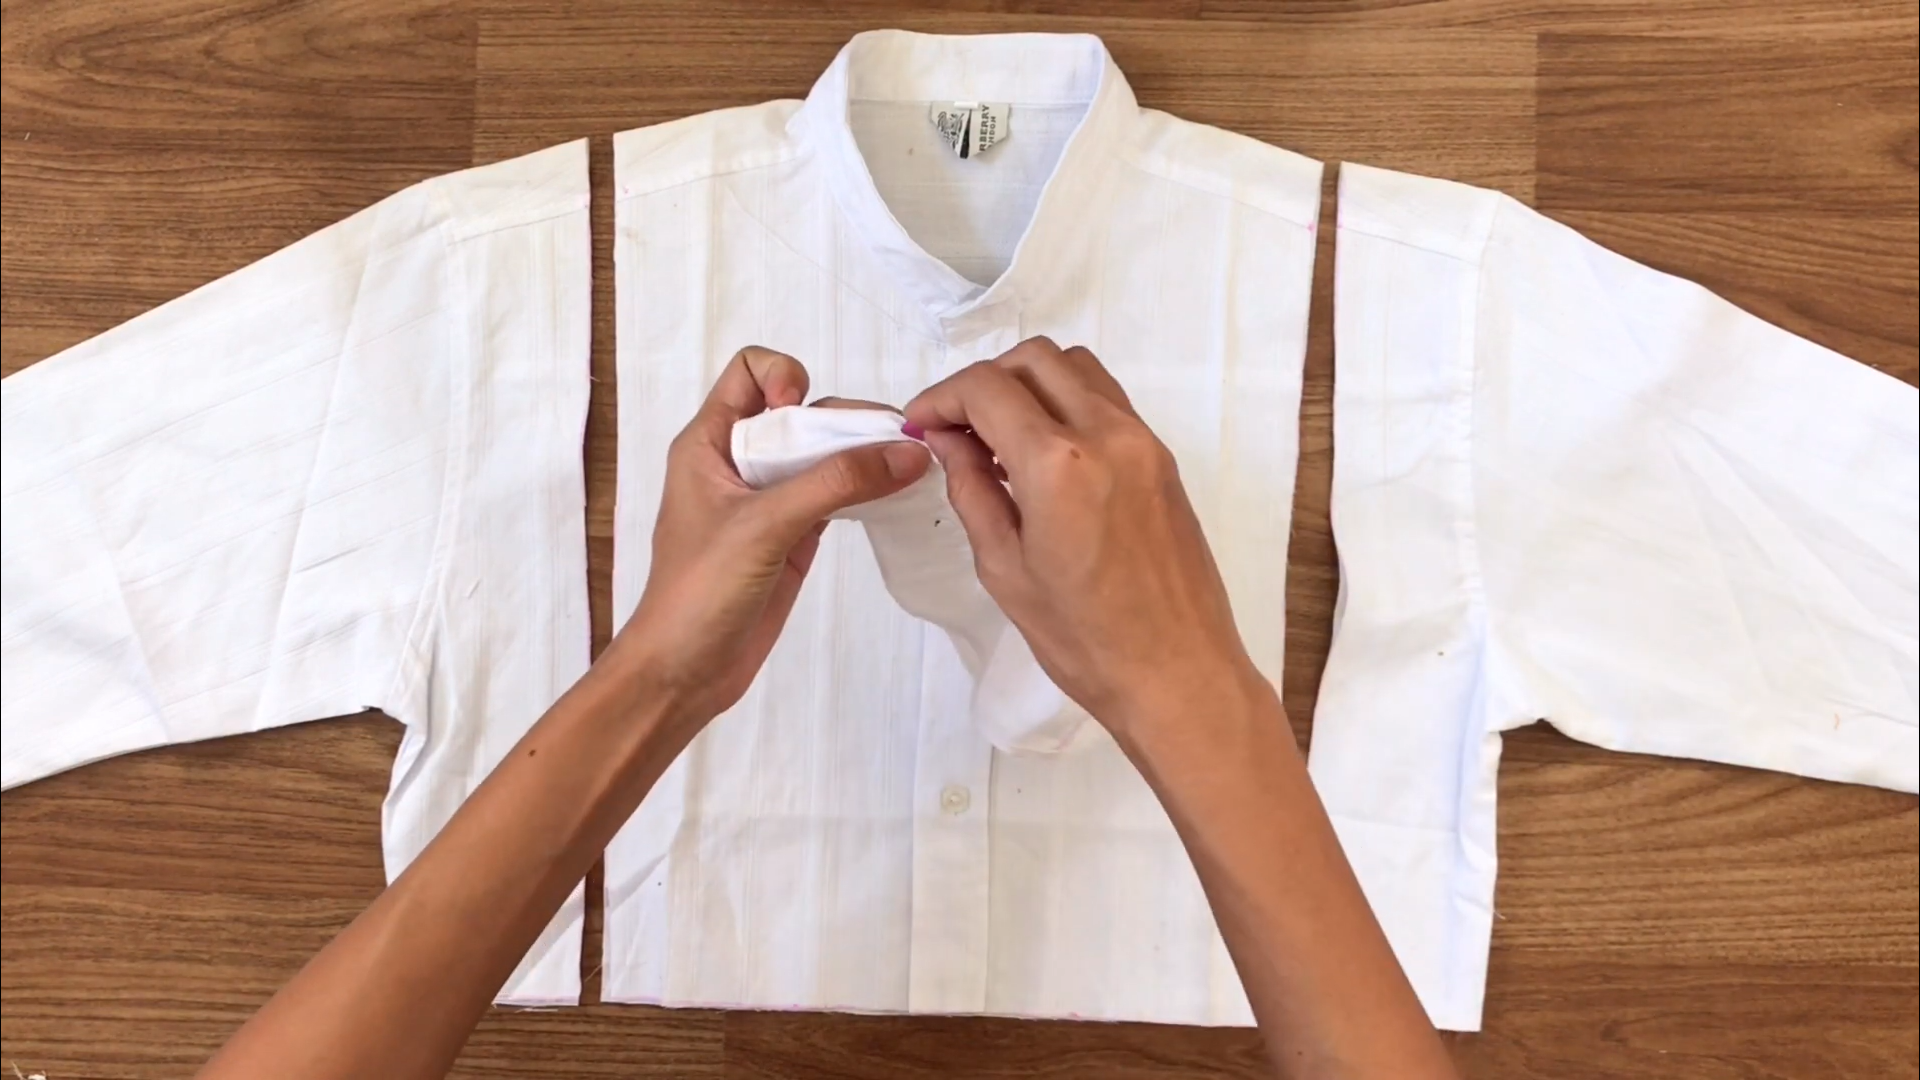
At the main body of the top, from the connected part between the hand and the shoulder, measure 6 cm towards the inside and mark there.
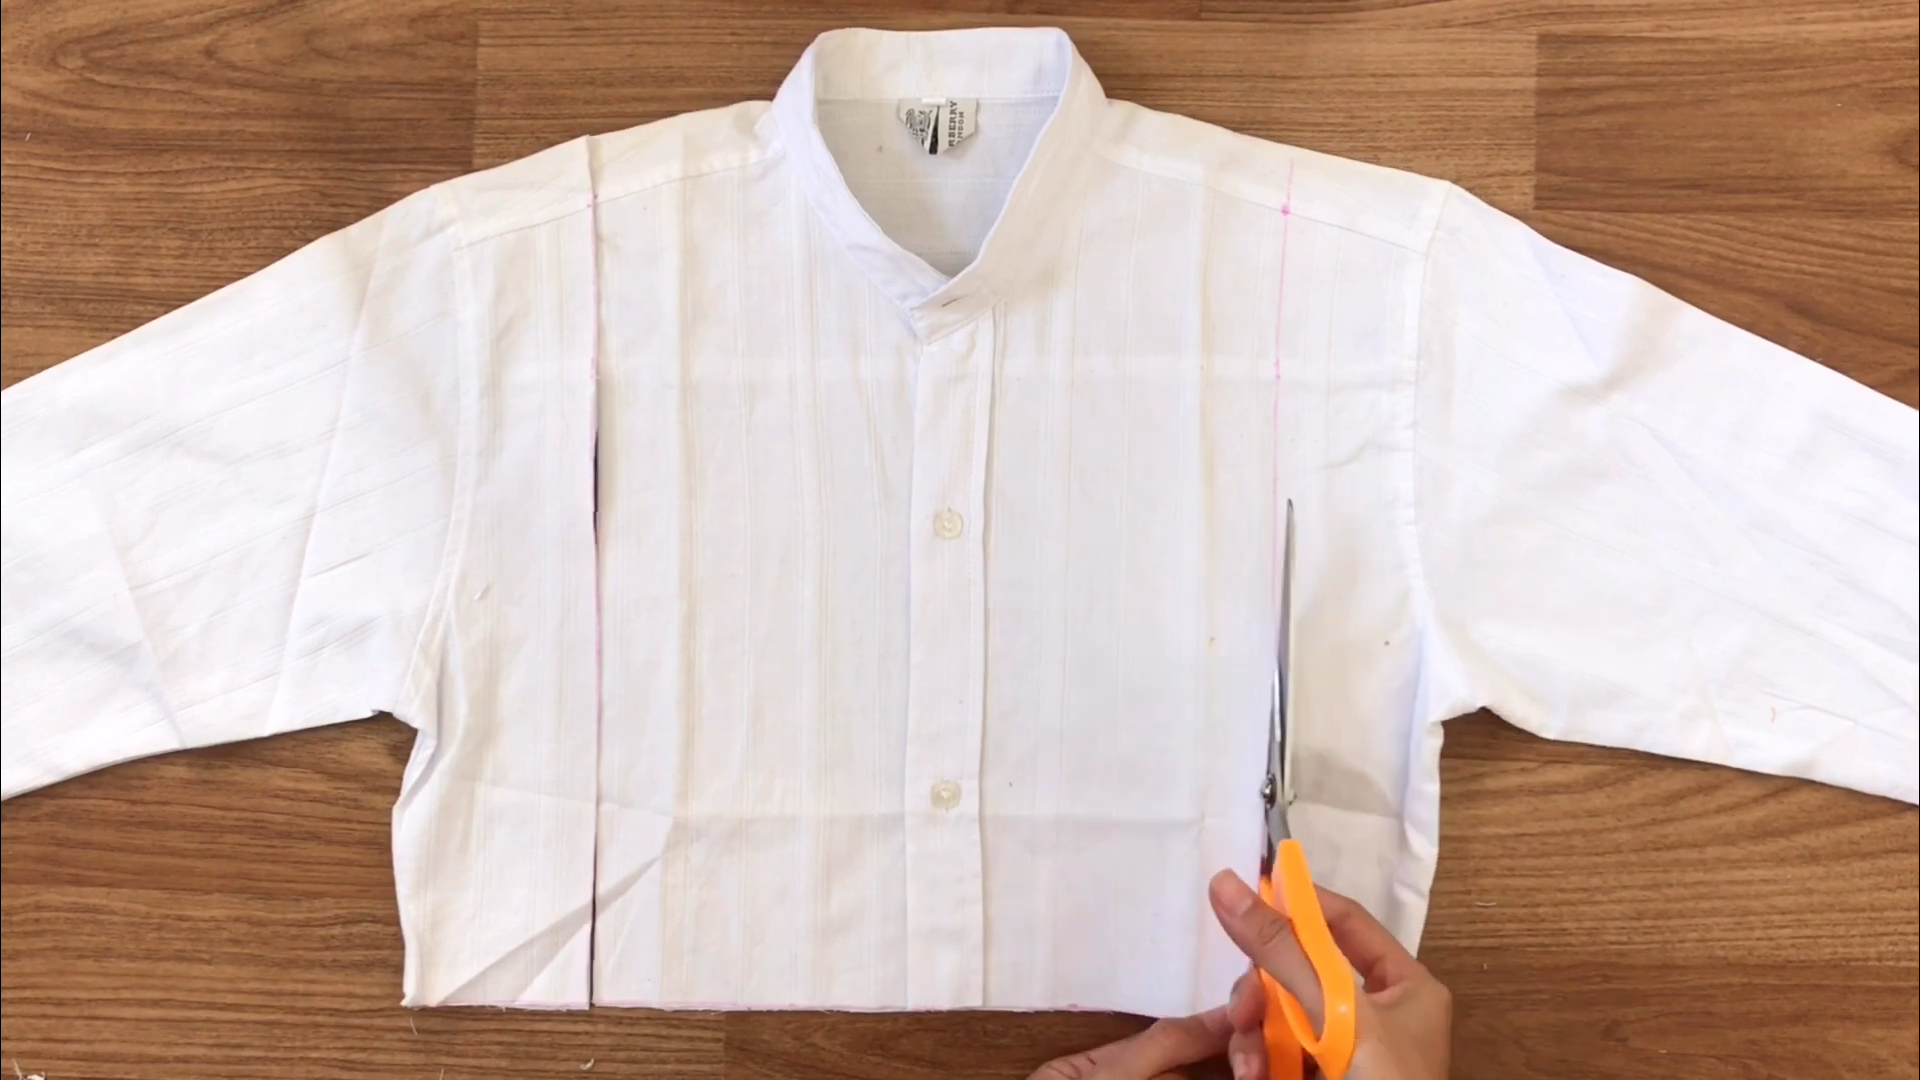
From that mark, draw a straight line down to the end. Do the same for the other side. Then, cut along these lines.
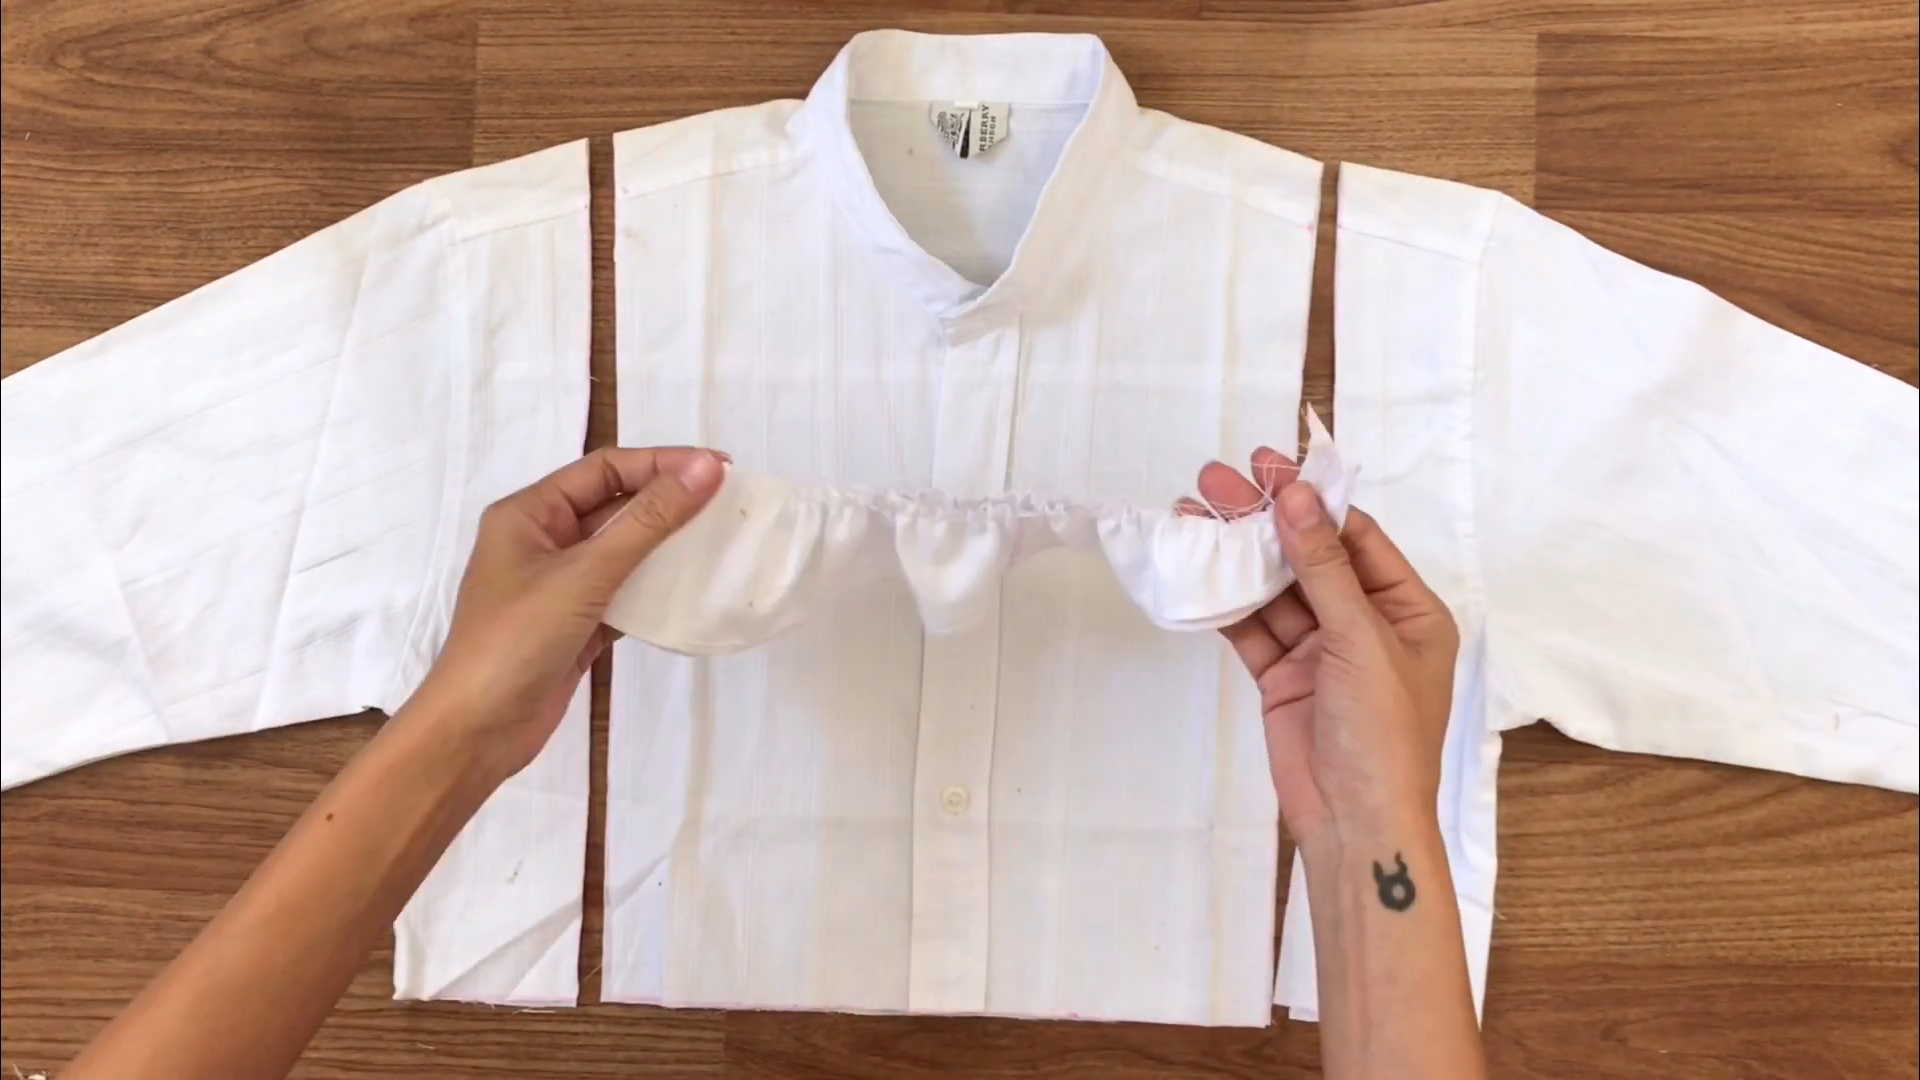
The next step is to connect the frill to the middle of the cutting line.
Mark the middle of the frill first.
Then, connect it to the connecting part of the hand and the shoulder where you marked before.
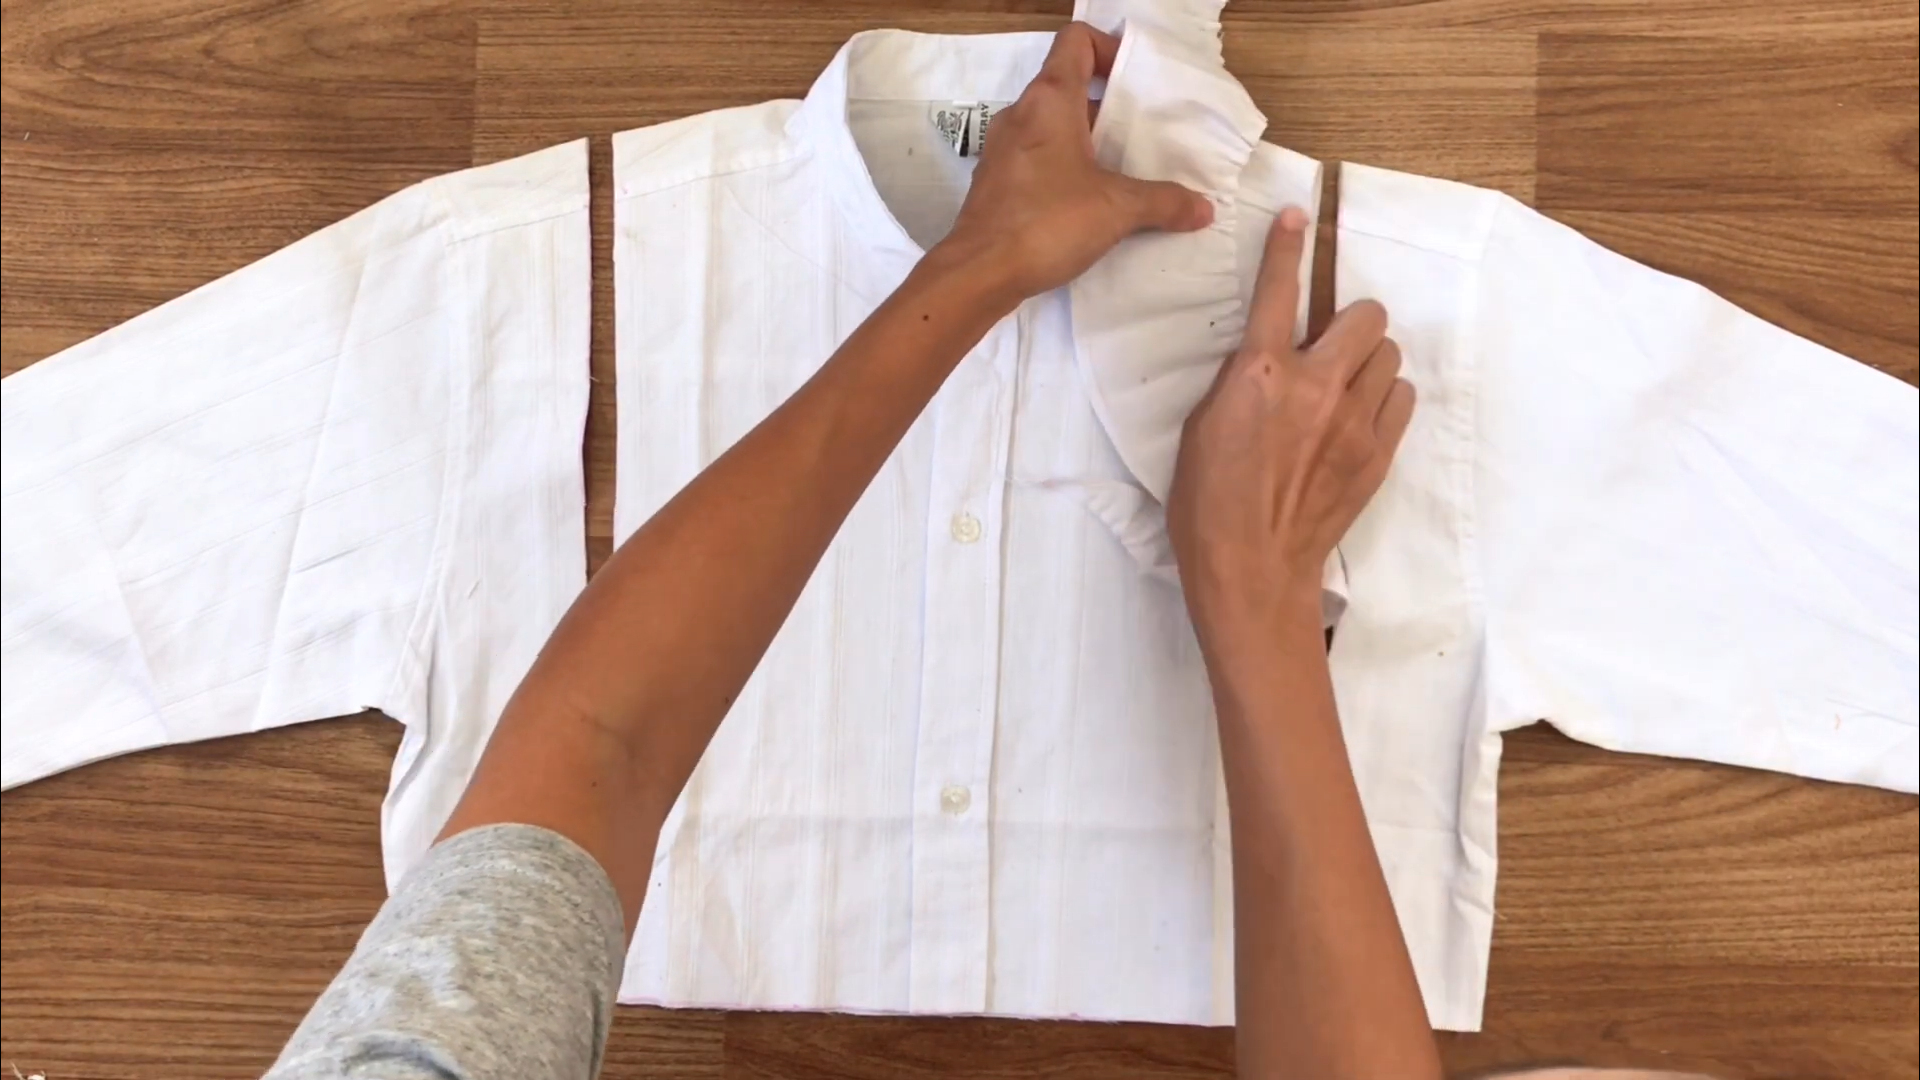
Connect the rest later and sew along these lines.
After sewing, don’t forget to overlock to make it neater.

At the end of the top, make a loose seam to create a frill.
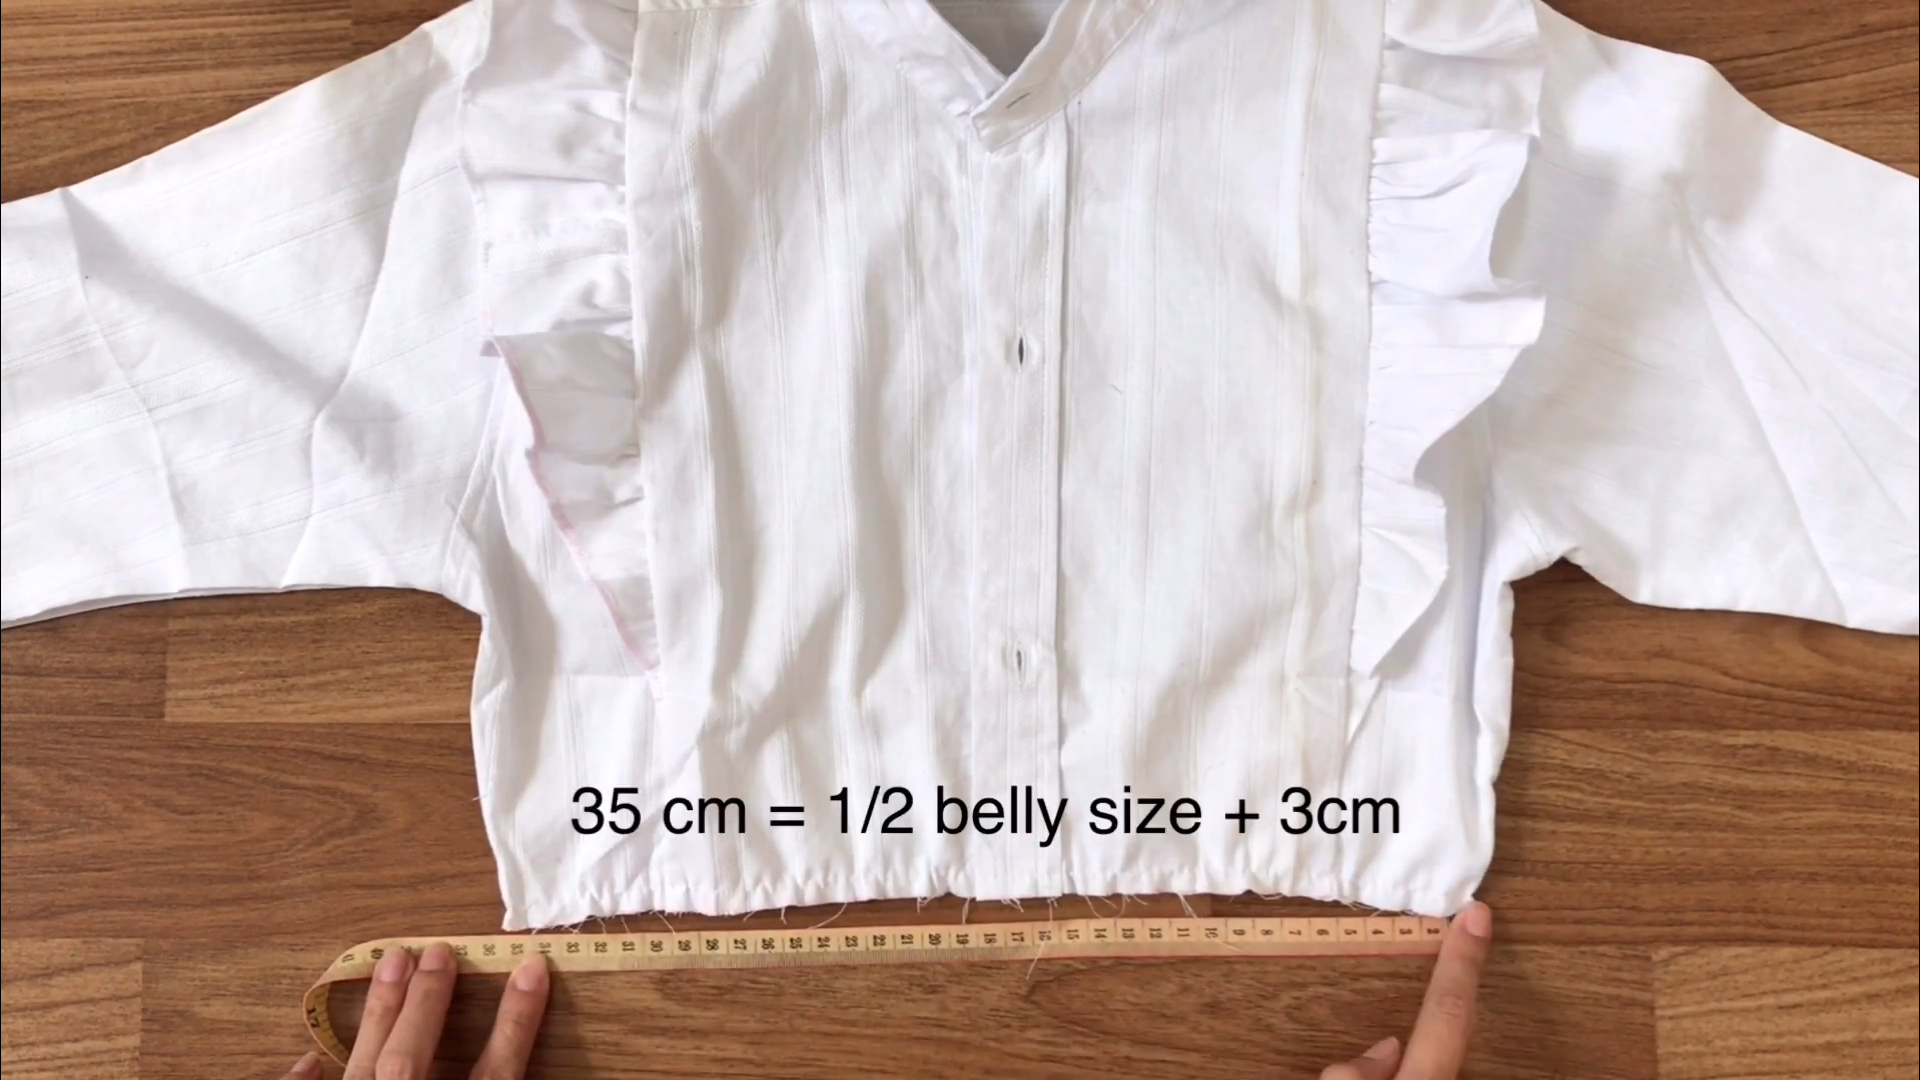
Make sure to check that the length of the end is half of your belly plus 3 cm.
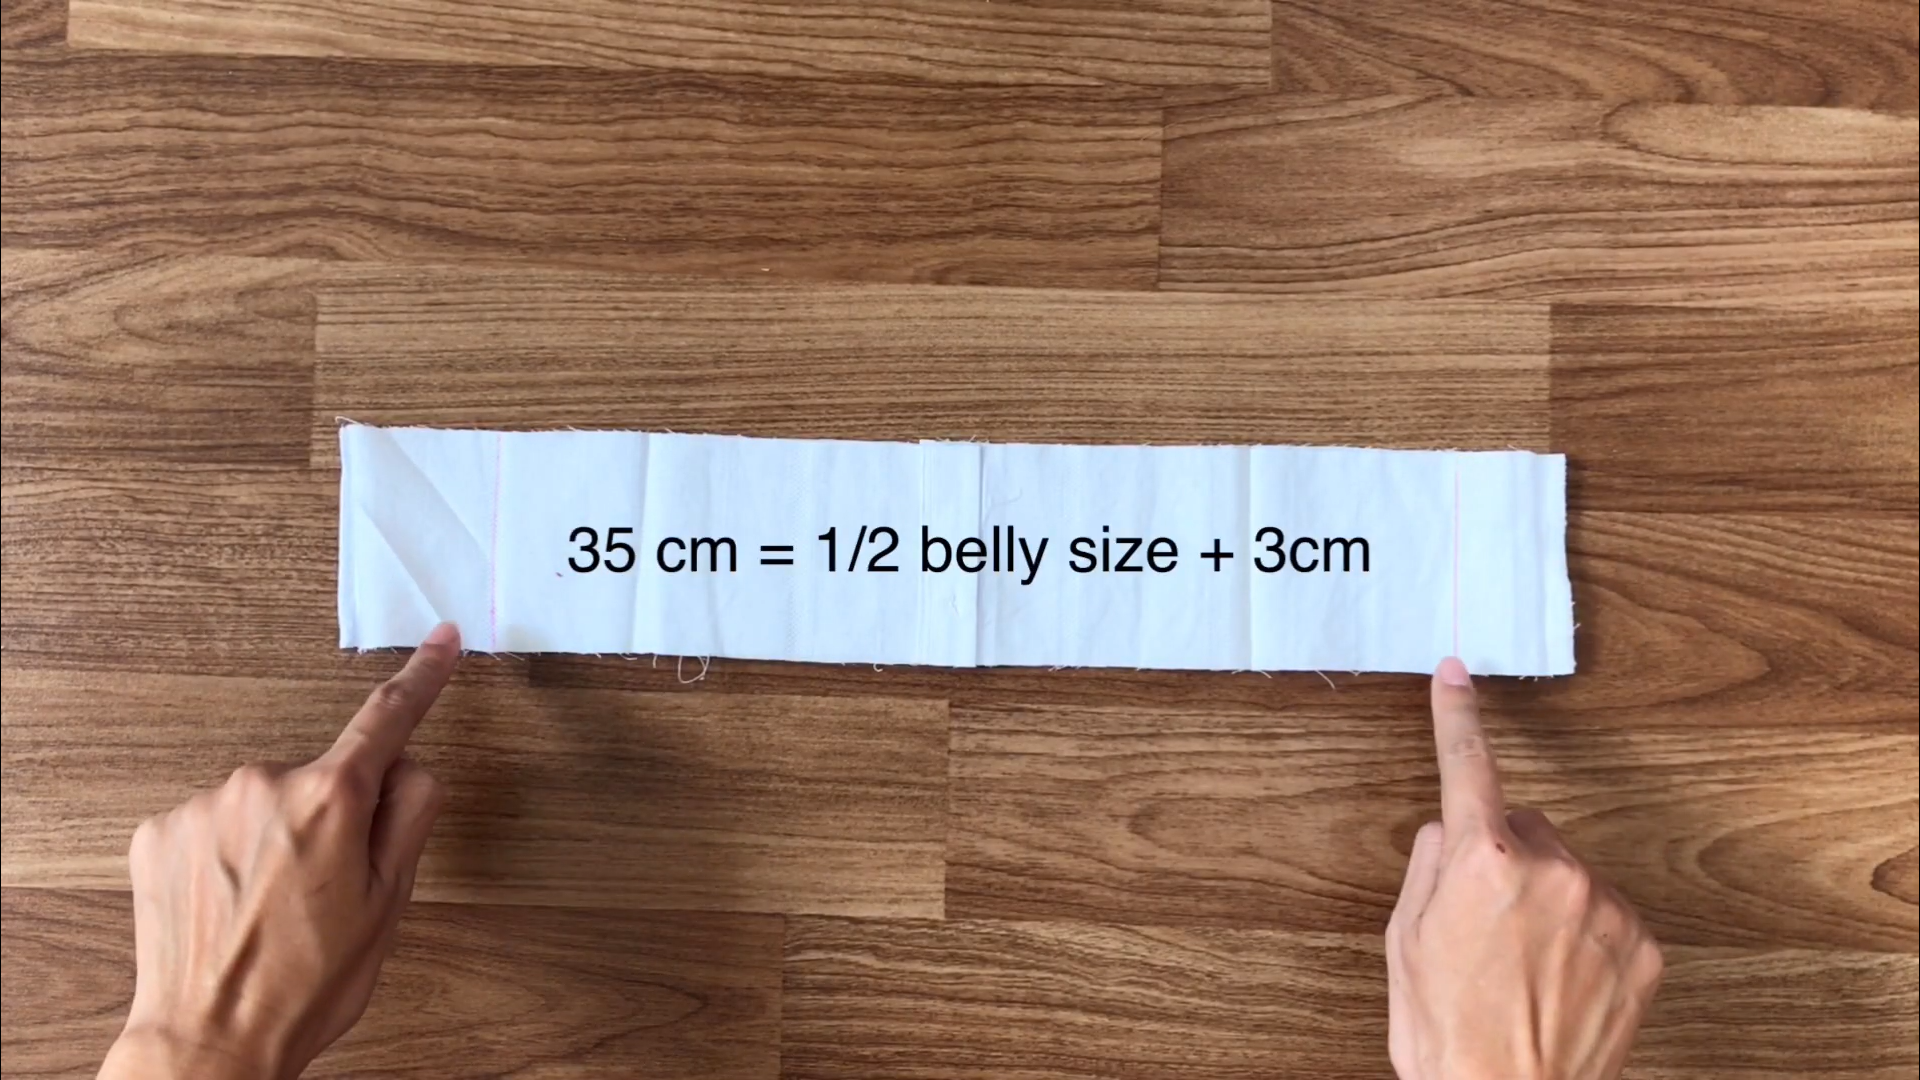
Then, apply that length to the rectangle you cut in the beginning.
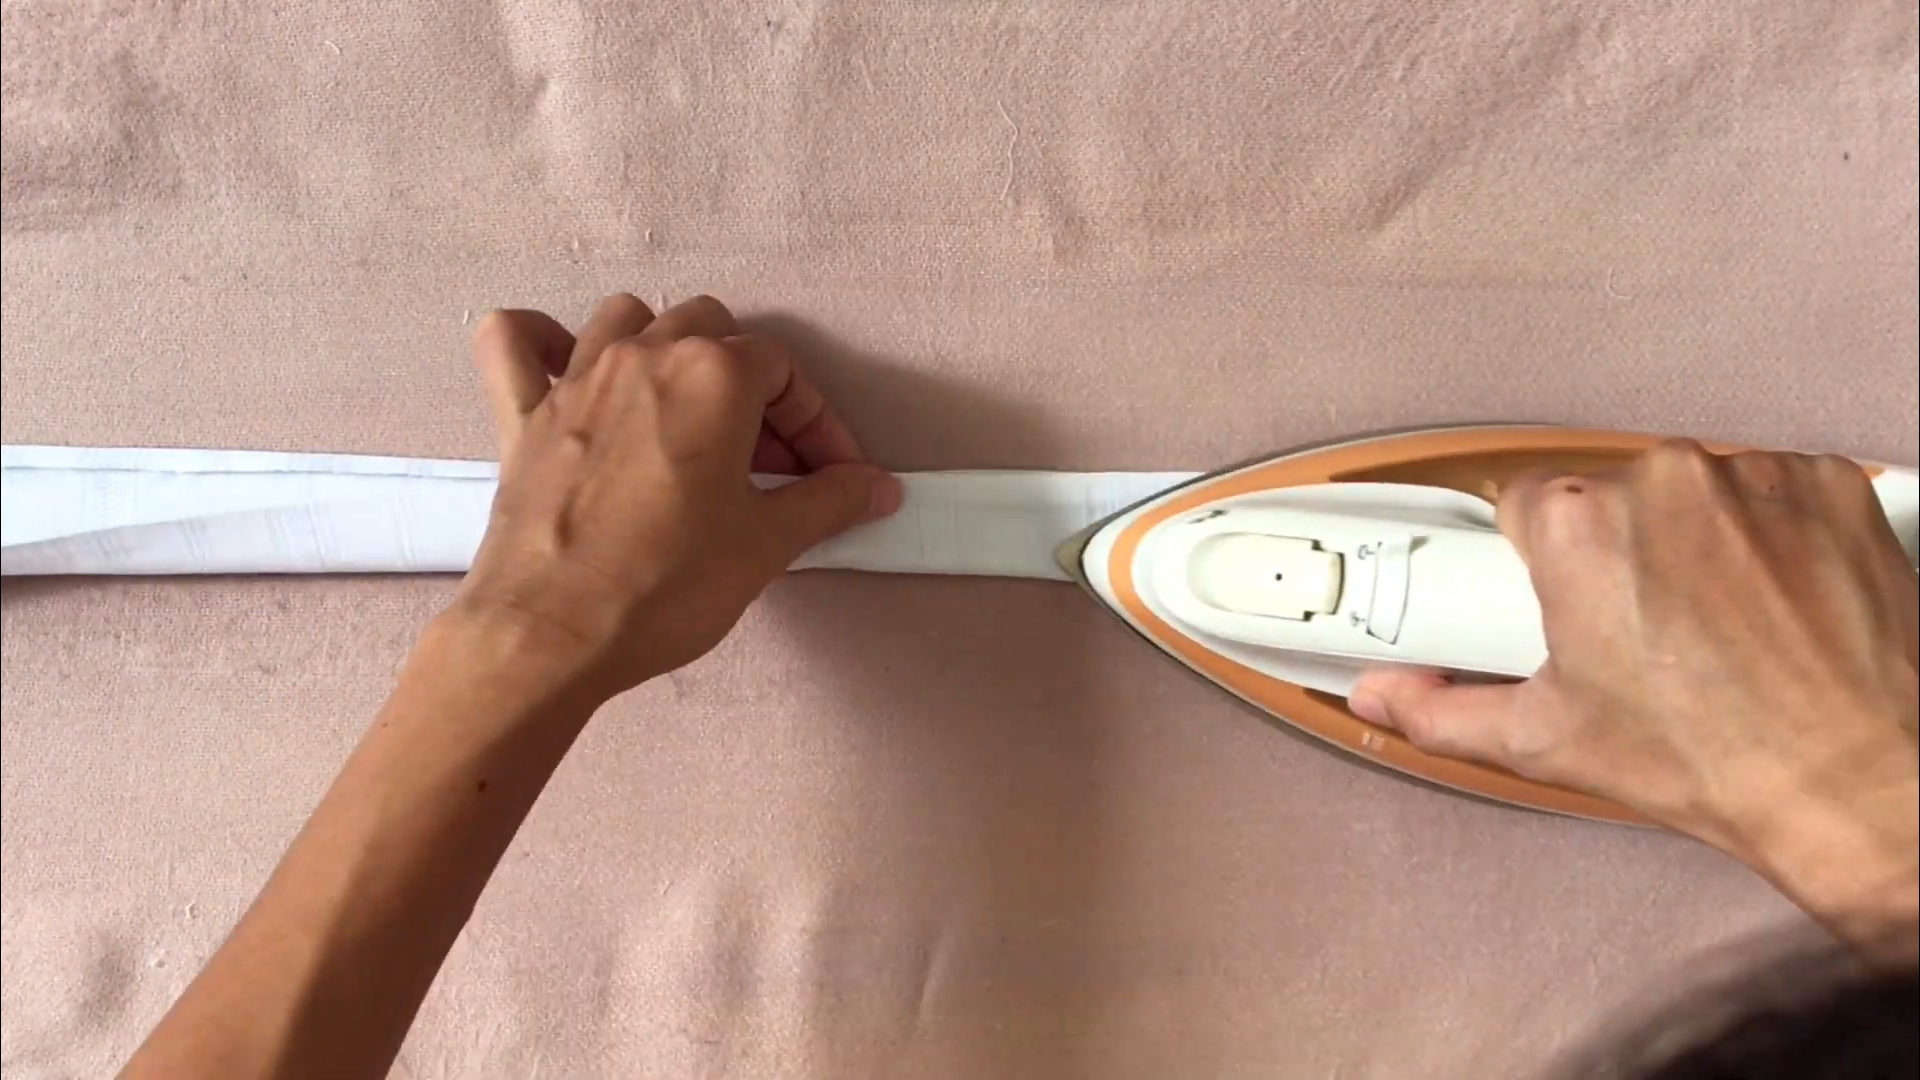
After that, use an iron to make the folding and create the waistband for the top.
The last step is to connect the waistband to the end of the top.
Connect two ends of them together first. Then, connect the rest later and sew along these lines.

DIY Frill top /Frill blouse /Crop top from old shirt
And with that, we’ve come to the end of our DIY journey for today.
We’ve taken simple materials and transformed them into a beautiful frill crop top that’s not just elegant, but also carries a hint of French style. It’s amazing how such a simple piece can elevate an outfit when paired with high-waisted jeans, don’t you think?


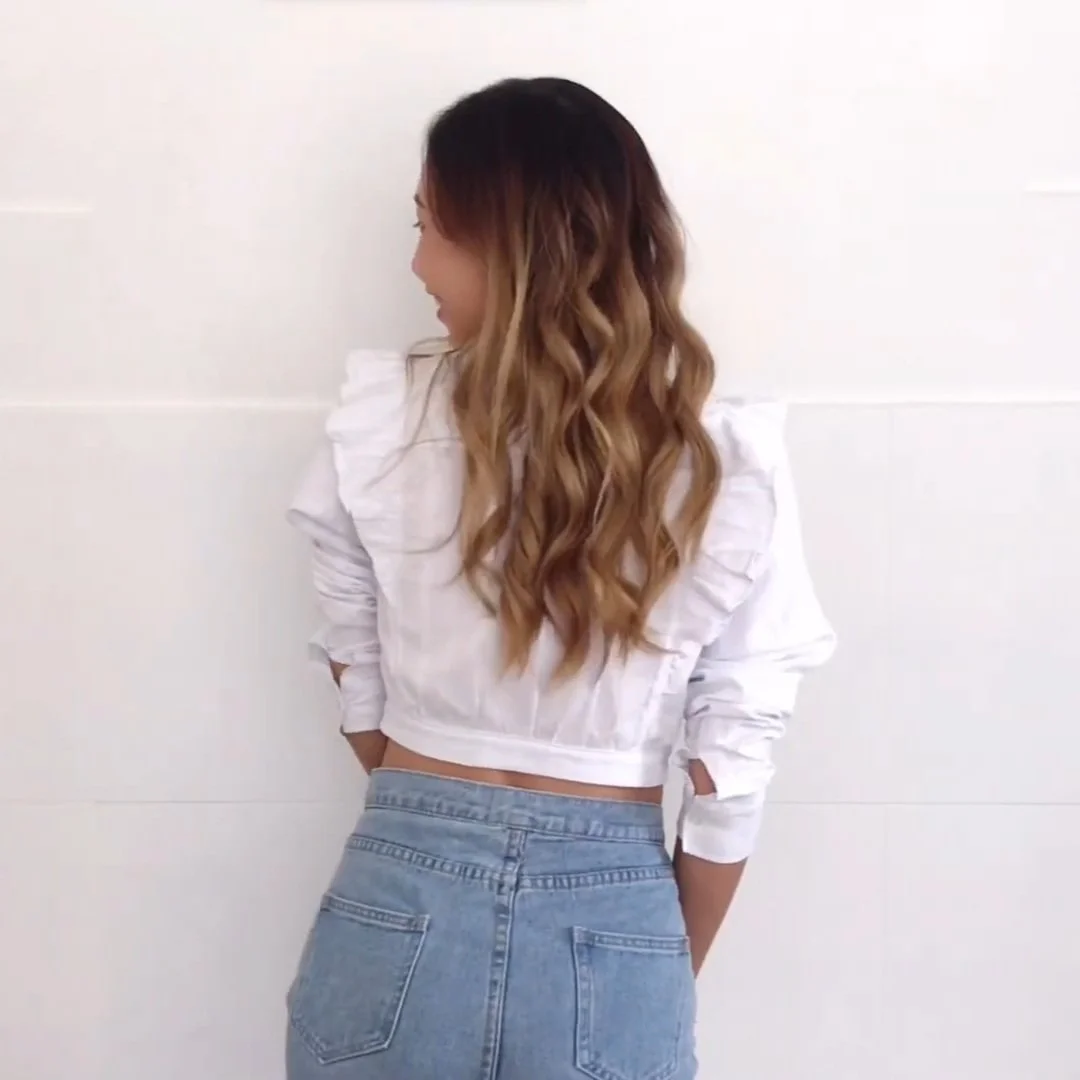
It’s amazing how such a simple piece can elevate an outfit when paired with high-waisted jeans, don’t you think?
I hope you enjoyed this DIY and are inspired to try it out.
If you liked this project, please share it and subscribe to my channel so you won’t miss any of my upcoming DIYs.
Until next week, happy sewing!