DIY wrap skirt - Refashion men's shirt into wrap skirt - DIY Ruffle skirt
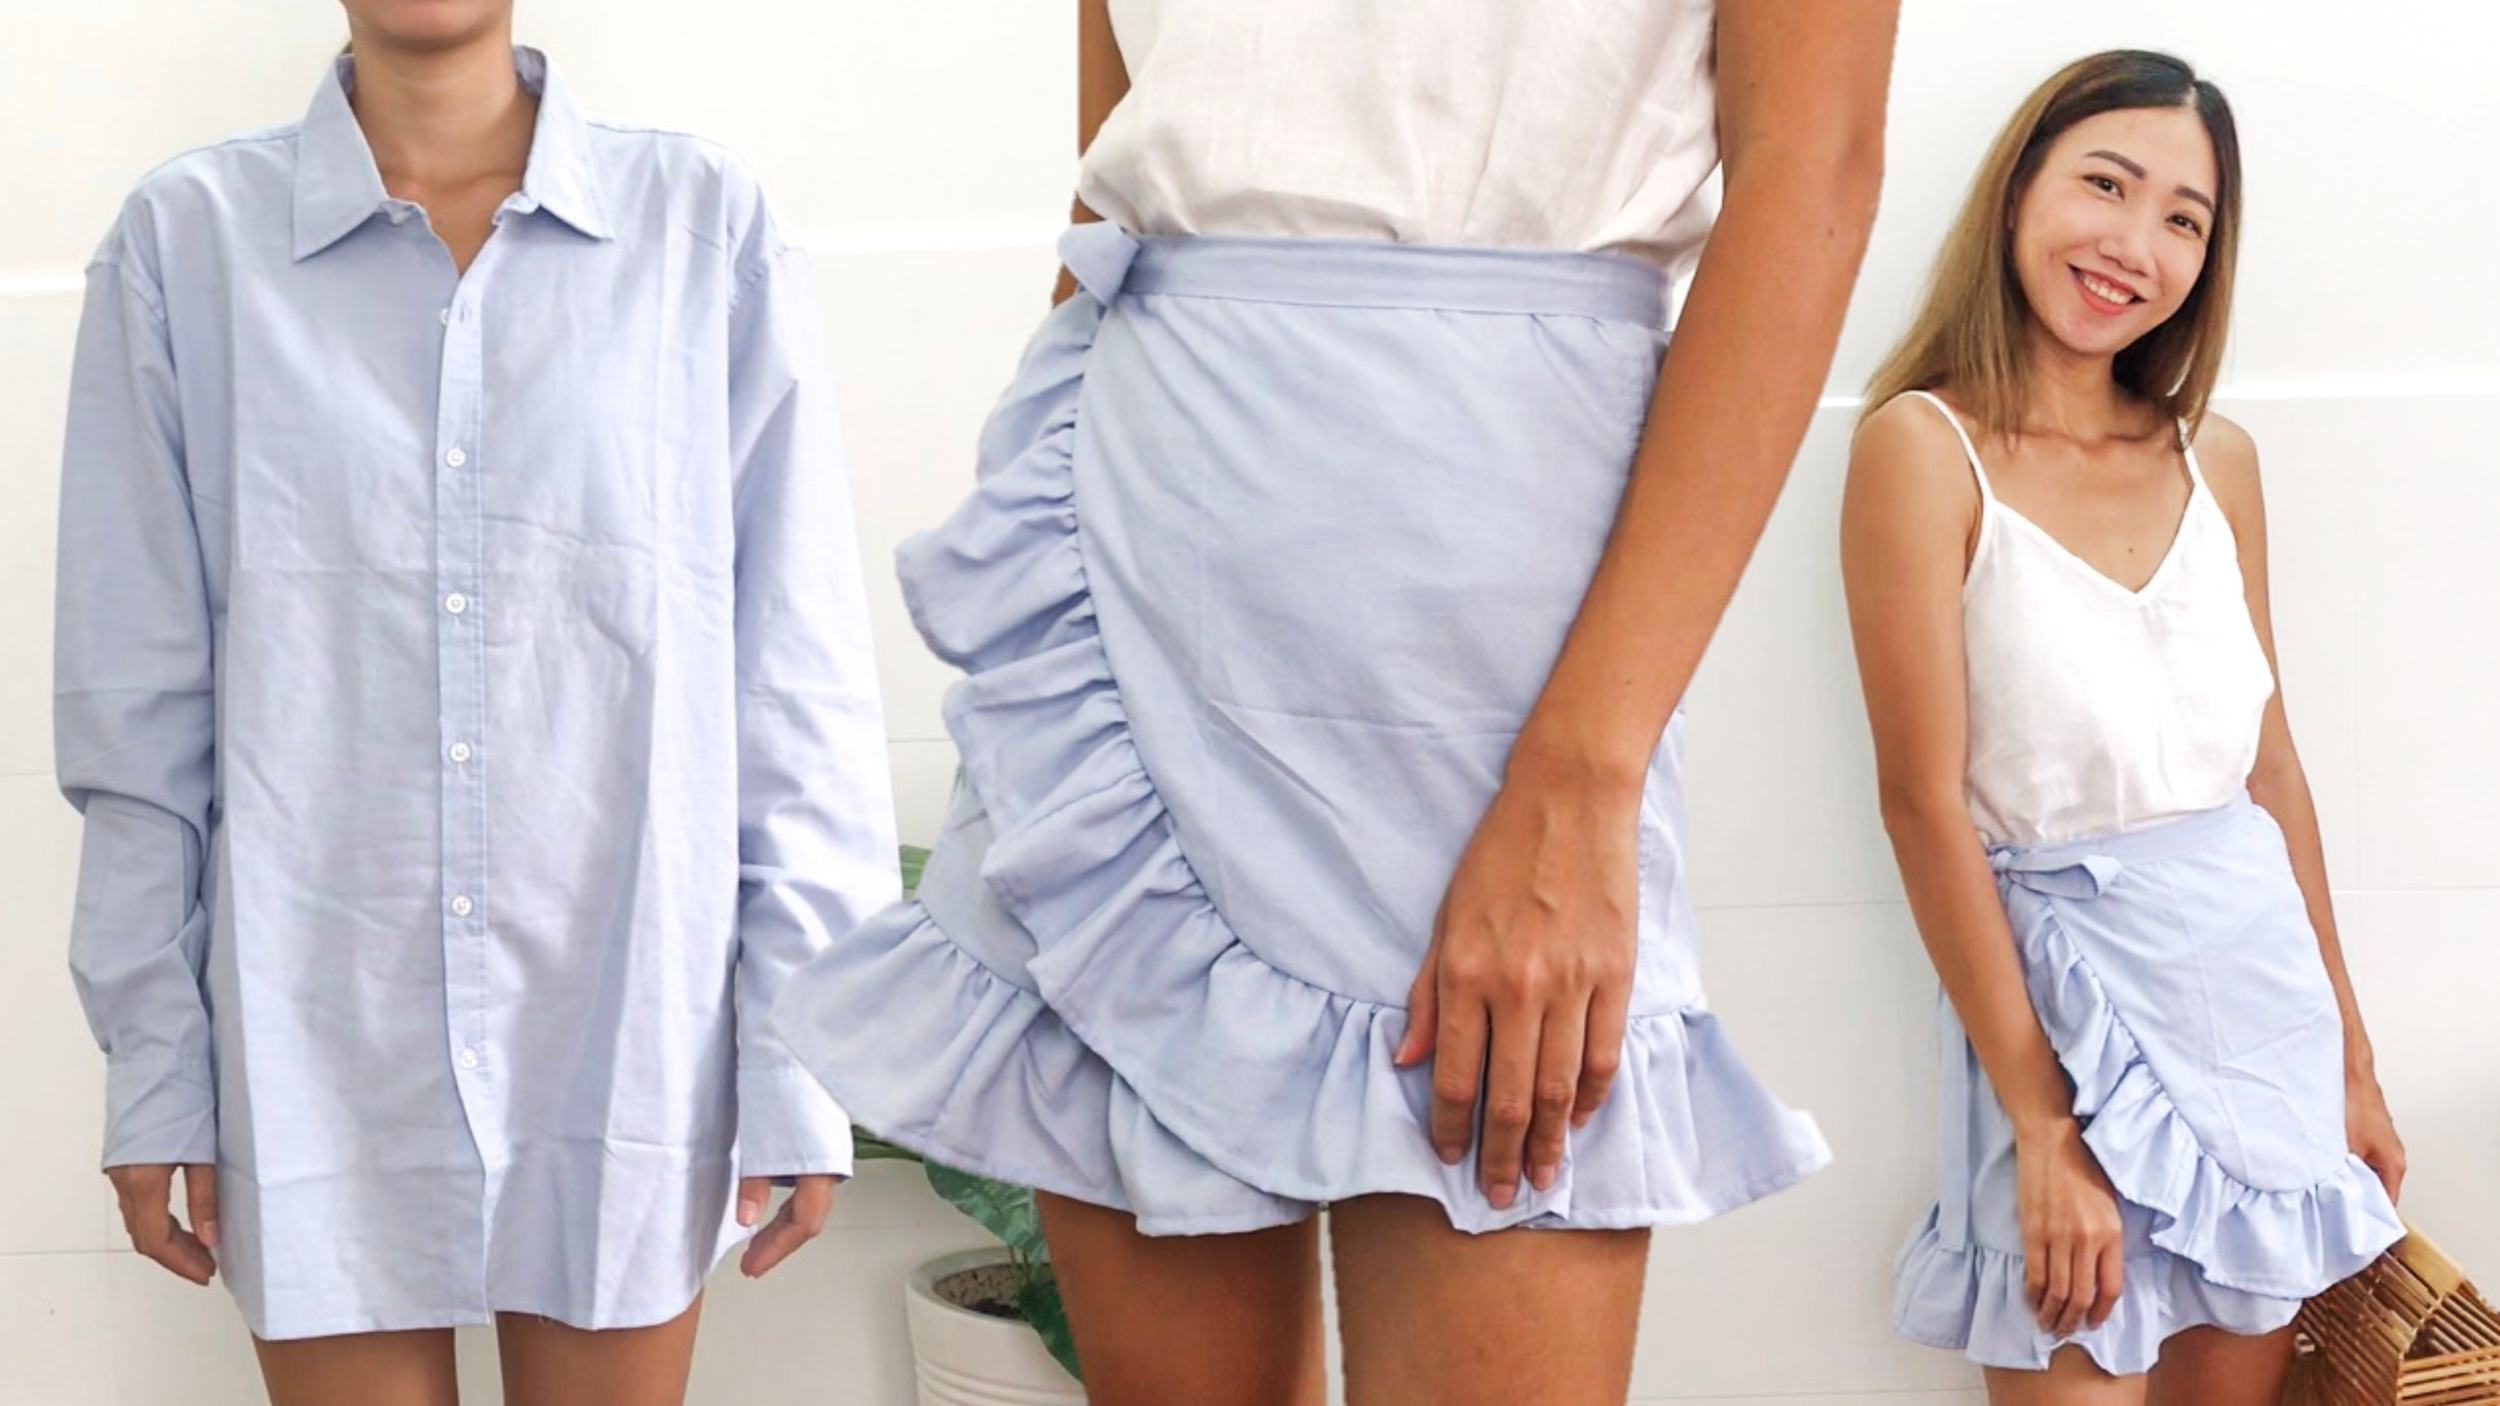
DIY Wrap skirt/Ruffle skirt from old shirt
Welcome to “Sewing with Jess”!
I’m sooo excited to share a DIY project that’s perfect for the season - a wrap skirt. This easy-to-make and easy-to-wear piece is suitable for all occasions. Crafted from a 3XL men’s shirt, this wrap skirt is a great example of sustainable fashion. If you’re larger than a small size, simply start with a bigger shirt.
So, Let’s get started!
WHAT YOU’LL NEED

3XL men's shirt
Pattern paper
Sewing machine
Pins
Scissors
Ruler
Long stick
SEWING THE SKIRT
THE MAIN BODY

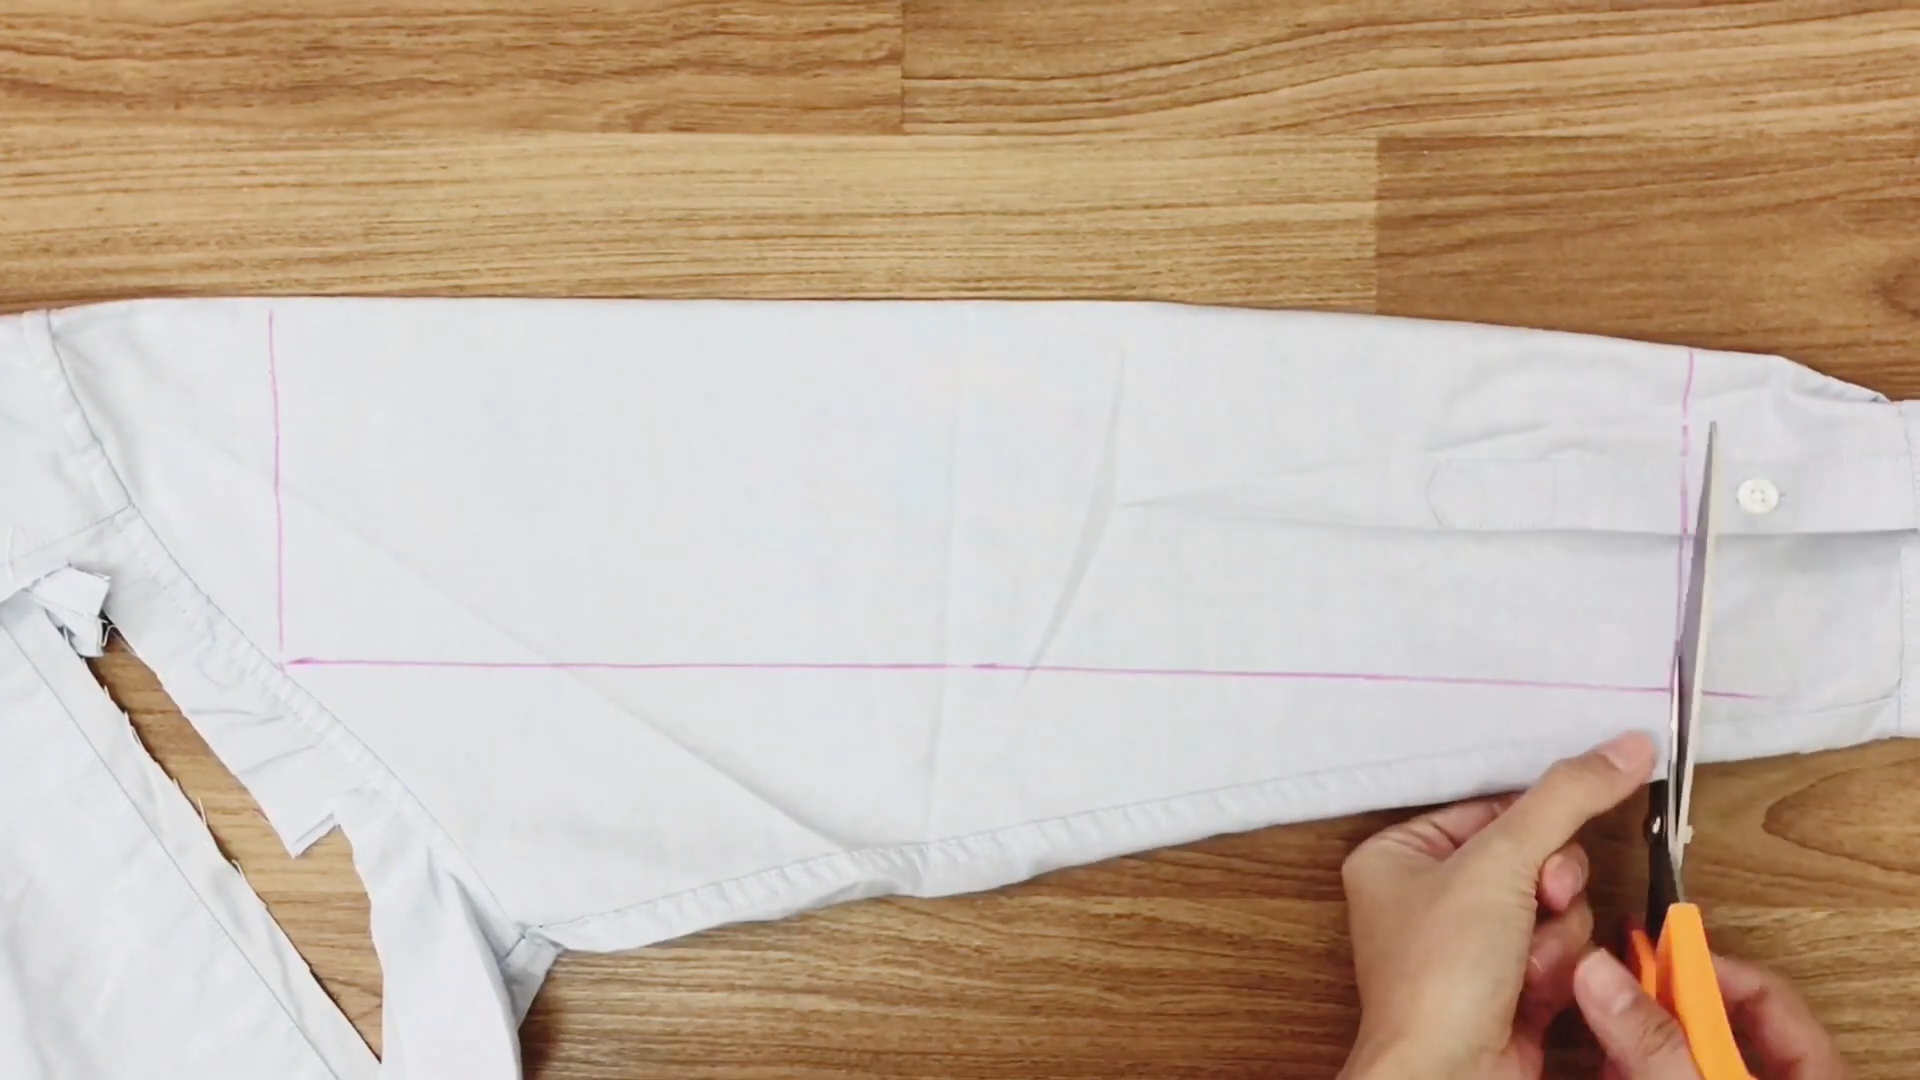
Draw a straight line at the bottom of the men’s shirt.
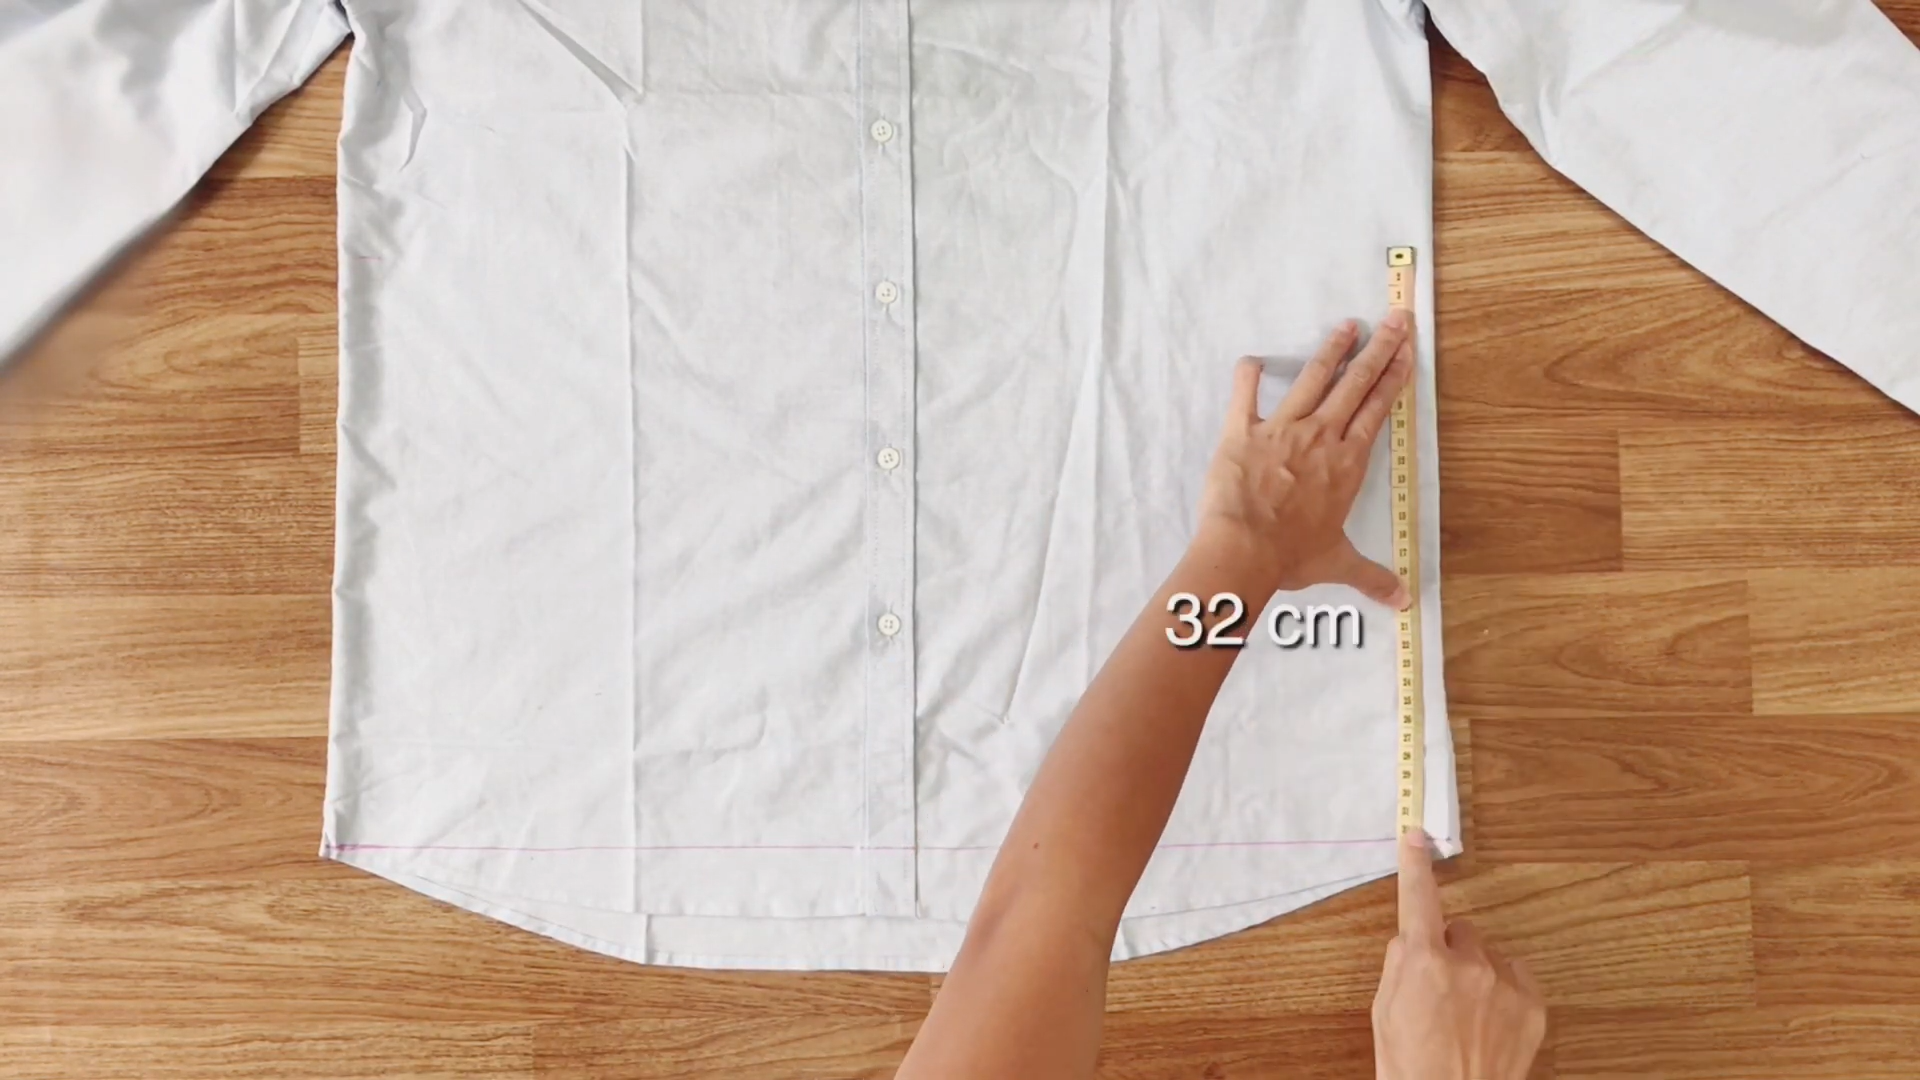
The width of the main part will be 32 cm.
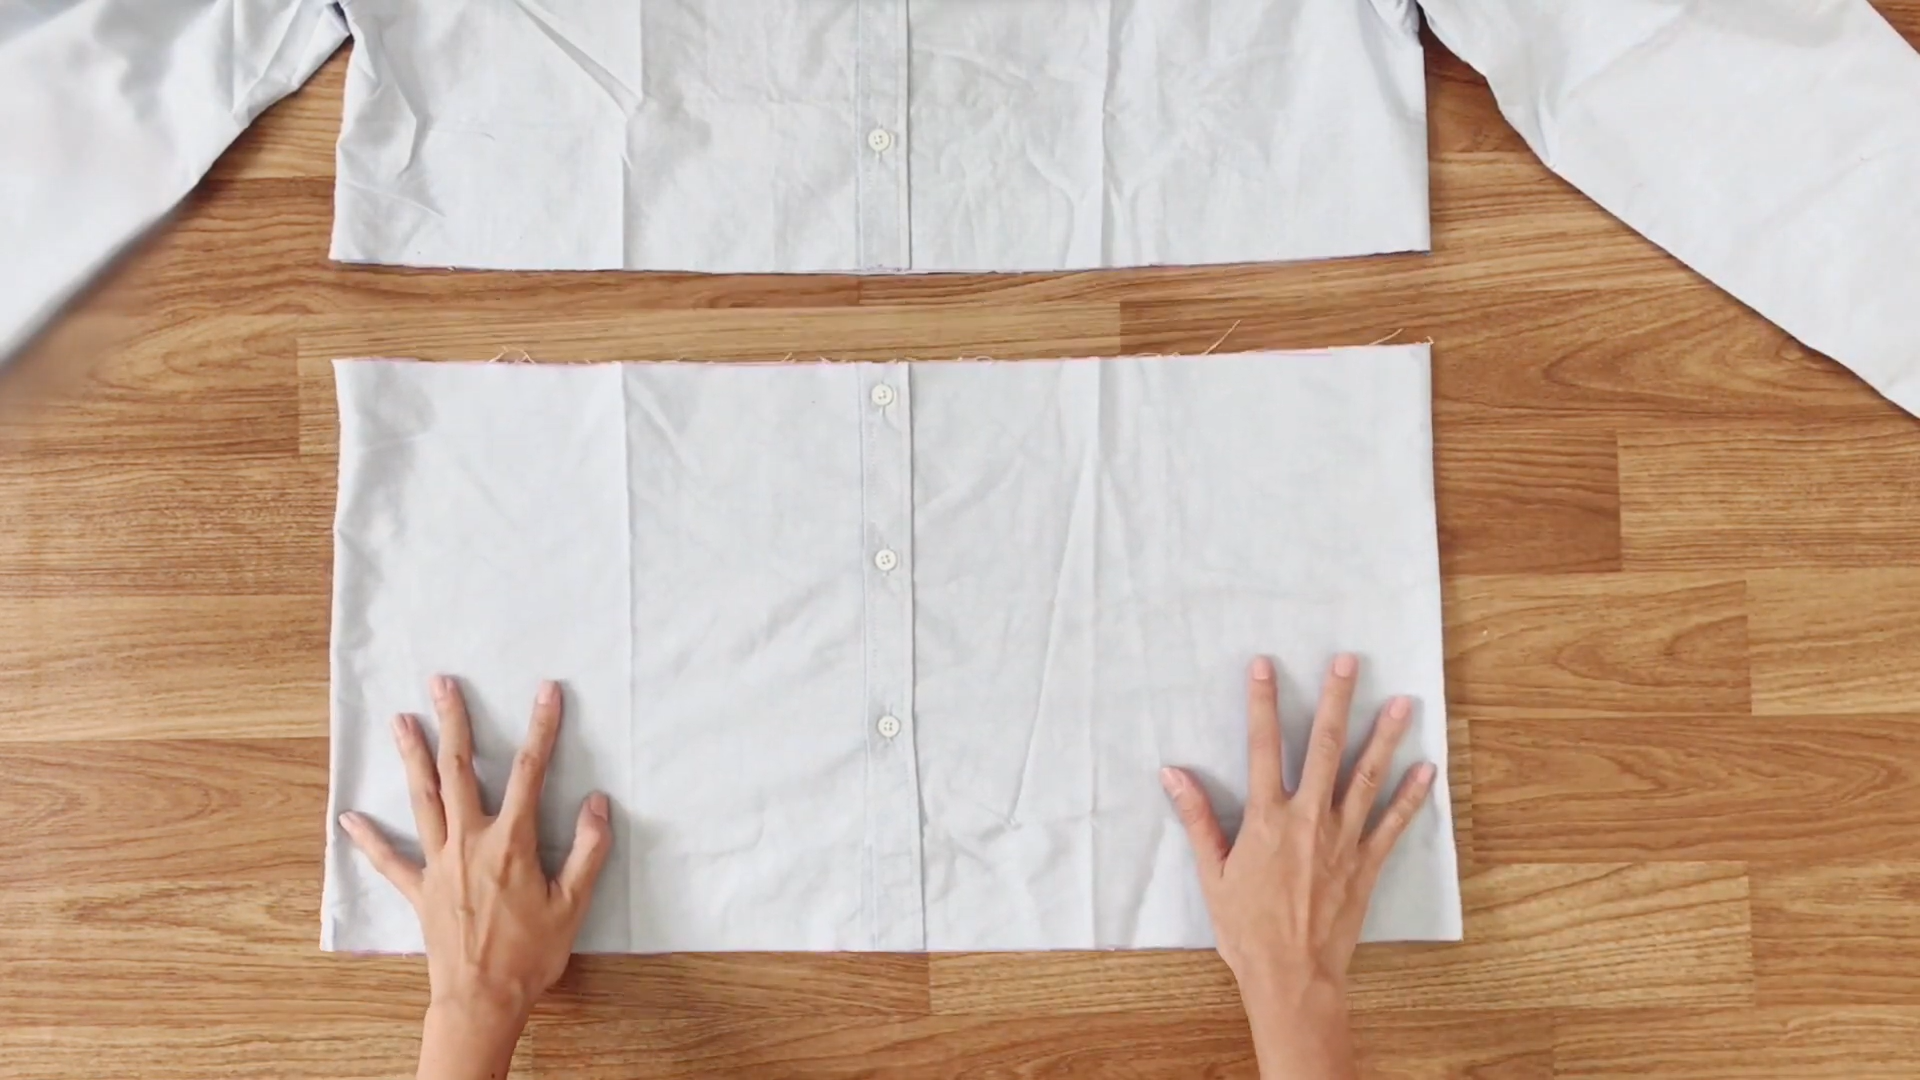
This will create the main part for the wrap skirt.
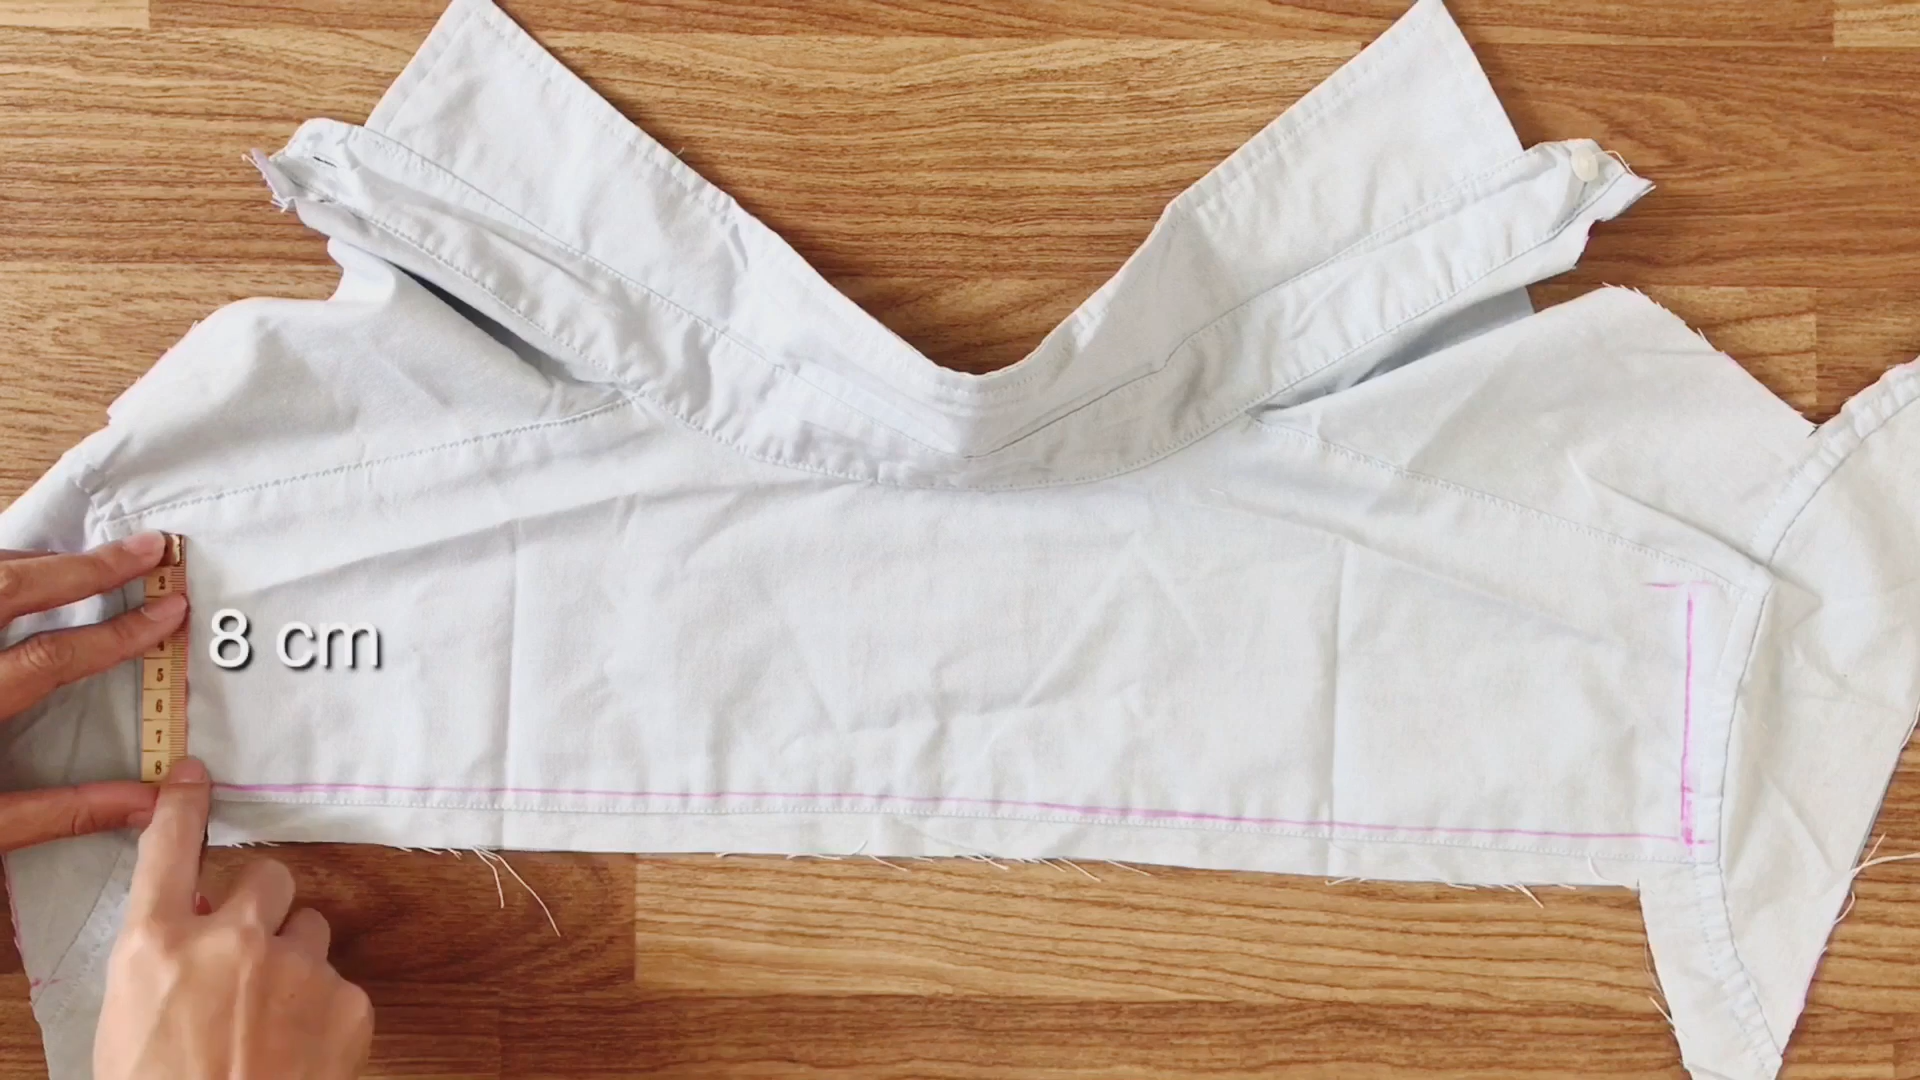
THE RUFFLE
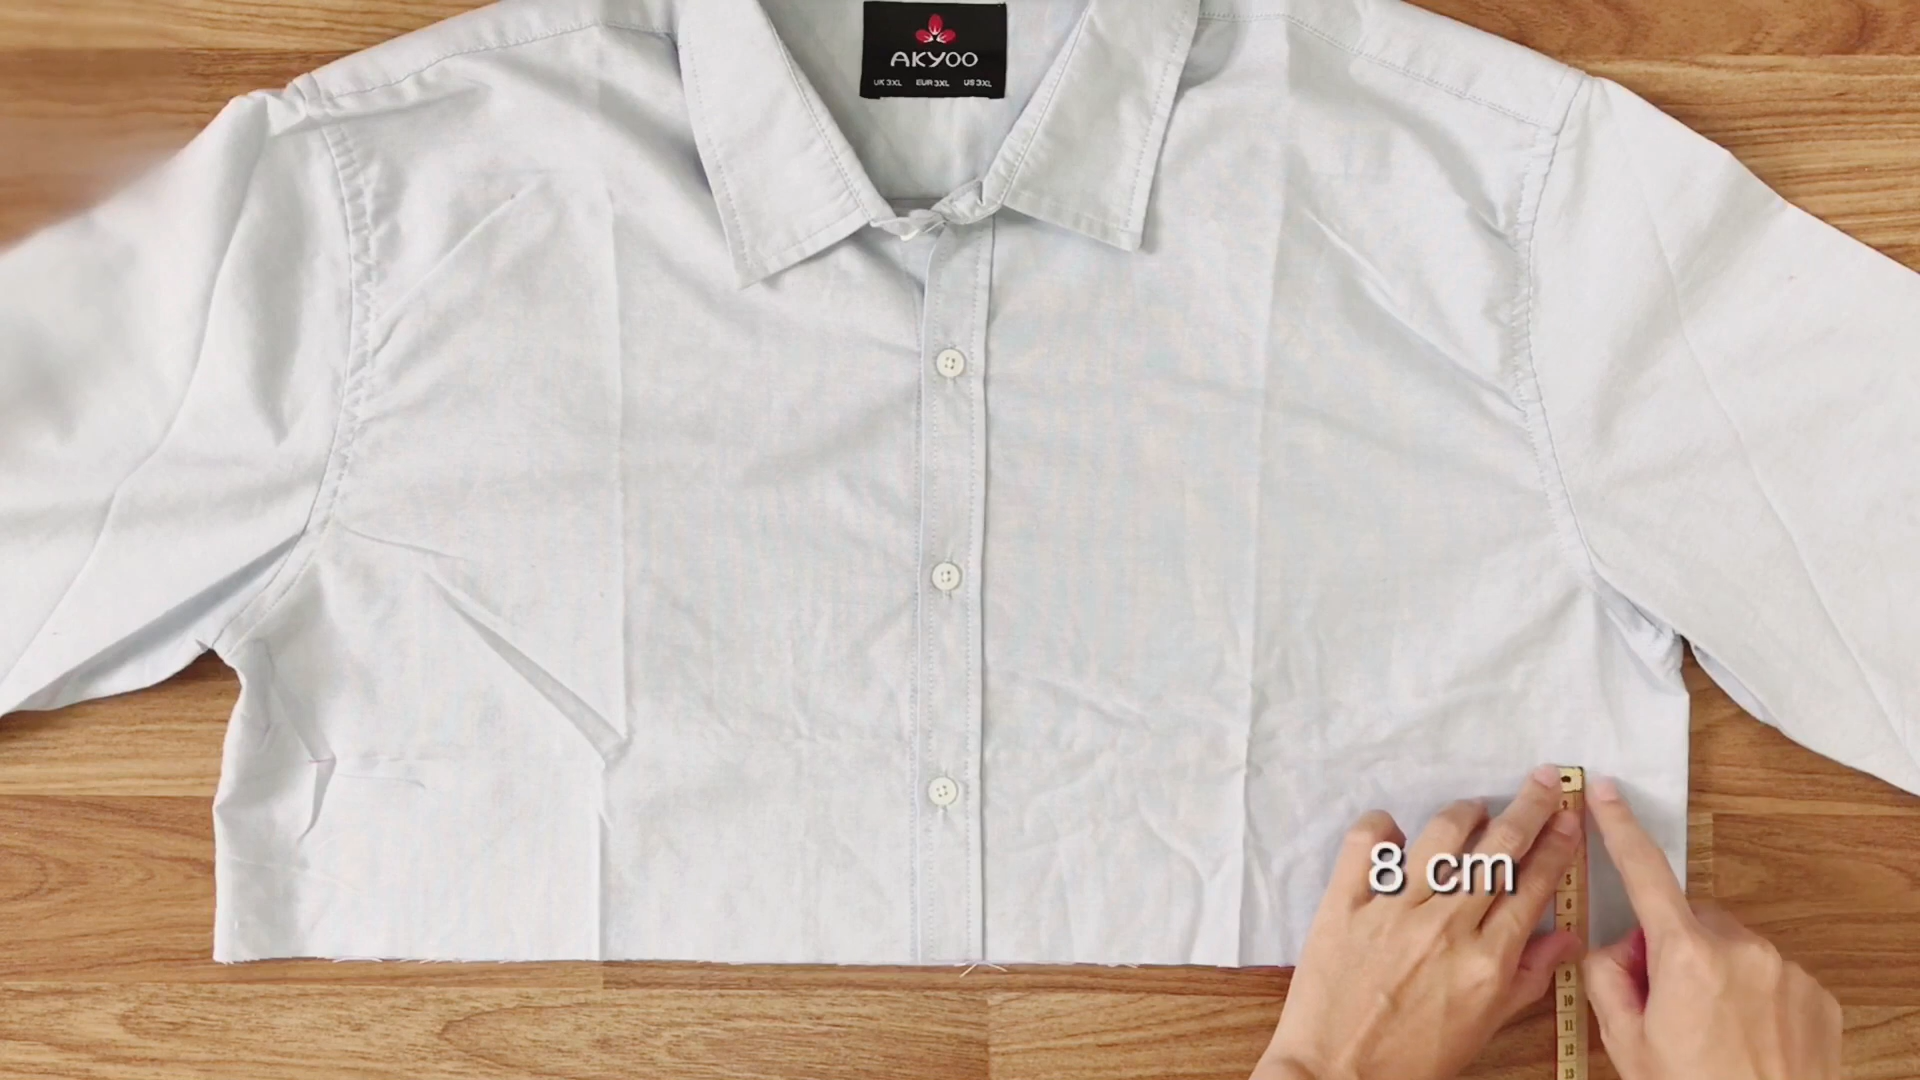
To create the belt part for the skirt, use an 8 cm width.
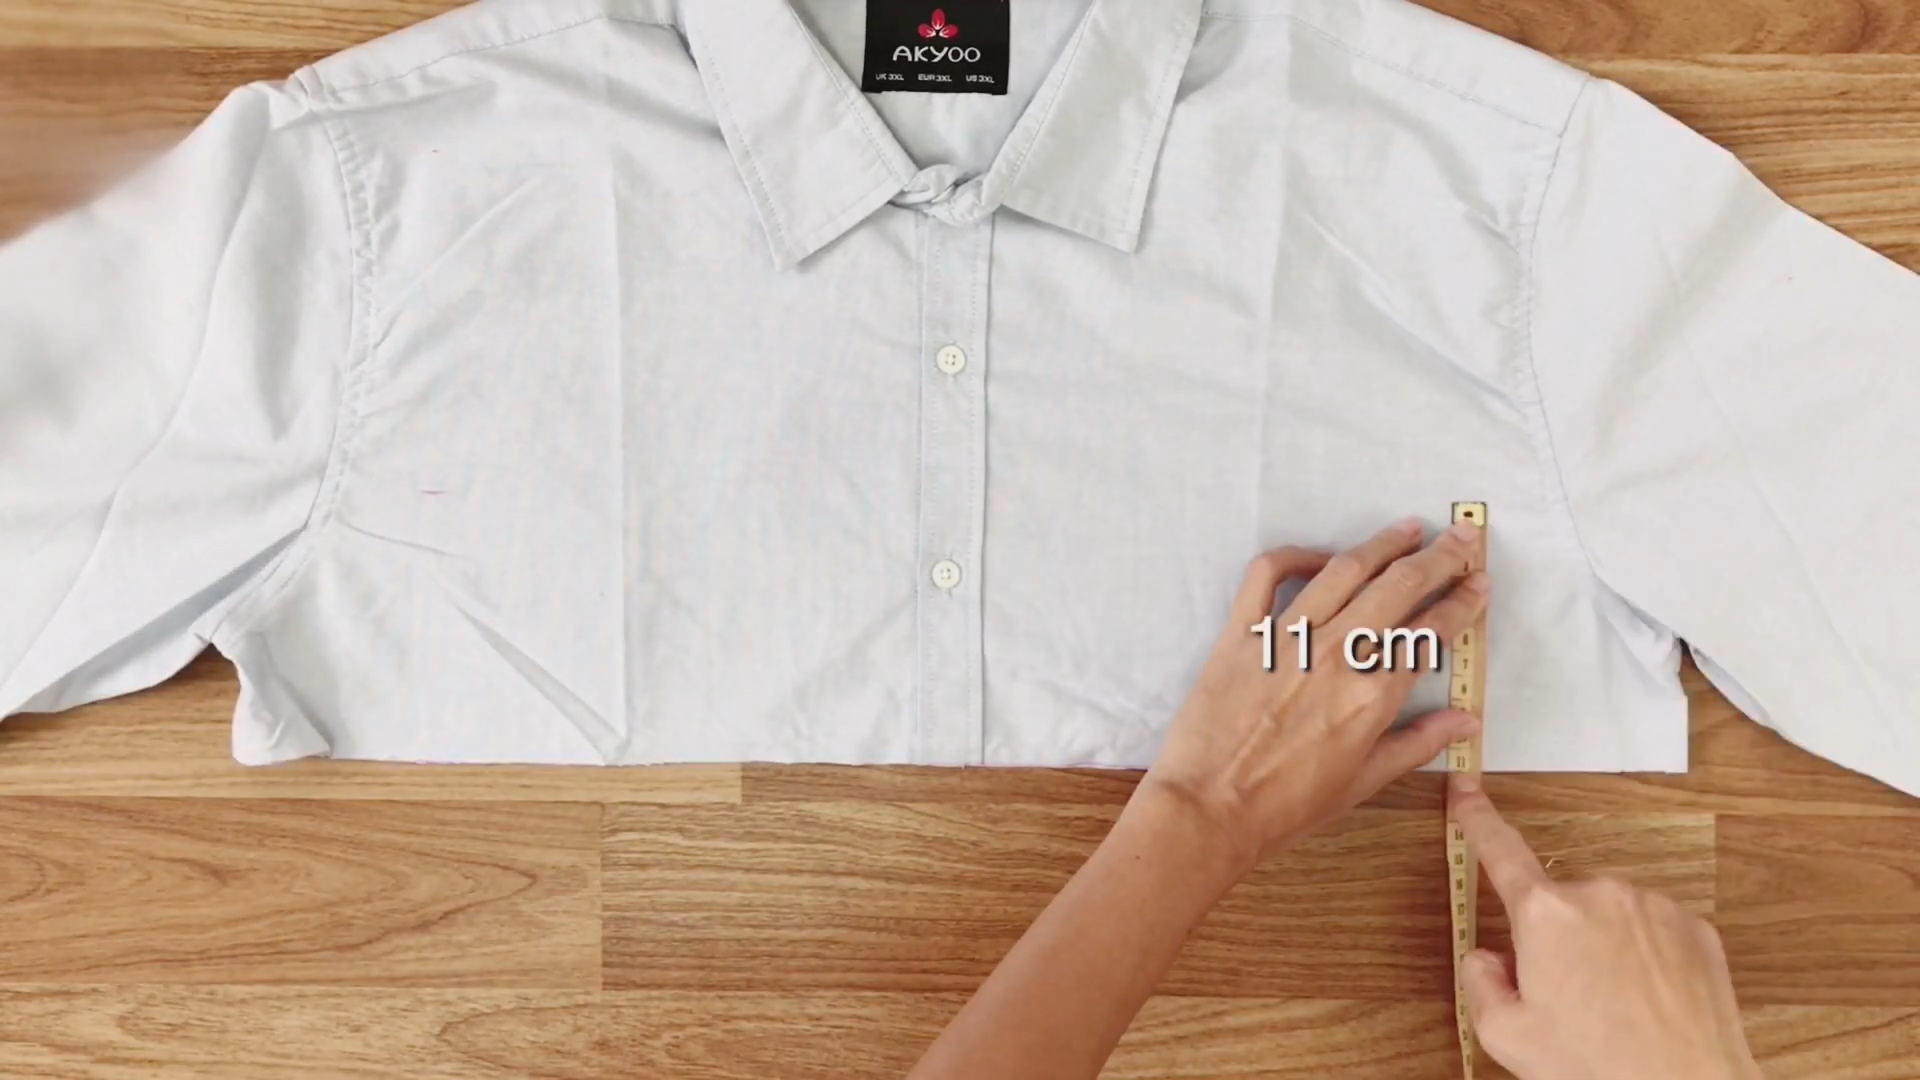
To create the belt part for the skirt, use an 11 cm width.
We will need a long fabric for the ruffle part, so use the leftover fabric of the men’s shirt, including two hands.
Connect the pieces of the ruffle part together and sew.
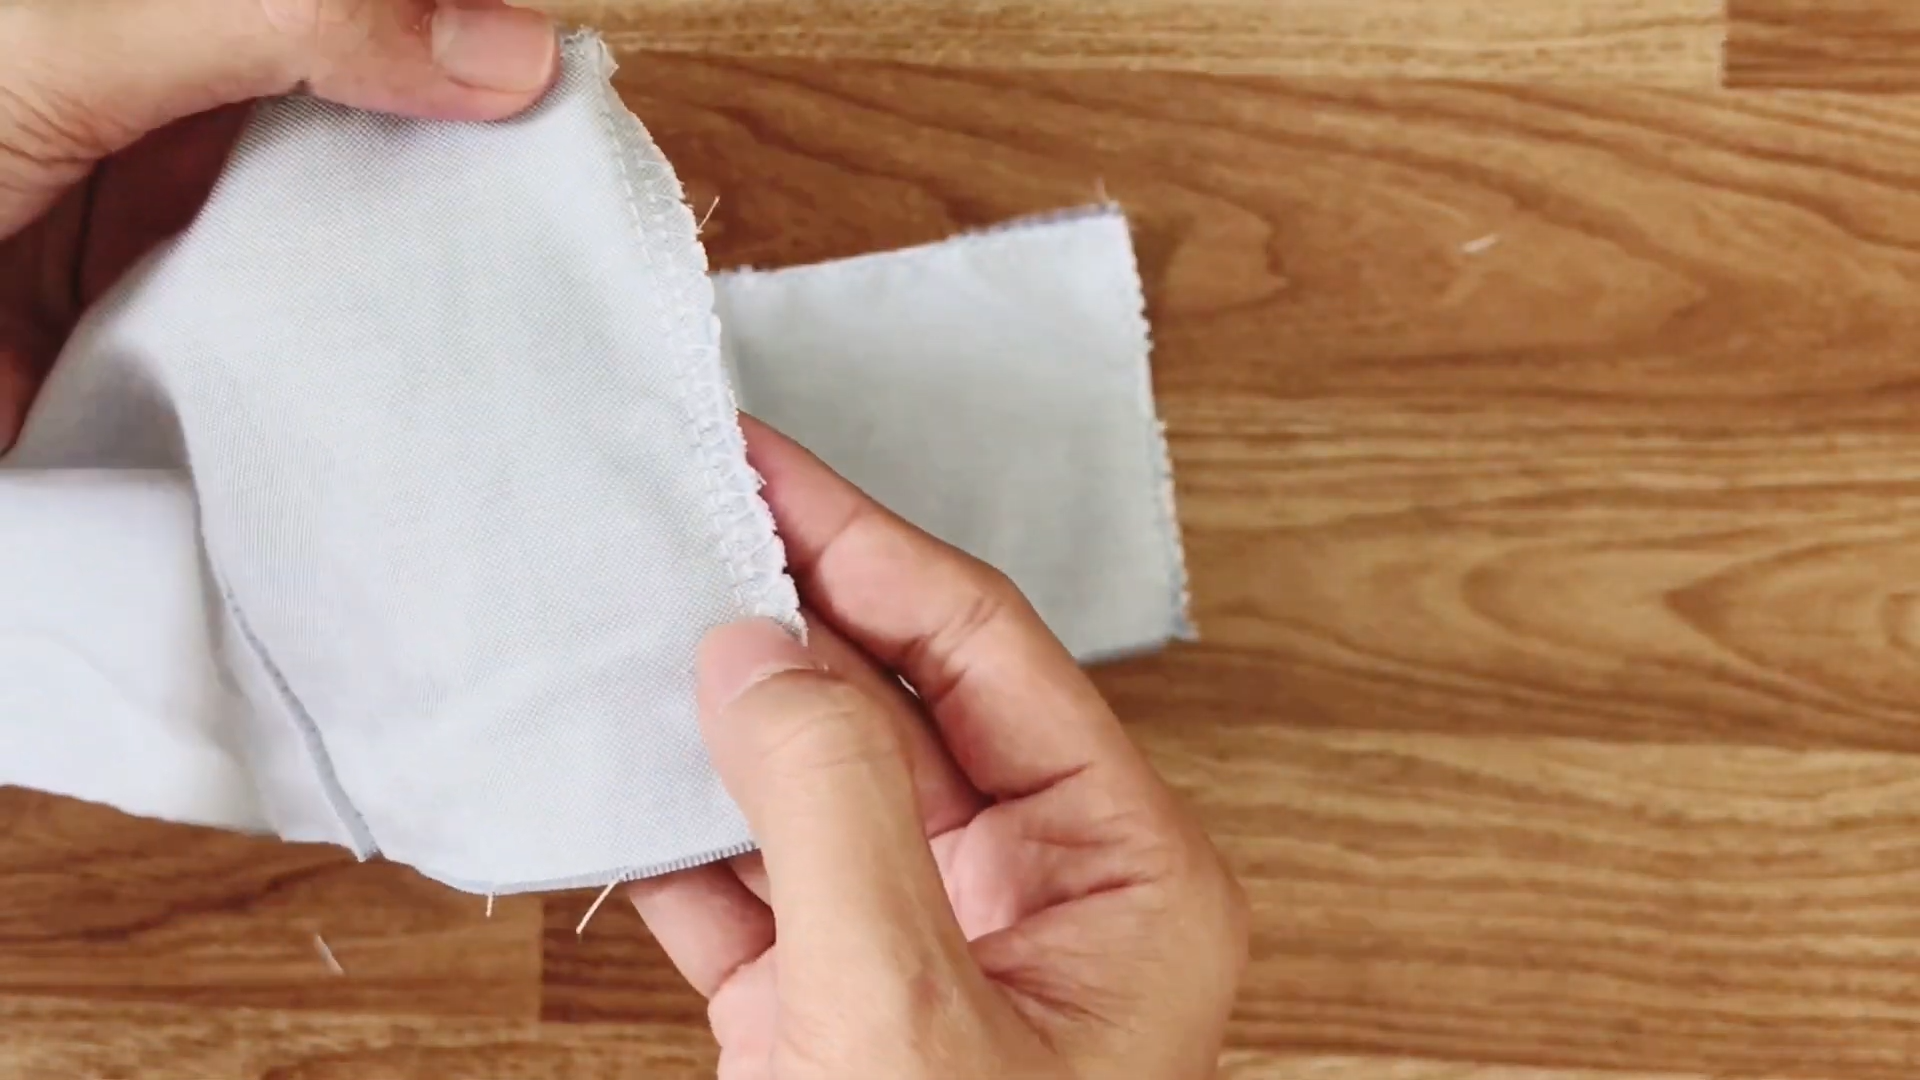
Remember to overcast after sewing to protect your fabric and also make it look nicer.
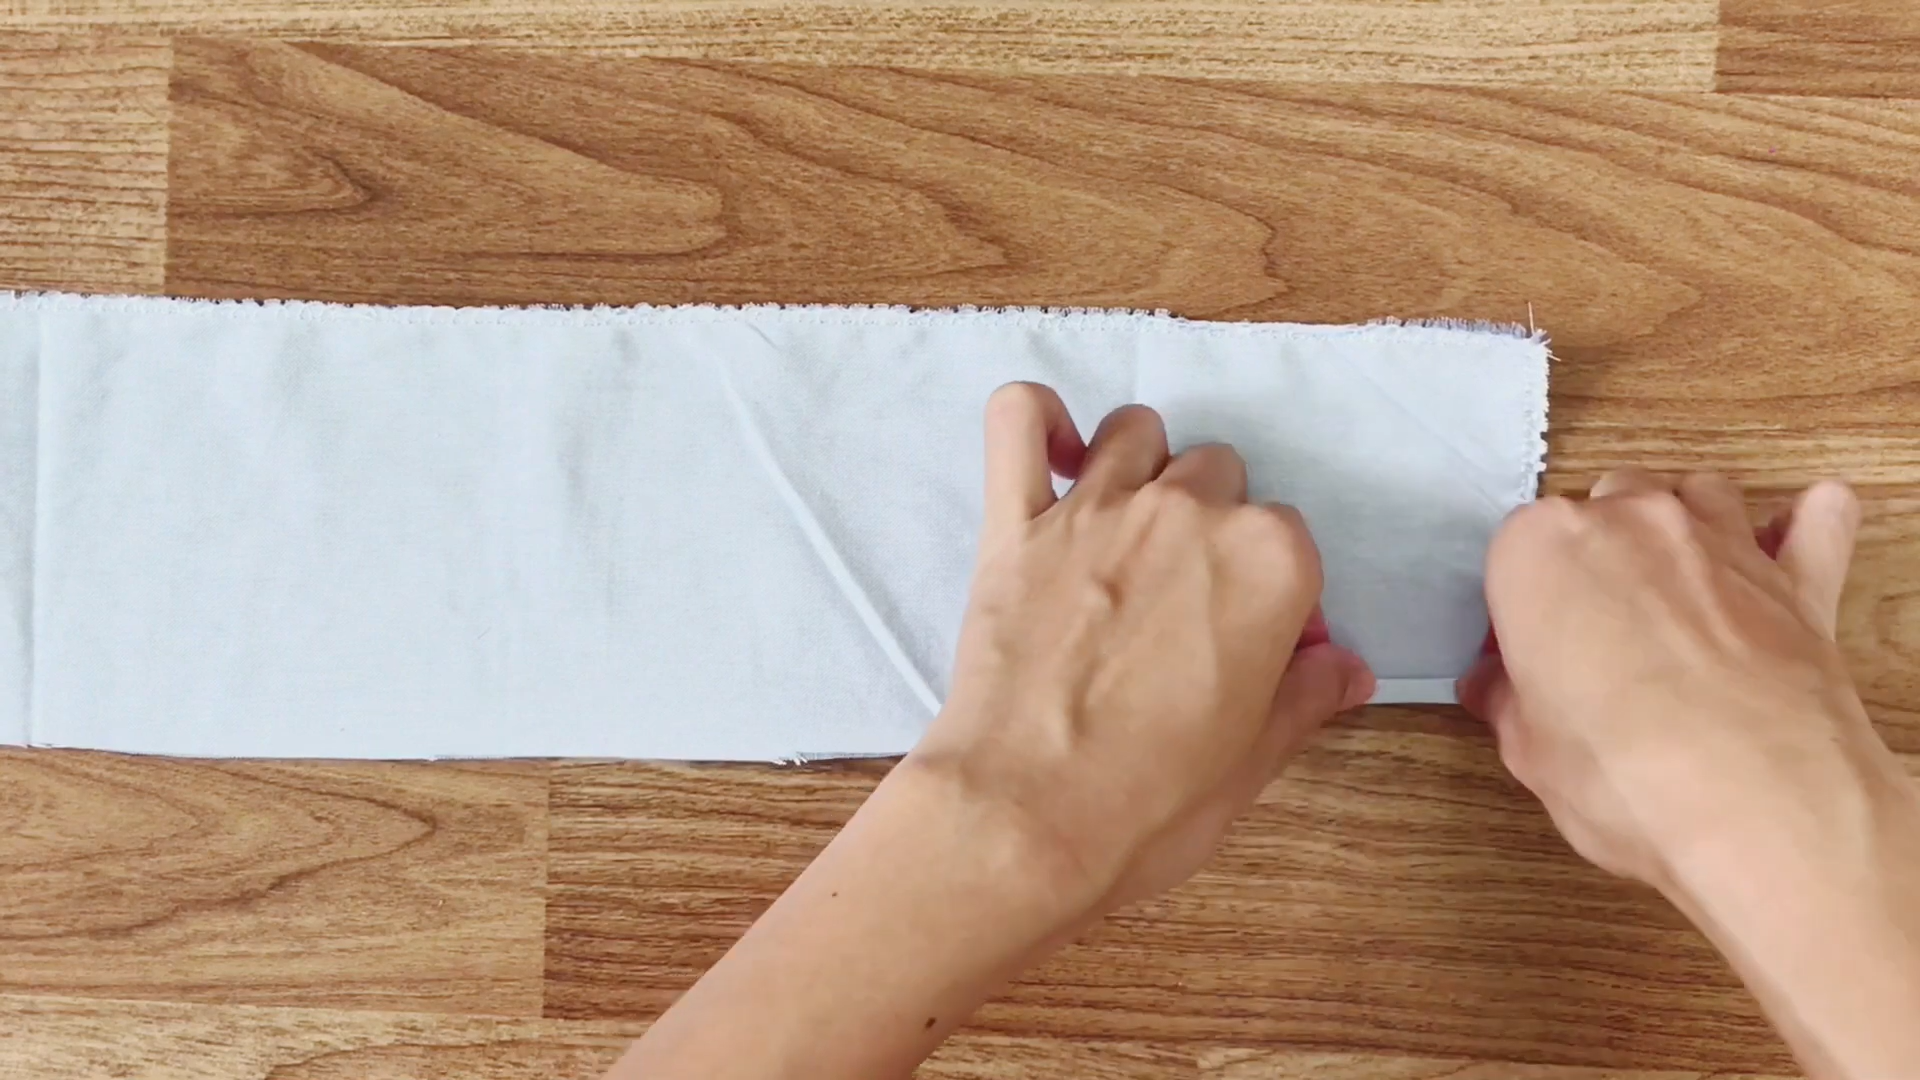
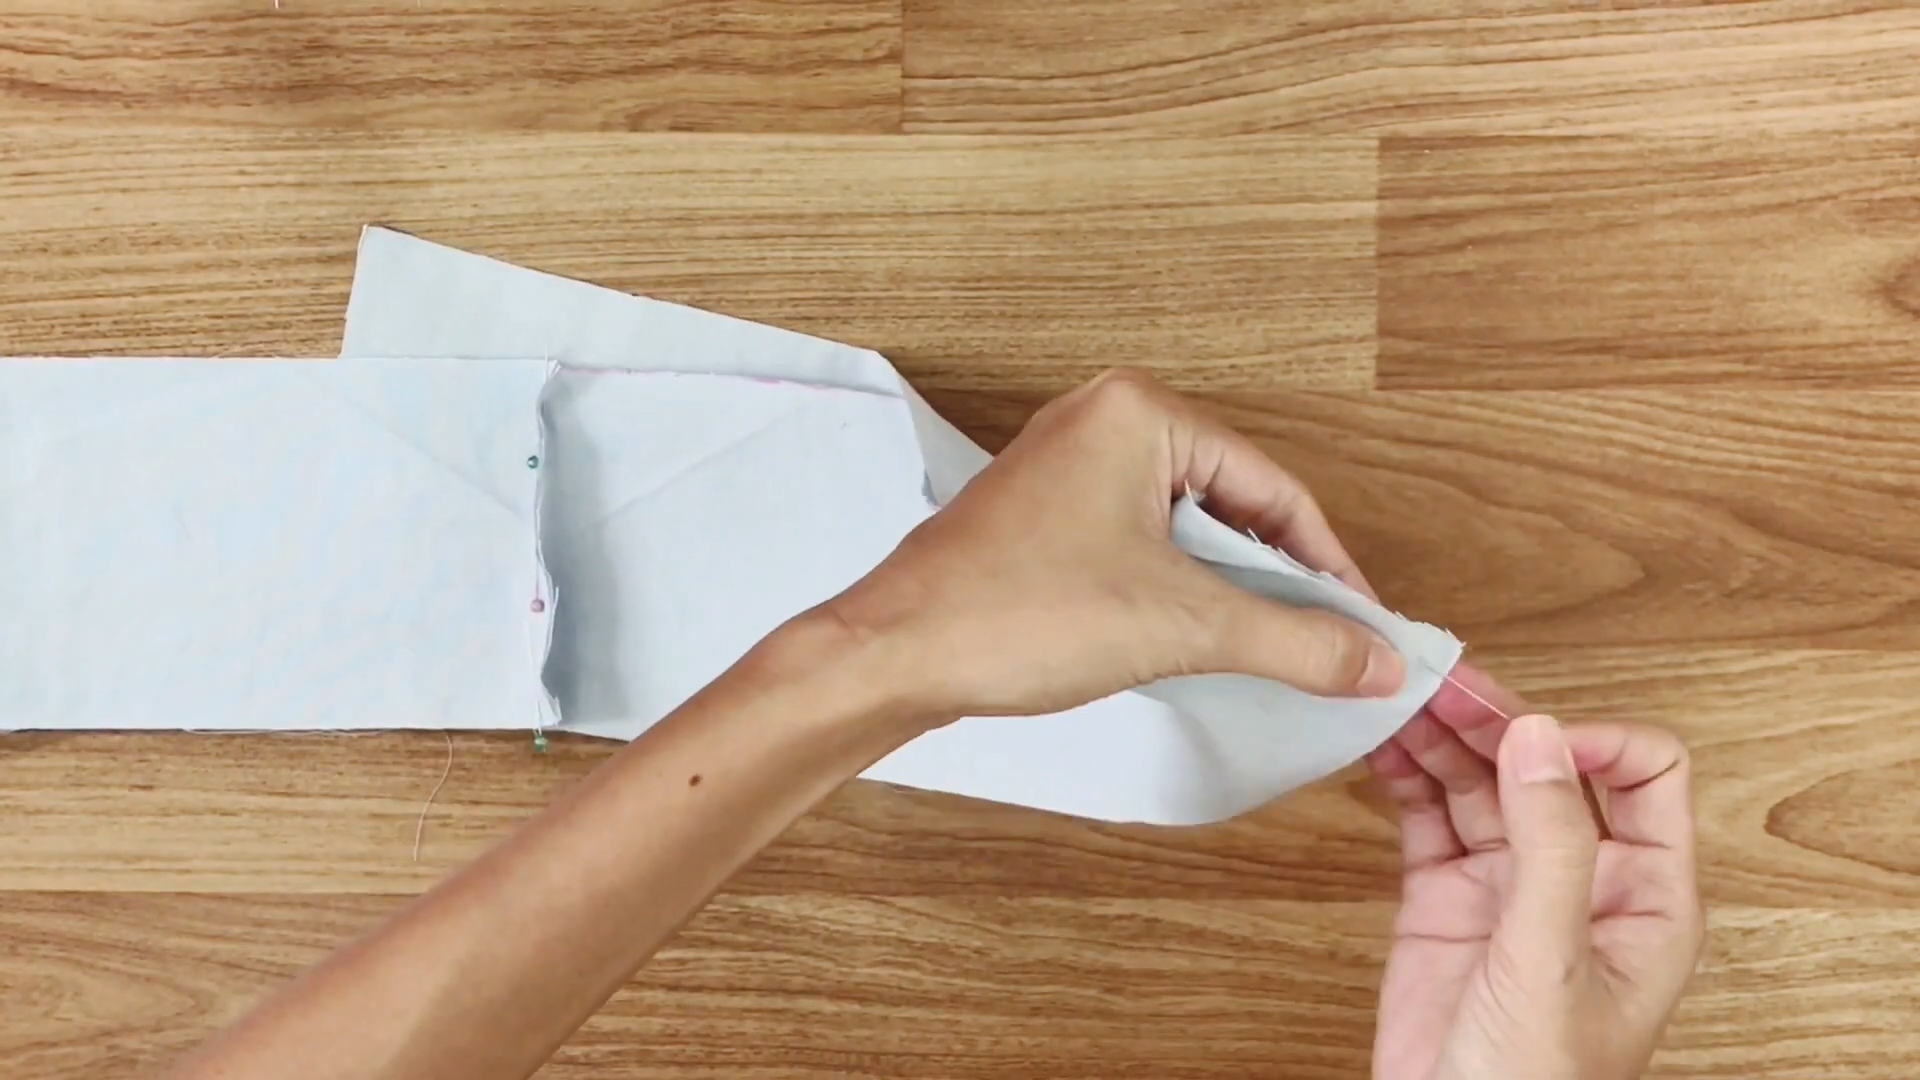
Next, fold double time on one side of the ruffle part to hide the cutting. This will be the facing part of the ruffle later.
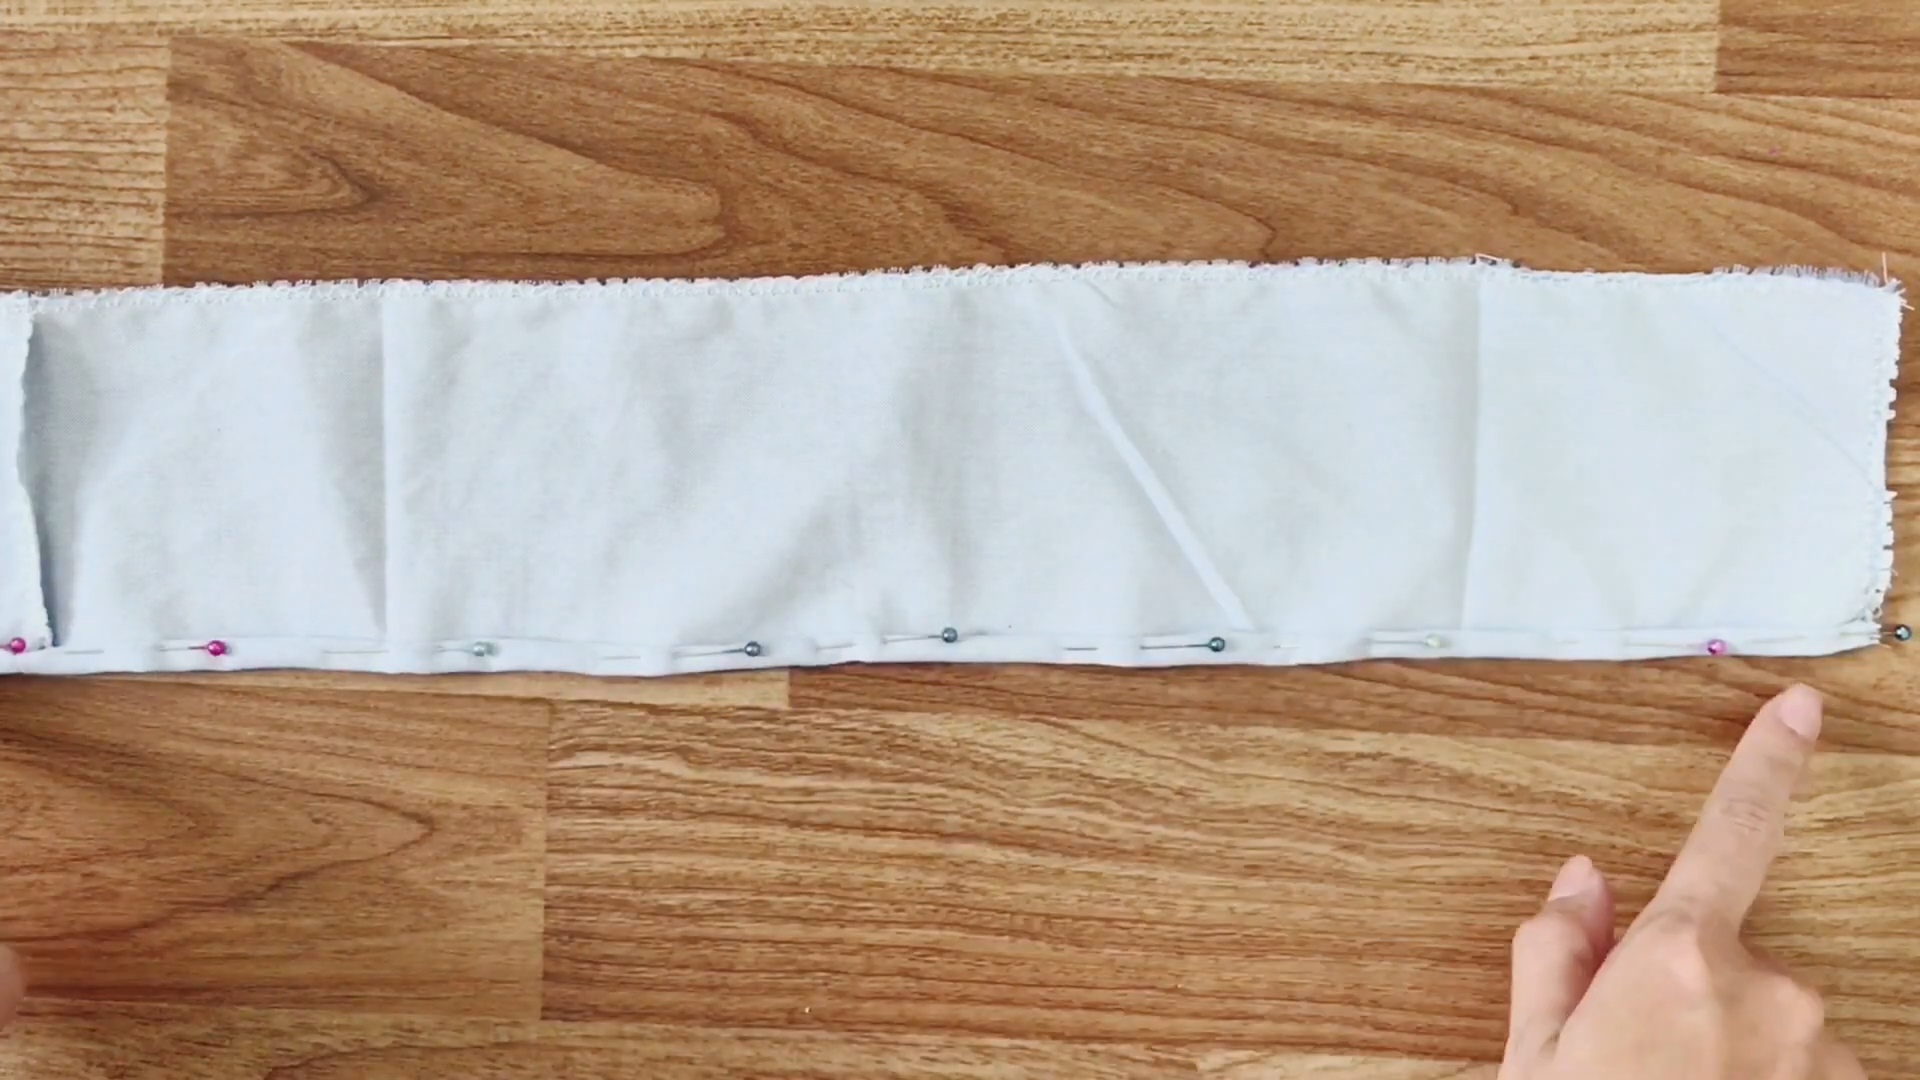
Use pins to hold the folding before sewing.
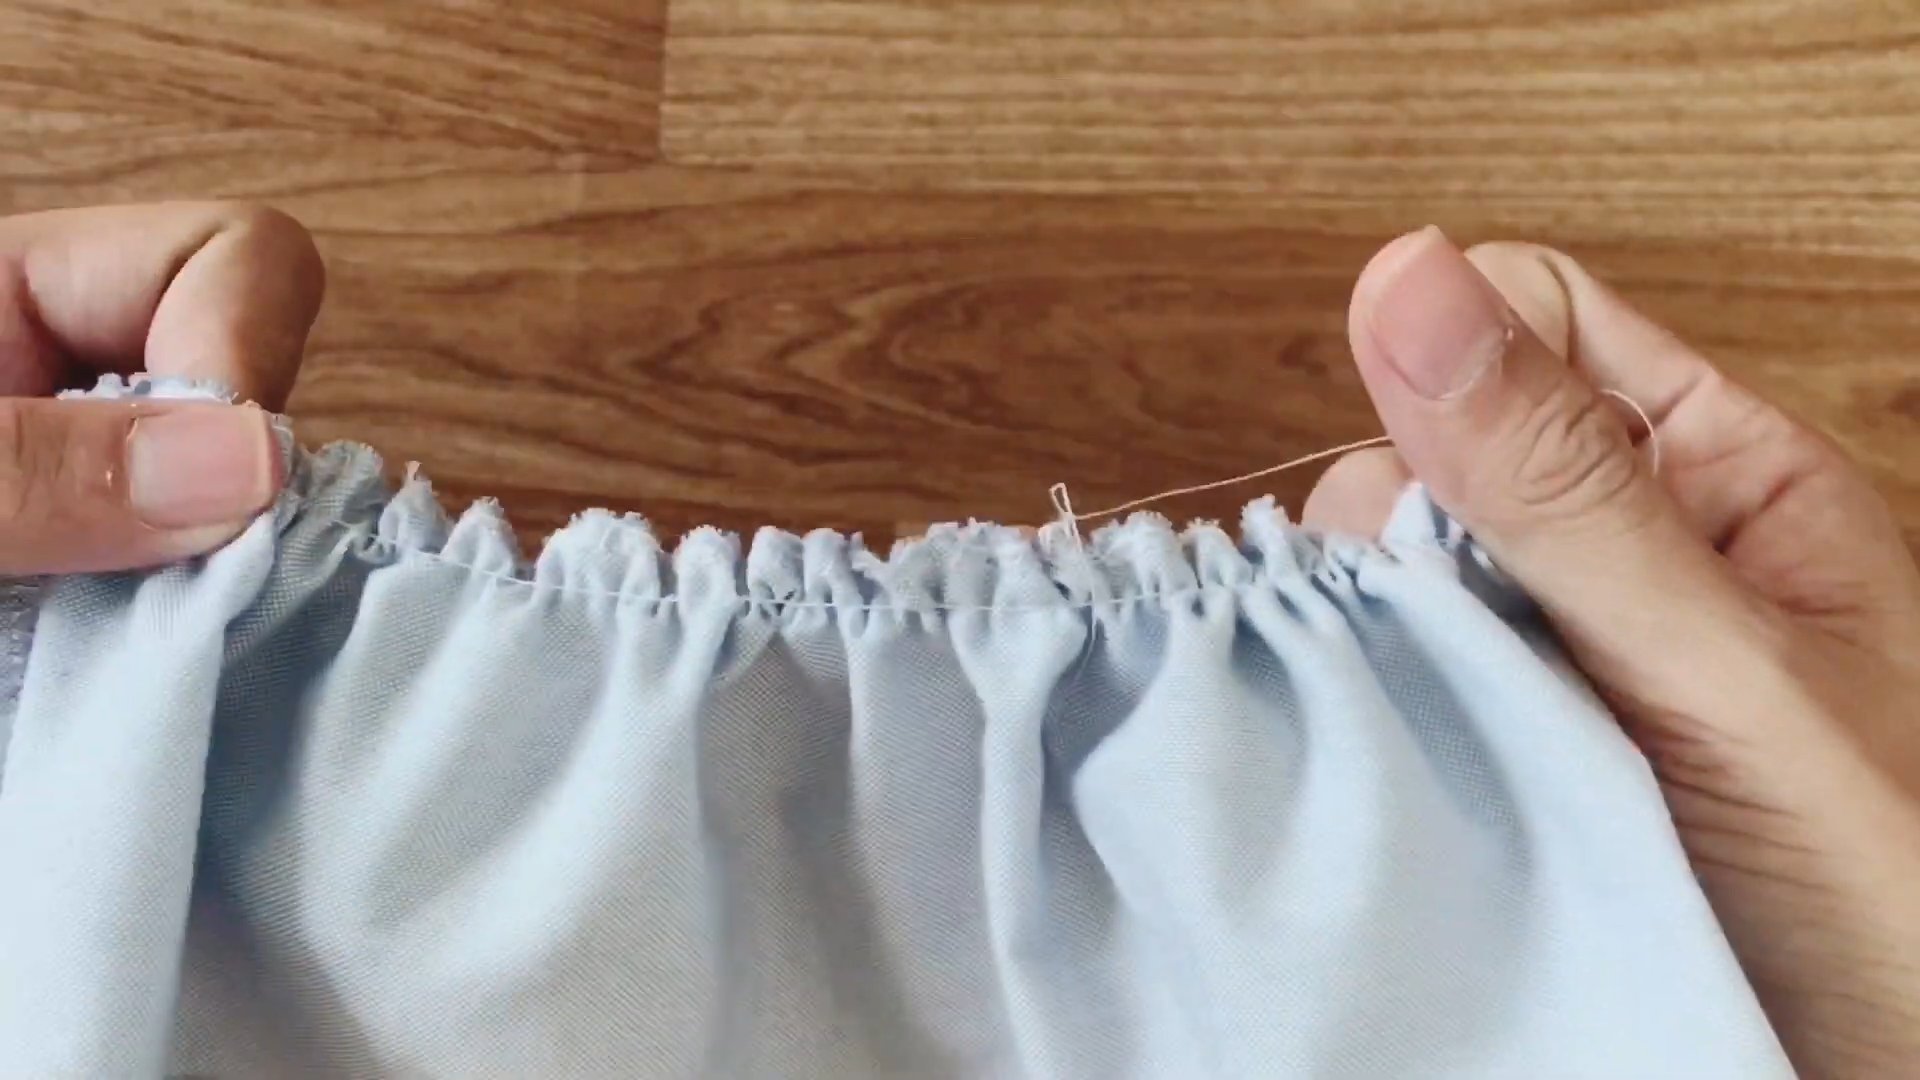
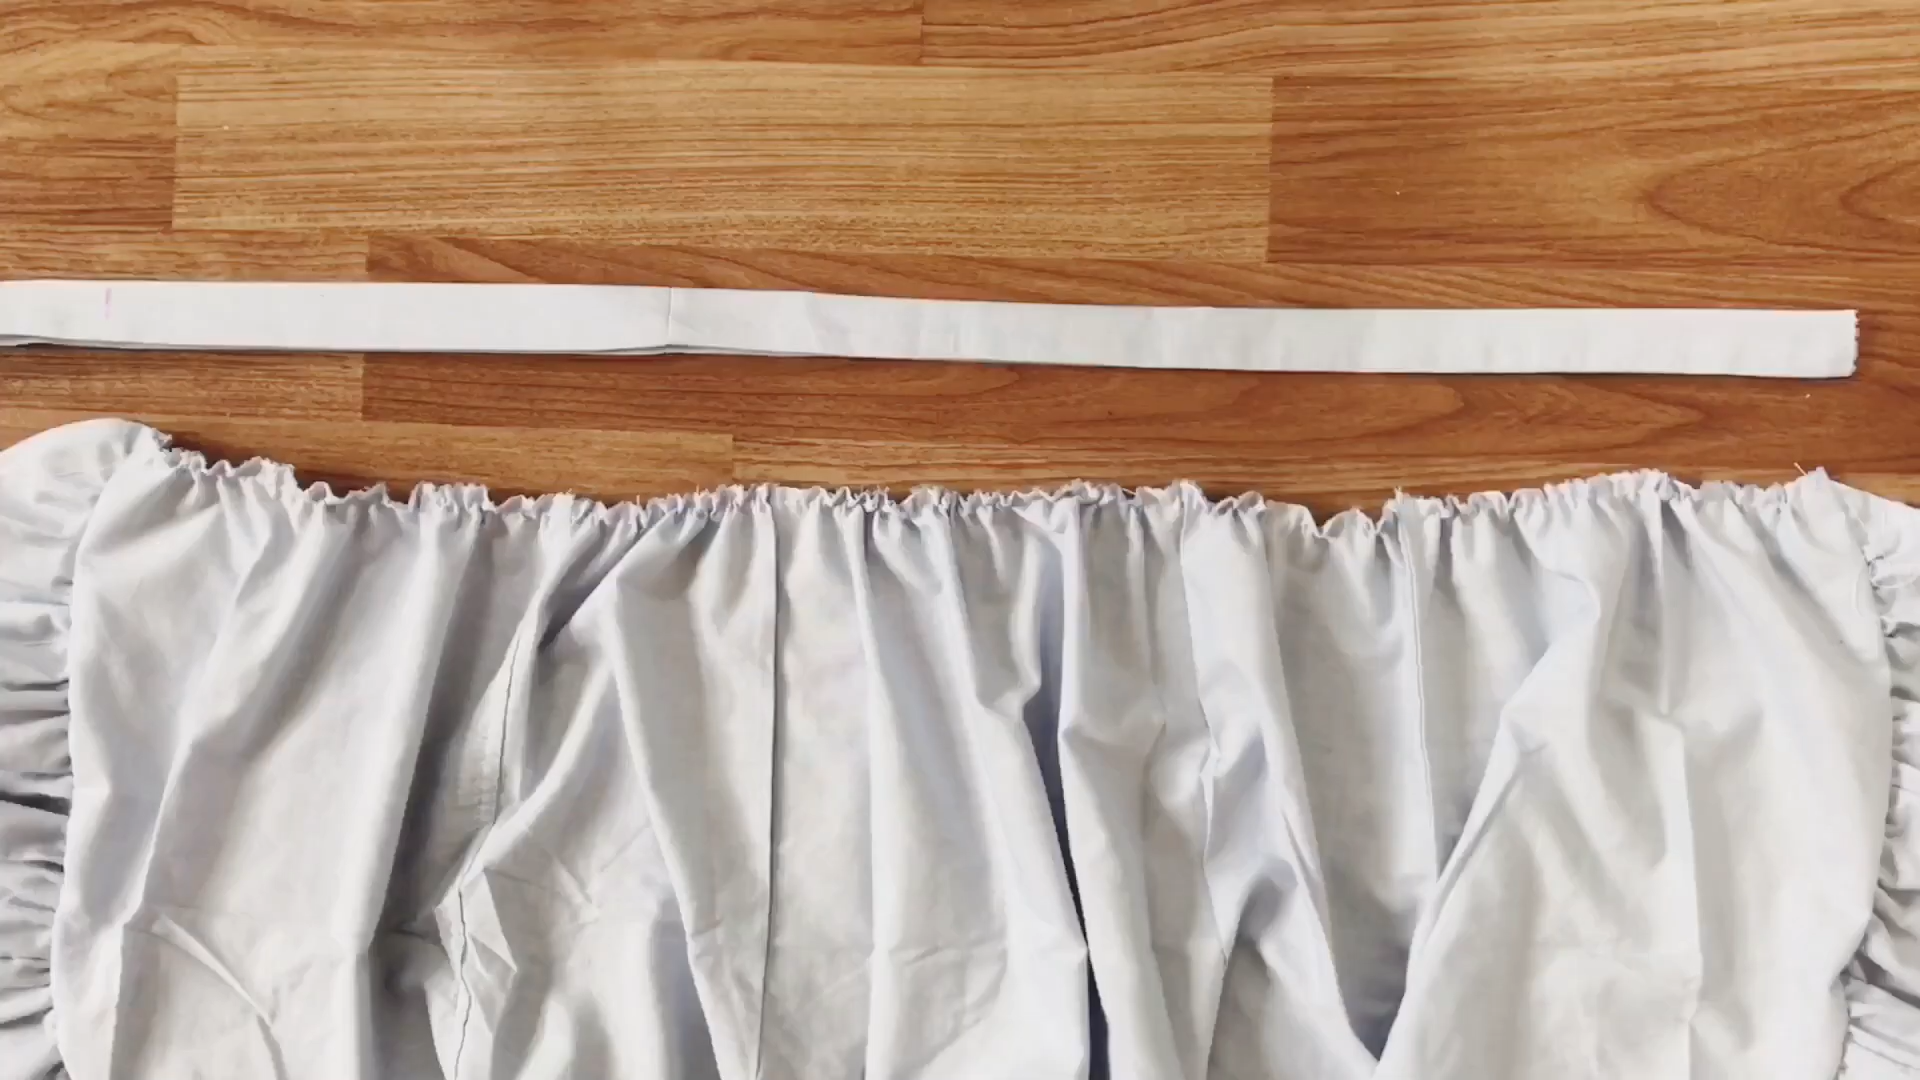
After that, make the basting stitch to create the ruffle.
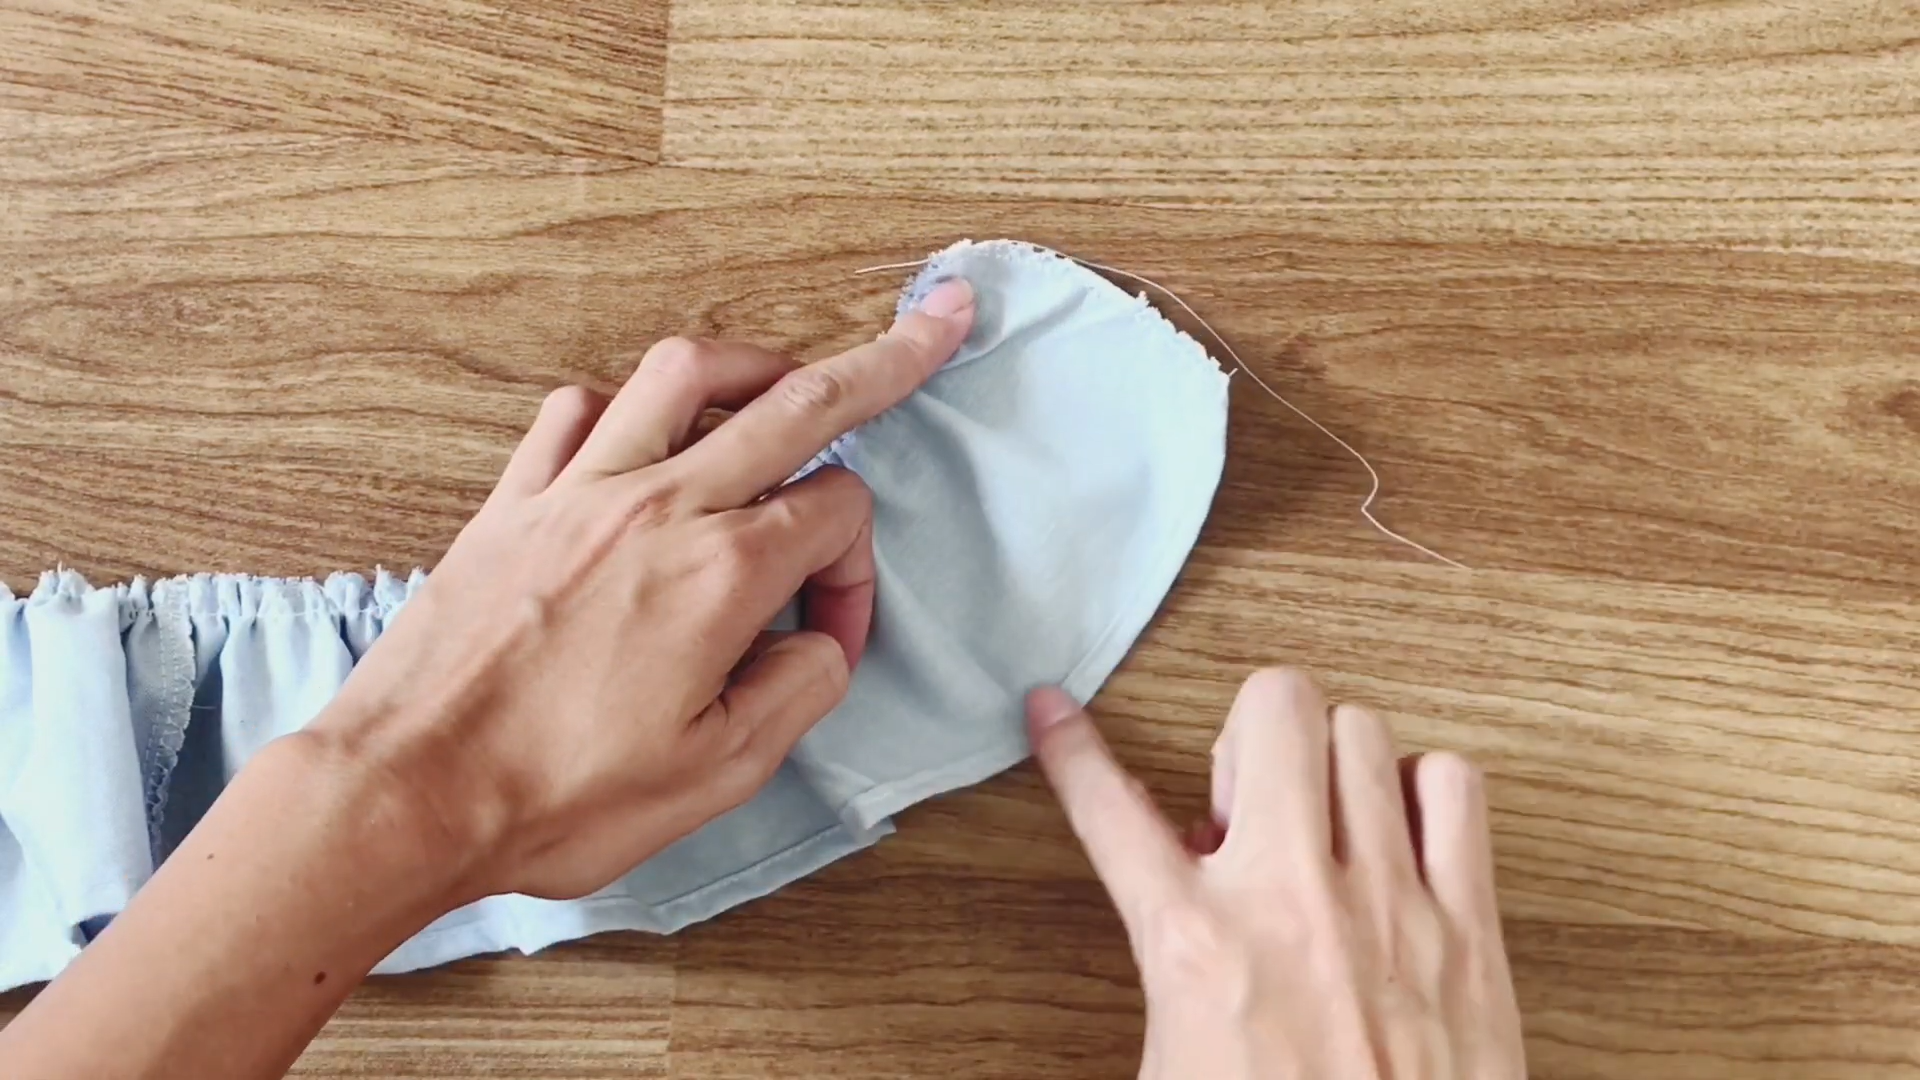
After finishing this part, you’ll realize that you should have a curve at 2 sides of the ruffle part.
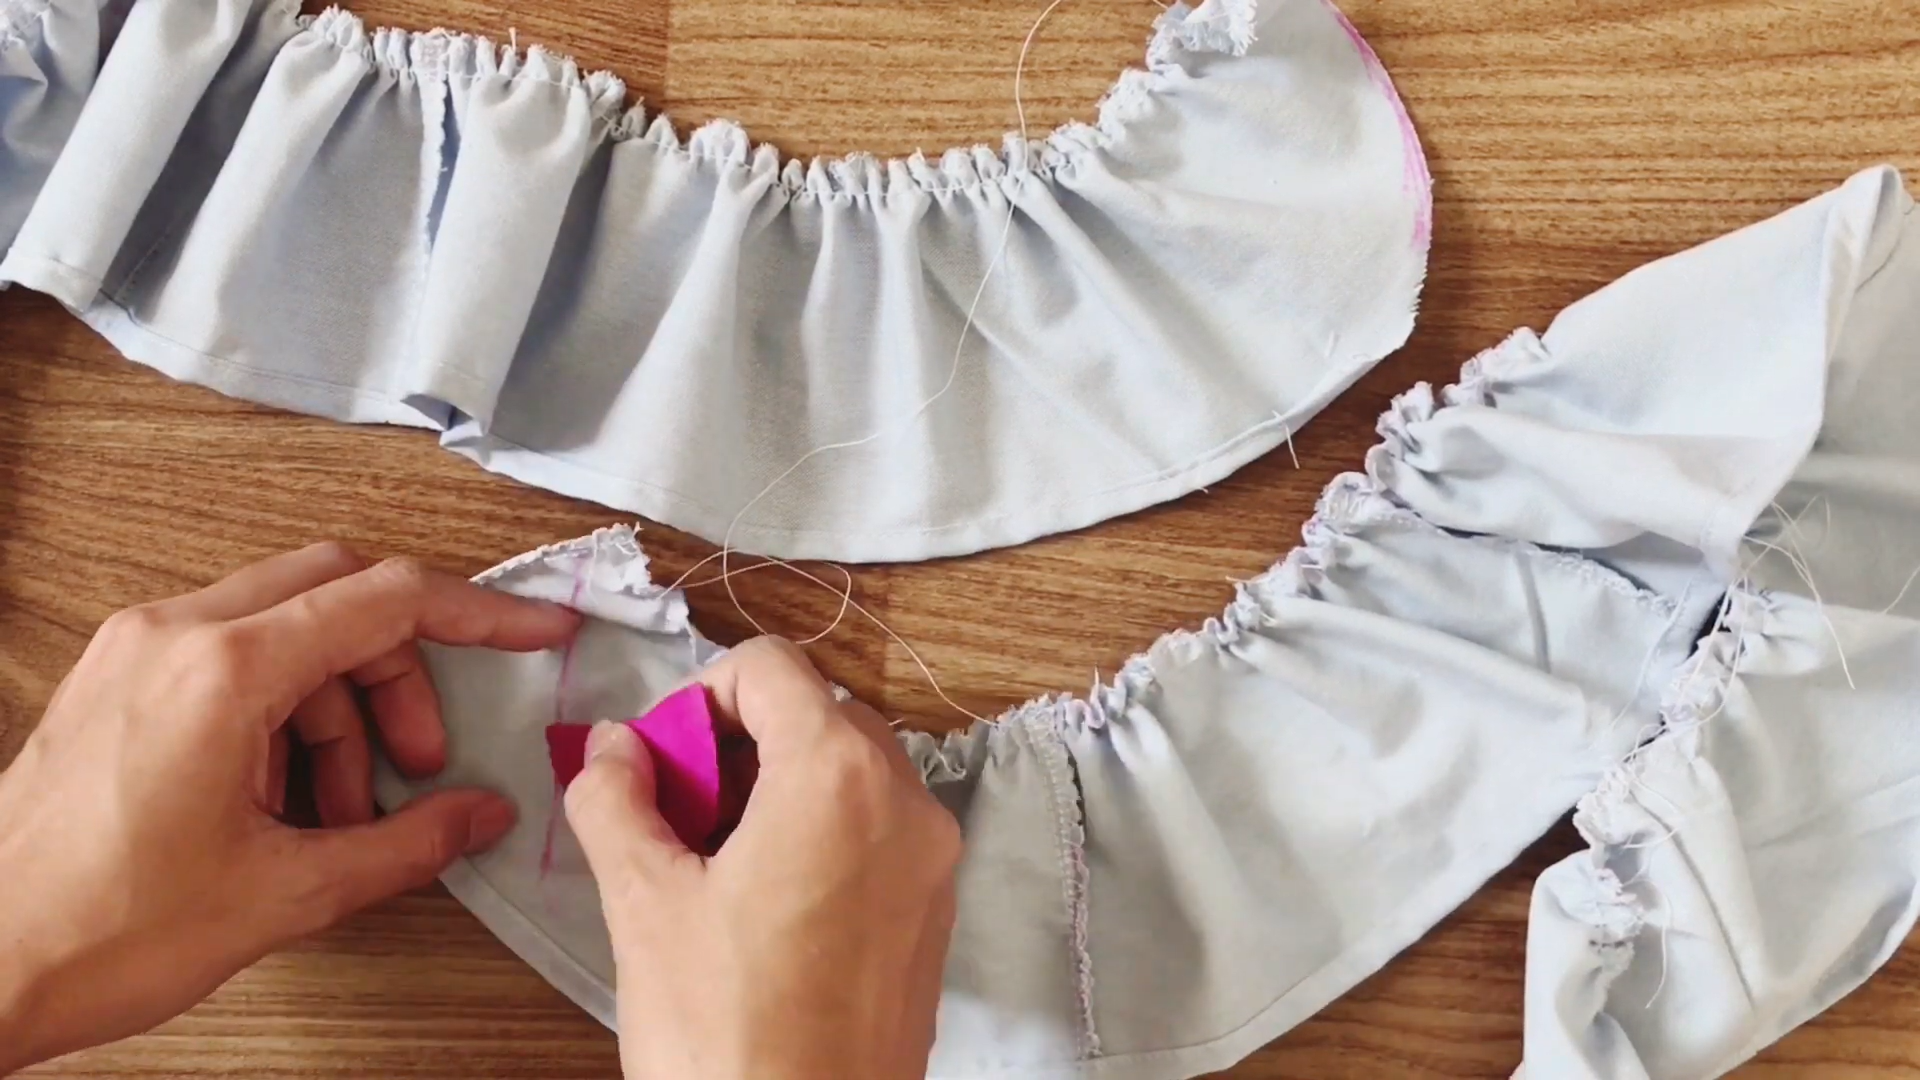
So, draw them and double fold and sew them like what you did in the beginning.
But if you do it when cutting the fabric in the beginning, it will be easier.
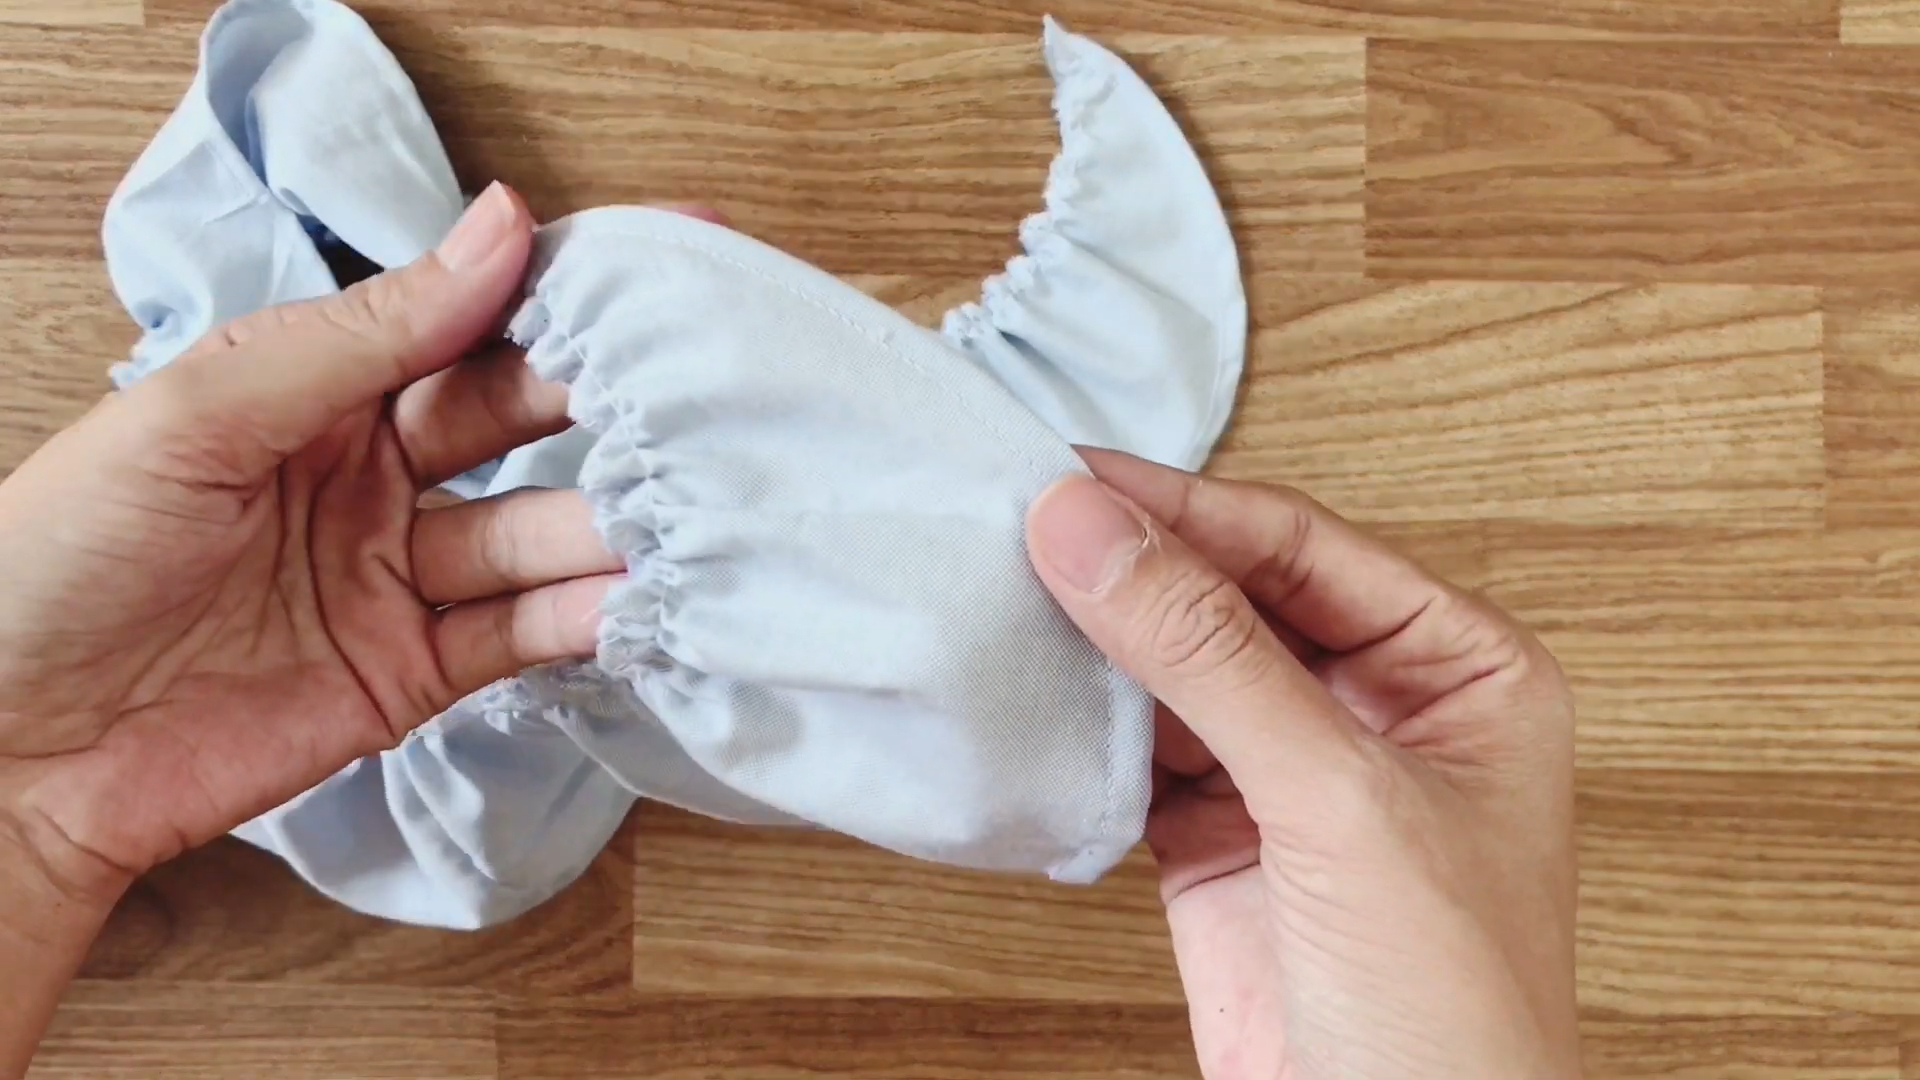
And here’s the ruffle part of the skirt.
THE CURVE
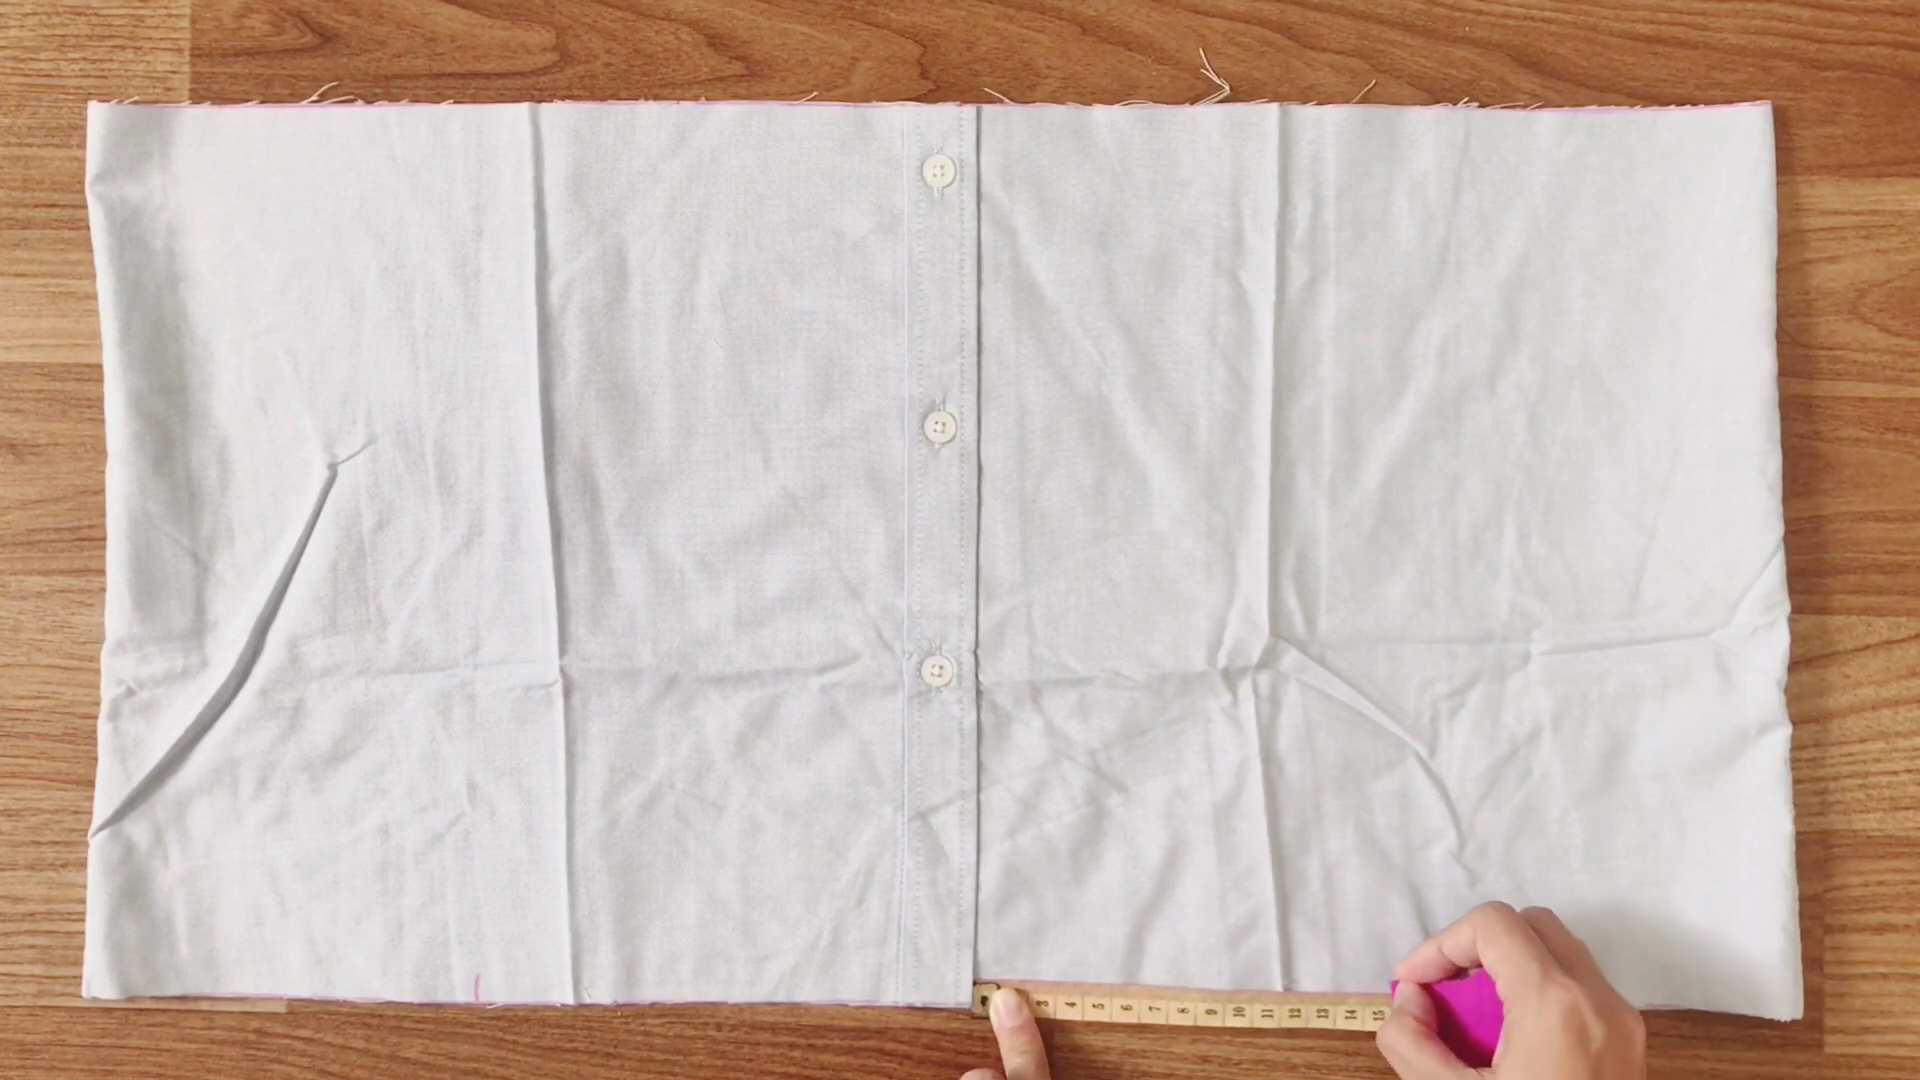
Moving to the main part of the skirt, from the button part, go to 2 sides 15 cm and make the mark at the end of the fabric.
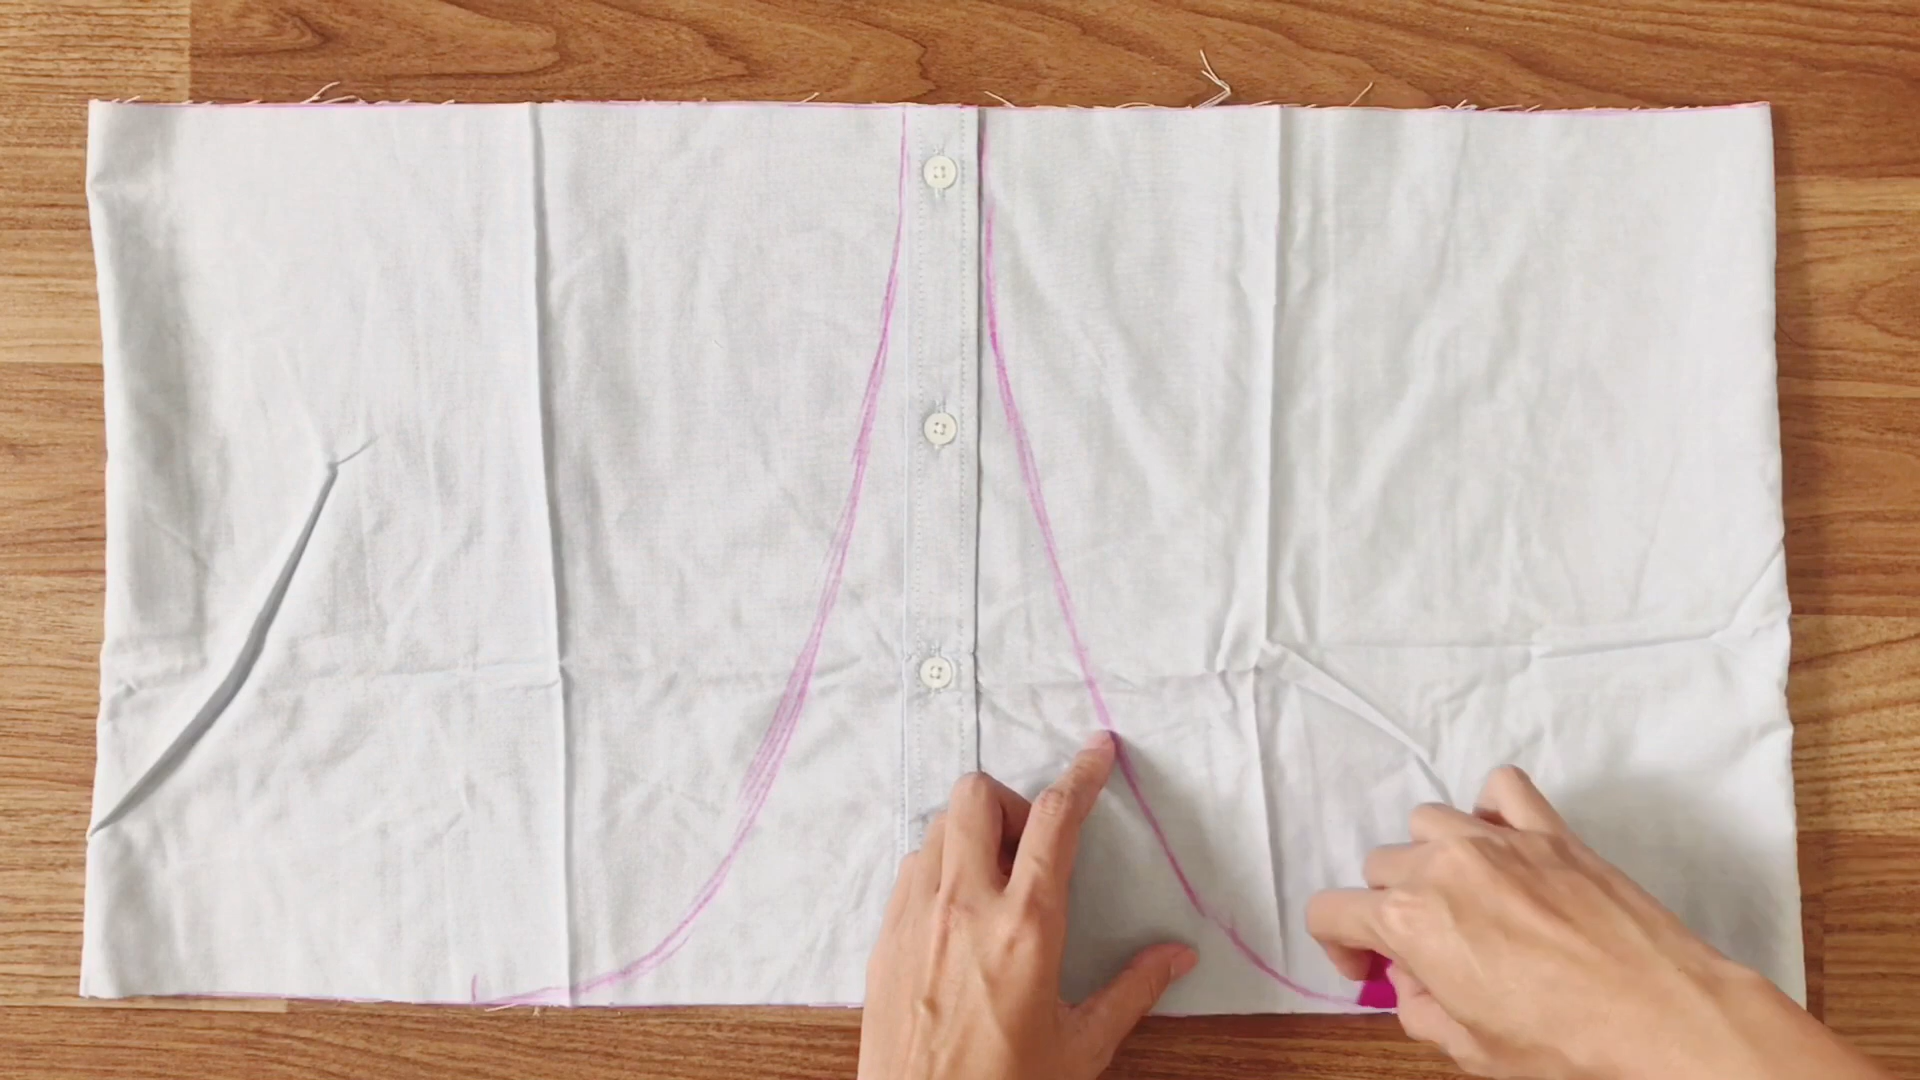
Then, draw the arch line from the top down to that mark to create the curve for the skirt.
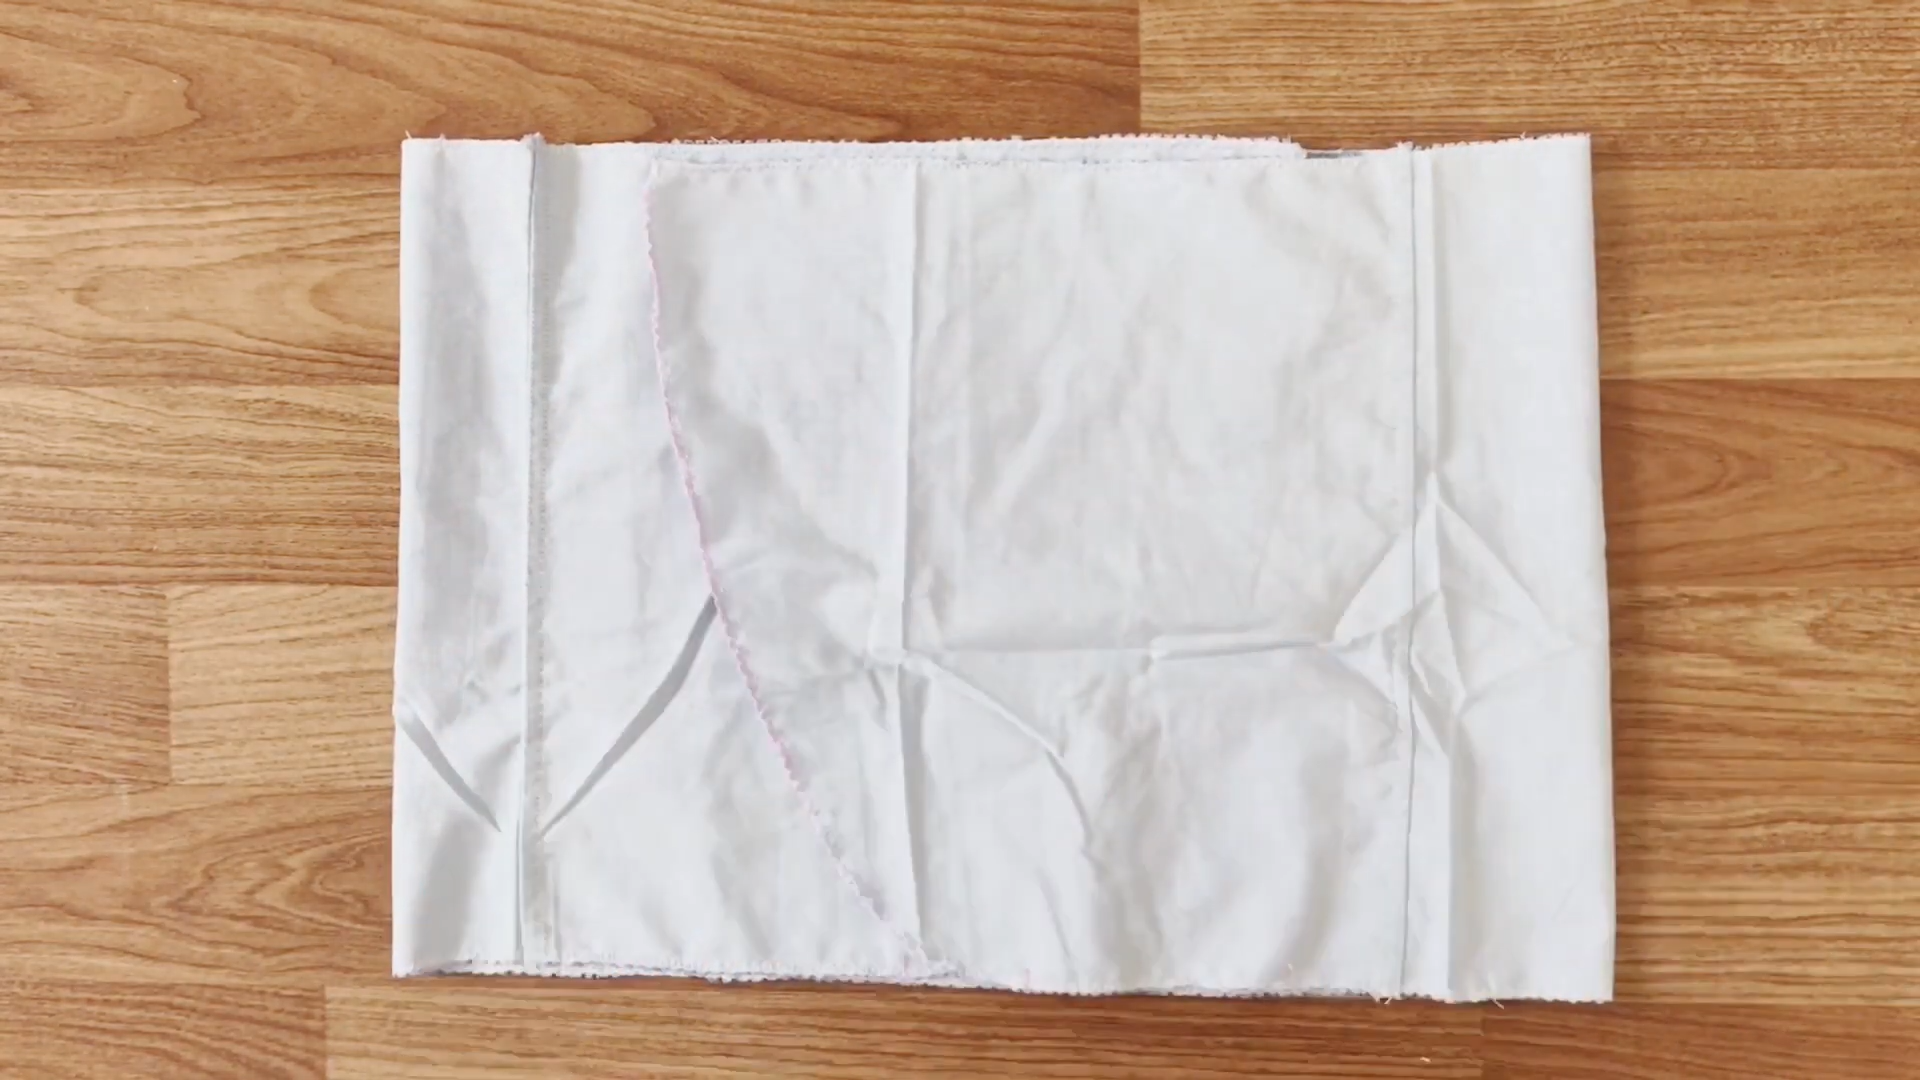
After cutting by the drawing line, don’t forget to overcast the main part.
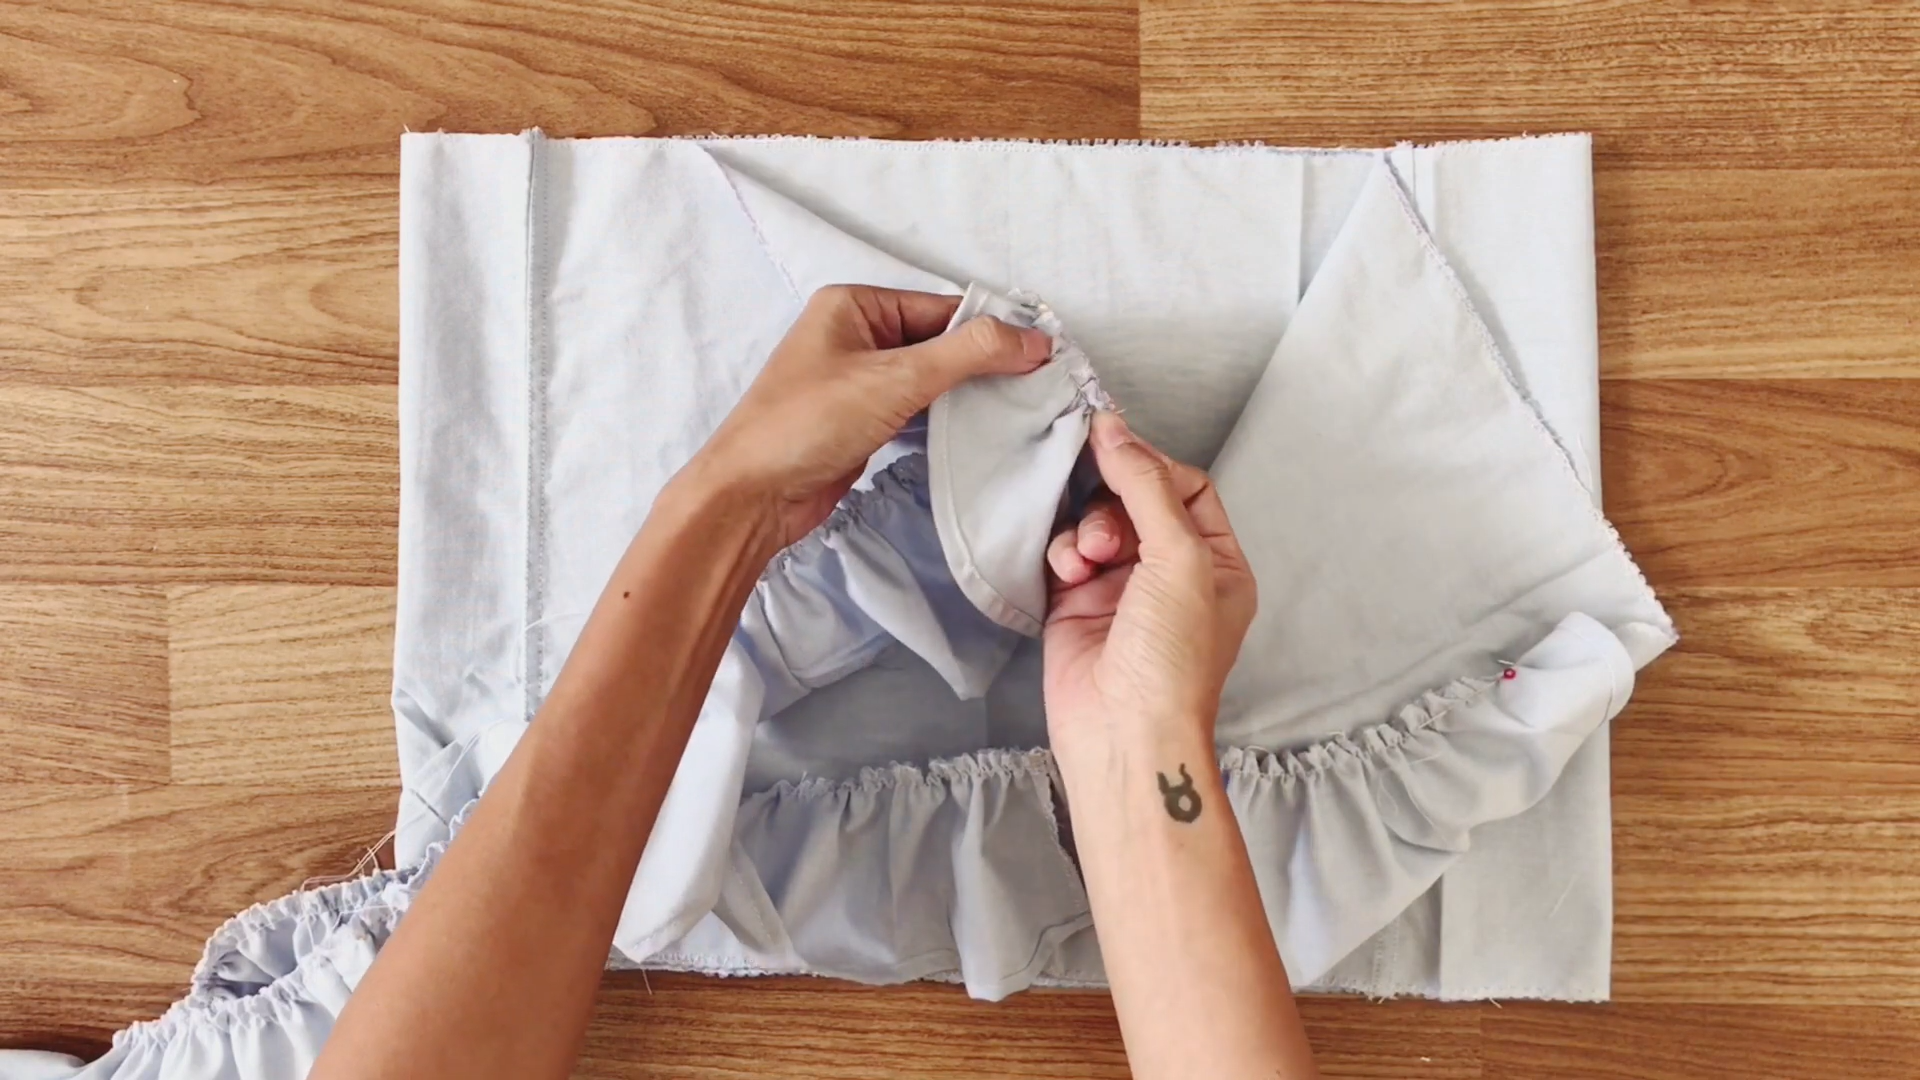
Now, we’re going to connect the ruffle part into the main part of the skirt.
The tip here is to connect two sides of the ruffle into two sides of the main part first, then you can adjust the rest later.

The next step is to make the basting sticks to adjust the width of the skirt because the current one is wider than your waist size.
THE WAISTBAND

To make the waistband for the skirt, use the 8 cm width of the fabric that you cut before, but you need to cut out a button part and overcast it before doing.
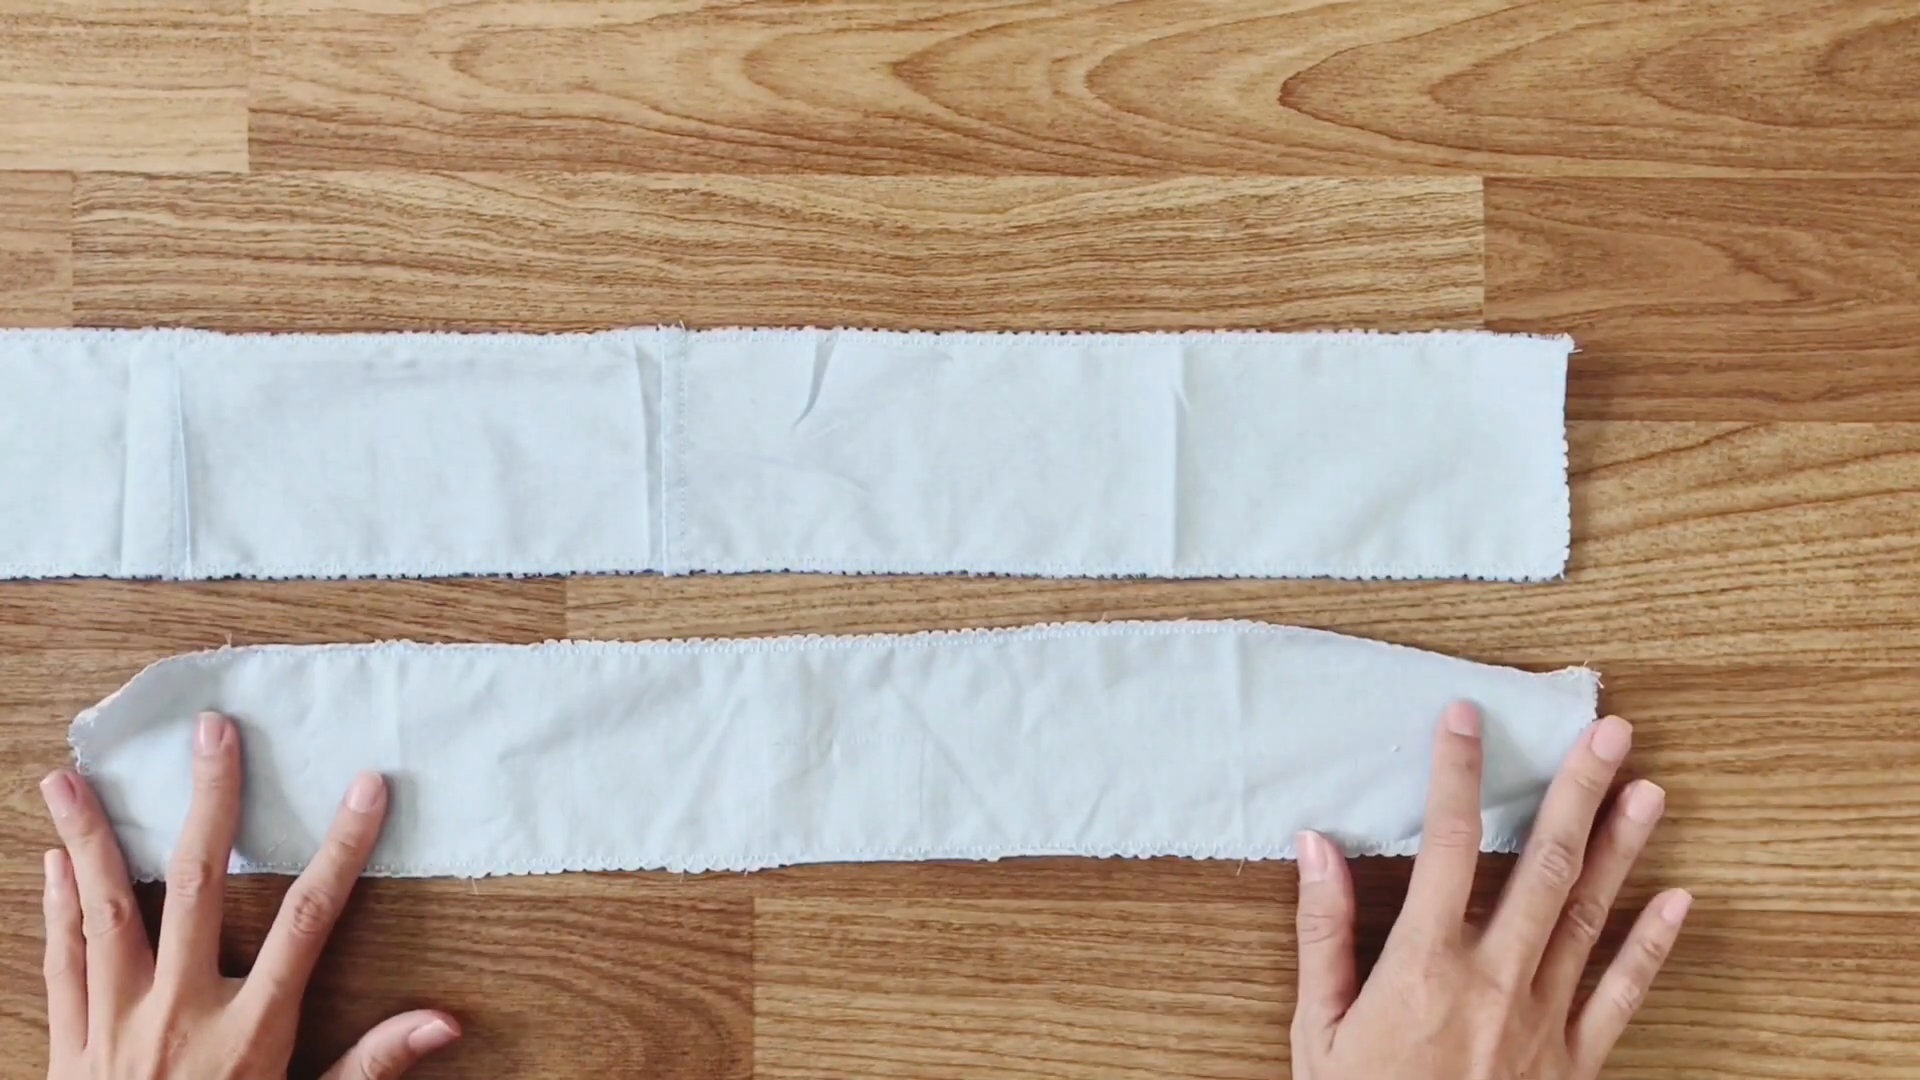
Here’s the waistband.
Also, make a short one with the same size, which is 8 cm width, from the leftover fabric of the men’s shirt. It will be the extra waist belt to make the tie for the skirt.
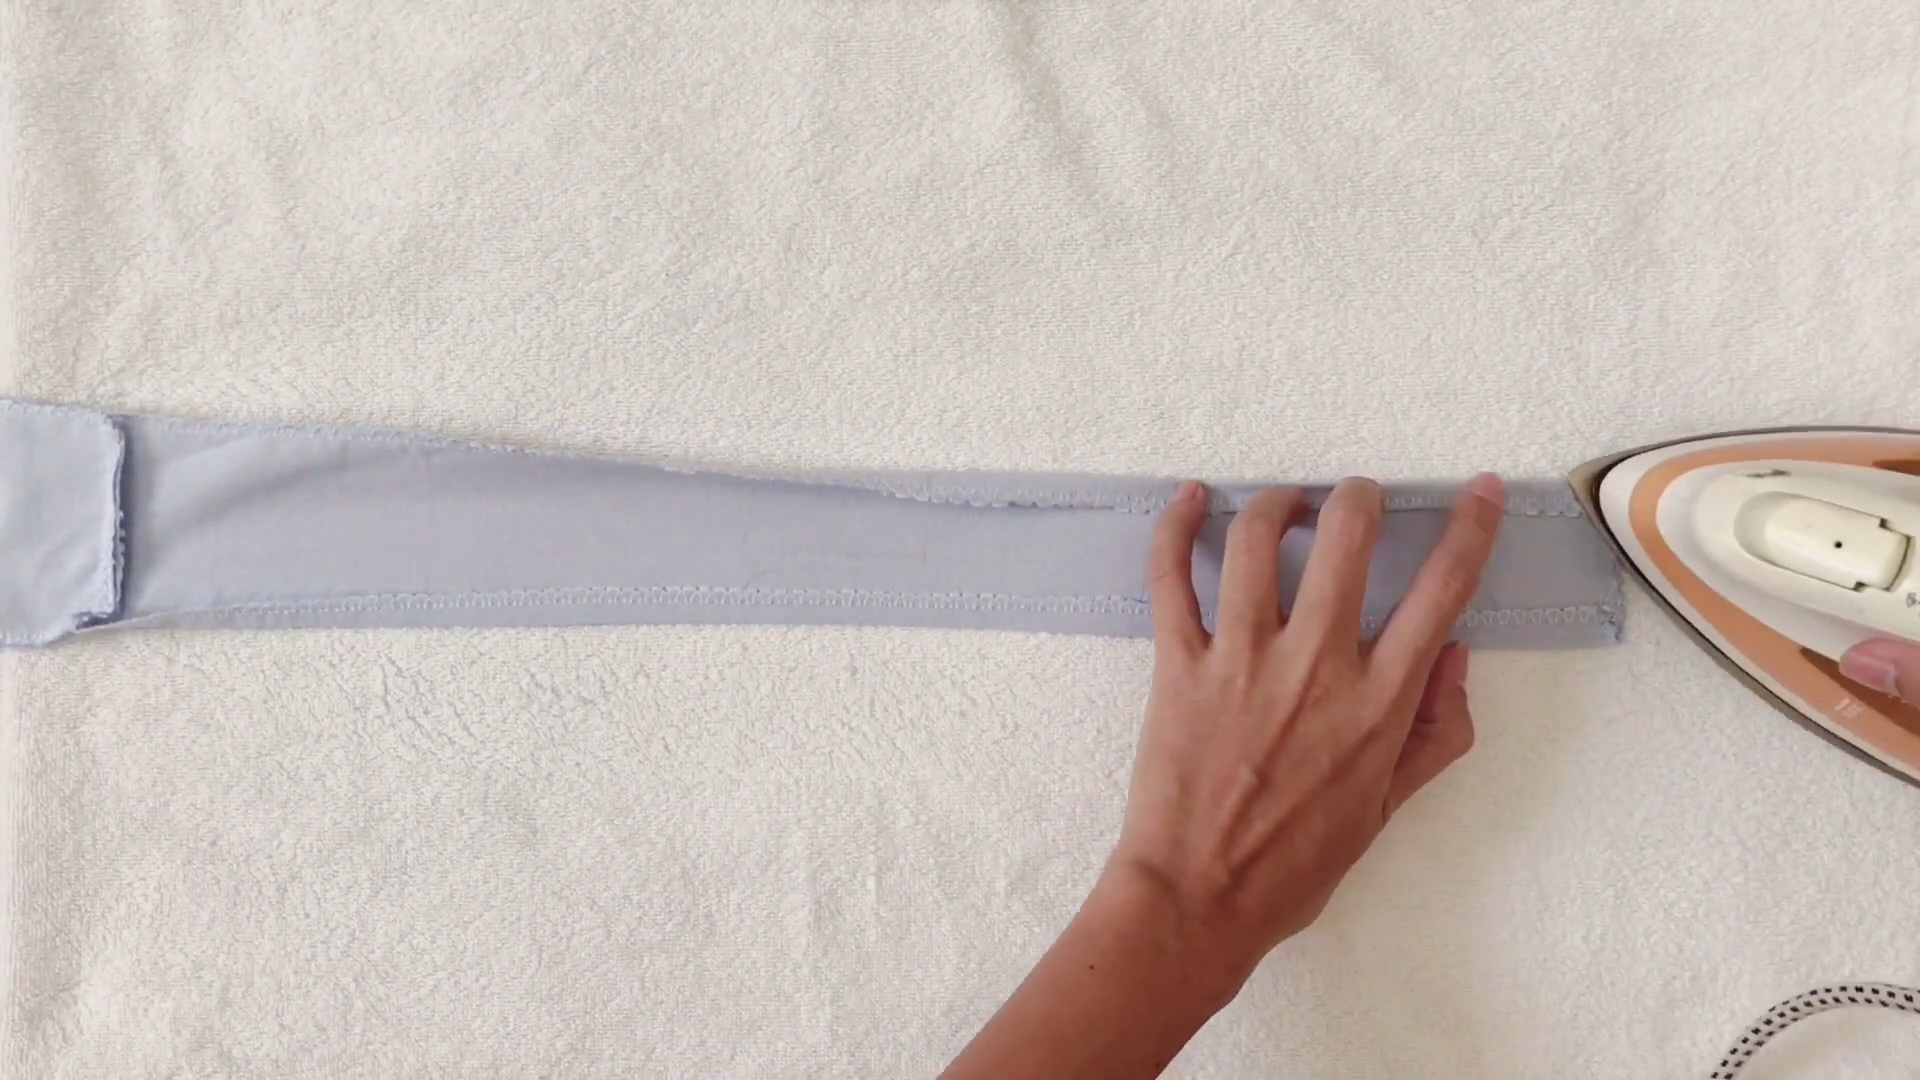
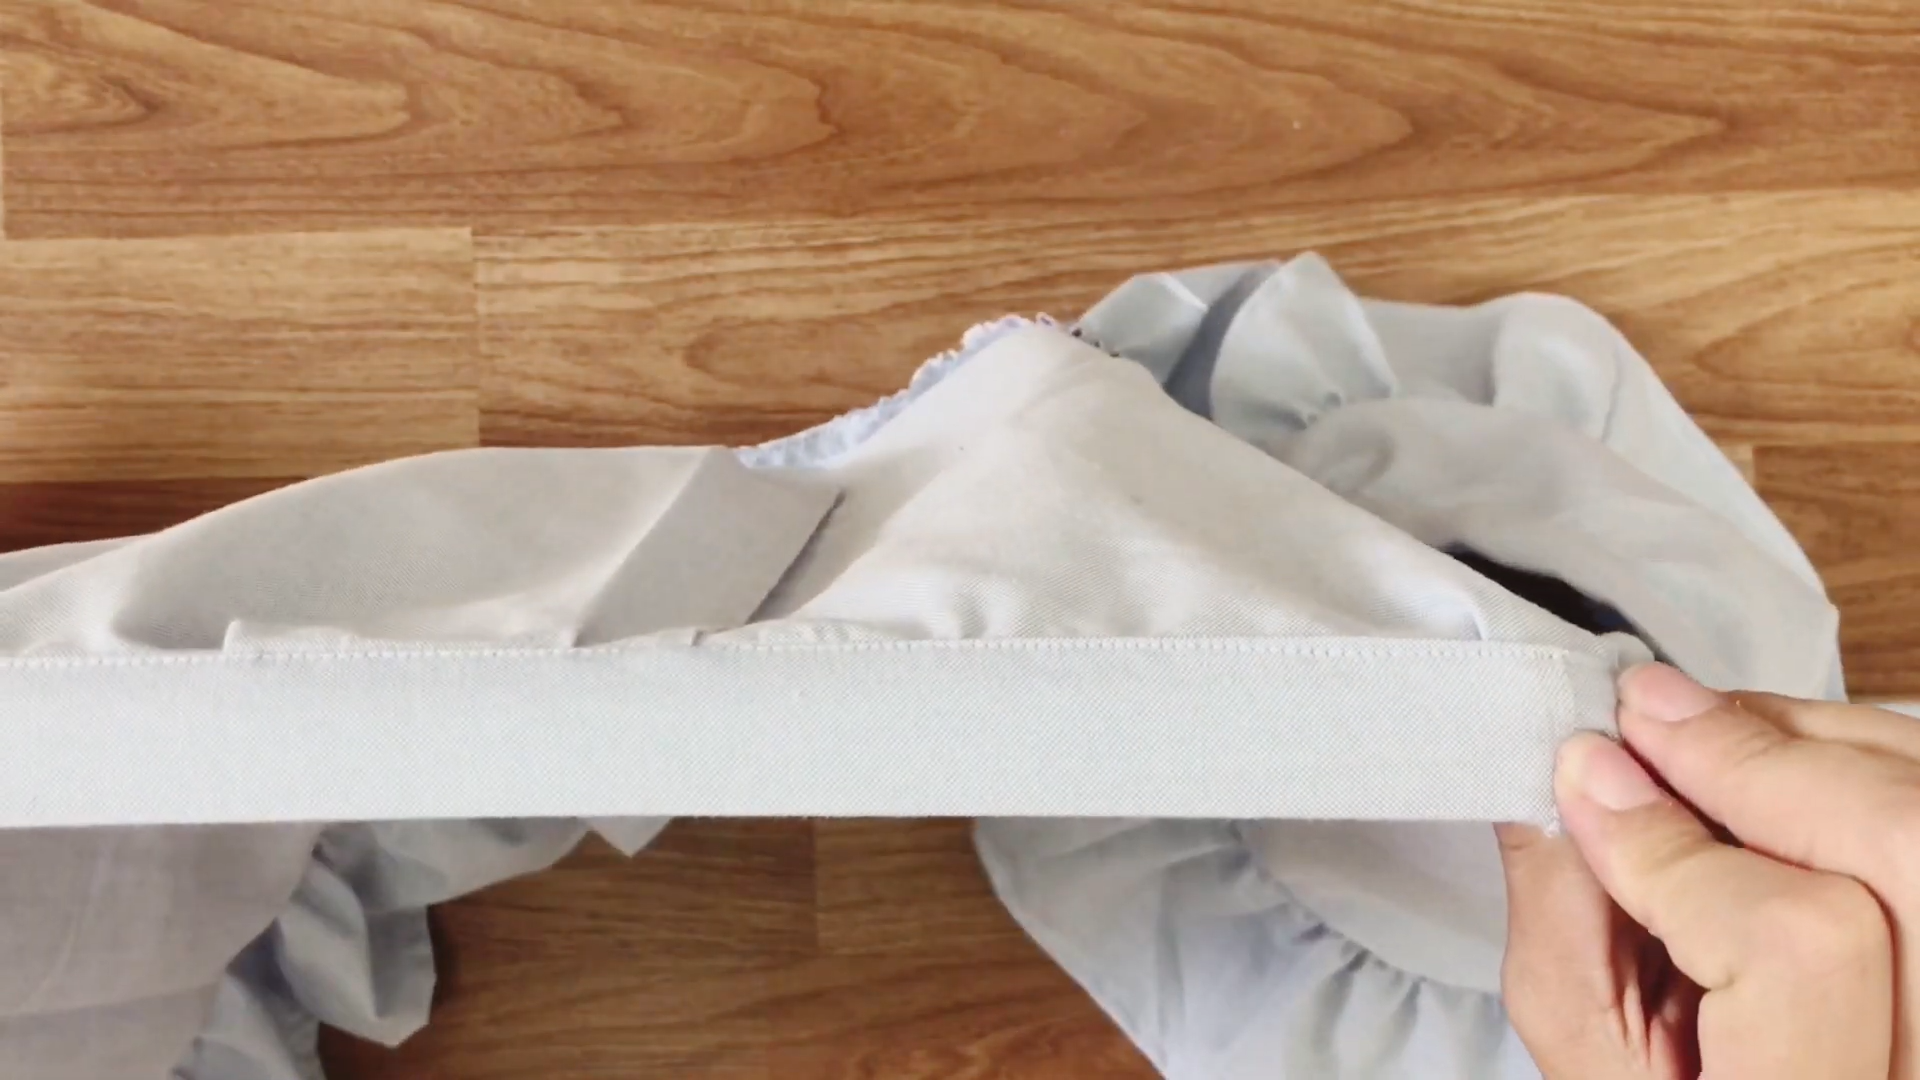
To make it easy for sewing, iron the fabric to create a waist belt first.
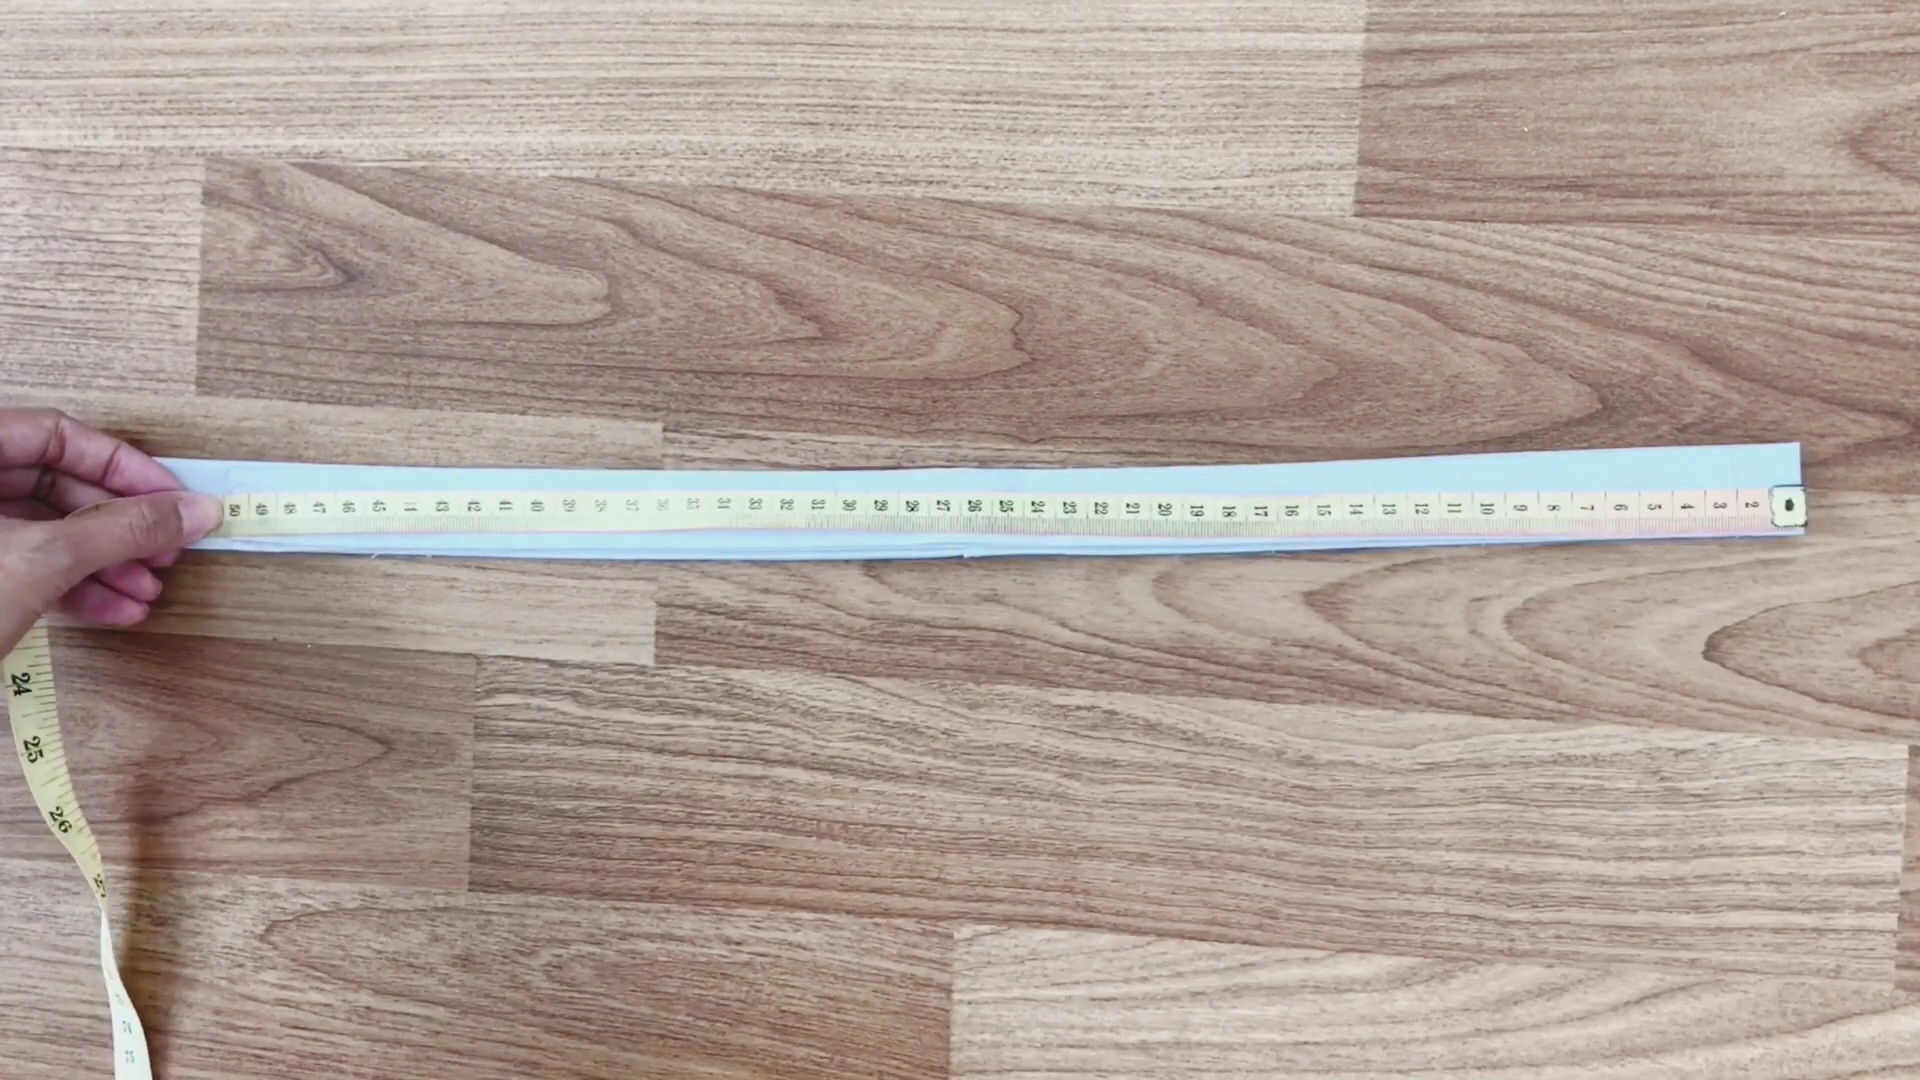
Then, measure the width of your waist to the waist belt before connecting it into the main part of the skirt.
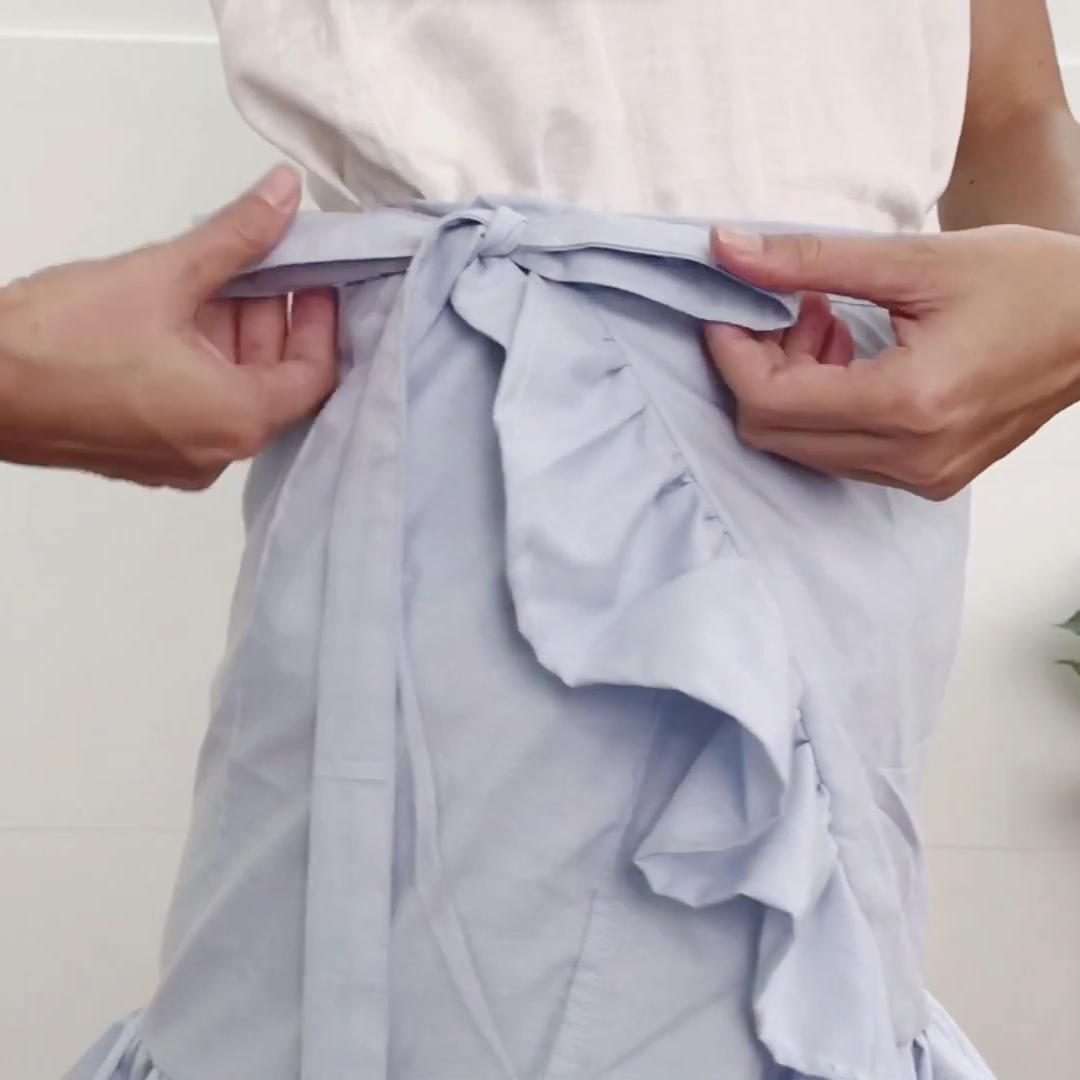
Remember that we’ll have the double folding in the front of the wrap skirt, so the measurement for the width at the waist belt will be 1.5 times bigger than your actual waist size.

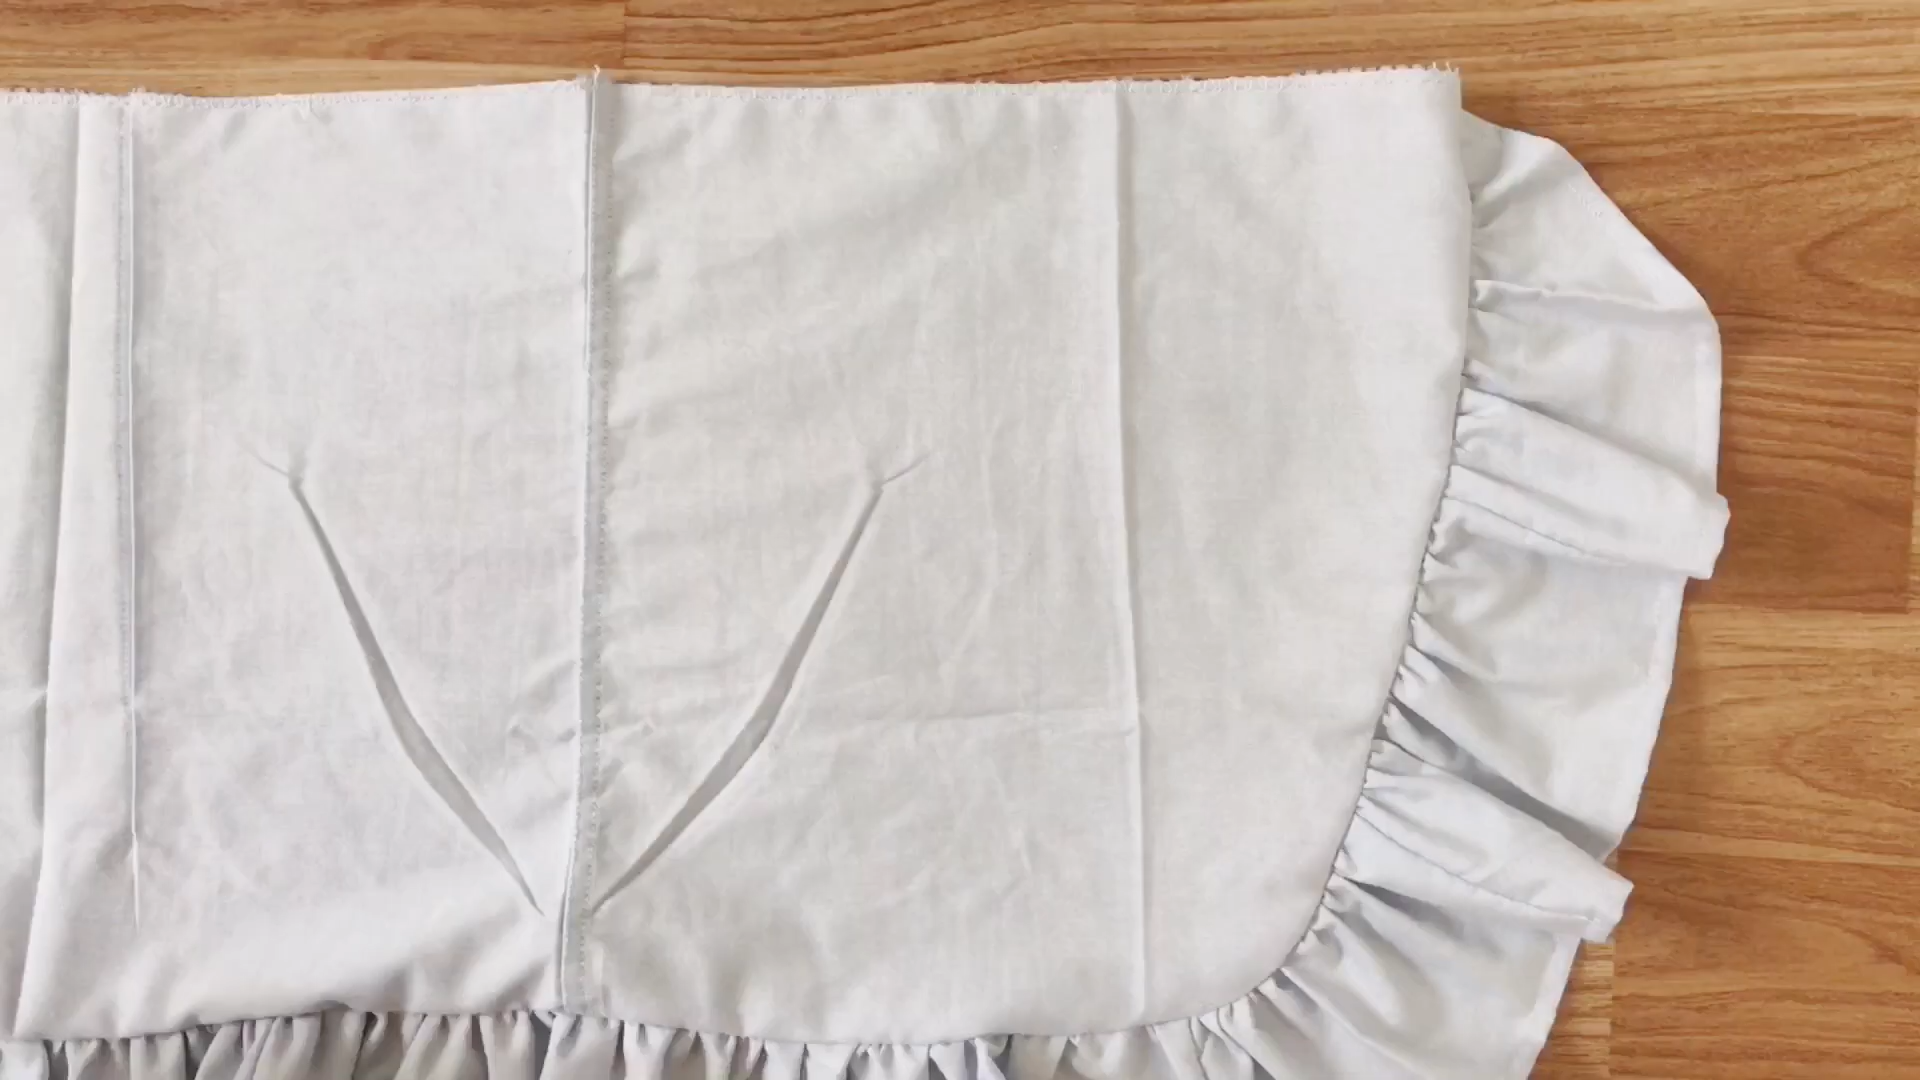
When connecting the waist belt to the main part of the skirt, connect 2 sides first to fit the width of the skirt, then connect the rest together after.
And here is what we get after sewing.
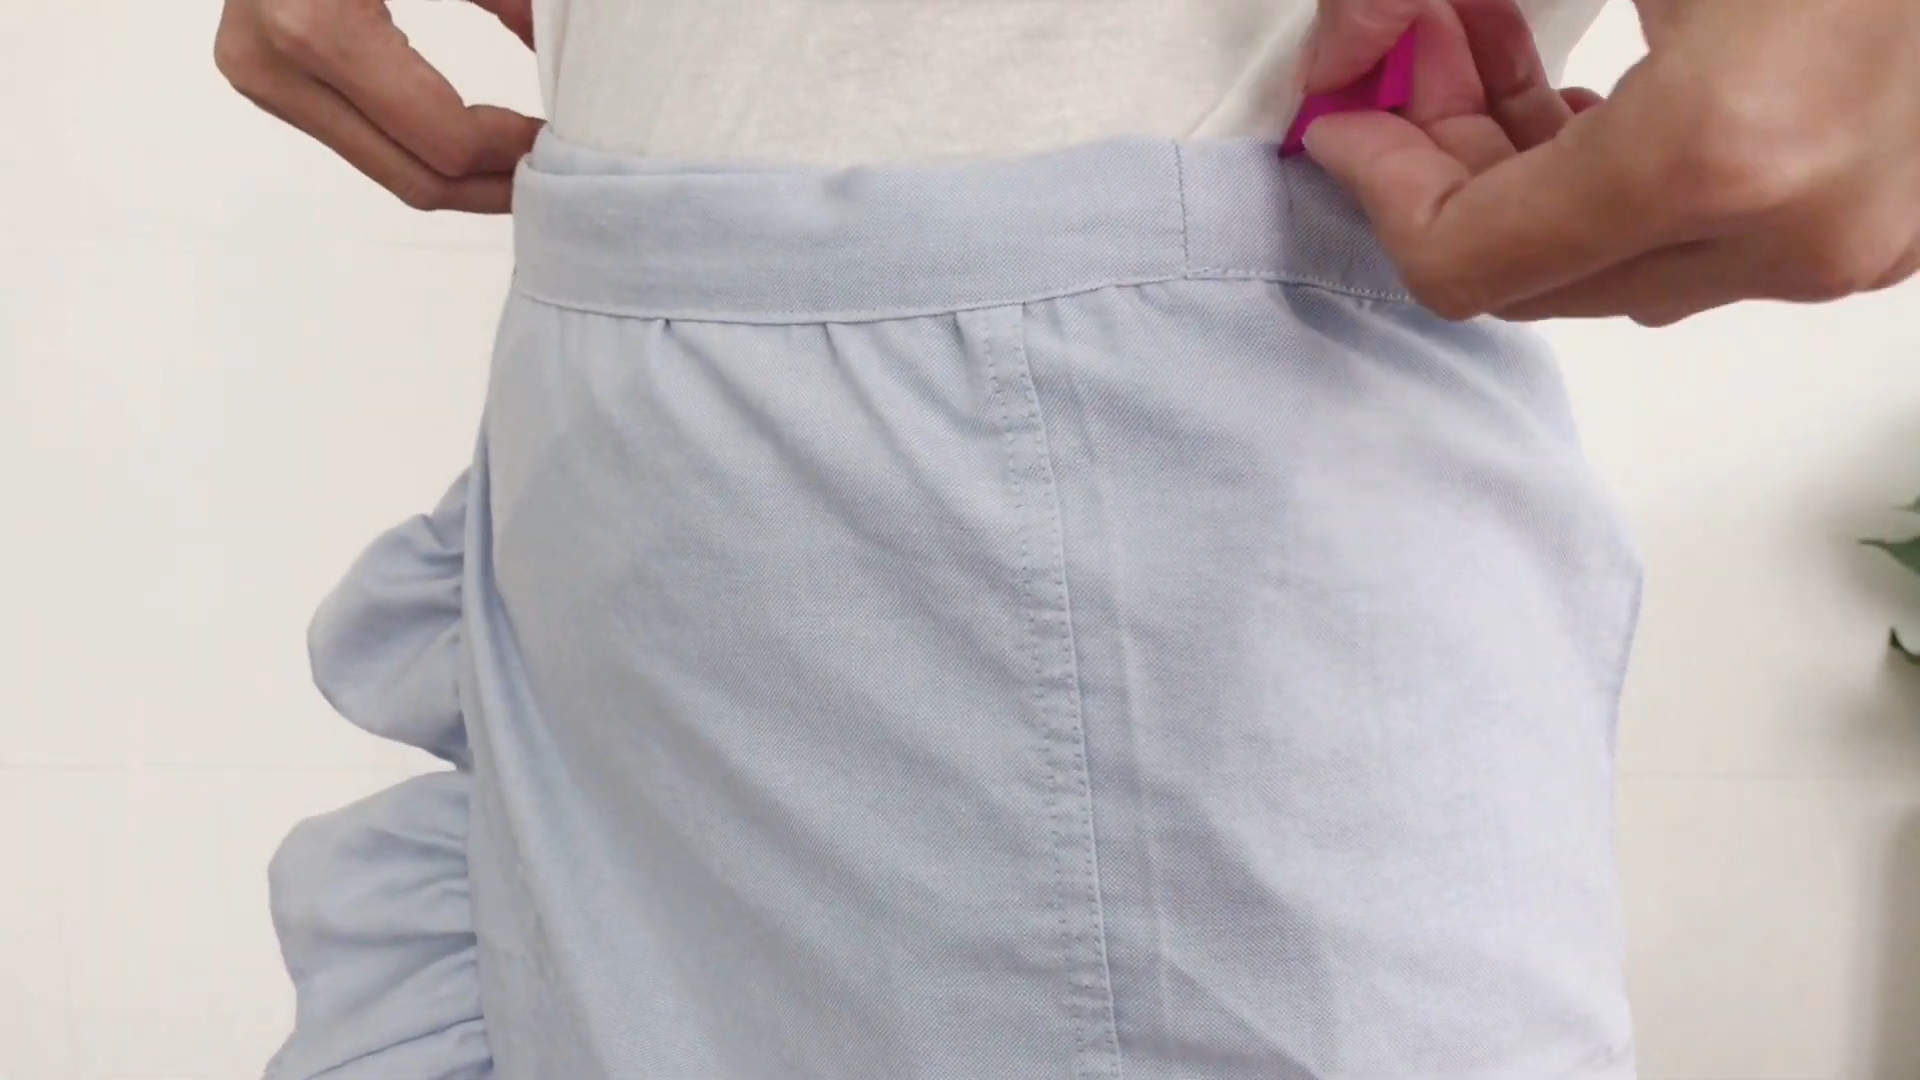
Next, try this skirt on to find the end at this side of the waist belt and make the mark there.
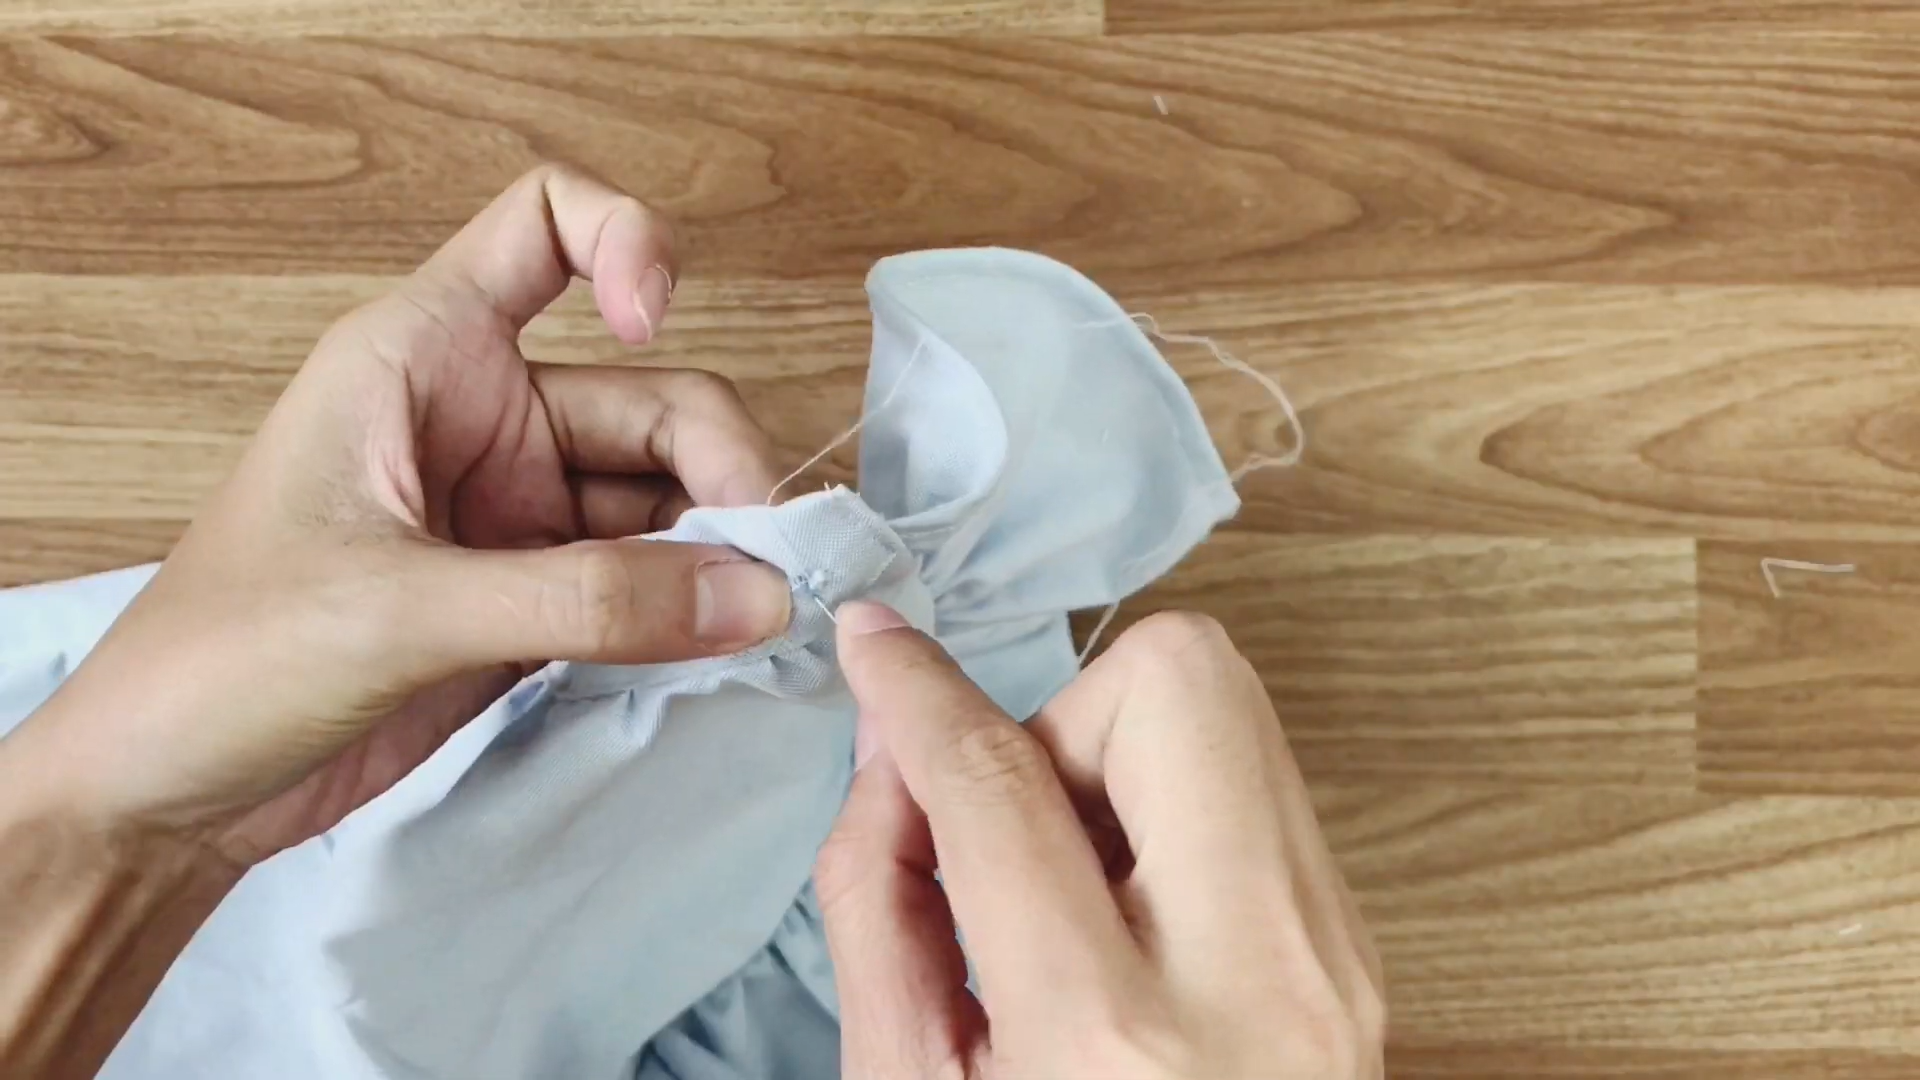
At one end of the waist belt, make the buttonhole by cutting a small hole and hand sew it by yourself.
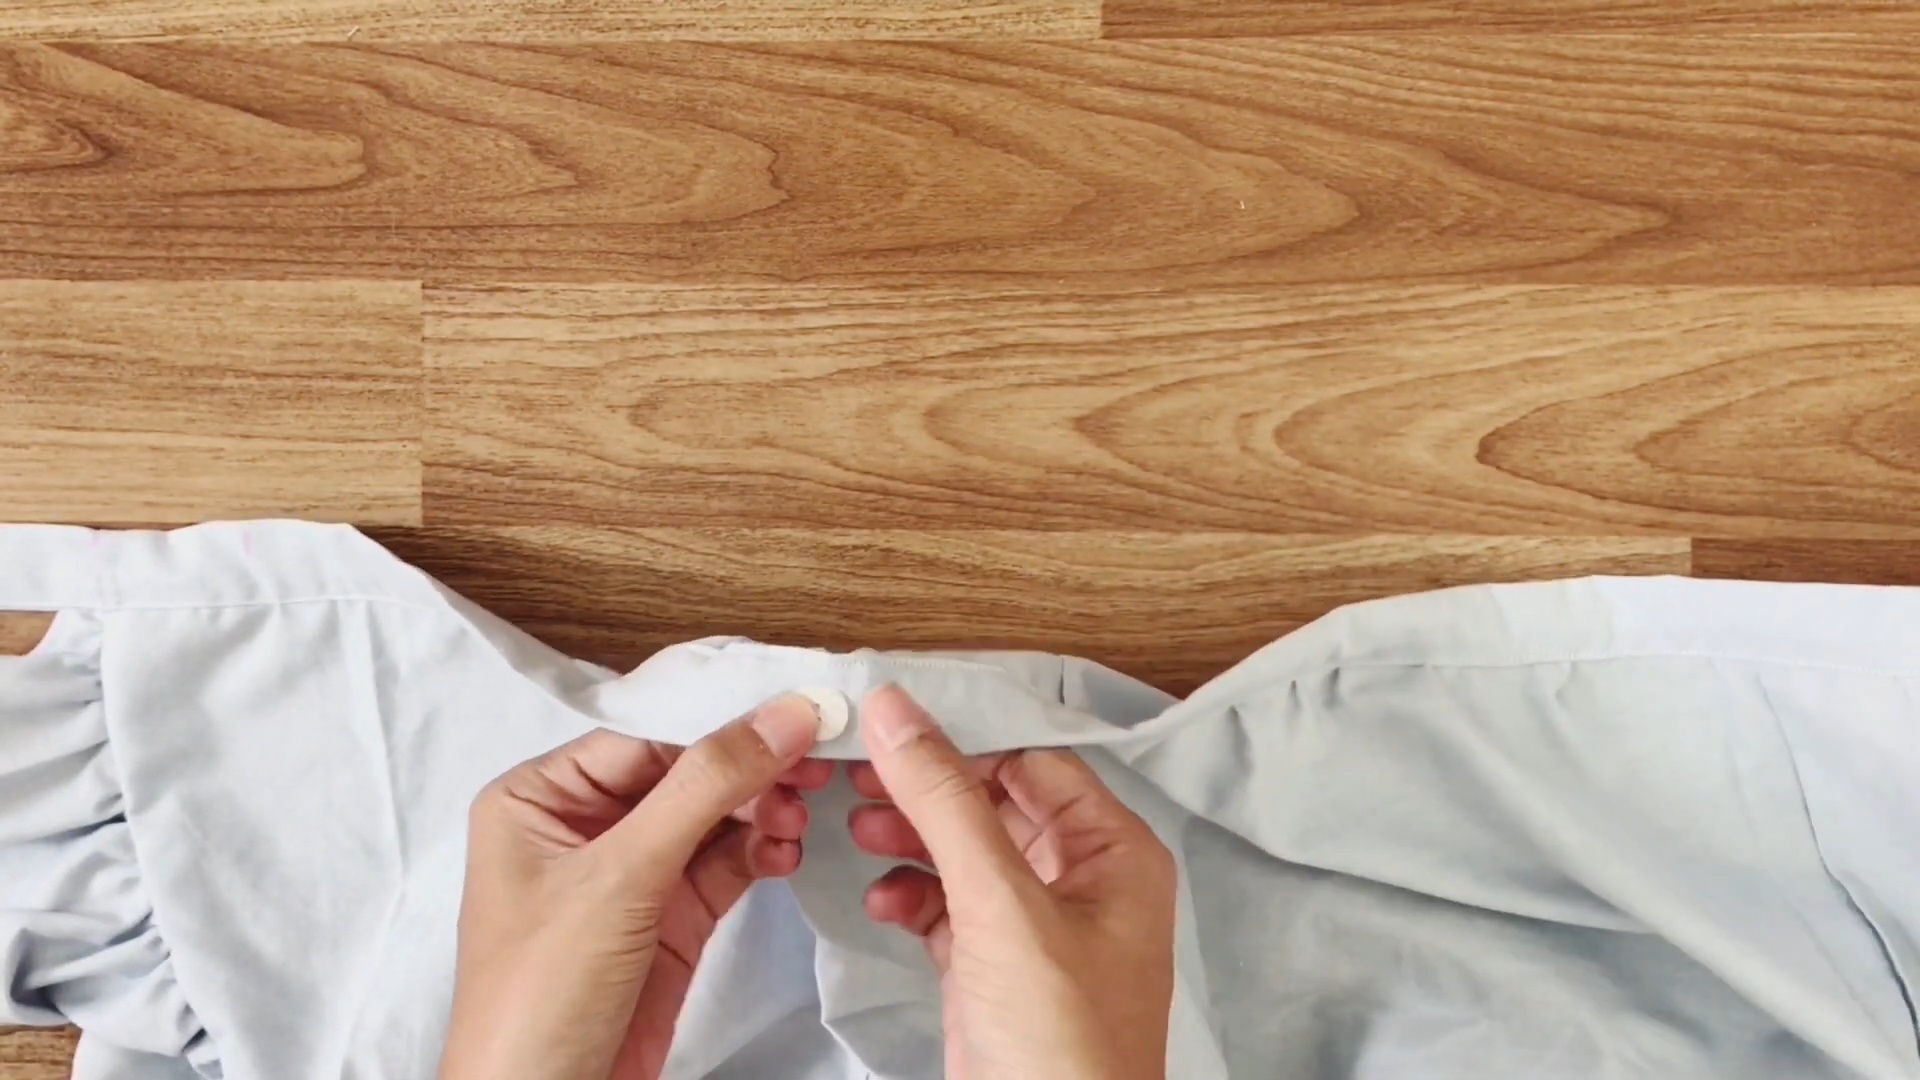
Moving to another end of the waist belt at the mark there, install the button inside.
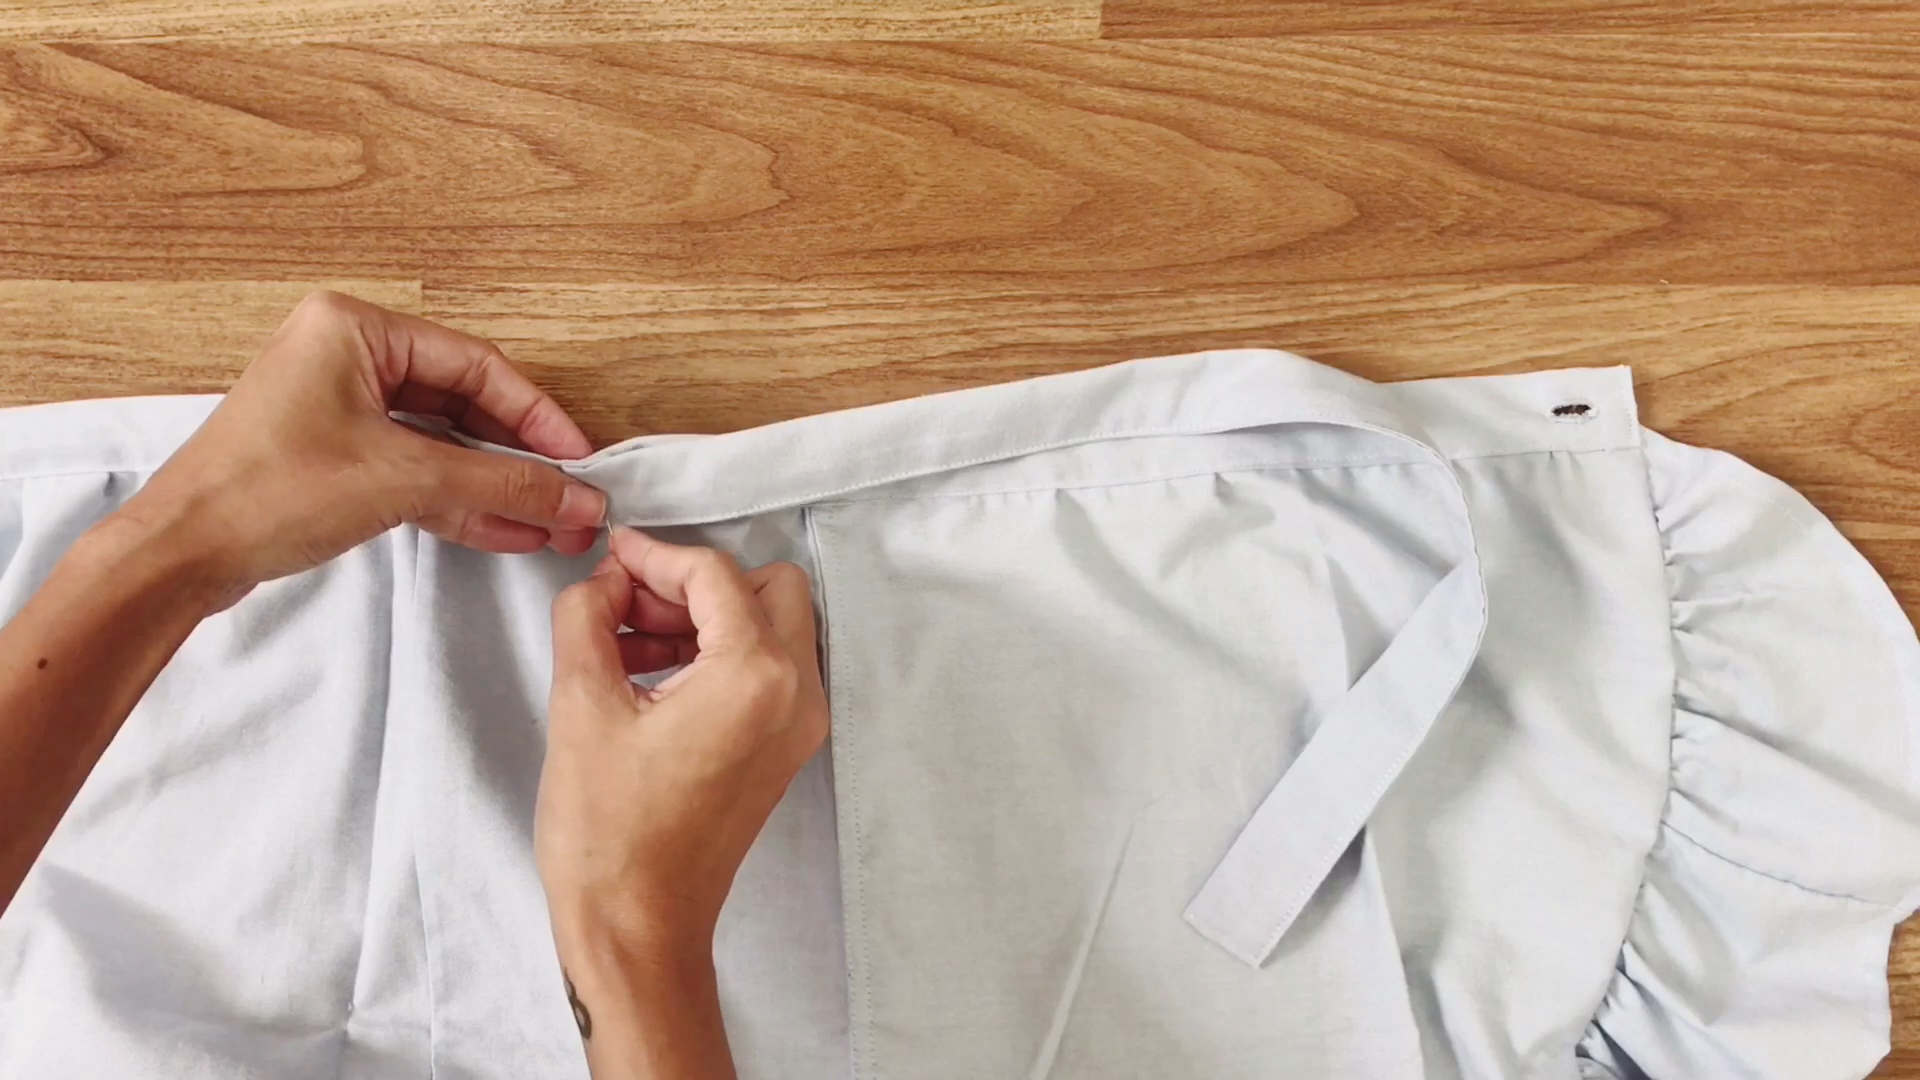
The last mark, which is close to the buttonhole, install the extra waist belt that we made before to finish this DIY.
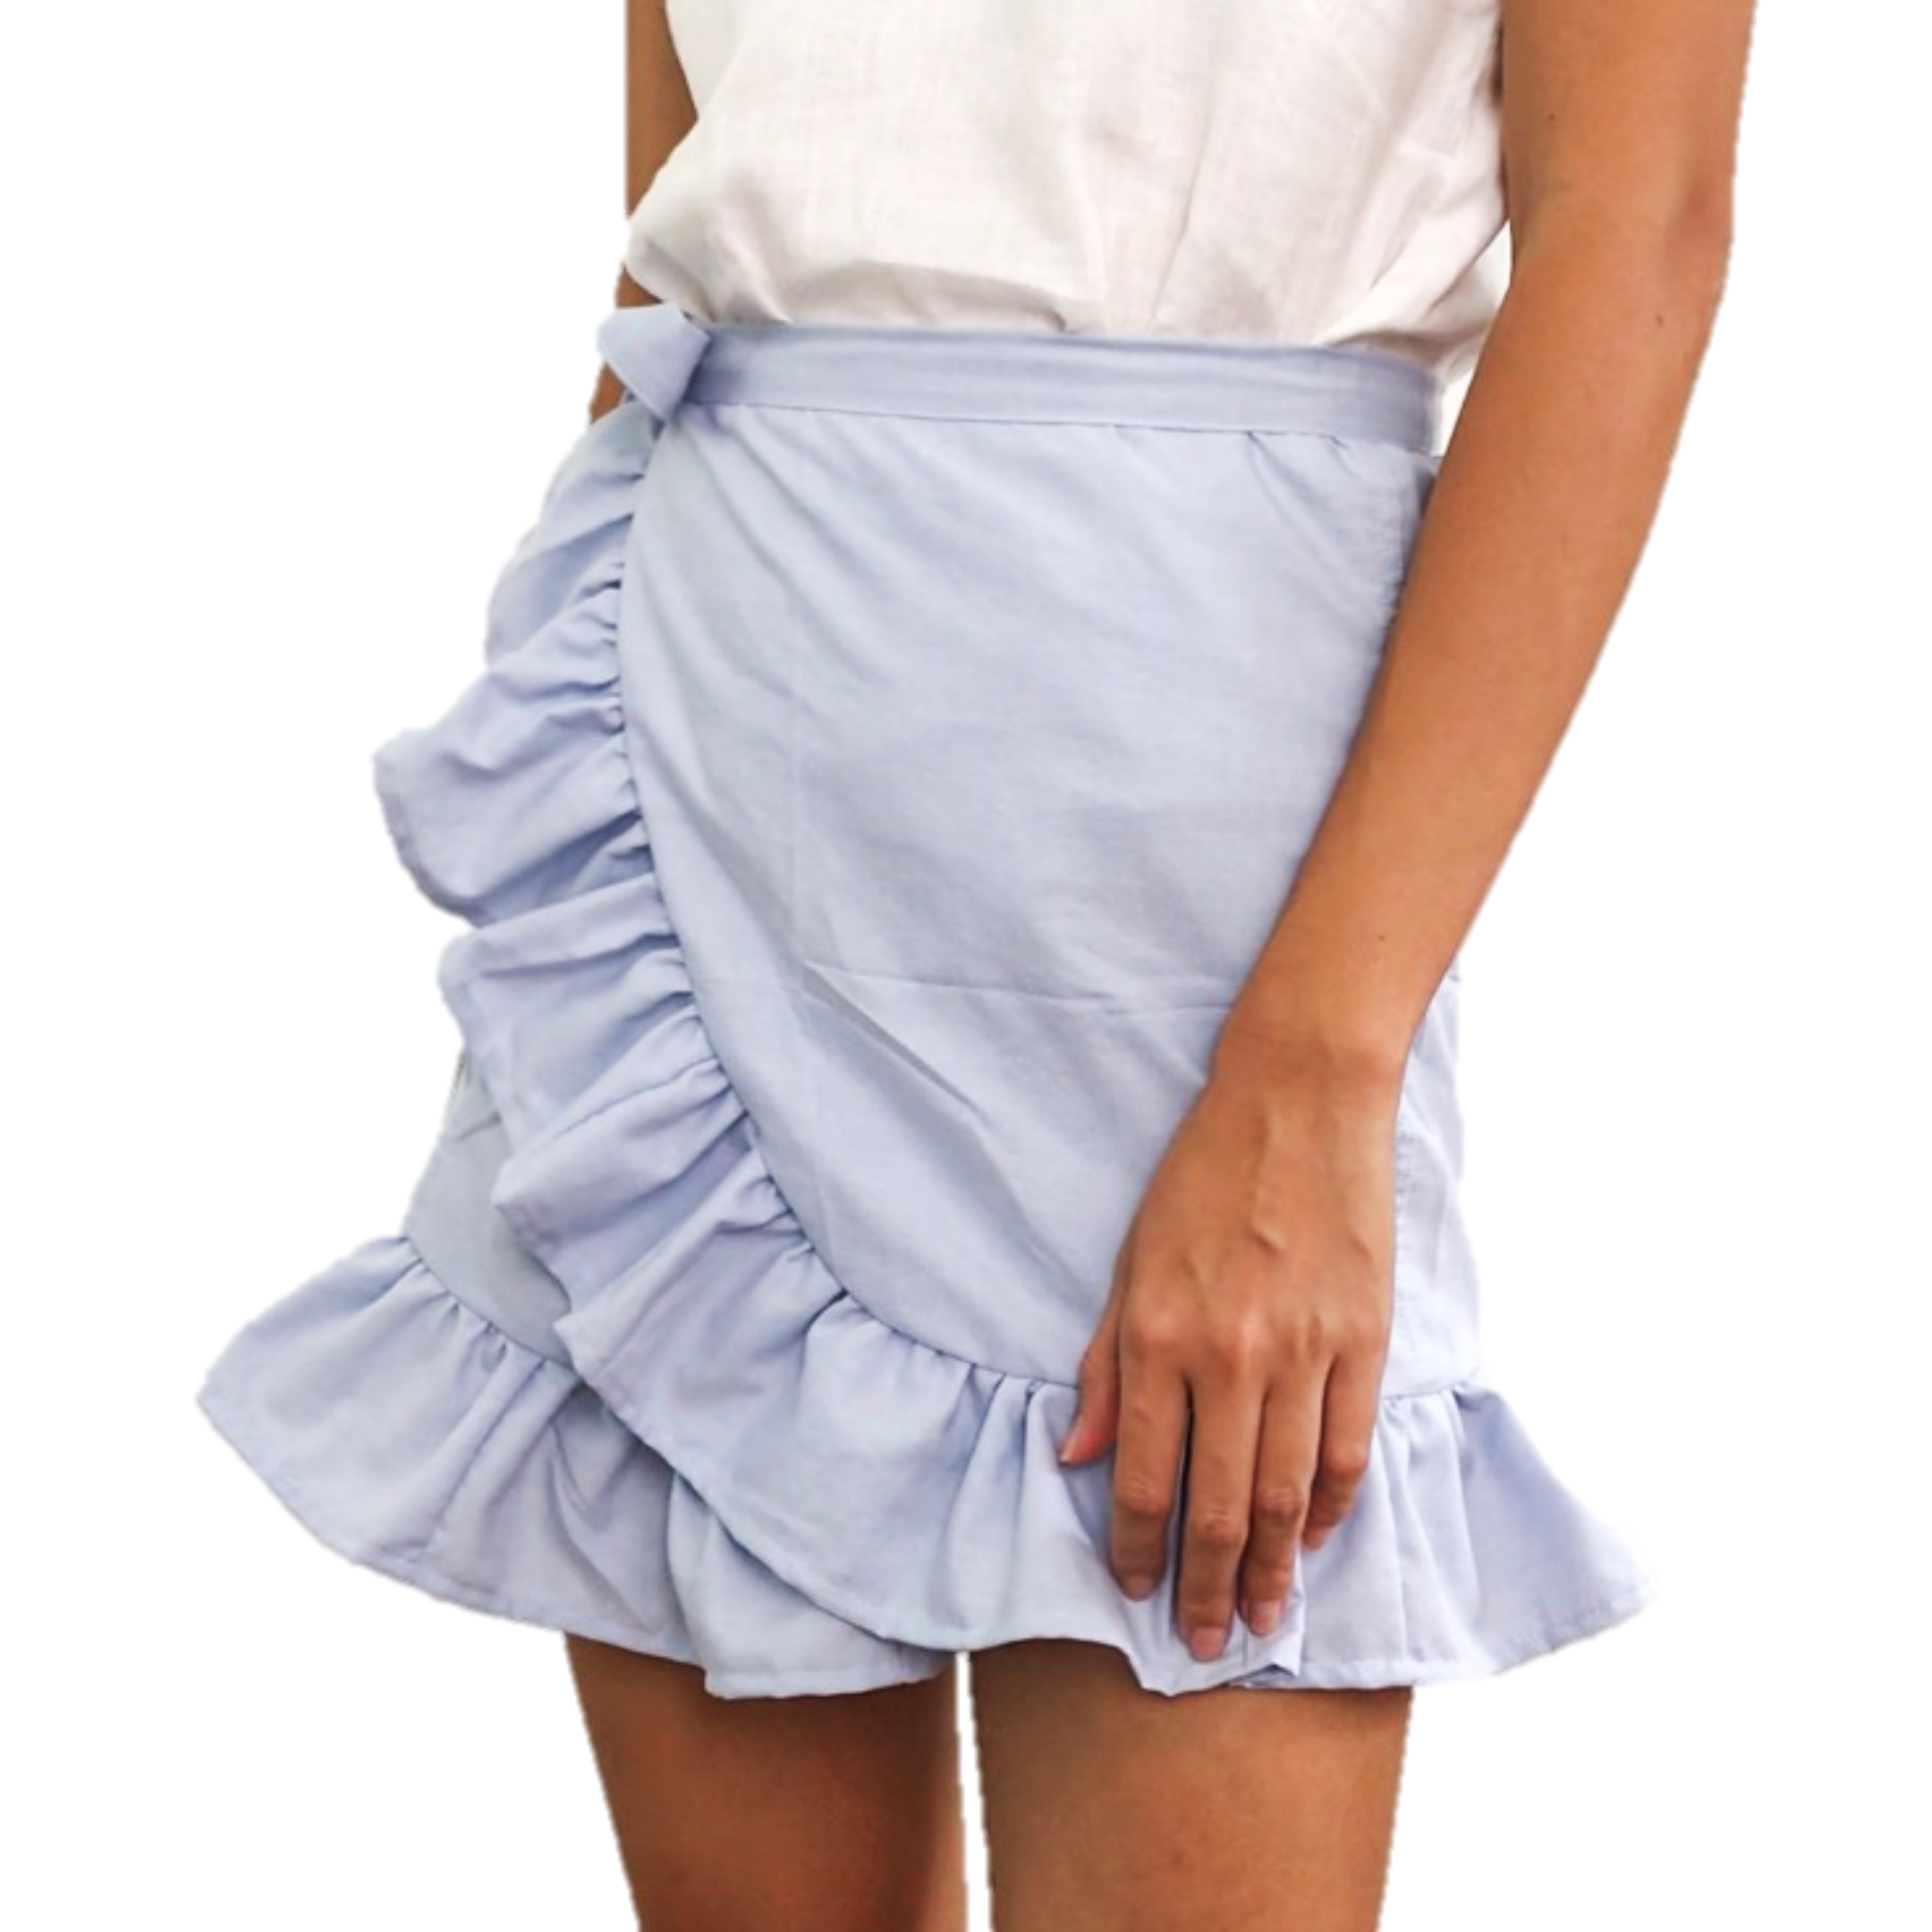
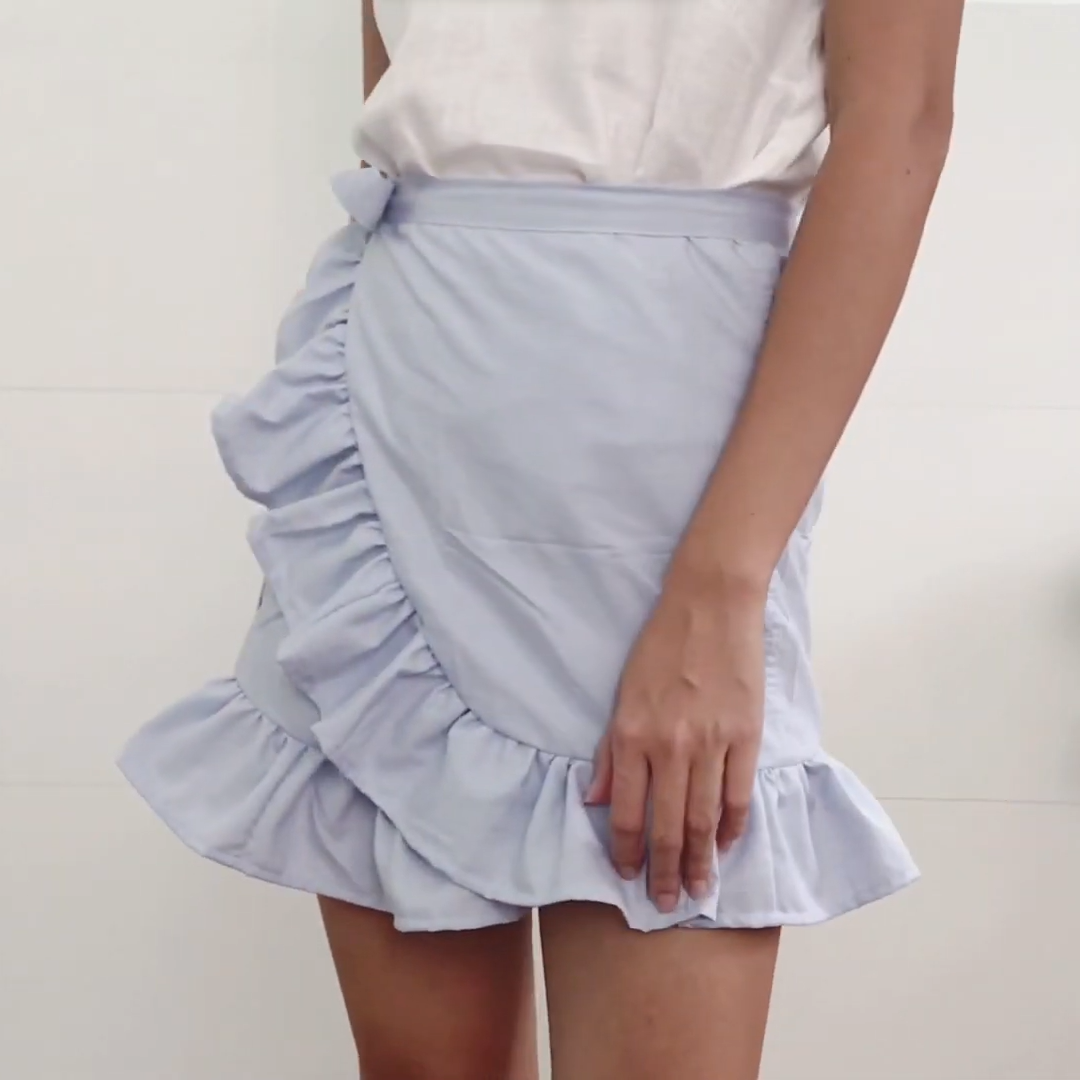
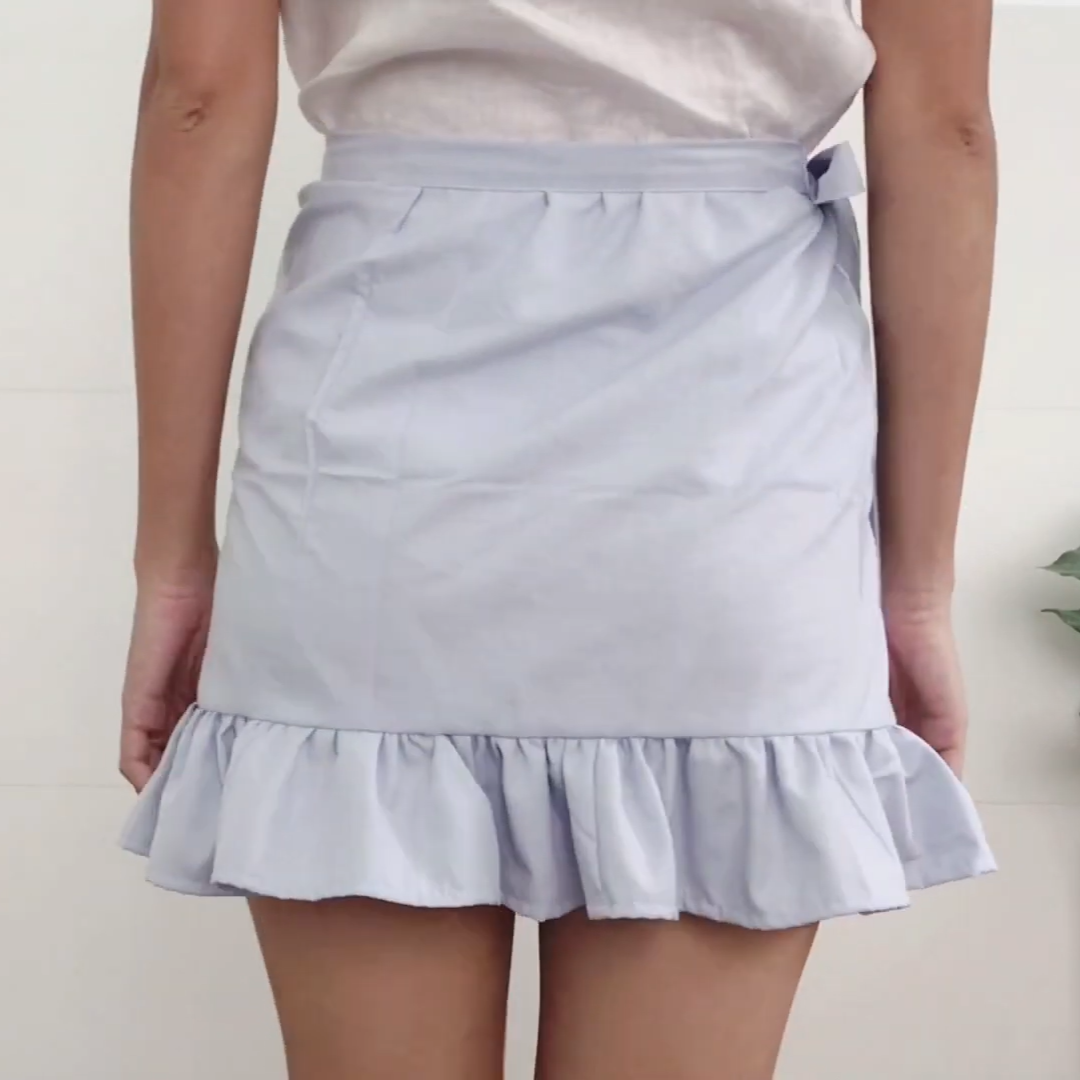
DIY Wrap skirt/Ruffle skirt from old shirt
And that’s a wrap! We’ve taken an old shirt and transformed it into a stylish, versatile wrap skirt that’s perfect for any occasion.
I hope you enjoyed this DIY and are inspired to try it out.
If you liked this project, please share it and subscribe to my channel so you won’t miss any of my upcoming DIYs.
Until next week, happy sewing!