DIY HALTER DRESS with Ruffle hem - Last minute Valentine DIY
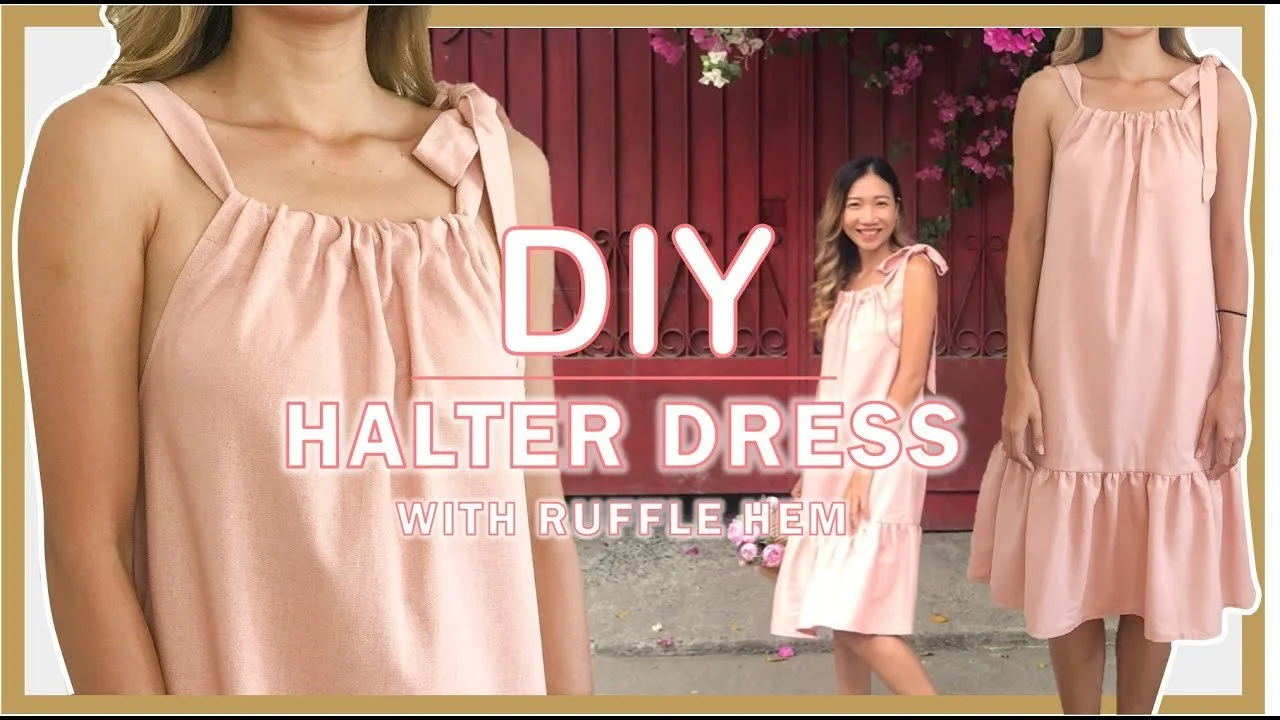
DIY HALTER DRESS with Ruffle hem
Excited for Valentine’s Day but still deciding what to wear?
Today, I’ve got a quick and easy last-minute DIY for you—a halter dress with a ruffle hem. It’s simple to make, looks gorgeous, and works well for all body types, so no need to stress over measurements.
So, let’s get started!
WHAT YOU’LL NEED
A pink linen fabric
Pattern paper
Sewing machine
Pins
Scissors
Ruler
Long stick
MAKING THE PATTERNS
Here’s the pattern for the project. To get a clear understanding of all the measurements needed for the pattern, watch the video from 0:30 to 3:00.
Remember, you can adjust these measurements to fit your own dimensions!

THE DRESS PATTERN
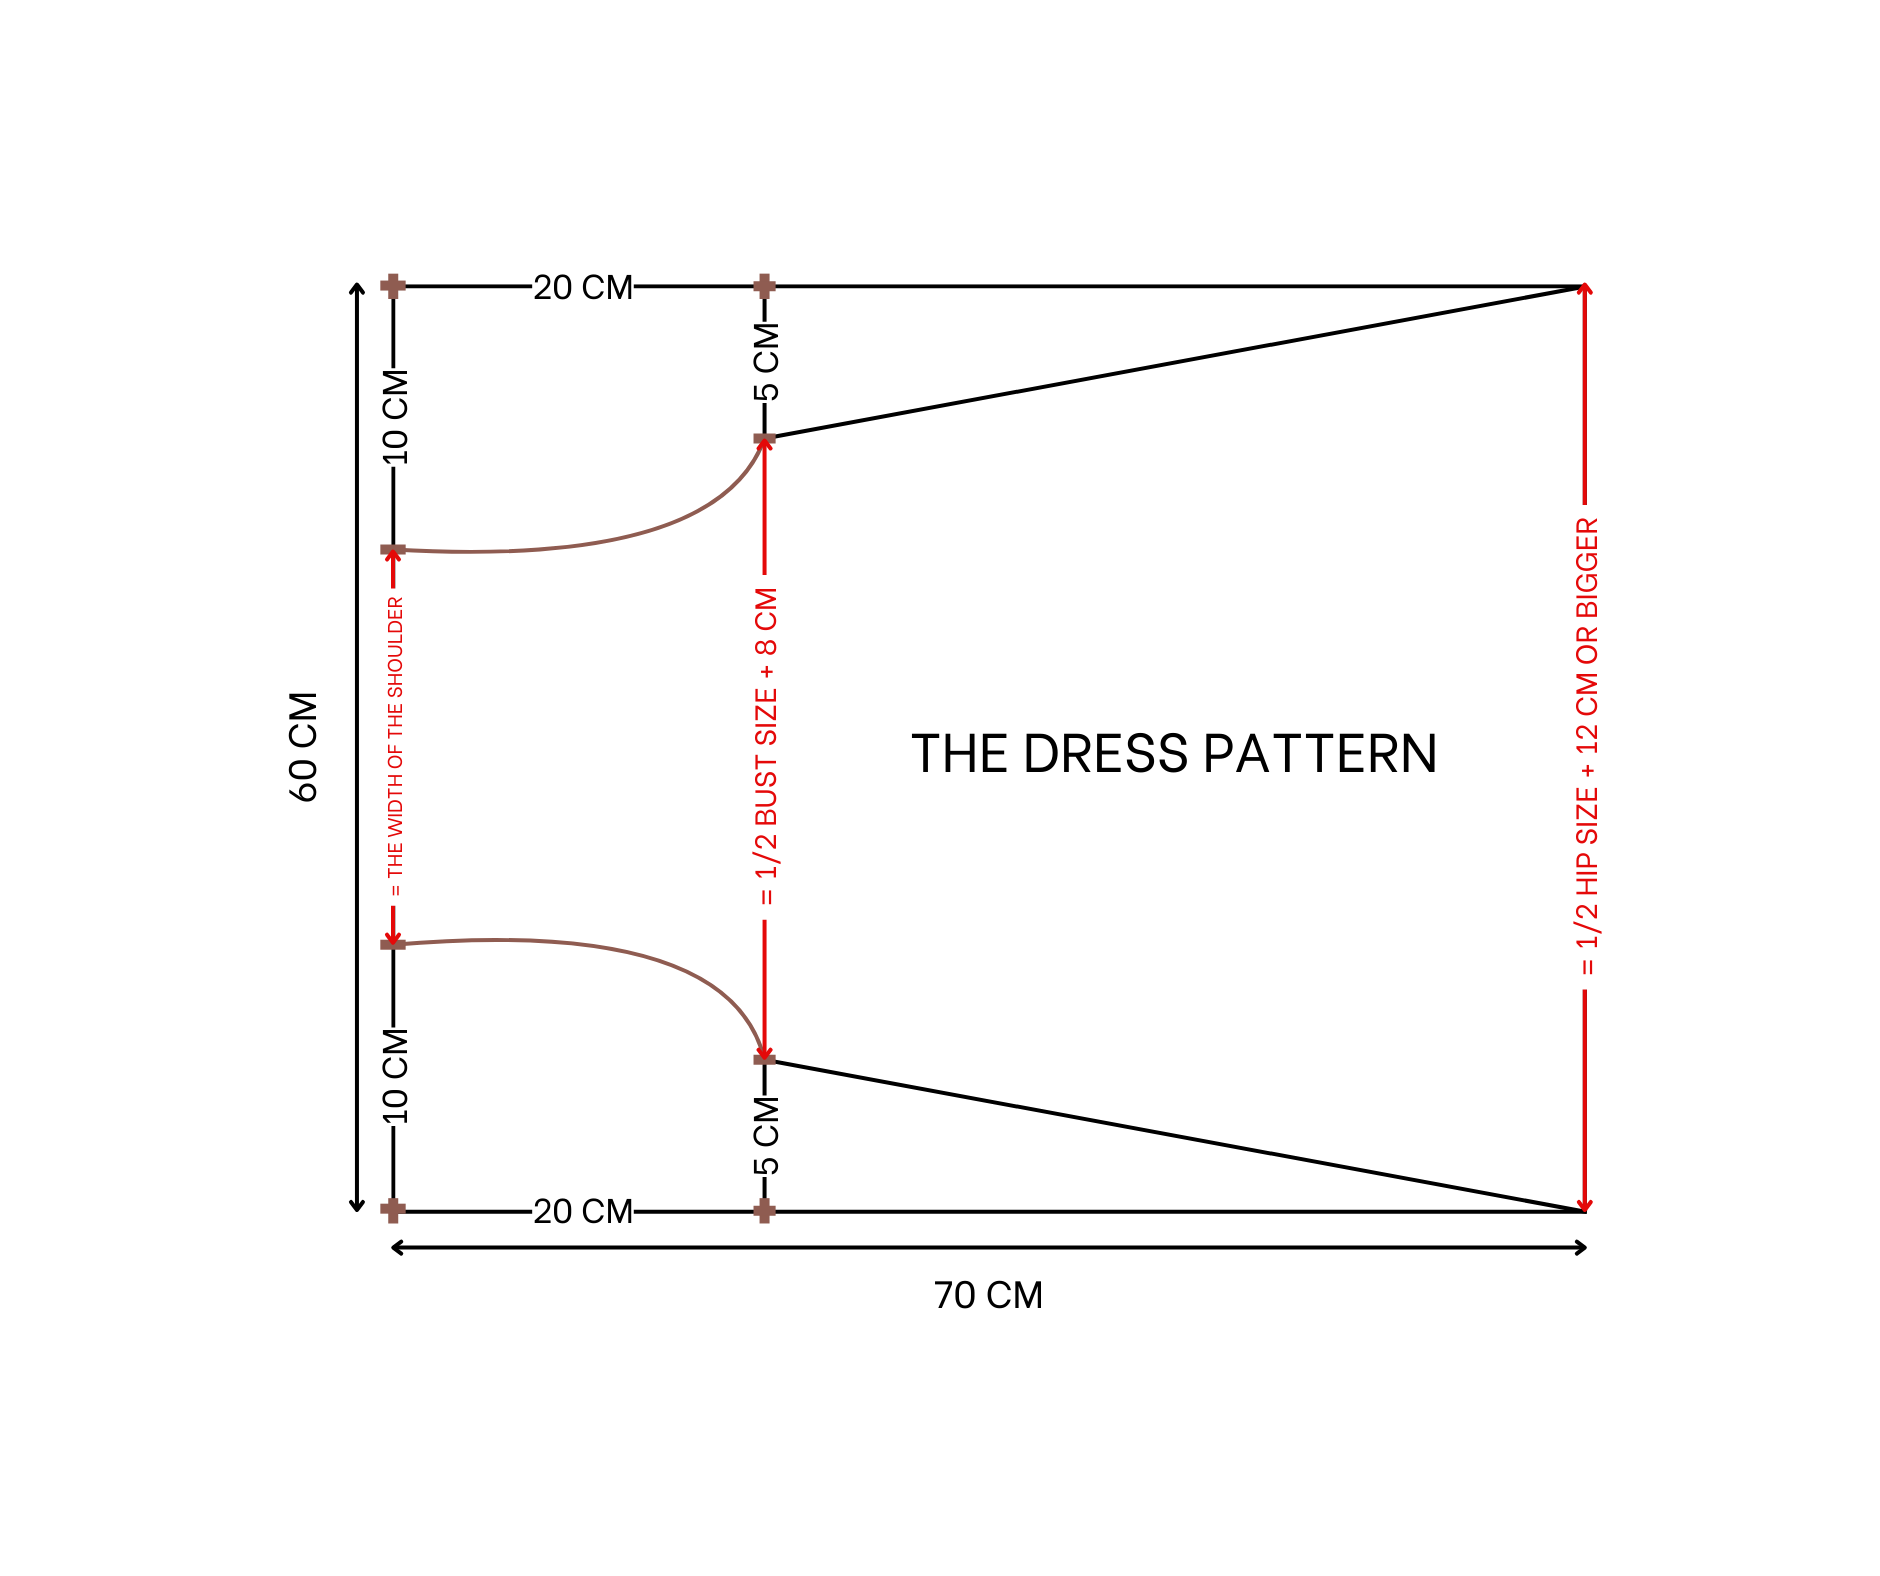
The dress pattern
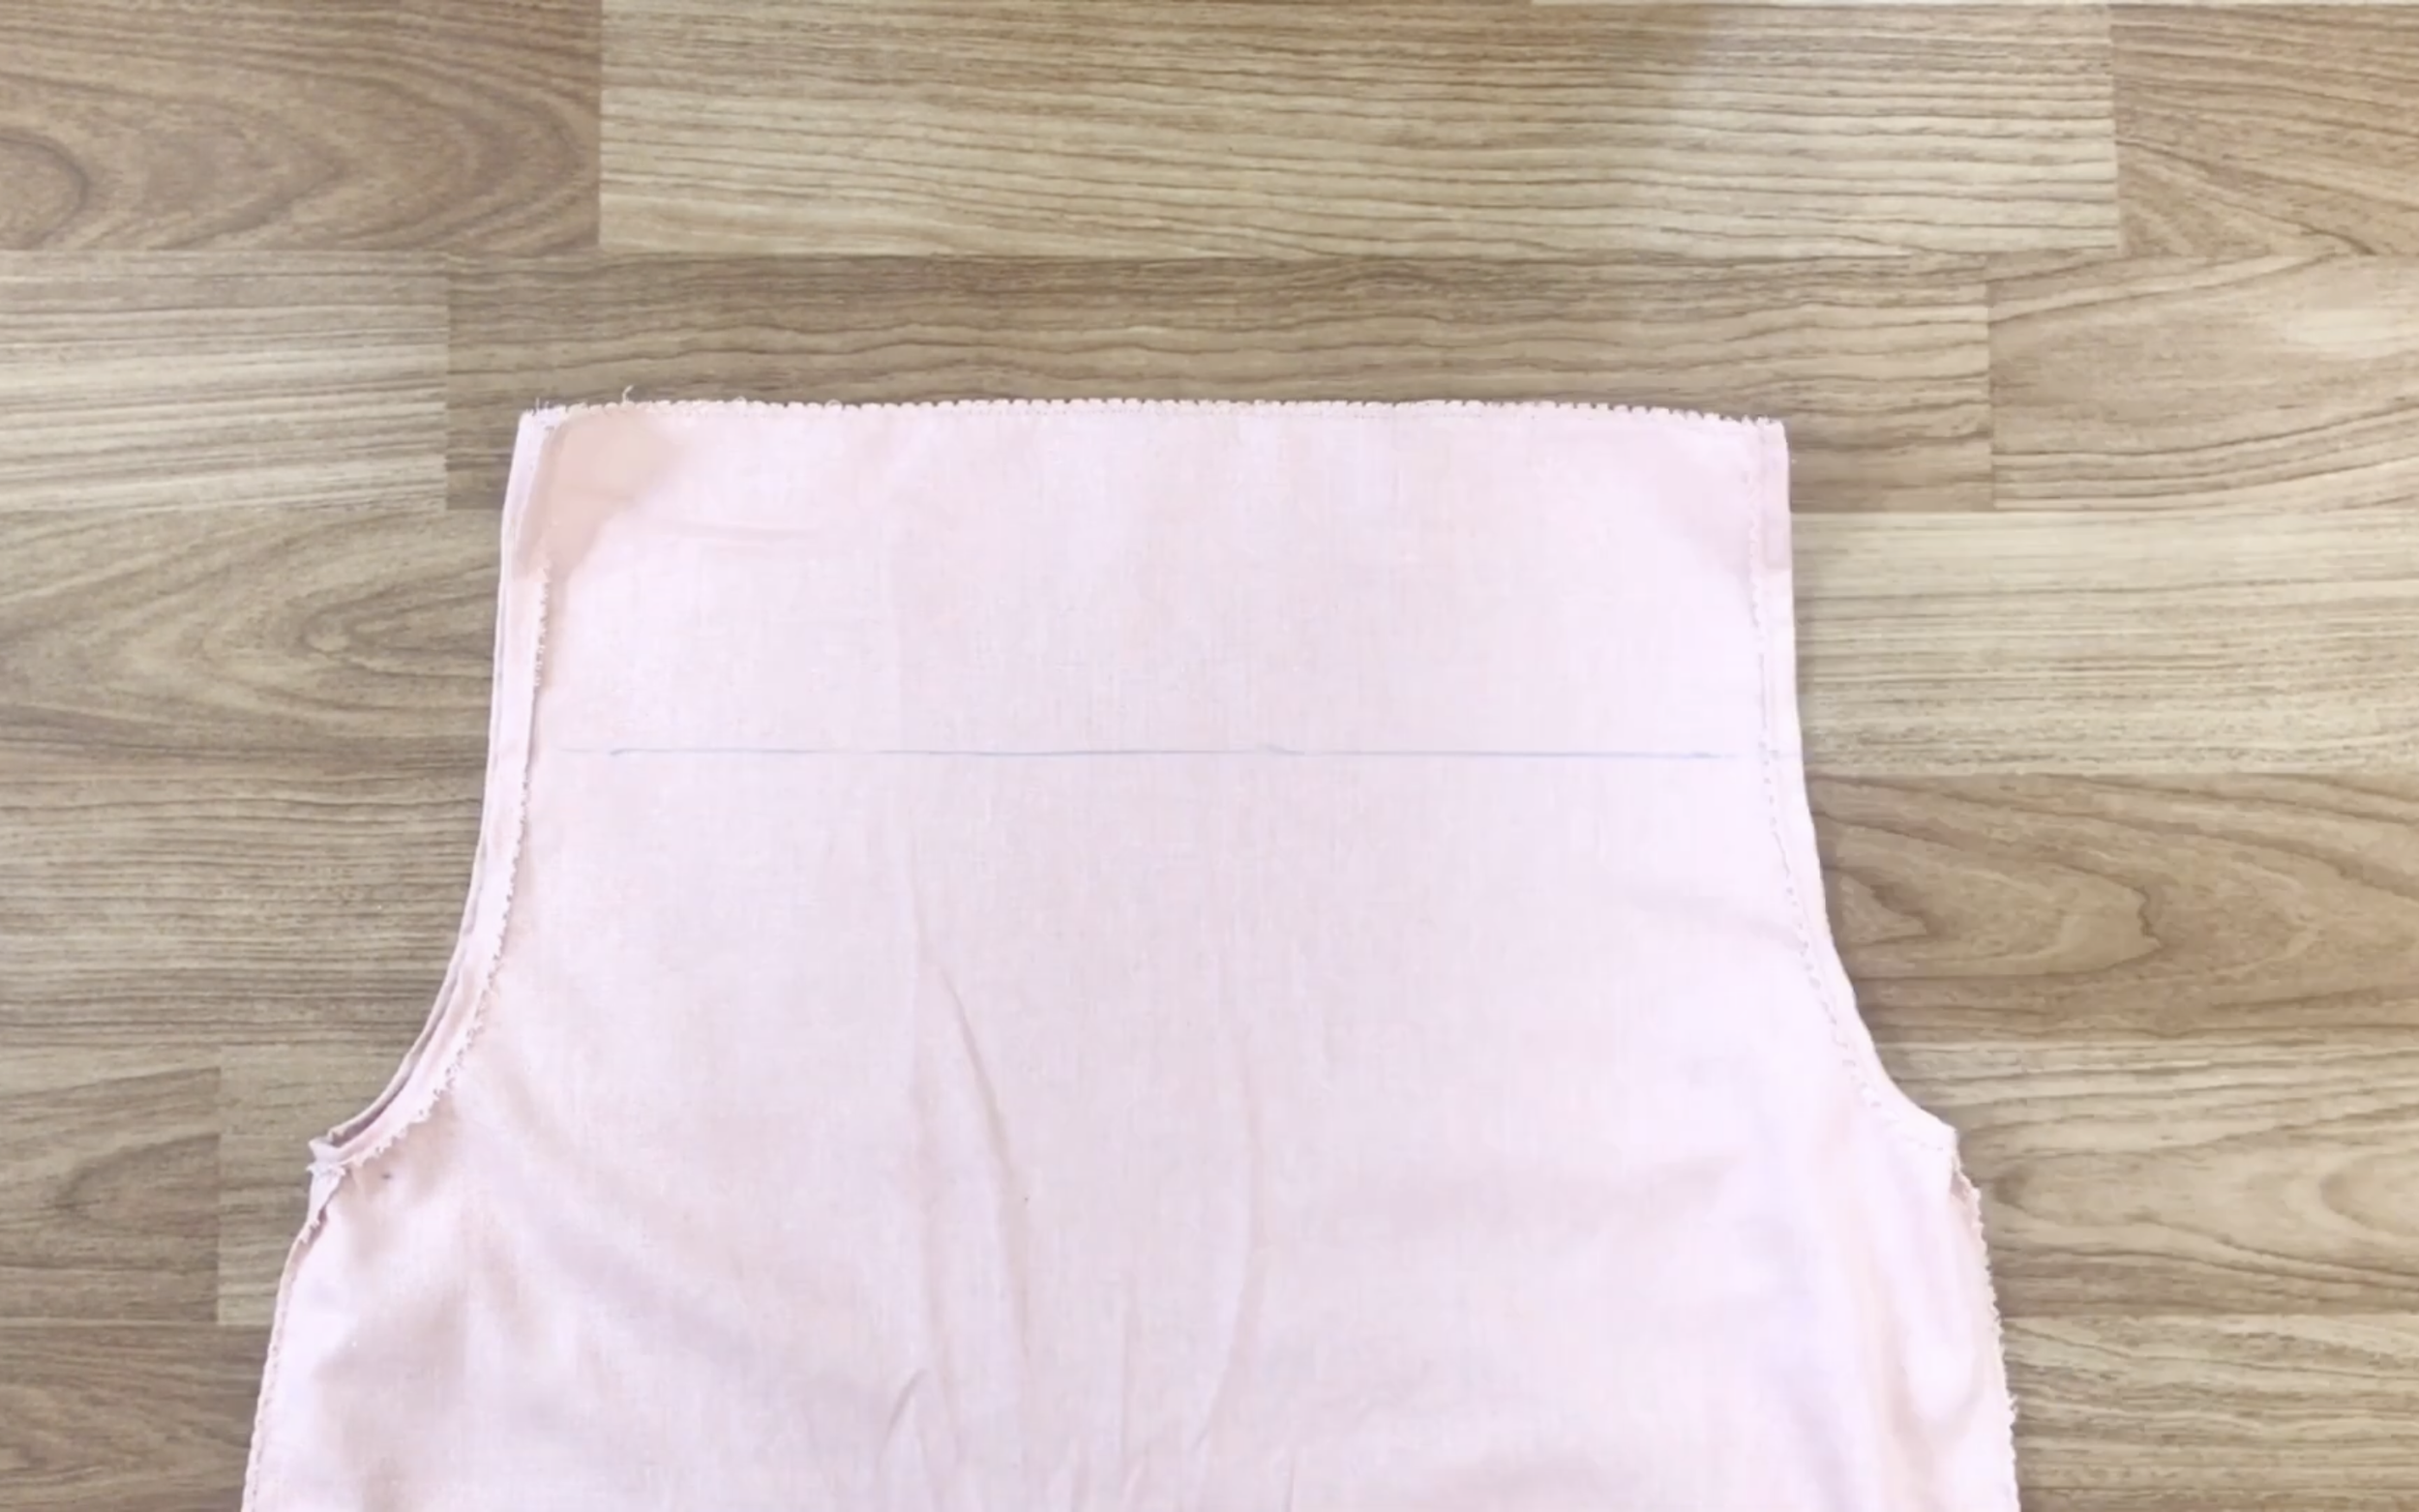
Draw two rectangles with a width of 60 cm and a length of 70 cm, which will form the front and back of the dress.
At the top of the dress, measure down 20 cm and mark the spot.
From that mark, measure 5 cm inward and make a second mark.
Draw a line to connect that mark to the end of the dress.
At the top, measure 10 cm inward and draw a curved line from there to the second mark to create the hand part of the dress.
Cut along the drawn line.
The measurements used are as follows: the width at the hand should be half of the bust size plus 8 cm, the width at the end should be half of the hip size plus 12 cm (or more), and the width at the top should match the shoulder width.
SEWING THE DRESS
THE BODY
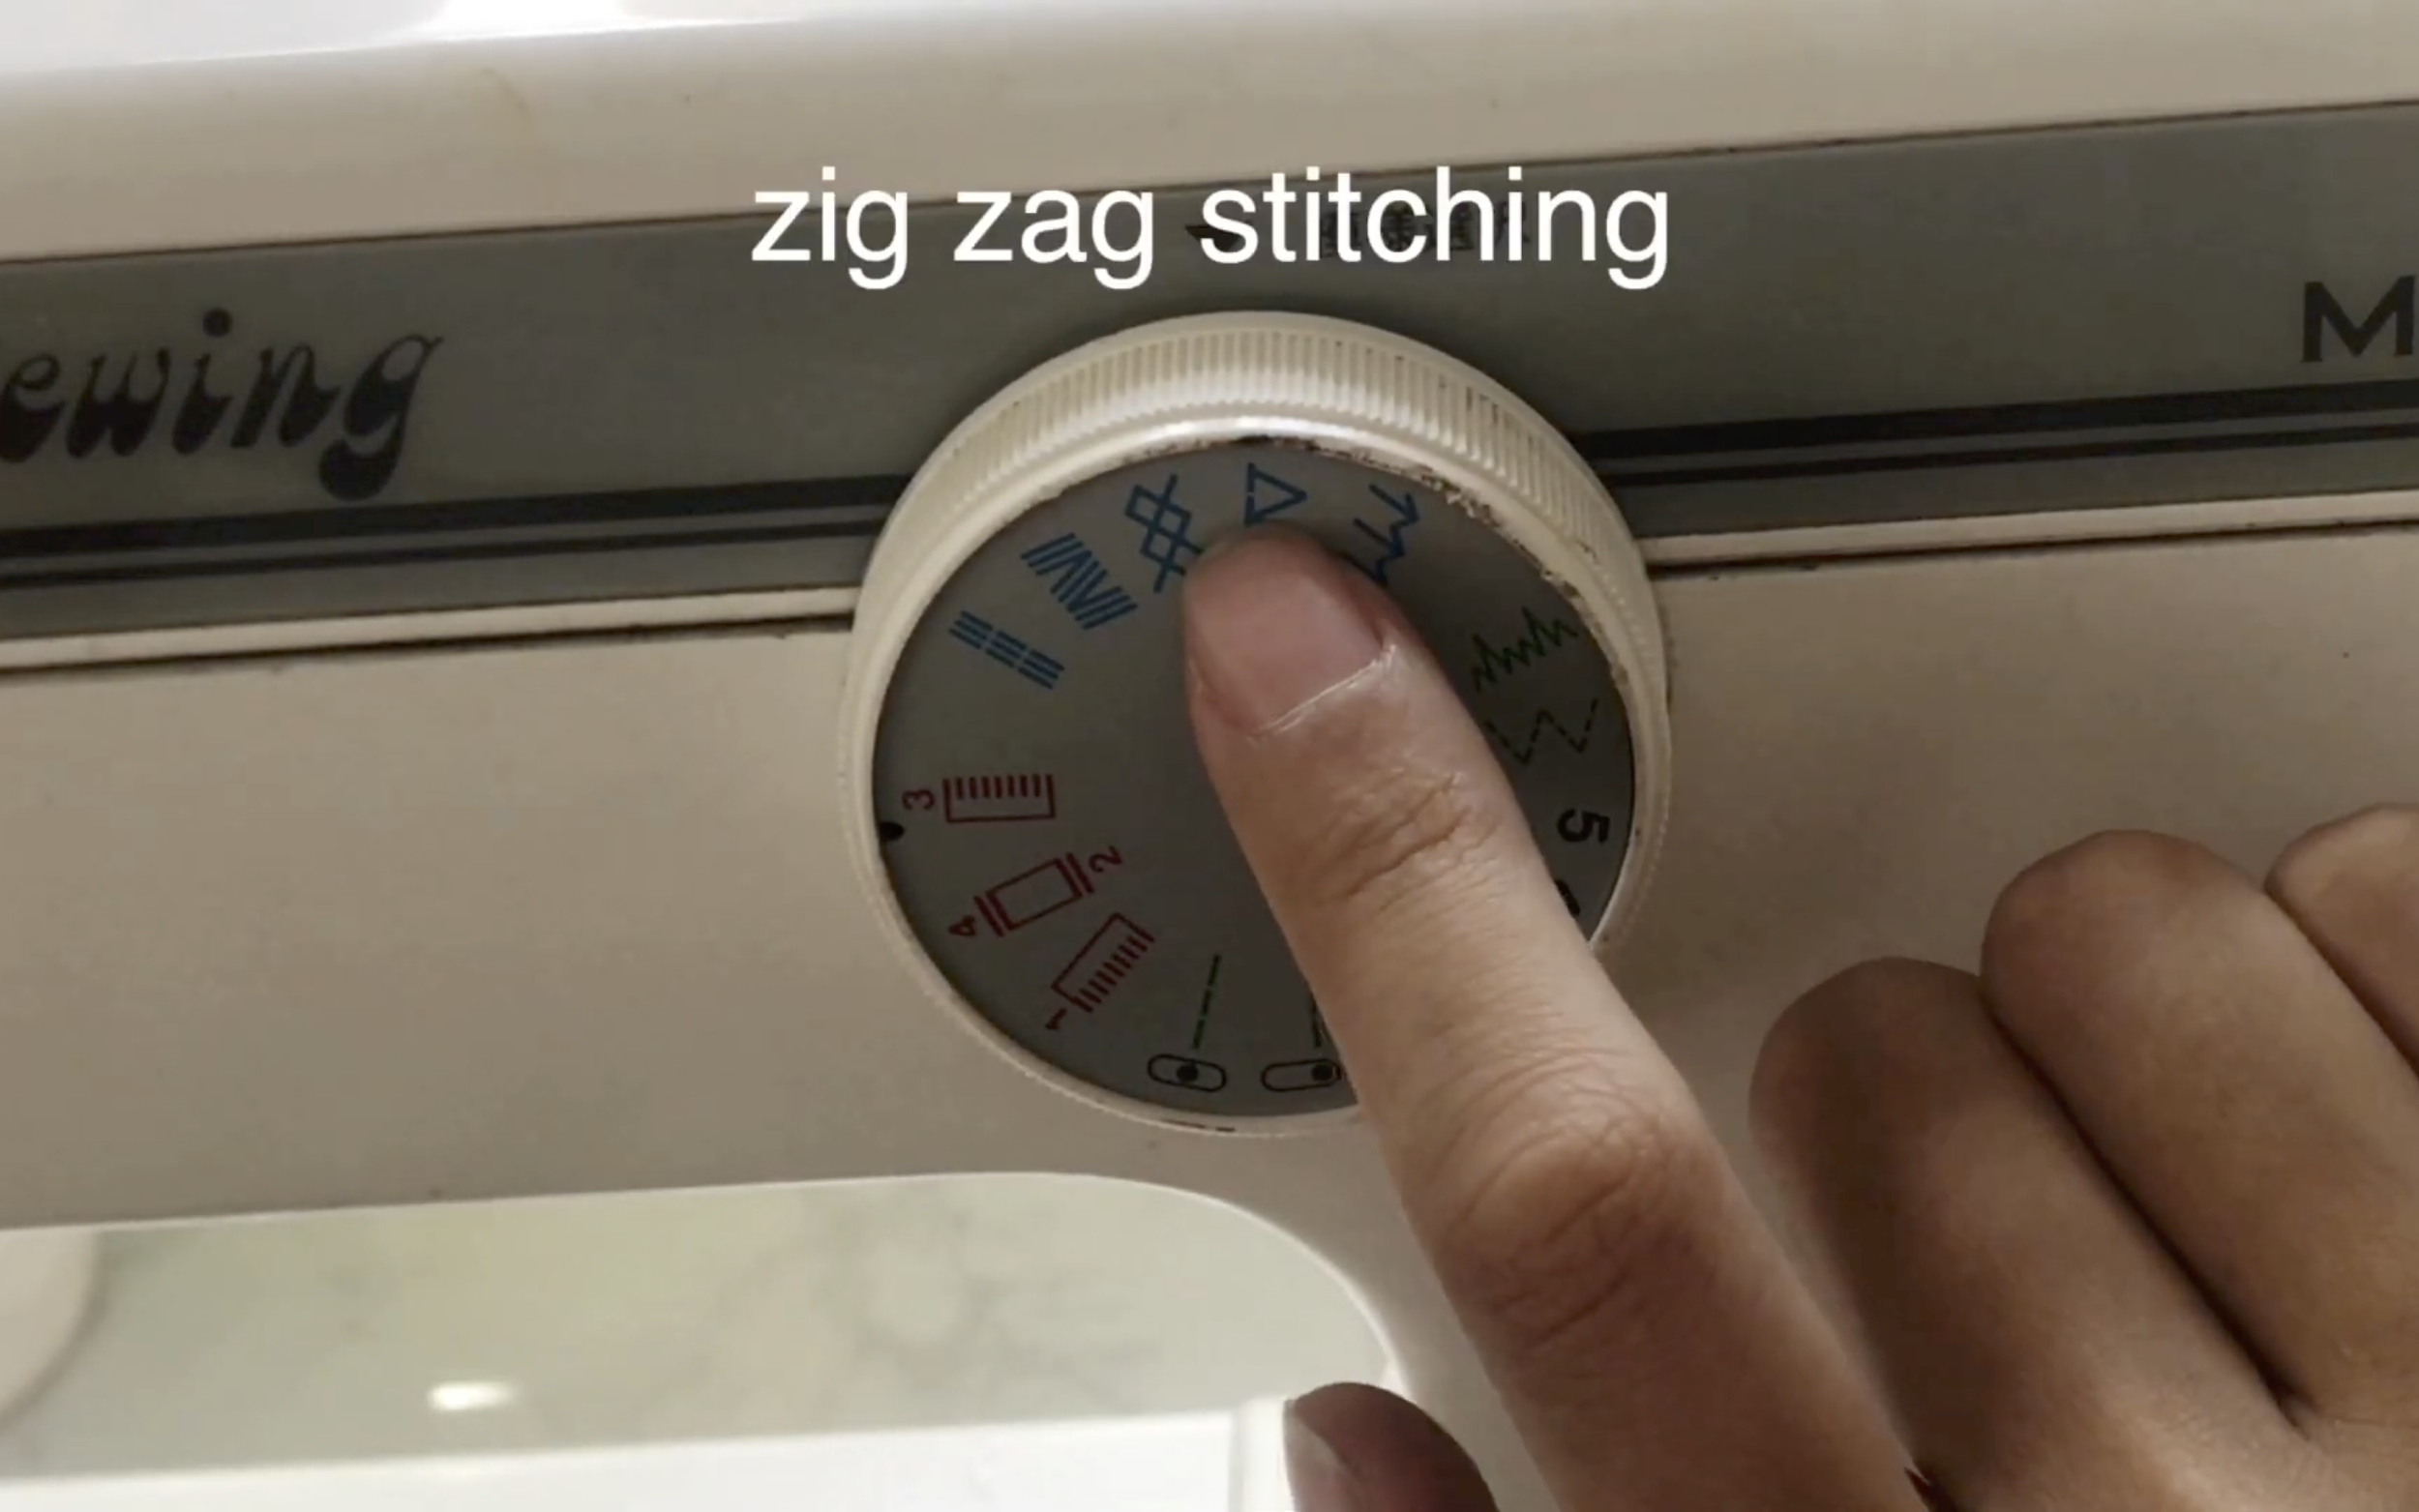
After cutting, overlock the fabric and use zigzag stitching with the sewing machine…
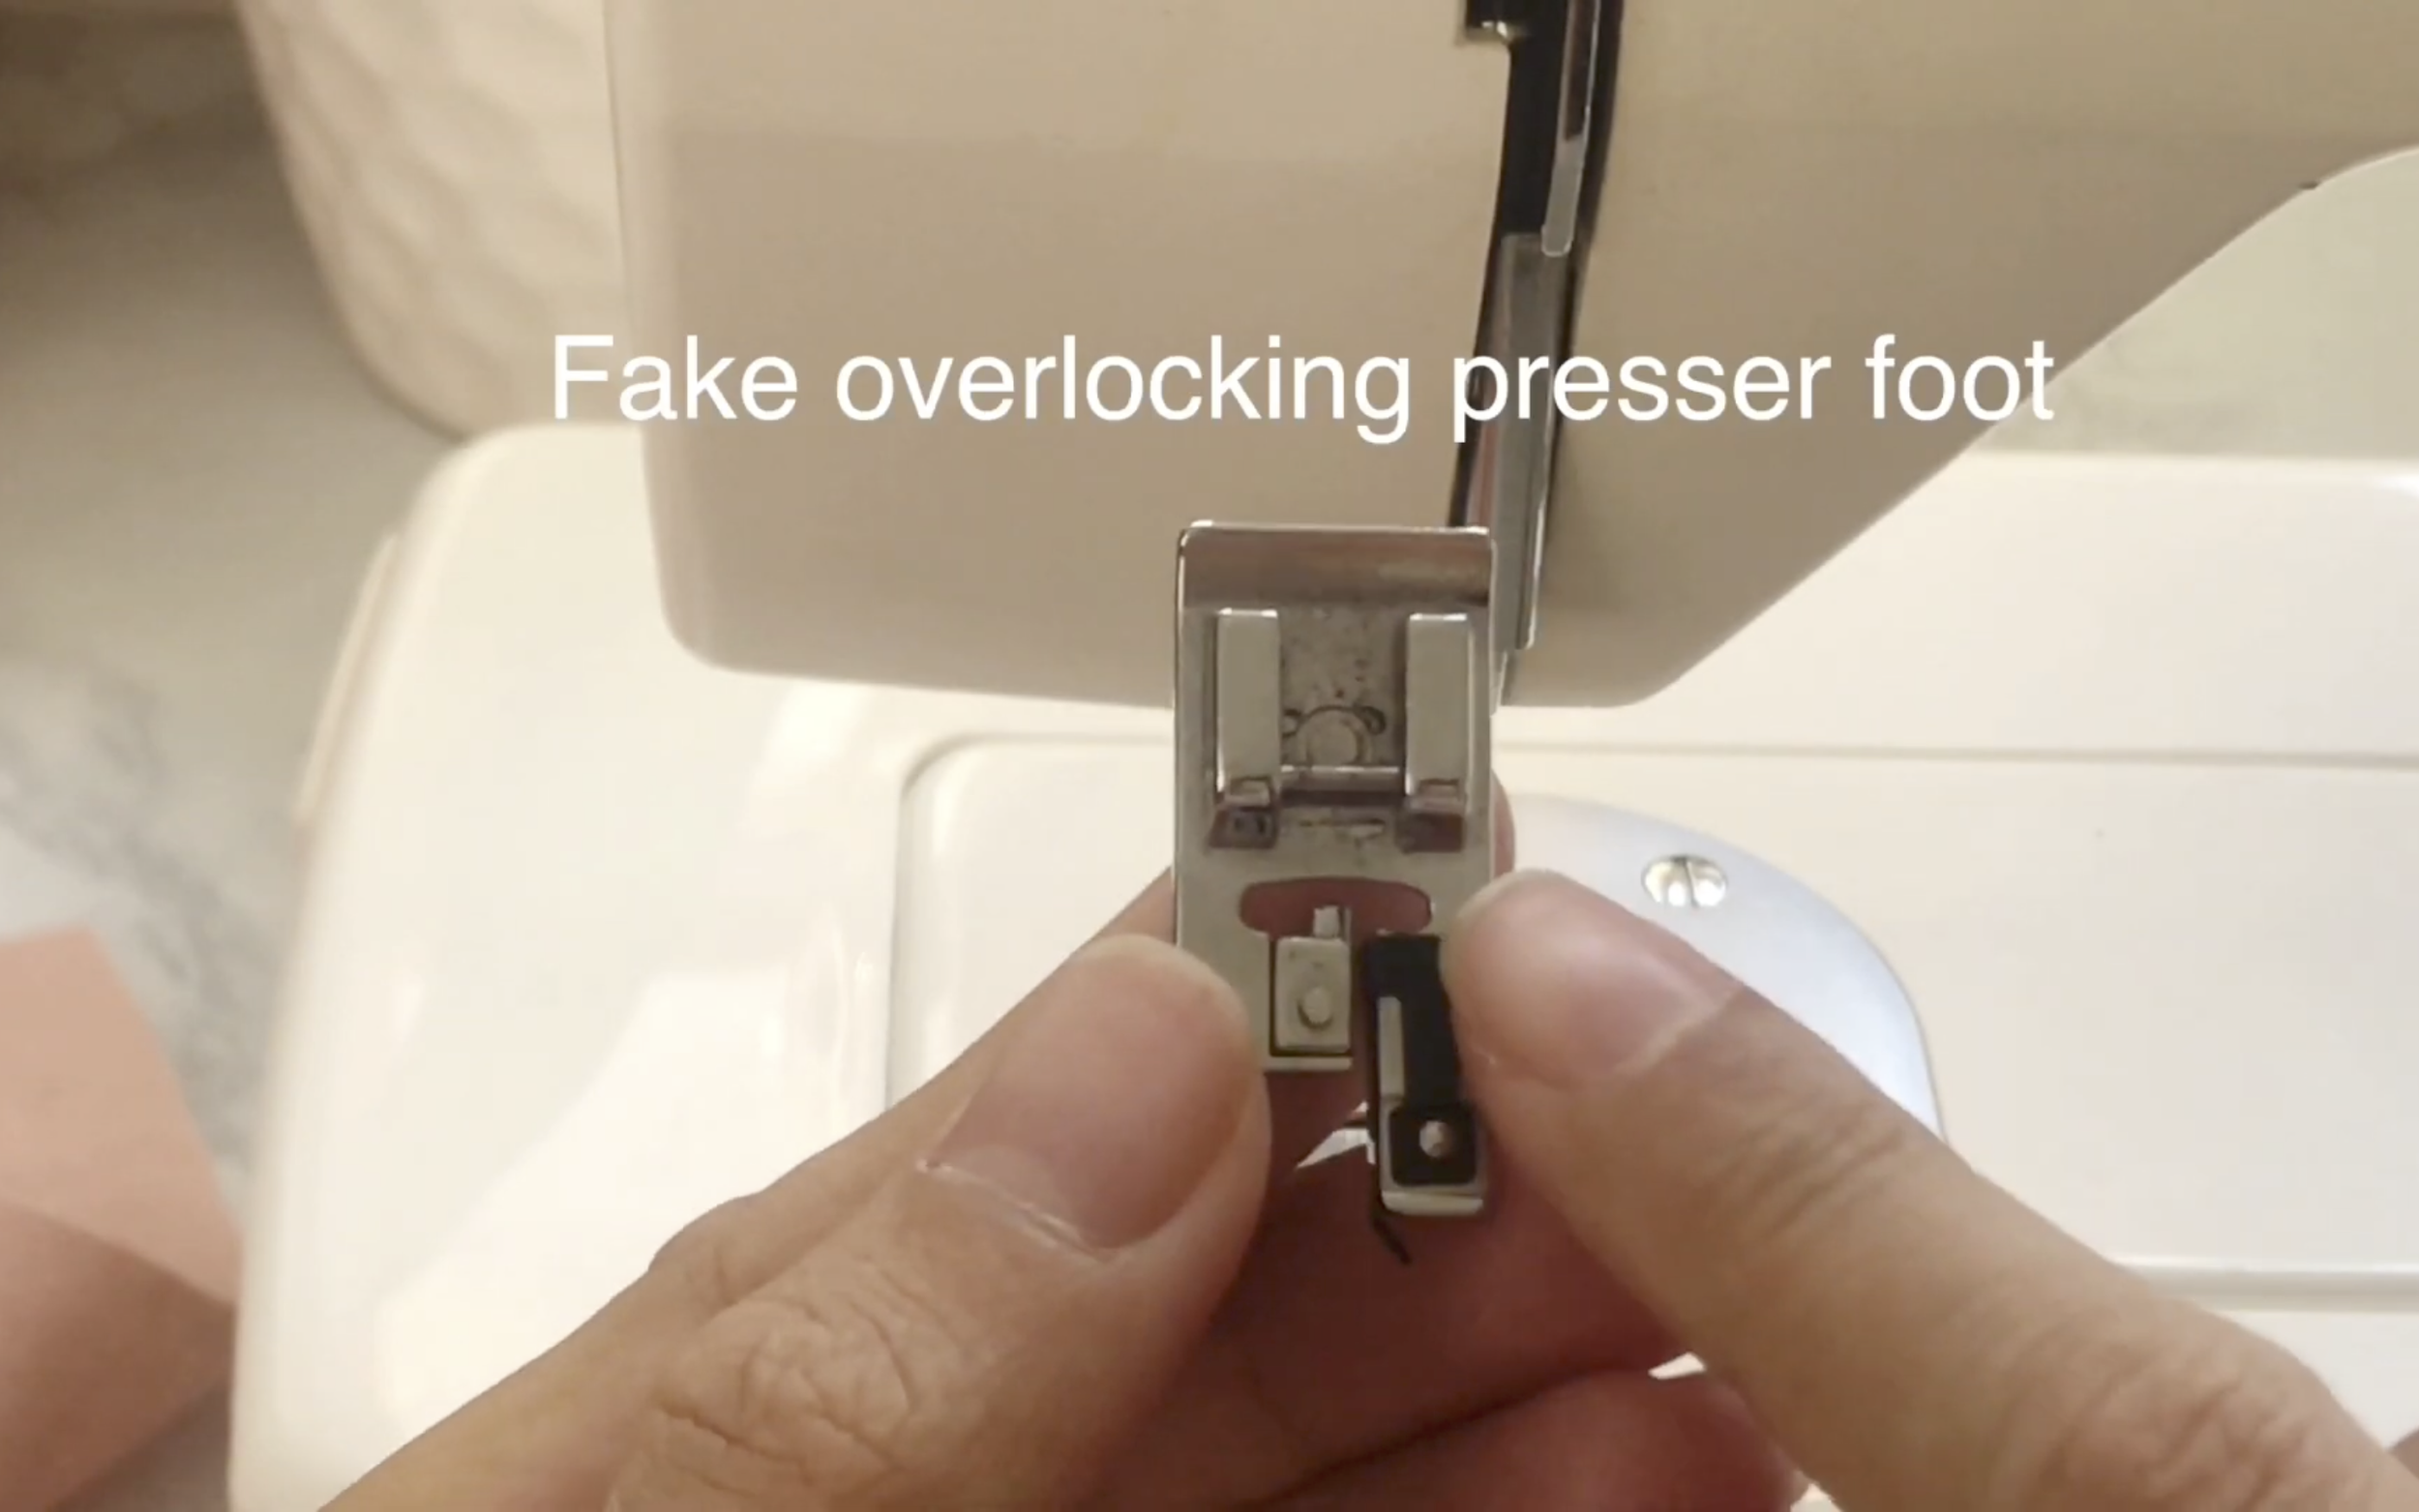
…and the fake overlocking presser foot.
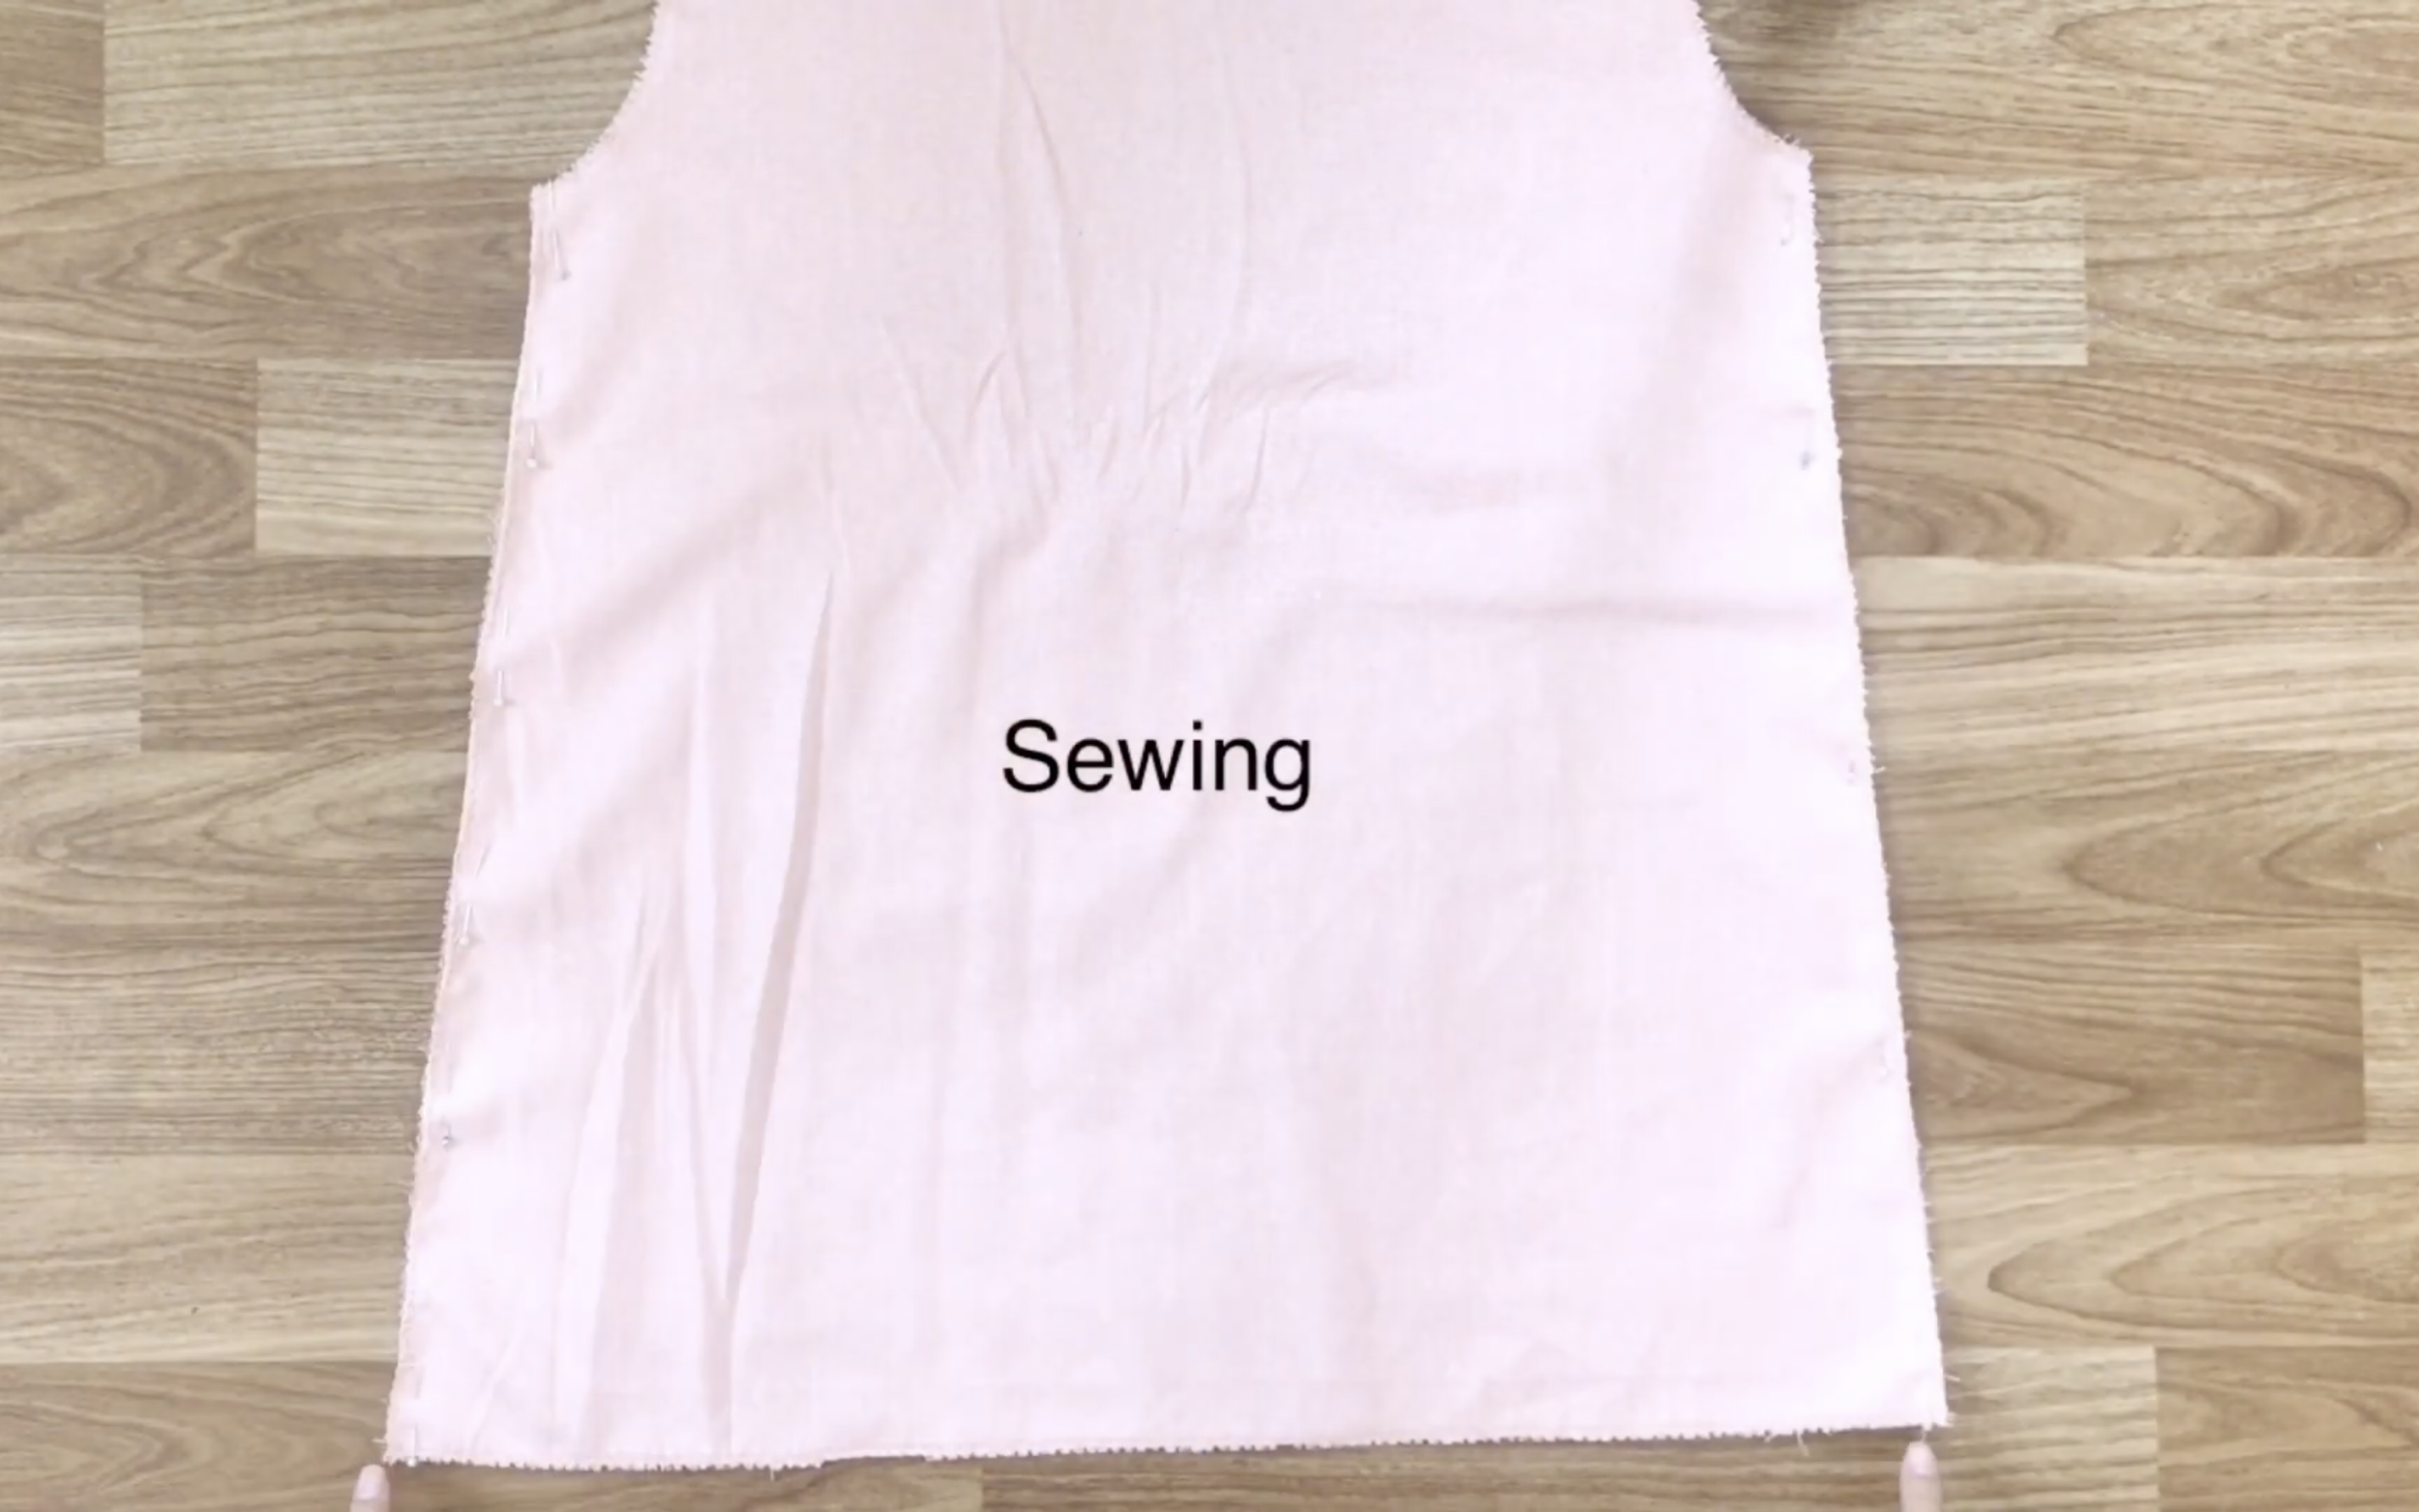
Connect the front and back of the dress at the sides using pins, then sew.
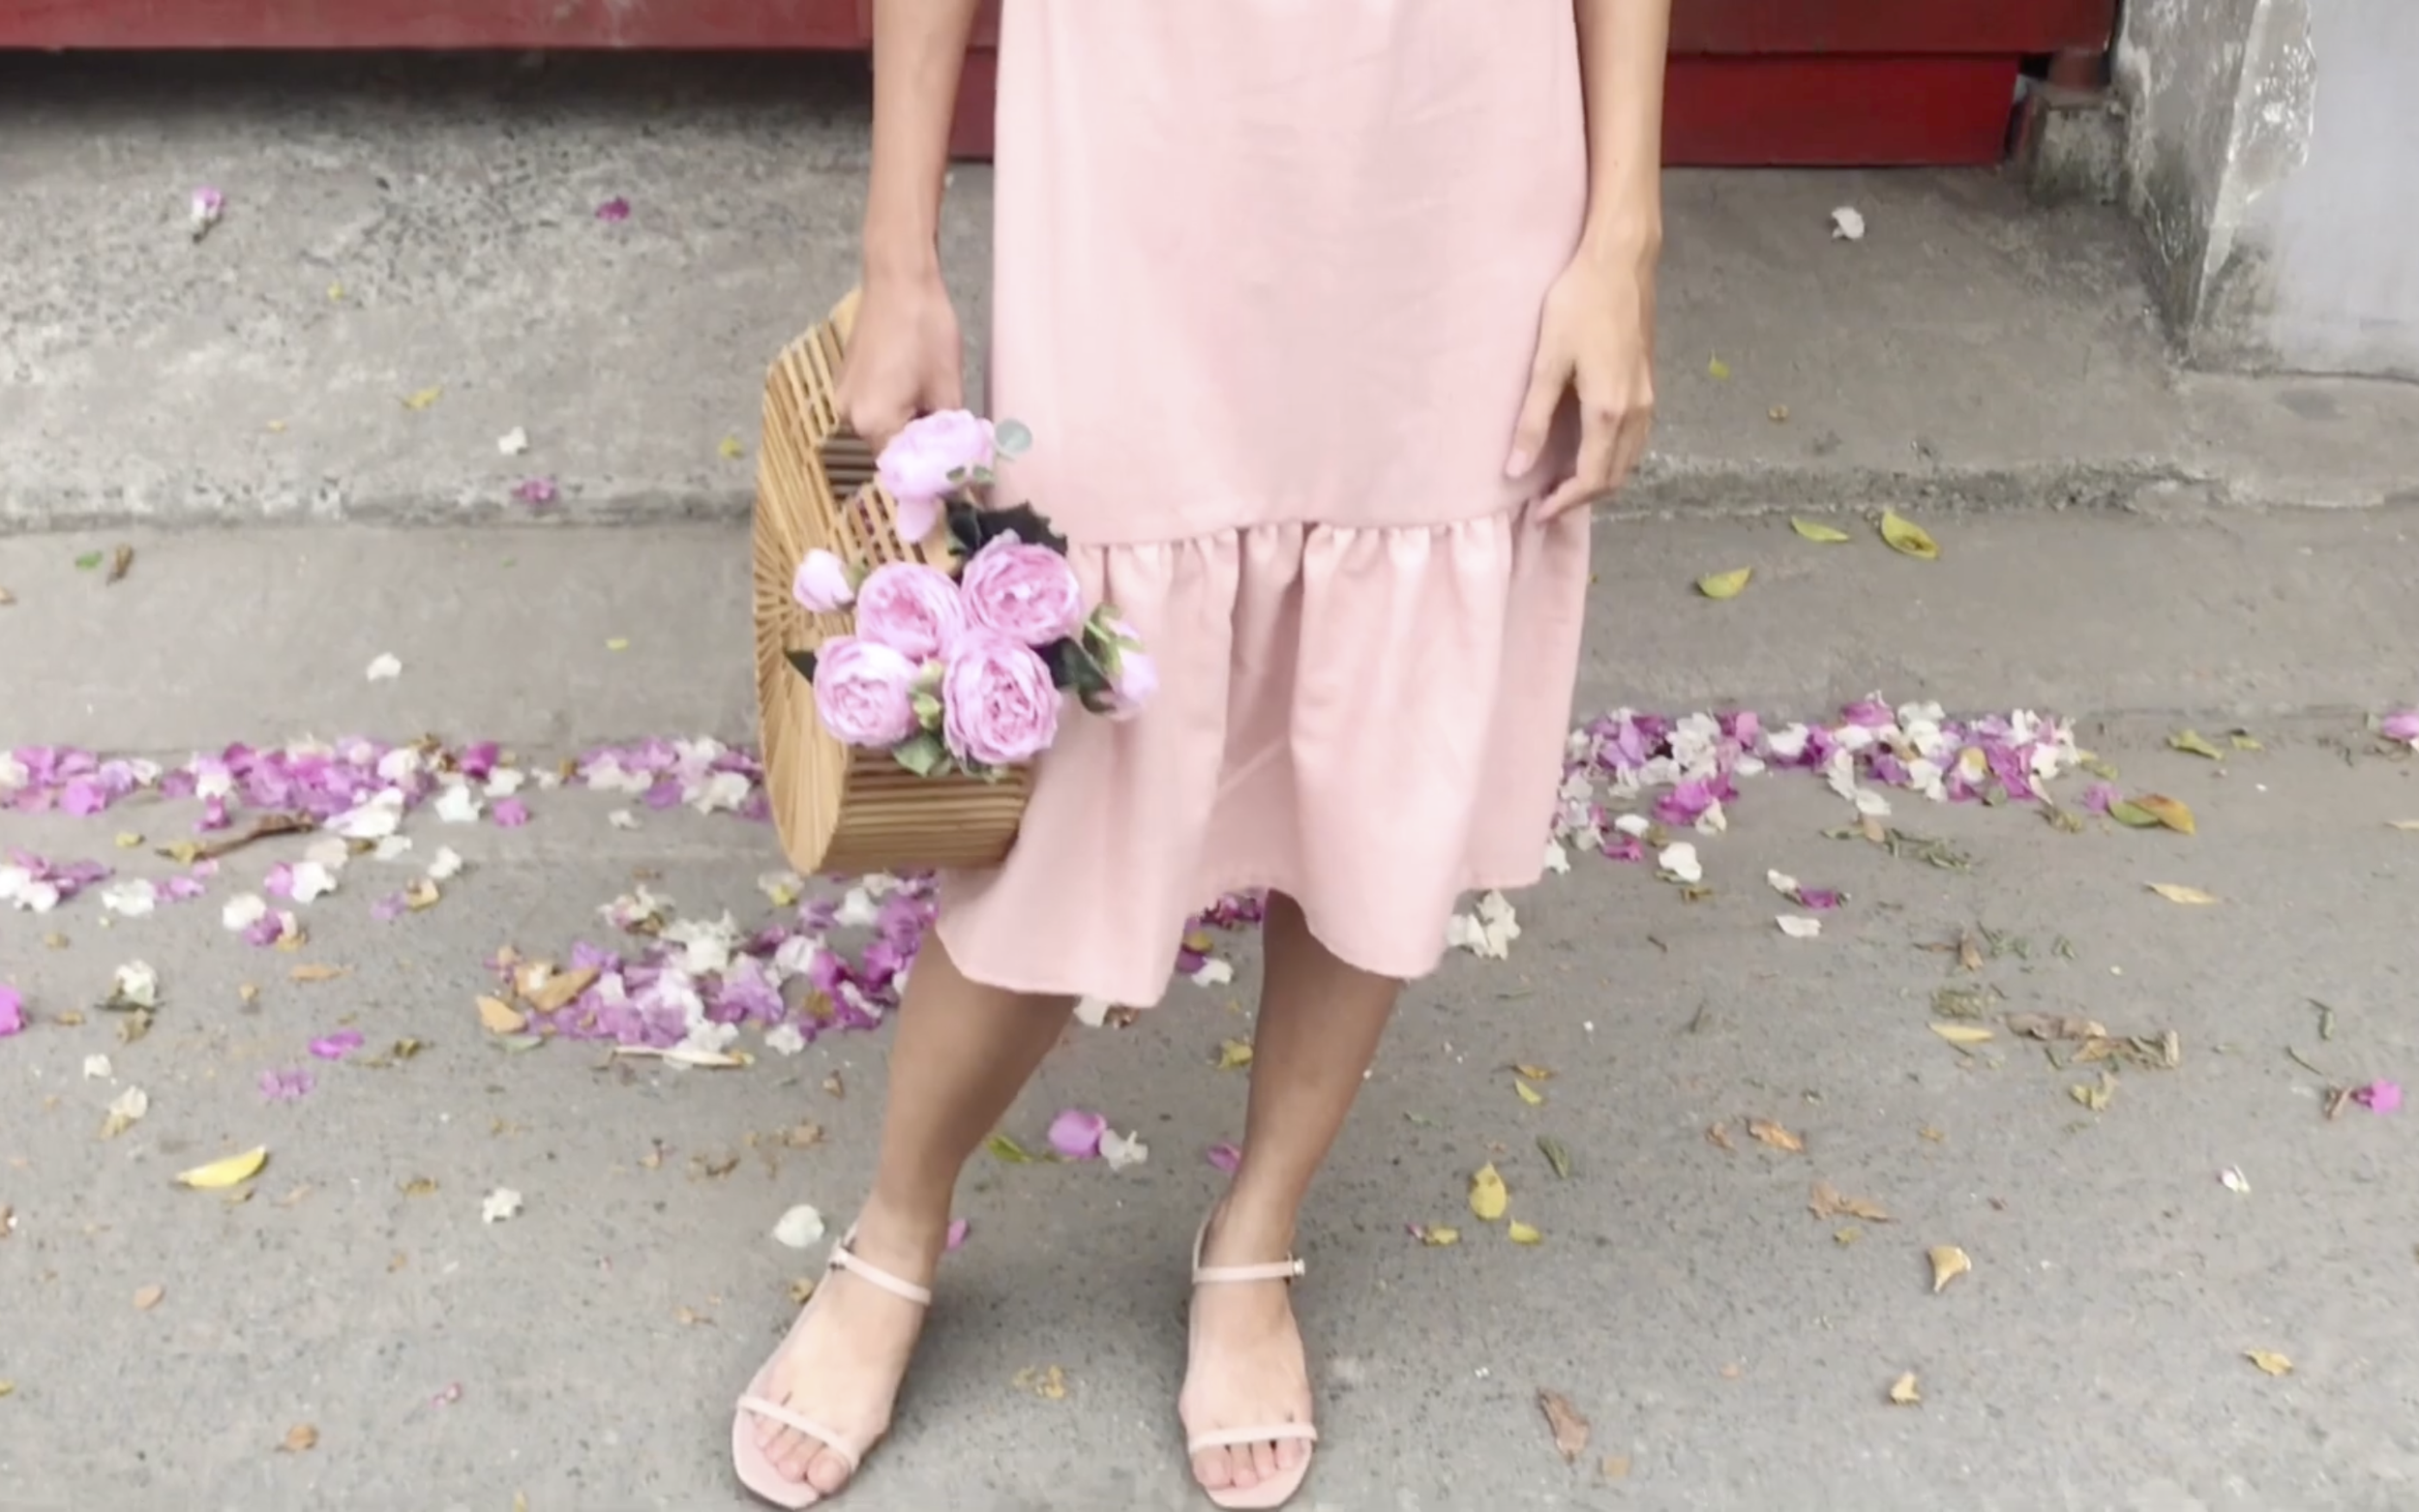
THE RUFFLE
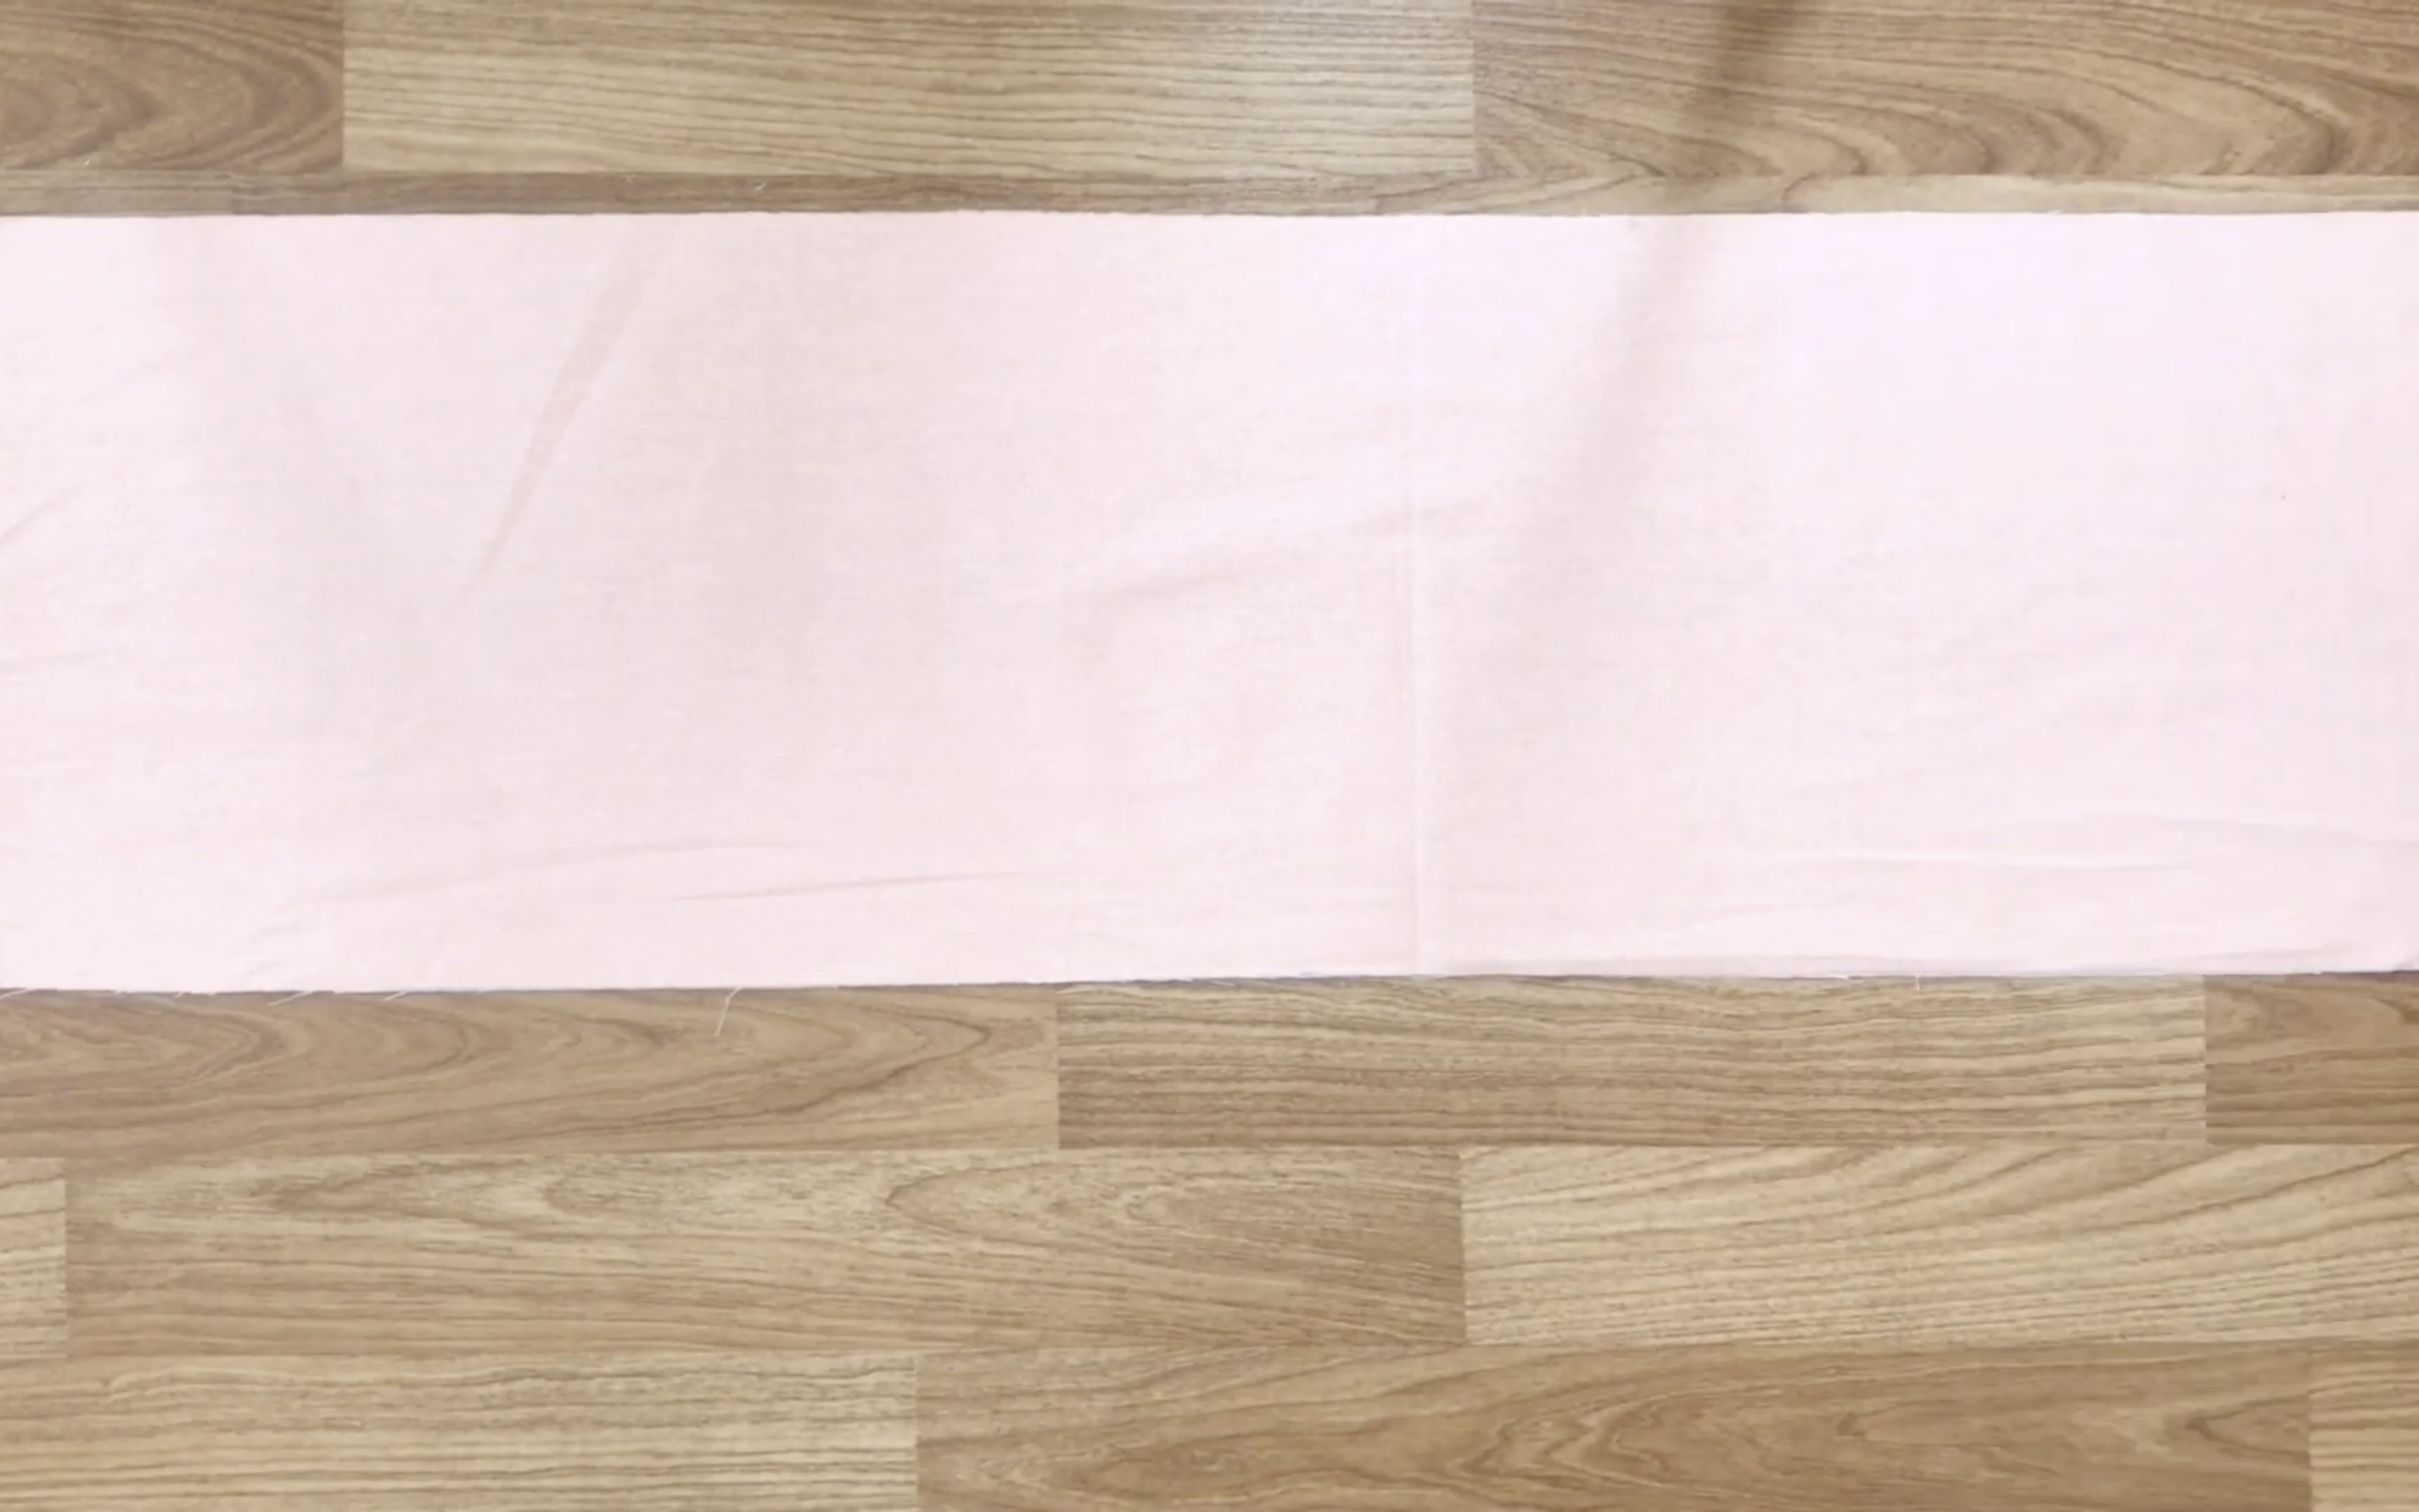
Next, create the ruffled hand of the dress by drawing a rectangle with a width of 30 cm and a length of 200 cm (double the hip size or longer).
Overlock the fabric after cutting.
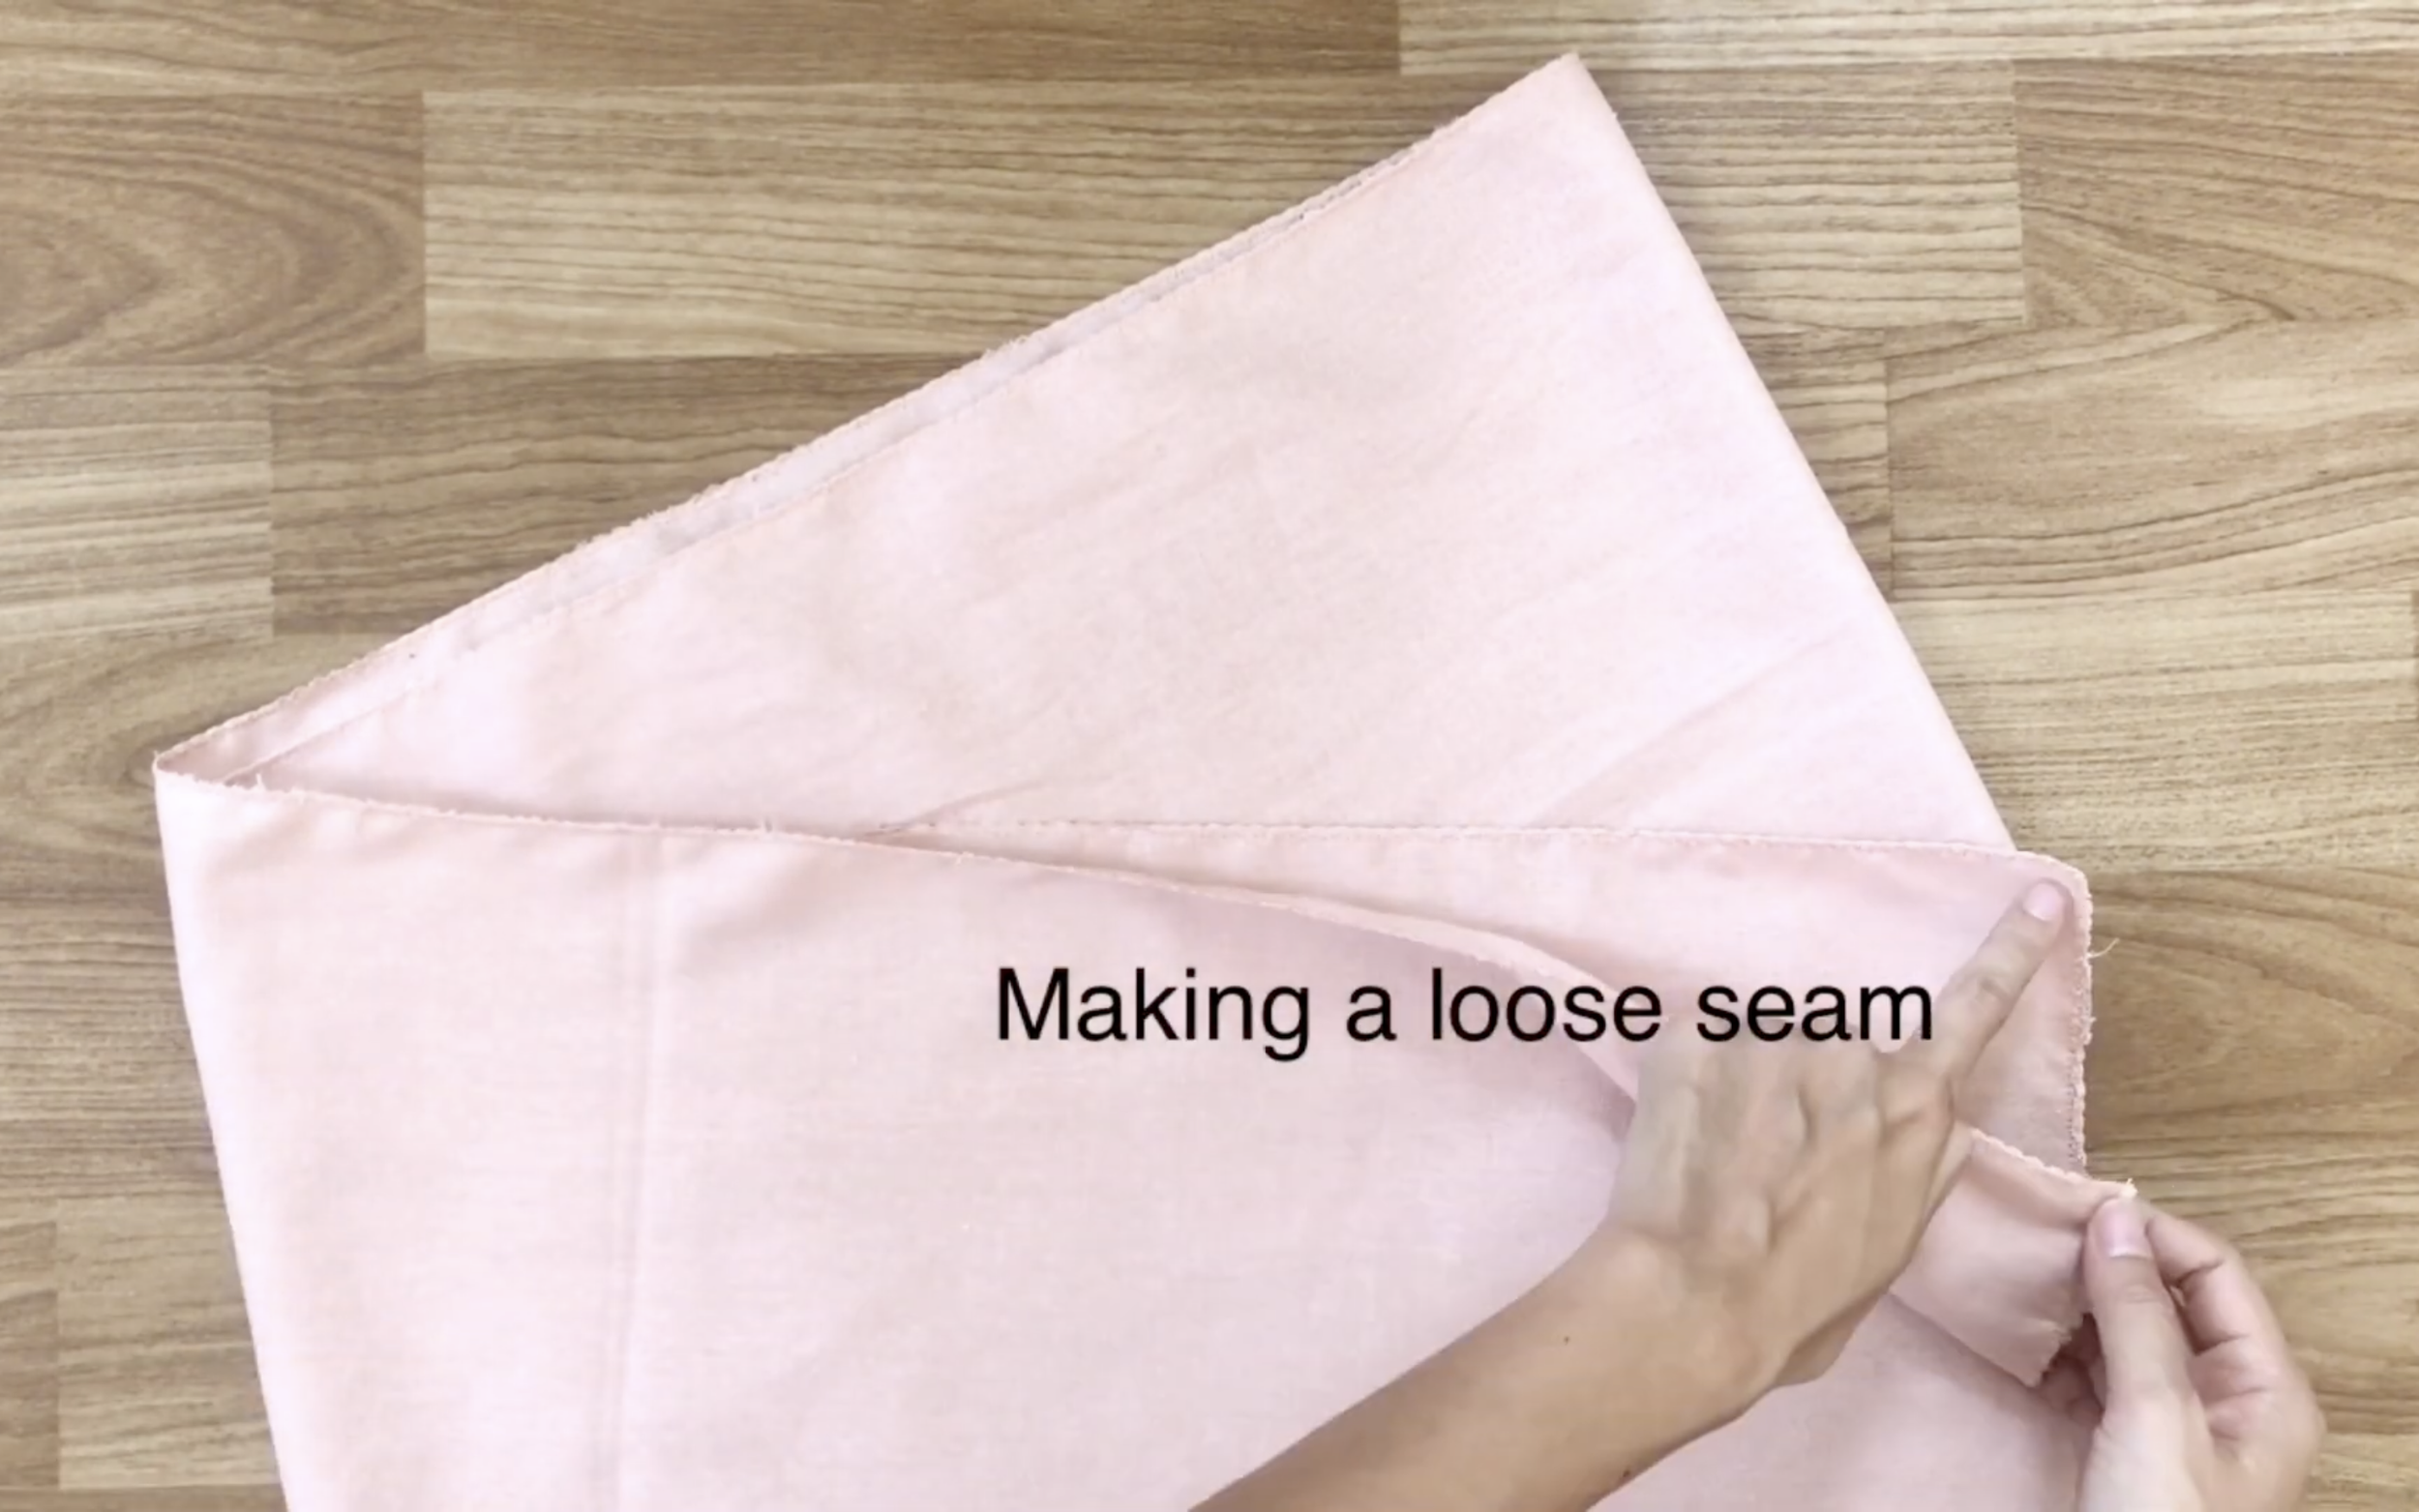
Make a loose seam along one edge of the rectangle.
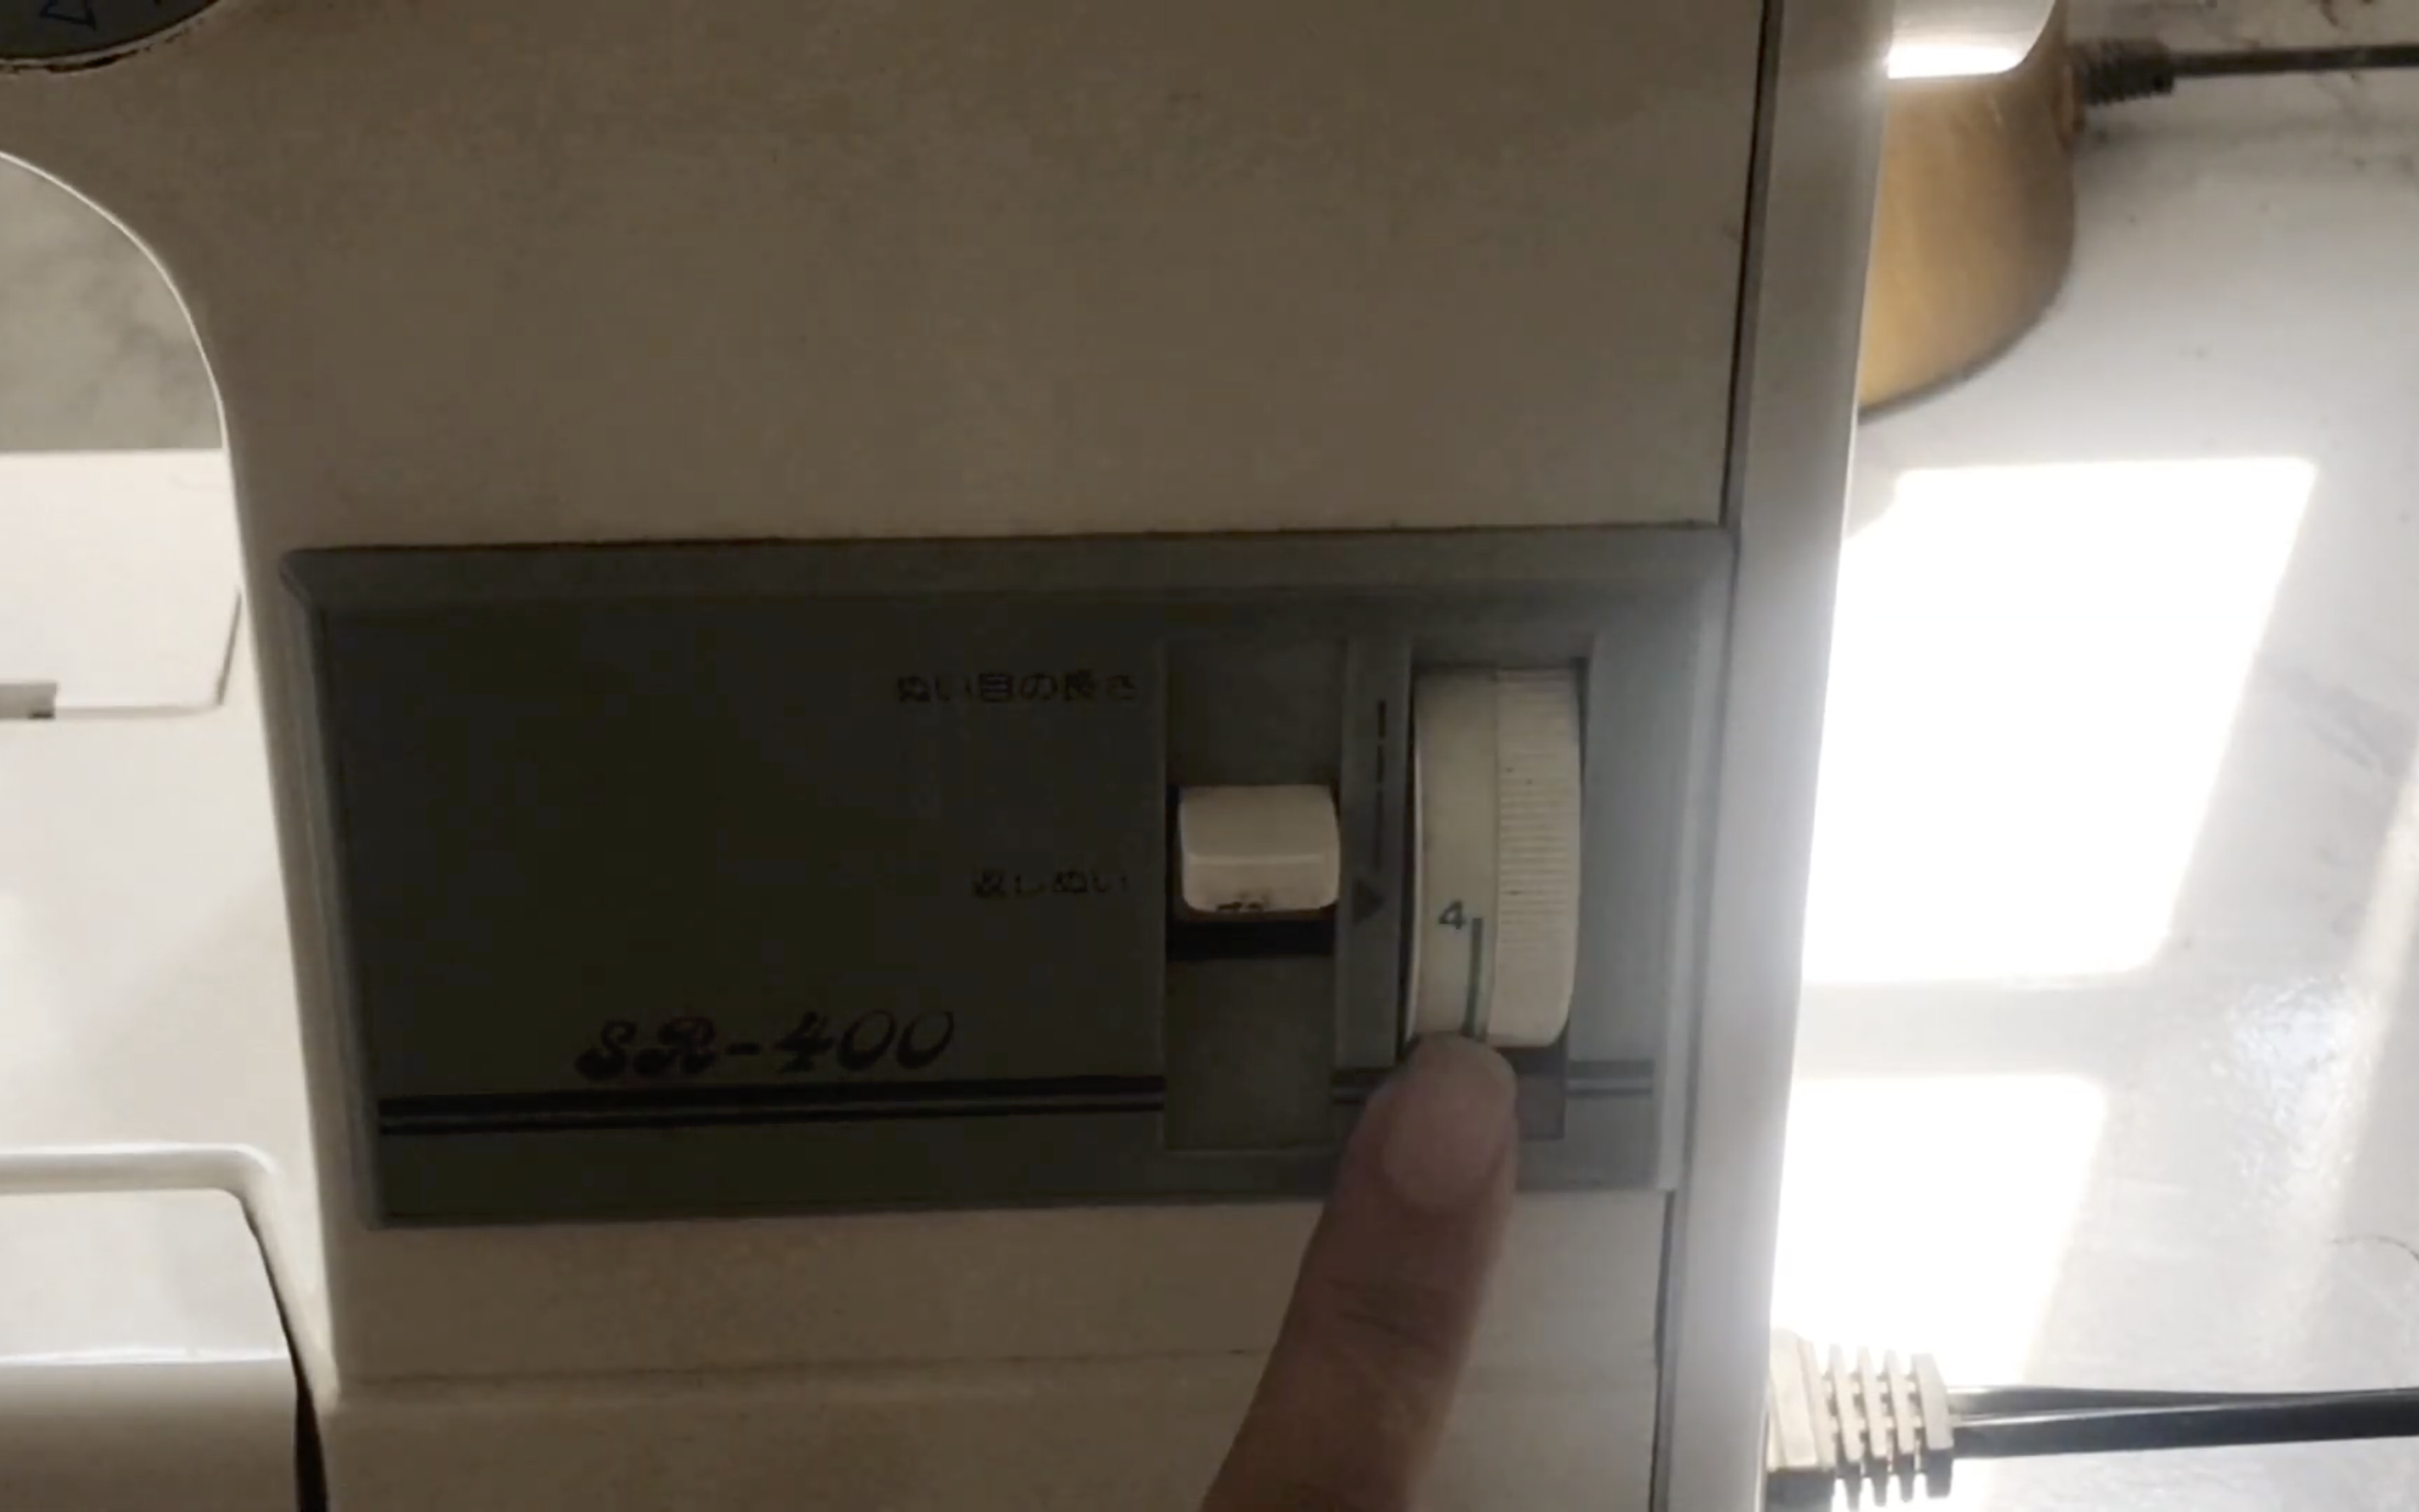
Use the maximum width setting on the sewing machine to create the loosest seam possible.
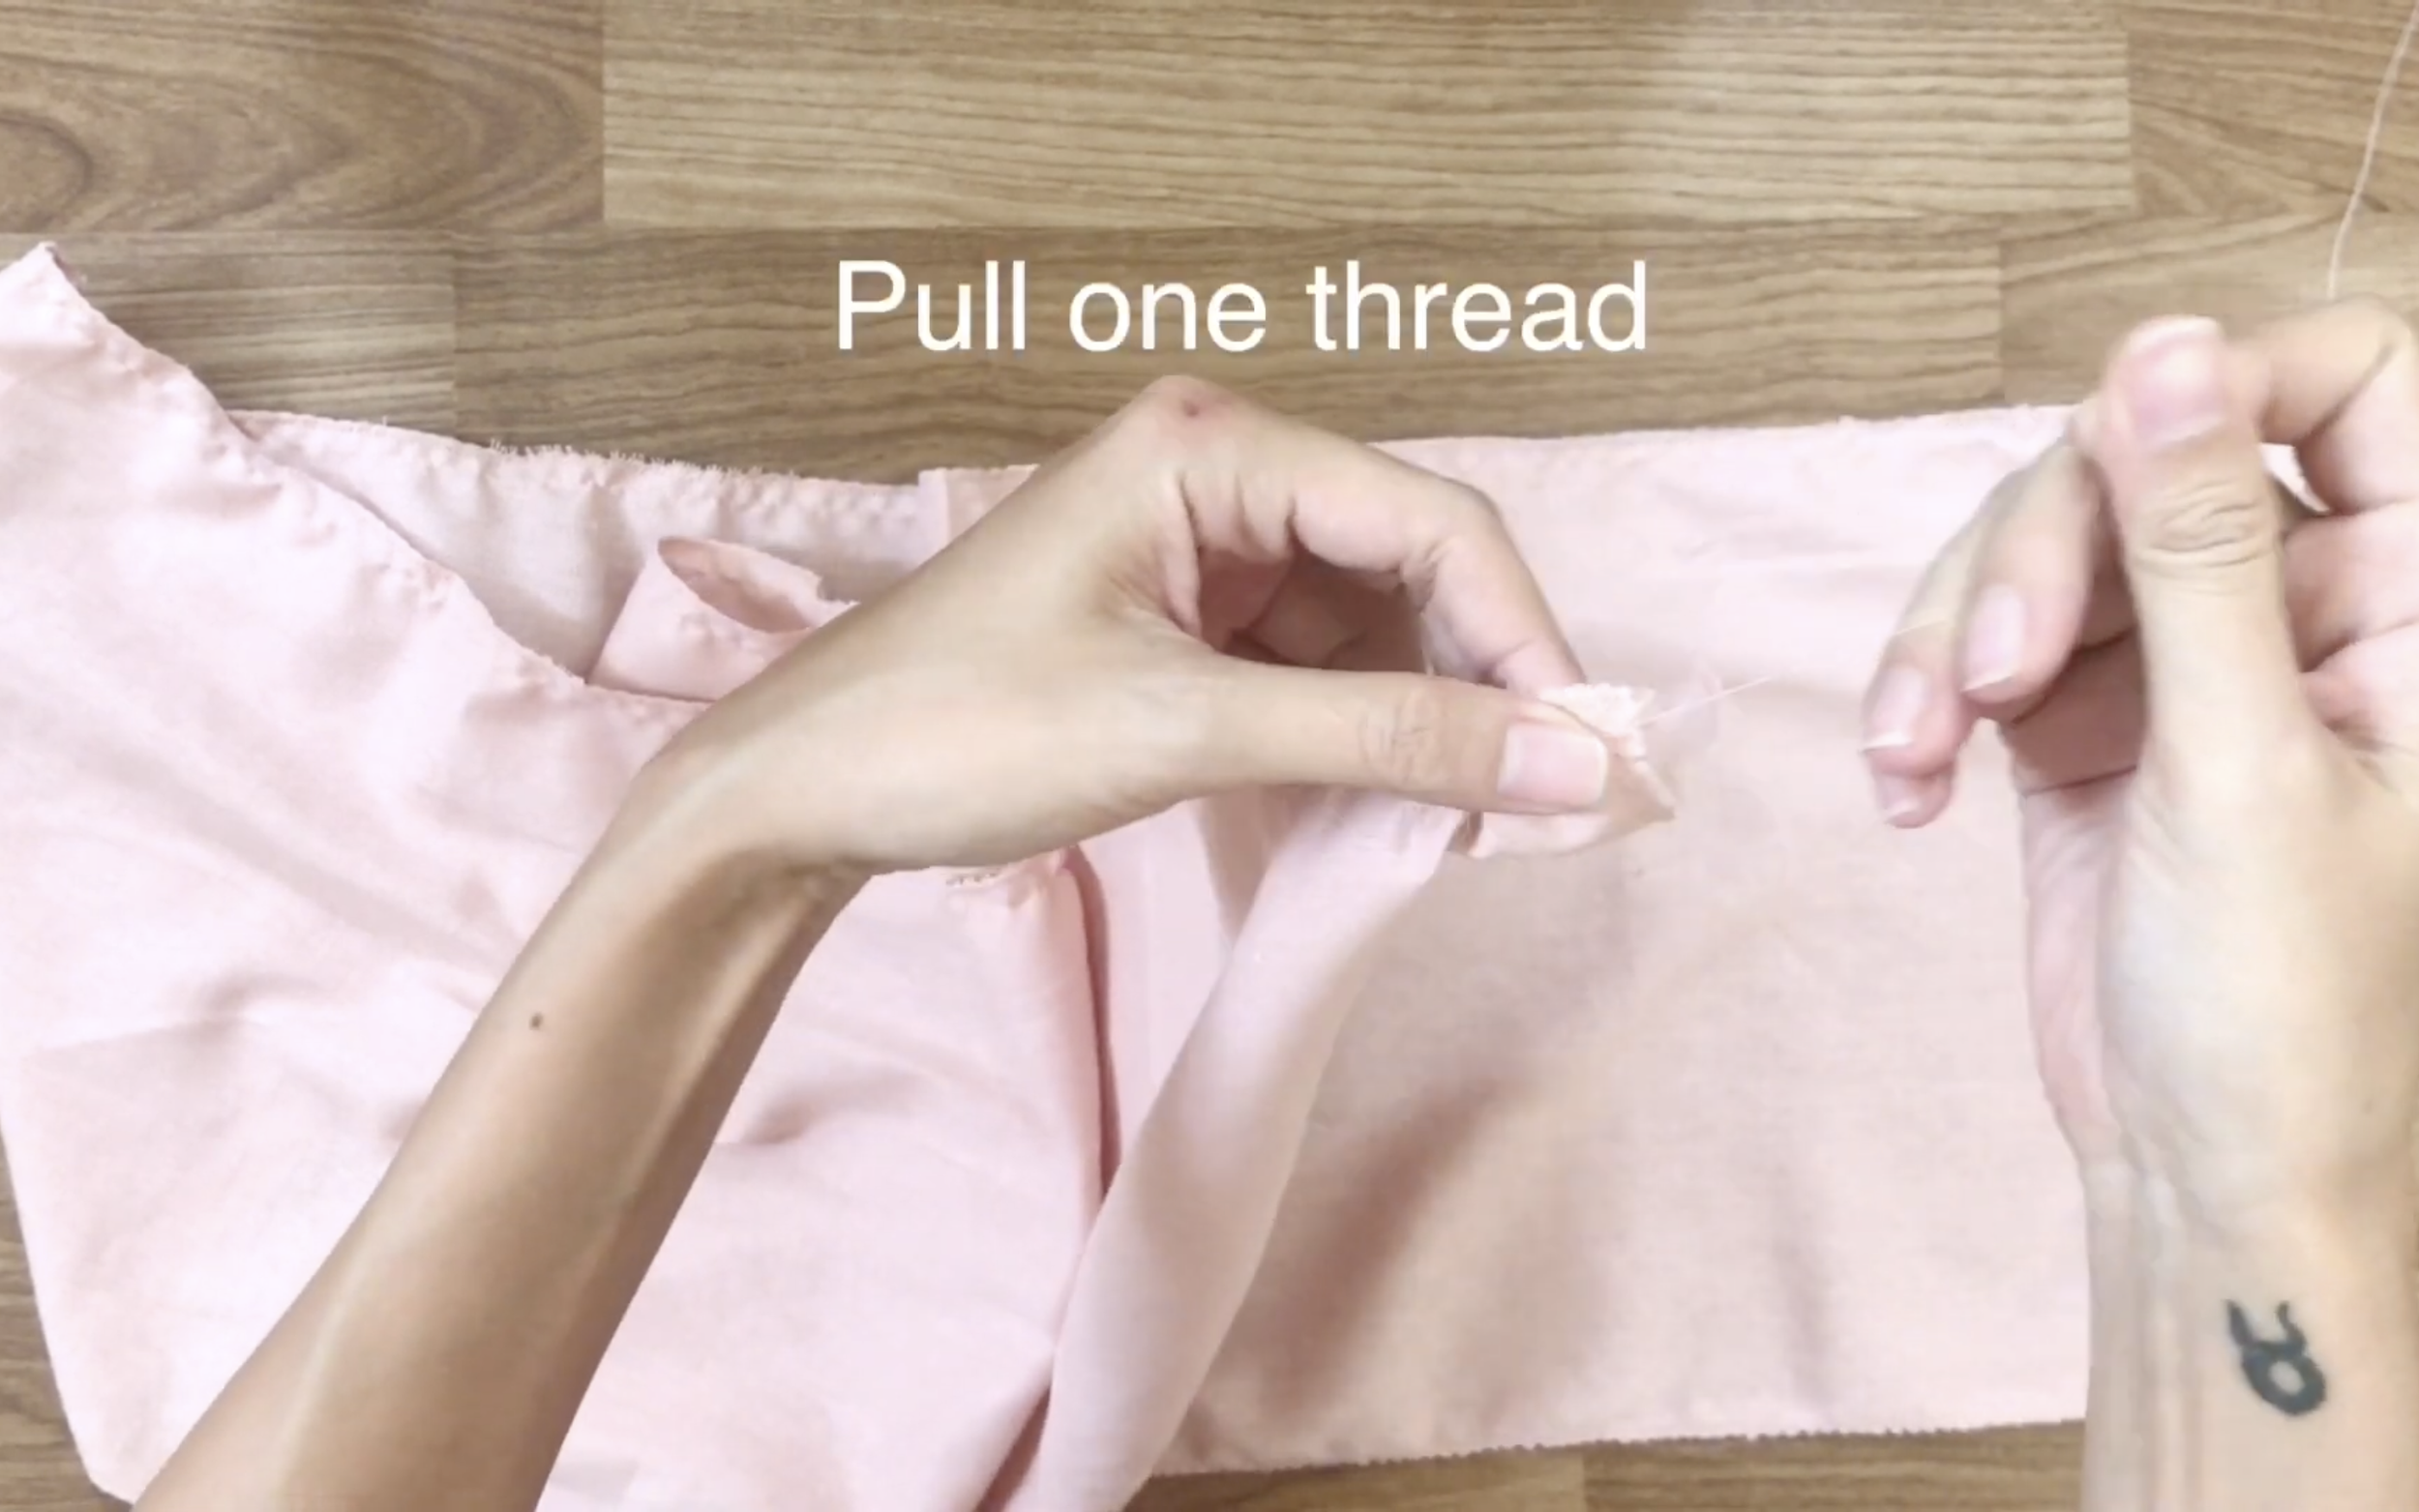
To create the ruffle, hold one thread while pulling the other, making it easier to control the ruffle by pulling the upper thread.
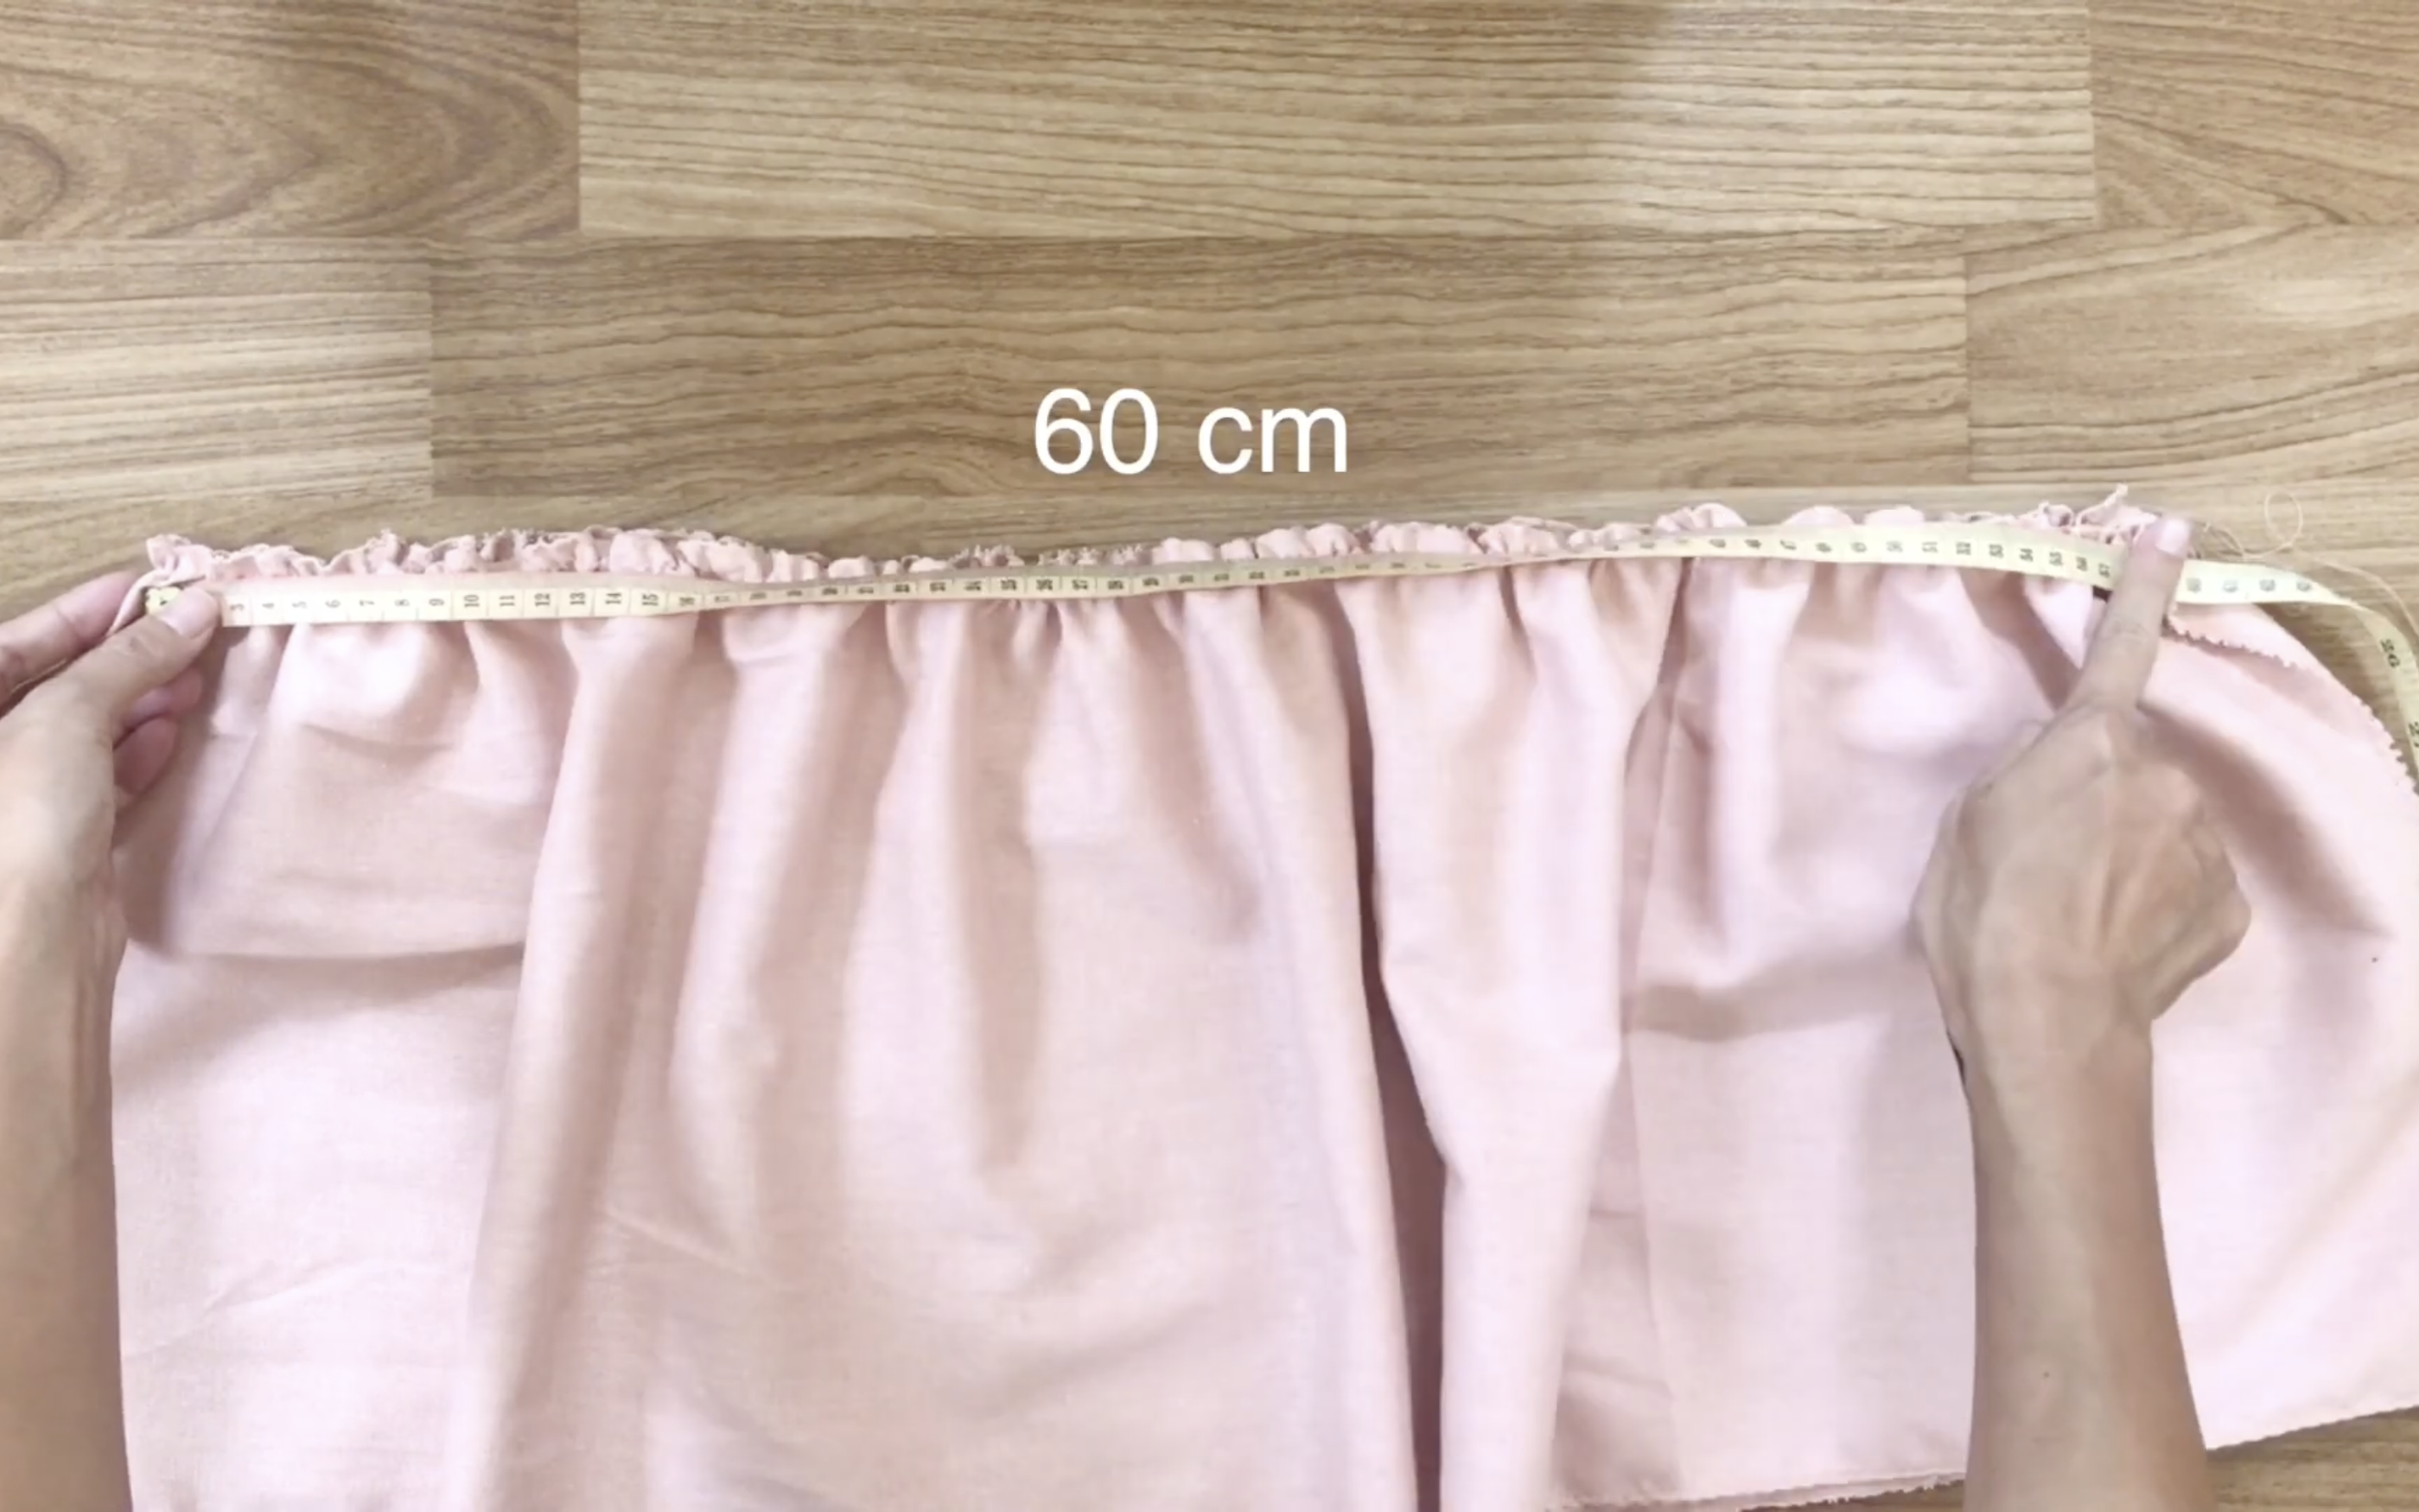
Make sure that the length of the ruffle matches the end of the dress.
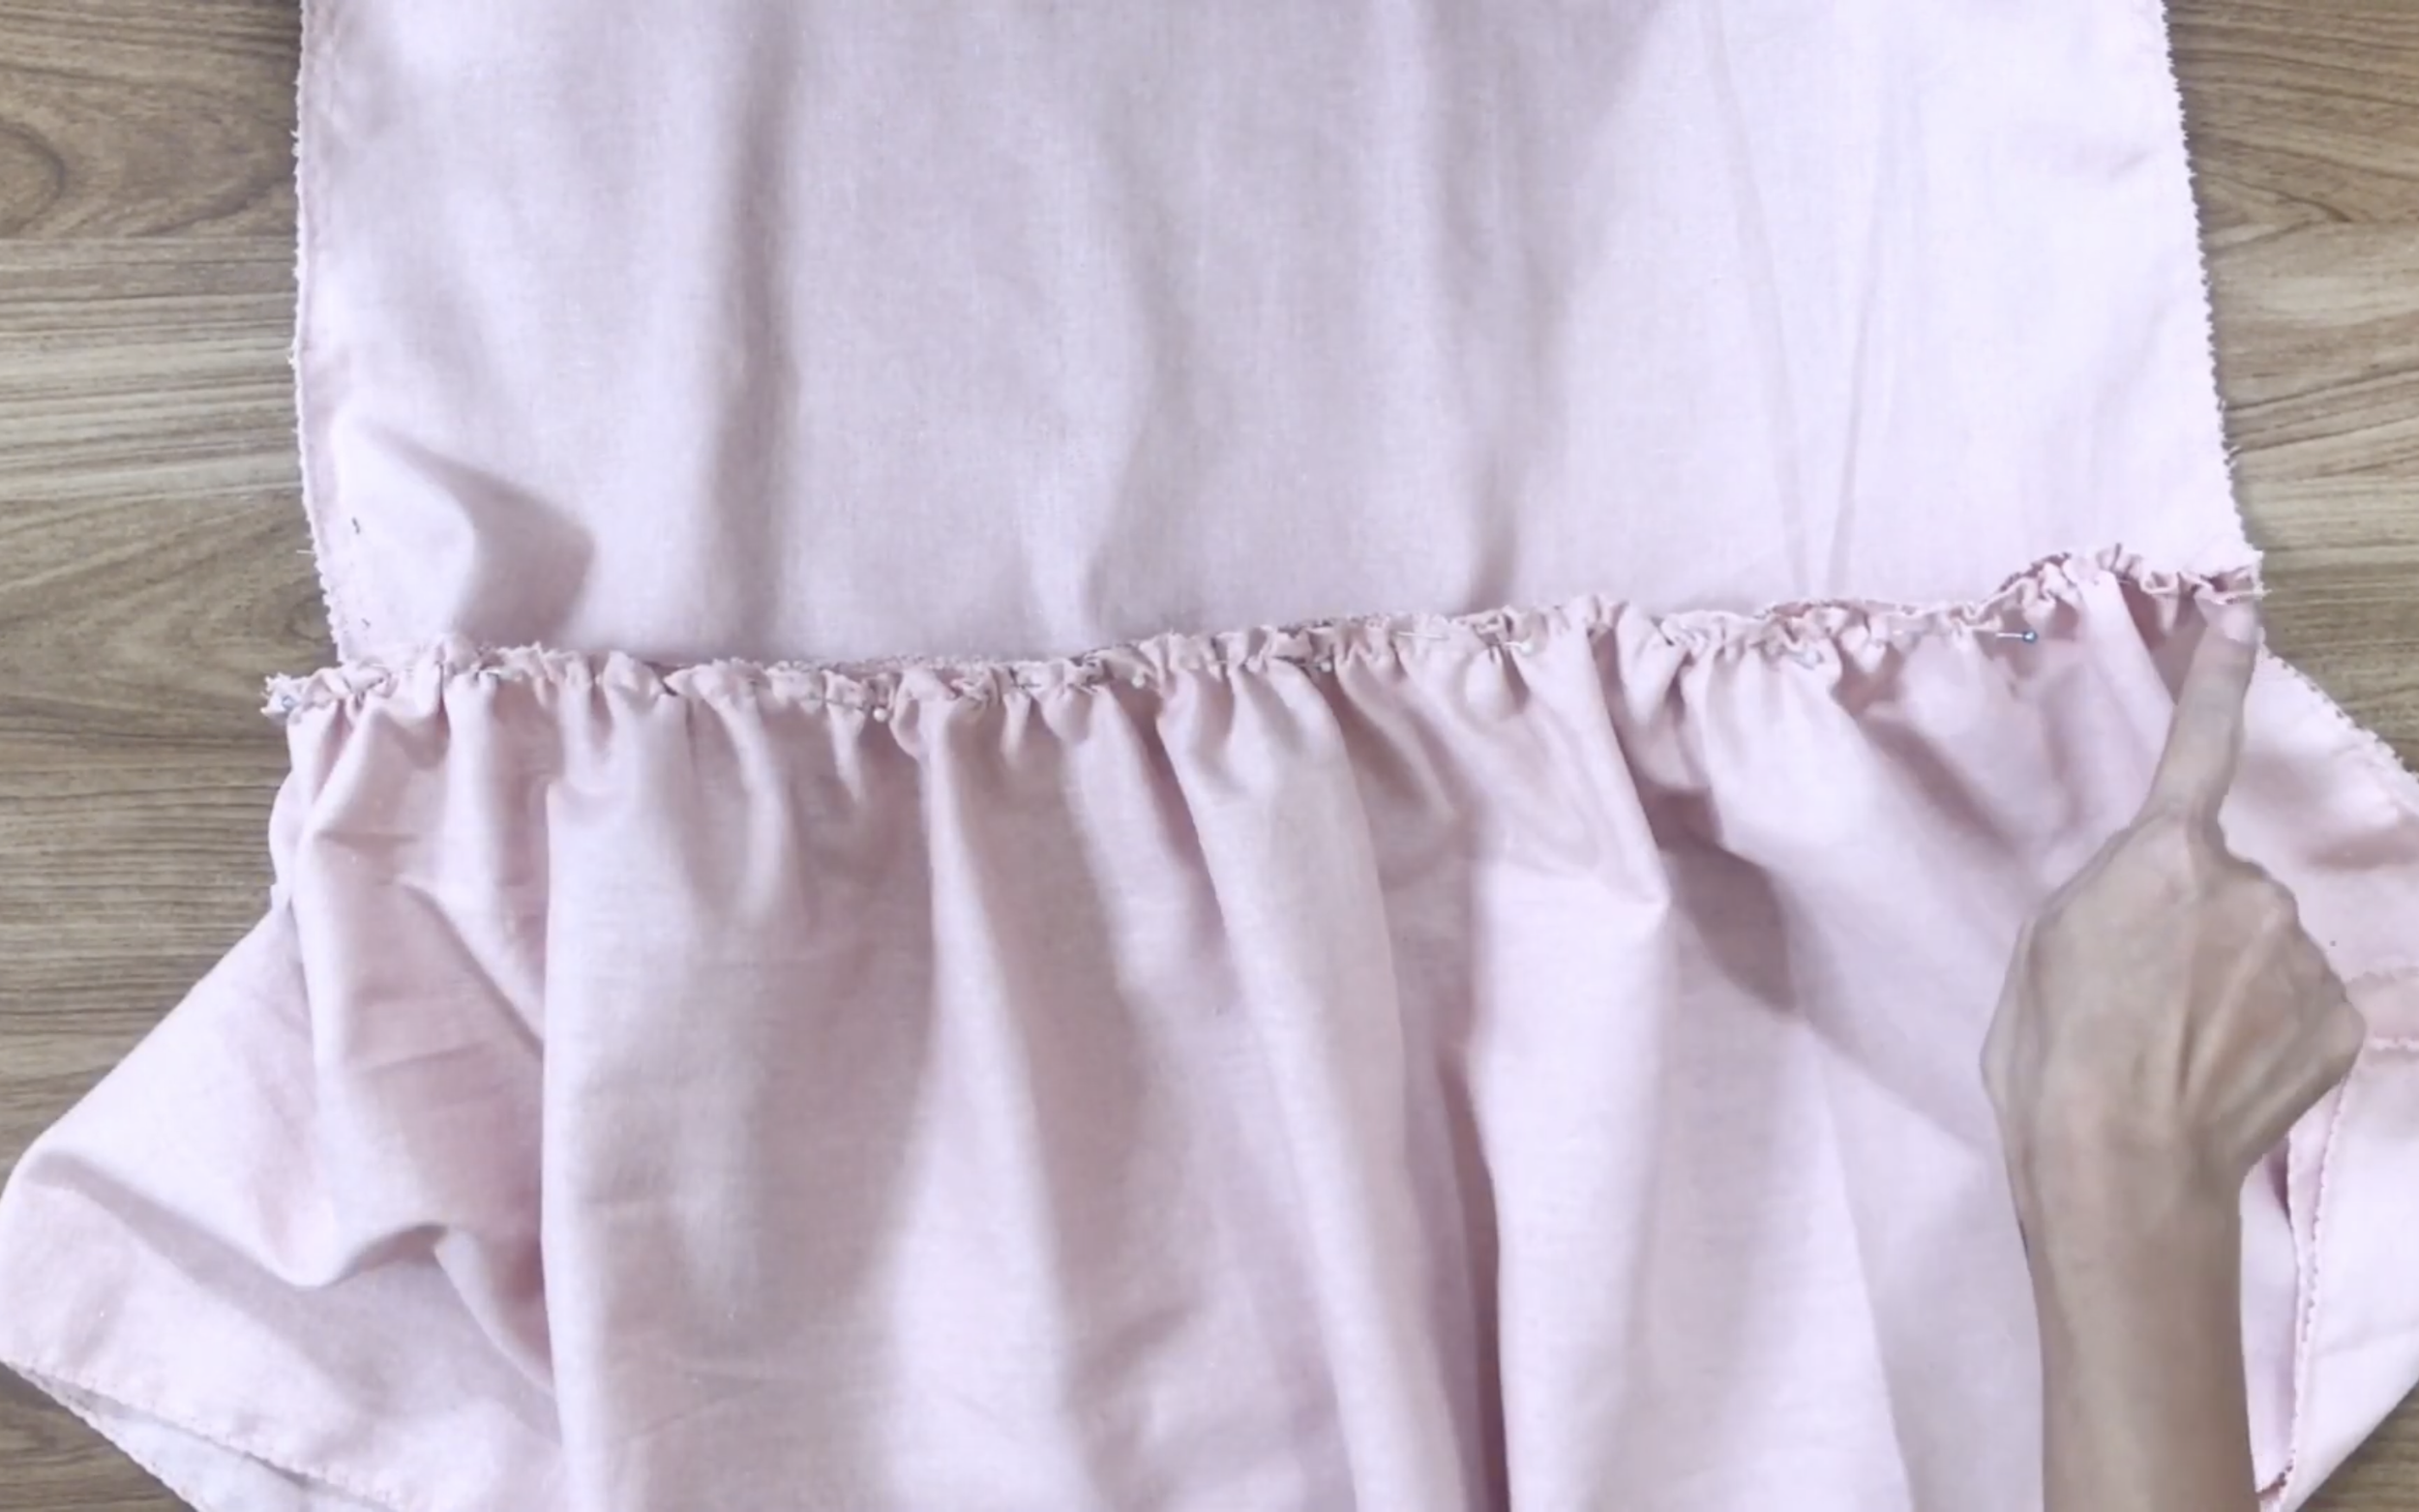
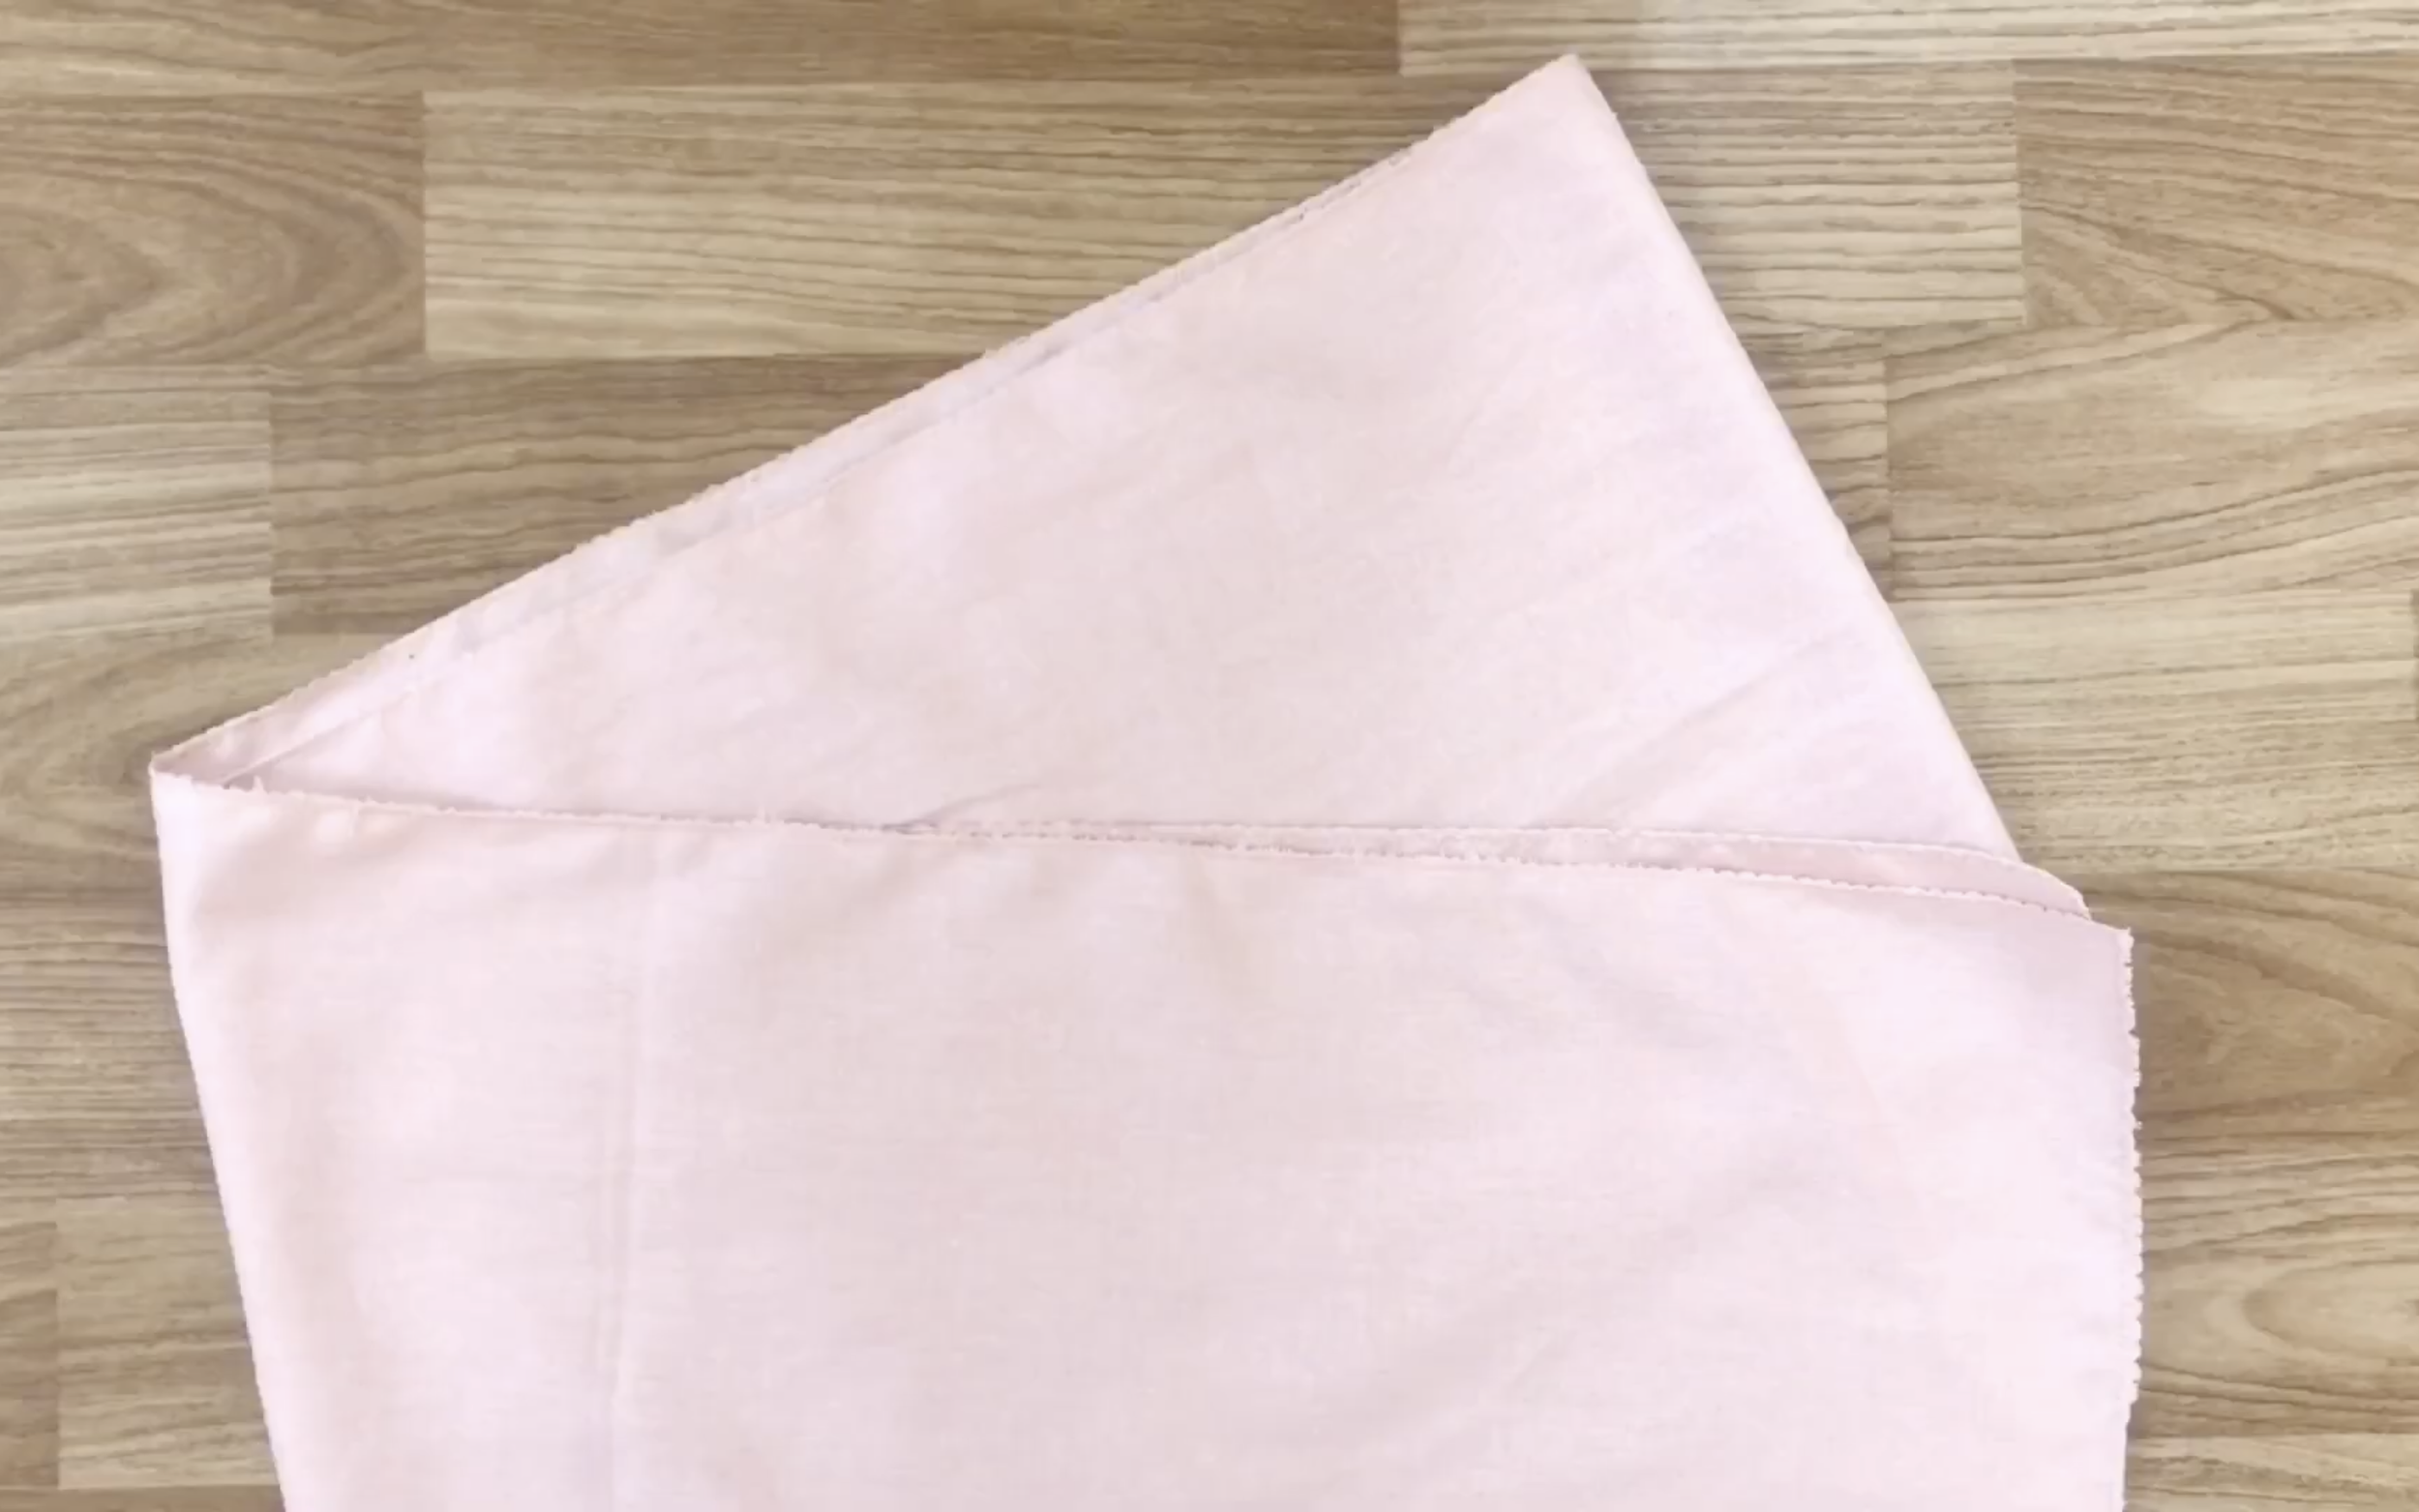
Attach the ruffle to the end of the dress using pins, then sew.
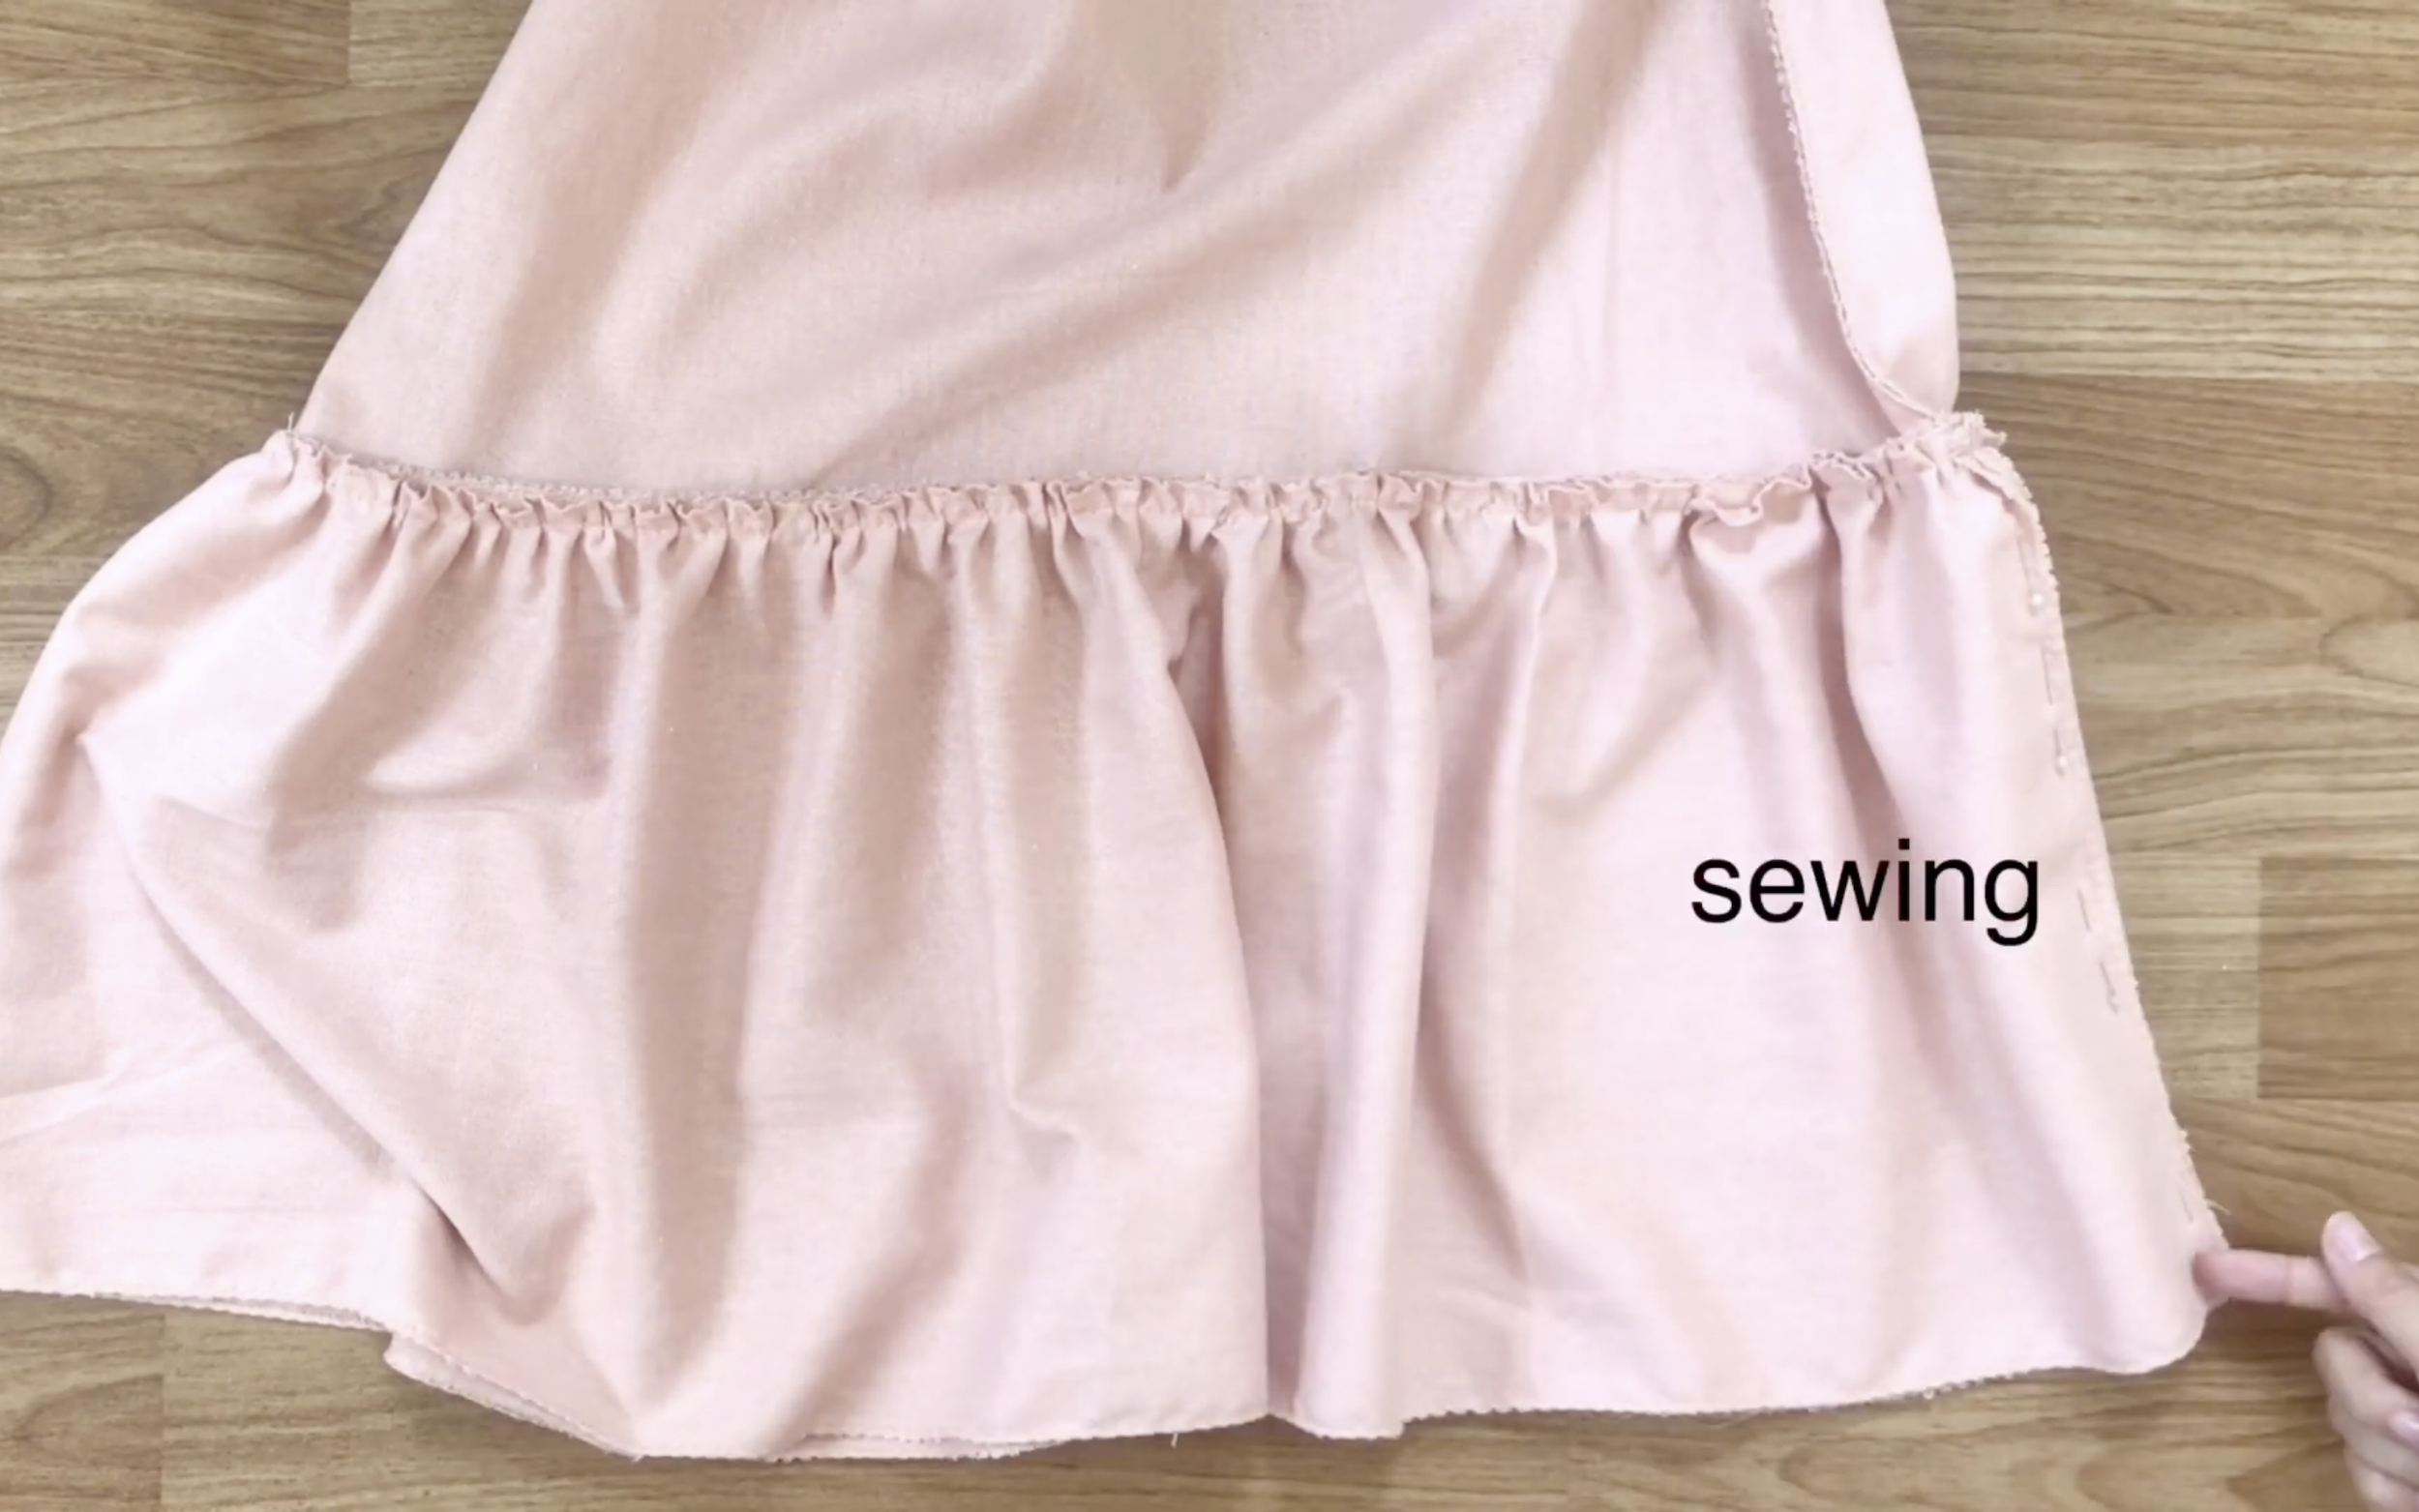
After that, sew the two ends of the rectangle together to finish the ruffle.
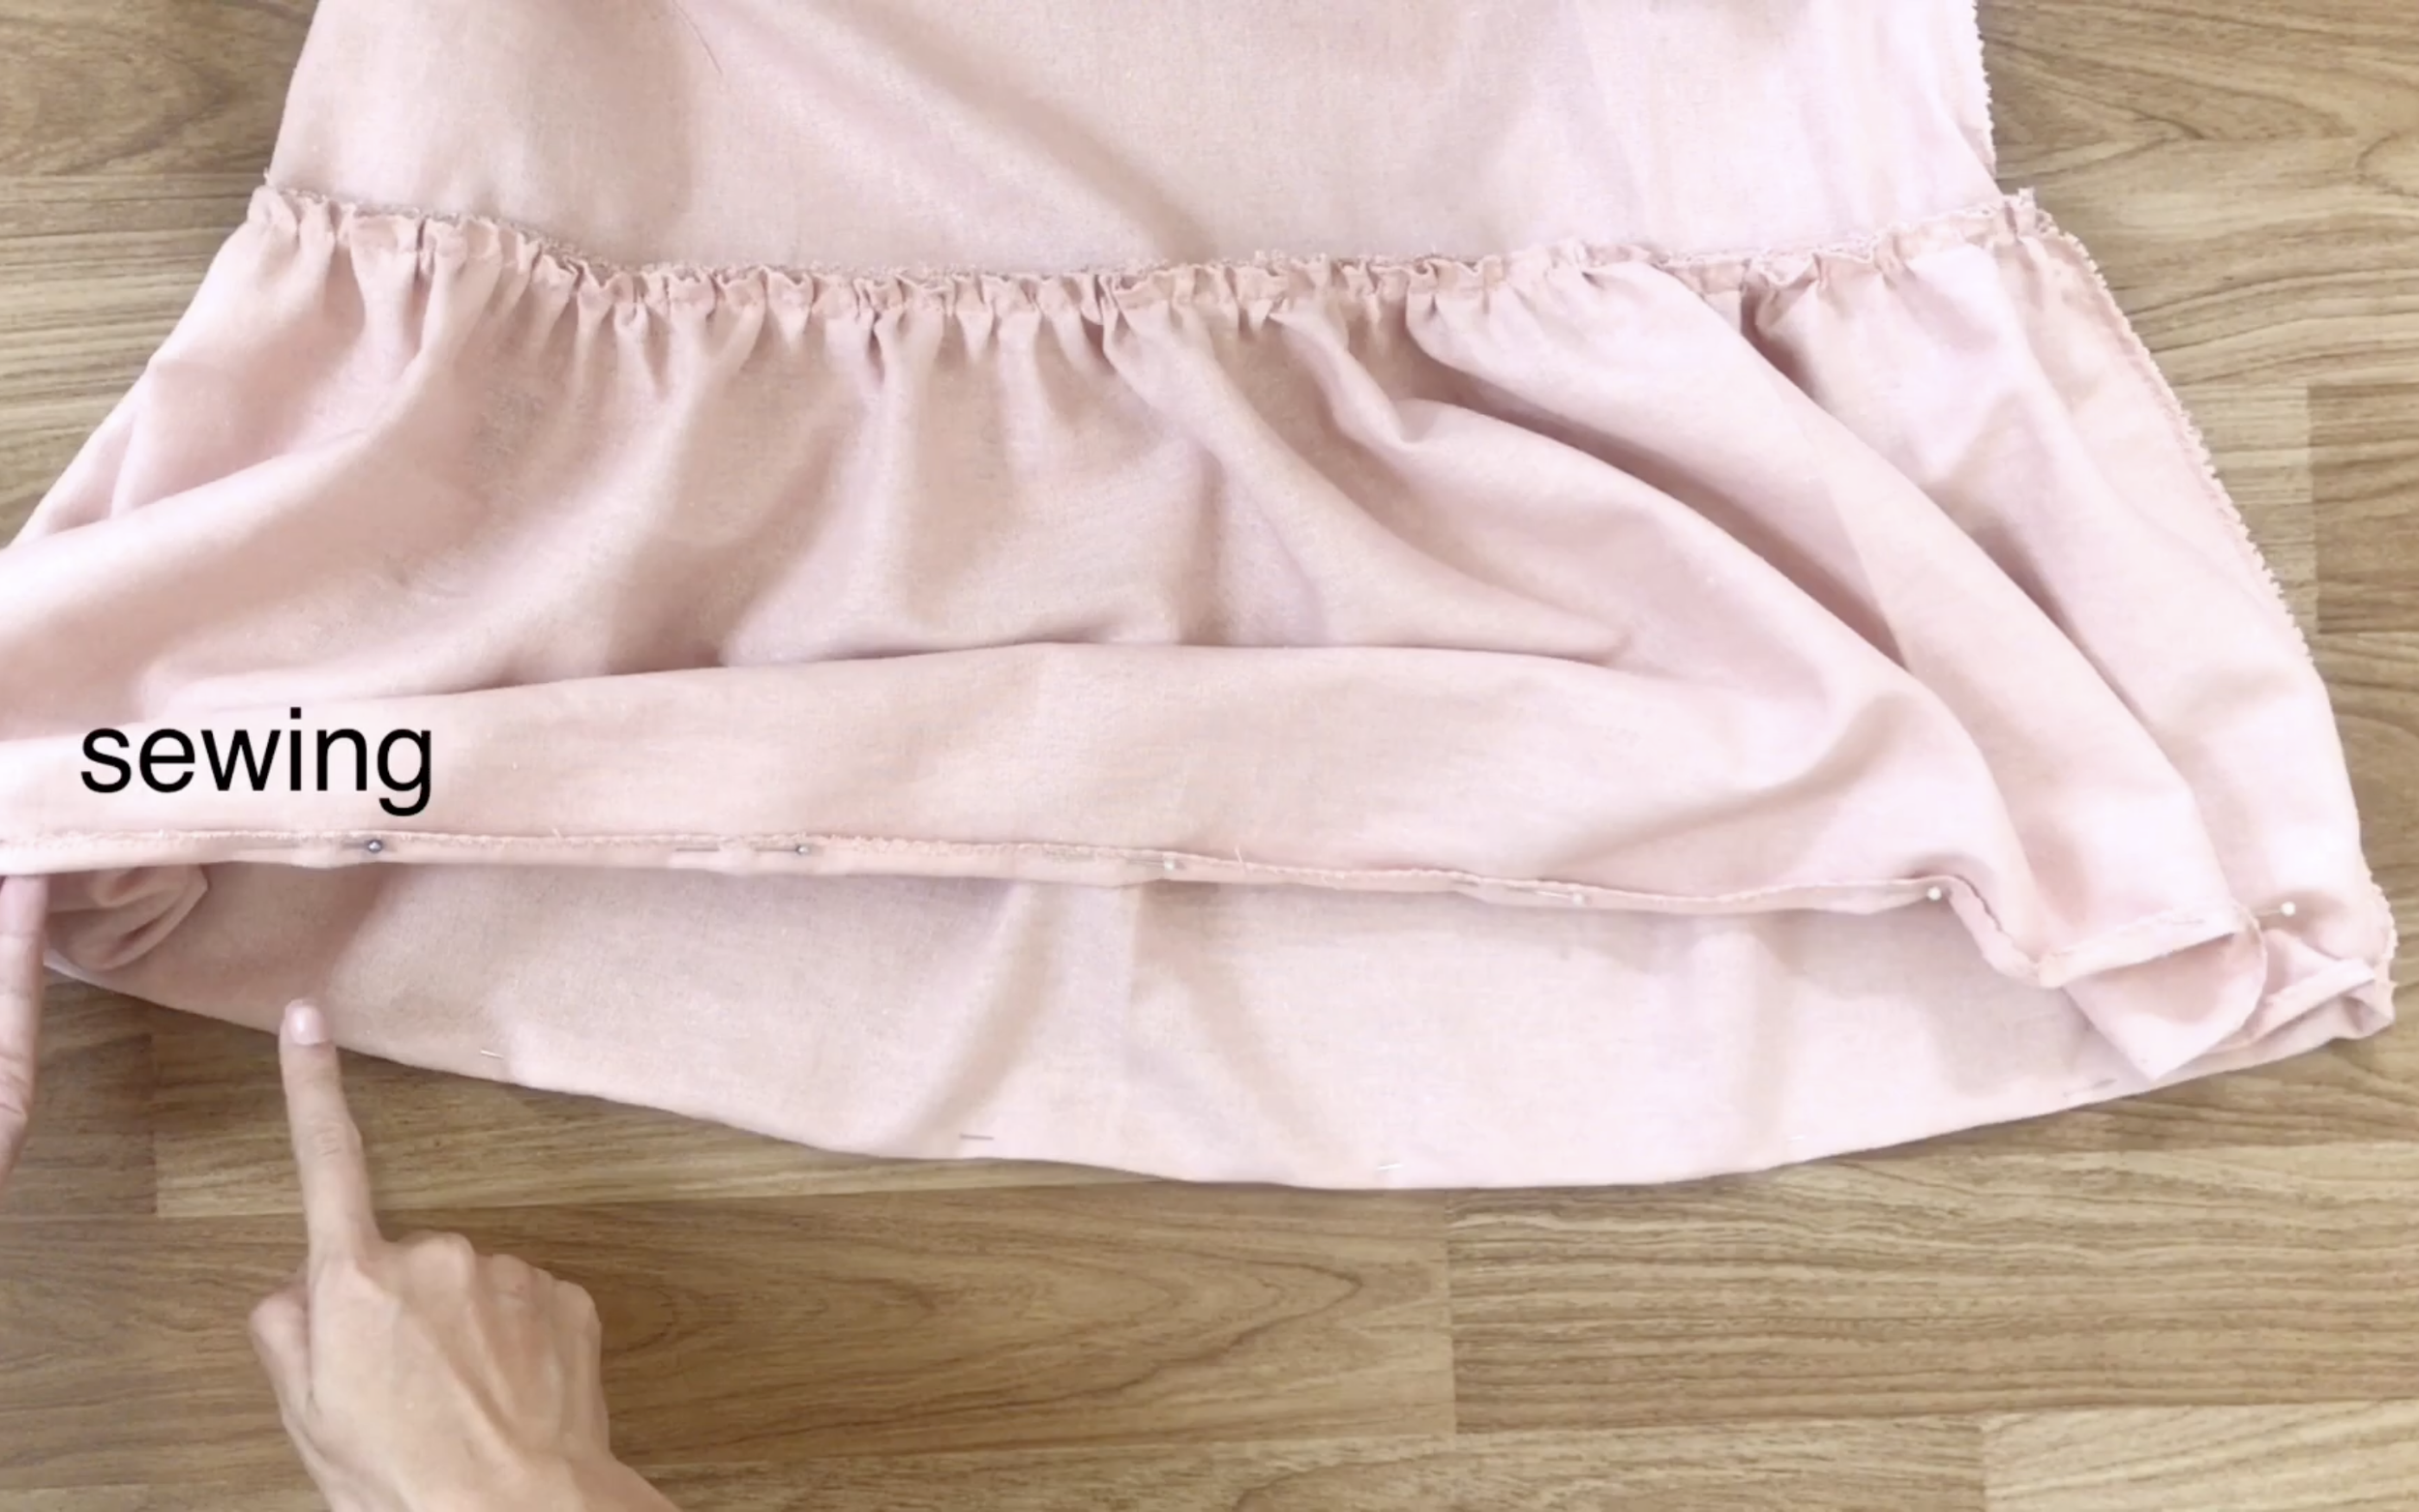
Fold the fabric at the end of the ruffle (now the end of the dress) inward by about 1 cm to hide the raw edge, pin the fold in place, then sew.
THE TOP
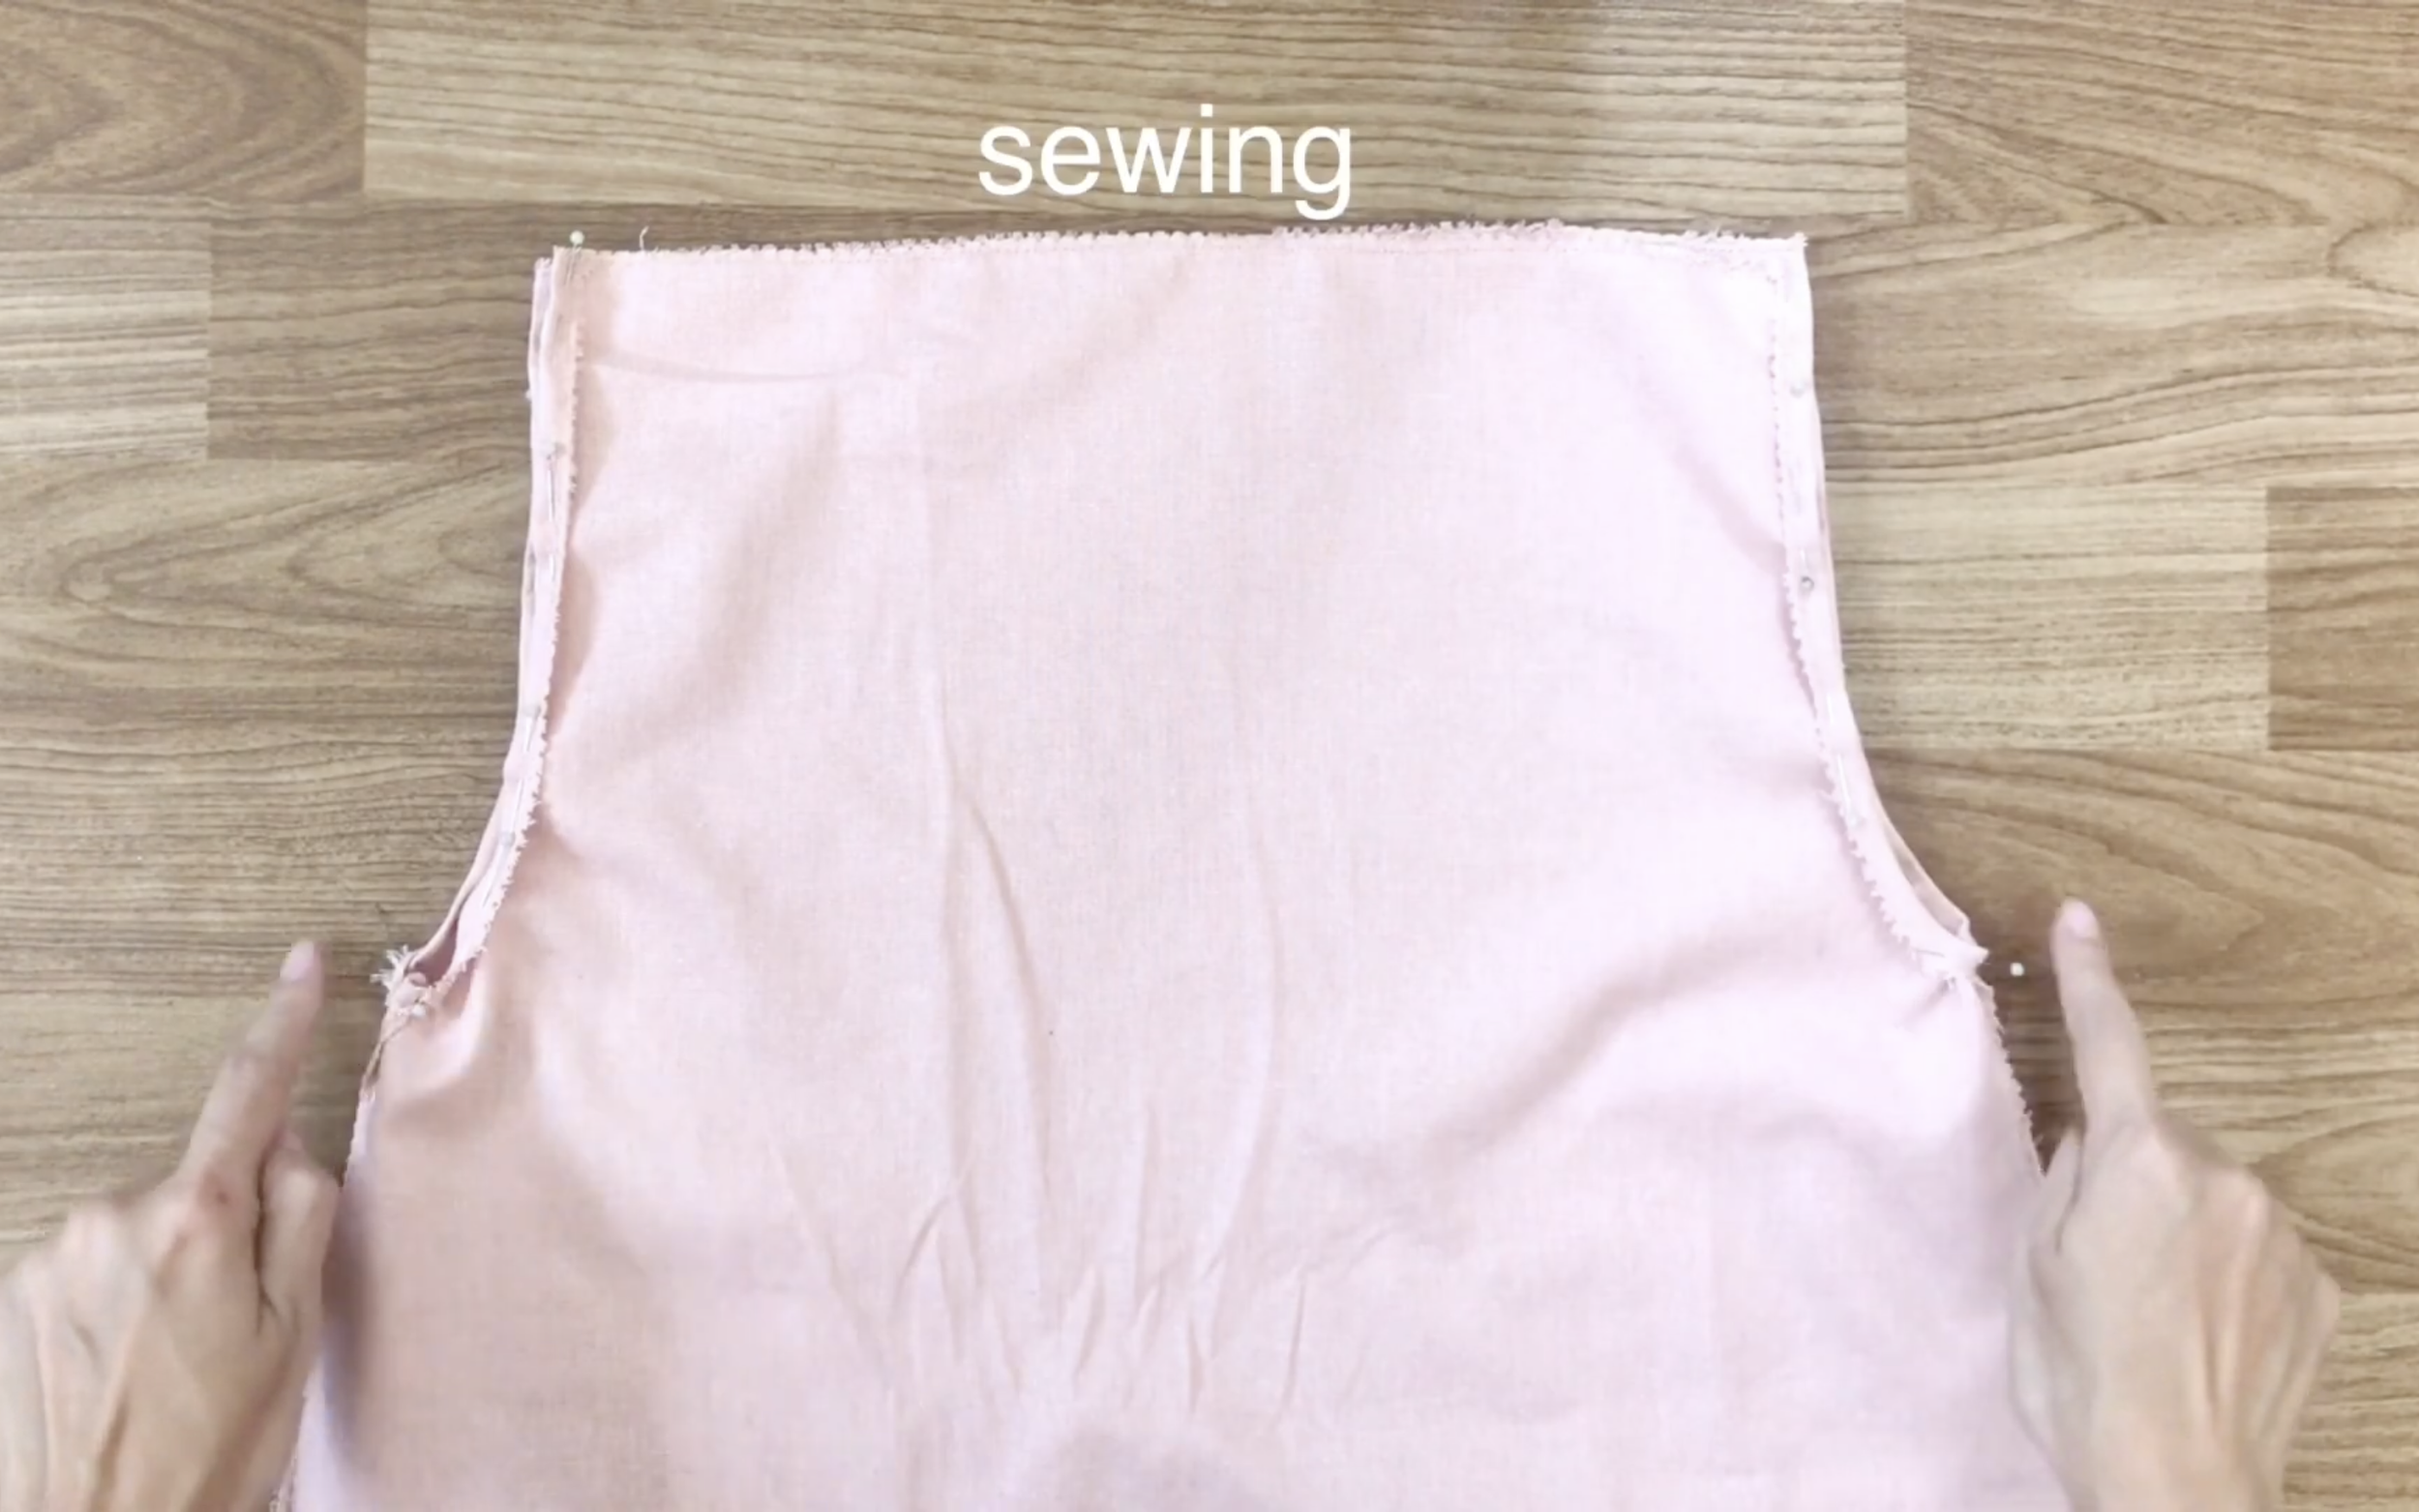
Moving to the top of the dress, fold the fabric inward by about 1 cm at the hand part to hide the raw edge, similar to what was done at the end of the dress, then sew.
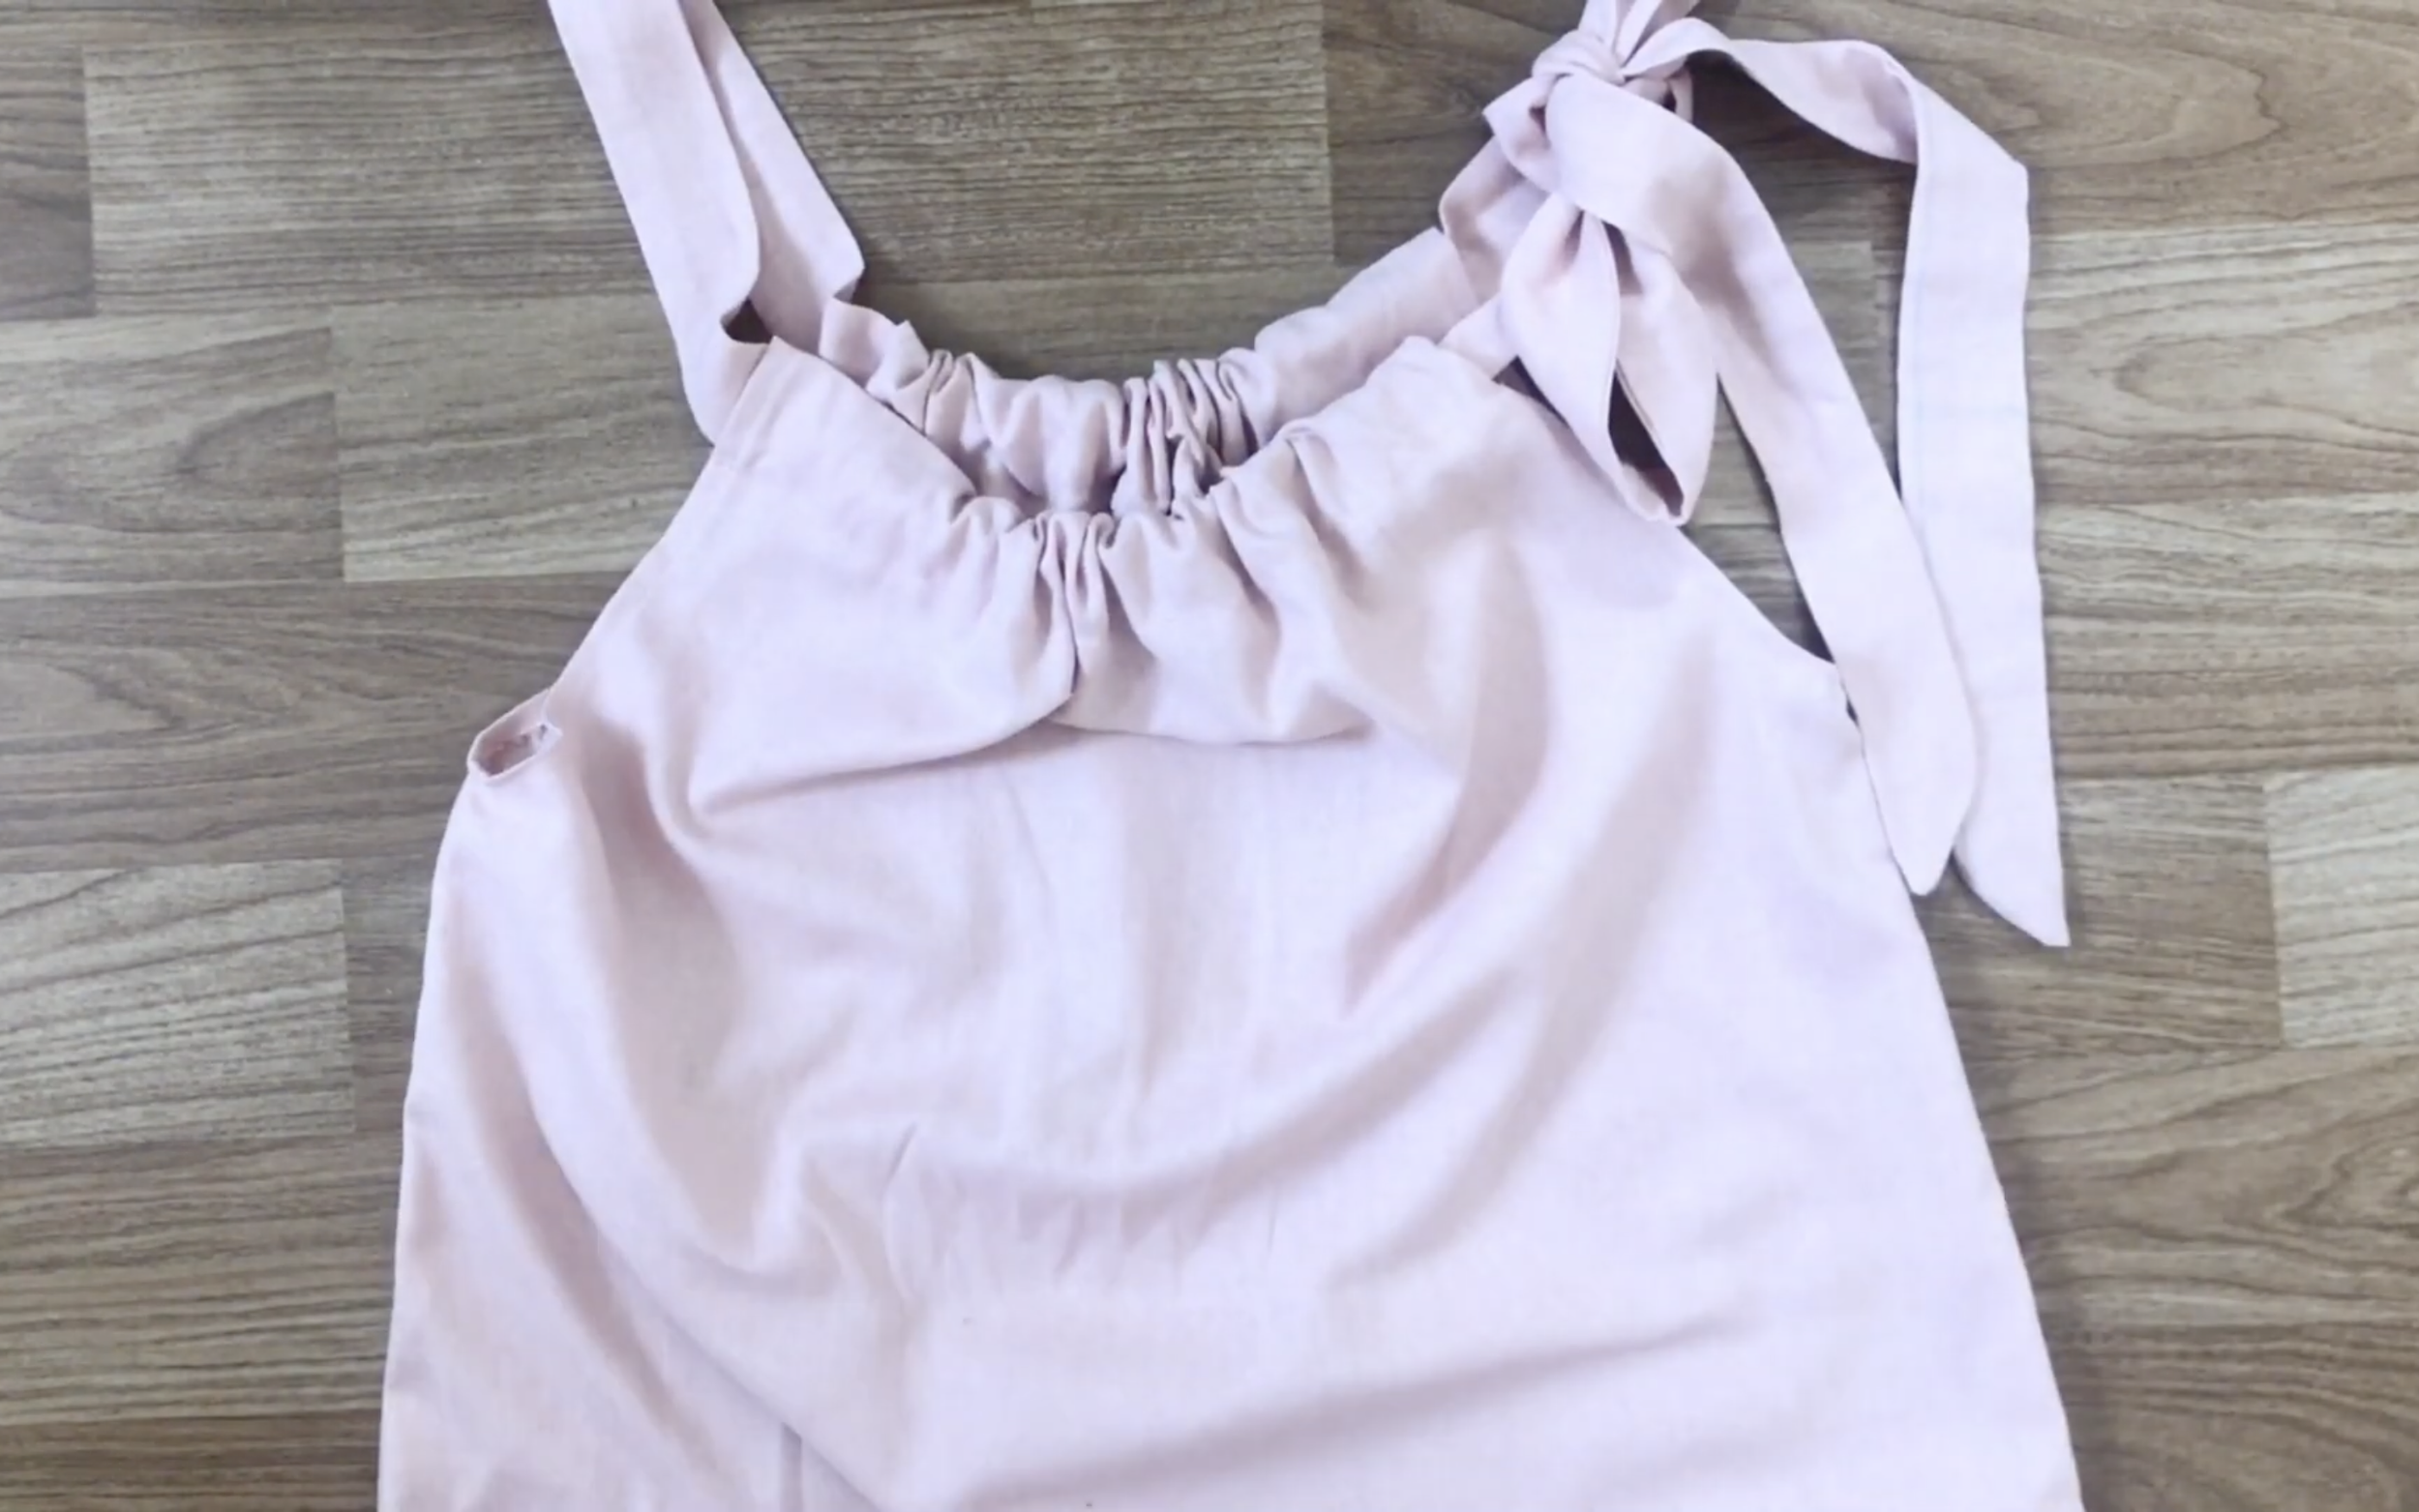
From the top, measure down 10 cm and draw a line.

Fold the fabric inward to meet that line, then sew to create a halter area.
Repeat this process for both the front and back of the dress.
THE TIES
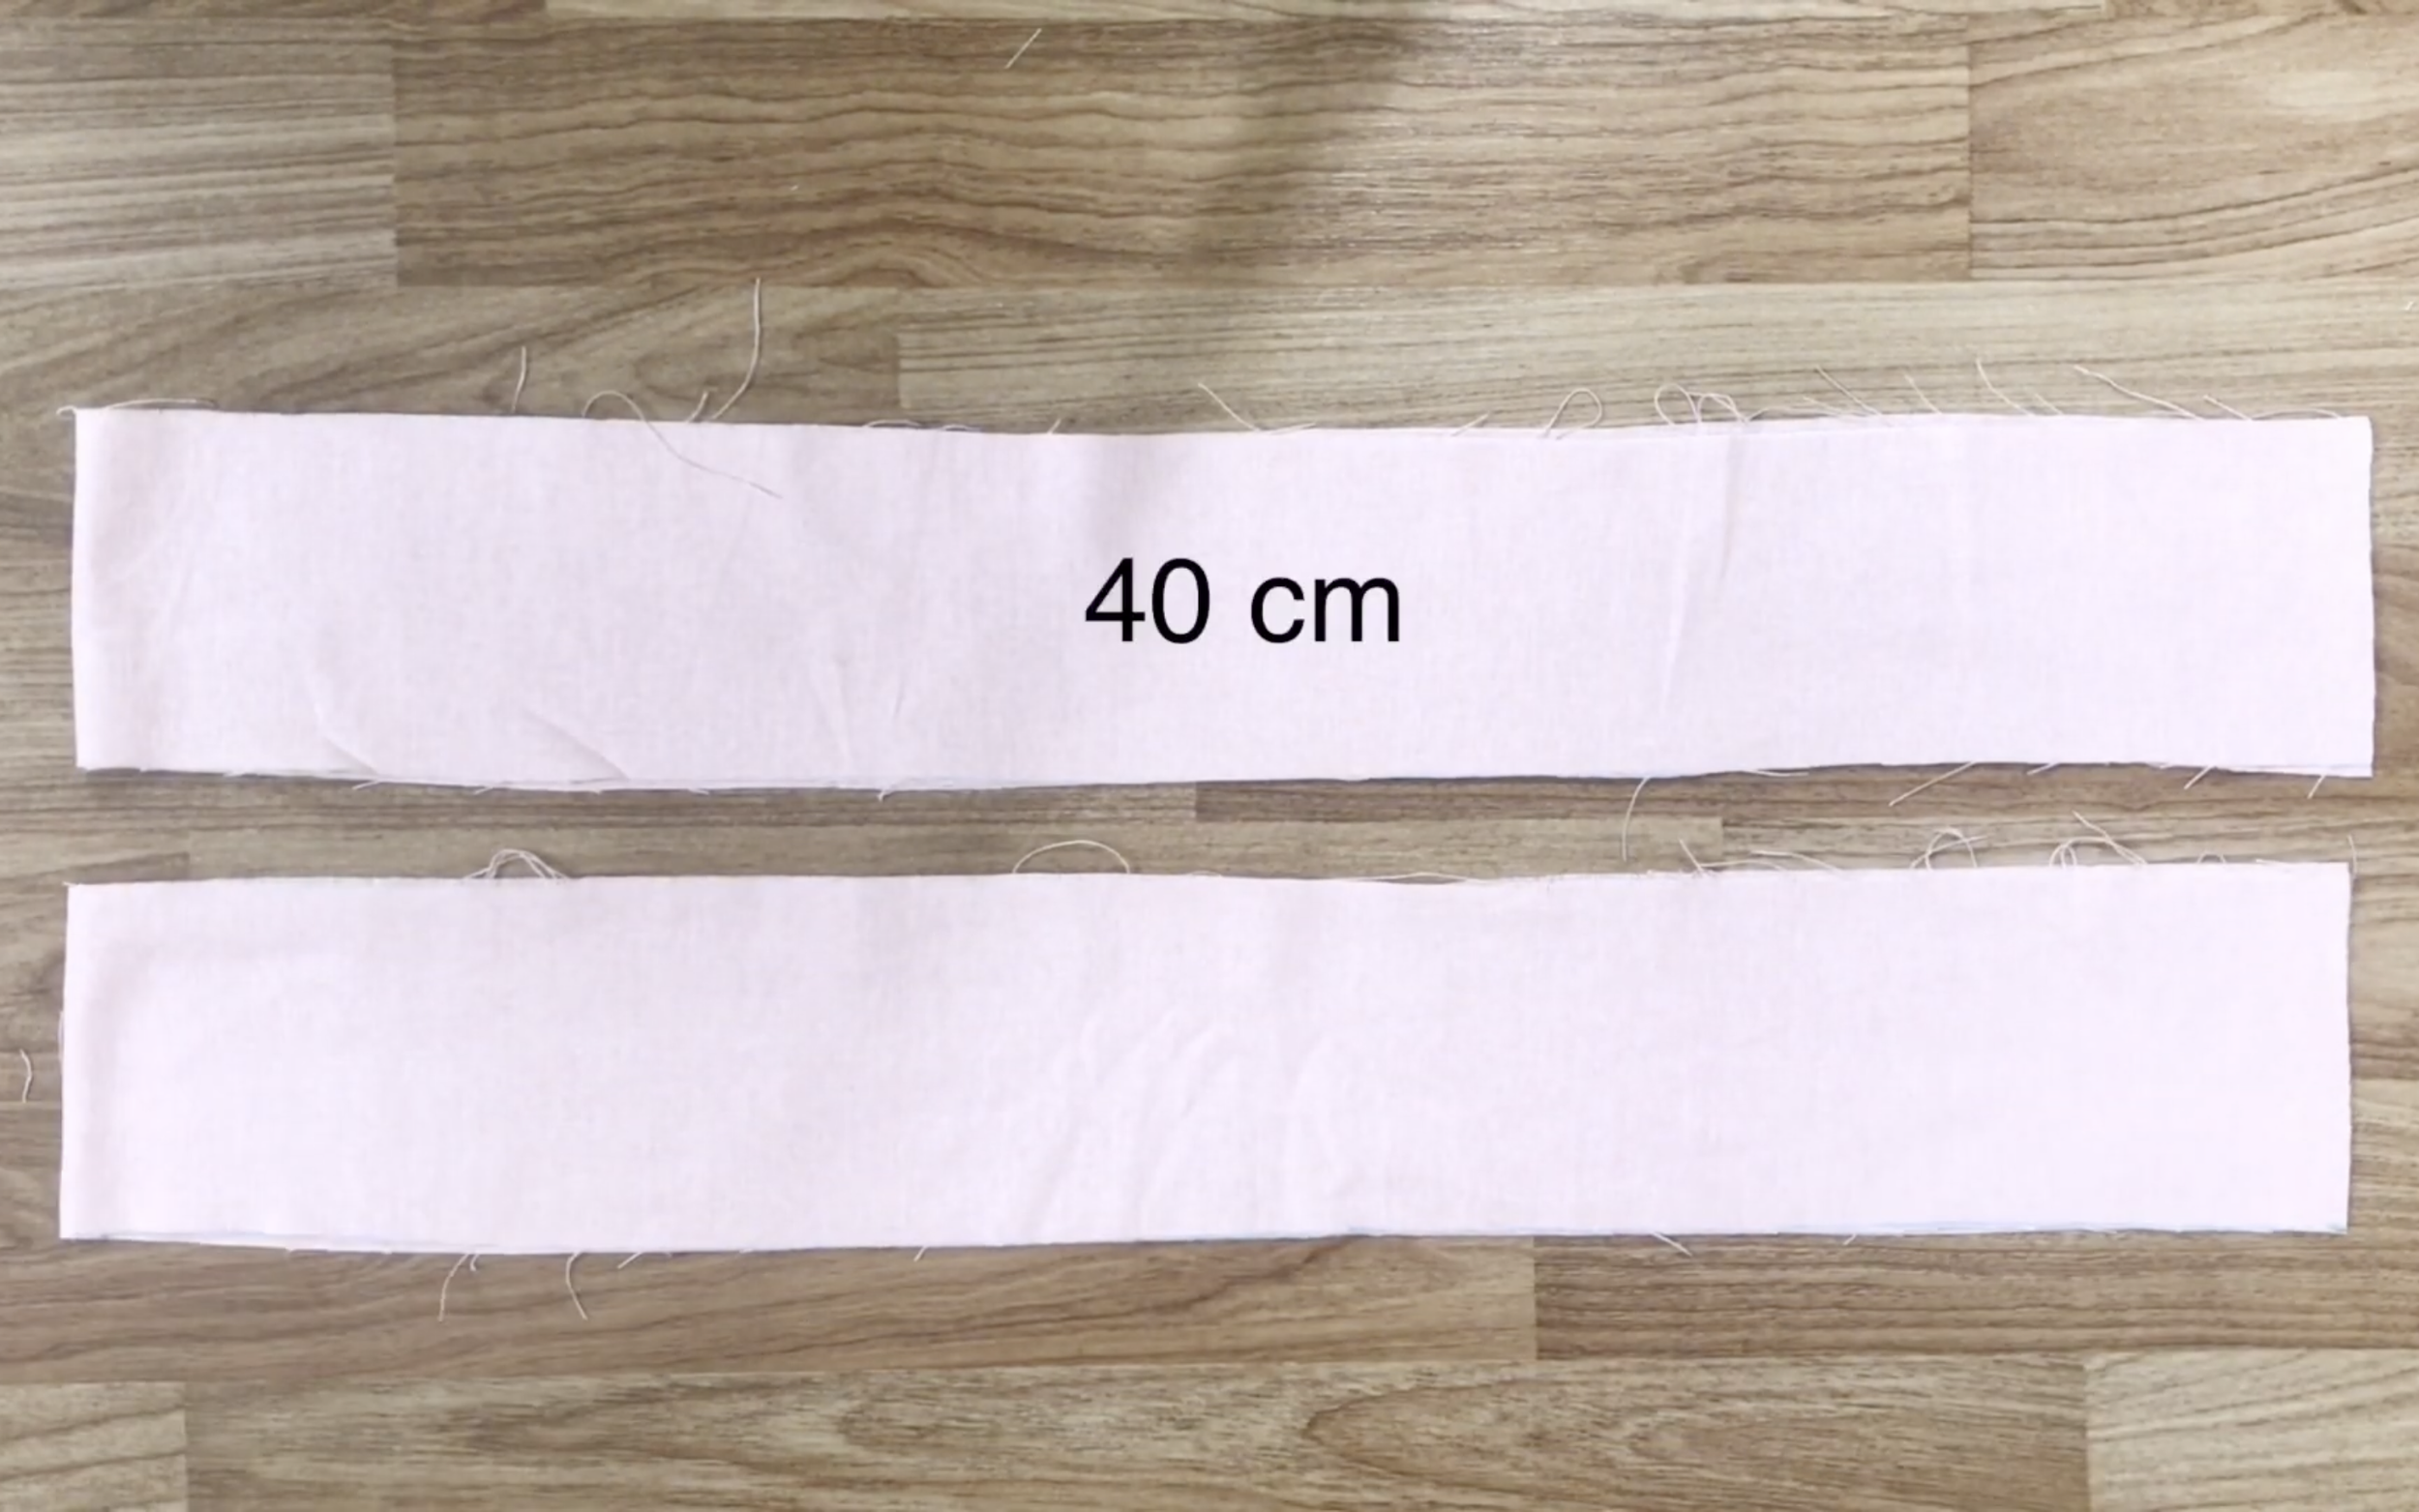
Next, make the ties for the dress using the leftover fabric. Cut two rectangles with a width of 10 cm and a length of about 40 cm.
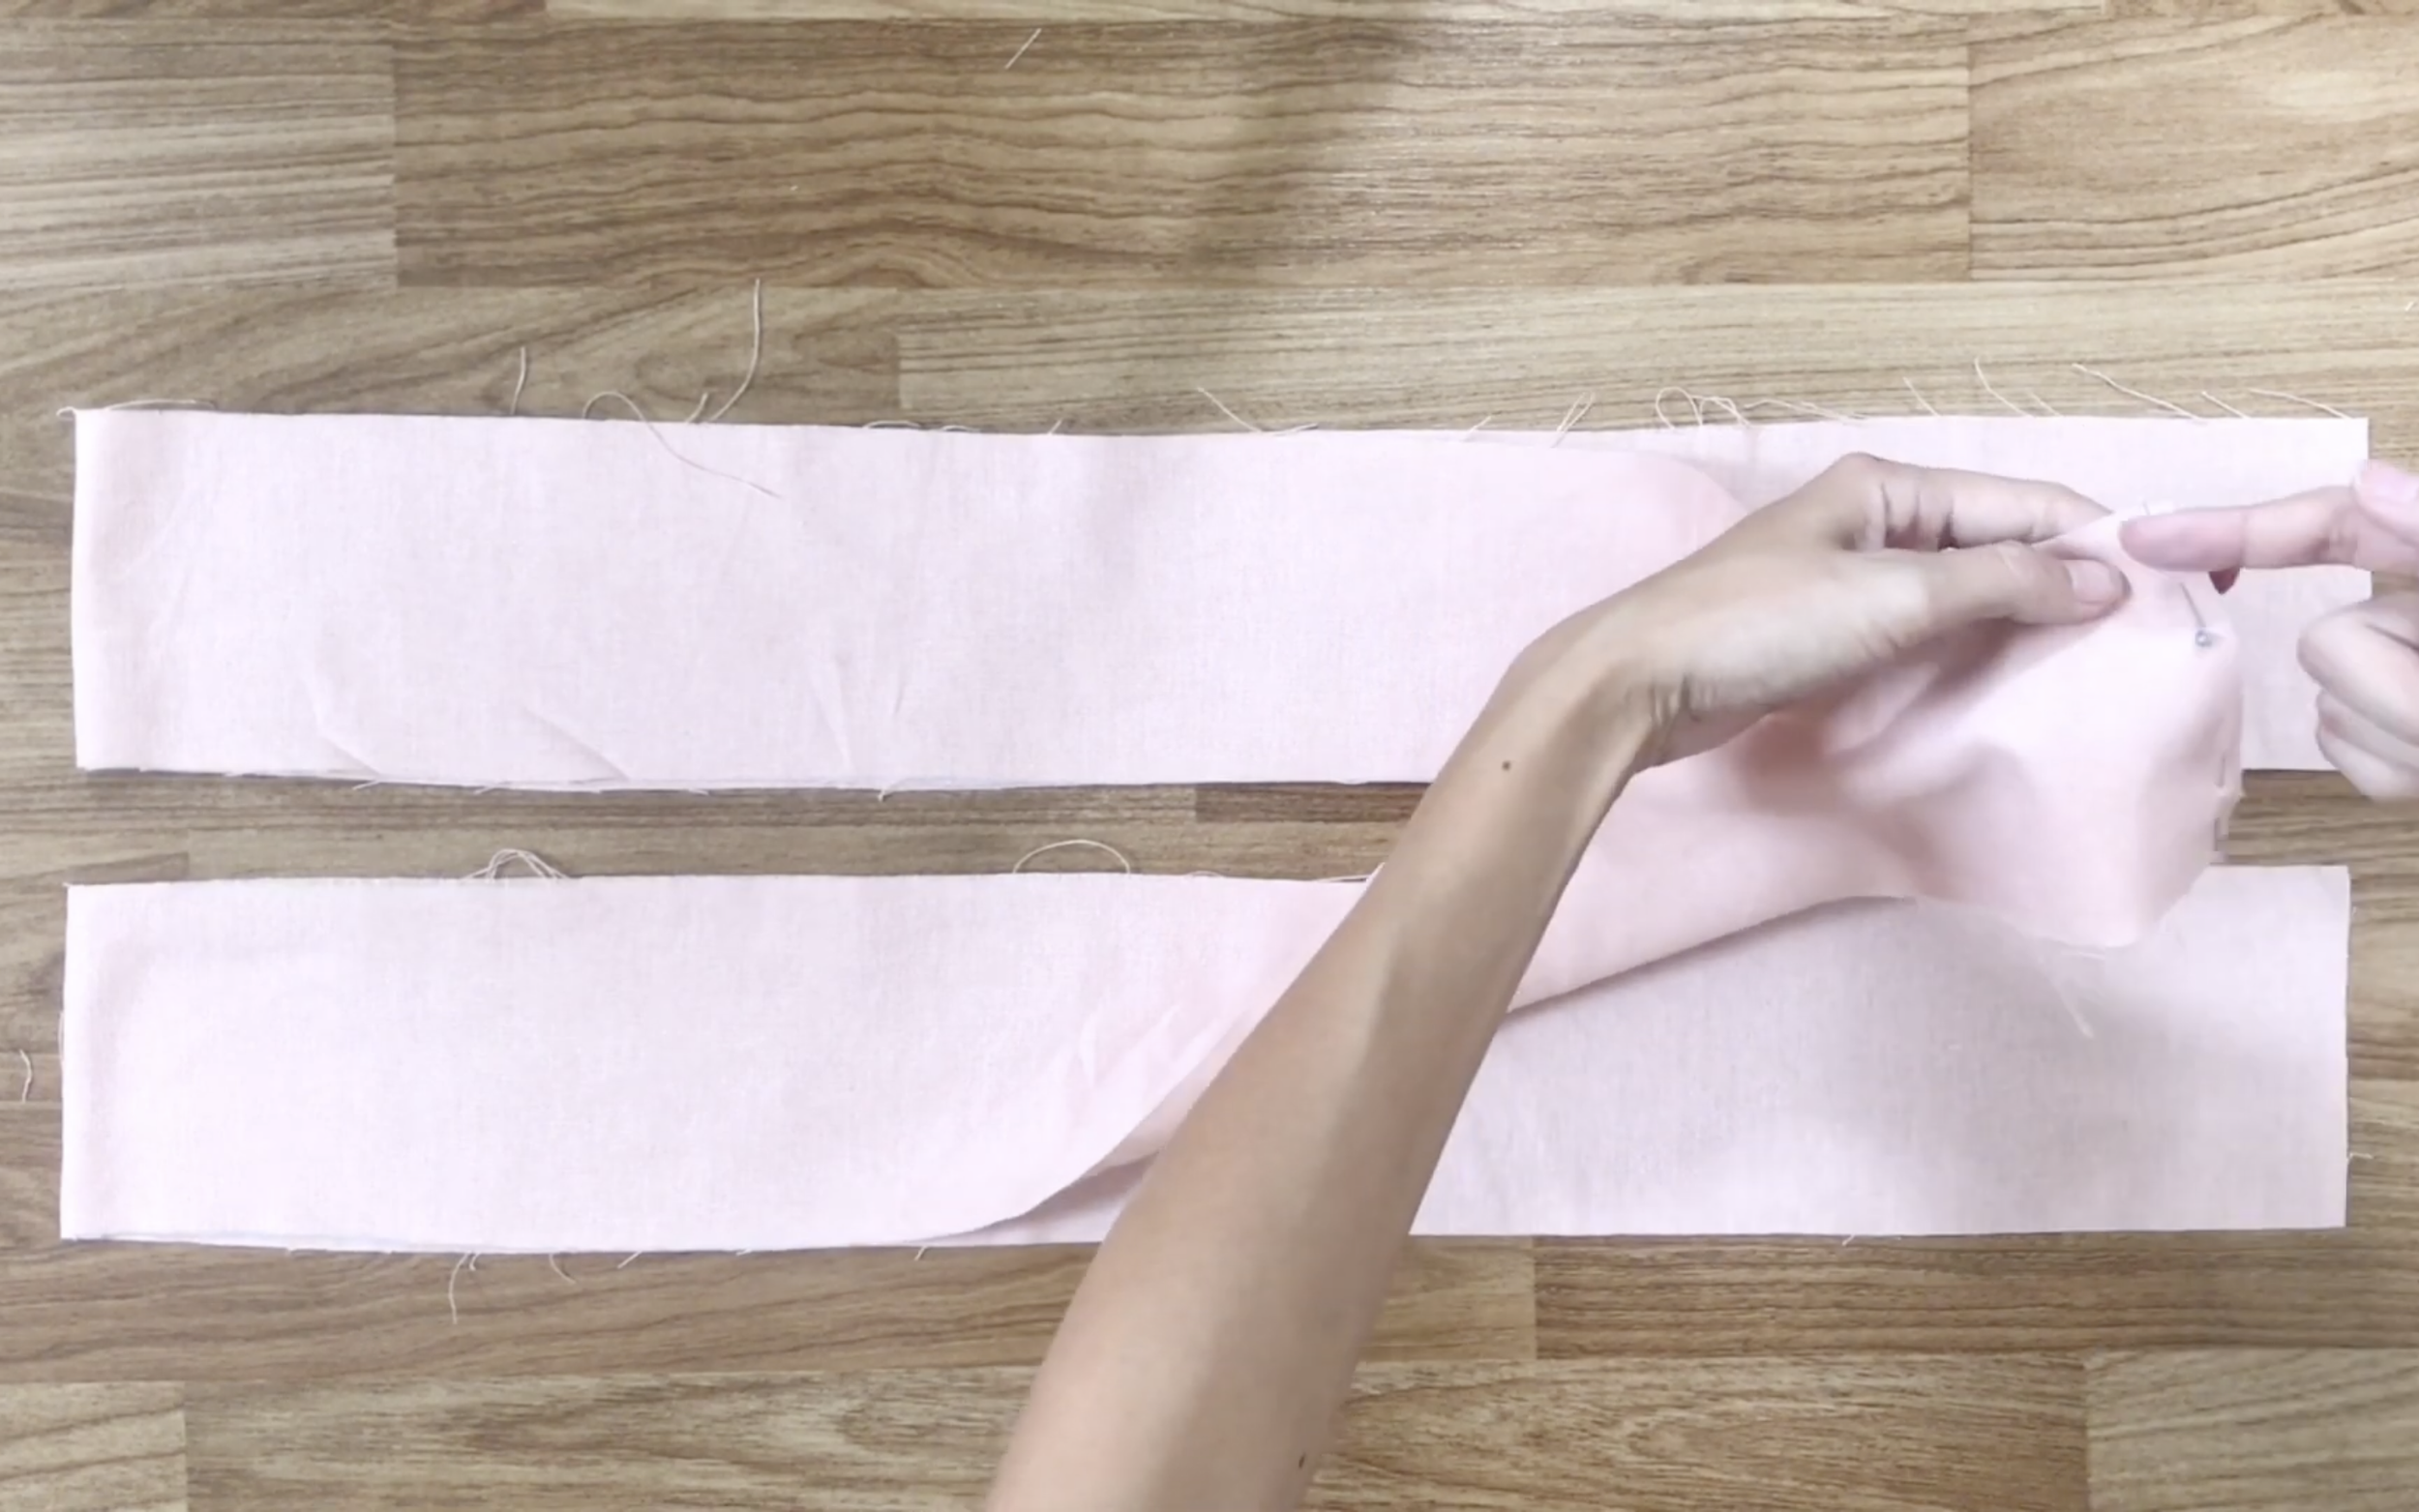
Connect them at one end to form a long tie.
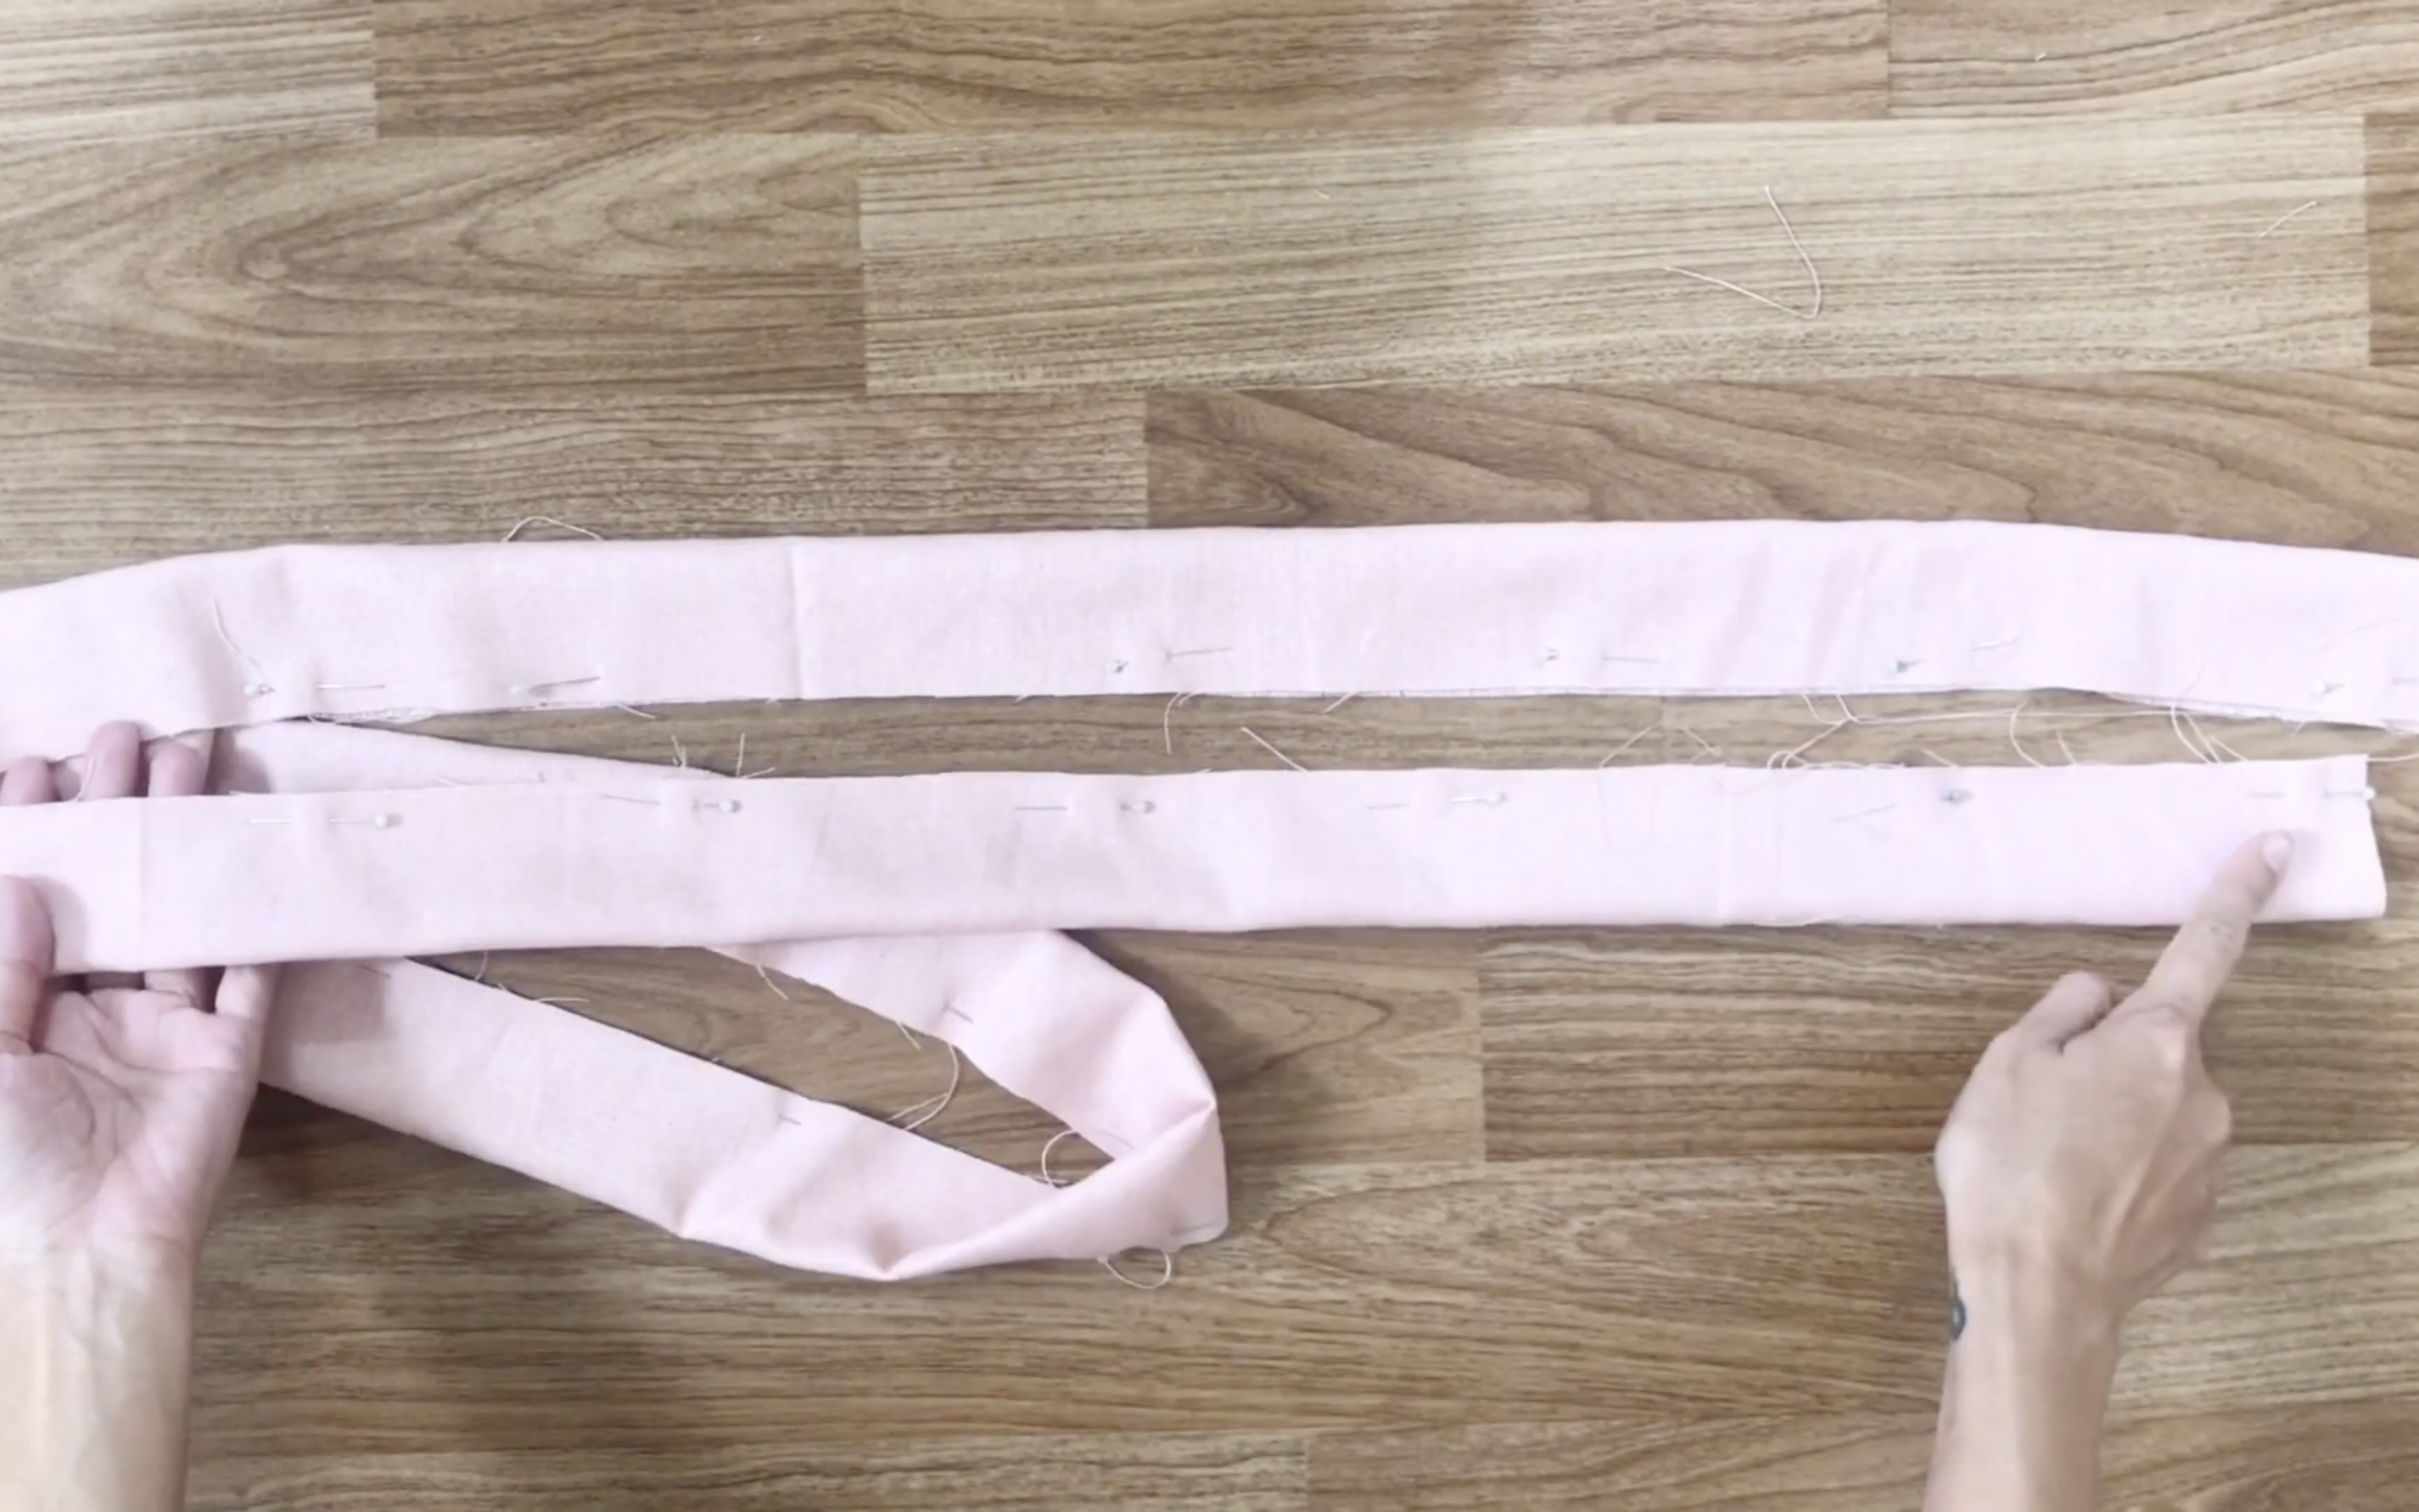
Fold the two edges of the fabric together and sew.
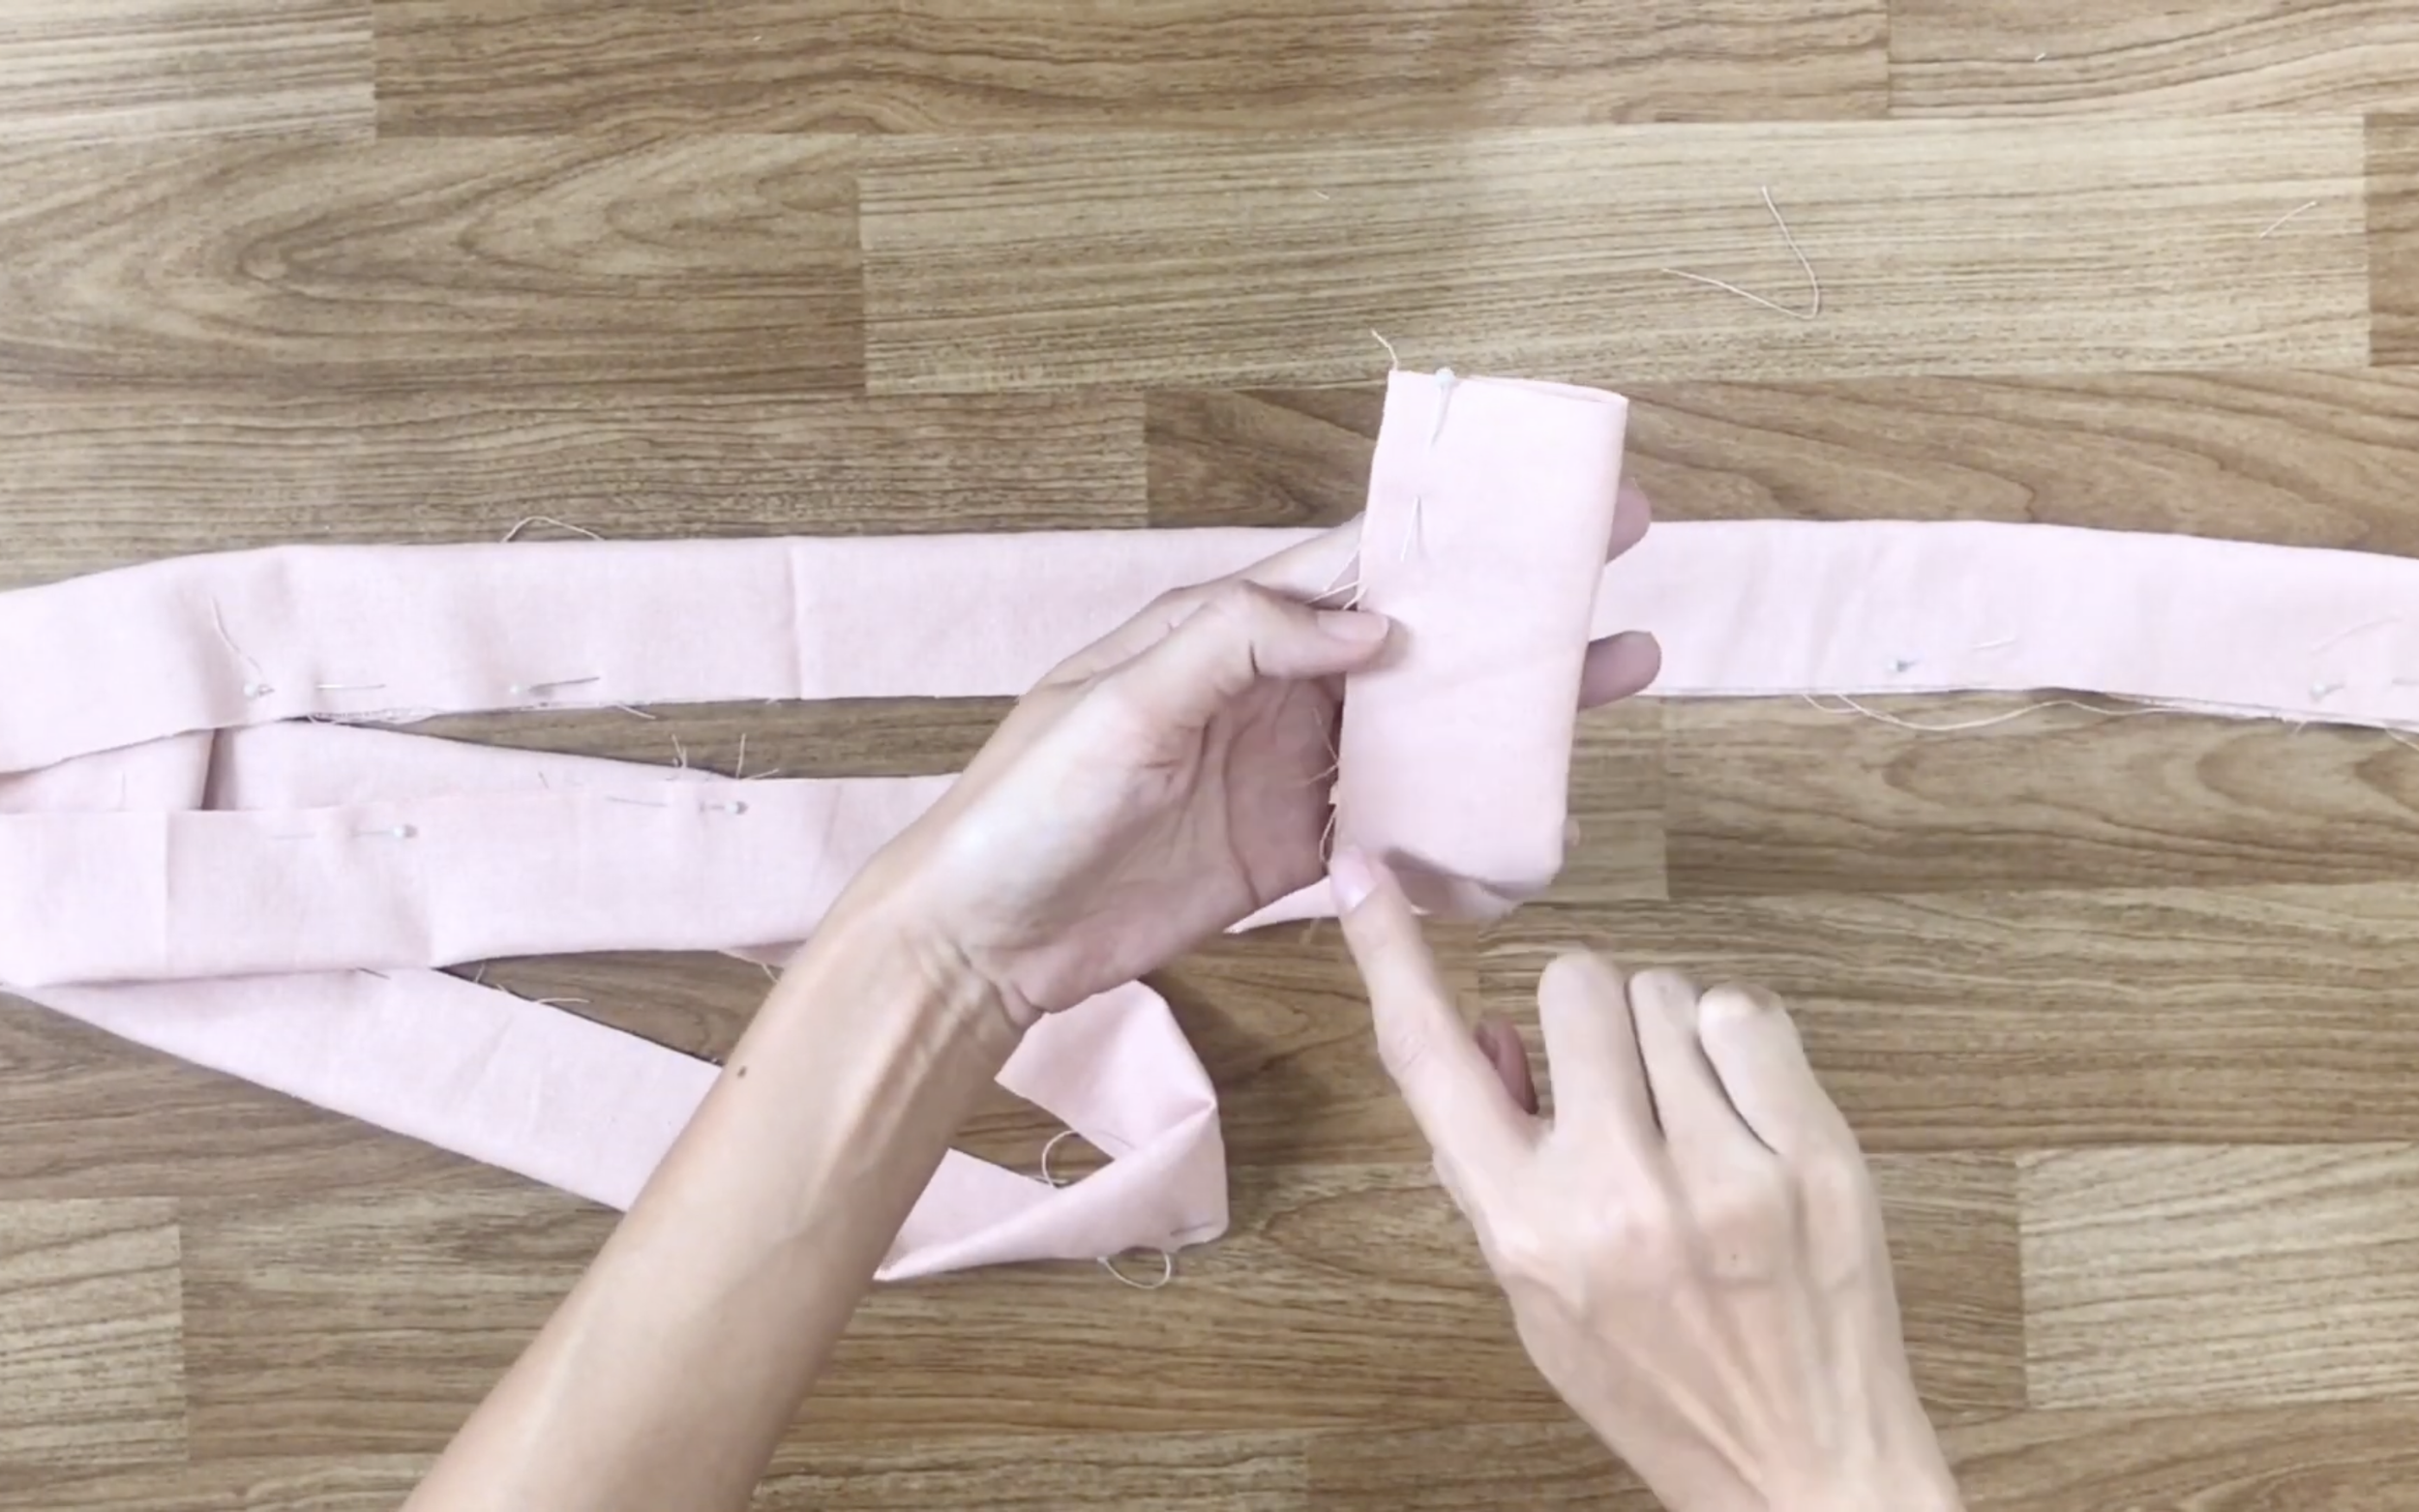
Create a curved seam at both ends of the ties…
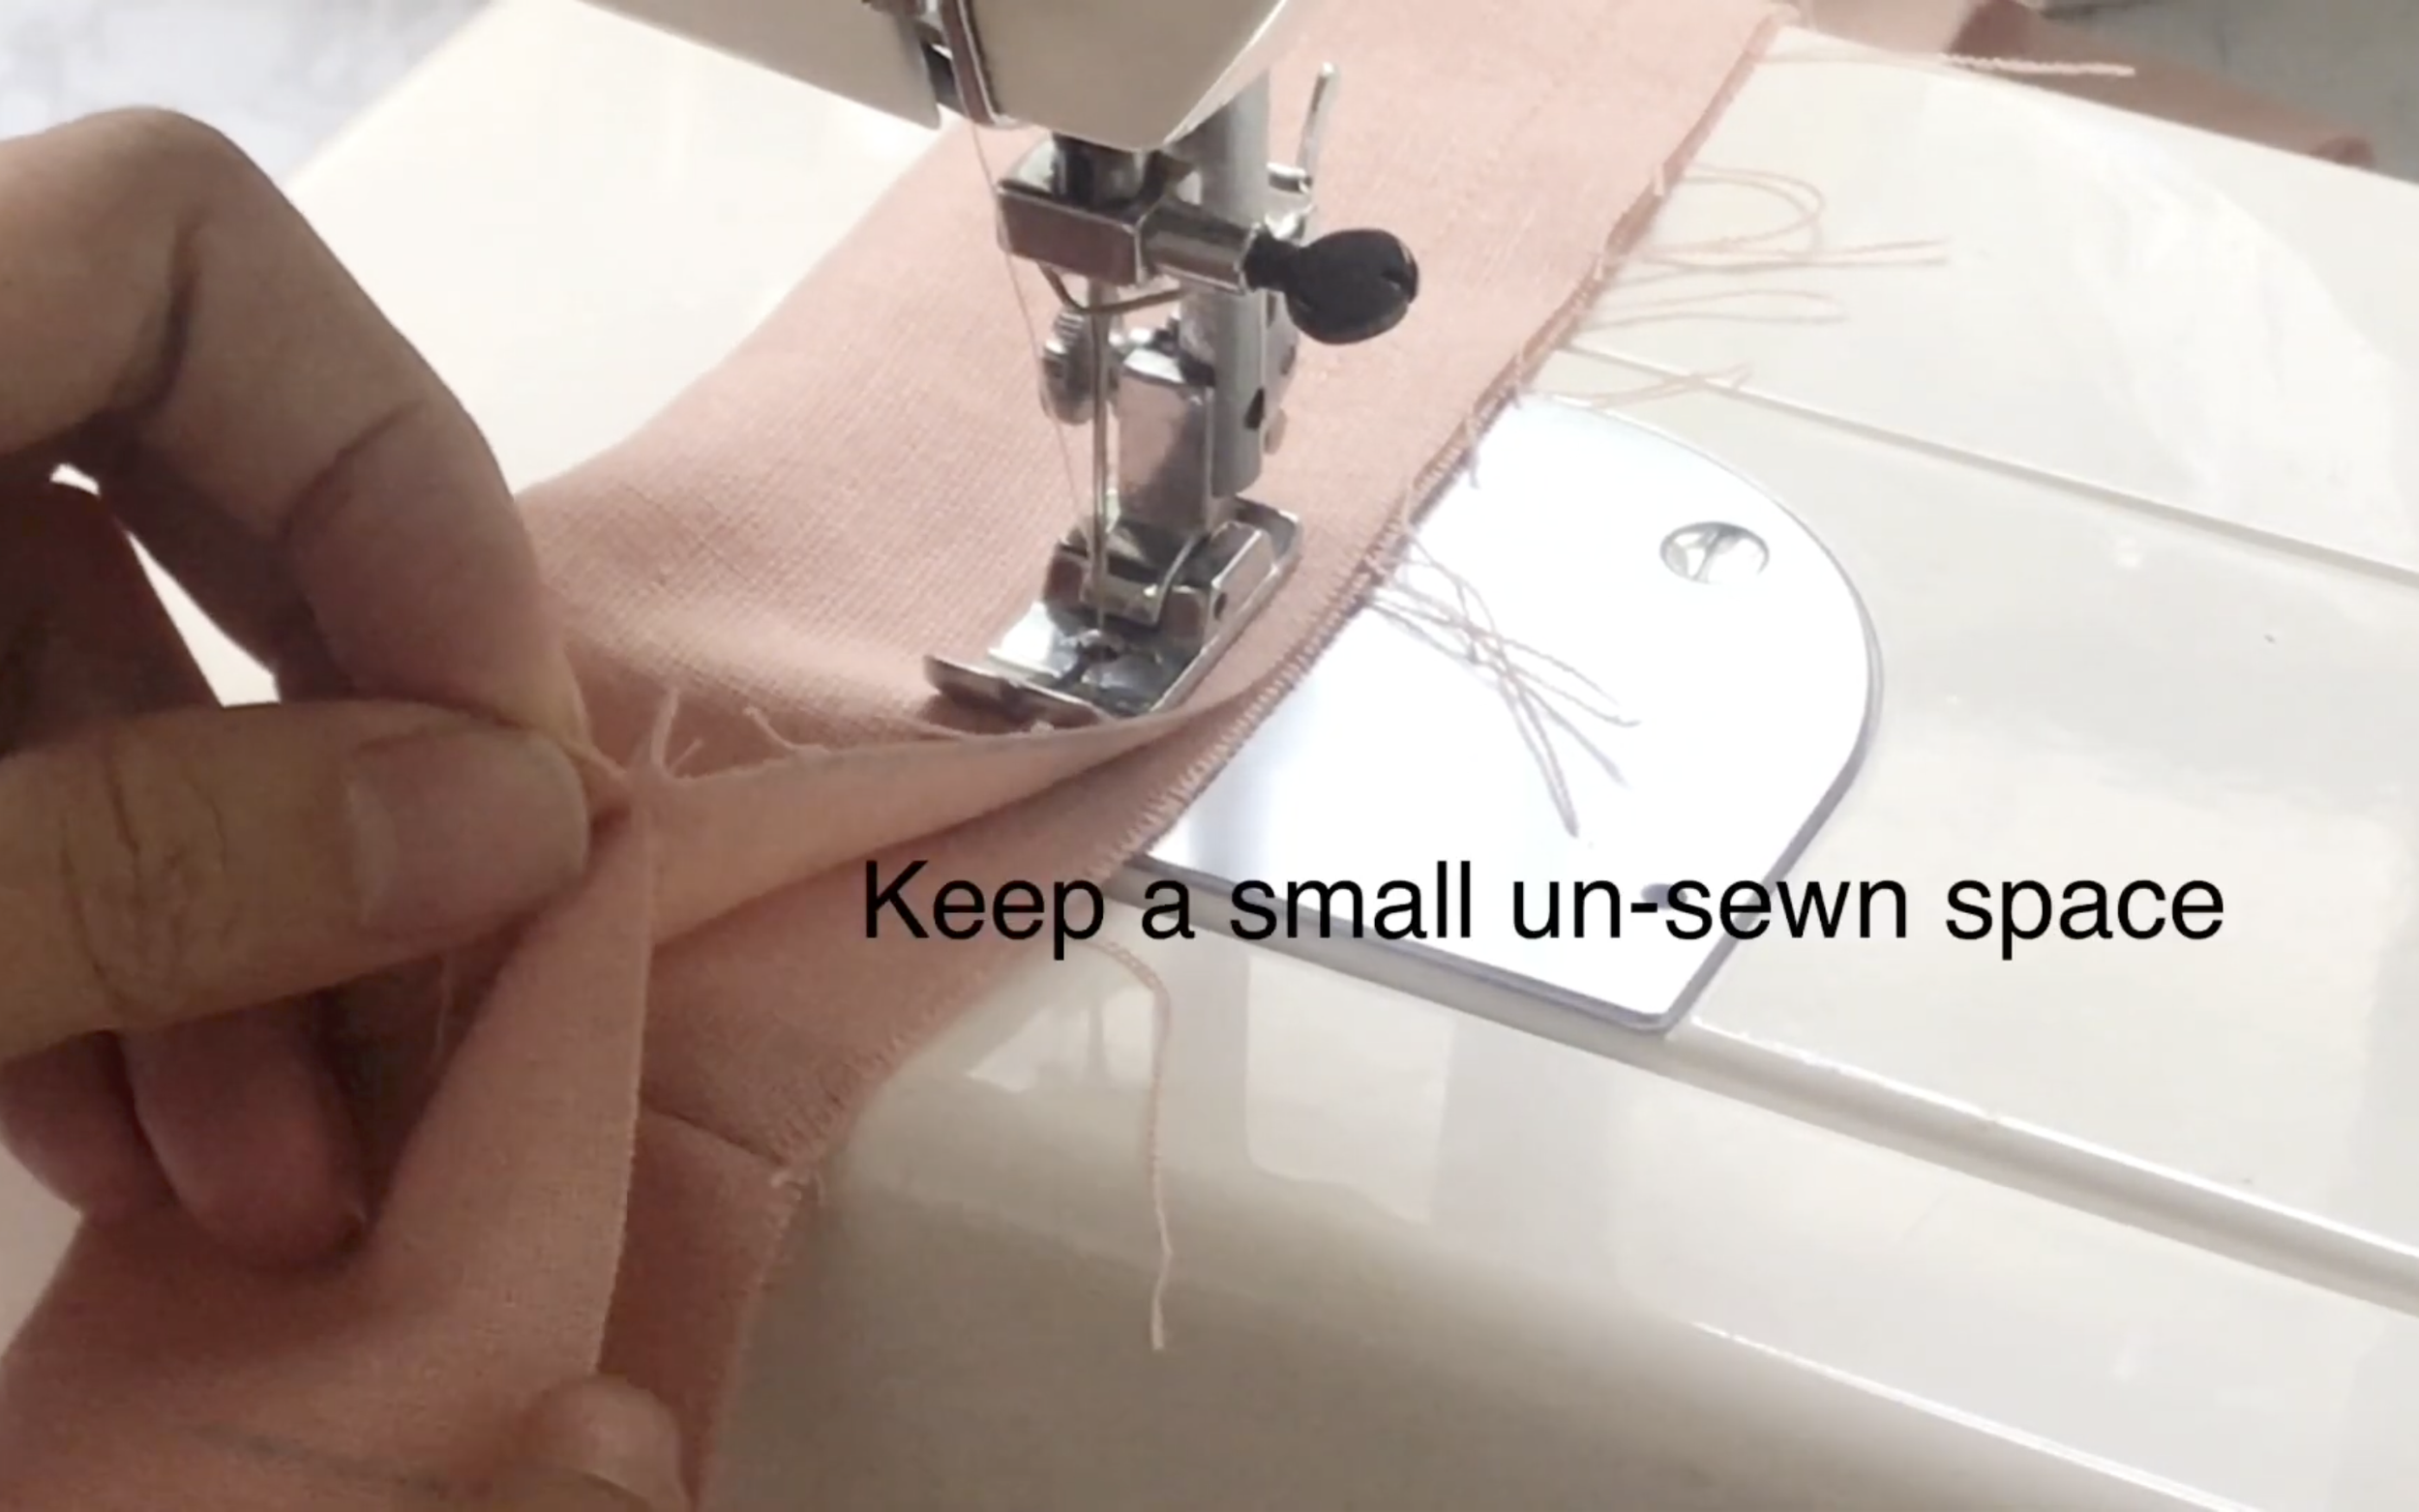
… and leave a small unsewn space in the middle.
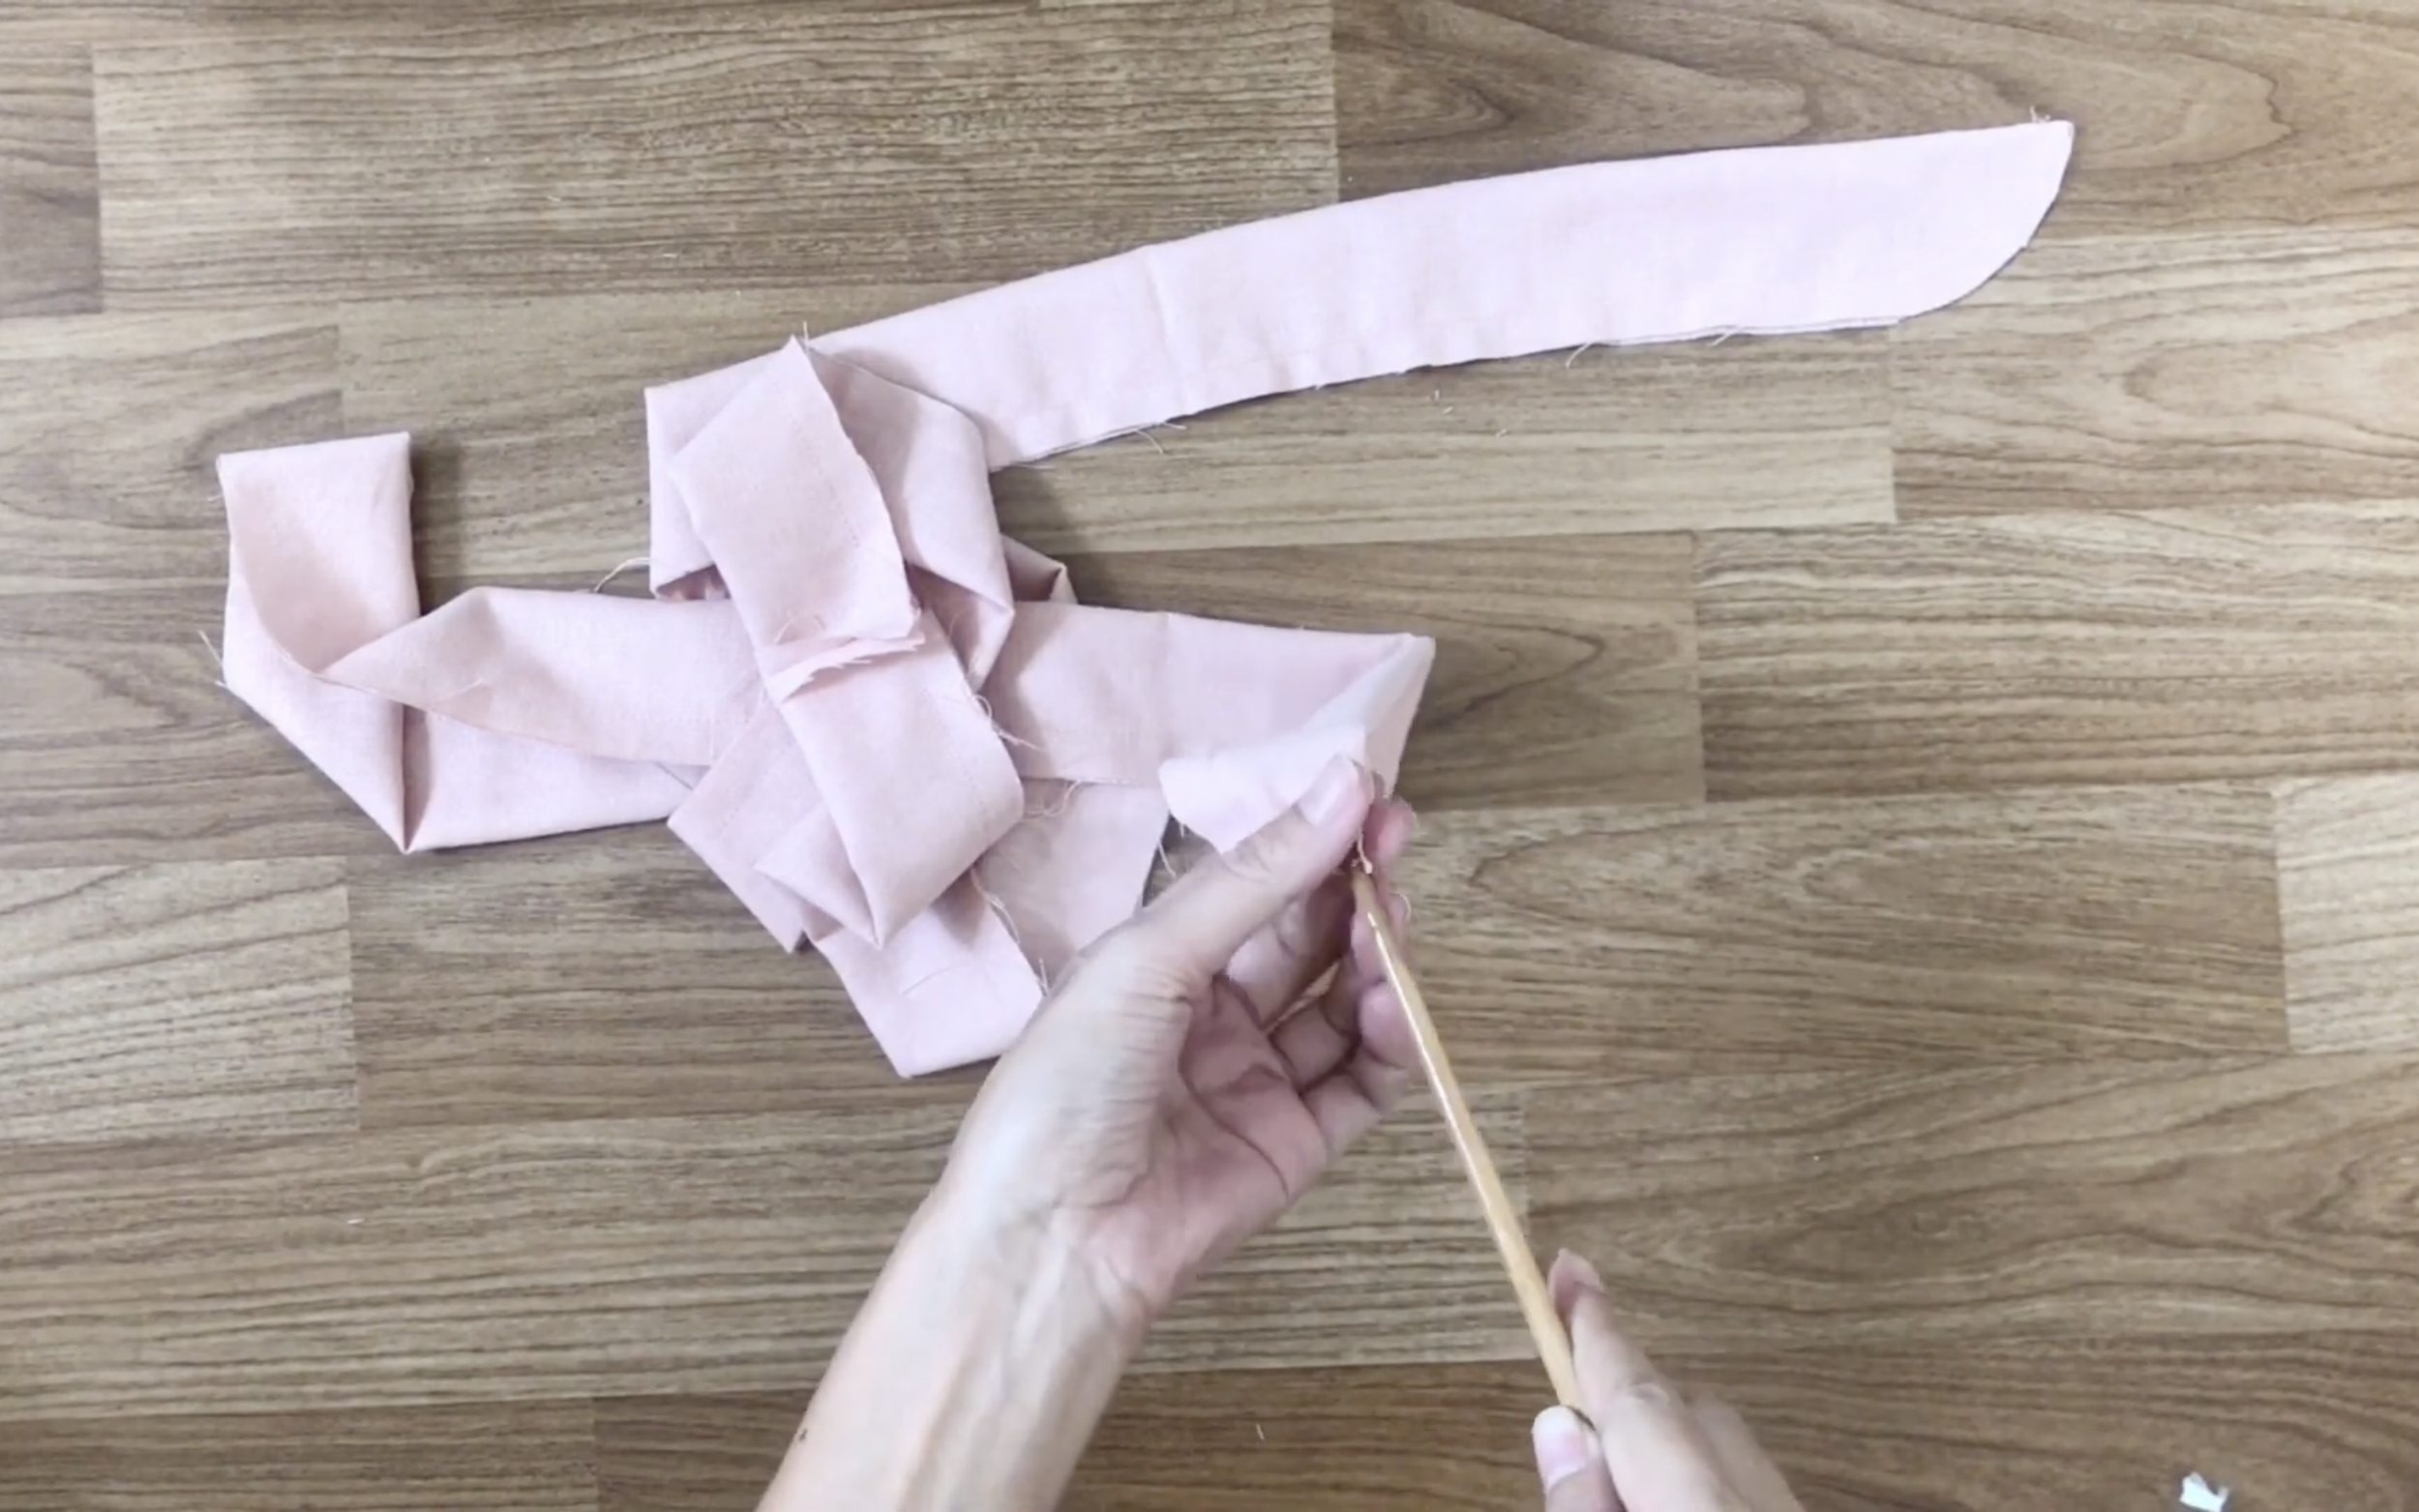
To turn the ties inside out, use a long stick to push from one end to the unsewn space in the middle.
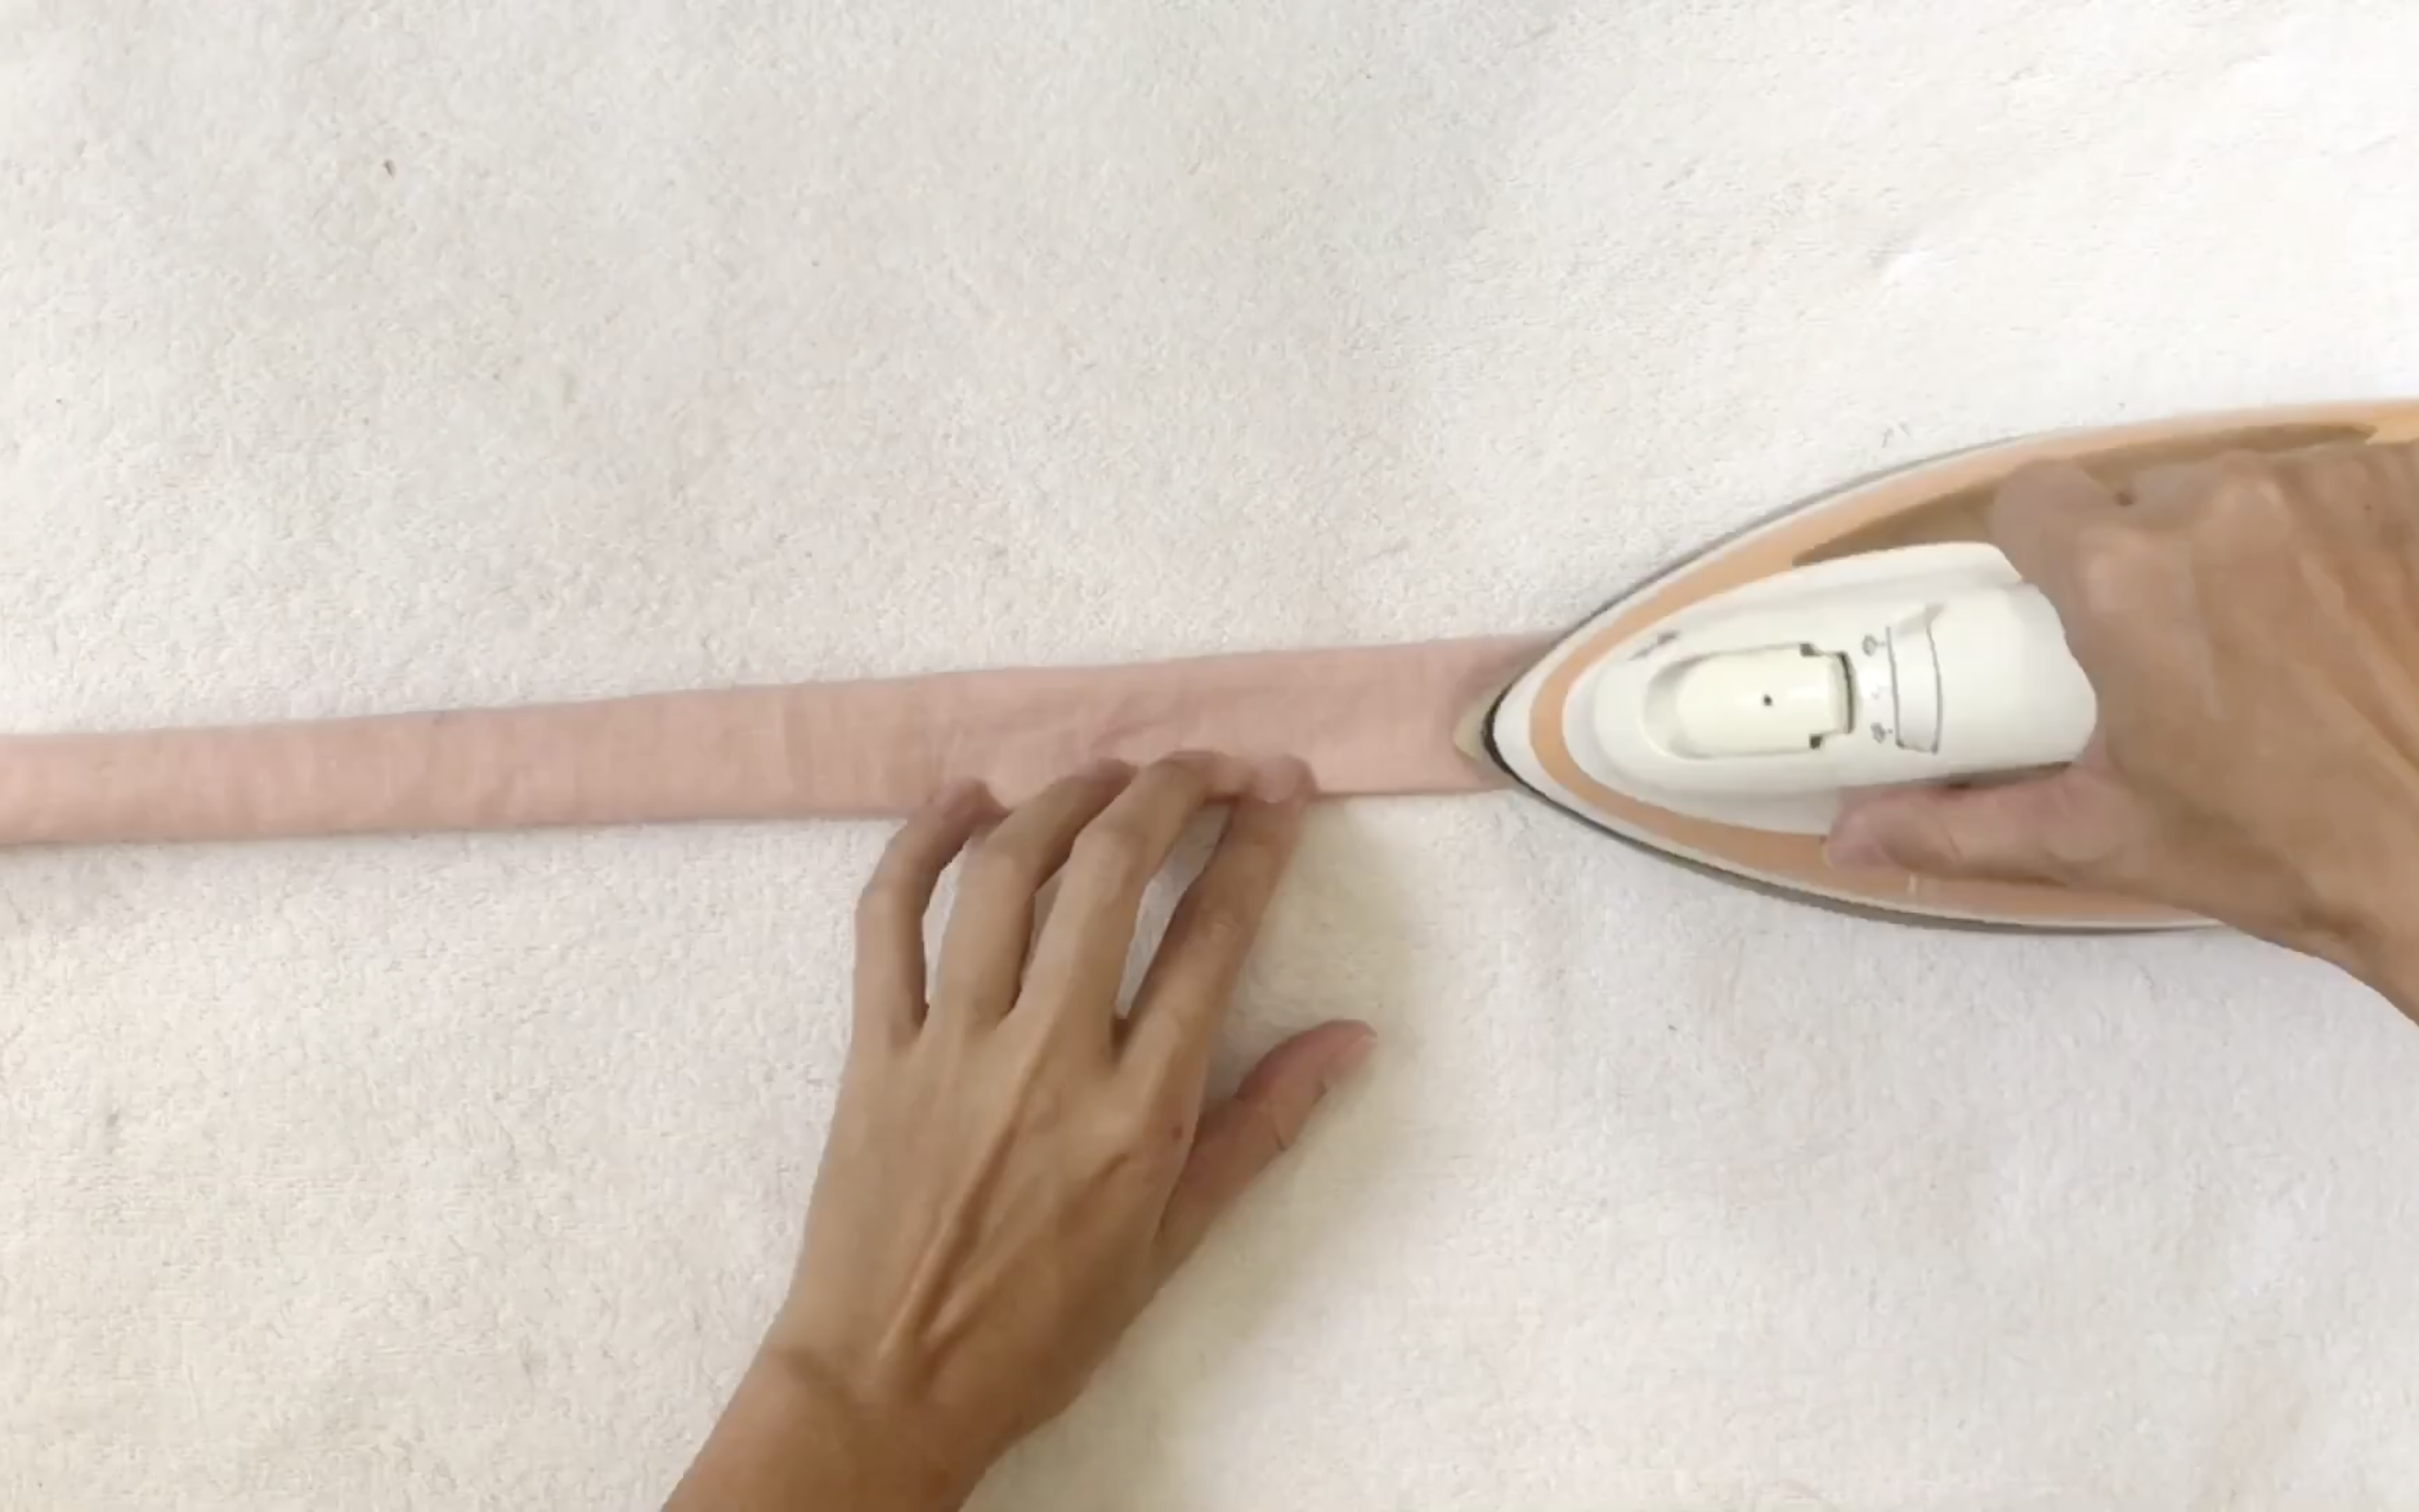
After that, use an iron to make it nicer.
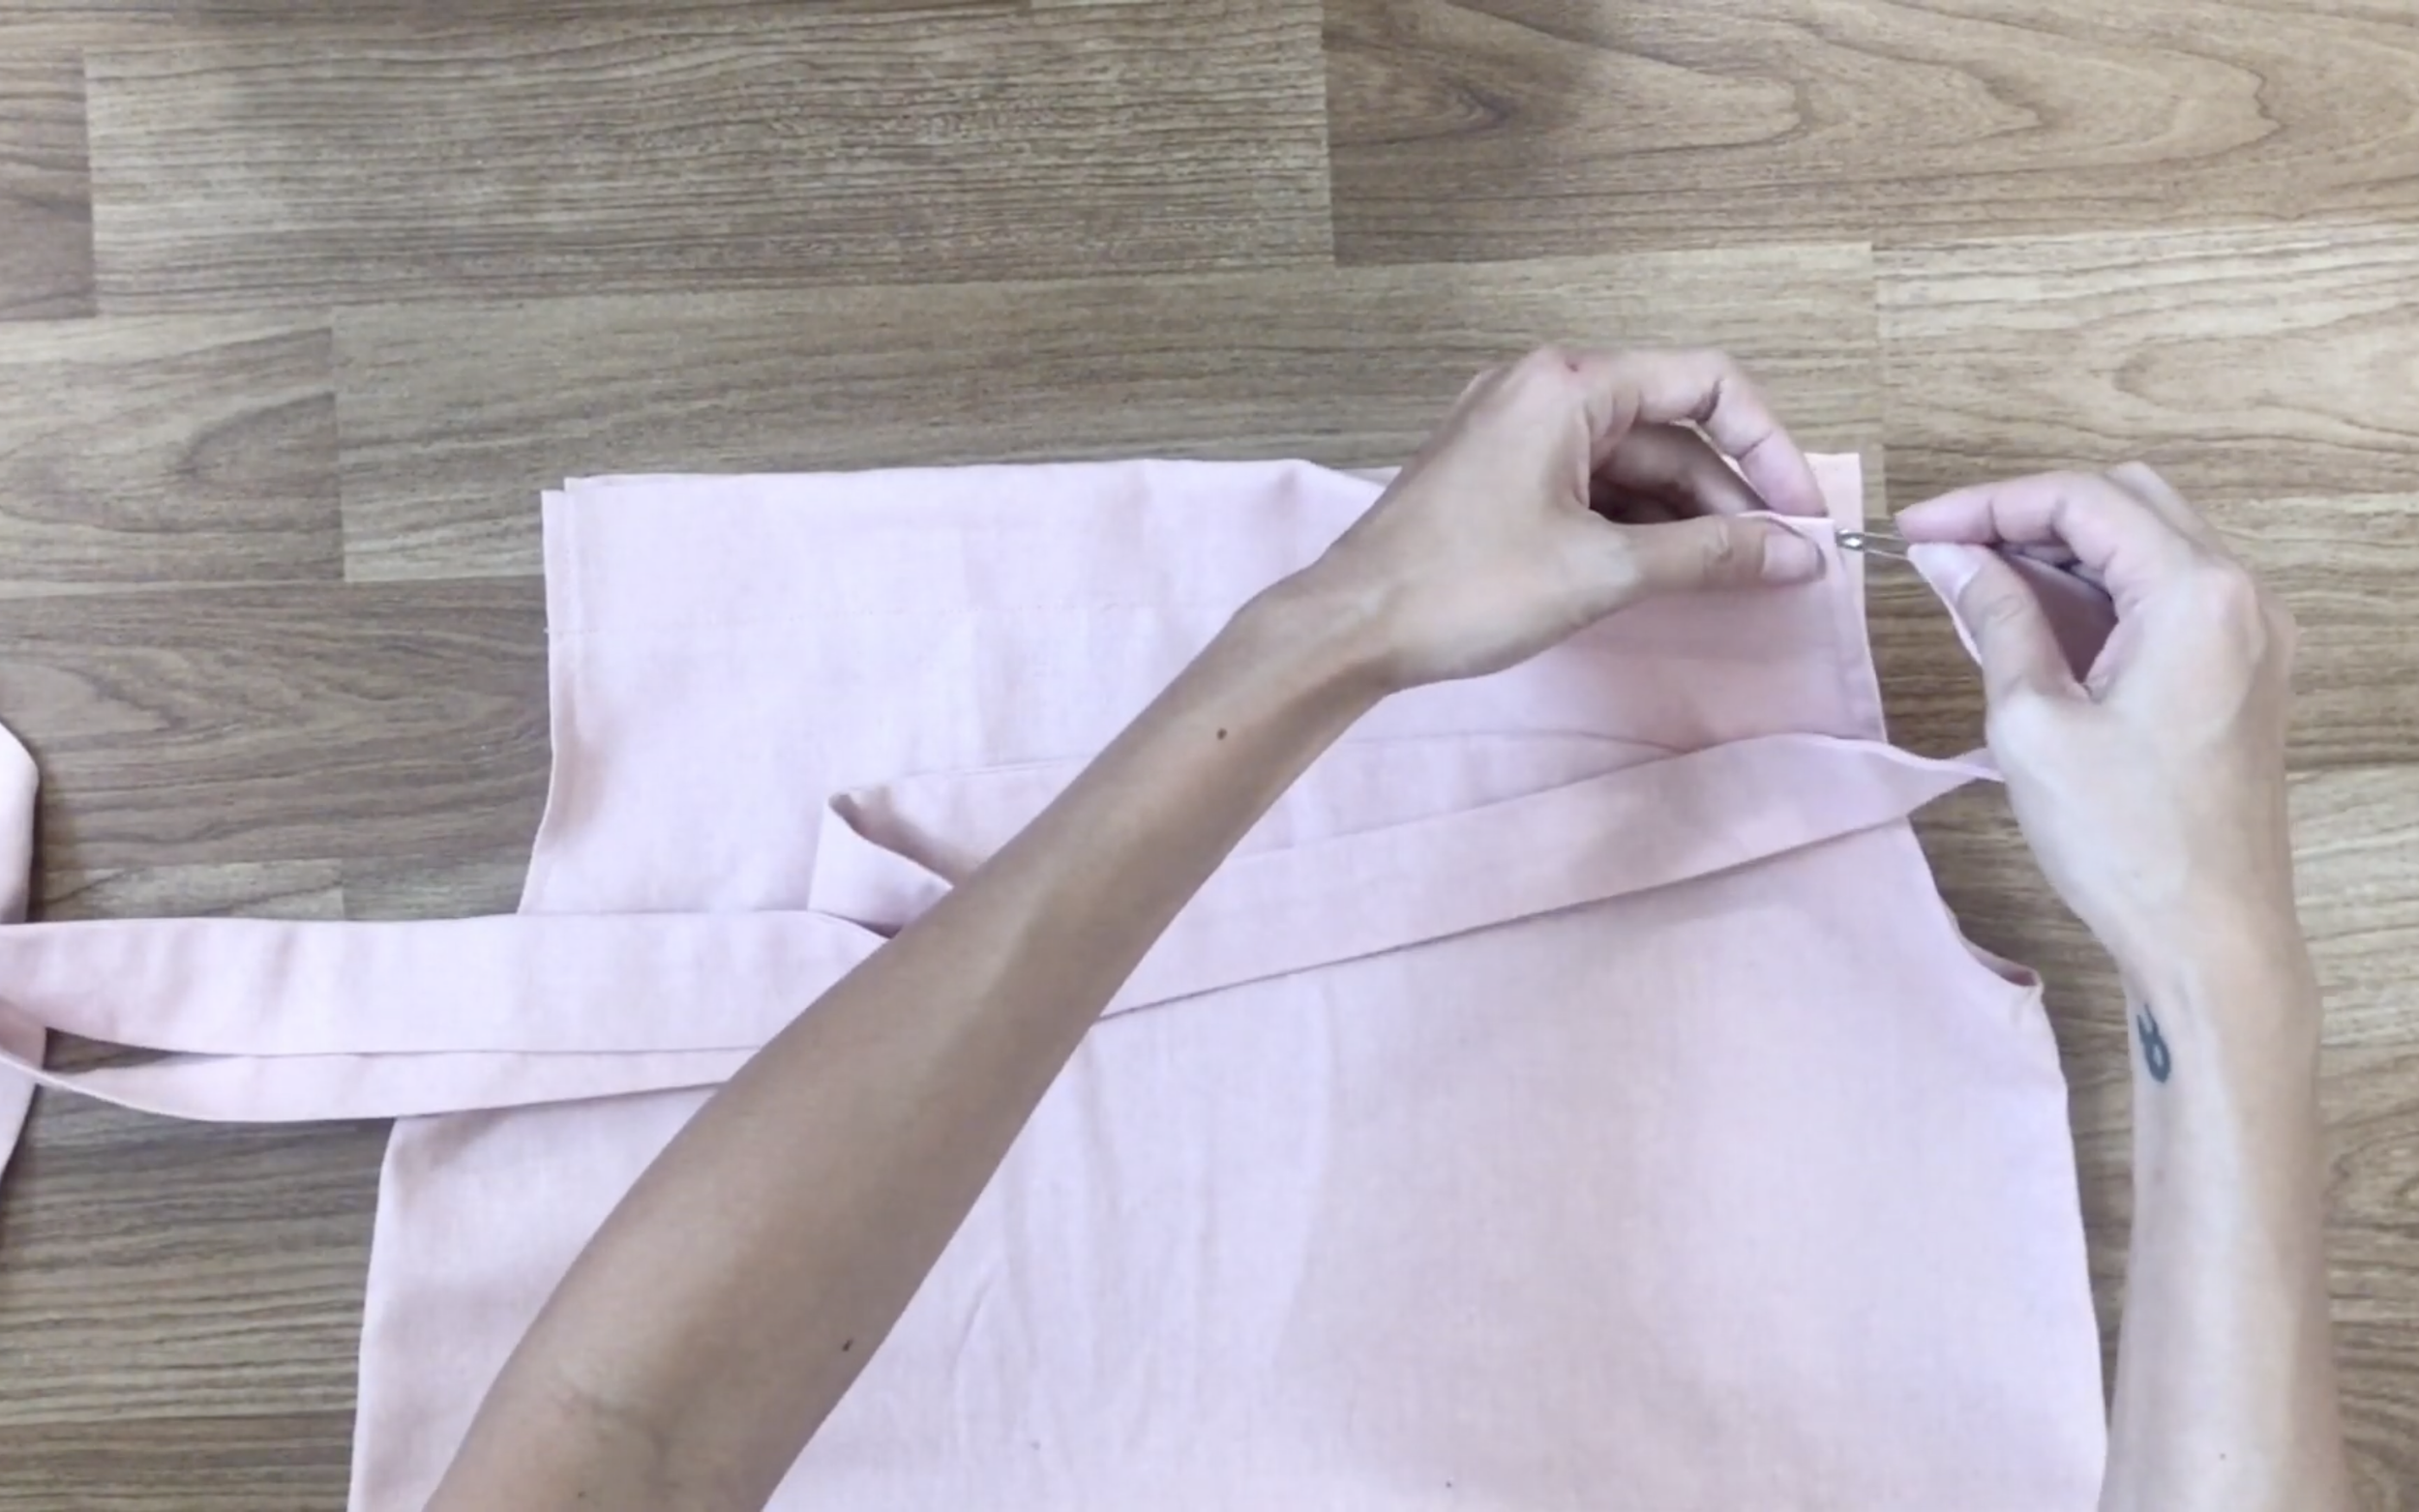
Insert the tie into the halter area created earlier, using a safety pin to thread the tie through the hole.
Make sure that the tie is threaded from the front to the back, so the two ends meet at one side of the shoulder.

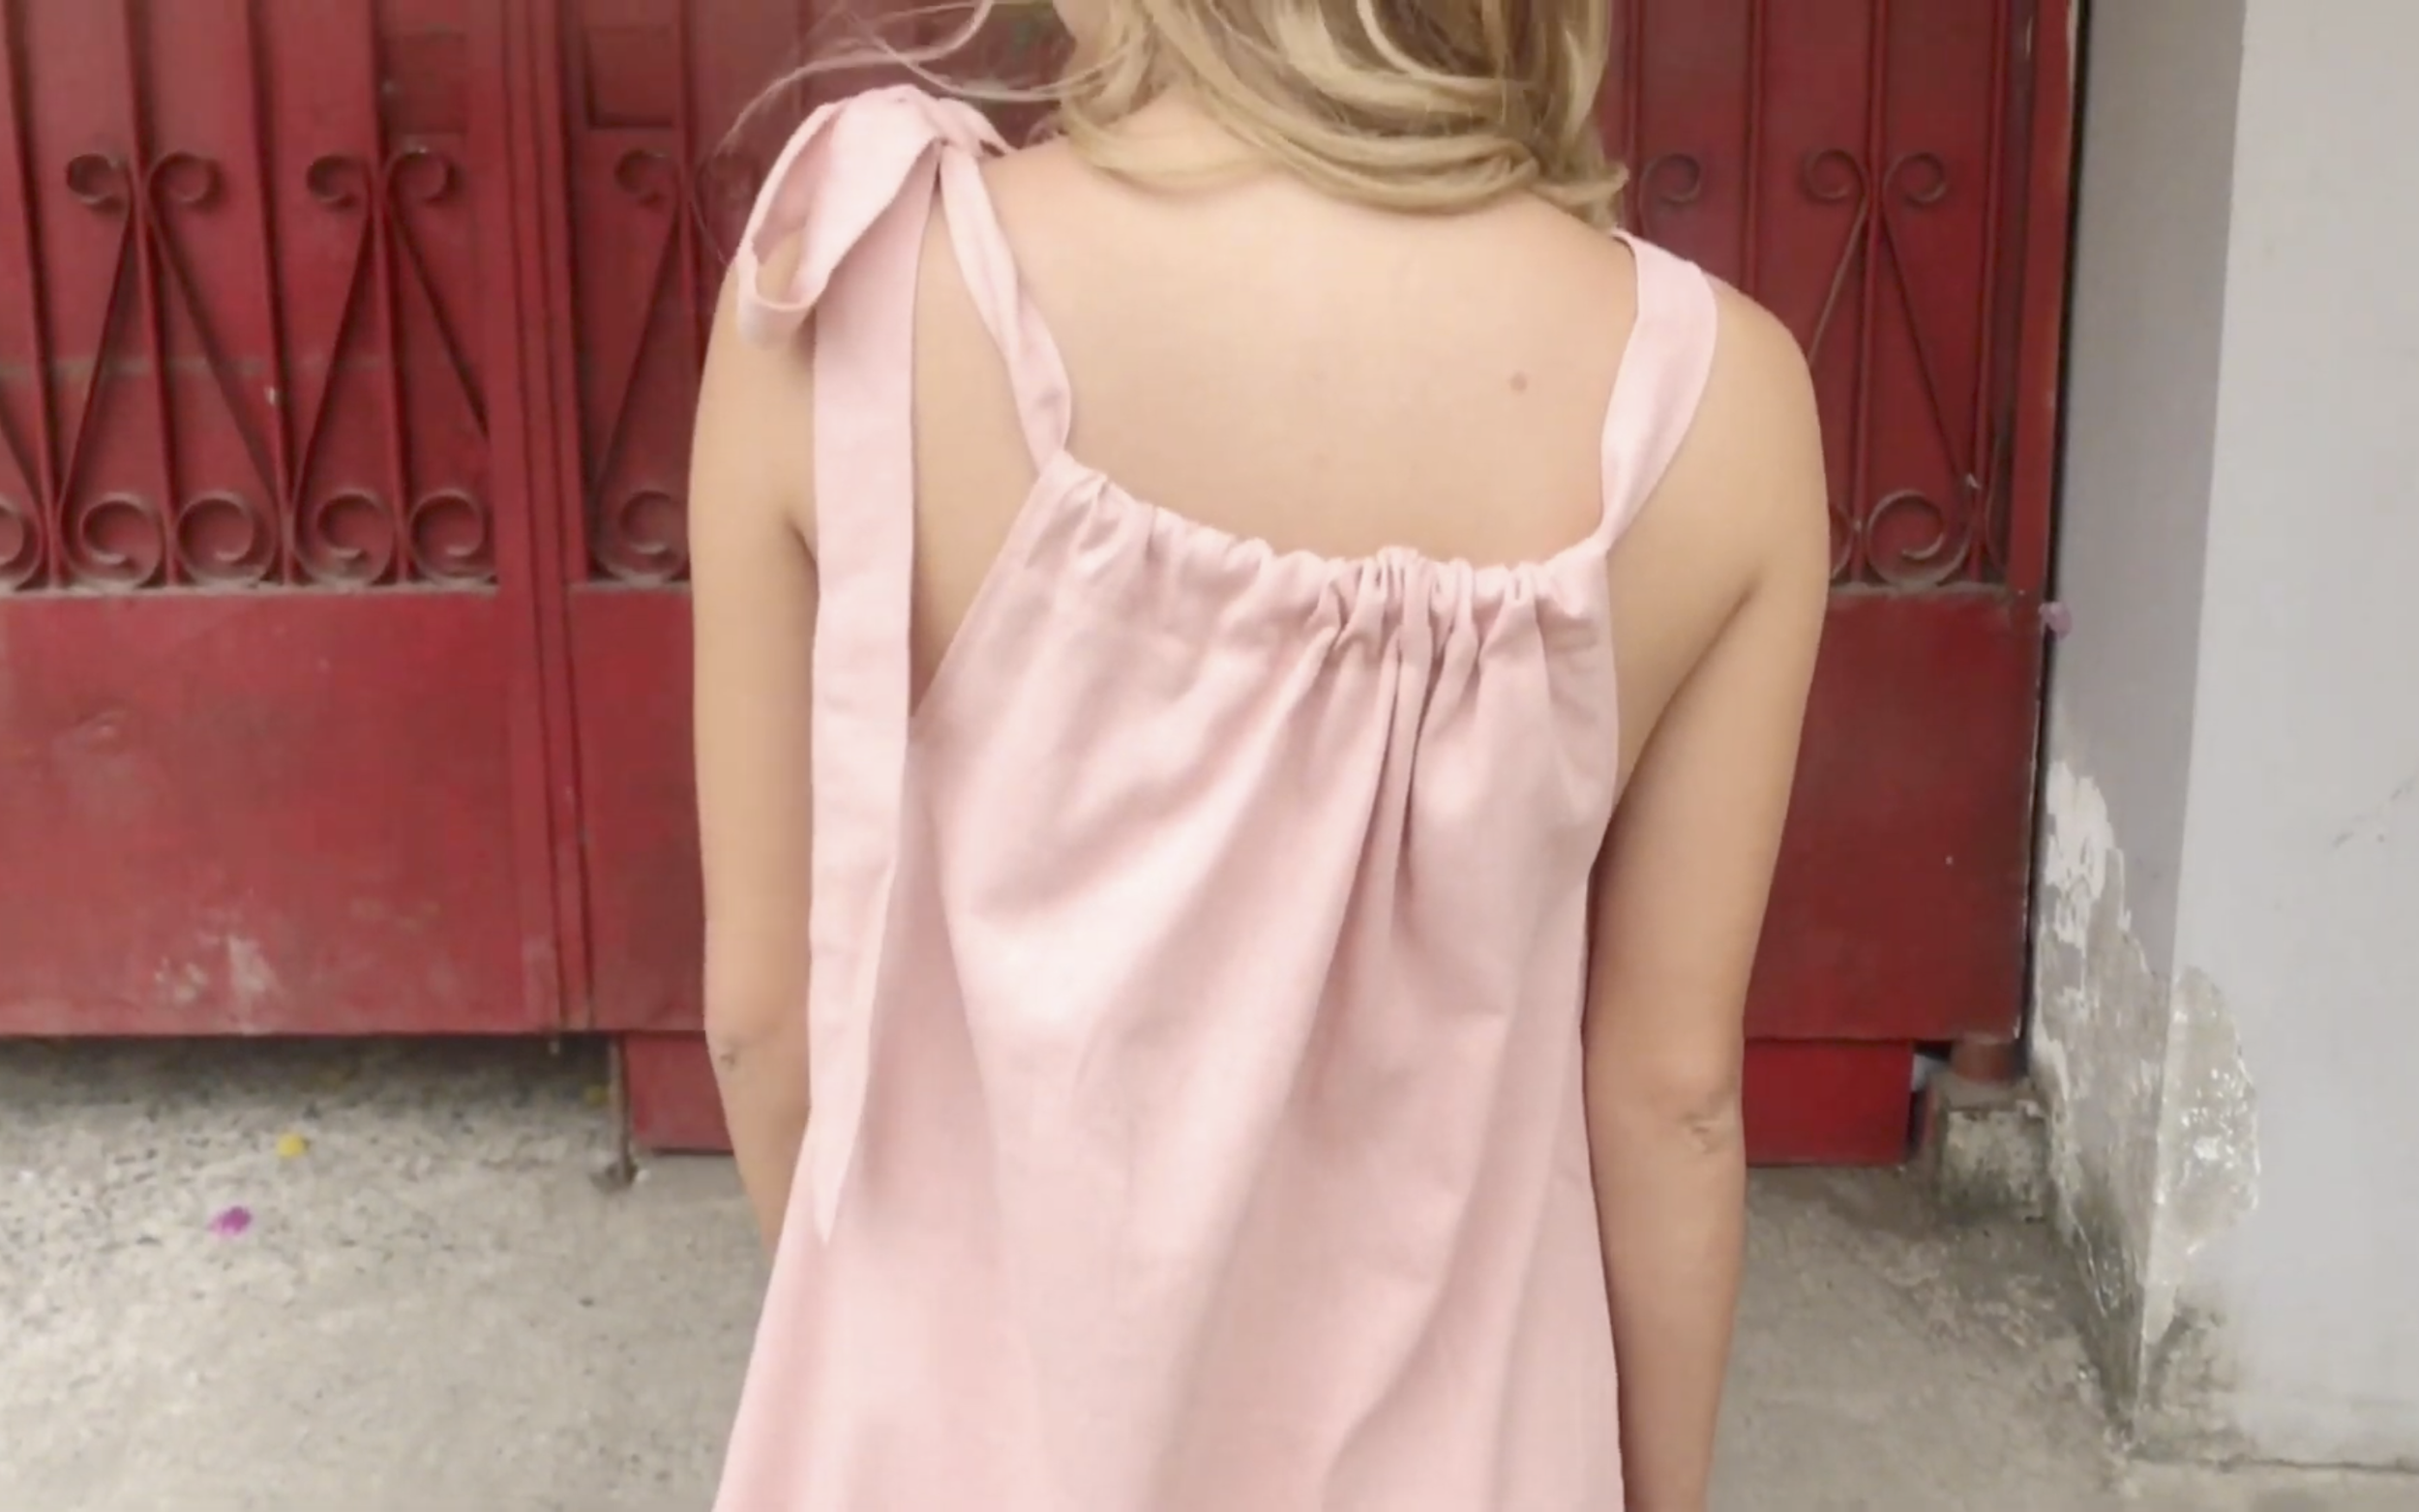
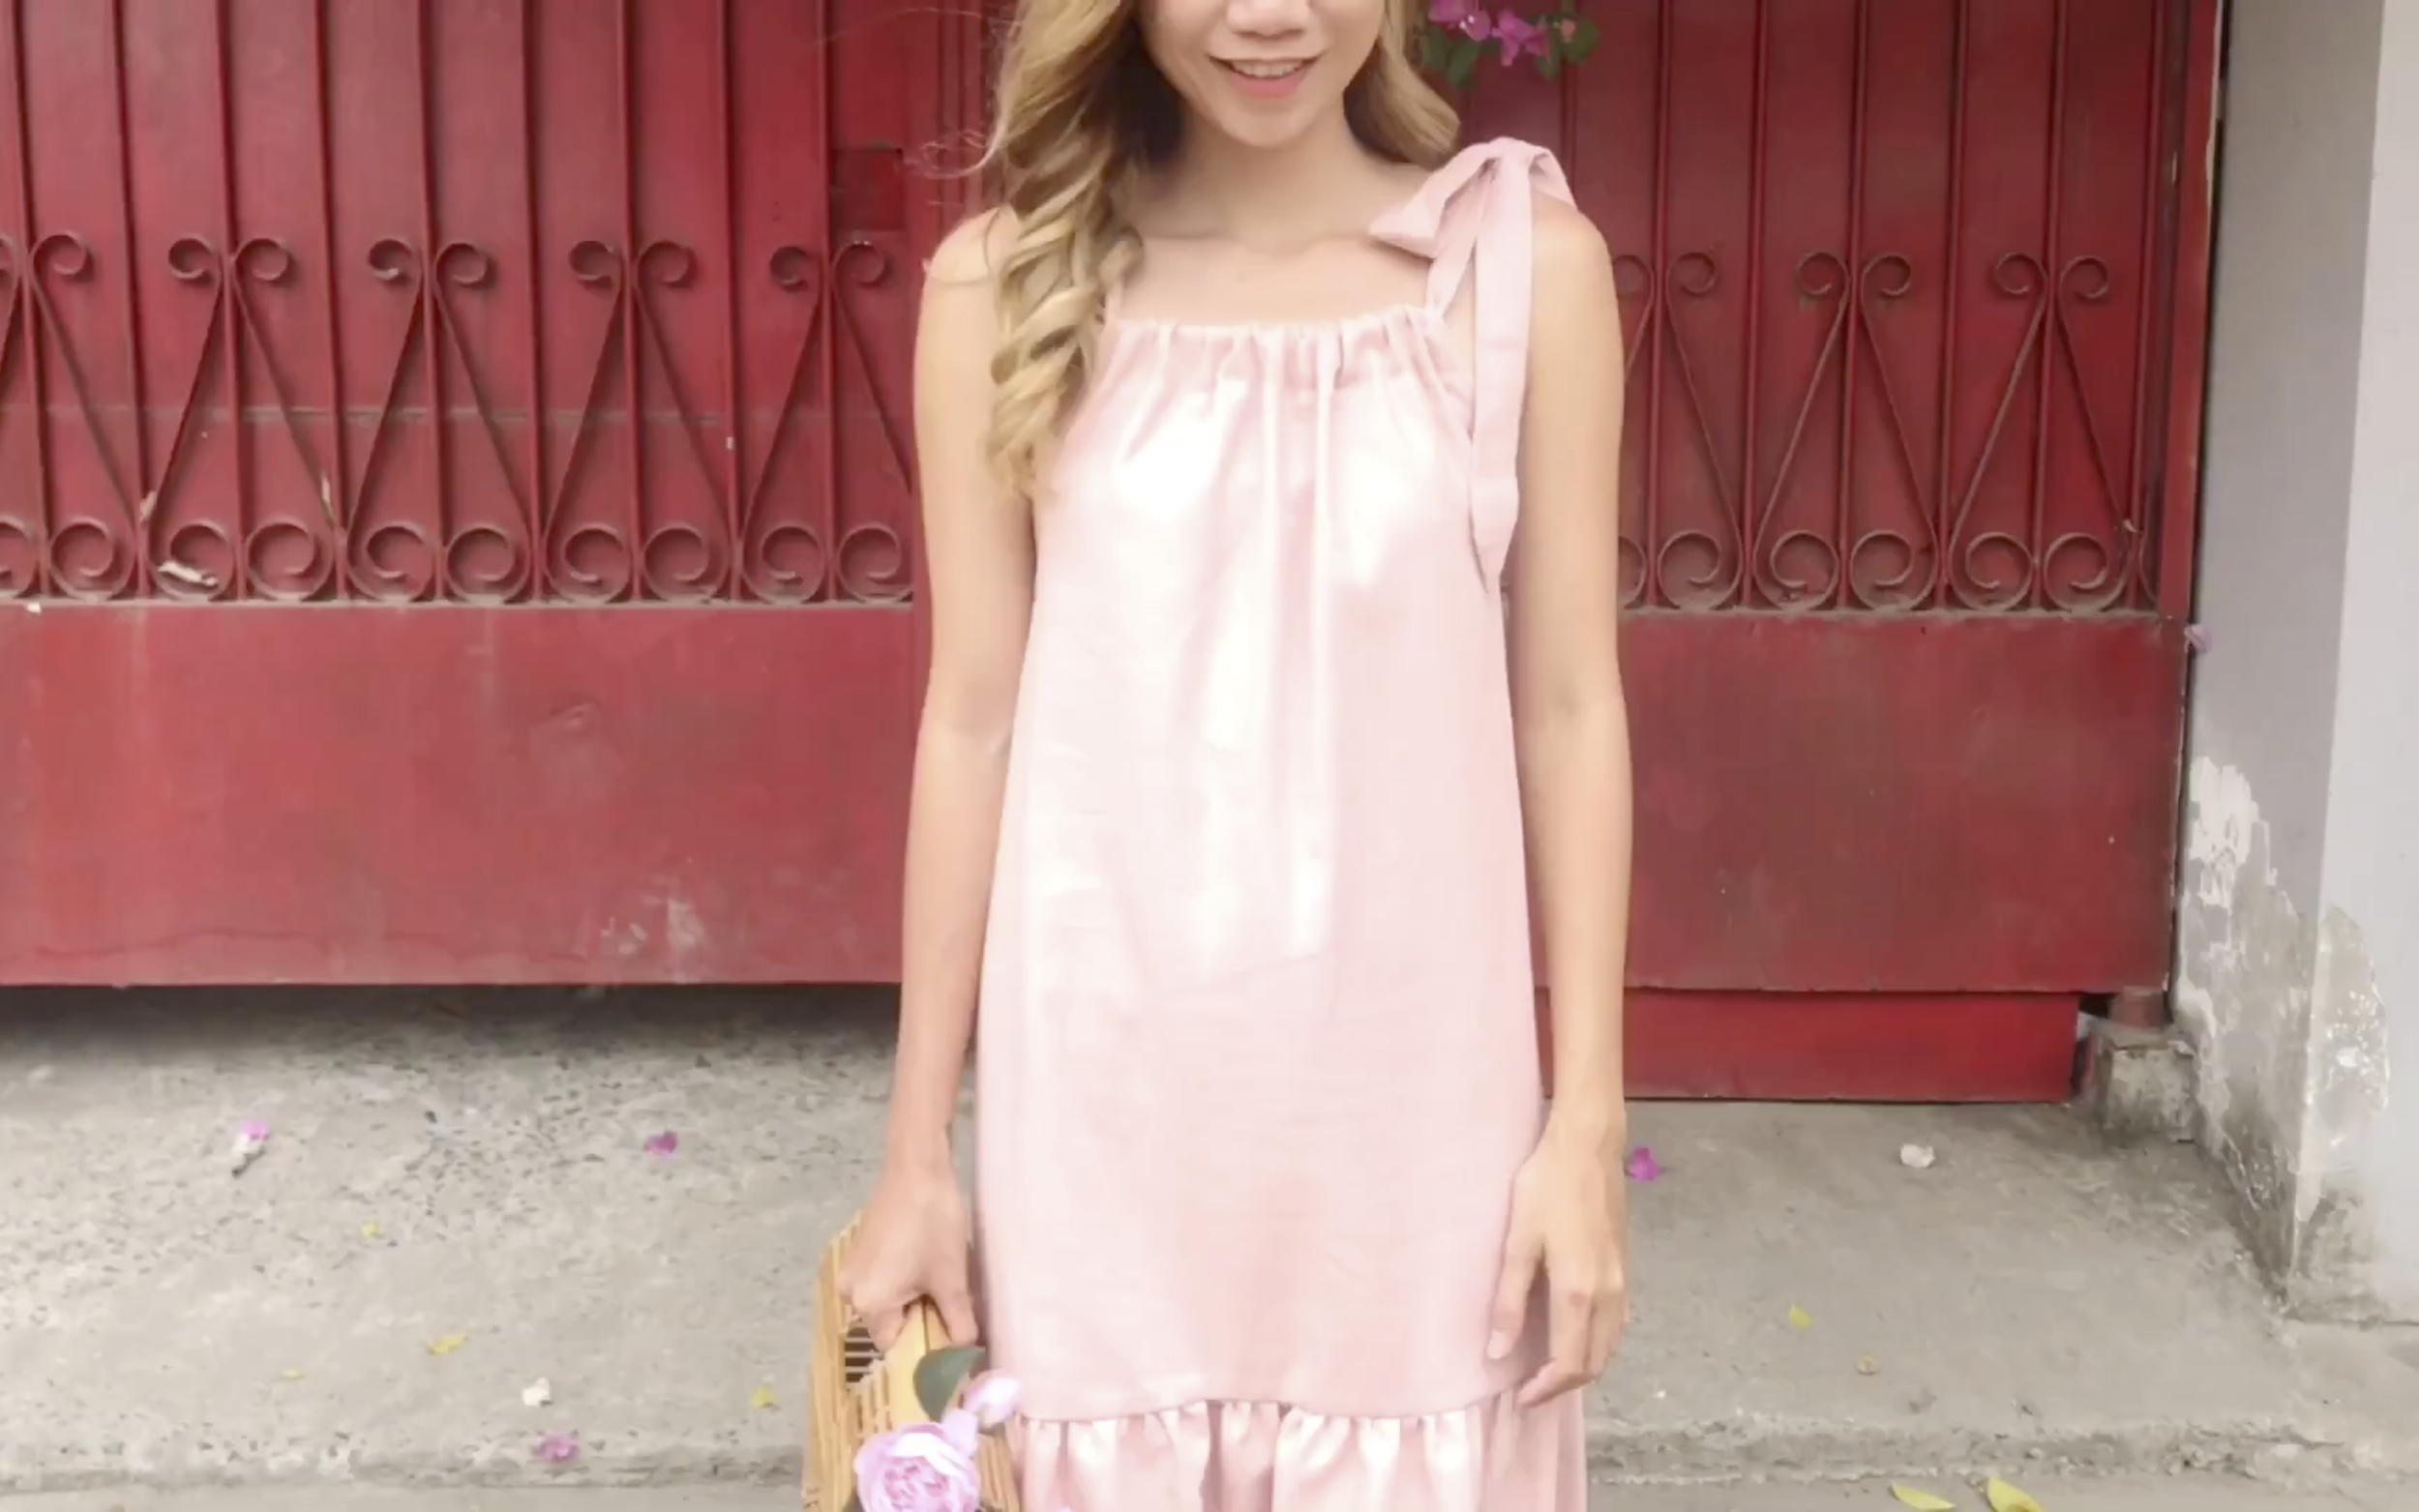
DIY Ruffle square neck bow tie open back dress
And There you have it!
This halter dress is not only pretty but also super easy to make in no time. Plus, it suits any body type, so why not create one for your Valentine’s Day?
I hope you found my step-by-step guide helpful and inspiring.
If you’re interested in making your own, give it a try and let me know how it goes!
Until then, happy sewing!