DIY Halter top from old t-shirt with 2 different styles | T-shirt refashion ideas

DIY Halter top from old t-shirt with 2 different styles | T-shirt refashion ideas
Welcome or welcome back to my sewing blog!
In today's tutorial, I'm going to share with you how I transformed my old t-shirts into a trendy Halter top with 2 different styles.
So let's get started!
WHAT YOU’LL NEED
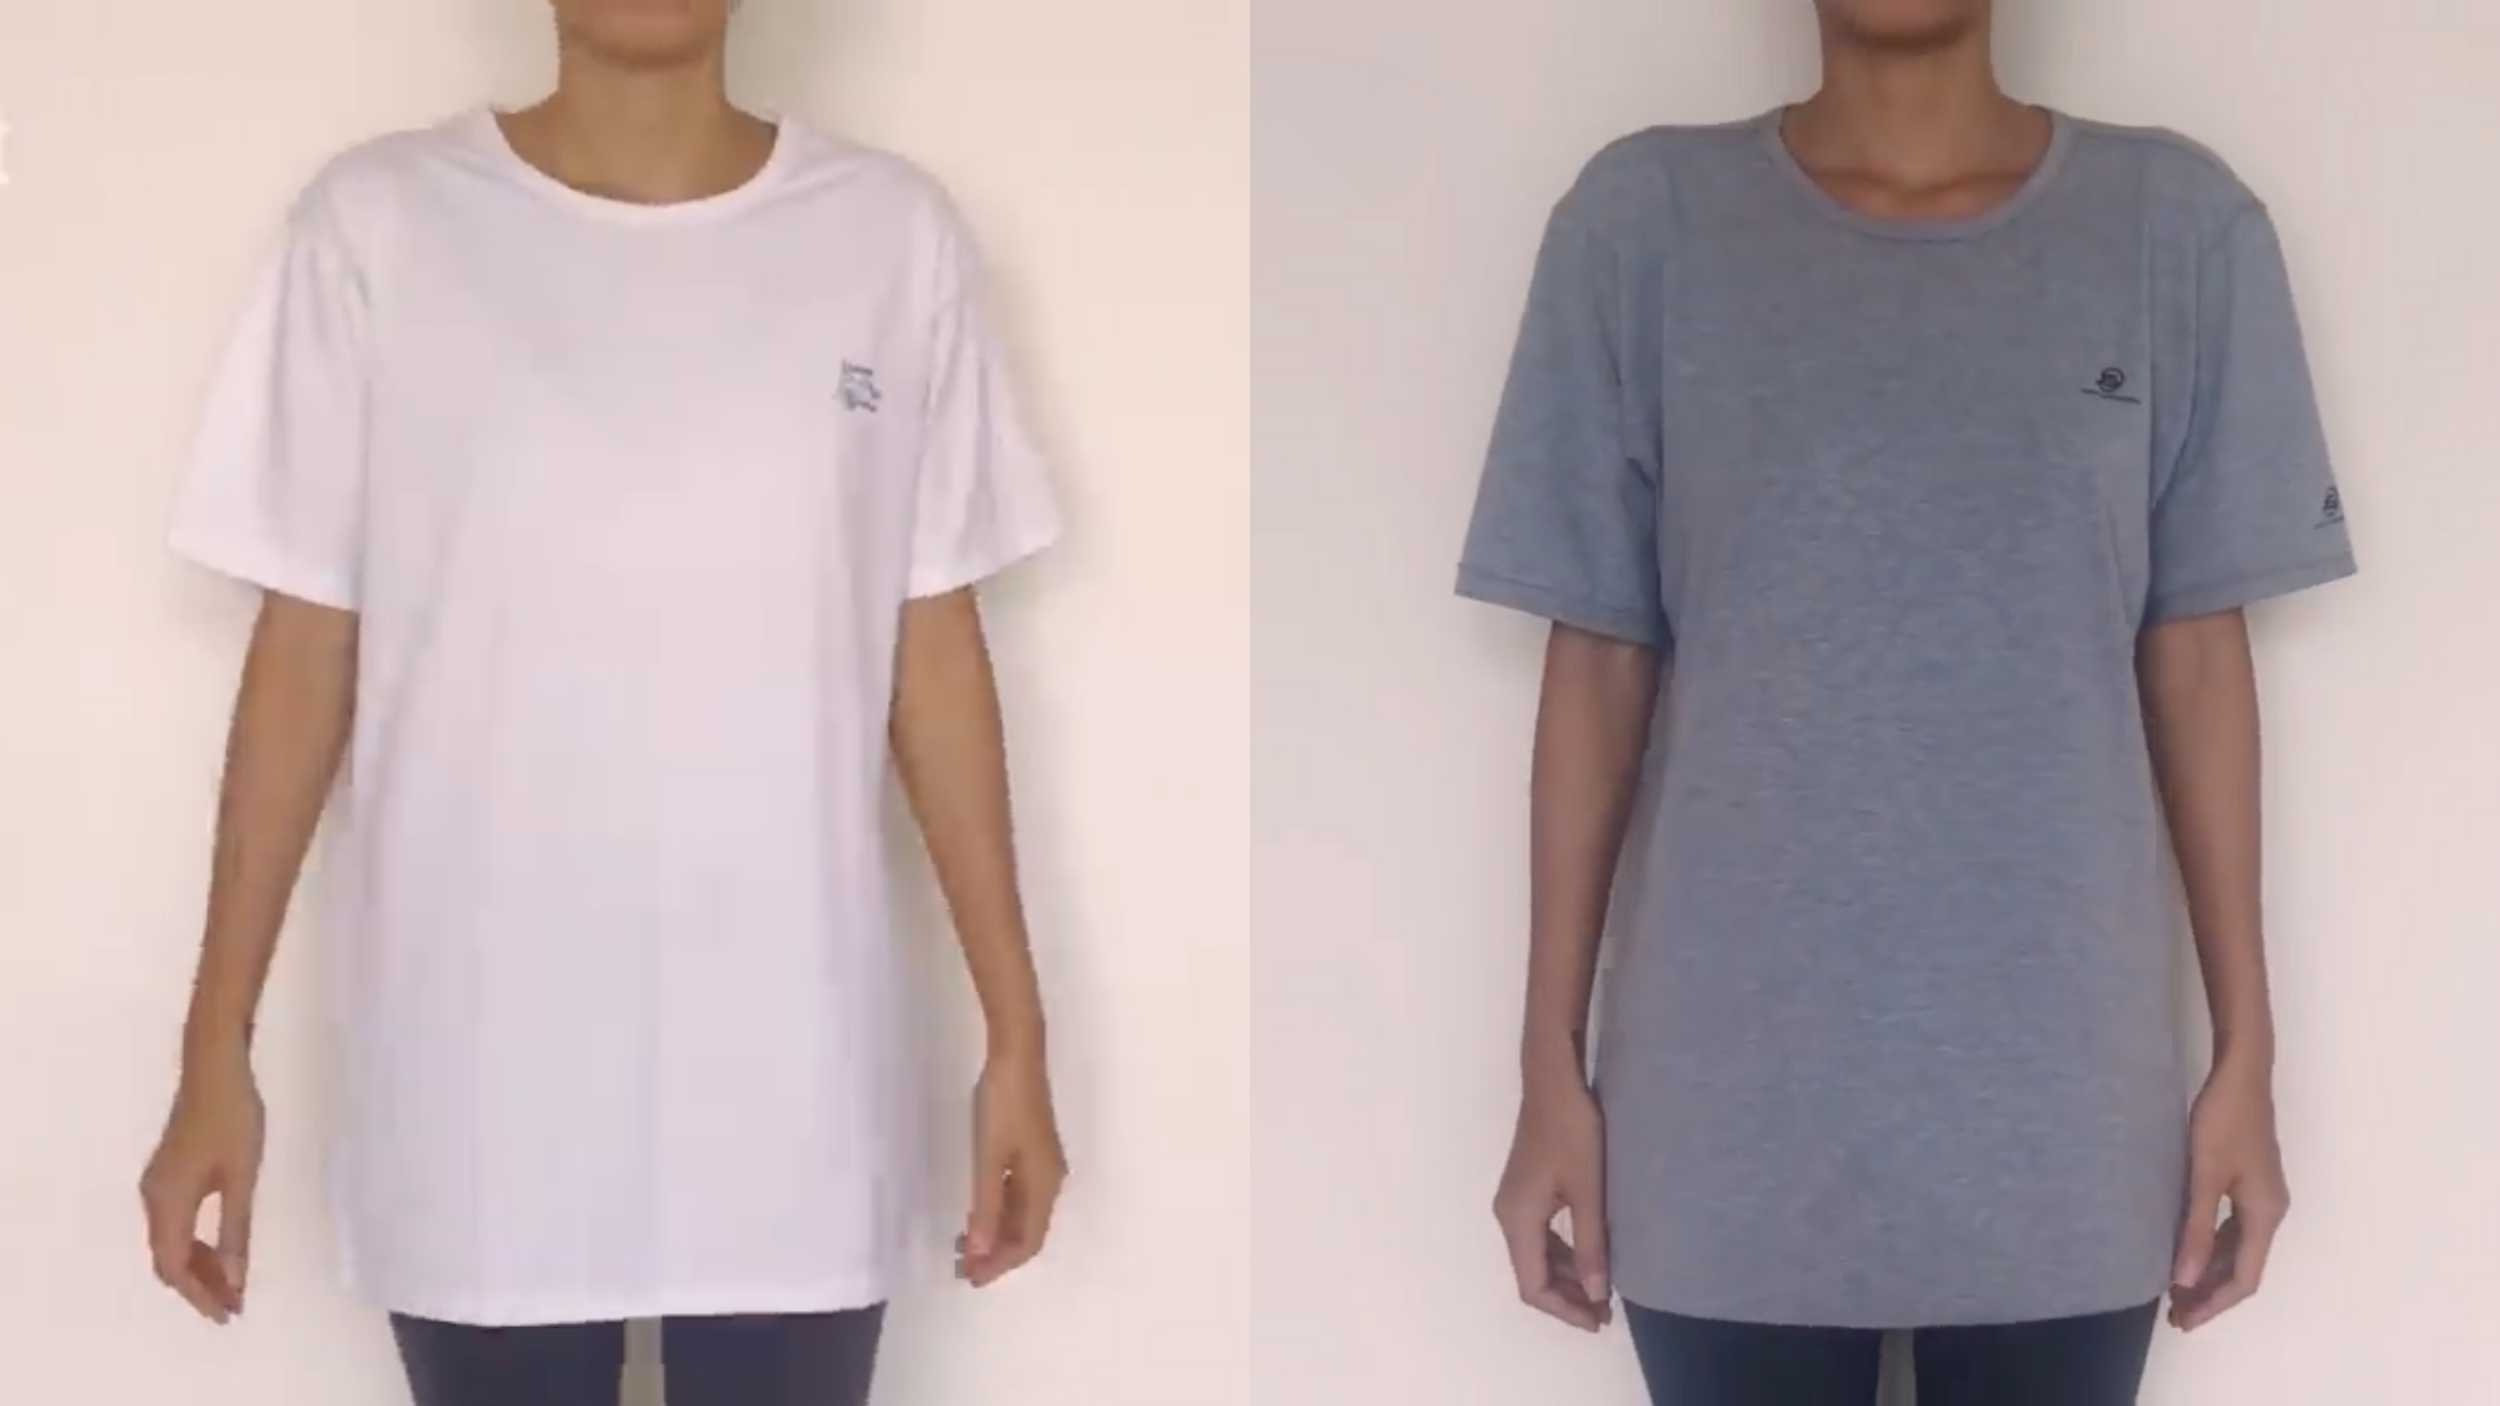
T-shirt in XXL size or stretchy fabric
Sewing machine
Pins
Scissors
Ruler
Long stick
BANDAGE HALTER TOP
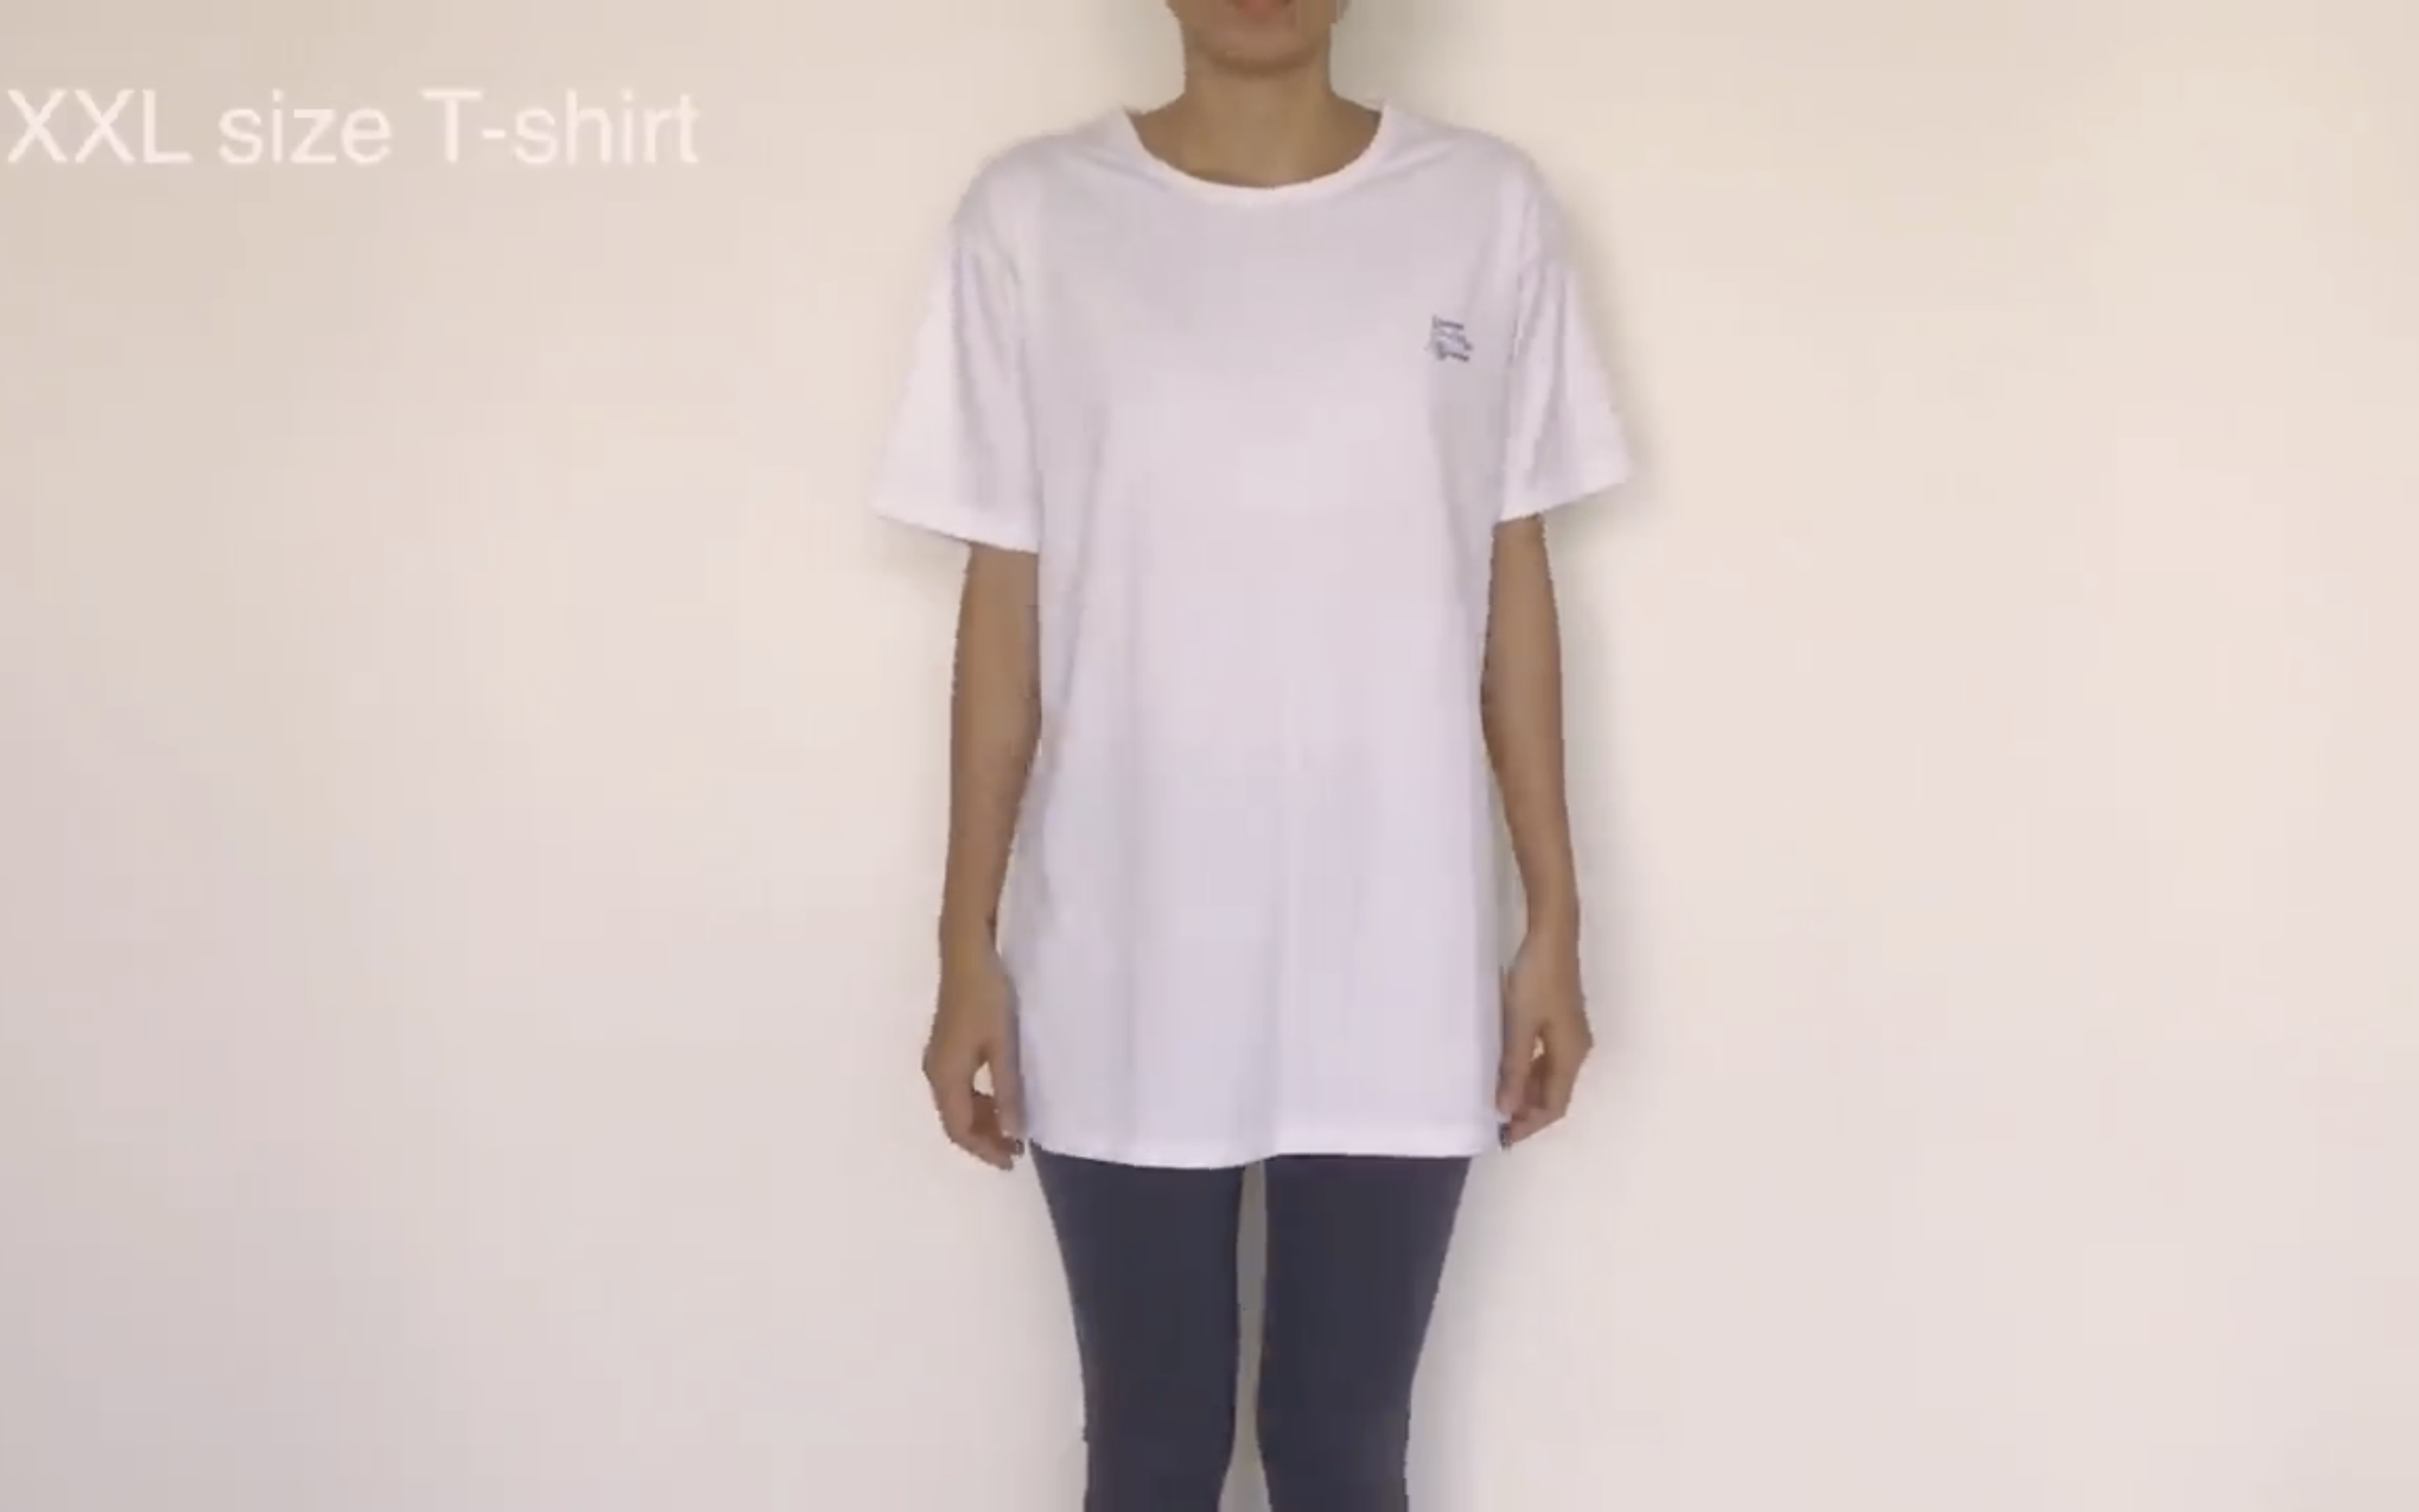
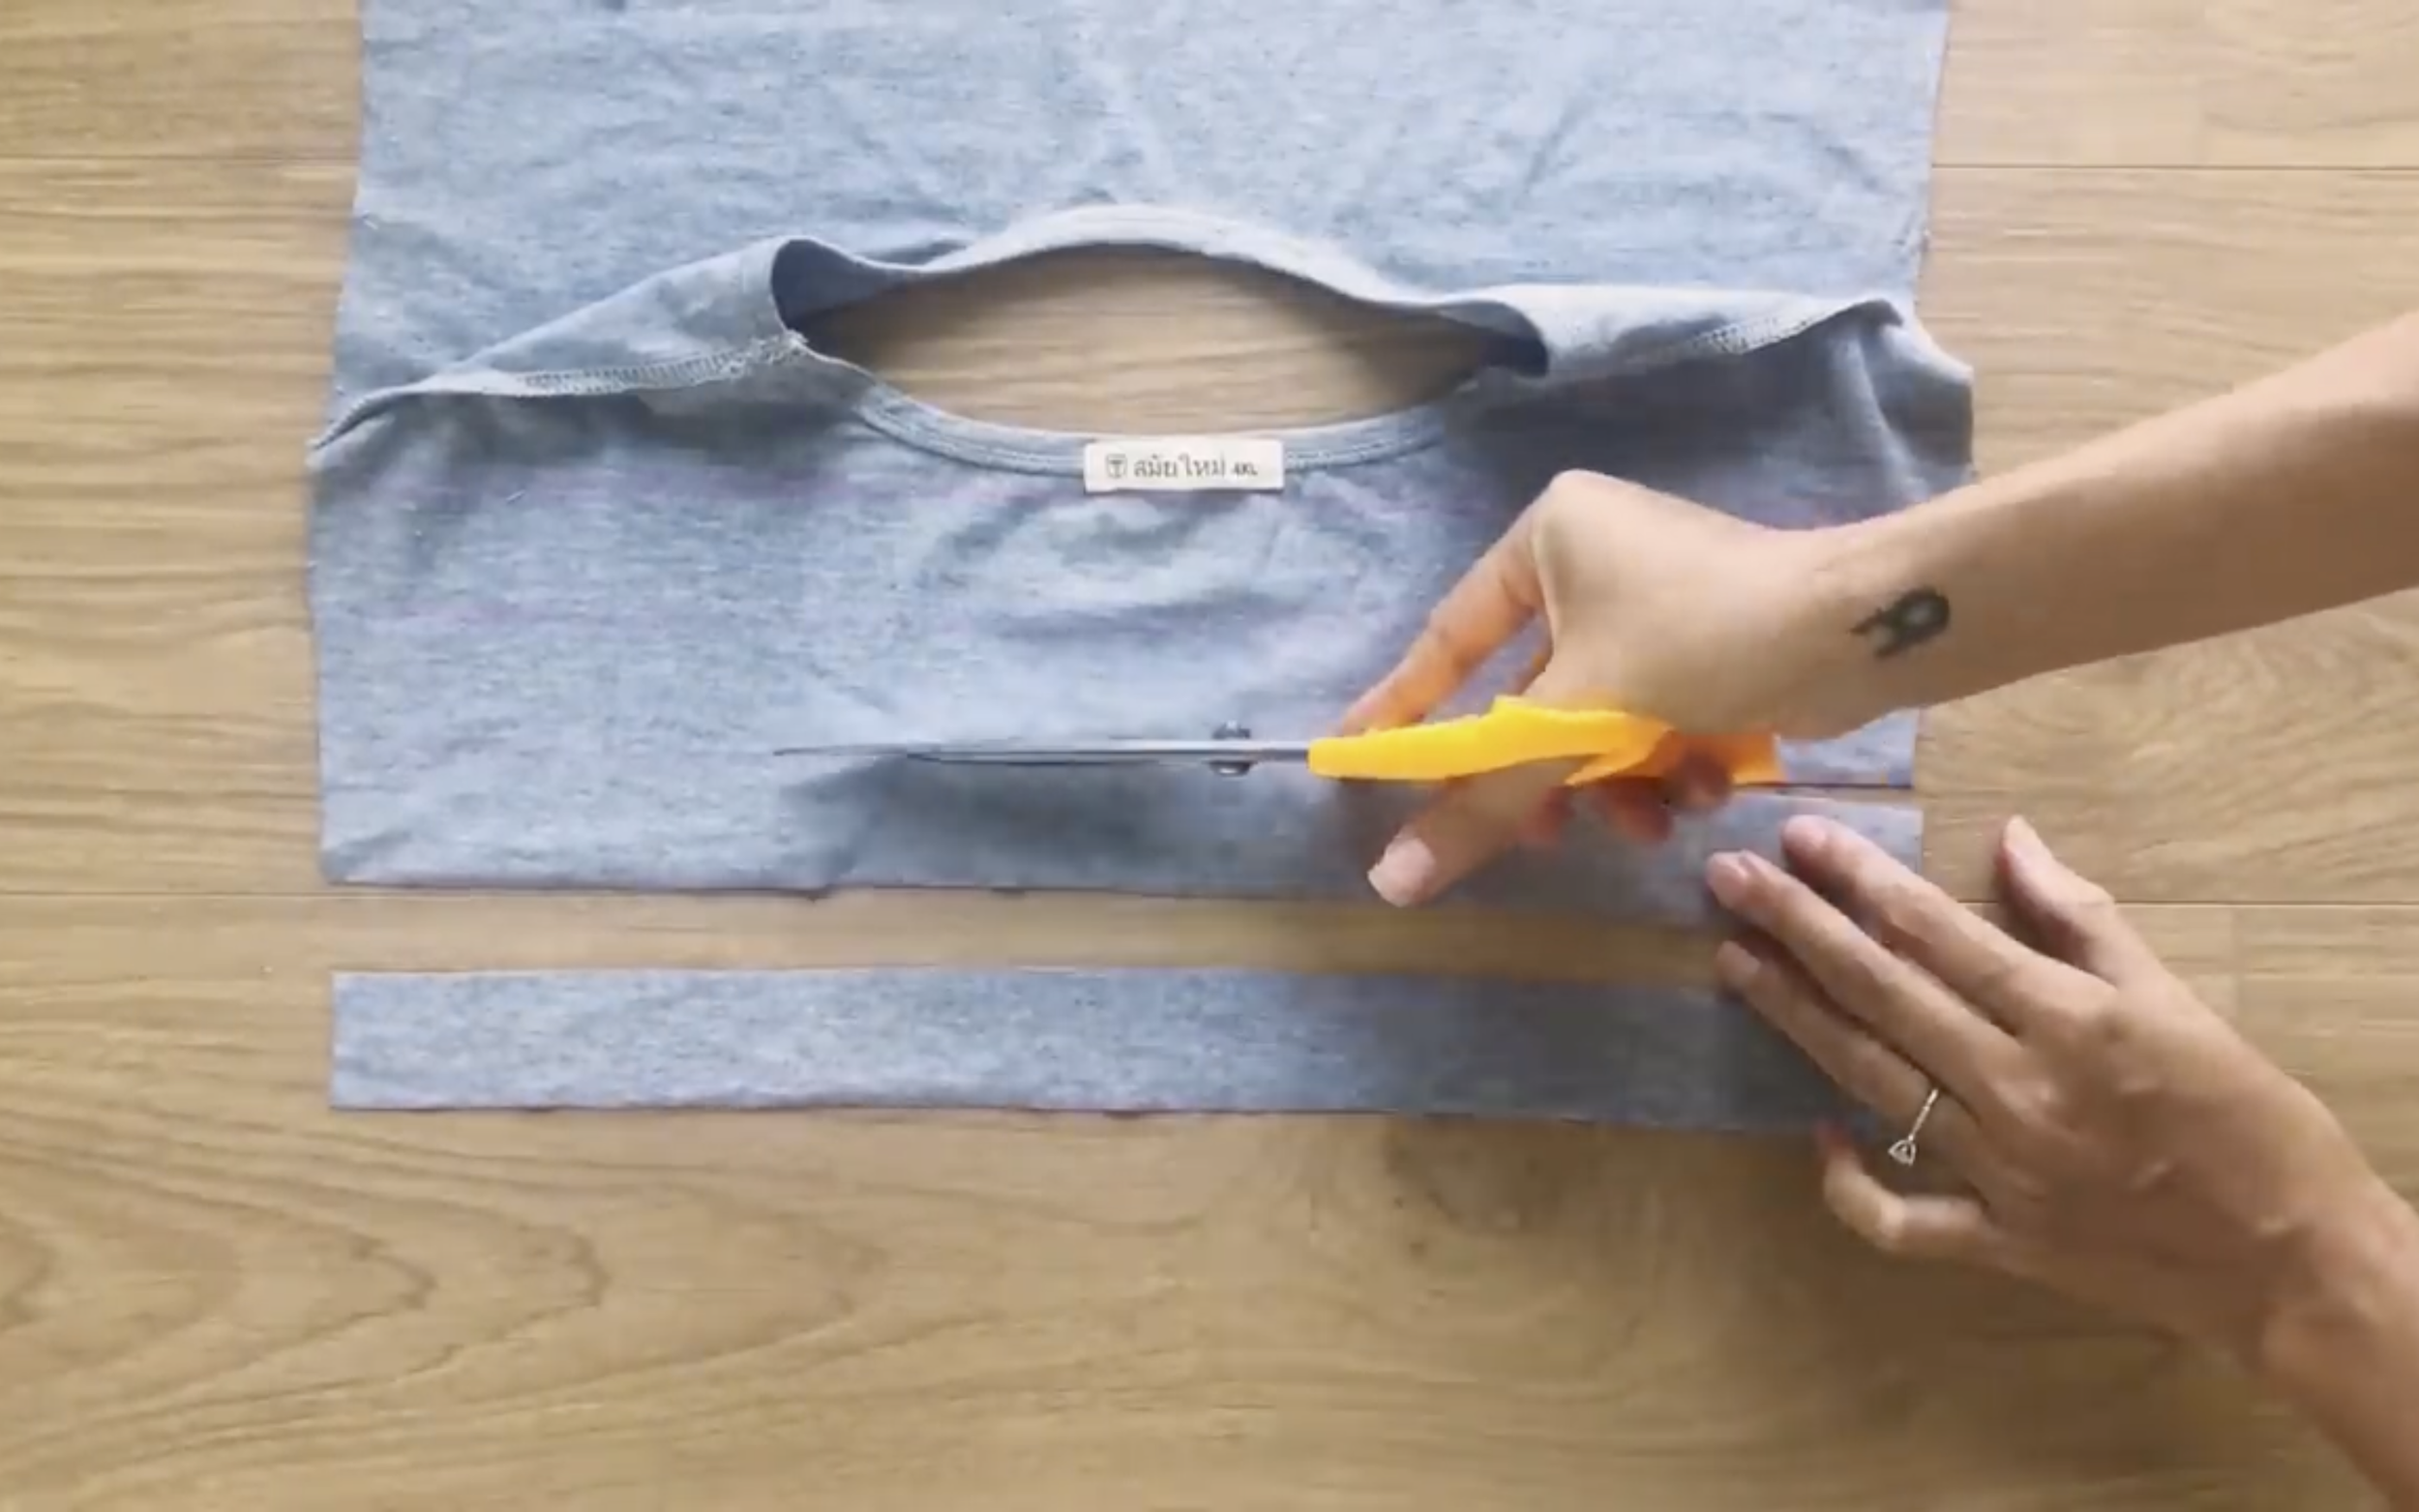
Use a double XL t-shirt for this DIY
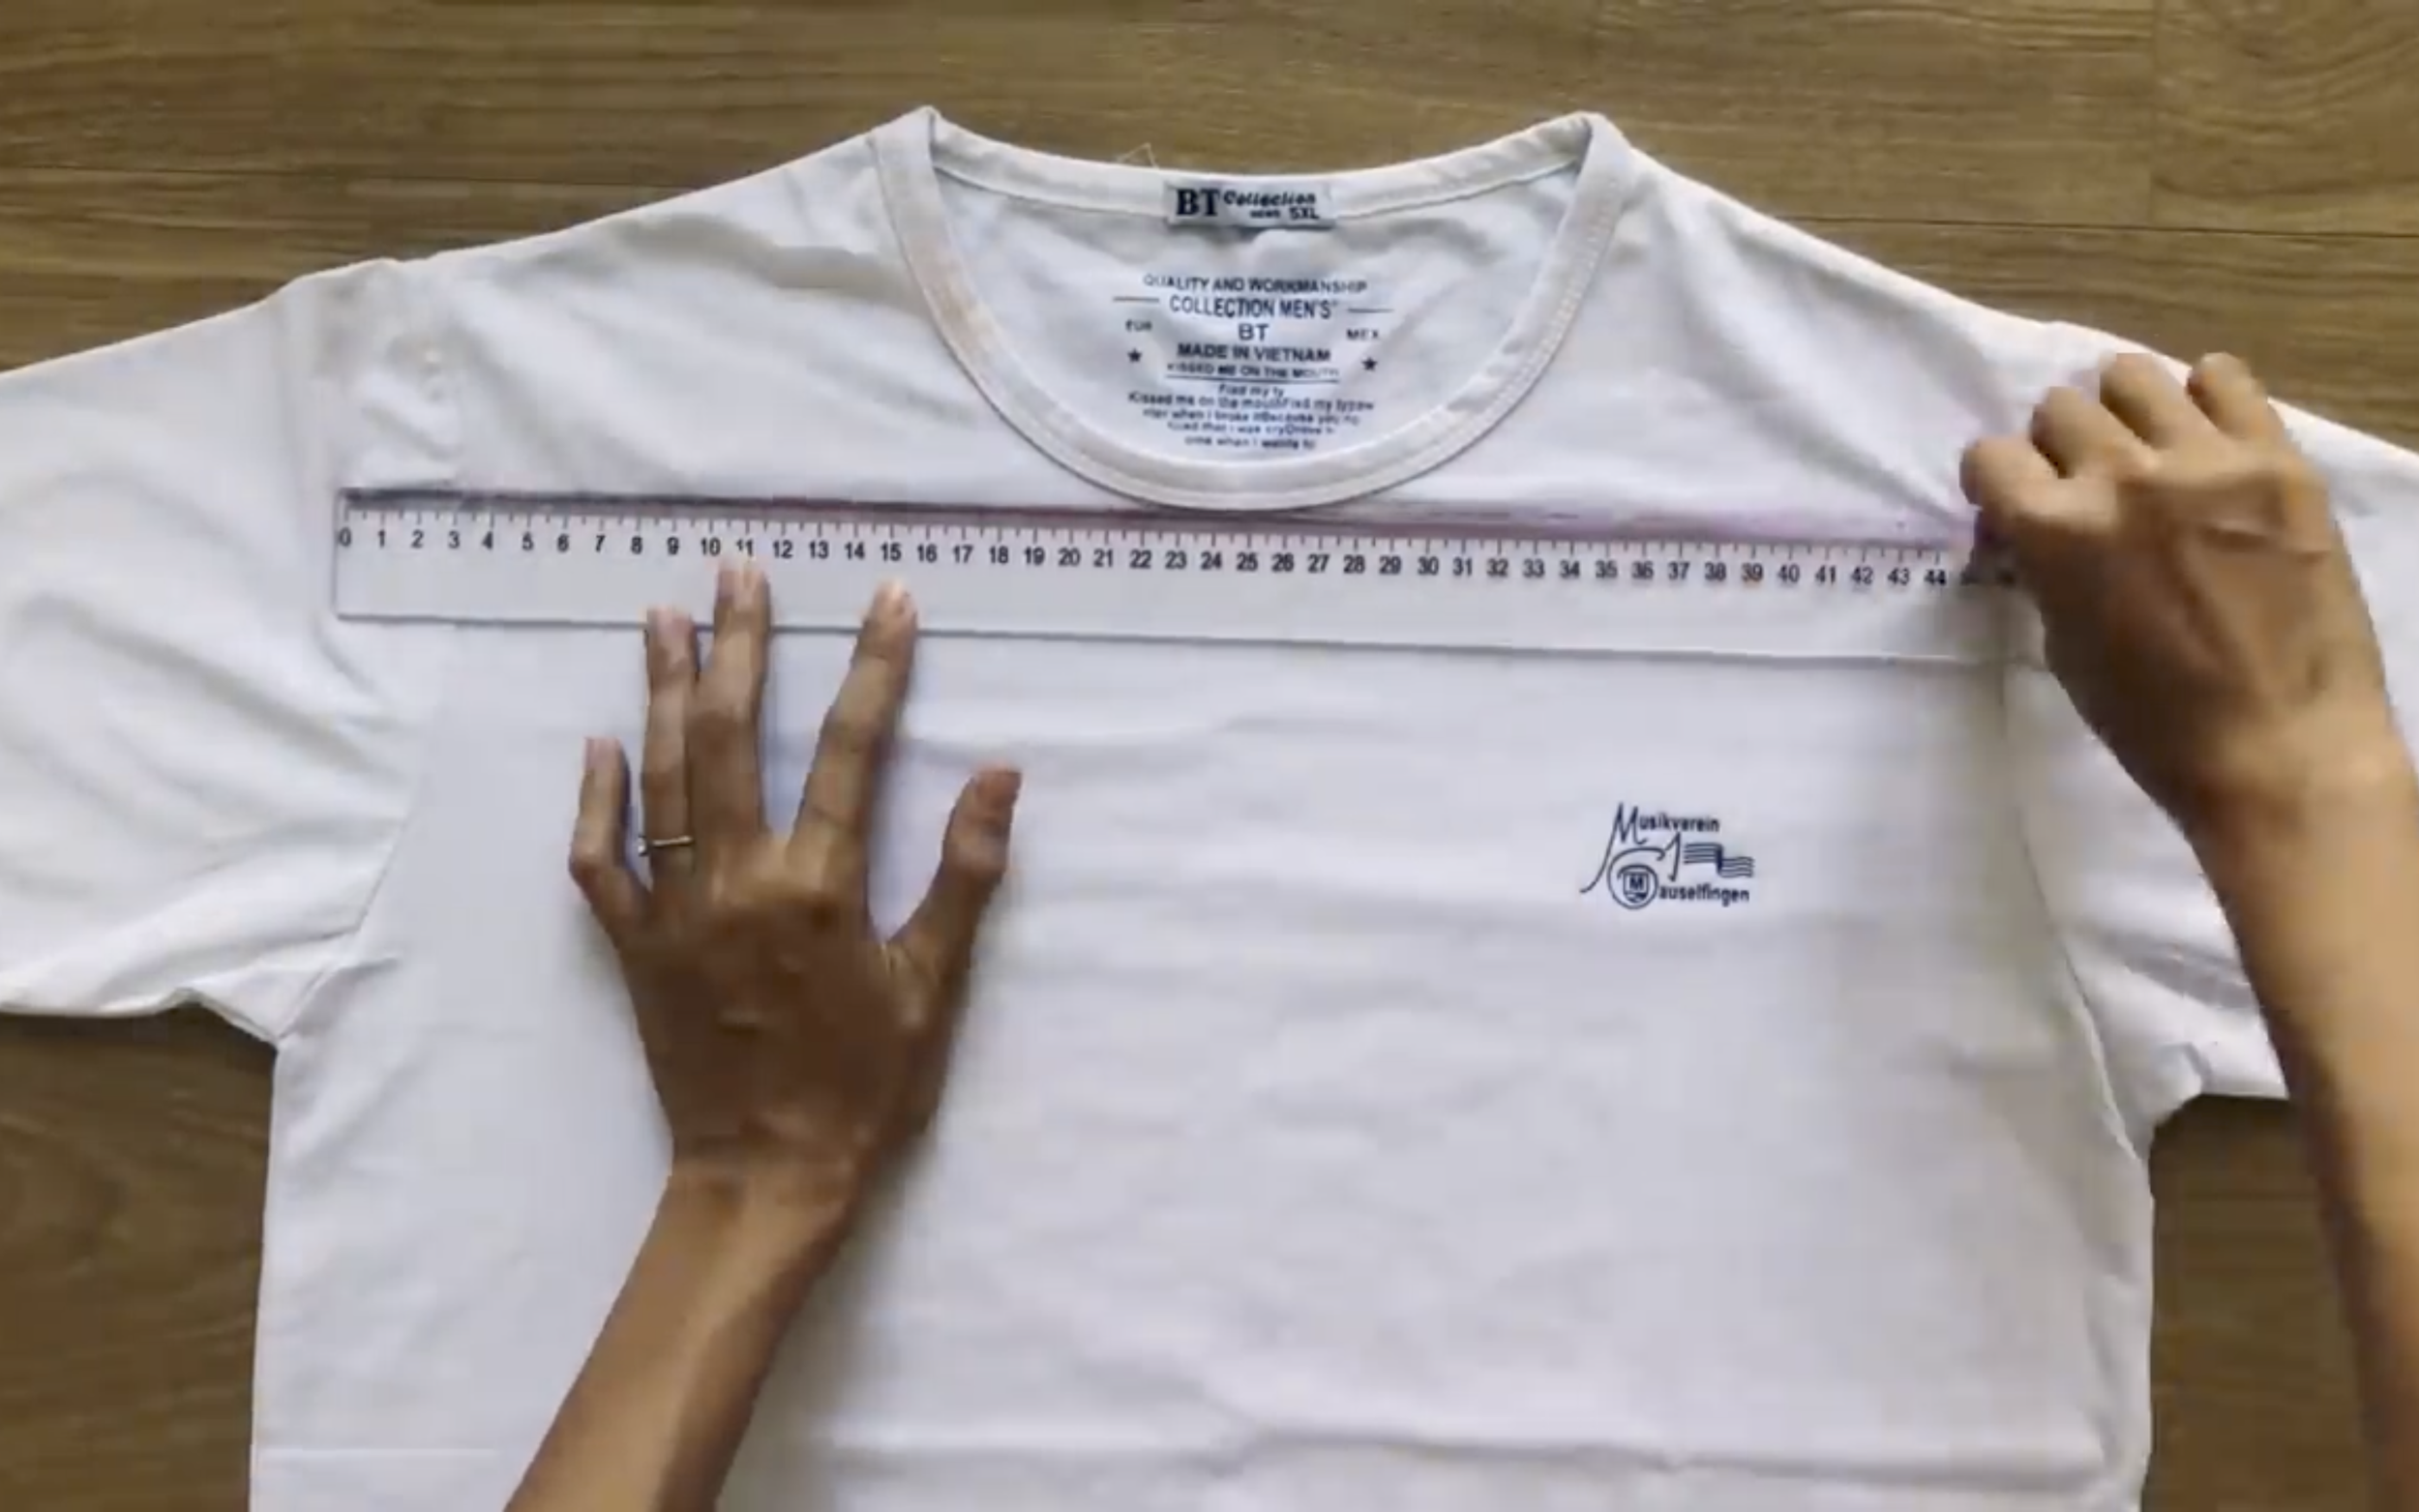
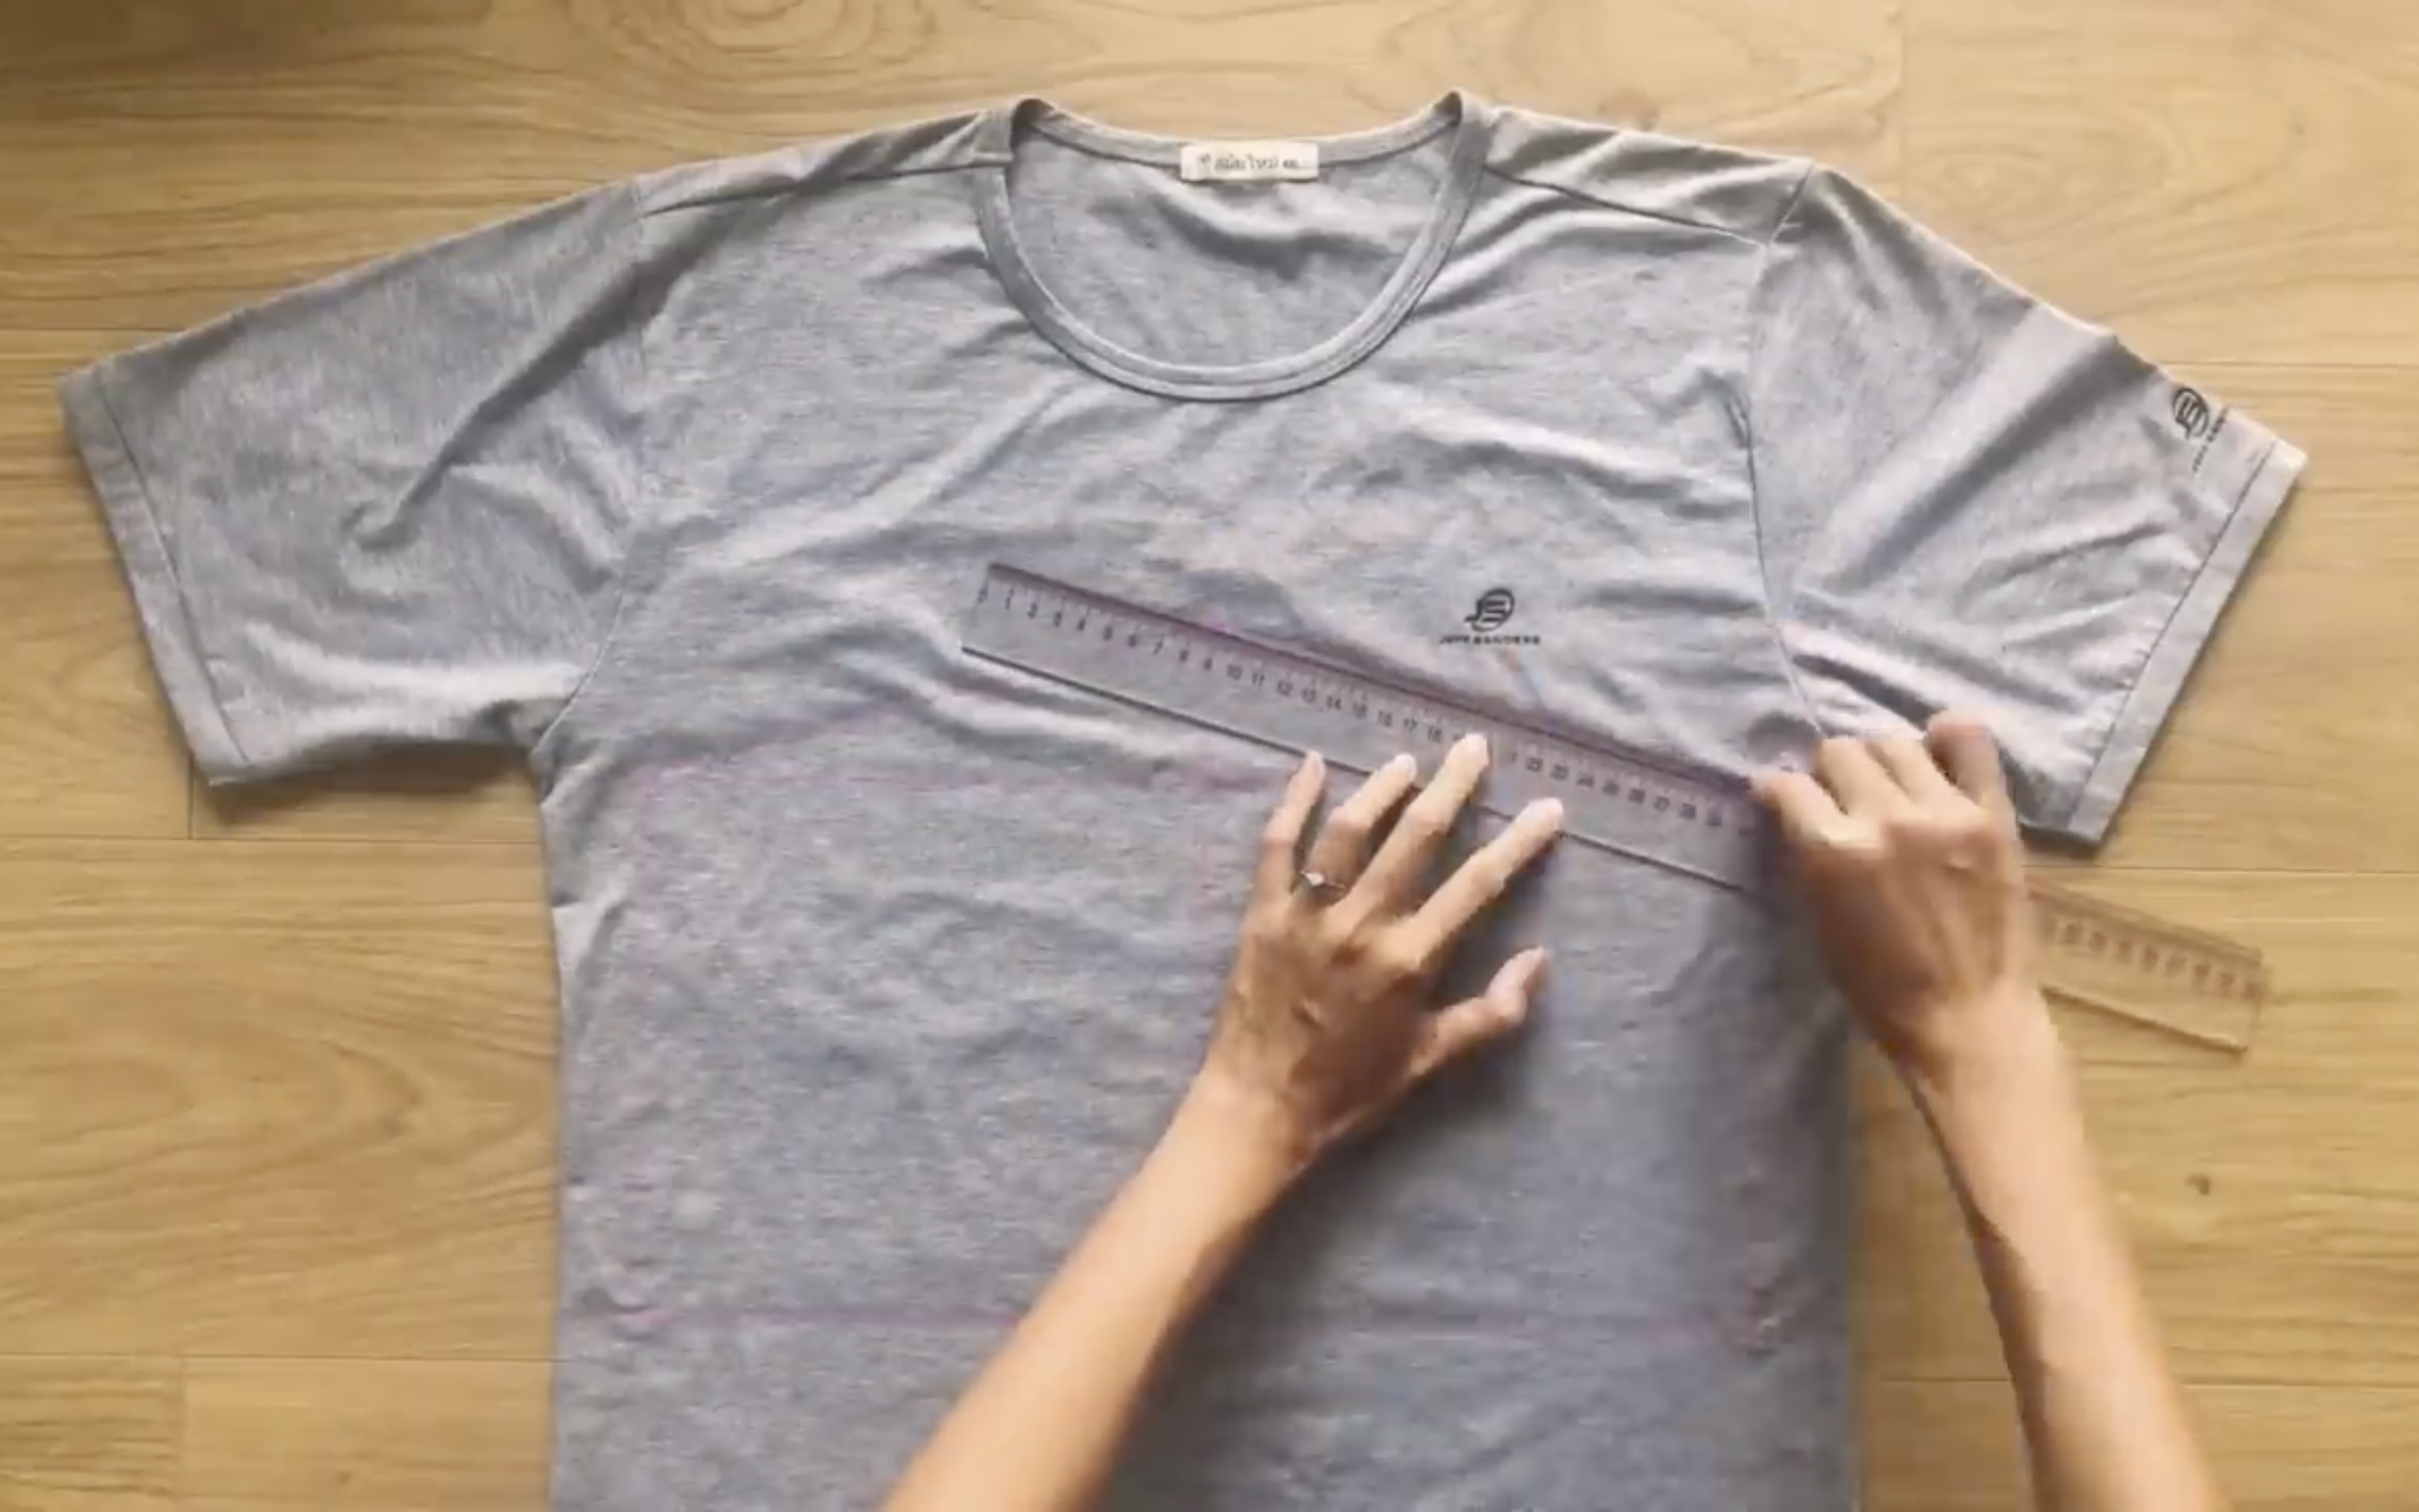
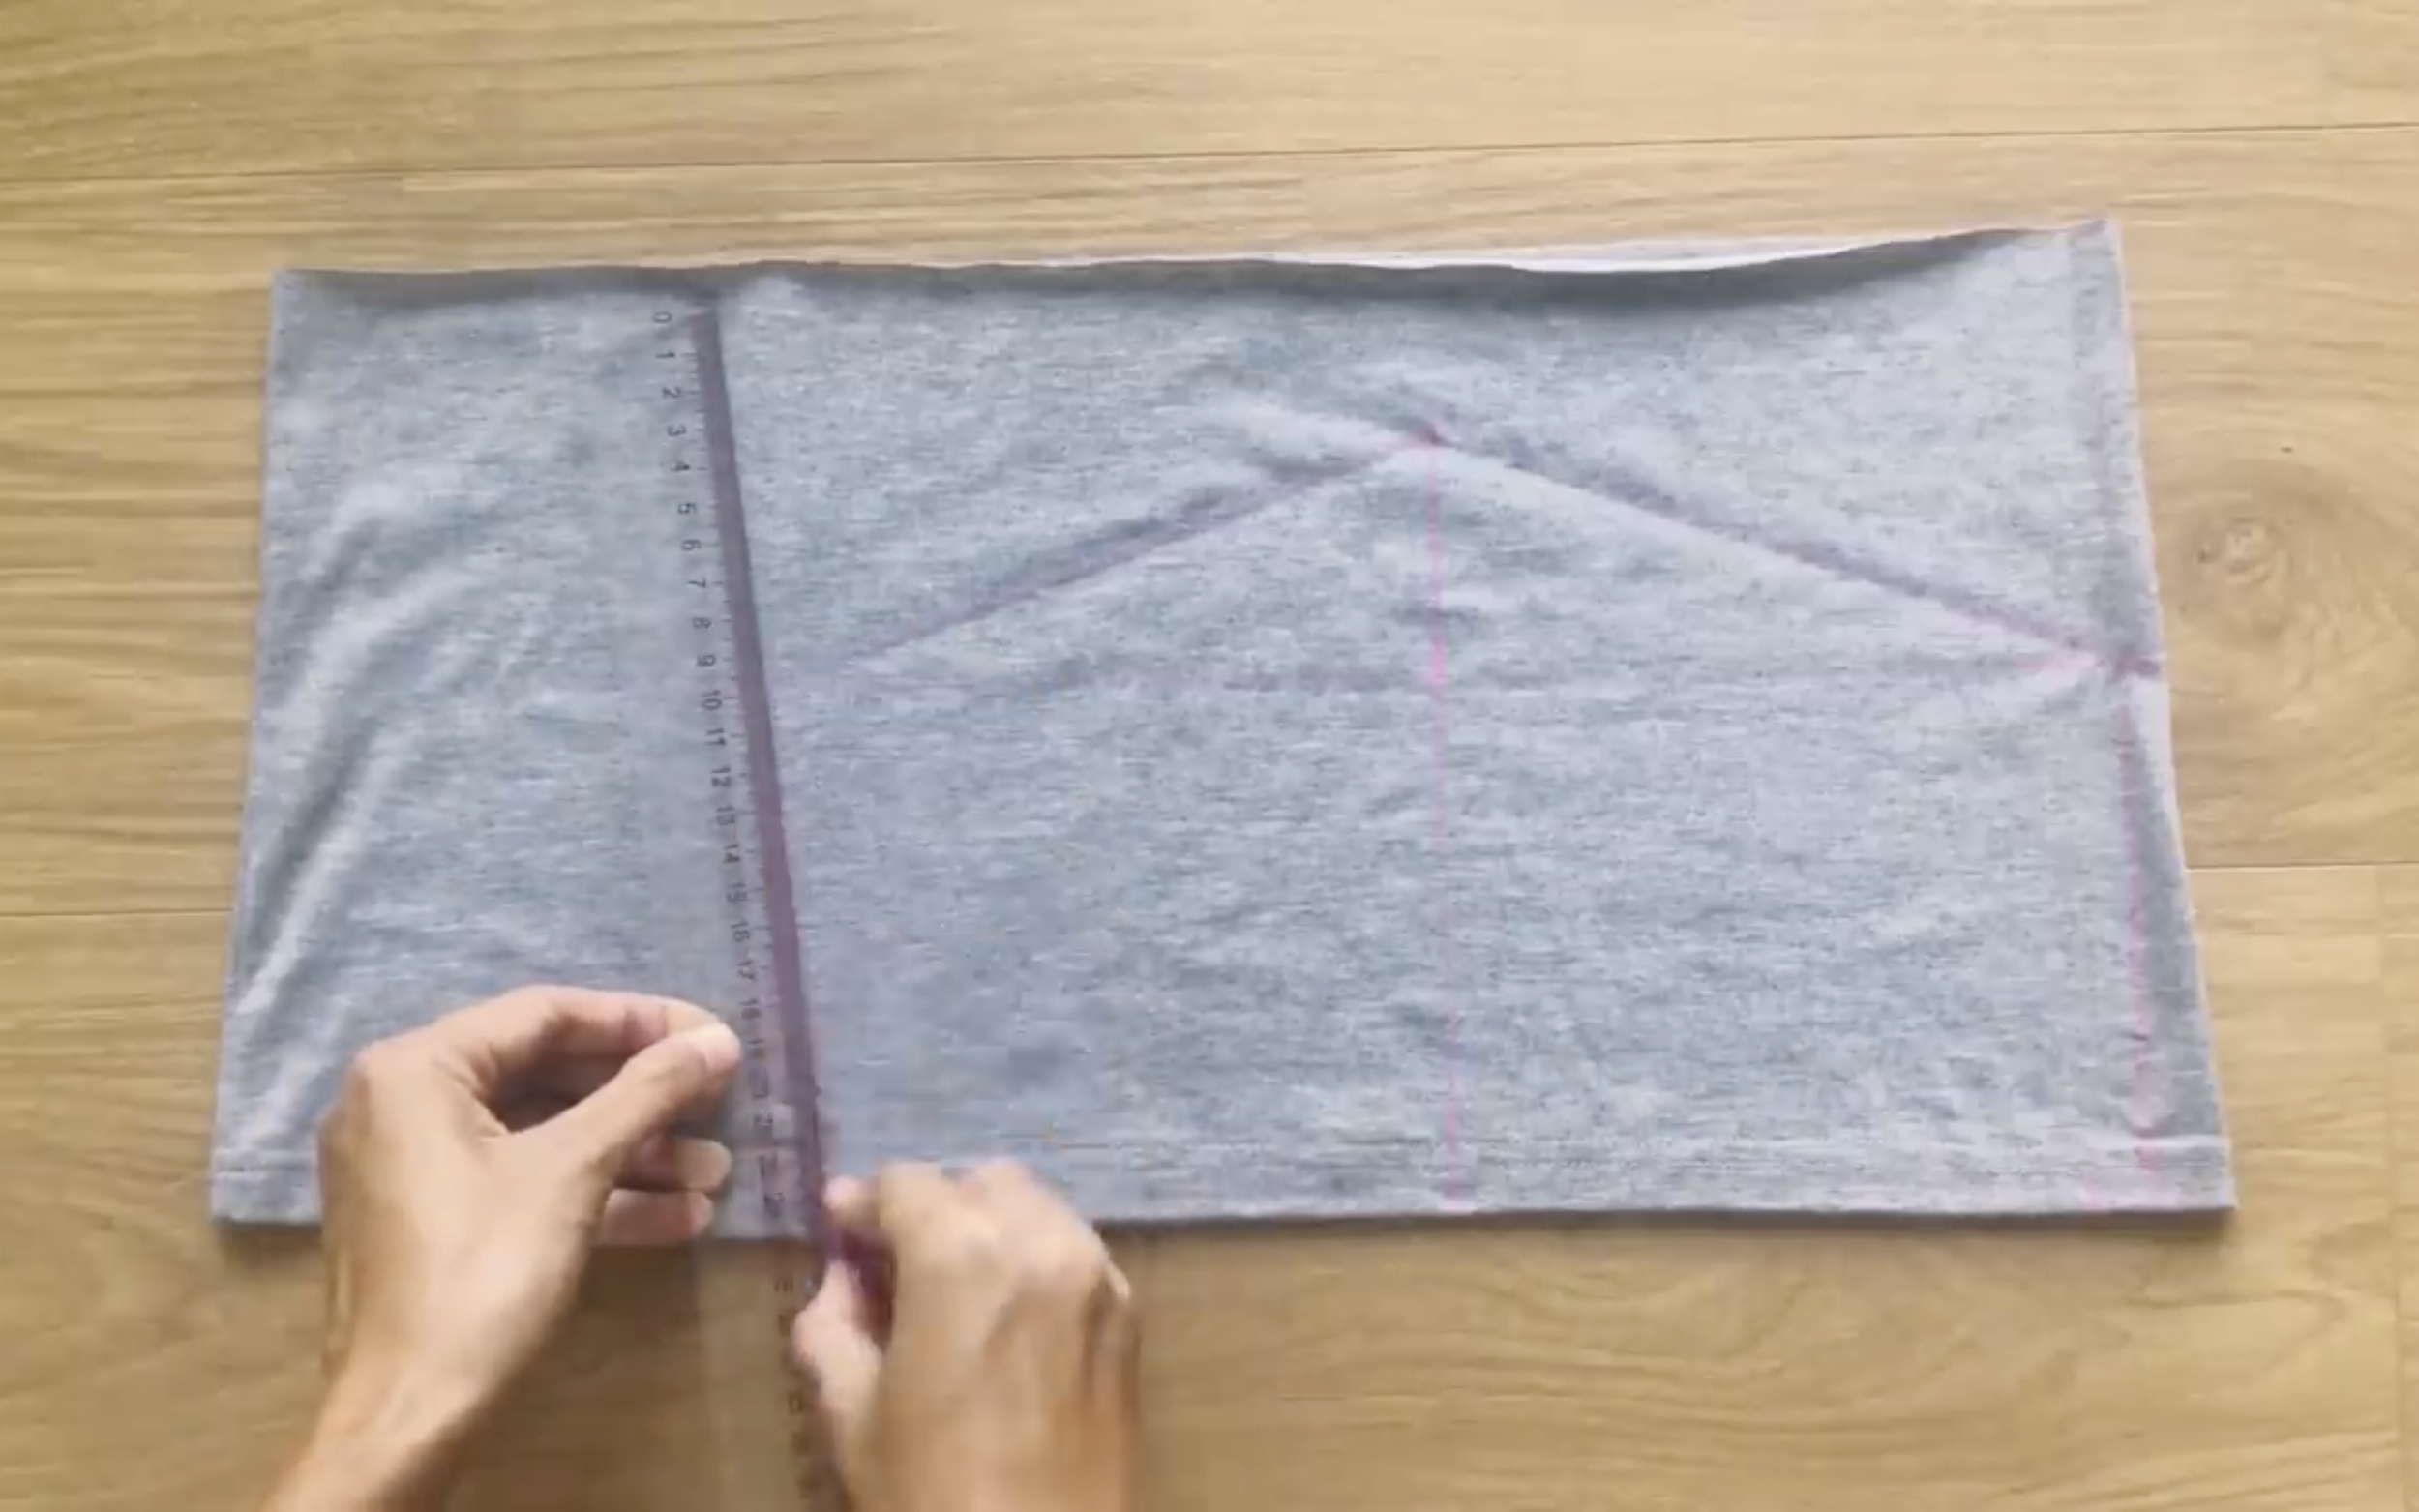
Firstly, draw a horizontal line right under the neck of the t-shirt.
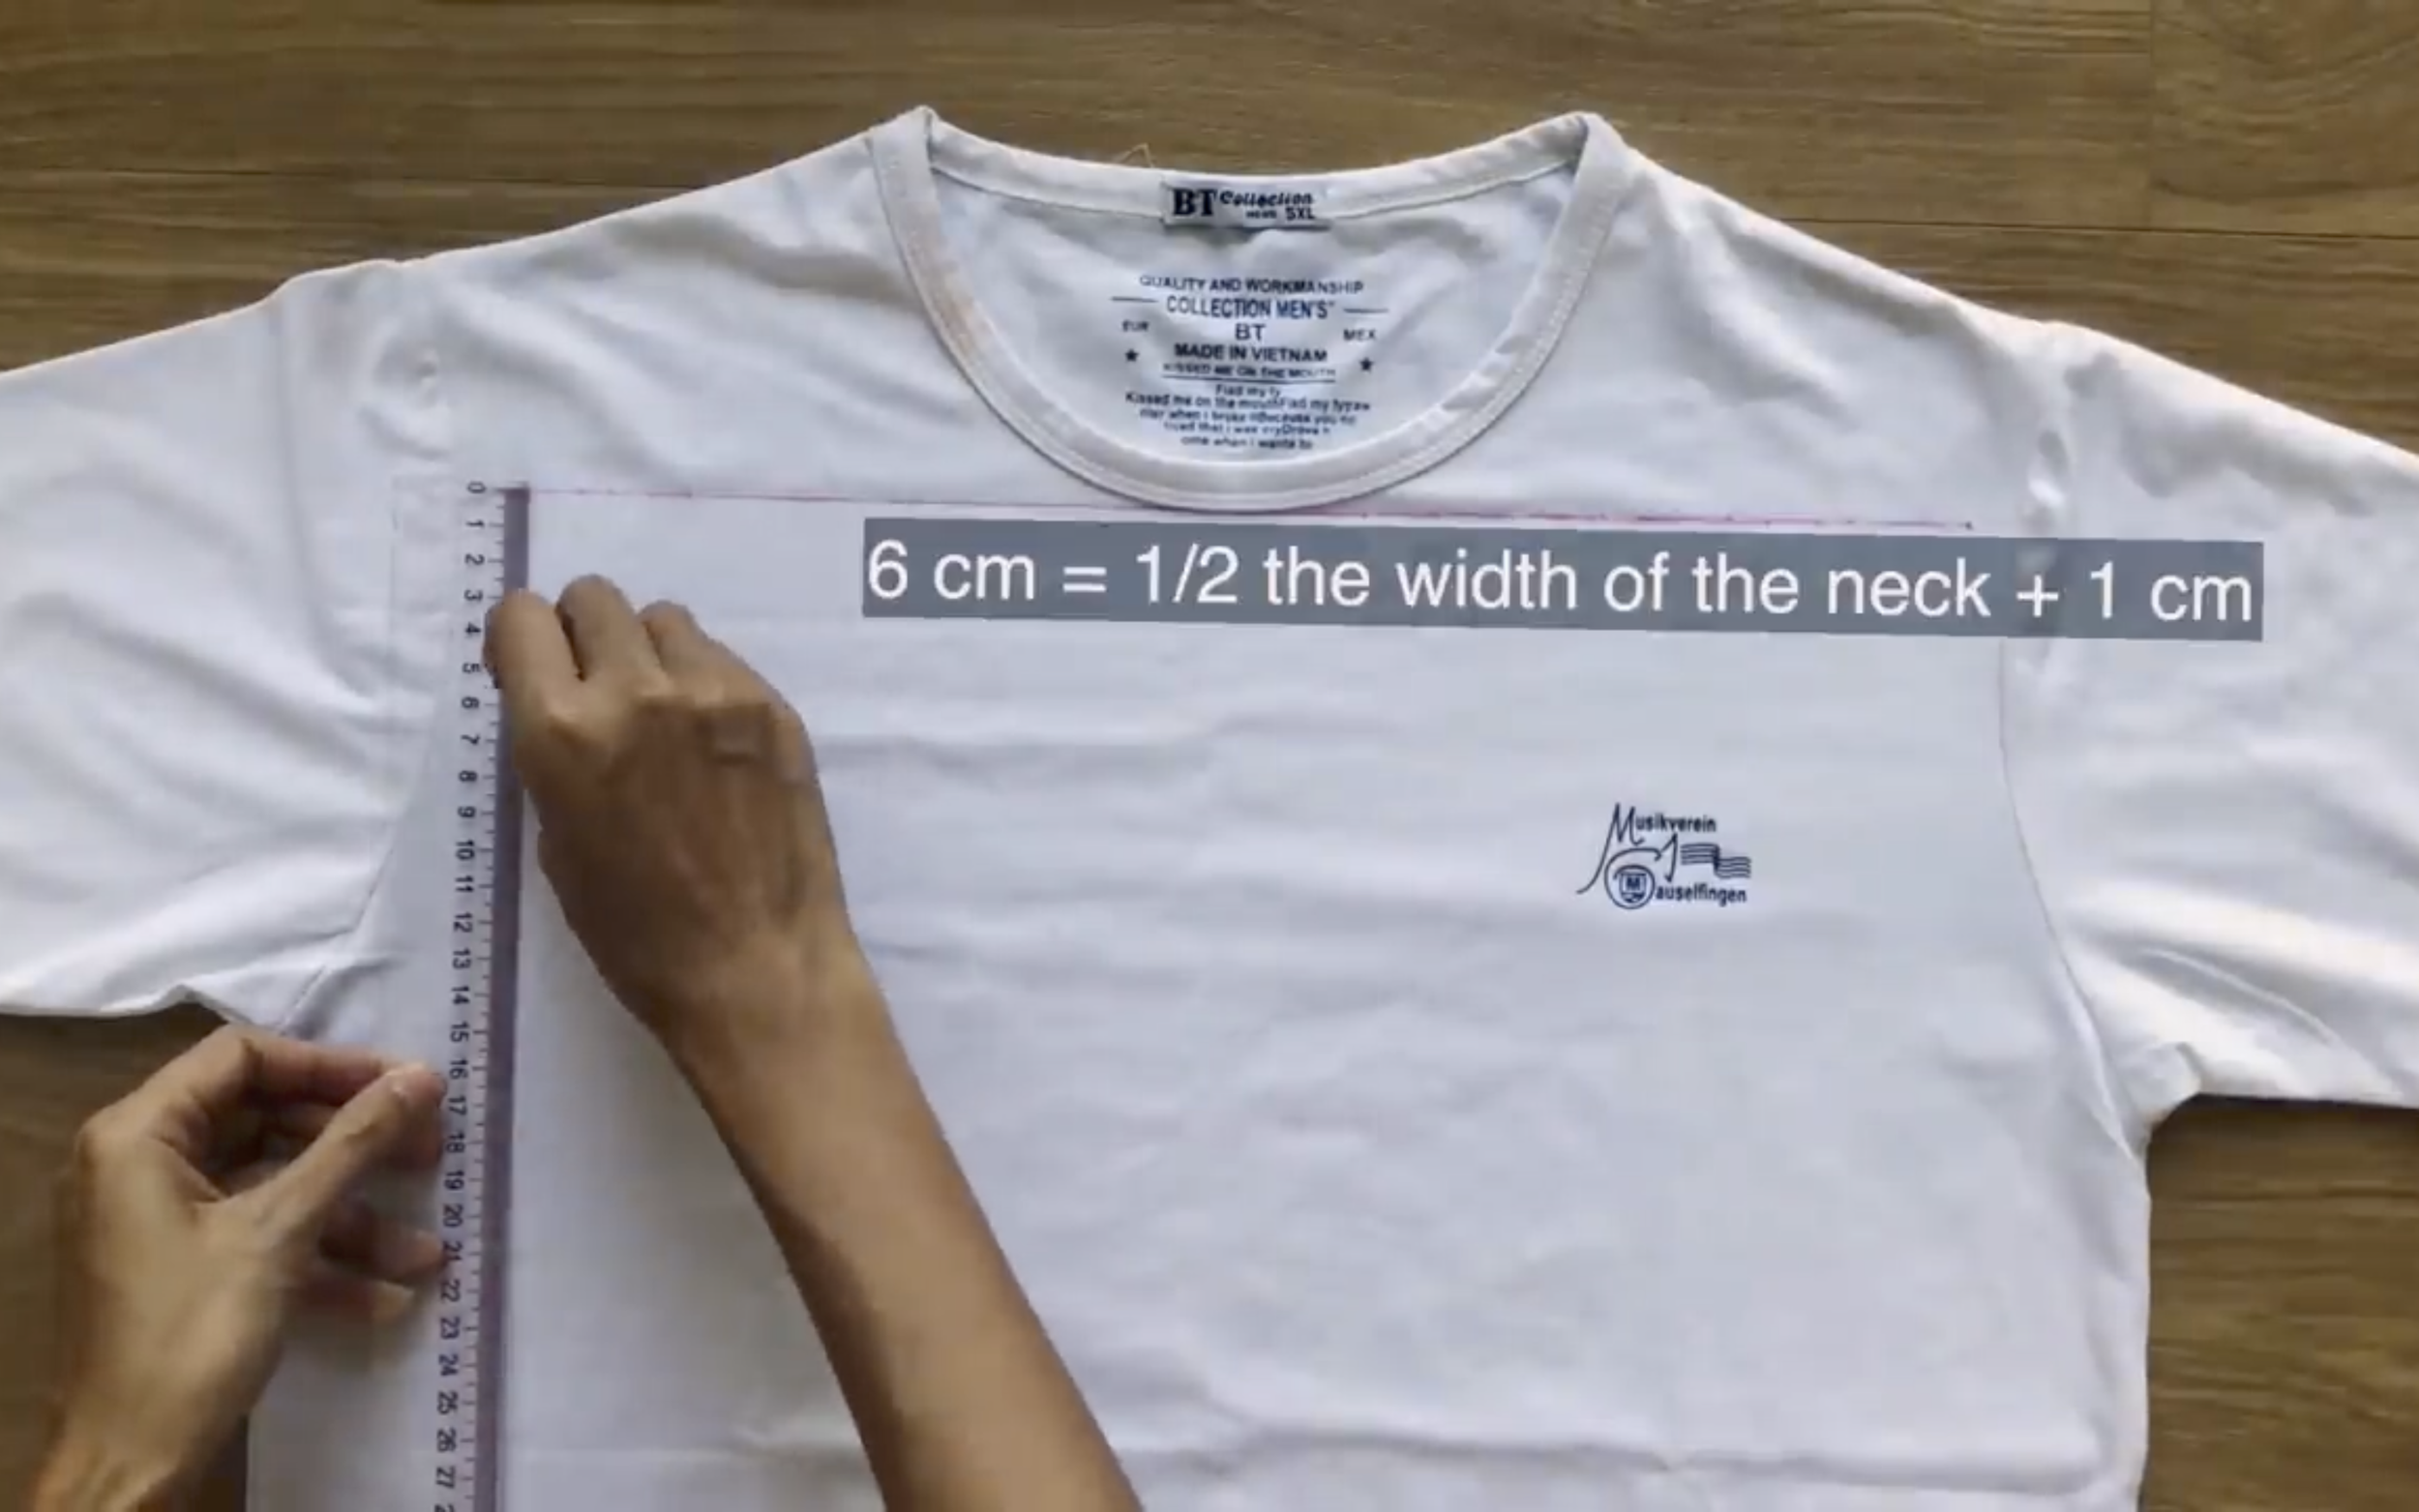
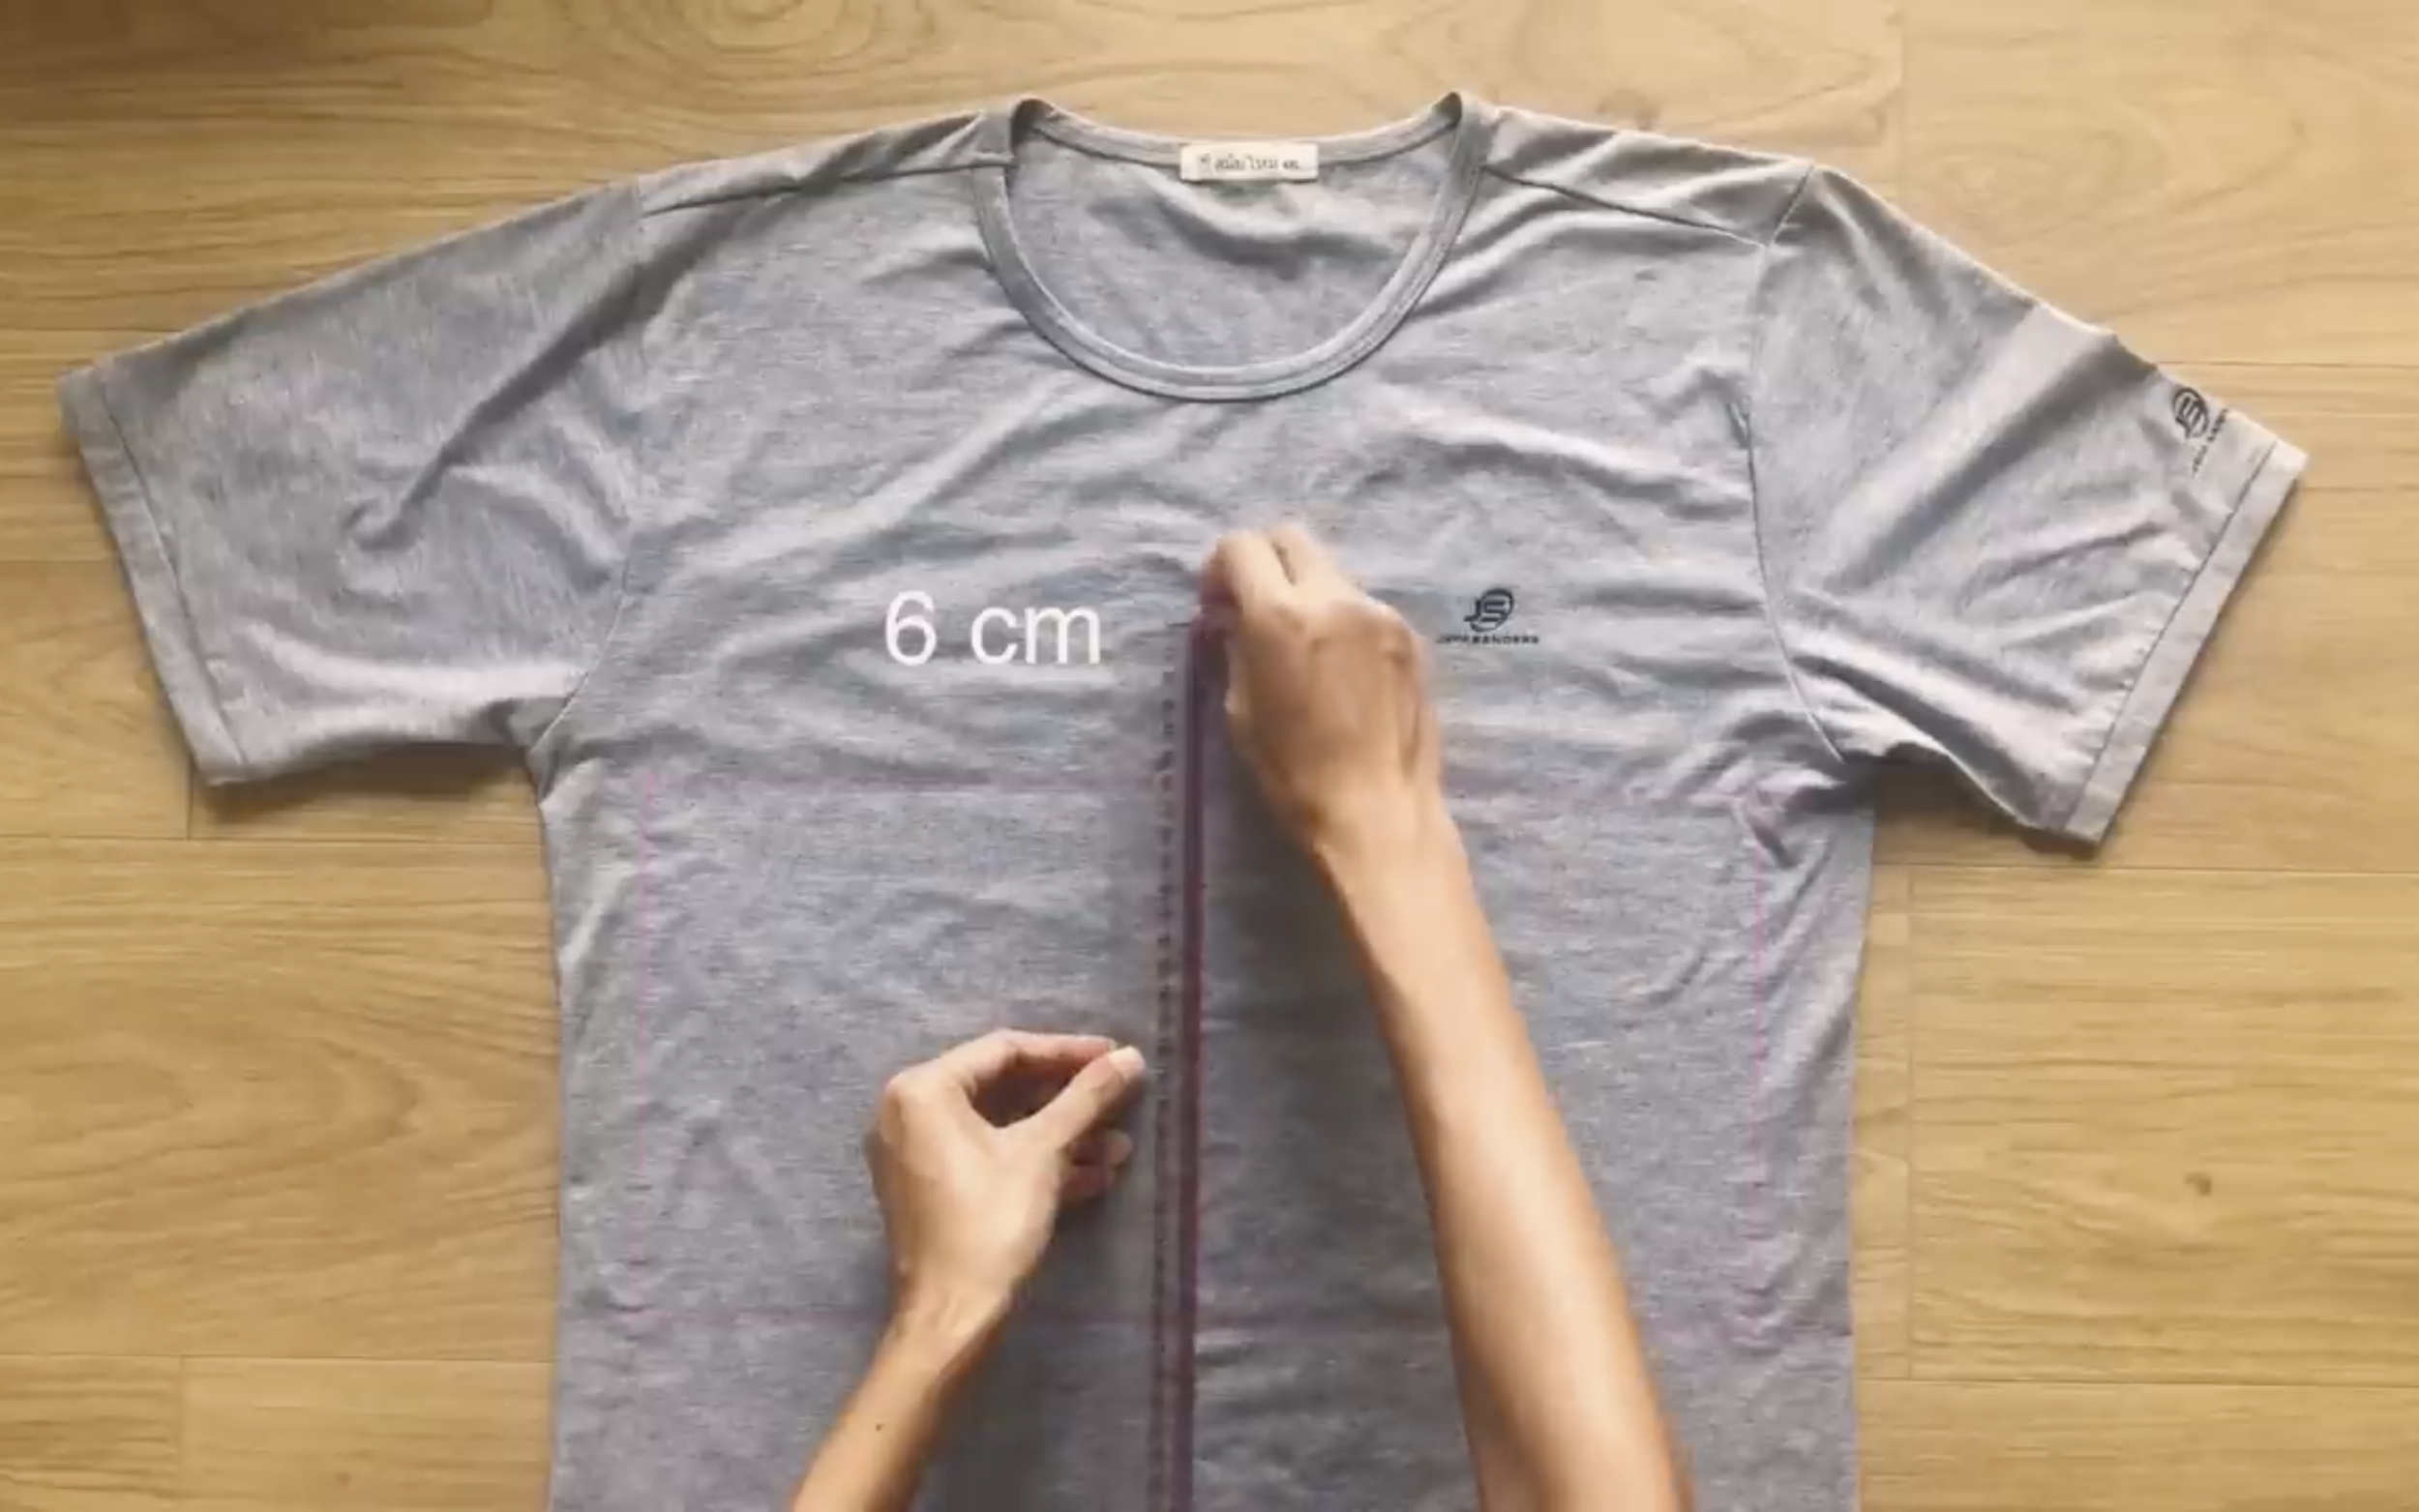
After that, draw another horizontal line at 6 cm under the first one. It is the half width of the neck plus 1 cm for seam allowance.
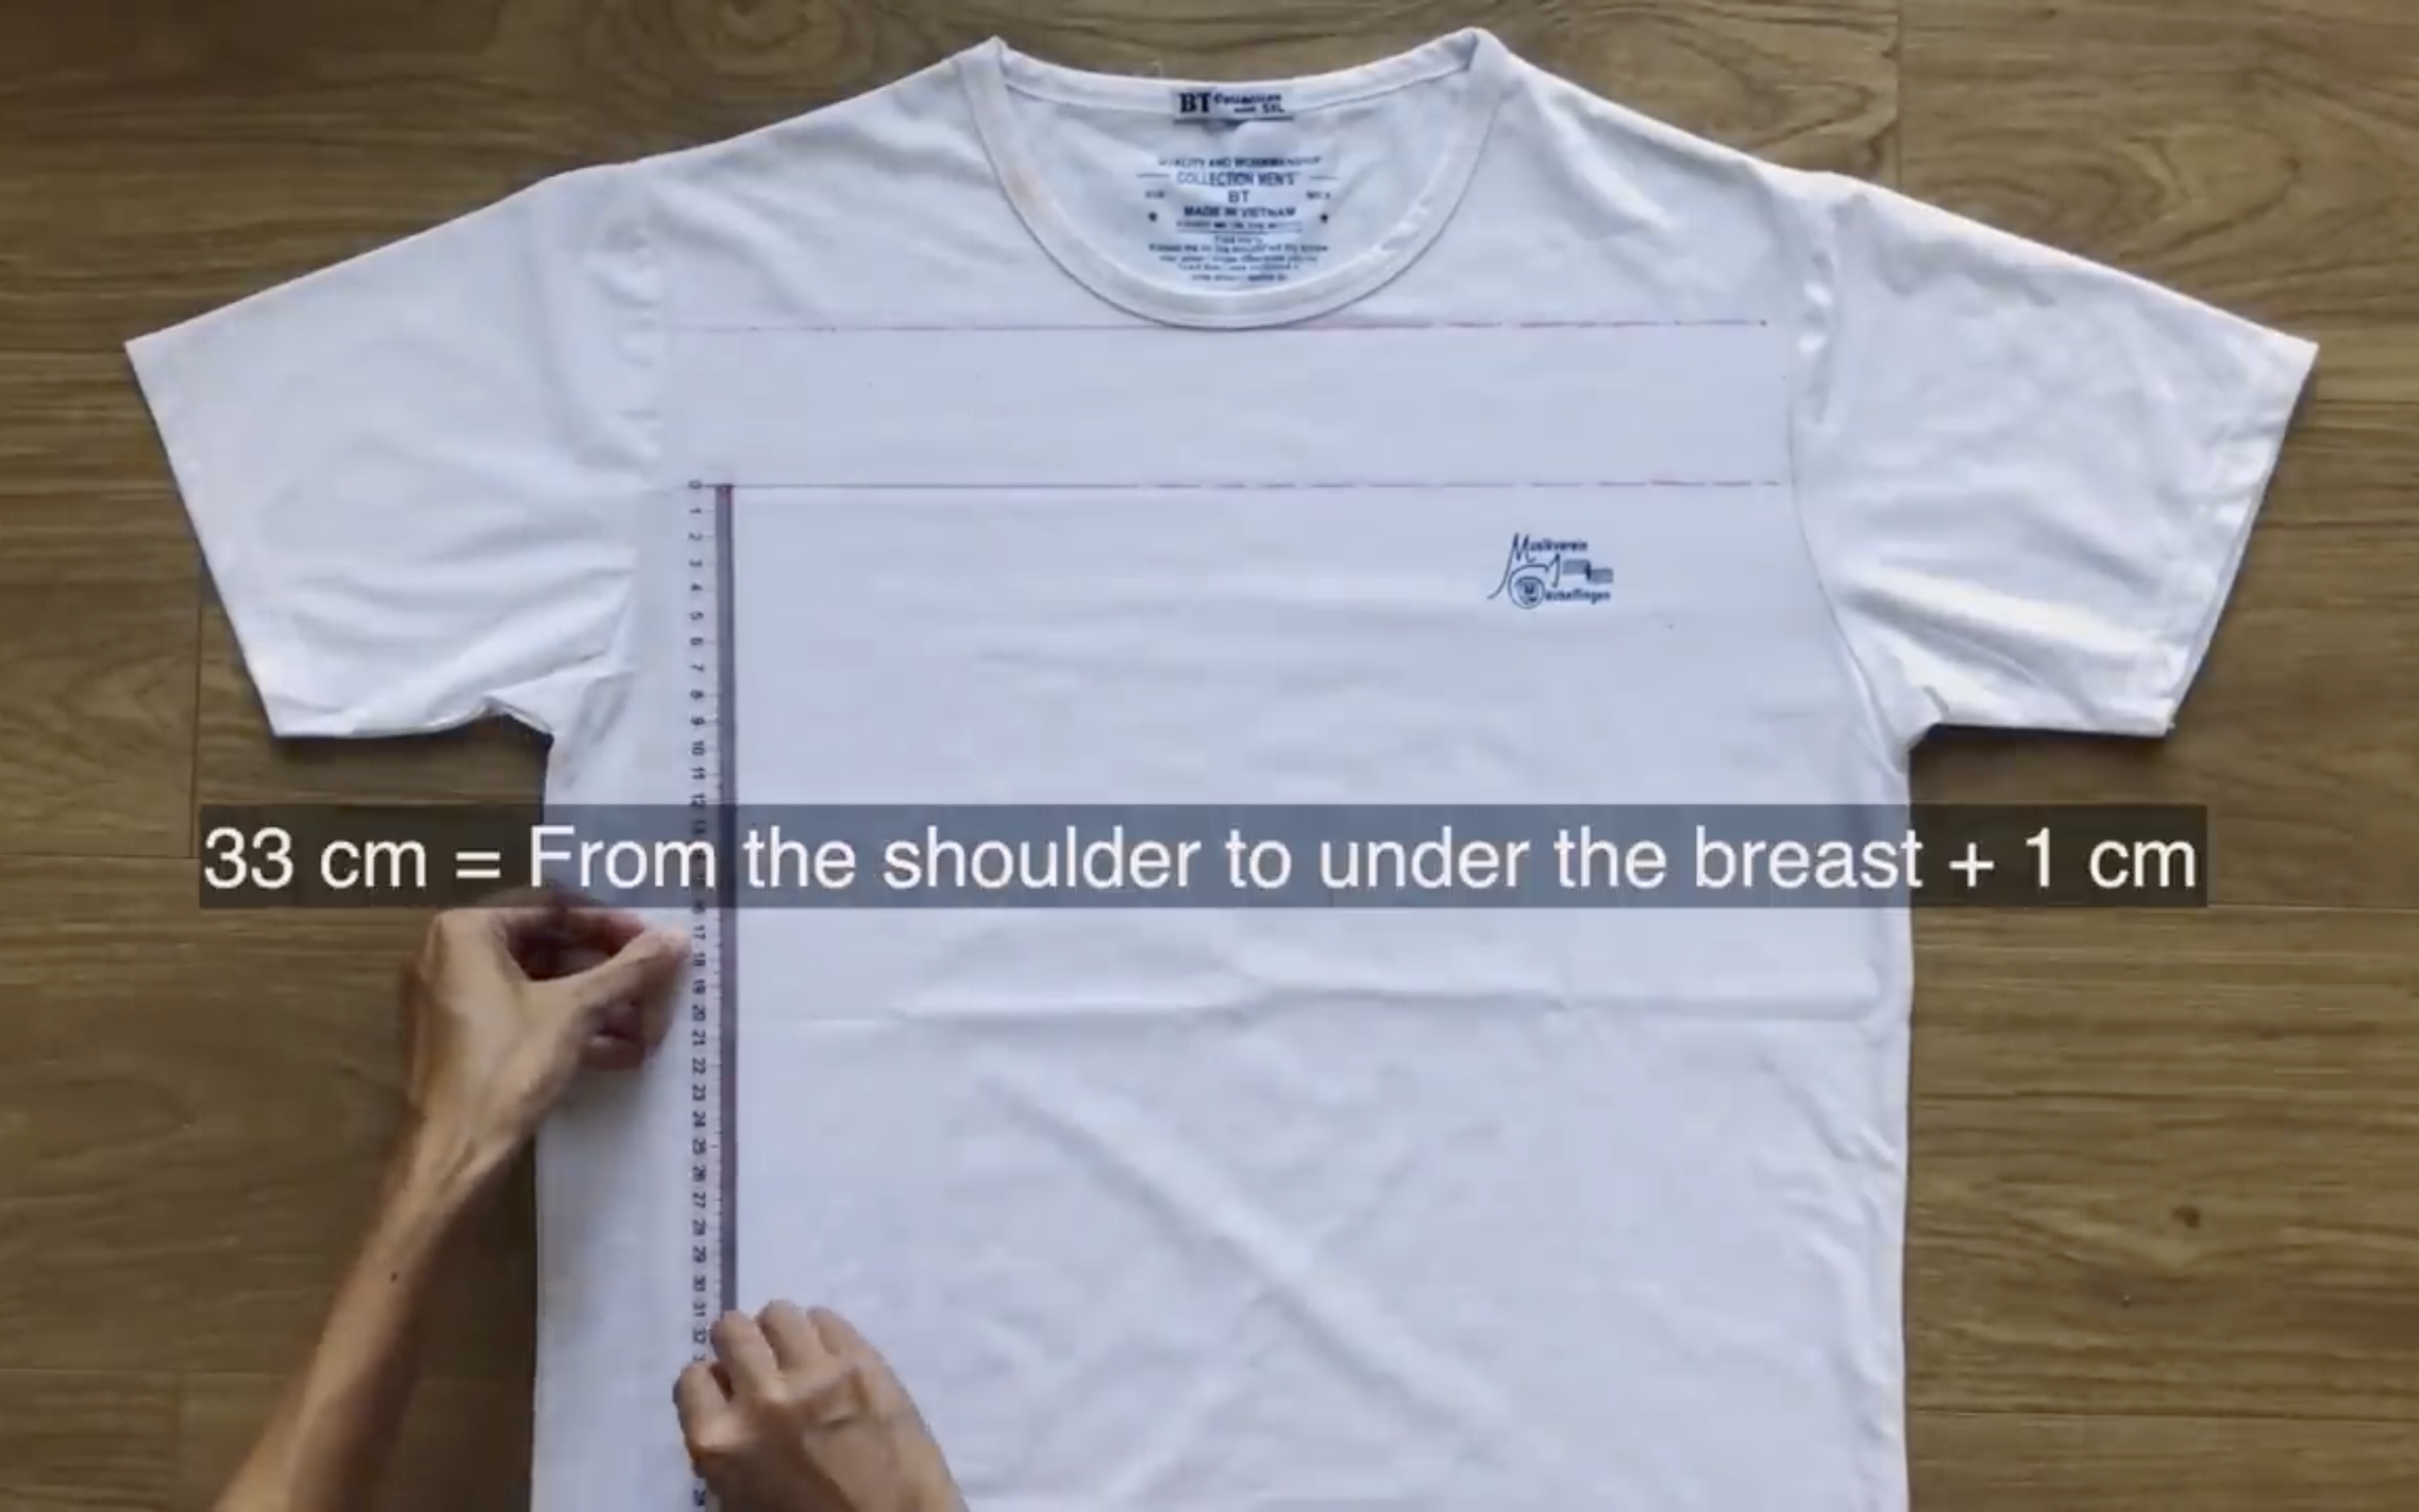
Then keep drawing another line at 33 cm under the second one. It is the width from the shoulder to under the breast plus 1 cm for seam allowance.
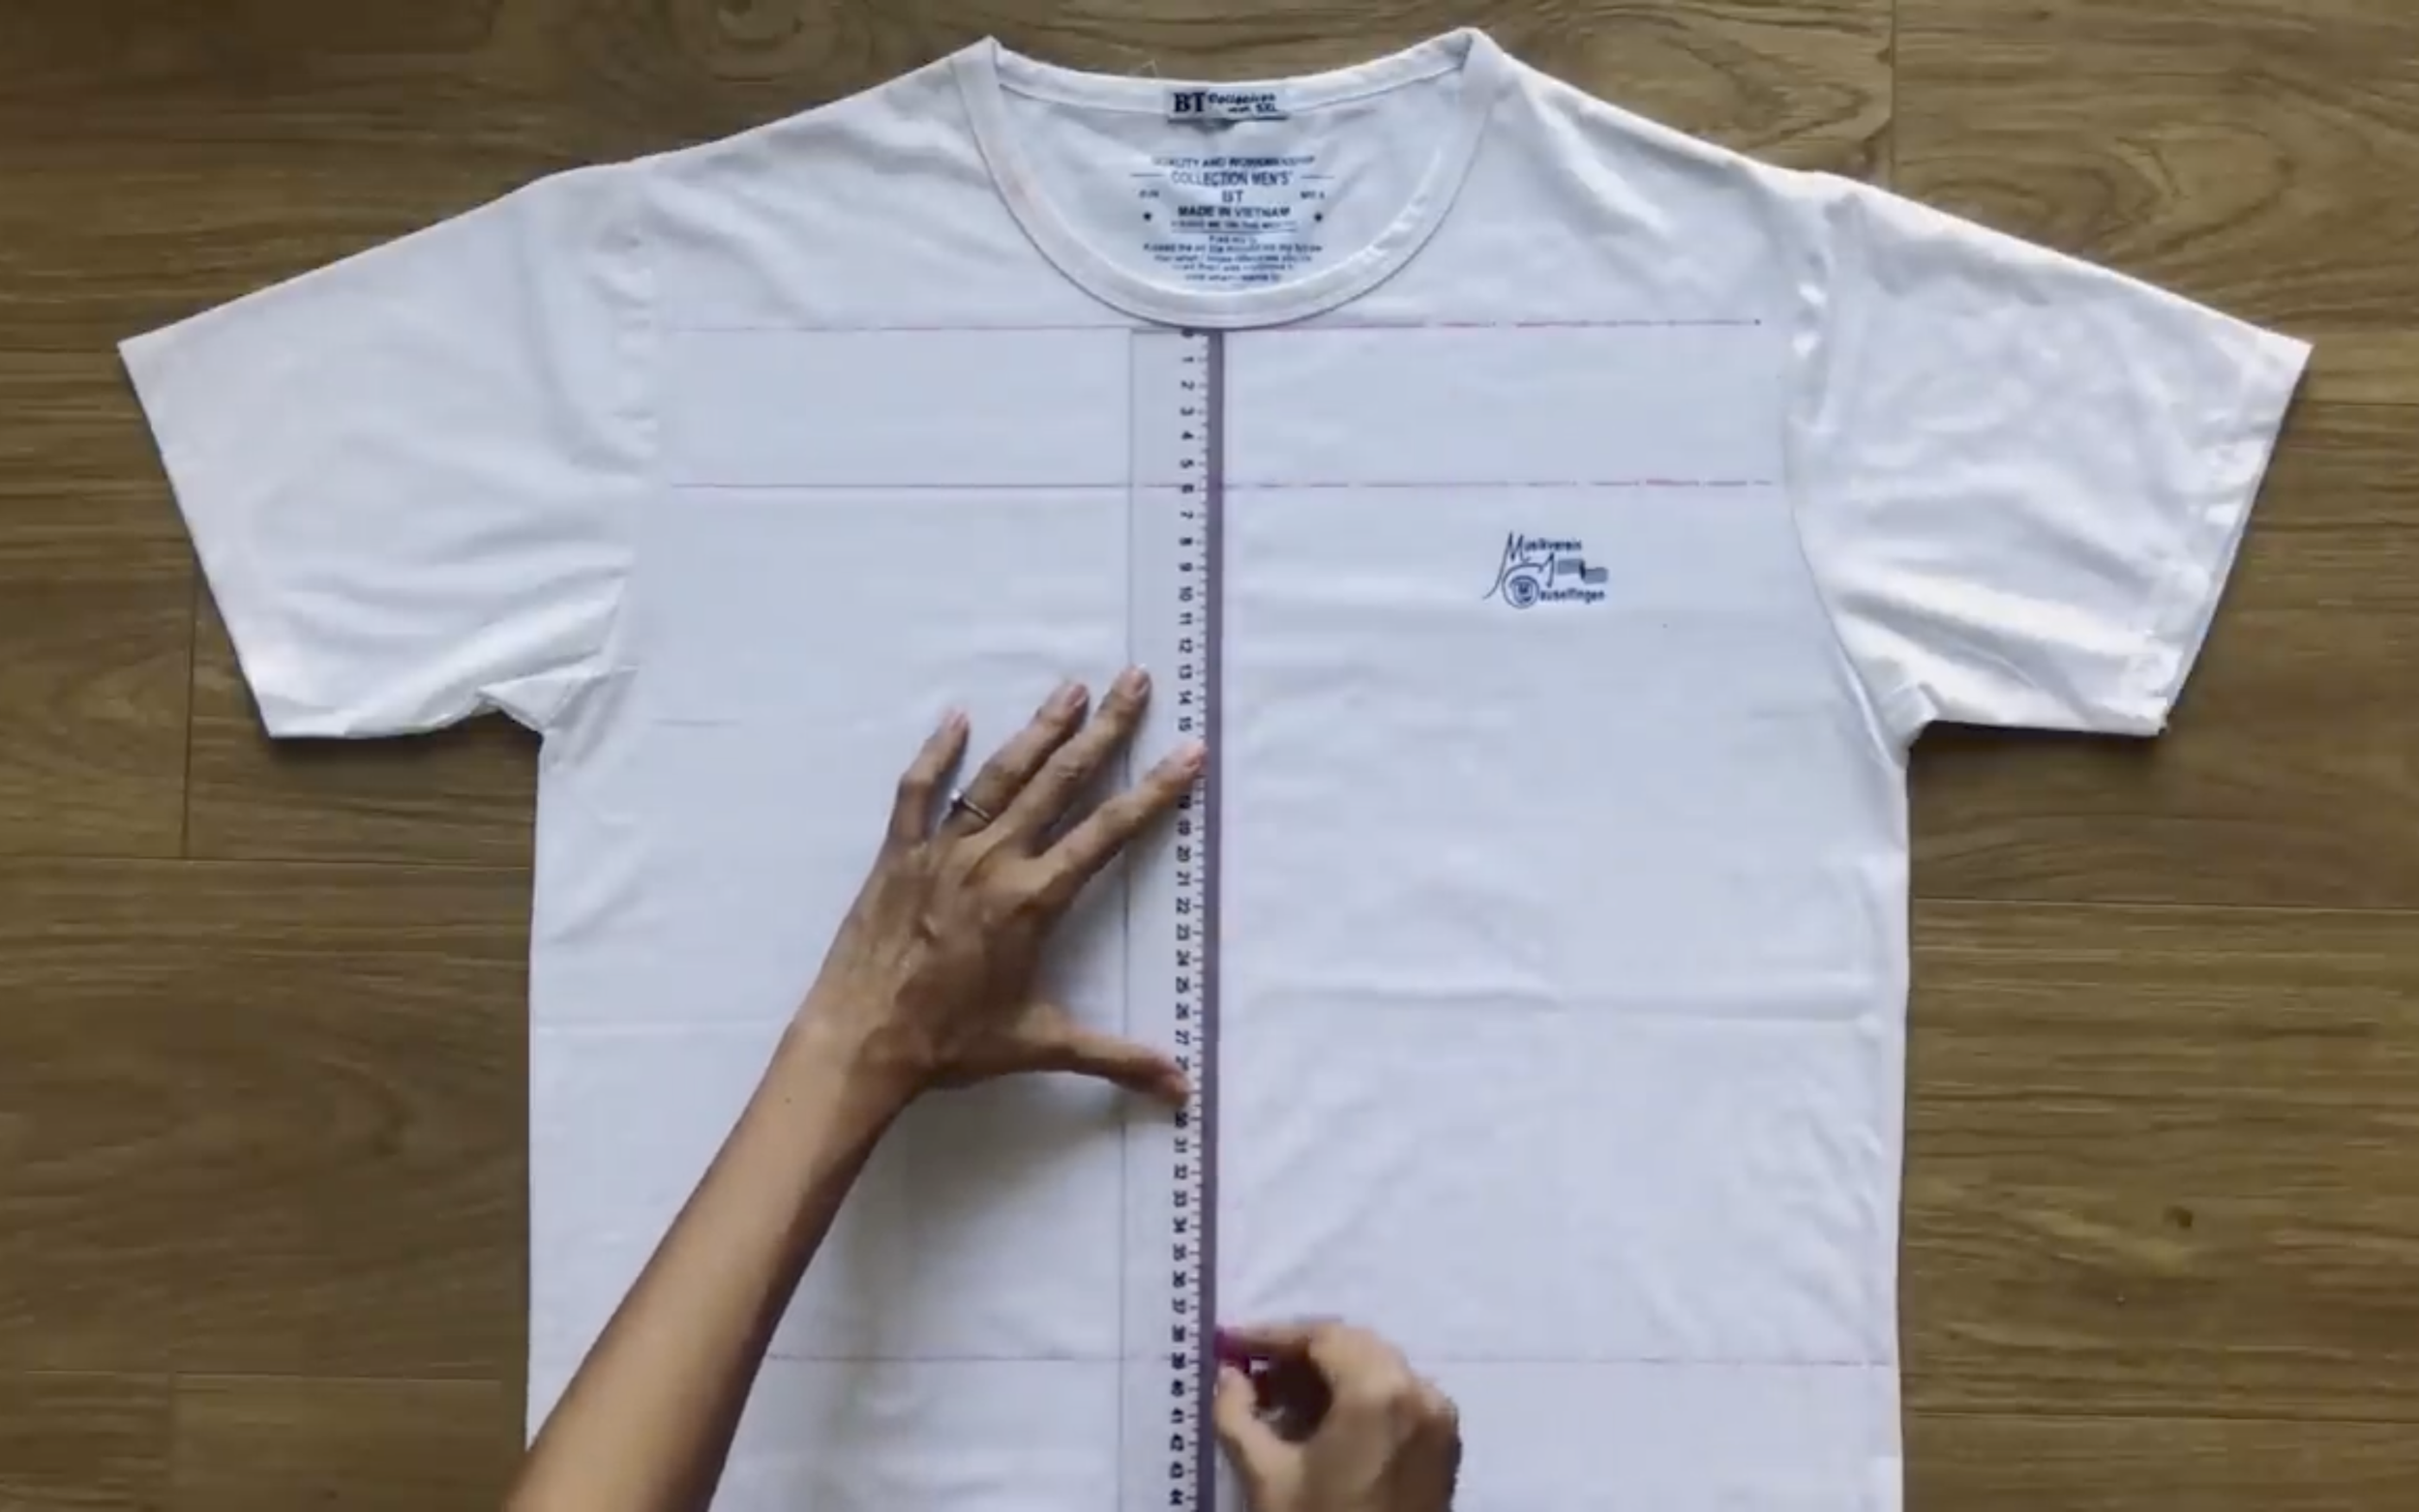
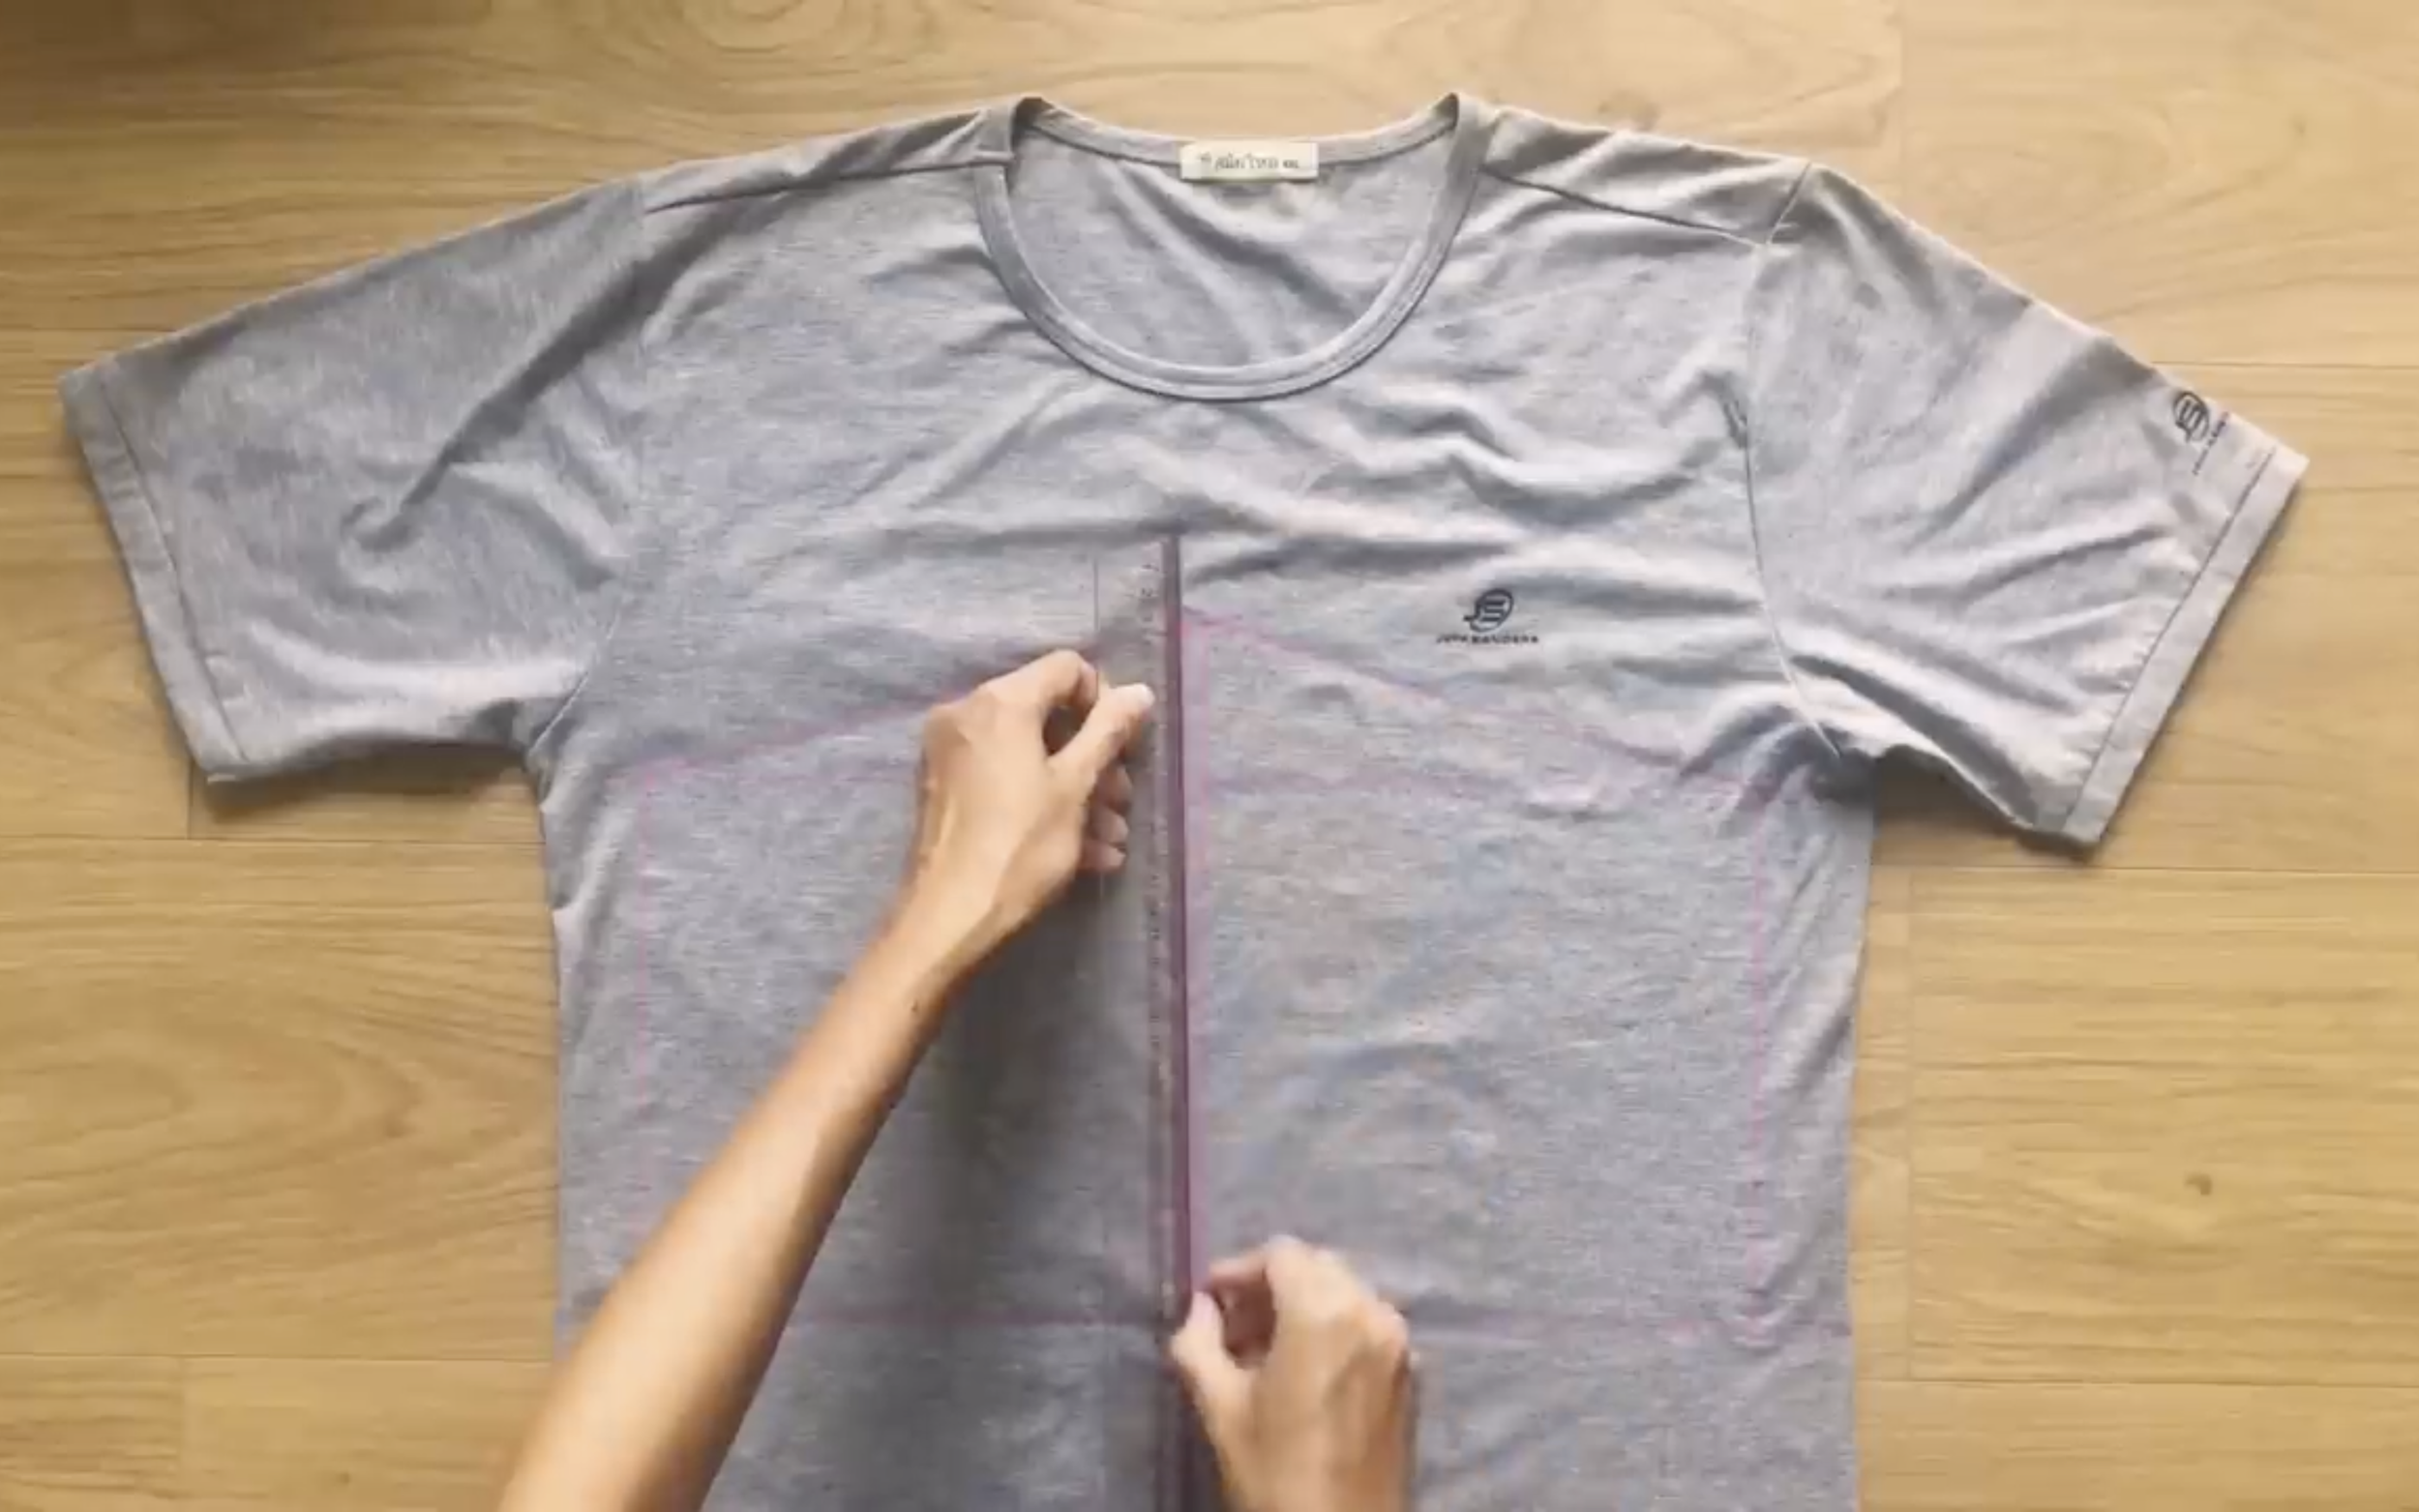
Divide the t-shirts in half by a straight line in the middle.
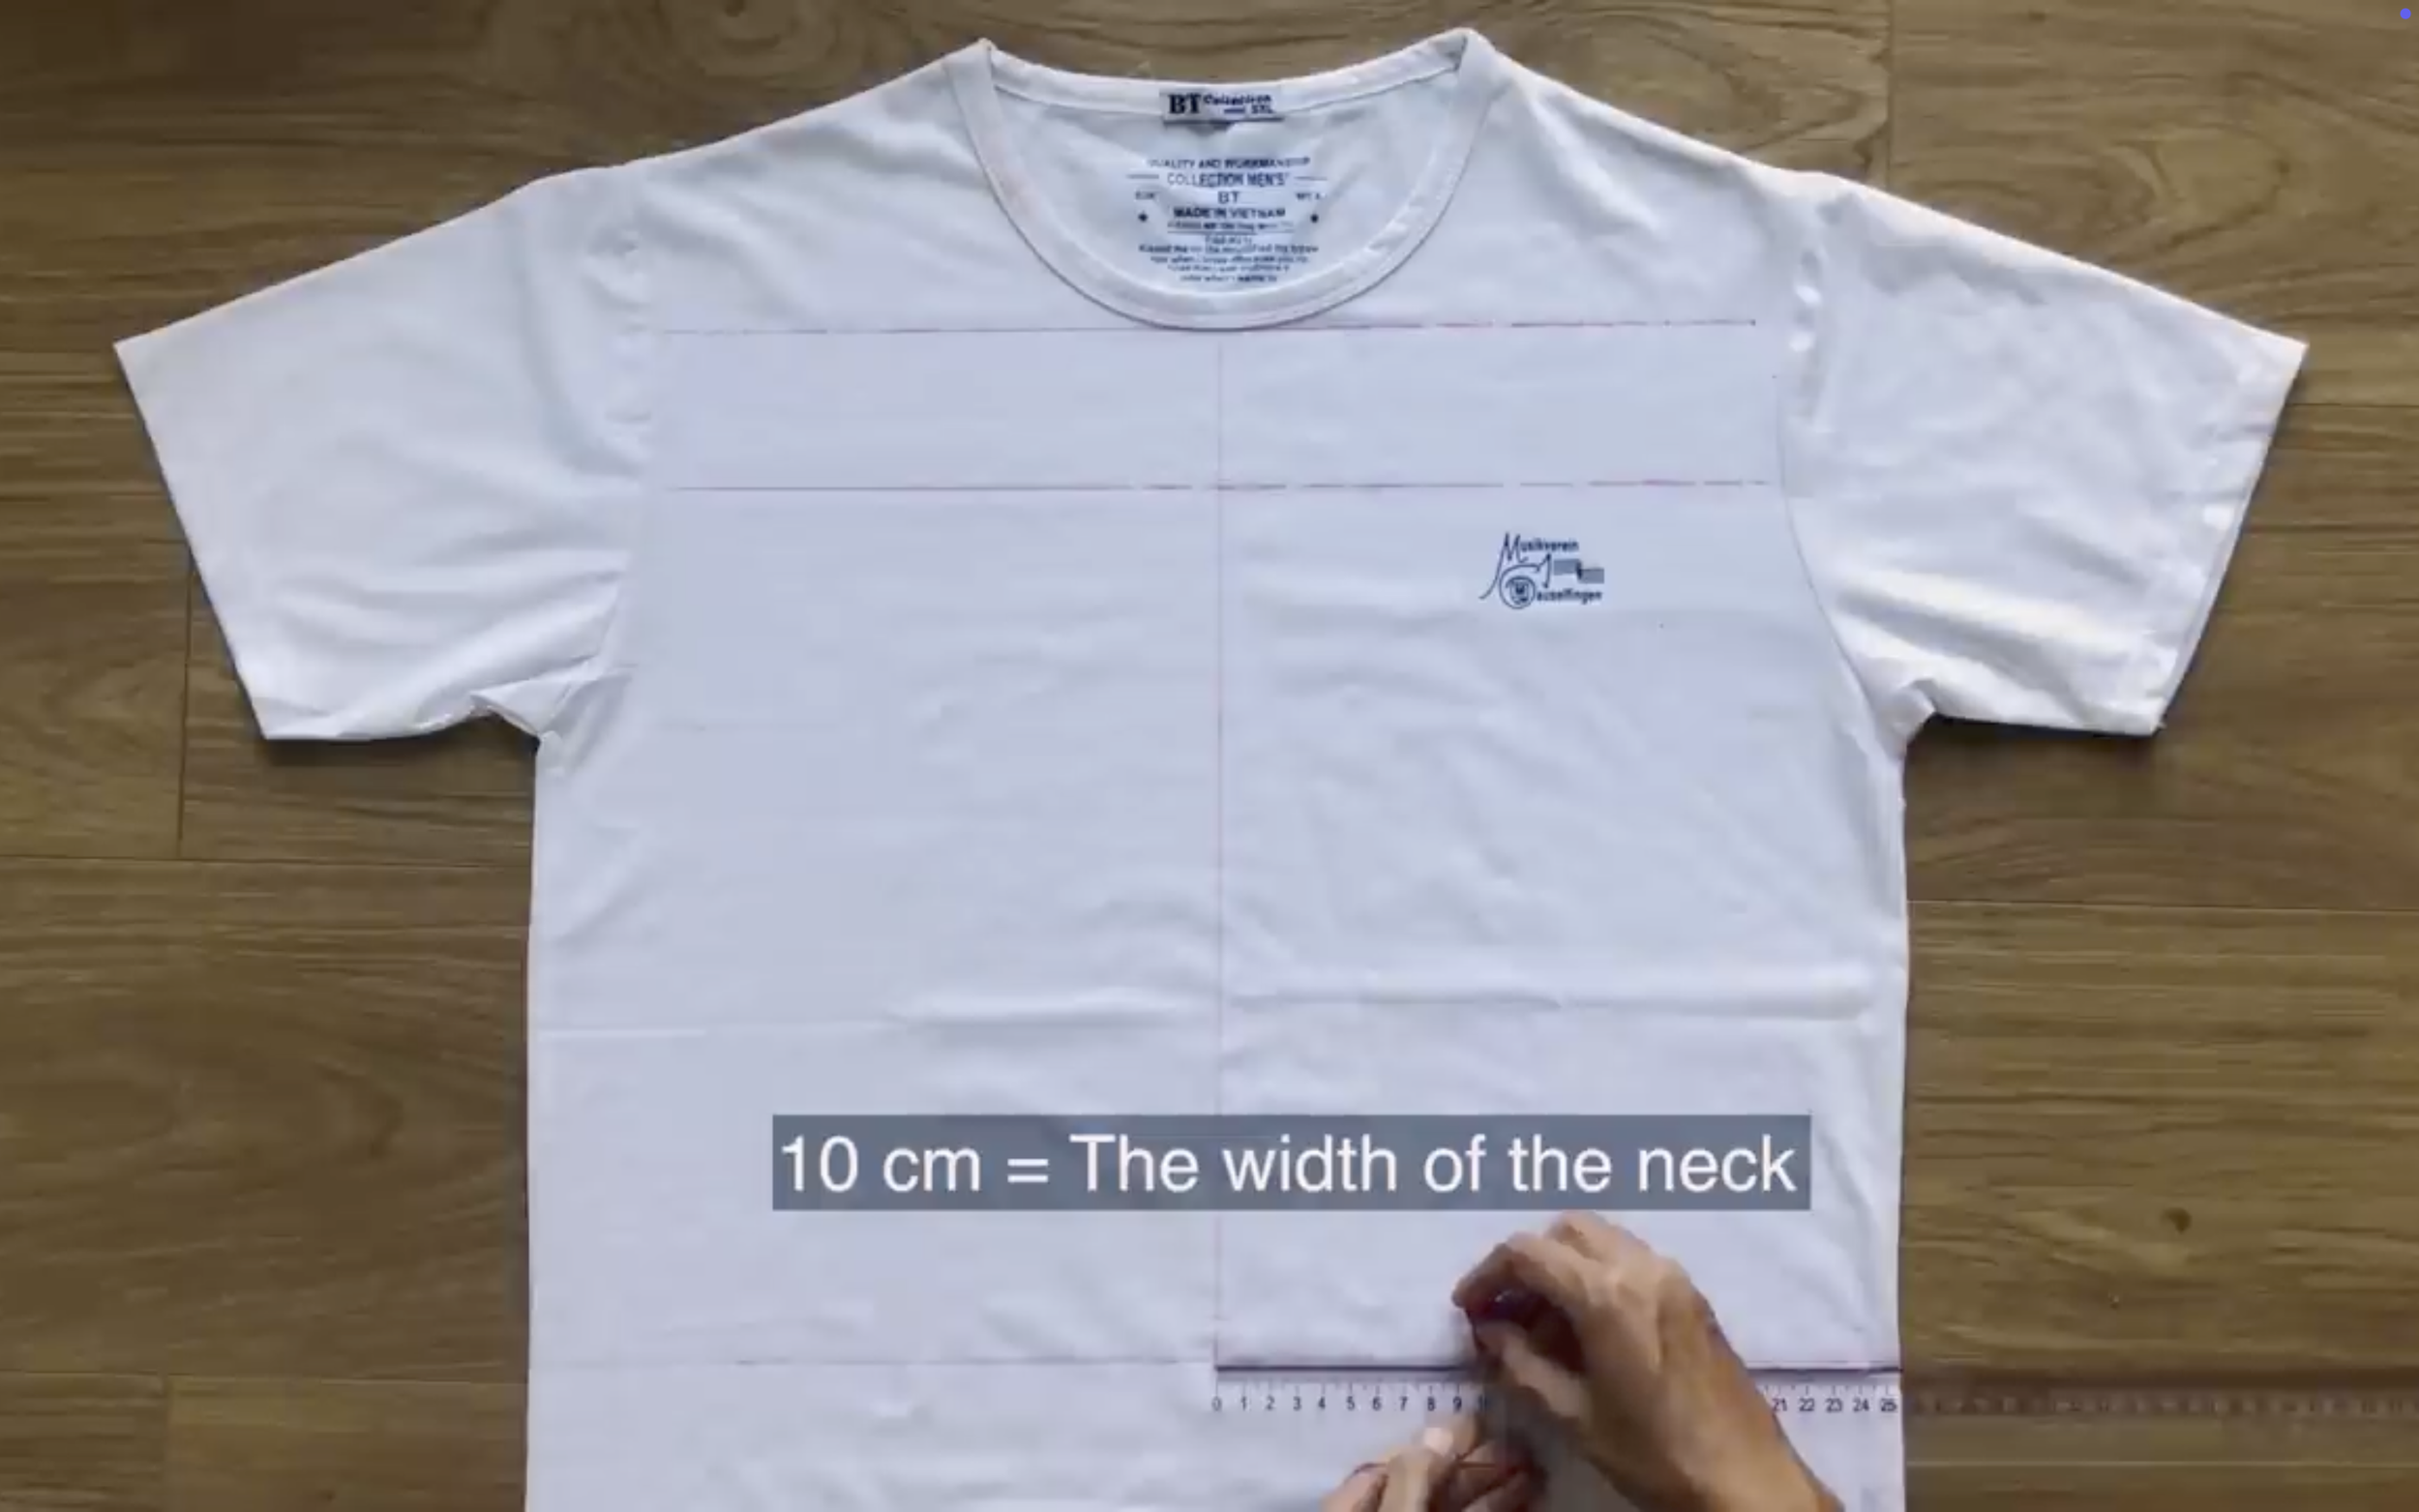
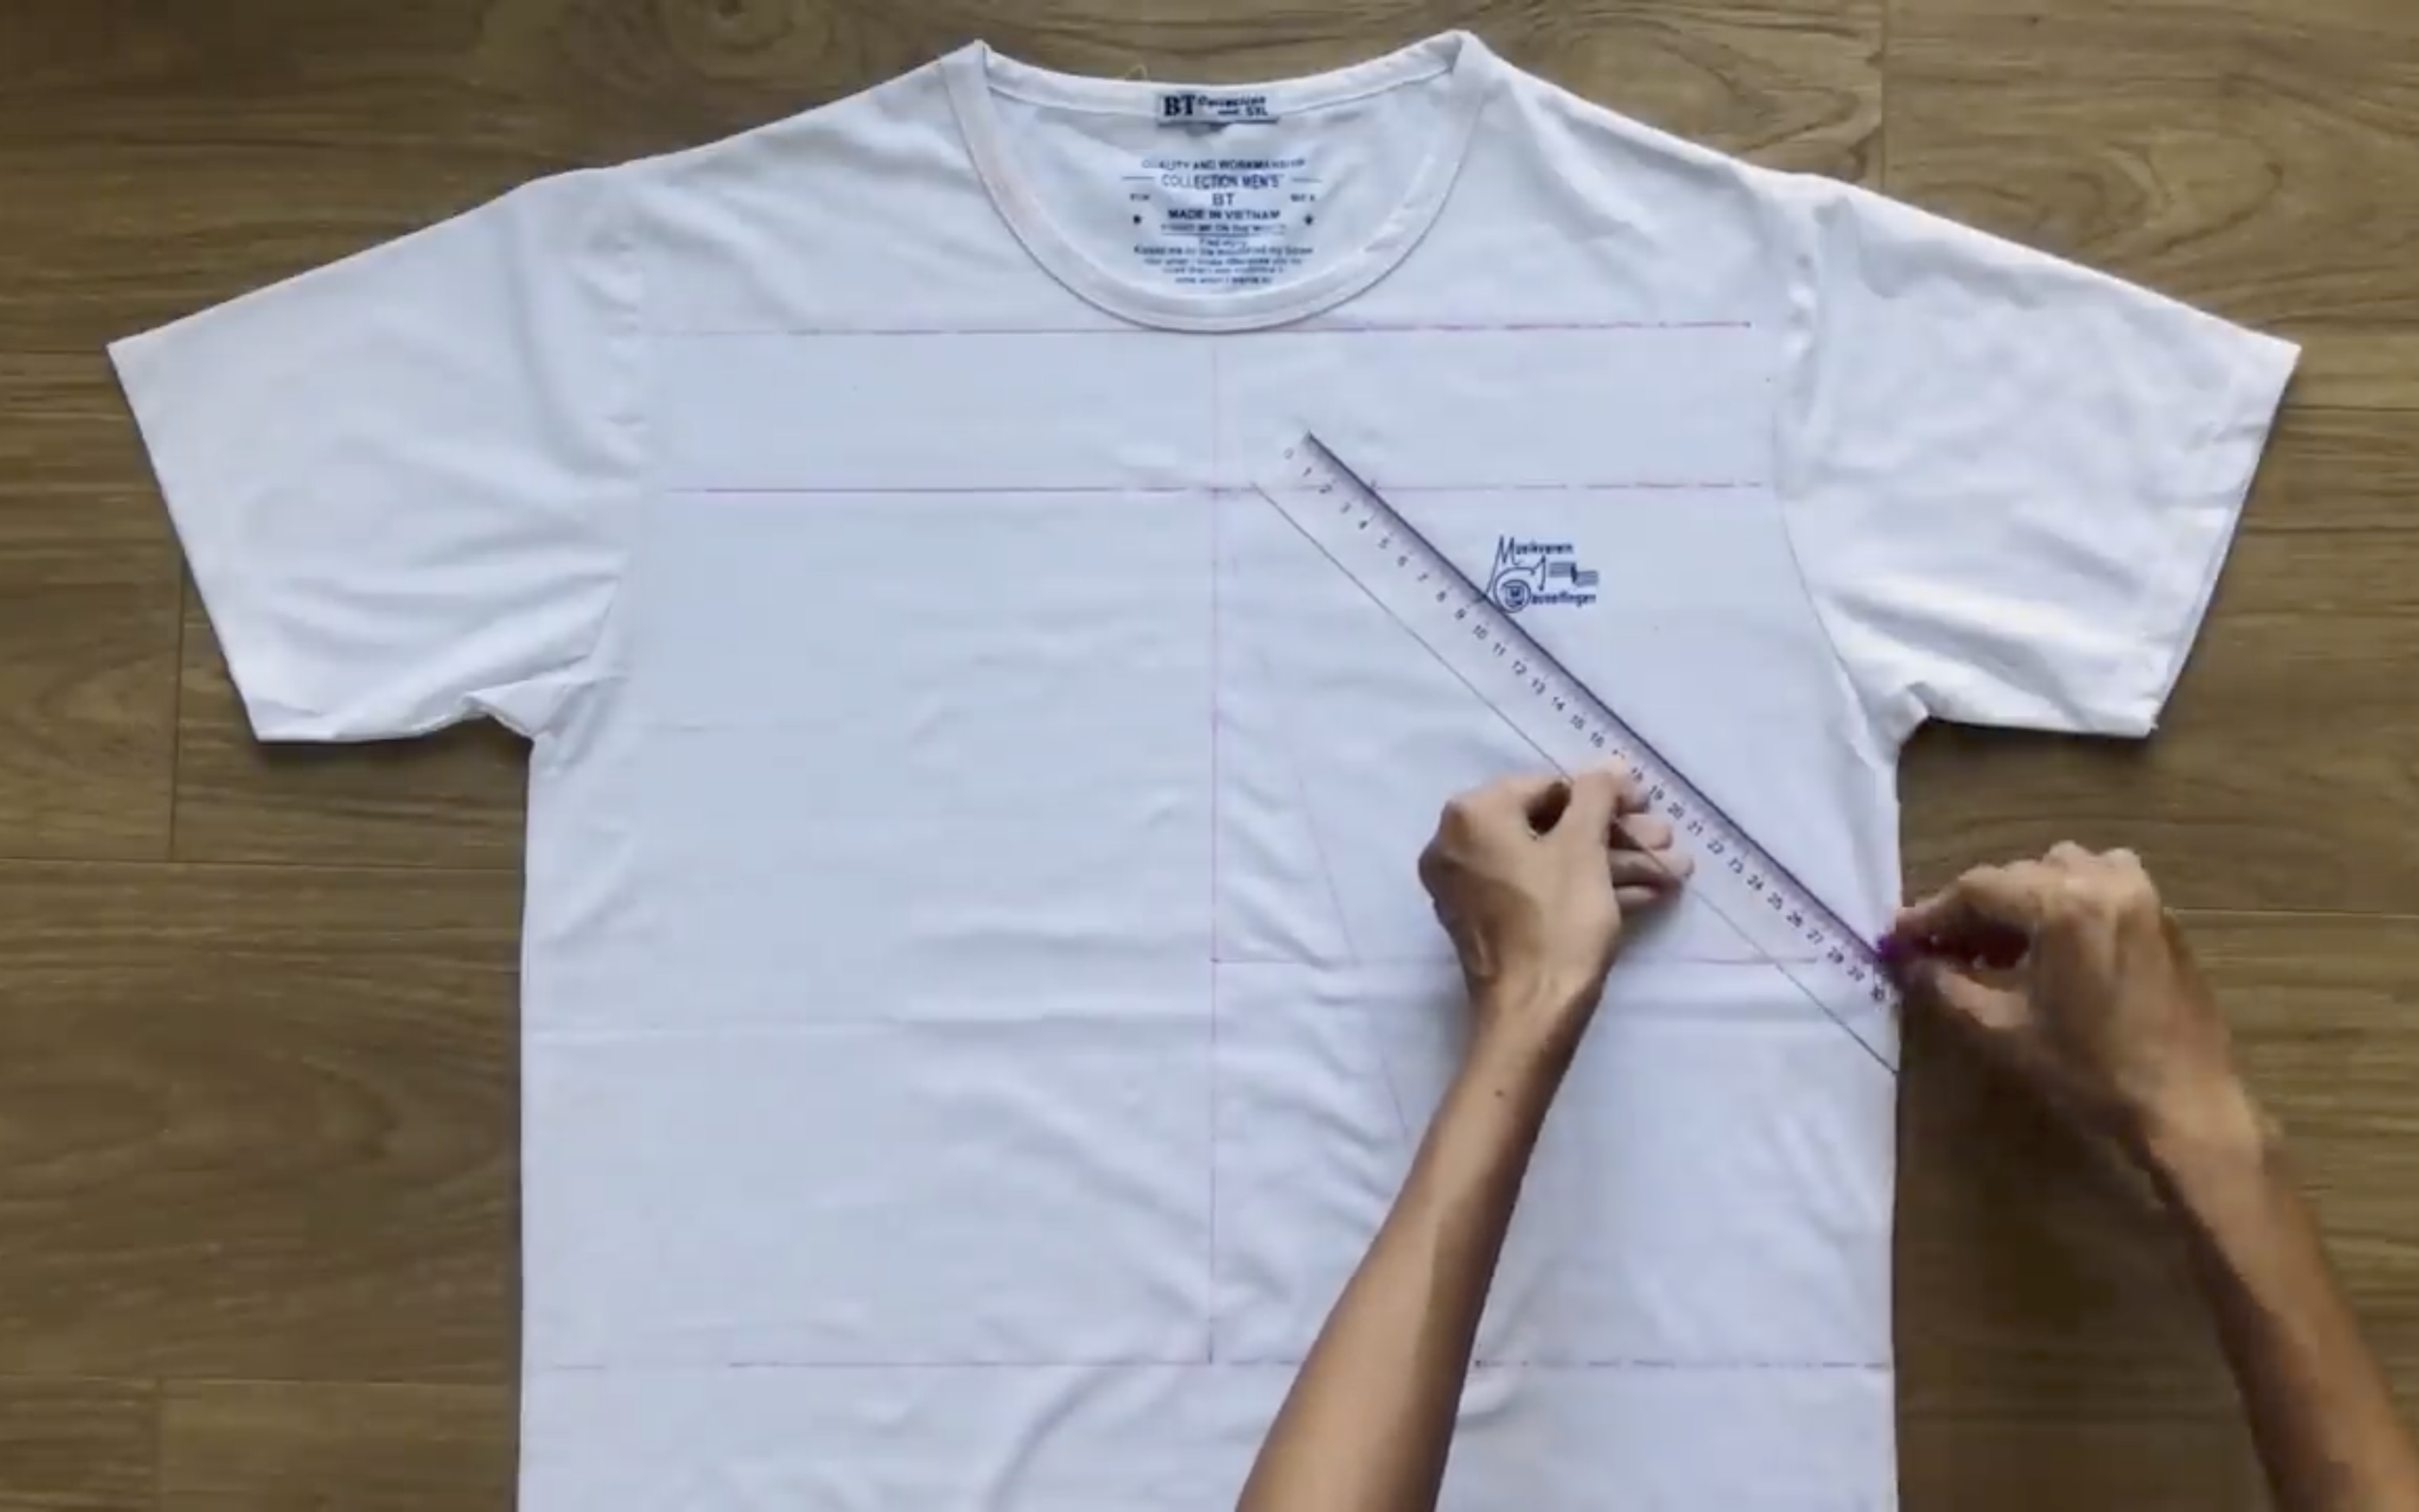
From the end of the straight line on the third horizontal line, mark at 10 cm which is the width of the neck.

Then connect this mark to the cutting point between the straight line and the second horizontal line.
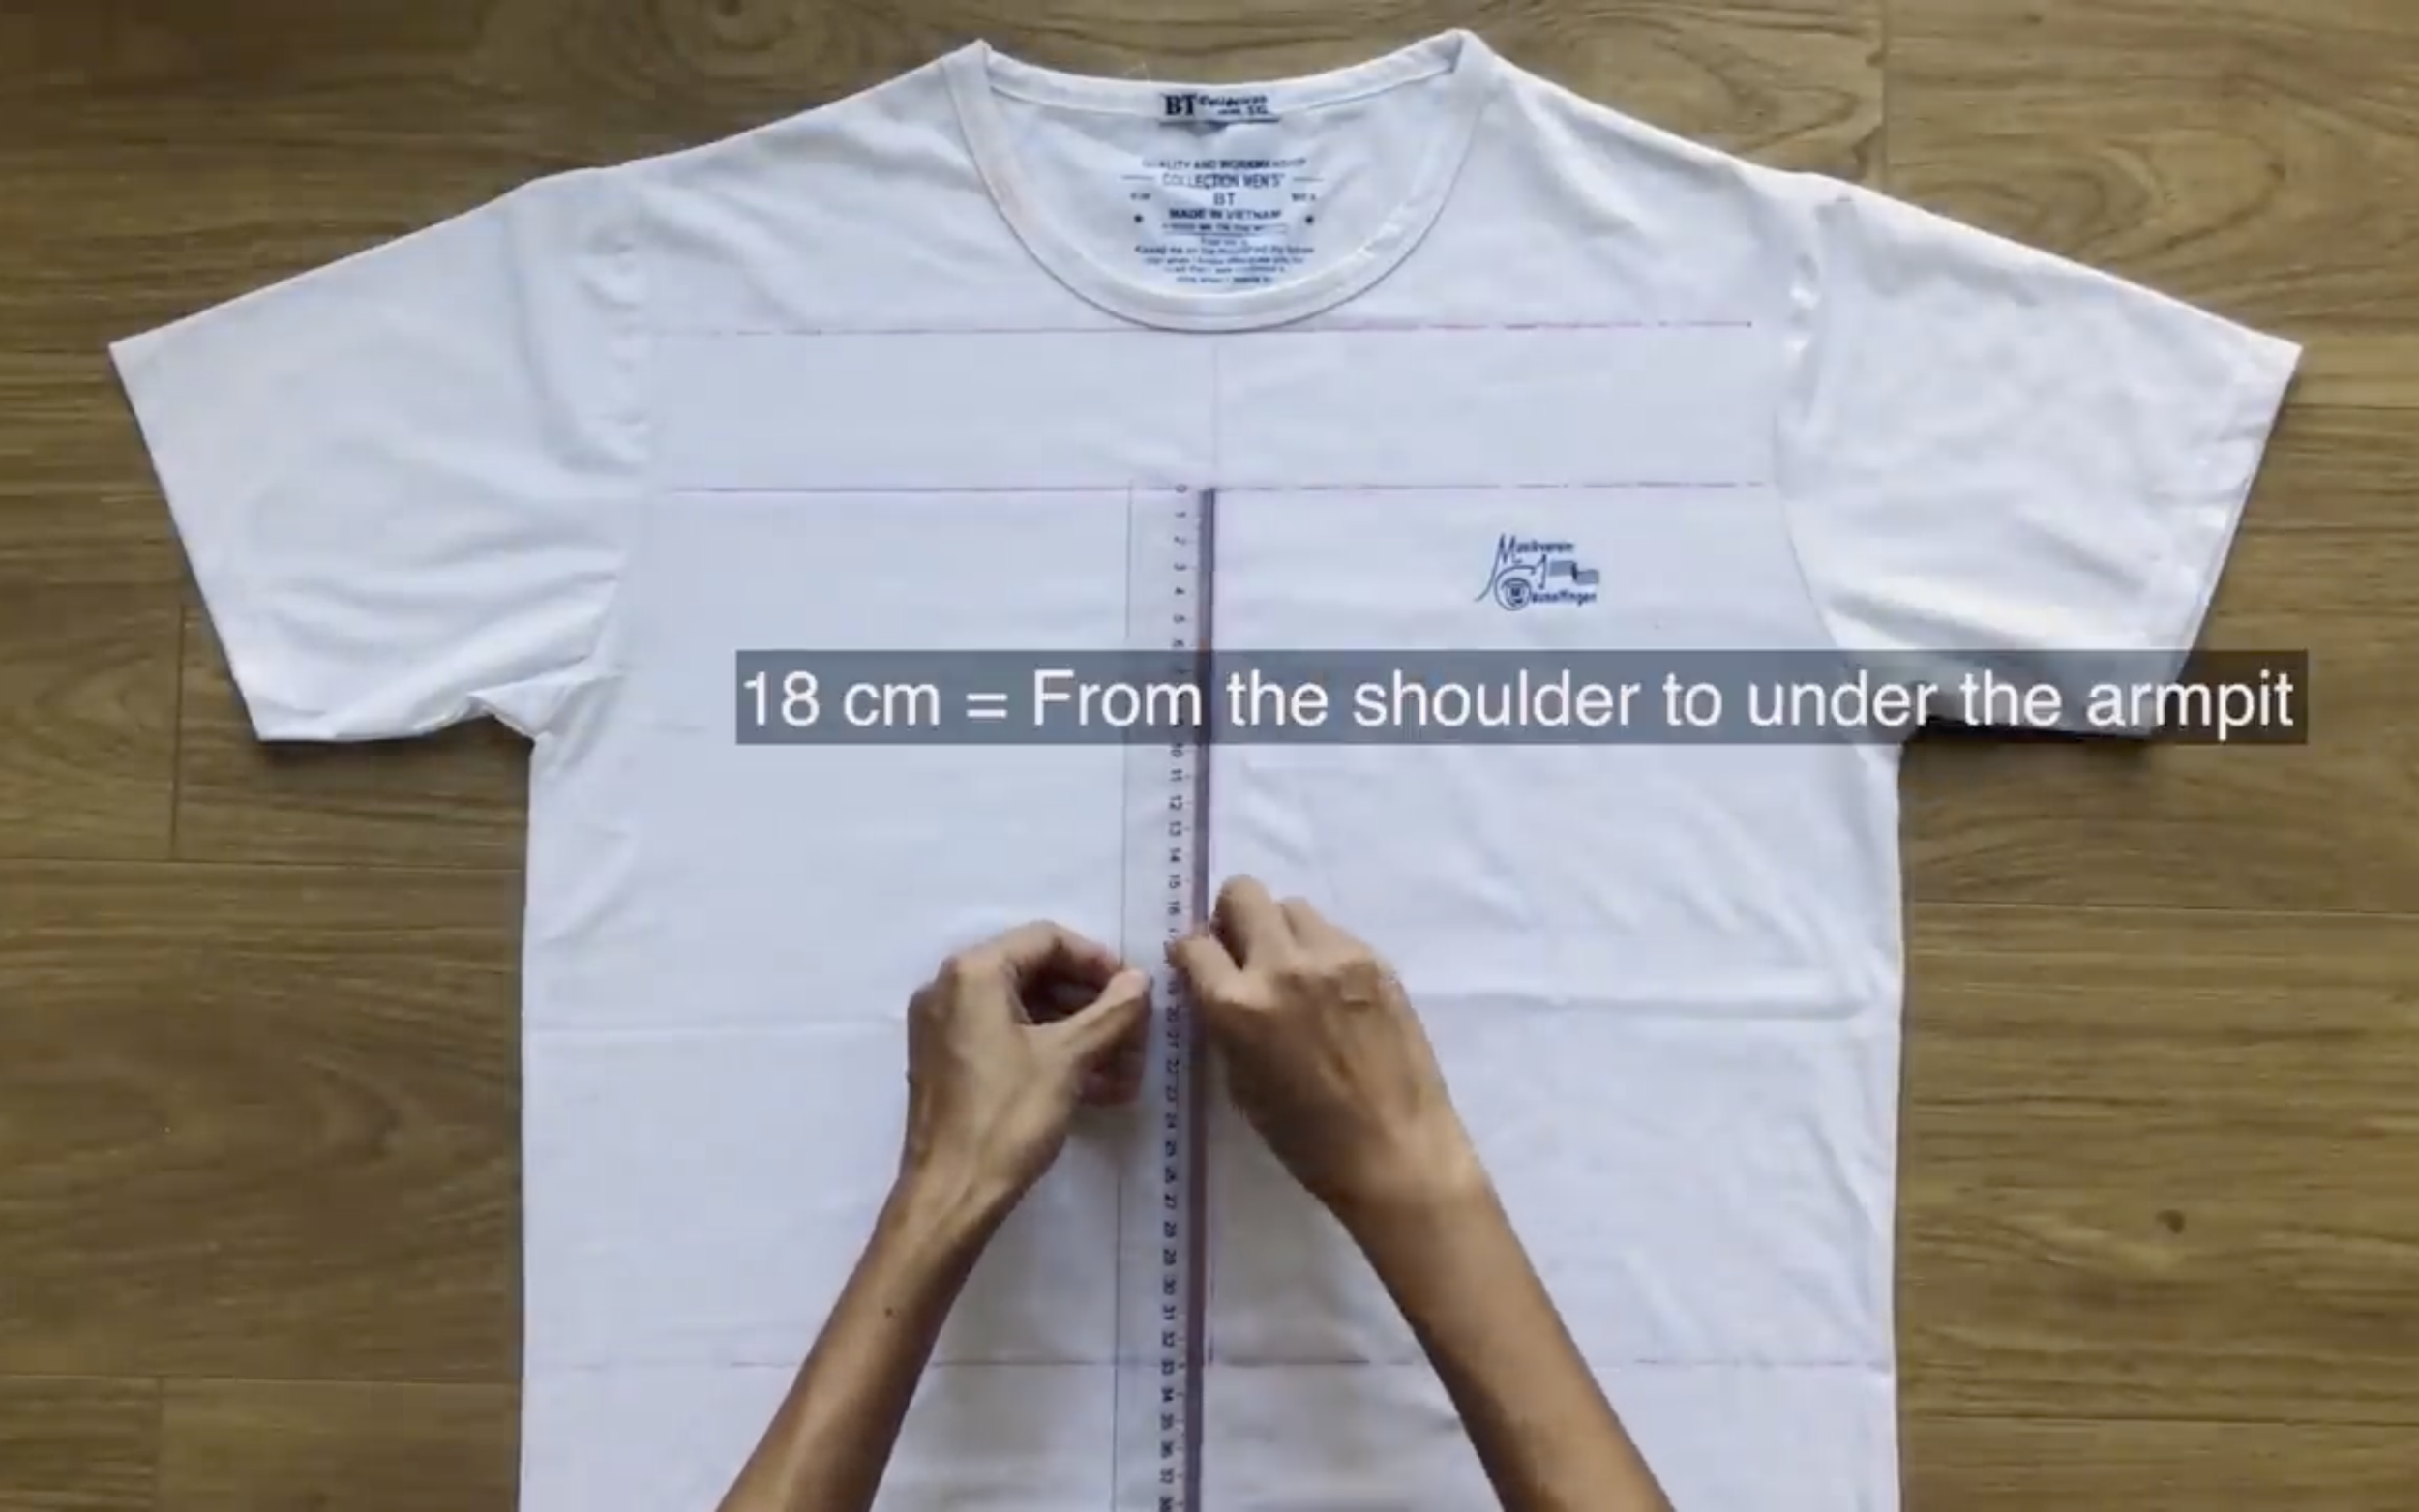
From the second horizontal line, draw another line at 18 cm under it. It is the width from the shoulder to under the armpit.
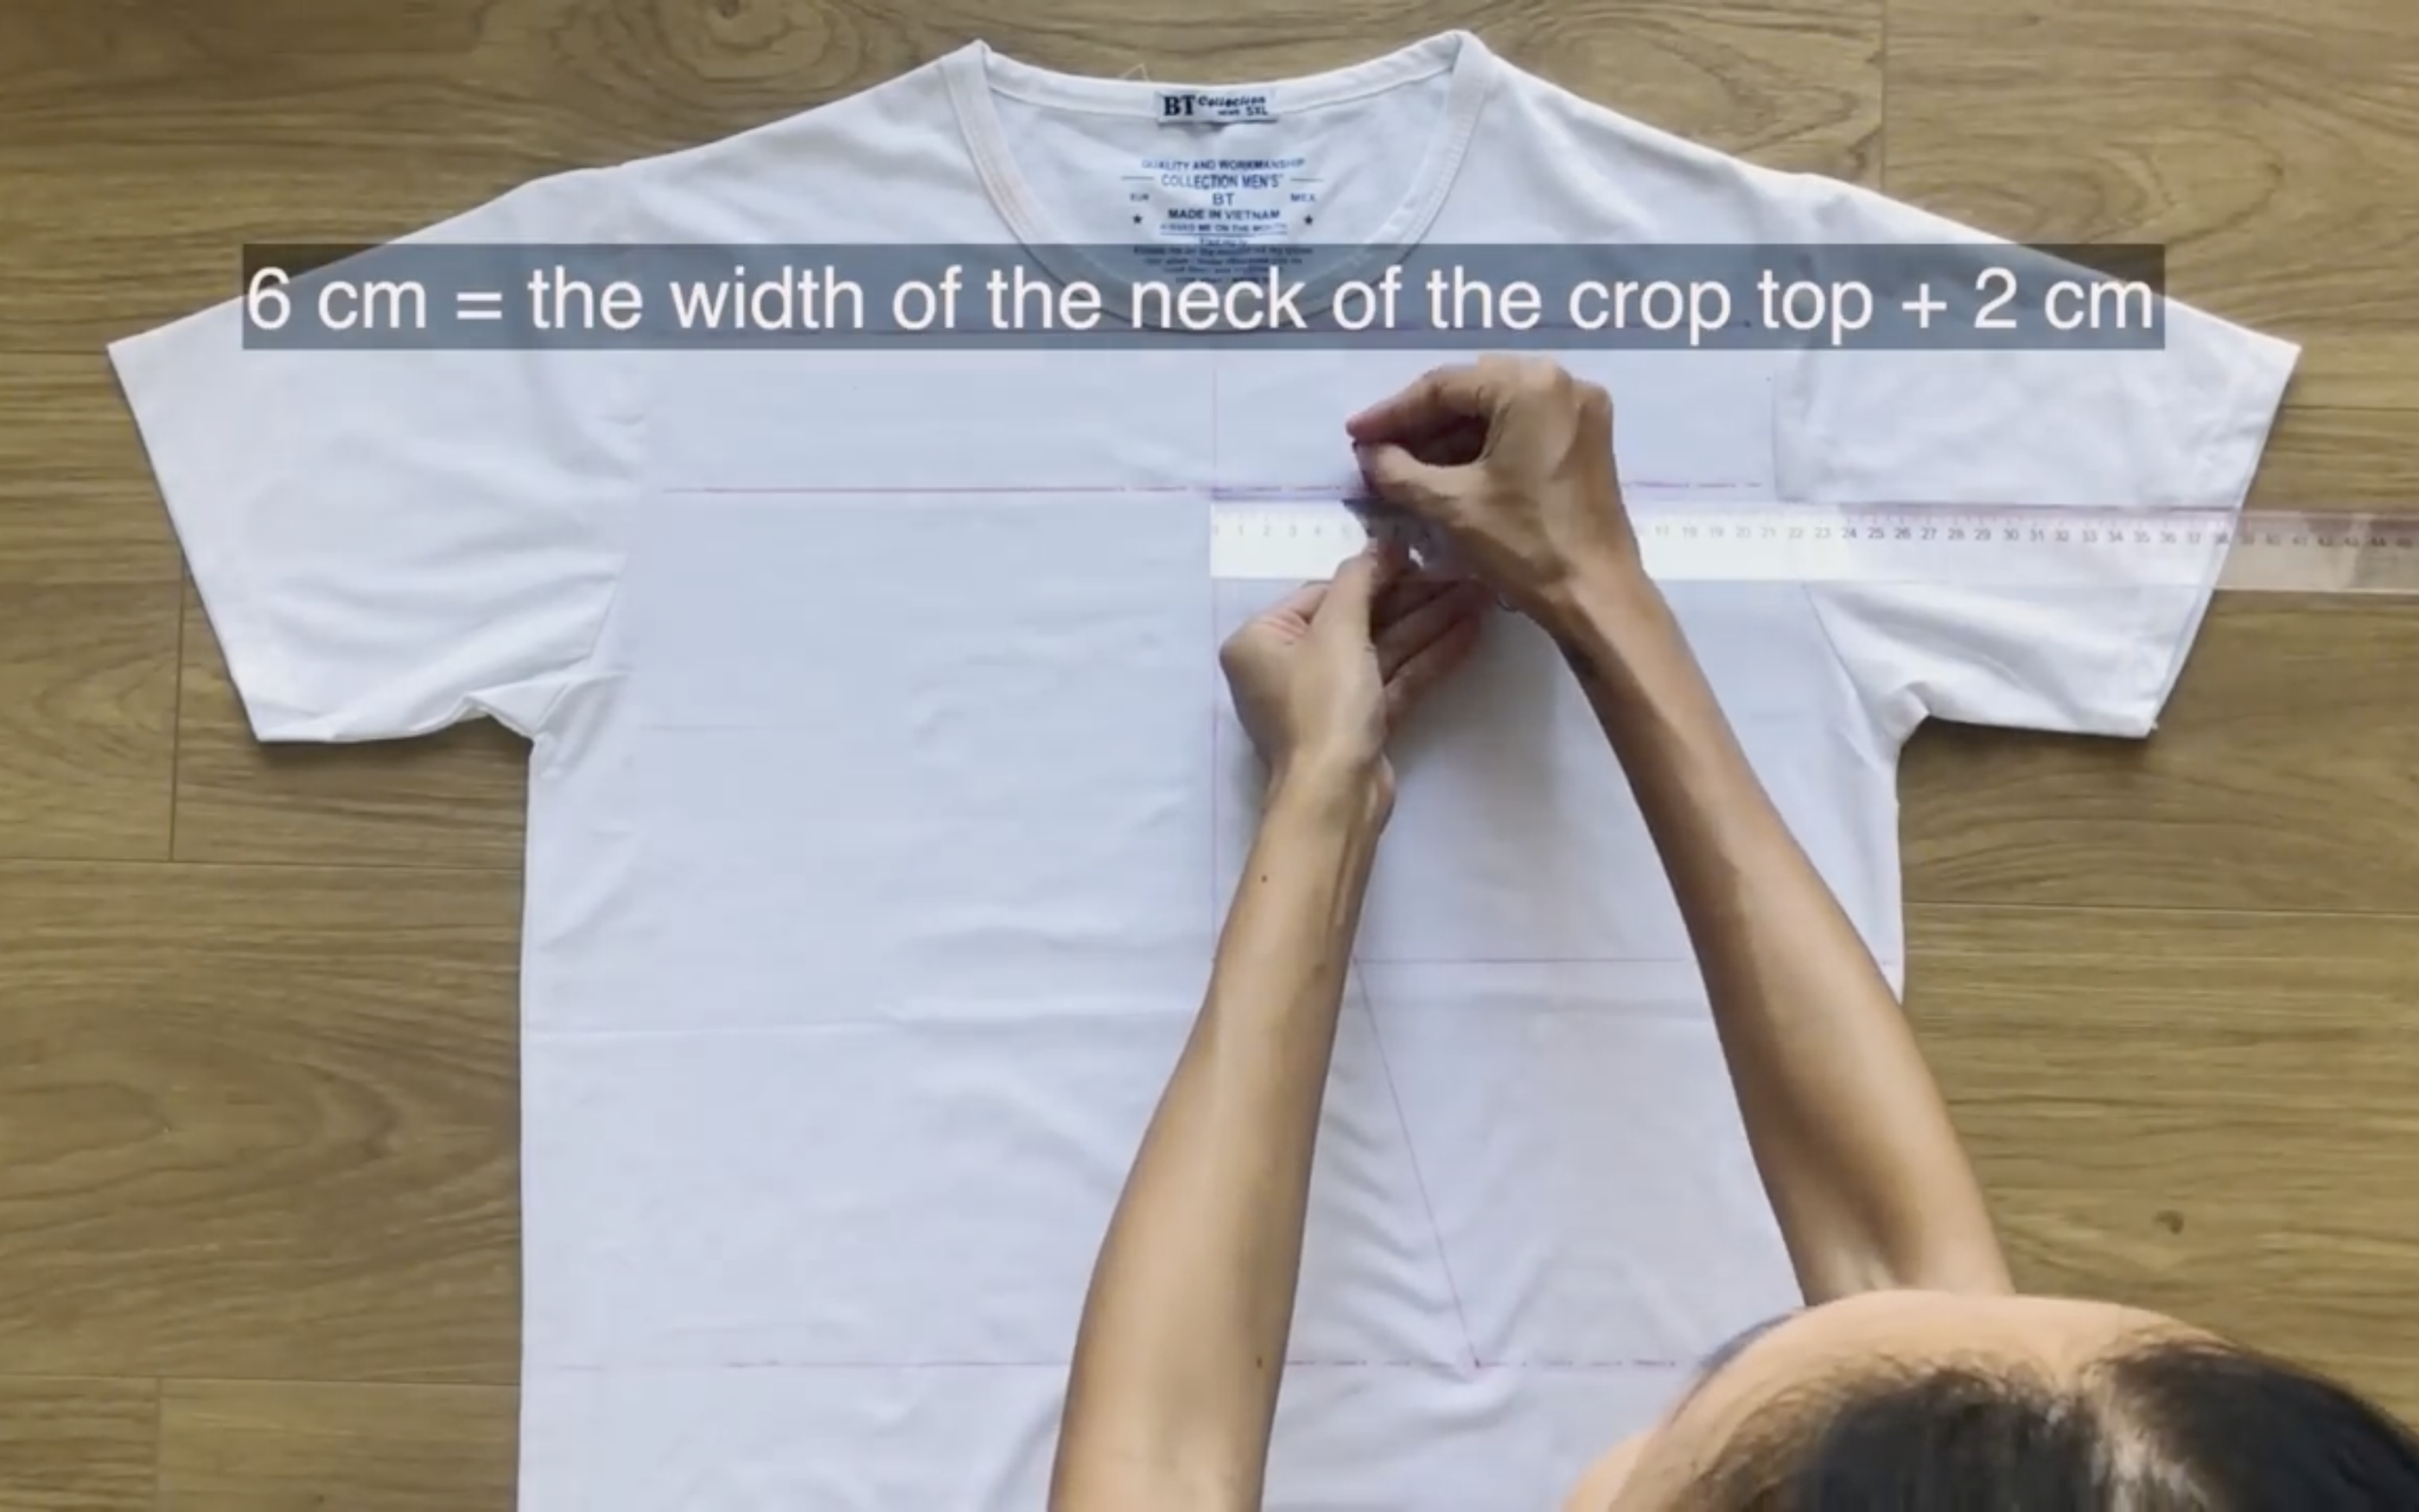
From the cutting point between the straight line and the second horizontal line, mark at 6 cm which is the width of the neck of the crop top that is wanted plus 2 cm for seam allowance.
Then connect this mark to the cutting point on the sideline.
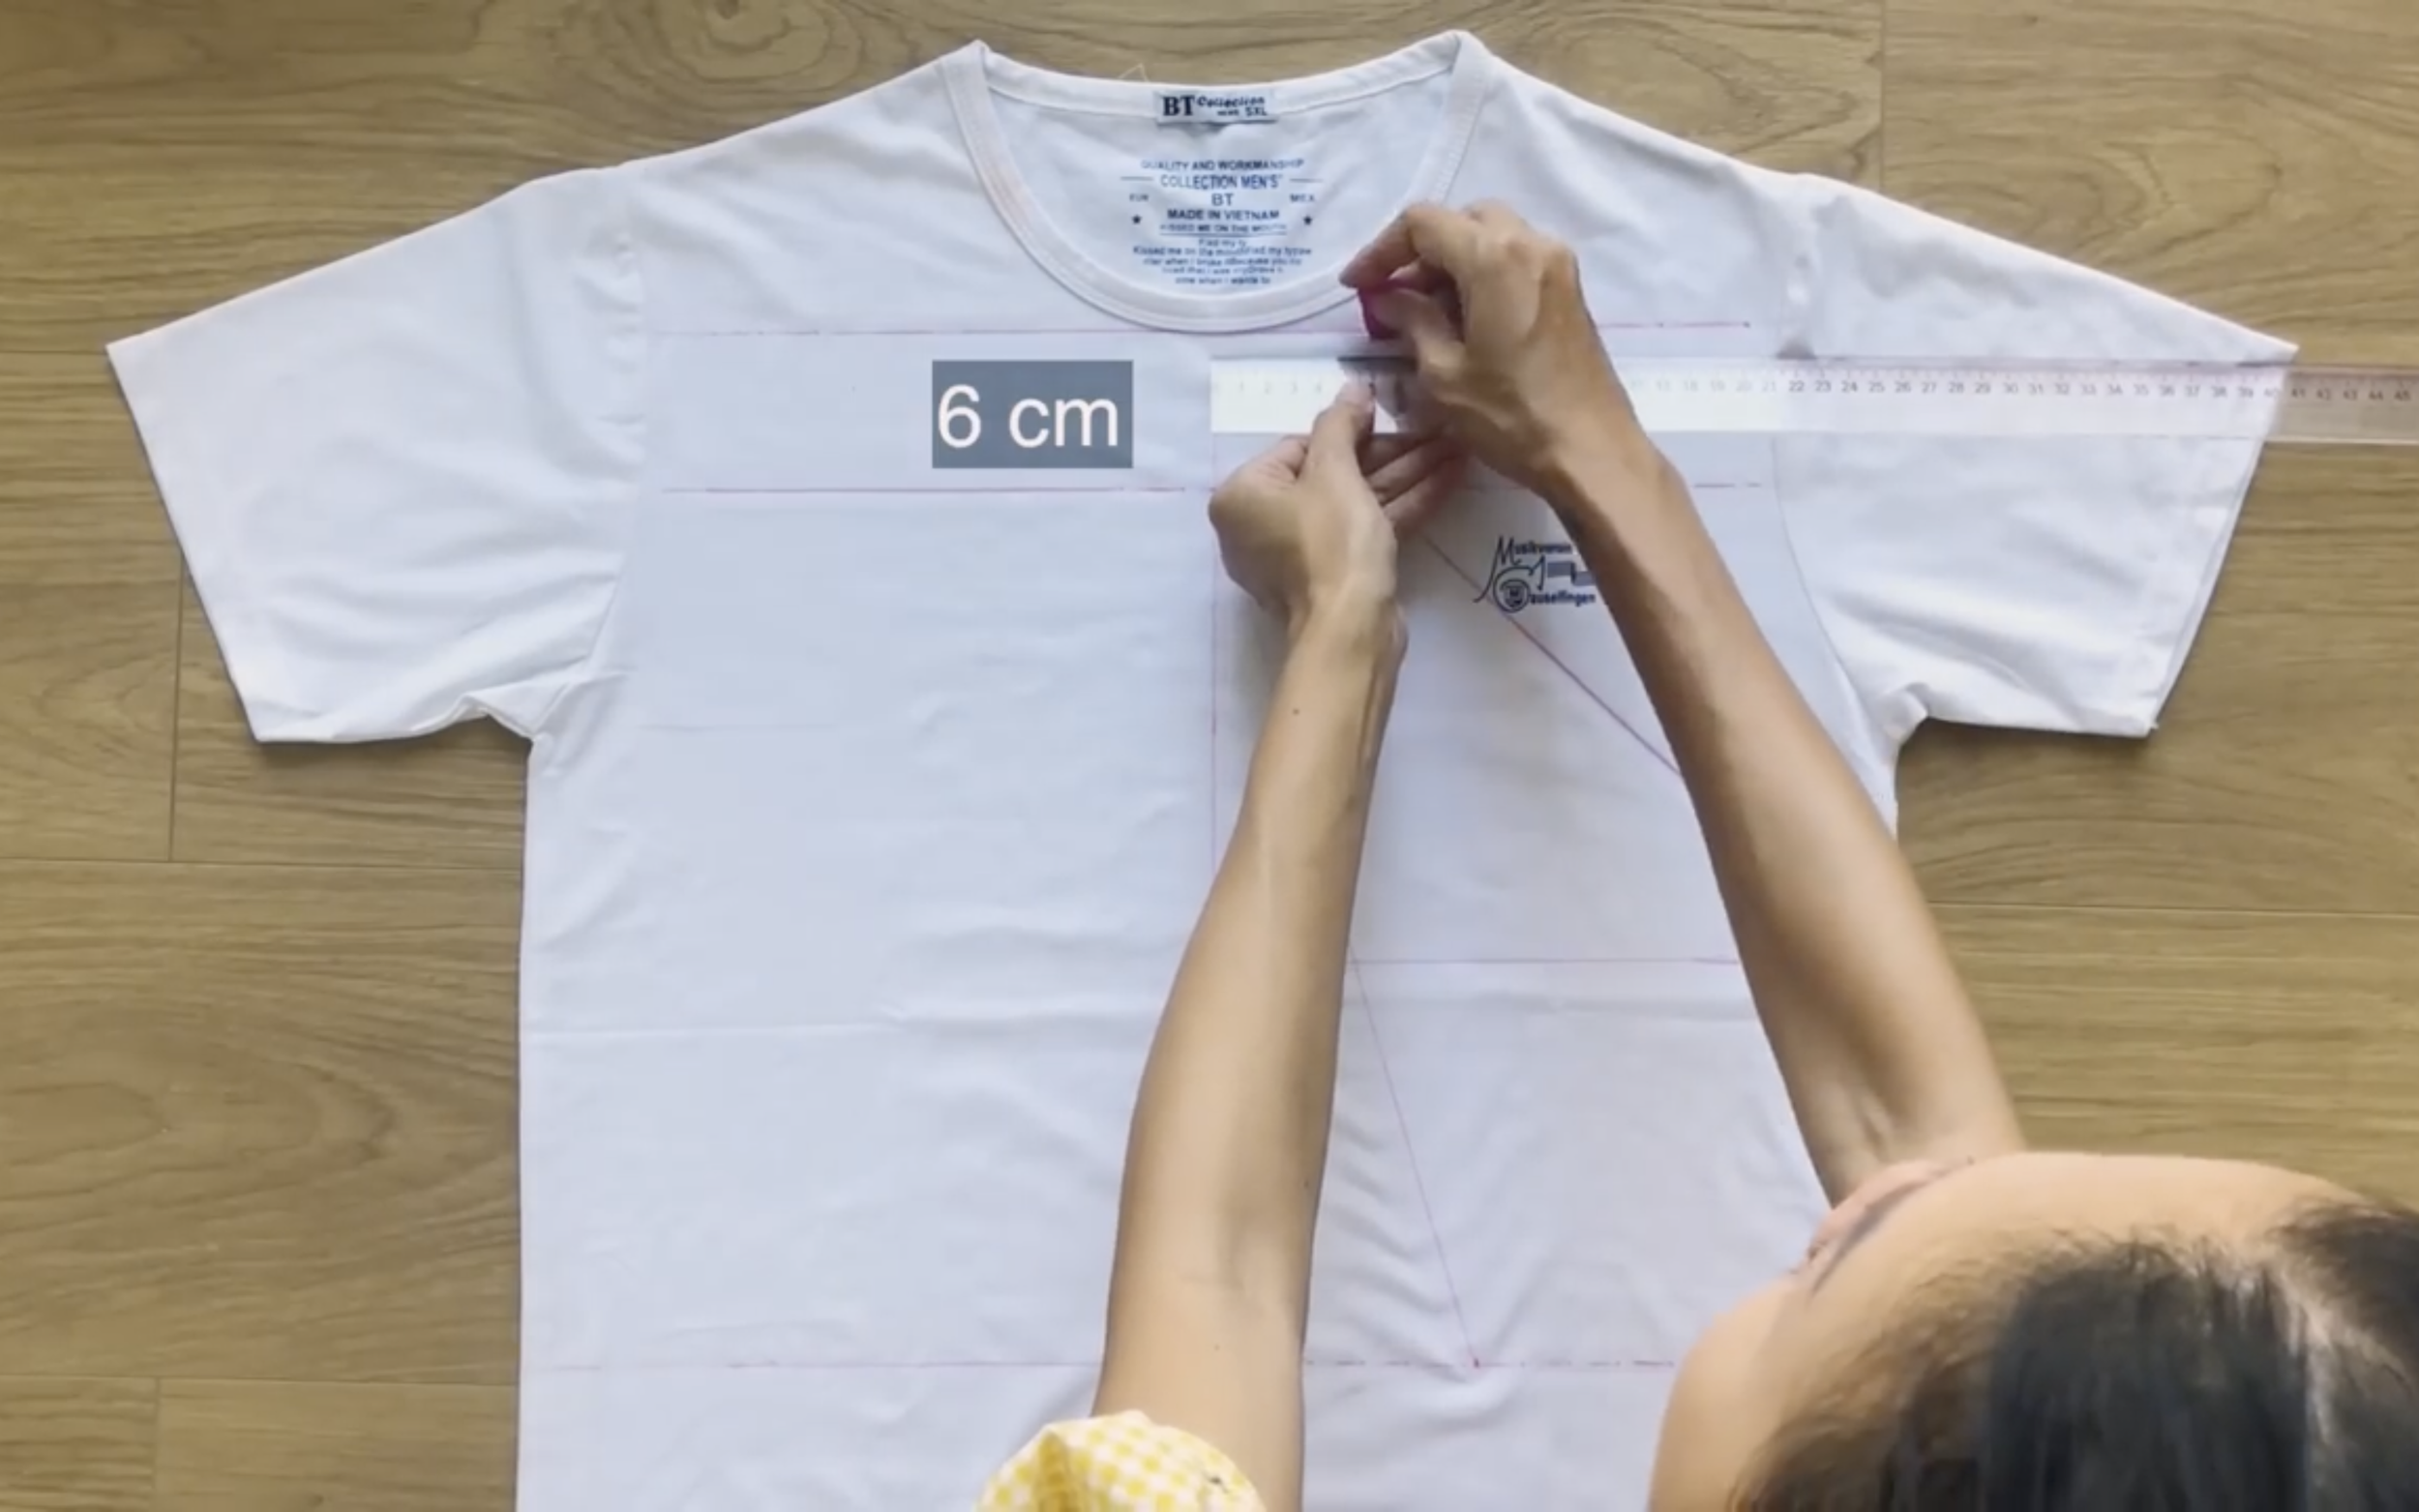
On the first horizontal line, also mark at 6 cm at the width of the neck of the crop top.
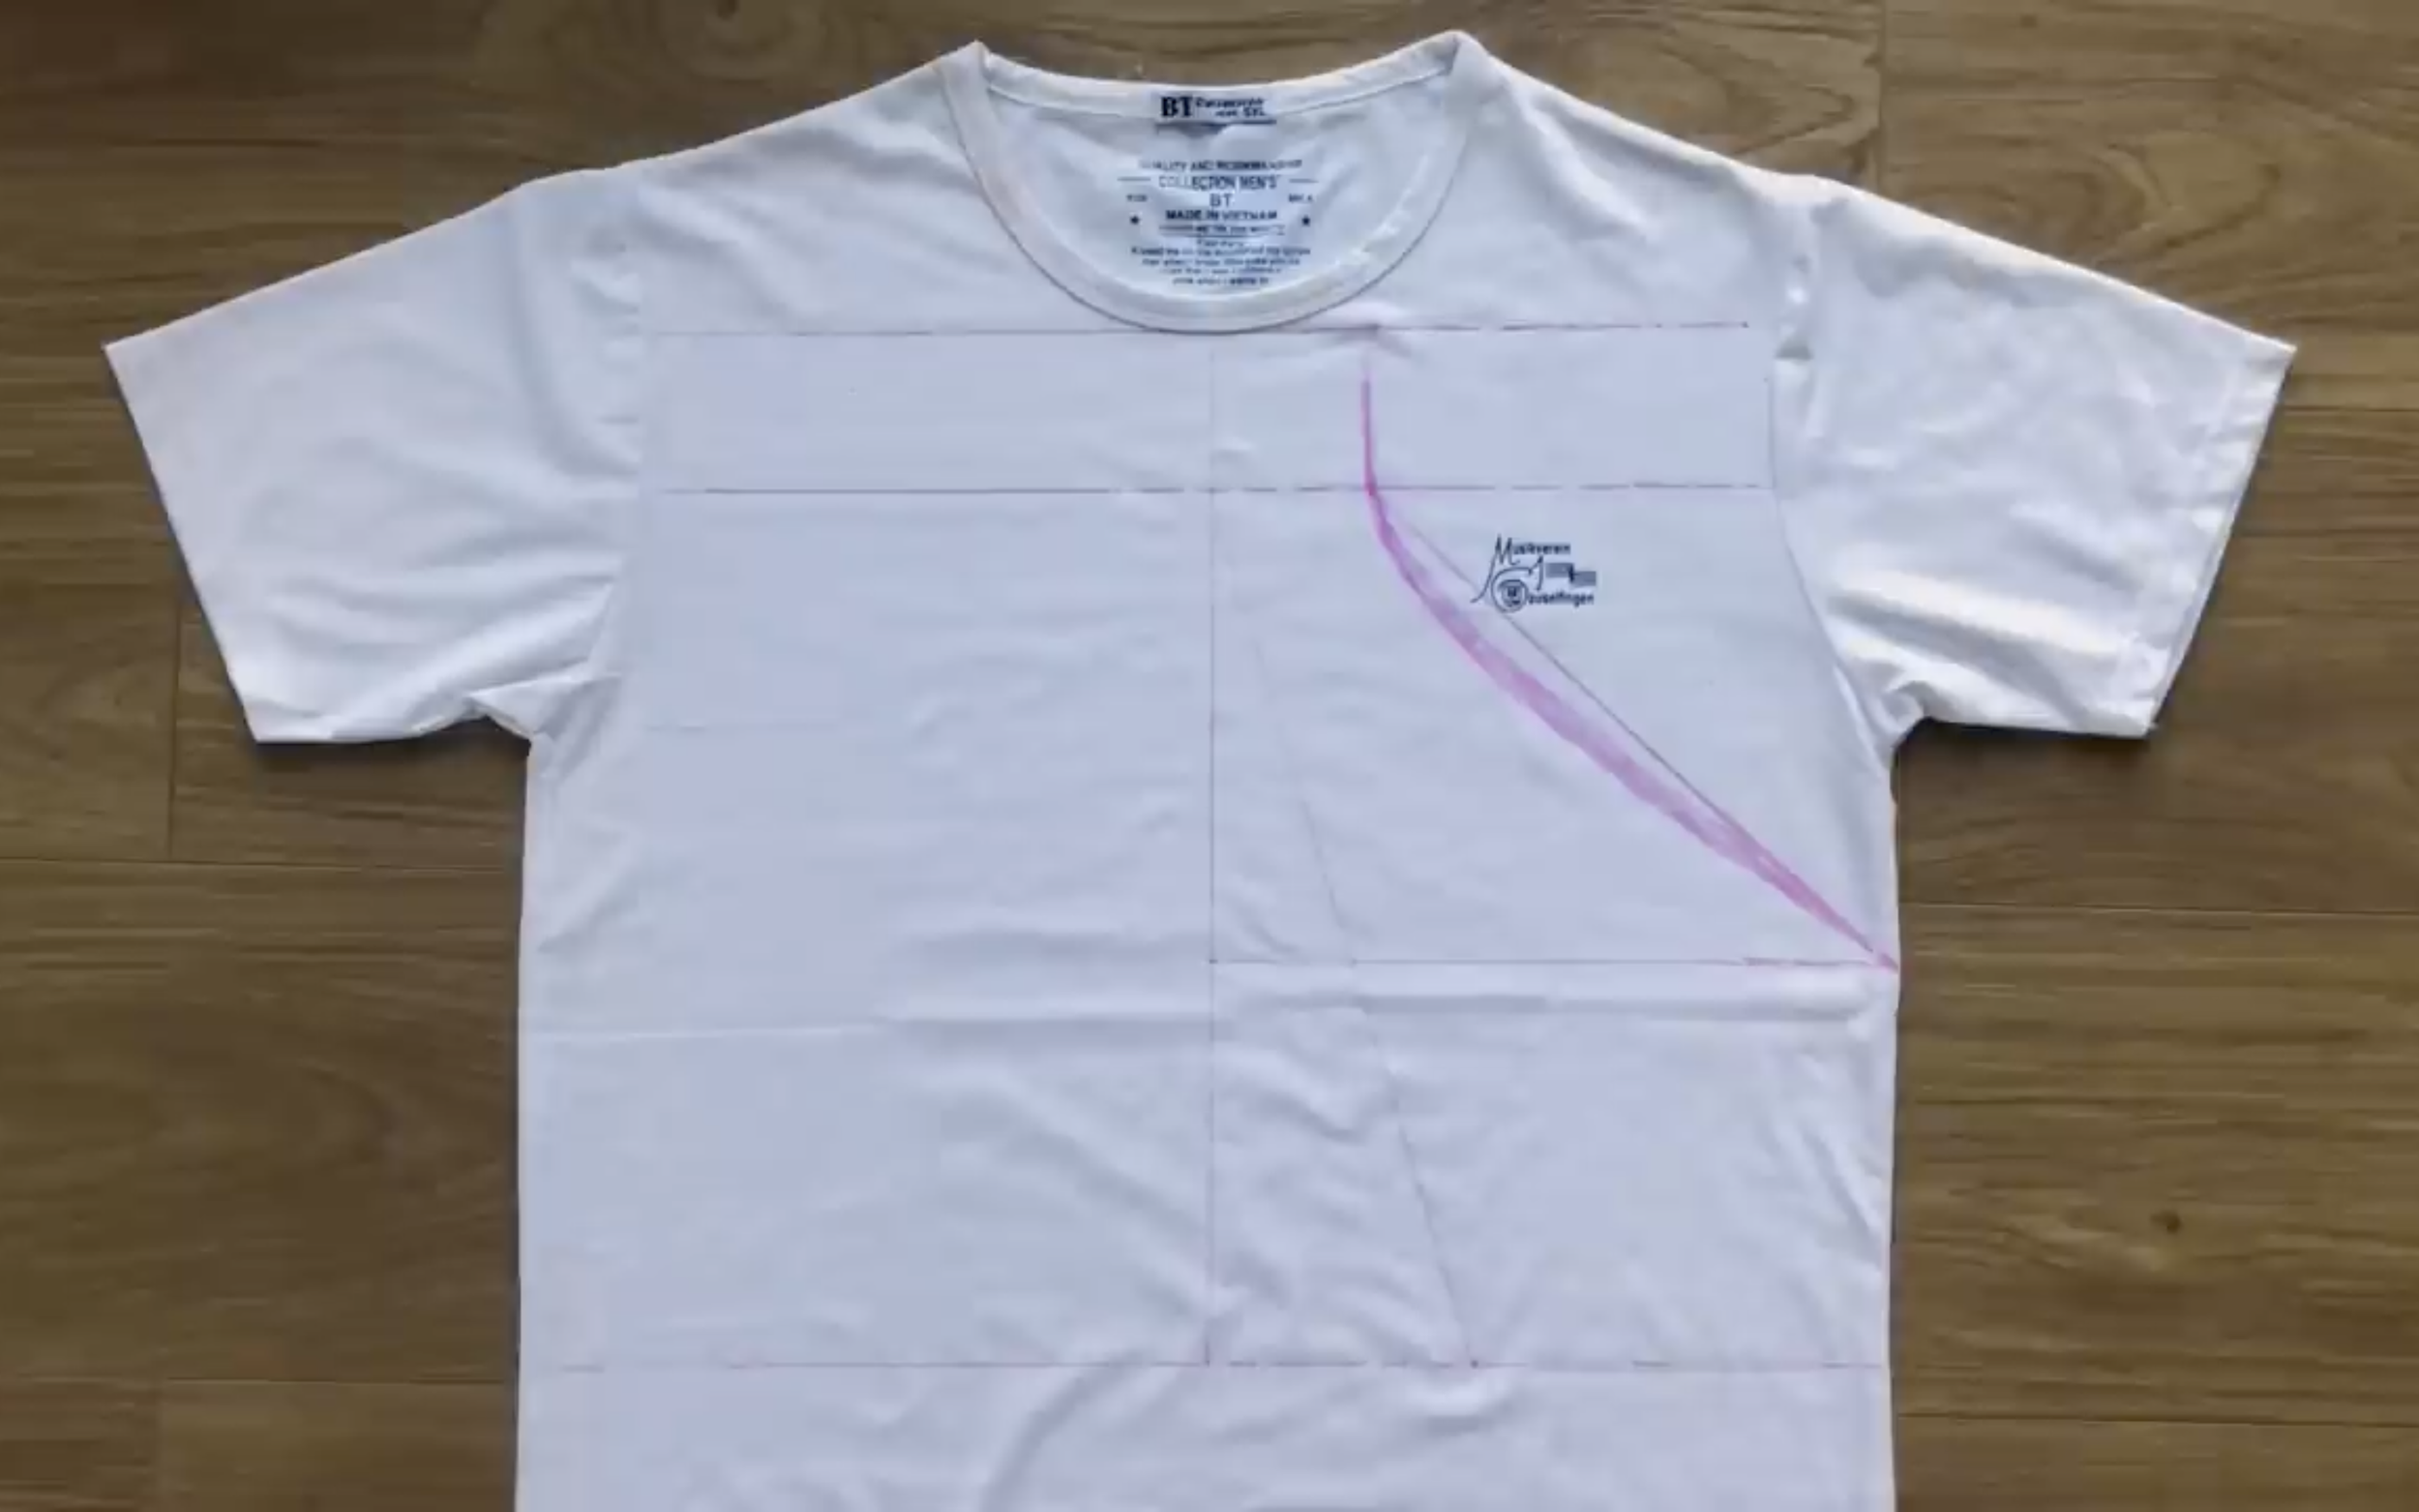
Then draw a curved line to create the line from the neck to under the armpit for the crop top.
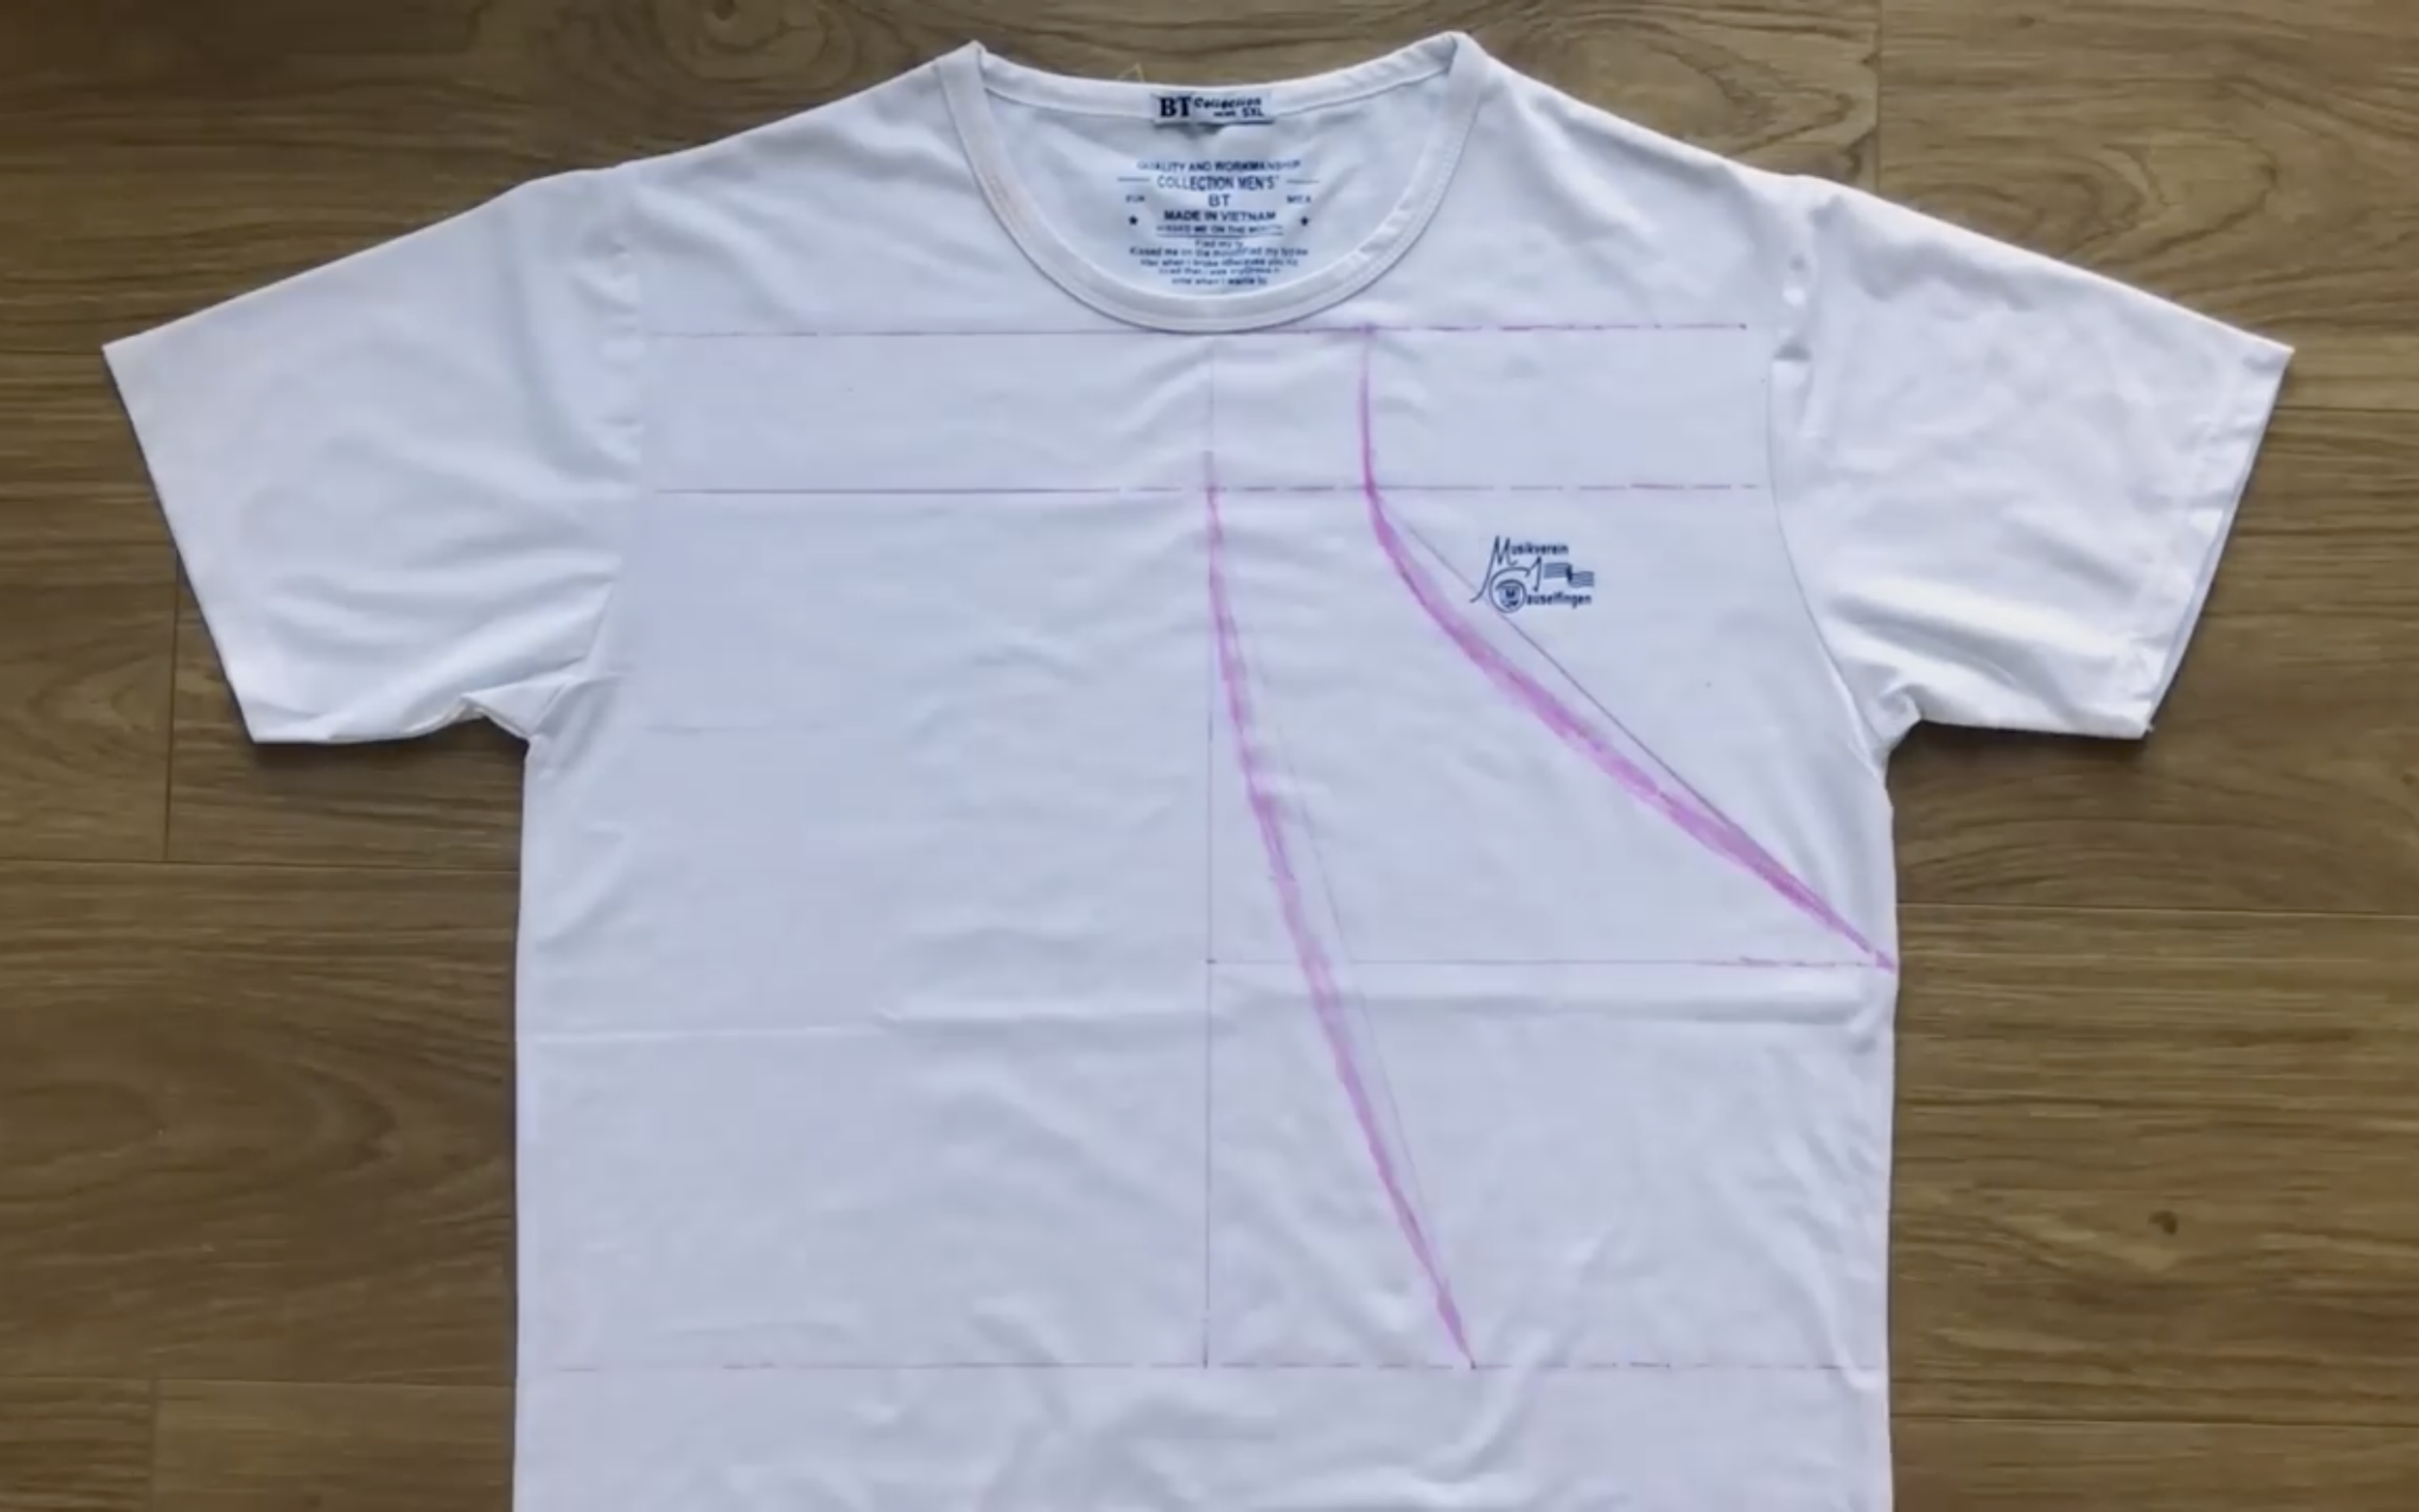
Make a slightly curved line at the opposite line to create a line from the neck to the middle chest.
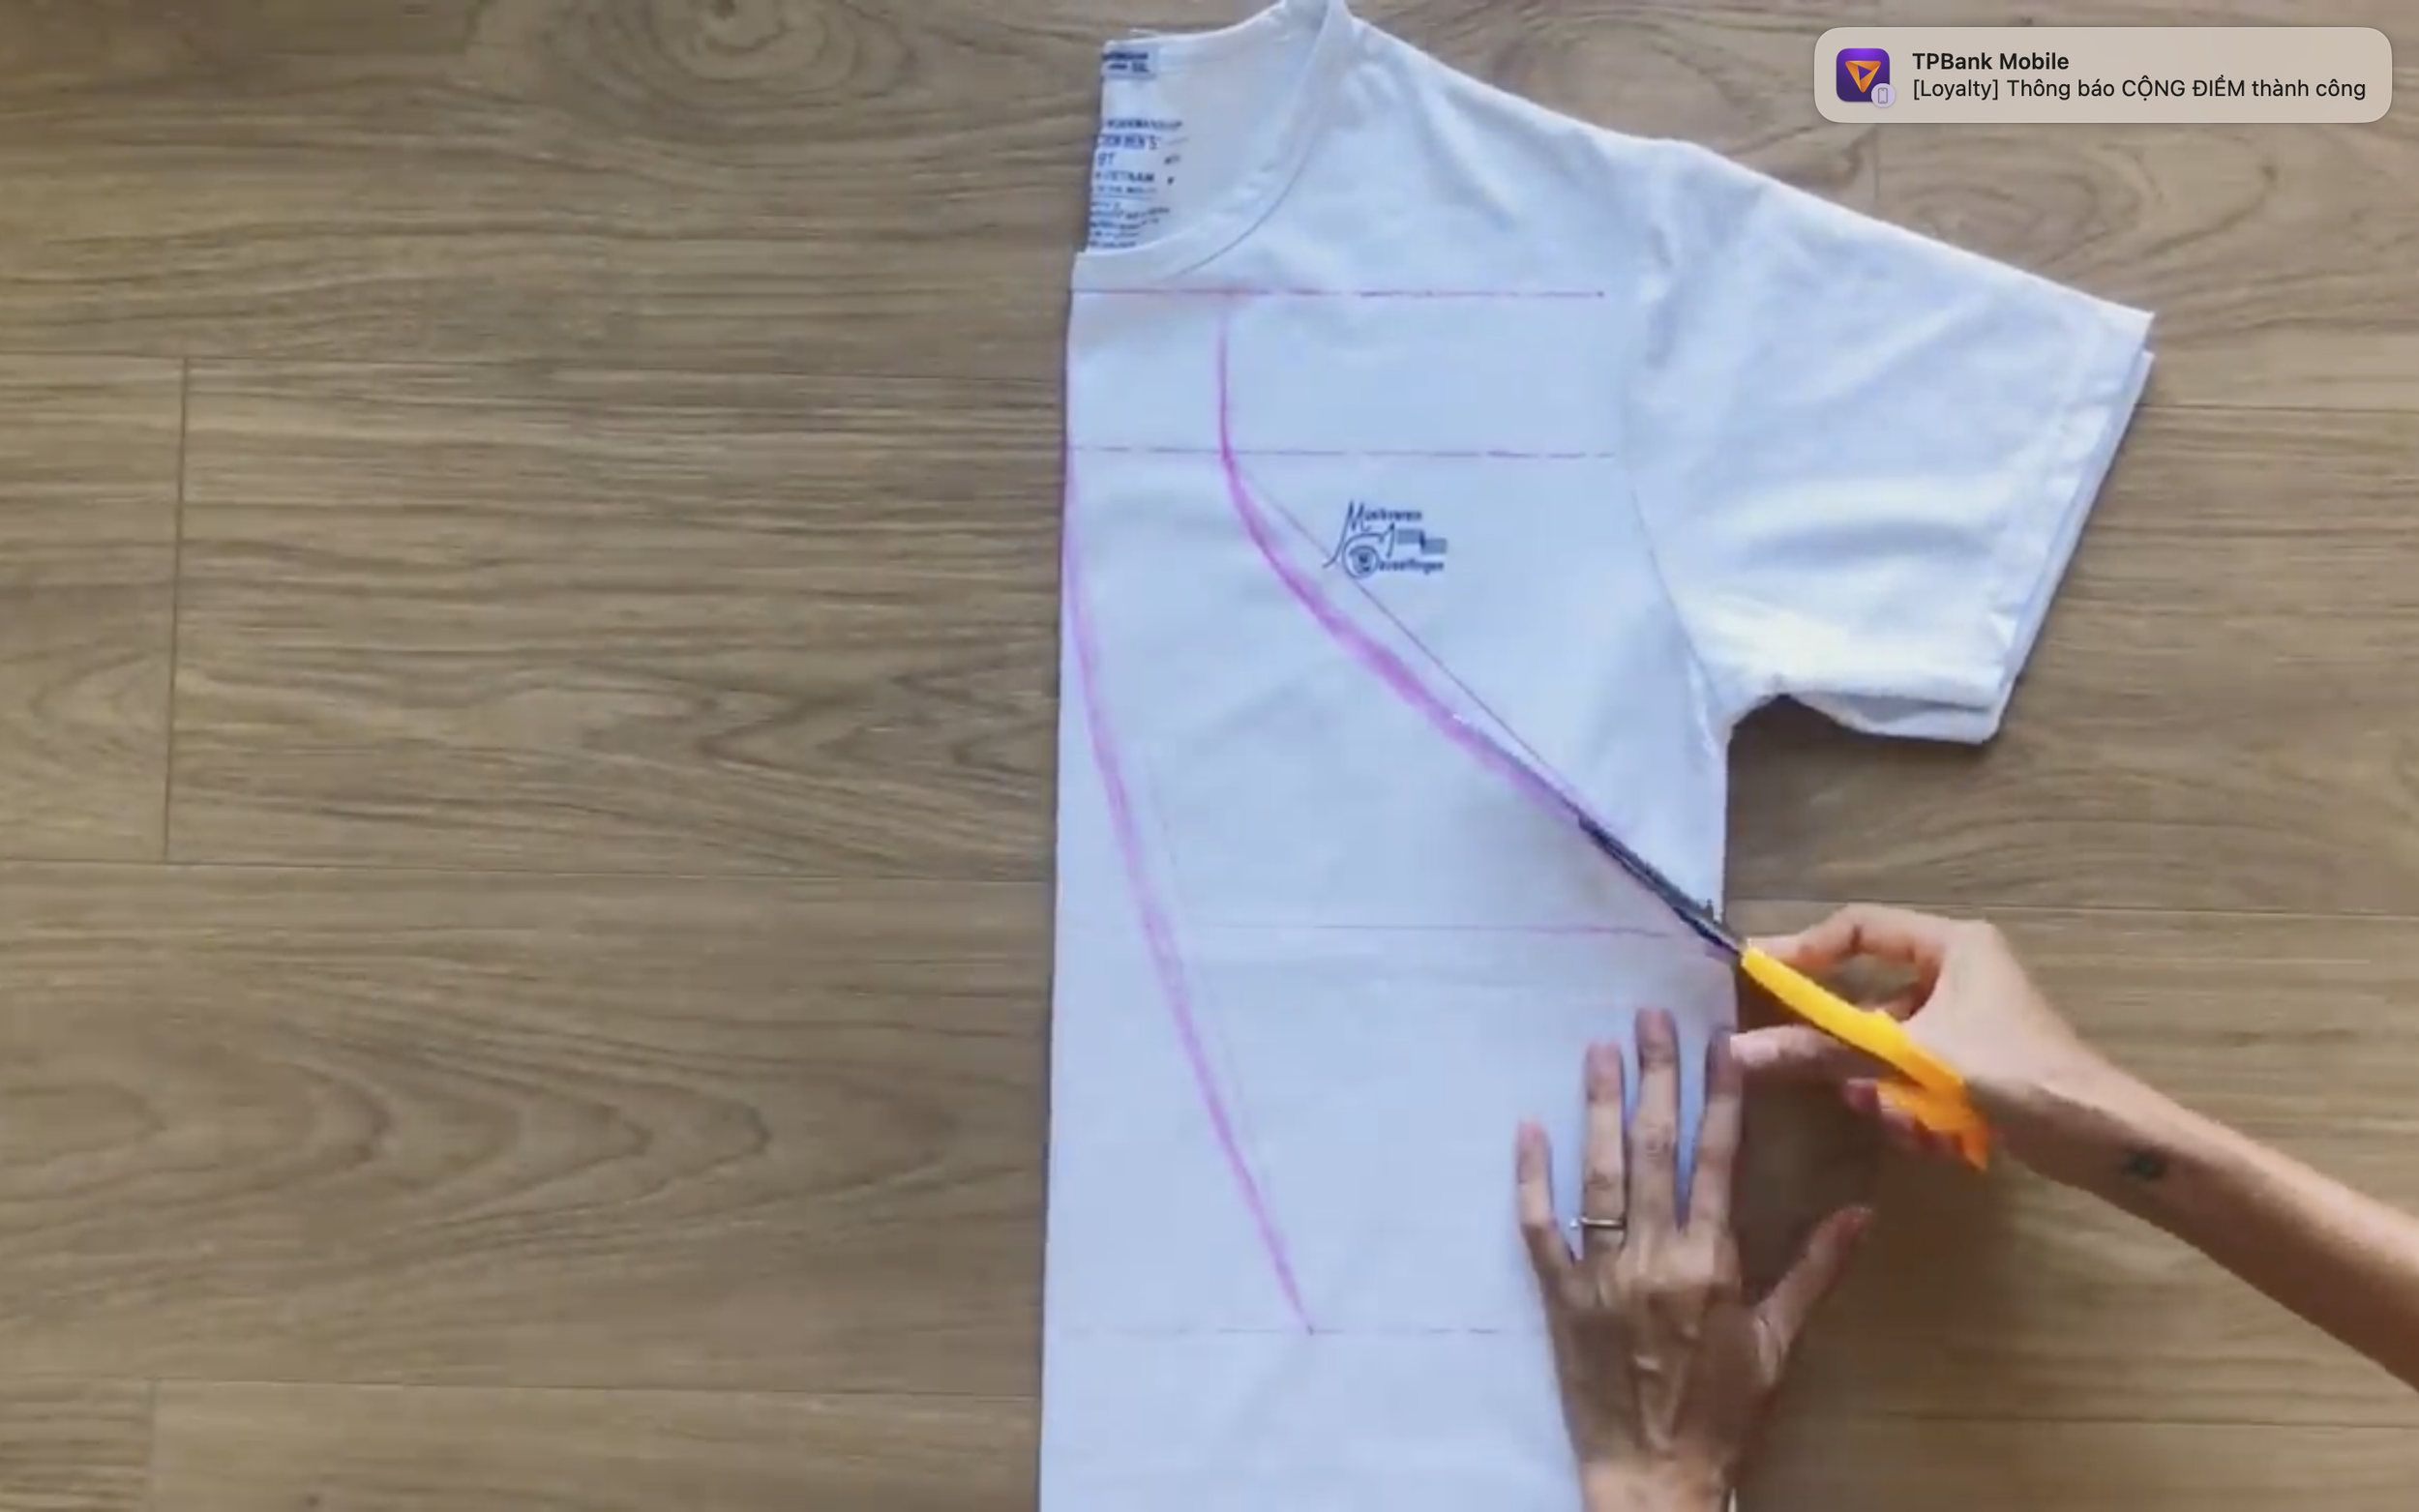
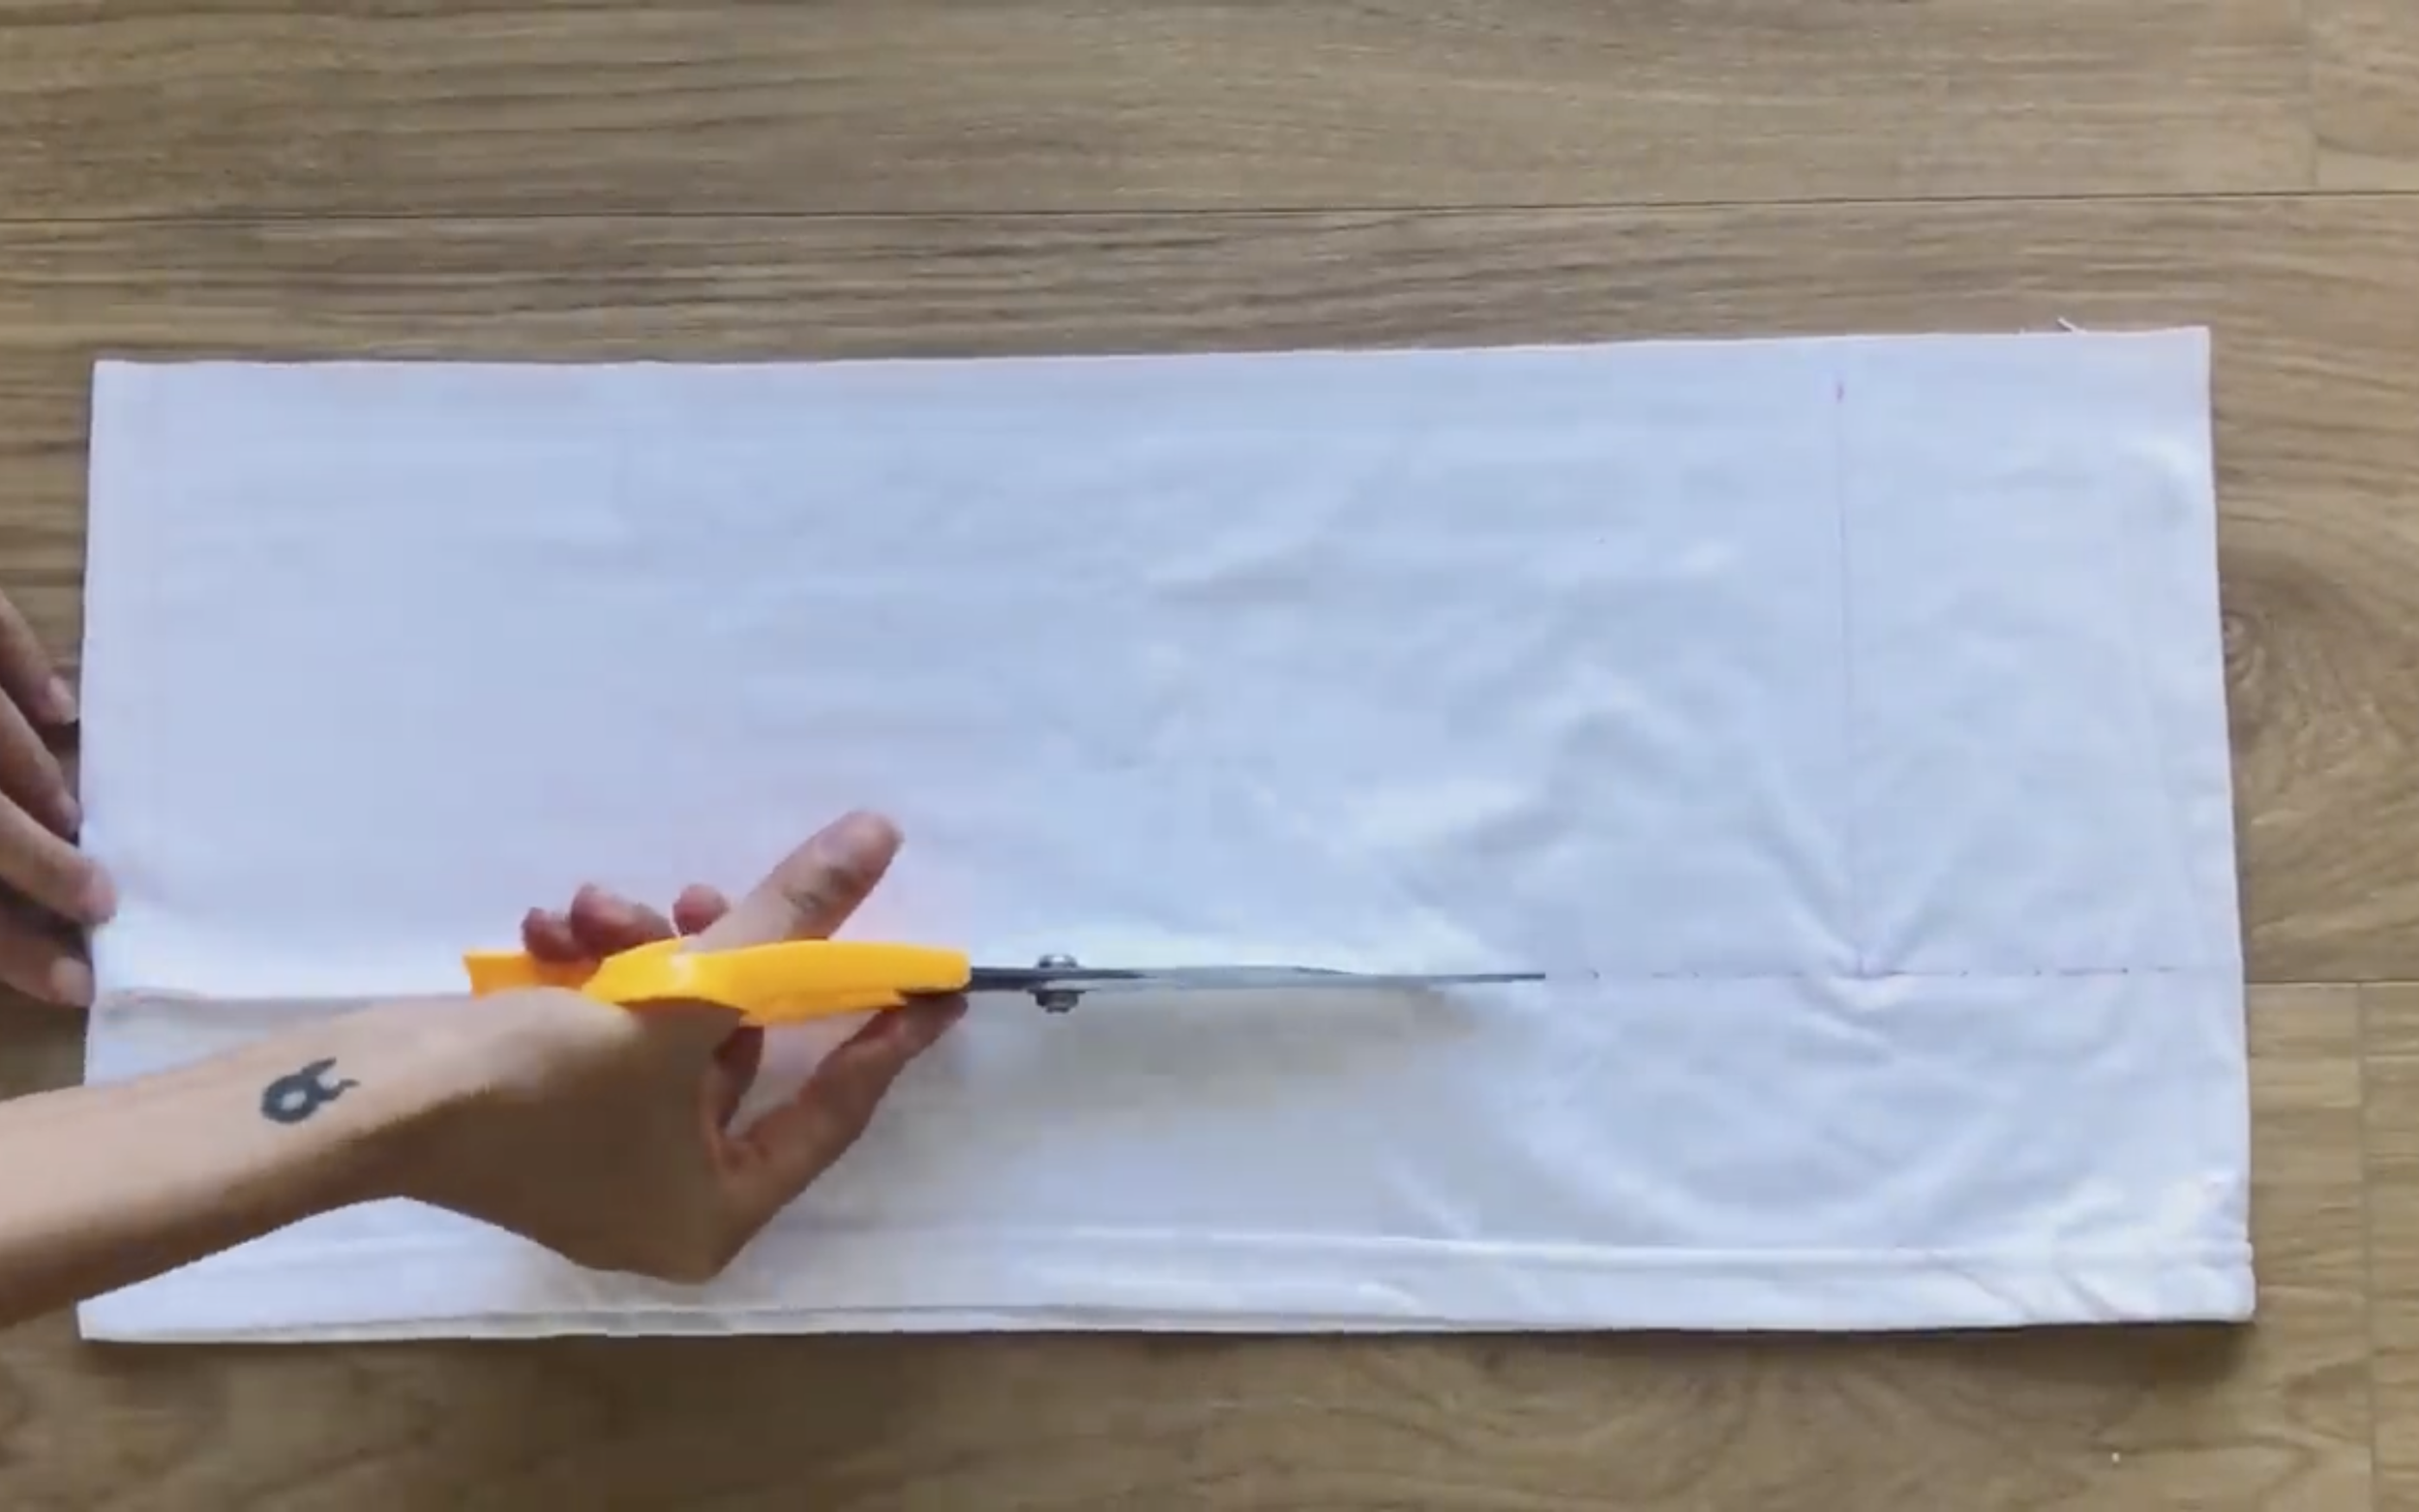
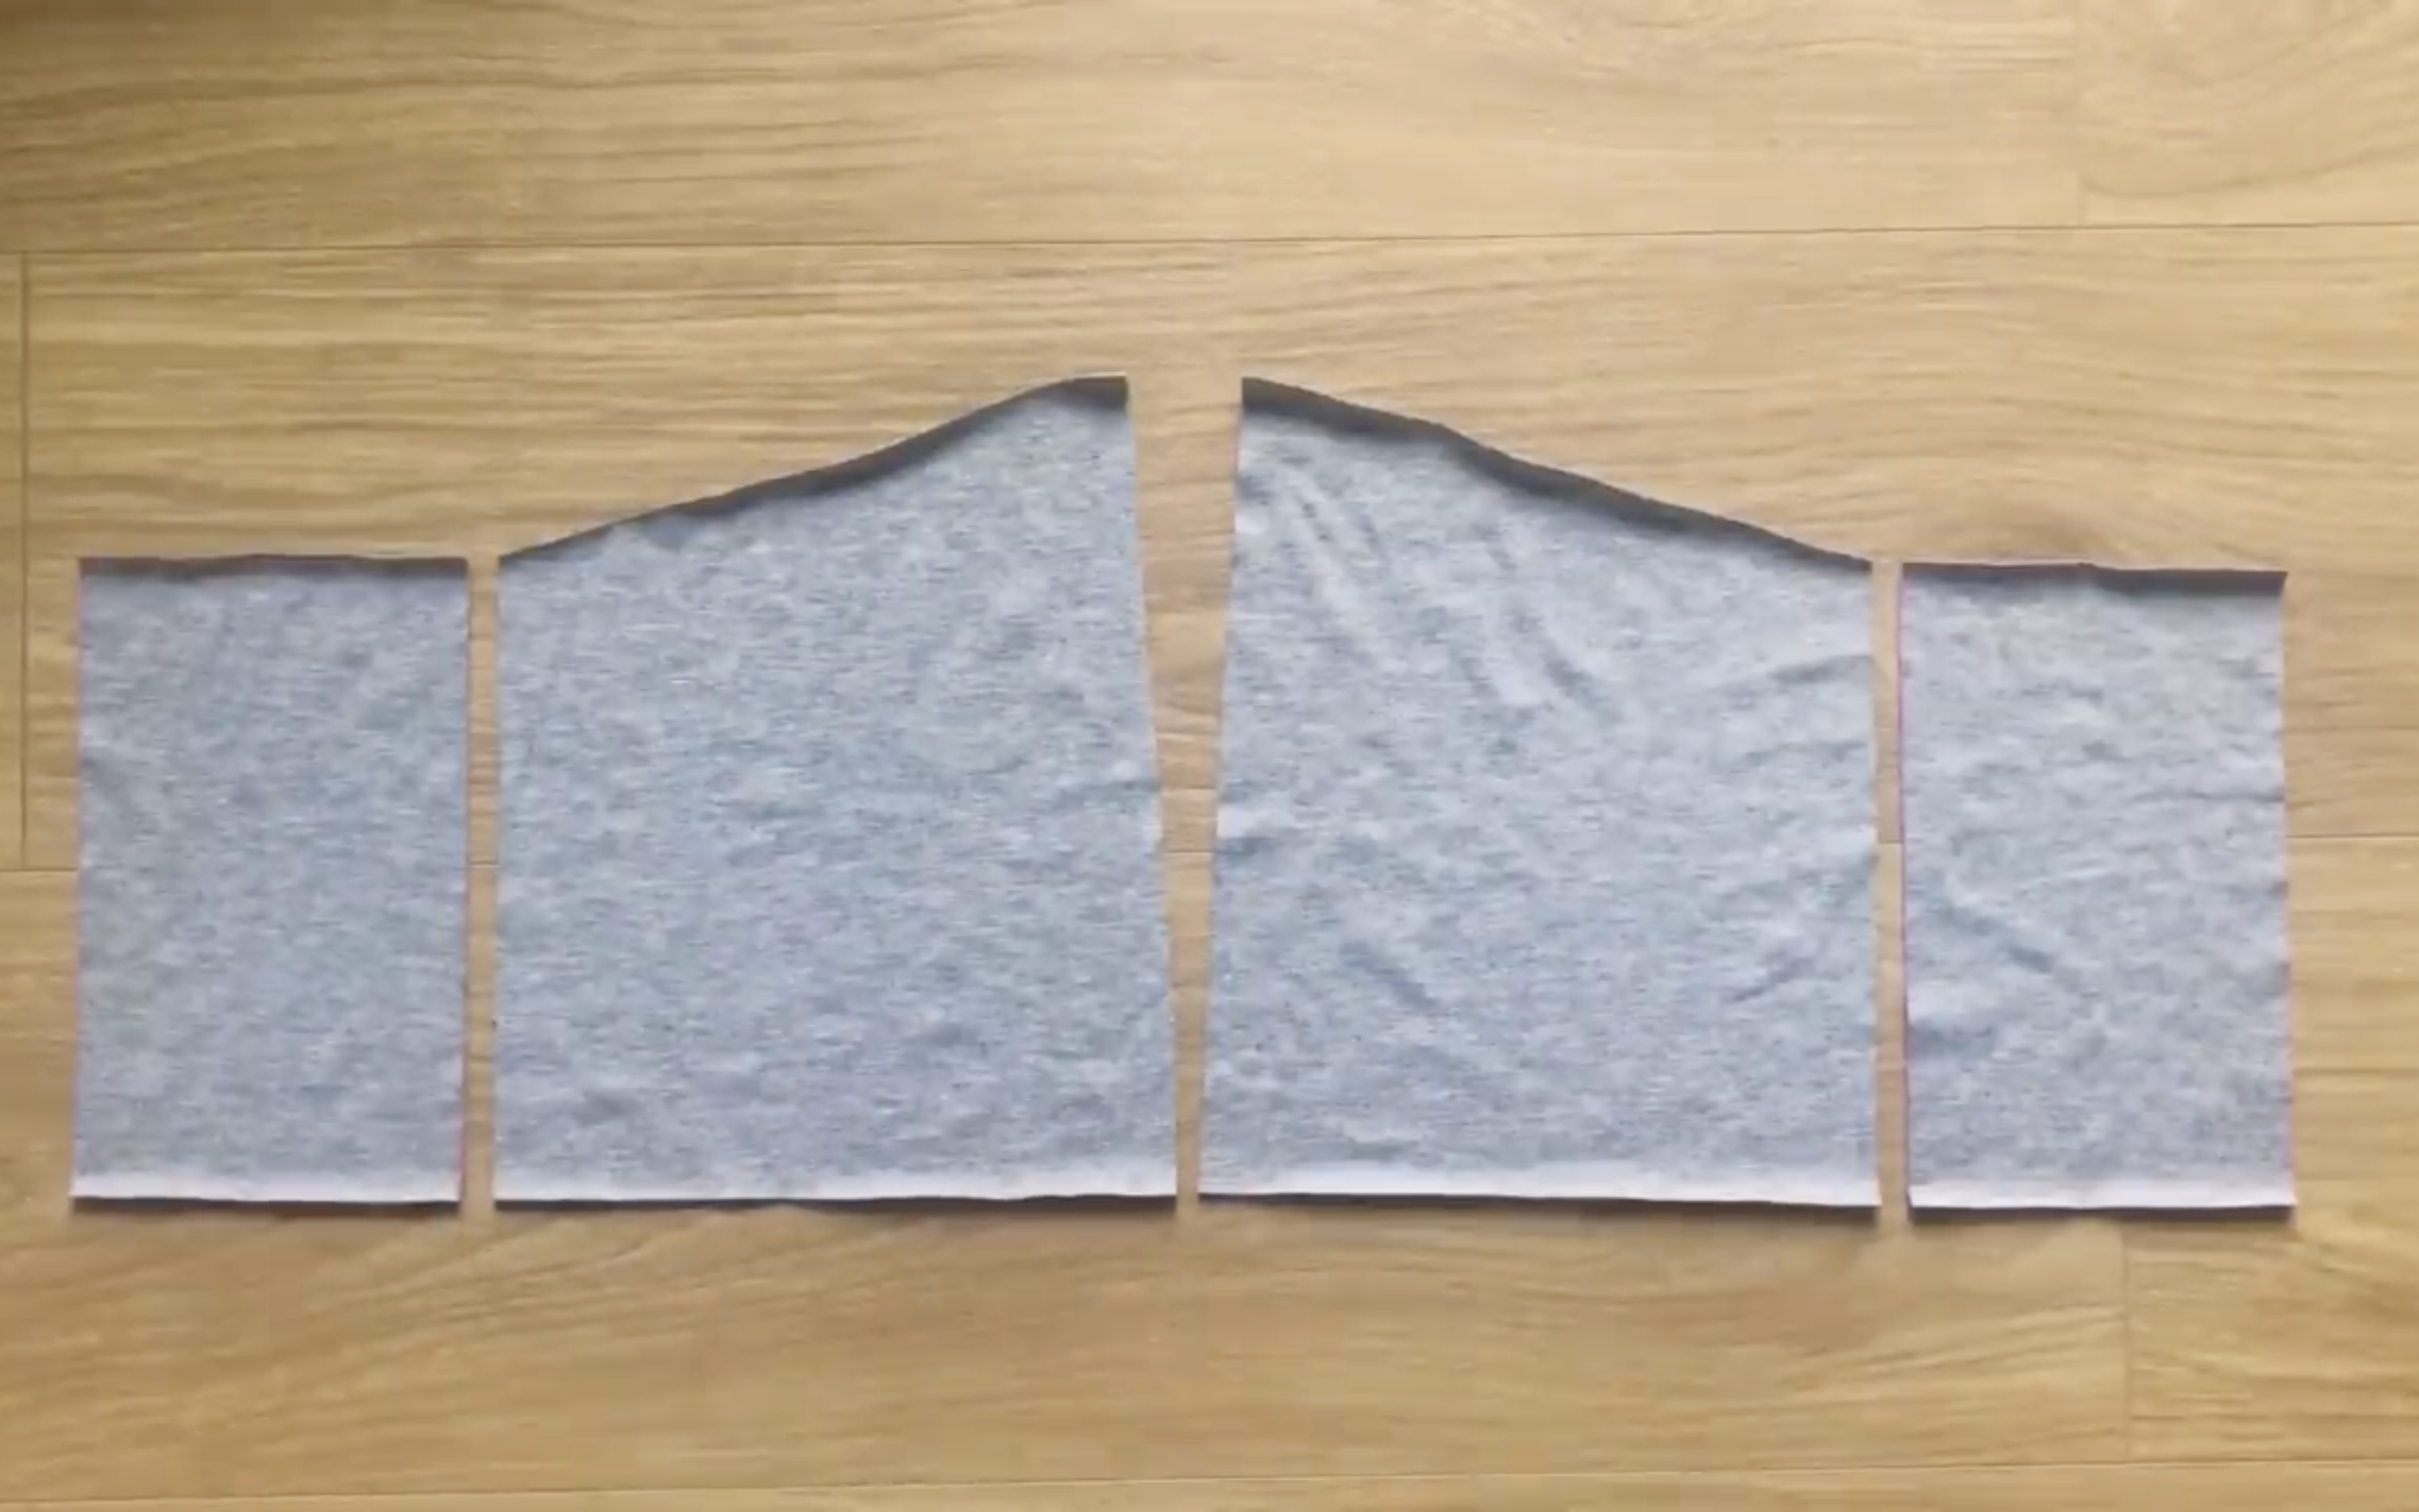
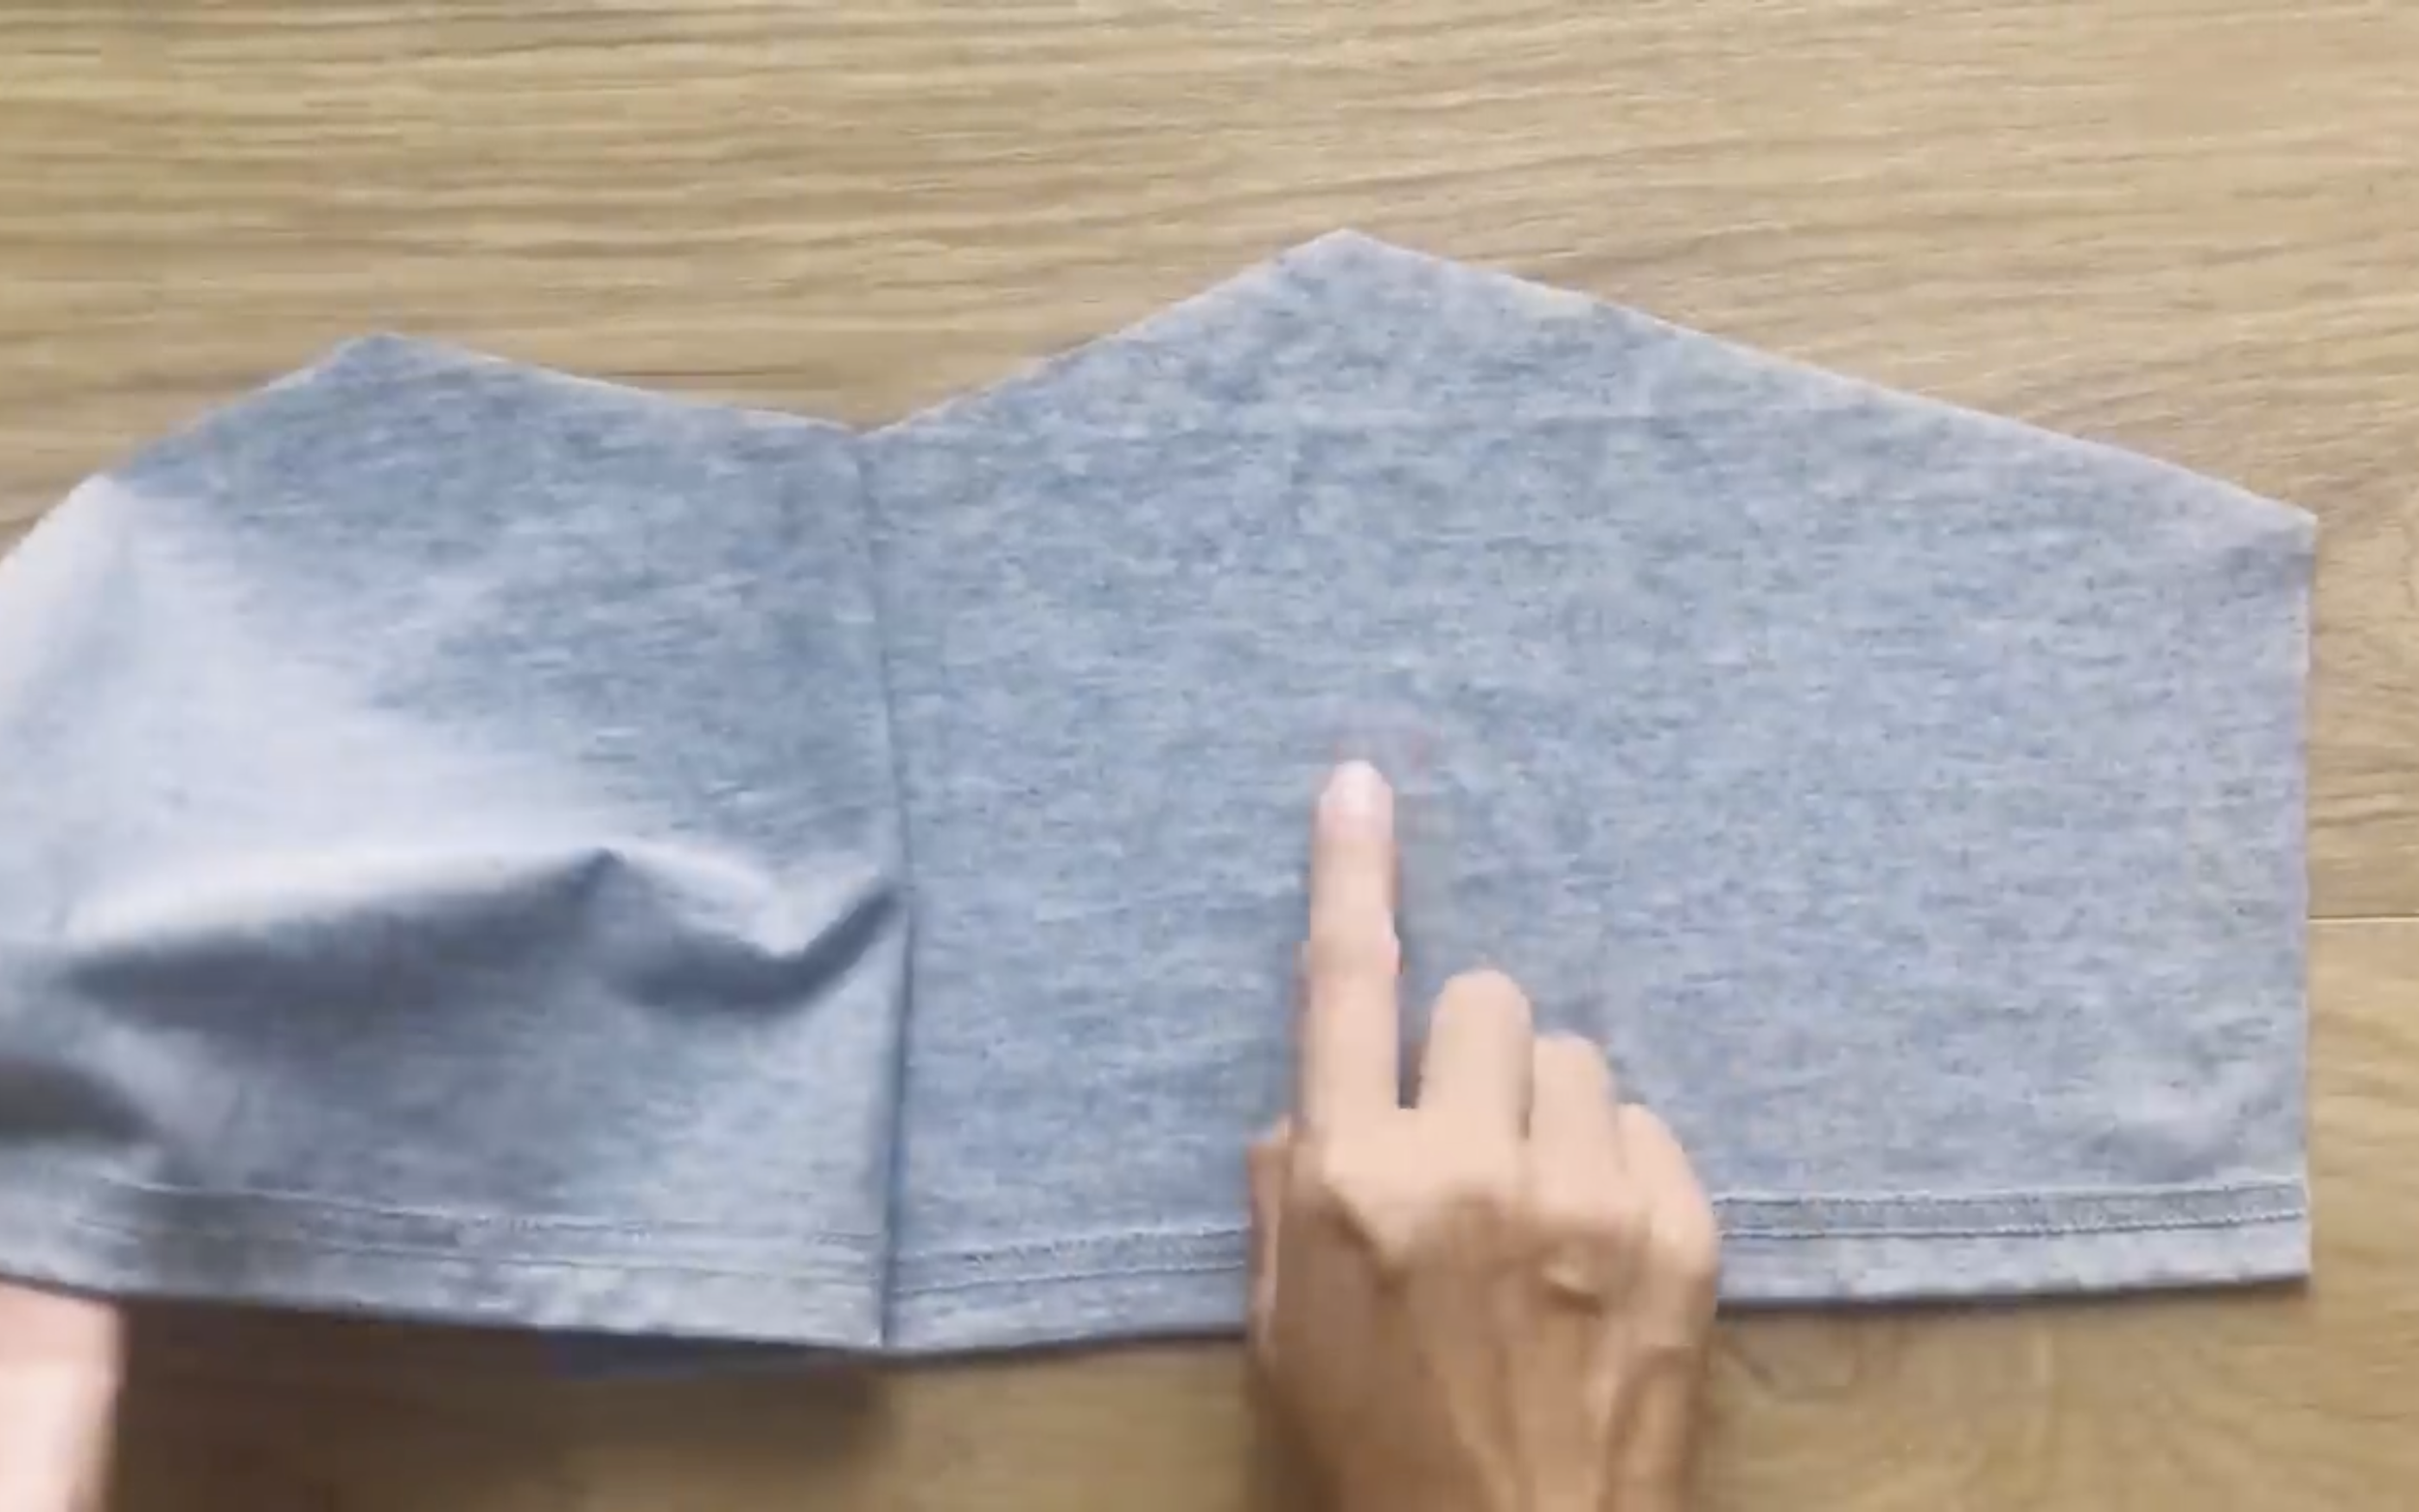
Fold the t-shirt in half by the straight line then cut.
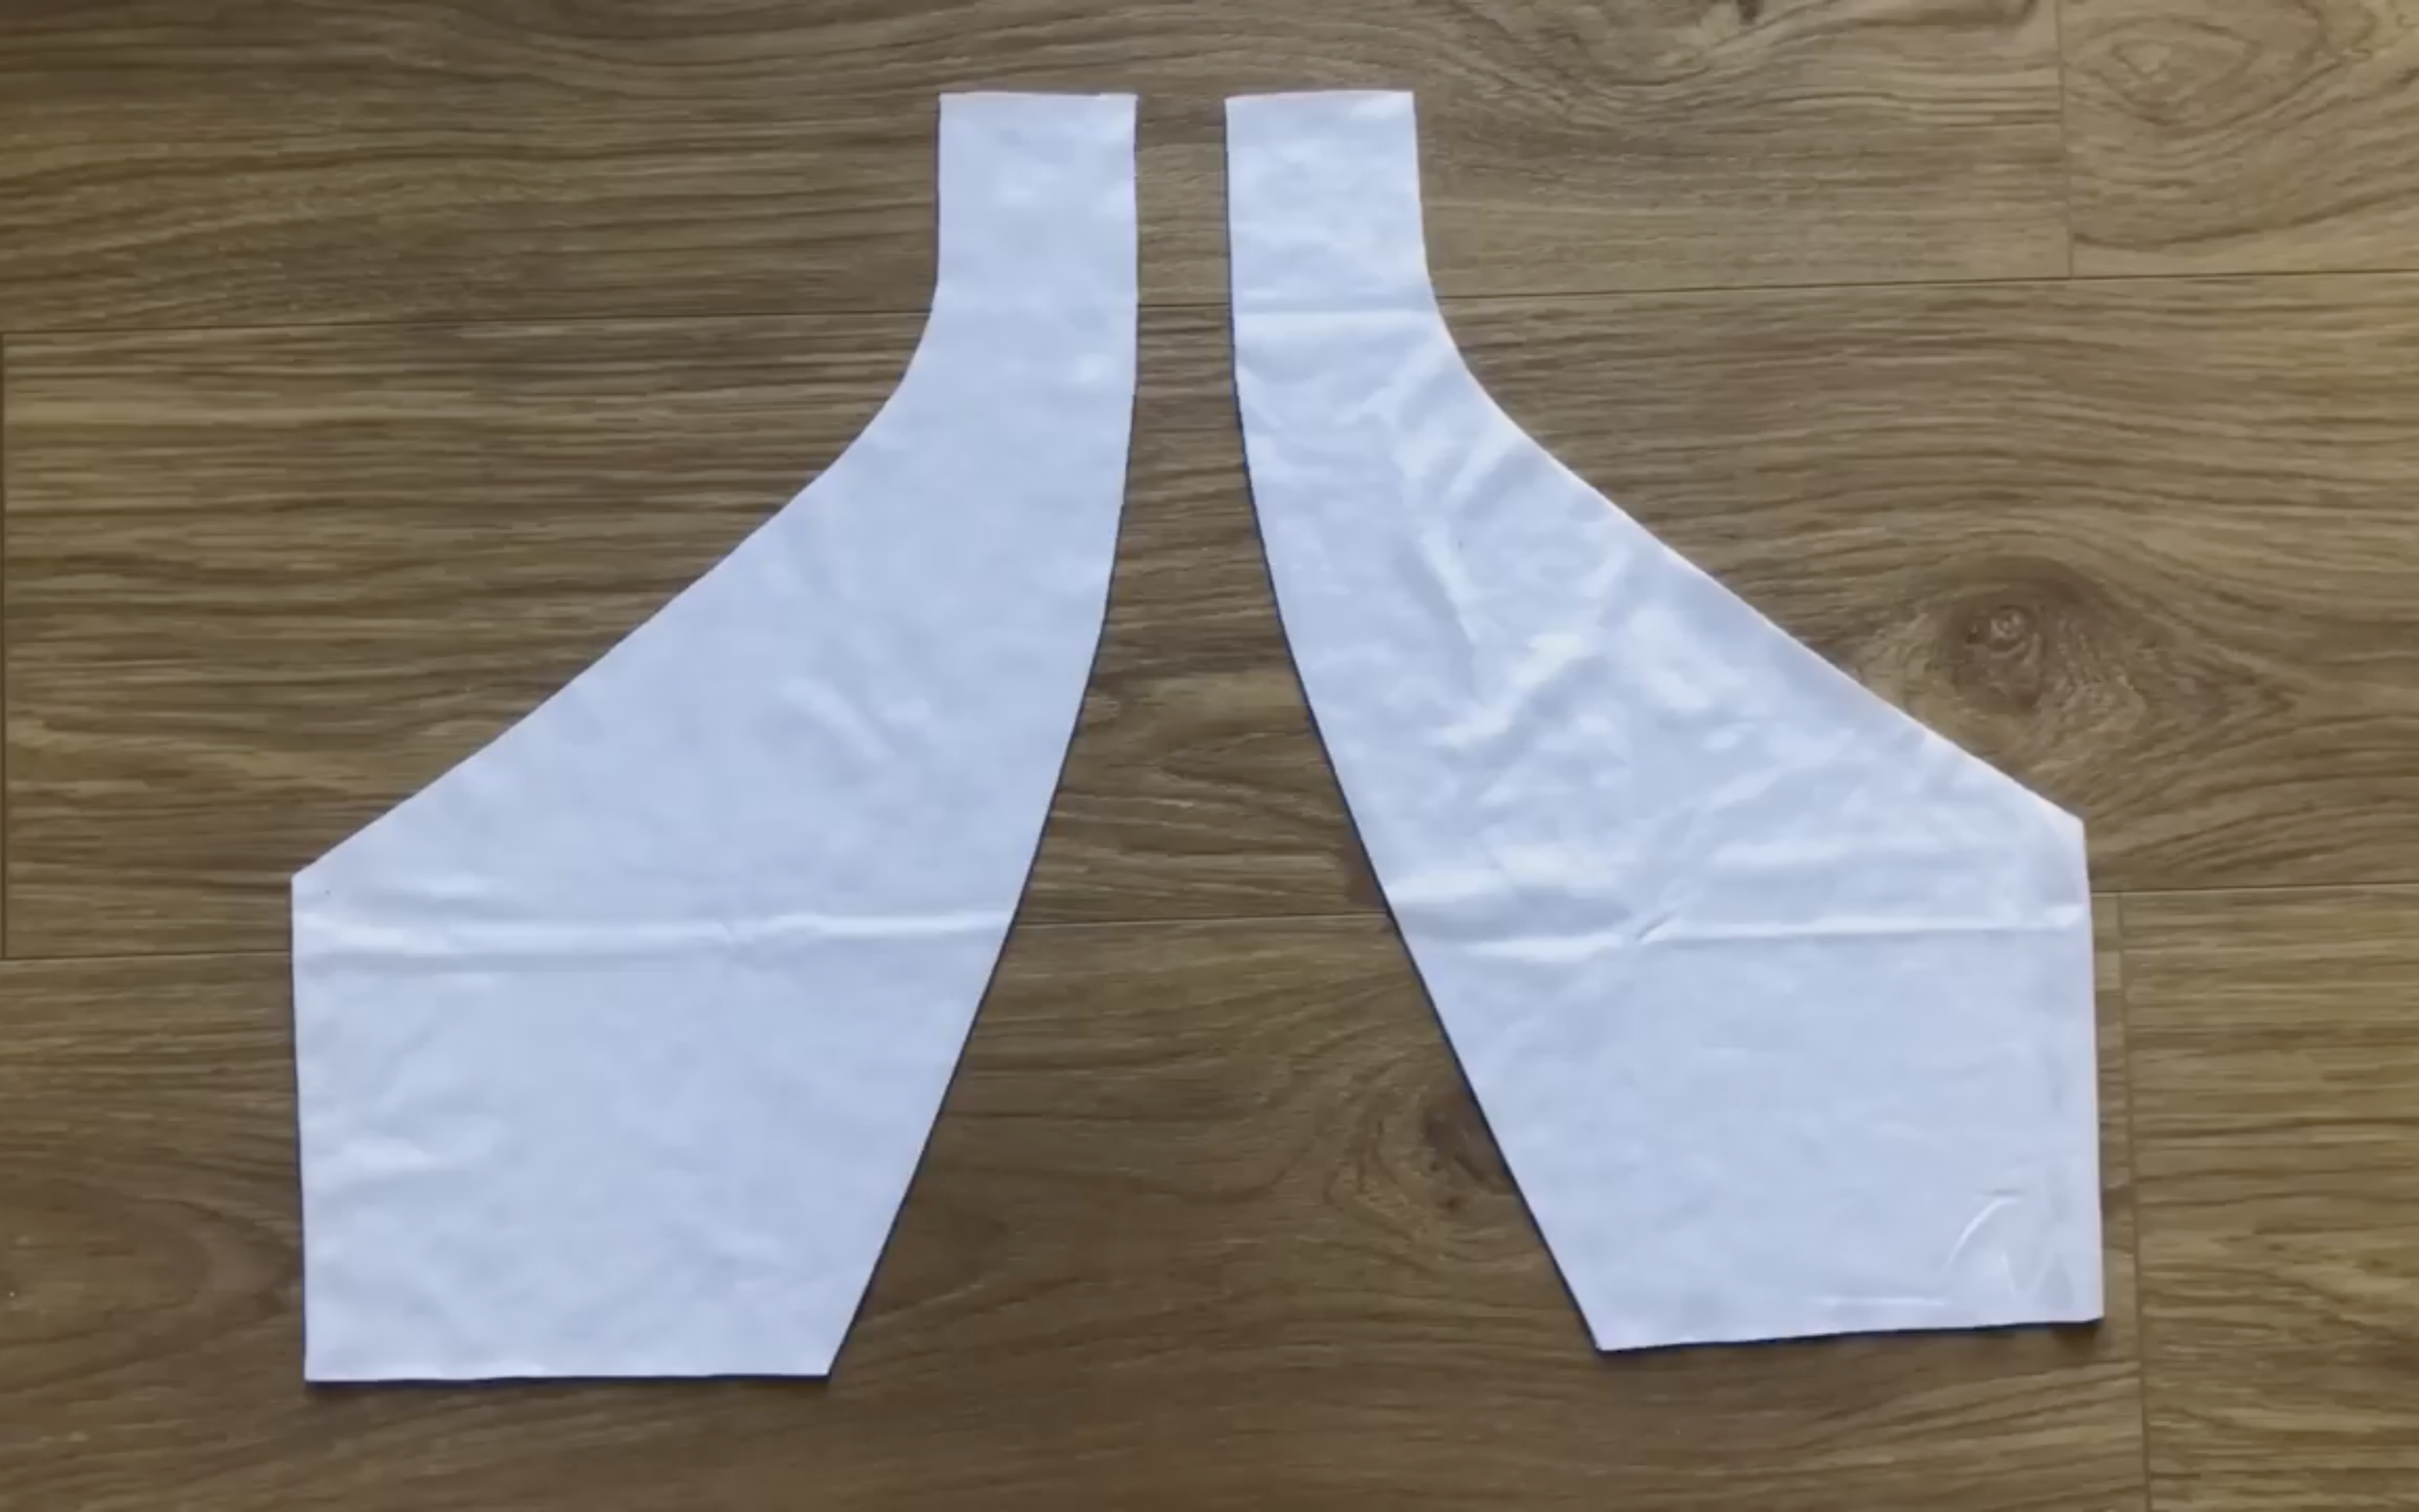
So you will have two pieces for the front part of the crop top.
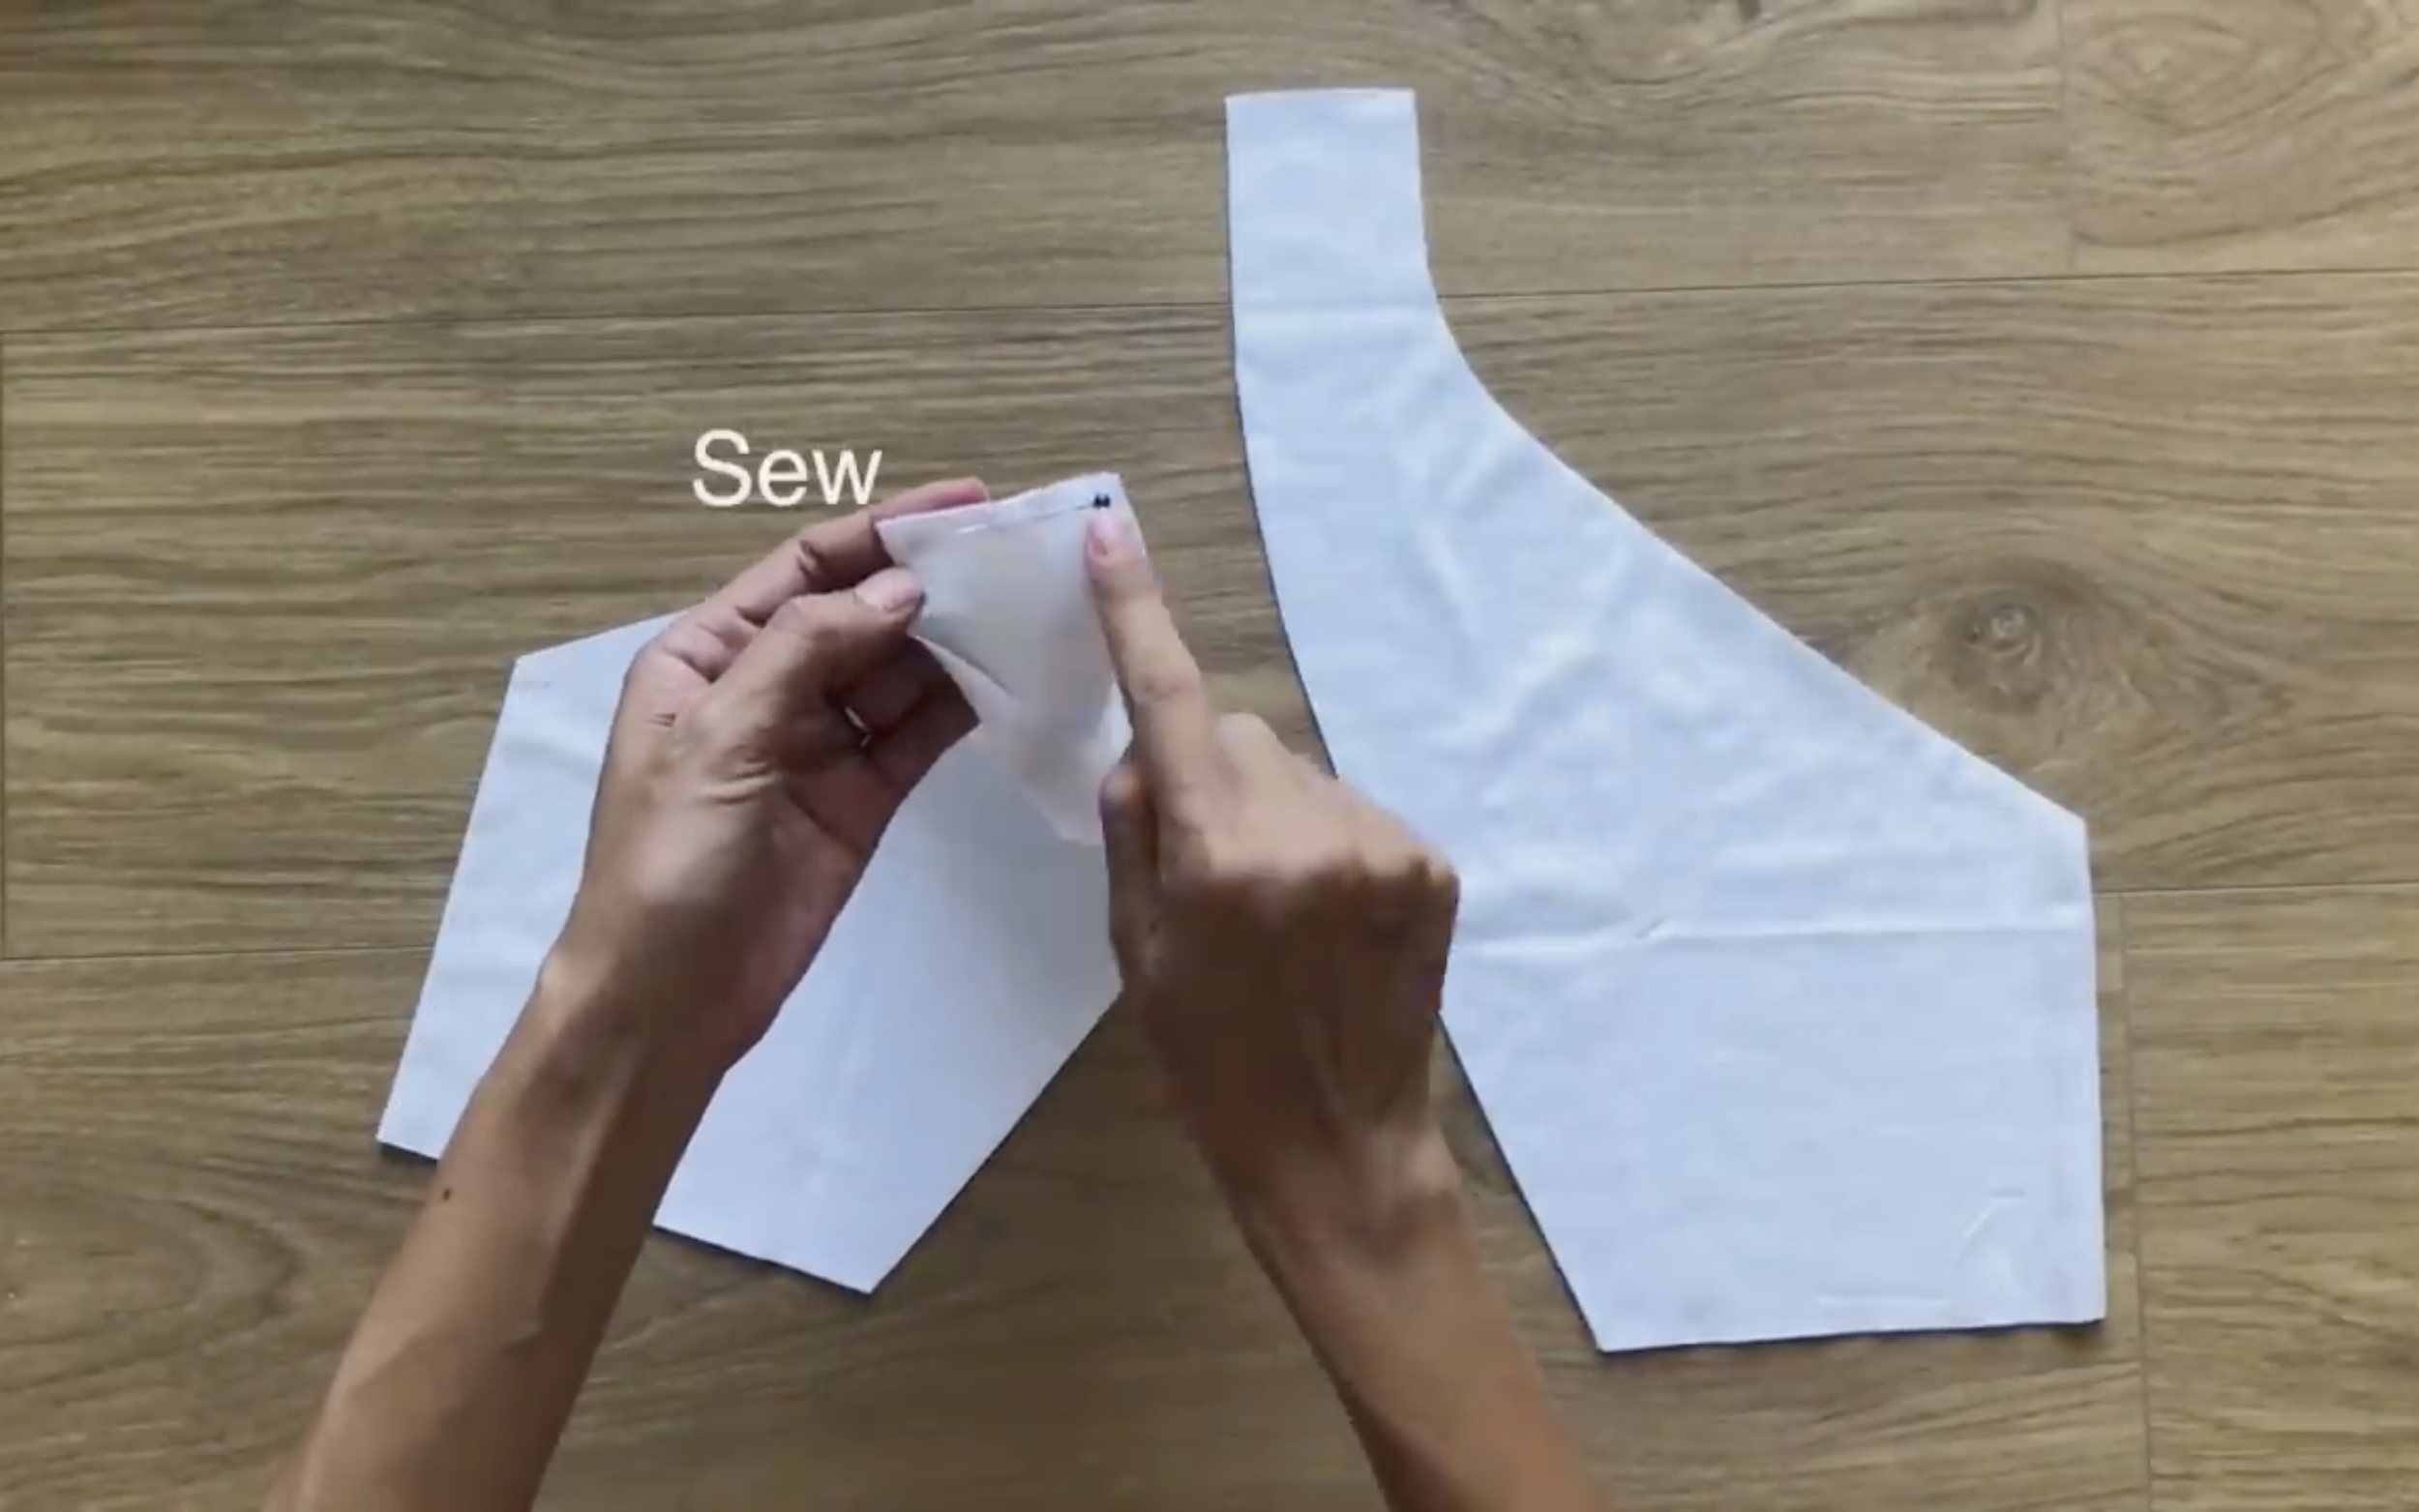
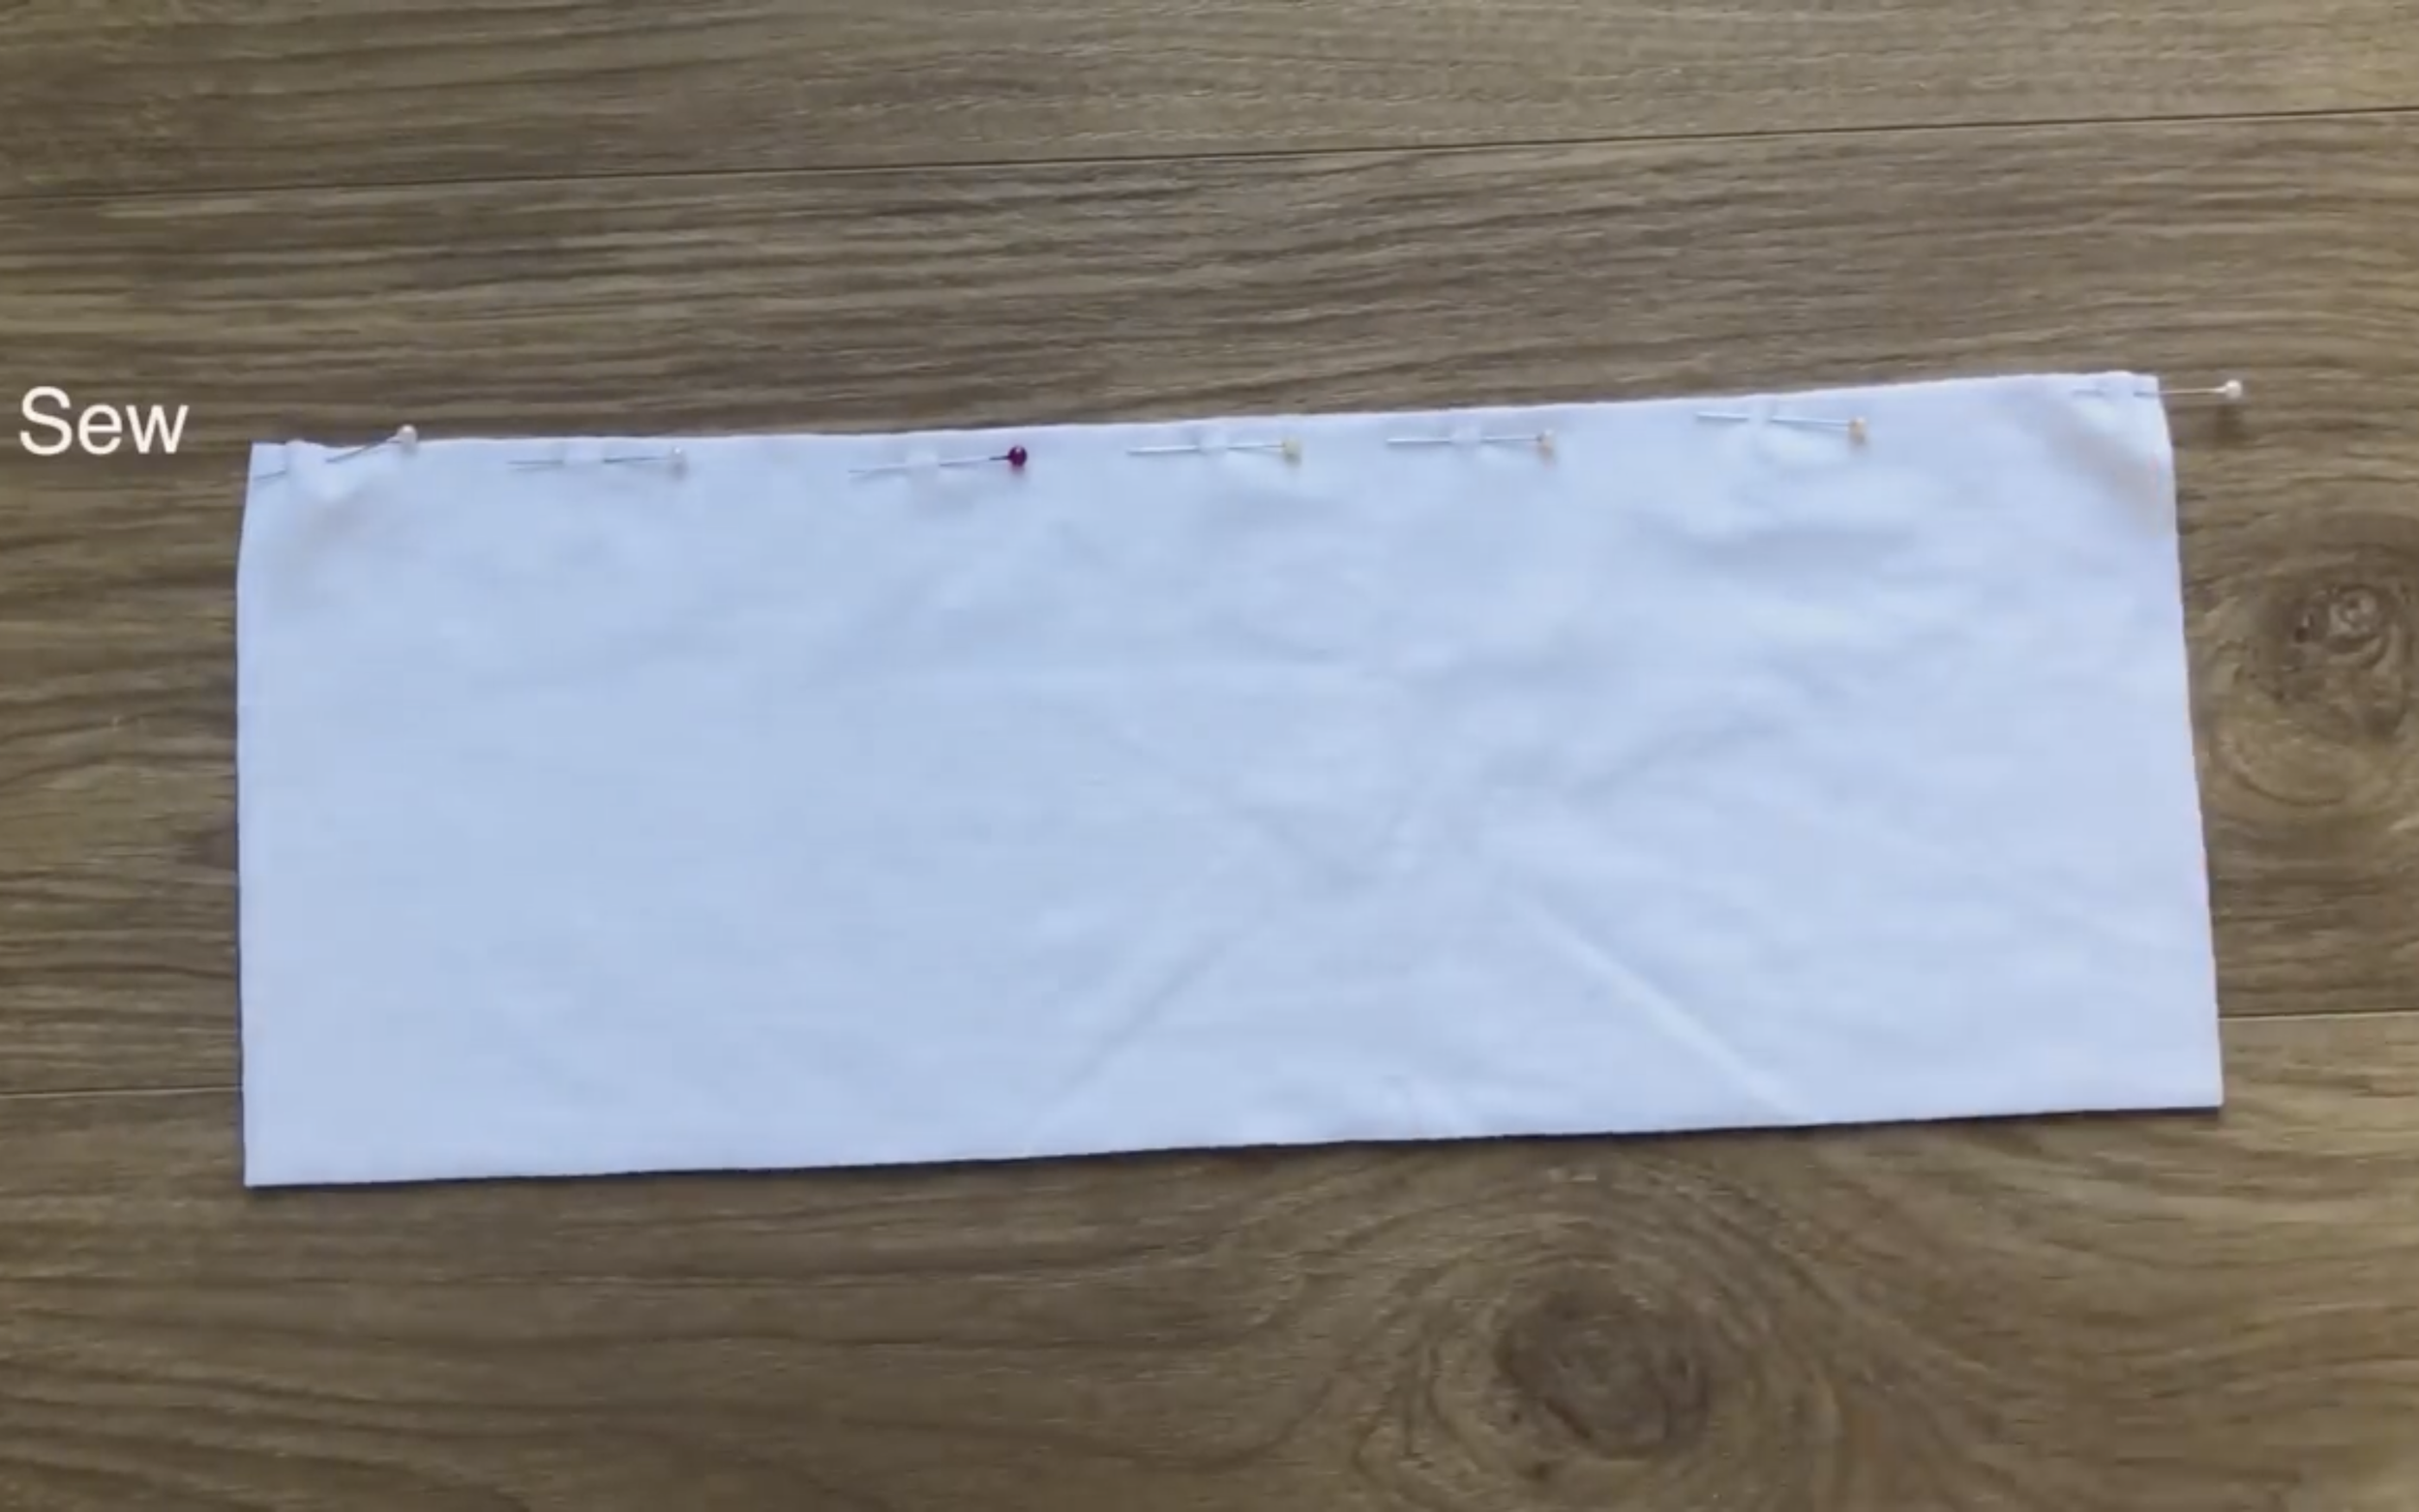
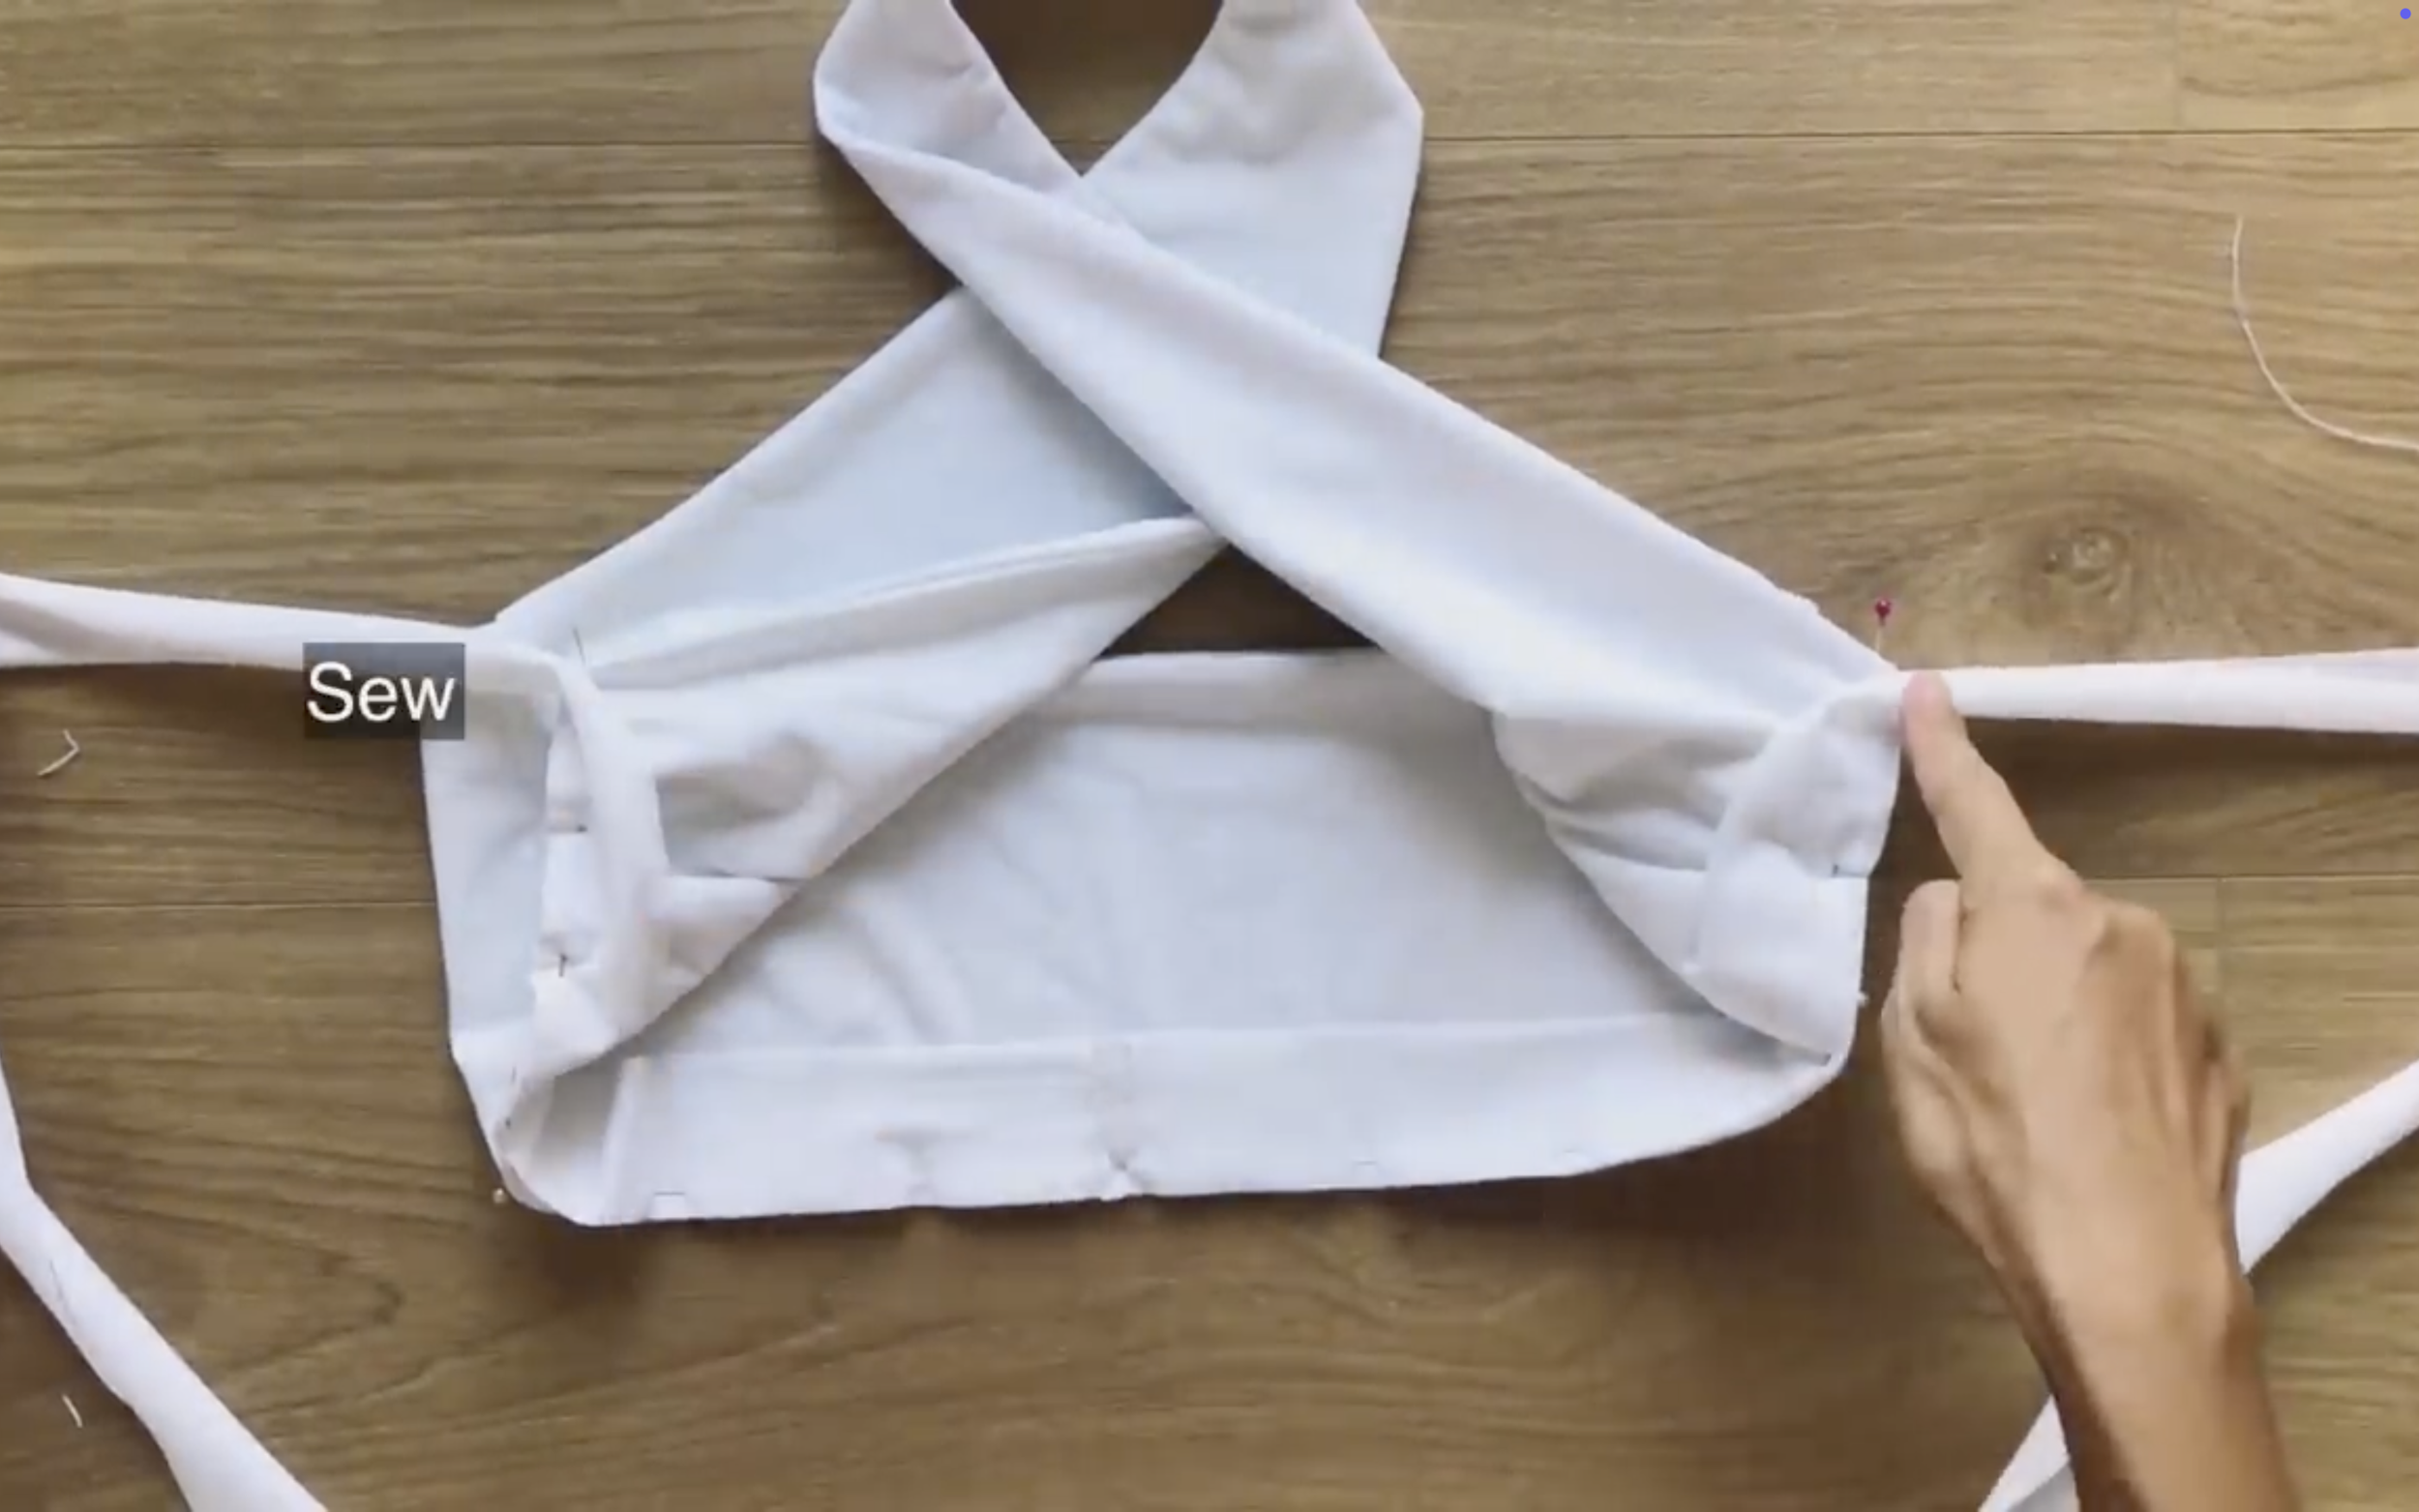
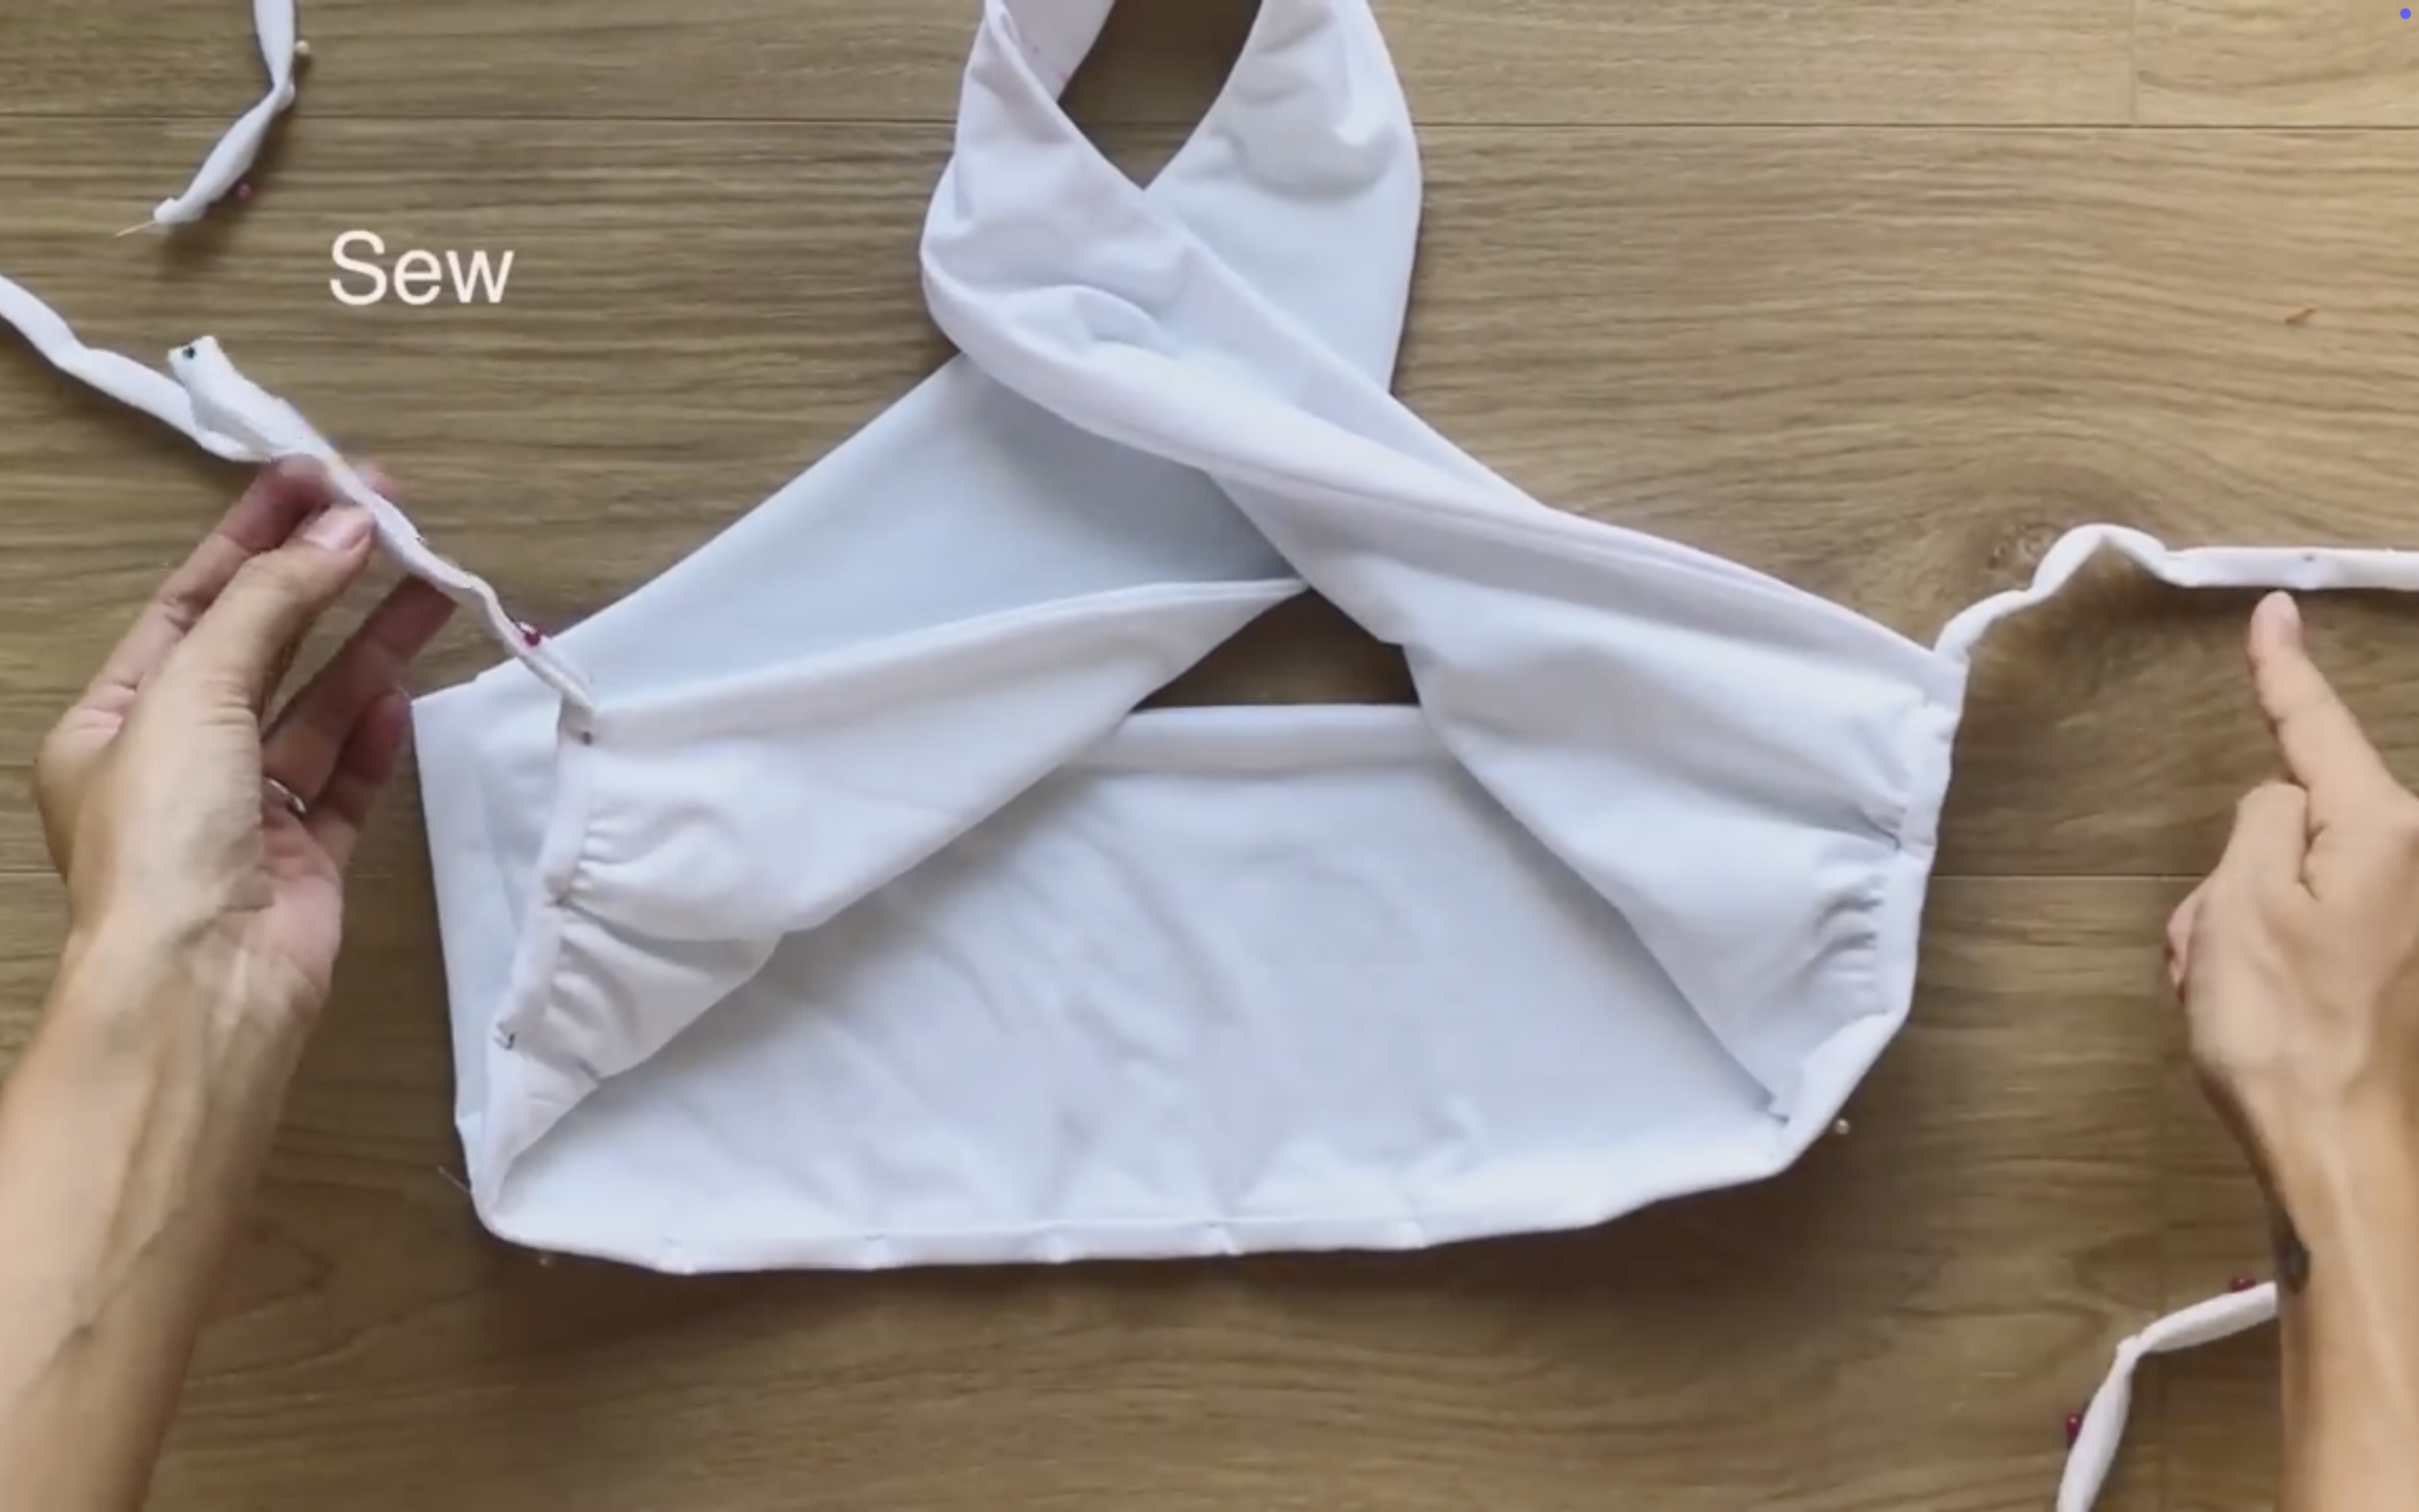
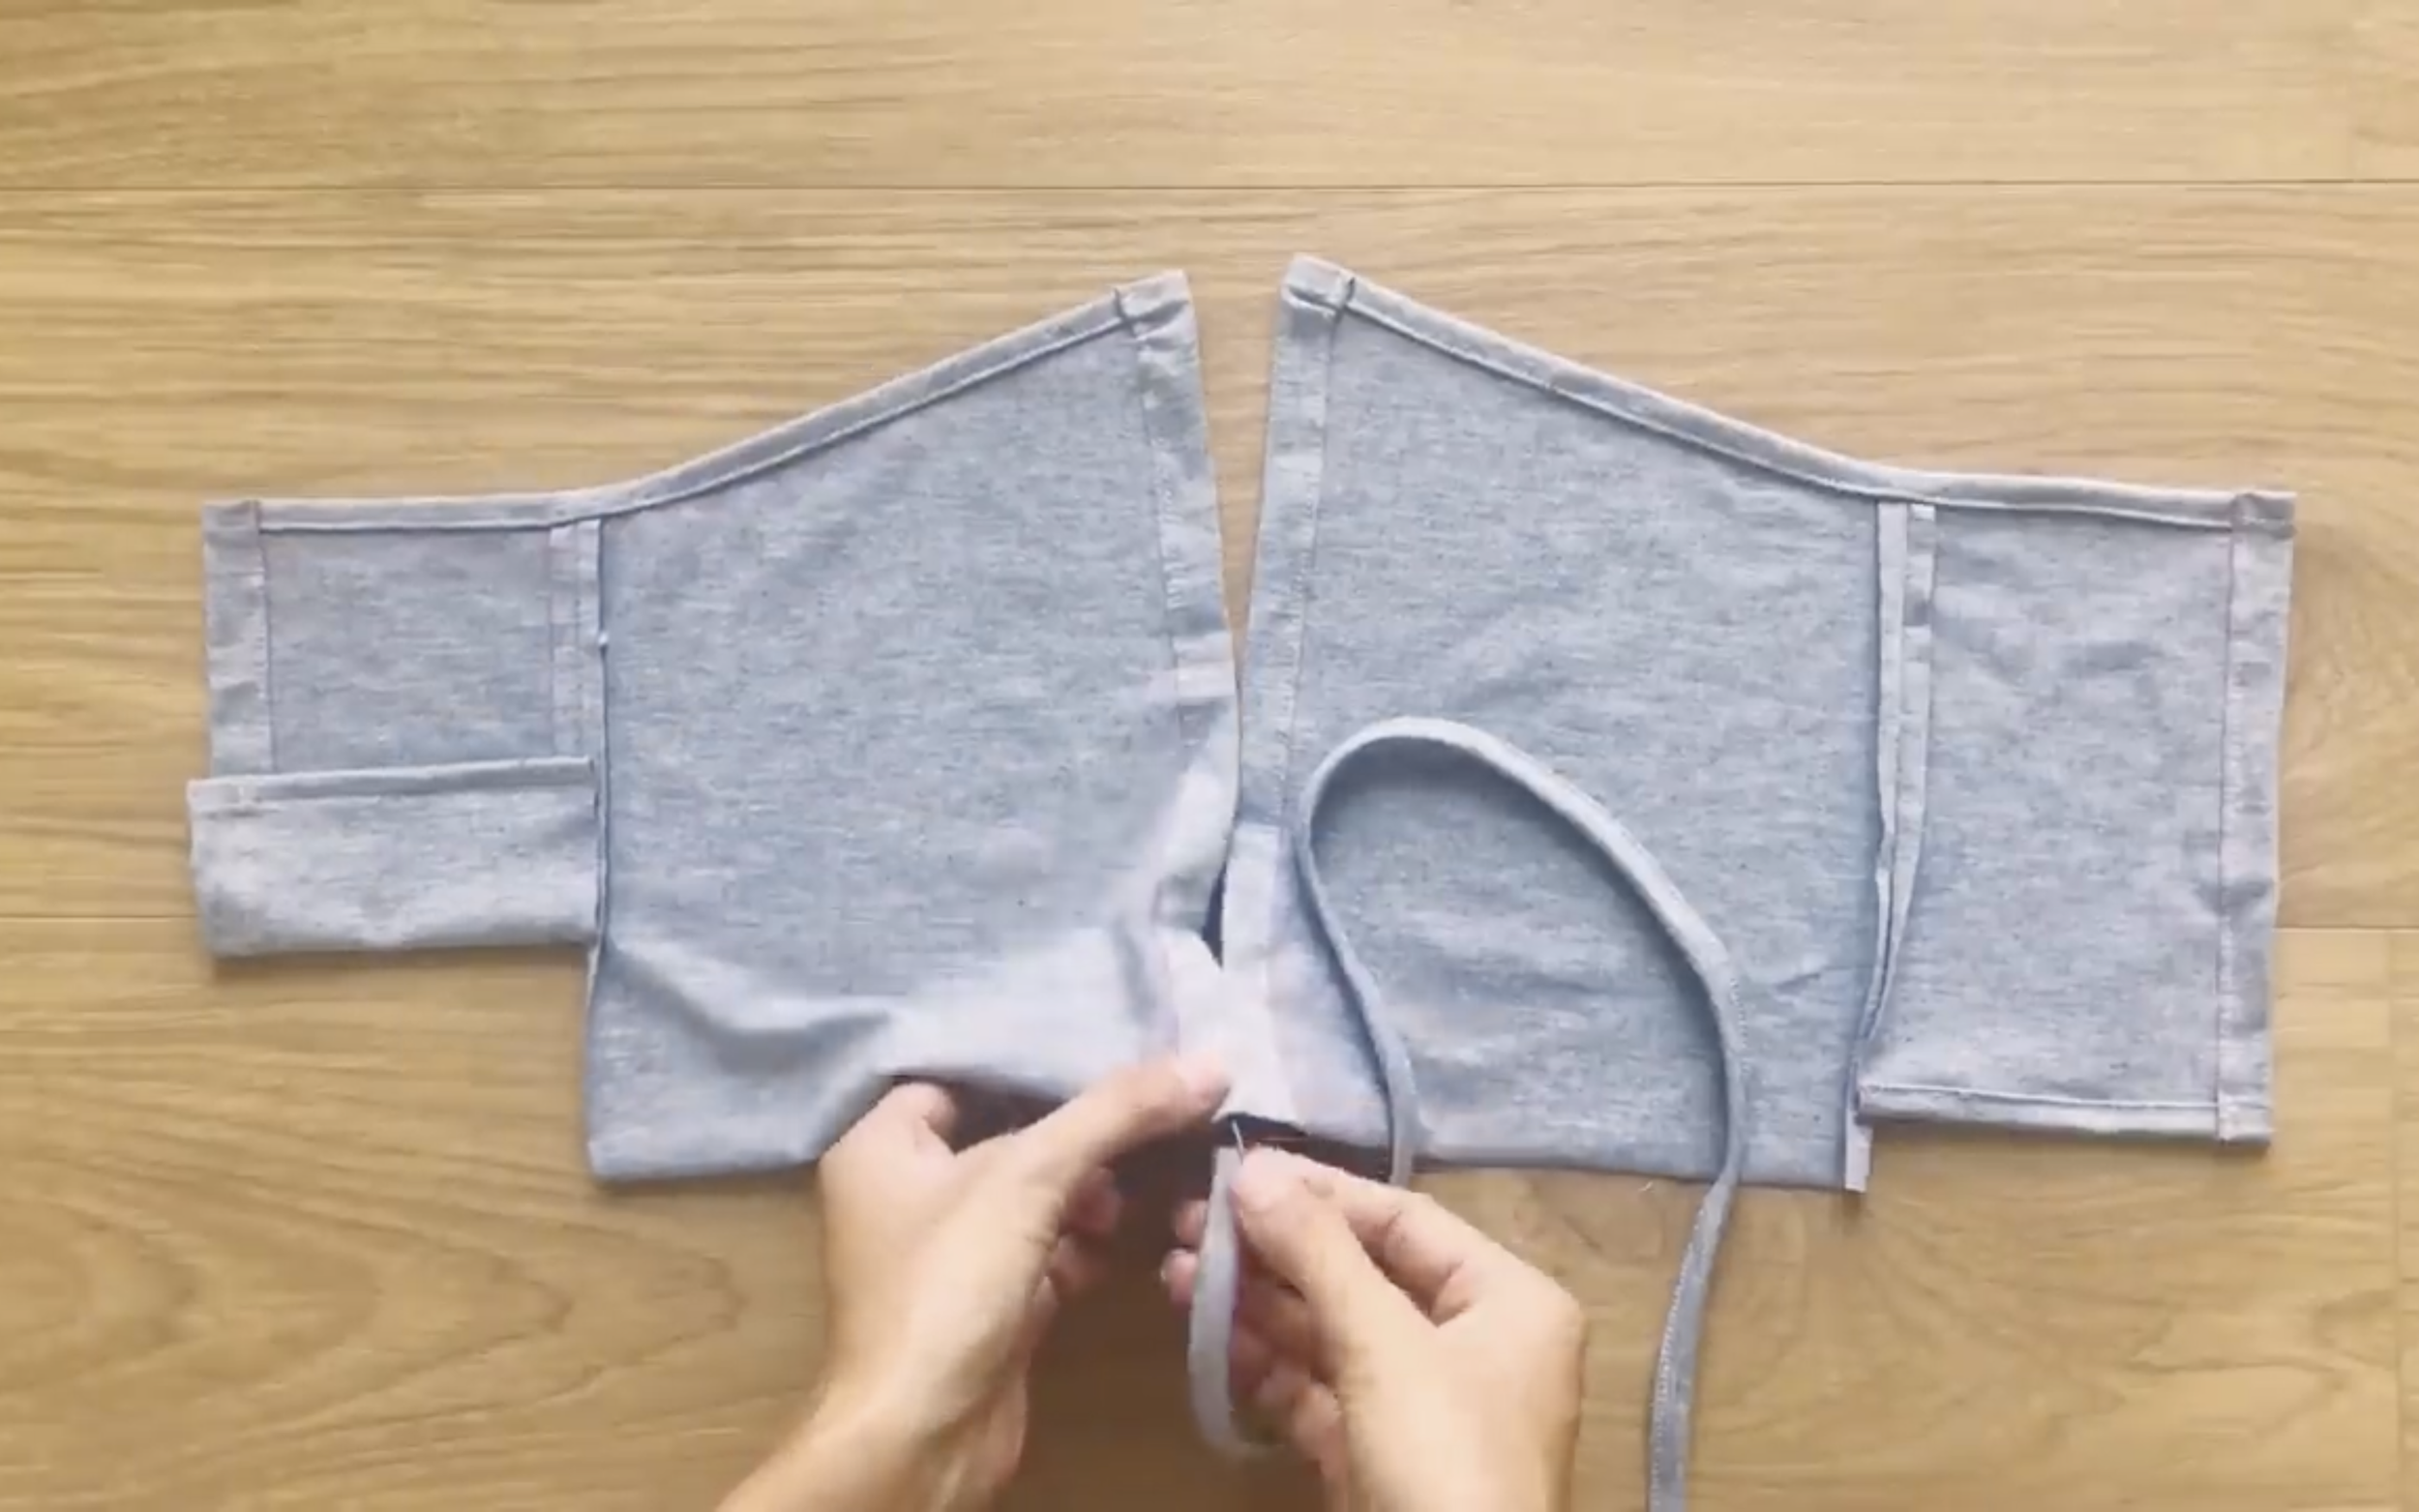
Connect two sides at the top of each piece together and sew.
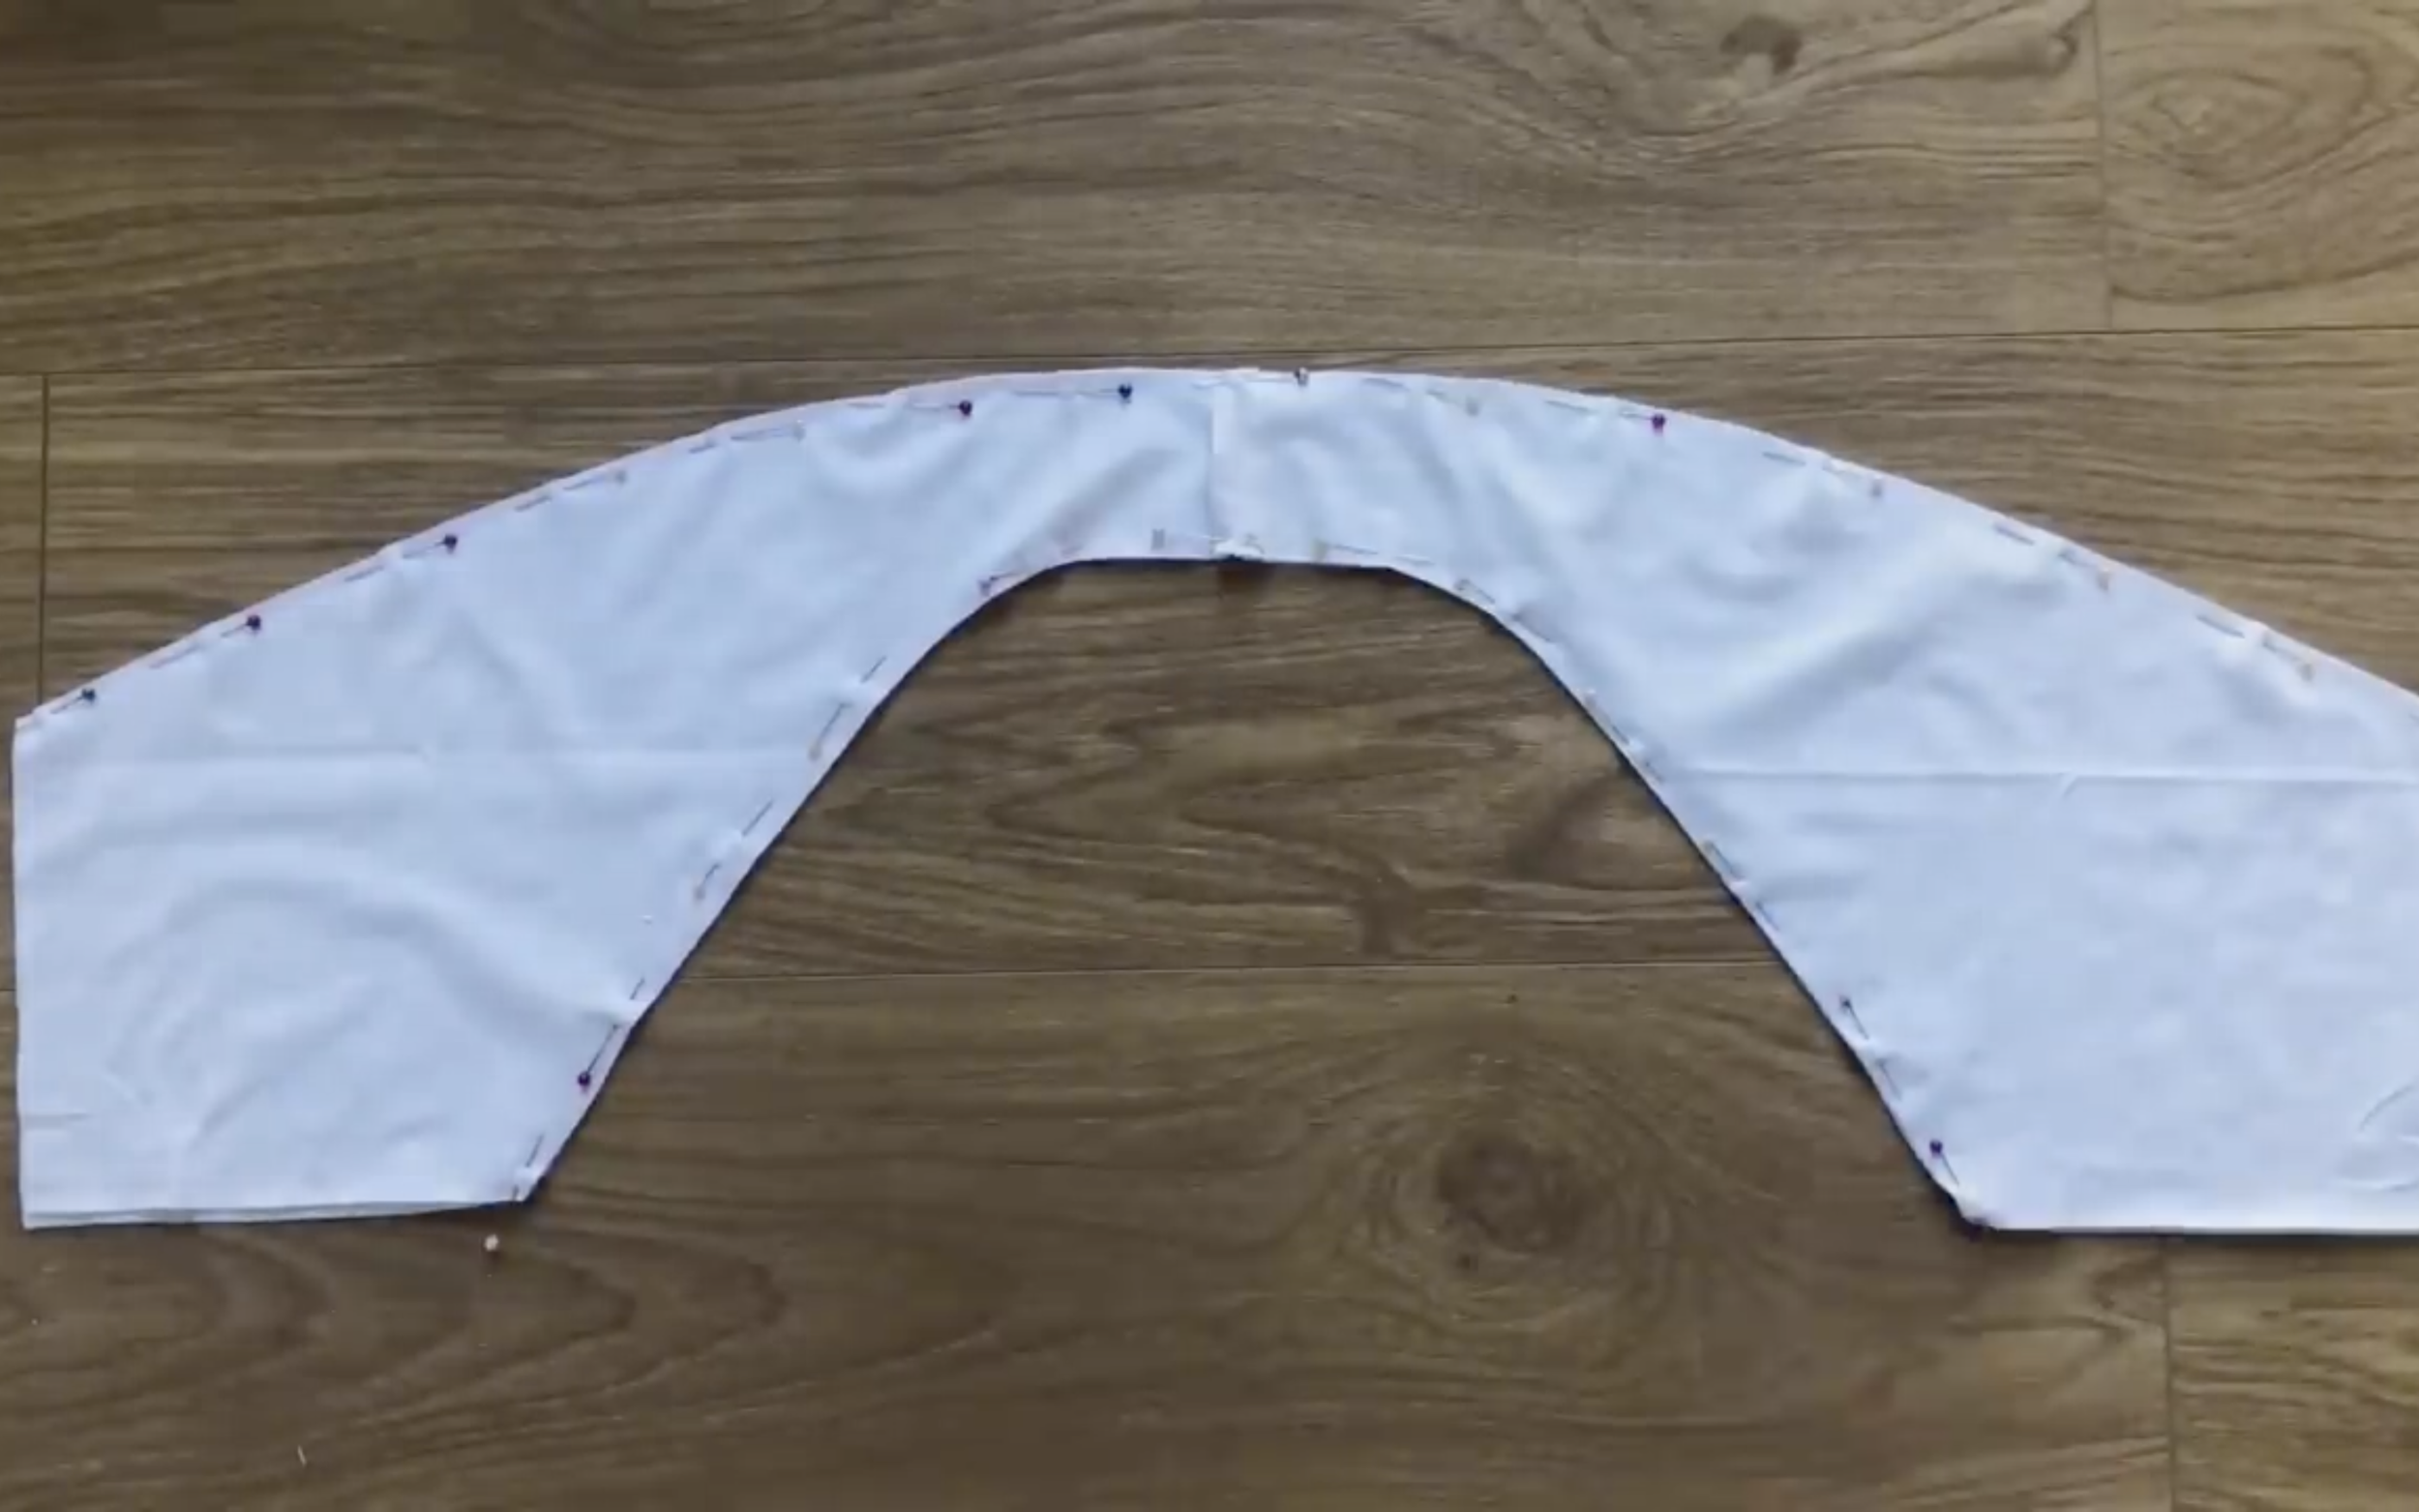
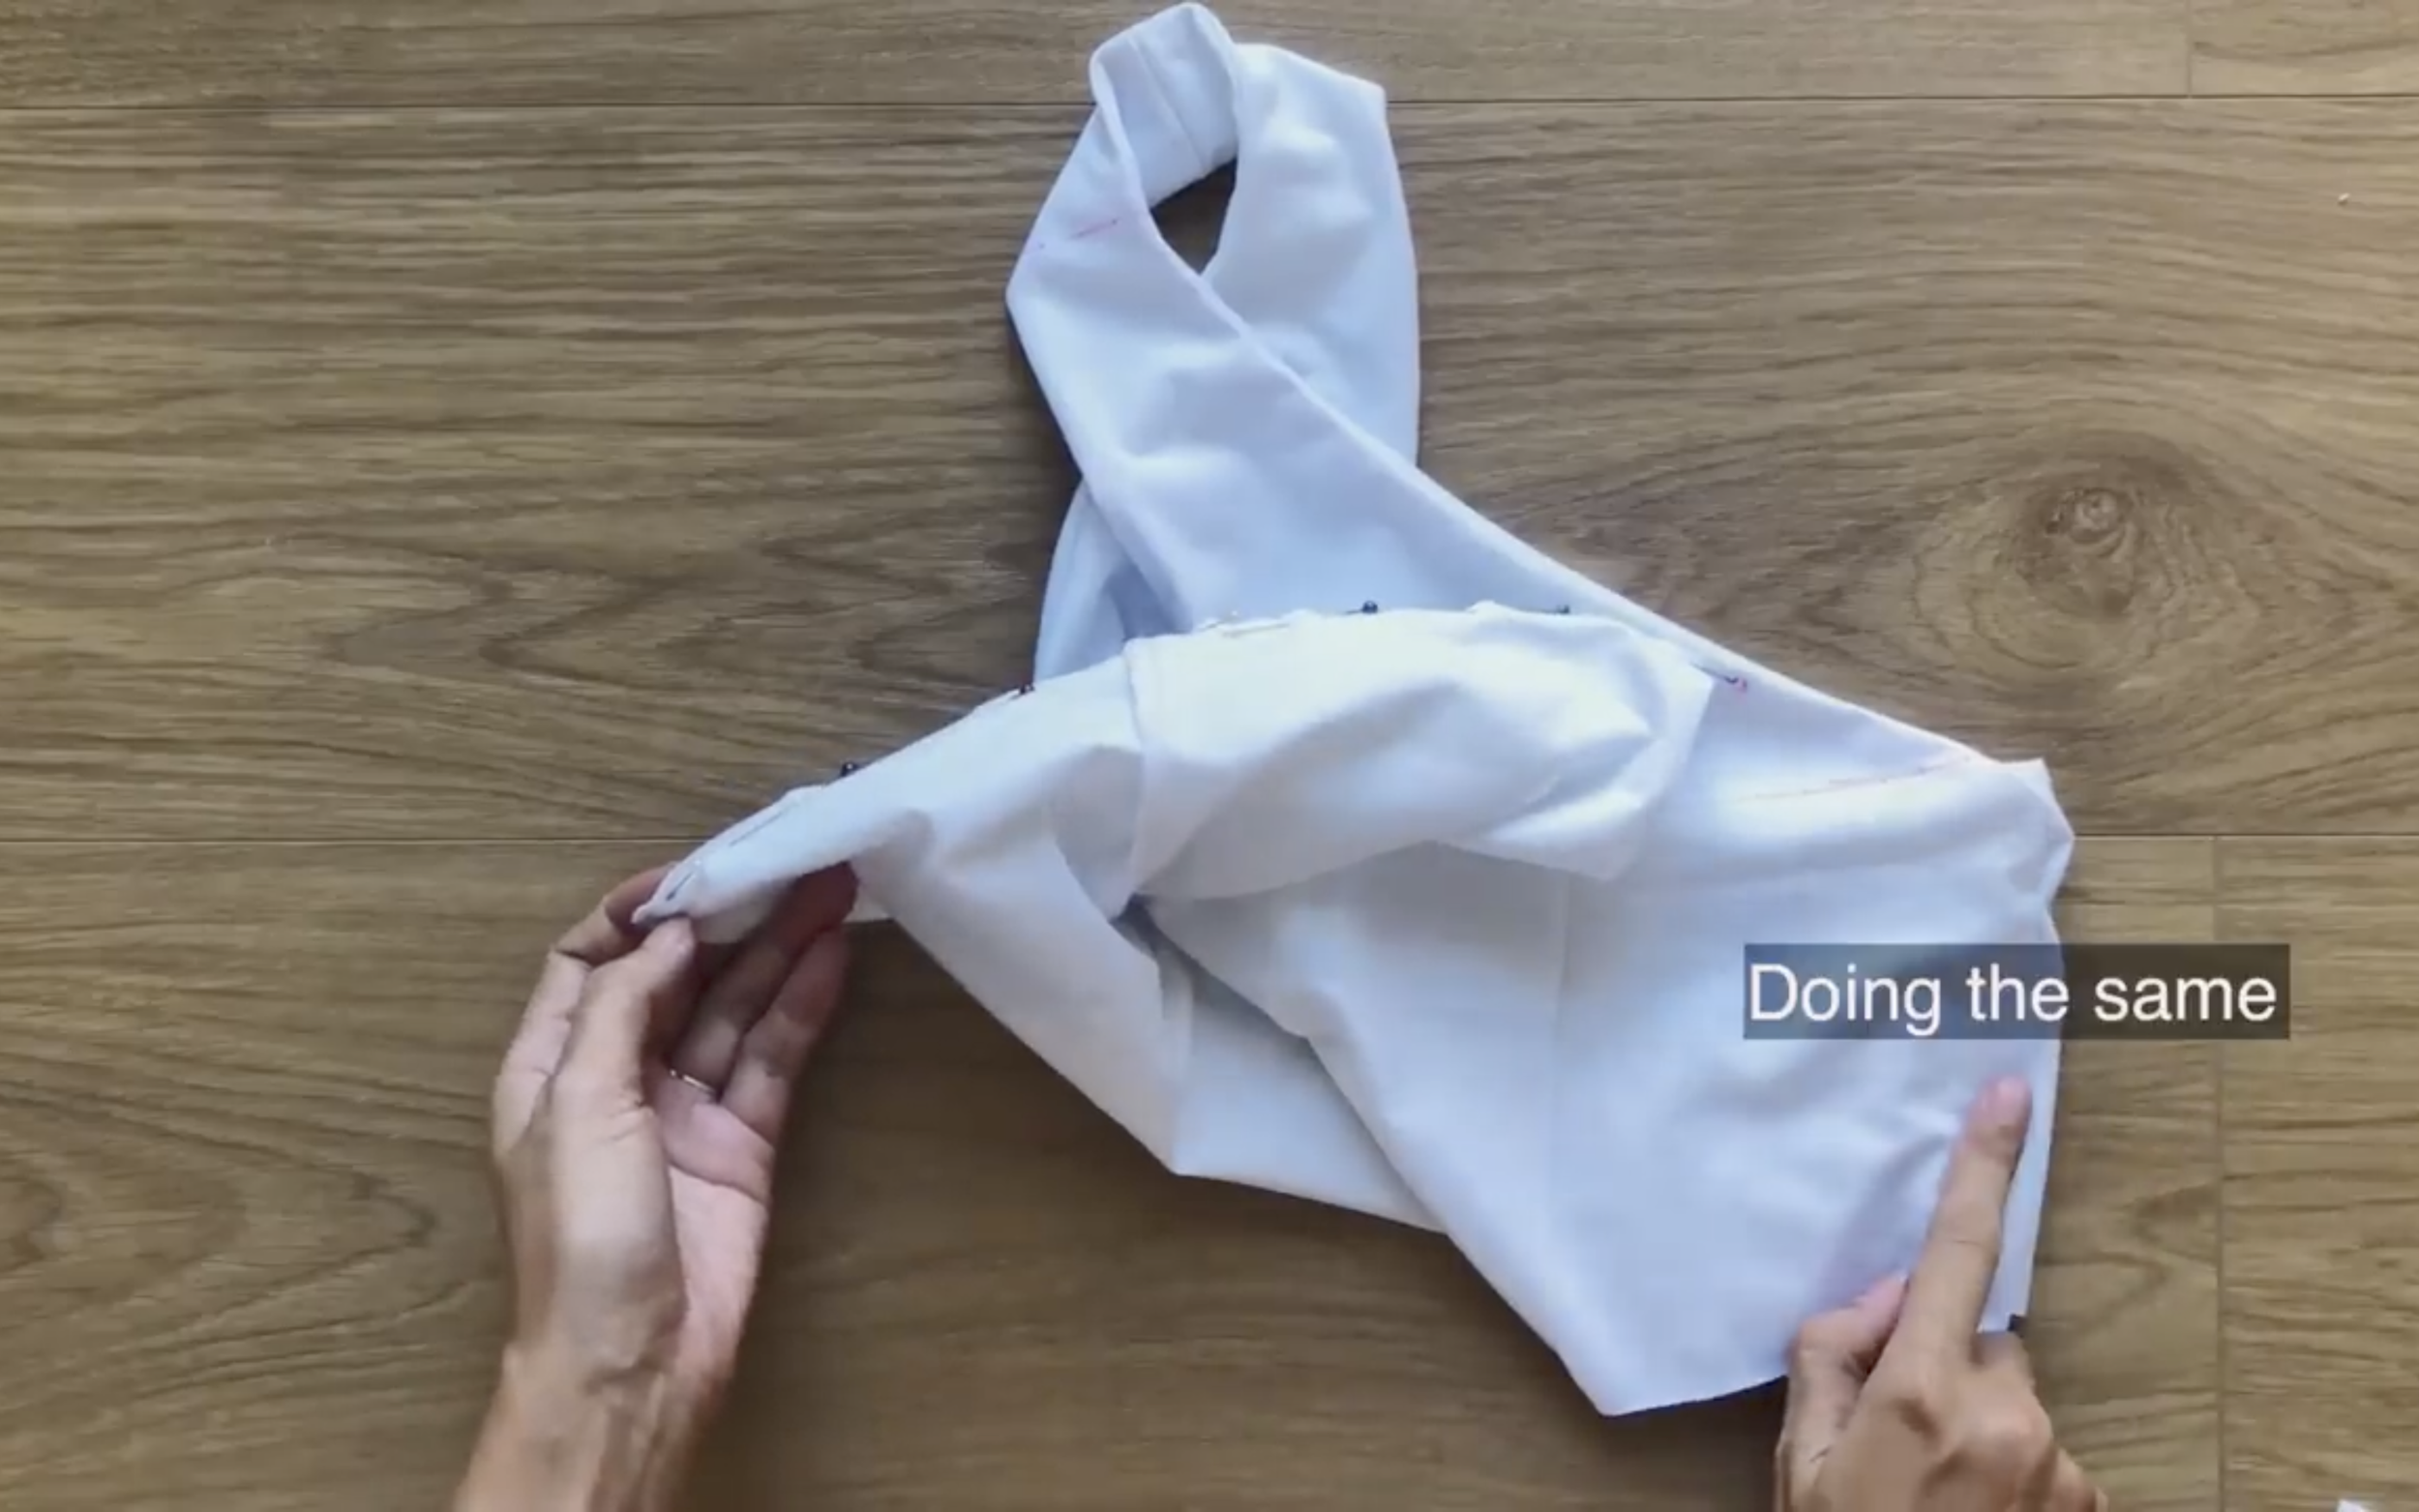
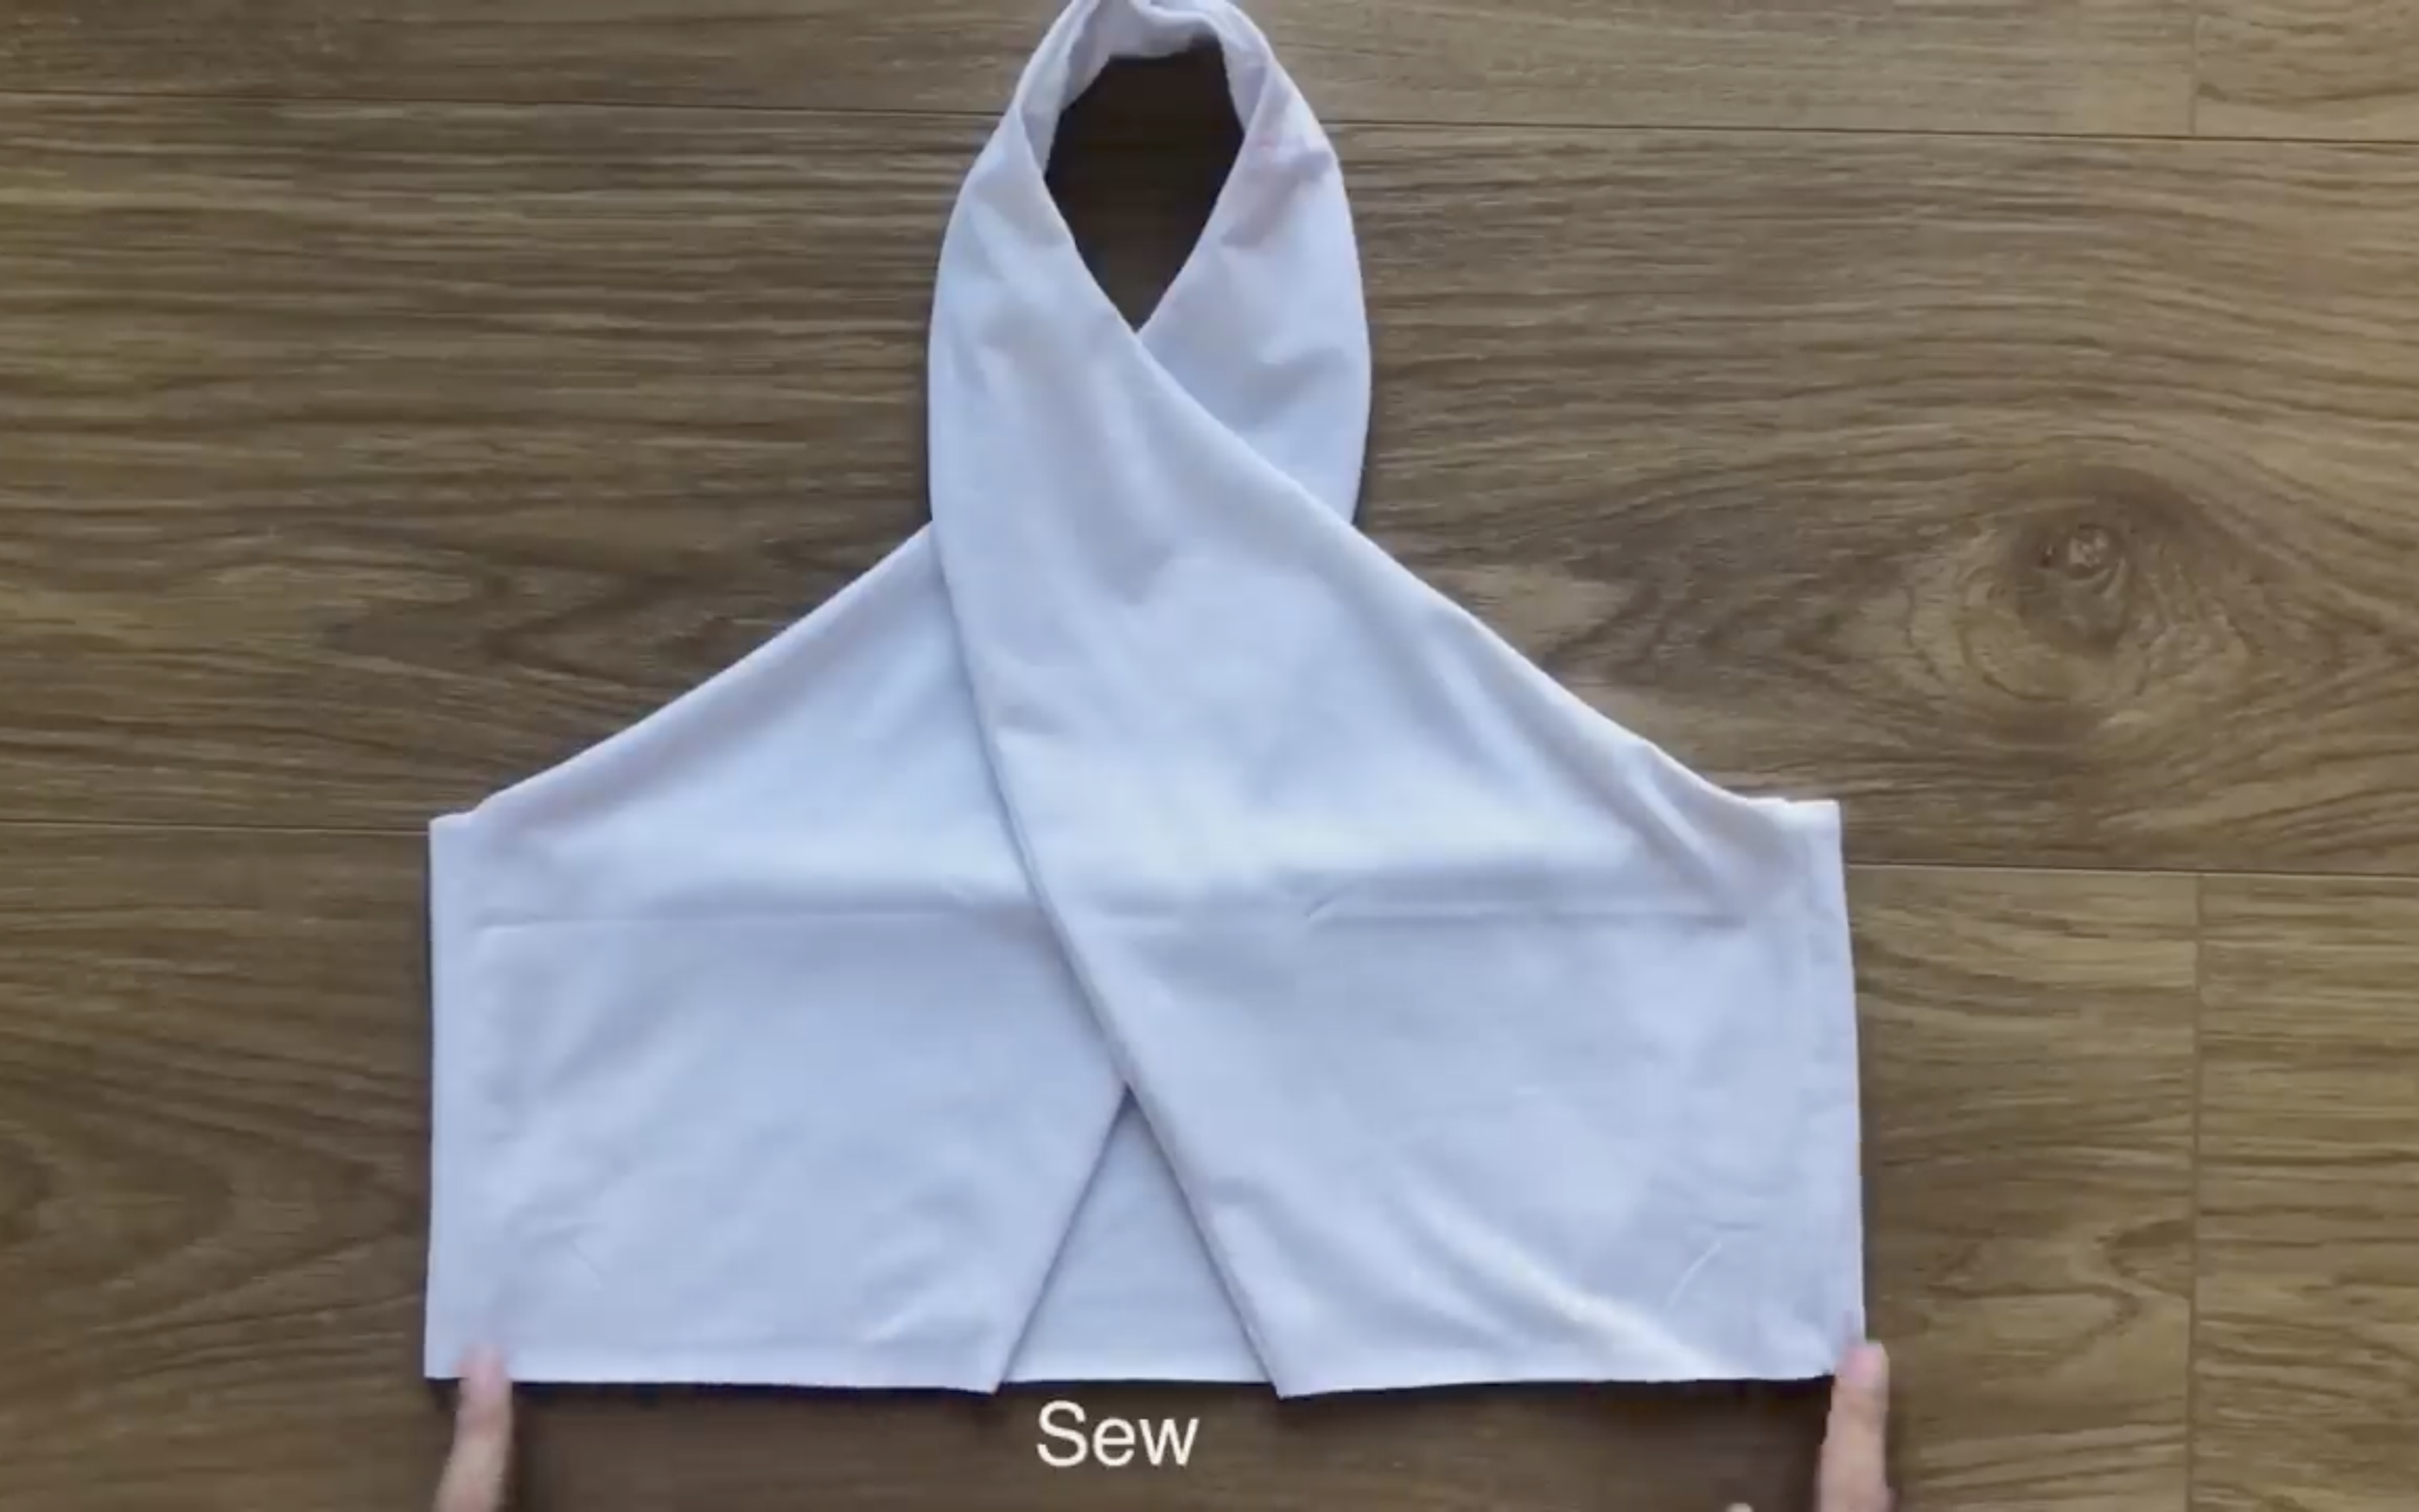
After that, connect two pieces together at two curved lines.
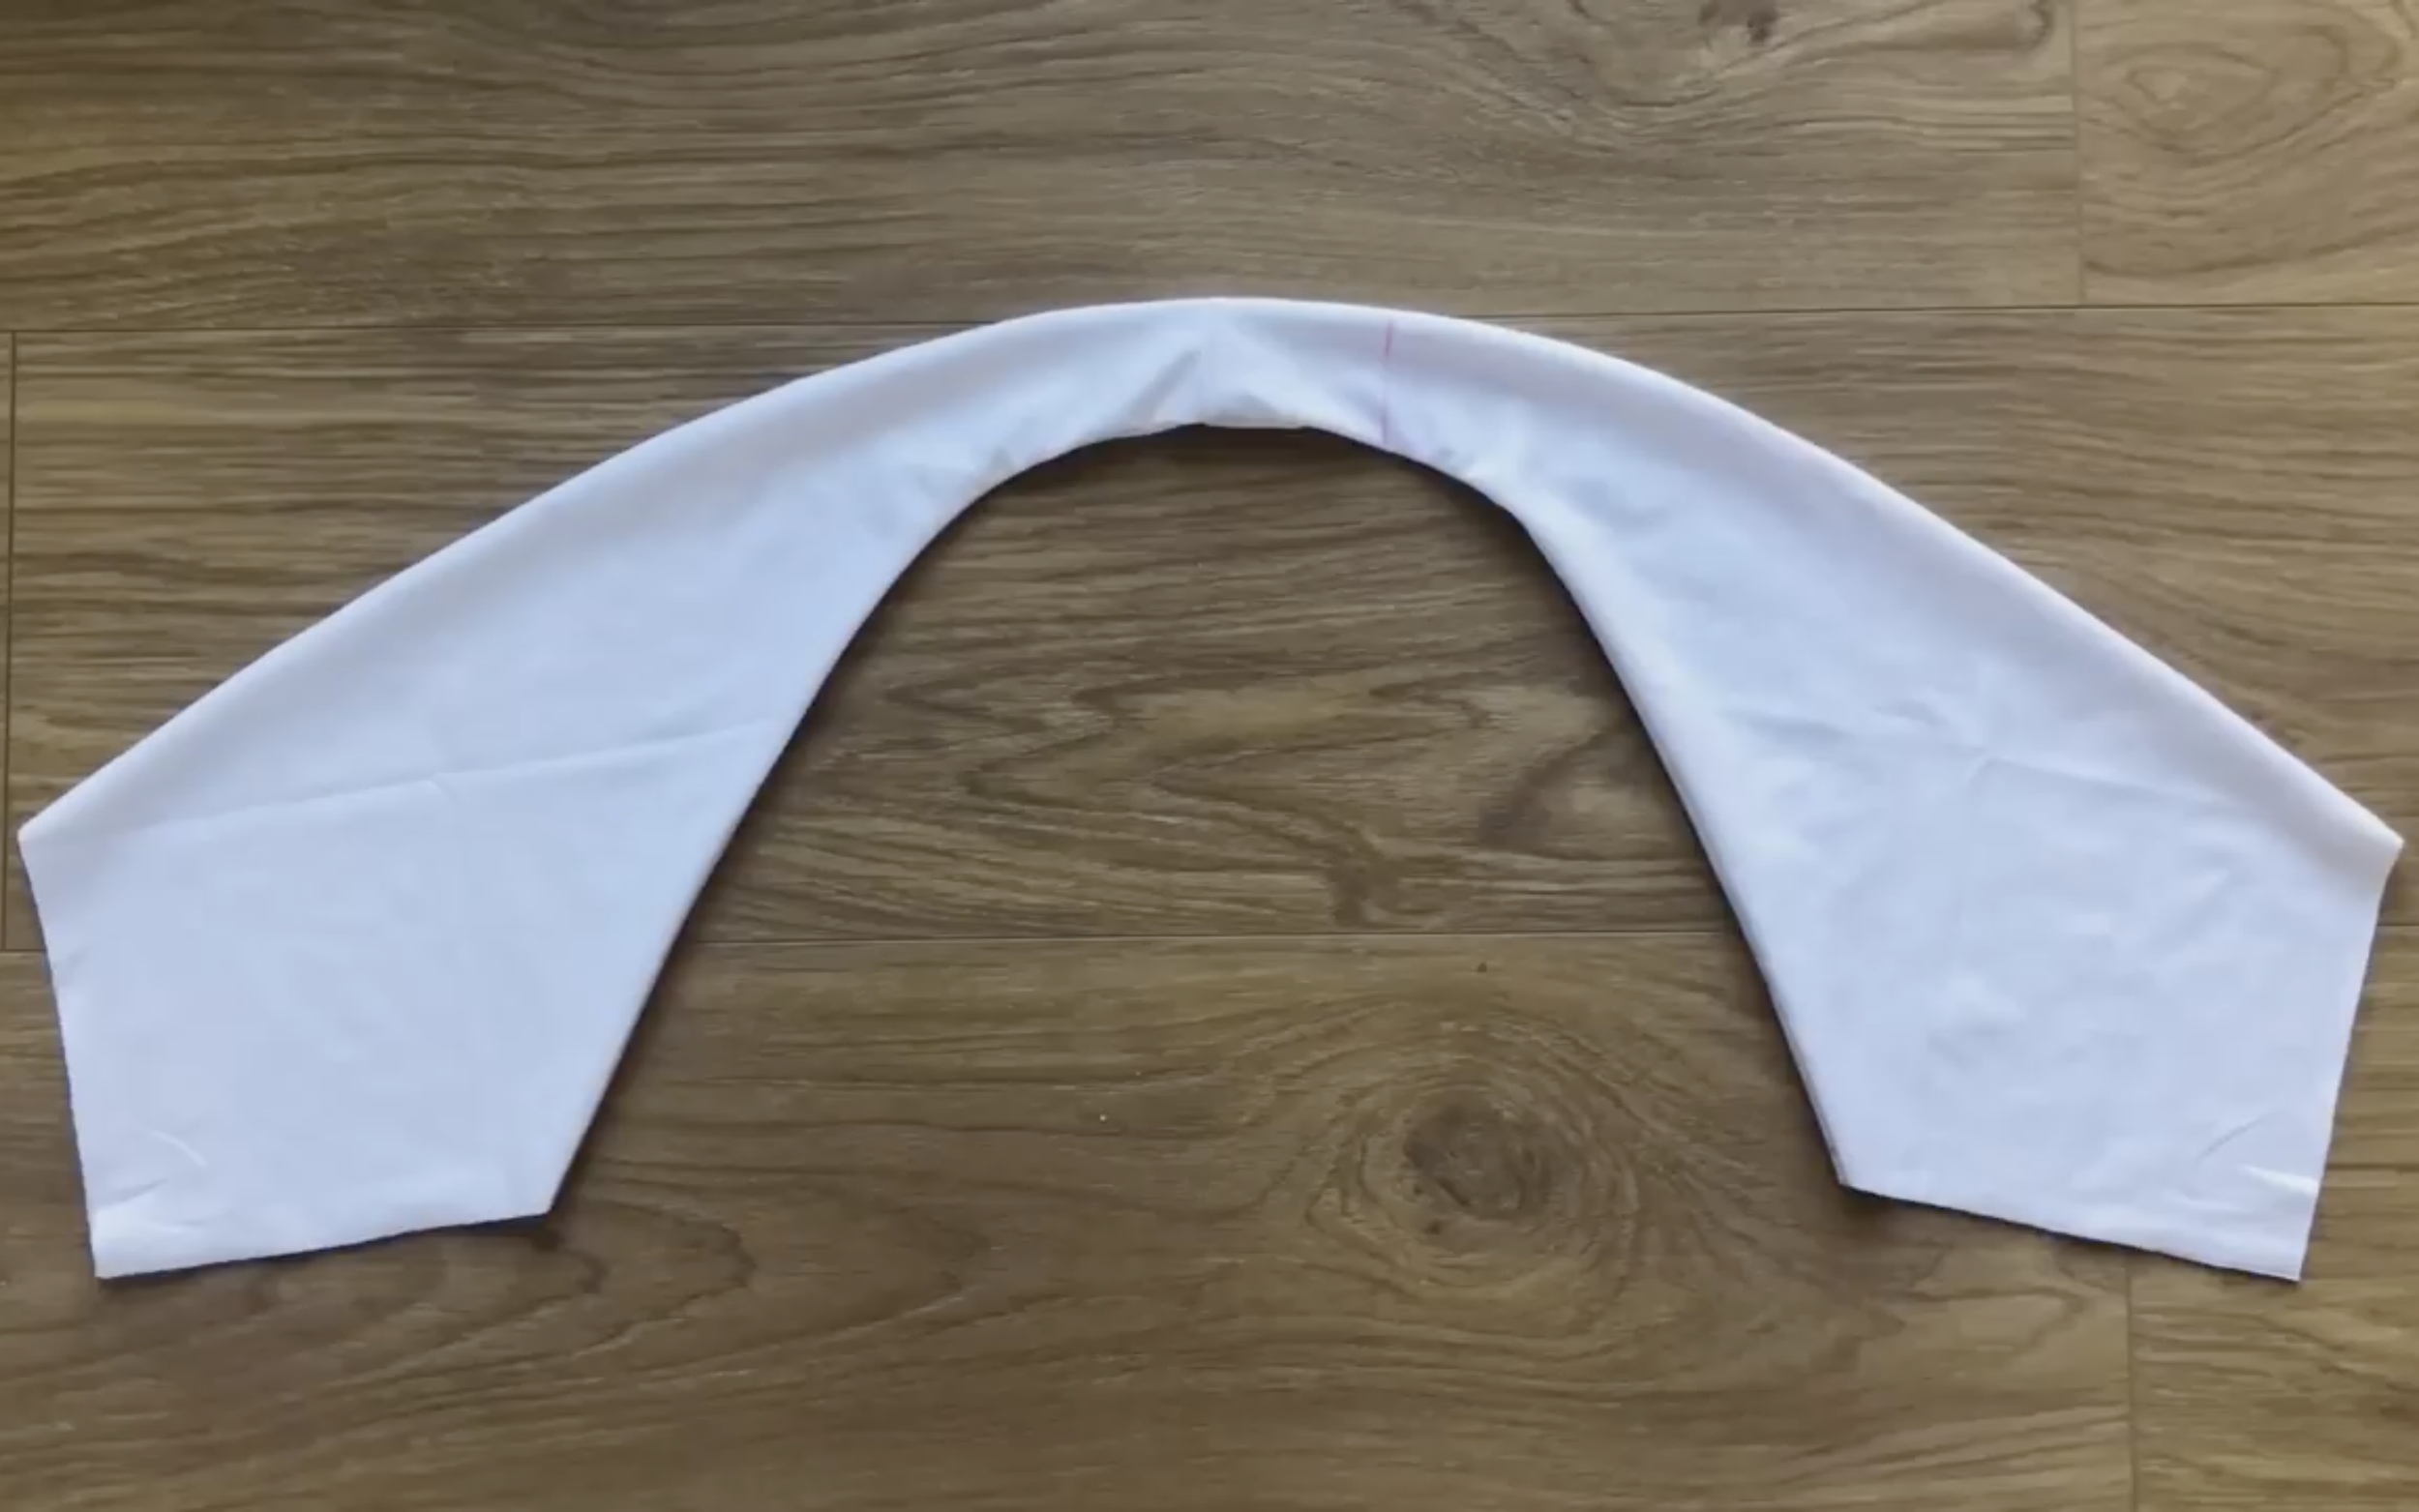
After turning it inside out, will have the front part of the crop top.
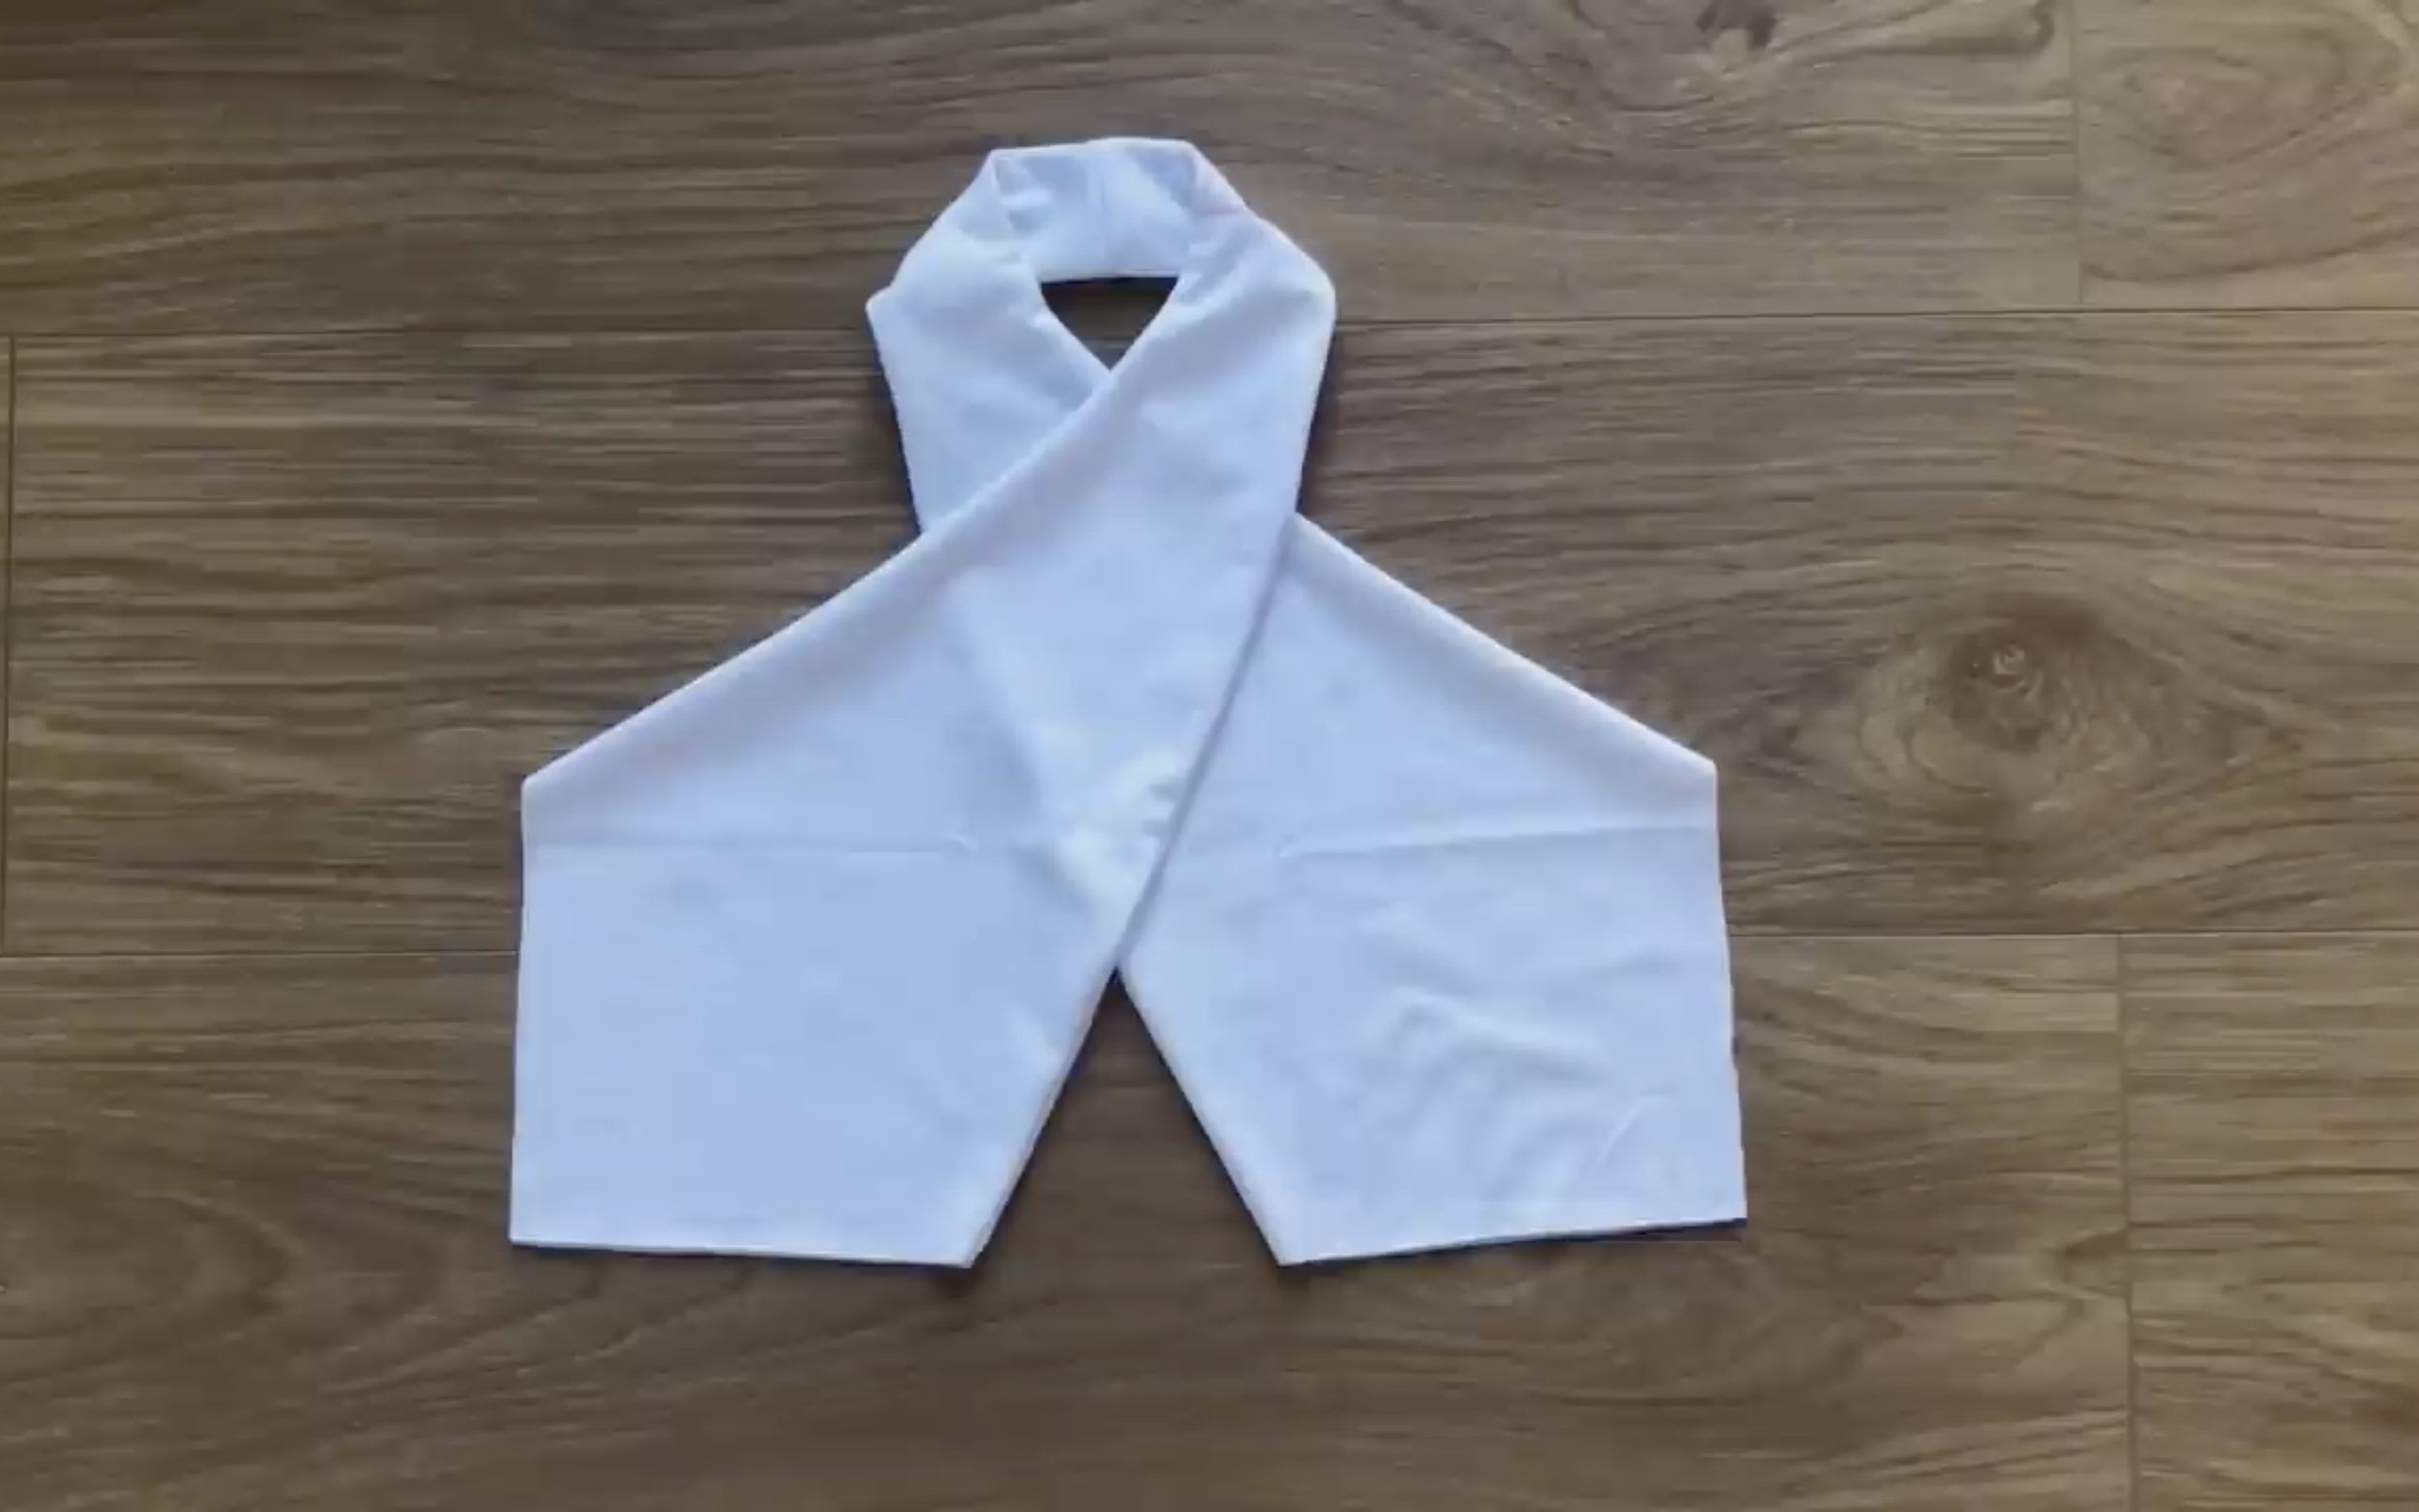
Switch the position of the under part to create a hole at the top which is the position for the neck of the halter crop top.
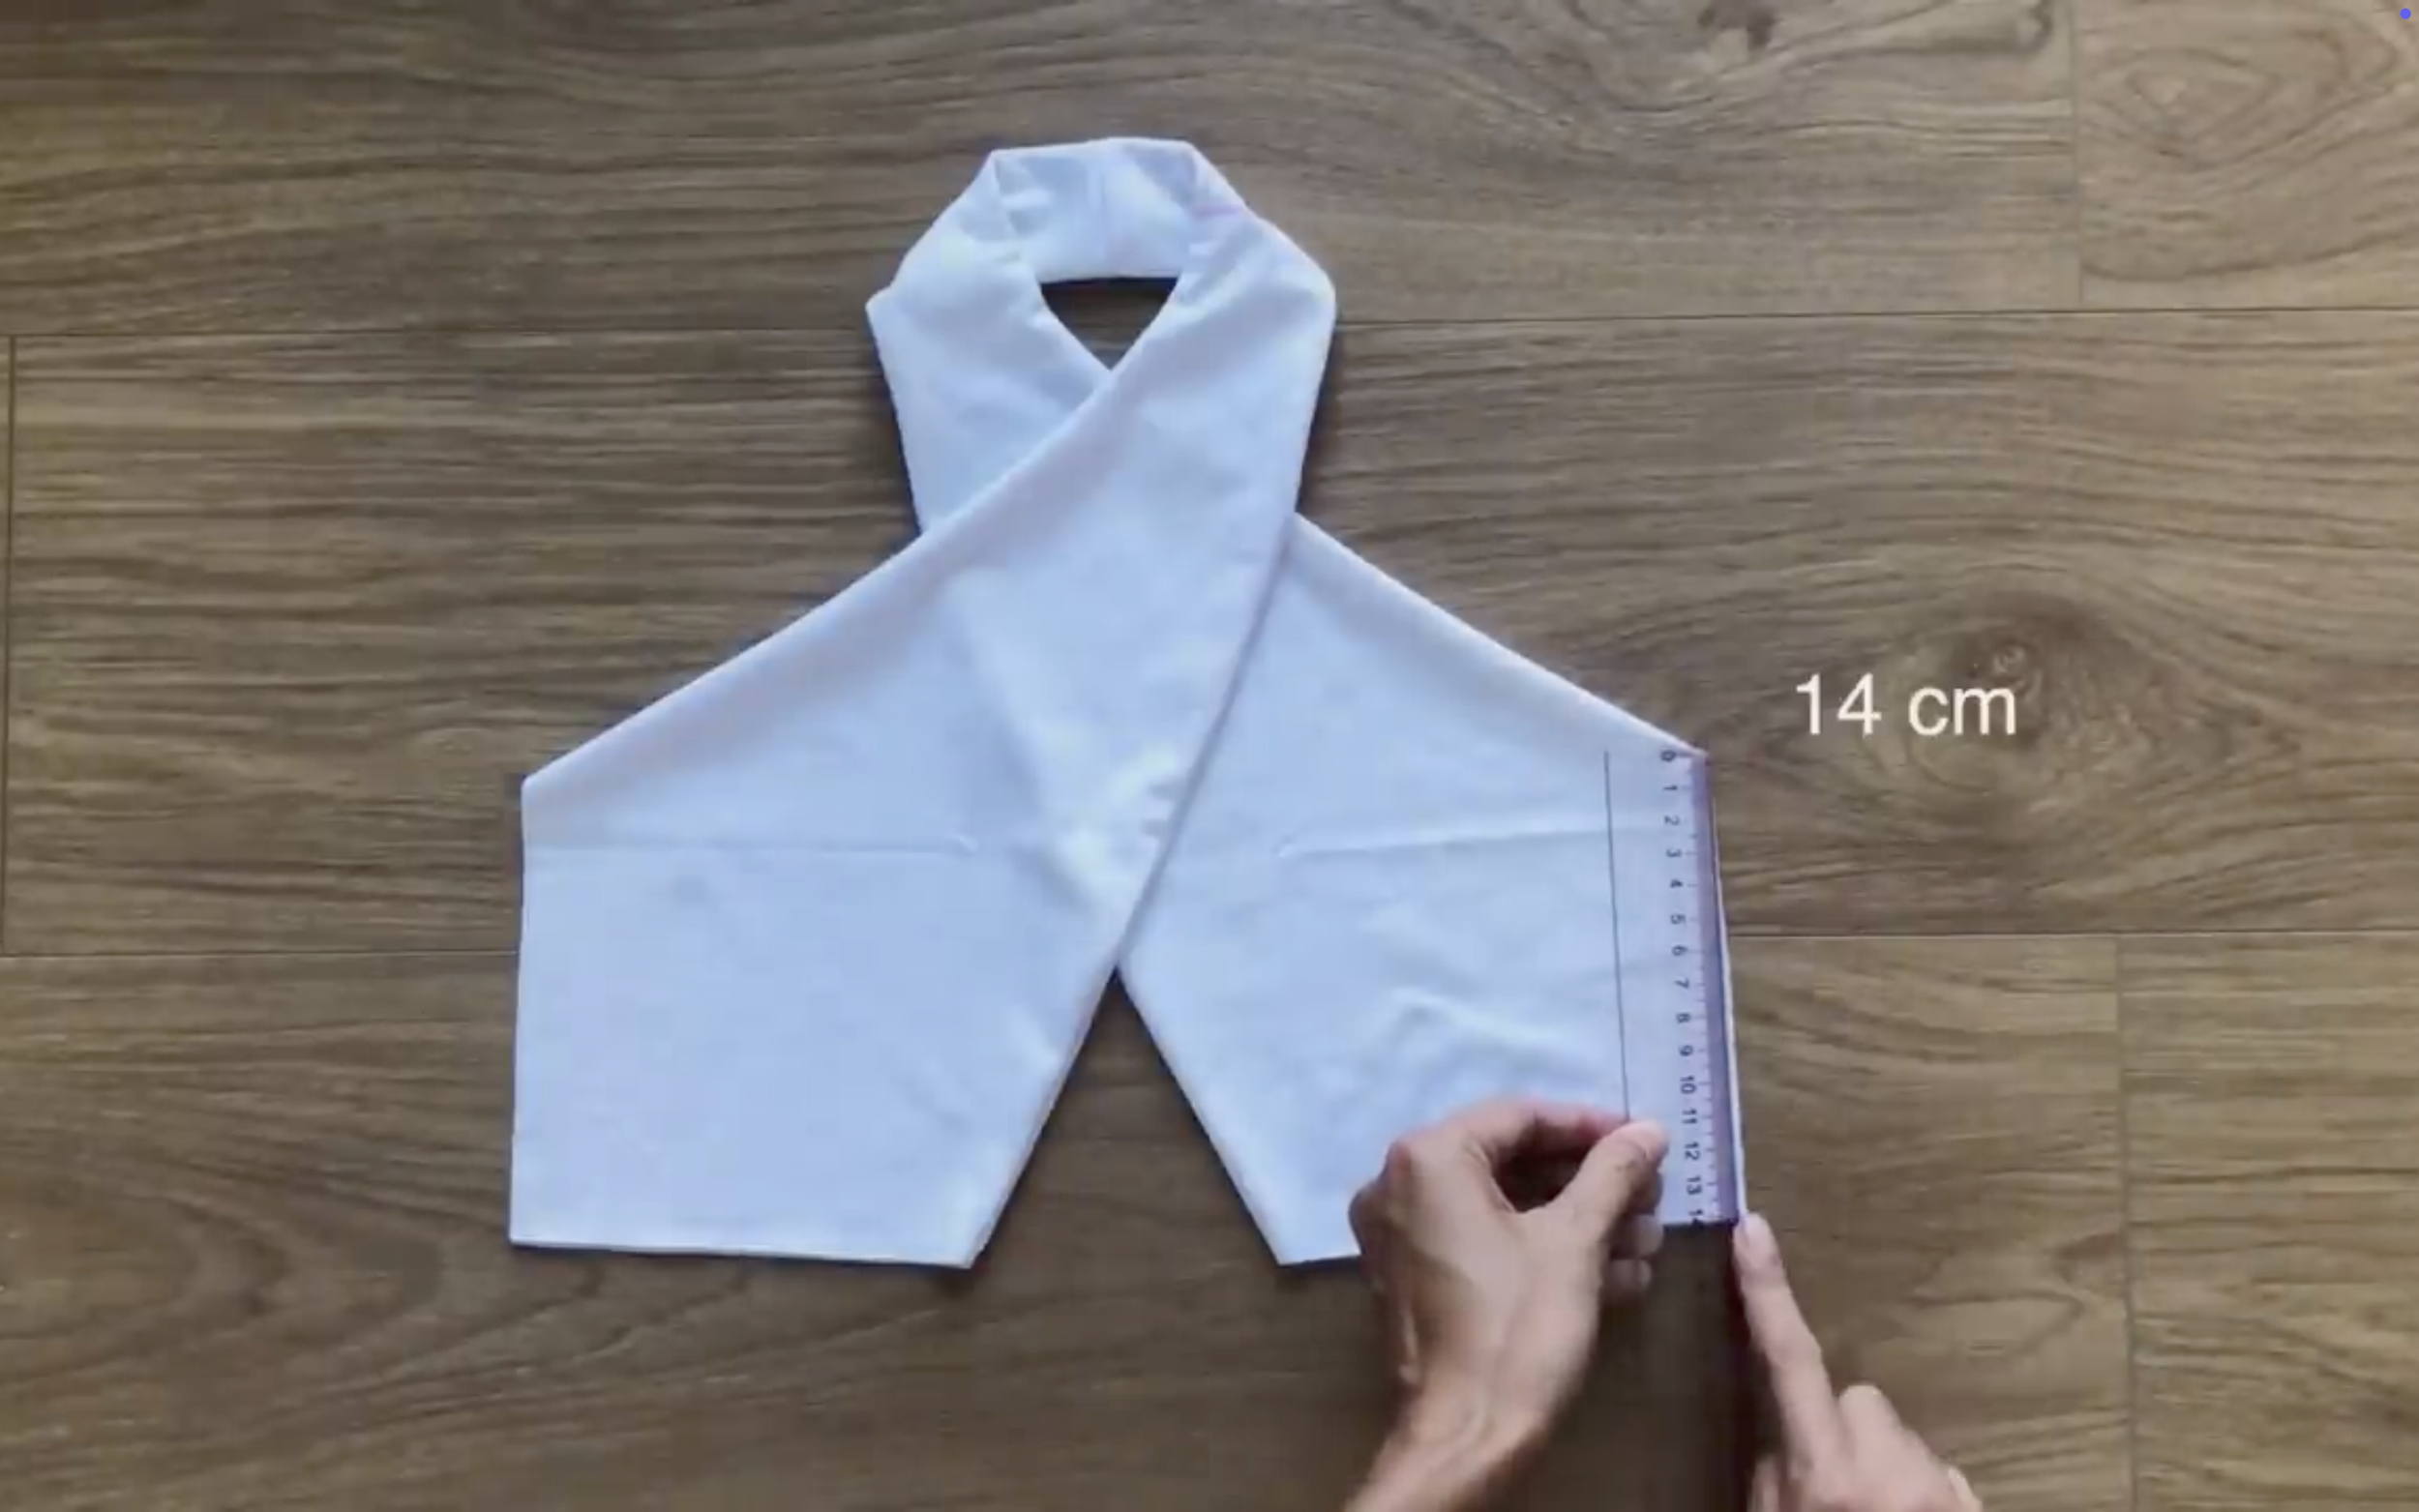
Check the width in the length of the under part of the front crop top. So can make the back part of the crop top to connect them together later.
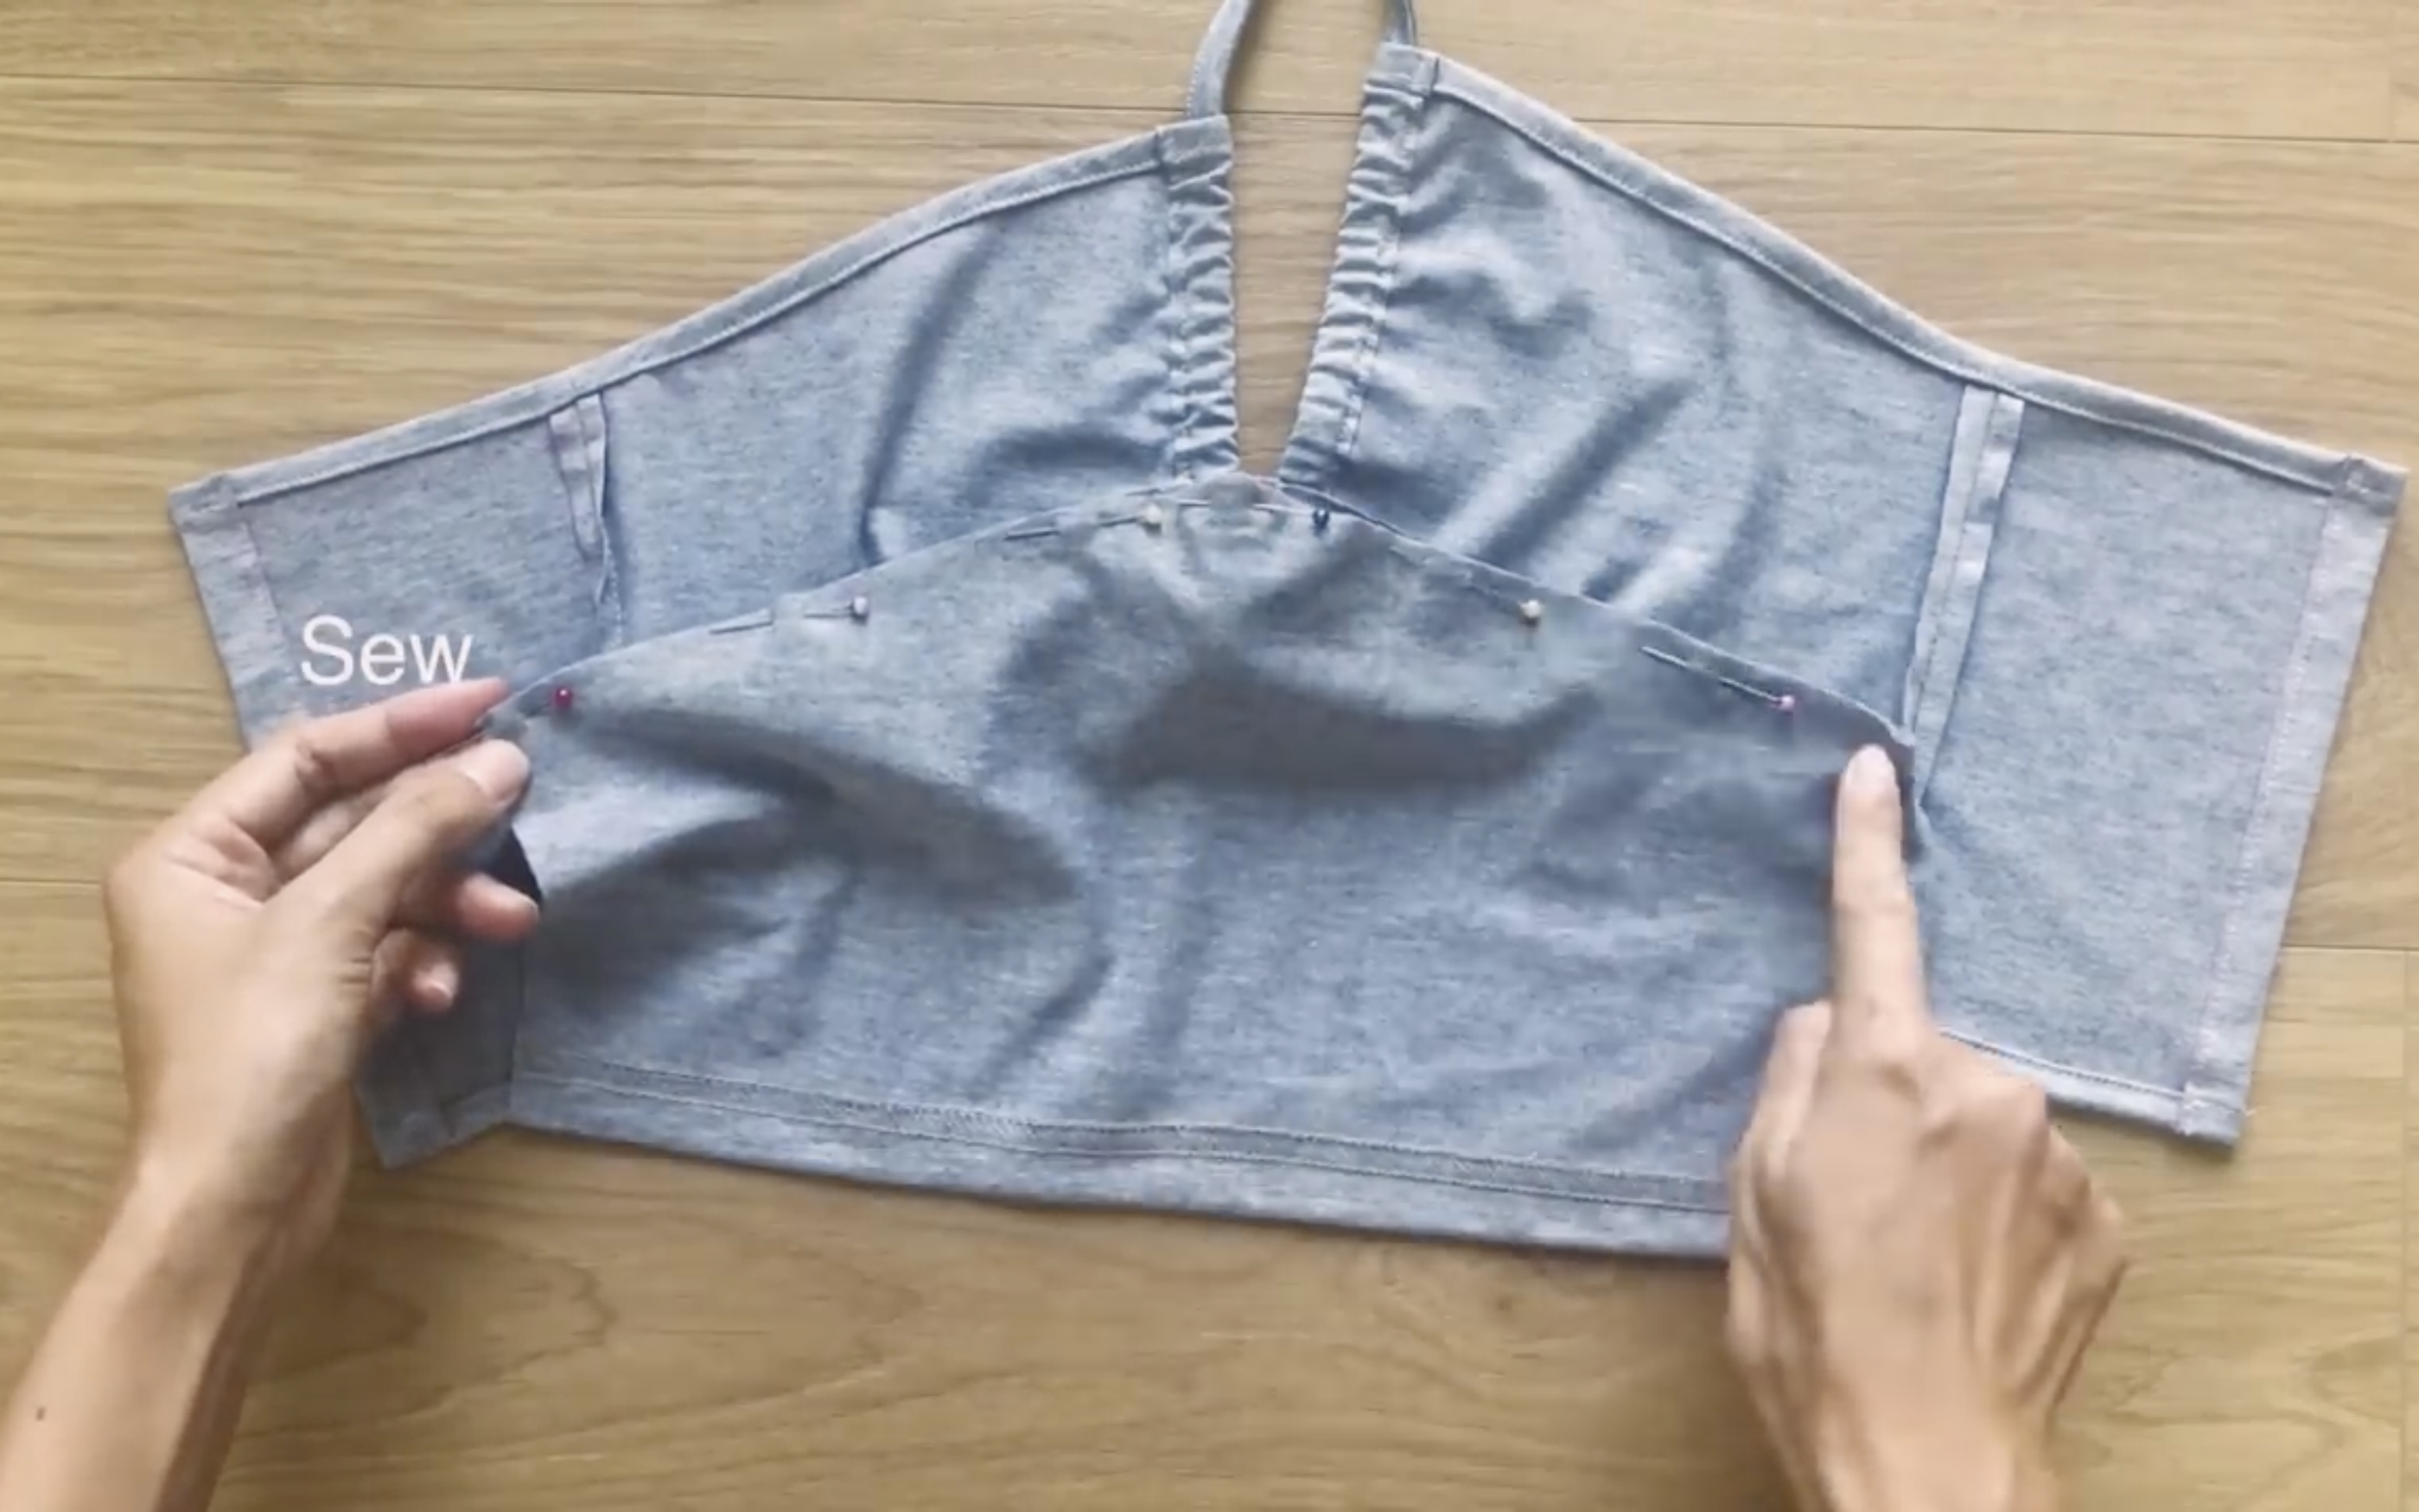
Cut two rectangles with 15 cm length which is 1 cm longer than the length of the front part for seam allowance and 35 cm width which is a half of the under bust size.
After cutting, connect two rectangles together on one width line.
Then connect two length lines of them to the front part of the crop top later.
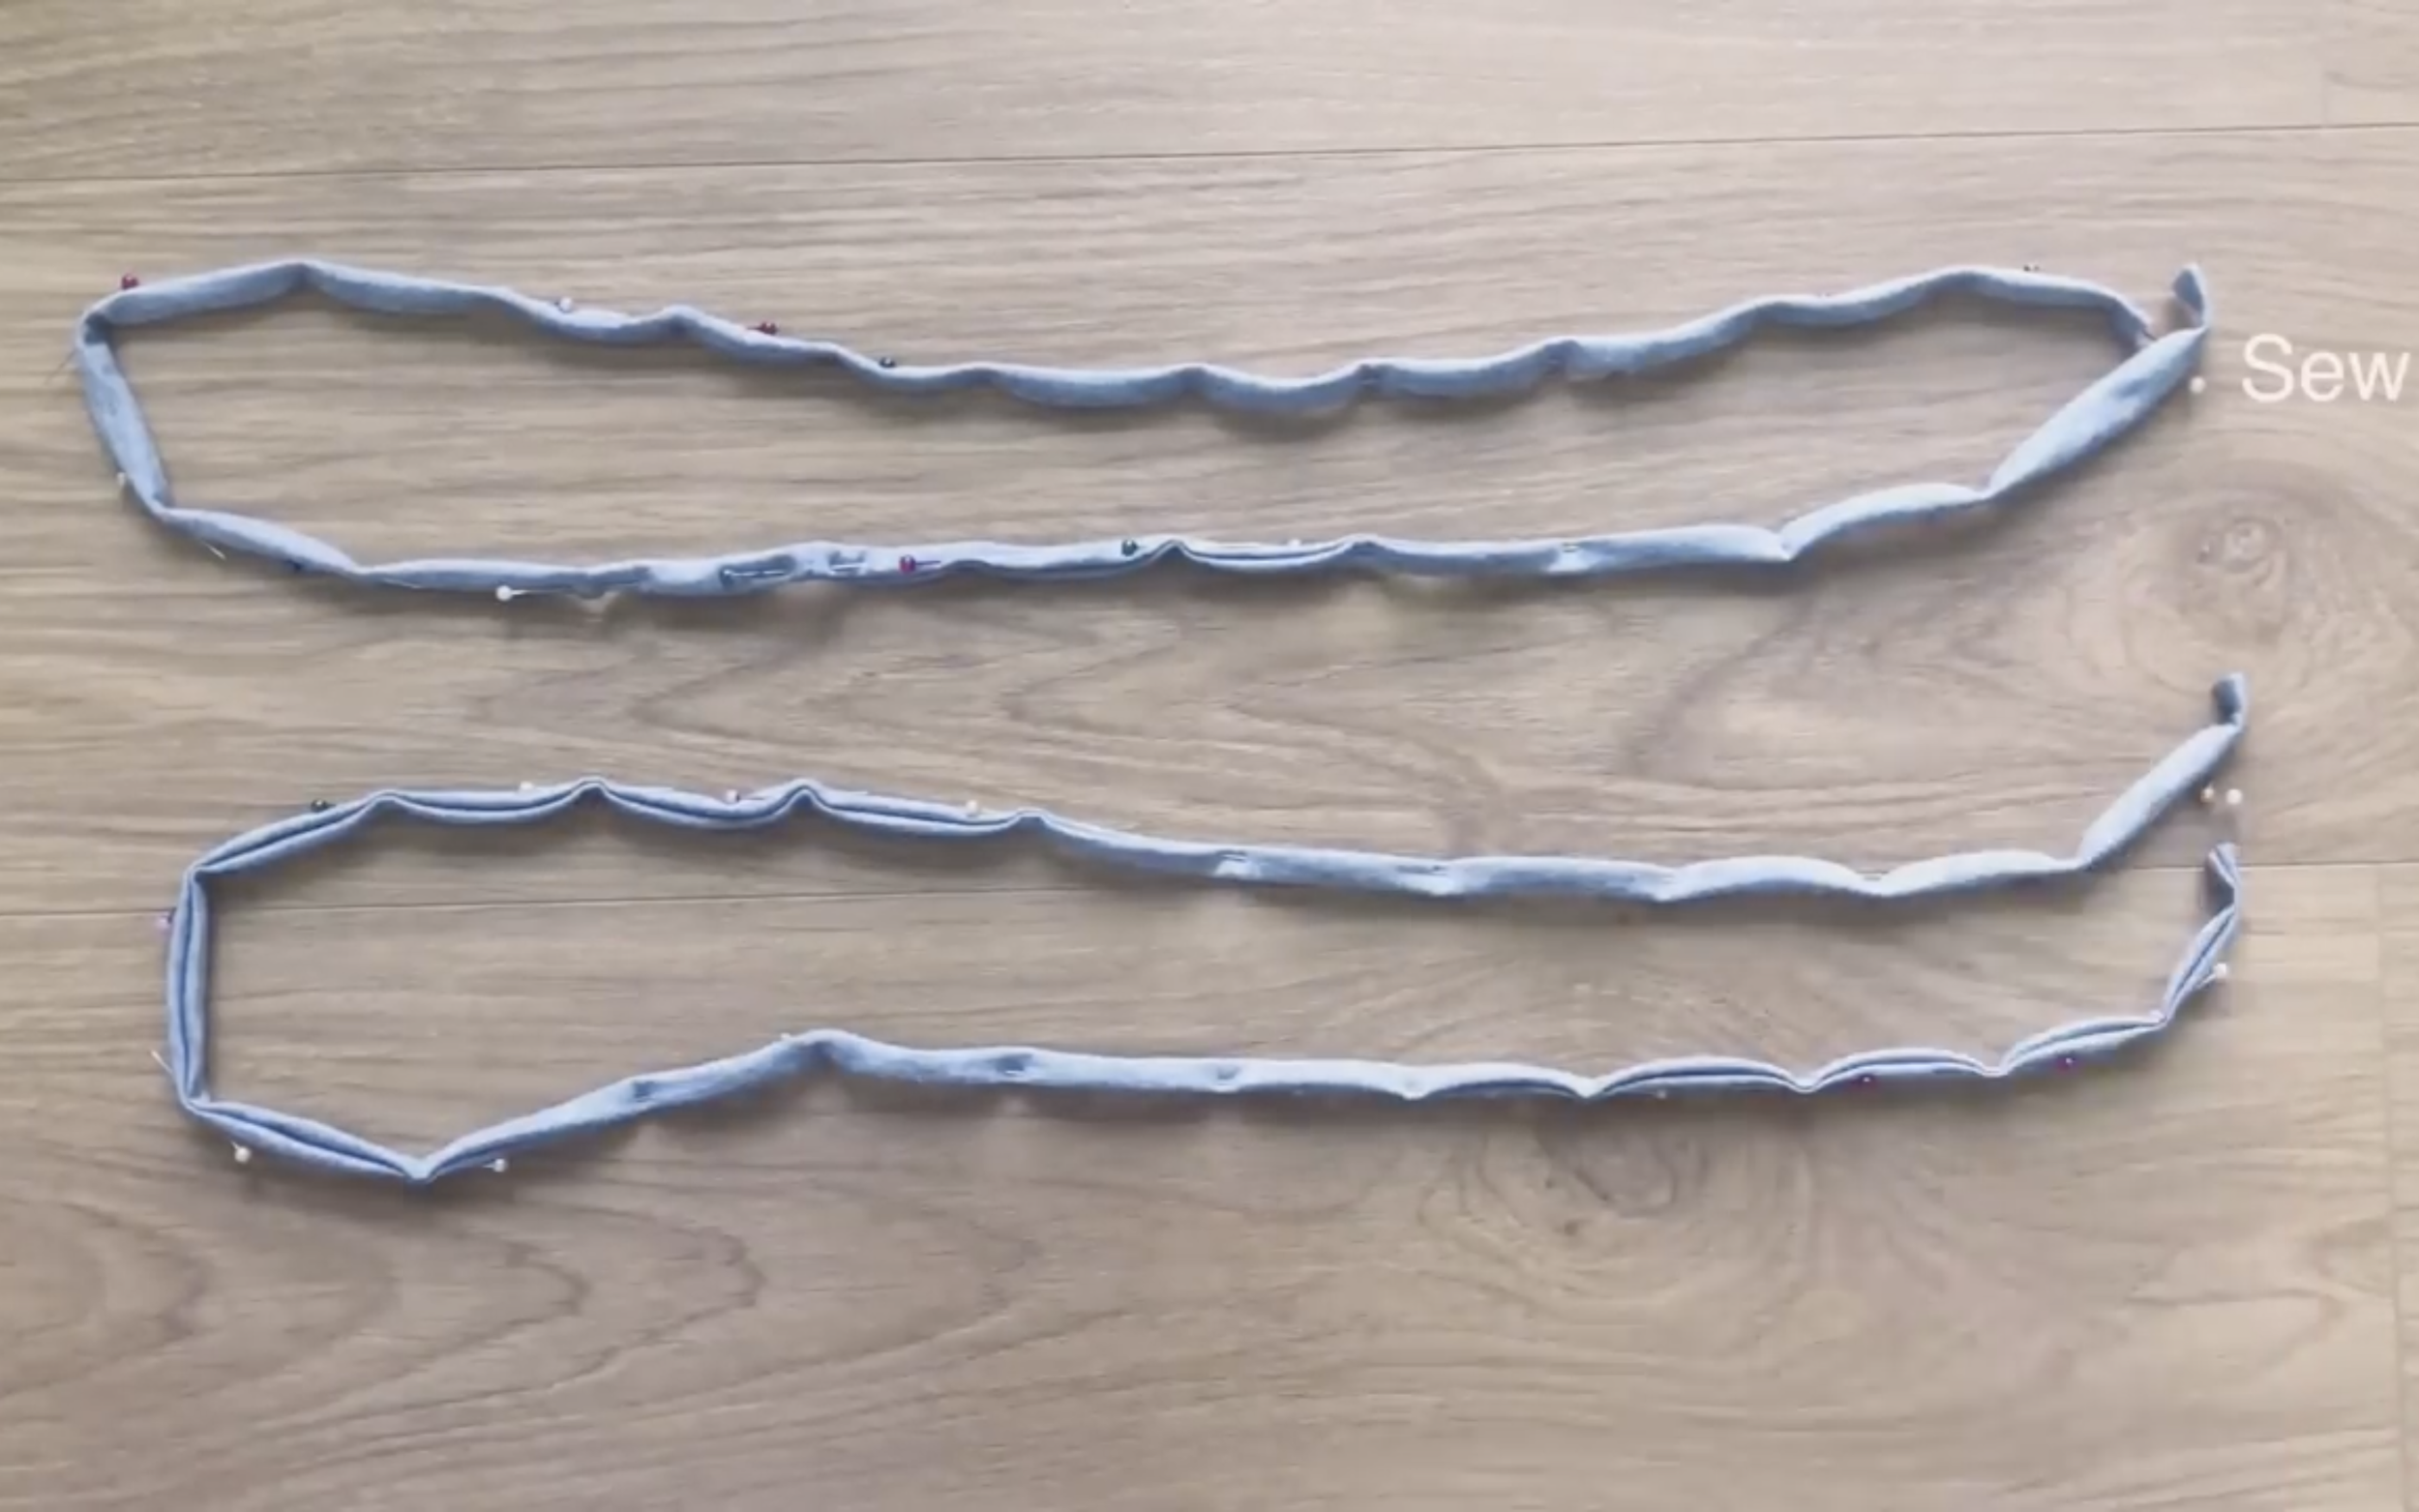
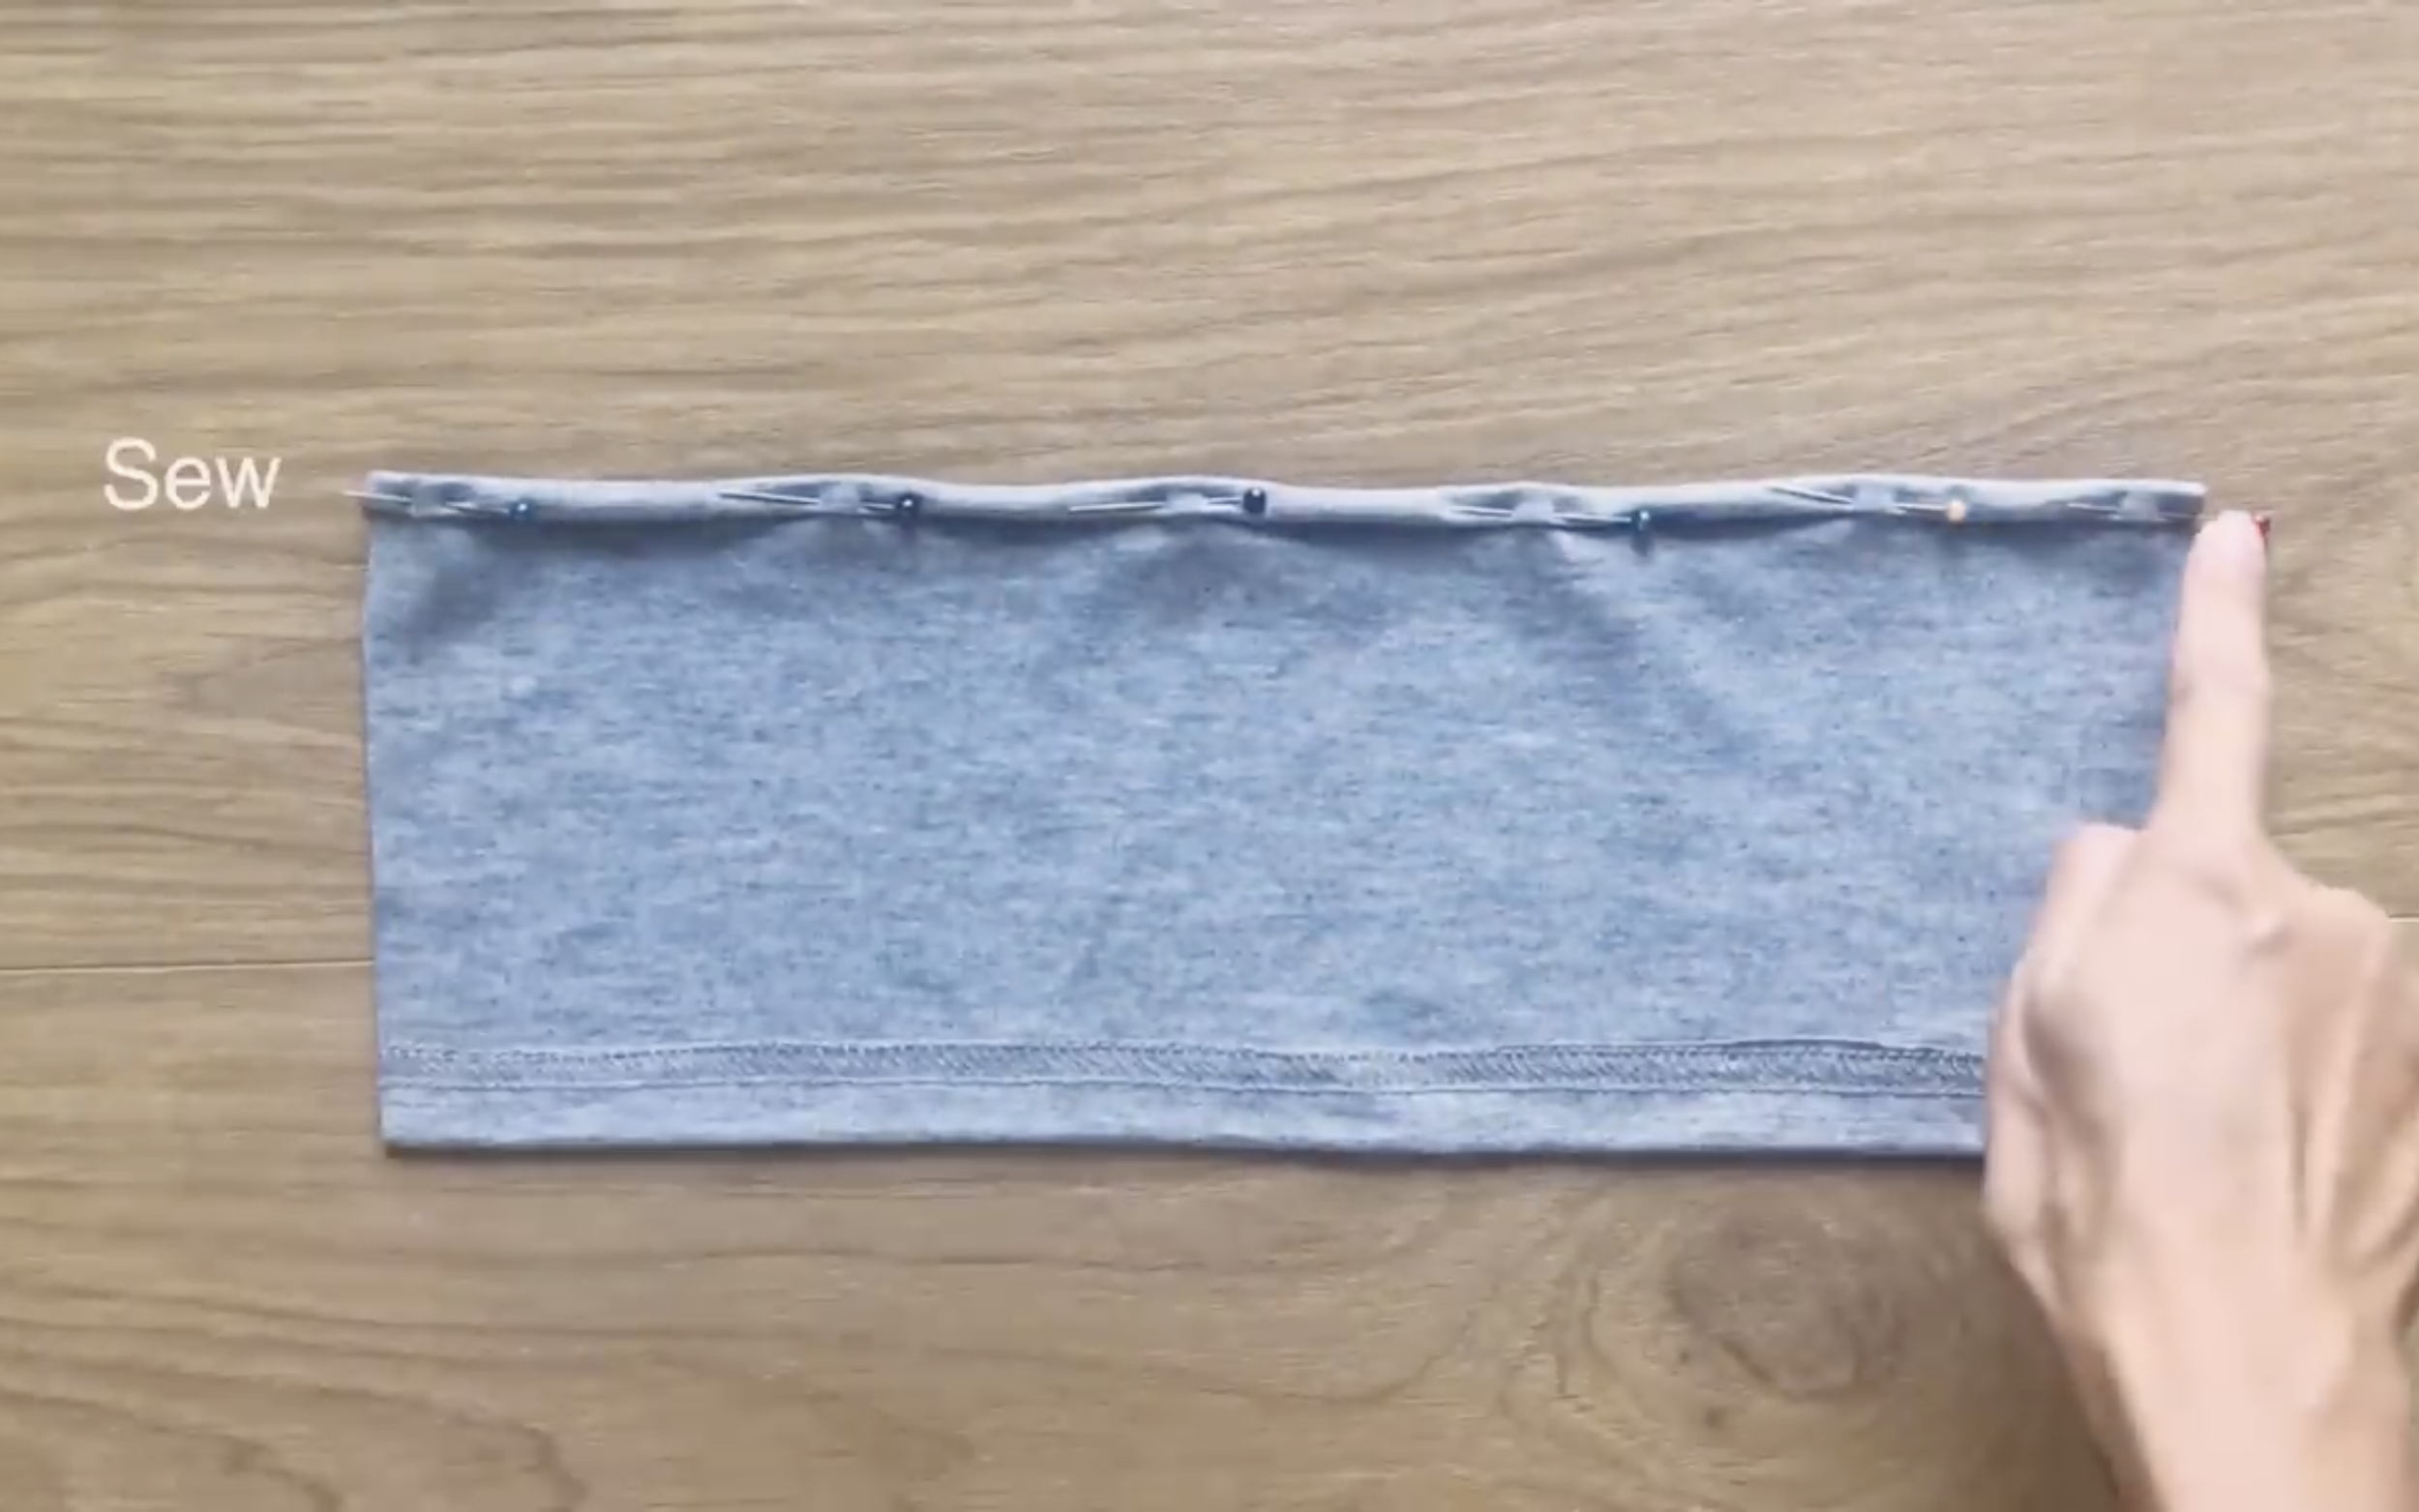
After sewing, make a loose seam at the end of the front part.
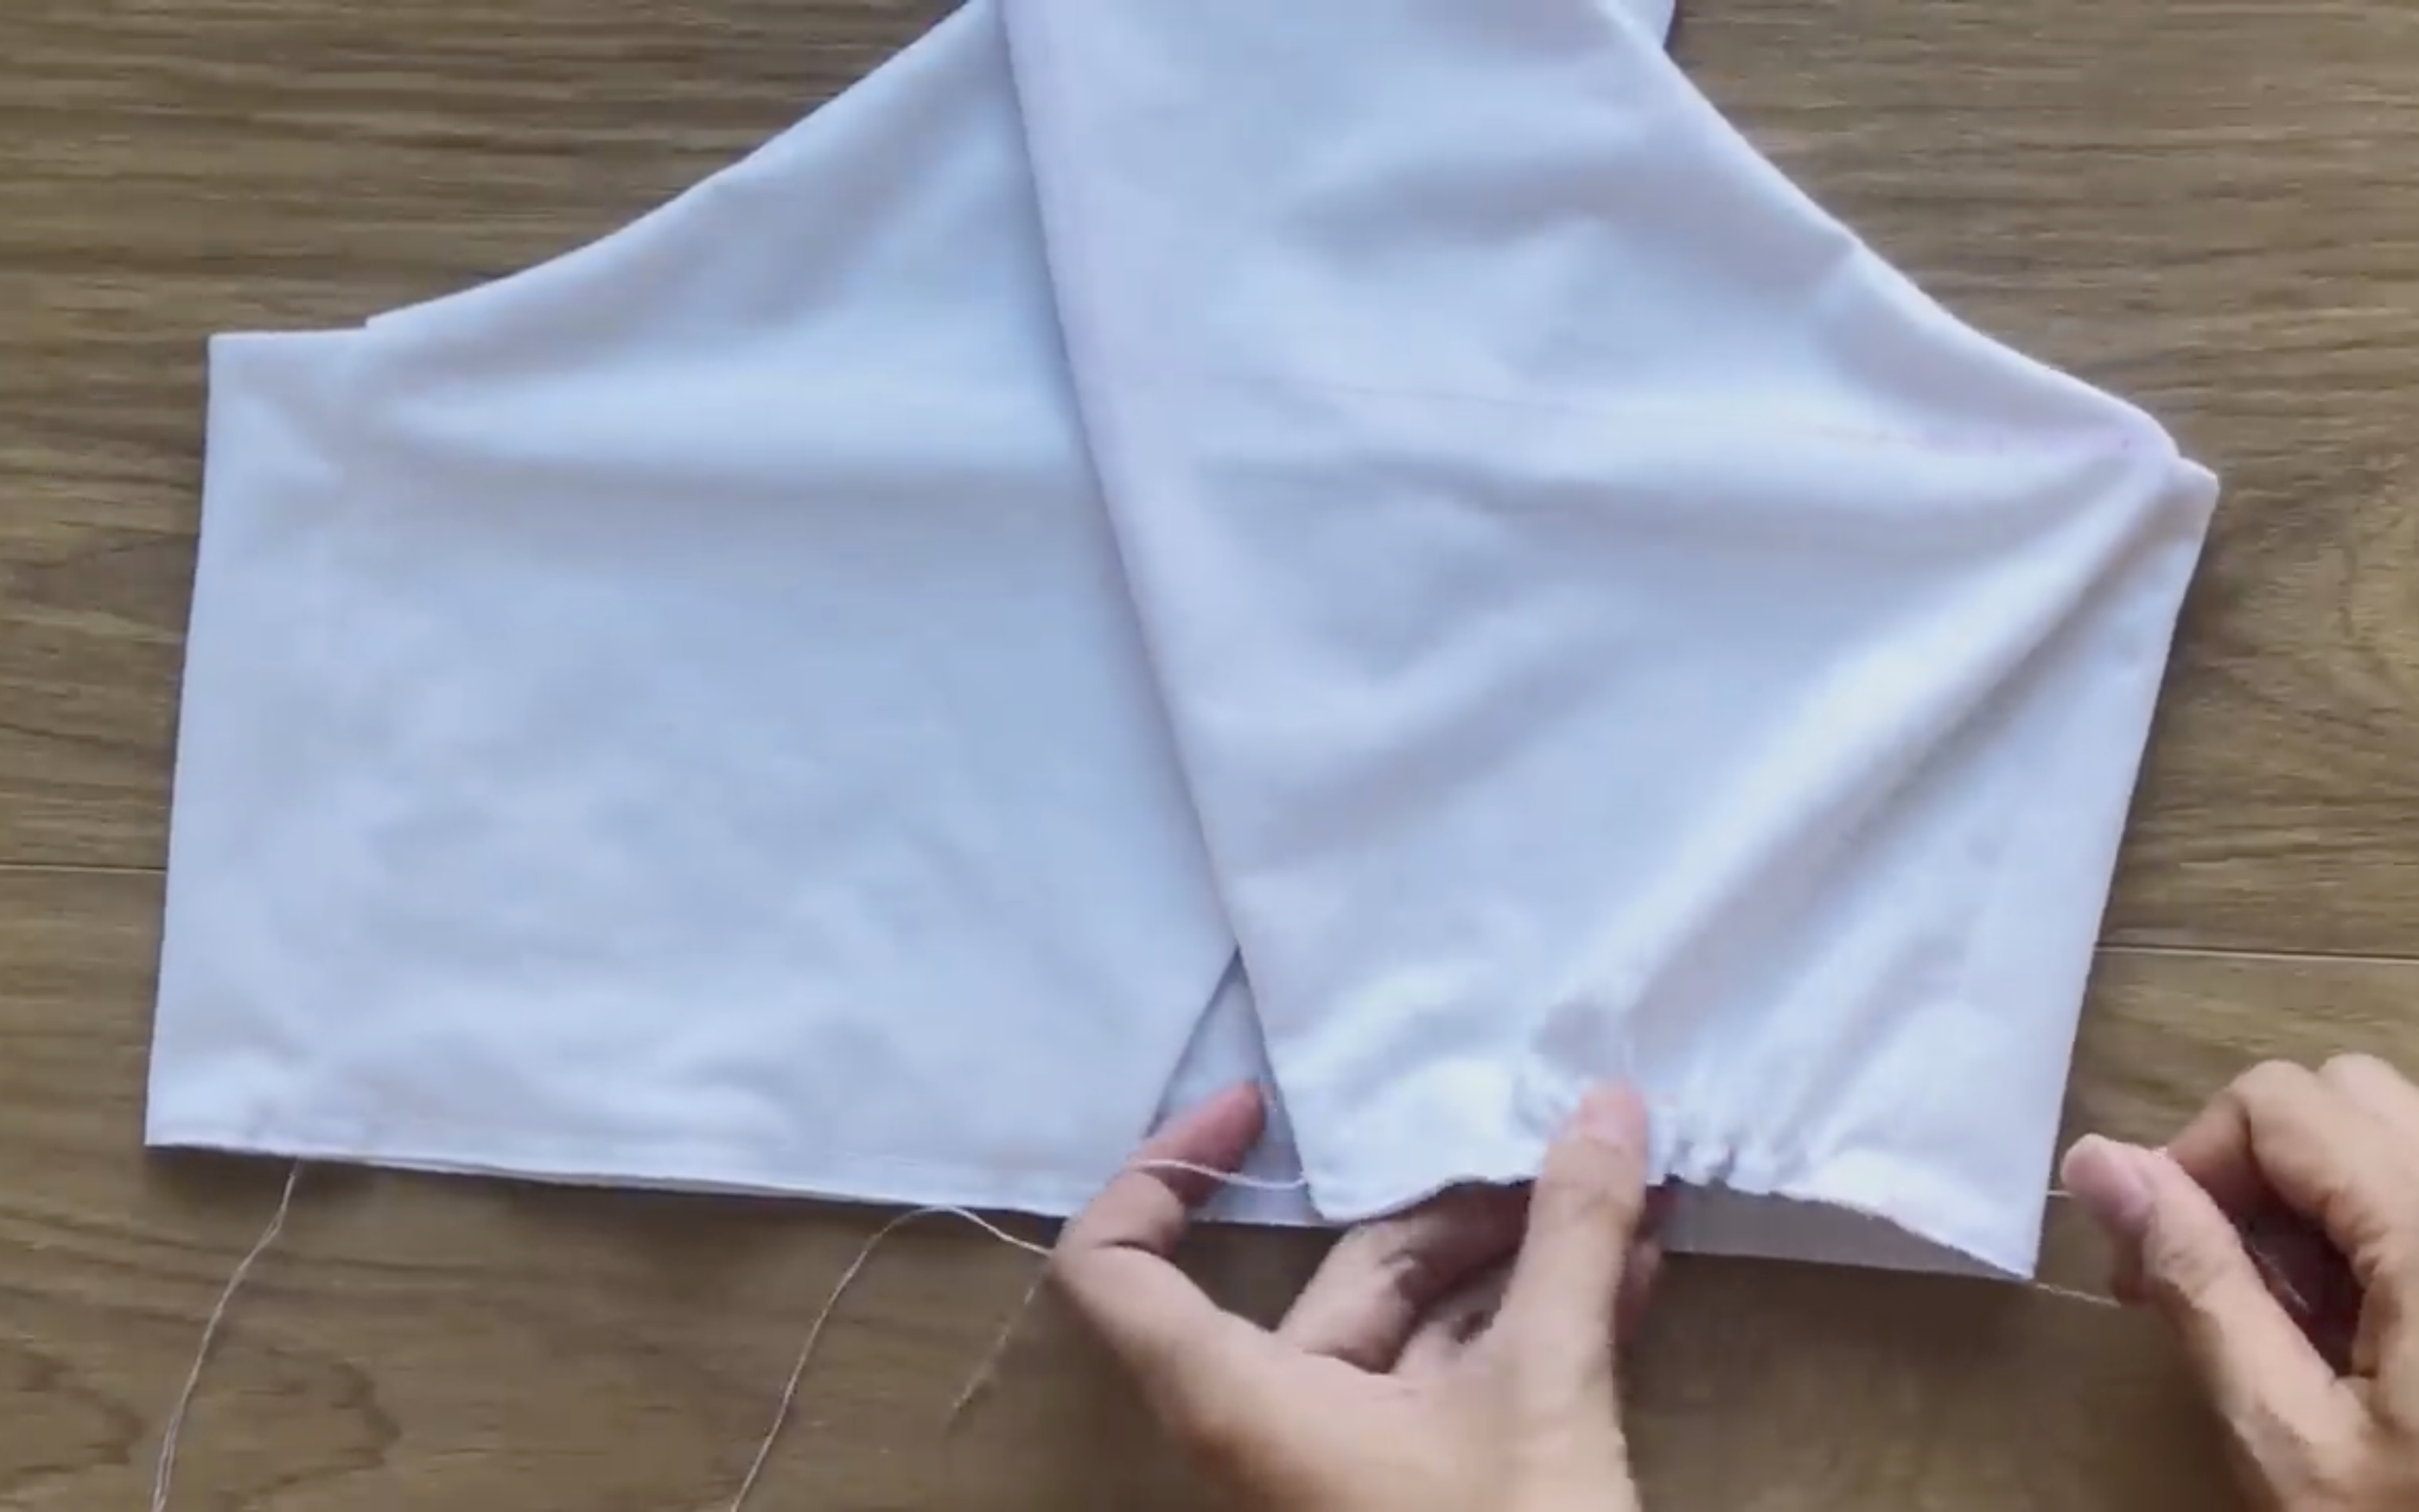
Then create a gathering fabric there. It's the way to create the area for the bust.

But make sure the width of the end of the crop top from the front to the back will be 65 cm which is 5 cm shorter than the width of the under bust size.
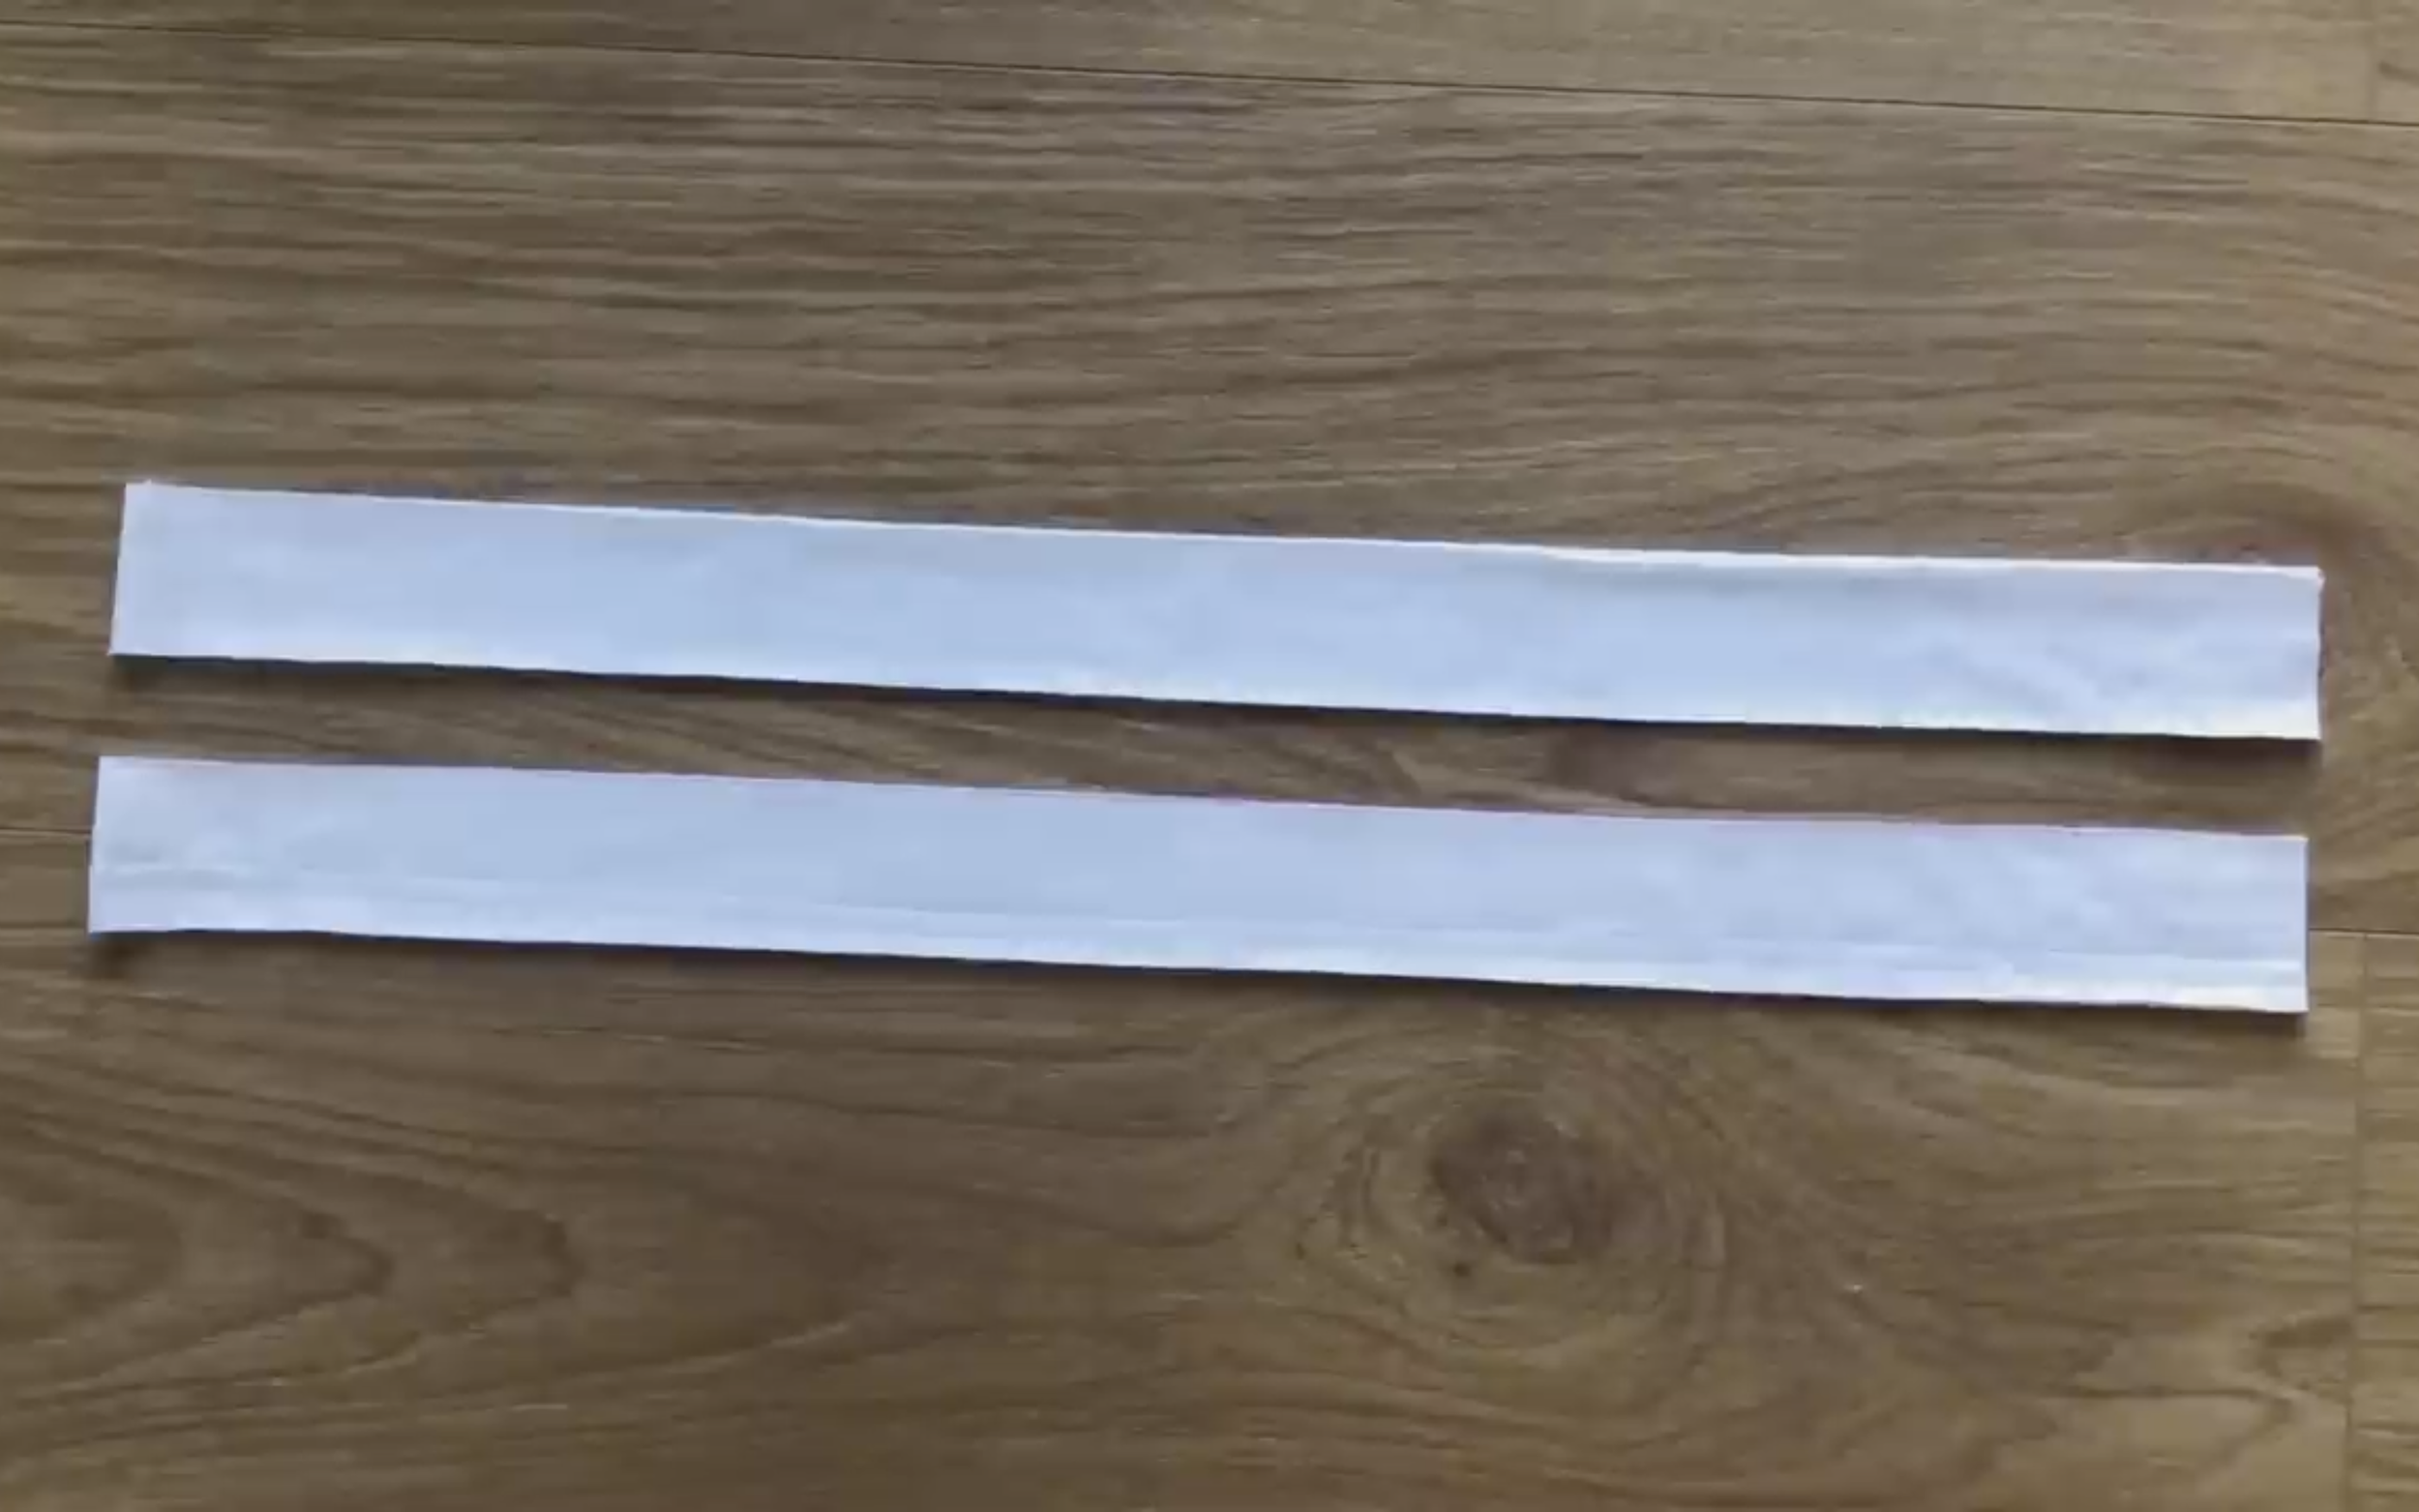
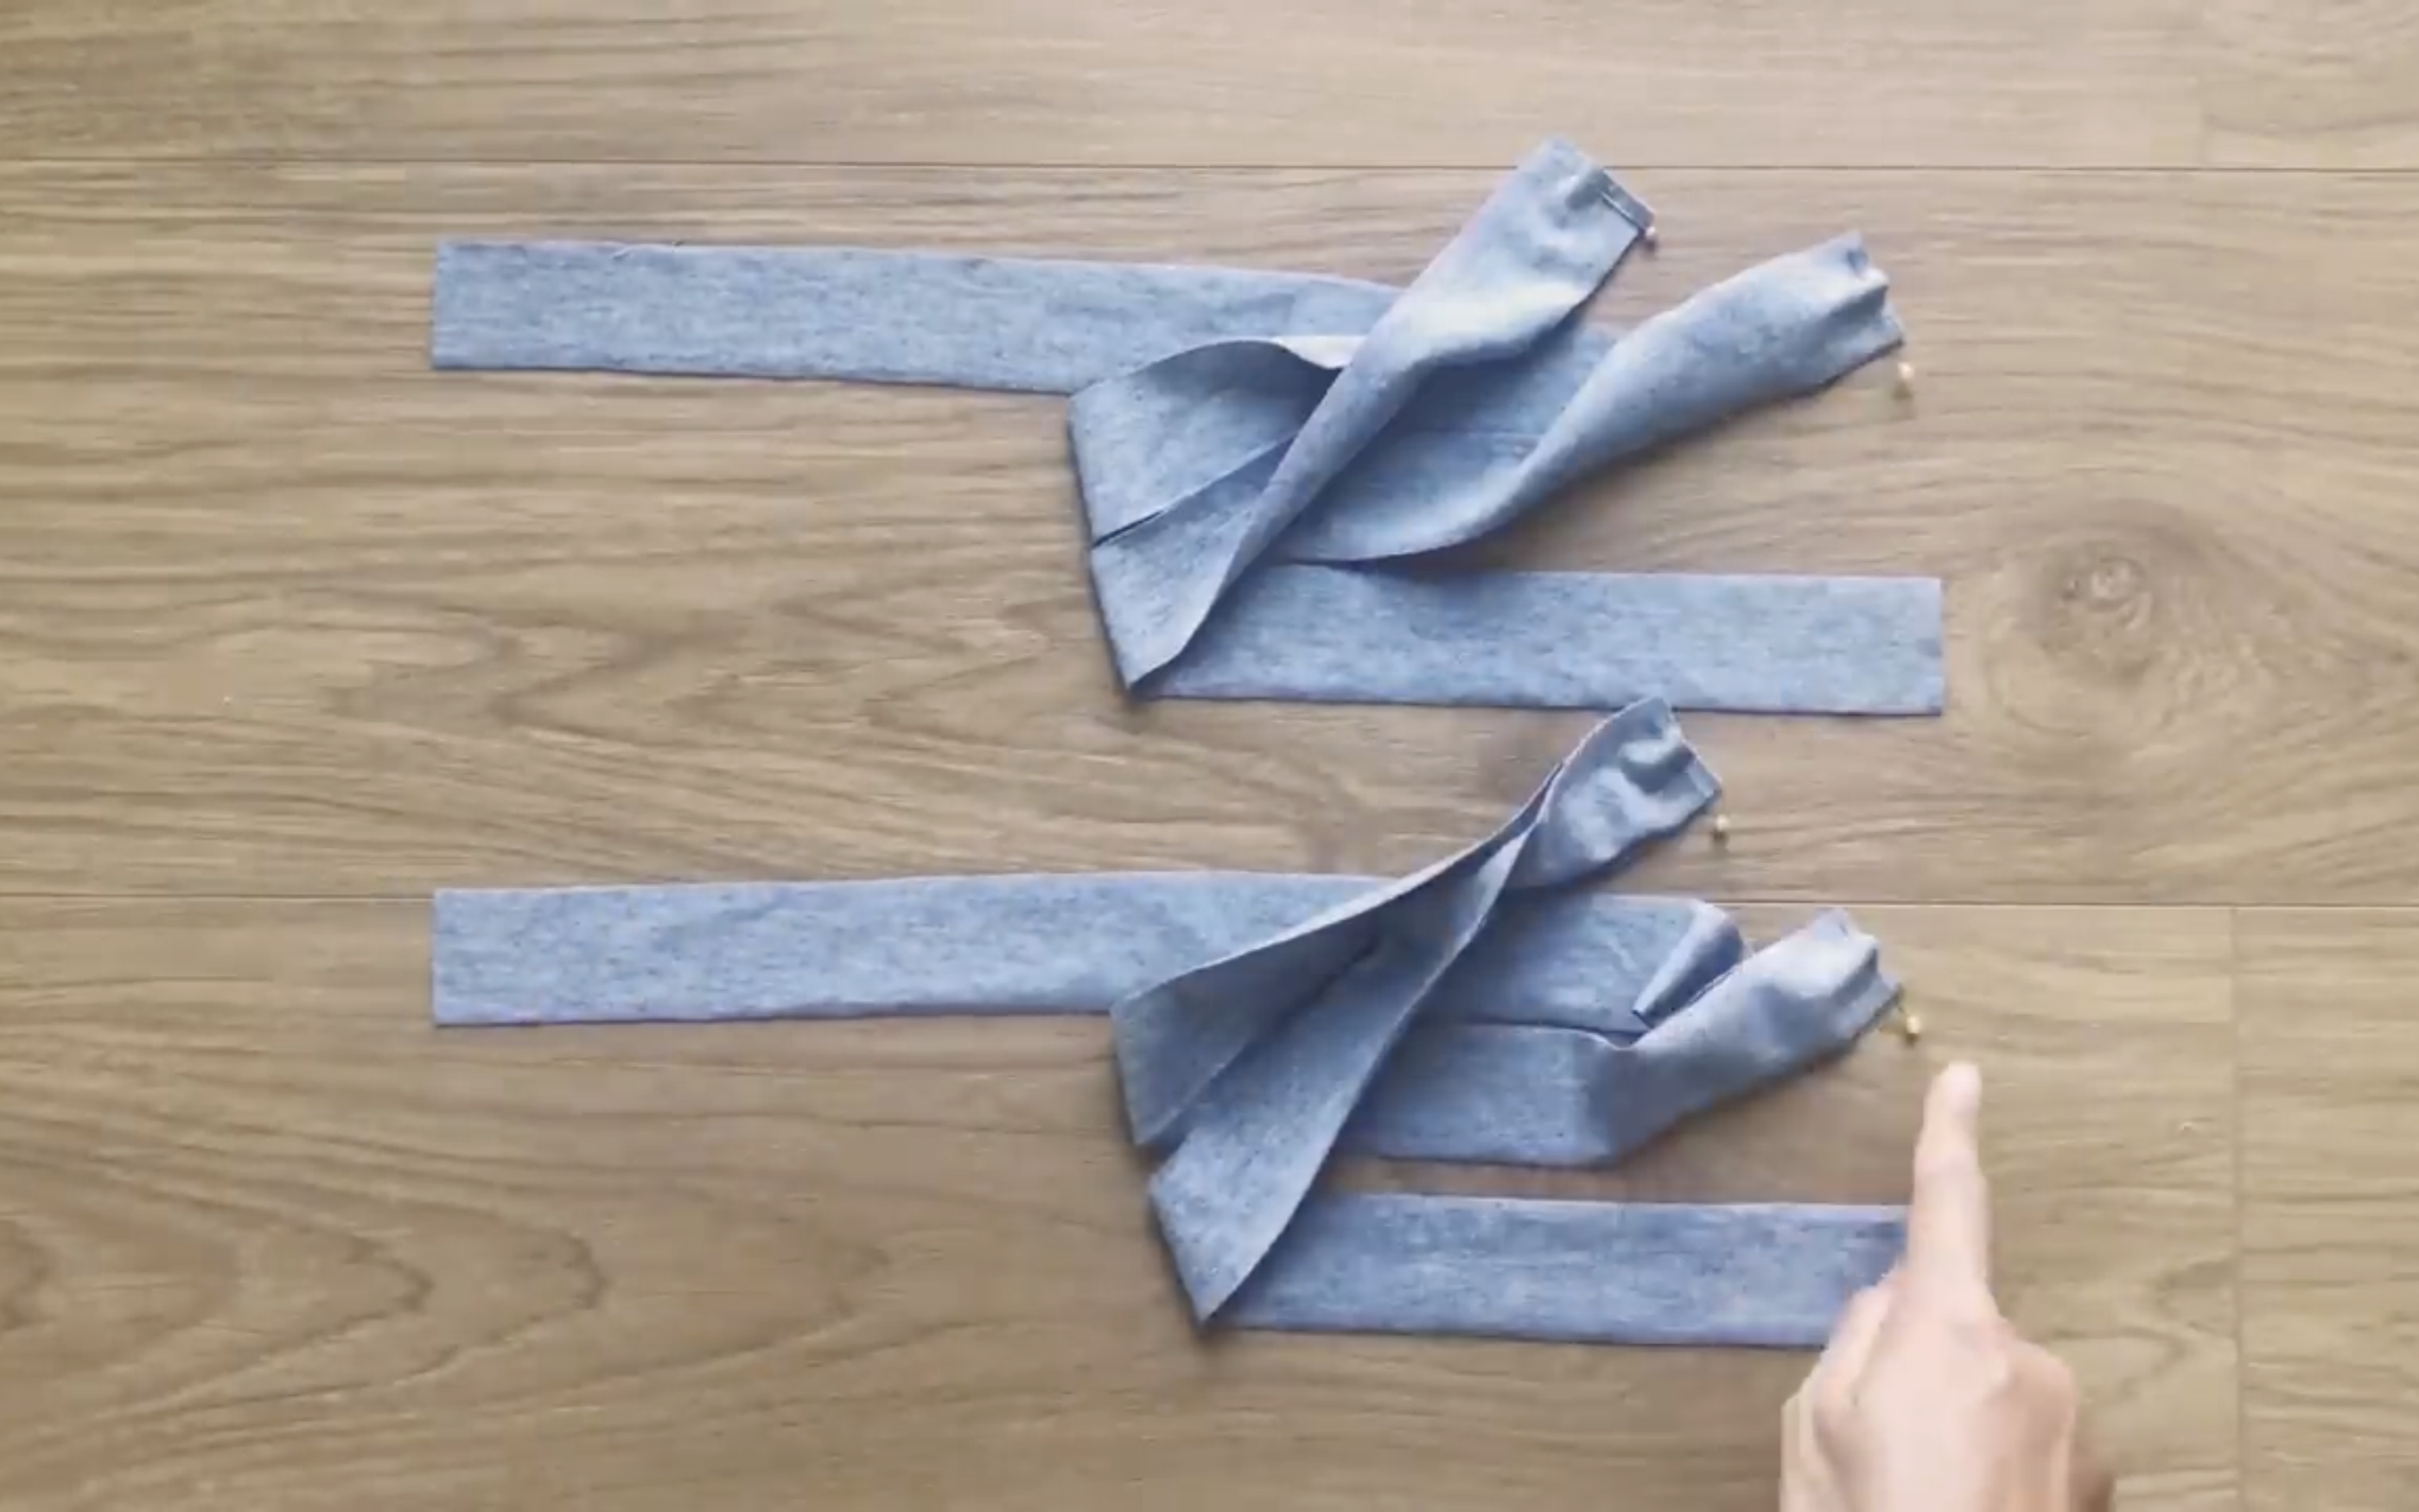
Use the leftover fabric of the t-shirt to cut two long fabric lines with 4 cm width.

Connect them together at one end on the width line.
Then connect to the end of the crop top and sew.
After the first seam, fold the other side of the long fabric inside two times to hide on the extra fabric and make the second seam to finish it.

DIY Halter top from old t-shirt with 2 different styles | T-shirt refashion ideas
And that’s the final look for my bandage halter top! It’s sleek, stylish, and hugs the body just right — perfect for a bold summer outfit or a night out.
I had so much fun making this and hope it inspires you to try something similar.
2. RUCHED HALTER TOP
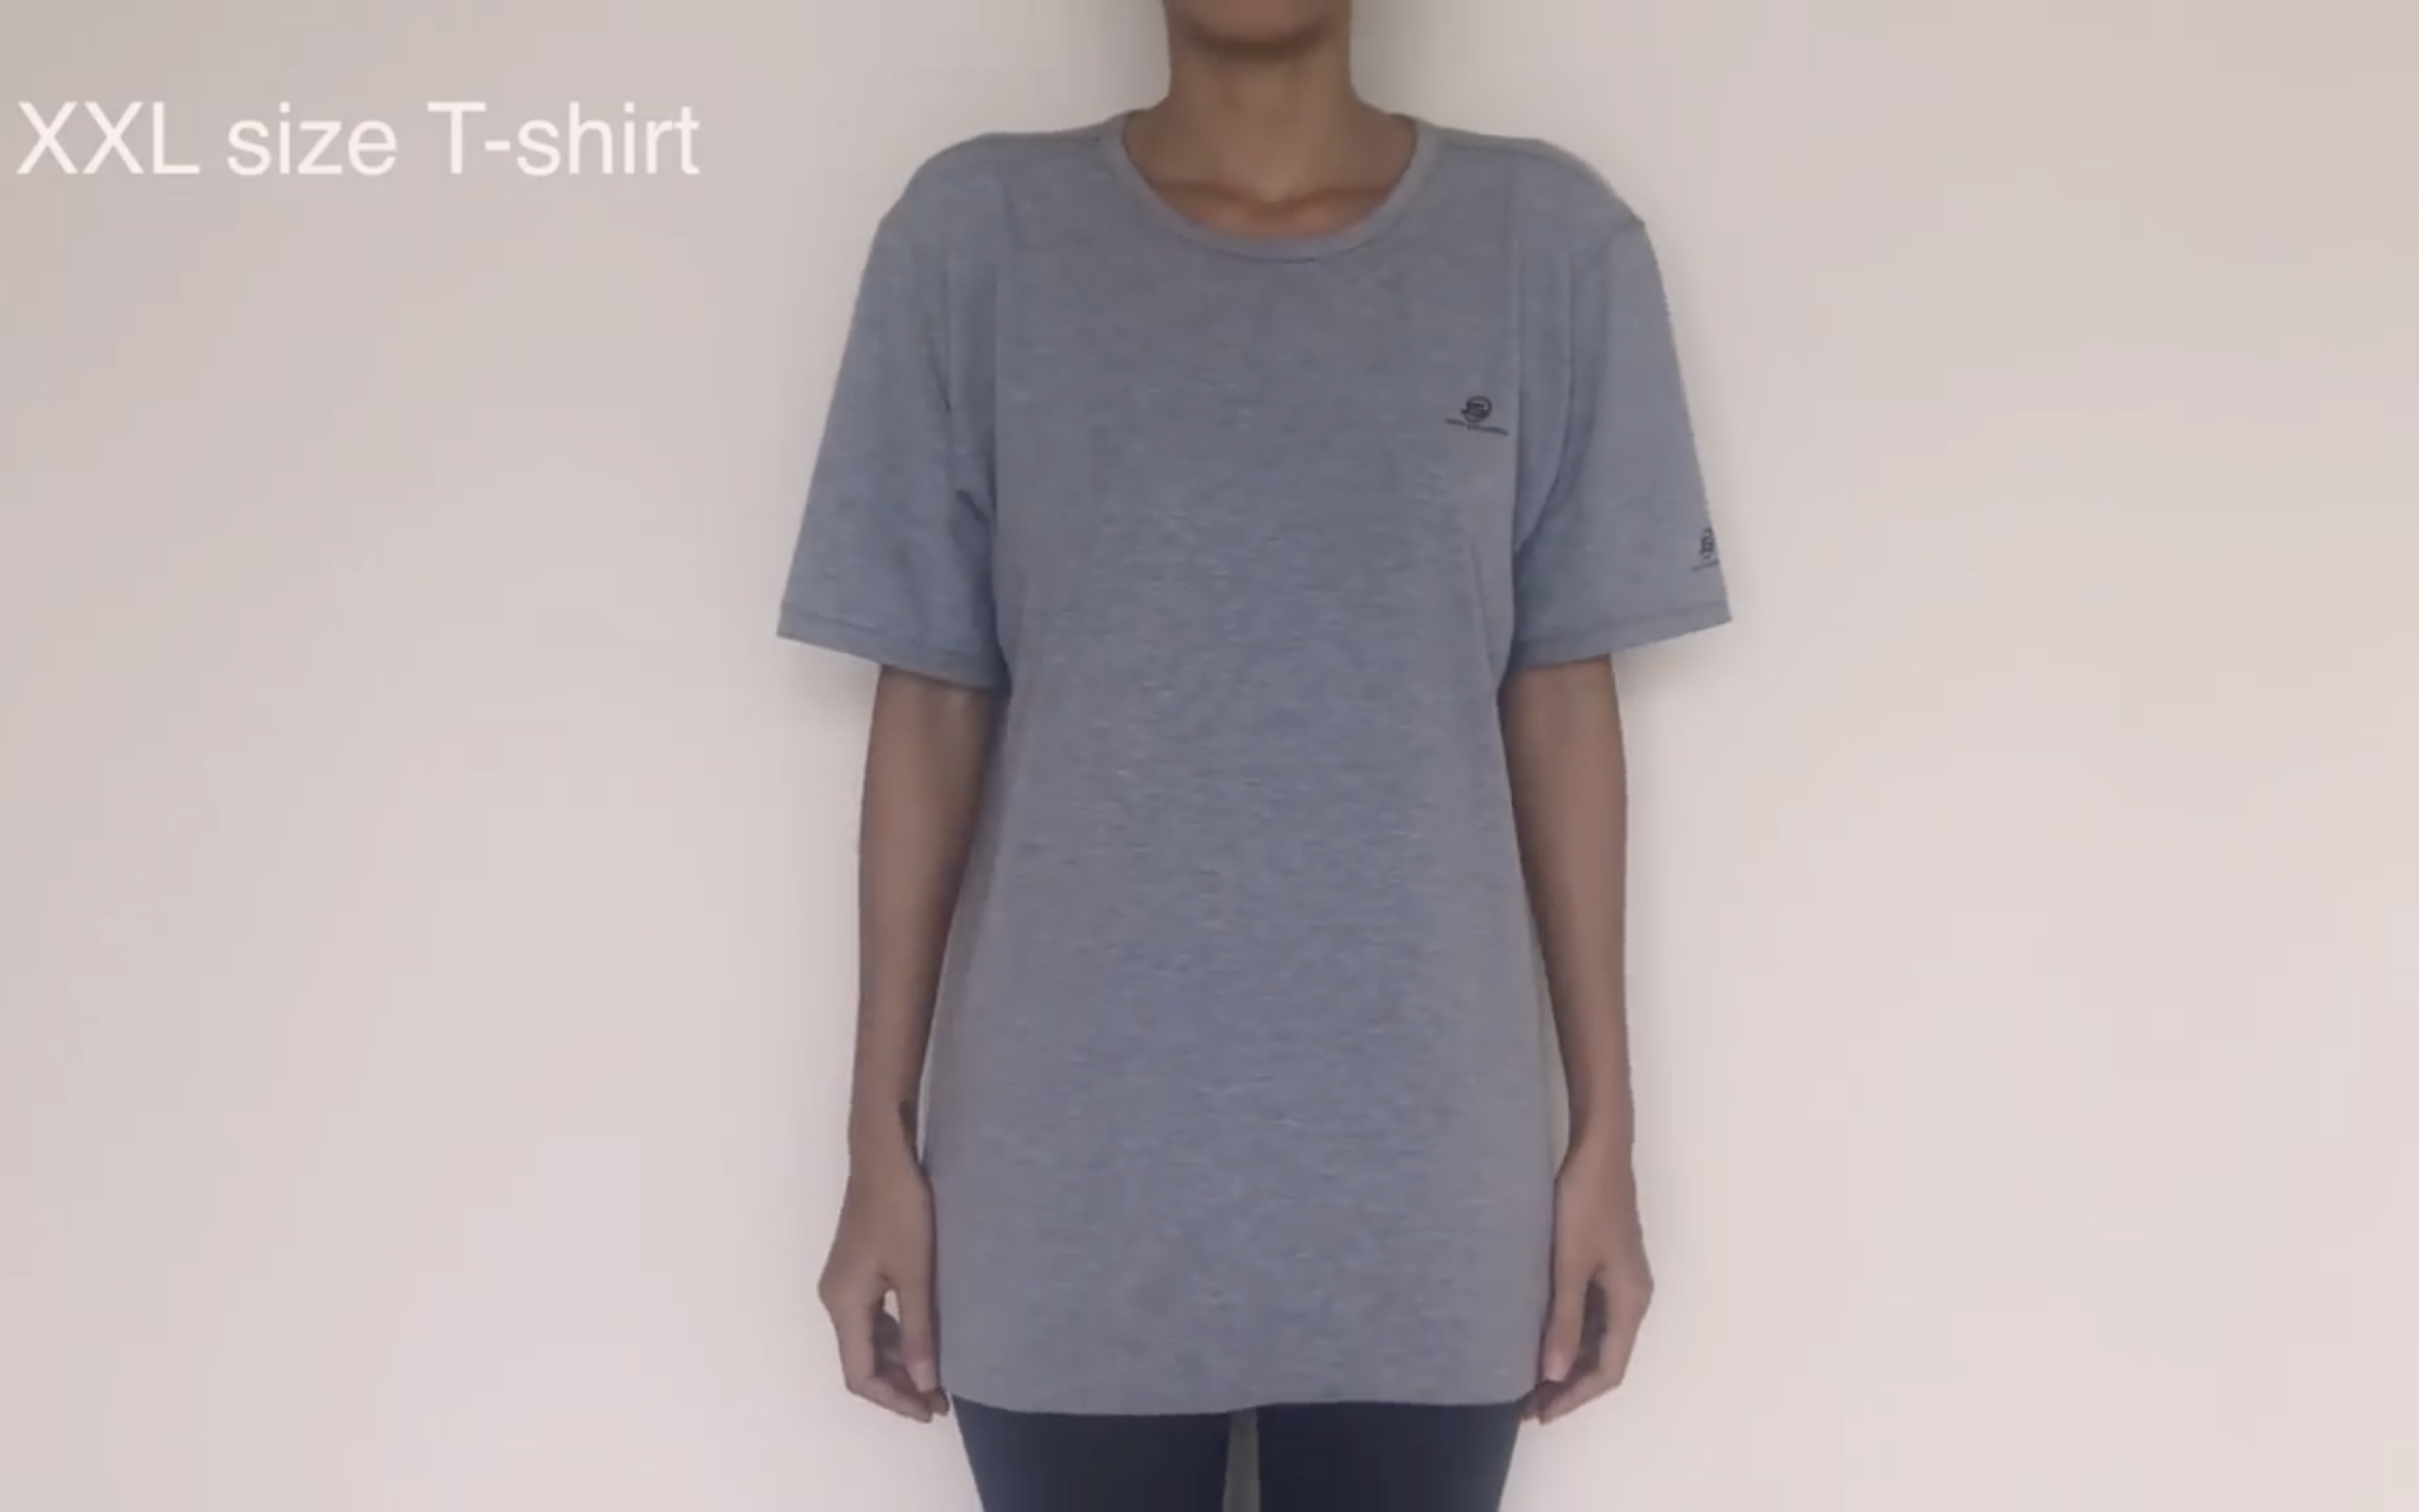
Use a double XL size t-shirt for this DIY.
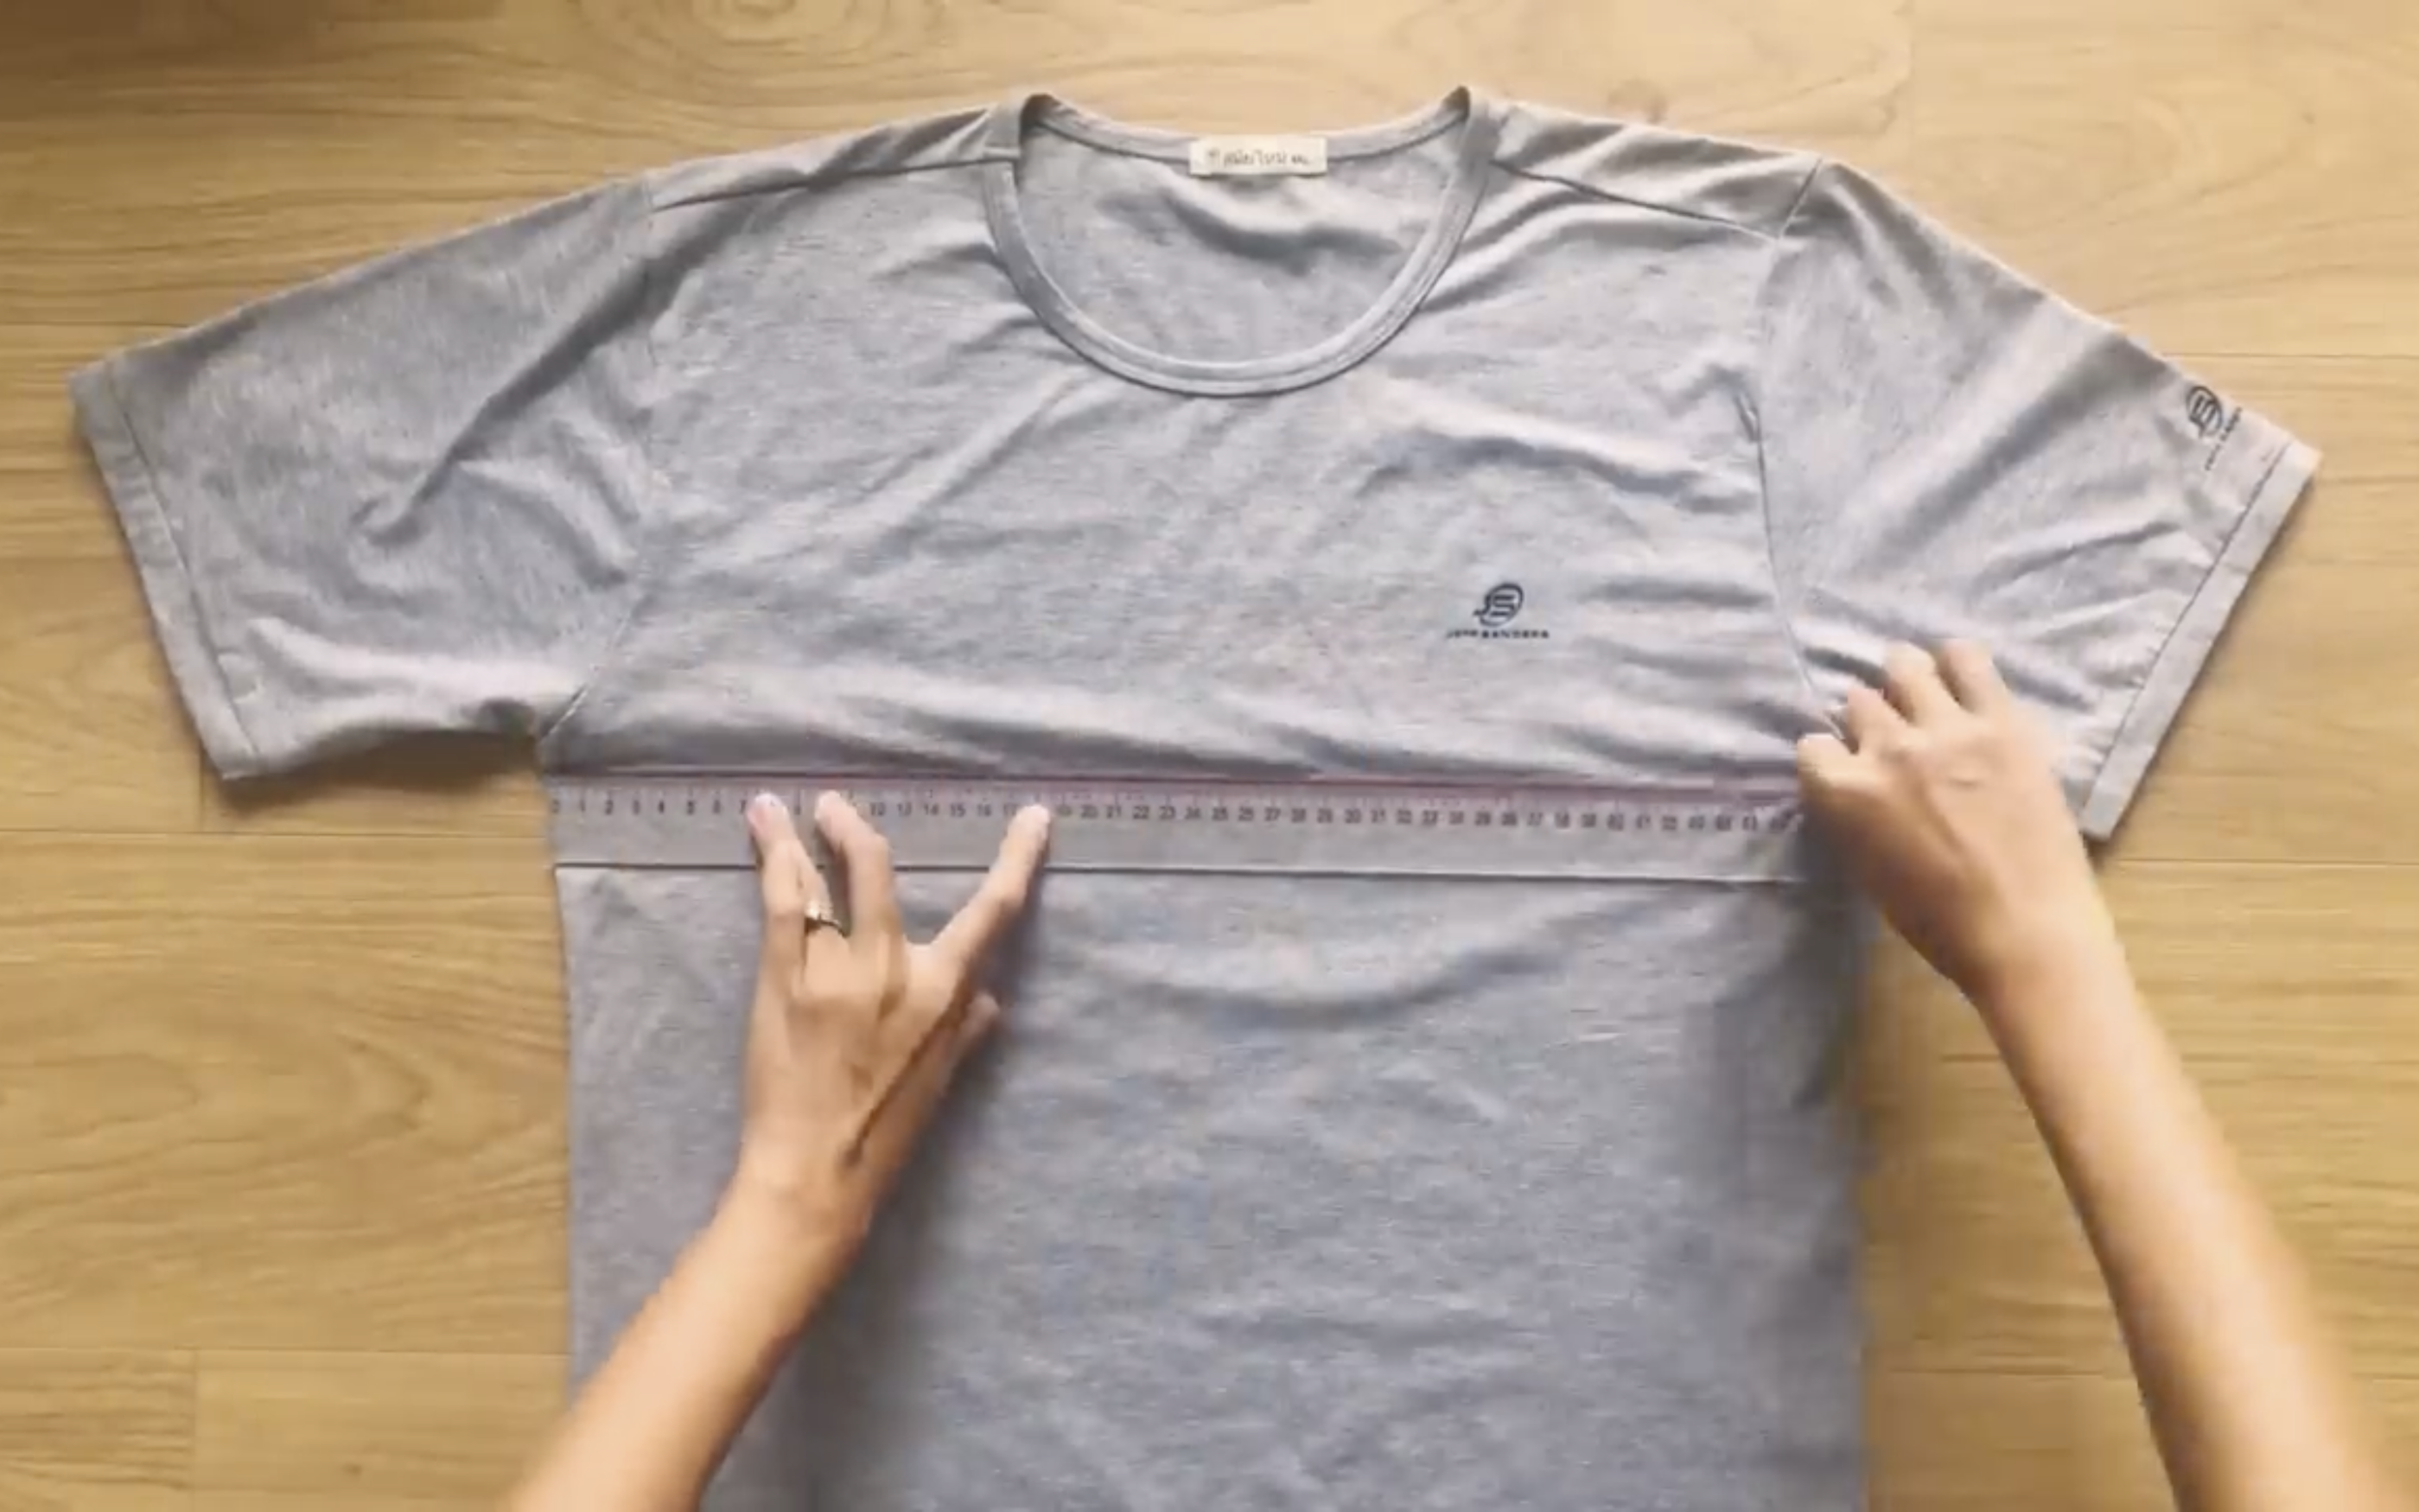
The first step is drawing a horizontal line under the sleeve of the t-shirt.

After that, draw another horizontal line at 20 cm under the first one, which is the width from the upper to under the breast.
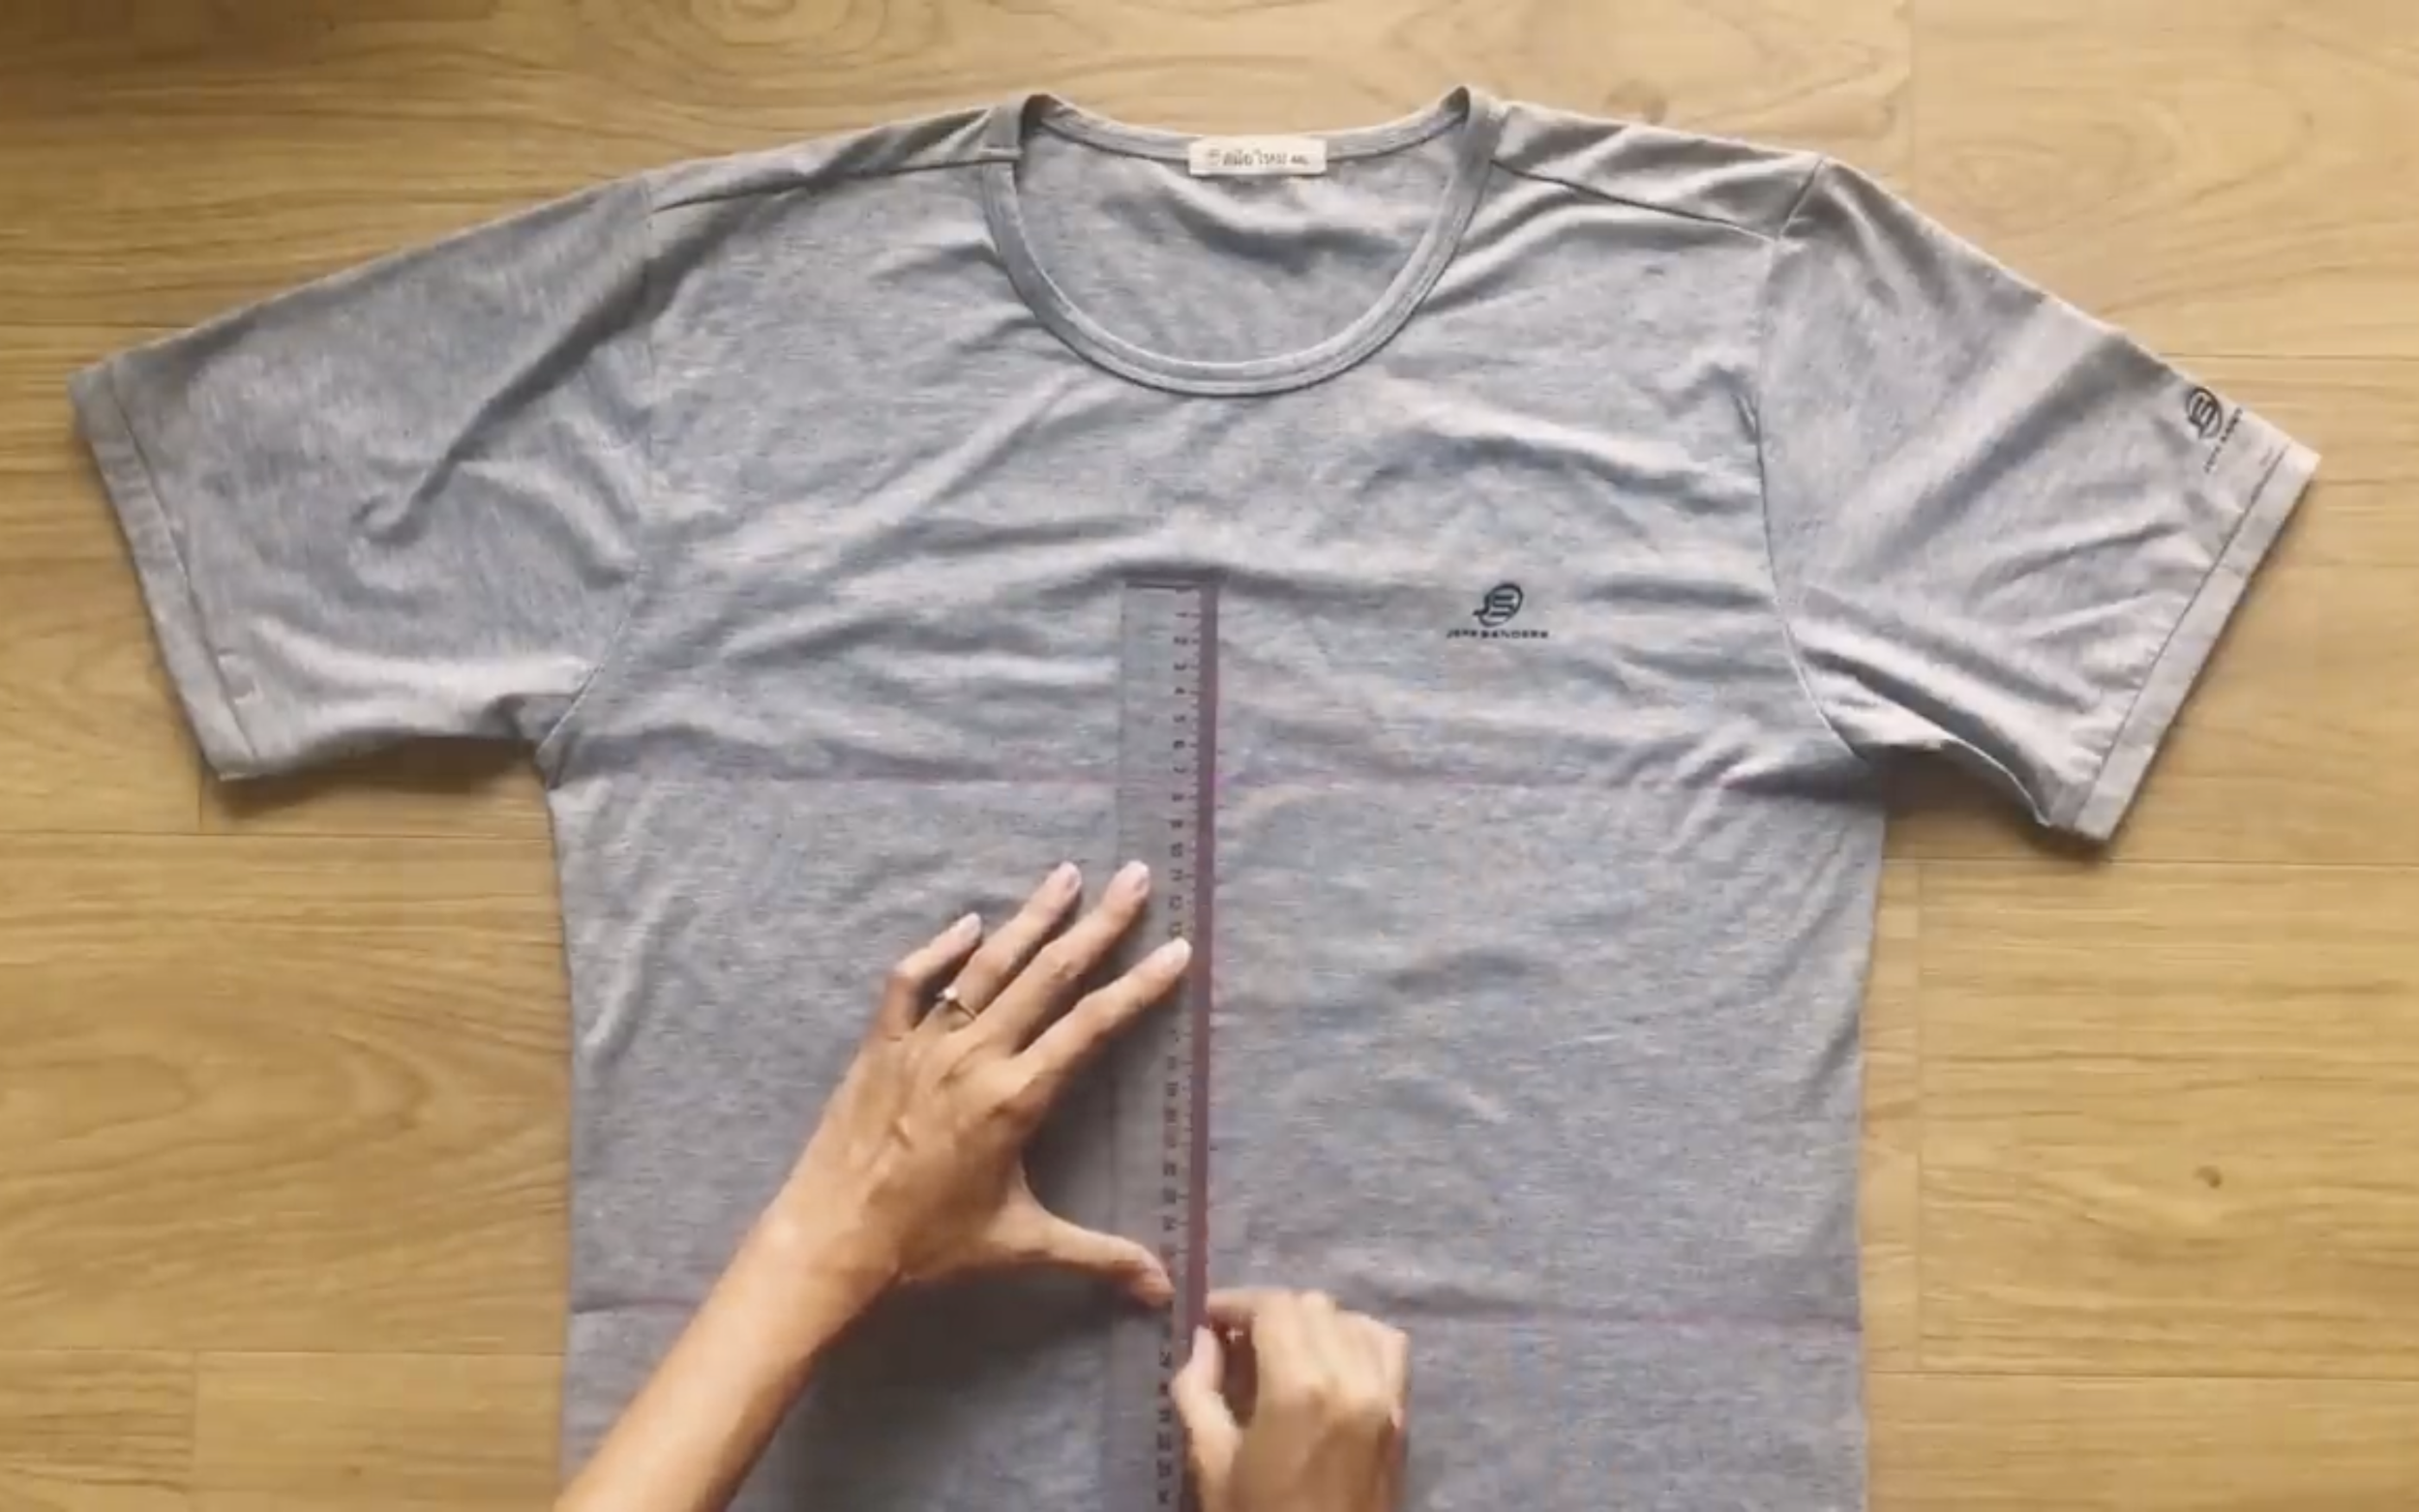
Draw a straight line in the middle of two horizontal lines to divide them into two parts.
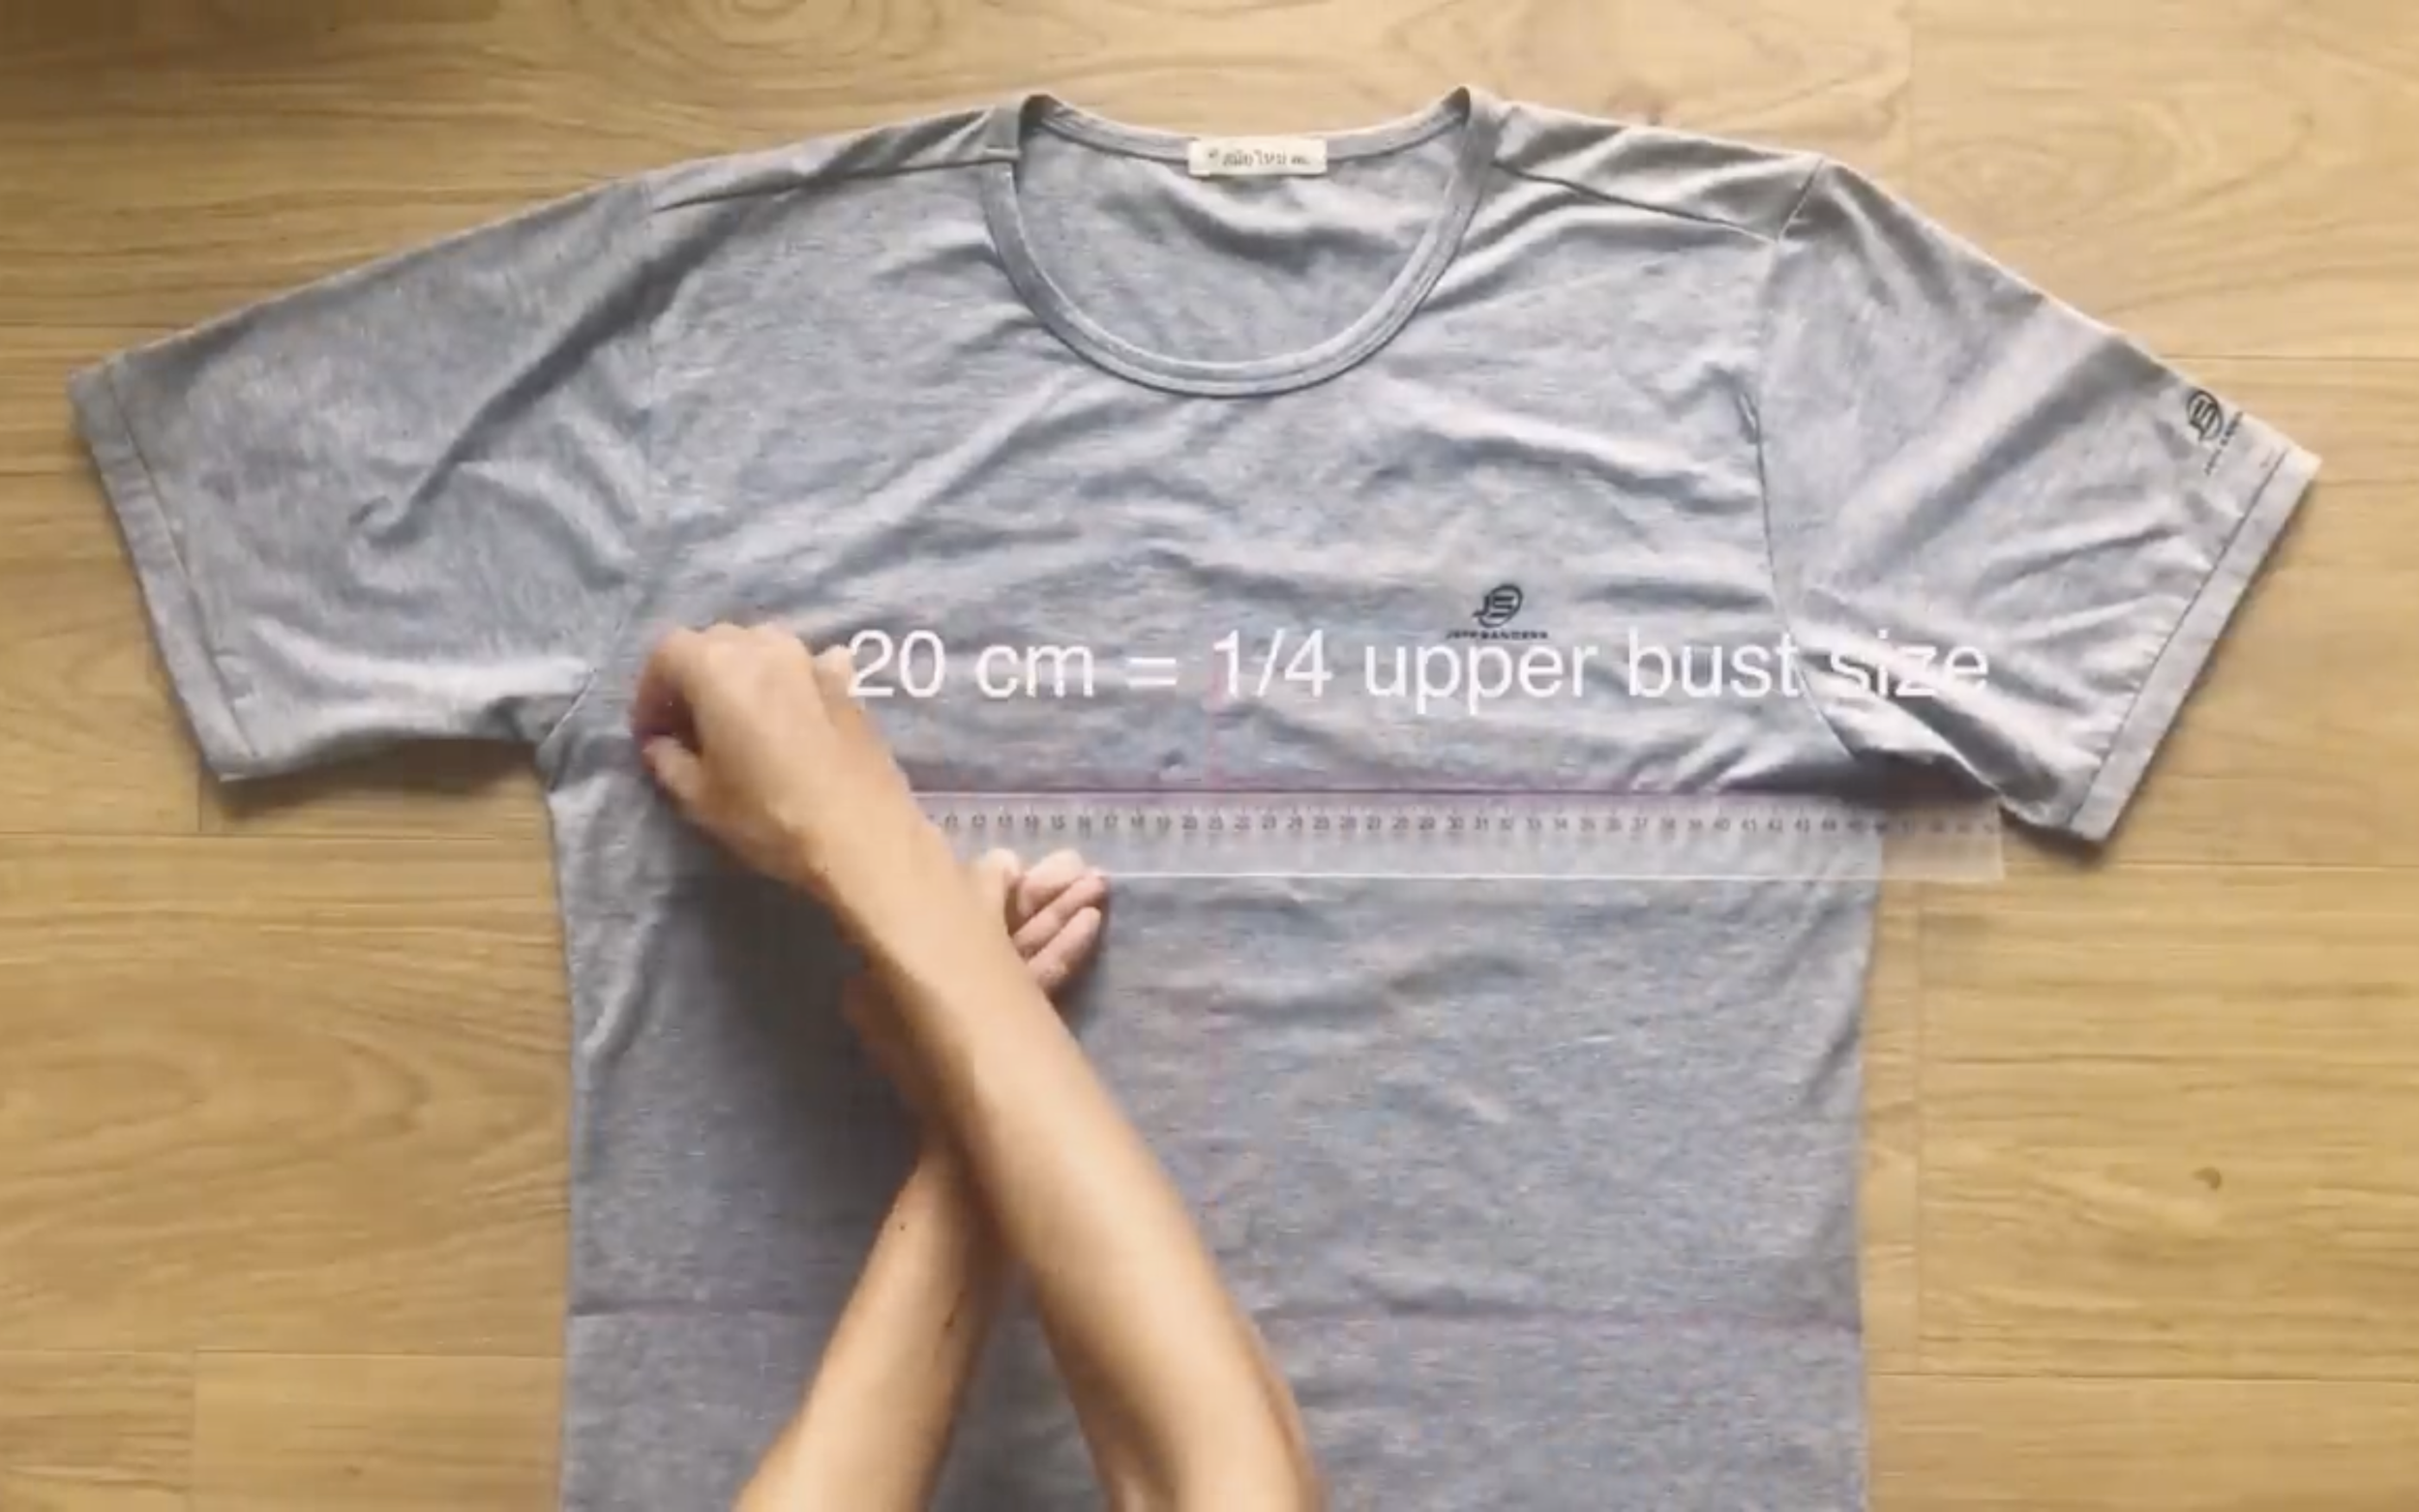
From the straight line at the middle, make two more straight lines at two sides of it with 20 cm, which is a quarter of the bust size.
Because ruching will be created at the middle of the chest, add 6 cm extra fabric at the top of this part to make the ruching nicer.
Then connect it to two sides.

Because the new line of each side is longer than the previous one, remark the width of the new line to make it the same with the previous one.
Then connect to the end of the first straight line.

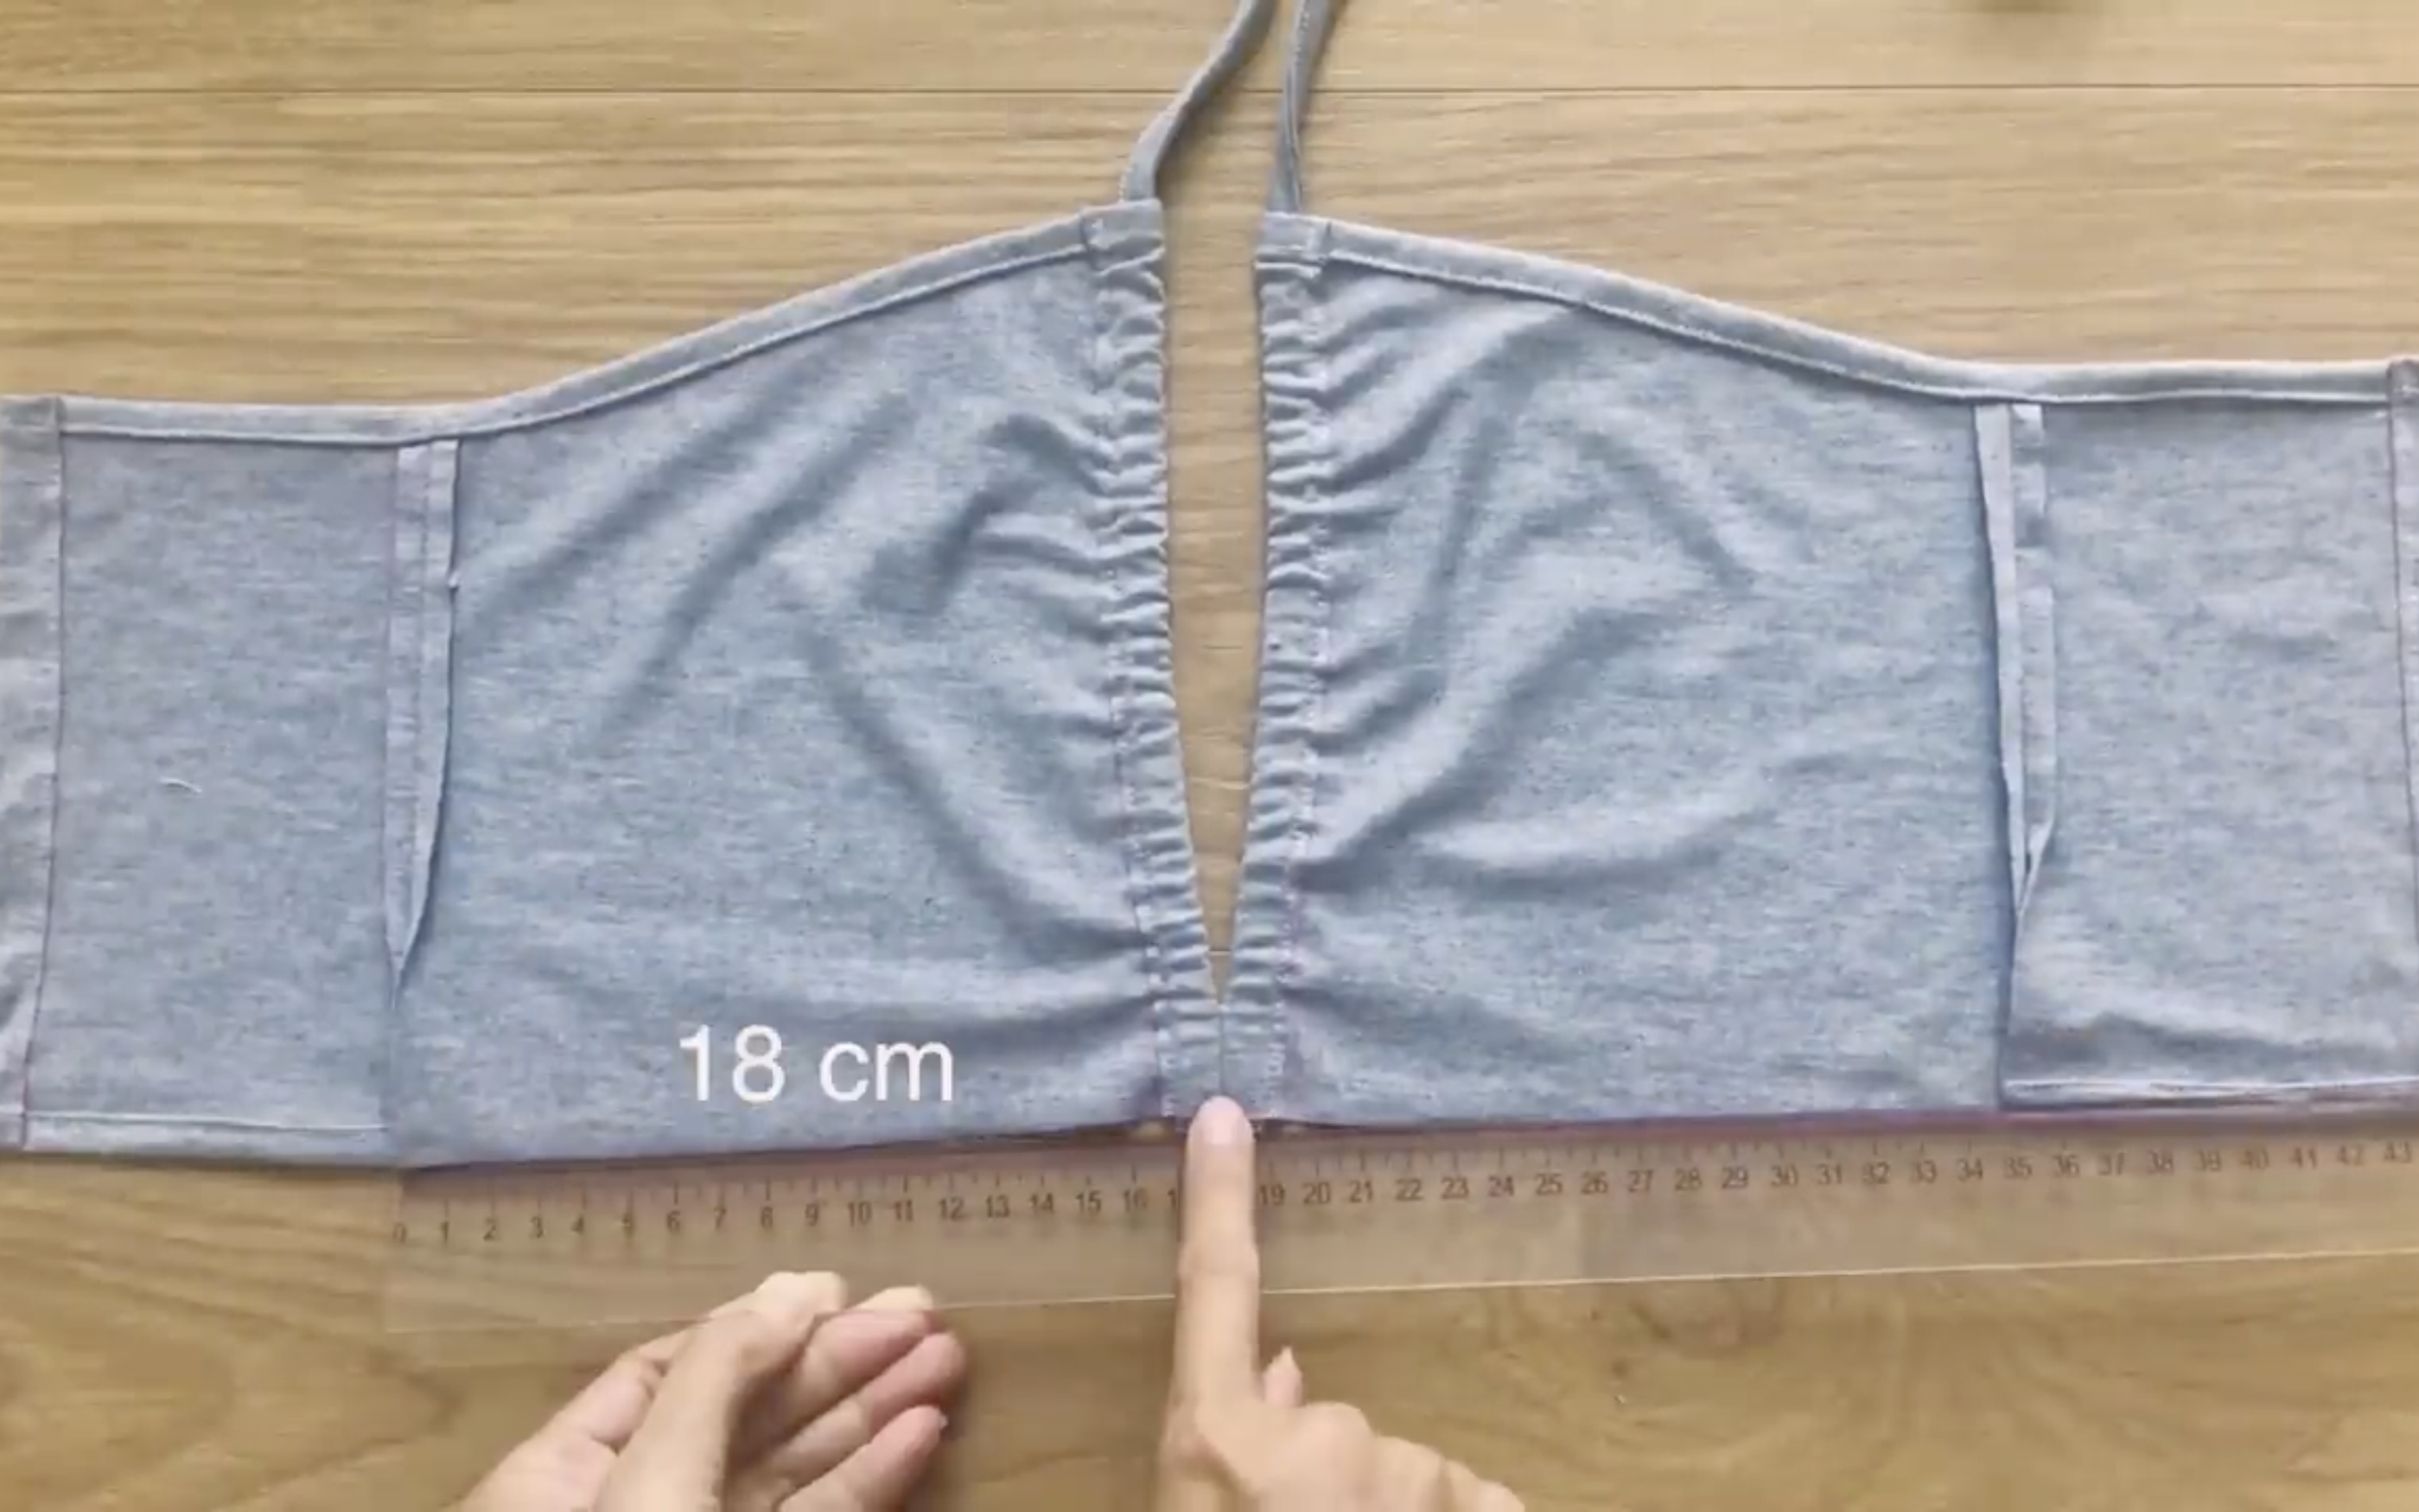
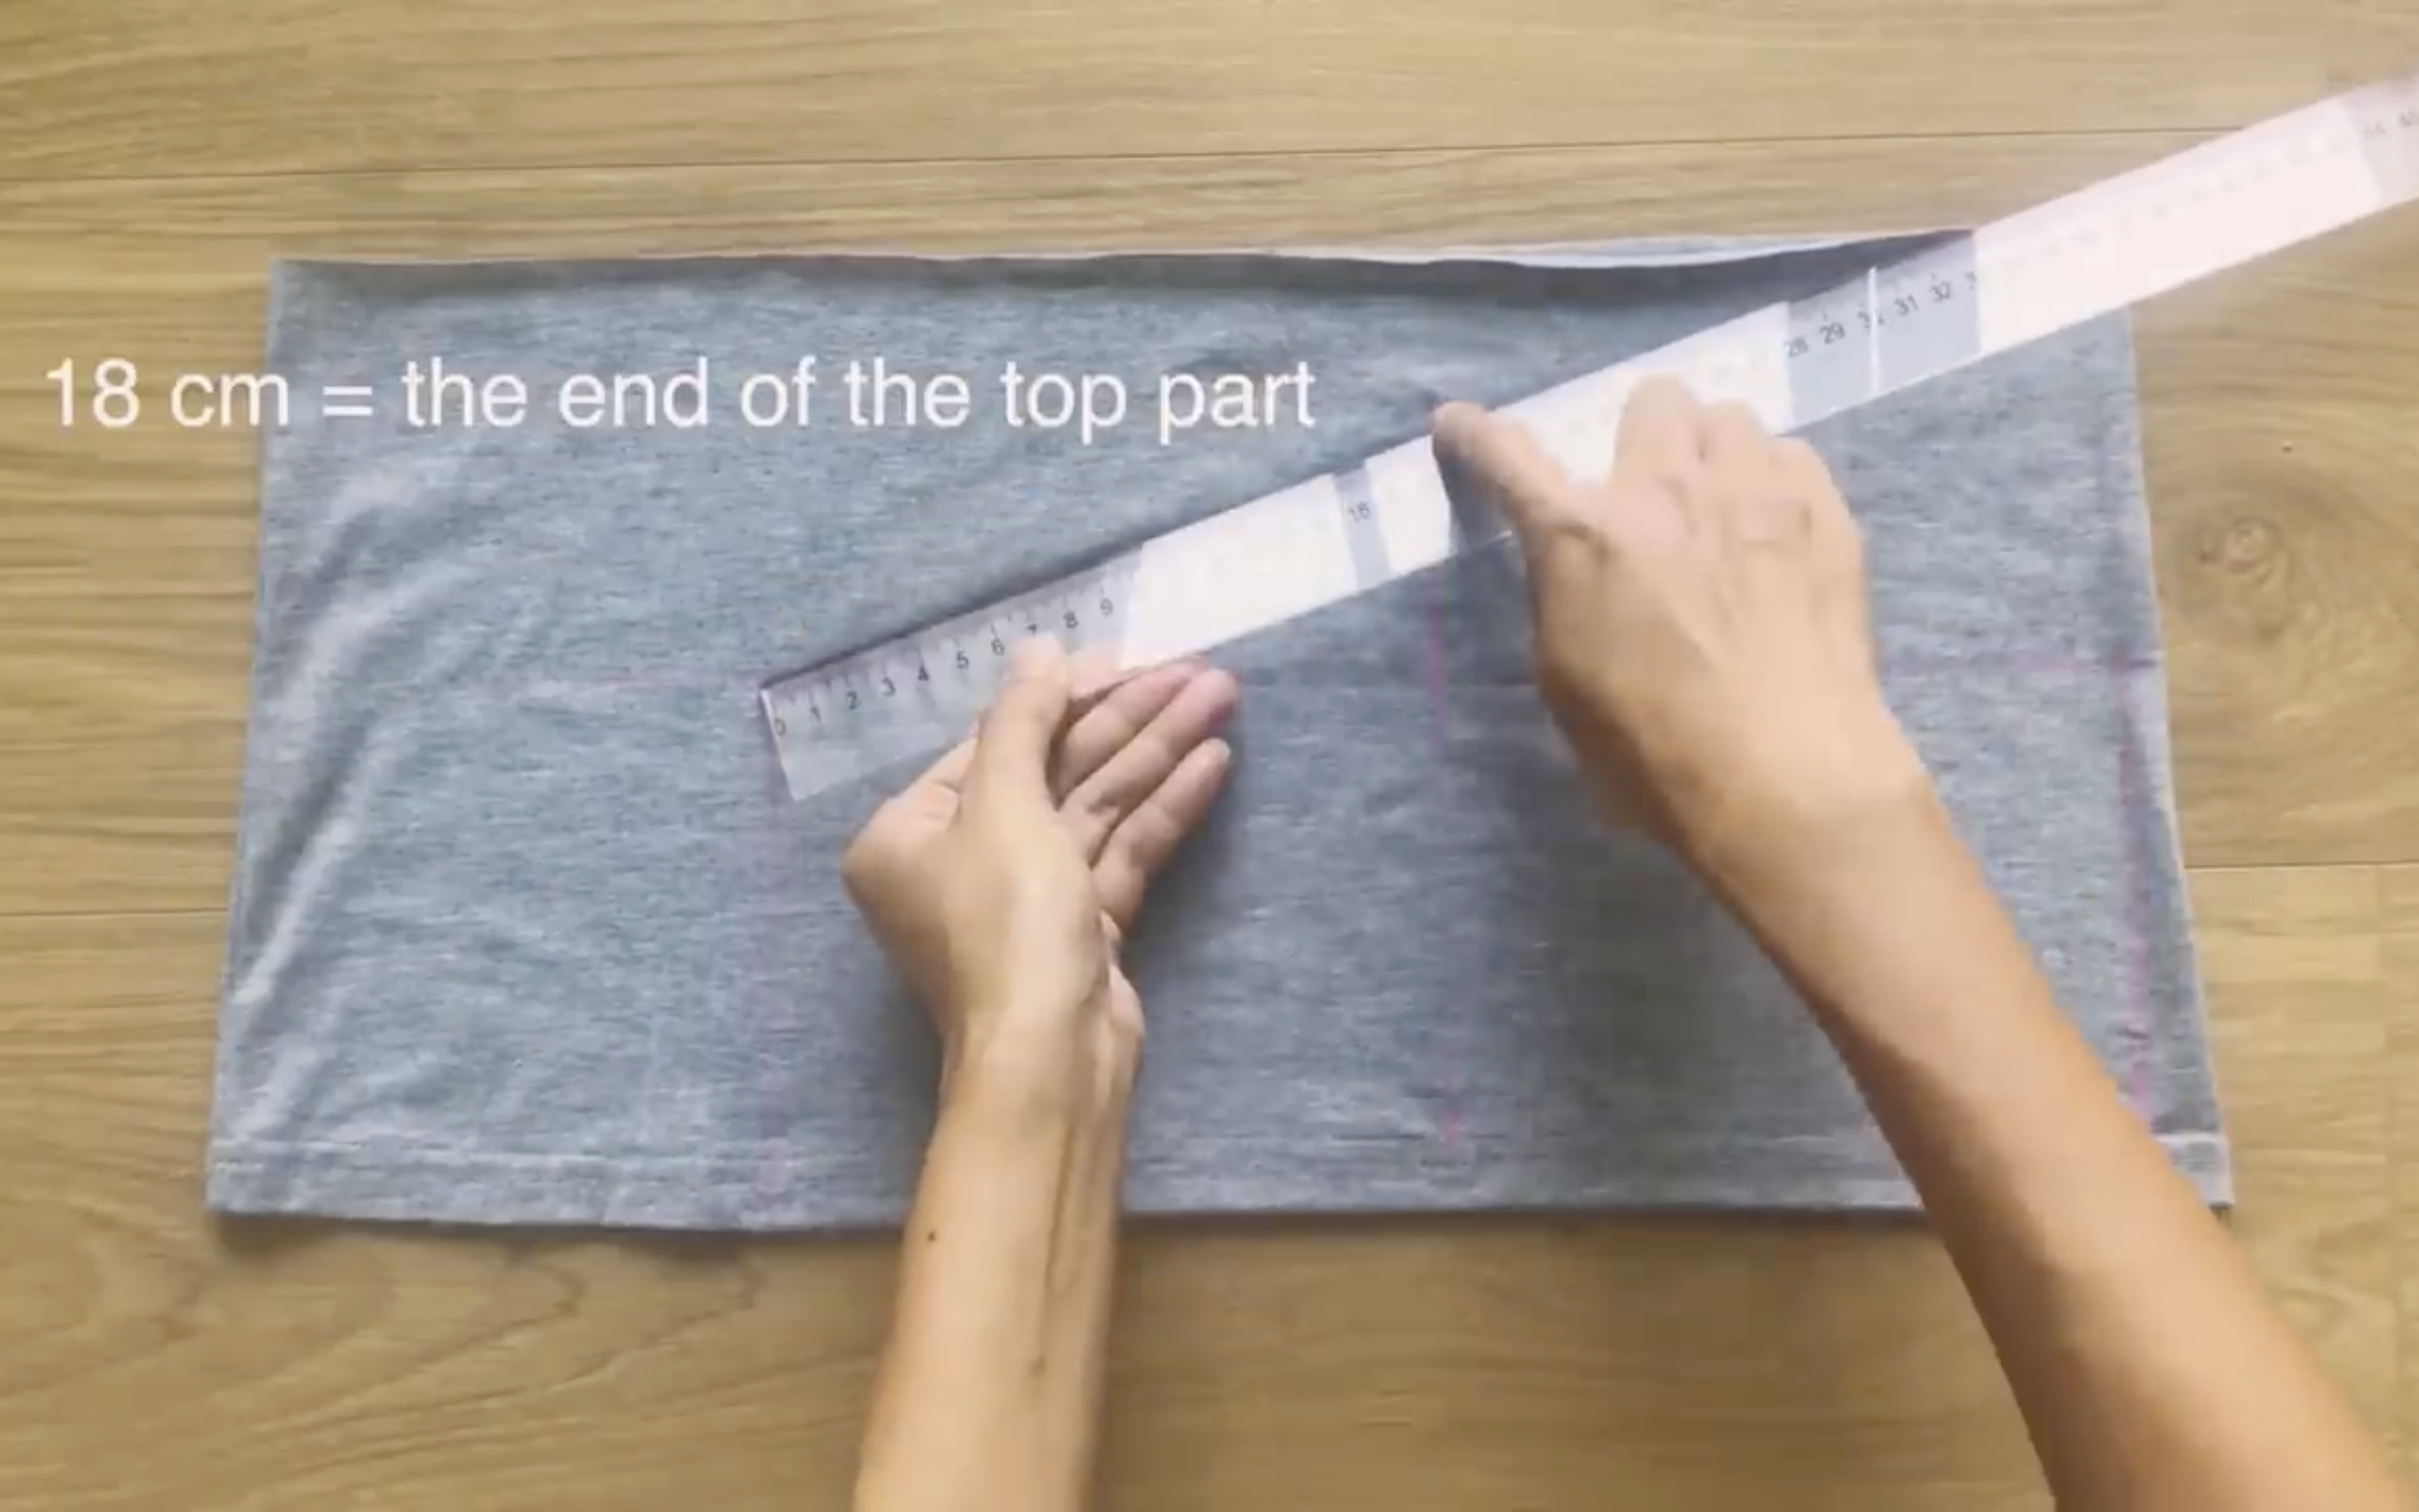
From two straight lines at two sides, draw another straight line at 12 cm away from it.
After cutting, you will have two pieces of the front and two pieces of the back of the top part of the crop top.
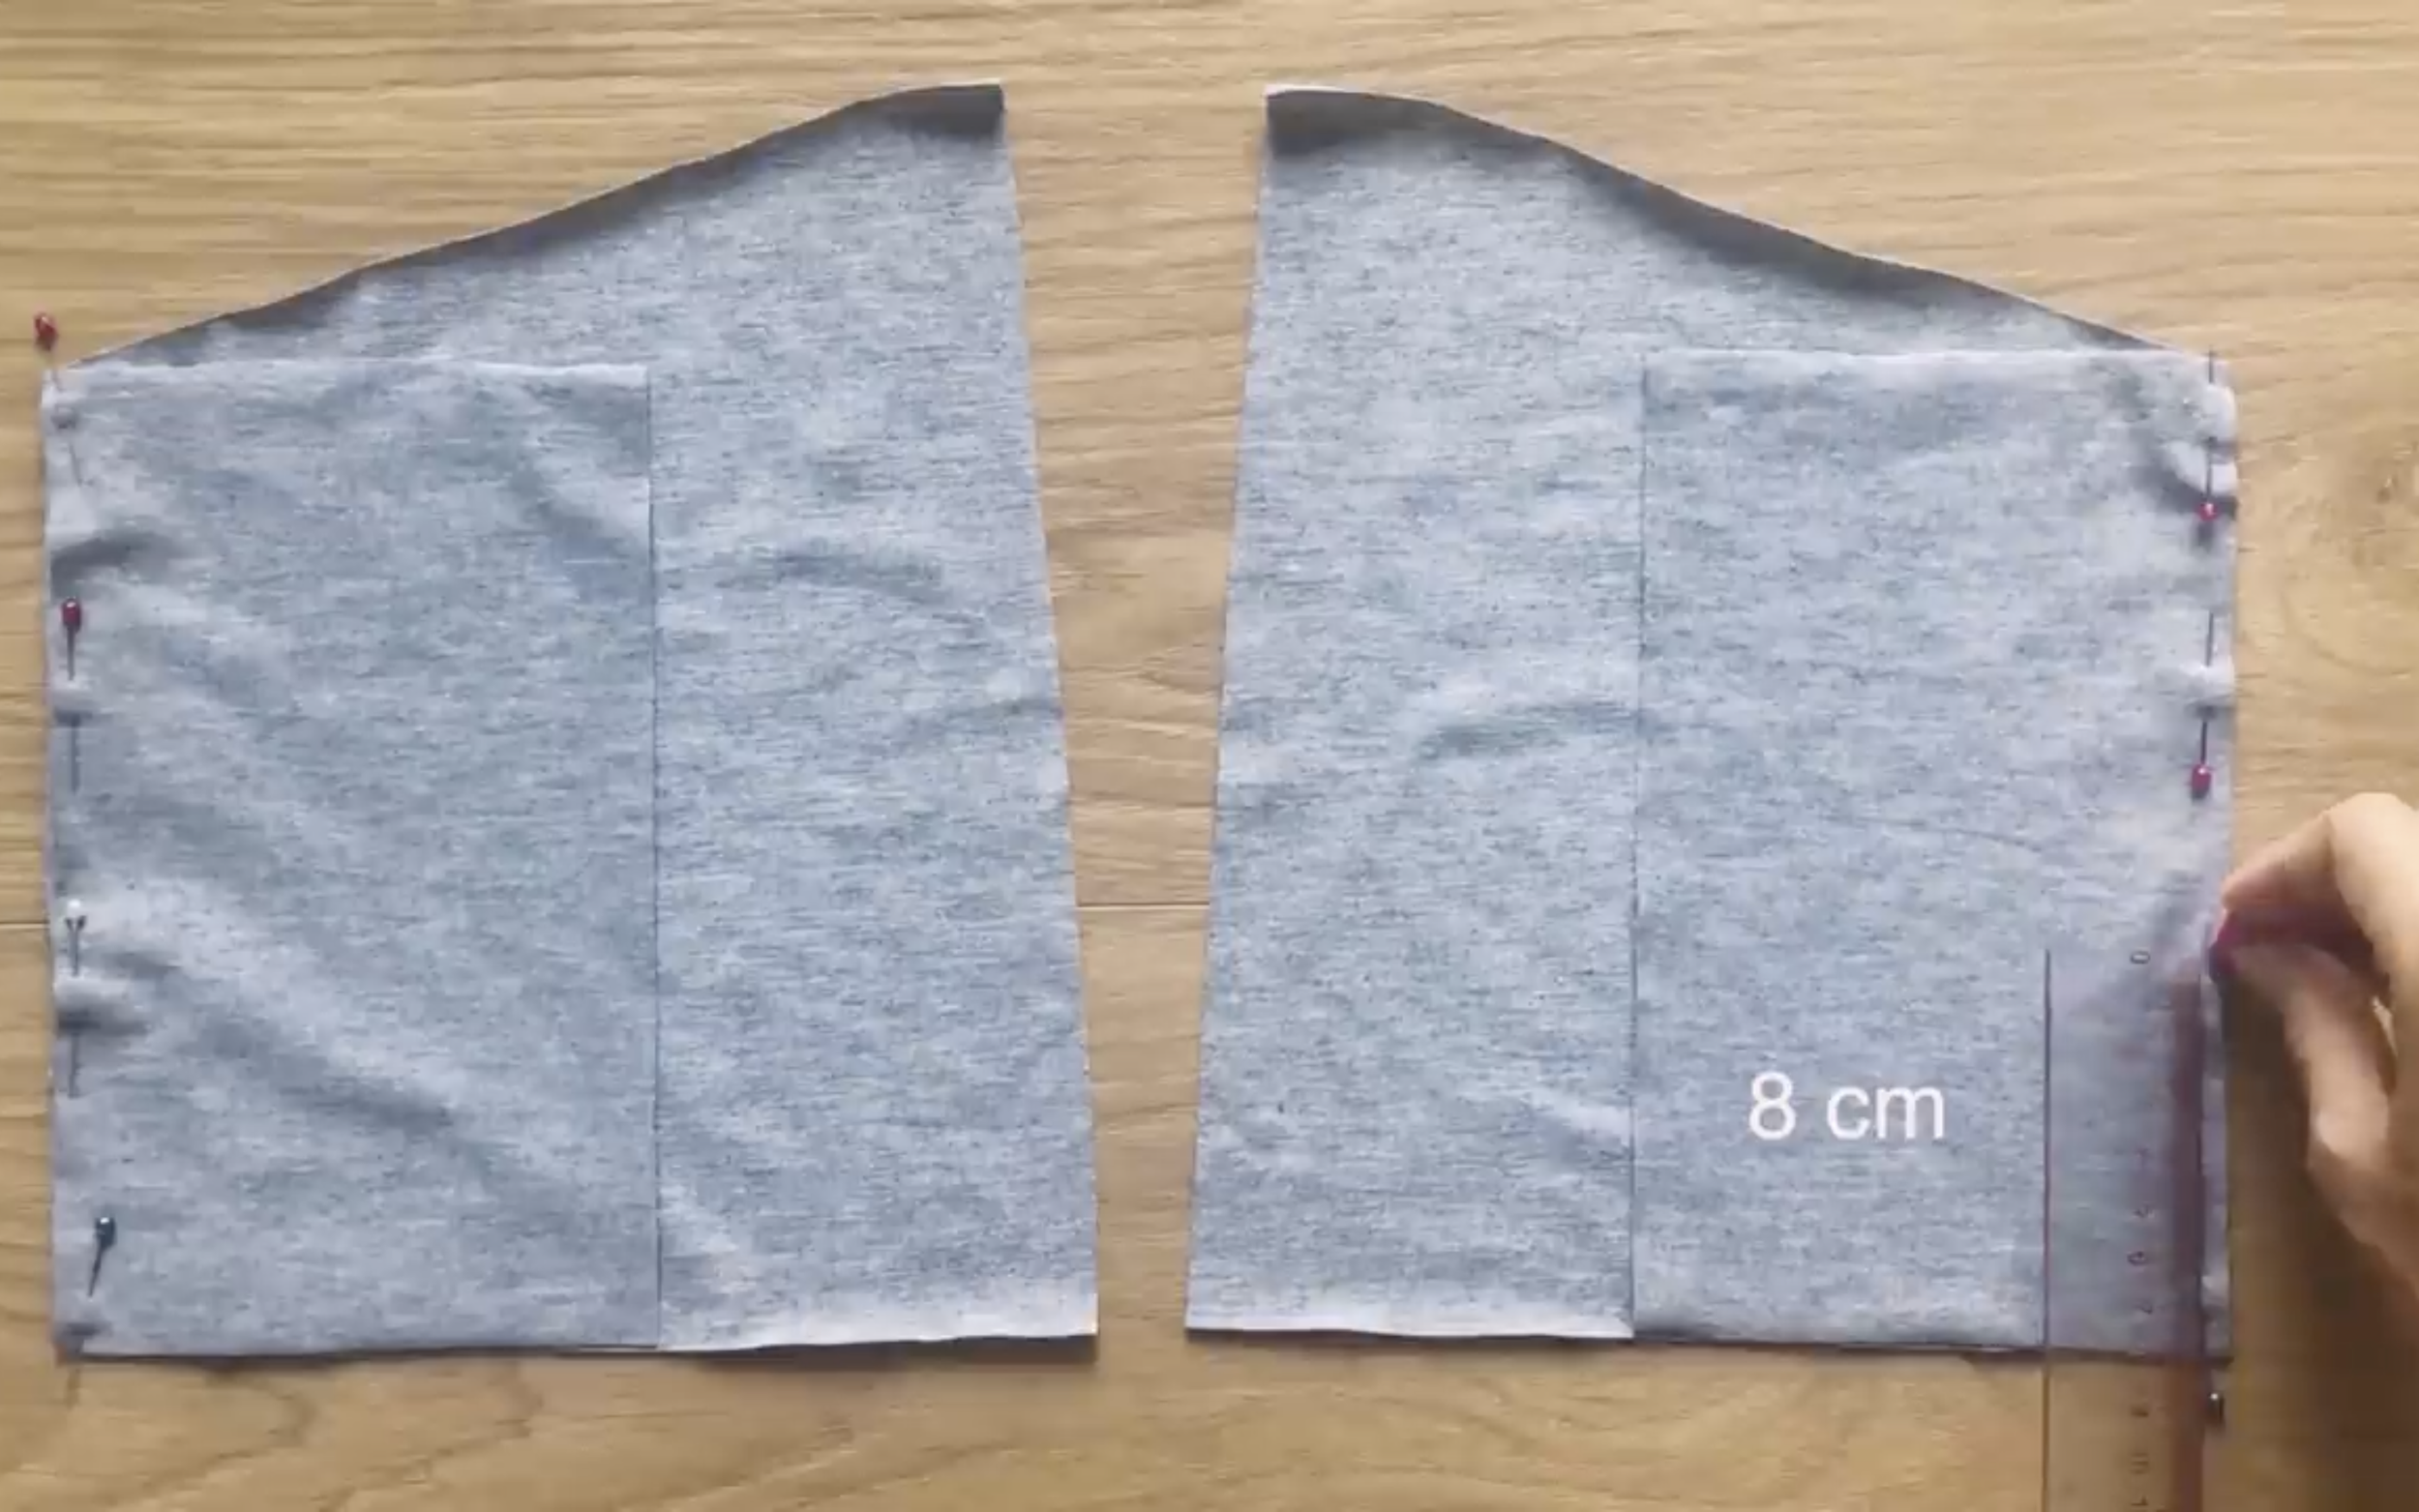
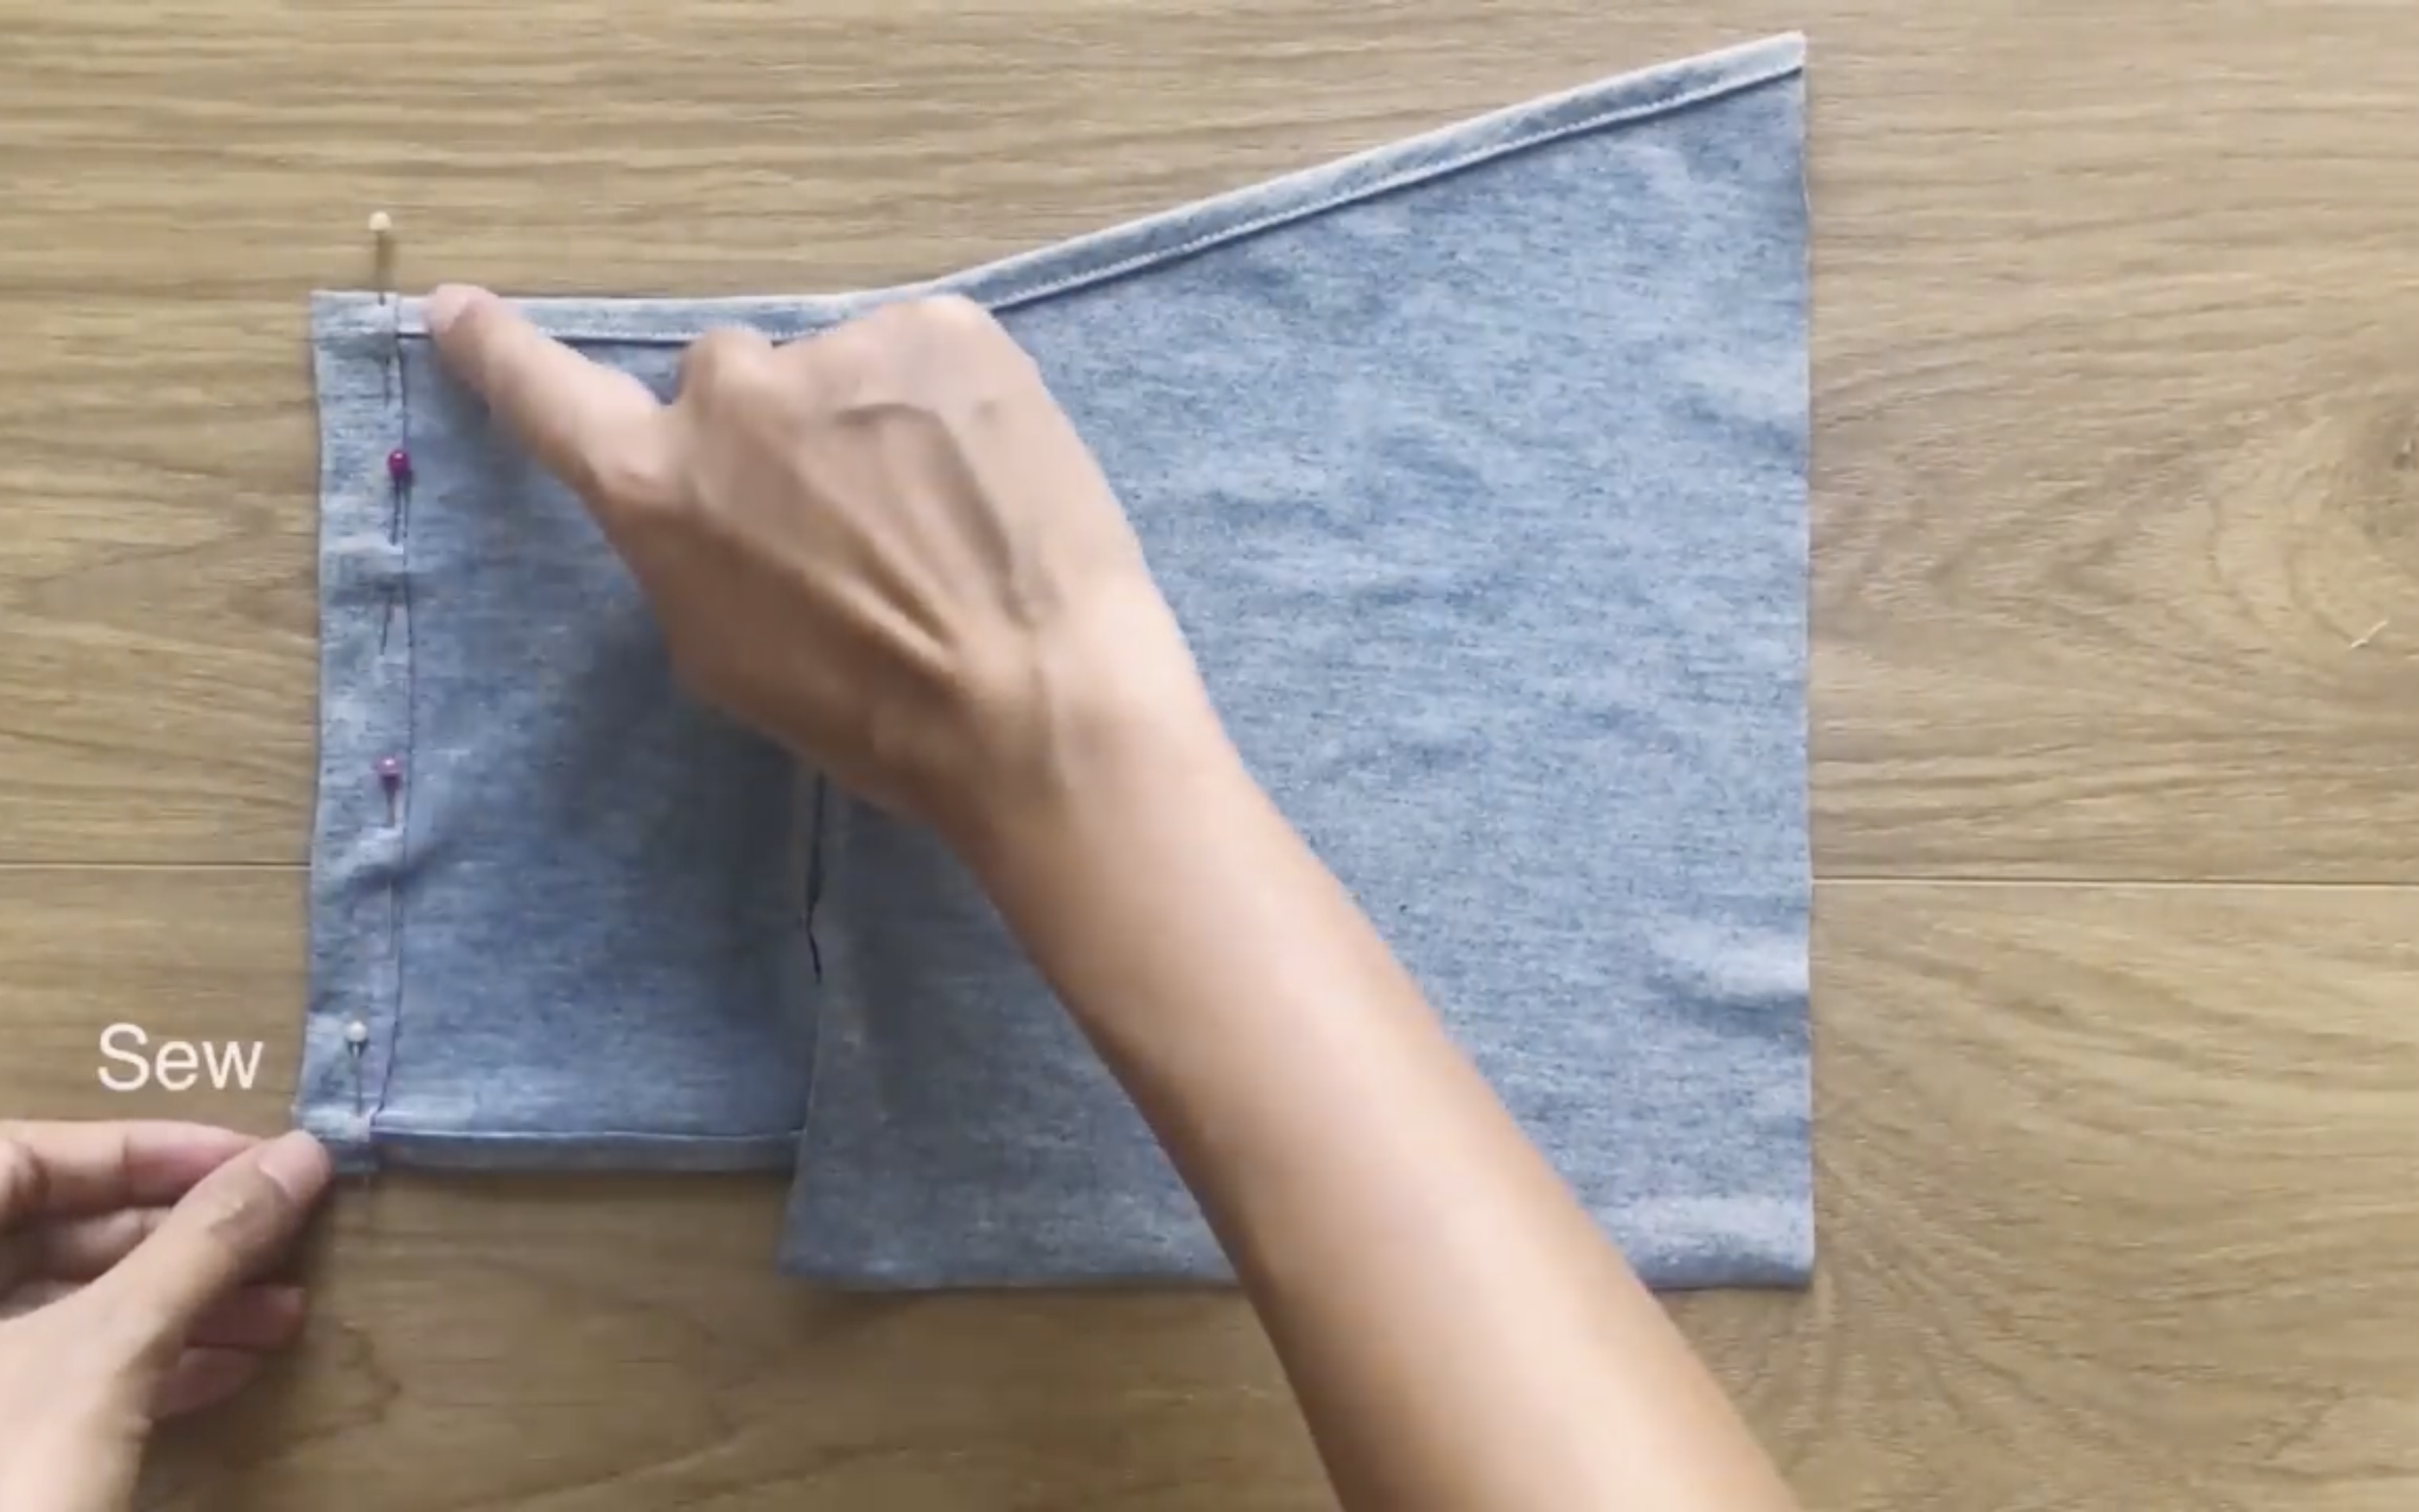
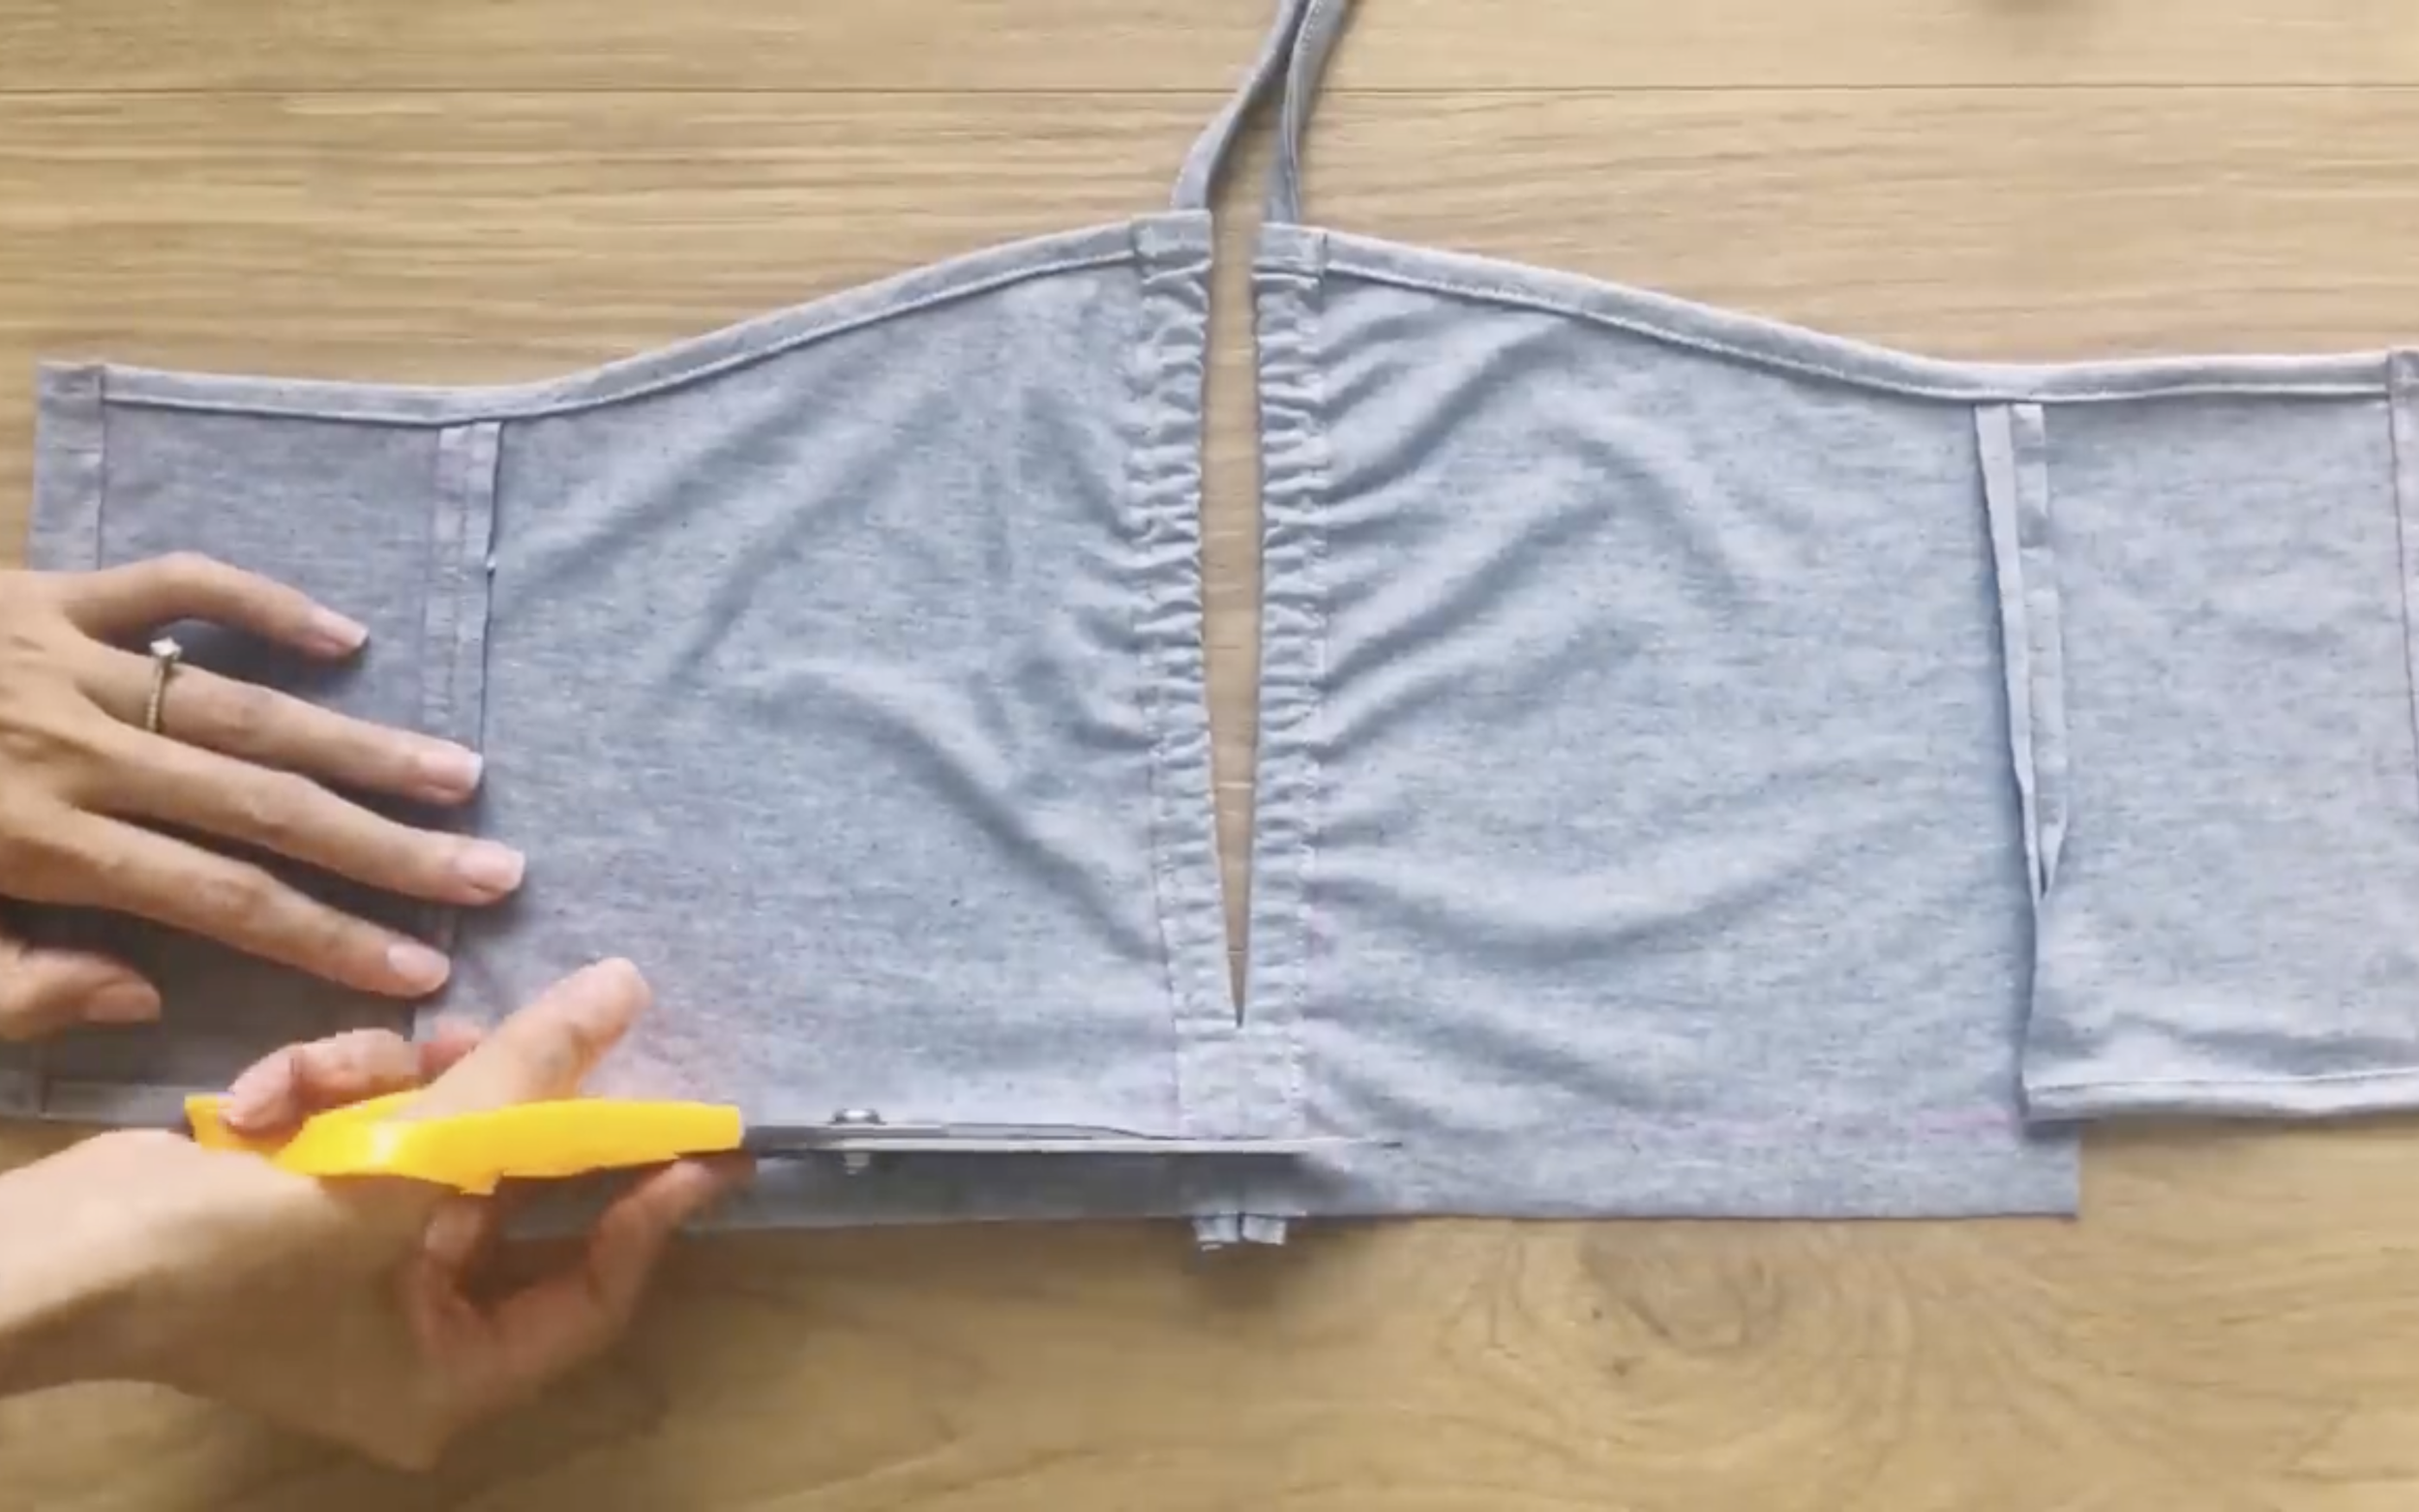
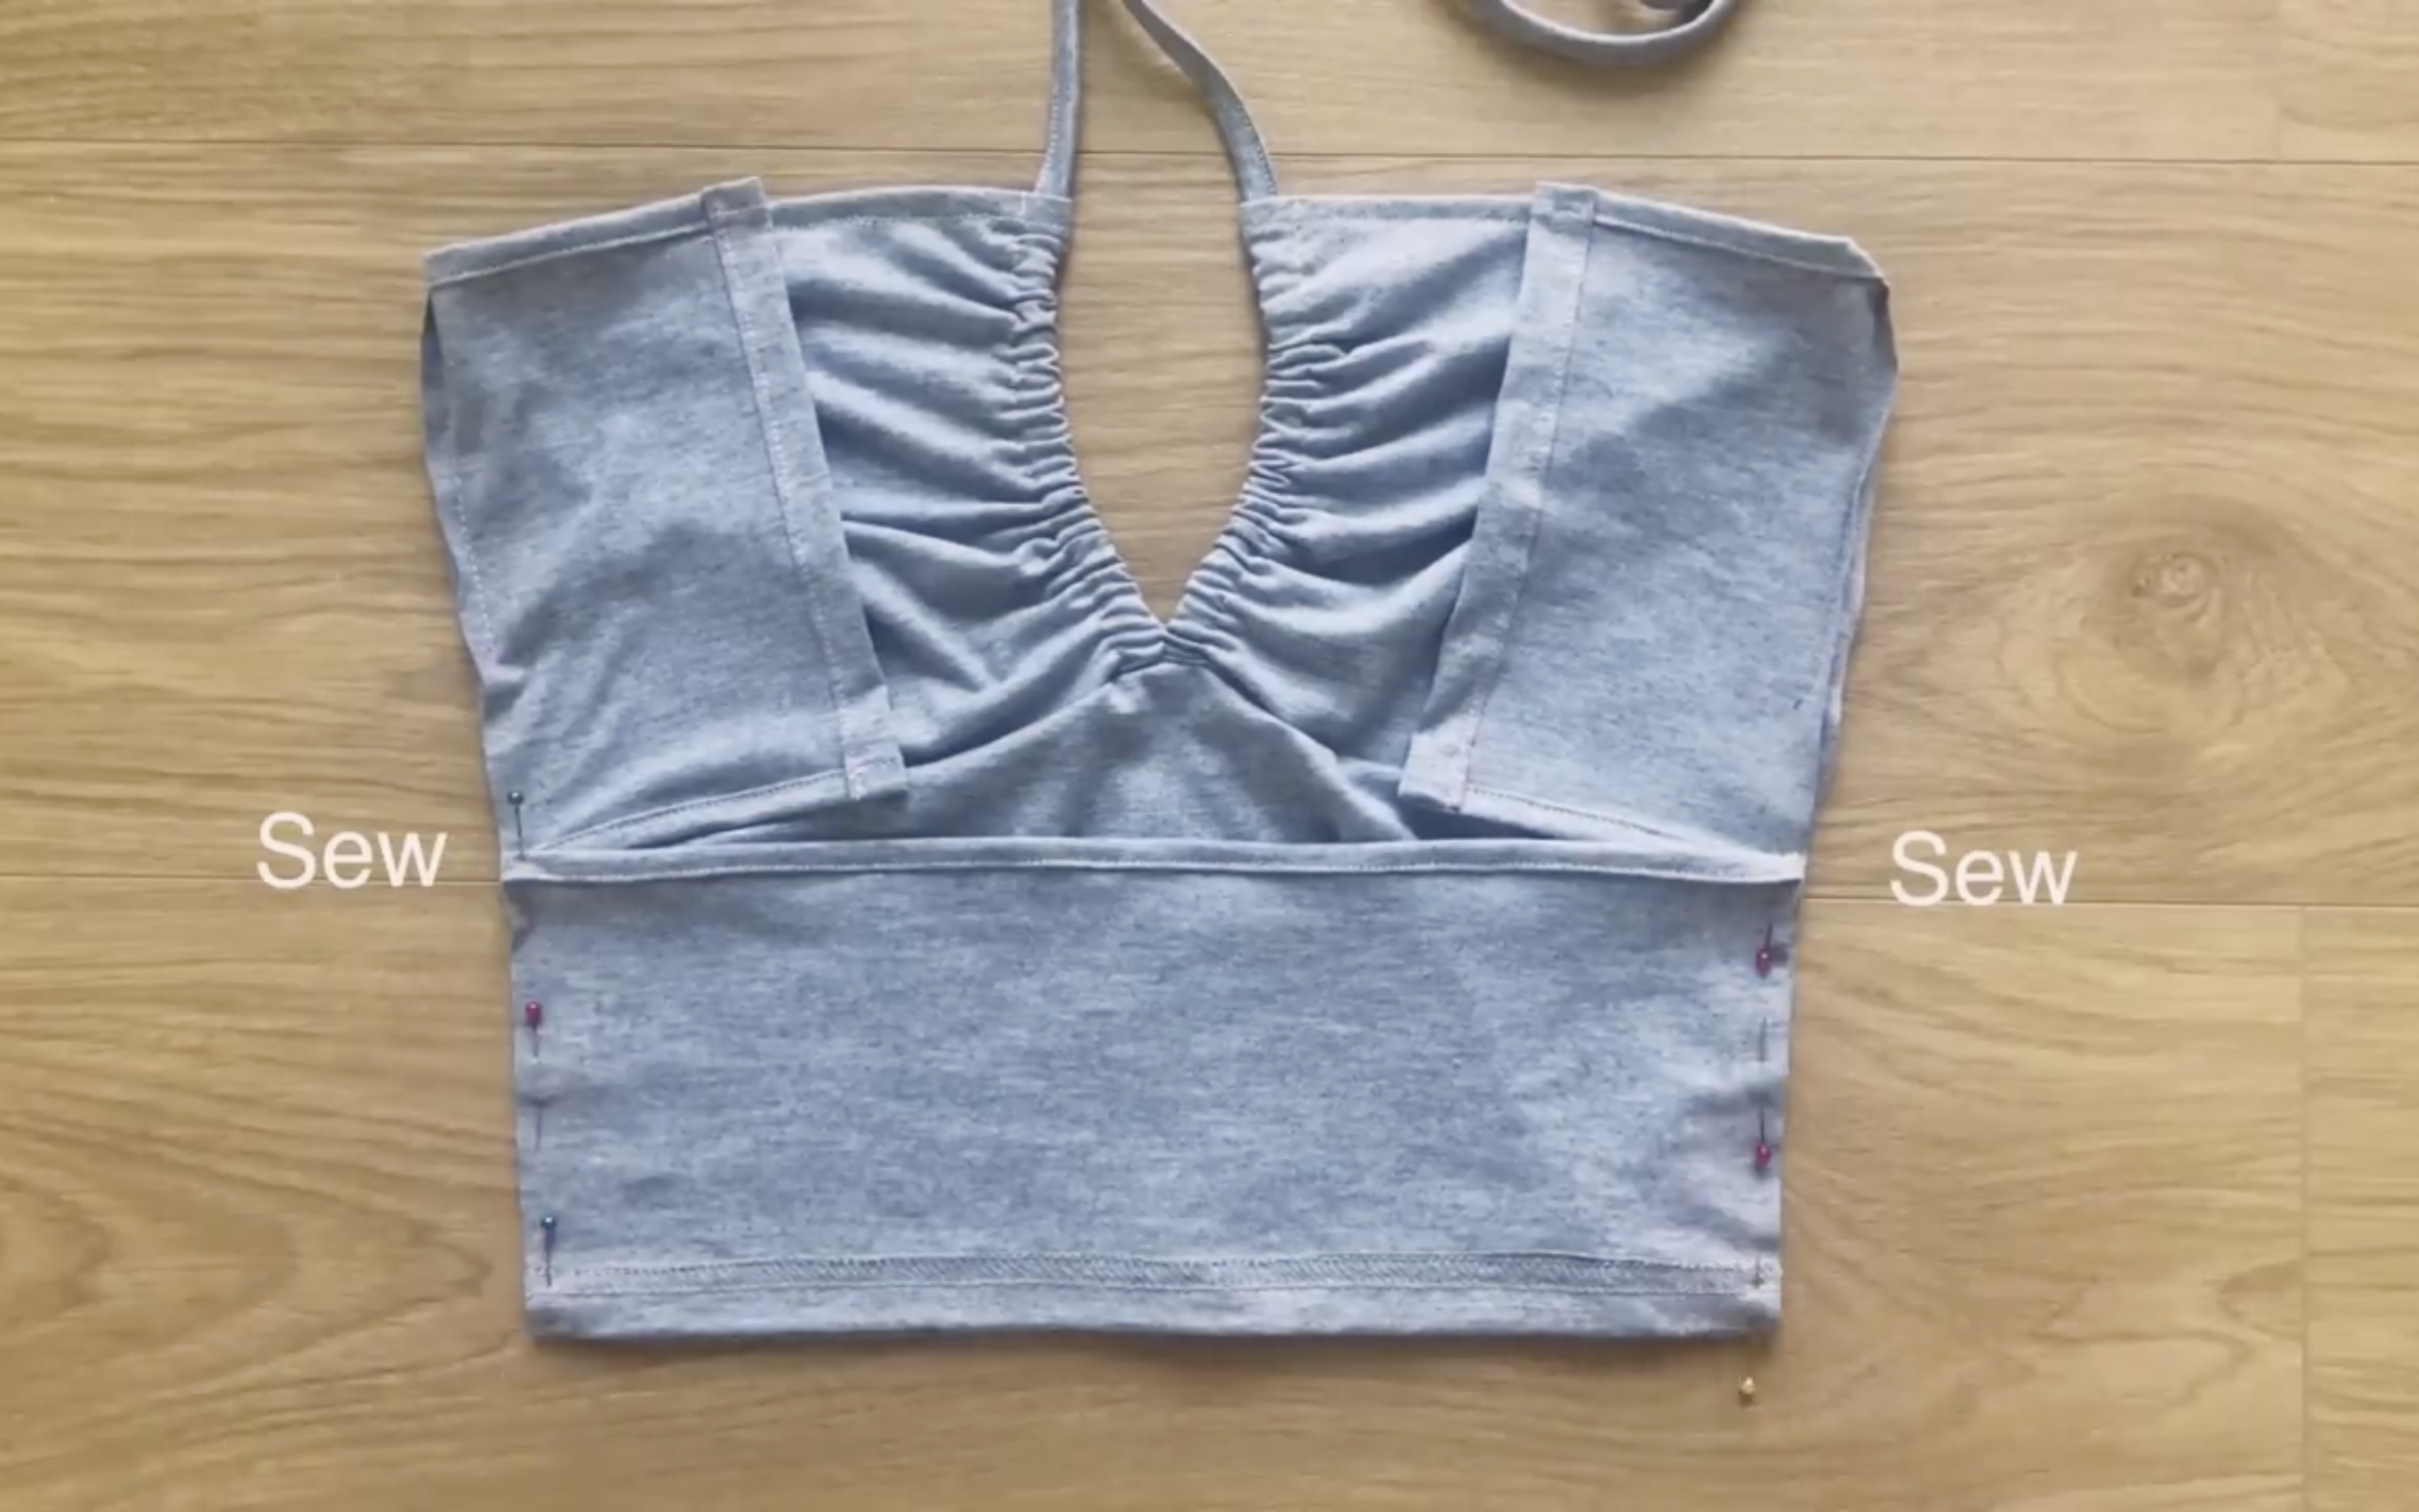
Connect the back pieces to the front pieces at the sideline first, then sew with 8 cm open at the end of the sidelines.
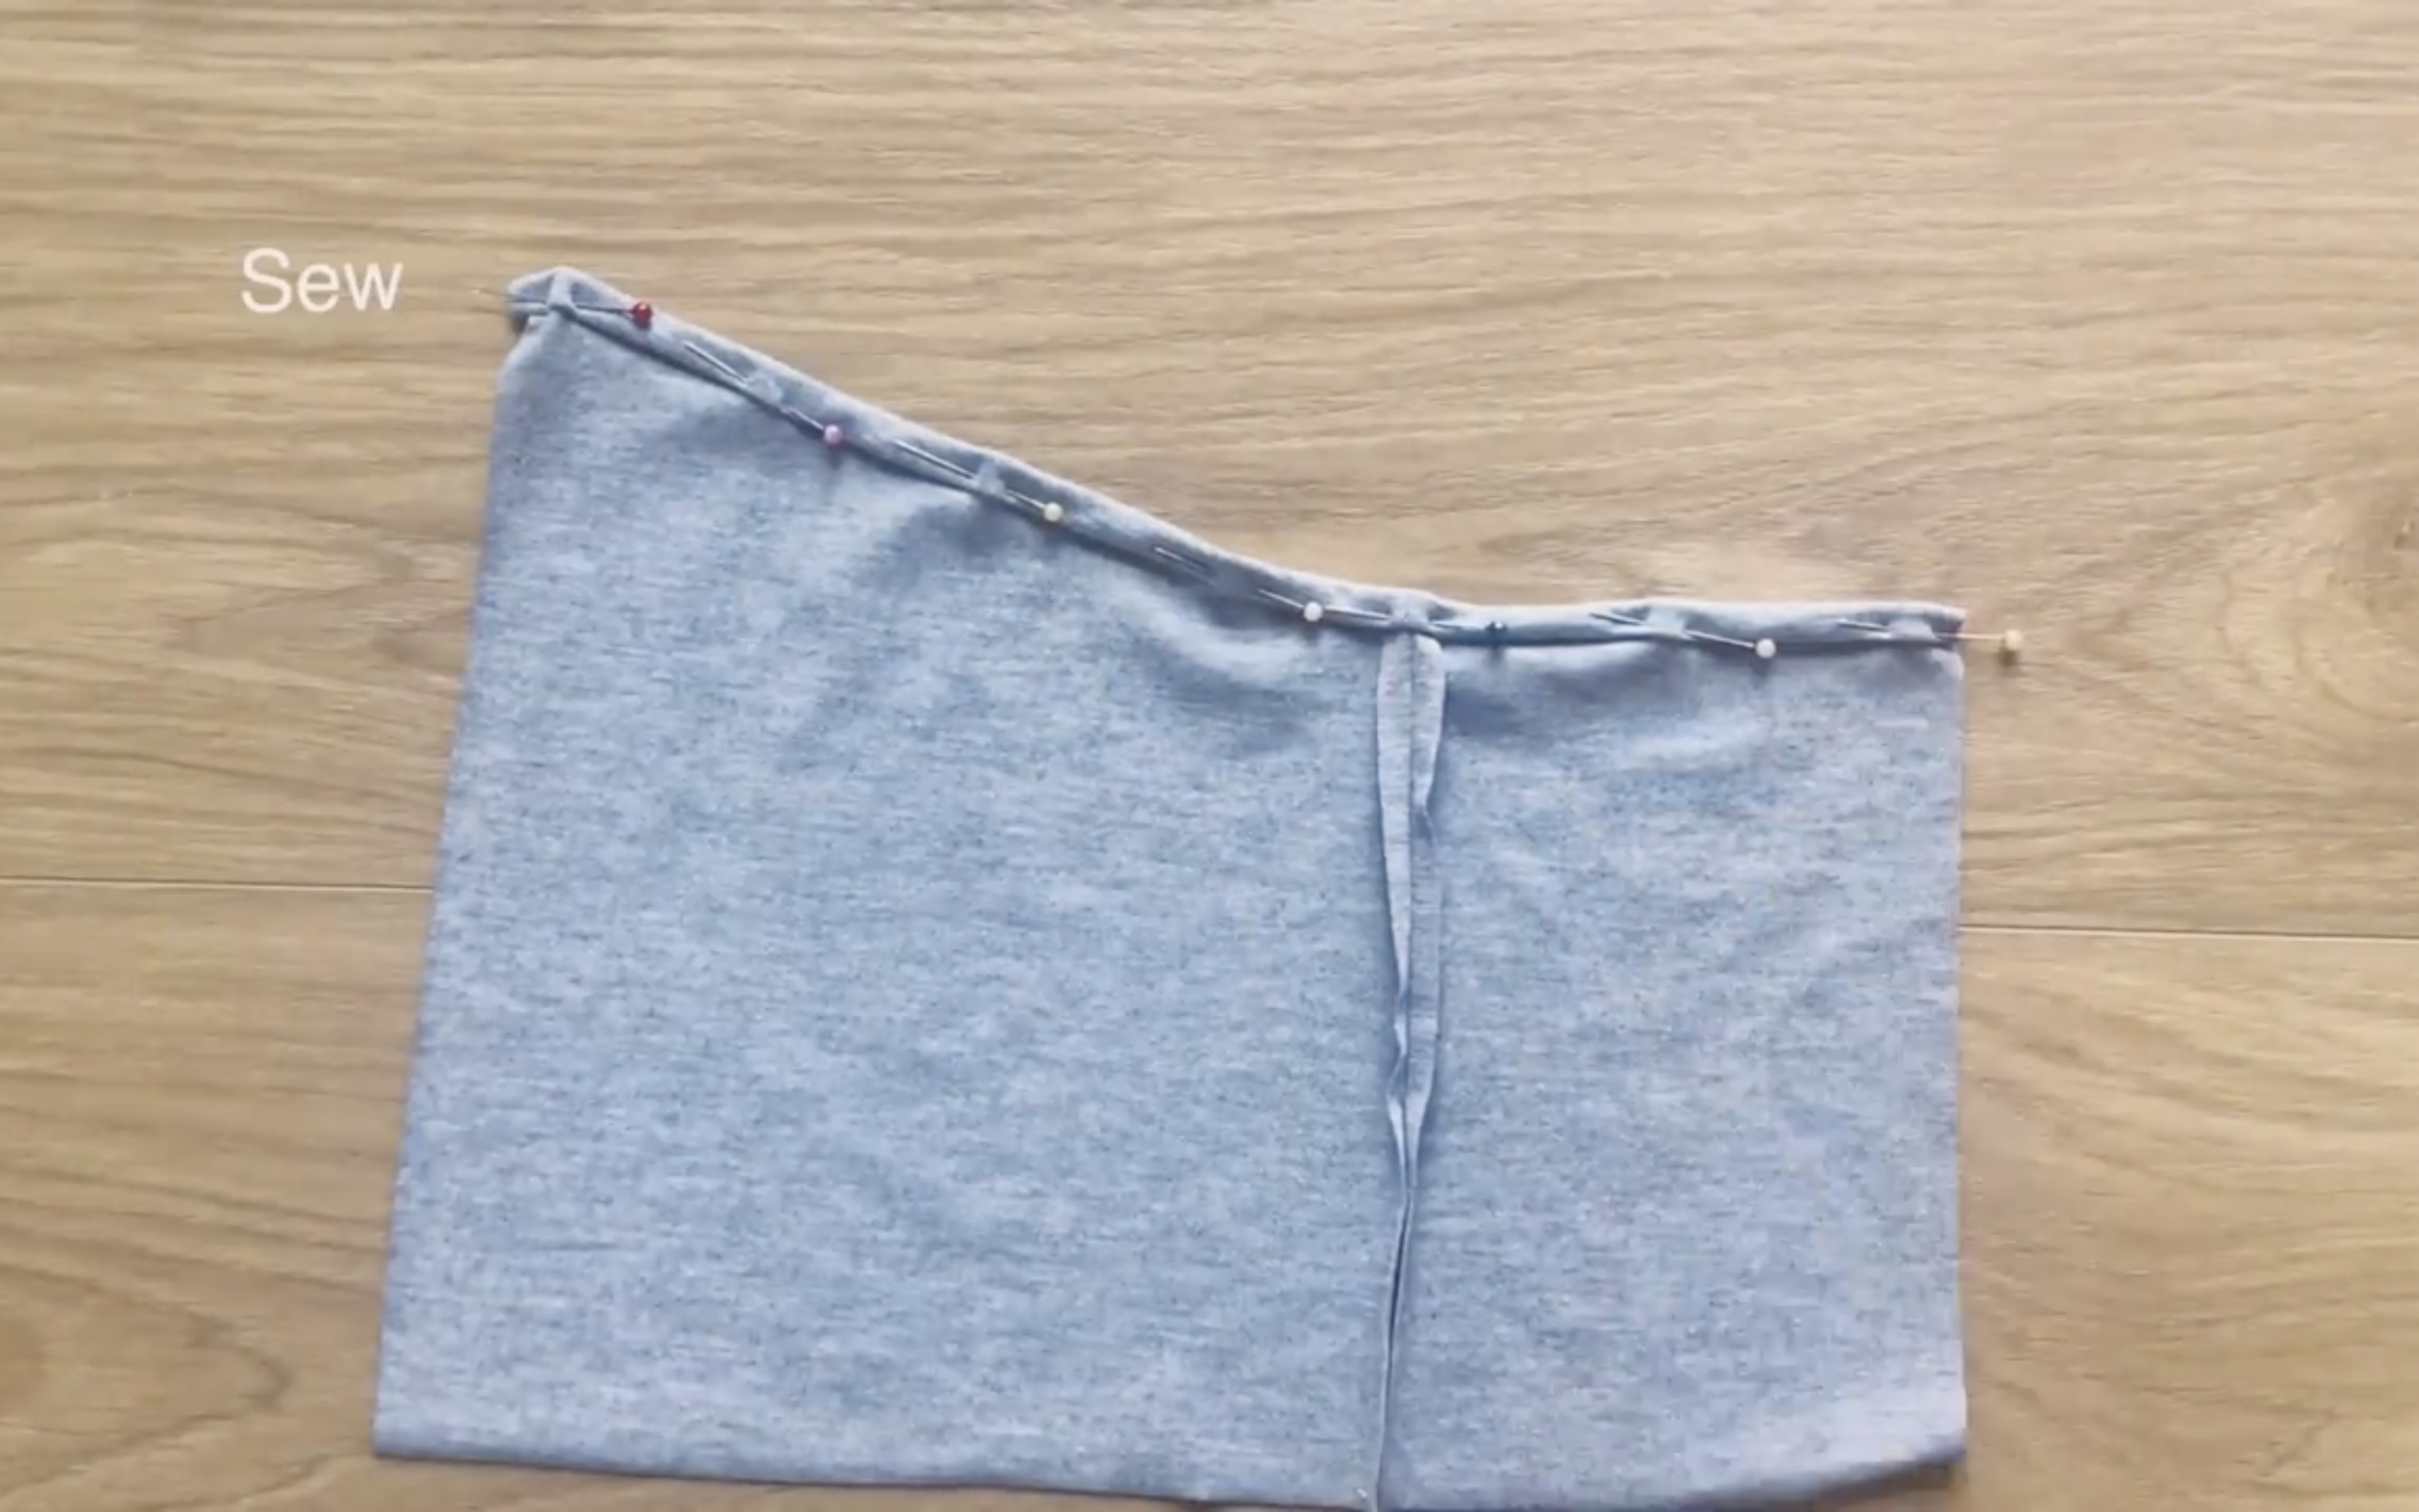
After that, finish the line at the top by folding the end fabric inside two times and sew.
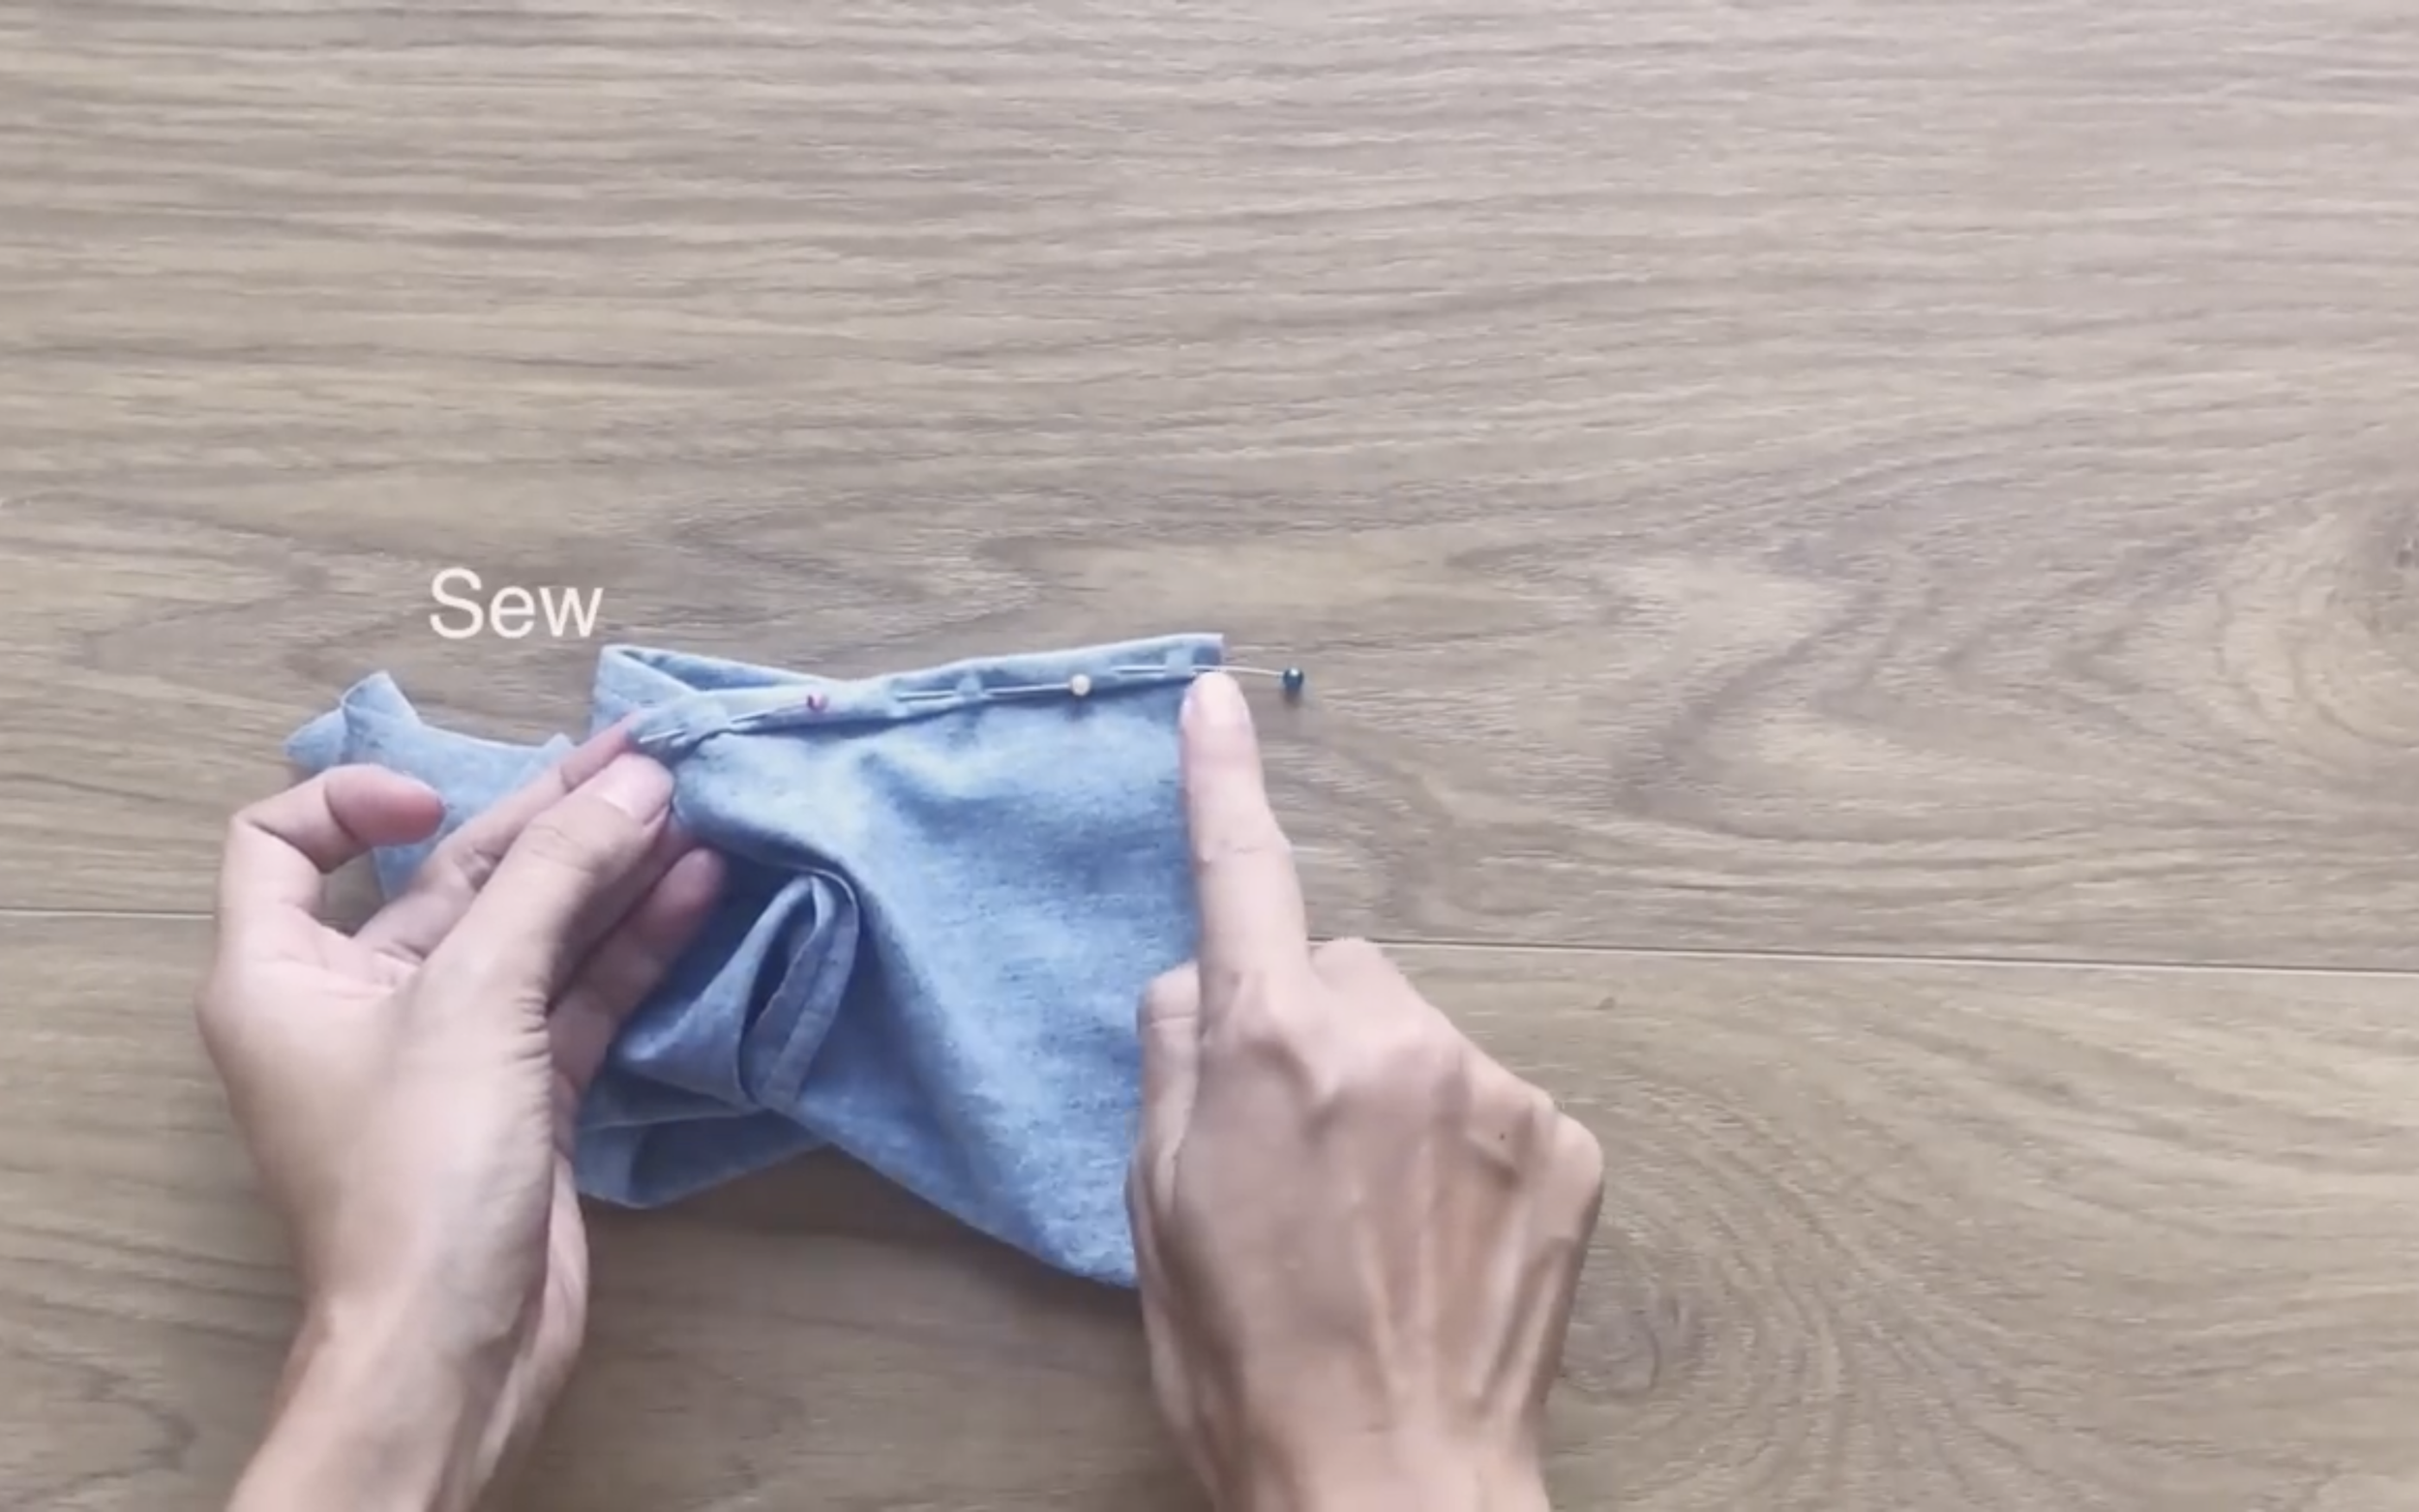
Use the same way to finish the end of the back part.
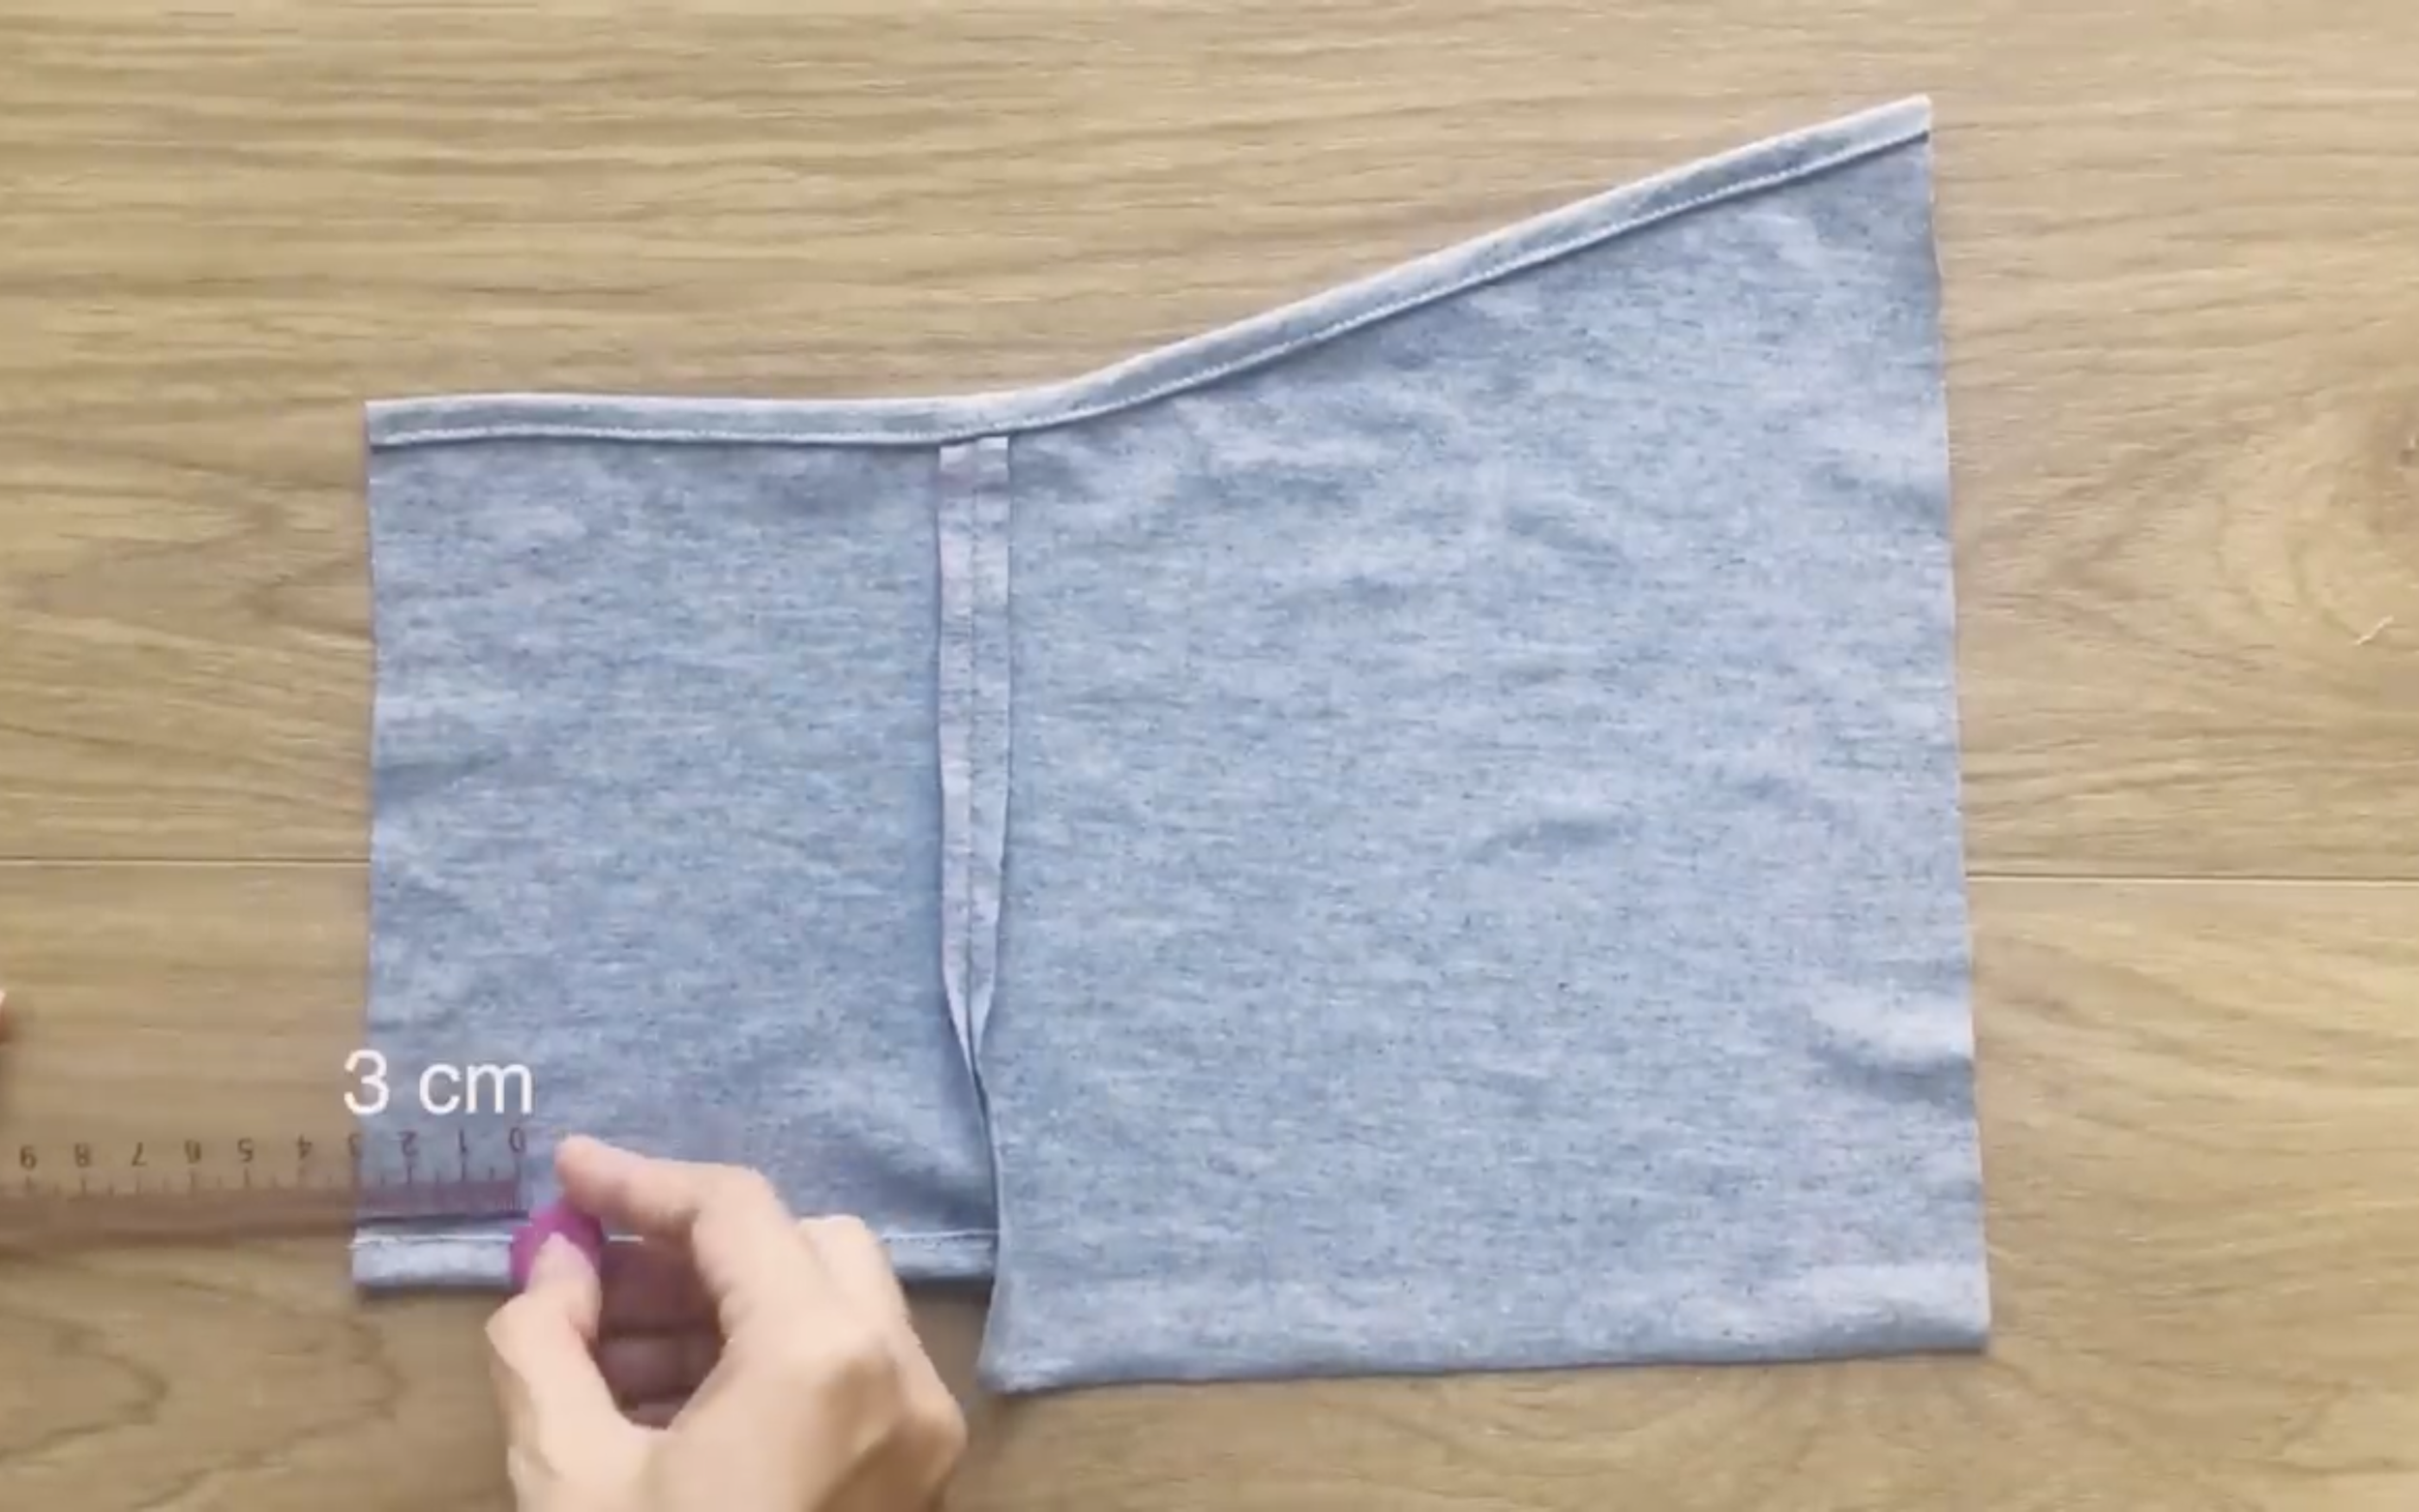
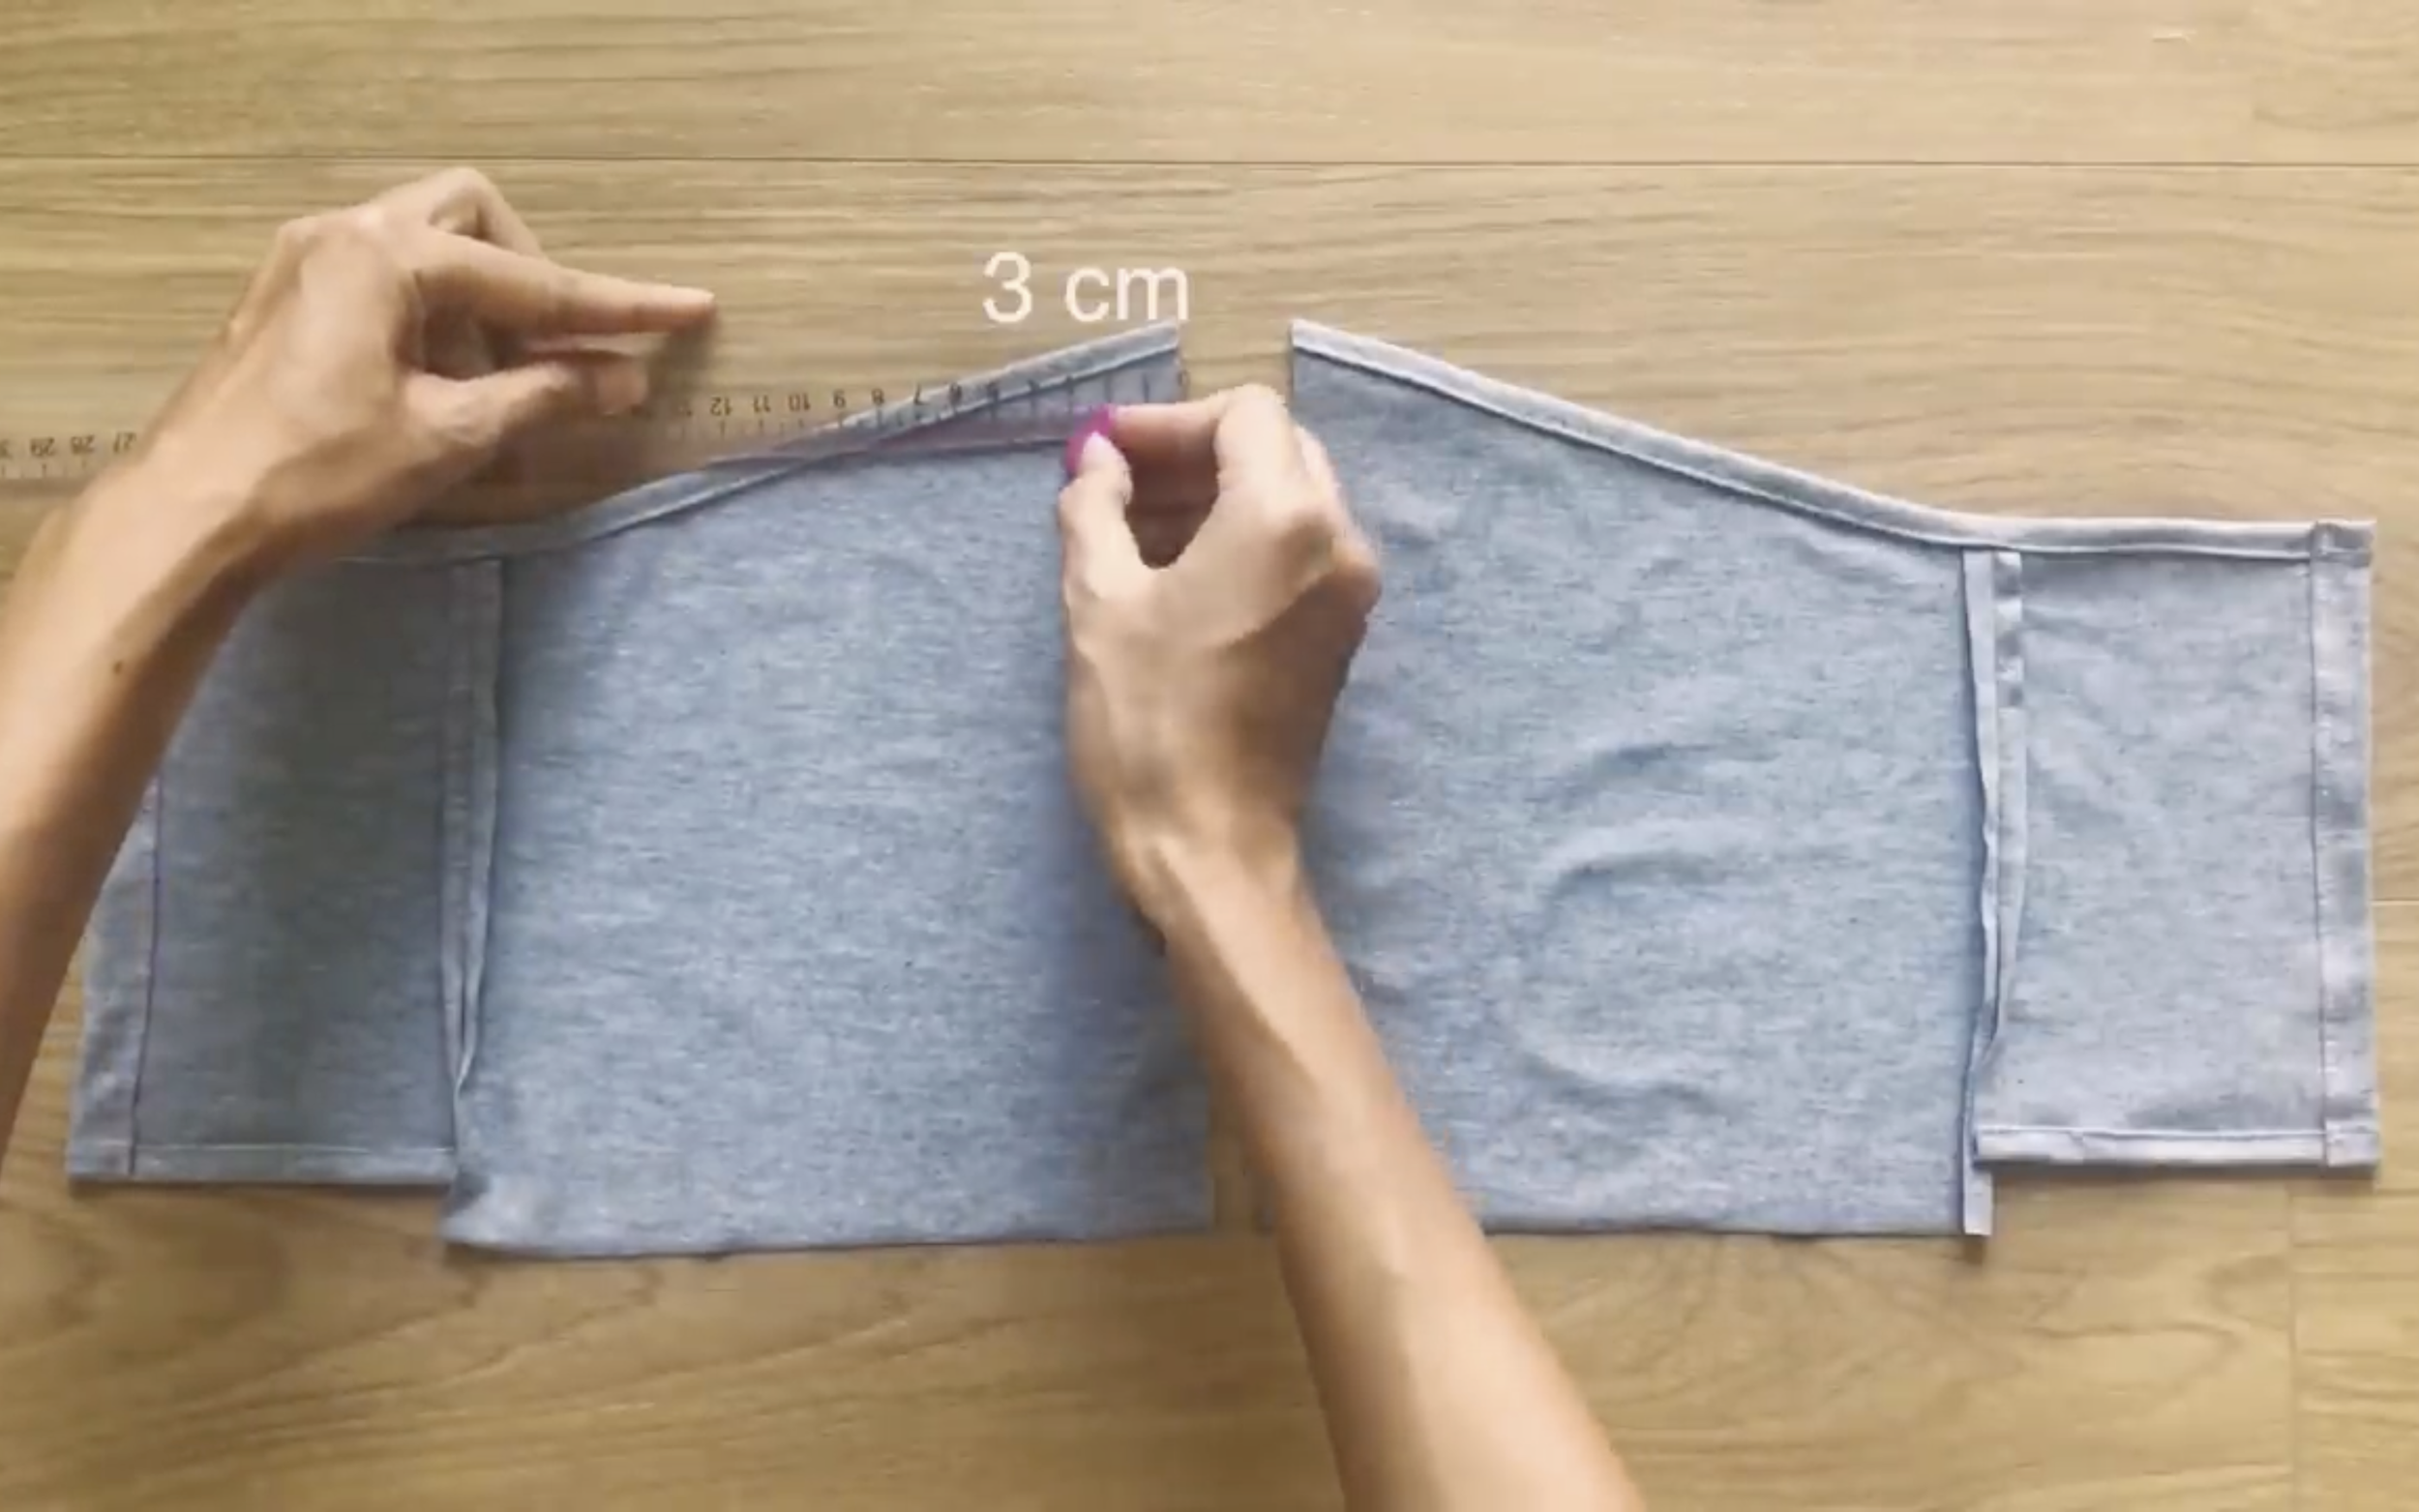
At the other length line on the back part, draw a line at 3 cm inside.
Then fold the end fabric to this line and sew to create a fabric hole with around 1 cm. So the tie can go through it later.
Do similar for the other length lines of the front part.
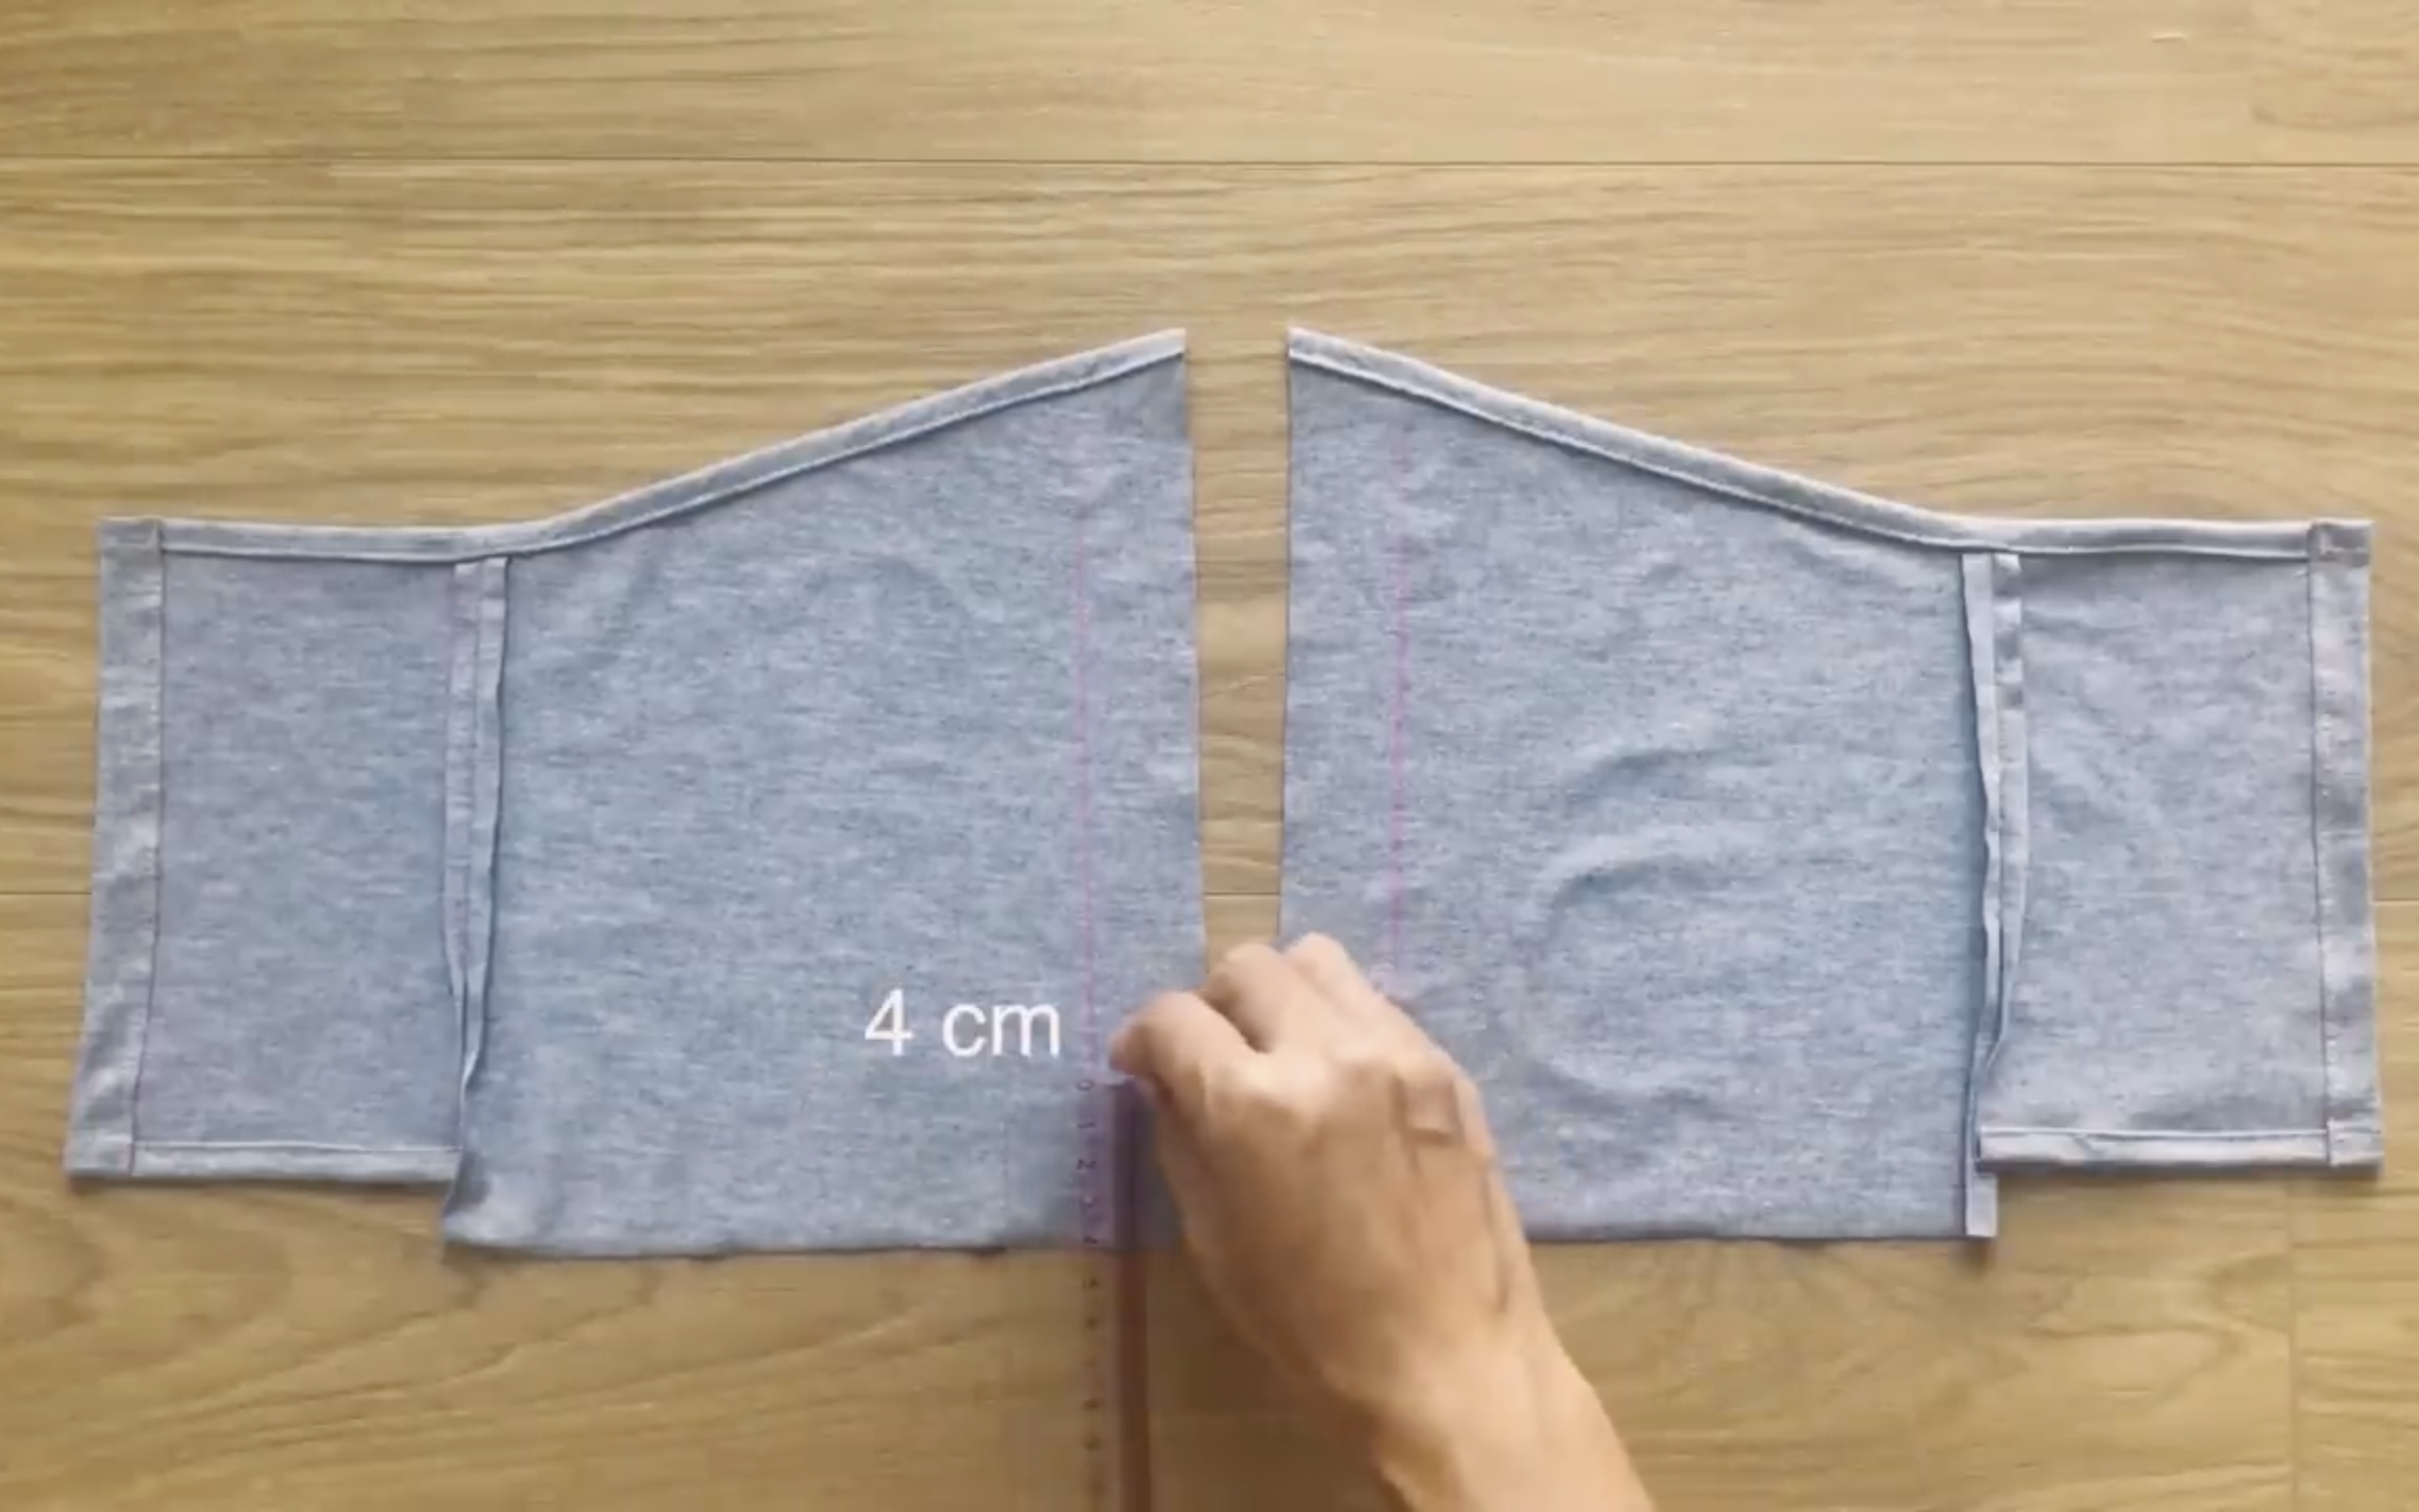
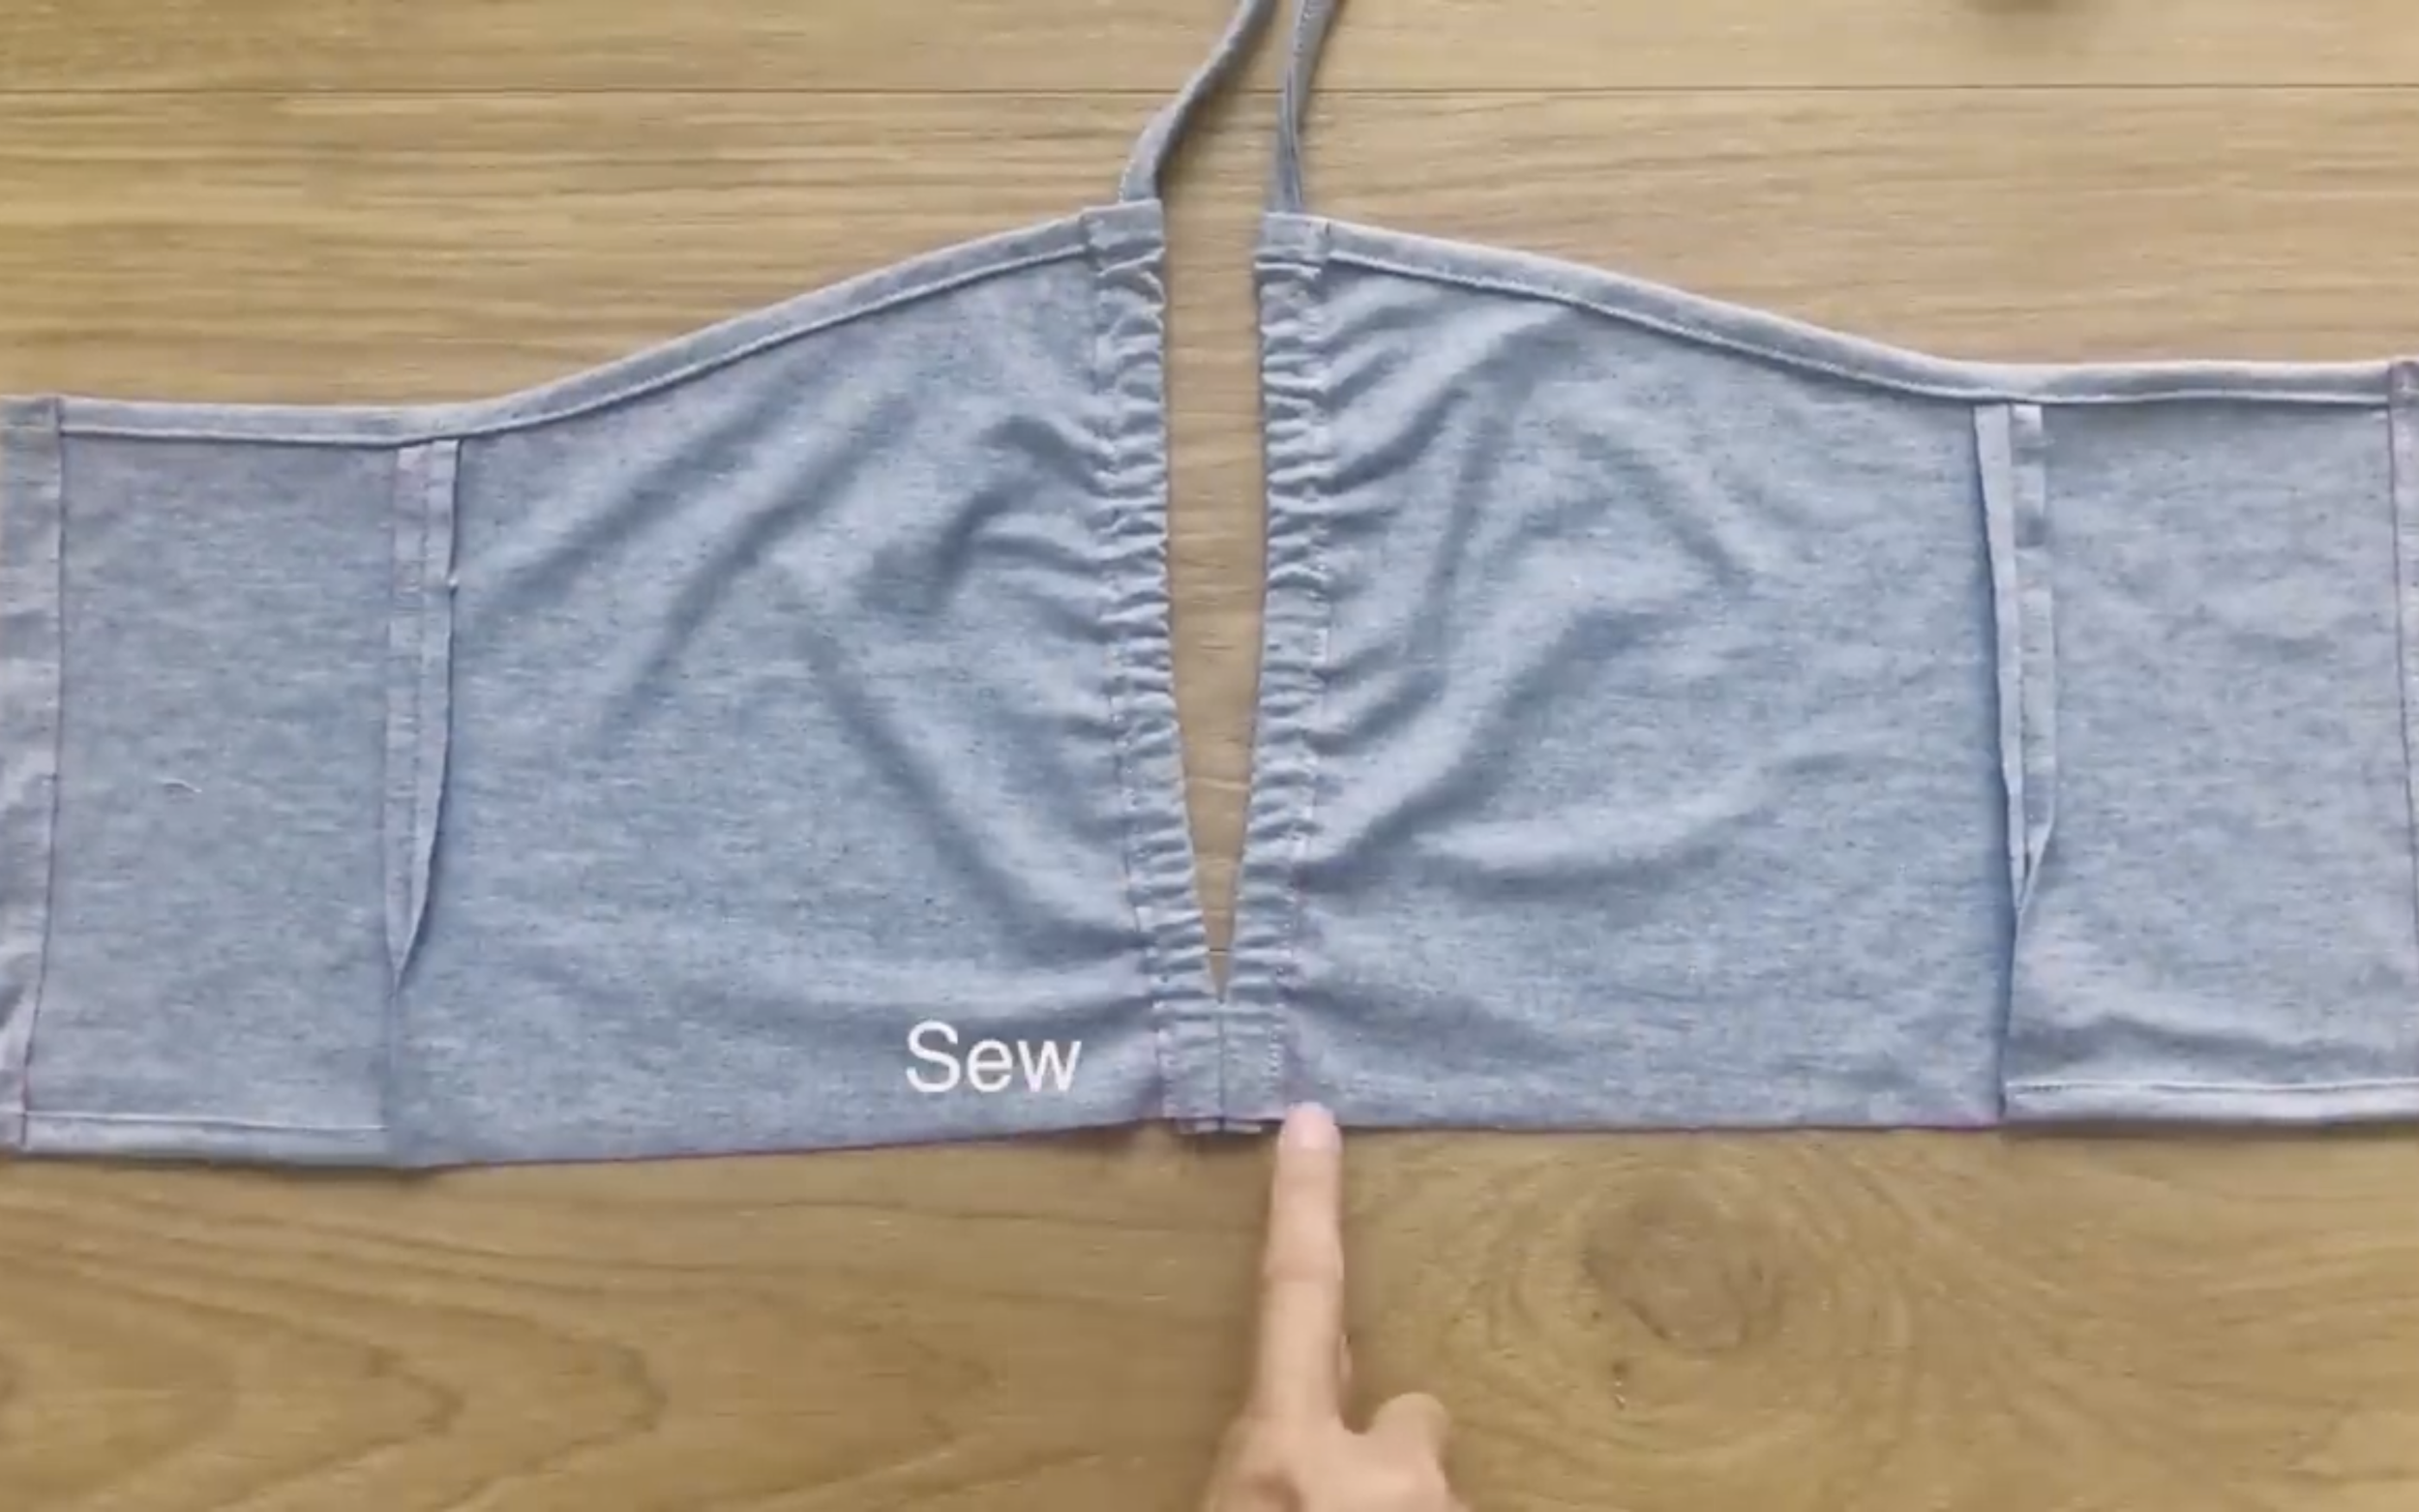
However, connect two pieces of the front part together at the end of the top around 4 cm before making the fabric hole there.
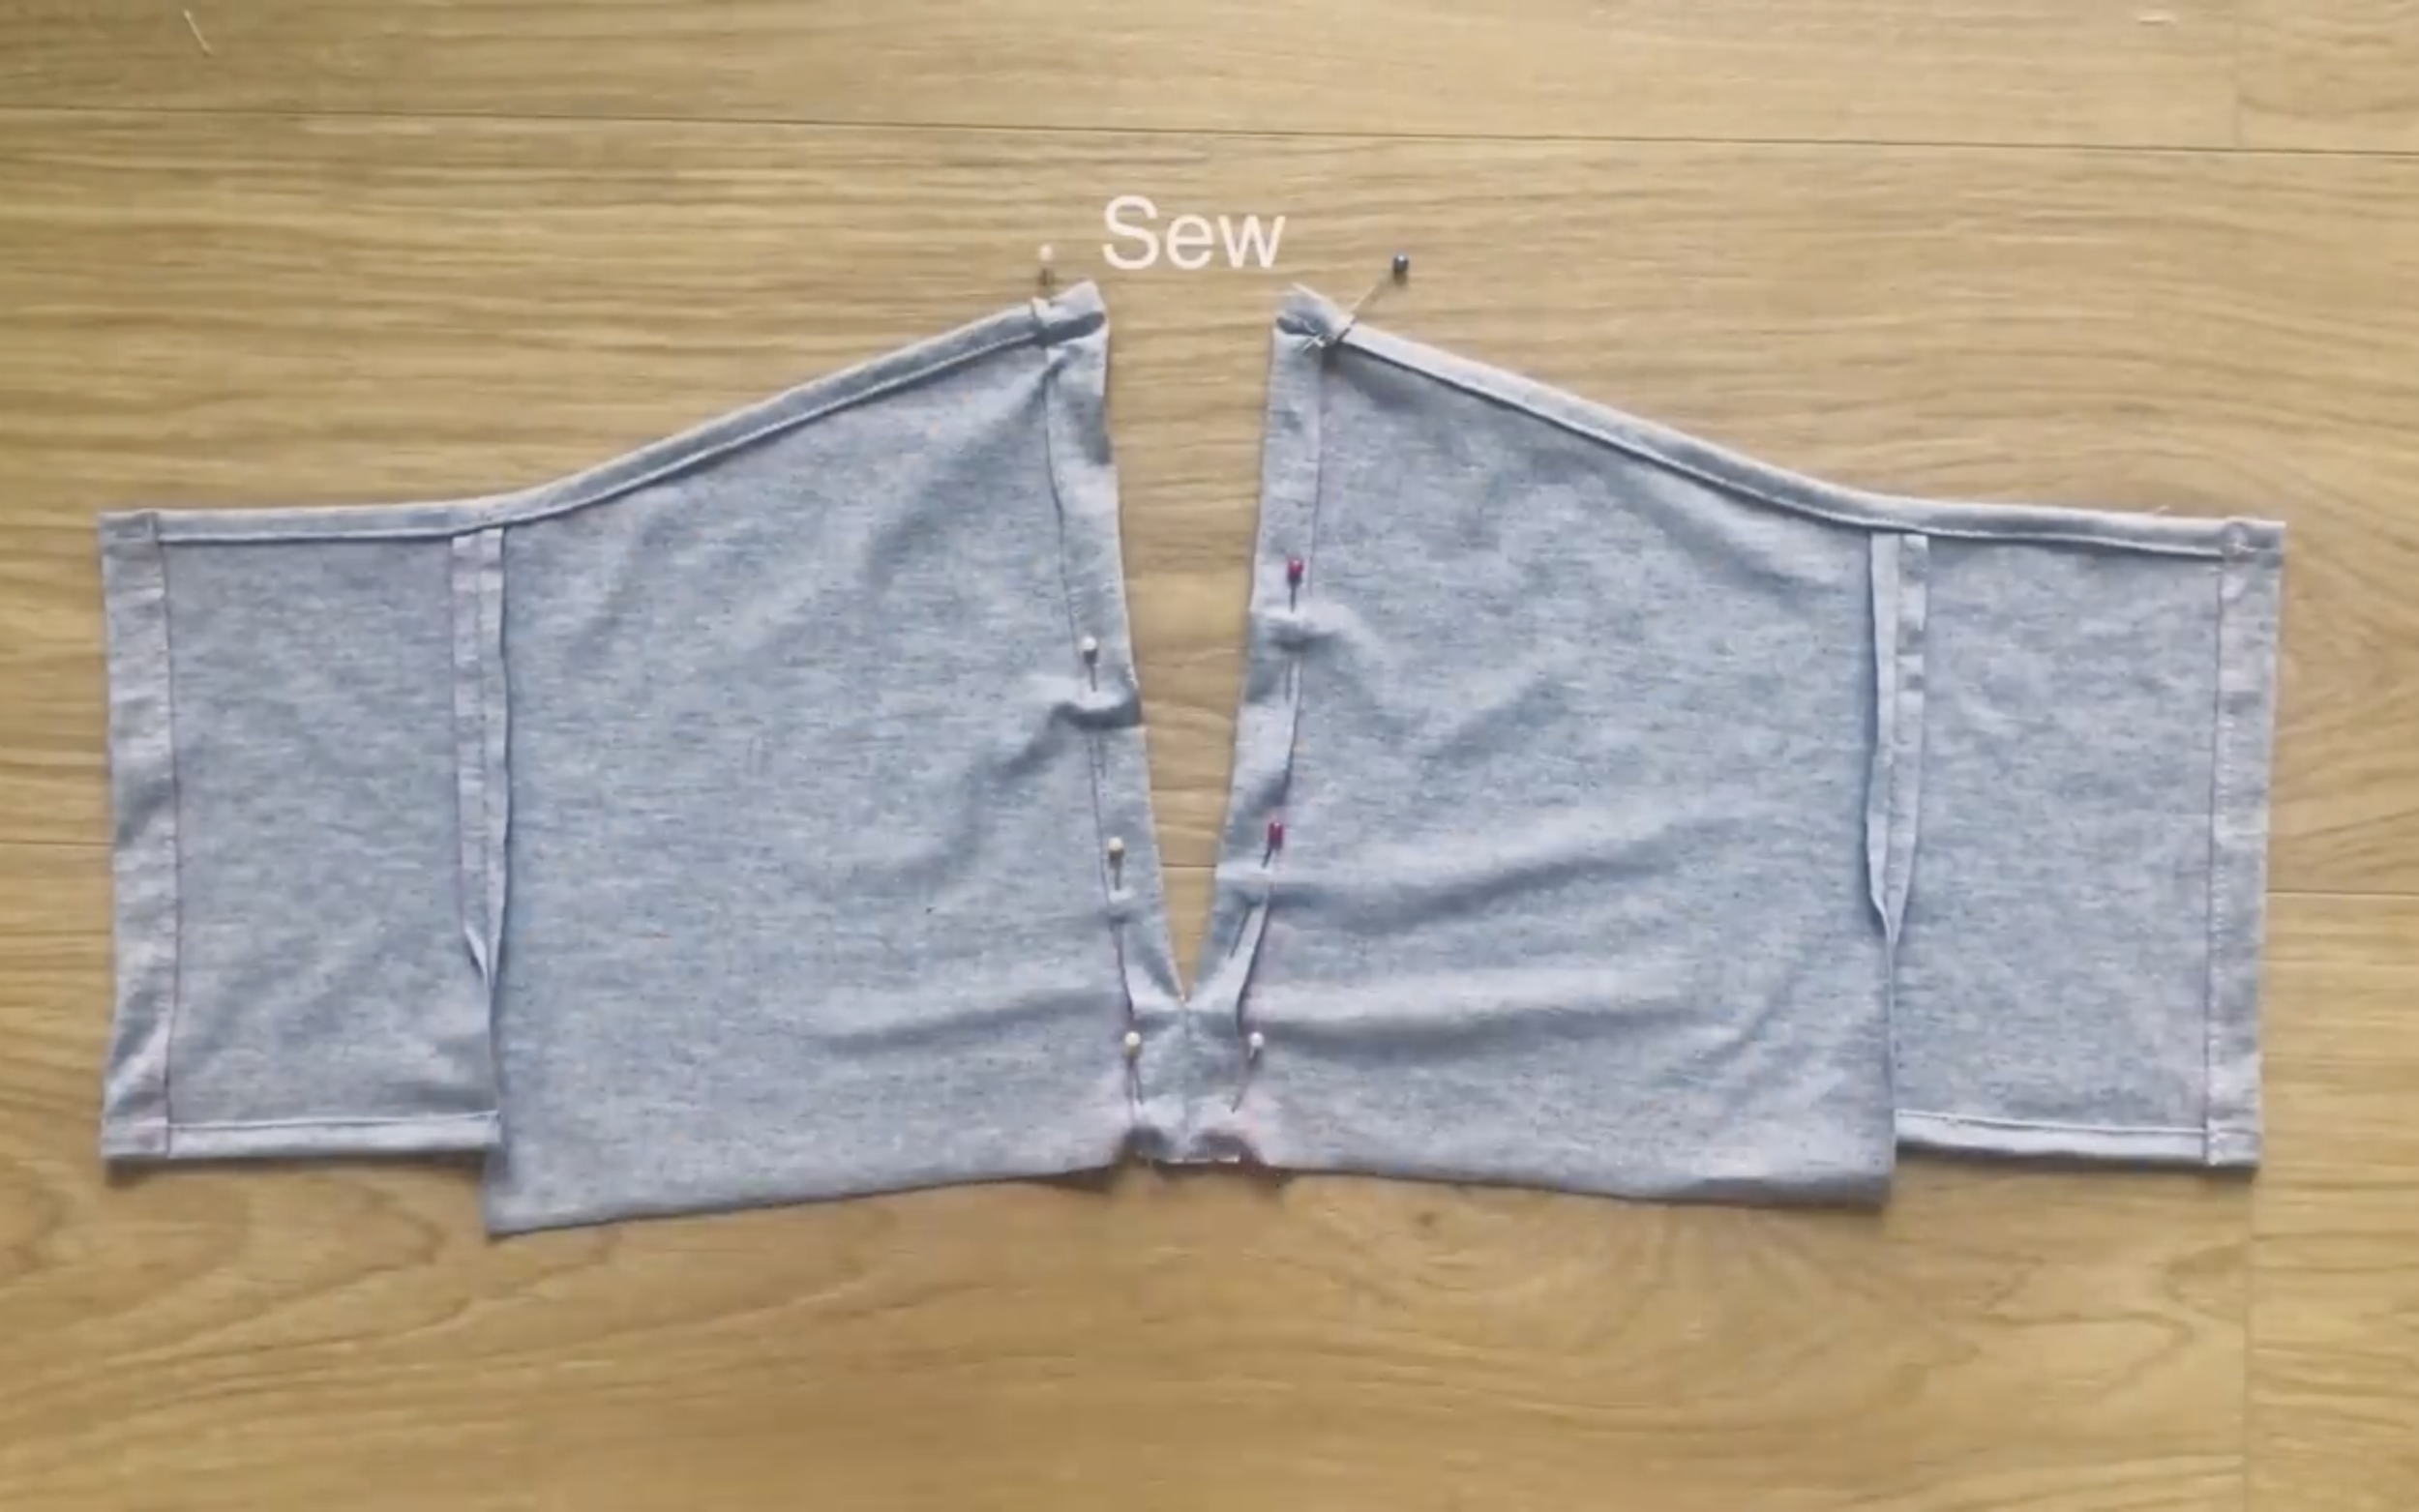
Then sew.
Use the leftover fabric at the top of the t-shirt to cut 6 rectangles with 3.5 cm width.
Connect three rectangles together to create a long fabric line first.
Then fold two ends of the length line inside, then fold it again to create a tie.
After sewing, put two ties through two fabric holes in the middle of the front part.
Because of the folding at the end of the back, the front and the back are not equal, so measure and re-cut the front to make the back part.
Then sew one end of the tie to keep it there.
Remember to measure the width of the front part before making the bottom part of the crop top.
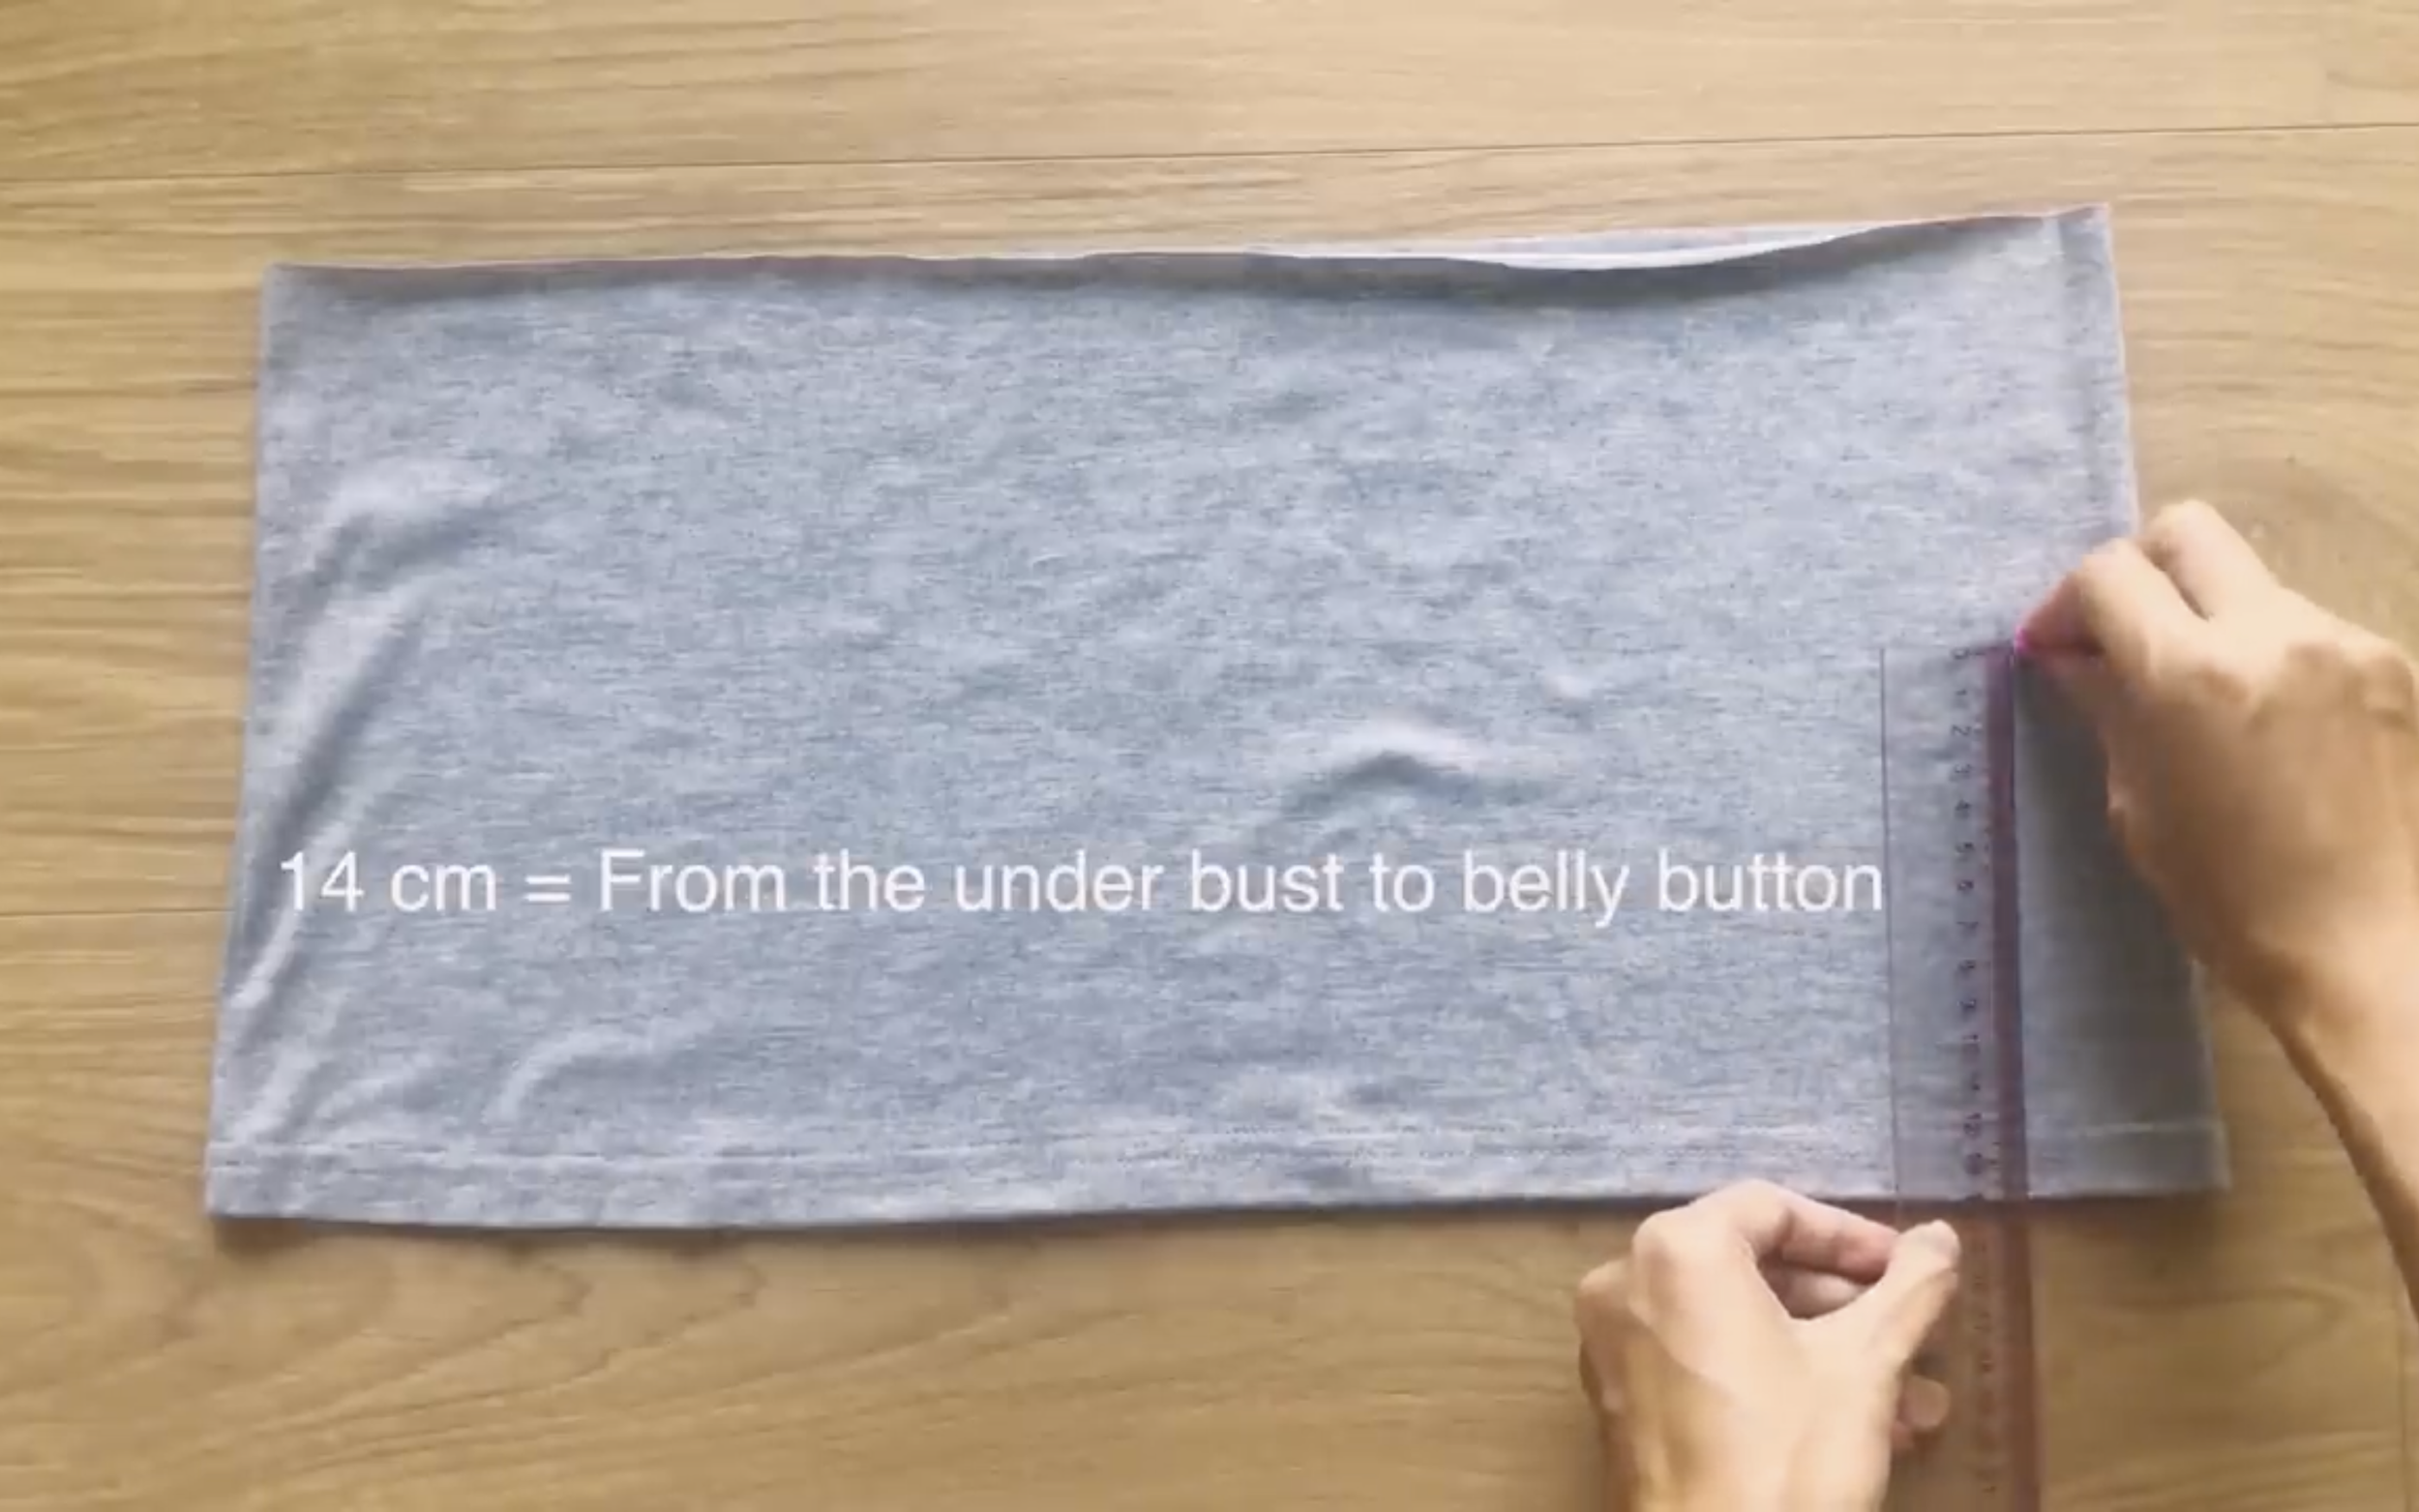
From the end of the leftover fabric of the t-shirt, draw a rectangle with 14 cm length, which is the length from the under bust to the belly button,…
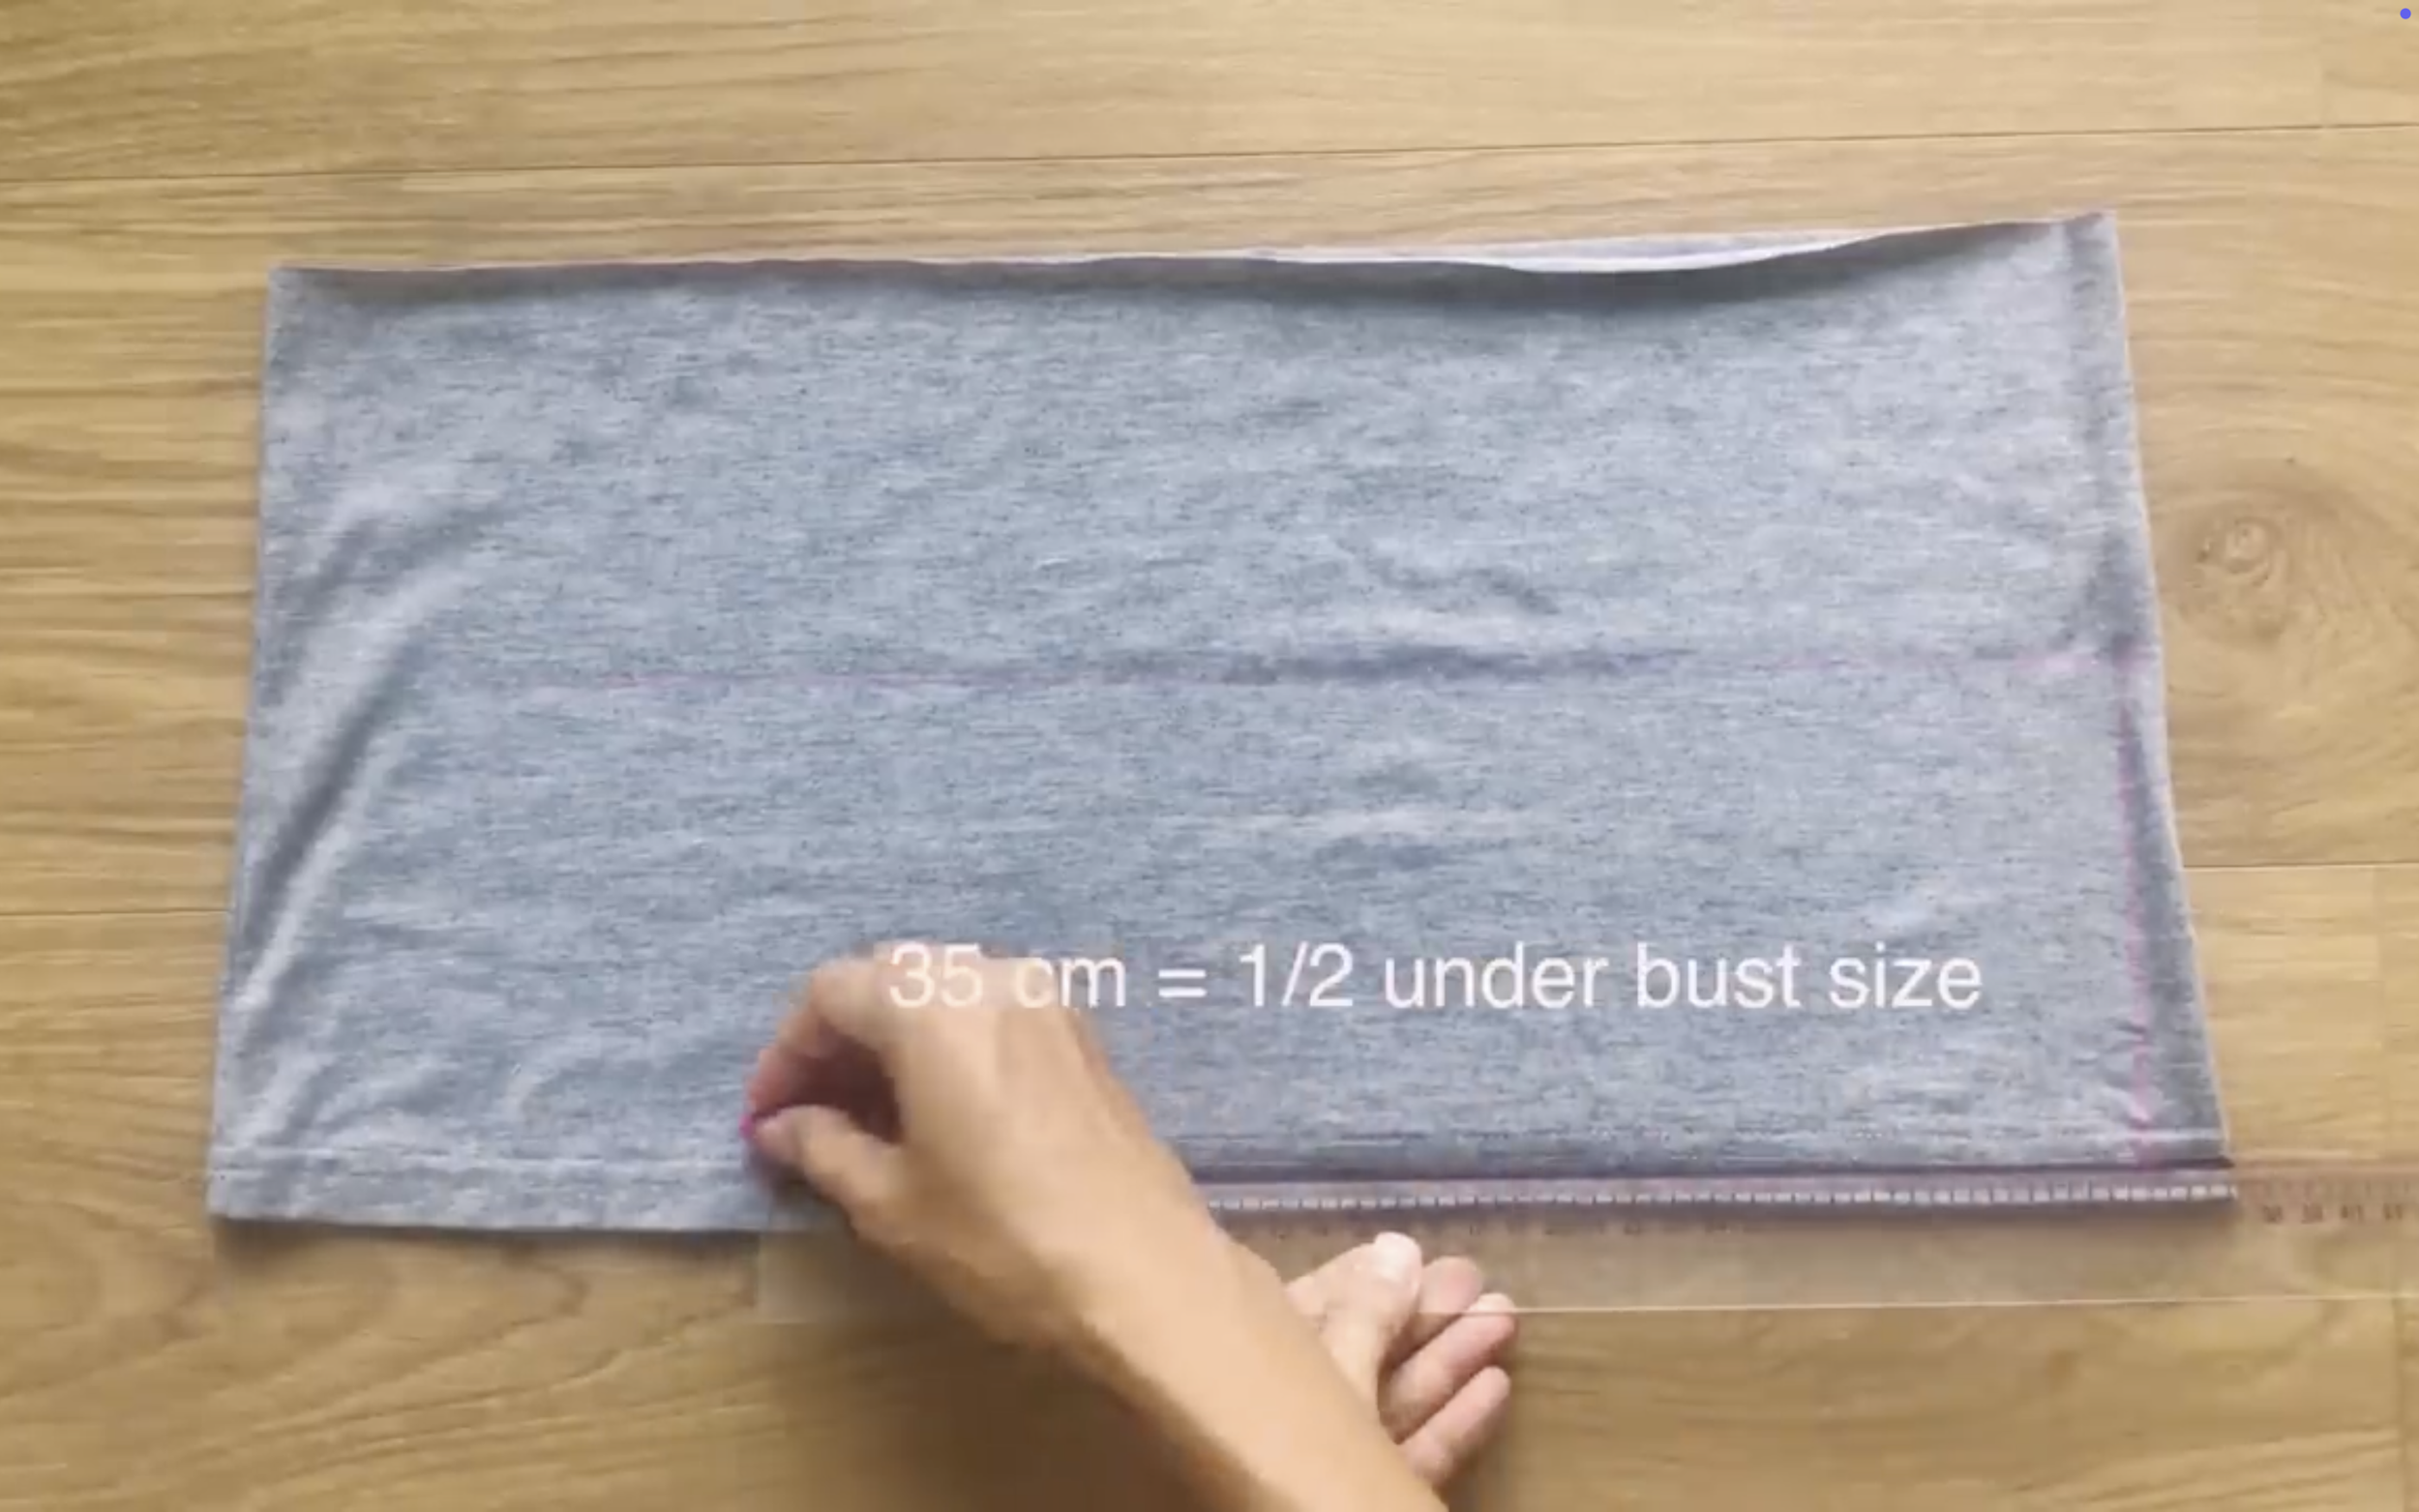
… and 35 cm width, which is a half of the under bust size.
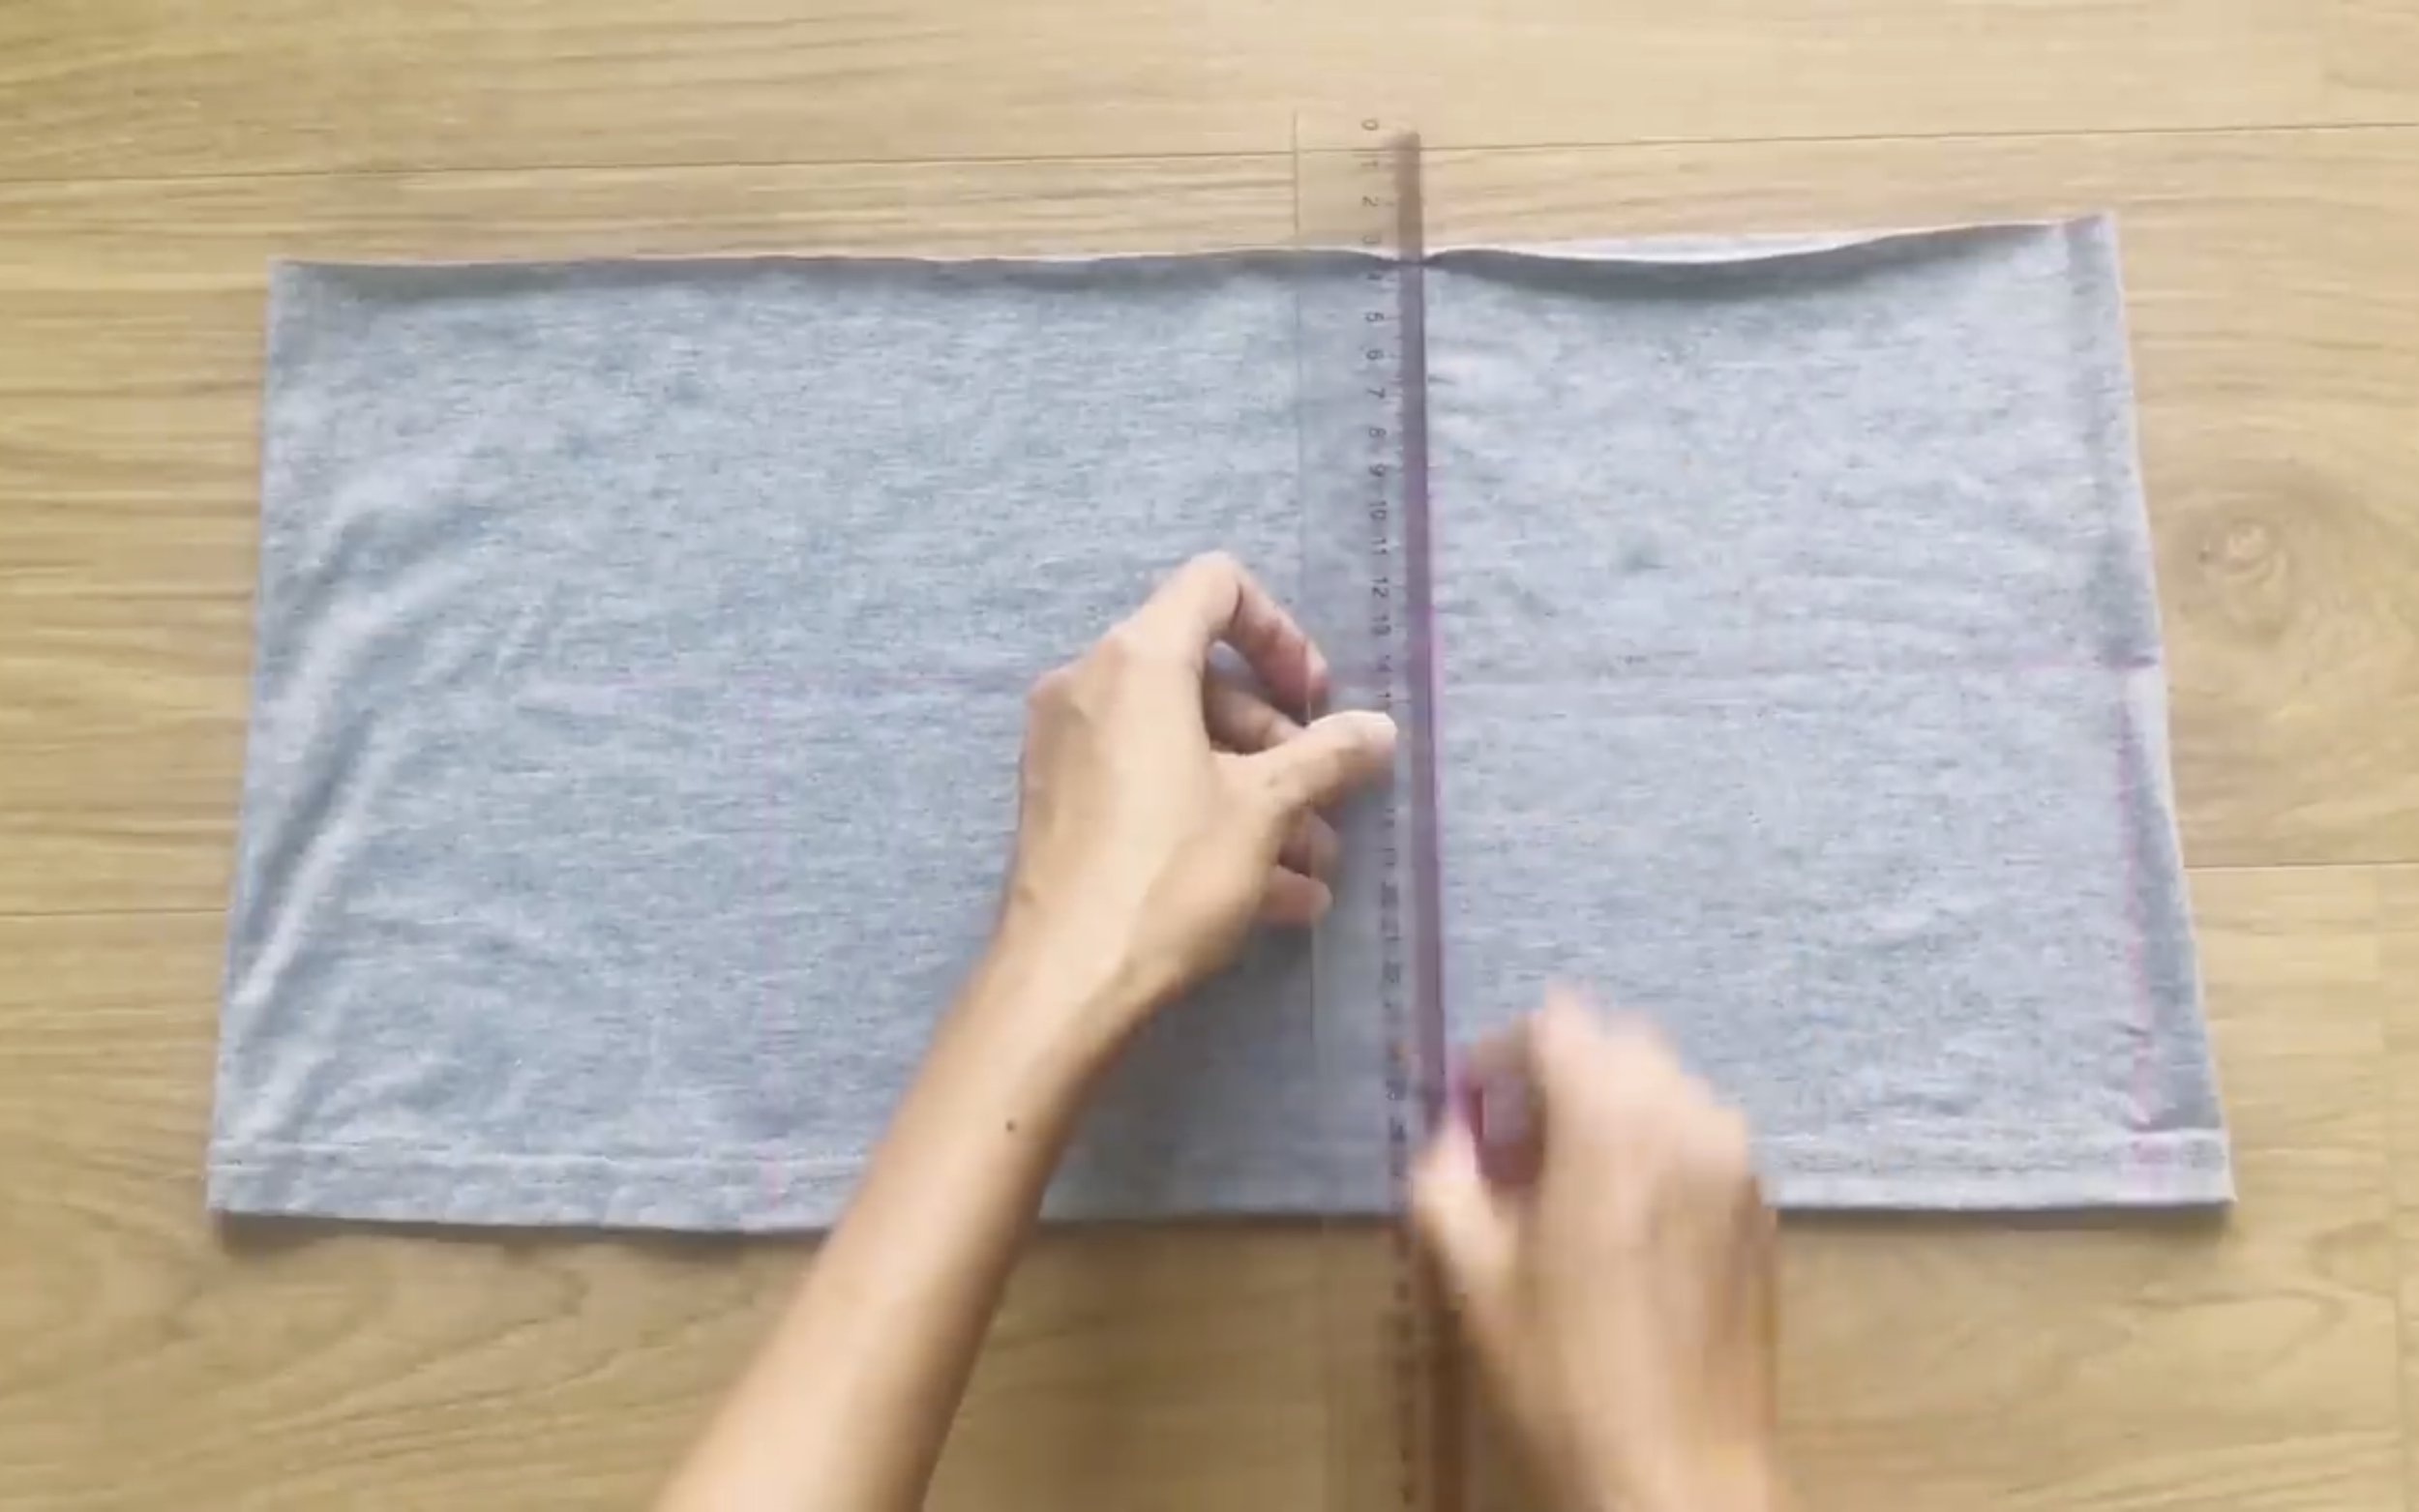
Divide the rectangle into two equal parts first.
Then measure the new width to make the width at the front part that was checked before, so they can be connected together later.
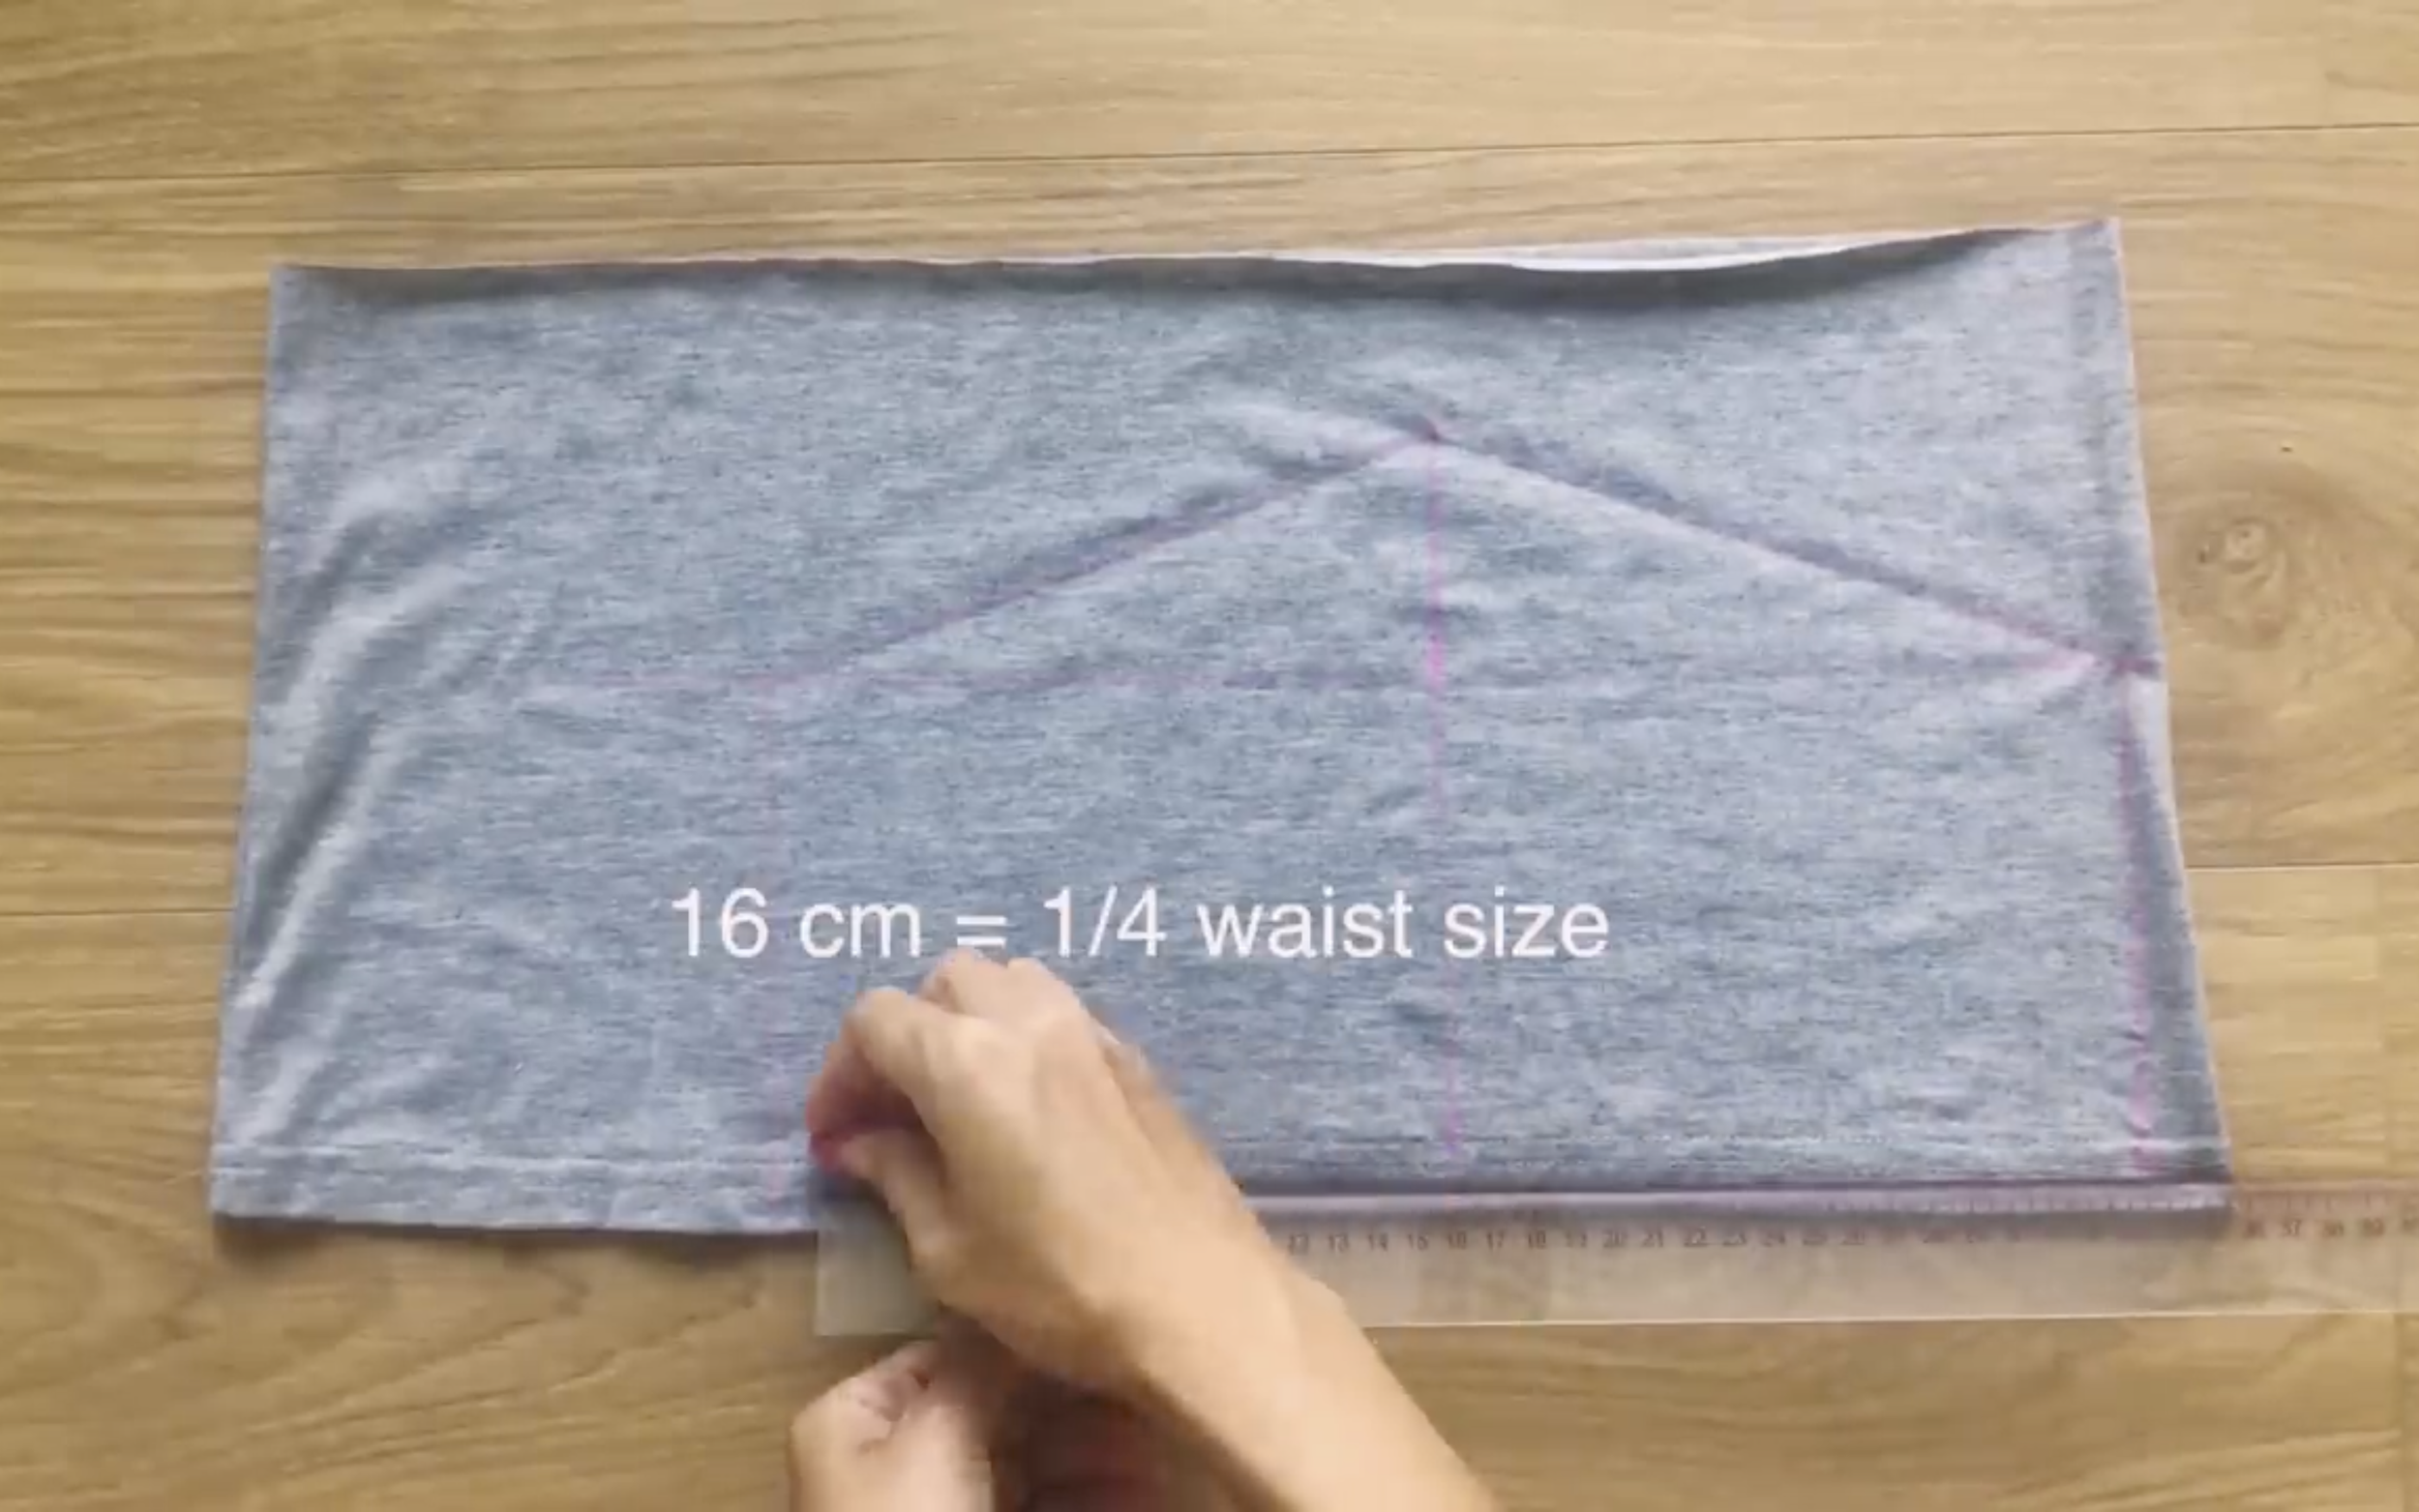
From the middle line, mark at two sides of it 16 cm on the end of the rectangle, which is a quarter of the waist size.
Then connect this mark to the top.
After cutting, keep one piece and cut the triangle at the top of the other piece. So it will be the back part of the bottom crop top.
Finish the top of it by folding the end fabric inside two times and sew together.

Because of this folding, the back and the front of the bottom part are not equal, so re-cut the front part again.
Now connect the front of the bottom part to the front of the top part and sew.
After that, connect the back of the bottom part to the front of the bottom part at the side. Also connect the rest of the side at the top part that was kept before and sew.
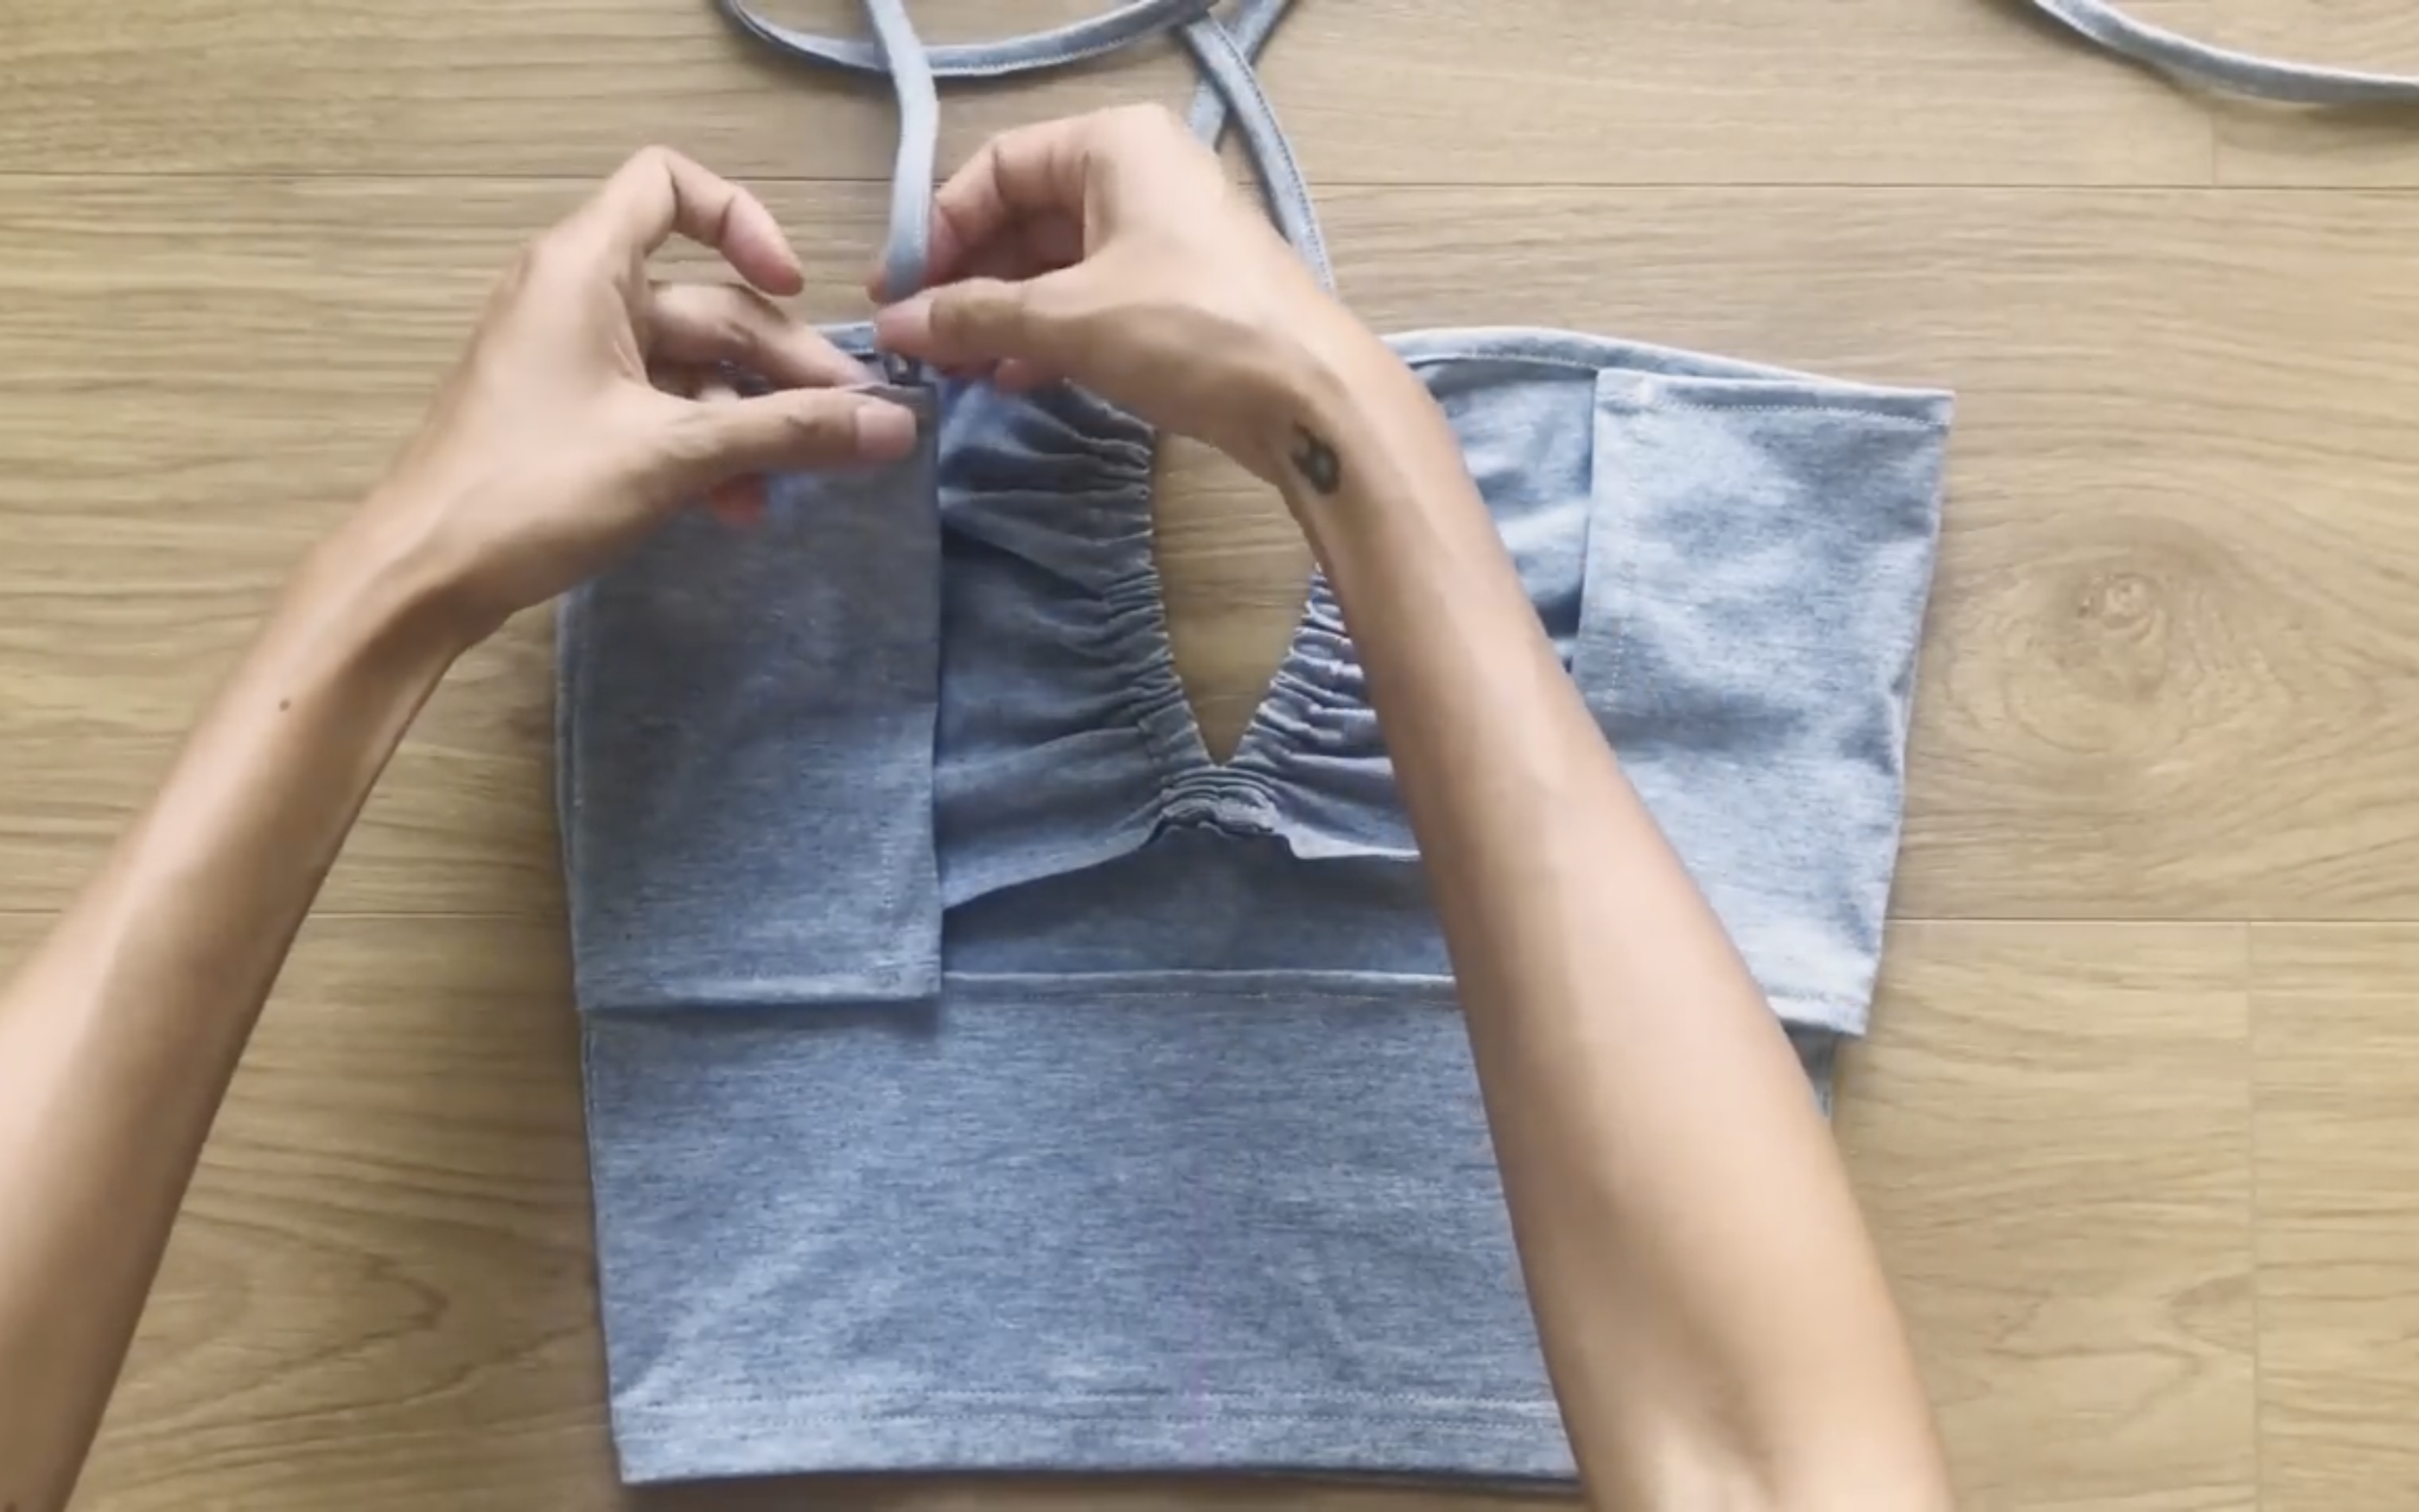
The last step is putting the tie from the front to go through the hole on the back.

DIY Halter top from old t-shirt with 2 different styles | T-shirt refashion ideas
And we’re done with the ruched halter top! The ruching gives it such a cute and flattering shape, and the adjustable fit makes it super comfy too.
It’s a great beginner-friendly project with a trendy result. Hope you’ll give both of these tops a try! They’re fun to make and so versatile.
See you next time!