DIY PUFF SLEEVE WRAP TOP from Men's shirt - Me-made Summer Challenge - Ep 2

DIY PUFF SLEEVE WRAP TOP from Men's shirt - Me-made Summer Challenge - Ep 2
Welcome or welcome back to my channel. My name is Jess and I love doing DIY, making clothes in a "simply but pretty" way.
How is your summer going? Did you get any idea for your summer wardrobe? I would like to share with you an idea on how to transform a men's shirt into the cute puff sleeve wrap top. I think it'll be perfect for your summer outfit. And this wrap top is my second DIY for my "Me-made Summer Collection" for this special summer.
So I hope you like it and try it out. Let’s get started!
WHAT YOU’LL NEED

Men's shirt in XL size
Sewing machine
Pins
Scissors
Ruler
Long stick
SEWING THE TOP
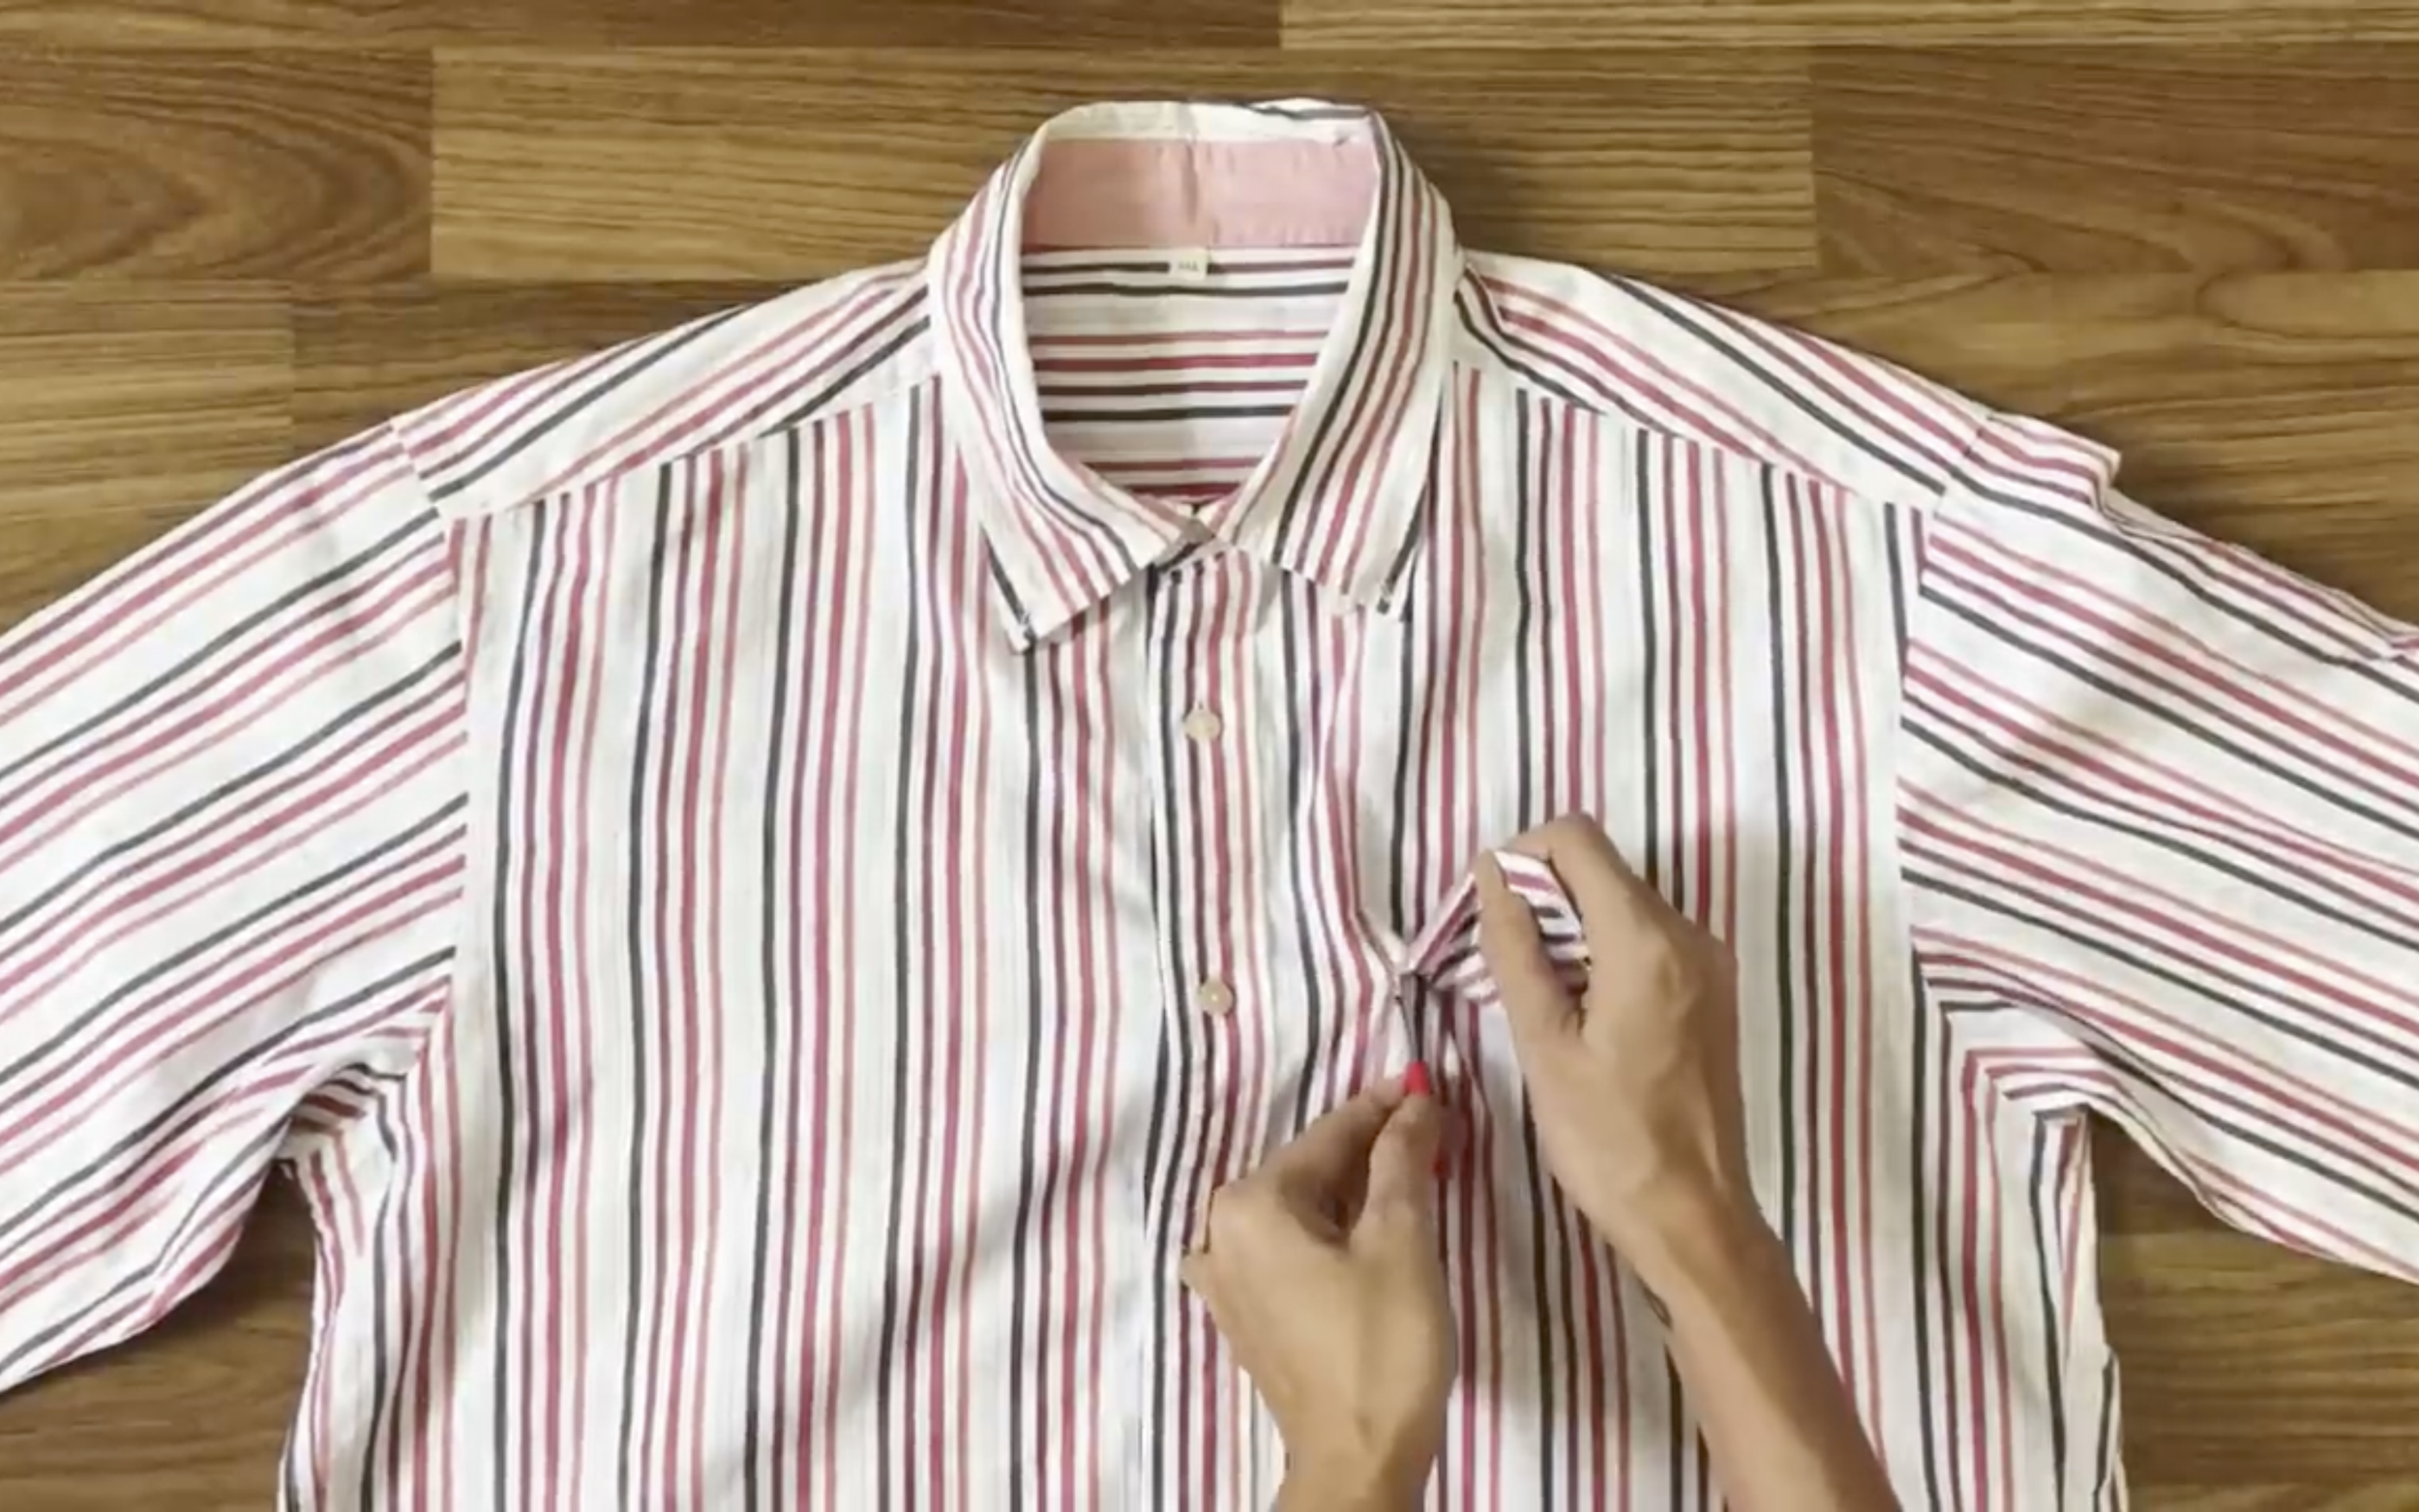
The first step is removing the front pocket.
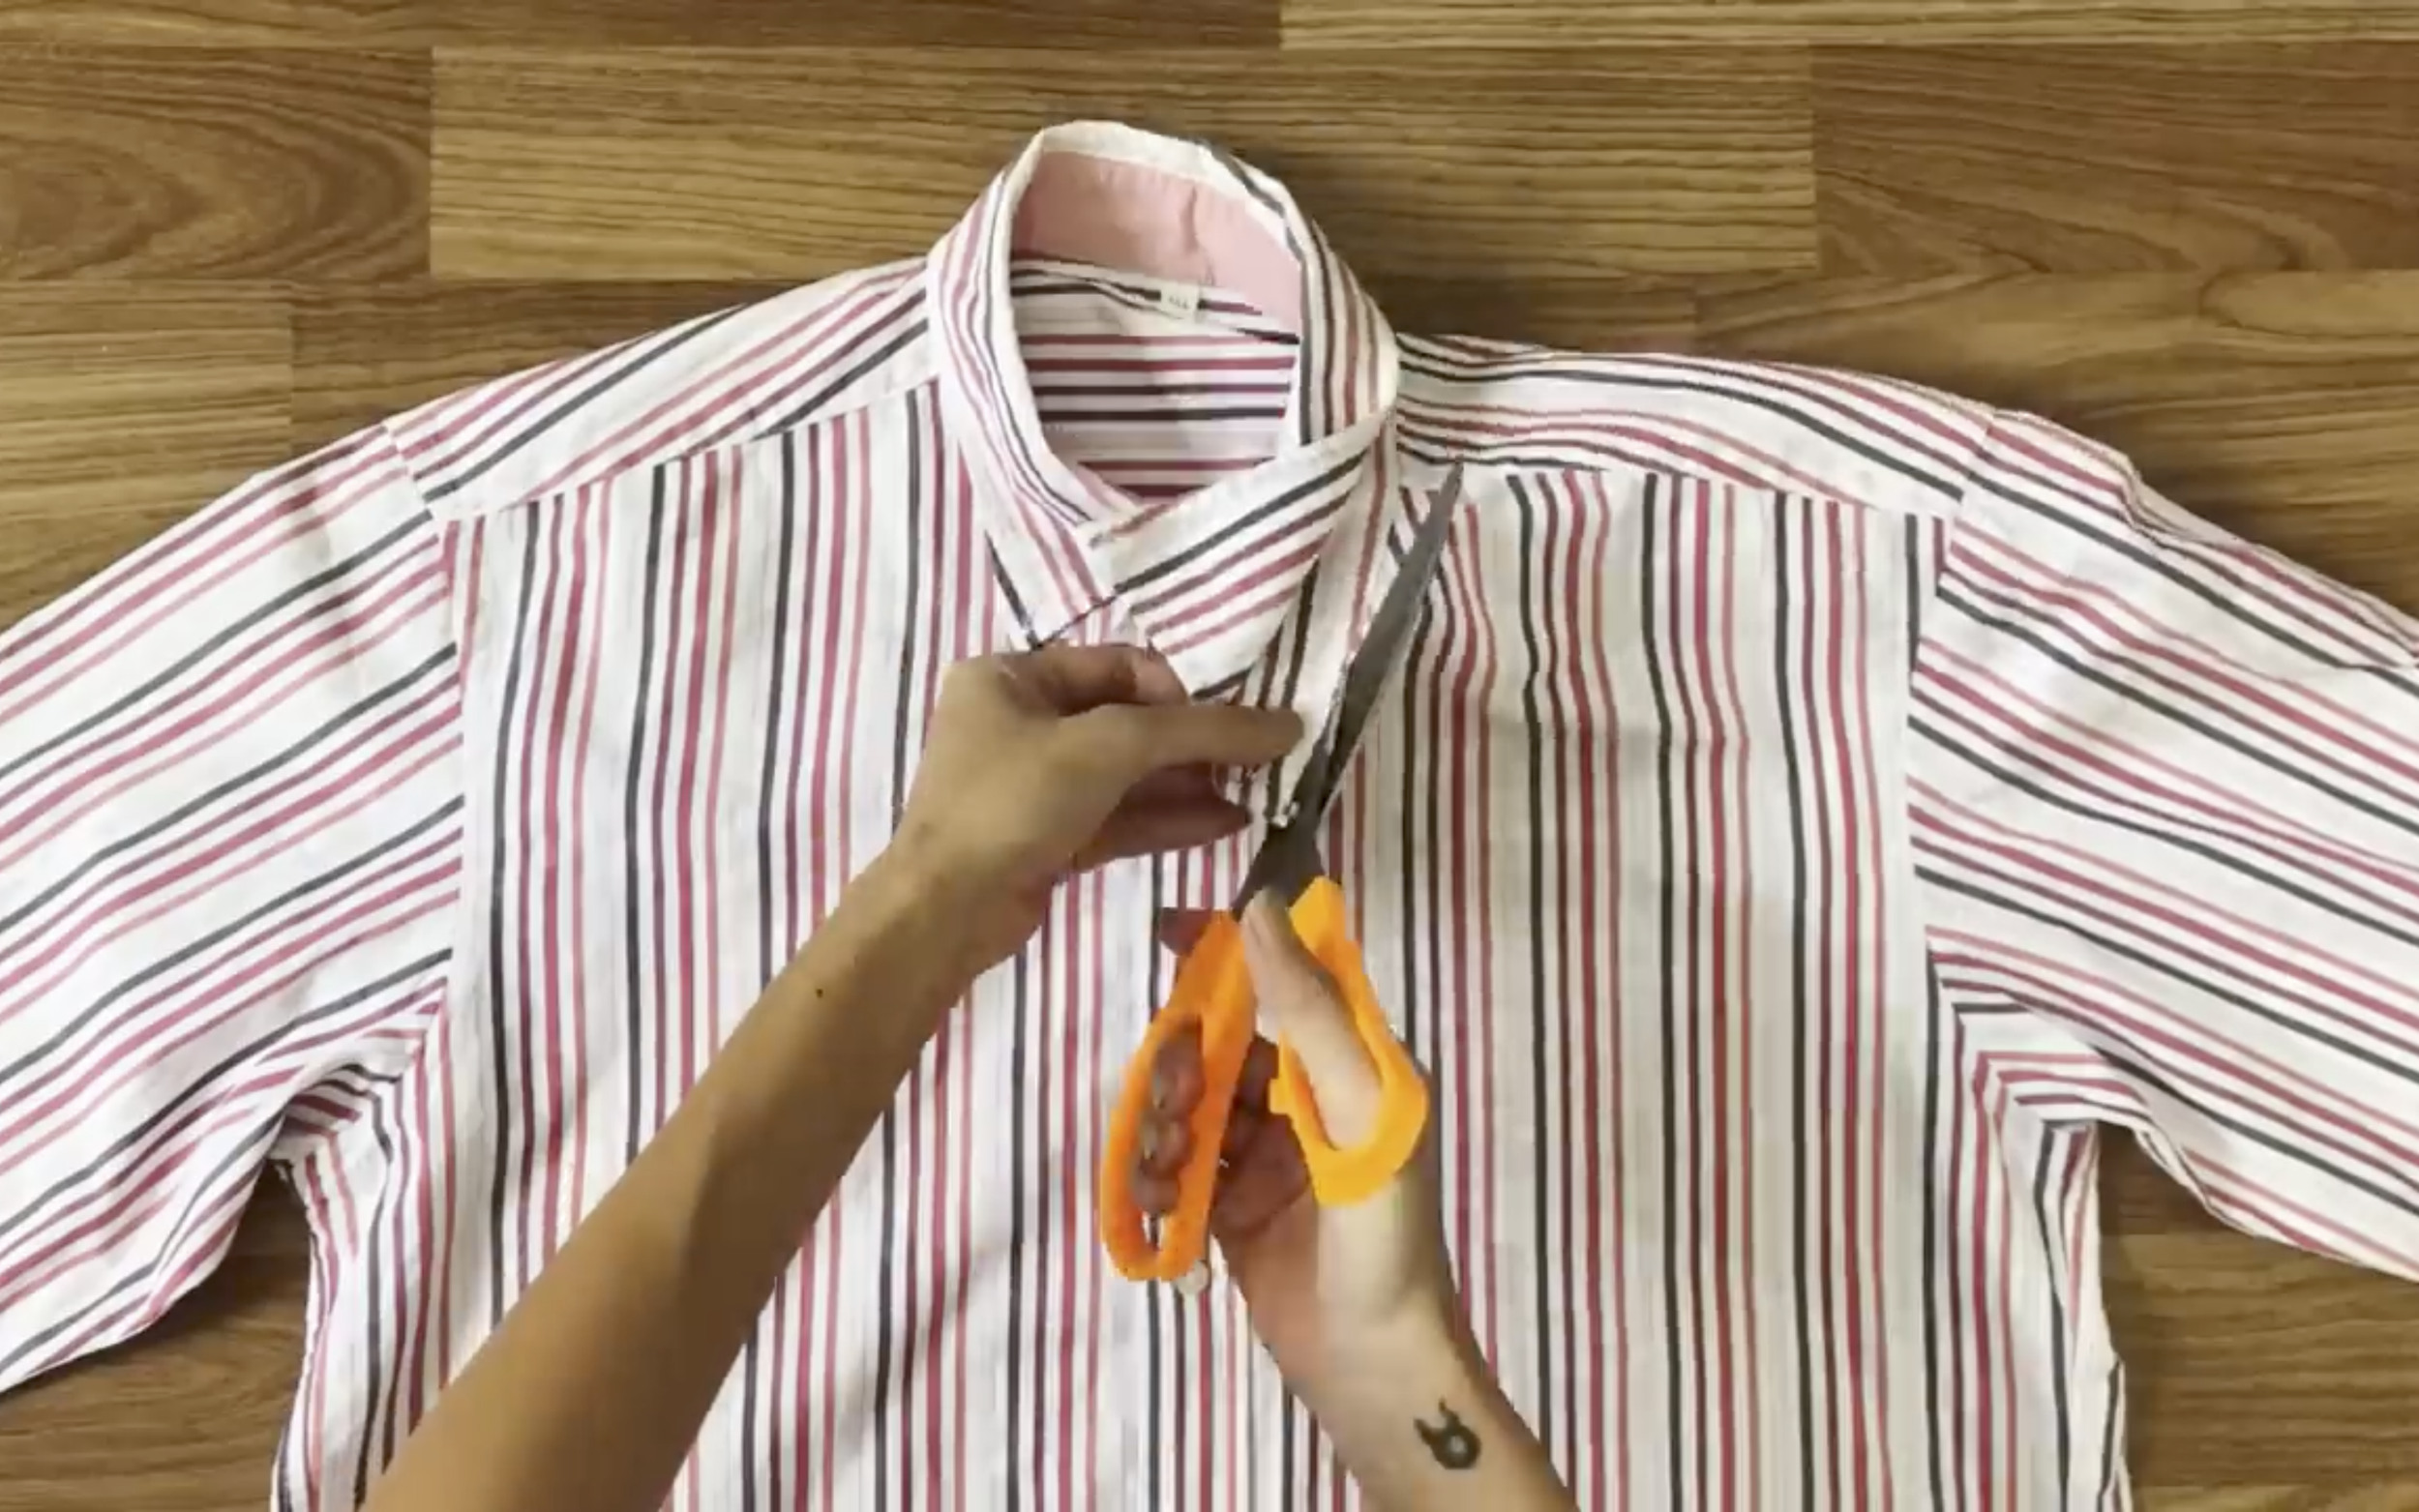
After that, cut off the neck of the shirt.
The men's shirt usually has this part at the back which is not good looking, So take it out too.
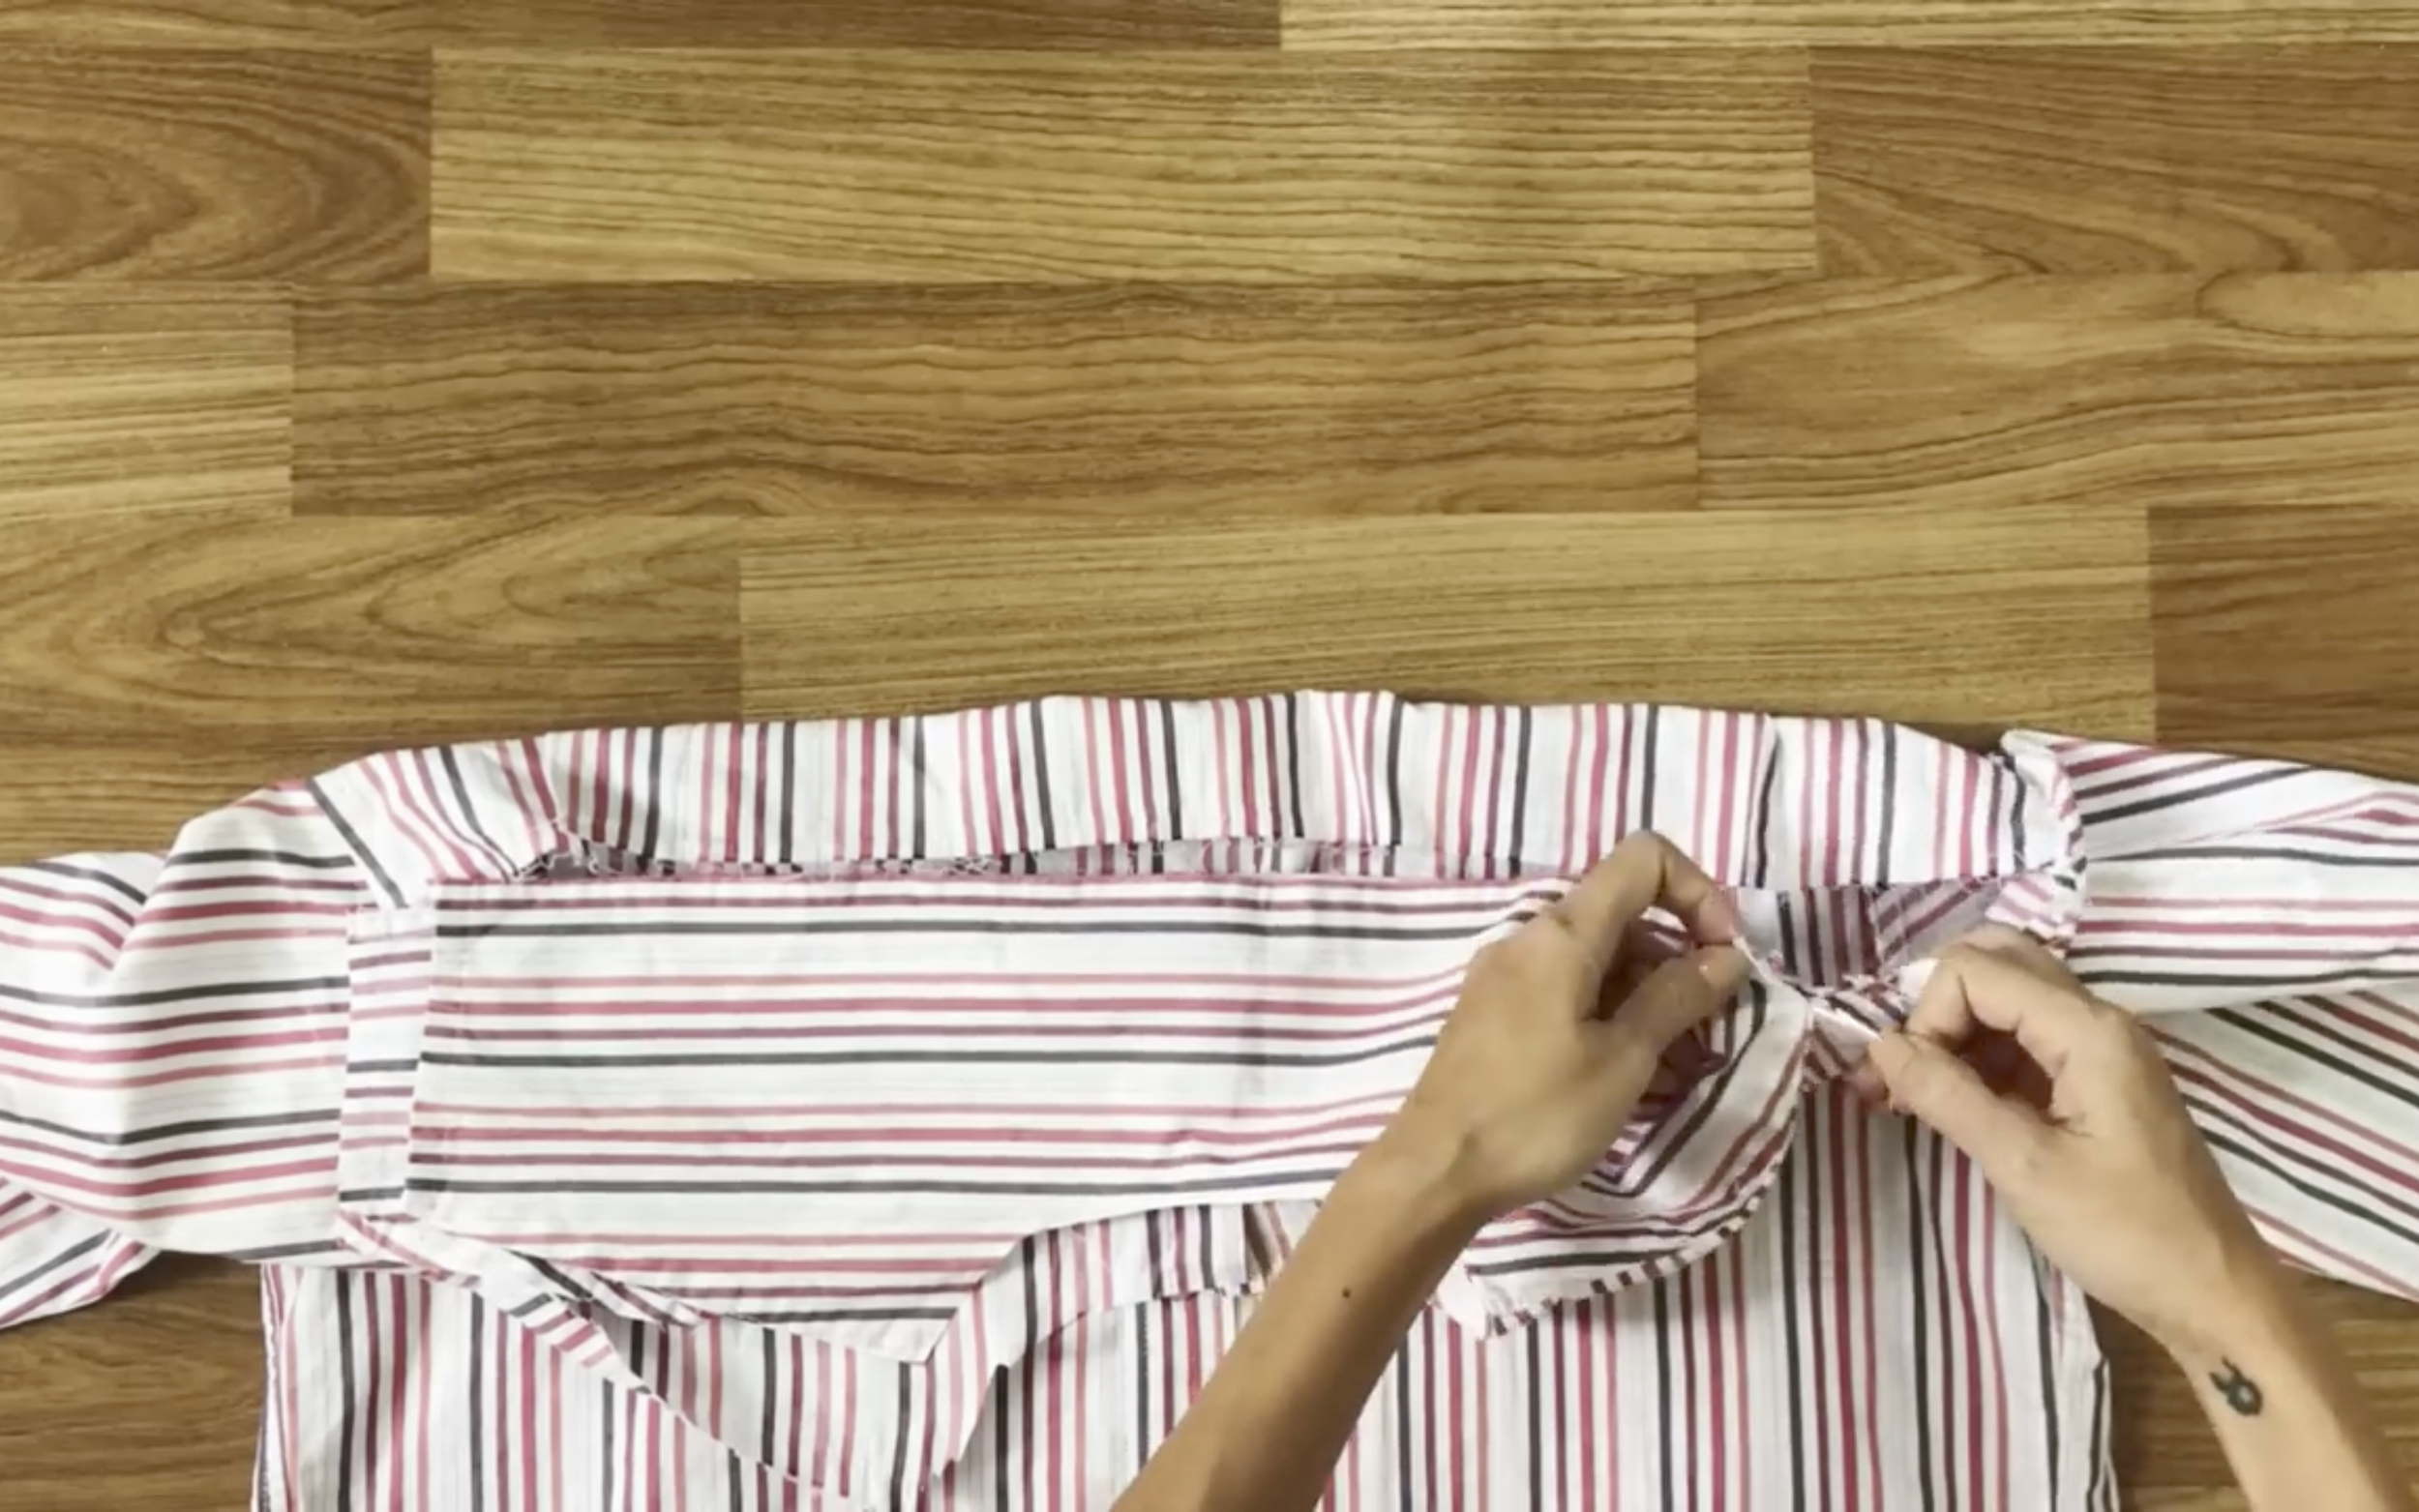
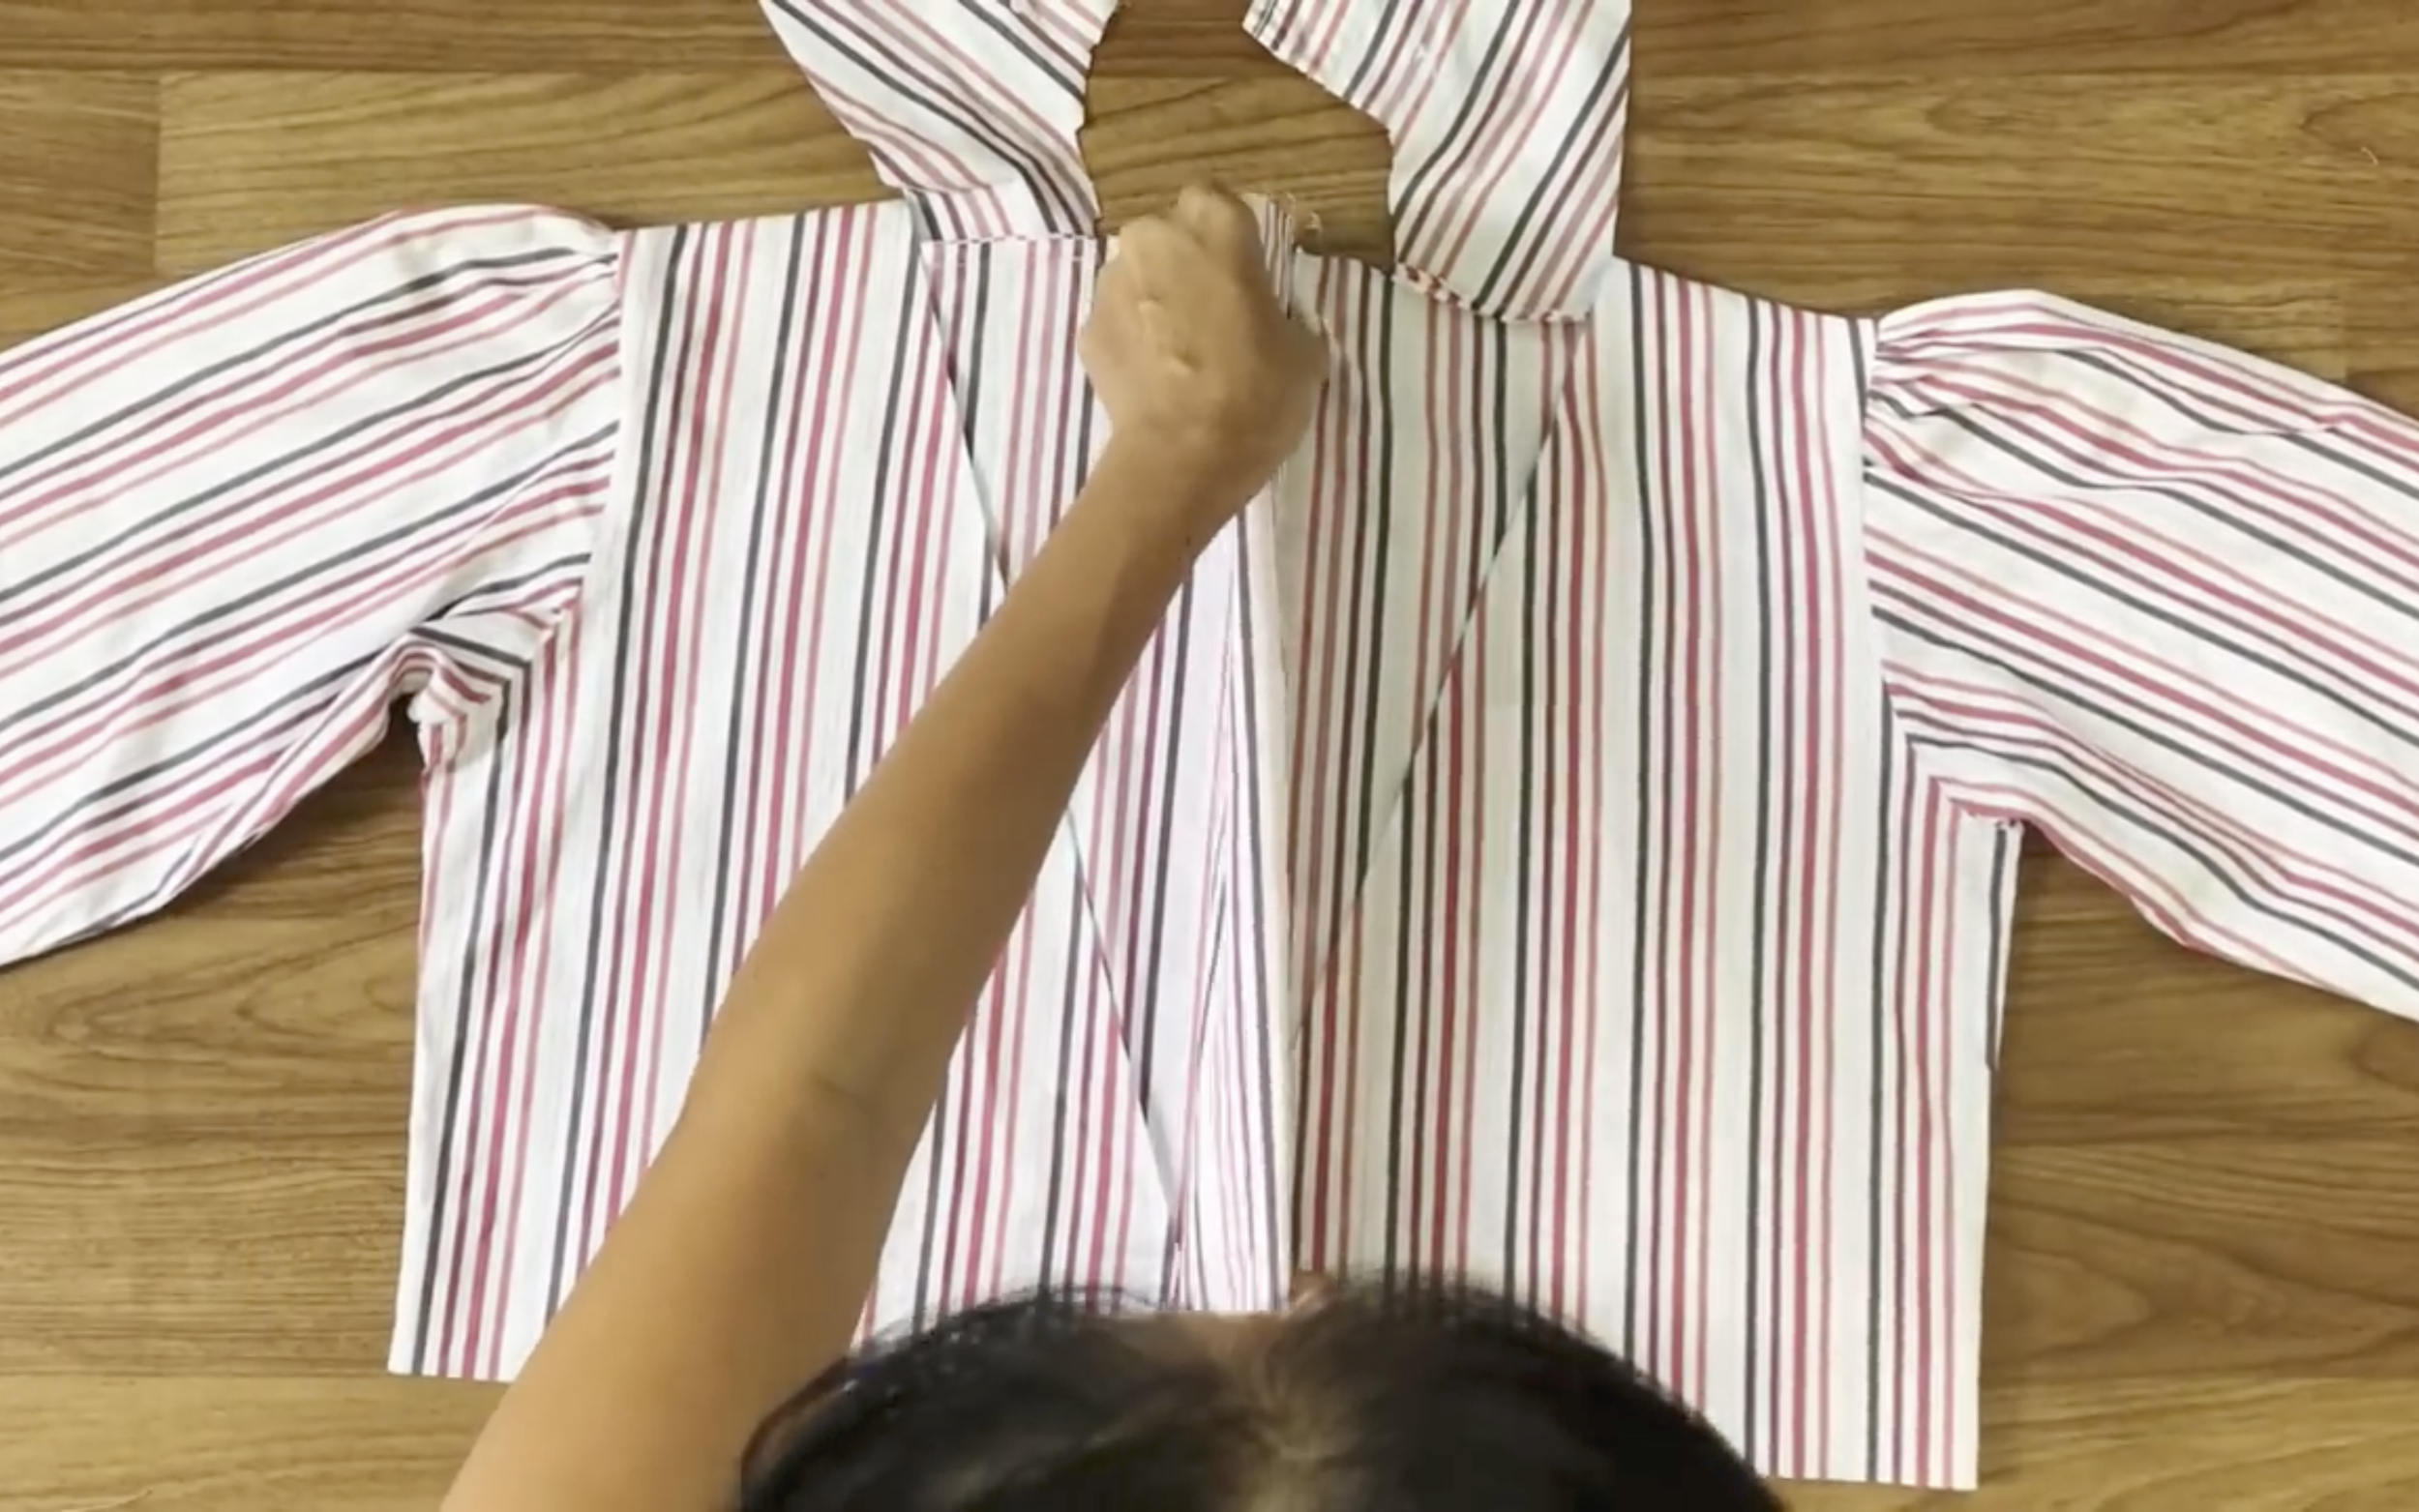
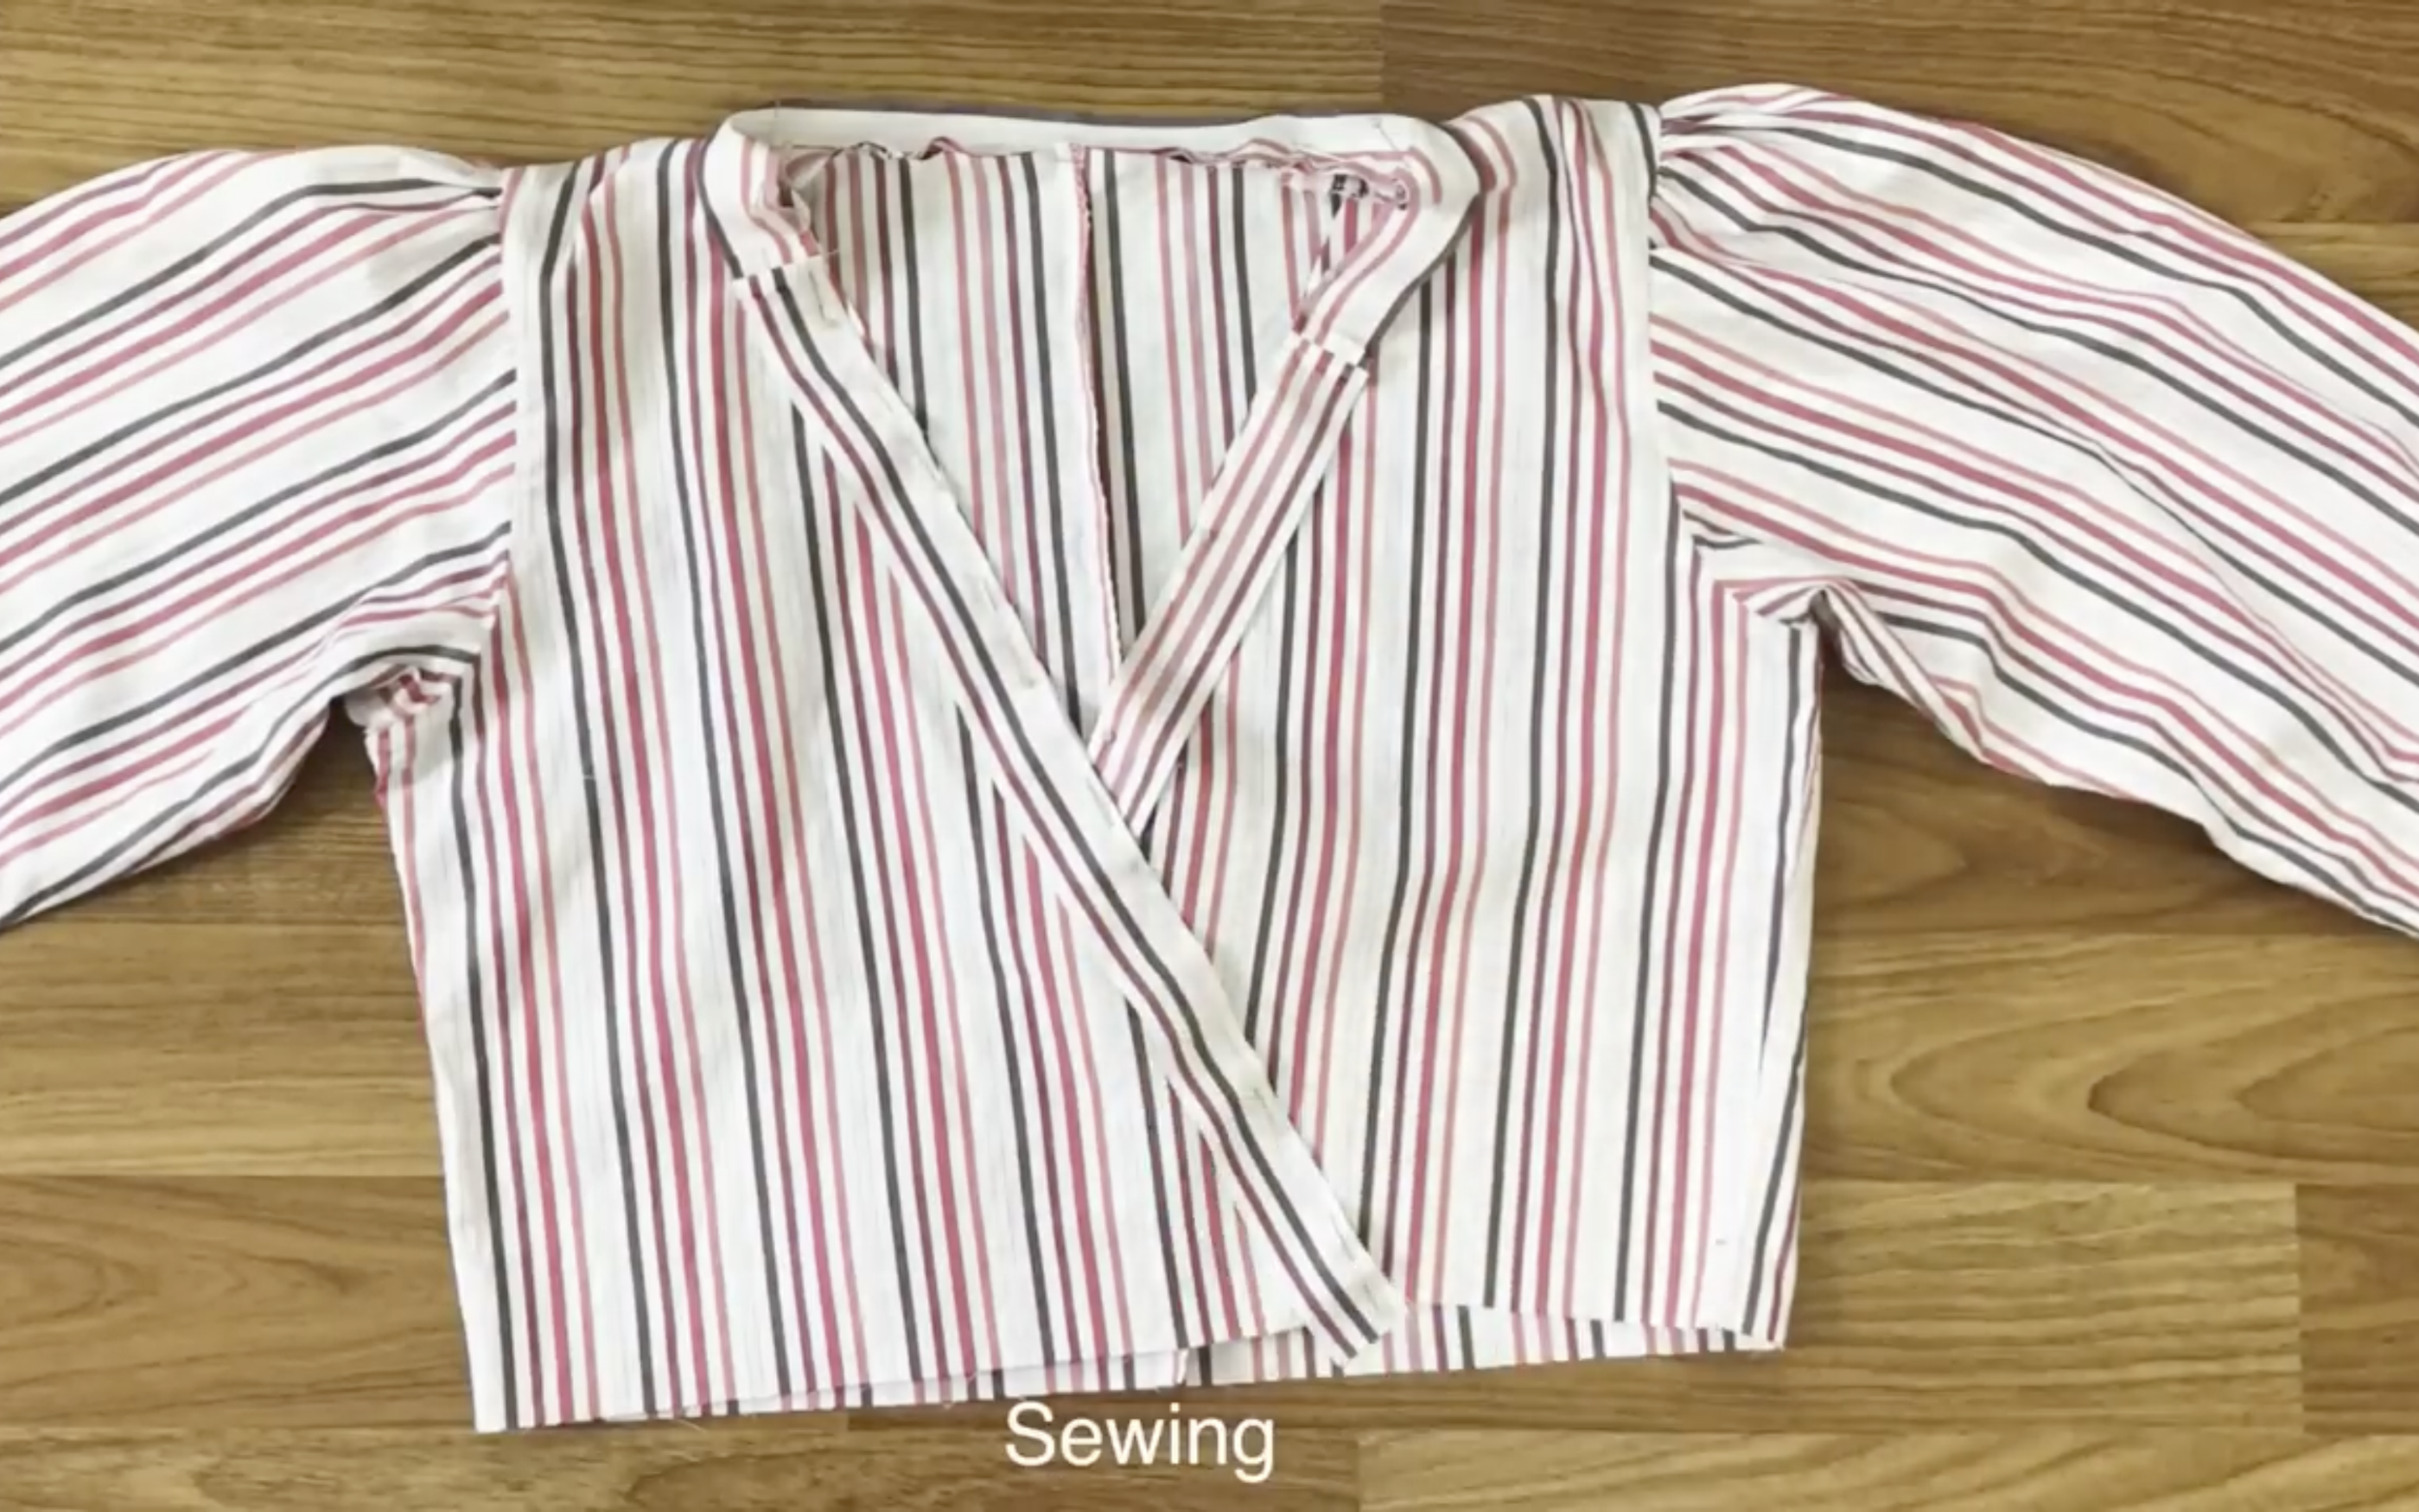
Because of that, need to make a new shoulder for the top. Fix the front shoulder to the back shoulder by the pins first.
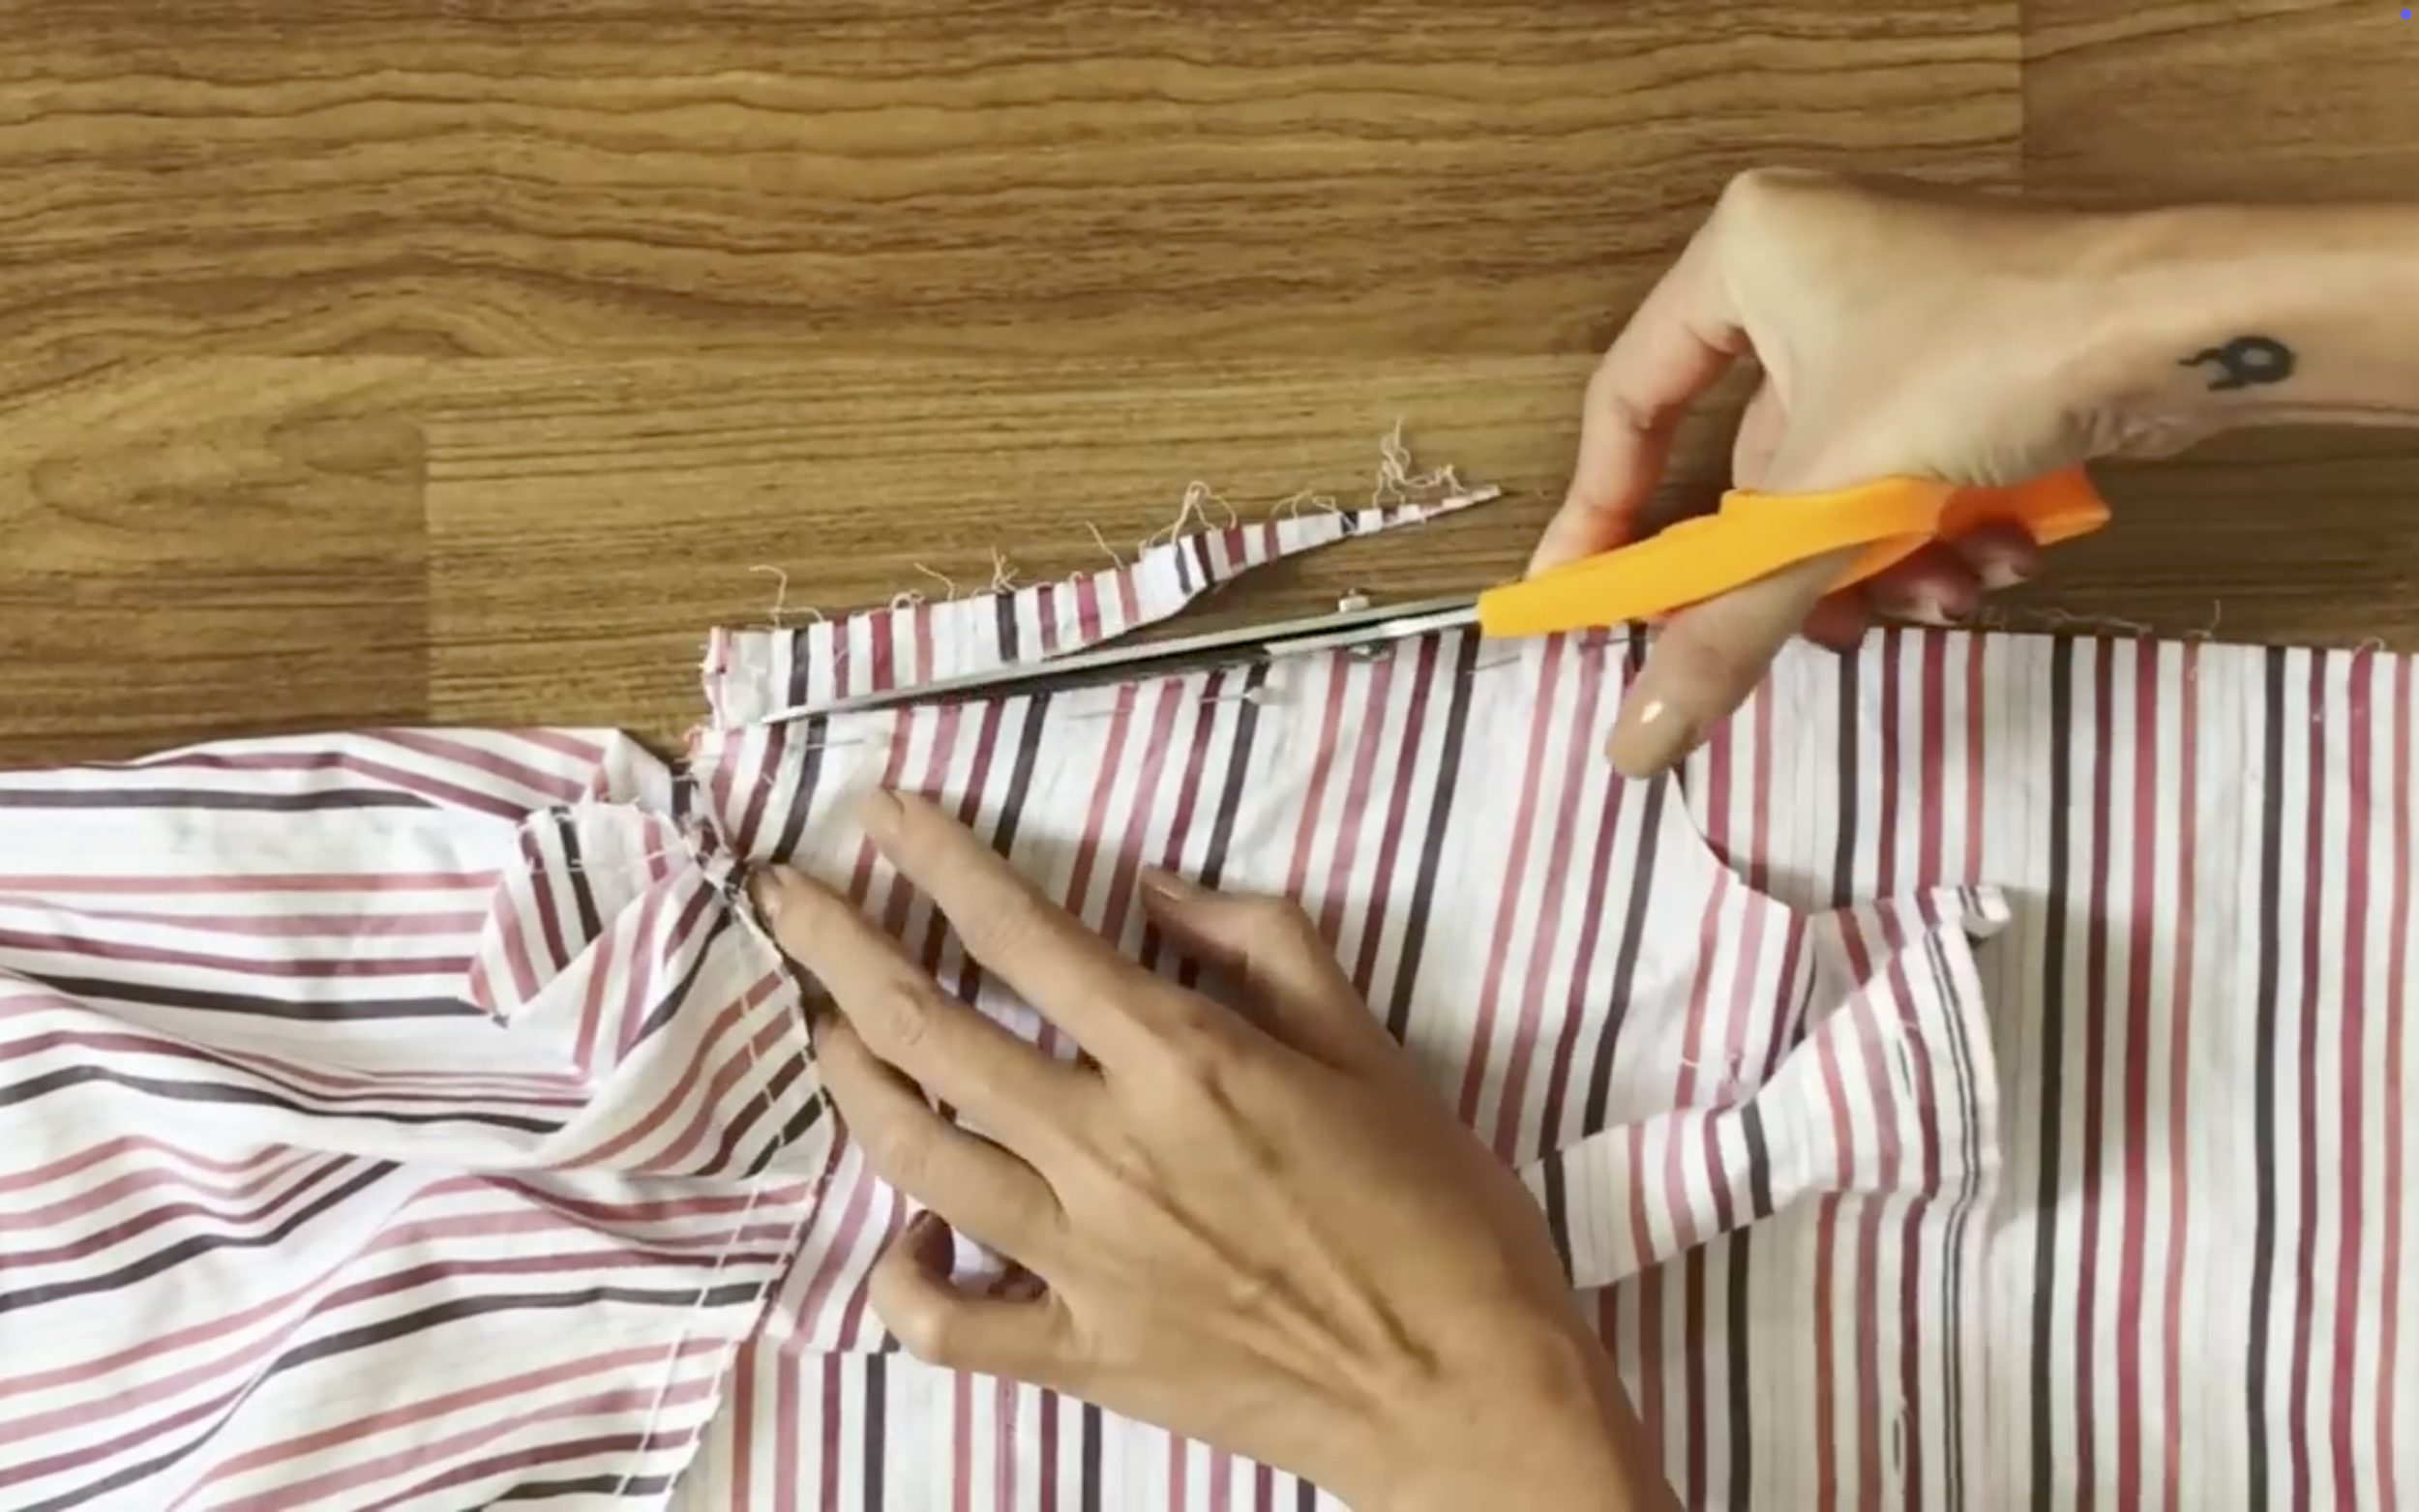
Then cut the extra fabric. Make sure it has to be slightly down from the neck to the shoulder.
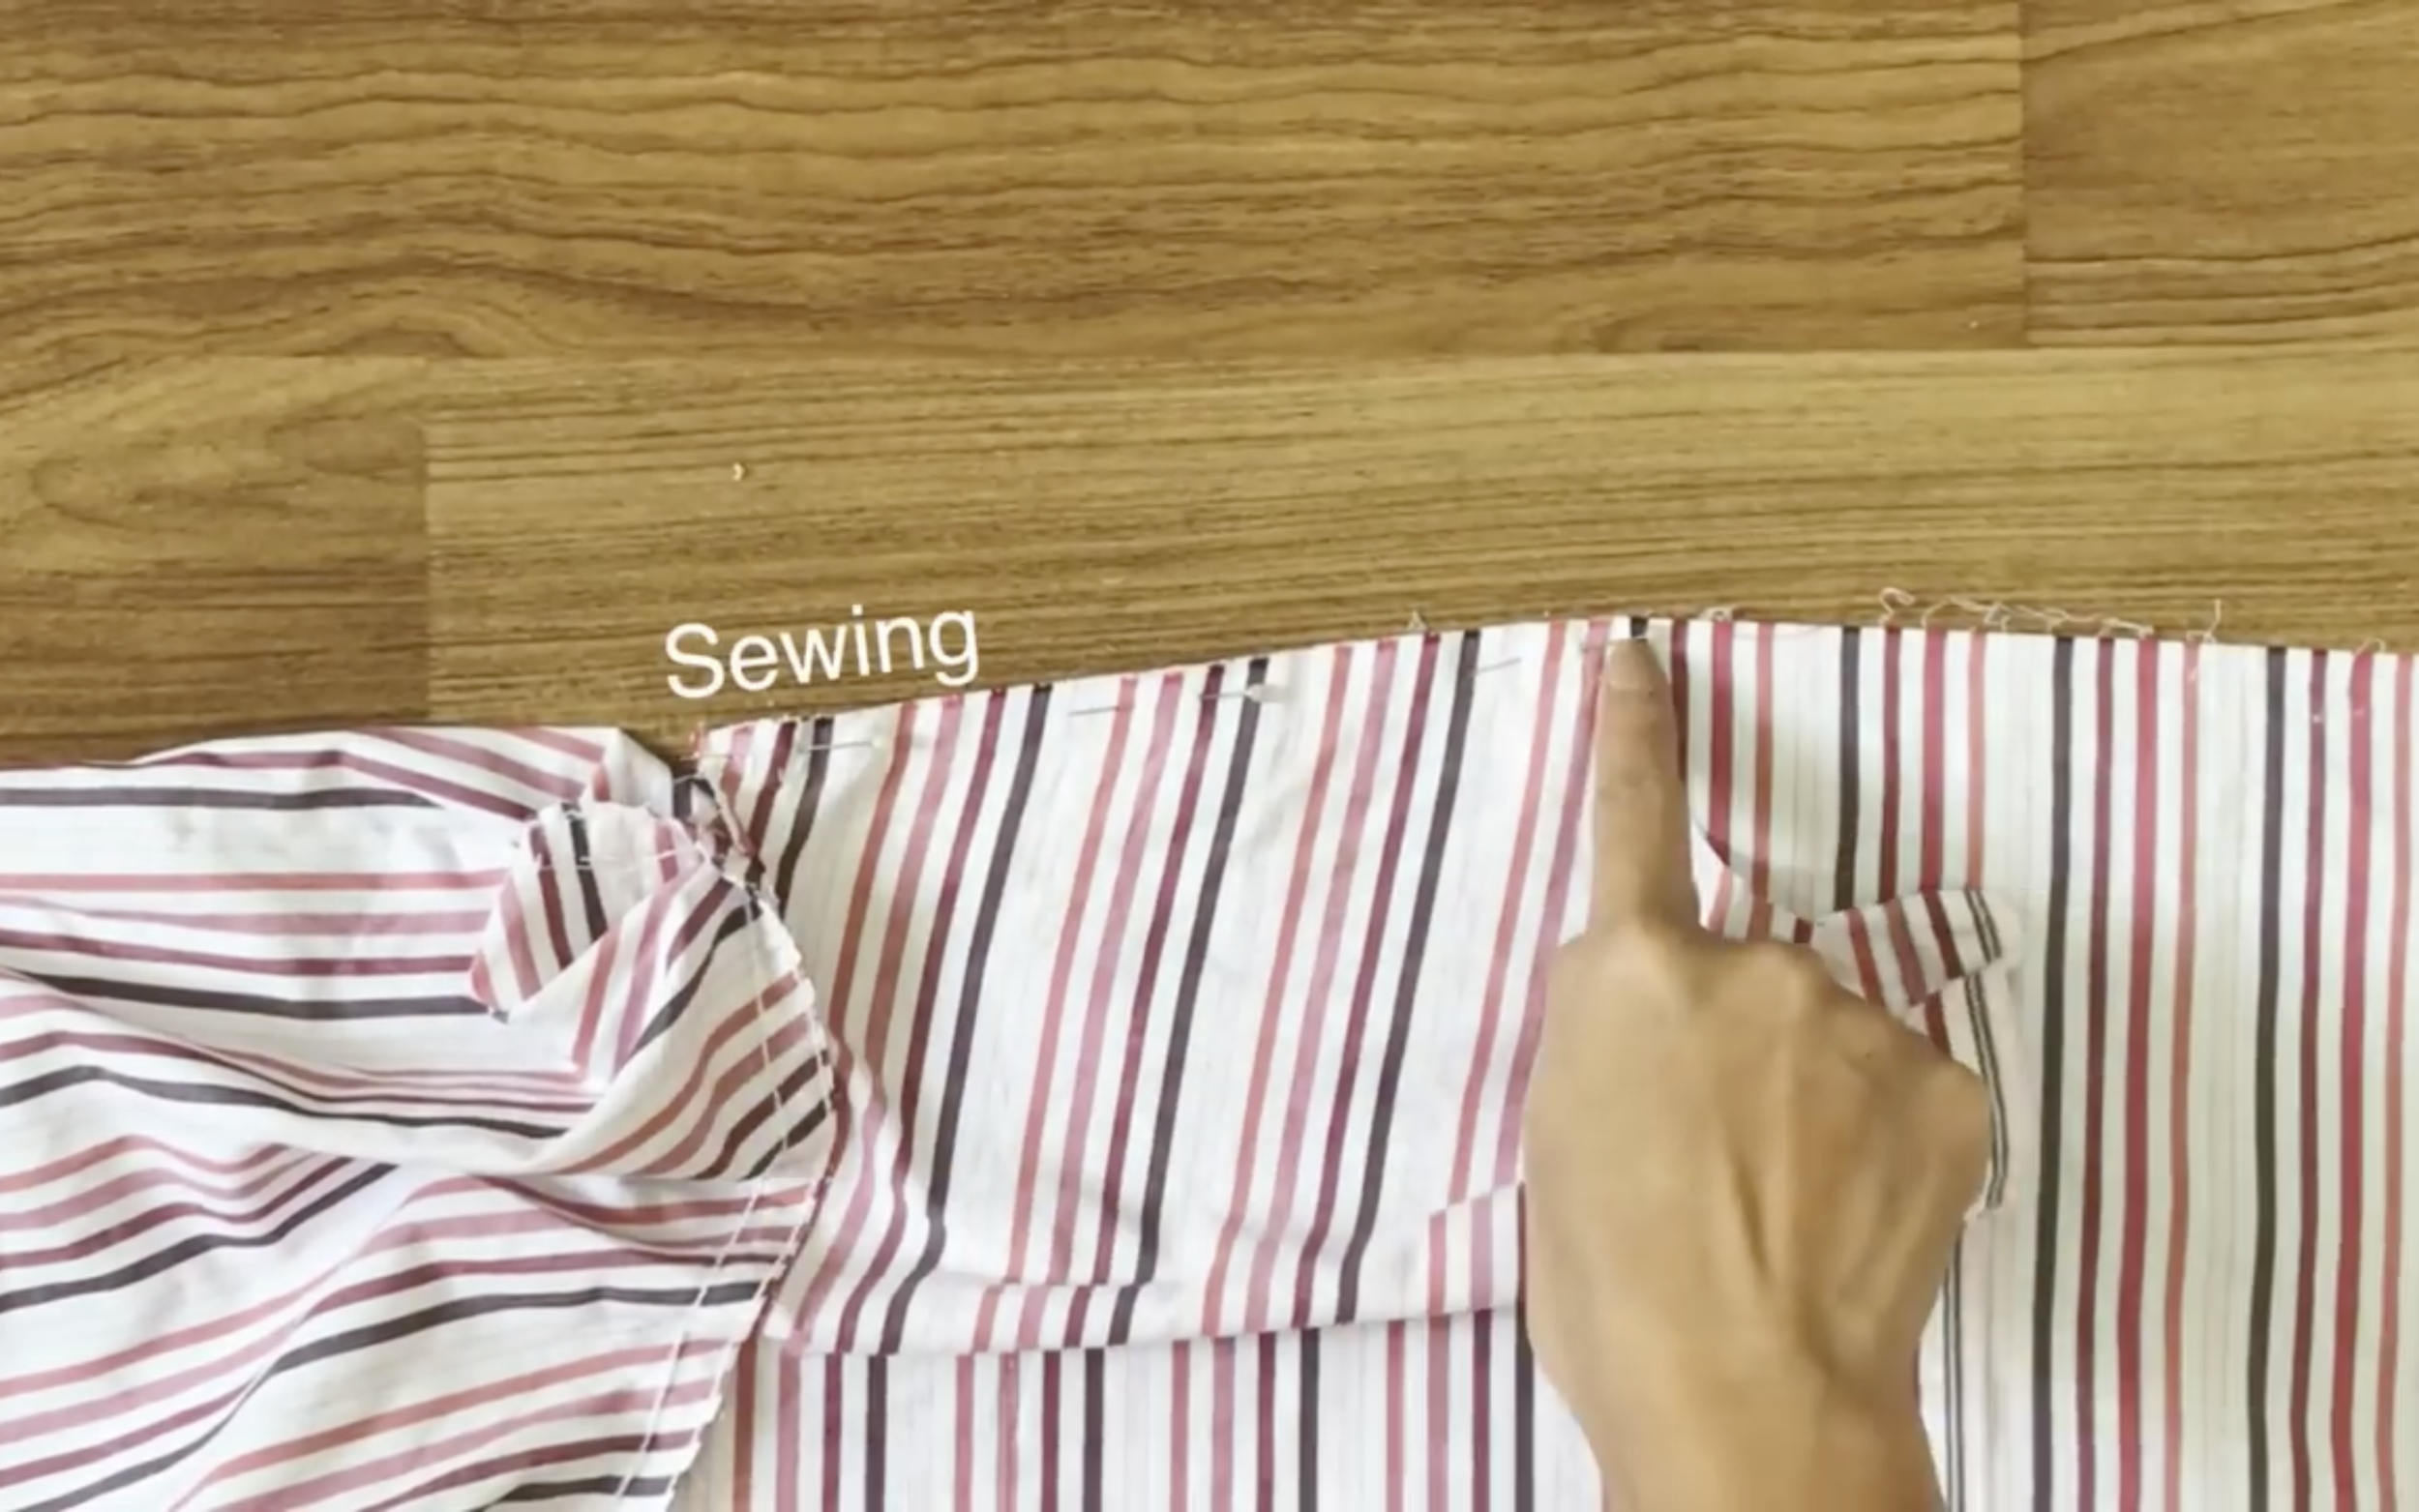
Then sew.
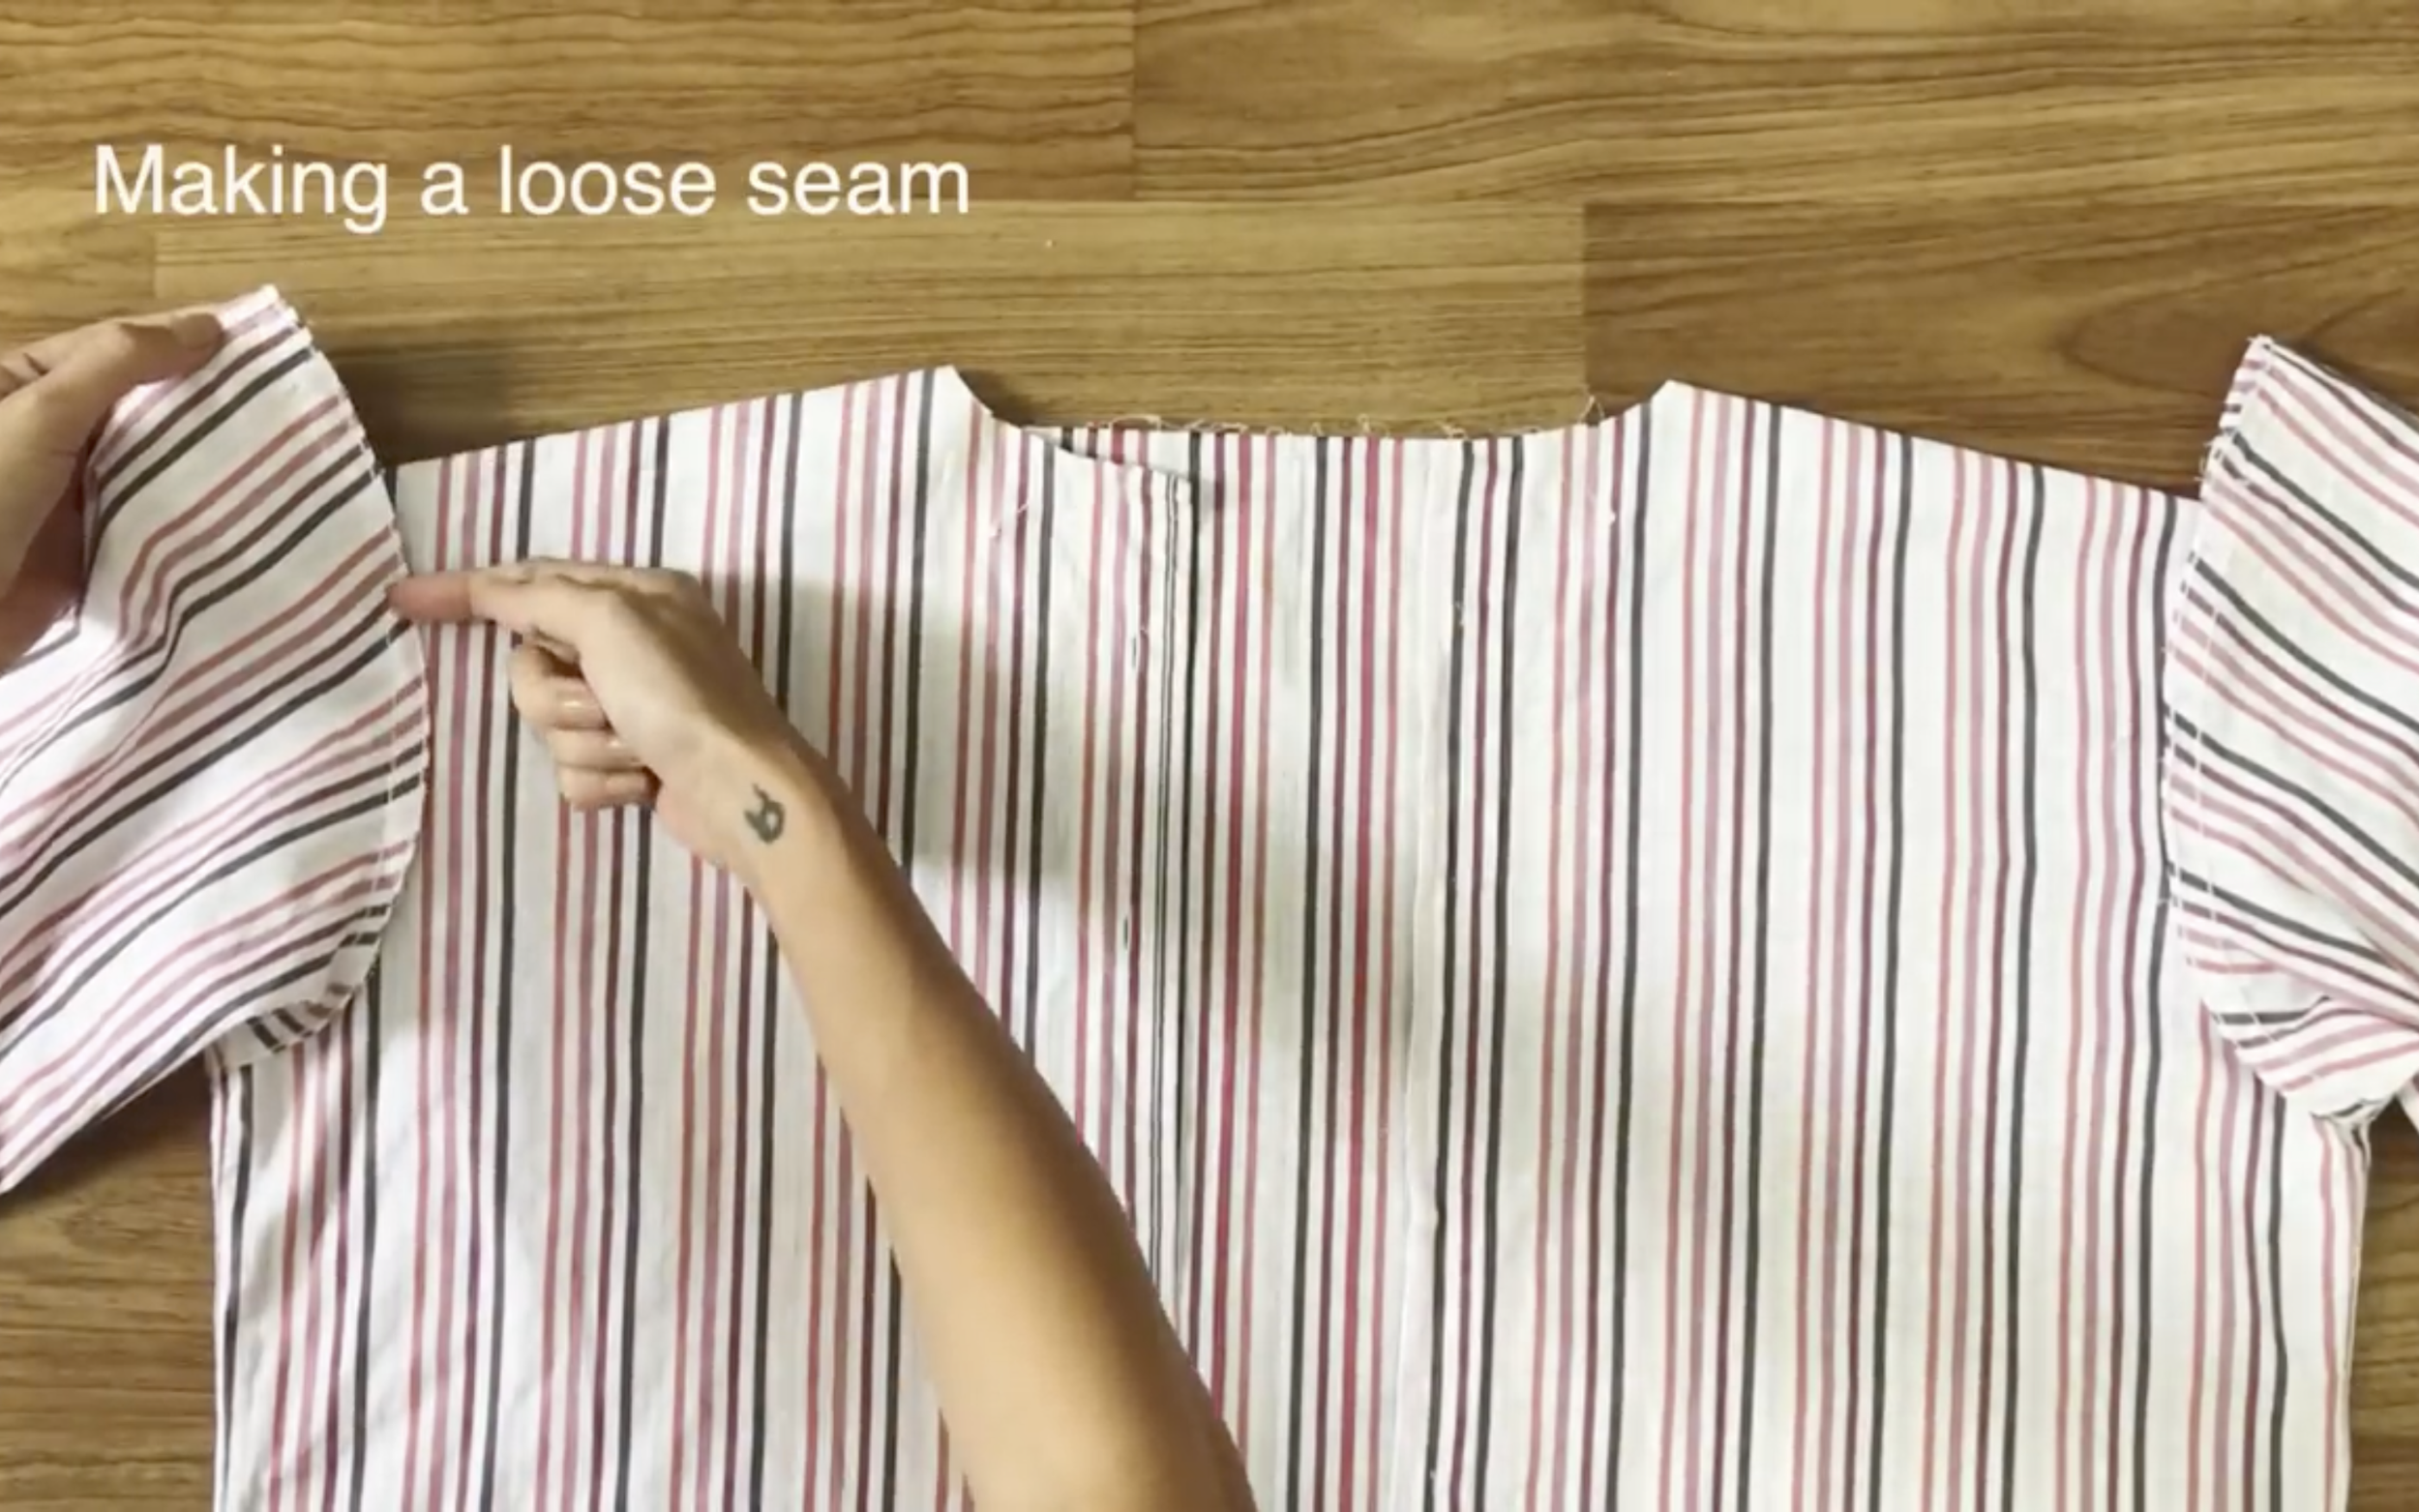
The new shoulder makes the extra fabric at the sleeve, and it helps to create the puffy at the top of the hand.
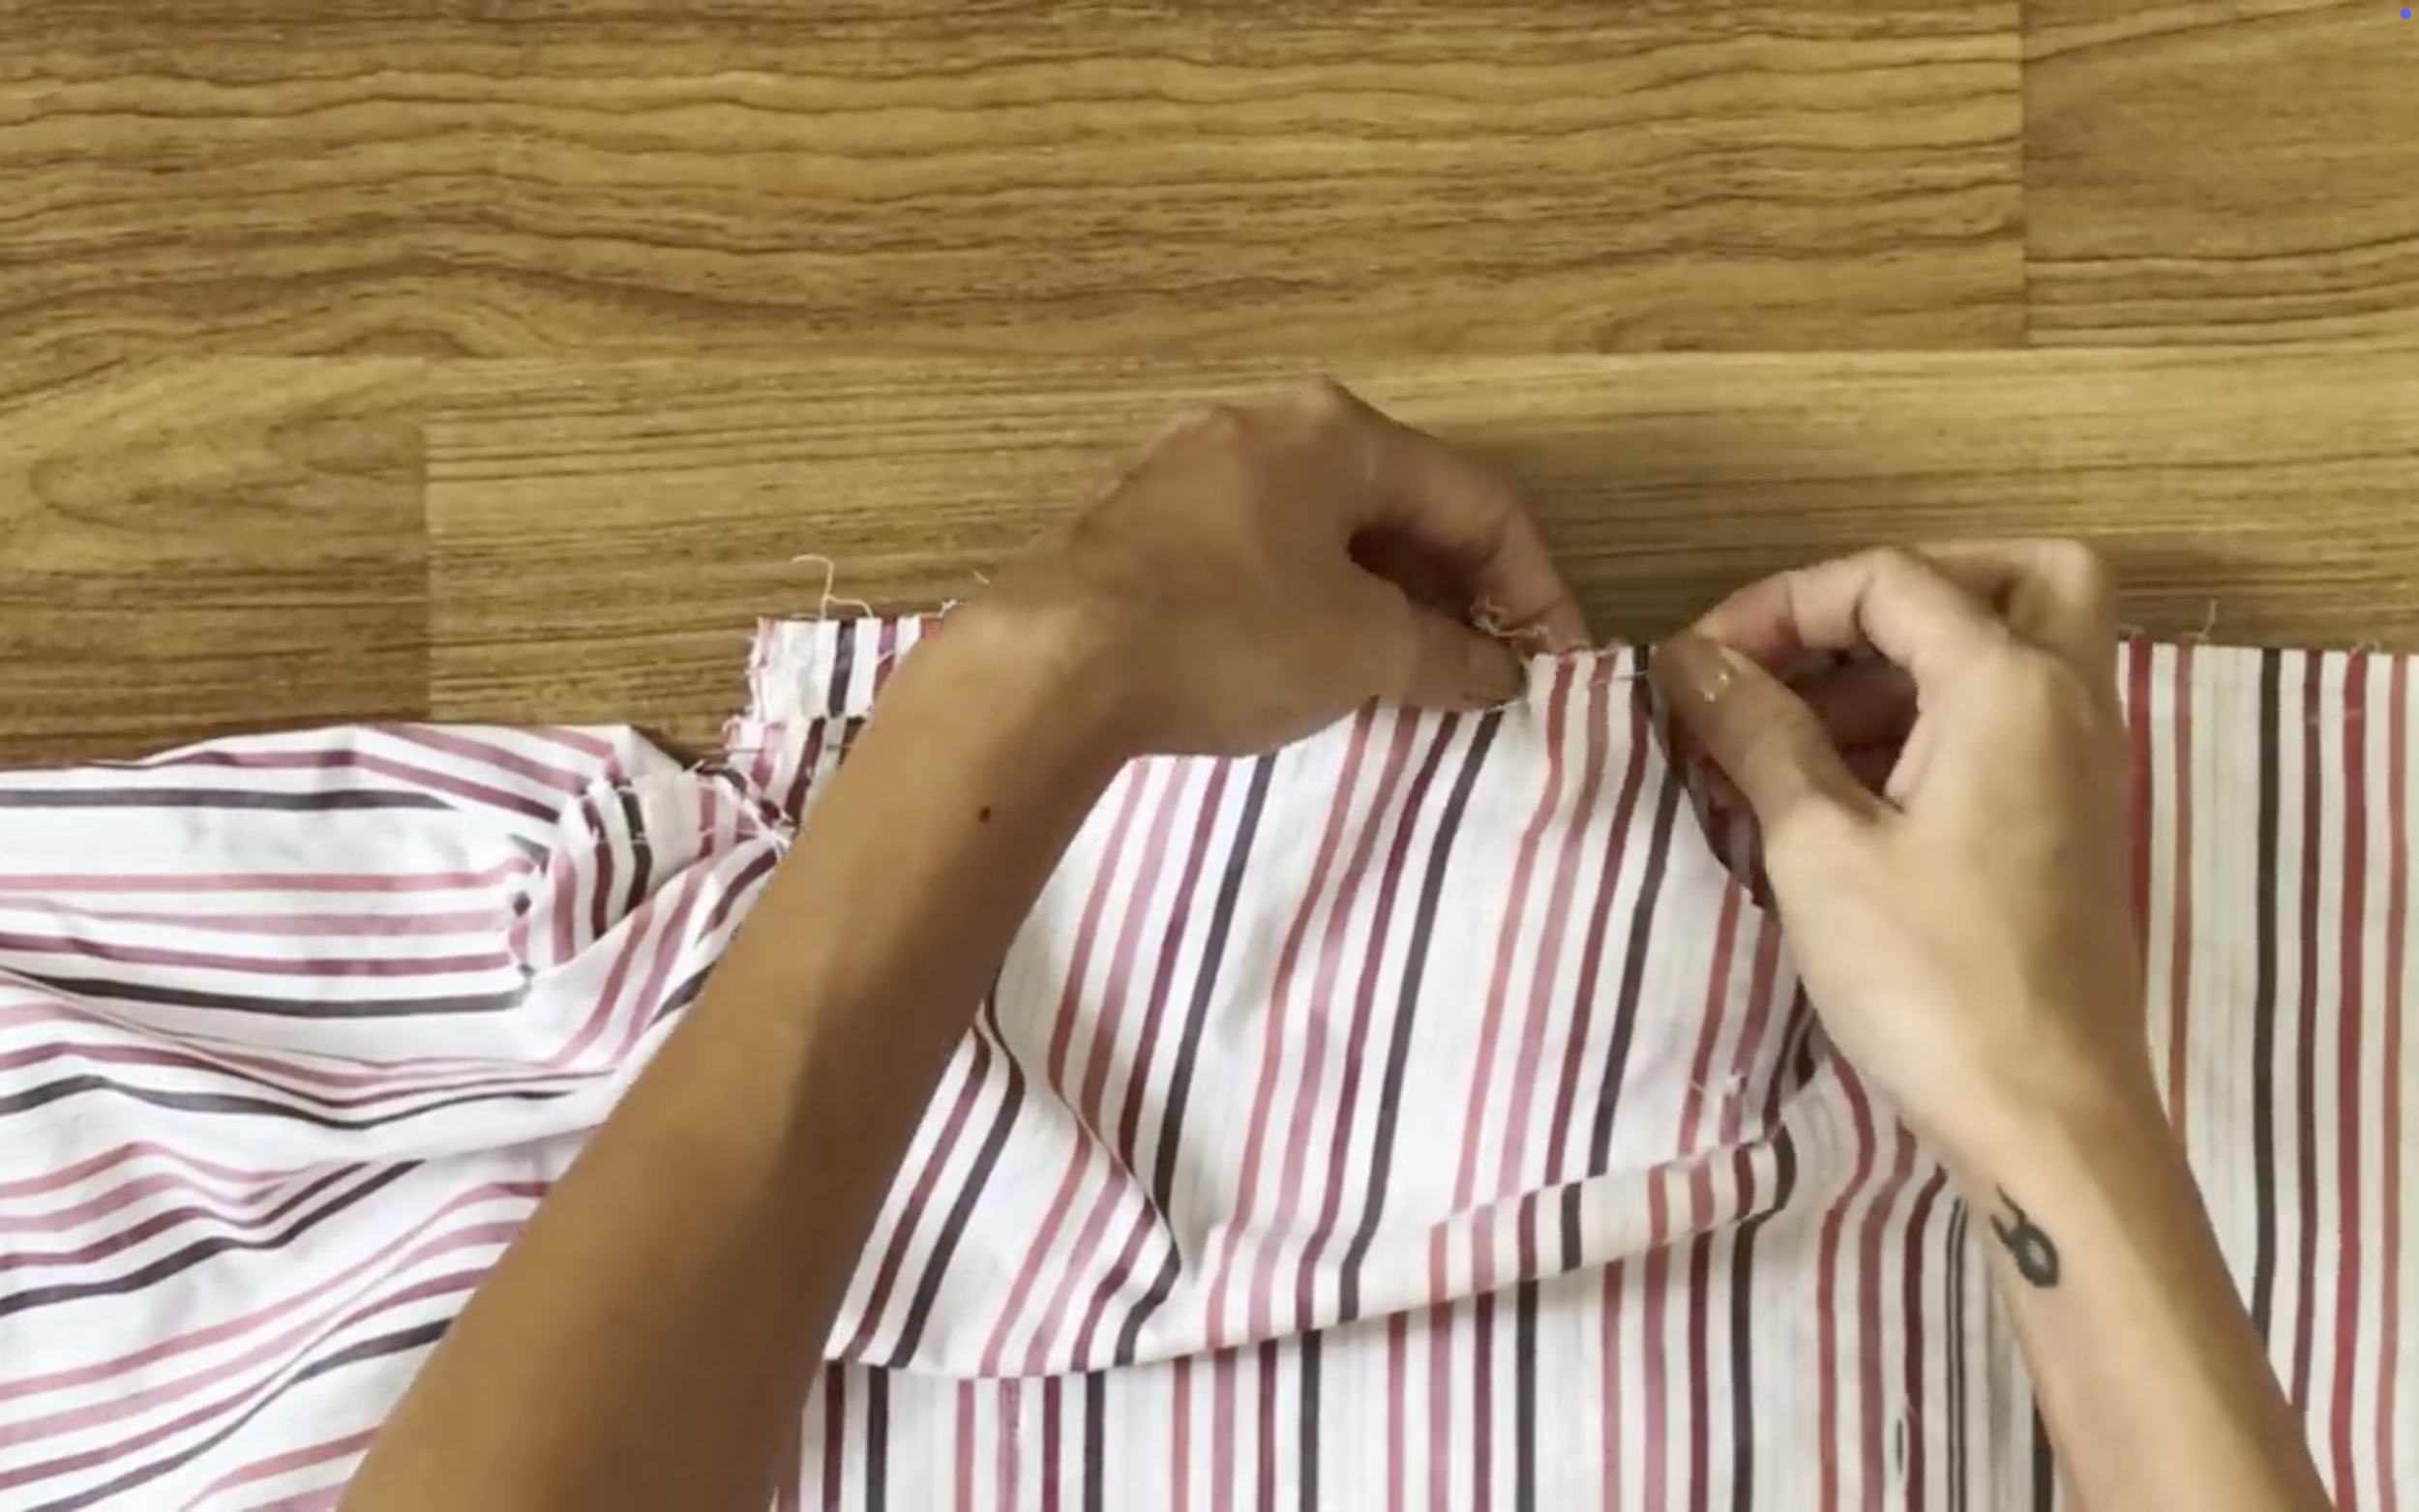
So that, make a loose seam at the sleeve first.
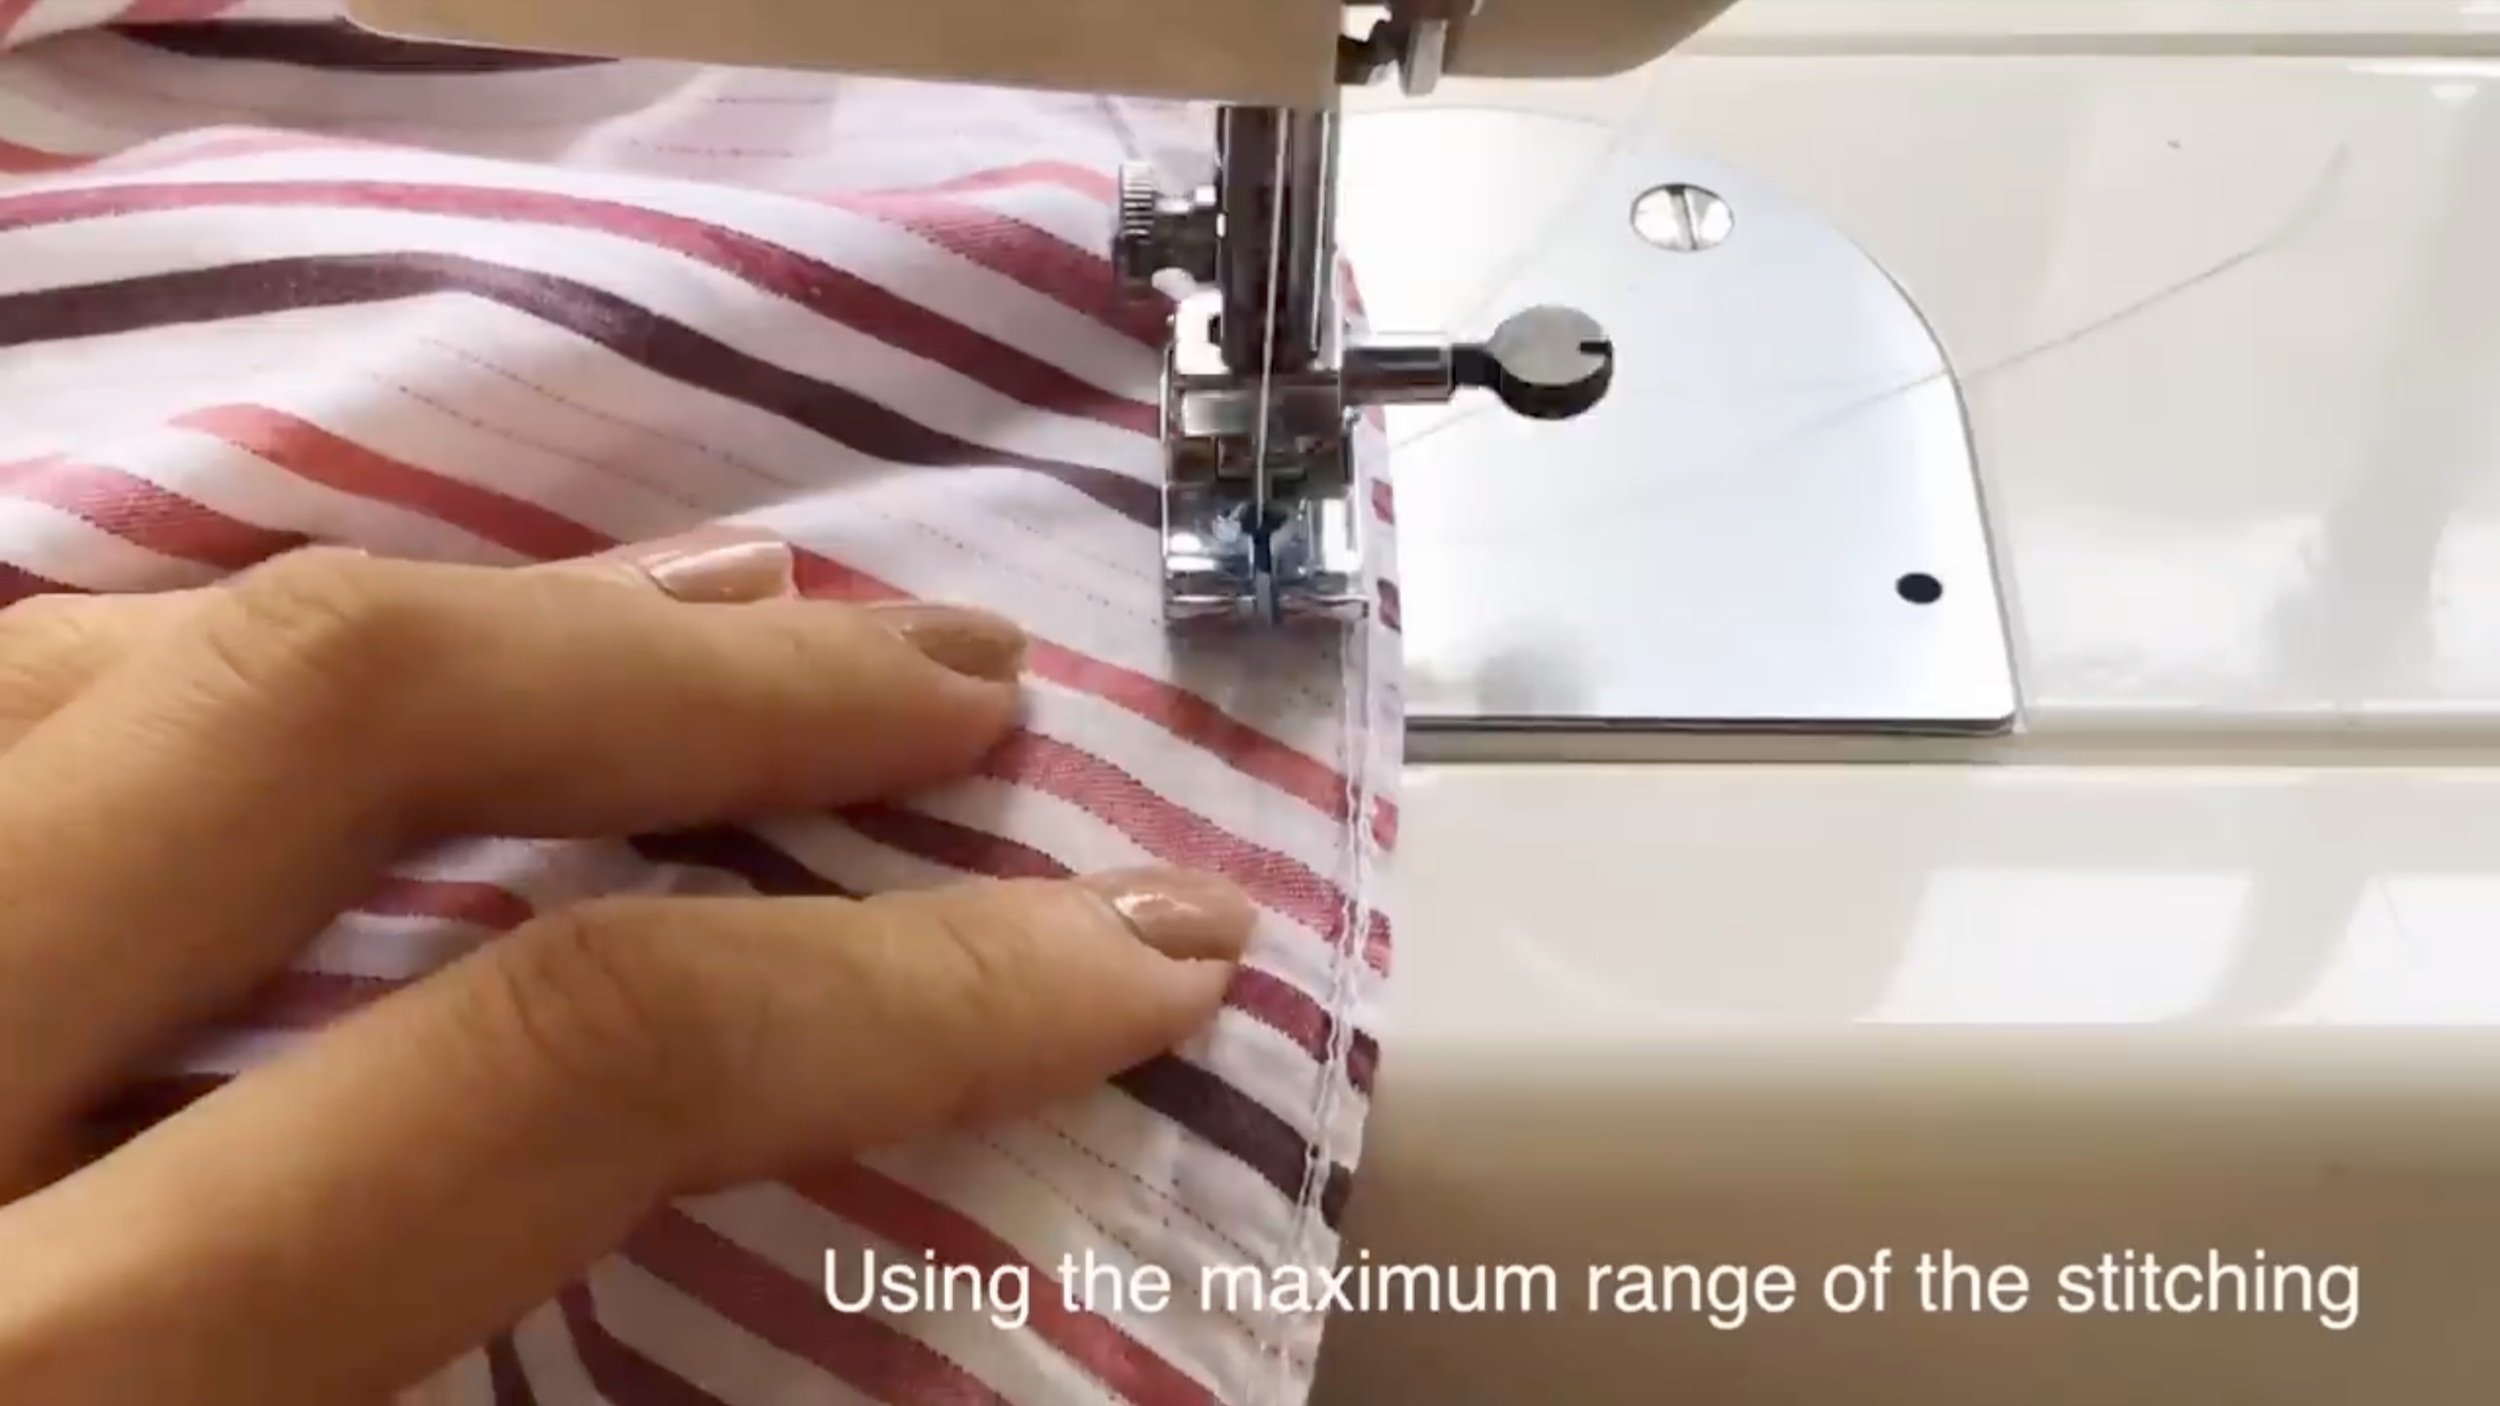
Then create the frill after.
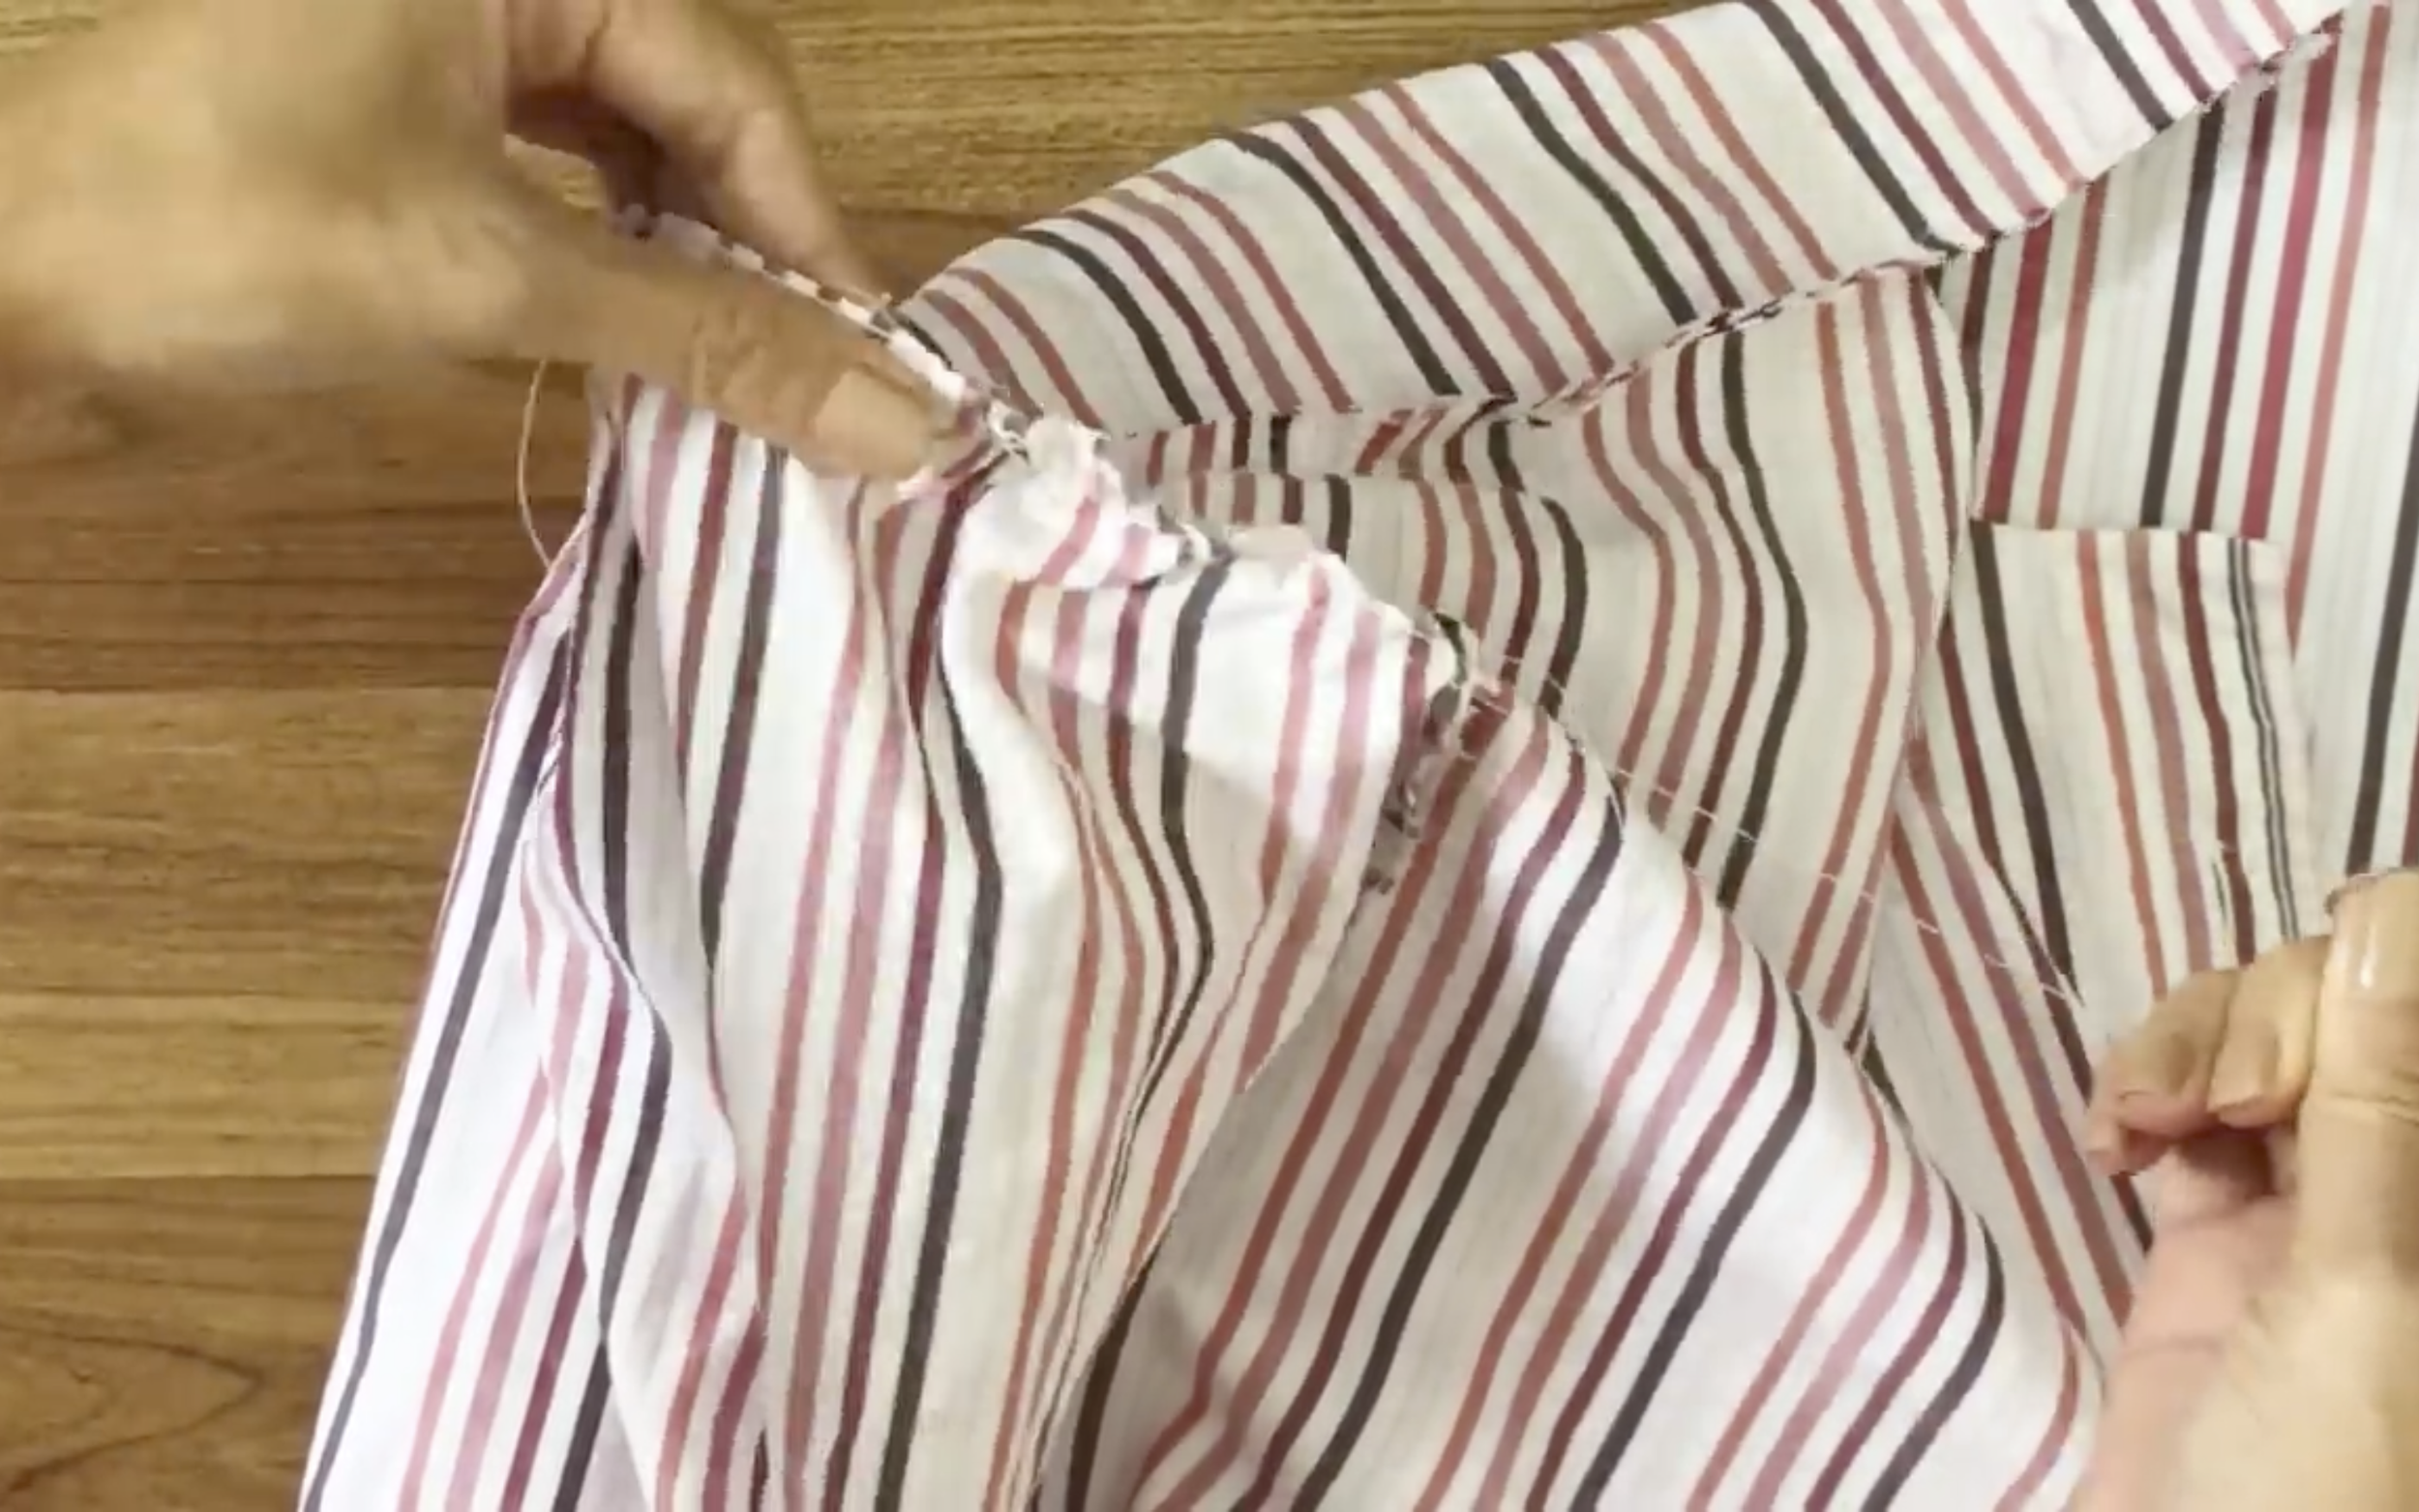
Just pull the thread until the sleeve fits to the new width of the hand.
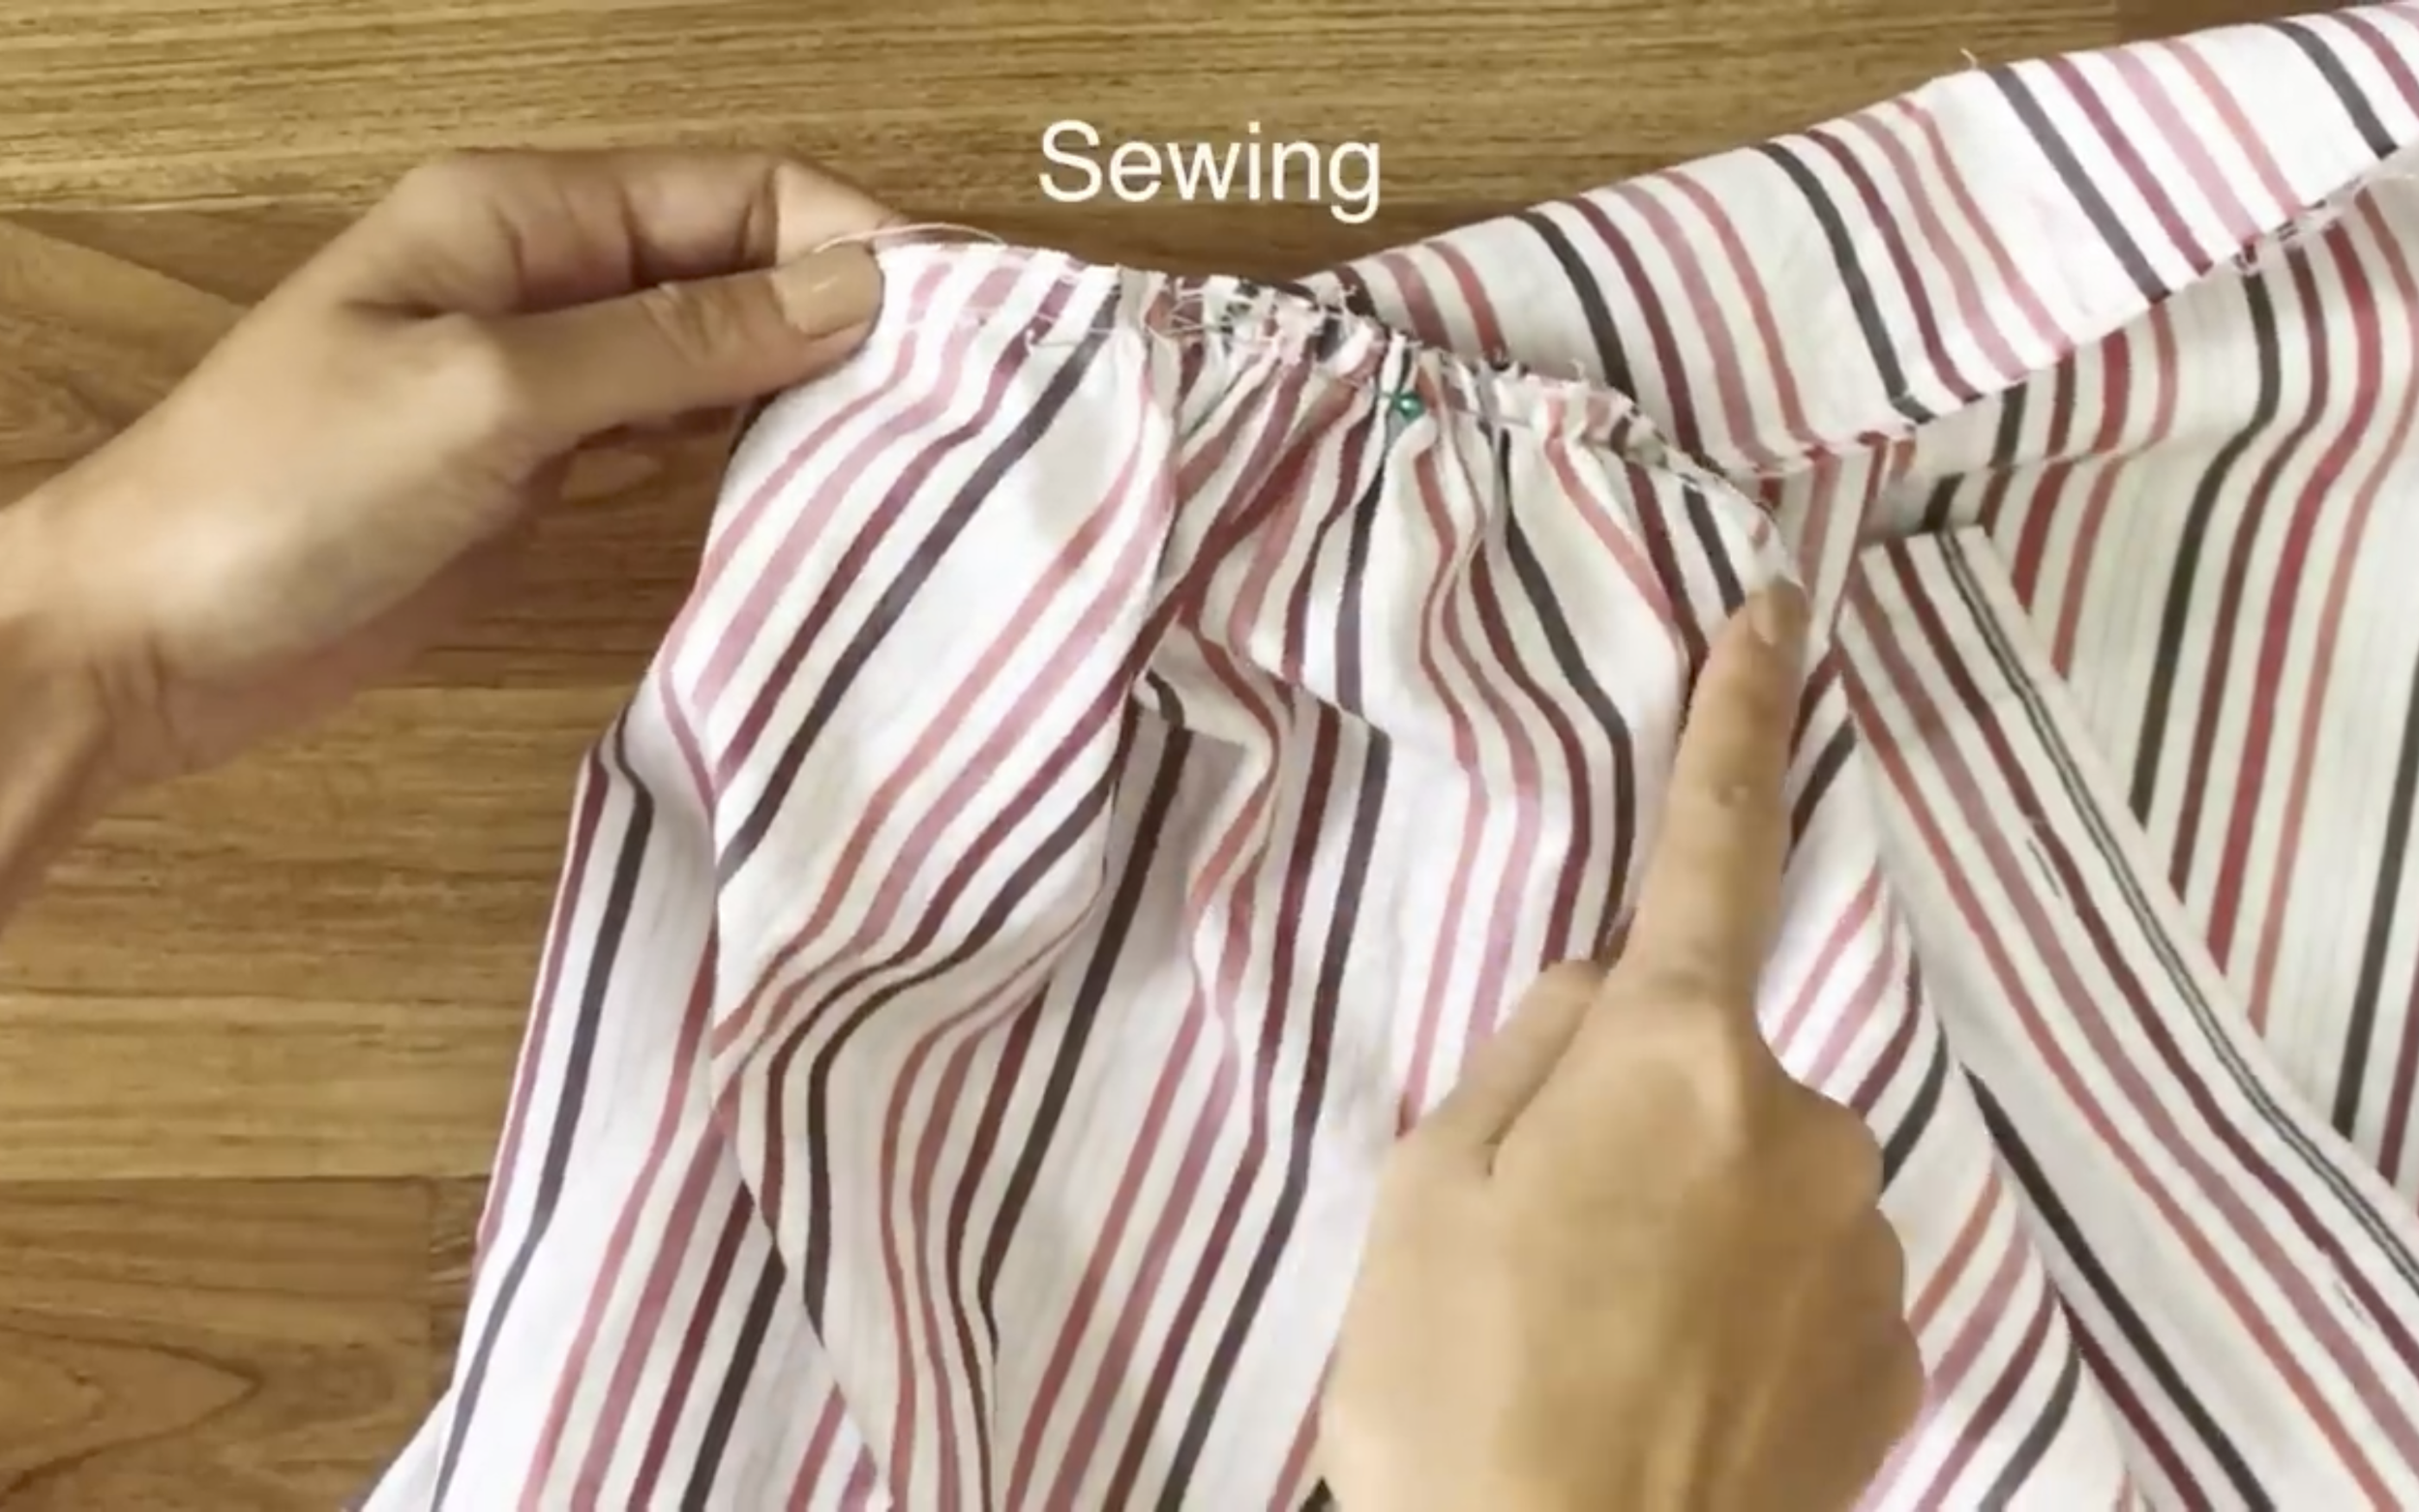
Then sew to connect them together.
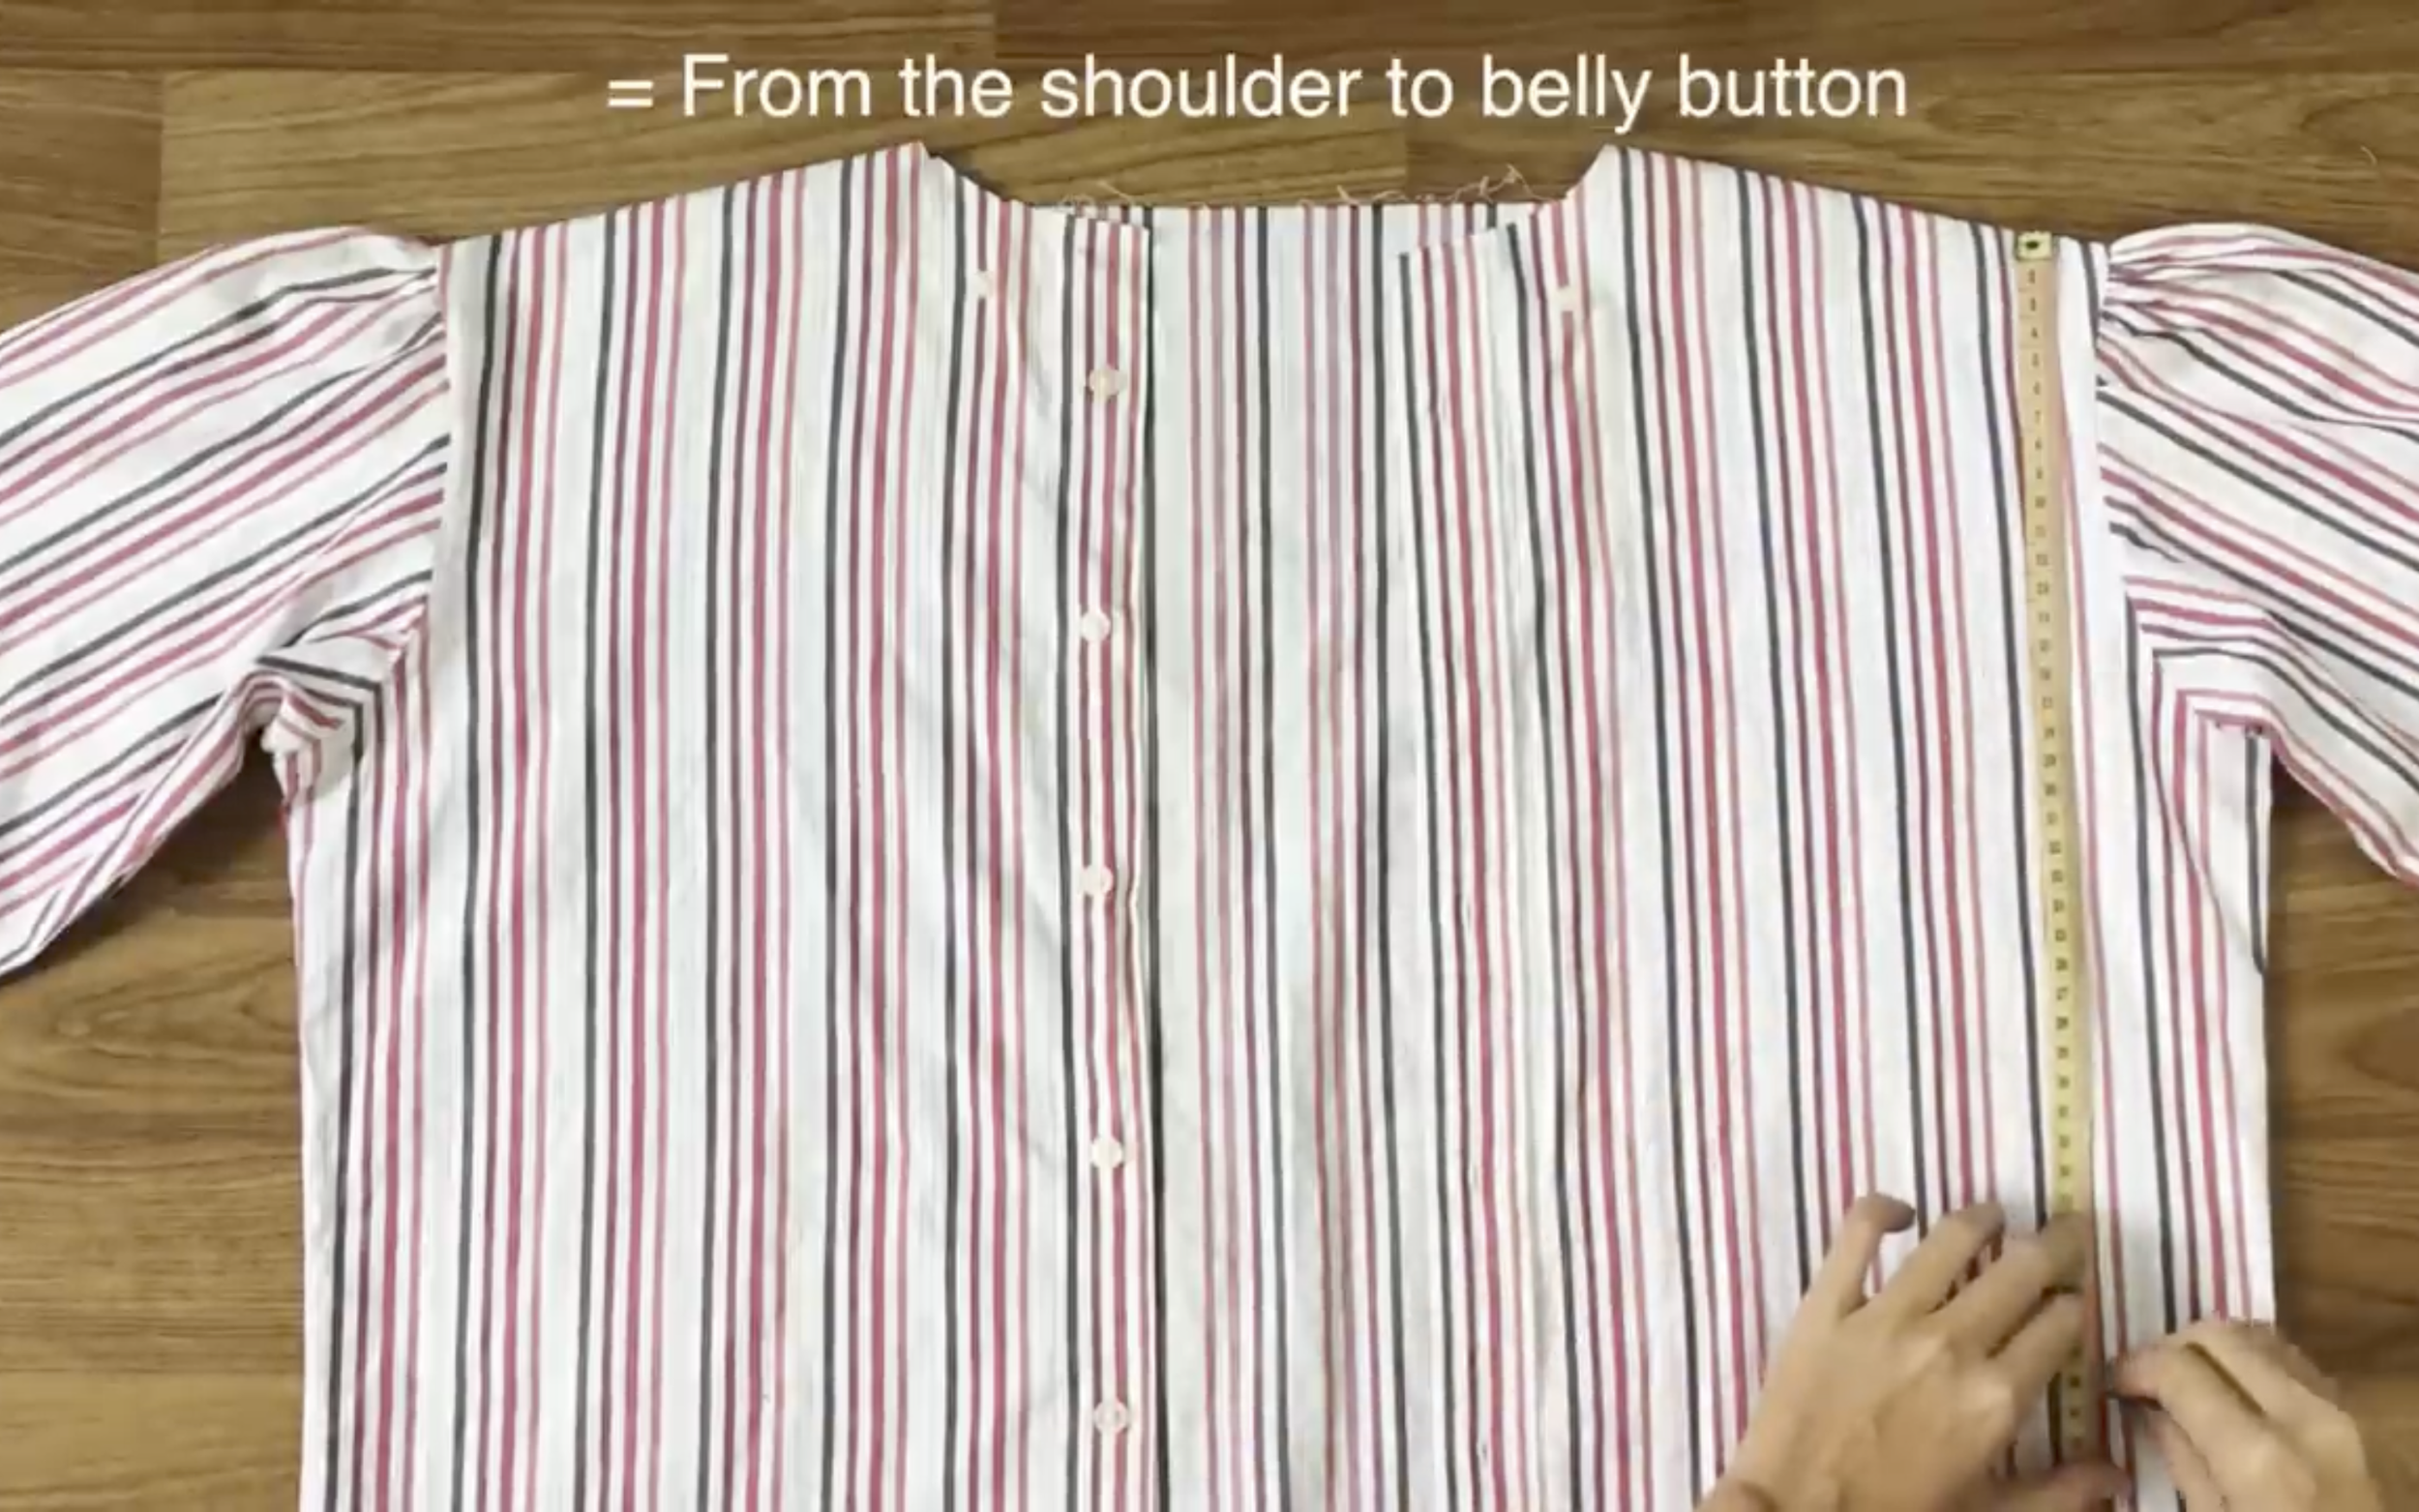
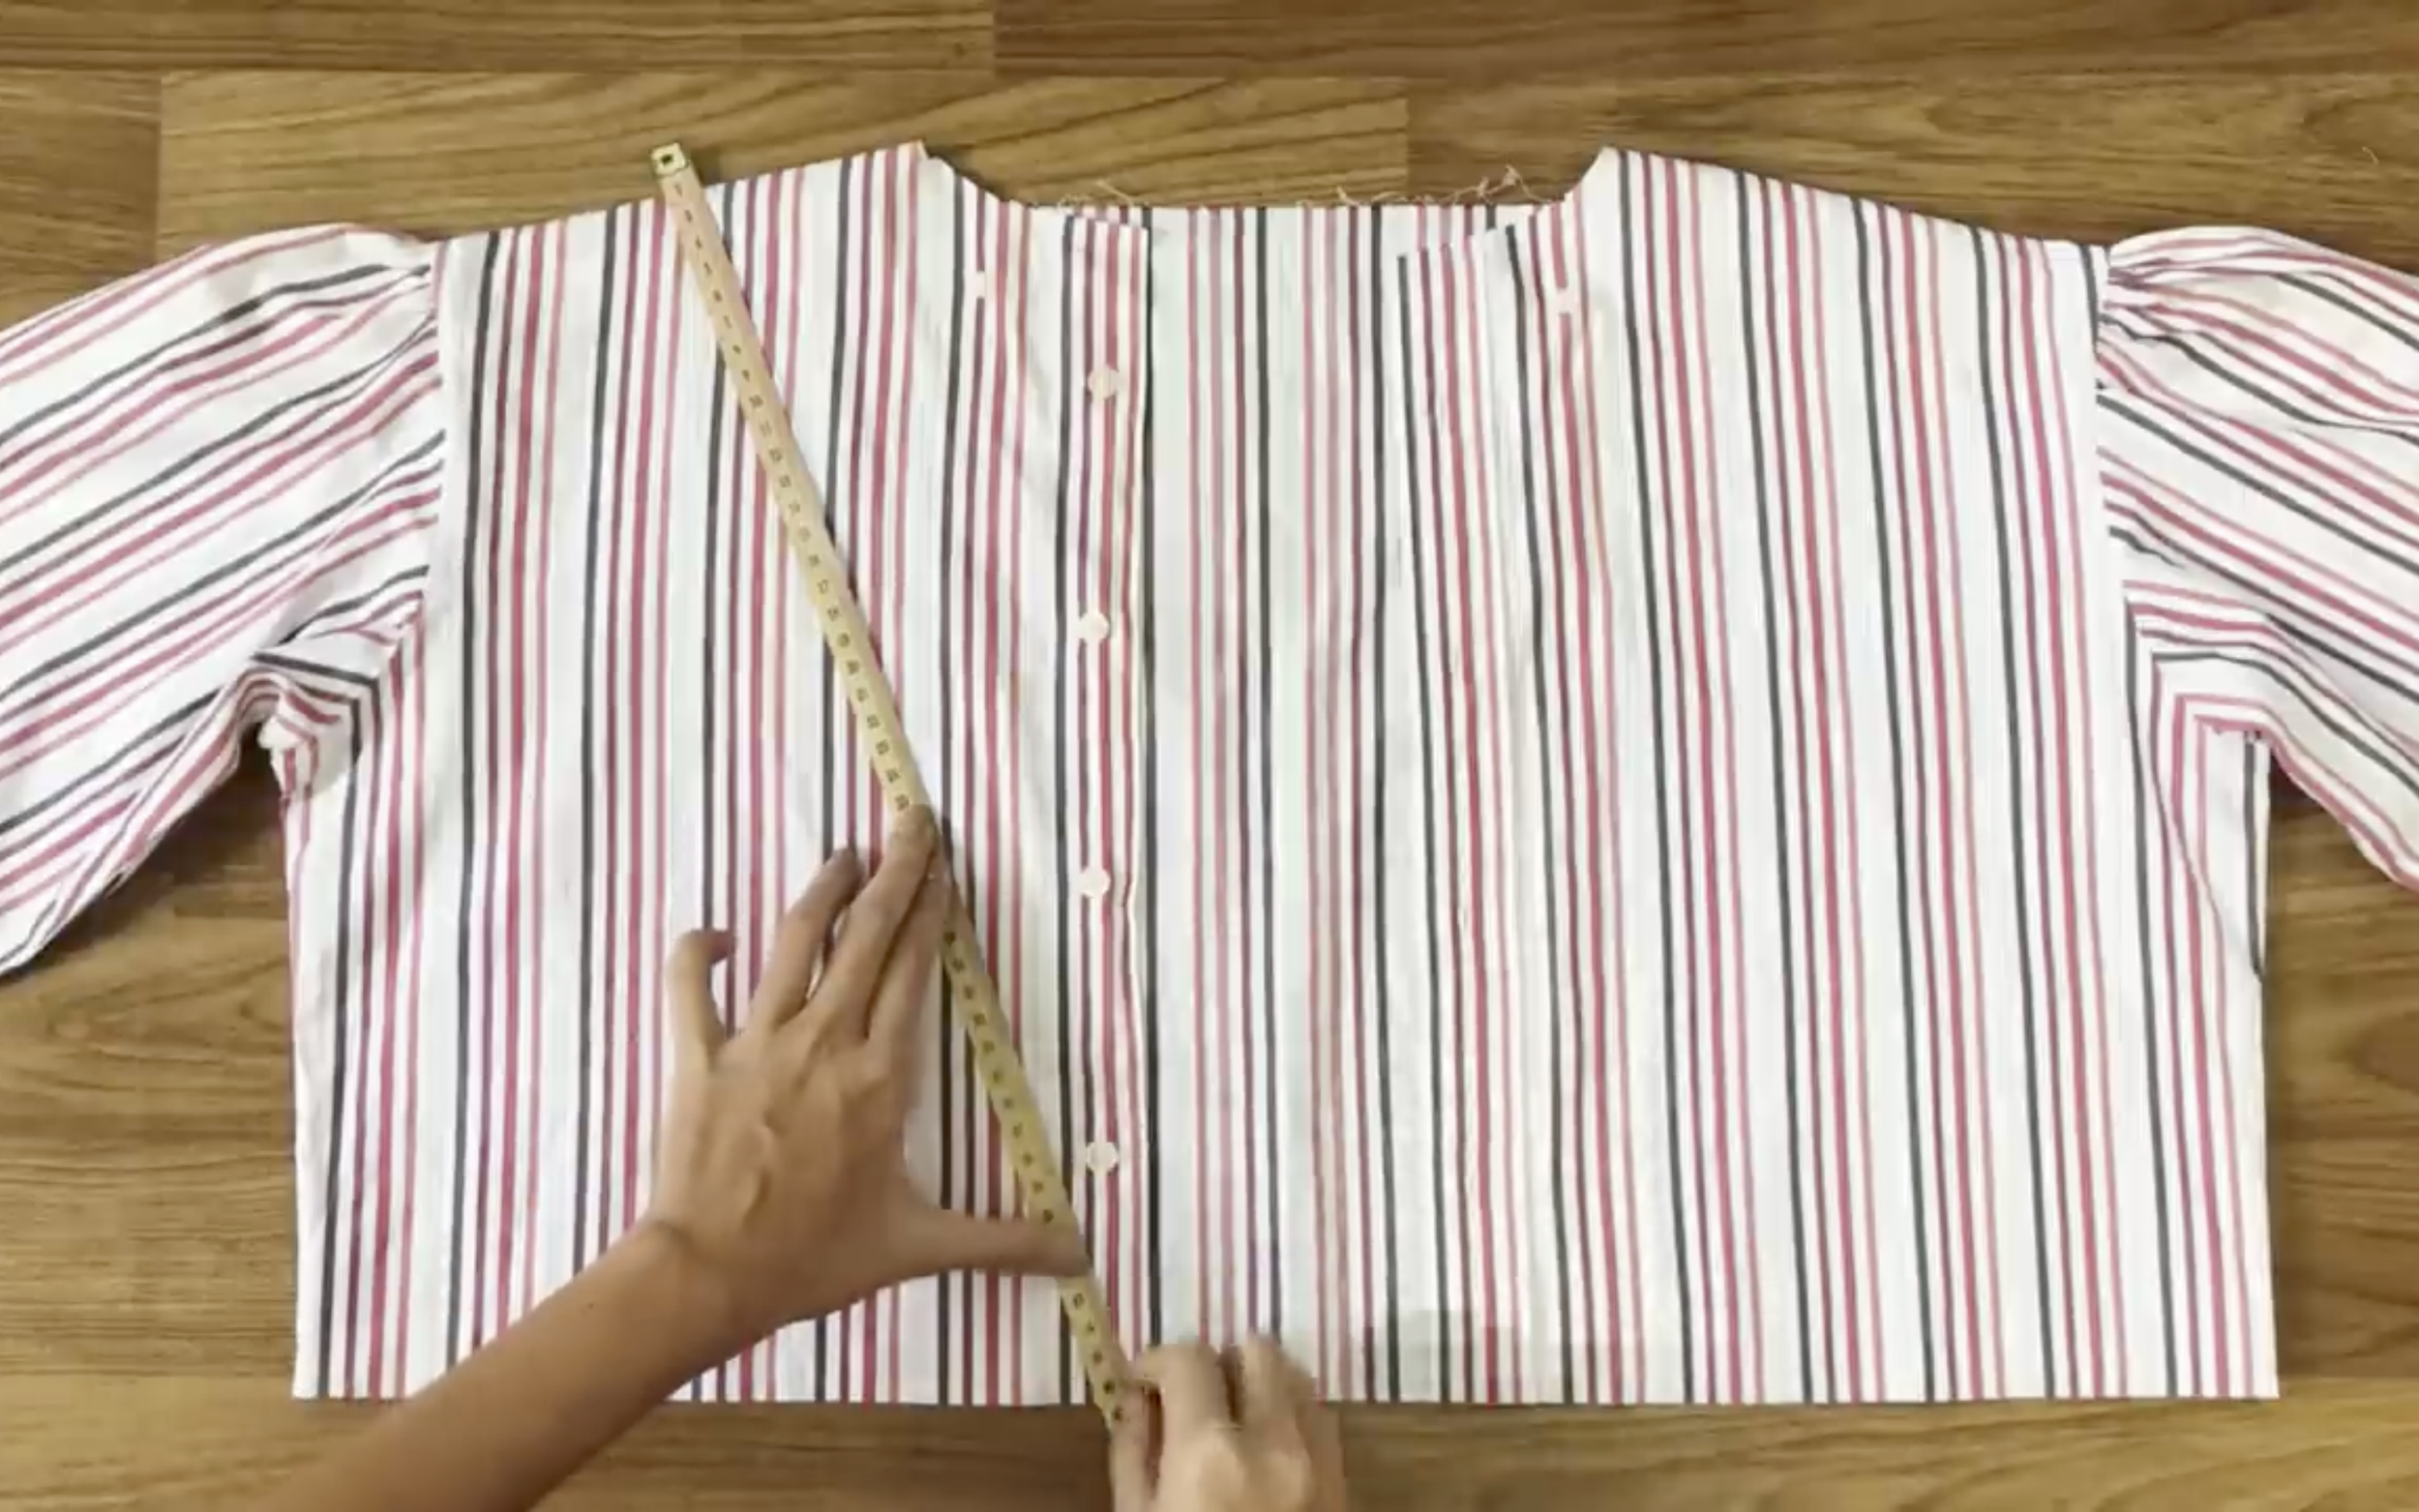
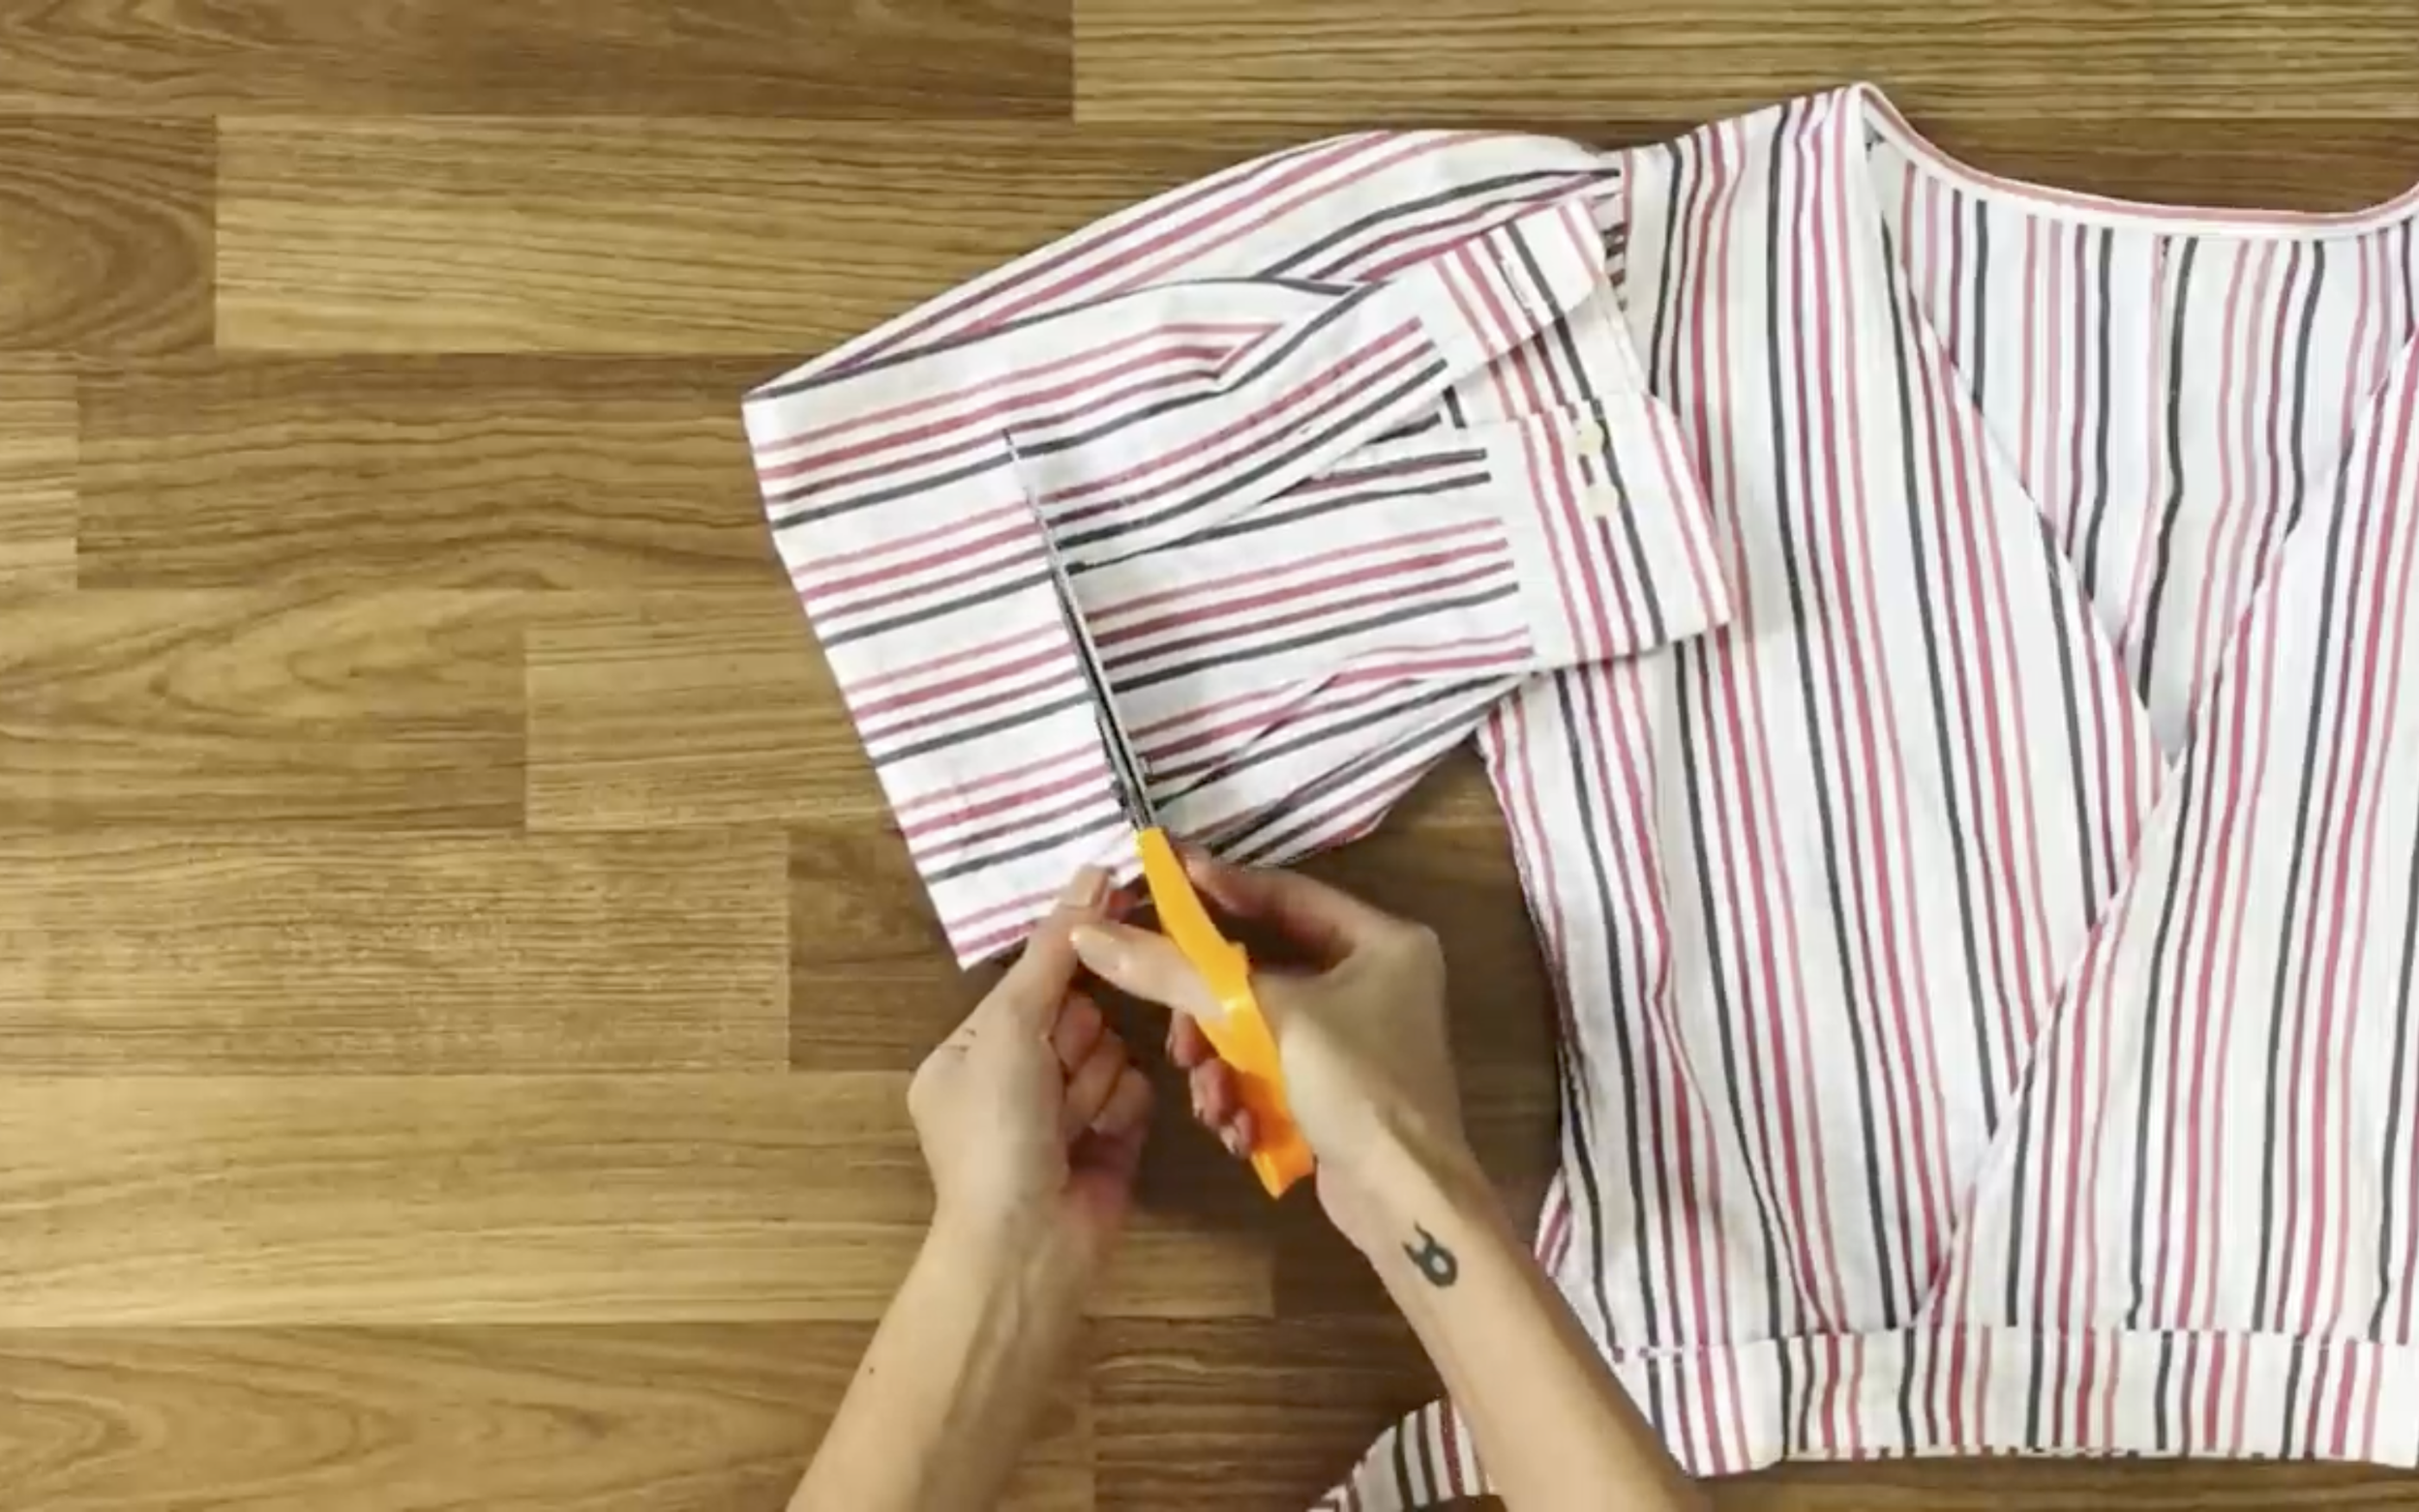
Now measuring the width of the crop top wanted — it's 40 cm, which is the width from the shoulder to the belly button.
You can make it longer if you want.
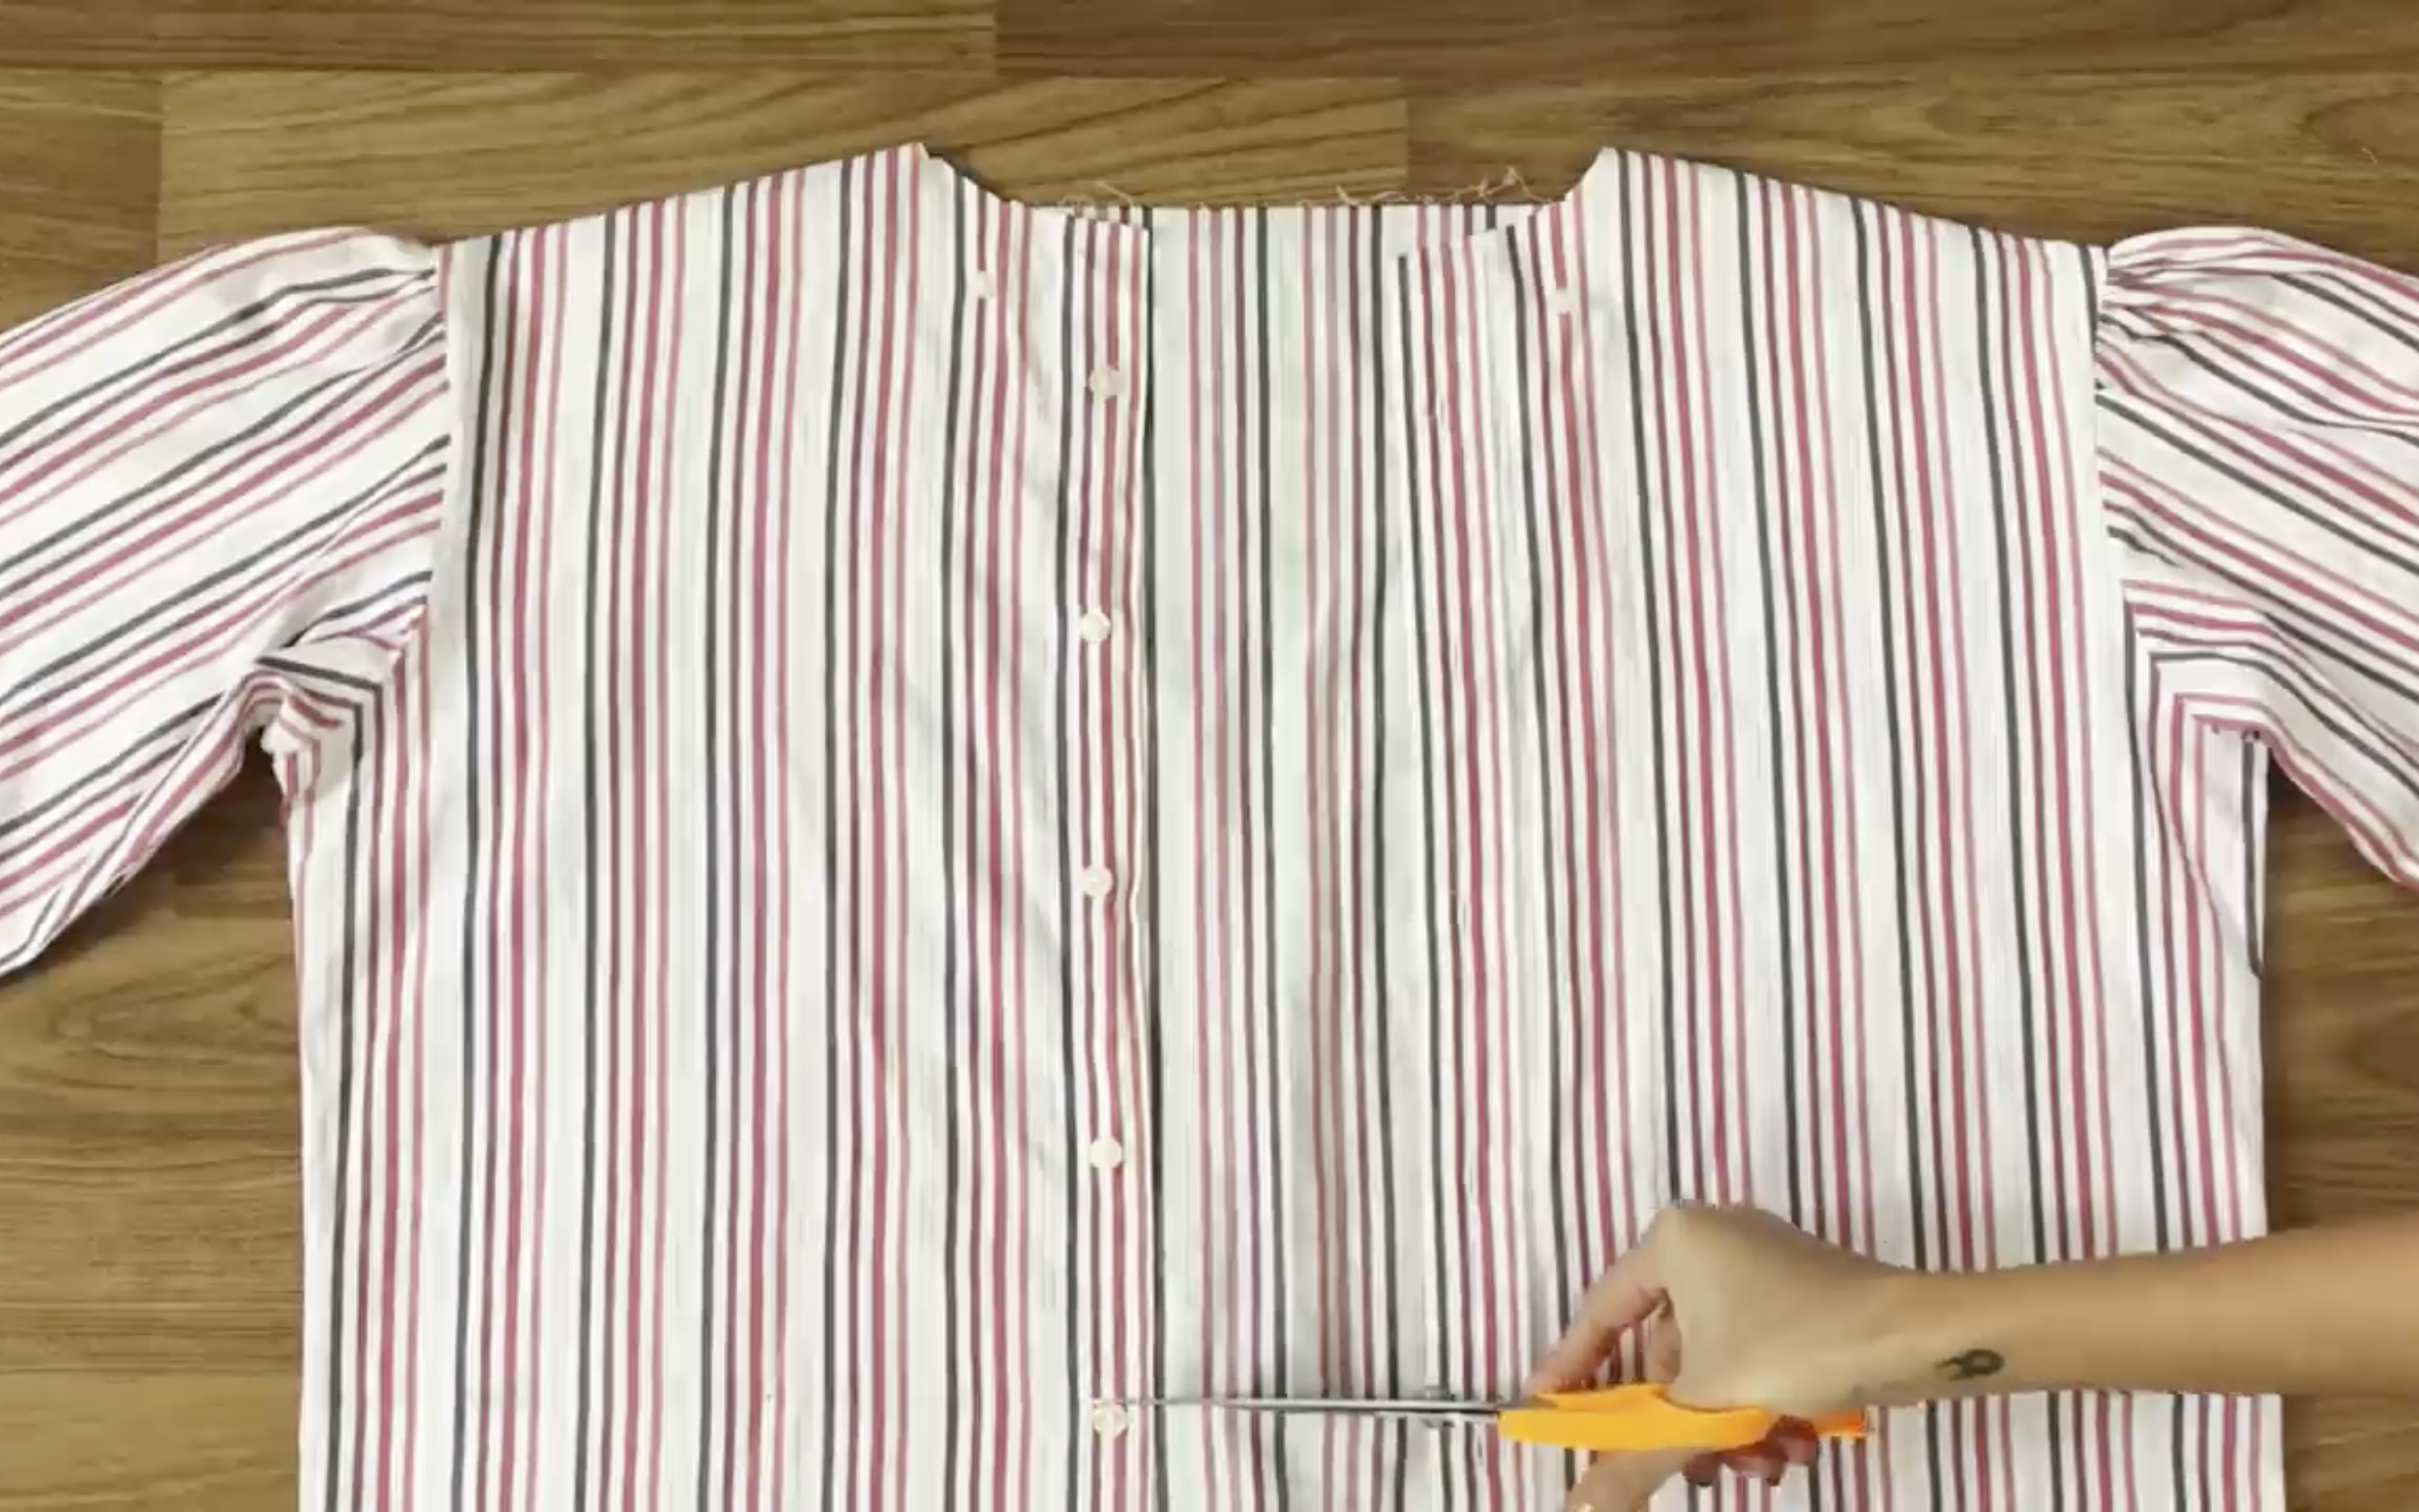
Draw a horizontal line there. Then cut.
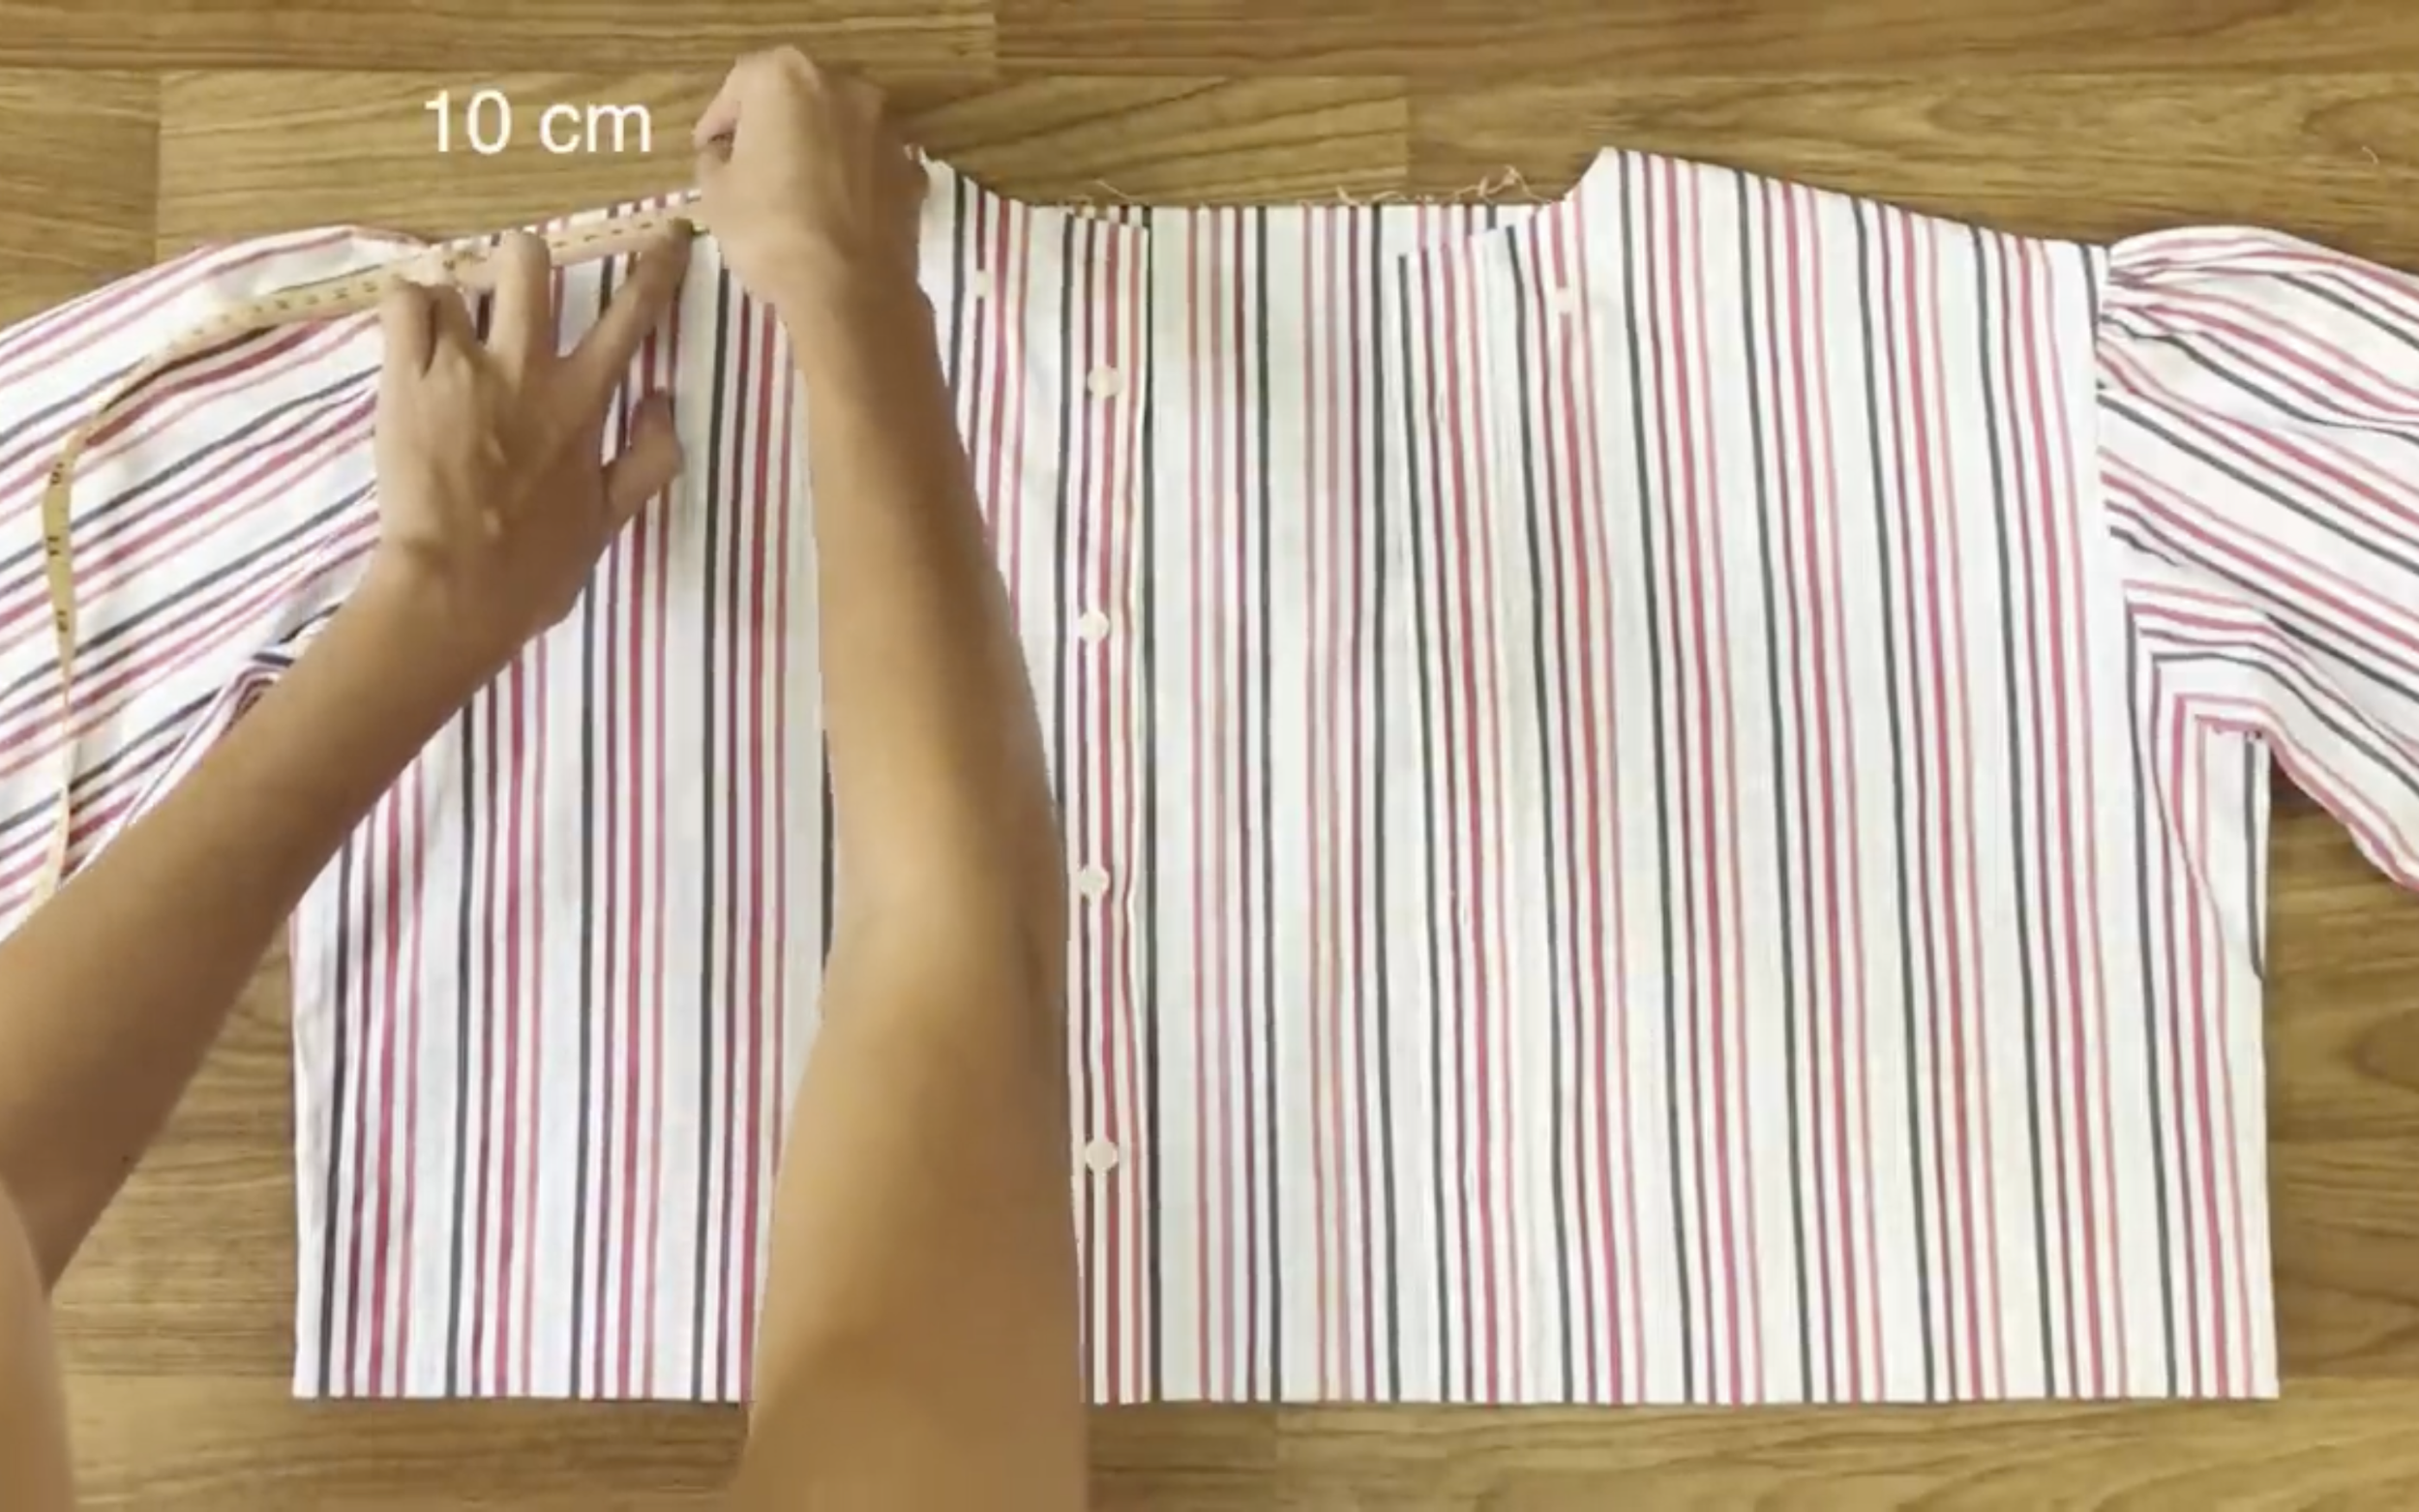
From the connected point between the hand and the shoulder, move to inside 10 cm and mark there.
Then draw a line from that mark to the end of the top.
Do the same for the other side.
As you can see, the width of the top is quite big,
Because the original men's shirt is bigger than the size.
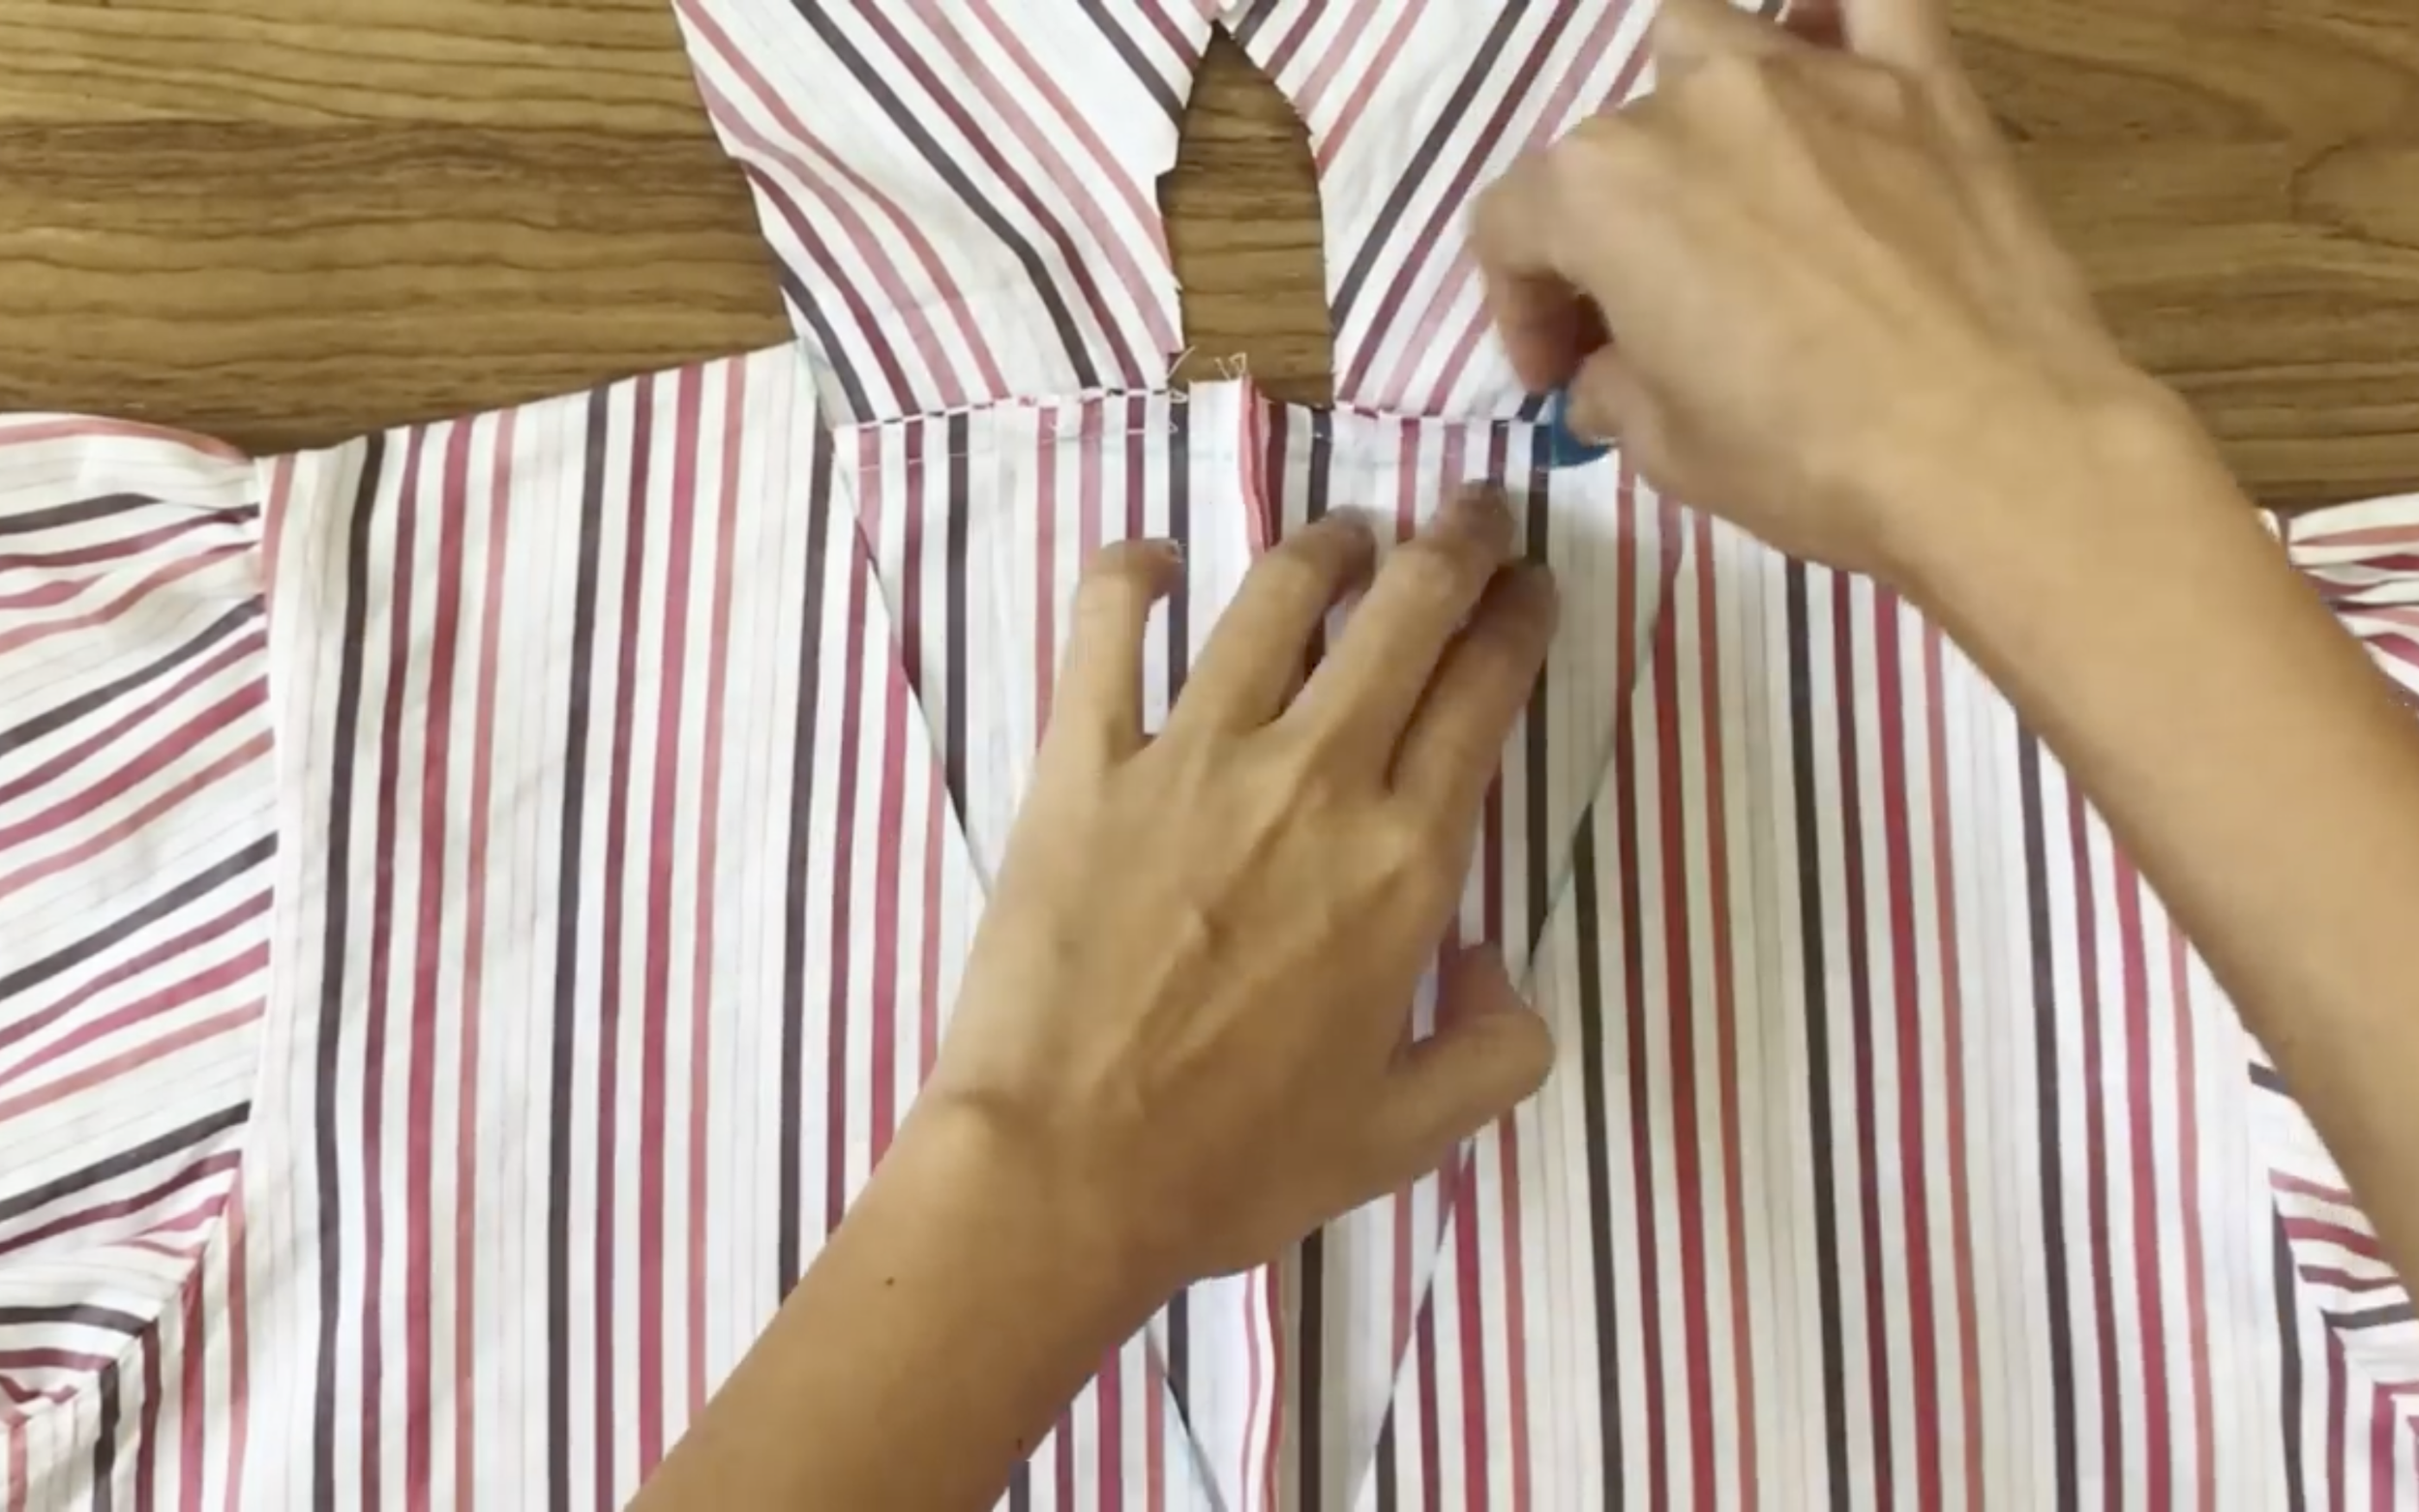
So at the middle of the back, fold the fabric in to make it smaller.
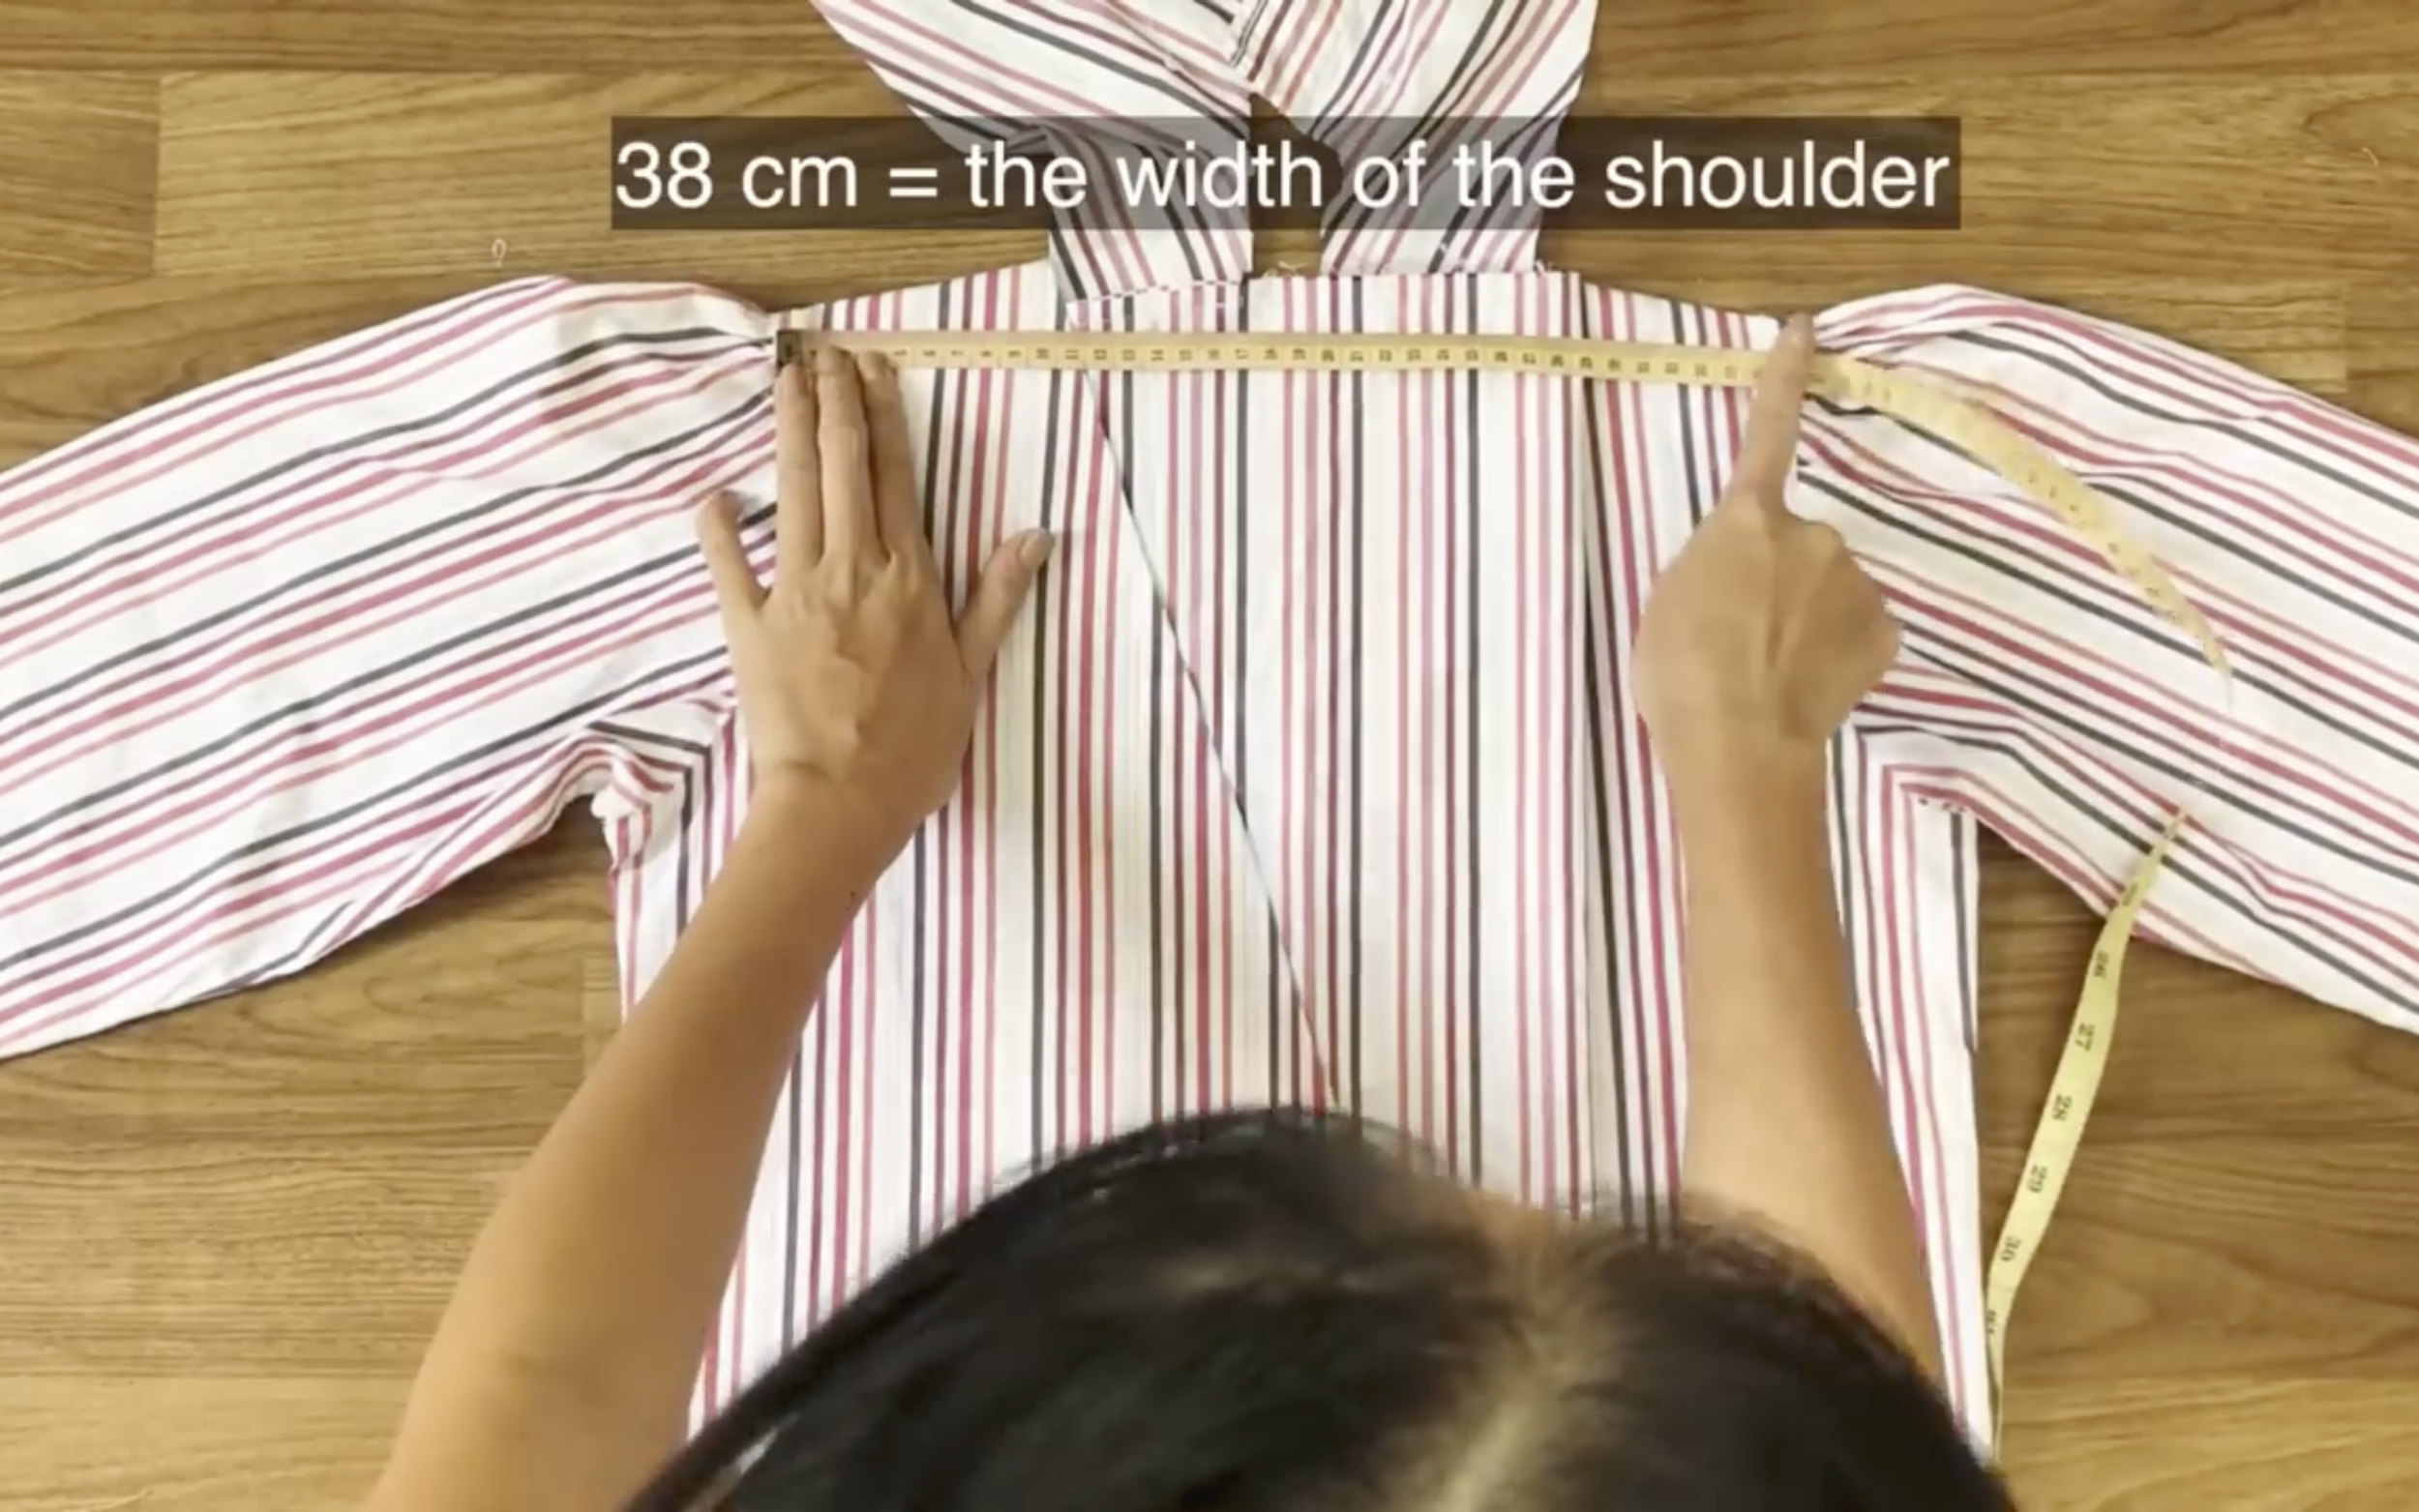
To know how much to fold in, just make sure the width has to be the same with the width of your shoulder.
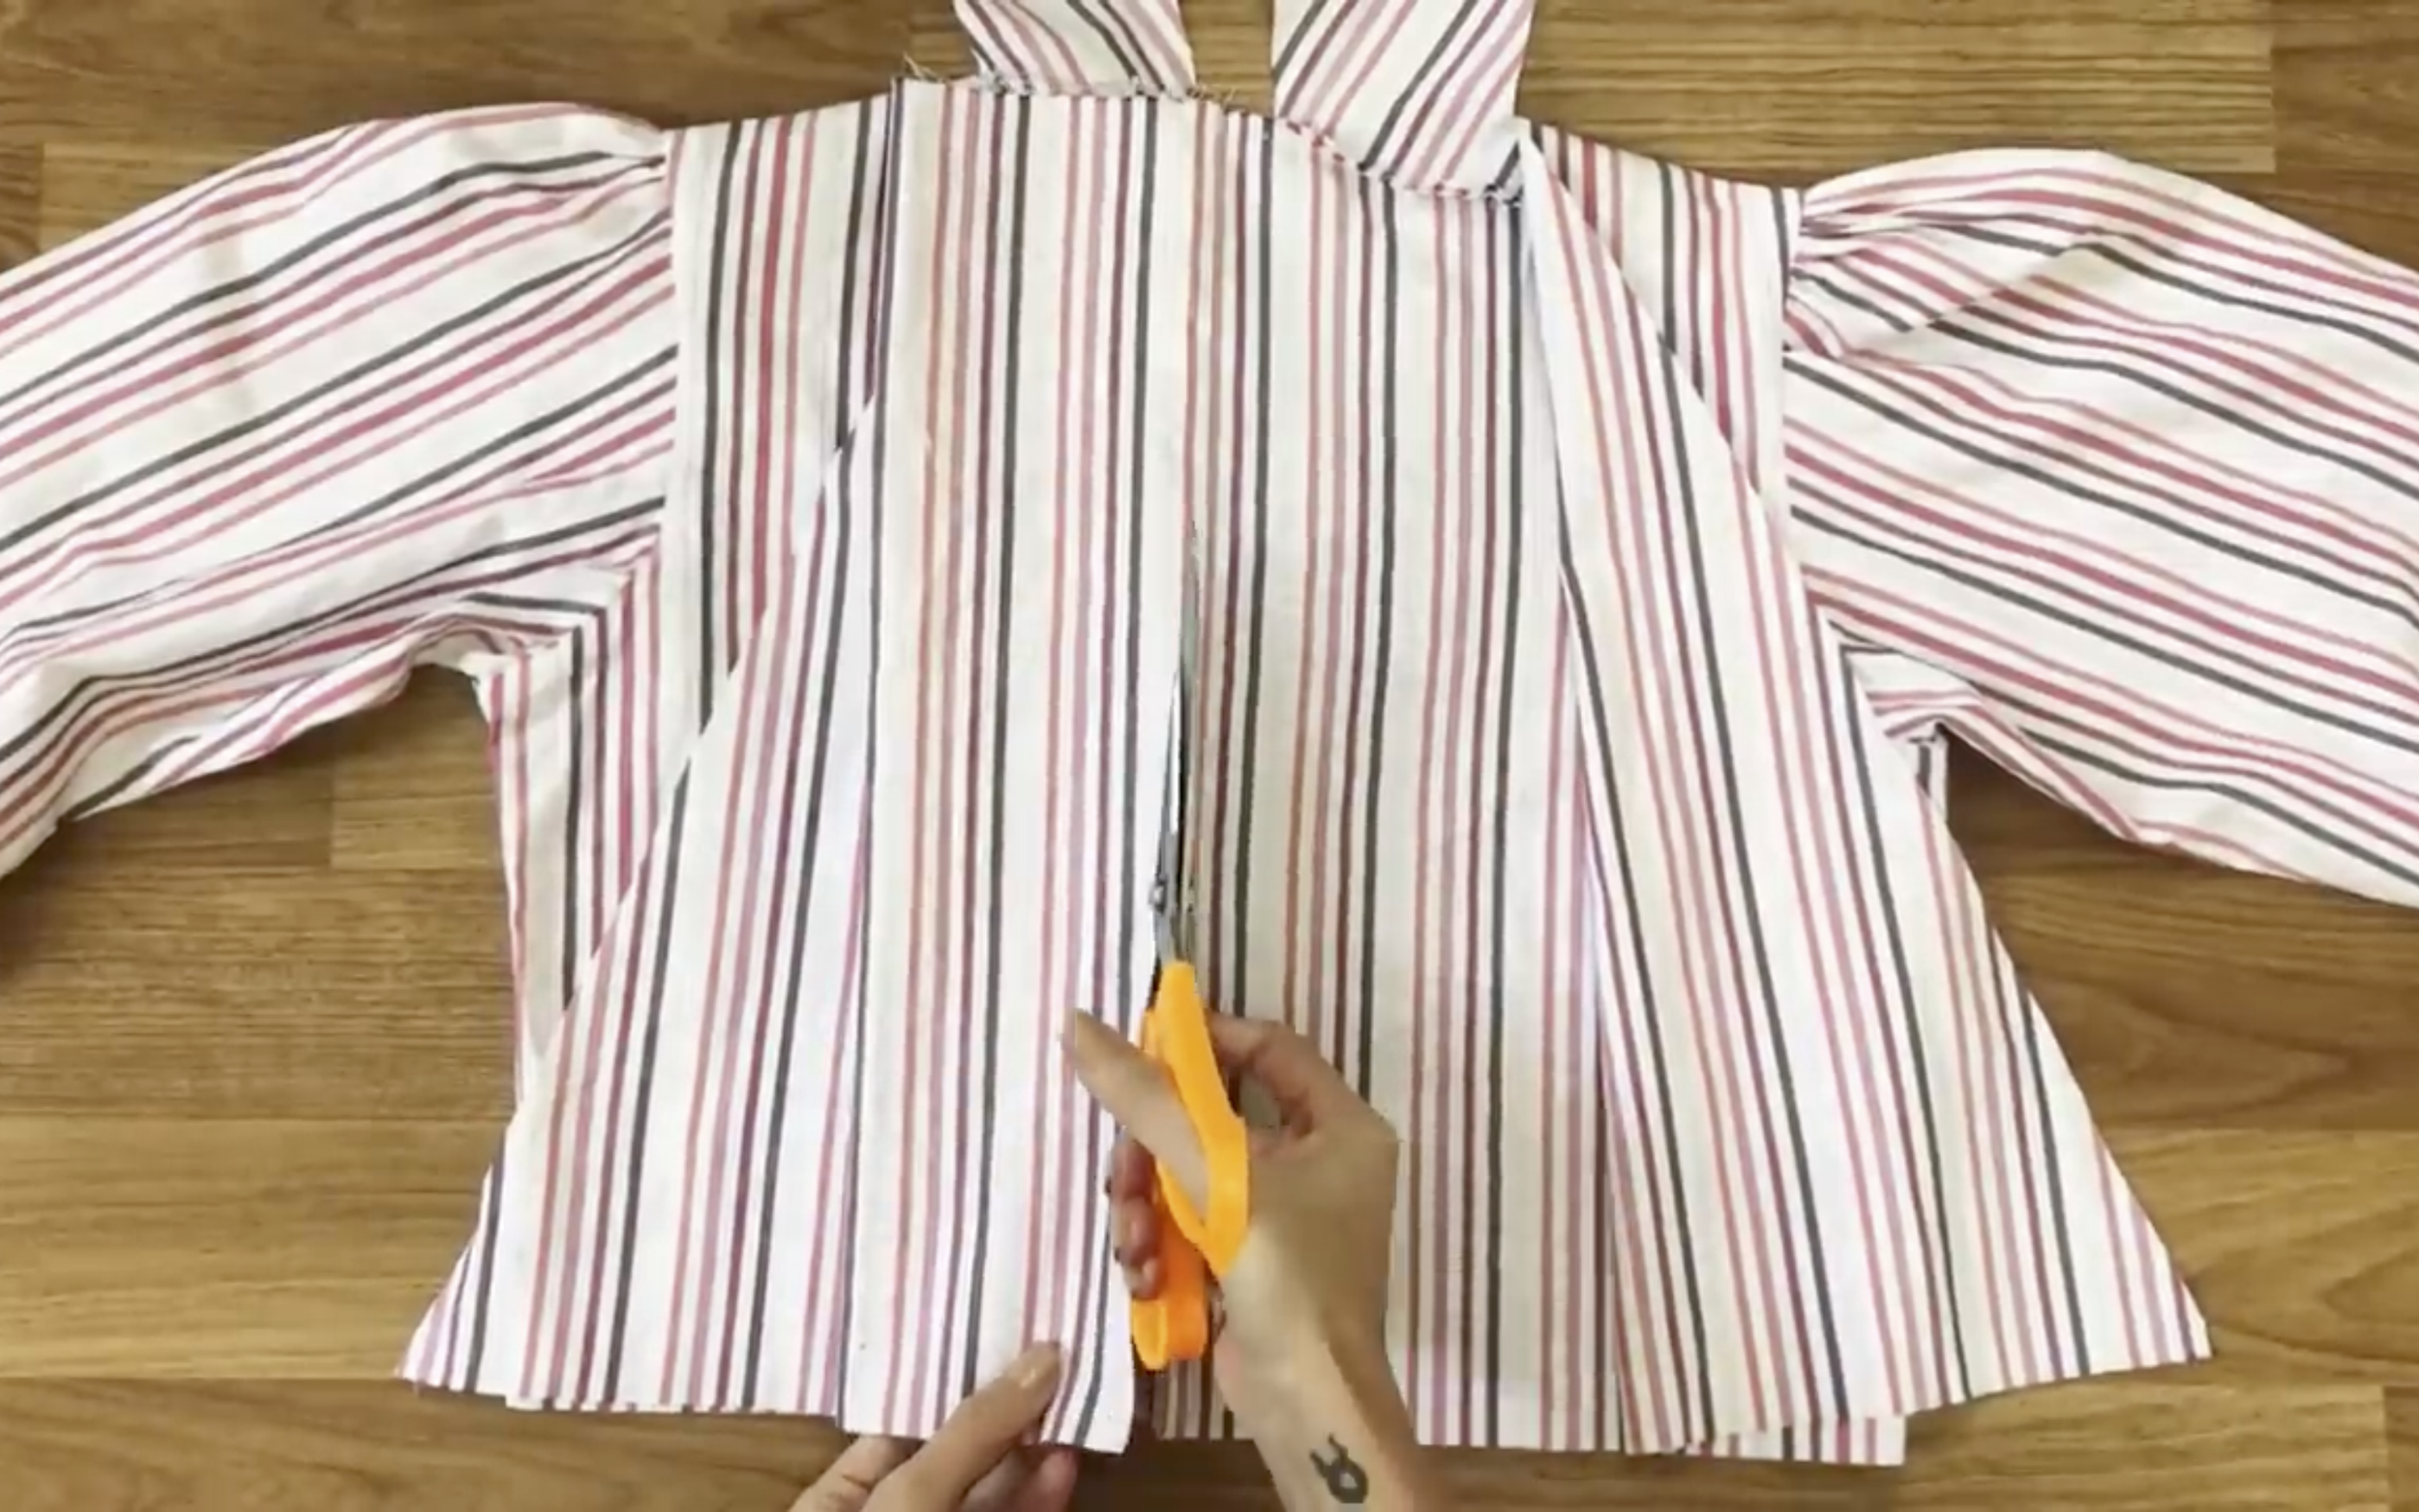
Then sew and cut the extra fabric after that.
At the back of the neck, draw a curved line there,
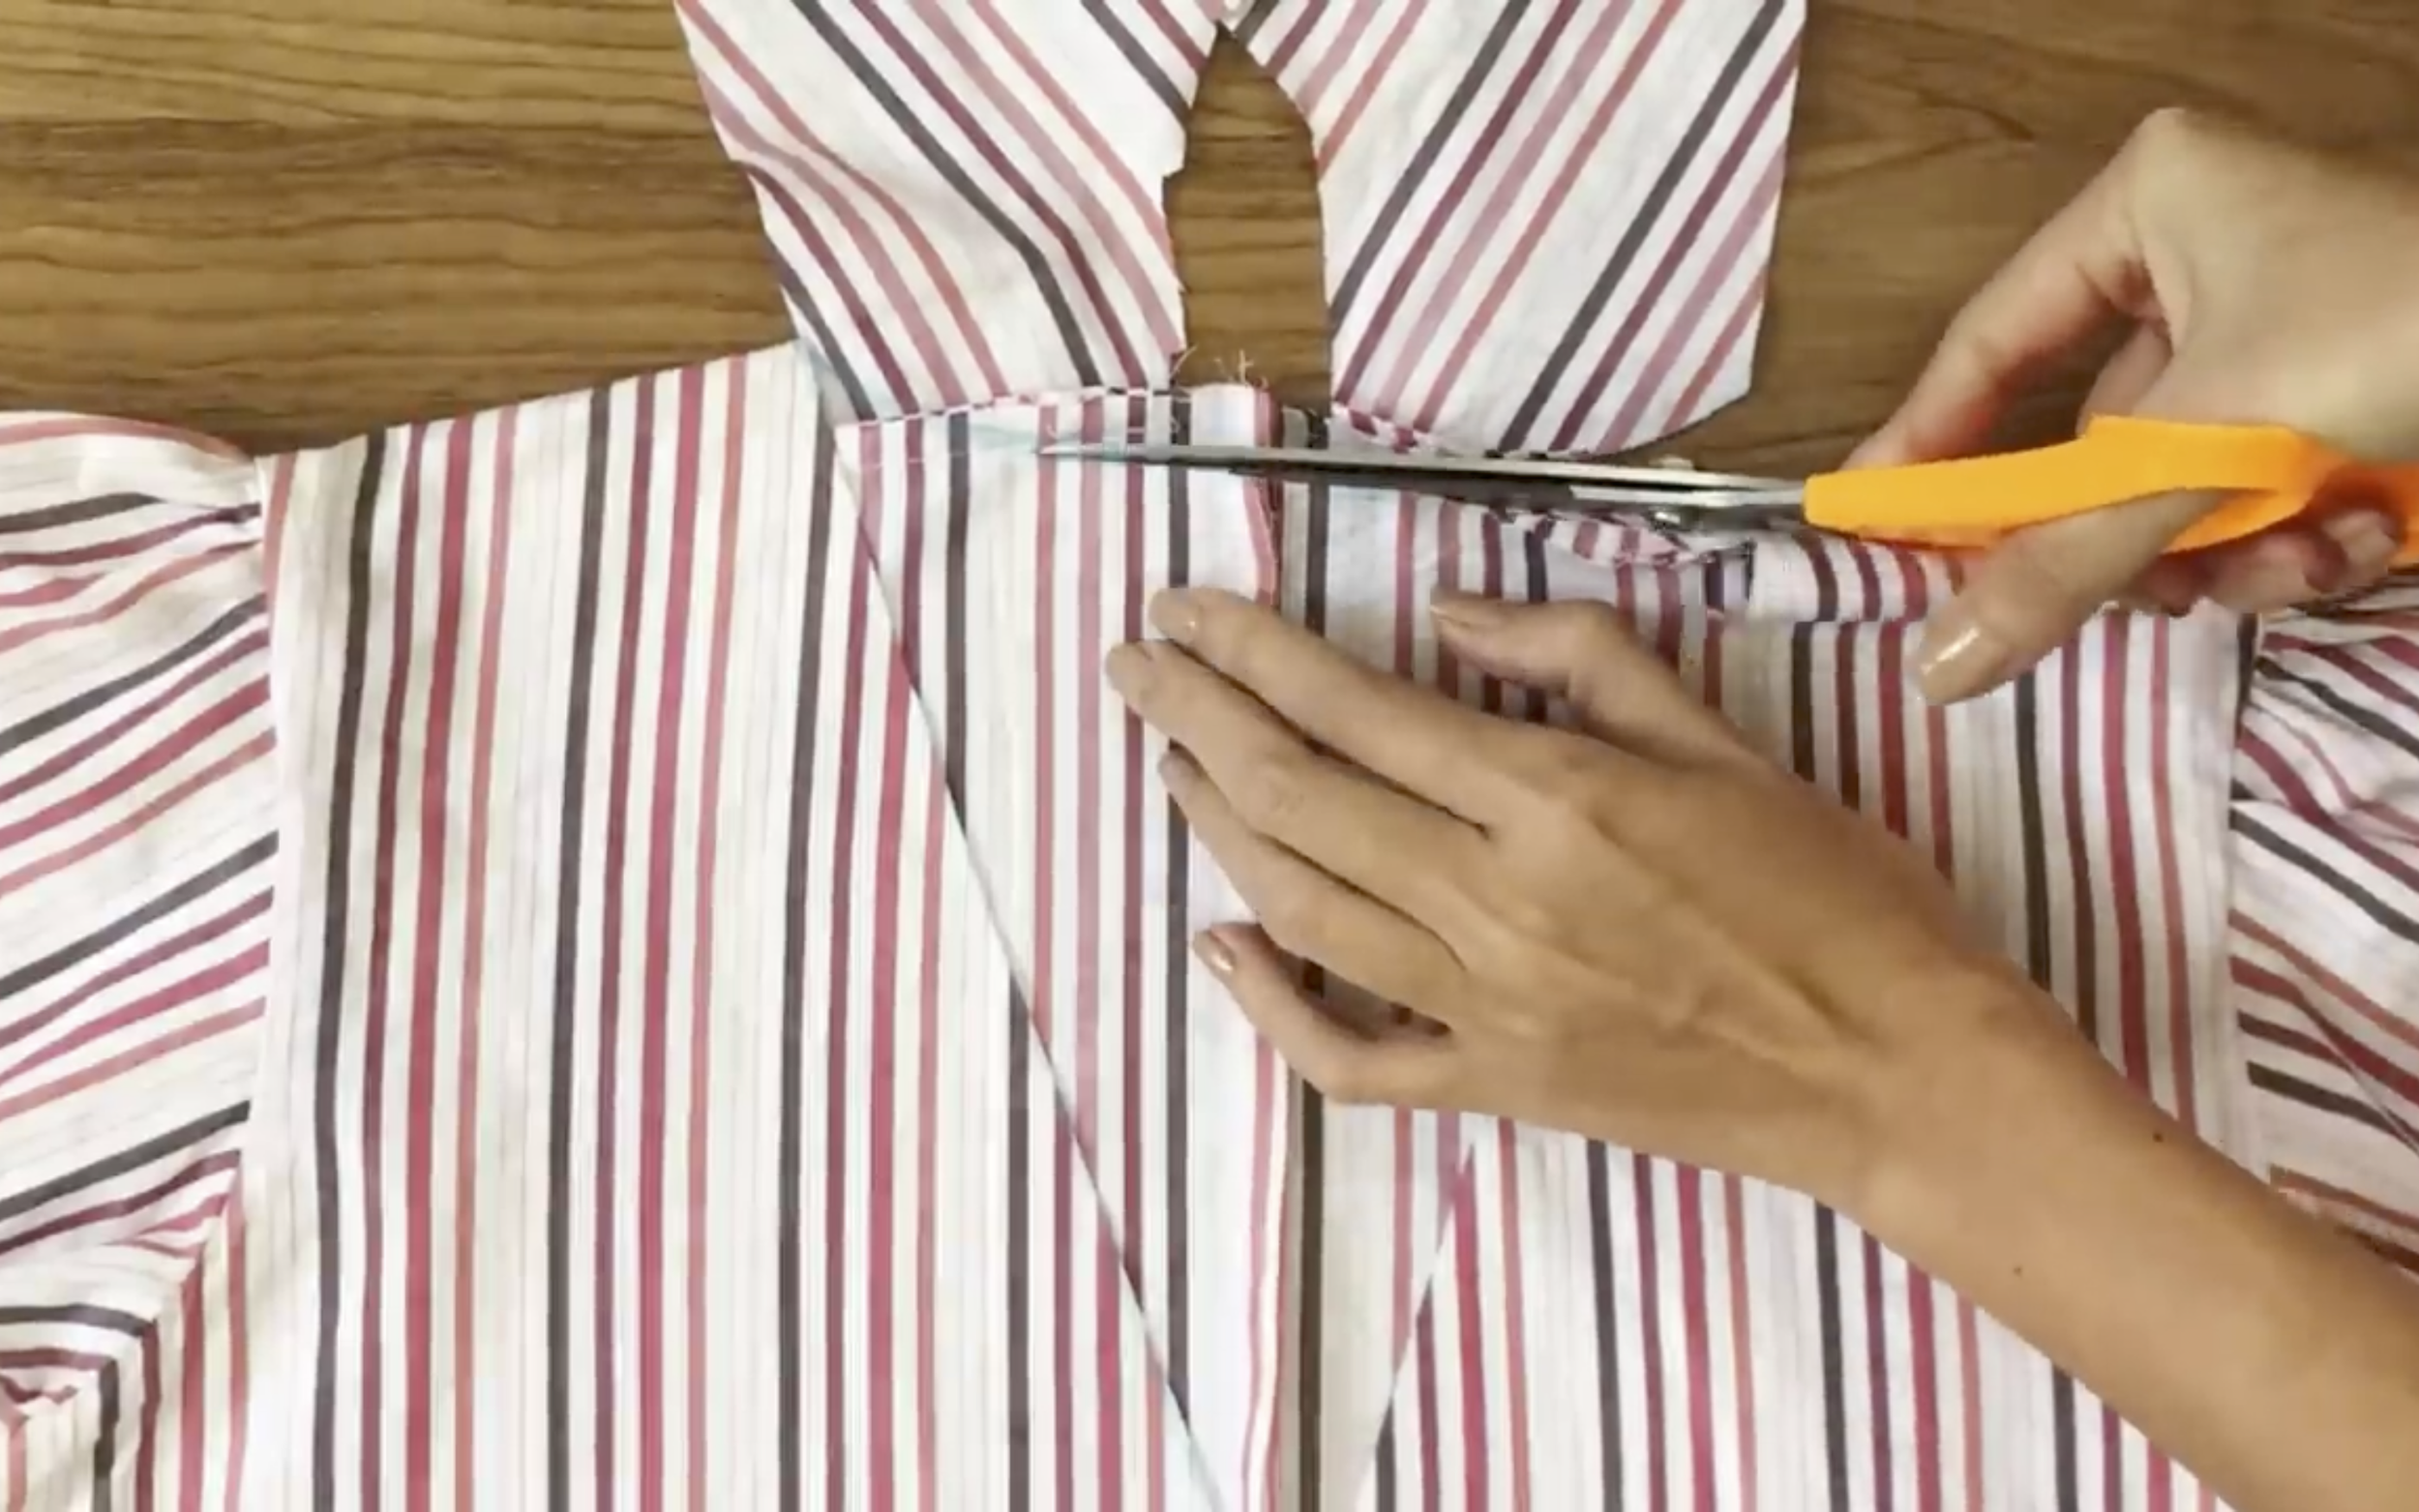
And cut by the drawing line.
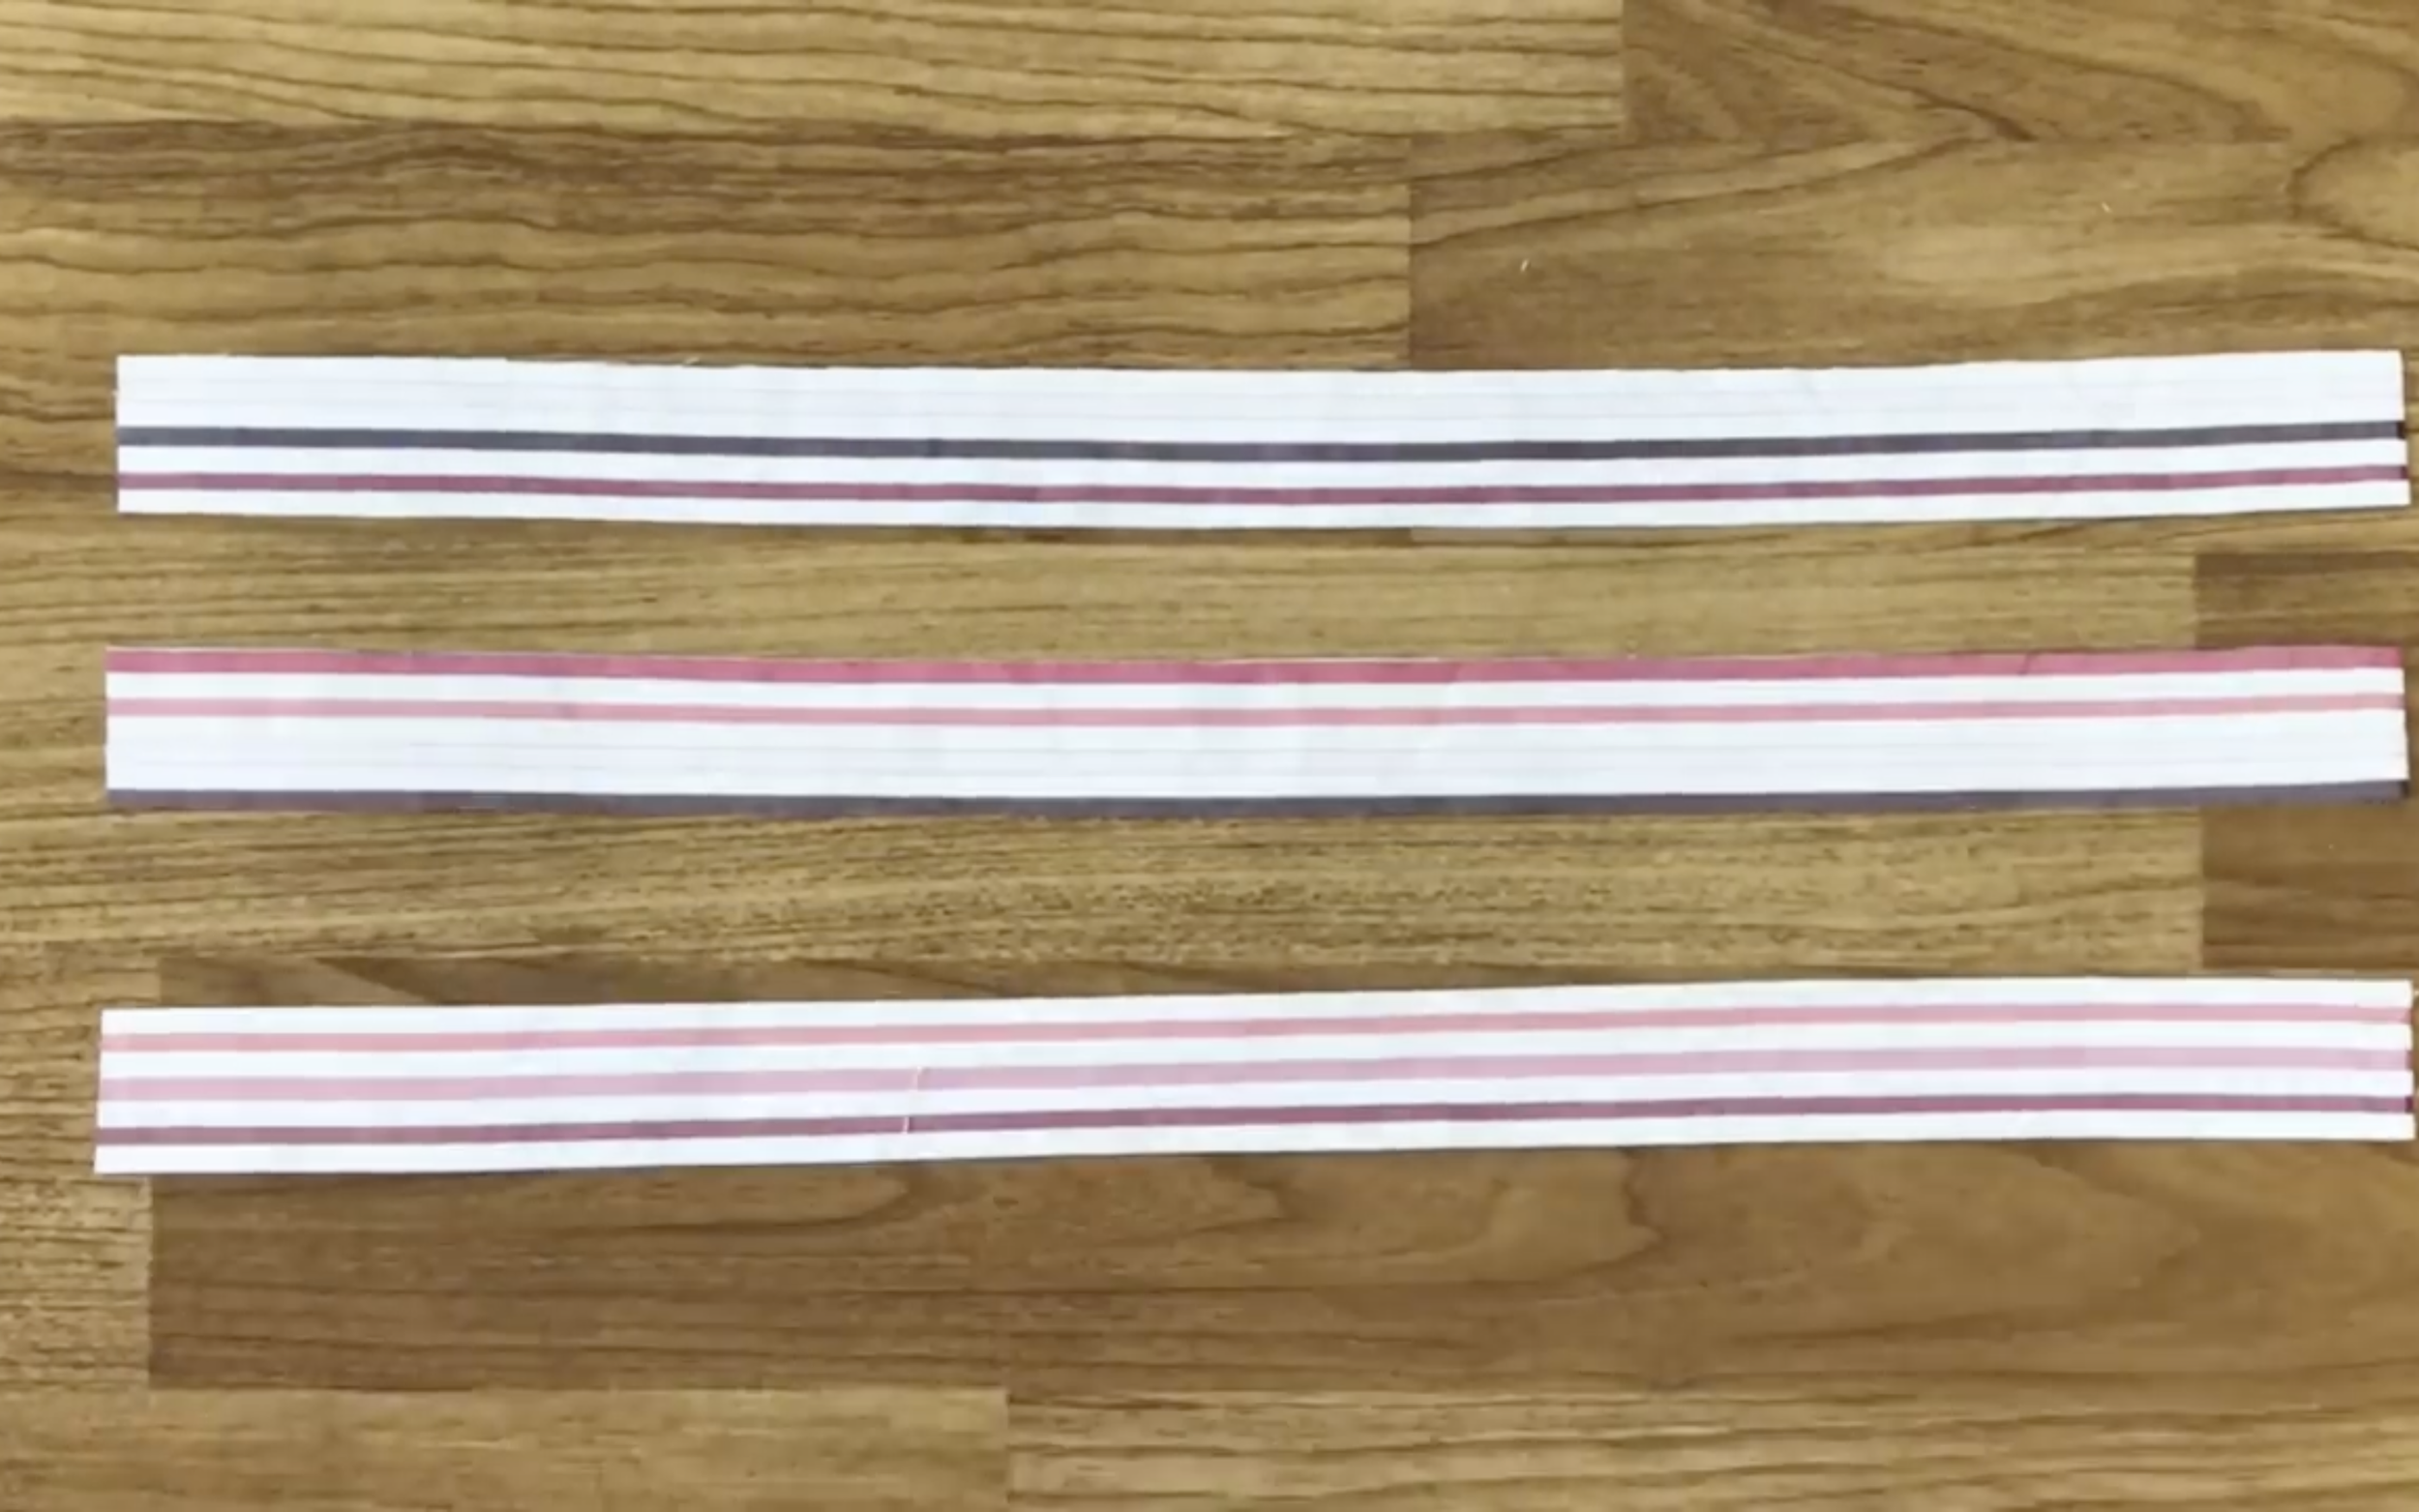
Use a long fabric with 3 cm width to hem the neck.
Then, sew all the fabric pieces together to create one long piece.
Connect the long fabric to the neck and make a first seam.
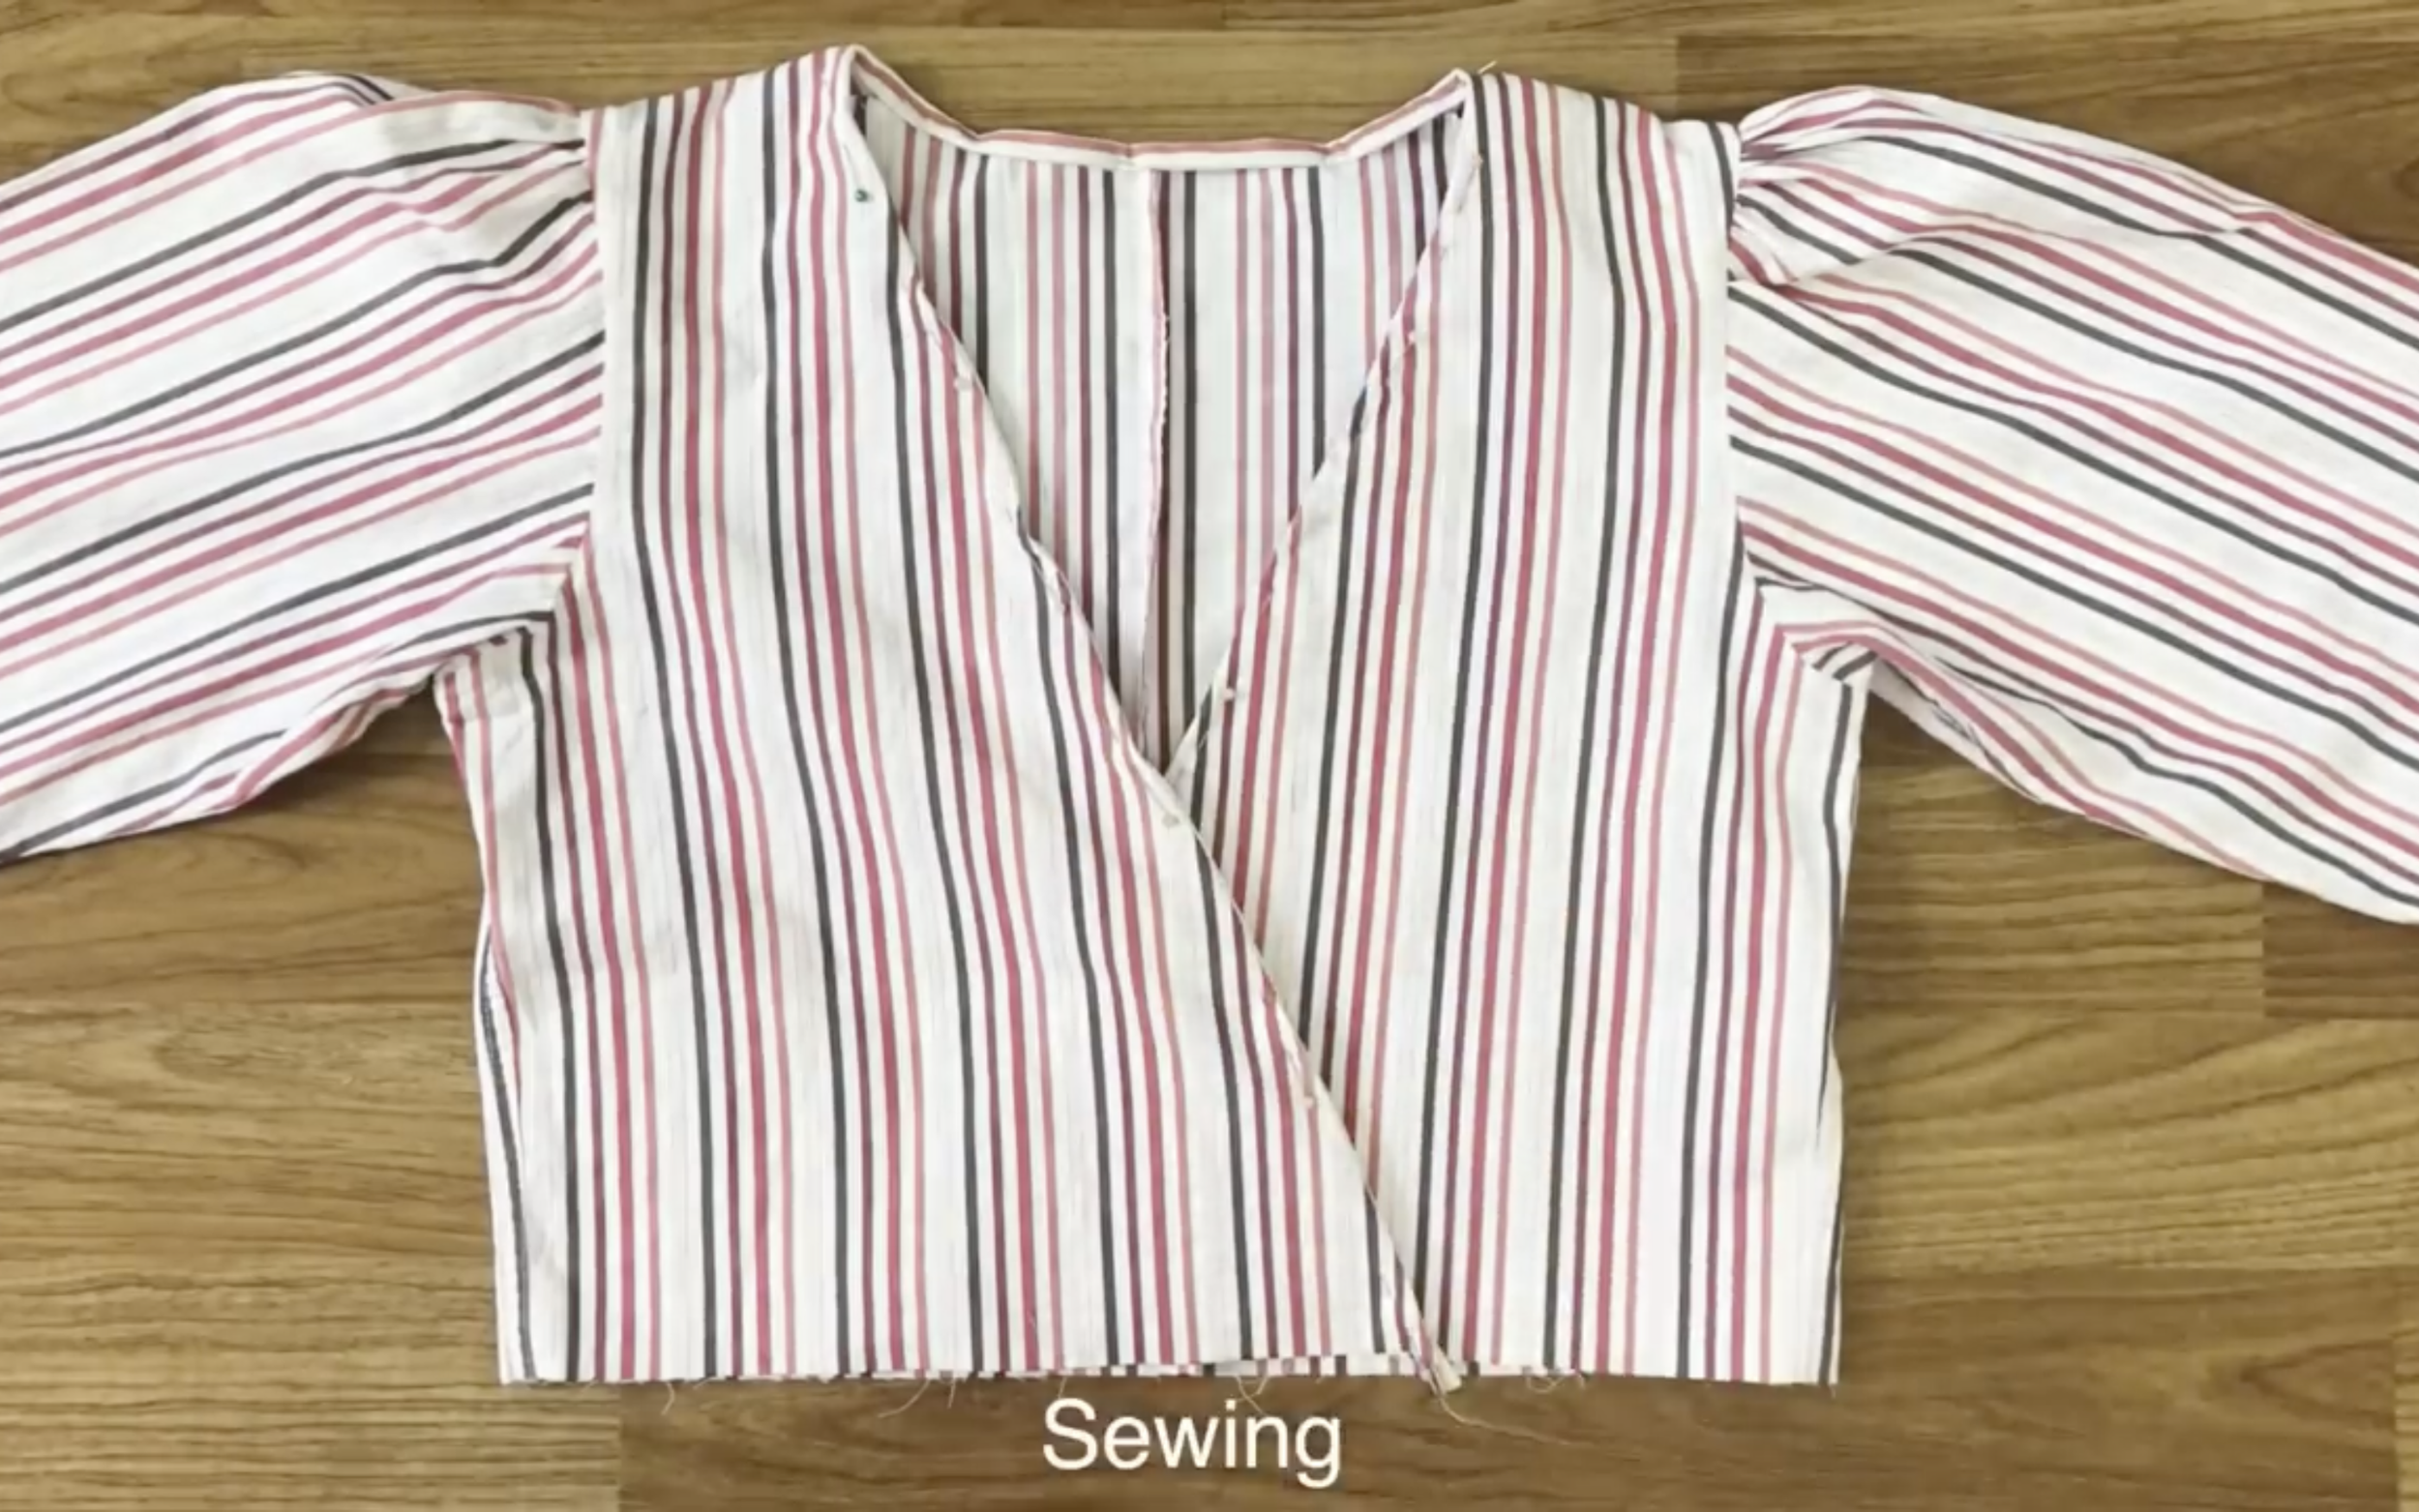
Then fold it twice to the inside and make a second seam.
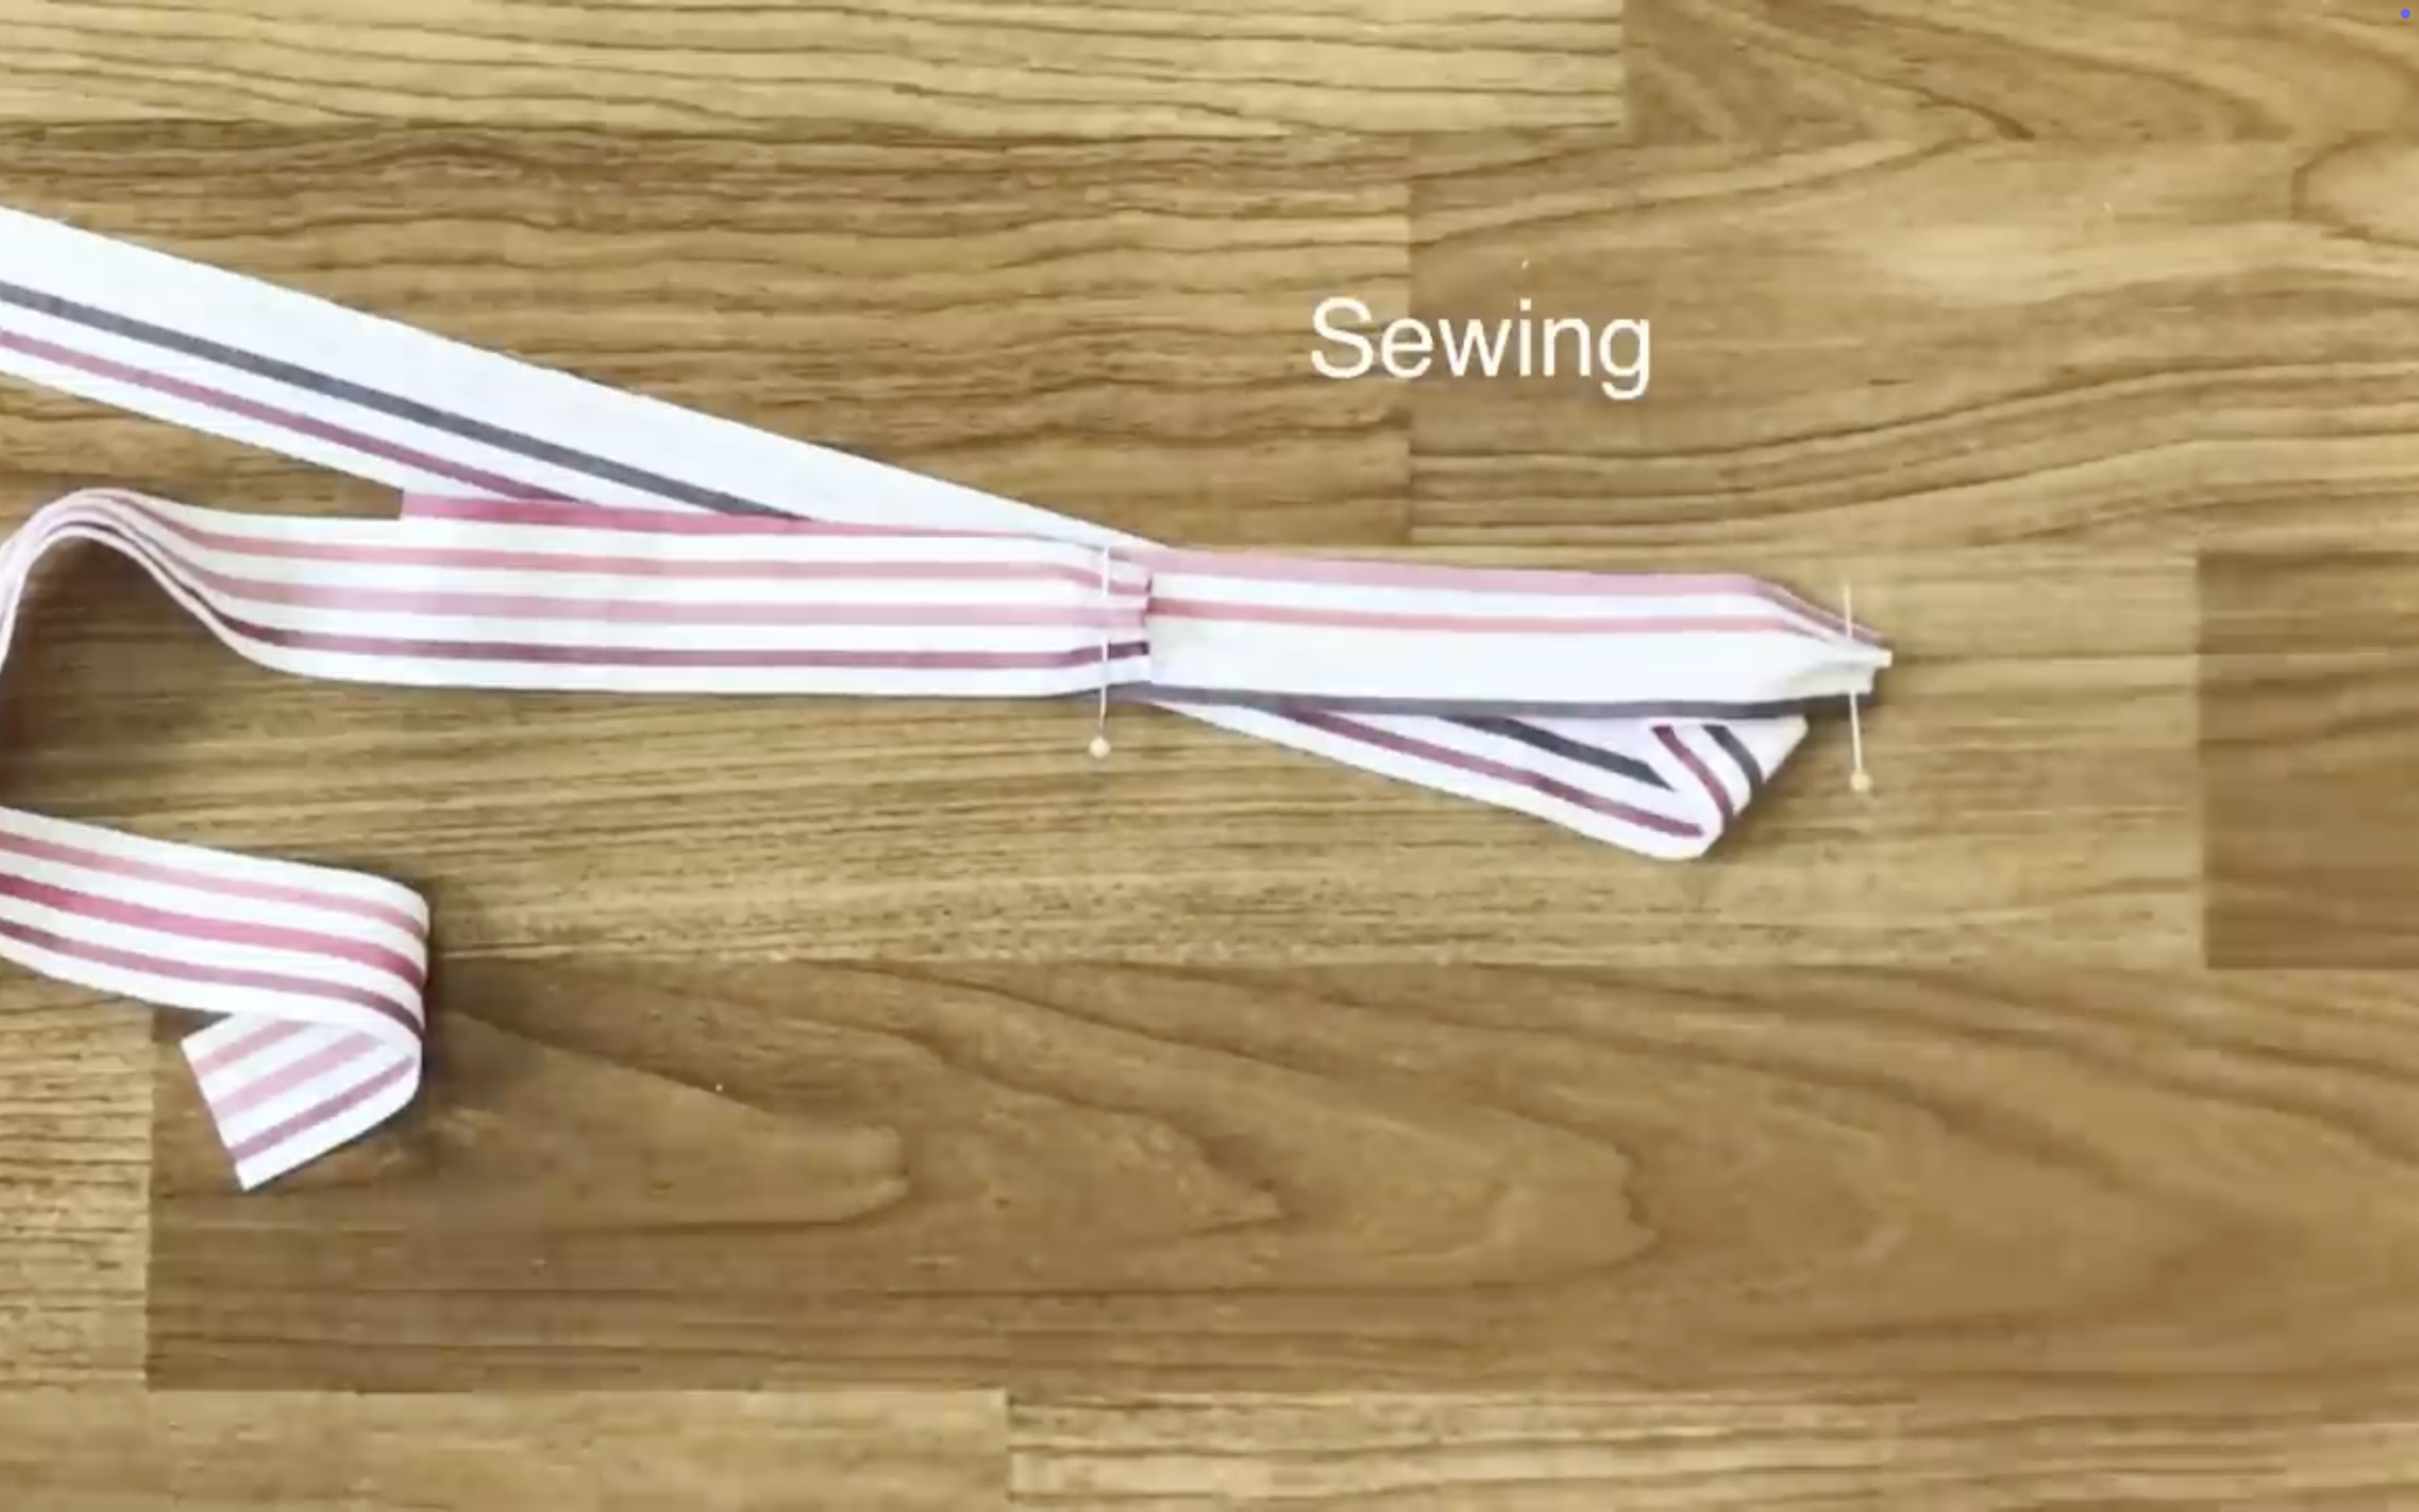
Now making the ties at the end of the top by using the leftover fabric.
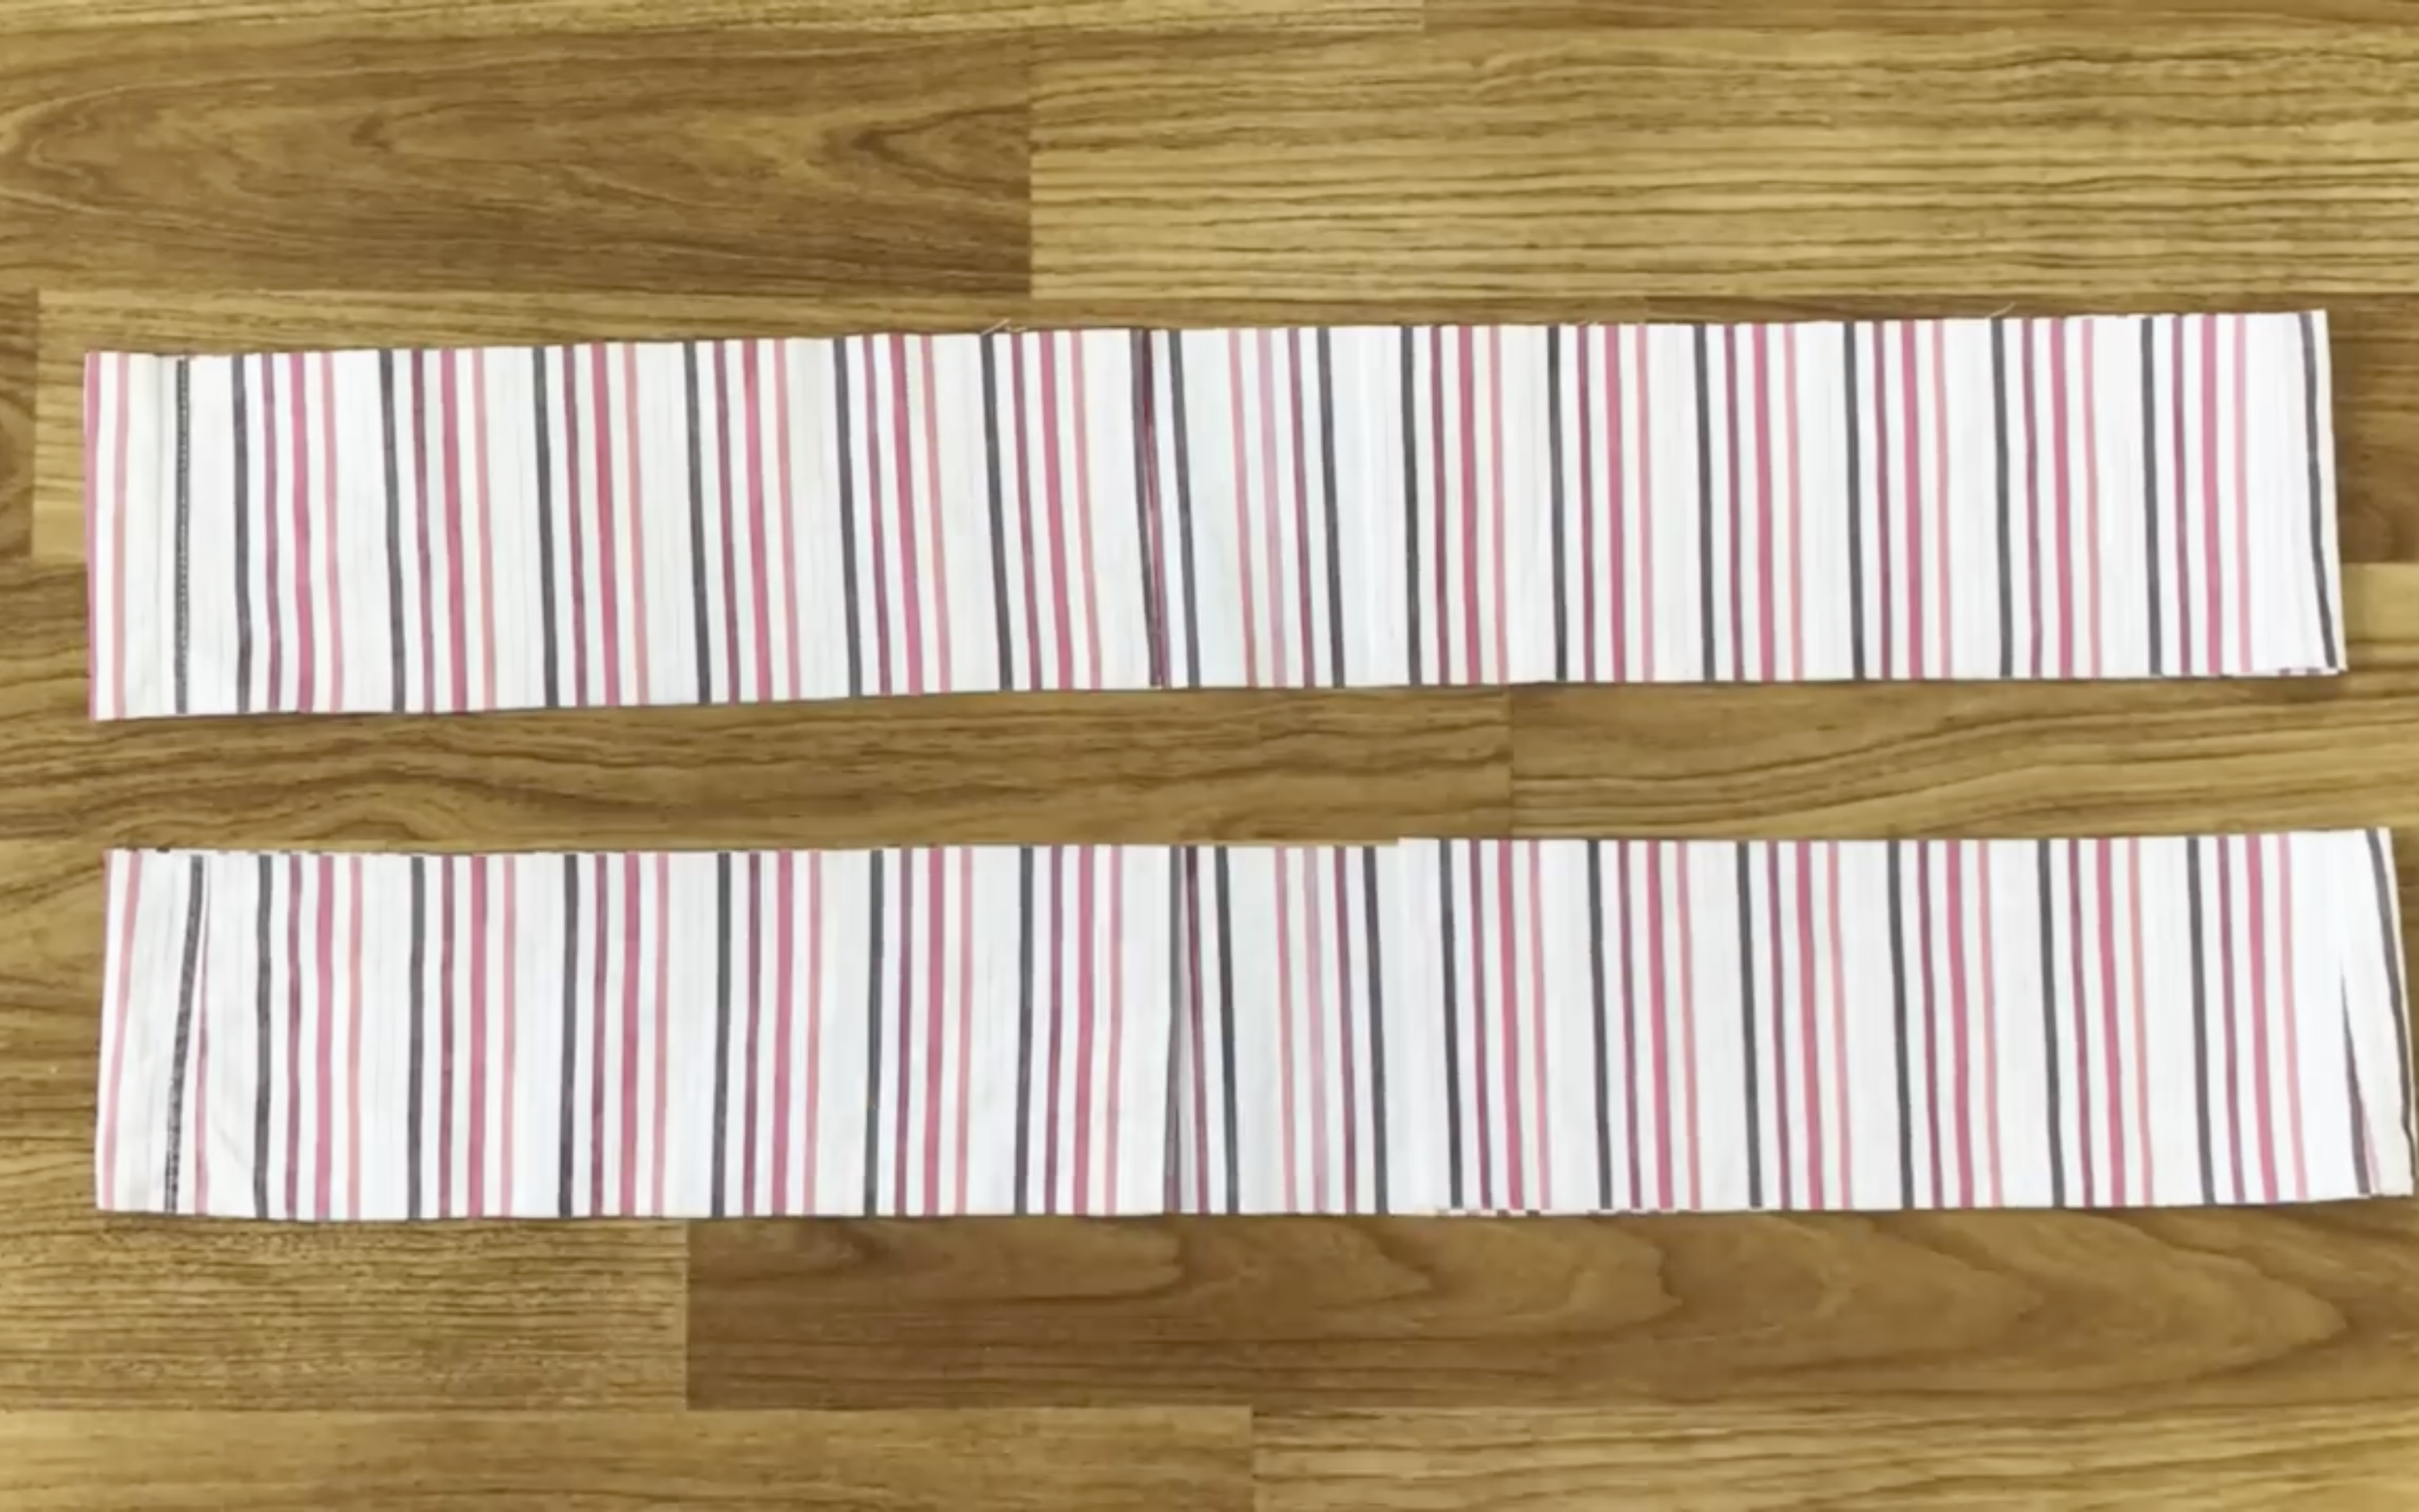
Cut the rectangles with 10 cm width.
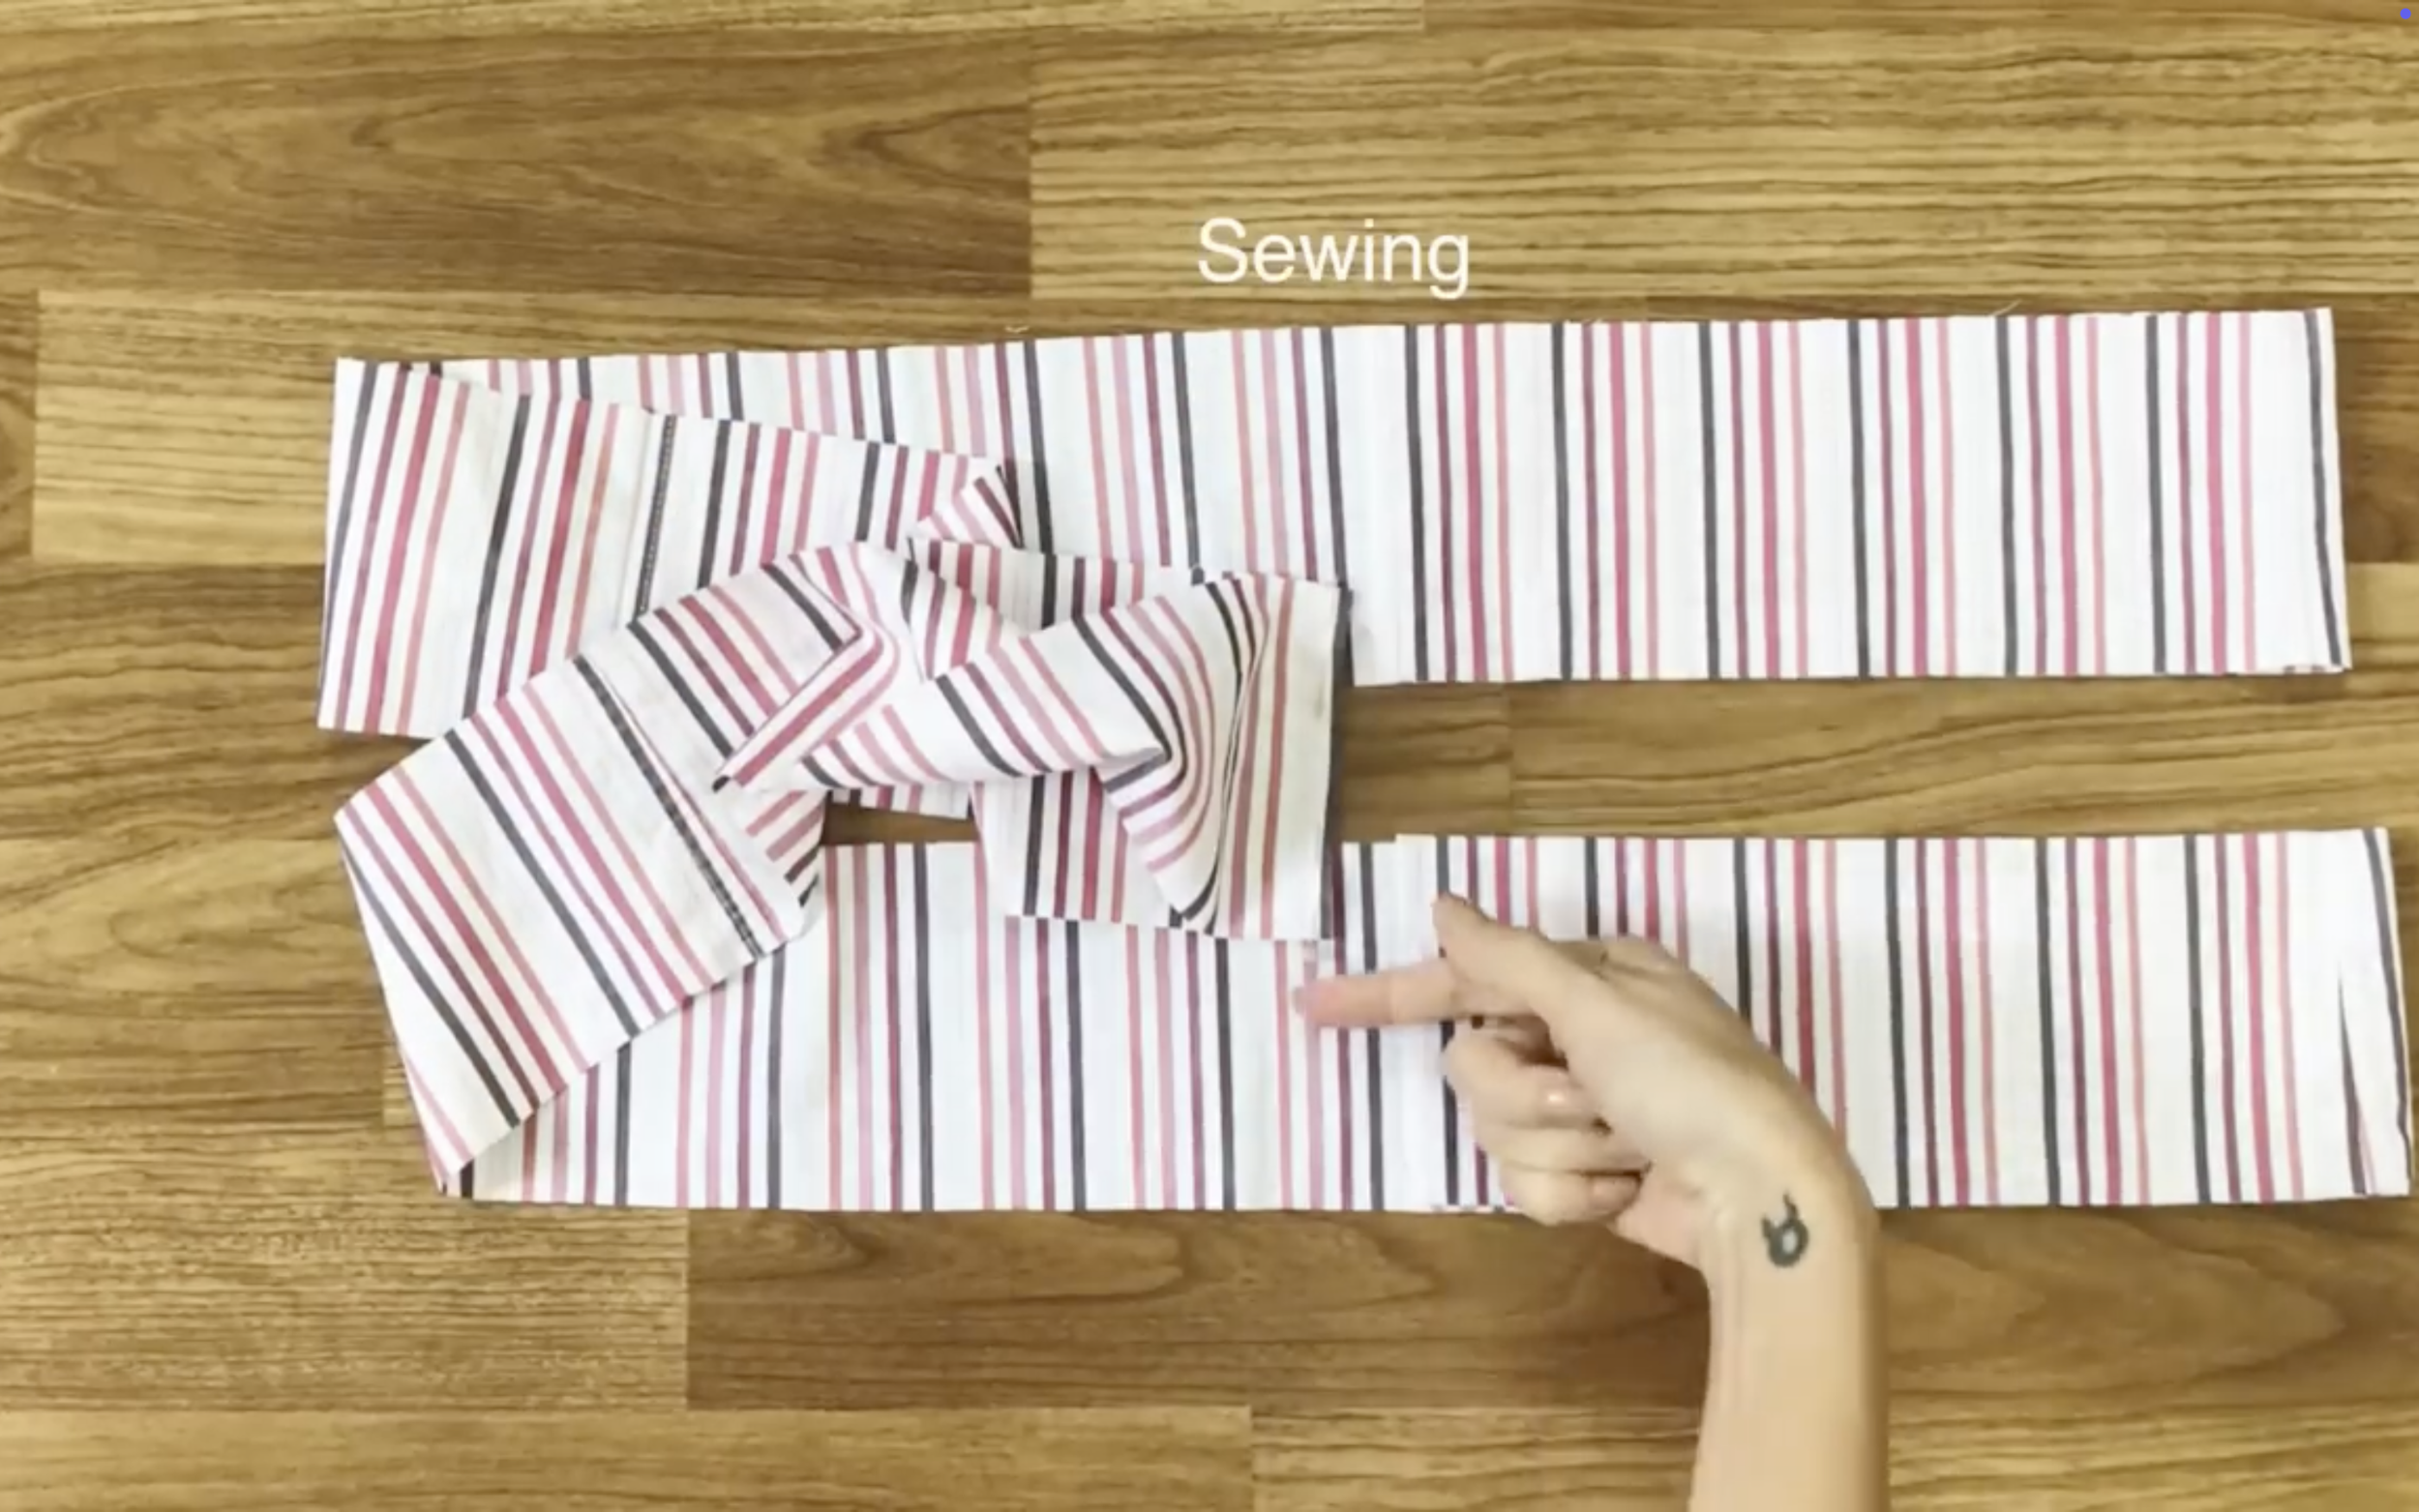
Then connect them together to have a long strap.
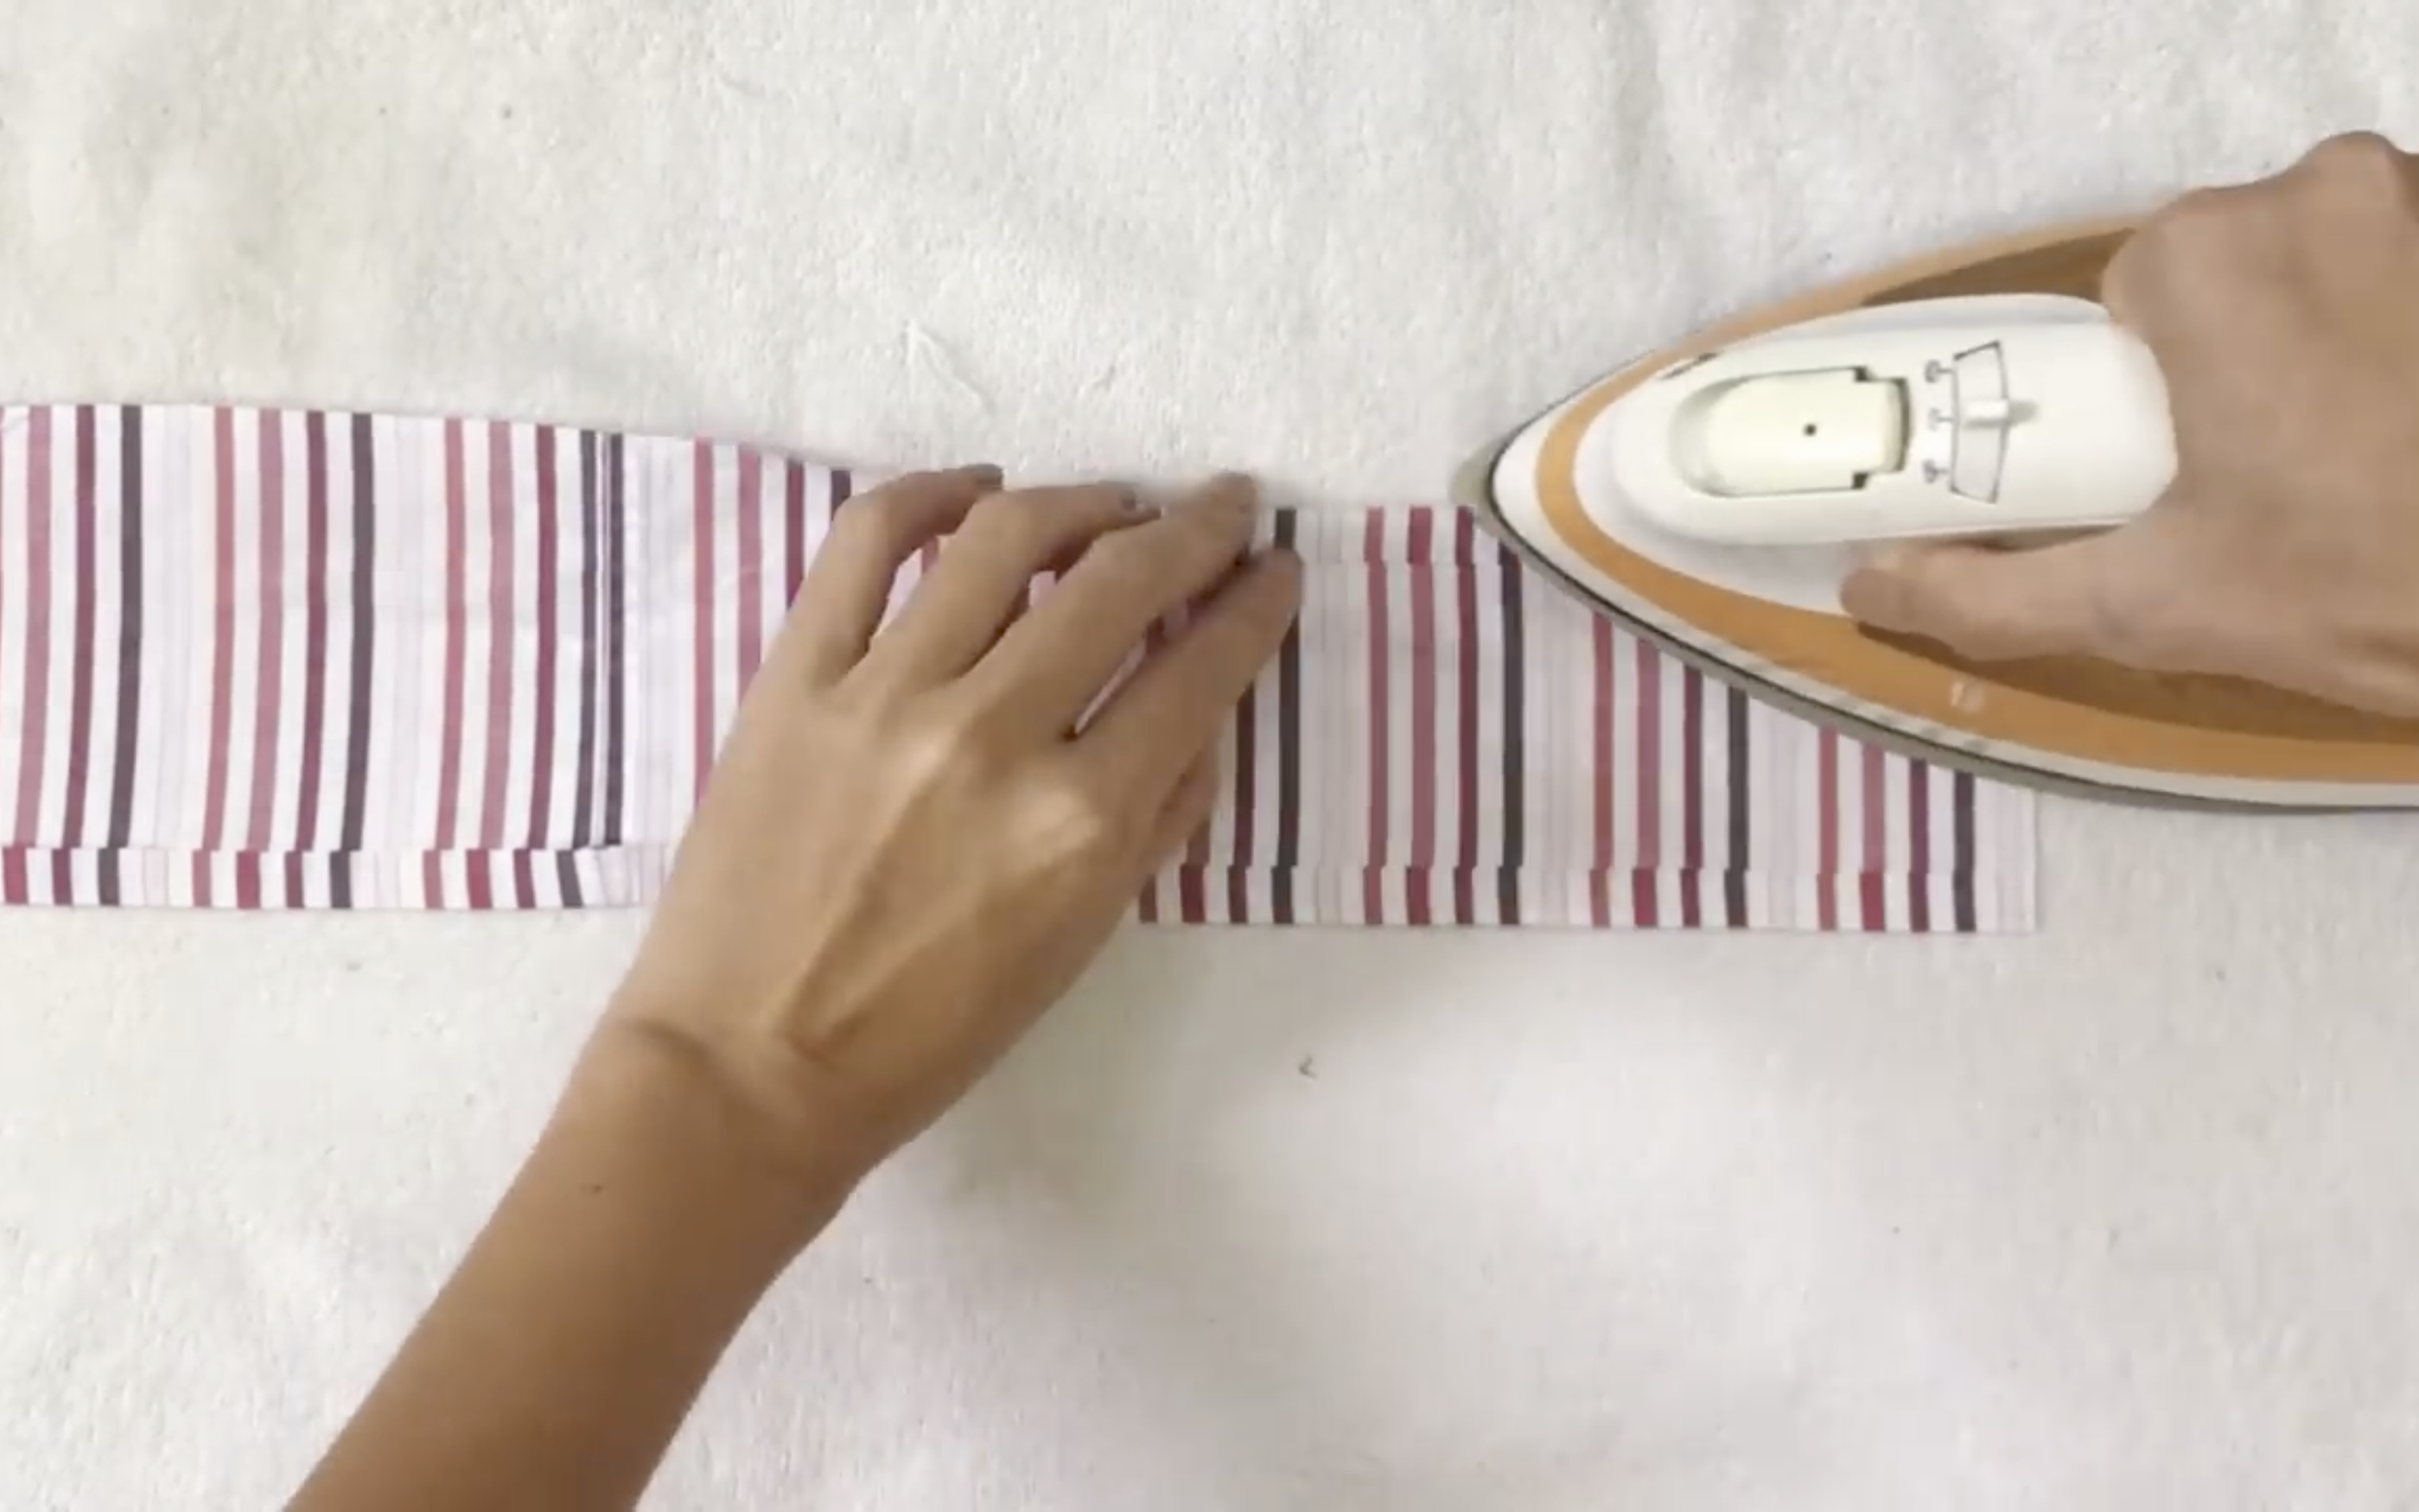
Use the iron to create the folding.
Fold two edges of the strap inside around 1 cm first,
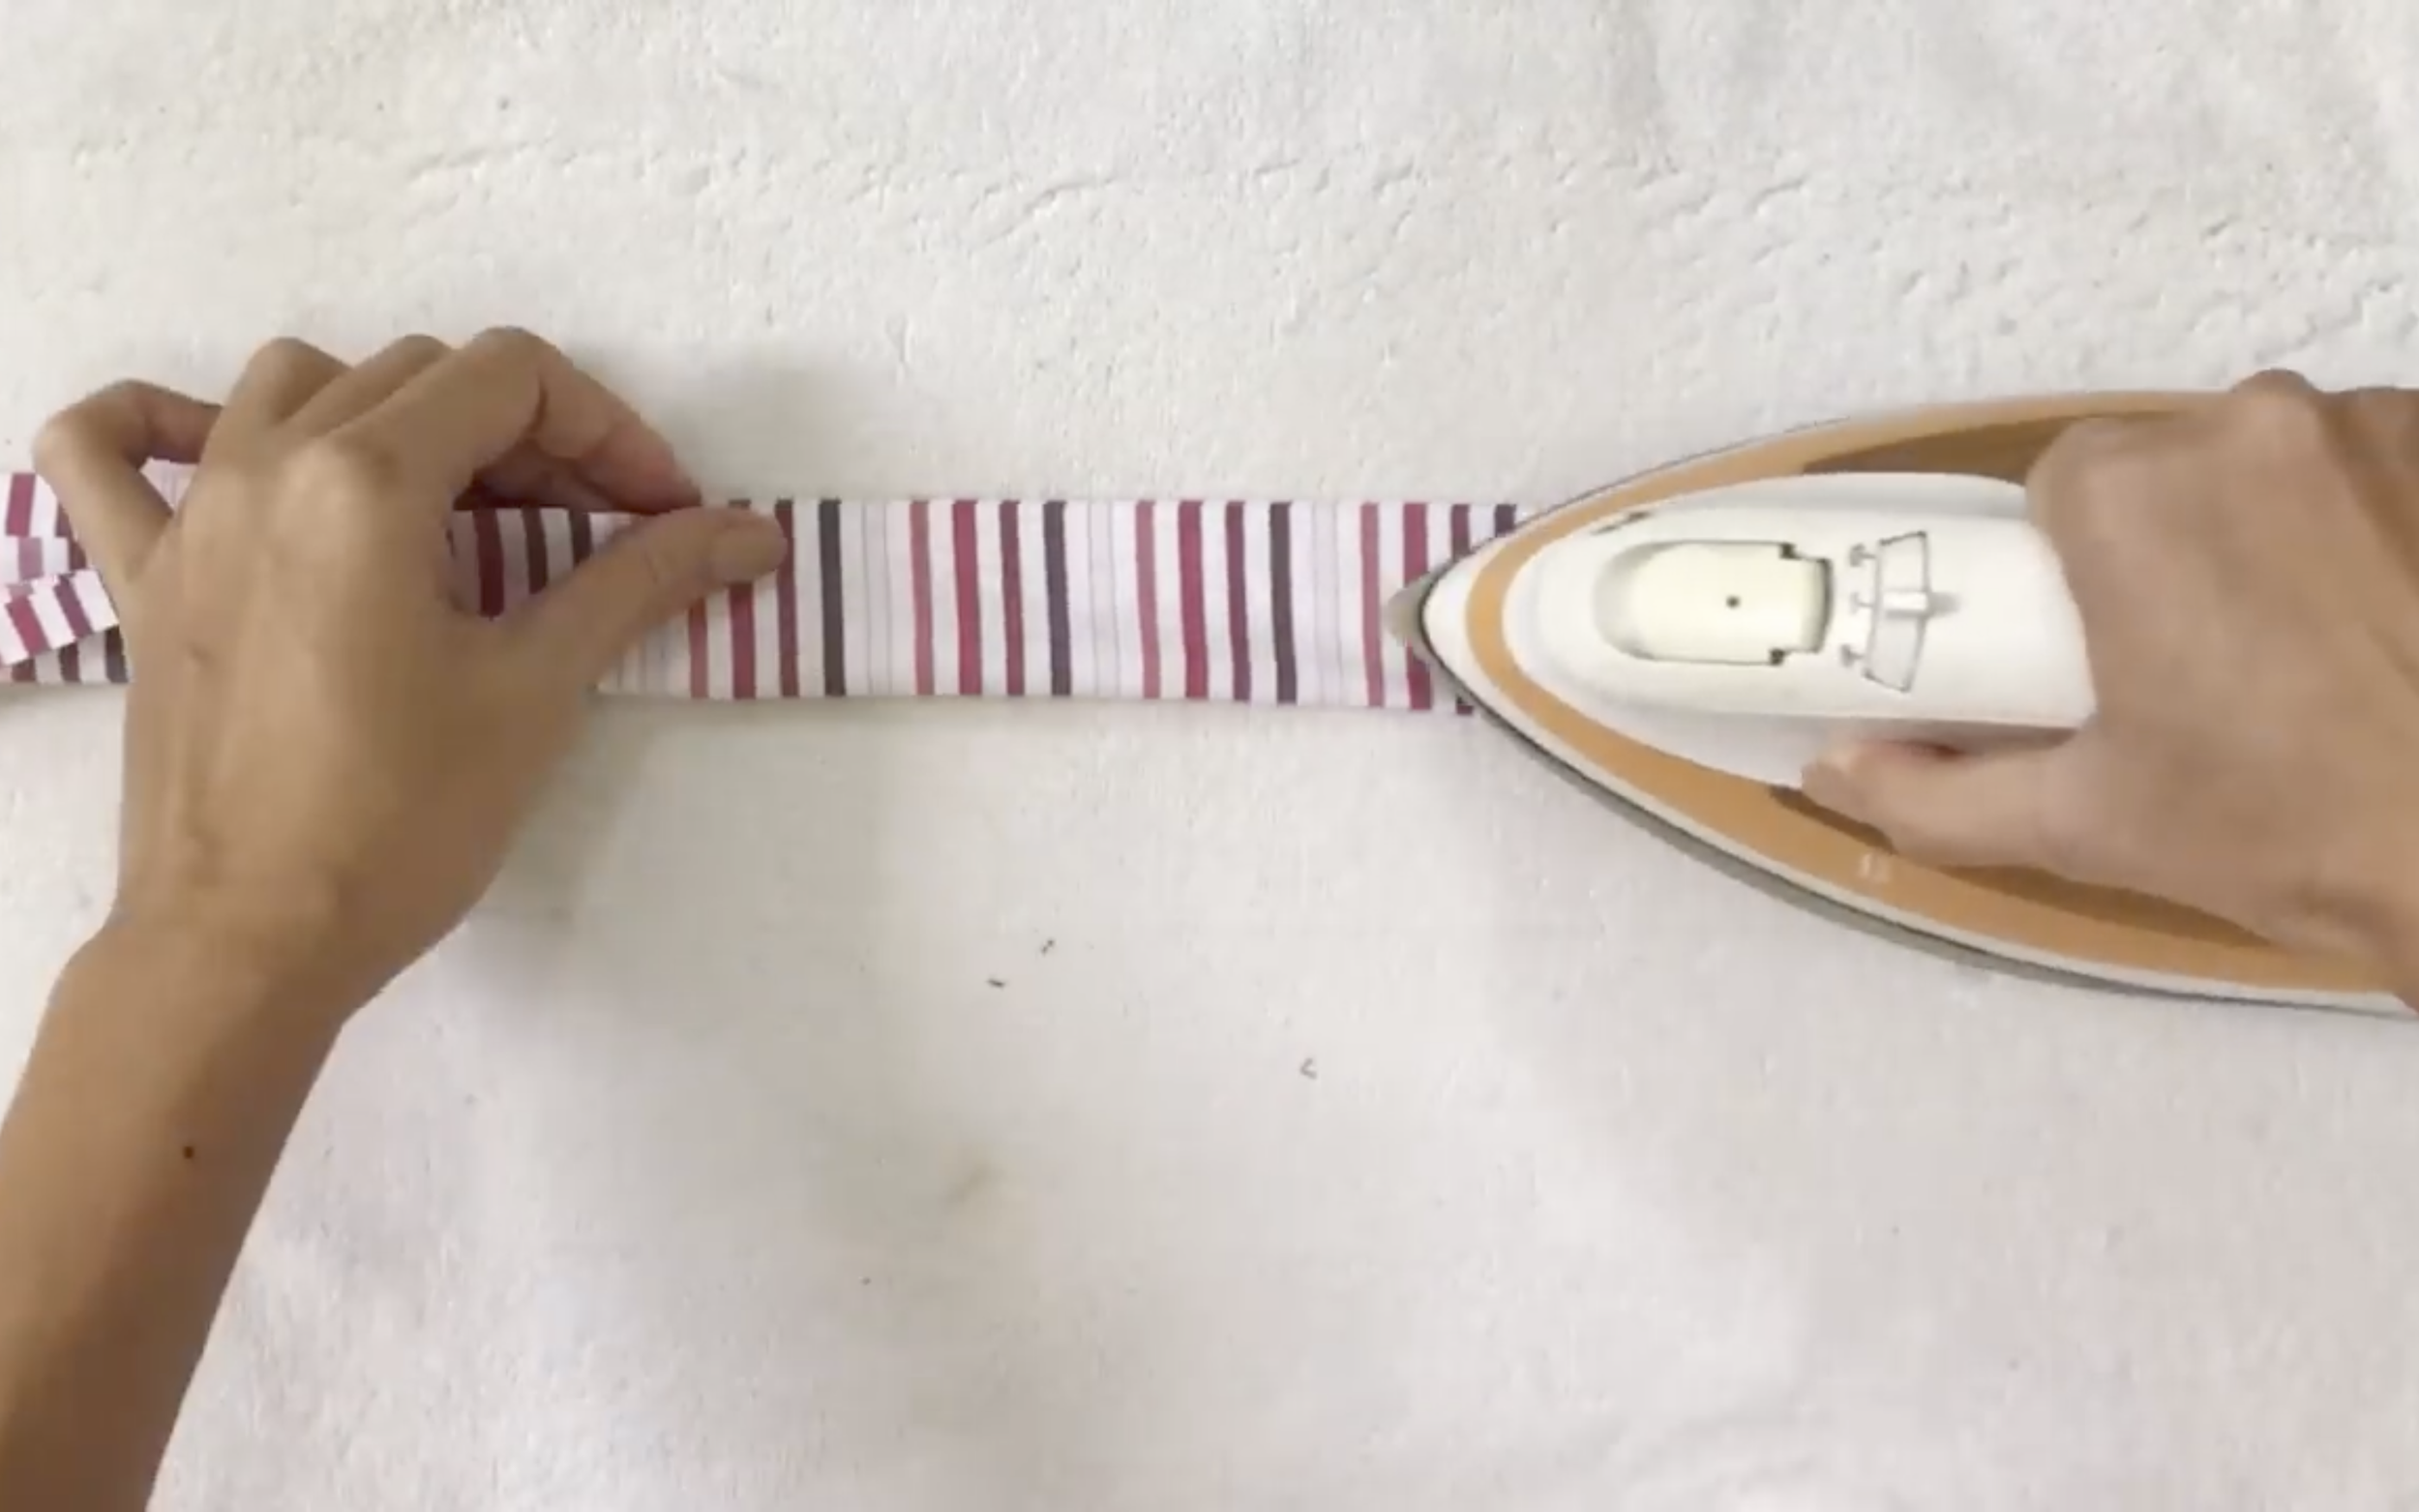
Then fold it in half after.
When connecting the strap to the end of the top, make sure to keep the extra at two sides so you can wrap it around your belly when wearing.
If you have a big breast, you can make a frill at the end before doing this part to have space for your breast when wearing it.
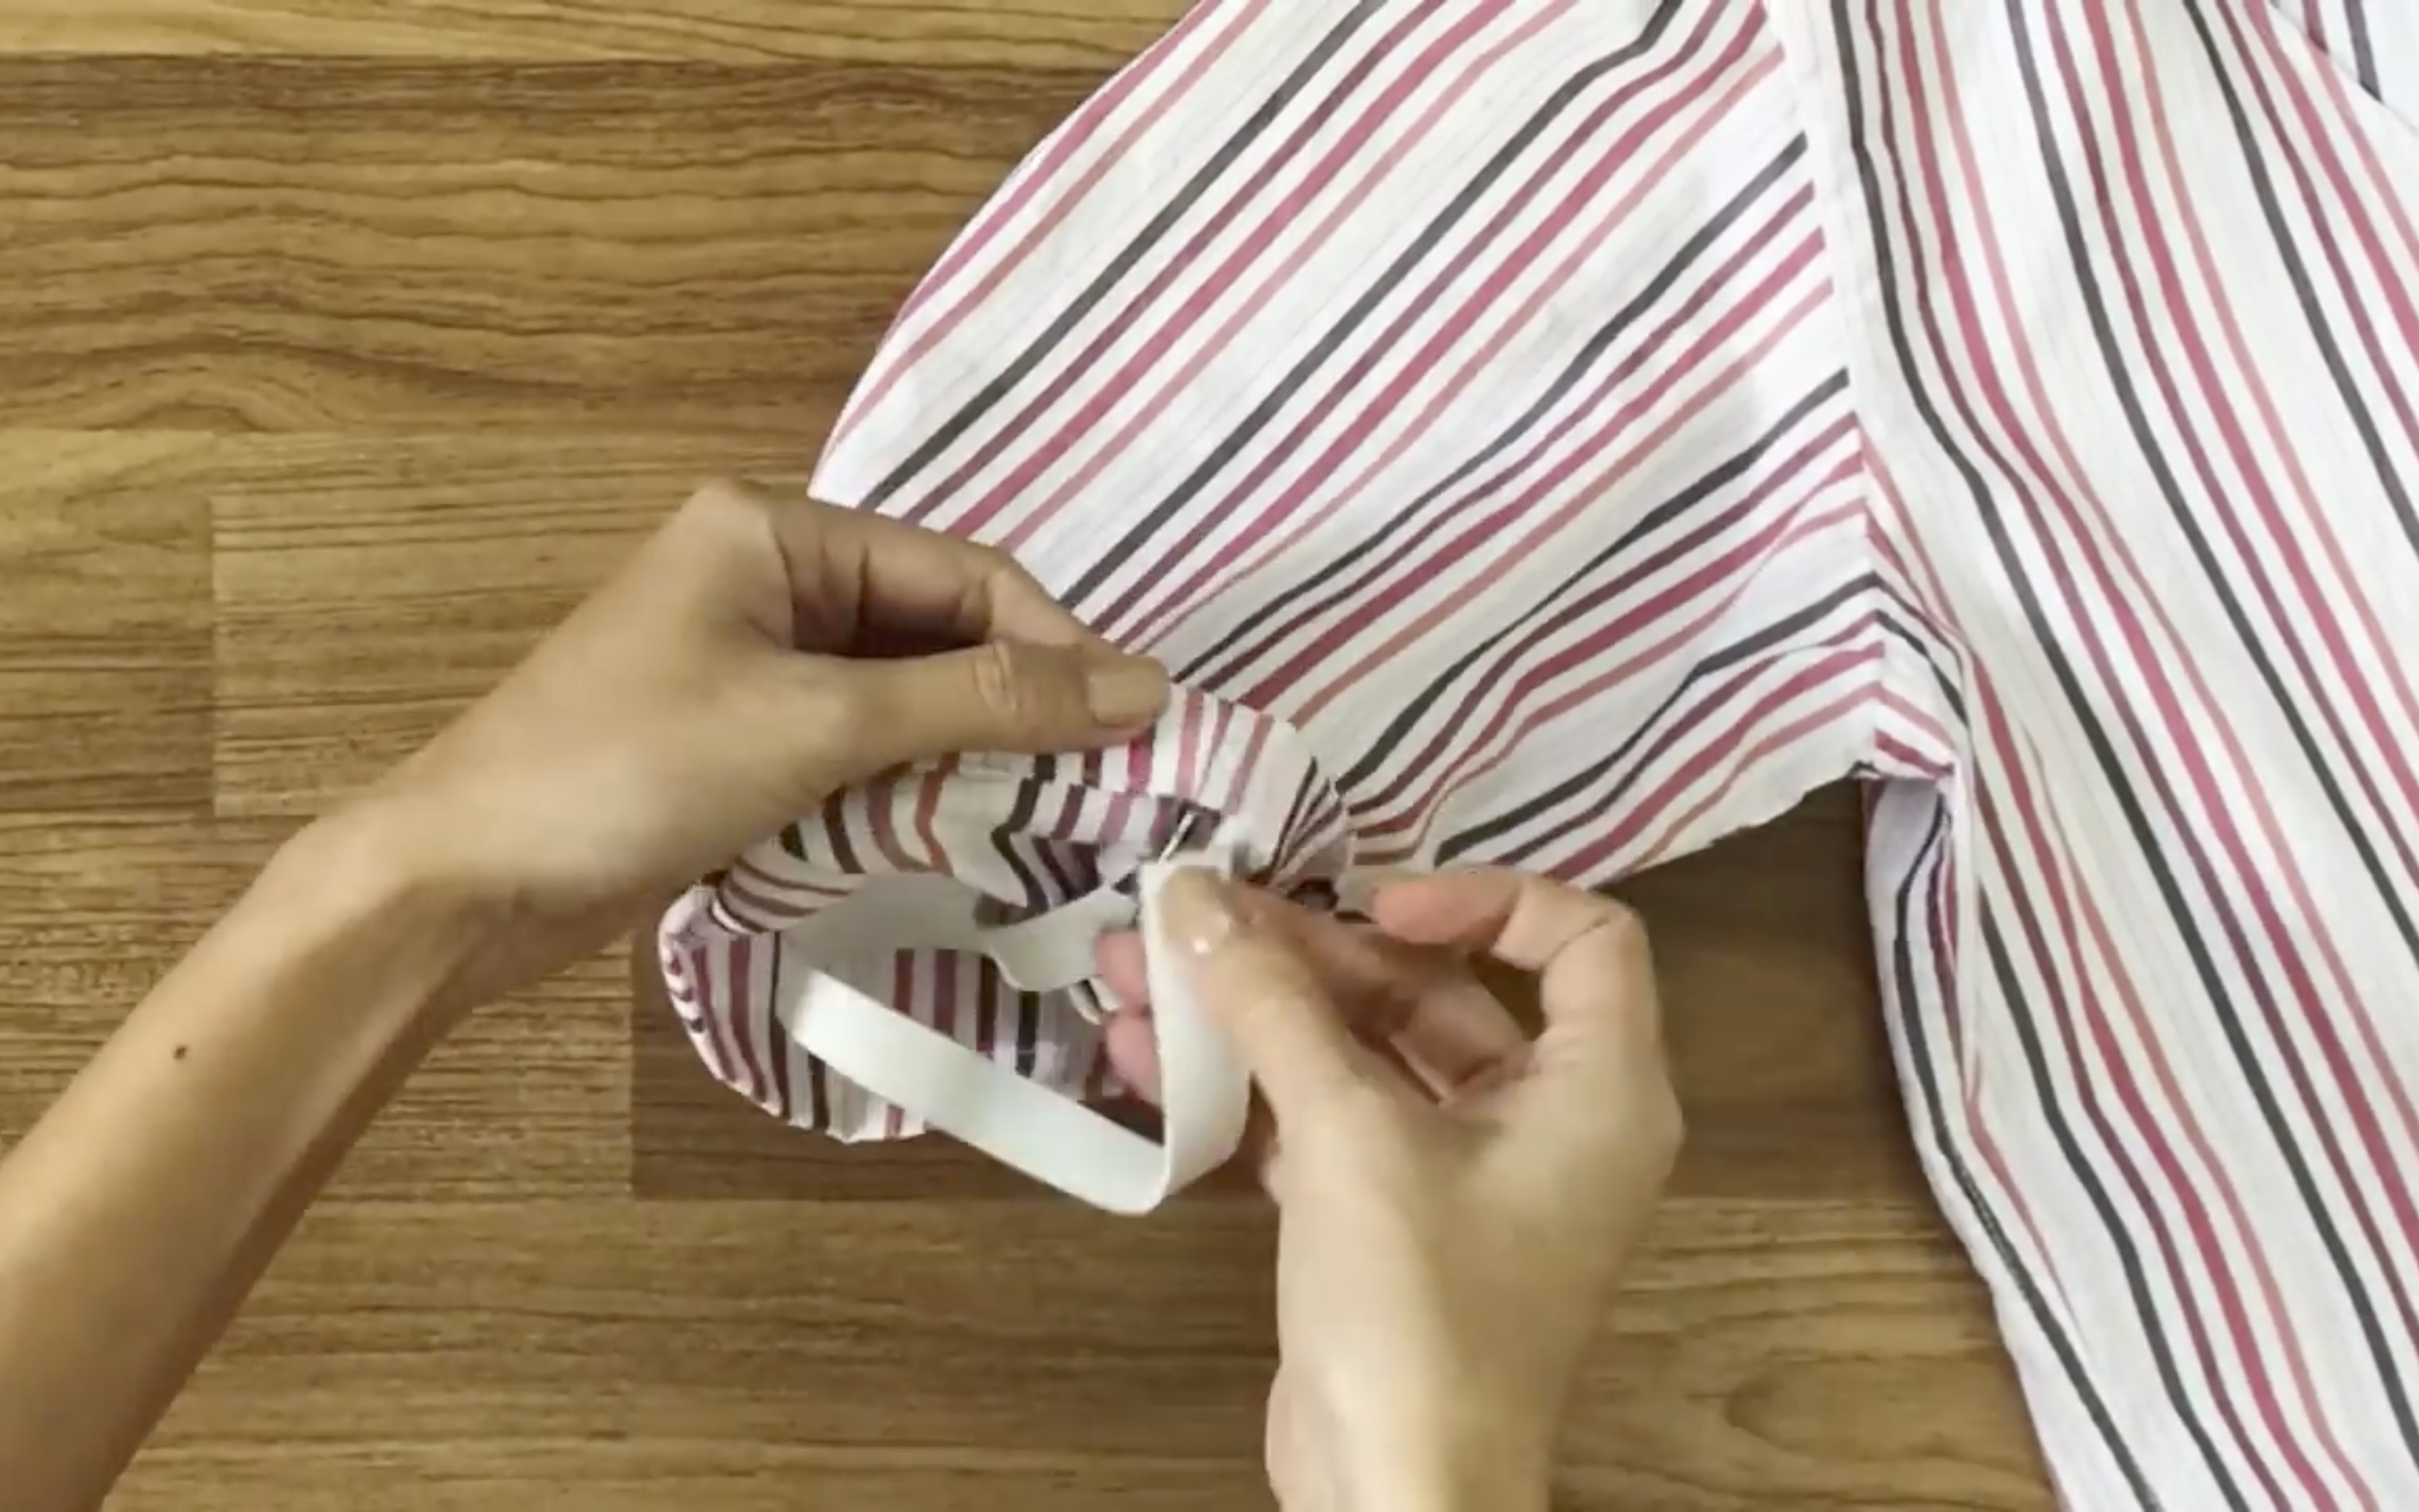
To the hand, cut it shorter.
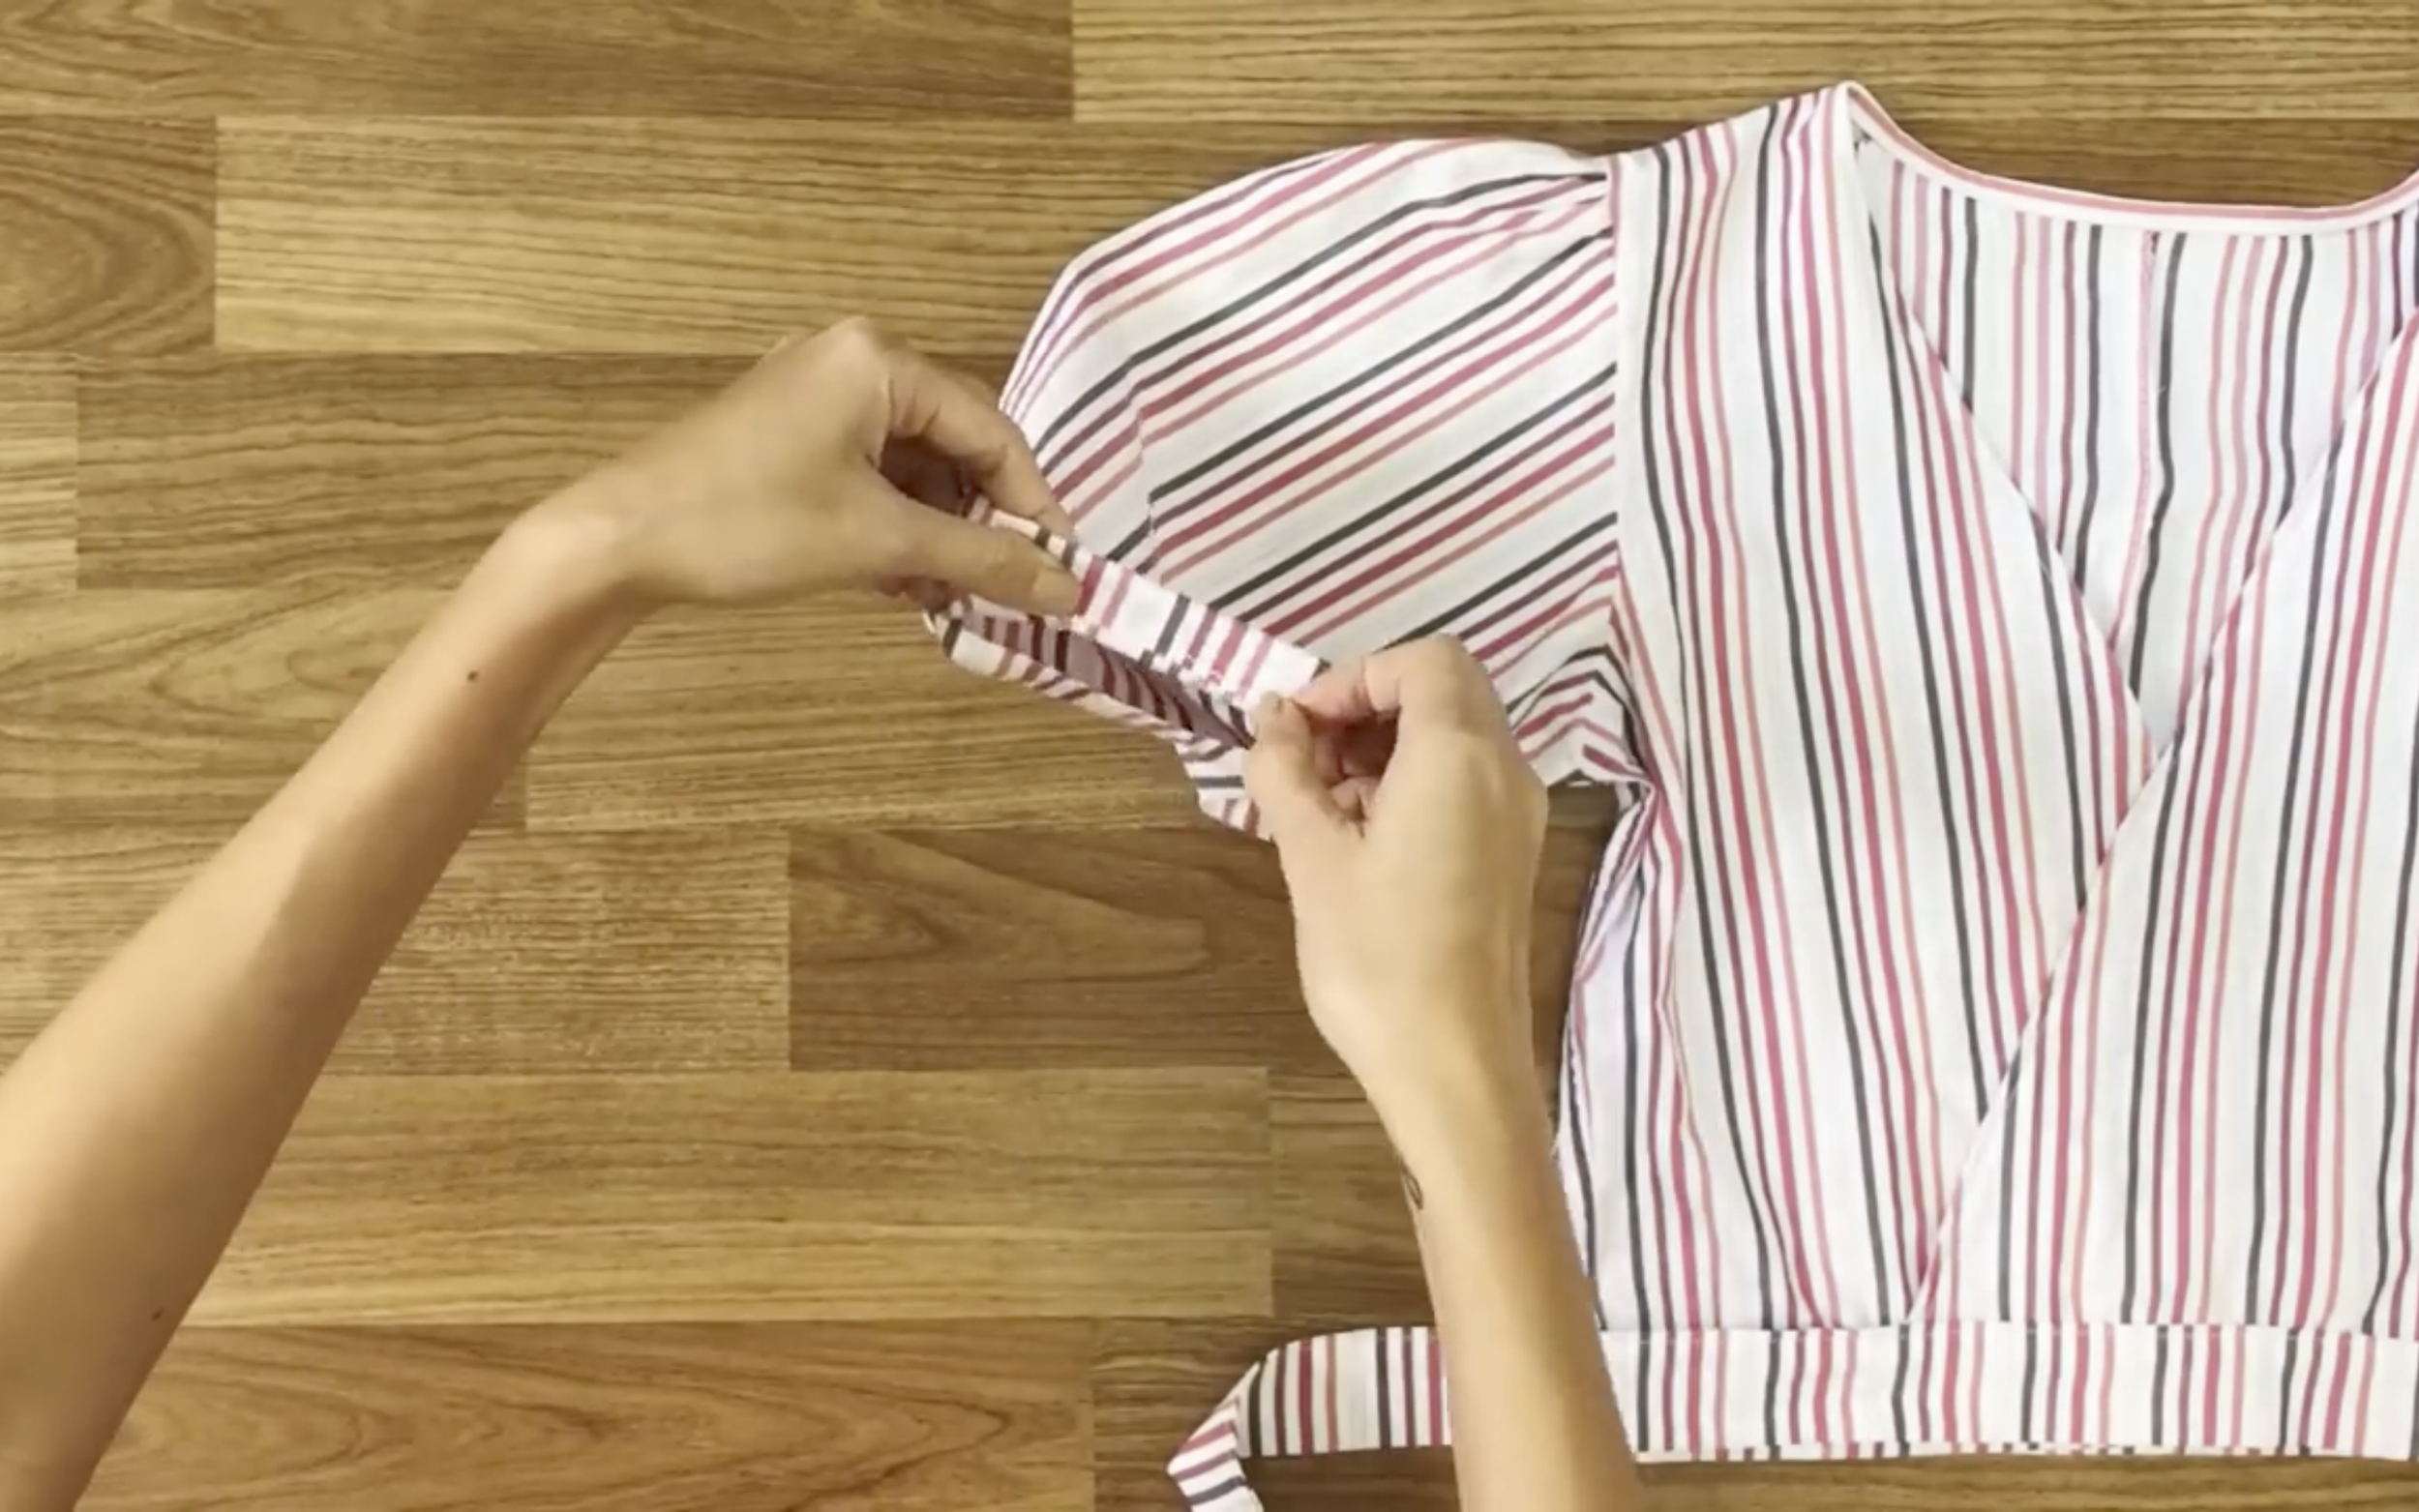
Then fold the end inside 3 cm.
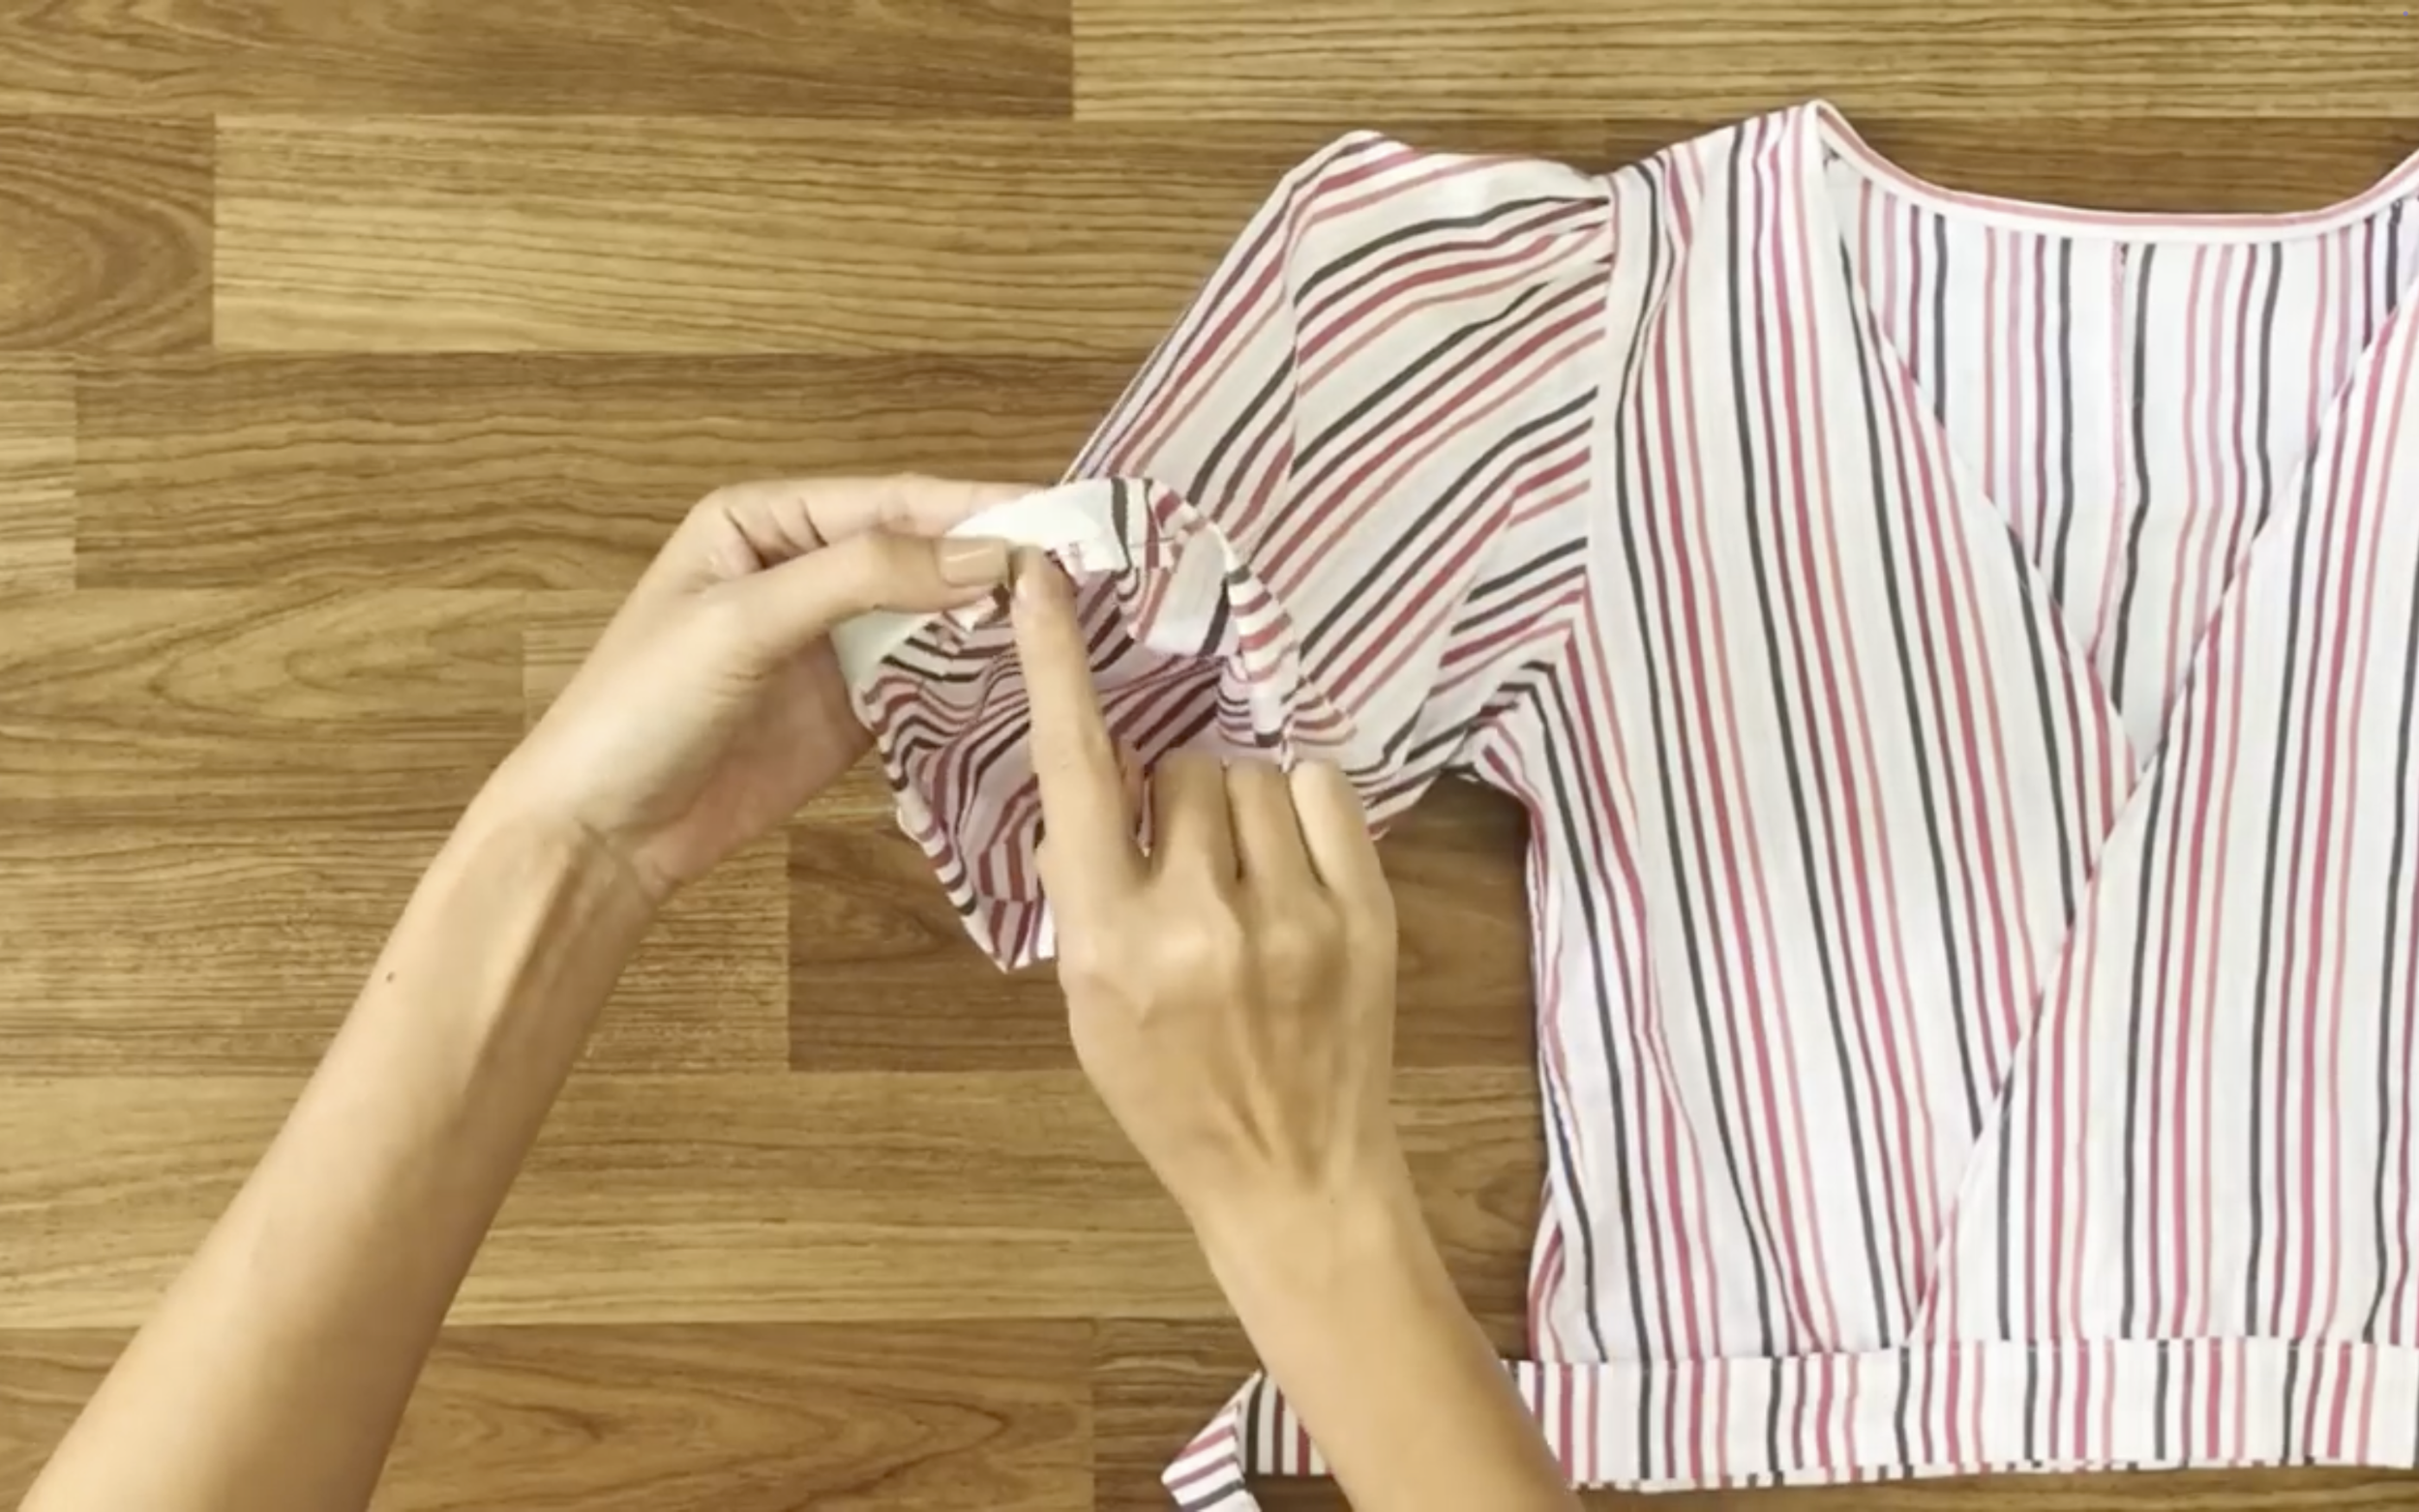
Check the width of your folding with the width of the elastic to make sure there is enough space to put the elastic inside later.
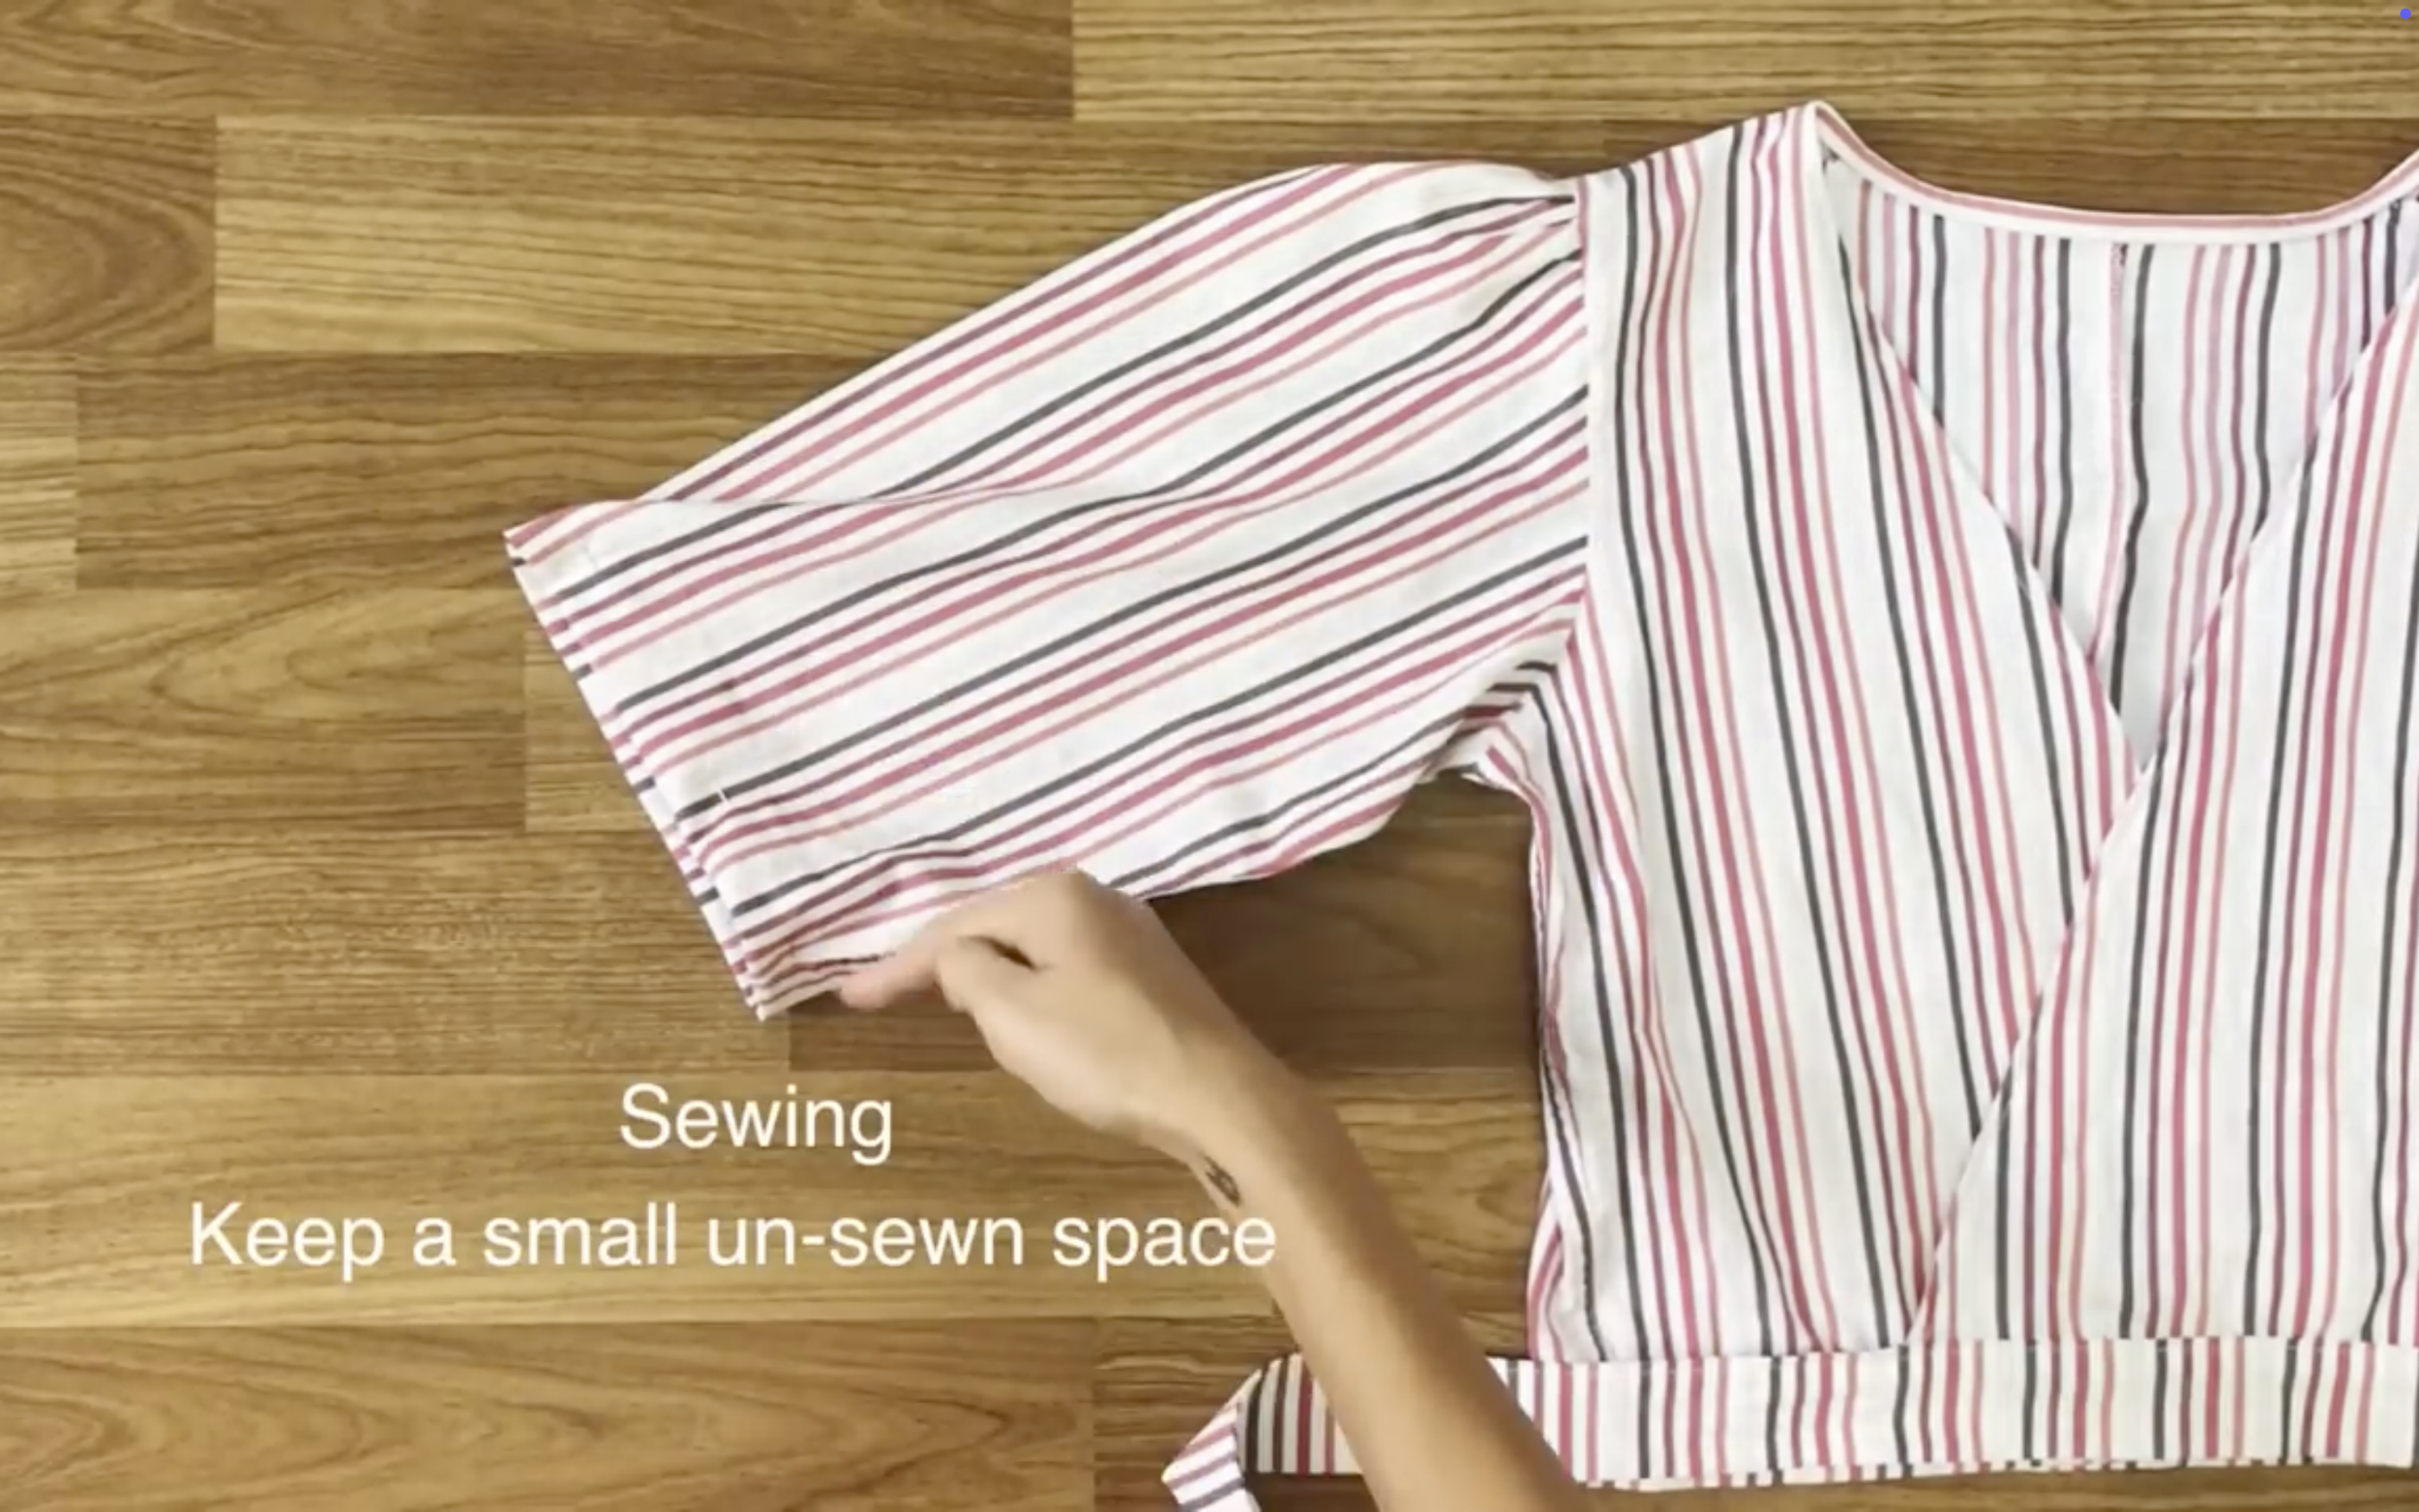
When sewing, keep a small un-sew space for the elastic to get in.
As usual, use two safety pins to put the elastic through the fabric hole.
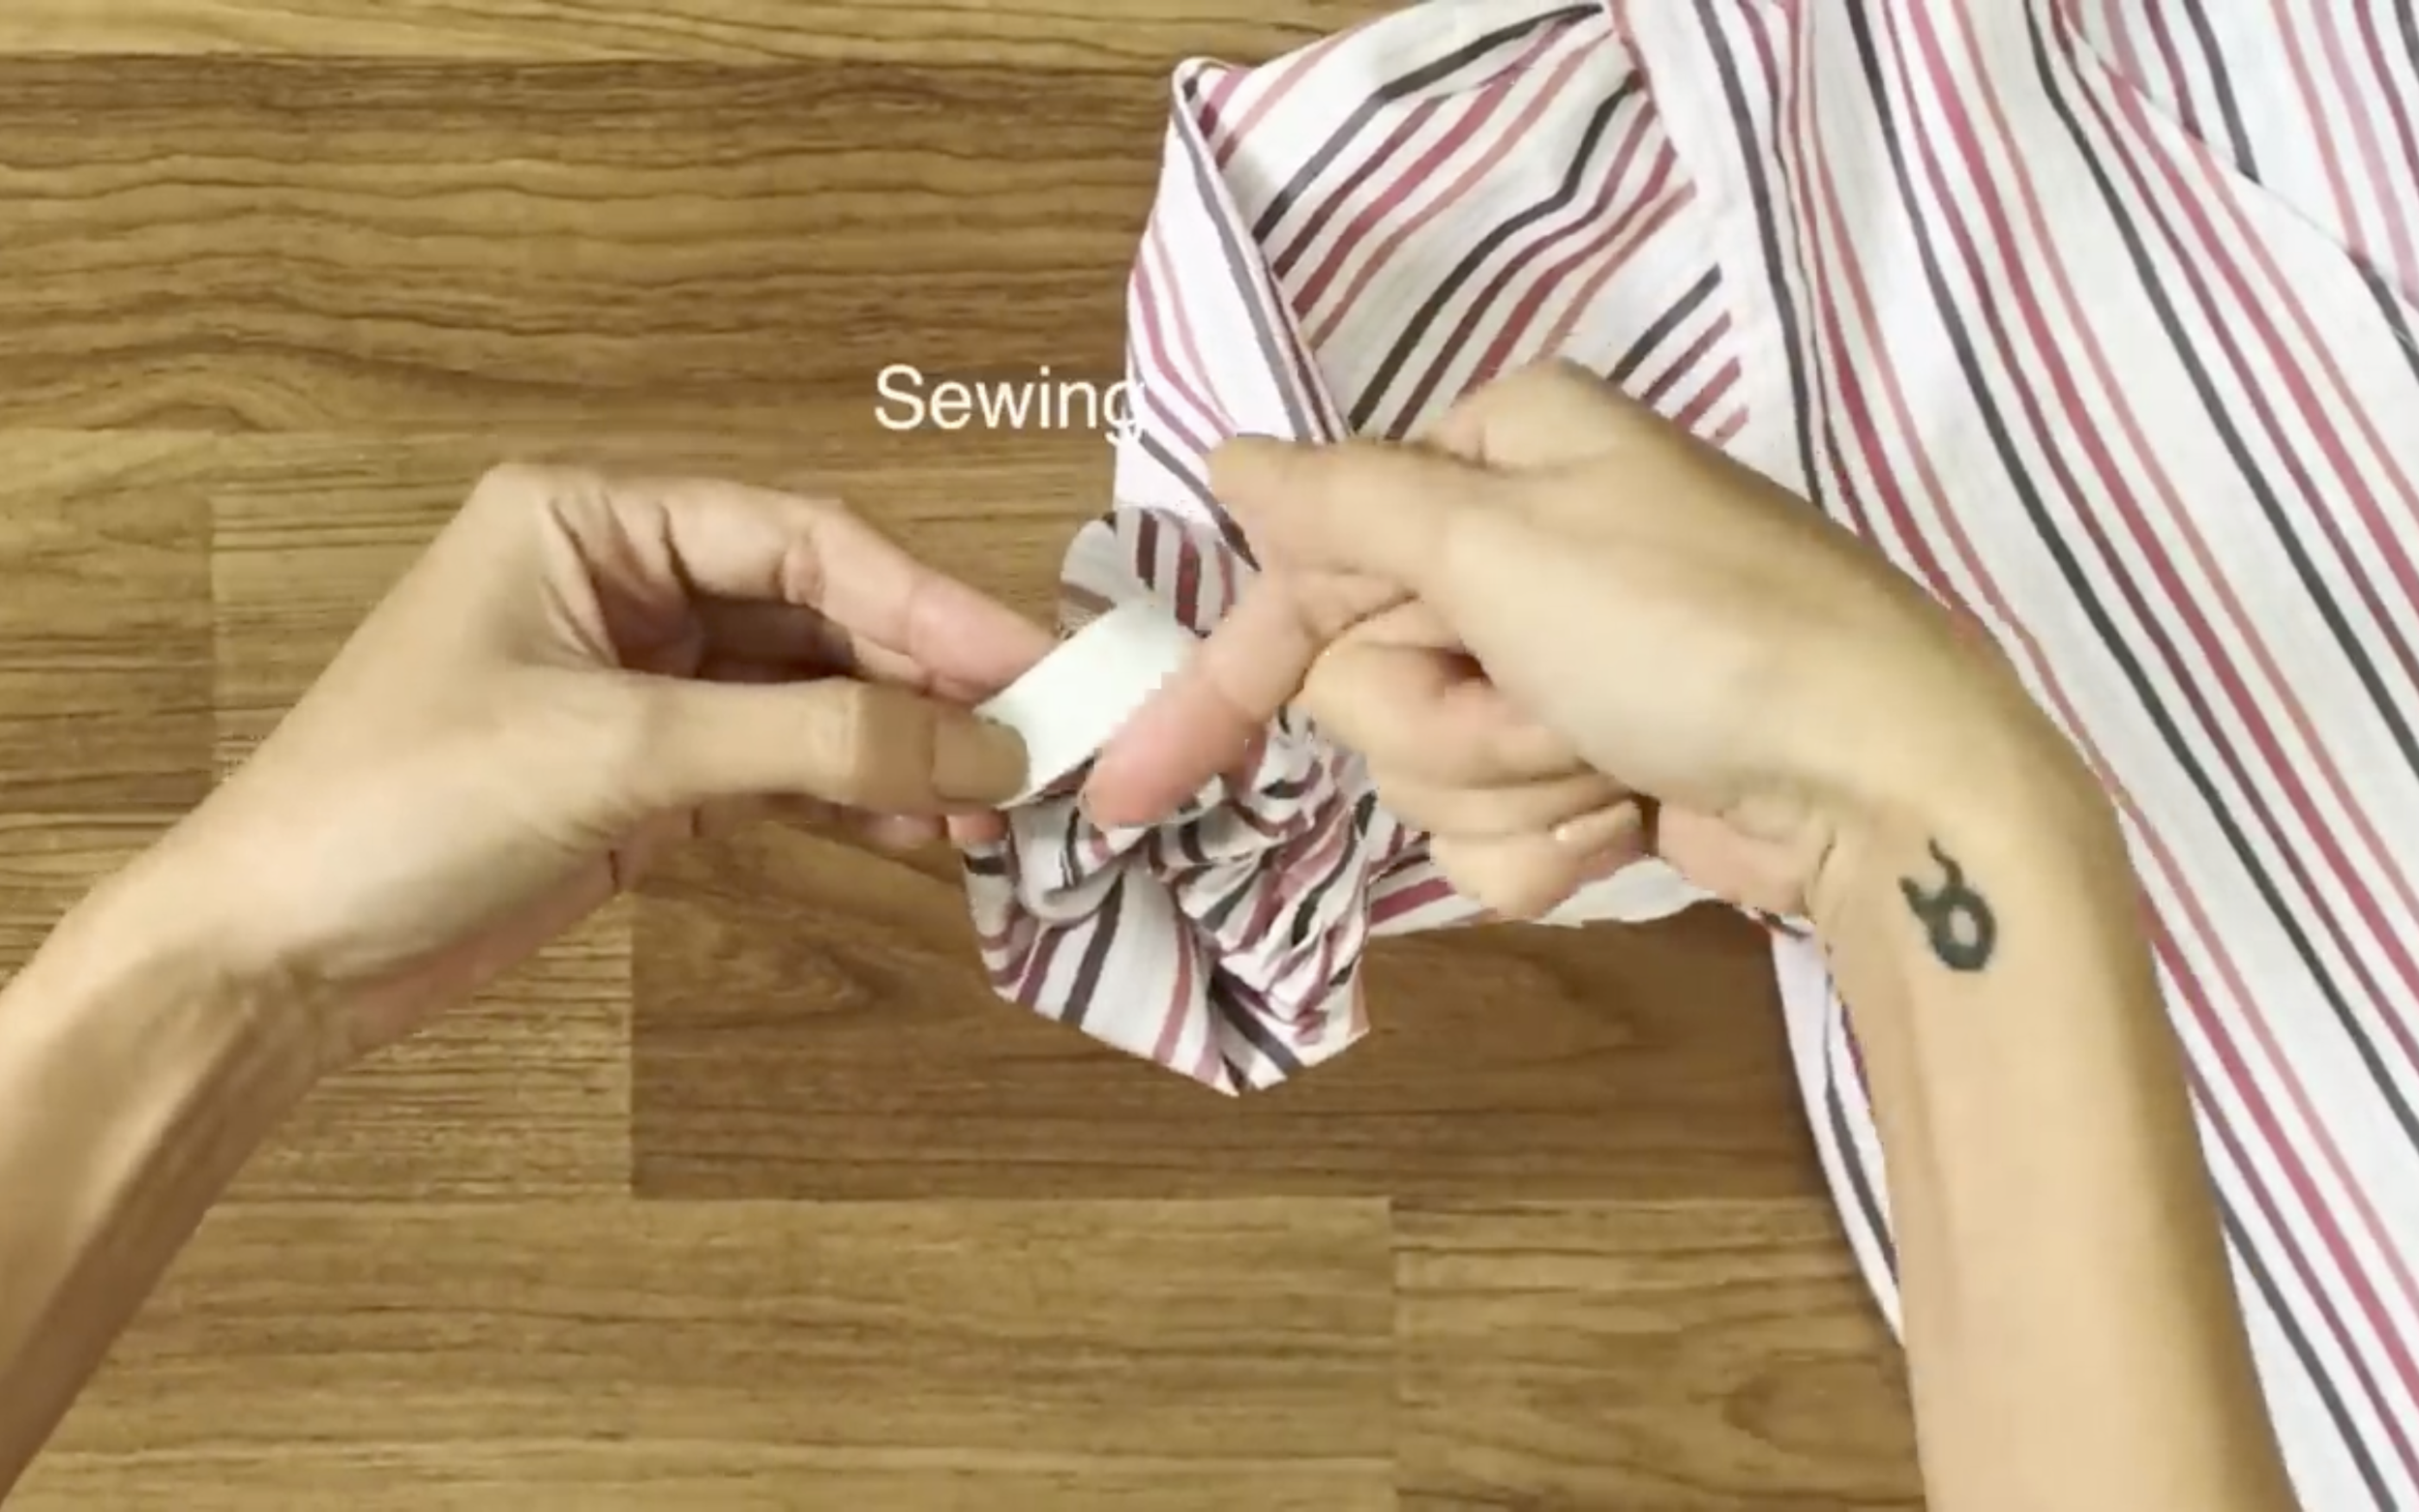
Then sew two ends of the elastic and close the hole after that.

DIY PUFF SLEEVE WRAP TOP from Men's shirt - Me-made Summer Challenge - Ep 2
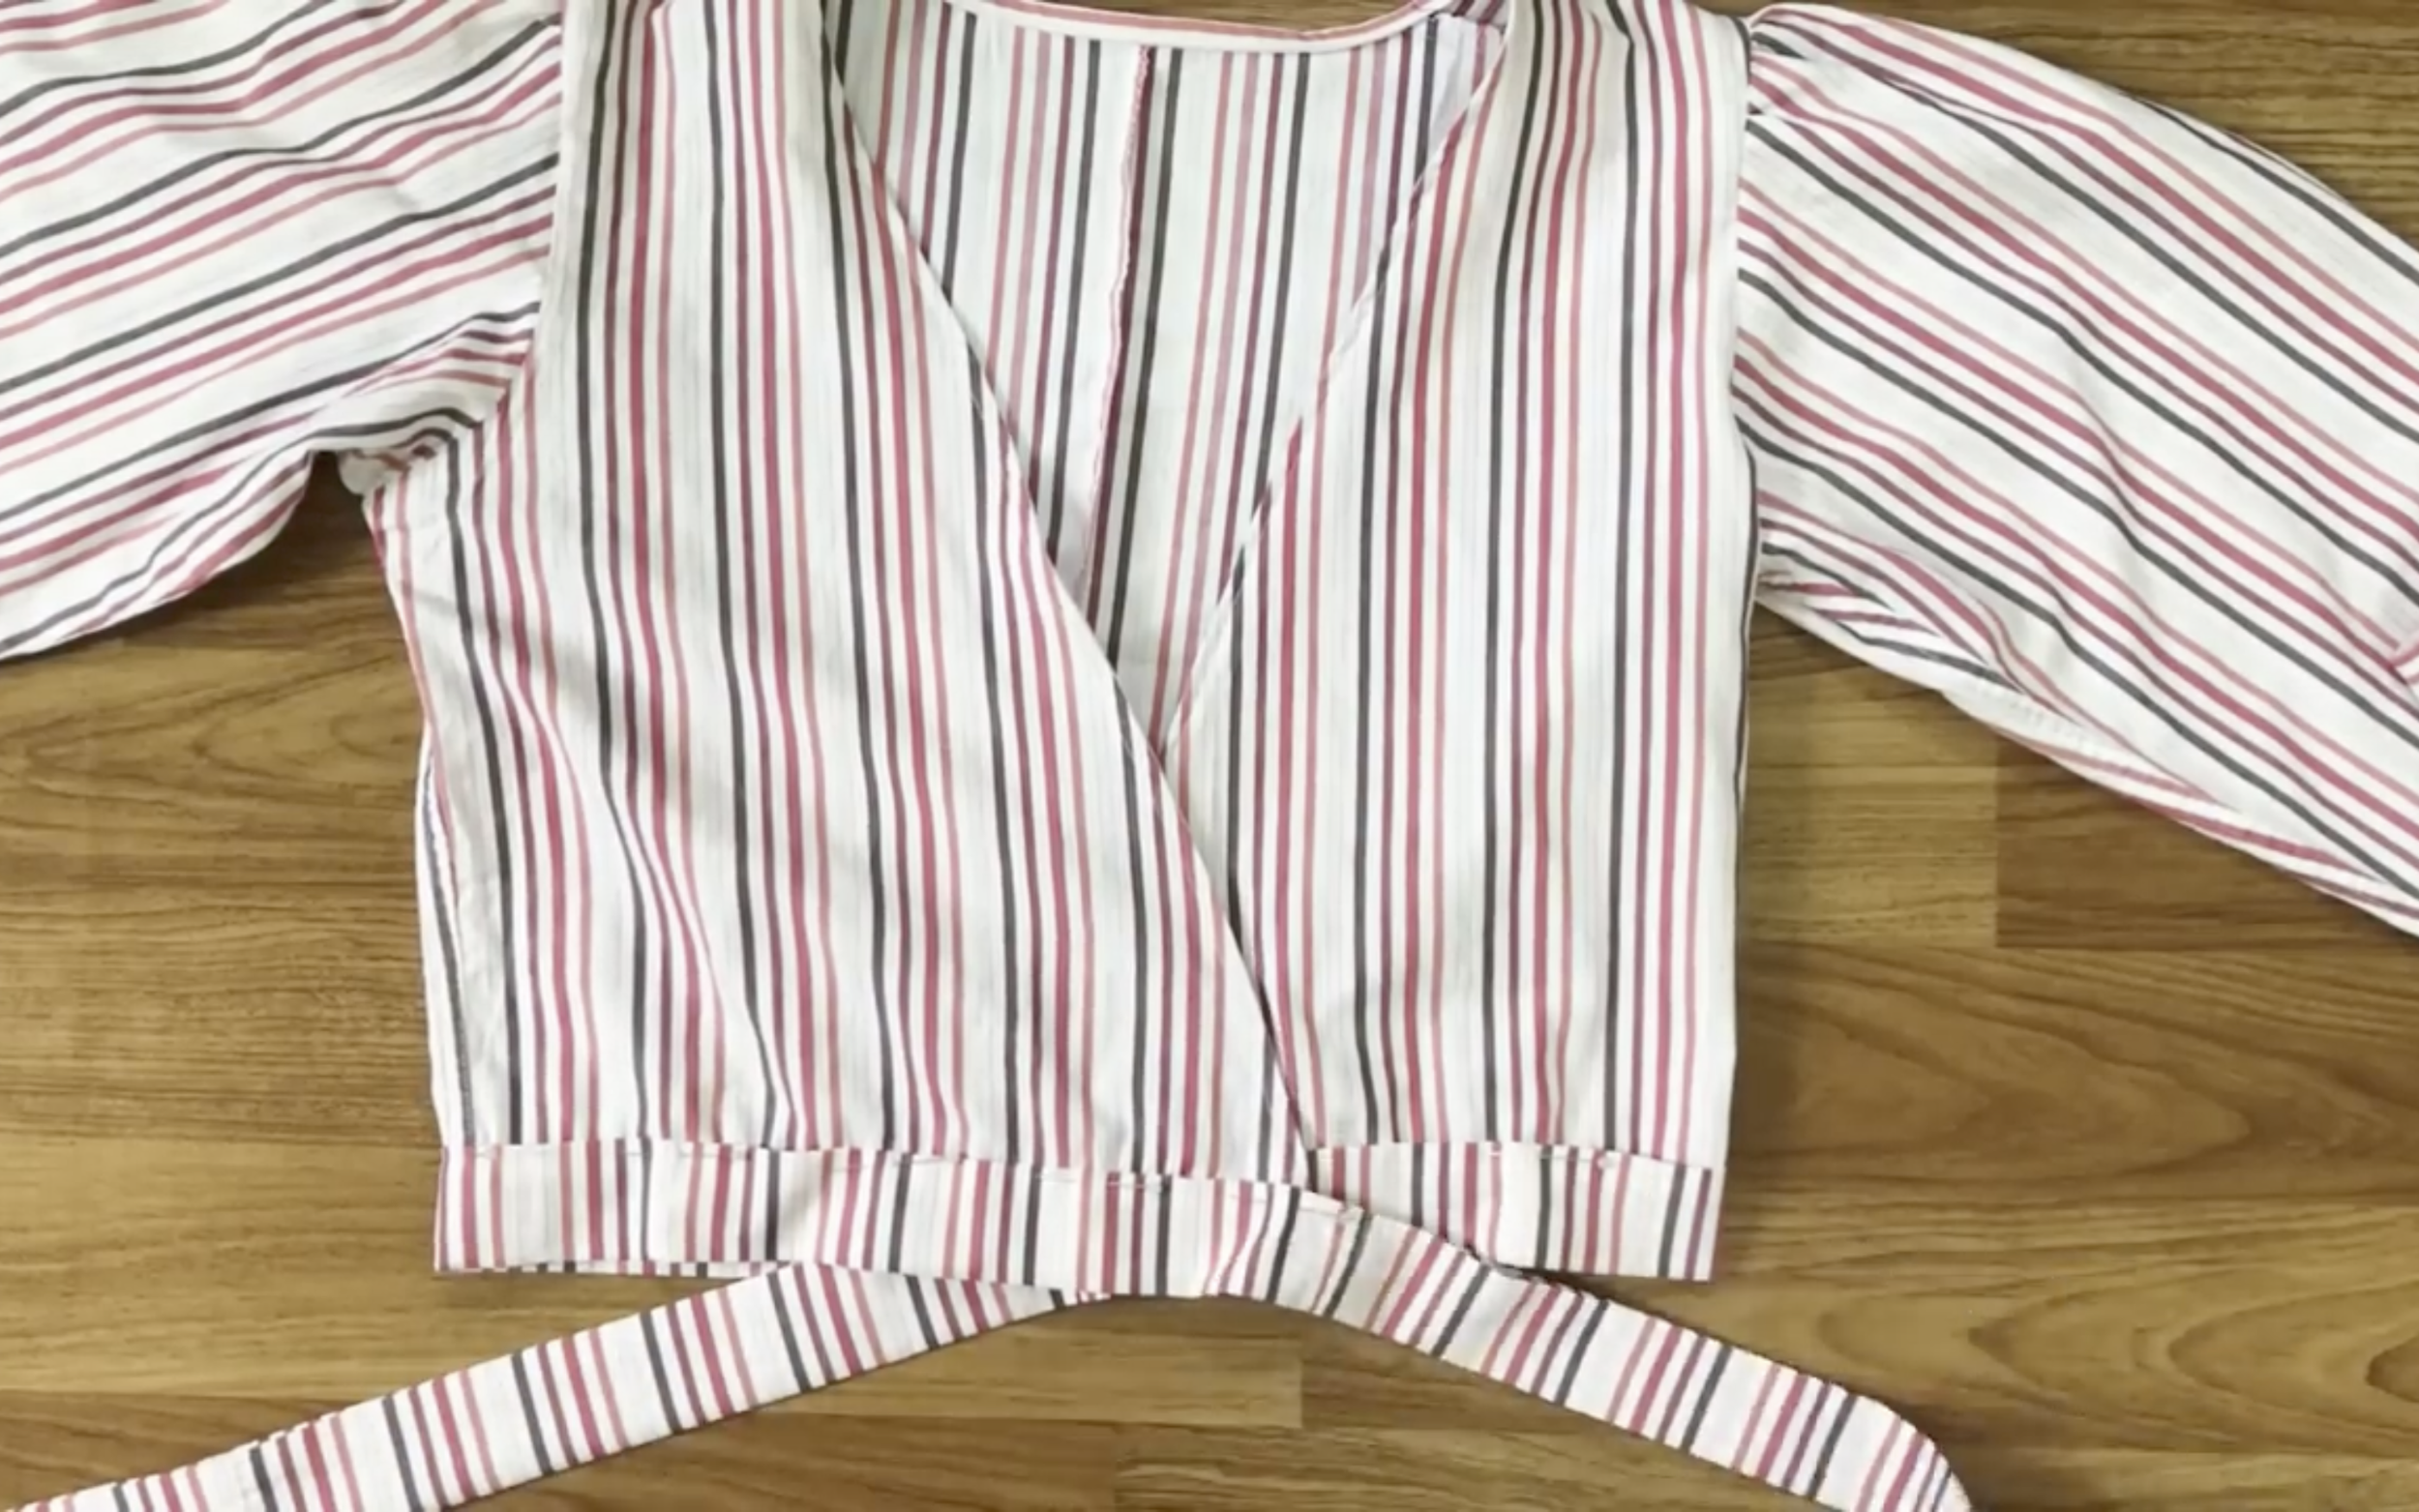
And I finished this DIY! Here's my final transformation.
What a lovely top. And is it perfect for this summer?


I hope you found my step-by-step guide helpful and inspiring.
If you’re interested in making your own, give it a try and let me know how it goes!
Until then, happy sewing!